
How to Log In and Set Up Two-Factor Authentication on Google Chrome
Step-by-step instructions for logging in, setting a new password, and enabling two-factor authentication using Google Authenticator in Google Chrome. Secure your account with this easy guide.
By Rakesh Puranik
In this guide, we'll learn how to log in to a server for the first time using credentials provided by your operations team. We will cover how to set a new password, set up two-factor authentication with Google Authenticator, and complete the login process. This will help you access your business cloud environment securely.
Let's get started
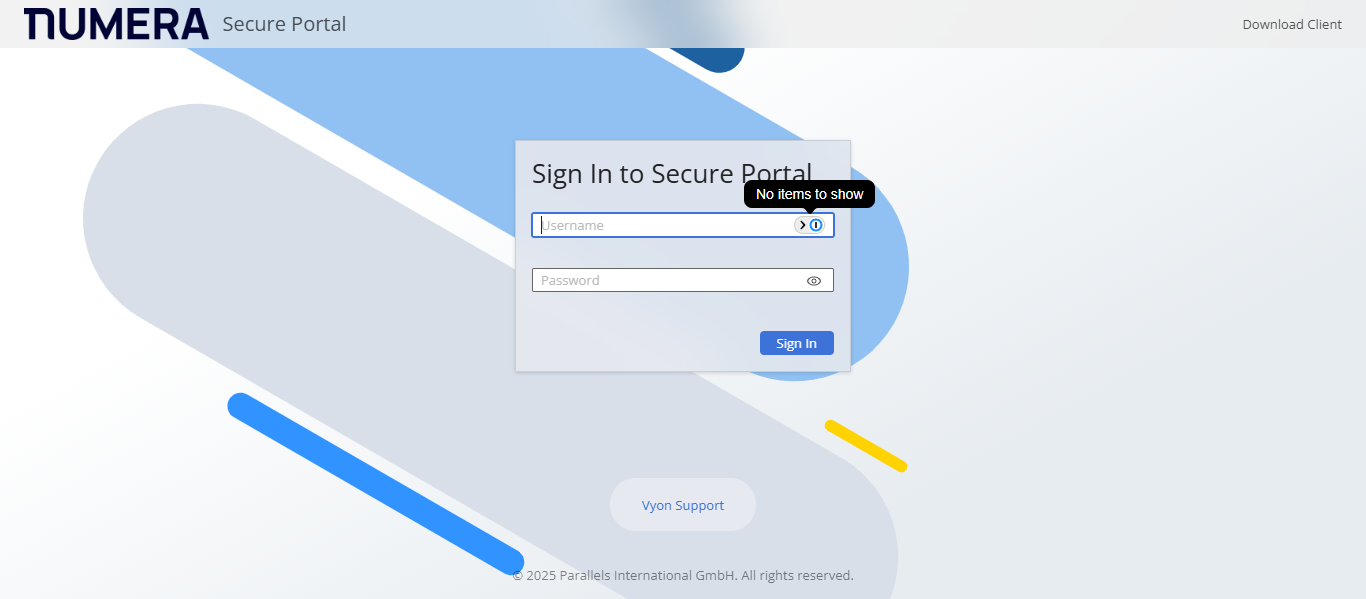
Open a new tab in your Google Chrome browser. The username and the initial password would be provided by the operations team.
1
Go to Secure Portal
2
Click on "Username" and type the username
3
Click on "Password" and type the password
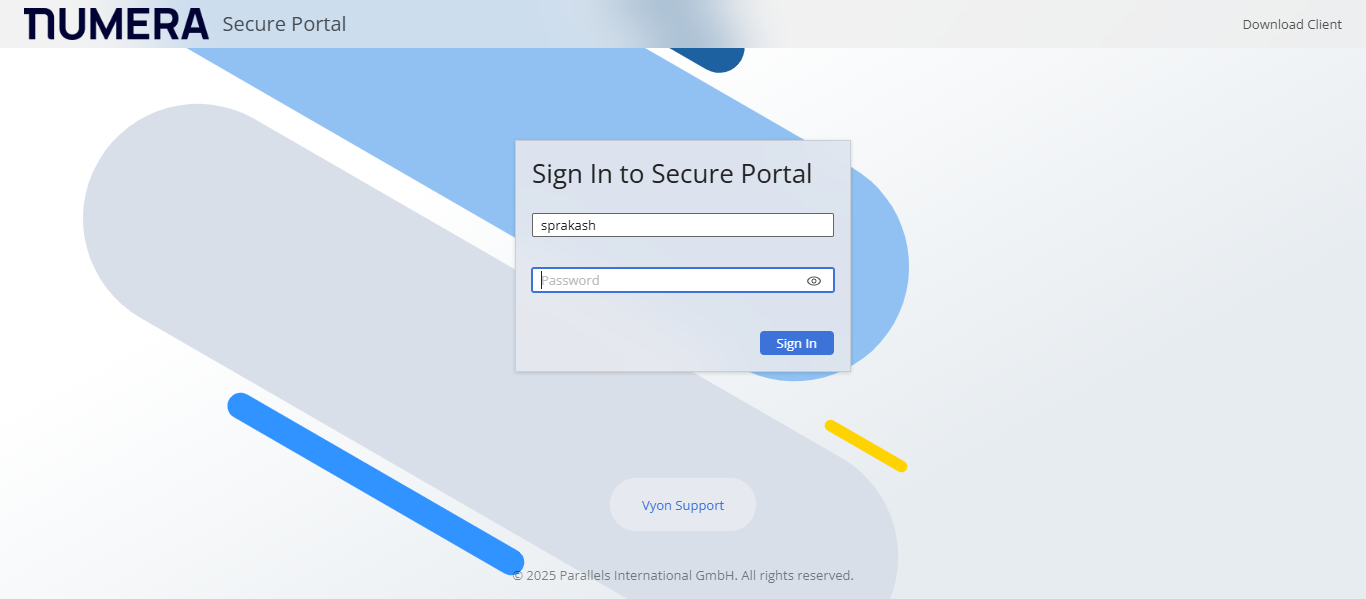
4
Click on "Sign In"

5
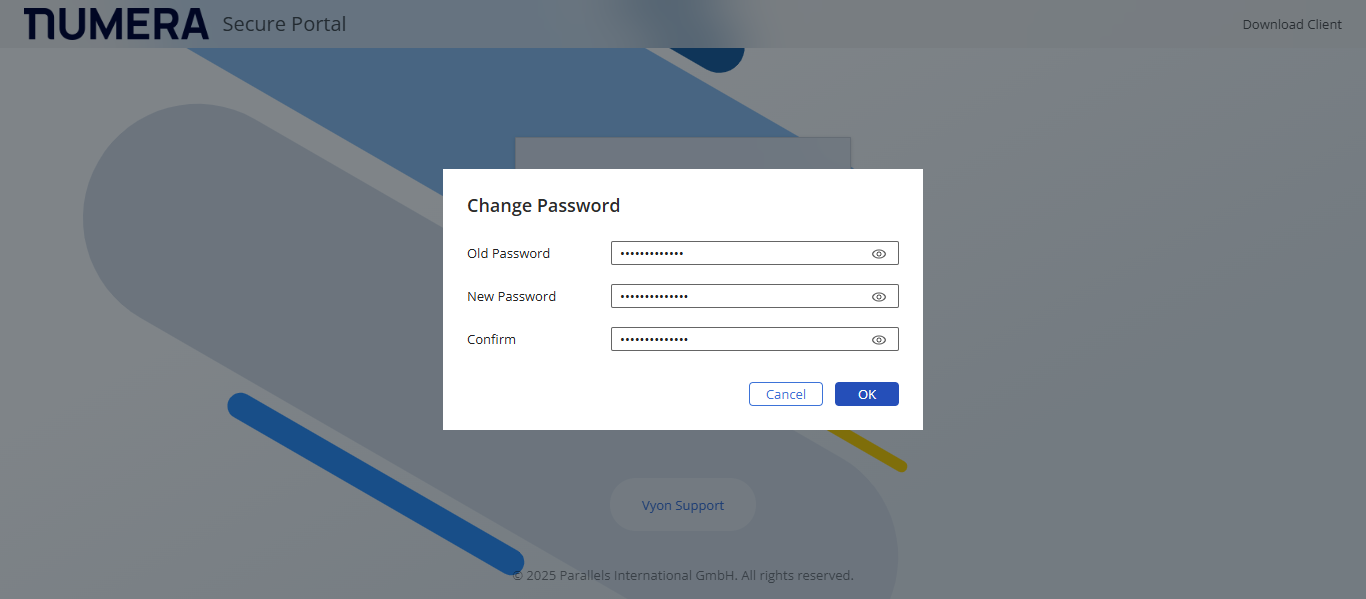
After you enter the password, you will be prompted to create a new one.
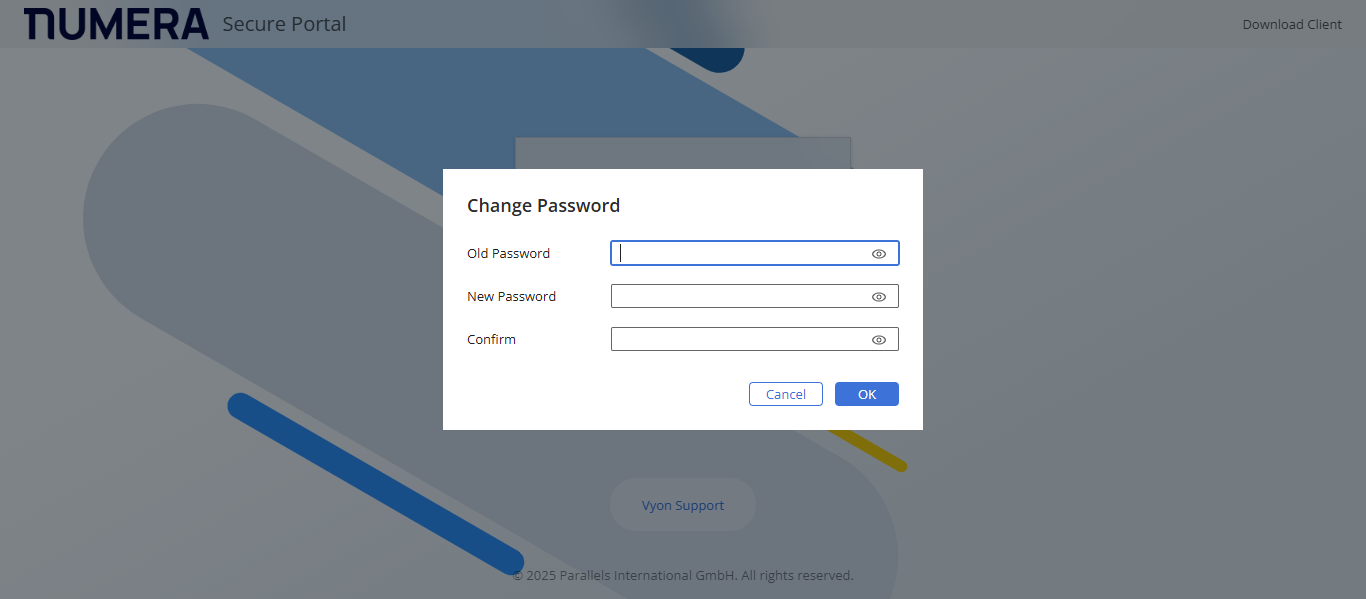
6
Enter your old password

7
Enter the new password of your choice and then confirm the new password
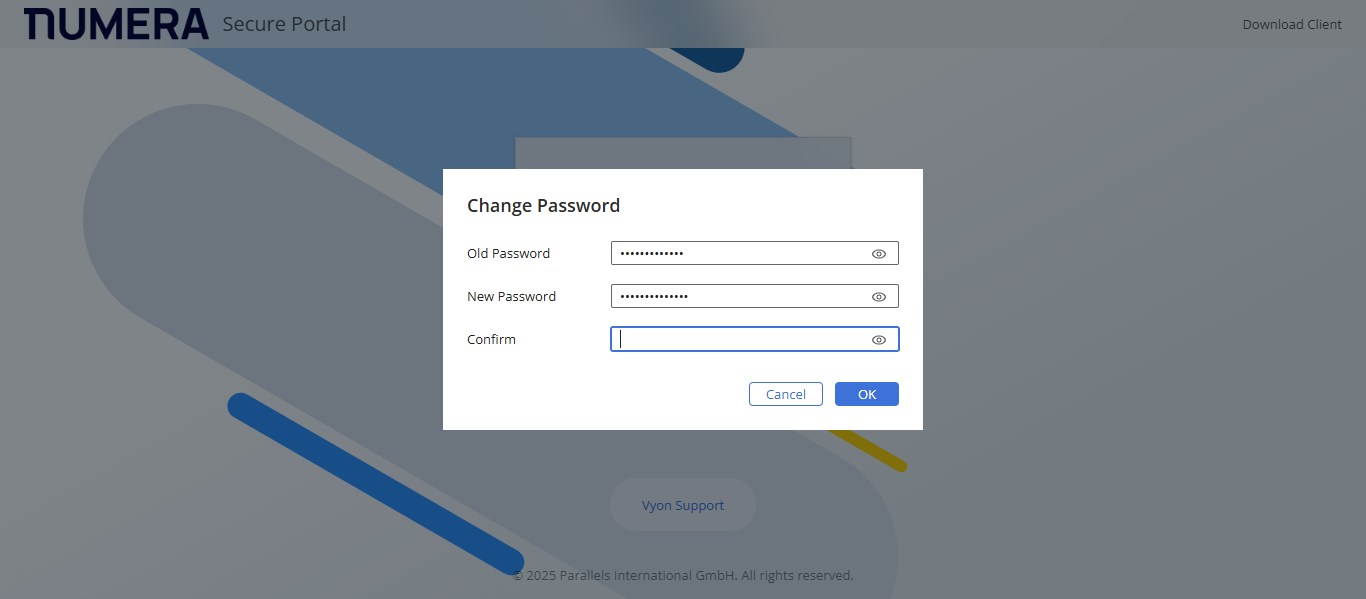
8
Click on "OK"
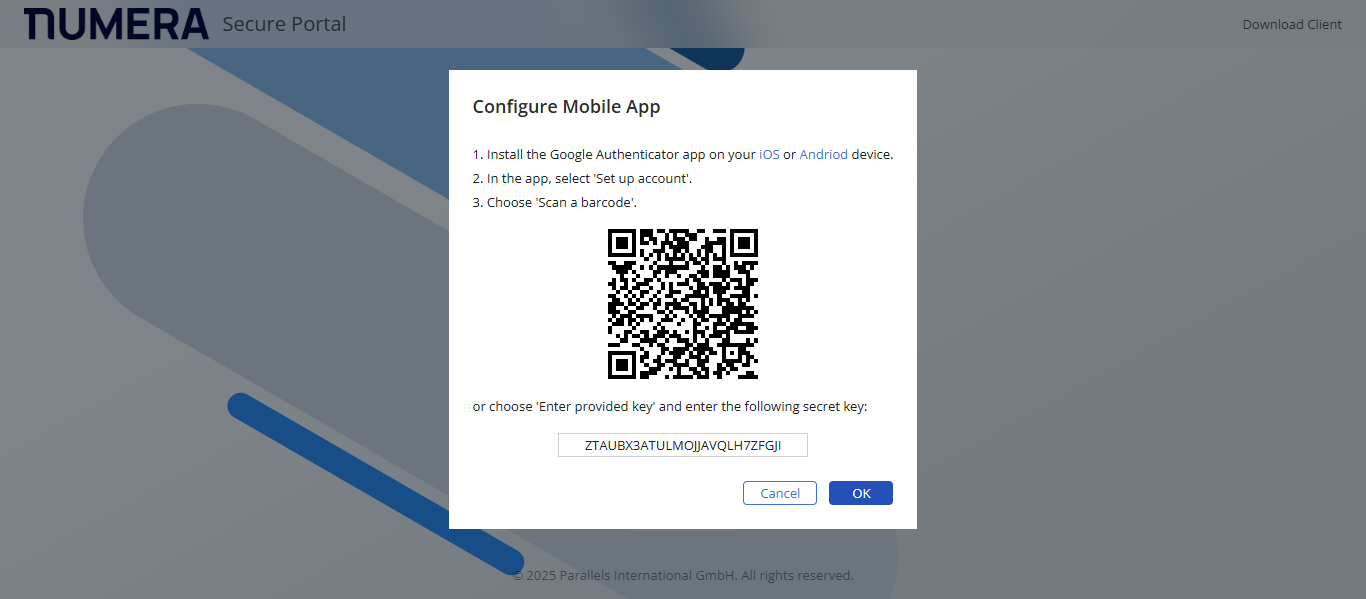
After the completion of this step, open the Authenticator app on your phone and scan the QR code.
9
Scan this QR code
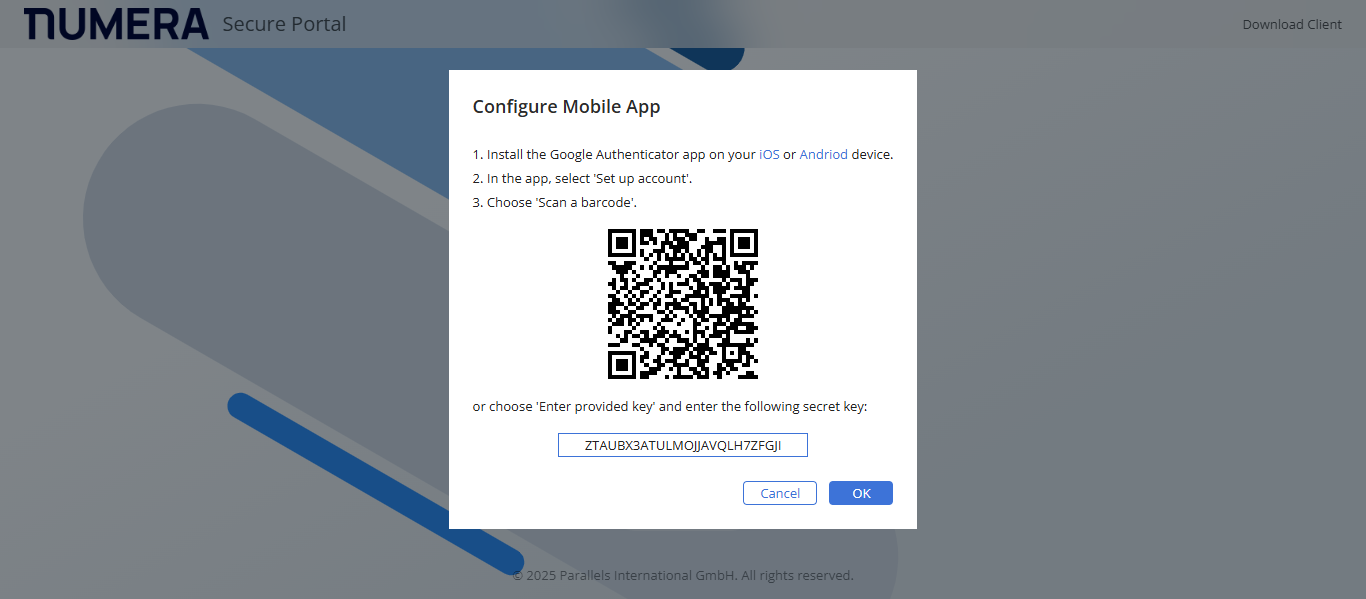
If you are unable to scan, you would have to copy the secret key into your phone to get the OTP
10
Click on "OK"
11
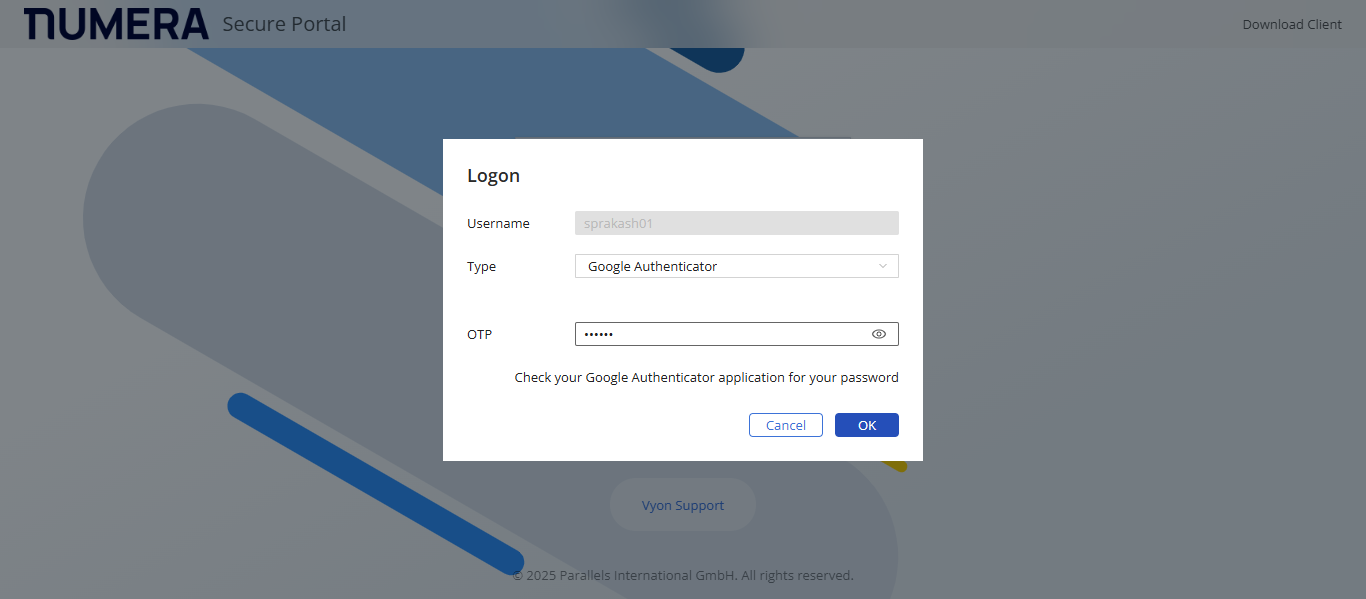
After completion of the above process, please enter the OTP from the Google Authenticator app.
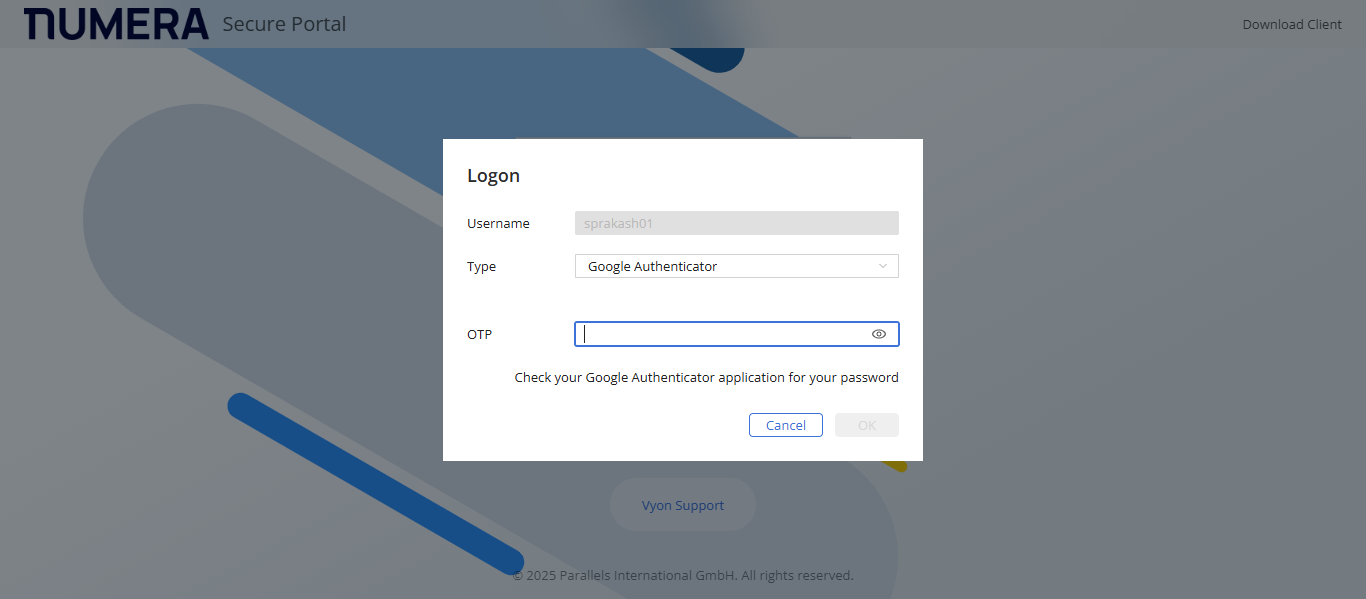
12
Click on "OK"
13
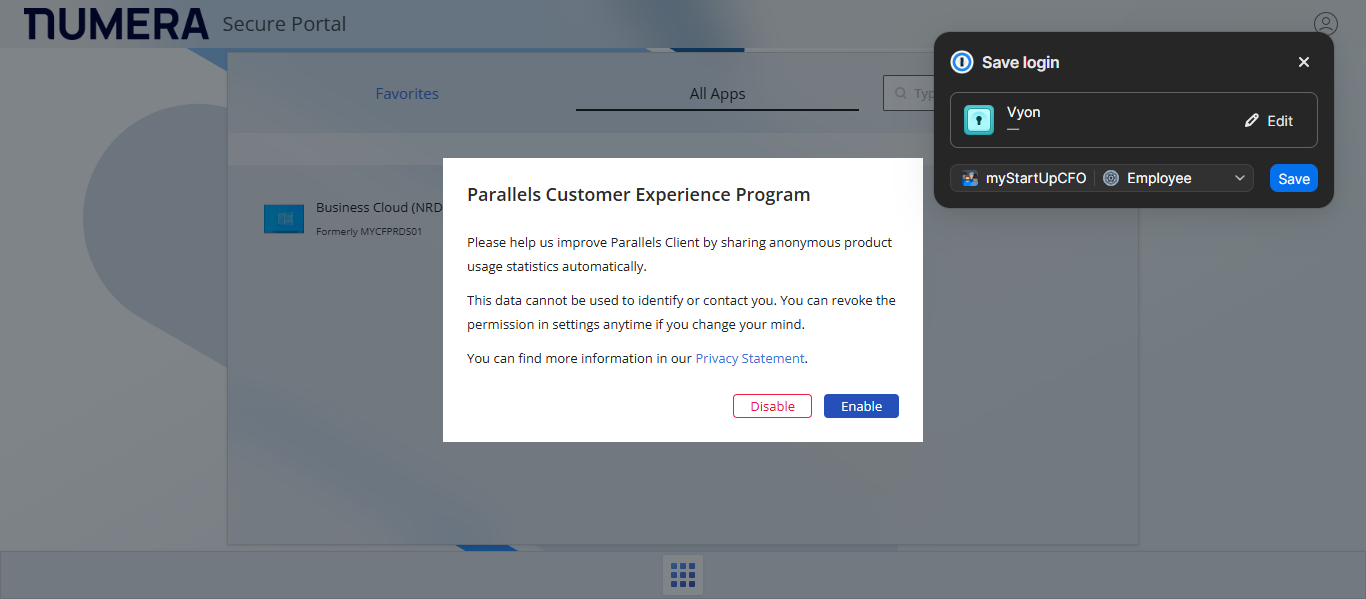
Click on "No"

14
Click on "Enable"
15
Click on "Business Cloud ( NRD05 - D )"

16
Go to Business Cloud (NRD05-D)
17
You could switch to "Fullscreen"
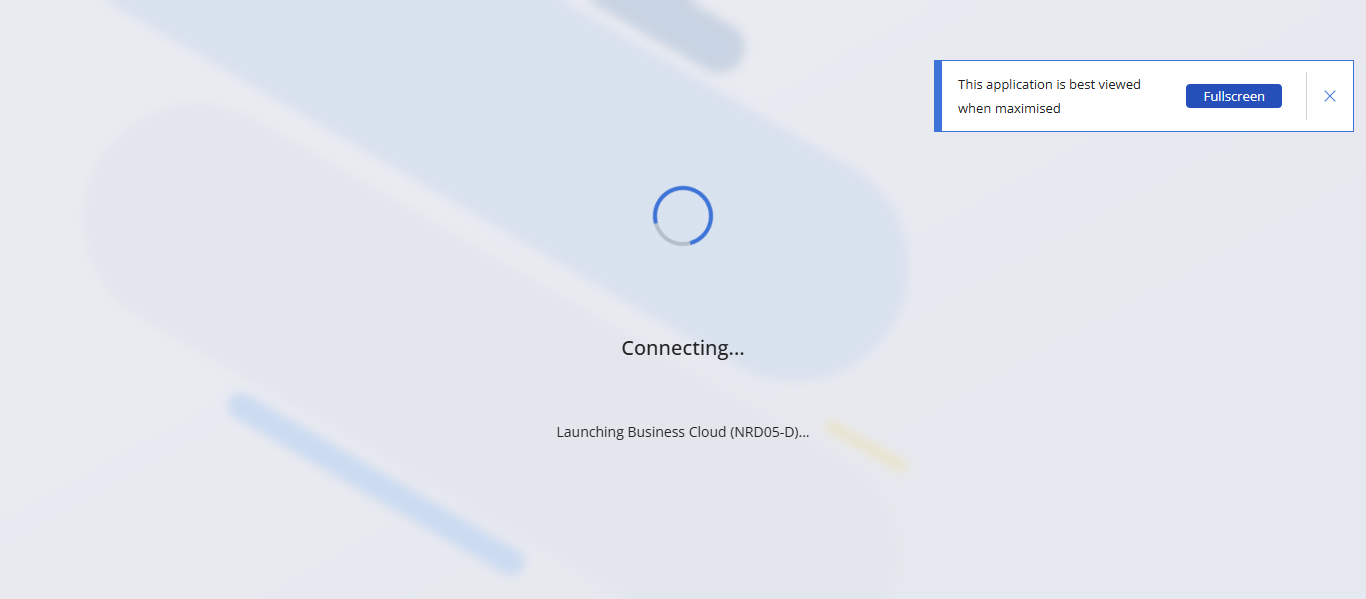
You will be logged into the server. Thank you.