
Salesforce Activities
Learn step-by-step how to manage activities for your leads and accounts, including creating events, tasks, logging calls, and tracking emails. Improve your workflow and never miss an important follow-up.
In this guide, we'll learn how to manage activities for your leads and accounts. You will see how to create events, tasks, and log calls directly from your home screen. This helps you keep track of meetings, to-dos, and conversations with customers or team members.
You'll also learn how to use information from your Zoom account to log call summaries. Email activities are tracked automatically, so you do not need to add them manually.
Let's get started
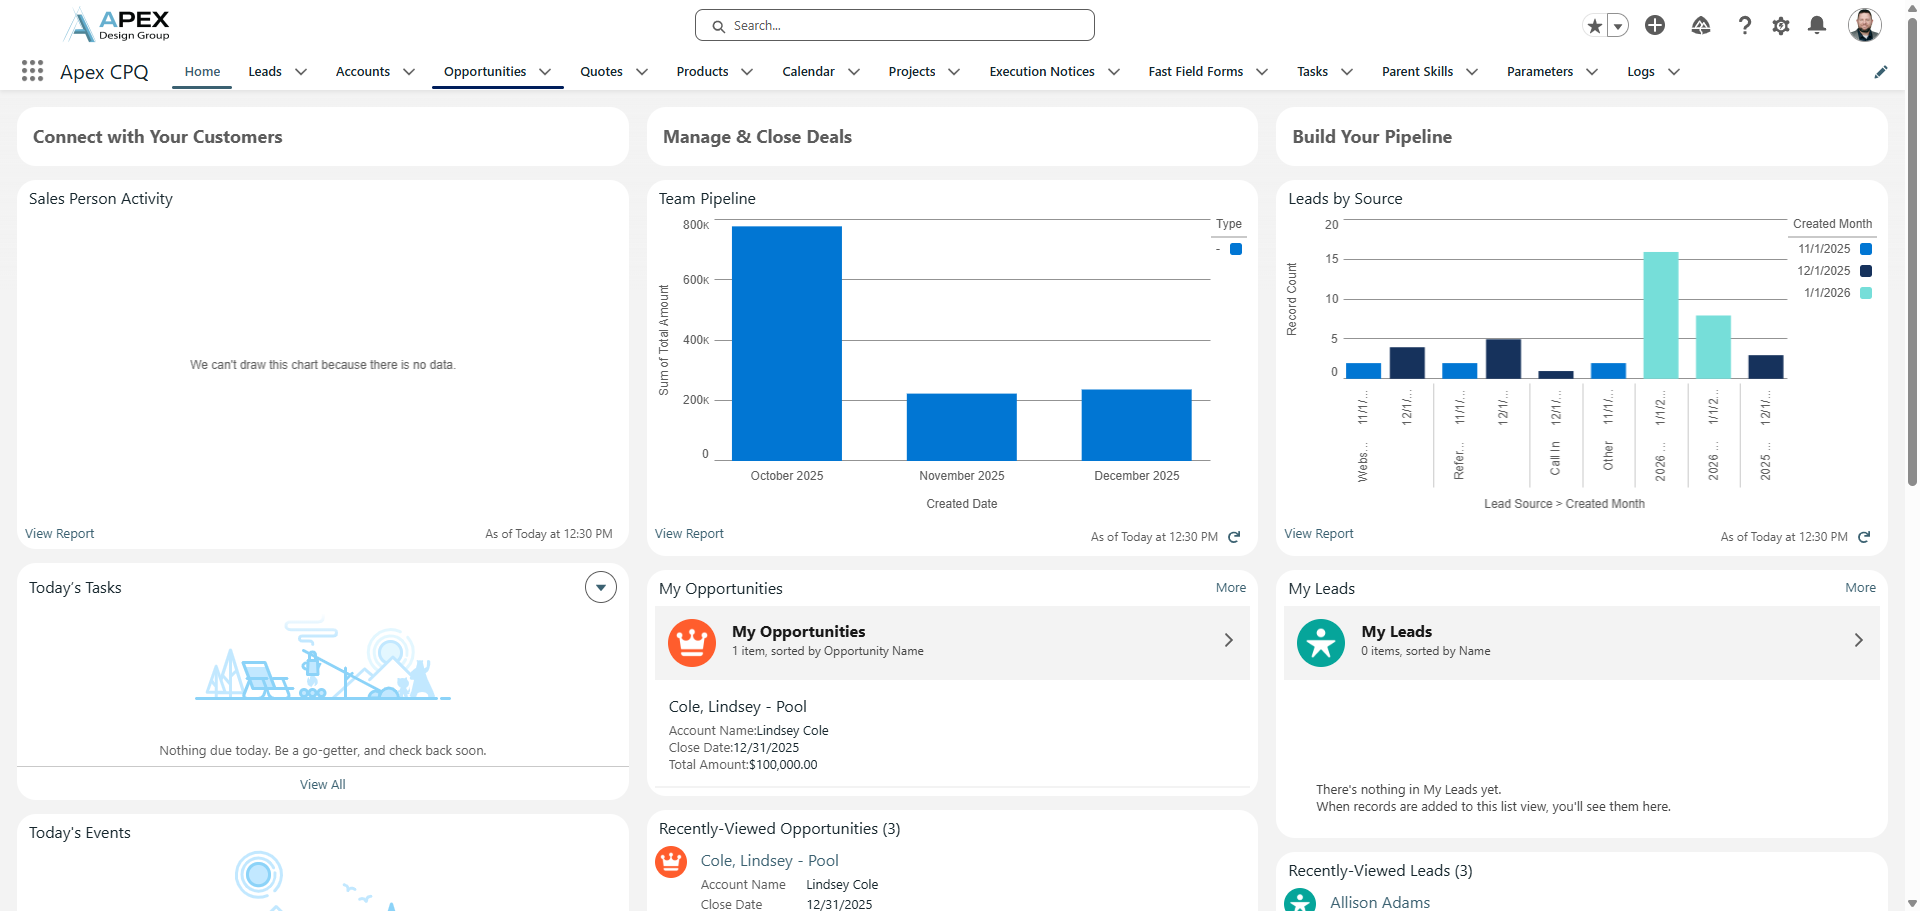
We will learn how to manage activities for your leads and accounts. From your home screen, click on Opportunities. This is for this example.
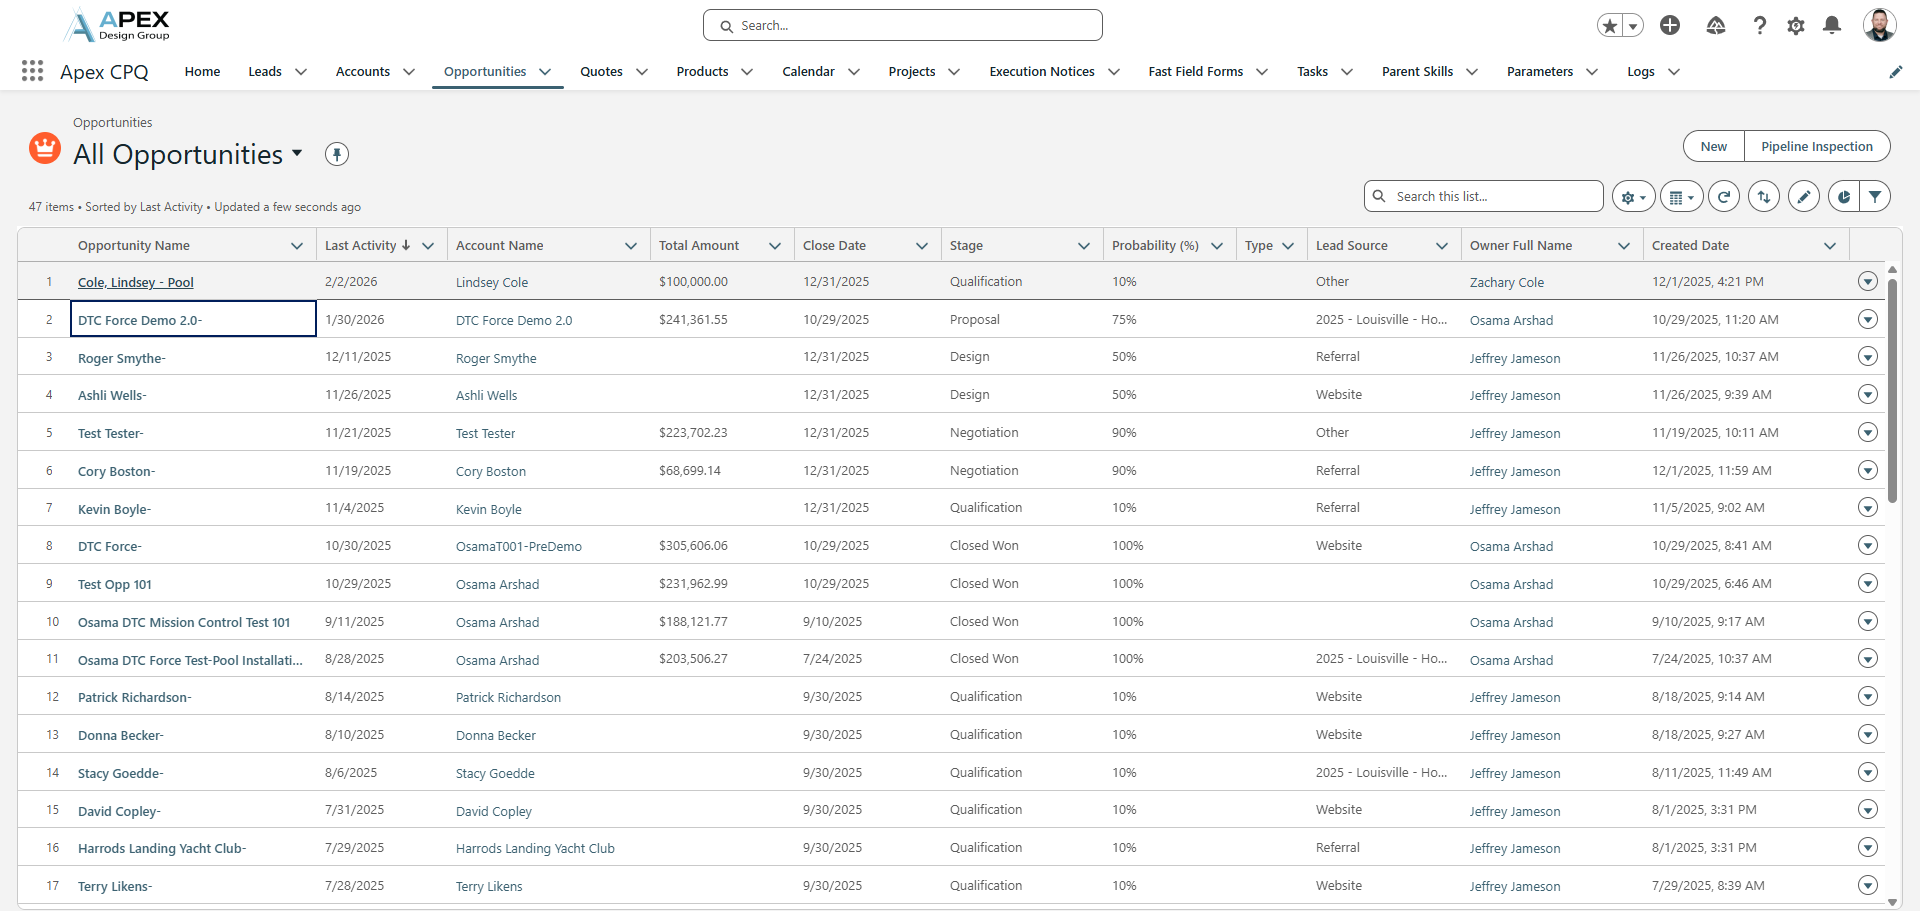
Click on your Opportunity or Lead; the process is the same for both.
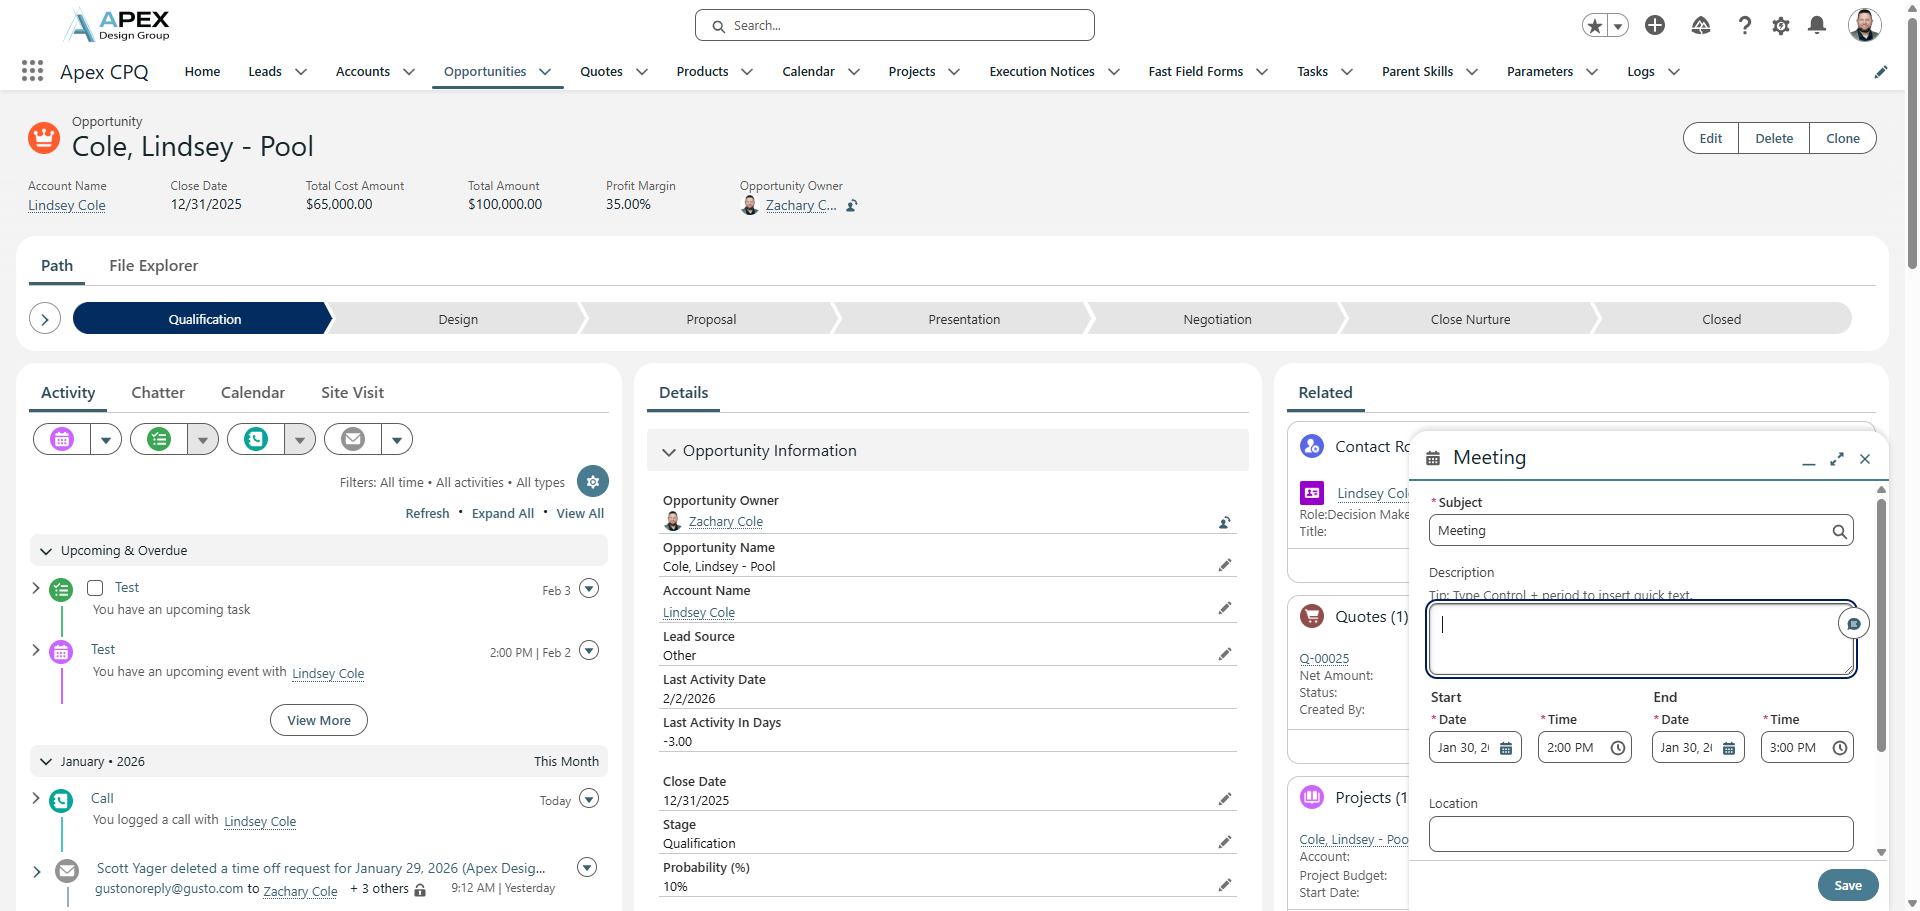
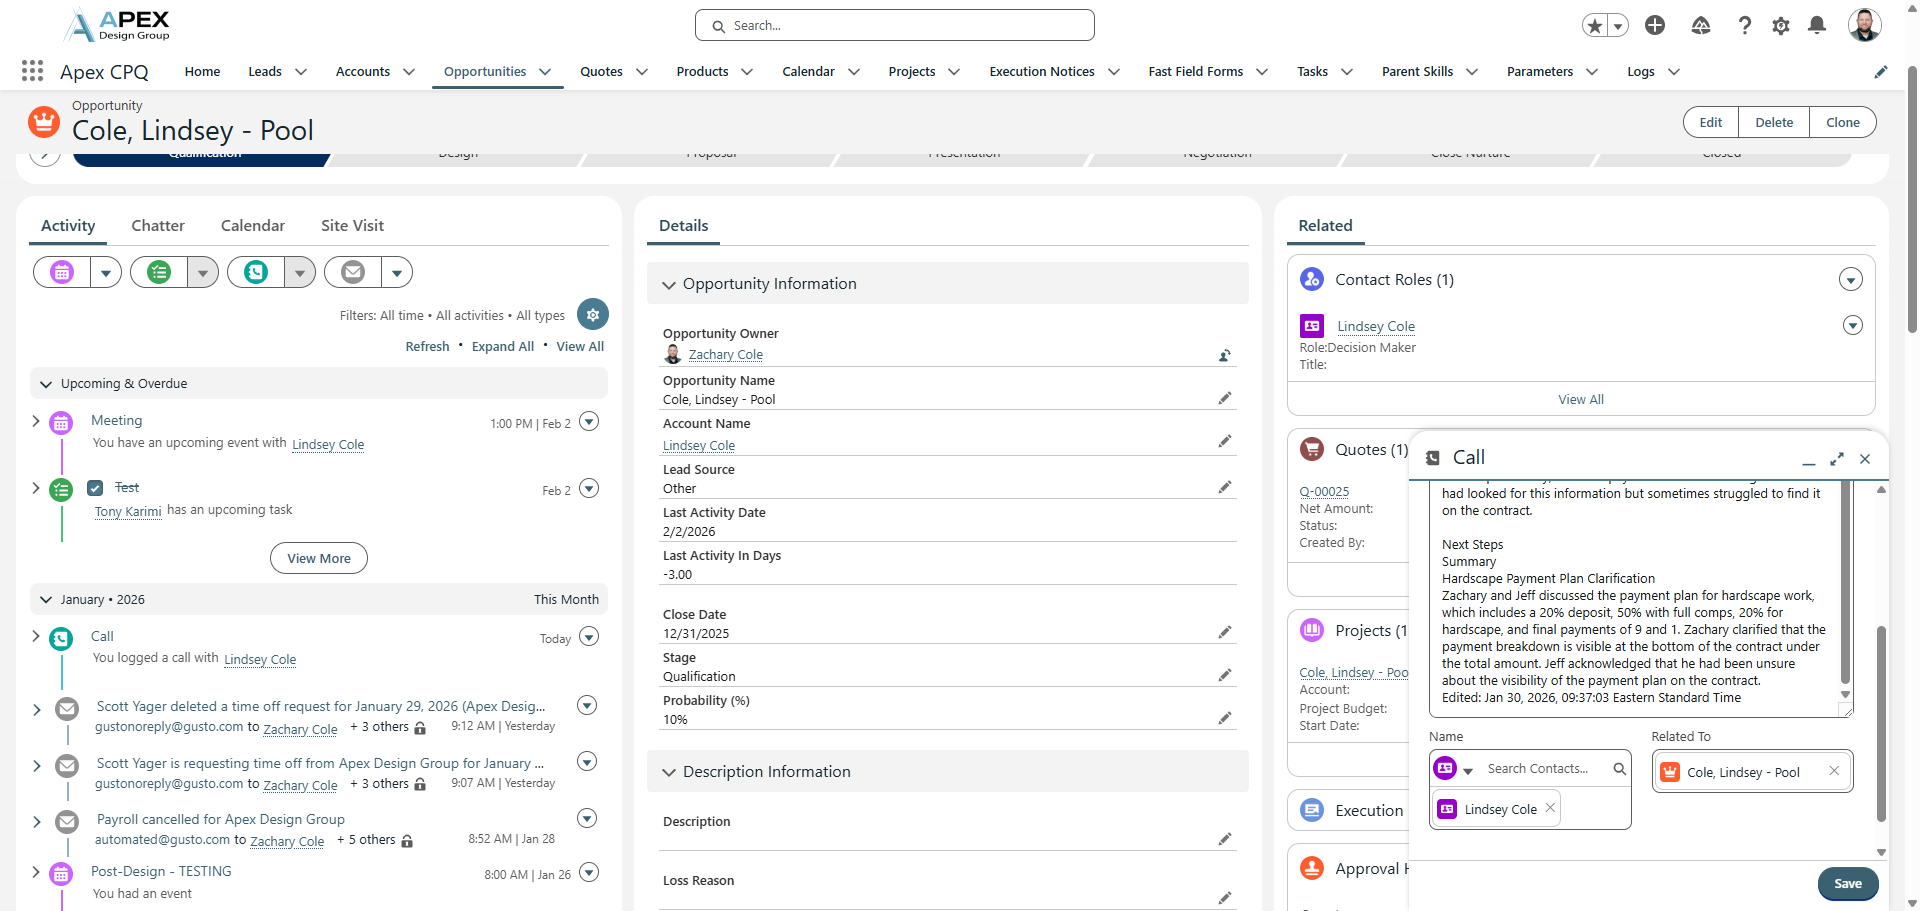
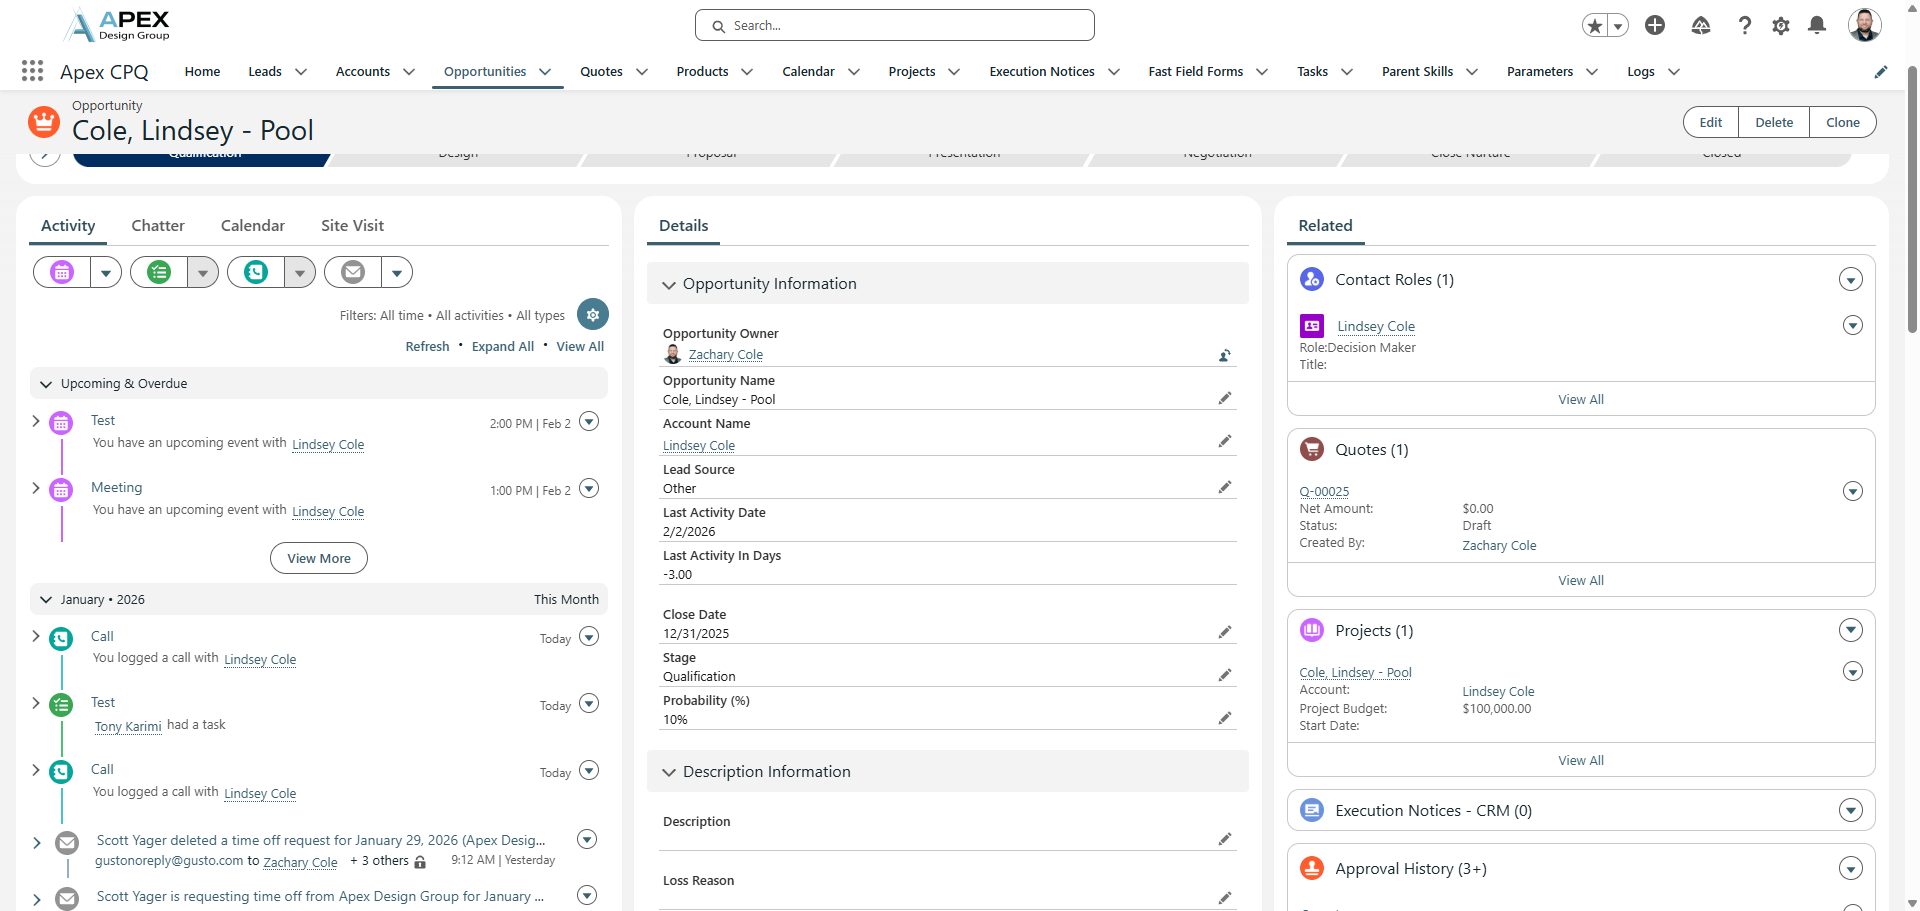
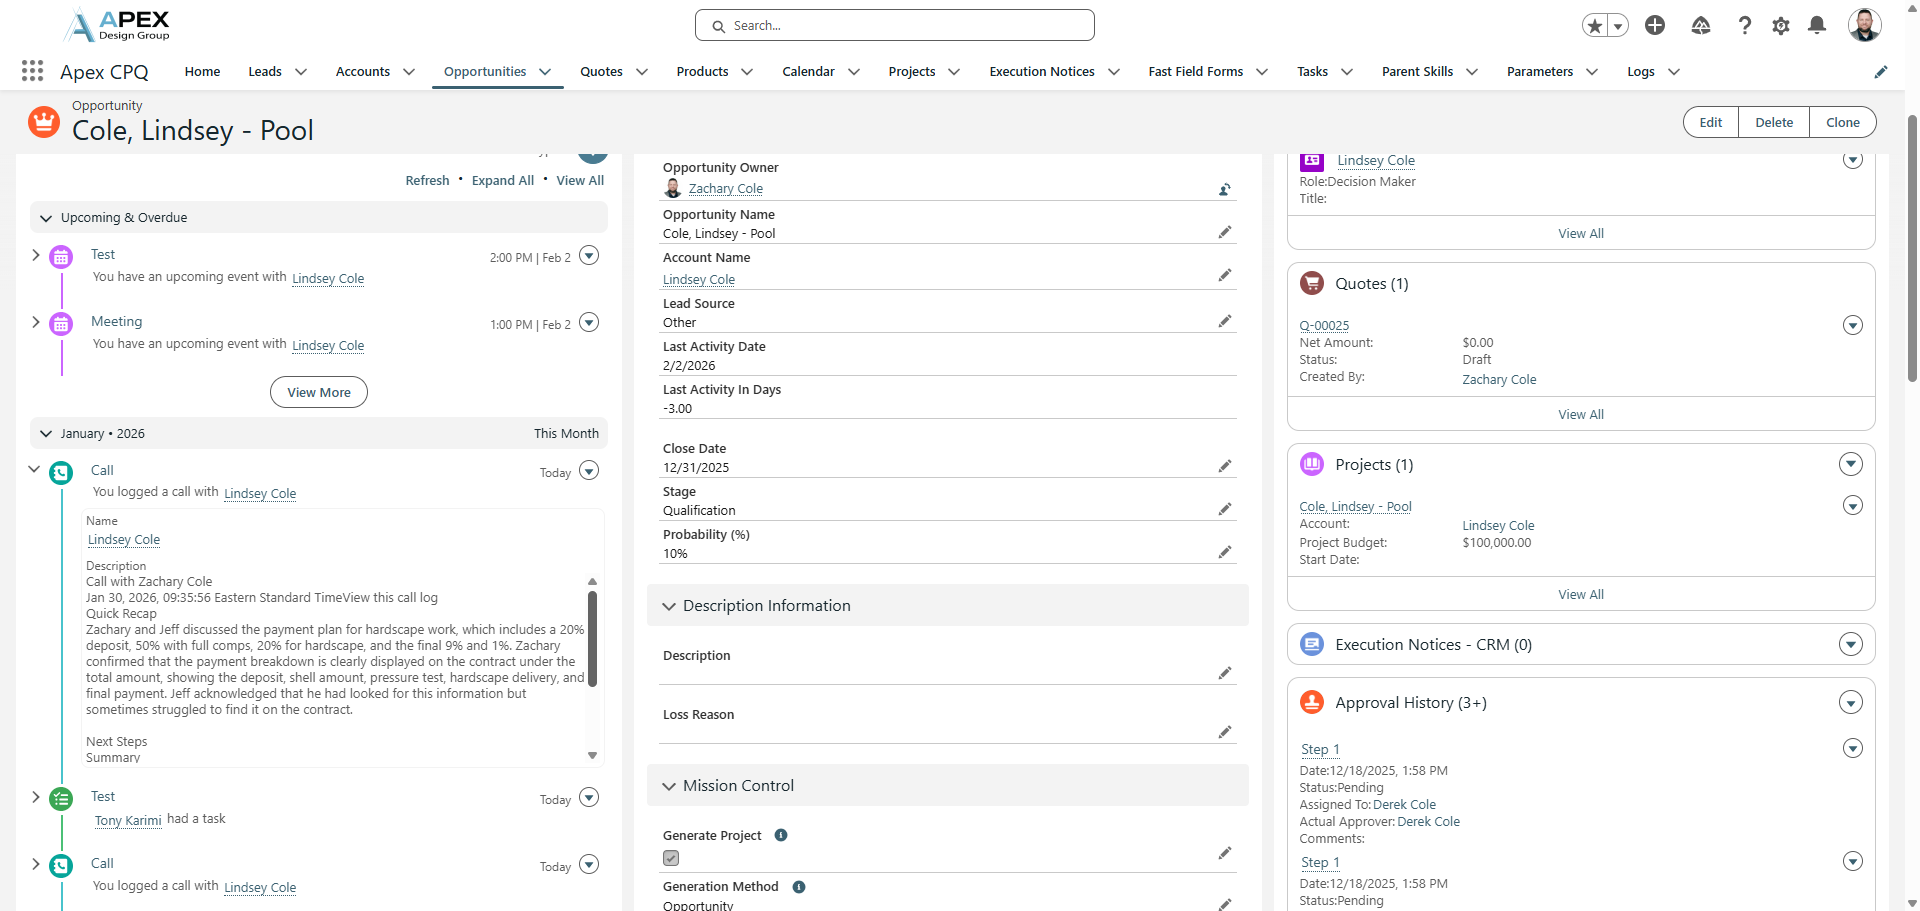
When you land on this page, the Activity section opens automatically.

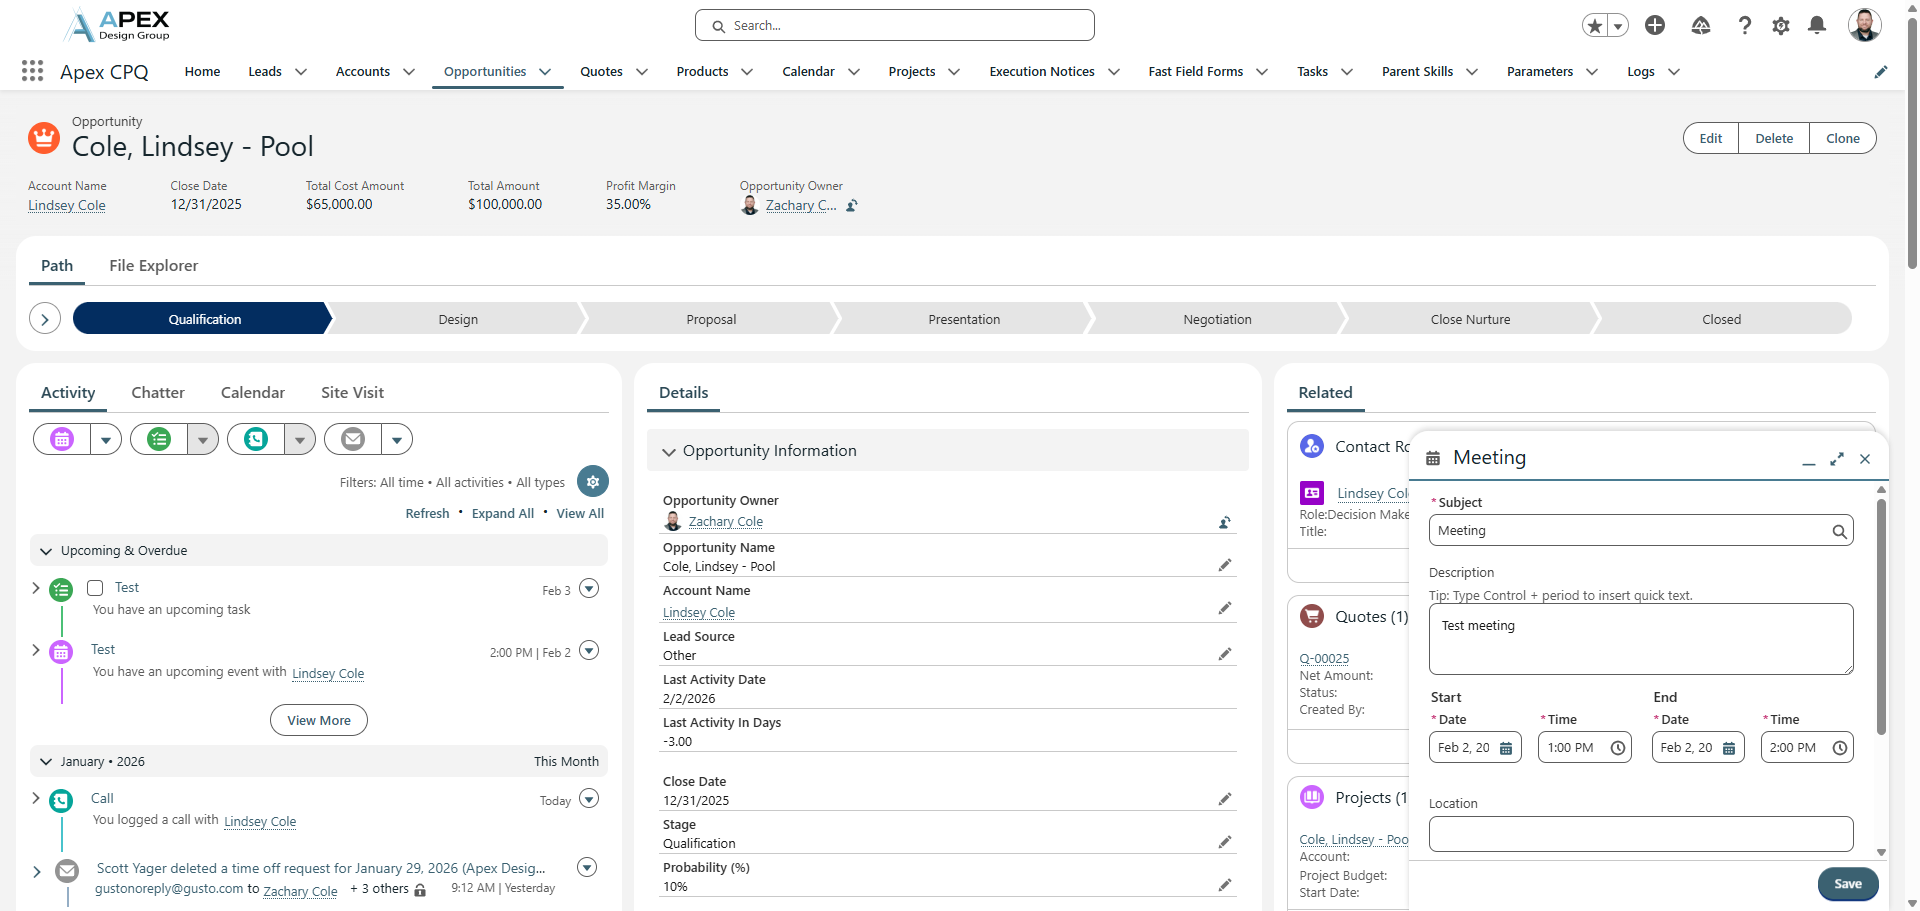
From here, you have four buttons below: New Event, New Task, Log a Call, and Email. To log a new event, click "New Event."

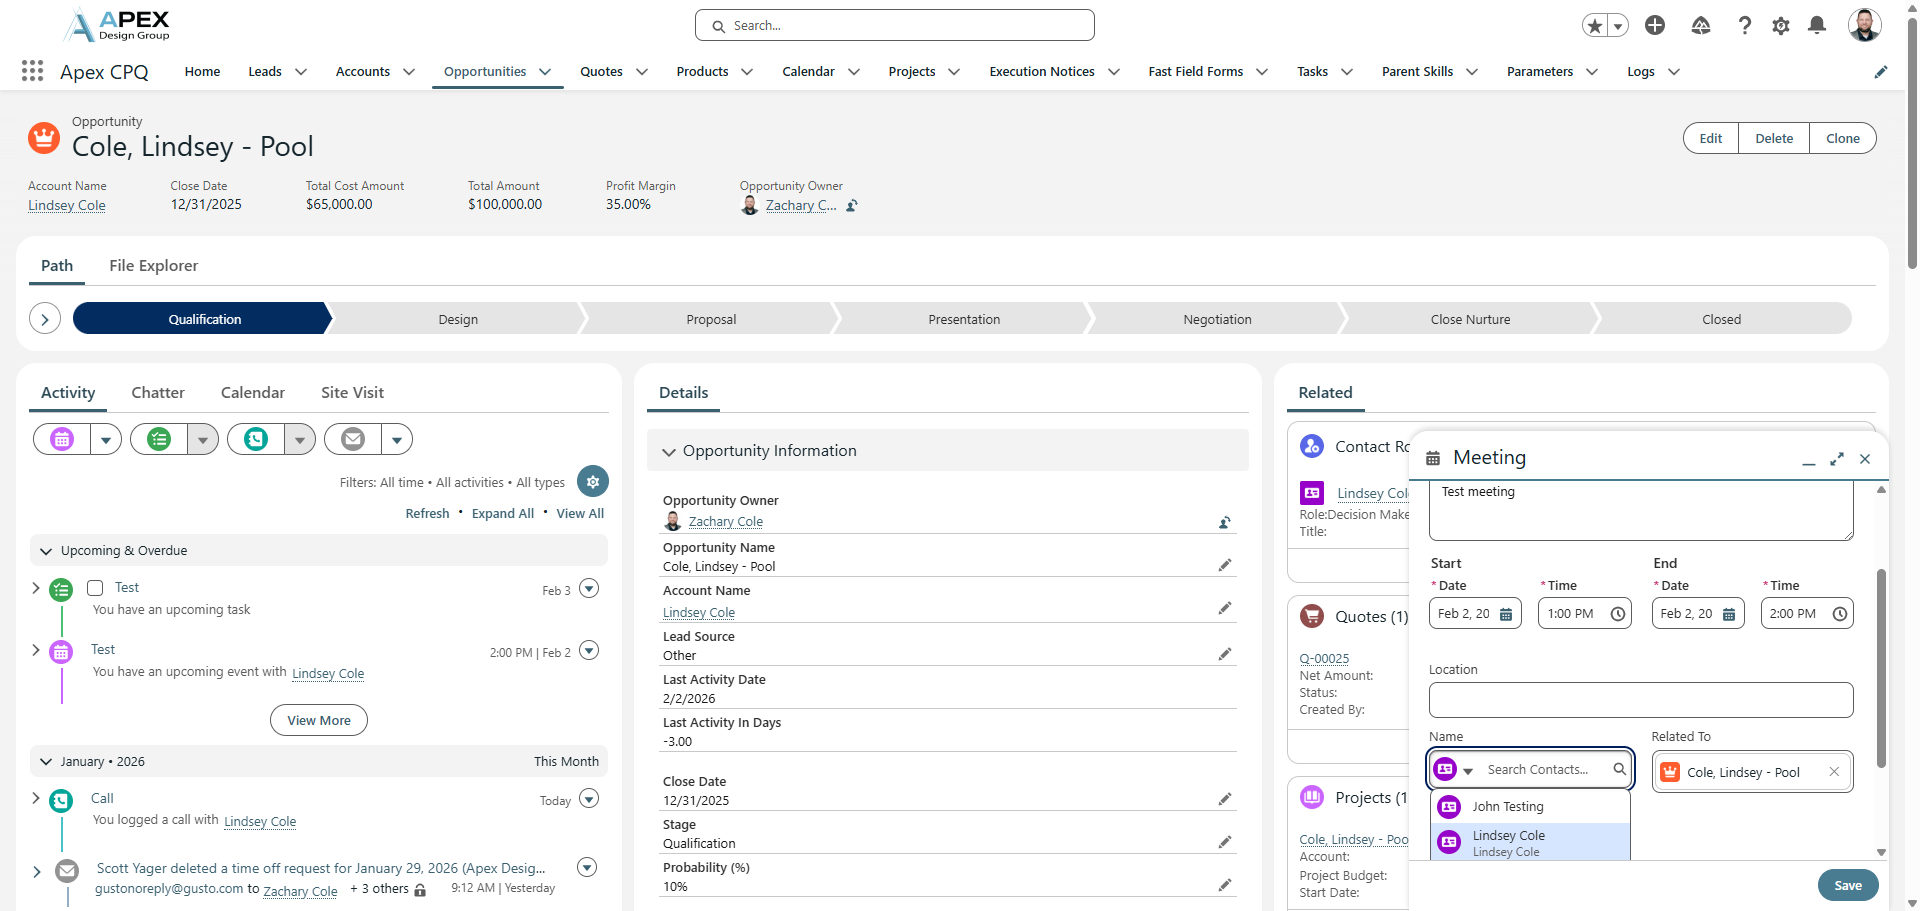
In the pop-up window, enter the type of event.
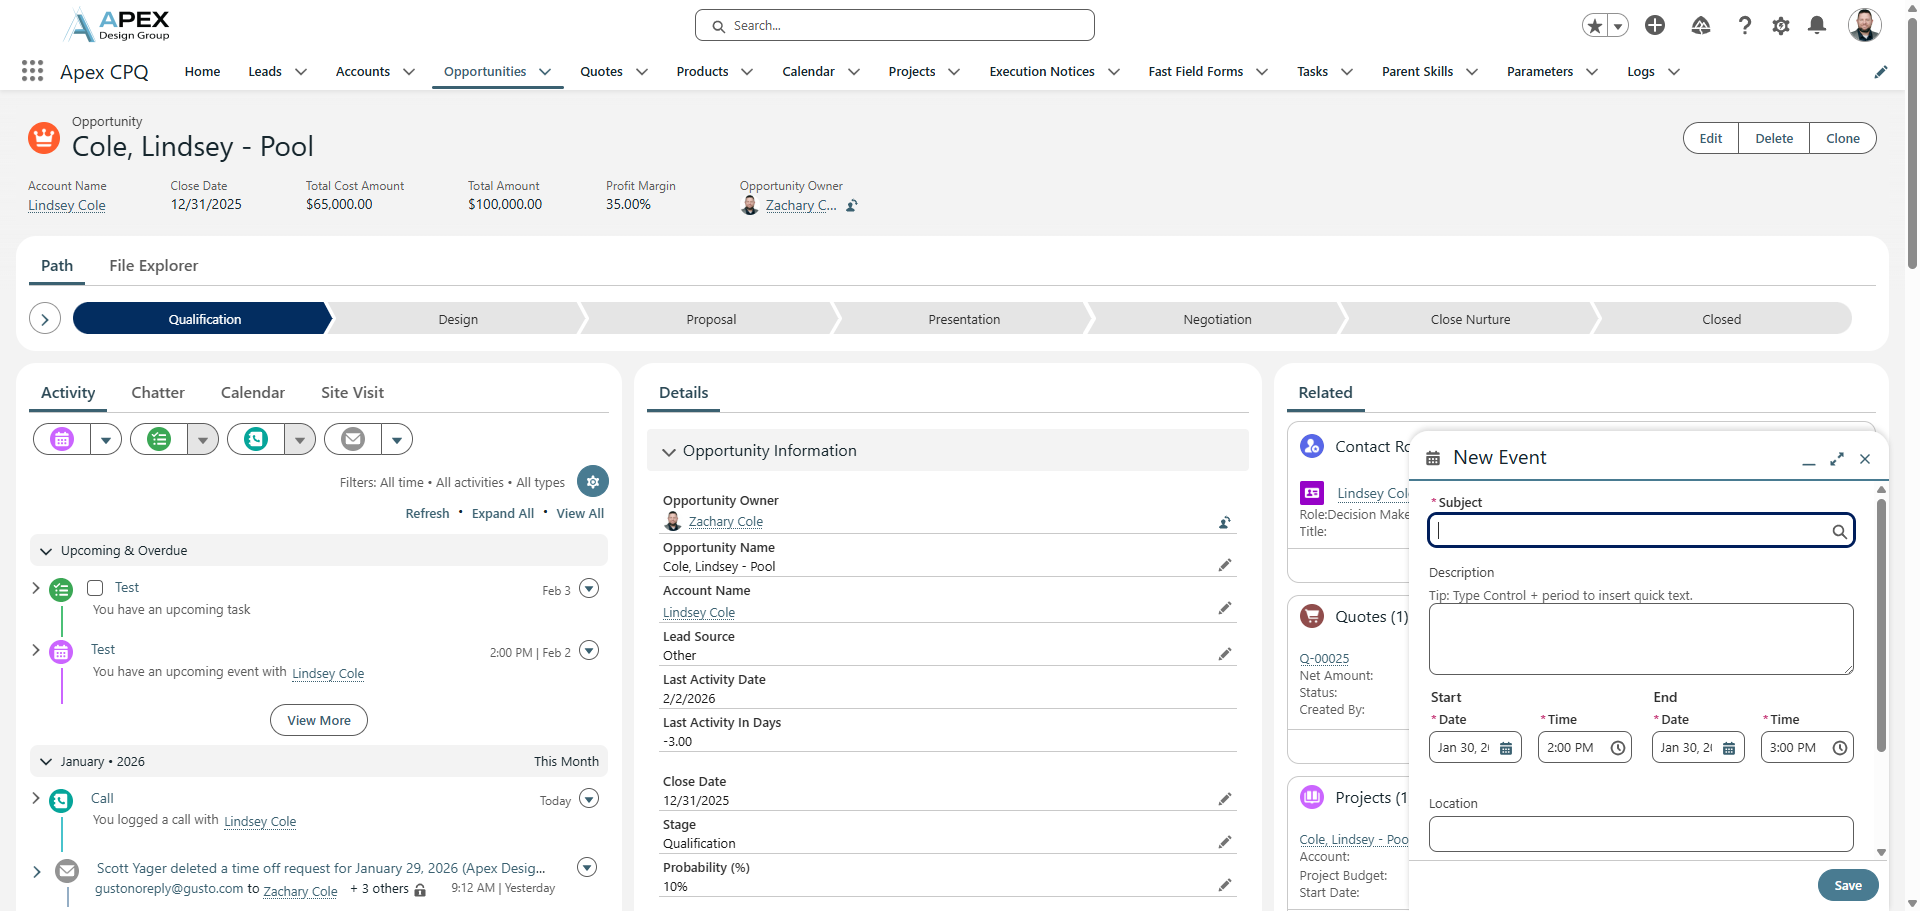
Let's call it Meeting.
Provide a description.
Choose the date of the meeting. Let's choose Monday, the 2nd.
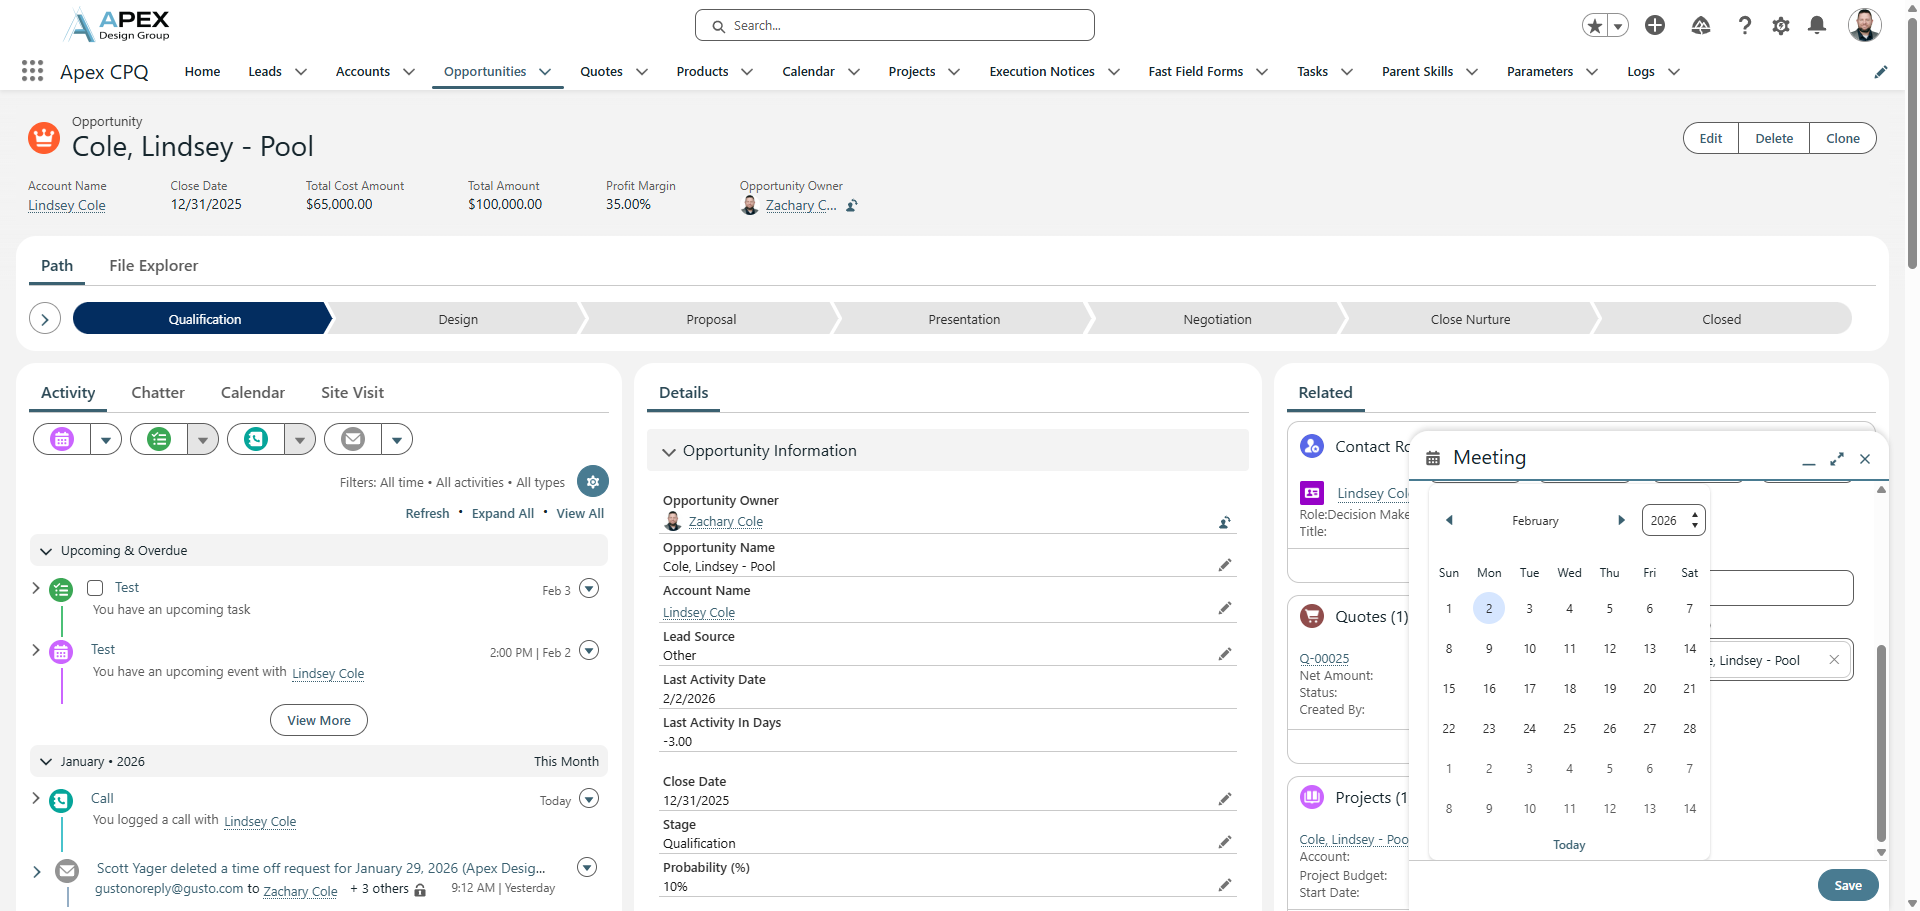
Choose a time, for example, 1:00 PM.

The end date and end time update automatically by one hour. You can select a location if needed. You can also add the customer to the meeting when choosing the name for this. This will send the customer a calendar invite.

That will create your meeting schedule and event.
Next you can create a new task. These are To-Do type Tasks that will remind you to complete tasks.

Give it a subject. We'll use "test" again.
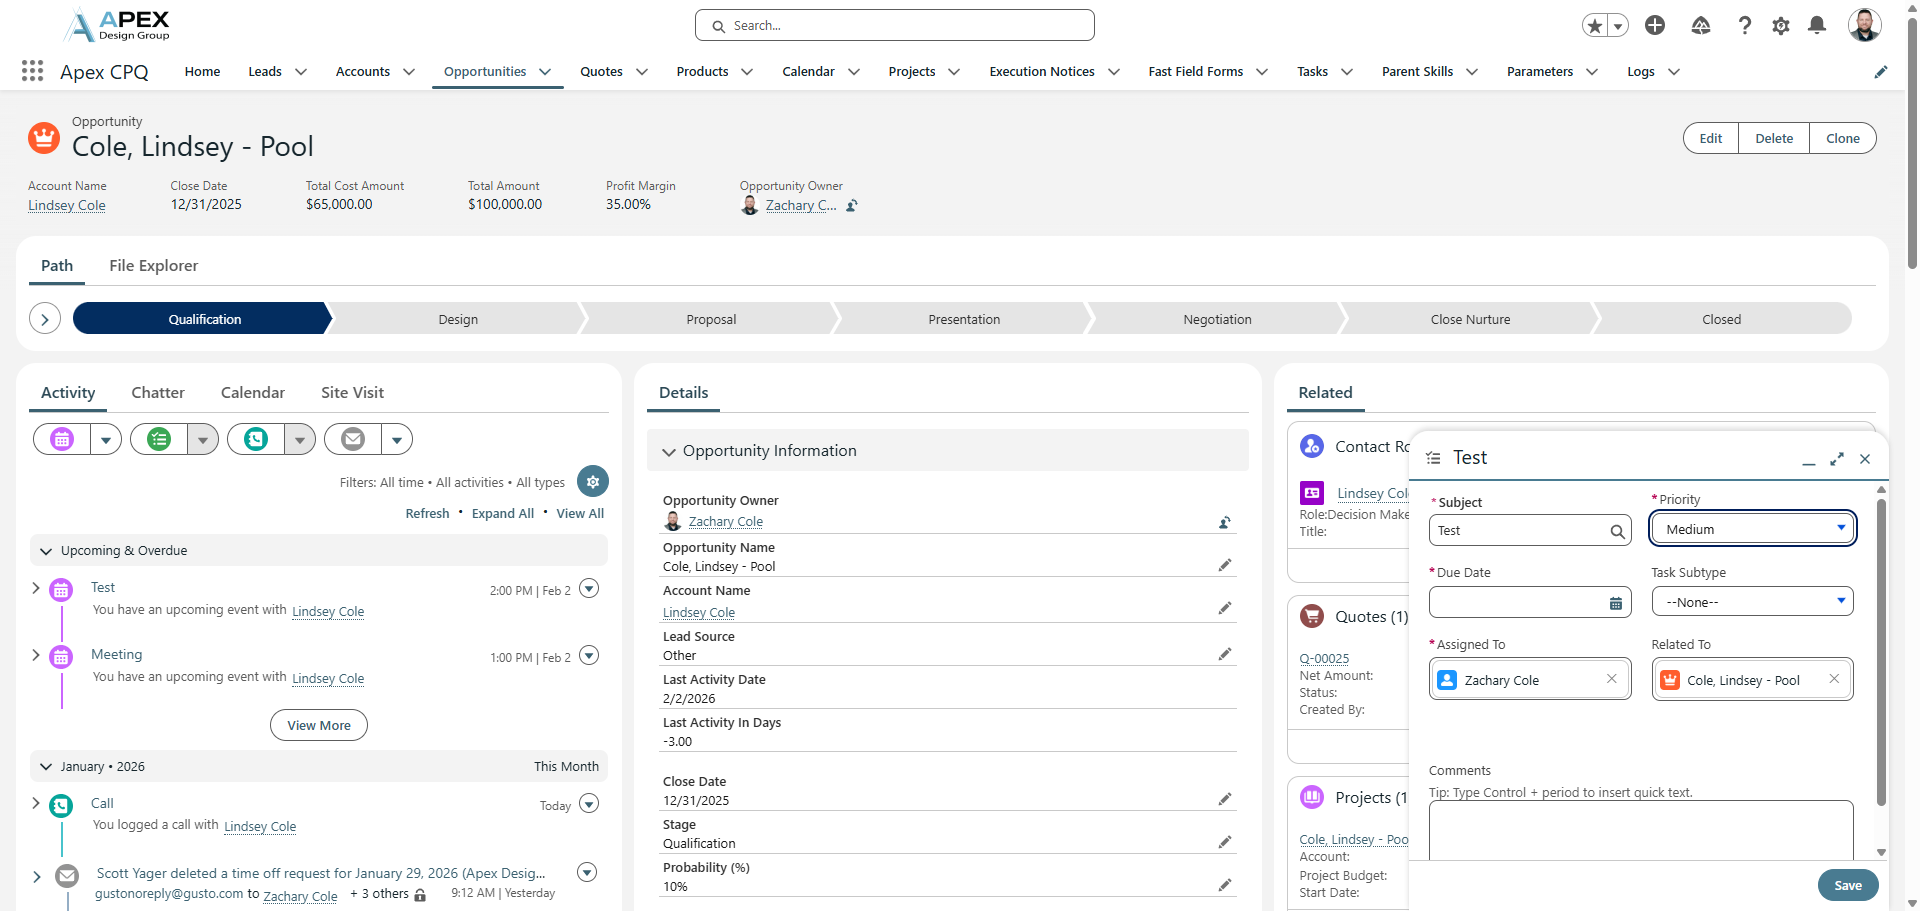
You can set the priority to low, medium, high, or critical.
Choose the appropriate Due Date.
It will be automatically assigned to you.
If you need to assign this to someone else, click the X. Then, you can assign it to another person.

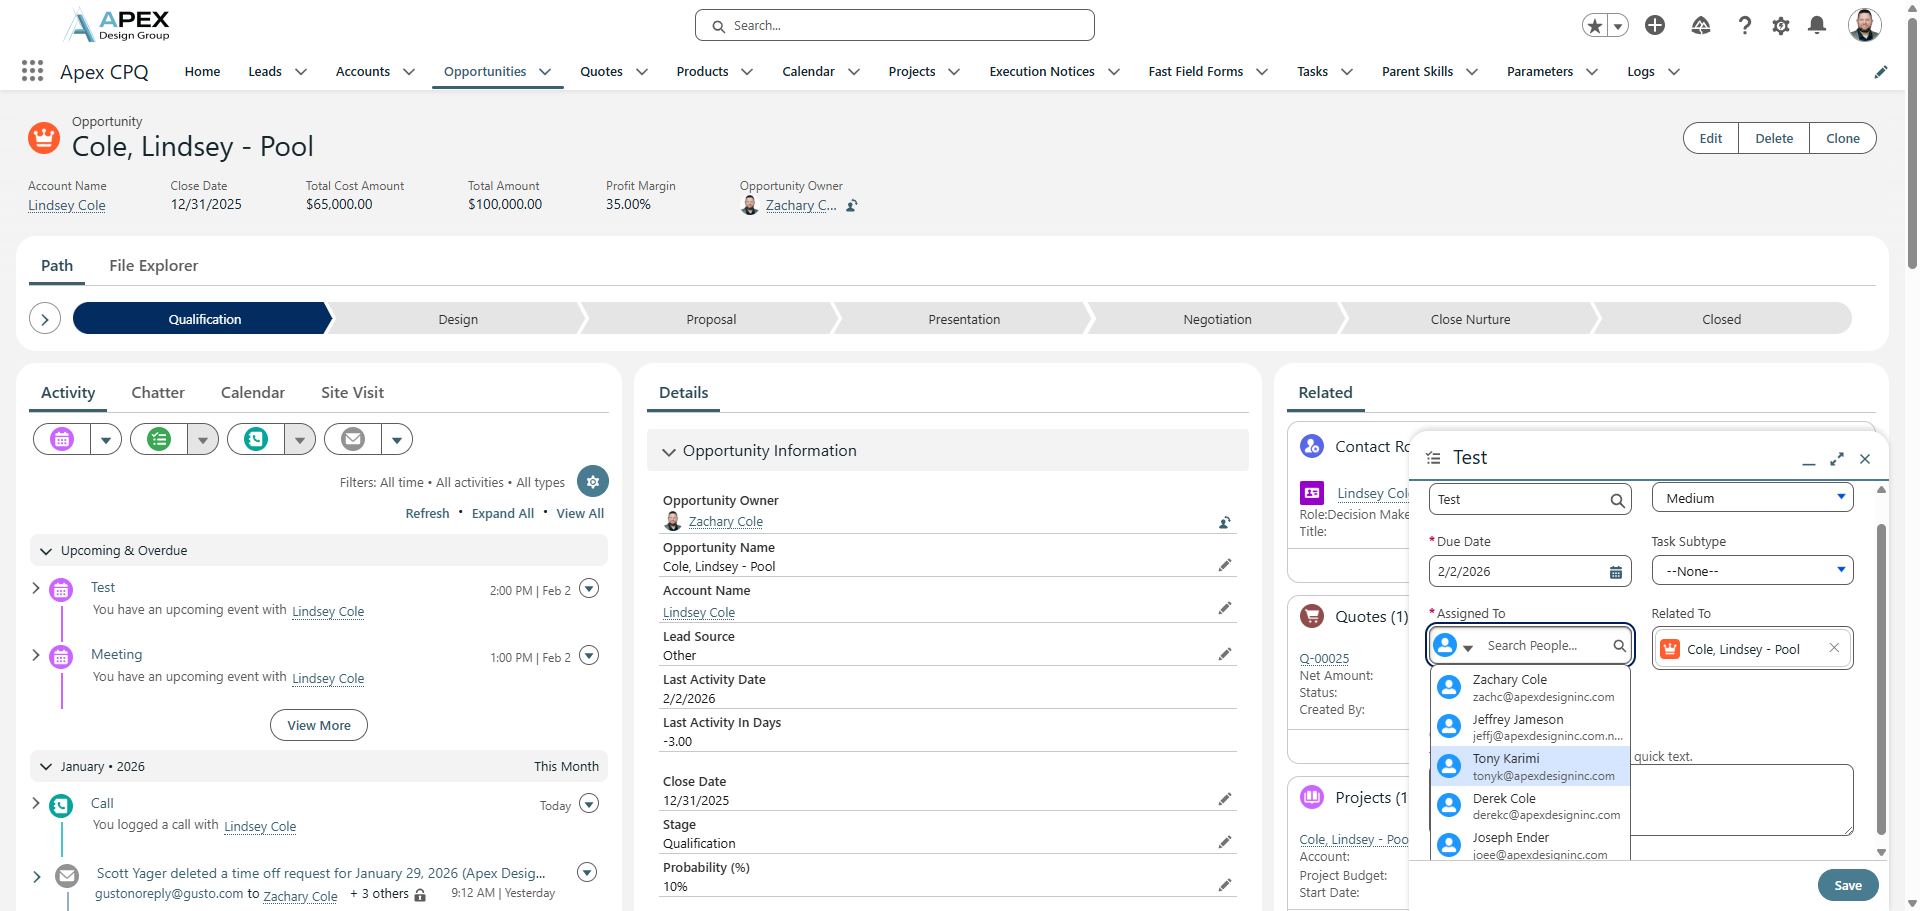
It will automatically select the customer opportunity as the "Related To" field. Under Comments, you can add any notes you need about this.
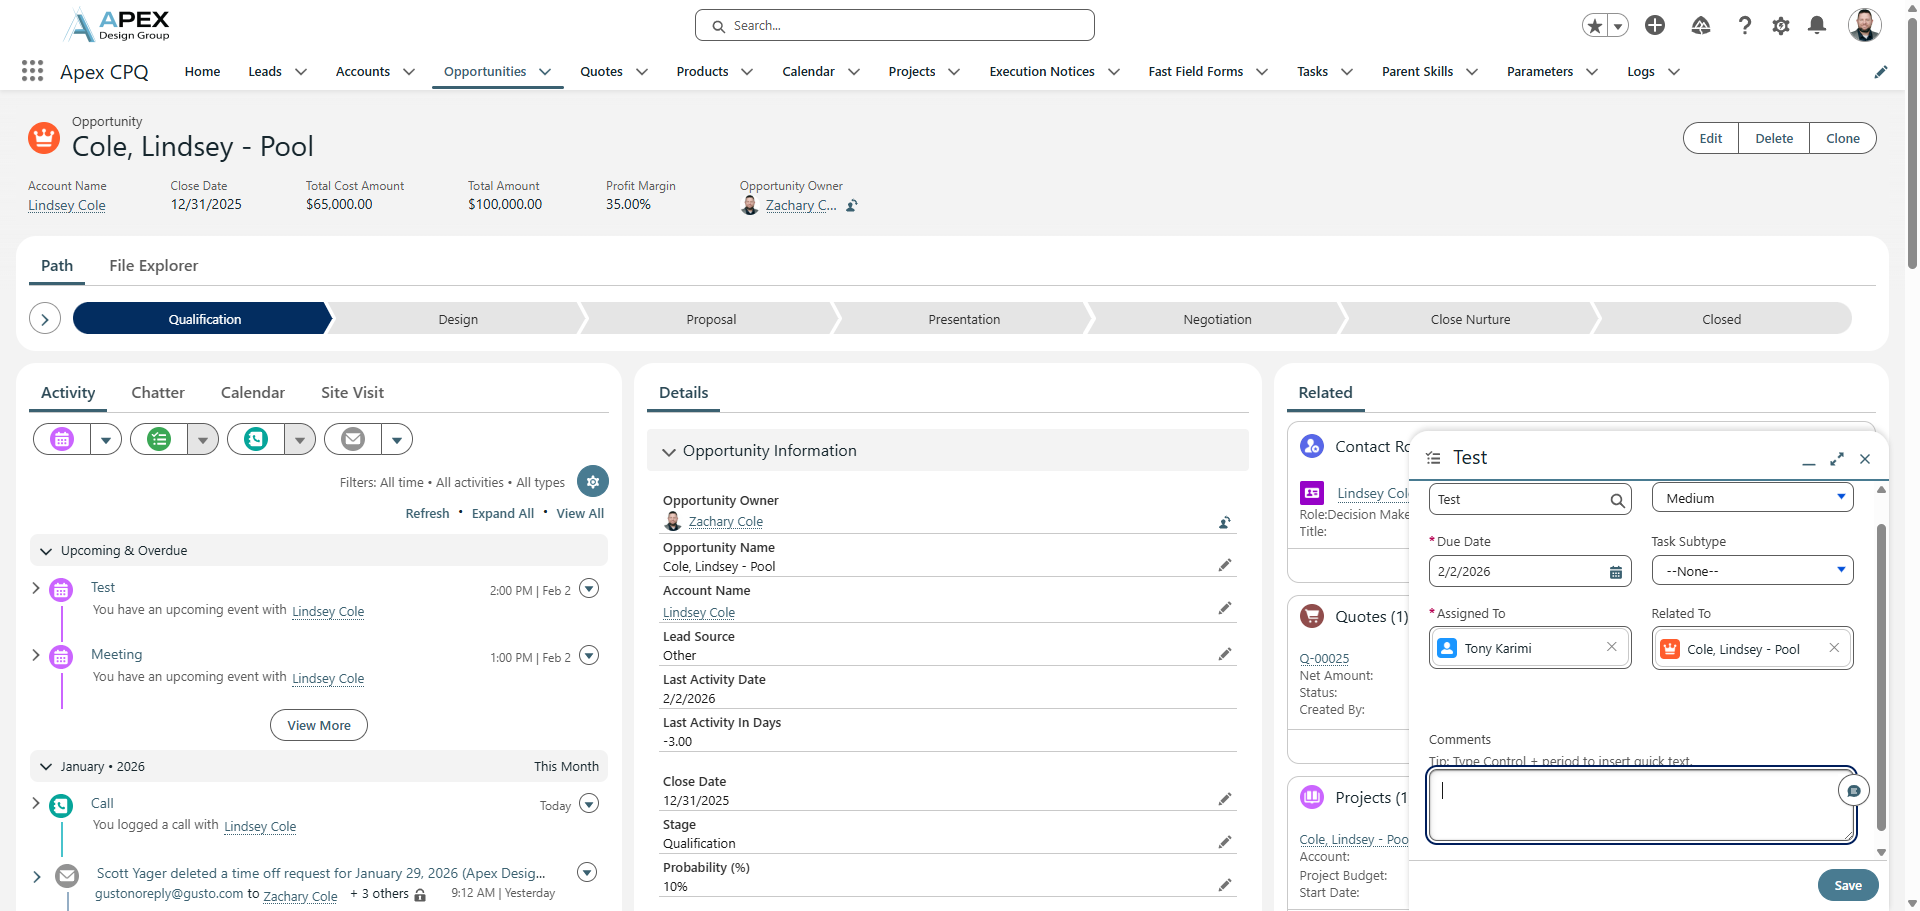
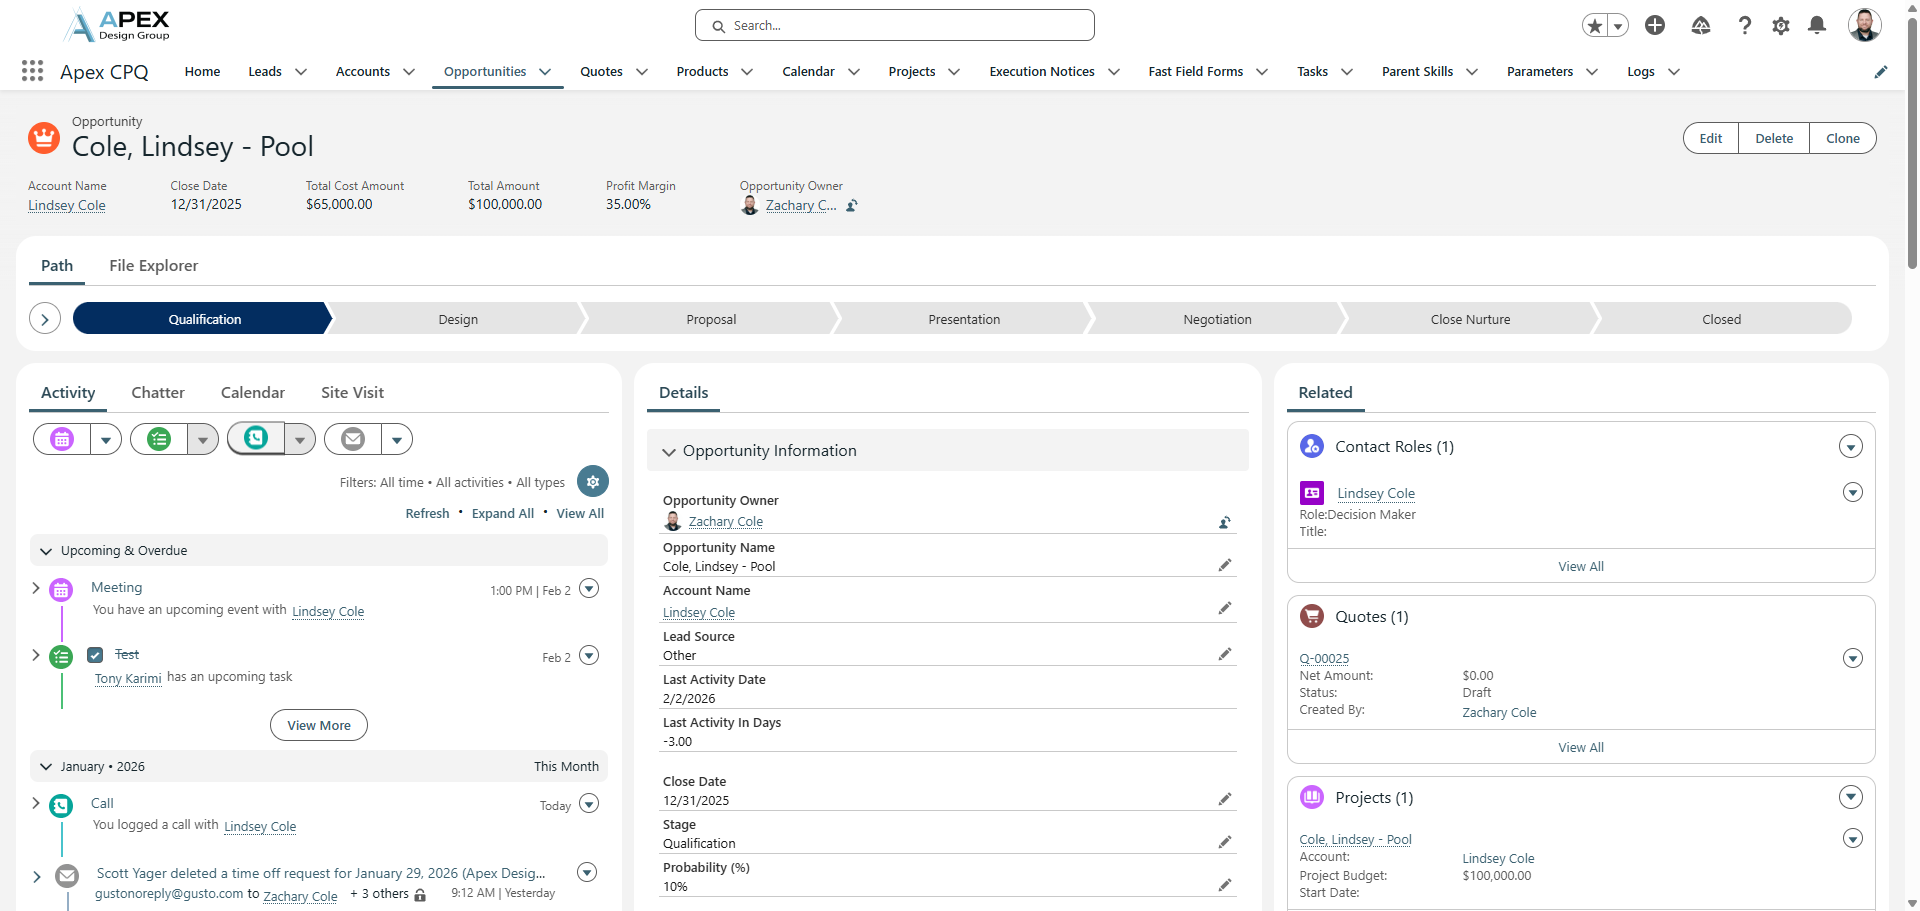
If I need to remind Tony to do this task, I can simply tell him what I need him to do here. Click Save. This will create a task for Tony, which will appear here.

That can be completed here or during the event.
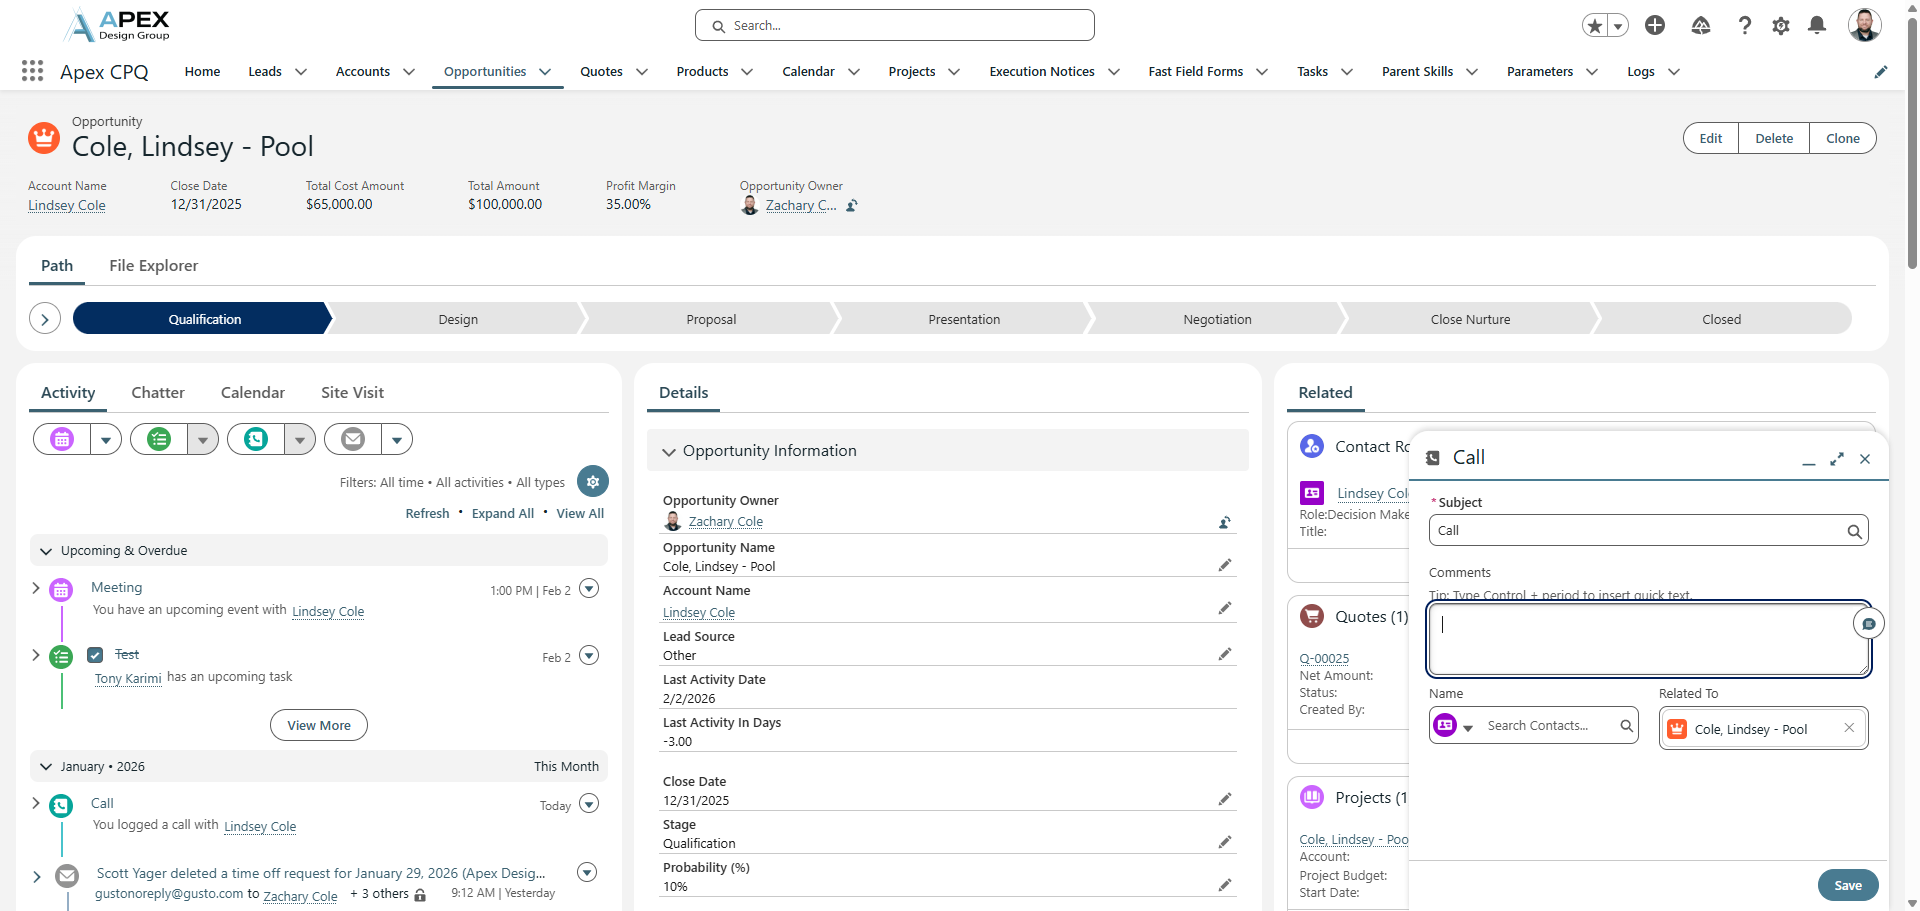
To log a call, click the Log a Call button.
The subject is preloaded with "Call". Enter a summary of your discussion with the customer, another vendor, or anyone related to this opportunity. The Phone Conversation Summary should be here. This is just a summary of the phone conversation.
For your Phone Conversation Summary, you can get help from your Zoom account.
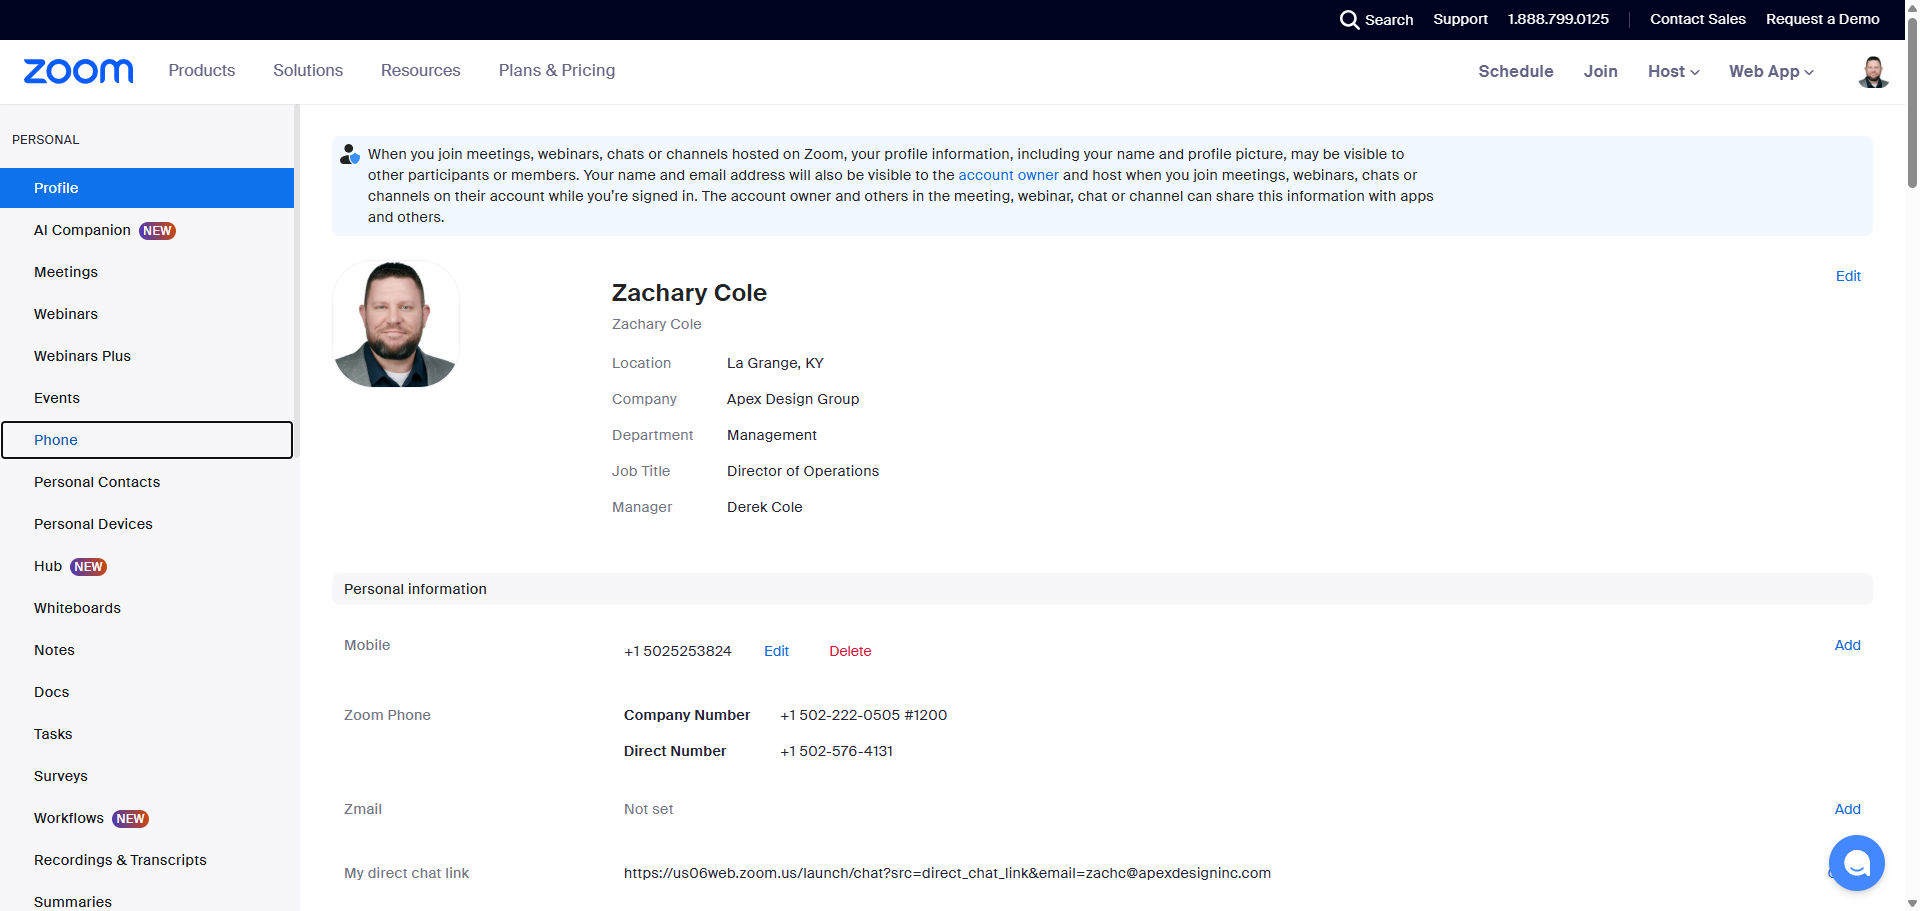
Go to your Zoom page. You will land on your profile page. Click on "Phone."
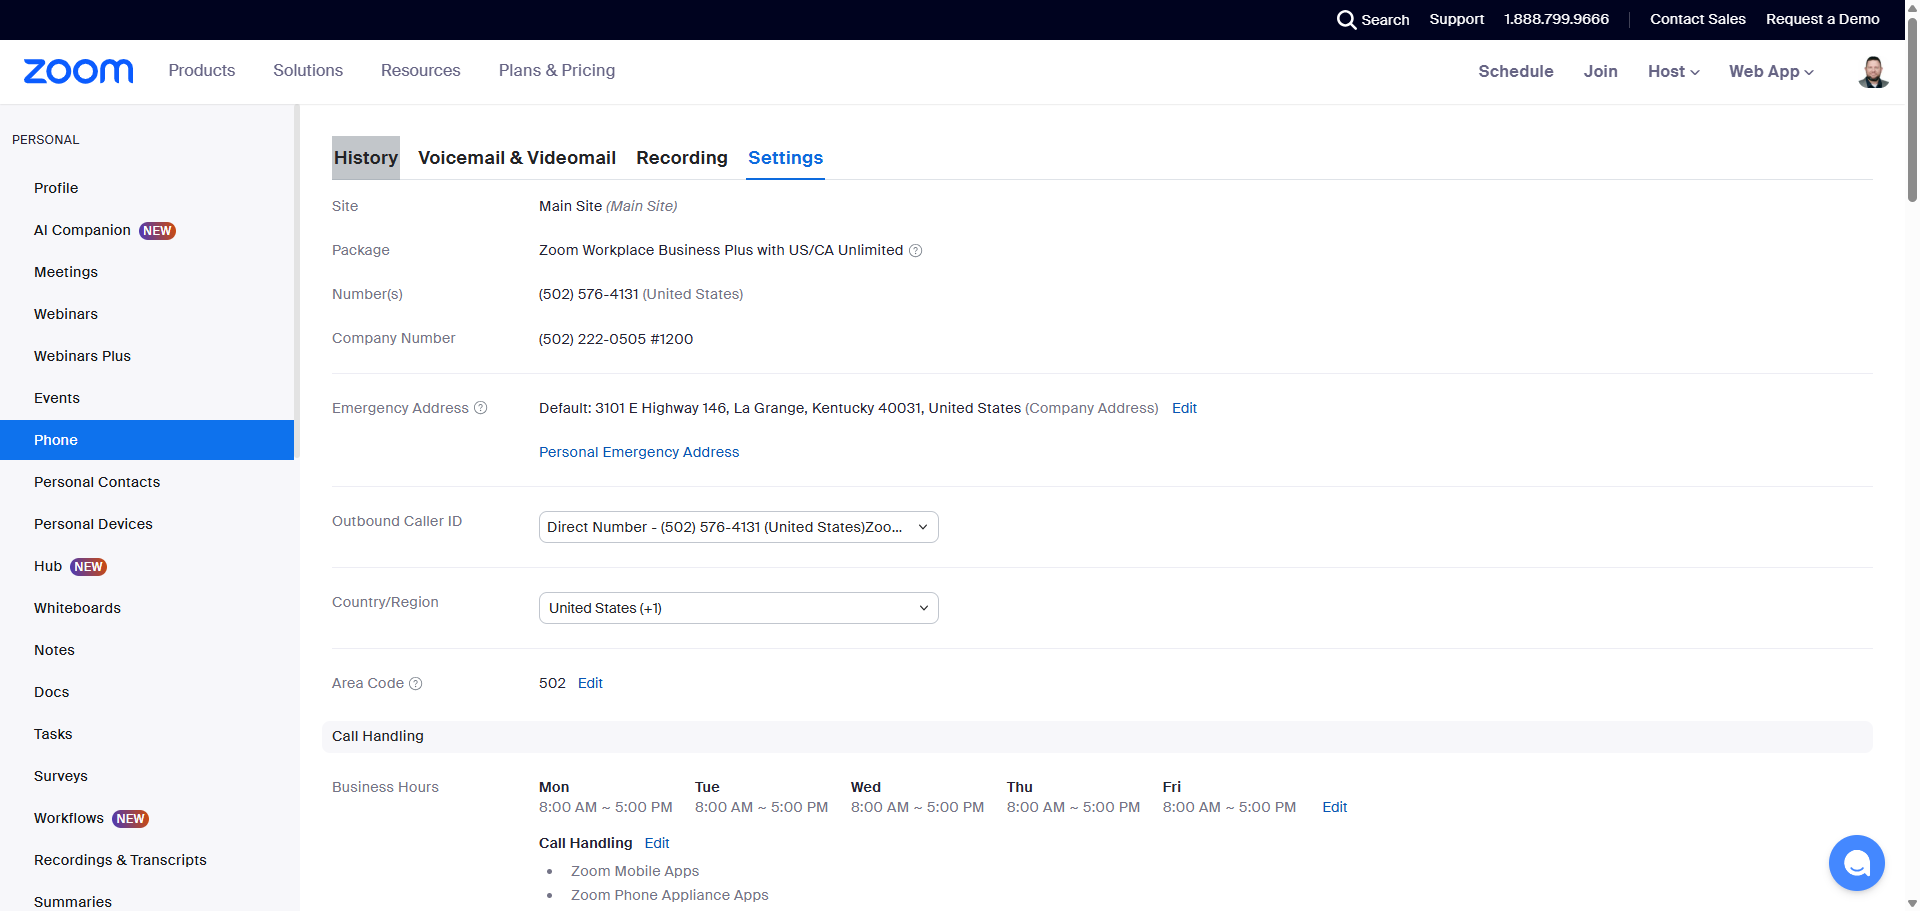
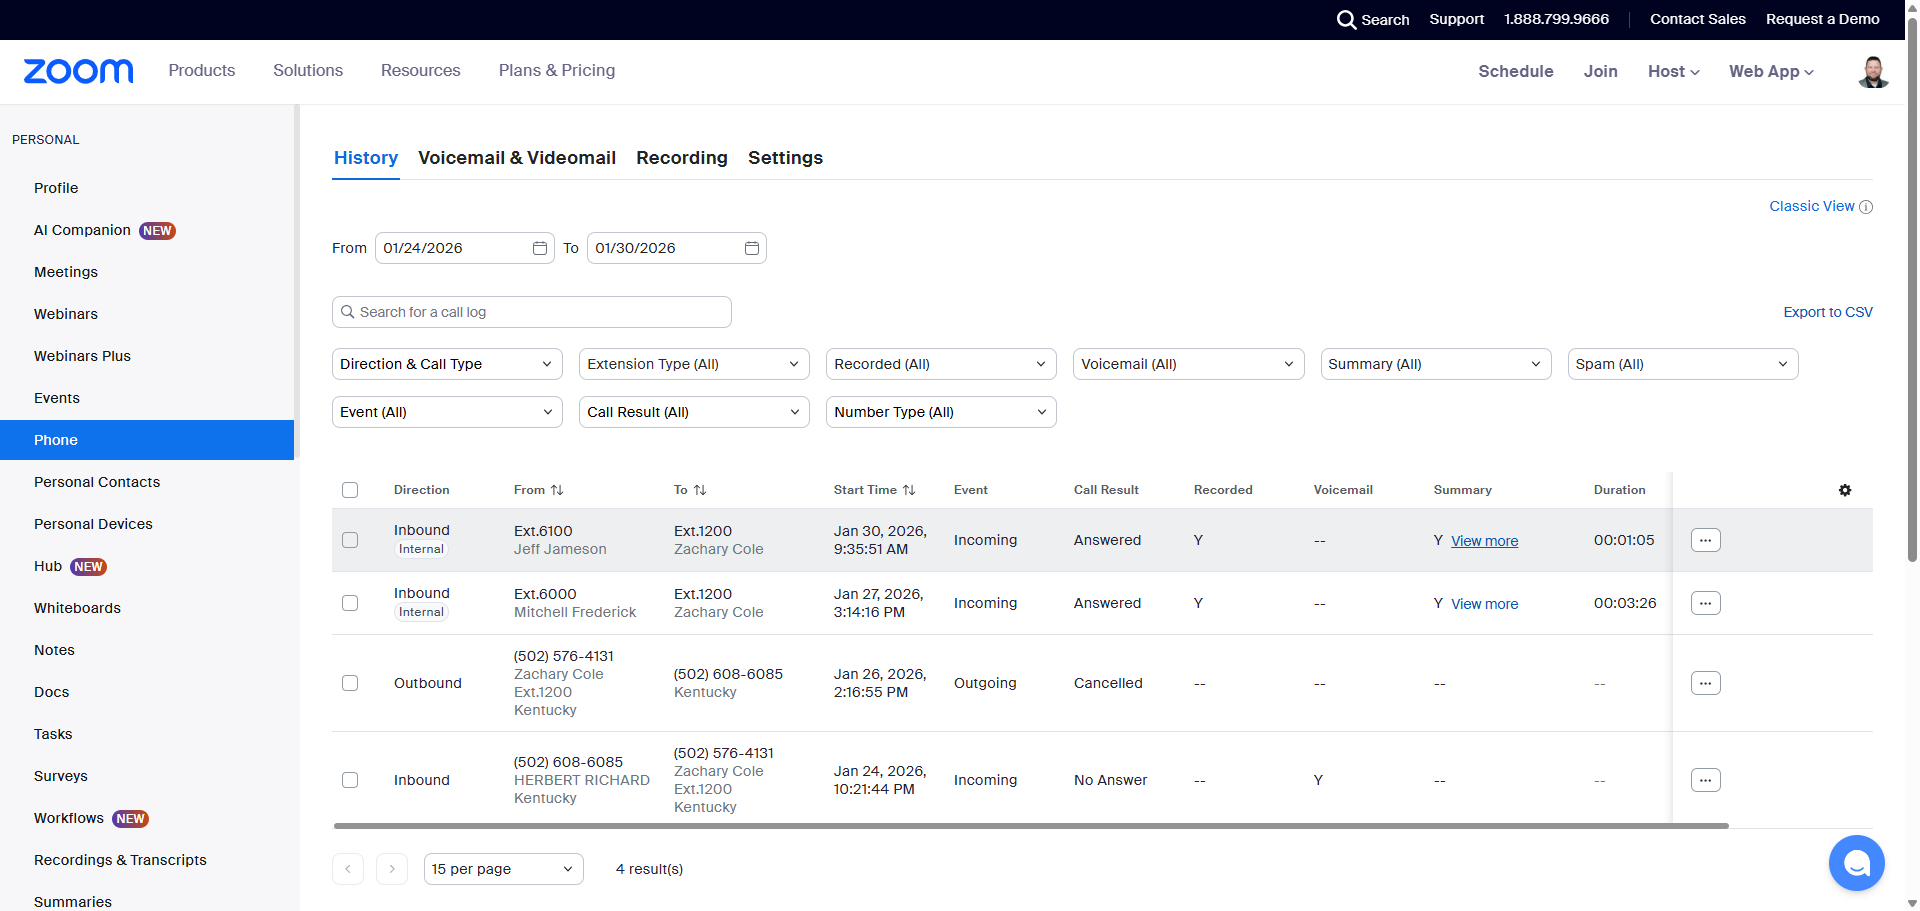
Then, click on History.
For this example, I will use a phone call between Jeff and I. I'm going to click on "View More" under the Summary column.
It will display "Call with (Person's Name)." Then, it will provide a quick recap, outline the next steps, and present the full summary, ending with the date and time the summary was completed.
Copy all this information.
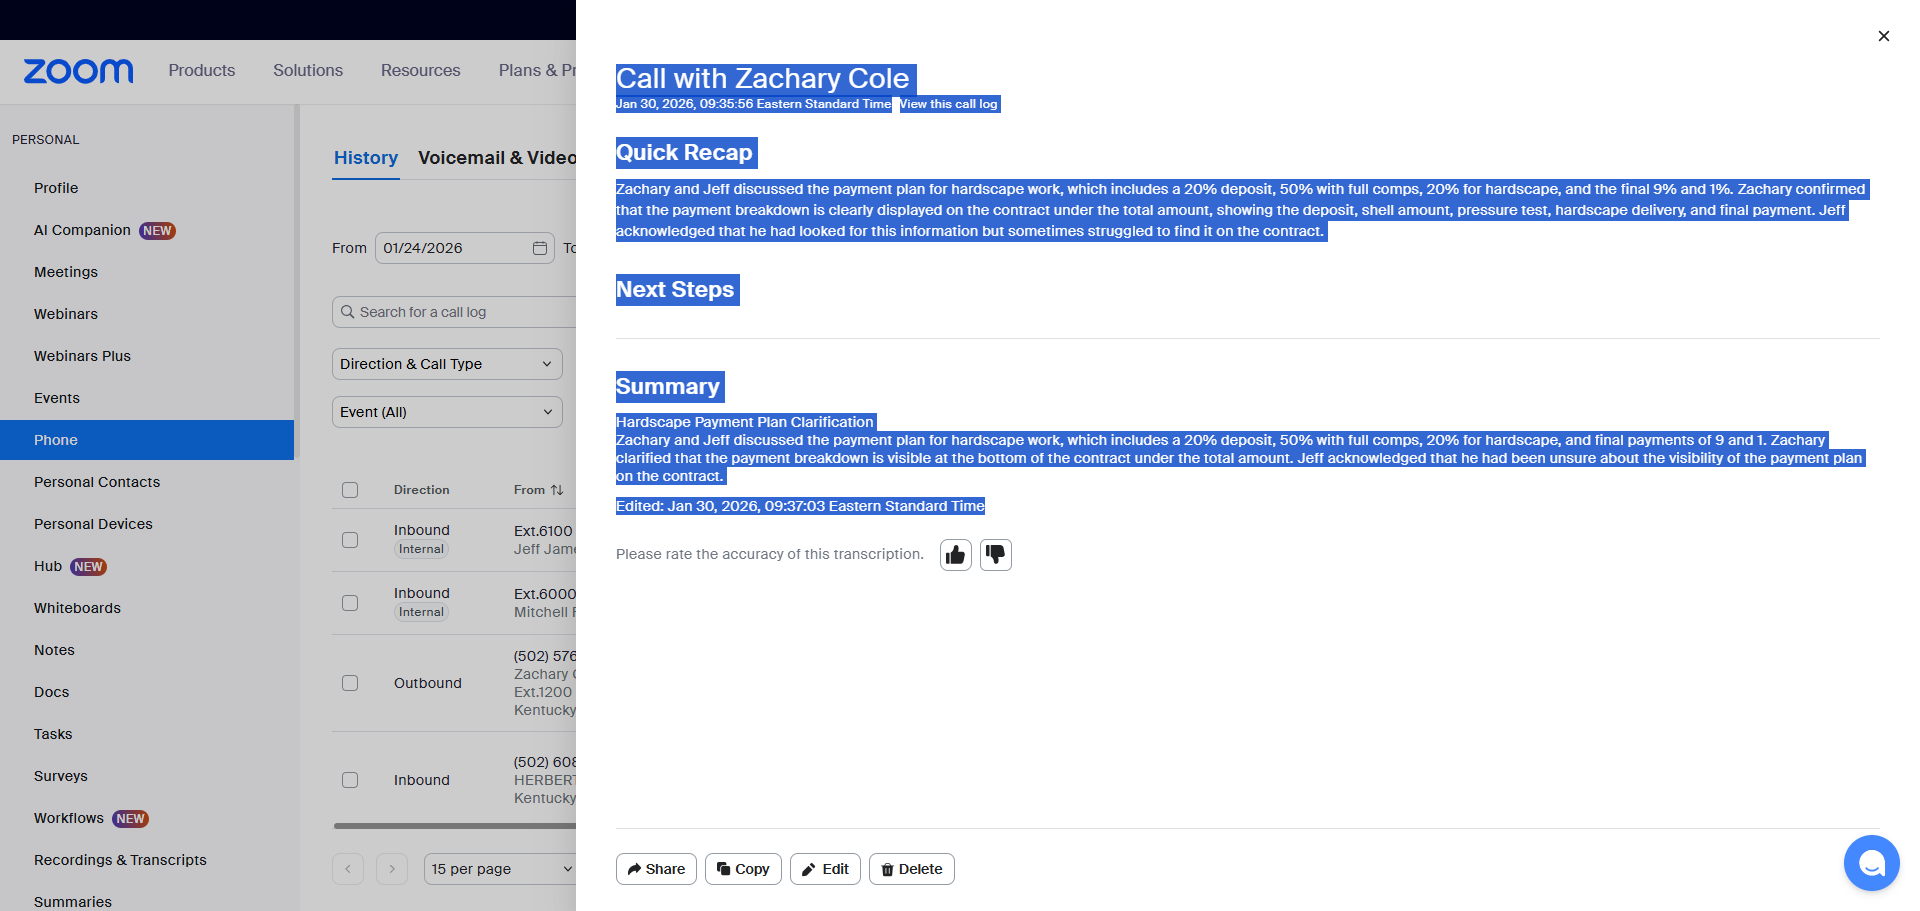
Back in the Opportunity, we are going to paste this information in the "Comments" section. Right-click and paste the details here.

For the name, choose the customer only if you had the phone call with them.
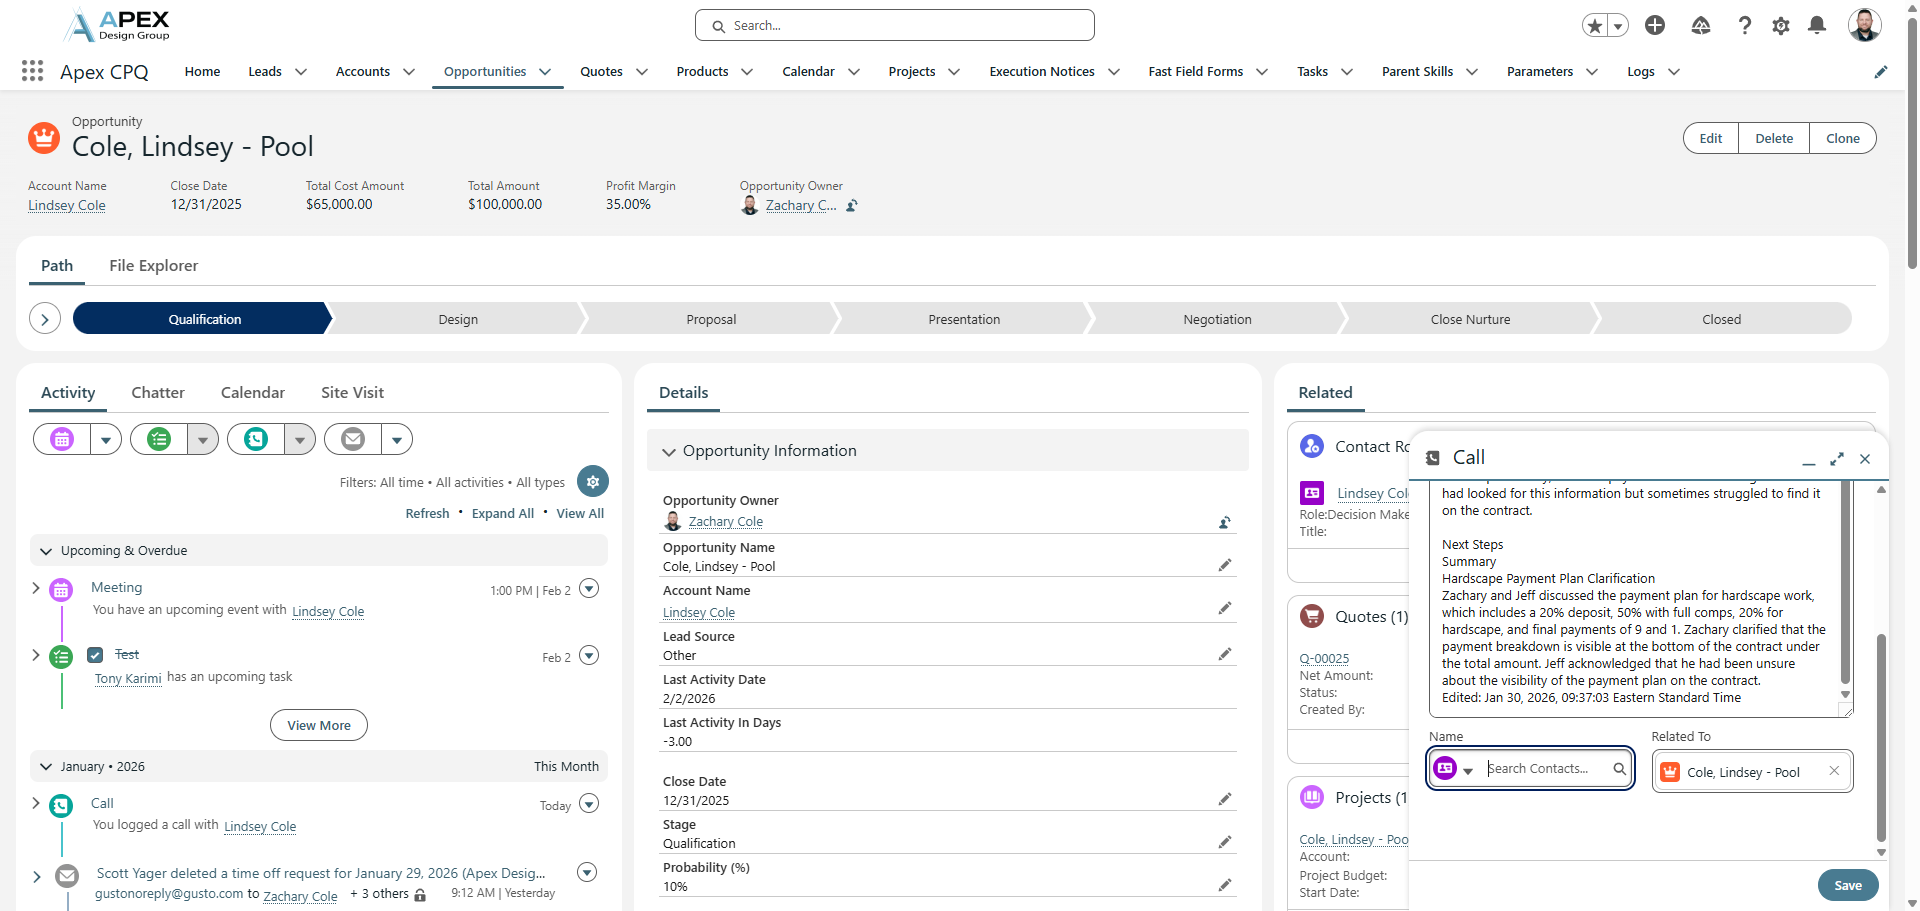
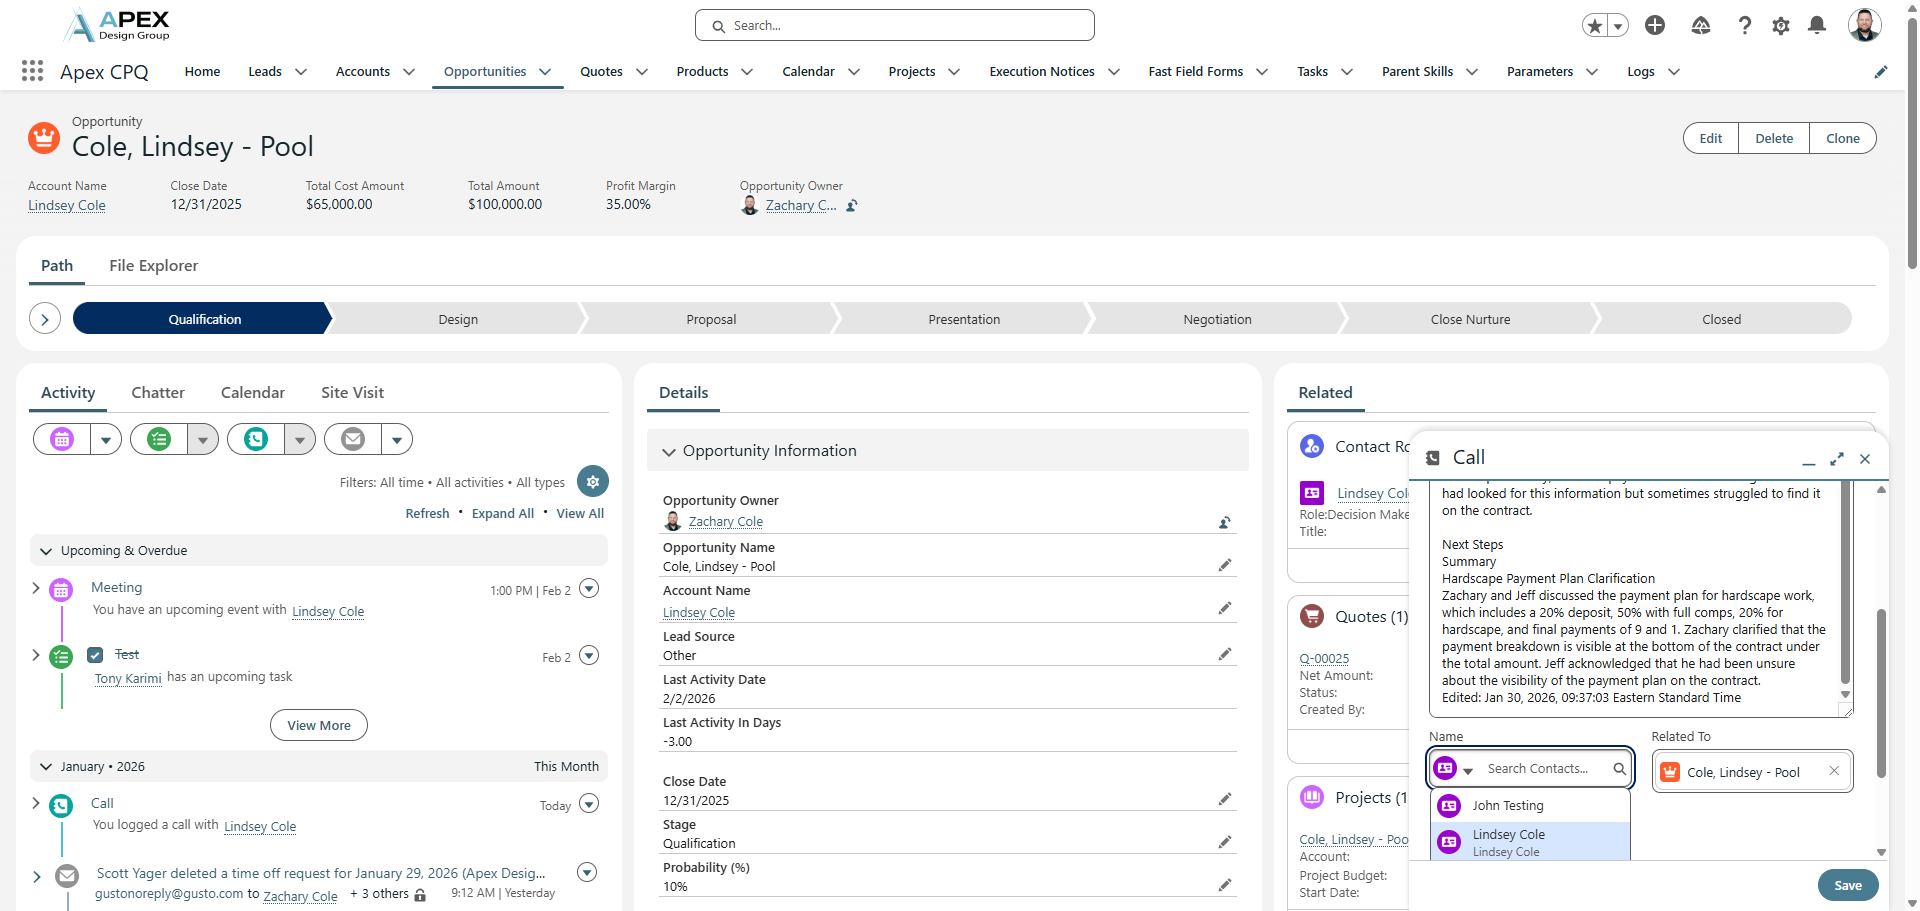
Save it.
This provides a summary of our phone call with the customer. You can find the summary here.
Click the down arrow to view the full summary.
Emails are automatically uploaded each time you send or receive an email from your customer. Those come in automatically.
You don't need to worry about those.