How to Manage and Assign Seats in Google Workspace
Learn step-by-step how to manage, assign, and remove user seats in Google Workspace, including replacing users and handling empty seats efficiently.
In this guide, we'll learn how to manage user seats in Google Workspace. This includes removing a user, deciding whether to keep or remove an empty seat, and assigning a new user to an available seat. Understanding this process helps you control costs and keep your user list up to date.
Let's get started
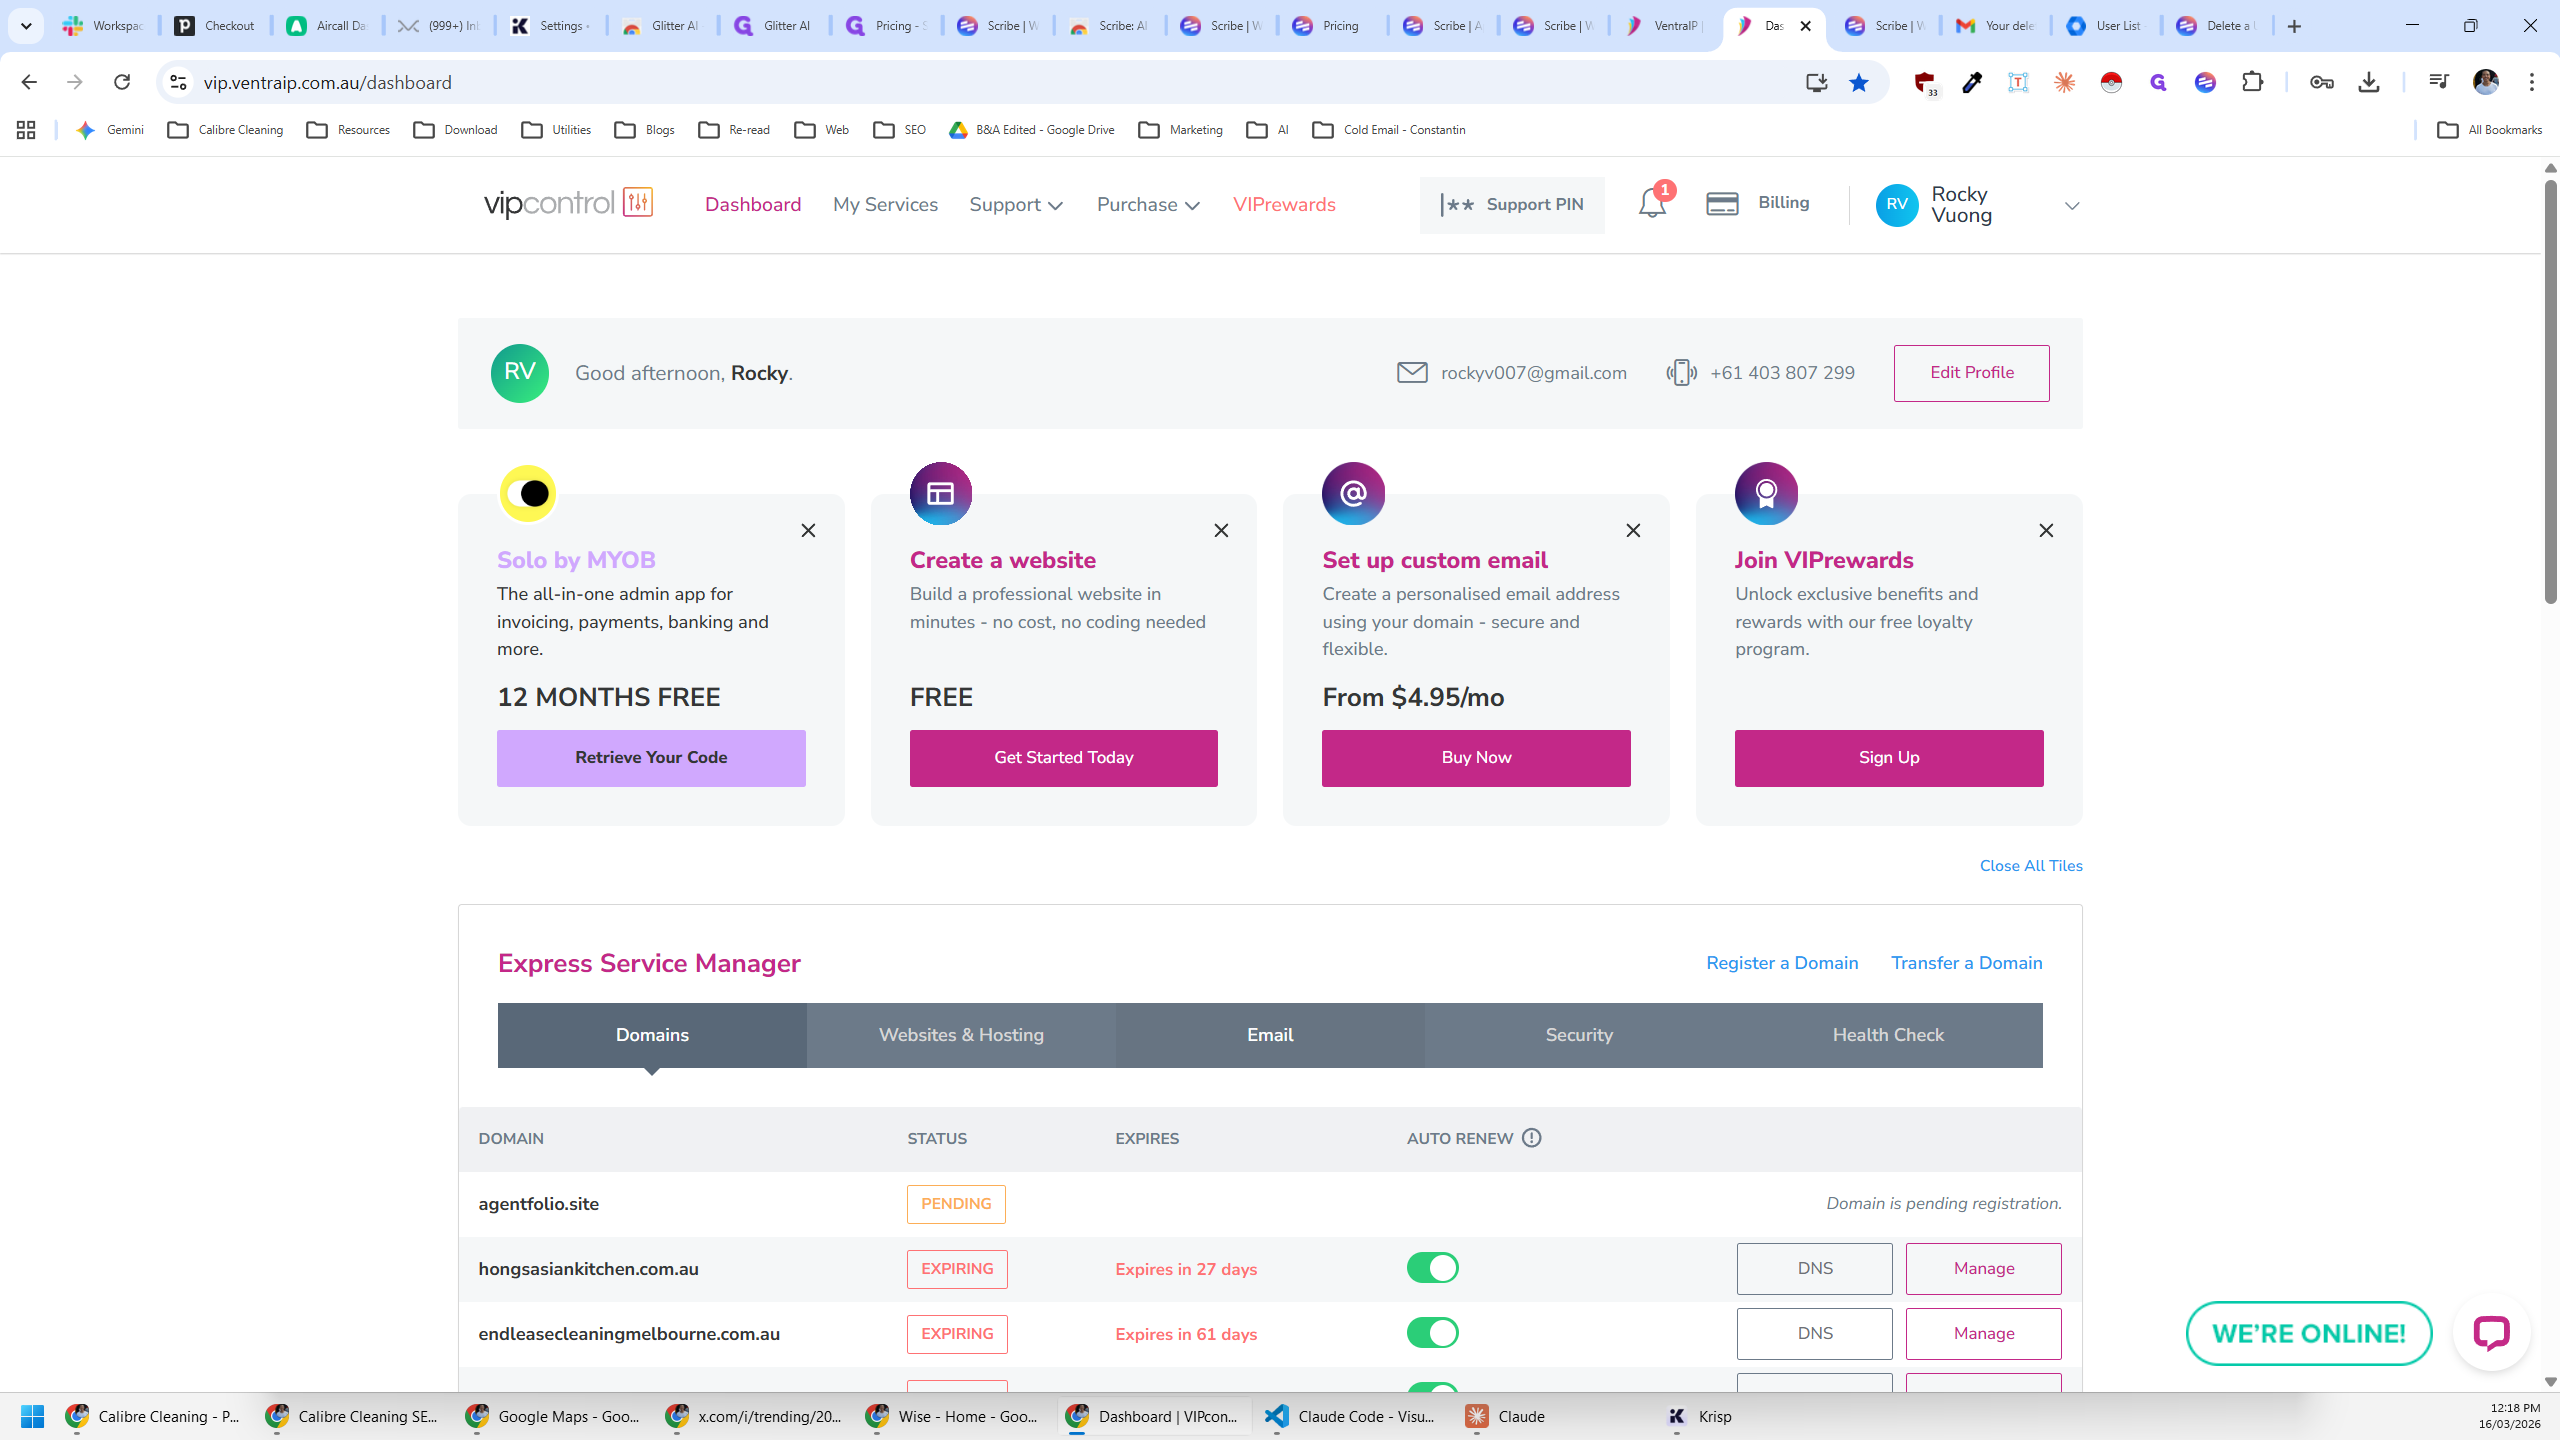
First, go to this website.

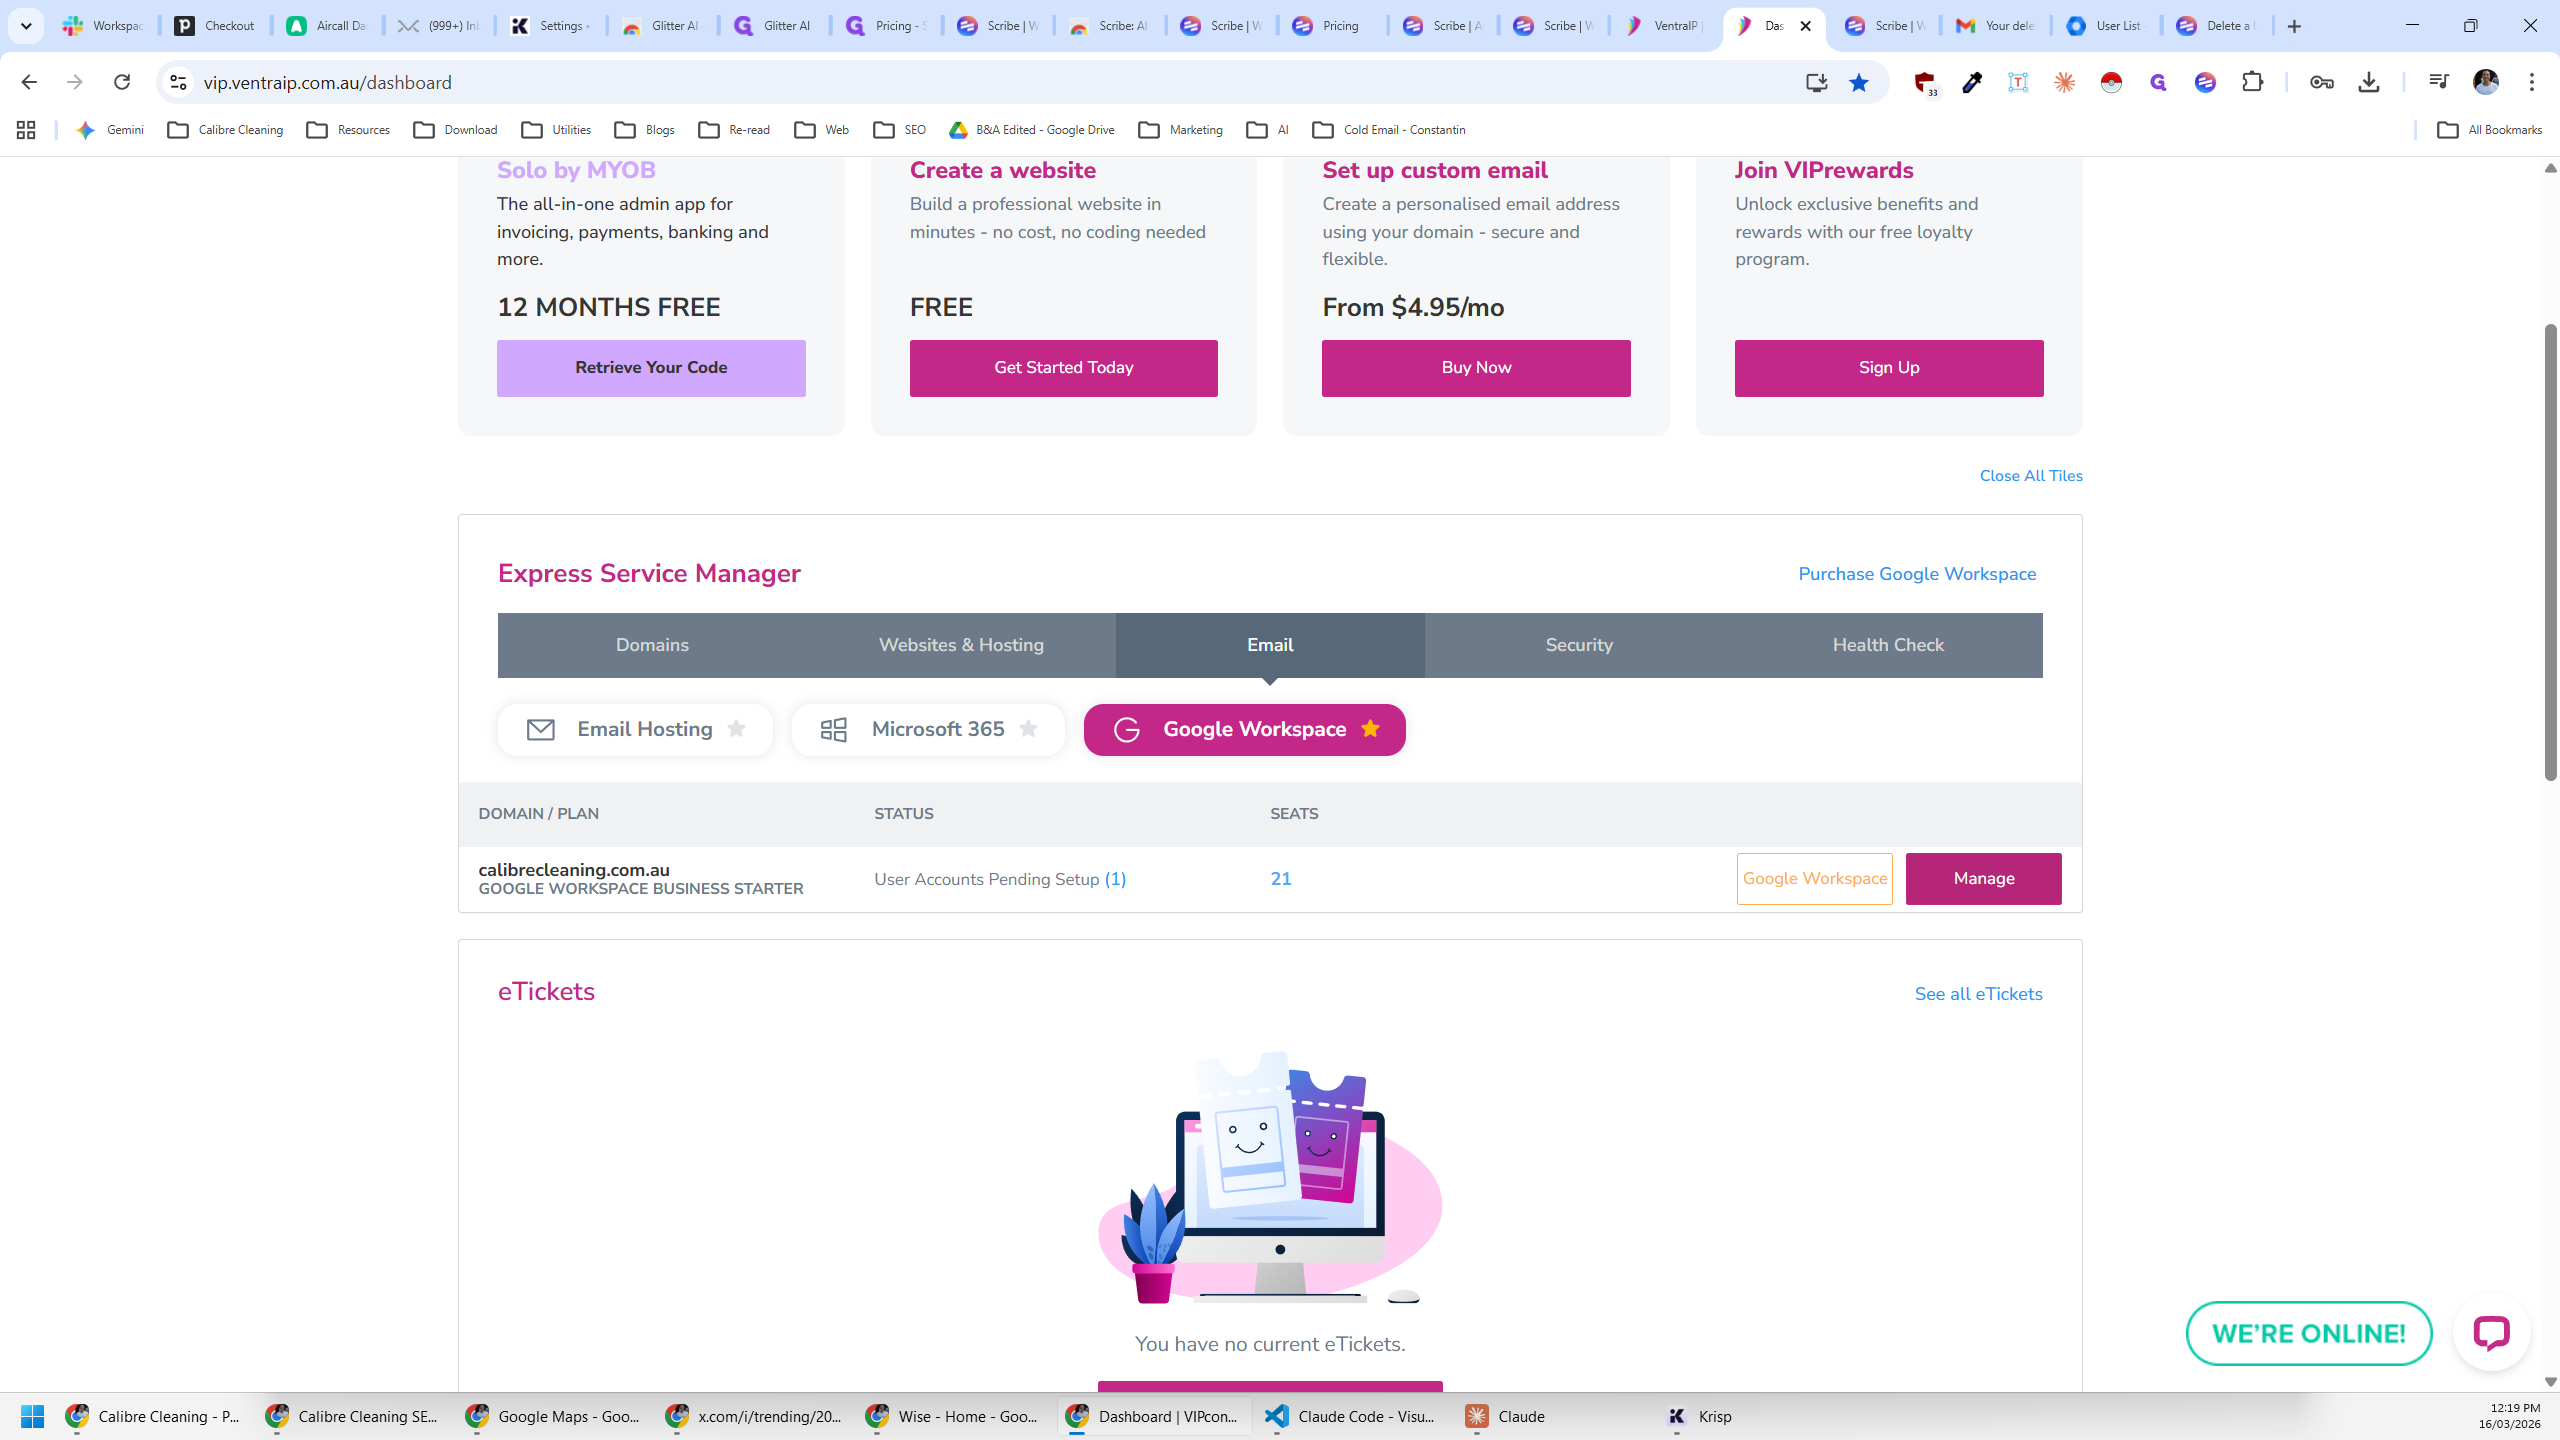
Once you arrive, go to email
You will see that there is currently 1 unassigned seat
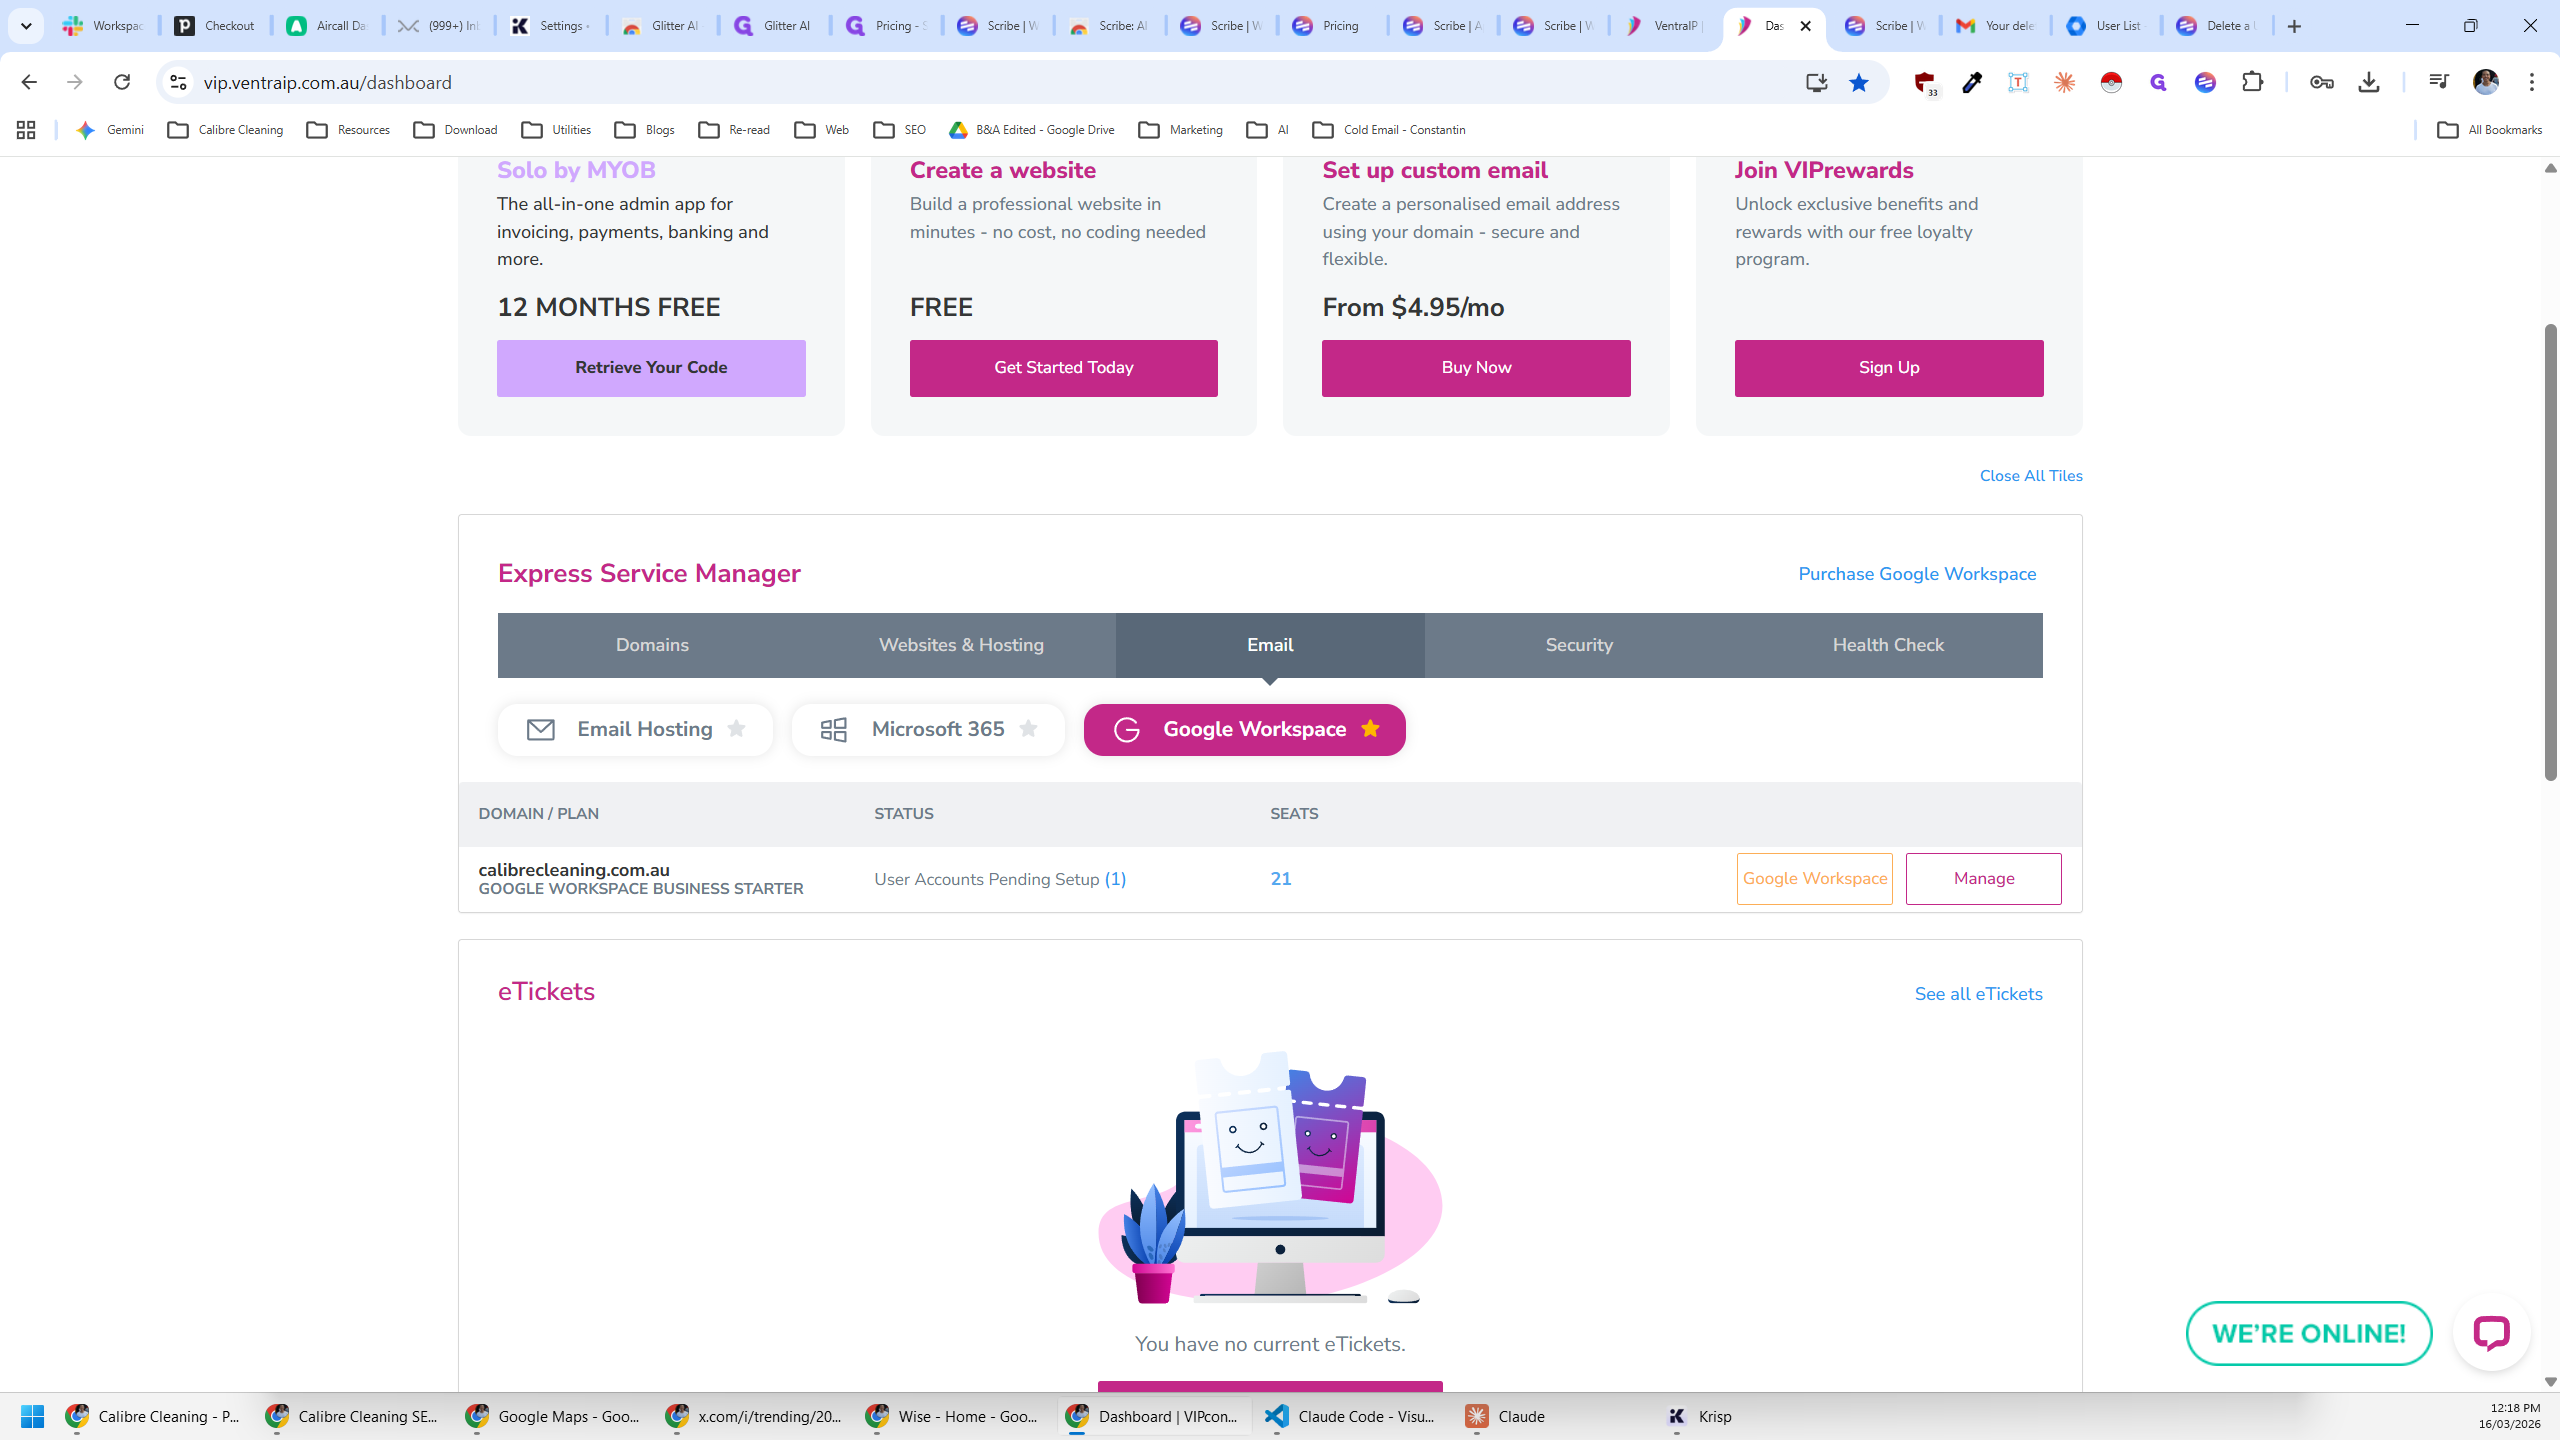
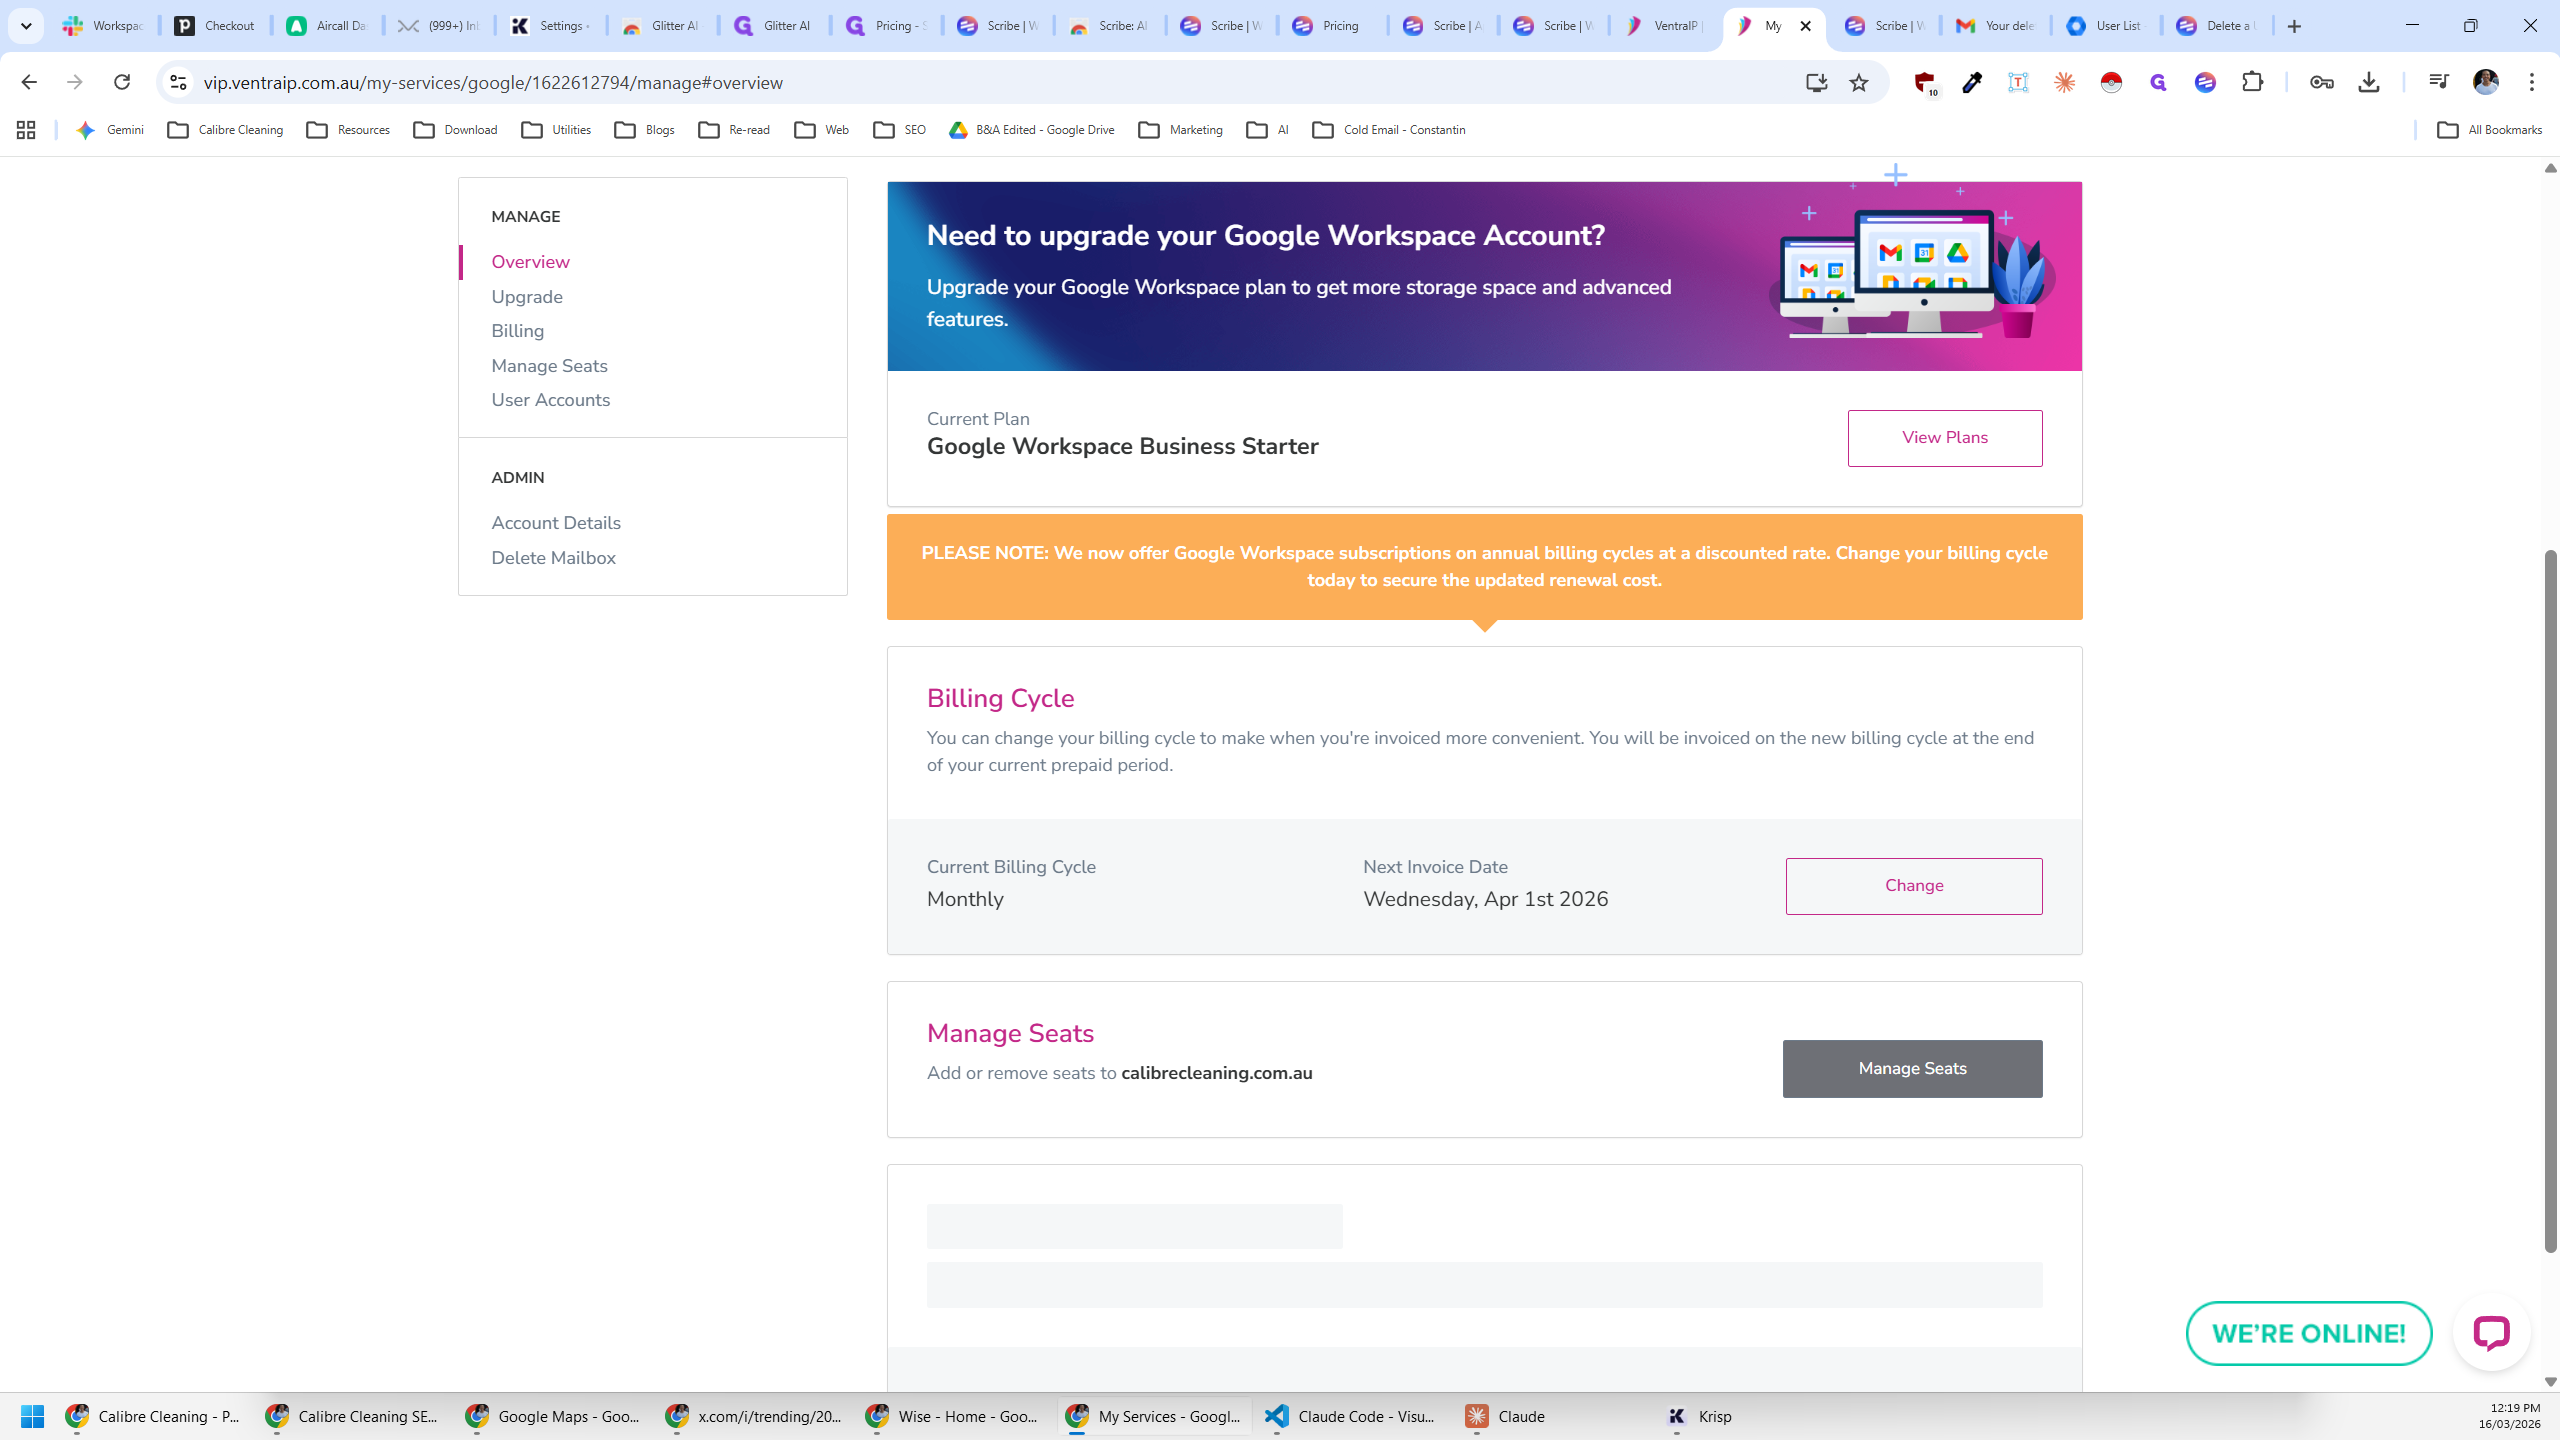
We'll go to Manage.
We pay for seats in Google Workspace and then assign a user to each seat.
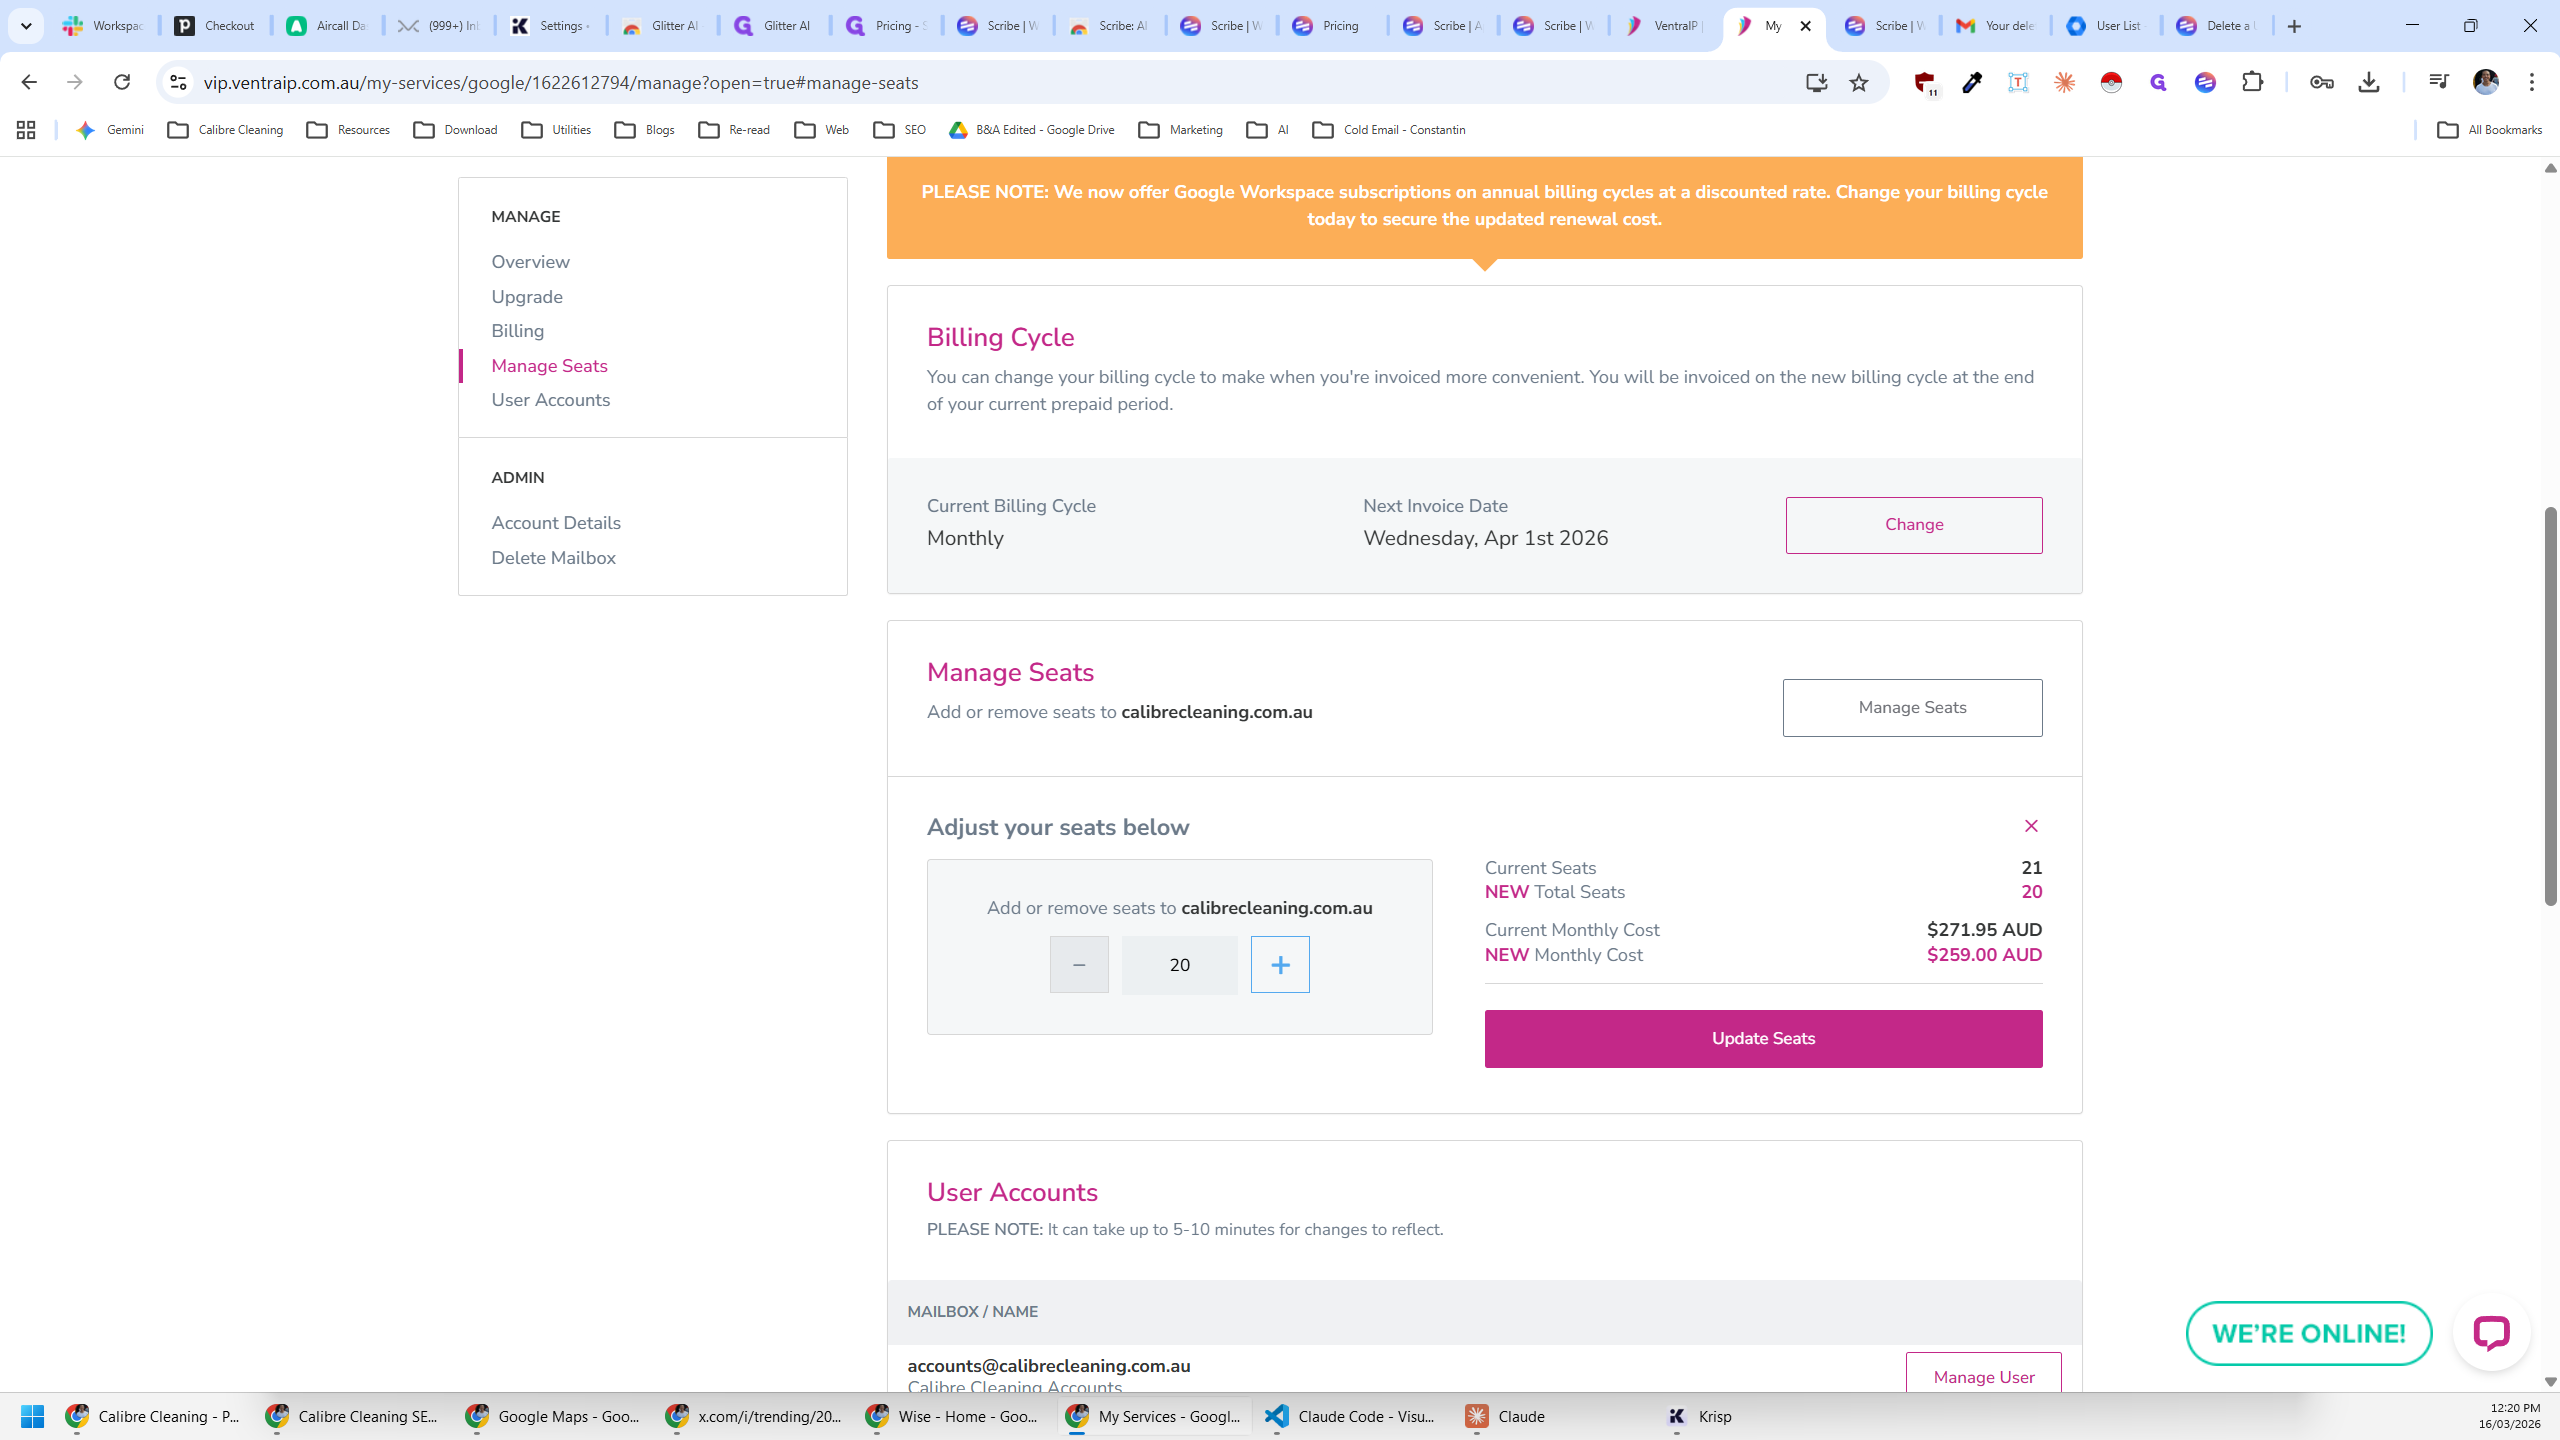
If you scroll all the way down, you'll see that there's an empty seat.
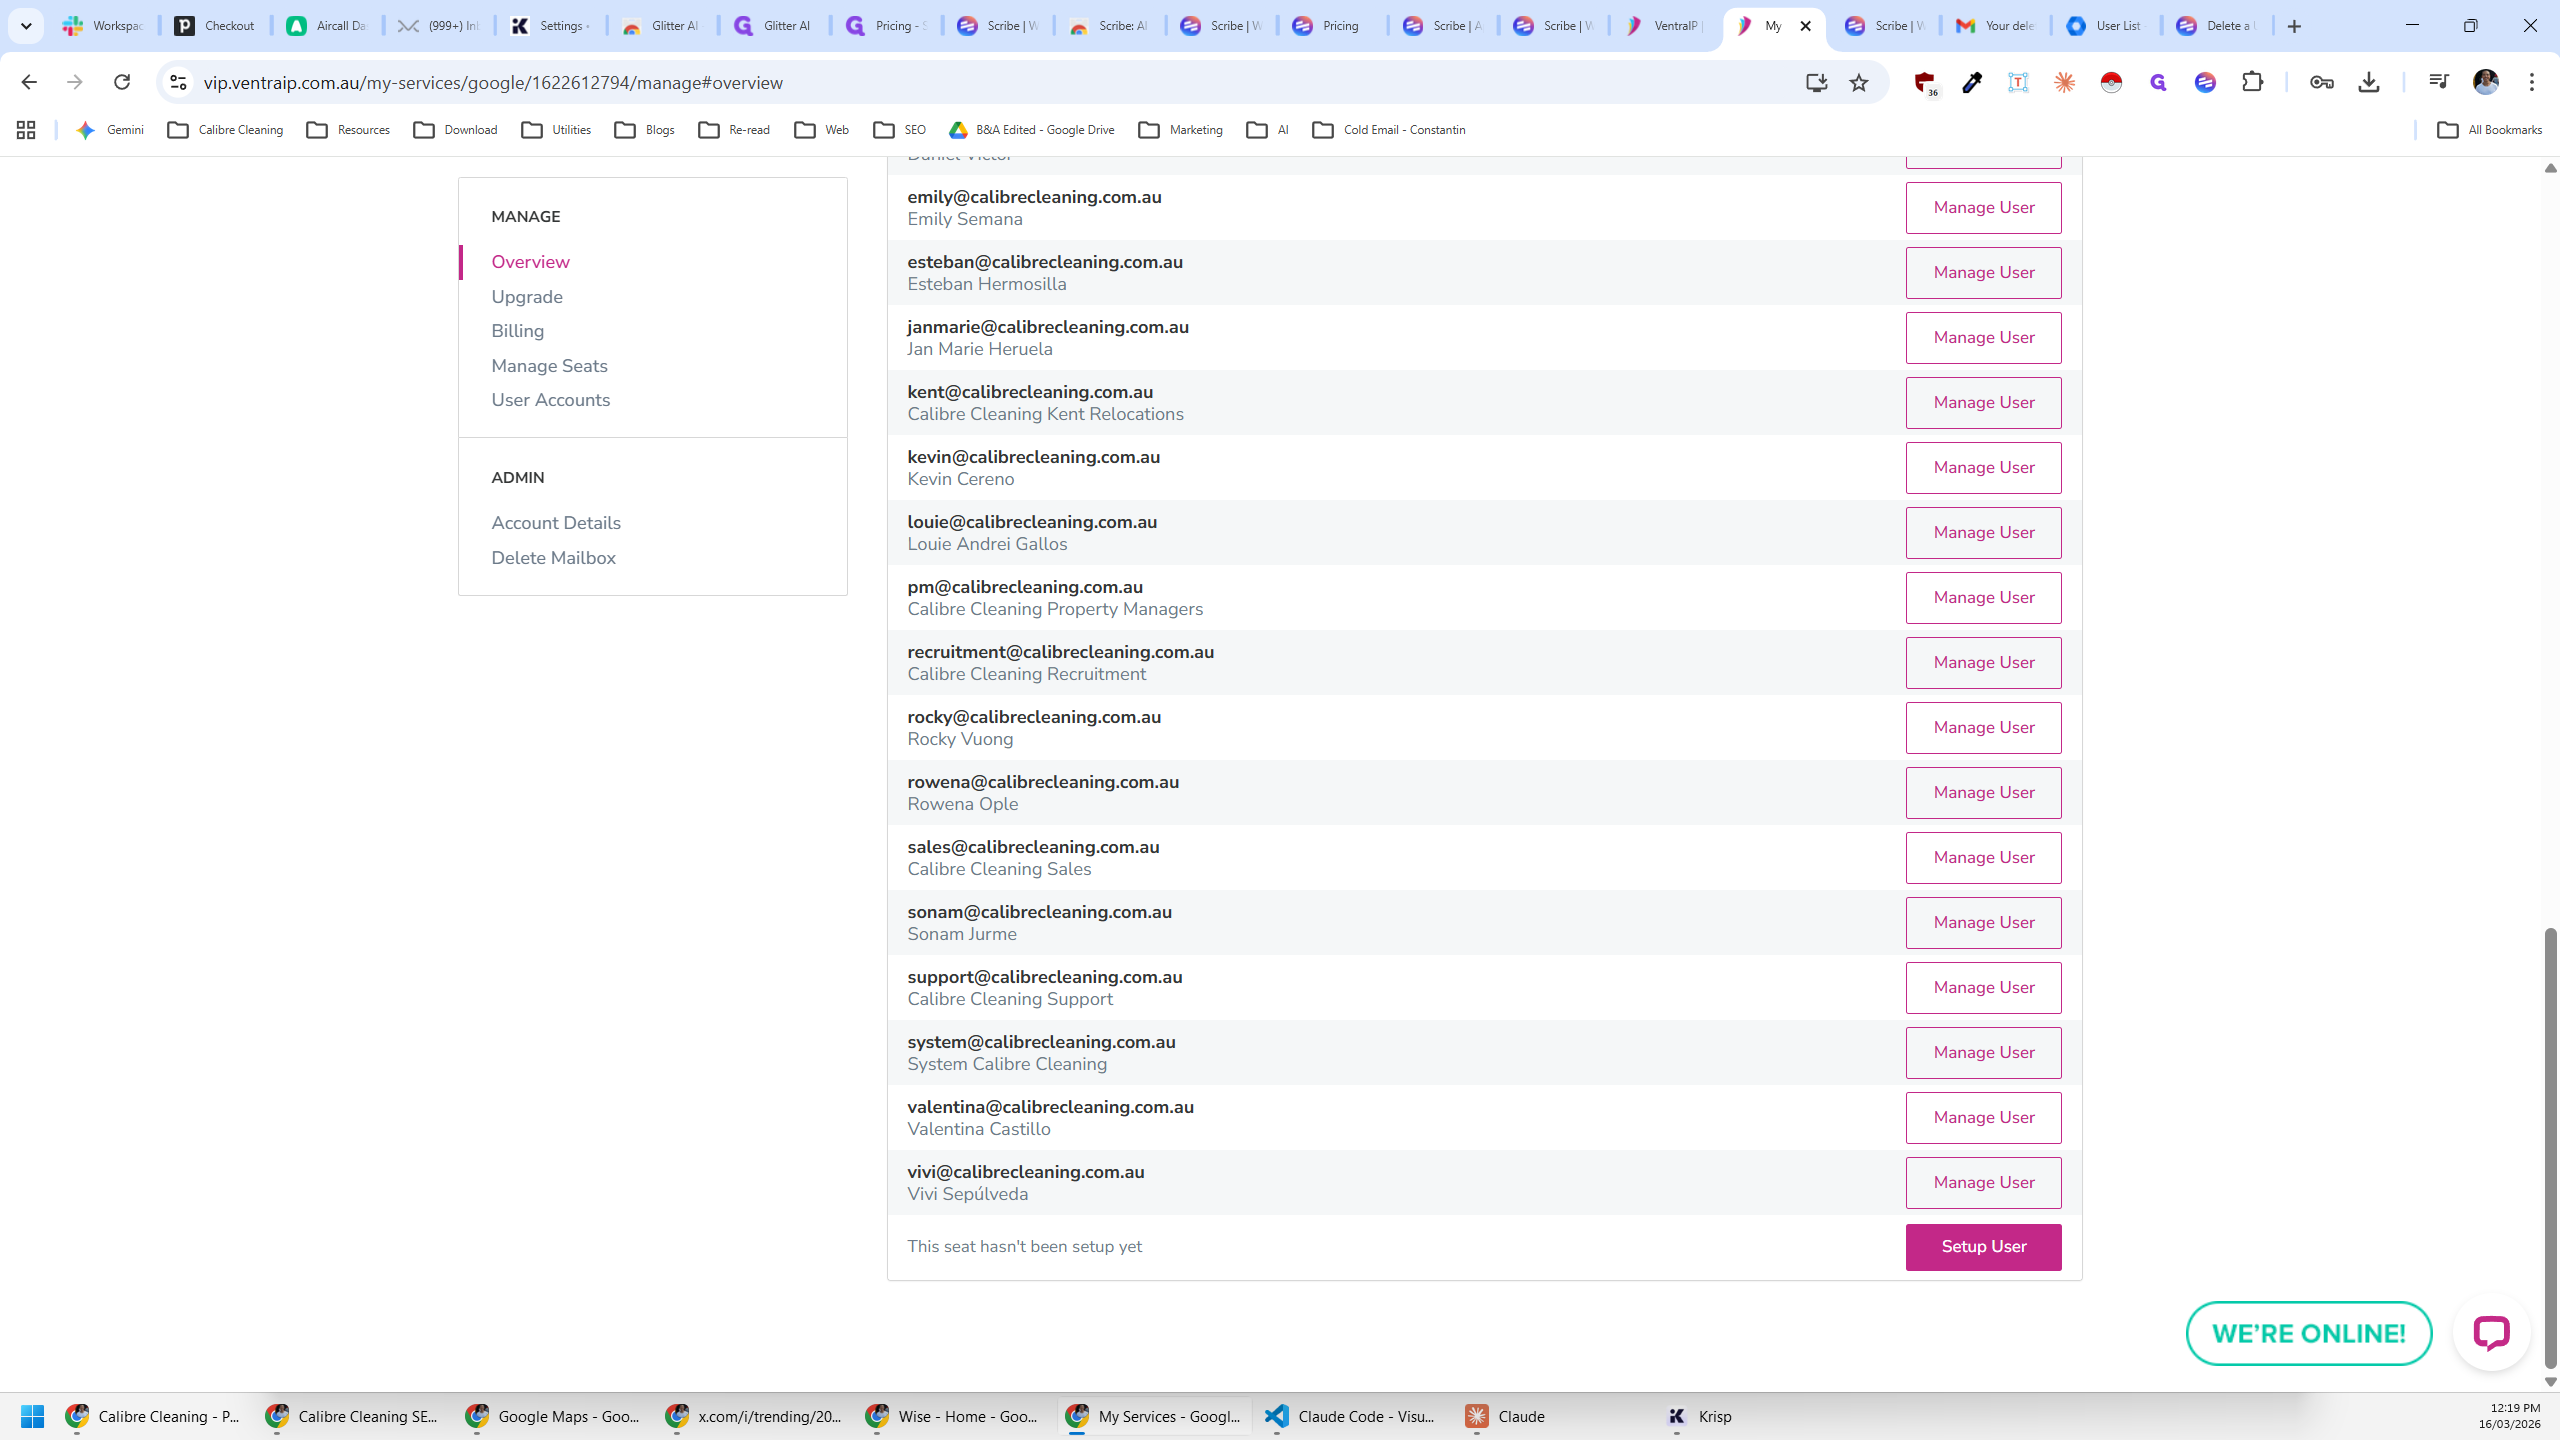
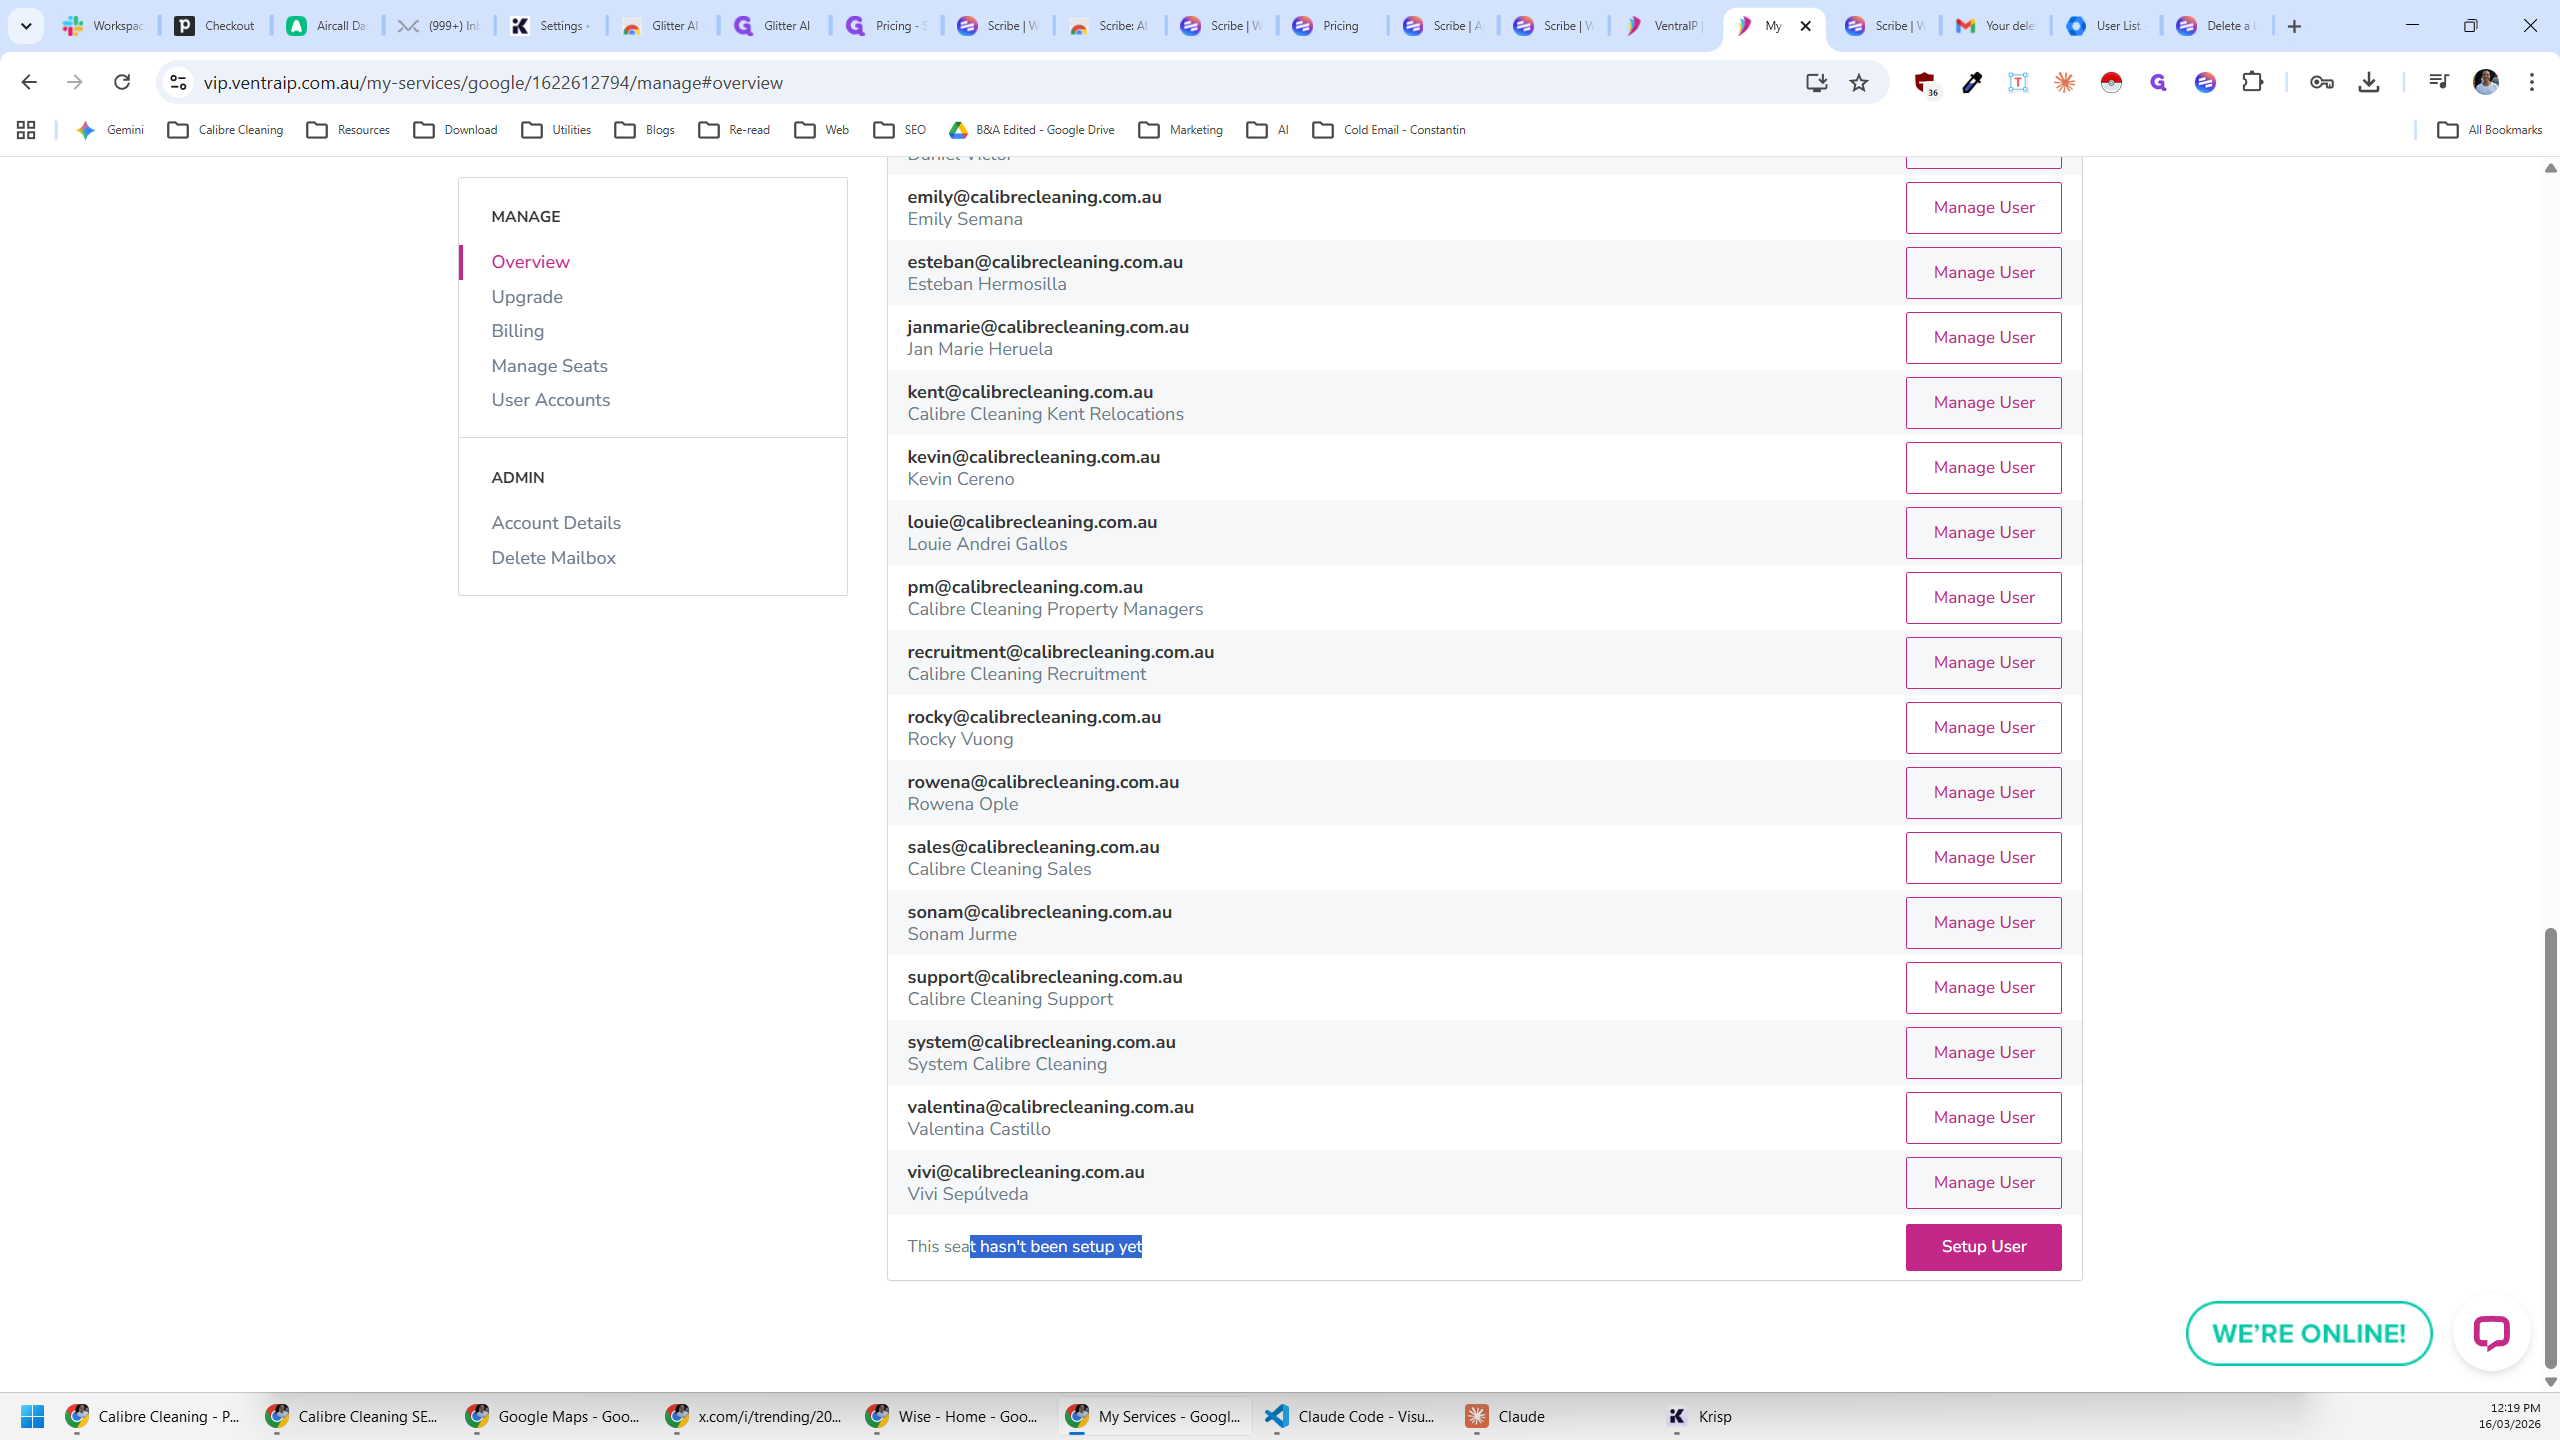
I've already removed Joseph from here. If we needed to remove someone without replacing them... In this case, we're replacing Joseph with Che. I'll leave this here to set up Che. In the future, if we remove someone without replacing them, we should go to Manage Seats.
From here, we can remove a seat or any unused seats, then update.
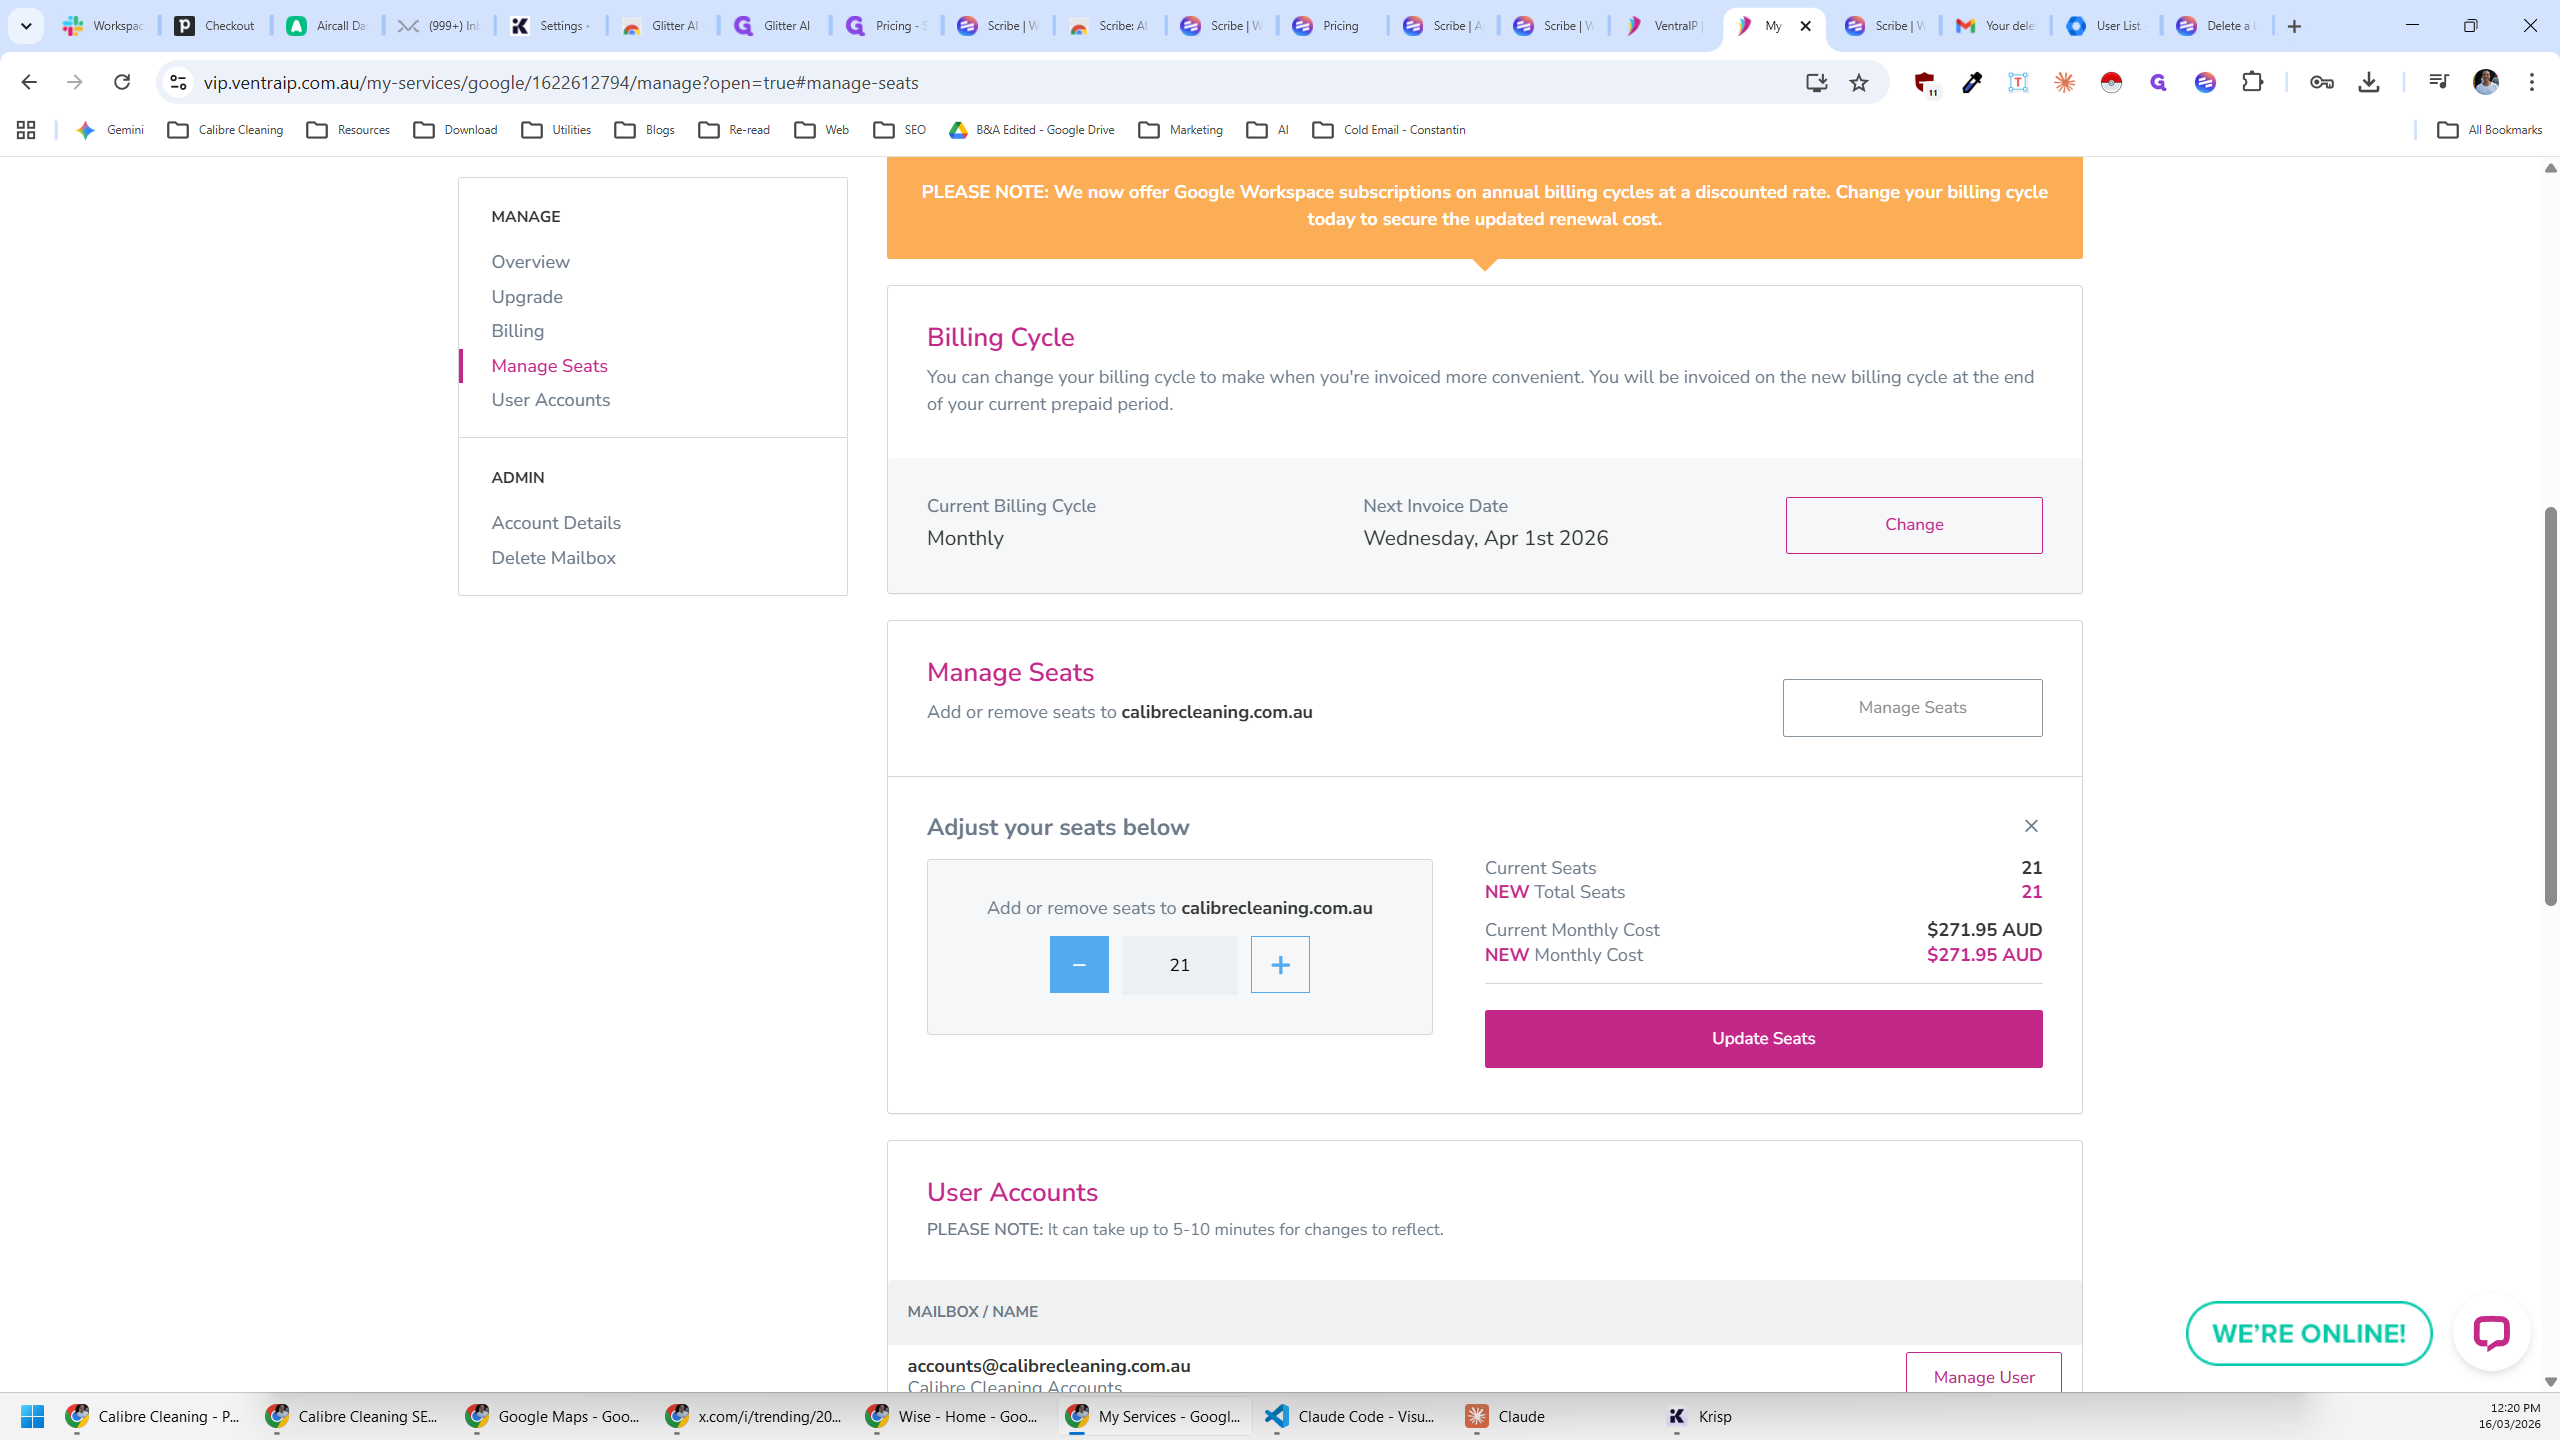
In this case, I'll leave it here because Che will be joining us soon.