How to Manage and Filter Orders in Your Booking System
Learn step-by-step how to view, filter, and export orders in your booking system. Understand order statuses, use advanced filters, and generate custom reports for better order management.
By Reservety
In this guide, we'll learn how to view, filter, and export rental order information from your admin dashboard.
You will see how to use different status filters, organize orders by various criteria, and generate custom reports.
Let's get started
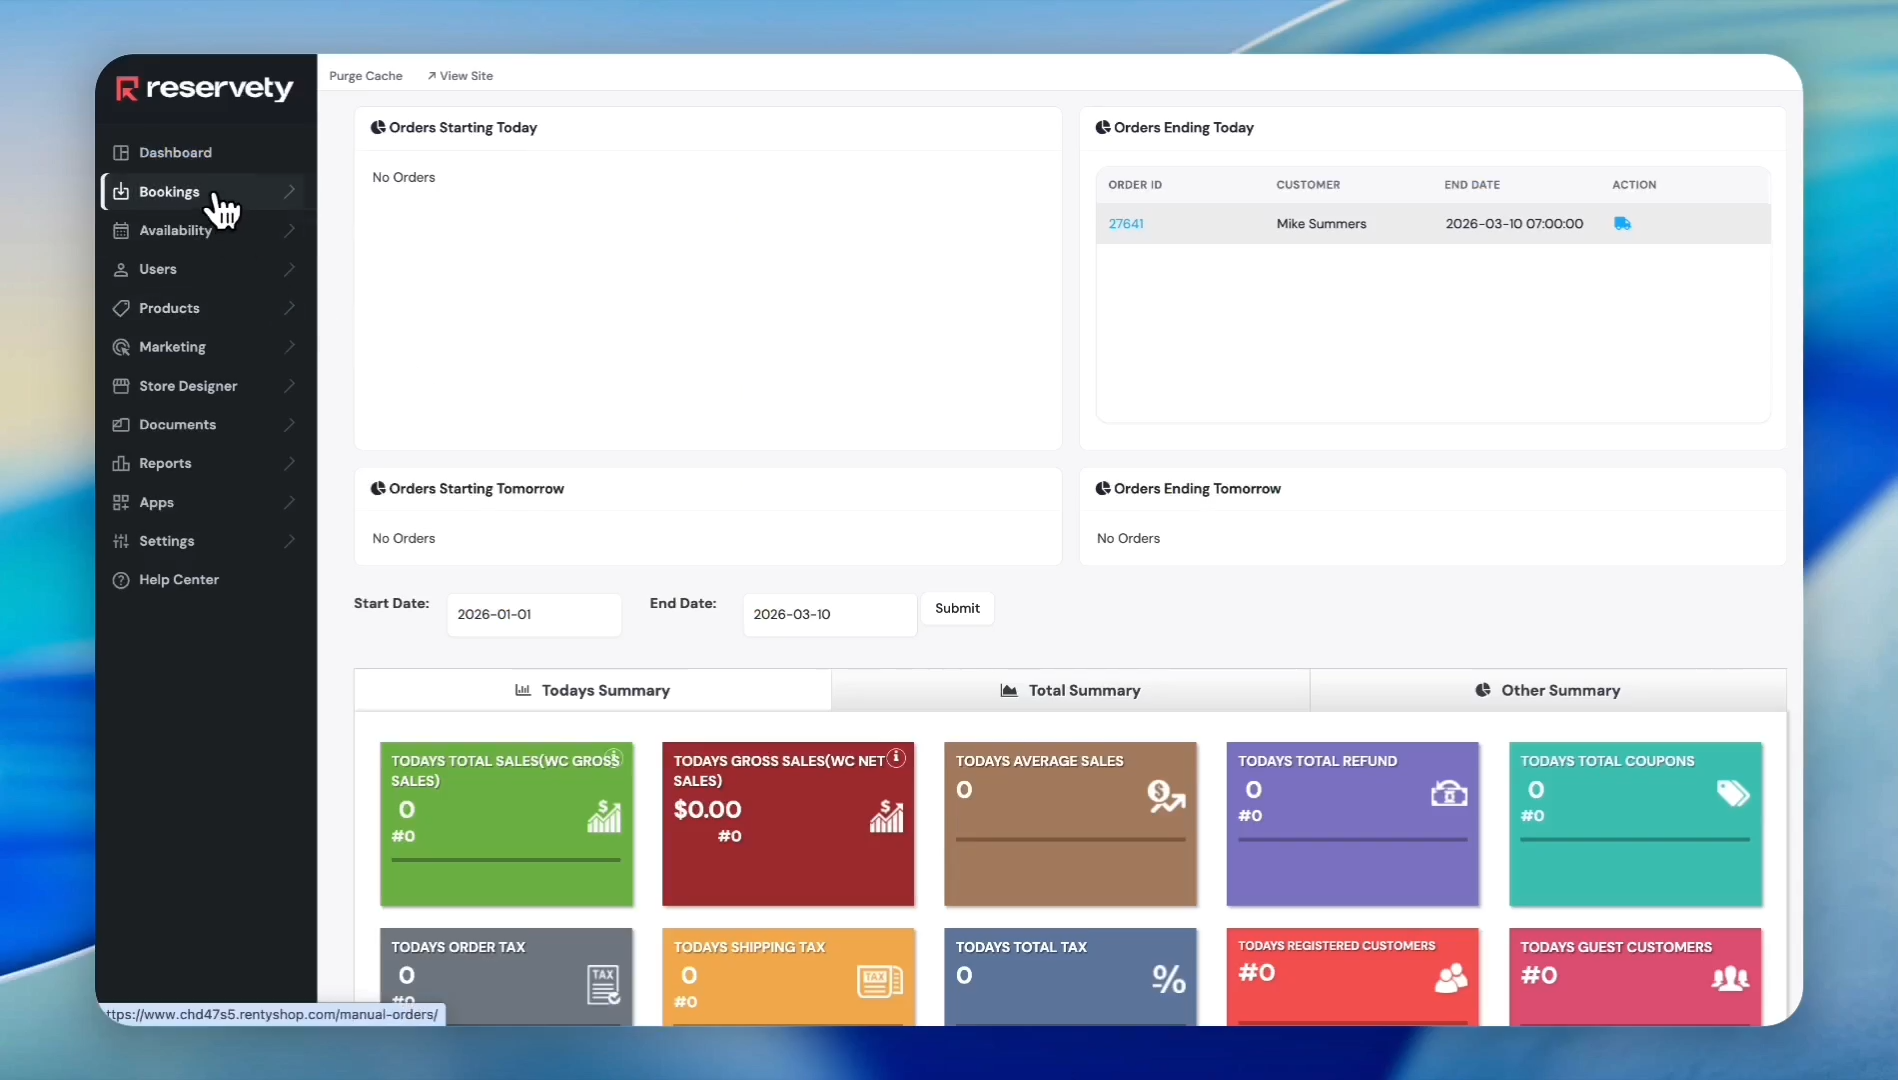
1
Click on Bookings in the left sidebar.
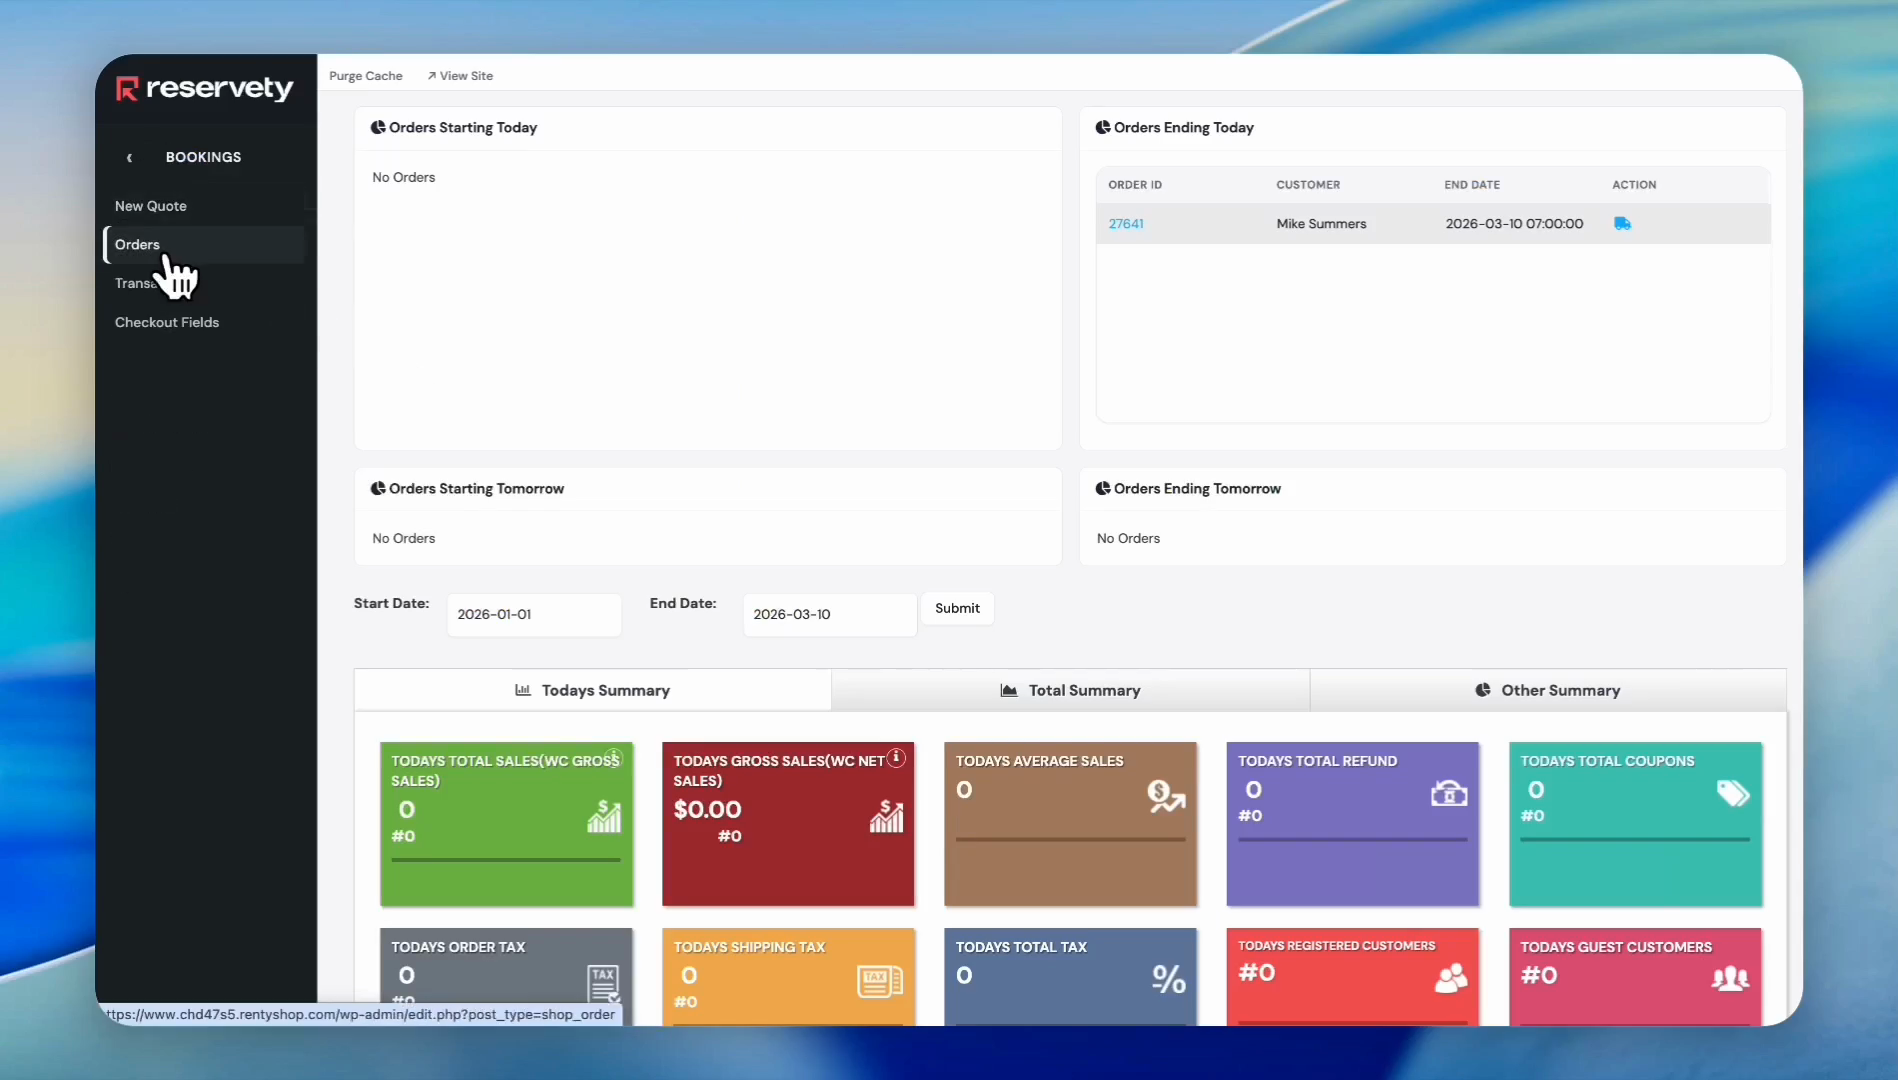
2
Click on Orders.
3
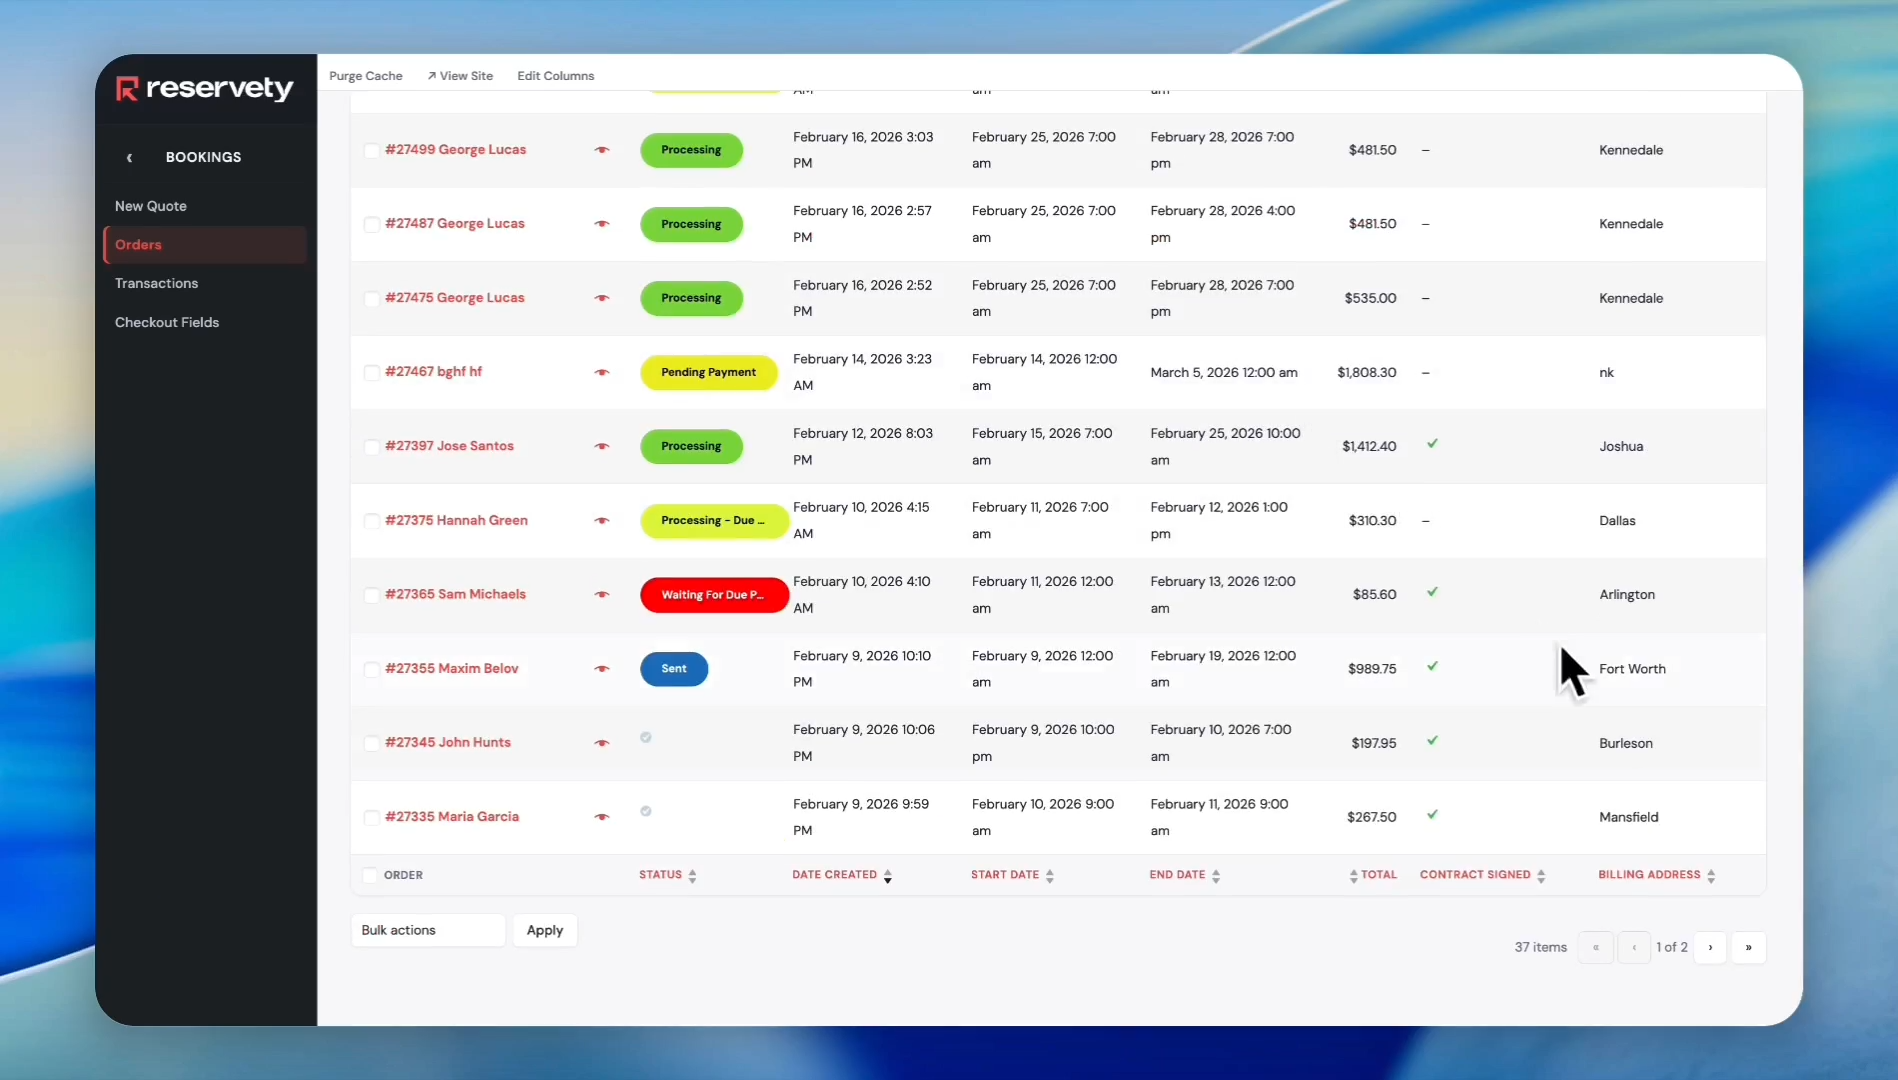
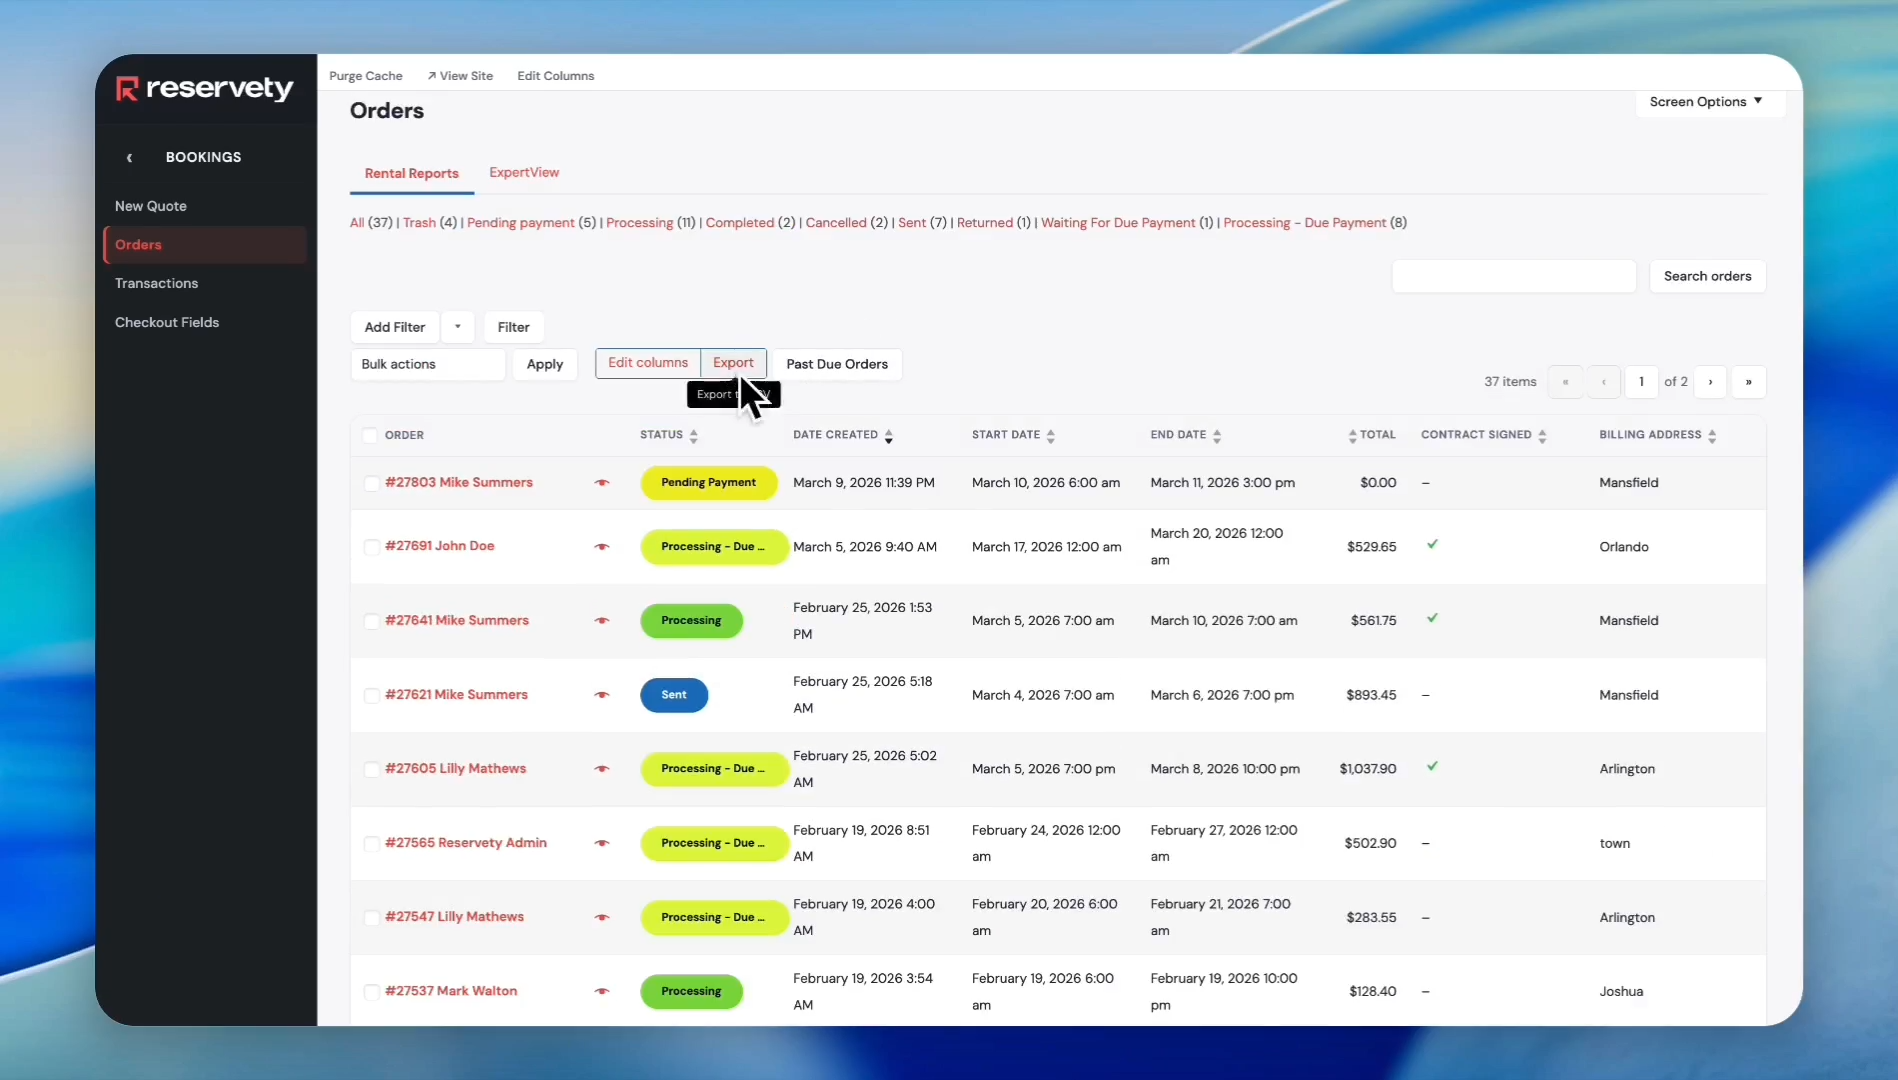
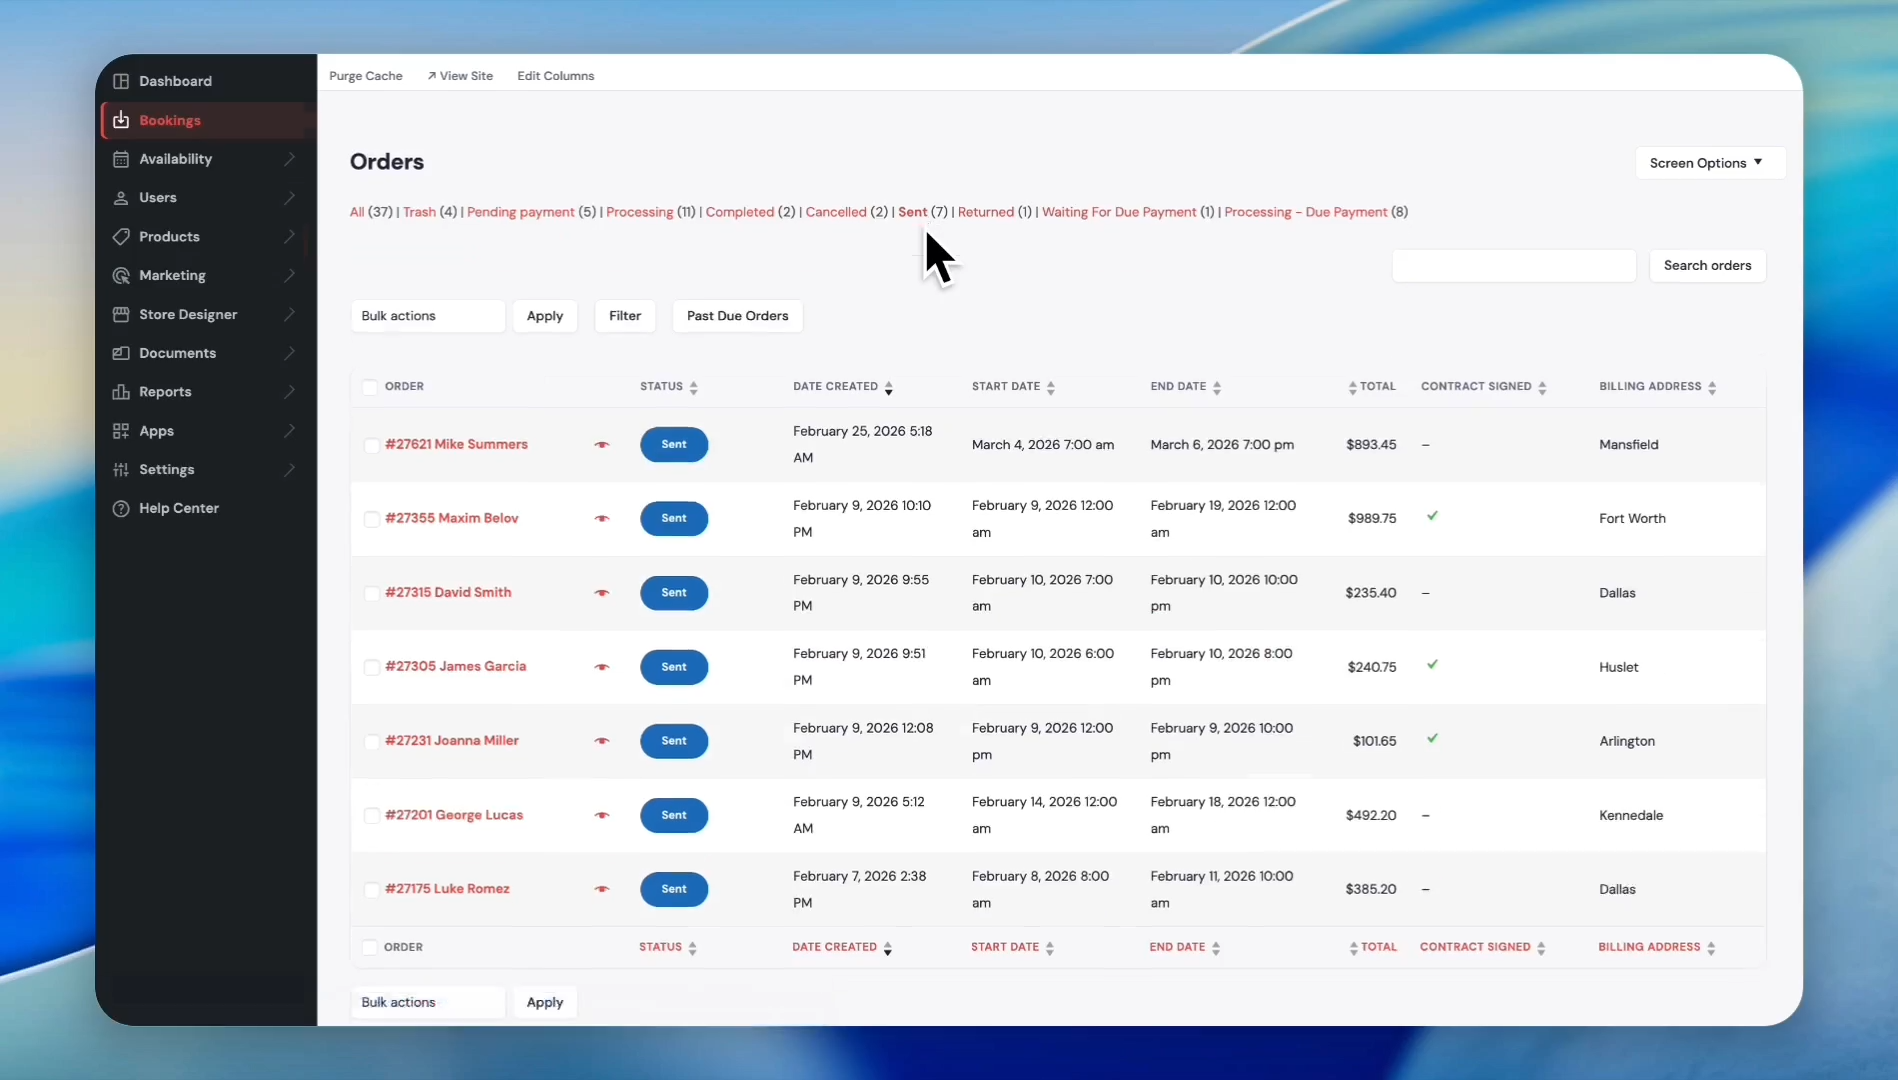
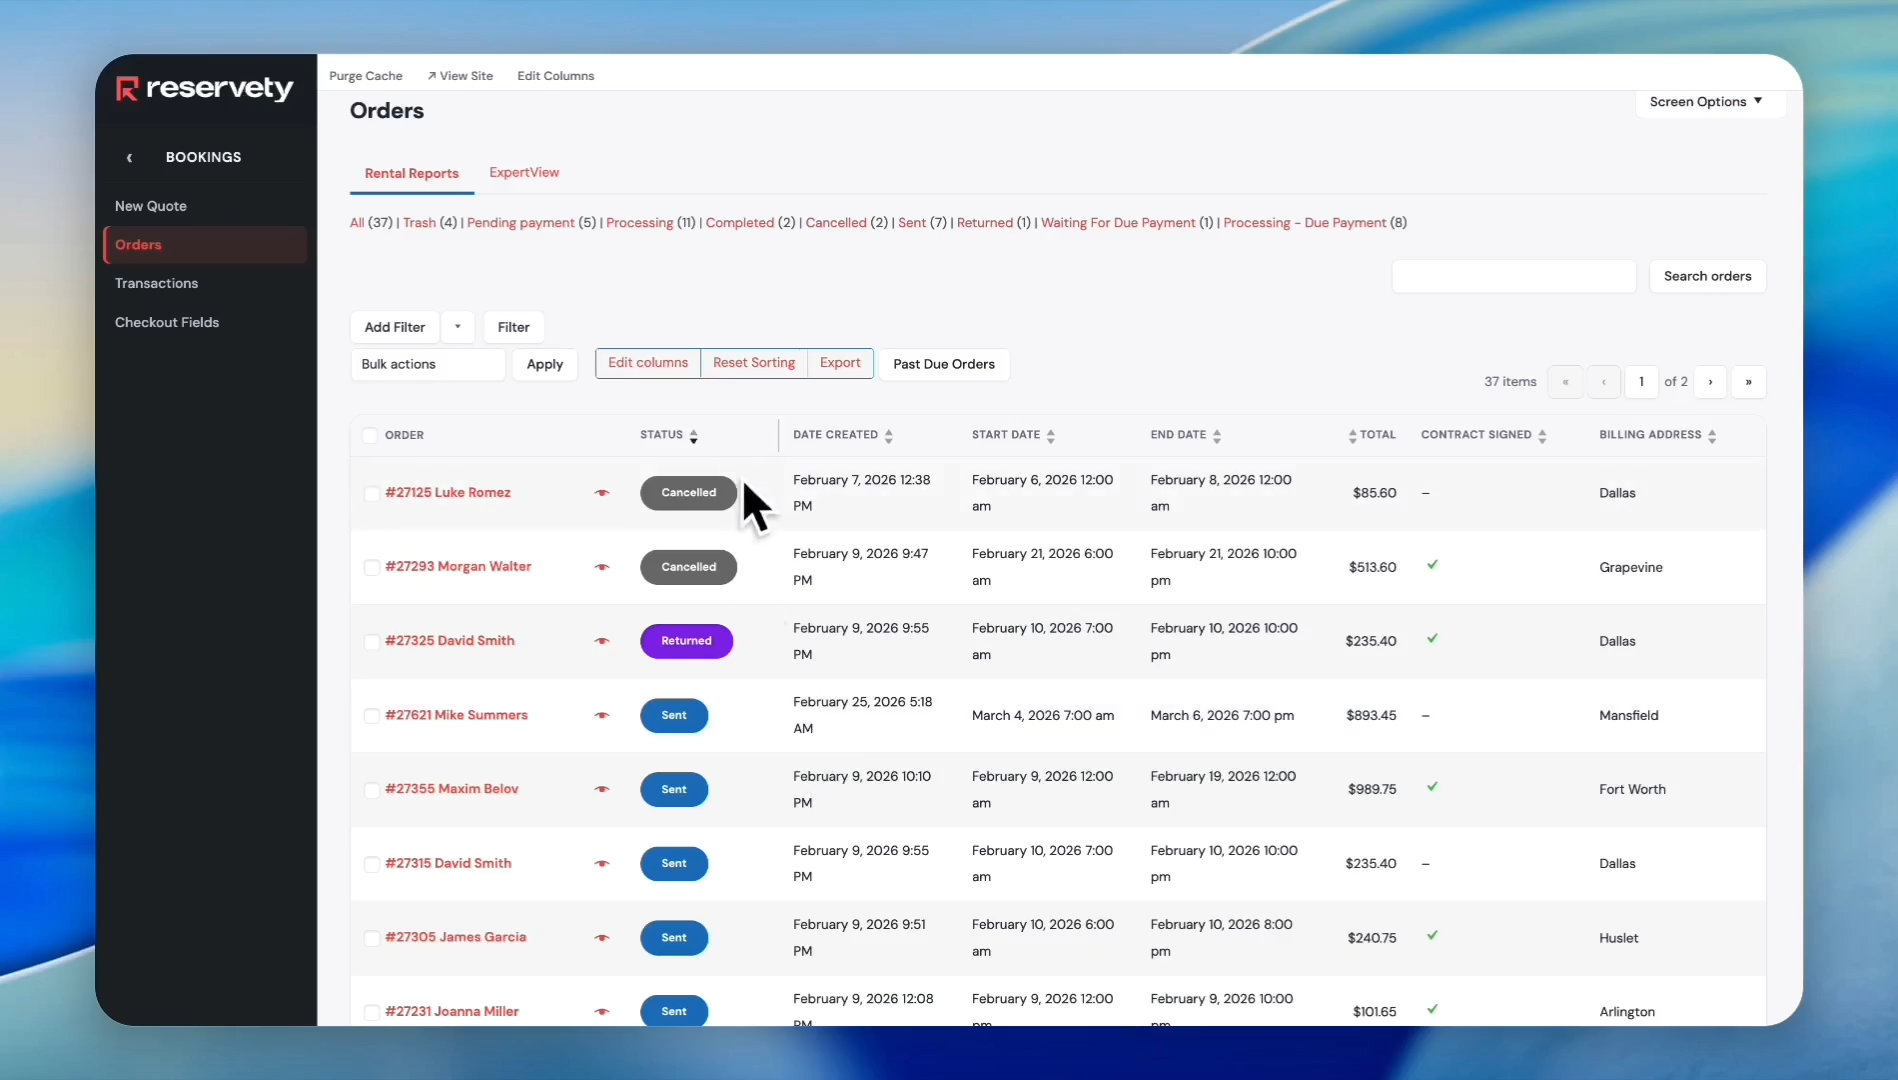
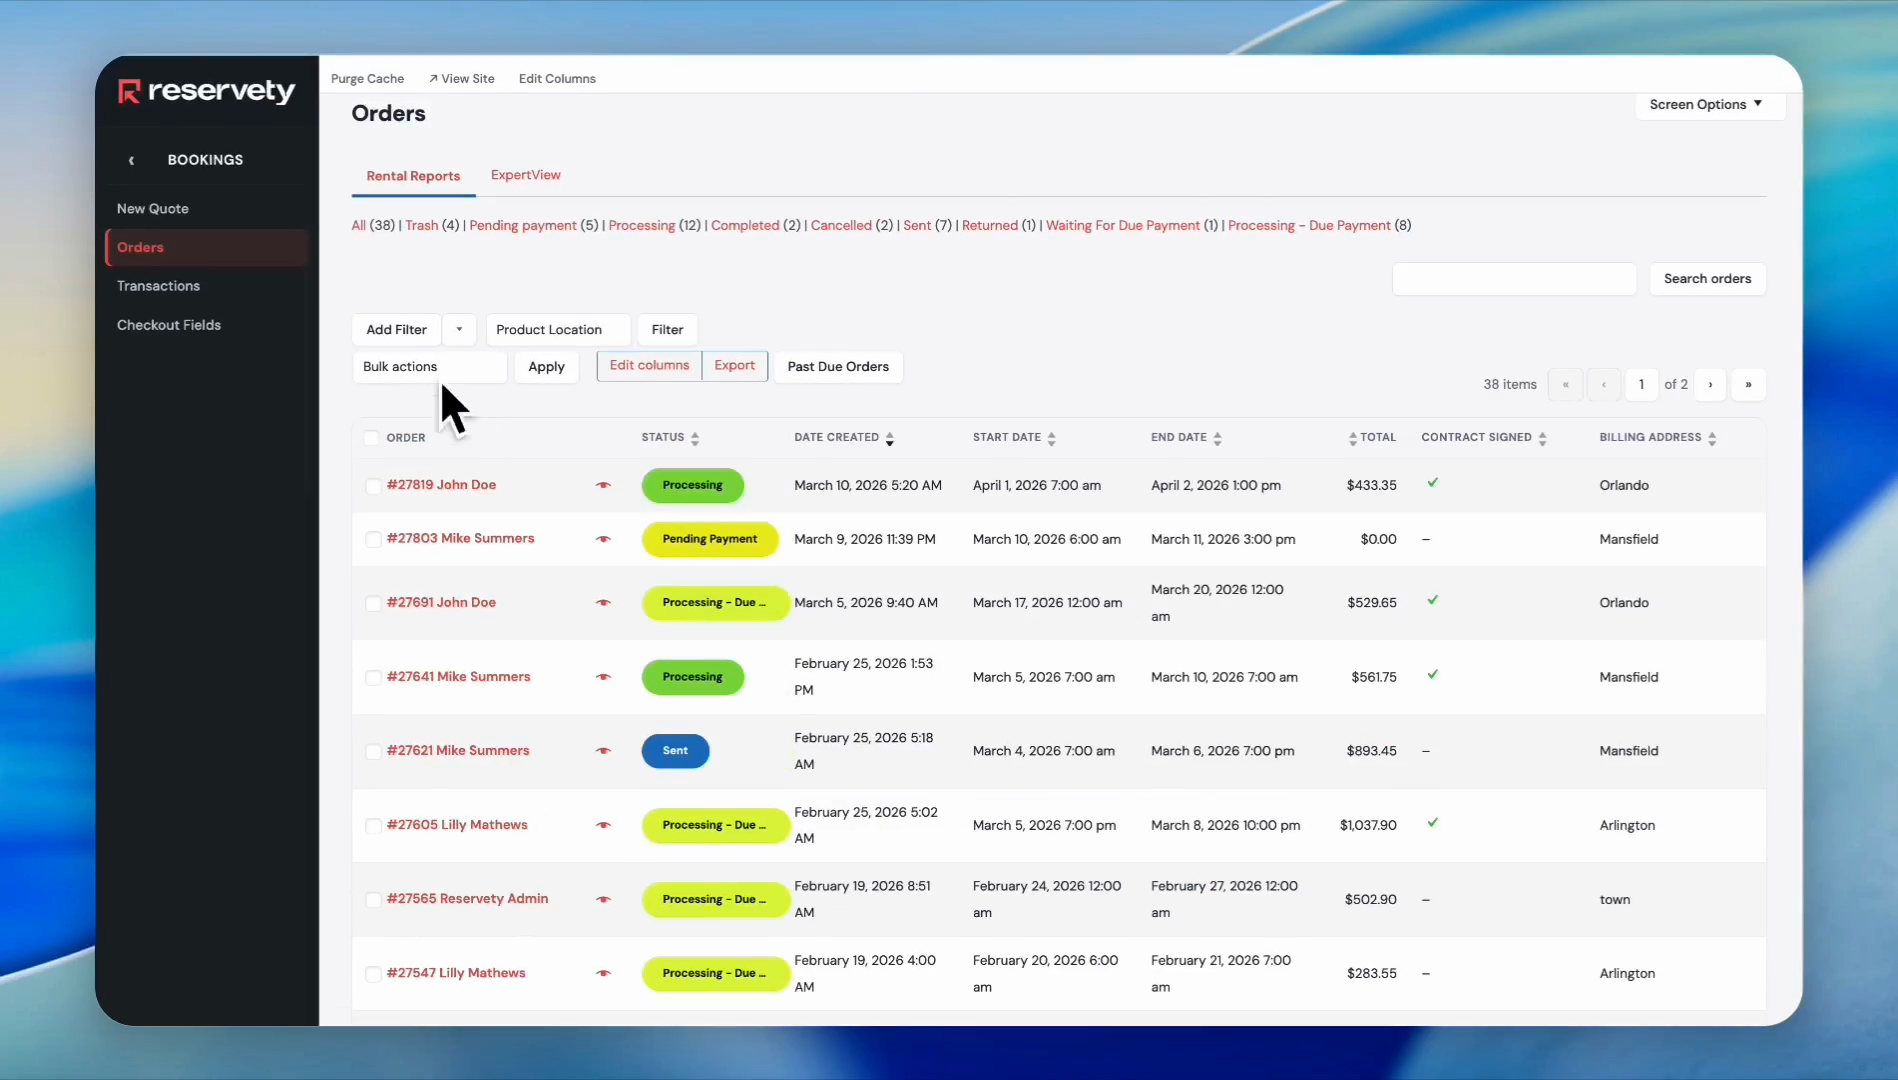
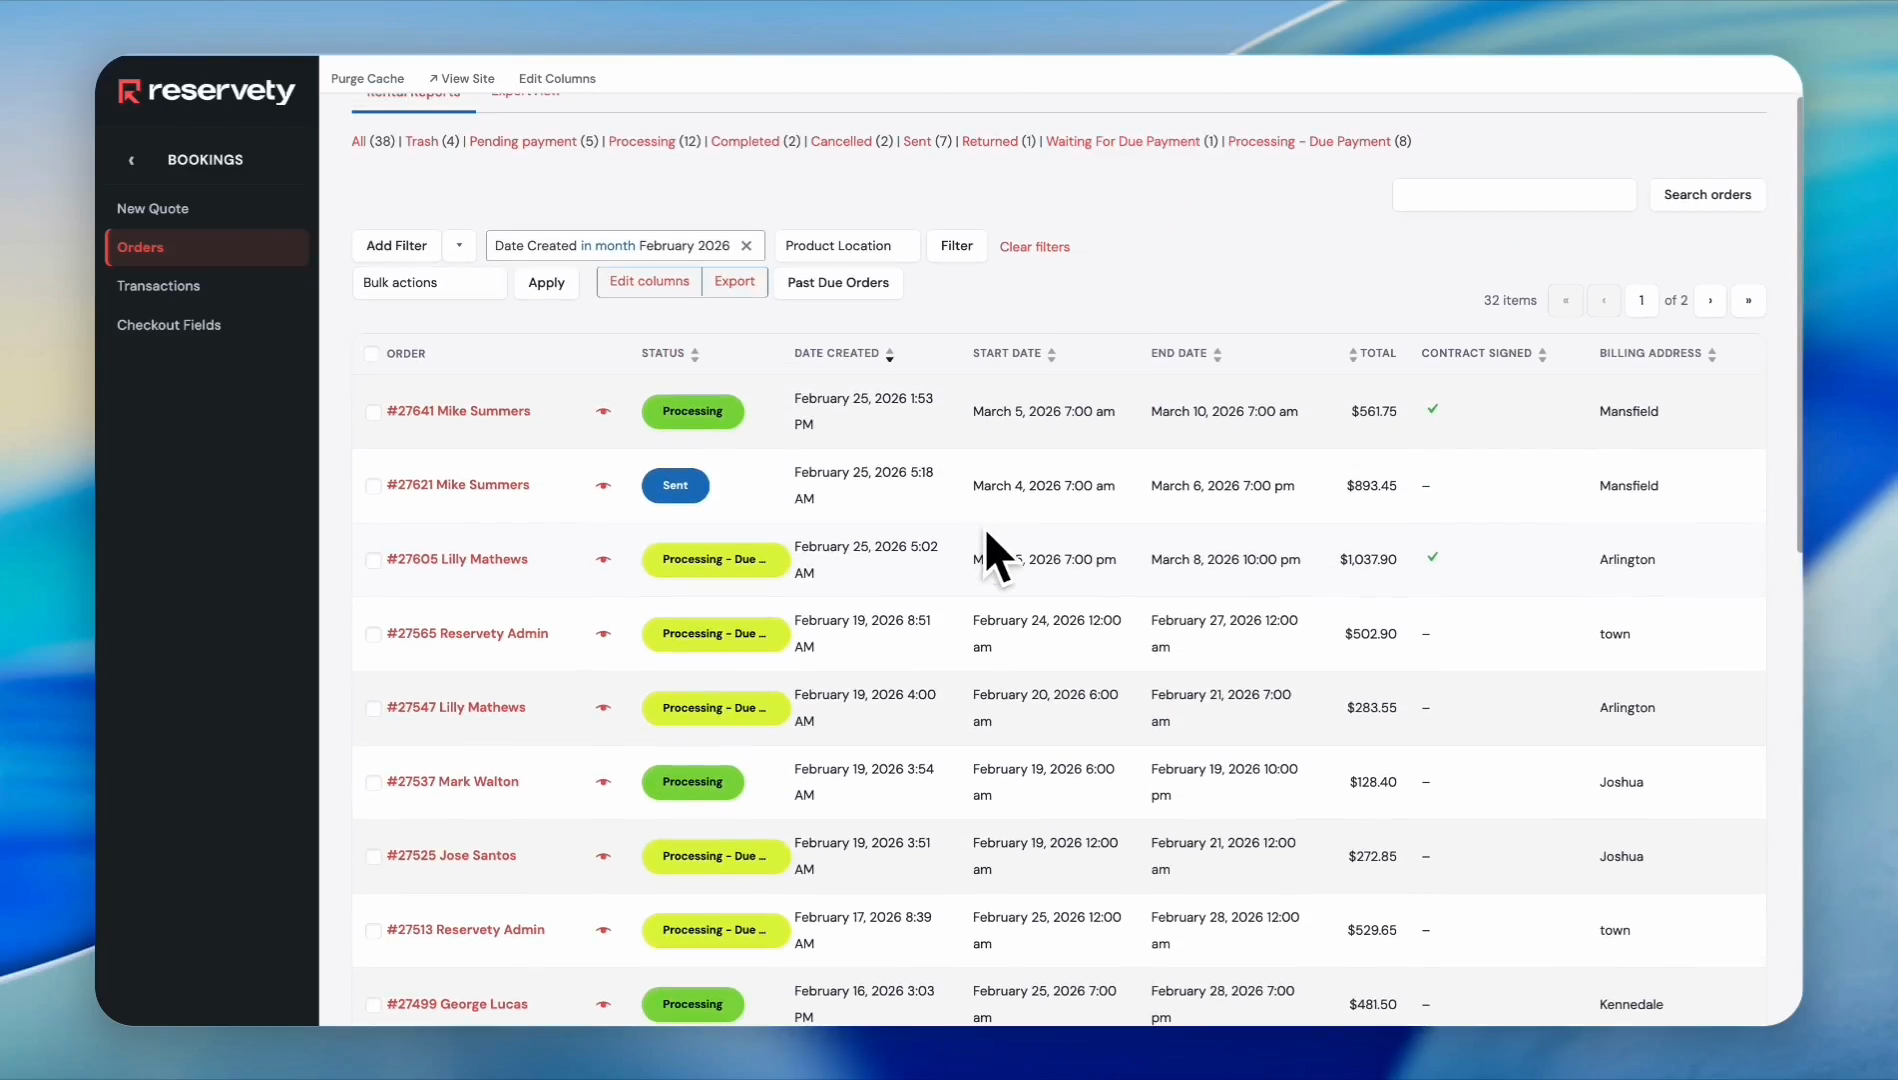
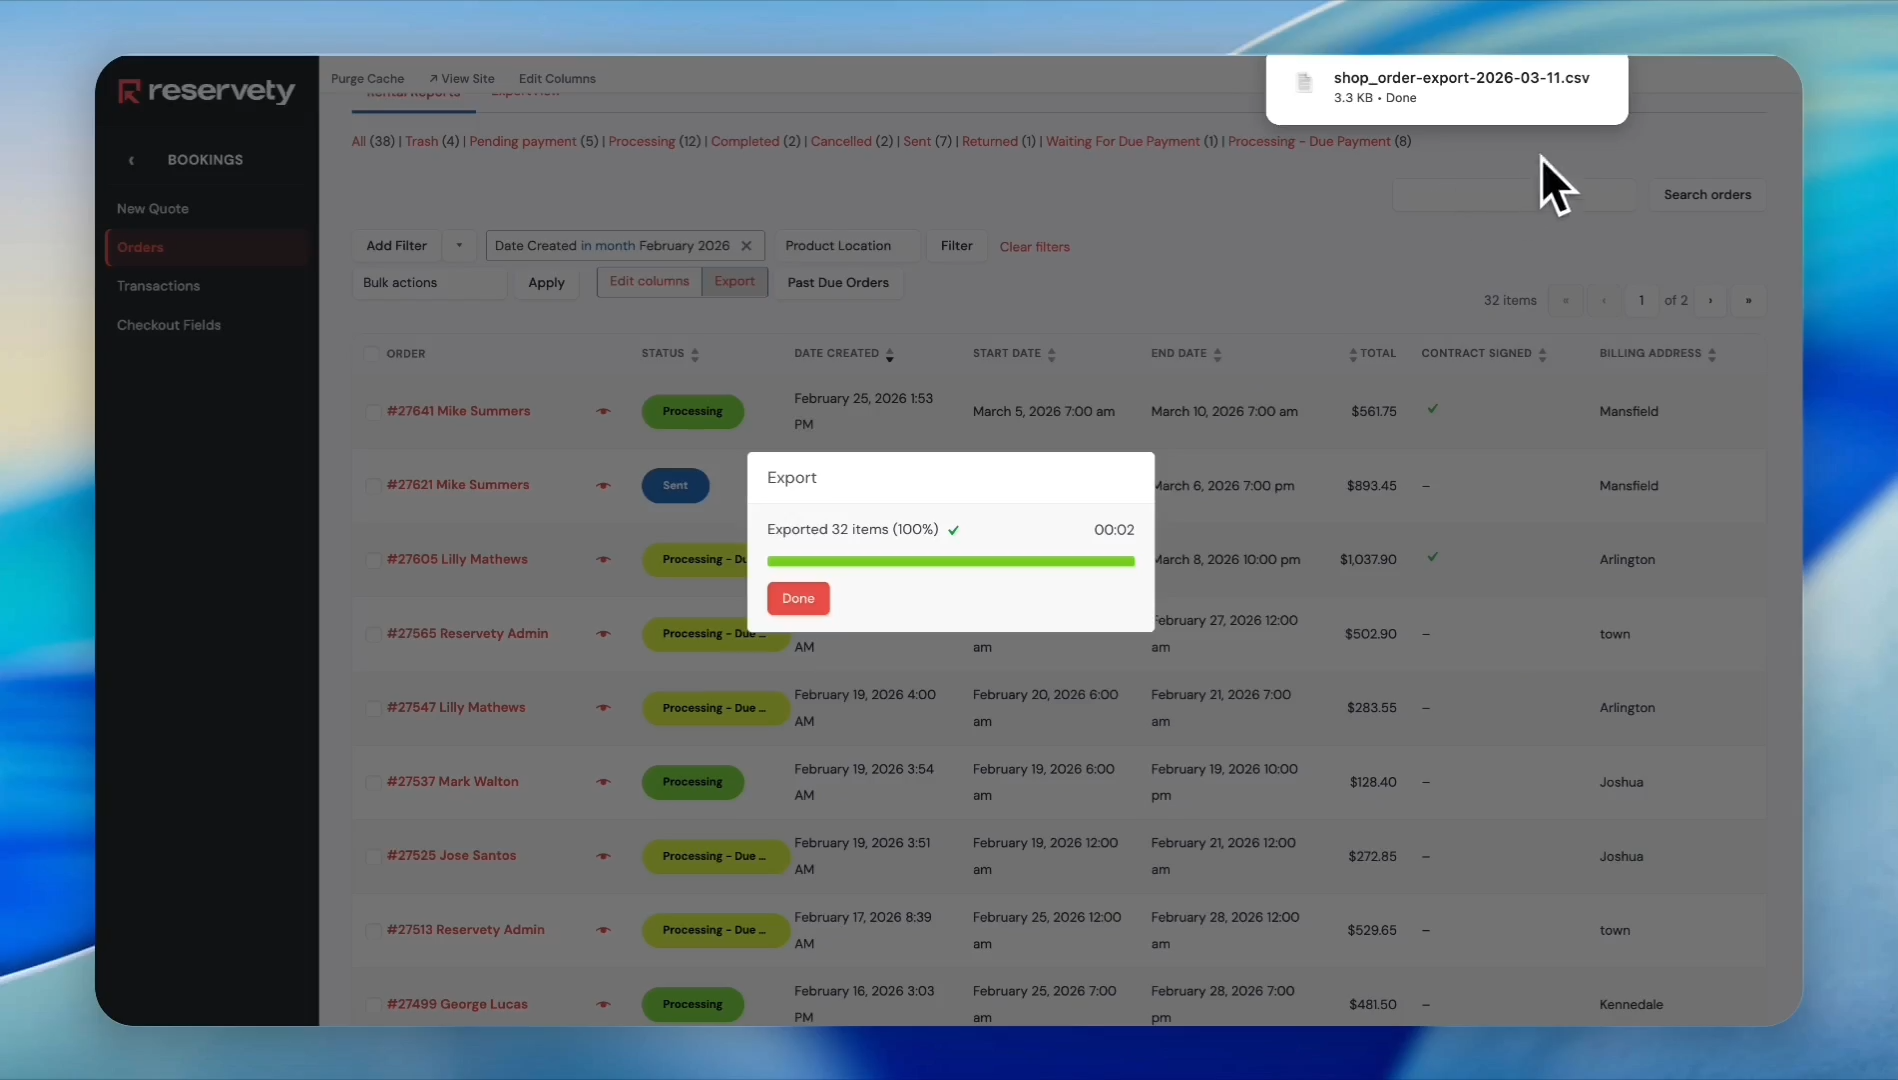
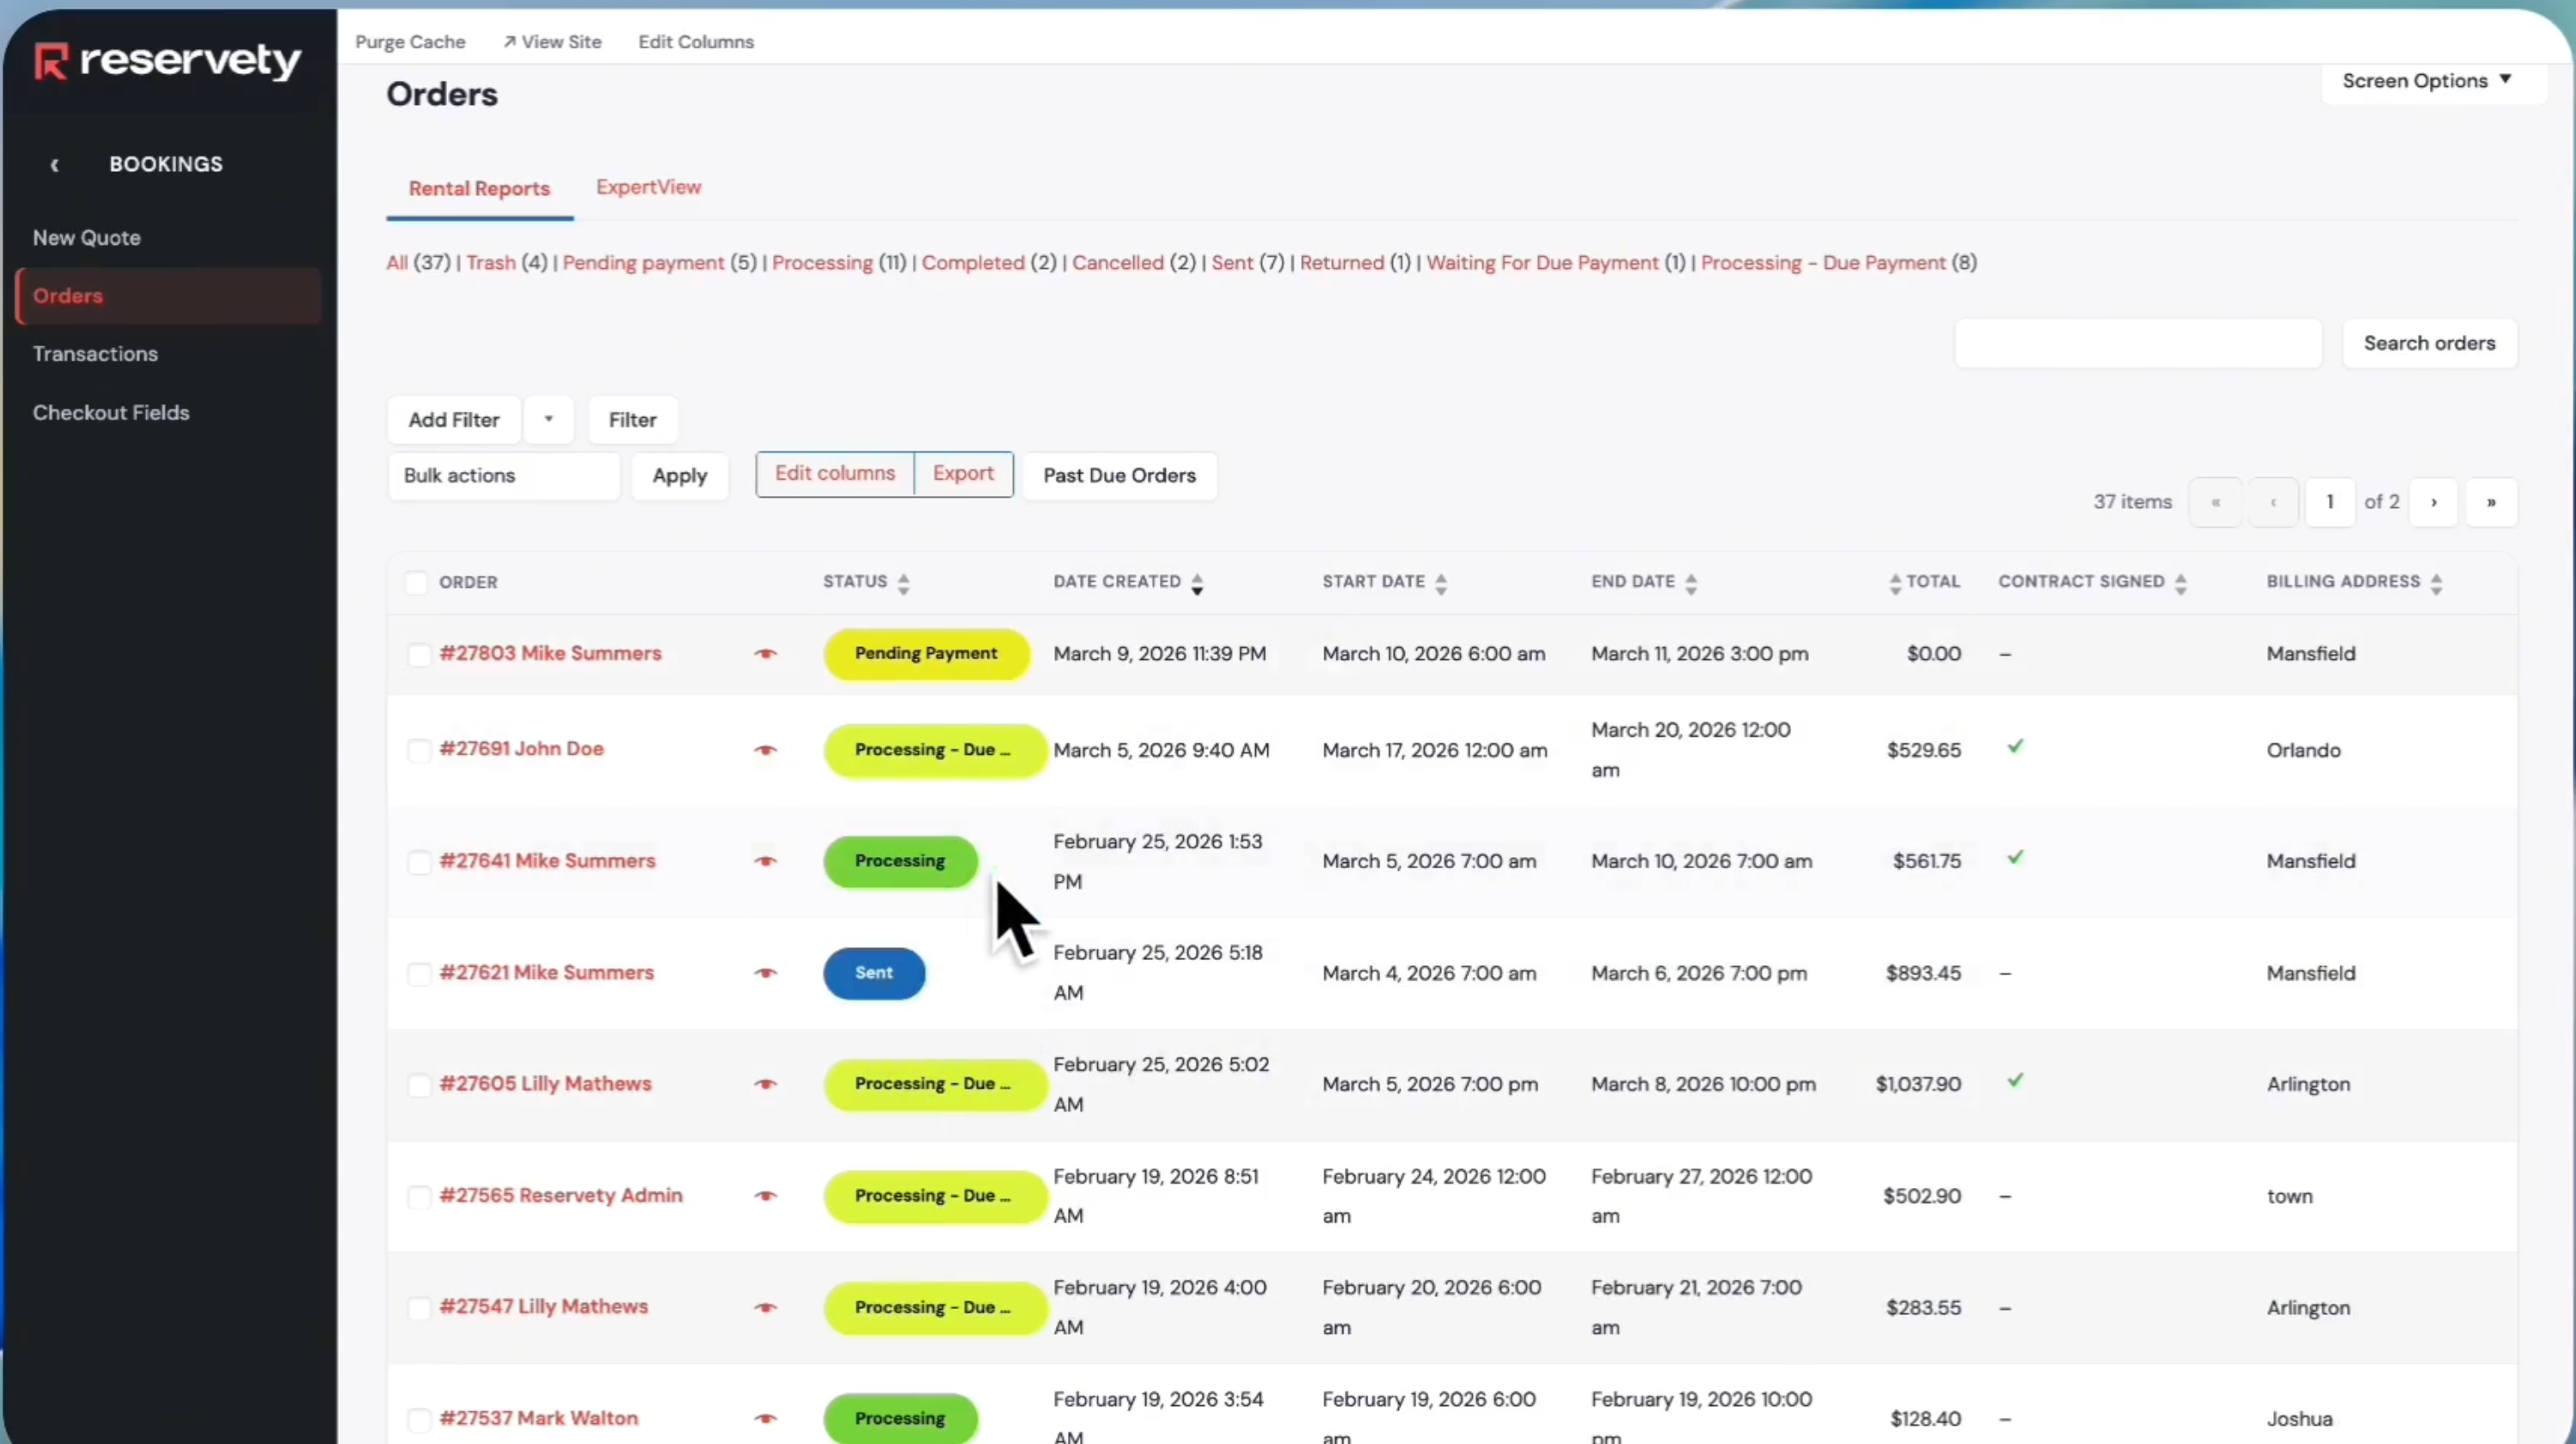
On the Orders page, you will see all your orders.
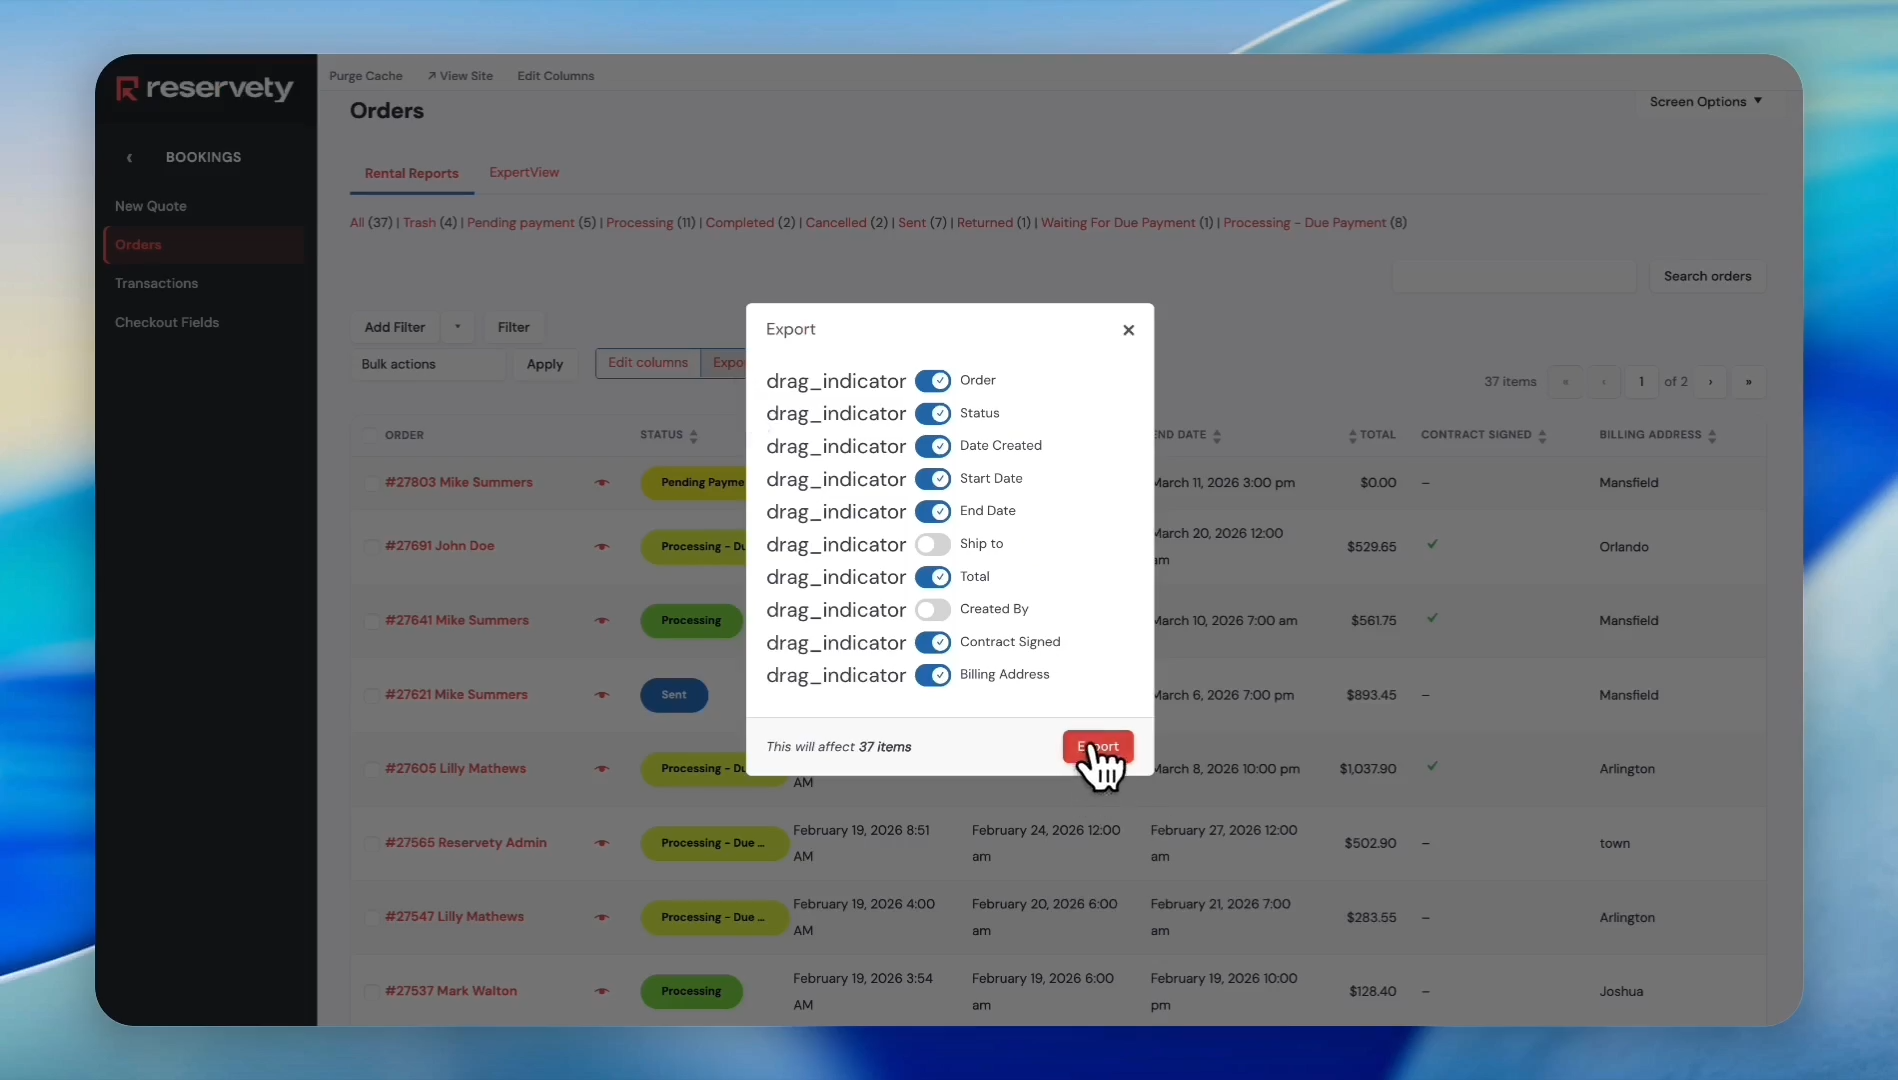
If you need information on all orders, click Export. The system will download the file to your computer.
4
Click the Export button.
5
Click the Export button in the pop-up modal, then open the downloaded CSV file on your computer.
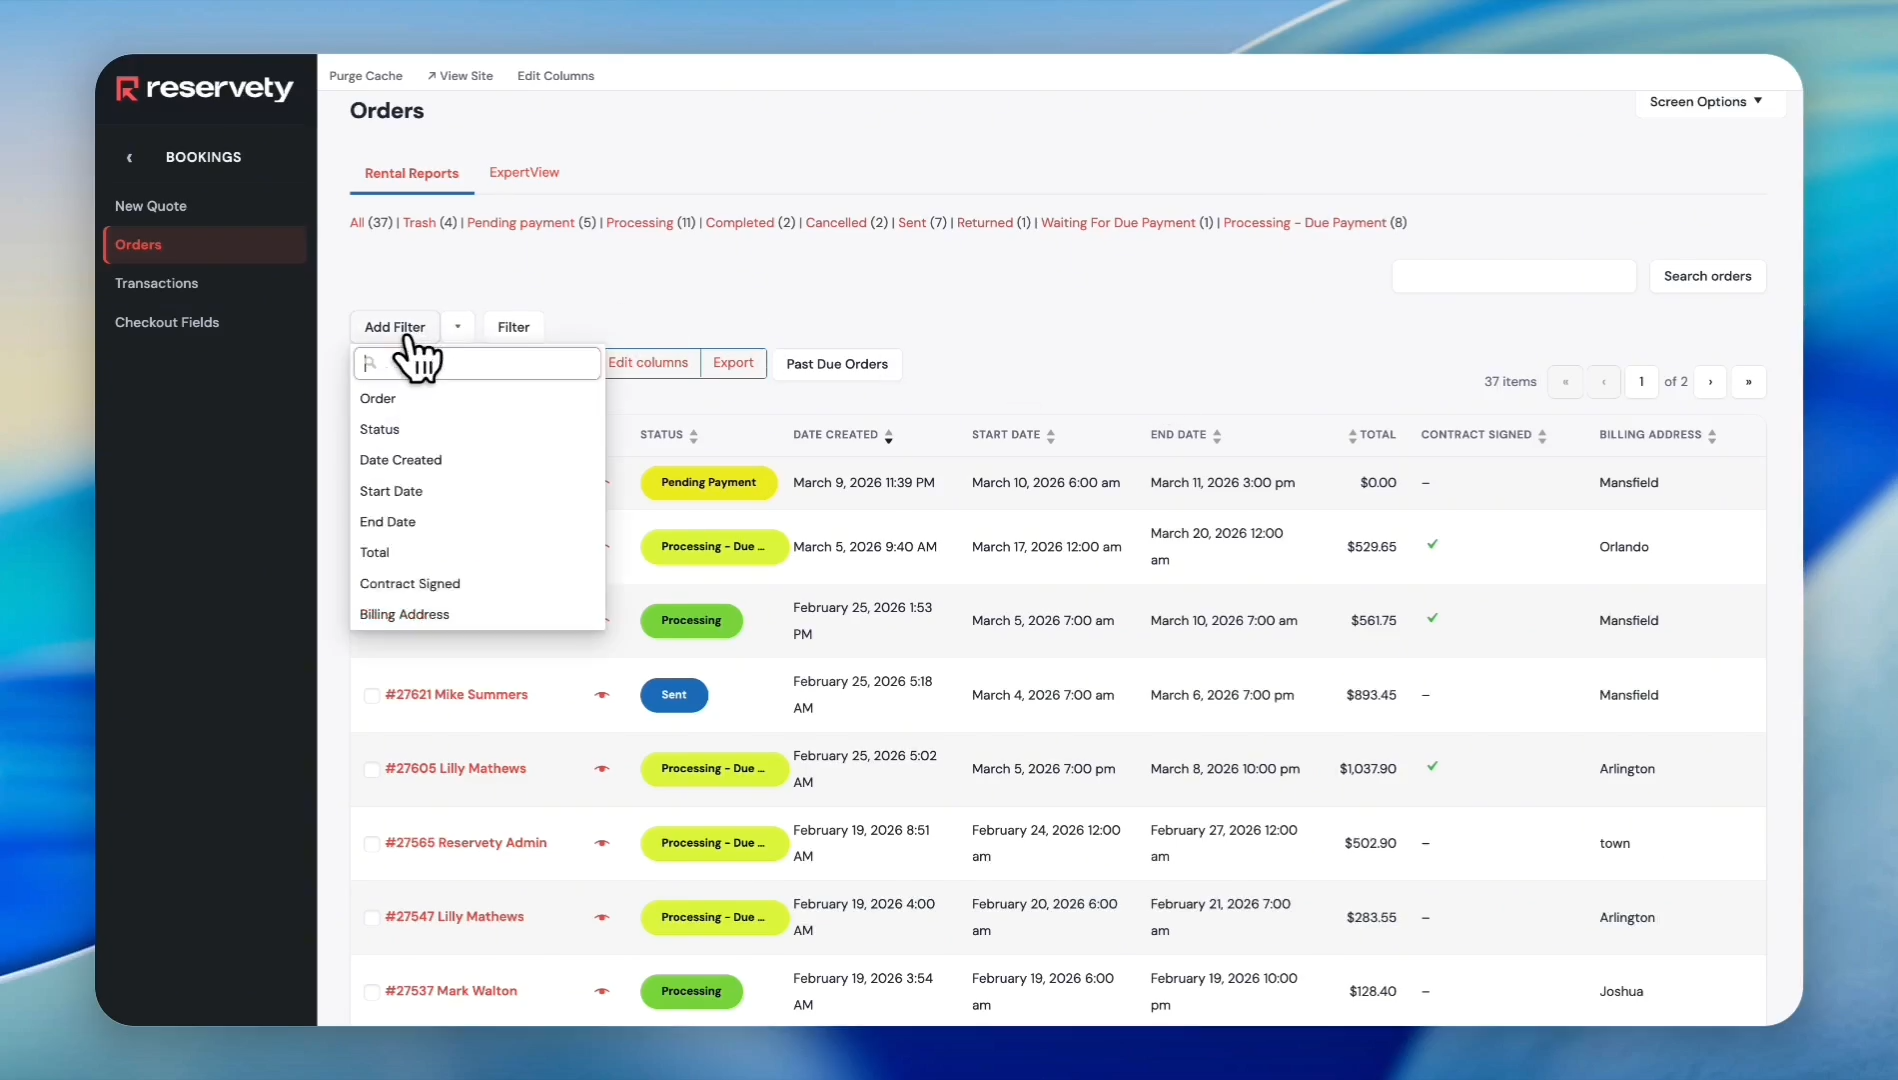
To narrow down to specific orders, use the status filters located at the top.
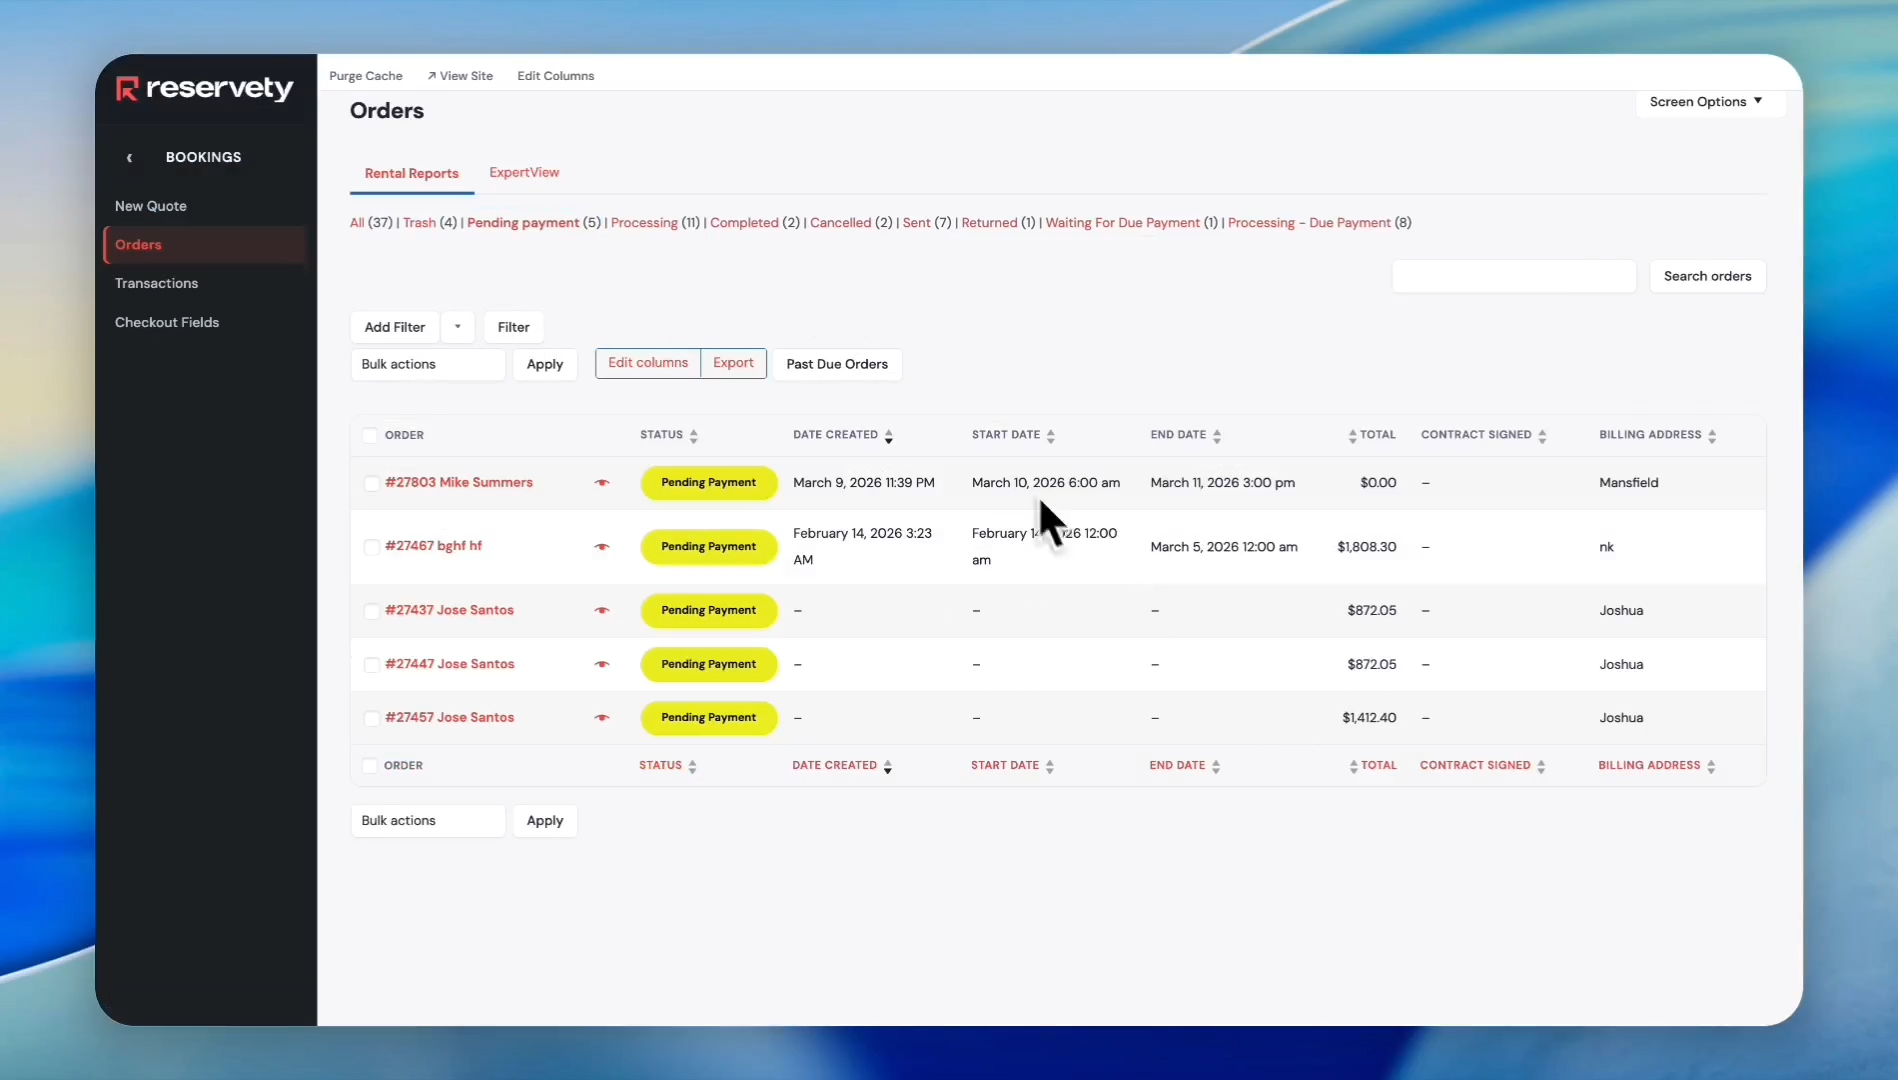
6
Click on the Pending payment status filter. This status indicates that the system is still awaiting payment from the customer for the items.
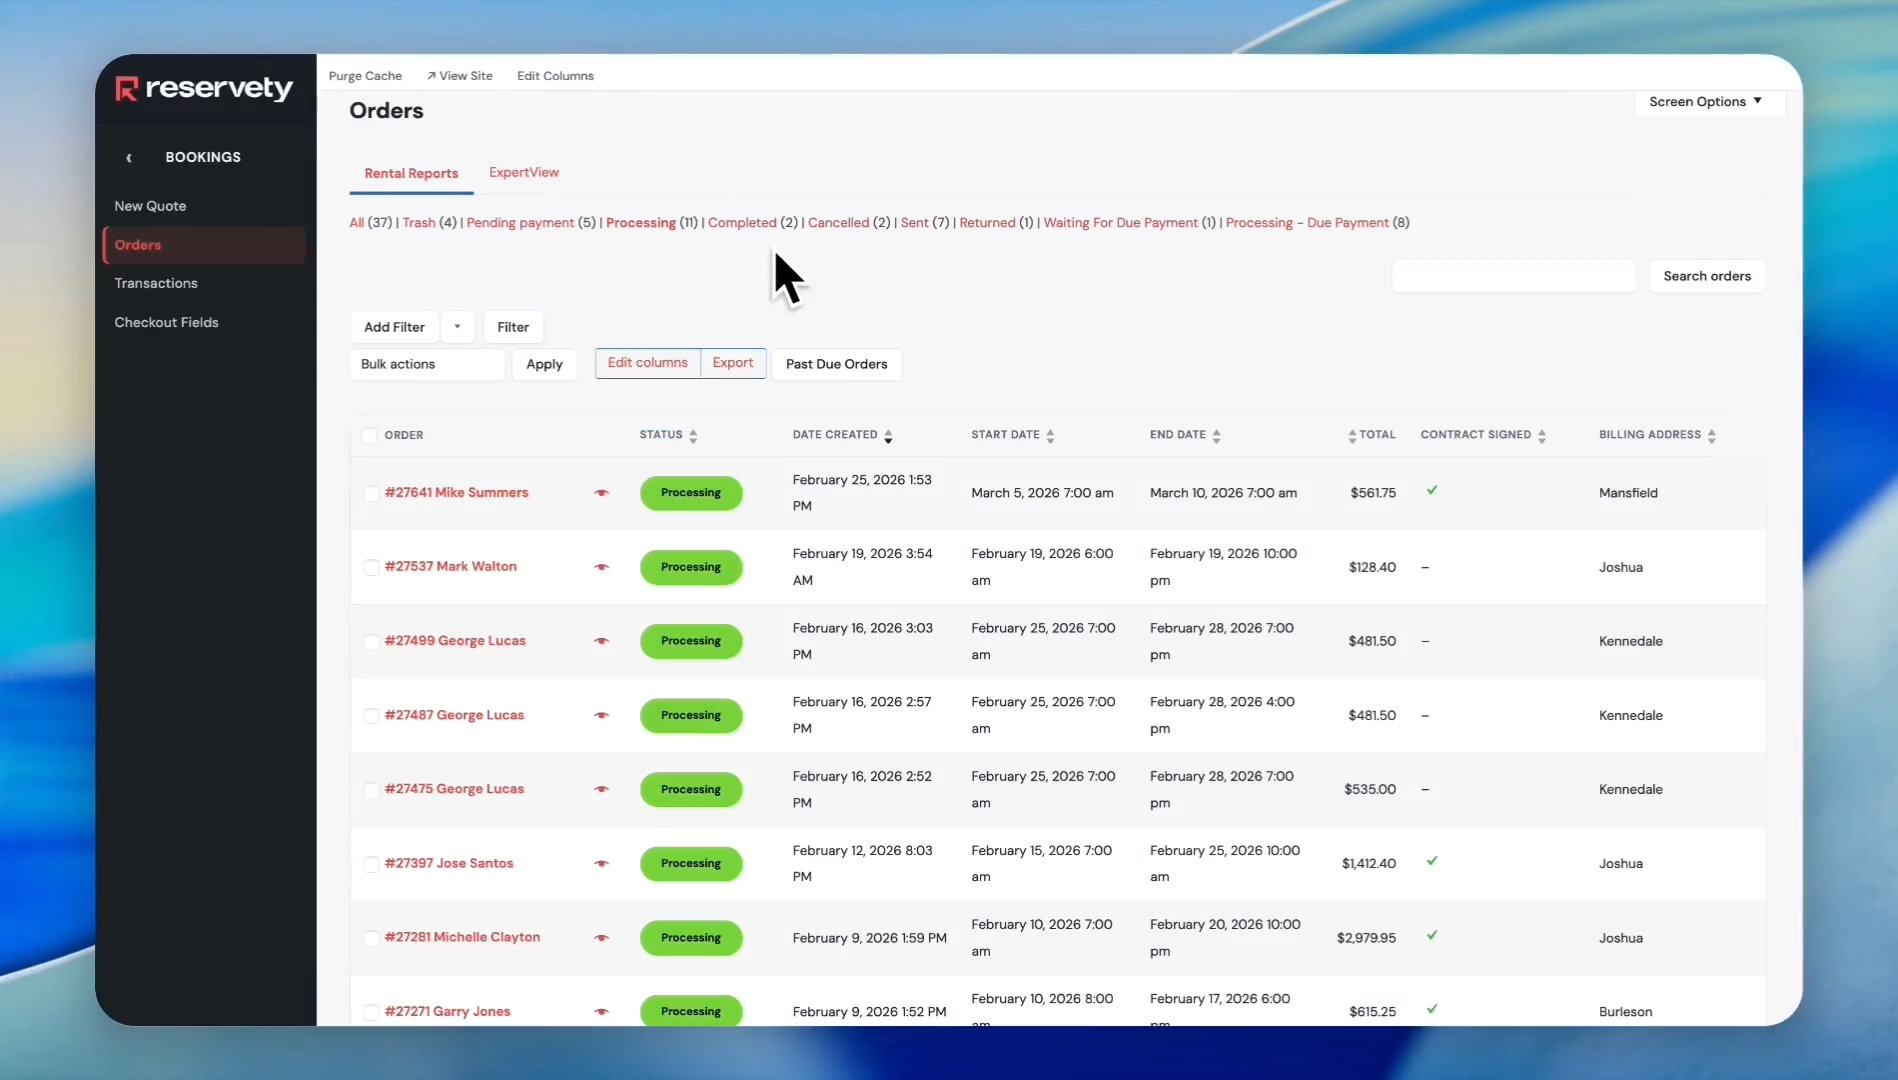
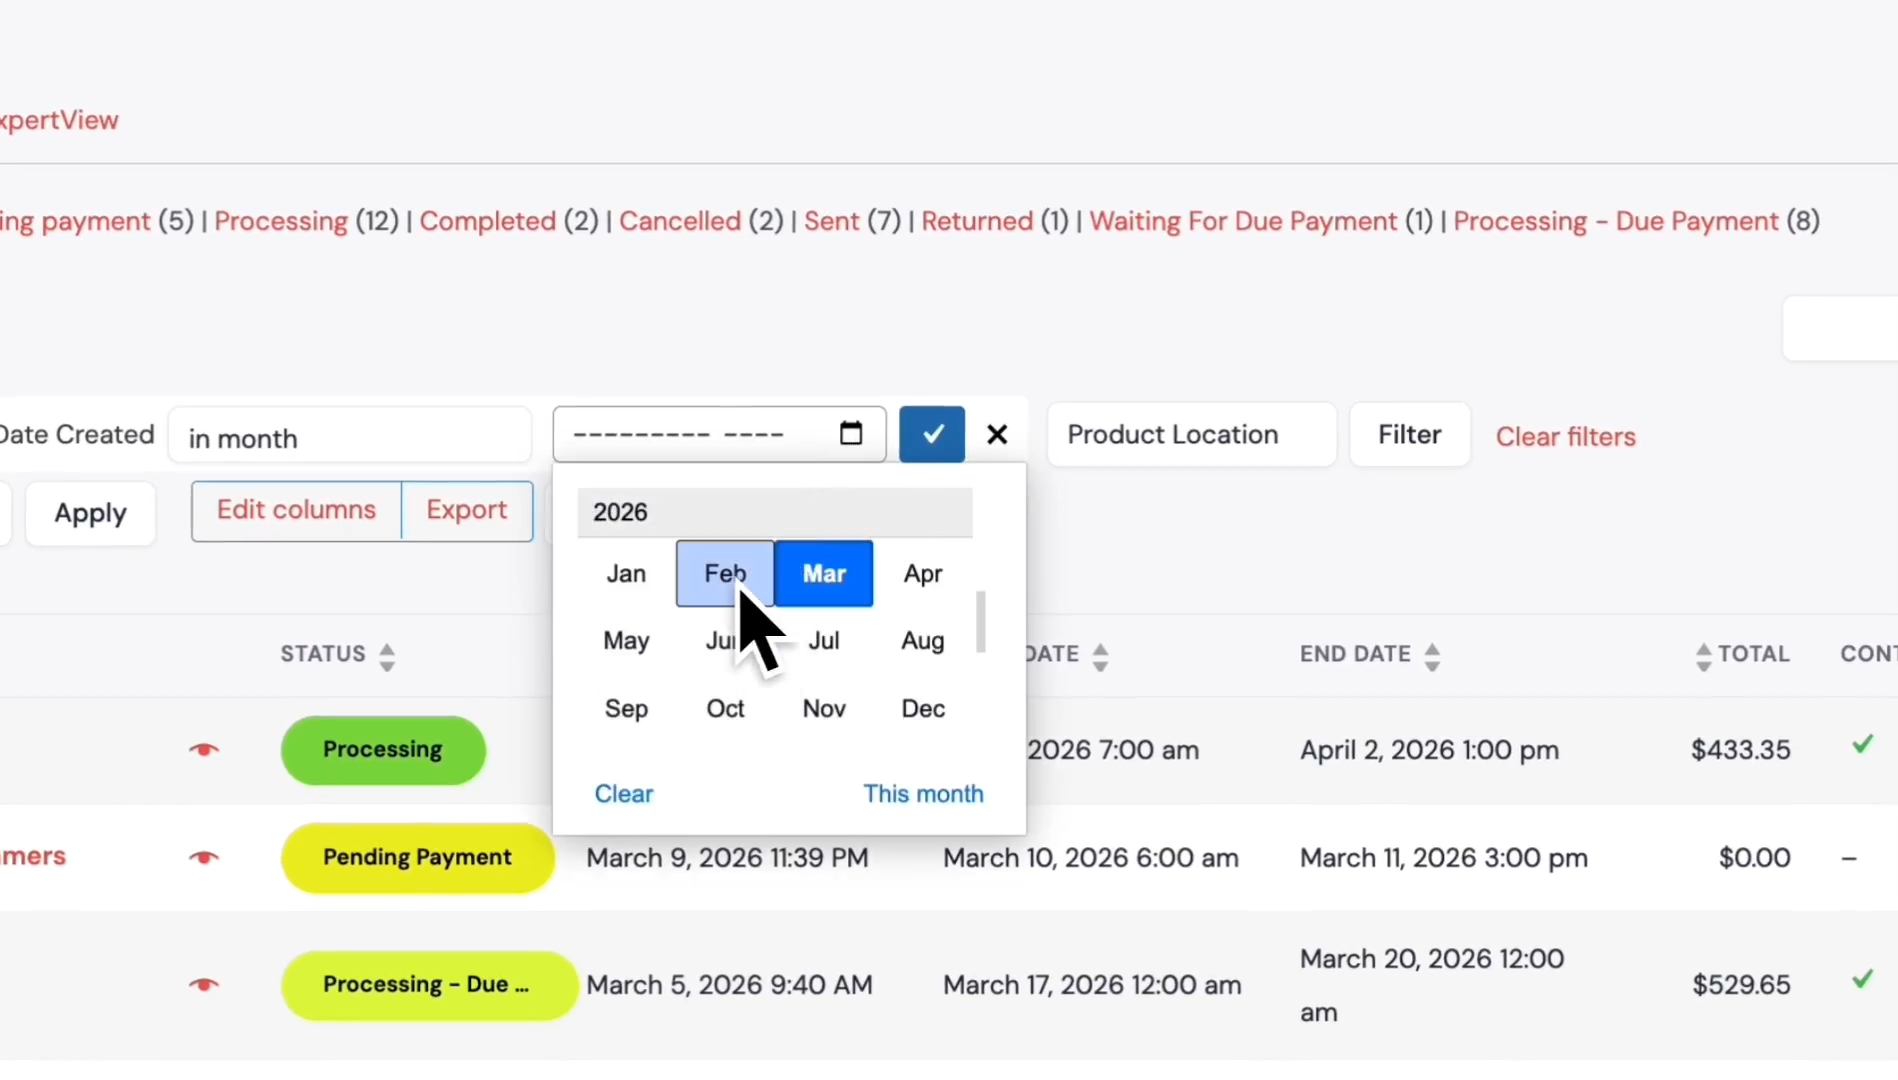
7
Click on the Processing status filter. It means the customer has already paid for the item or rental.Now, the business is processing its orders.
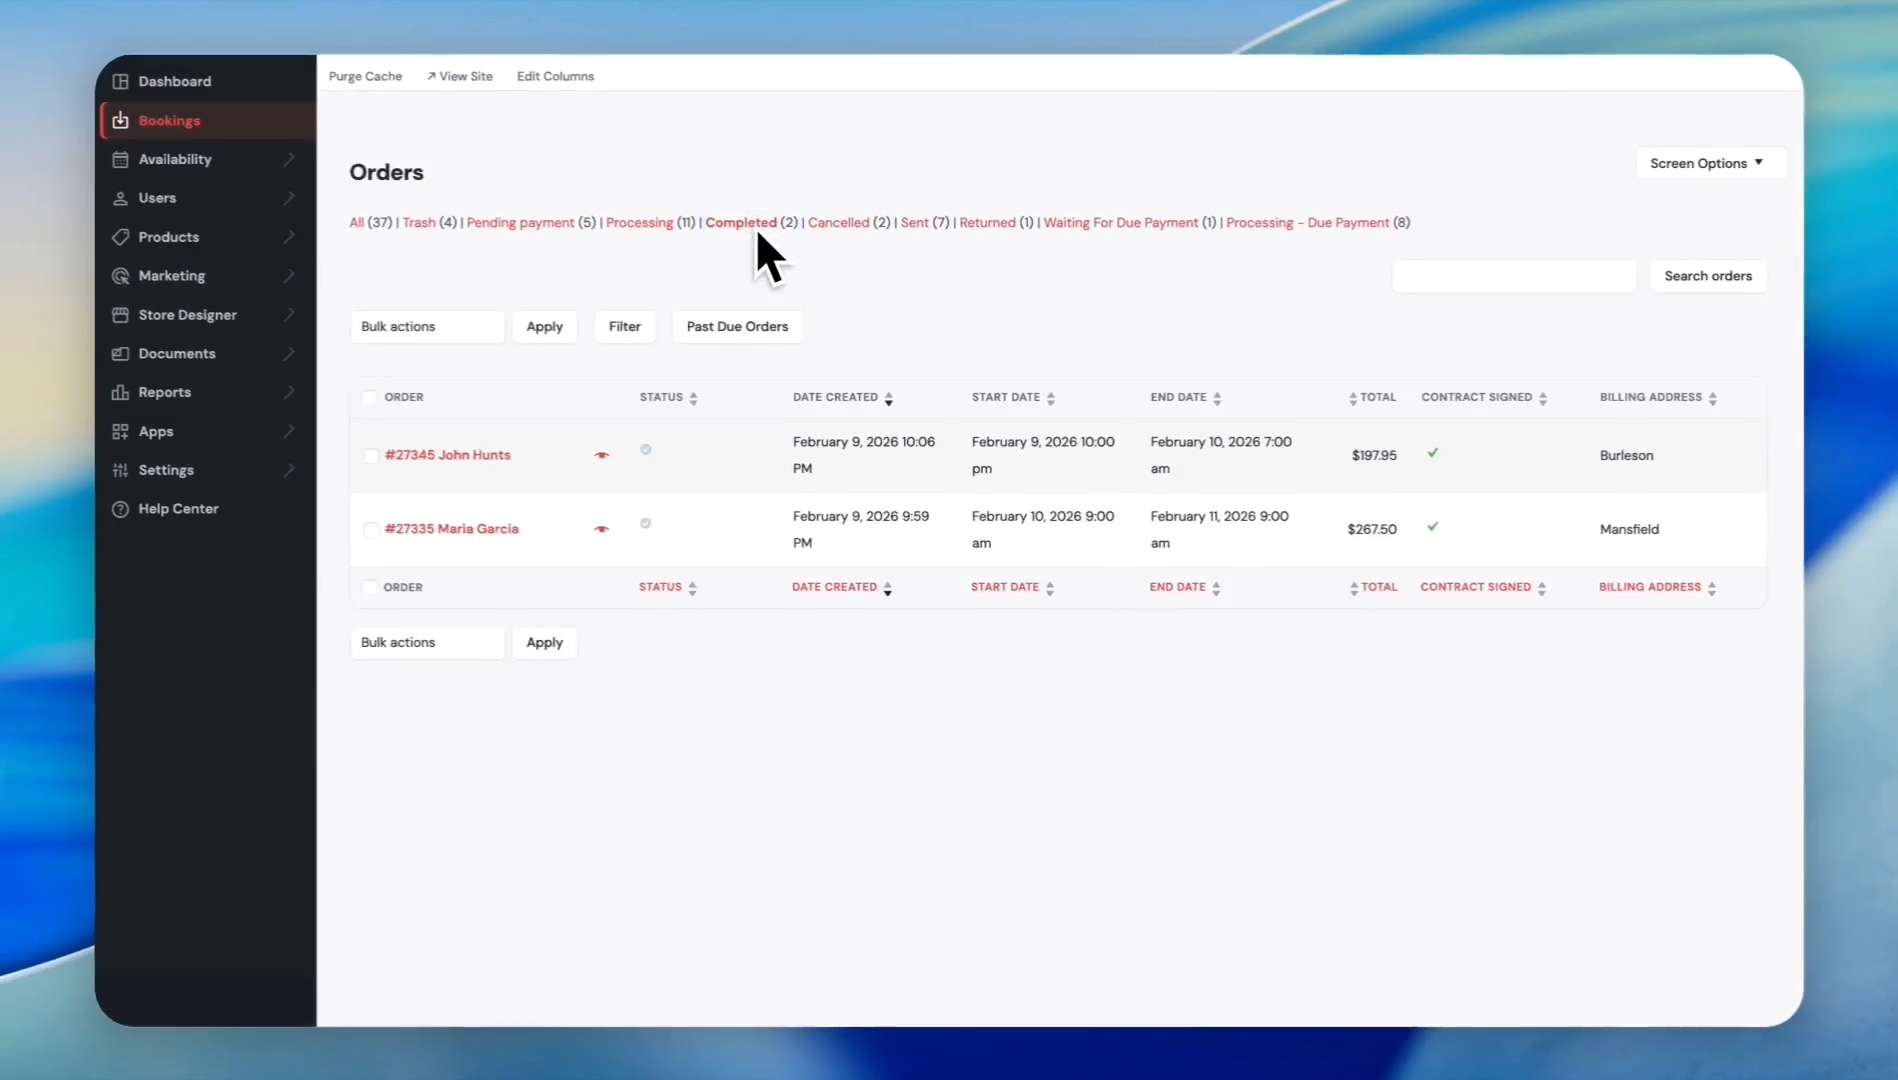
8
Click on the Completed status filter. It means the order has been fully fulfilled. For example, the order was shipped, and the customer returned the item.
9
Click on the Cancelled status filter. As you can see, there are two canceled orders.
10
Click the Sent status filter to see orders that have been sent.
11
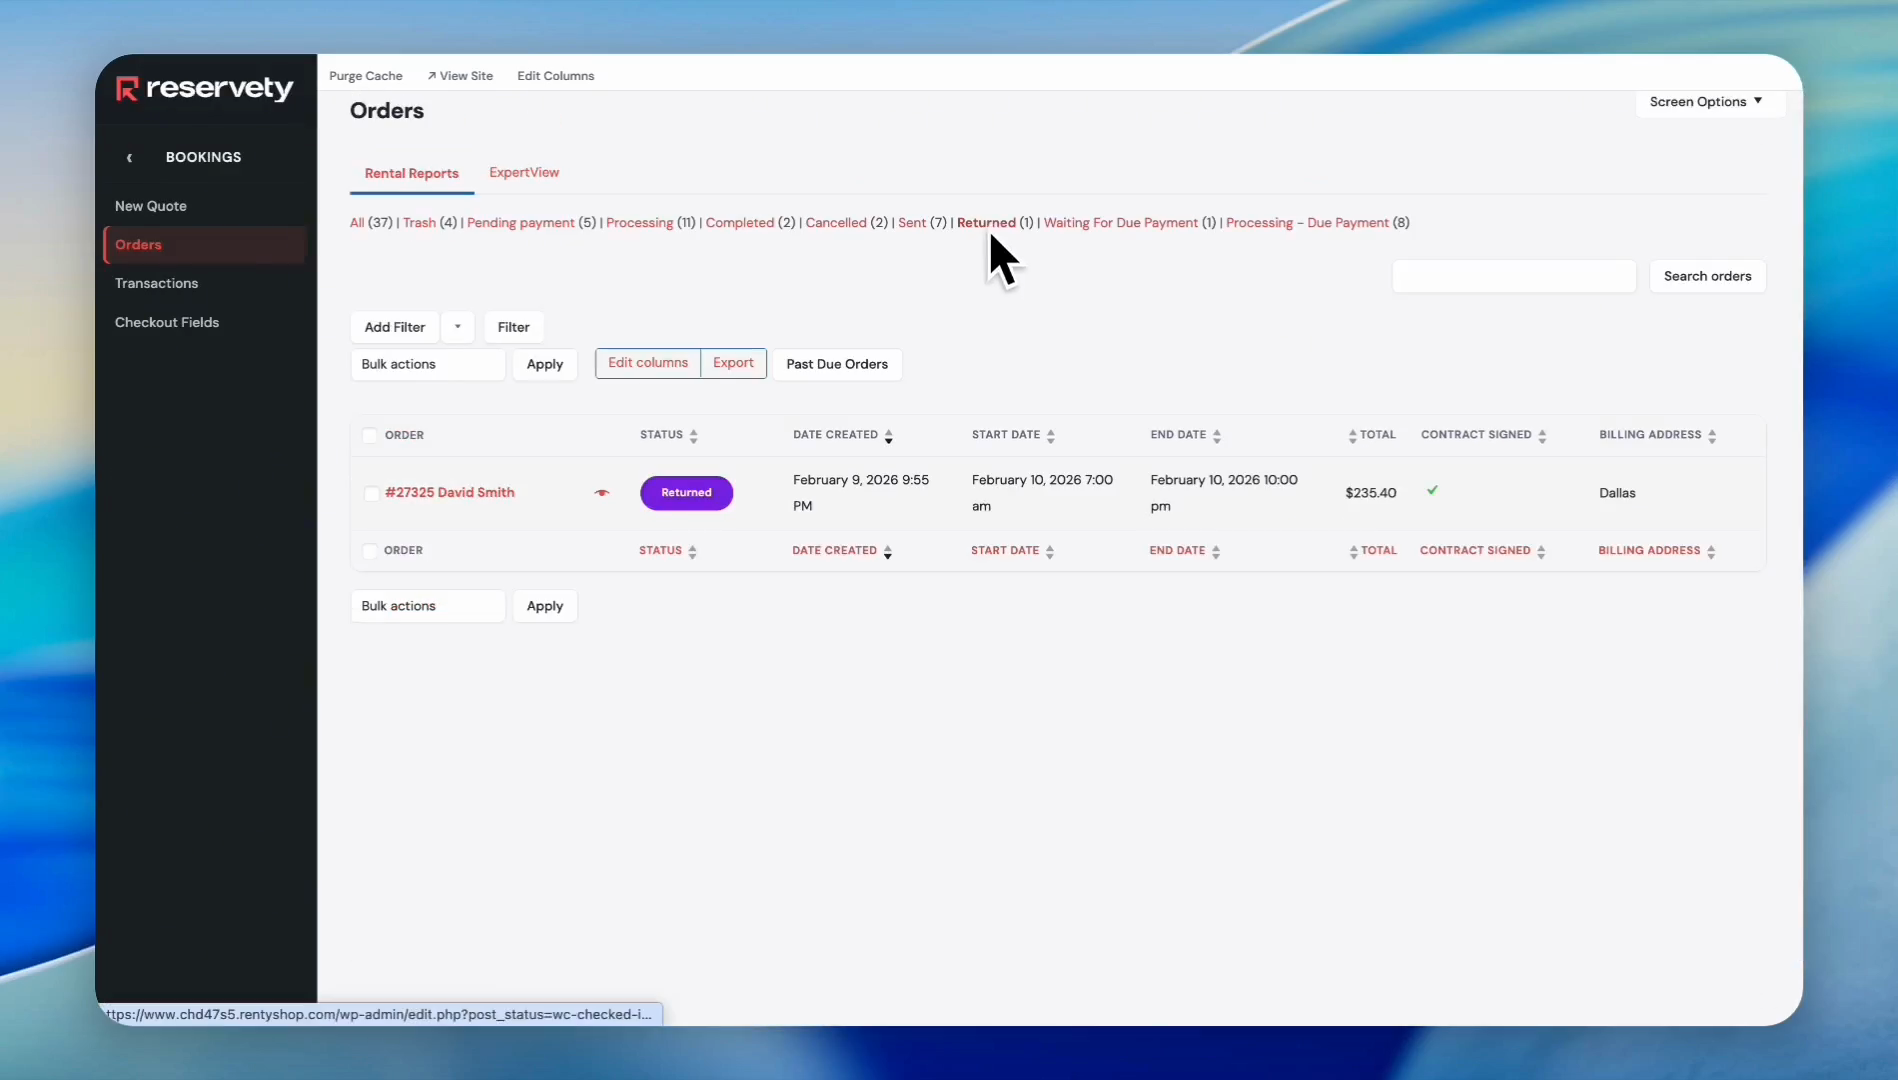
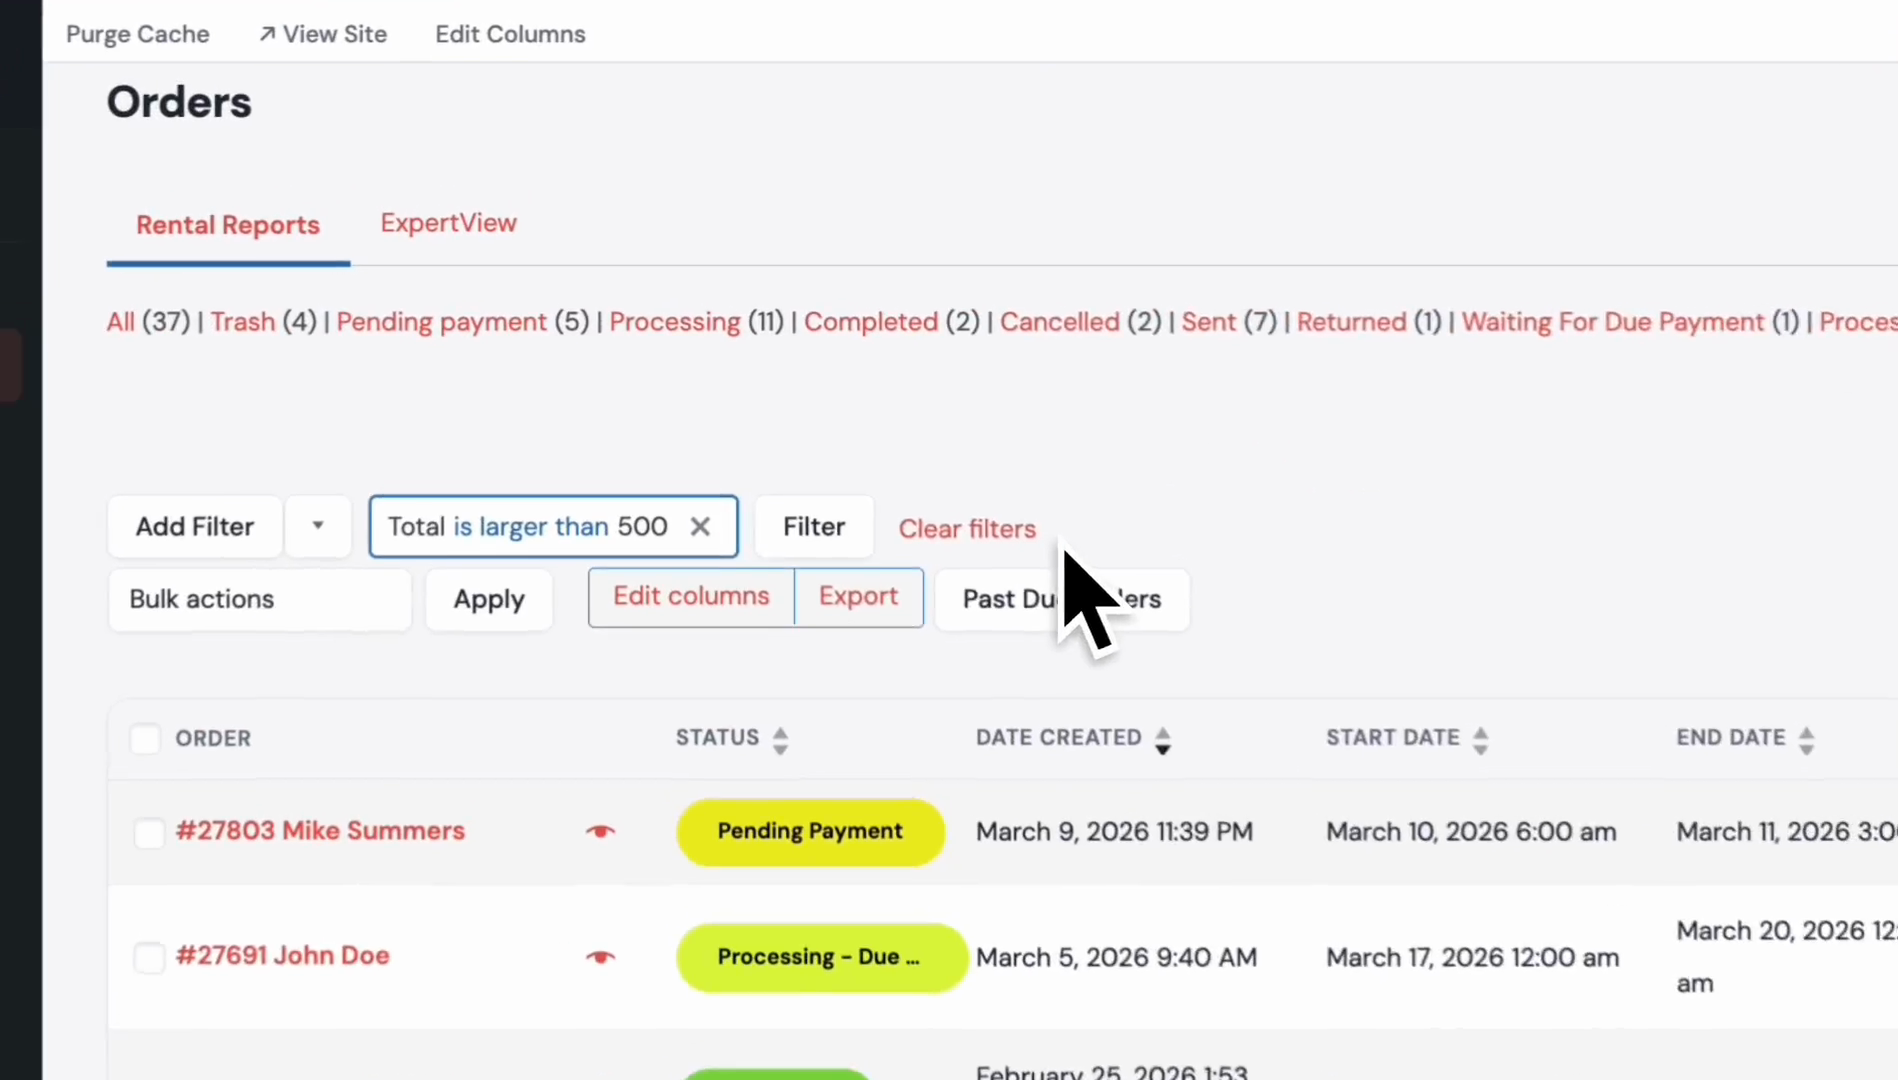
Click on the Returned status filter to see returned orders.
12
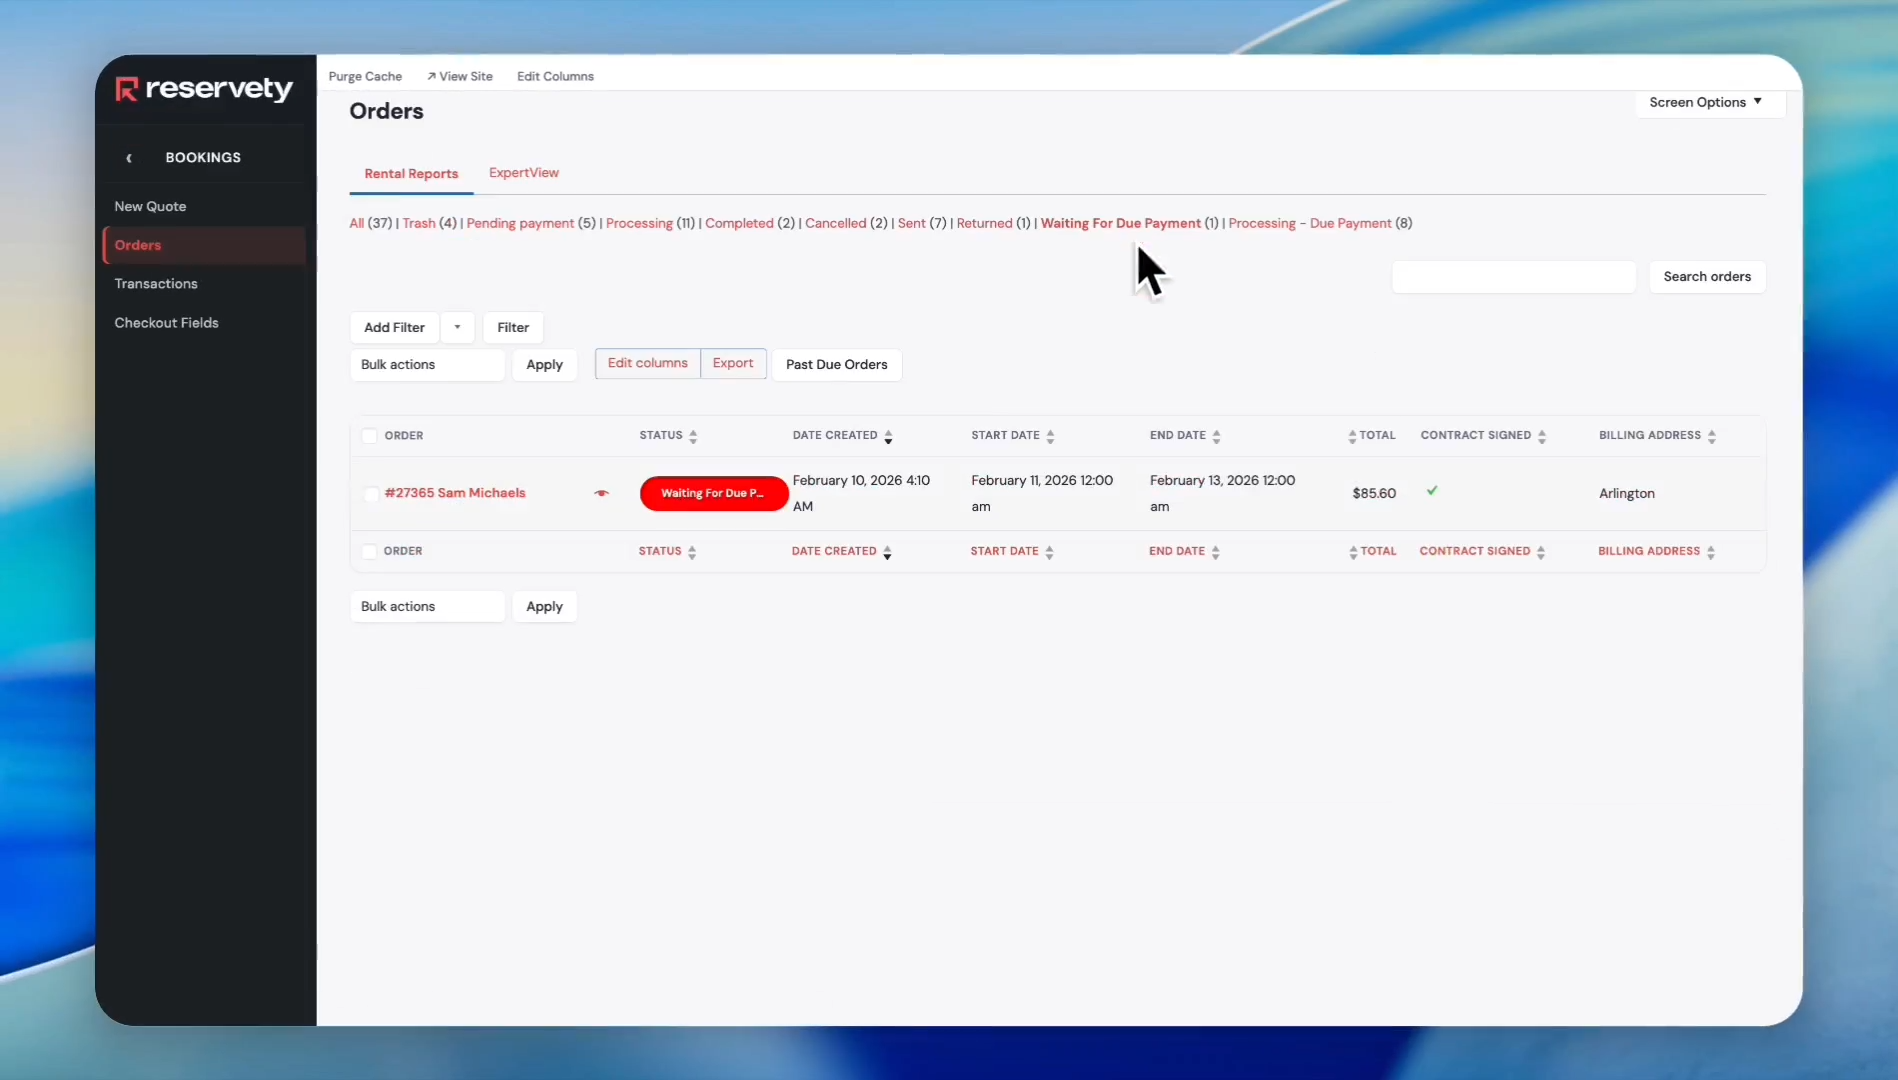
Click the Waiting For Due Payment status filter to see orders with past-due amounts.
13
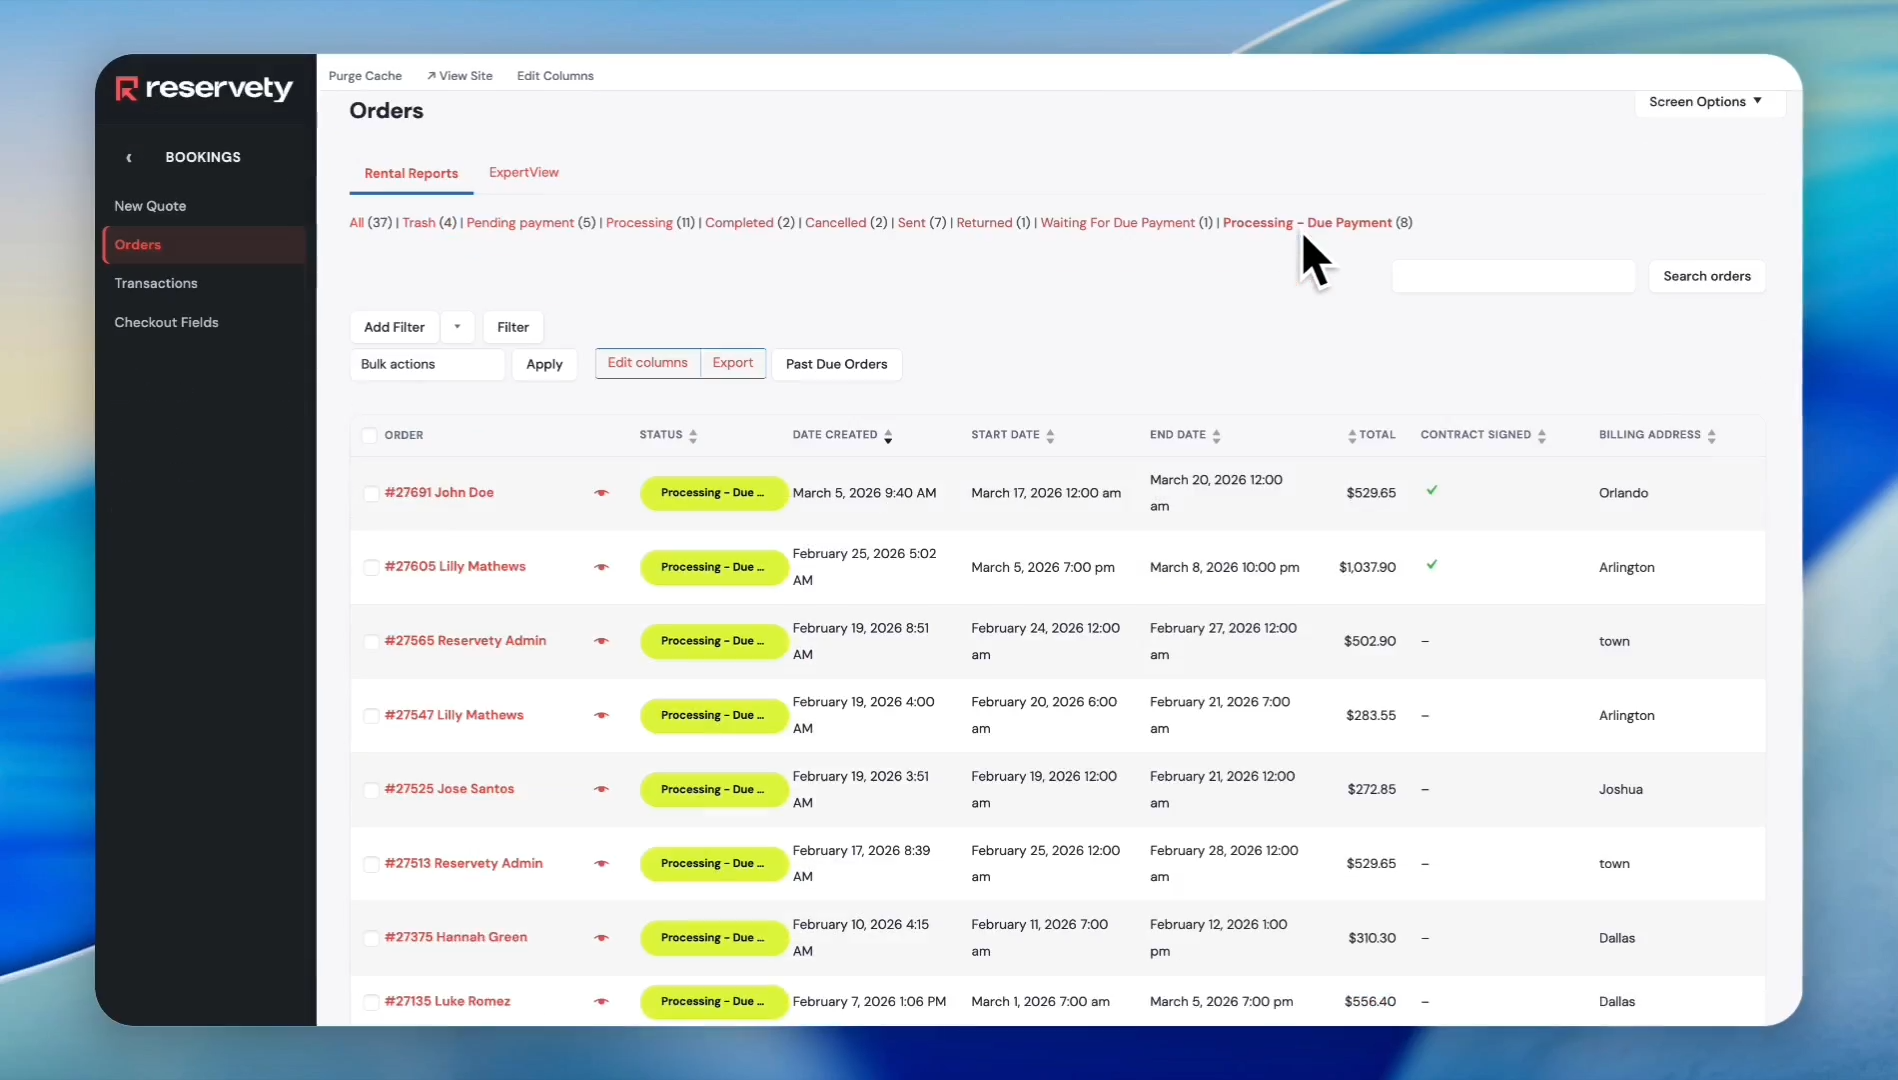
Click on the Processing - Due Payment status filter. It means the order has been received, but there is still an outstanding amount that customers need to pay to the business.
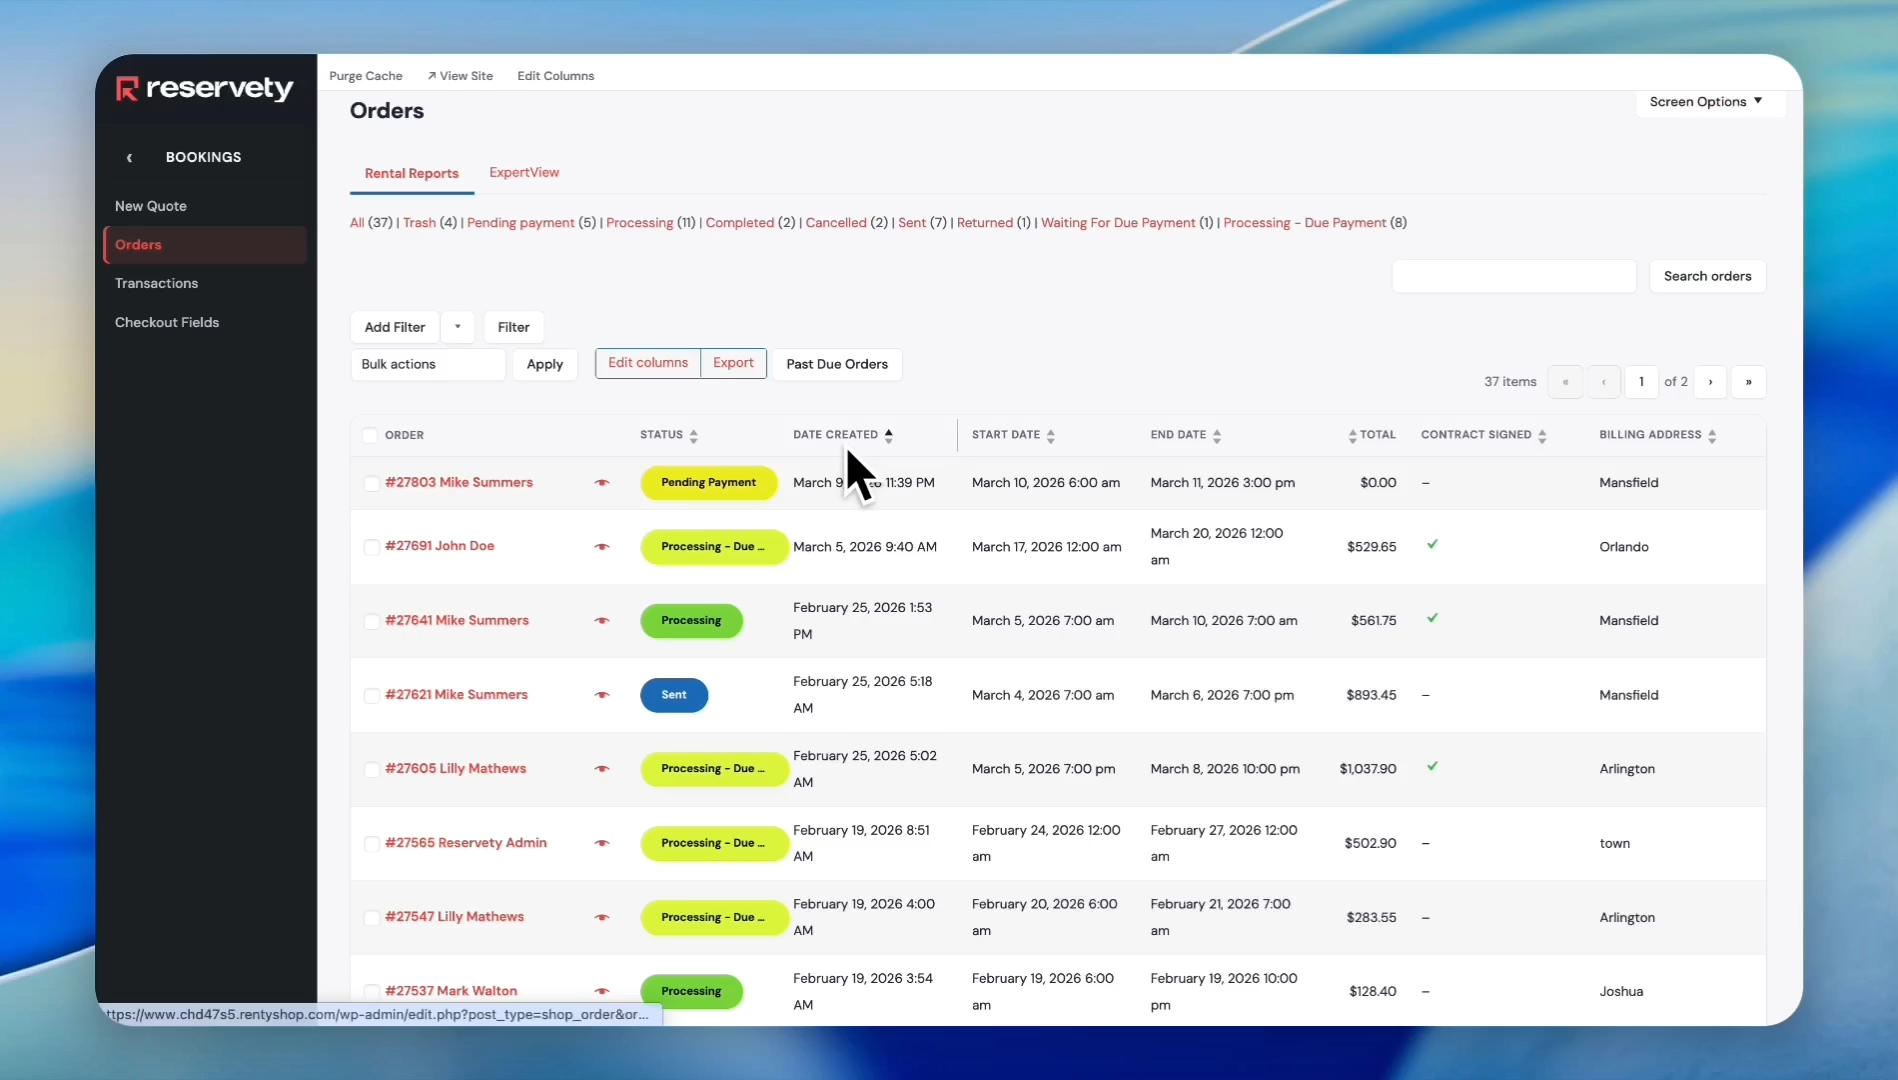
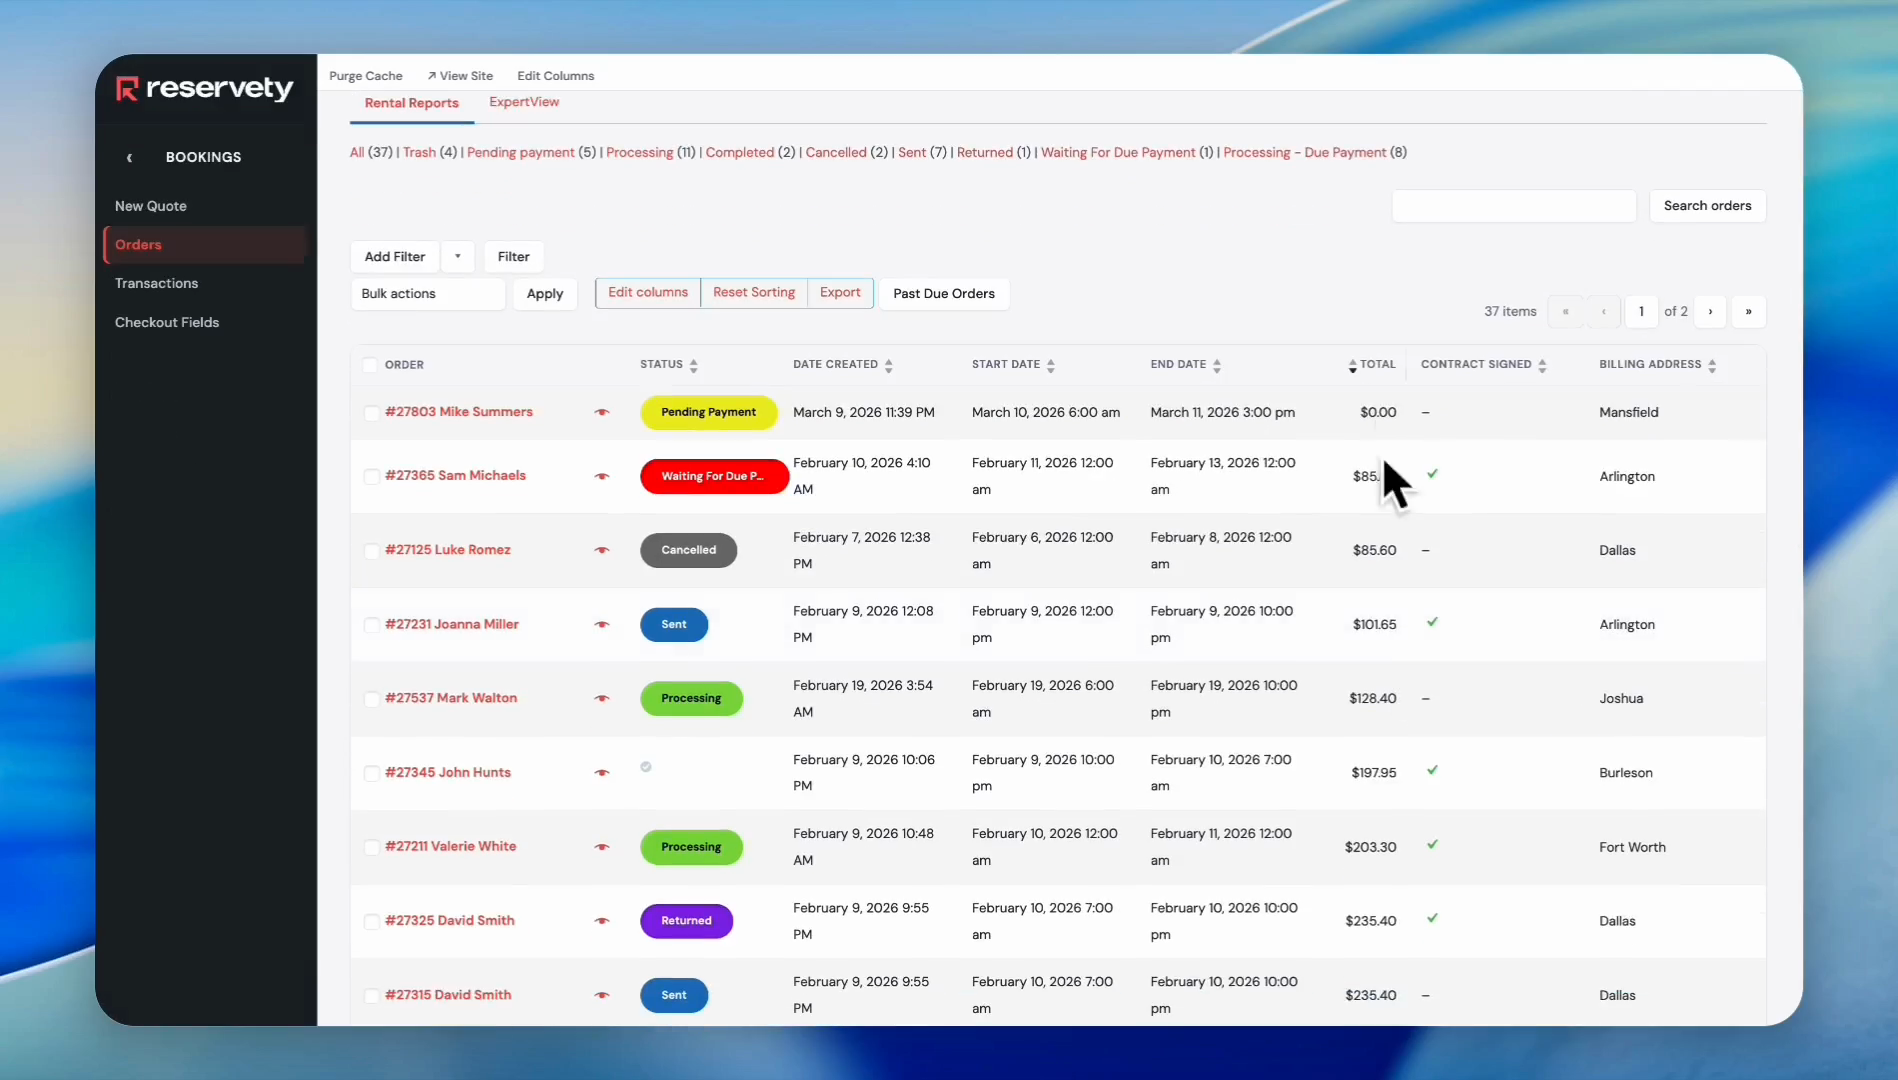
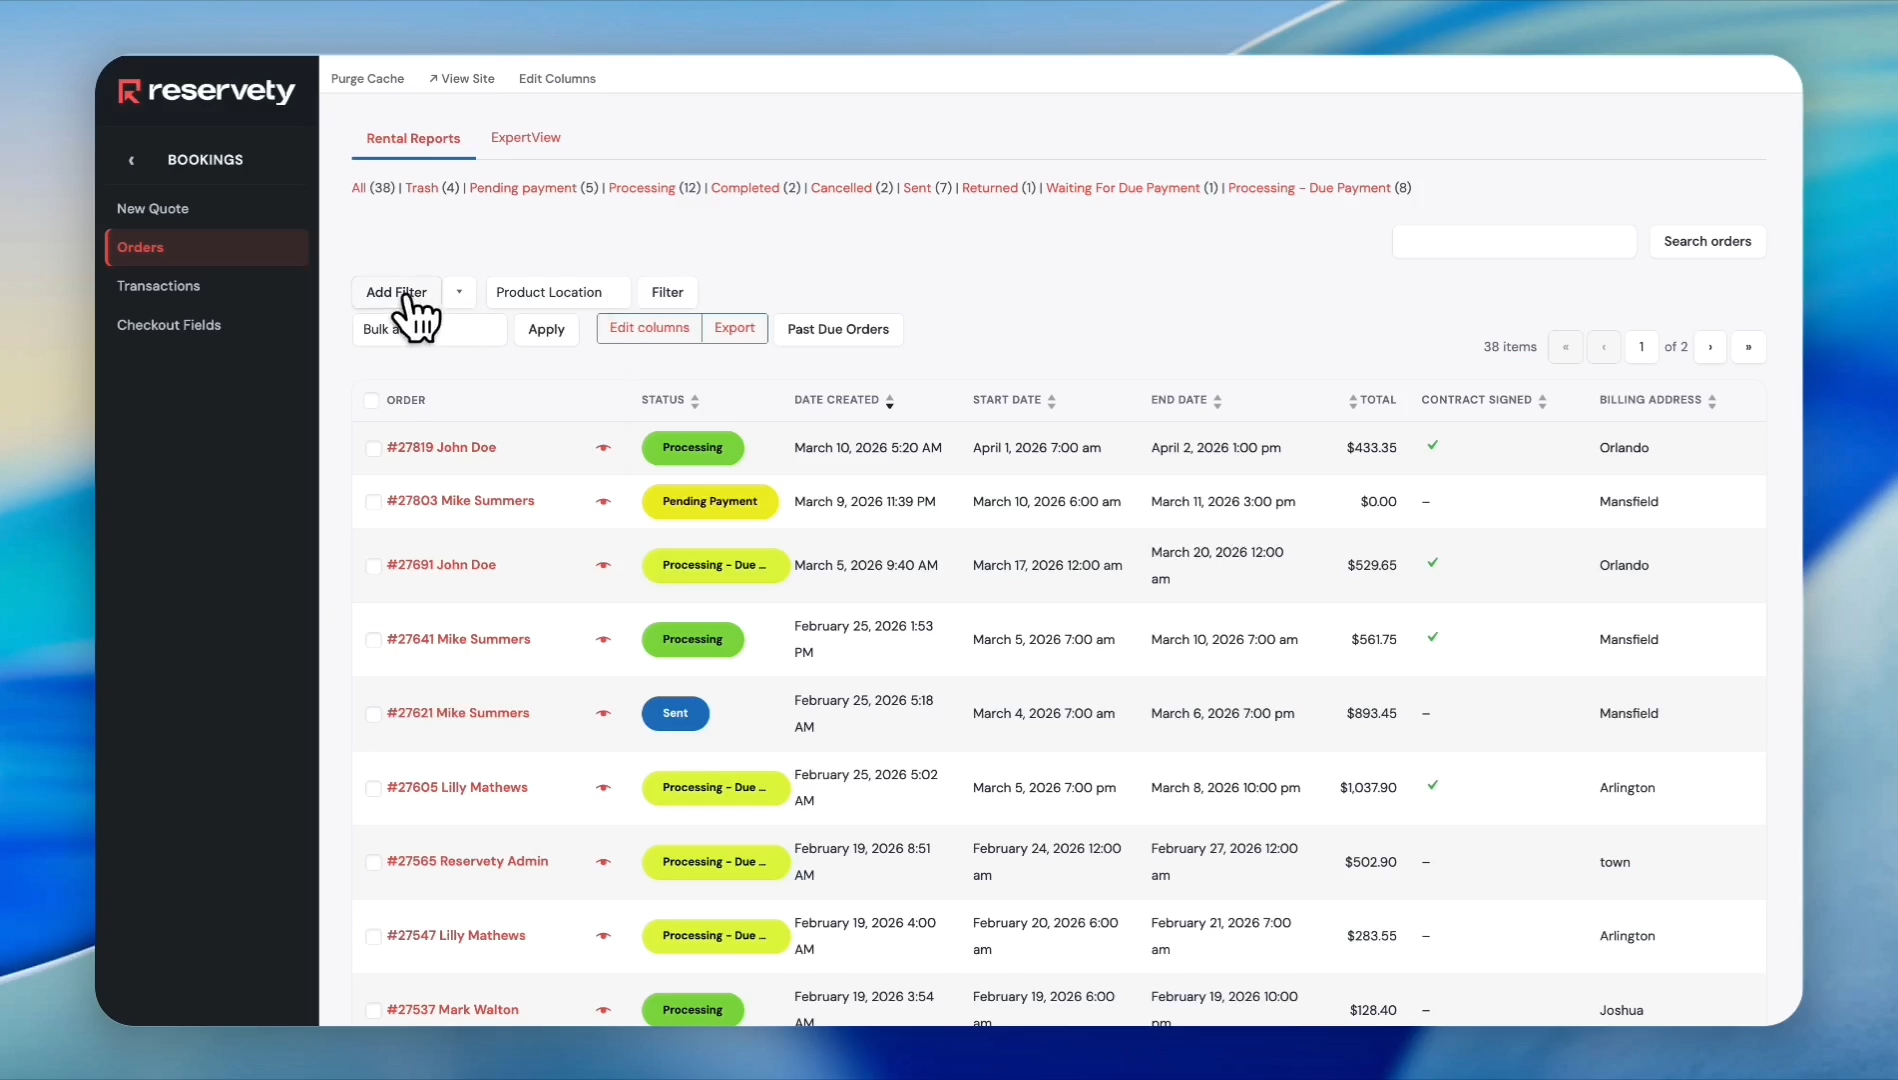
Next, let's discuss the headings of each column in the filters.The first column displays the customer information.The second column displays the order status. You can group or arrange orders by clicking the status titles.
14
Click the 'STATUS' column header to sort orders by their status. When you click on the Status title, it groups all the statuses together.It organizes orders with similar statuses.
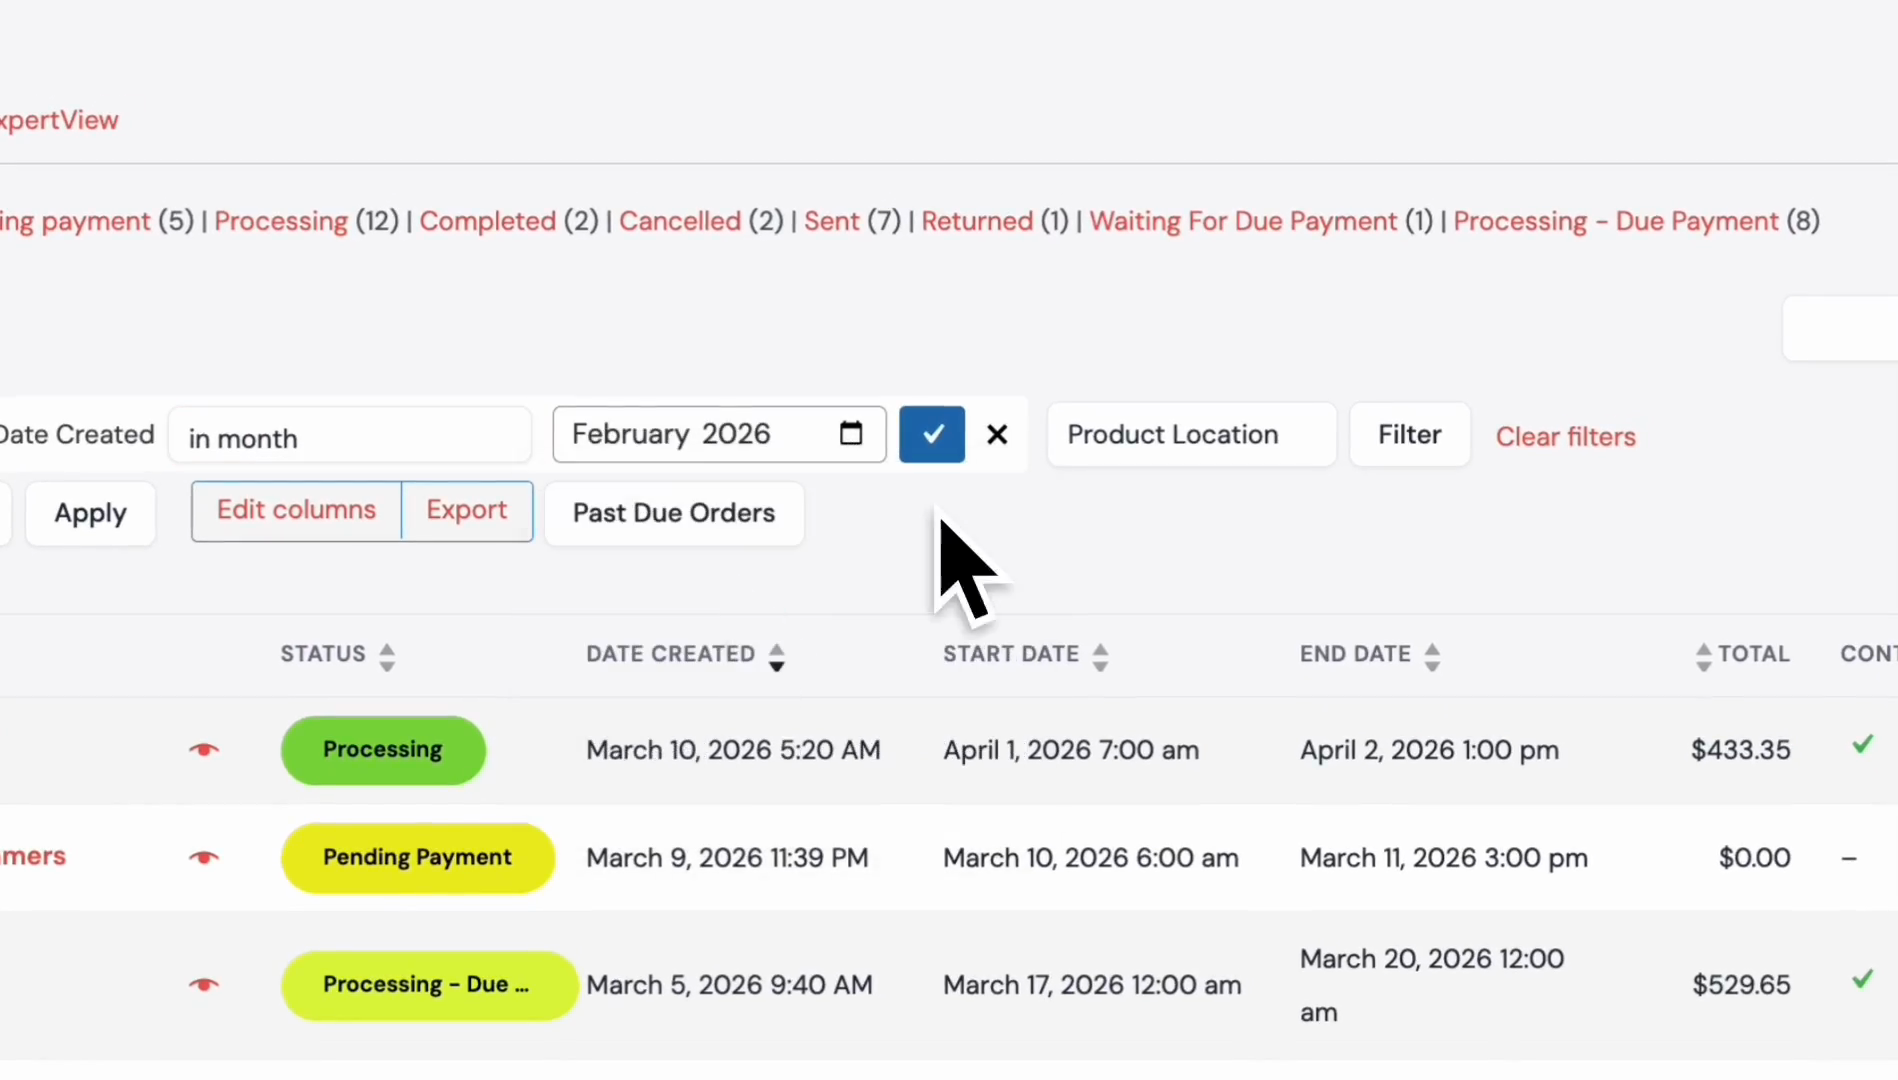
15
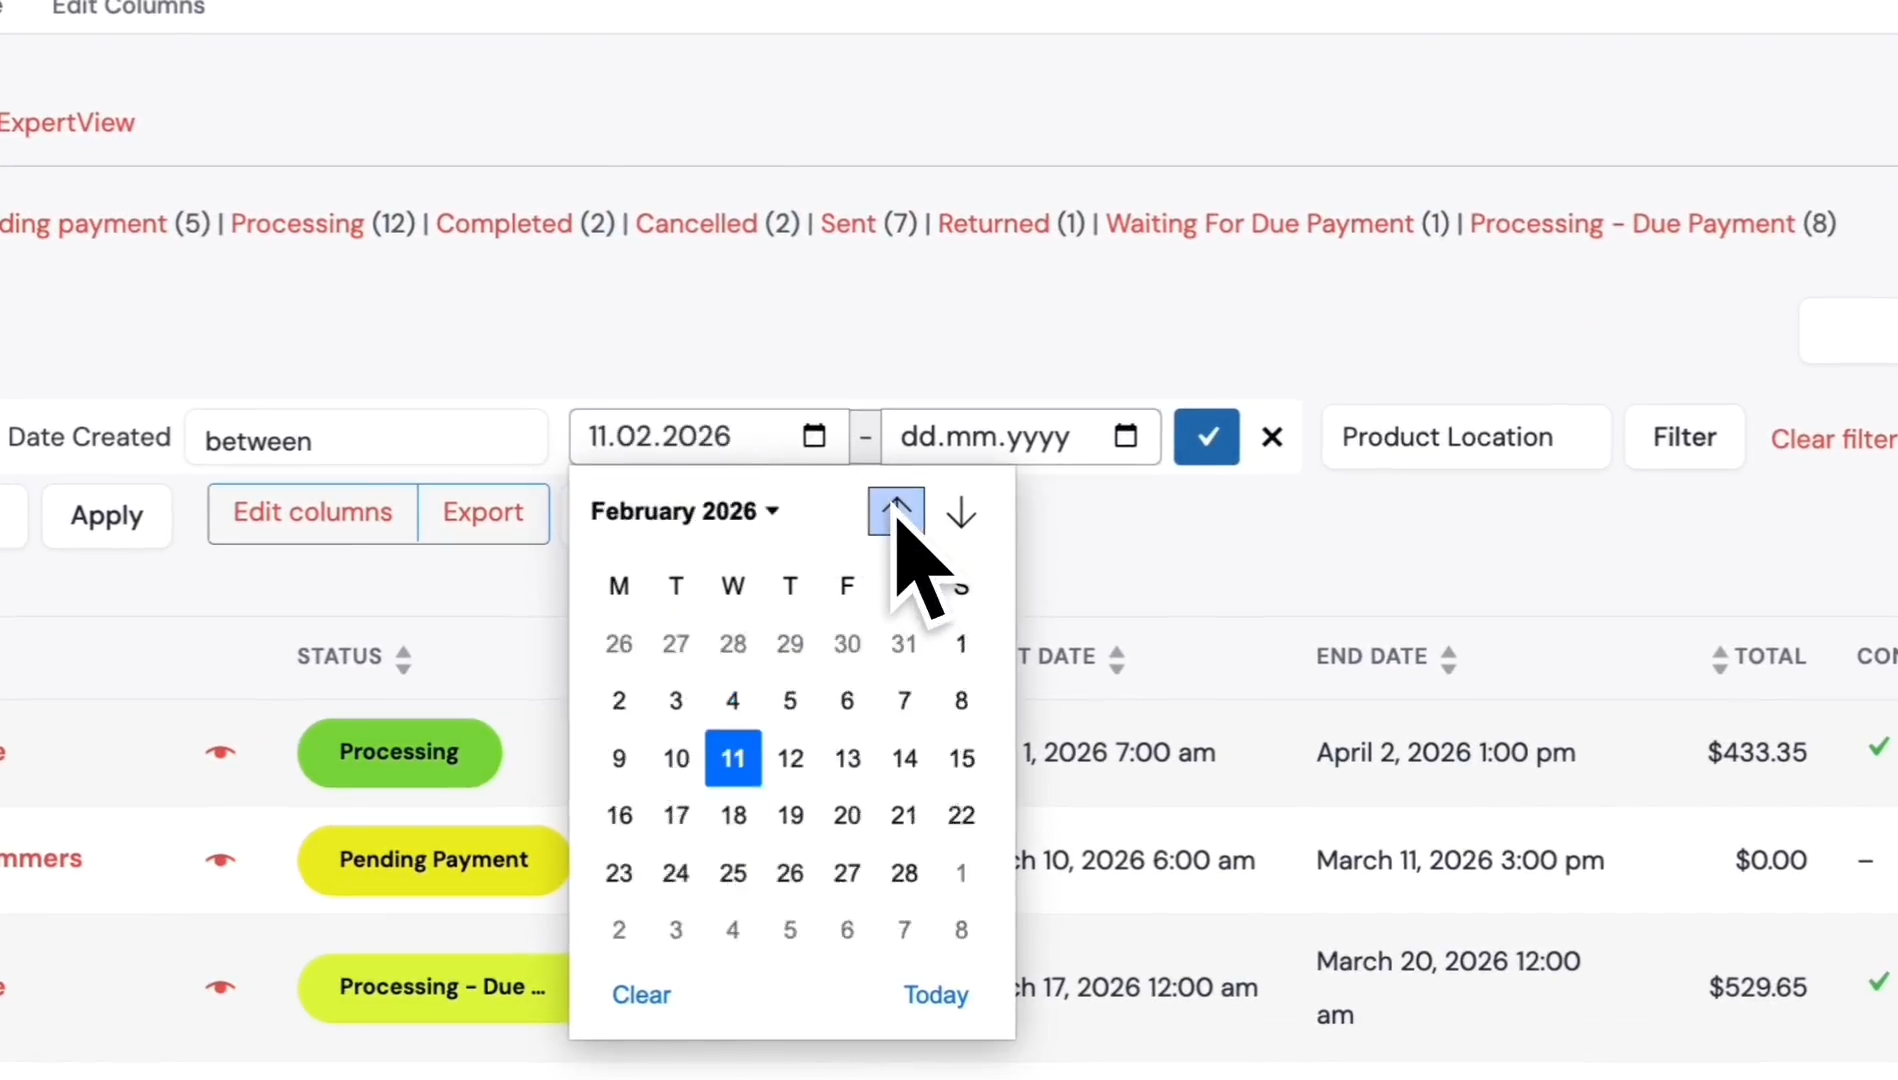
Click the 'DATE CREATED' column header to sort orders by their creation date.
You can also organize or group orders by selecting a Start Date and an End Date.
16
Click the 'TOTAL' column header to sort orders by the total amount, starting from the lowest or from the highest.
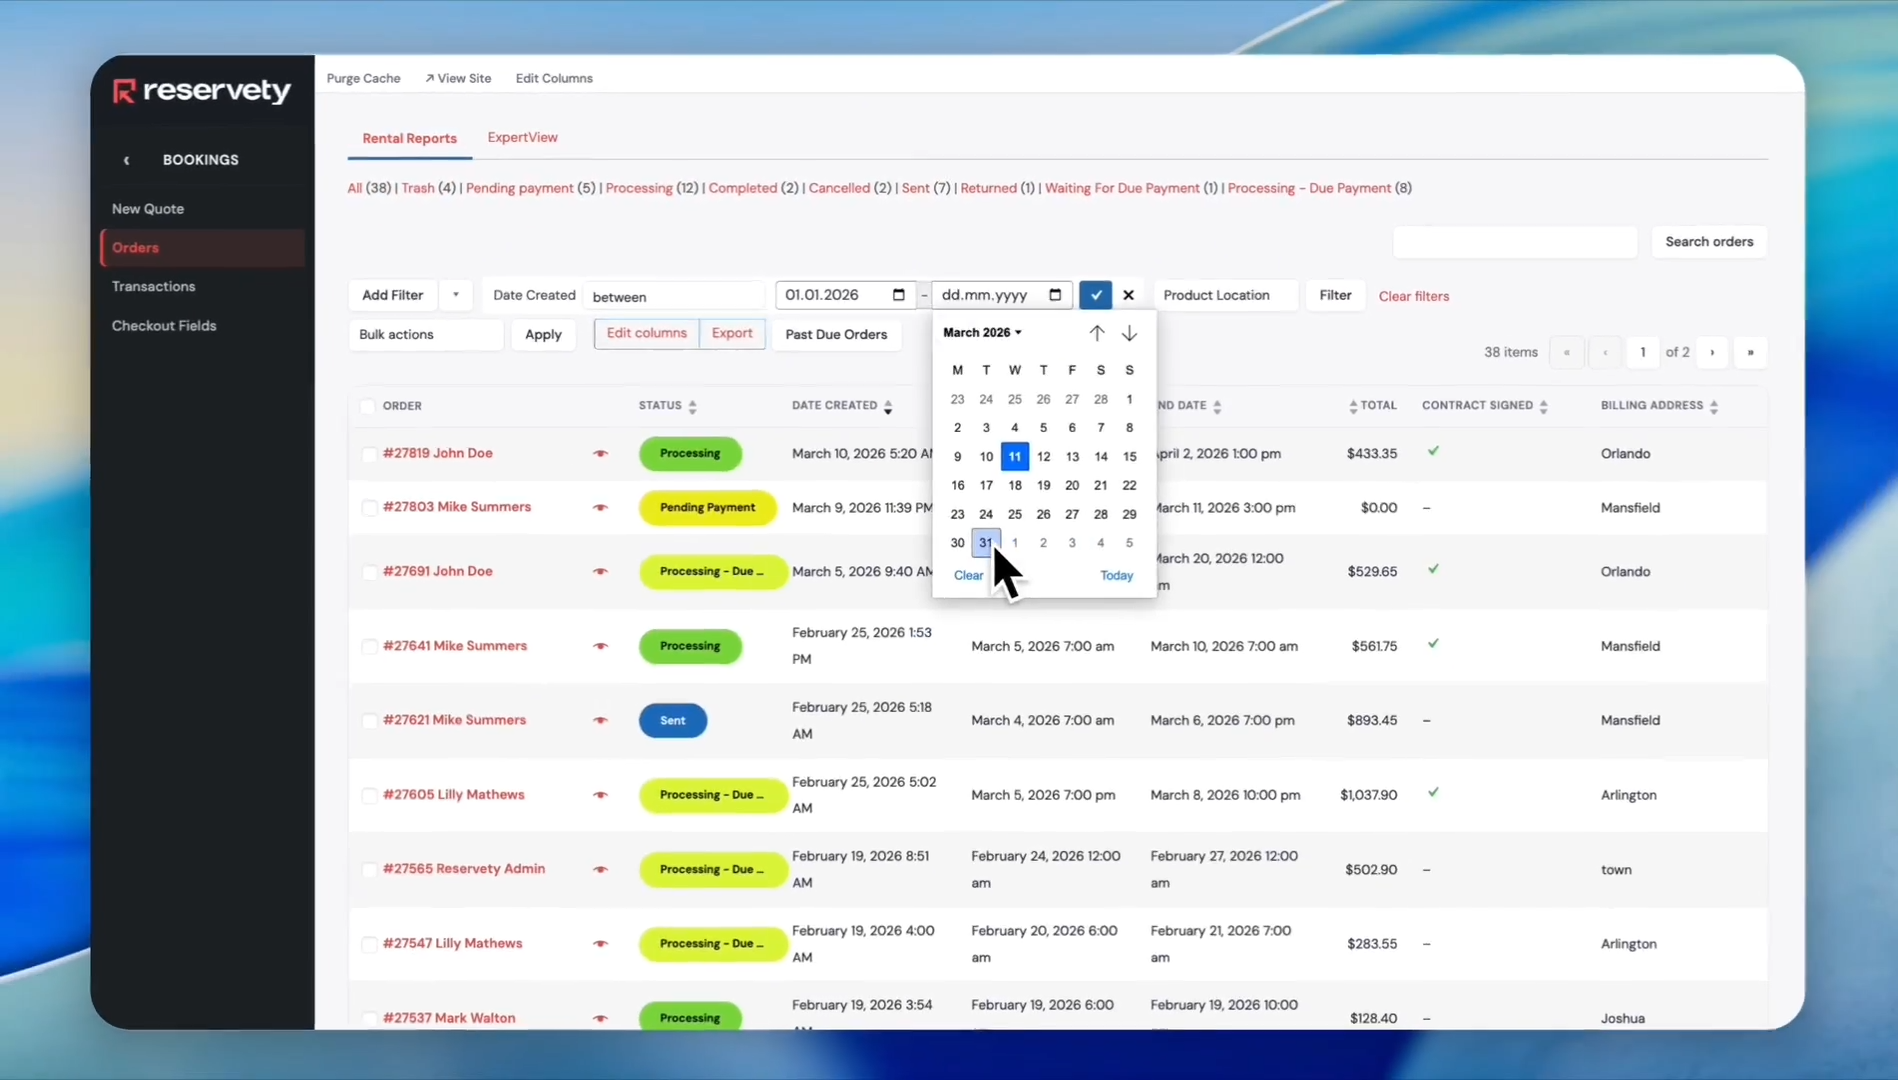
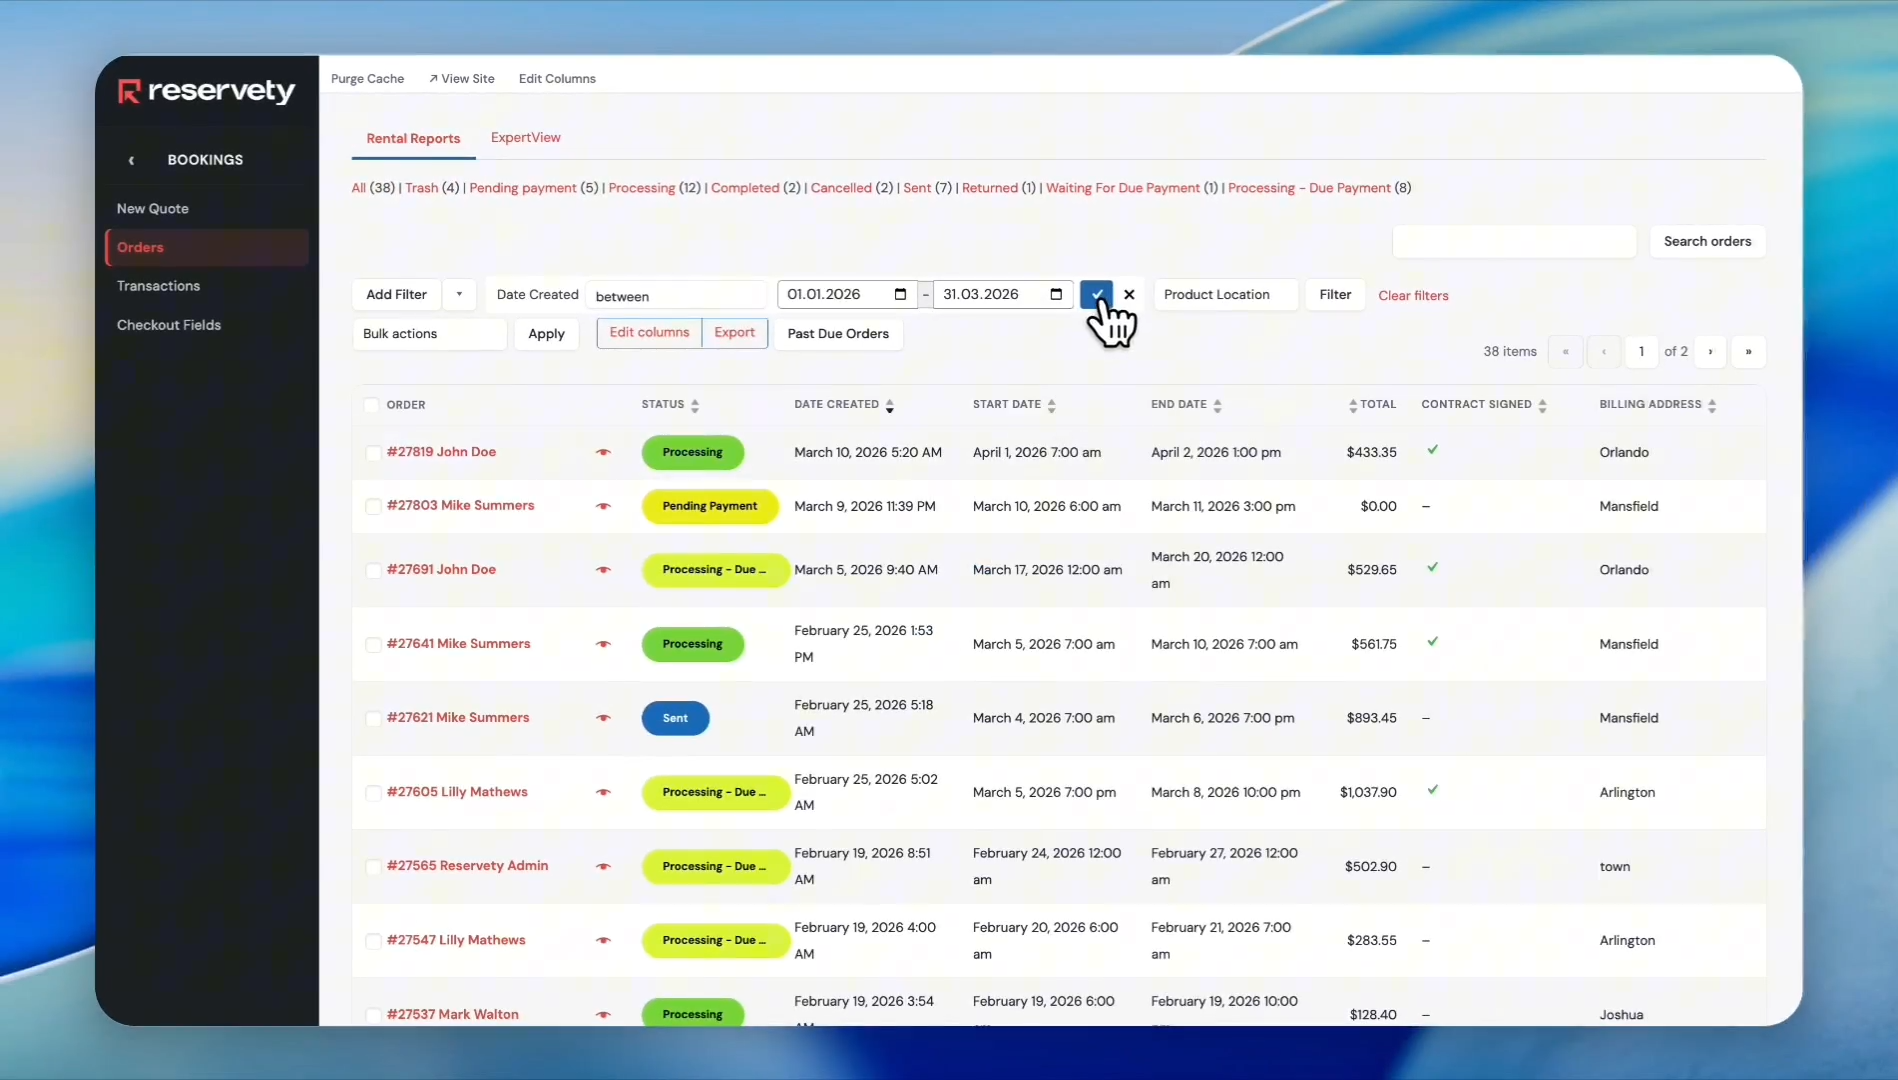
A check mark on the "Contract Signed" column means the customer has already signed the contract.
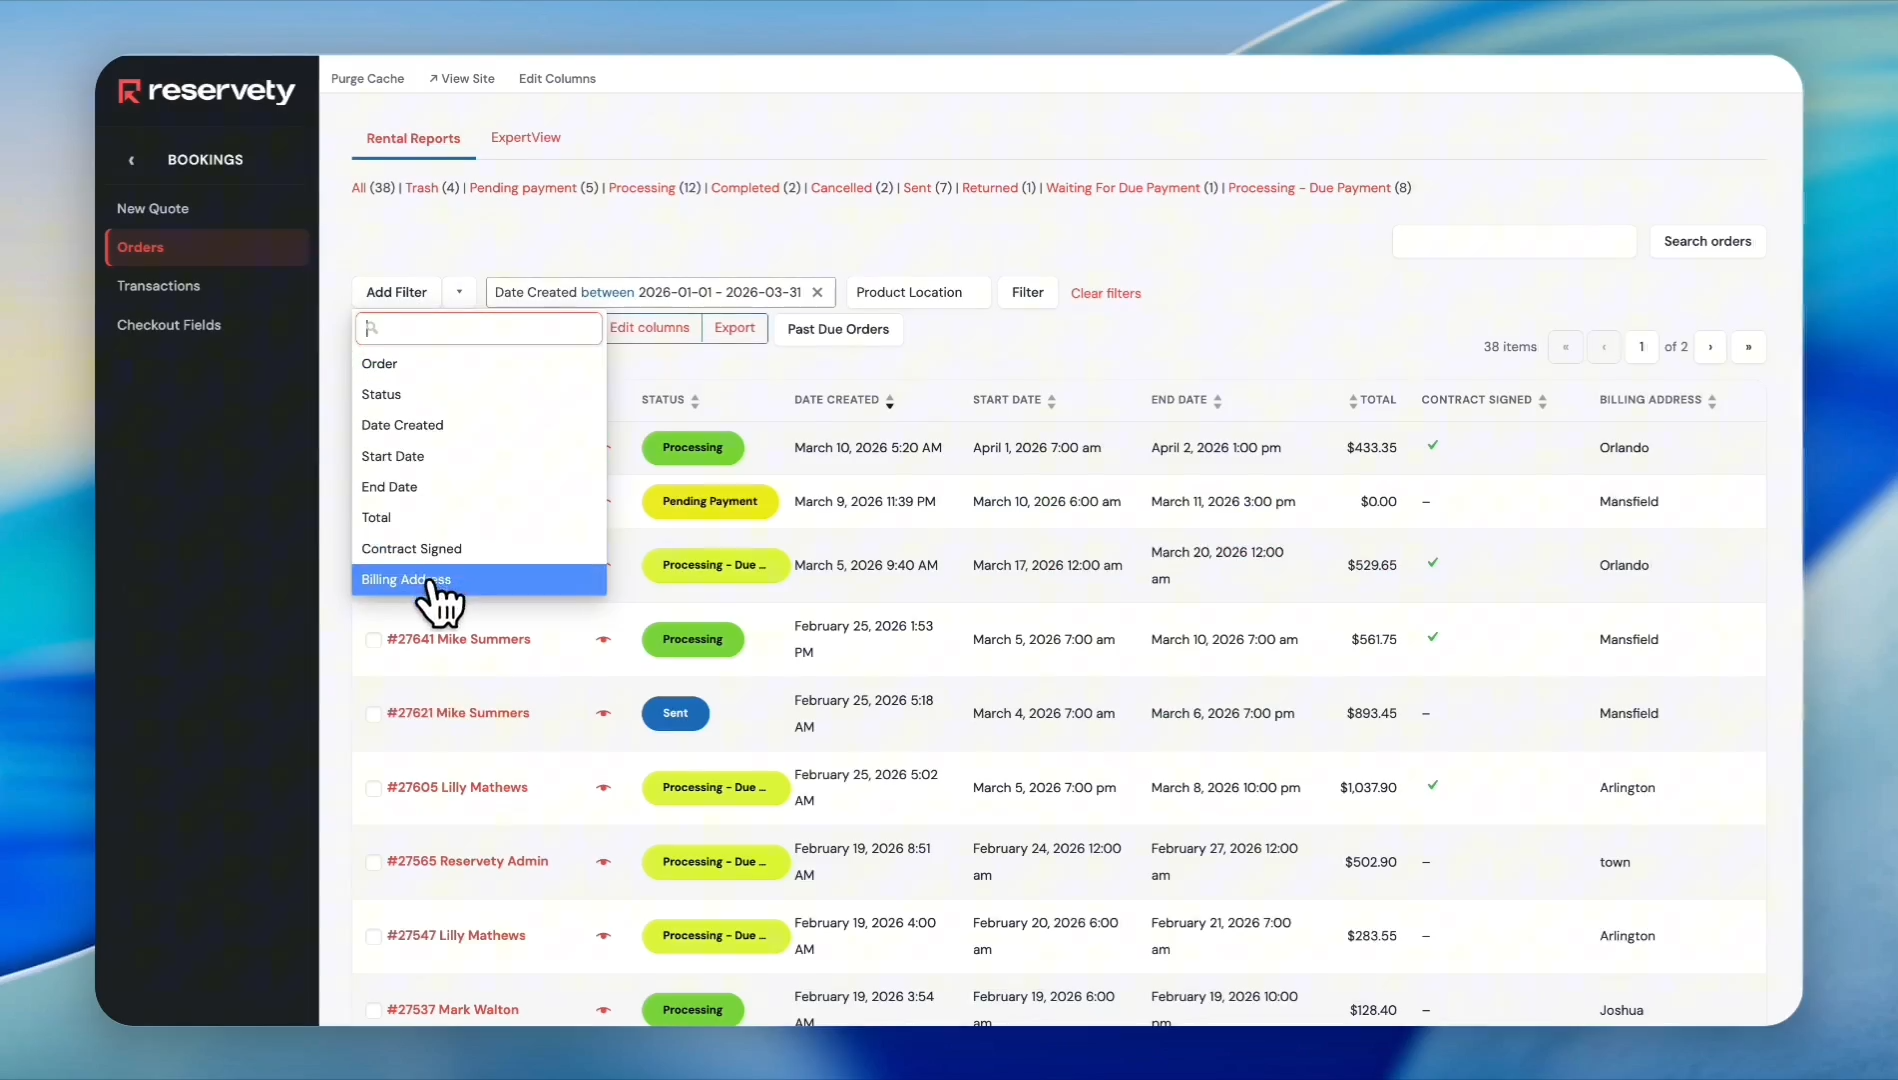
17
Click the Billing Address column header to organize orders by city.
There are different types of filters to organize your orders.Let's create an orders report for February and export it to a CSV file.
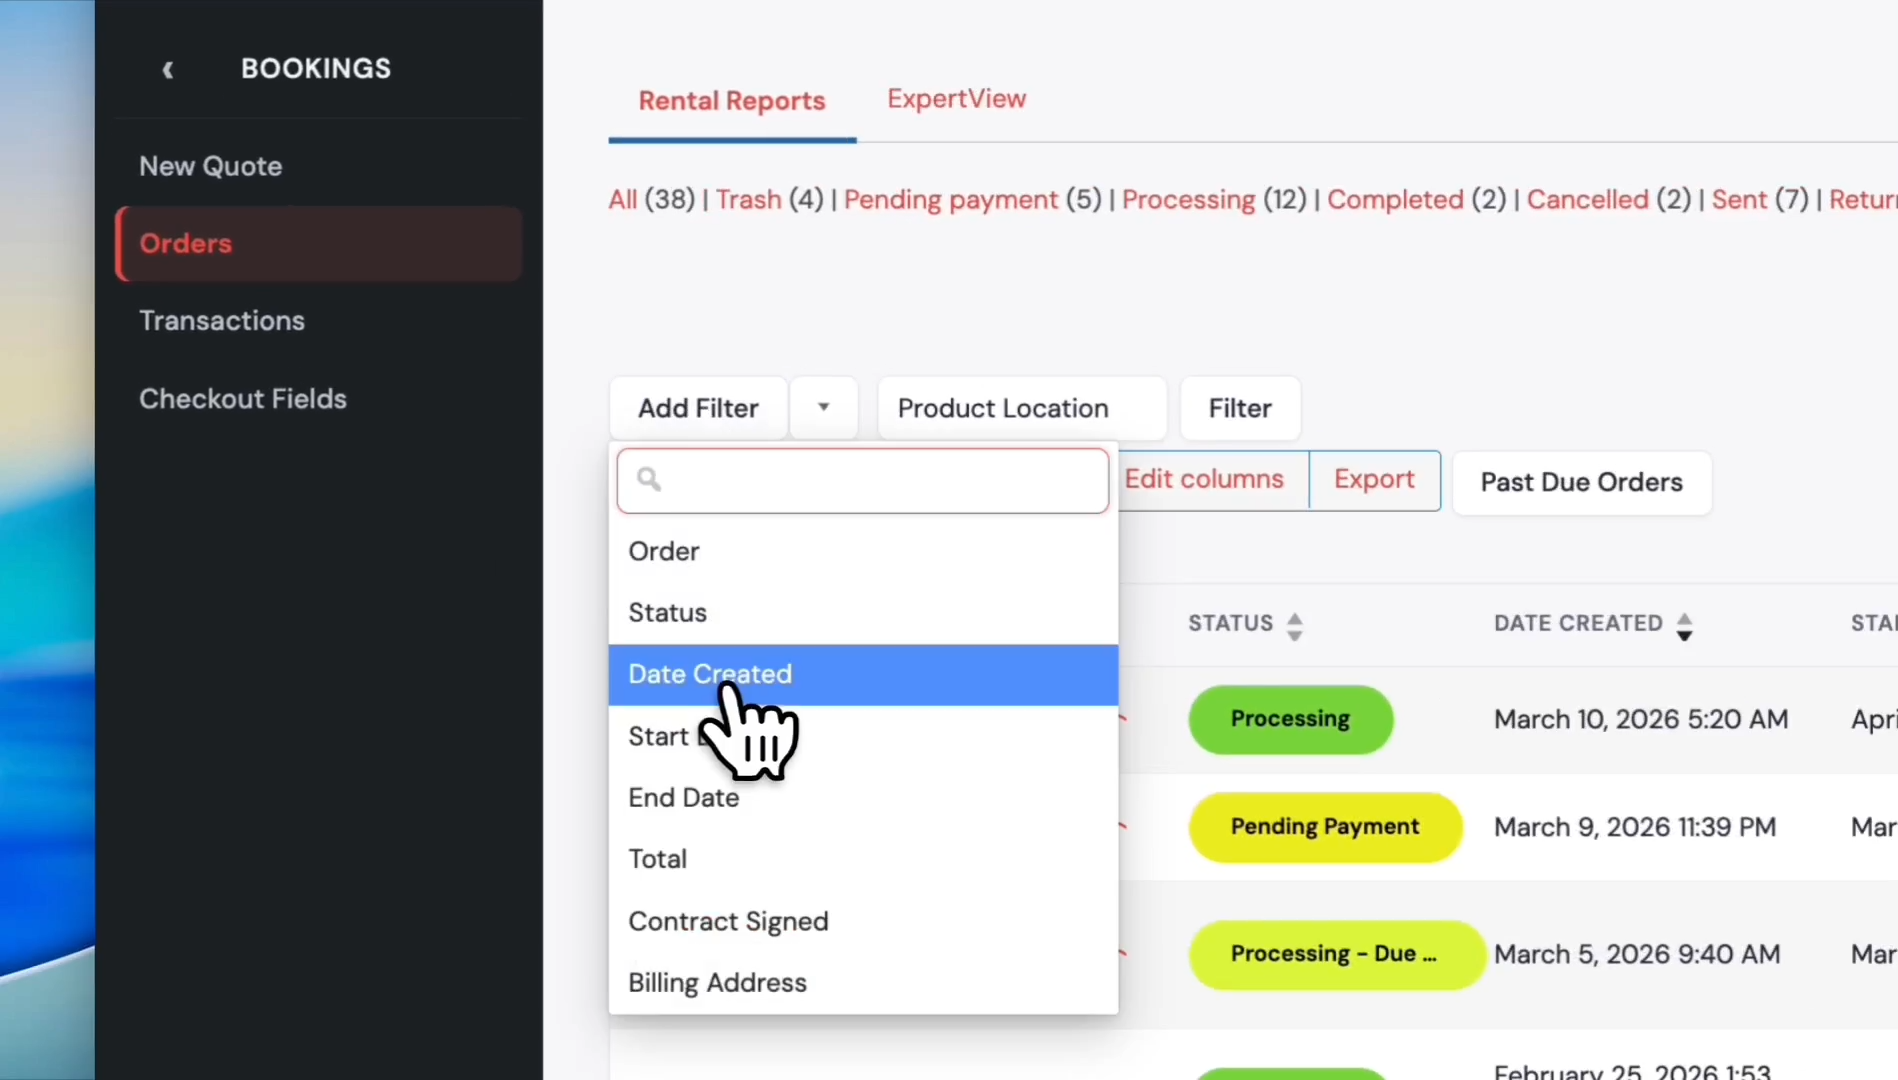
18
Click the Add Filter button.
19
Select Date Created from the filter dropdown.
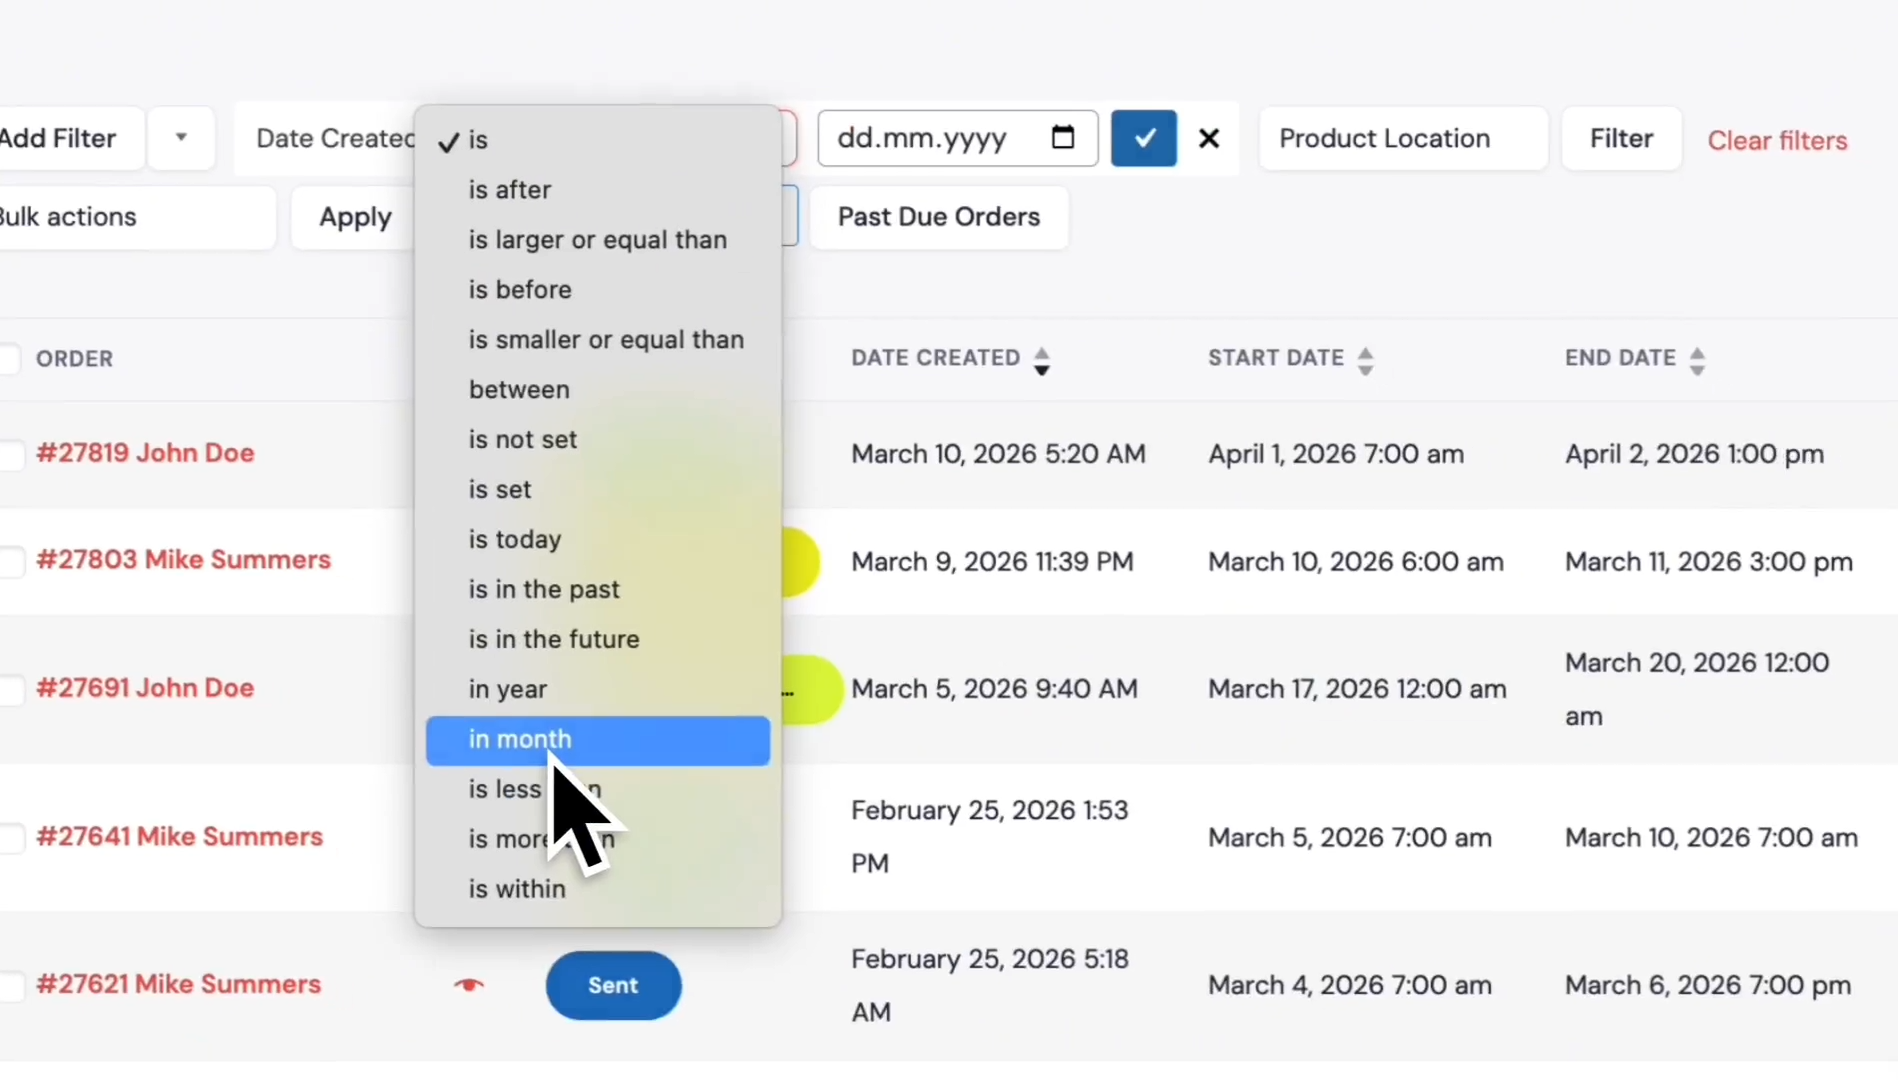
20
Select "in month" from the dropdown.
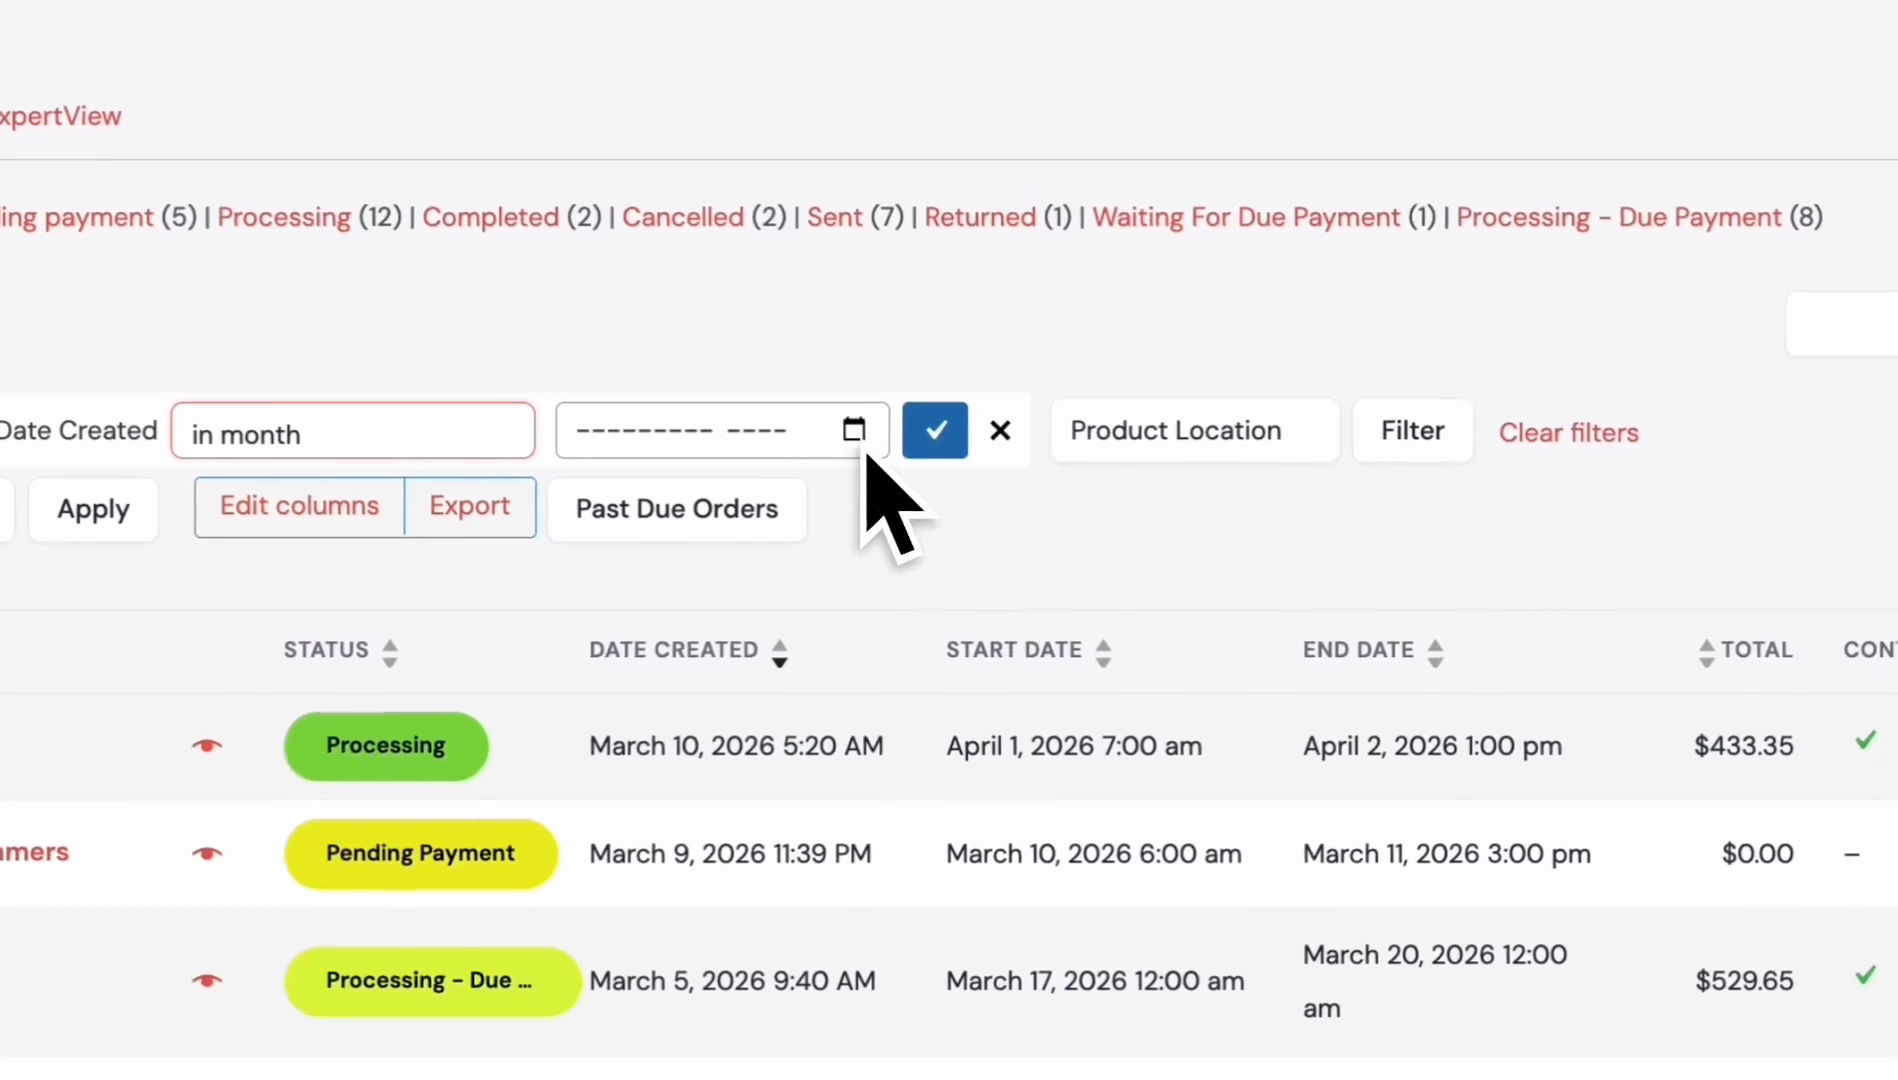
21
Click the calendar icon.
22
Select February.
23
Click the checkmark button to confirm the date selection.
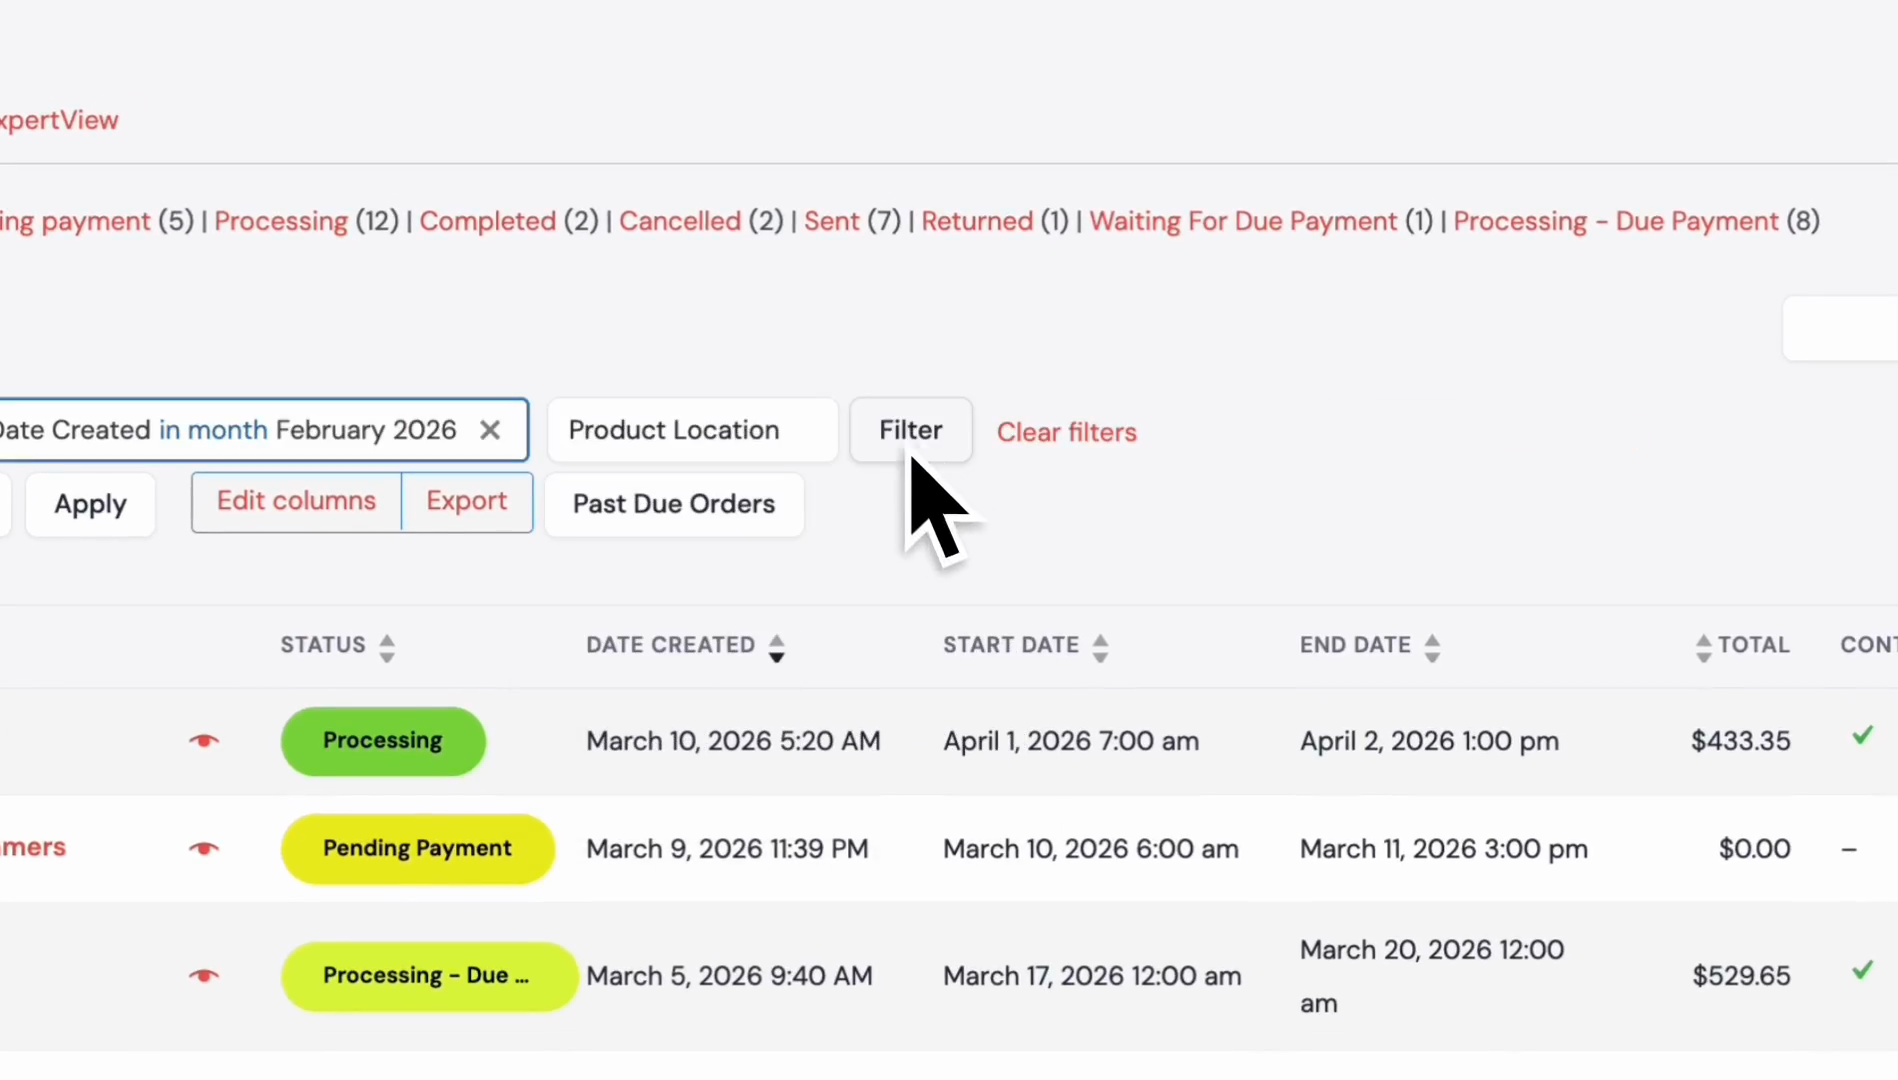
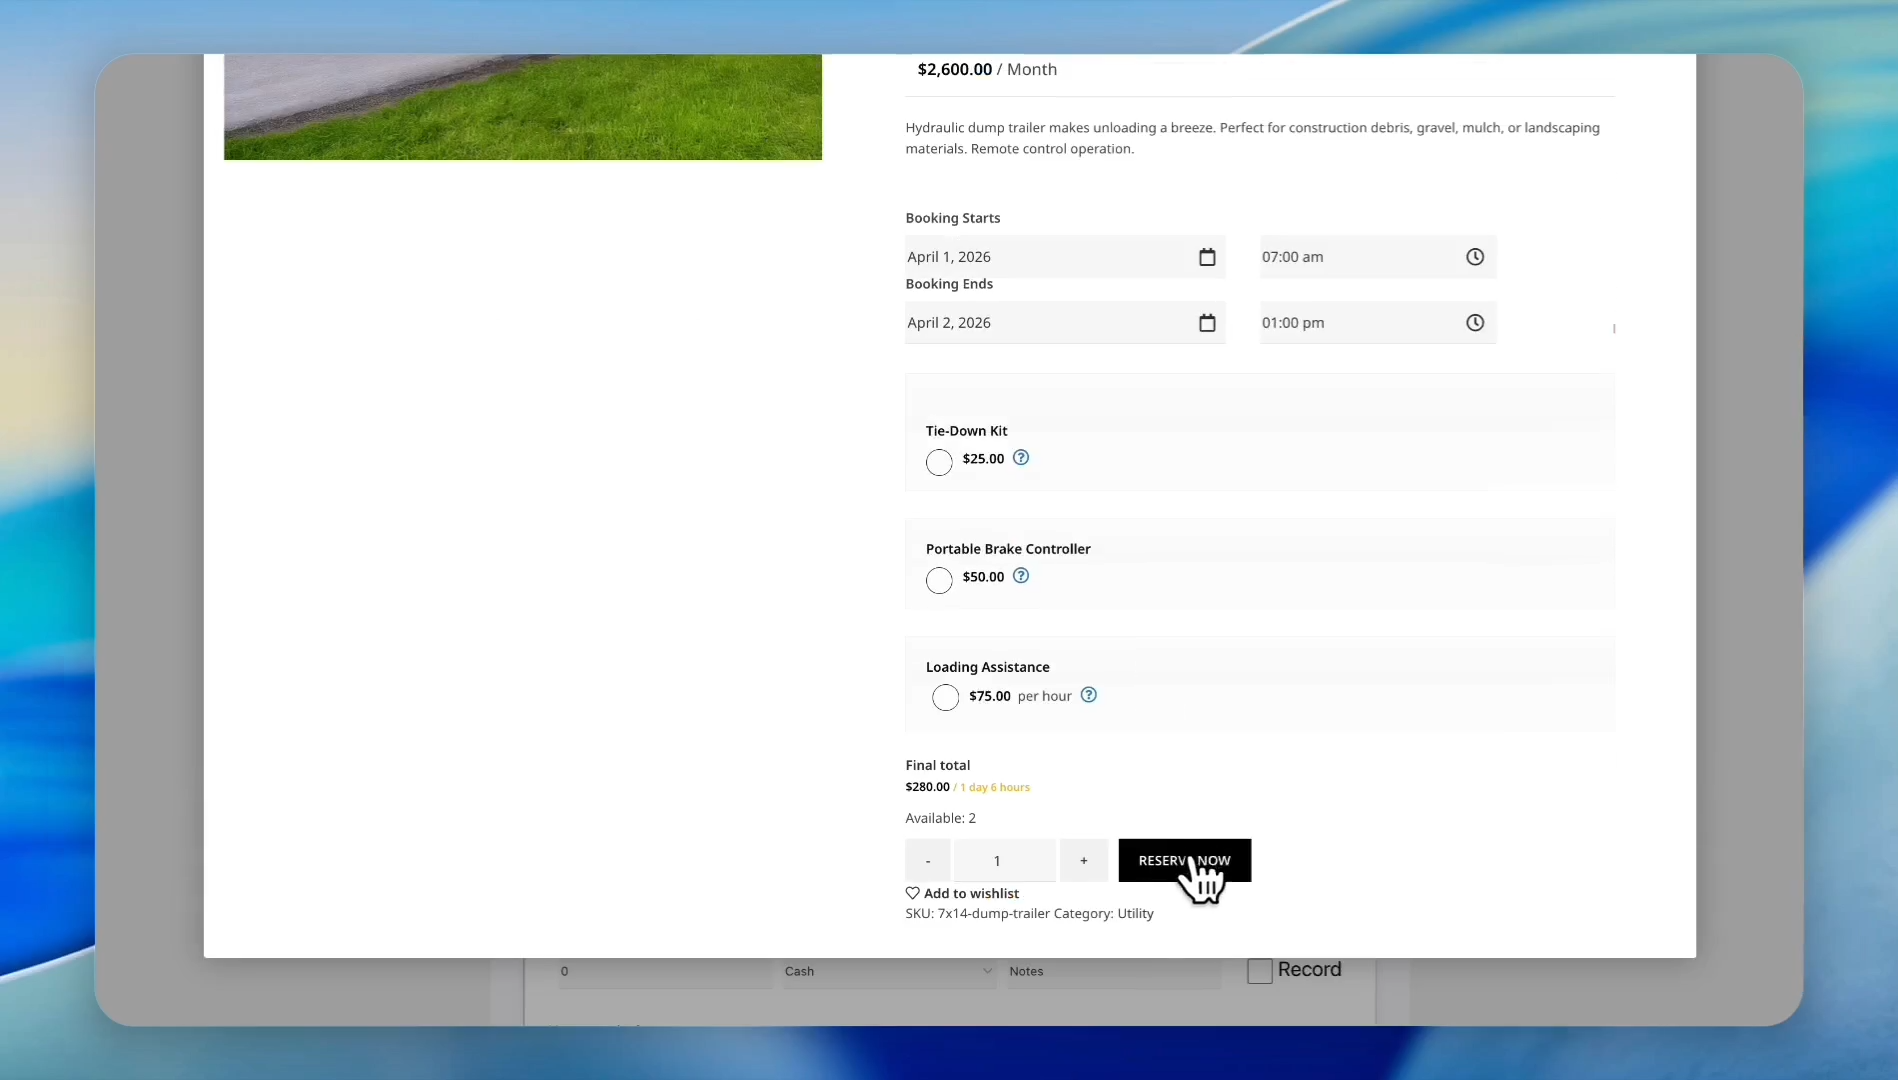
24
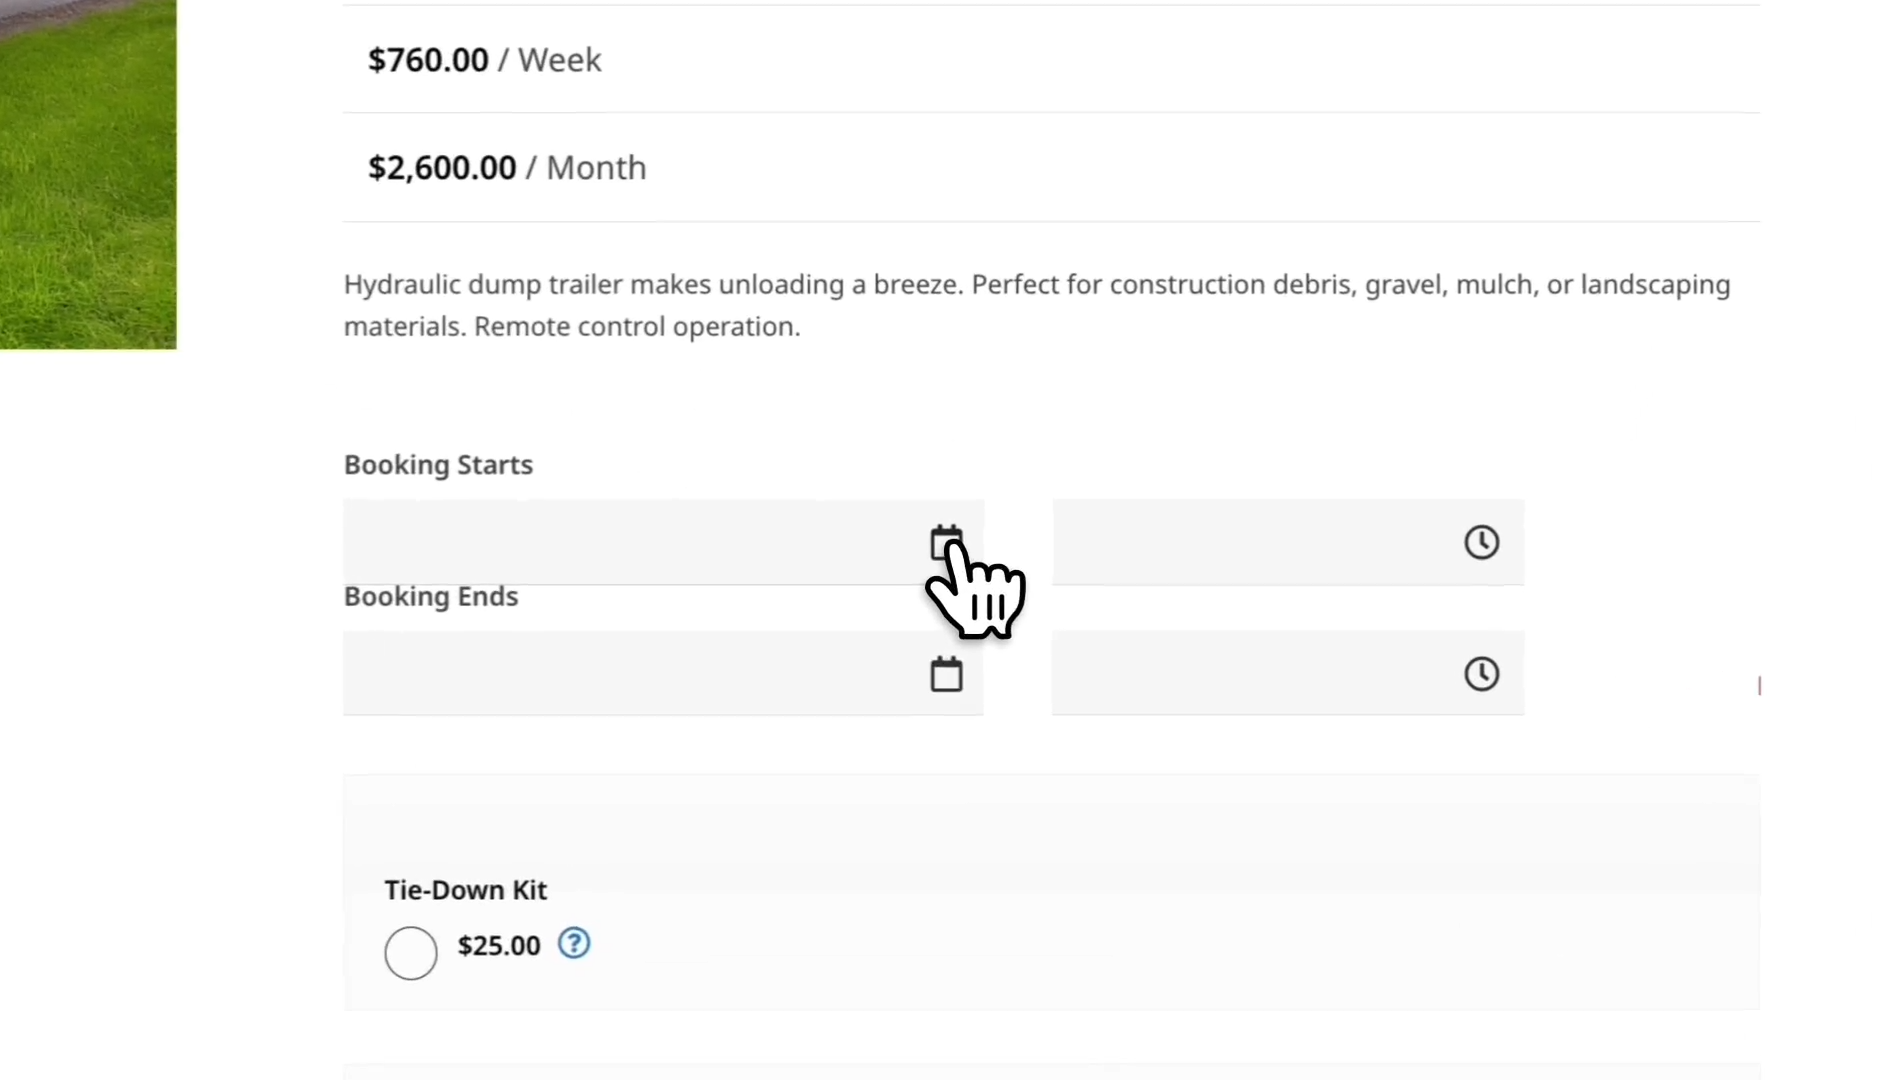
Click the Filter button.
25
As you can see, the orders report for February is generated. You can export it by clicking the Export button.
26
The file will be downloaded to your computer.
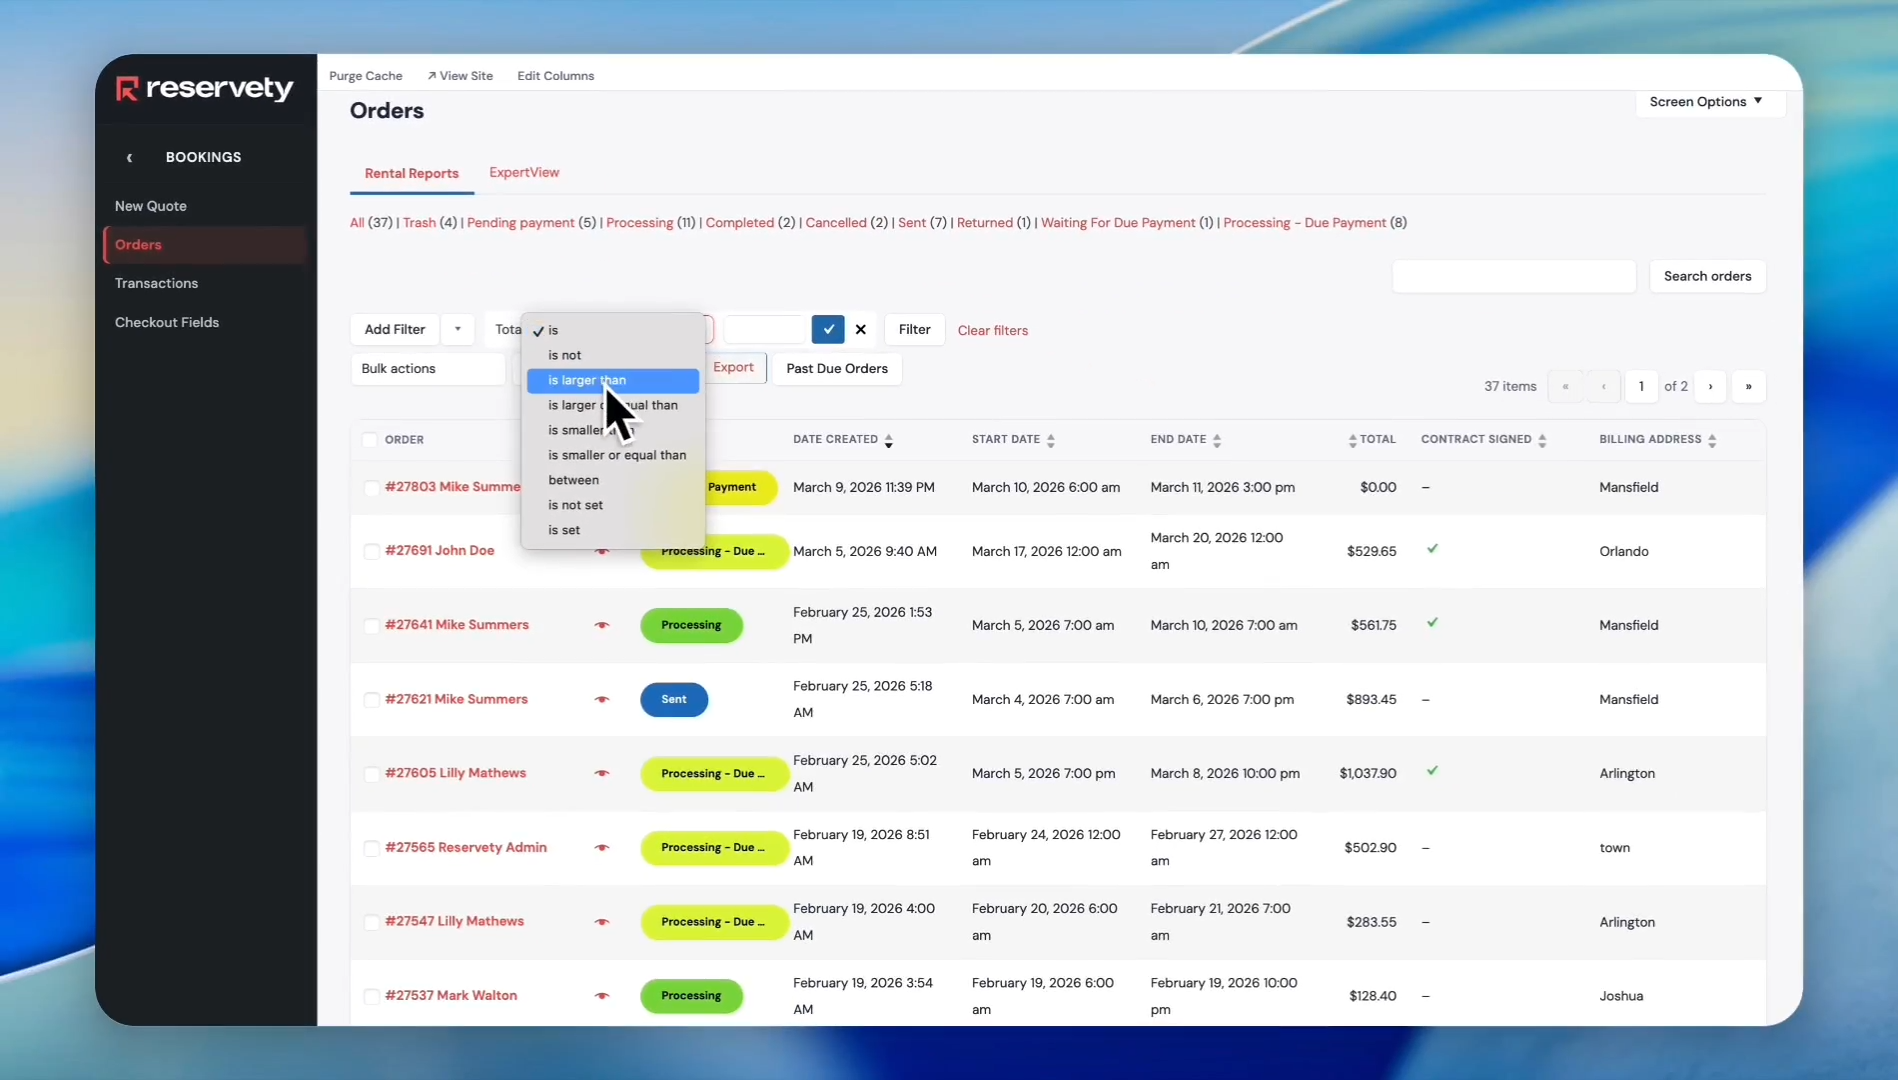
You can also organize orders by customer spending.
27
Click the Add Filter button.
28
Select Total from the dropdown.
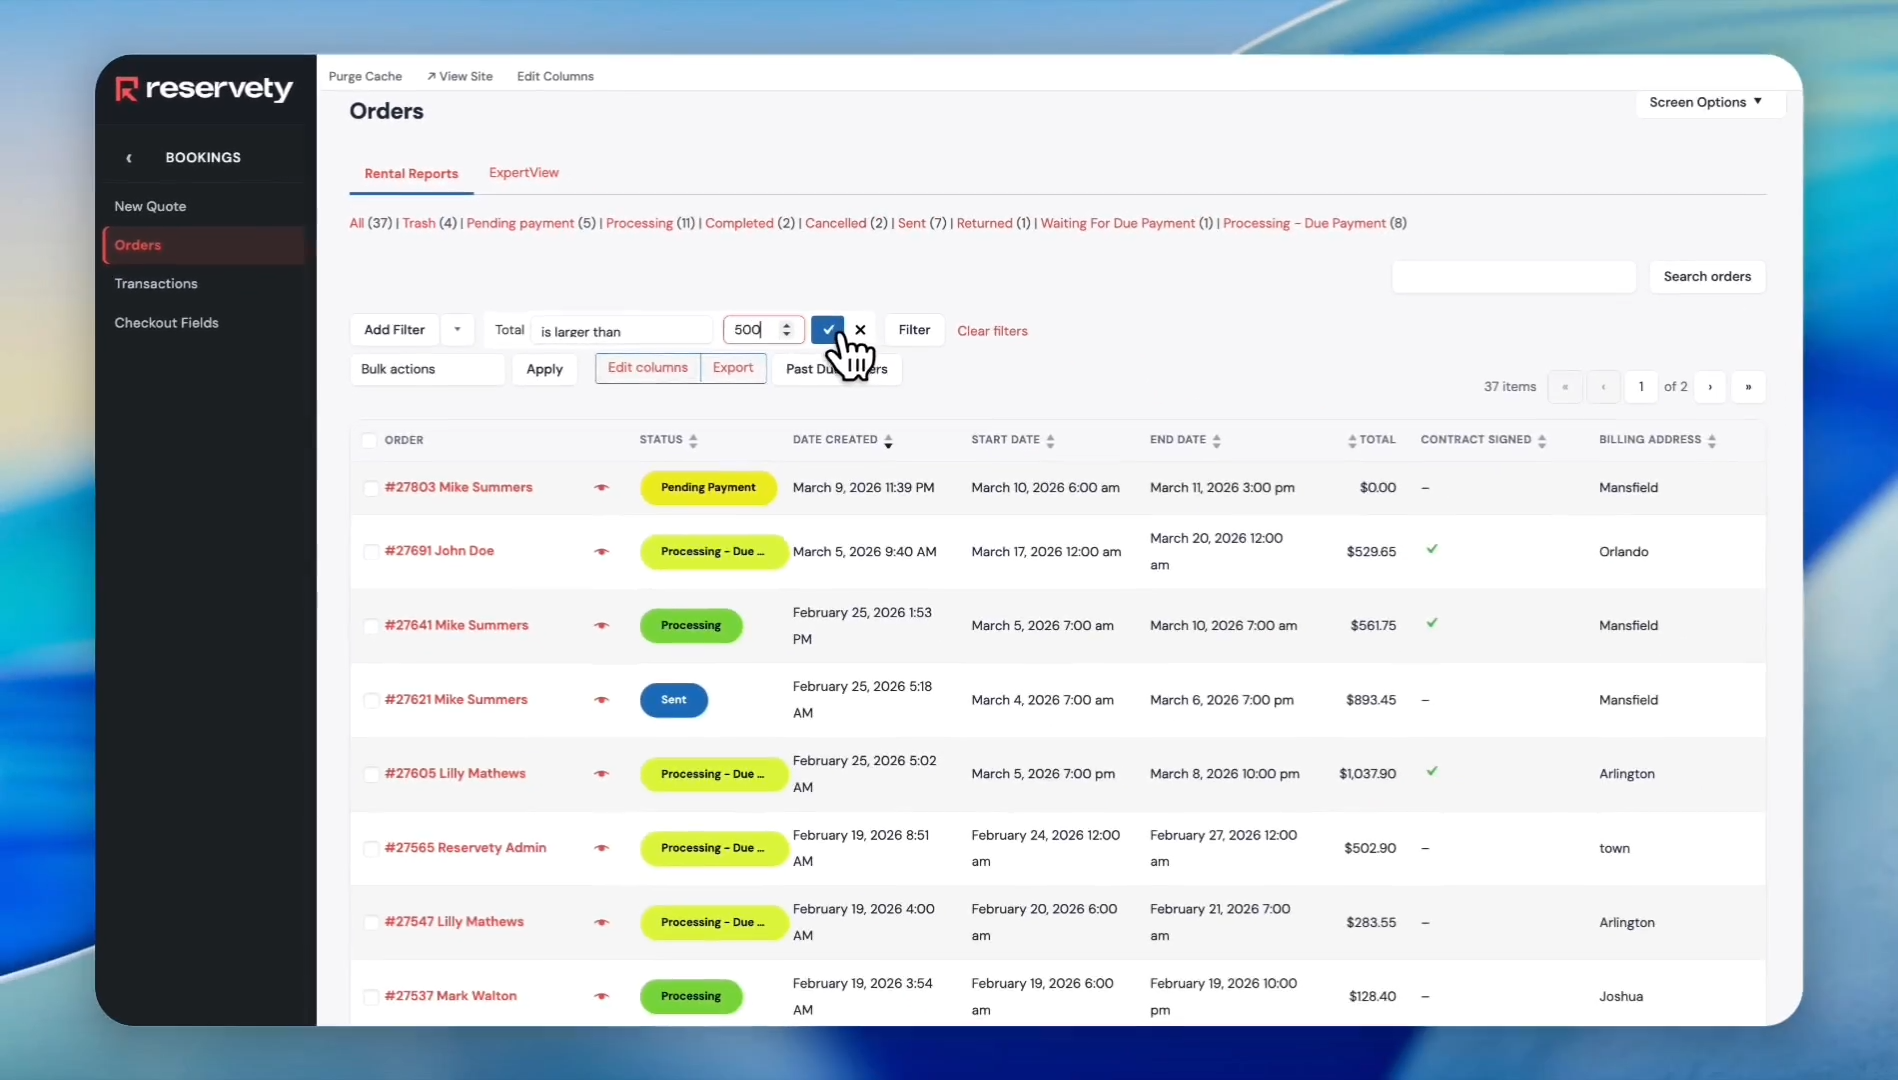
29
Suppose you want to view orders with spending over $500. Click on the condition dropdown.
30
Select 'is larger than' from the dropdown menu.
31
Type 500 into the value field and click the checkmark button to confirm.
32
Click the Filter button.
33
This organizes the orders by total amount spent.These orders are over $500.
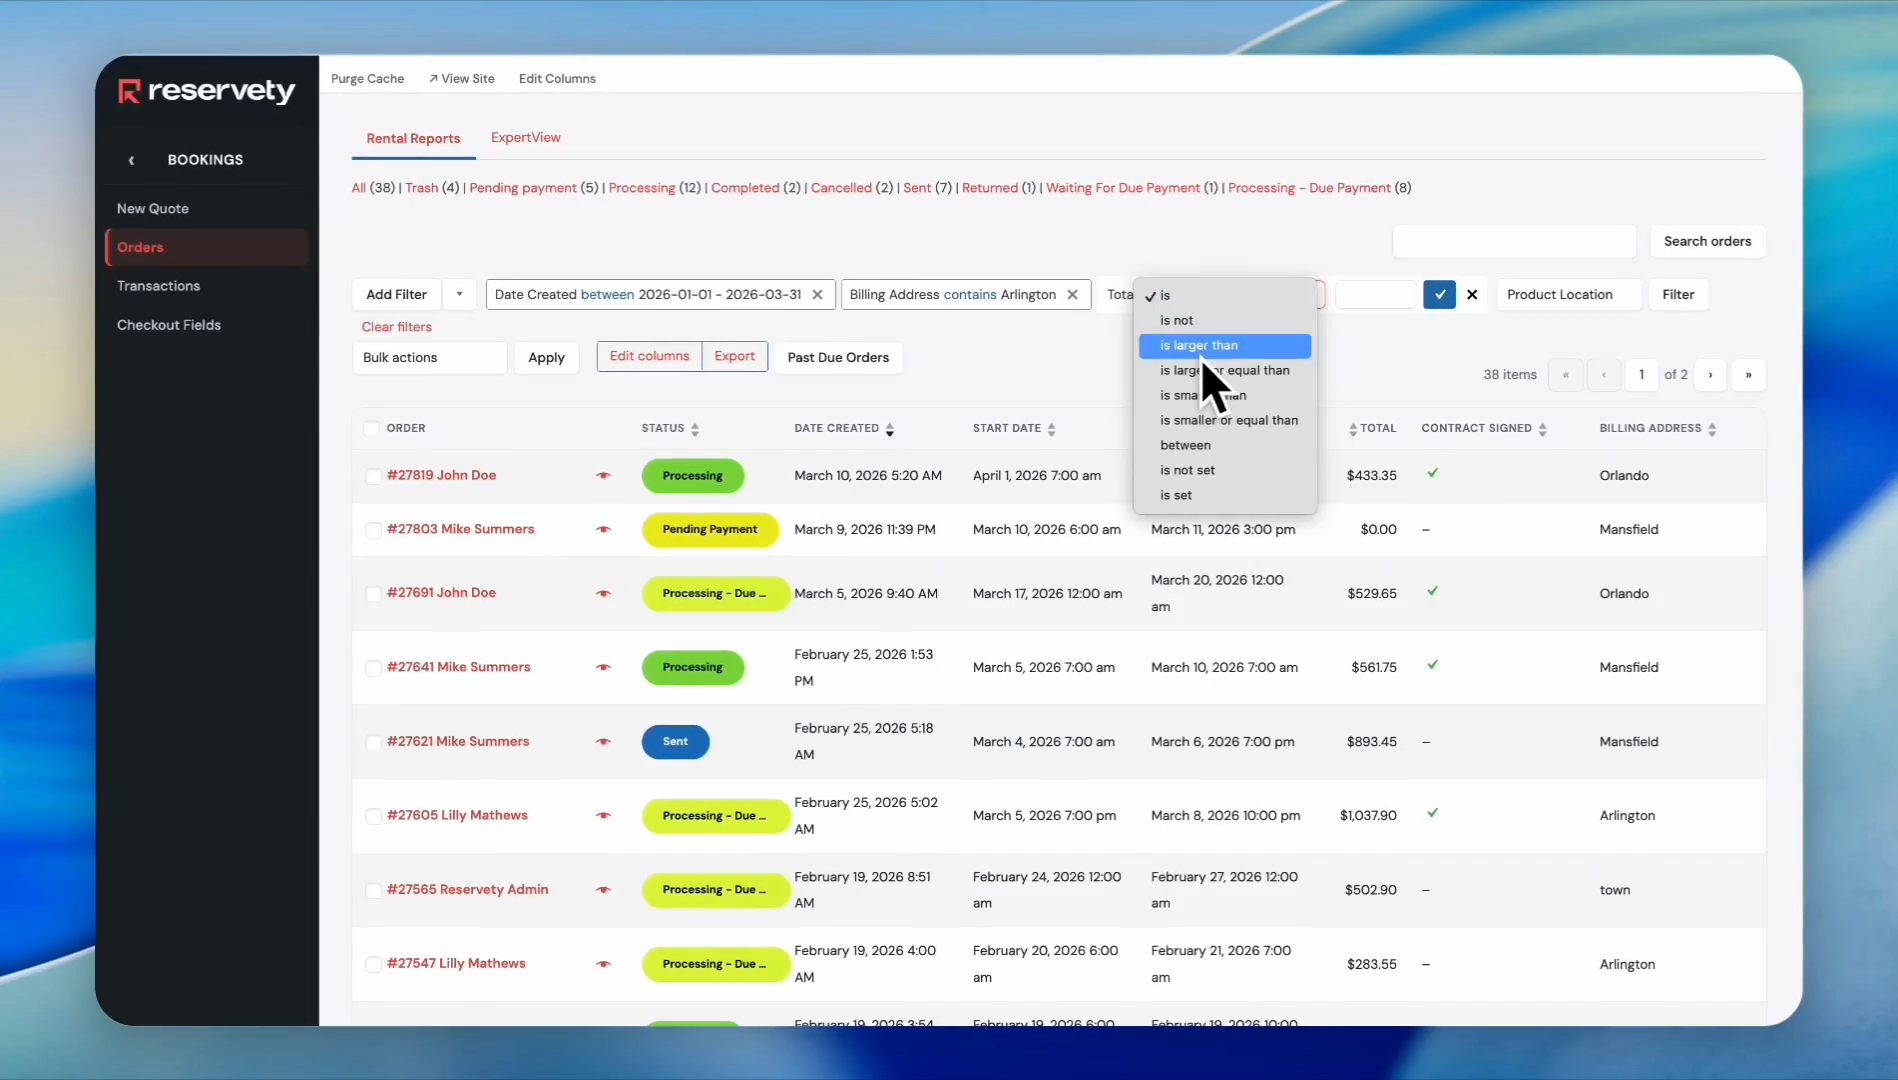
Let's use multiple filters to organize our orders.We want to find out how many orders over $100 we received from Arlington, Texas, in the first quarter.
34
Click the Add Filter button.
35
Select 'Date Created' from the dropdown menu.
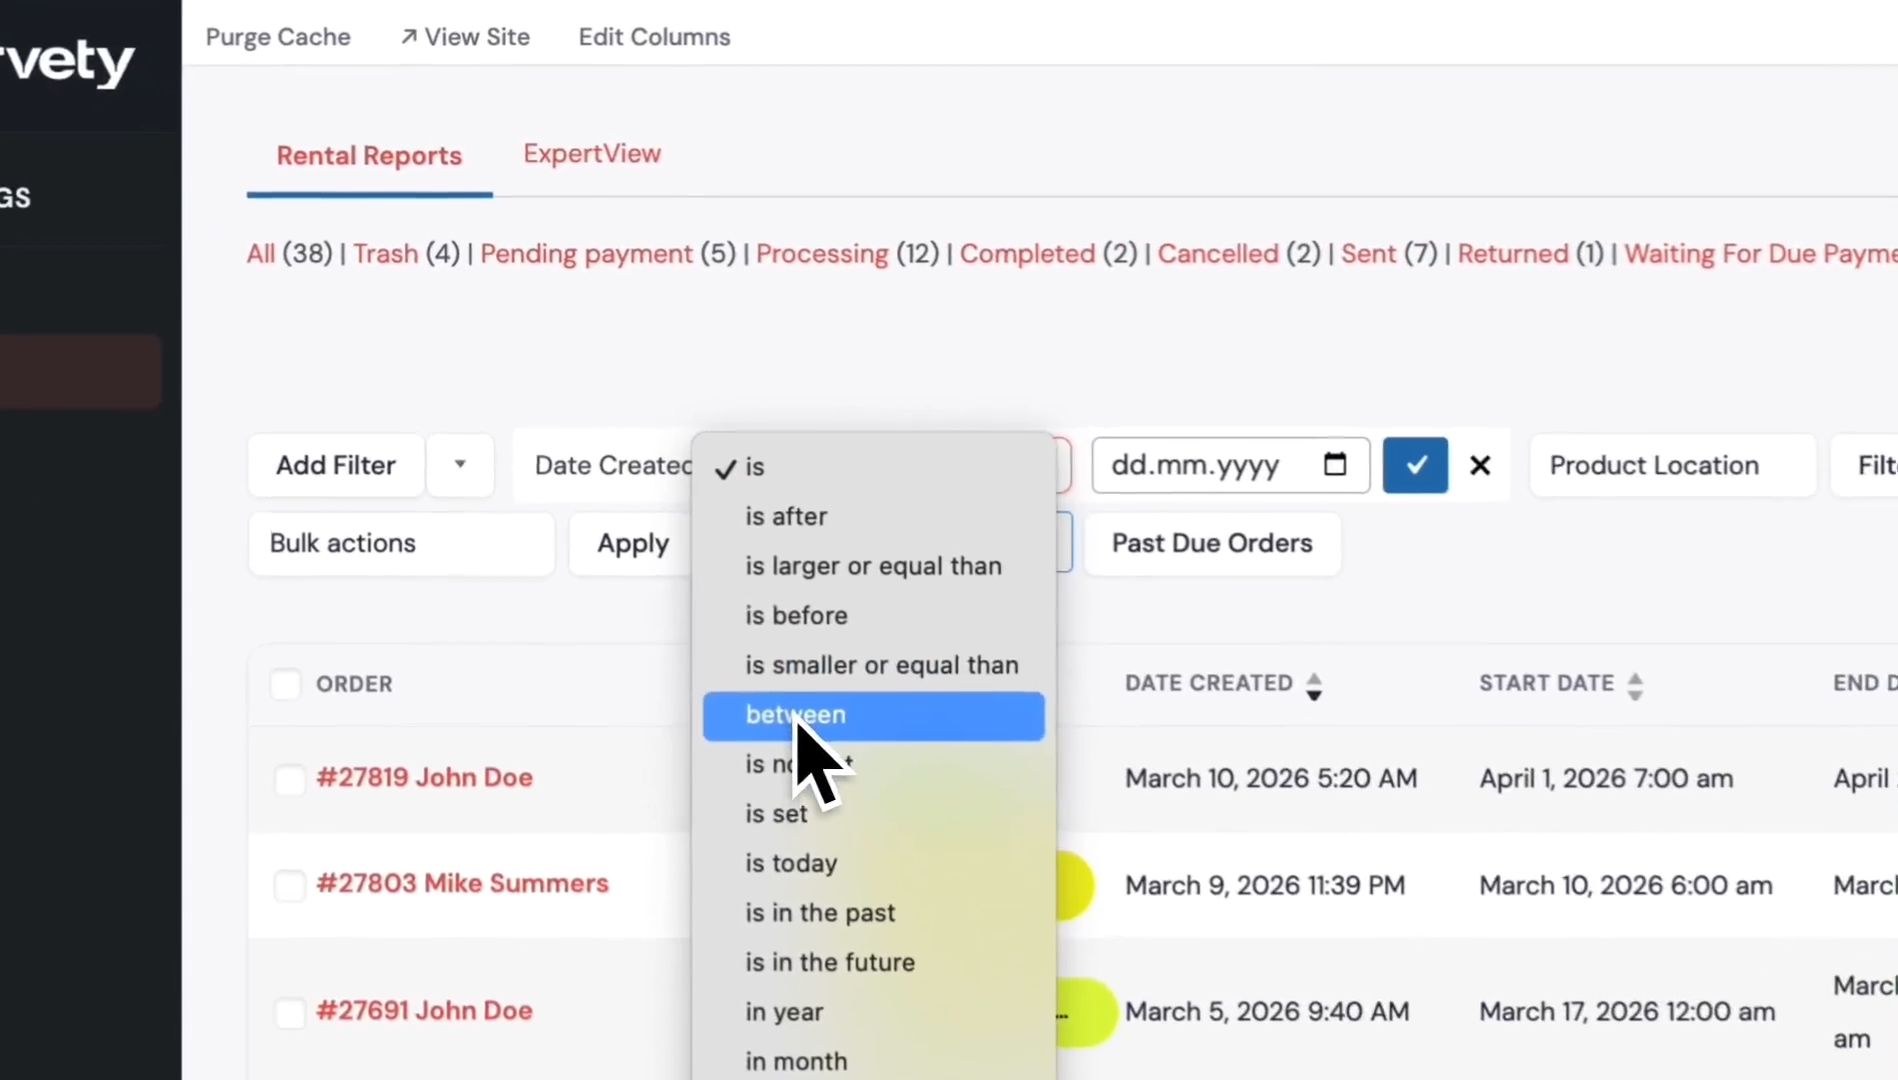
To generate a quarterly report, select "Between," click the calendar icon, and choose January 1st. Then, click the calendar icon again and select March 31st.
36
Click on the condition dropdown.
37
Select 'between' from the dropdown menu.
38
Click the first calendar icon to select the start date.
39
Select January 1st from the calendar.
40
Click the second calendar icon to set the end date.
41
Select March 31st from the calendar. That will be the first quarter.
42
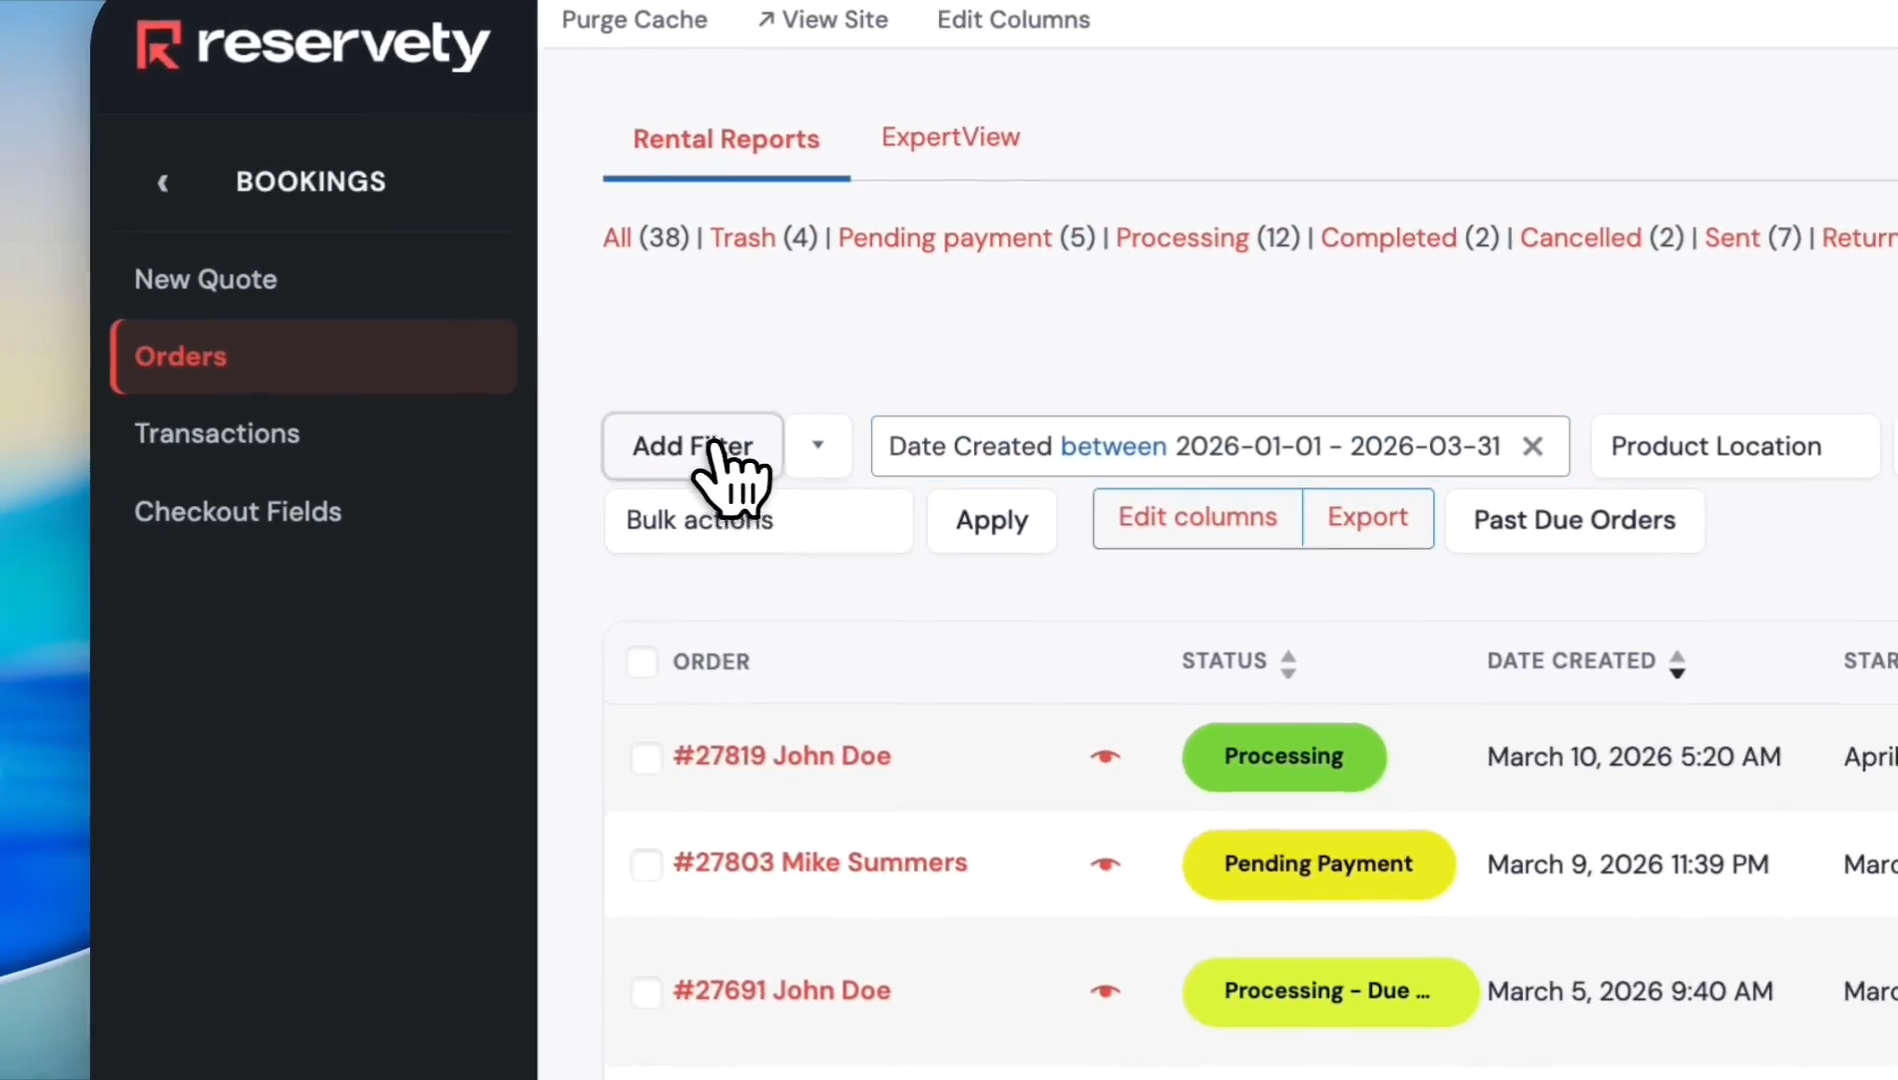
Click the blue checkmark button to confirm the date range.
43
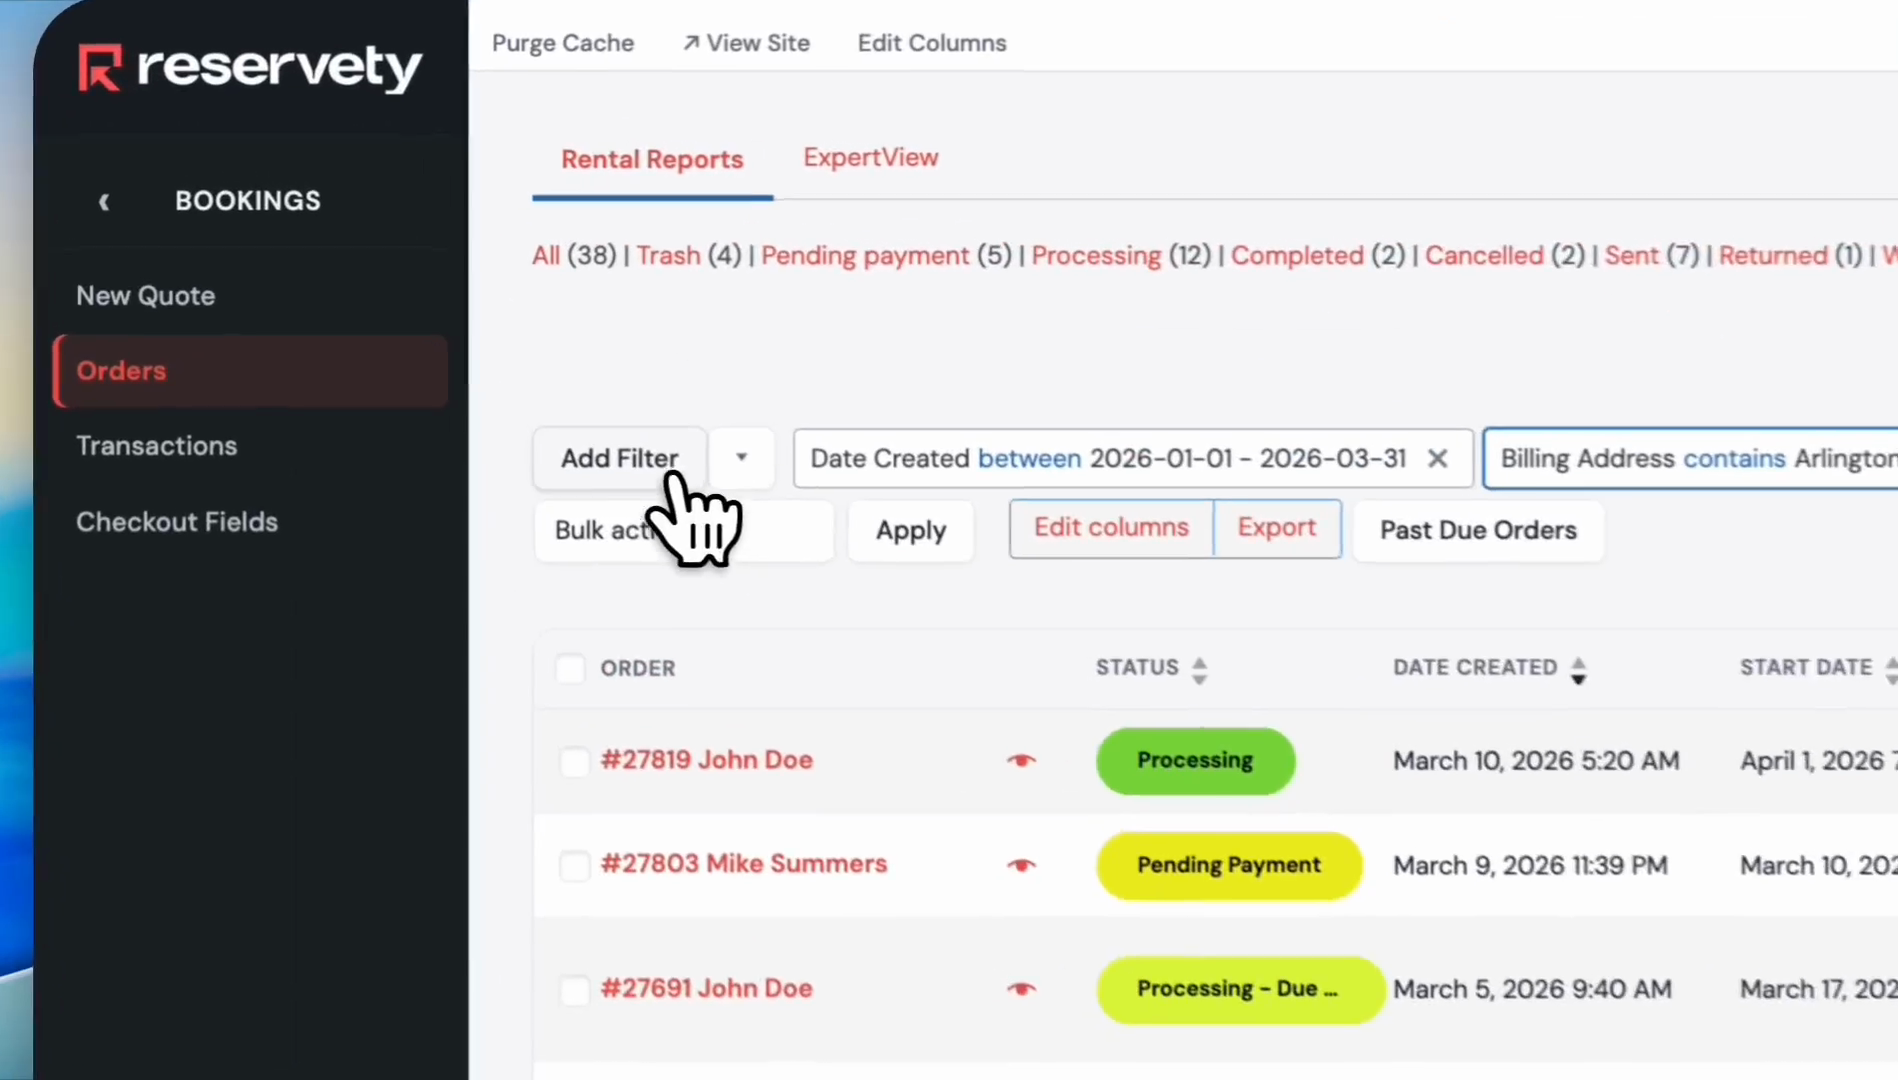
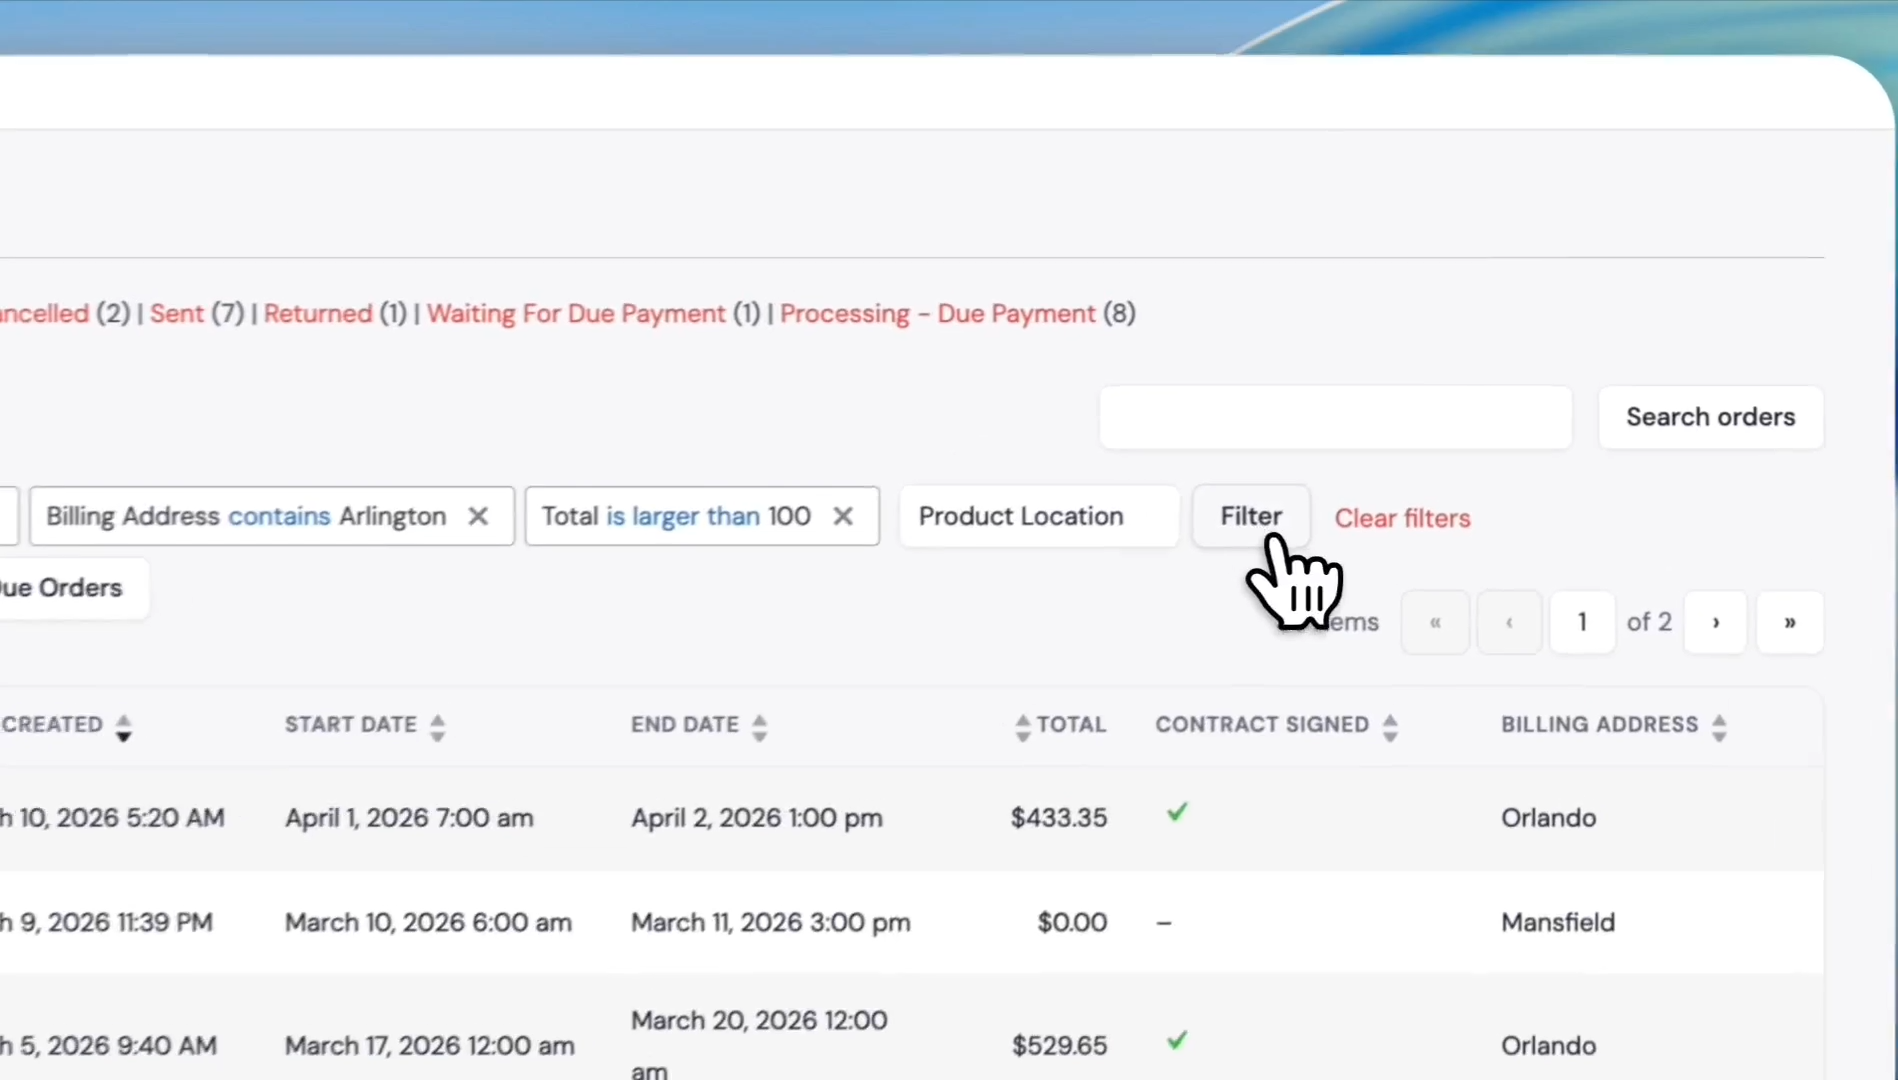
Click the Add Filter button again.
44
Select 'Billing Address' from the dropdown.
45
Type 'Arlington' into the input field. Click the blue checkmark button.
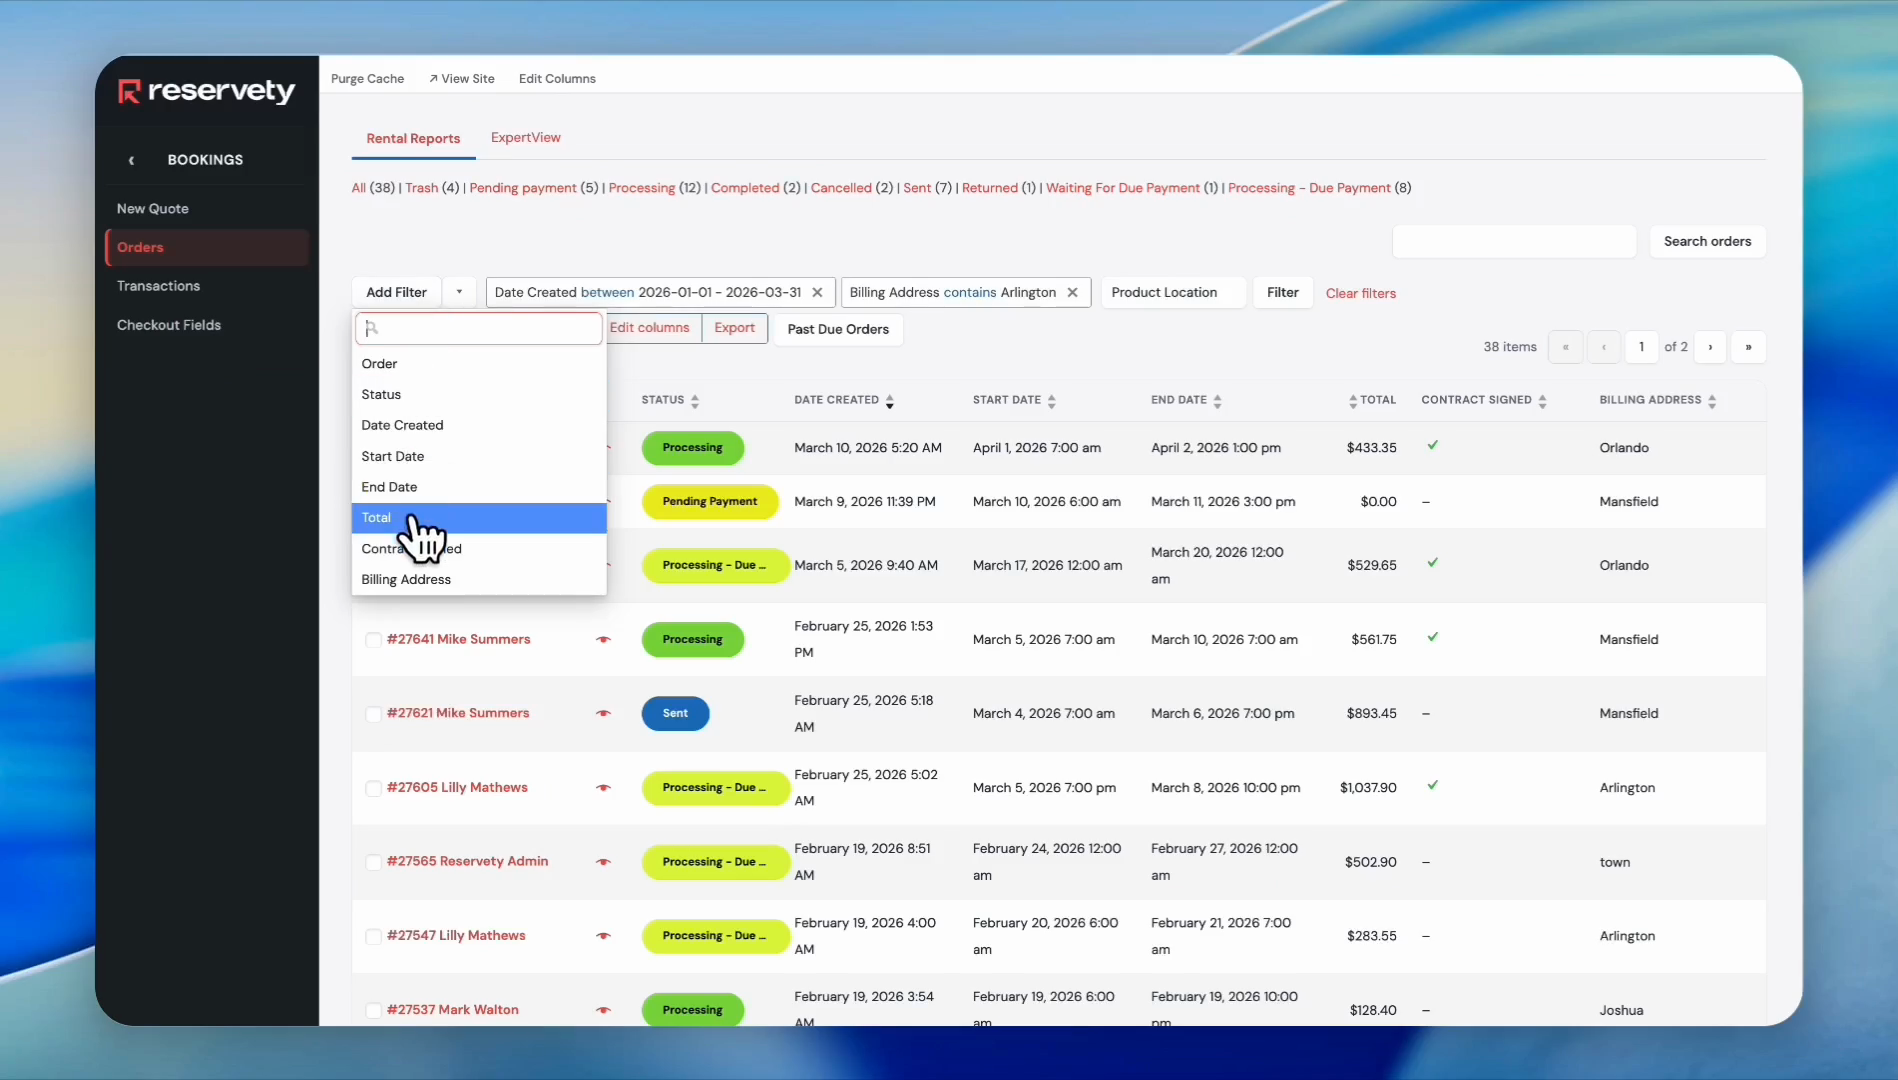
46
Click the 'Add Filter' button again to enter the third filter.
47
Select 'Total' from the dropdown menu.
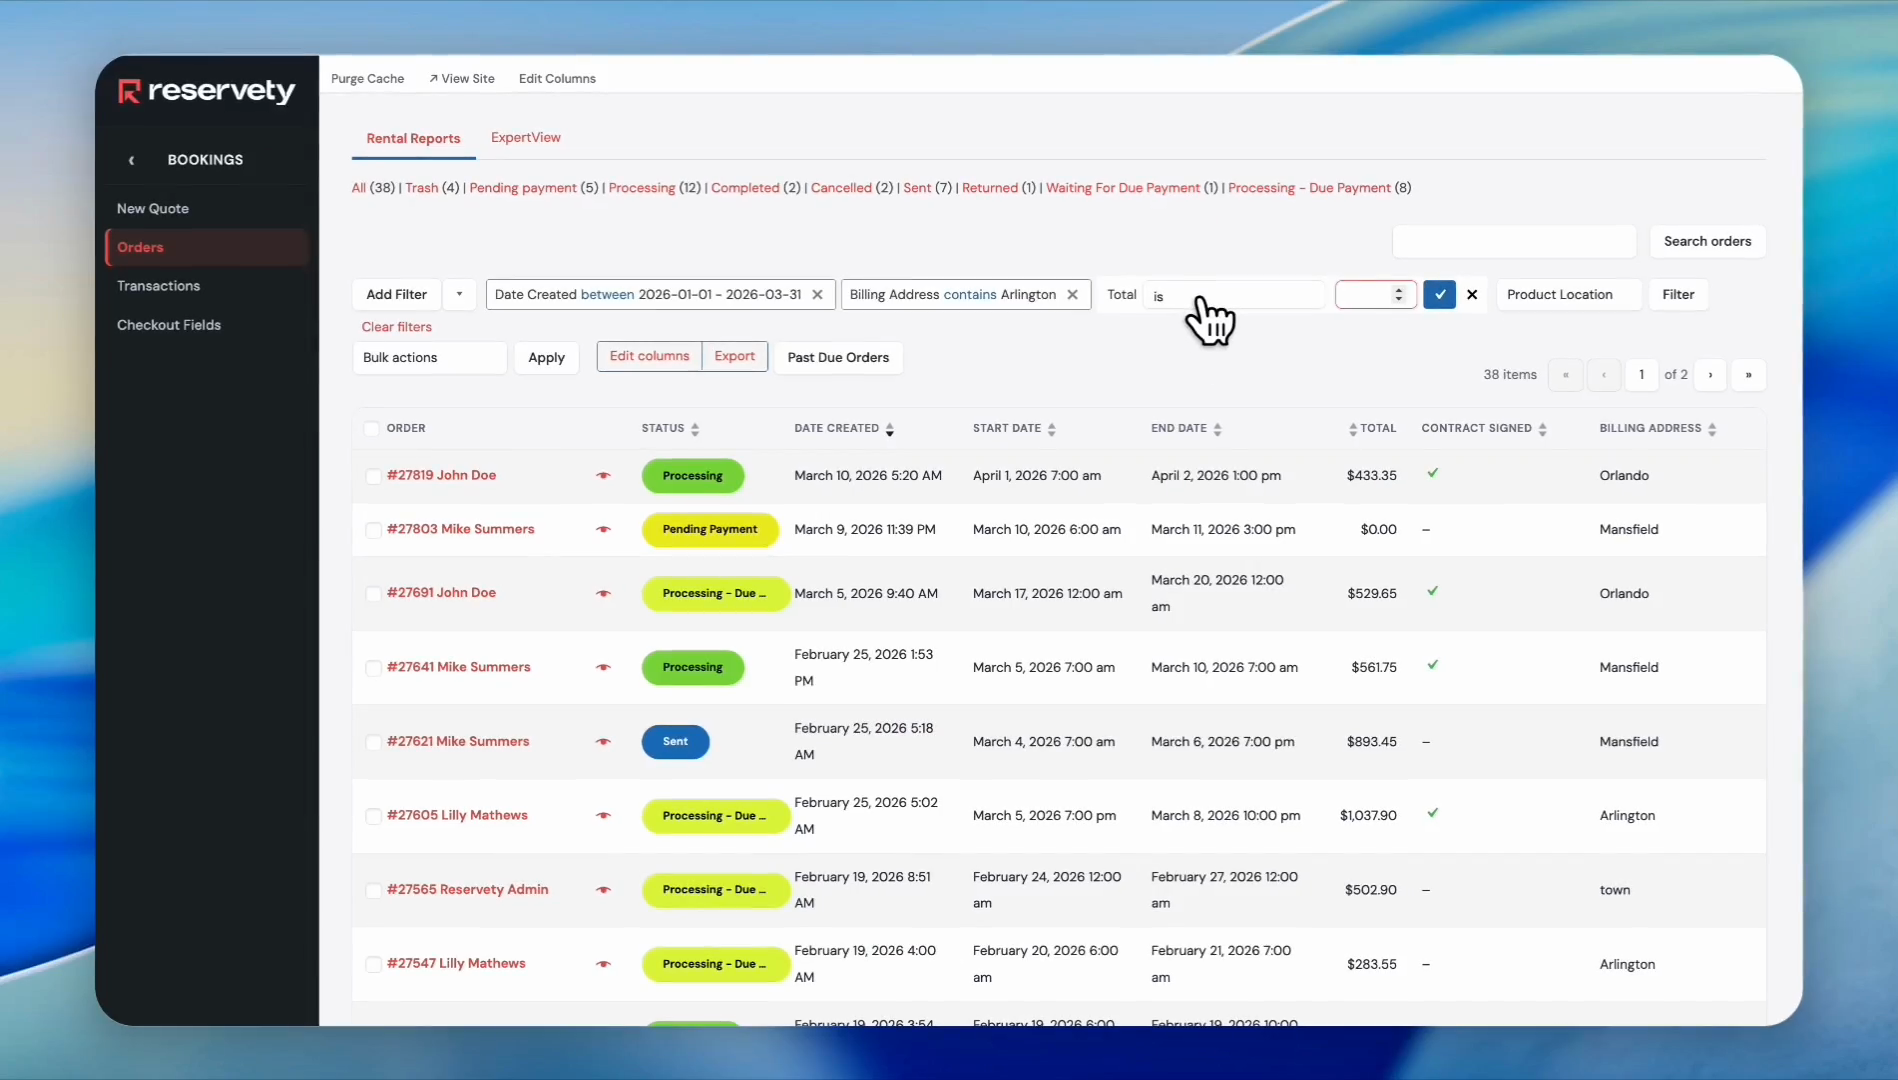
48
Click the dropdown menu next to the 'Total' filter.
49
Select 'is larger than' from the dropdown list.
50
Type '100' into the input field and click the blue checkmark button.
51
We now have three filters to sort our orders. Click the 'Filter' button.
52
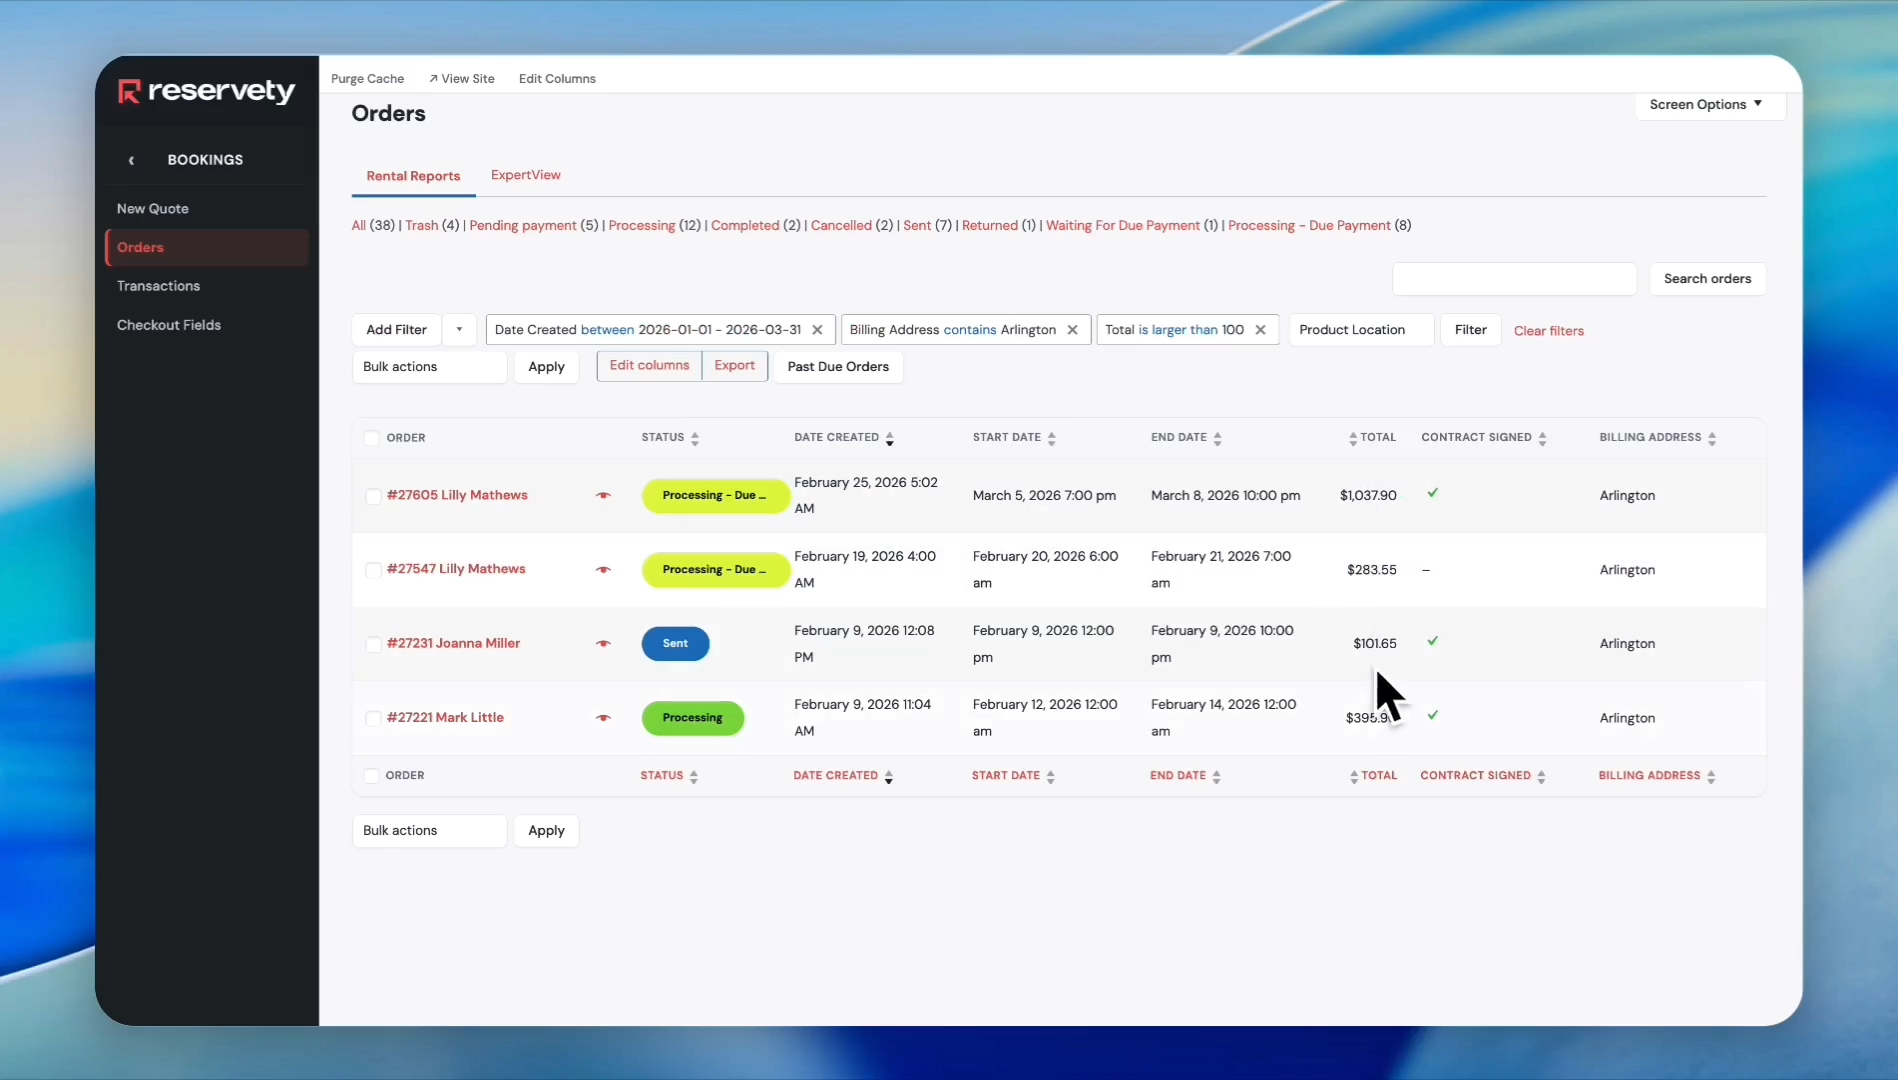
Our orders report for Arlington is ready.These are first-quarter orders over $100.
53
The status labels can be changed based on your business model. For example, 'Sent' could be 'Picked Up'.
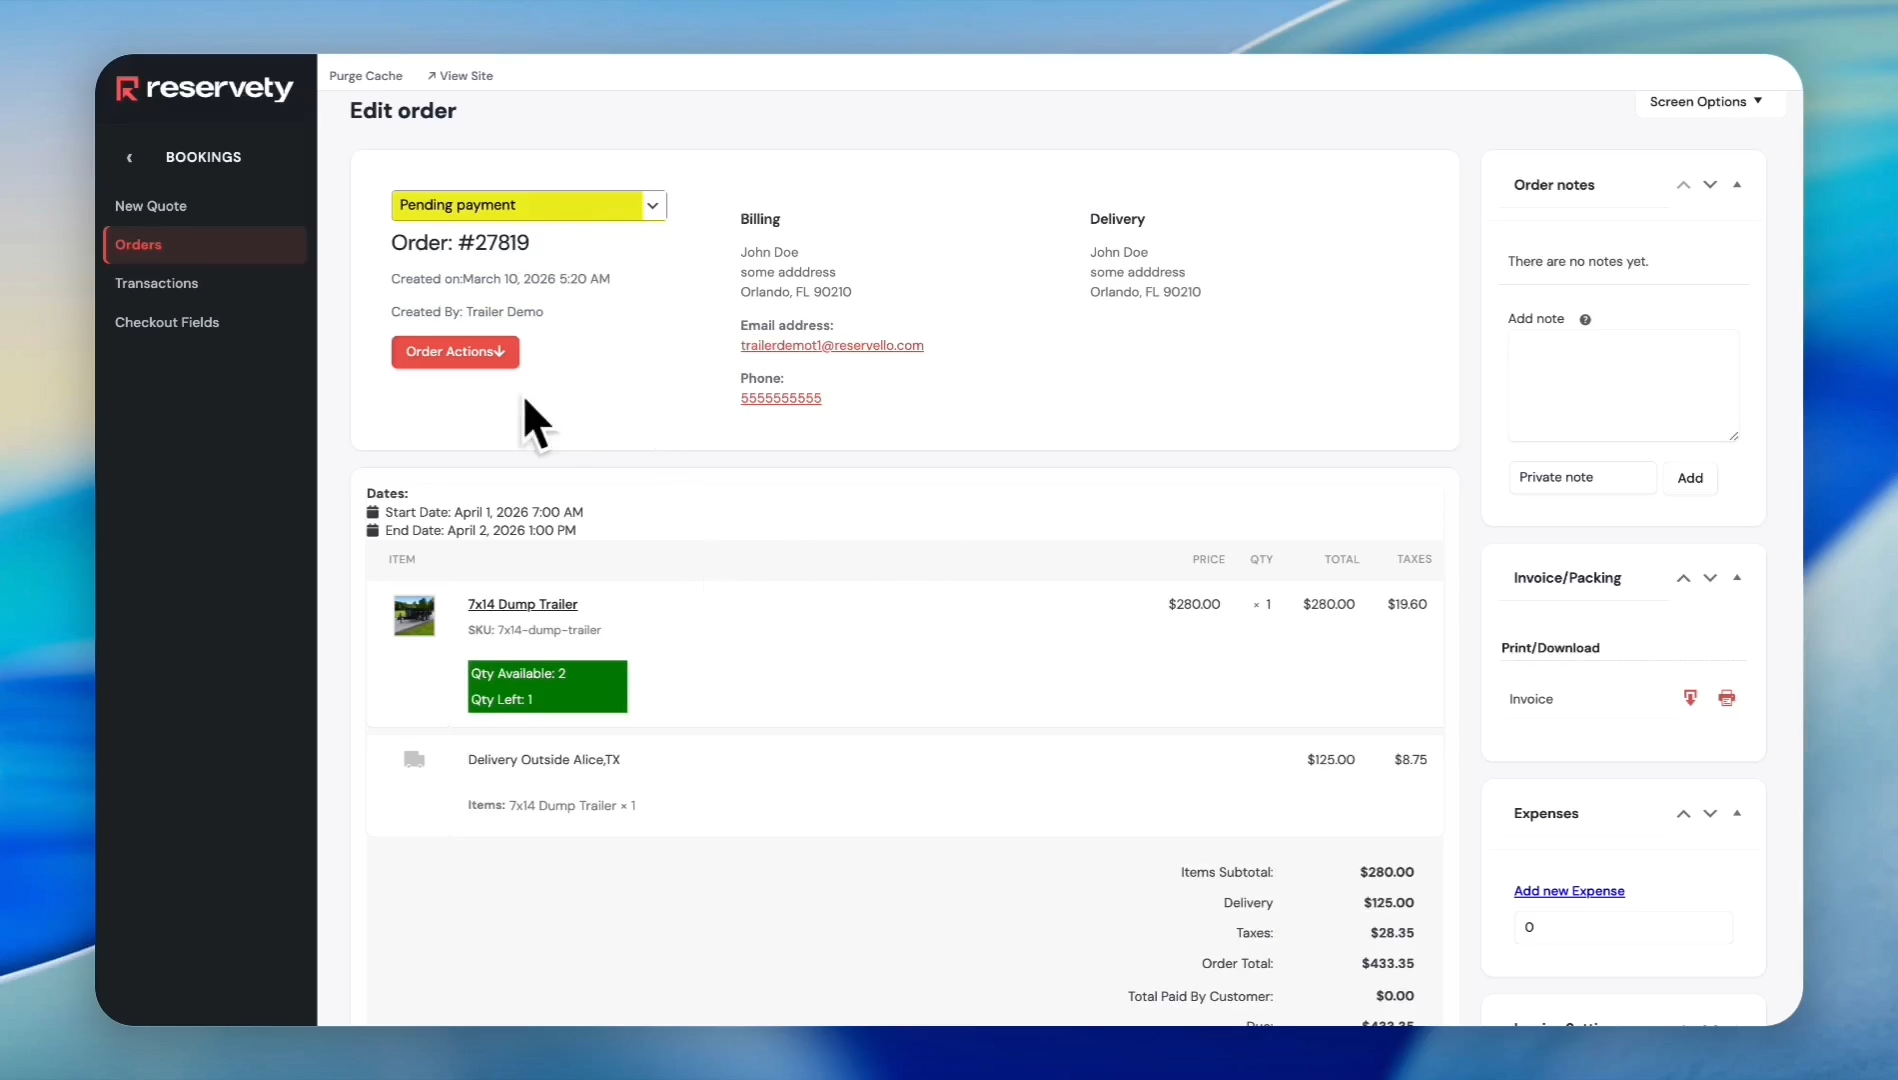
Orders with a Processing status are already recorded in the calendar, and the date is booked or blocked.The same applies to the Processing Due Payment.Even if the customer made a partial payment, the date they reserved or booked is blocked for other bookings.
Orders with a Pending Payment, or those processed manually, will not appear on the calendar unless payment is made by you or the customer.
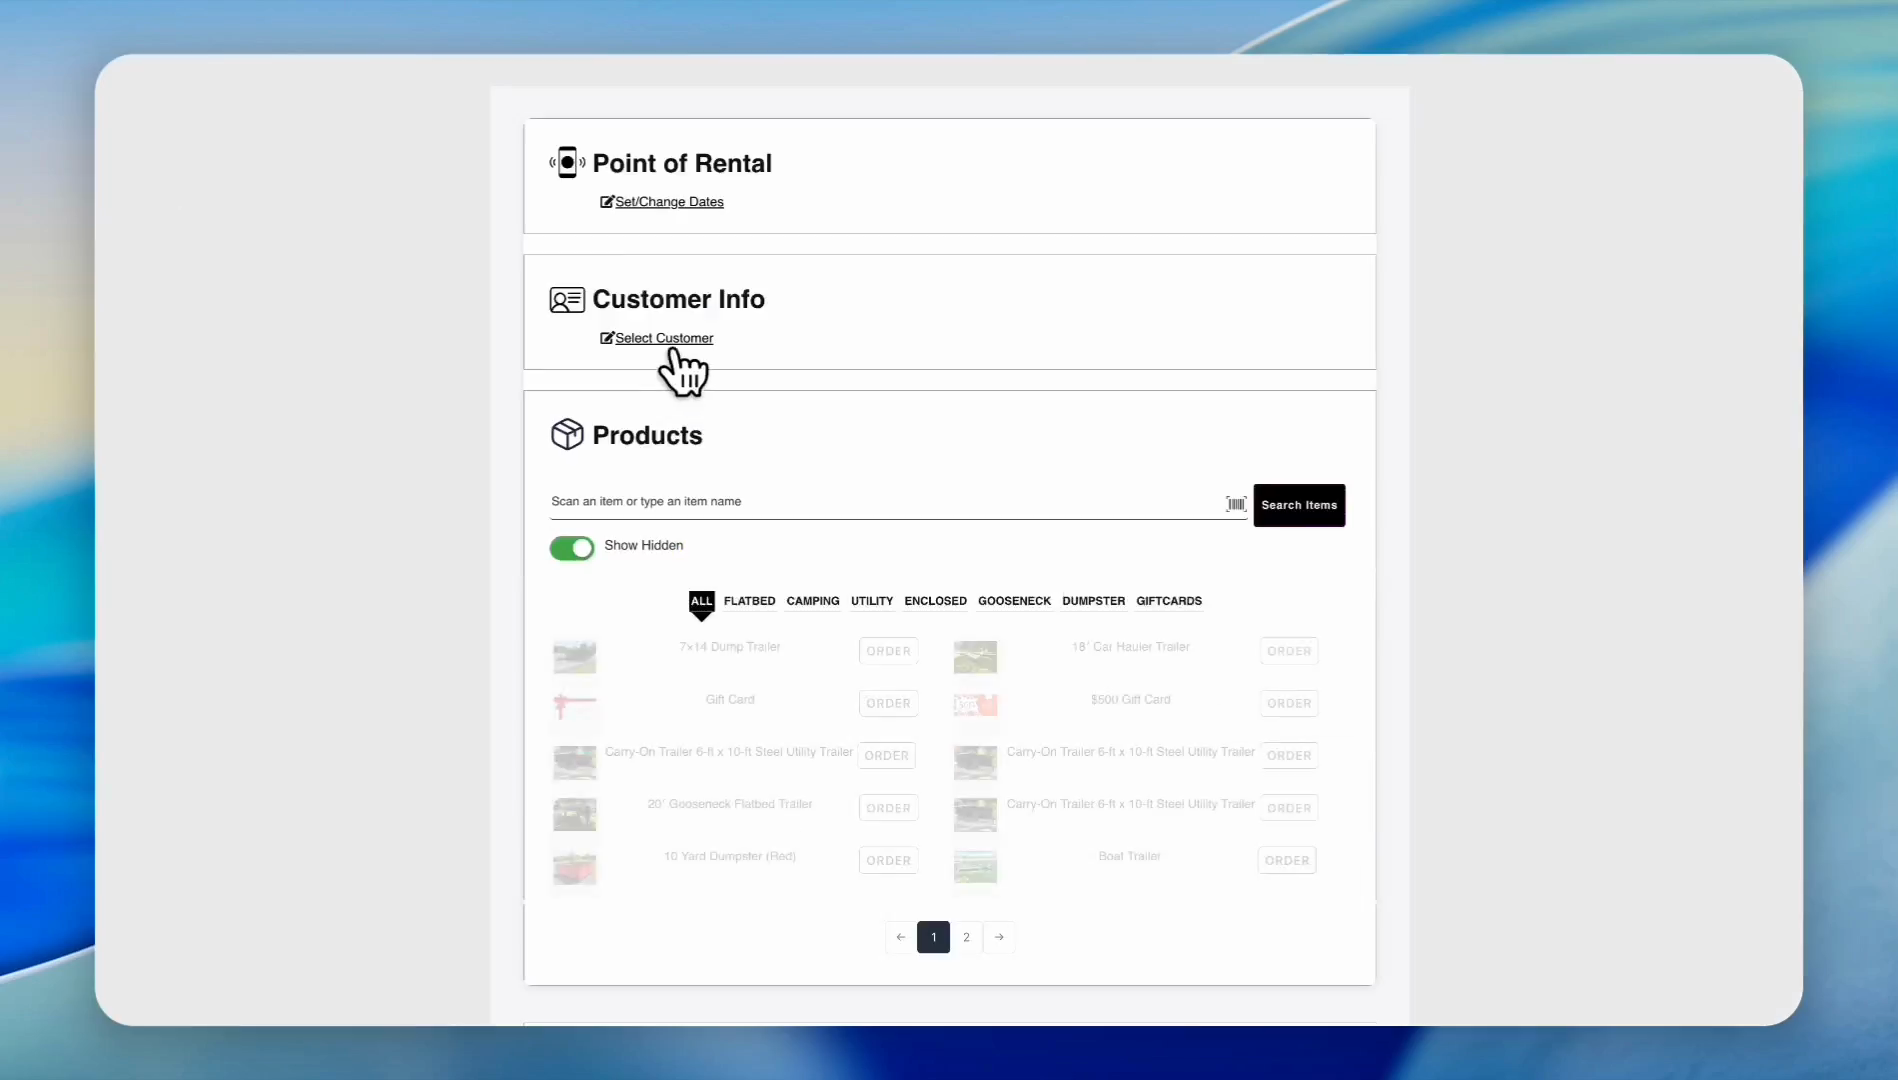
To demonstrate the Pending Payment status, let's create a manual order.
54
Under Bookings, click New Quote.
55
Click the Select Customer button.
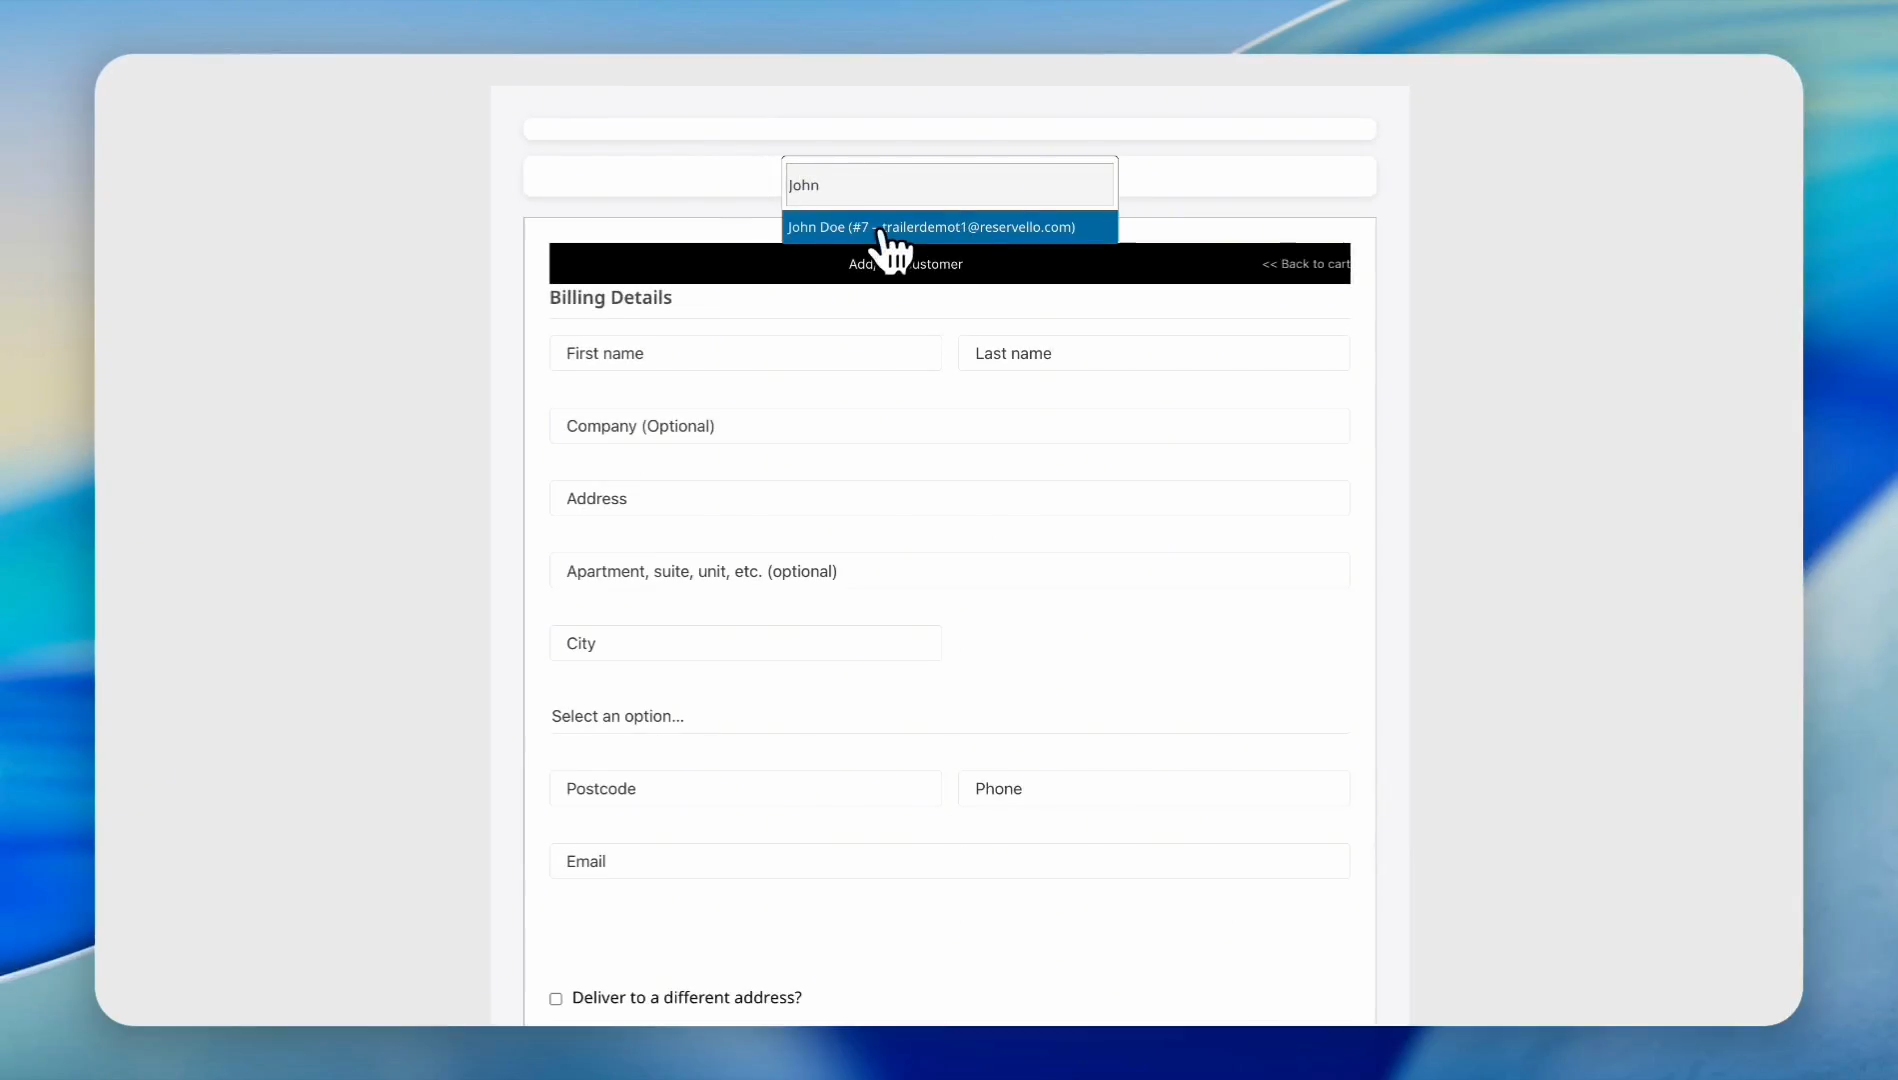
56
Enter new customer information or find the existing customer. In this case, we will use an existing customer. Click on the John Doe customer record.
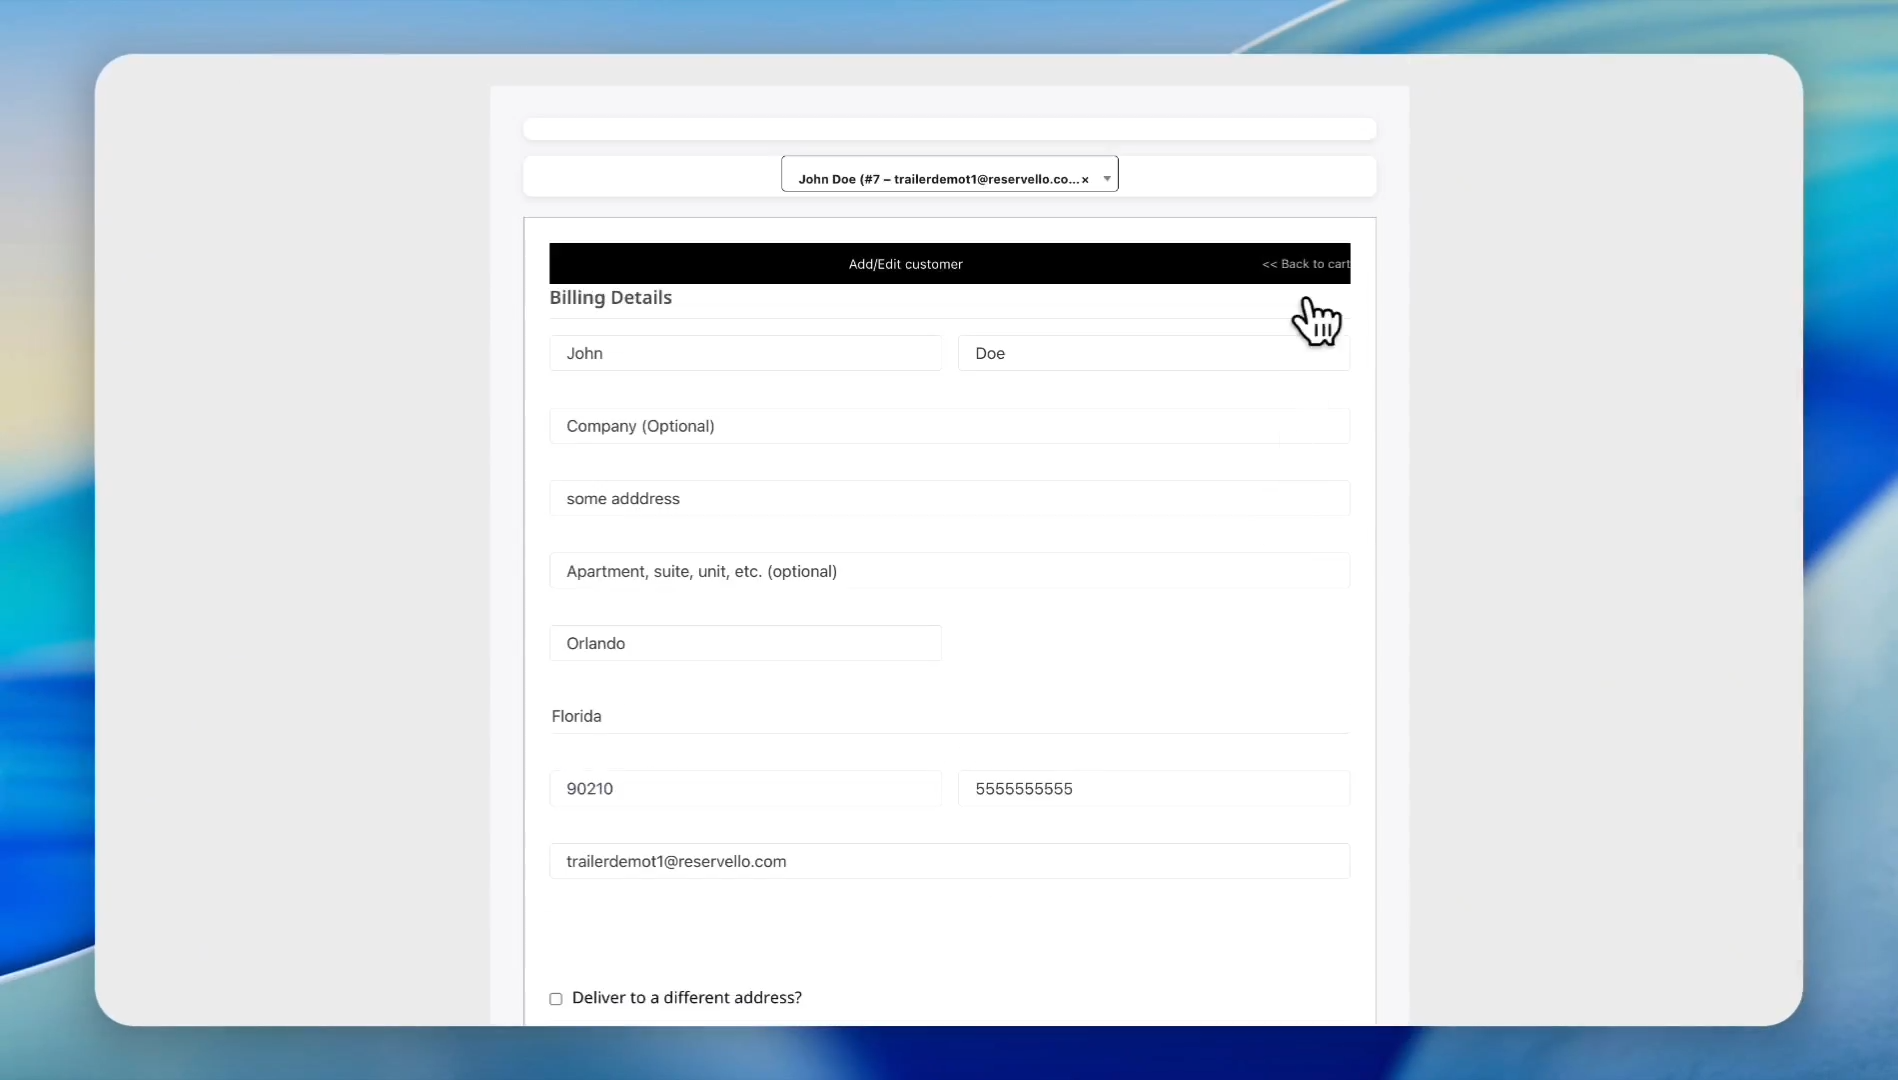
57
The system will automatically fill in all the information. Click the Back to cart button.
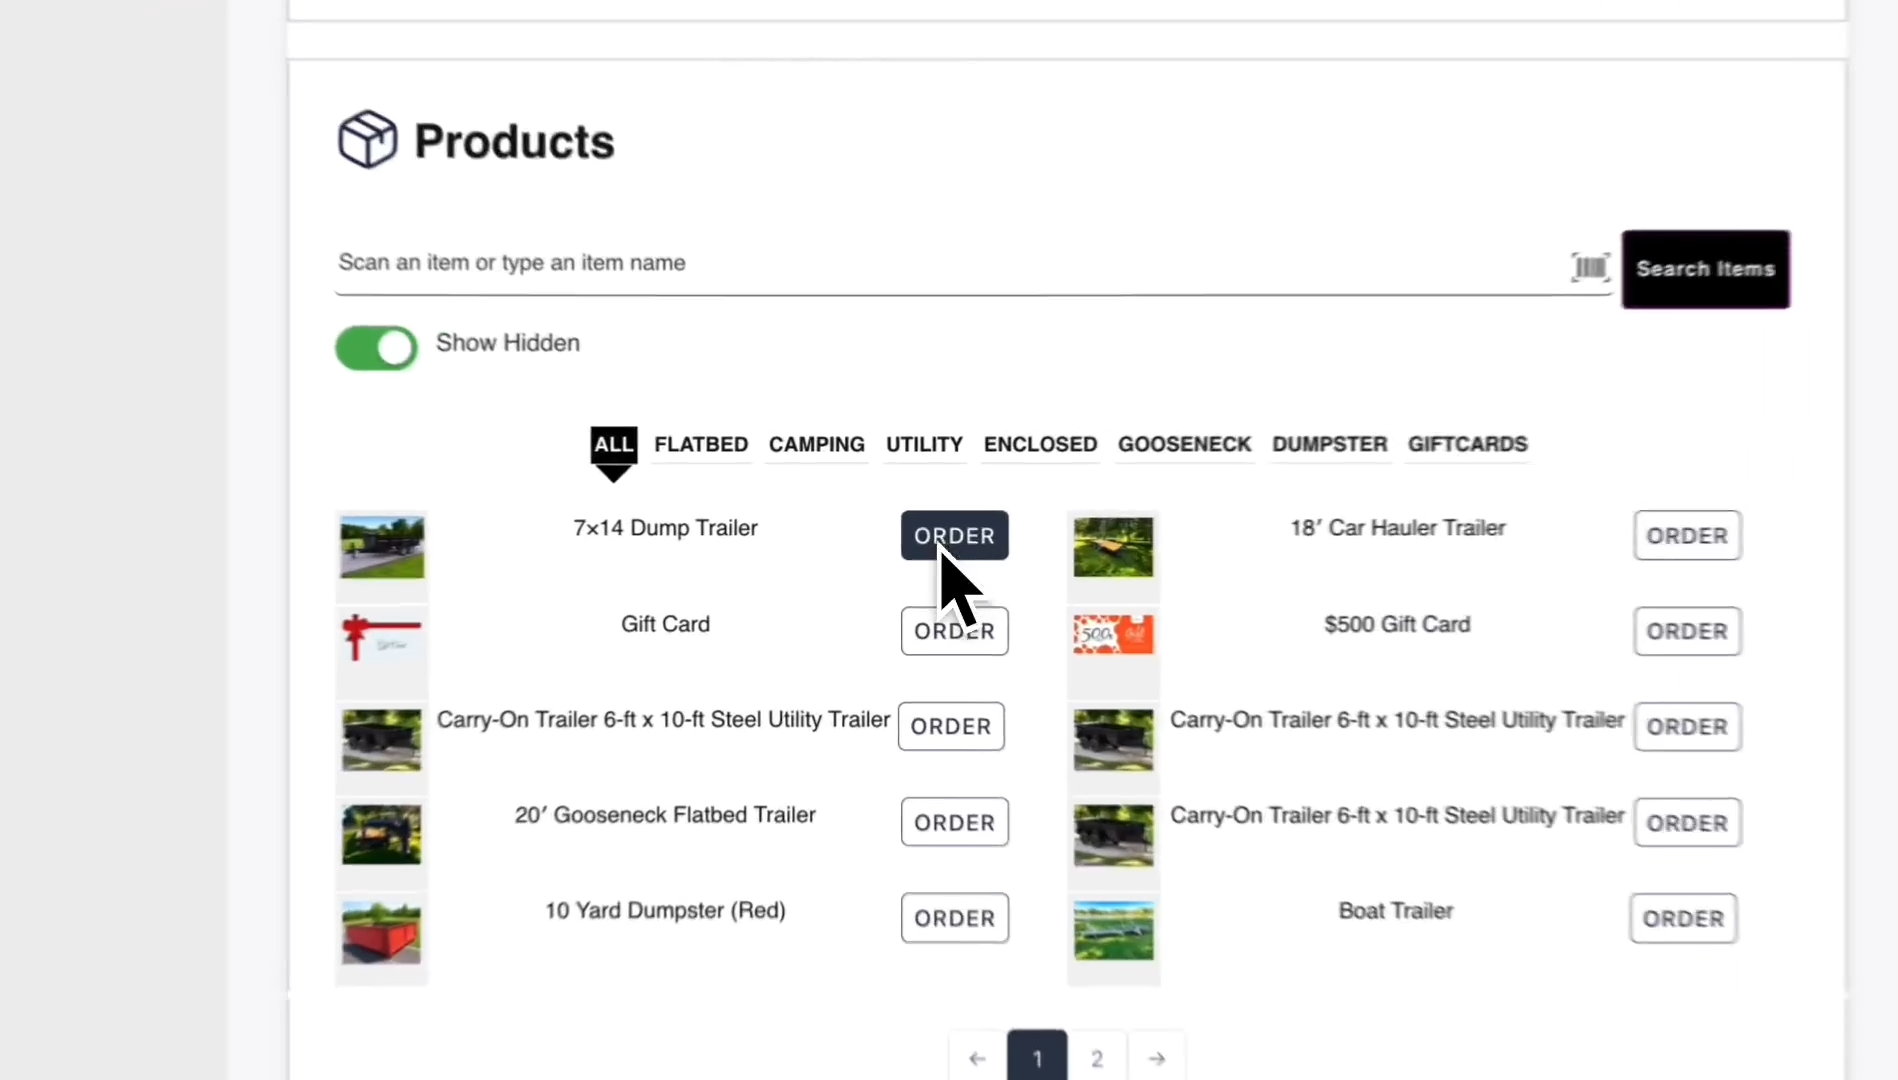
58
Click the Order button for the product John wants. In this example, we used the 7x14 Dump Trailer.
59
Set the "Booking Starts" and "Booking Ends" dates and times.
60
Click the RESERVE NOW button.
61
Click the SAVE button.
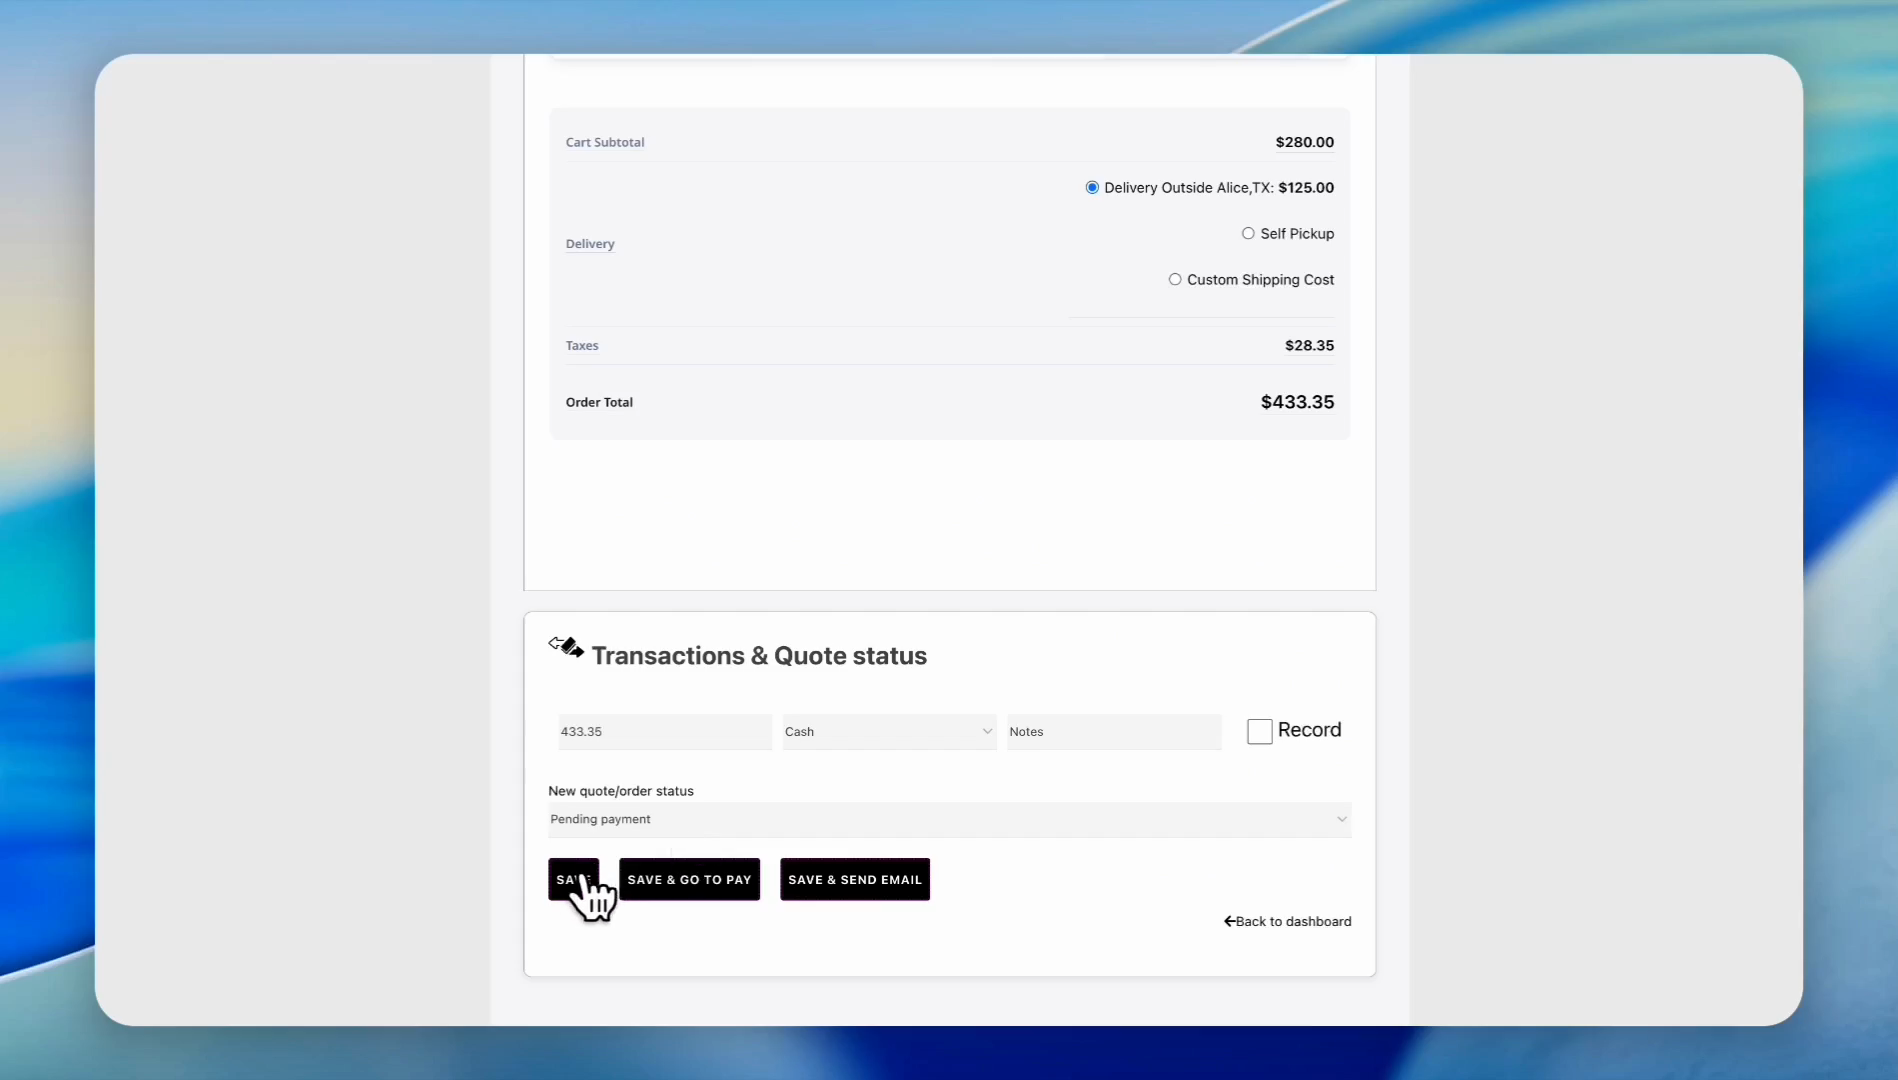
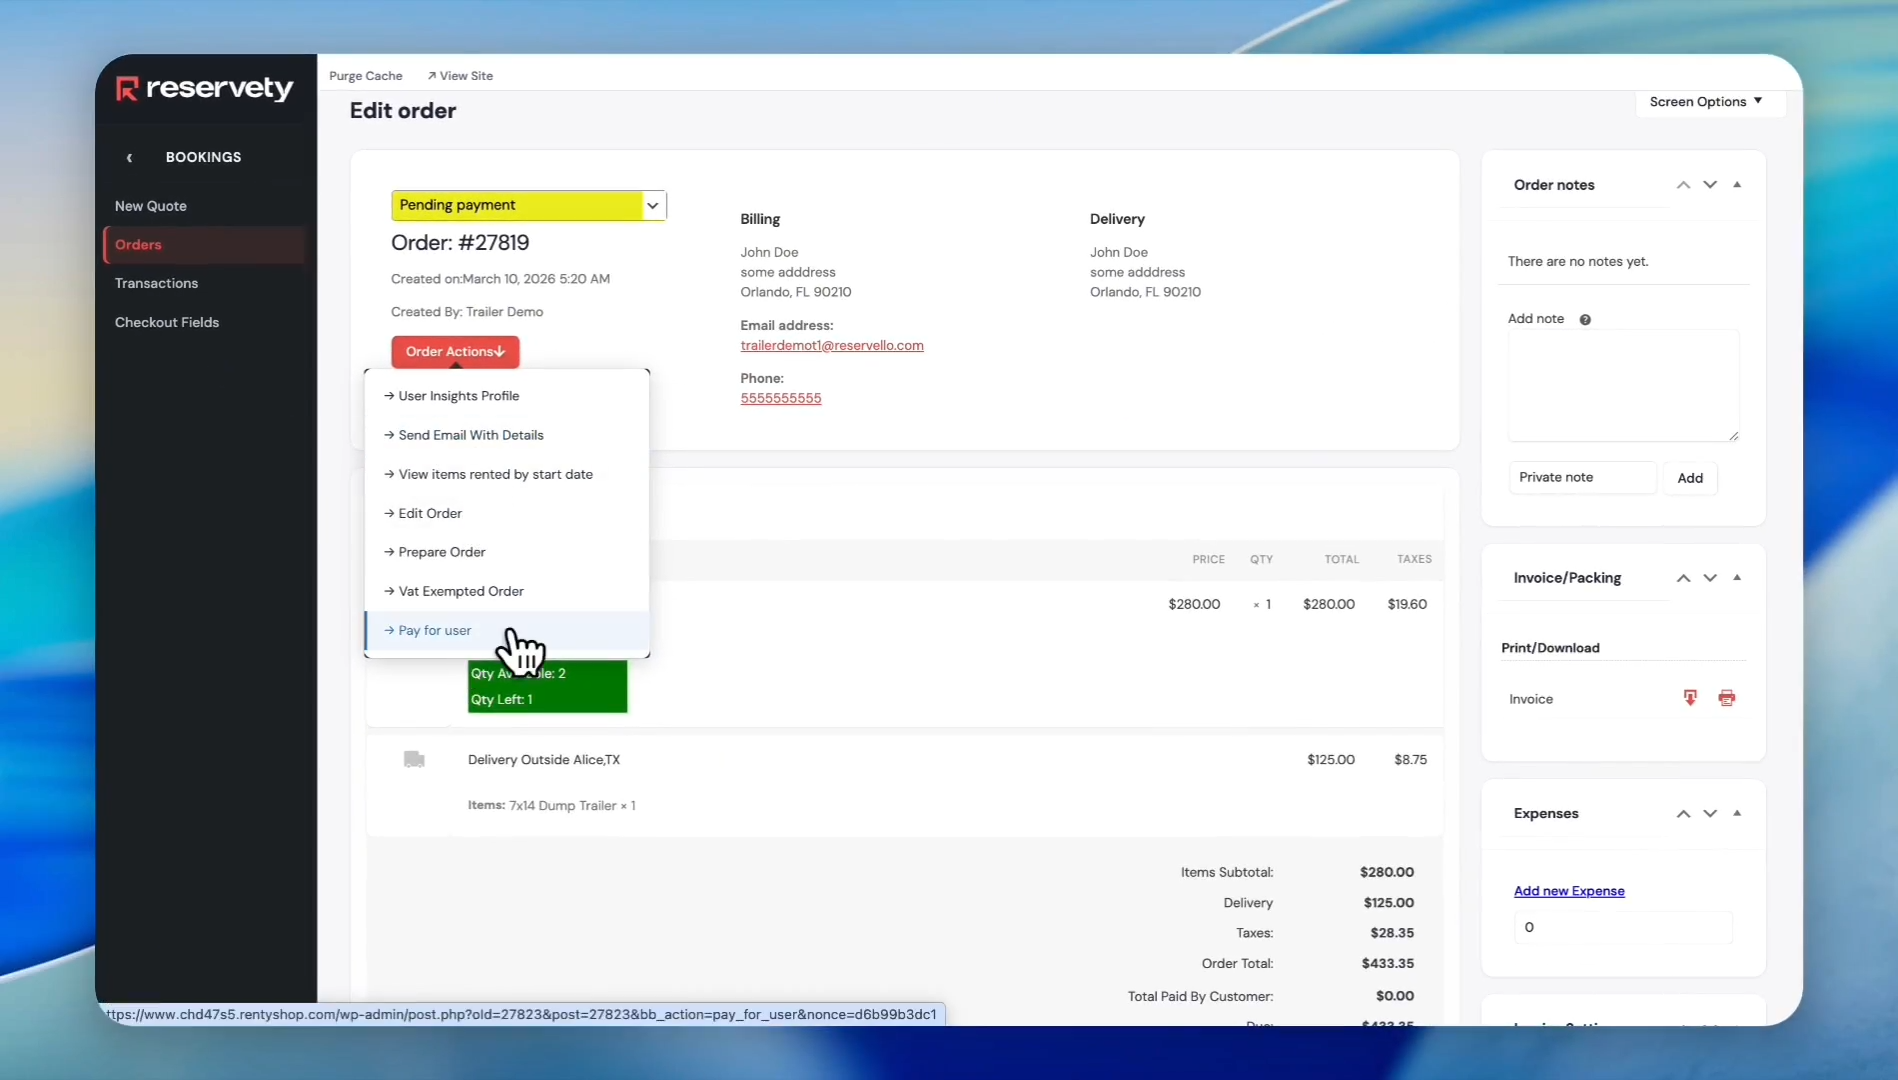
A new quote or manual order is created, but its status is Pending Payment.To change its status automatically, click Order Actions.
62
Click the Order Actions button.
You can either pay for the user or send an email with the details so the customer can pay electronically.
63
In this example, we will pay for the user. In the dropdown menu, click Pay for User.
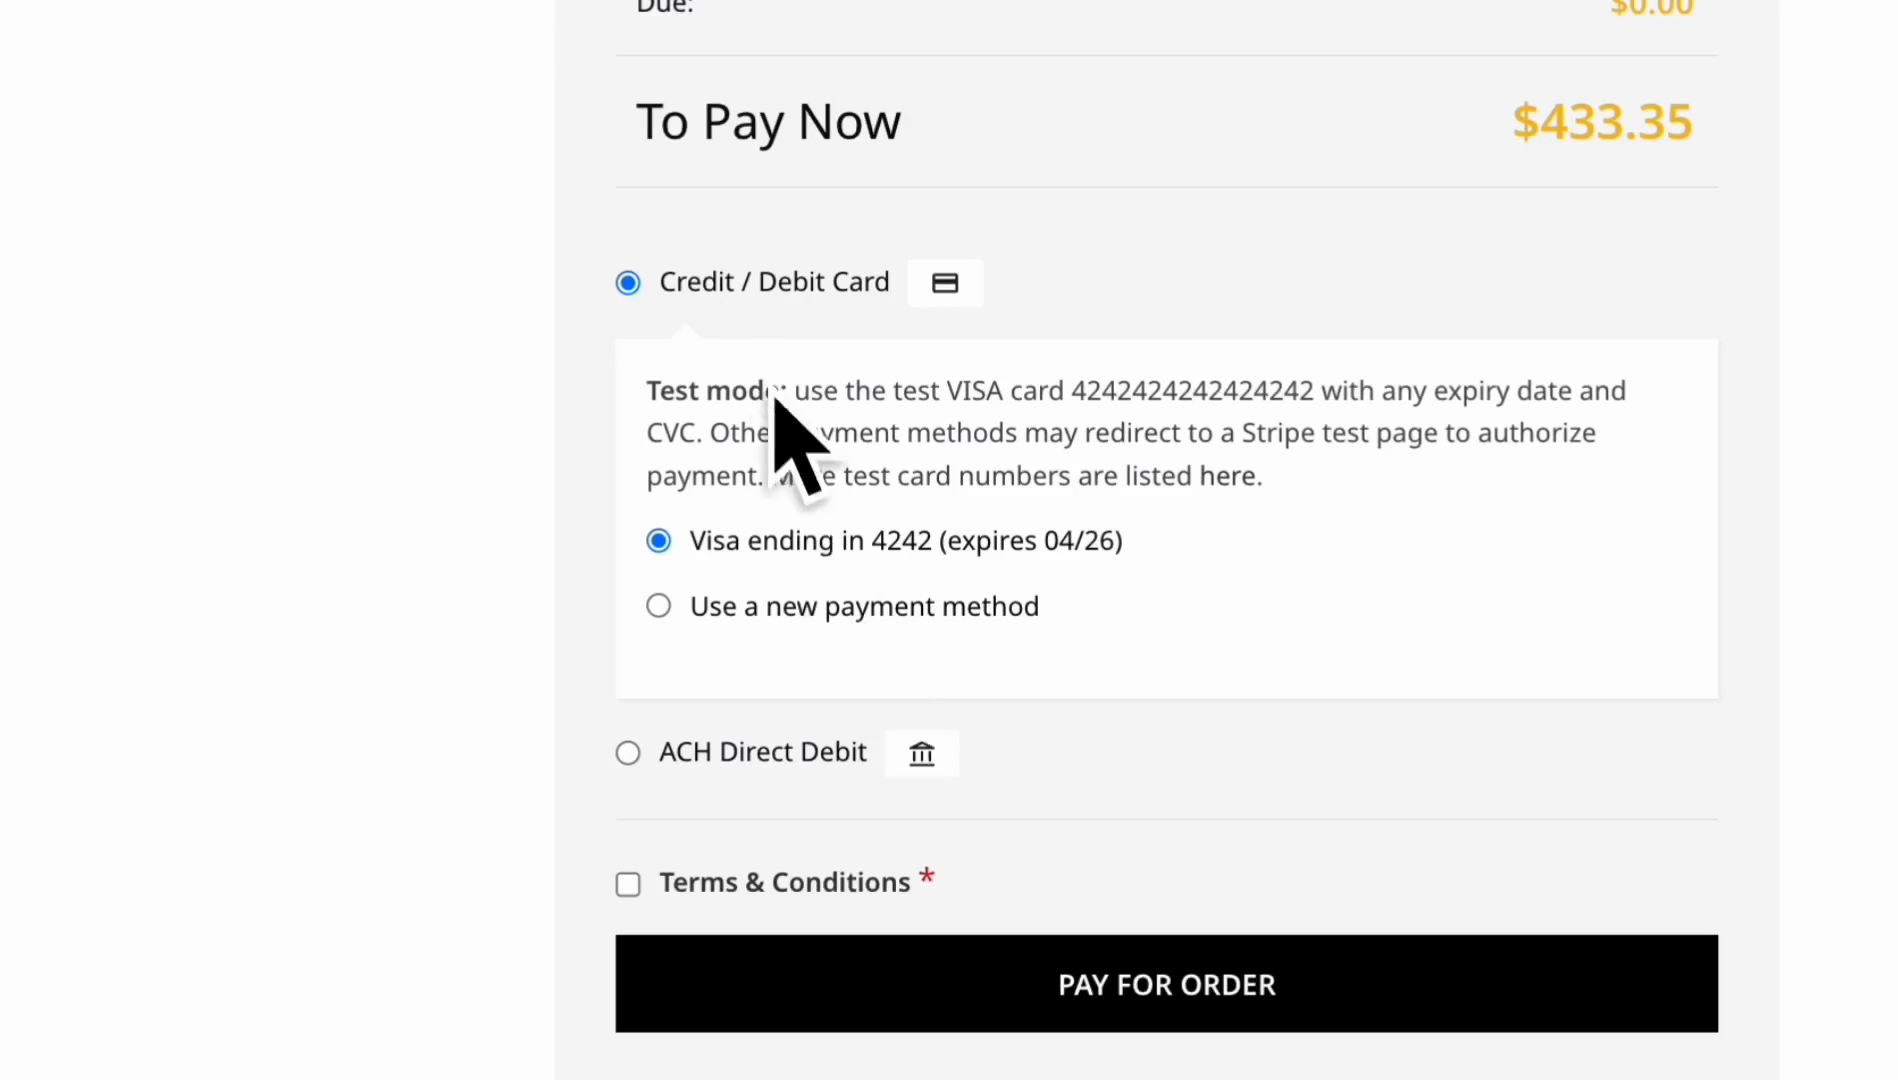
64
Select the radio button for the desired payment method.
We will use the credit card already on file.
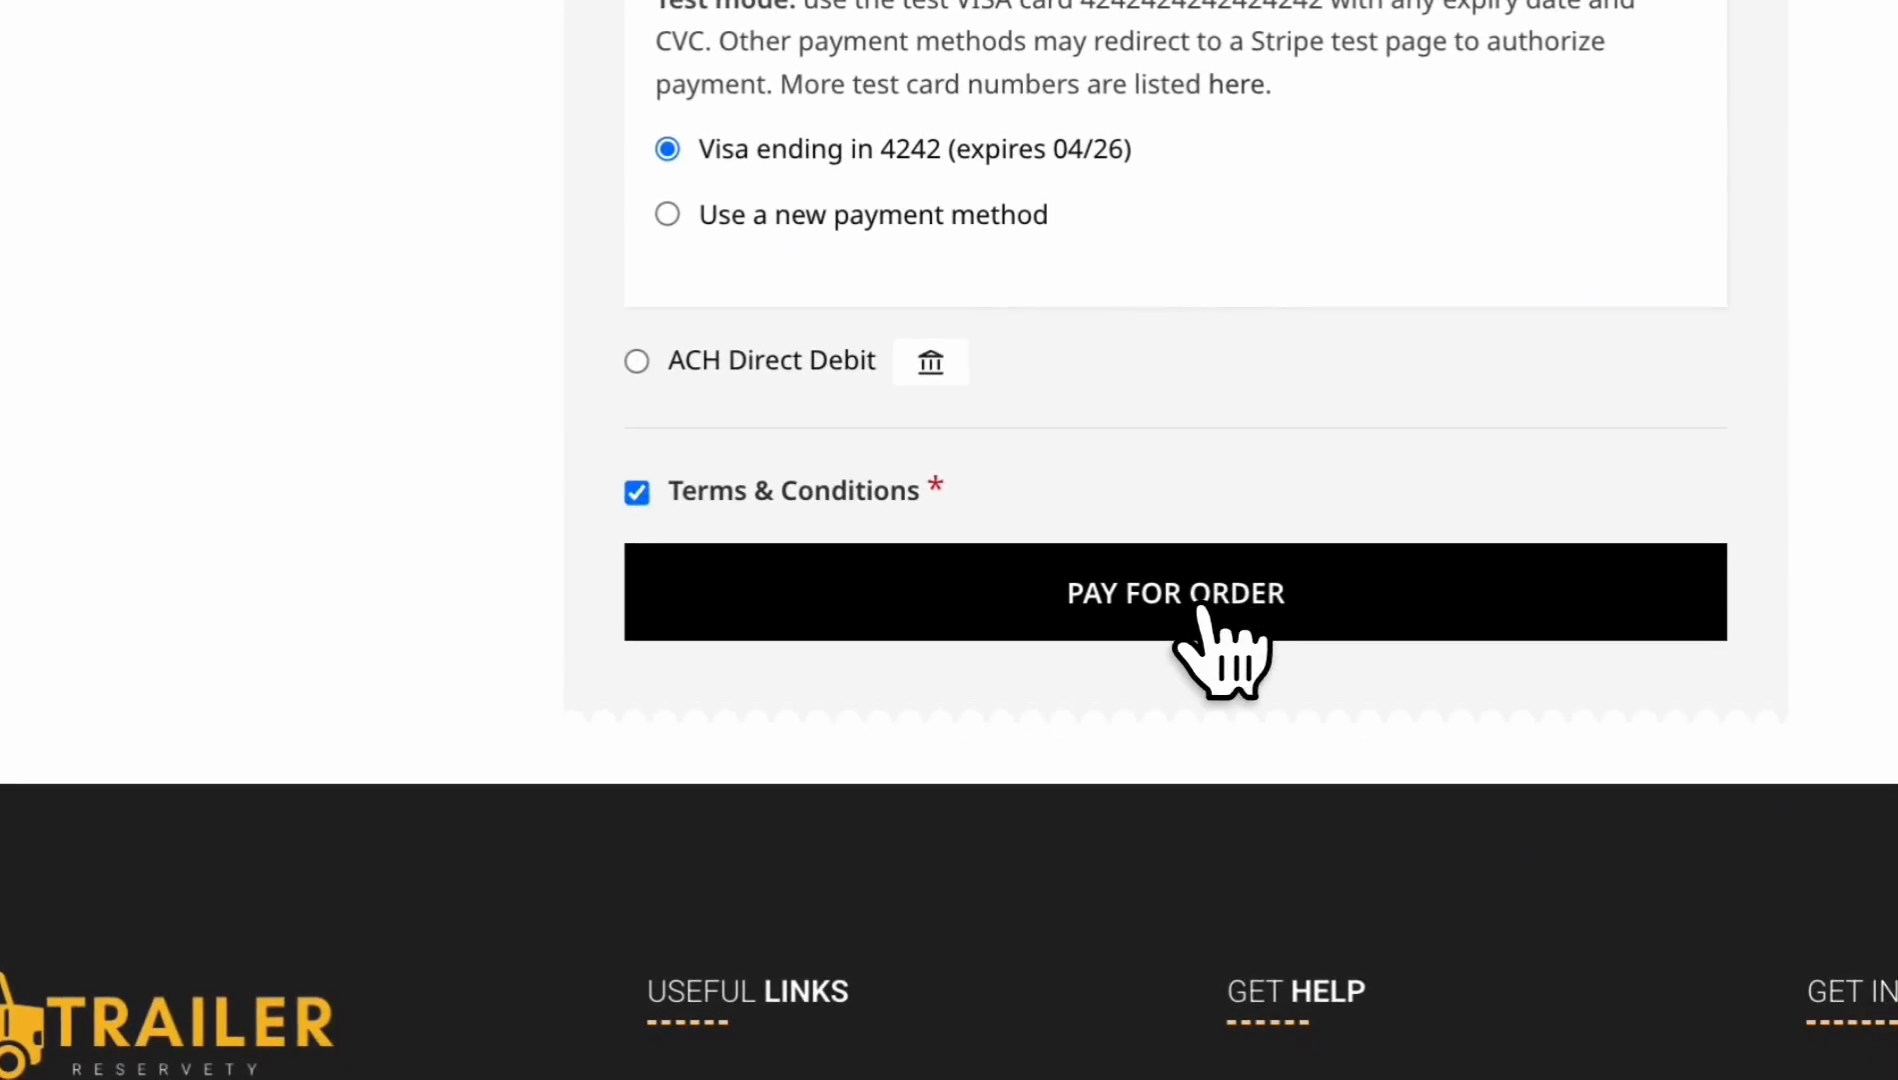
65
Click the Terms & Conditions checkbox.
66
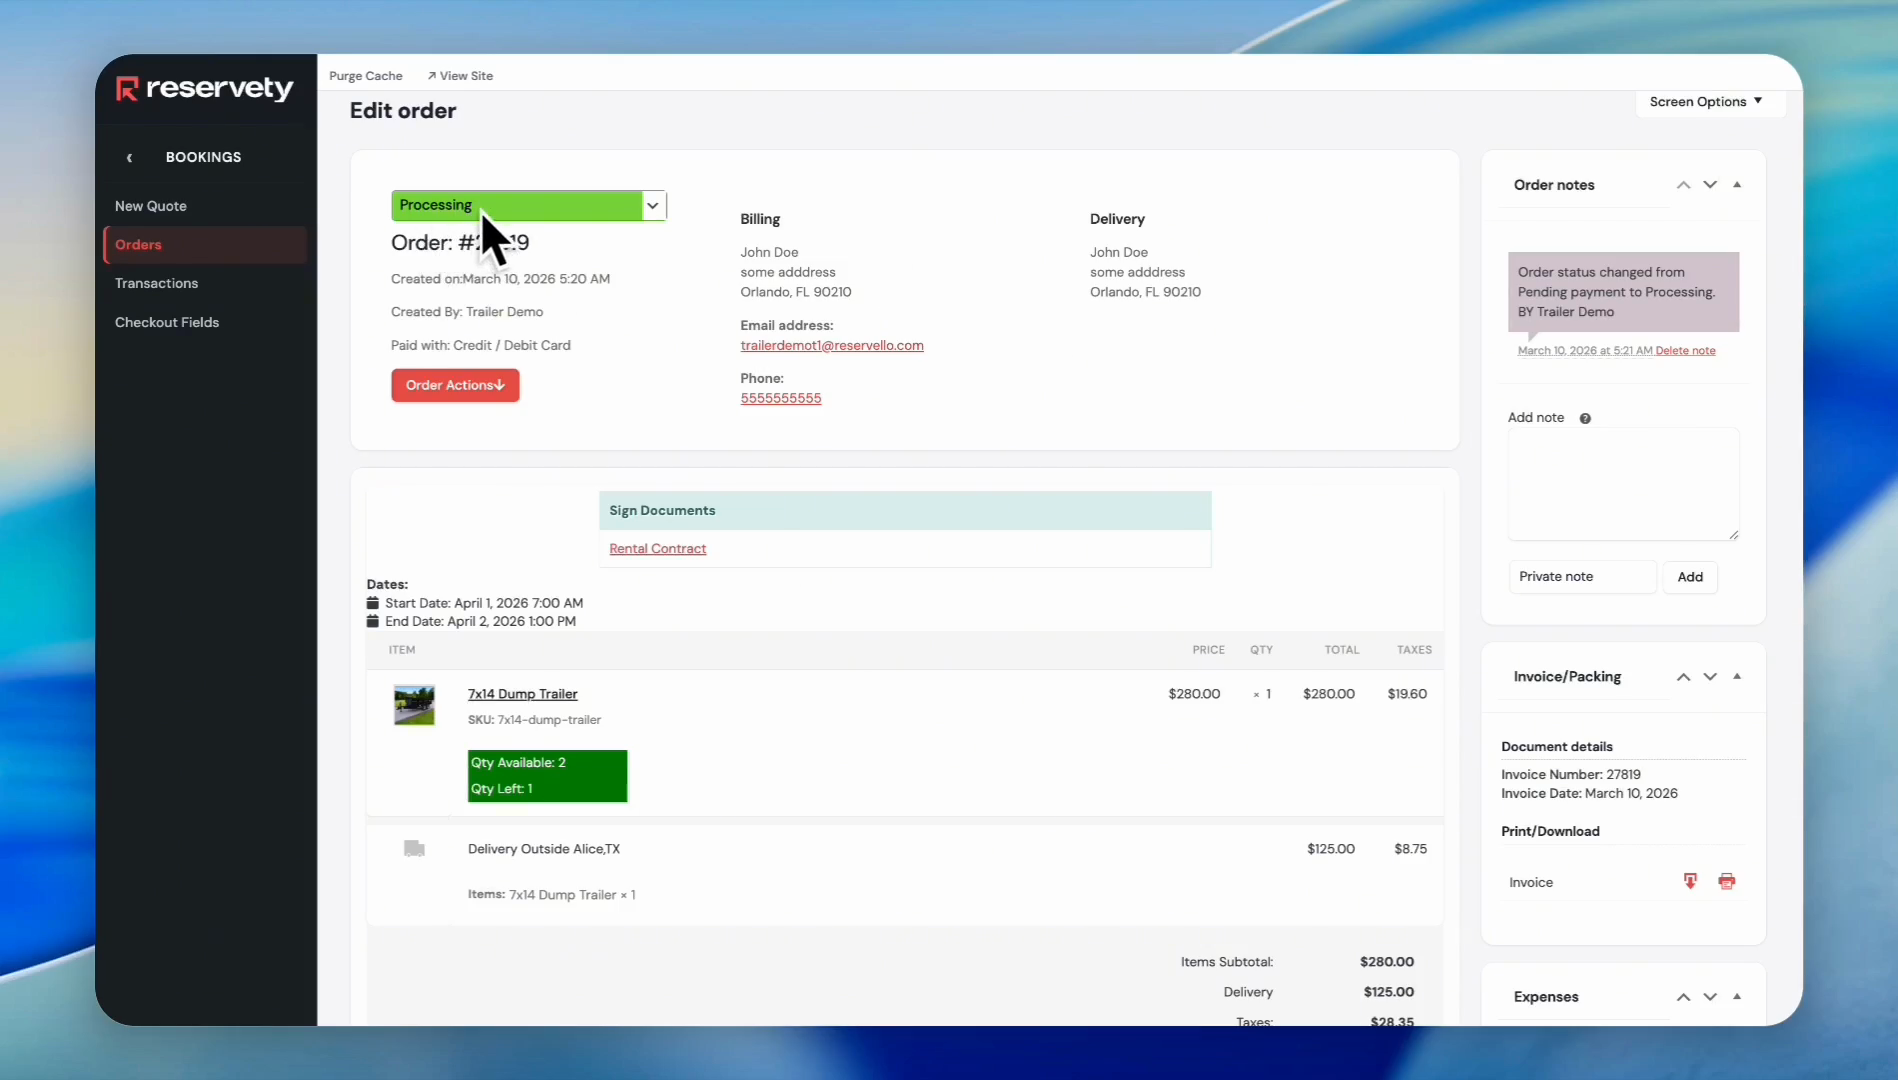
Click the PAY FOR ORDER button.
67
The order and payment have been received.The payment is received, and the order automatically changes to Processing.