
How to Manage Contact Form Submissions and Sync with HubSpot & Salesforce
Learn the step-by-step process for handling contact form submissions on vdaassociation.com, including how submissions are managed in HubSpot, segmented, and synced with Salesforce. Discover best practices for reviewing, editing, and qualifying leads.
In this guide, we'll learn how to track and manage contact form submissions from vdaassociation.com using HubSpot and Salesforce.
We will look at how submissions are filtered, how to identify true contacts, and how to resolve errors so that contacts sync correctly between HubSpot and Salesforce.
You'll also see how updates in Salesforce reflect back in HubSpot, helping you keep your contact records accurate.
Let's get started
In this video, we will review the process for submitting a...
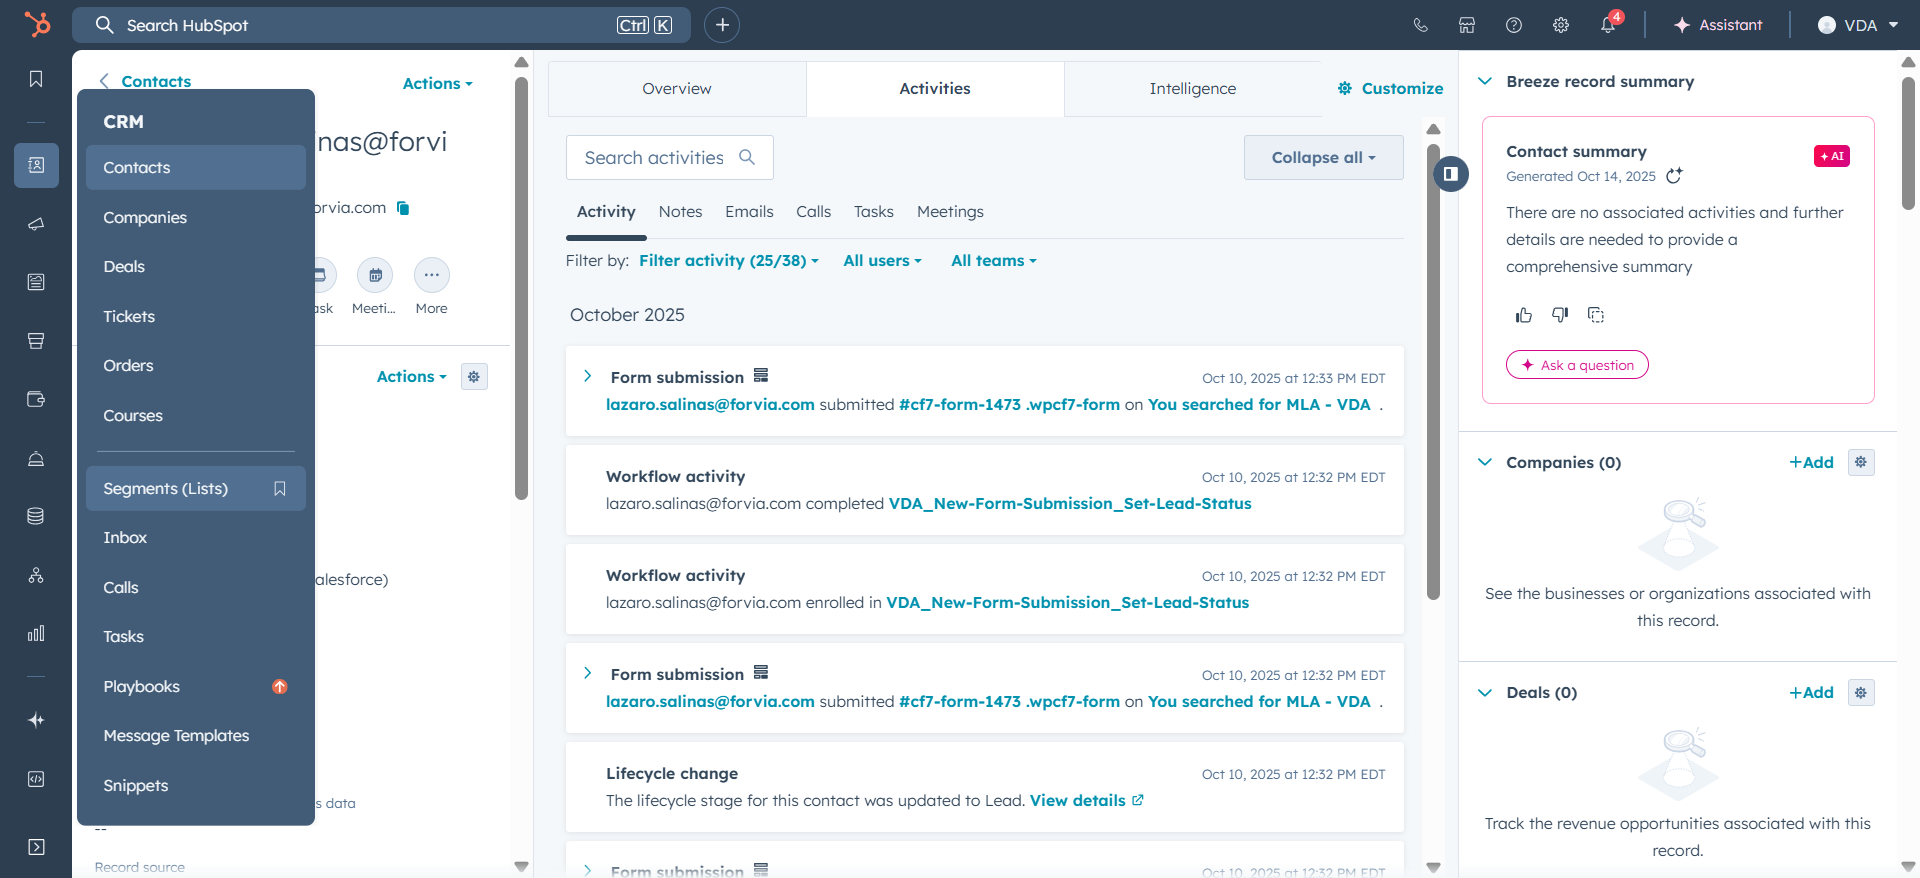
We will review the process a contact follows when submitting the contact form on vdaassociation.com. When a contact completes the form, they will automatically be added as a submission to one of the created forms in HubSpot. To view the submissions, click Form Submissions. This will display the submissions.
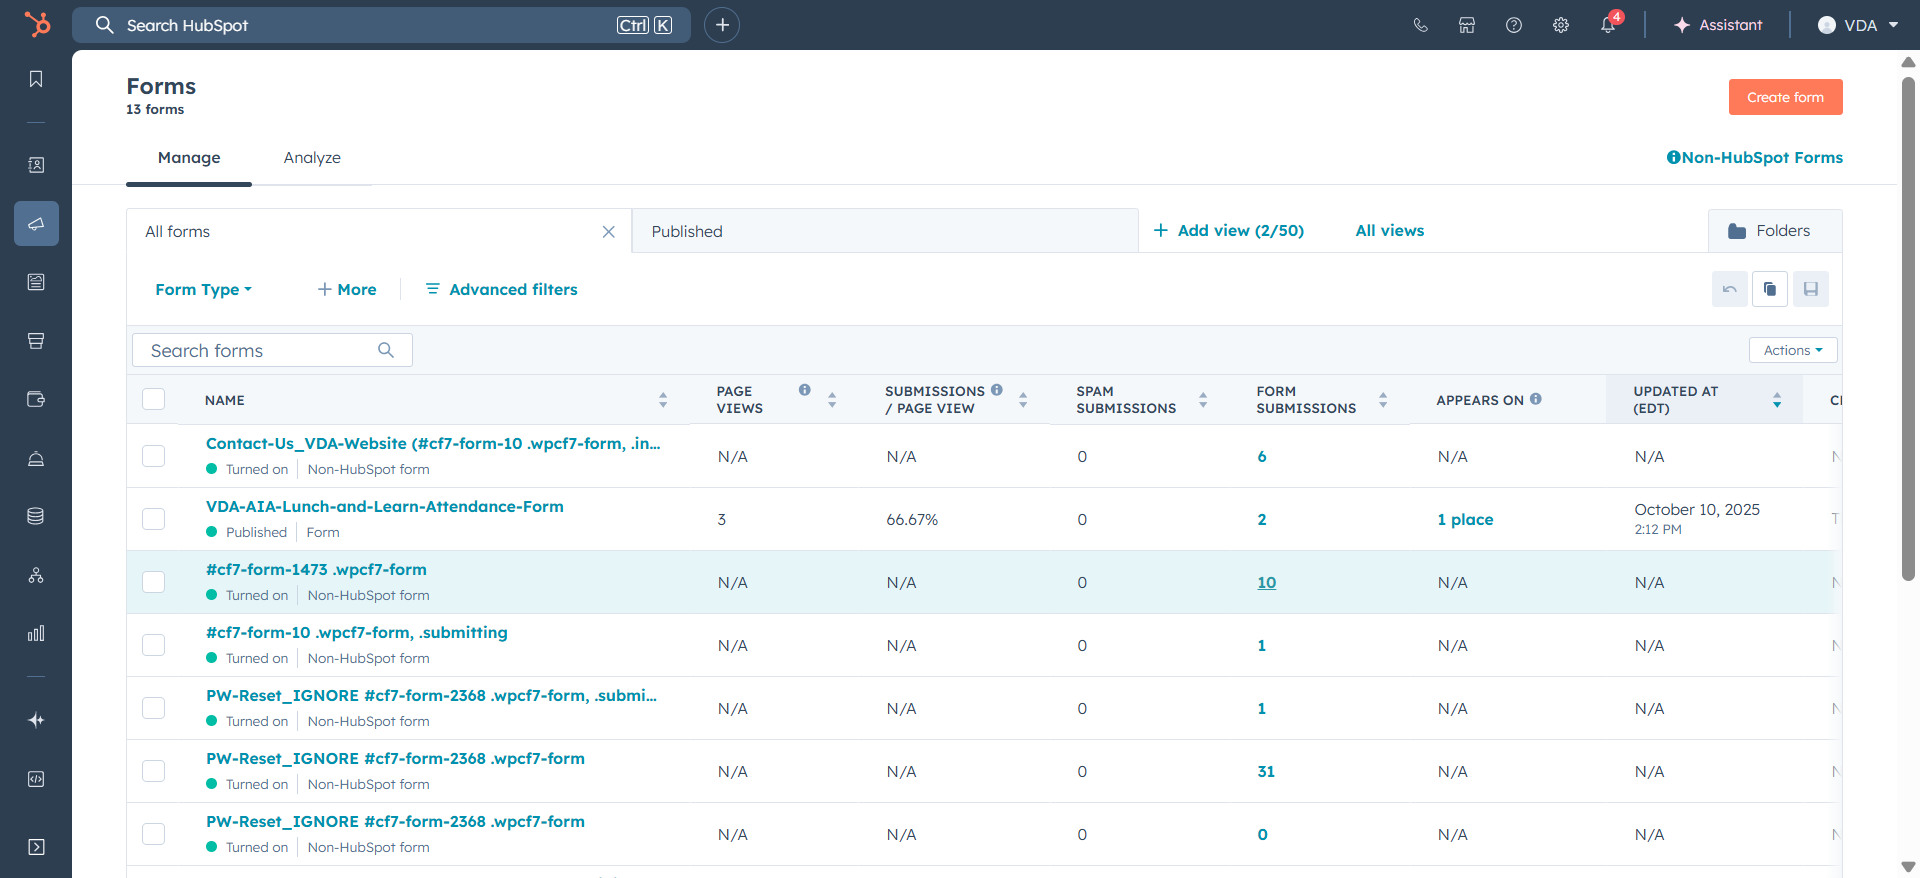
You will see that many submissions are automatically generated during processing in the website form.
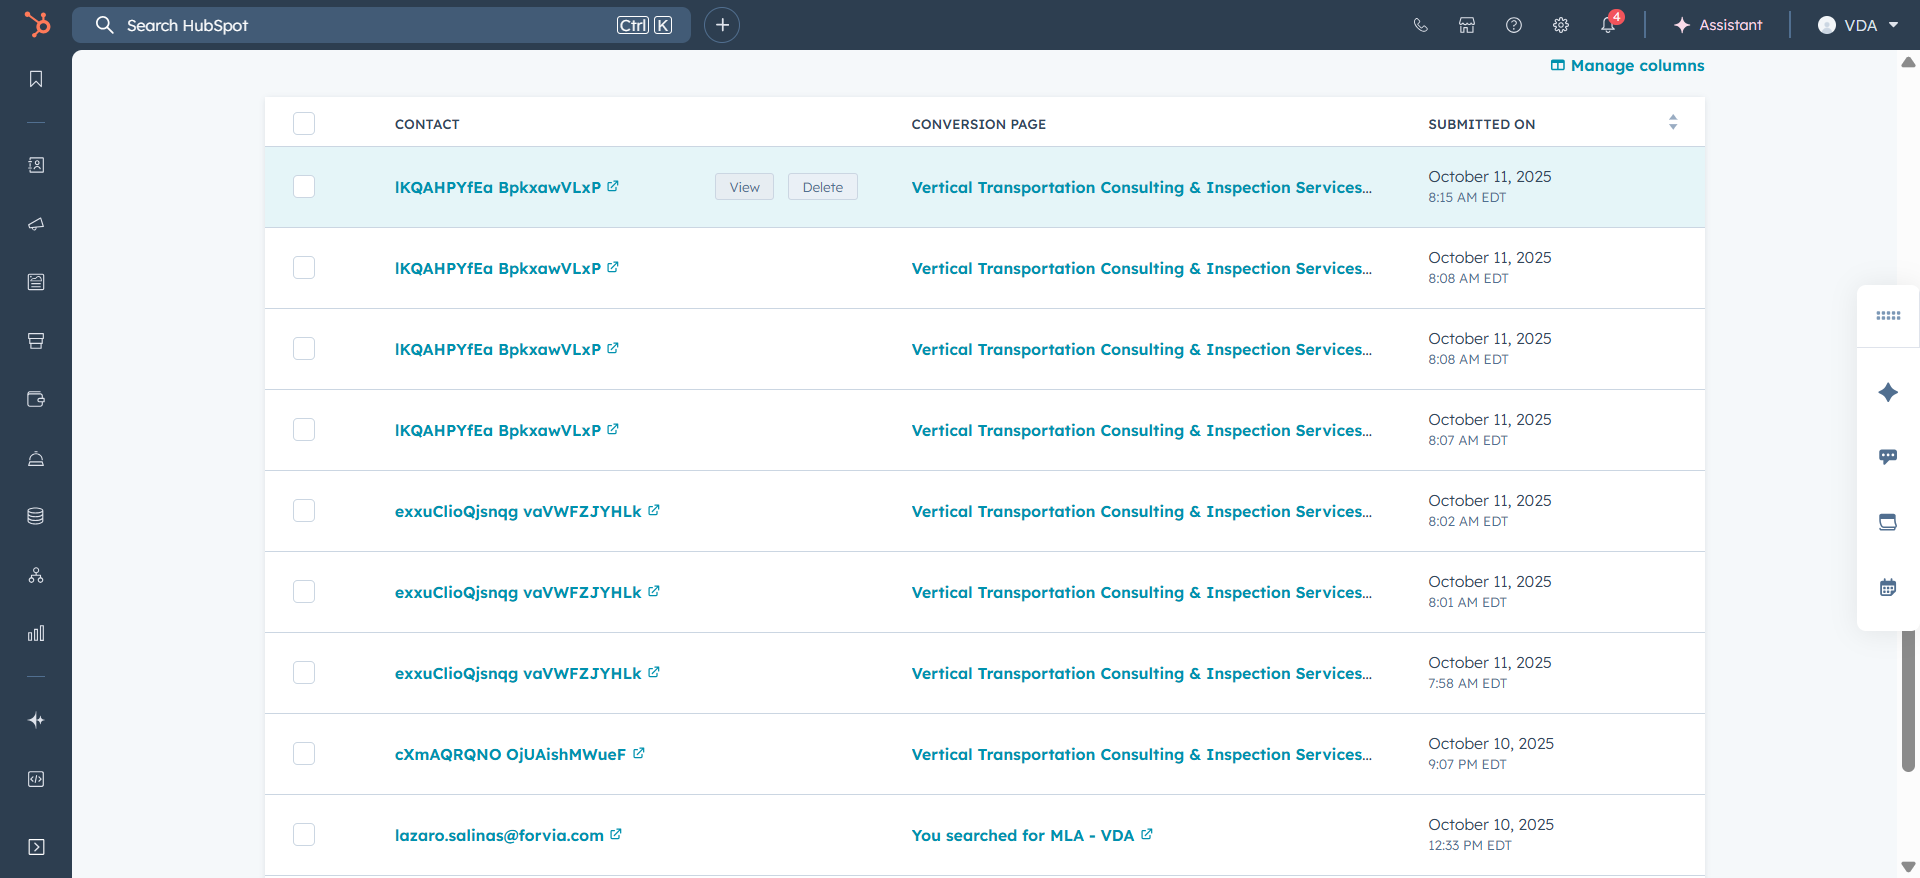
All of these have messages without spaces, so we automatically quarantine these contacts and schedule them for deletion.


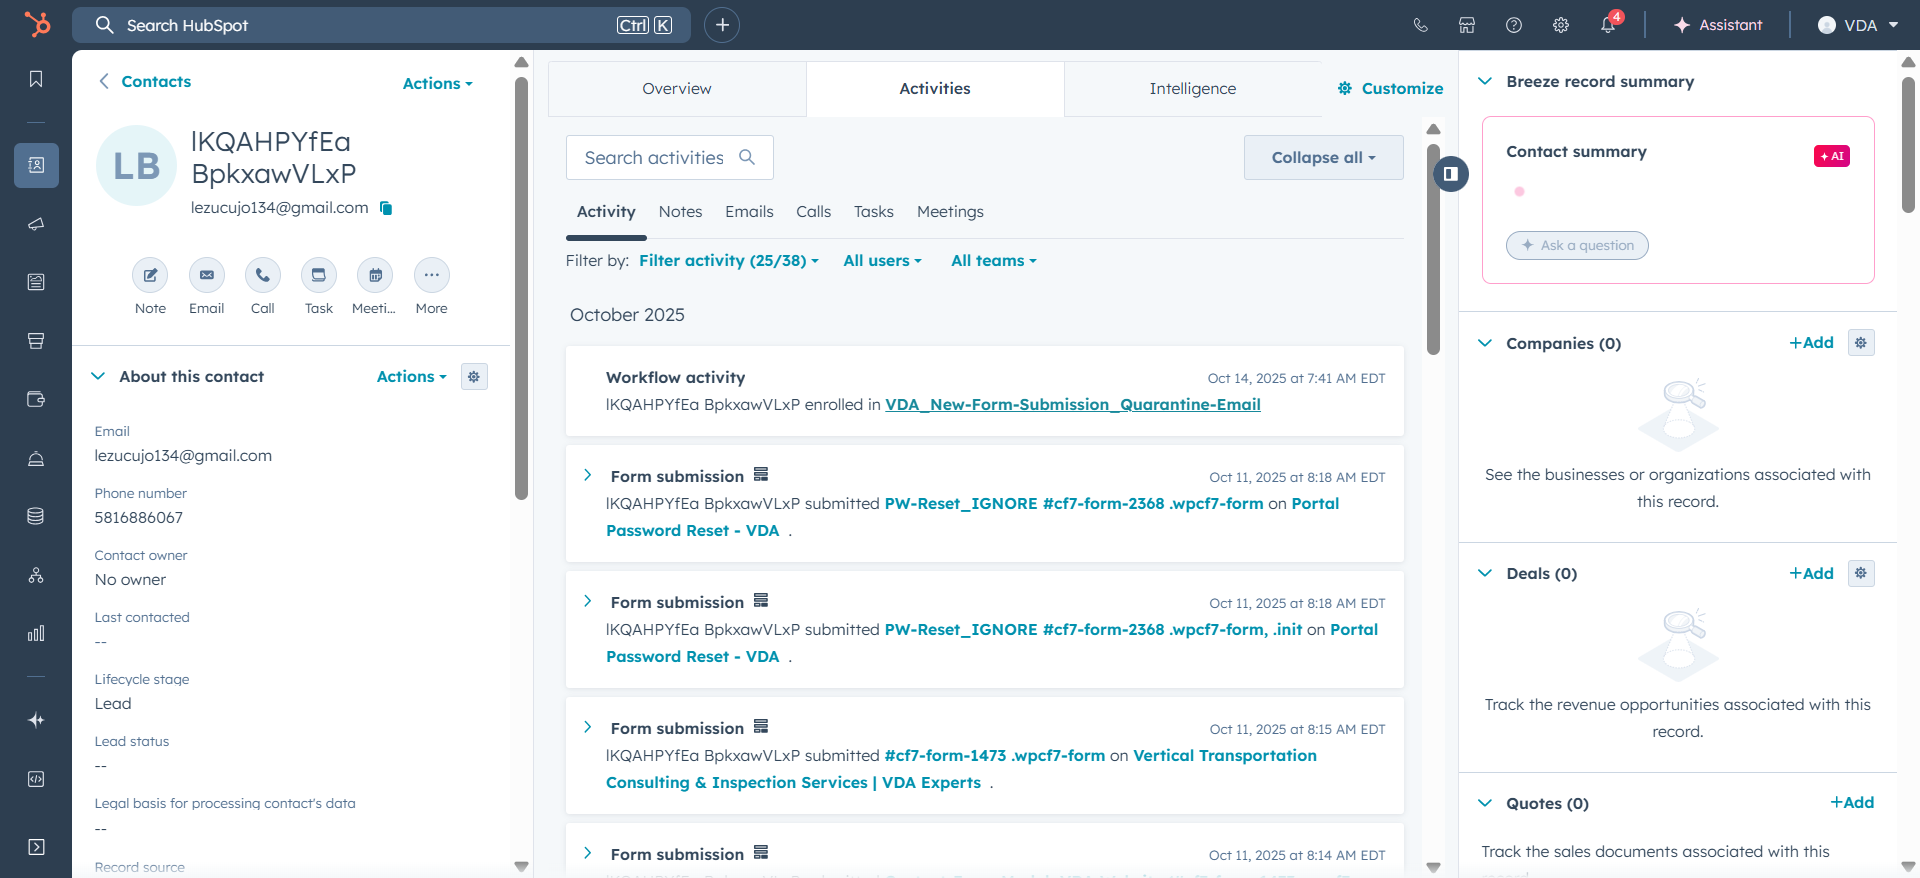
We'll cover this process later. A contact submitted accurately through a form is added to various workflows and lists.
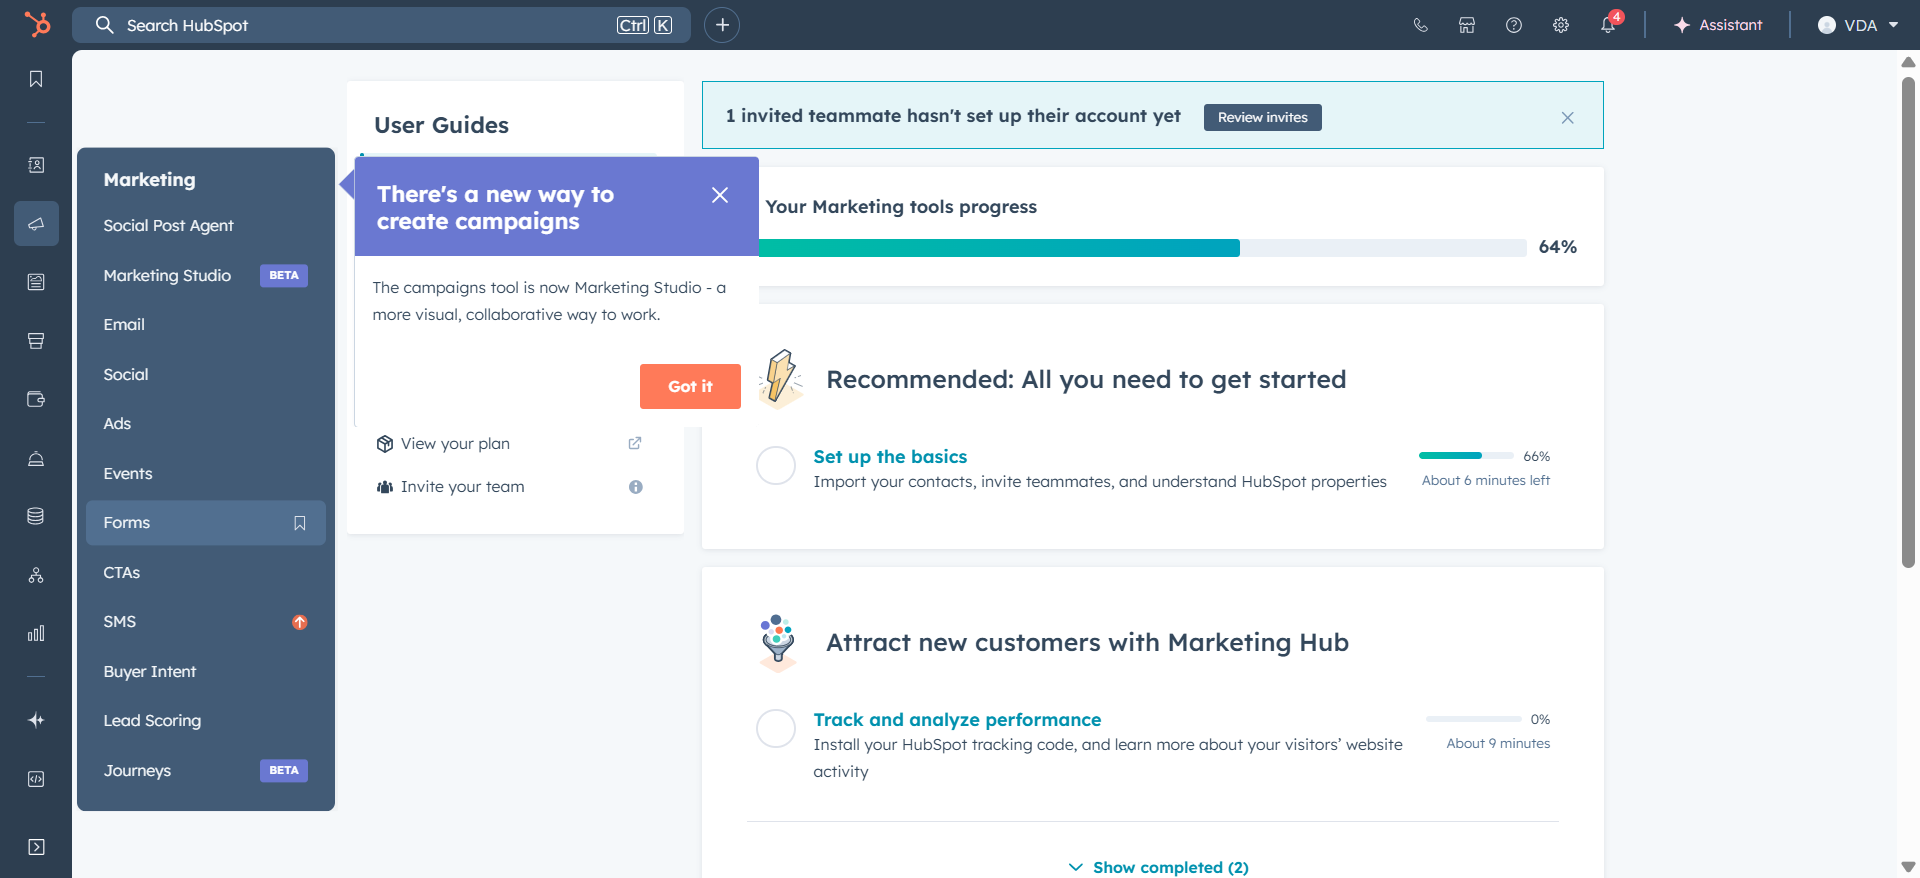
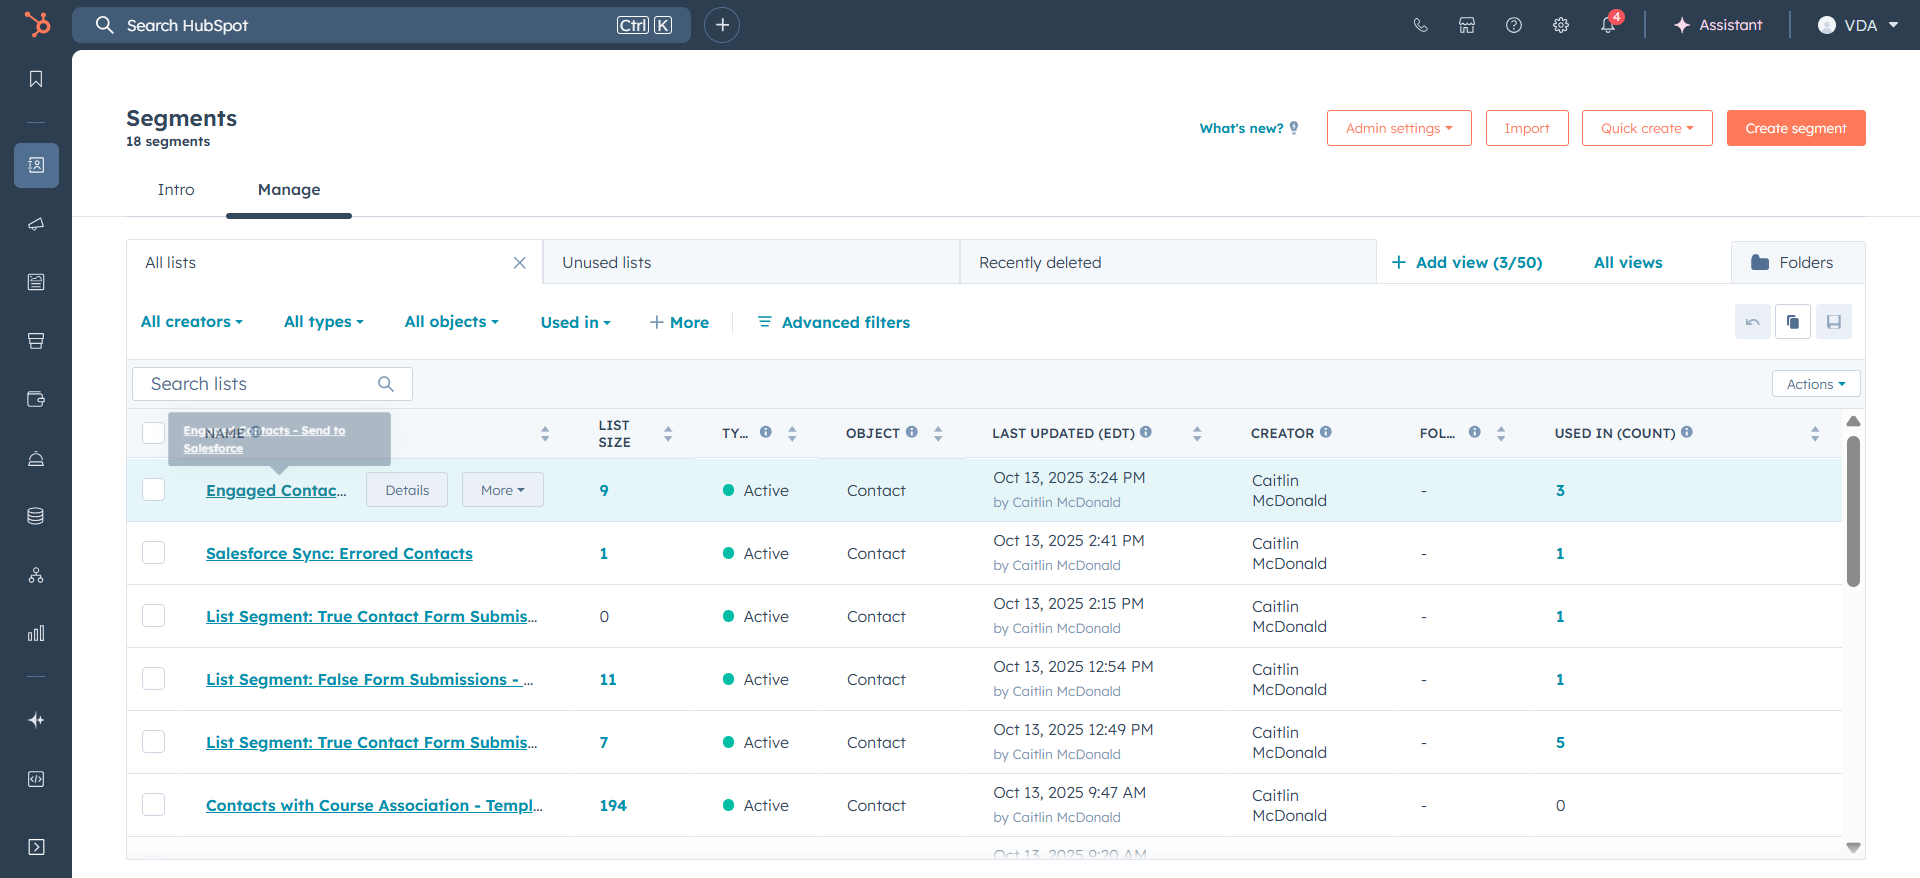
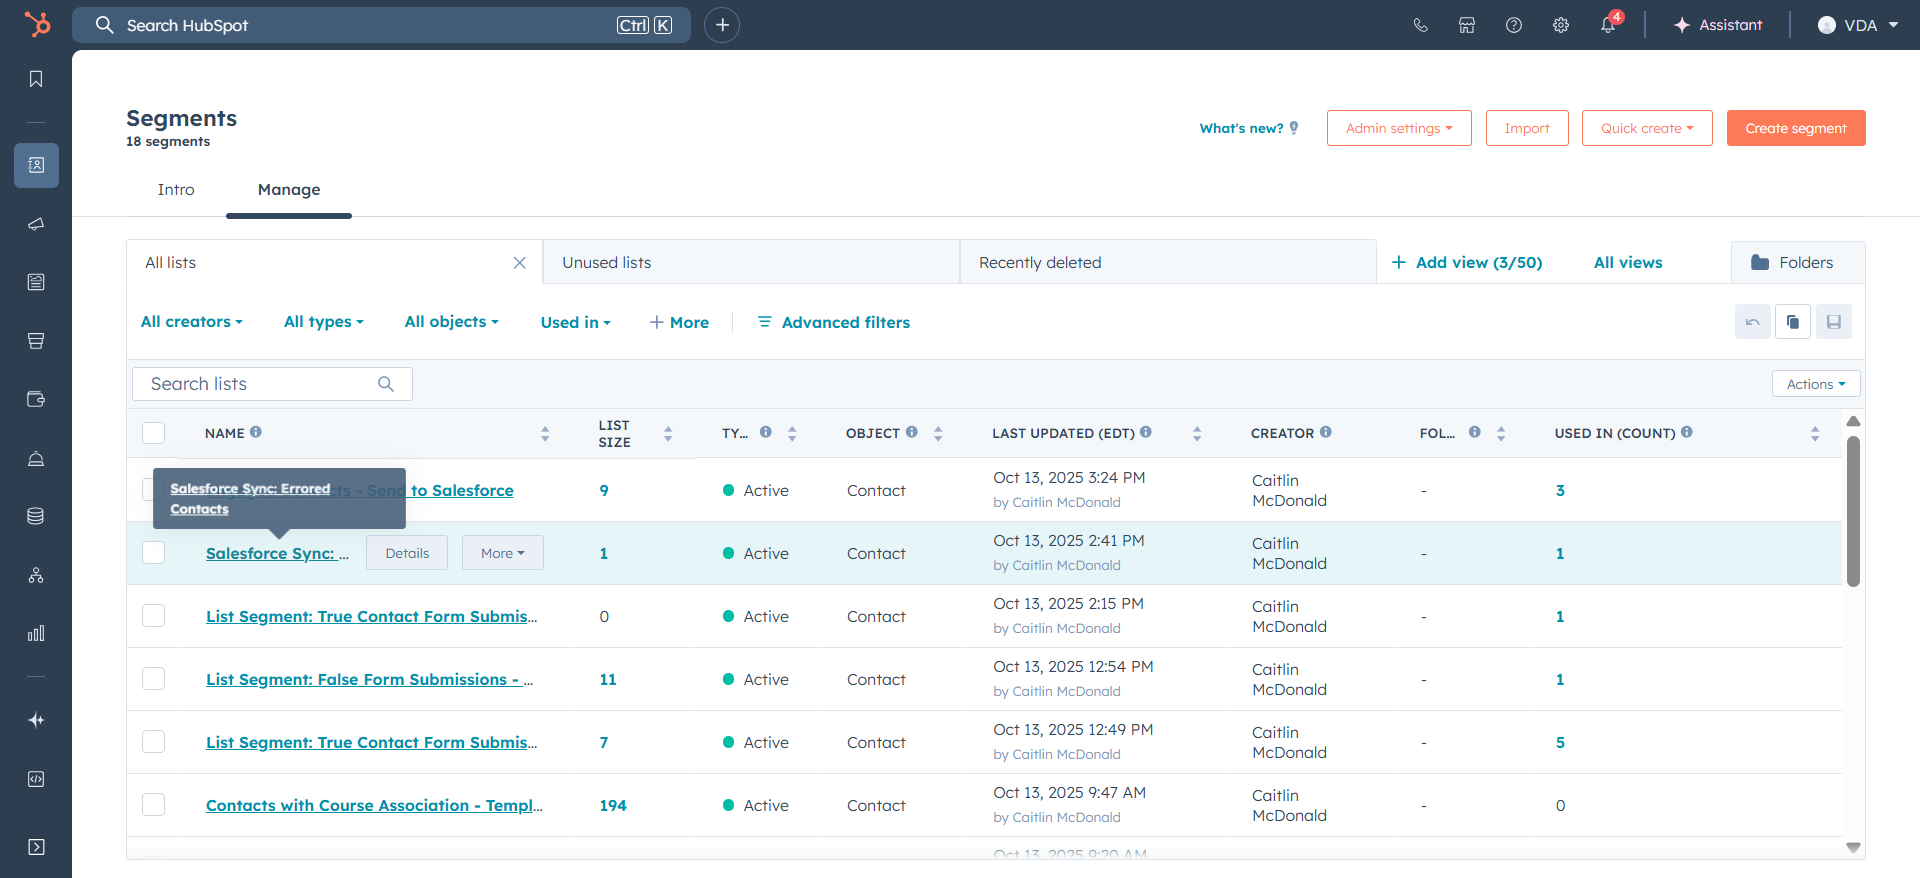
The list someone is added to is under Segments.
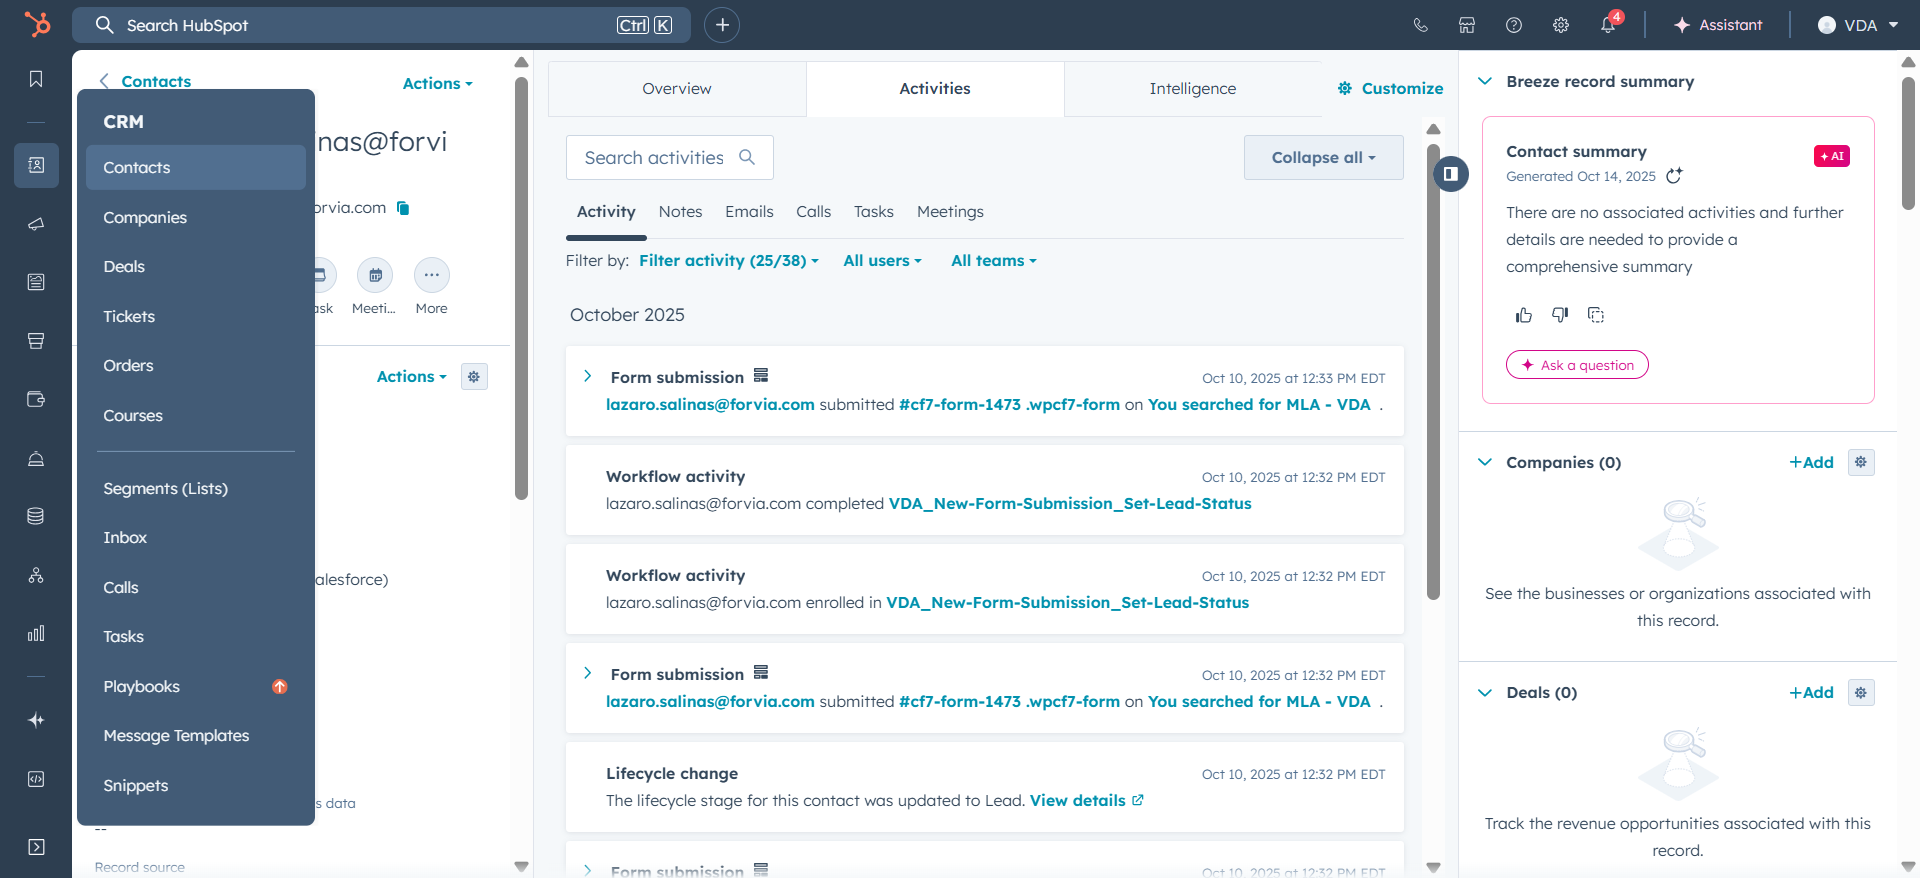
![Step #12: Click on "[ C ]"](https://di8mn0rali2ic.cloudfront.net/uploads/f55ac198-b132-4854-a22c-5df4b0a81c34/ee818b47-3950-4fac-b671-a8766f349350.png)
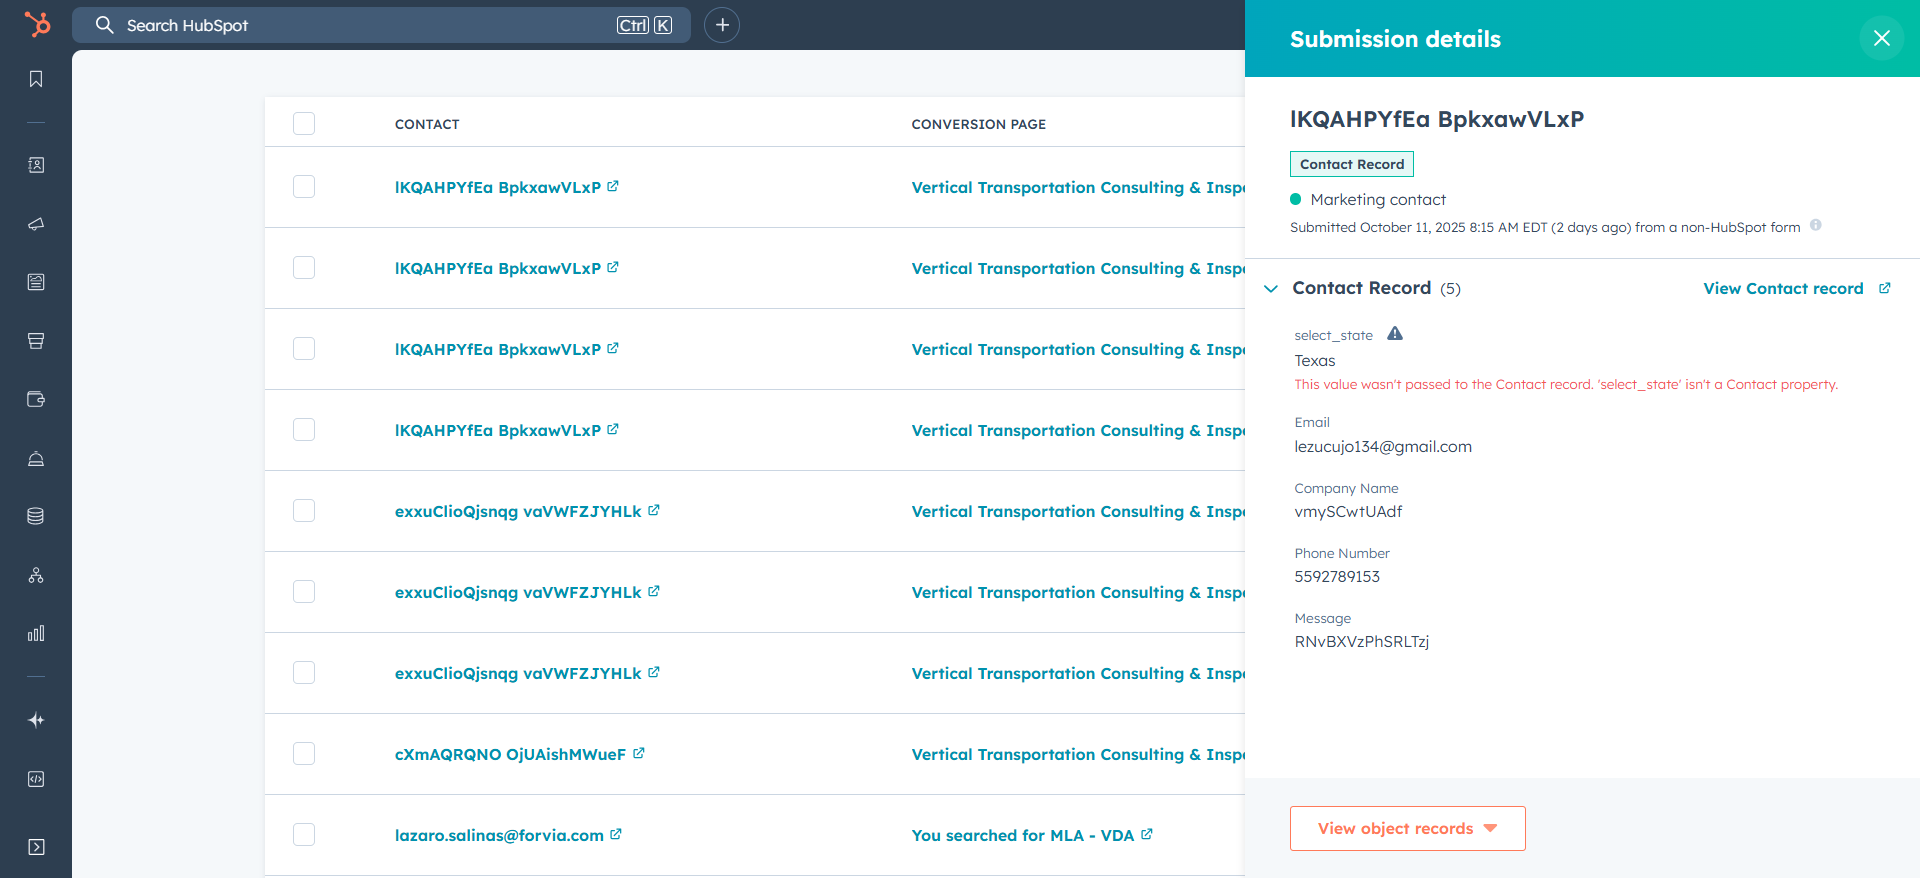
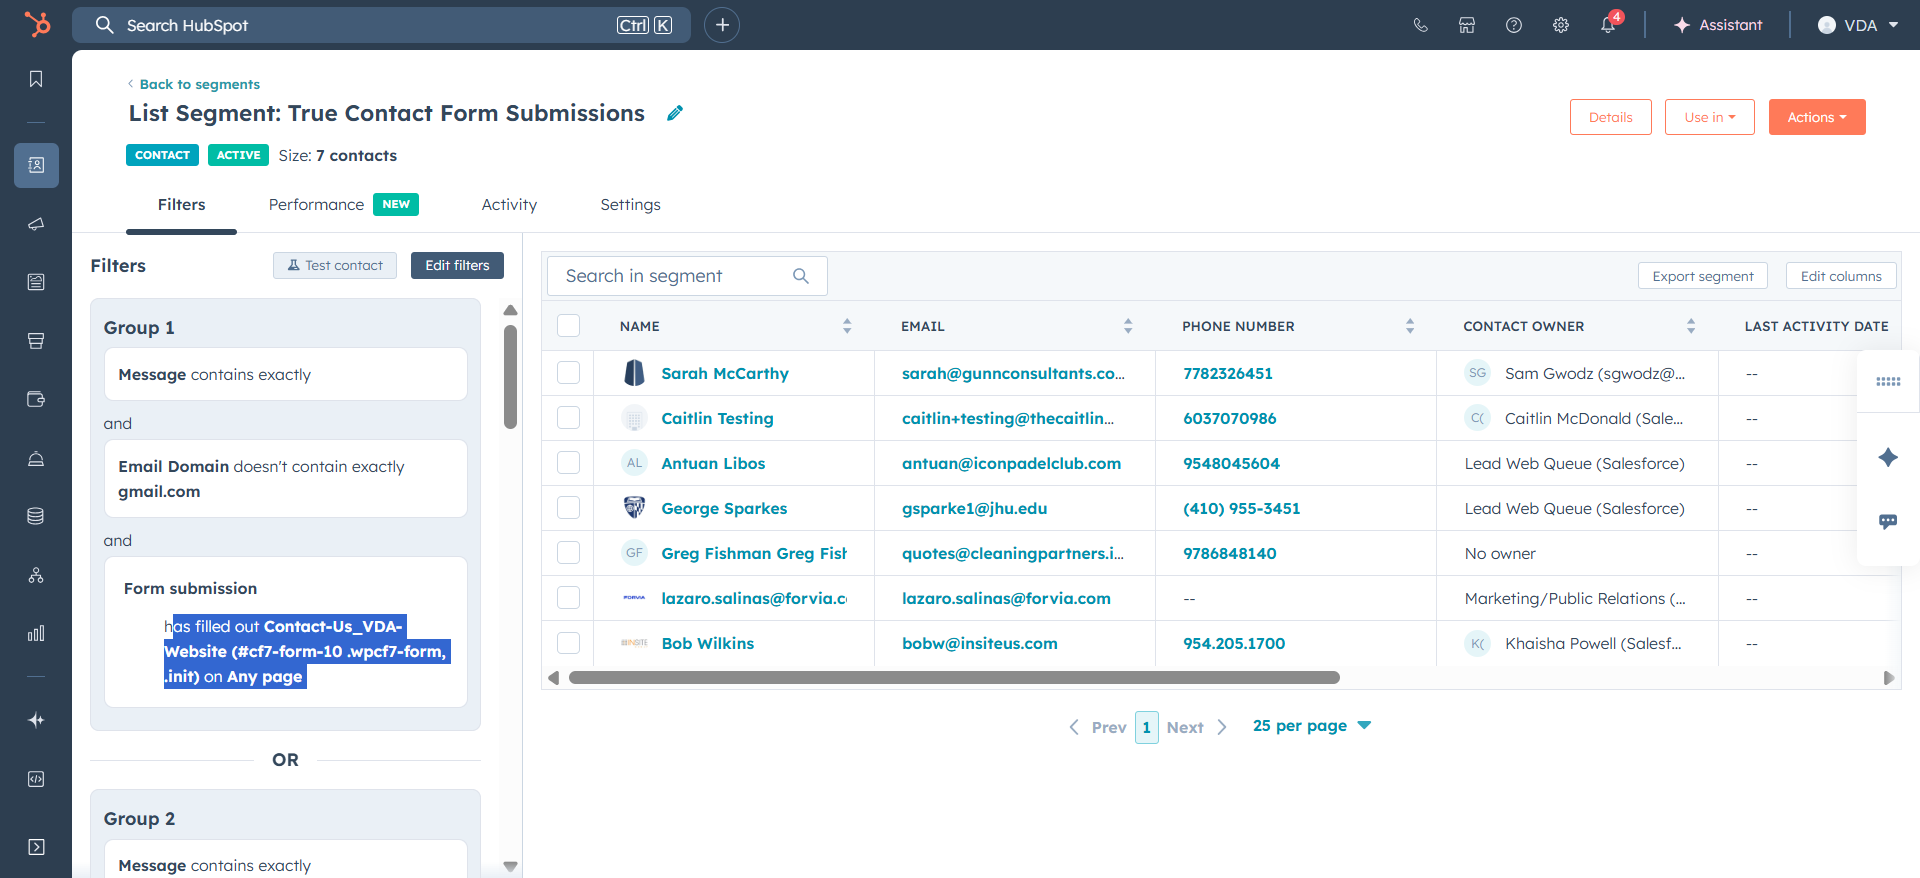
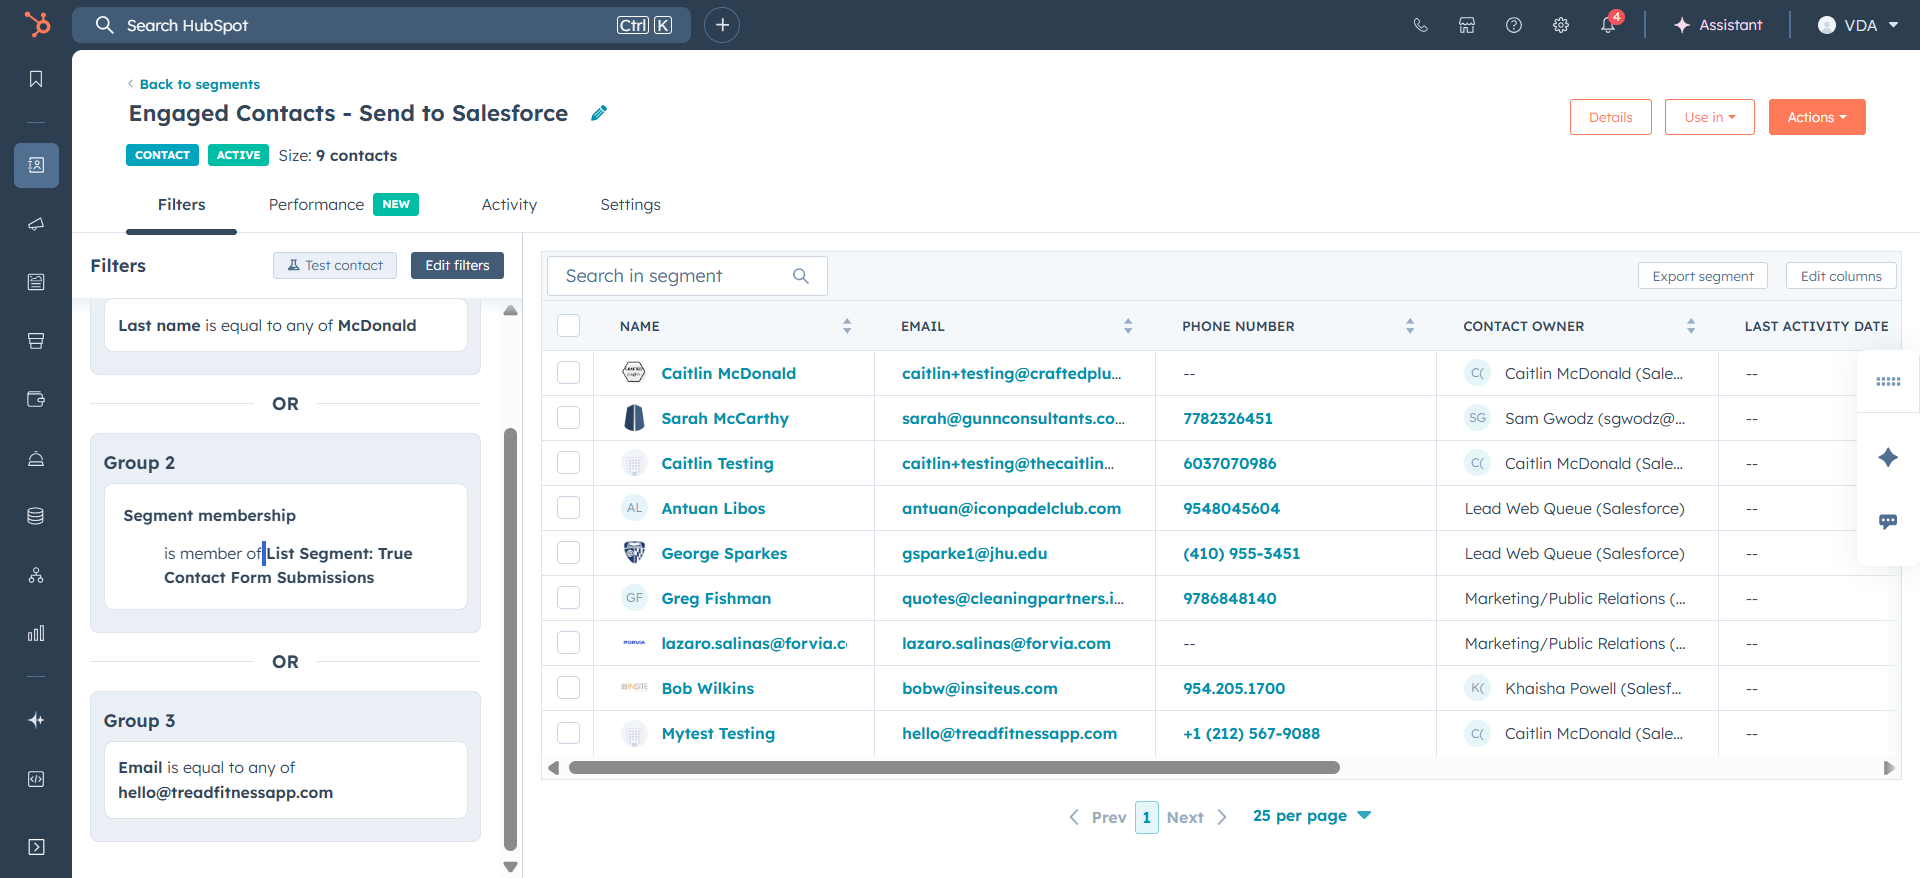
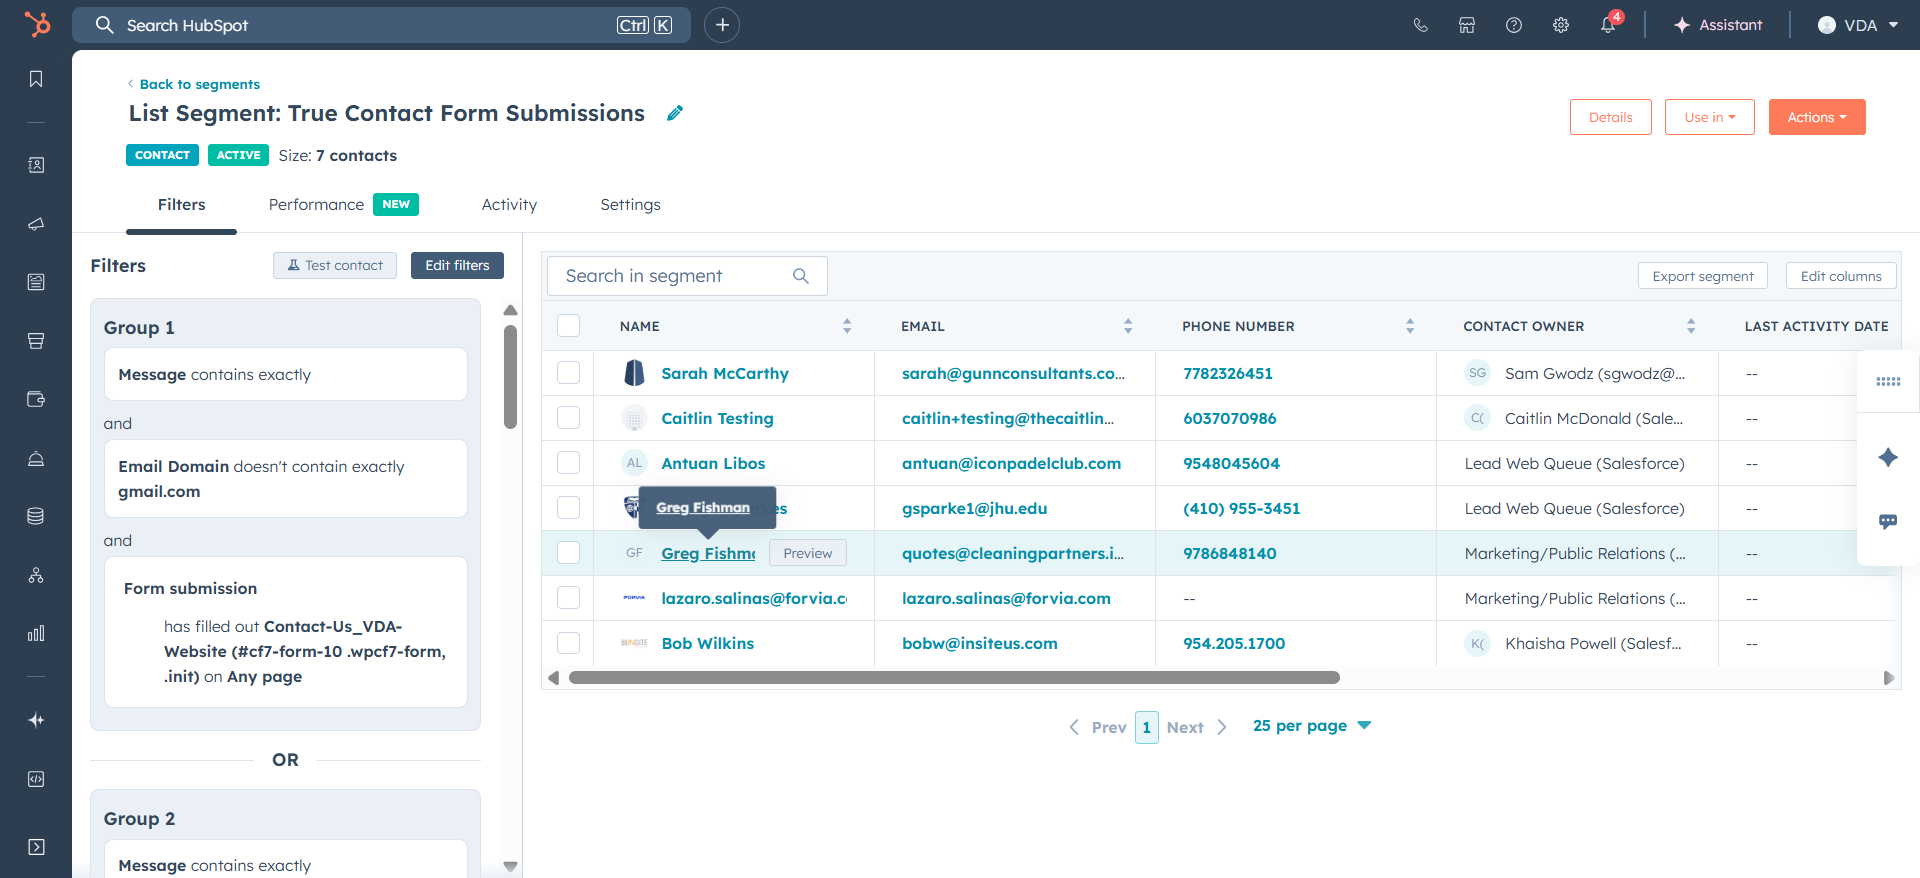
We see today’s true form submissions, along with all previous true form submissions.
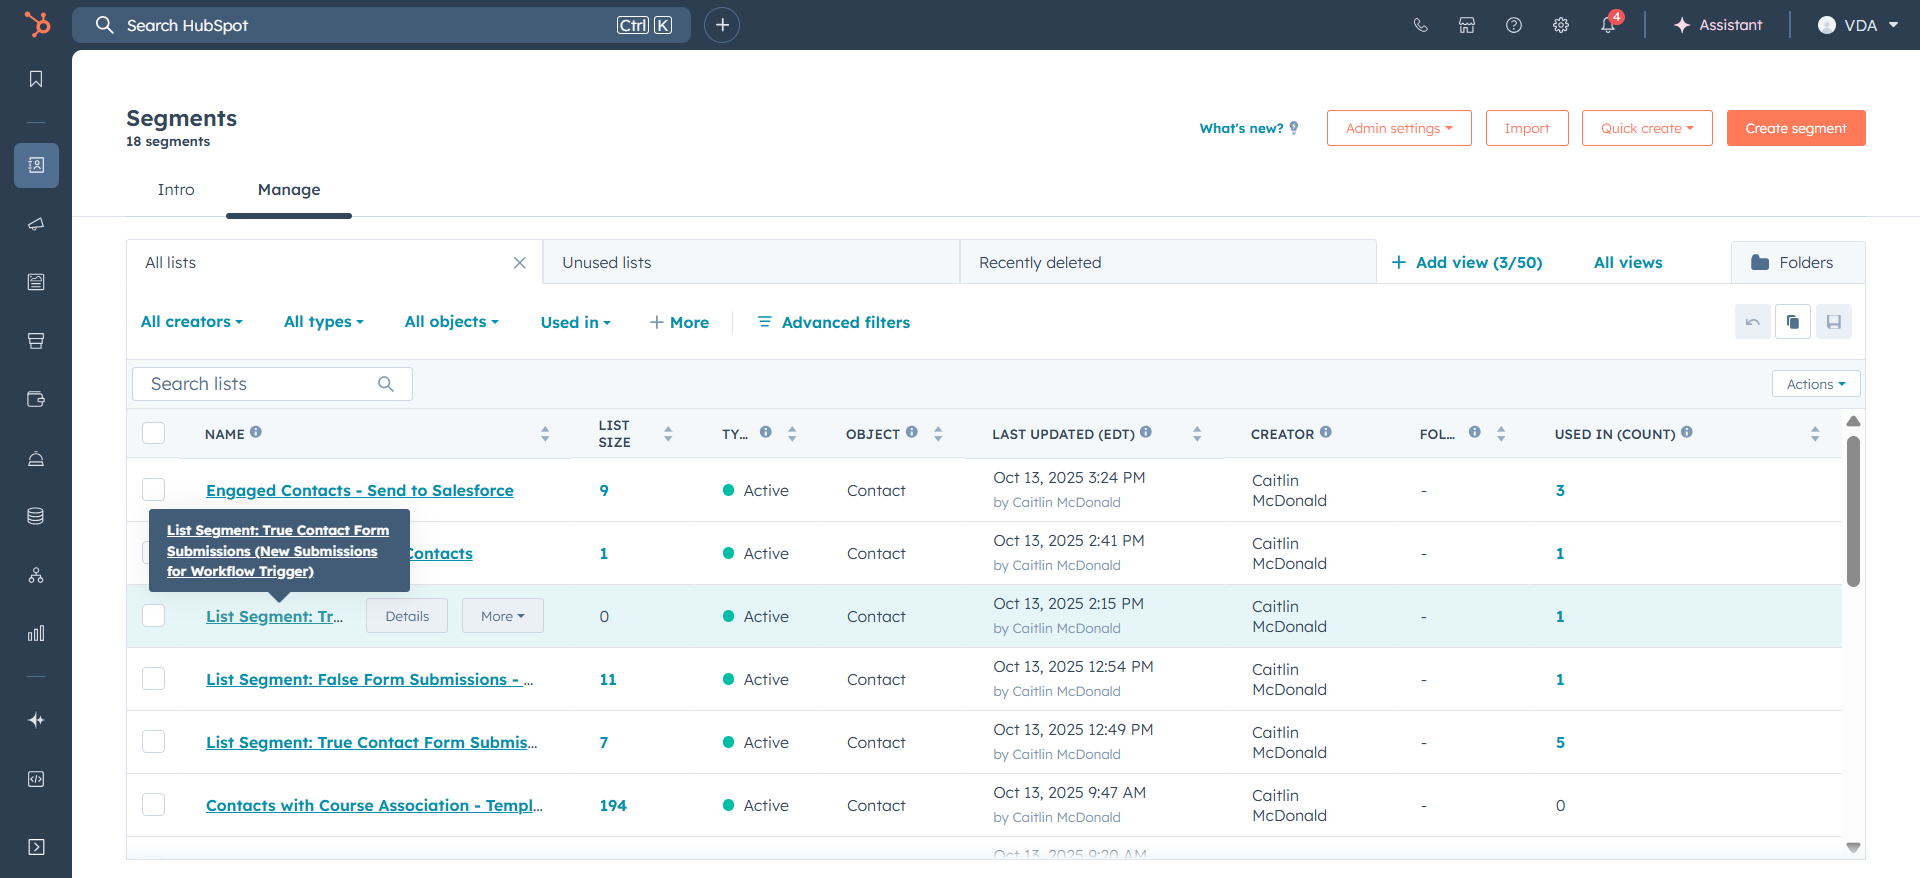

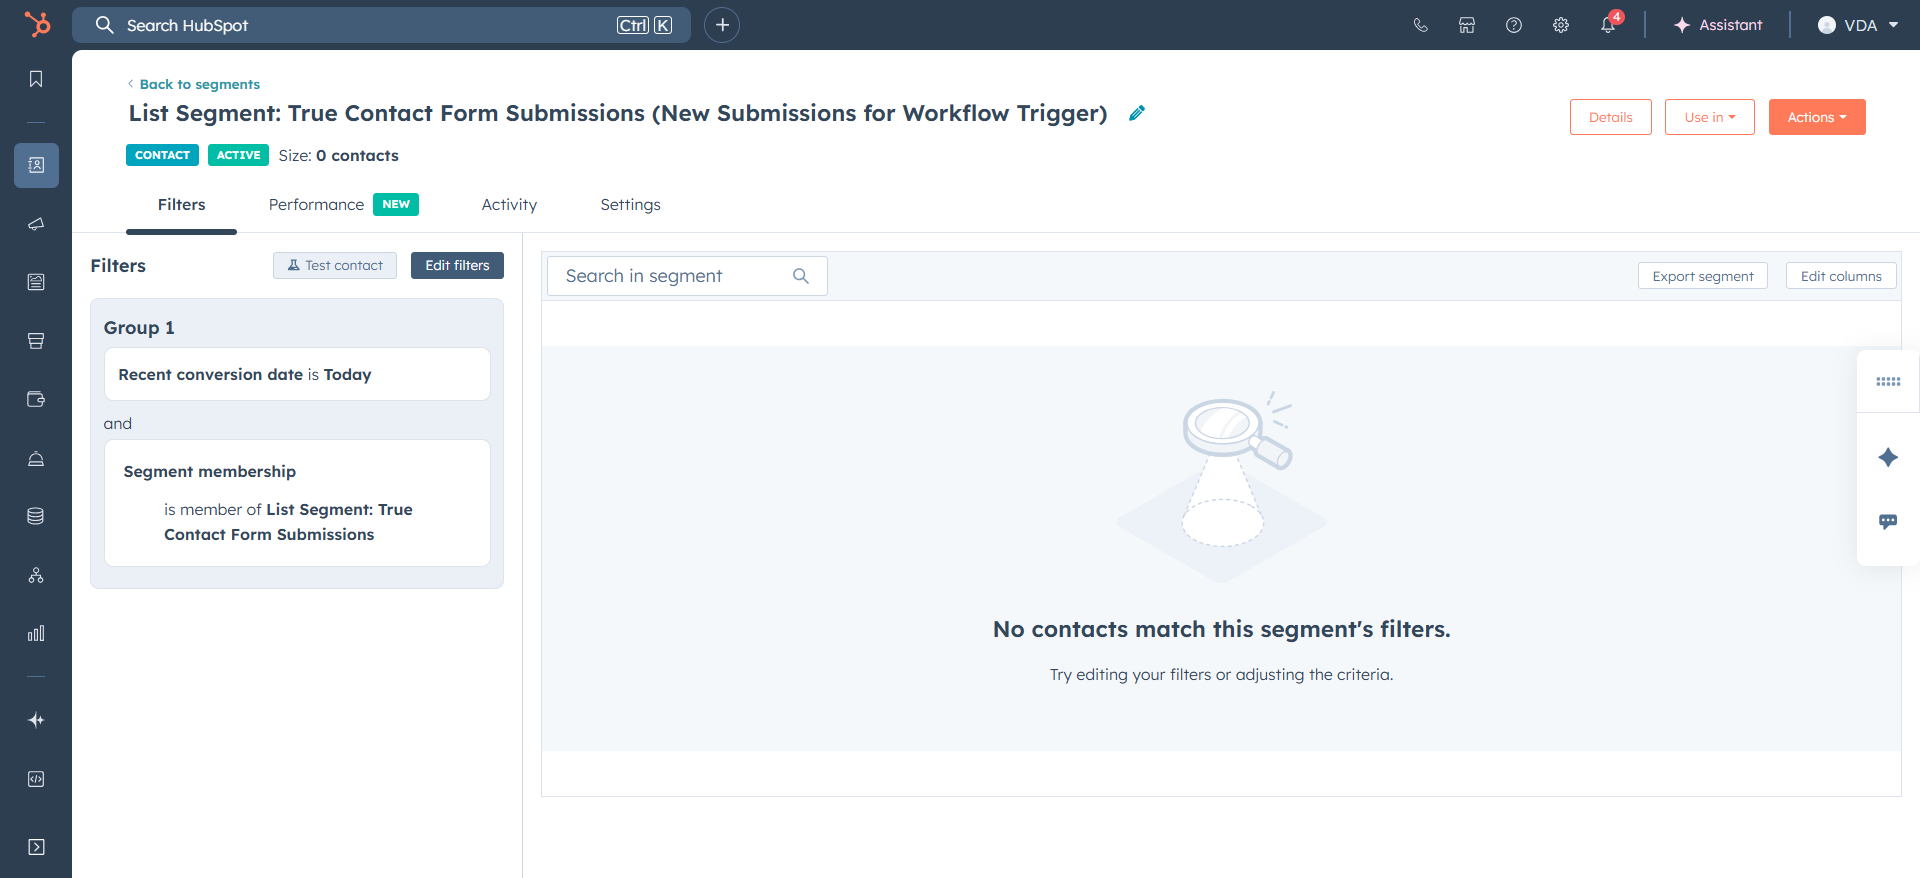
These individuals are selected if their message contains a space, their email domain is not gmail.com, and they have completed one of the contact forms.
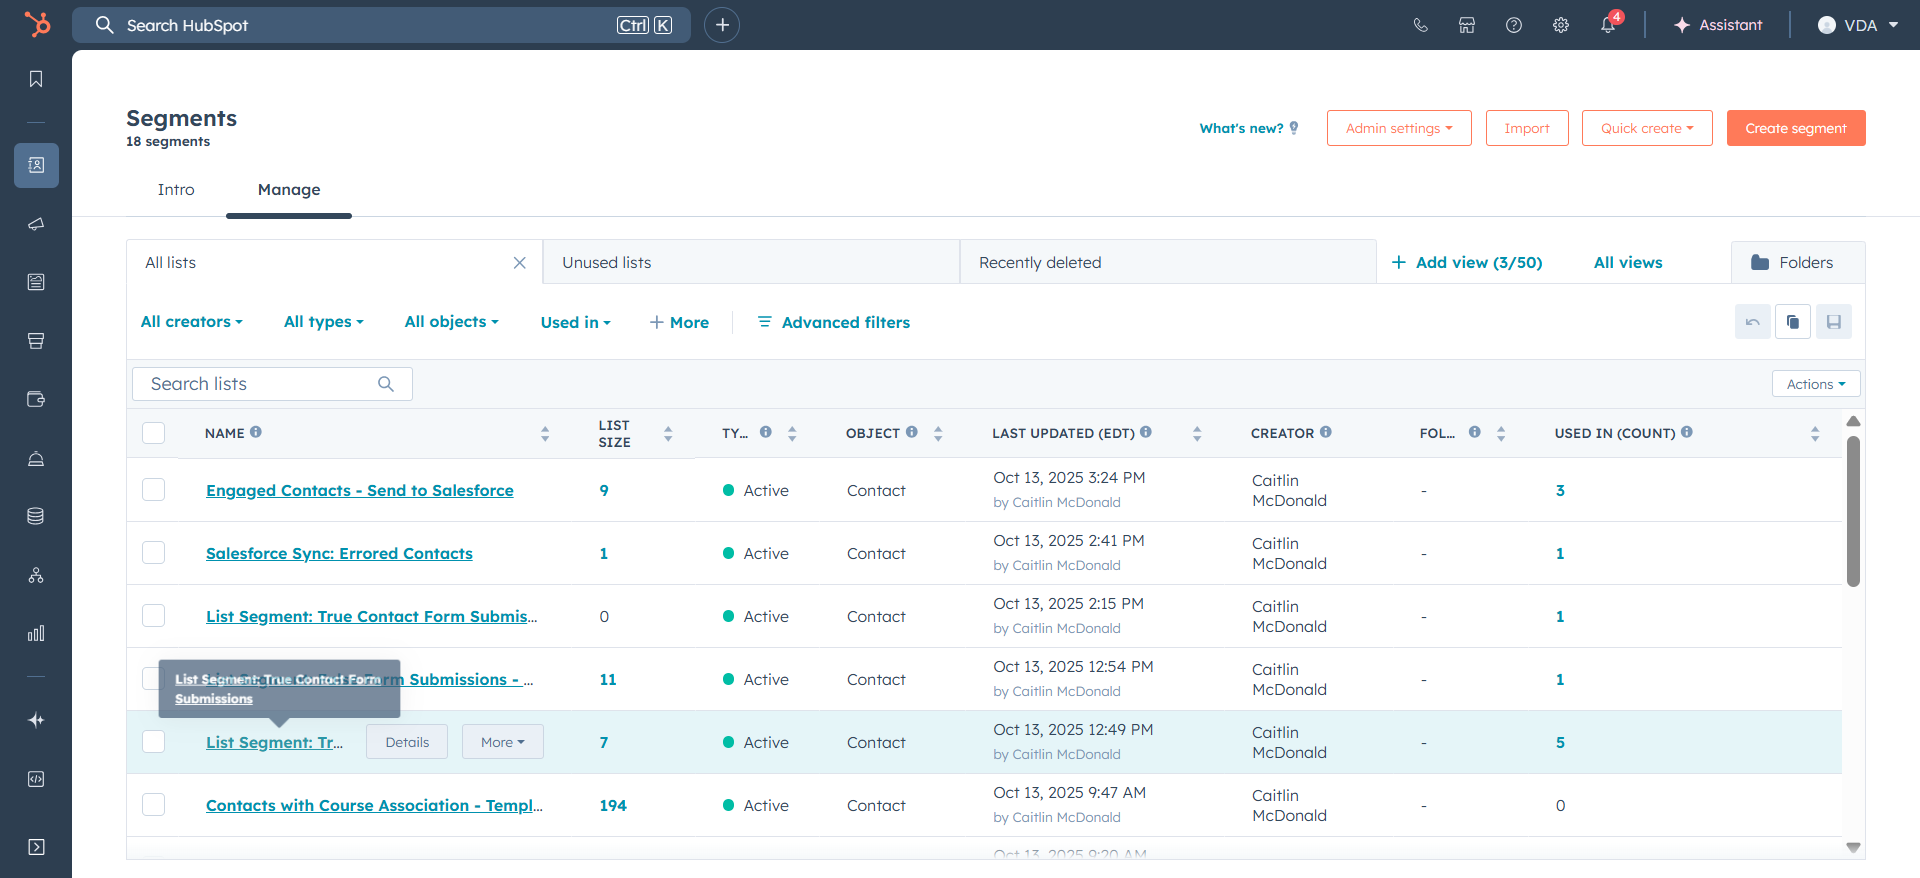
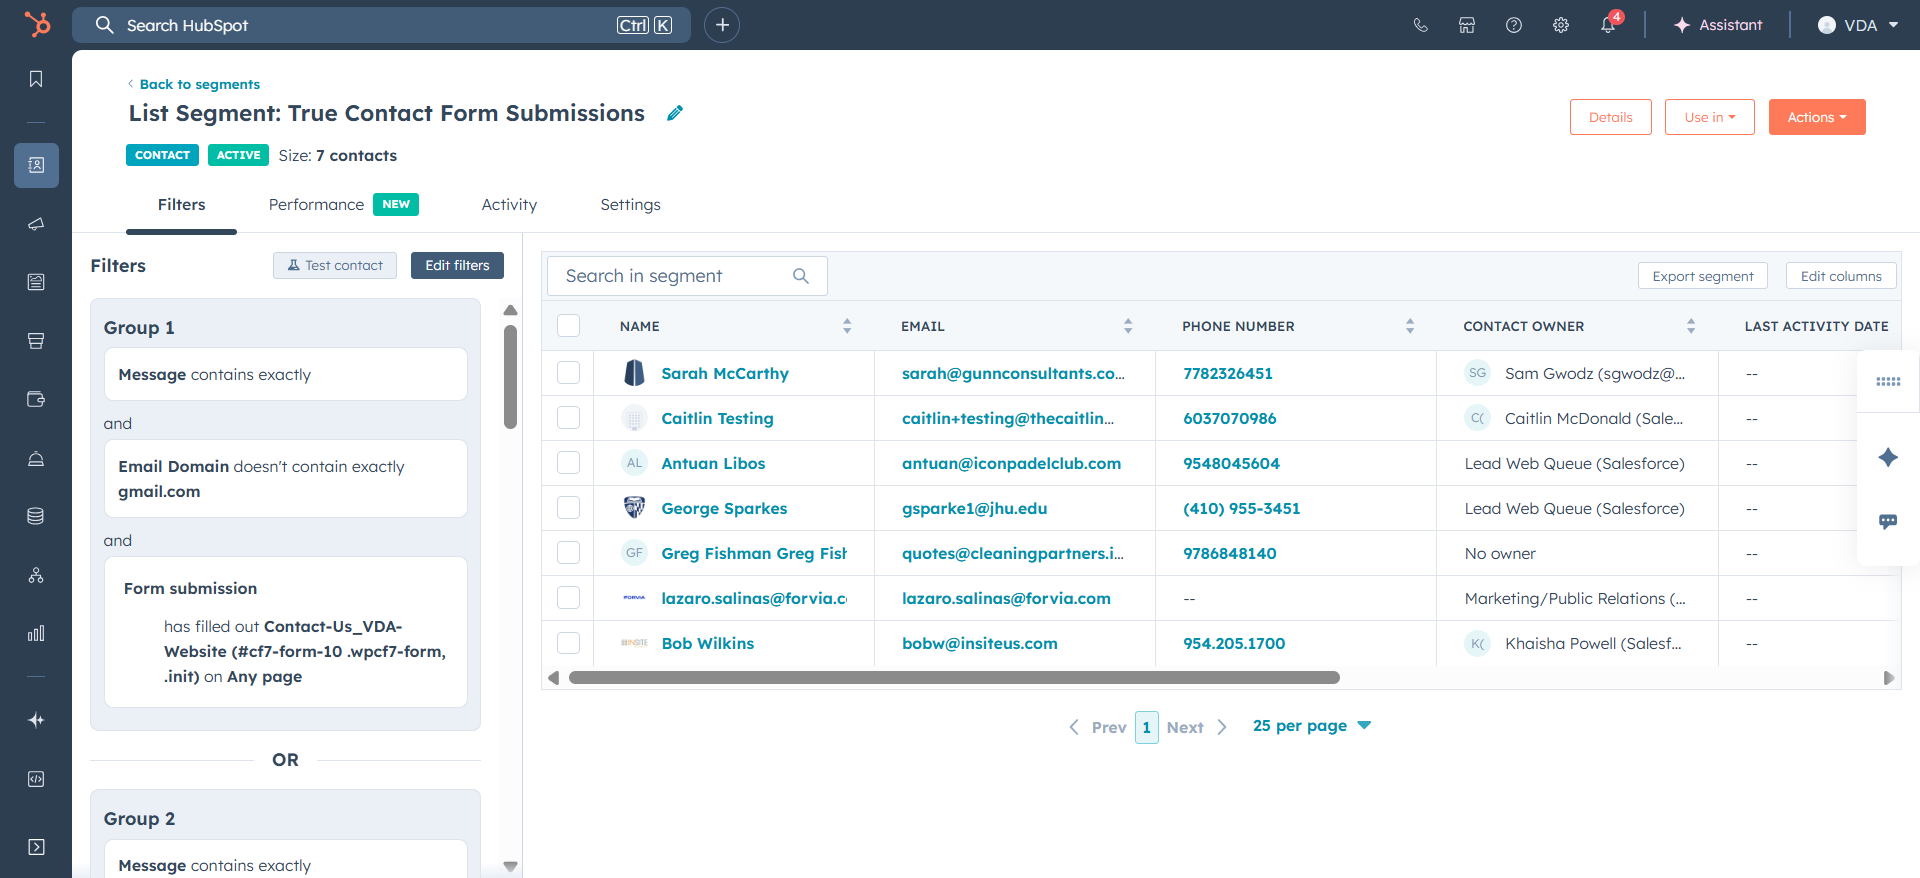
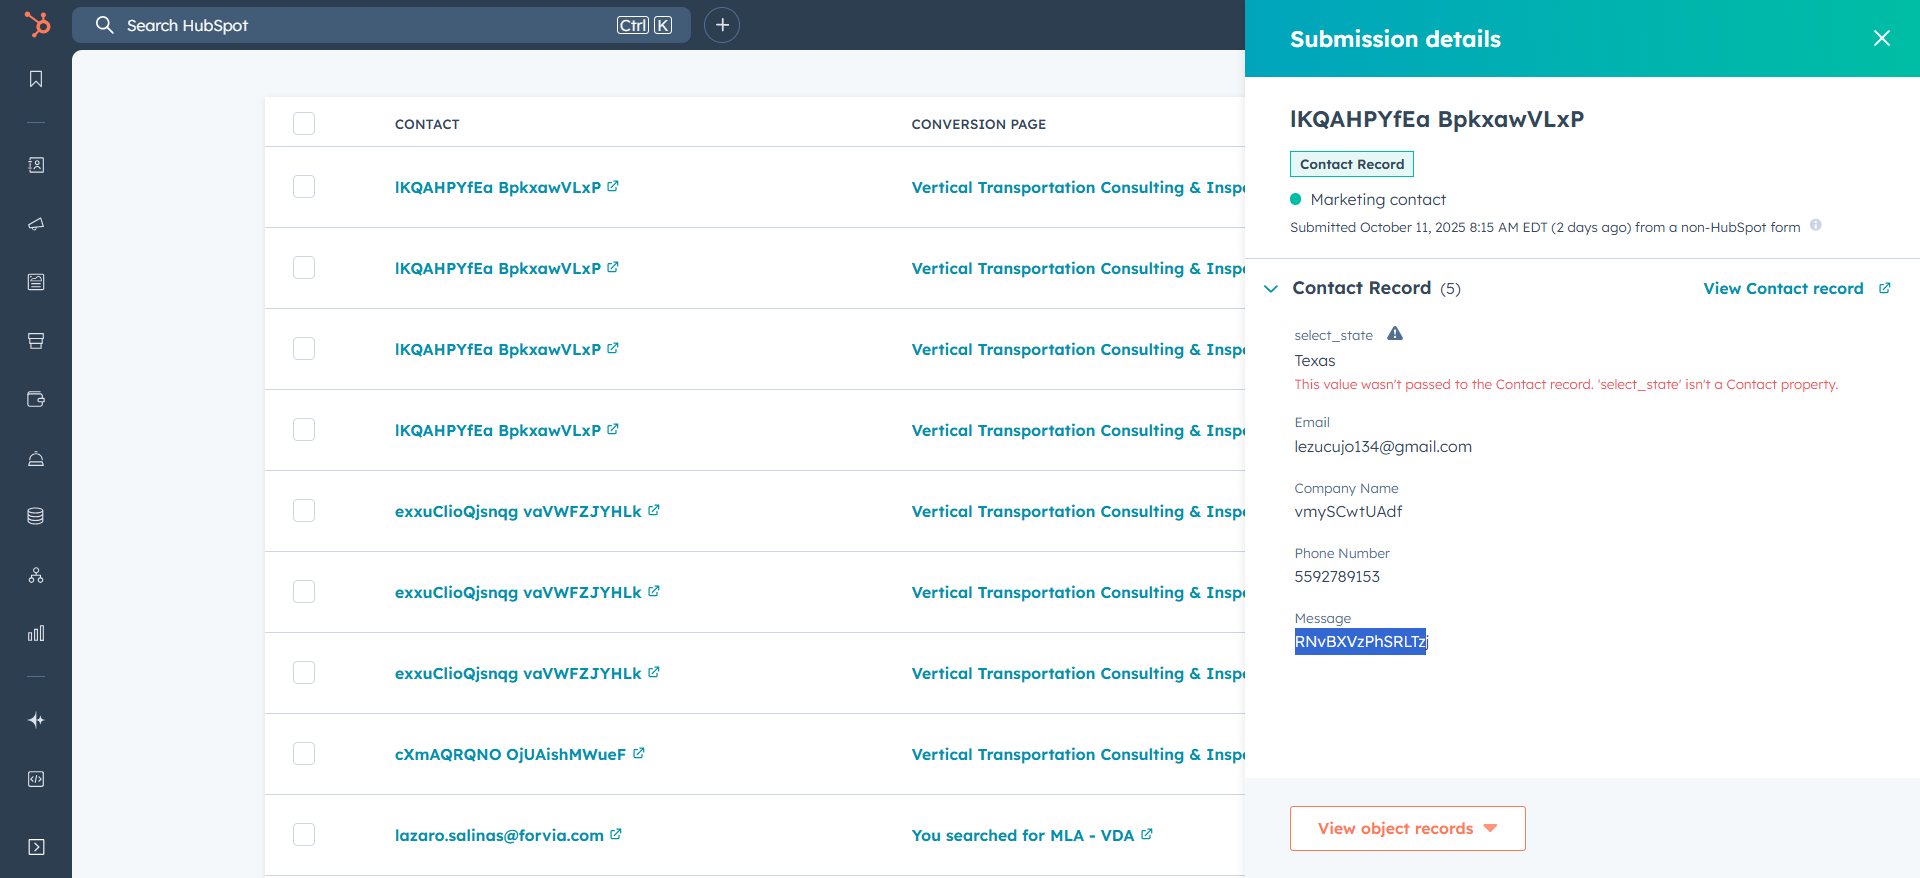
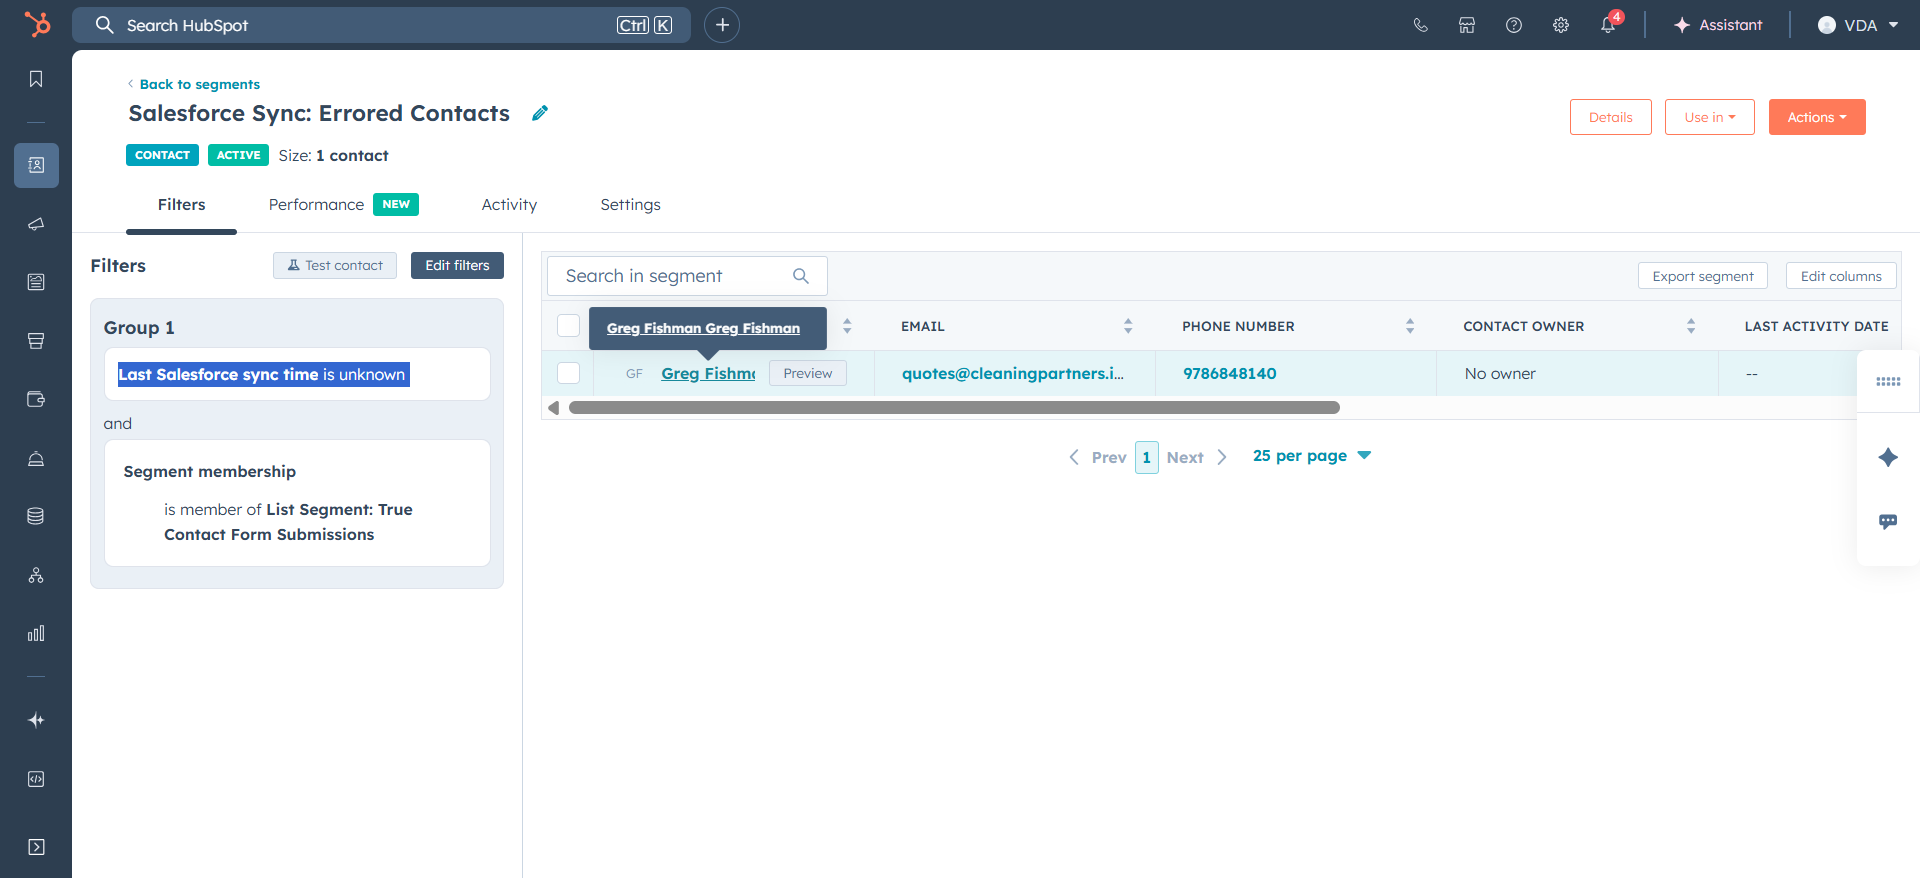
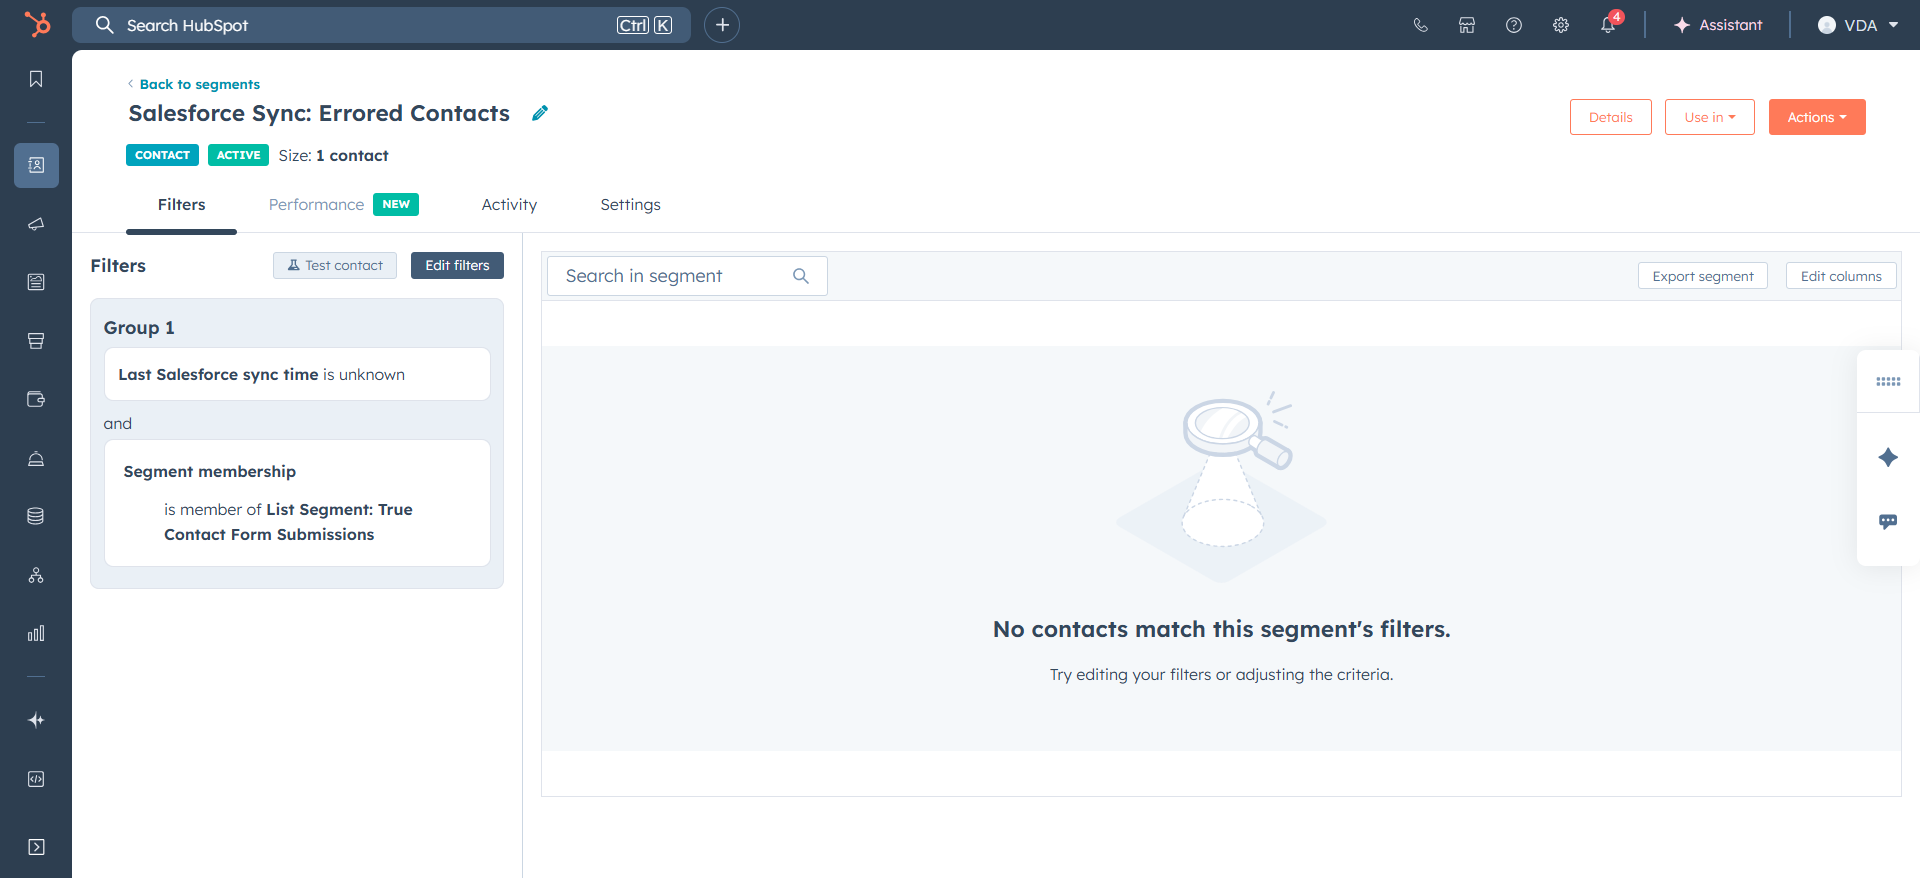
You can review these individuals to ensure they are genuine form submissions. If we return to the Segments, we also see errored contacts.
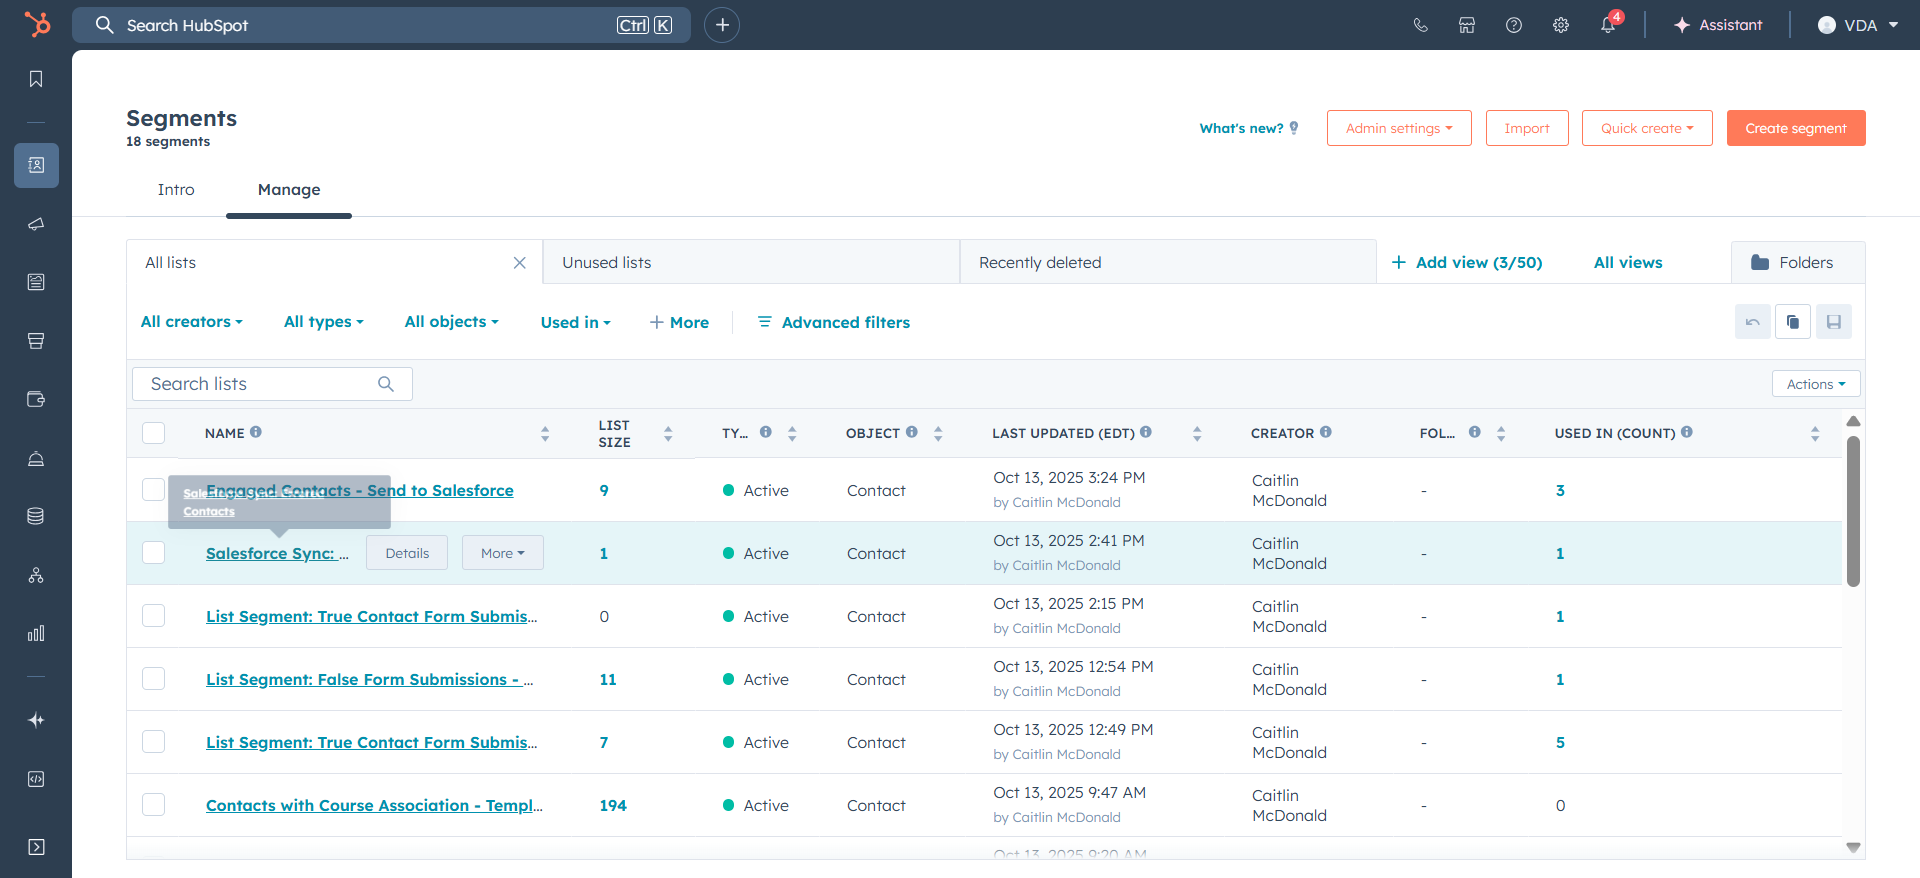
These are people who filled out the form and may have two first names, for example. These individuals have not synced with Salesforce because they do not meet one of the Salesforce rules.
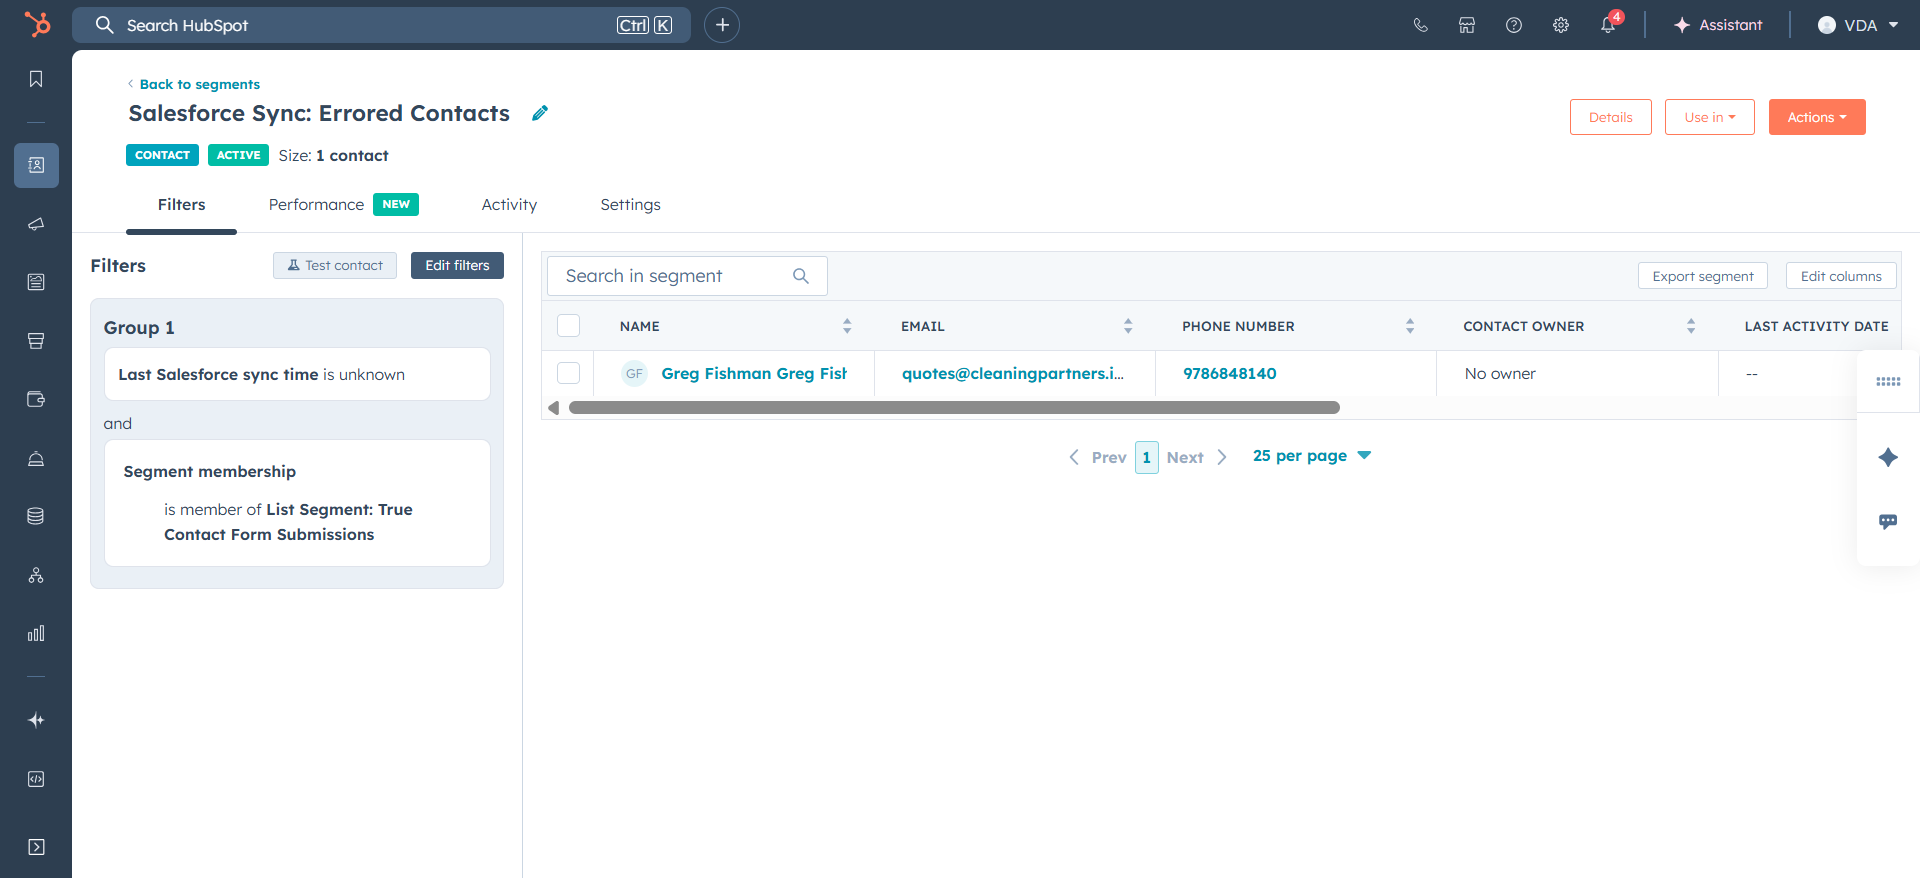
They are on the true contact form submissions, but they have not submitted or synced with Salesforce.

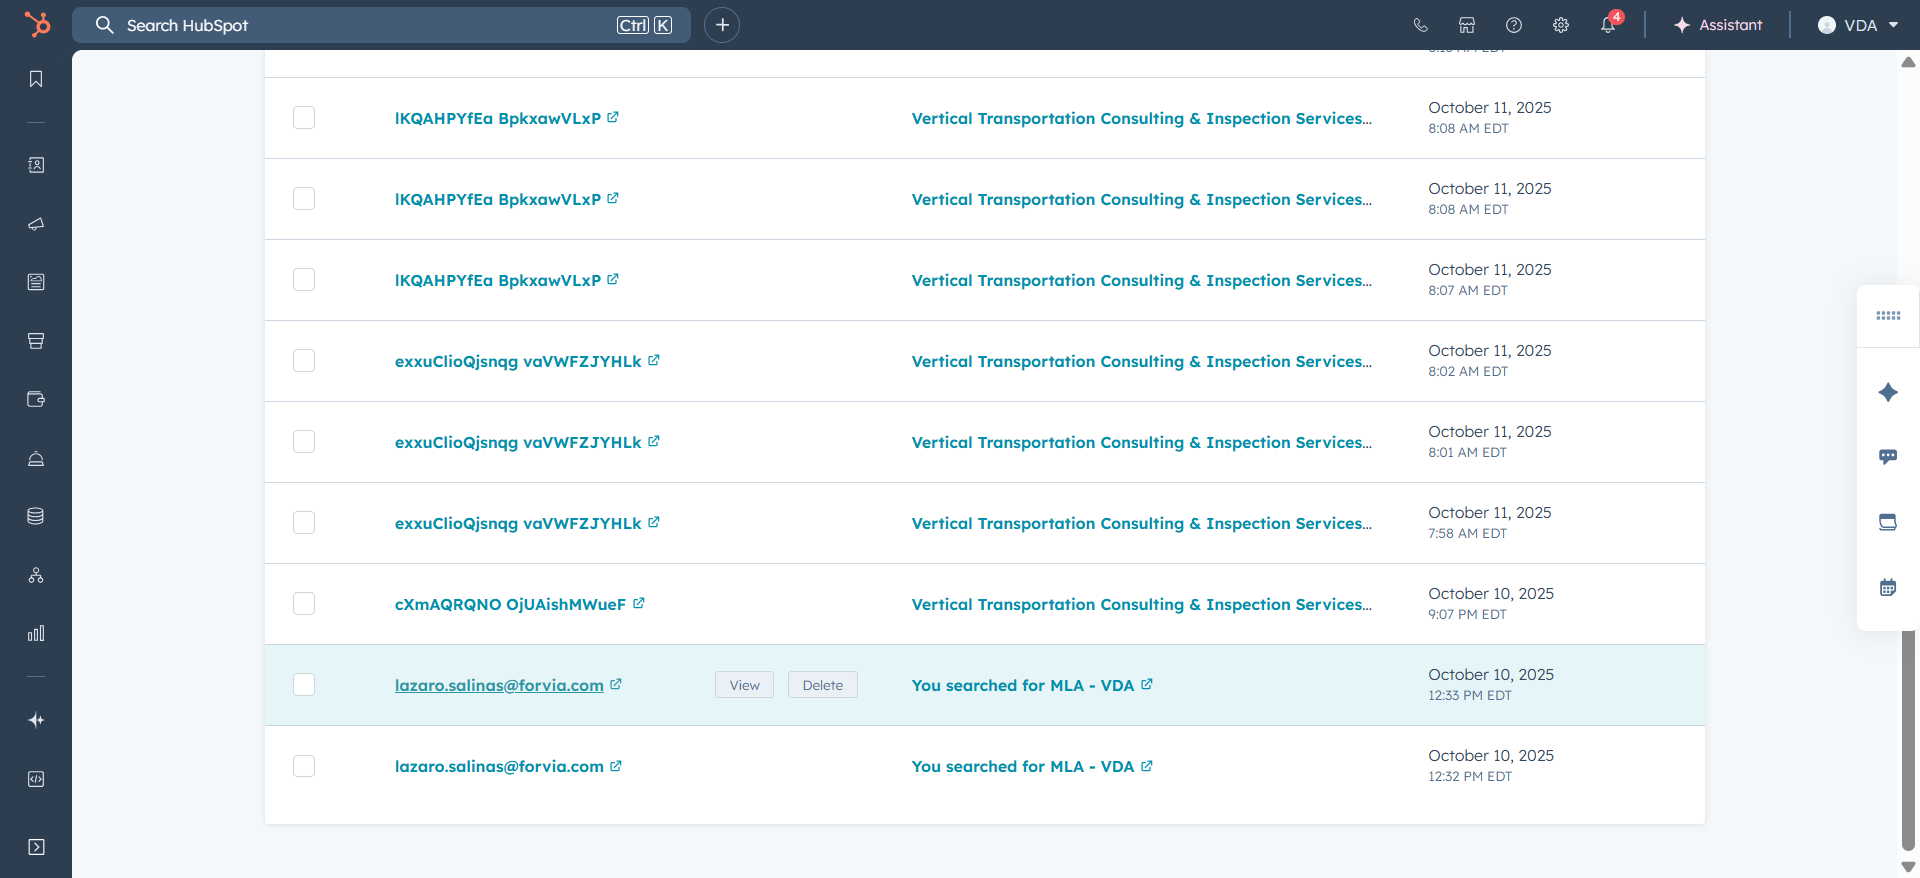
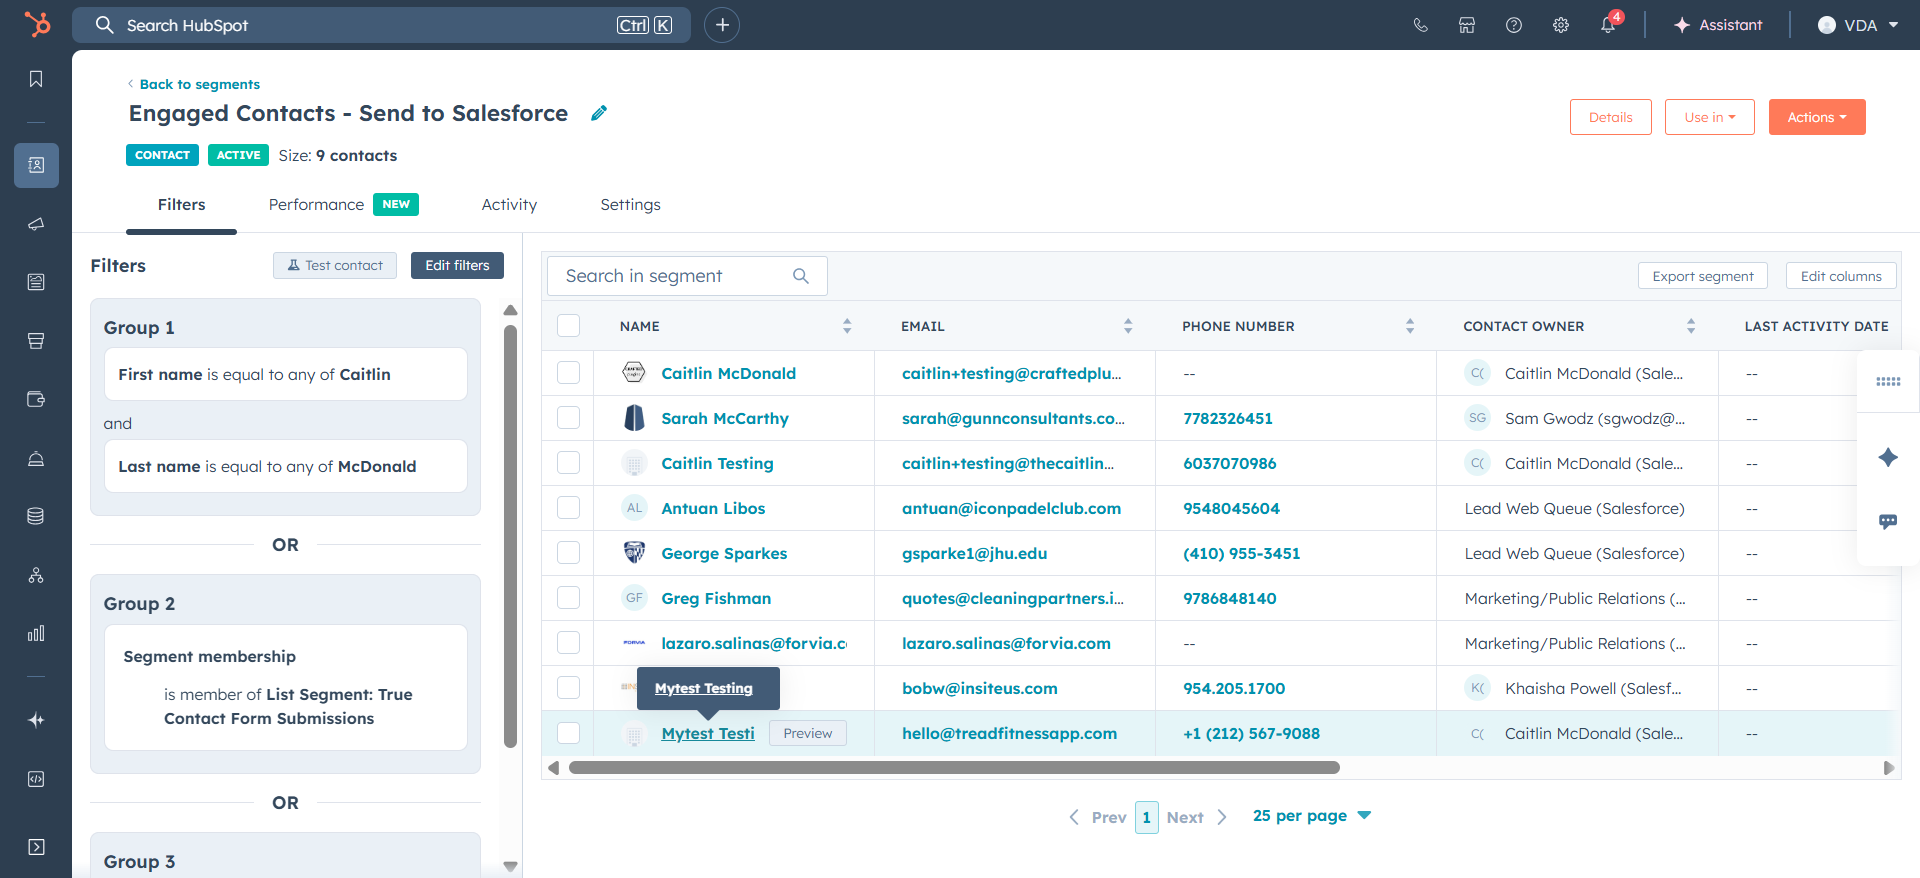
You can click on these individuals and edit their names to ensure they sync.
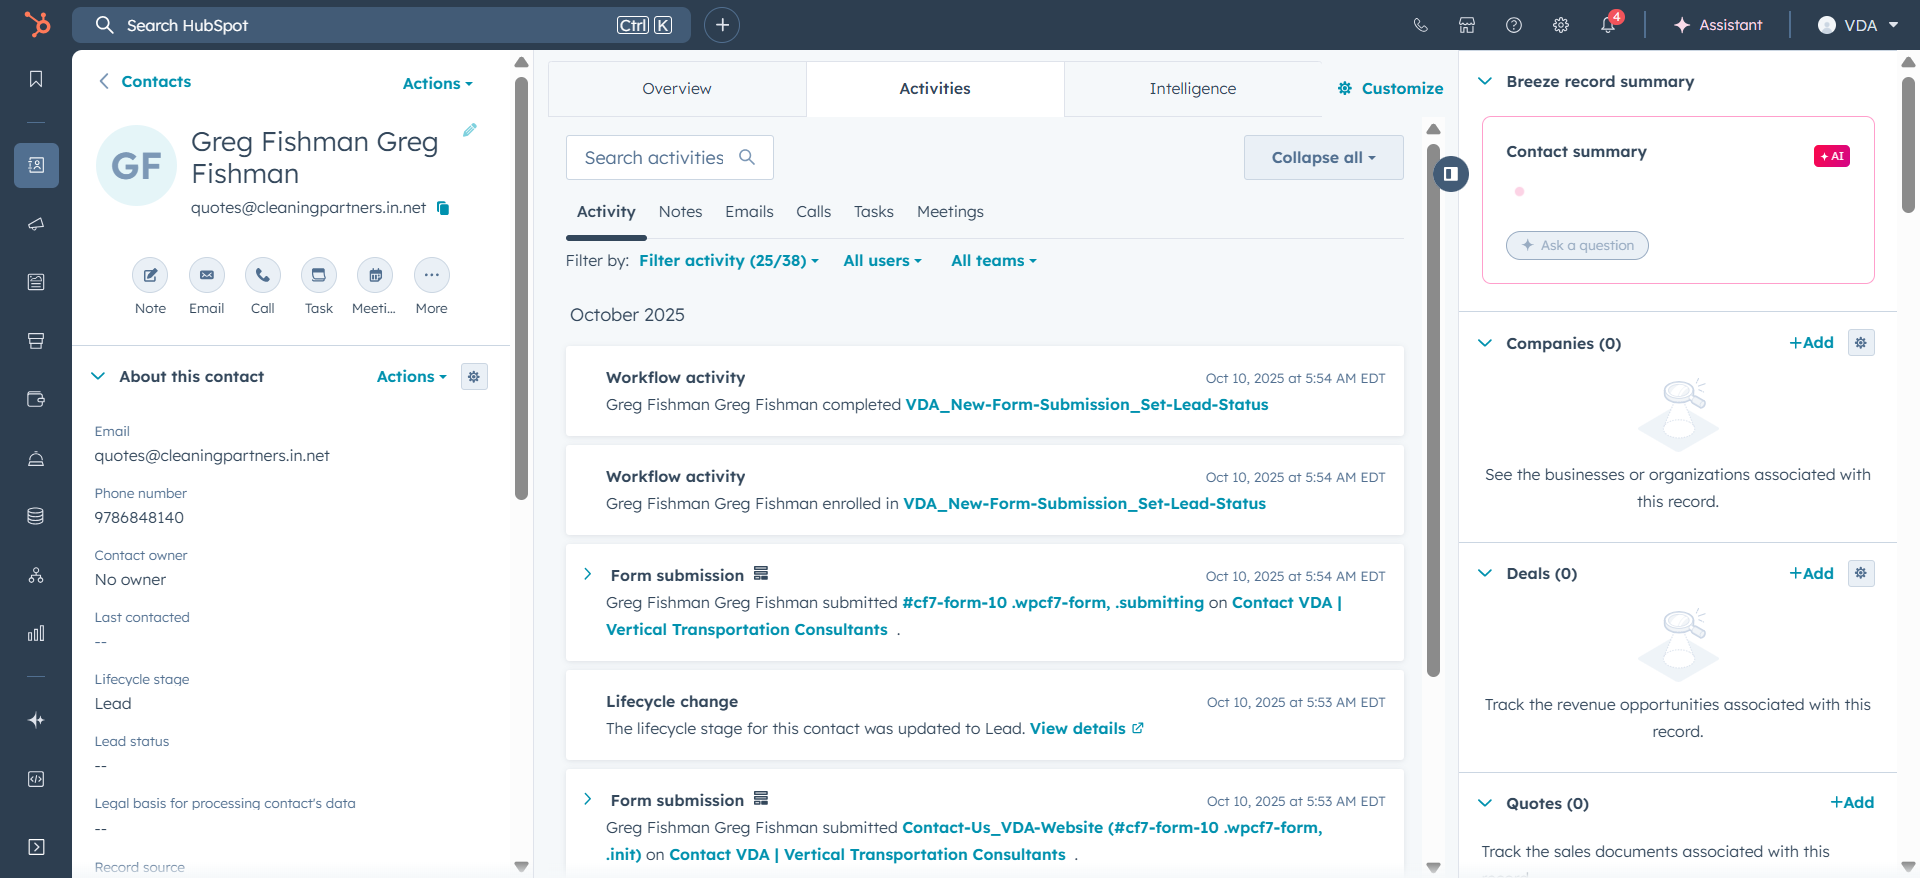
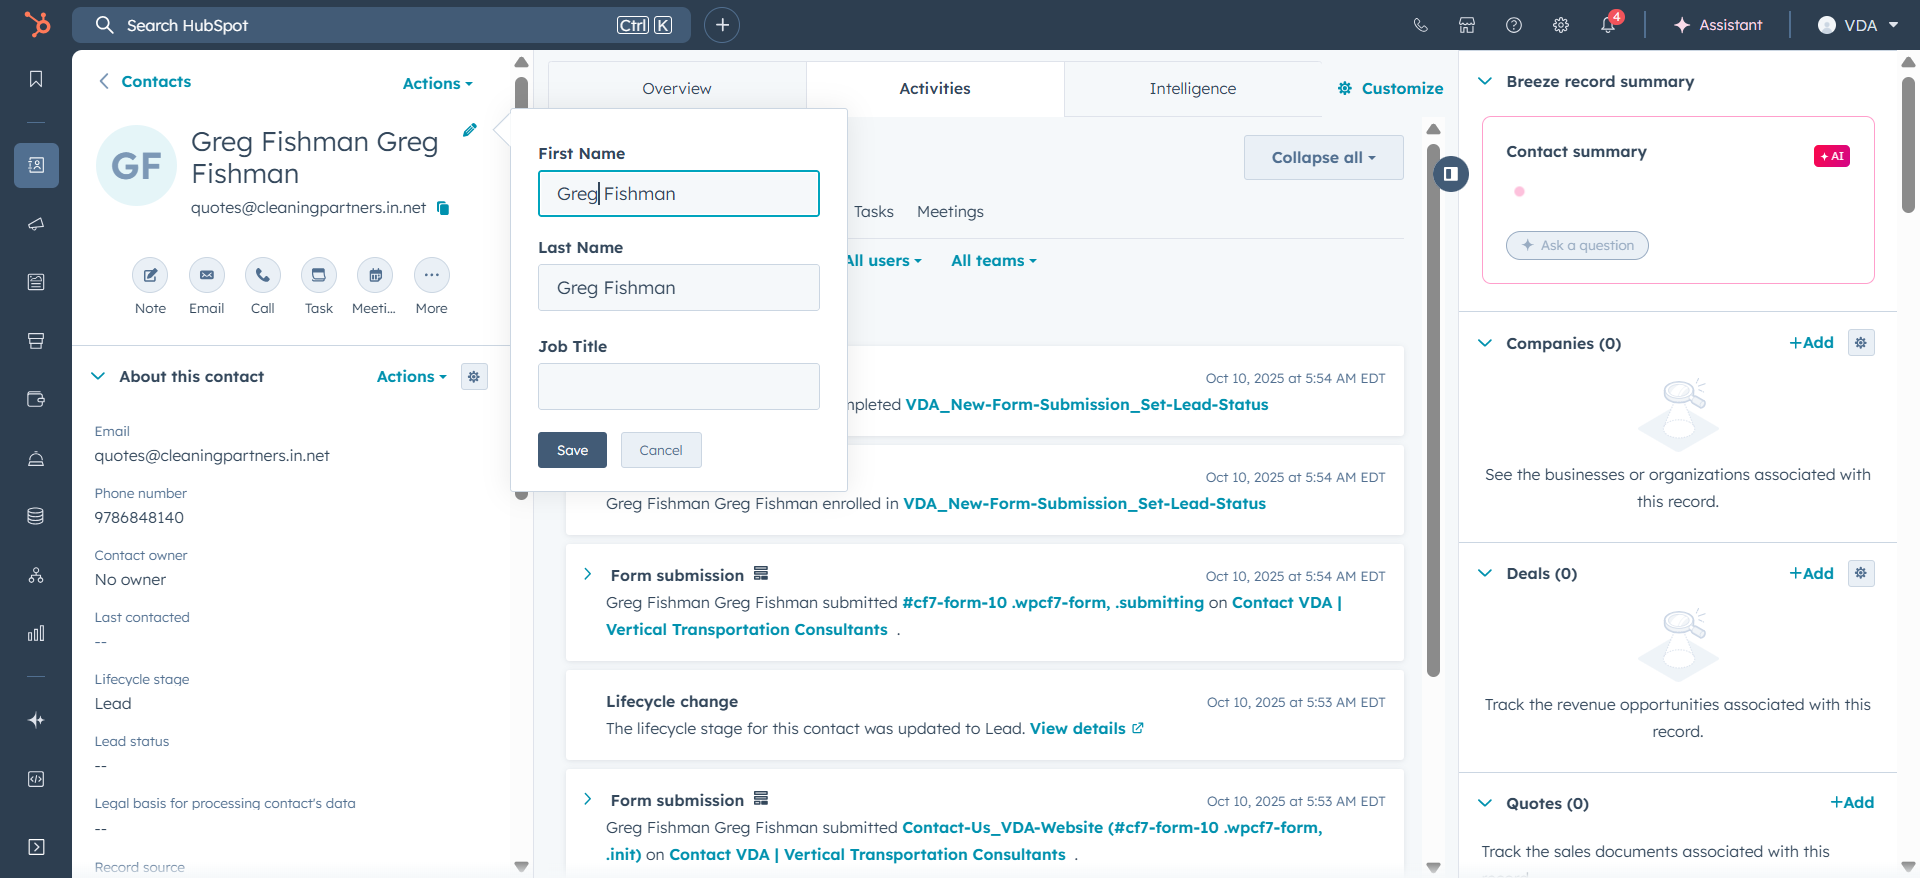
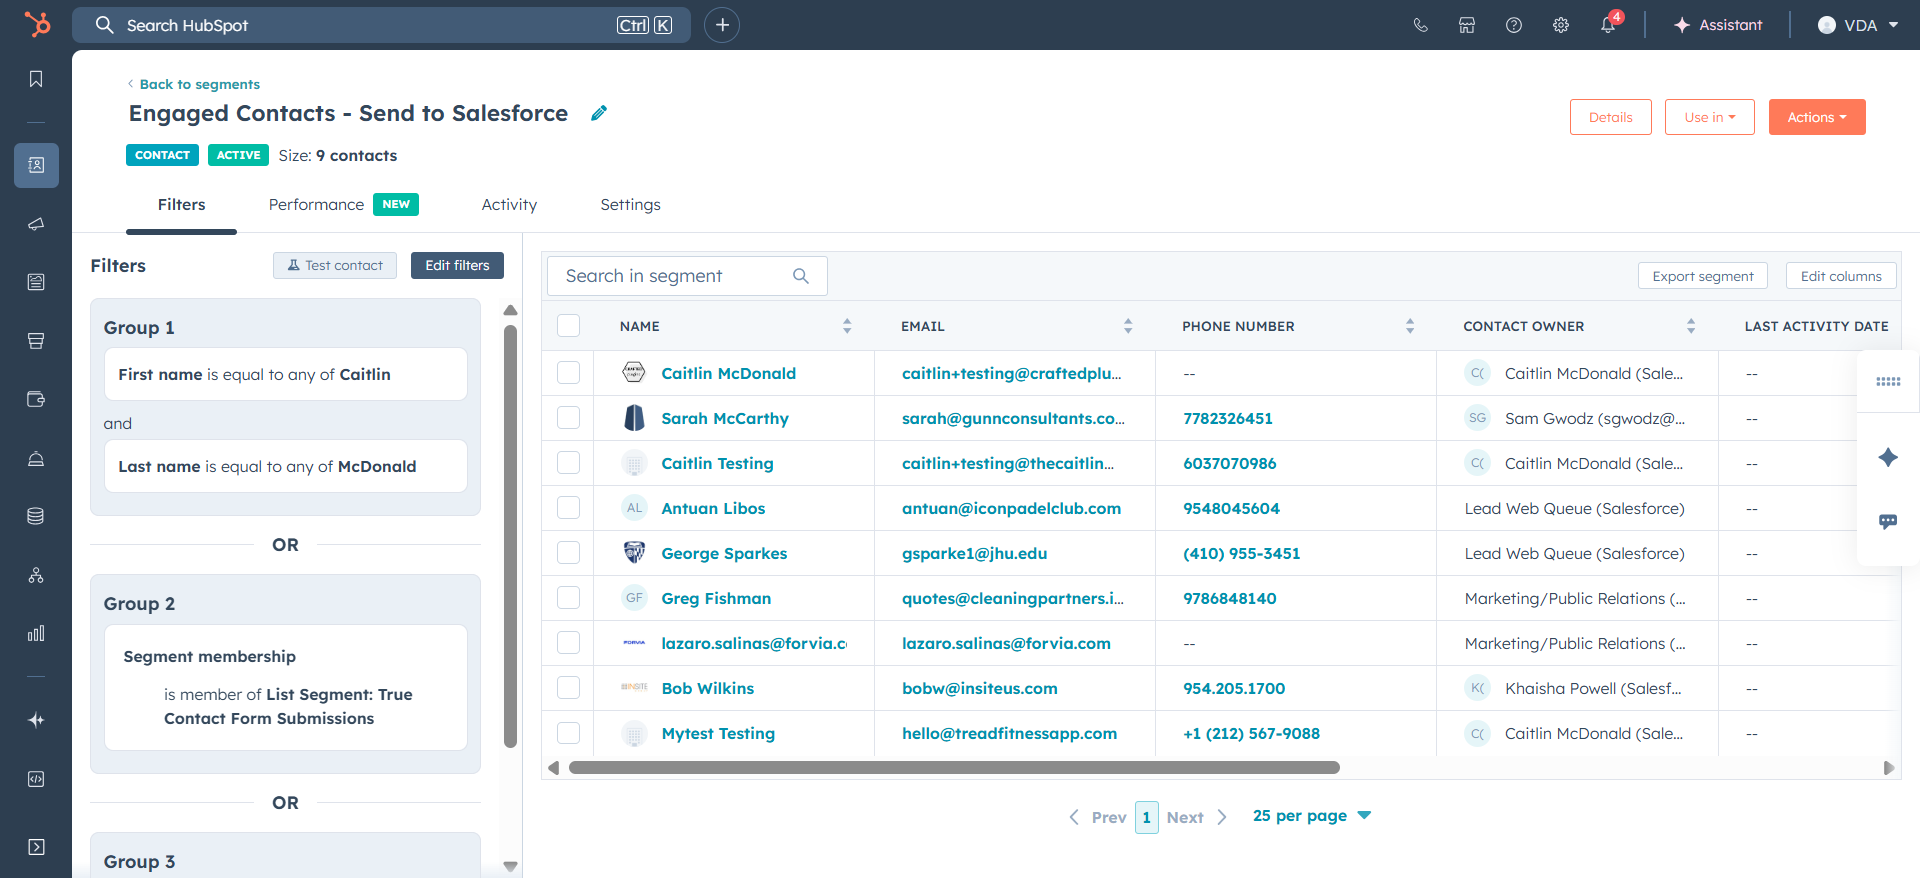
Save. Once this happens, wait a few minutes. The individual should then be removed from the list. When a contact submits a form, they are added to the Engaged Contacts List and sent to Salesforce.
You'll notice there are several tests here. If they are on the true contact form submissions, they will be added to the list of individuals that HubSpot sends to Salesforce.
We will use this list for various other purposes. For example, if someone views multiple pages, we may want HubSpot to send that contact to Salesforce as a follow-up opportunity. Let's look at this test.
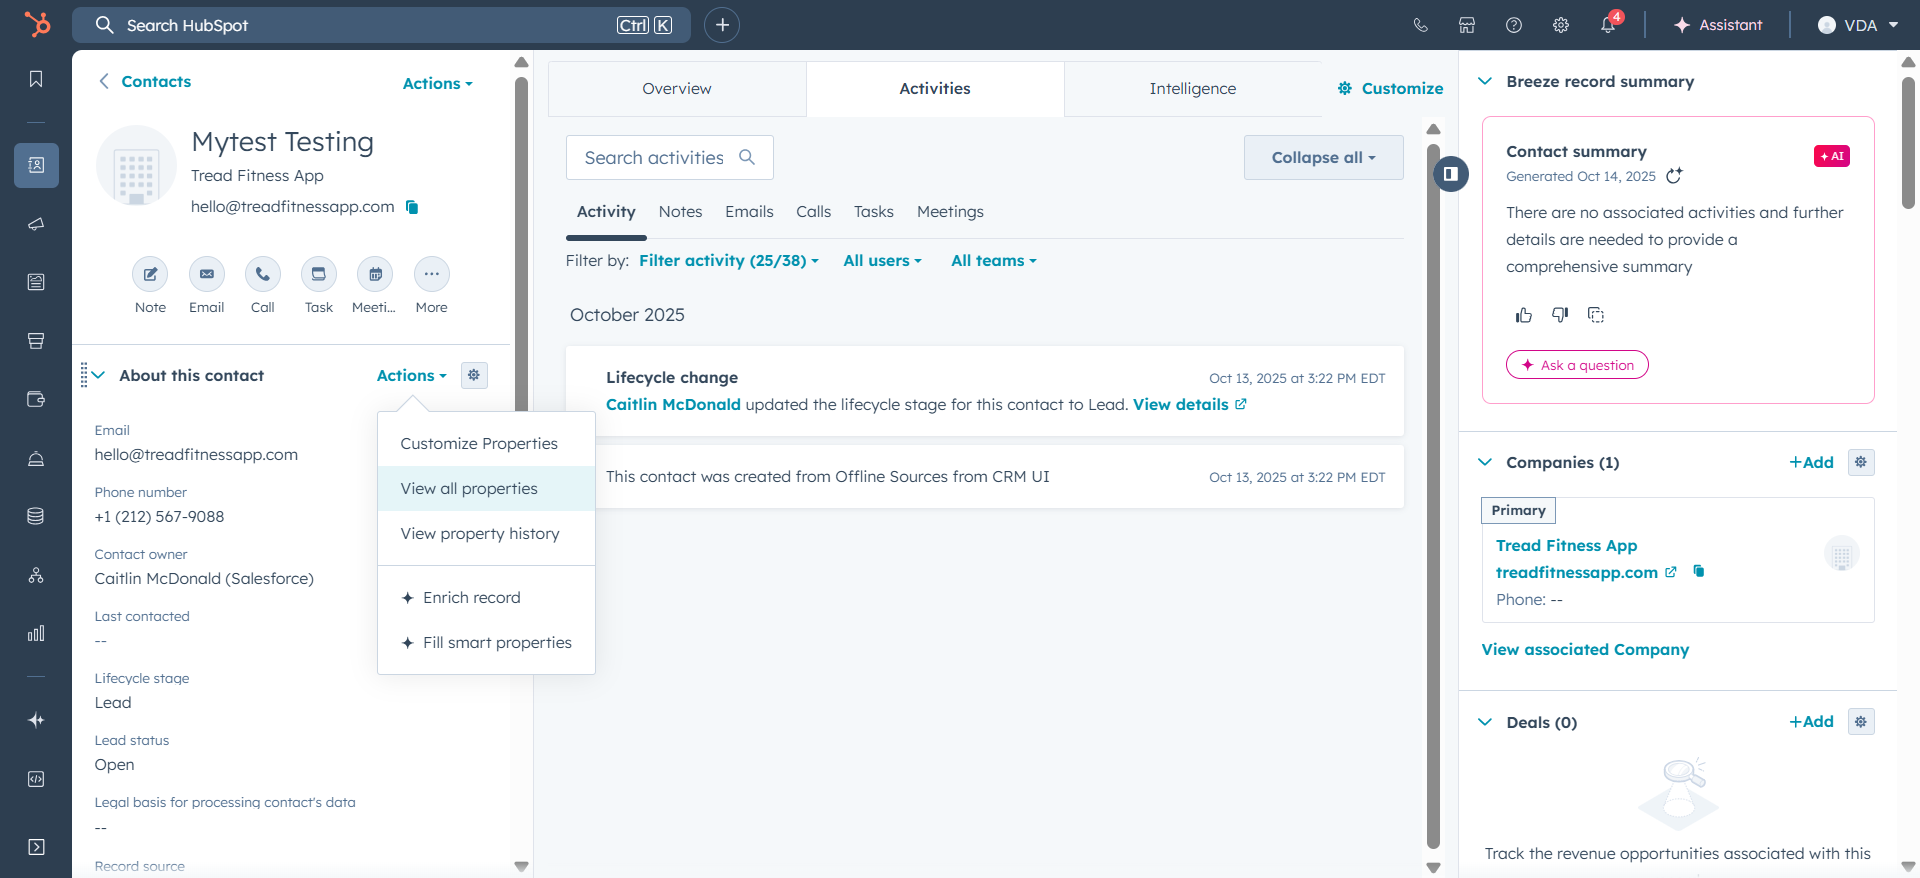
This person was synced to Salesforce. You can easily find the Salesforce lead ID by searching for the ID. With this id, you can easily pull up the record in Salesforce by adjusting the URL: https://vda.lightning.force.com/lightning/r/Lead/LeadID/view


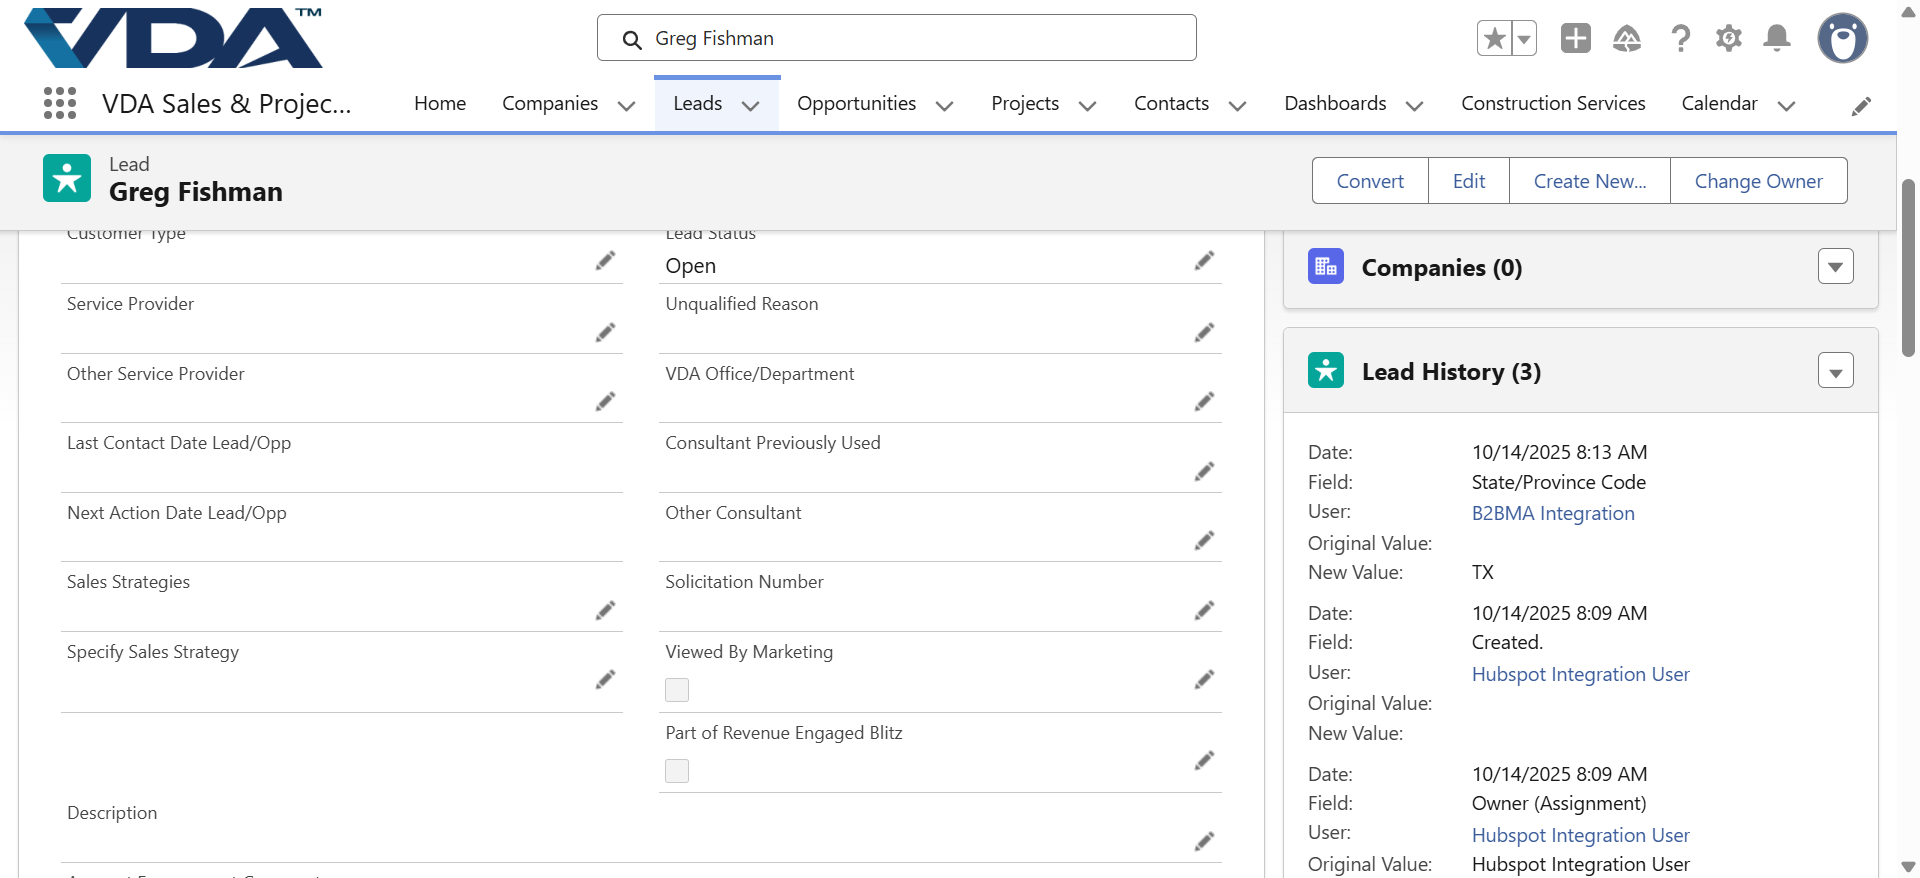
In Salesforce, this individual will also be listed in leads.

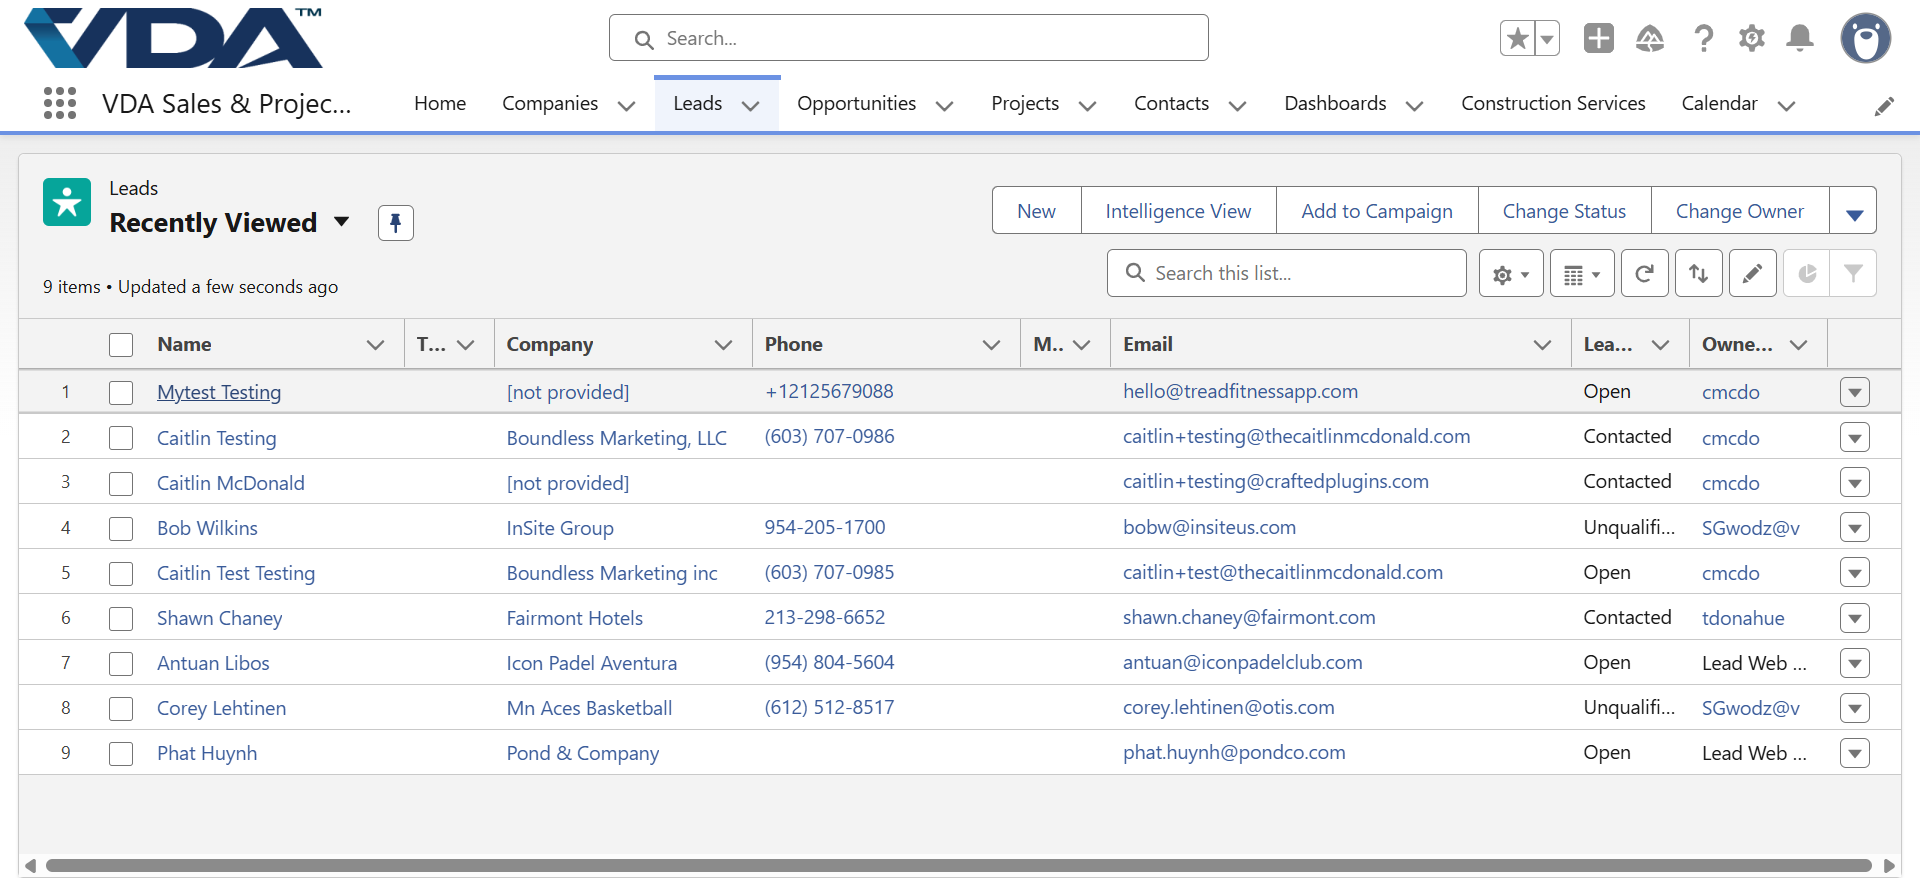
Here, we see the lead status imported from HubSpot. They were created by the HubSpot integration.
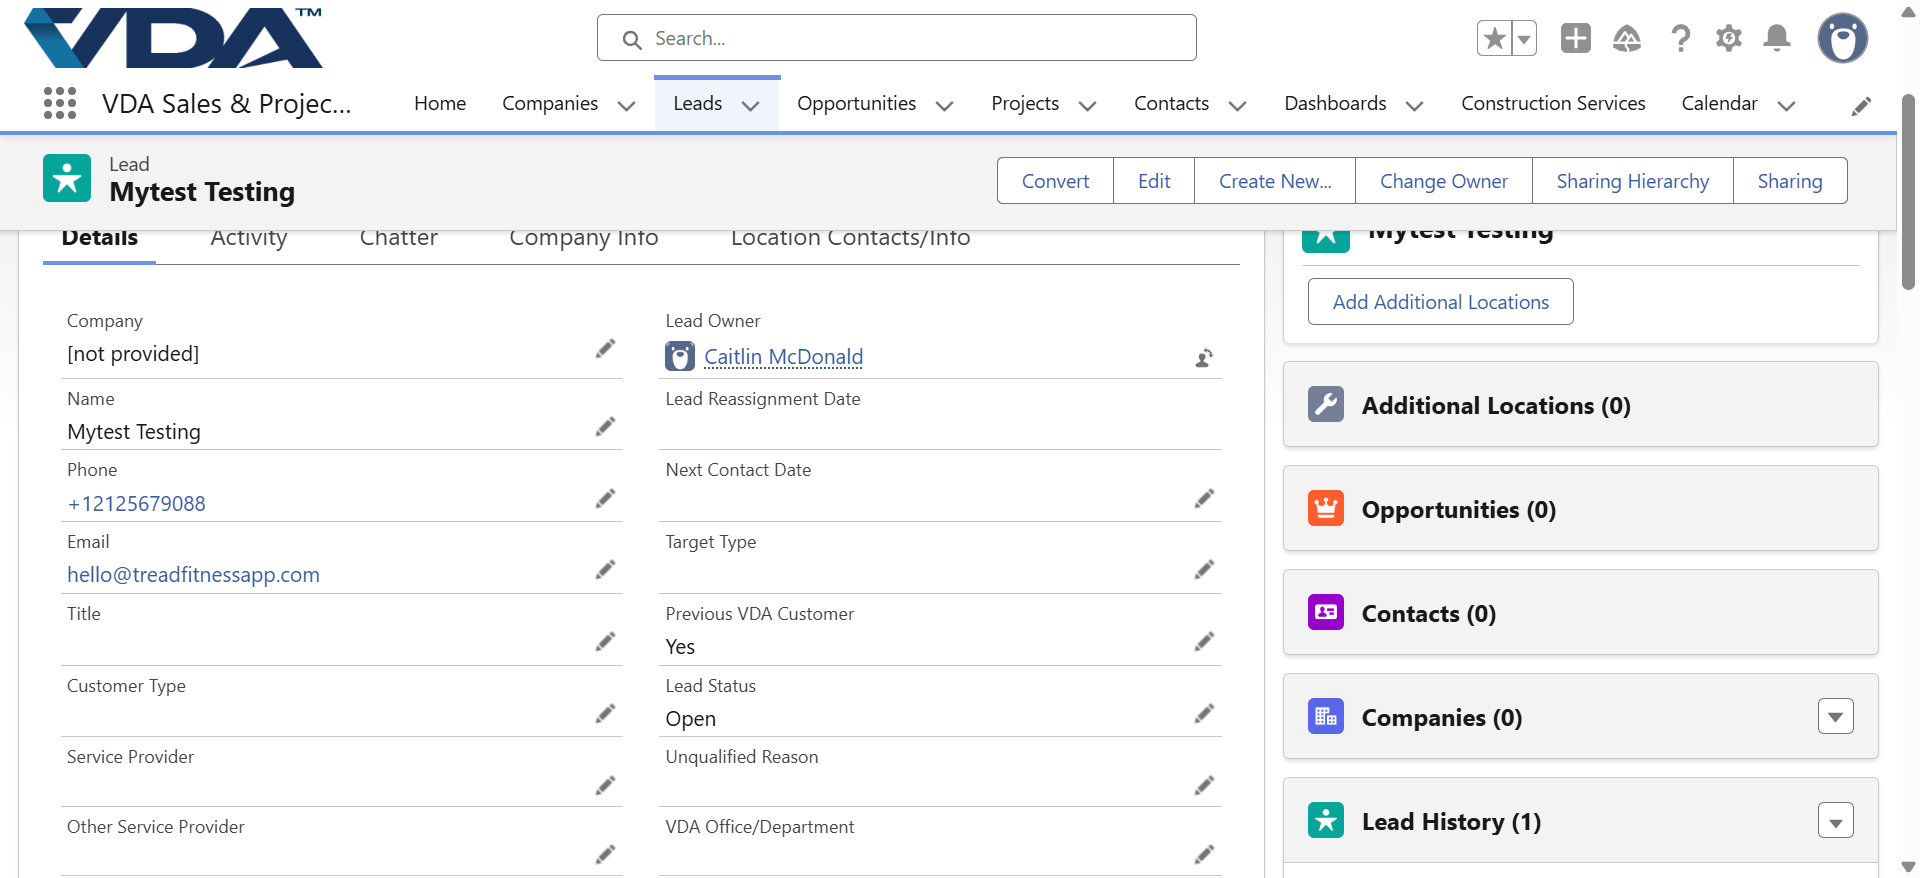
If I change Lead Status to Unqualified and add to "unqualified test lead" in the notes, this data will sync back to Hubspot
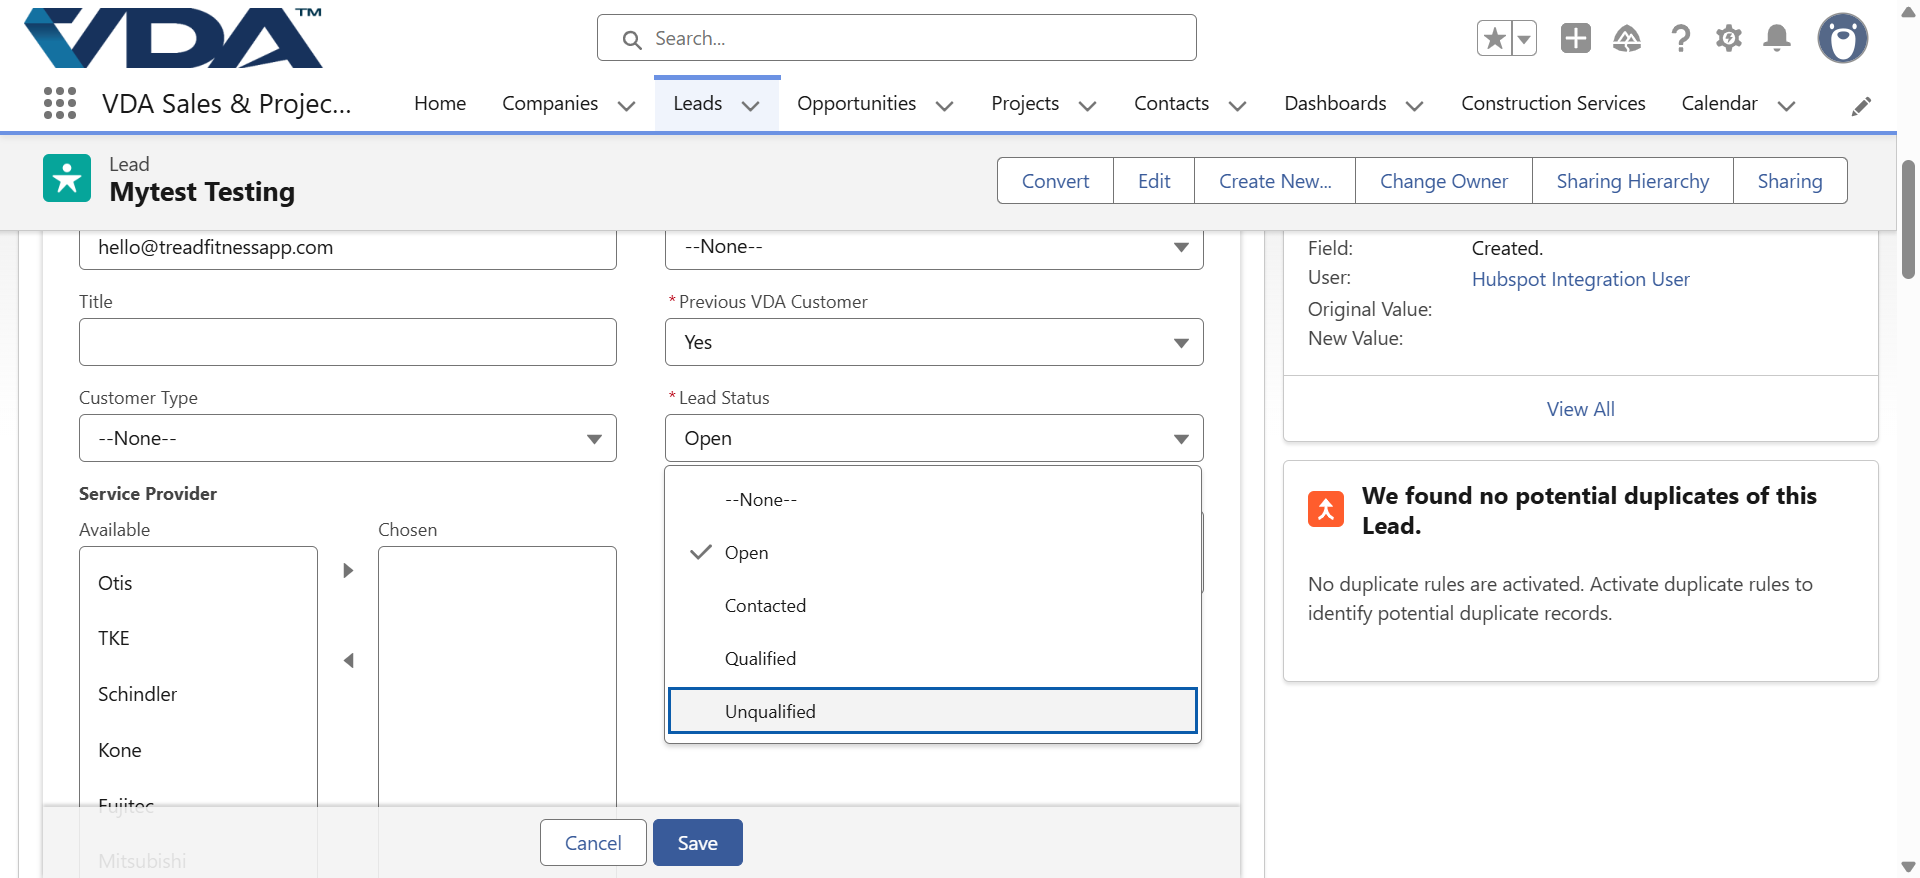
Click Save.
This will update the contact's record in HubSpot. We will return to this in a few minutes as the record does not immediately update (it takes a few minutes).
Let's go back and check the segment for errored contacts.
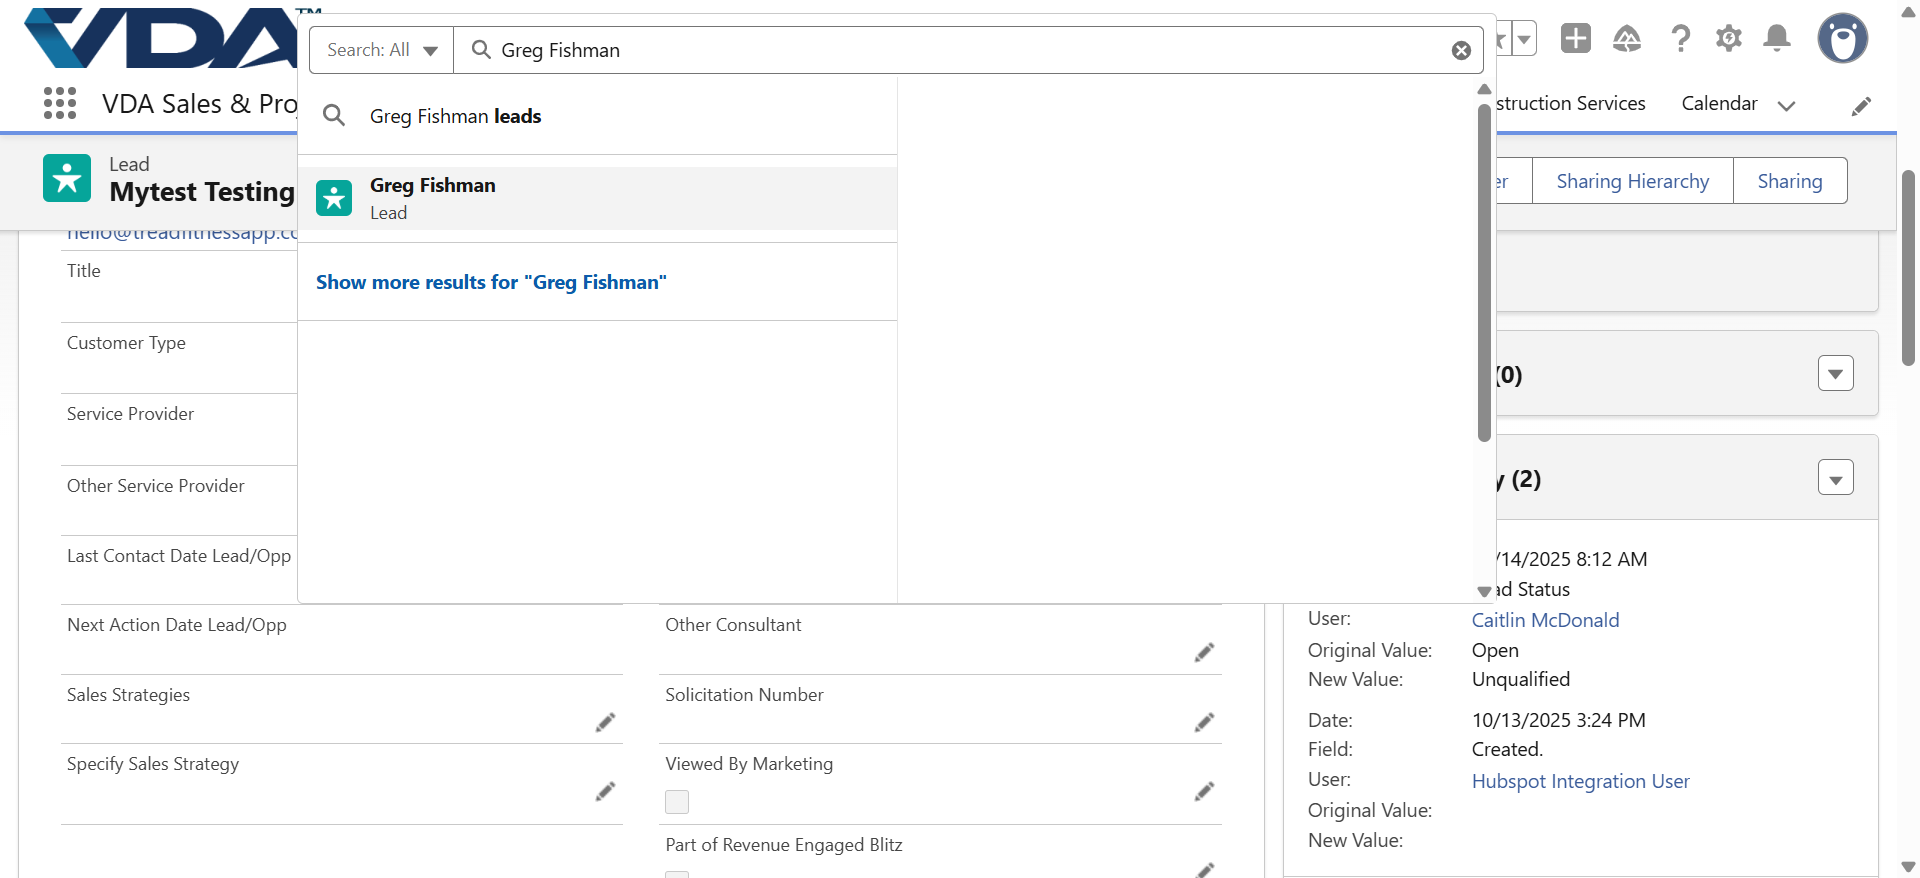
Now that person has synced to Salesforce because their name was updated.
Let's search for him.
In salesforce, this contact is now a lead in marketing and public relations. He synced today after we updated his leads.
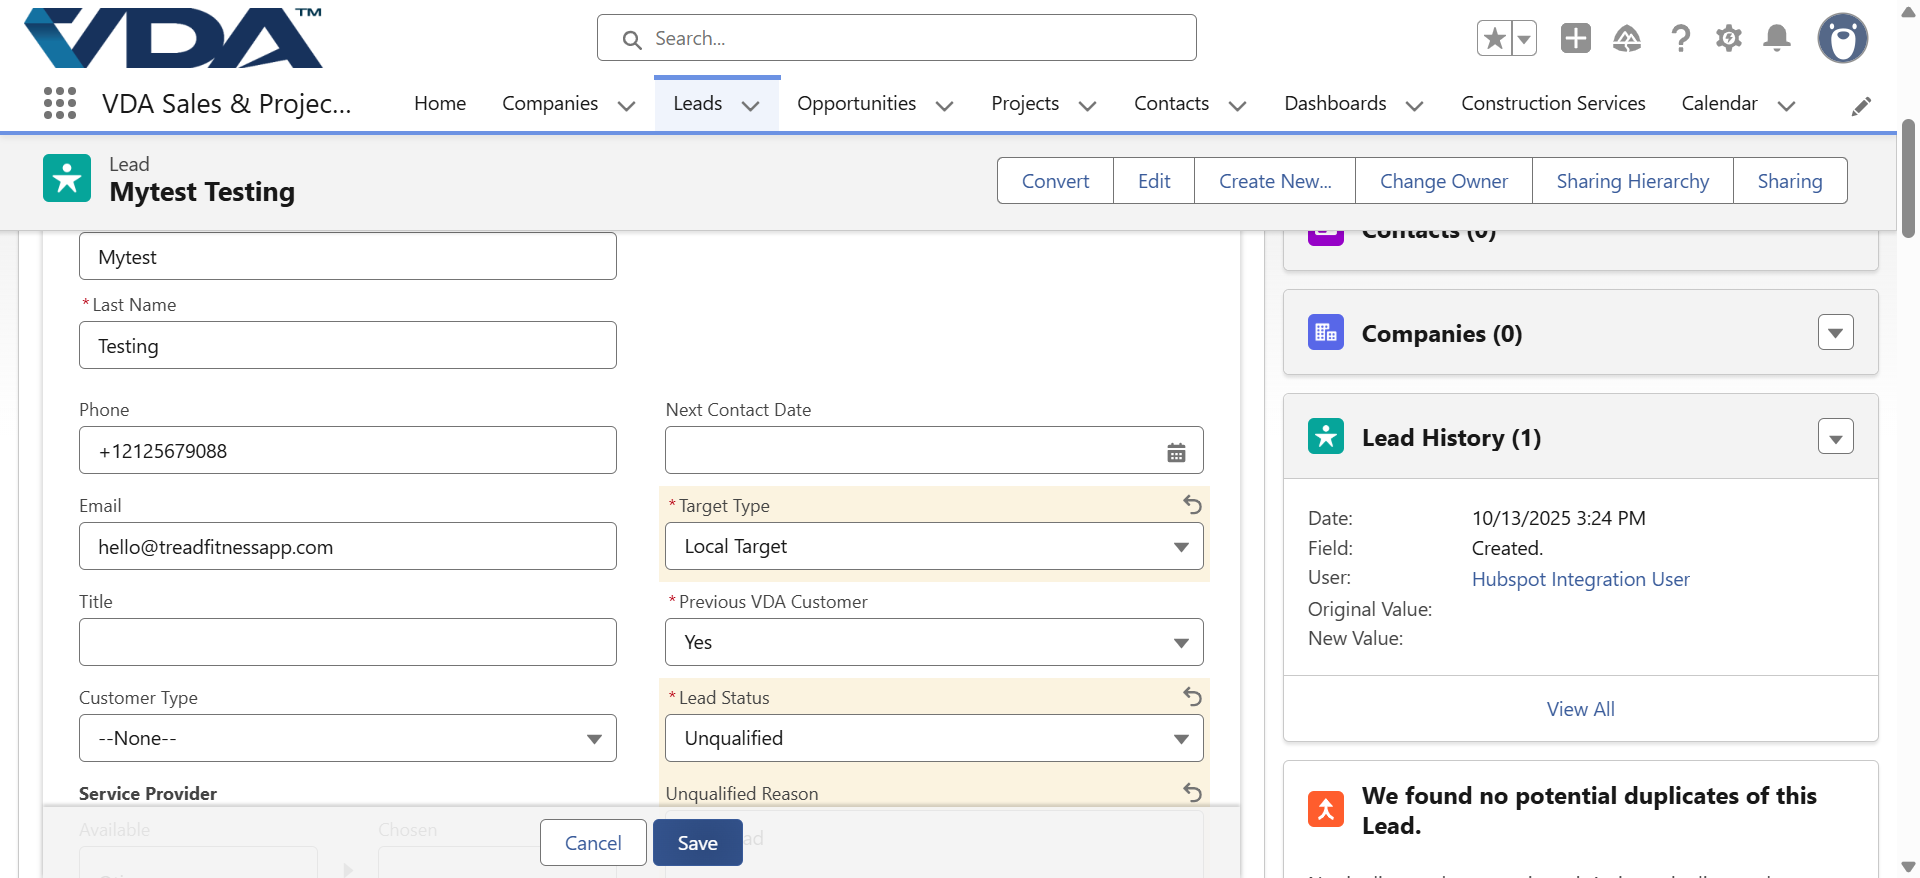
Now let's go back to check on our test lead who we updated the Status to Unqualified in Salesforce.
We are checking to see if anything has been updated from the change made in Salesforce.
The current status has updated from Open to Unqualified.
Target type: local target.
Unqualification reason: test lead.
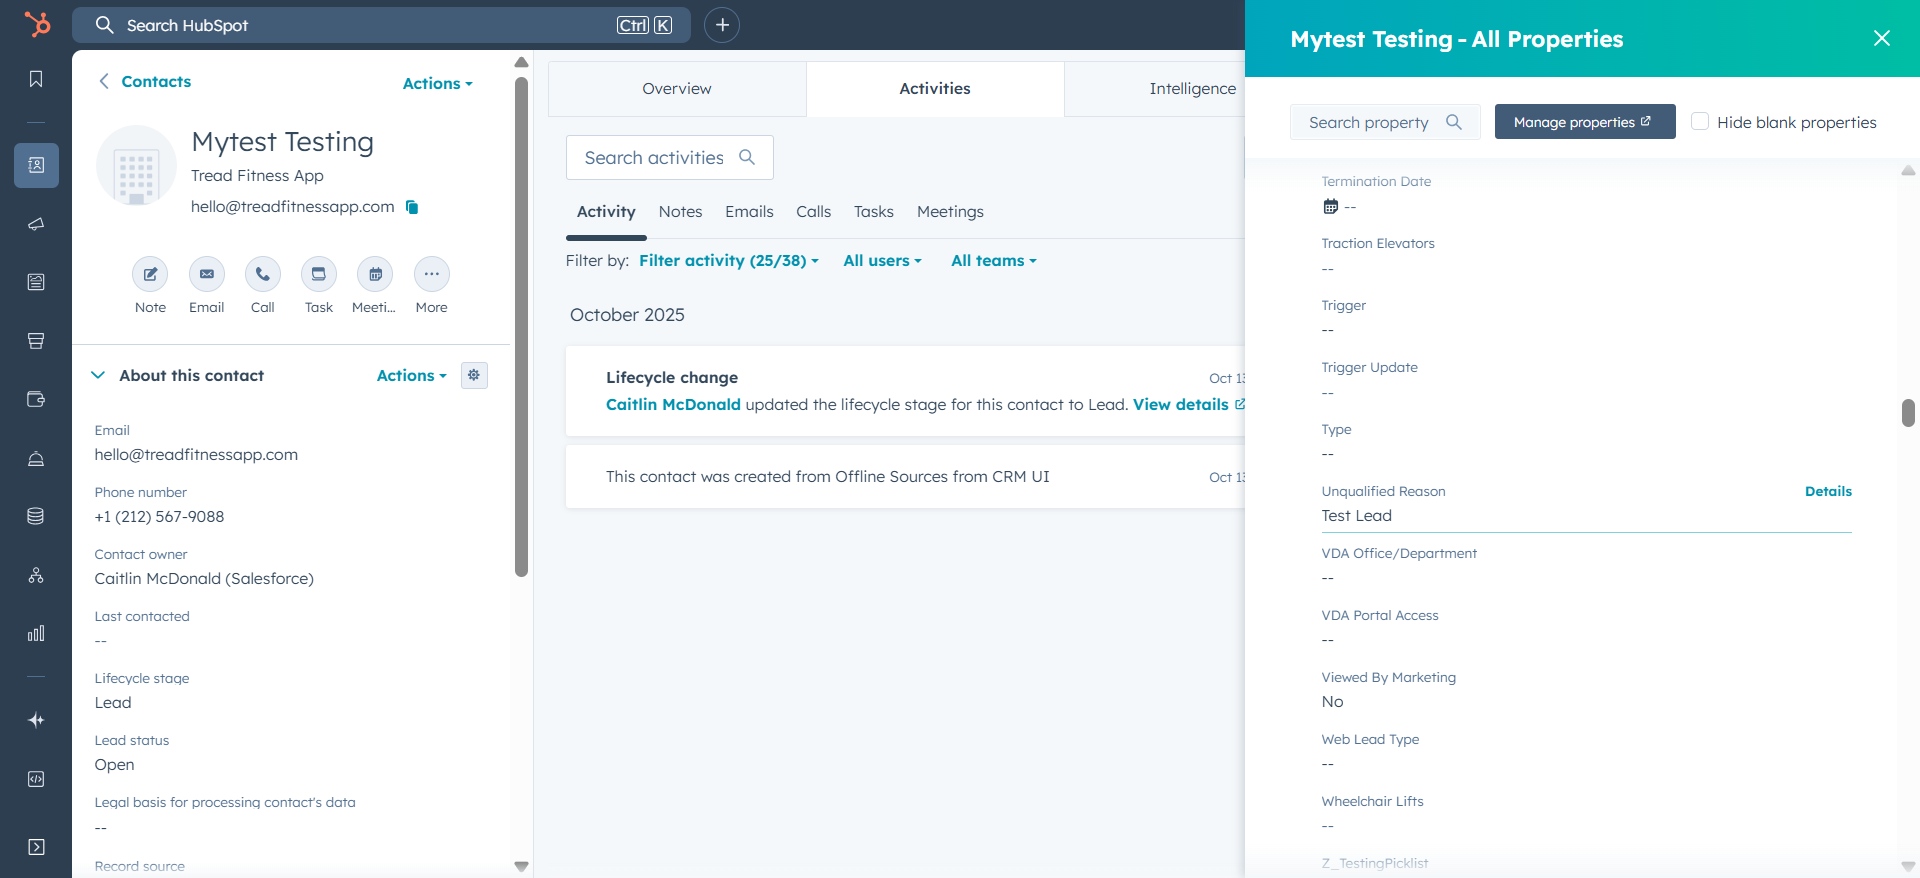
This is exactly what we entered into Salesforce.