
How to Manage "Event Name" Property in HubSpot - Adding a new event
Learn how to manage event properties in HubSpot, including adding, editing, and deleting event options for contact information.
In this guide, we'll learn how to manage event properties in HubSpot. This includes adding, editing, and deleting event names within the data management settings. Understanding how to properly configure these properties ensures accurate contact information and efficient event tracking.
Let's get started
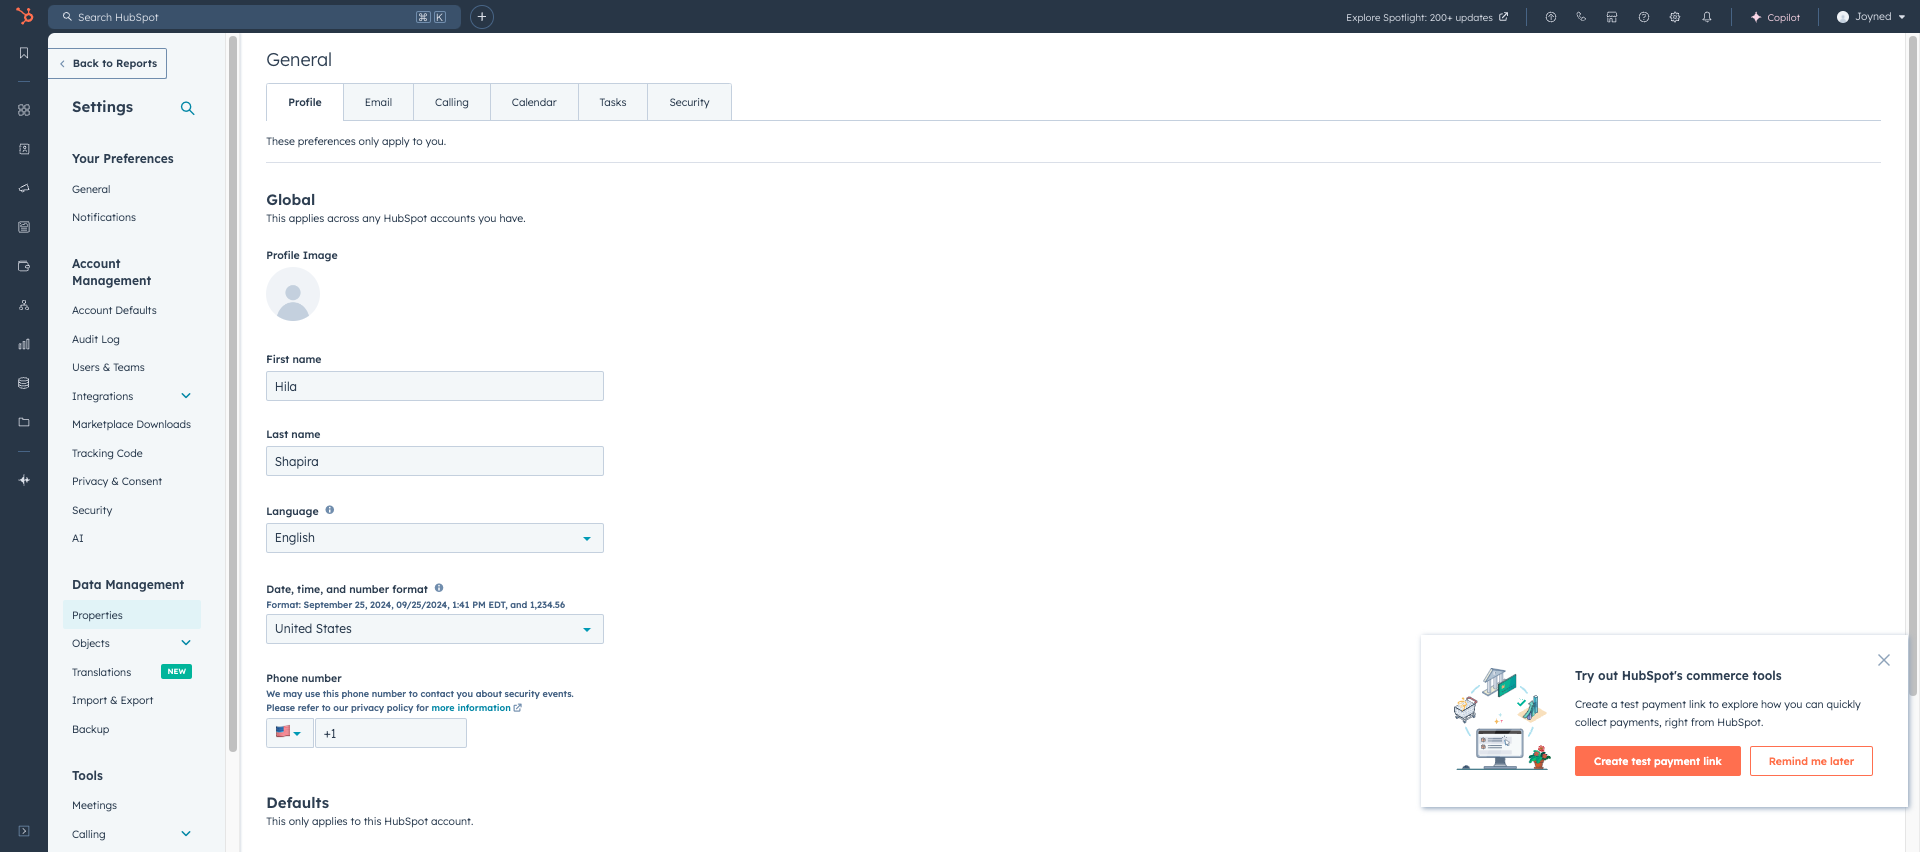
Once you're in HubSpot, click on the settings button.
Only admins will have access to this part. Then, in data management, click on properties.
While you're there, go to search properties and write "event name".
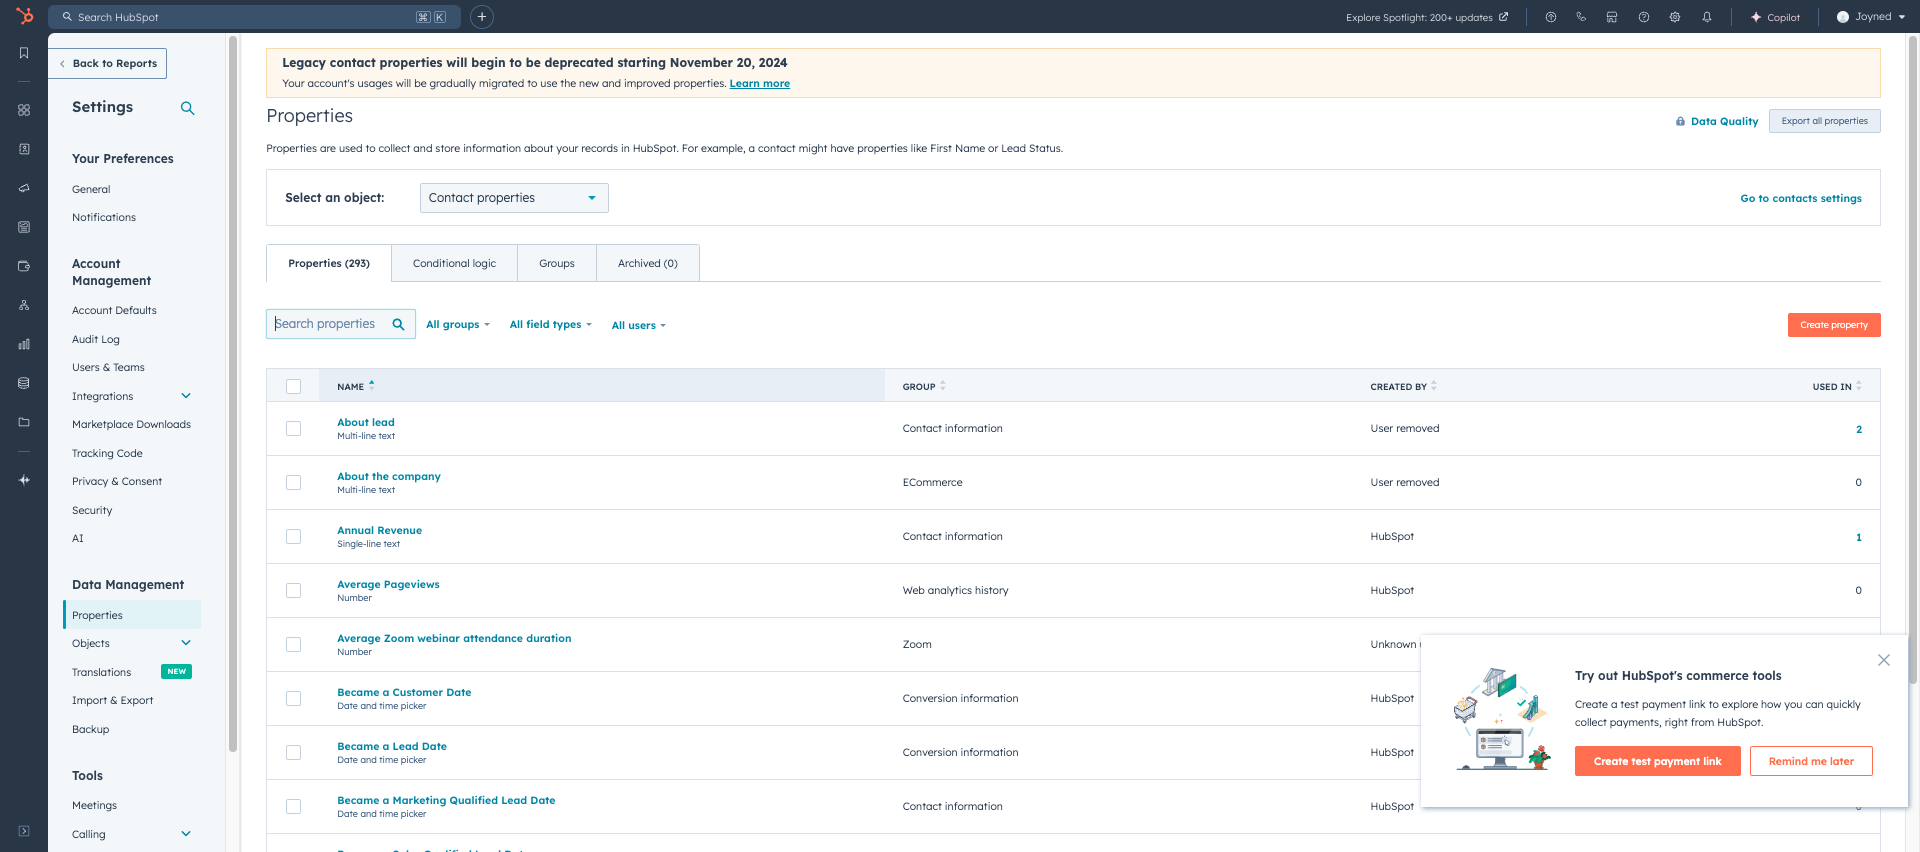
Then click on "Edit Property"

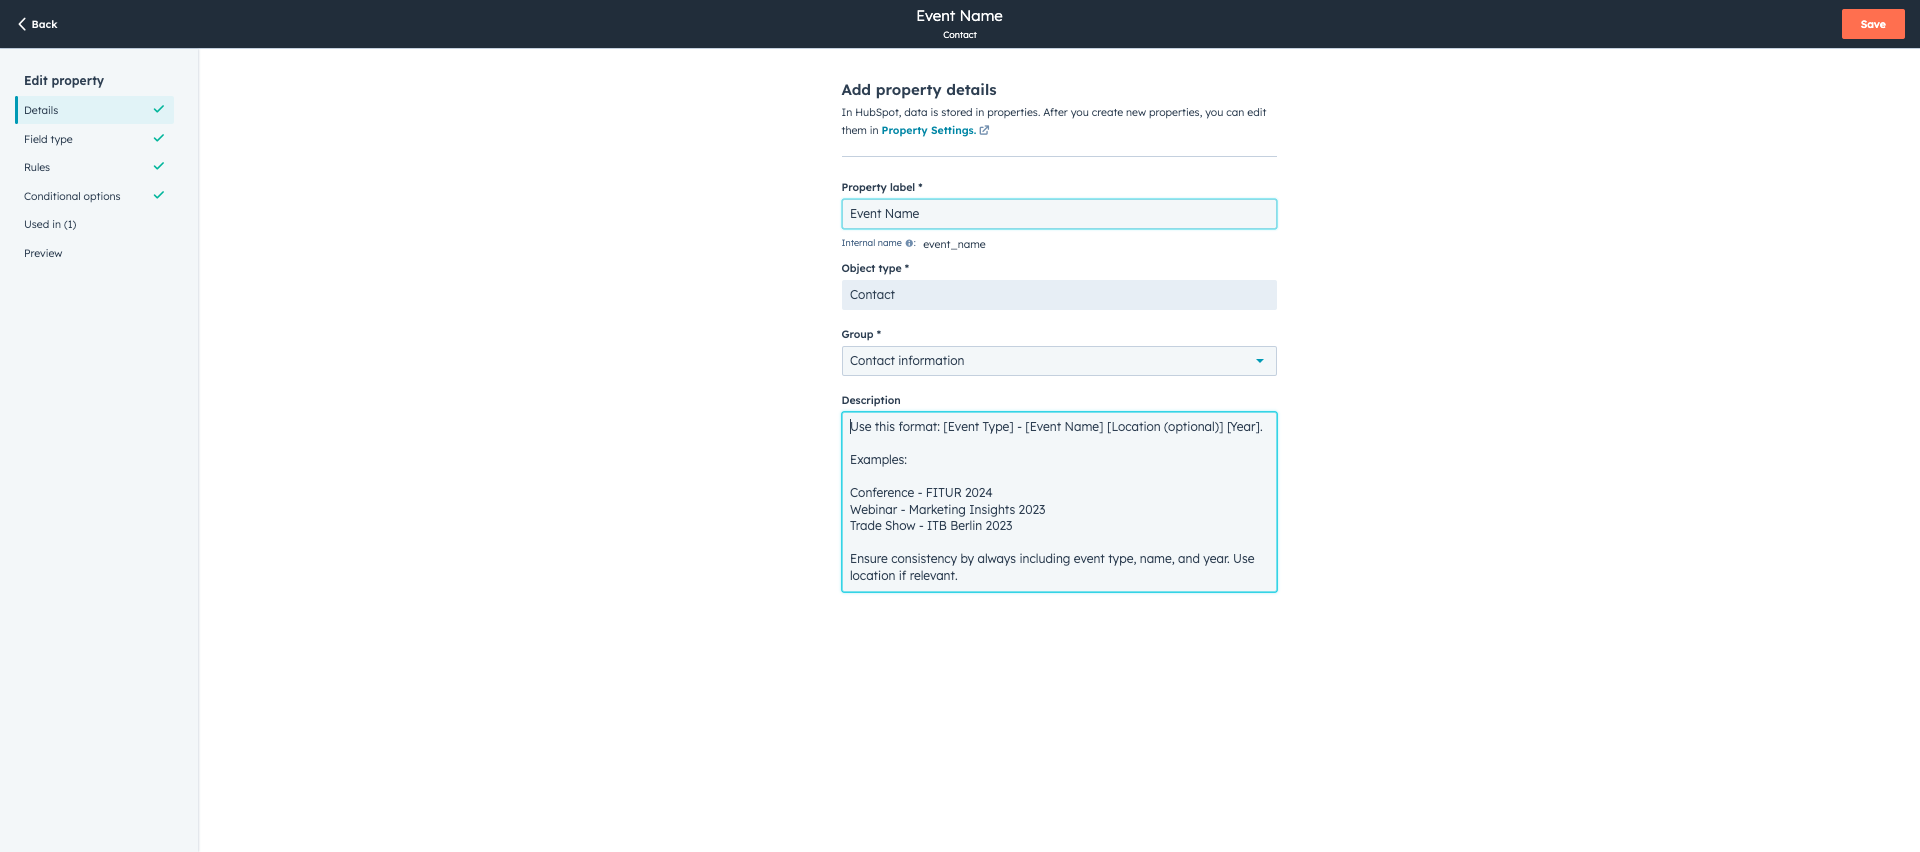
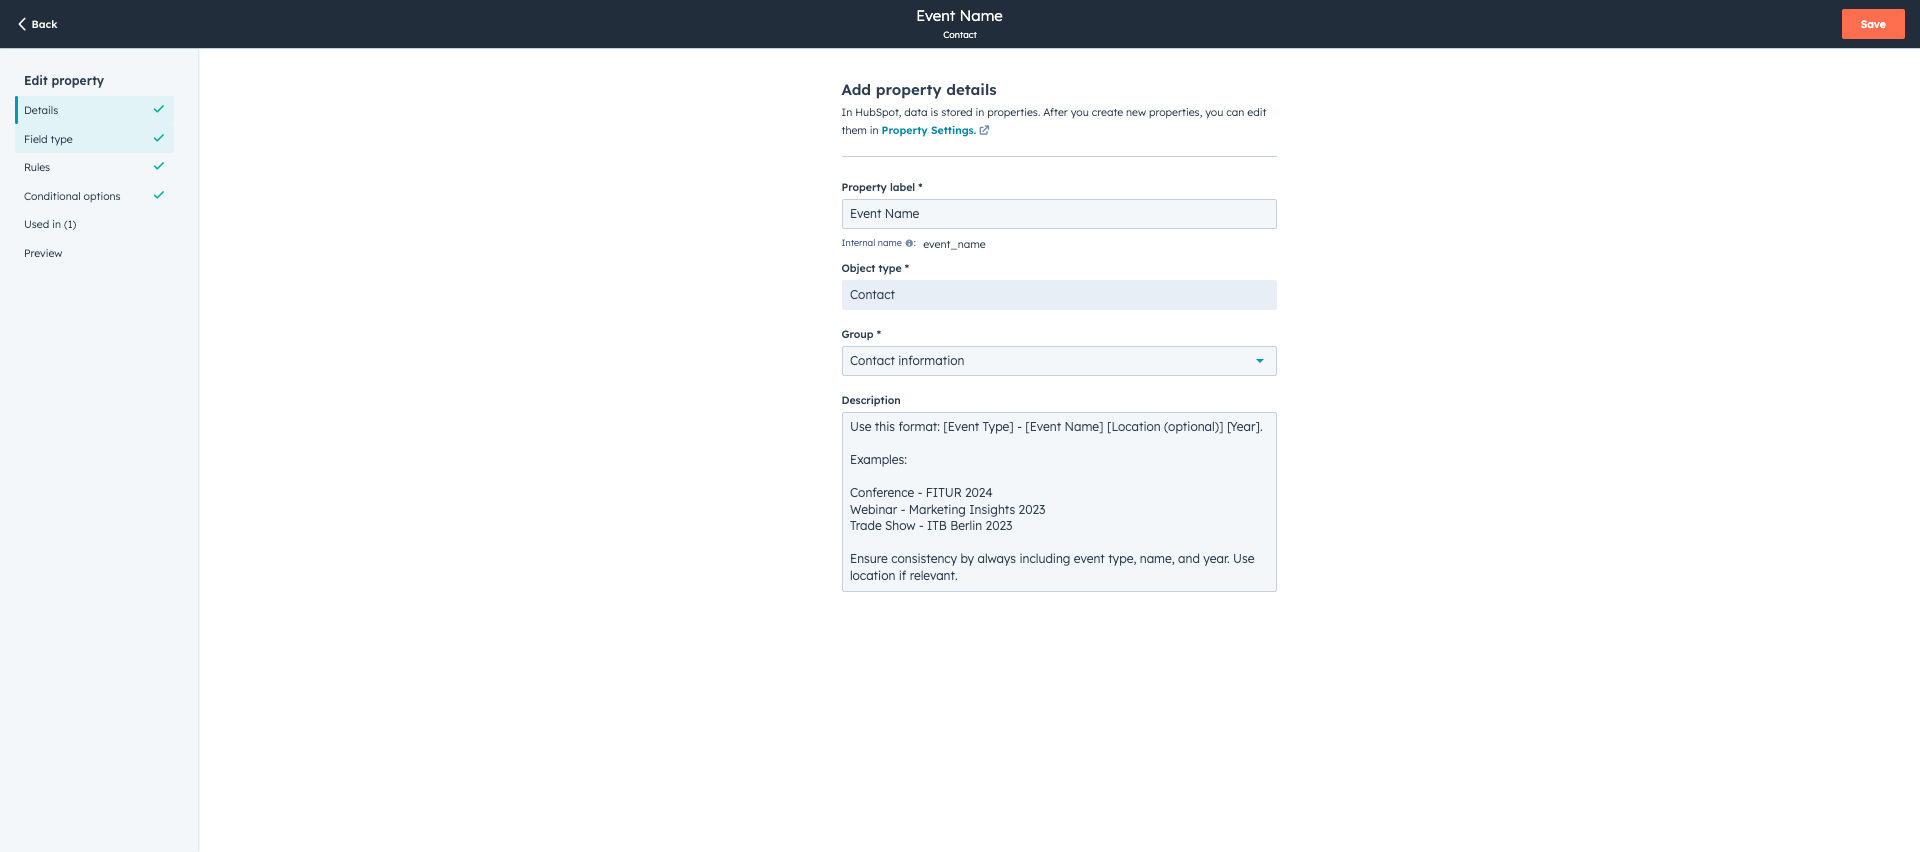
The property label is "event name"
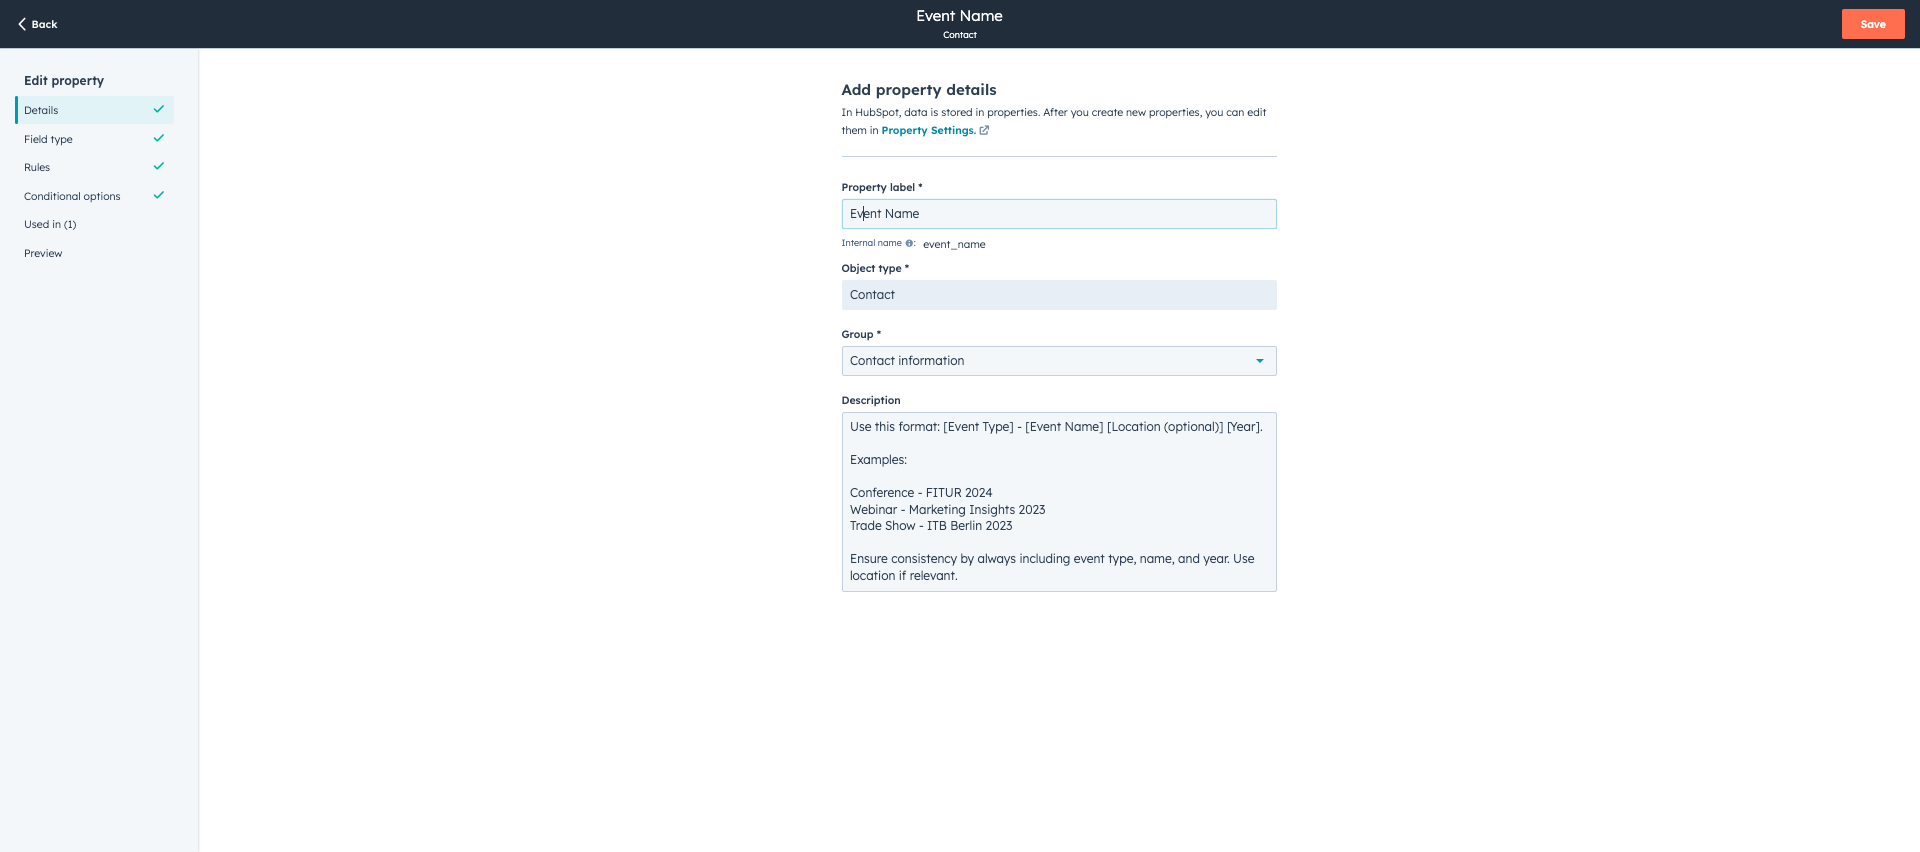
(This is only for your knowledge, don't change anything here)-->
Object type is "Contact" - it means it is related to a contact, which means it is data assigned to contact information. This is a description of how you should name an event.
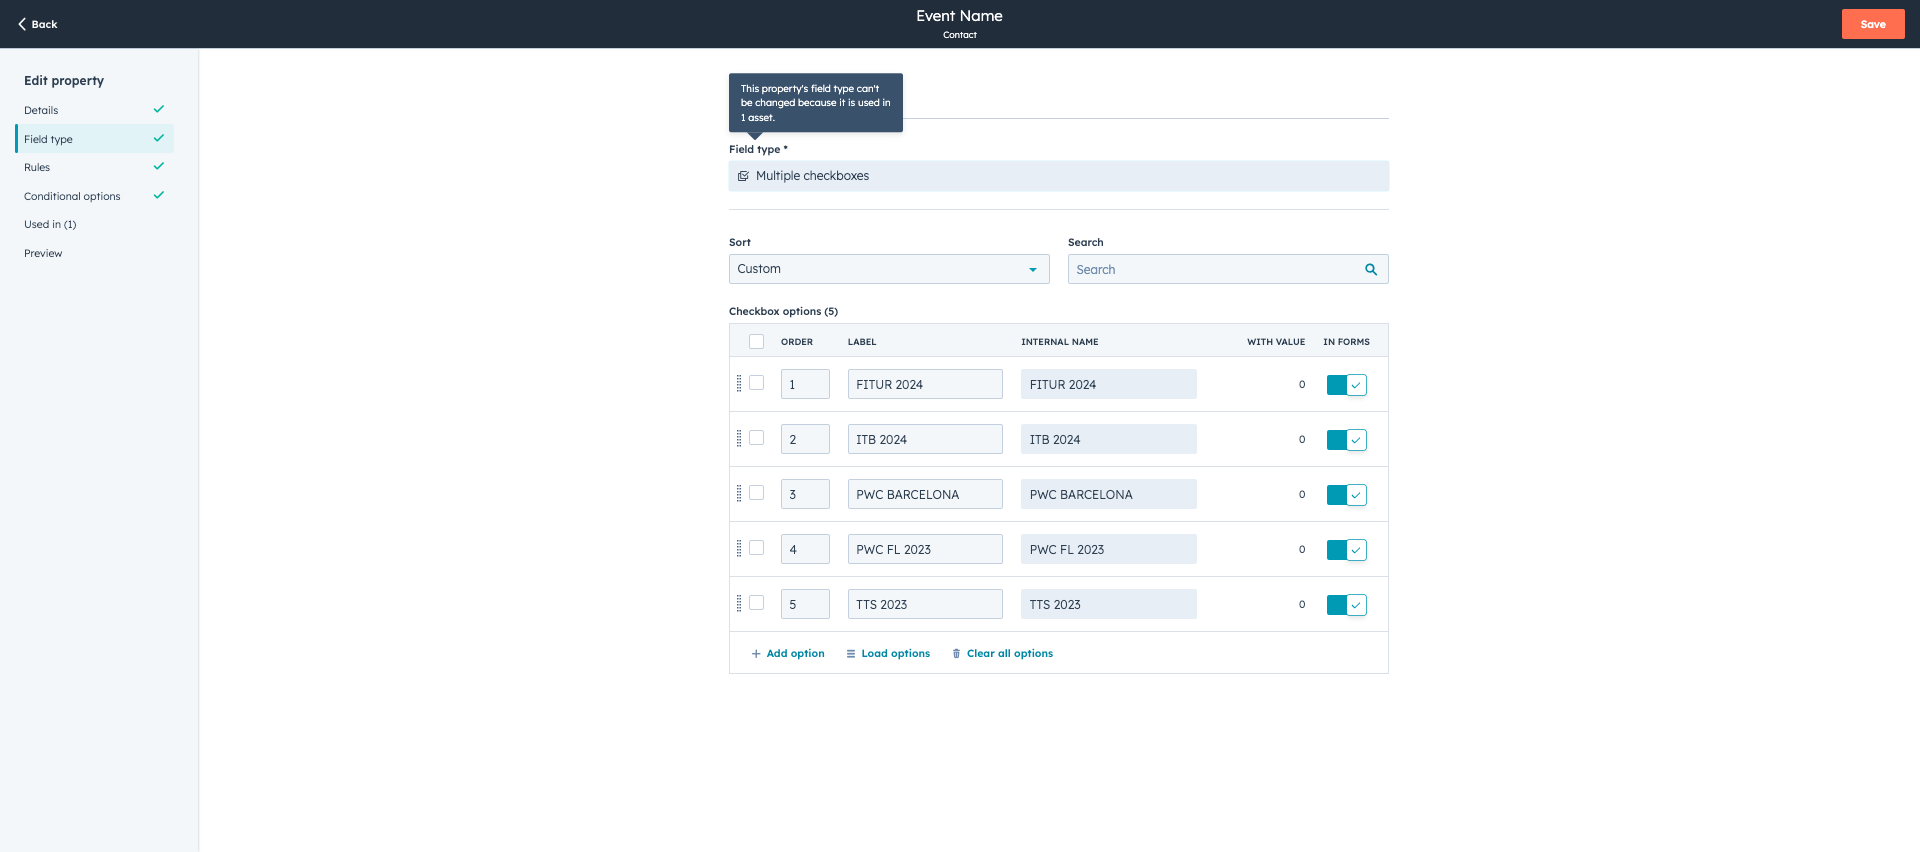
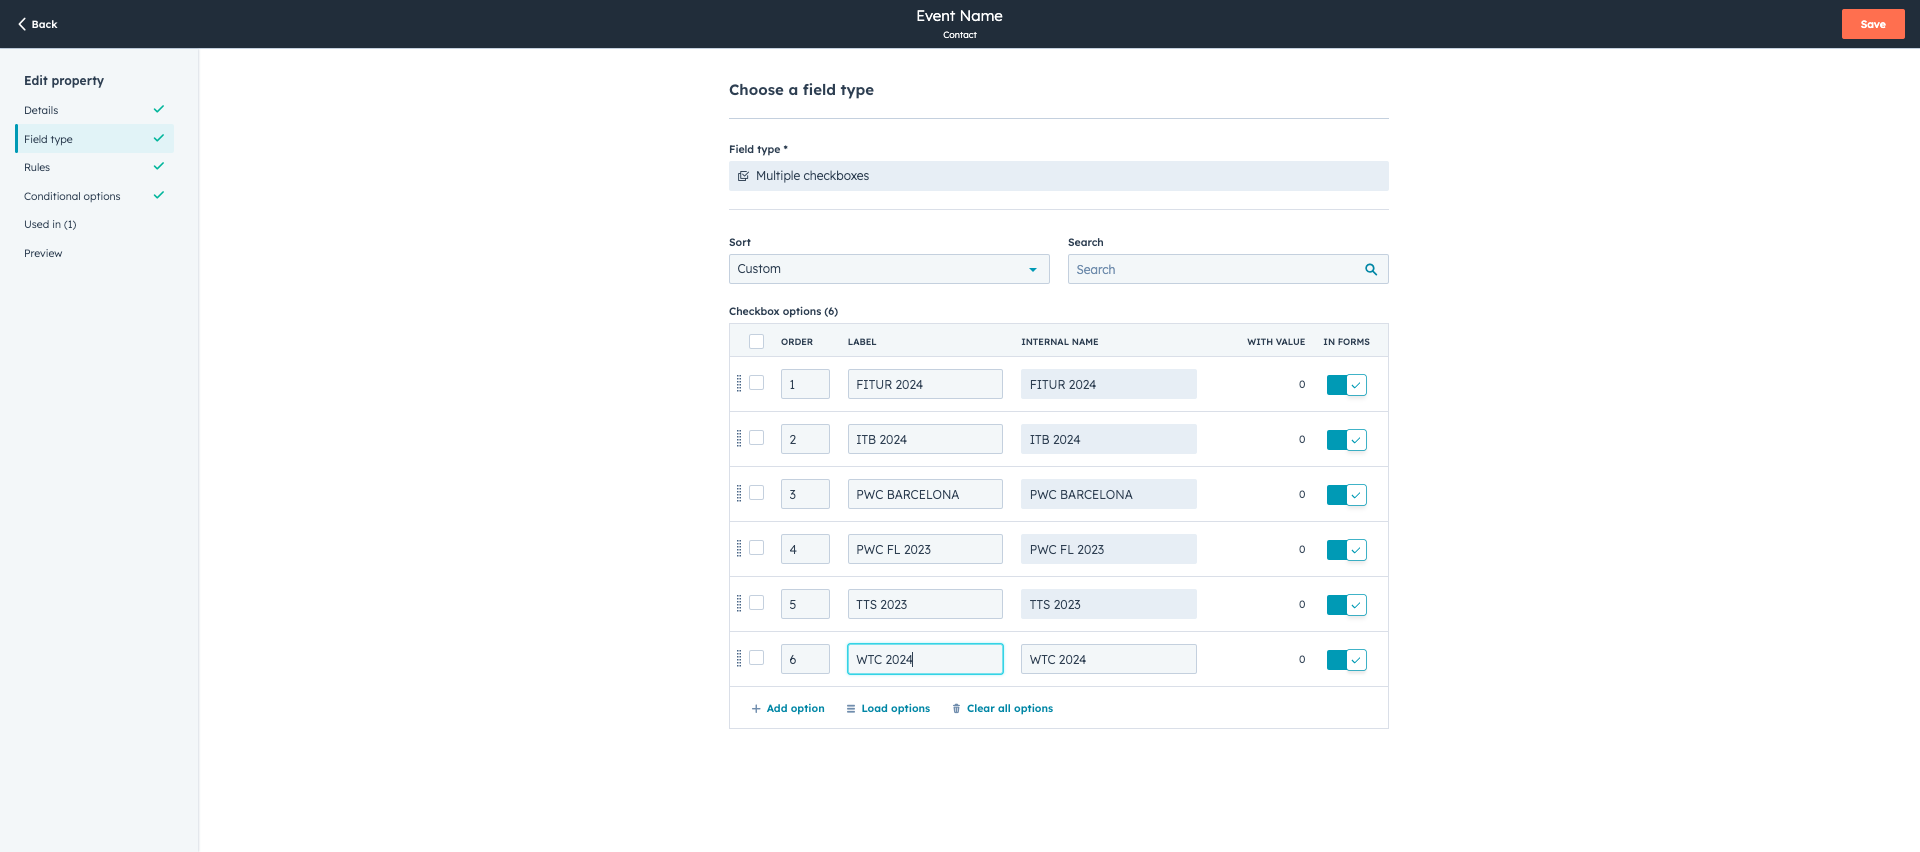
In the field type, I created it as a multiple checkboxes field type. This means a contact can be assigned to more than one event.
To add another event to the options list, simply add a new option.
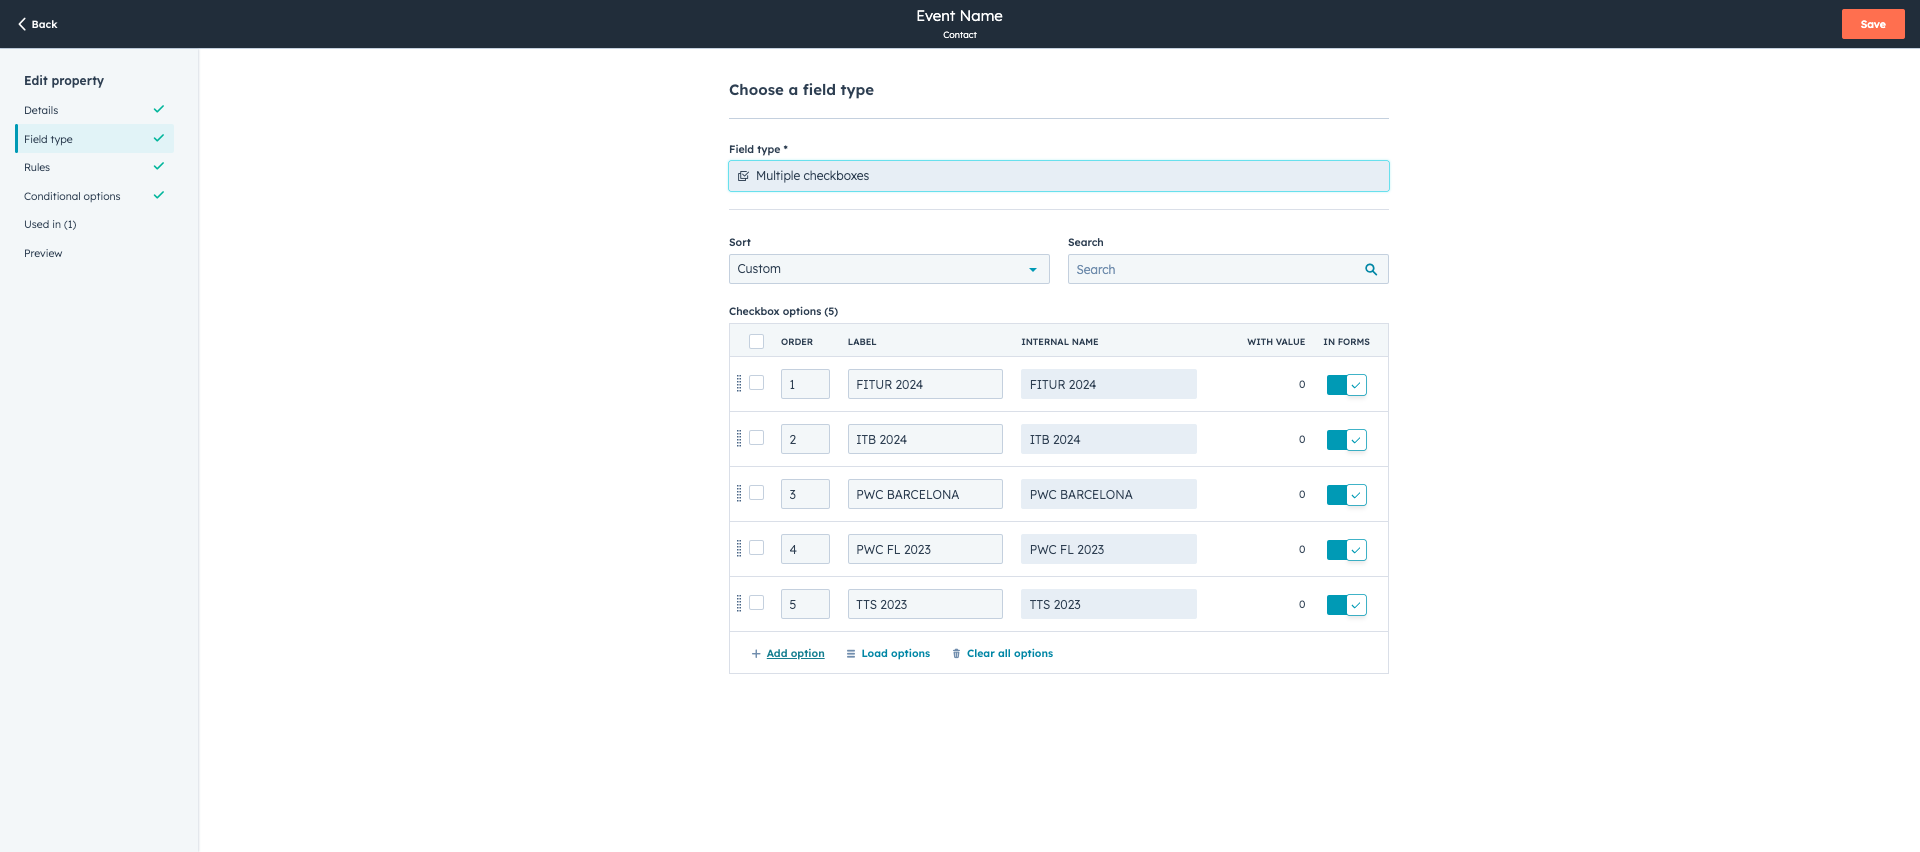
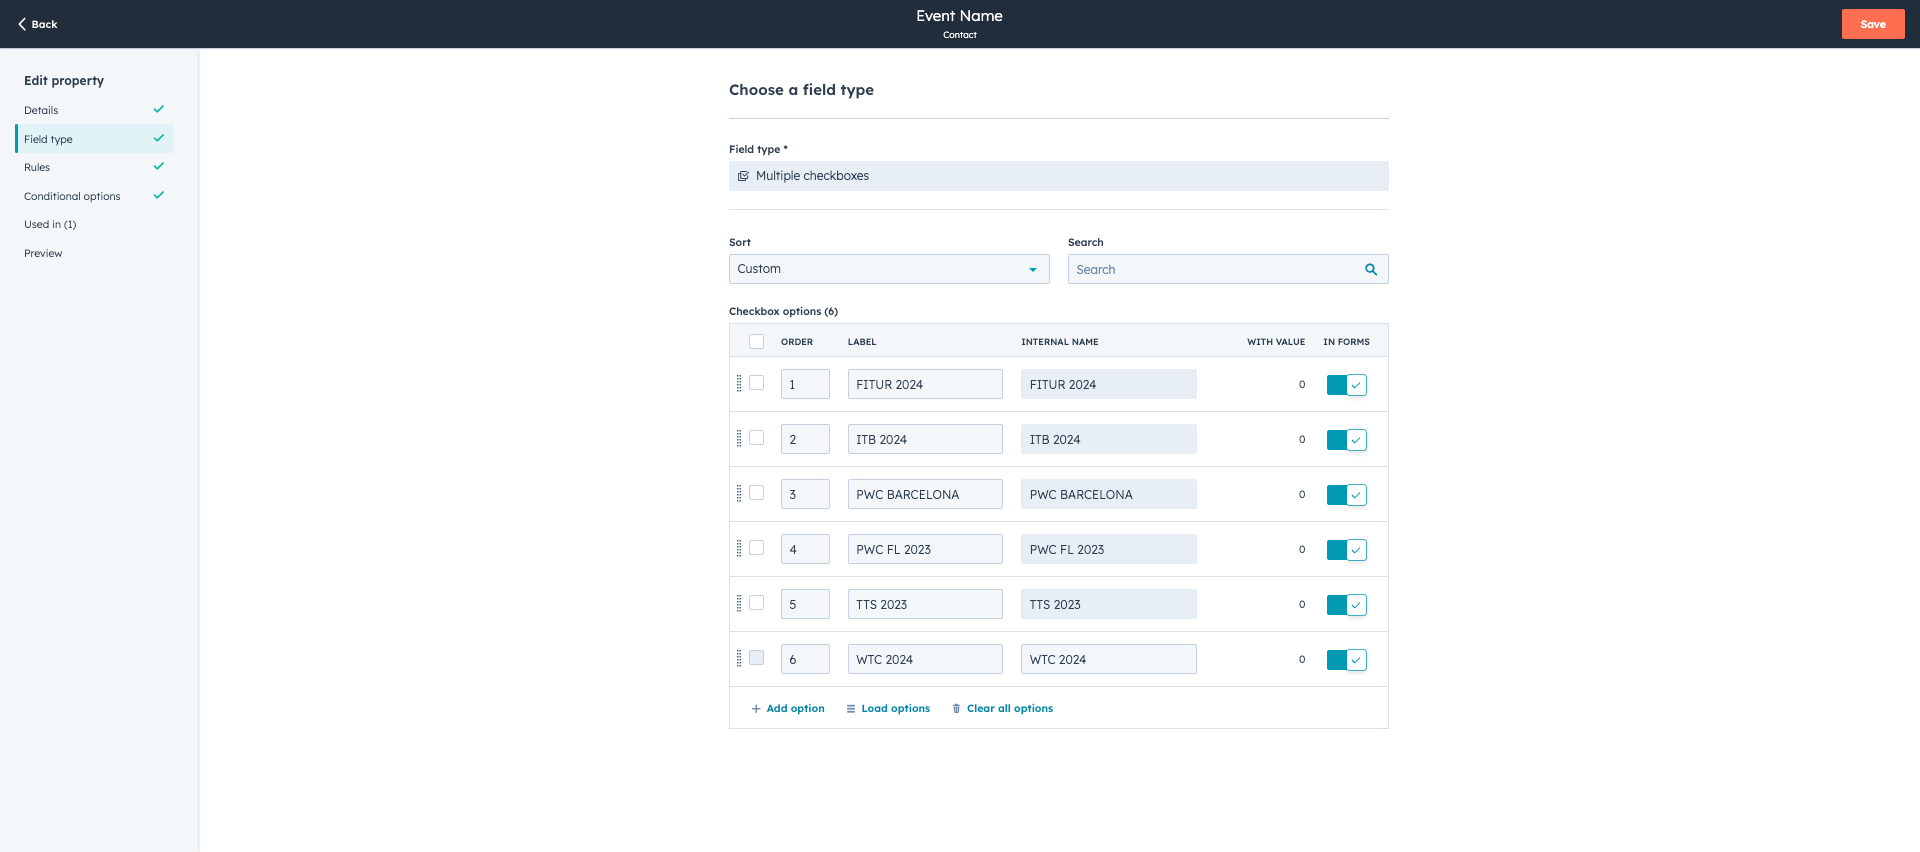
Write "W2C2024" and click save.
Let's say you want to delete the option you added.
You check the box and select "Delete."
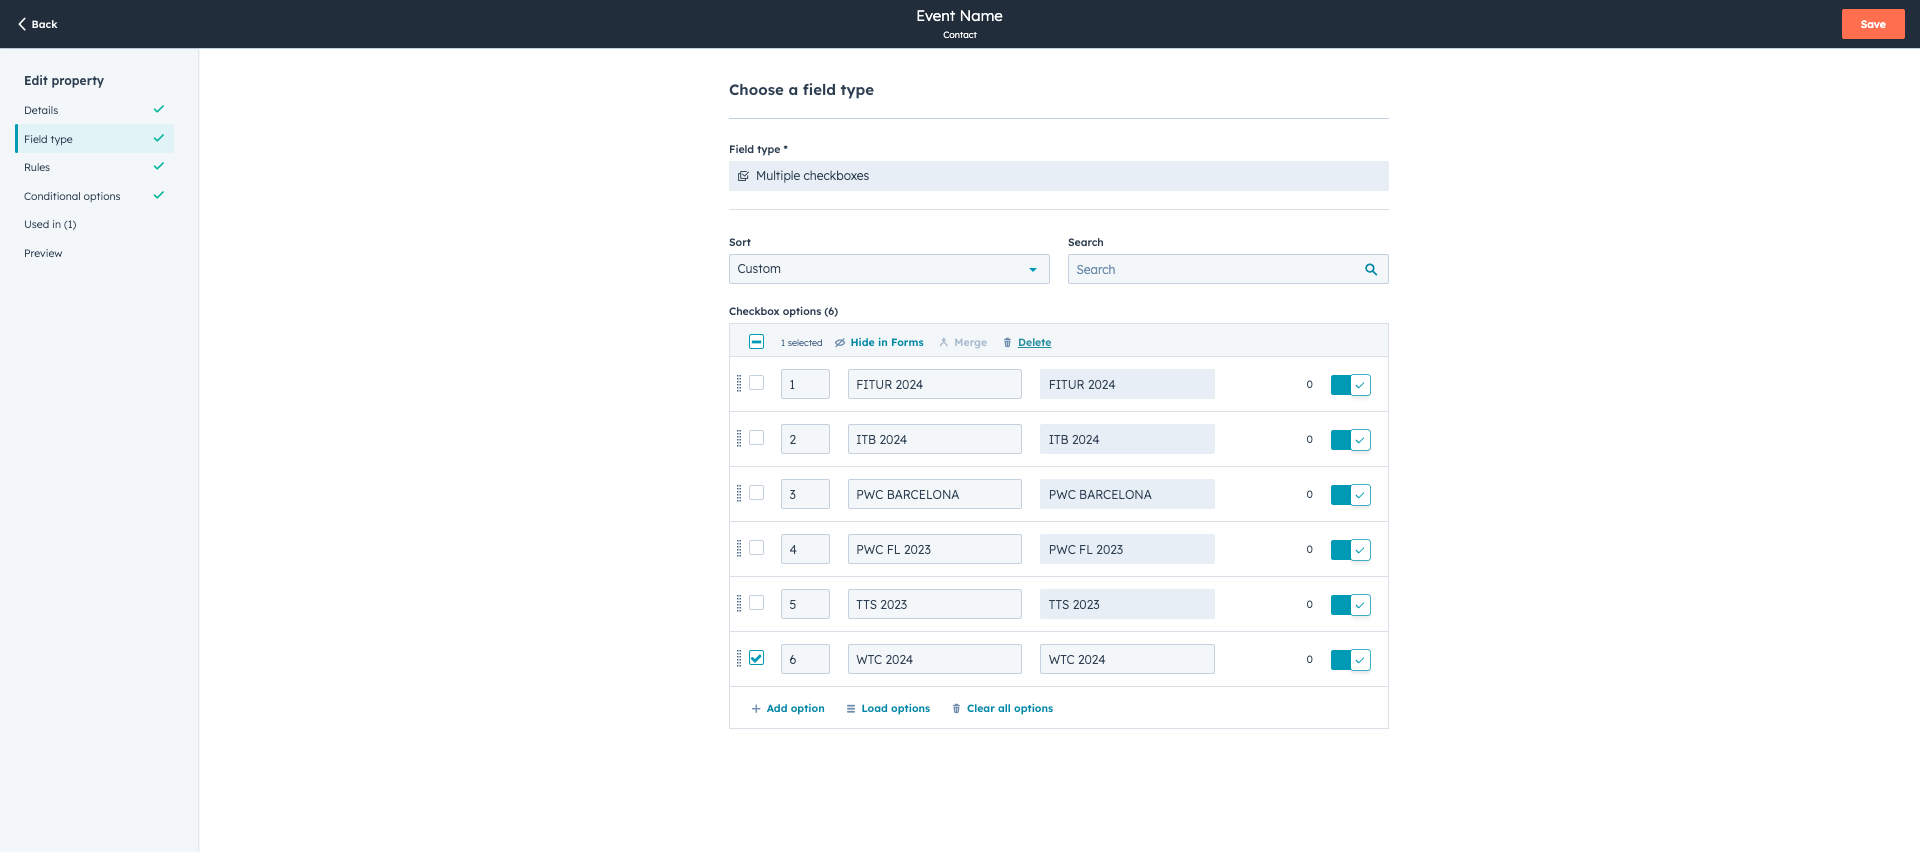
And you save. Always save after editing.
And that's it.