How To: Manage Leads
Learn how to effectively filter, customise, create, edit, import, and export sales leads within the Toucan Sales Analytics dashboard.
By Josh
This guide outlines how to effectively manage your sales leads within the Toucan Sales Analytics dashboard. By mastering filtering, creating new records, and importing or exporting data, you can maintain an organised pipeline and streamline your sales tracking.
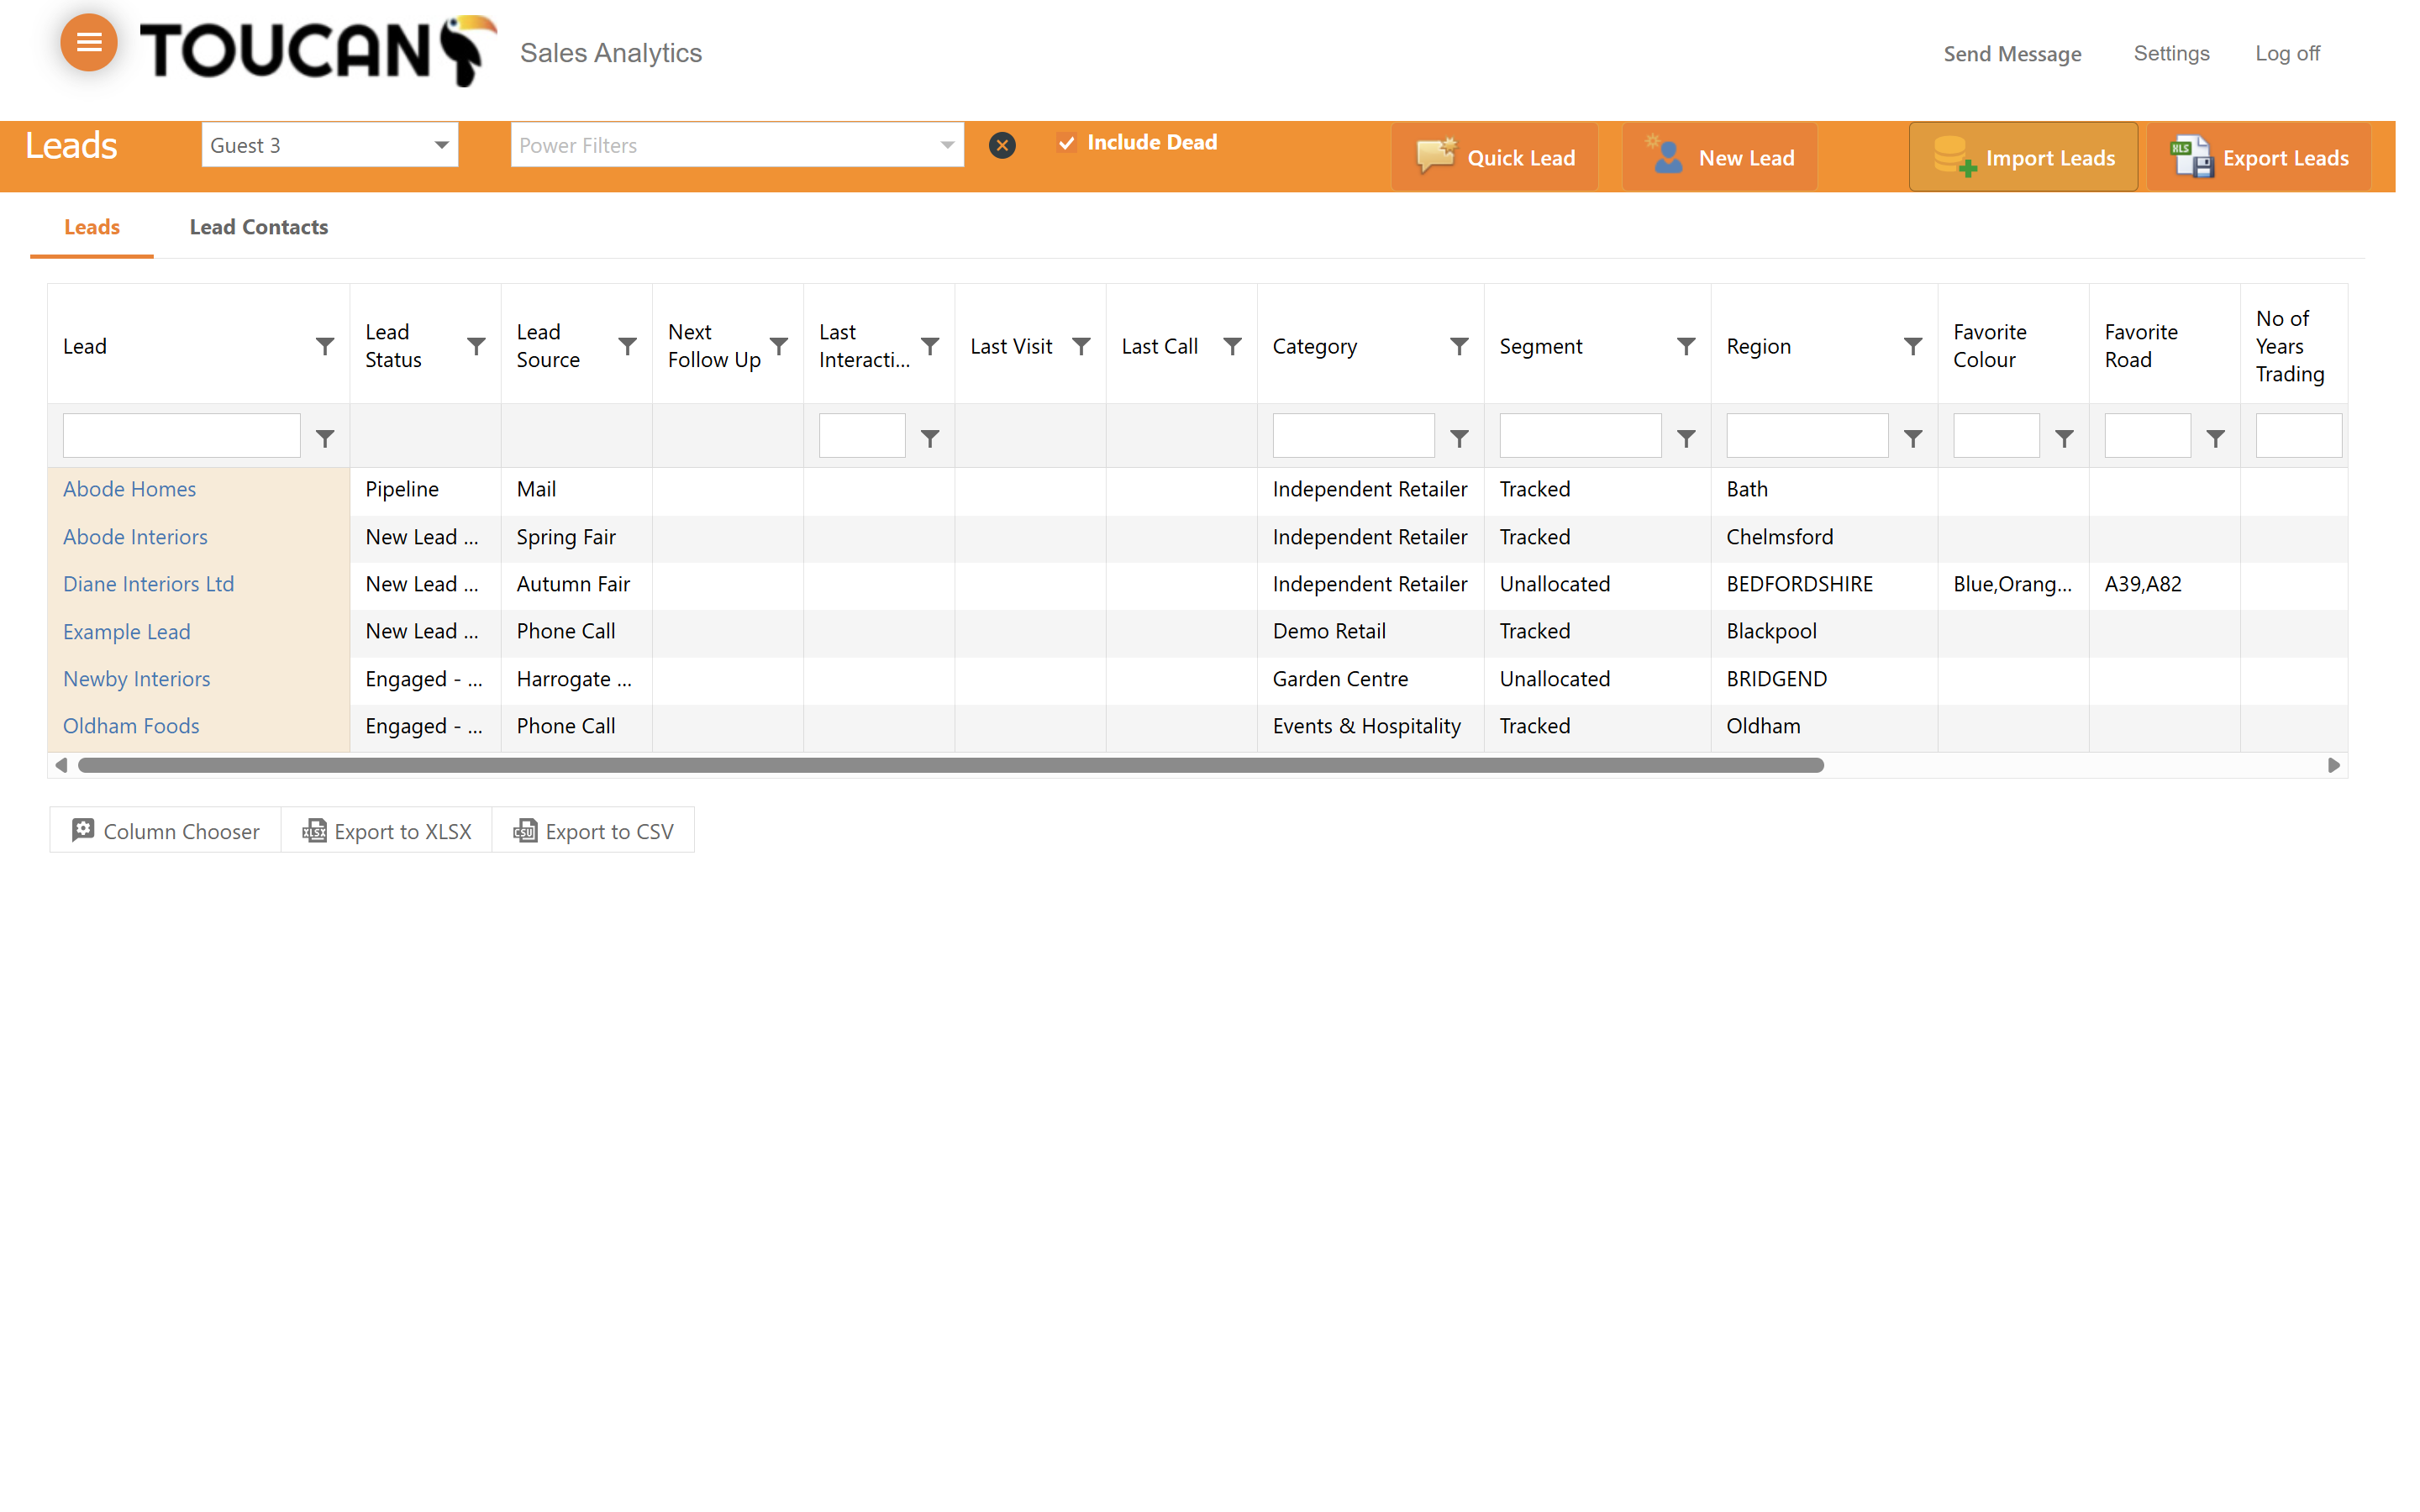
Viewing and Filtering Leads
1
Click on the Lead tab in your navigation menu to view your lead records as companies. To view leads as specific contacts attached to a company, see the next step.
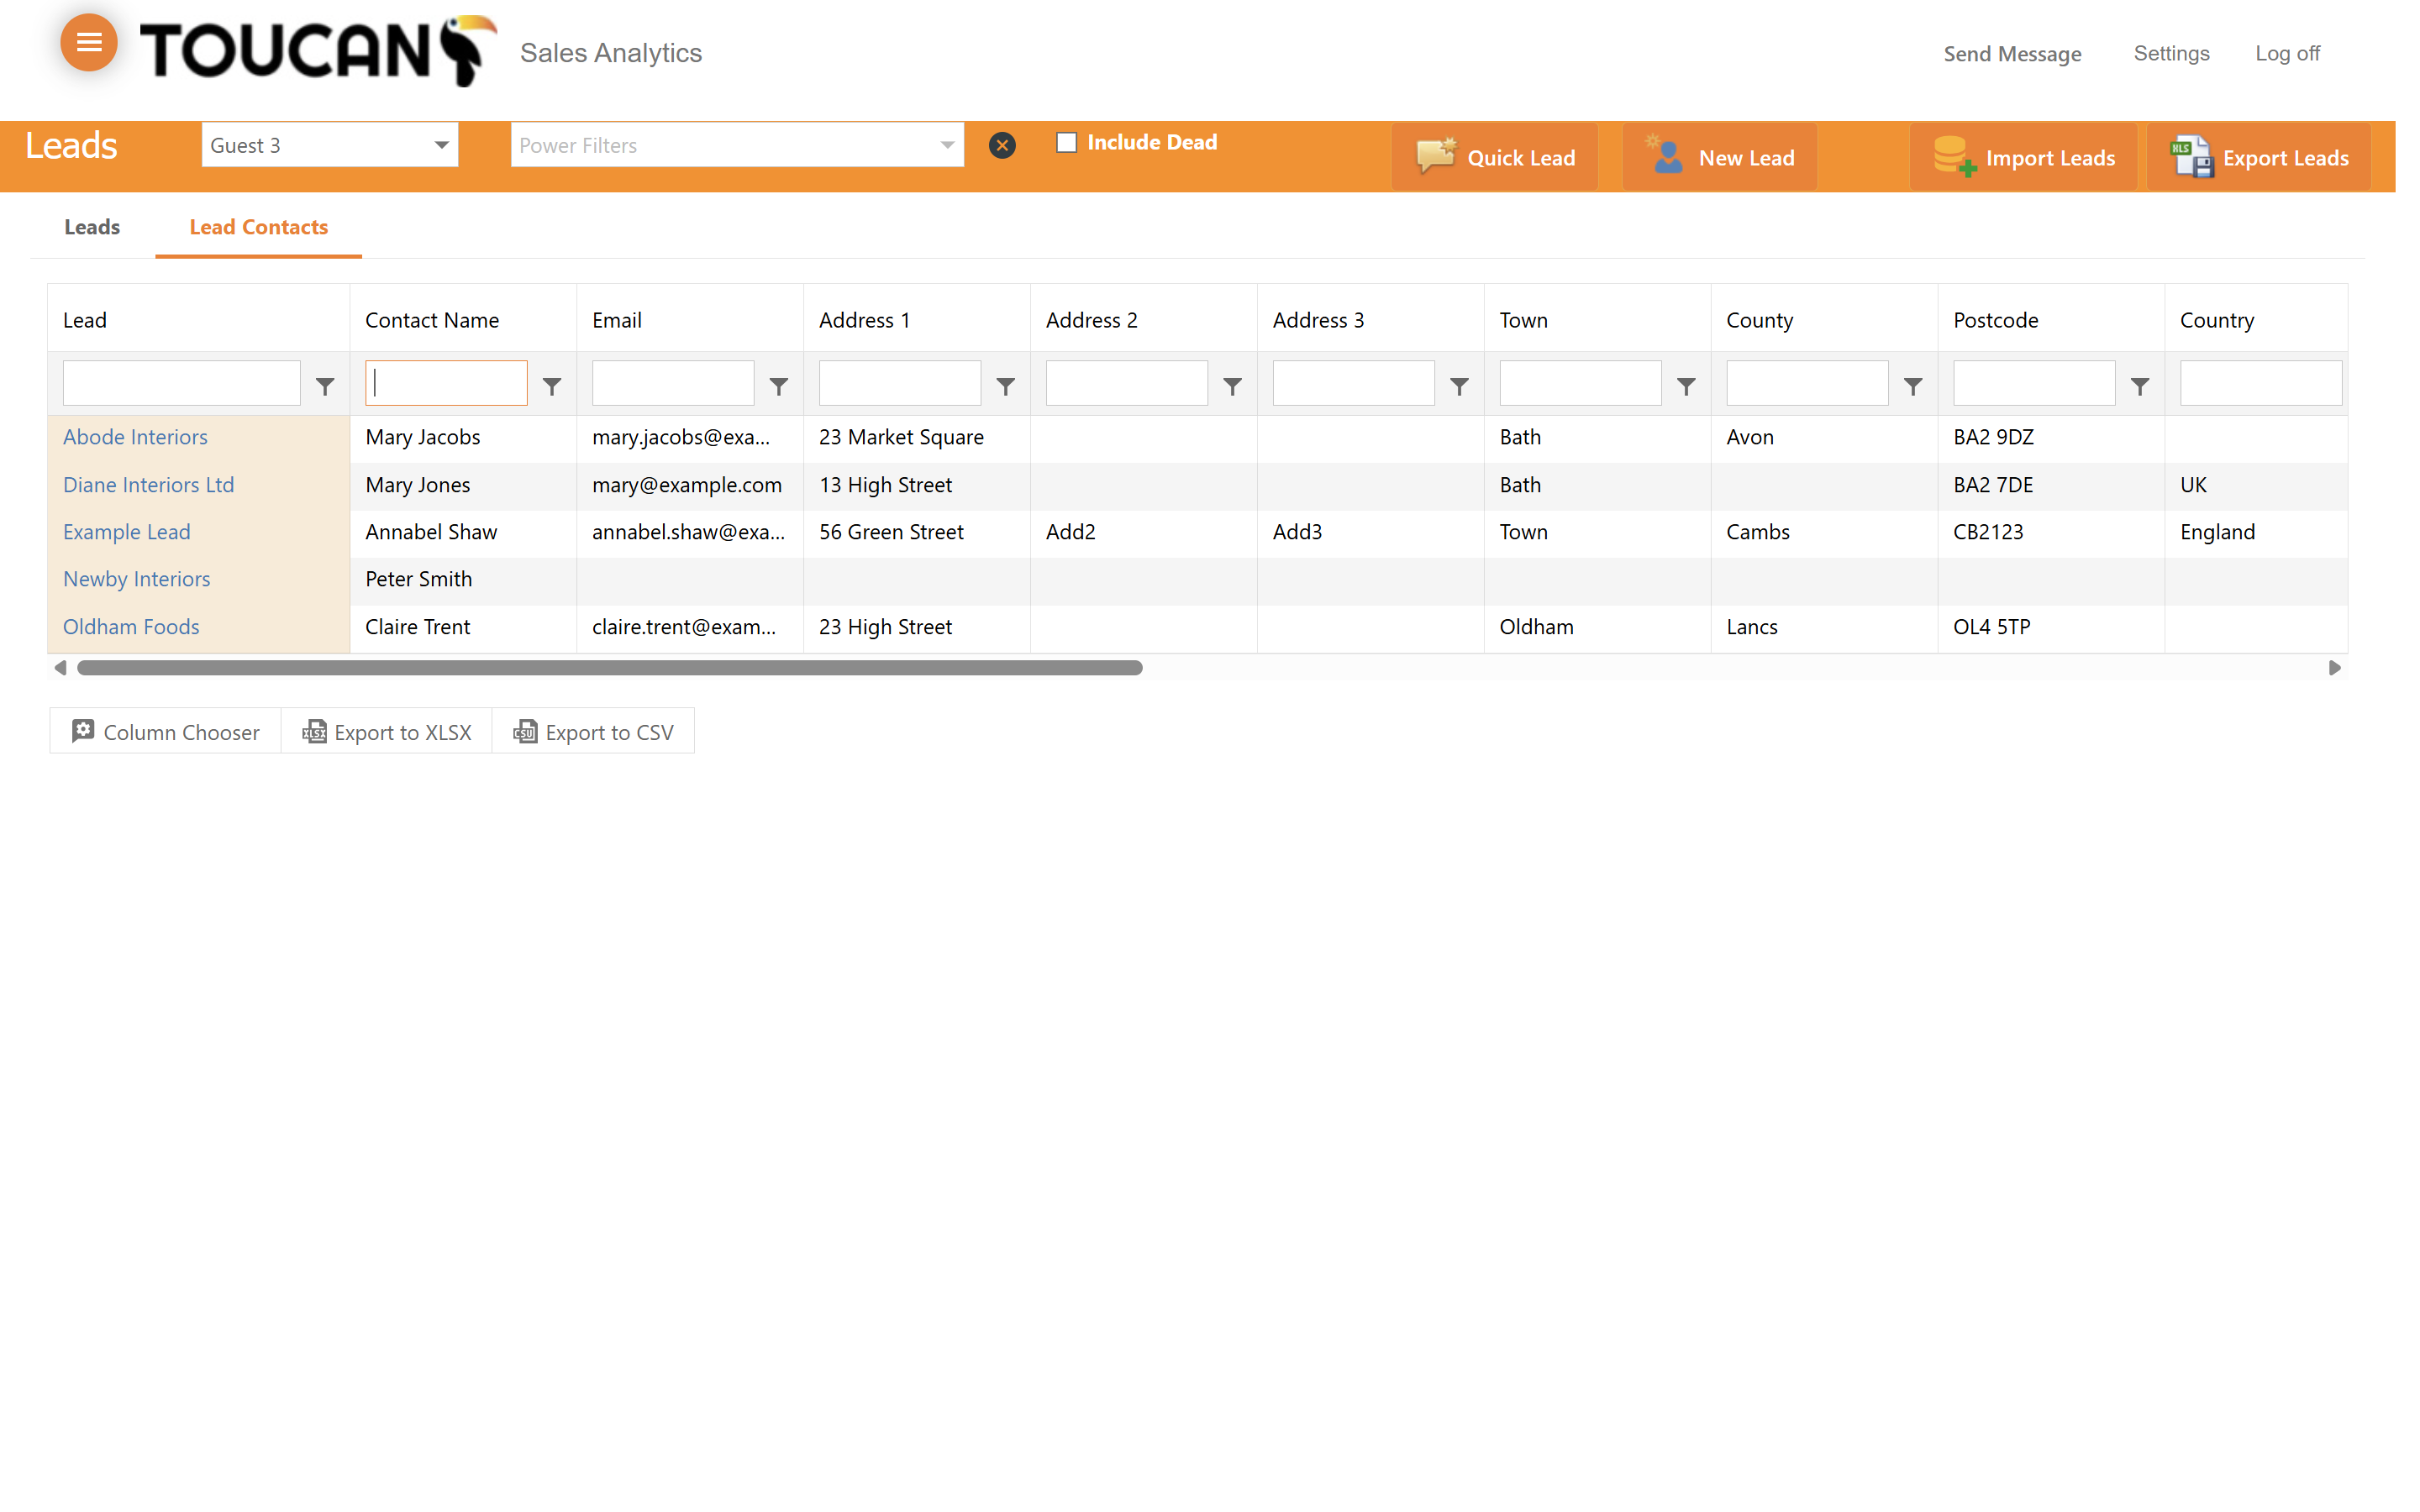
2
Select the Lead Contacts tab to view individual leads stored in your Toucan system. Use the filter input fields under column headers, such as the email address, to search for specific leads.

3
Filter by other text fields like Contact Name by typing your criteria into the respective column's search box.
4
Click the filter icon on the Lead column header to apply advanced sorting and filtering.
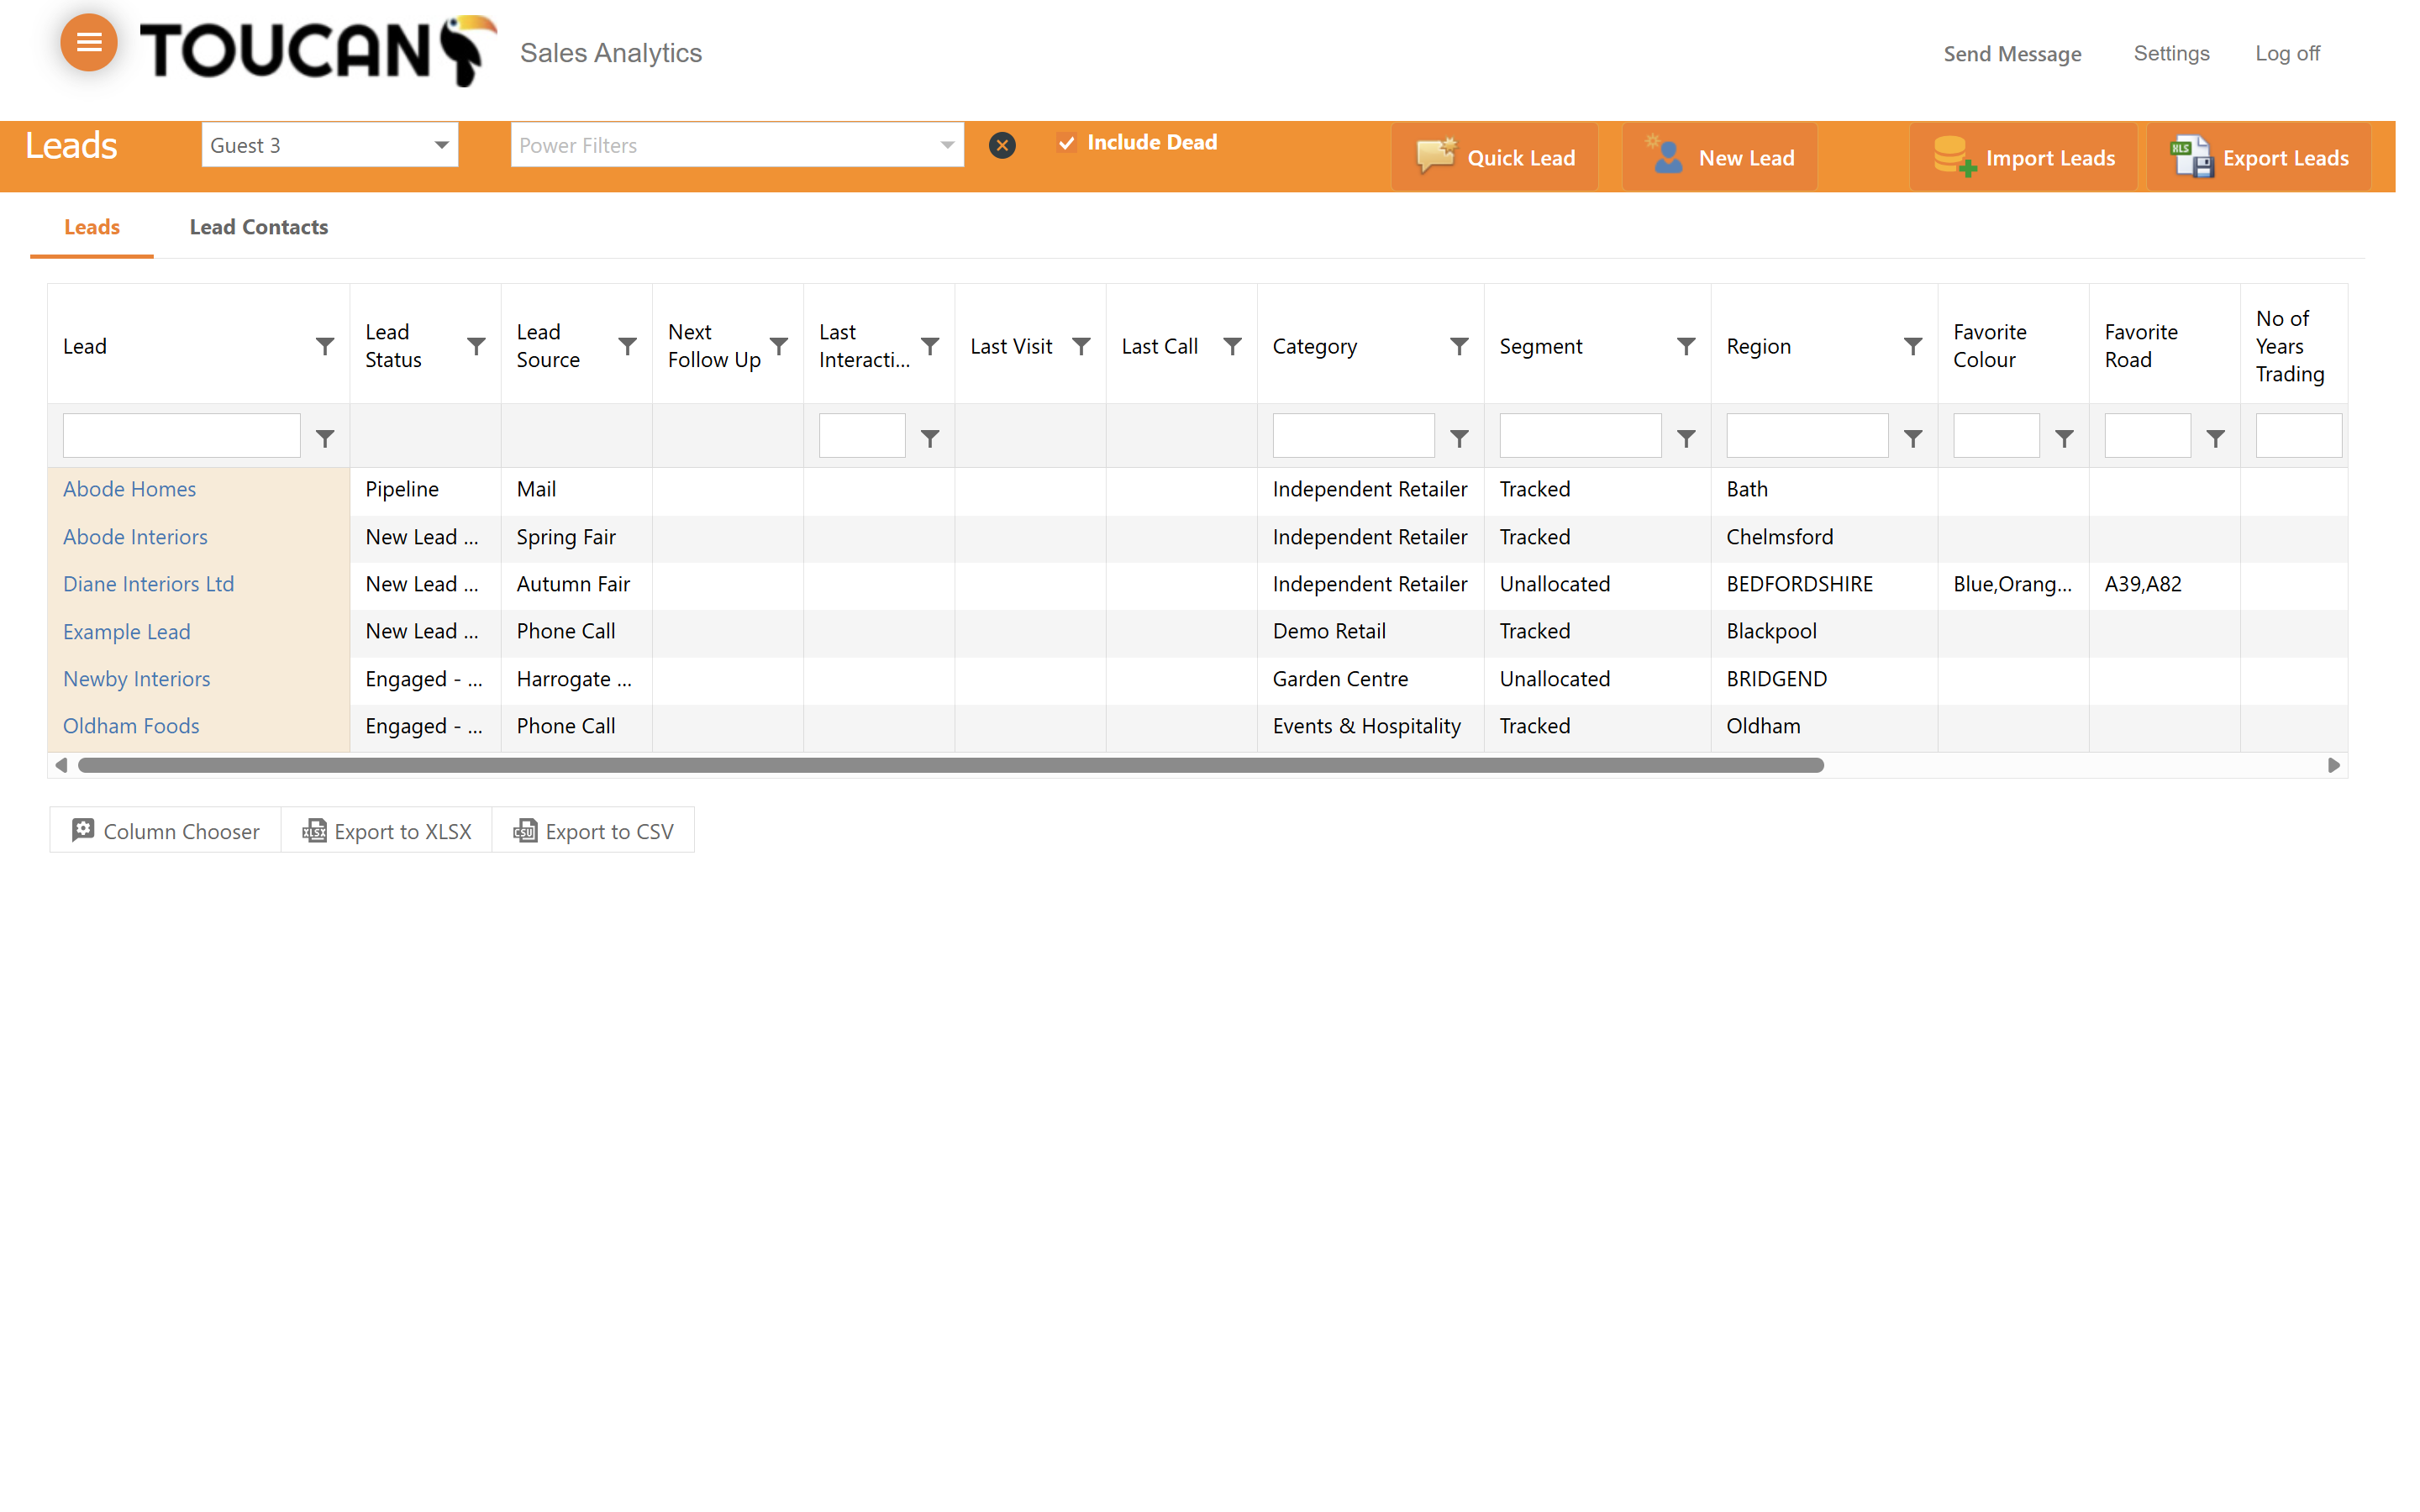
5
Check the ✓ Include Dead option to display inactive or lost leads in your current view.

6
Select a specific category, such as Garden Centre Events & Hospitality, to narrow down leads by industry or source.

Customizing Your View
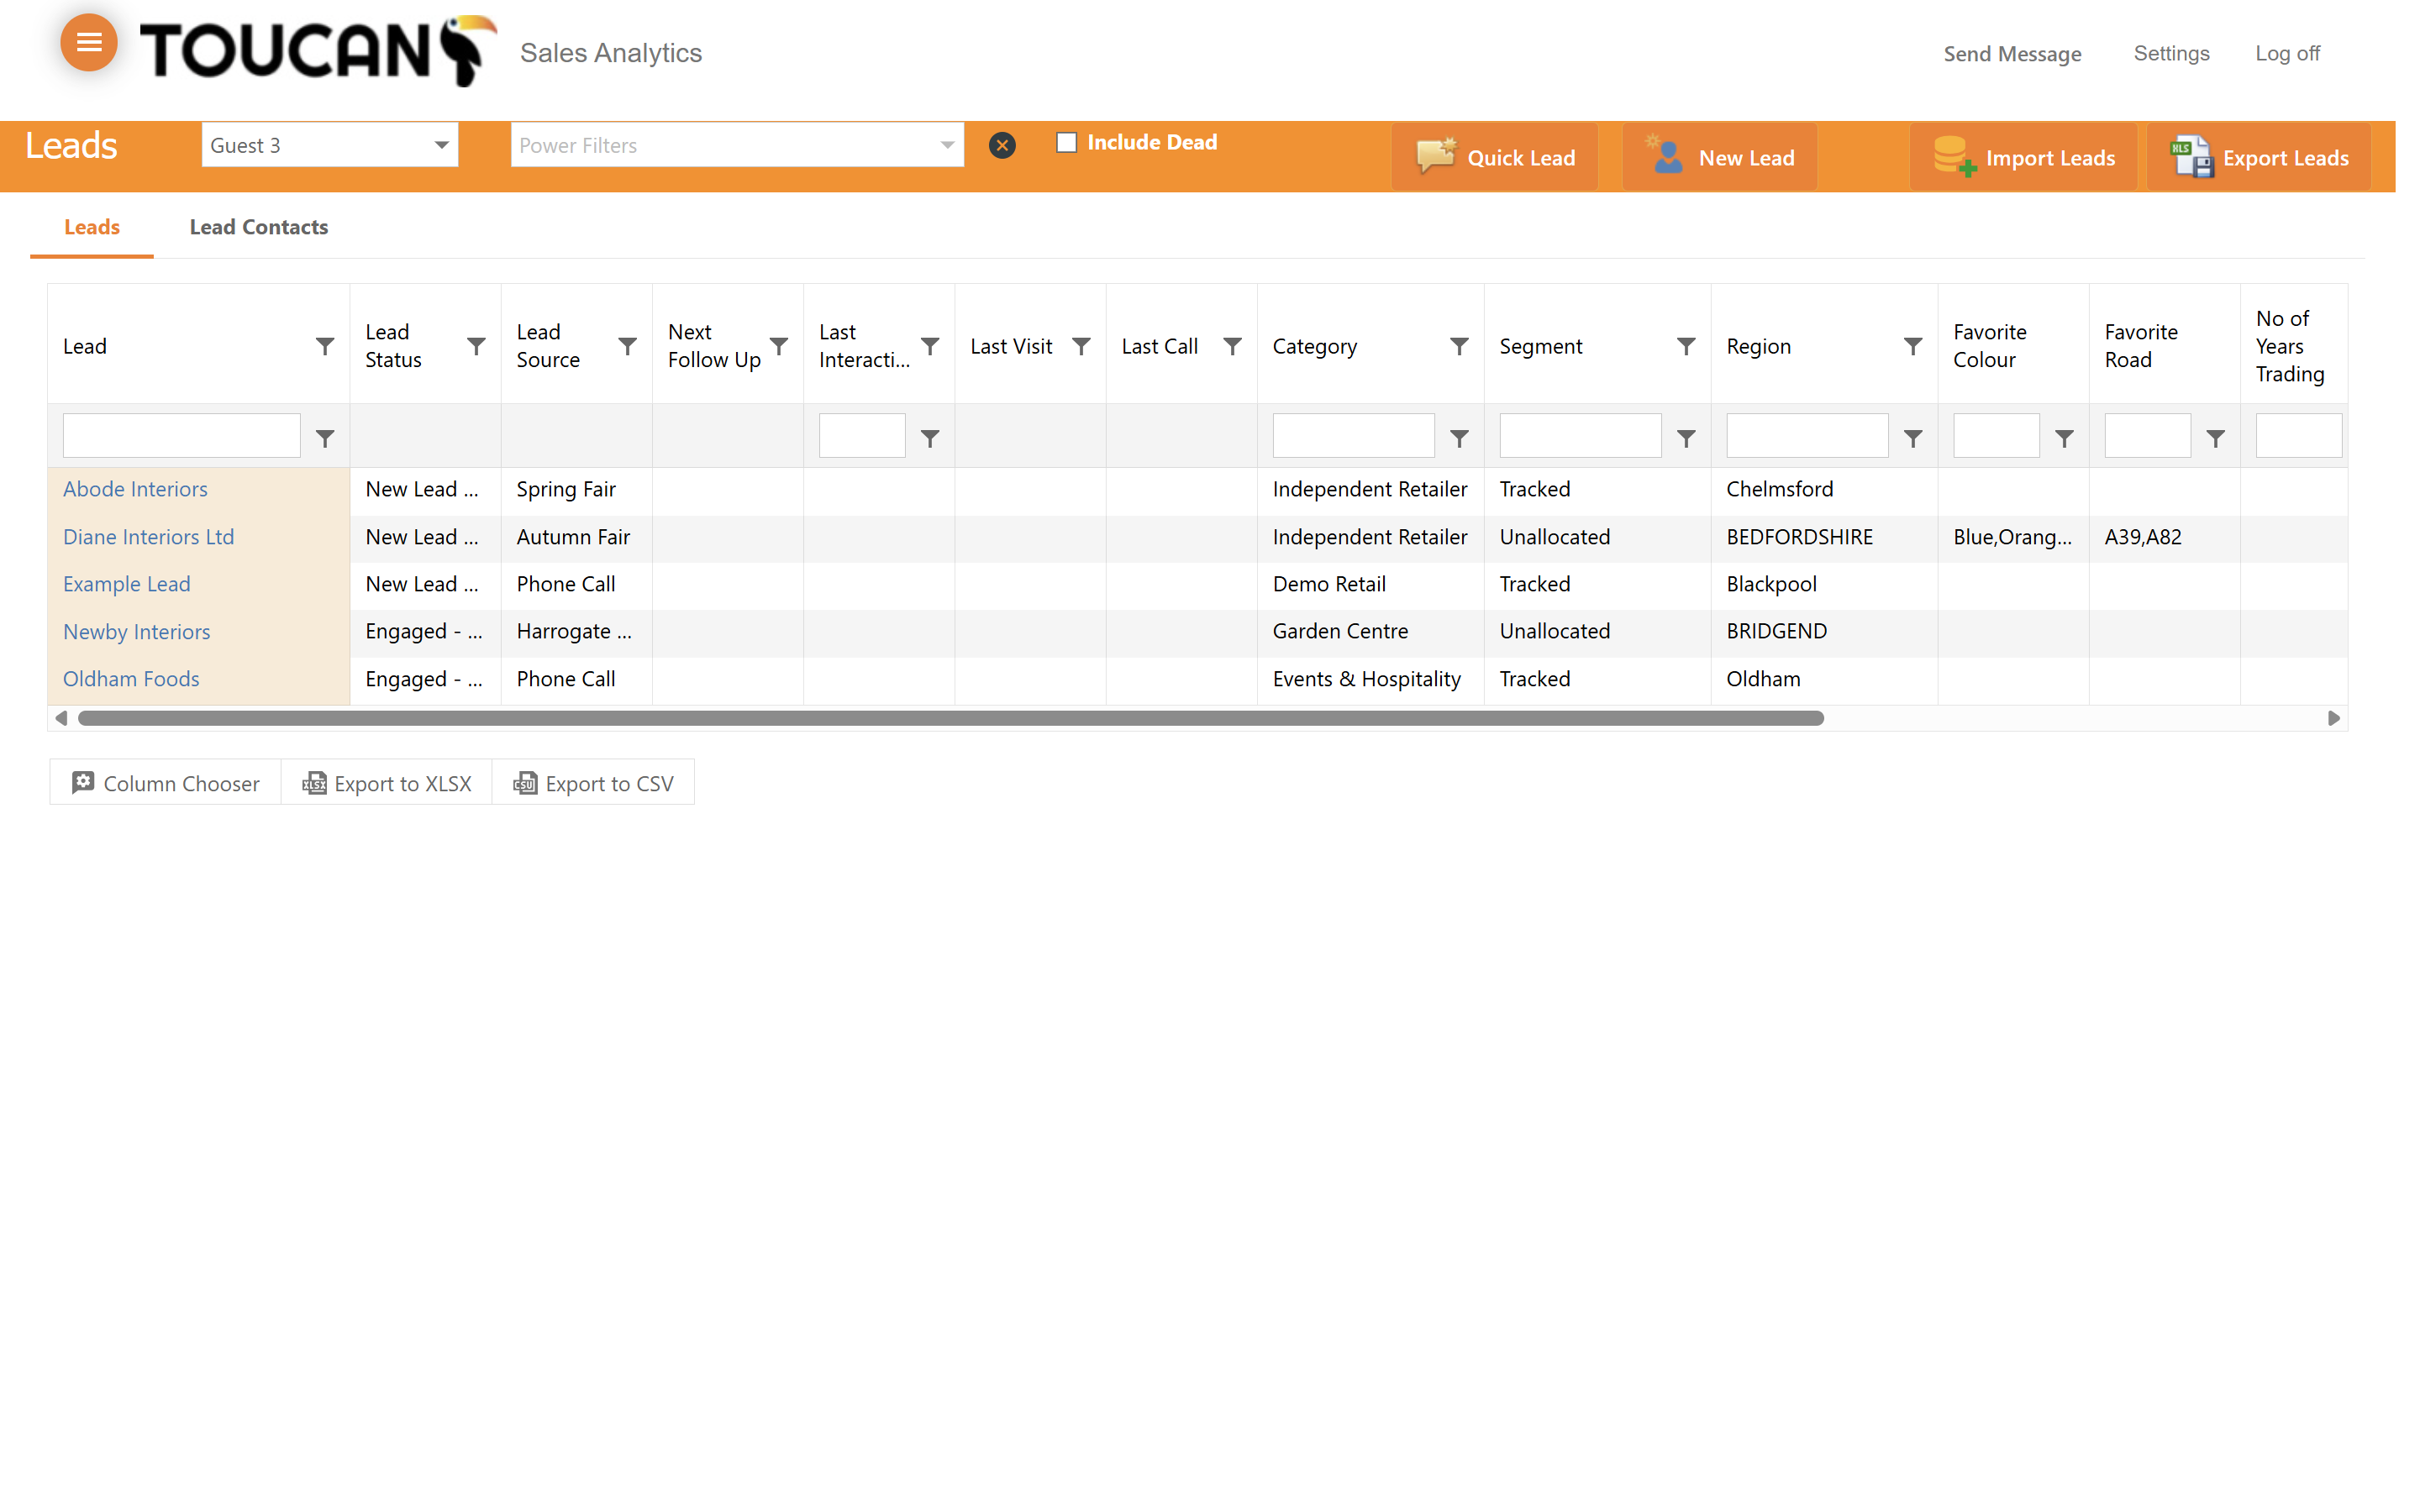
7
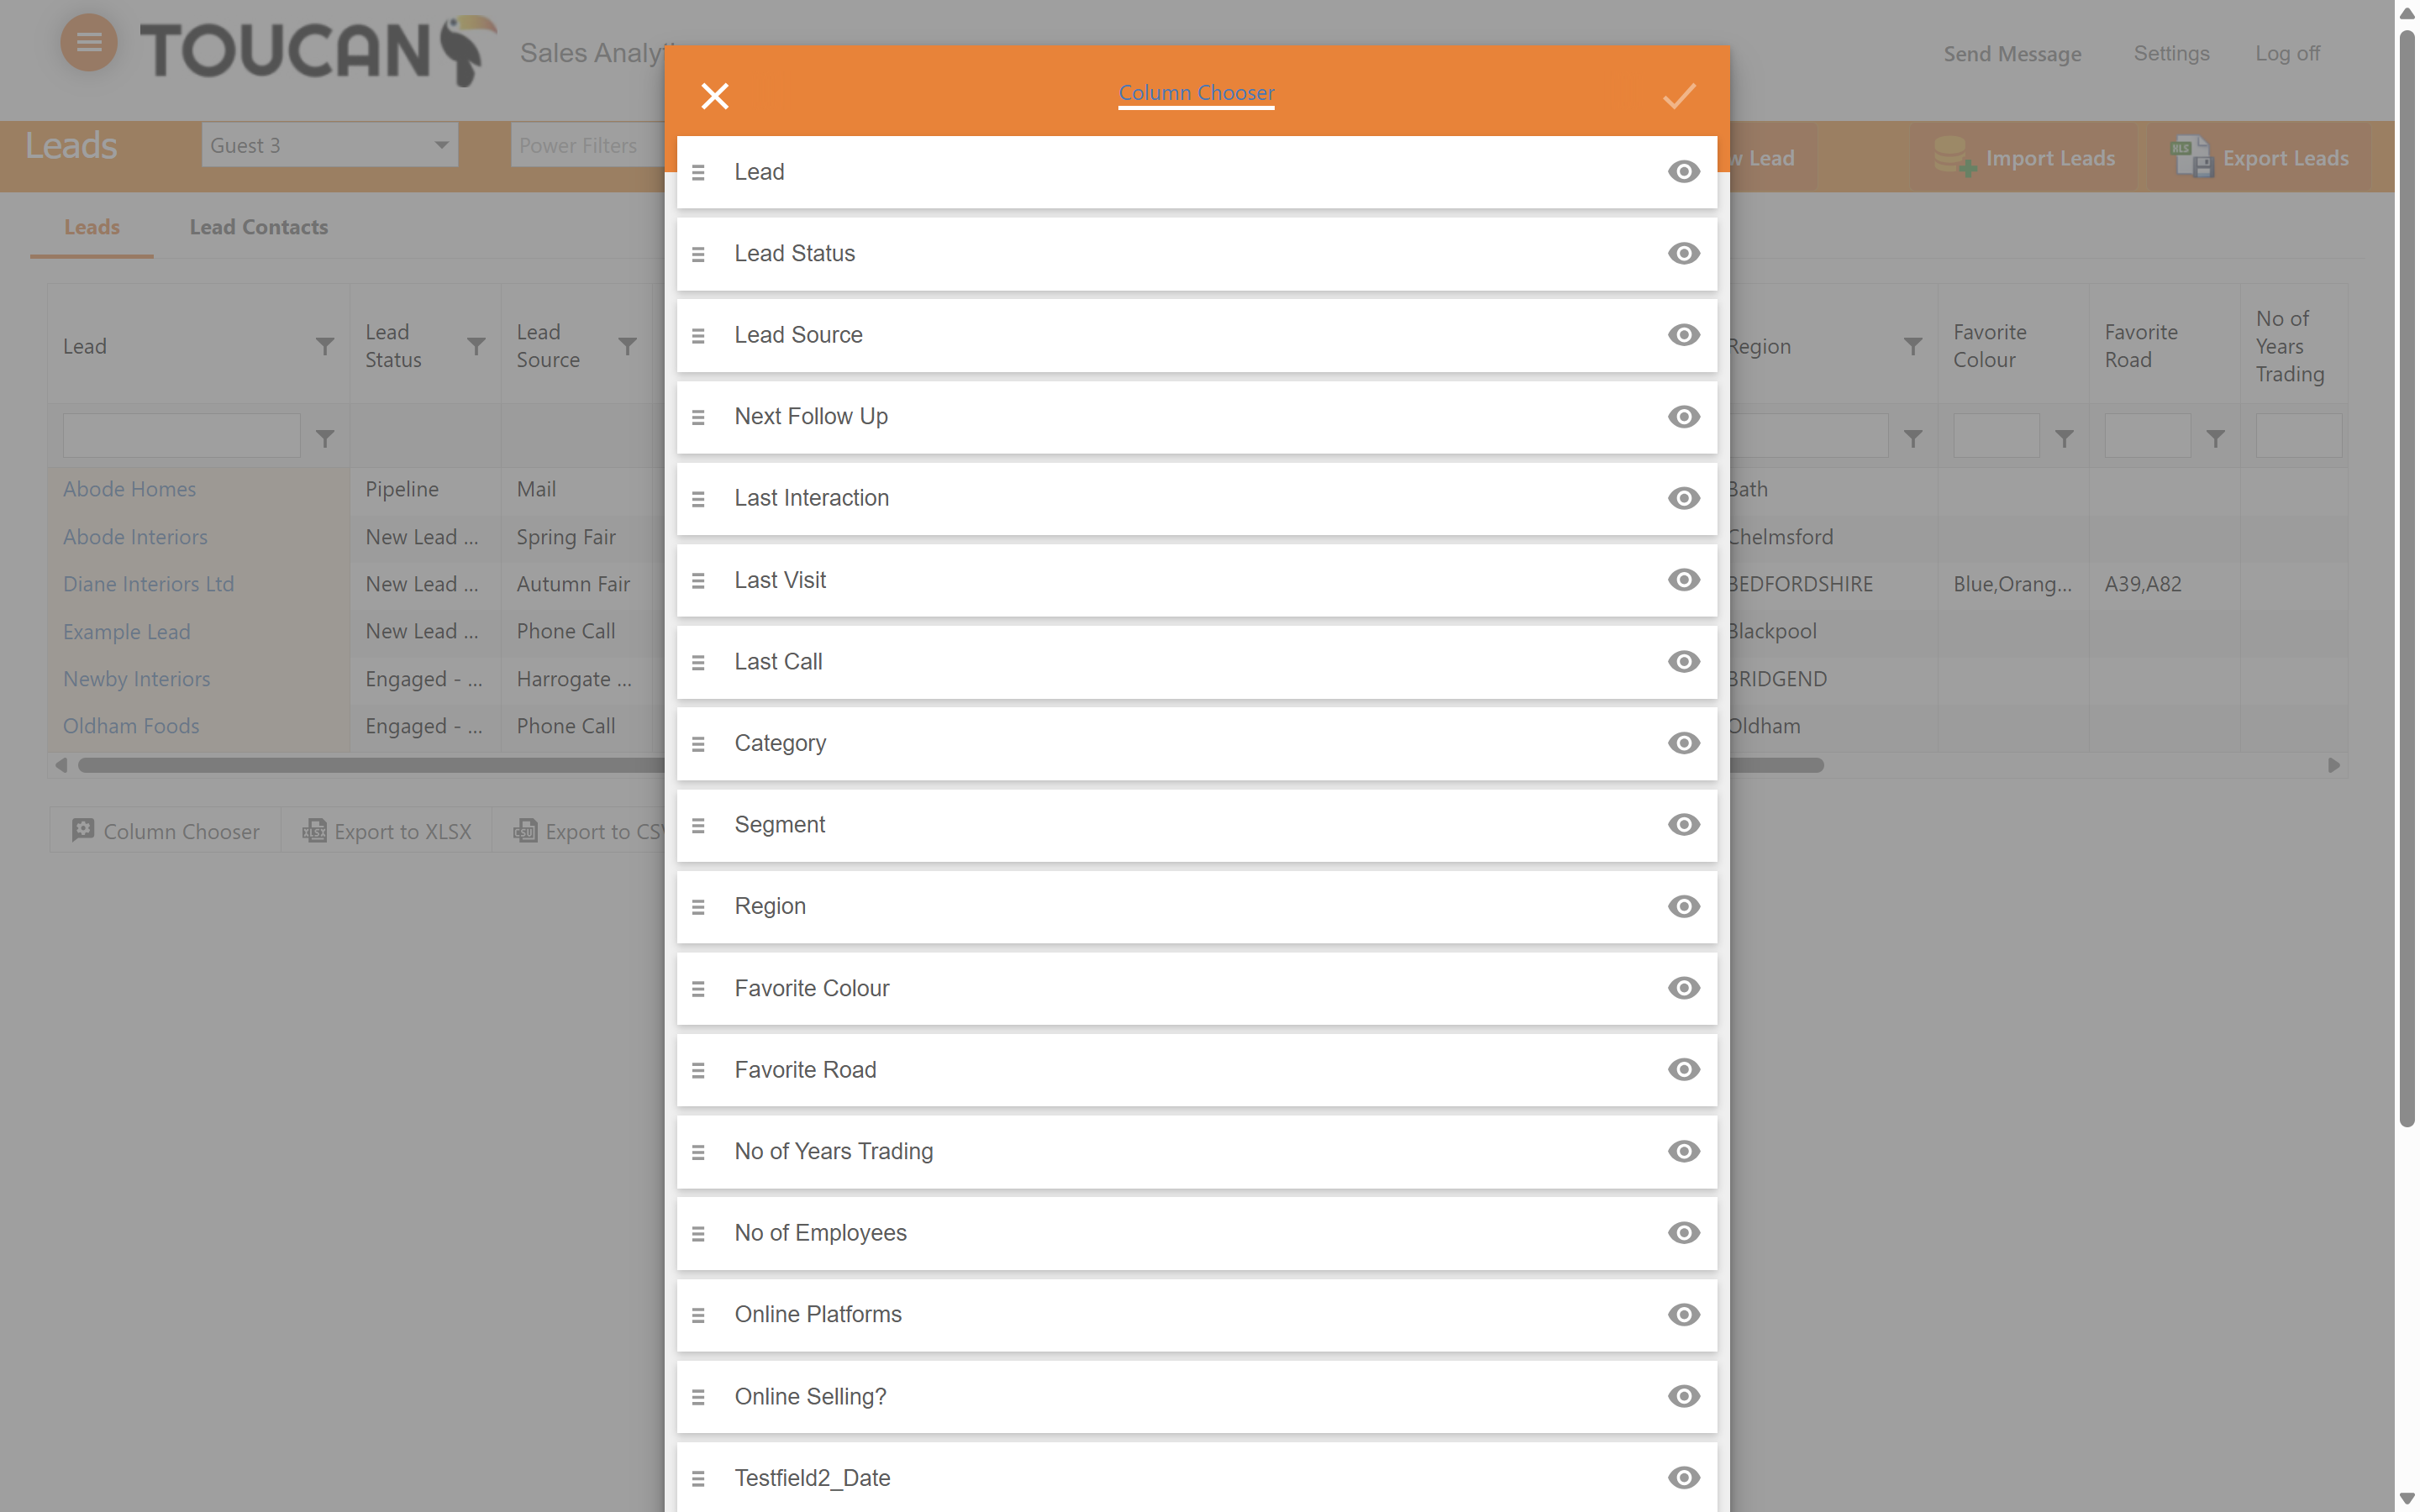
Click on Column Chooser to modify the visible fields in your data table.
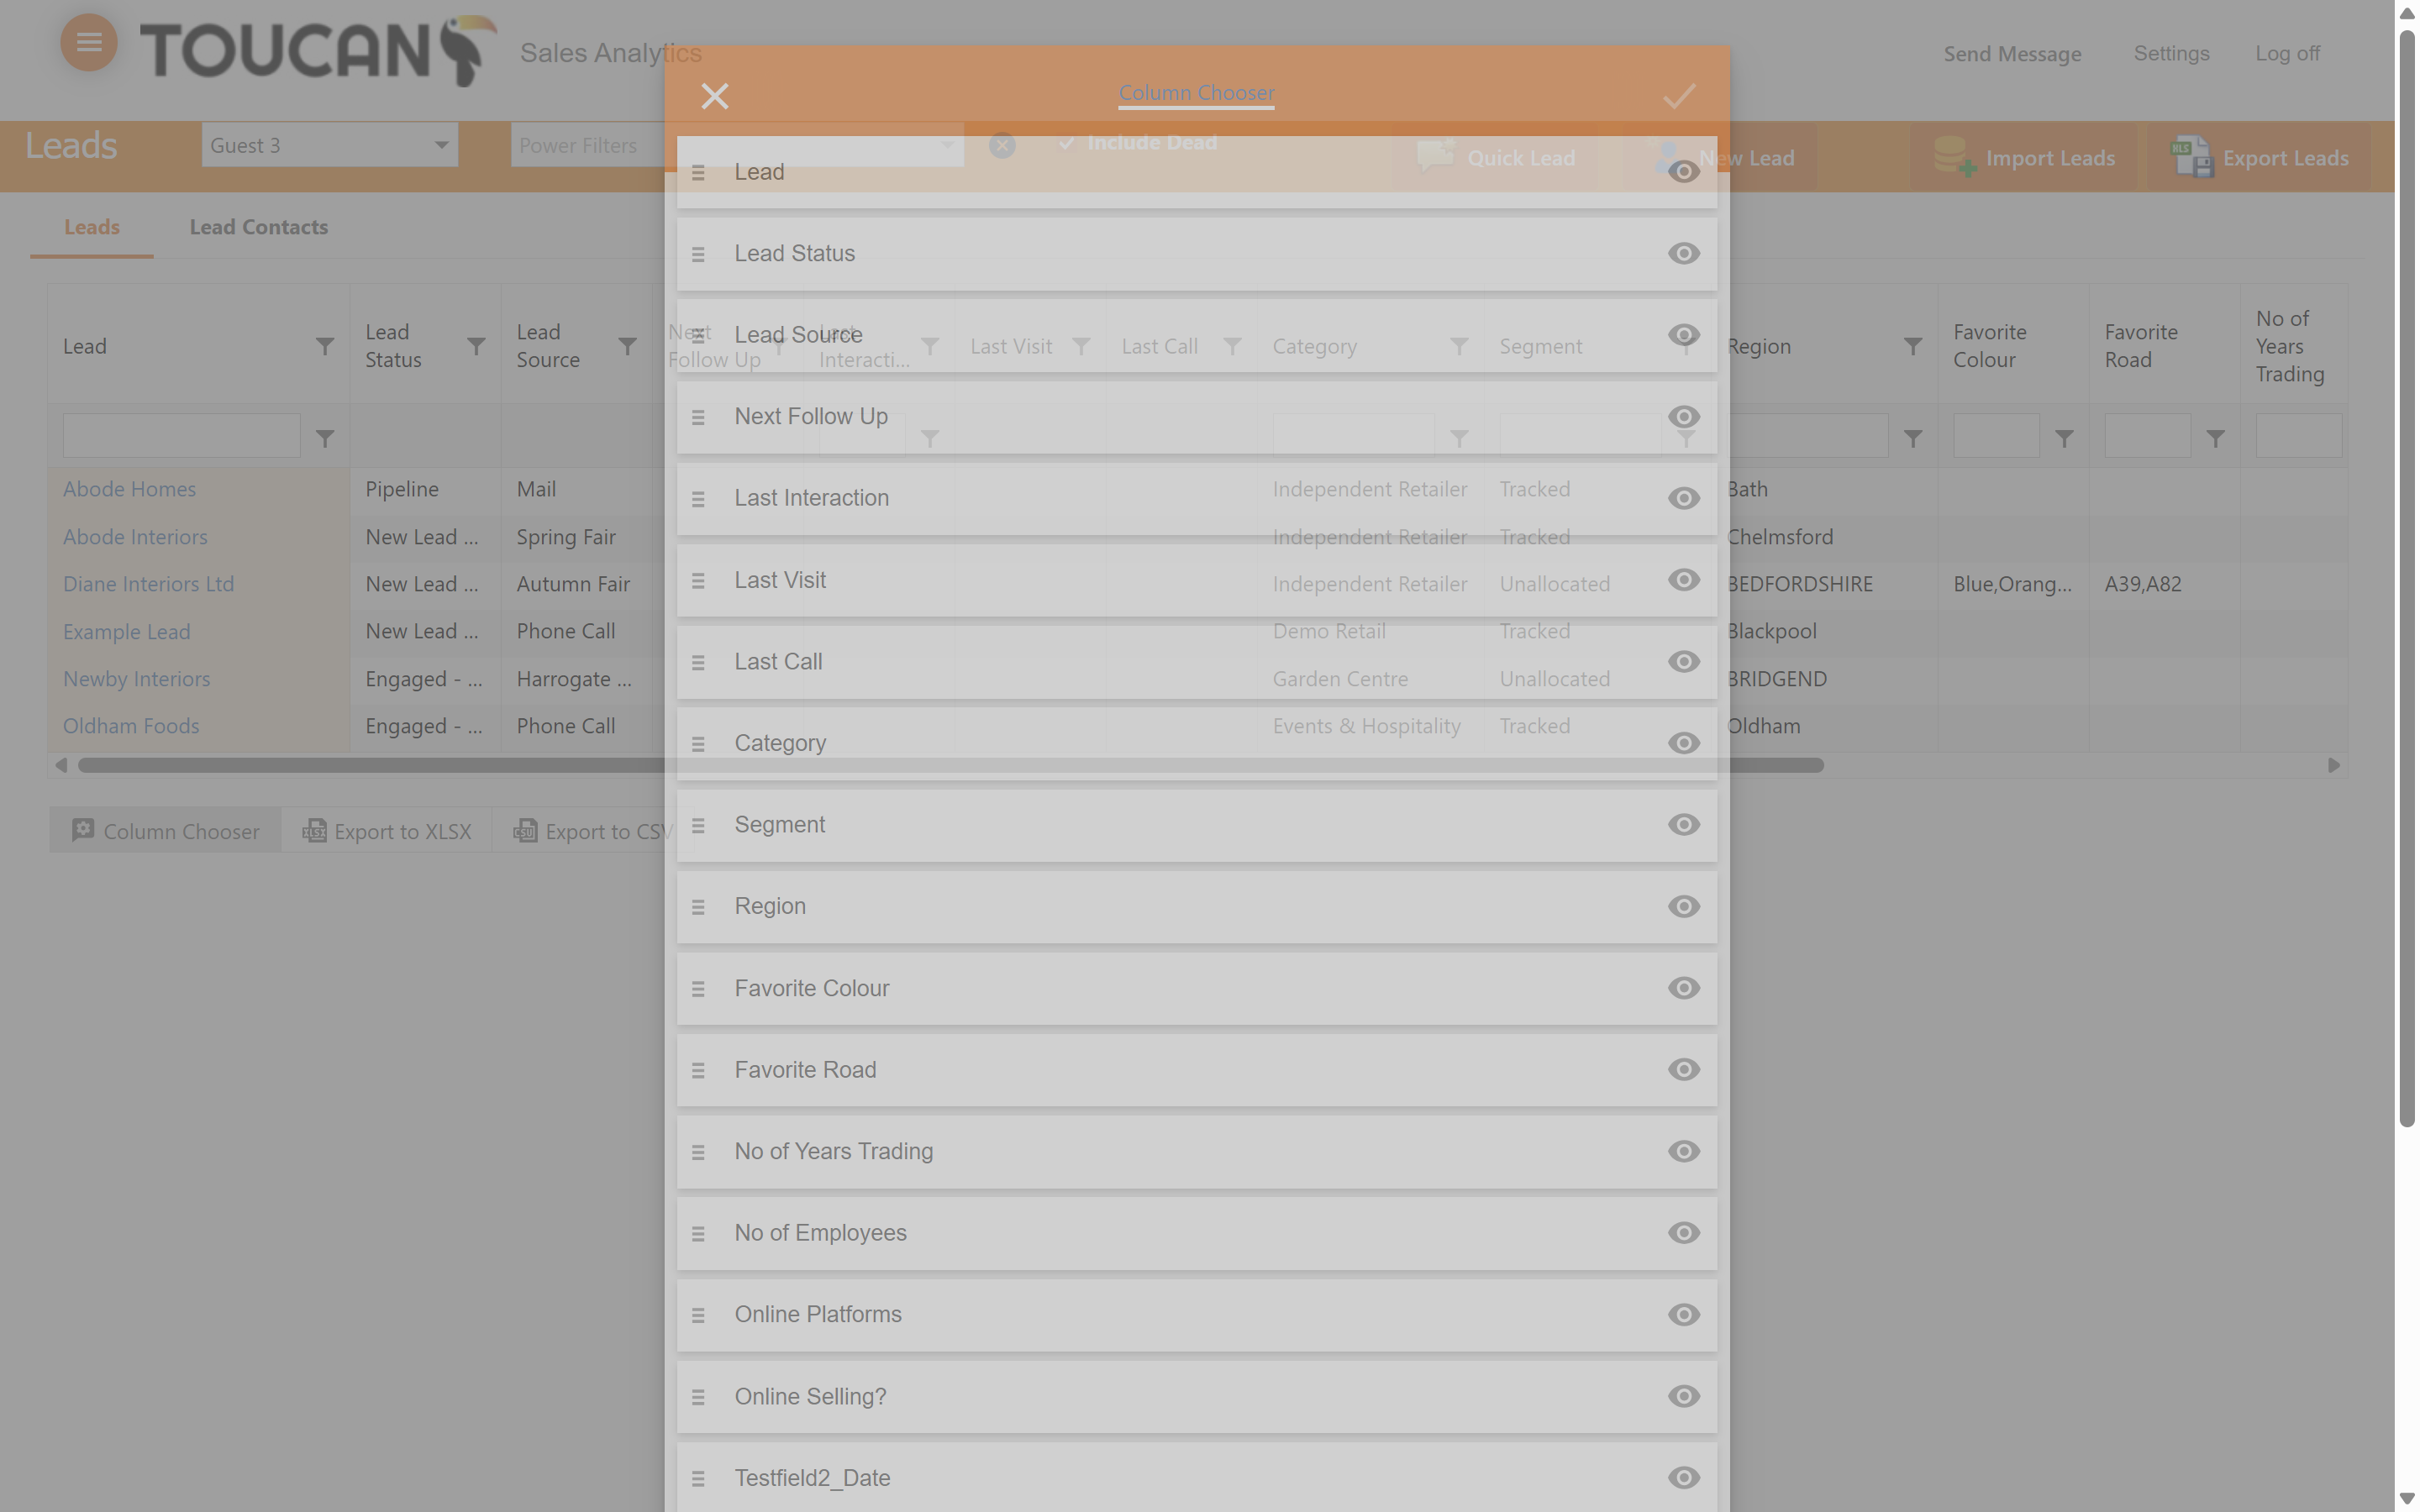
8
Use the eye icons next to each column name to toggle its visibility on or off, and drag items to reorder them.
Adding New Leads
There are multiple ways to bring new leads into Toucan Sales Analytics:
Method | Best For | Description |
|---|---|---|
Quick Lead | Rapid entry | A streamlined modal to quickly input basic details (Name, Status, Source). |
New Lead | Comprehensive data | A full form containing detailed sections for Lead, Address, and Contact information. |
Import Leads | Bulk additions | Uploading an Excel spreadsheet of multiple leads at once. |
Using Quick Lead
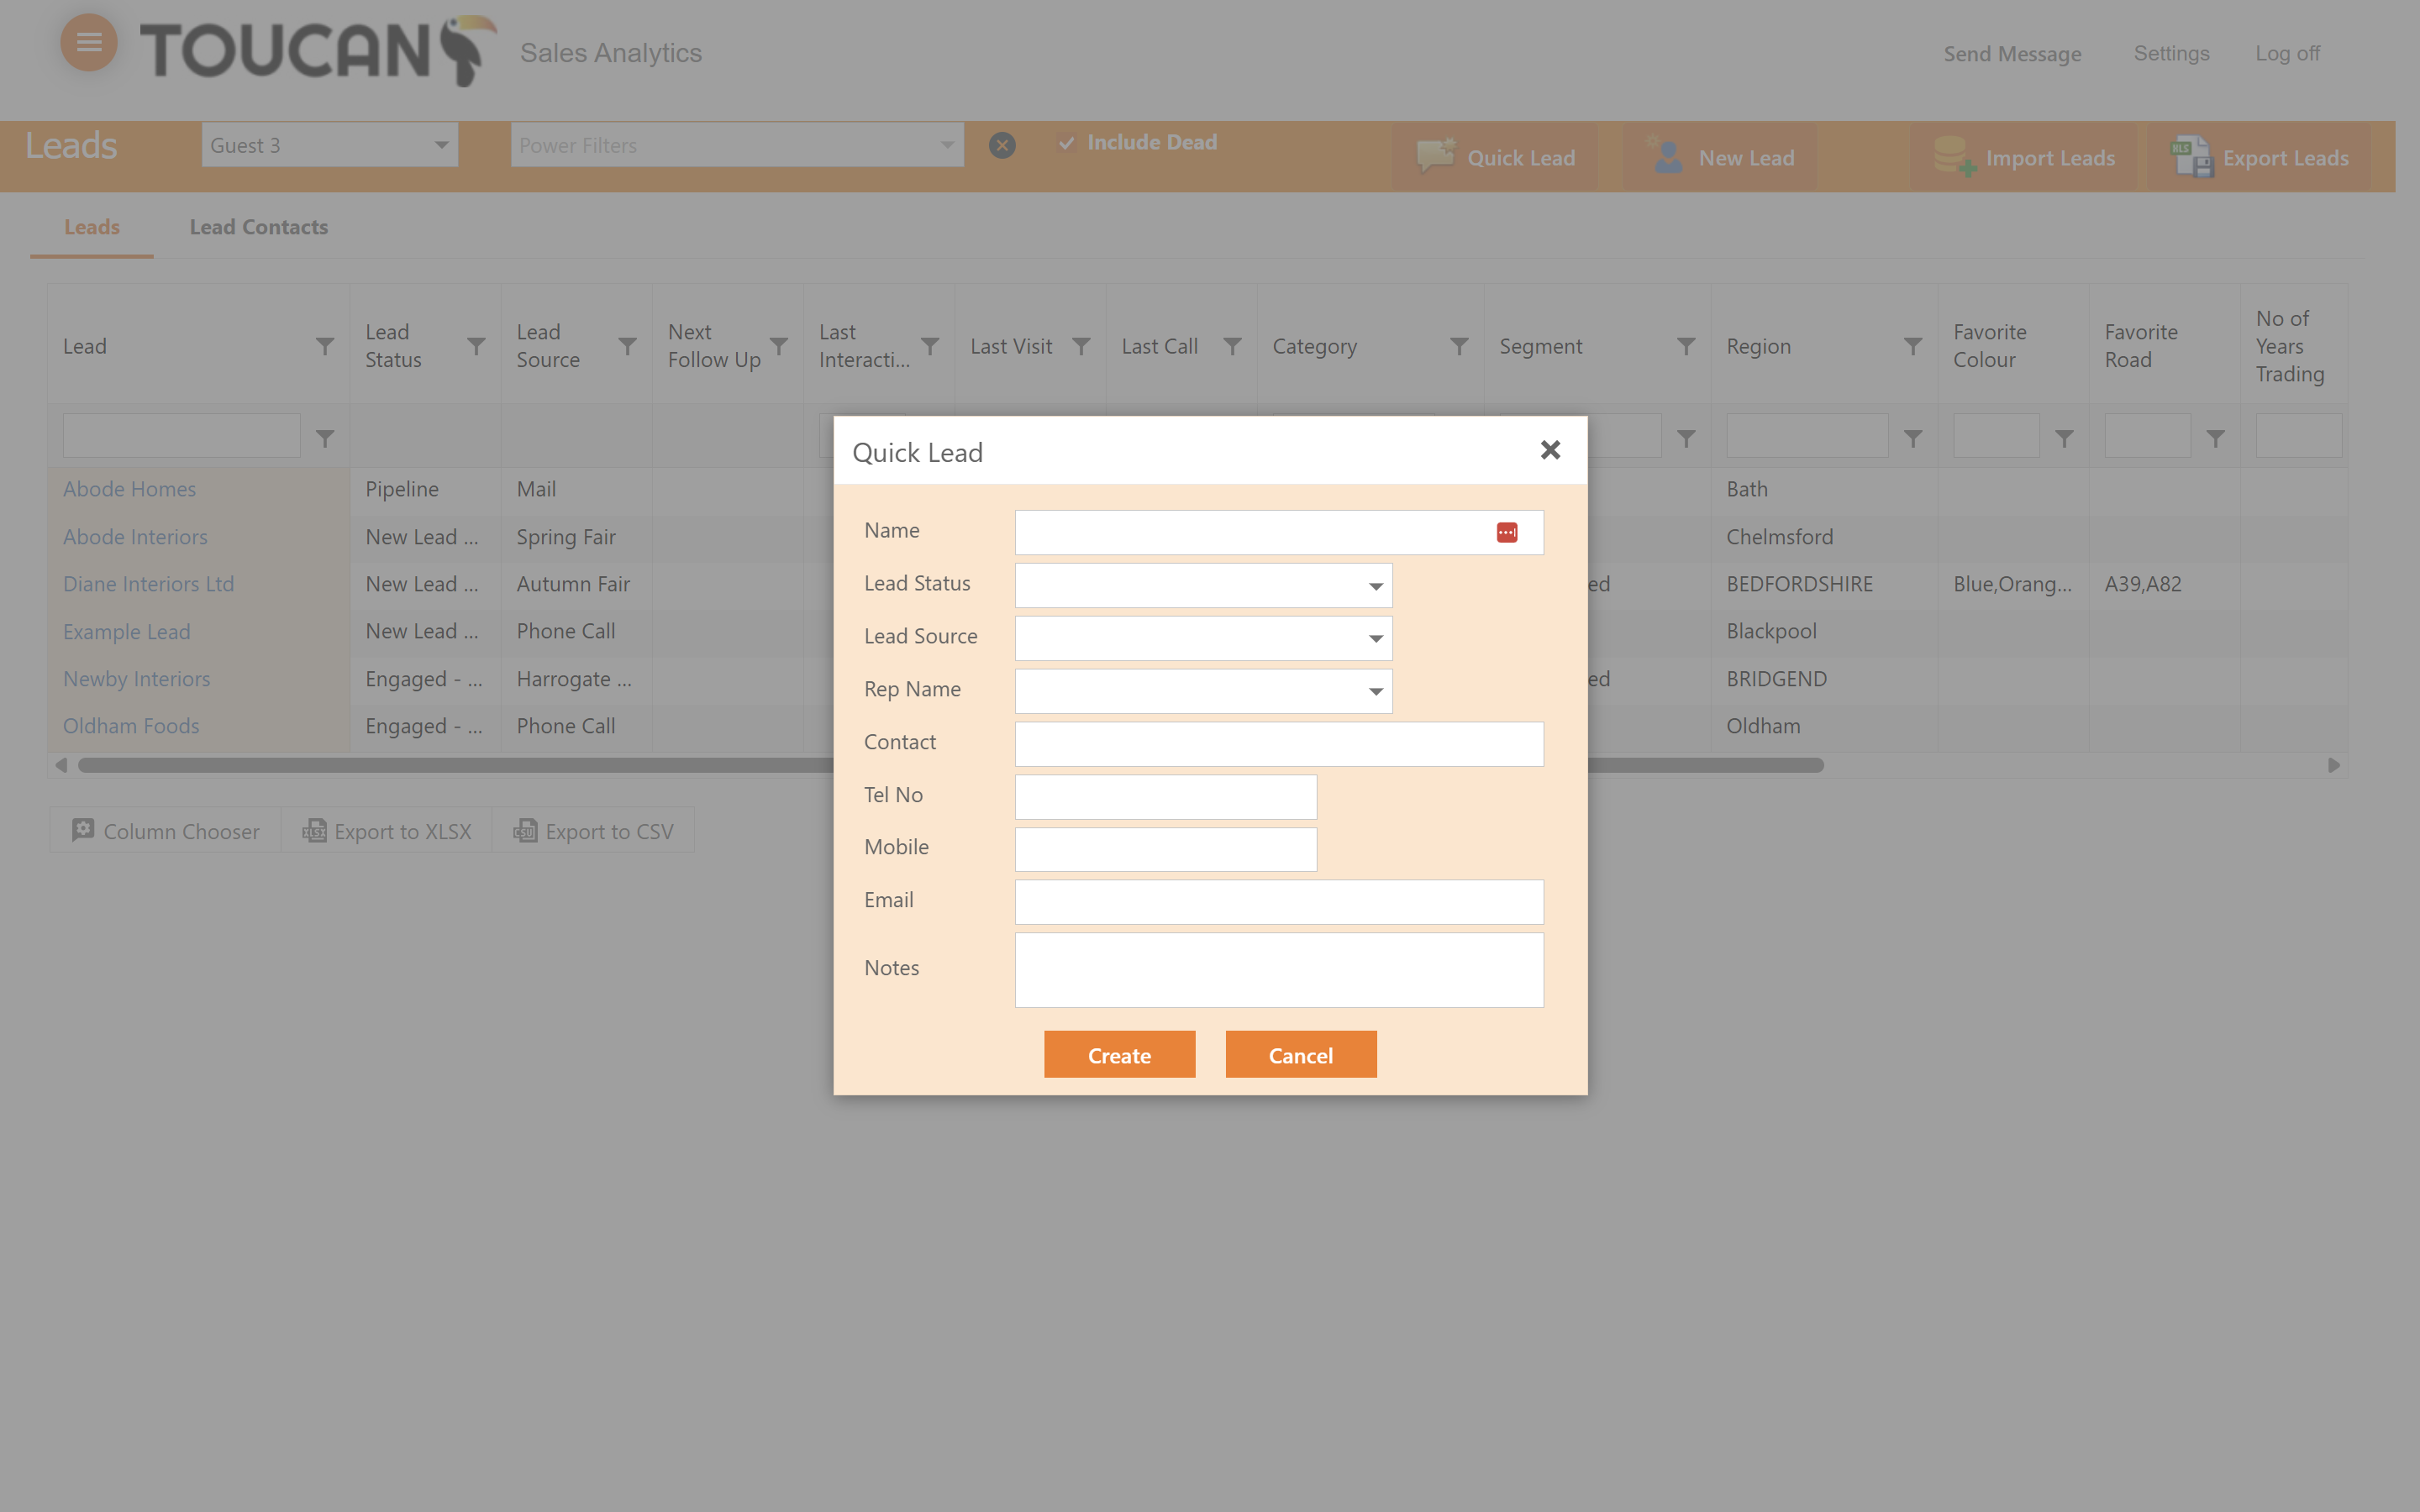
9
Click on Quick Lead from the top action bar.

10
Enter the lead's core details into the modal fields.

11
Assign a Lead Status and Lead Source from the dropdown menus.

12
Click Create to save the quick lead to your database.
Using New Lead
13
Click on New Lead from the action buttons.
14
Fill out the comprehensive form, starting with the main Lead section.
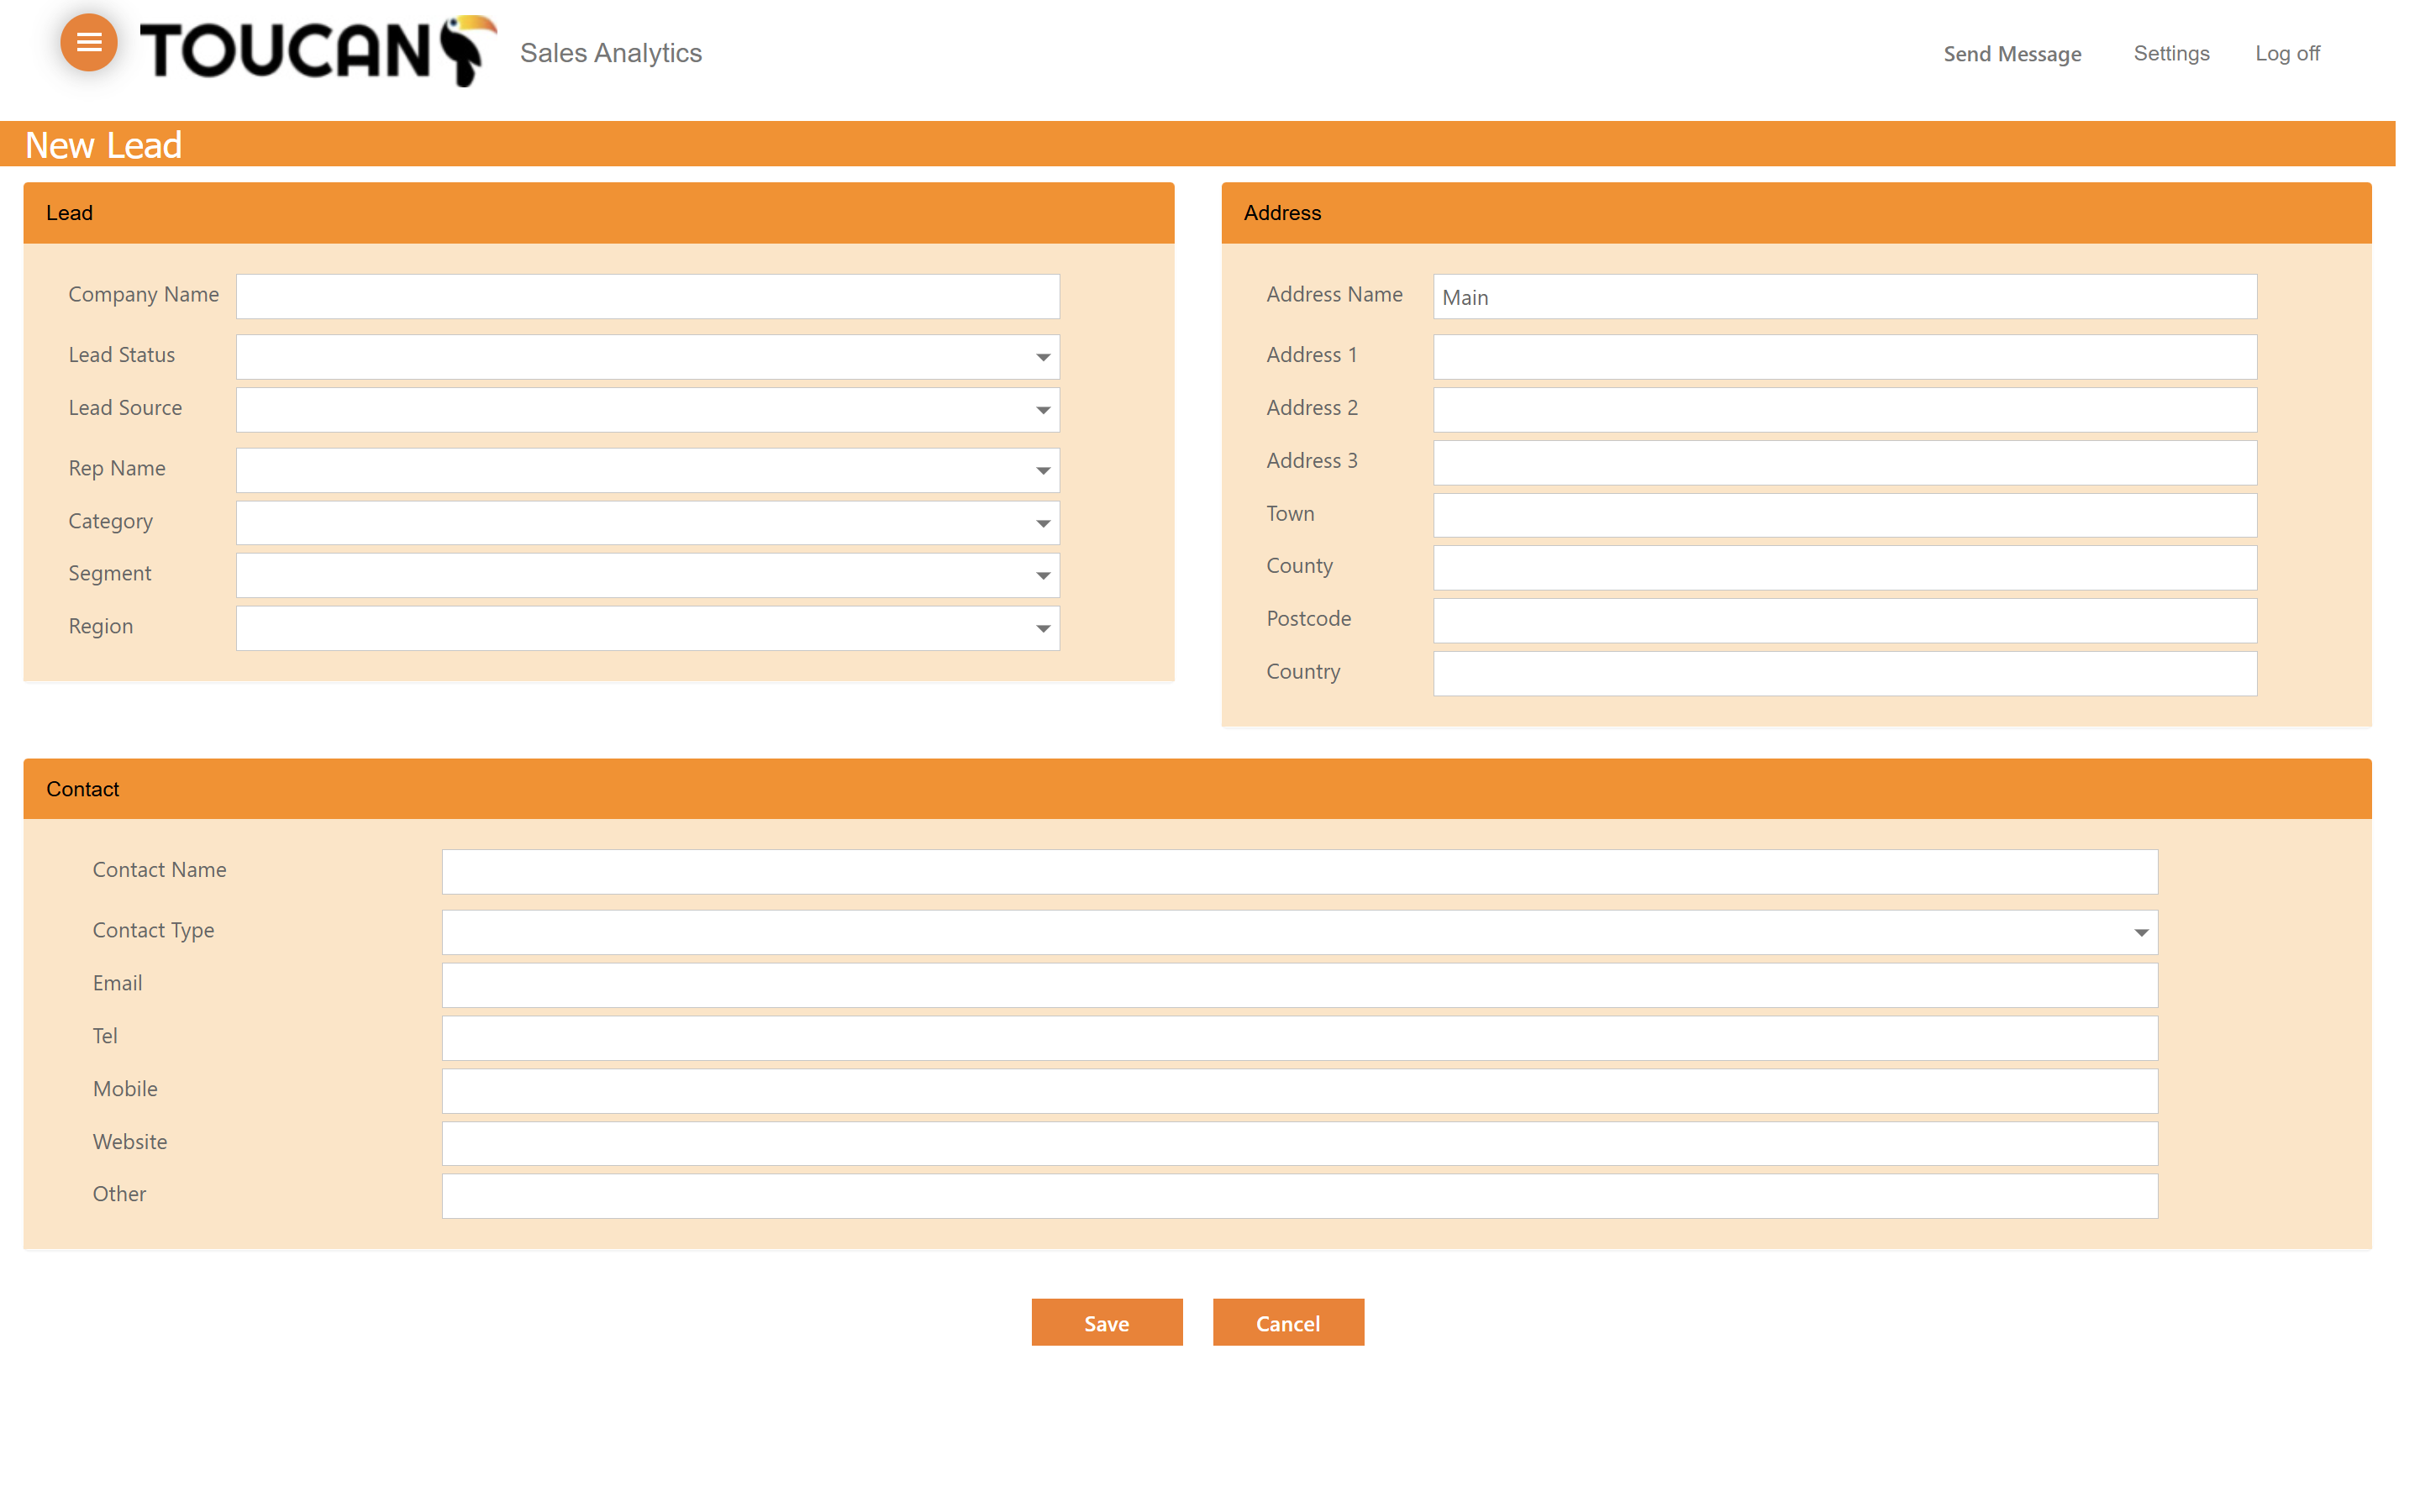
15
Complete the Address and Contact sections with any available data, and add your first lead contact.

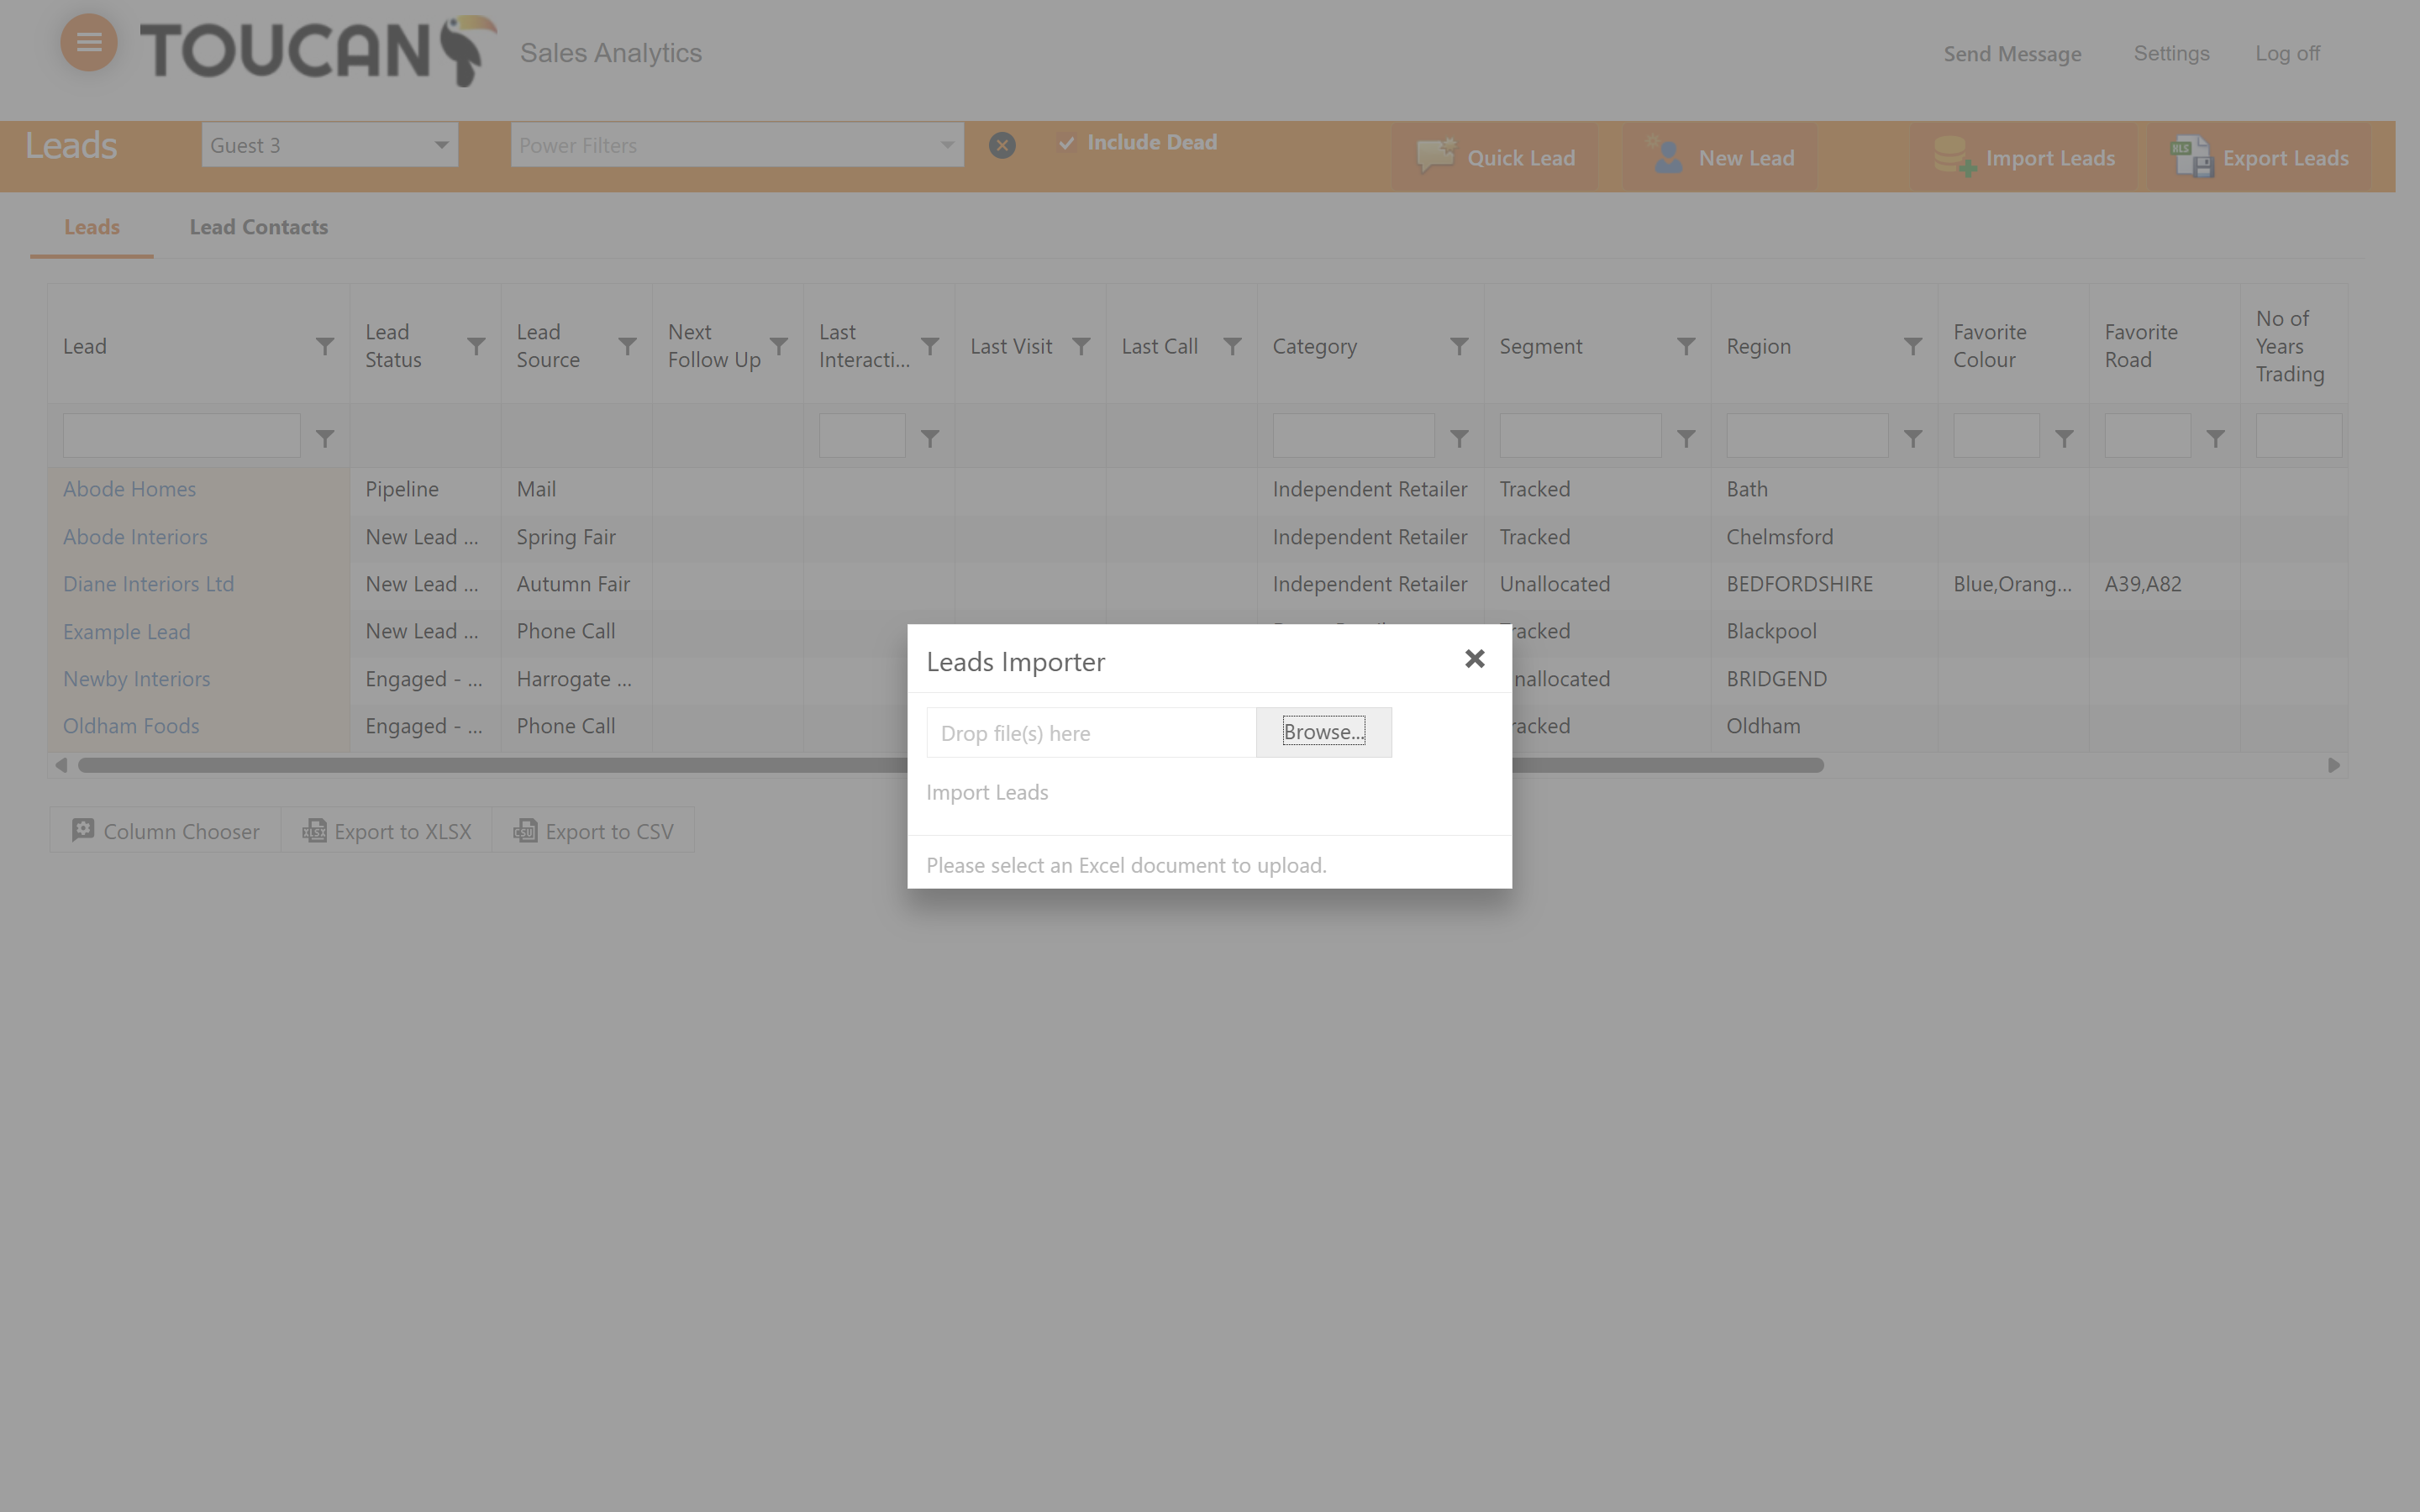
Importing Leads
16
Click on Import Leads to upload multiple records simultaneously.
17
Drag and drop your prepared Excel document into the upload area.

18
Alternatively, click the browse button to locate and select the file from your computer.
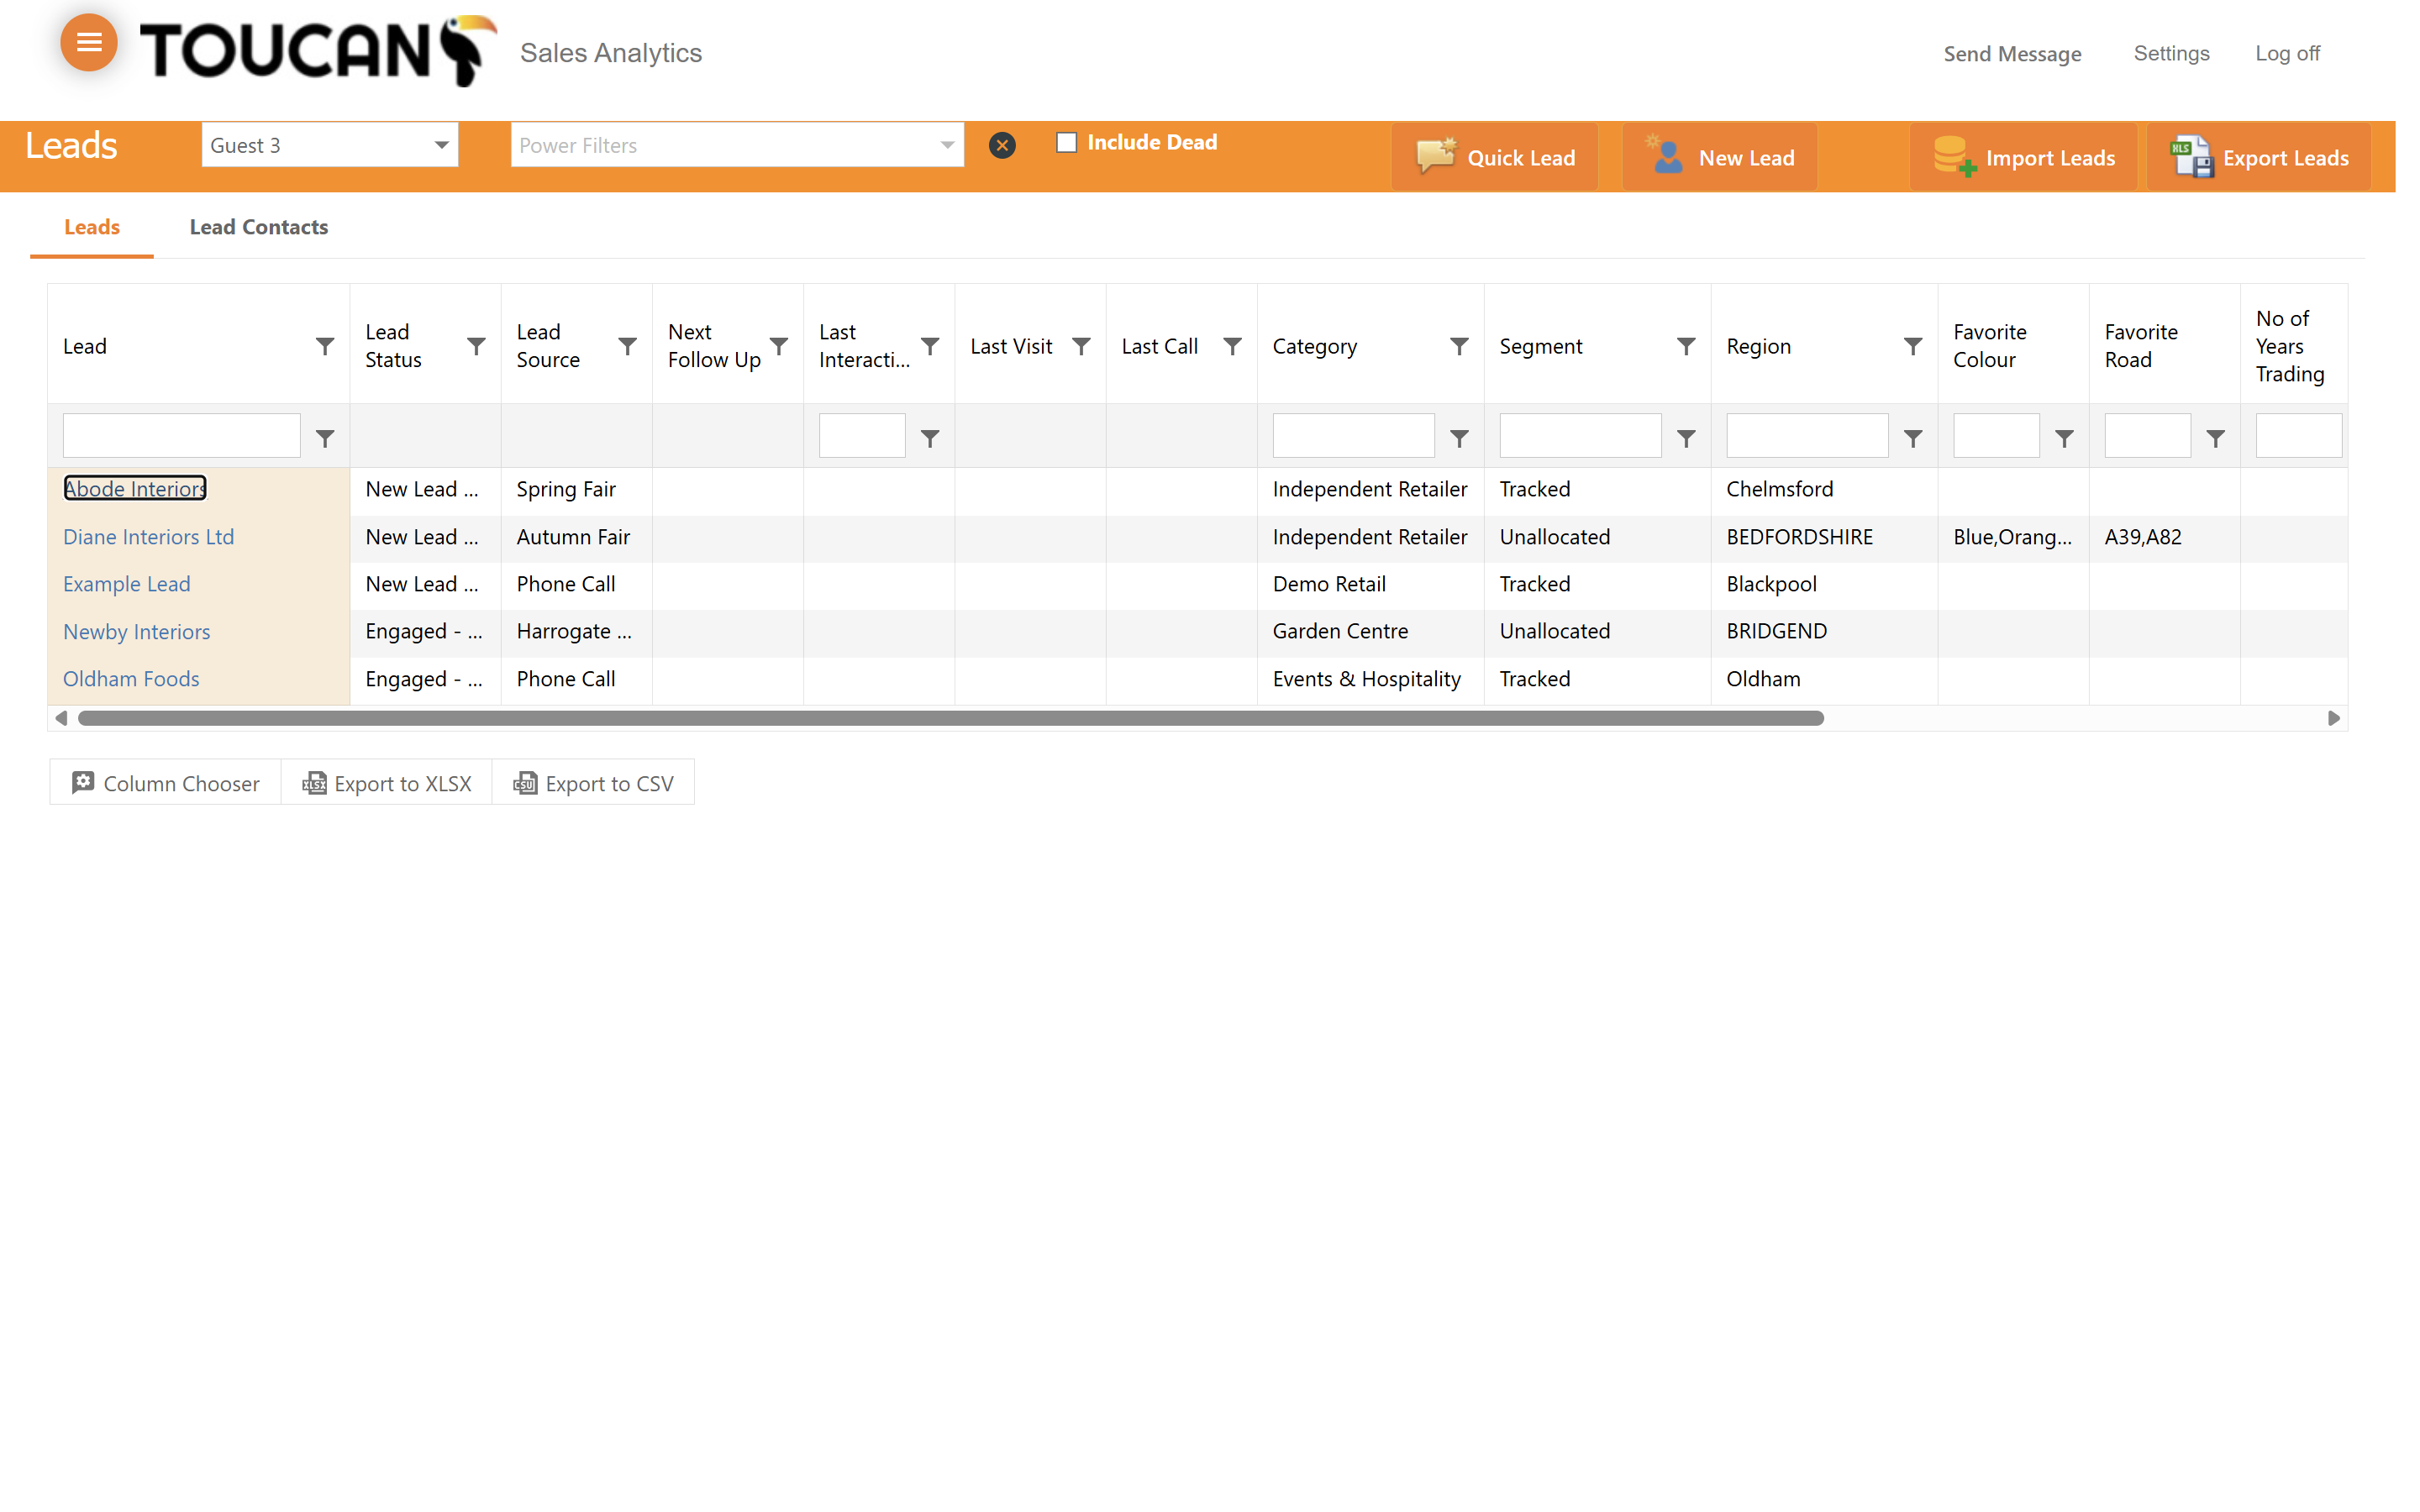
Editing Existing Leads
19
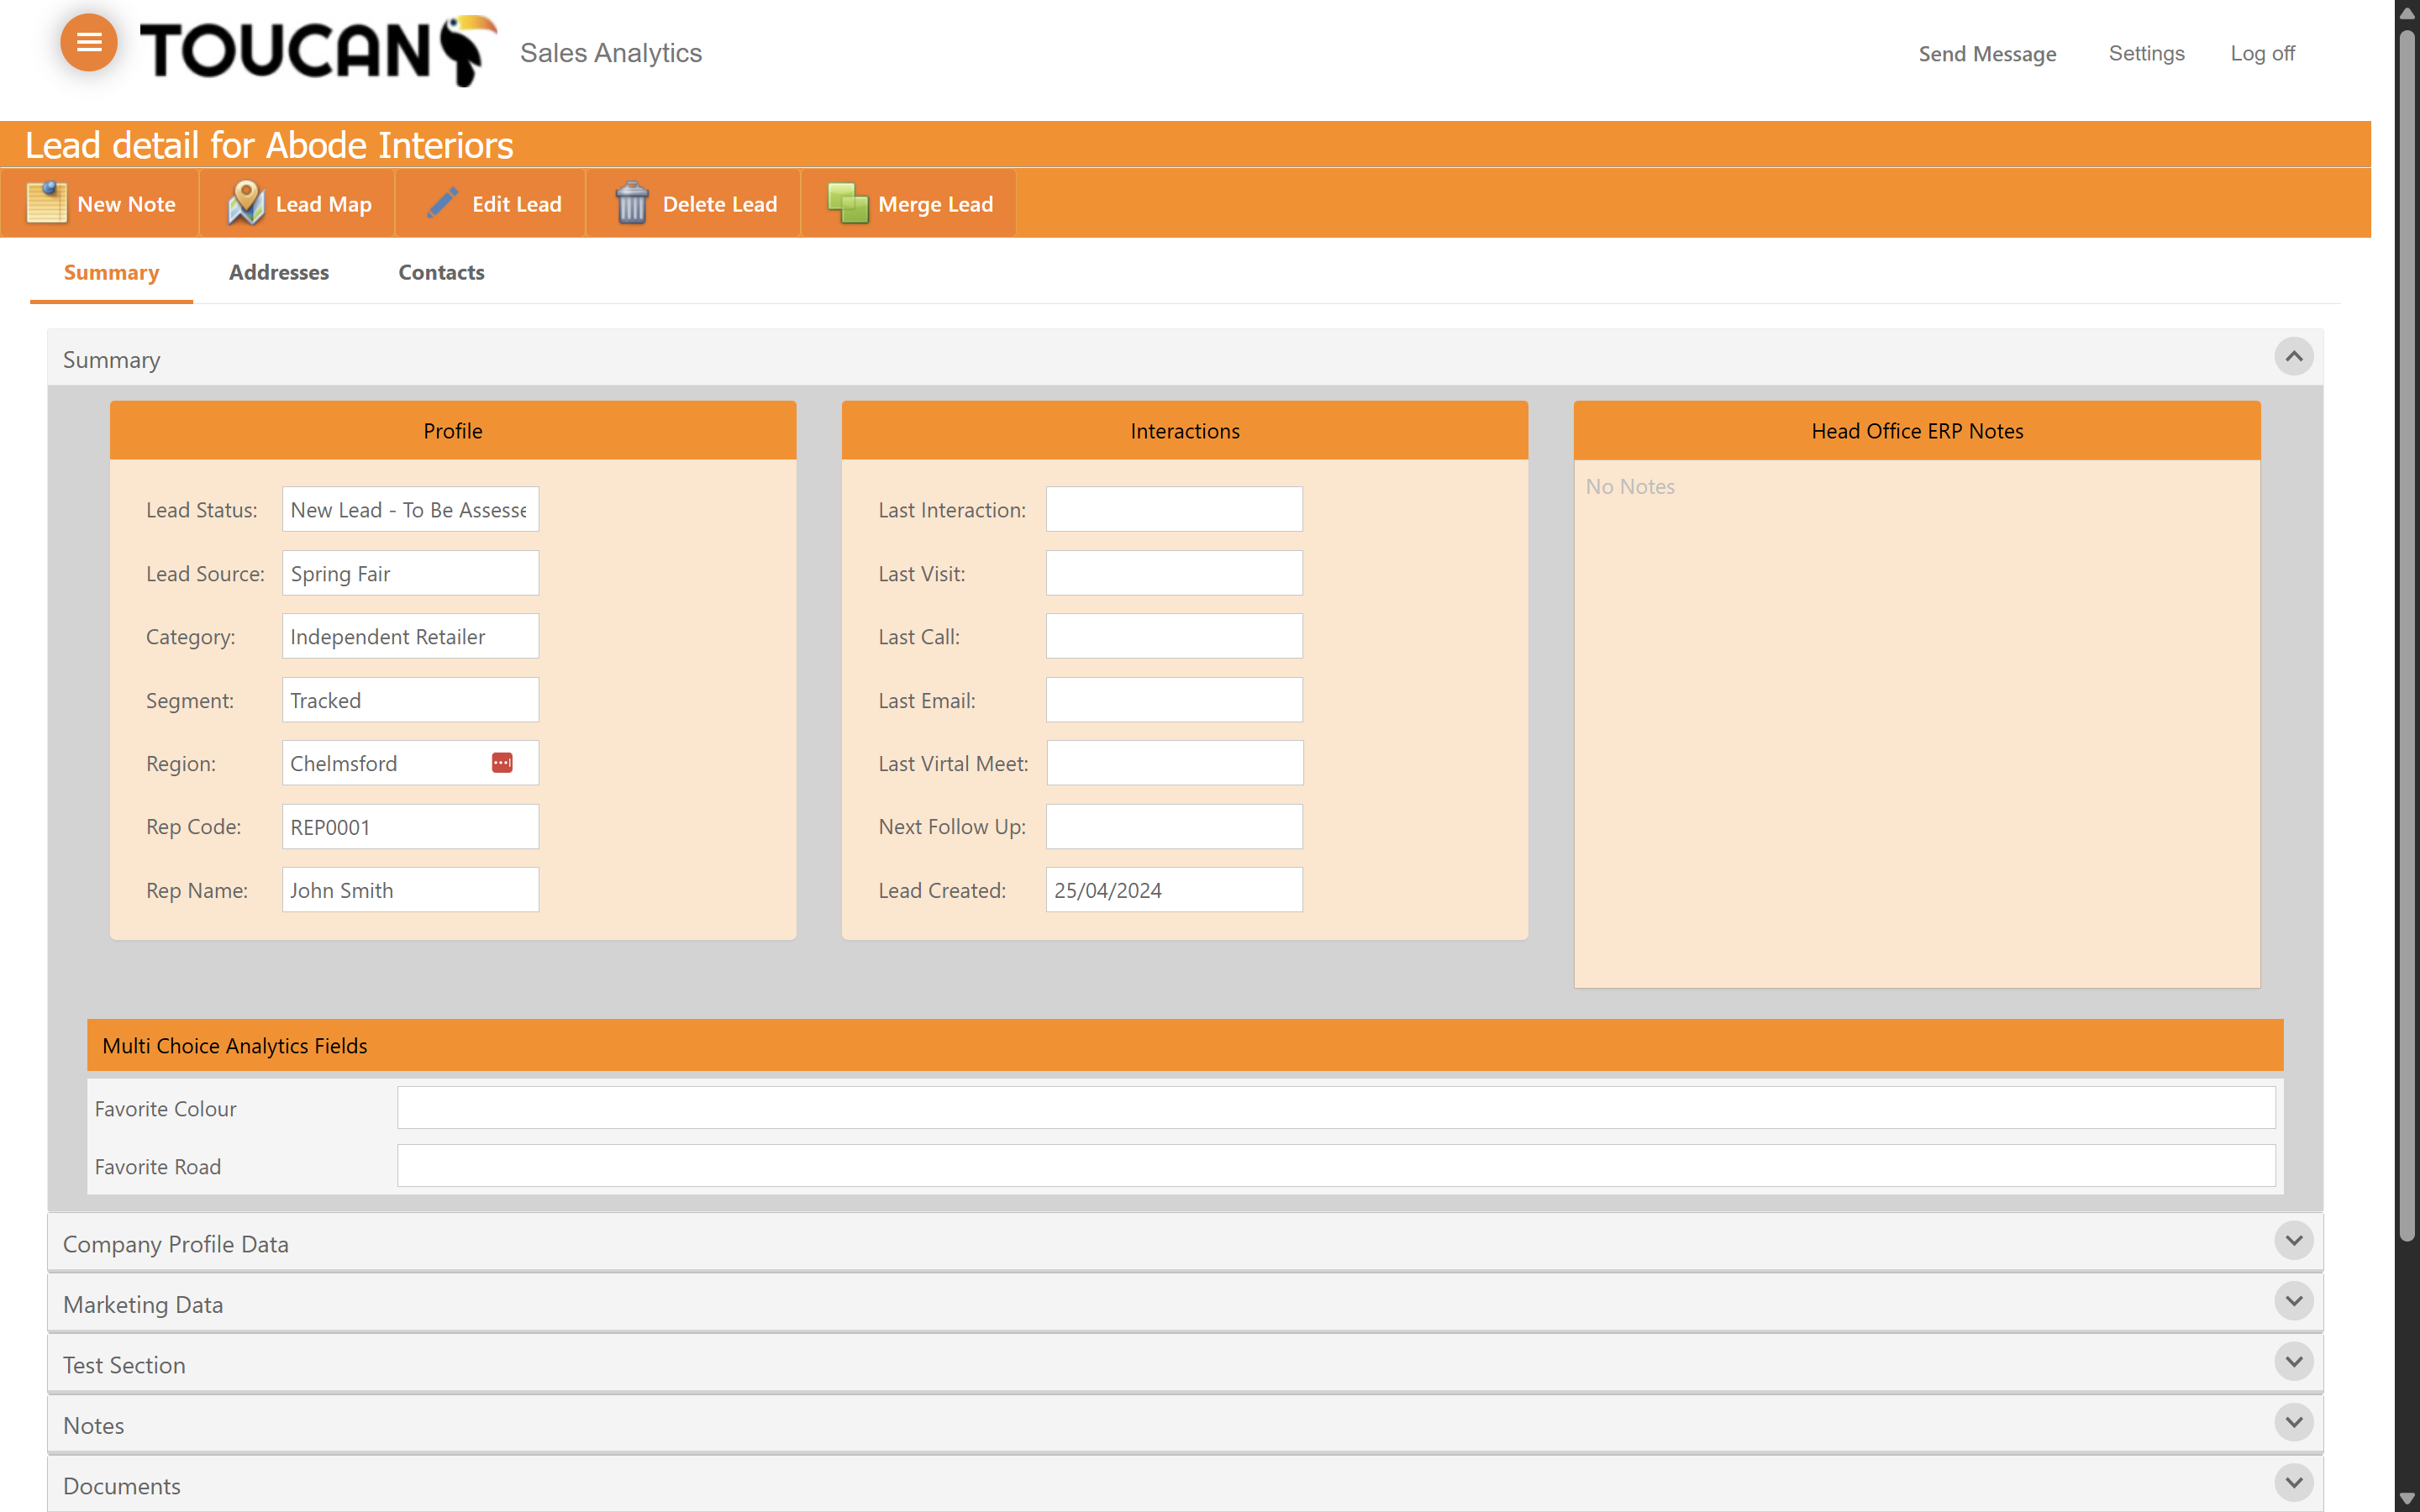
Click on a specific lead's name from the table to open their detail view.
20
Within the Lead Detail portal you will find all data and information points stored for your lead such as addresses, contacts, interactions, summaries, emails, and more. This portal will be covered in another guide.
Exporting Leads
You can export your leads data for offline use, reporting, or backups.
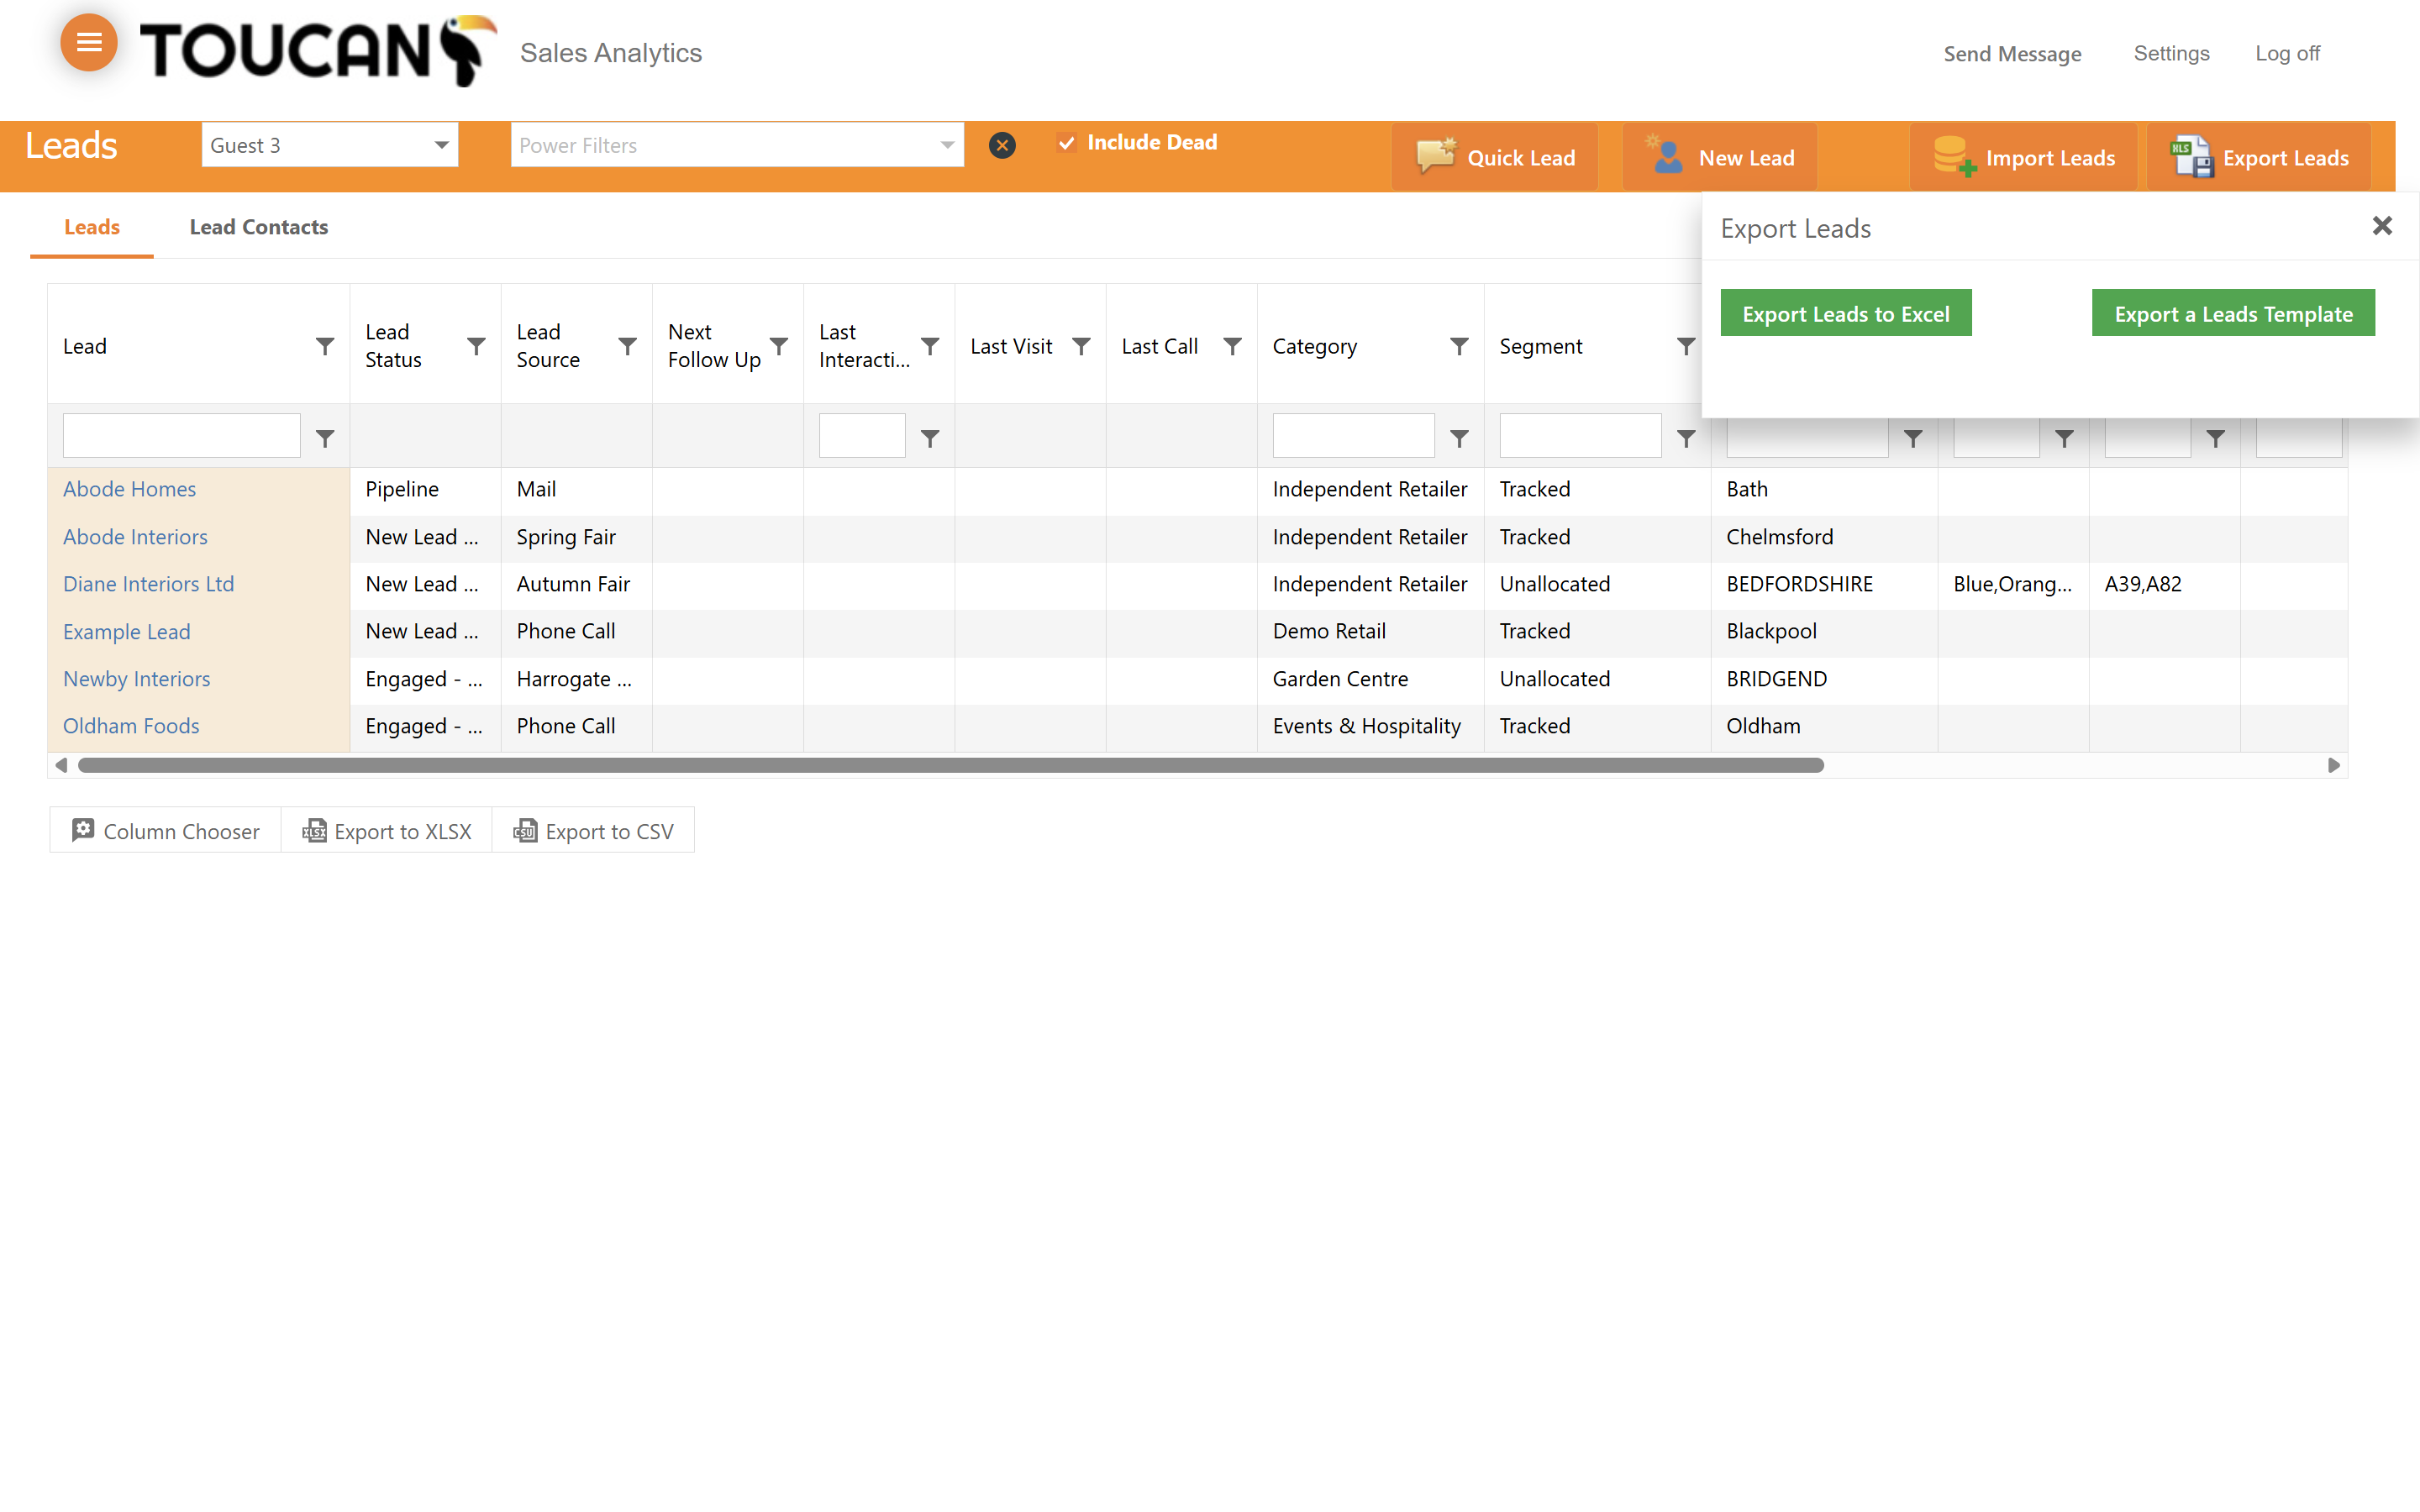
21
To export your formatted view, click on Export Leads in the top navigation bar.

22
Select Export Leads to Excel or download an Export a Leads Template from the modal dialog box.