How to Manage Site Administrators: Adding and Removing Users
Learn how to efficiently manage site administrators by adding or removing users with this step-by-step guide.
In this guide, we'll learn how to manage site administrators within a platform. This involves adding and removing users from the site administrator role. Understanding this process is essential for maintaining control over who has administrative access to your site.
We'll explore the steps to navigate through the site administration settings, select users, and confirm changes.
Let's get started
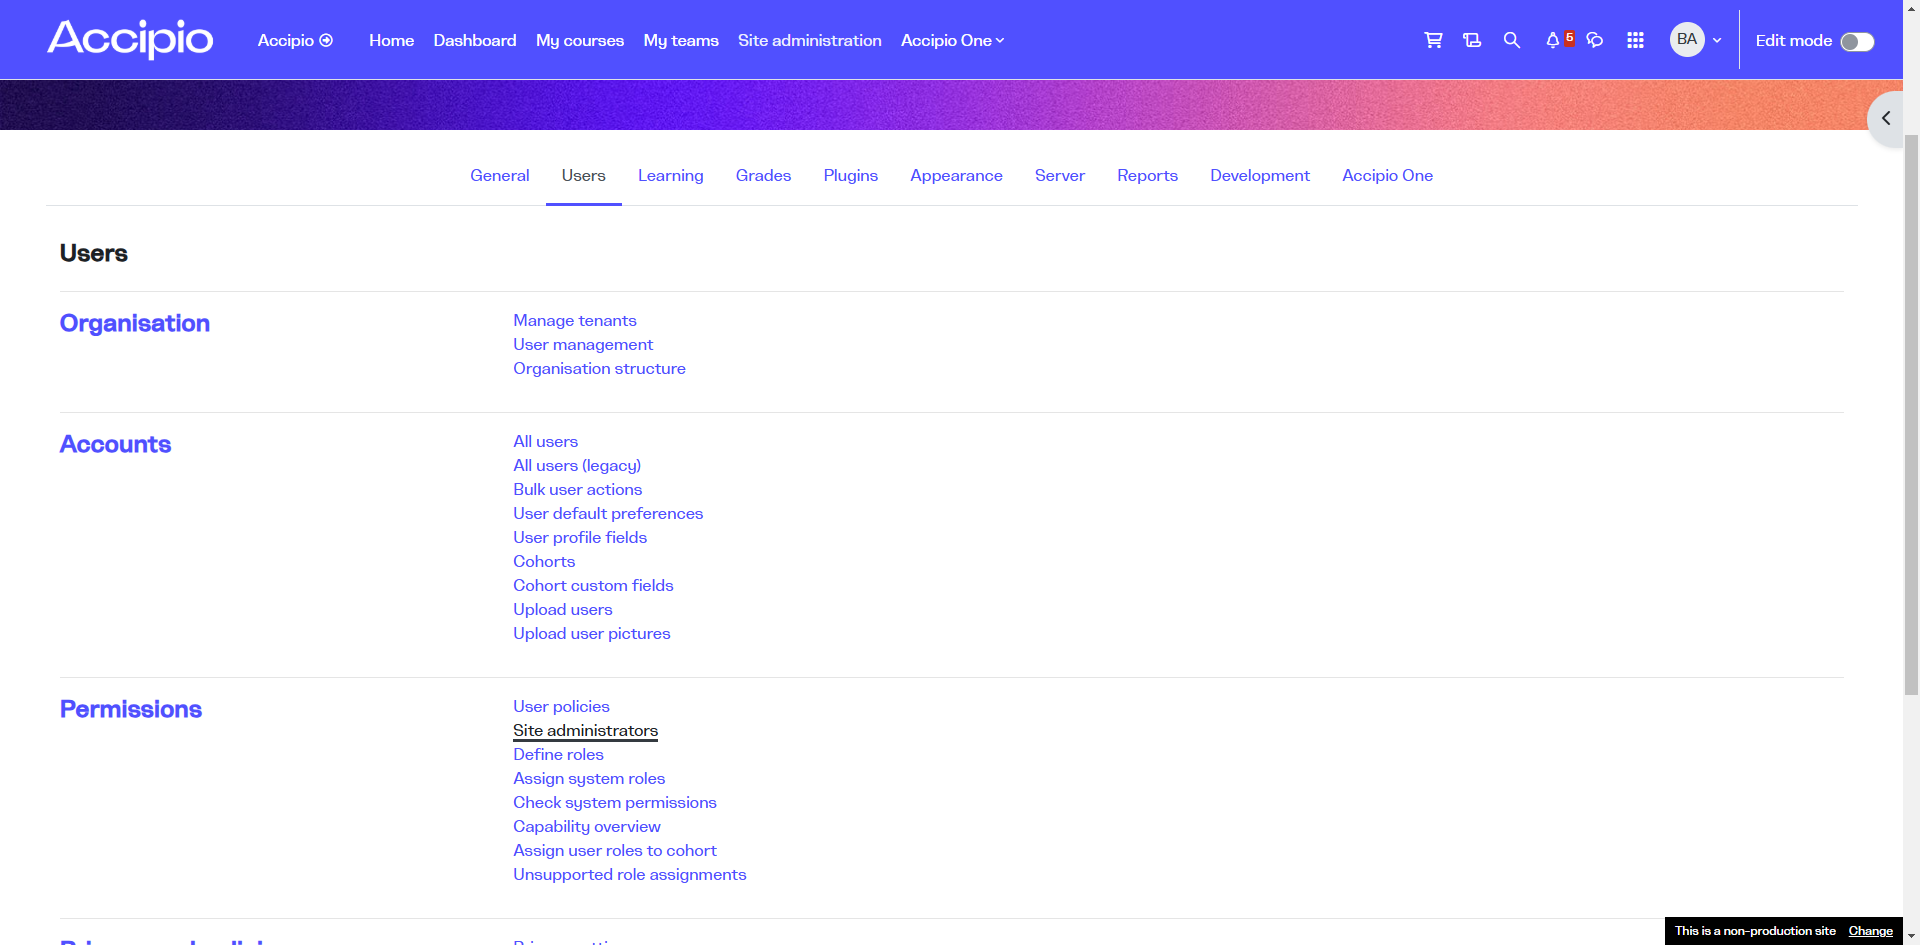
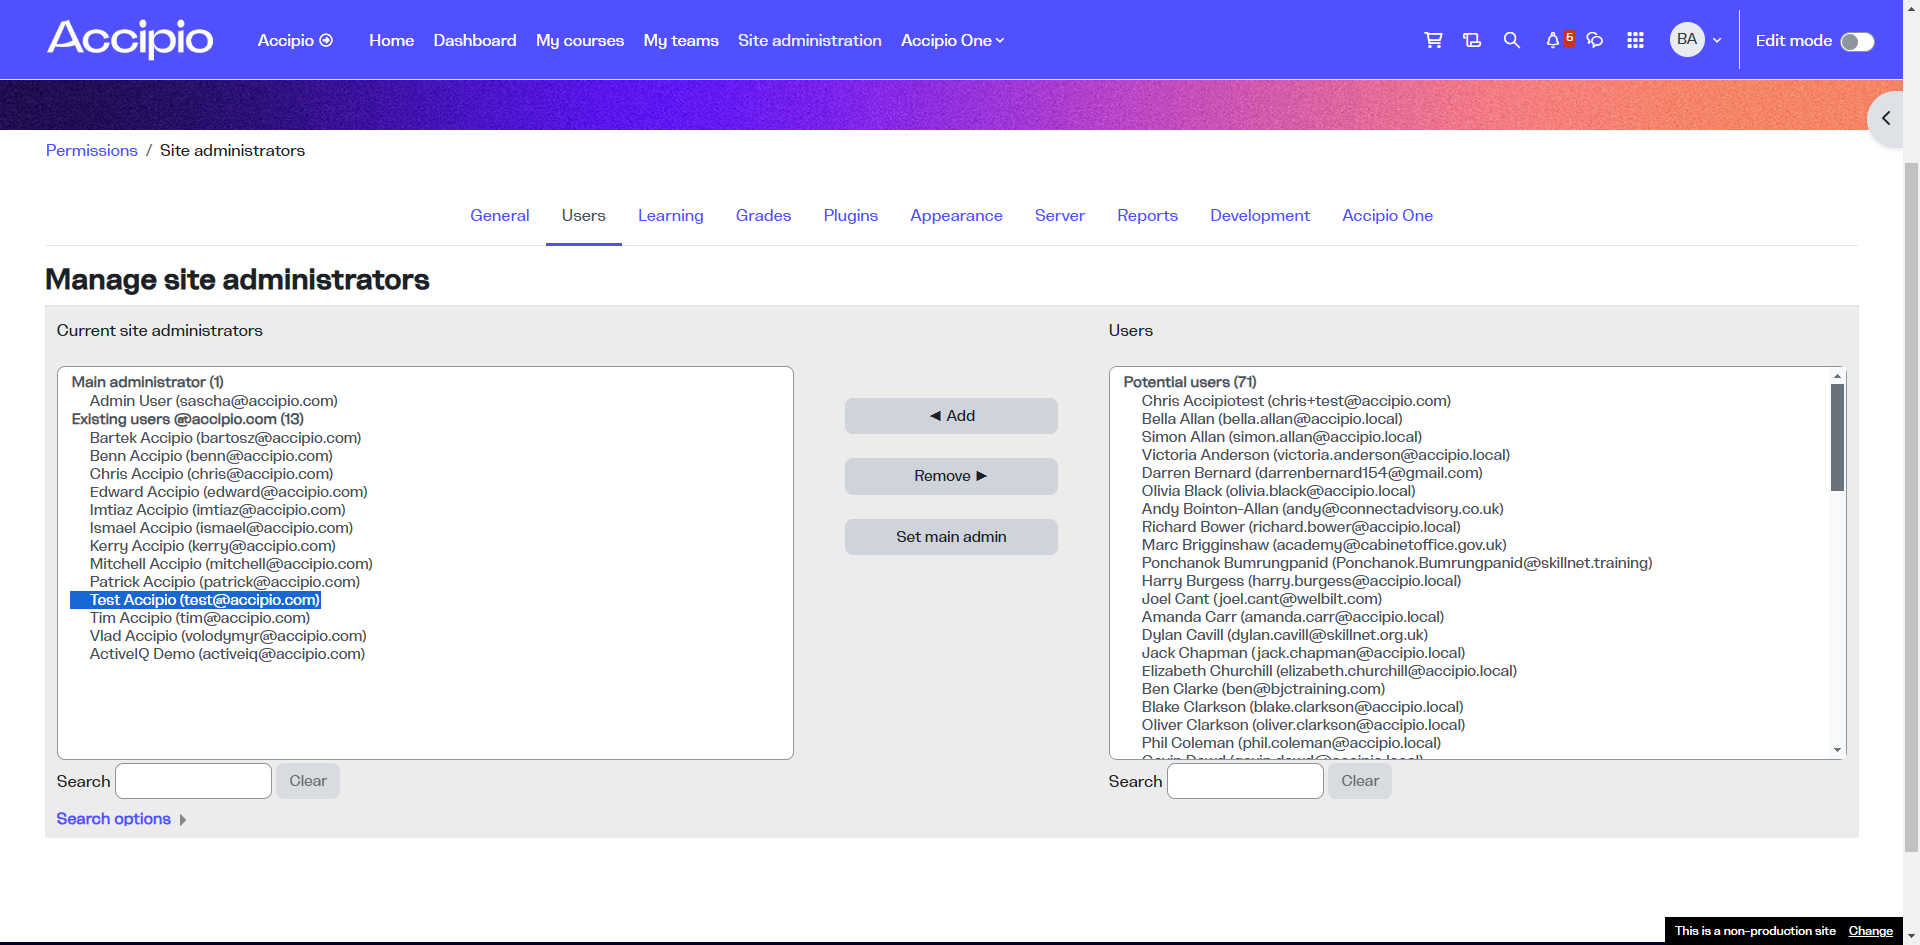
Click on Site Administration, then select Users. Scroll down to Site Administrators.


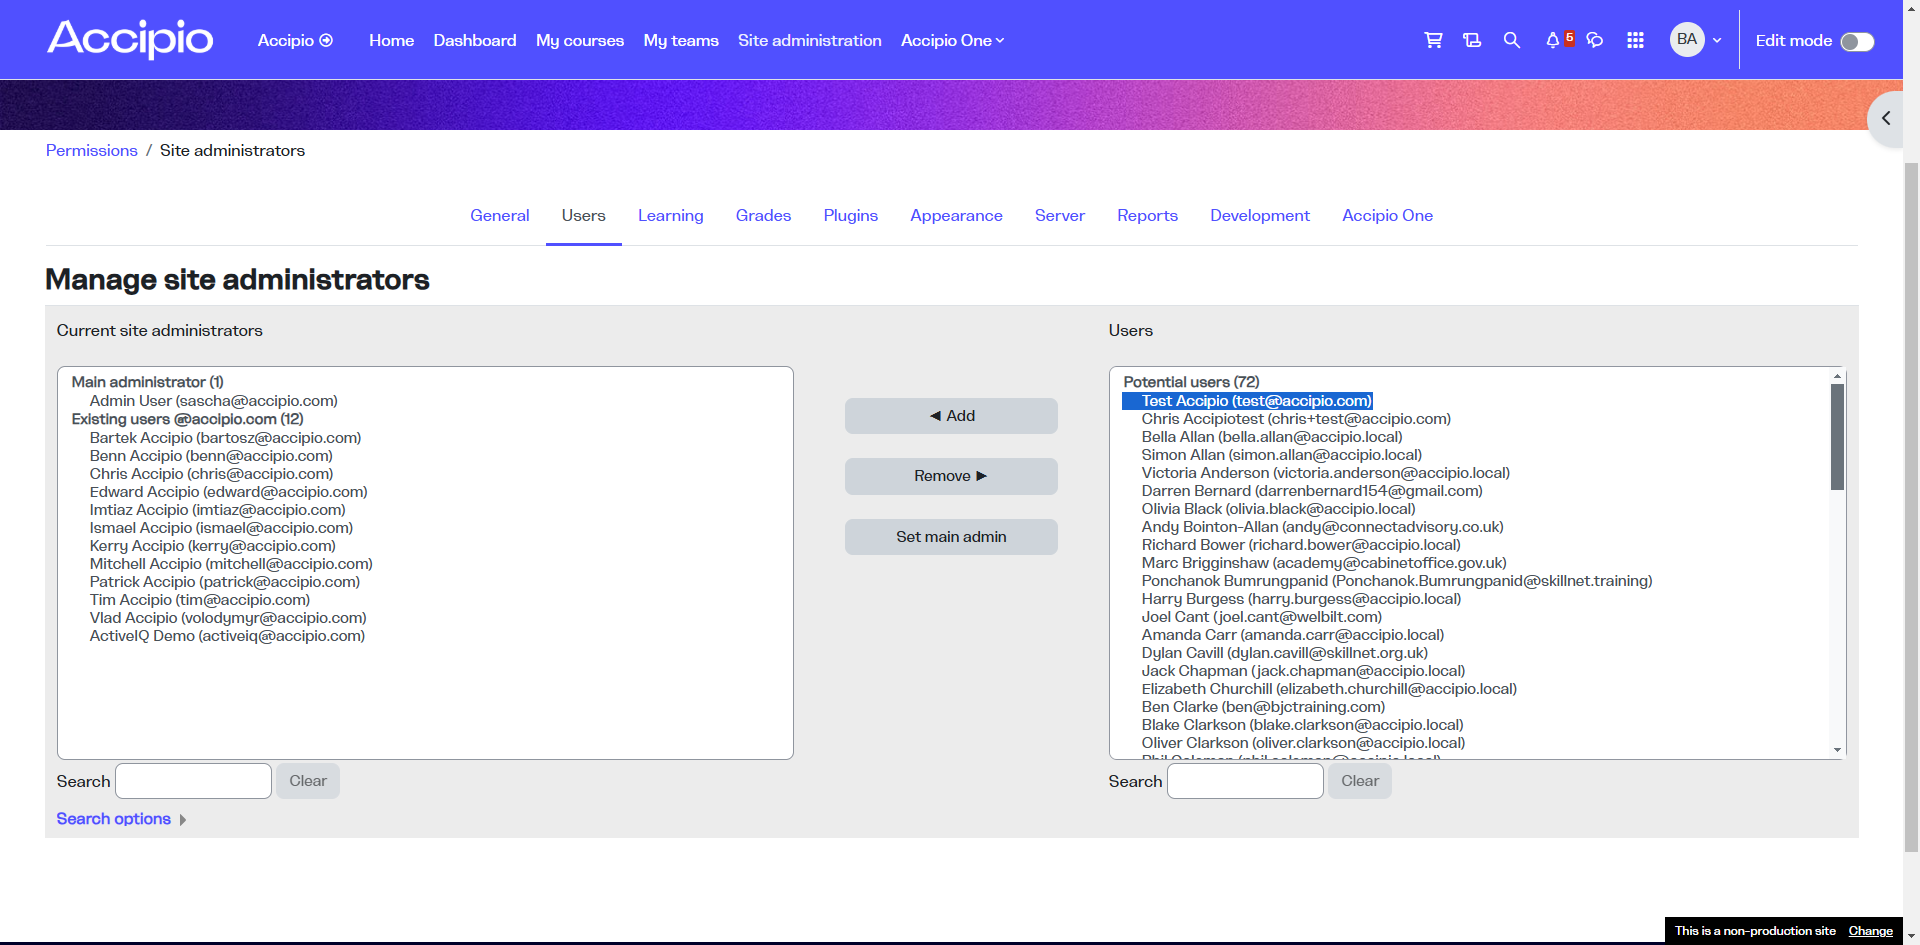
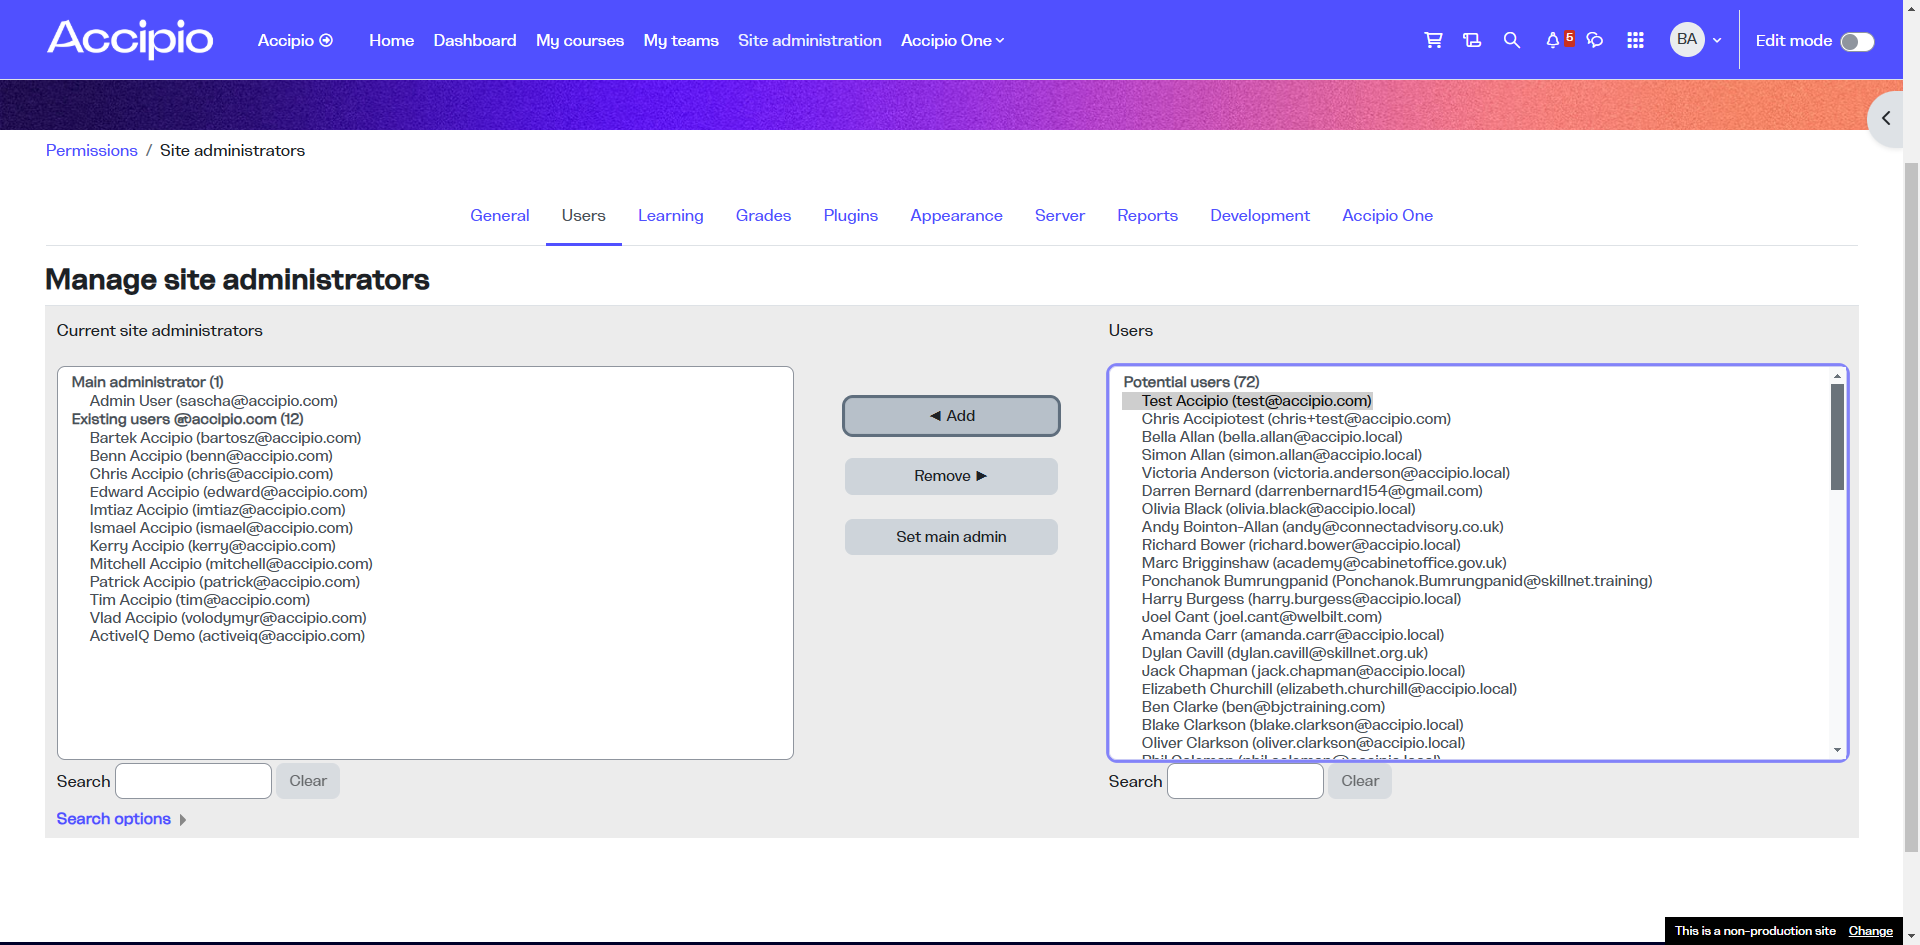
From this screen, you can select any potential user. I'll choose this one and click the add button.
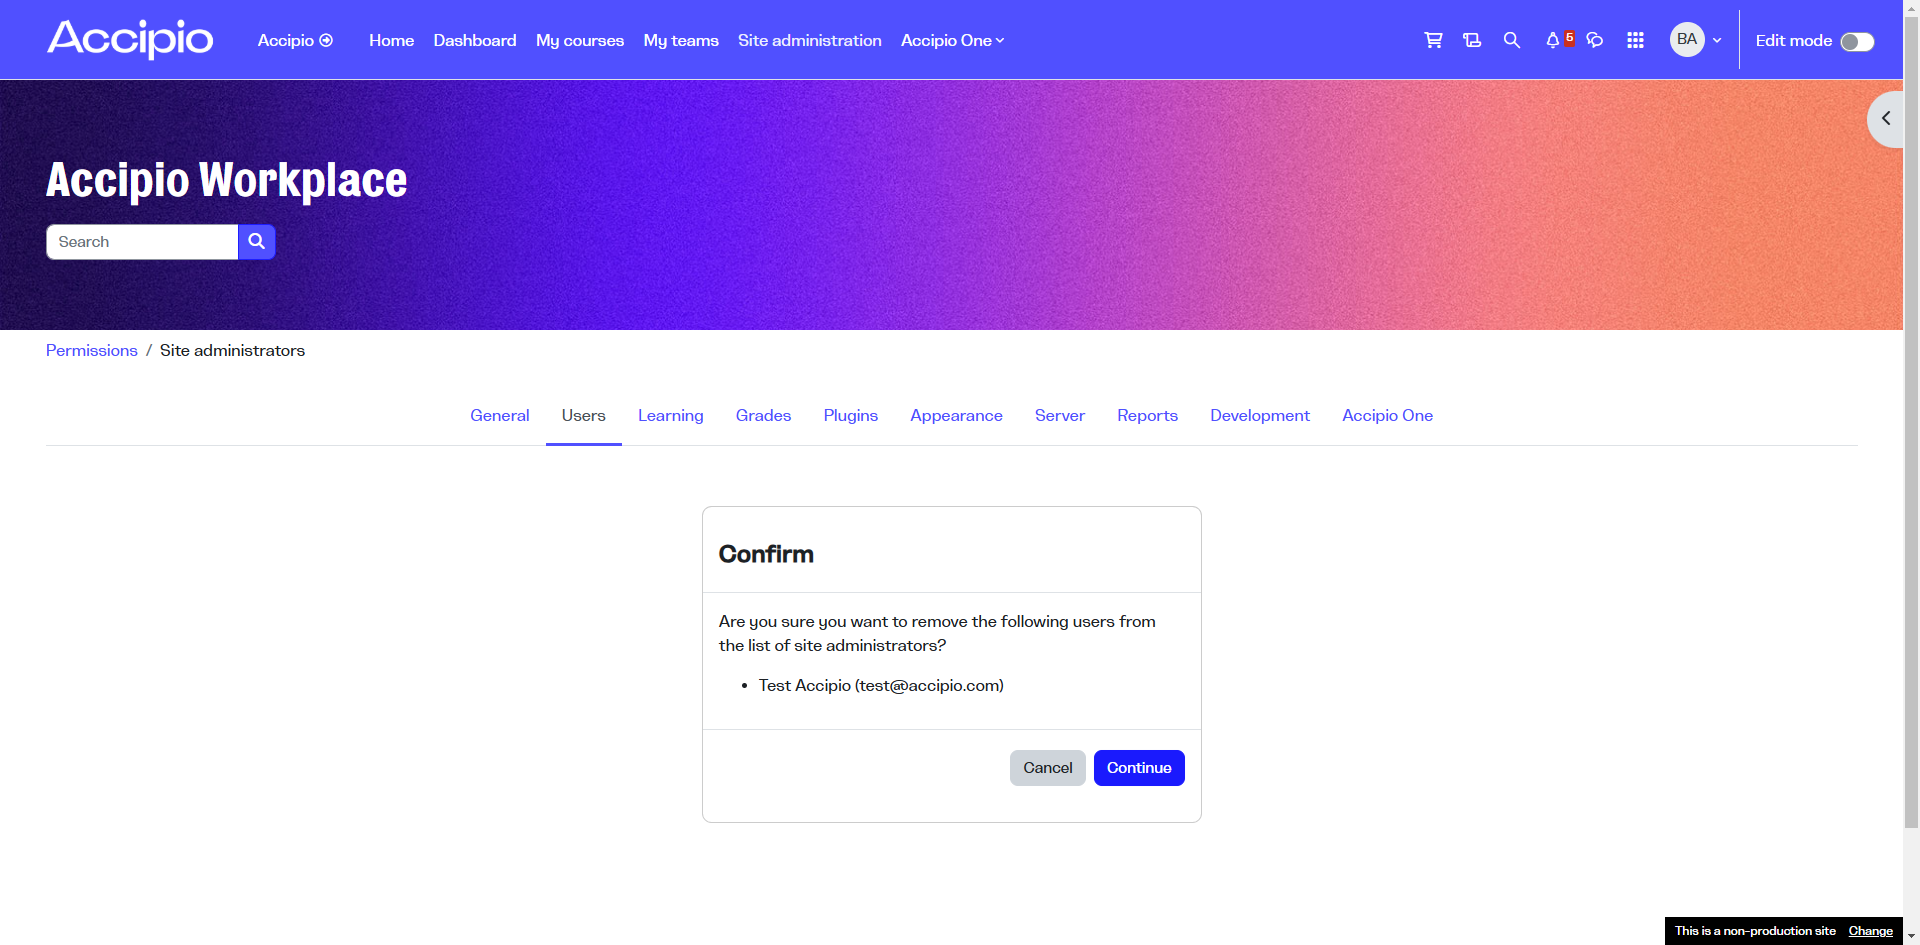
You will be asked to confirm that you want to make this user a site administrator. Click "Continue," and once you've done that, the user will become a site administrator.

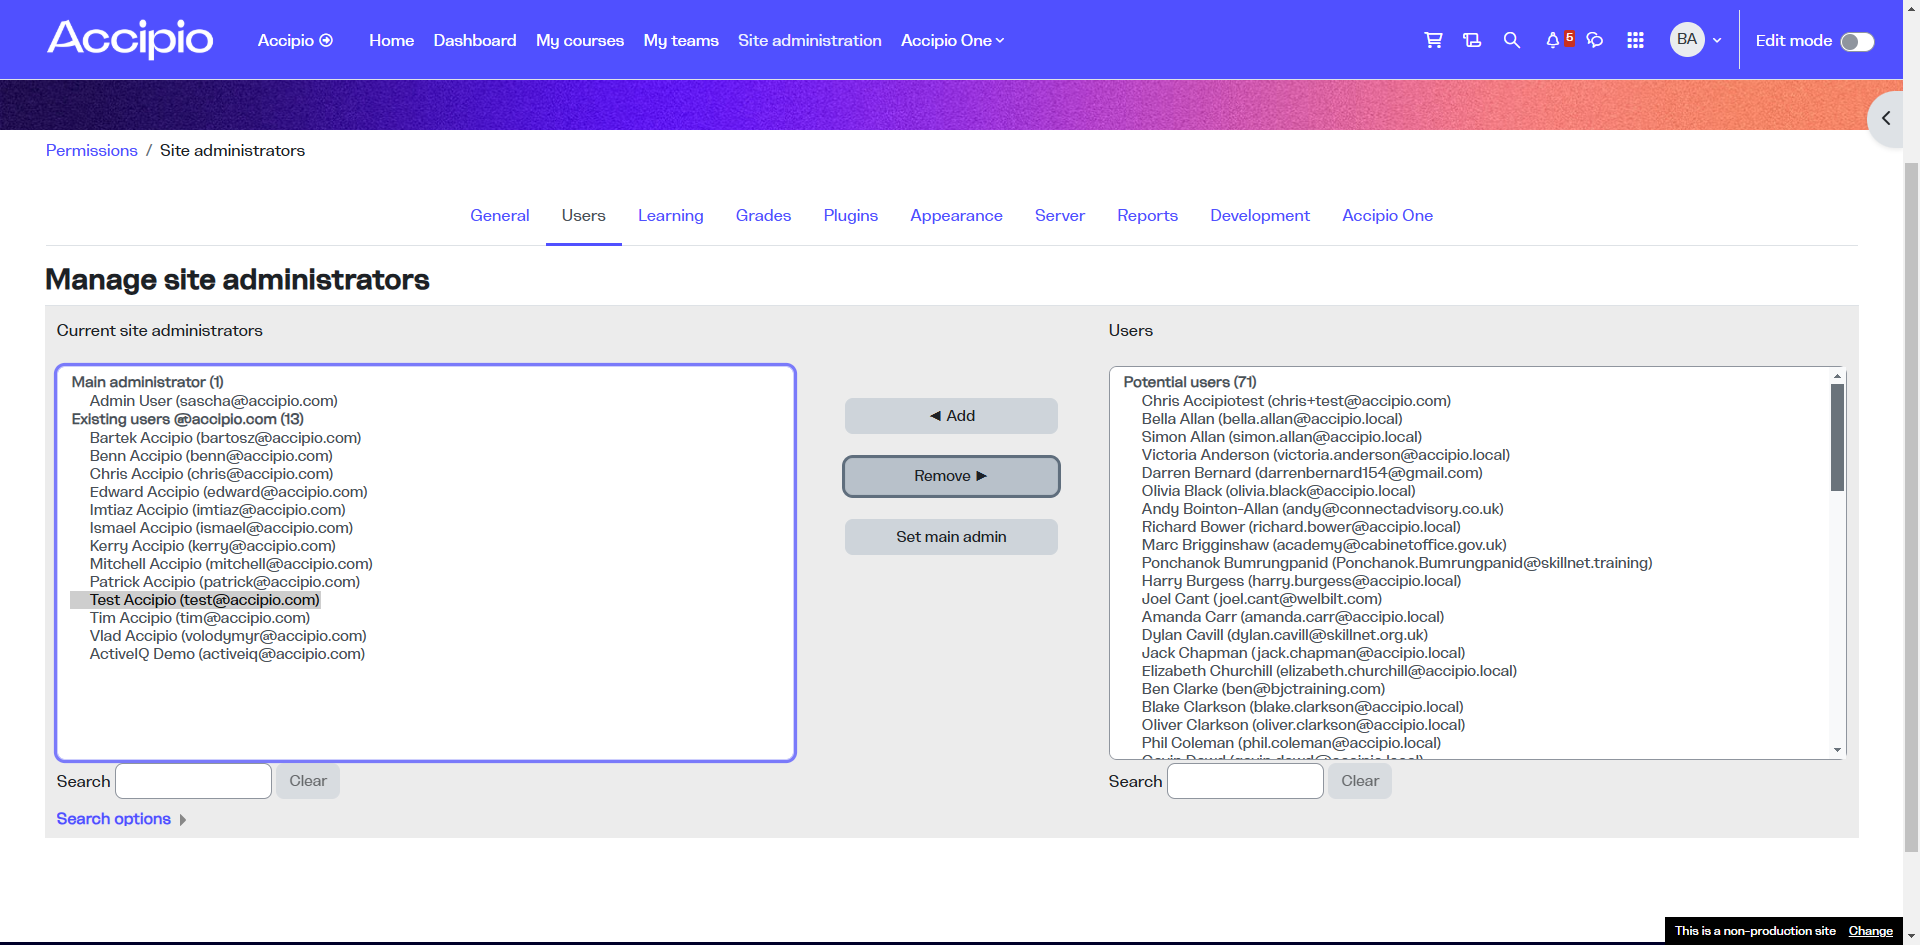
To remove them as a site administrator, select them from the left-hand side and click "Remove."
You will be asked to confirm again. Click "Continue," and once you've done that, you will have removed them as a site administrator.