Icon

How to Manage the Contact Details Tab in the Customer Profile

Learn how to use the Contact Details tab in the customer profile, including updating main contact information, managing email and phone numbers, handling duplicates, adding interests, associating clients, and adding additional contacts for better customer management.

By Dominik Black

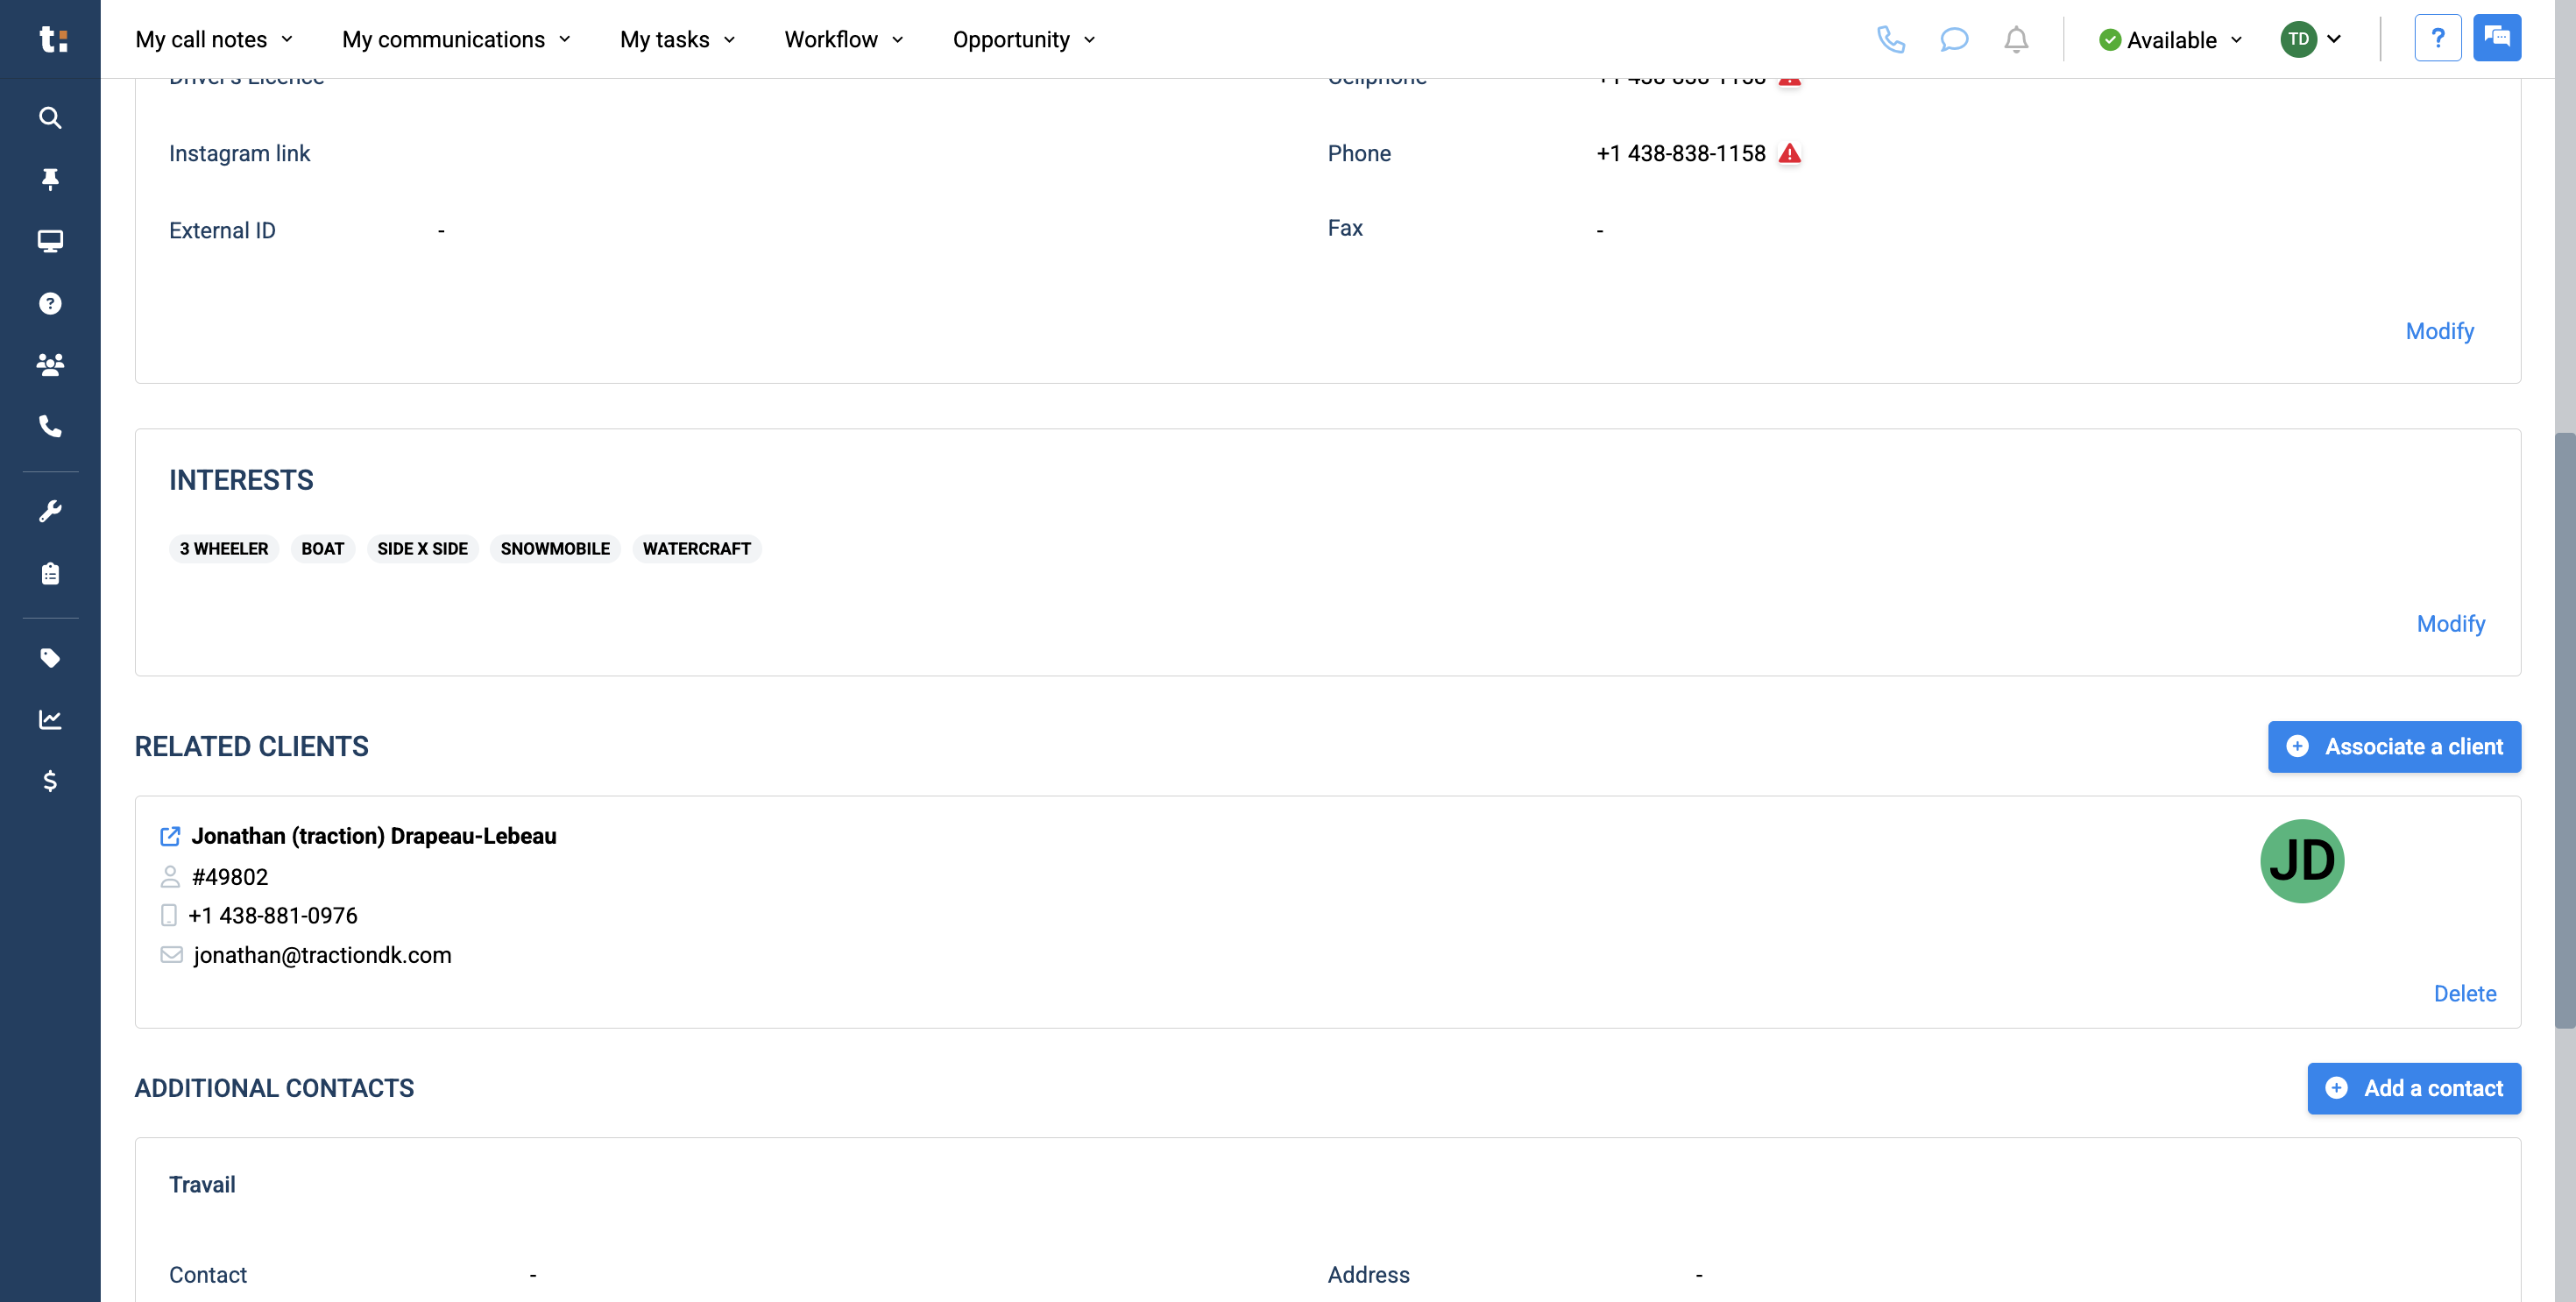
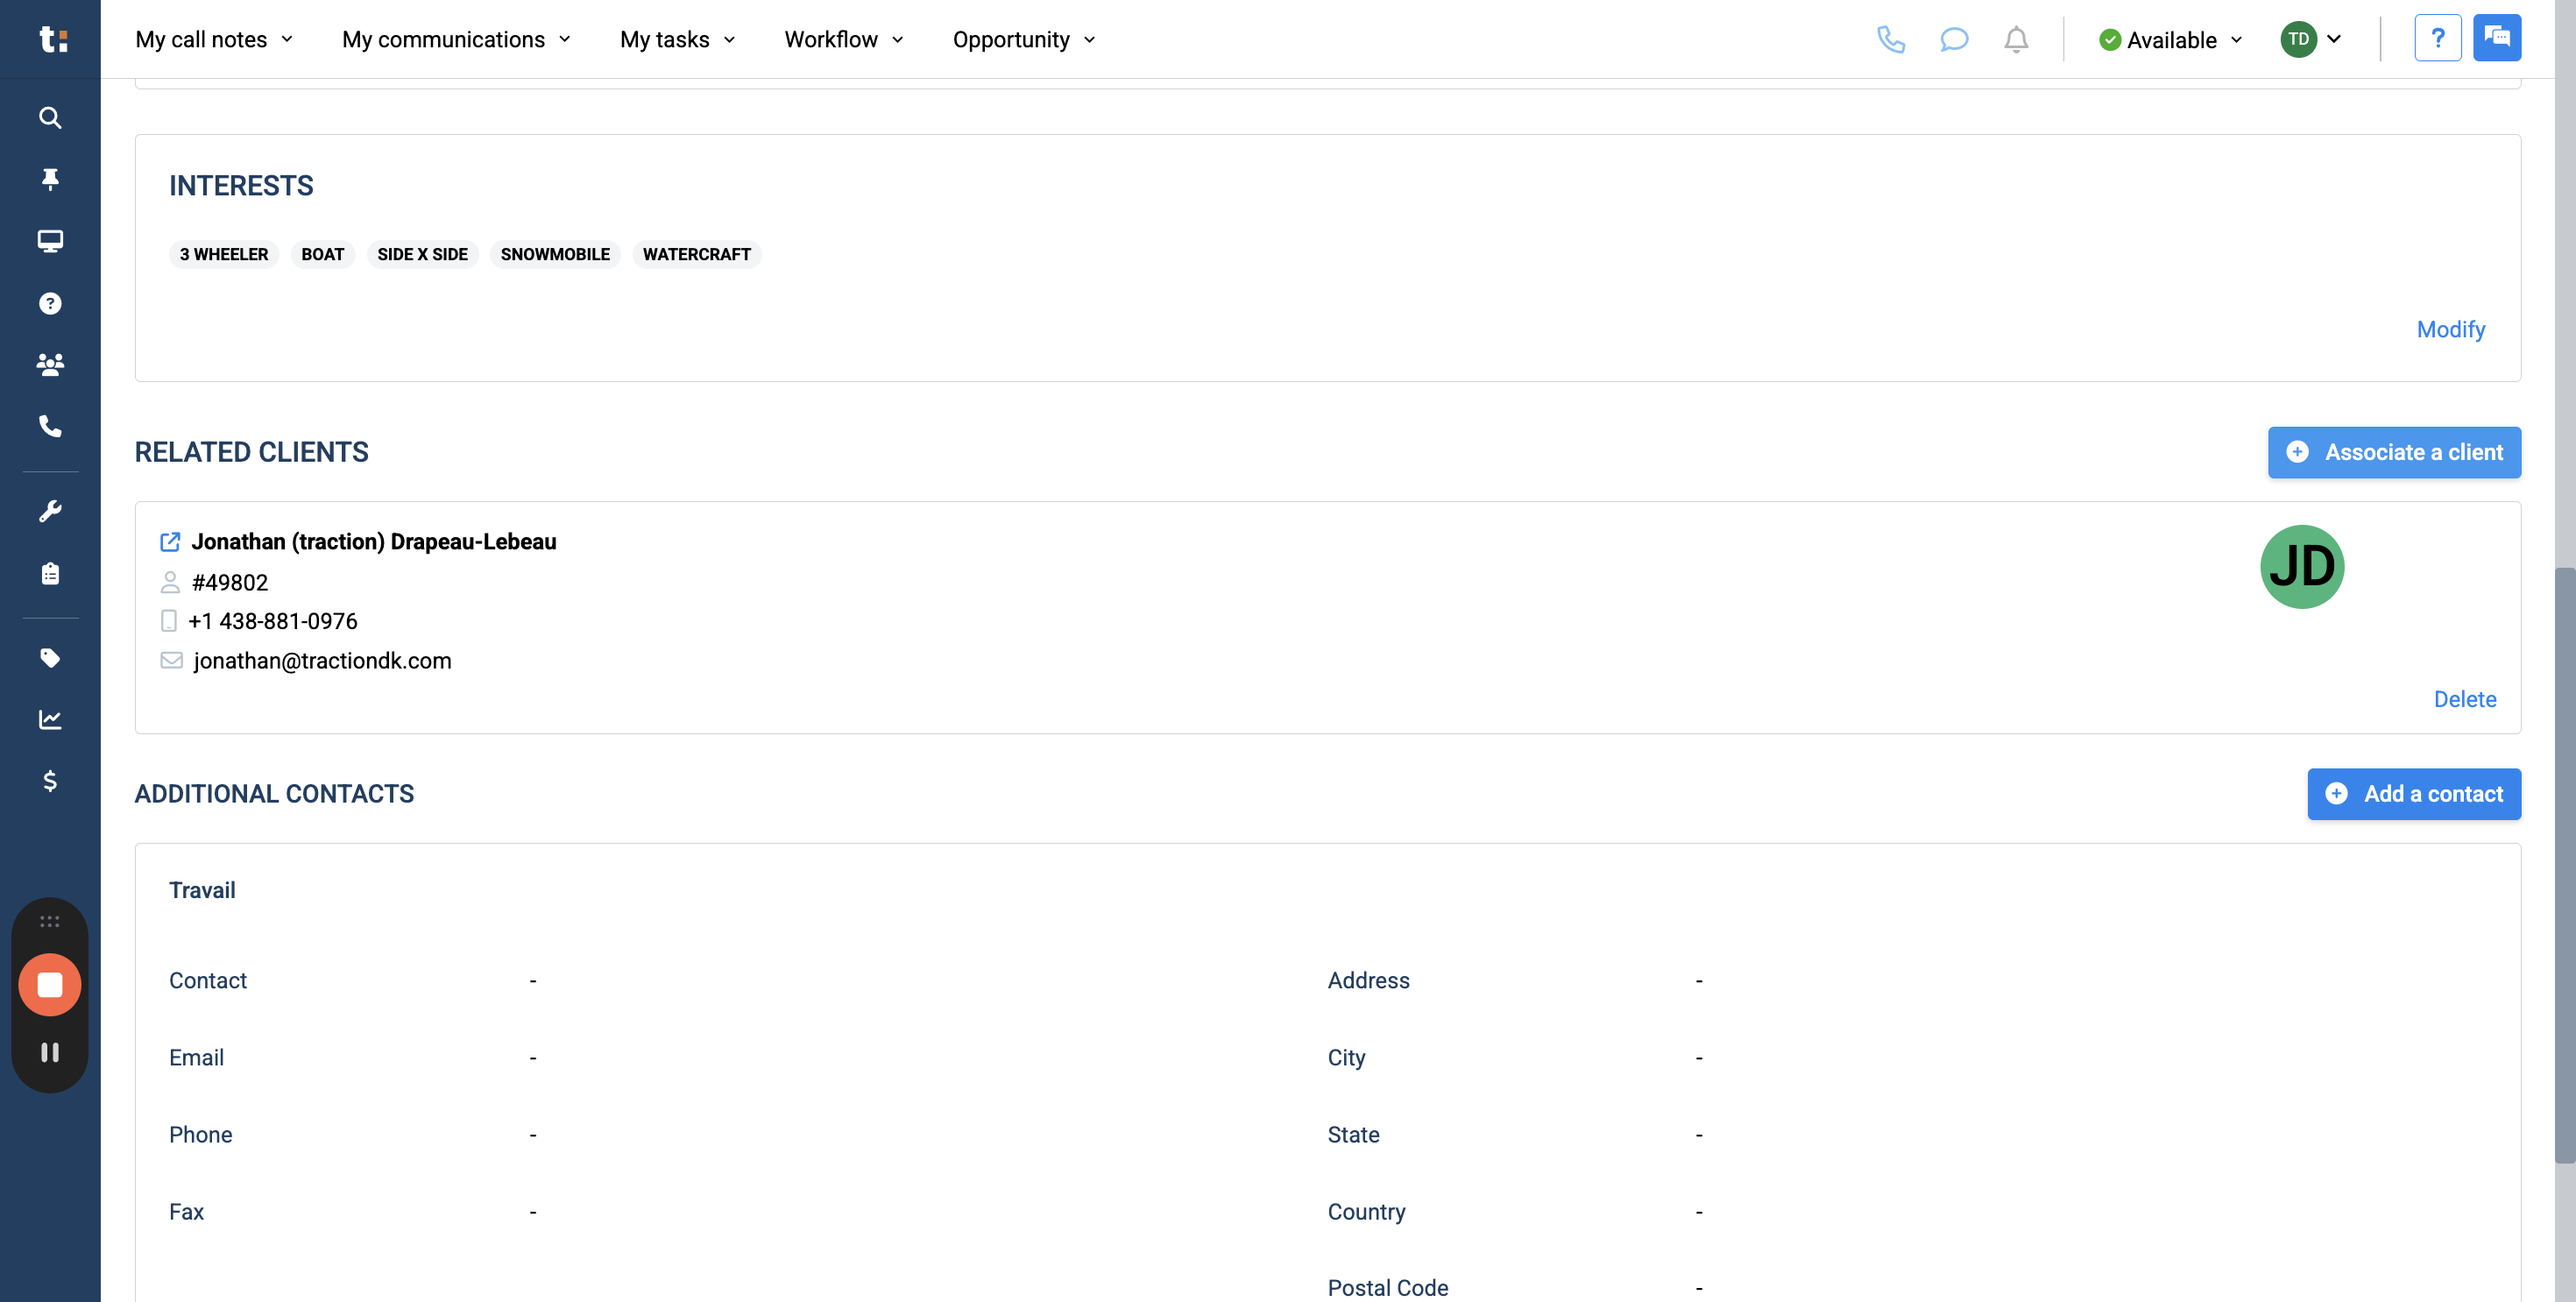
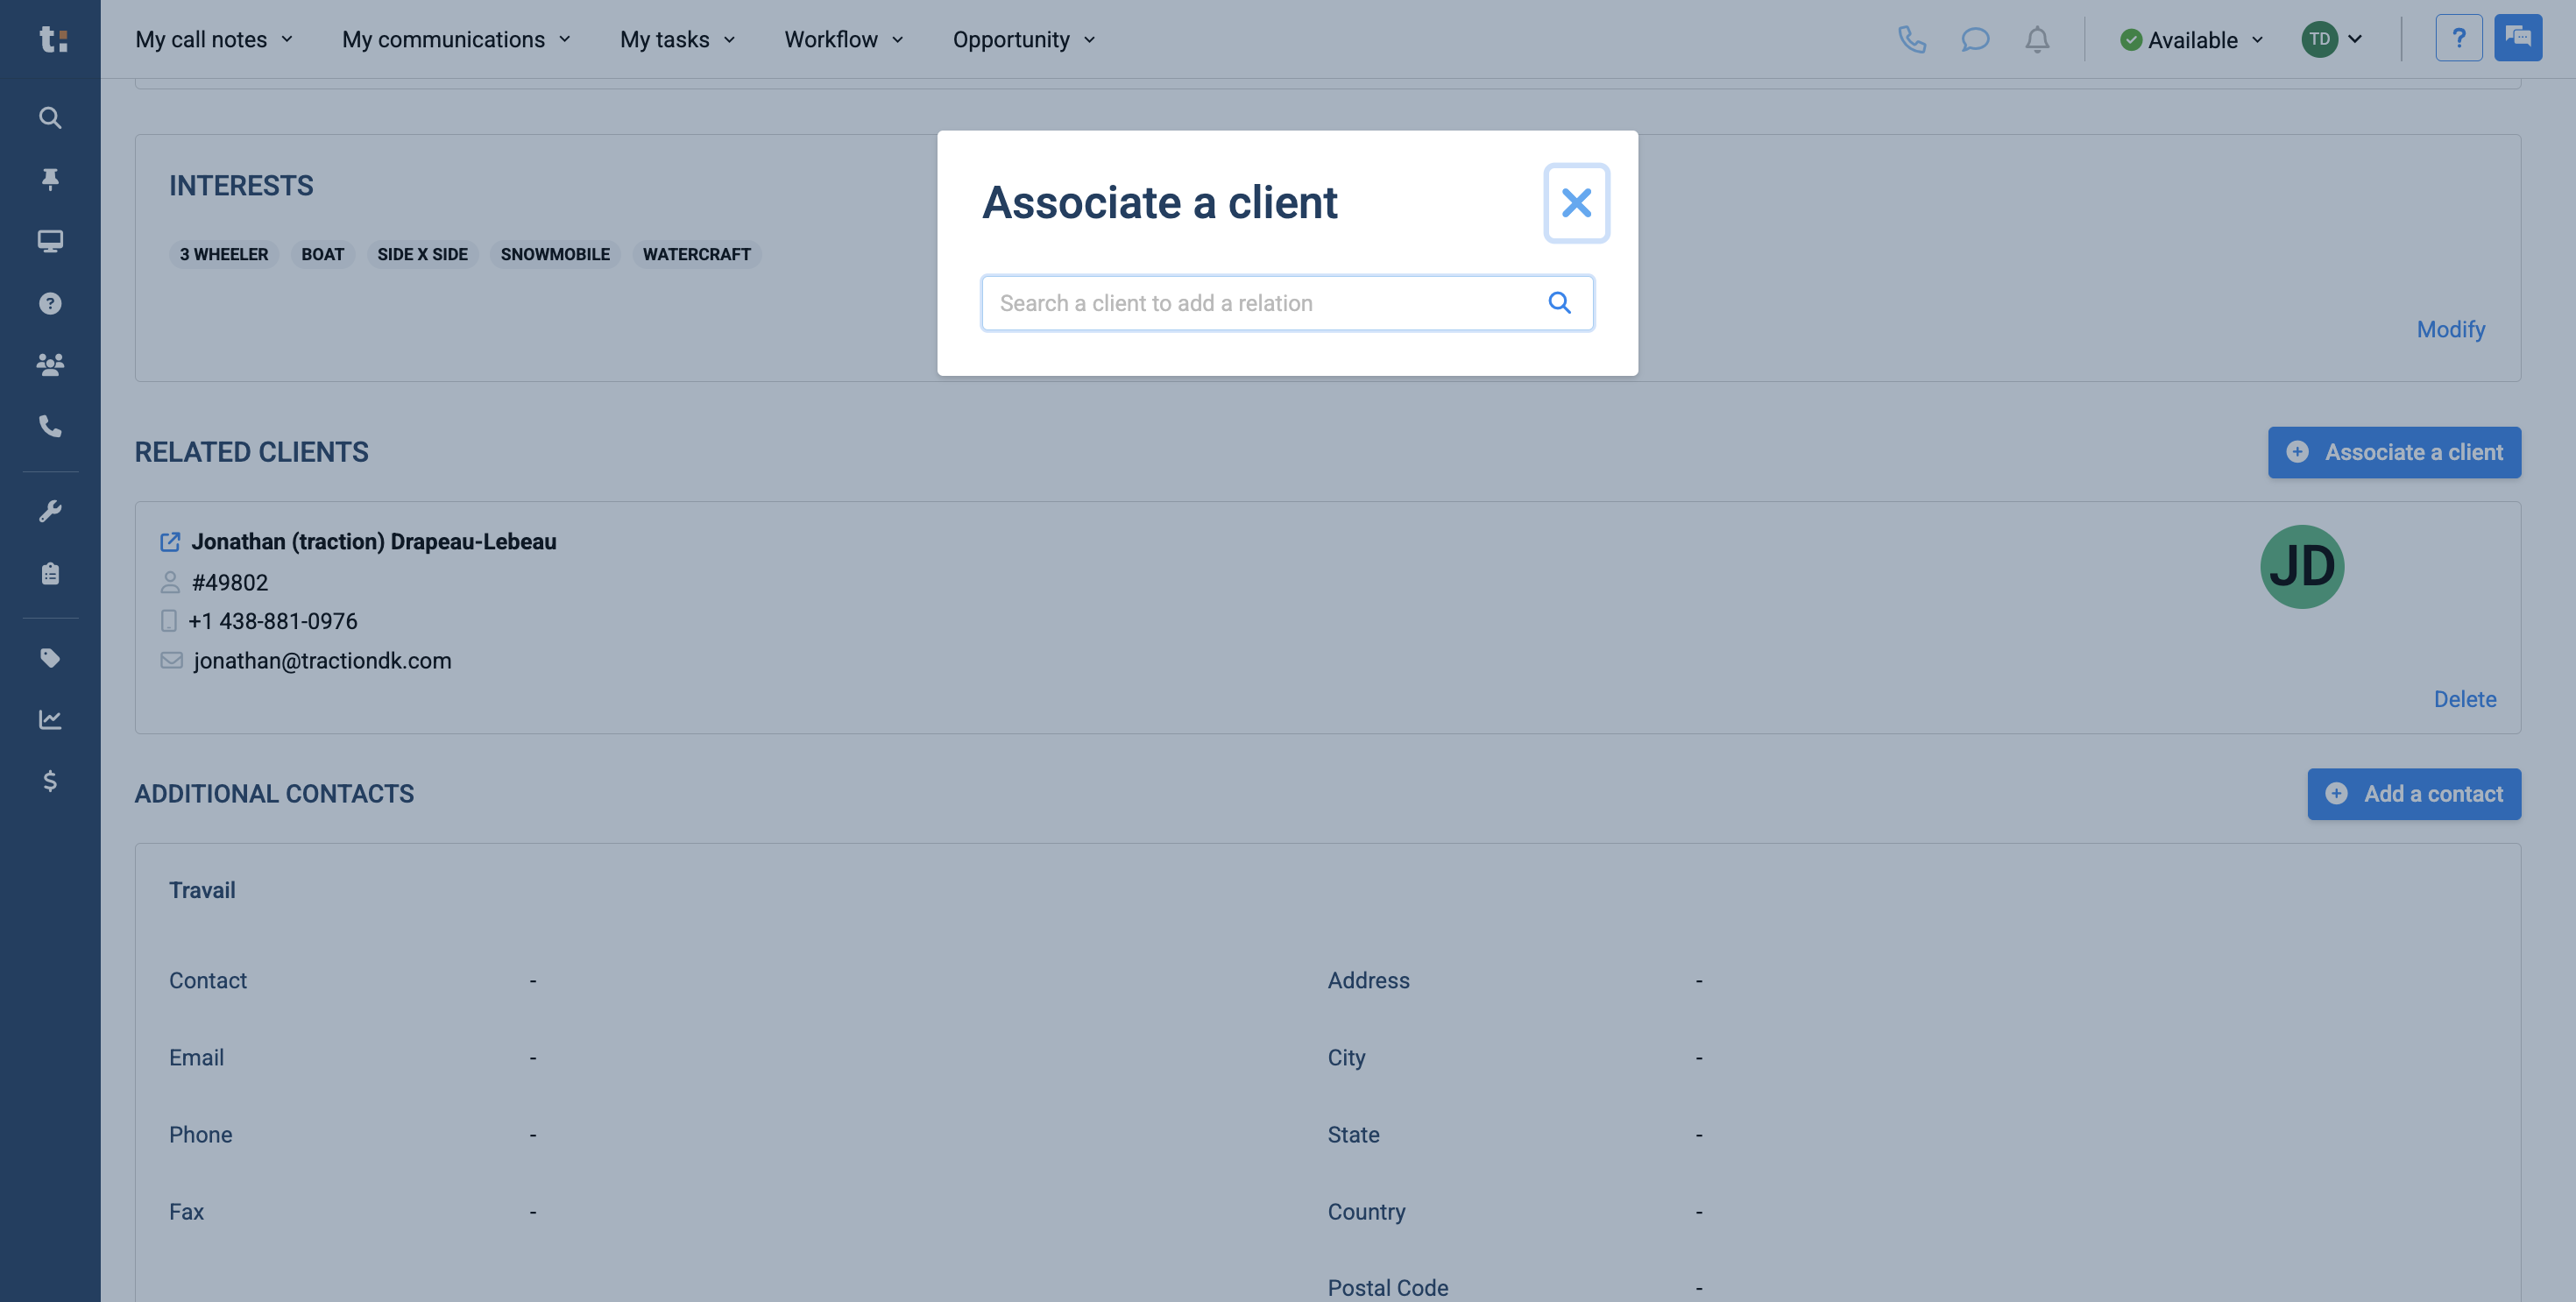
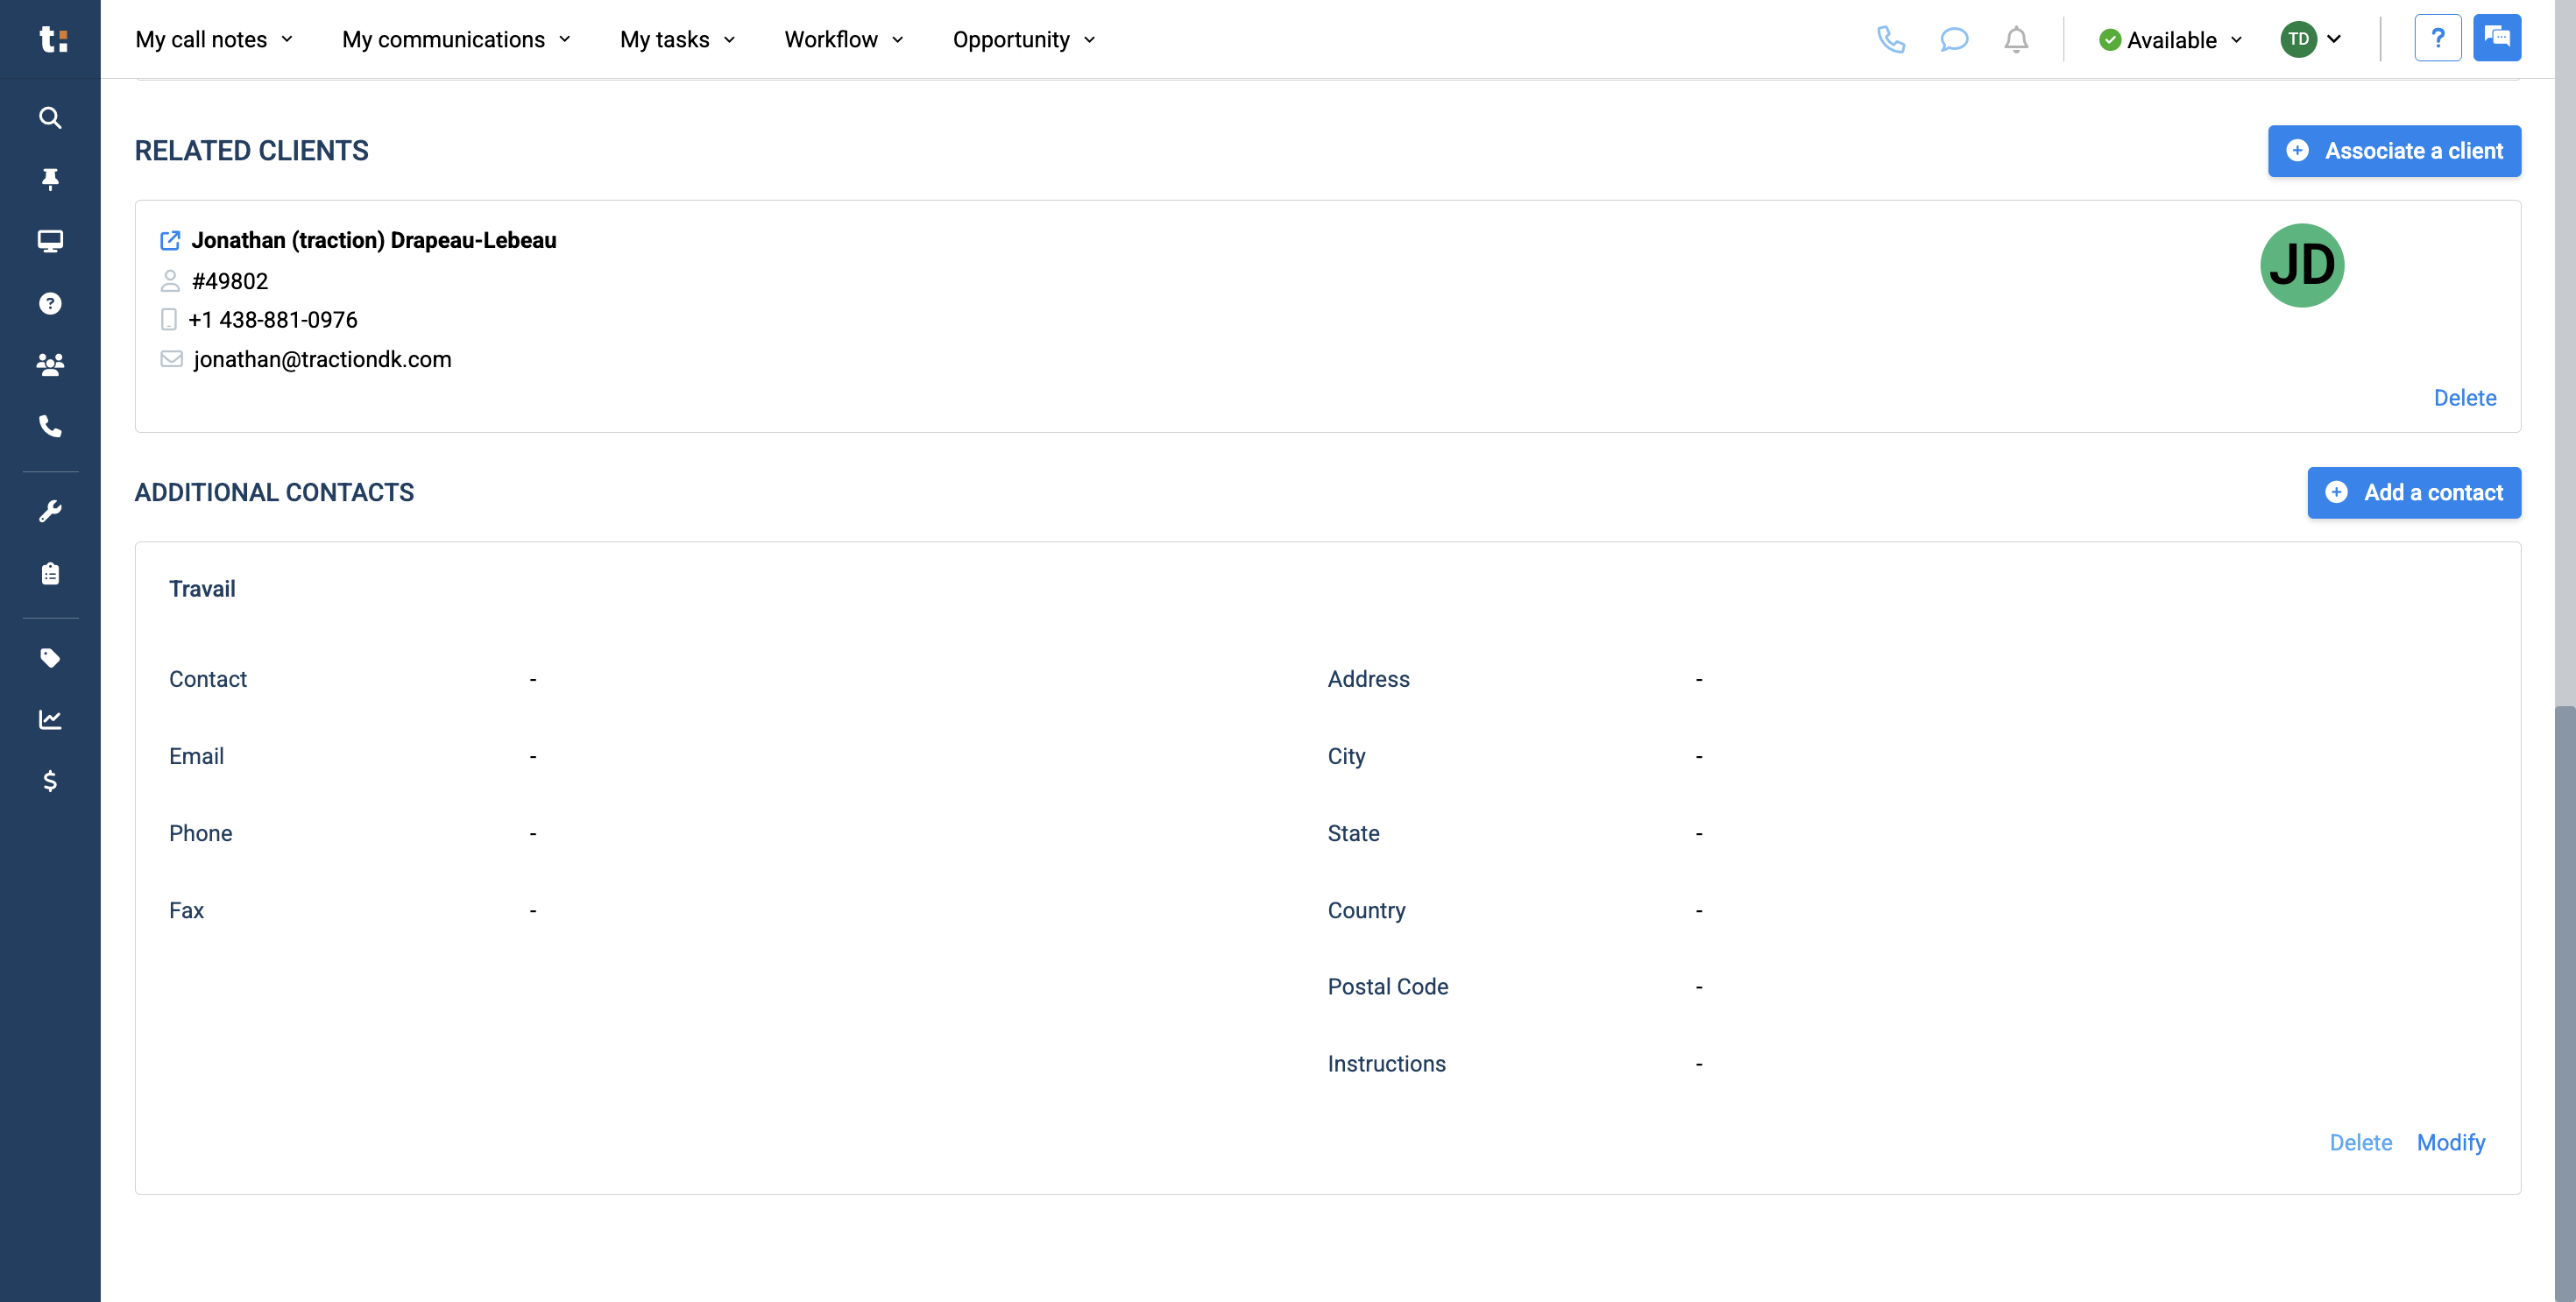
In this guide, we'll learn how to manage and update the Contact Details tab in a customer profile. Understanding how to enter, modify, and verify contact information helps ensure accurate communication with your customers. We will also look at how to handle duplicate phone numbers, add customer interests, associate clients, and include additional contact details.

Let's get started

1
In this article, we will cover the Contact Details tab in the customer profile. You can find the Contact Details tab in the customer profile here.
Step #1: In this article, we will cover the Contact Details tab in the customer profile. You can find the Contact Details tab in the customer profile here.
2
The first thing you see is the main contact information.
Step #2: The first thing you see is the main contact information.

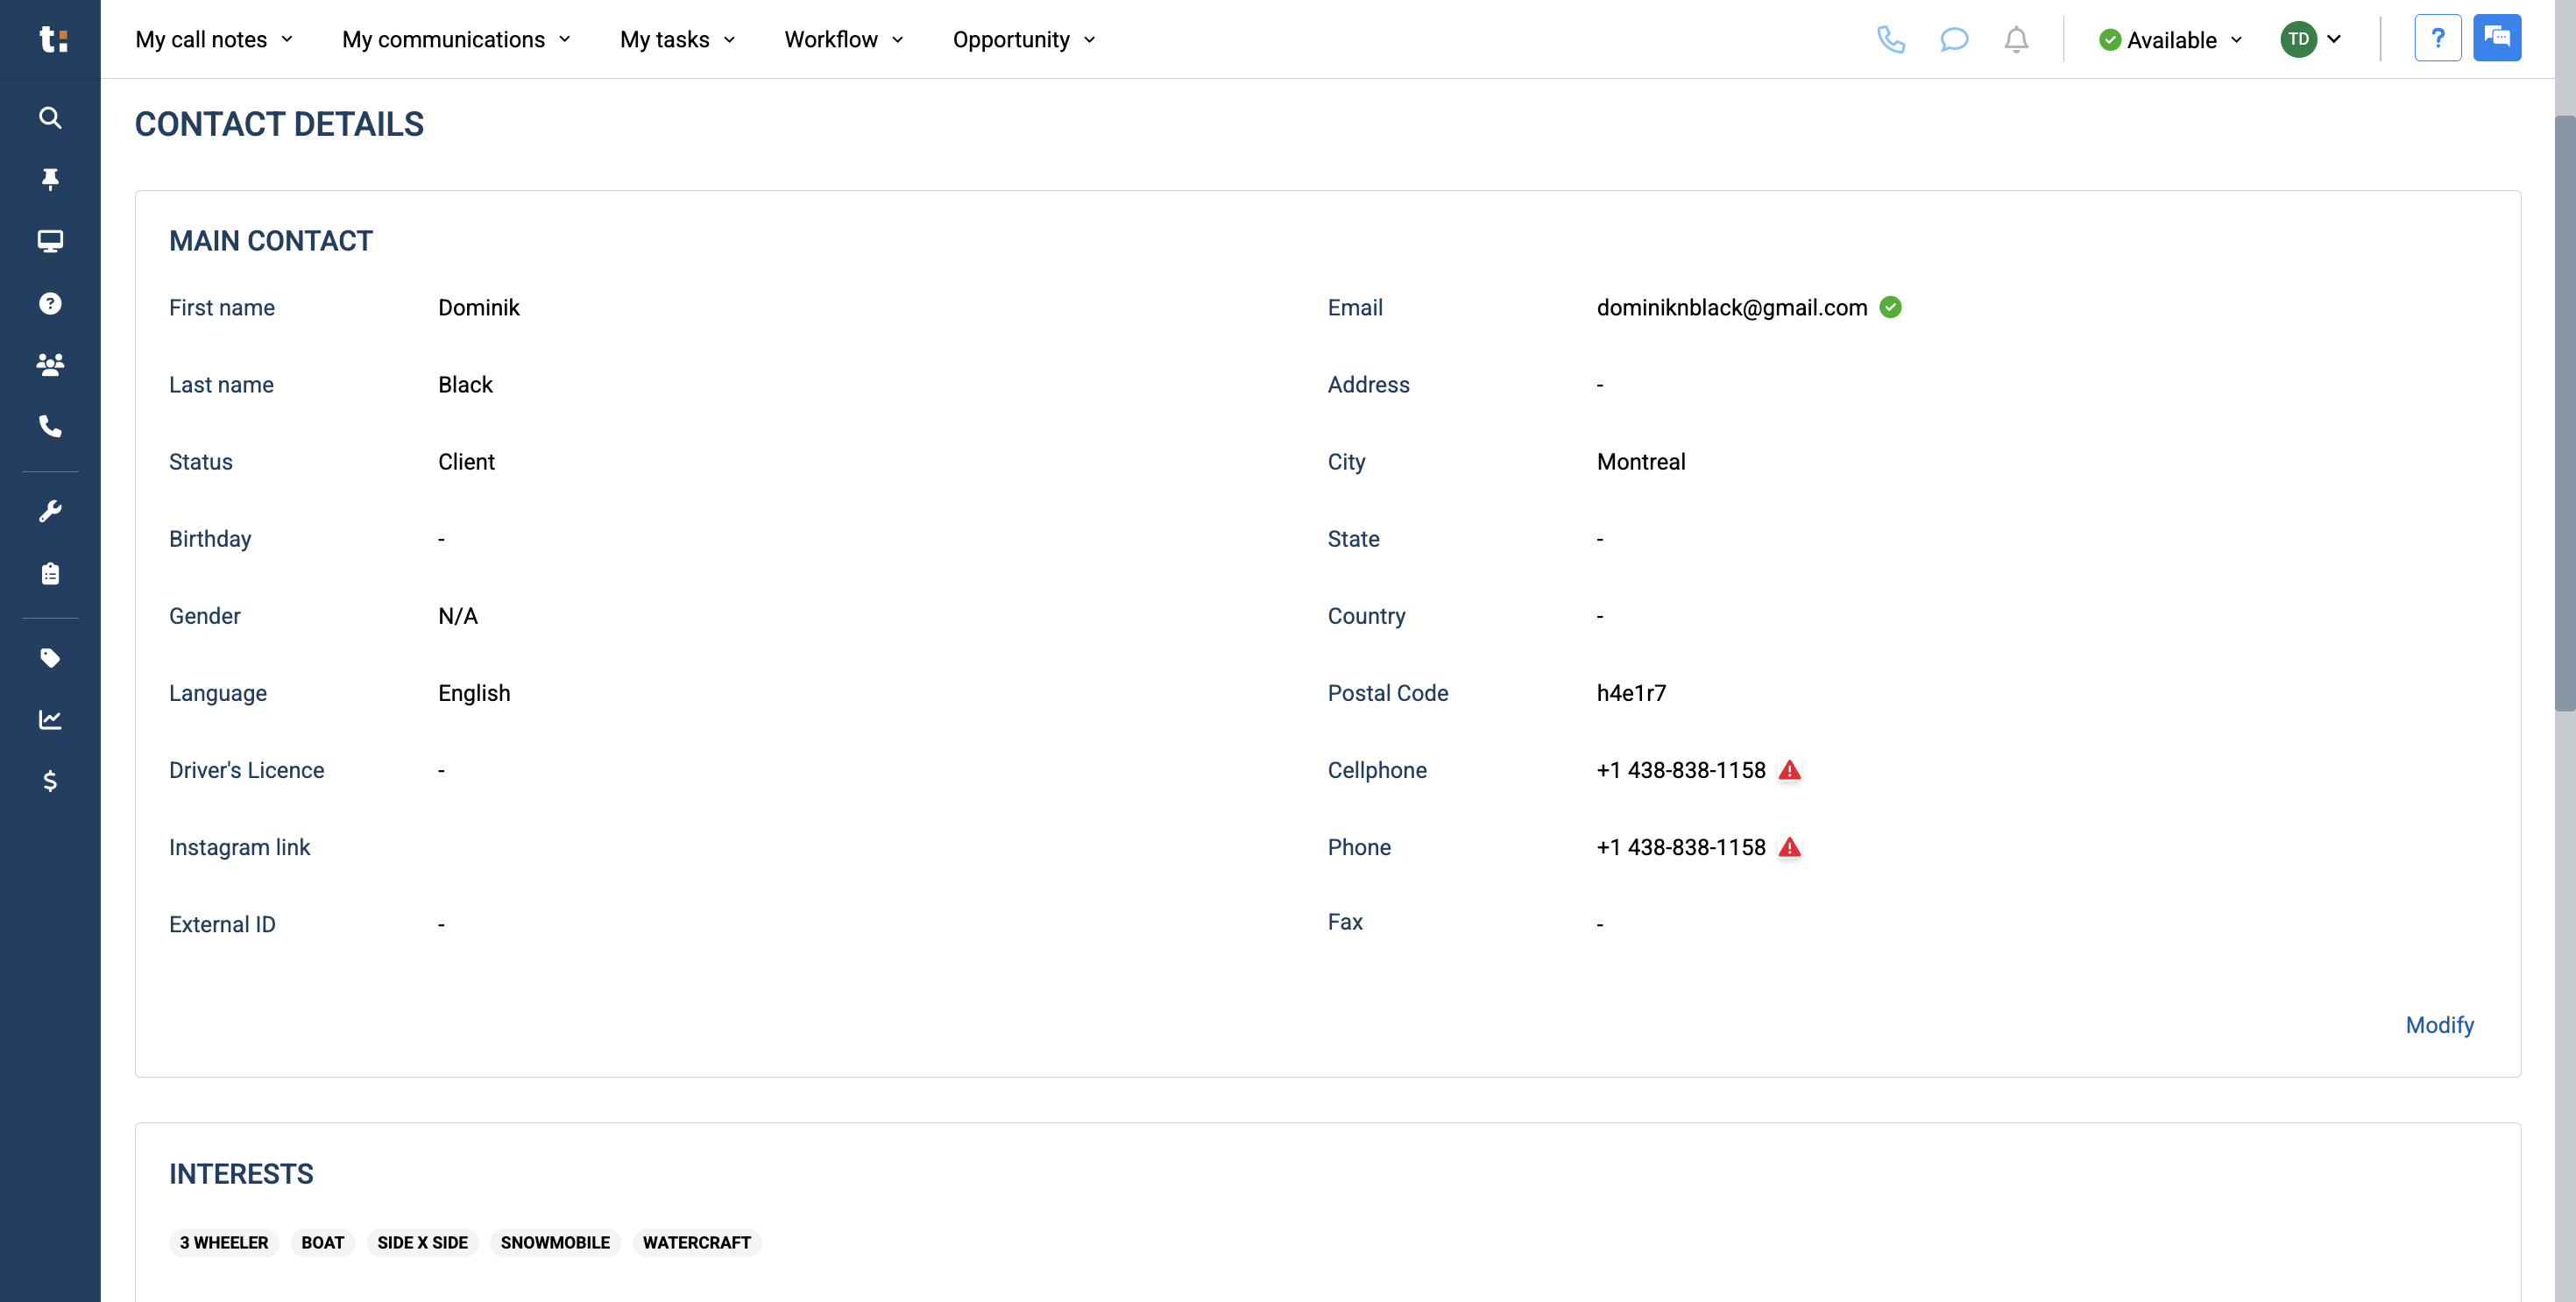
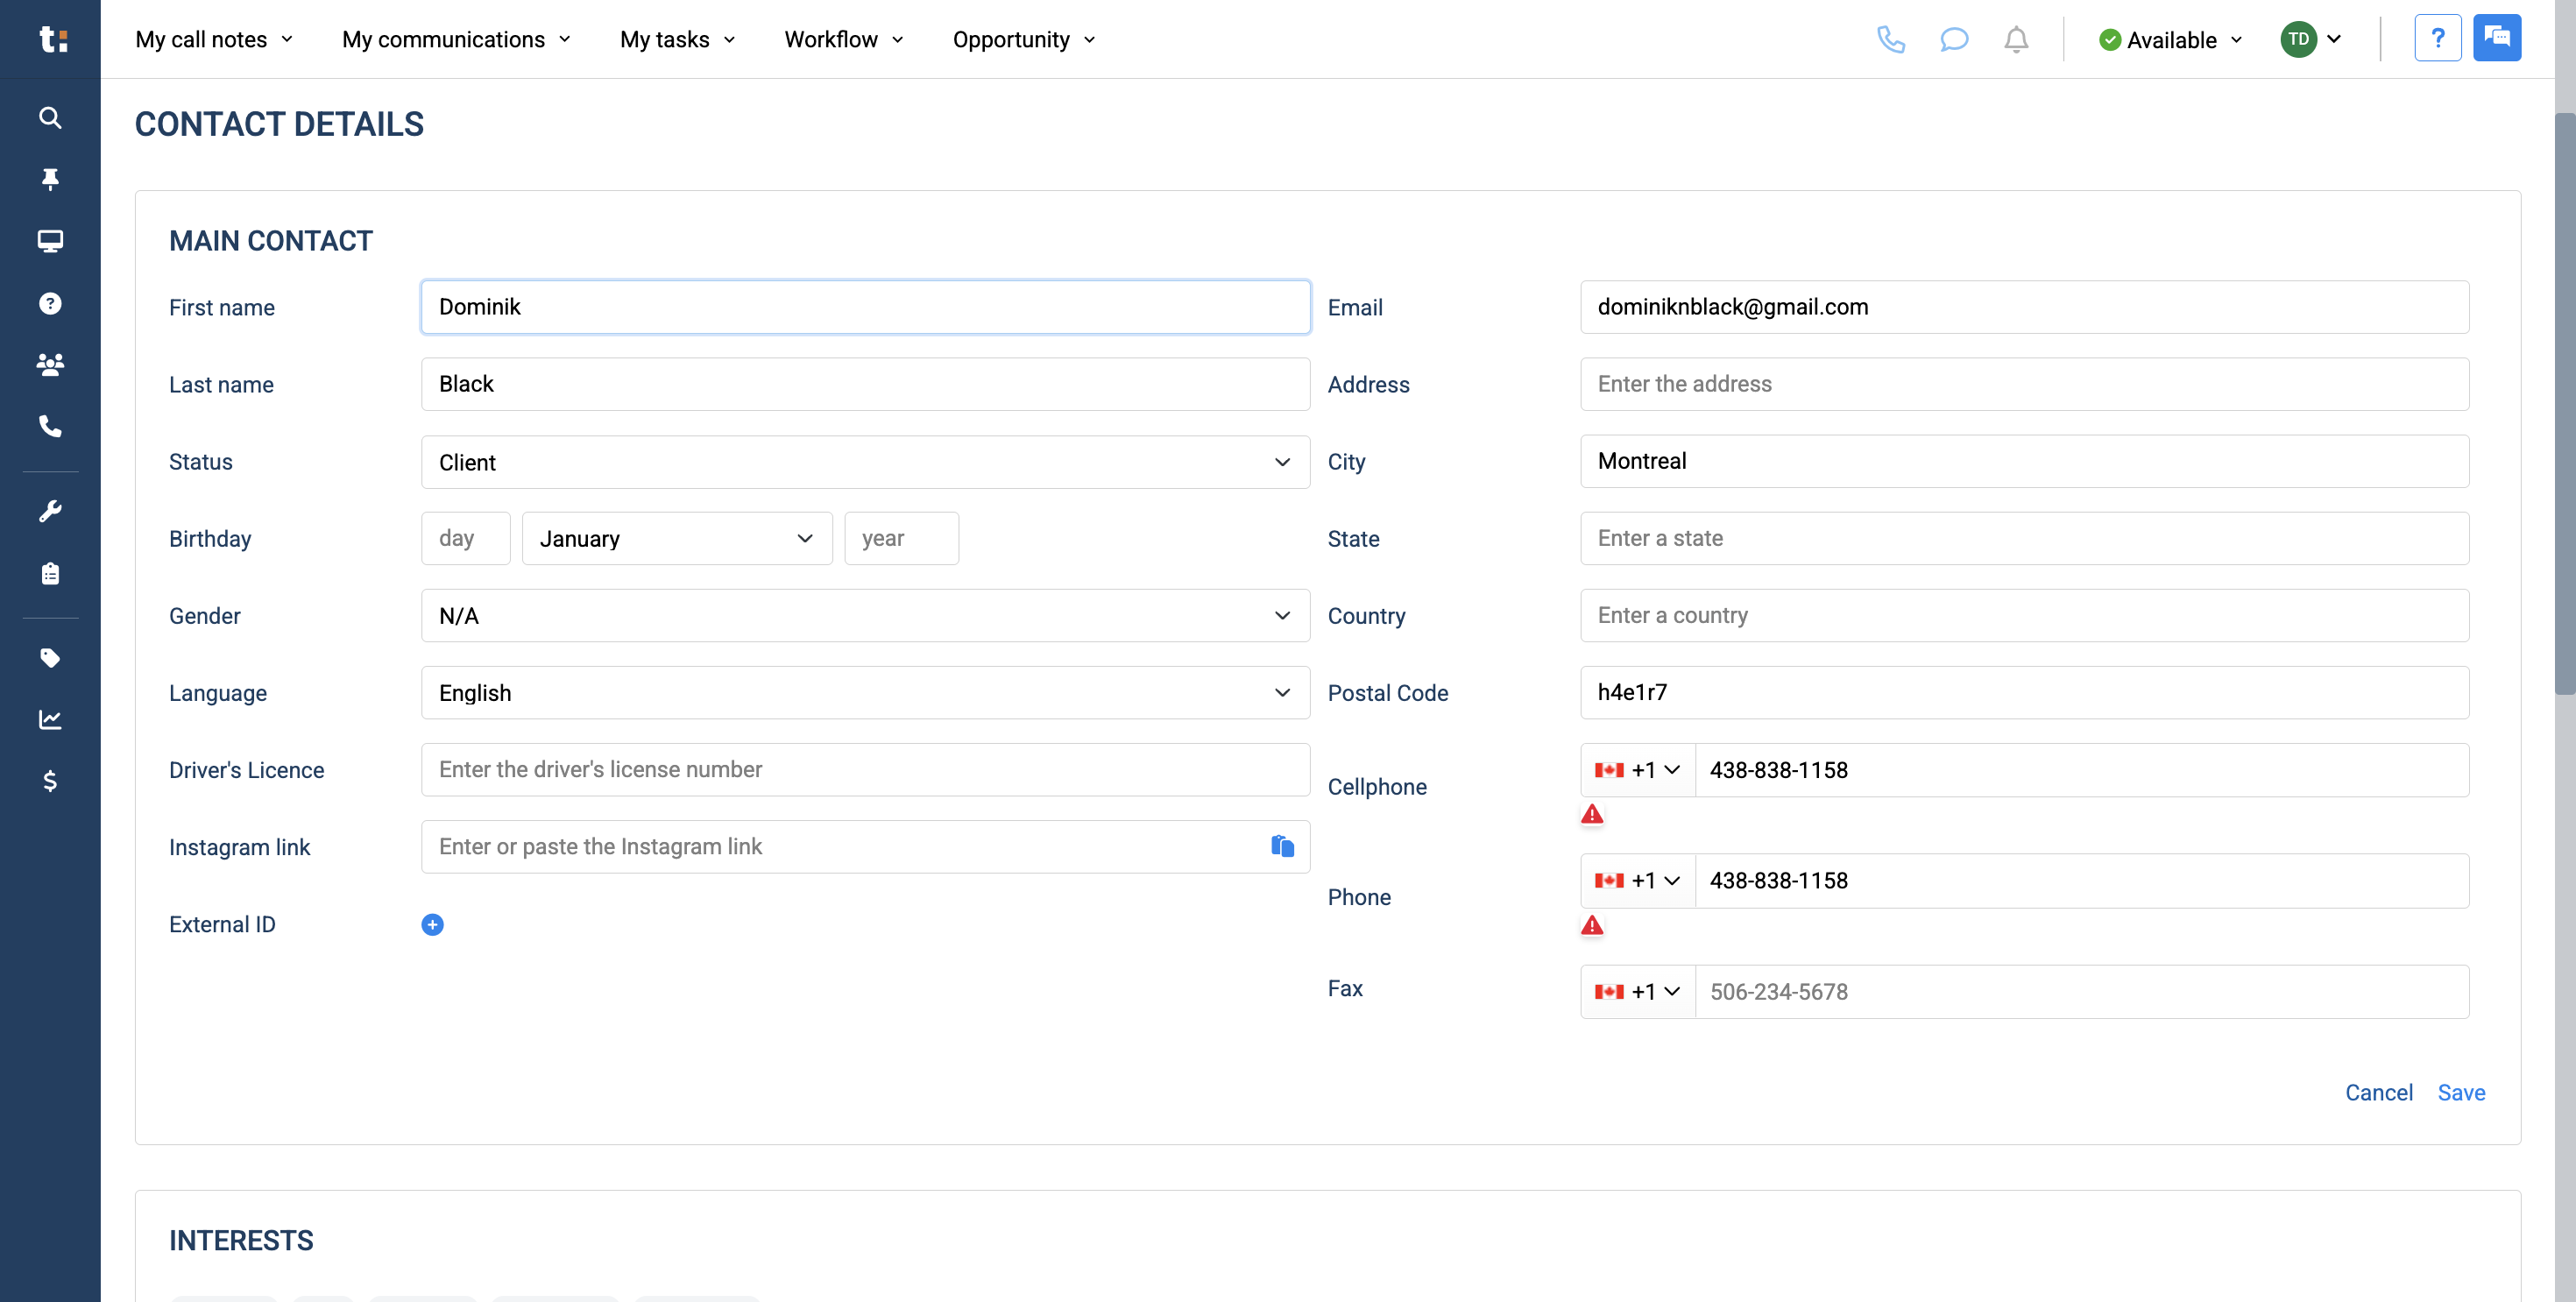
All this information should be pulled automatically from your DMS. However, if you are creating a customer from scratch, you will need to enter all this information yourself. To update any information in the main contact, click the Modify button.

3
Click modify
Step #3: Click modify

4
You can choose to either save or cancel.
Step #4: You can choose to either save or cancel.

5
If you see a green check mark next to the email, it means you can deliver emails to that address.If it is red, the email address is not working and your emails will not be delivered.
Step #5: If you see a green check mark next to the email, it means you can deliver emails to that address.If it is red, the email address is not working and your emails will not be delivered.

6
Enter any cell phone number in the cell phone field, not the phone number field. If you enter only a cell phone number in the phone field, you will not be able to send an SMS to the customer.
Step #6:  Enter any cell phone number in the cell phone field, not the phone number field. If you enter only a cell phone number in the phone field, you will not be able to send an SMS to the customer.

7
If you see a red triangle with an exclamation point next to the phone number, it means there are clients with the same phone number. That means those are duplicates. Afterward, you can use that phone number to merge two clients if needed.
Step #7: If you see a red triangle with an exclamation point next to the phone number, it means there are clients with the same phone number. That means those are duplicates. Afterward, you can use that phone number to merge two clients if needed.

8
In the Interest section, you can add any interests related to the client. This will help us improve future marketing to this customer by identifying their interests and sending them content that matches those interests.
Step #8: In the Interest section, you can add any interests related to the client. This will help us improve future marketing to this customer by identifying their interests and sending them content that matches those interests.

9
You can associate a client by clicking the "Associate a Client" button.
Step #9: You can associate a client by clicking the "Associate a Client" button.

10
To associate a client, first create the client in Traction. Then, search for their name, phone number, email, or Traction ID in the Search field.
Step #10: To associate a client, first create the client in Traction. Then, search for their name, phone number, email, or Traction ID in the Search field.

11
In Additional Contacts, you can add more contact details for the customer, such as their work contact information.
Step #11: In Additional Contacts, you can add more contact details for the customer, such as their work contact information.

12
There is also a section for instructions where you can add notes, such as "Do not contact the phone number or email linked to this additional contact."
Step #12: There is also a section for instructions where you can add notes, such as "Do not contact the phone number or email linked to this additional contact."

If you still have questions after consulting this article, please feel free to contact our support team at: support@tractiondk.zohodesk.com