
A Guide for Gareth - How to Manage Viewer Seats and Private Embeds in Glitter AI
Learn how to add viewer seats, assign roles, and securely embed or export guides in Glitter AI. Discover best practices for sharing guides via SharePoint and making content AI-searchable.
In this guide, we'll learn how to manage viewer seats and set up private embeds in Glitter AI. We'll look at how to add team members as viewers or creators, and when this is useful. We'll also cover how to securely embed guides in platforms like SharePoint, and how to export guides for use with AI systems.
Let's get started
Hi, Gareth, I thought I would explain by showing, rather than just writing.
You asked two questions: one about private embeds and another about viewer seats. I'll start by quickly showing you the viewer seats.
Viewer Seats
I'm logged into Glitter AI. If I go to My Team, I can add people to my team.
People can have one of two roles: Creators (also called Editors) or Viewers
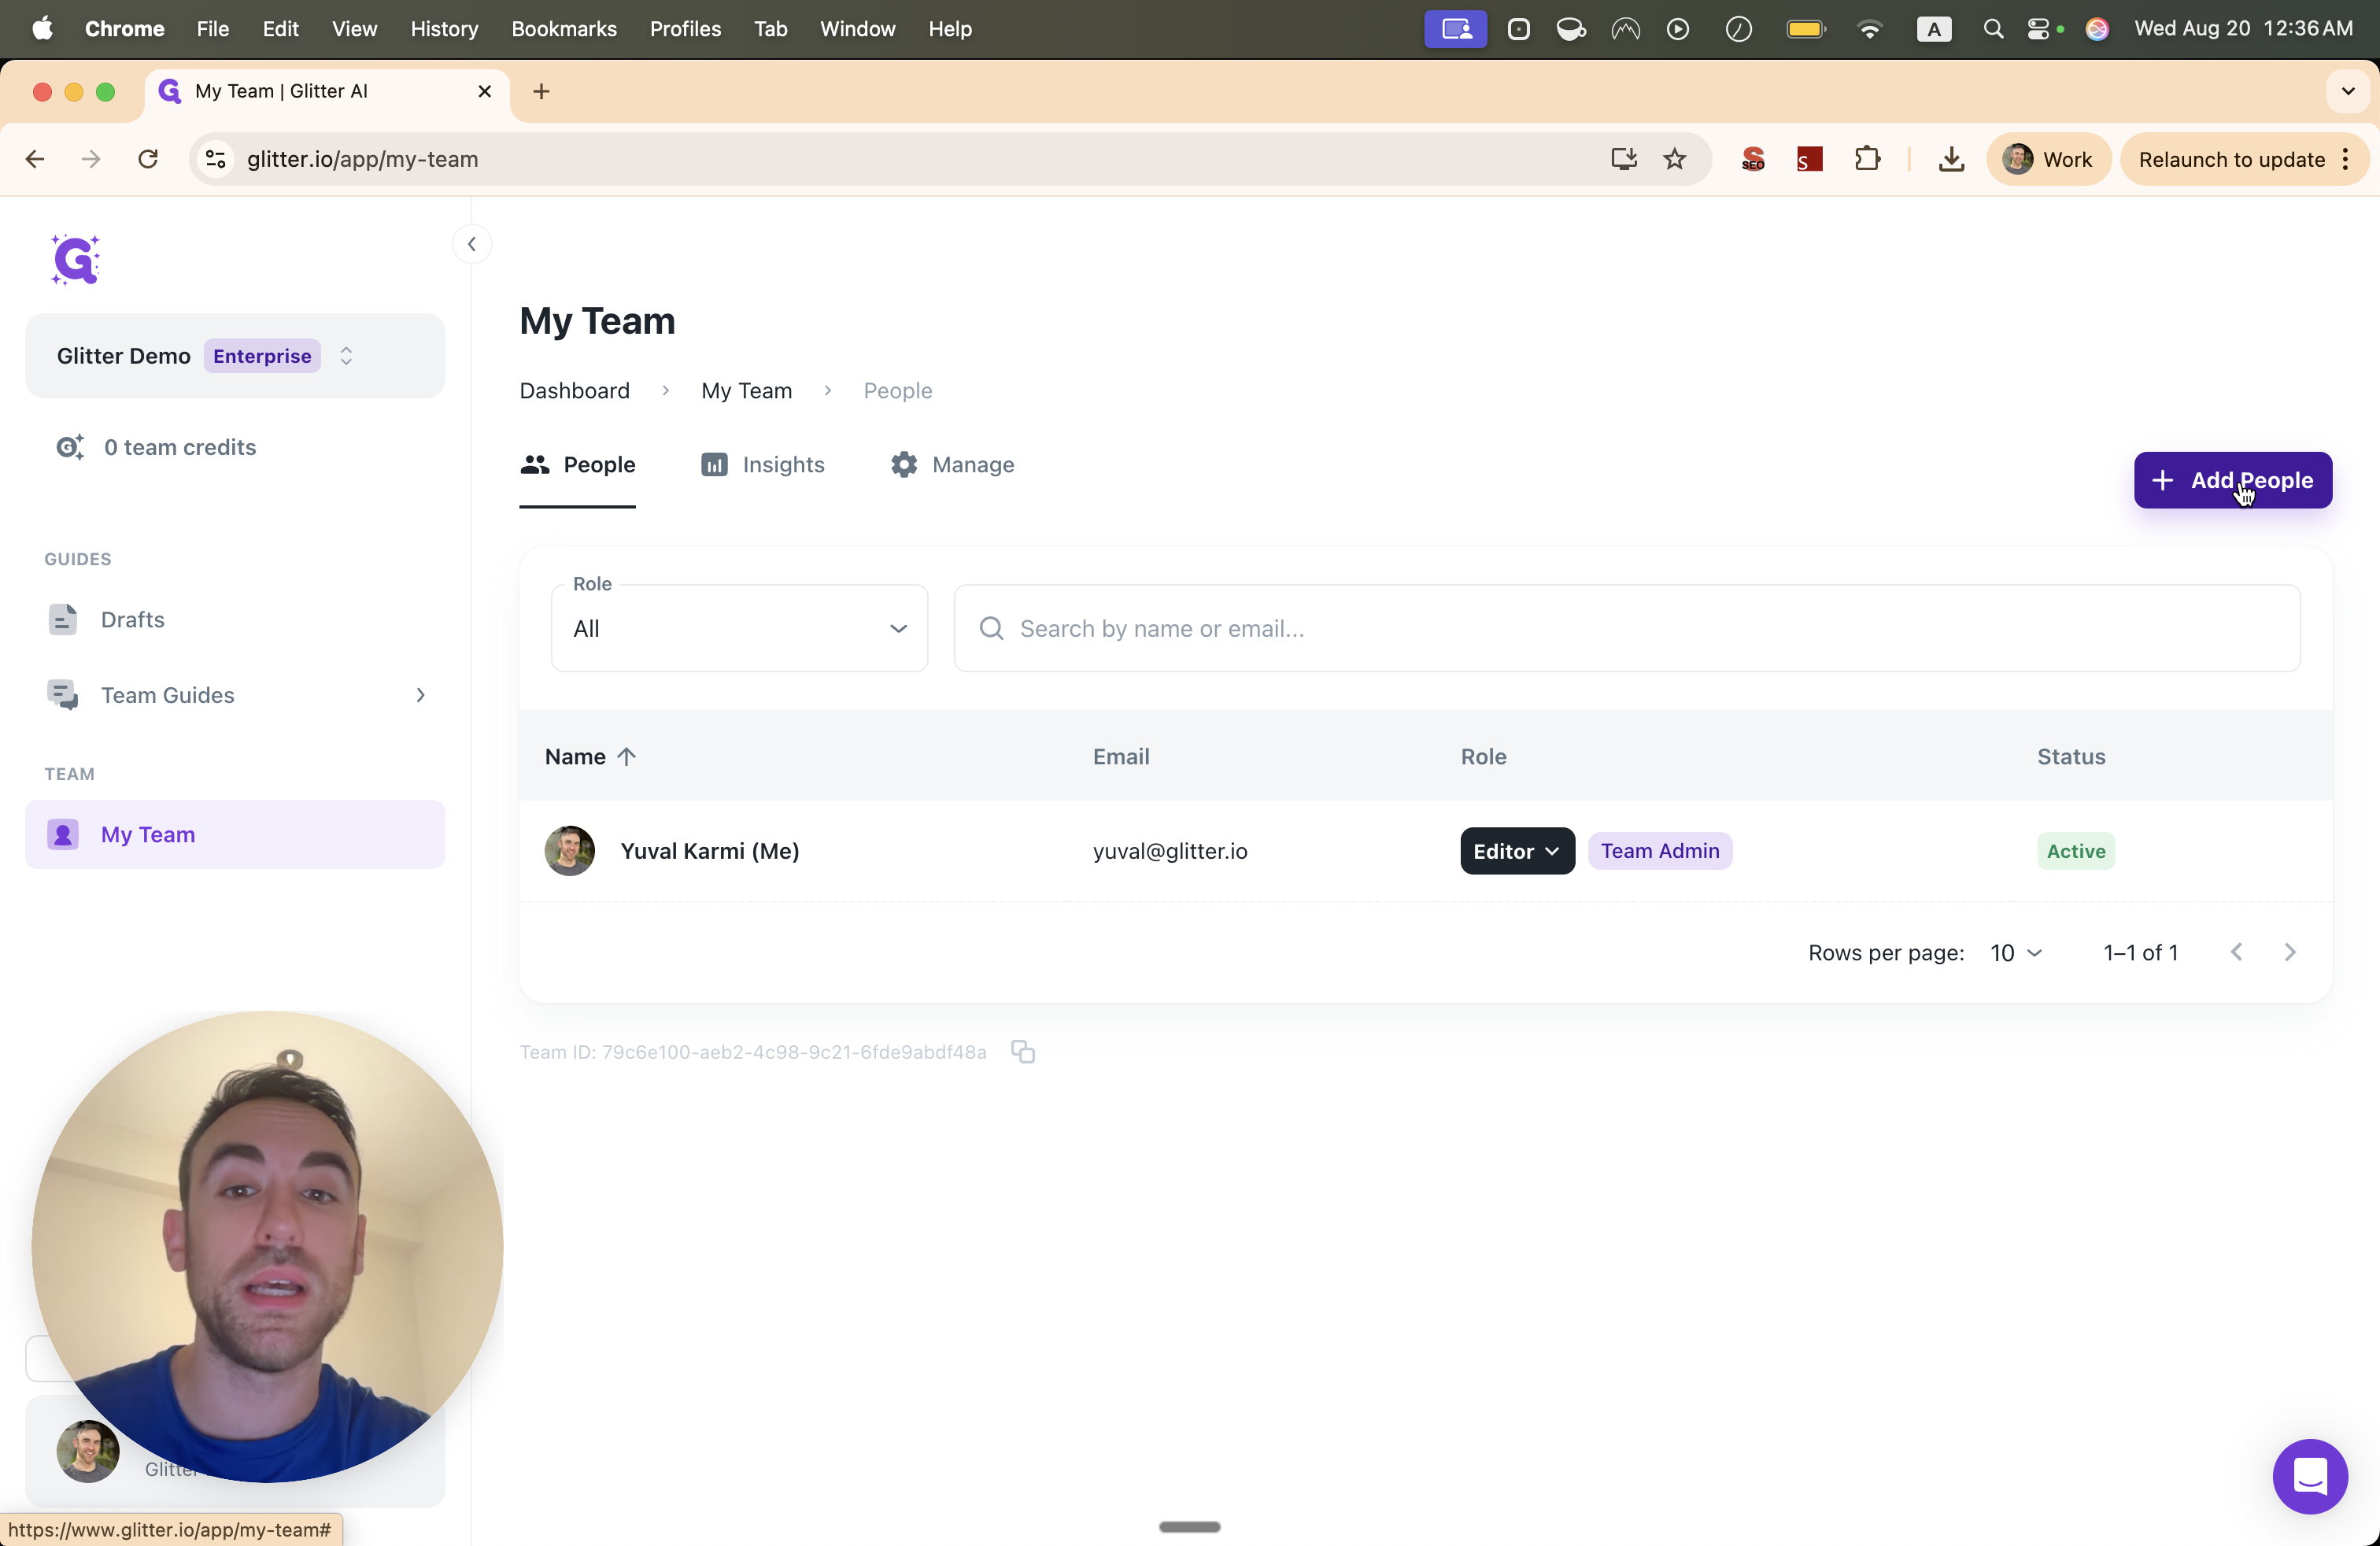
I can enter the person's email, such as john@example.com. I can then choose whether to make them a viewer or a creator.

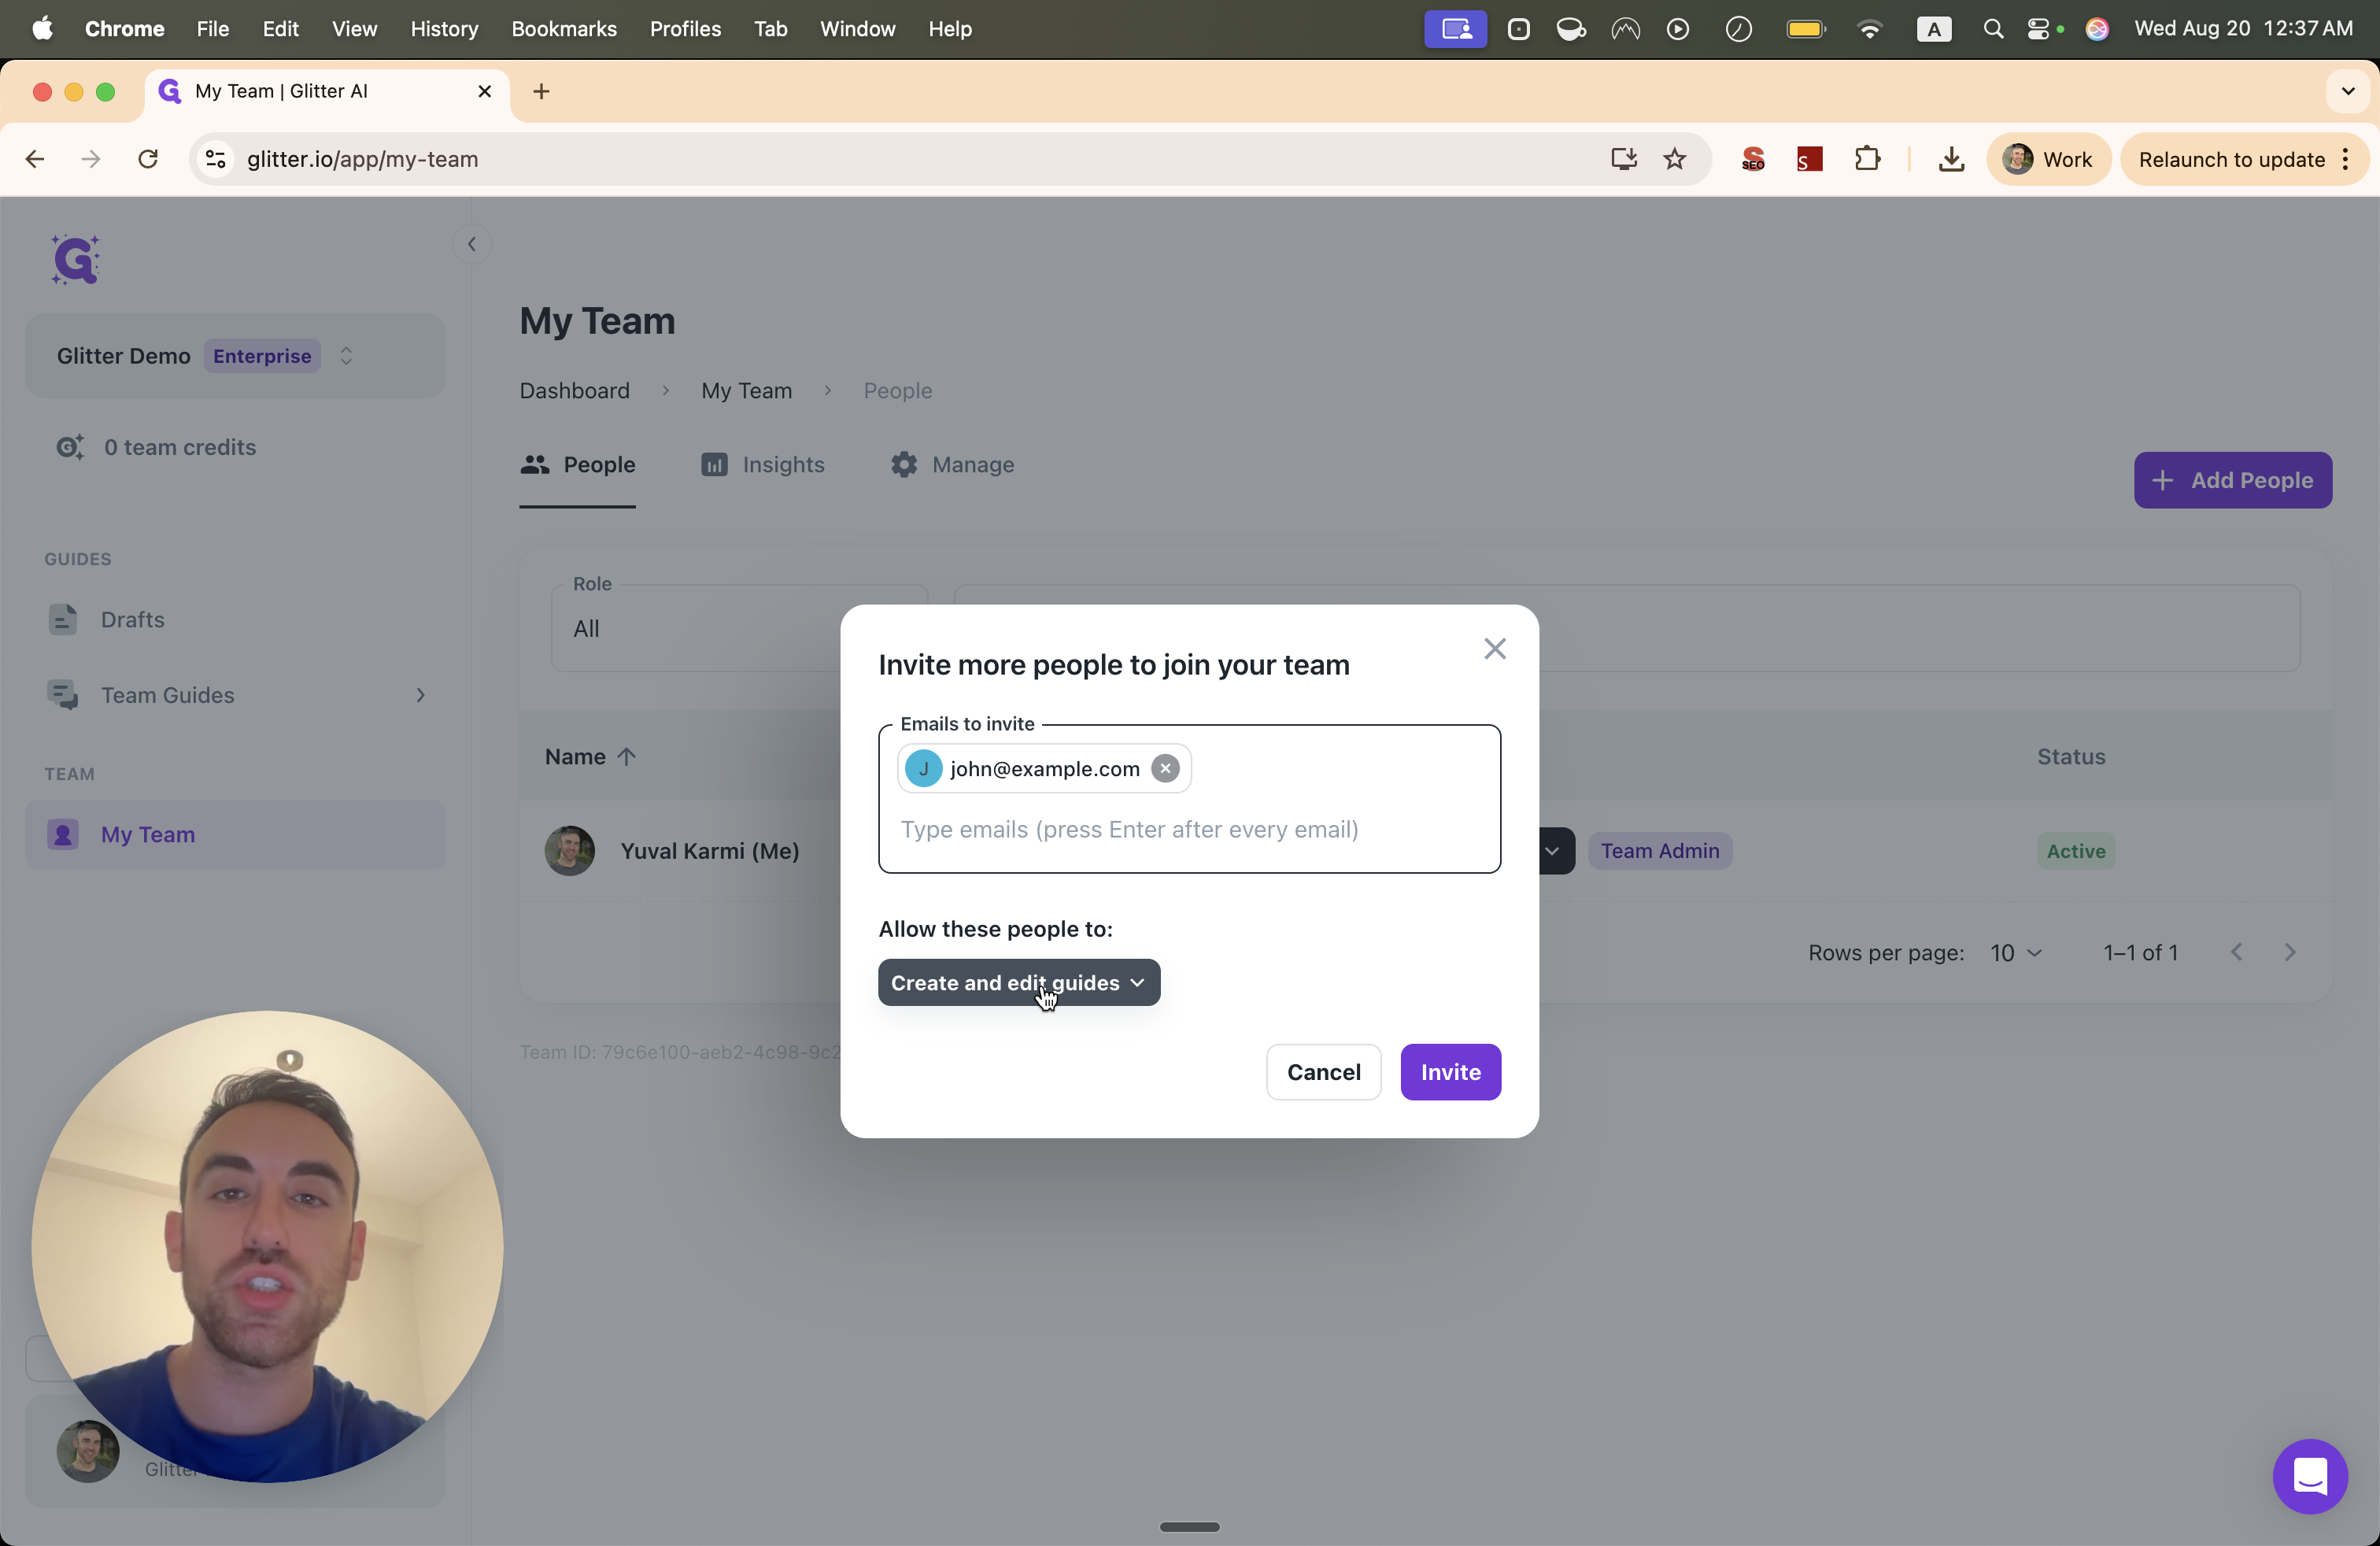
This is only relevant if you want people to sign in to the Glitter platform to view the guides. If you only plan to embed or export to SharePoint, this may not be relevant.
Private Embeds
In Glitter, you can export a guide to HTML, as you planned.
However, if you want an AI system to read it, Markdown is a better format. That content stays there, but it doesn't update automatically when you update a Glitter guide.
It does not have a video. For example, I am recording a video along with the guide and can create short video clip steps as well.
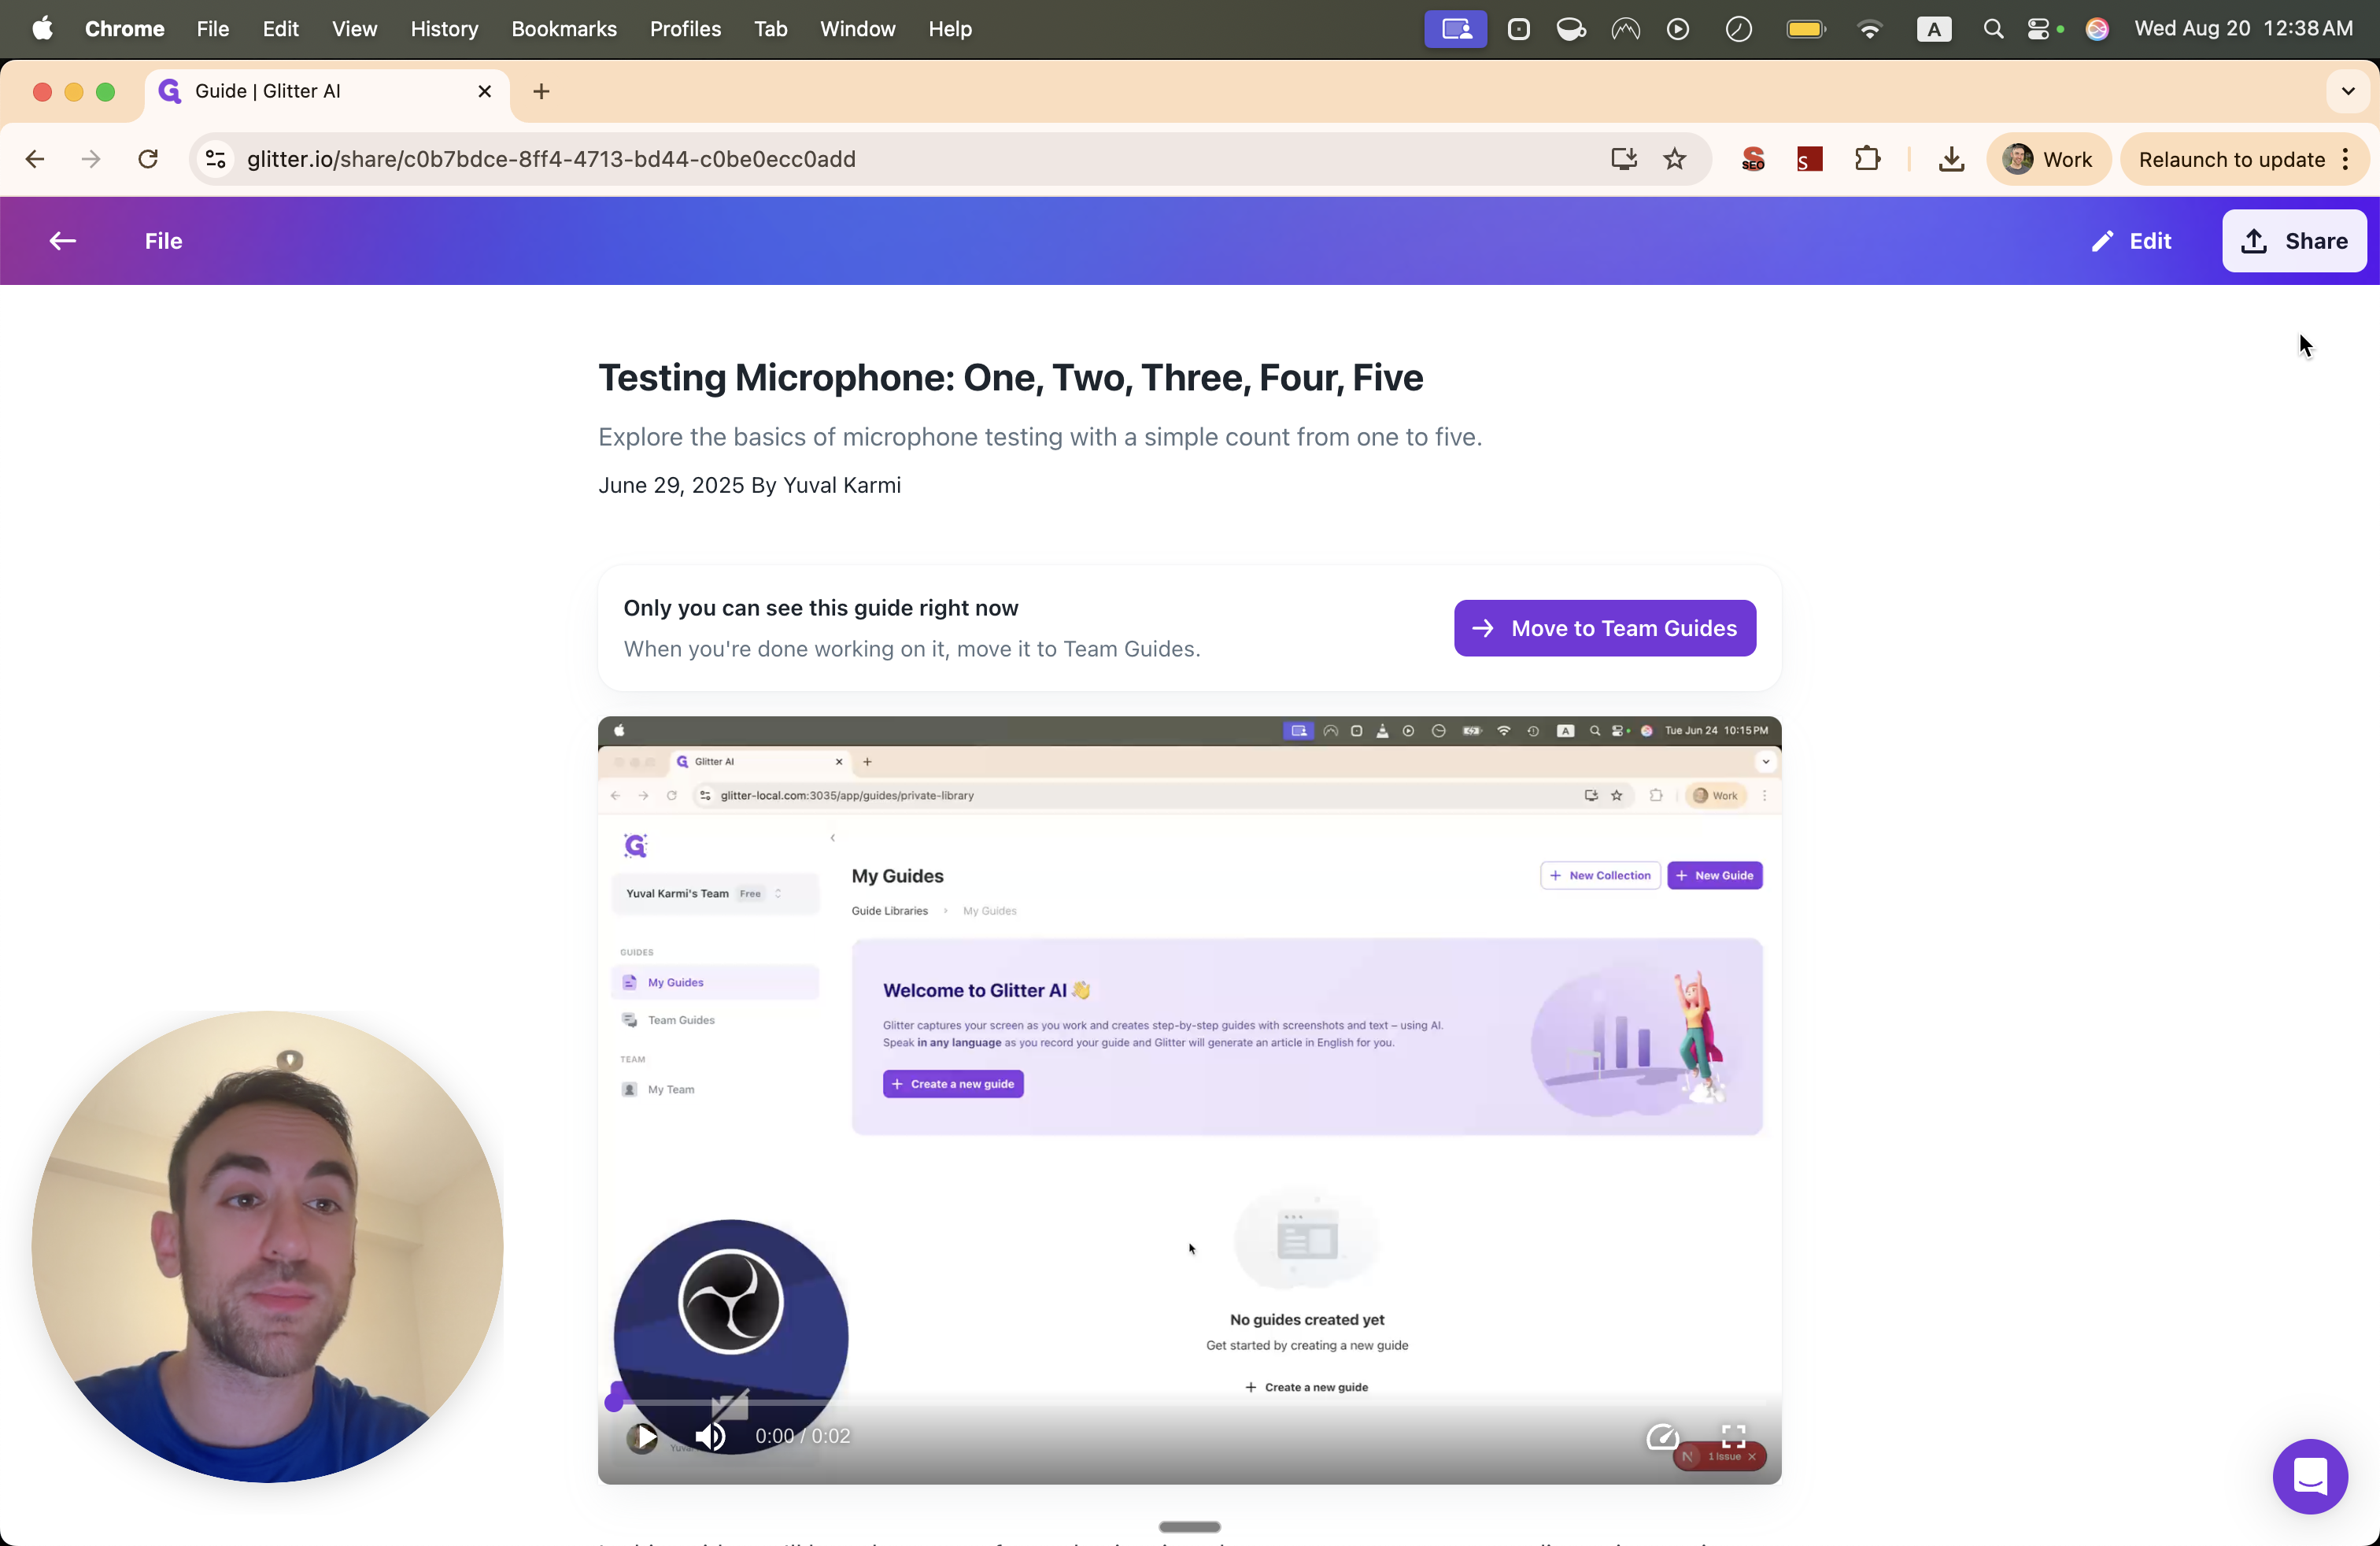
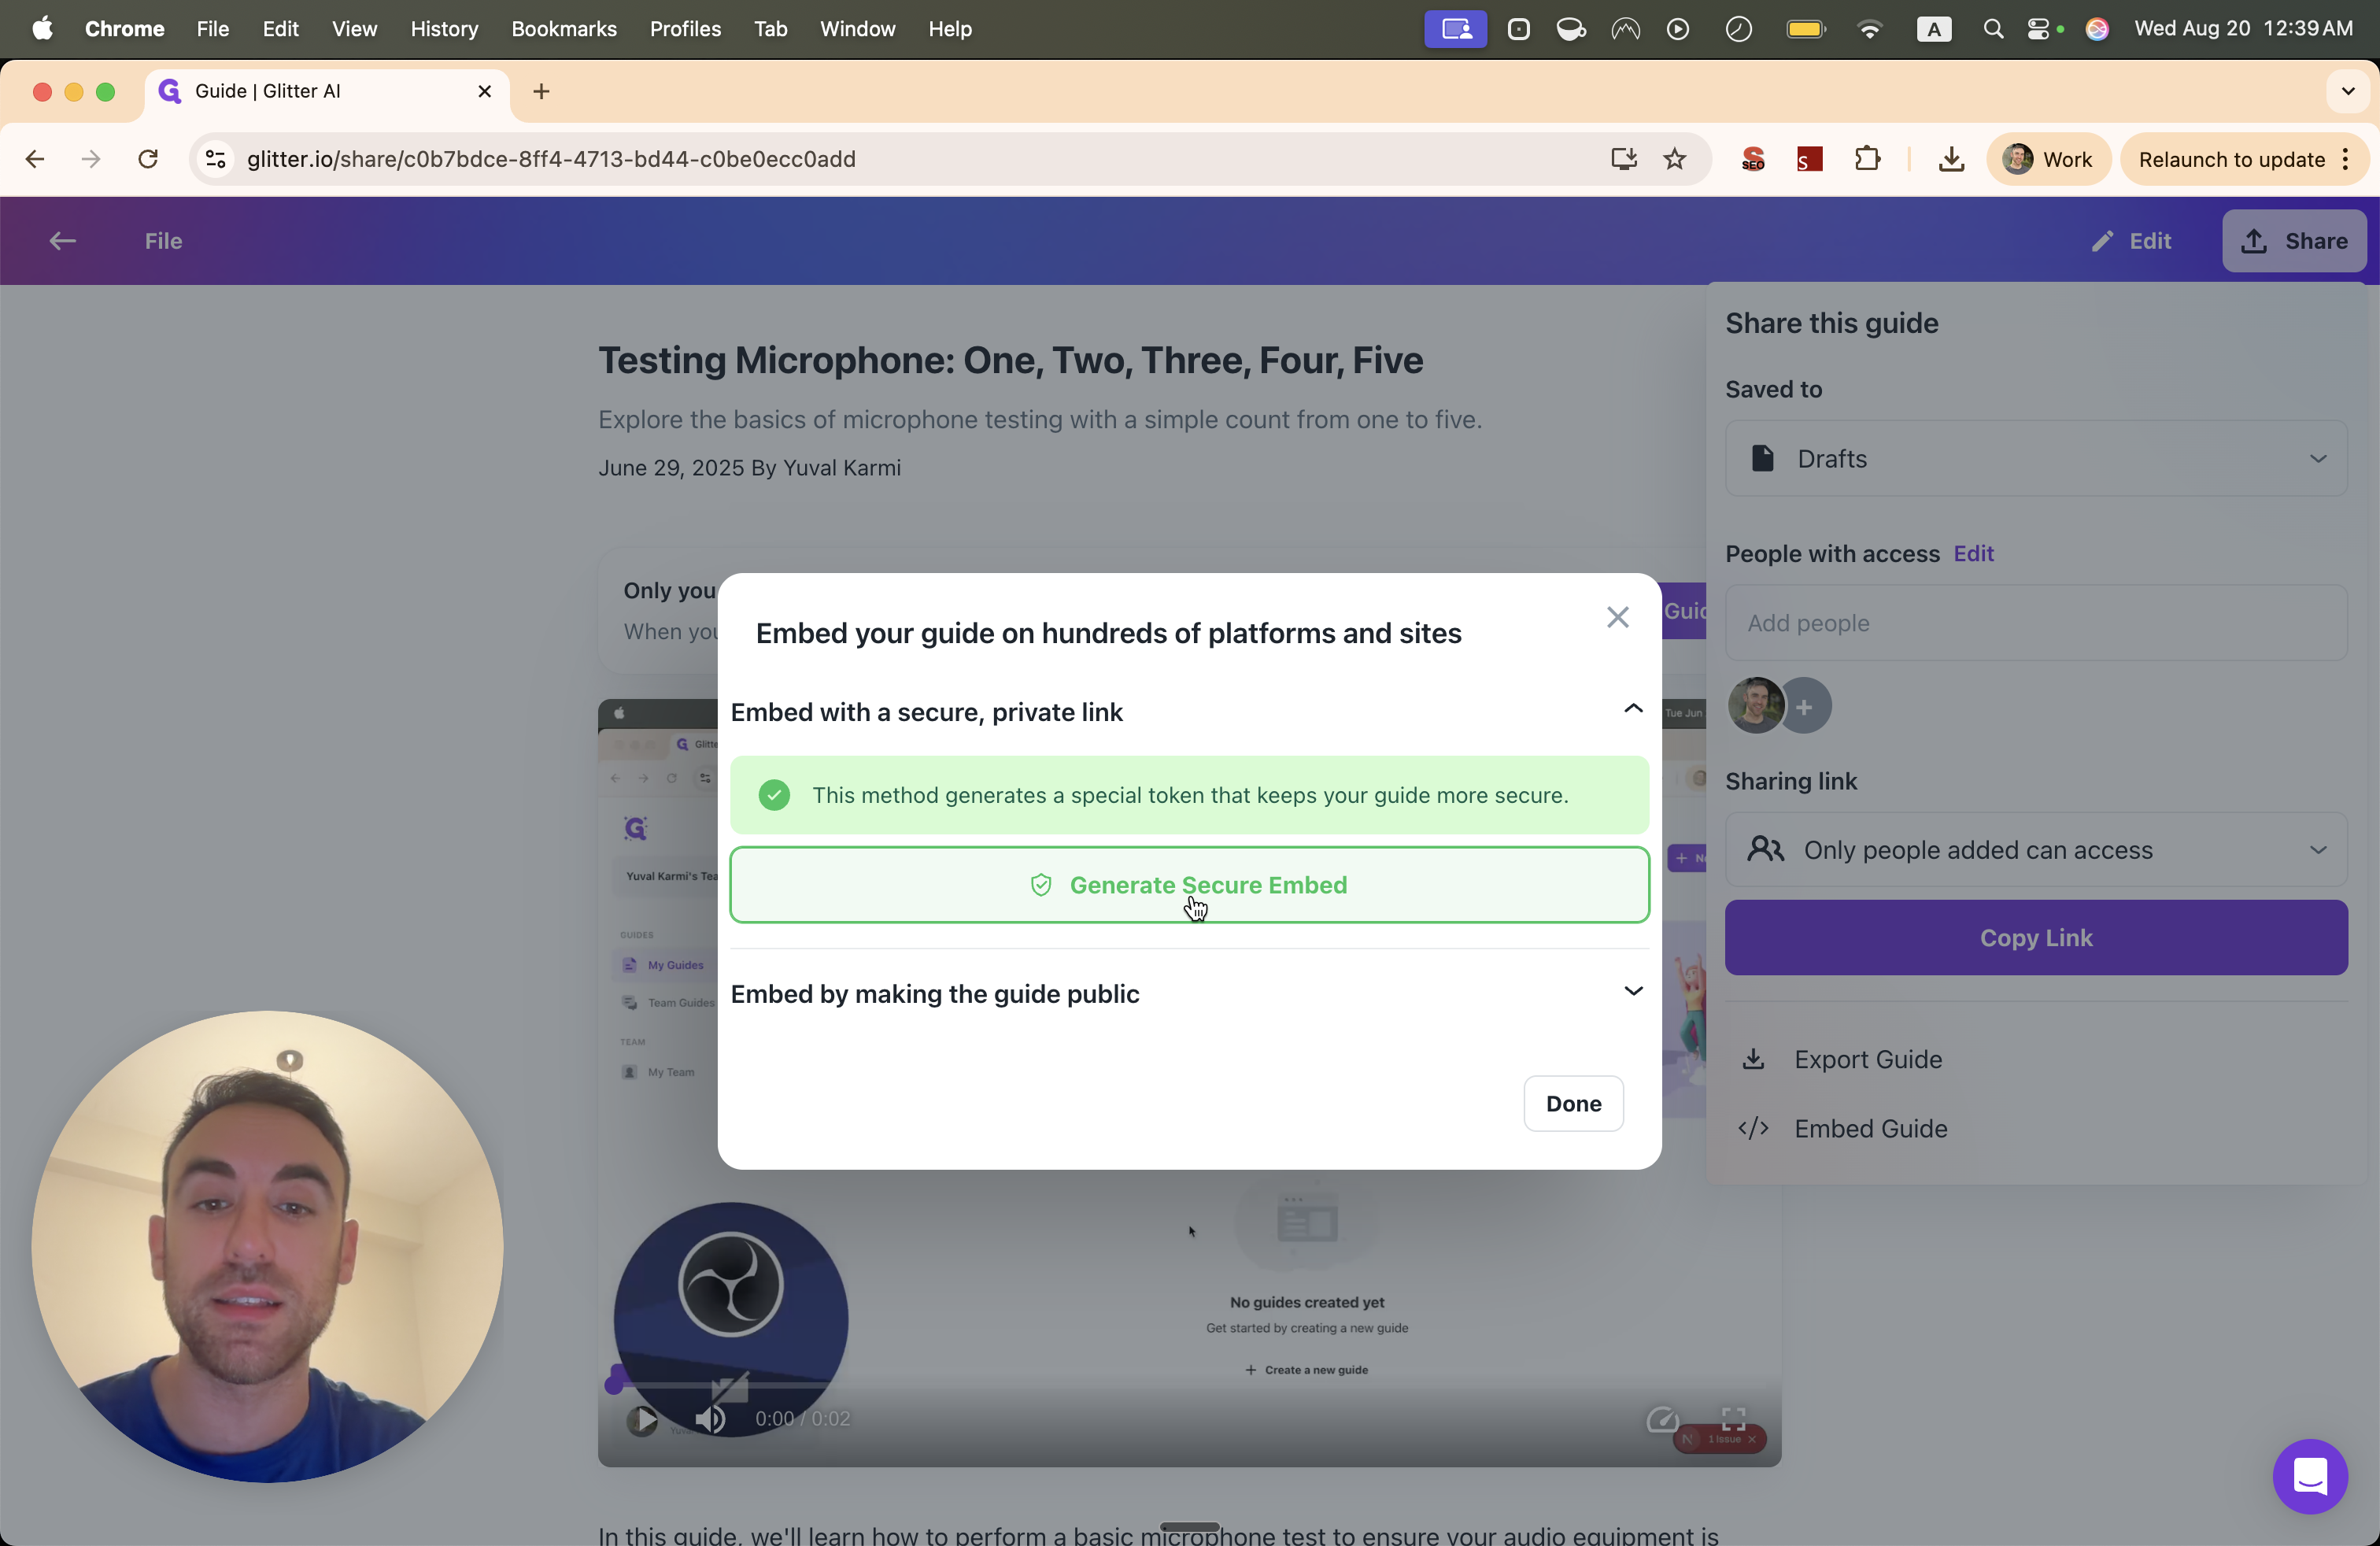
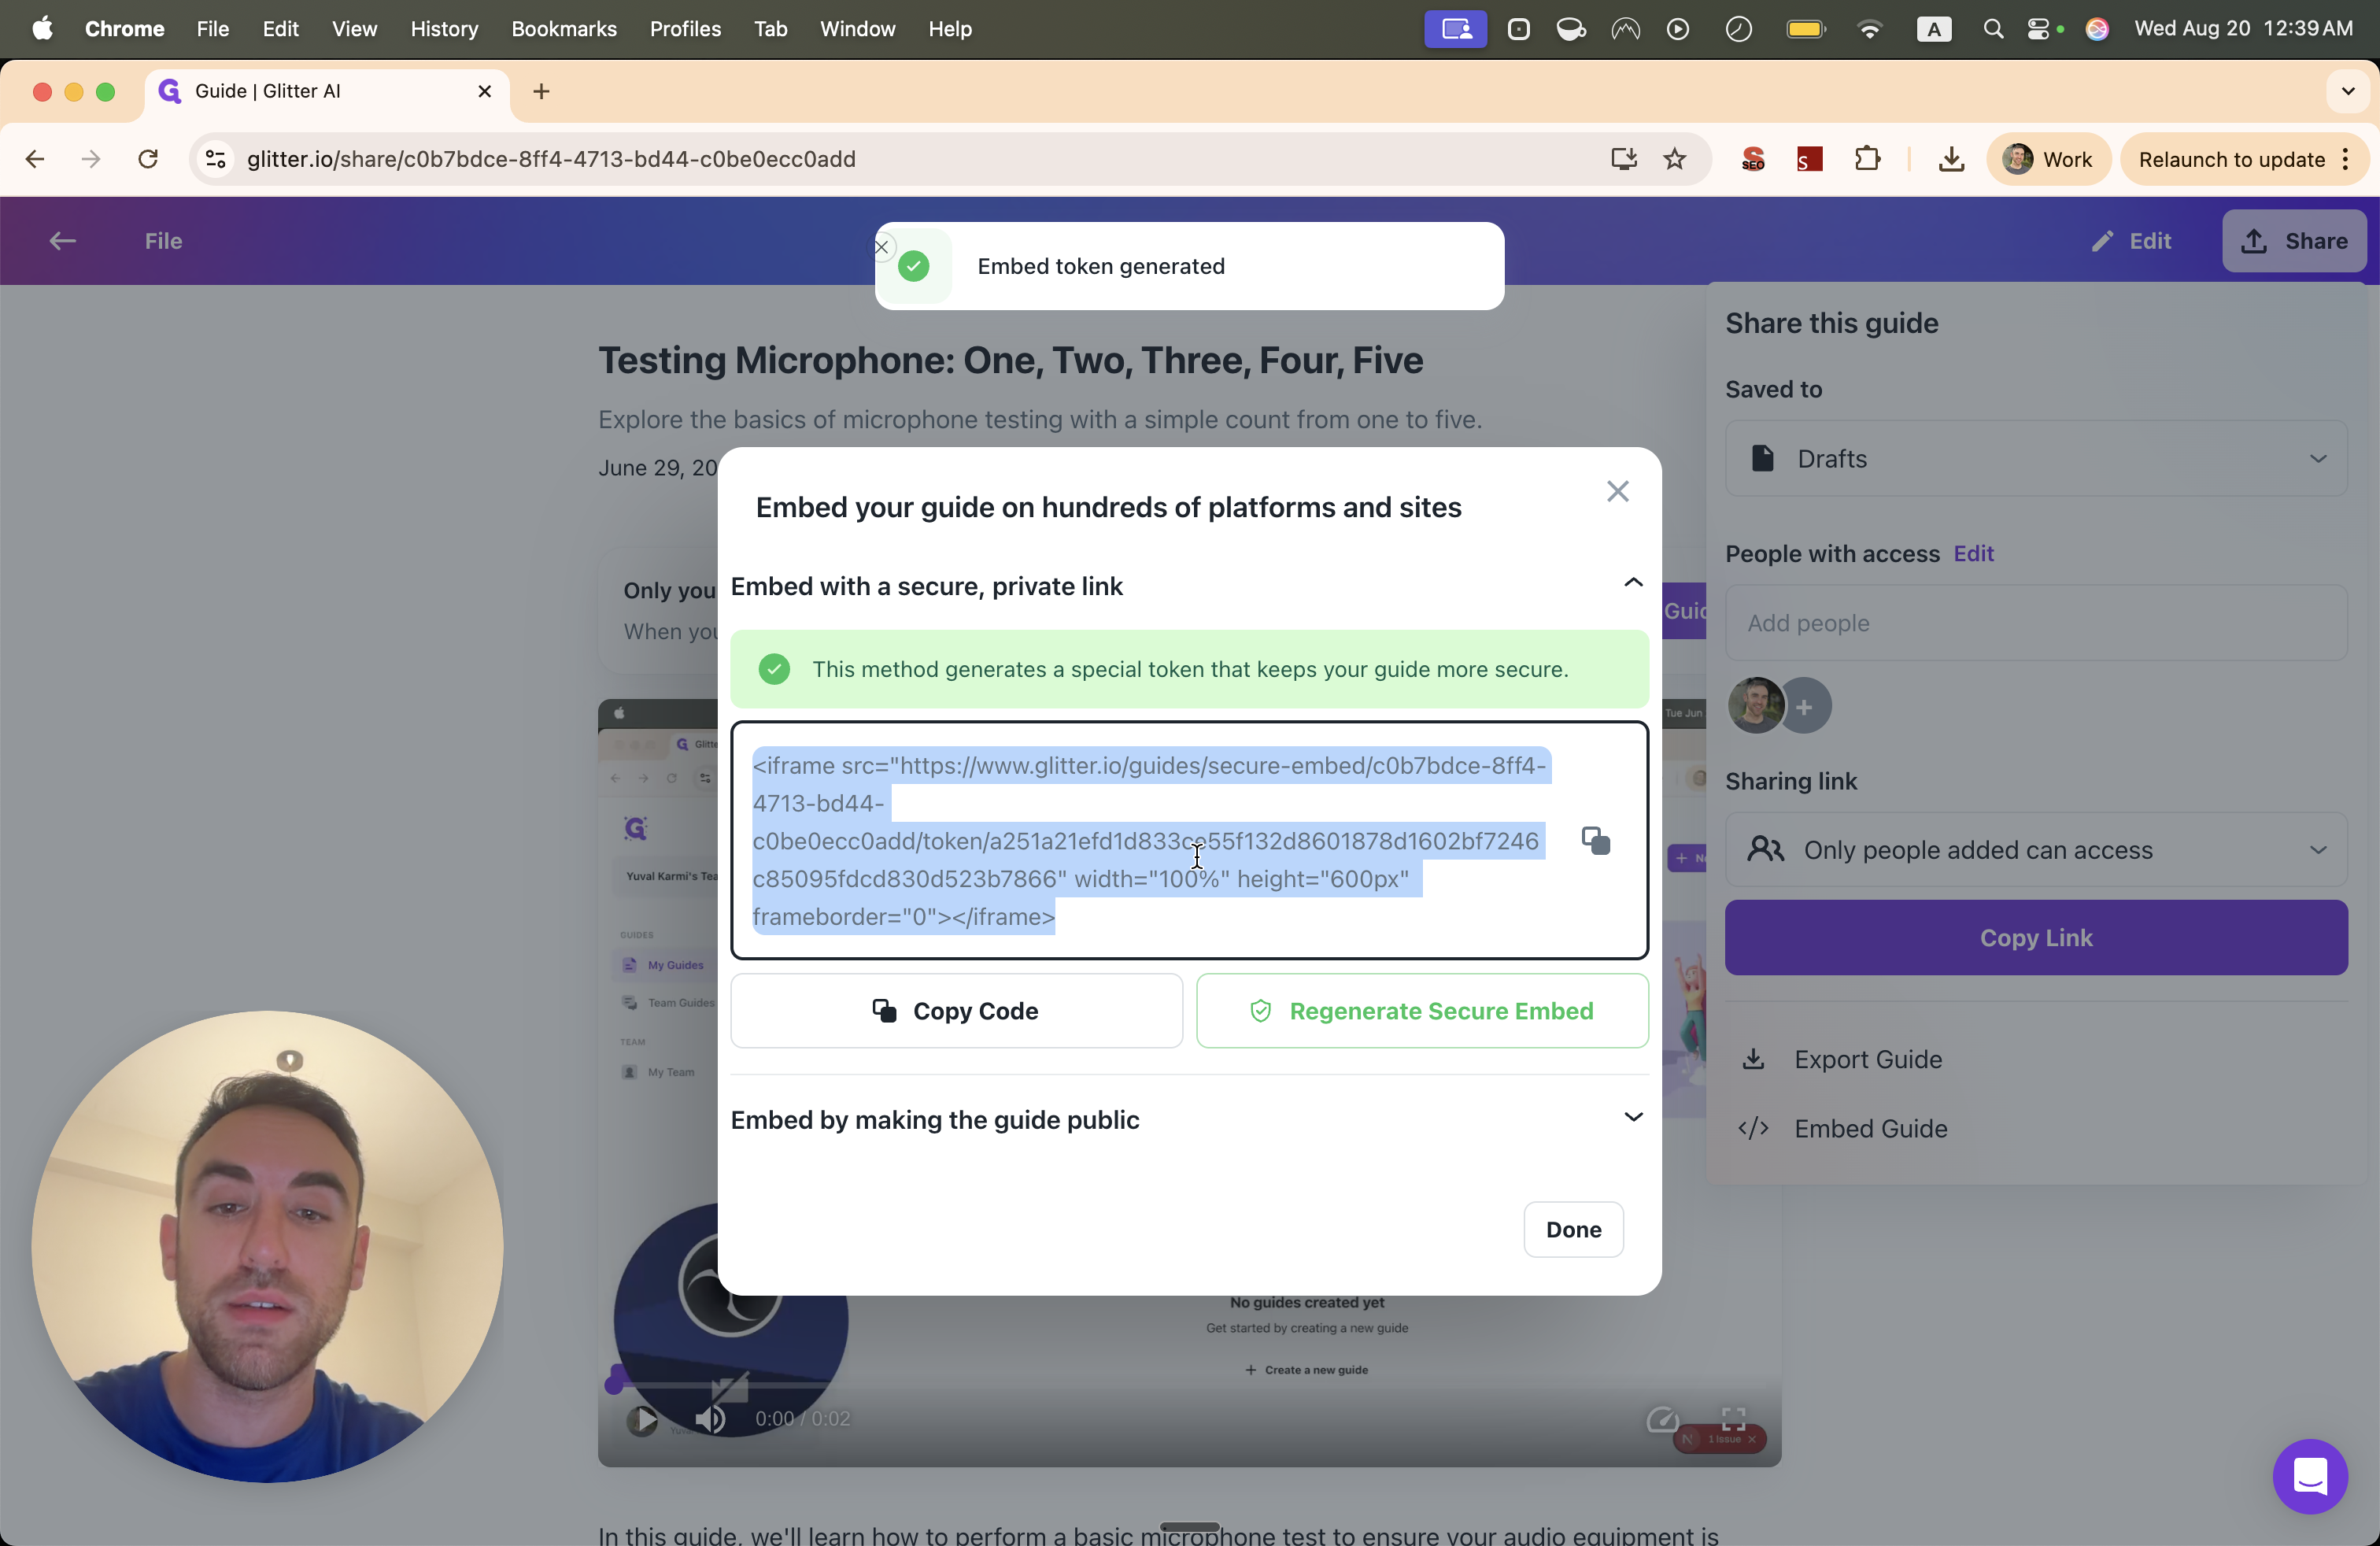
Go ahead and include one. This will be a video clip step. You'll see. If I click on Share, I can also embed a guide. You can do this publicly, as most of my competitors do, or securely by generating a password for the guide. This allows you to embed it using an iframe in platforms like SharePoint, so all dynamic features, such as video steps or attached videos, are also displayed.
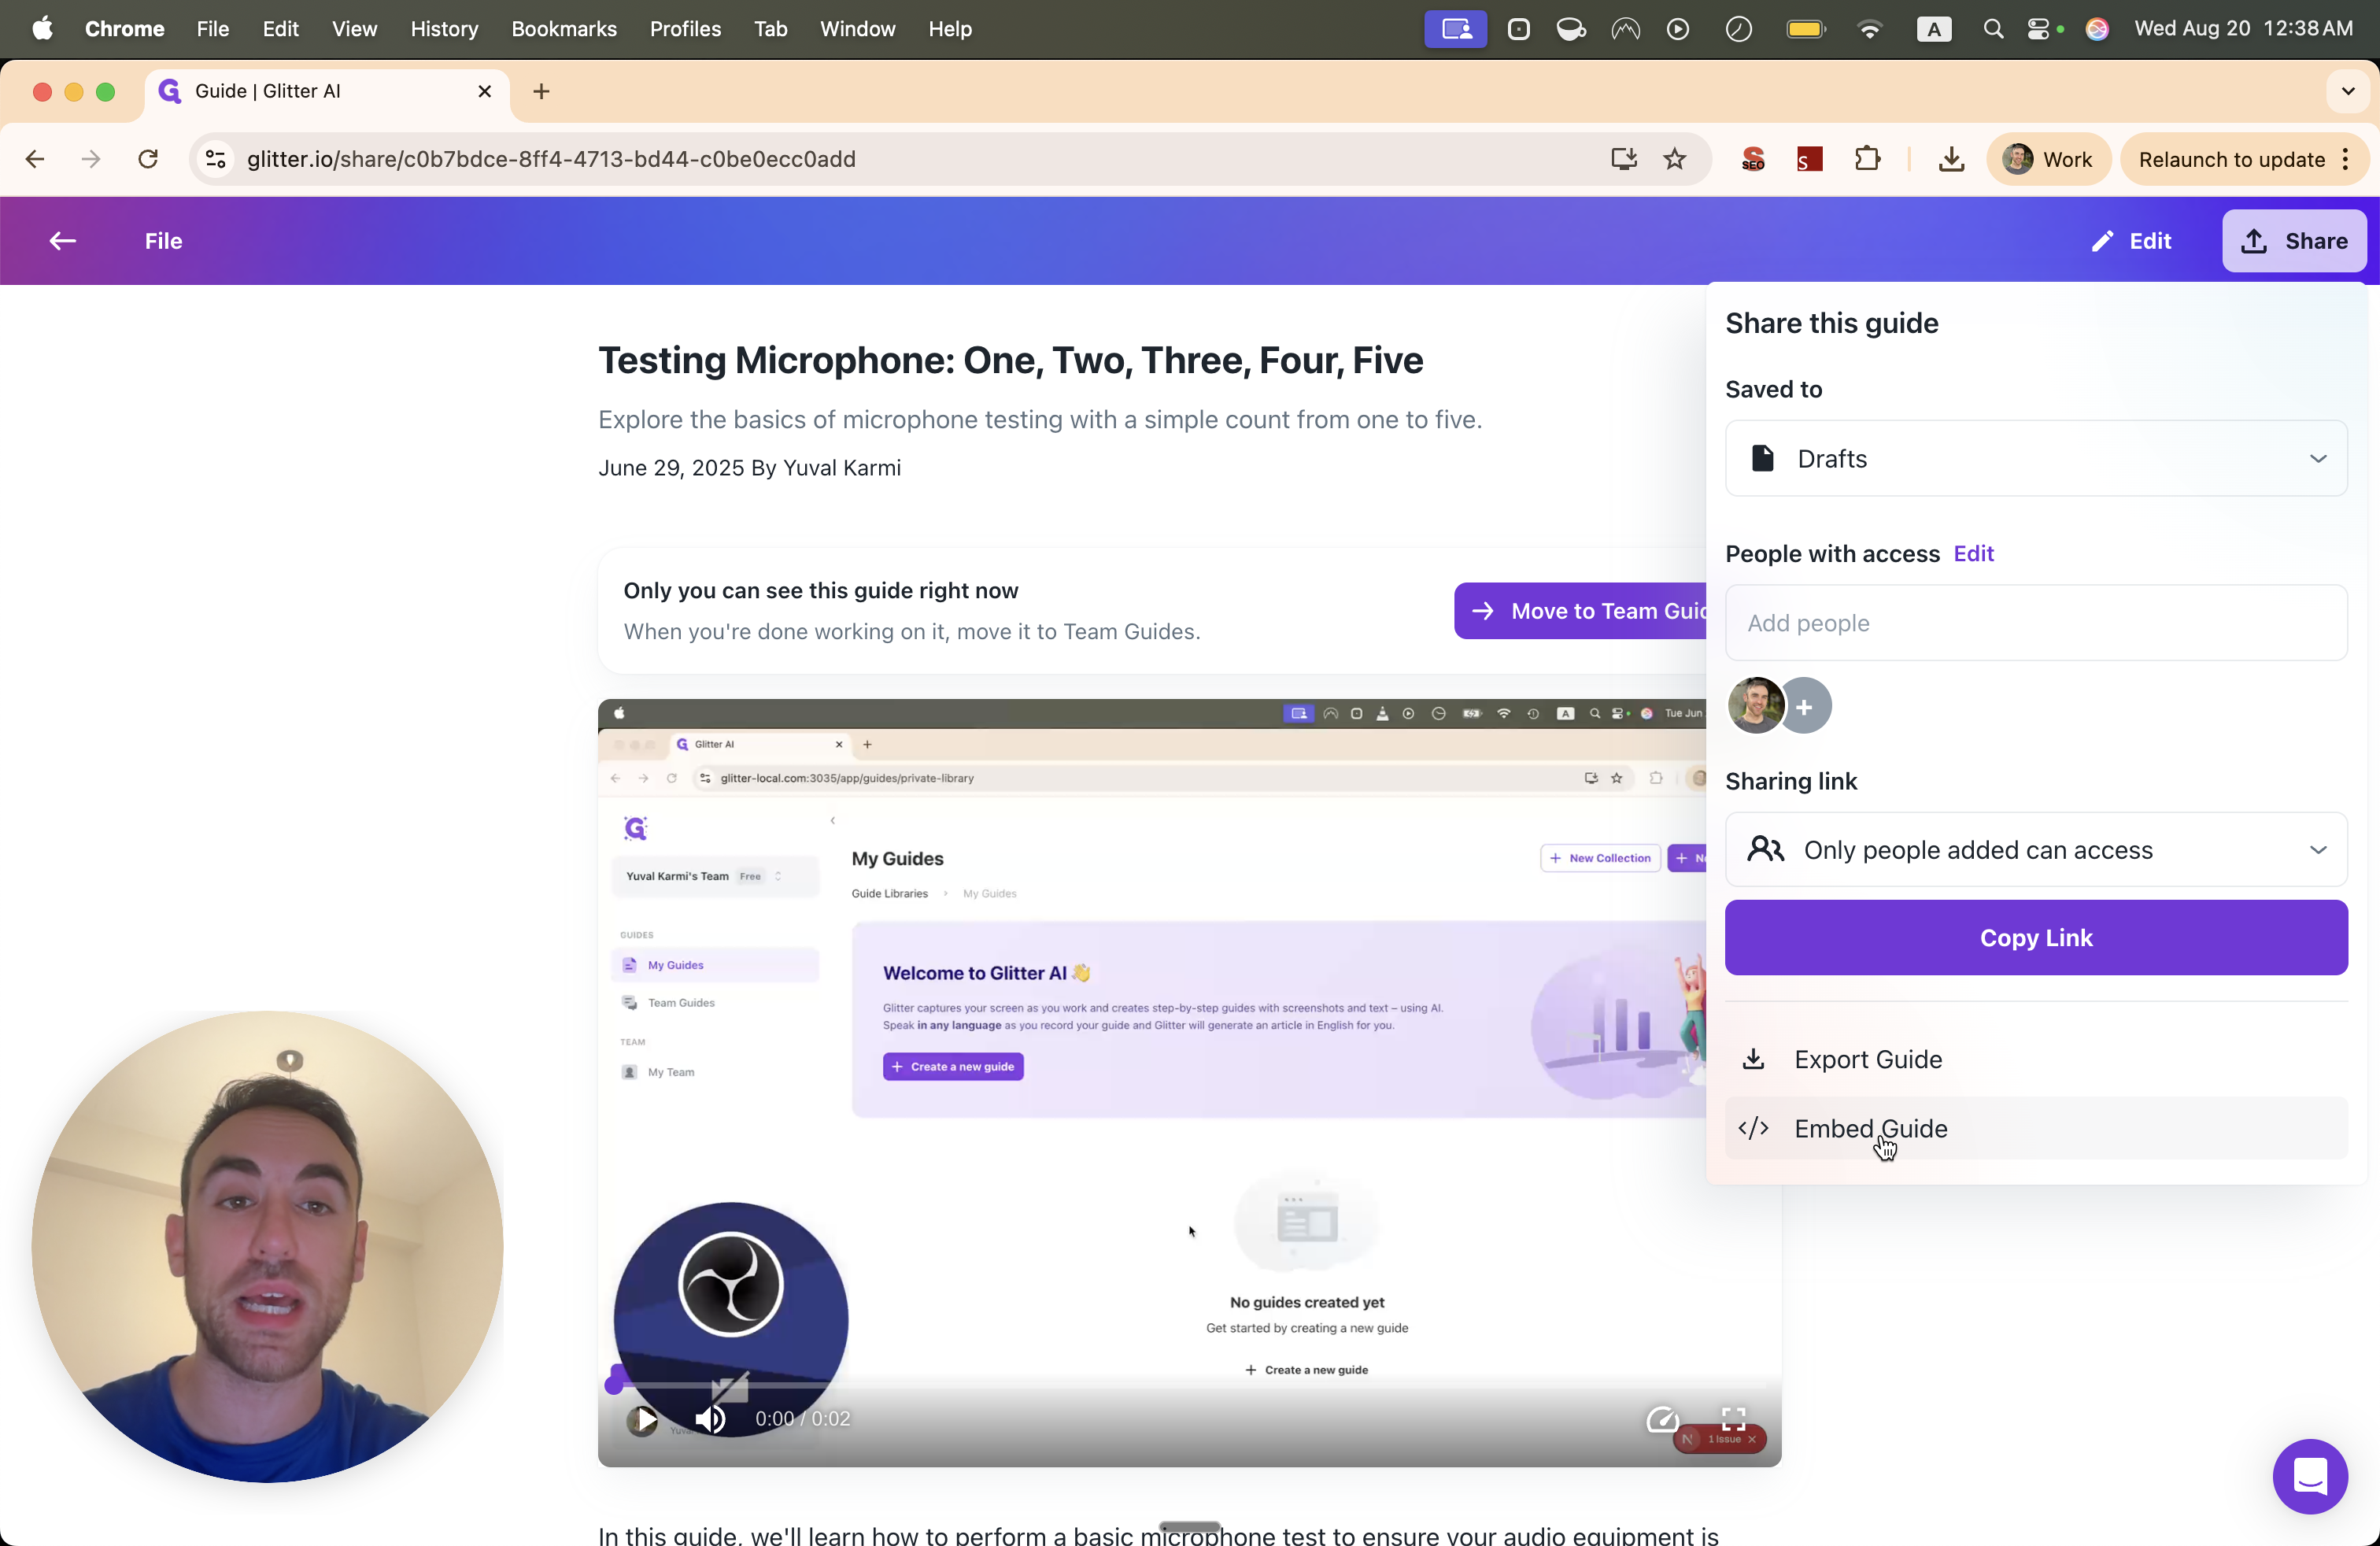
You can also void the password if the link is leaked to someone.
I can click on Generate Secure Embed to get a code. I would then paste this code into SharePoint.
This way, any changes I make to the guide will automatically sync to SharePoint.
To make the AI system functional and searchable, you can go to Export Guide and export your work. I recommend exporting as Markdown so you can easily copy it.
I hope this helps answer your questions. If you have more, feel free to write back. I'm happy to answer any further questions.