How to Manage WPForms on the WordPress Open Doors Website: Premium and Standard Barn Door Enquiry Forms
Learn how to edit, manage, and update the Premium and Standard Barn Door Enquiry Forms using the WPForms plugin on the WordPress Open Doors website. Step-by-step instructions for editing fields, changing notification emails, and viewing form entries.
In this guide, we'll learn how to manage and edit enquiry forms using the WPForms plugin on the WordPress Open Doors website. We will focus on the Premium Barn Door Enquiry Form, including how to add or edit fields, change notification email addresses, and view submitted entries. This process helps ensure enquiries are directed to the correct email and that form data is easy to manage.
Let's get started
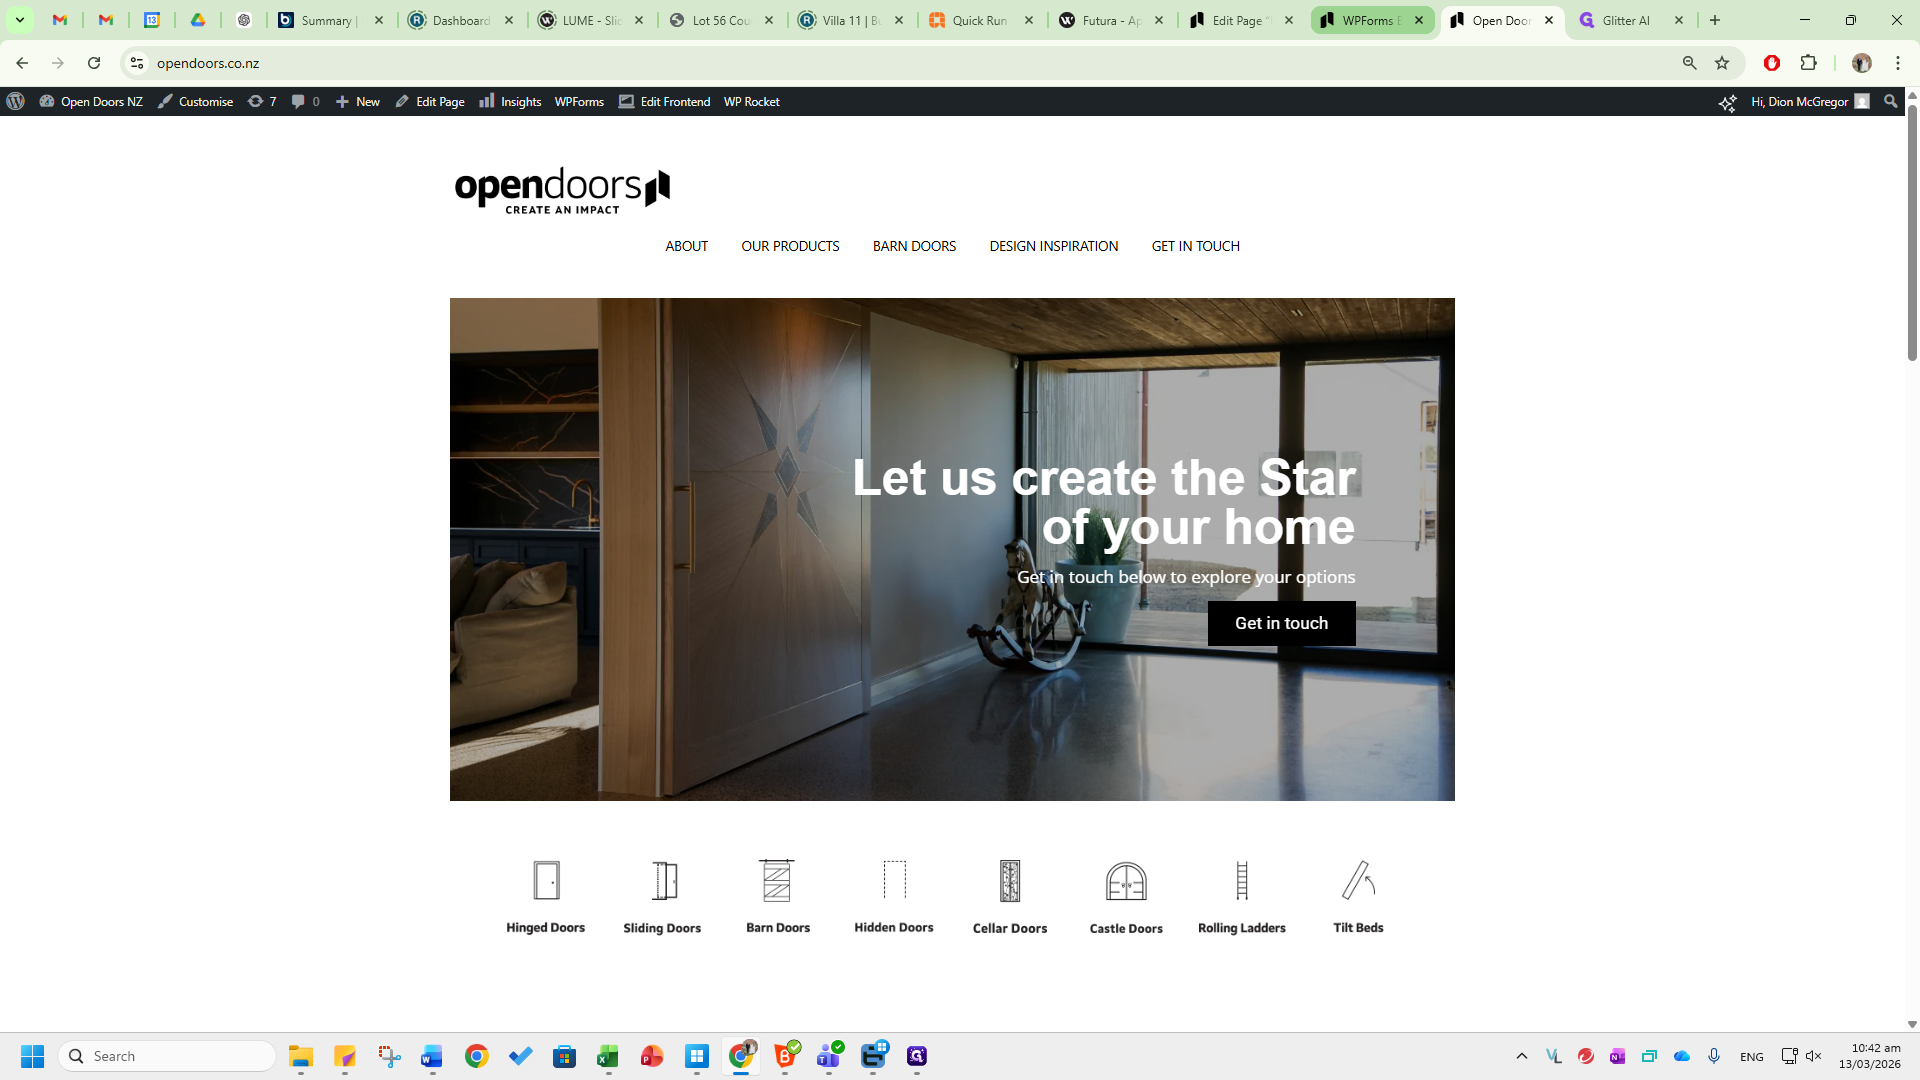
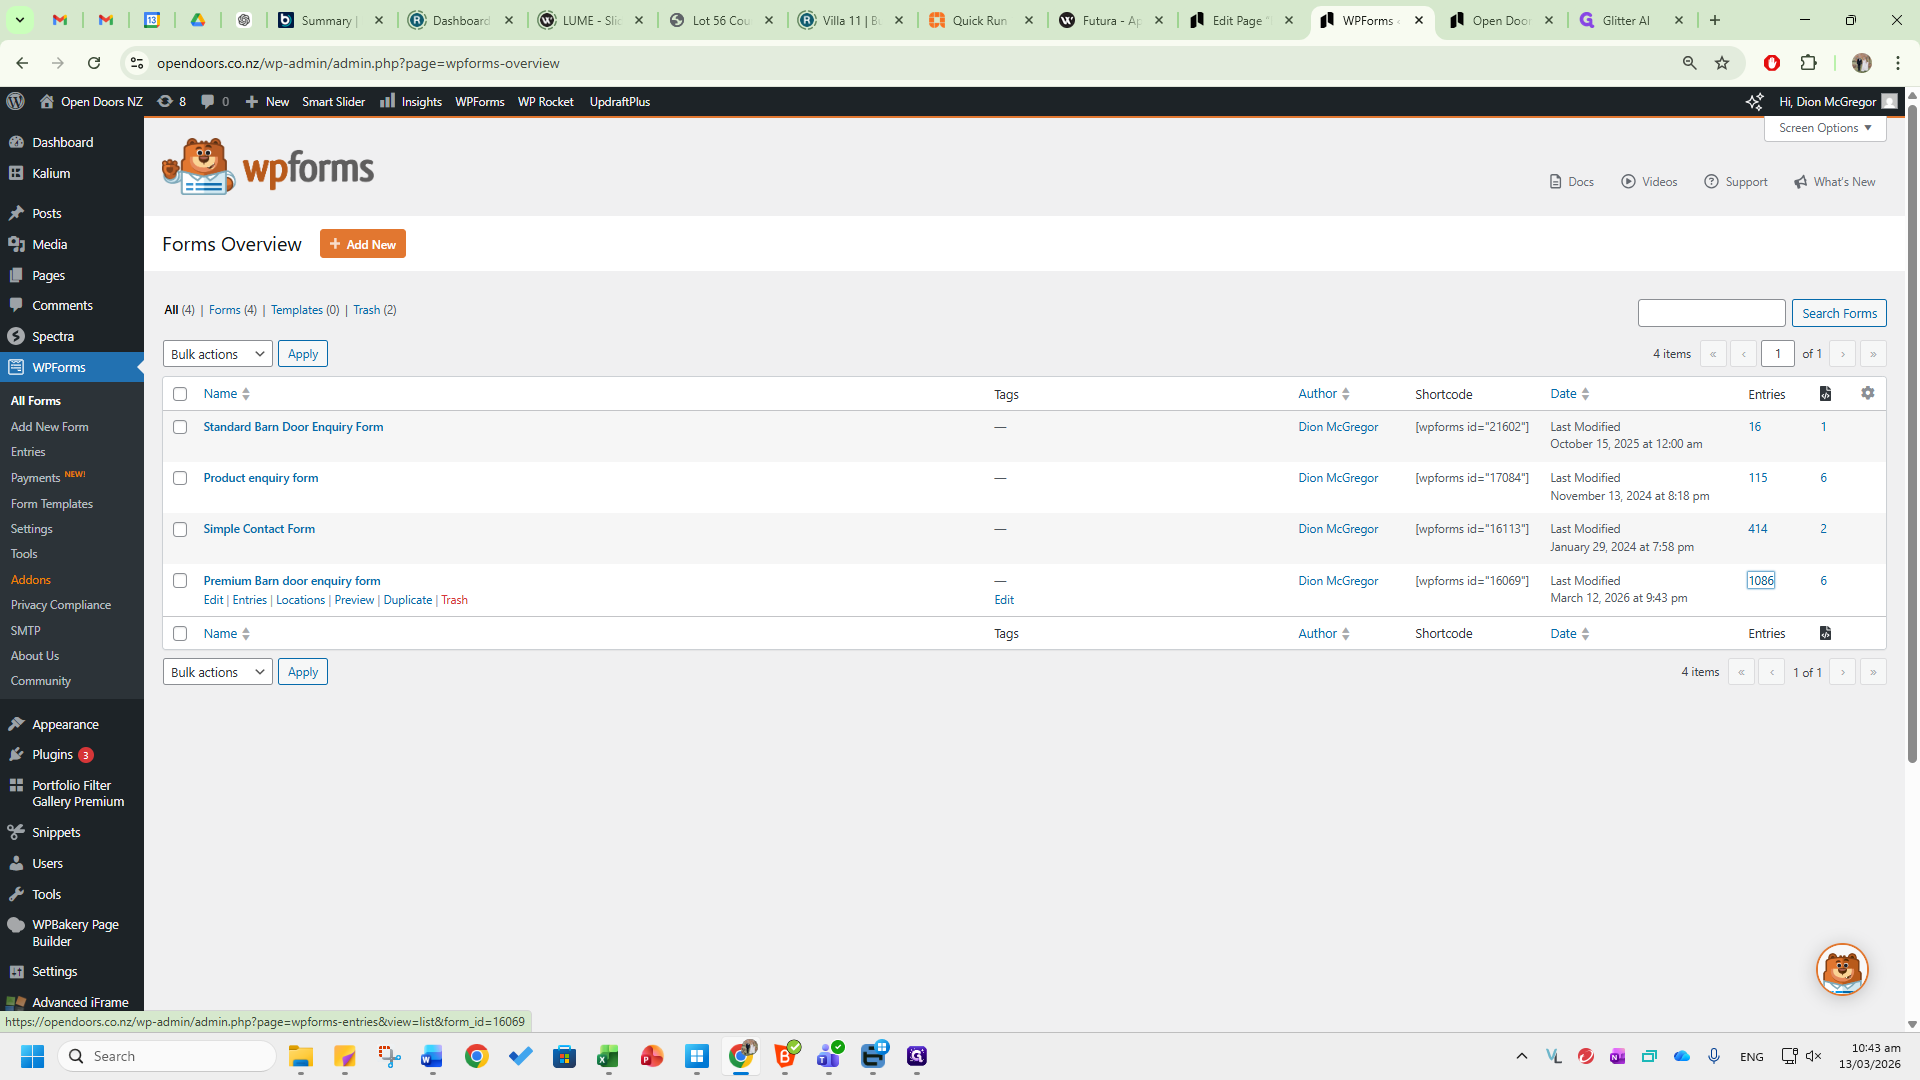
This standard operating procedure covers the WPForms plugin on the WordPress Open Doors website. The first form we will review is the Premium Barn Door Enquiry Form.
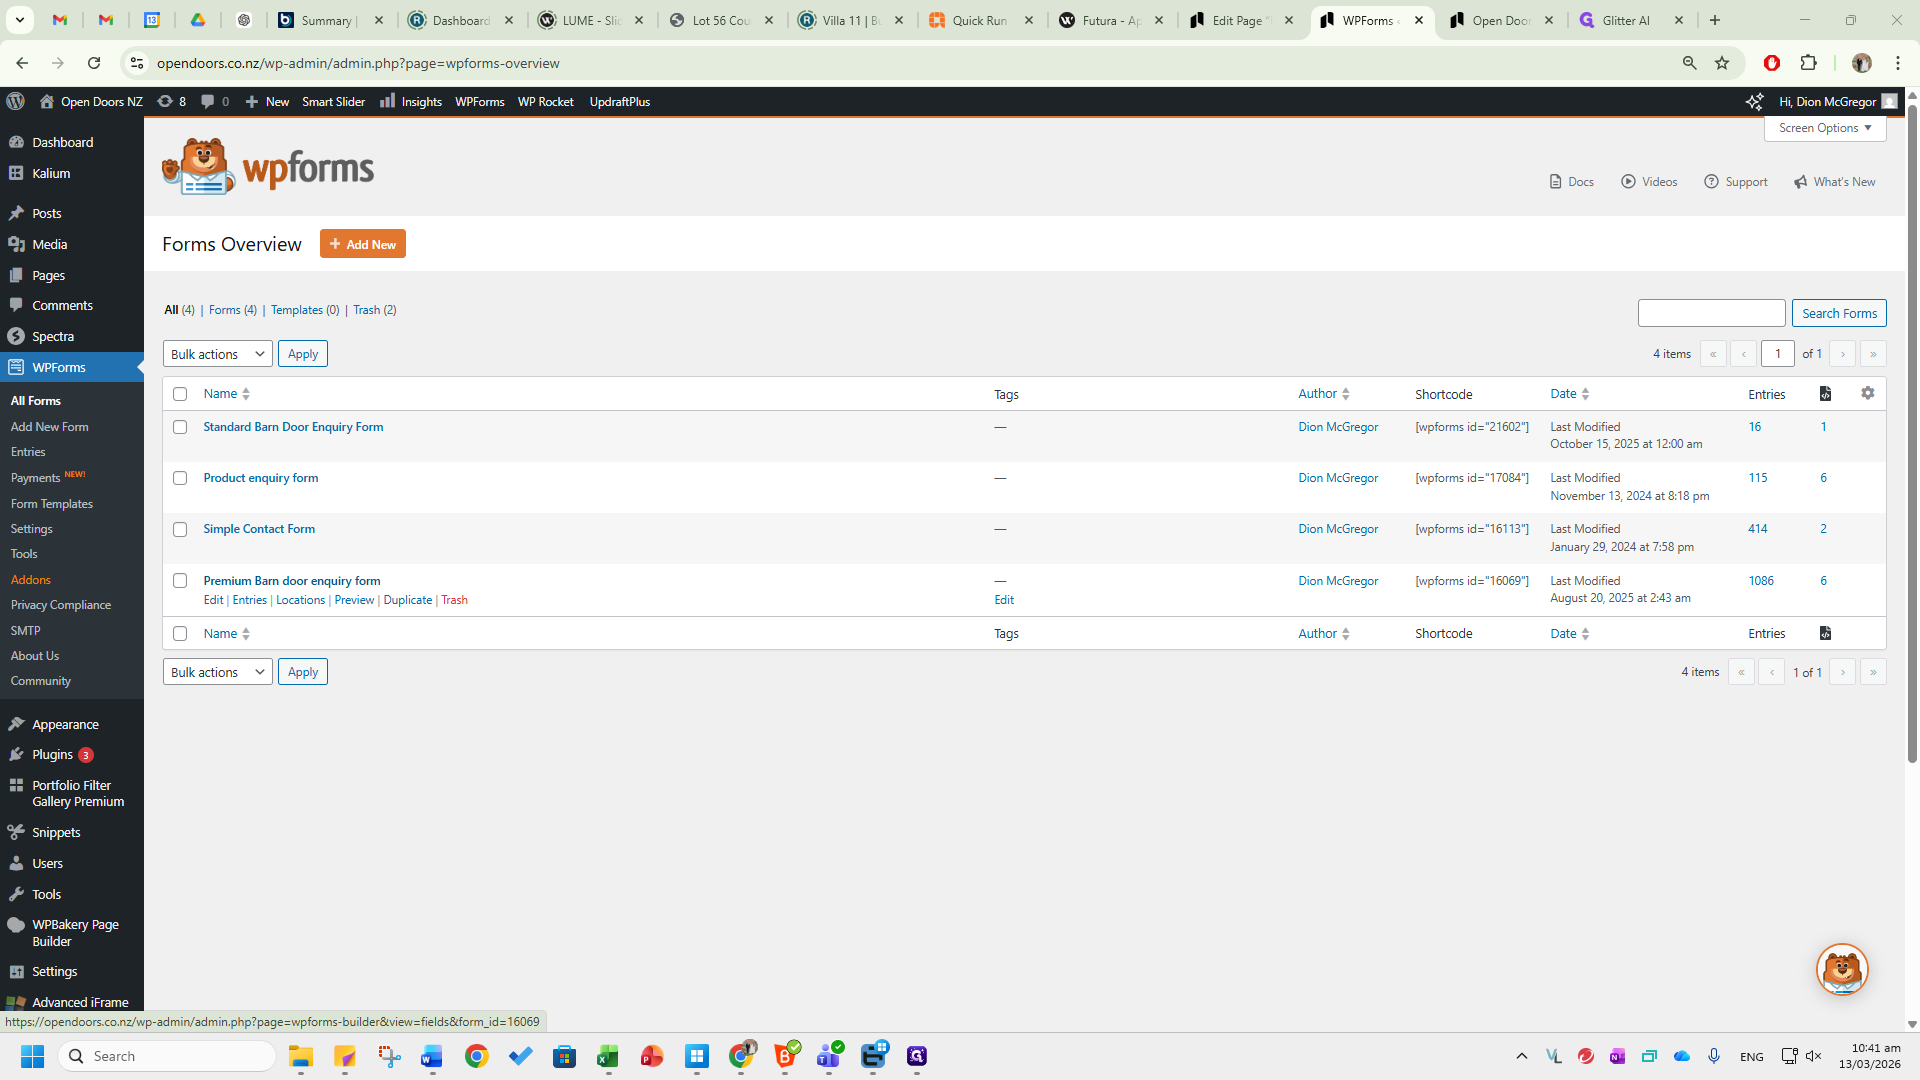
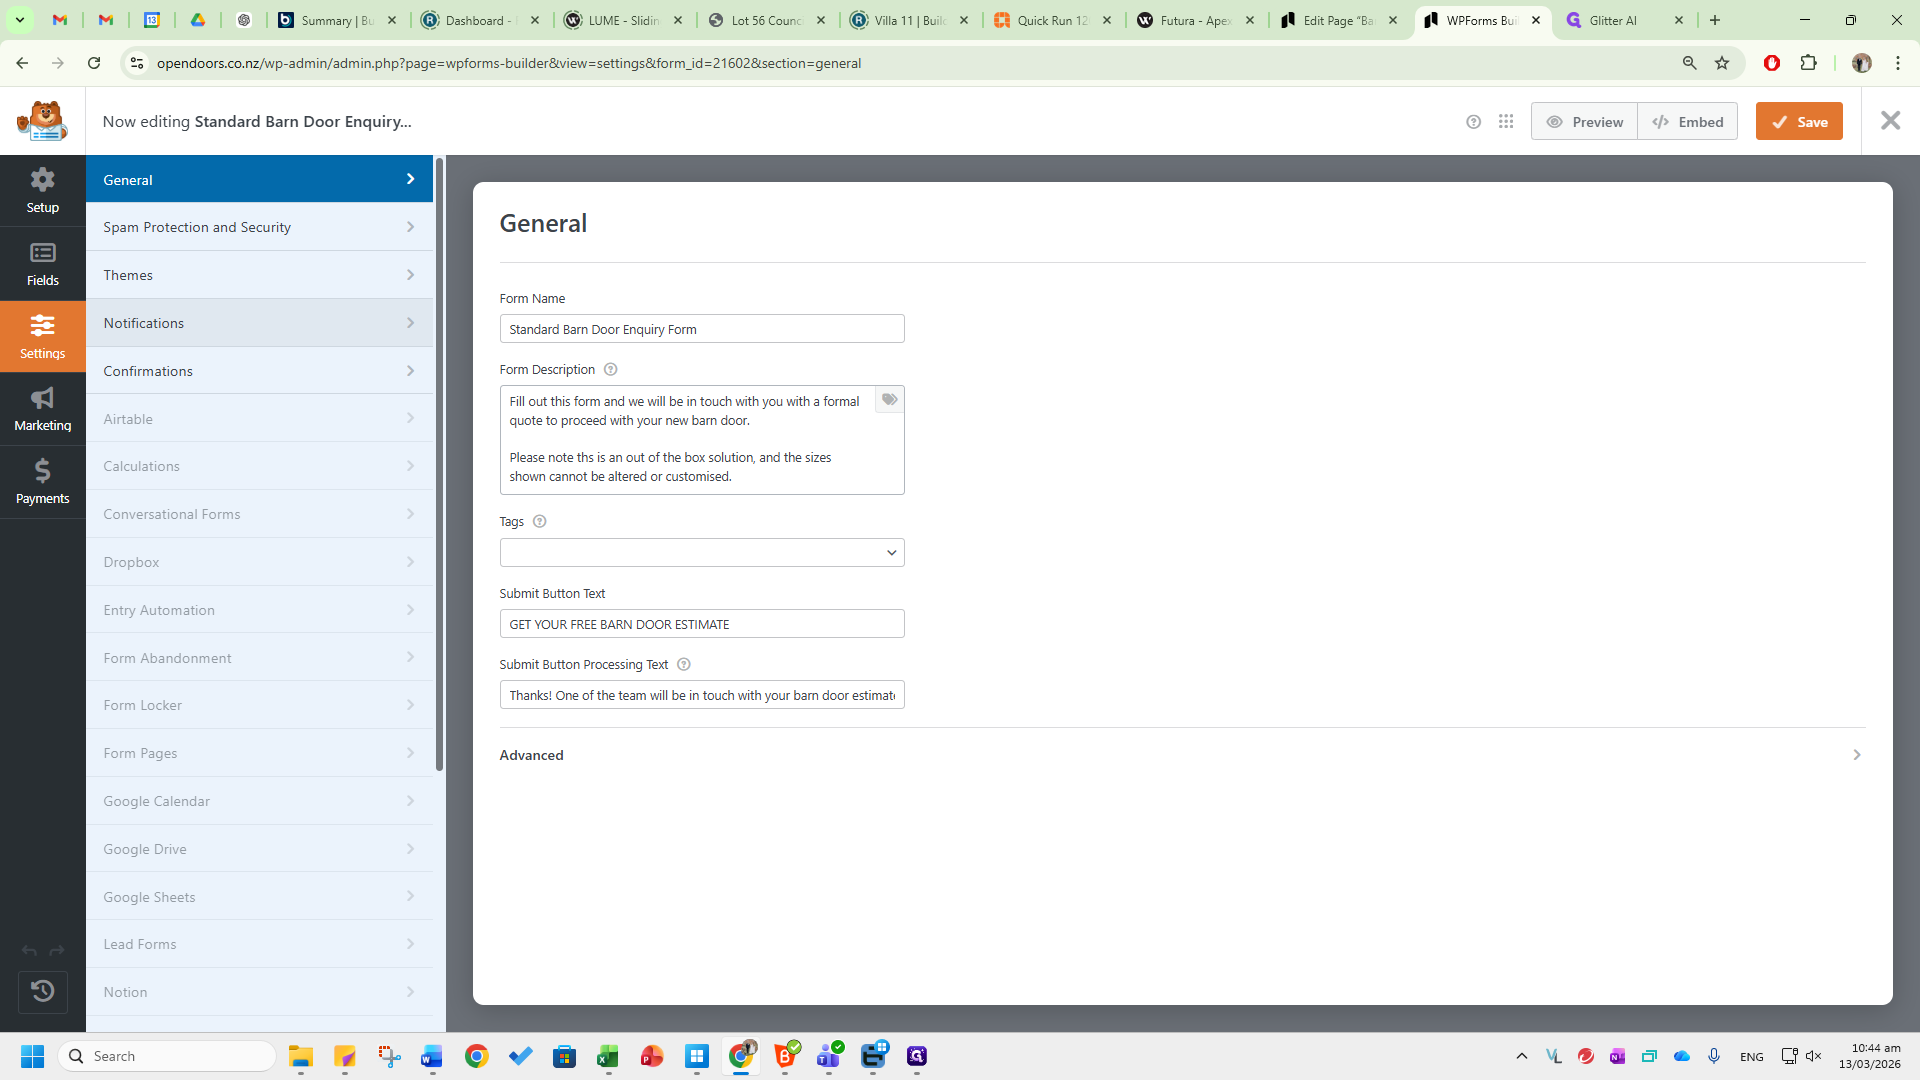
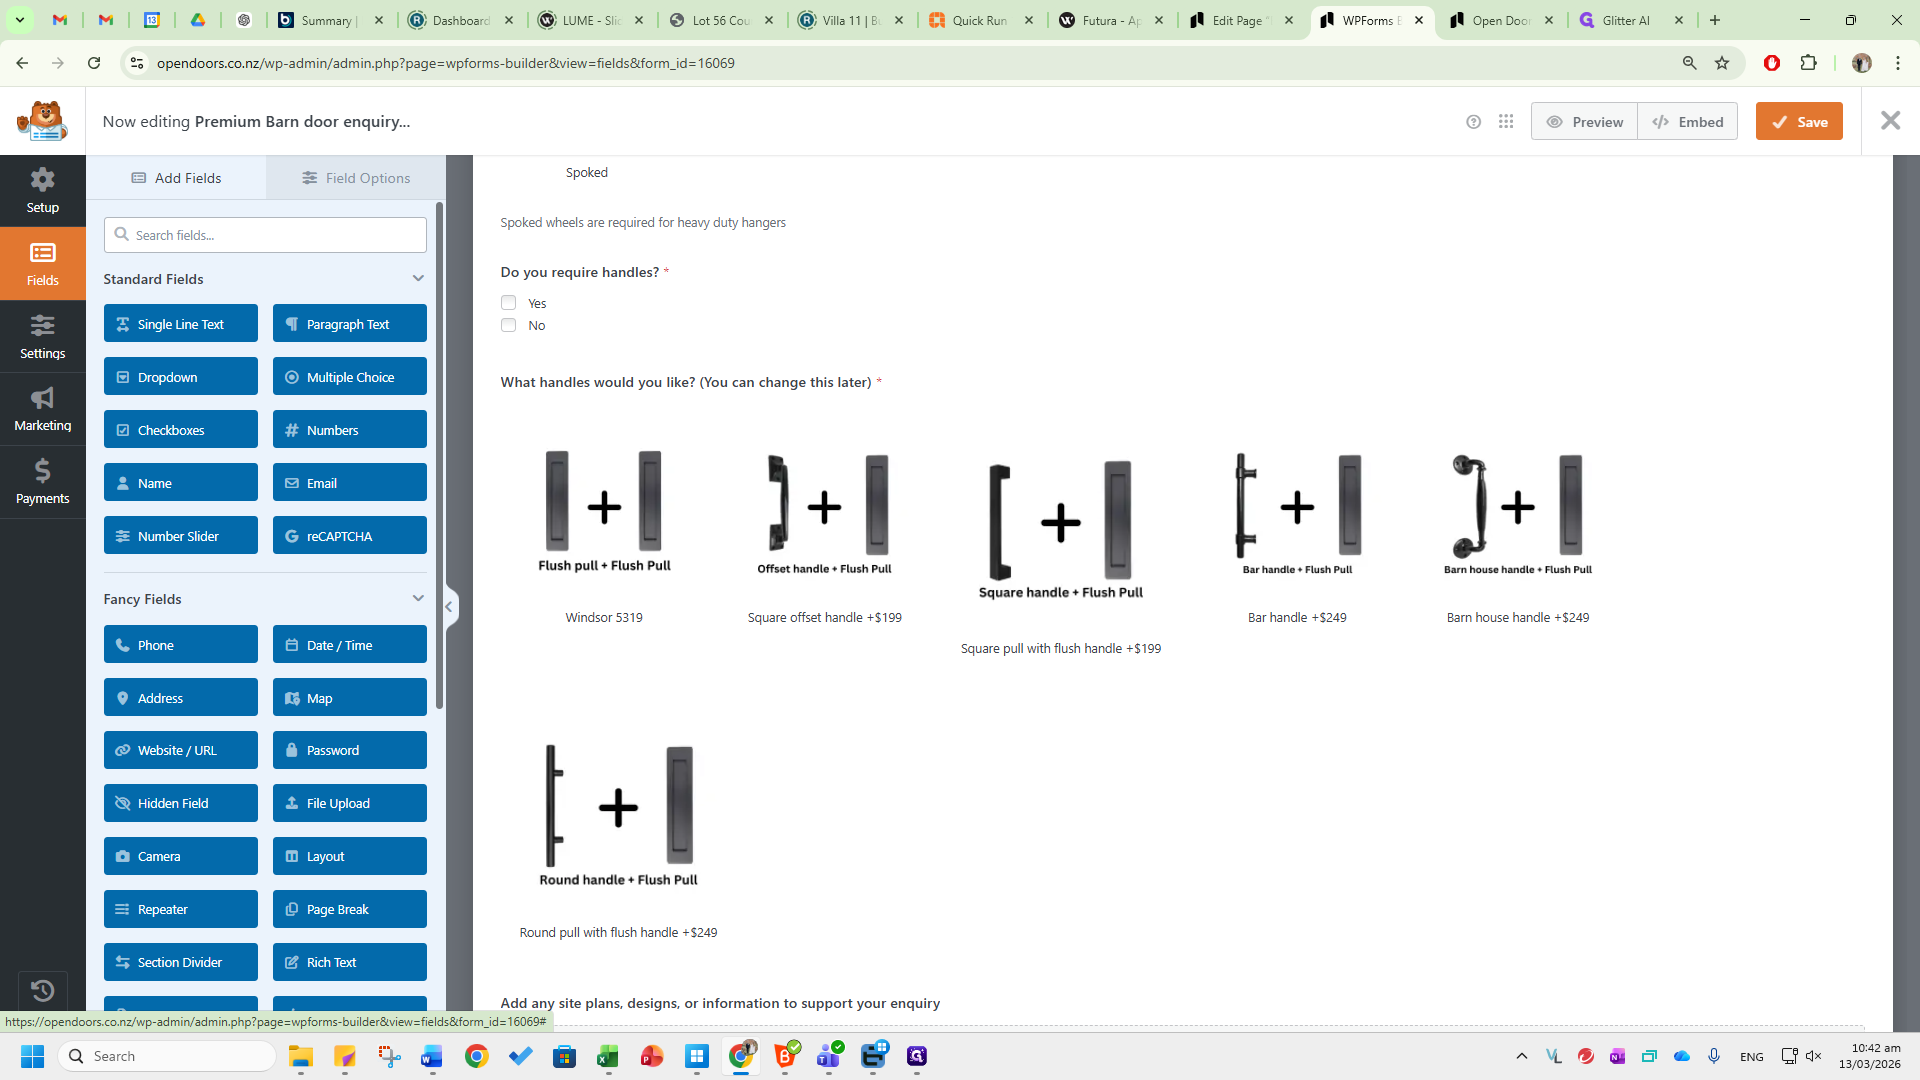
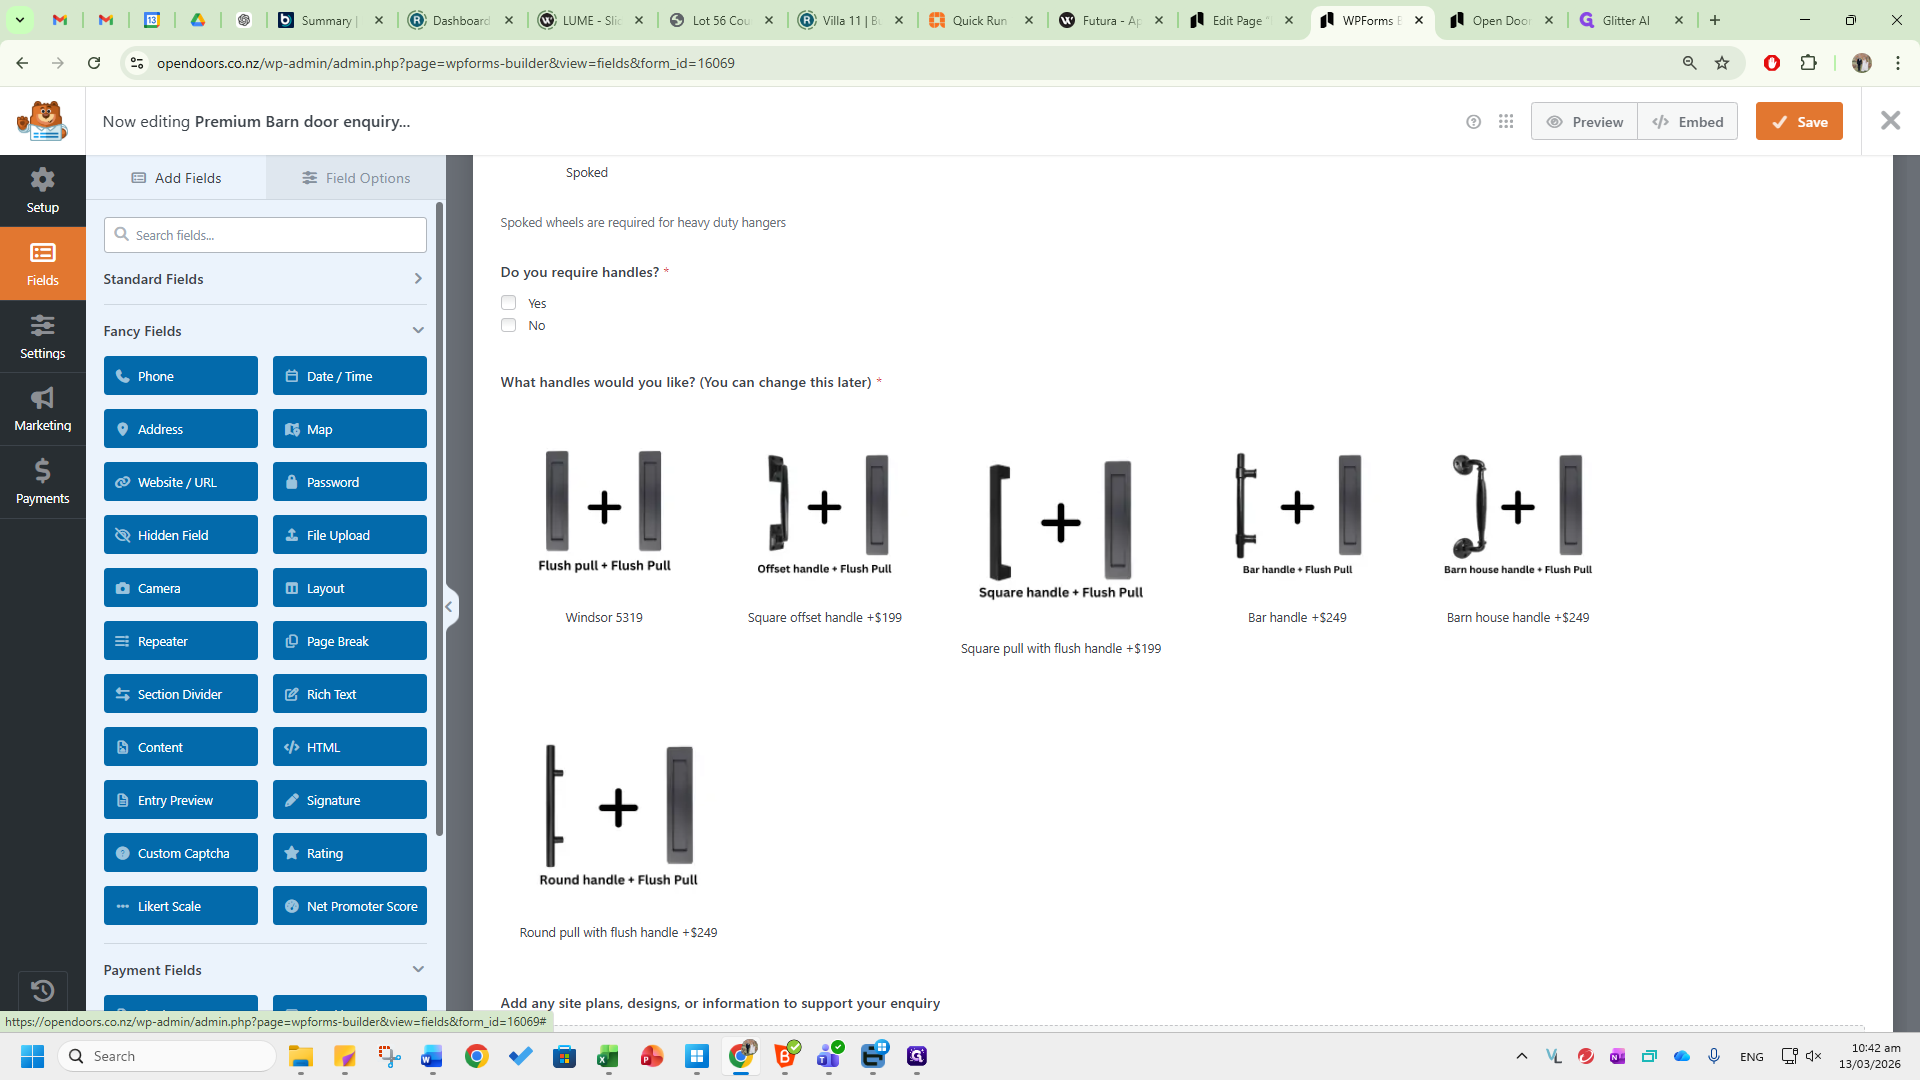
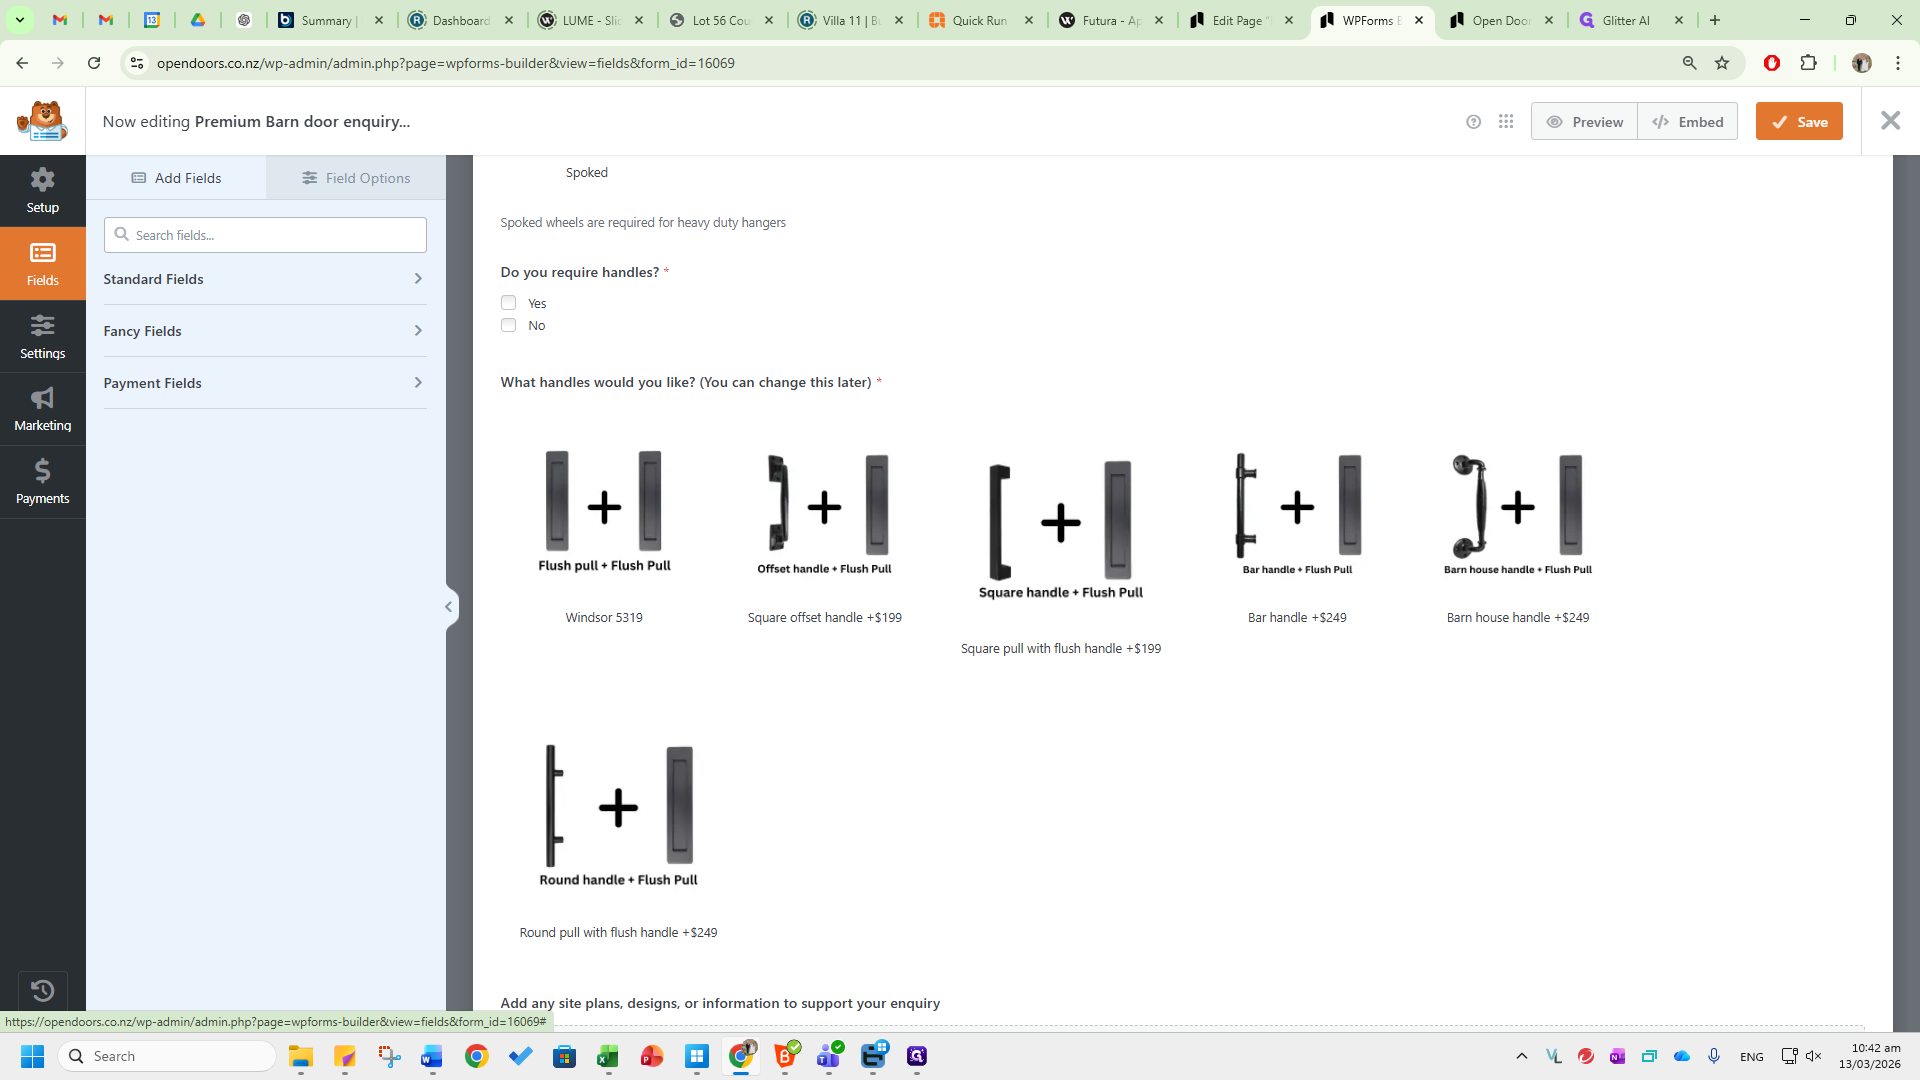
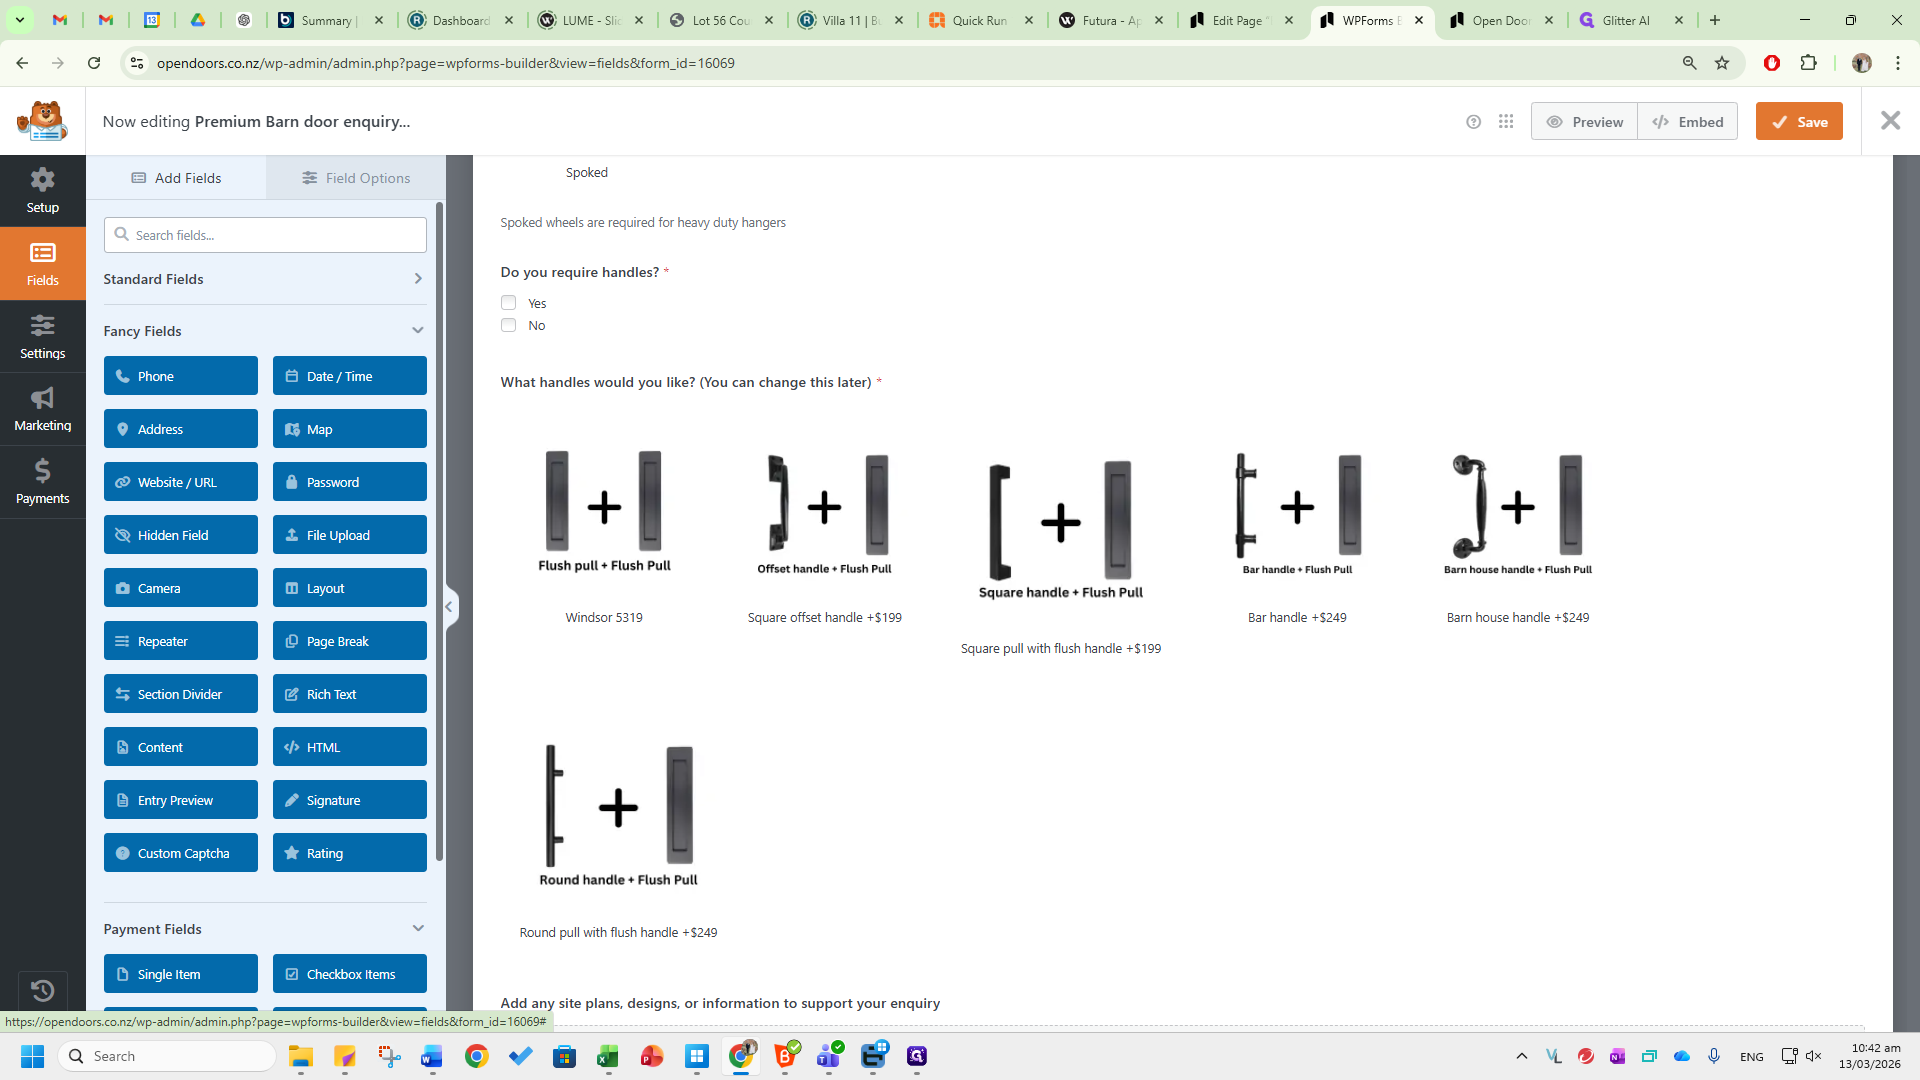
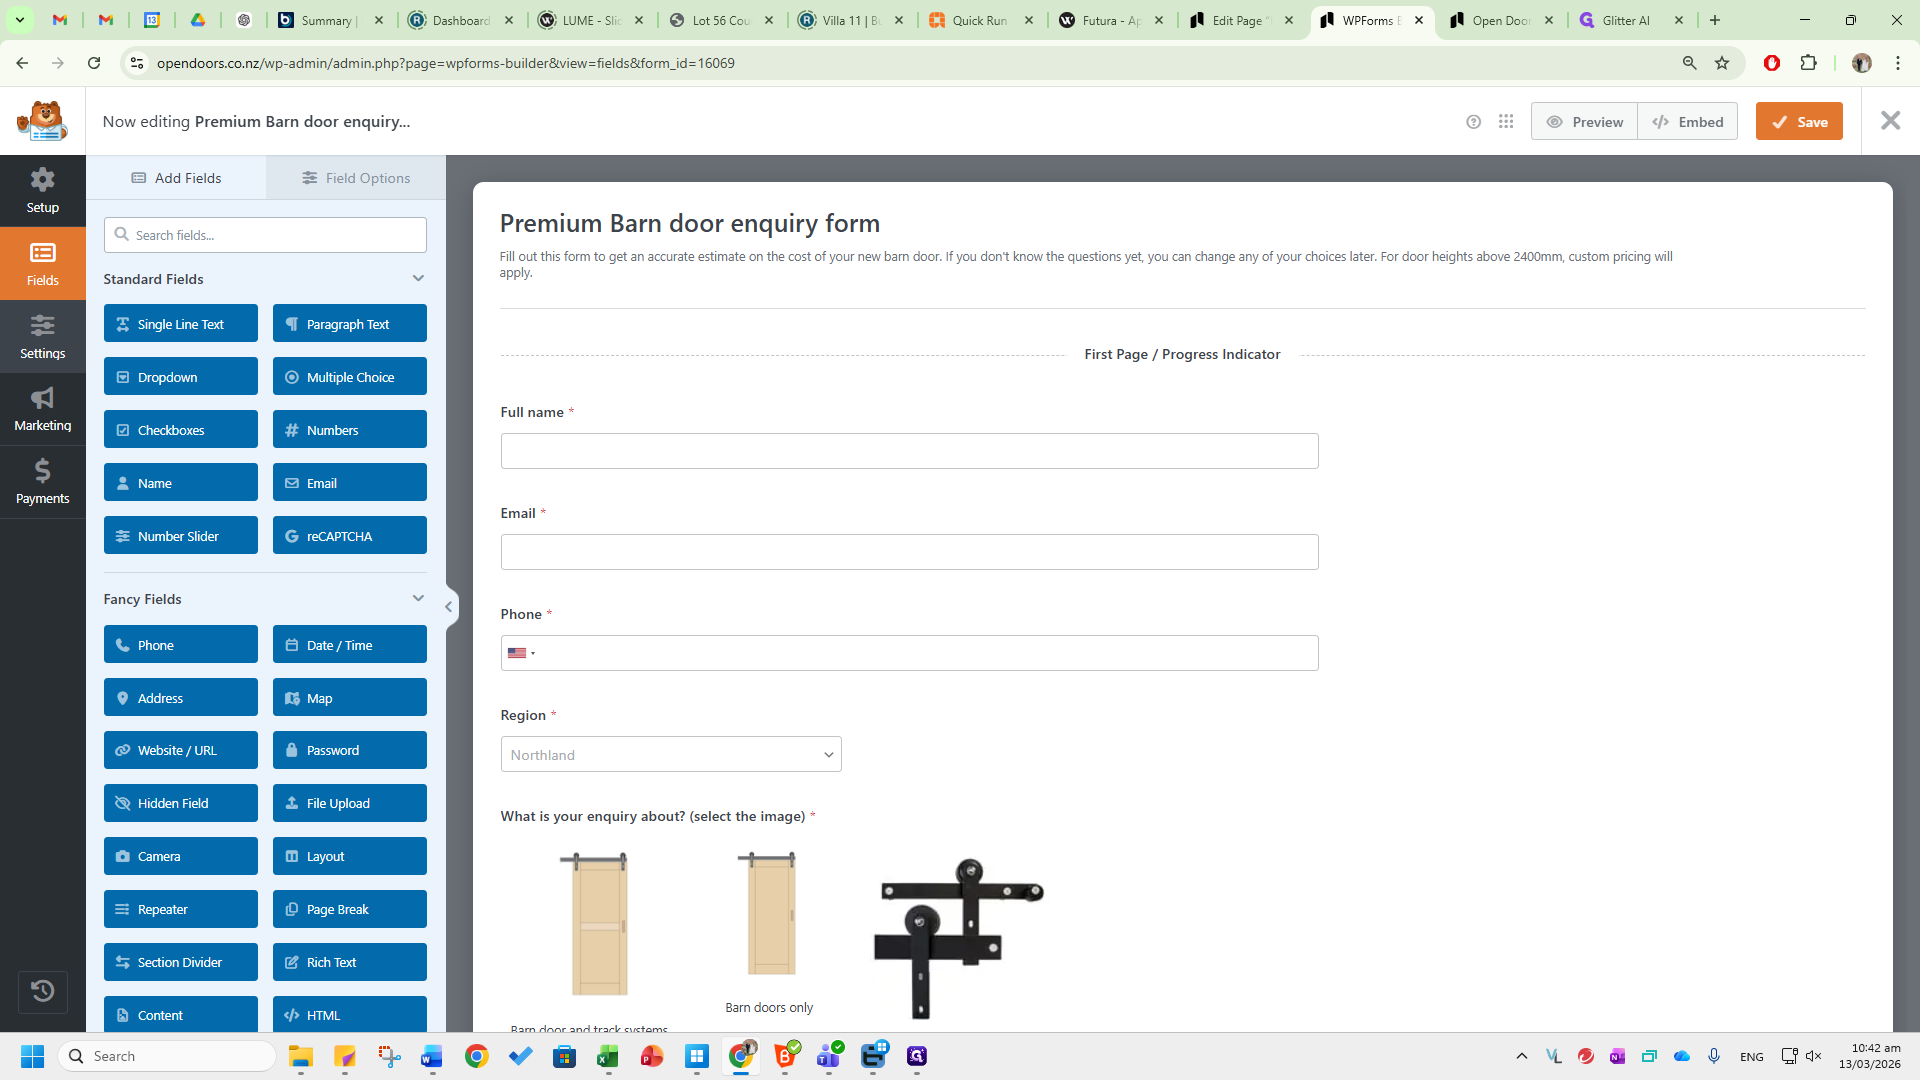
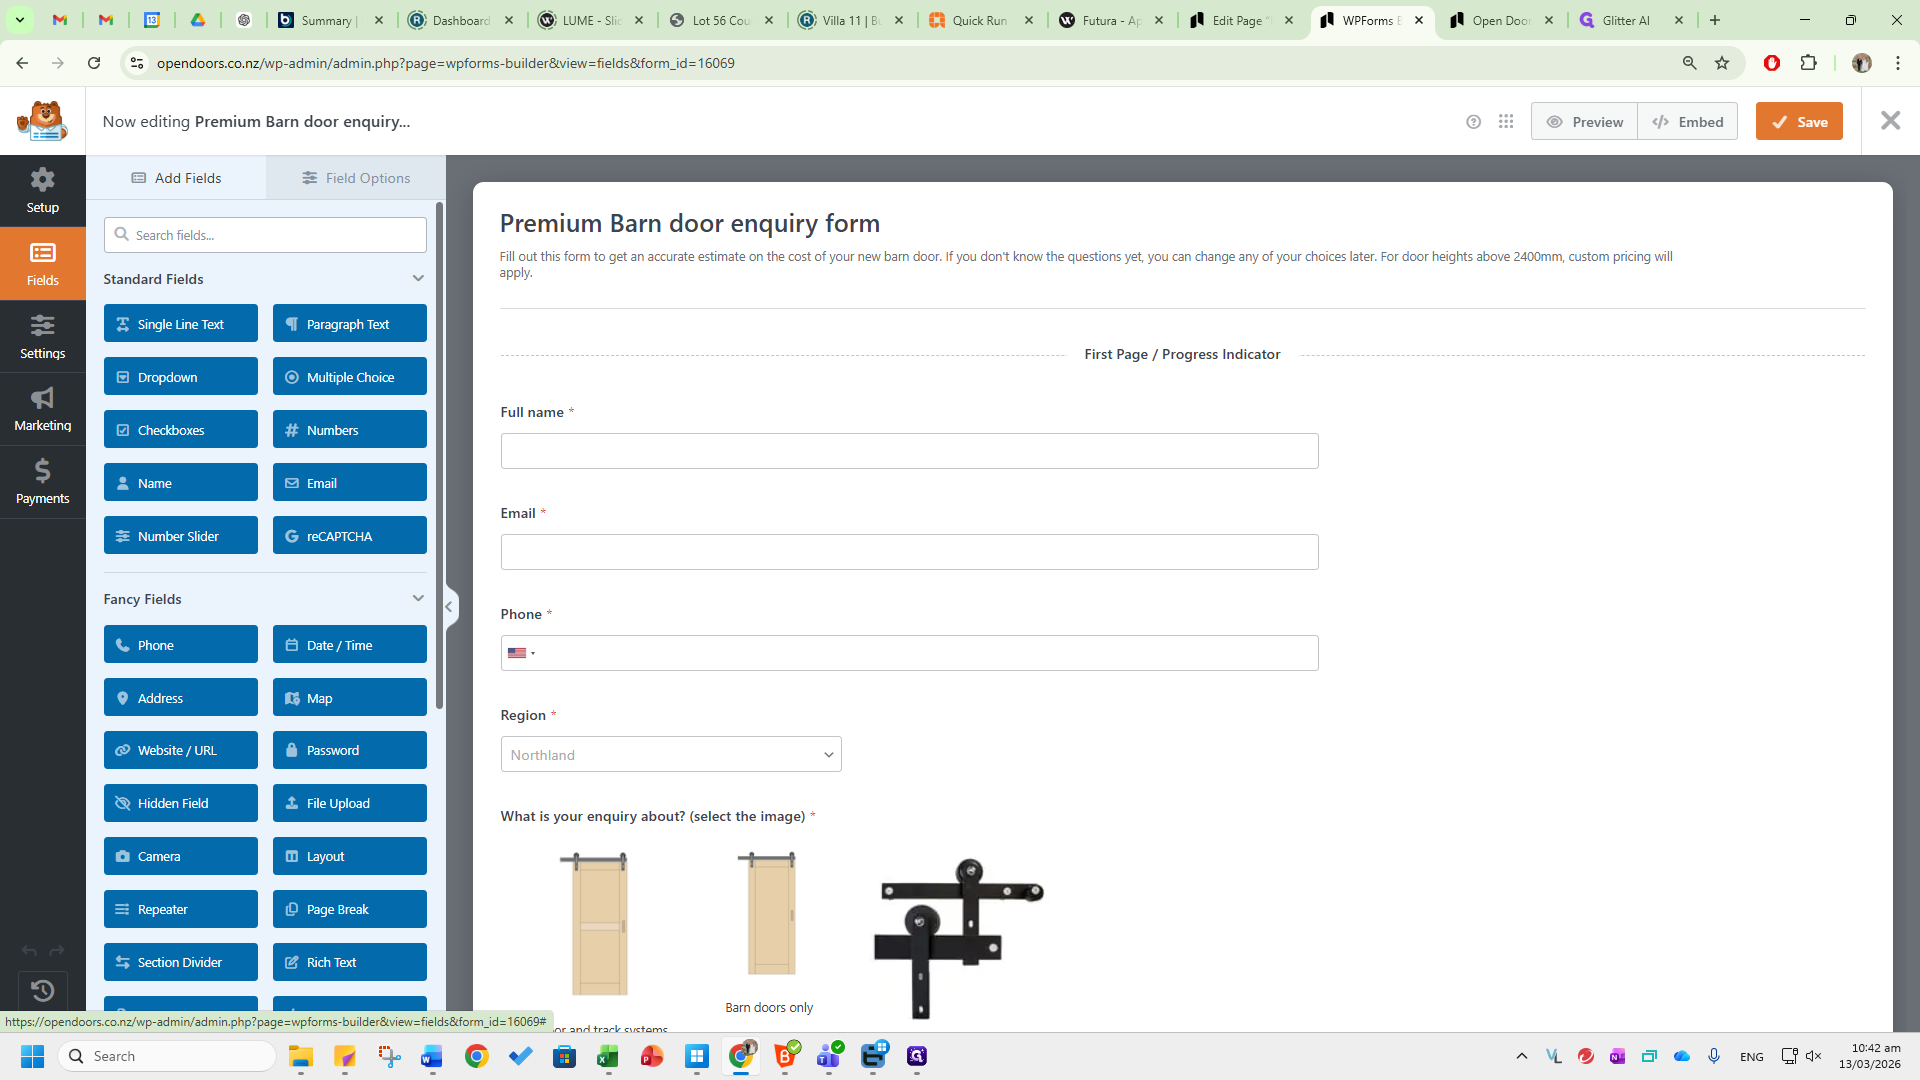
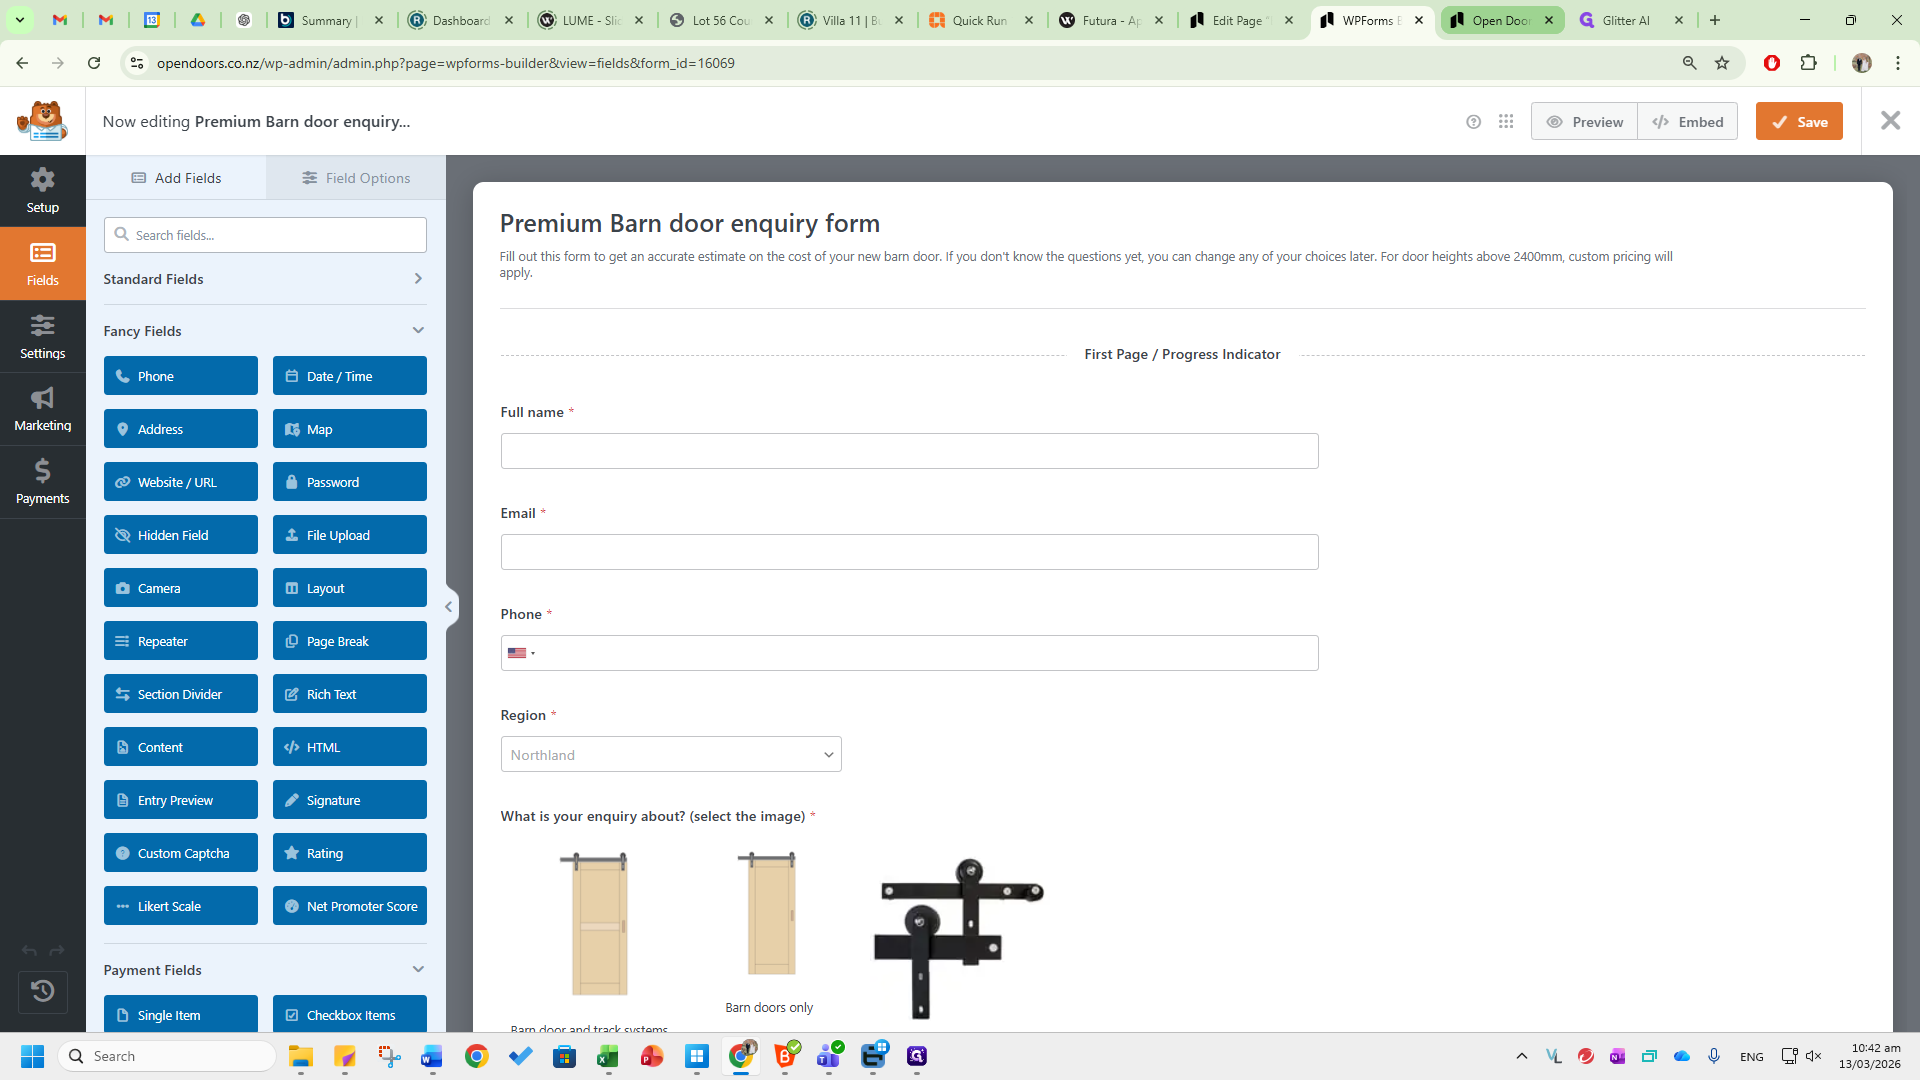
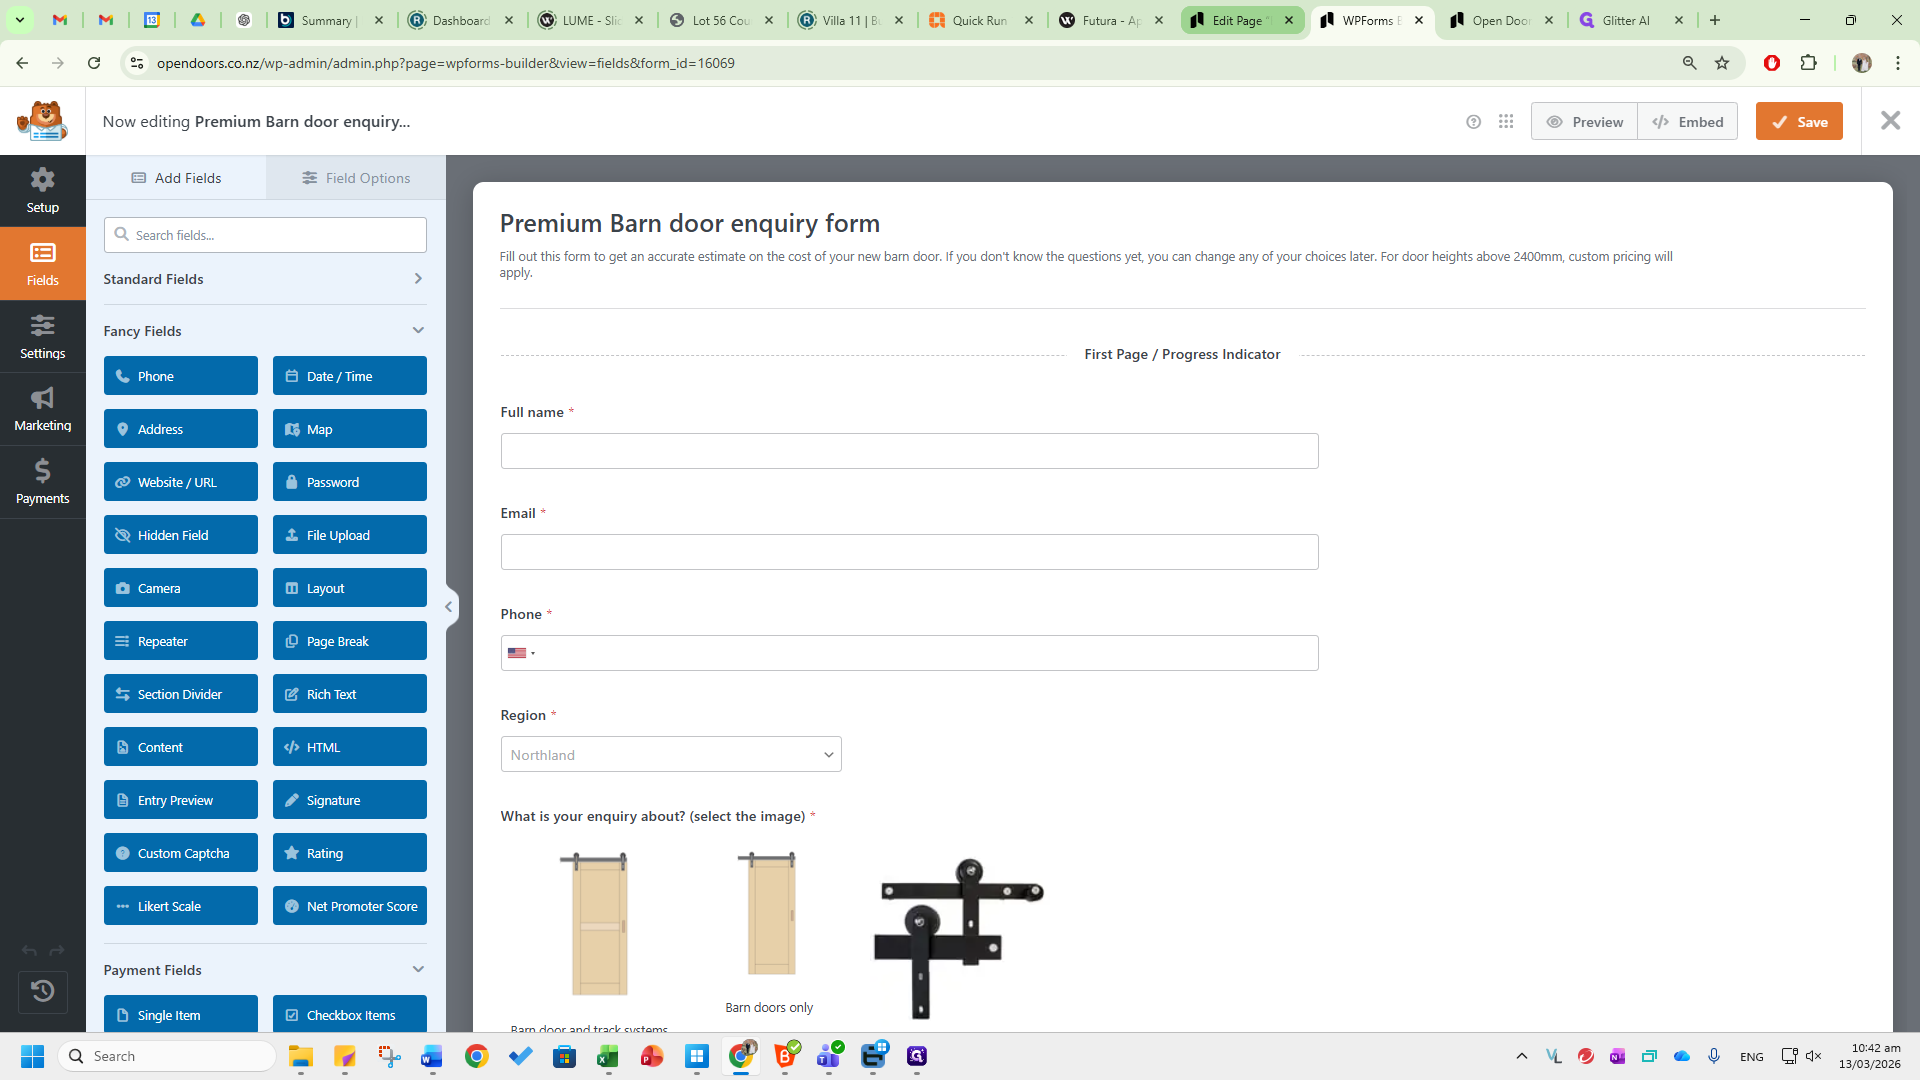
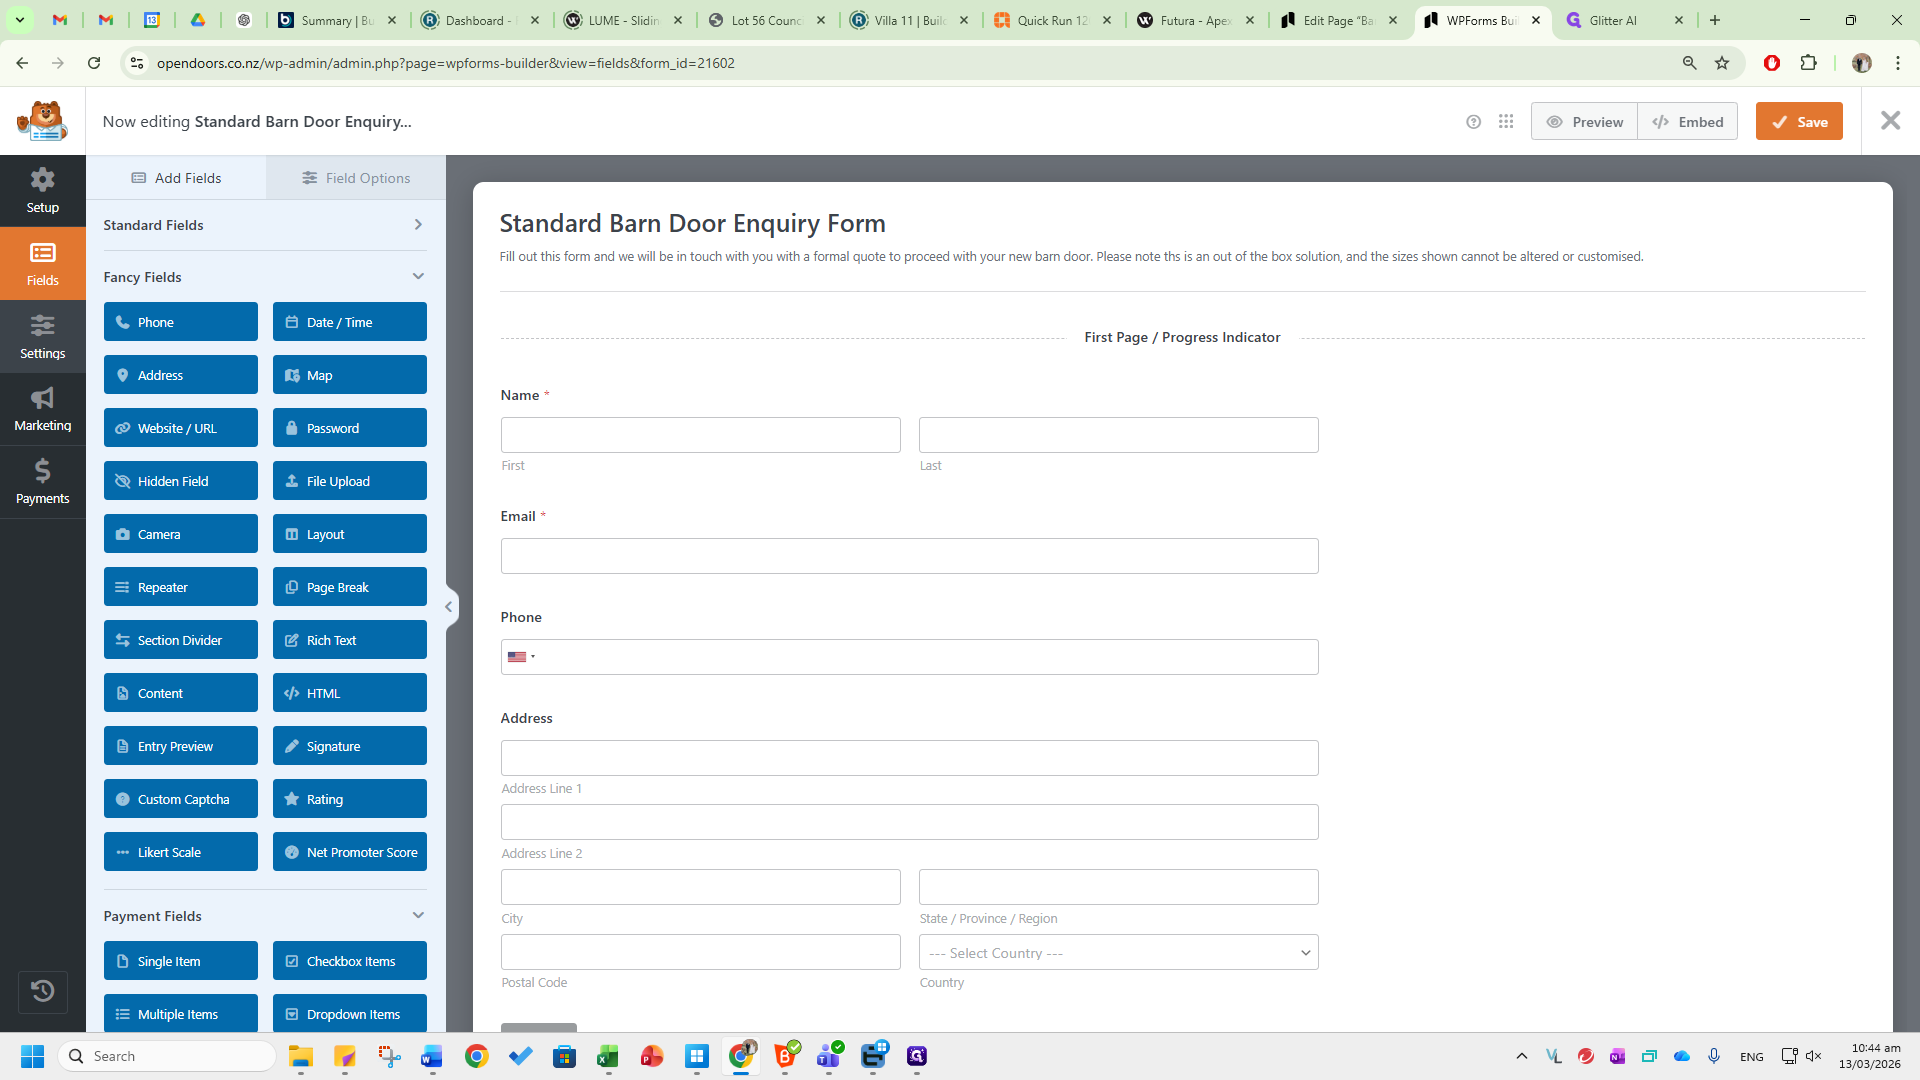
To edit the form, scroll down to view all the different sections. Click each option to edit. This is all standardized and set up, so there should be minimal options and little need for editing. To add more fields, go to the left side and view Standard Fields, Fancy Fields, and Payment Fields.

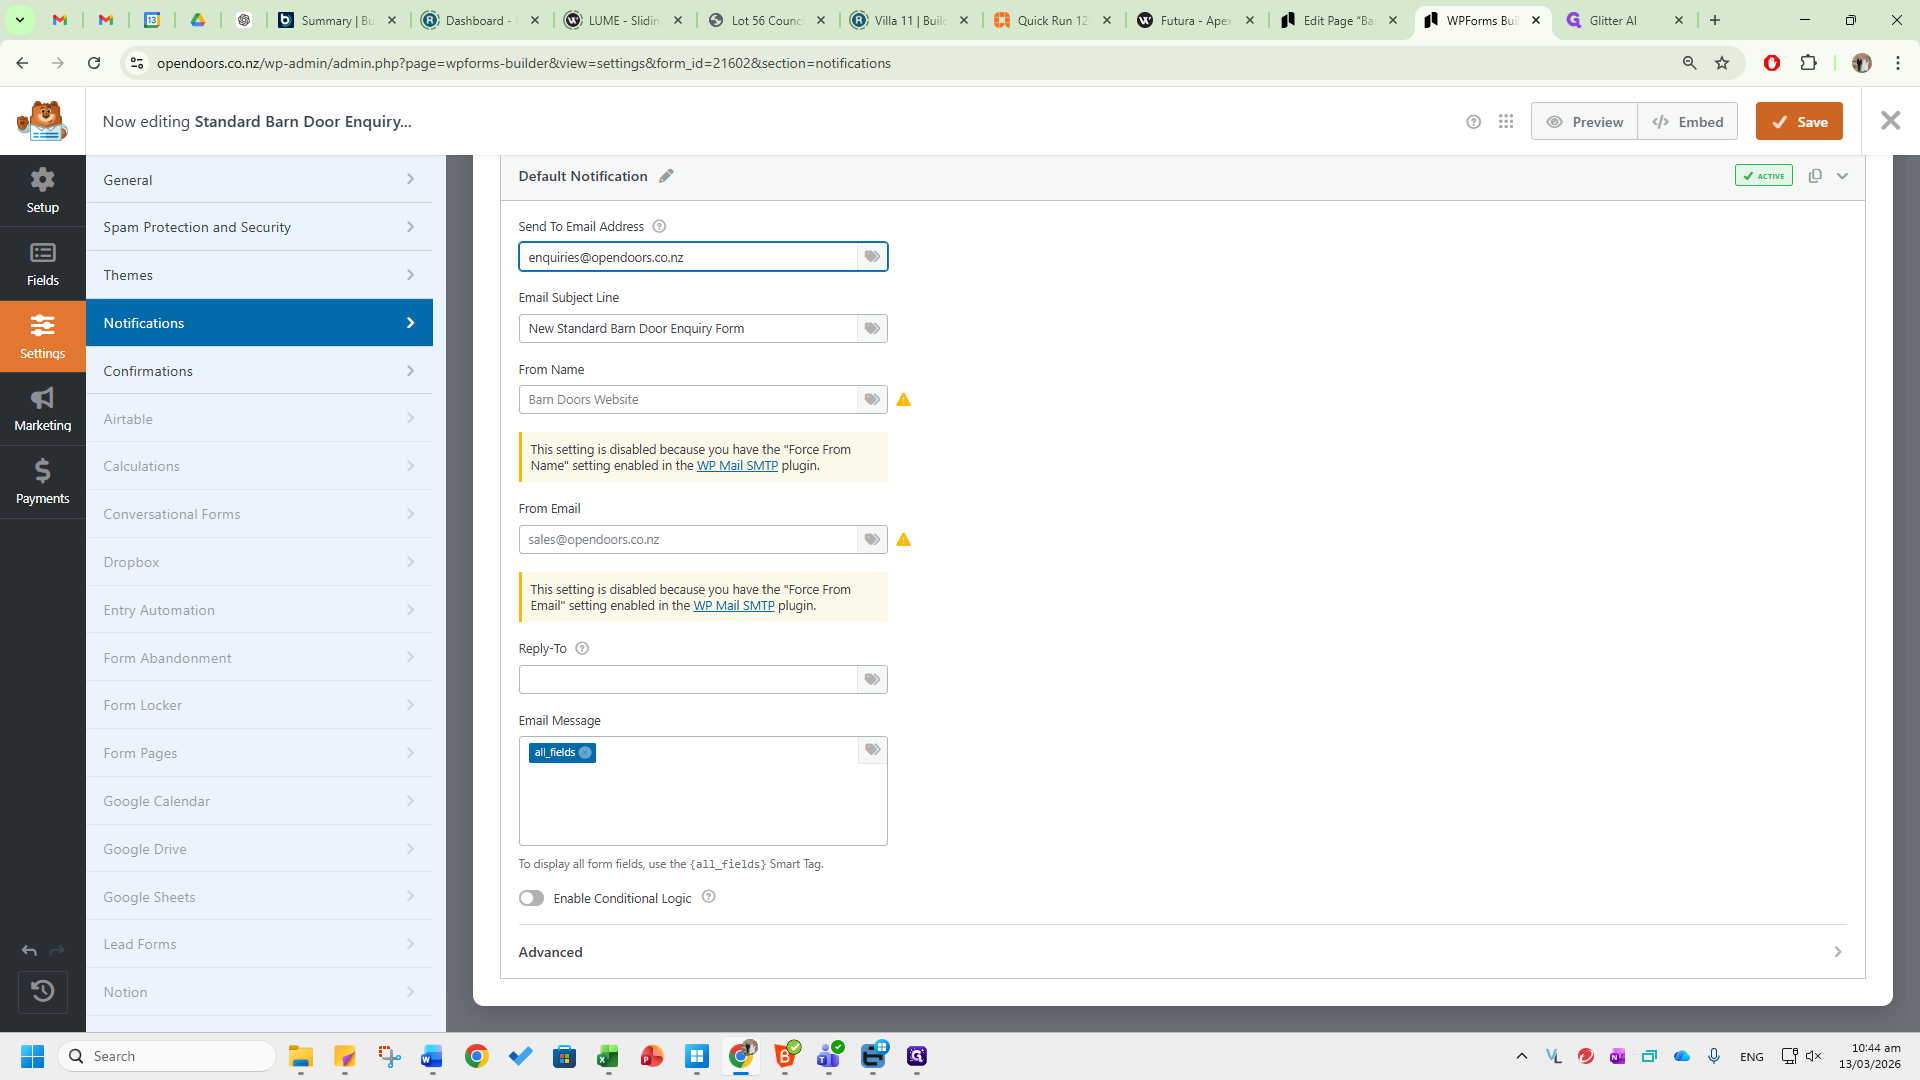
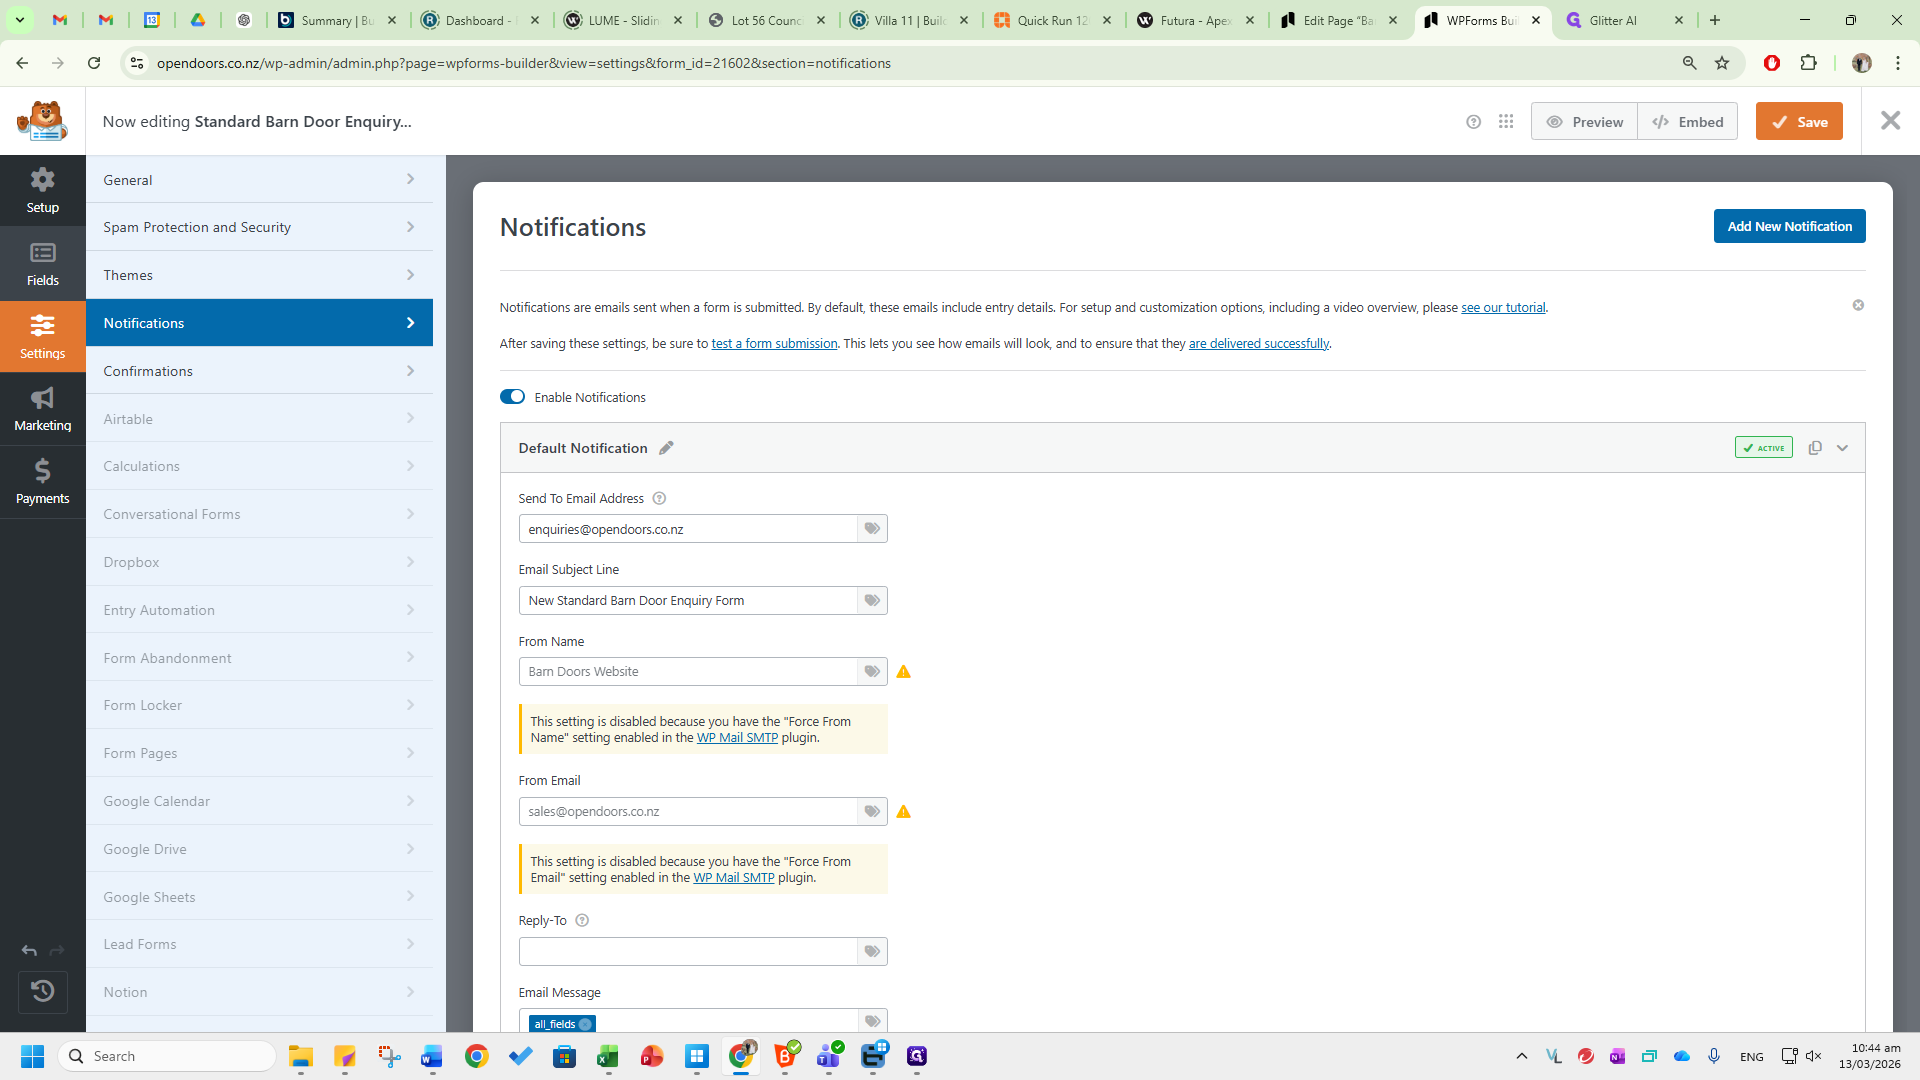
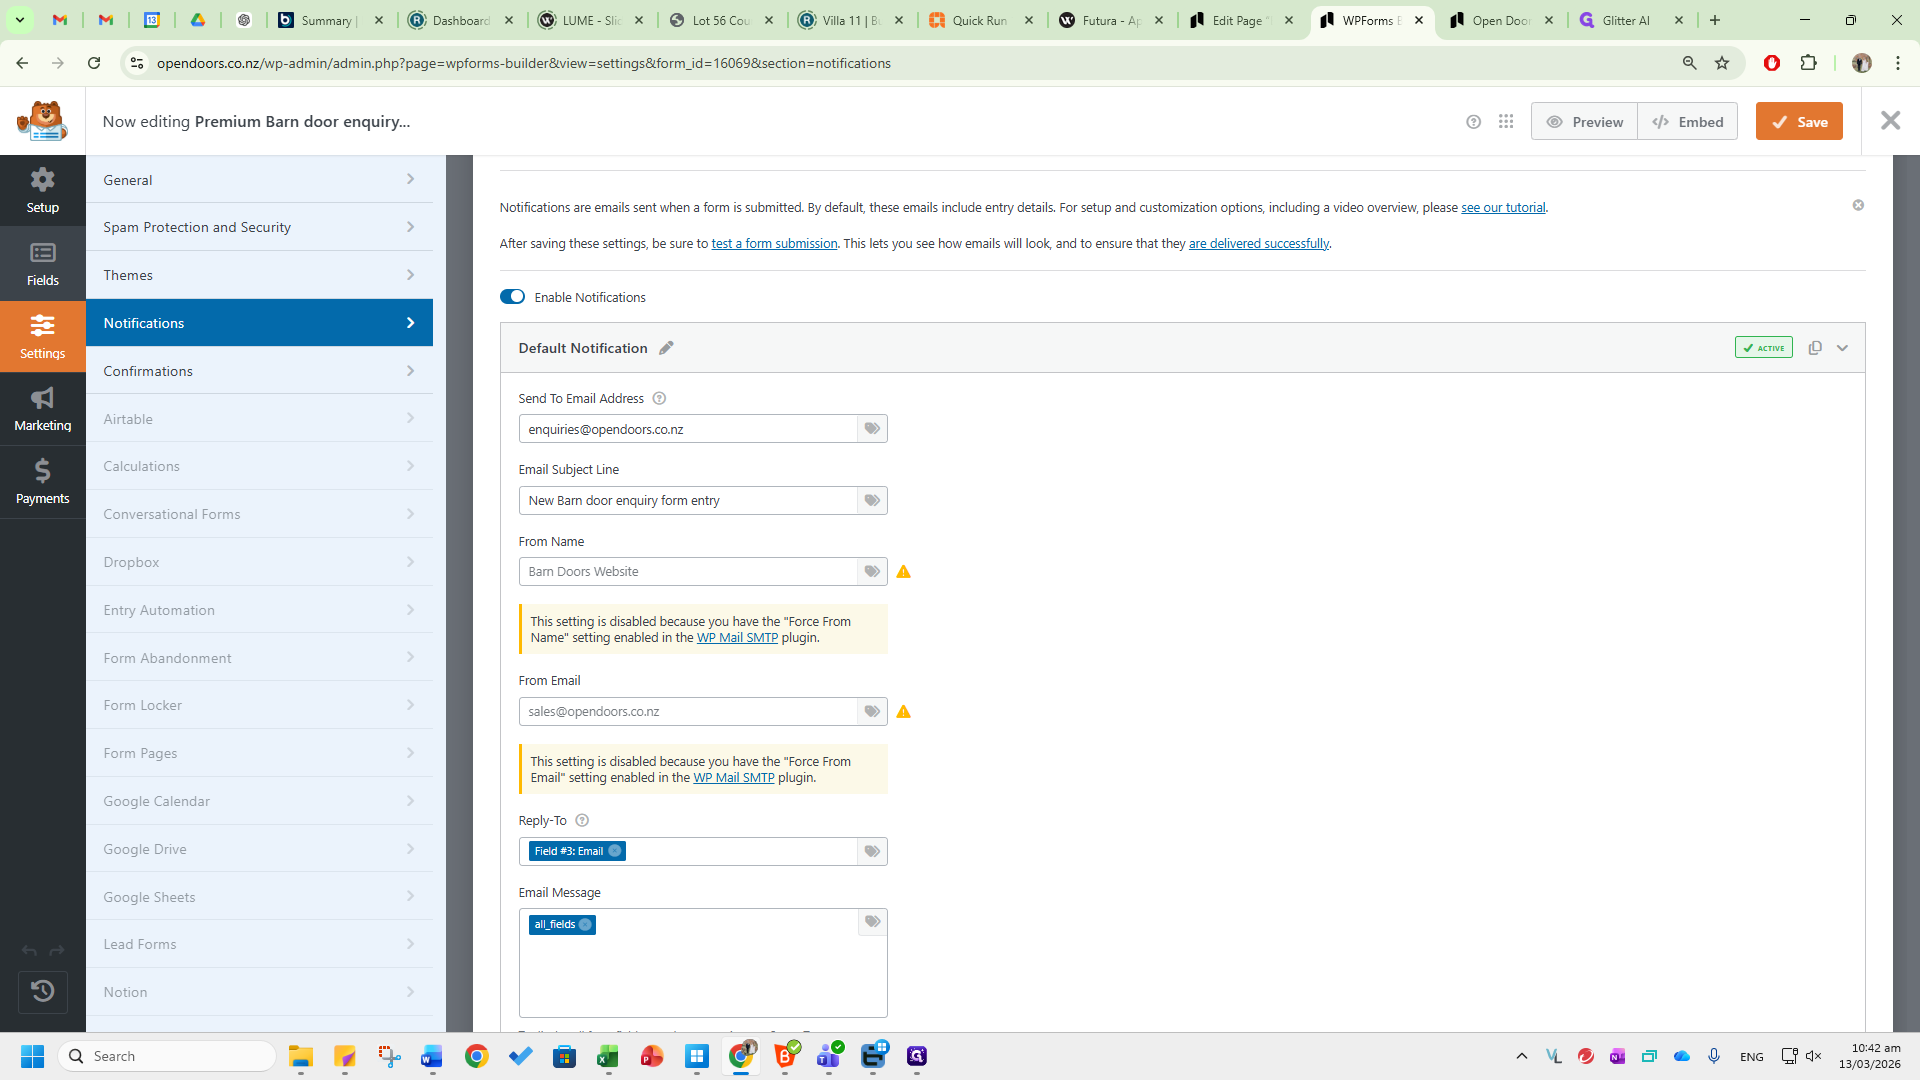
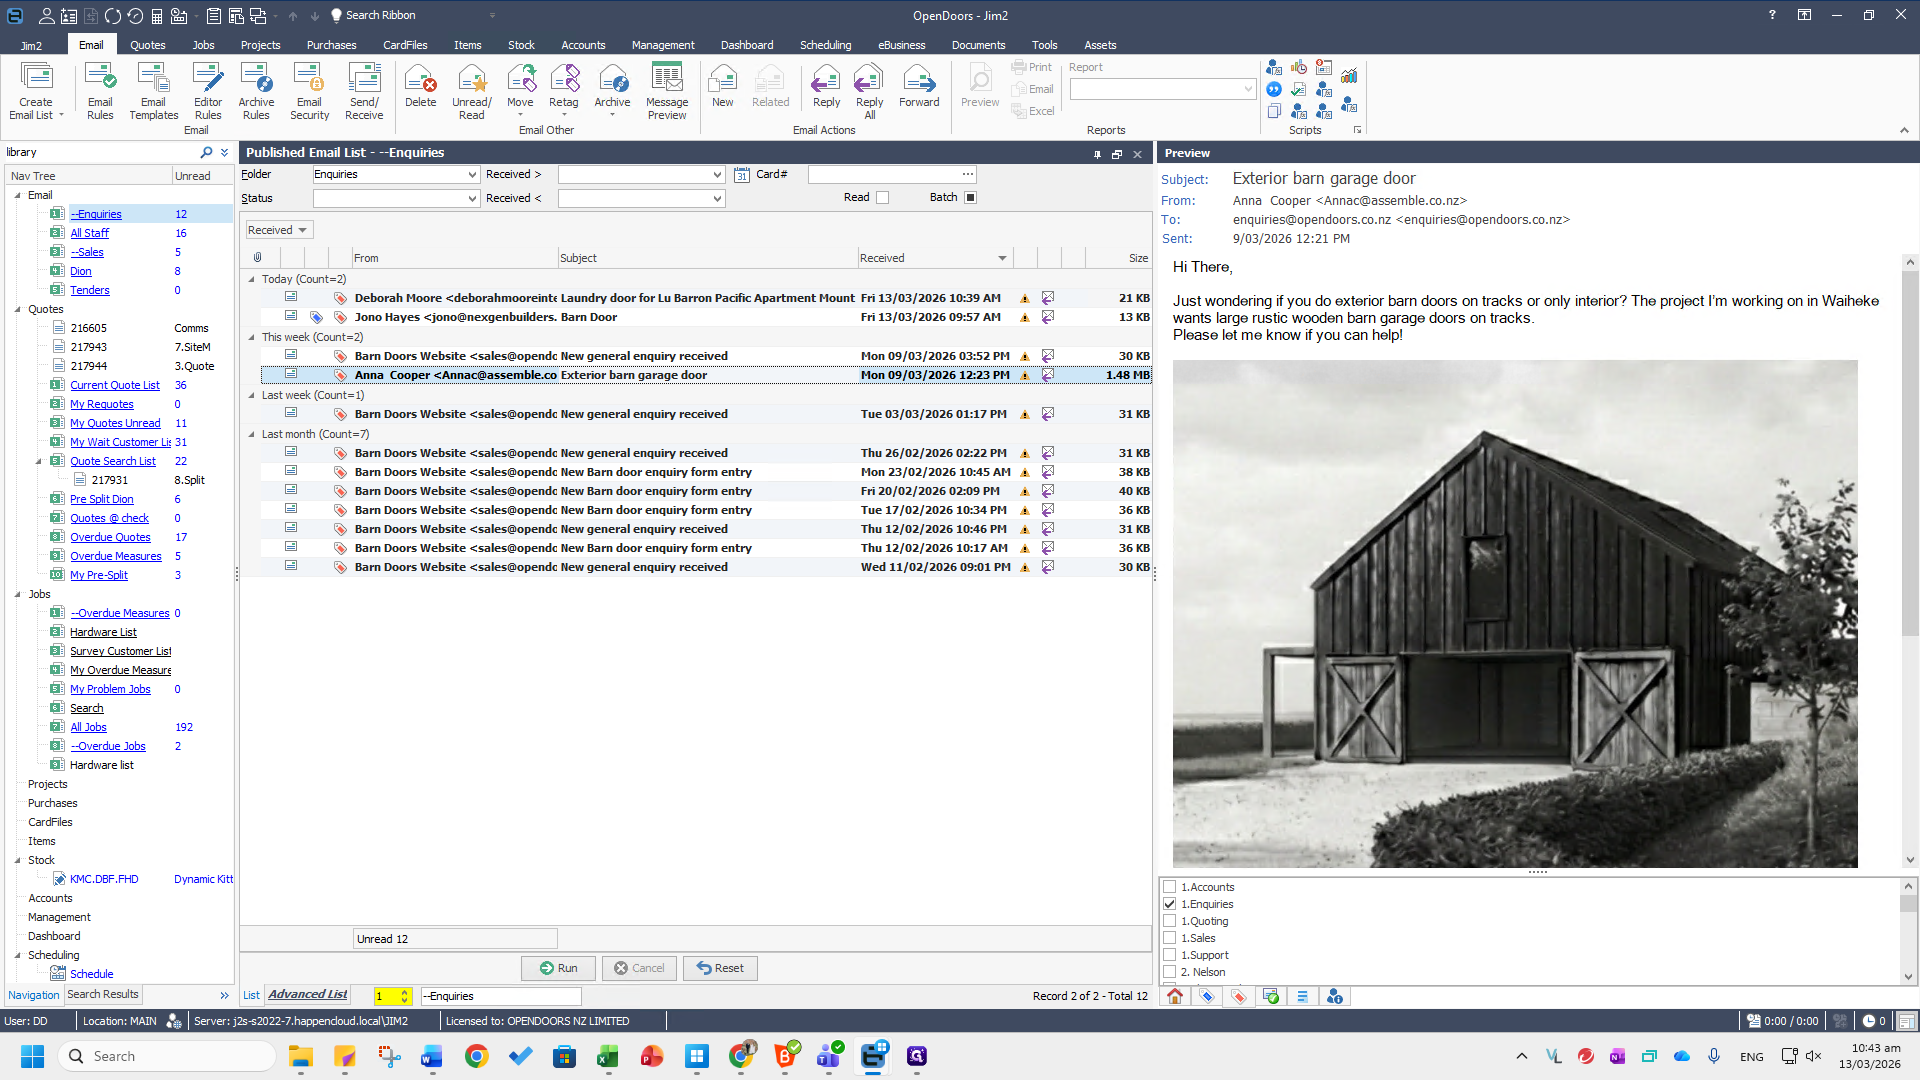
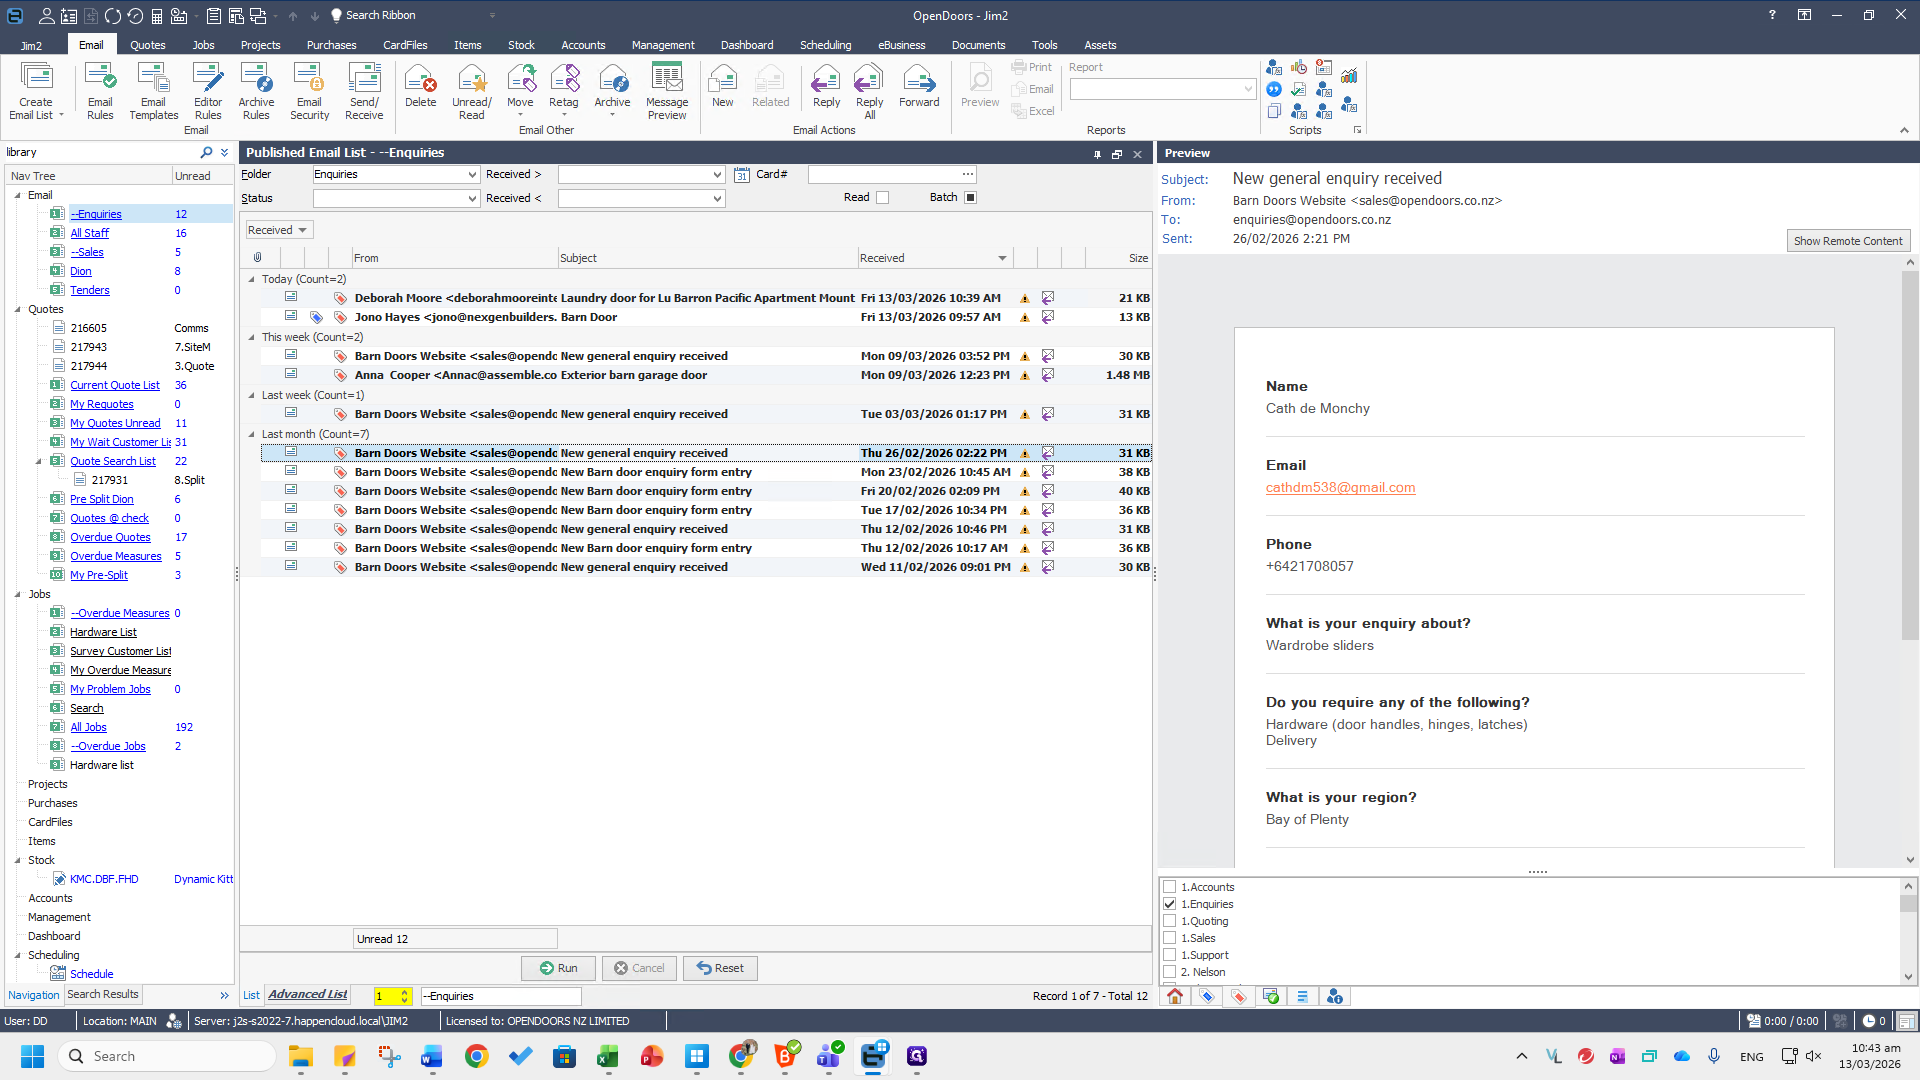
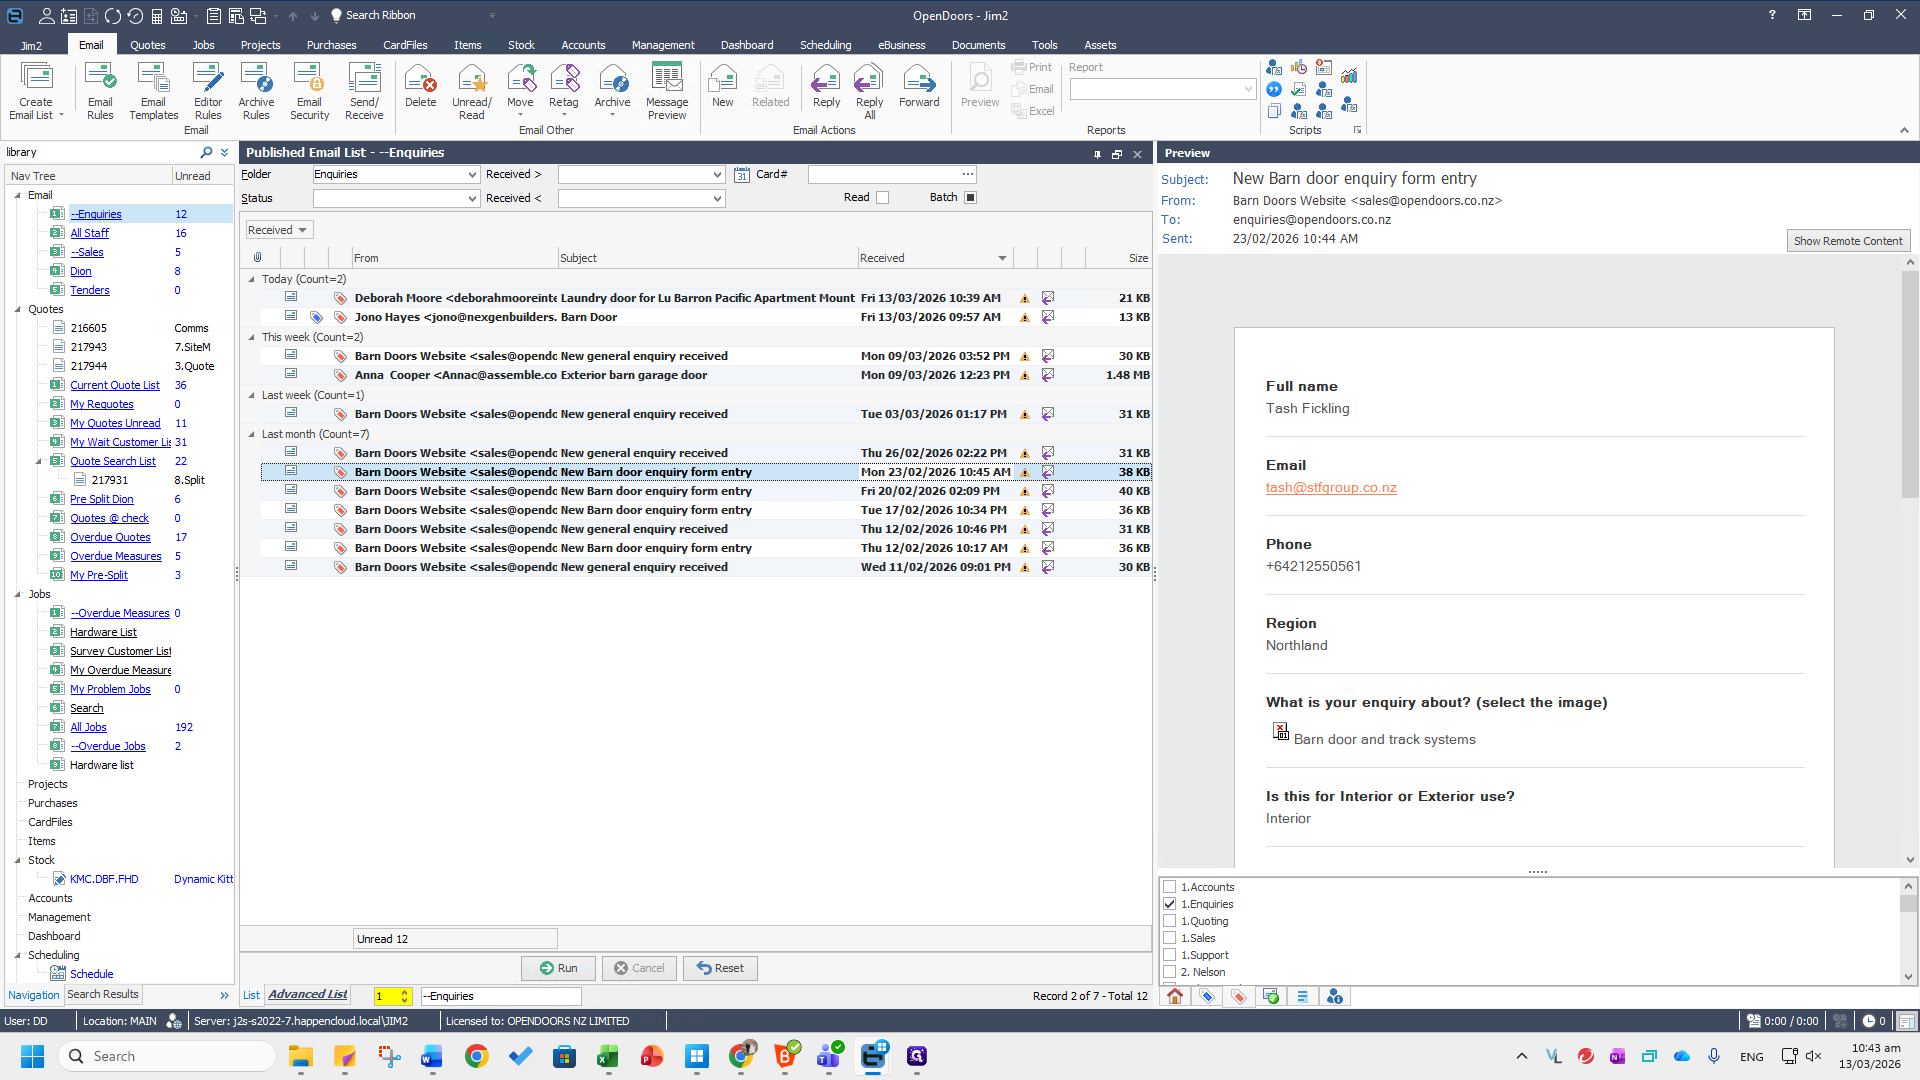
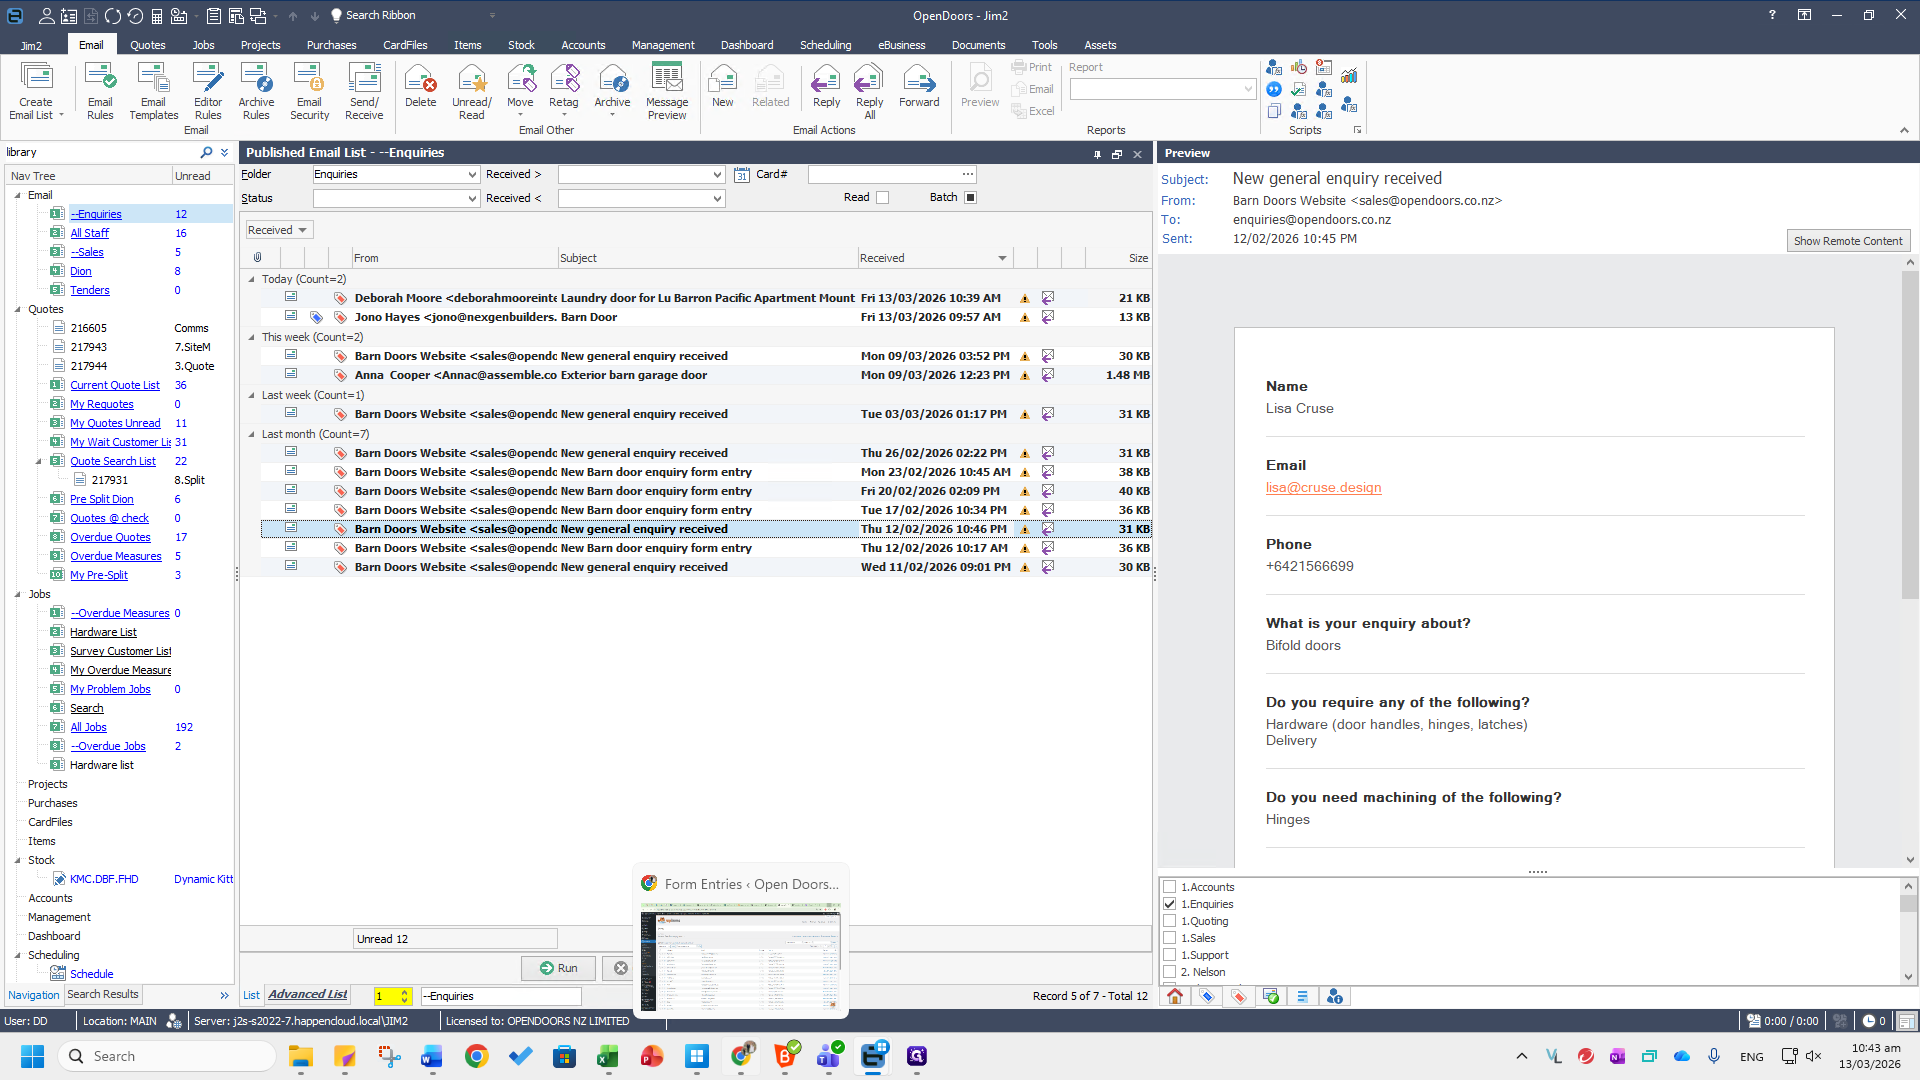
These will automatically be sent to enquiries@opendoors.co.nz.
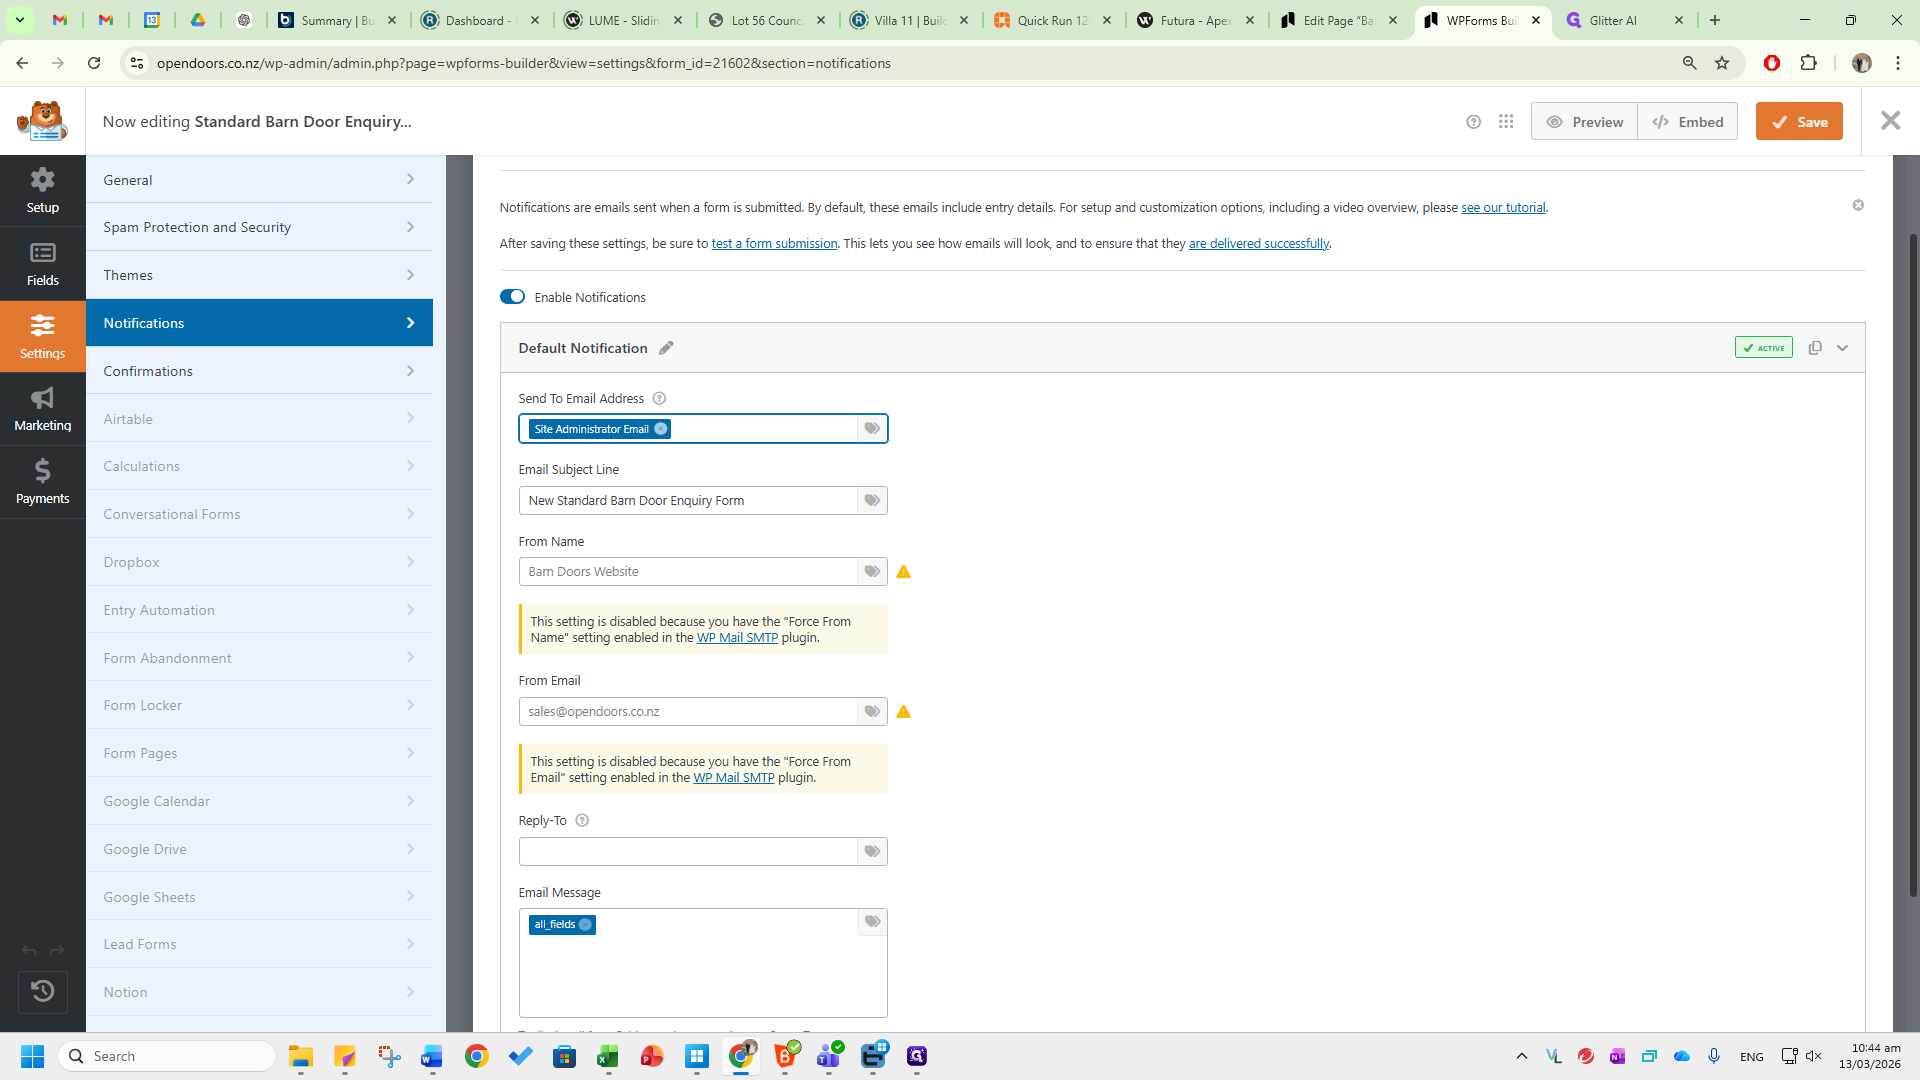
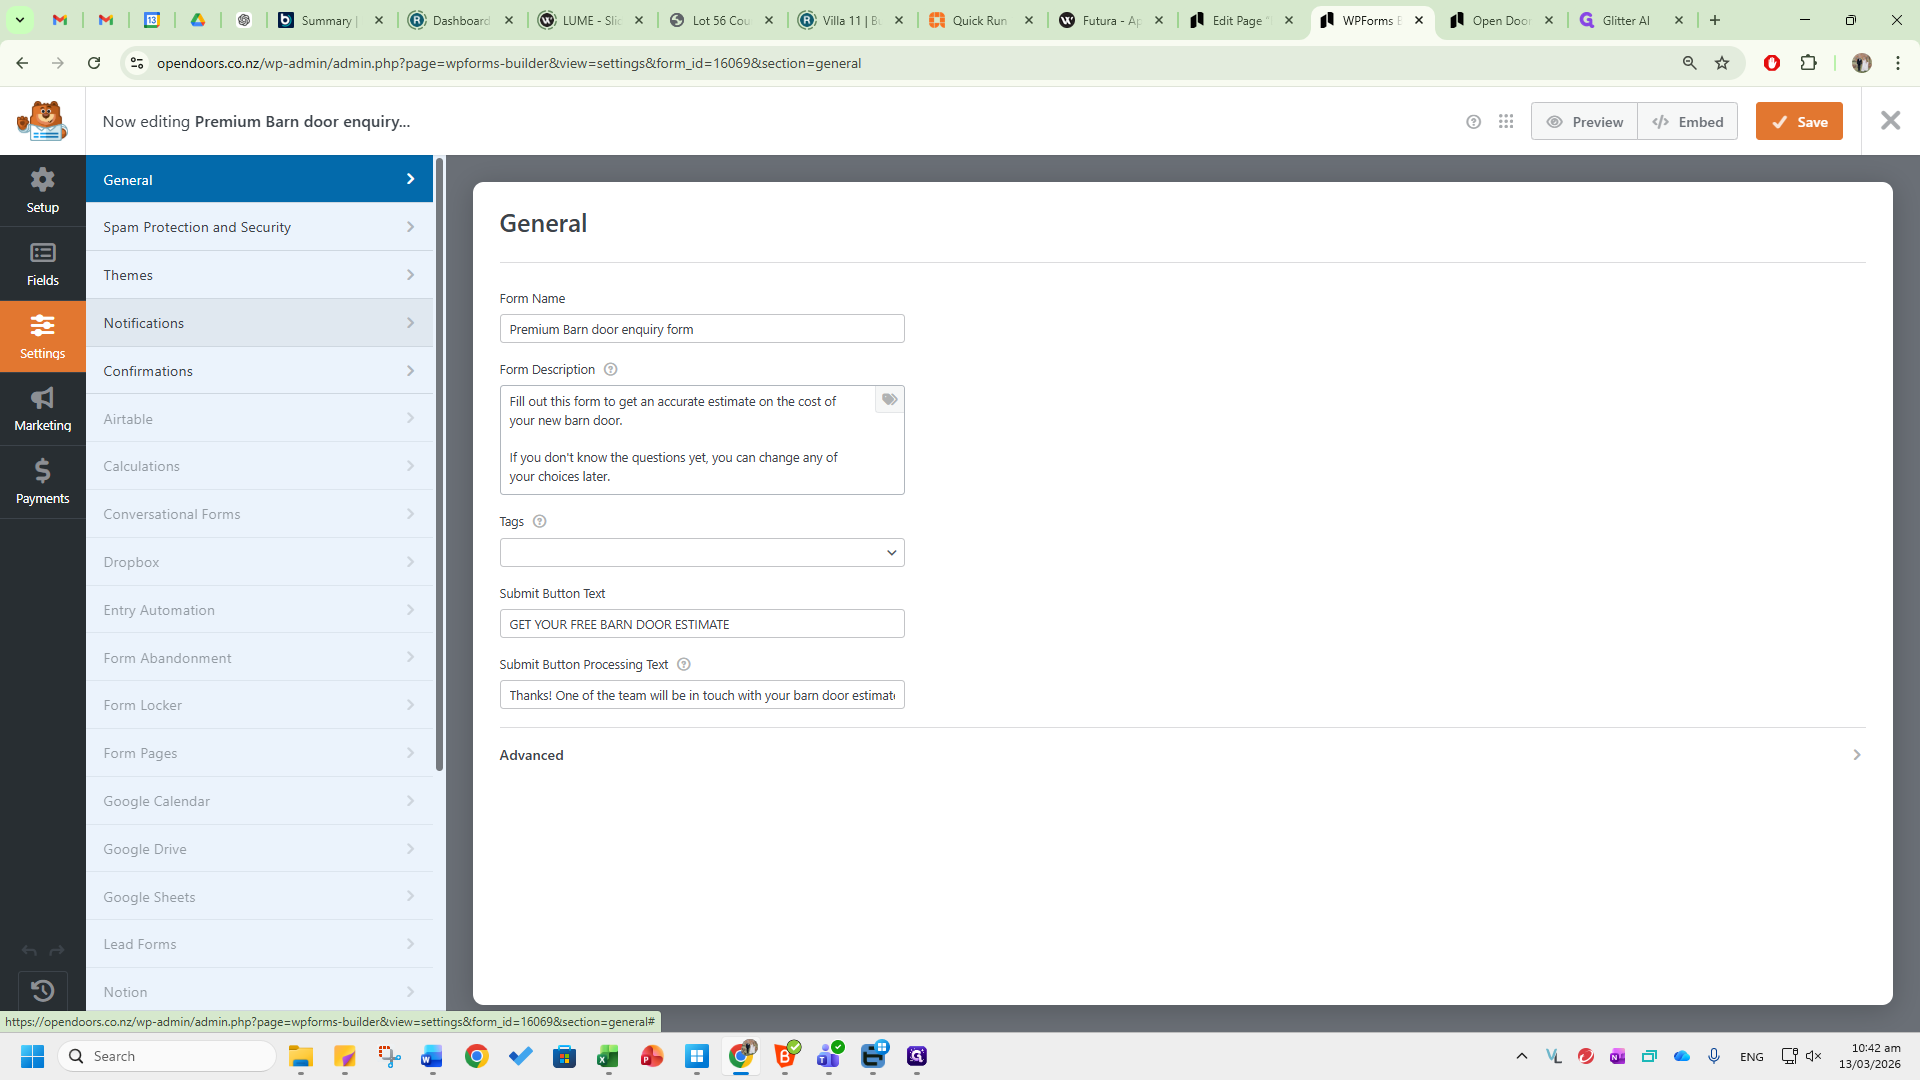
To change the email address where notifications are sent, go to the Notifications tab and update the default Send To email address.
The fields can be edited here.
To exit the Premium Barn Door Enquiry Form on the website, click X or Save.
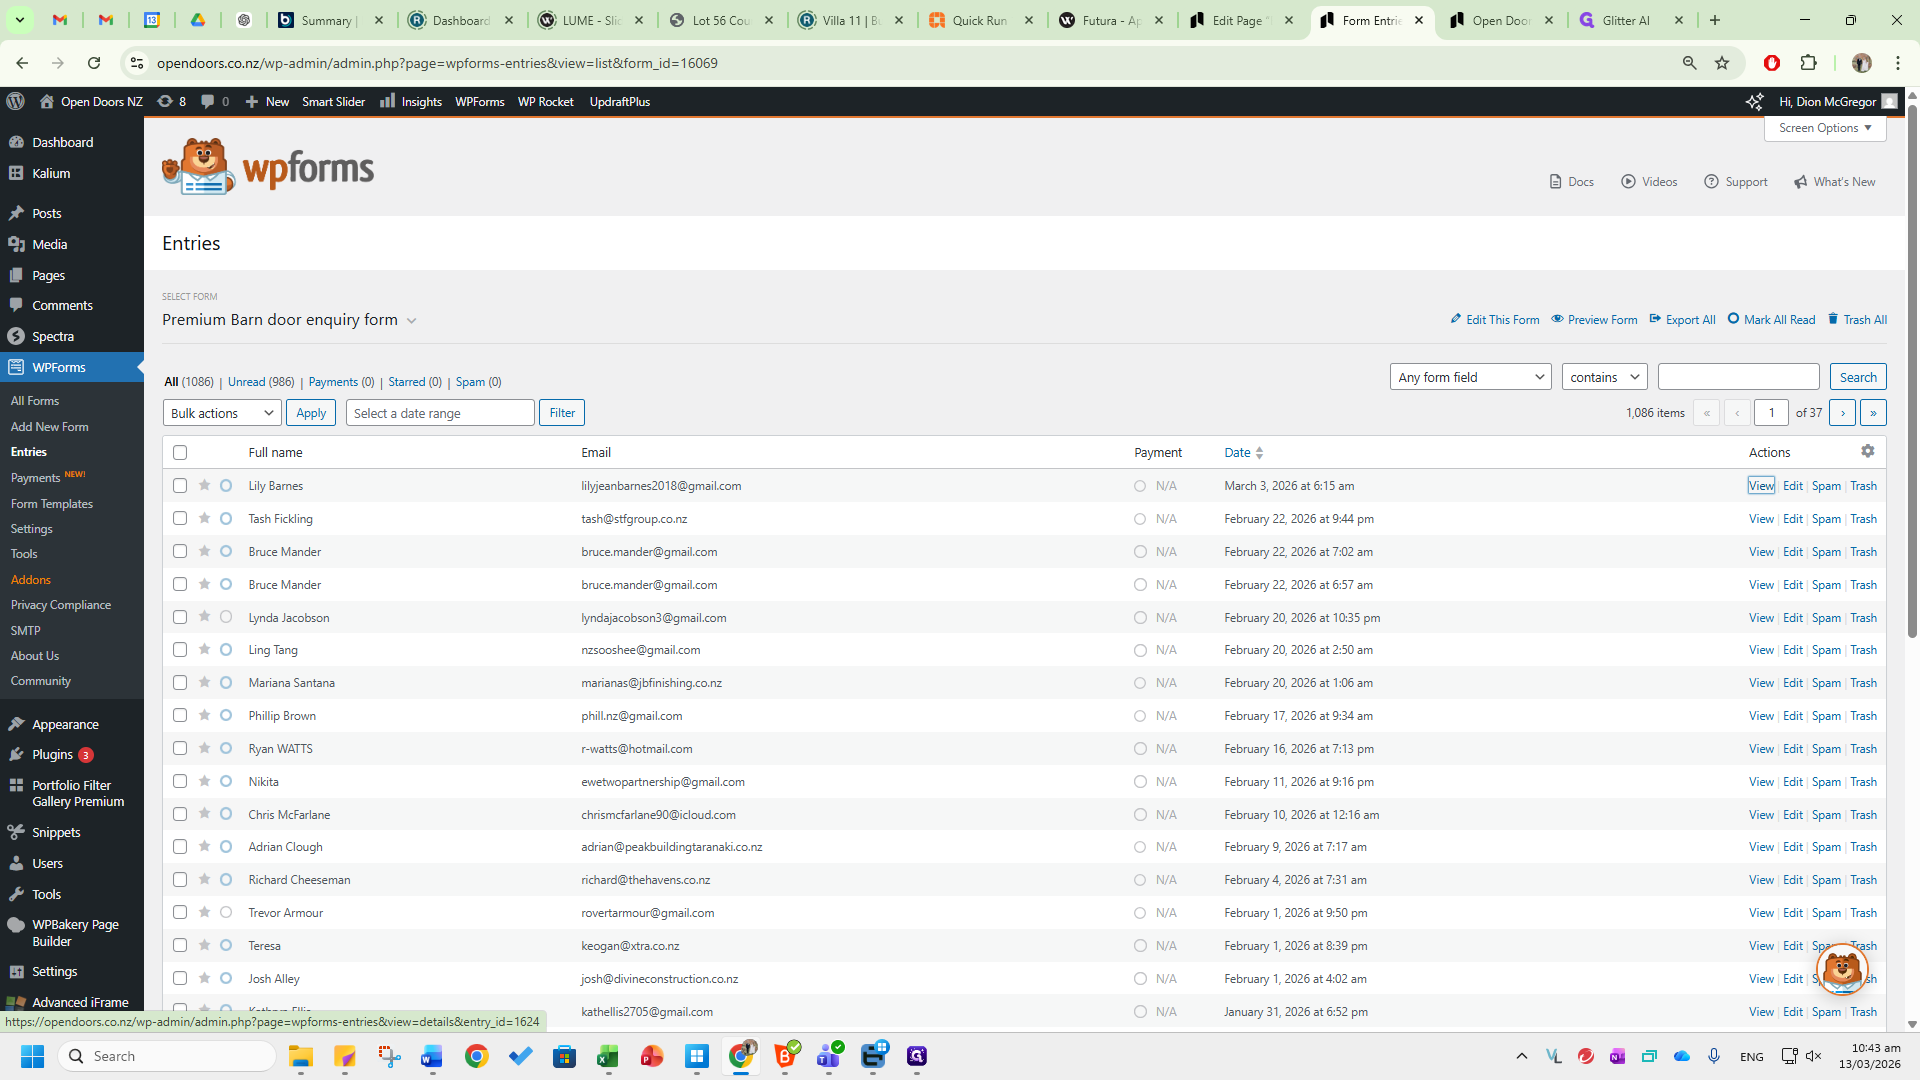
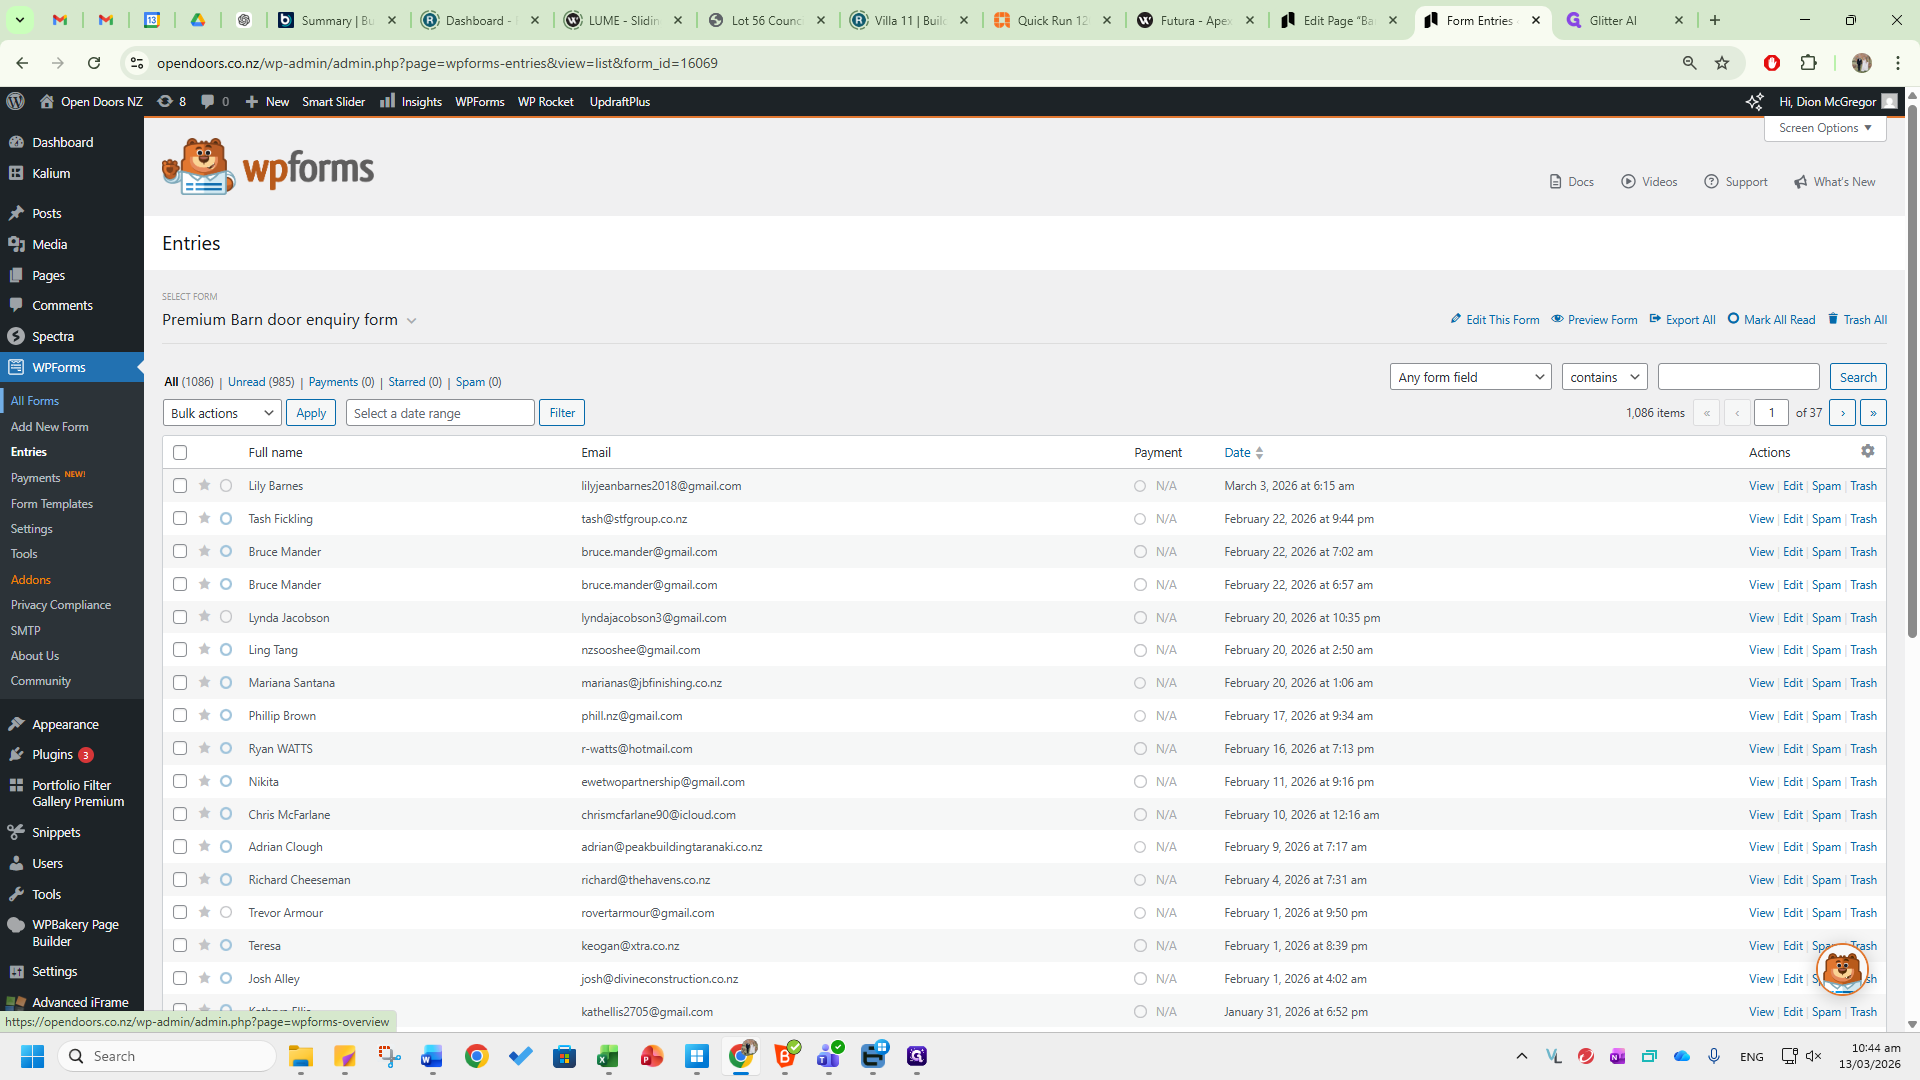
To view existing entries, click the Entries button. You can view the most recent entries. If any images are attached, scroll down to see them in the Images tab.


All existing barn door inquiries will be sent to enquiries@opendoors.co.nz, as shown here in Jim.

The Standard Barn Door Enquiry Form is for barn doors from Visual Hardware.

These are sent to enquiries@opendoors.co.nz.
For the standard barn door enquiries, these are from Visual Hardware. They are at fixed heights and fixed widths.

Refer to the Visual Hardware Enquiry Process SOP for instructions on managing these enquiries.