Learn how to efficiently manage your call notes, update statuses, filter notes, listen to recordings, and add new call notes. Improve your workflow and stay organized with these easy steps.
By Dominik Black
In this guide, we'll learn how to manage your call notes using the features available in the My Call Notes section. You will see how to view, filter, and update the status of your call notes, as well as how to add new notes and listen to recordings. This process helps you keep track of your customer interactions and ensures timely follow-up.
Let's get started
1
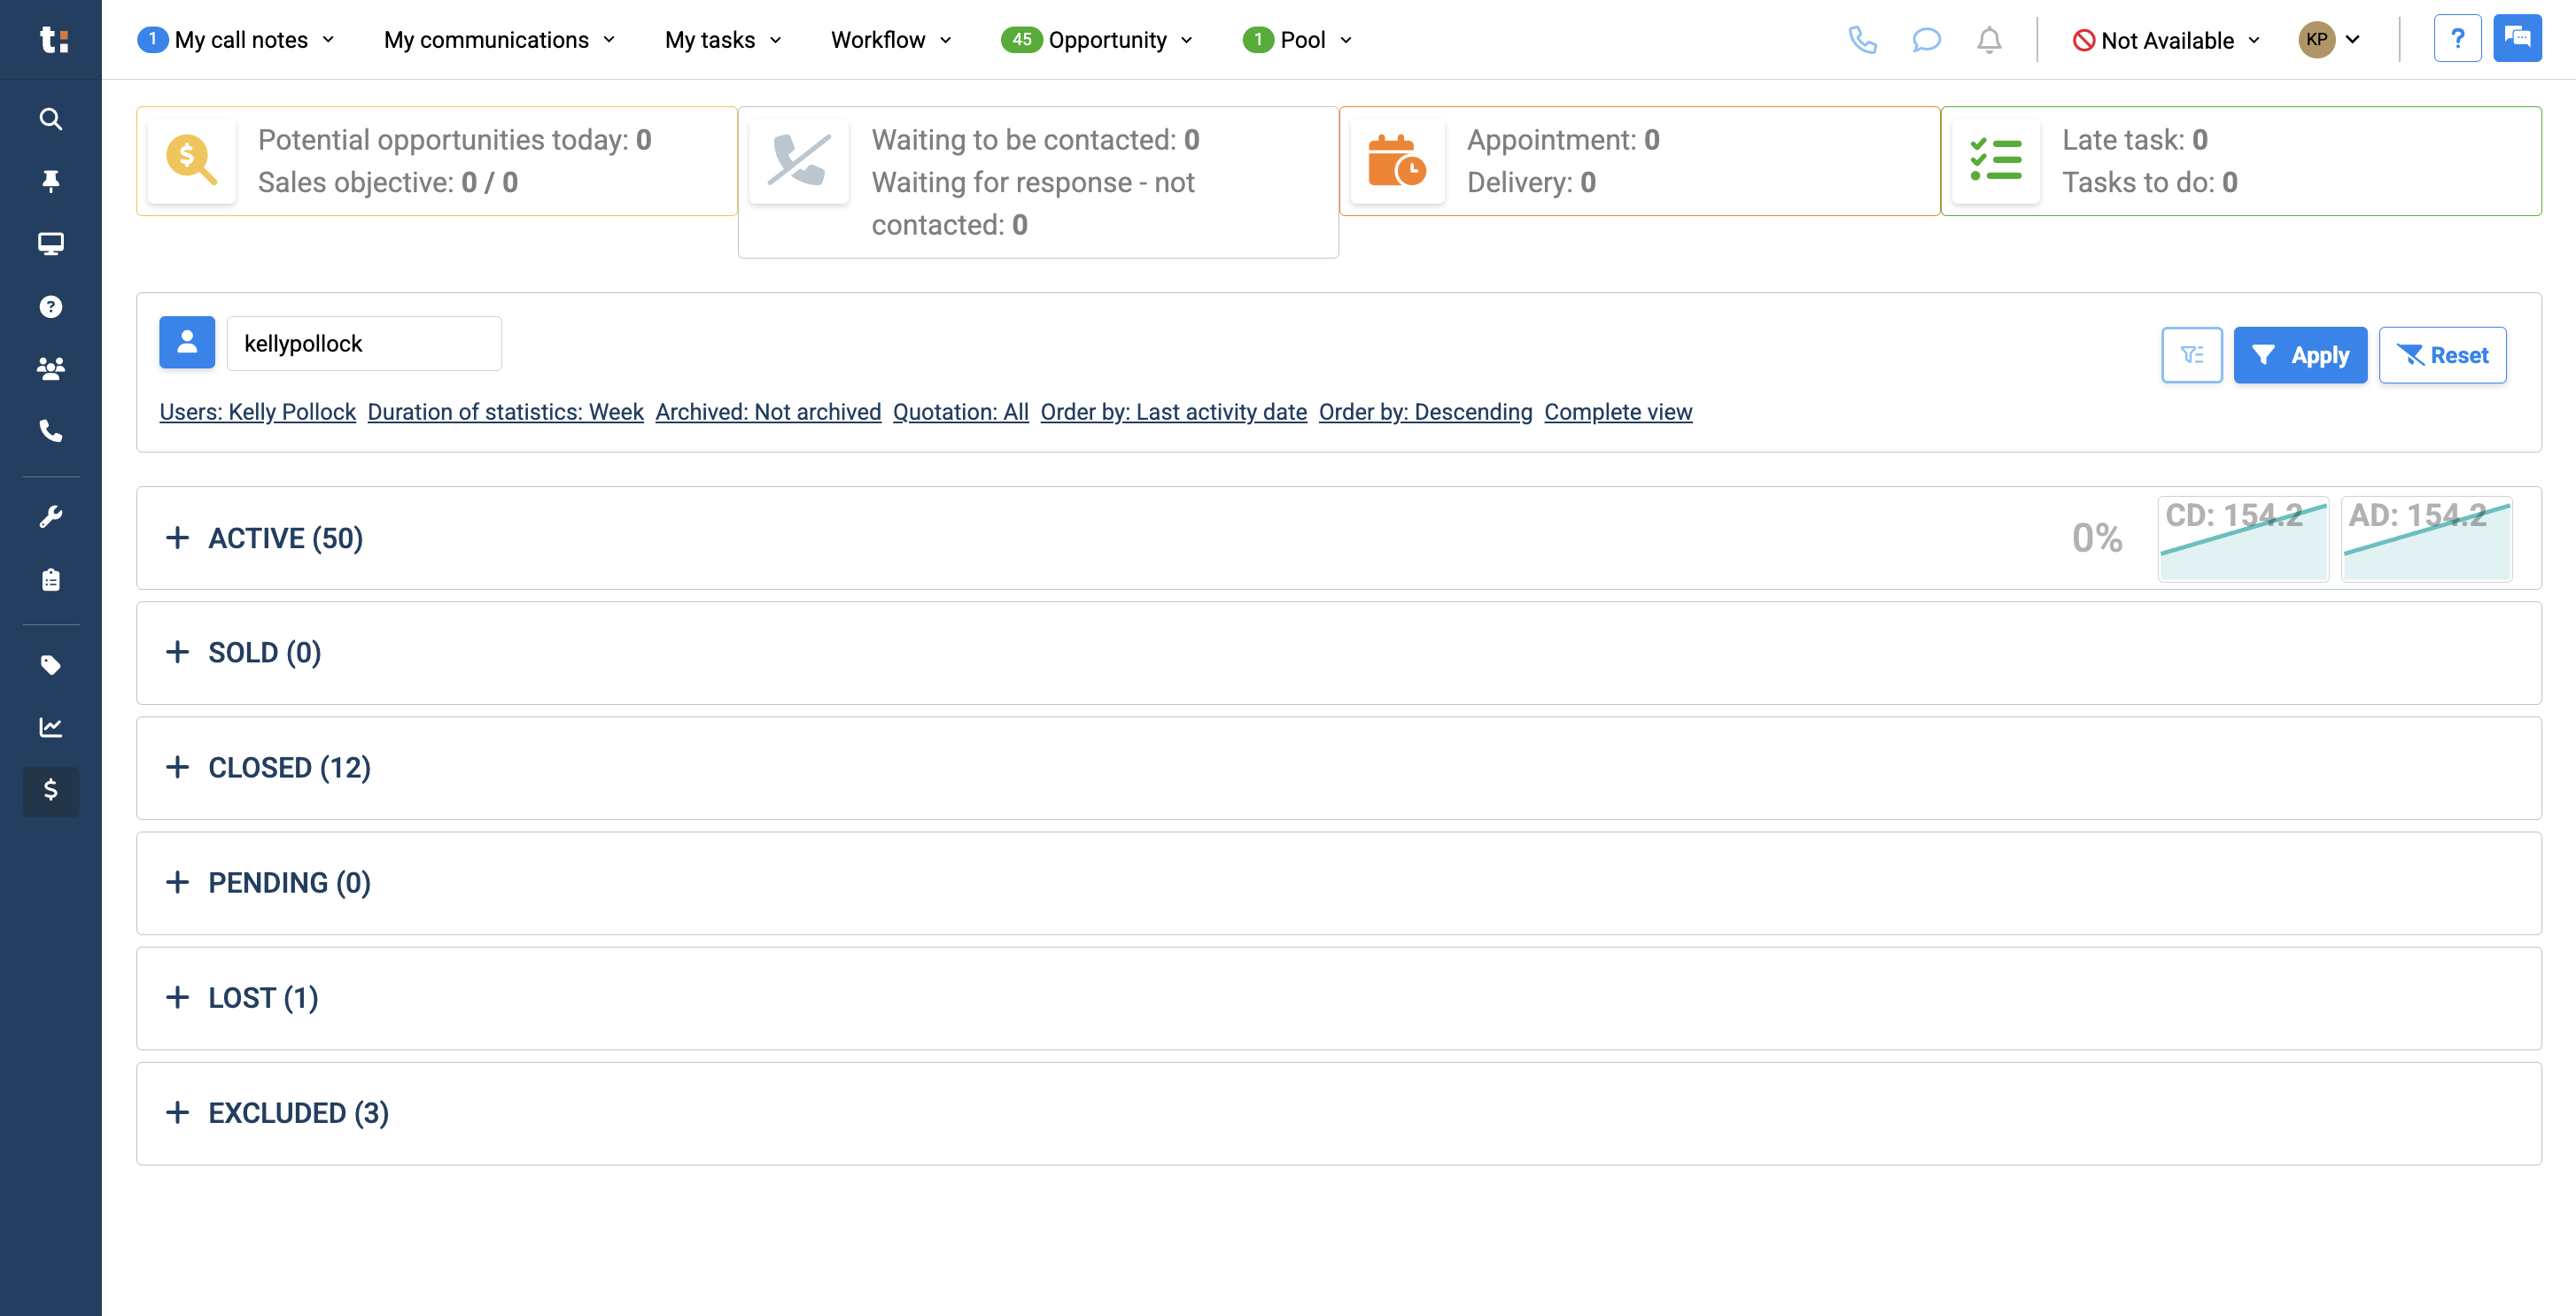
In this article, we will explain how to manage your call notes.At the top of your page, you'll see a My Call Notes tab. There may be a notification next to the title indicating if you have a new call note.
2
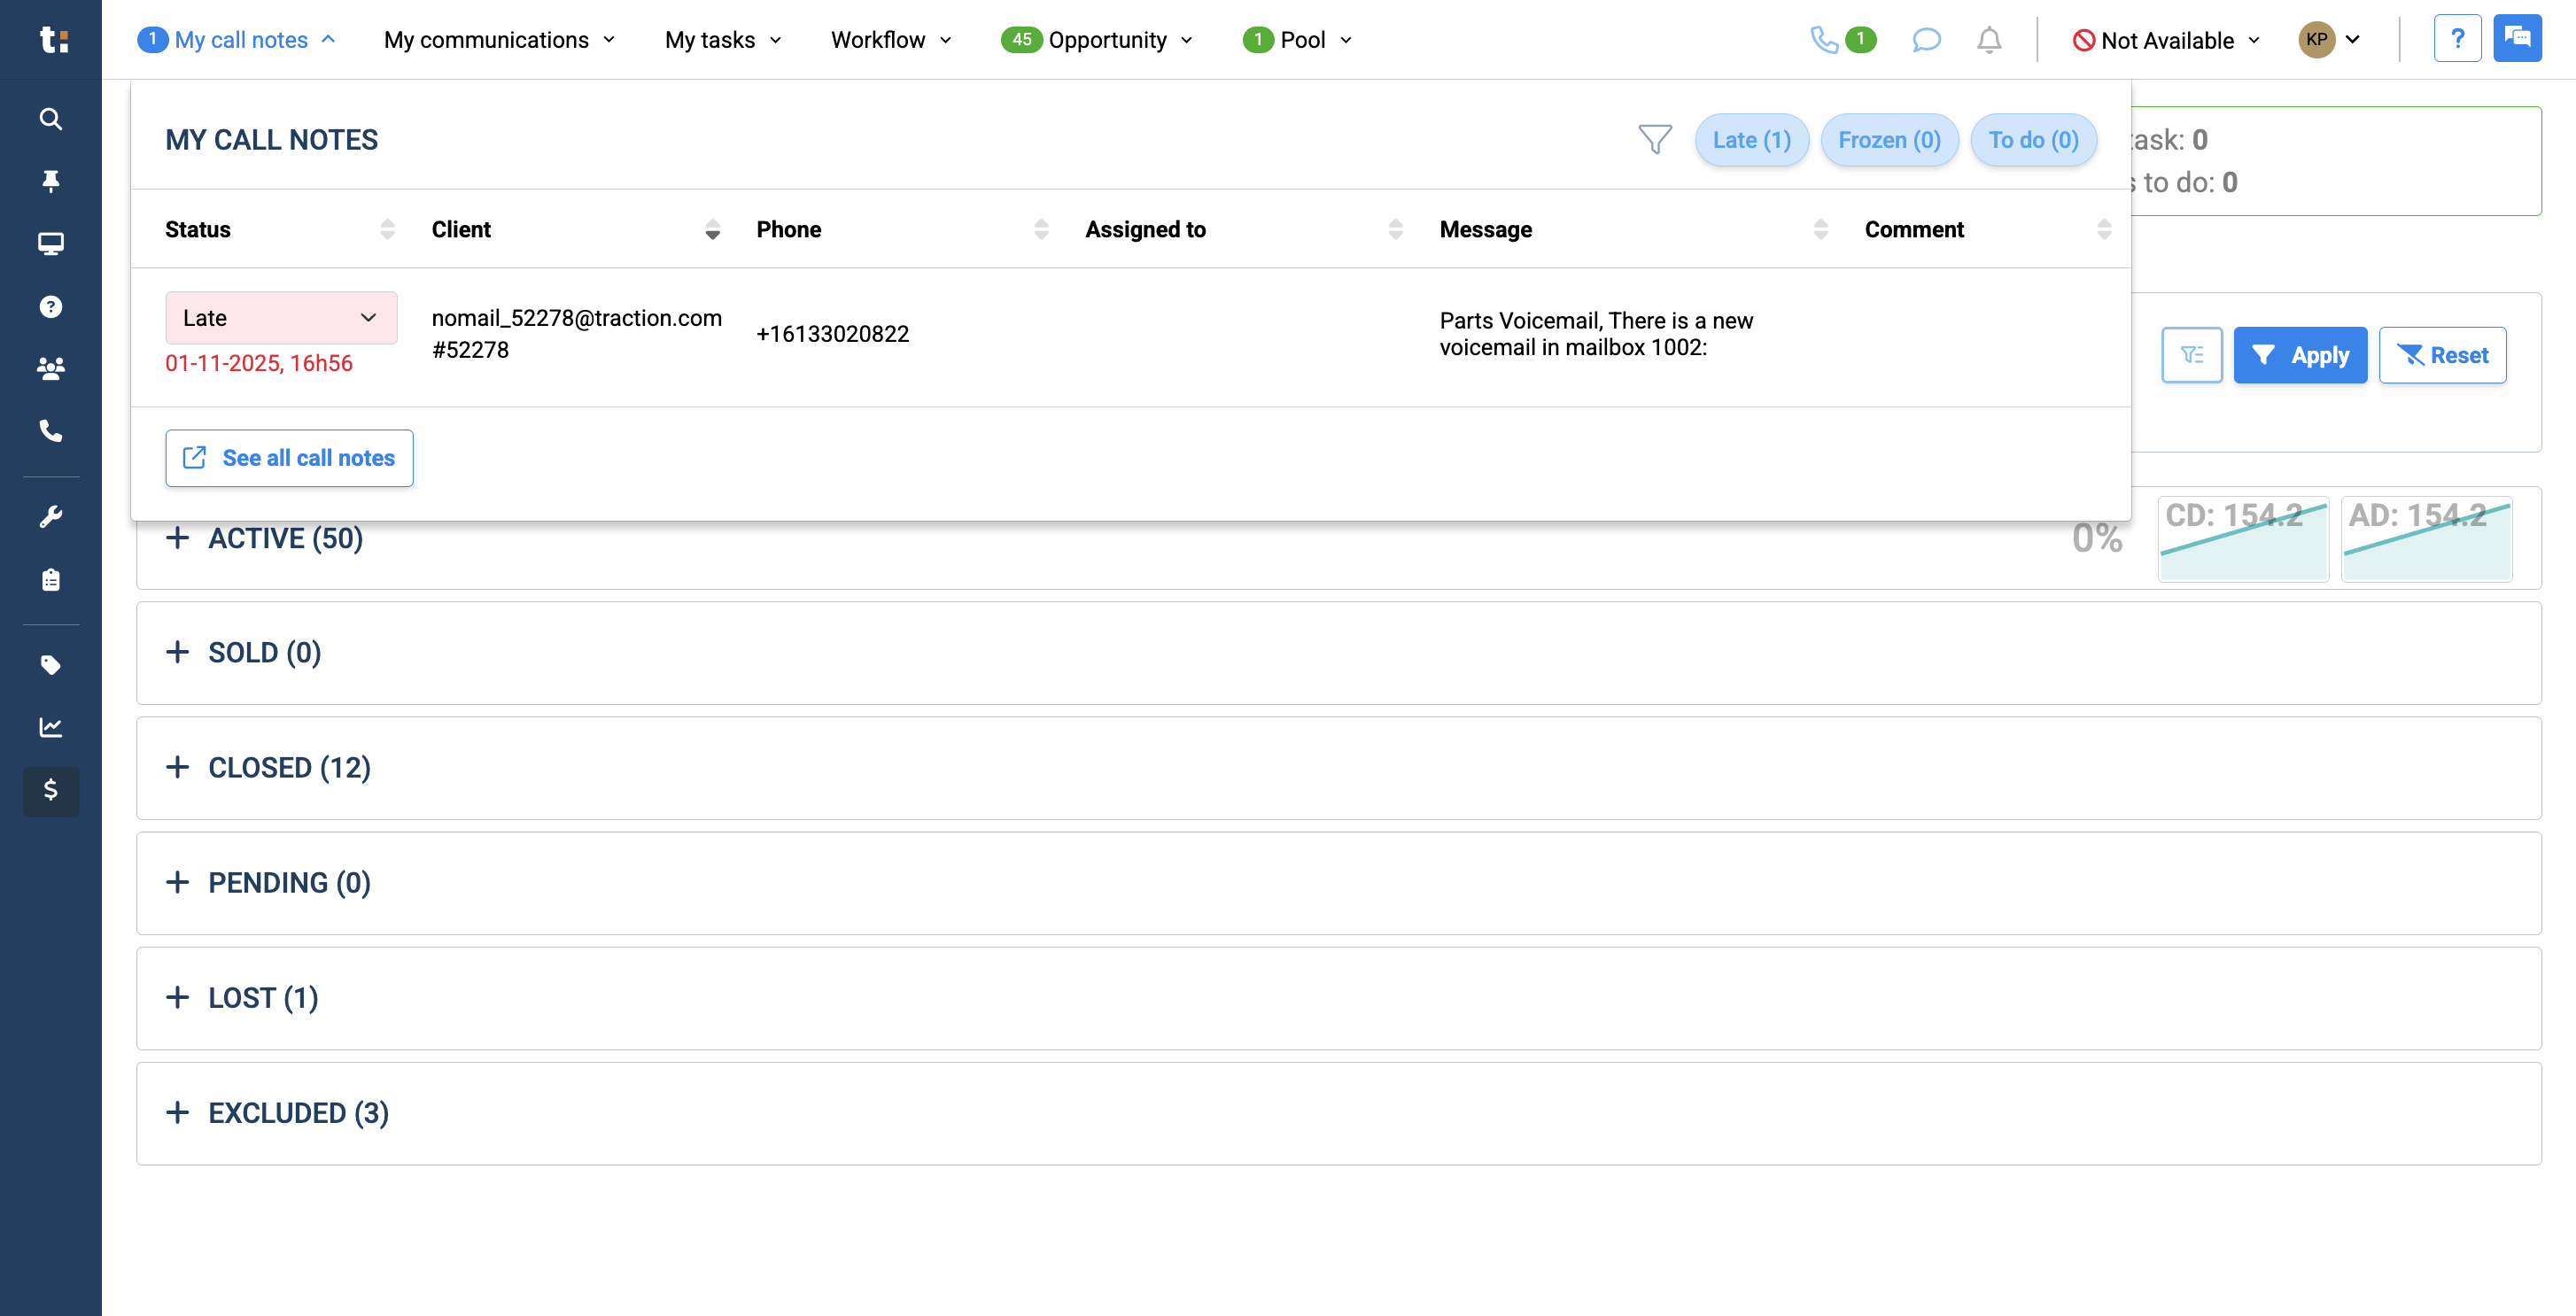
Clicking on "My Call Notes" opens a small box.
3
At this point, you can filter your call notes or choose to view only those that are late, frozen, or to-do.
4
If you click on the call note, it will take you to the page.If not, you can also click on "See All Call Notes" to view them all.
5
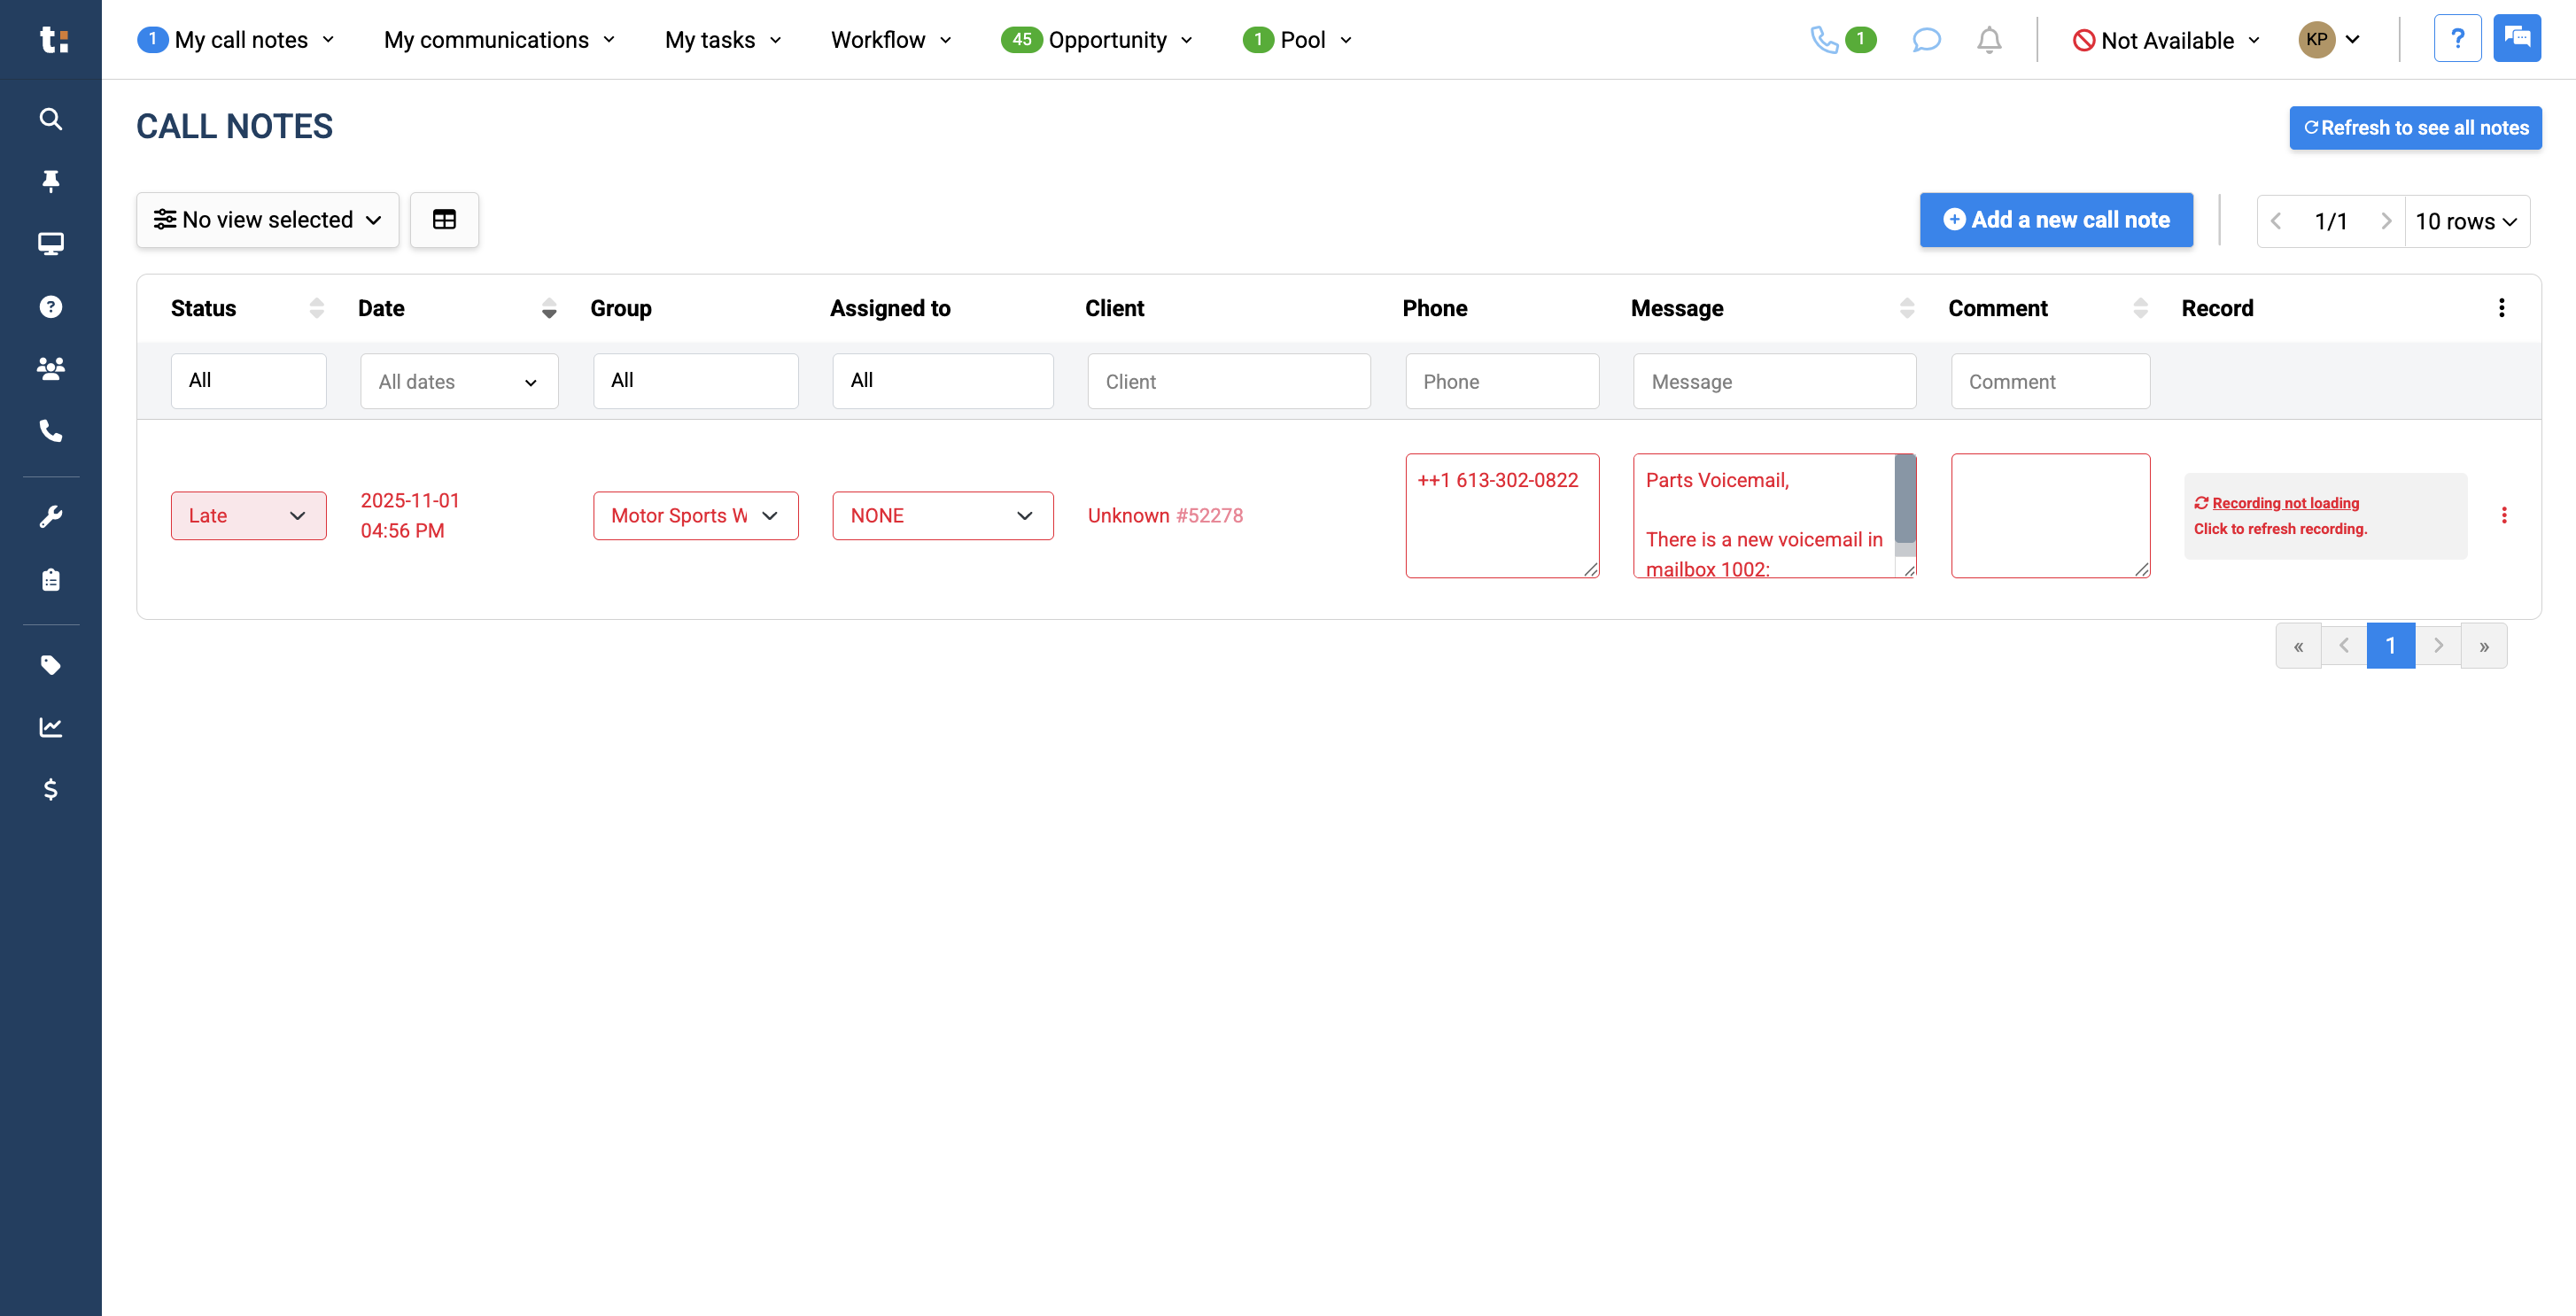
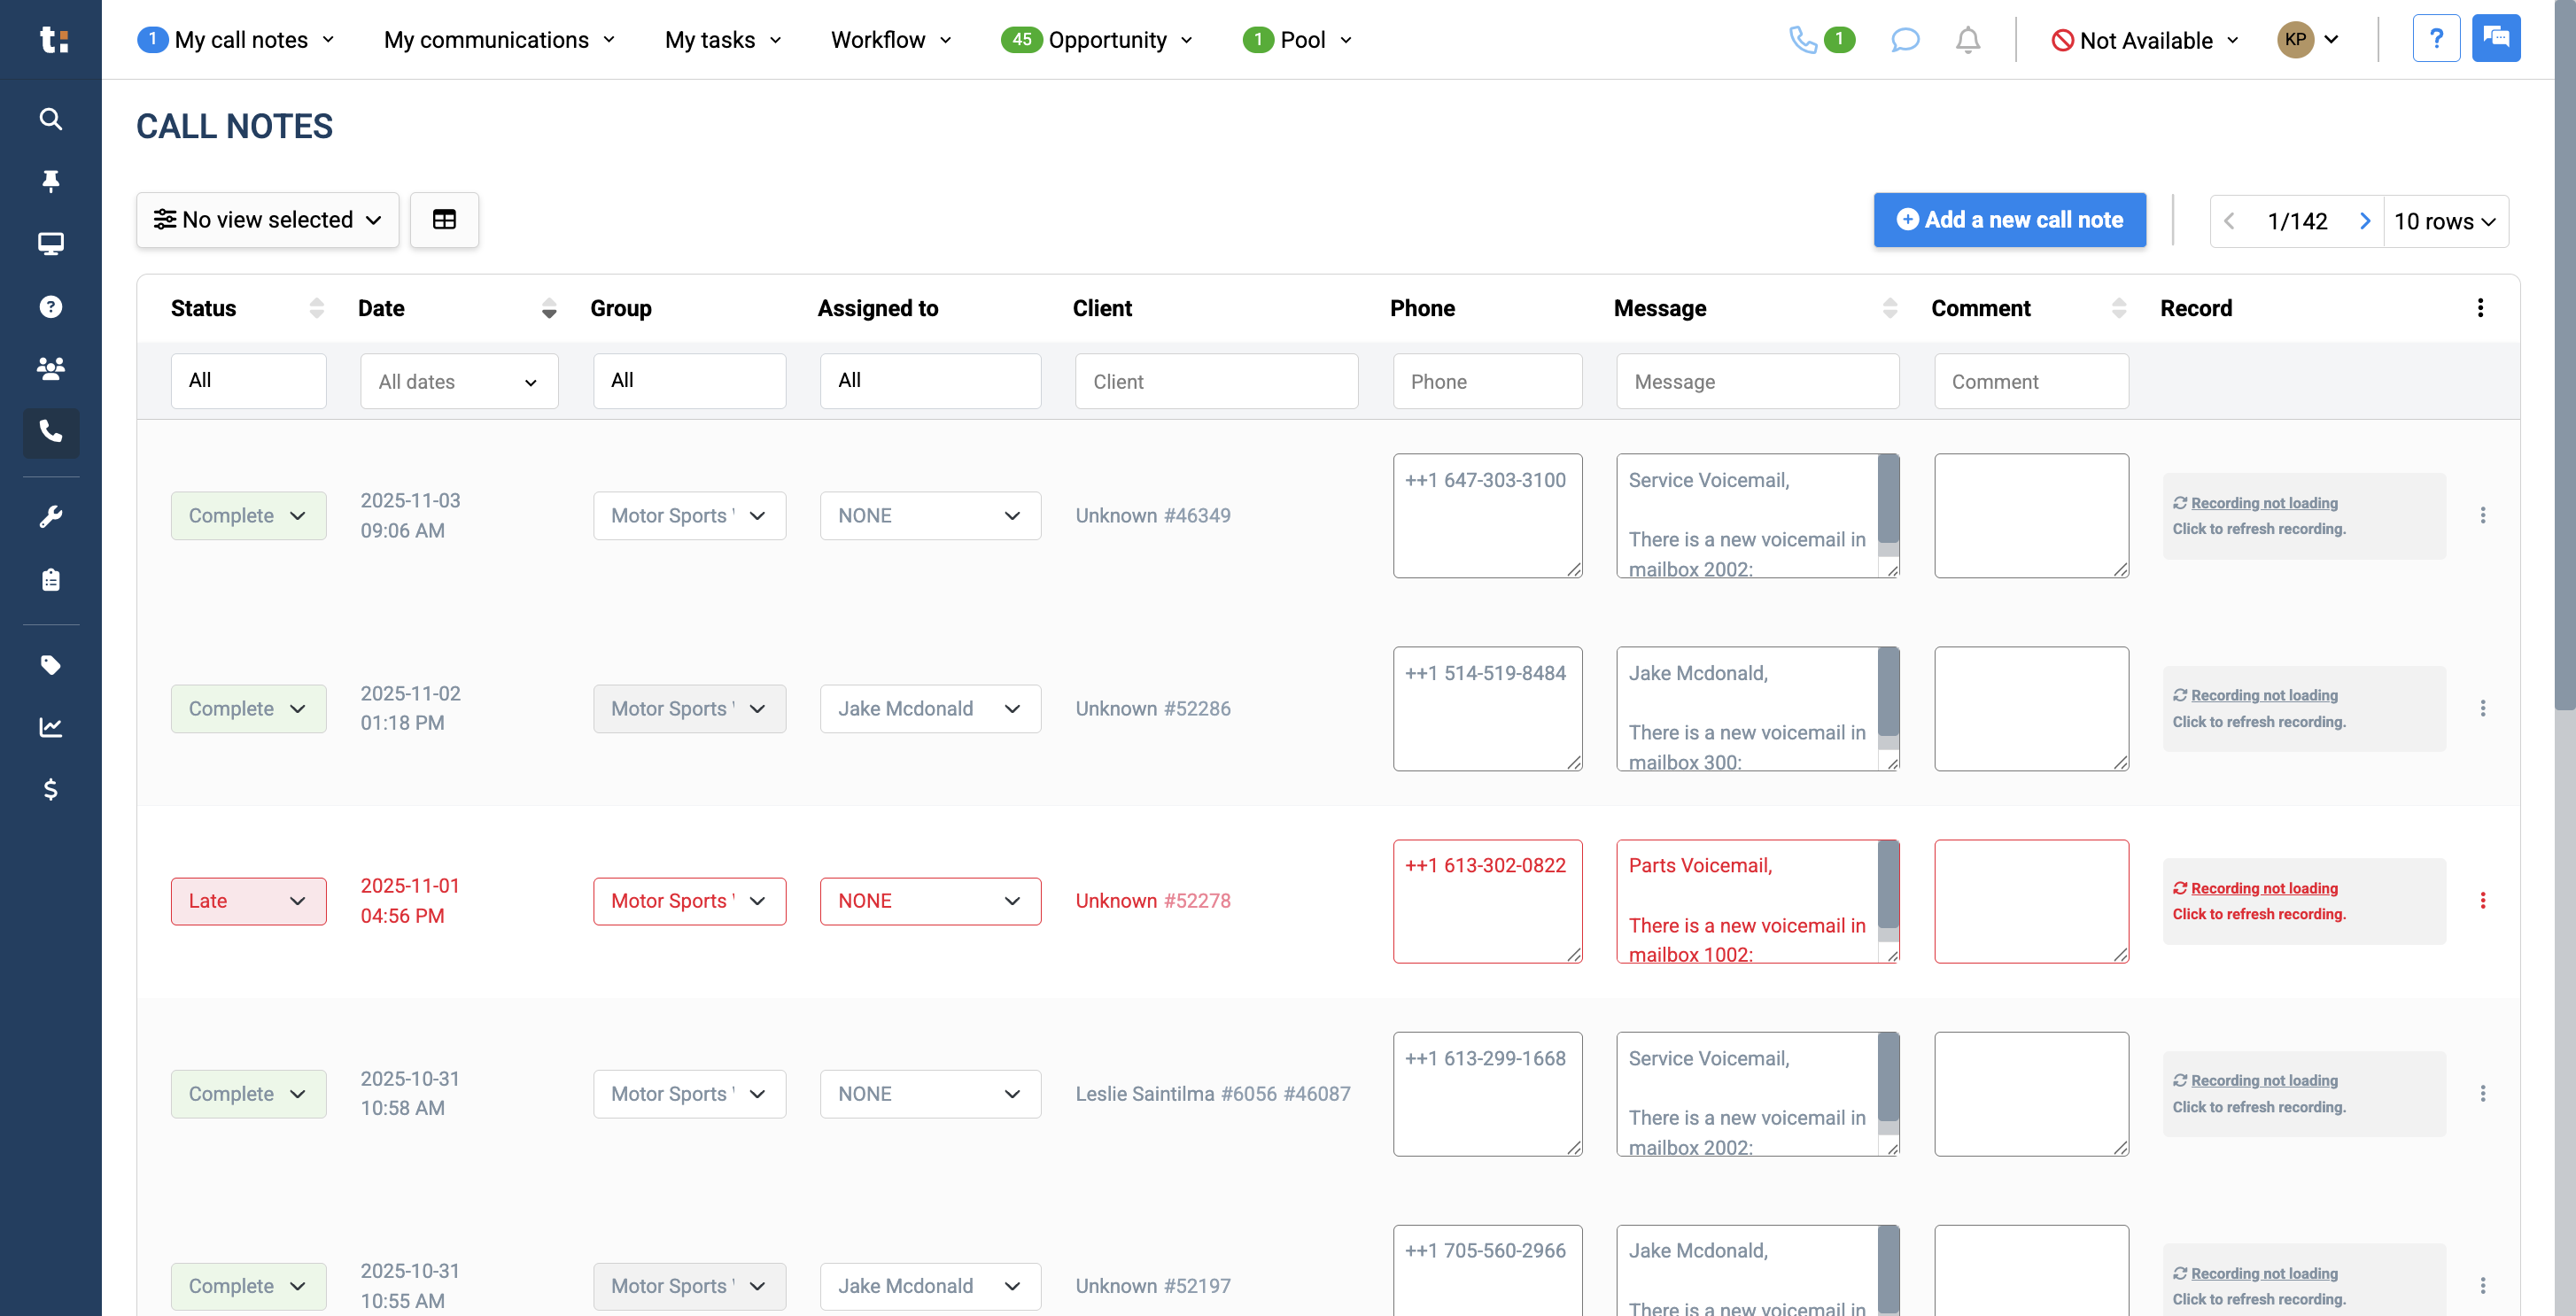
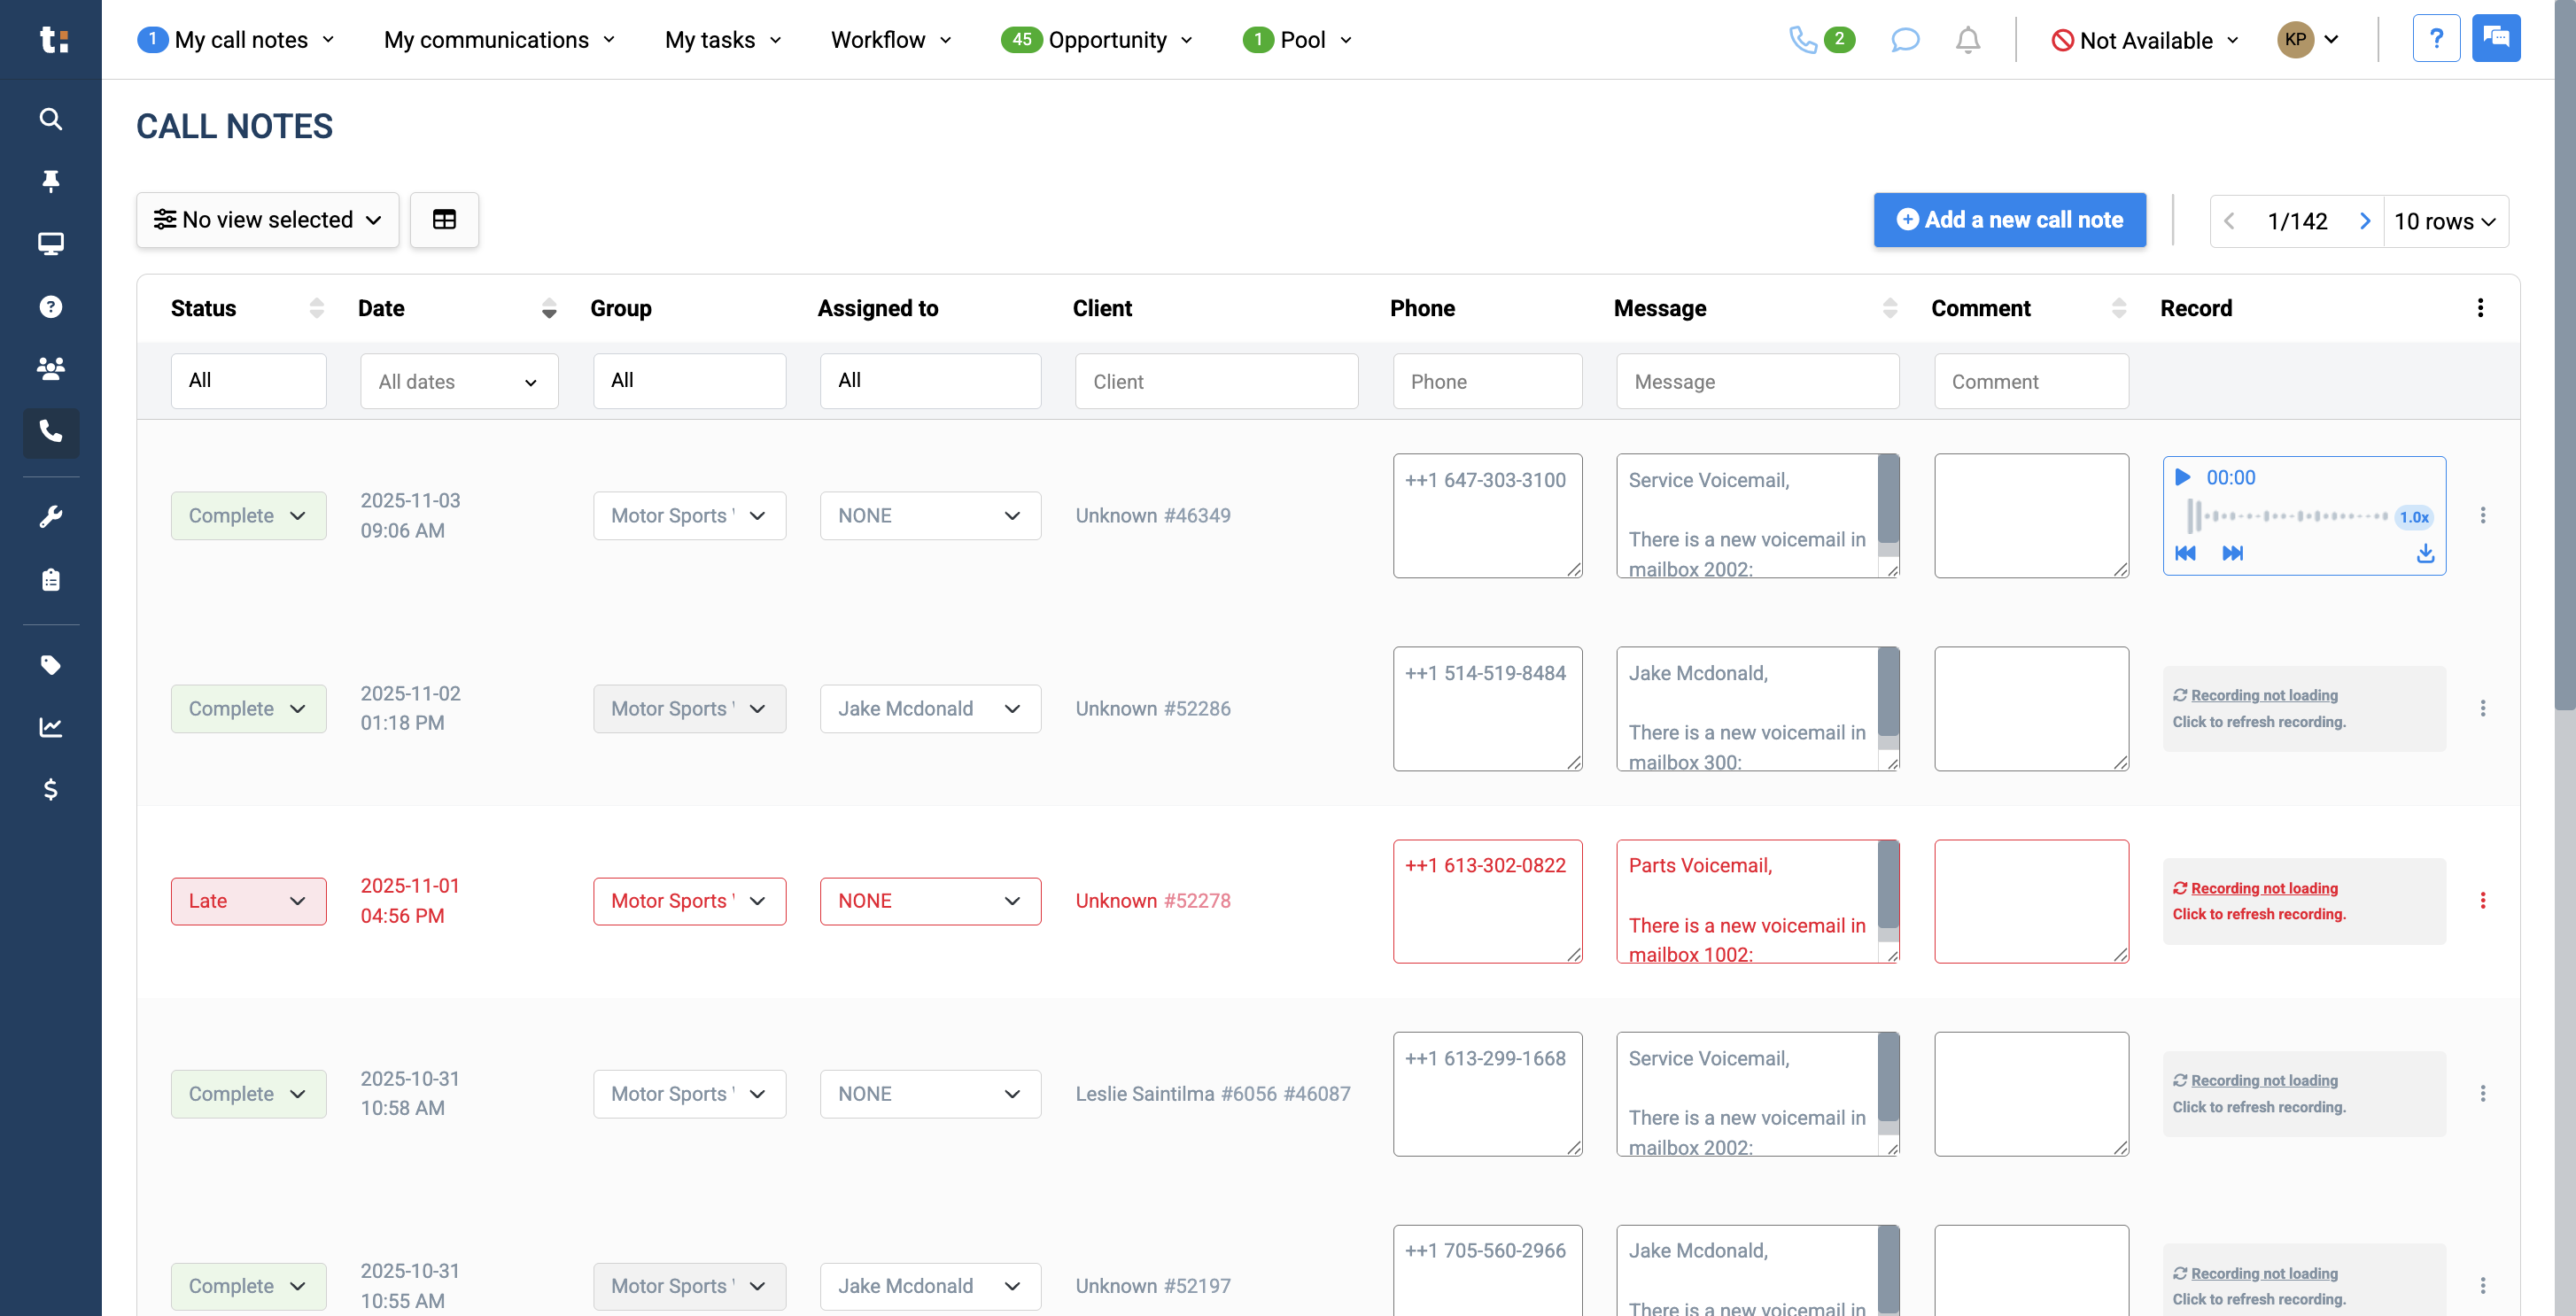
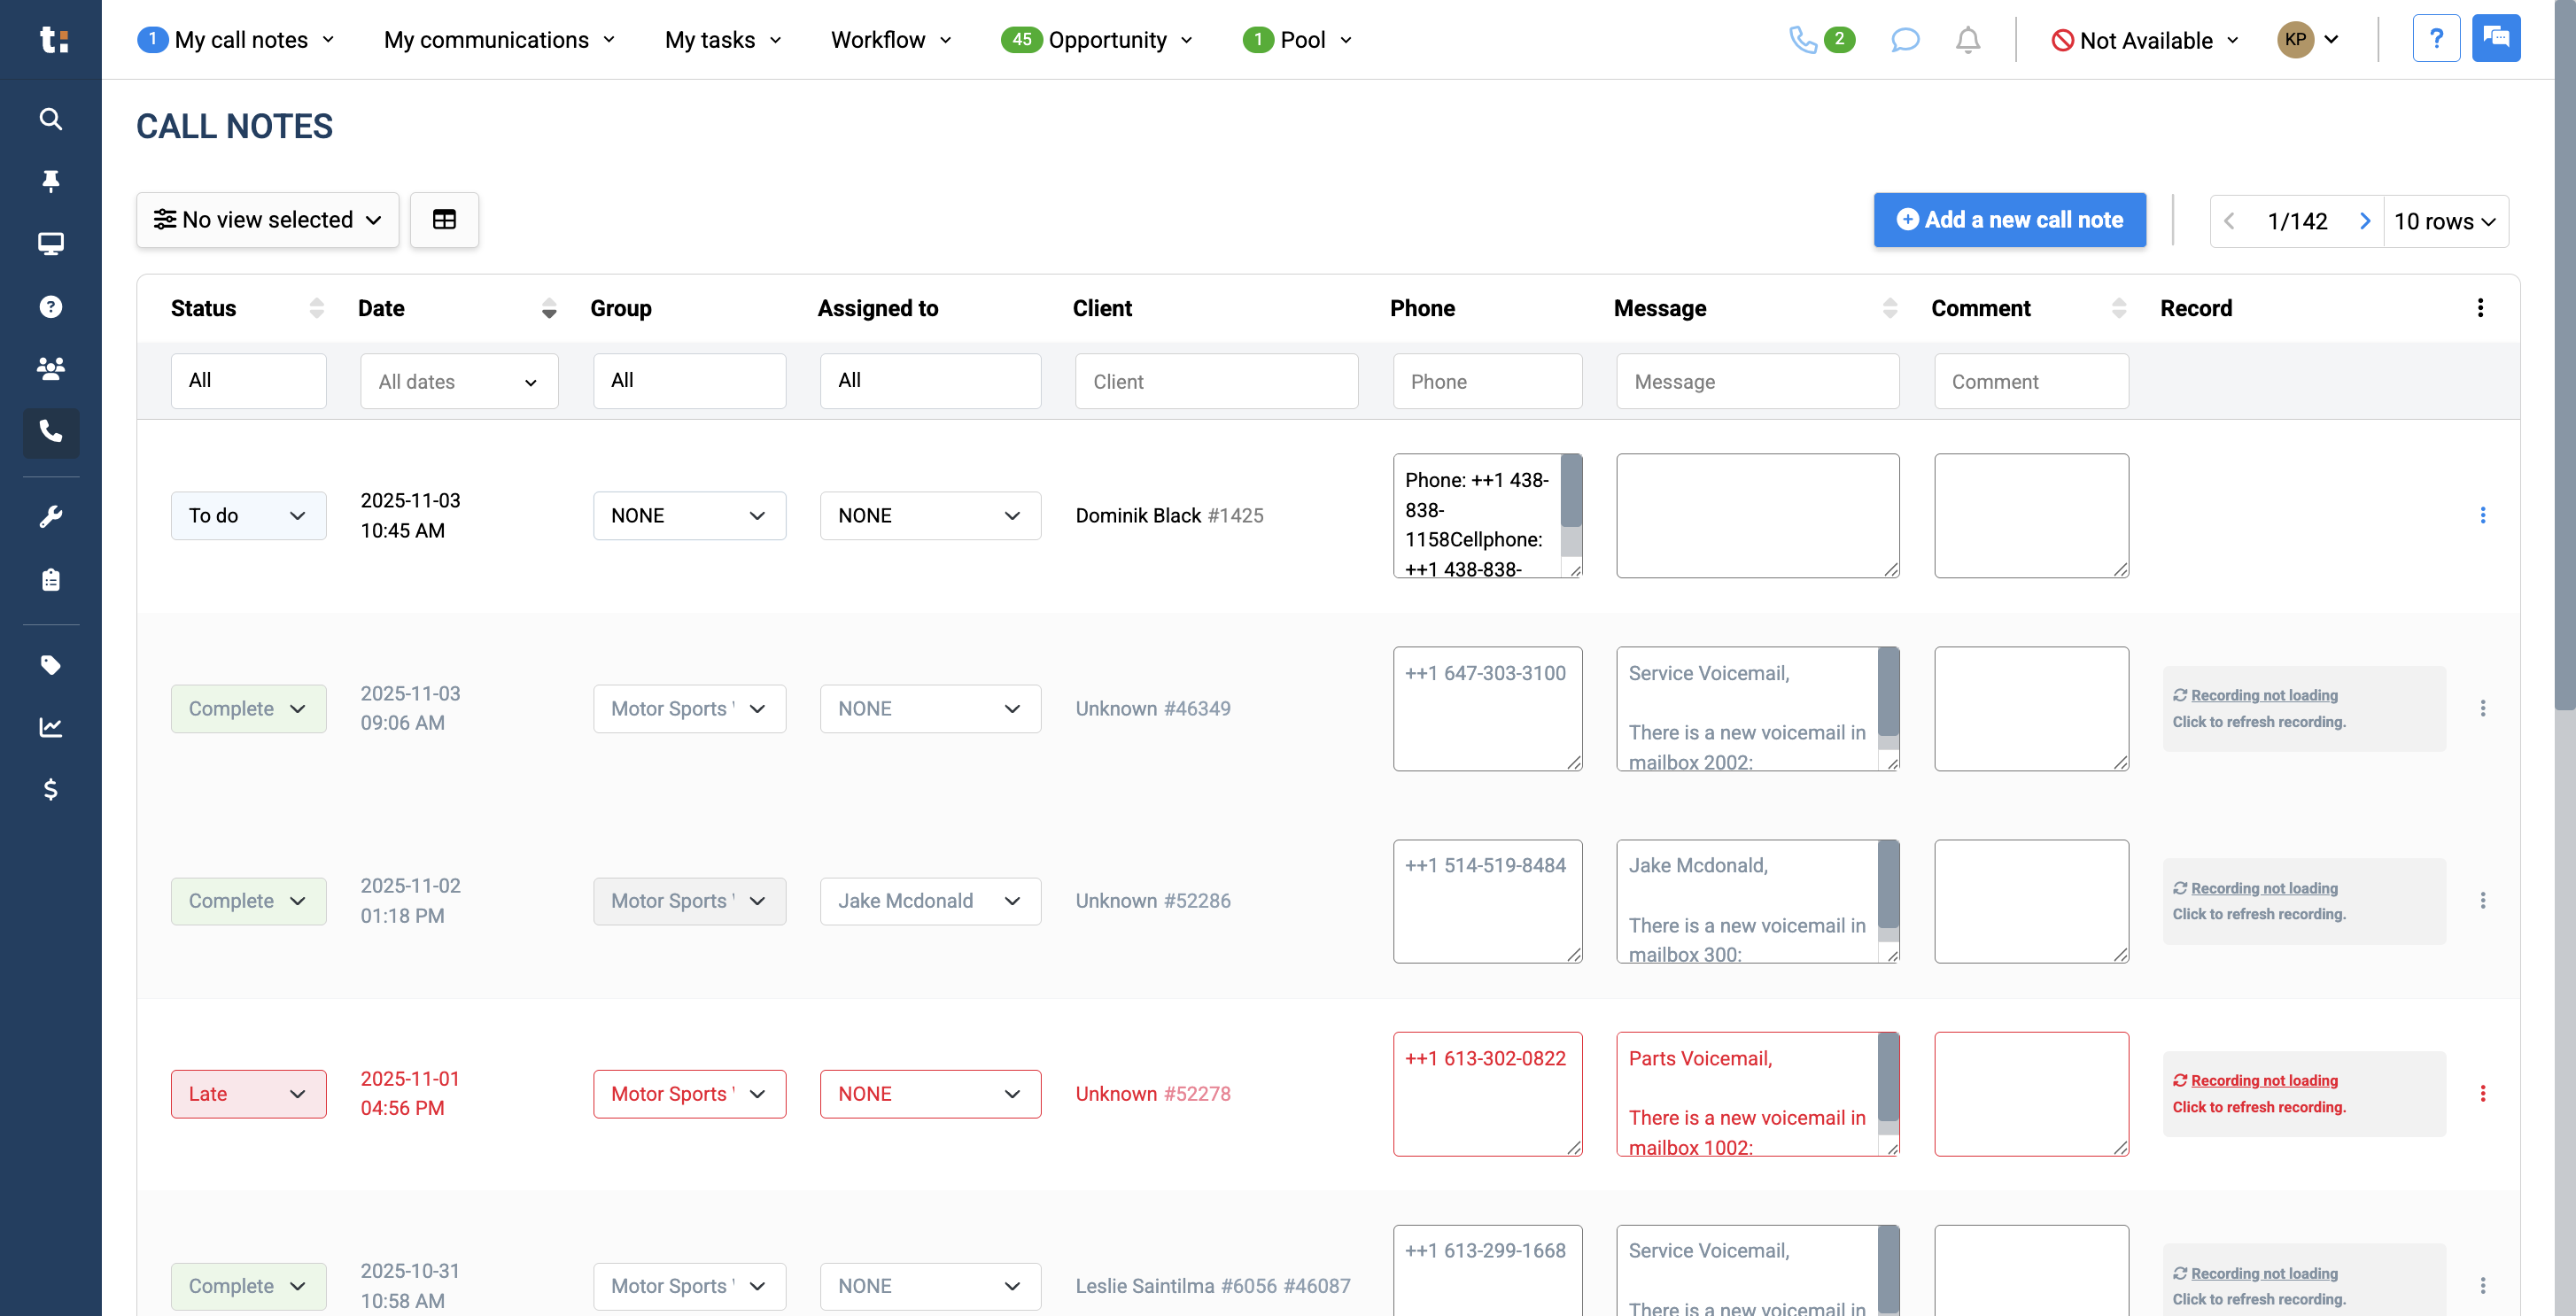
On the Call Notes page, you'll see a complete list of your call notes.
6
To view all call notes, click Refresh.
7
In a call note, you will indicate the status, which you can change. It will start as a to-do status.
You have 24 hours to respond to your customer and update the to-do status to prevent it from being marked late.If it is late, the entire text will appear in red to indicate that you are behind on this task.The other statuses are frozen, voicemail, and completed.
Completed means you have connected with the customer who left the call note.Voicemail means you have left a message for the customer.Frozen means you tried calling the customer back, but there was no response. You plan to follow up later.
8
Your call notes also include the time and date of the call, the department, and the assigned user.
9
You will have the customer's information, including their name and phone number.
10
There will be an automated message in this box.
11
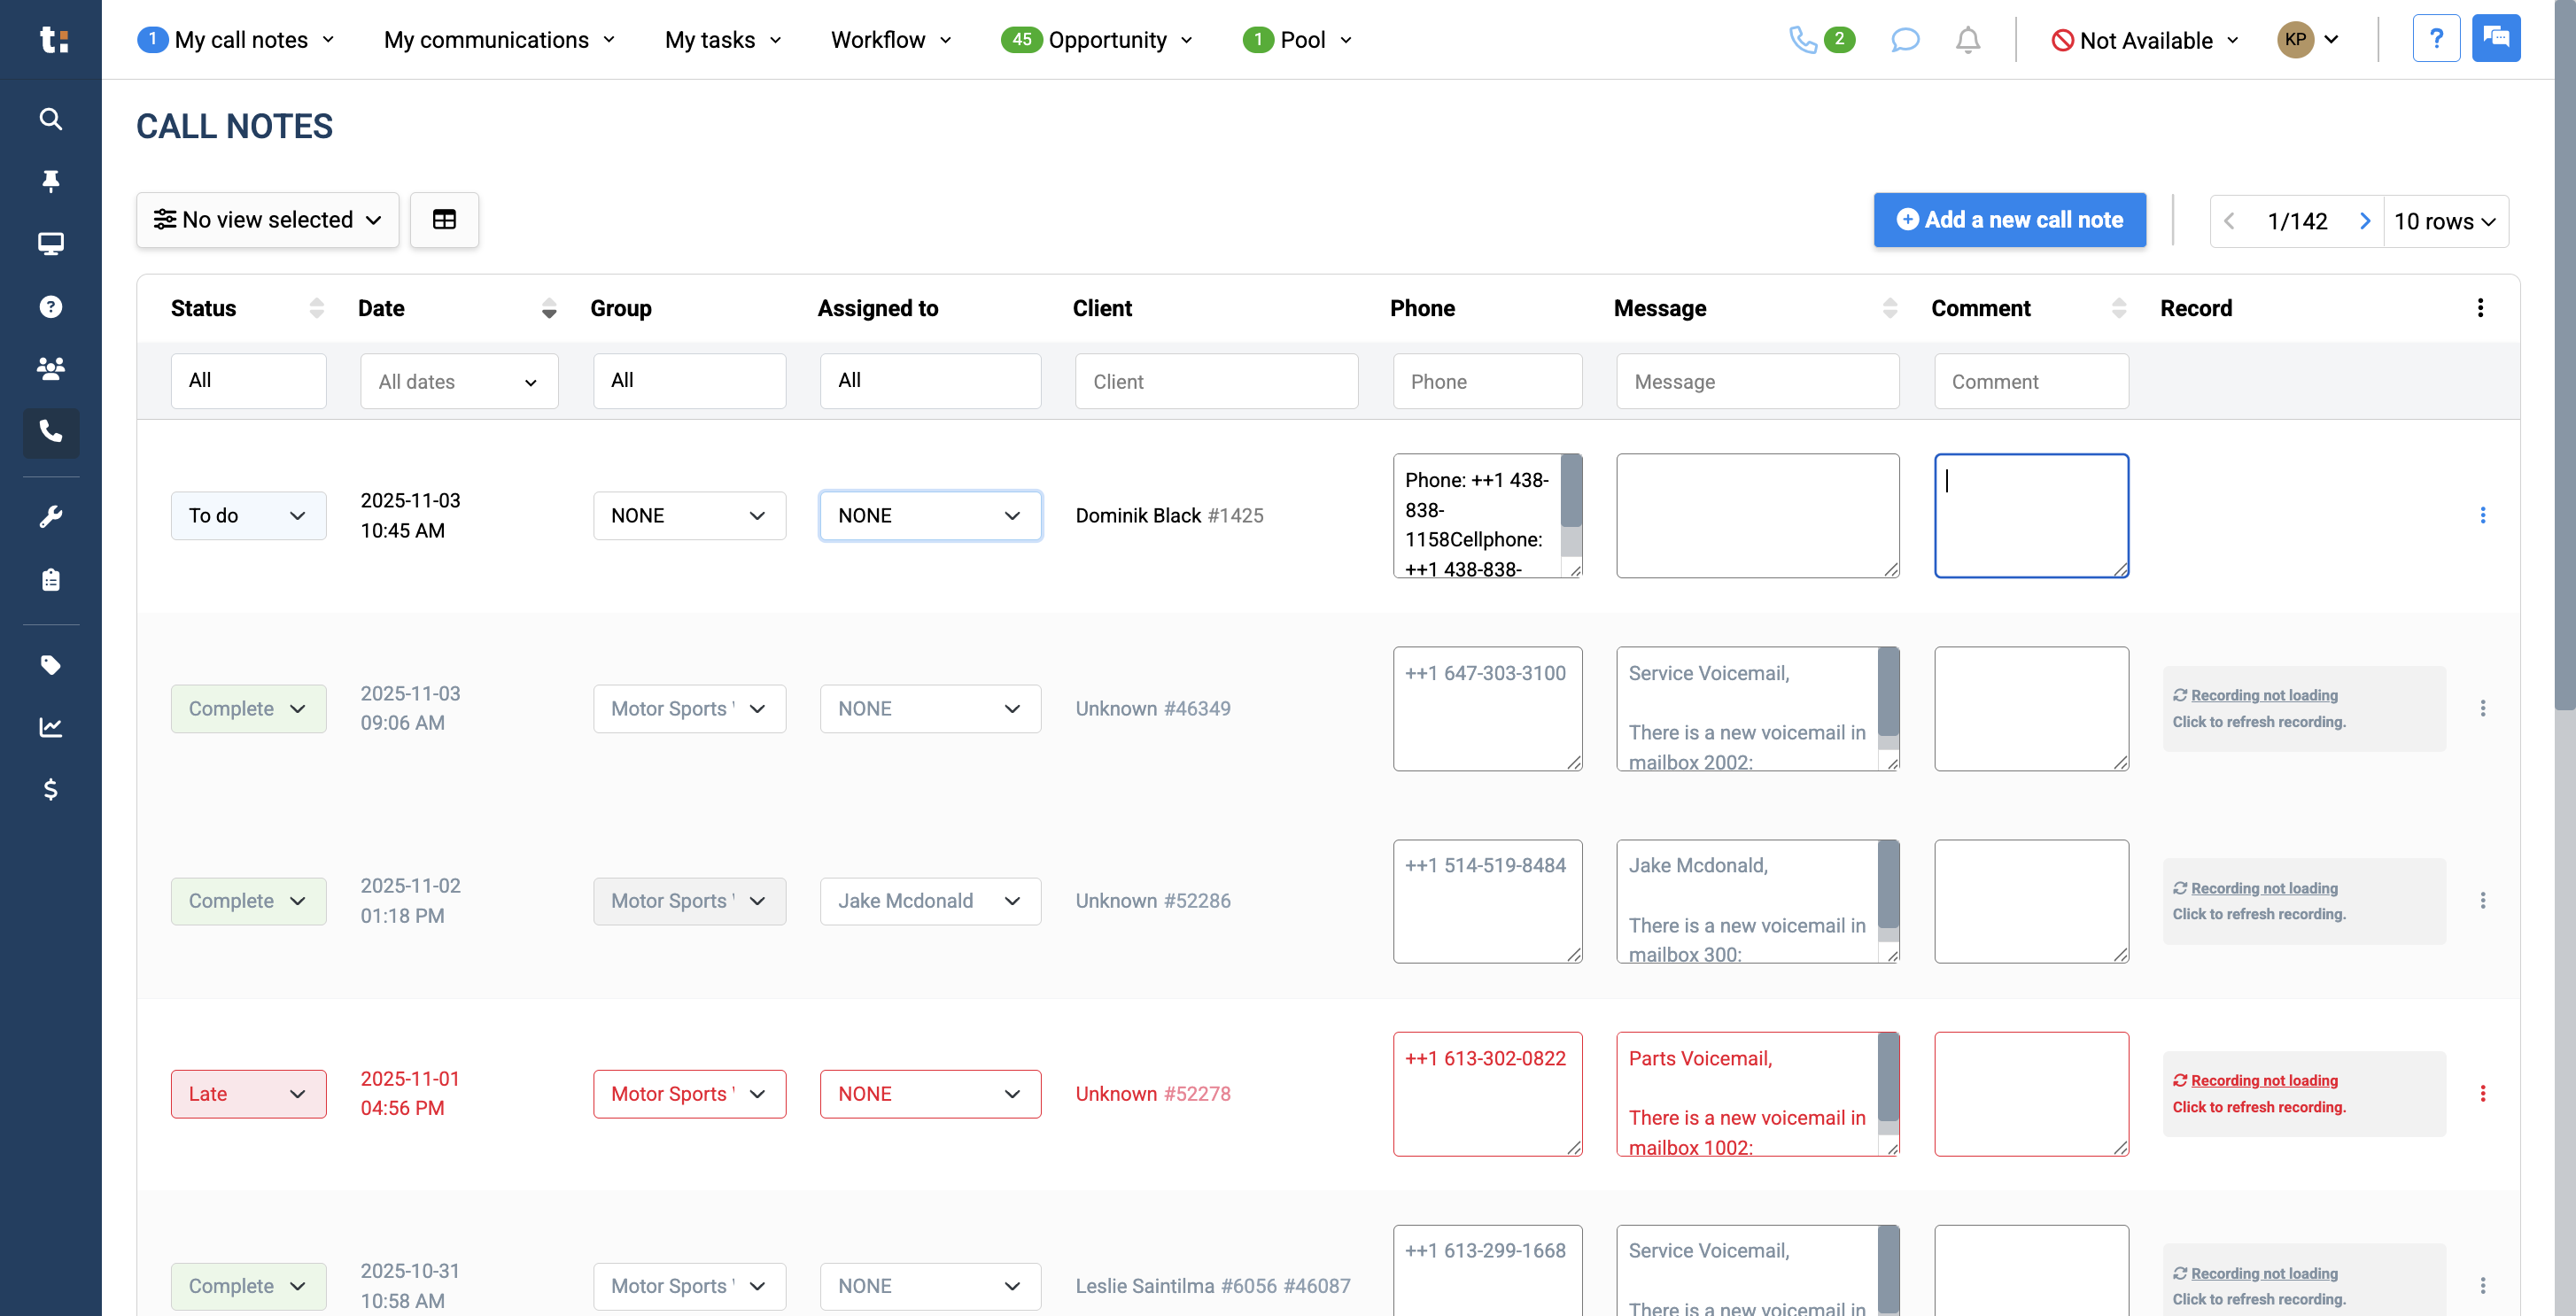
If the voicemail or call note was sent by someone else, there may or may not be a comment in the comment box.
12
To listen to your recording, click on Load Recording.
13
After clicking on it, press the play button to listen to your message.
14
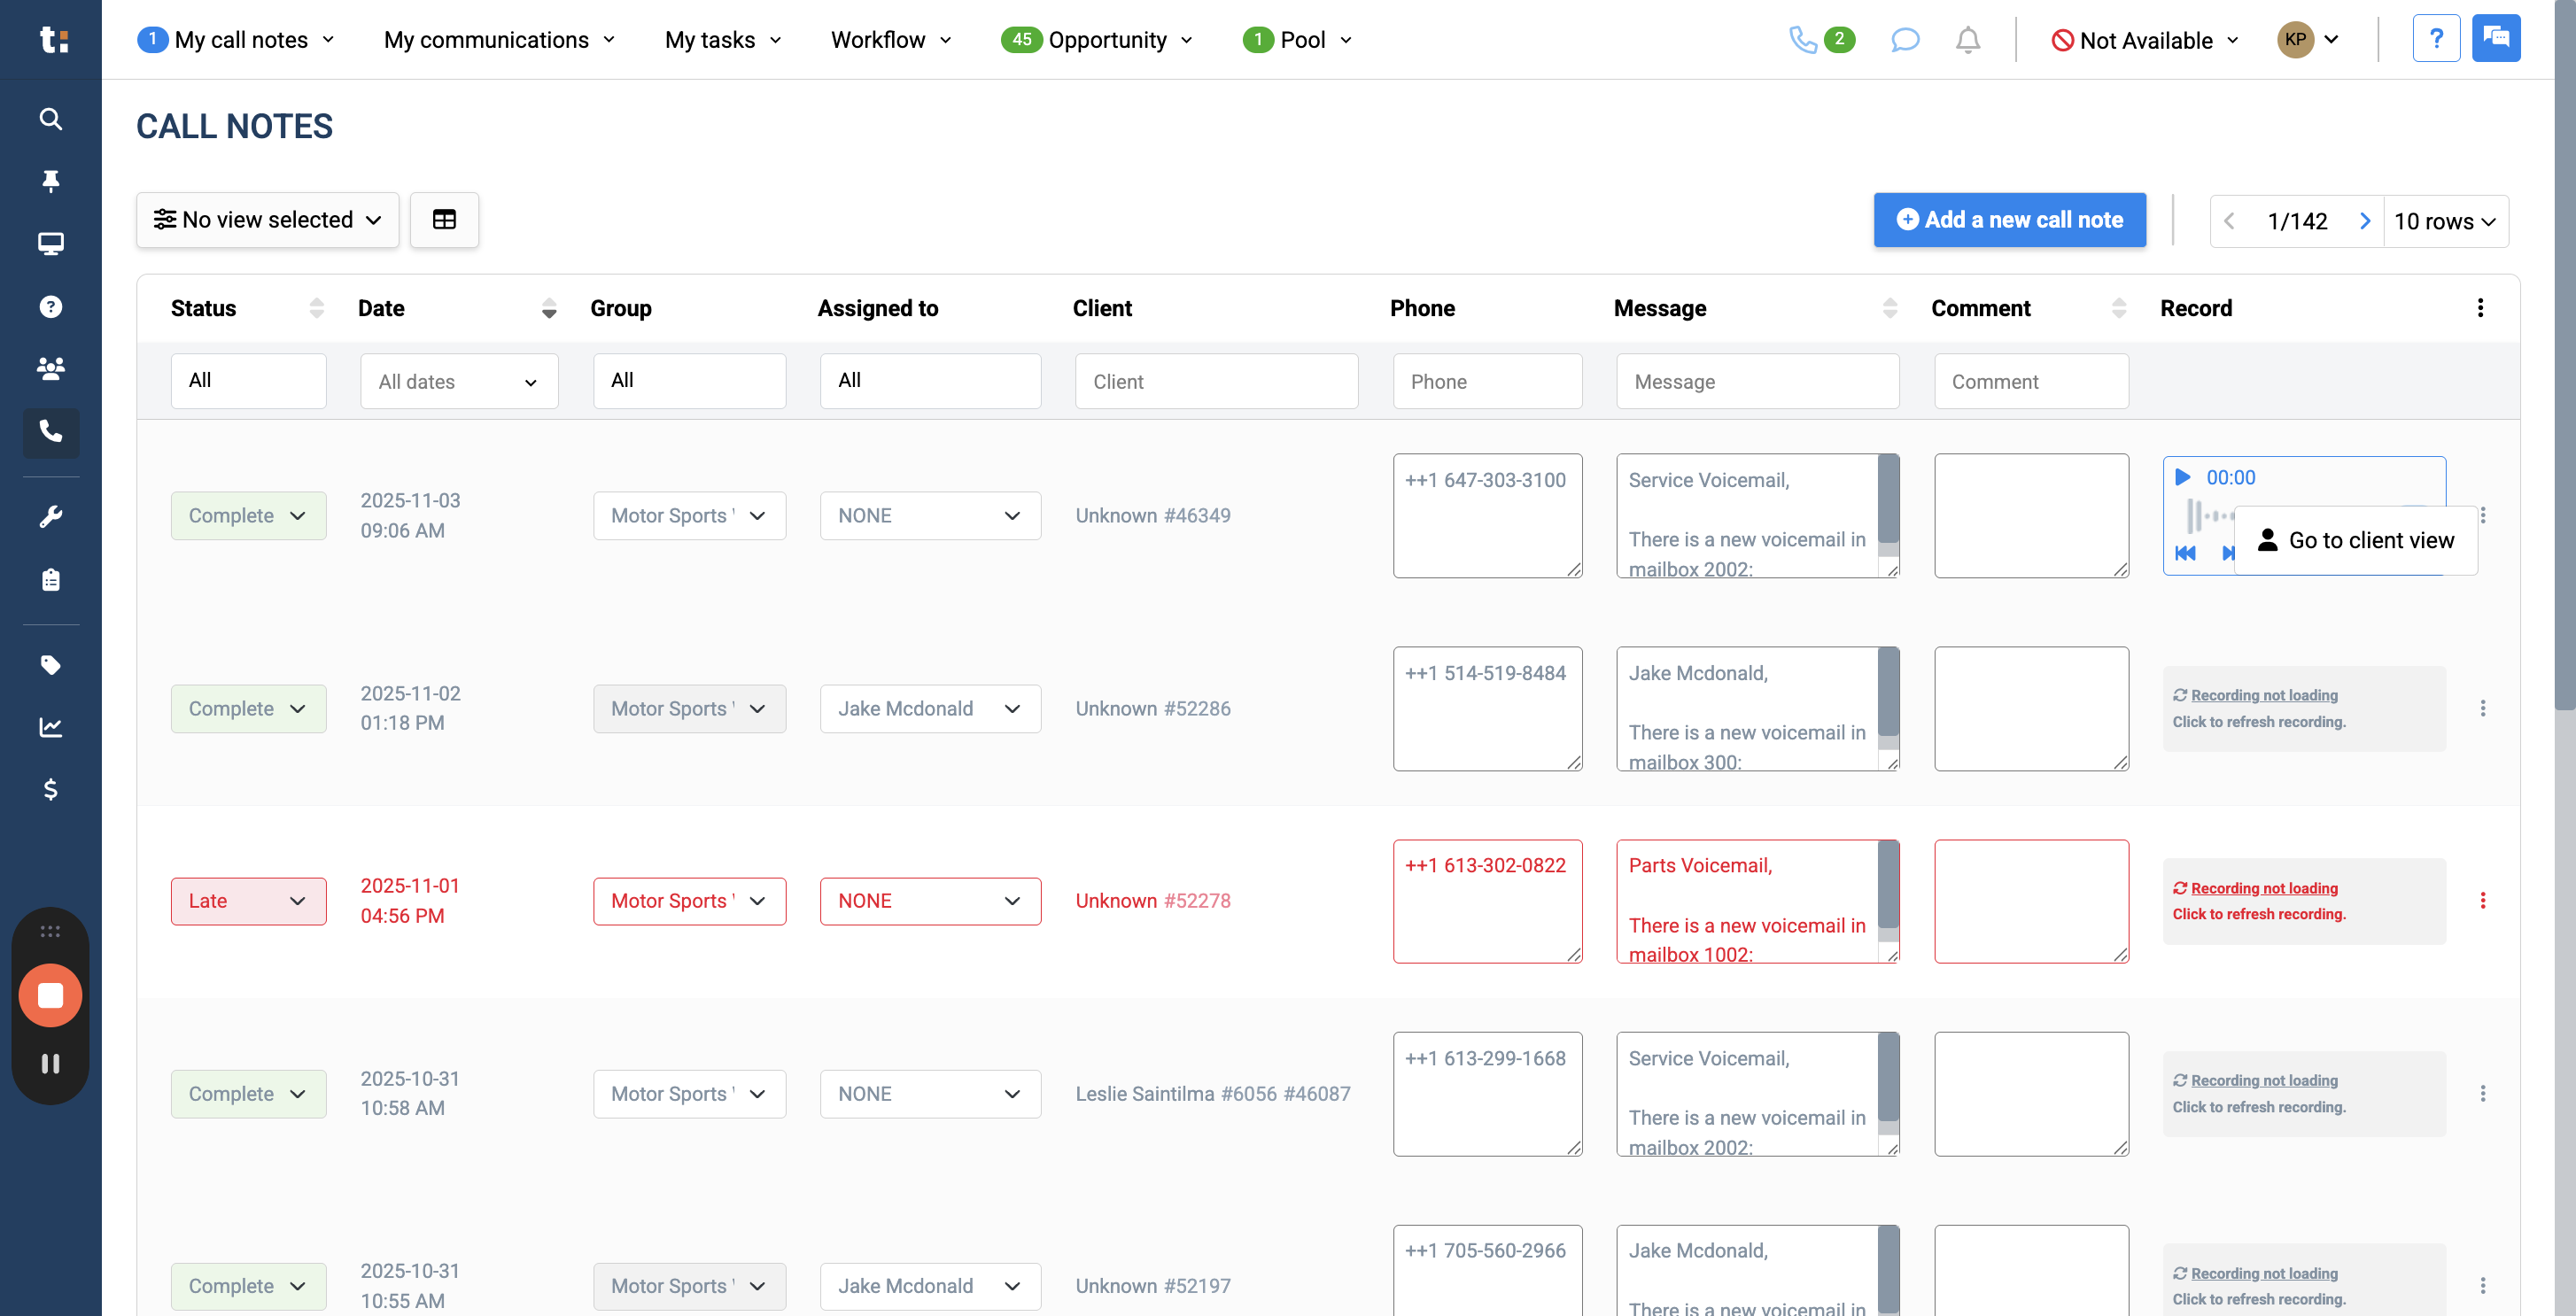
If you click on the three dots, you can go directly to the customer view or the client file.
15
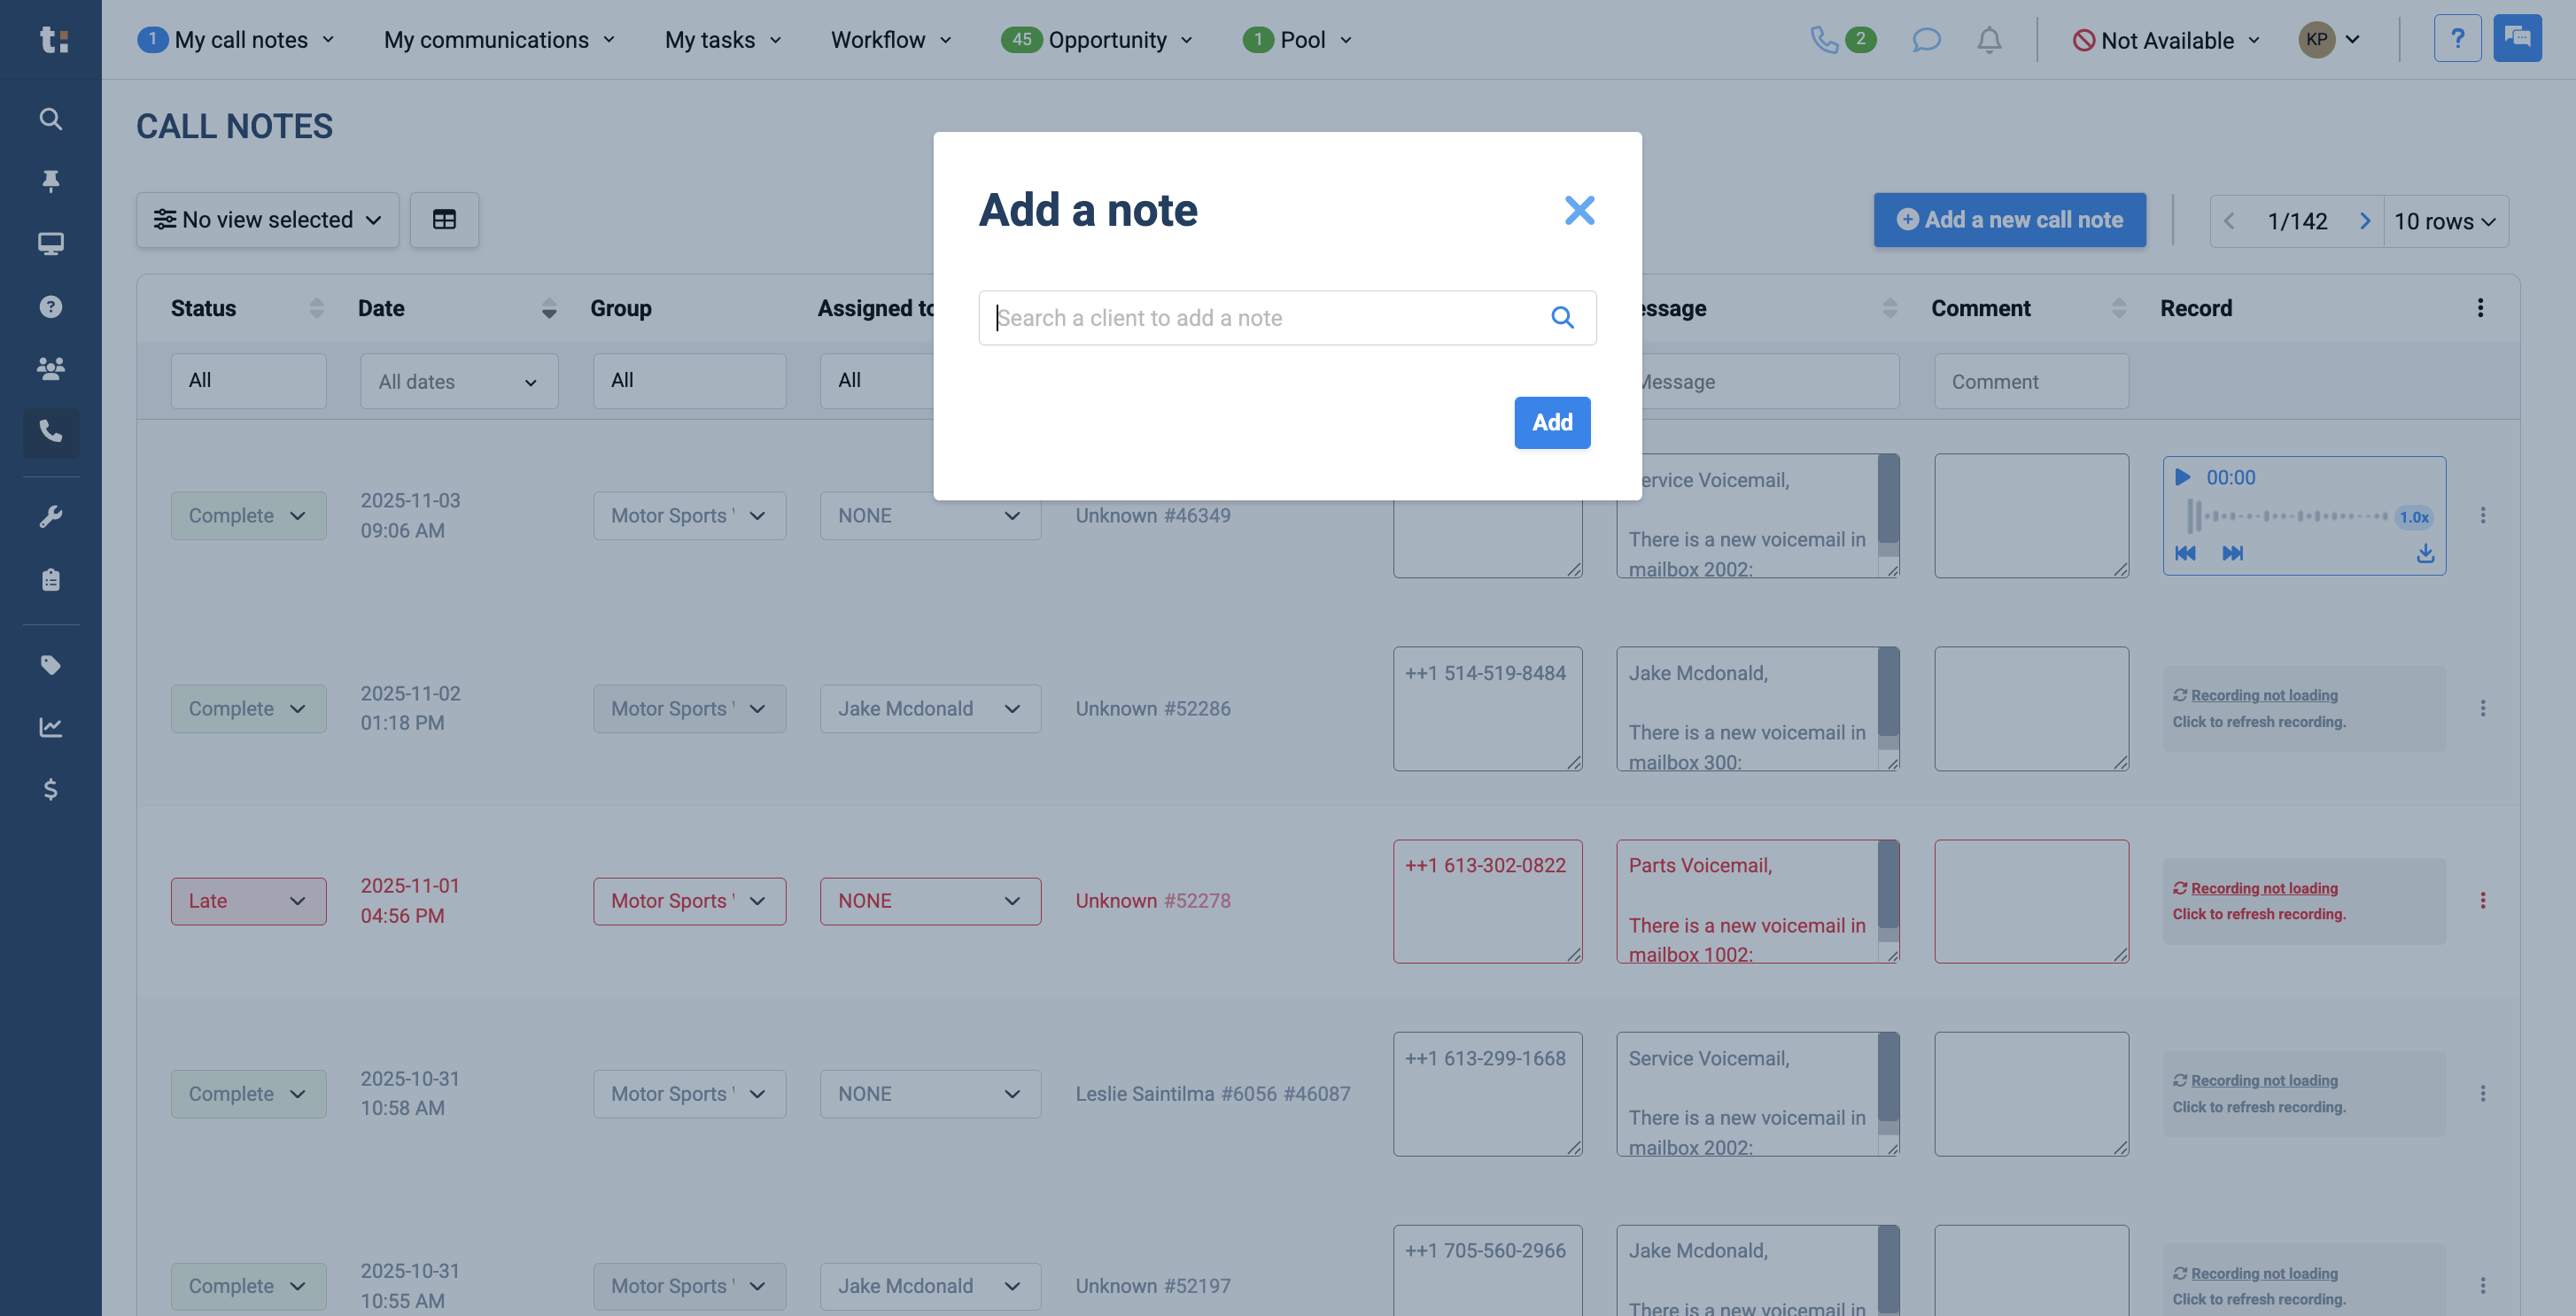
Lastly, on this page, you can add a new call note by clicking the "Add a New Call Note" button.
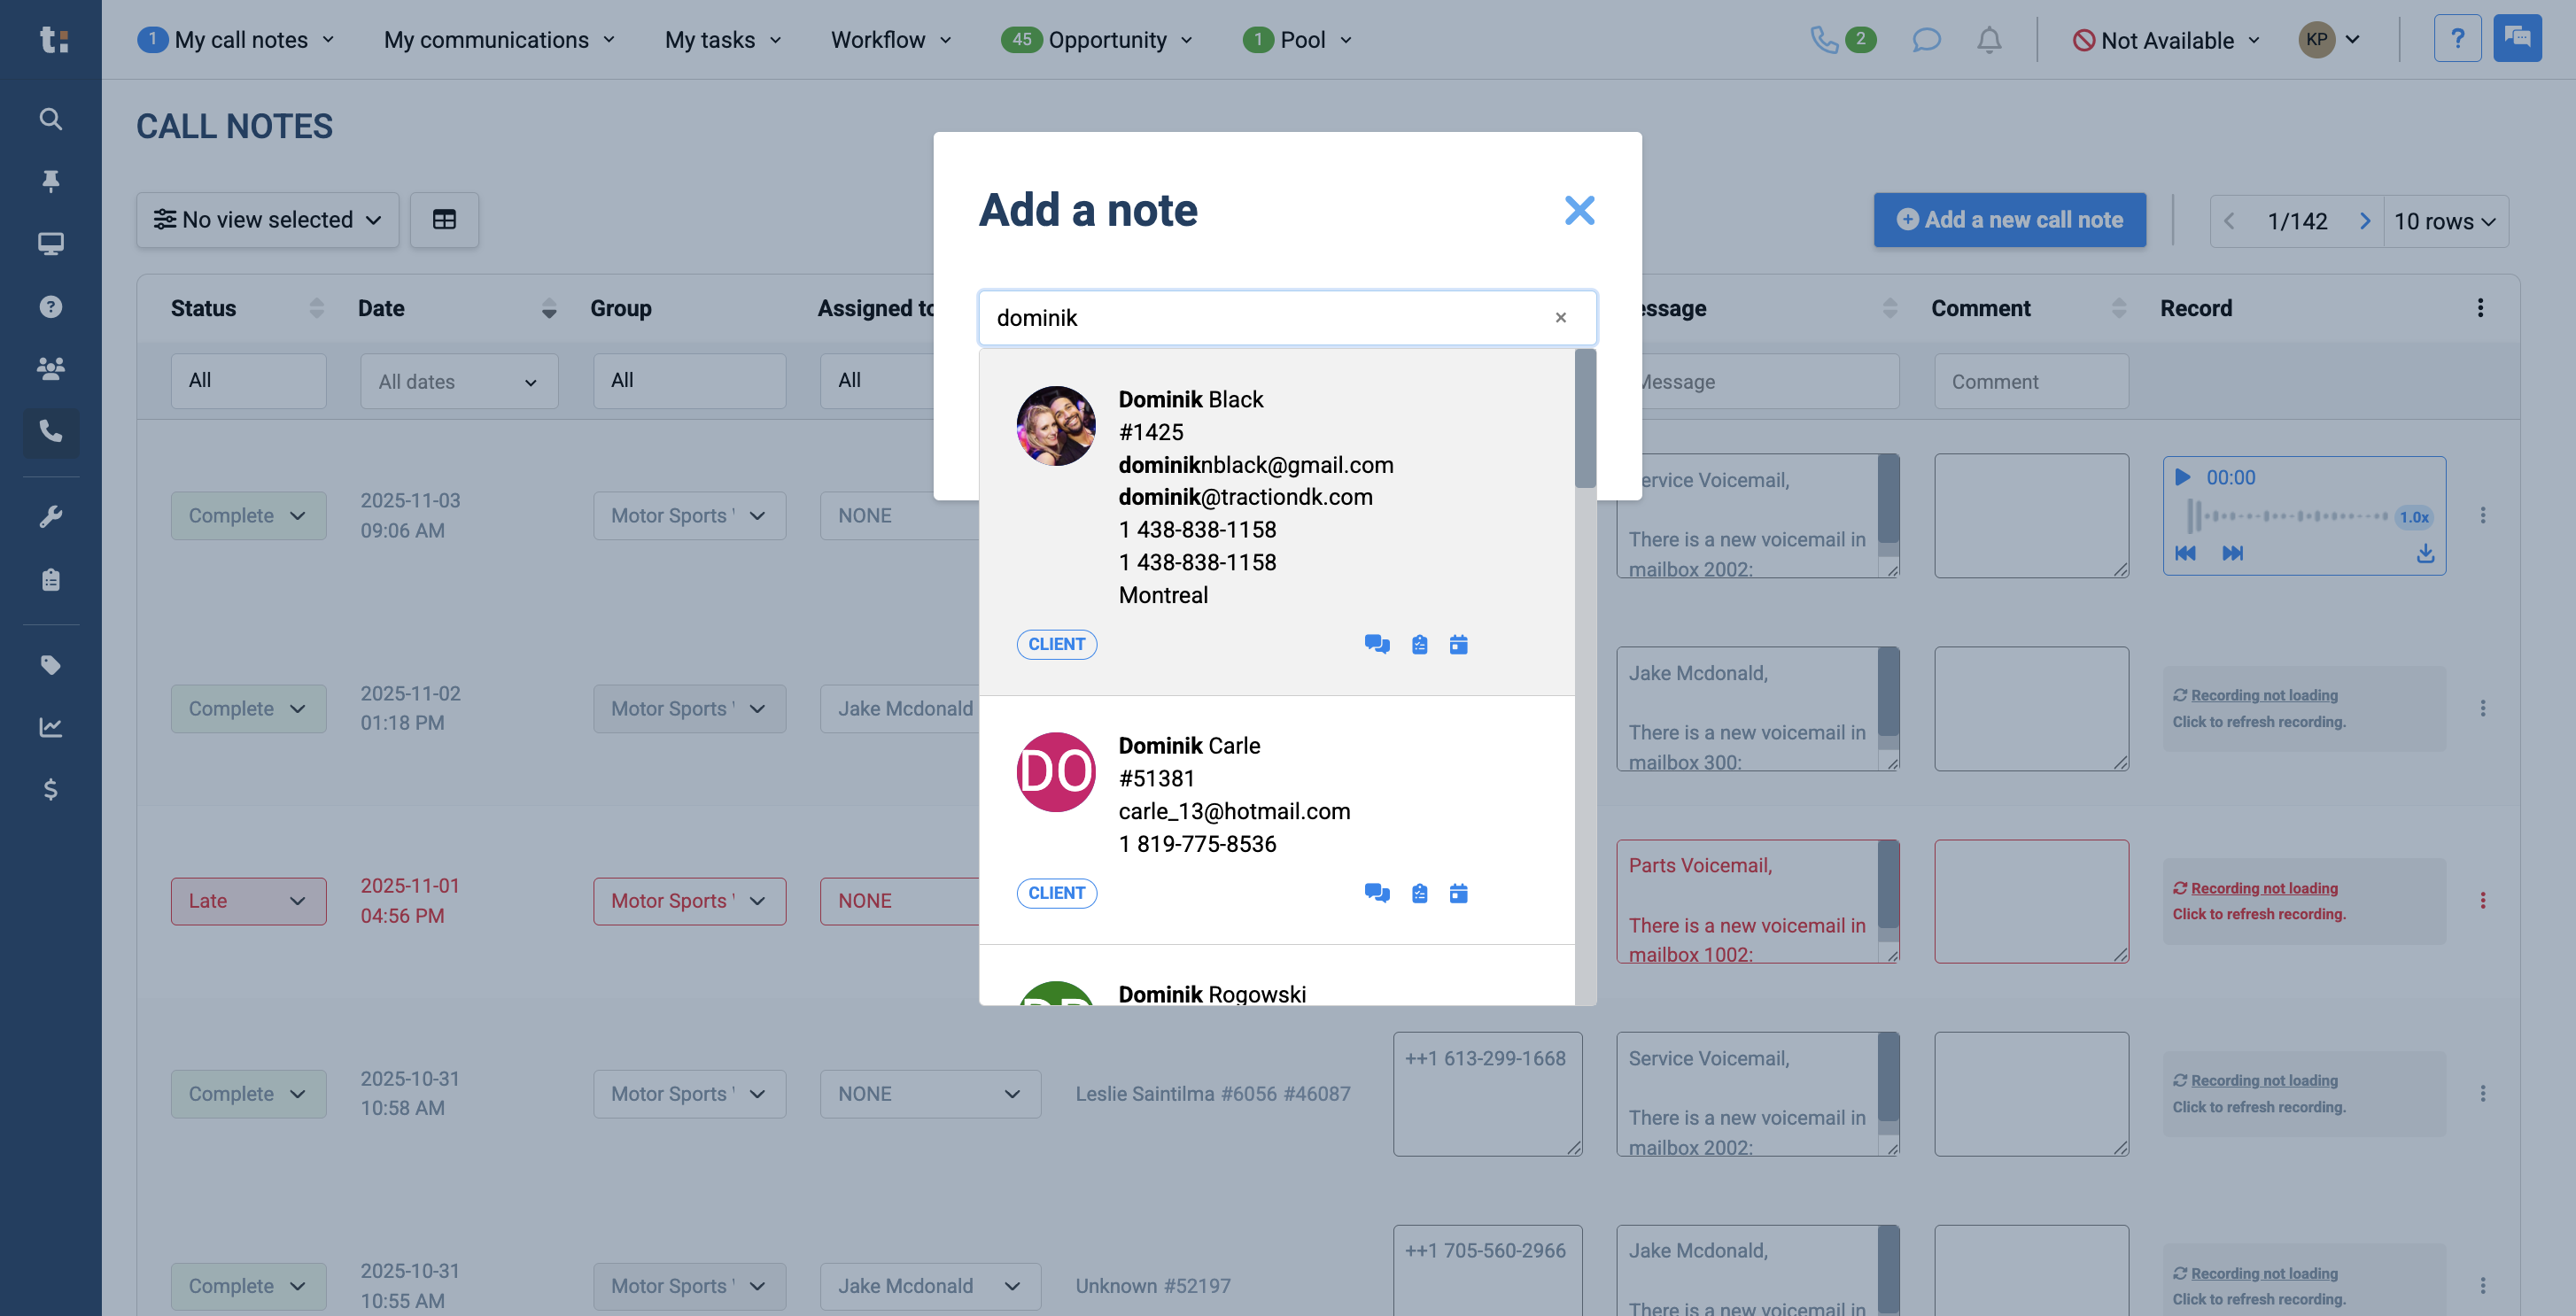
16
Search for the client you want to associate your call note with.
17
Click here
18
Once this is done, you can select the department or specific user to assign the call note to.
19
If you wish, you may add comments.
20
If you manually add a call note, there will be no recording attached to your note.
If you still have questions after consulting this article, please feel free to contact our support team at: support@tractiondk.zohodesk.com