How to Manually Add a Server in XProtect Mobile App
Learn how to manually add a server in the XProtect mobile app with step-by-step instructions, including setting up server details and logging in to view cameras.
In this guide, we'll learn how to configure the XProtect Mobile app on your phone to connect to a specific server. This process involves adding a new server manually, updating server details, and logging in with the correct credentials. By following these steps, you'll be able to access your camera feeds through the app.
Let's get started
Alright, Brian, open the XProtect mobile app on your phone.
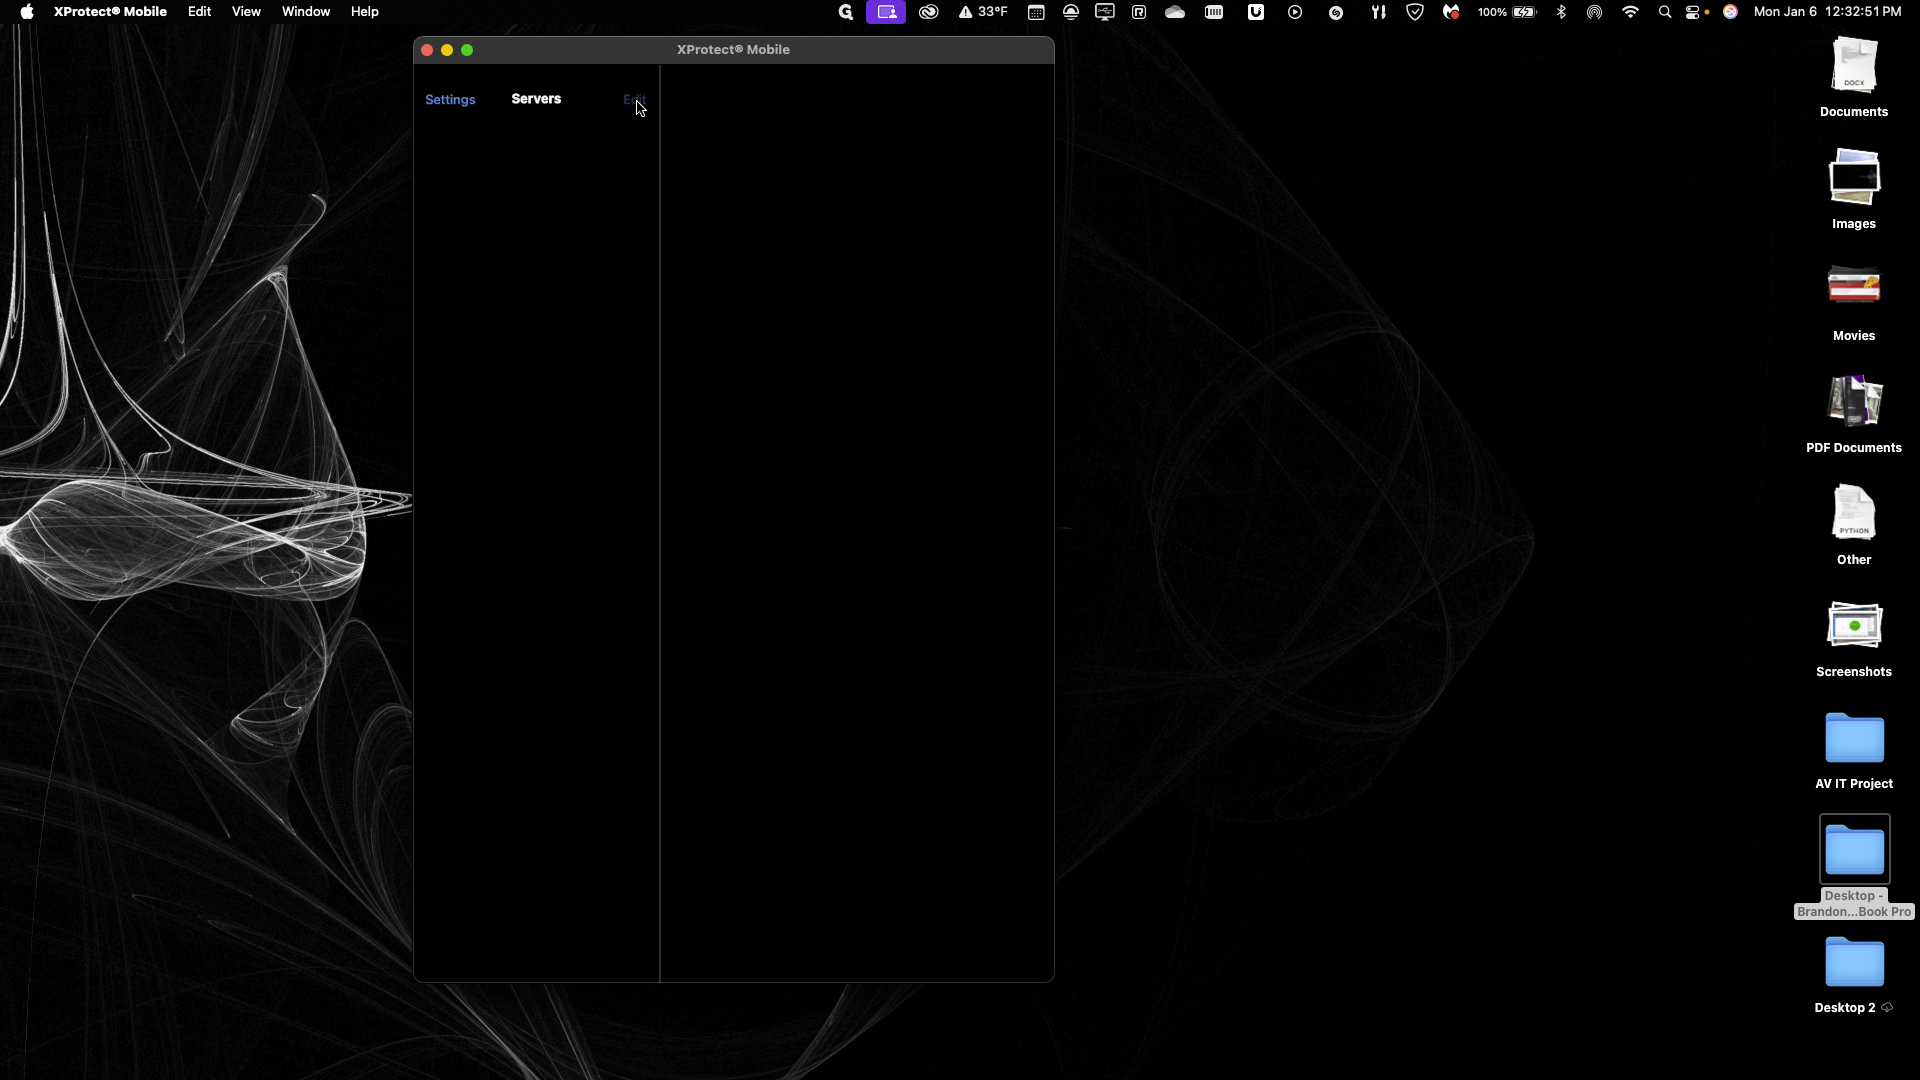
You will see your existing list of servers. Click "Edit" and then "Add Server." Choose "Add Server Manually."


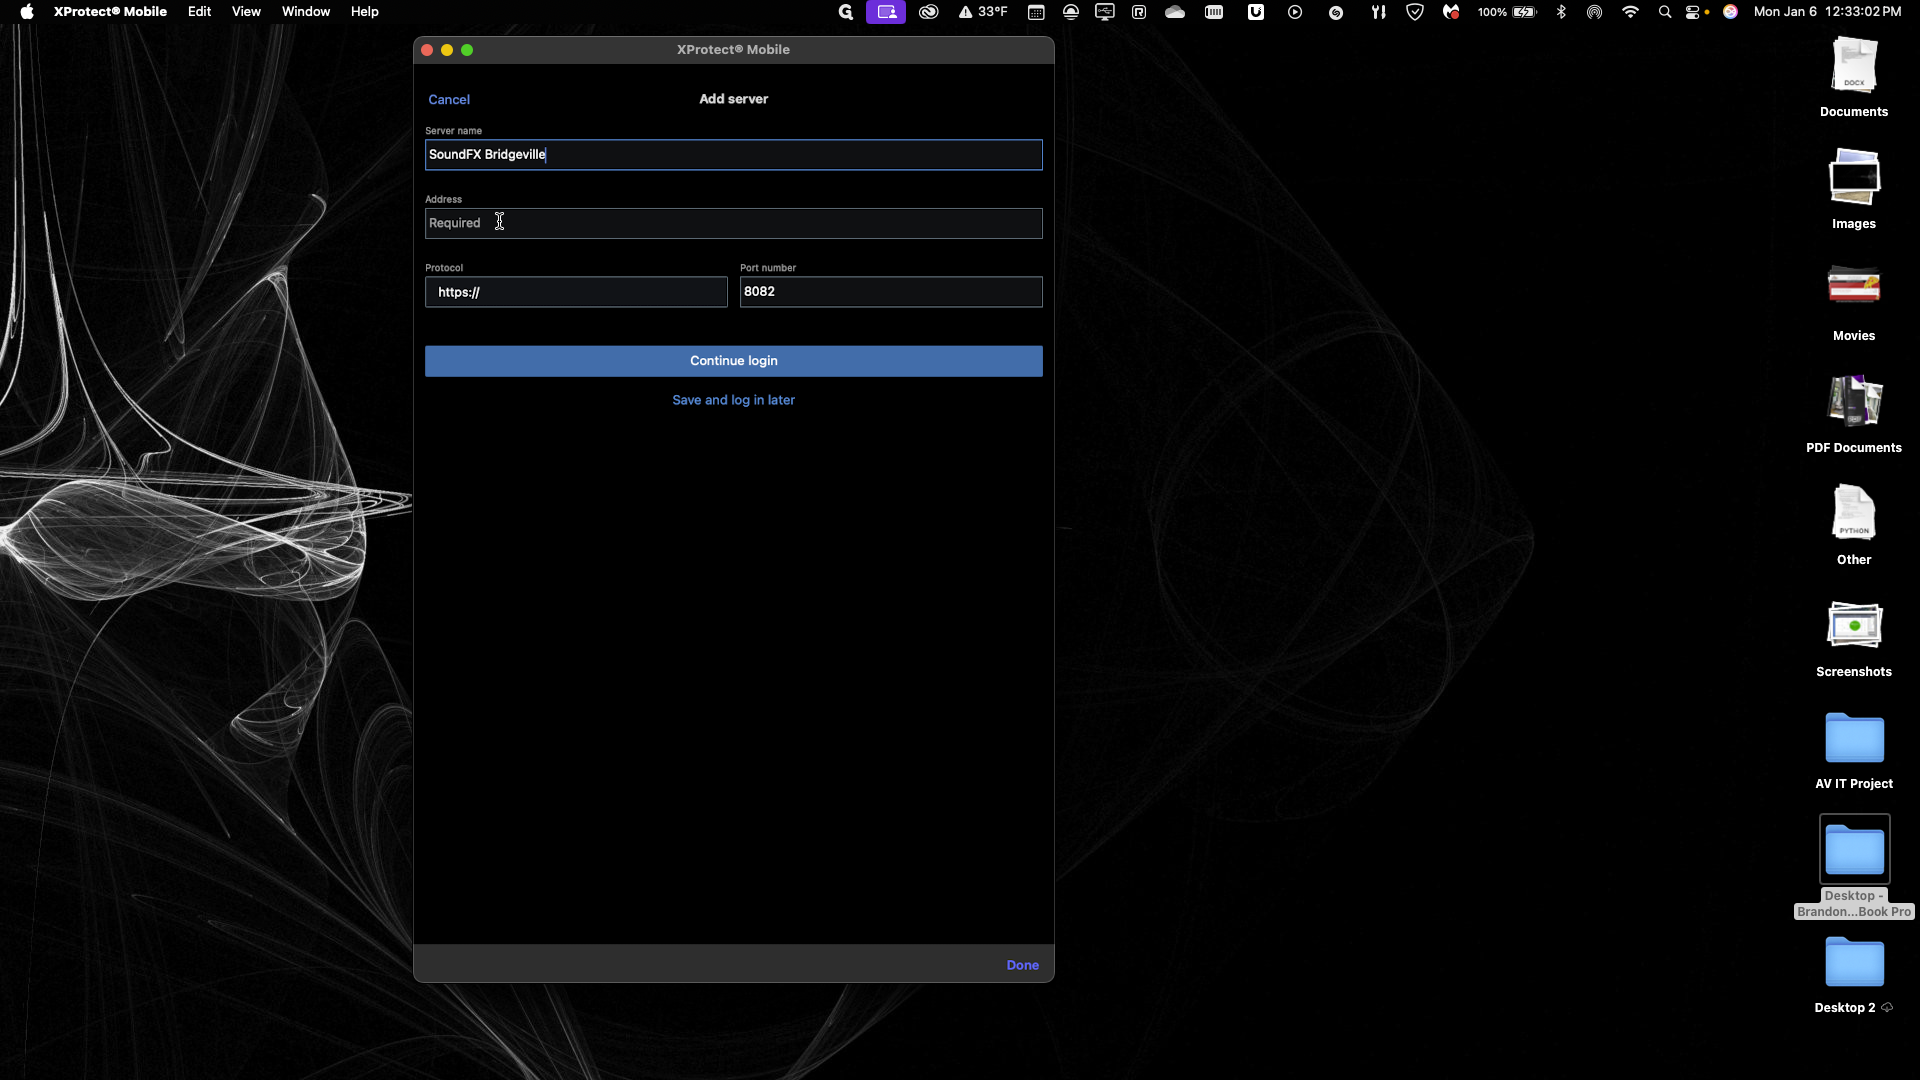
We will highlight the text and change it to "SoundFX Bridgeville"

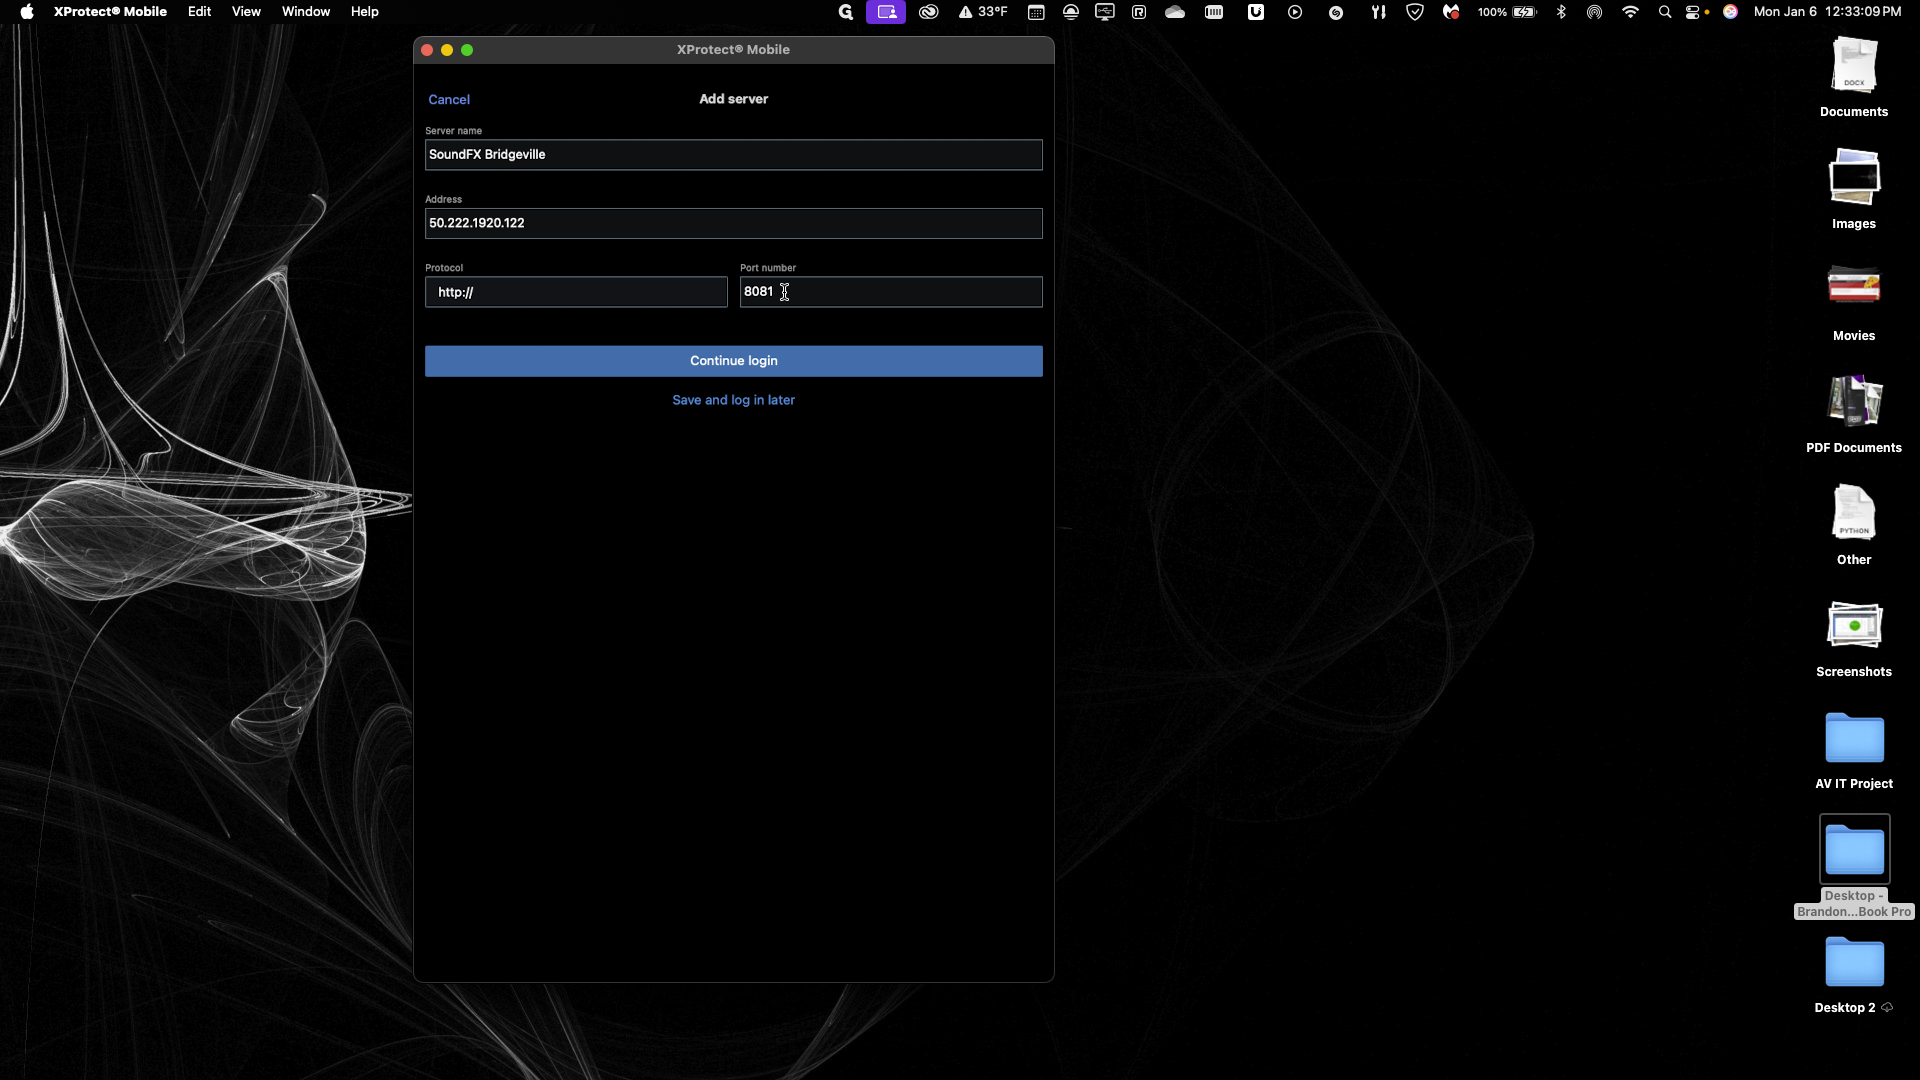
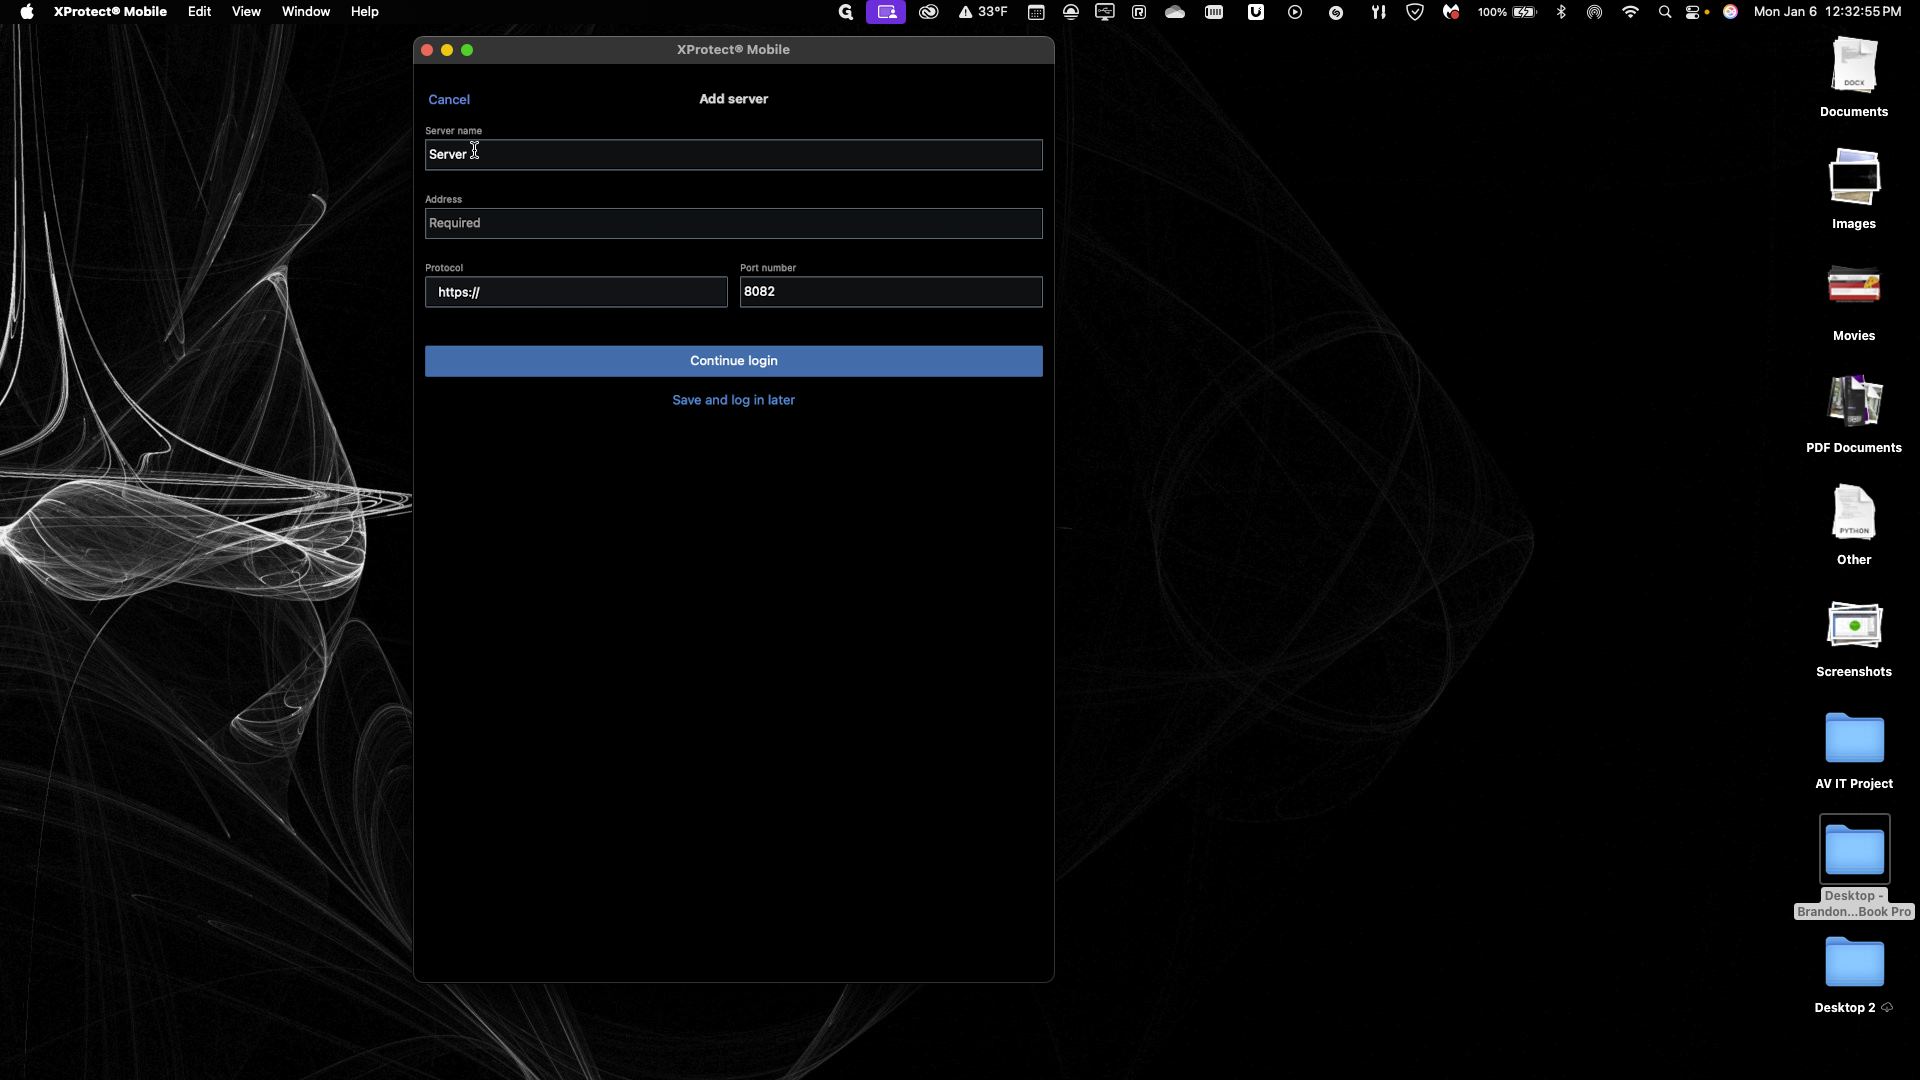
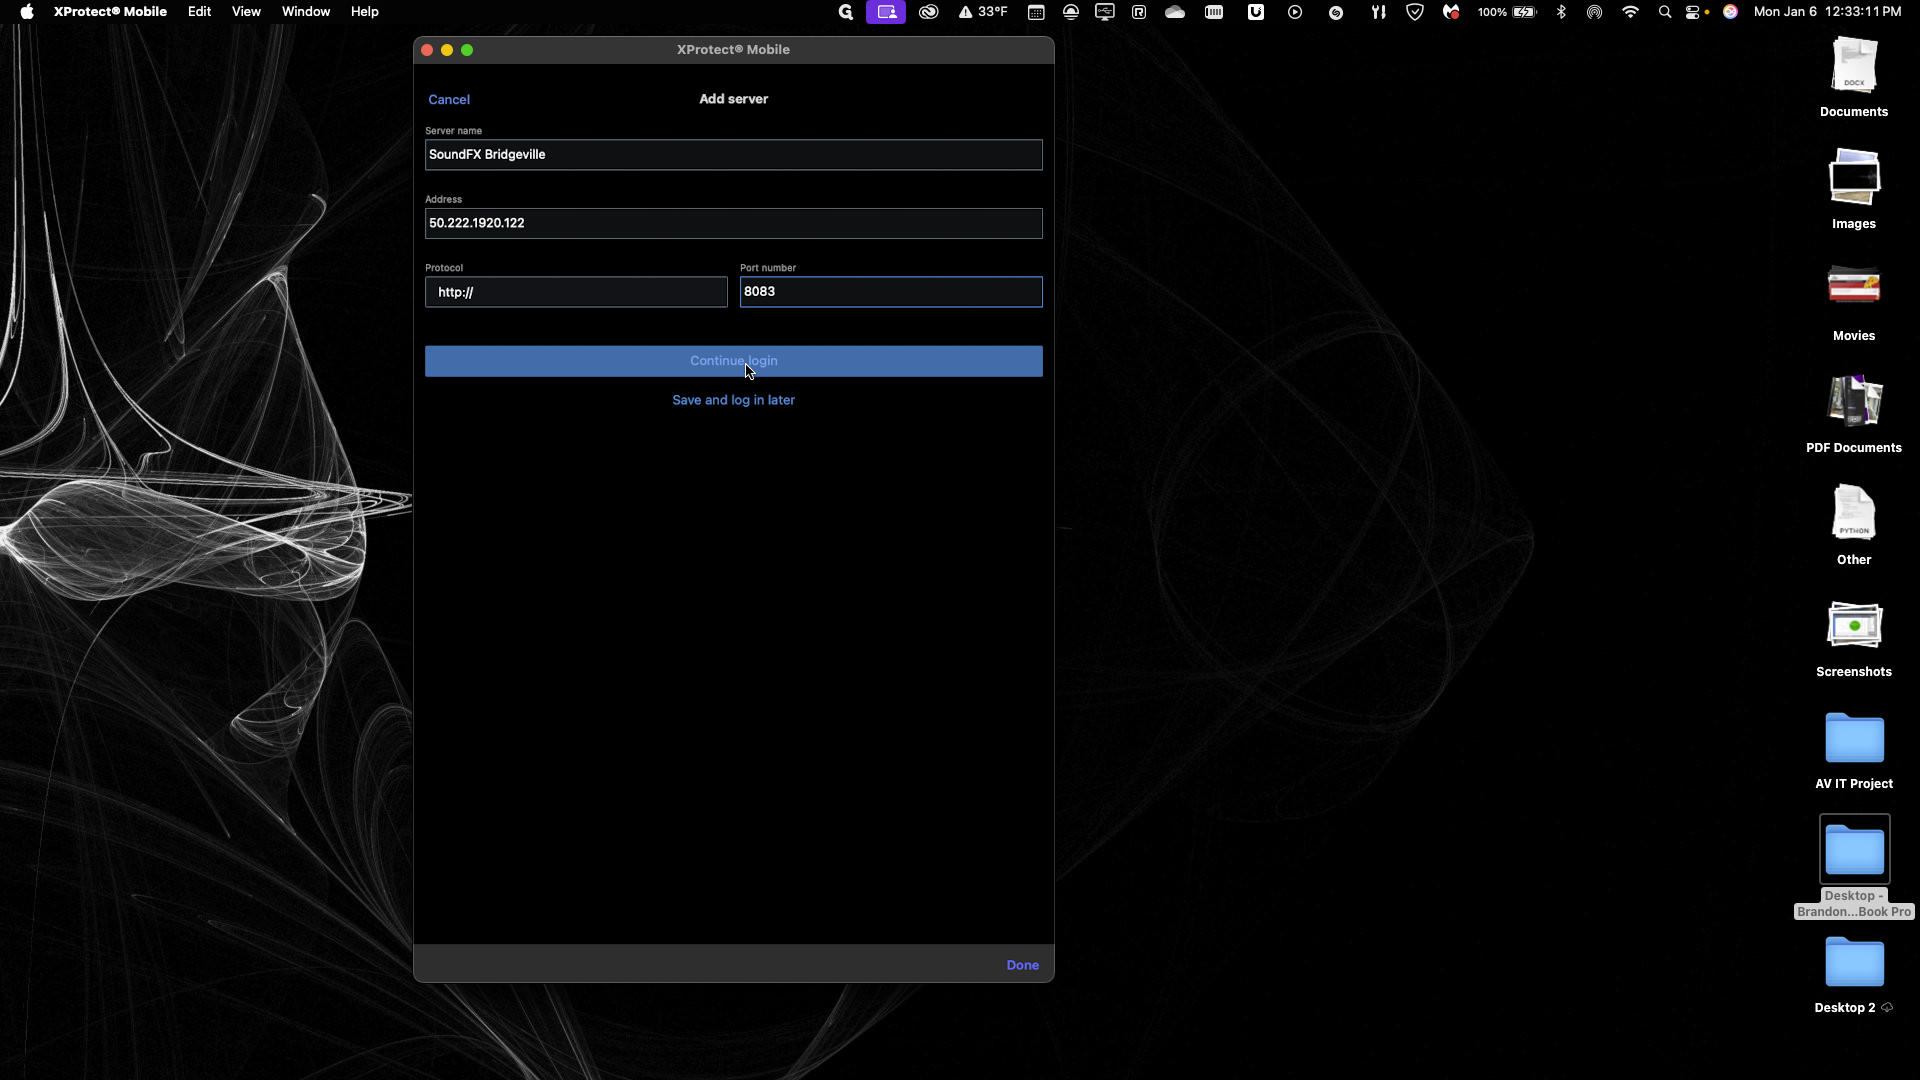
Use protocol HTTP number 8083 to log in.
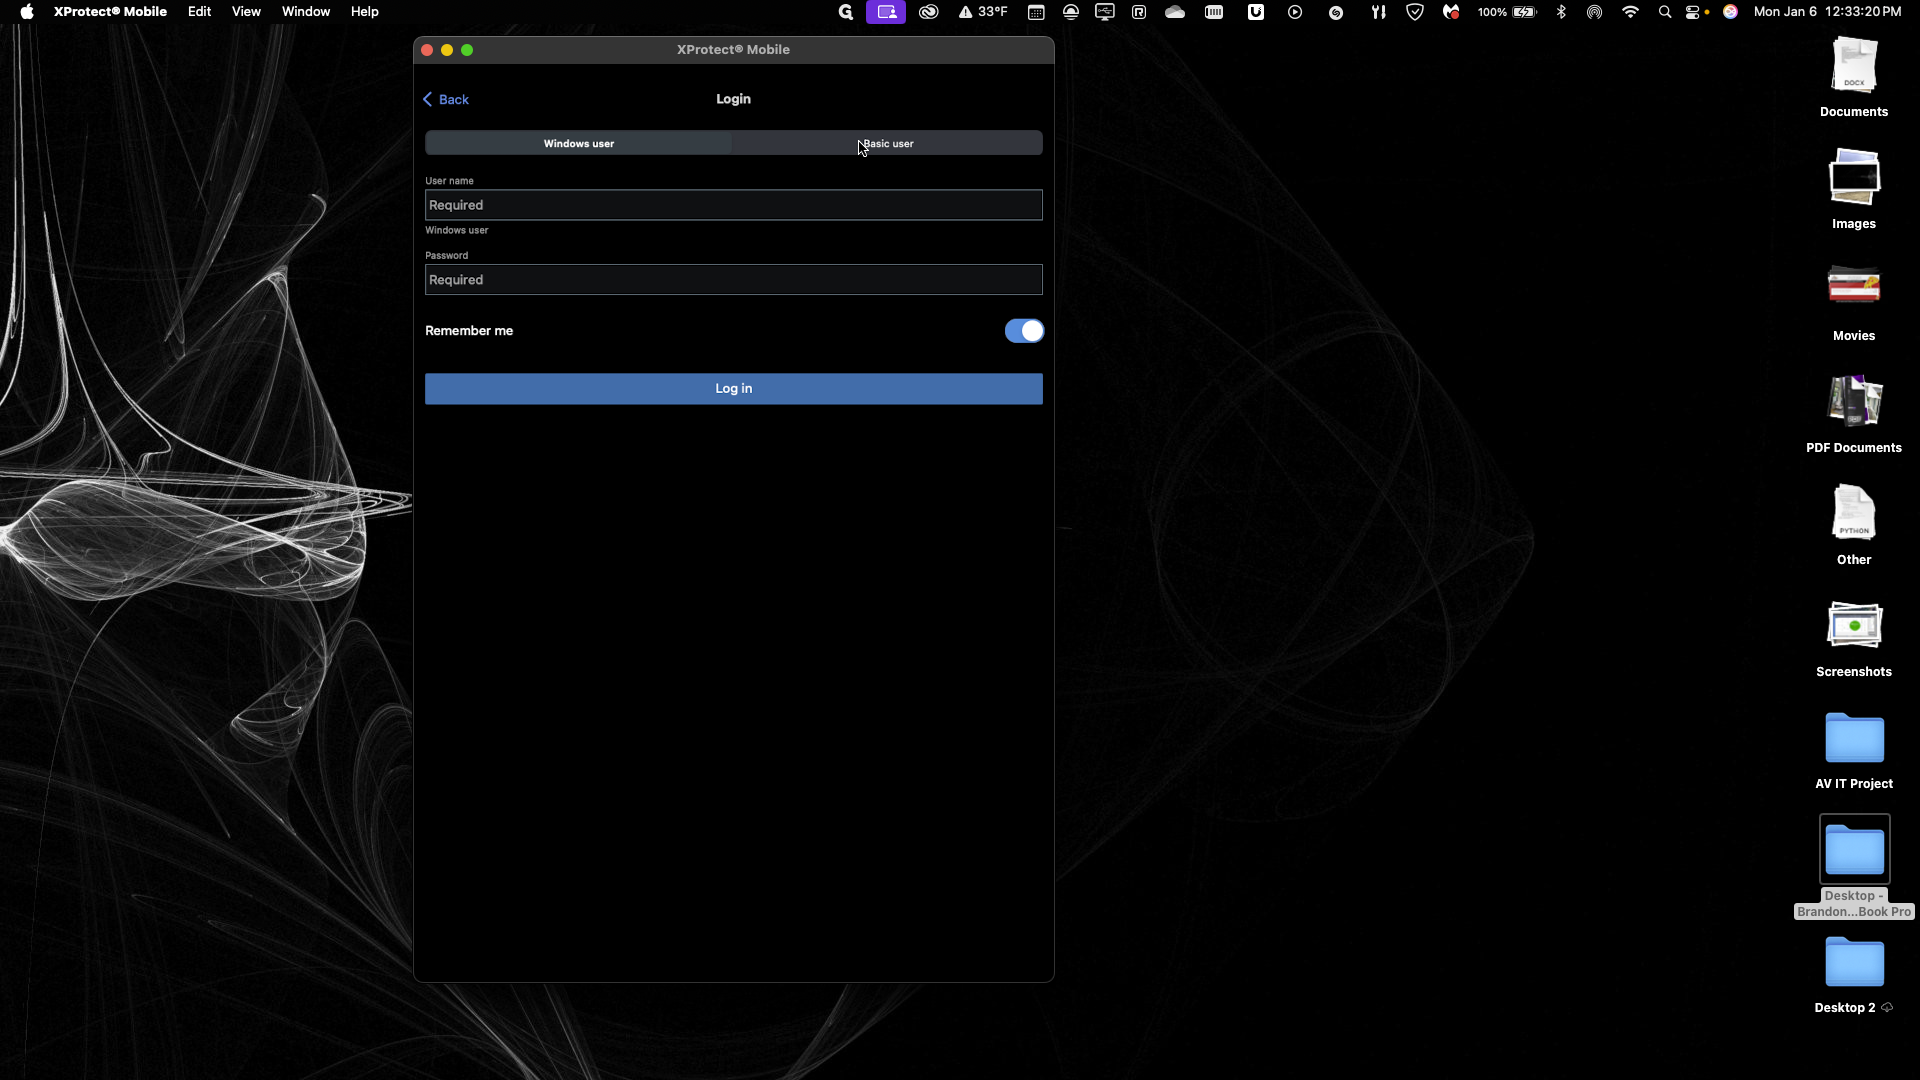
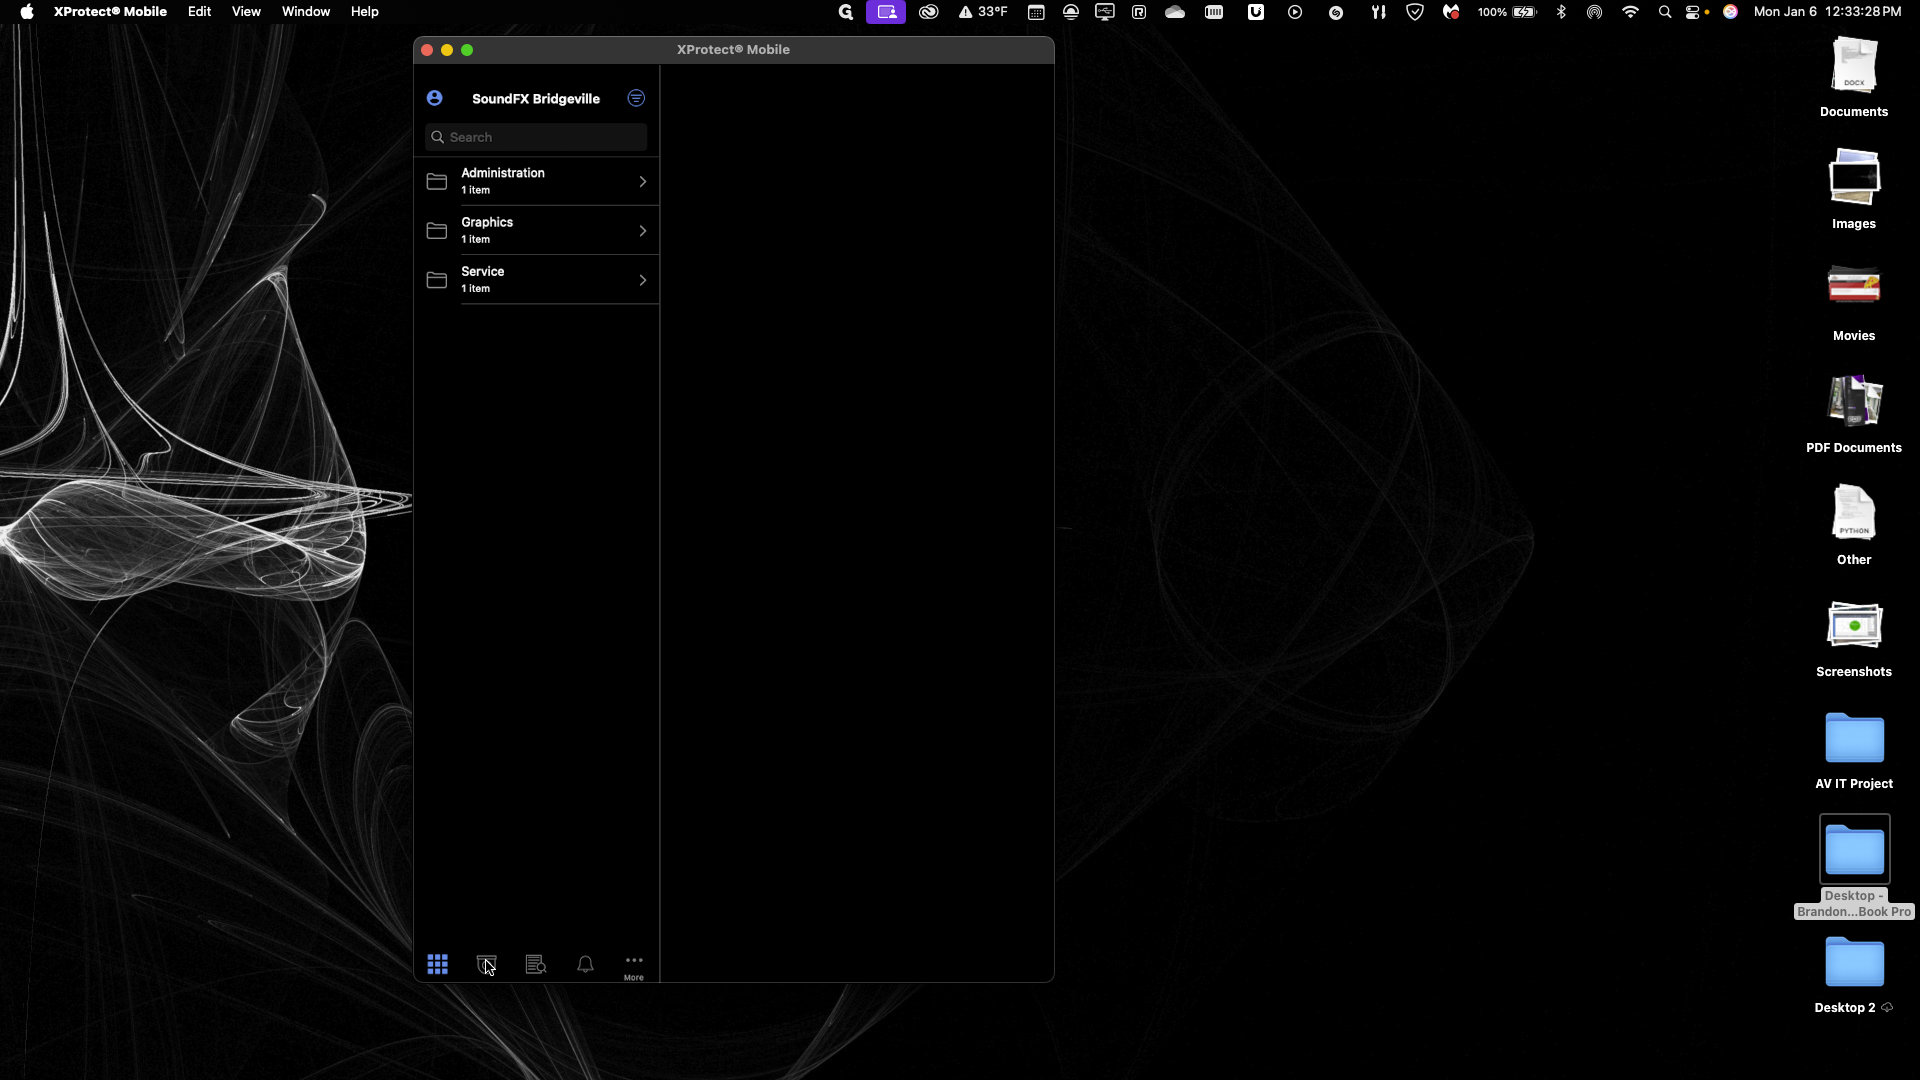
We will change the basic user username to "Brian" and the password to "Layton1!" with a capital "L." Once you log in, click on the "All Cameras" tab to view your cameras.