How to Move Cards Within a Workflow
Learn how to move single or multiple cards within your workflow efficiently. This guide covers moving cards from a client profile, bulk card movement, editing, and archiving for streamlined workflow management.
By Dominik Black
In this guide, we'll learn how to move cards within your workflow. You will see how to move a single card from a client's profile and how to move multiple cards at once directly from the workflow. These steps help you organize and update your workflow efficiently.
Let's get started
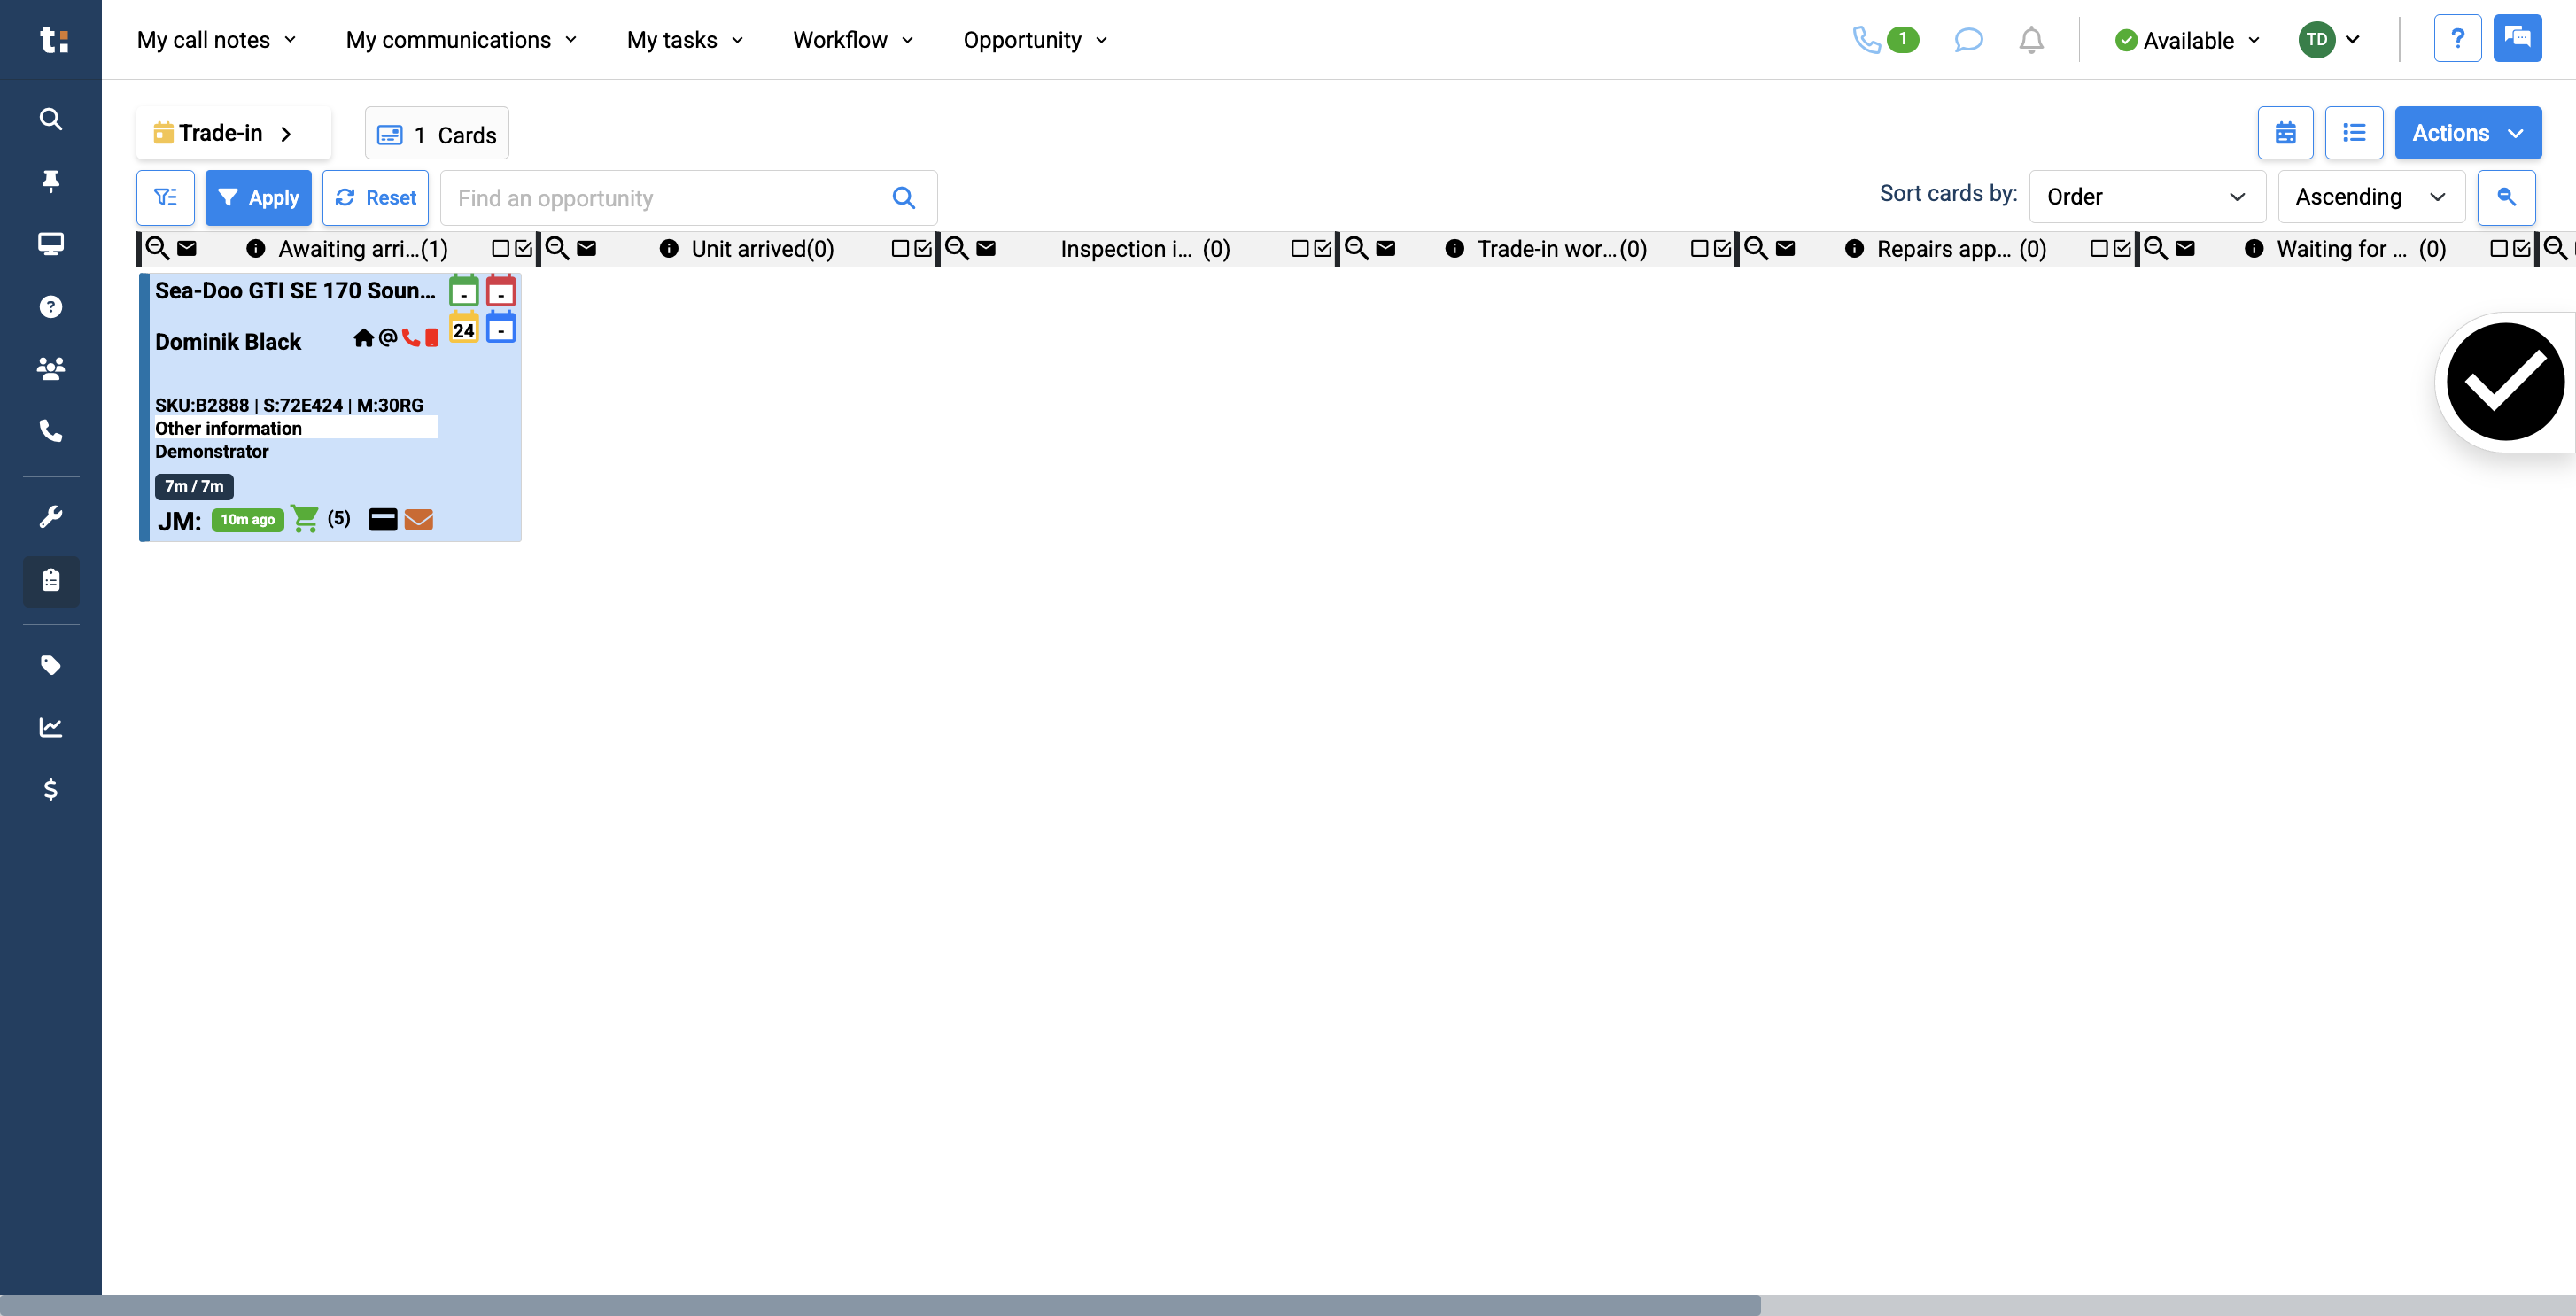
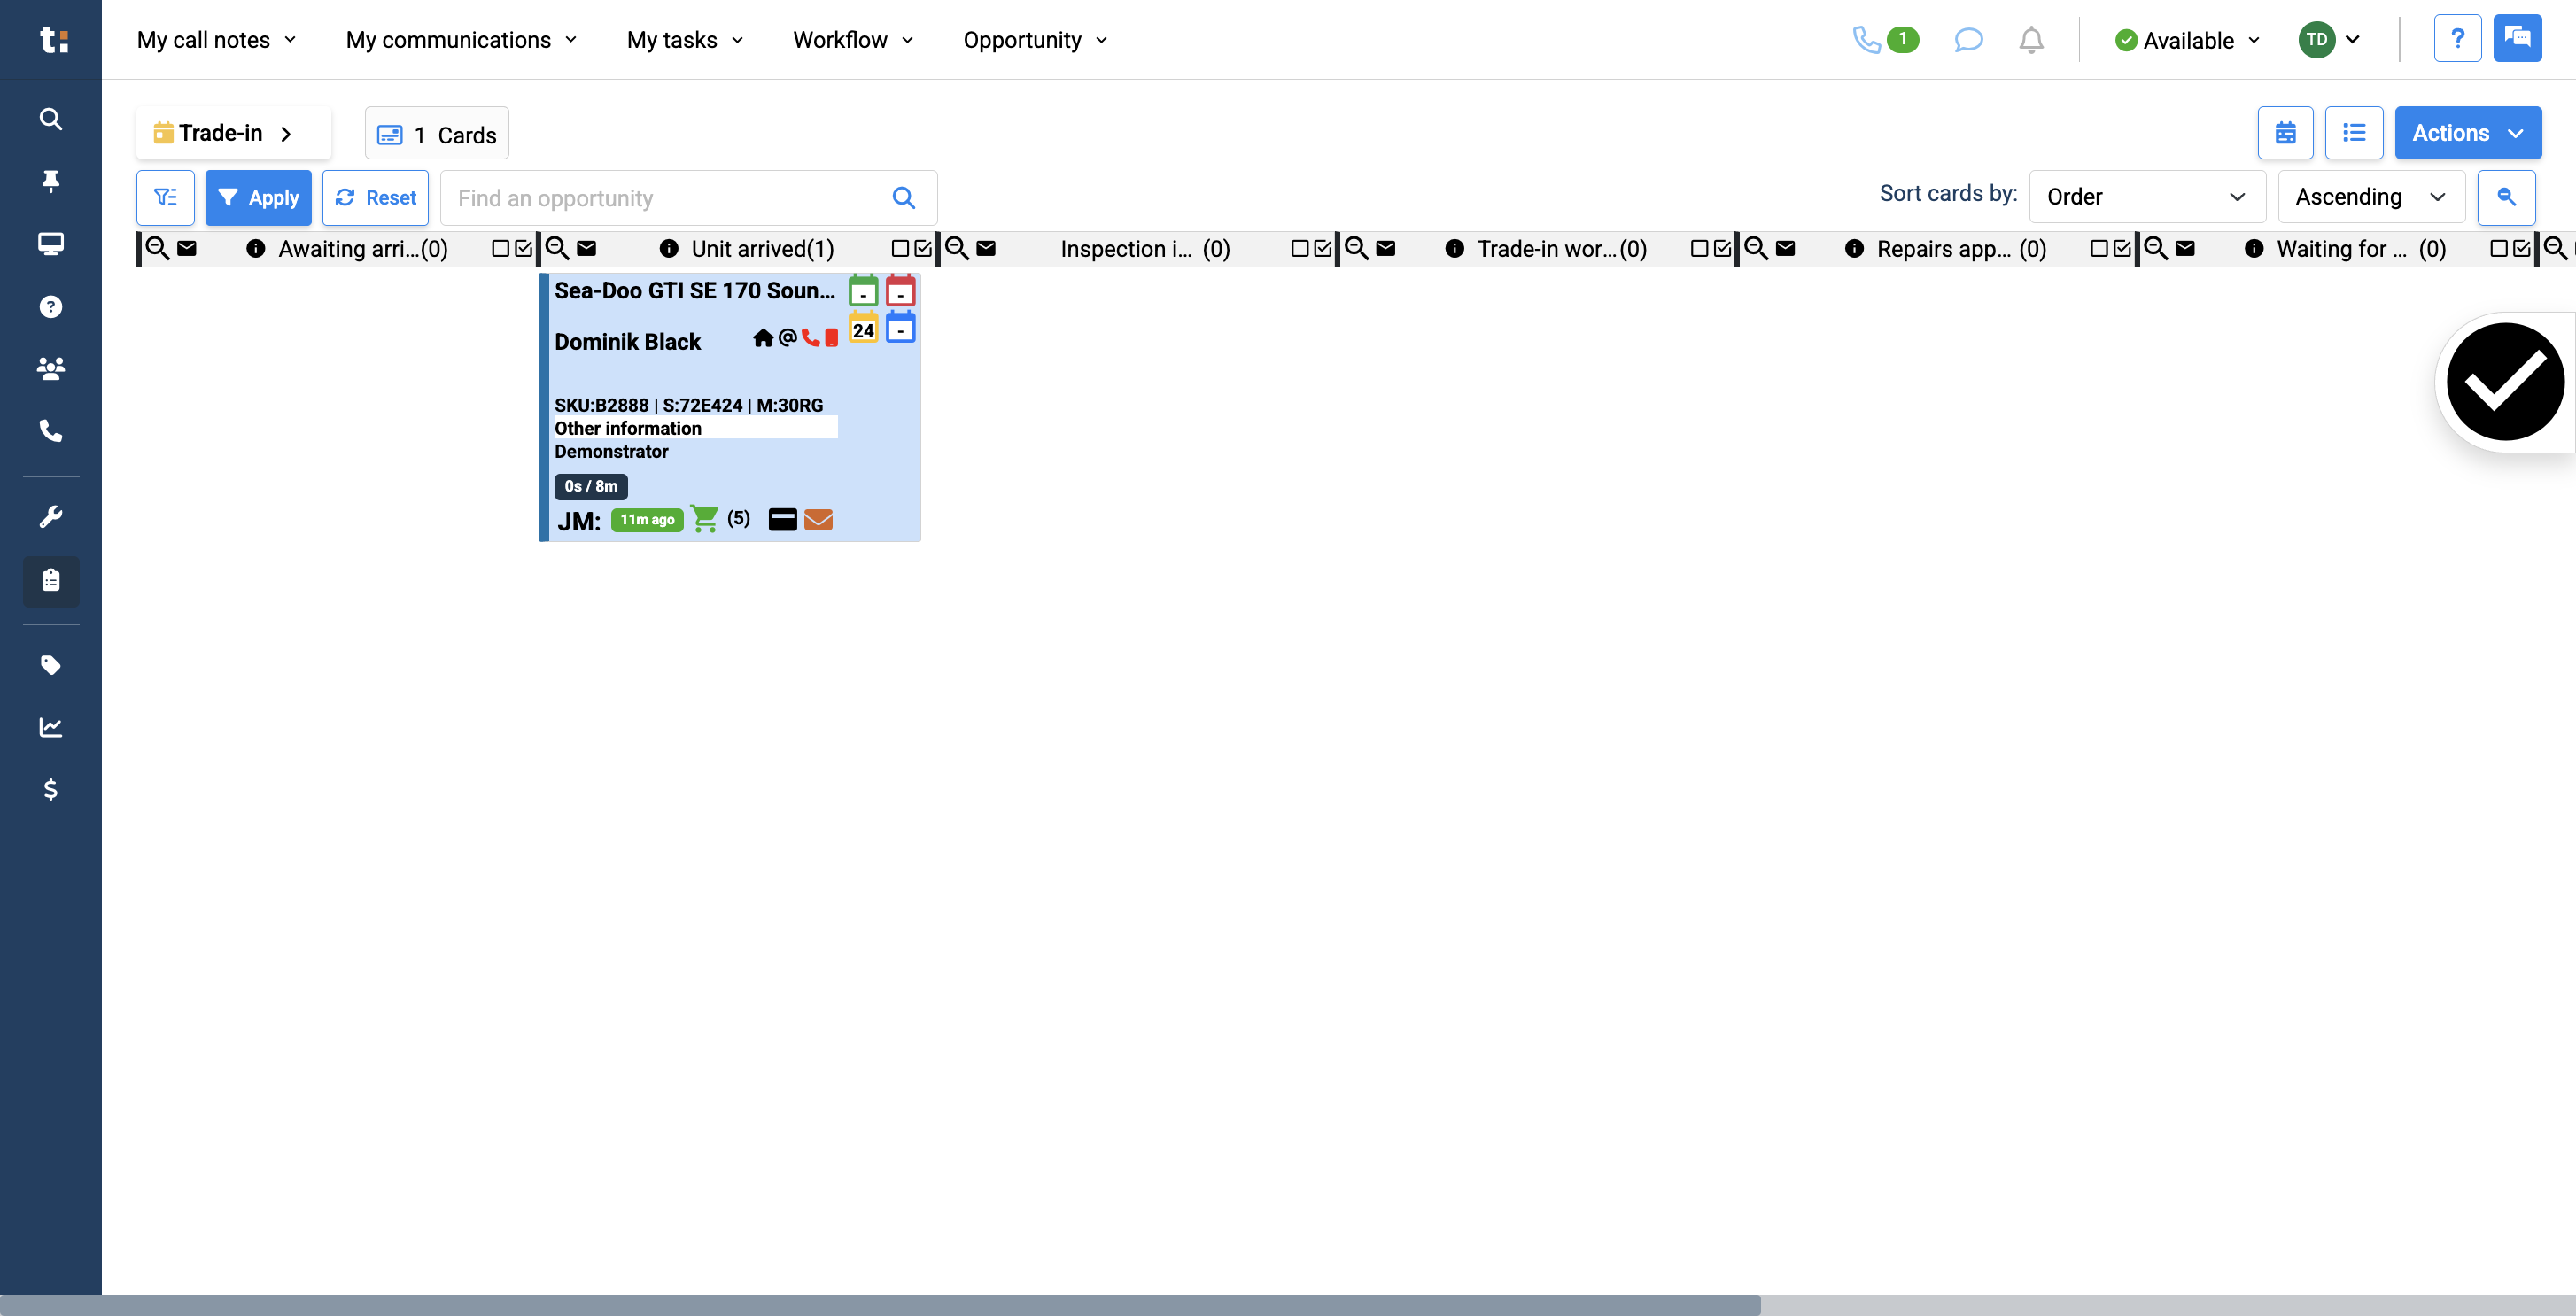
In this article, we will explain how to move cards within your workflow. There are two ways to do this. You can move a single card from the client's profile. Alternatively, you can move multiple cards within the workflow. We'll start by showing you how to move a single card.
1
Begin by clicking on the card to access the customer's profile.
2
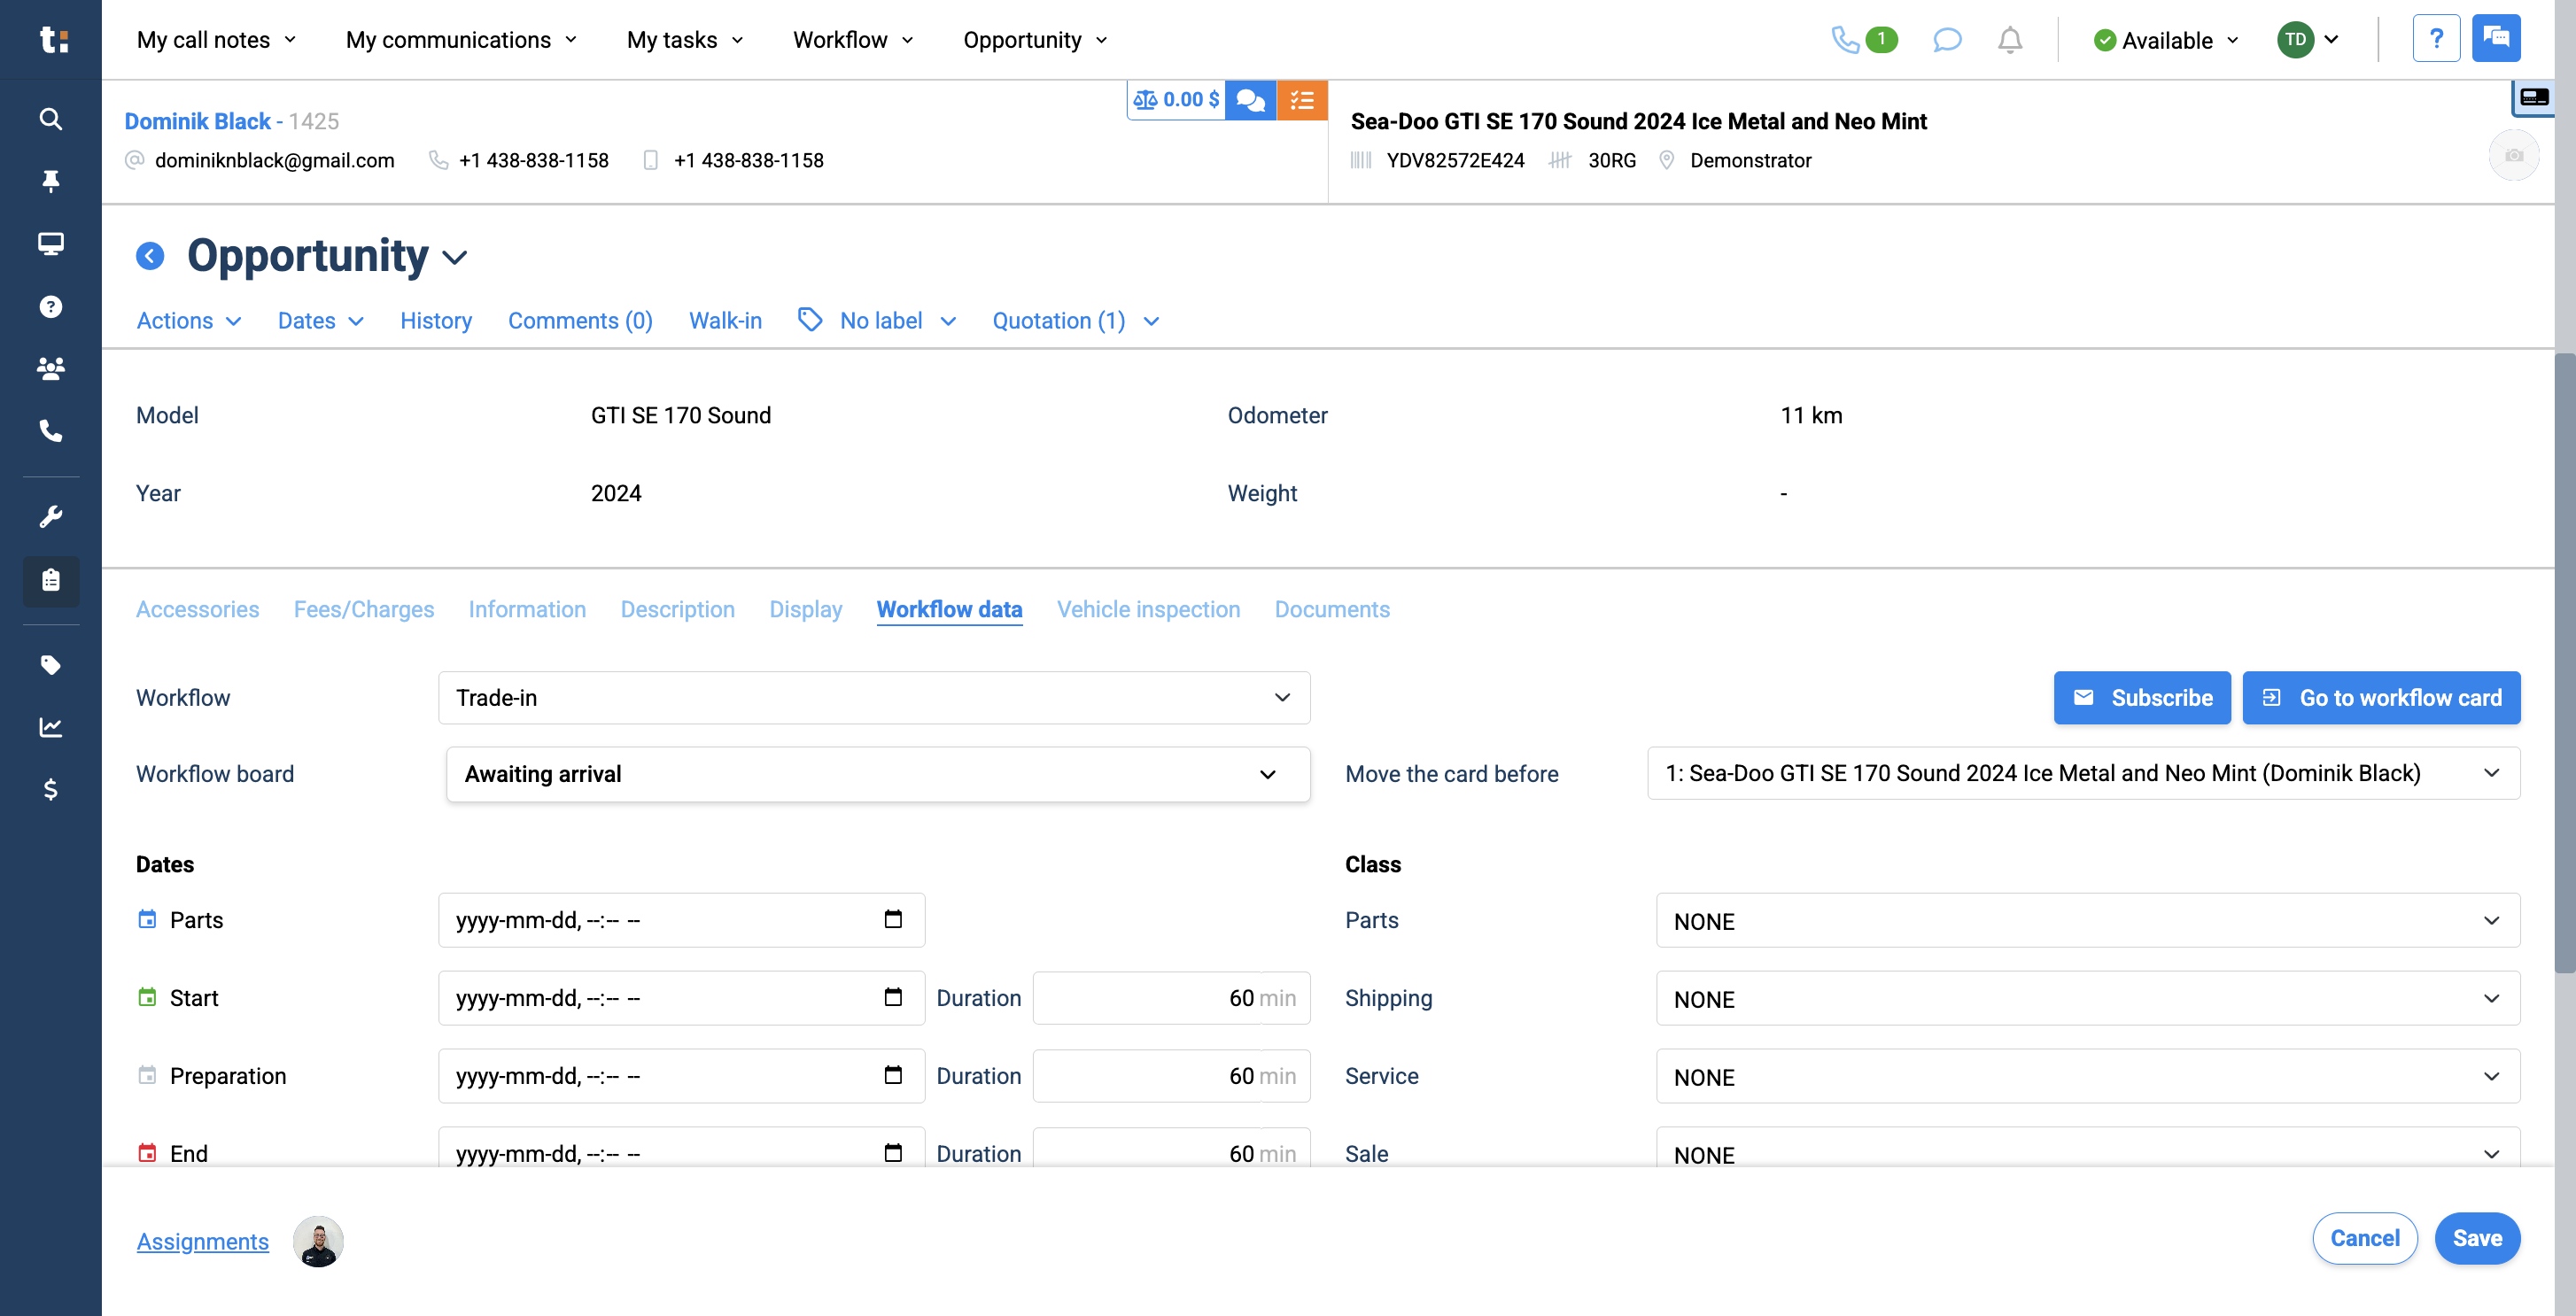
Once you are here, scroll down to Workflow Data.
3
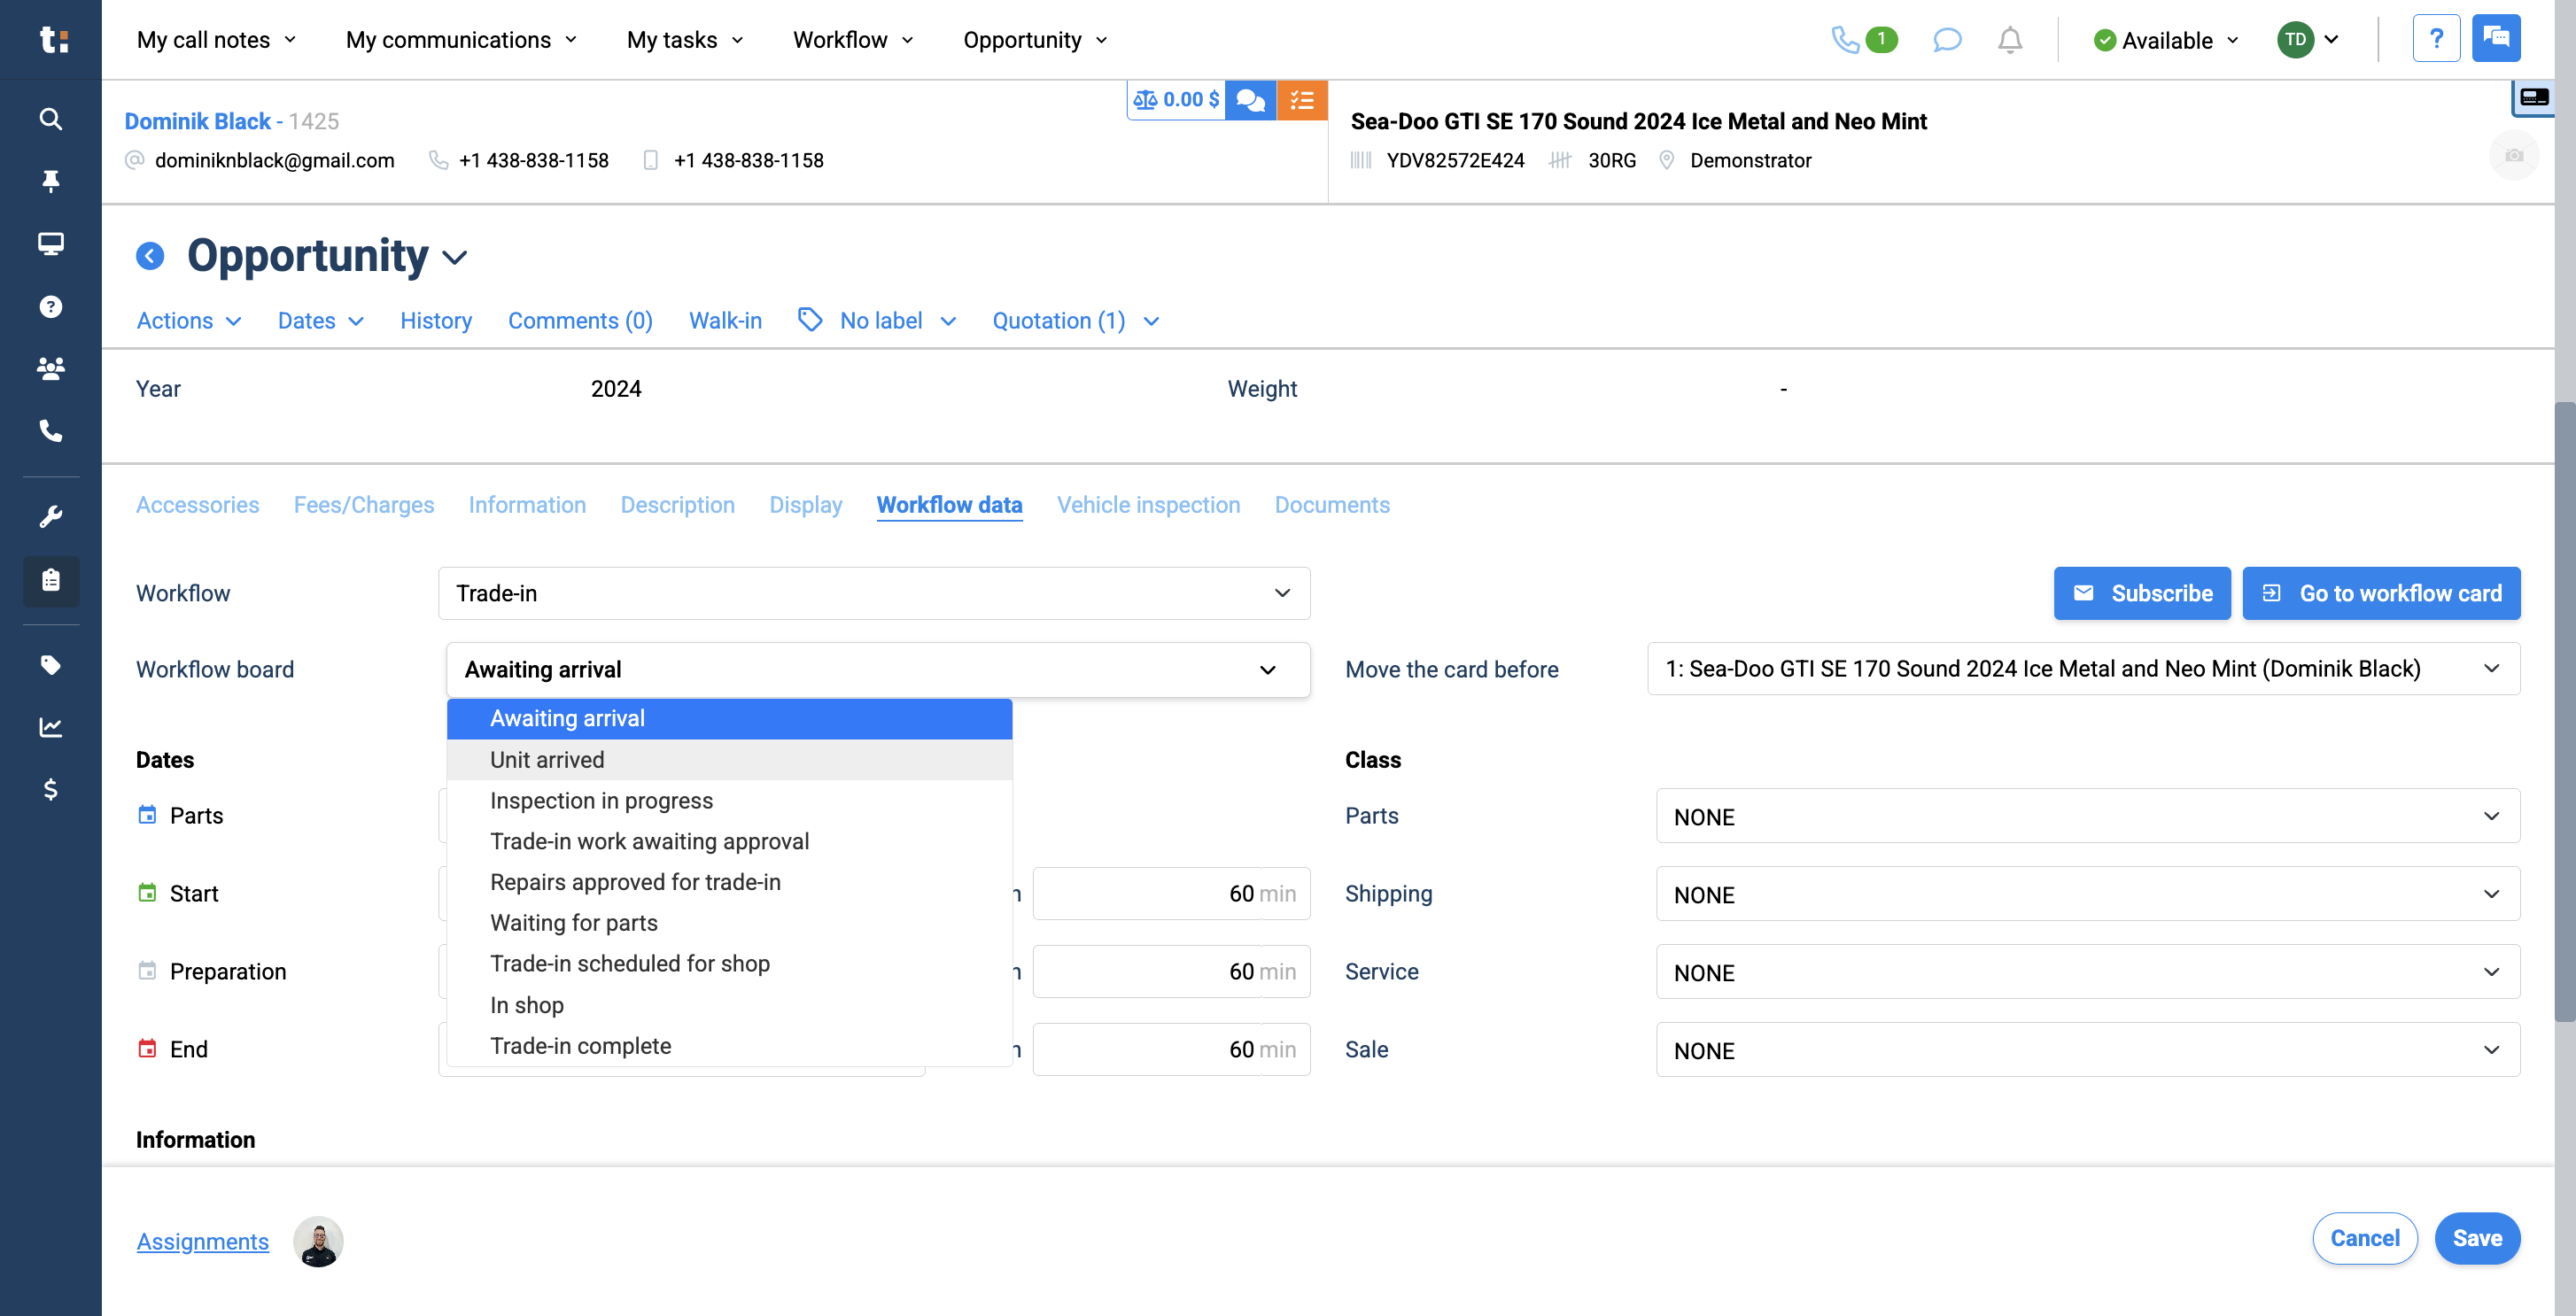
The final step is to go to the workflow board and move it to another column.
4
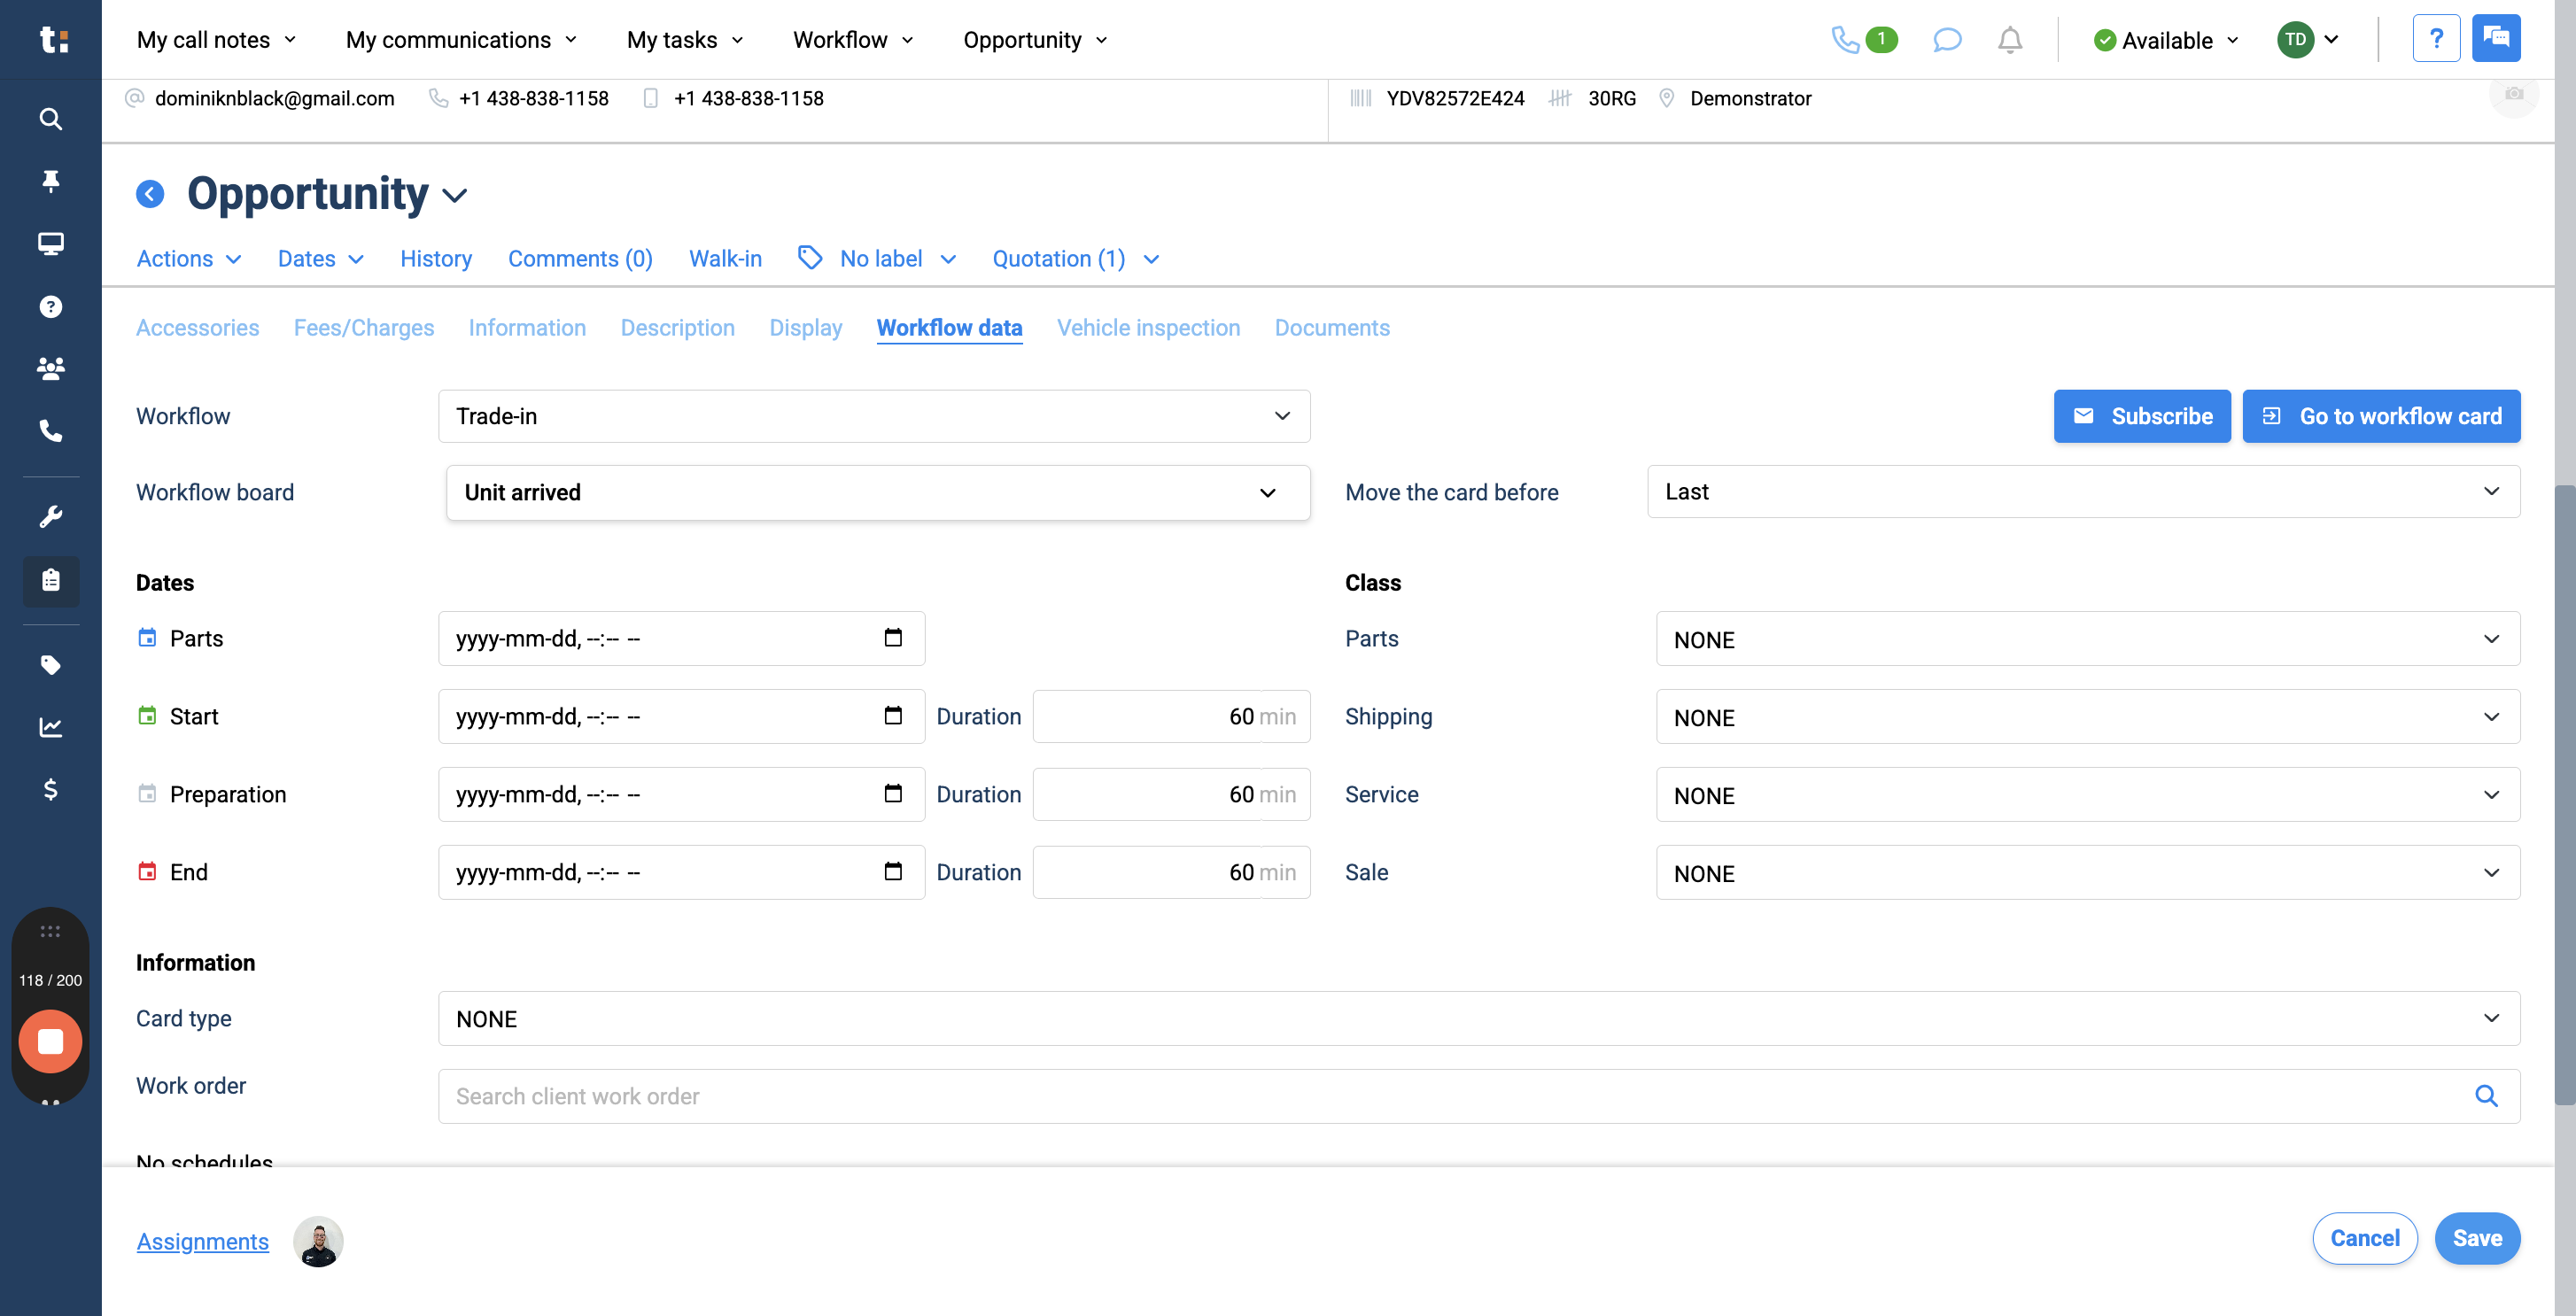
After that, click Save.
5
This brings us back to our workflow. You can see that the card started in the first column and is now in the second column.
6
Now, we'll show you another way to move cards in bulk directly from the workflow.
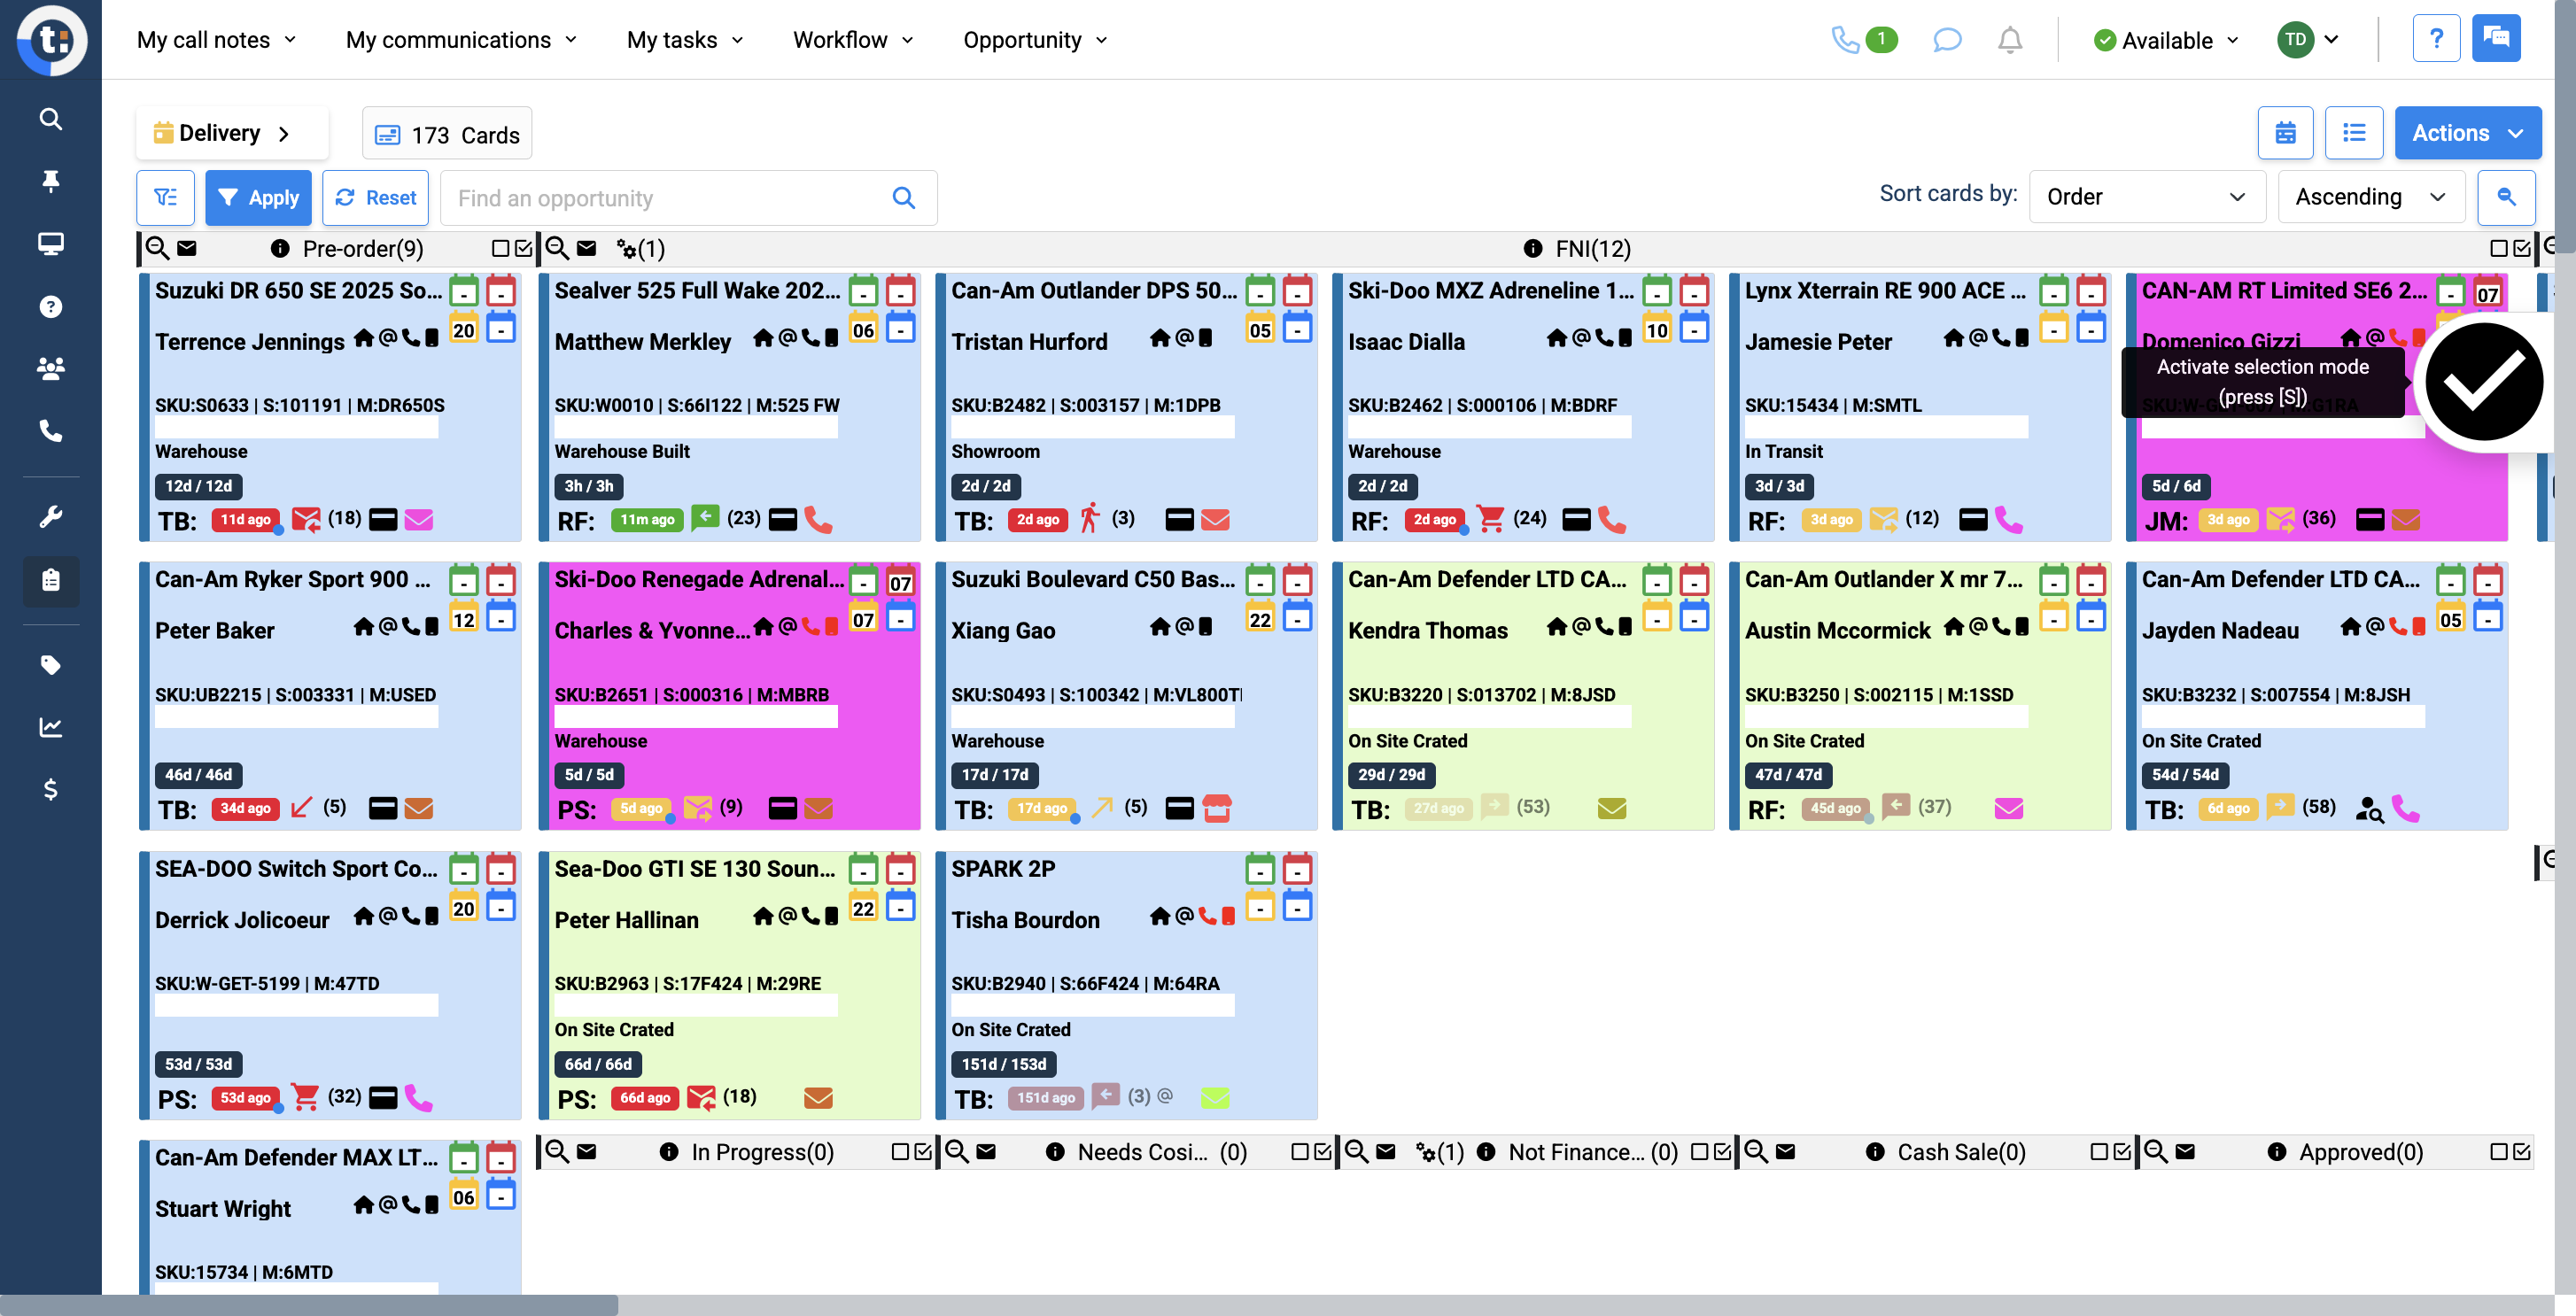
7
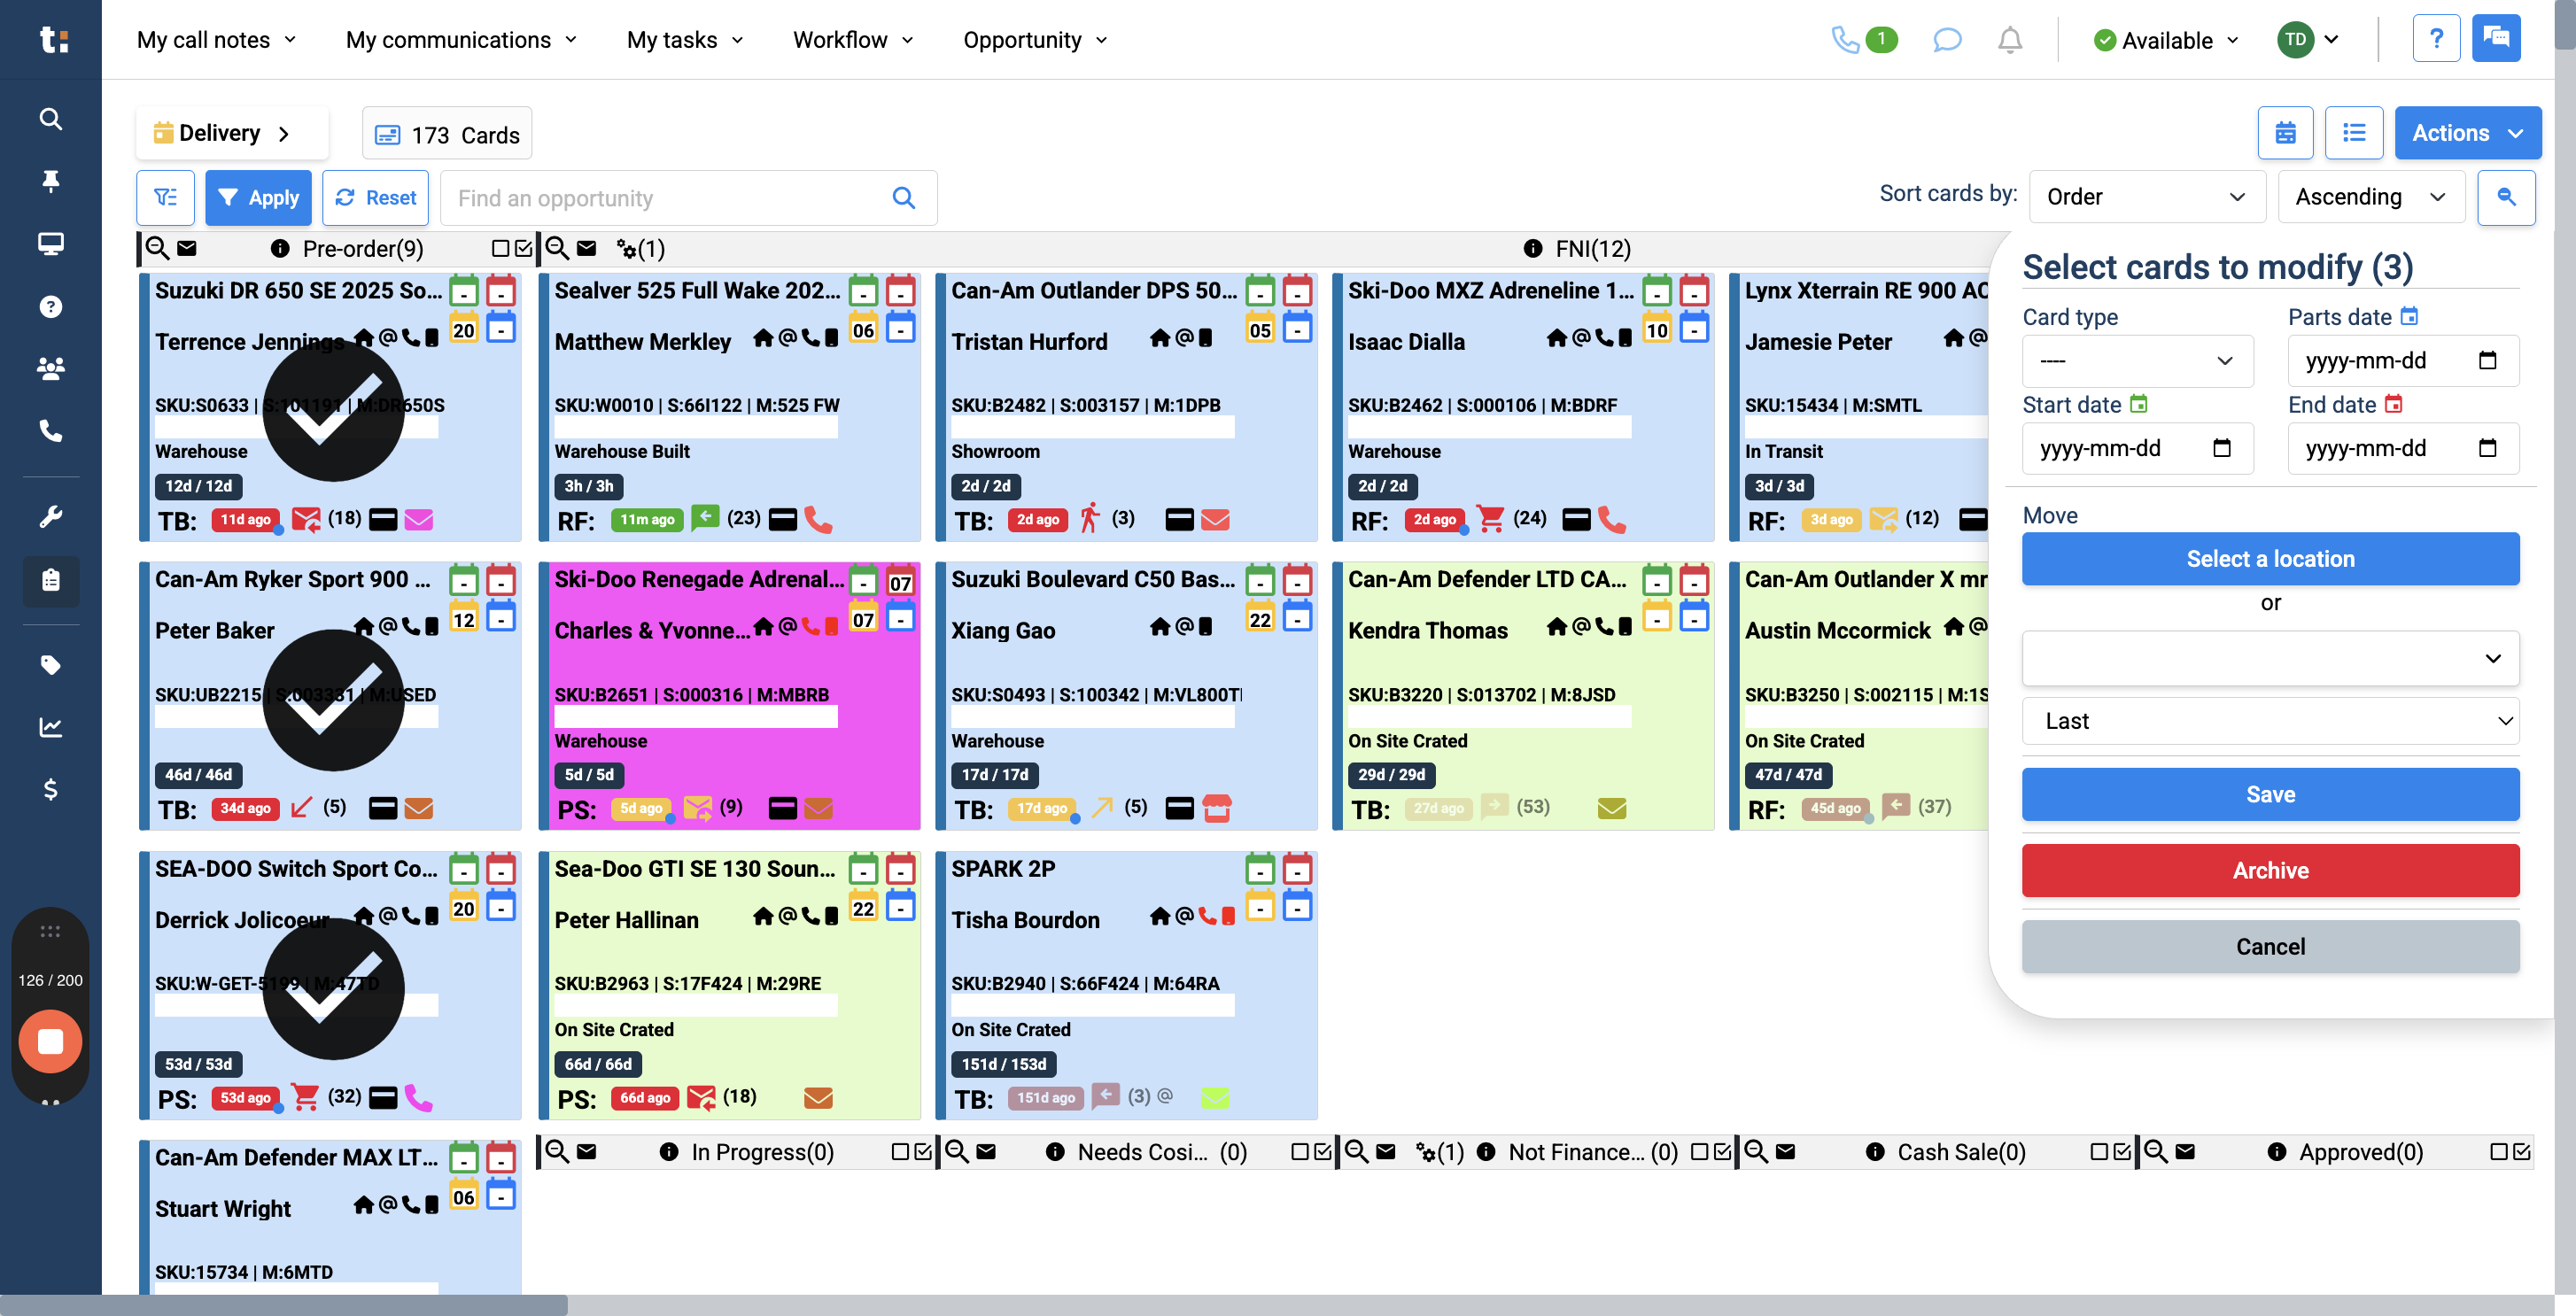
After this, you can select multiple cards by clicking on them individually. Large check marks will appear.
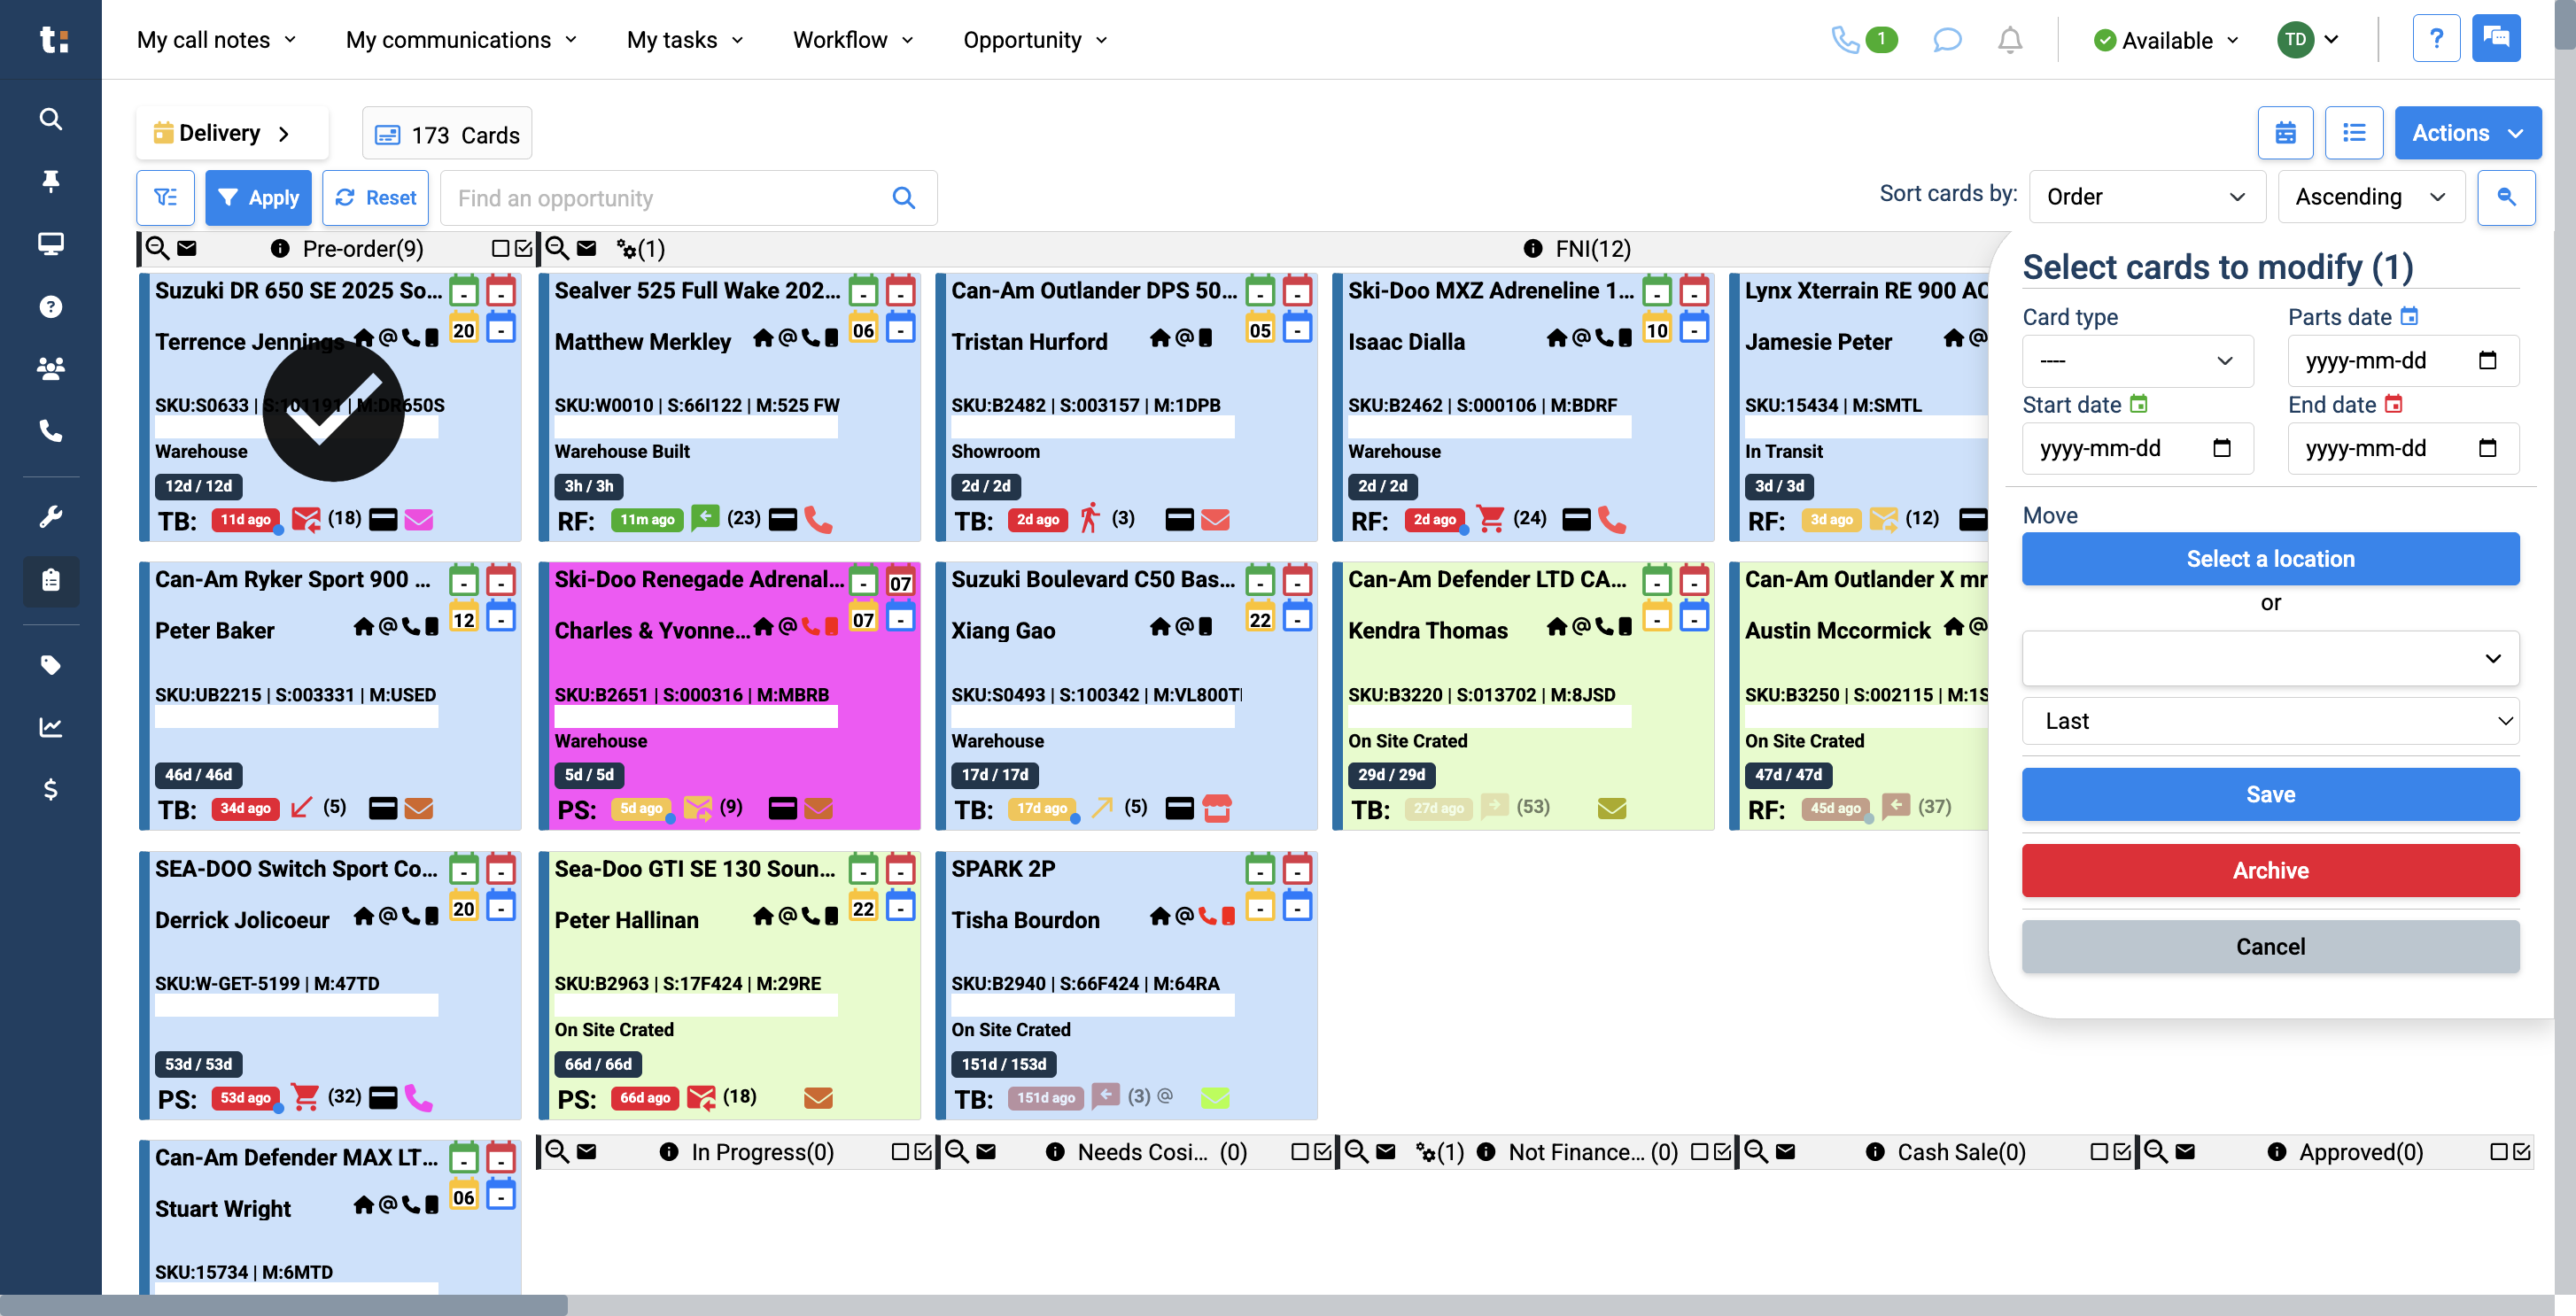
8
To move all three cards together, click this field and choose one of the displayed columns.
9
Select your column
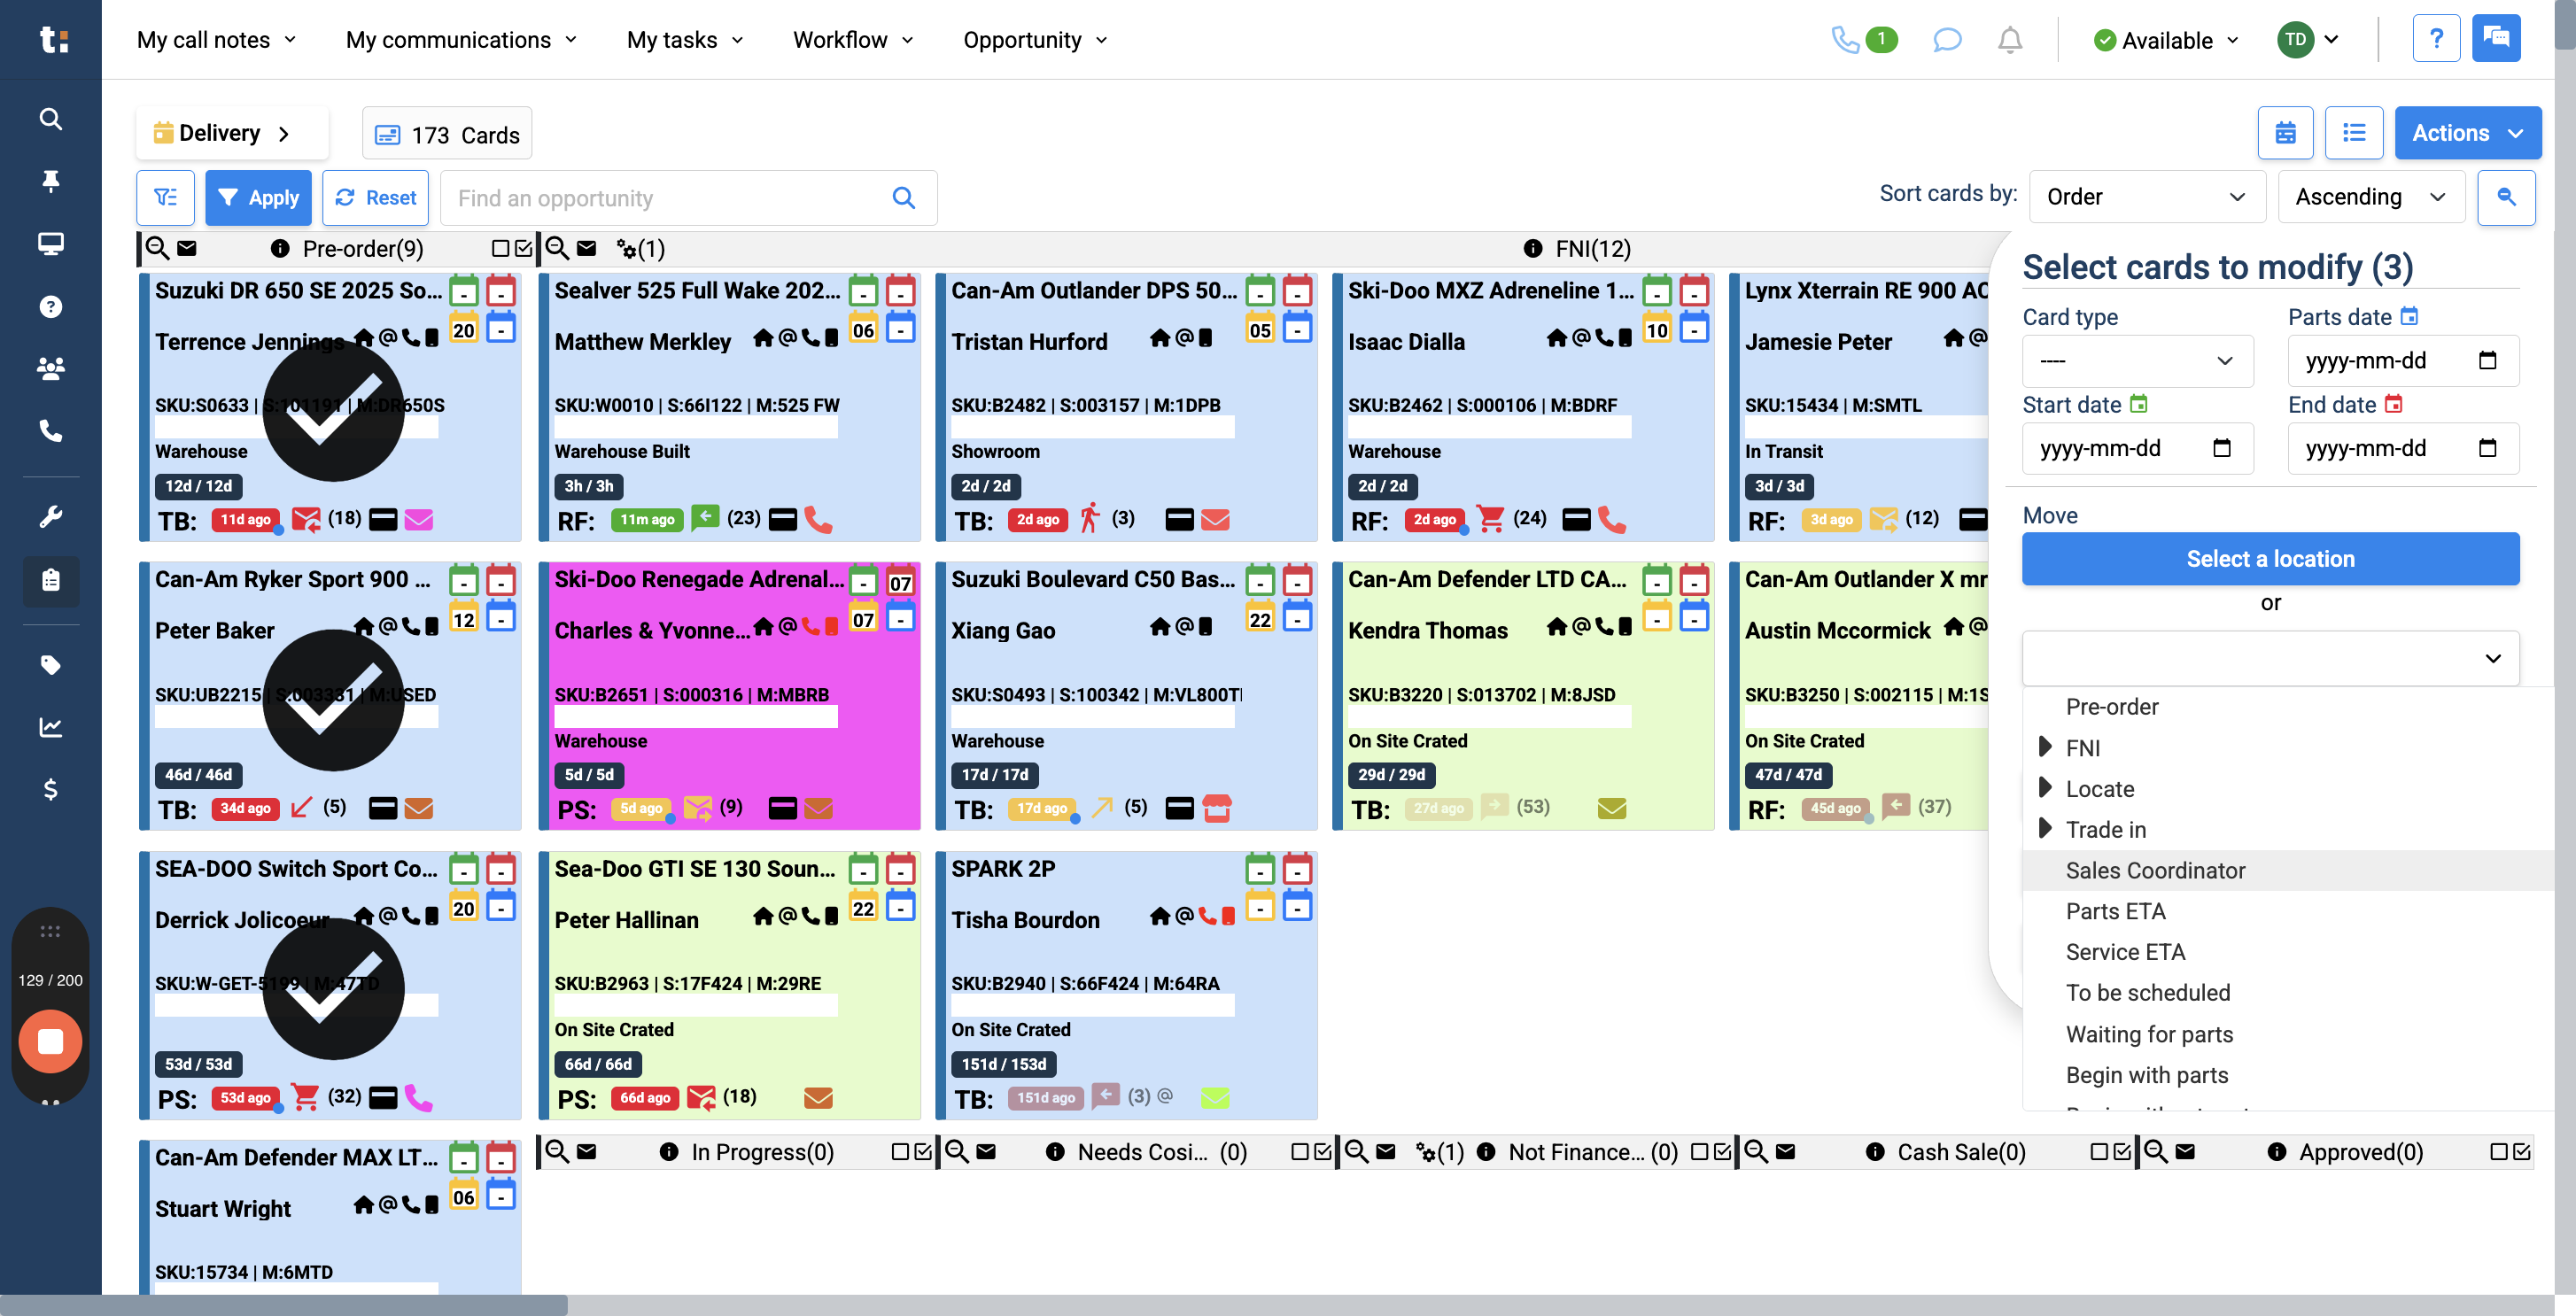
10
Finally, click Save.
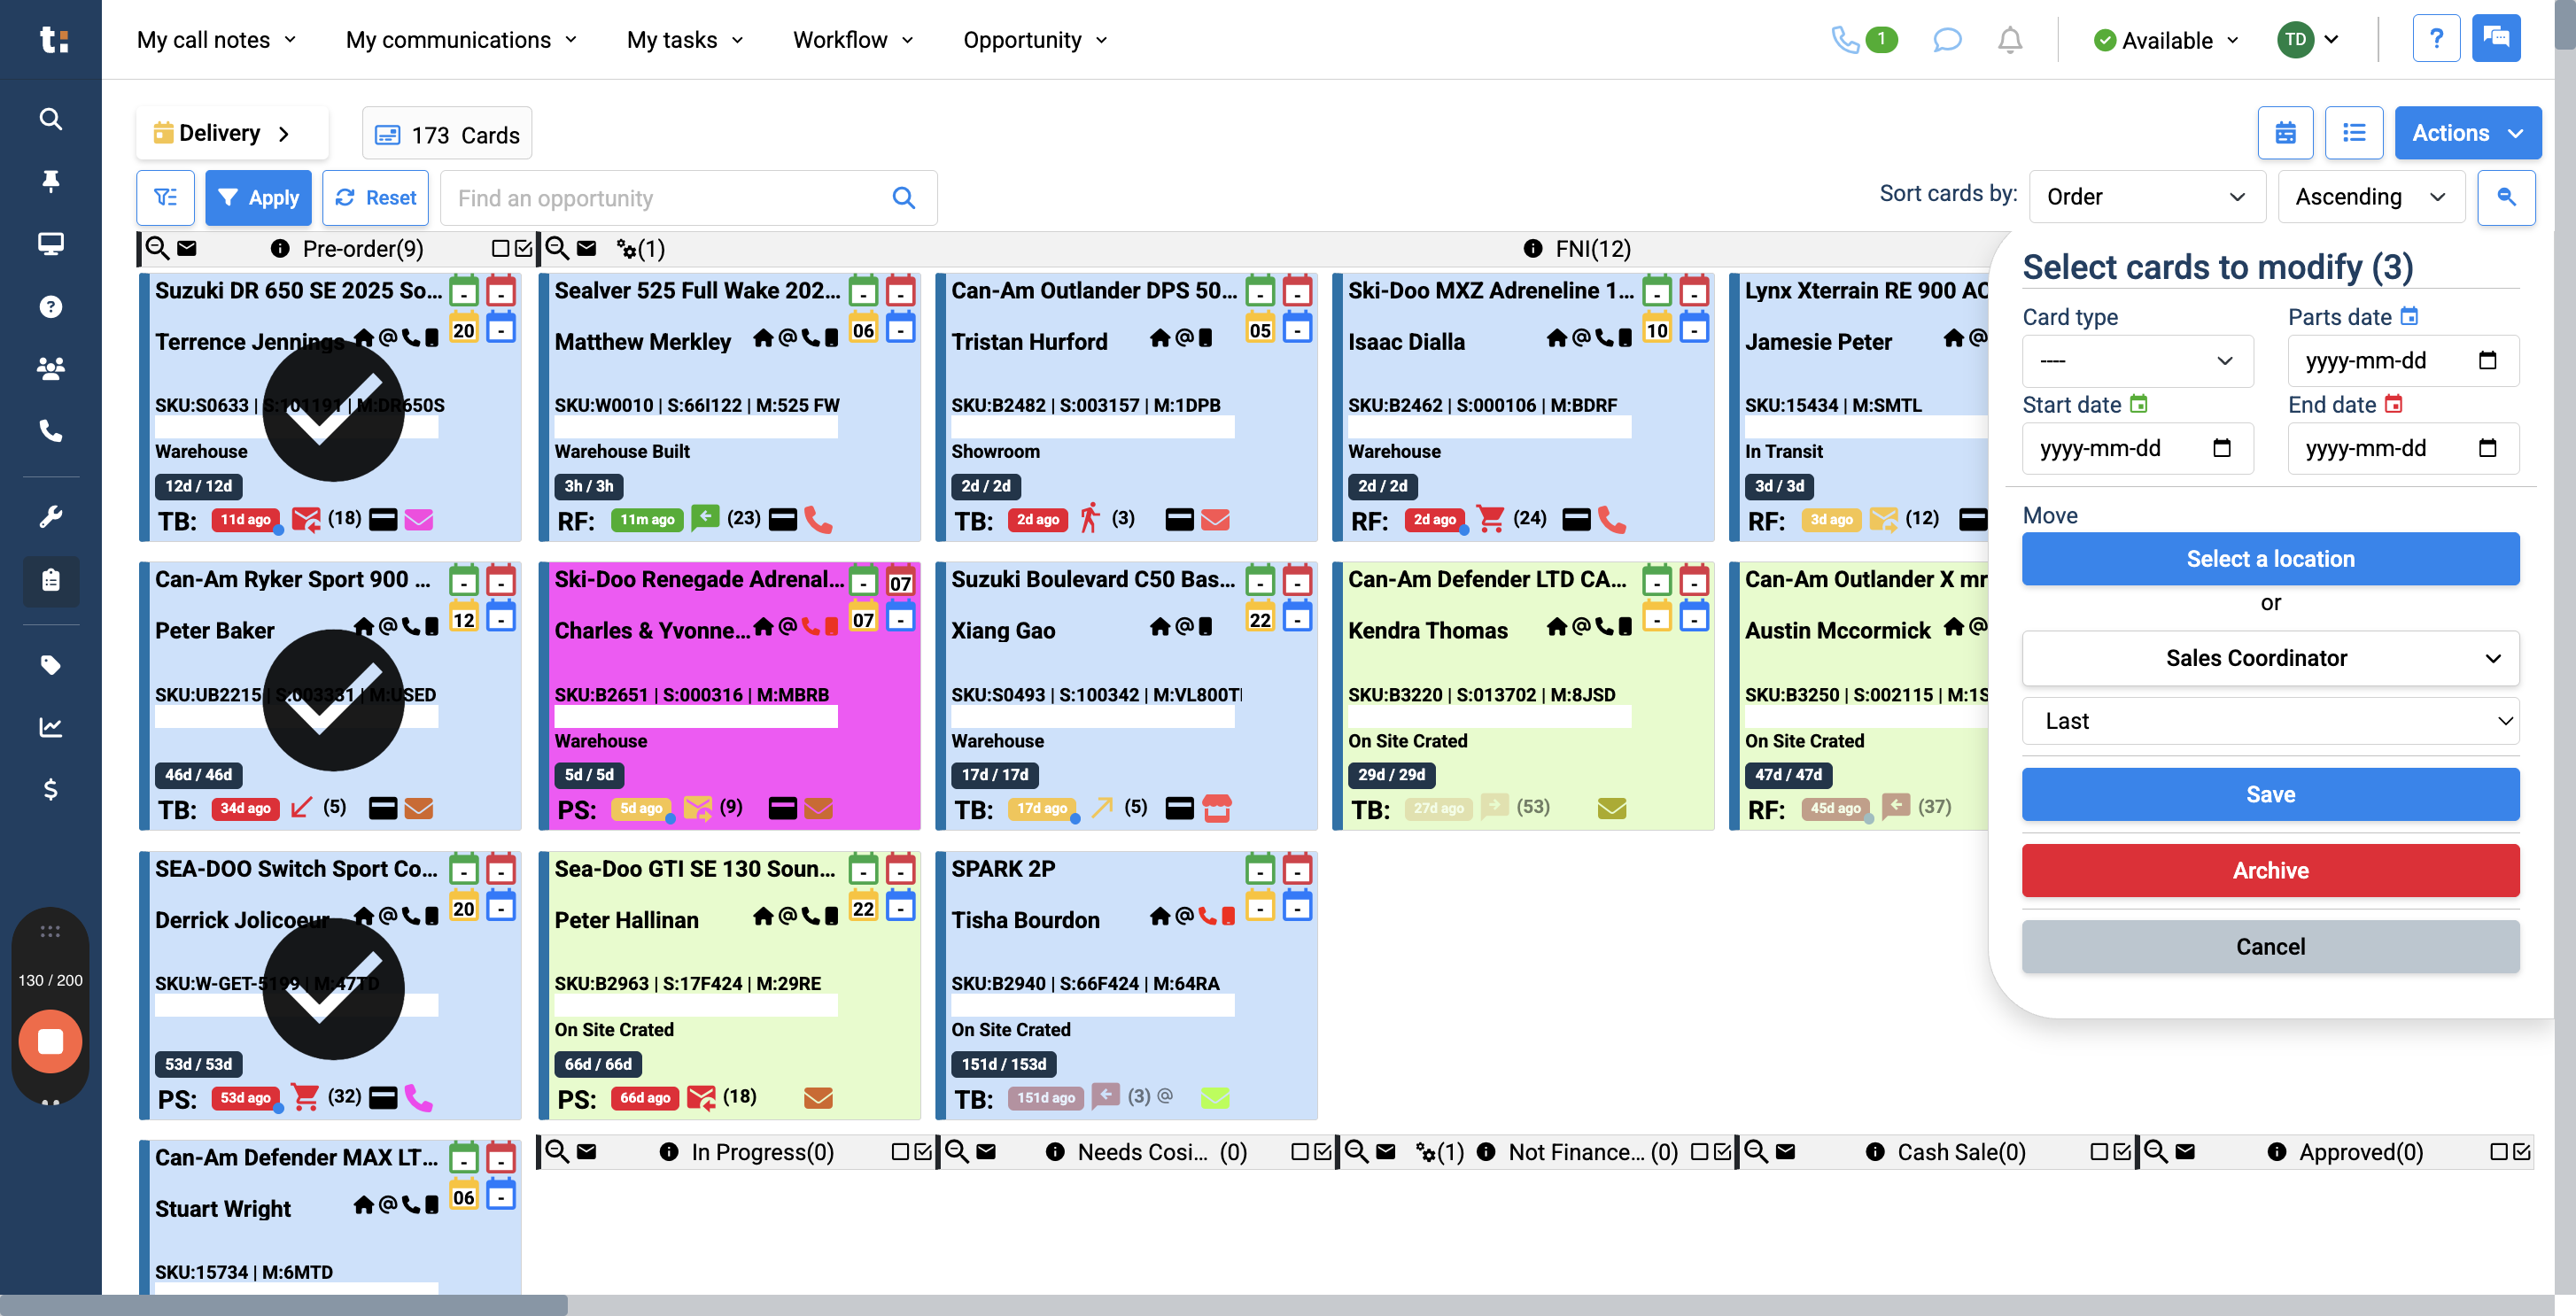
11
This will move all three cards at once into the designated column. You can also edit multiple cards at once by selecting a card color, setting a new date, and changing their order.
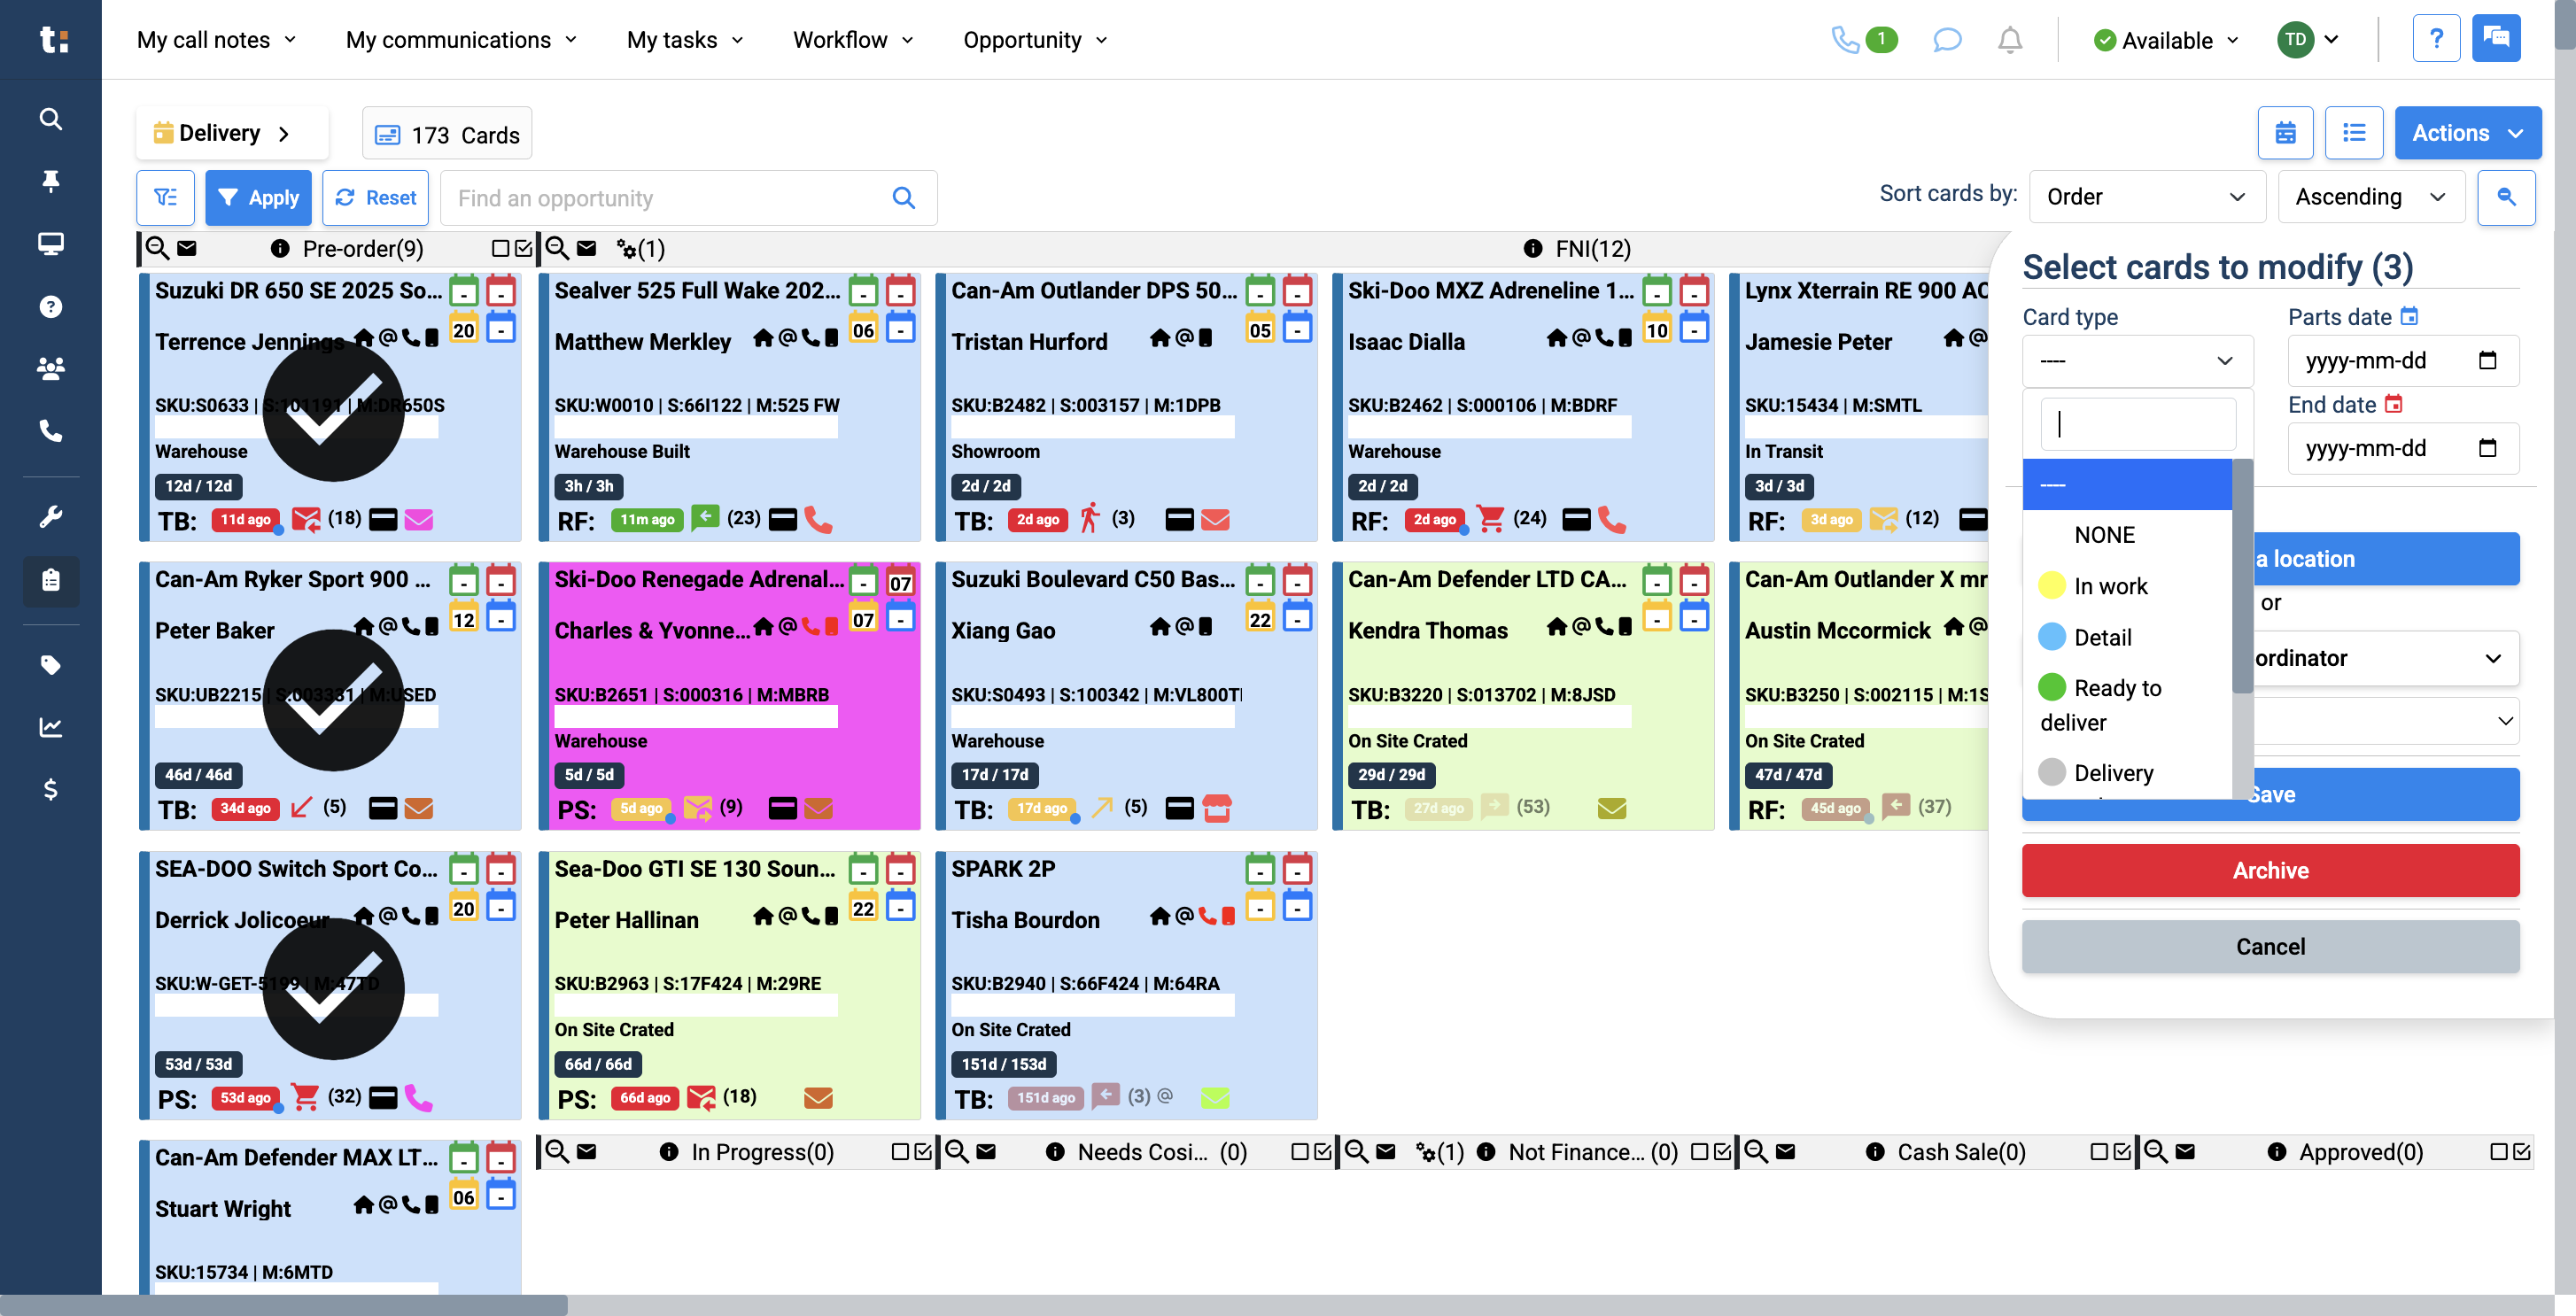
12
Lastly, you can archive any cards you want. When you finish editing, click Cancel.

If you still have questions after consulting this article, please feel free to contact our support team at: support@tractiondk.zohodesk.com