Icon

How to Move Money and Documents Between Accounting Periods: Step-by-Step Guide

Learn how to accurately move money and documents from one accounting period to another, including correcting transactions, updating account numbers, and managing filings. Follow this detailed guide for best practices in period adjustments.

By Keitha Laamanen

In this guide, we'll learn how to move money and documents from one reporting period to another. This process helps ensure that filings and transactions are recorded in the correct periods, which is important for accurate records and compliance.

We will cover how to identify the correct period, adjust transactions, and manage related documents. This guide will also show how to handle penalties and interest if needed.

Let's get started

Okay. We will look at how to move money and documents from one period to another. I have pulled up a period that has two filings. One arrived on July 25, and the other on October 25.

1
Click on "Home"
Step #1: Click on "Home"

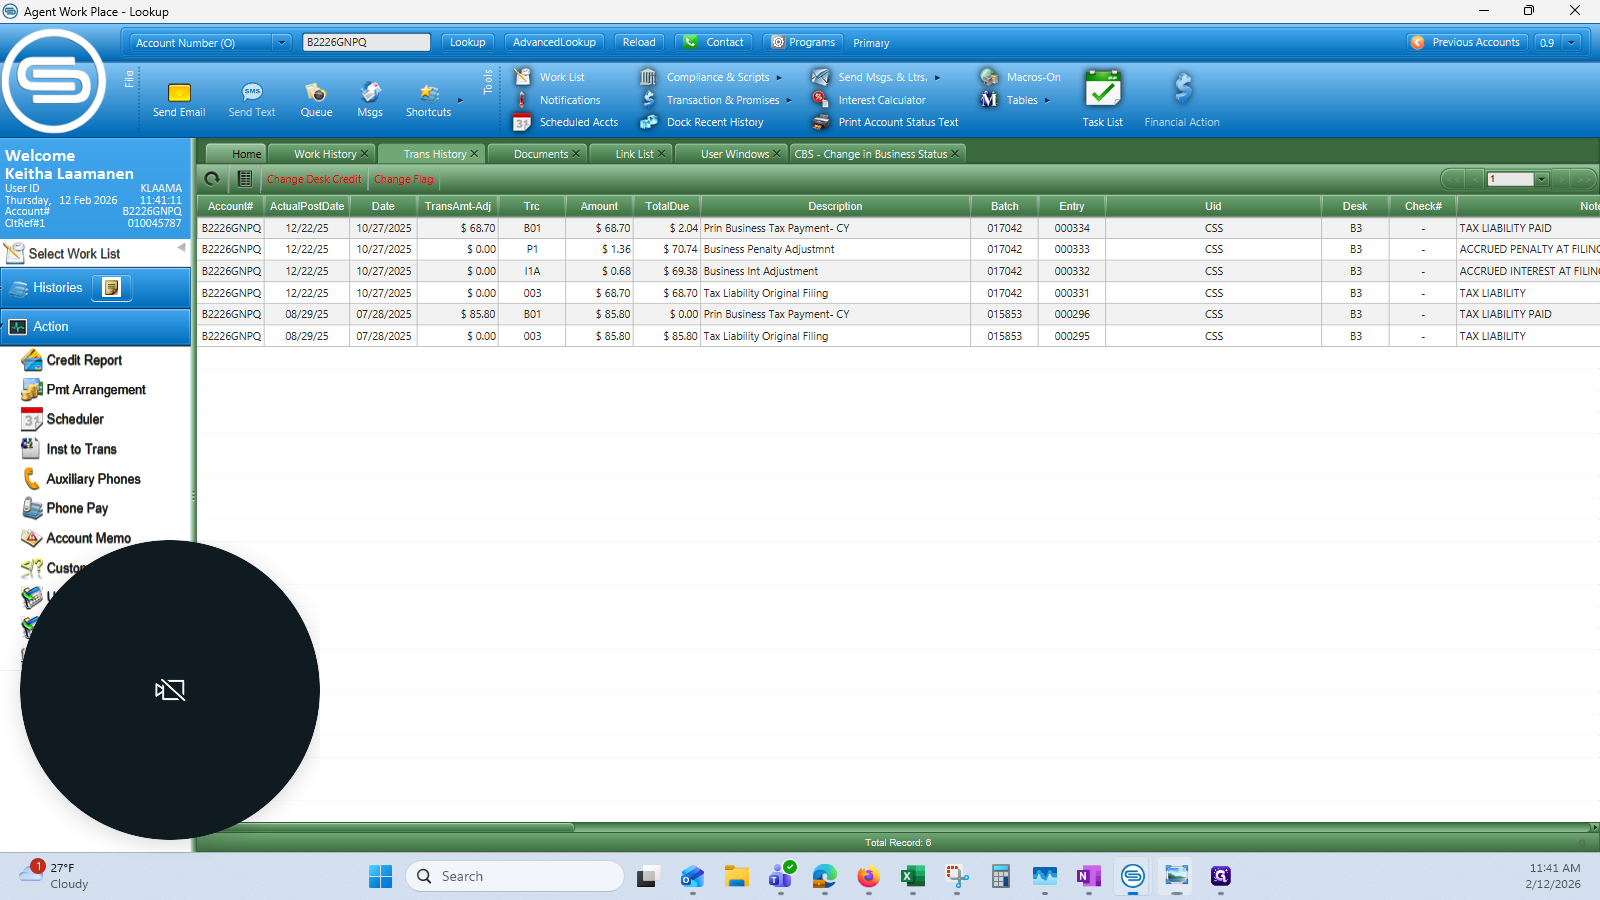
I'm switching to the main screen now. This is the second quarter 2025 filing.

2
"Tax Period : 2025-06"
Step #2: "Tax Period : 2025-06"

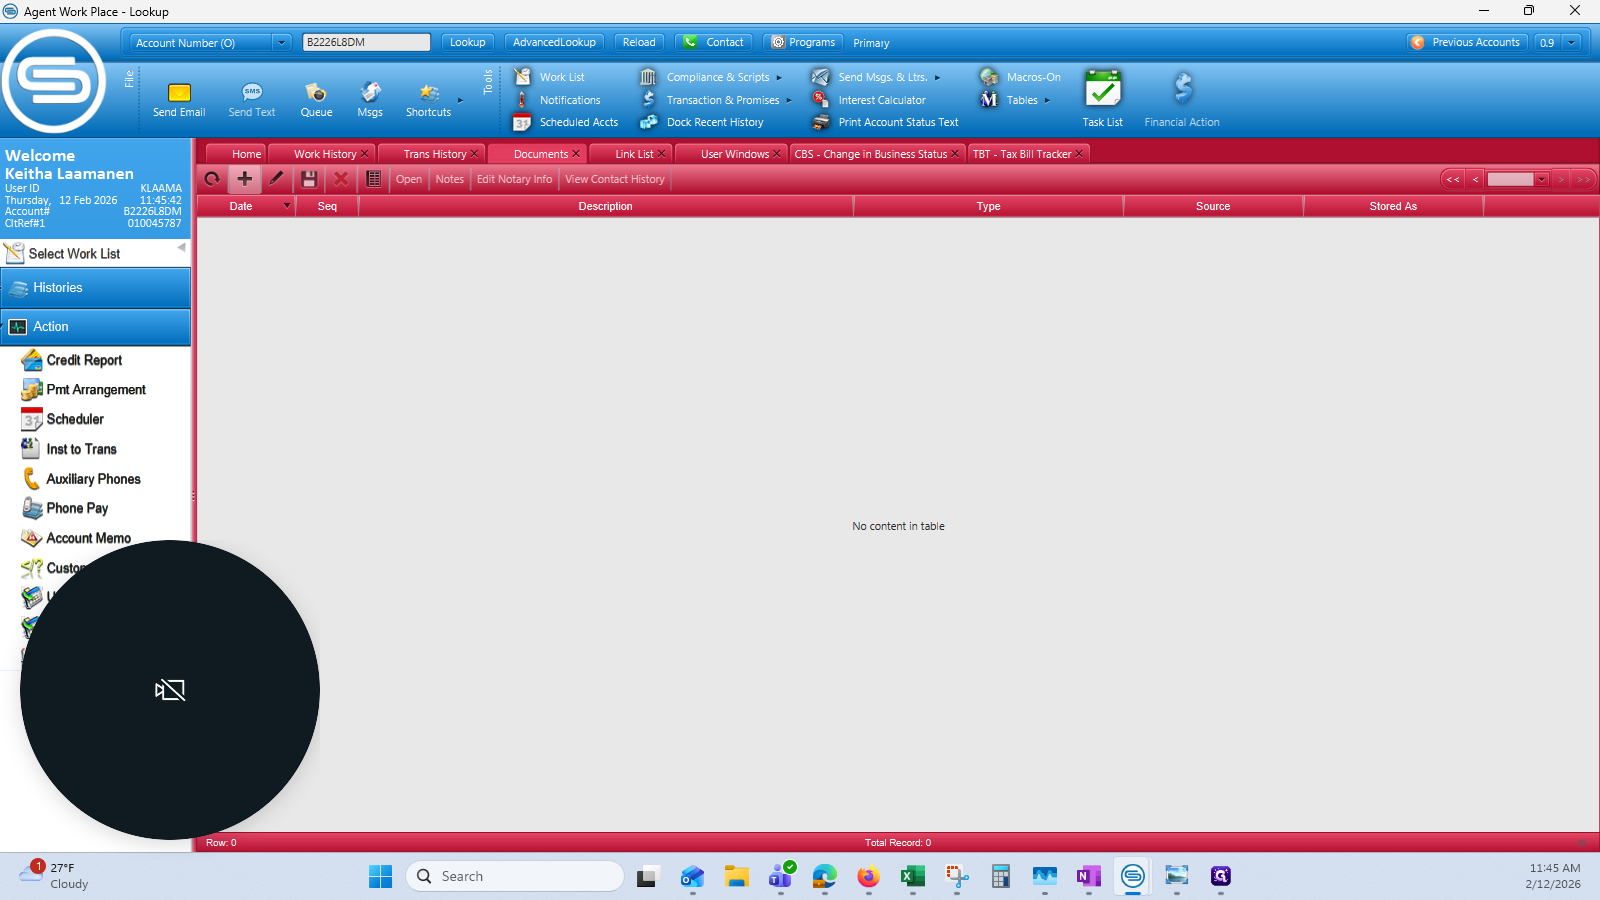
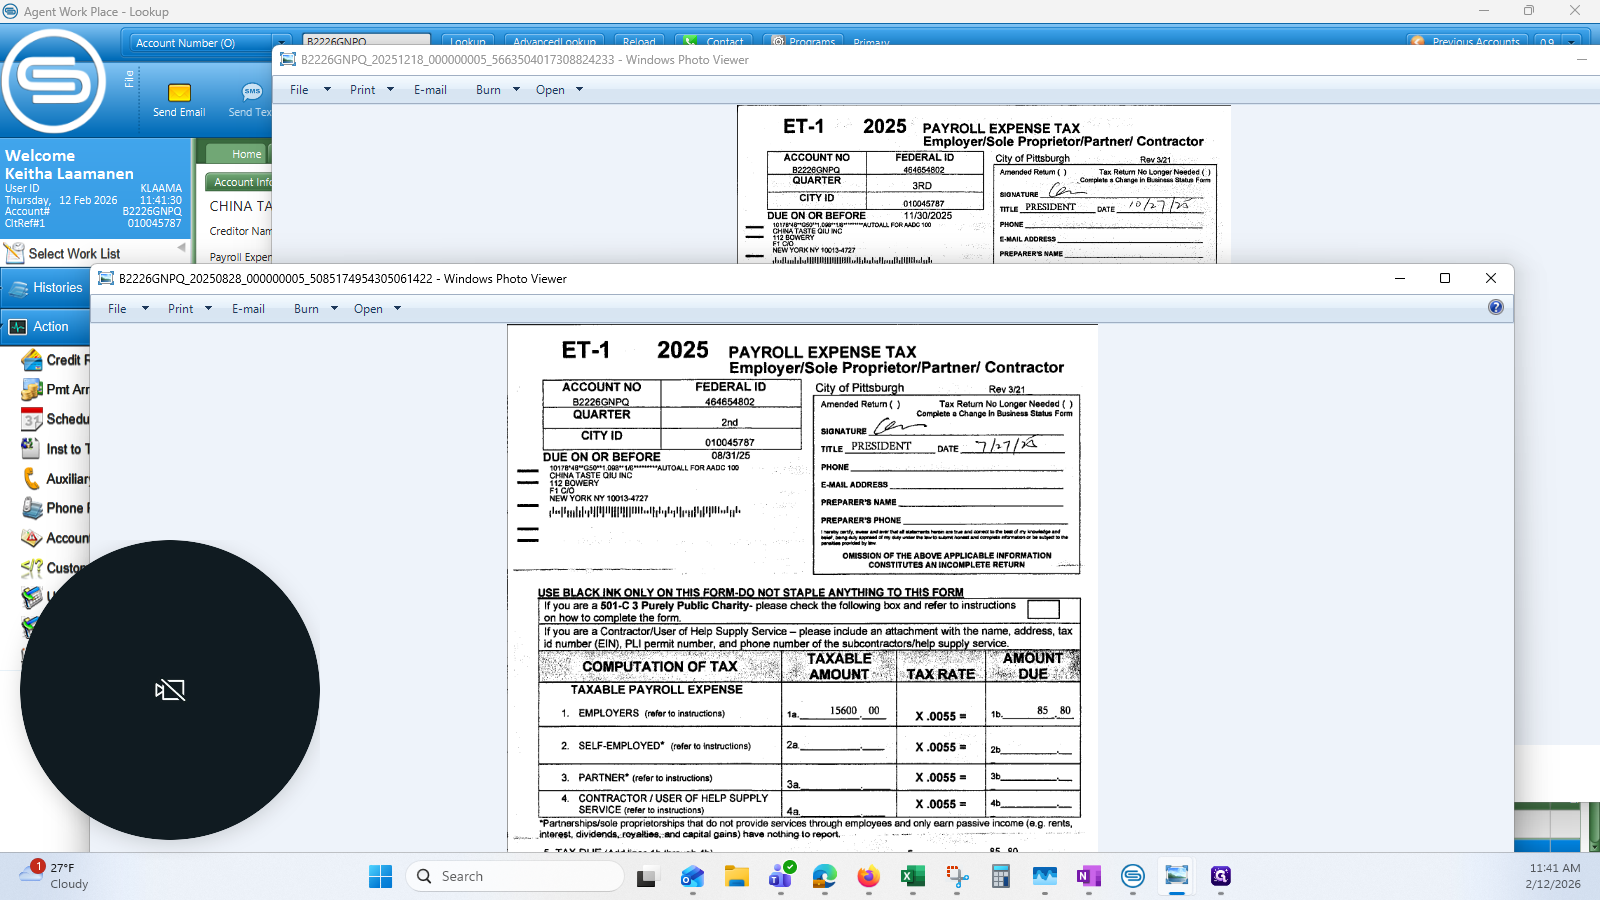
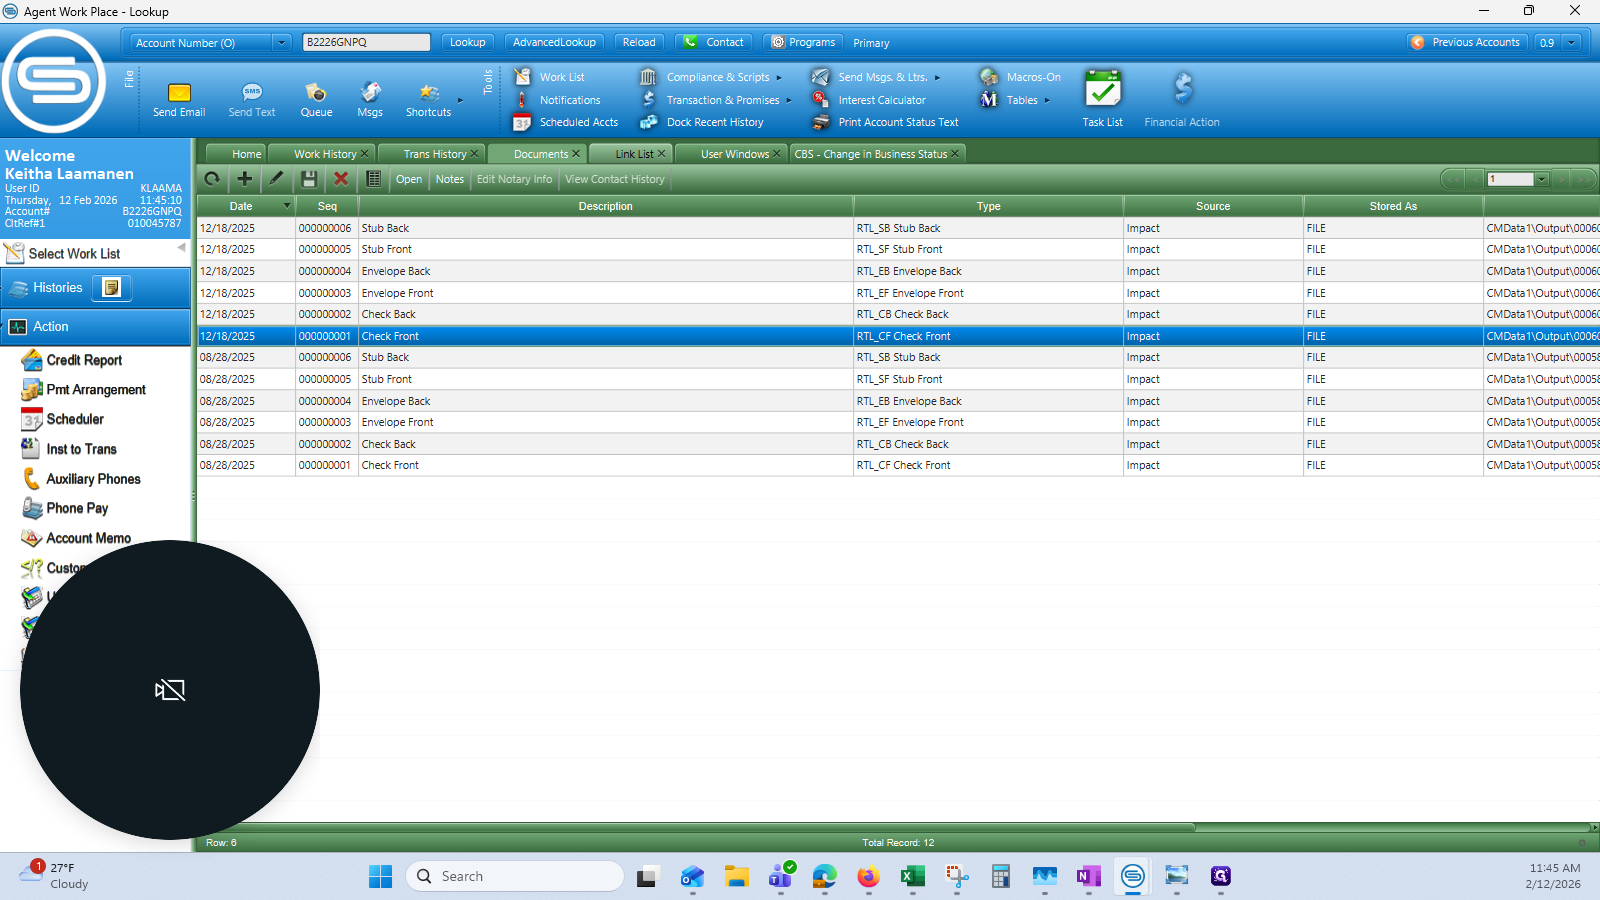
If I open the two Stub fronts in the attached documents tab, you can see that one is for the third quarter and the other is for the second quarter.

We need to move the one for the third quarter into the third quarter account.

3
View of the 2 stub fronts
Step #3: View of the 2 stub fronts

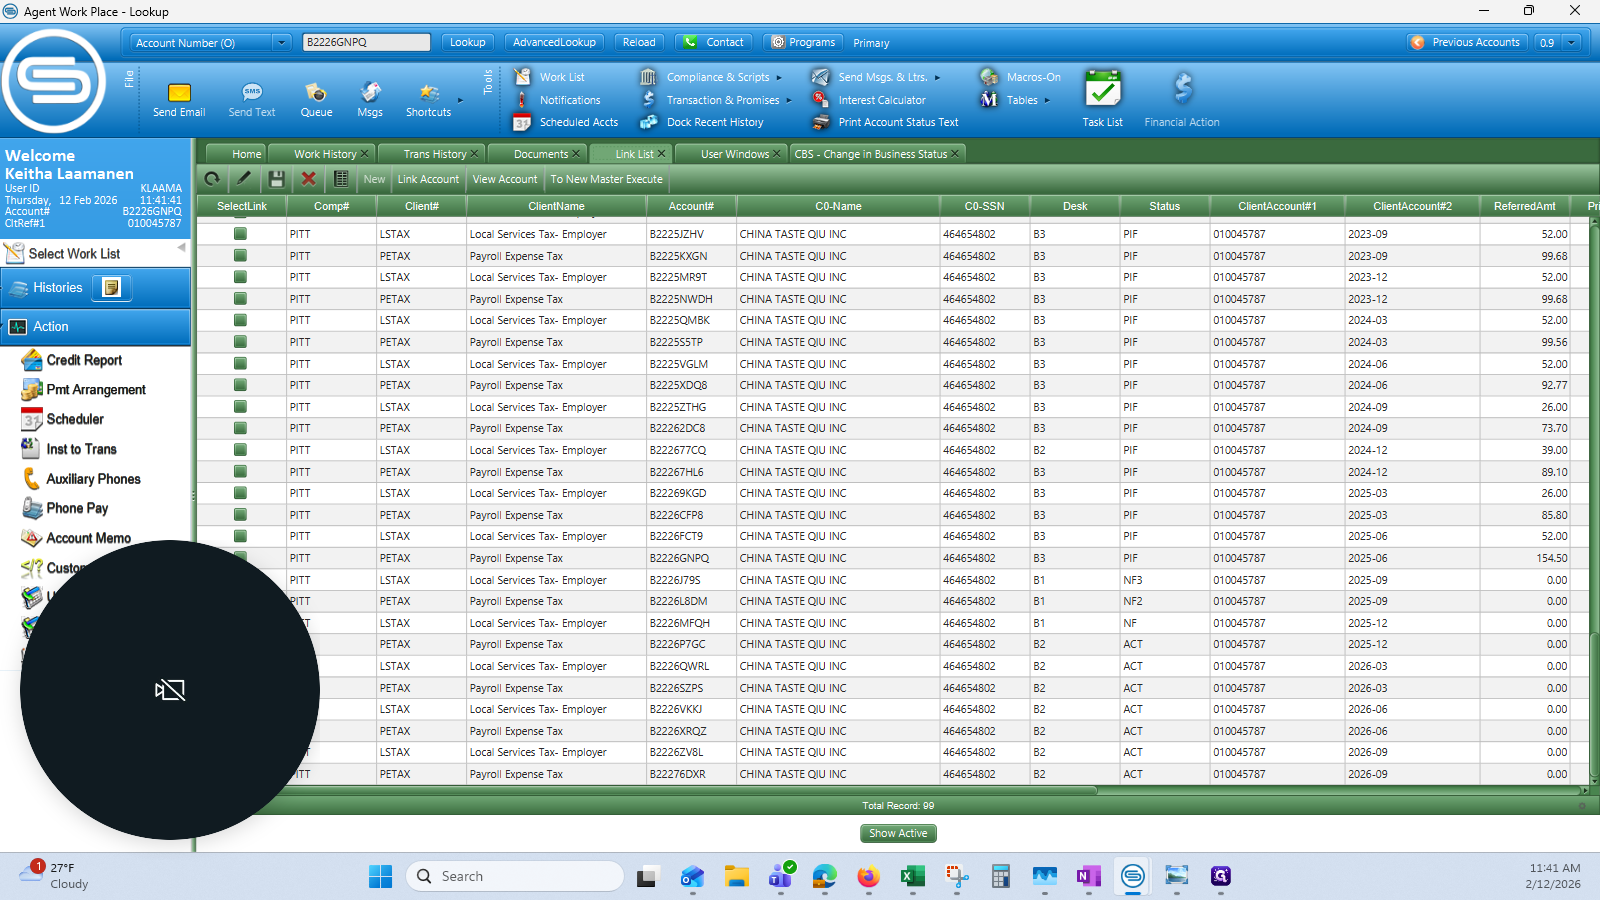
Go to the link list and find the correct account number for the filing.

4
Click on "Link List"
Step #4: Click on "Link List"
5
Locate the correct B number - in this case the Q3 2025 Payroll Expense line. Note that it's currently in non-filing status, as the filing was mis-attributed to the previous quarter.
Step #5: Locate the correct B number - in this case the Q3 2025 Payroll Expense line. Note that it's currently in non-filing status, as the filing was mis-attributed to the previous quarter.

I like to write it down so I have a record. I keep the transaction history open to verify the number, amount, and CFD date.

6
Click on "Trans History X"
Step #6: Click on "Trans History X"

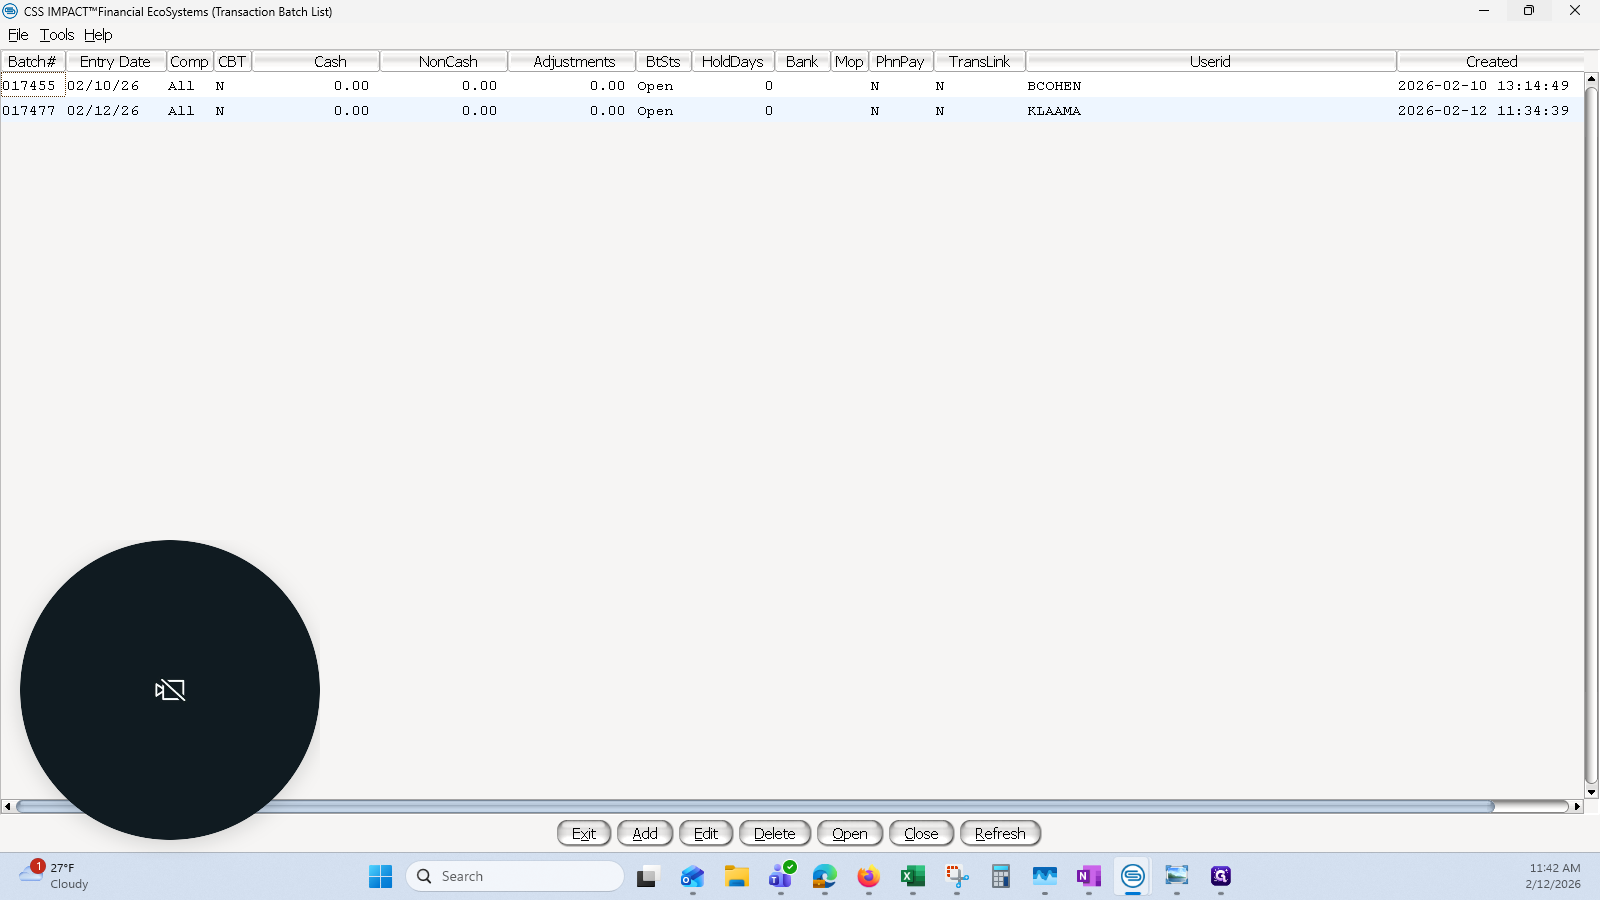
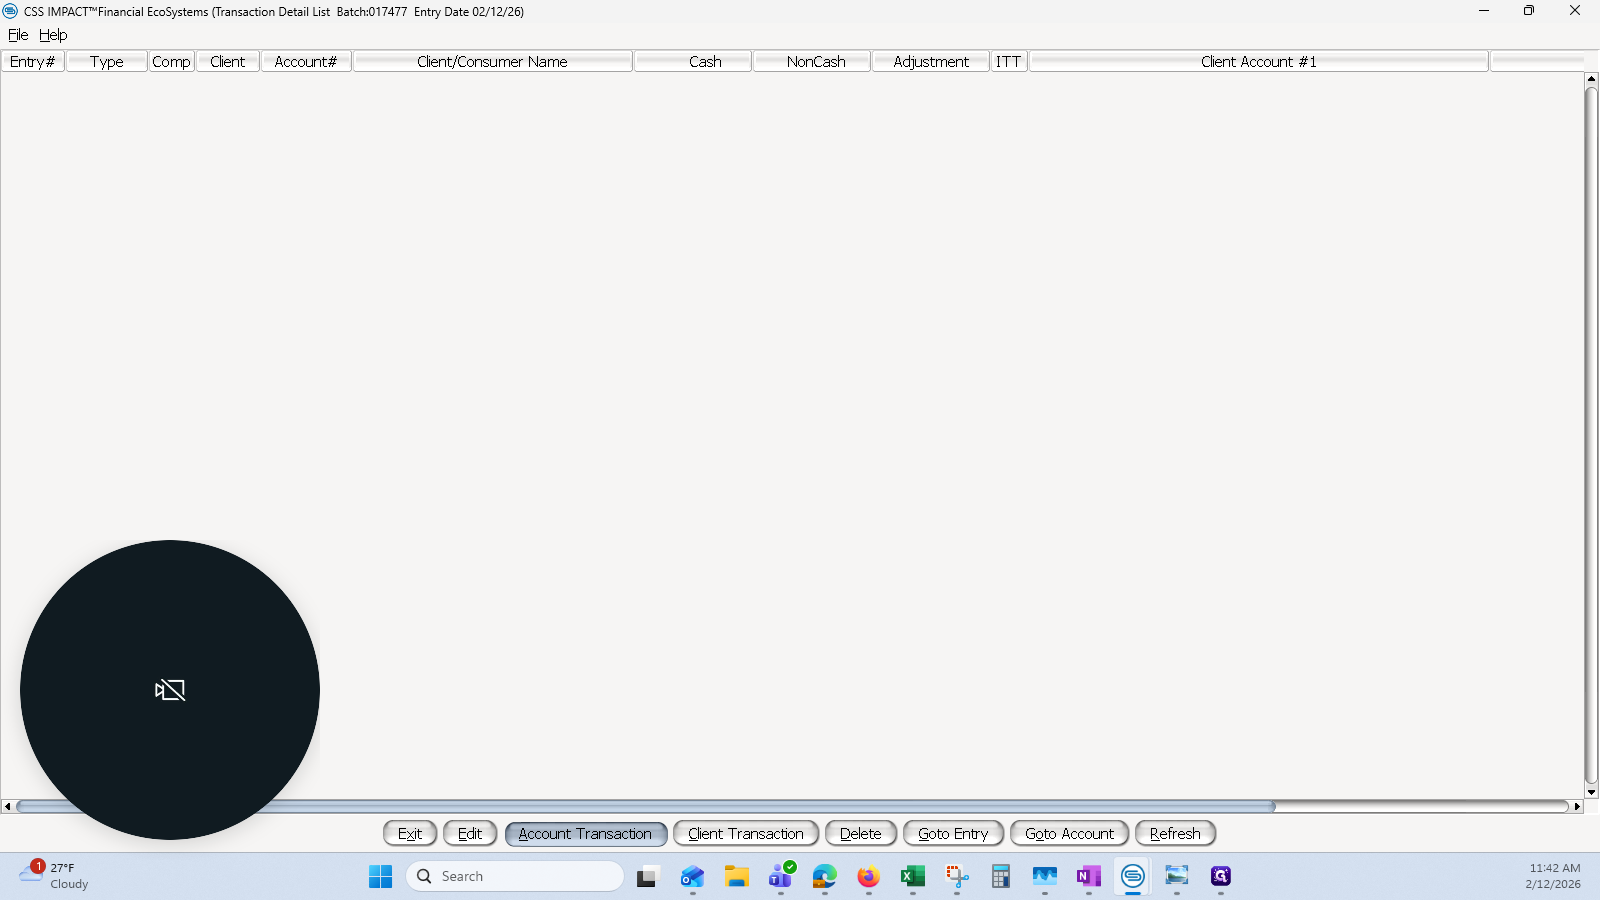
Next, I will go to the batch list.

7
Open your batch (or create a new one if needed)
Step #7: Open your batch (or create a new one if needed)

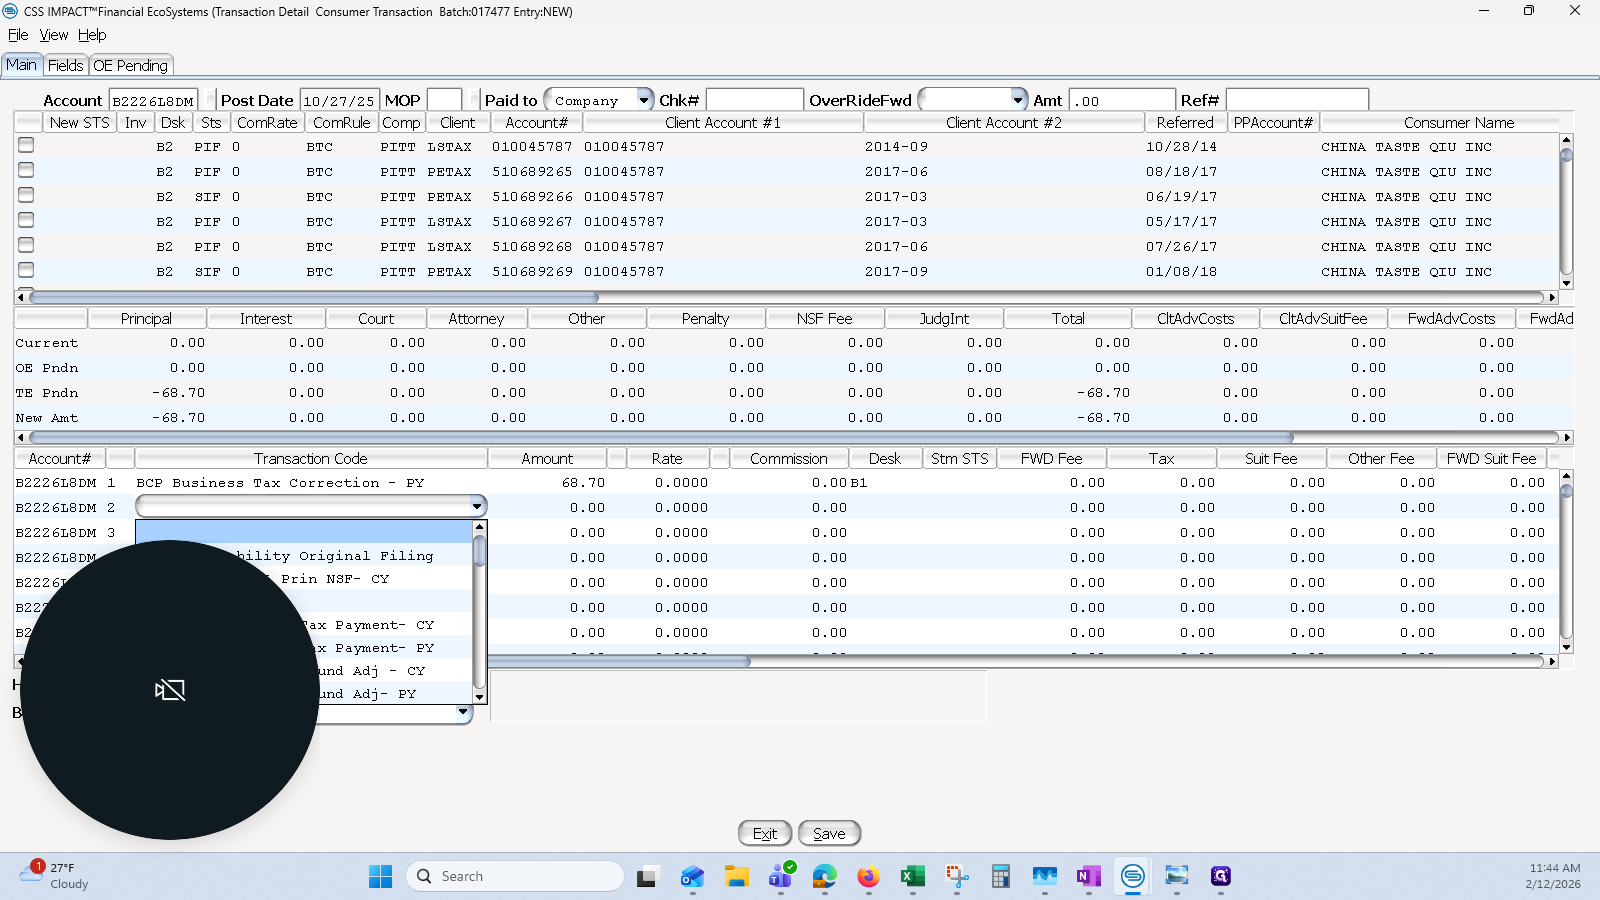
I will add a transaction to my batch, starting with the liability and its source.

8
Click on "Account Transaction"
Step #8: Click on "Account Transaction"

I will enter the account number and today’s date, which is February 6, 2026.

9
Drag here
Step #9: Drag here

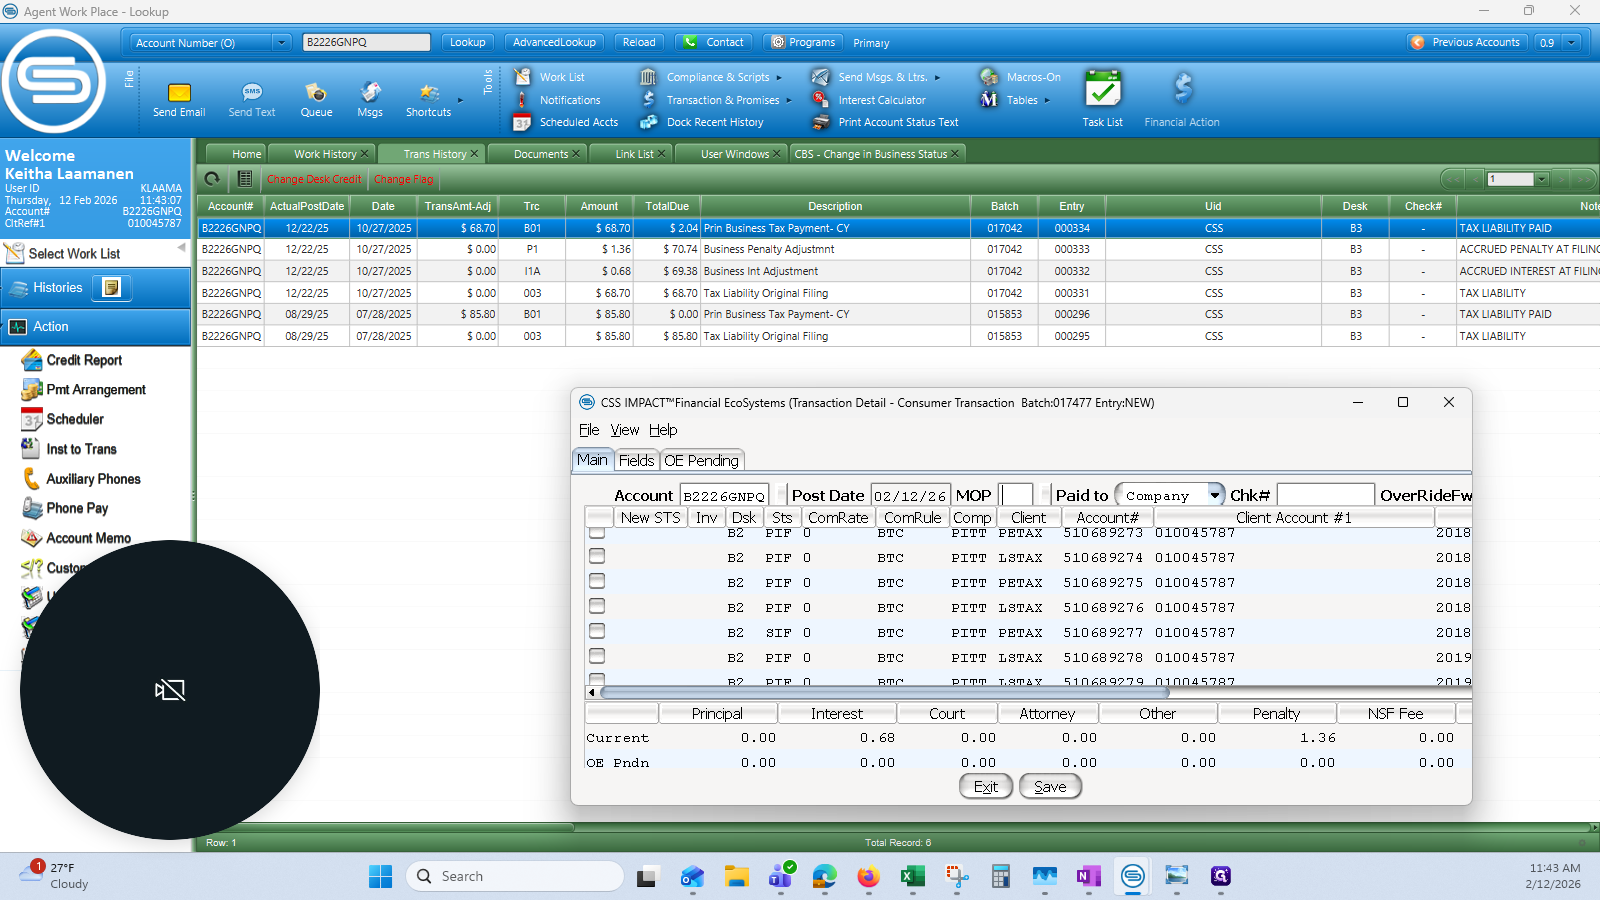
I need to remove the liability, payment, penalty, and interest from this transaction because the system incorrectly marked it as late.

I will complete those transactions here.

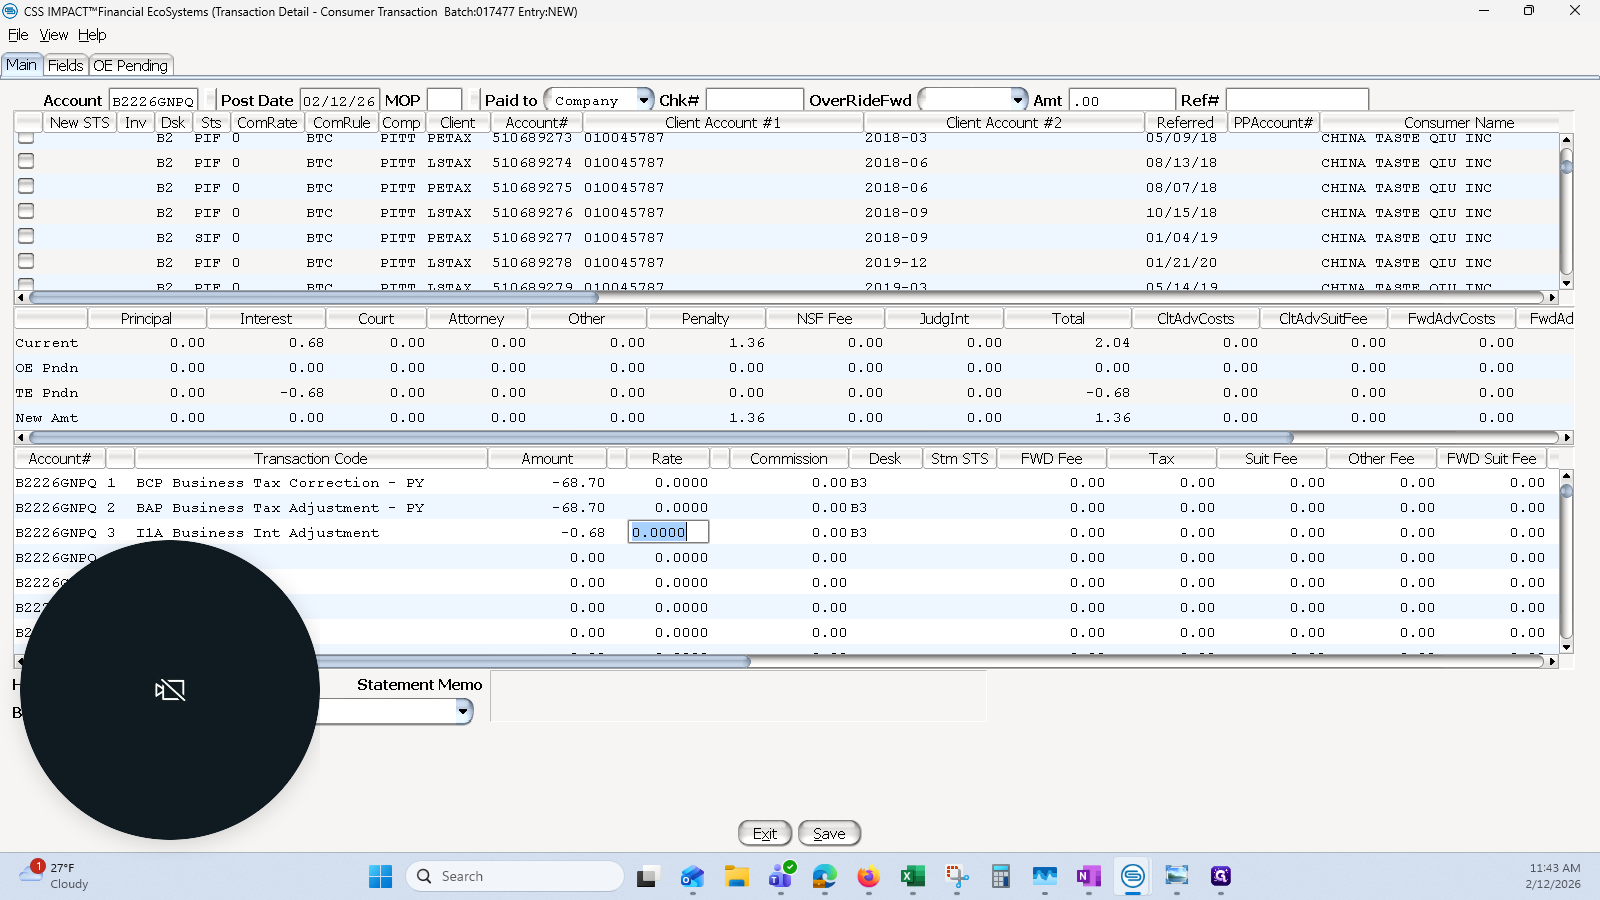
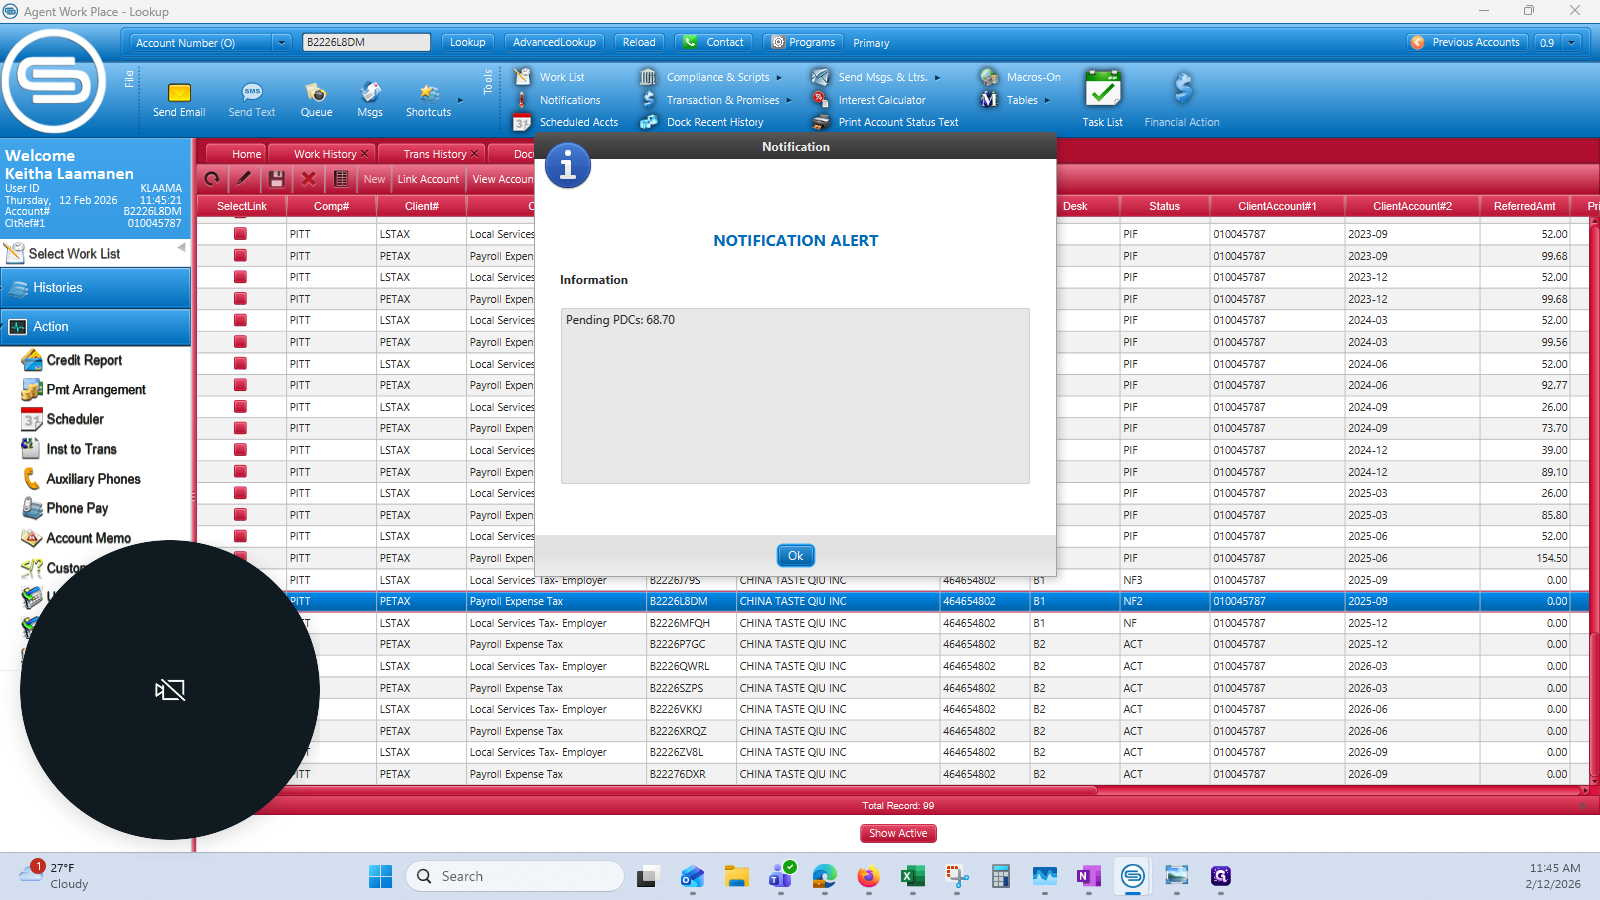
Using the correction, I will remove the 68.70 and only take away this one.

10
Using BCP to correct a prior year payment
Step #10: Using BCP to correct a prior year payment

11
And using BAP to correct the liability:
Step #11: And using BAP to correct the liability:

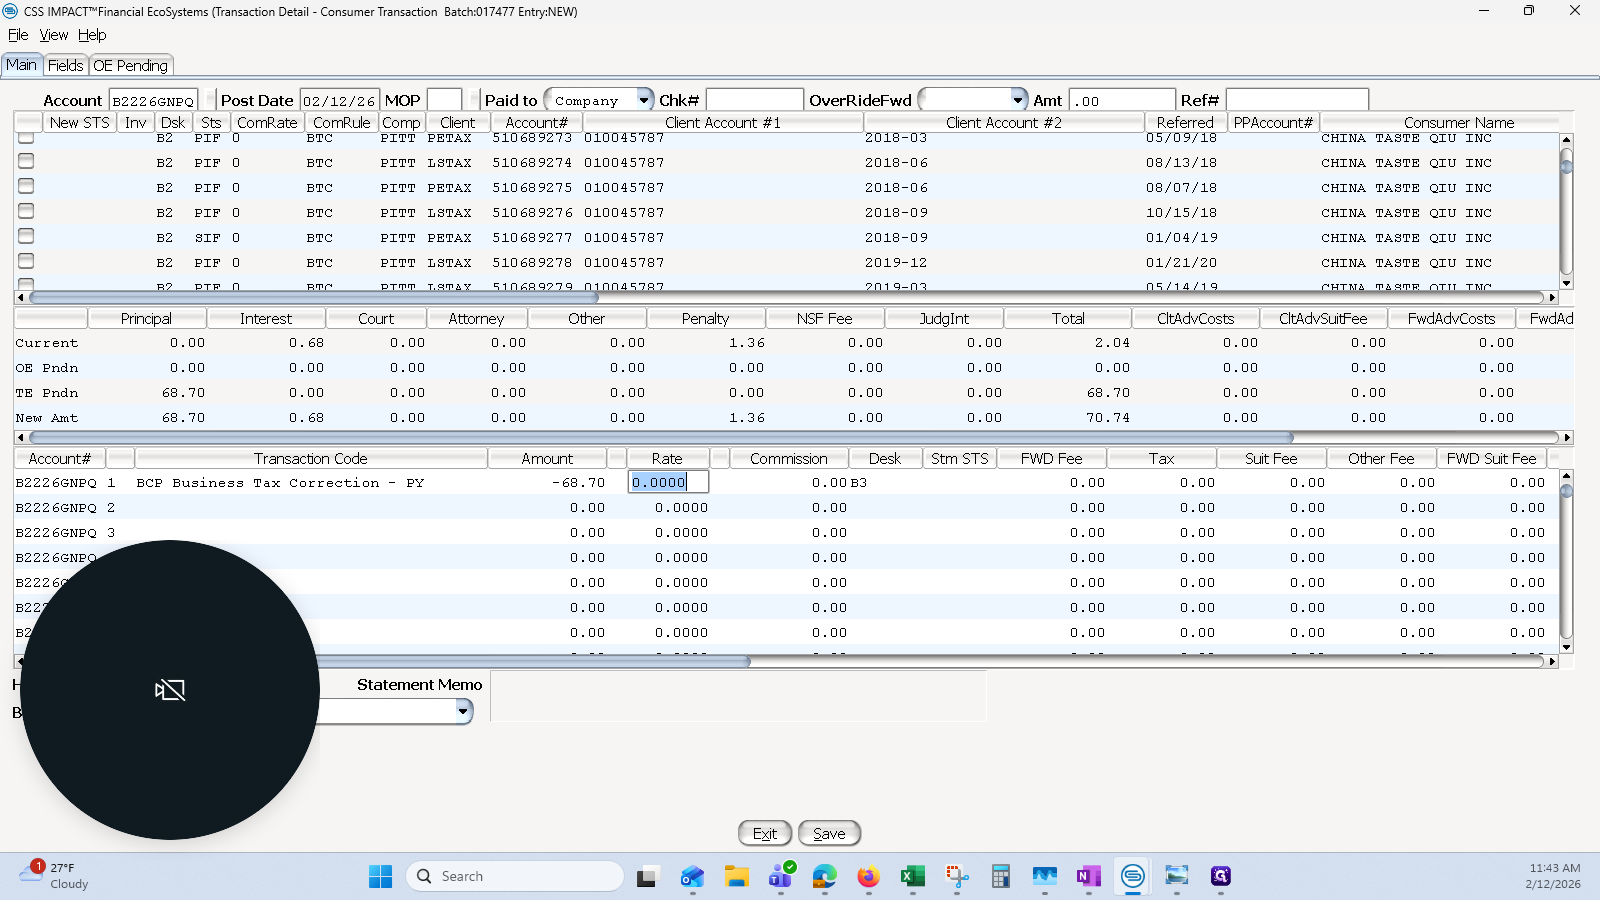
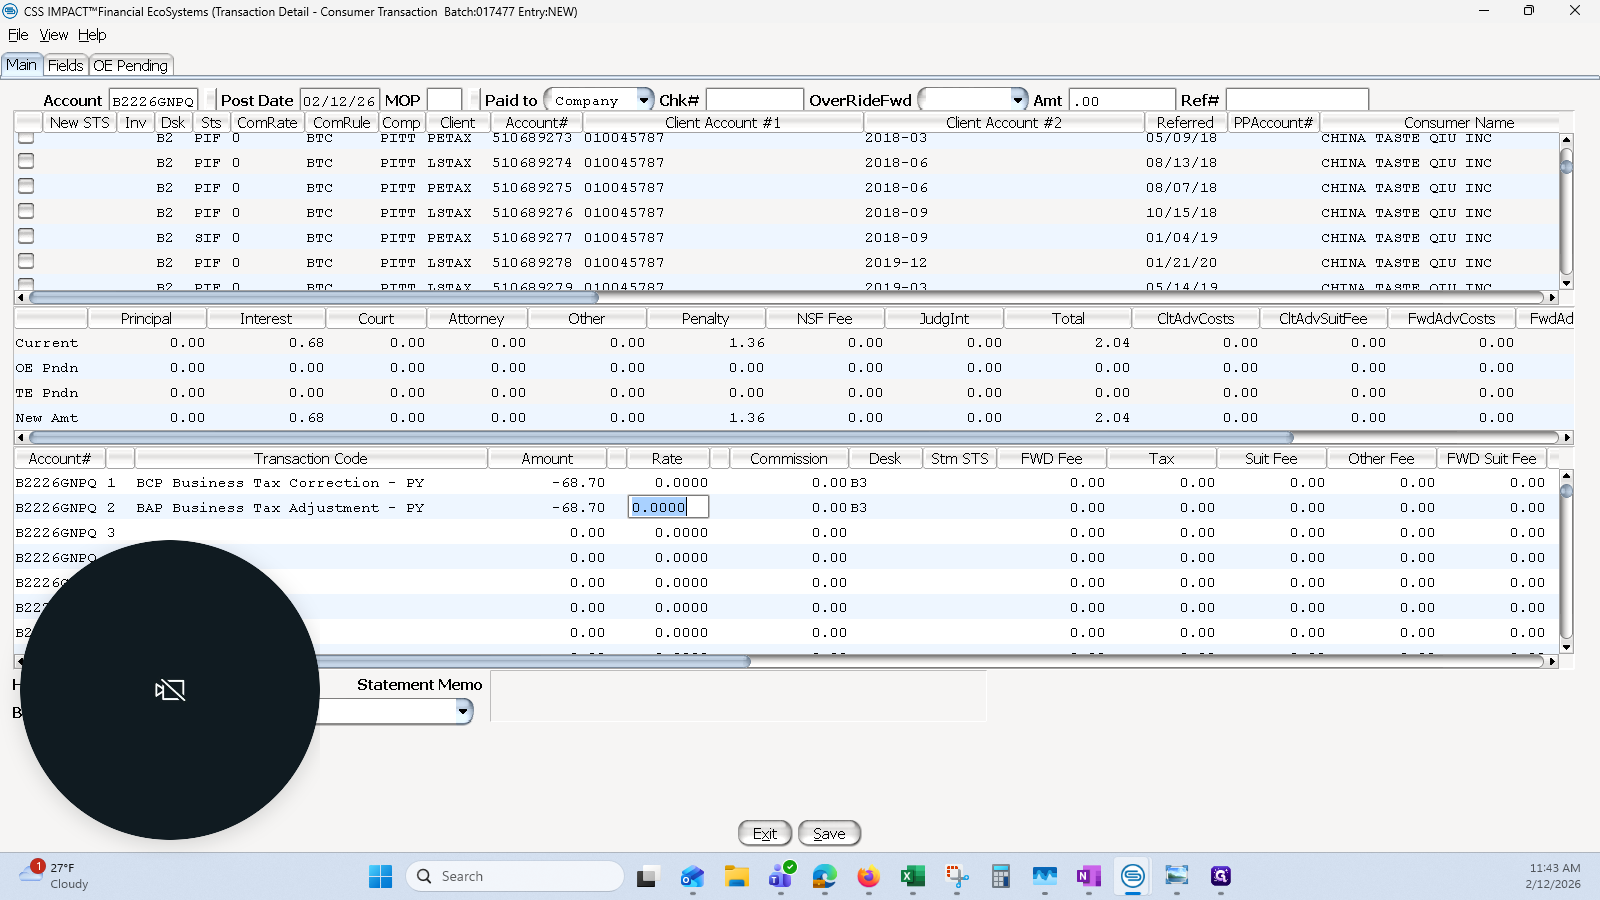
I will remove the interest, which is 68 cents, and the penalty, which is 26 cents.

12
Use "I1A Business Int Adjustment"
Step #12: Use "I1A Business Int Adjustment"

13
Enter the Penalty Adjustment (P1), then click on "Save"
Step #13: Enter the Penalty Adjustment (P1), then click on "Save"

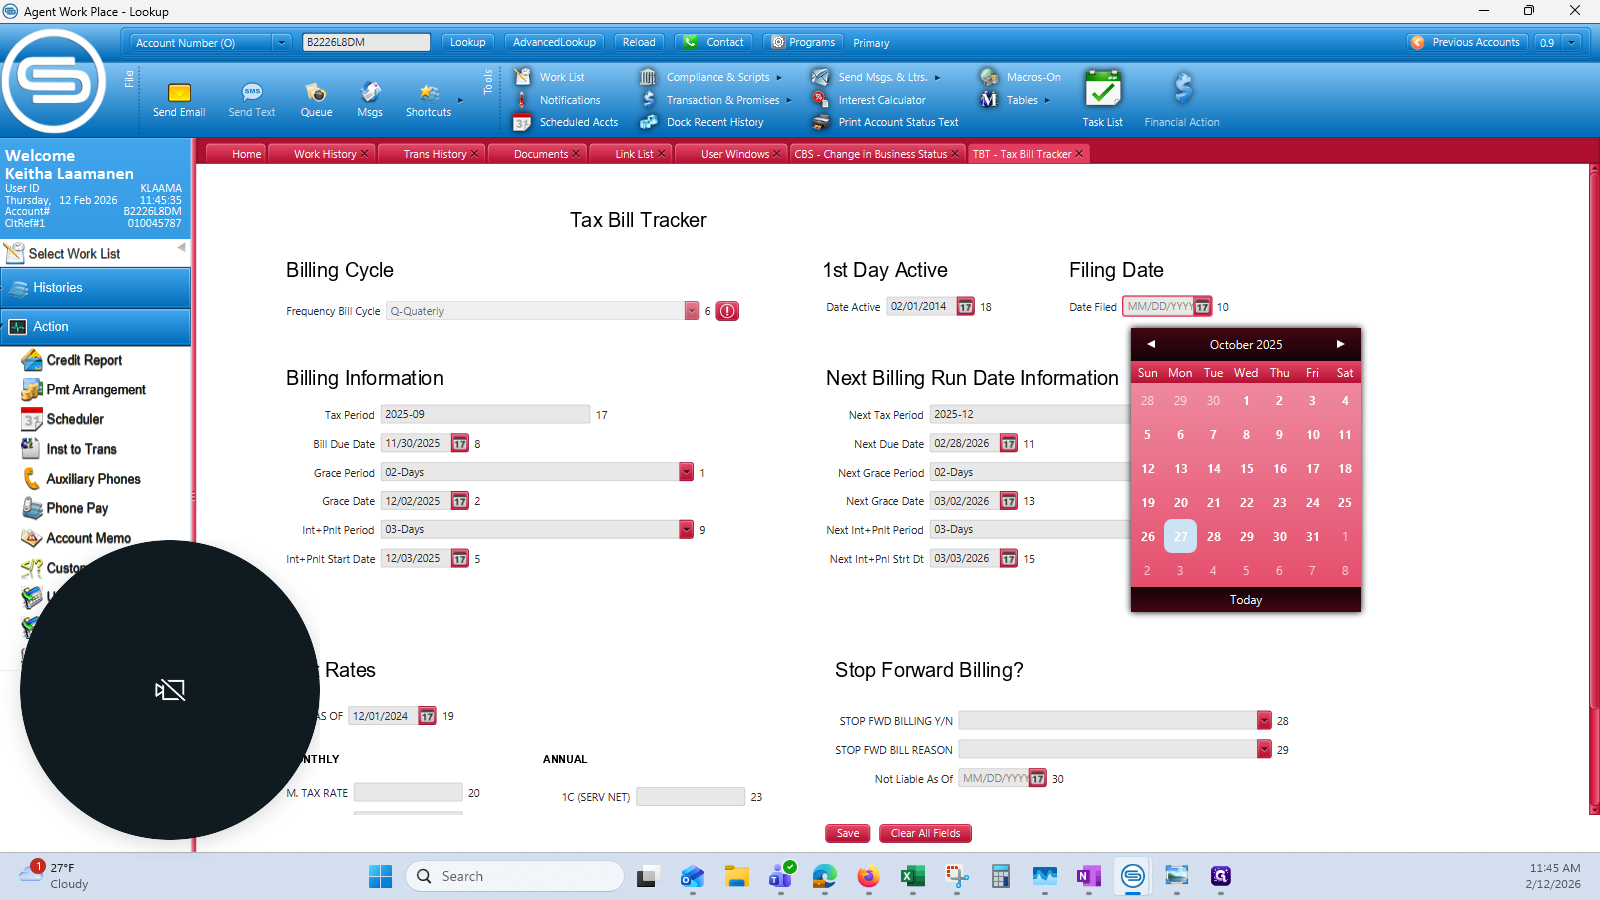
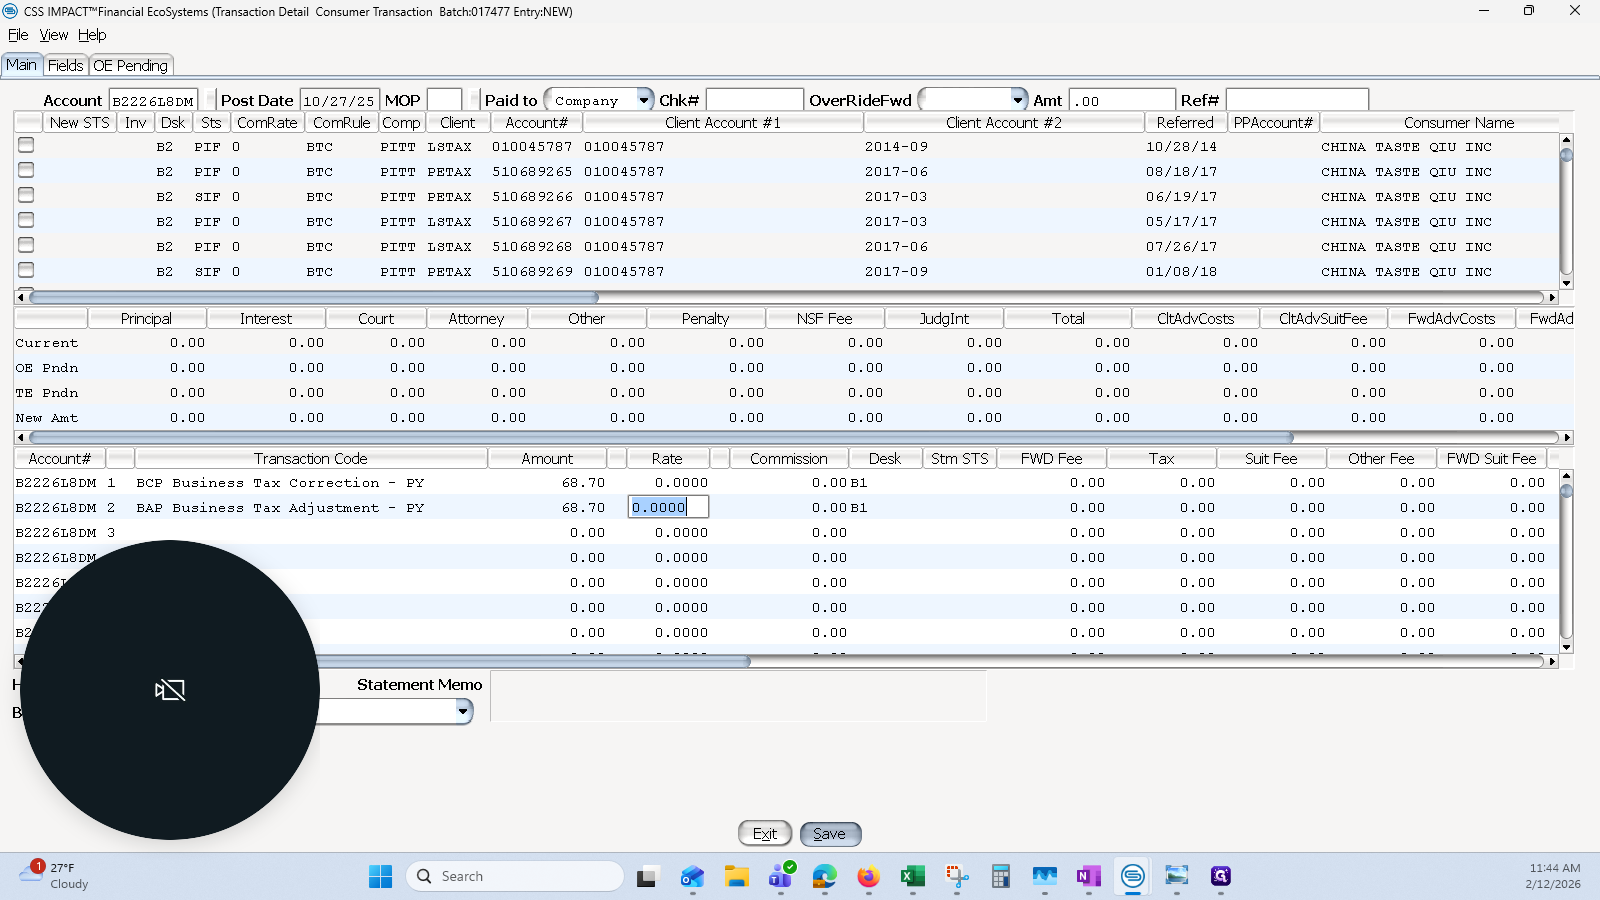
Saving that and moving on, I will move it to the correct period. I will use the CFD date of the original filing, which is 10-27-25.

14
In a new transaction, enter the B number of the destination account, and the original filing date of the filing.
Step #14: In a new transaction, enter the B number of the destination account, and the original filing date of the filing.

I will put the money back in and use the correction as a positive, since I am adding both the liability and the payment.

15
Enter the transaction code BCP to credit the payment, along with the dollar amount
Step #15: Enter the transaction code BCP to credit the payment, along with the dollar amount
16
Enter the transaction code BAP to add the liability, along with the transaction amount.
Step #16: Enter the transaction code BAP to add the liability, along with the transaction amount.

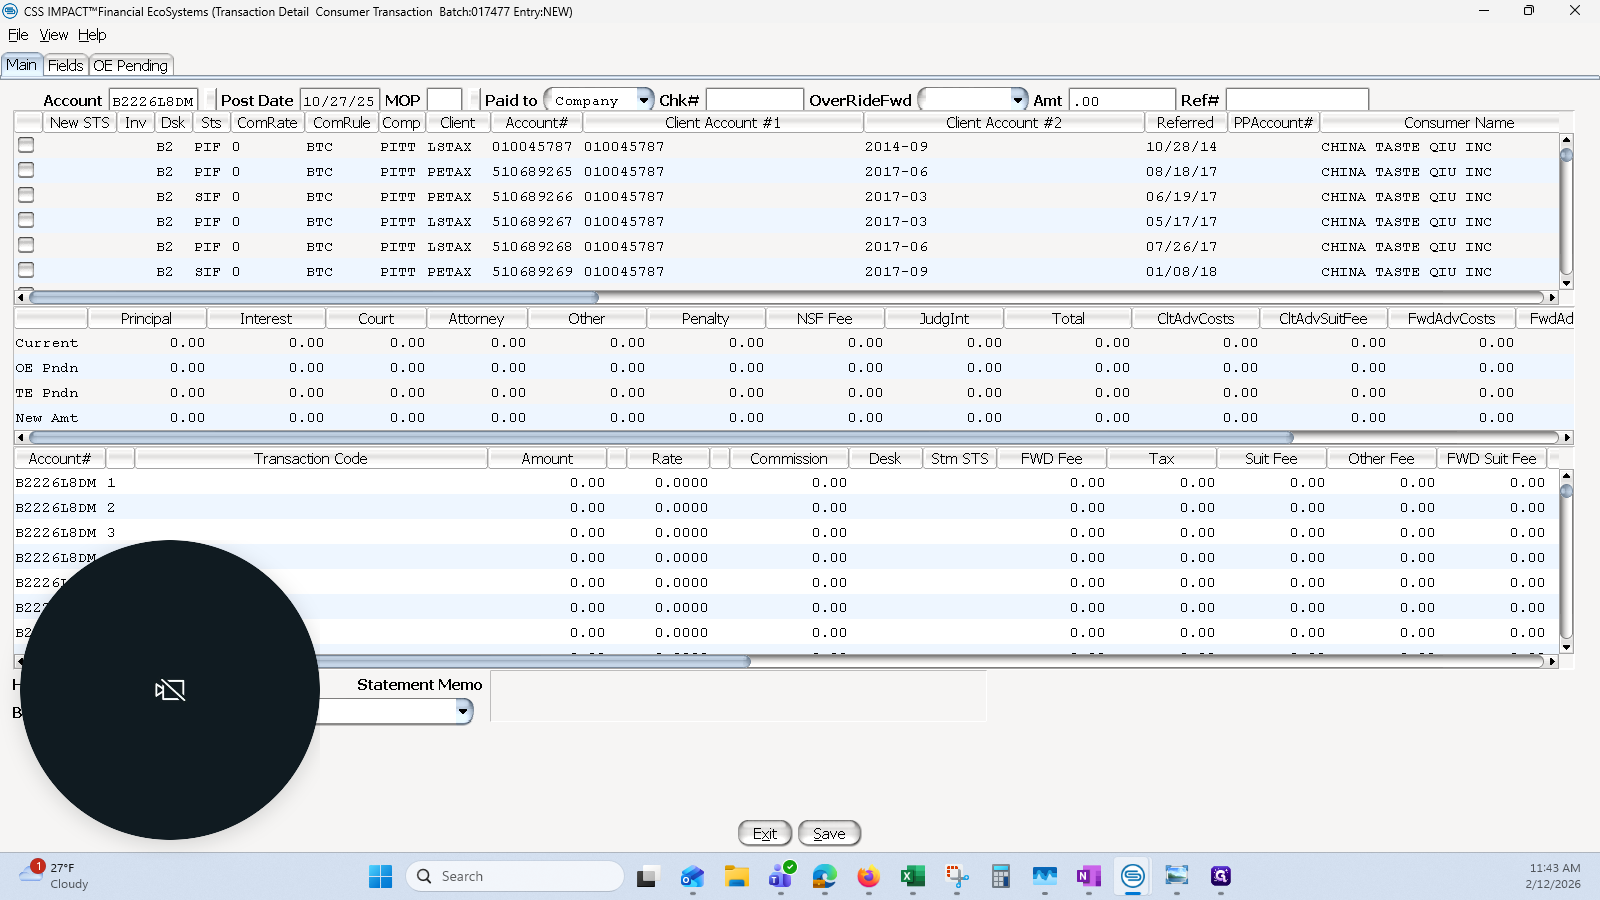
This is a third-quarter filing. The due date was November 30. Our CF date is in October, so it's on time. We don't need to add P&I back in. If this were late, we would need to do that. I'm going to hit save.

17
Click on "Save"
Step #17: Click on "Save"

That part is mostly finished, except for posting.

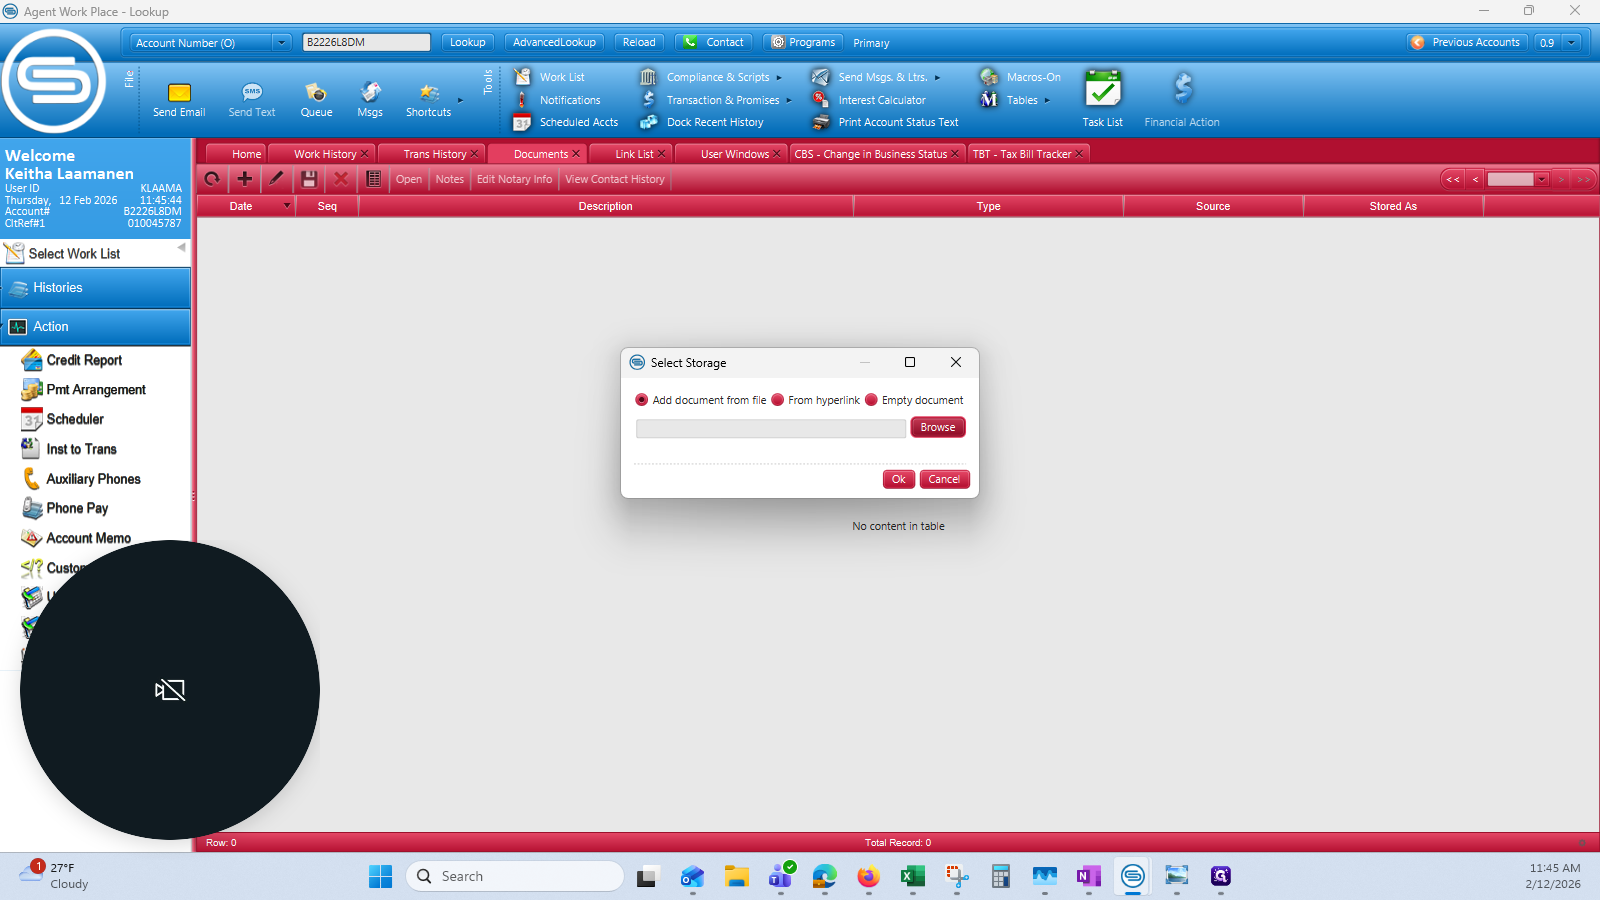
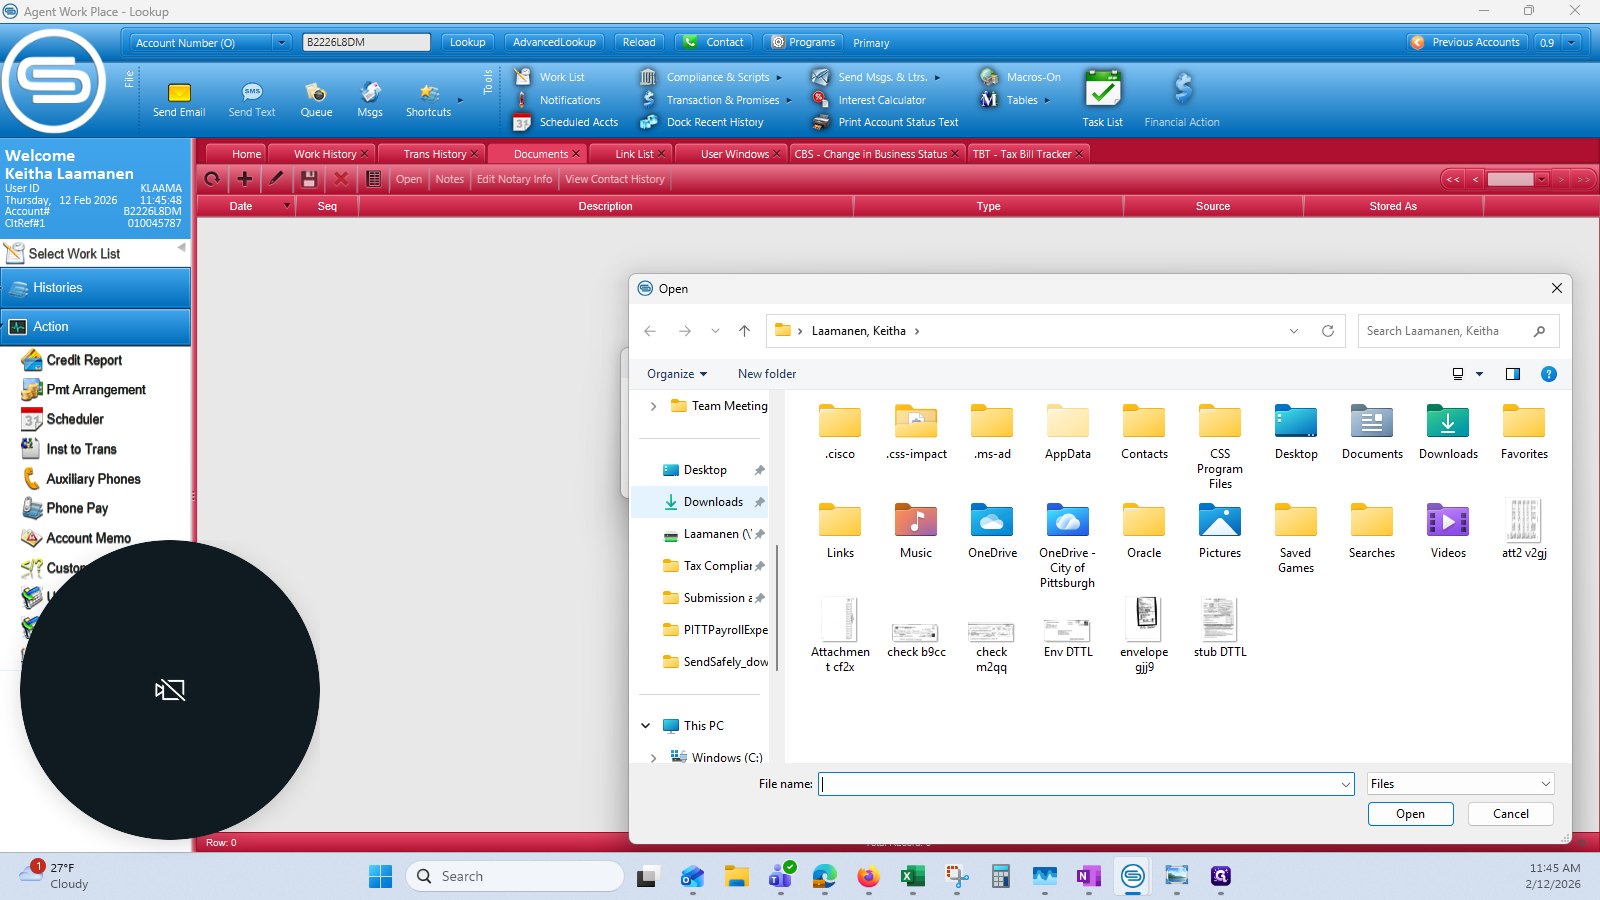
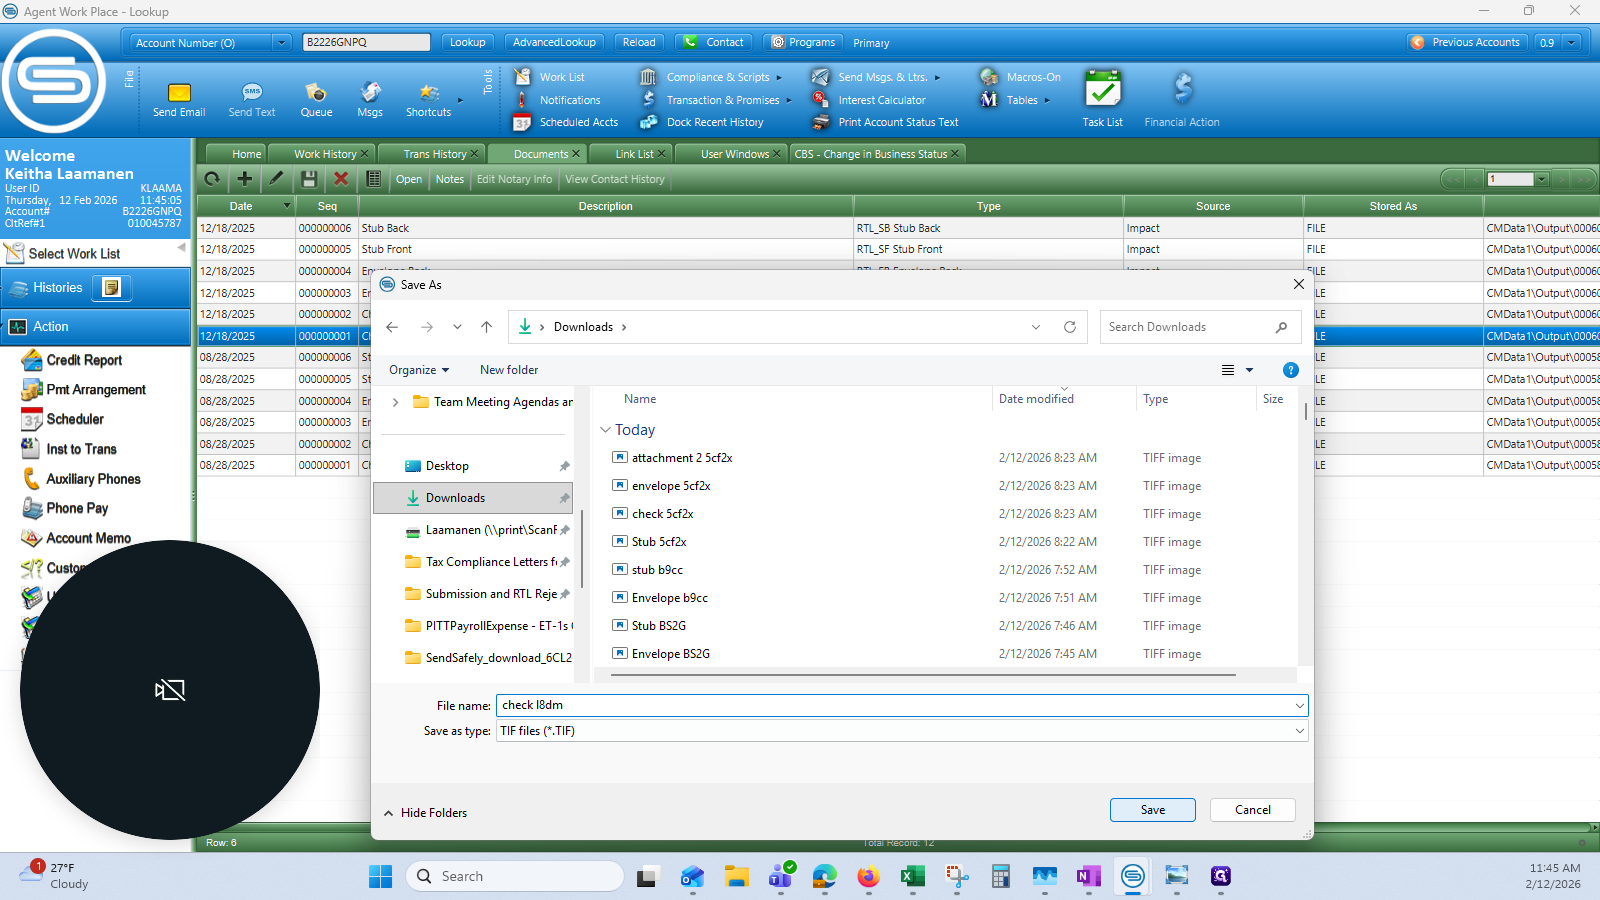
I will then download the documents.

18
Click on "Documents X"
Step #18: Click on "Documents X"

I will download them one by one.

19
Double-click on "Check Front"
Step #19: Double-click on "Check Front"
20
Click on "Download"
Step #20: Click on "Download"

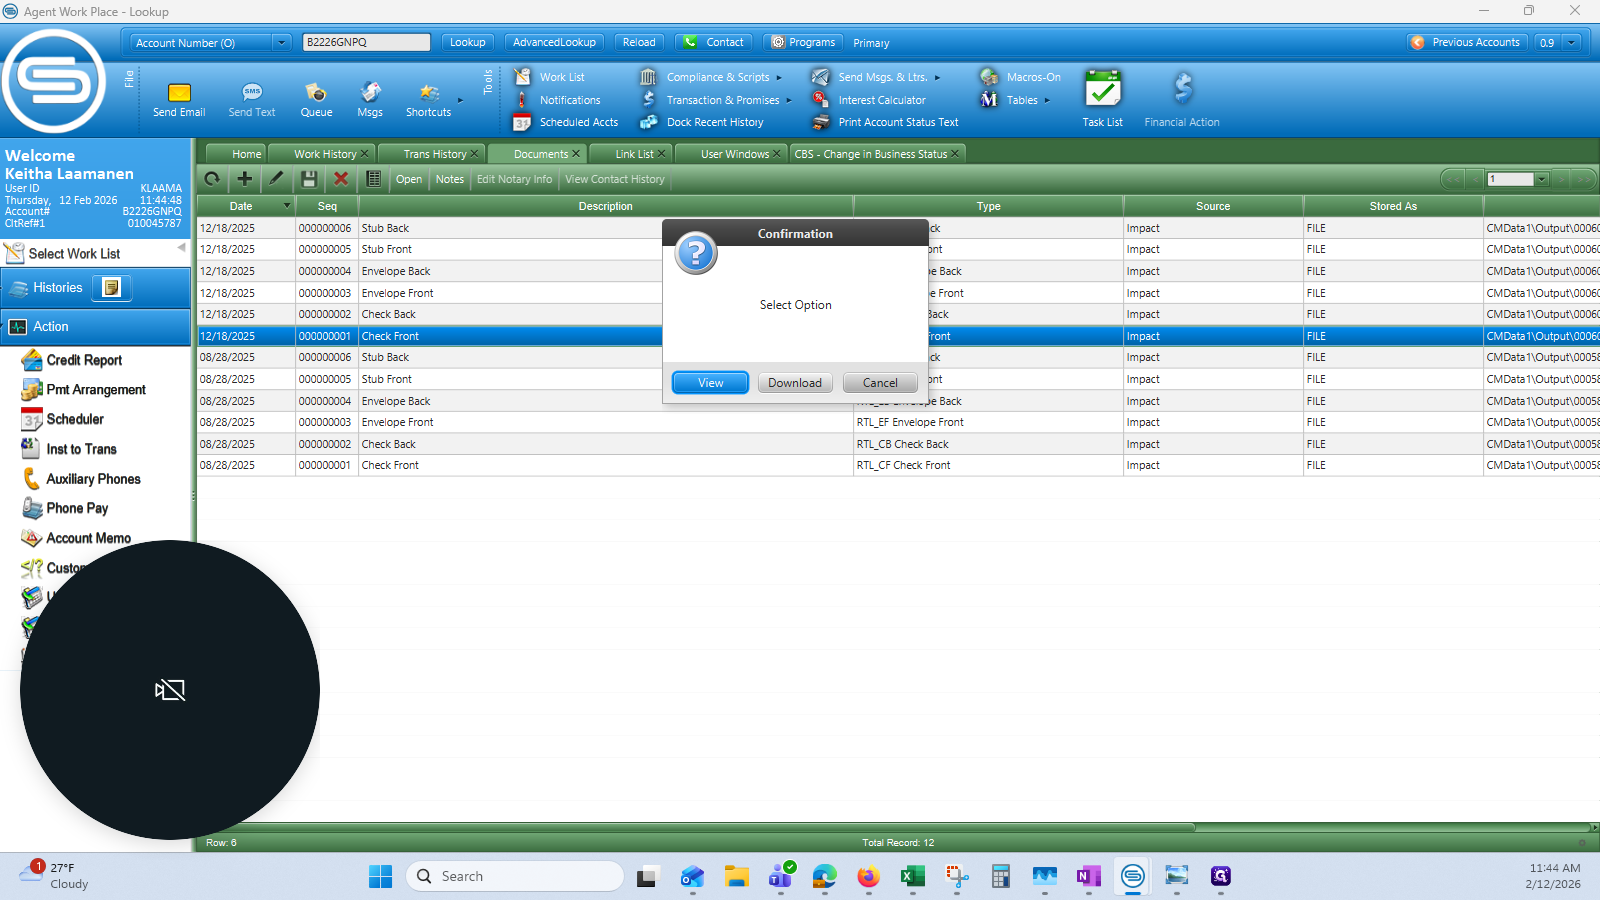
Download. I prefer to do it in the Downloads folder.

21
Click on "↓ Downloads"
Step #21: Click on "↓ Downloads"

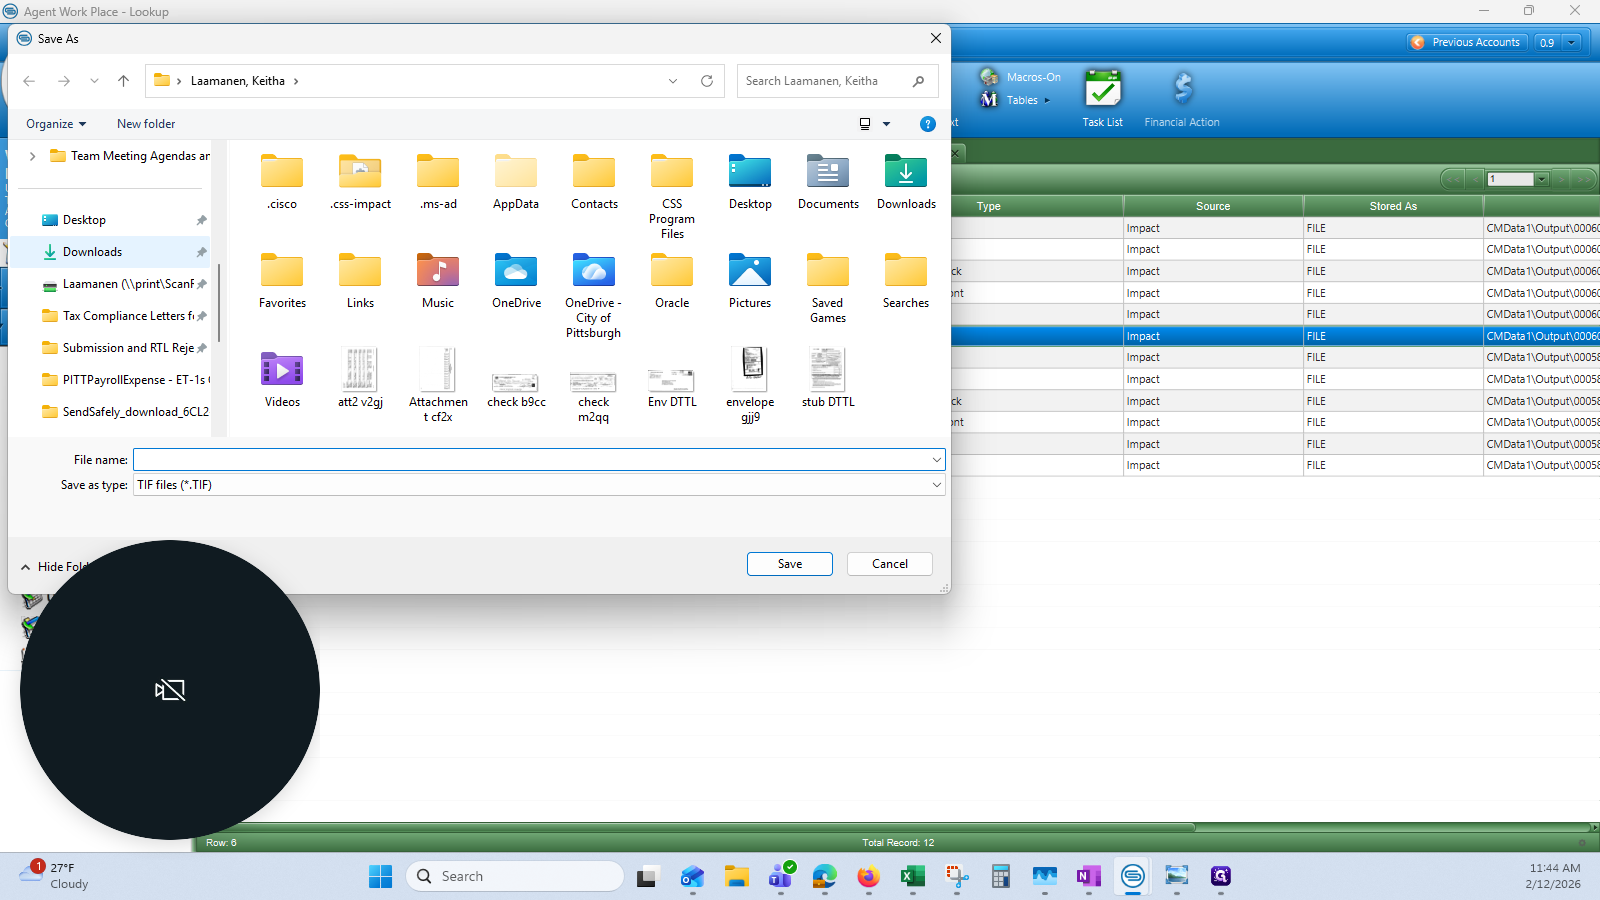
I use a naming convention: the document type followed by the last four or 5 digits of the destination B number.
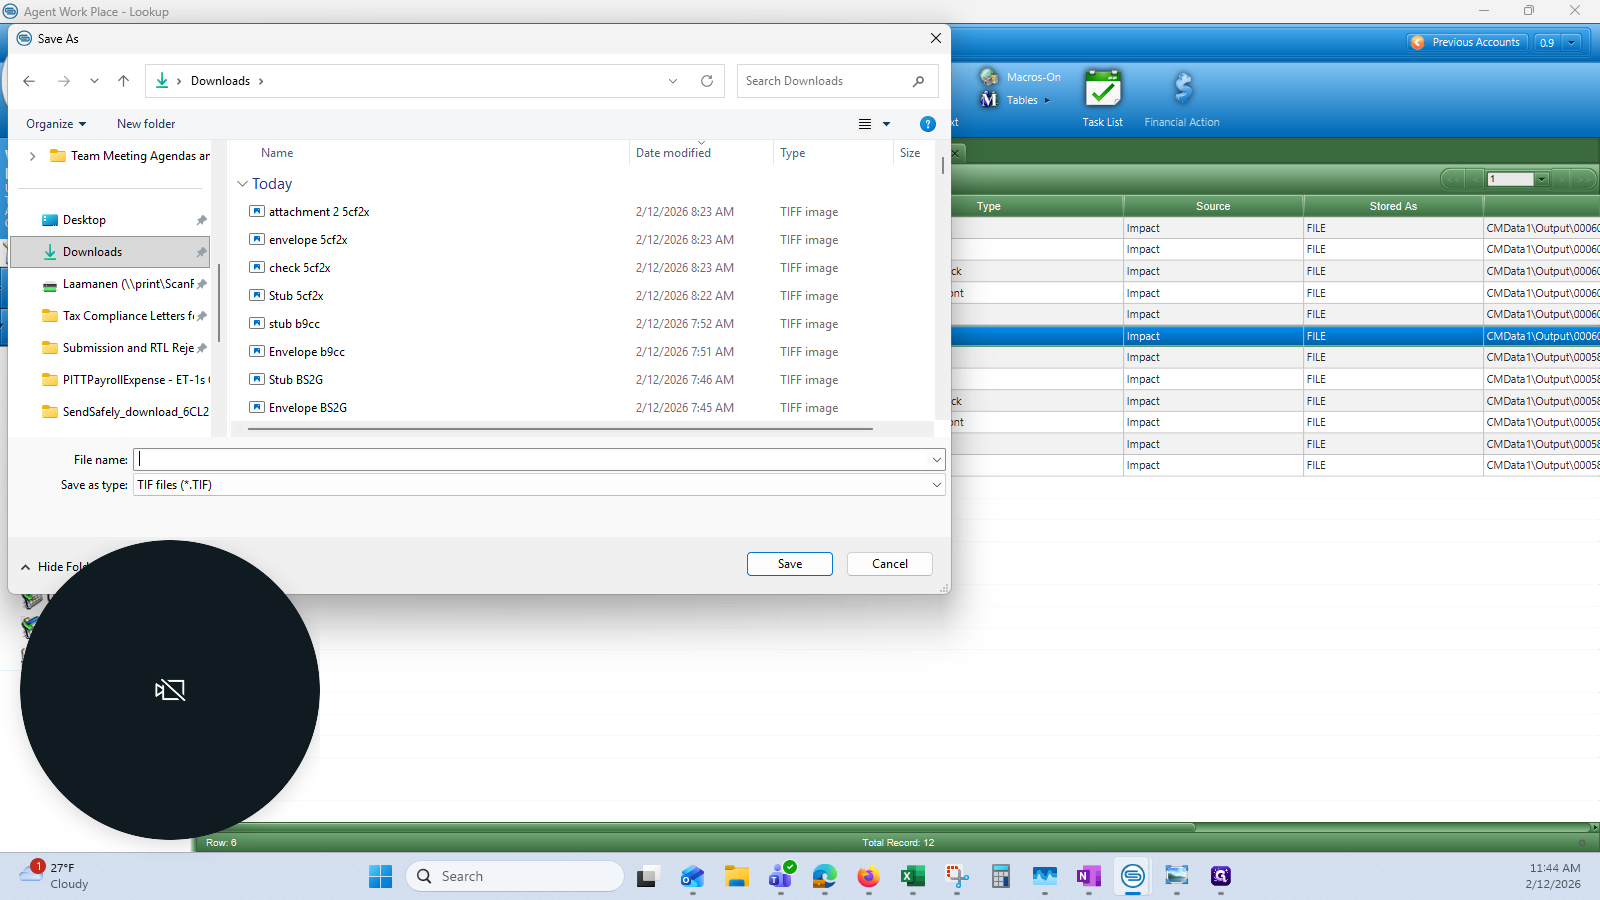
22
Click here
Step #22: Click here

Save.

23
Click on "Save"
Step #23: Click on "Save"

Once you have downloaded each document, it's time to upload them again.

24
Click on "Link List X"
Step #24: Click on "Link List X"

25
Select the line of your destination account and click on "View Account"
Step #25: Select the line of your destination account and click on "View Account"

We can see that the pending payment is already visible.

26
Click on "Ok"
Step #26: Click on "Ok"
27
Click on "User Windows"
Step #27: Click on "User Windows"

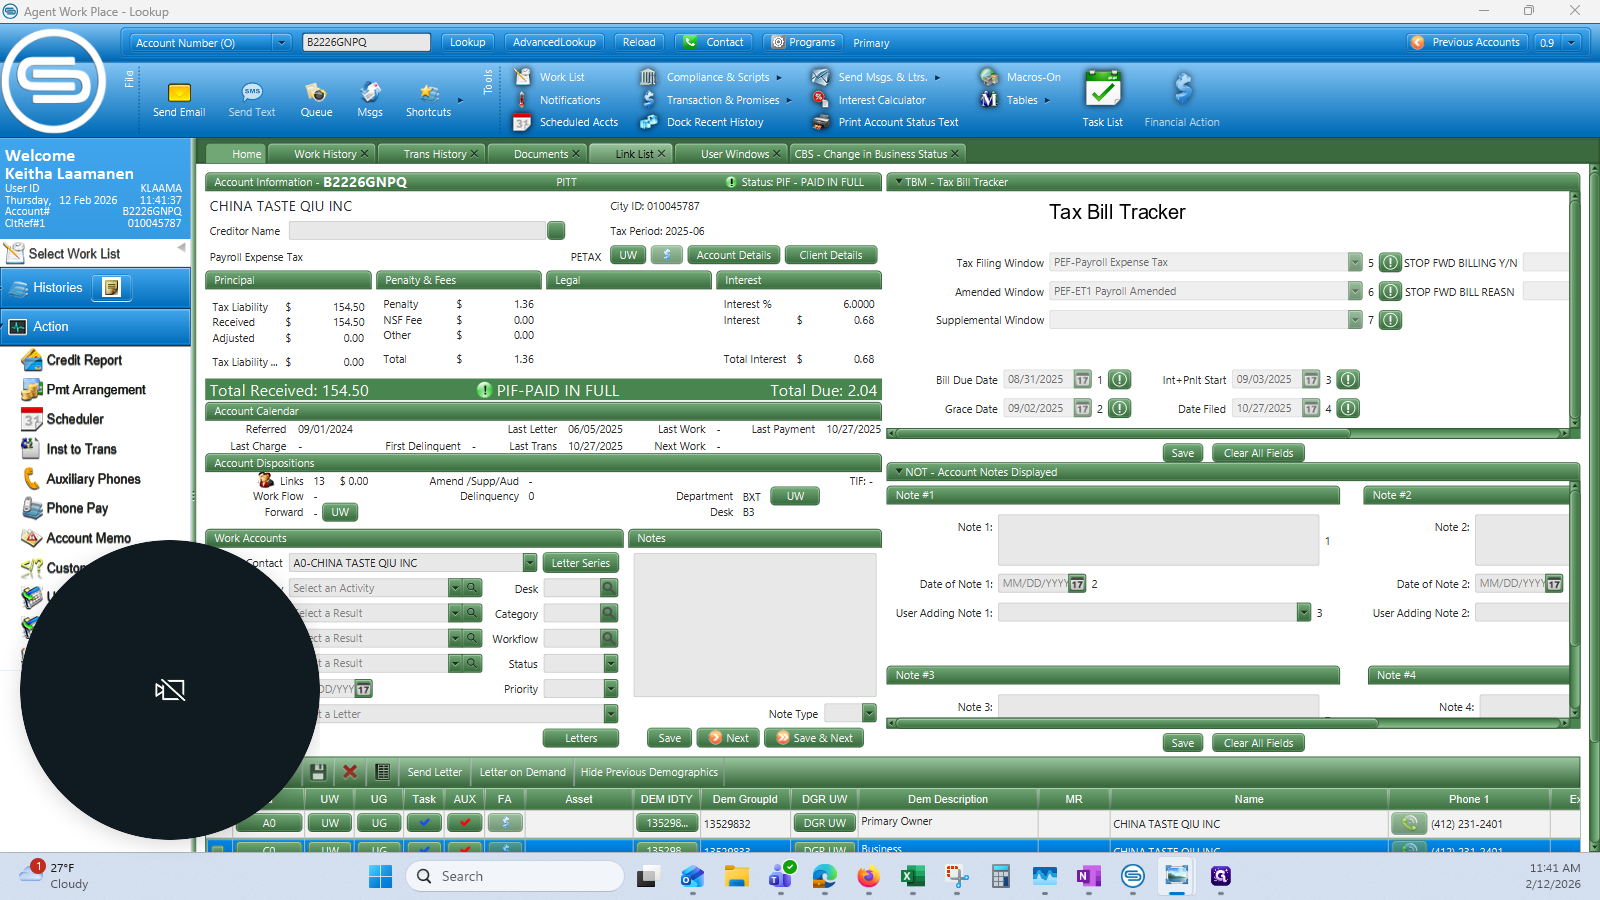
I'm going to make sure I have a TBT date entered...

28
Double-click on "Tax Bill Tracker"
Step #28: Double-click on "Tax Bill Tracker"

29
Click on "MM / DD / YYYY"
Step #29: Click on "MM / DD / YYYY"

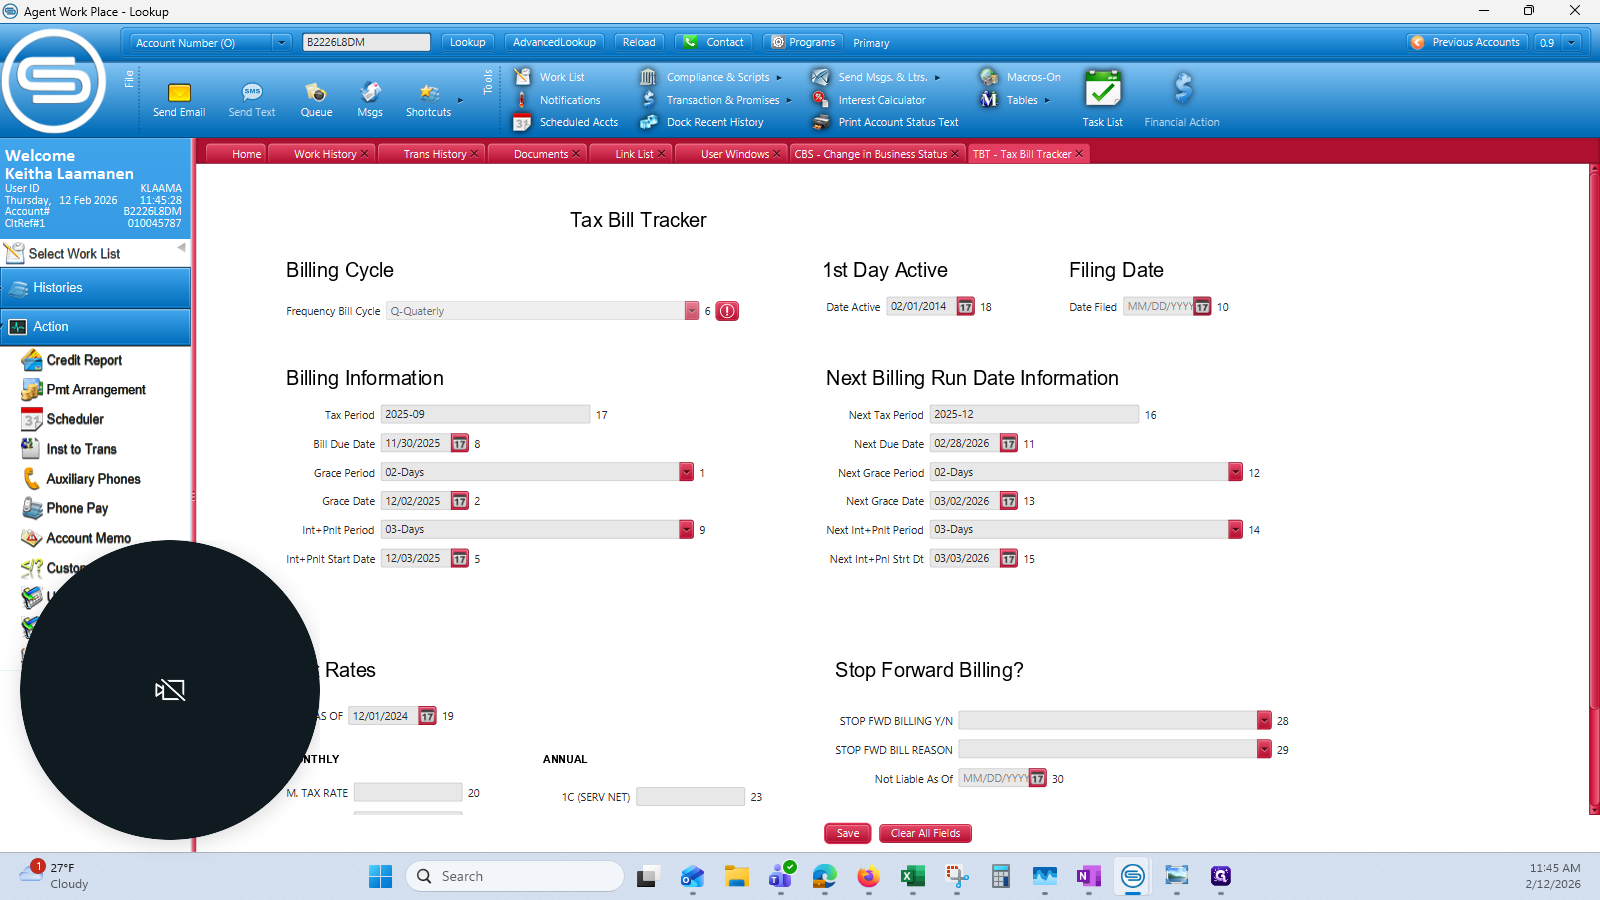
So that's October 27th, 2025.

30
Click on "27"
Step #30: Click on "27"
31
Click on "Save"
Step #31: Click on "Save"

32
Click on "Ok"
Step #32: Click on "Ok"
33
Click on "Documents"
Step #33: Click on "Documents"
34
Click on "+"
Step #34: Click on "+"
35
Click on "Browse"
Step #35: Click on "Browse"
36
Click on "✓Downloads ✰"
Step #36: Click on "✓Downloads ✰"