
MDI Deal Management
Learn how to effectively use the MDI portal for managing vendor promotions, wholesale allowances, and more. This guide provides step-by-step instructions for navigating the MDI system.
In this guide, we'll learn how to navigate and utilize the MDI portal for managing vendor interactions and promotions. The portal allows you to toggle between vendors to access ad group promotions, wholesale promotions, new items, cost changes, and item listings. We'll cover how to set up wholesale allowances and ad group promotions, including the steps to add items and submit allowances. Additionally, we'll explore how to create TPR deals for specific vendors and manage allowances on both the warehouse and retailer sides.
Let's get started
First, log in to the MDI portal. Focus only on MDI, not any backup portals. Click on MDI to open it, then use your MDI portal credentials to log in.
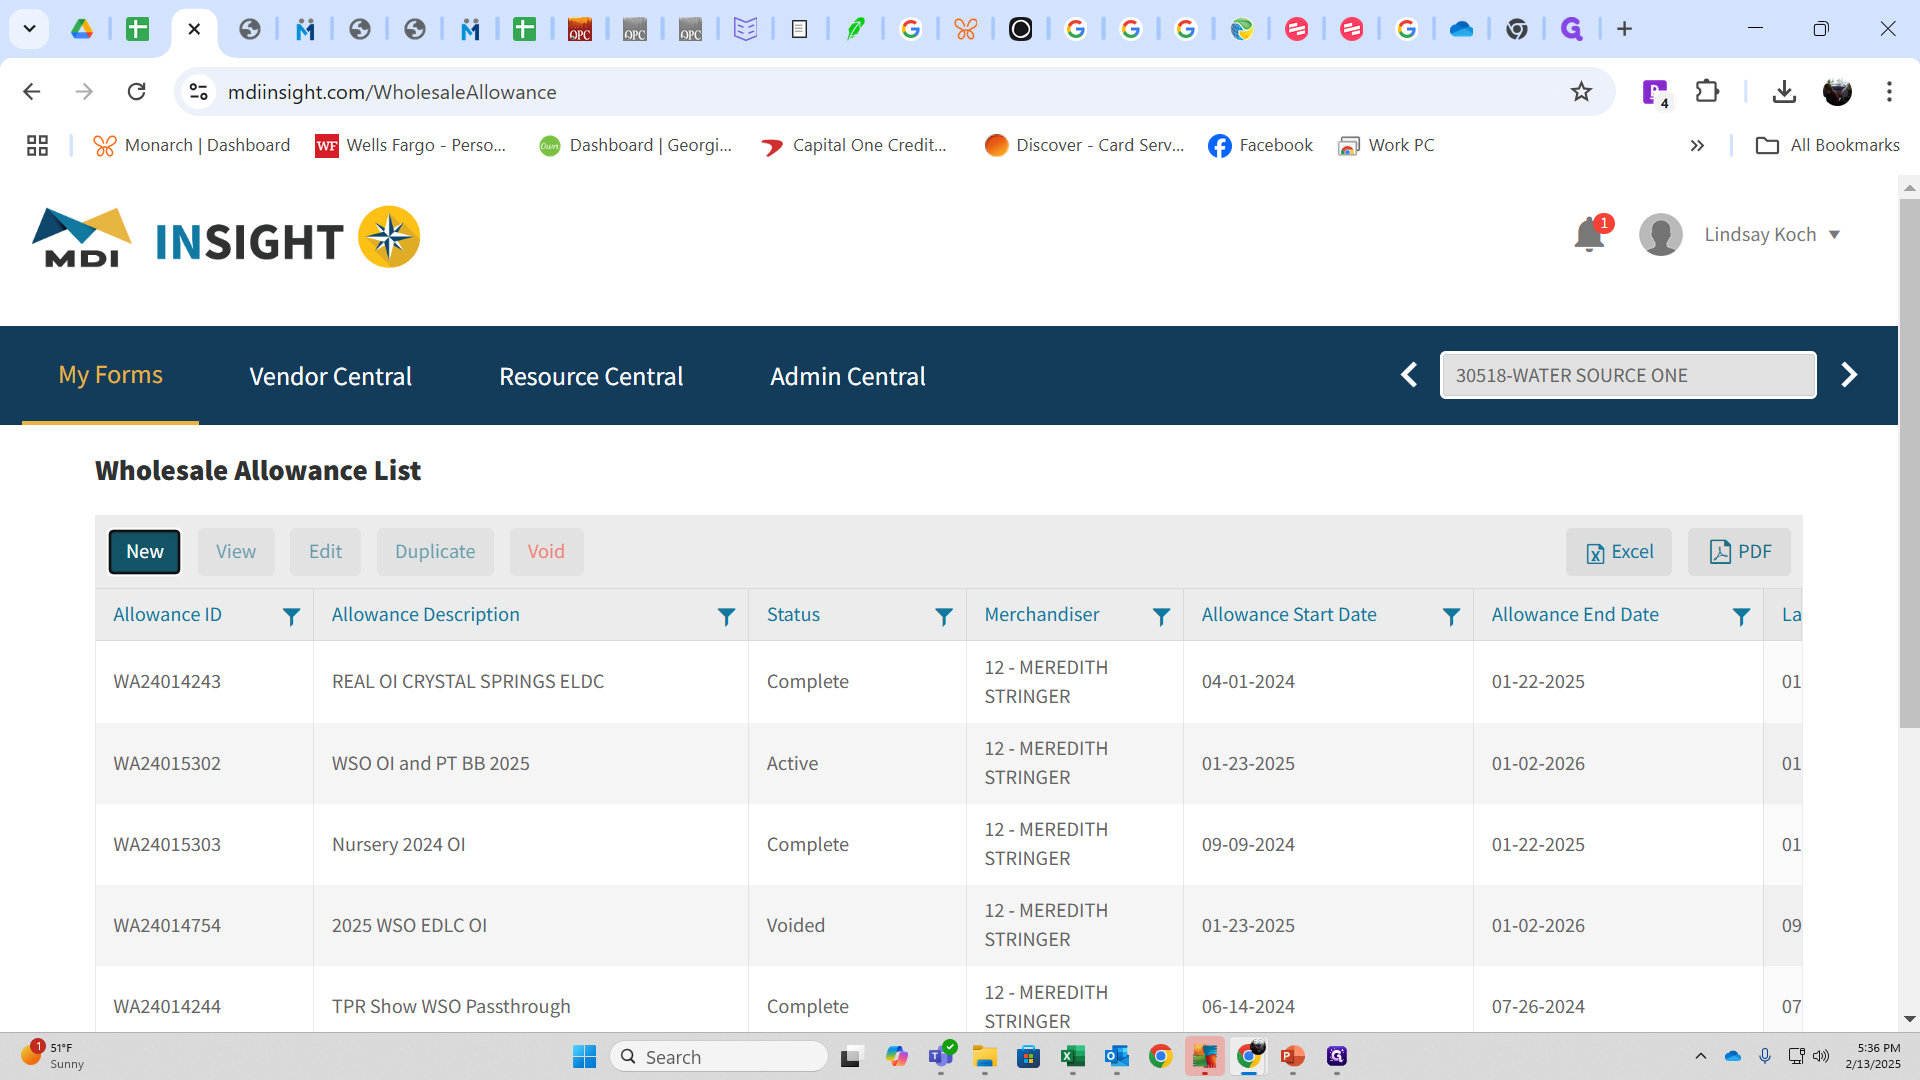
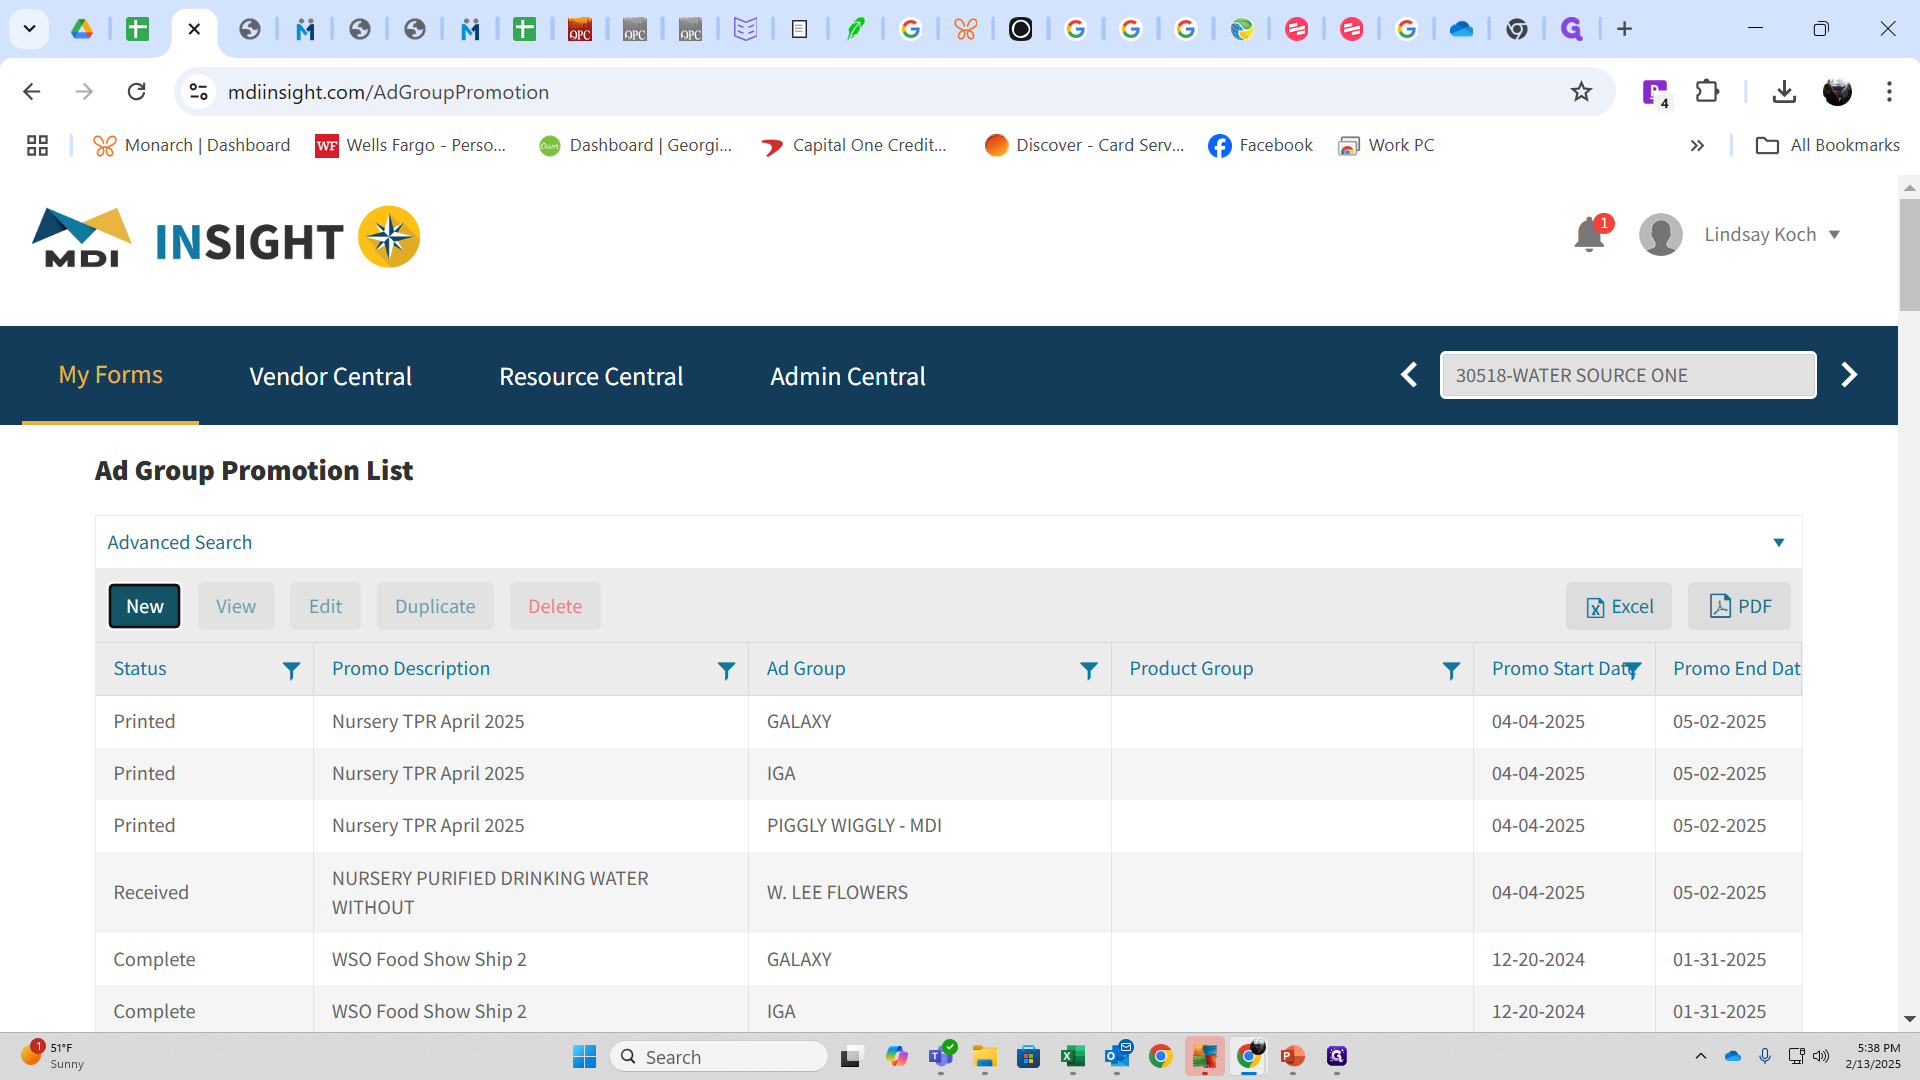
In this portal, you can switch between vendors using these toggles.

For each vendor, you can manage your ad group promotions, wholesale promotions, new items, cost changes, and view all your items. Always make sure you're on the correct vendor.
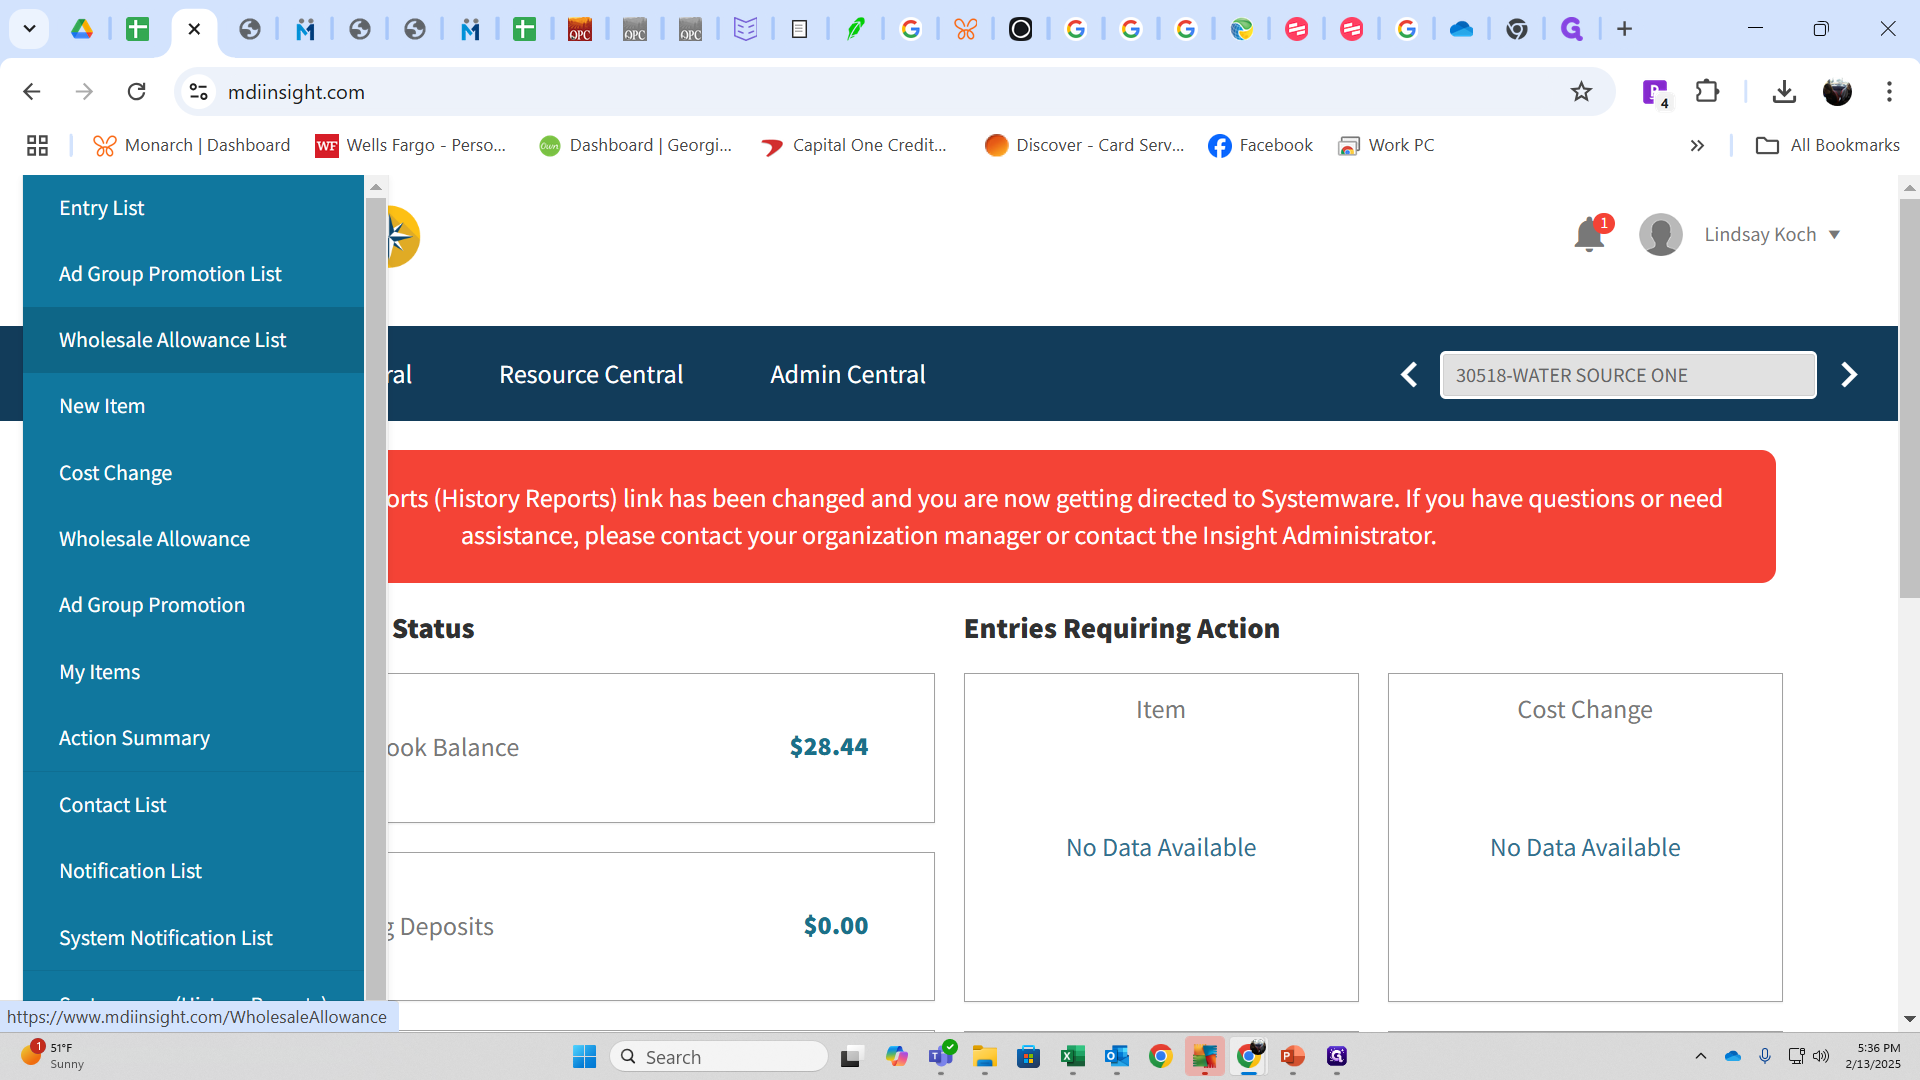
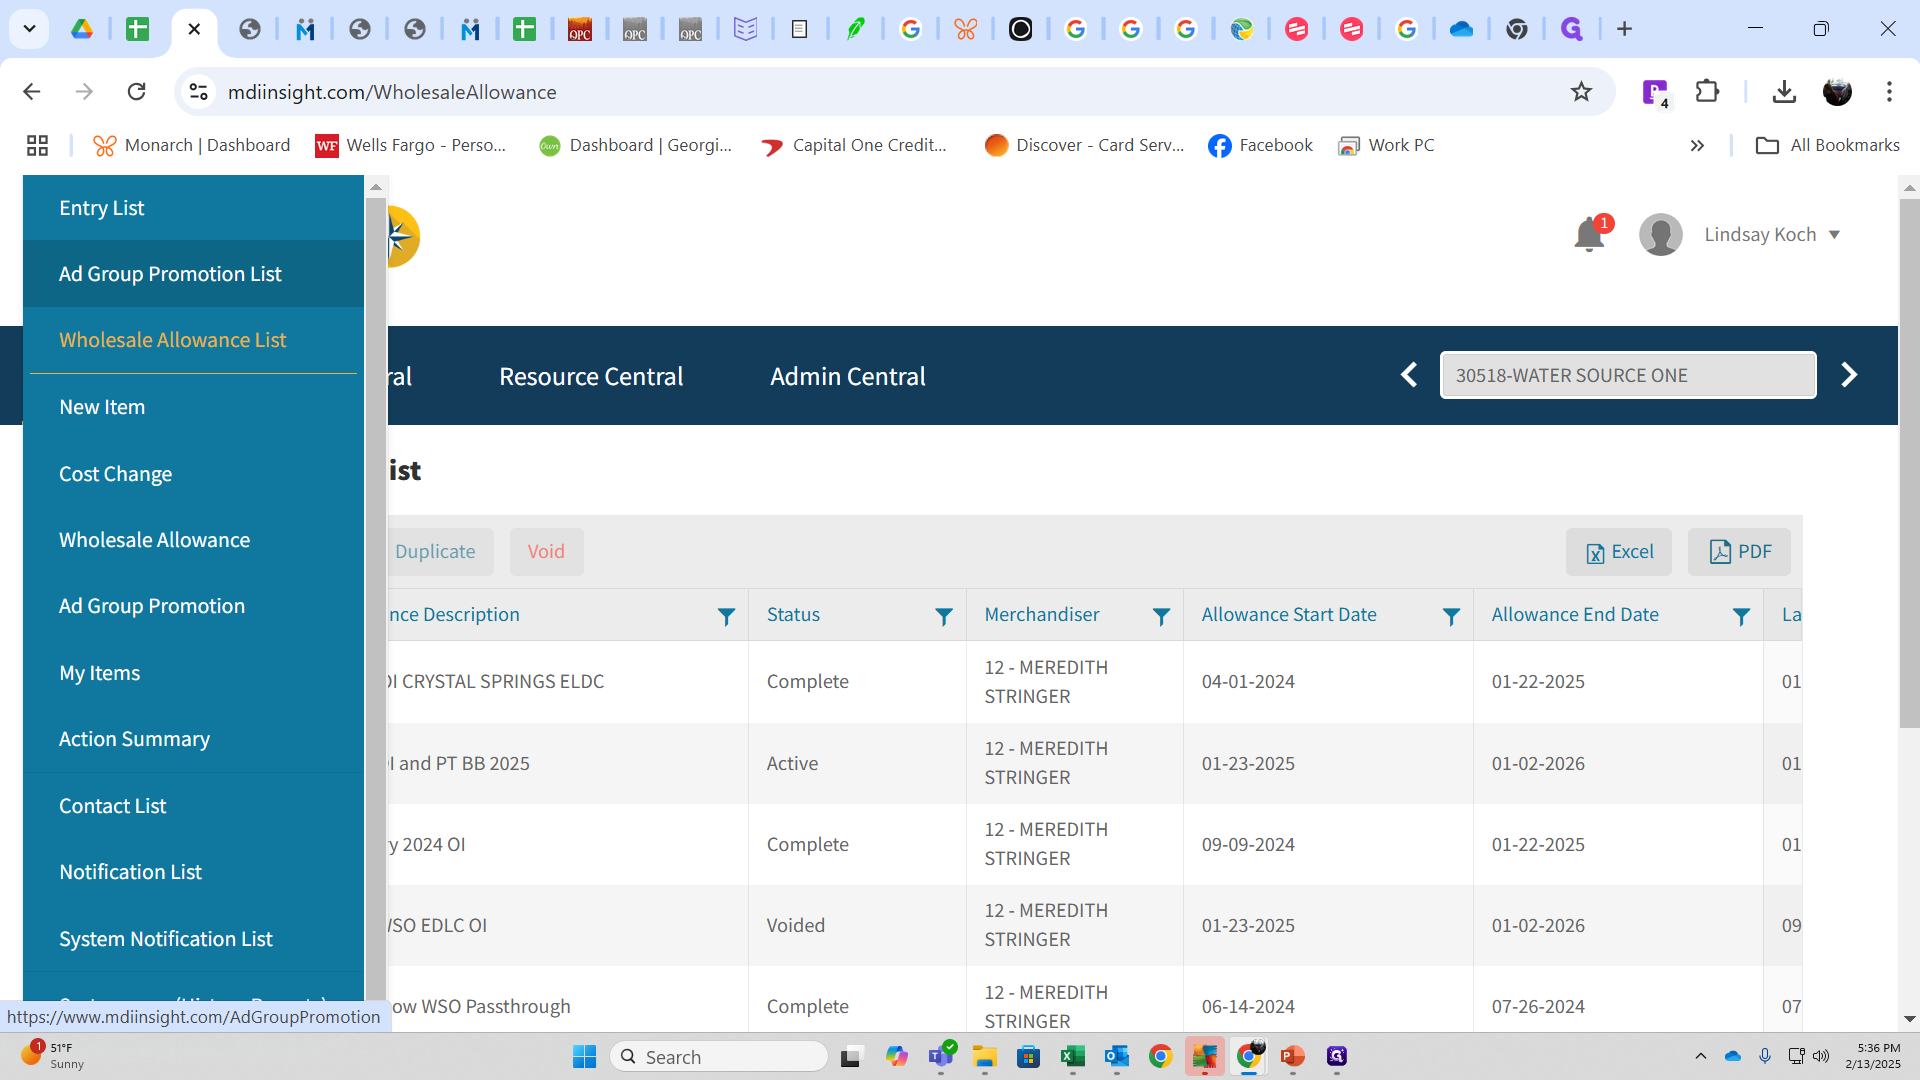
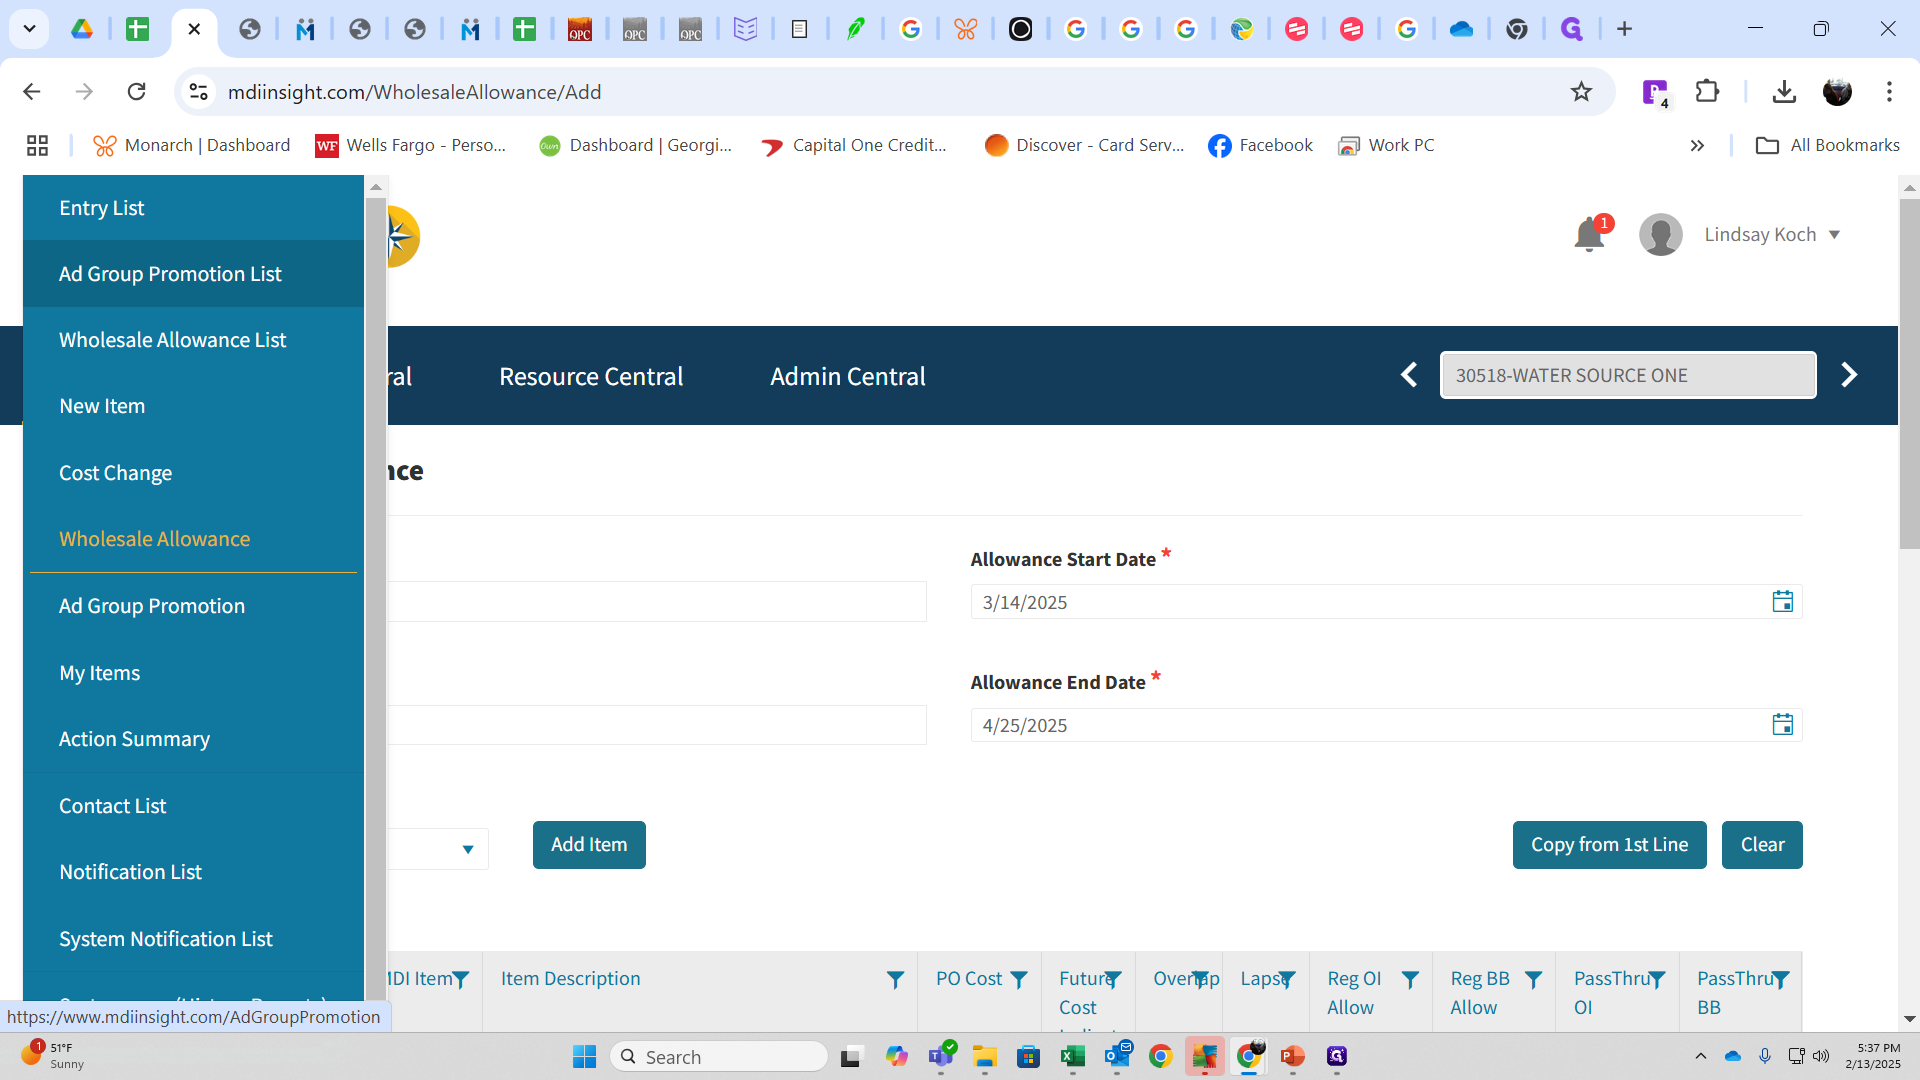
Wholesale allowance is an OI. These are provided to every MDI retailer.
Ad group promotions are a BB. These are sent to everyone as set up, except for the Lowe's group.
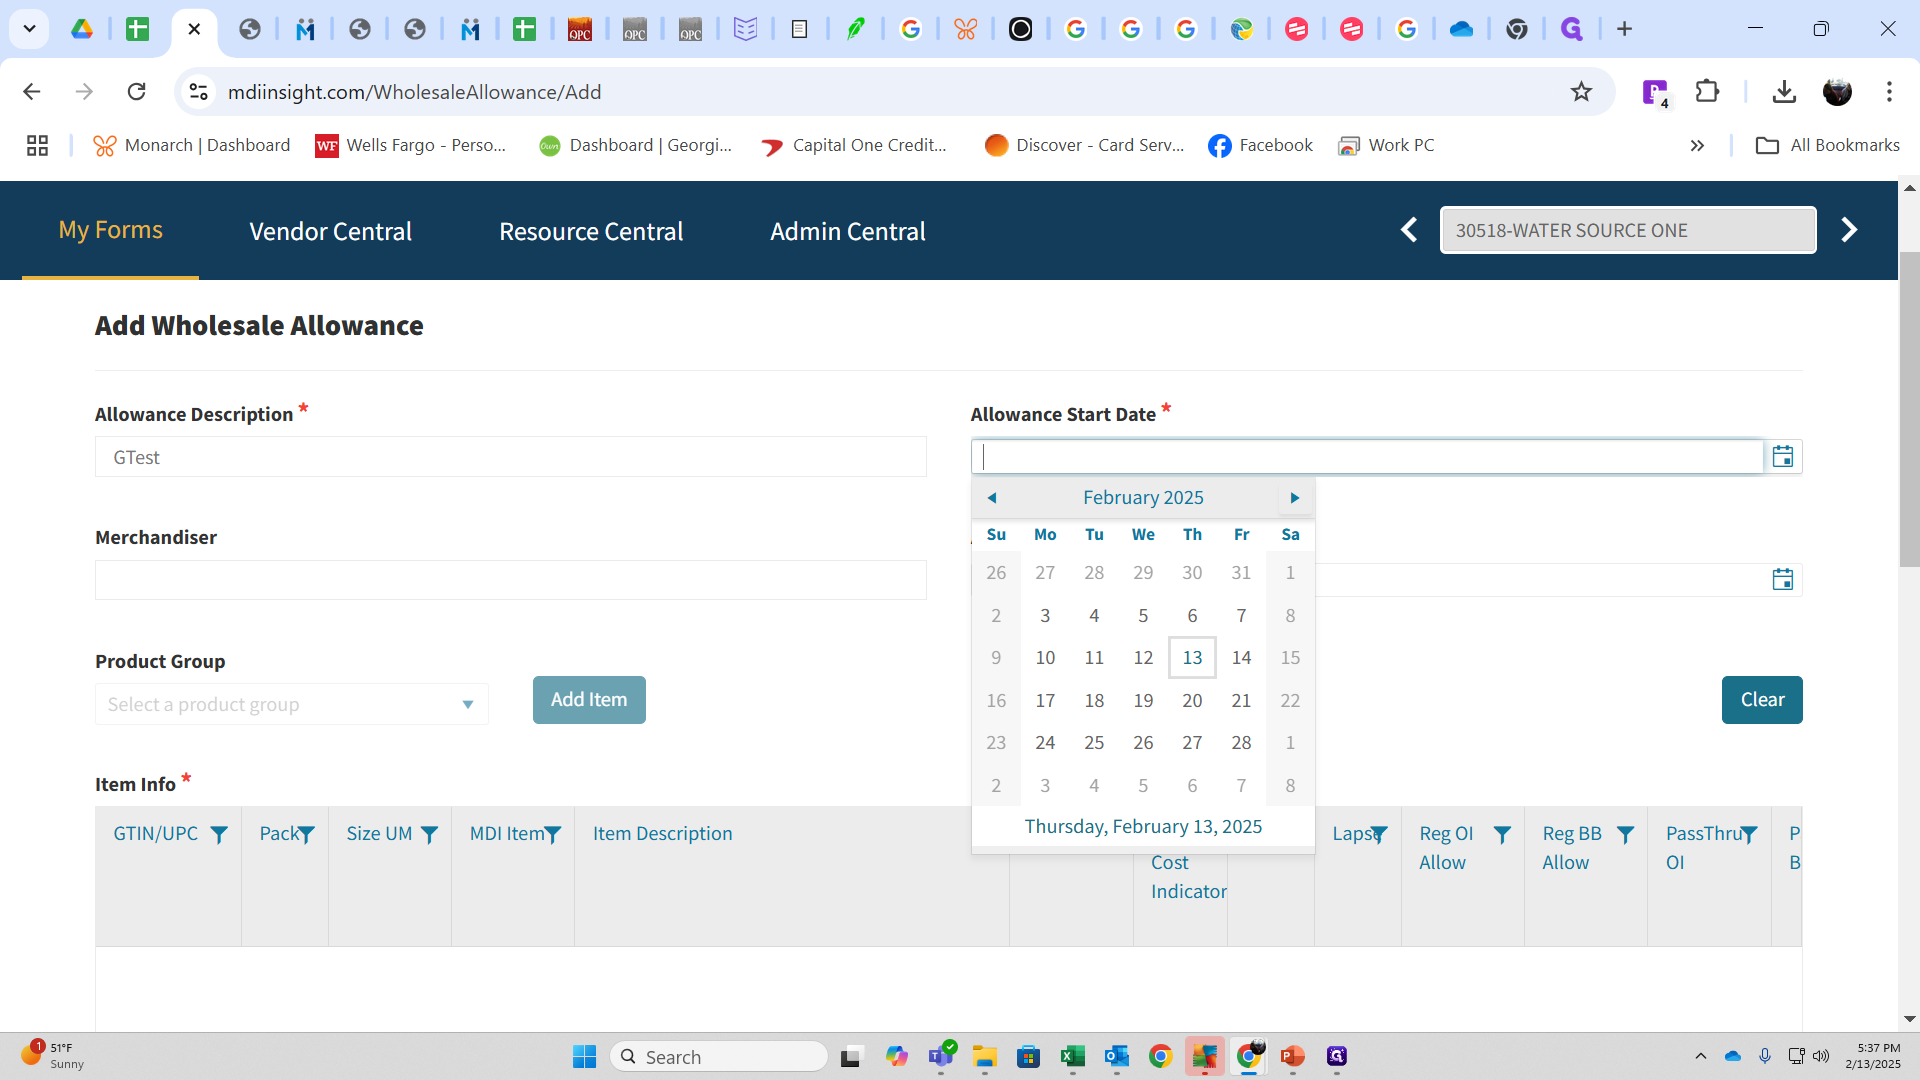
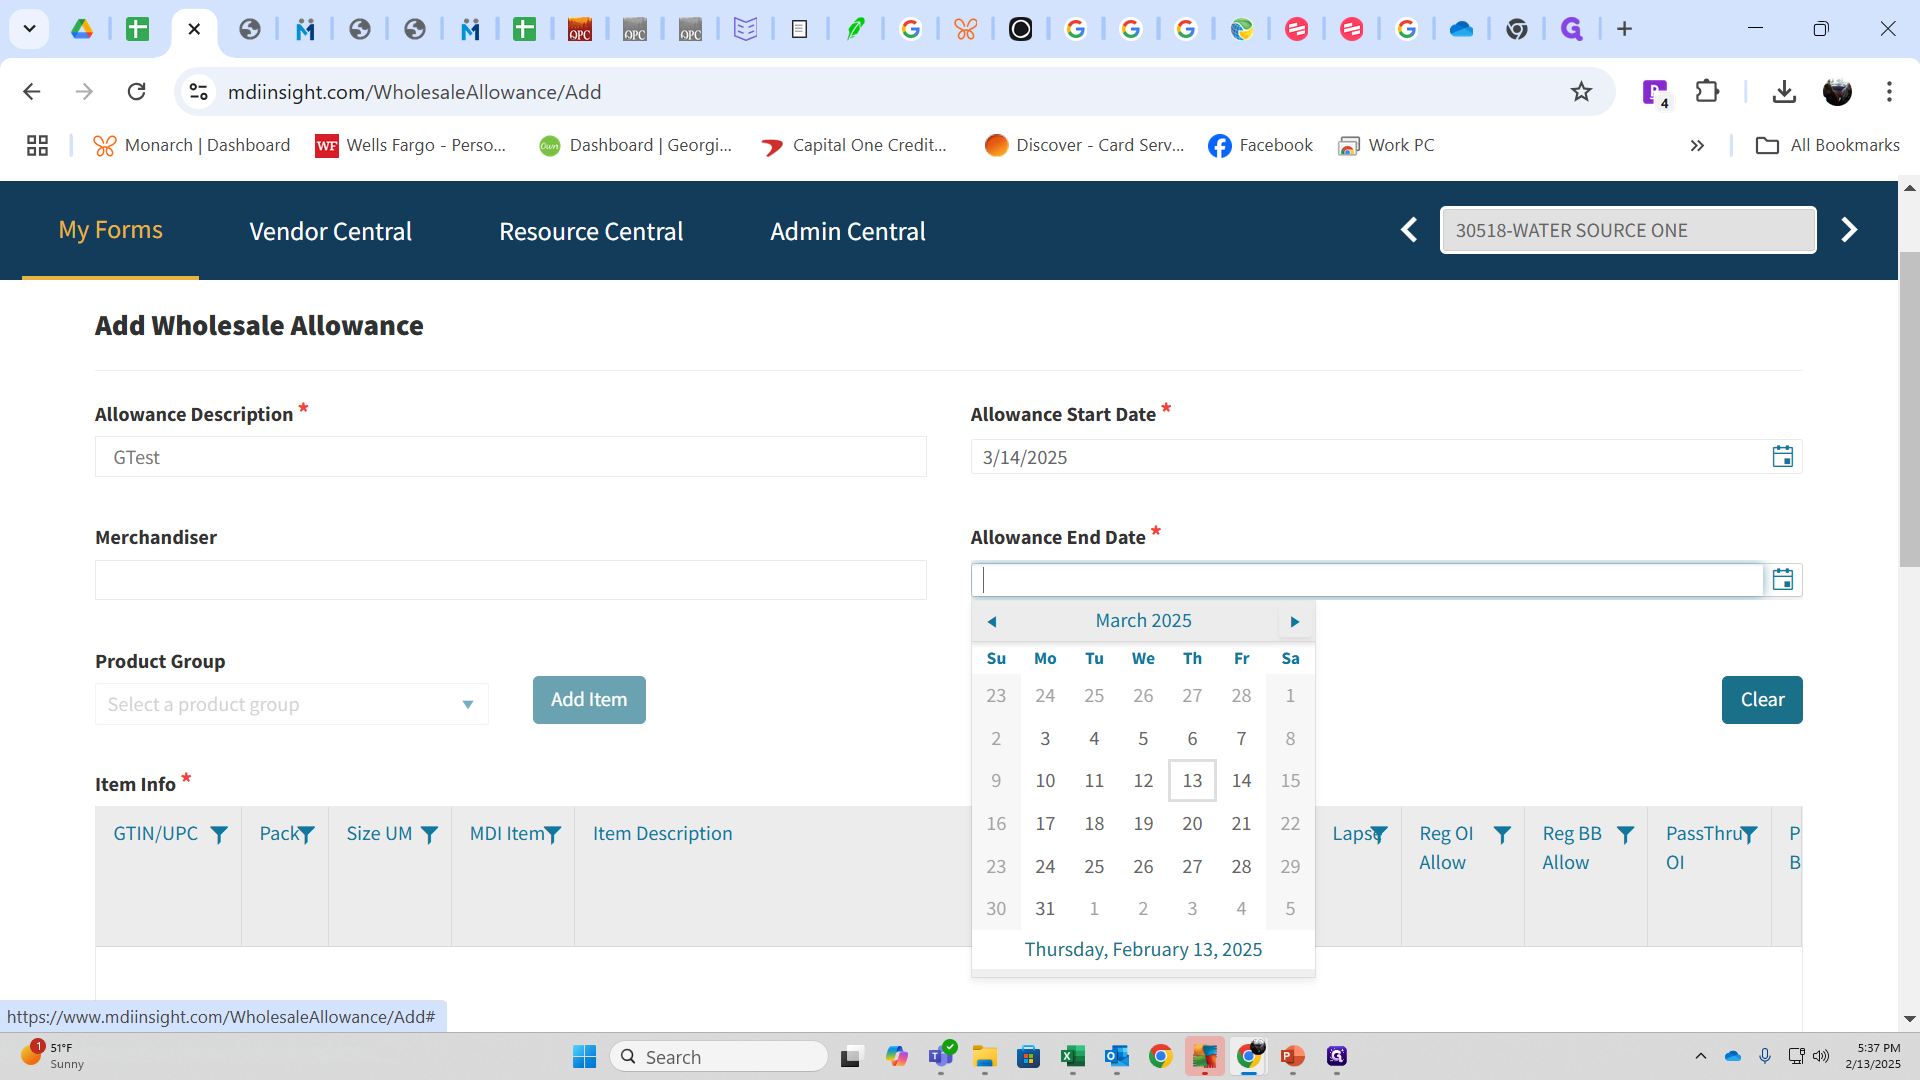
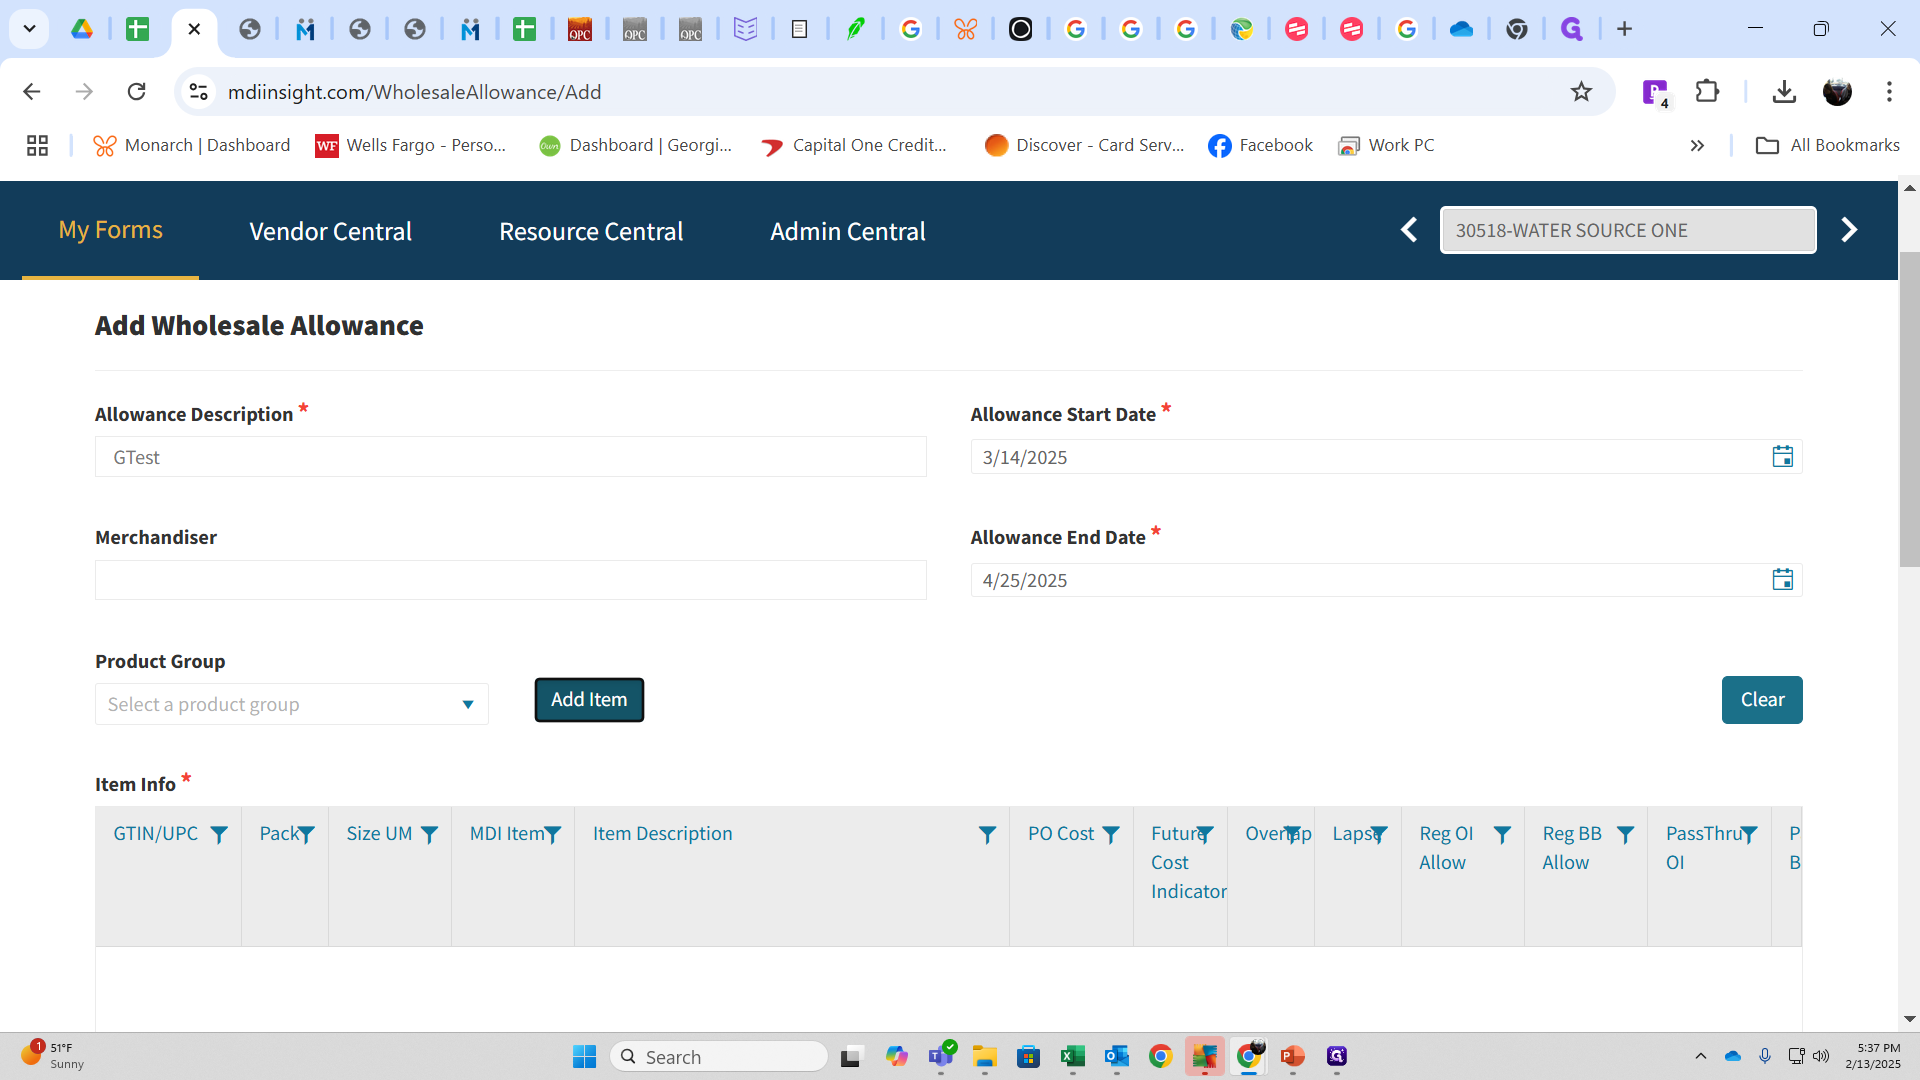
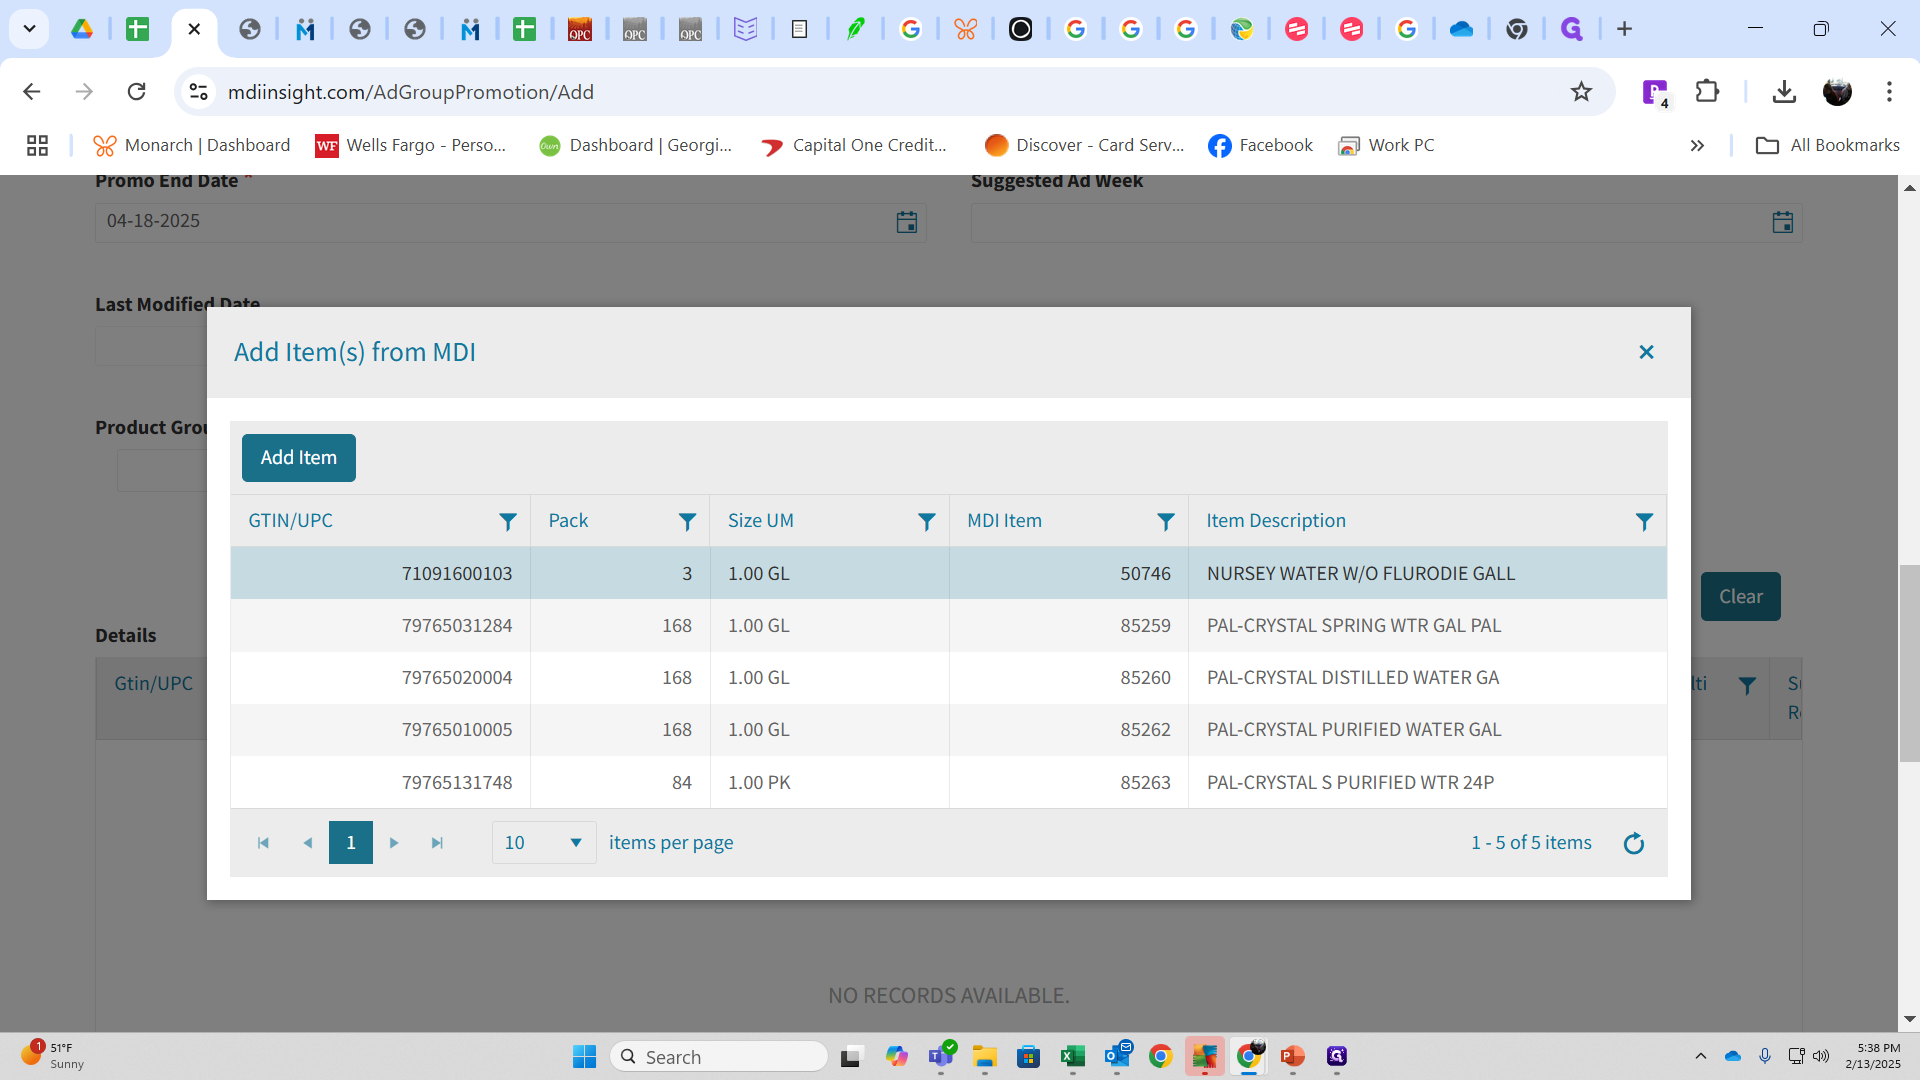
When creating a wholesale allowance, click "New" and enter the description, start date, end date, product group, test, merchandiser, and allowed start date.
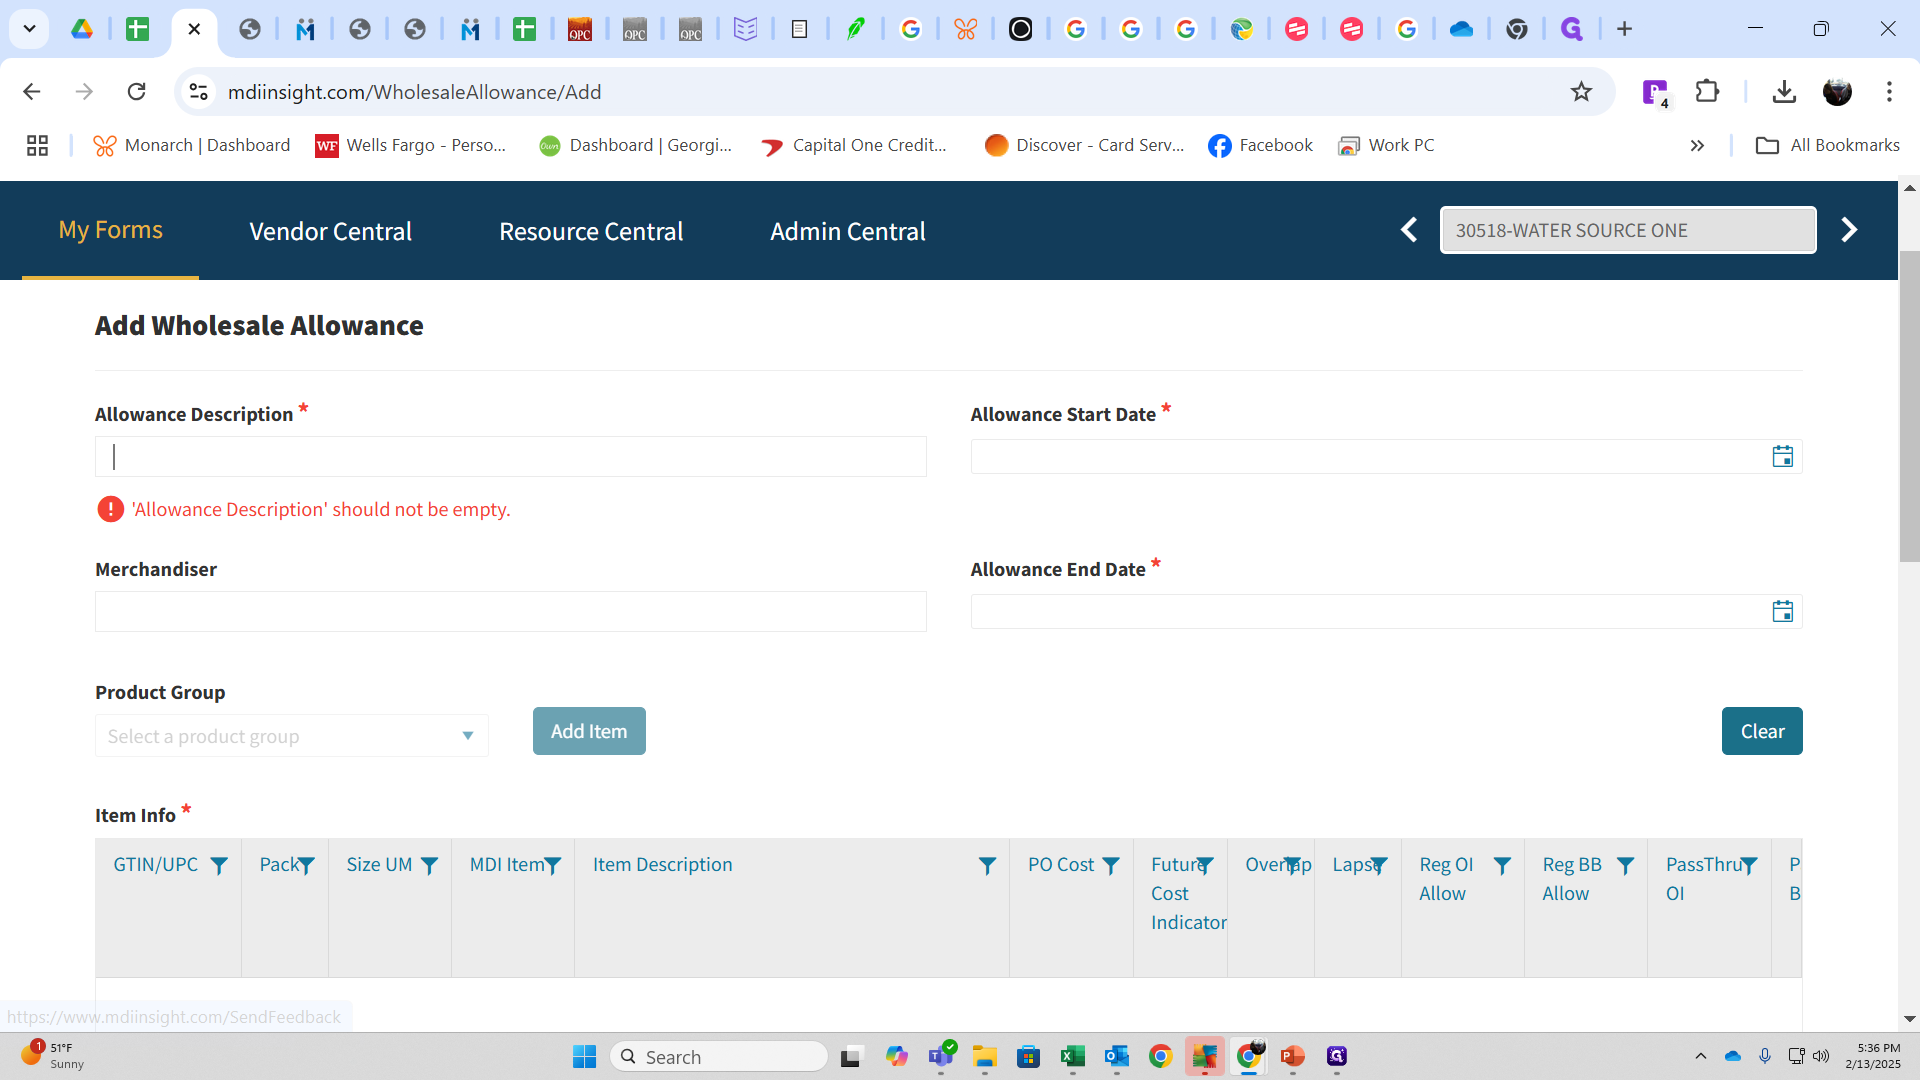
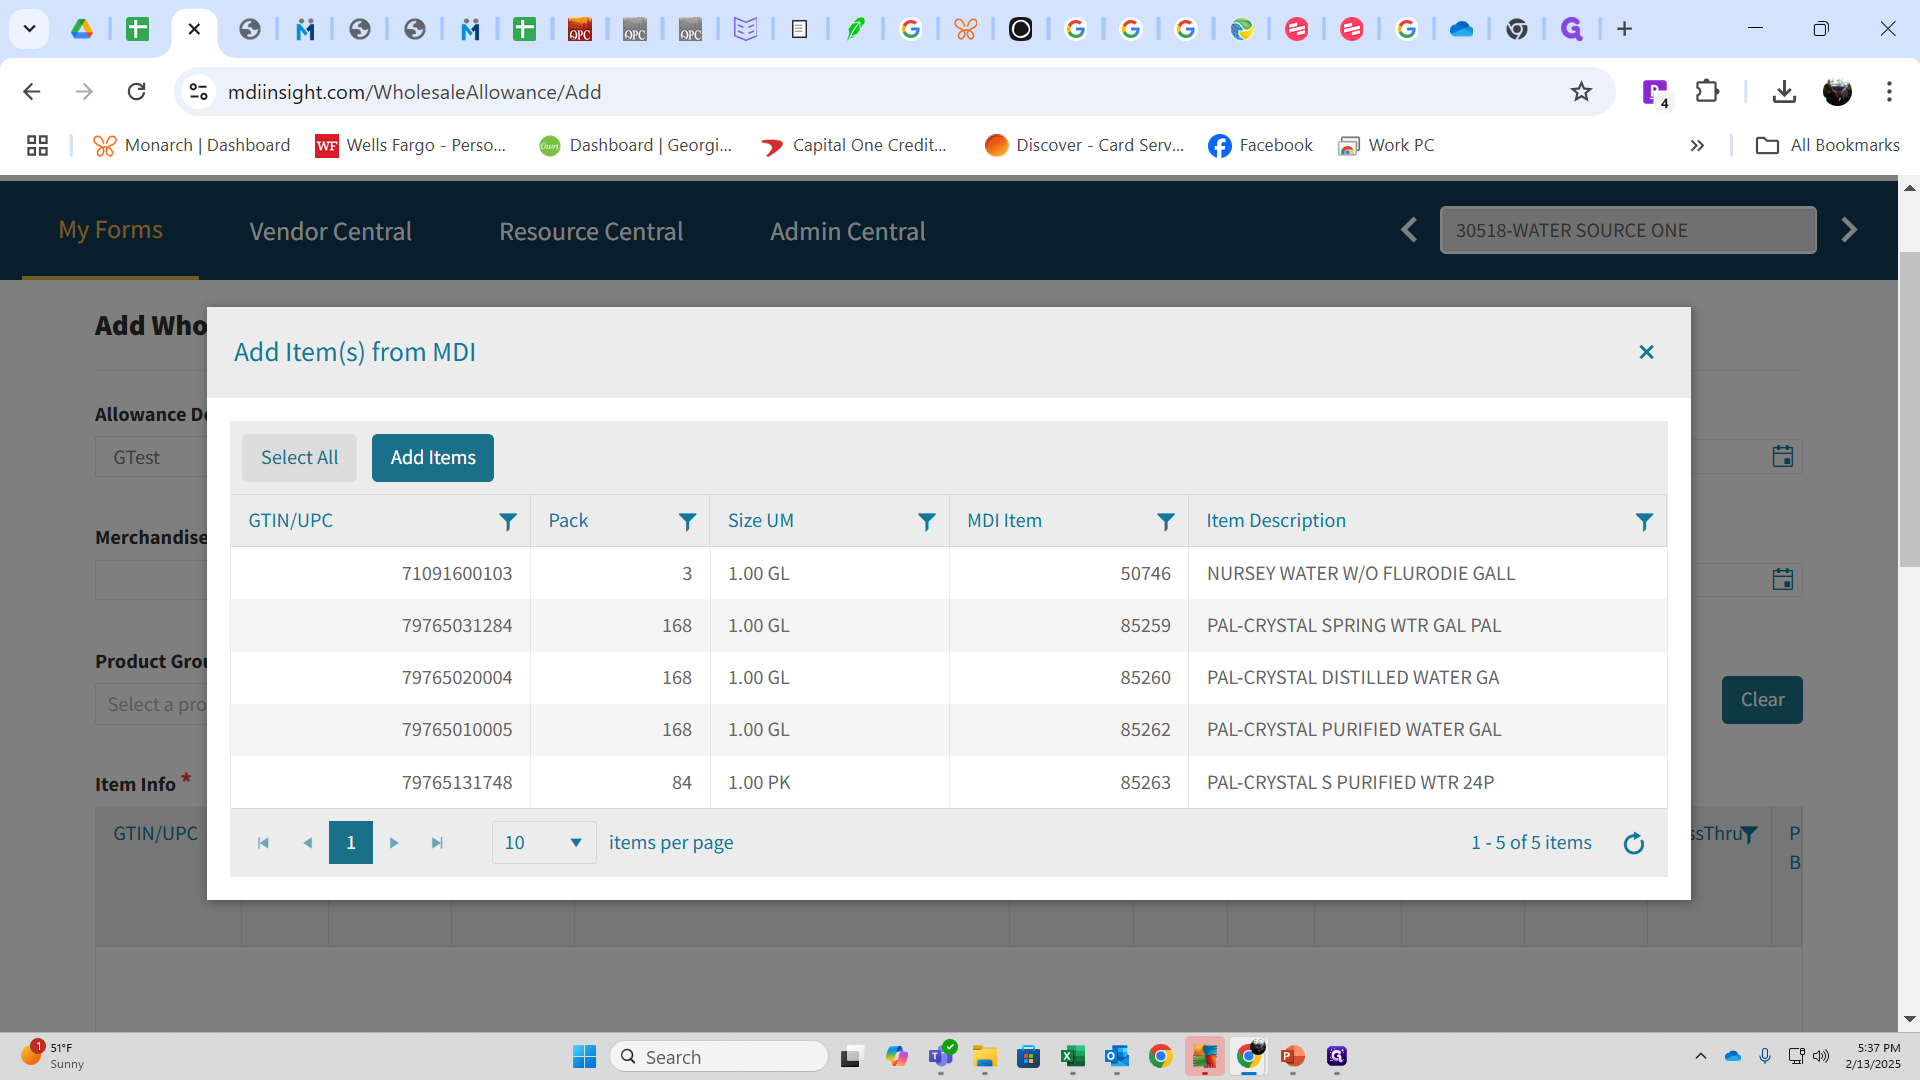
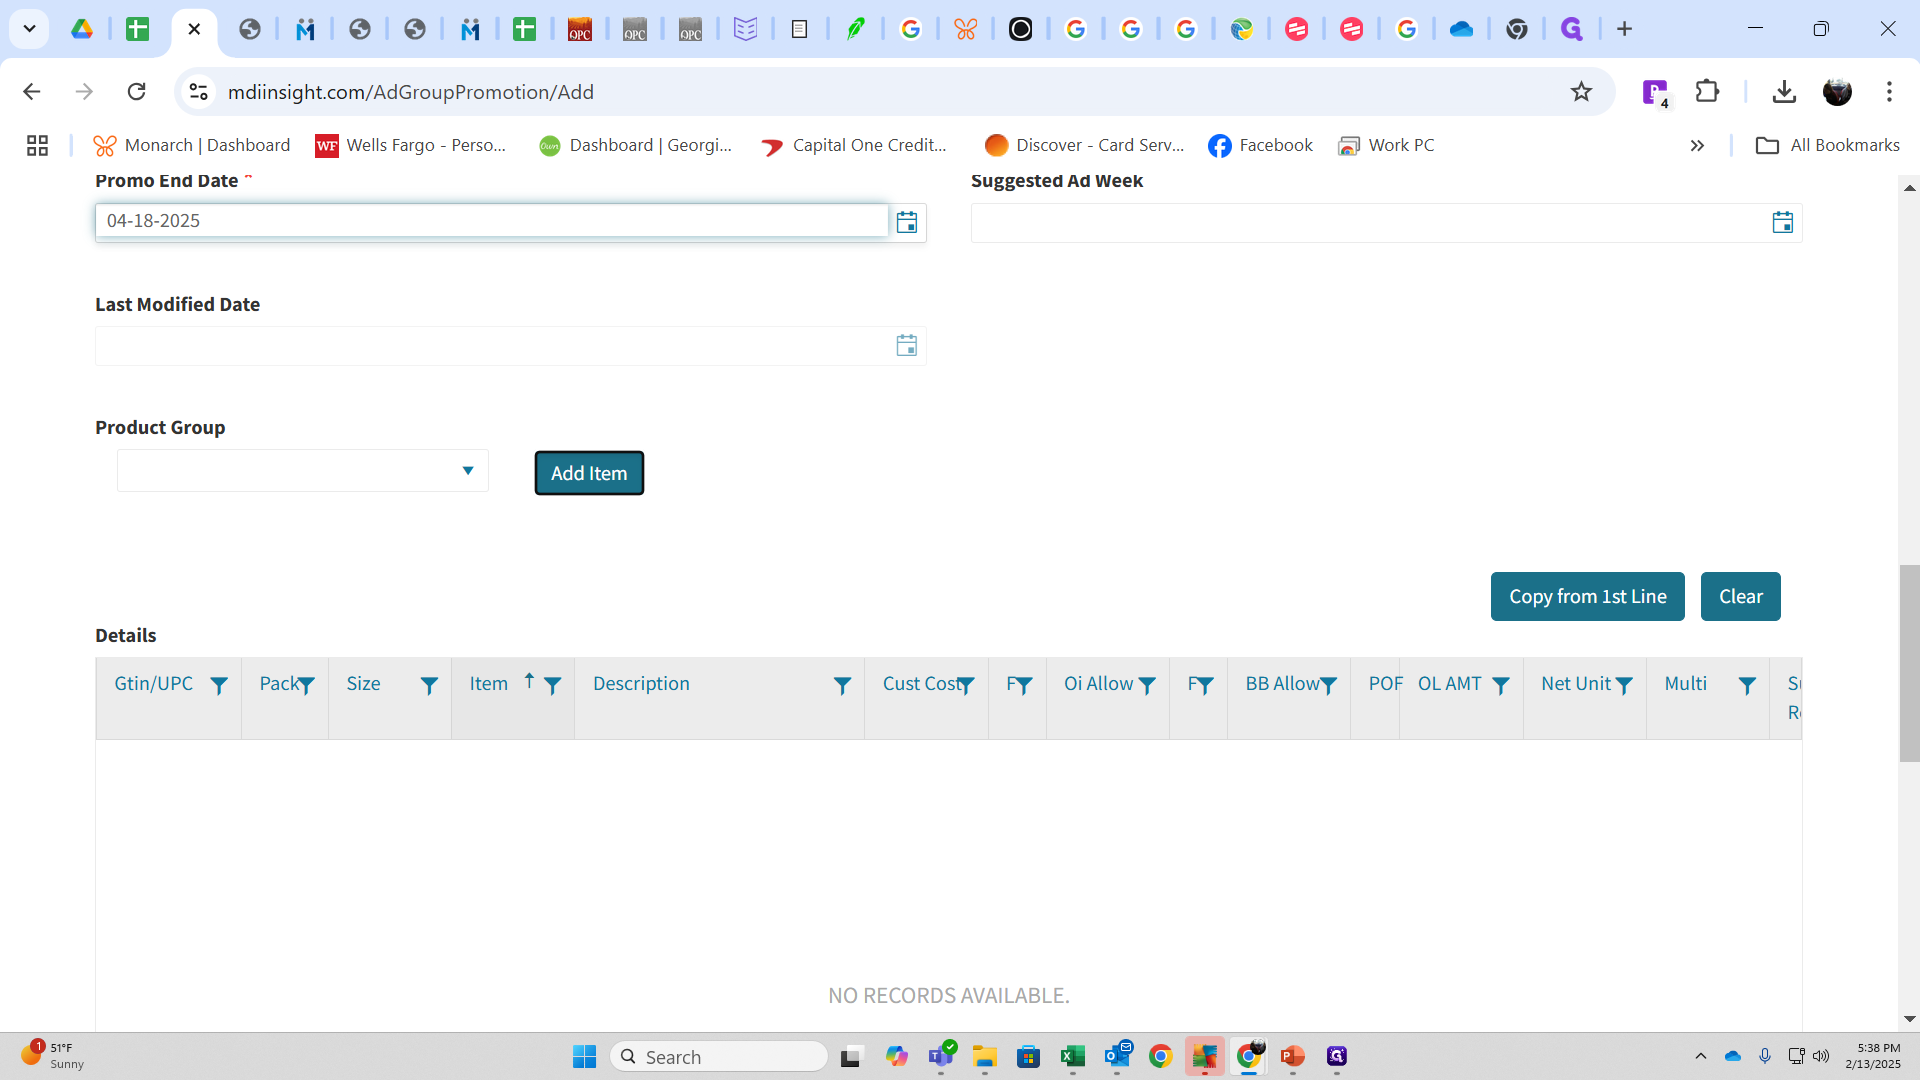
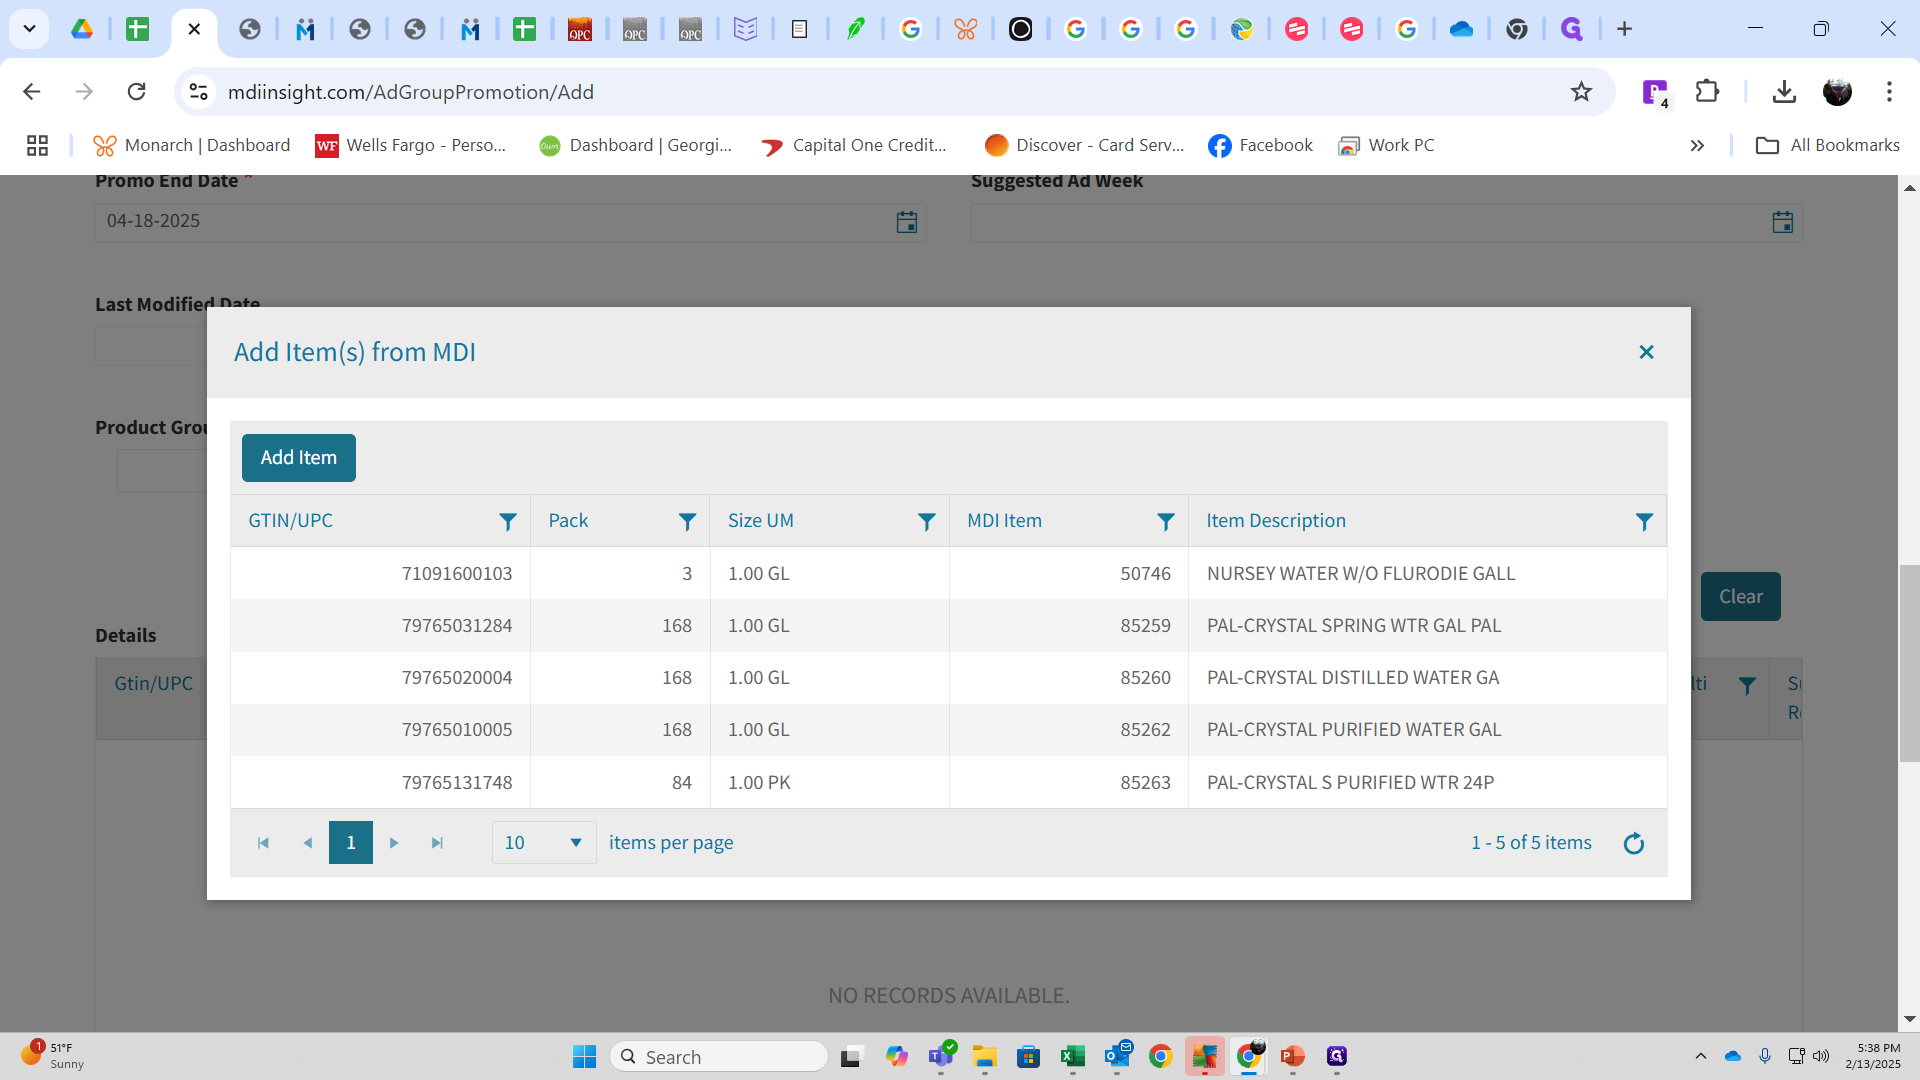
Click "Add Item," then select the items you want to add.
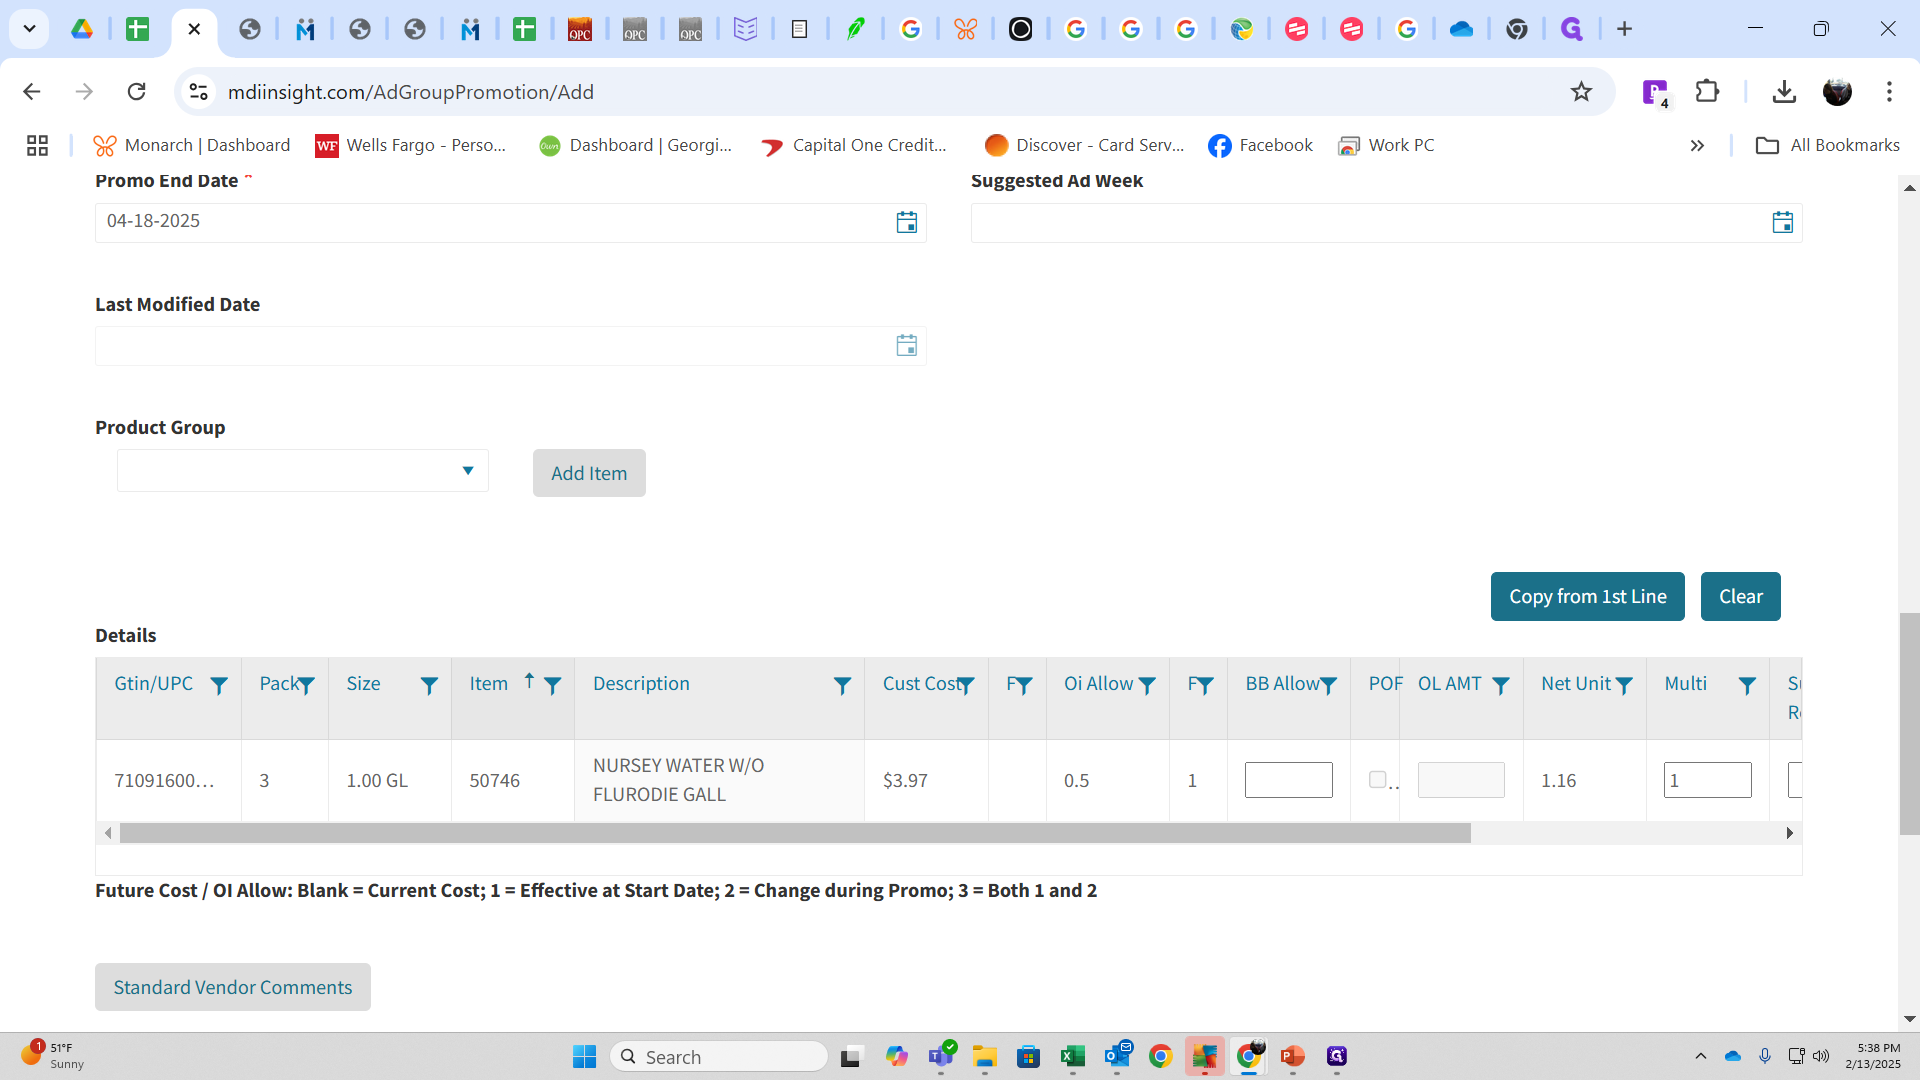
This takes you back to deal screen
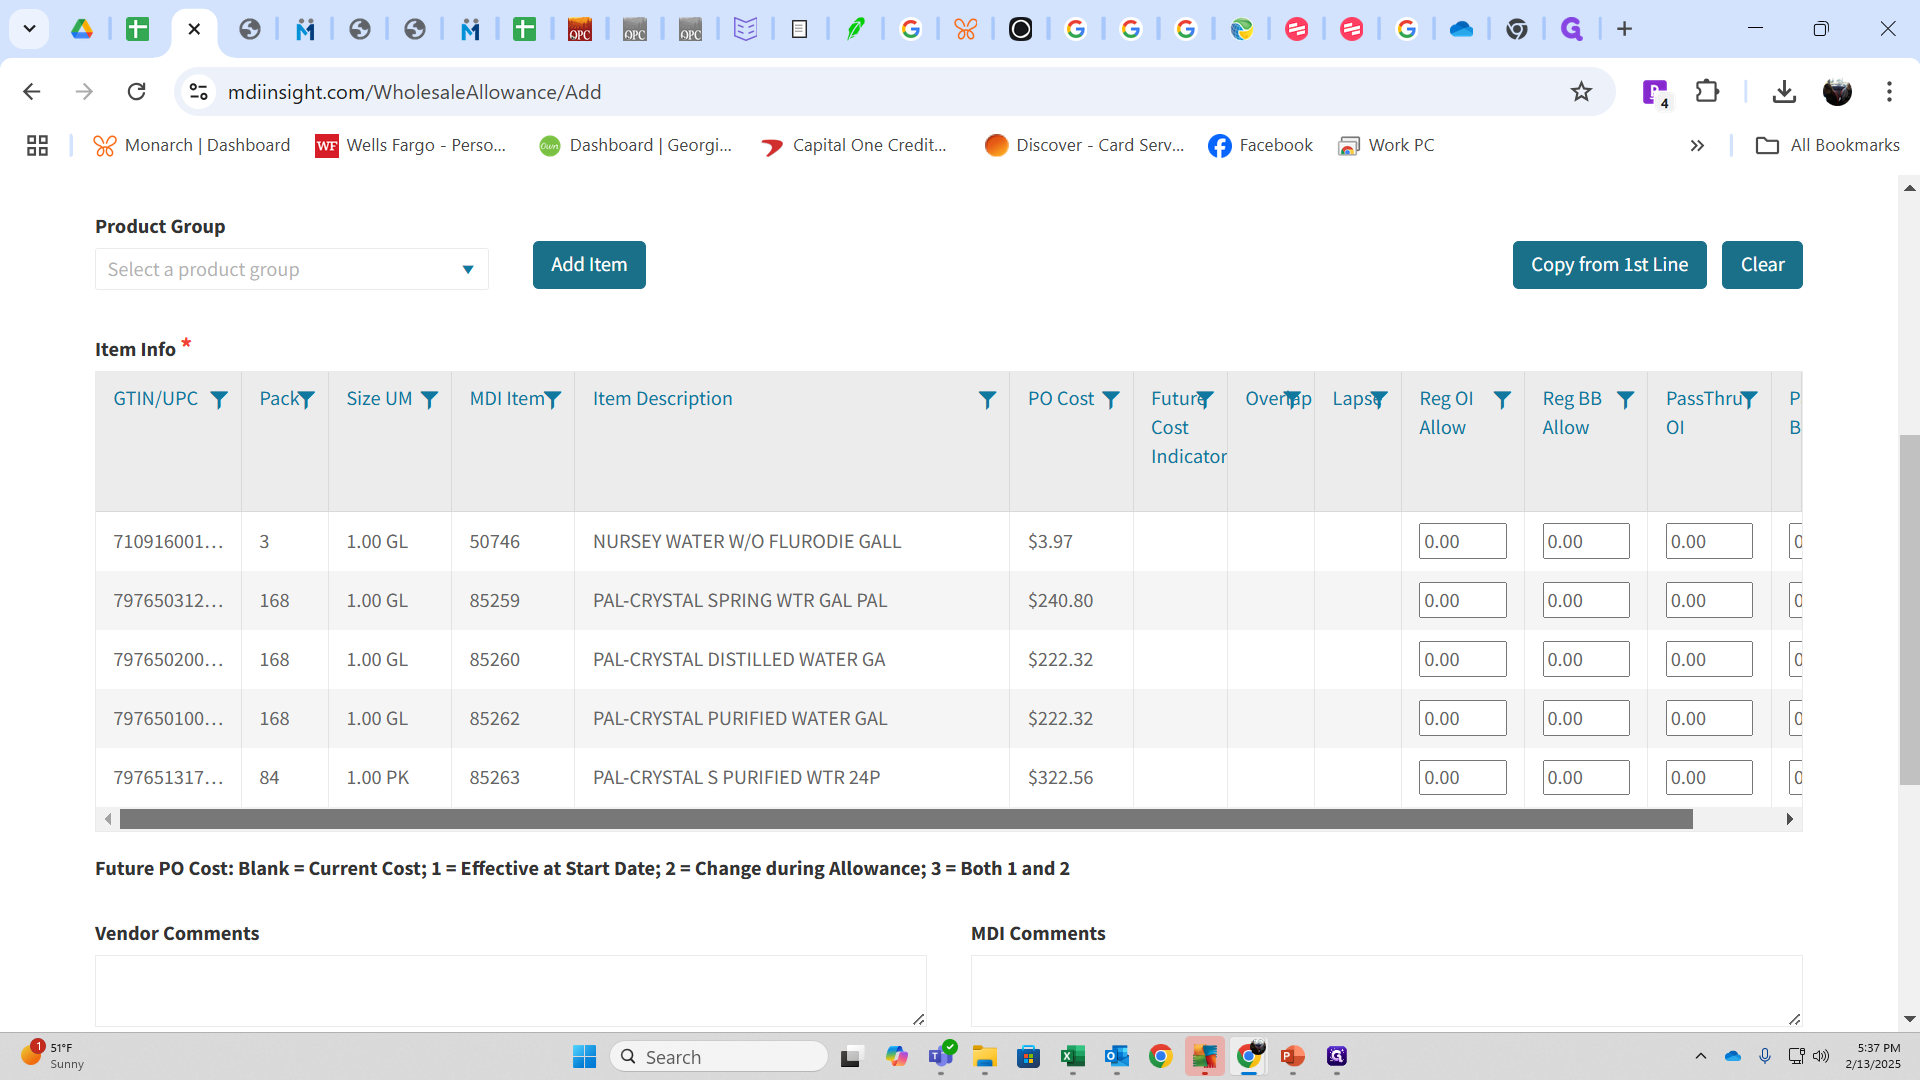
Here, you have four options for your wholesale allowance list: 1. A regular OI, used if the vendor provides an OI to the account. 2. A regular BB, which I haven't used. 3. A pass-through OI, which funds an internal accrual account. 4. A pass-through BB, which we also don't use.
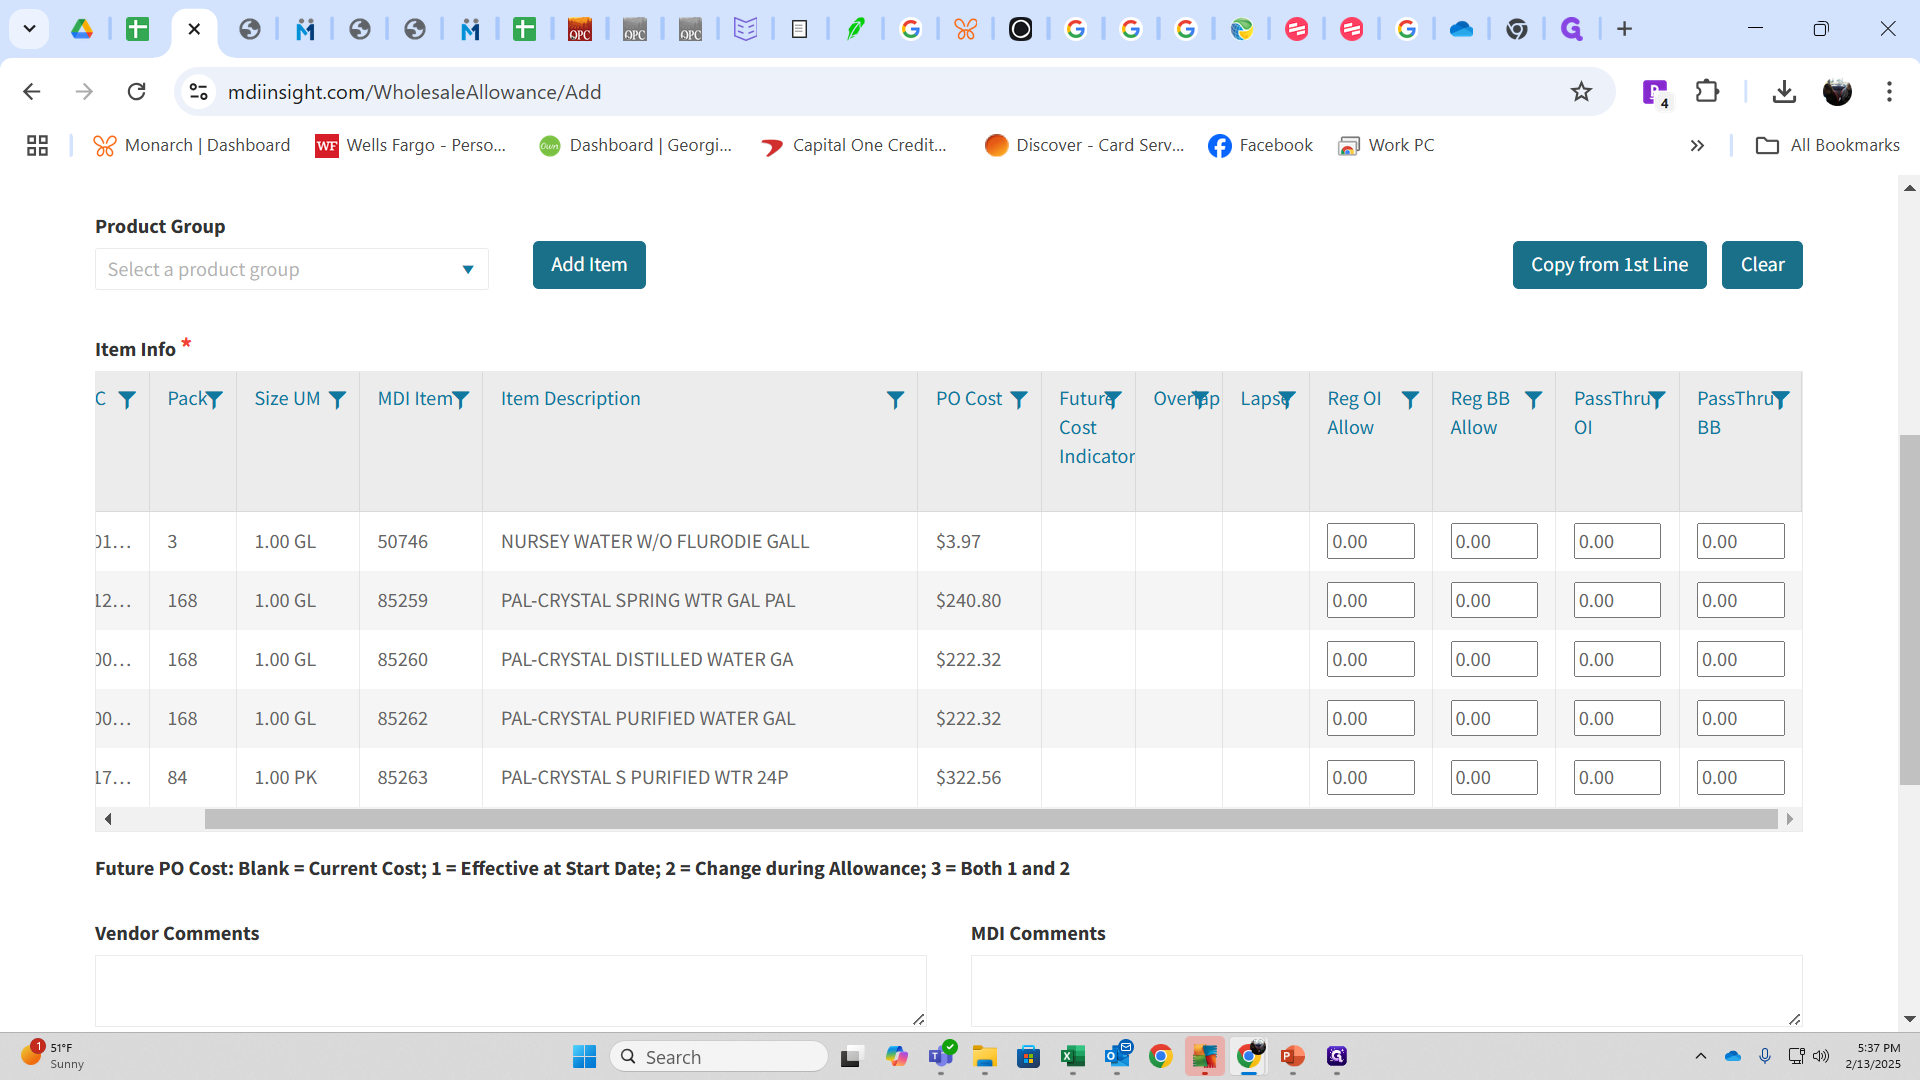
Enter your allowances and comments, then submit the allowance. Once submitted, you're done with that part. Make sure to save the promotion to the server and note on the planner that the allowance is submitted with the deal number.
If it's something like NORPAC or Water Source One, and you want to add a TPR deal on top of the OI, click "Add New." Then, enter the product description, test, or promotion description.
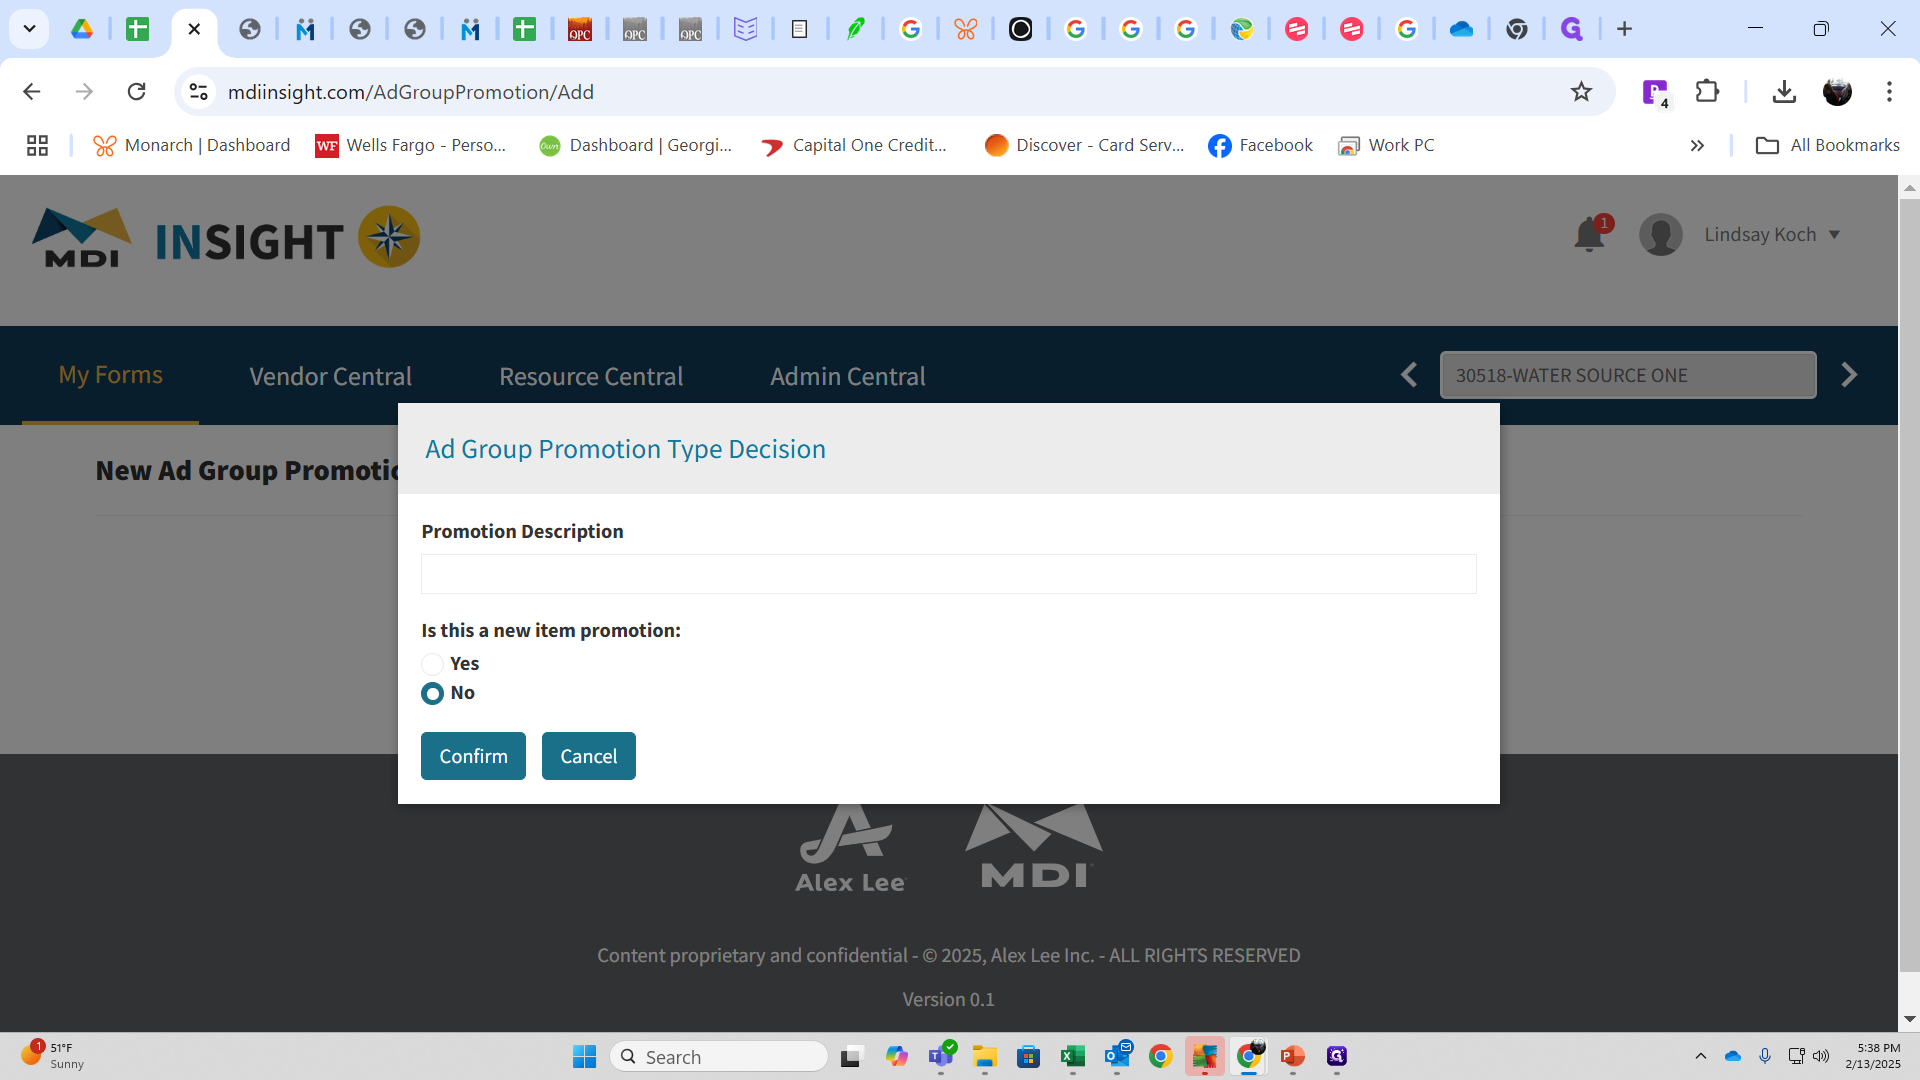
You can select which groups you want to assign this to. Note that Lowe's is not included. Usually it is all of them. If it's a food show allowance, toggle Food Show on.
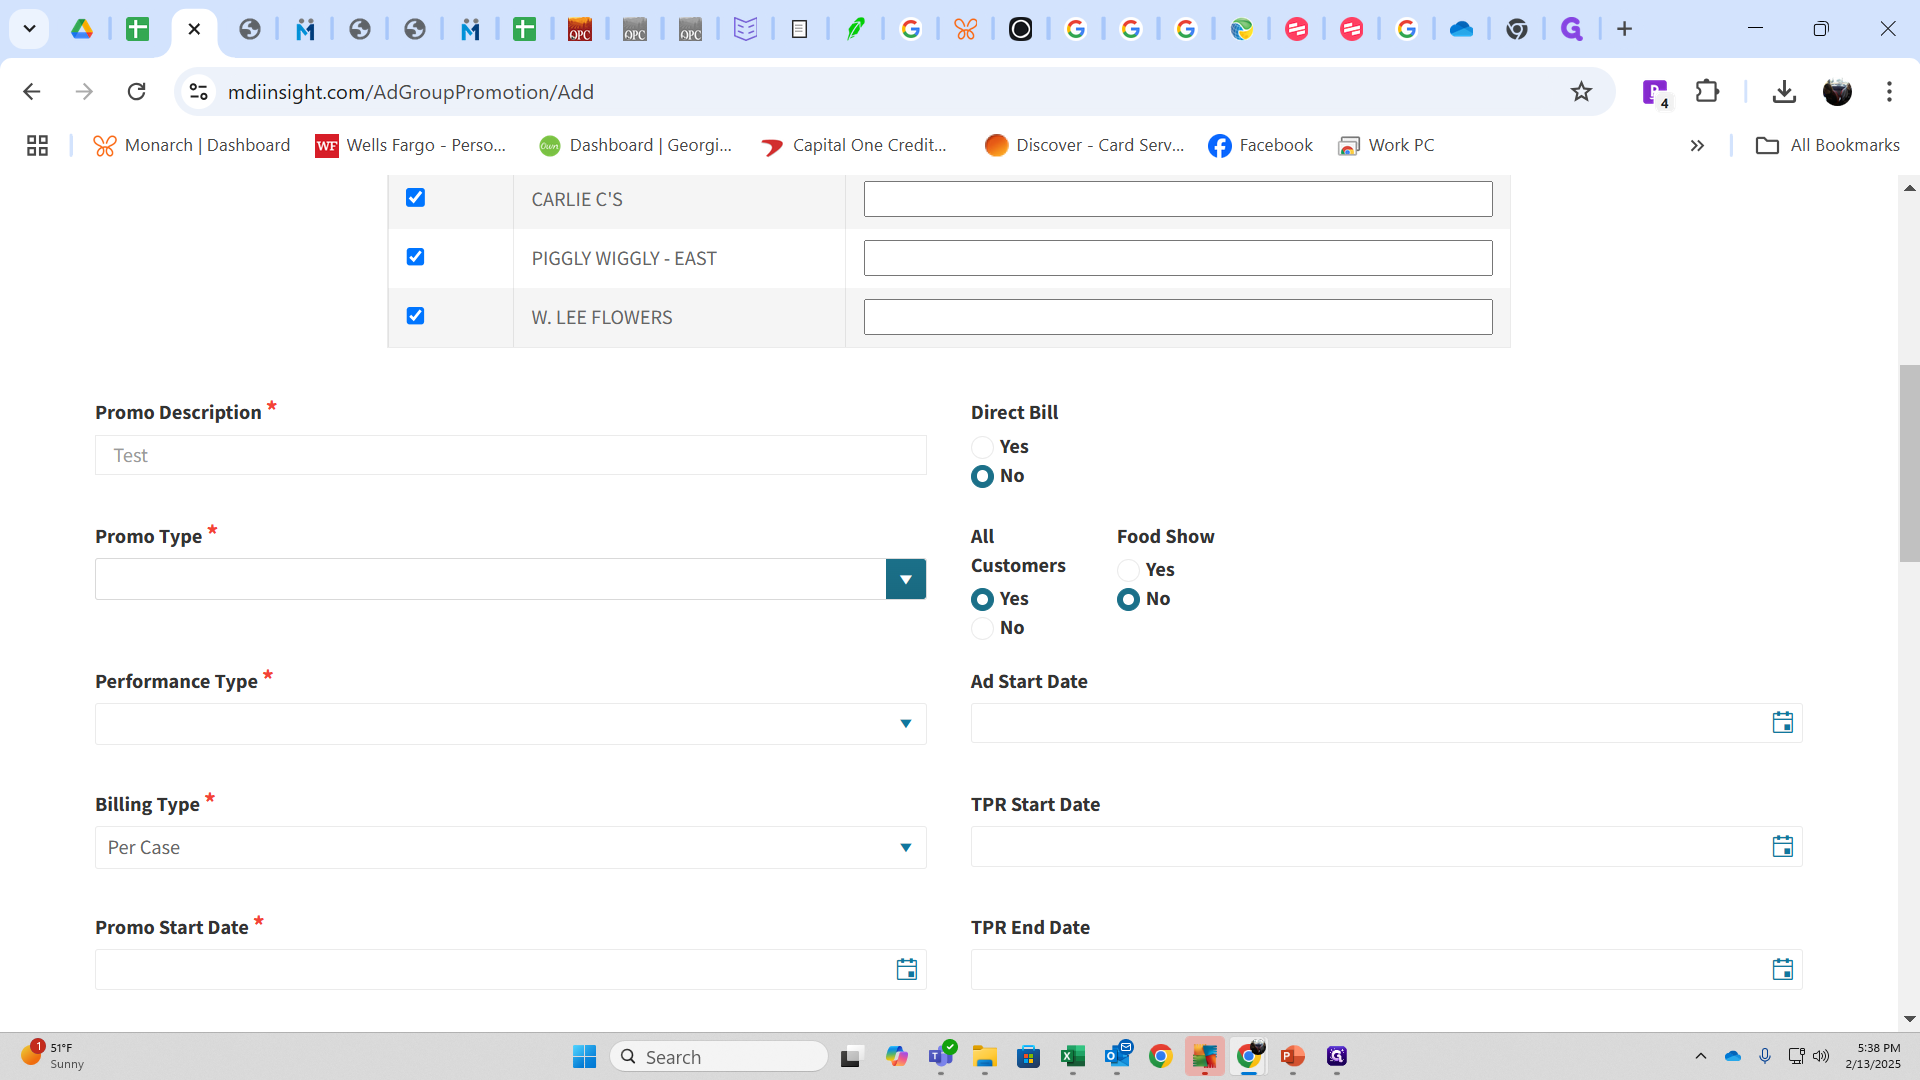
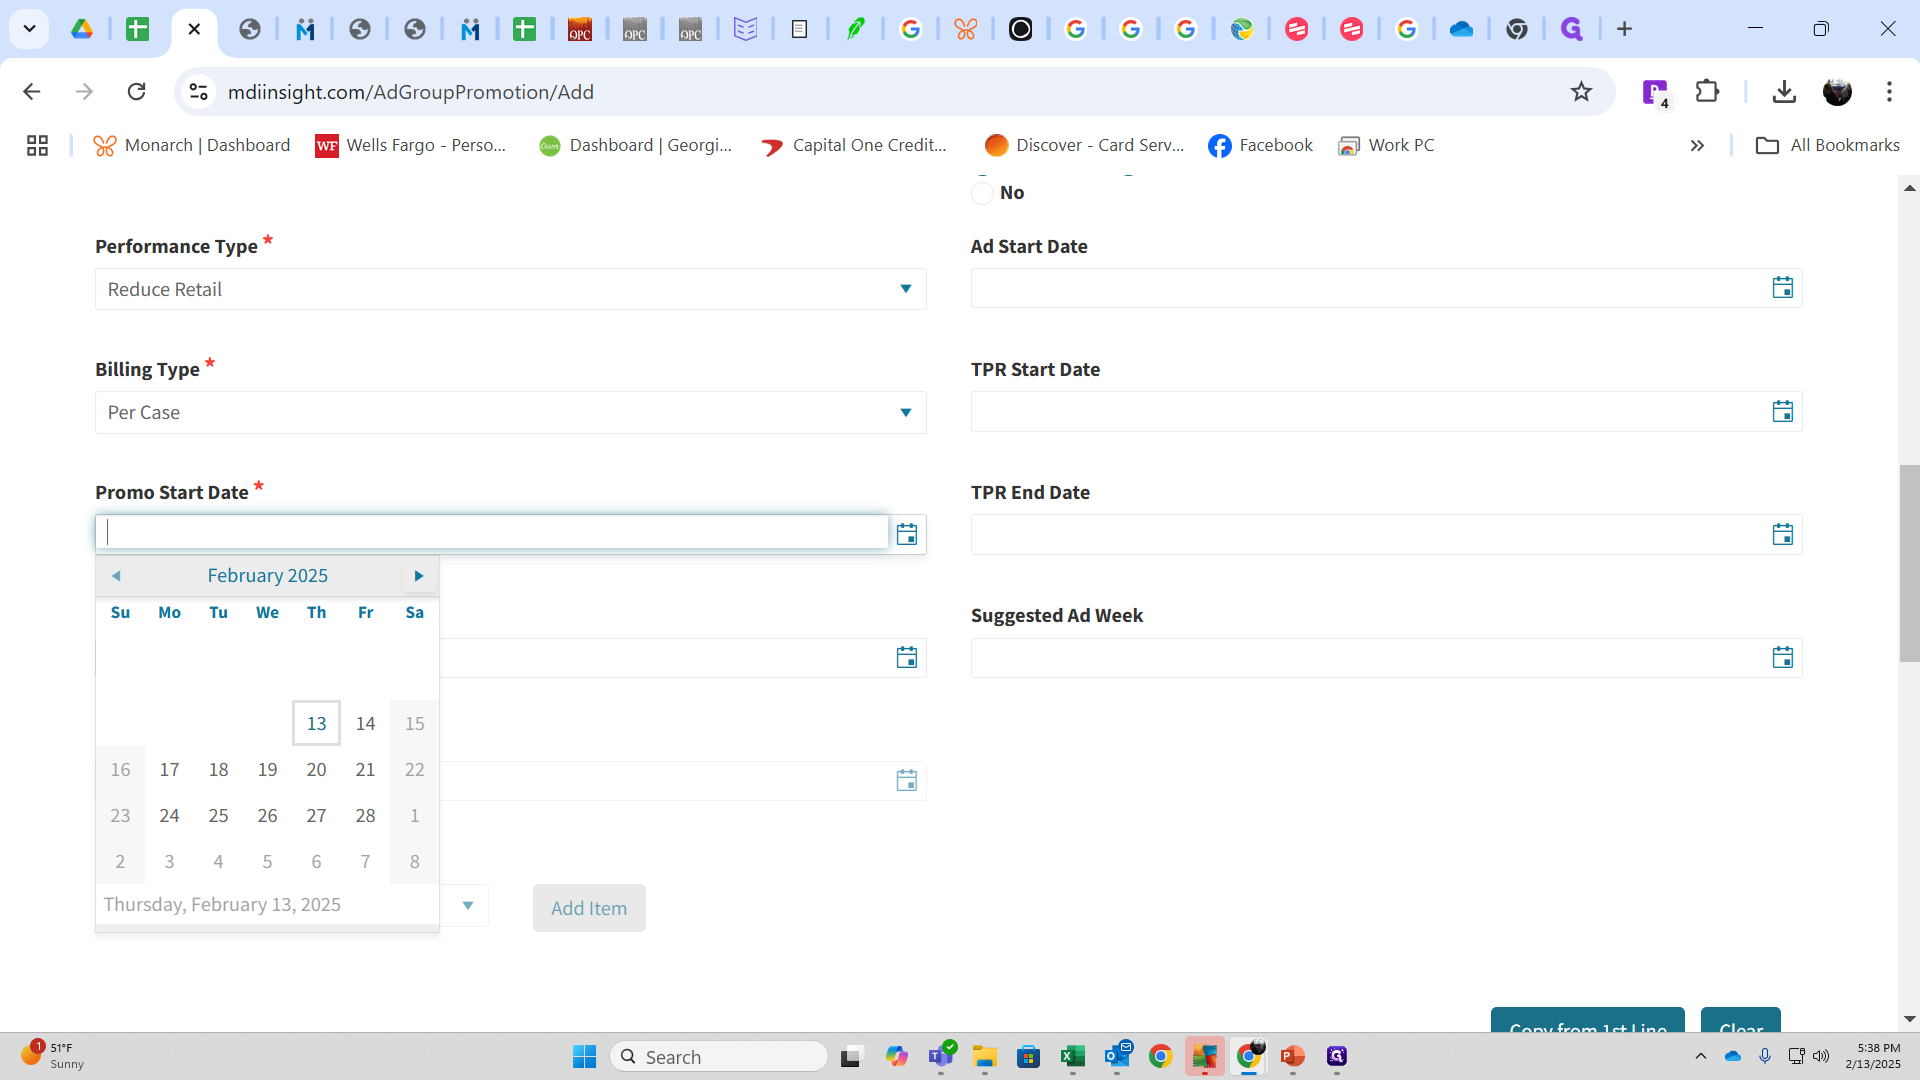
Select your promo type, typically a TPR. Choose the performance type, usually reduced retail. Then, pick the billing type, generally per case.
Enter your promo start dates.
Your OI allowance was populated because it's on the warehouse side but it does pull to the the retailer side. Enter your allowance, suggested retail, and standard vendor comments.
Let the category manager know that deals XYZ are ready for approval.
Submit the information. Save it as usual, then create the survey. Make sure your planner matches the deals, all deals are saved, and all surveys are saved.
Send out surveys to relevant team members.