Icon

1 - Navigating ReliaTrax

Learn how to use ReliaTrax to manage client files, update client information, track appointments, and handle insurance details. This comprehensive guide walks you through every step to efficiently navigate ReliaTrax.

By Eleonora

In this guide, we'll learn how to navigate ReliaTrax to manage client files, update client information, and track important details such as appointments and insurance.

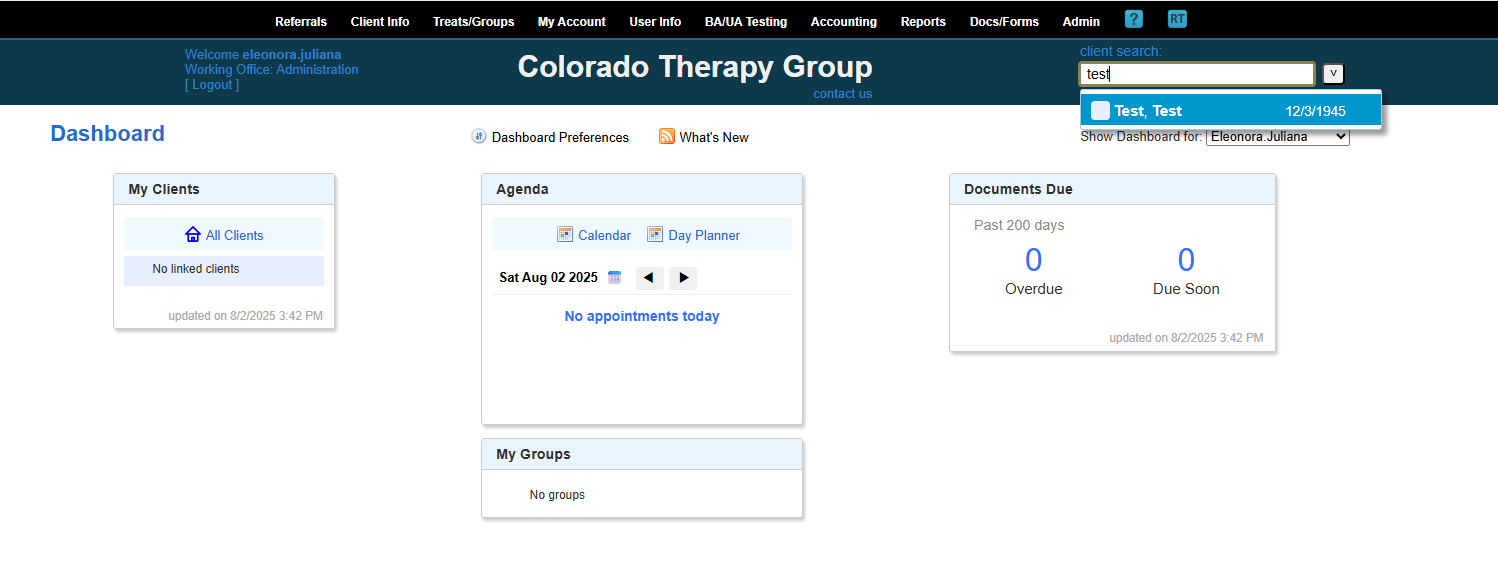
This guide will show you how to navigate ReliaTrax to manage client files, update client information, and track important details such as appointments and insurance. Let's begin. Log in to your ReliaTrax account.

1
Log in
Step #1: Log in
2
Click "Client Info"
Step #2: Click "Client Info"

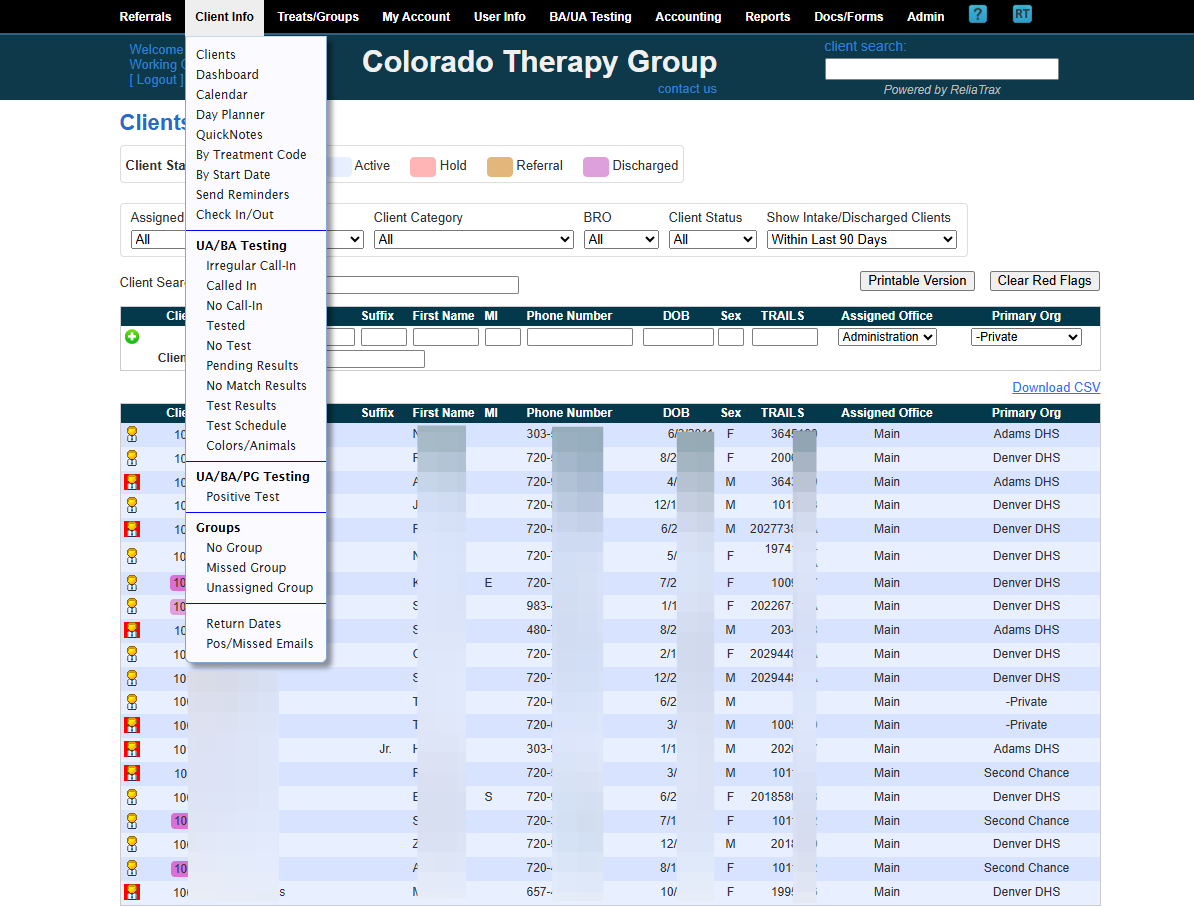
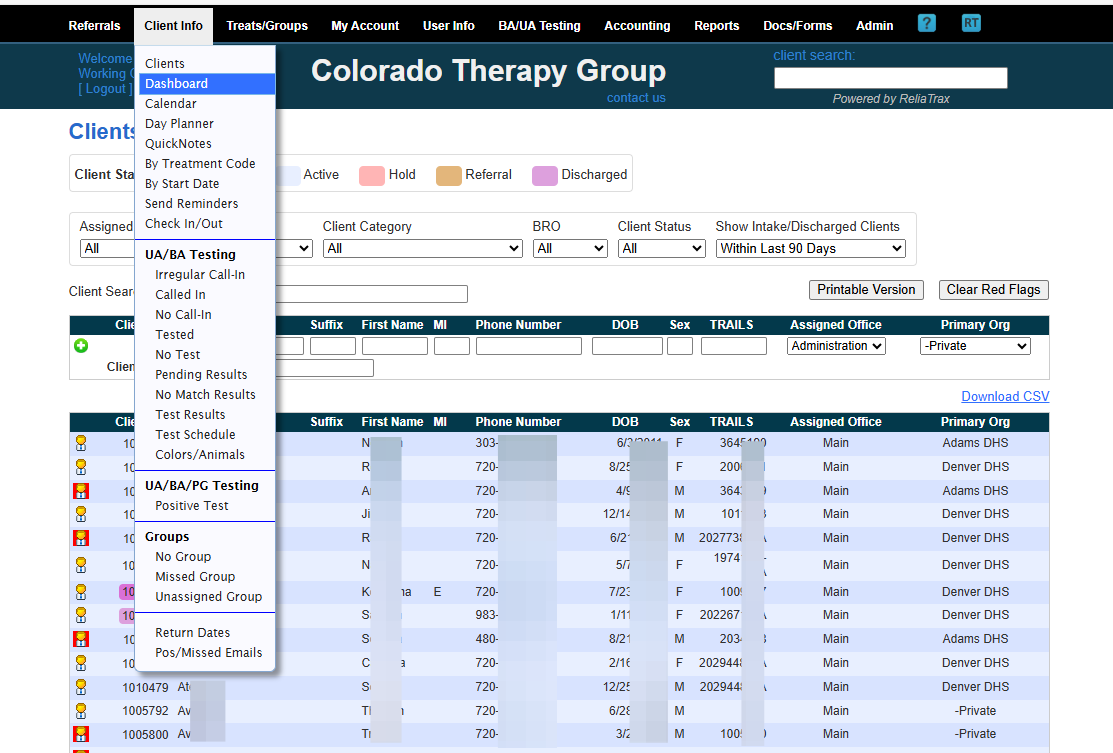
To get to your DASHBOARD, click Client Info, then...

3
Click on "Dashboard"
Step #3: Click on "Dashboard"
4
Click your Name
Step #4: Click your Name

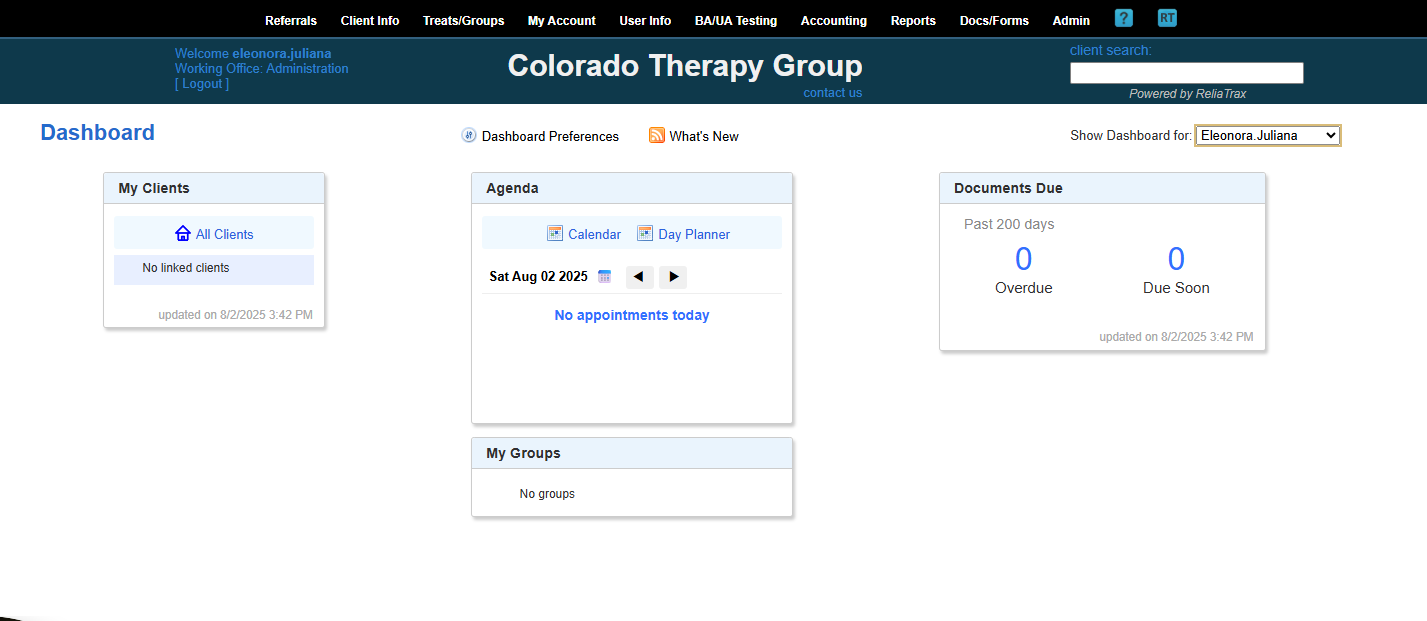
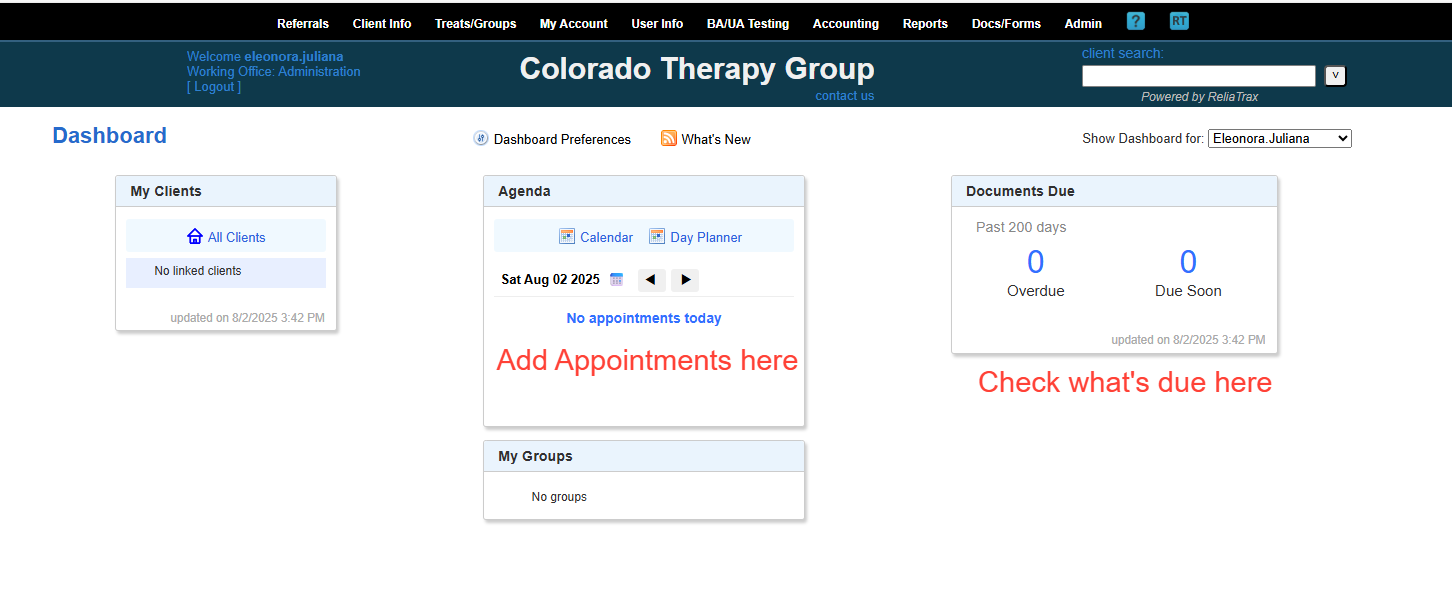
Under Show Dashboard for: select your name.

In your Dashboard, you can:

  1. Manage your Clients

  2. Manage your Calendar and set a client appointment

  3. Manage your Tasks

5
1. Click Client's Name
Step #5: 1. Click Client's Name

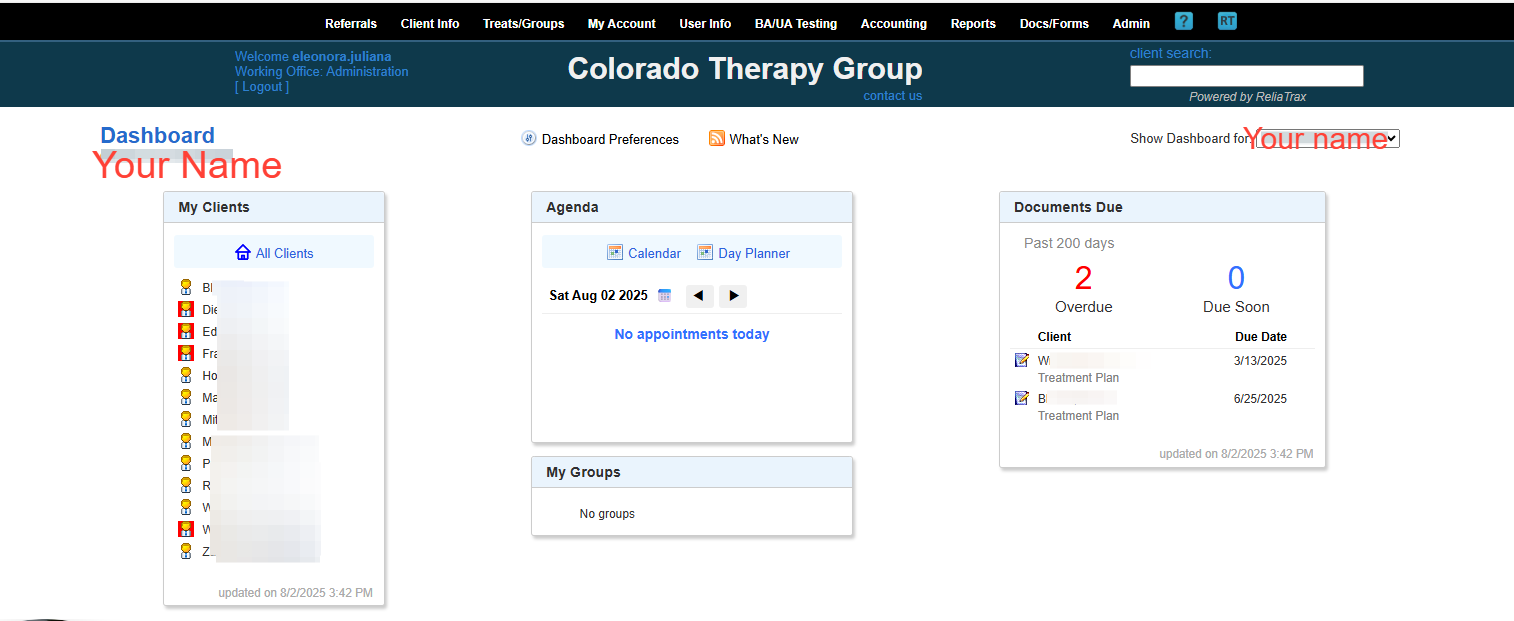
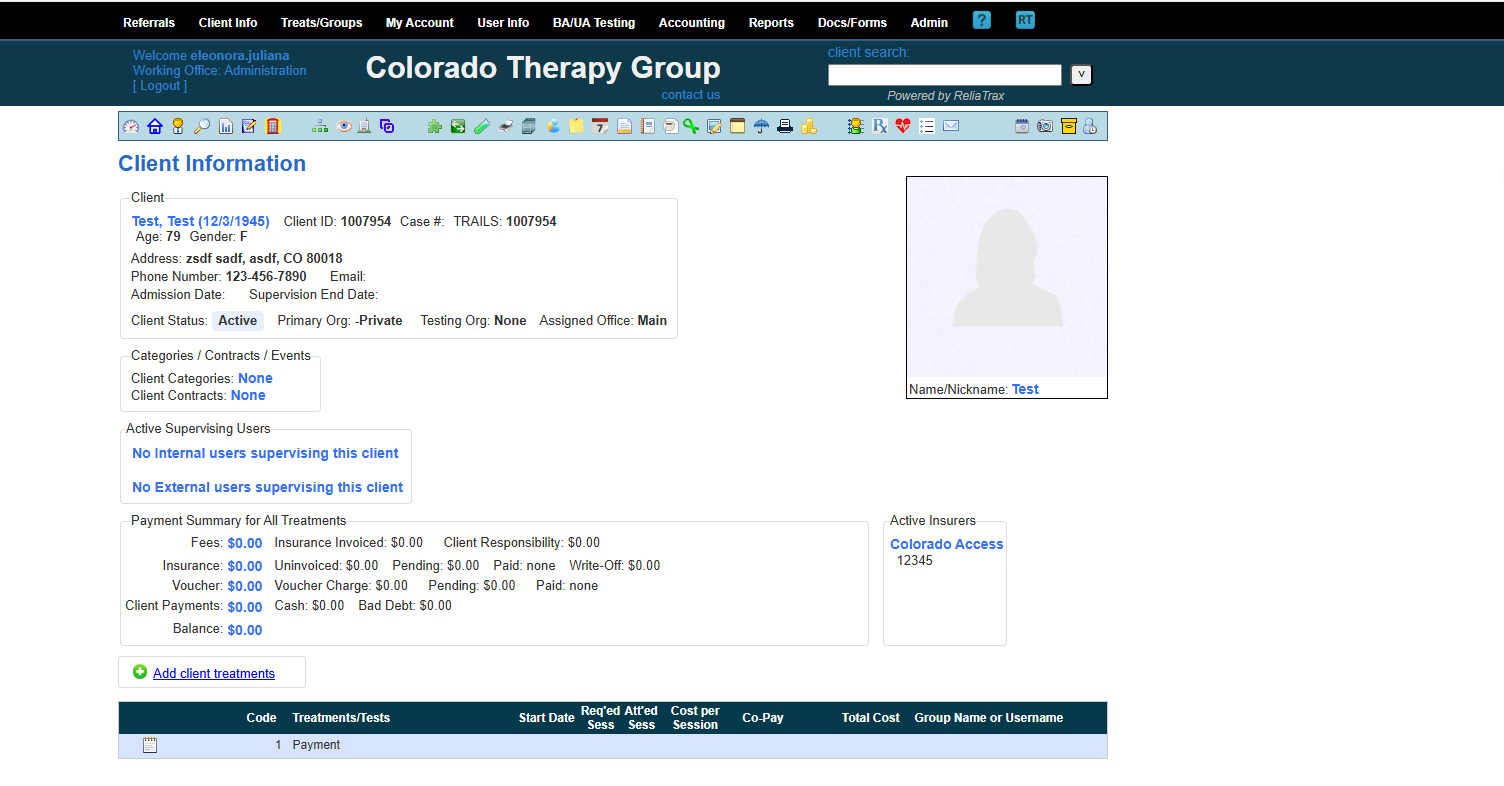
Select a client's name to go to their file, aka Client Information

6
2. Click Agenda to Manage Appointments
Step #6: 2. Click Agenda to Manage Appointments
7
Click on your client's name to take you to their file: Client Information
Step #7: Click on your client's name to take you to their file: Client Information
8
Click Client Treatment (administrator can do this for you)
Step #8: Click Client Treatment (administrator can do this for you)

Treatment lines will be added to your account before you receive your client referral. Treatment lines include: Session note templates, treatment plan template, chart note template, etc..

9
Click- "man" Icon to access Clinet Info - "Client's File"
Step #9: Click- "man" Icon to access Clinet Info - "Client's File"

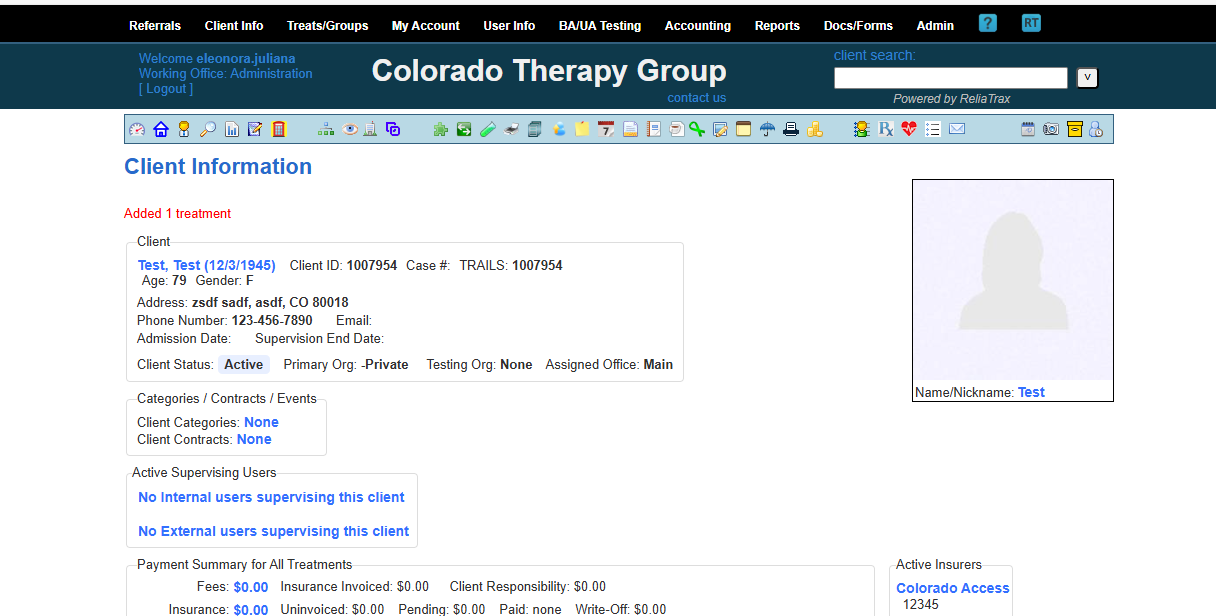
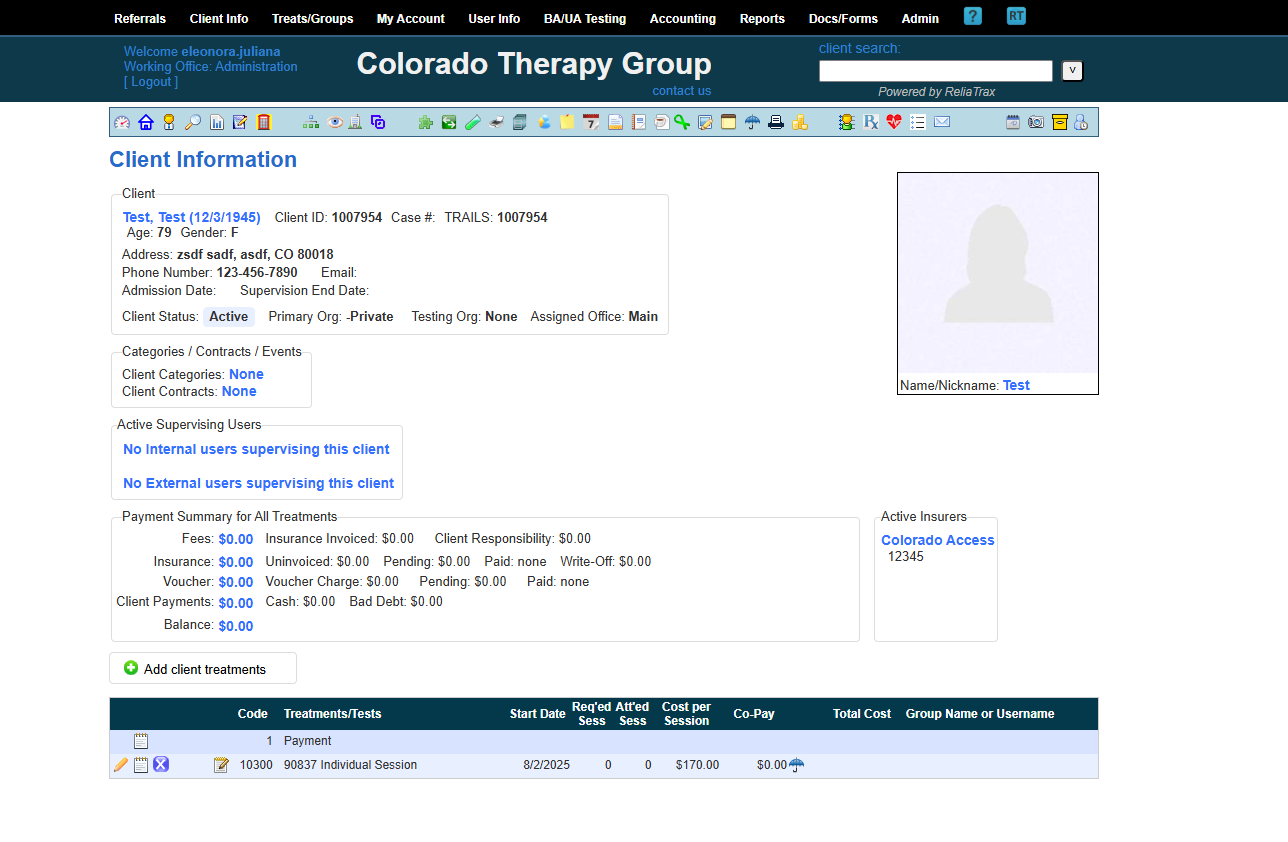
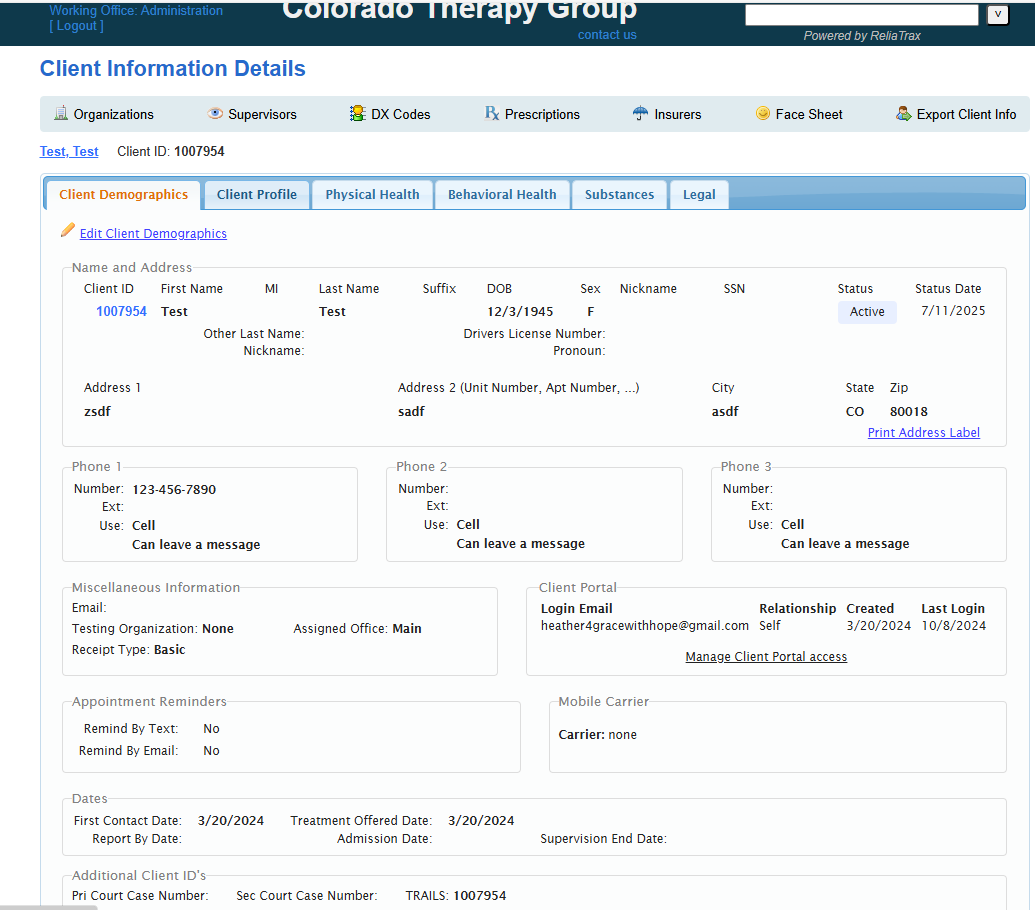
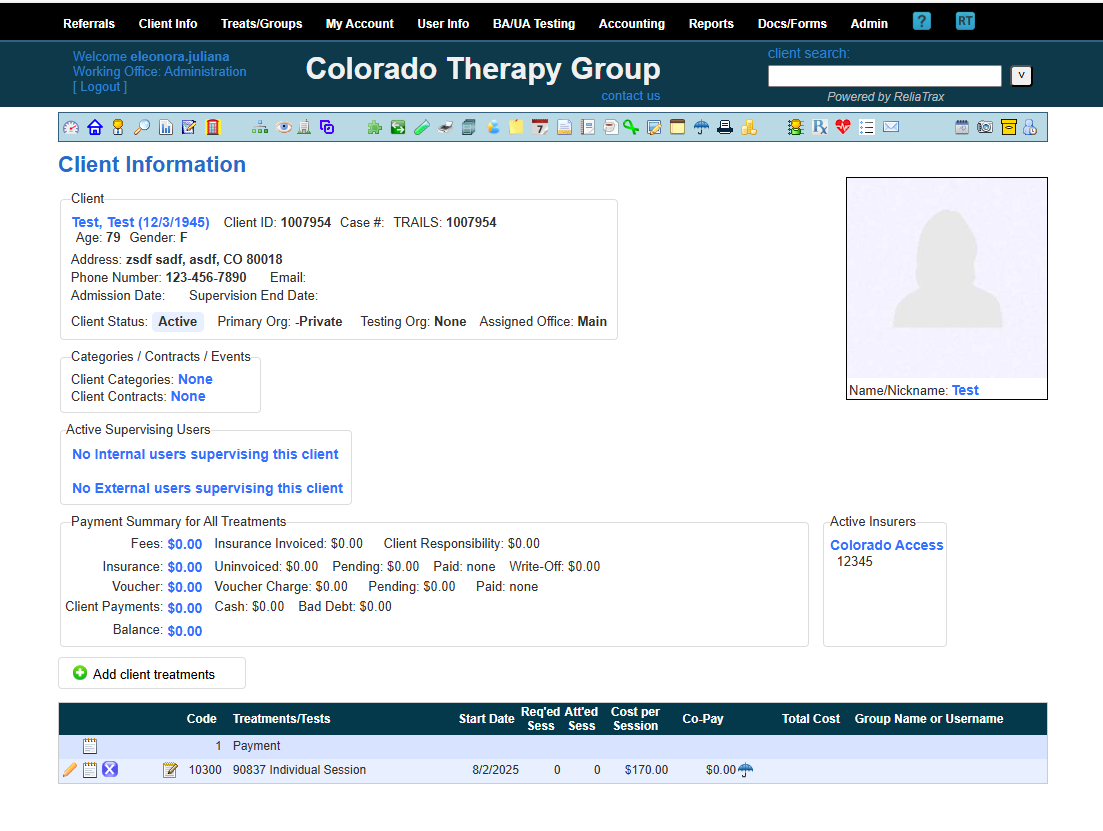
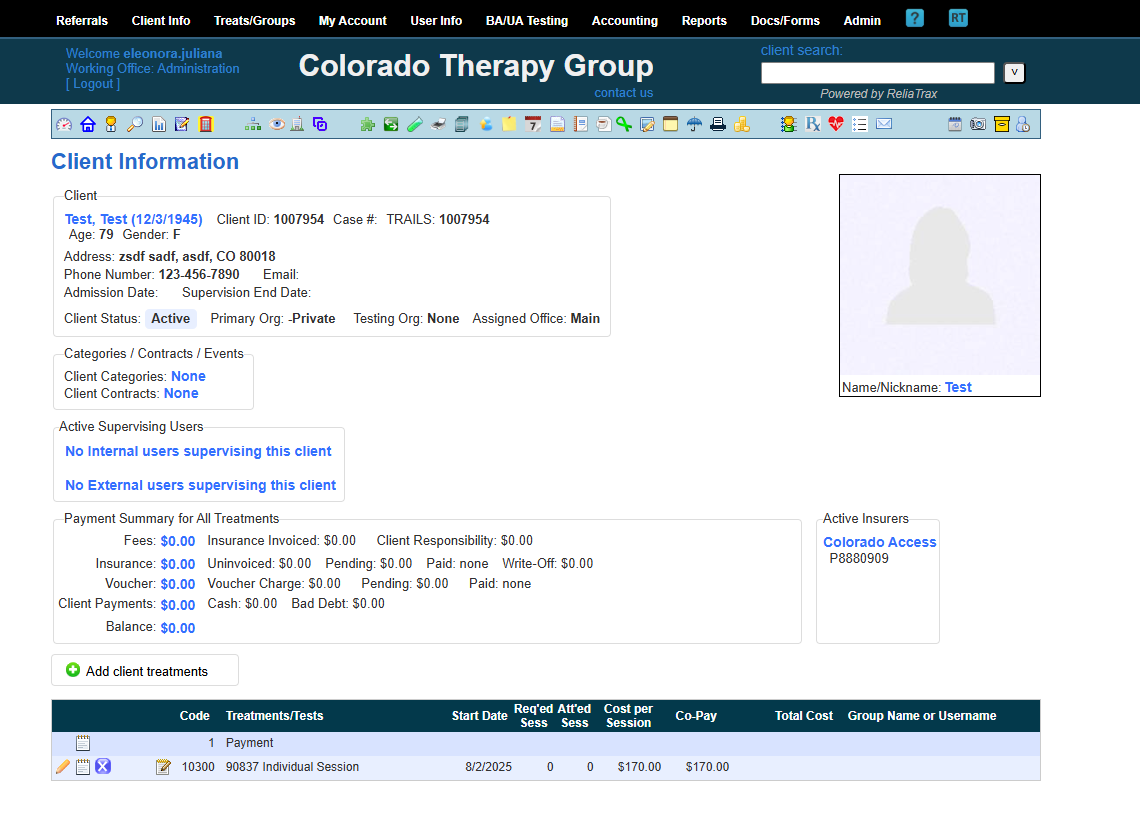
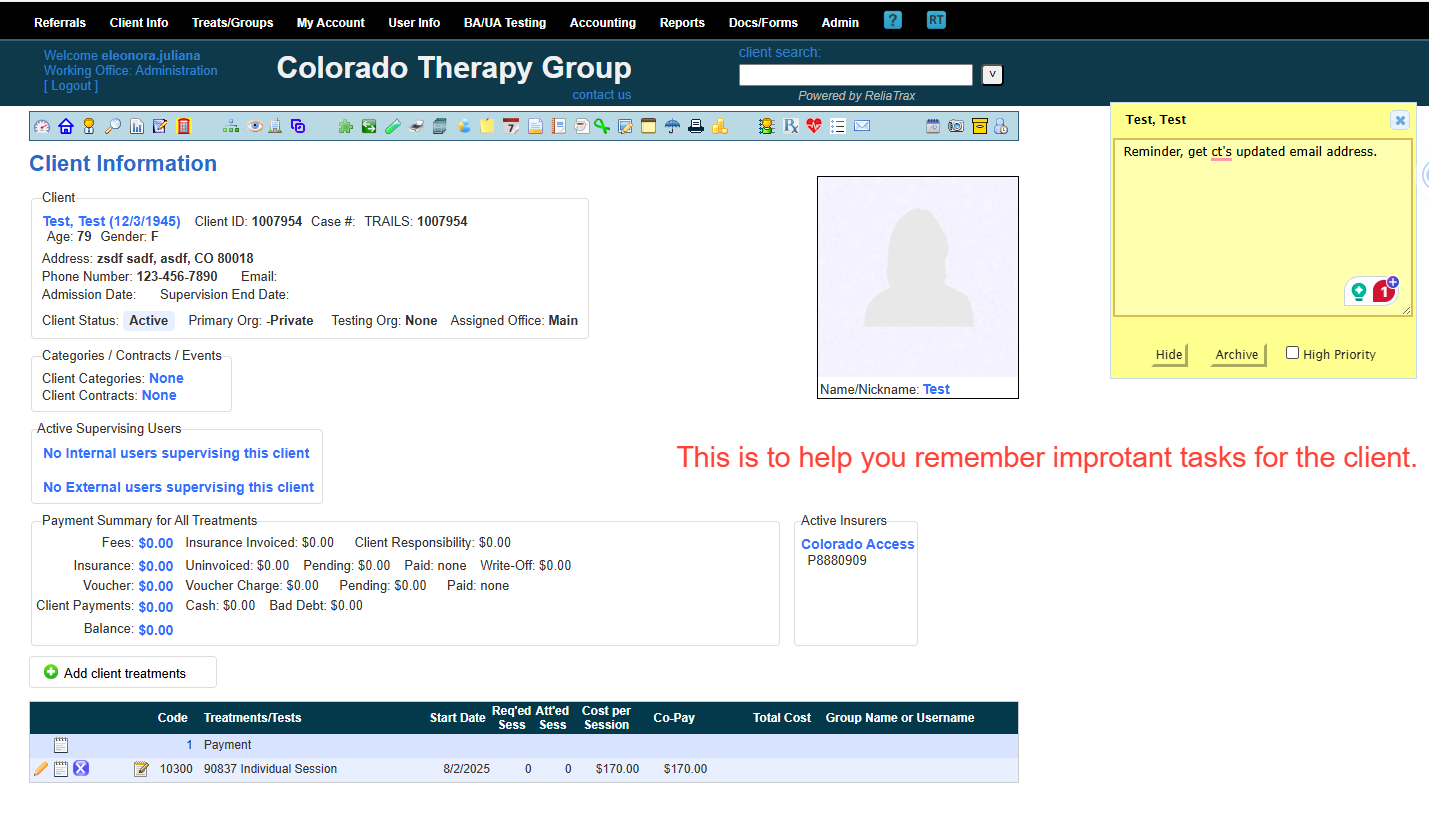
To access your client's file, click the "man icon" to go to Client Info, the main page of the client's file.

10
Click Magnifying Glass to edit Client Information
Step #10: Click Magnifying Glass to edit Client Information
11
Click on "Edit Client Demographics"
Step #11: Click on "Edit Client Demographics"

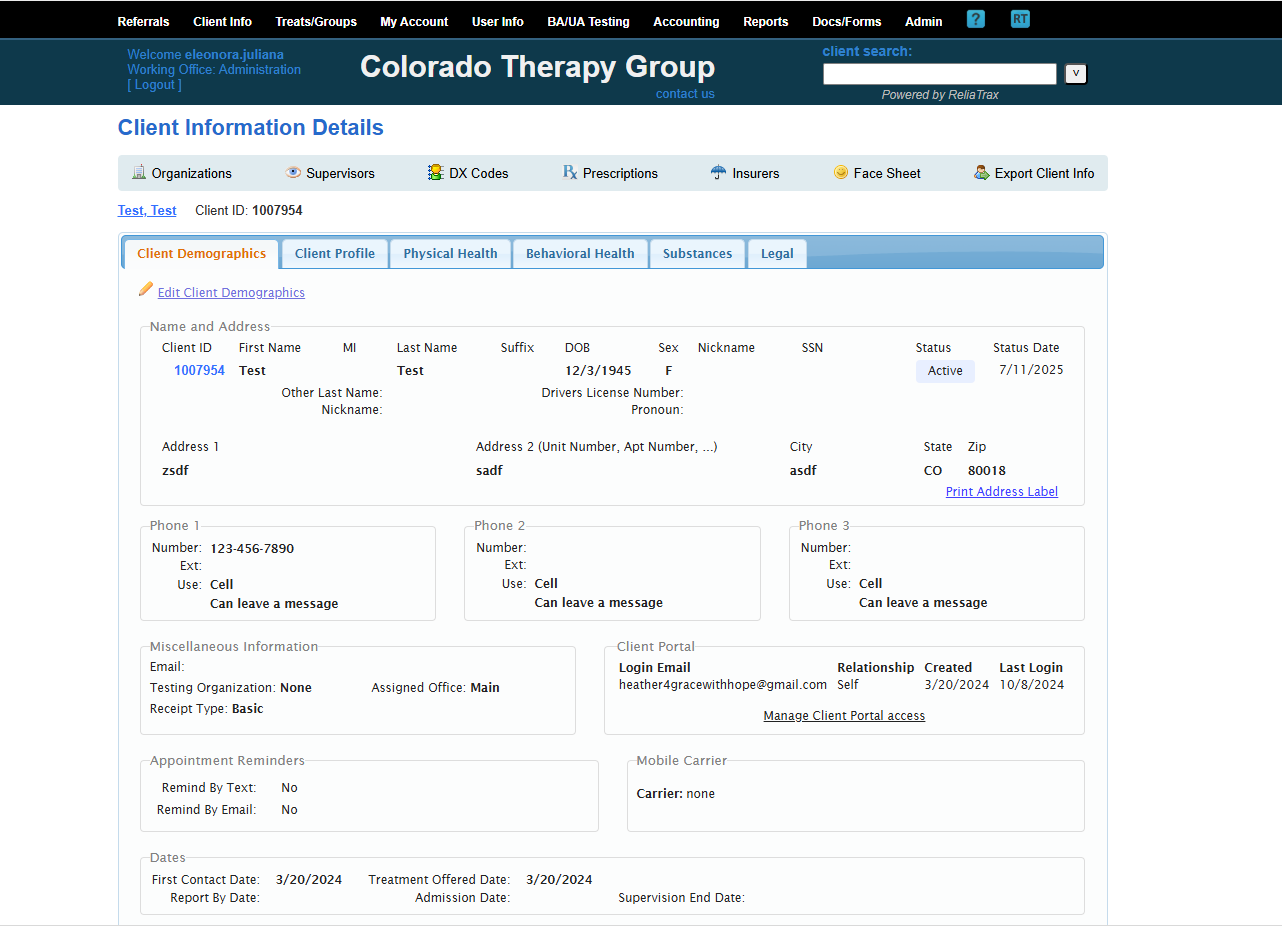
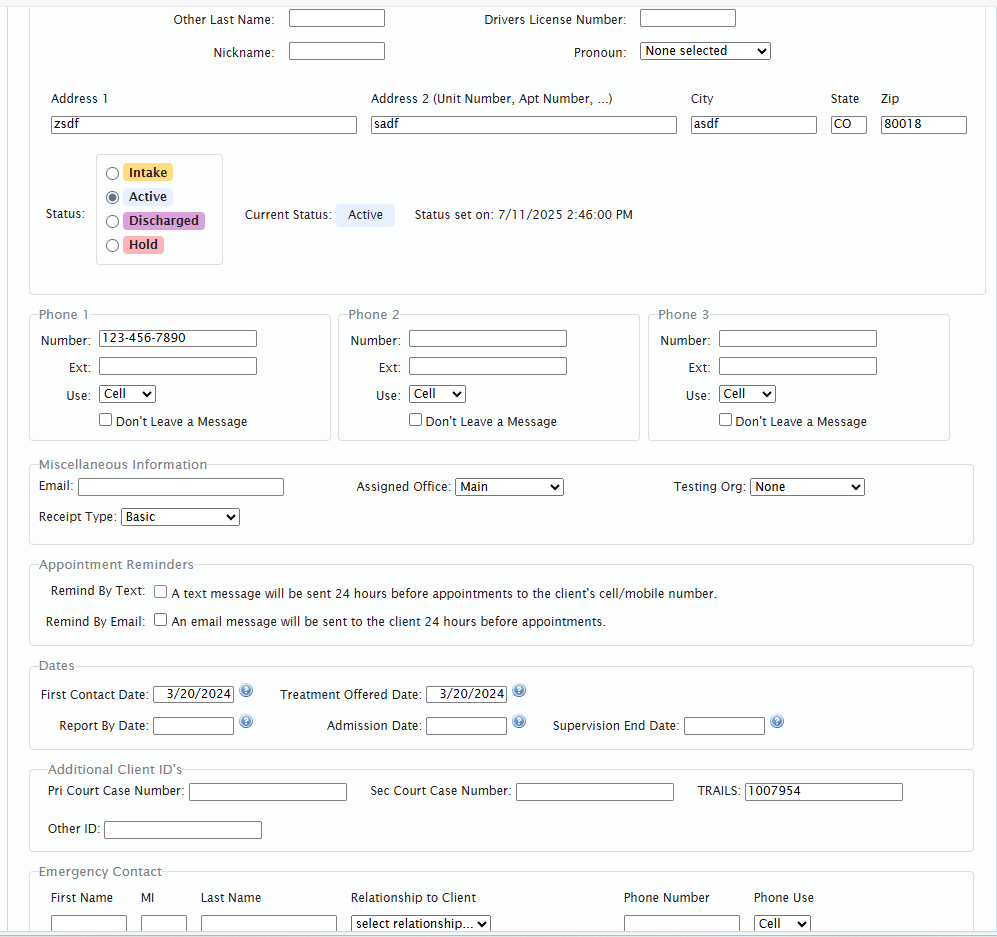
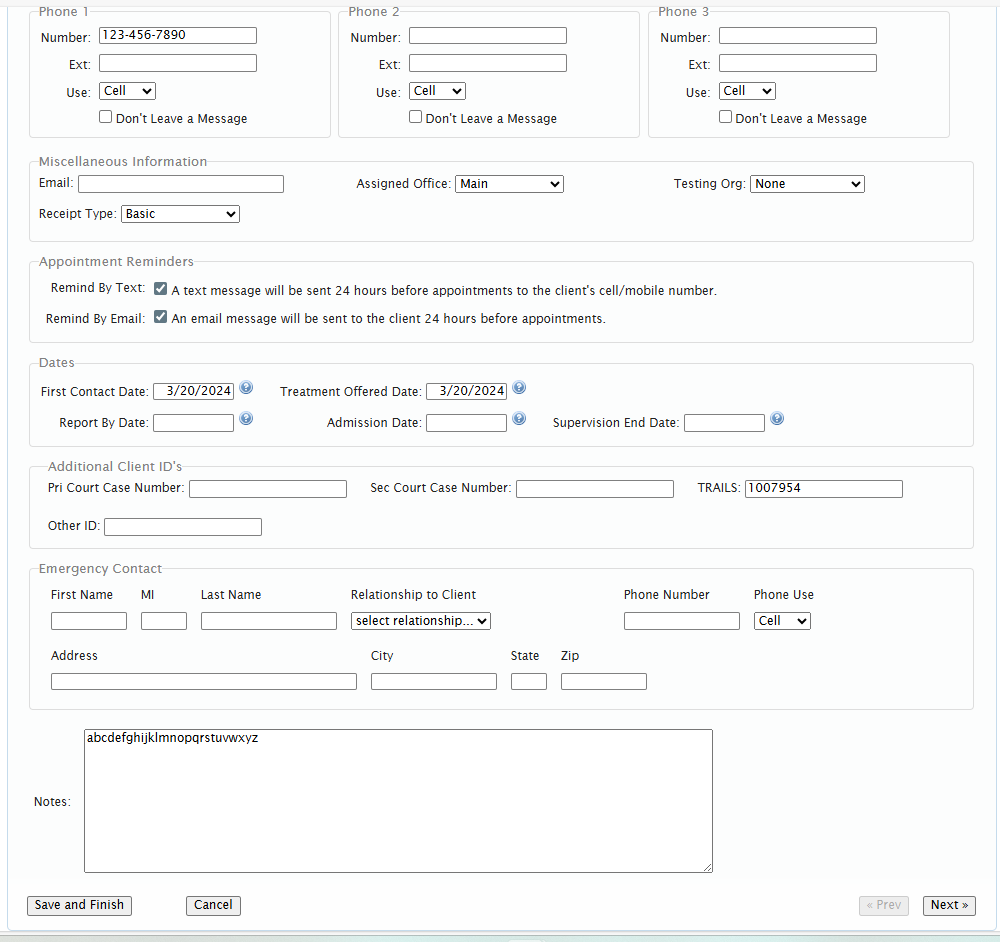
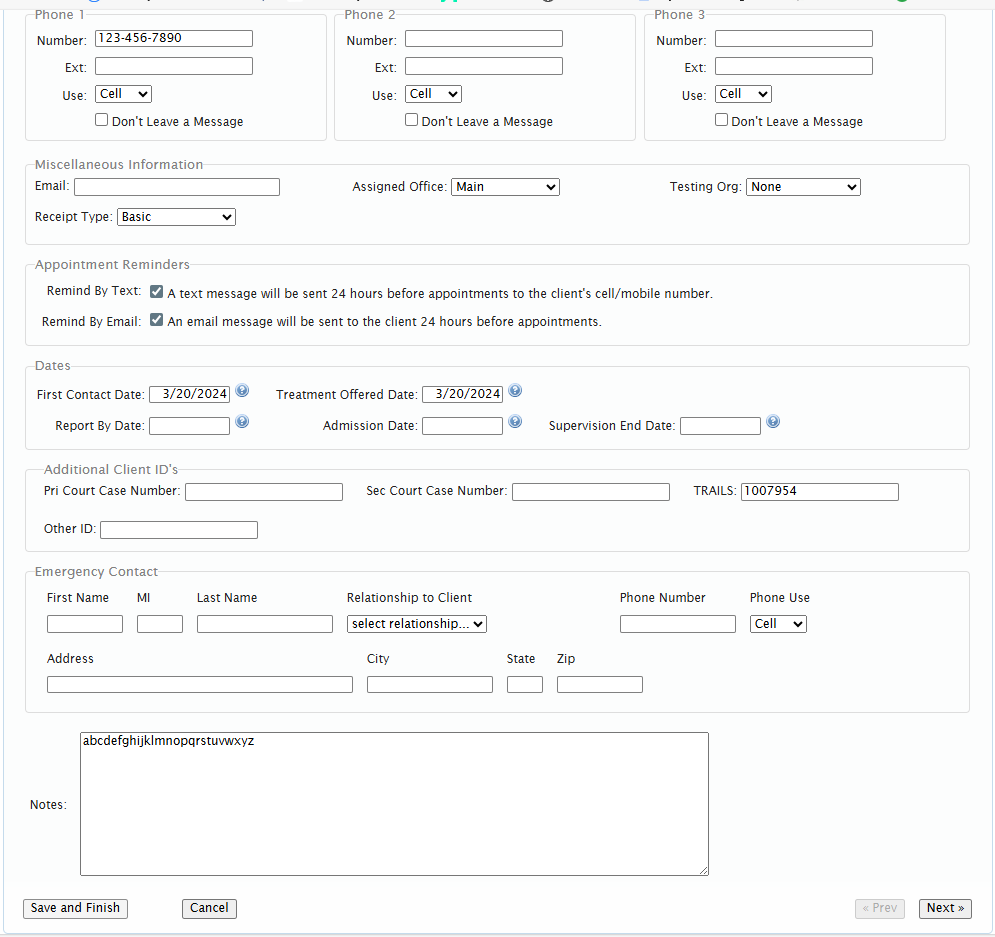
Add and update client information by clicking Edit Client Demographics.

Be sure all client's name, DOB, email, address, phone number, etc are accurate.

12
Click "Reminder Boxes" for automated reminders to clients
Step #12: Click "Reminder Boxes" for automated reminders to clients
13
Add Contact and Admission Dates
Step #13: Add Contact and Admission Dates
14
Add Emergency Contact
Step #14: Add Emergency Contact
15
Click on "Save and Finish"
Step #15: Click on "Save and Finish"

After updating client demographics, enter information in the remaining tabs: Client Profile, Physical Health, Behavioral Health, Substances, and Legal. Be sure to save your work each time you edit a tab.

16
Add info to "Clinet Profile"
Step #16: Add info to "Clinet Profile"
17
Add info to "Physical Health"
Step #17: Add info to "Physical Health"
18
Add into fo "Behavioral Health"
Step #18: Add into fo "Behavioral Health"
19
Add into to "Substances"
Step #19: Add into to "Substances"
20
Add info to "Legal"
Step #20: Add info to "Legal"

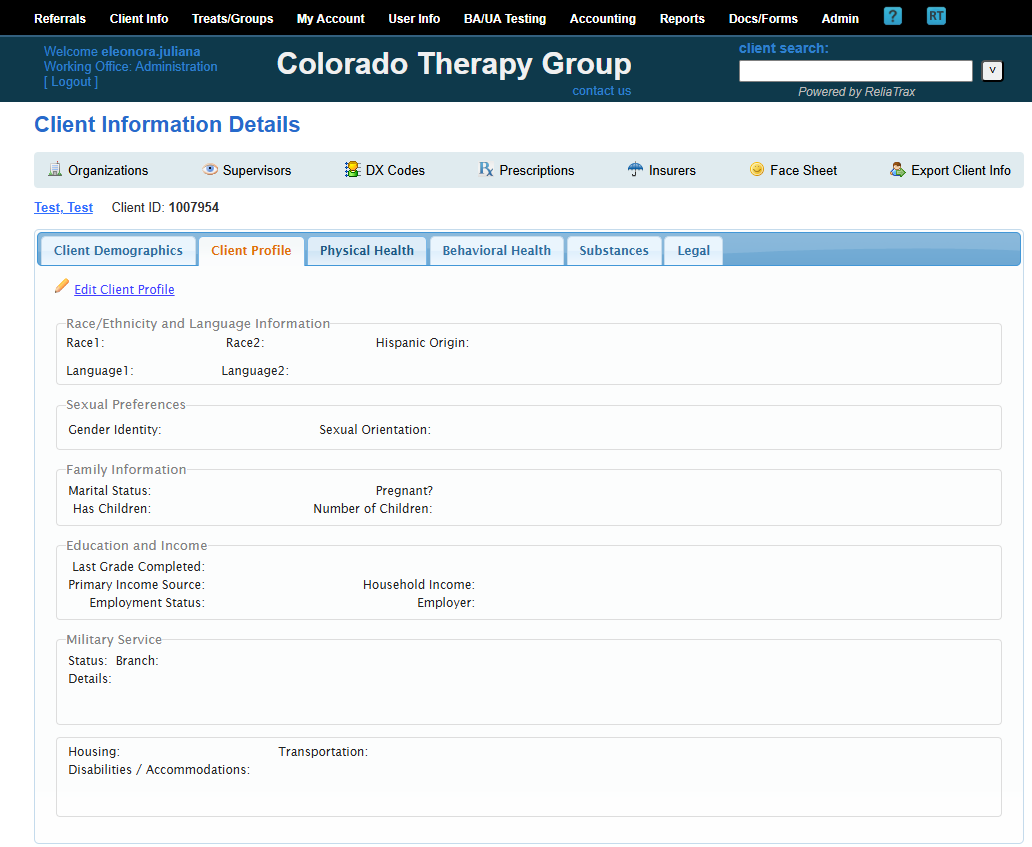
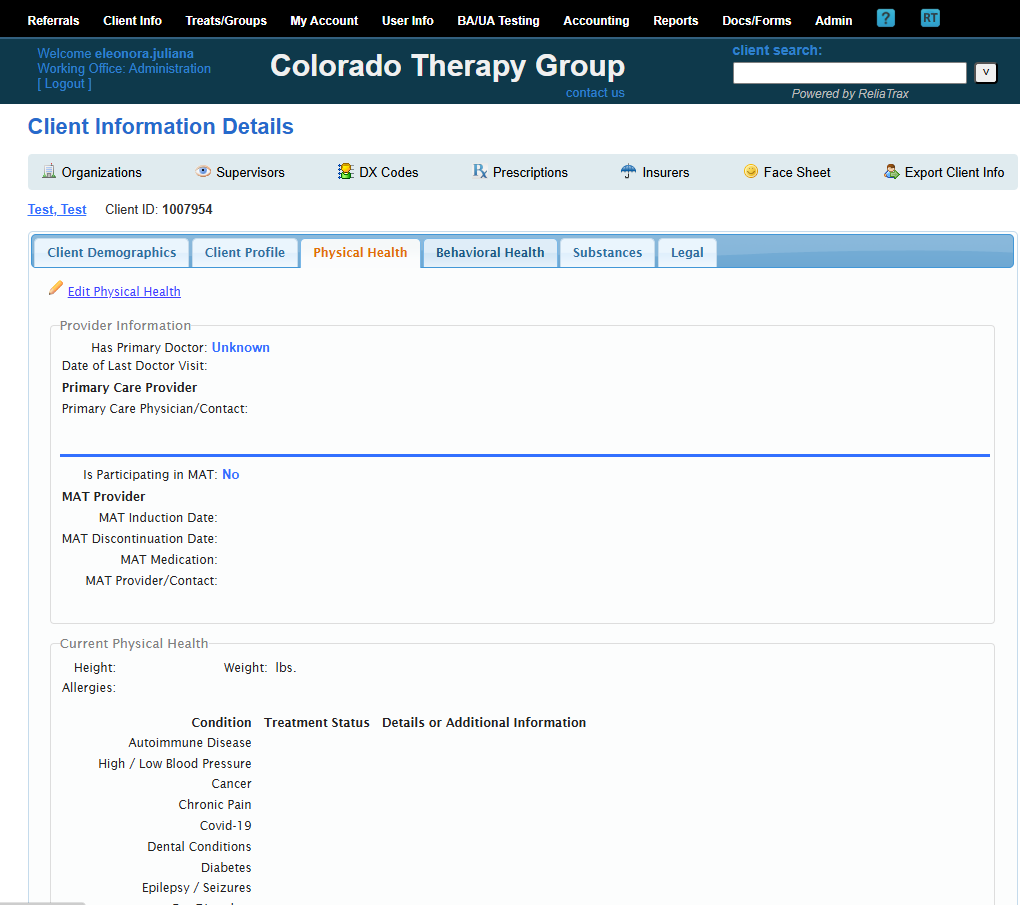
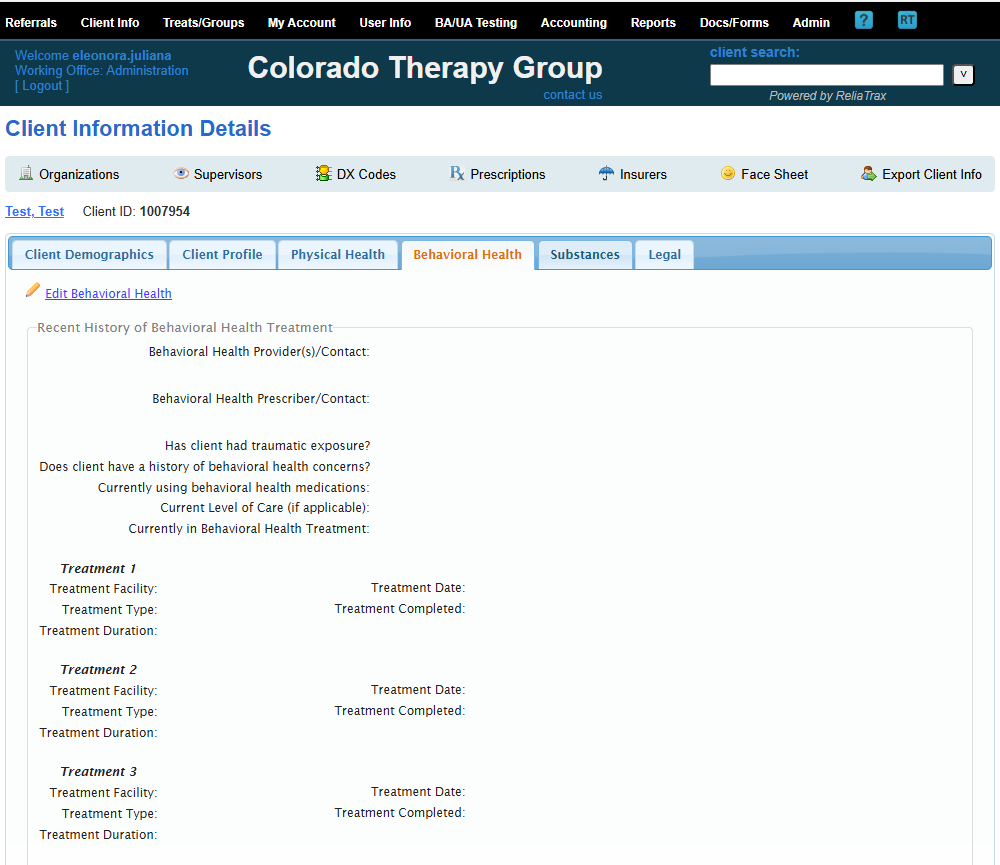
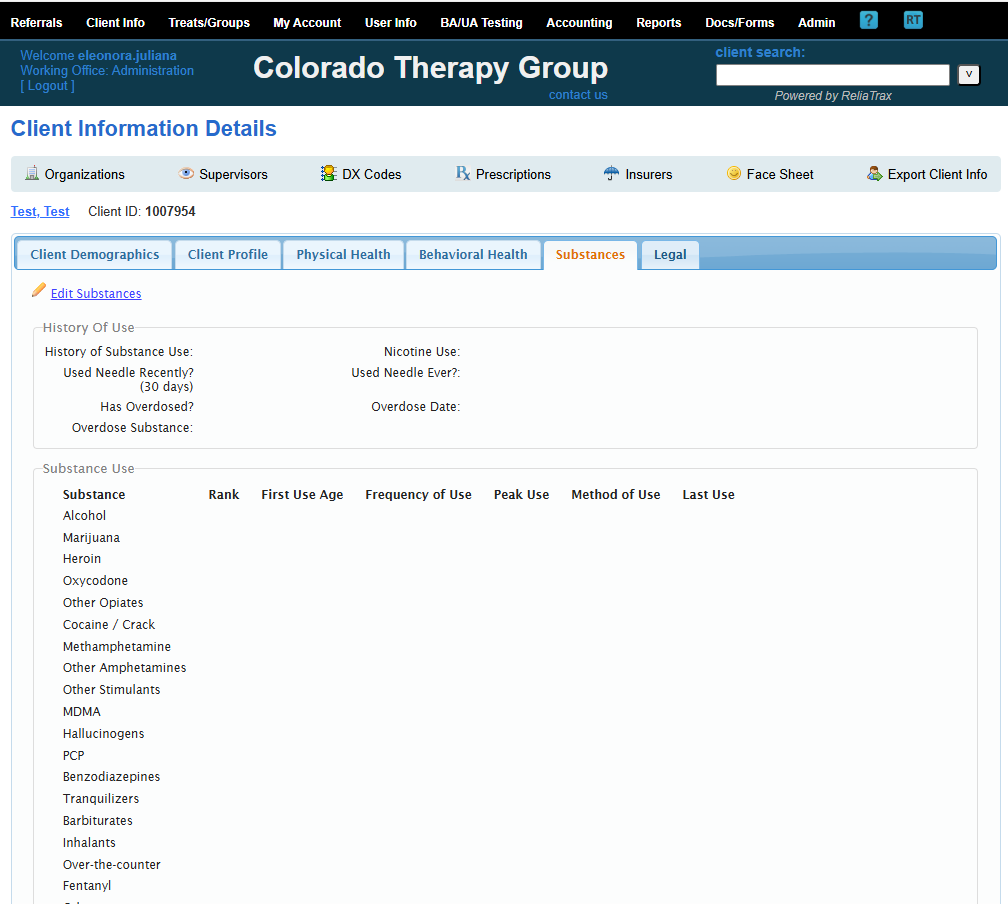
Make sure each tab is filled out with all required information. If information is not applicable, enter "N/A" in the fields instead of leaving them blank.

21
Click "Filing Cabinet" icon
Step #21: Click "Filing Cabinet" icon

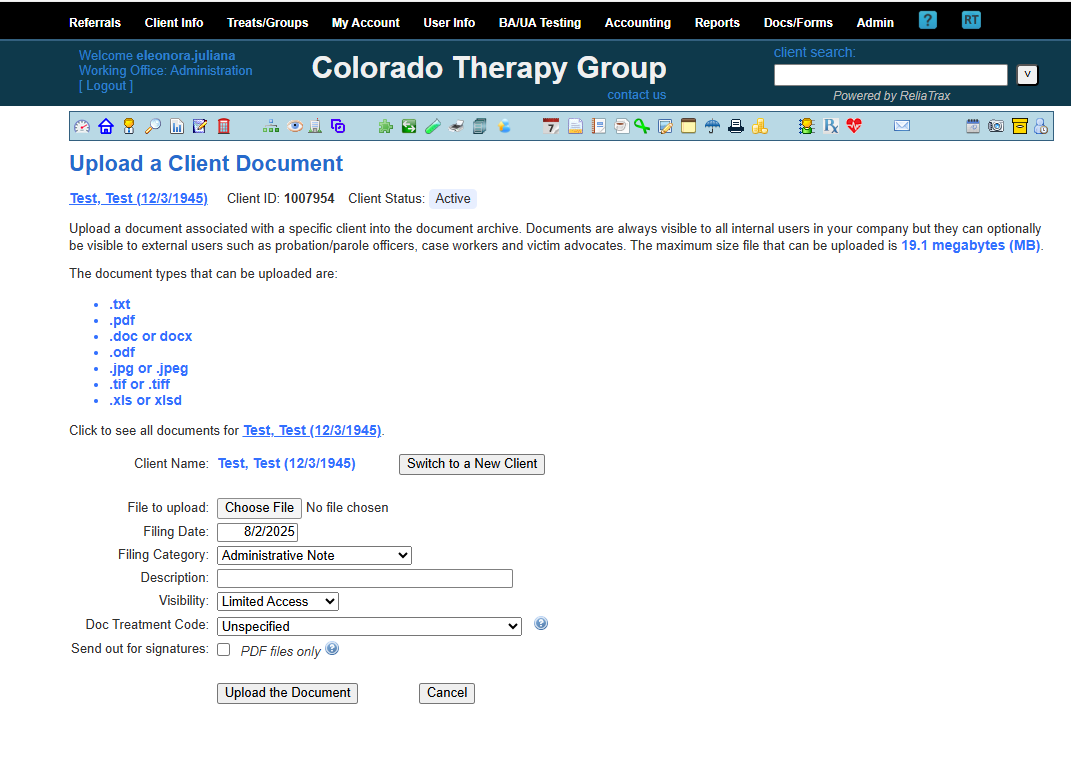
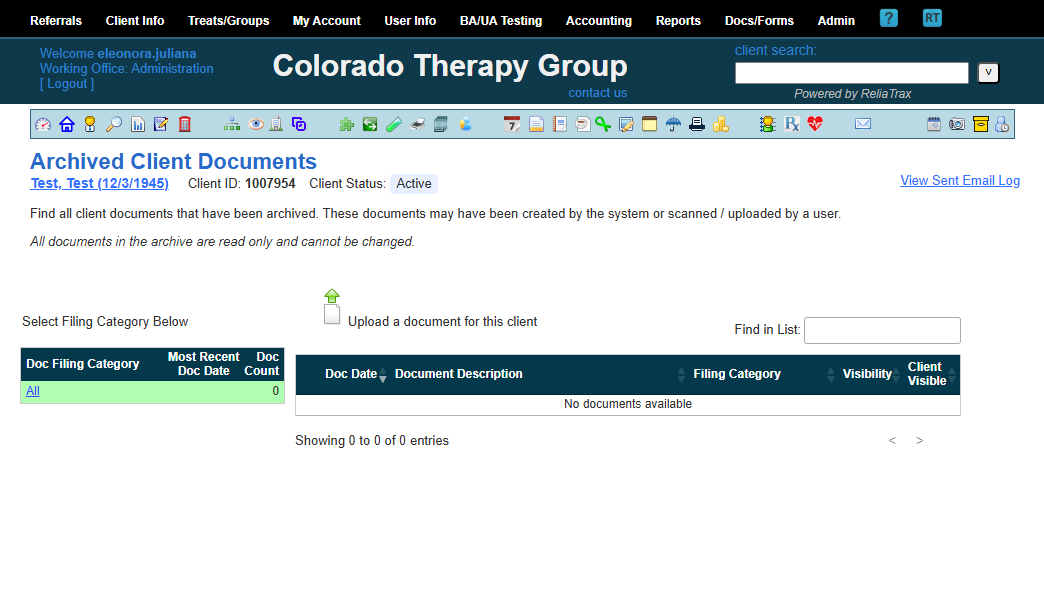
All completed session notes, treatment plans, chart notes, referrals, and uploaded documents will be found in the client's file cabinet.

22
Click on "Upload a document for this client"
Step #22: Click on "Upload a document for this client"

Upload documents to a client's file by clicking Upload a Document for this client. Select a file from your computer and add. Be sure to name the uploaded file appropriately on the Description line.

23
Click on "Choose File"
Step #23: Click on "Choose File"
24
Click the "Umbrella": Insurance page
Step #24: Click the "Umbrella":  Insurance page
25
Click on "Add new insure"
Step #25: Click on "Add new insure"
26
Add "Member ID" (insurance #)
Step #26: Add "Member ID" (insurance #)
27
Click on "Save"
Step #27: Click on "Save"
28
Click "Diagnosis (Dx) Code icon
Step #28: Click "Diagnosis (Dx) Code icon

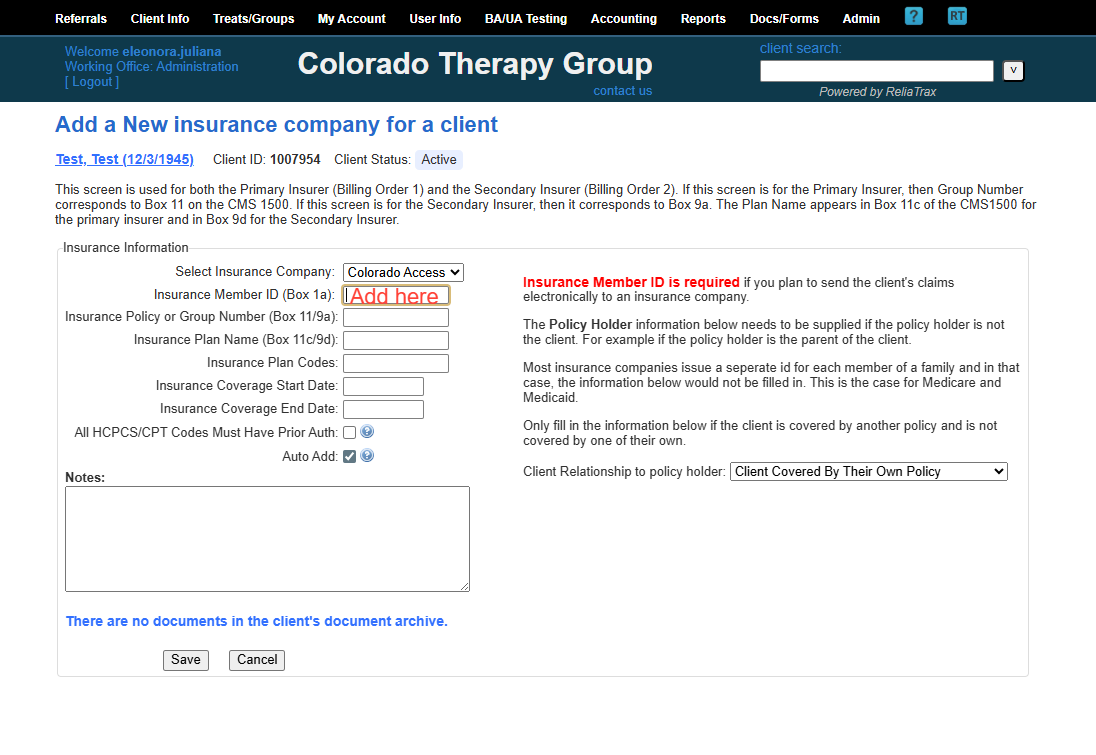
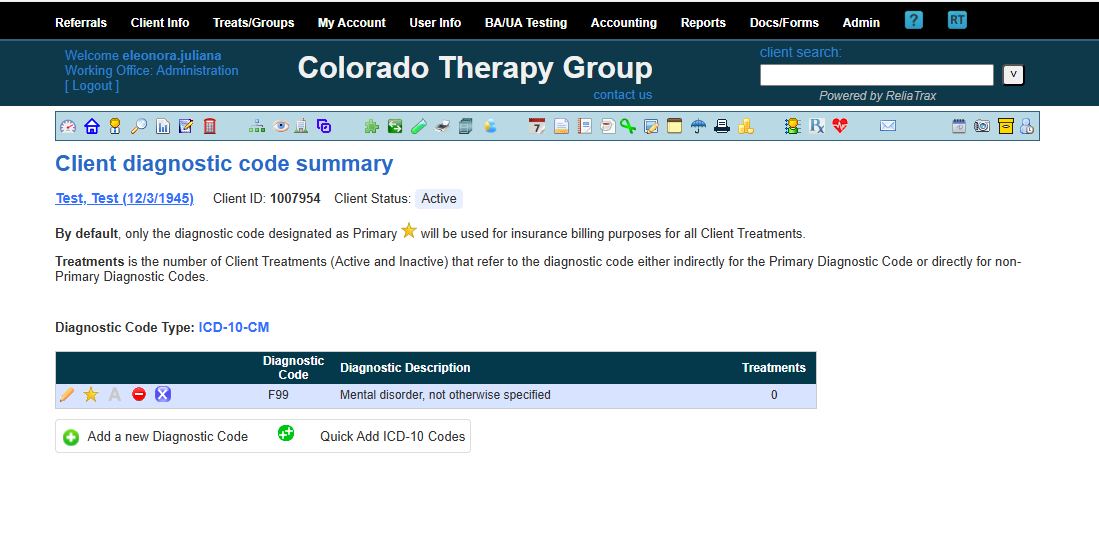
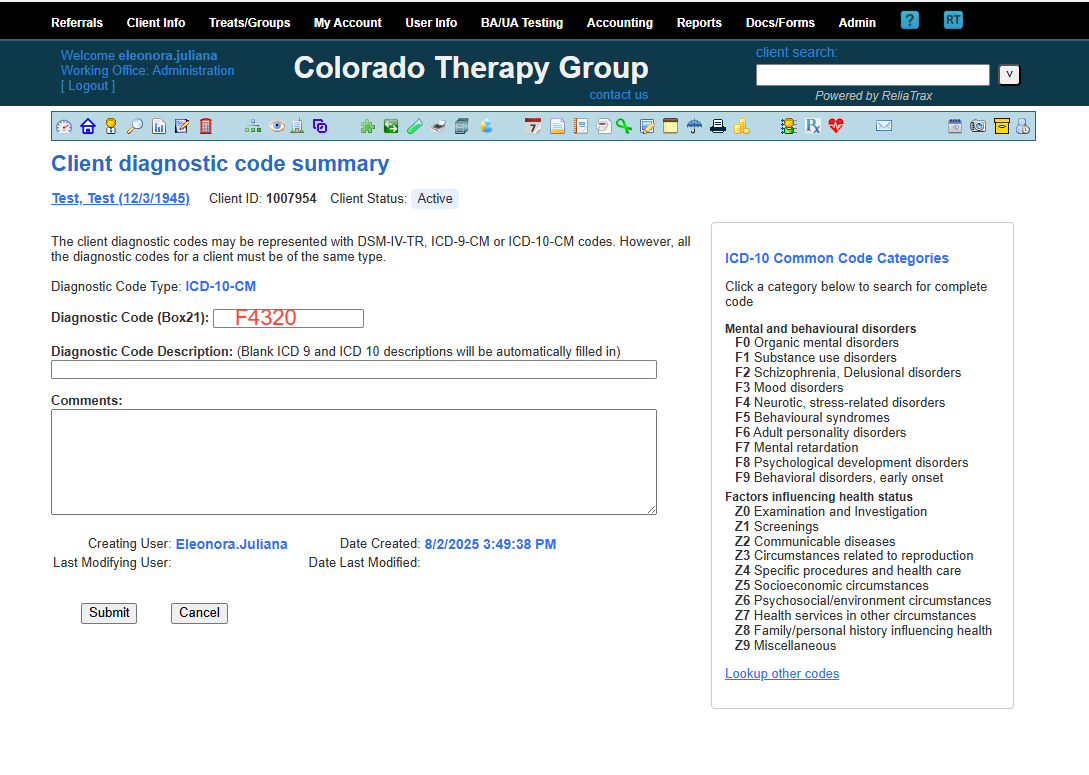
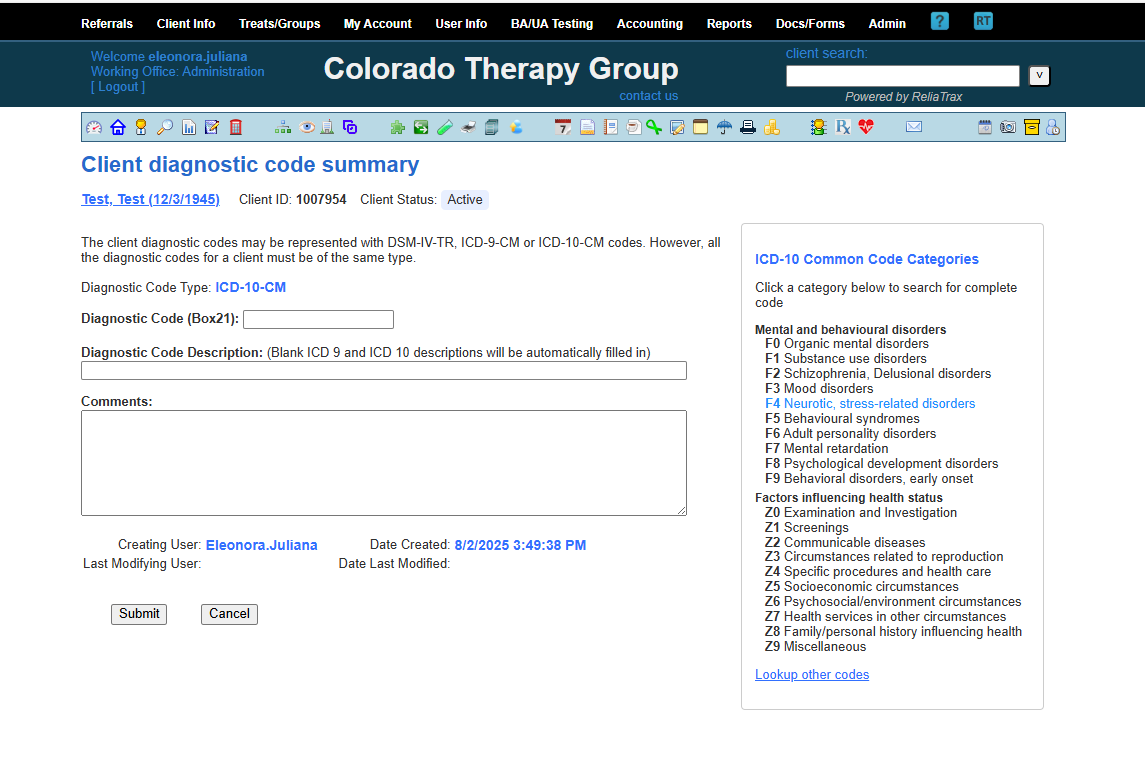
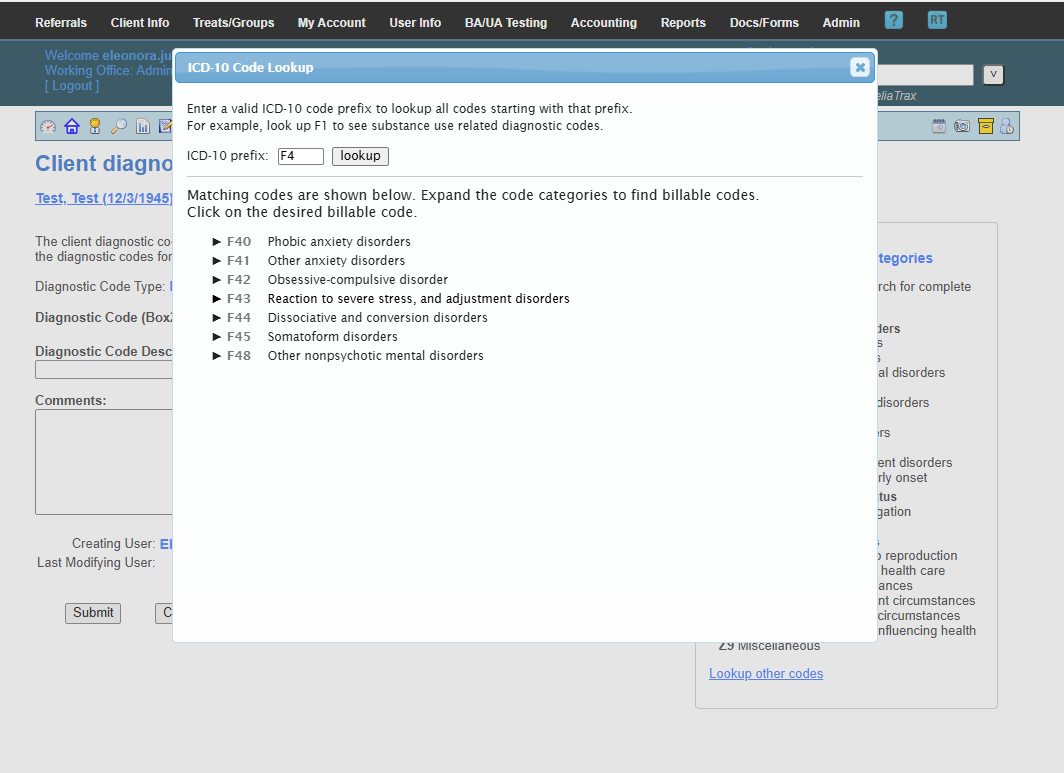
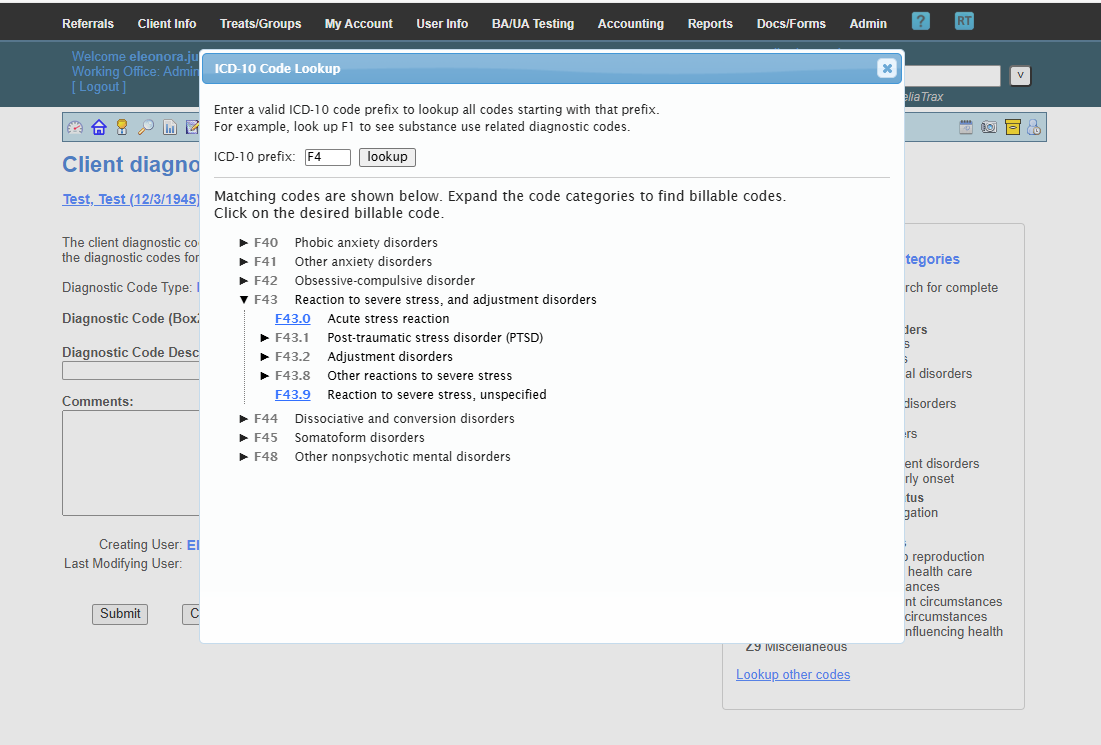
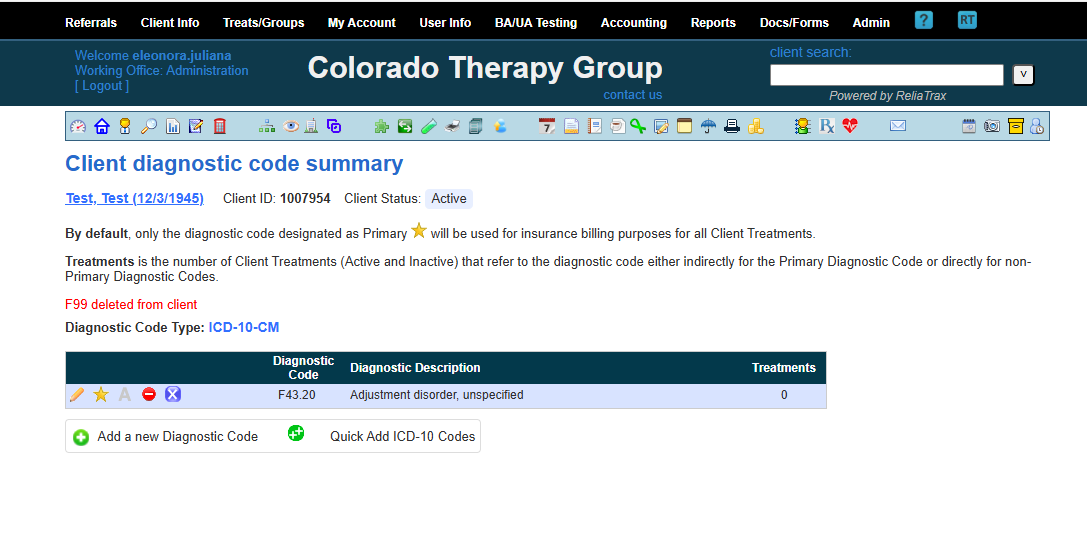
Here, you will add the diagnostic code appropriate for the client.

29
Click on "+ Add a new Diagnostic Code"
Step #29: Click on "+ Add a new Diagnostic Code"
30
Enter Dx Code
Step #30: Enter Dx Code
31
Click here to help find a Dx Code
Step #31: Click here to help find a Dx Code
32
Click on sub-tabs to find specific, appropriate codes
Step #32: Click on sub-tabs to find specific, appropriate codes
33
Keep going until you find what you are looking for
Step #33: Keep going until you find what you are looking for
34
Click on "Submit"
Step #34: Click on "Submit"
35
Click on Client's Name to return to CLIENT INFO
Step #35: Click on Client's Name to return to CLIENT INFO
36
Click "Pot-It Note" icon for your reminders
Step #36: Click "Pot-It Note" icon for your reminders
37
Add reminder
Step #37: Add reminder
38
Click on "✓ High Priority" if urgent
Step #38: Click on "✓ High Priority" if urgent

I hope this tutorial was helpful. If you have additional questions, please reach out to Eleonora for further support: eleonora.t@live.com.