
How to Open, Use, and Save STA Forms in Teams and SharePoint
Learn step-by-step instructions on how to open, fill out, and save STA forms using Teams and SharePoint. This guide covers accessing the STA template, filling in required fields, handling employee IDs, and saving your completed forms efficiently.
In this guide, we'll learn how to open, use, and save STA forms using Teams and SharePoint. You will see how to find the correct STA template, fill in the required fields, and add information for your tasks and employees. We will also cover how to save your completed form in the right folder and manage file storage for easy access.
Let's get started
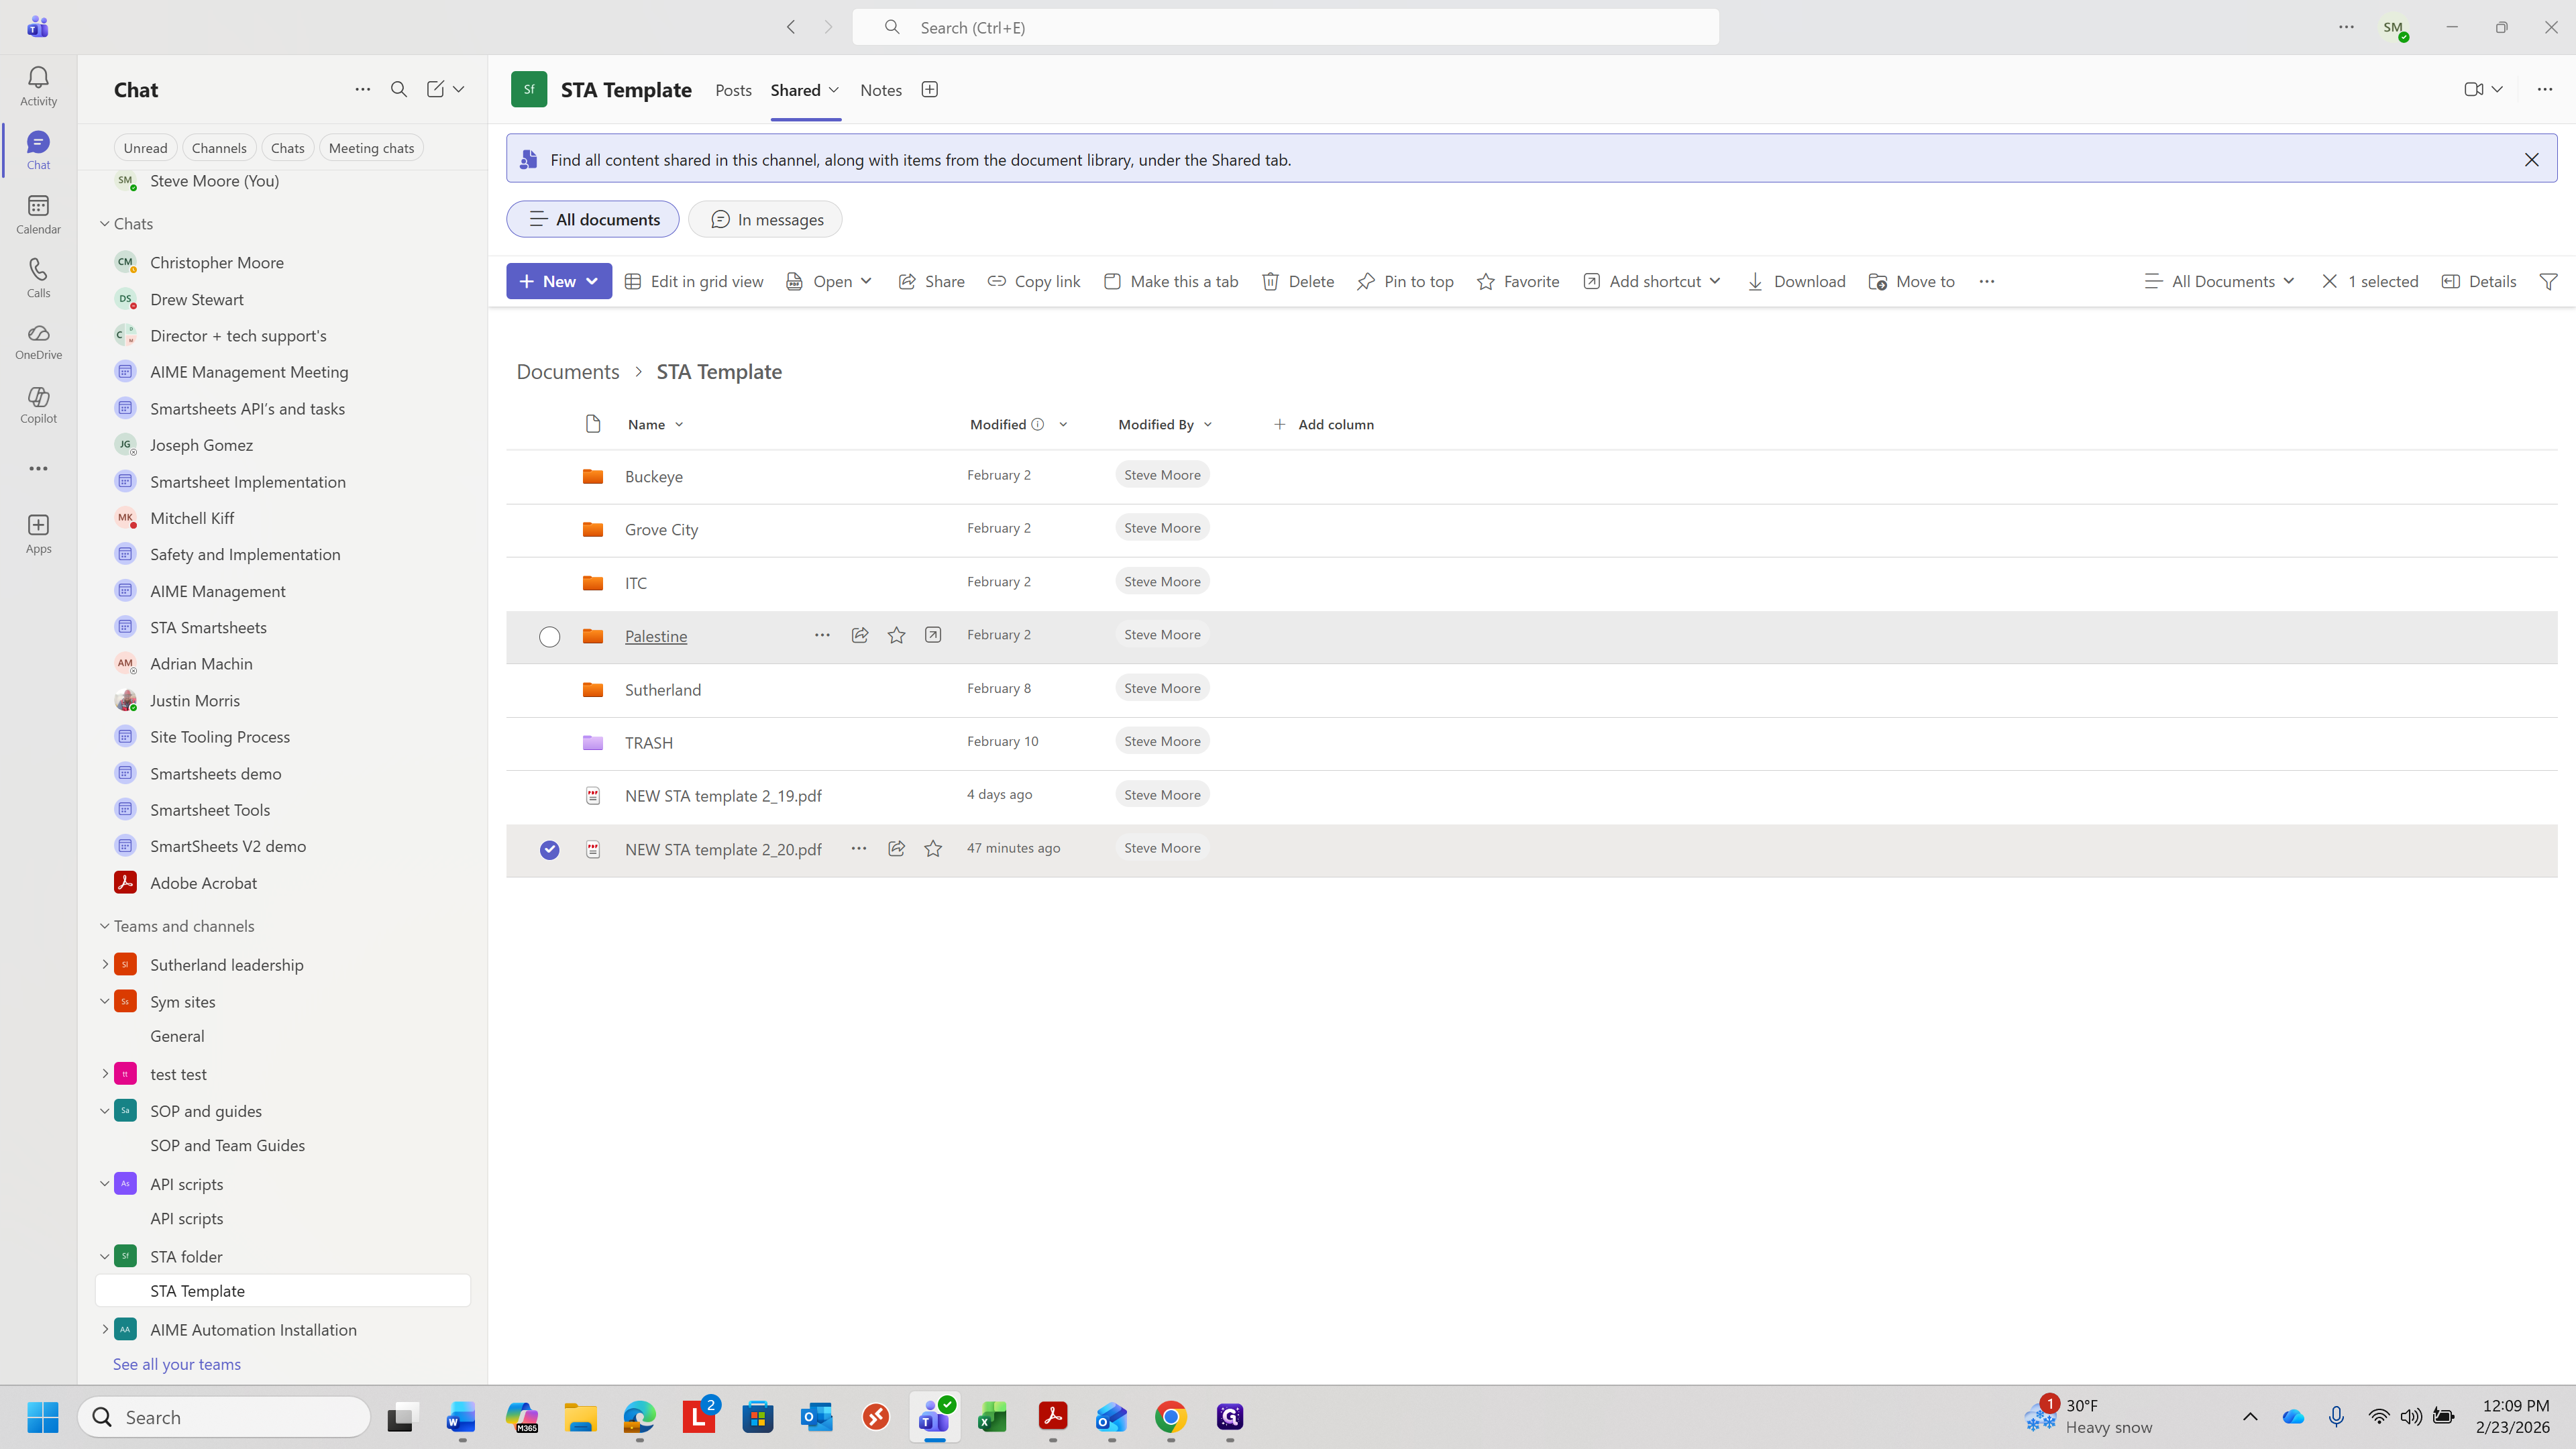
How to open, use, and save STA forms. First, go to Teams. There is a folder called STA folder, which contains the STA template.
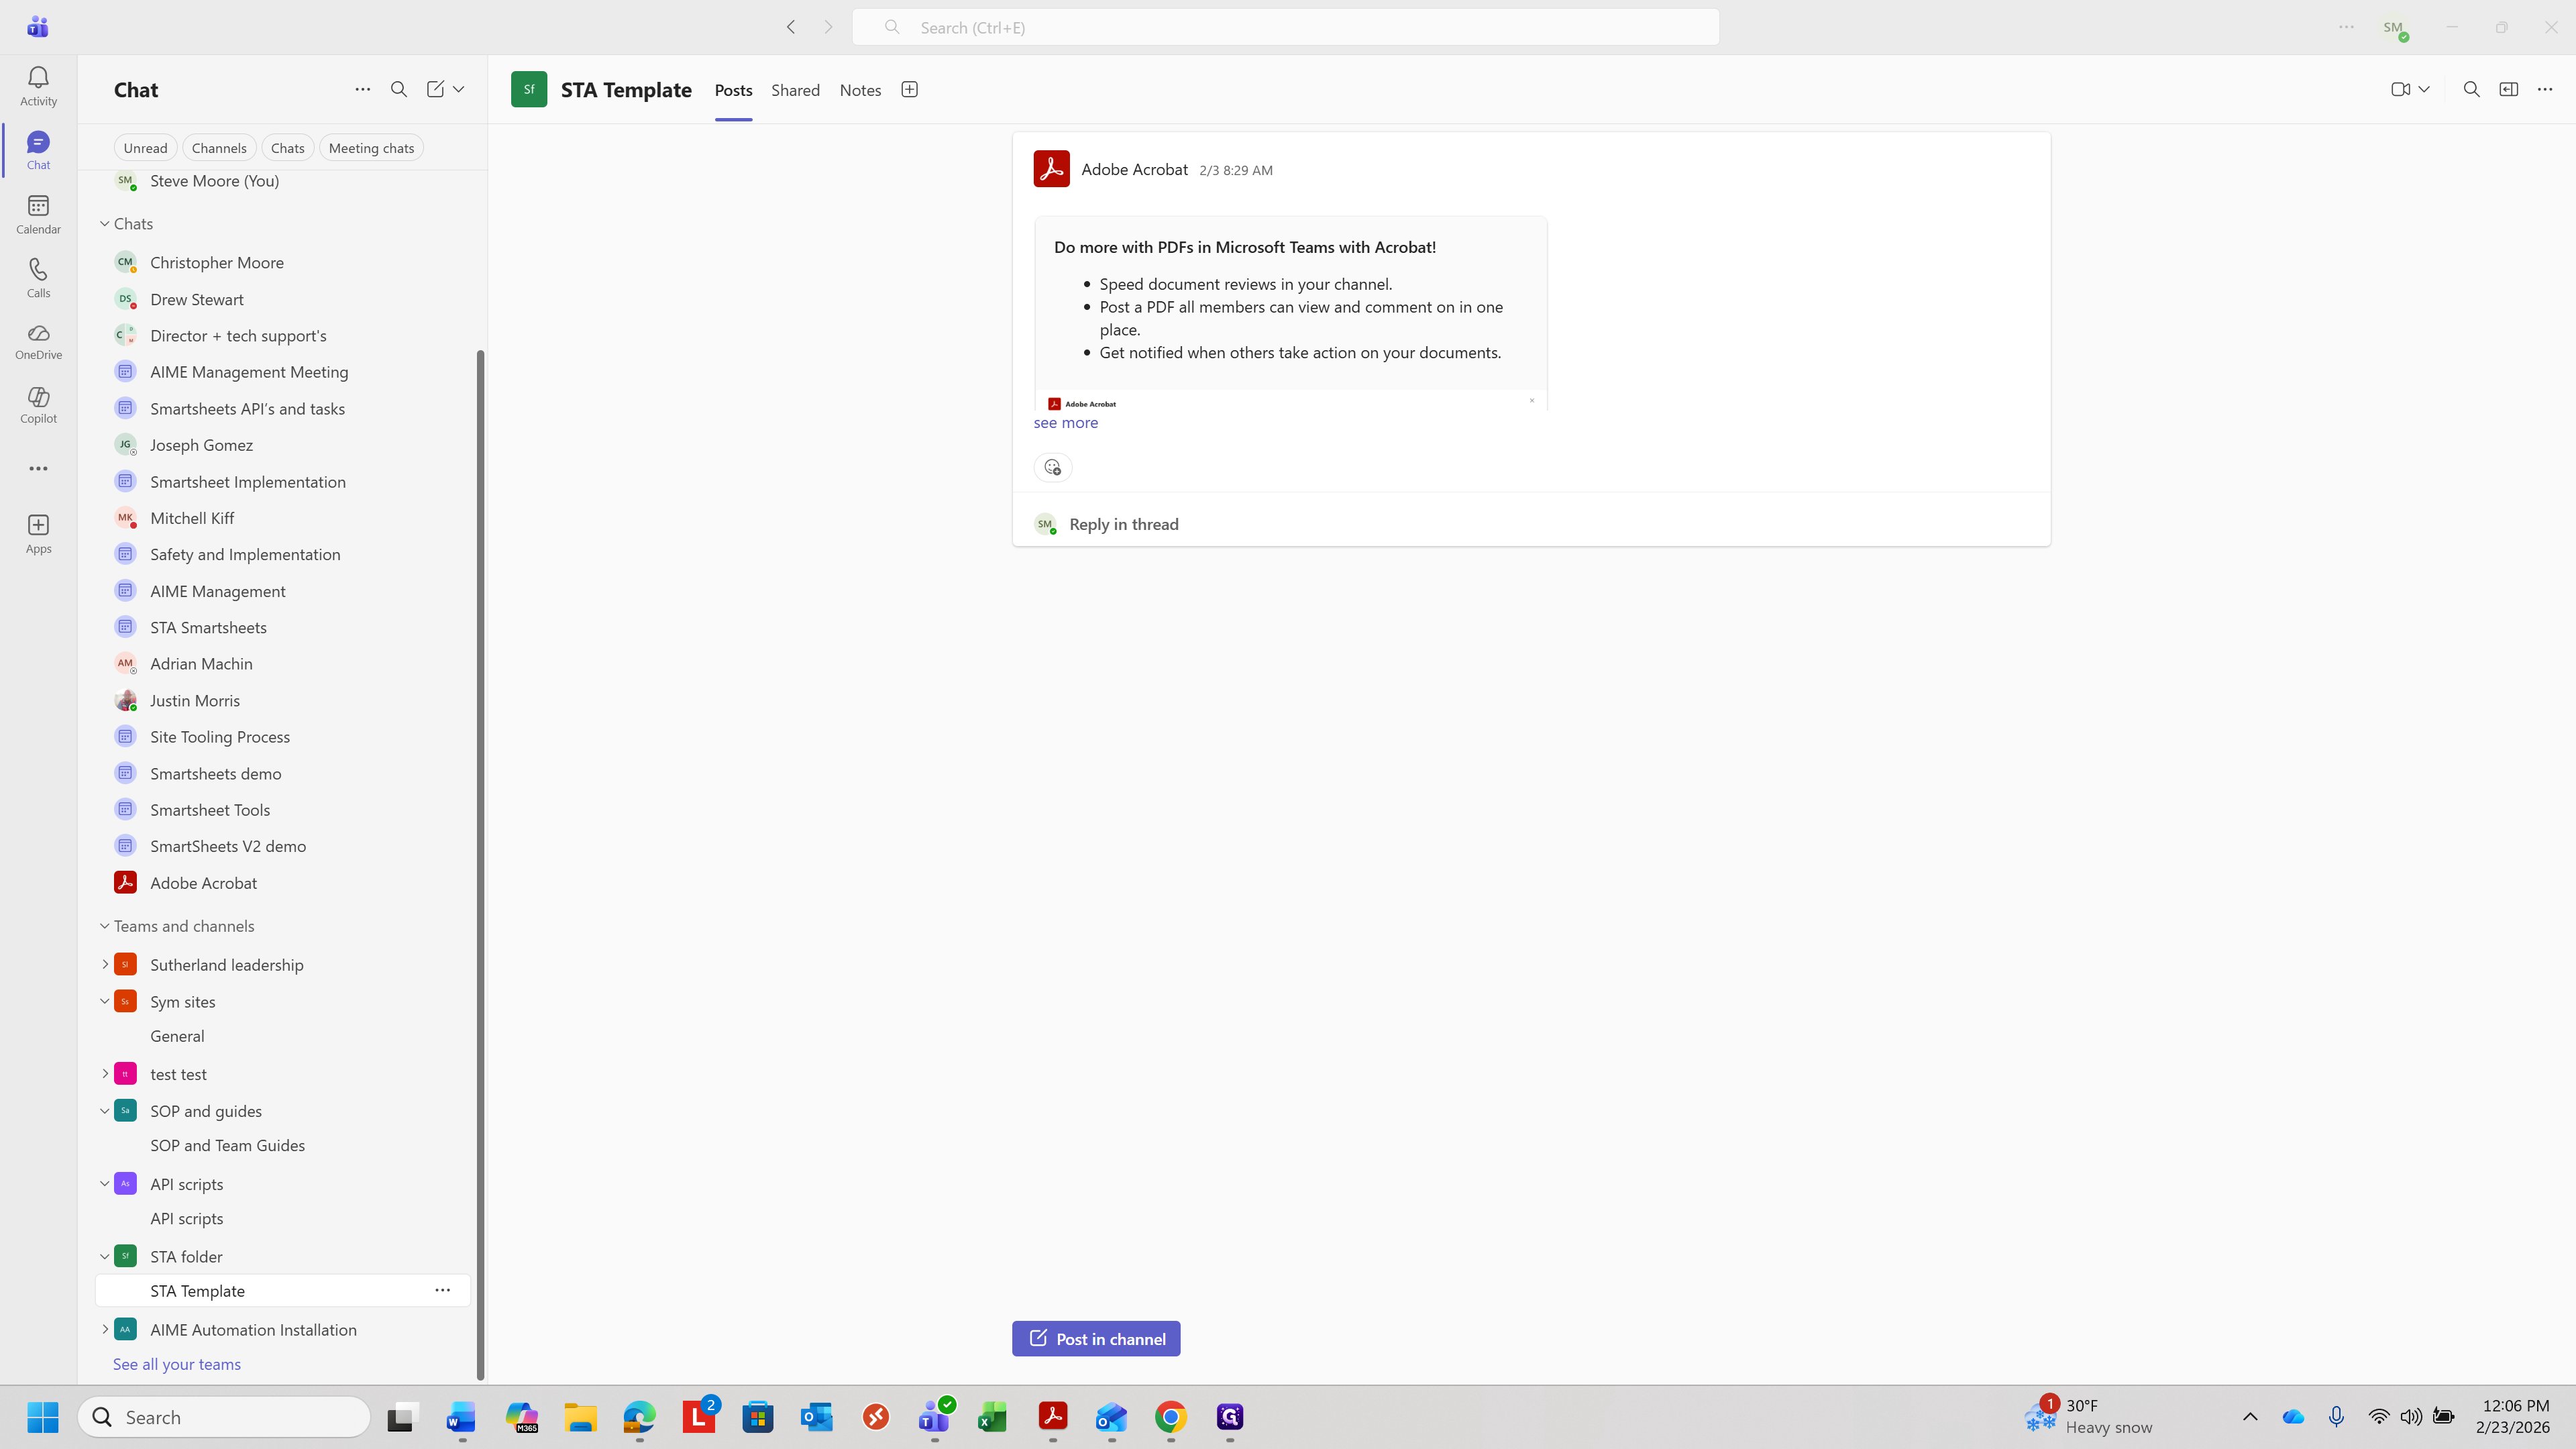
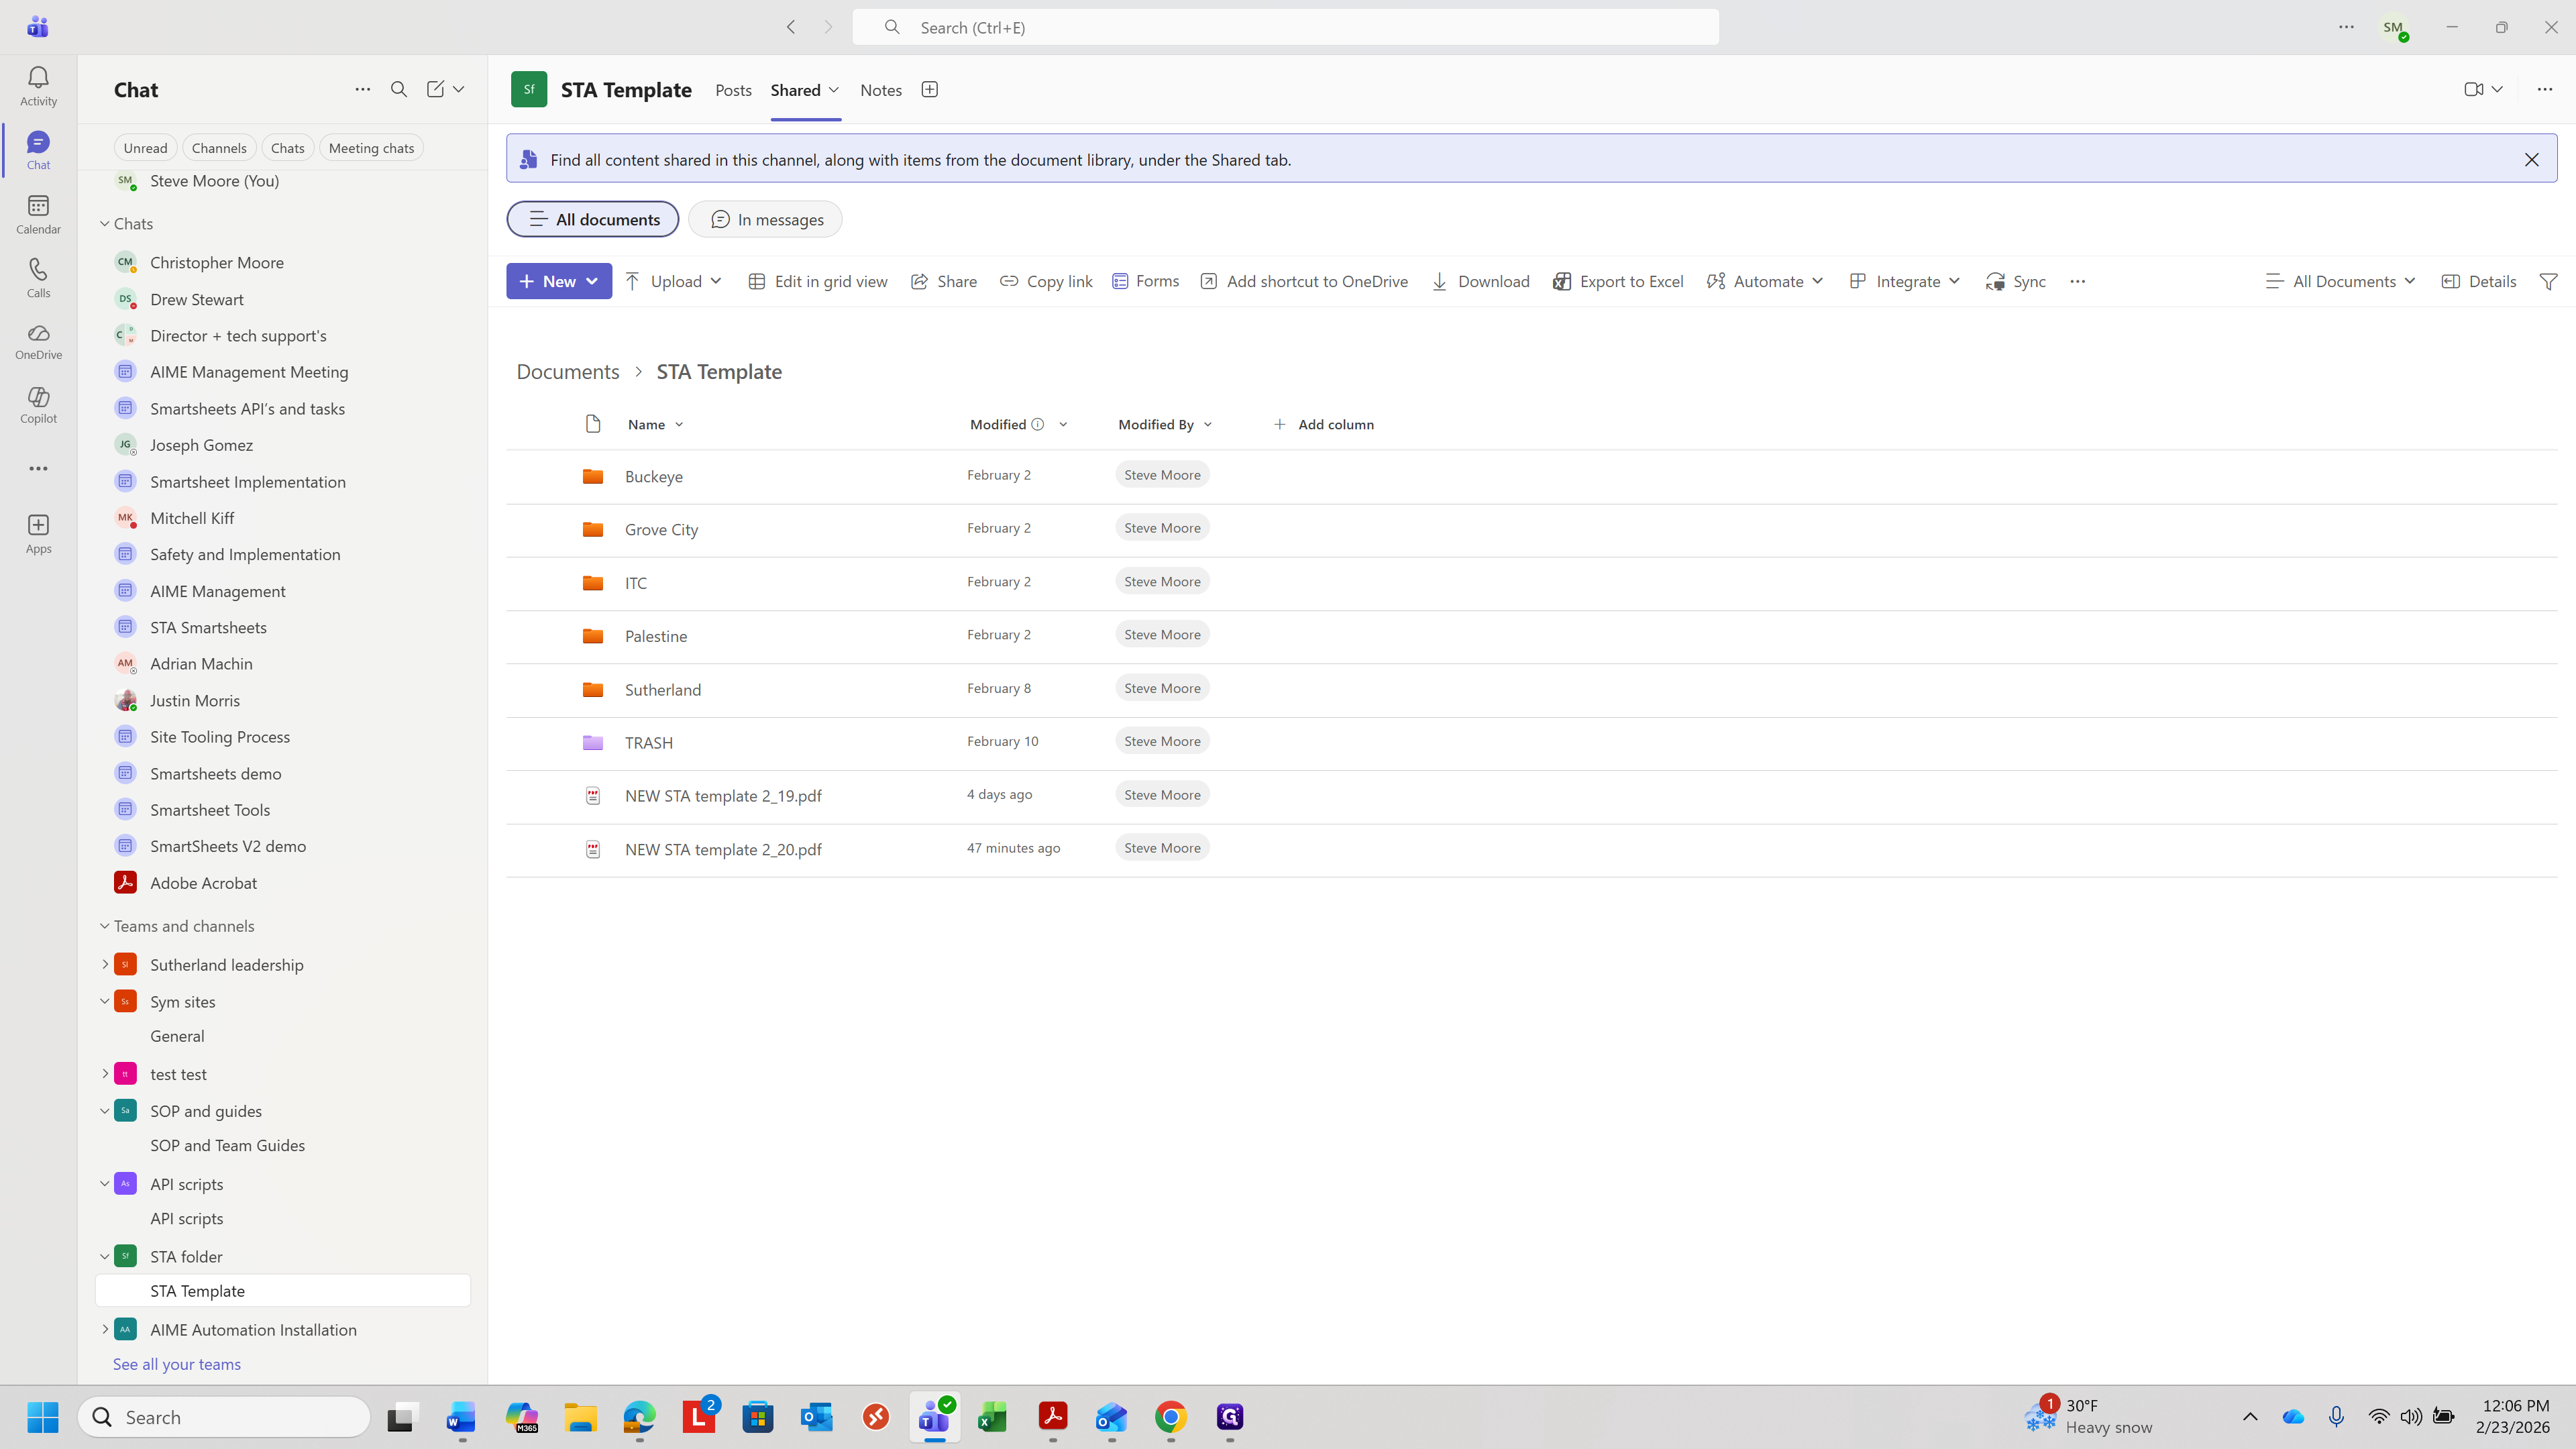
If you go to the Shared section in that folder, you will see a list of files.
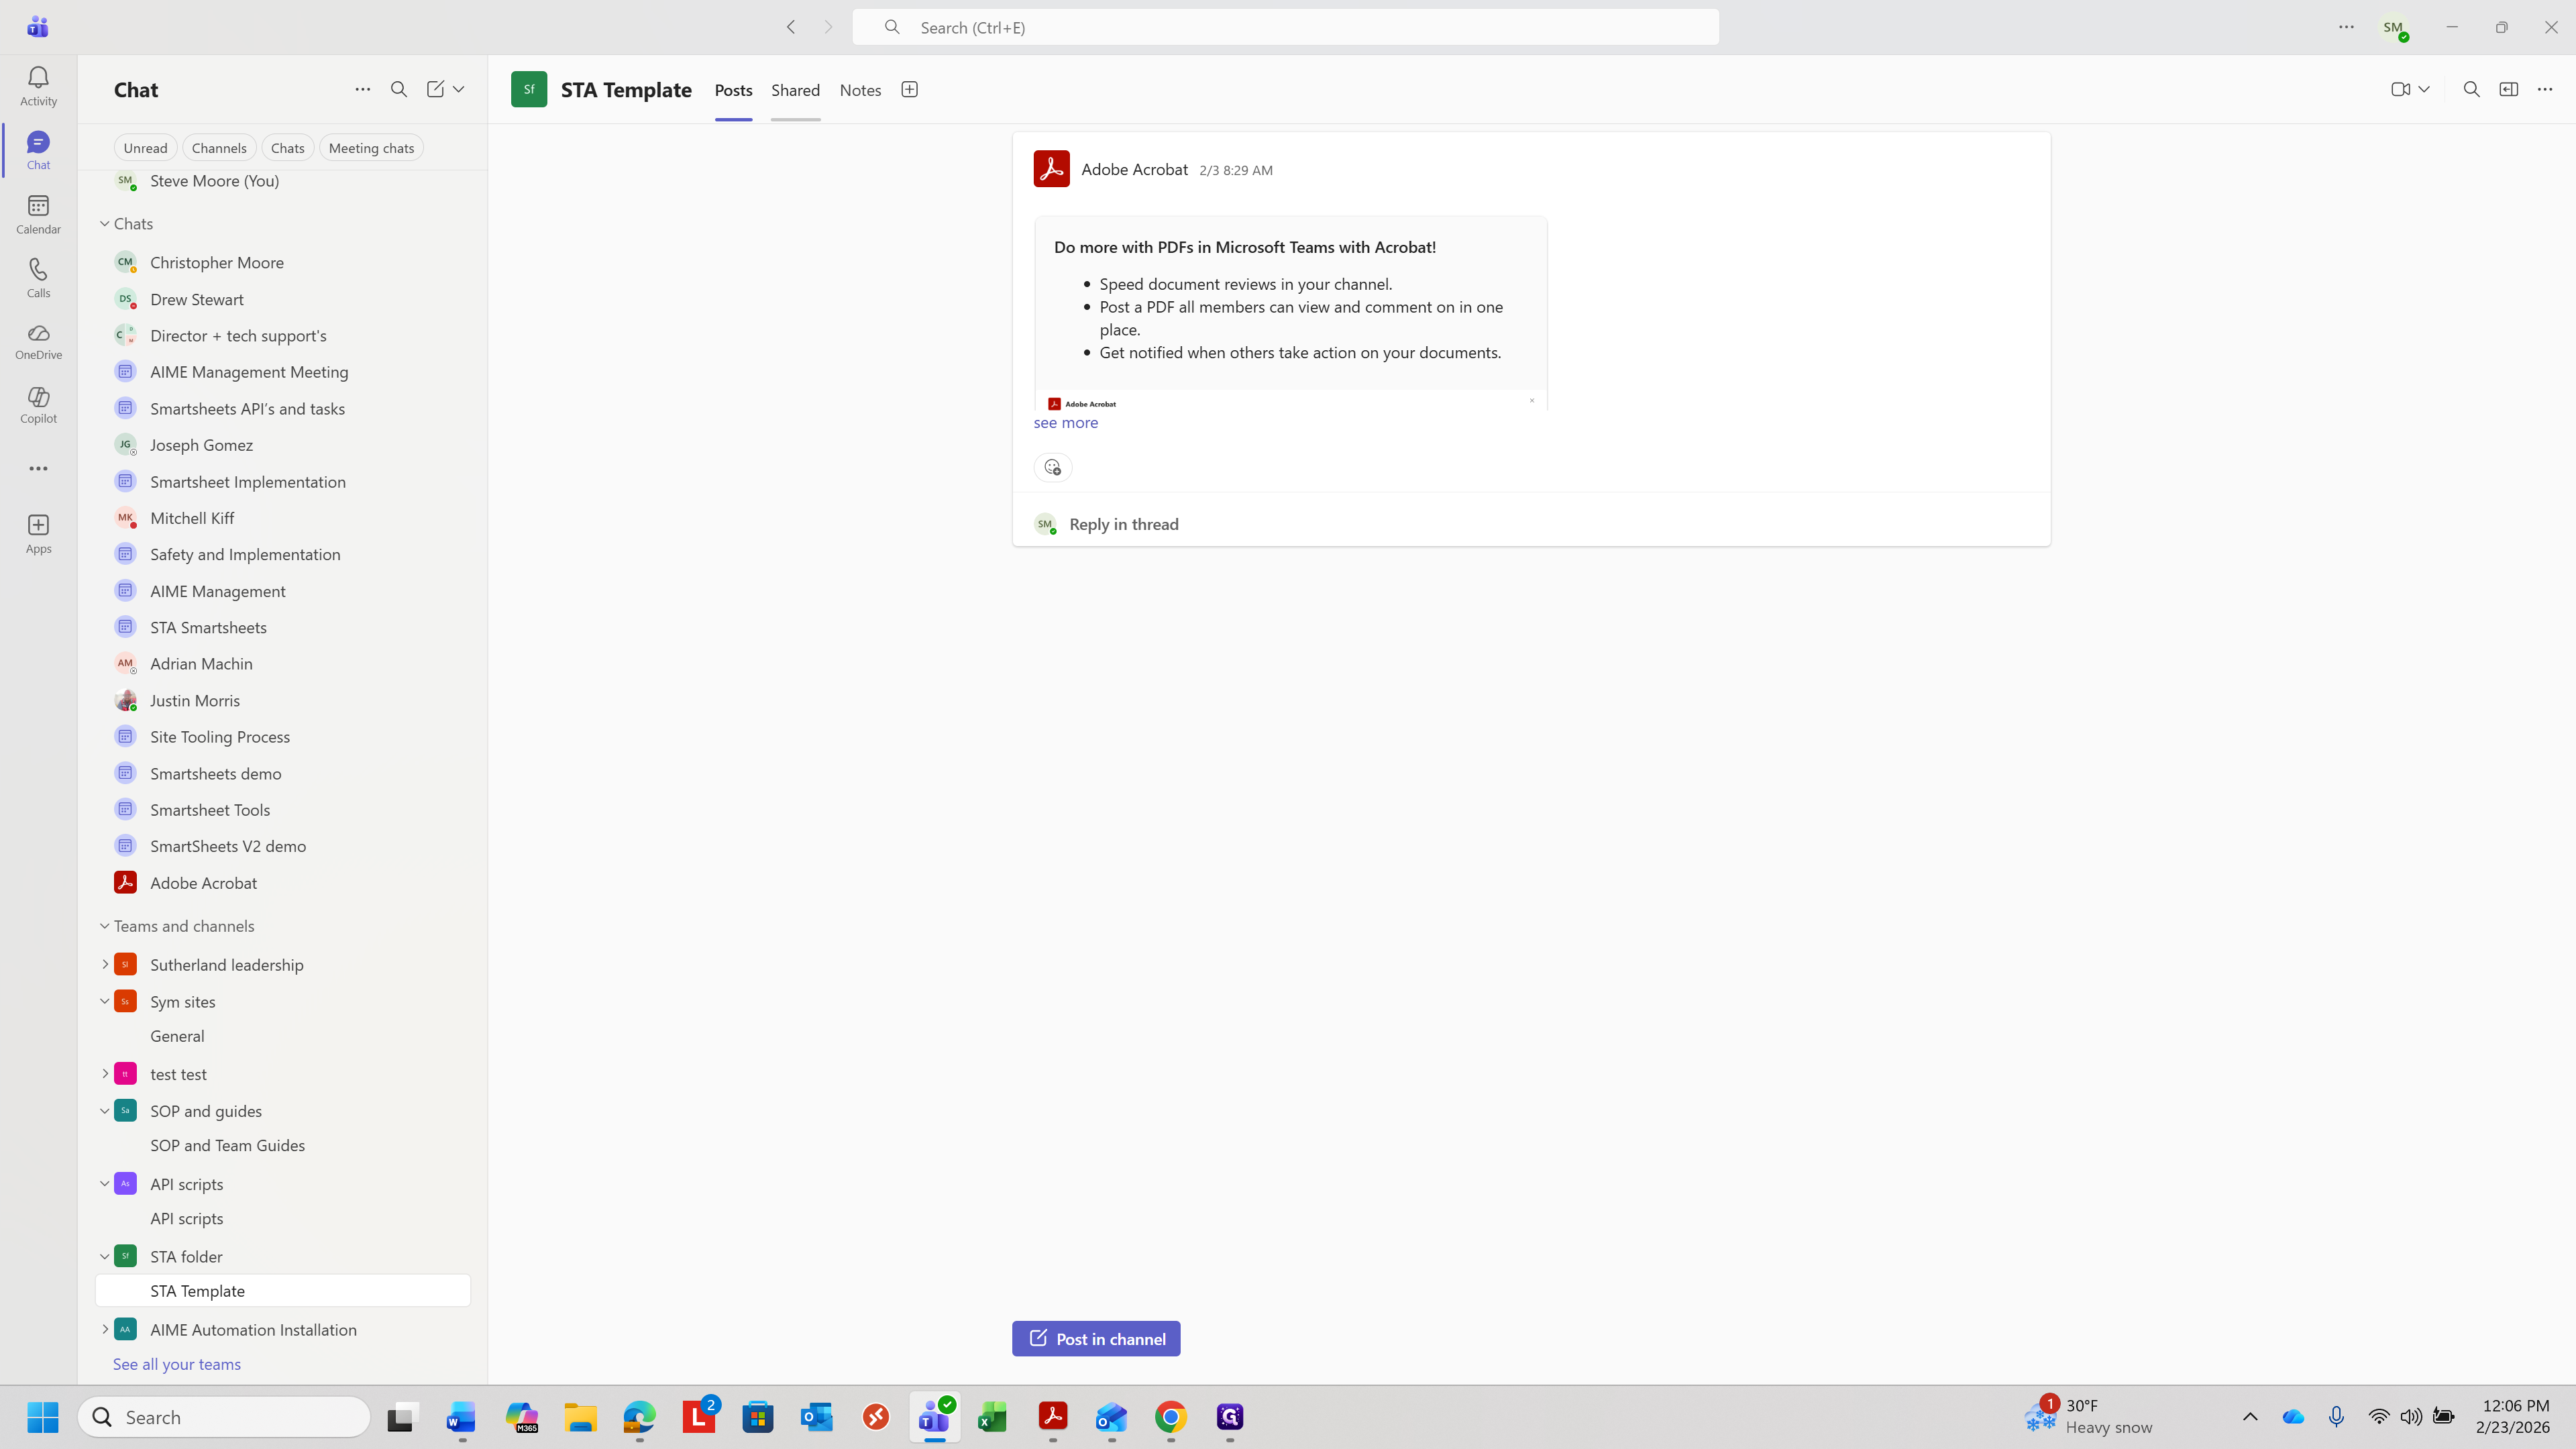
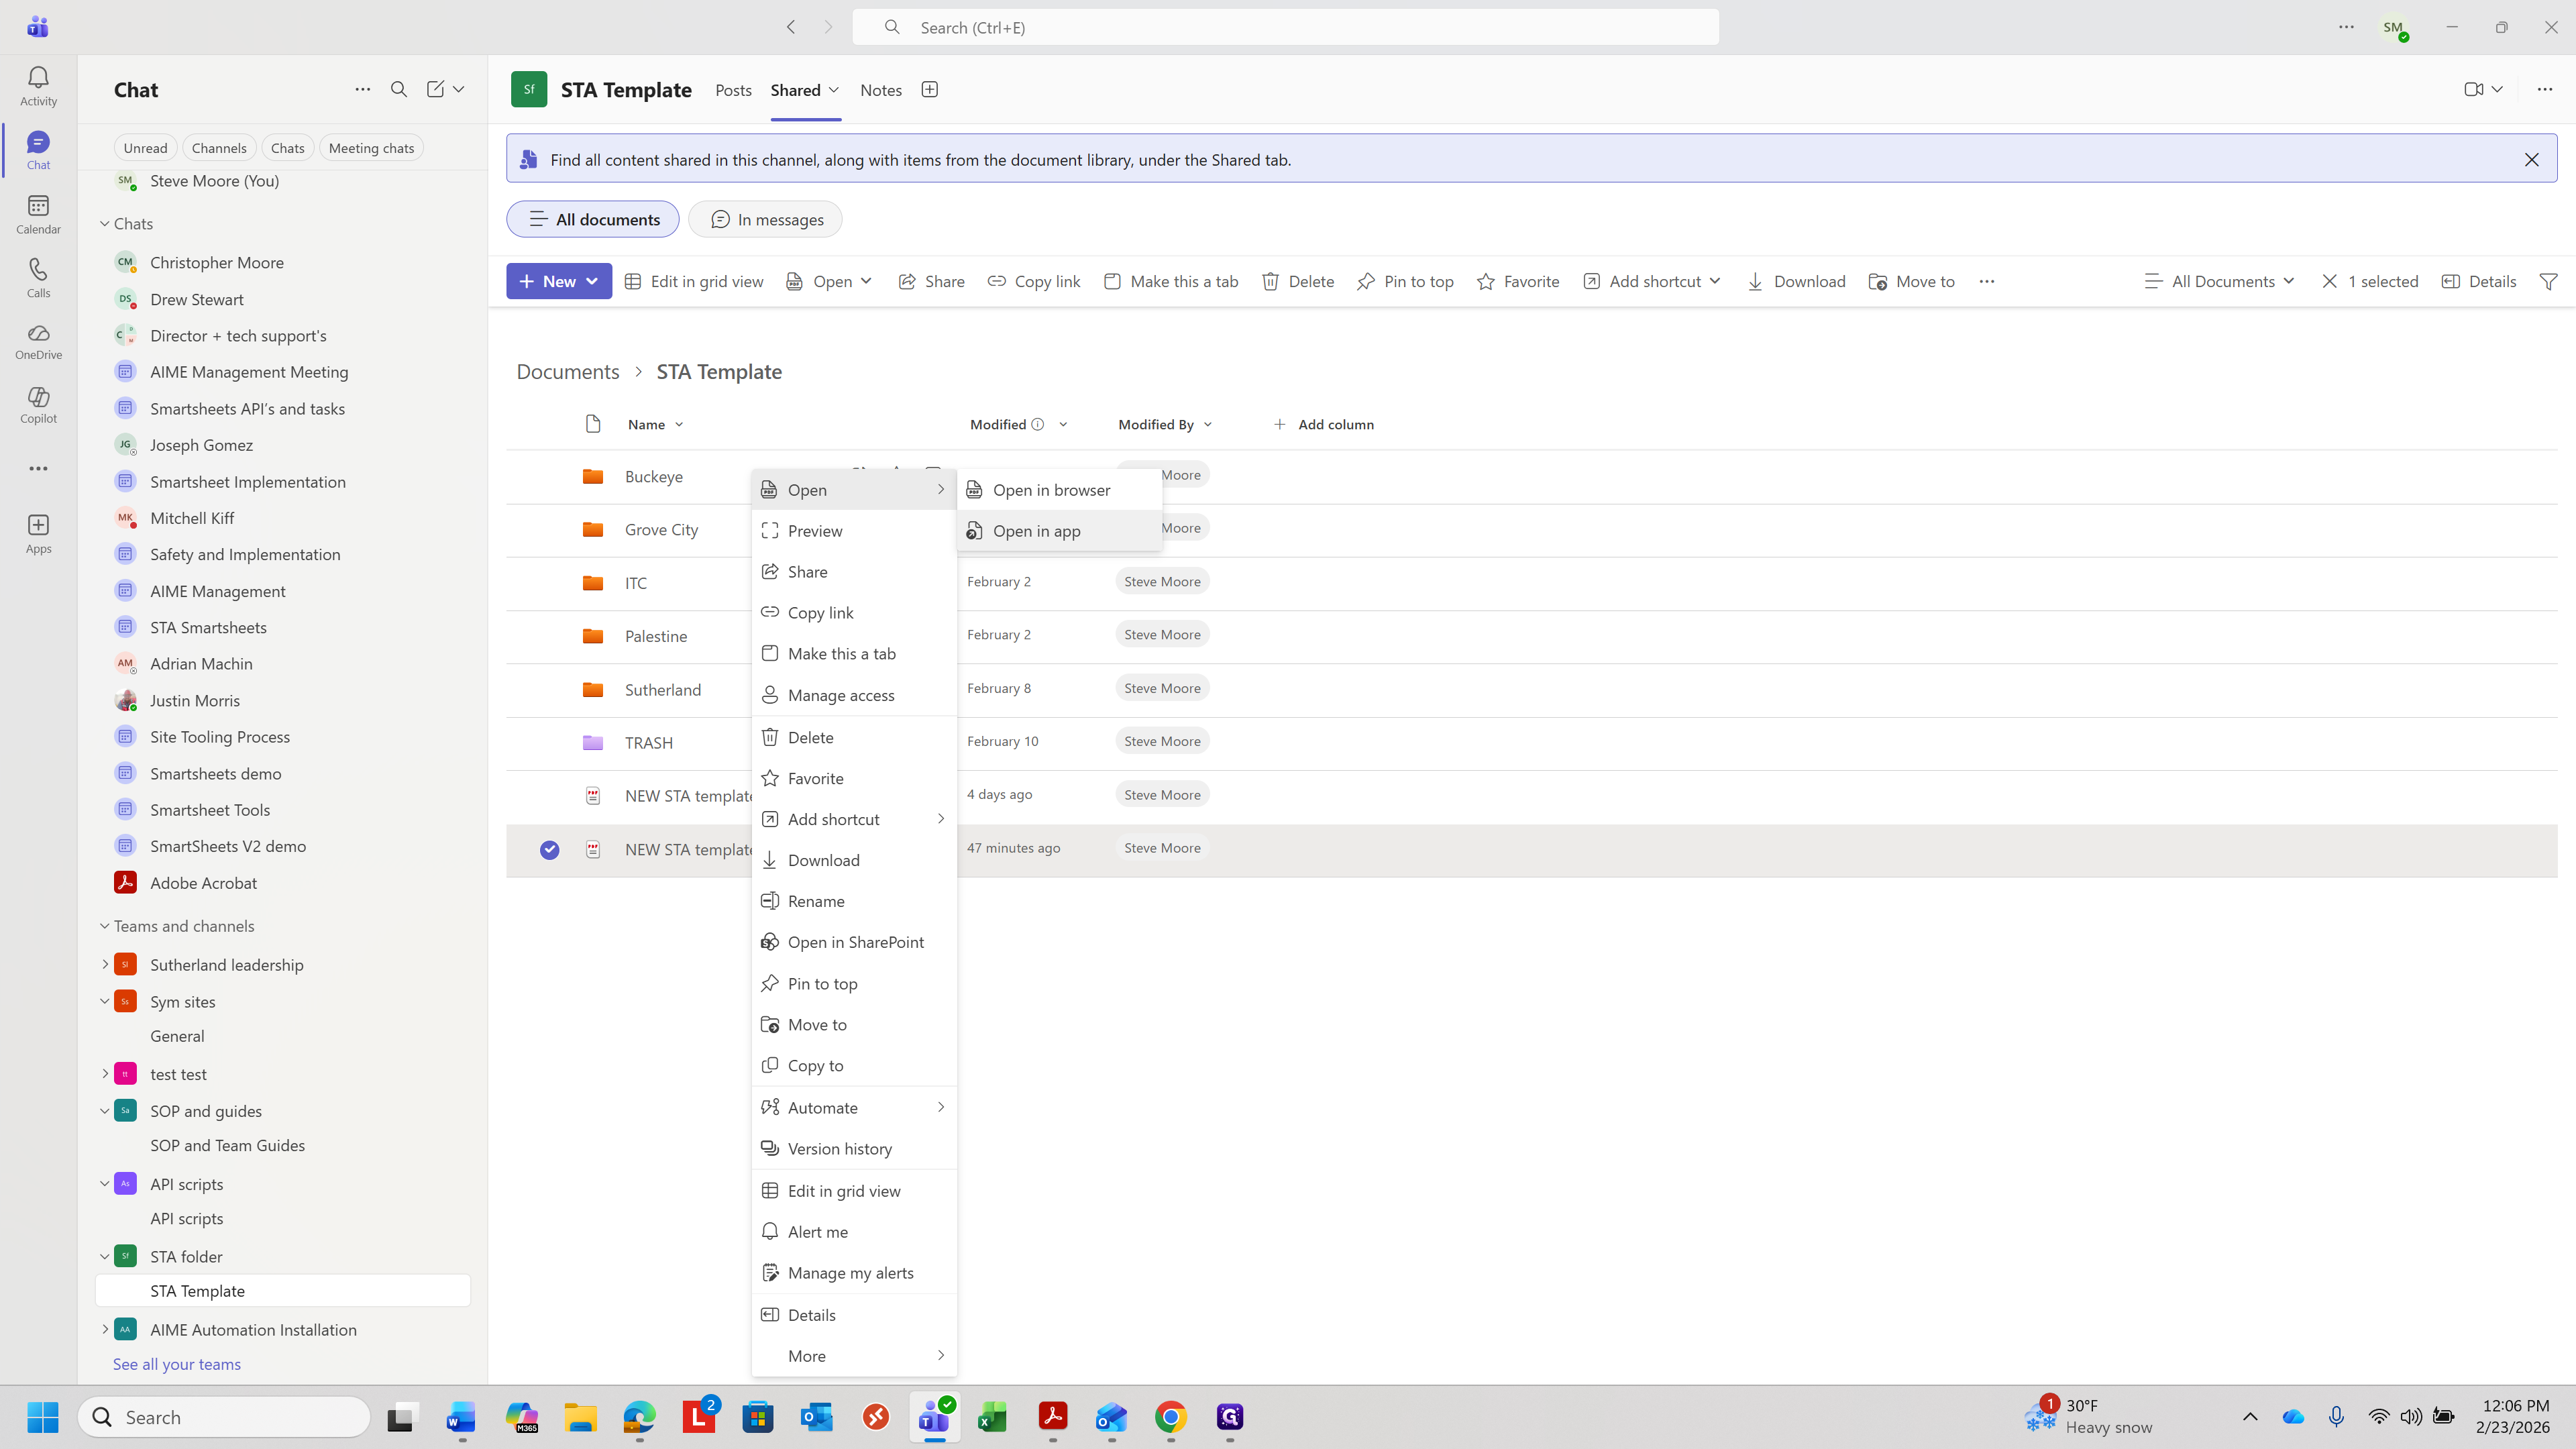
Use the one with the newest date. That is right here.
Right-click on it and select "Open in app."

You need to open it in the app for it to work correctly.
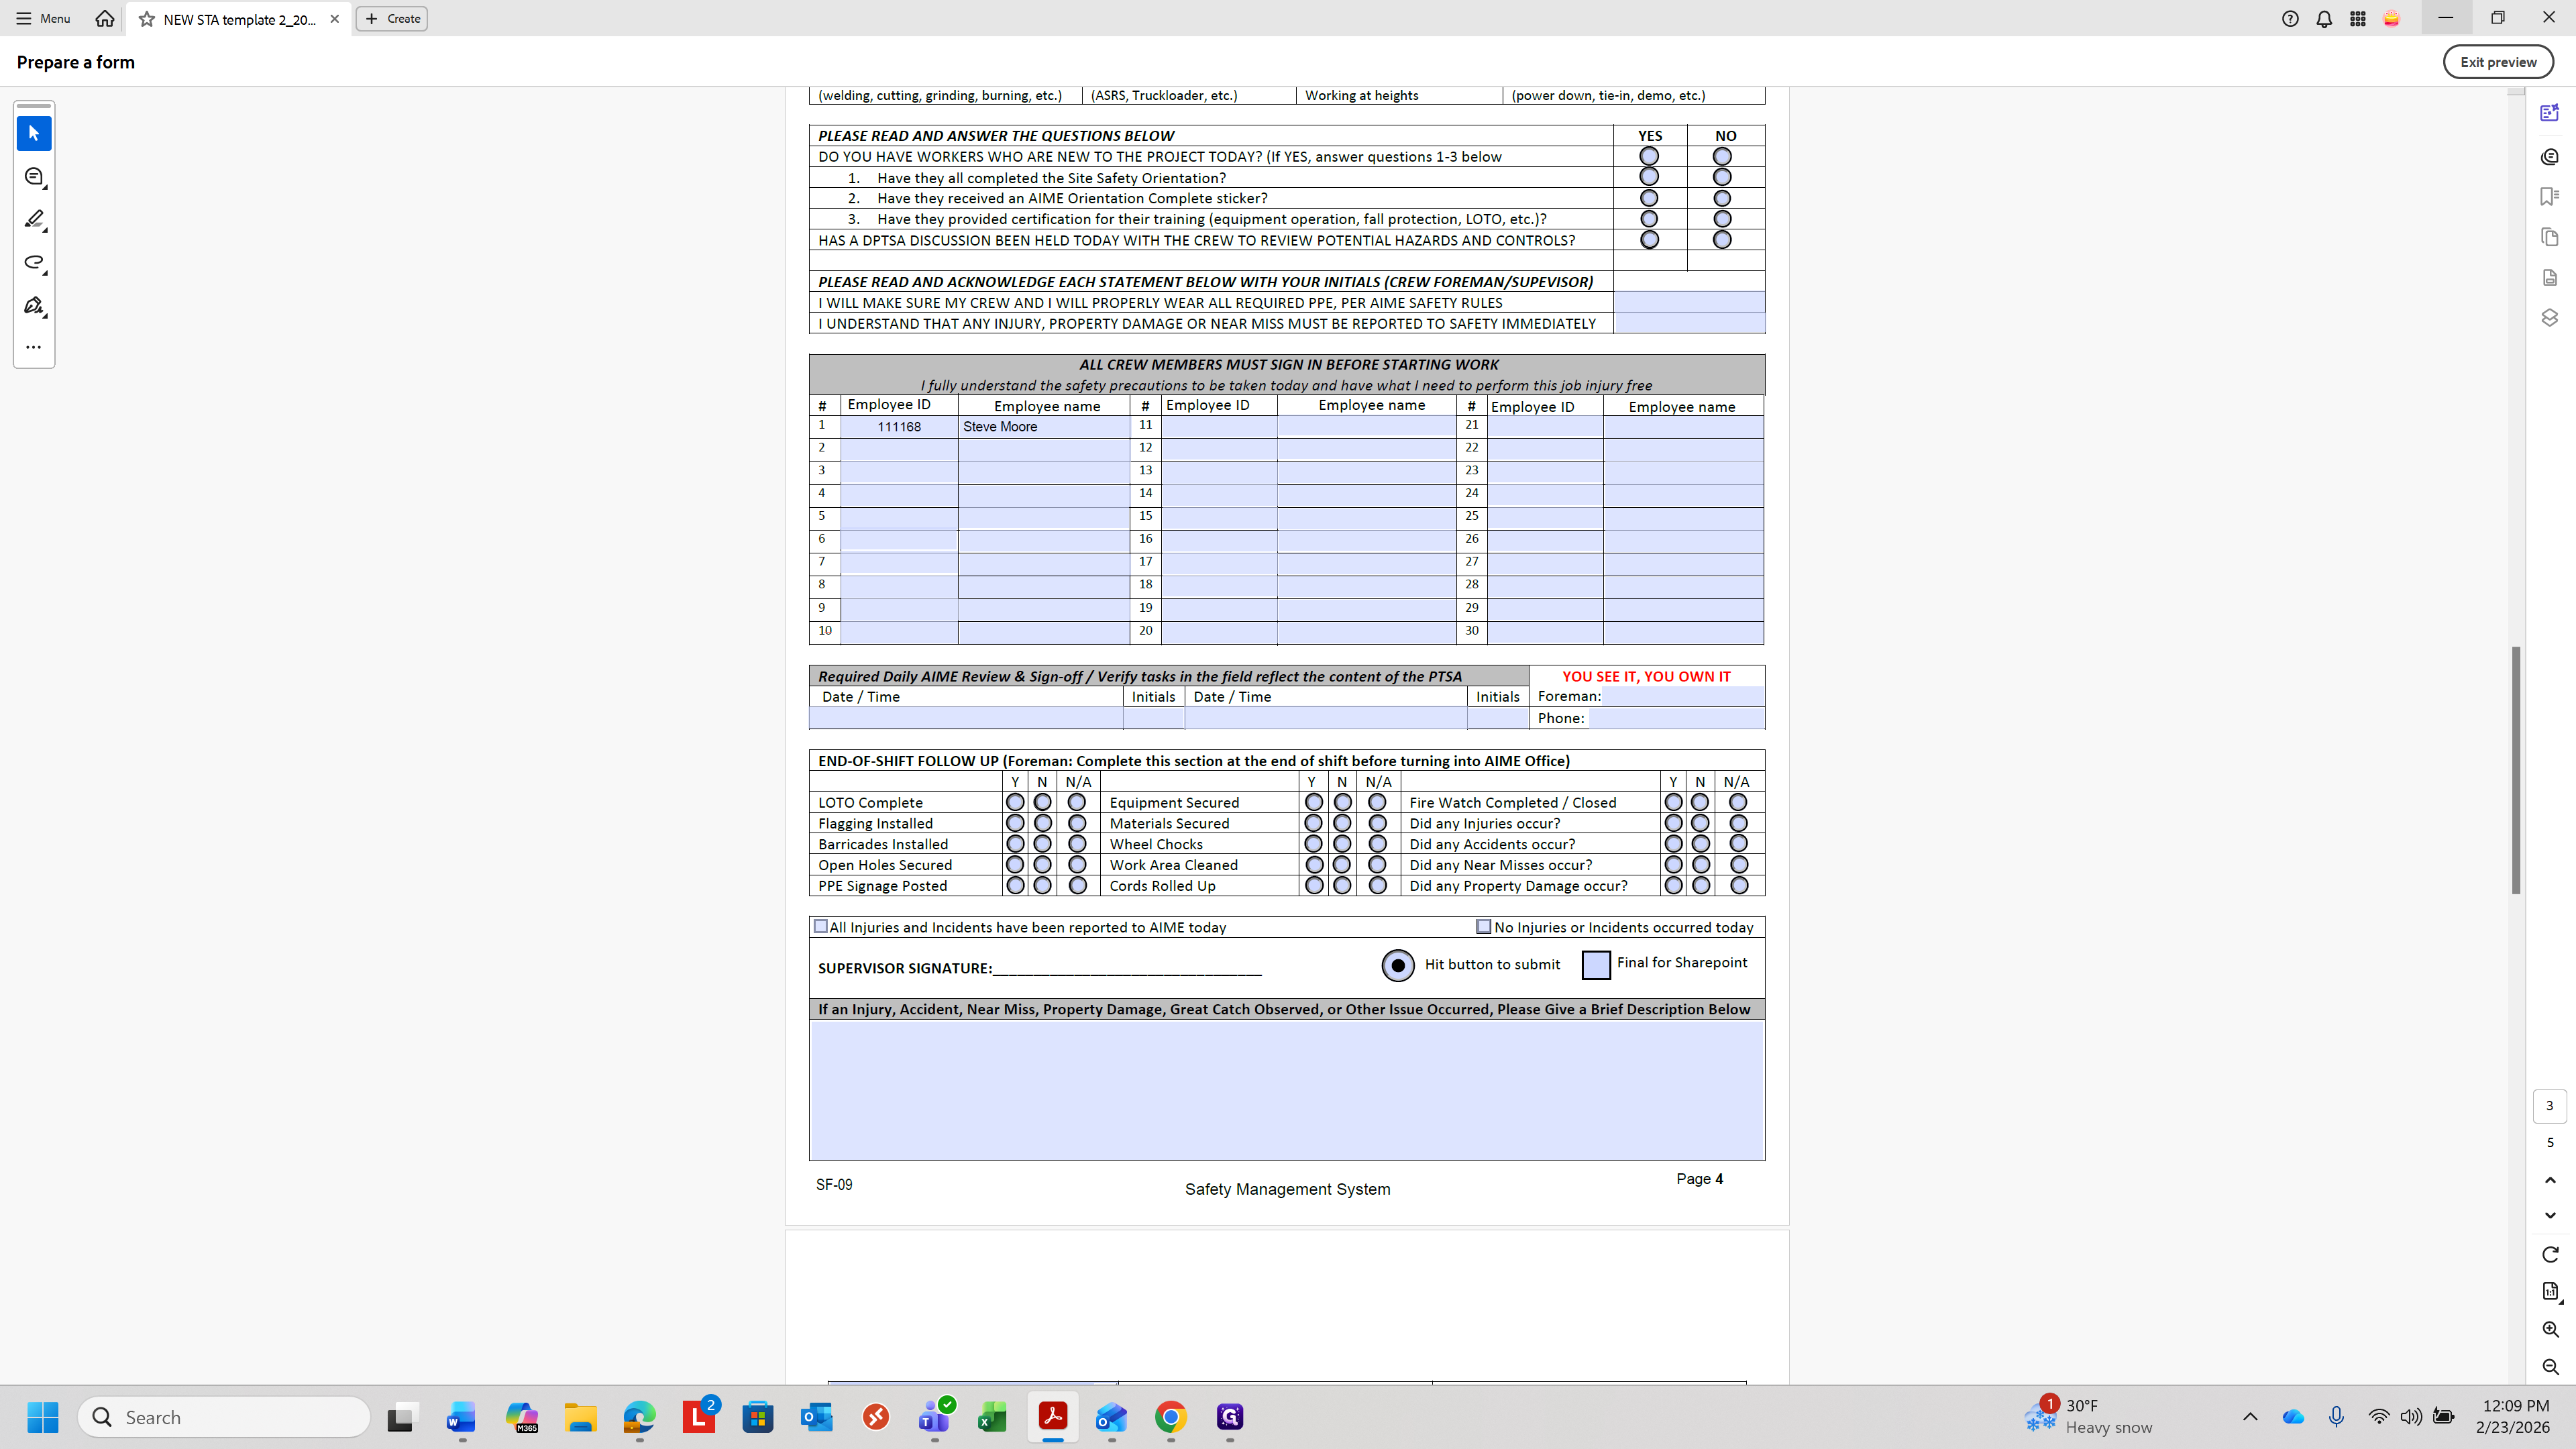
Once it opens, you will see the STA form. Next, select the specific field, which is important.
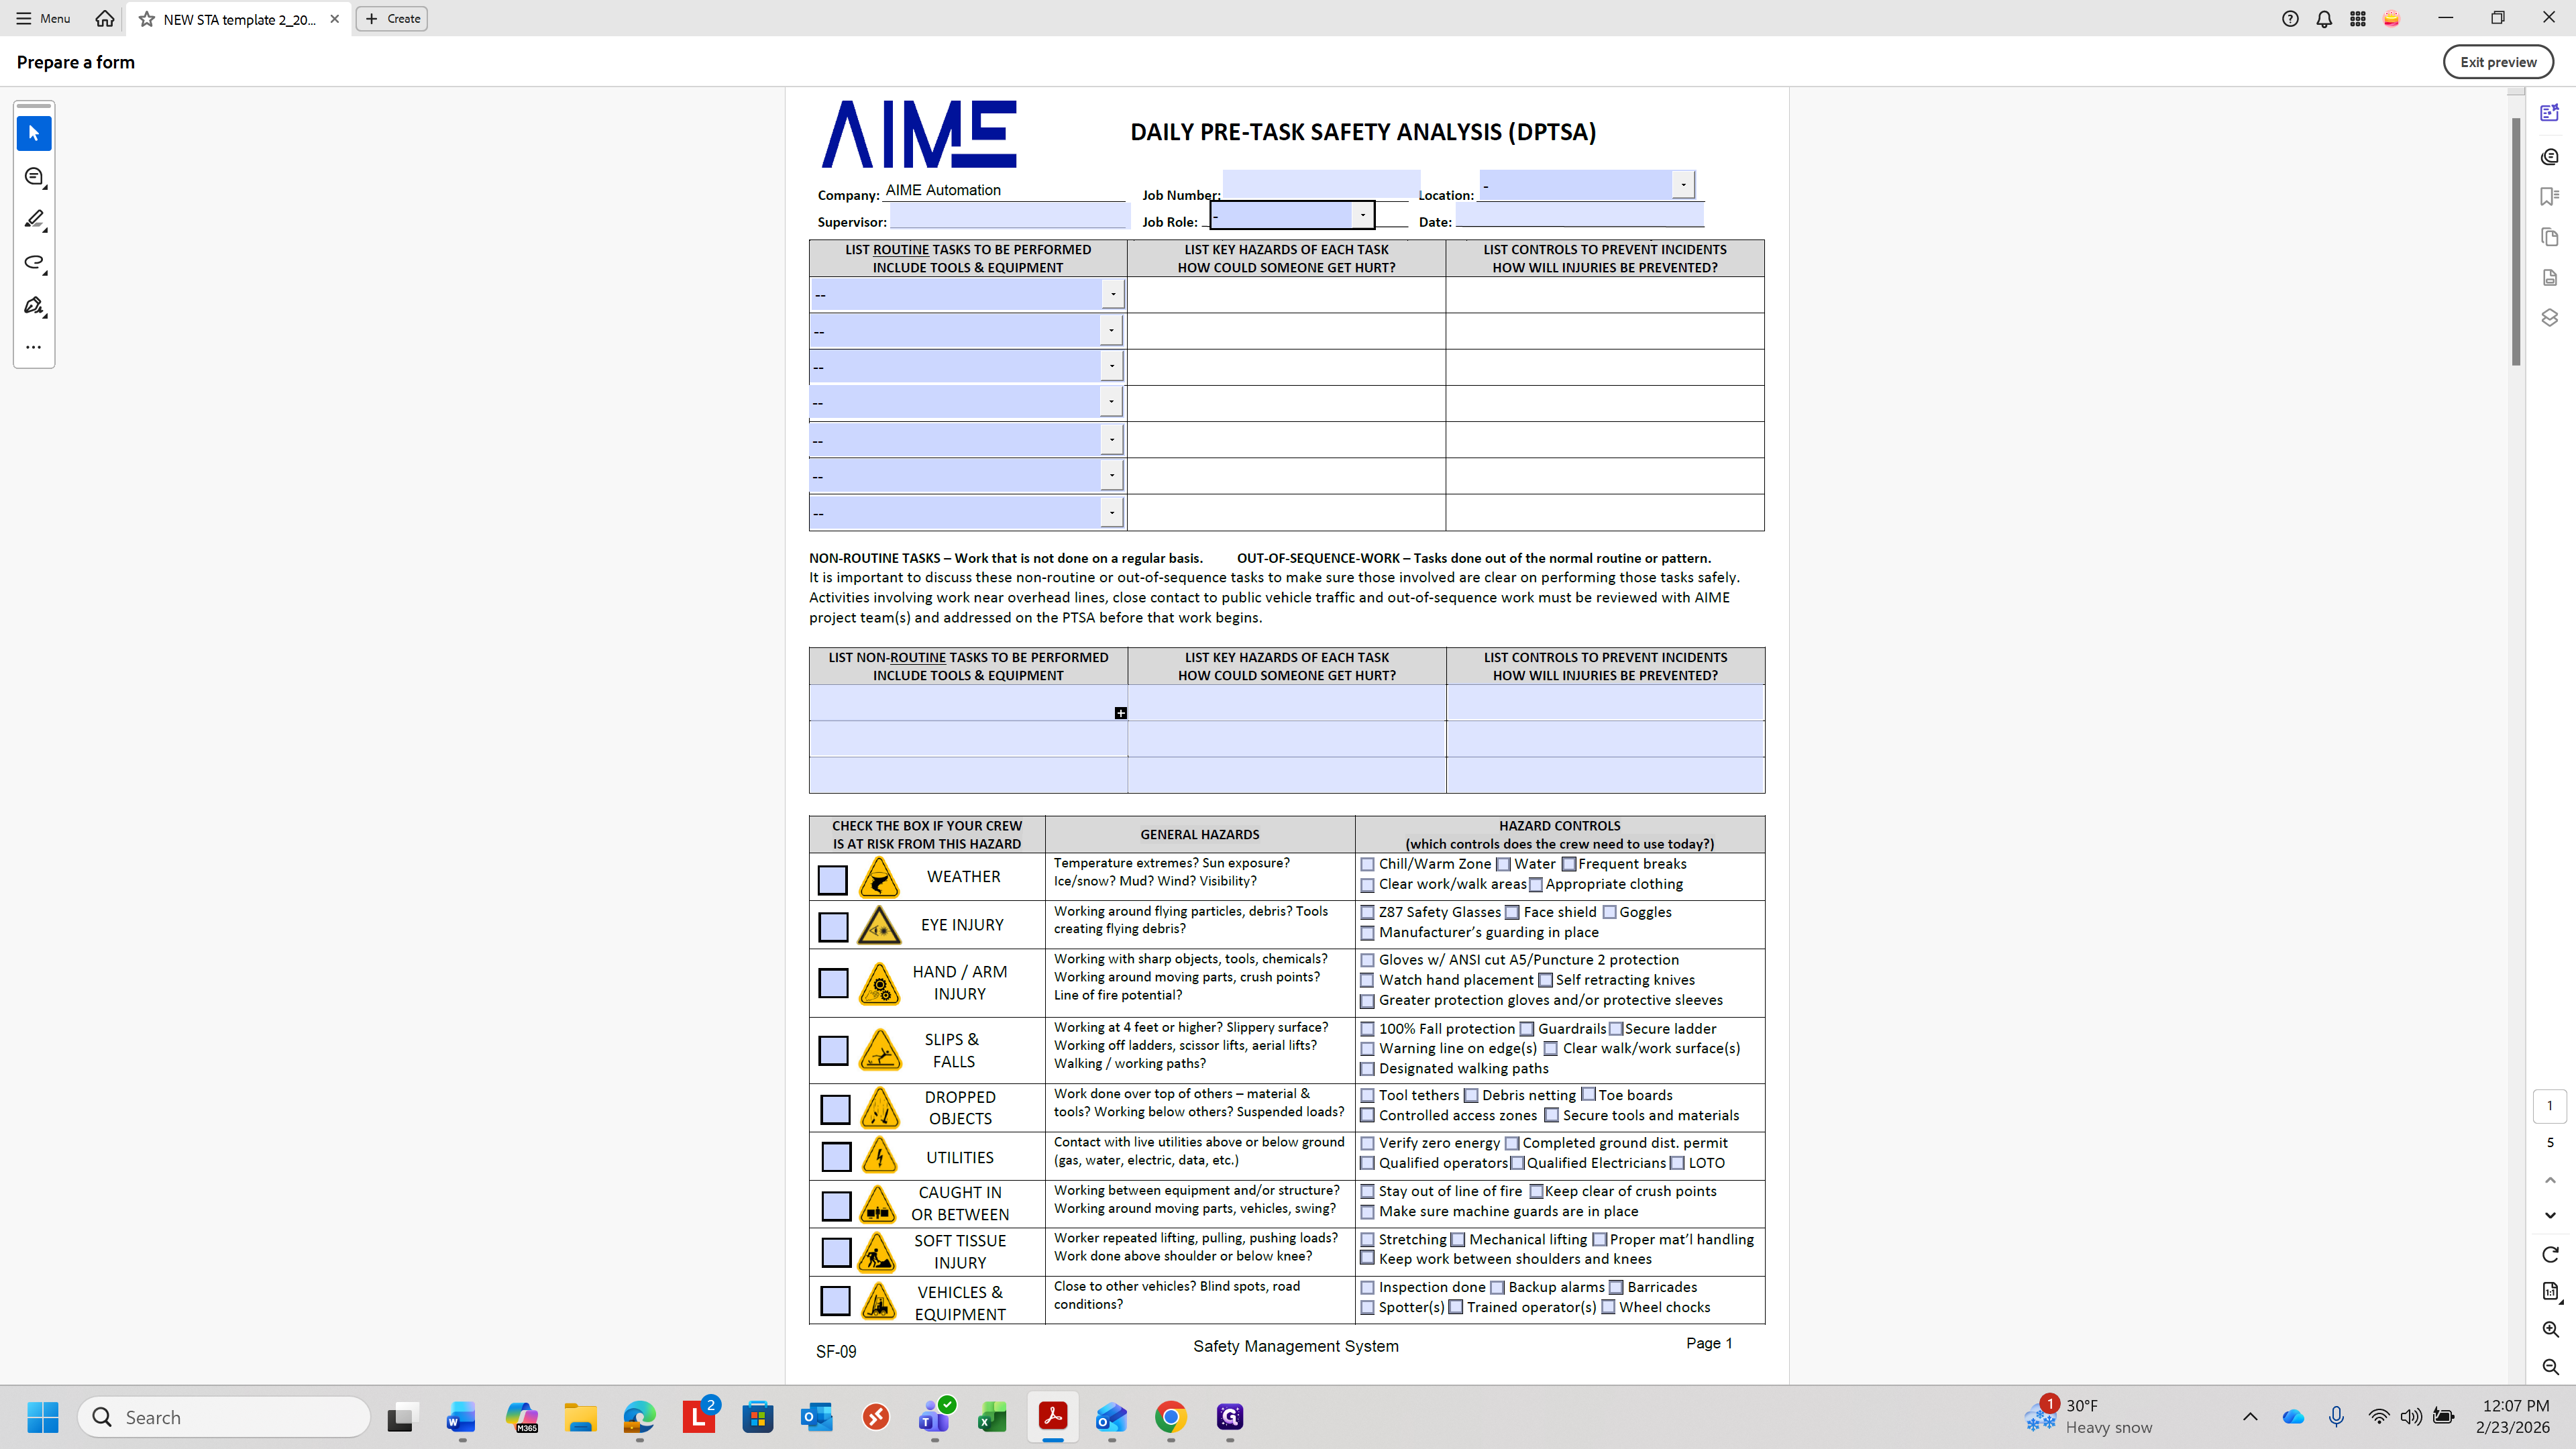
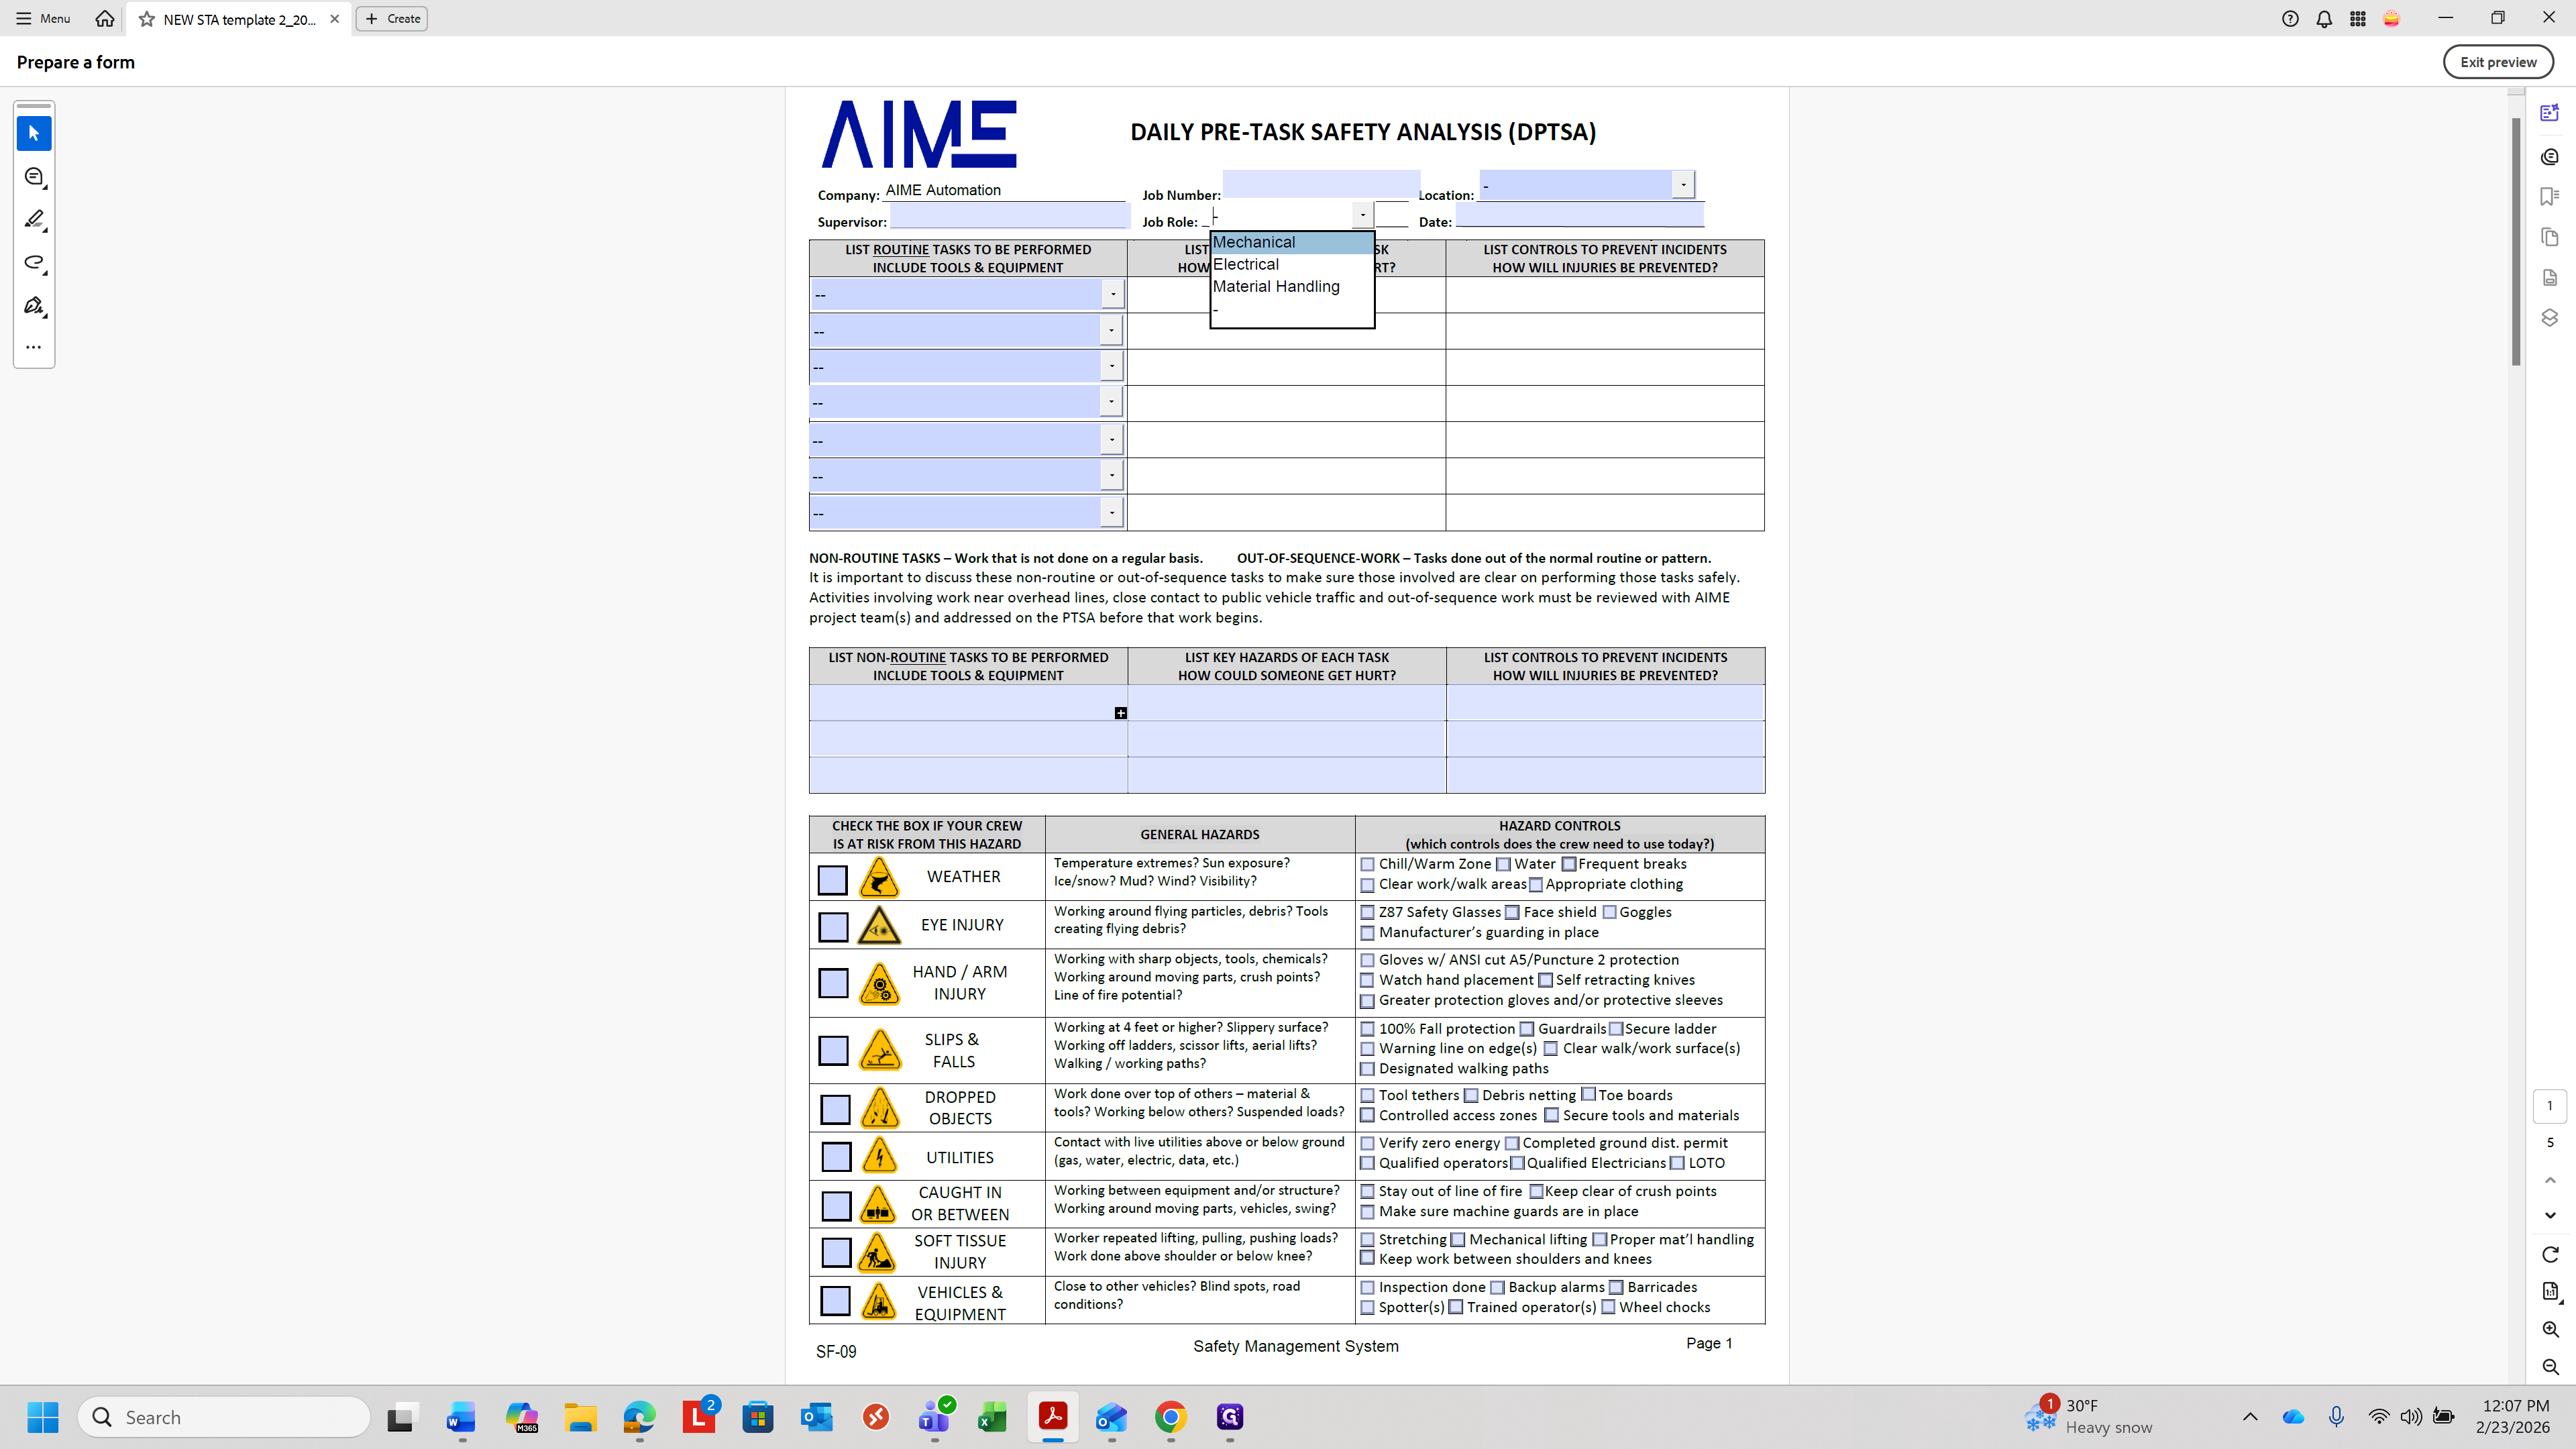
To generate the filename, select the category such as mechanical or electrical, and then choose your site location.

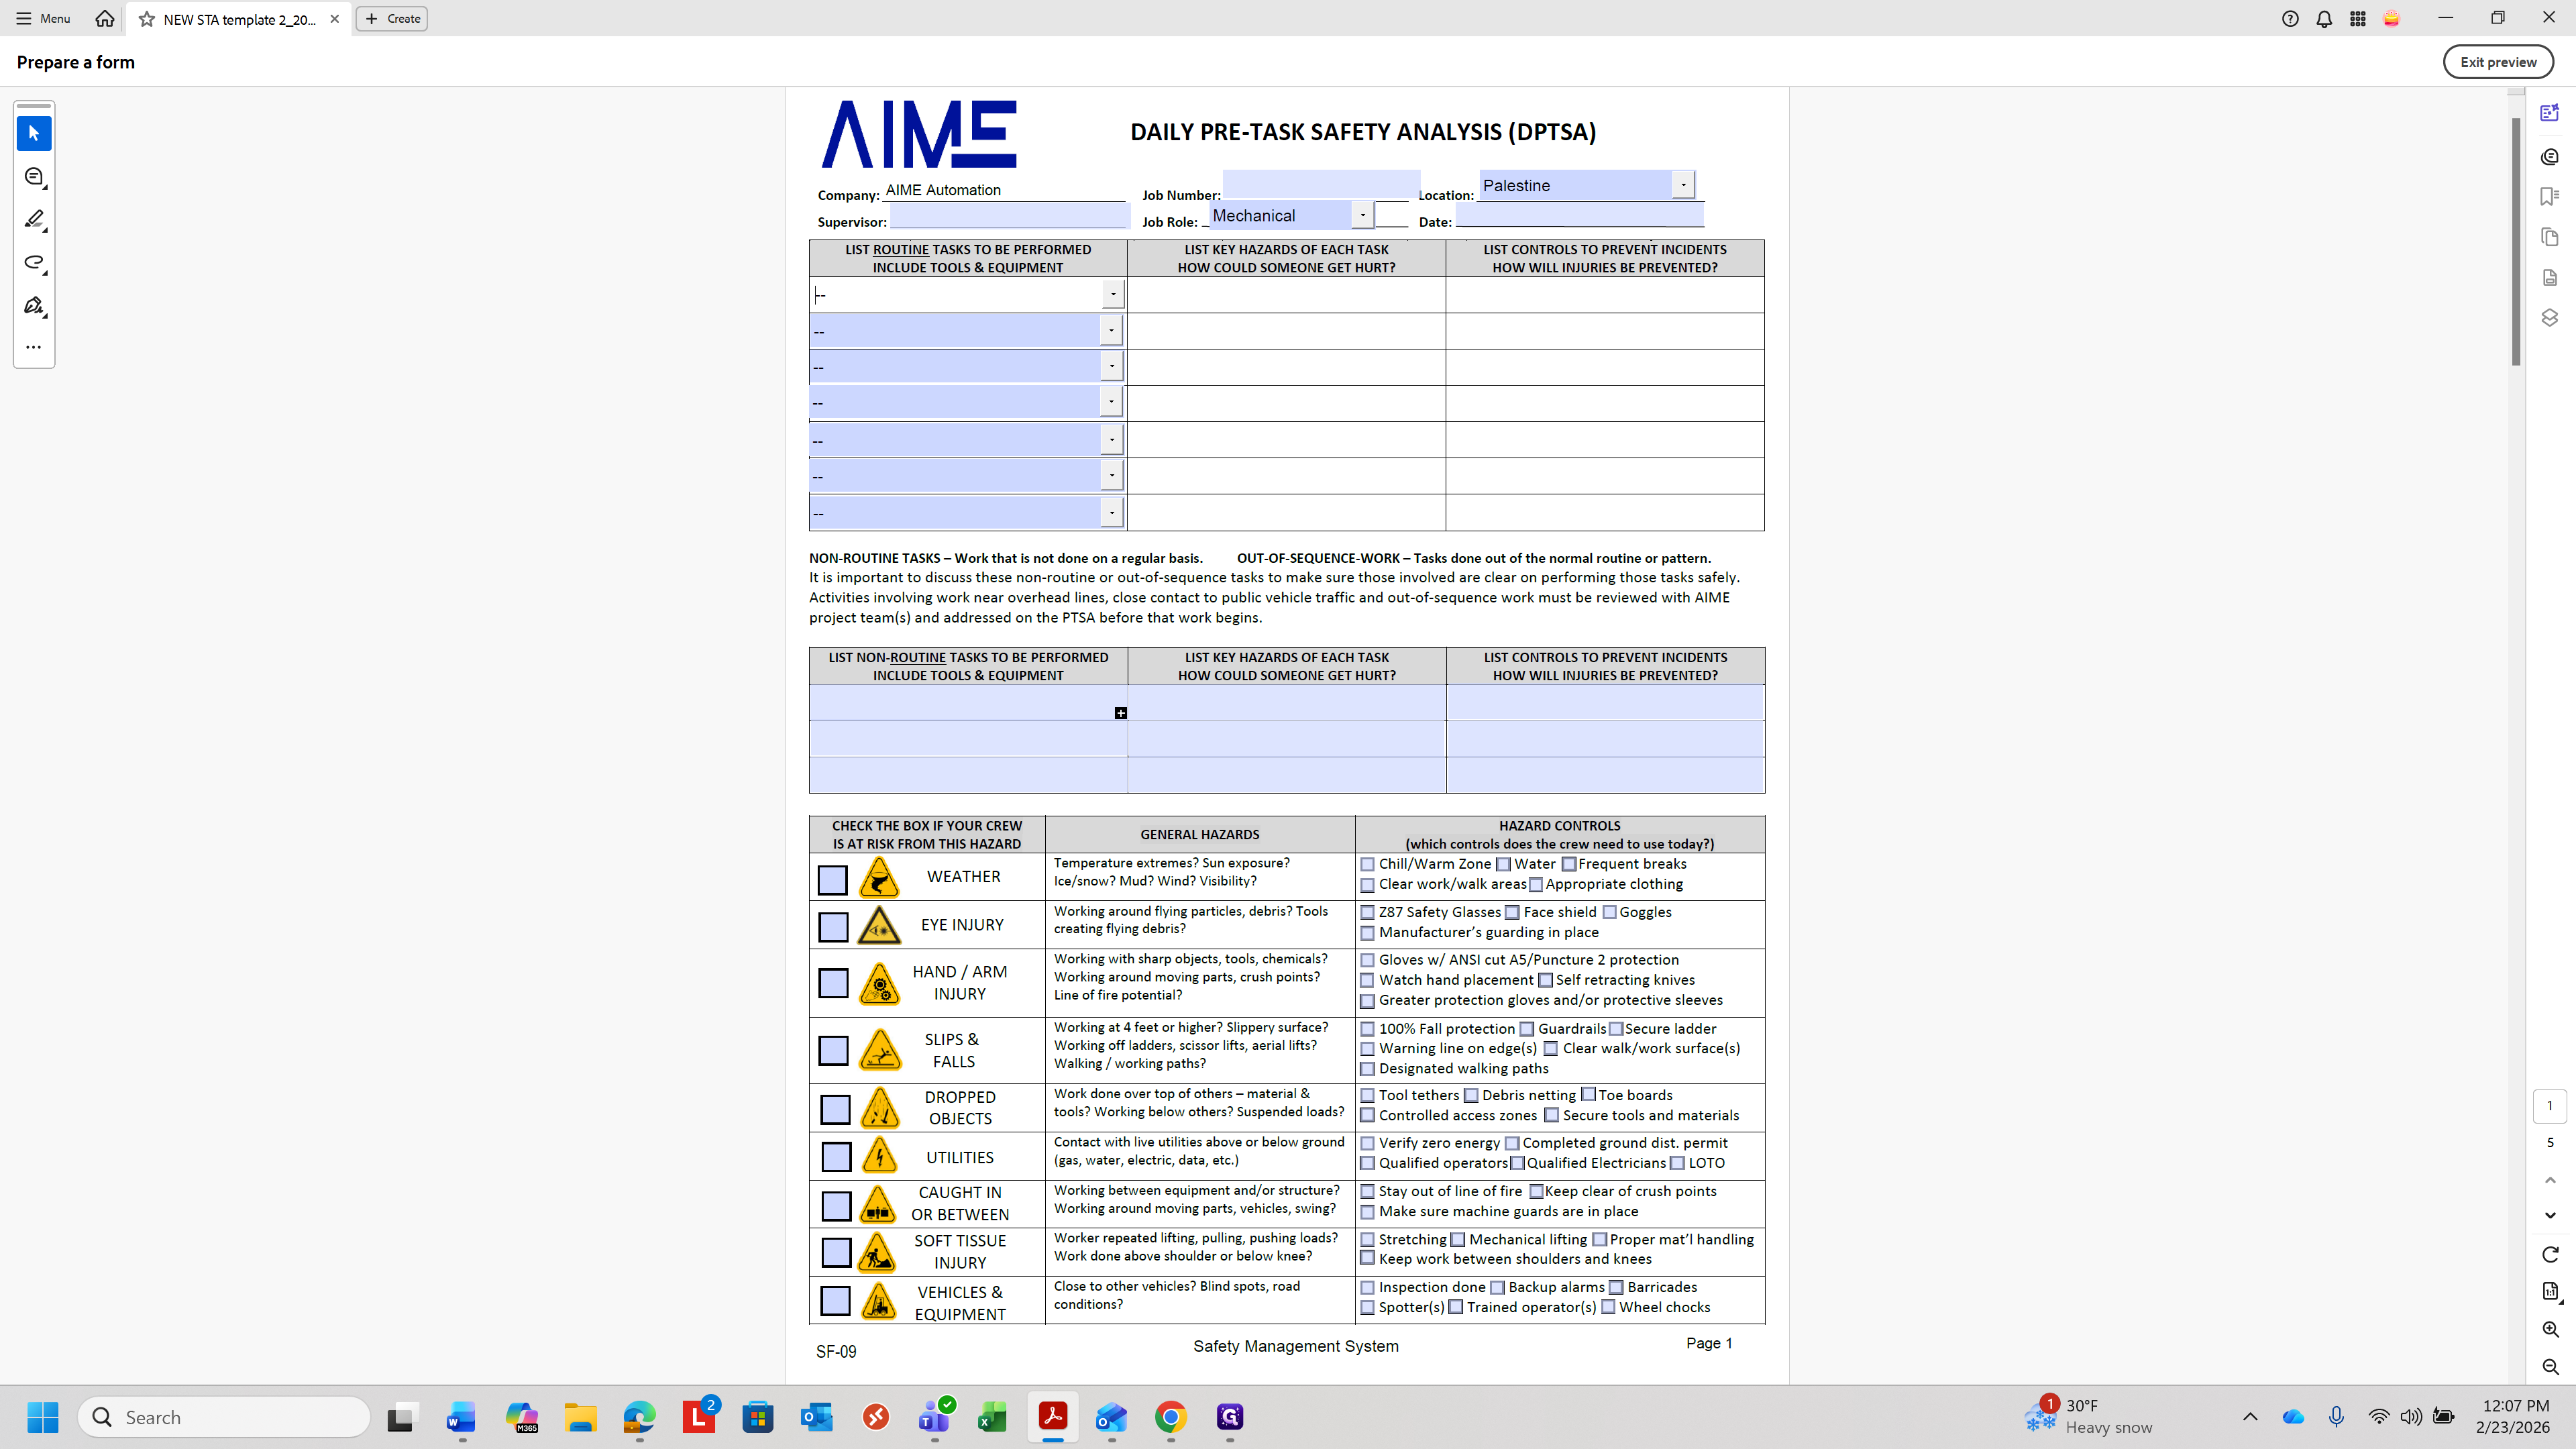
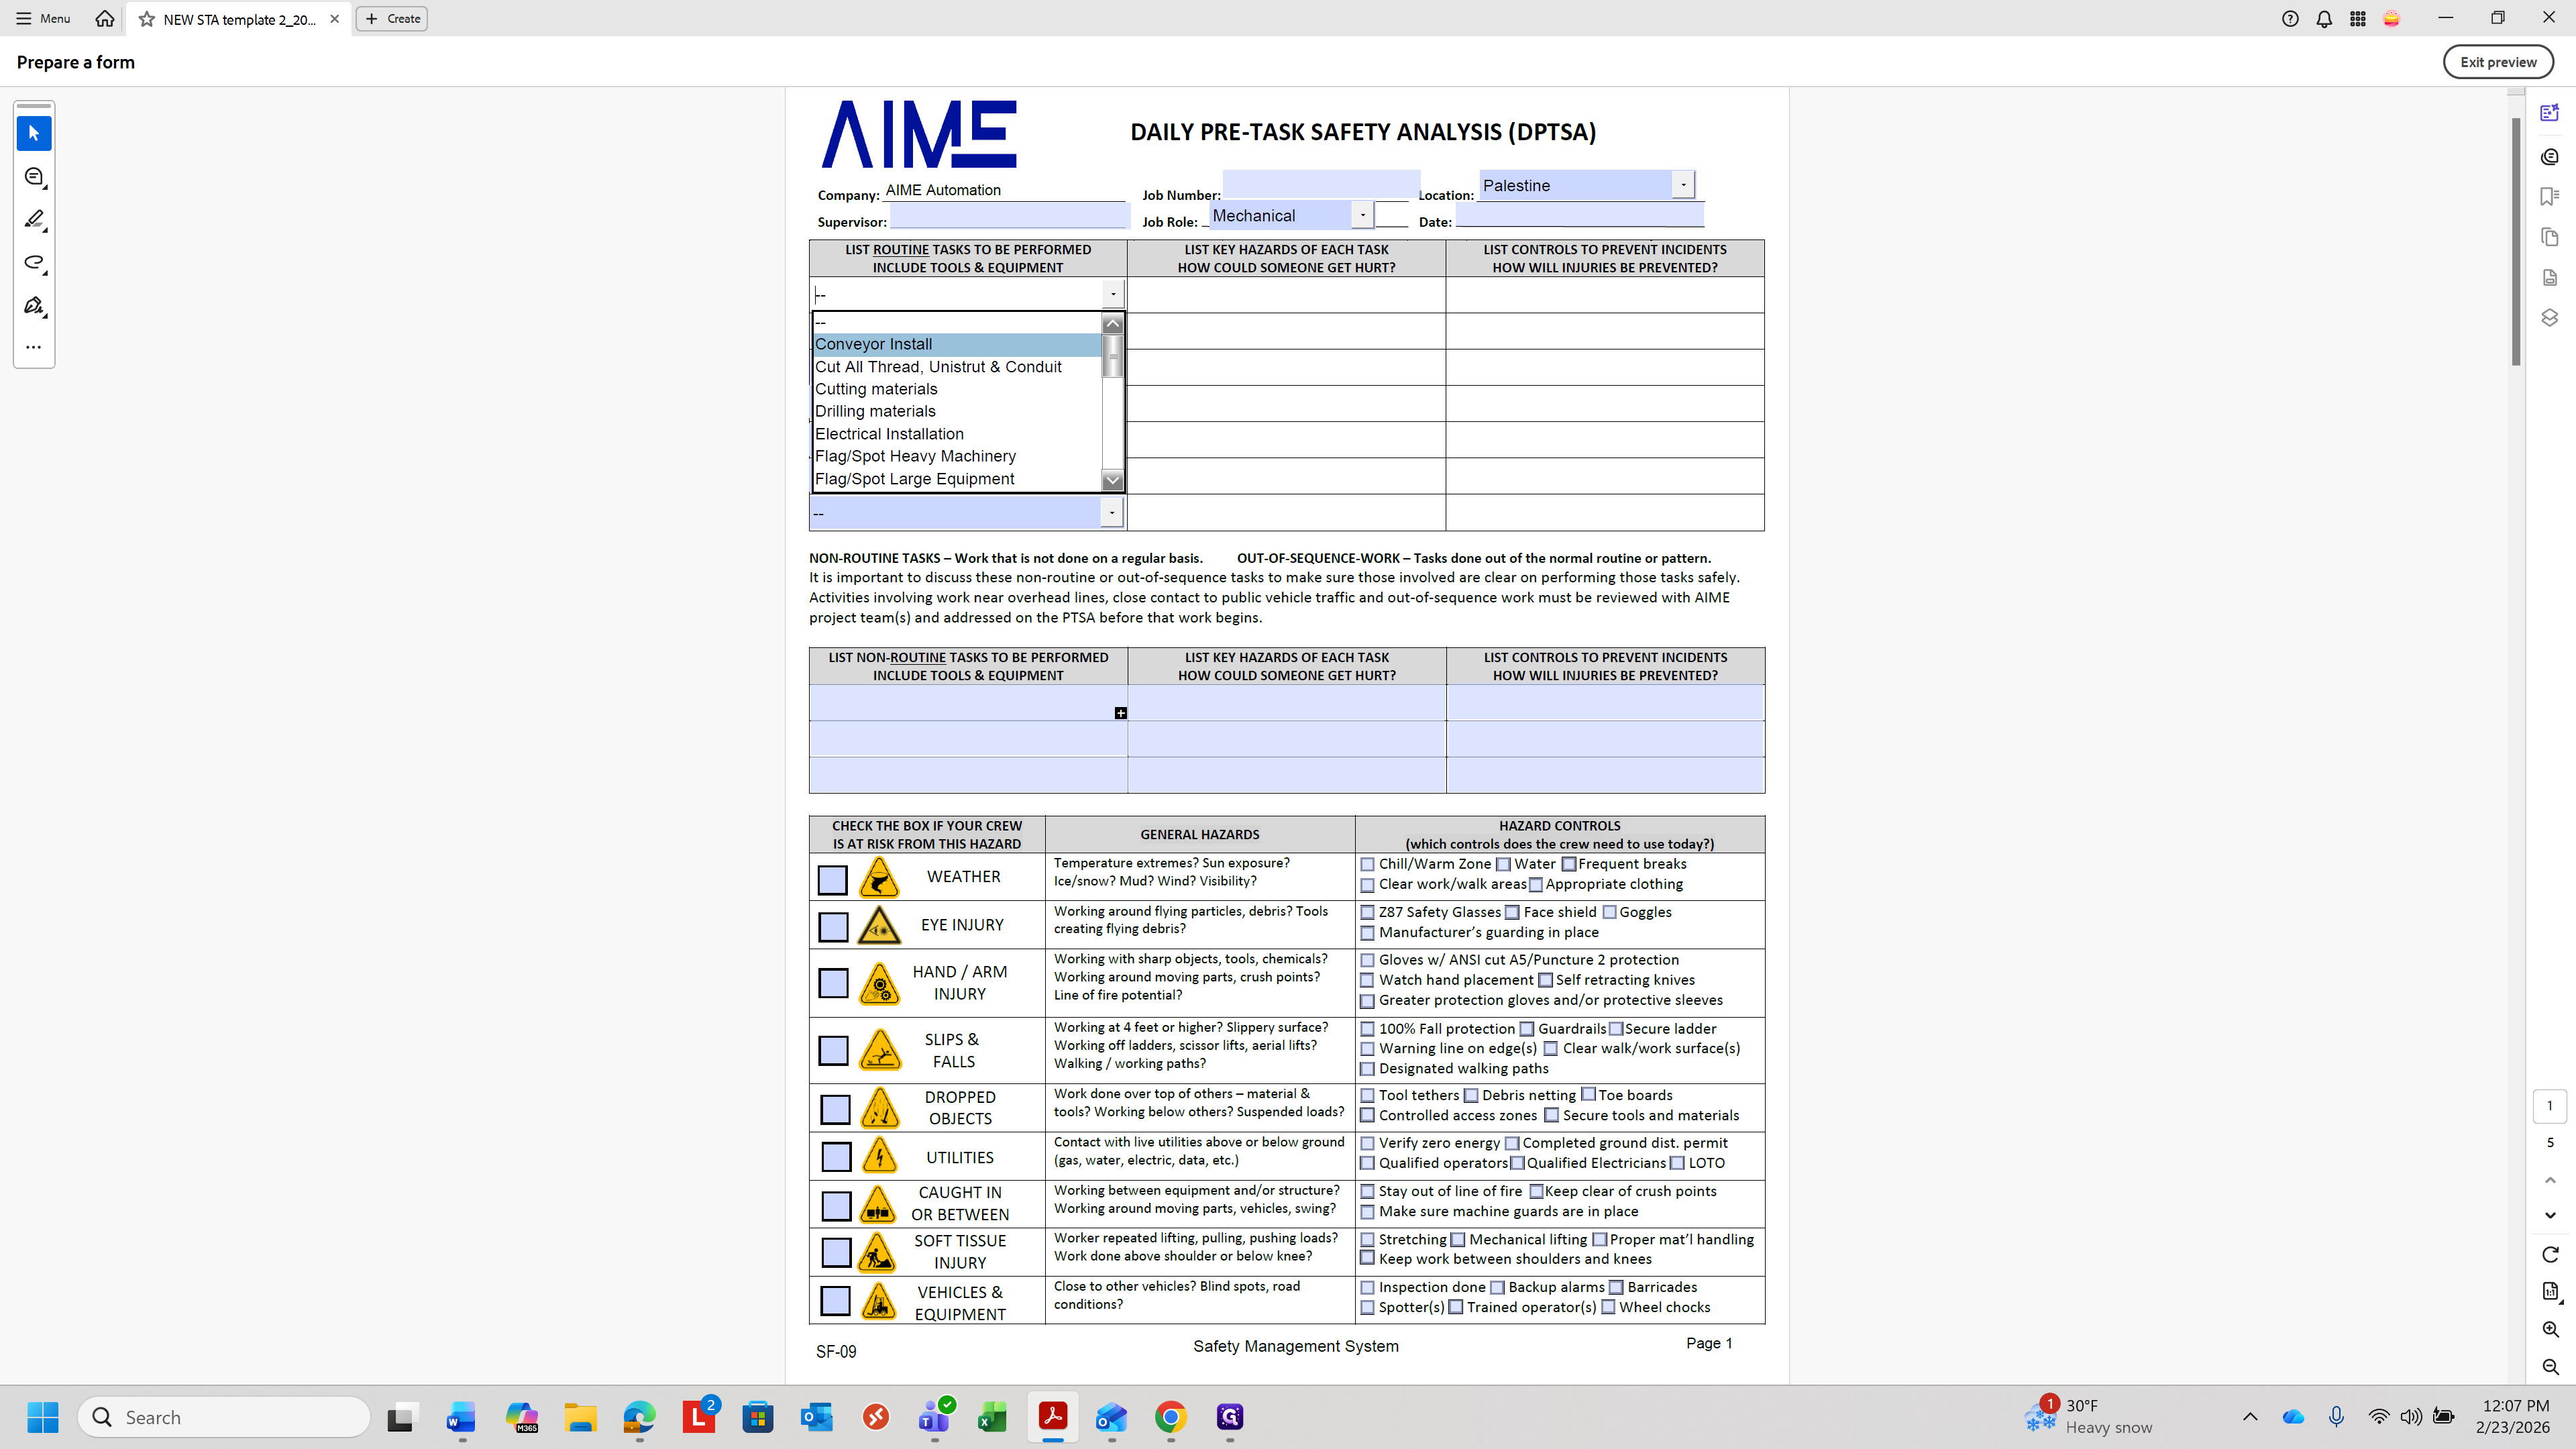

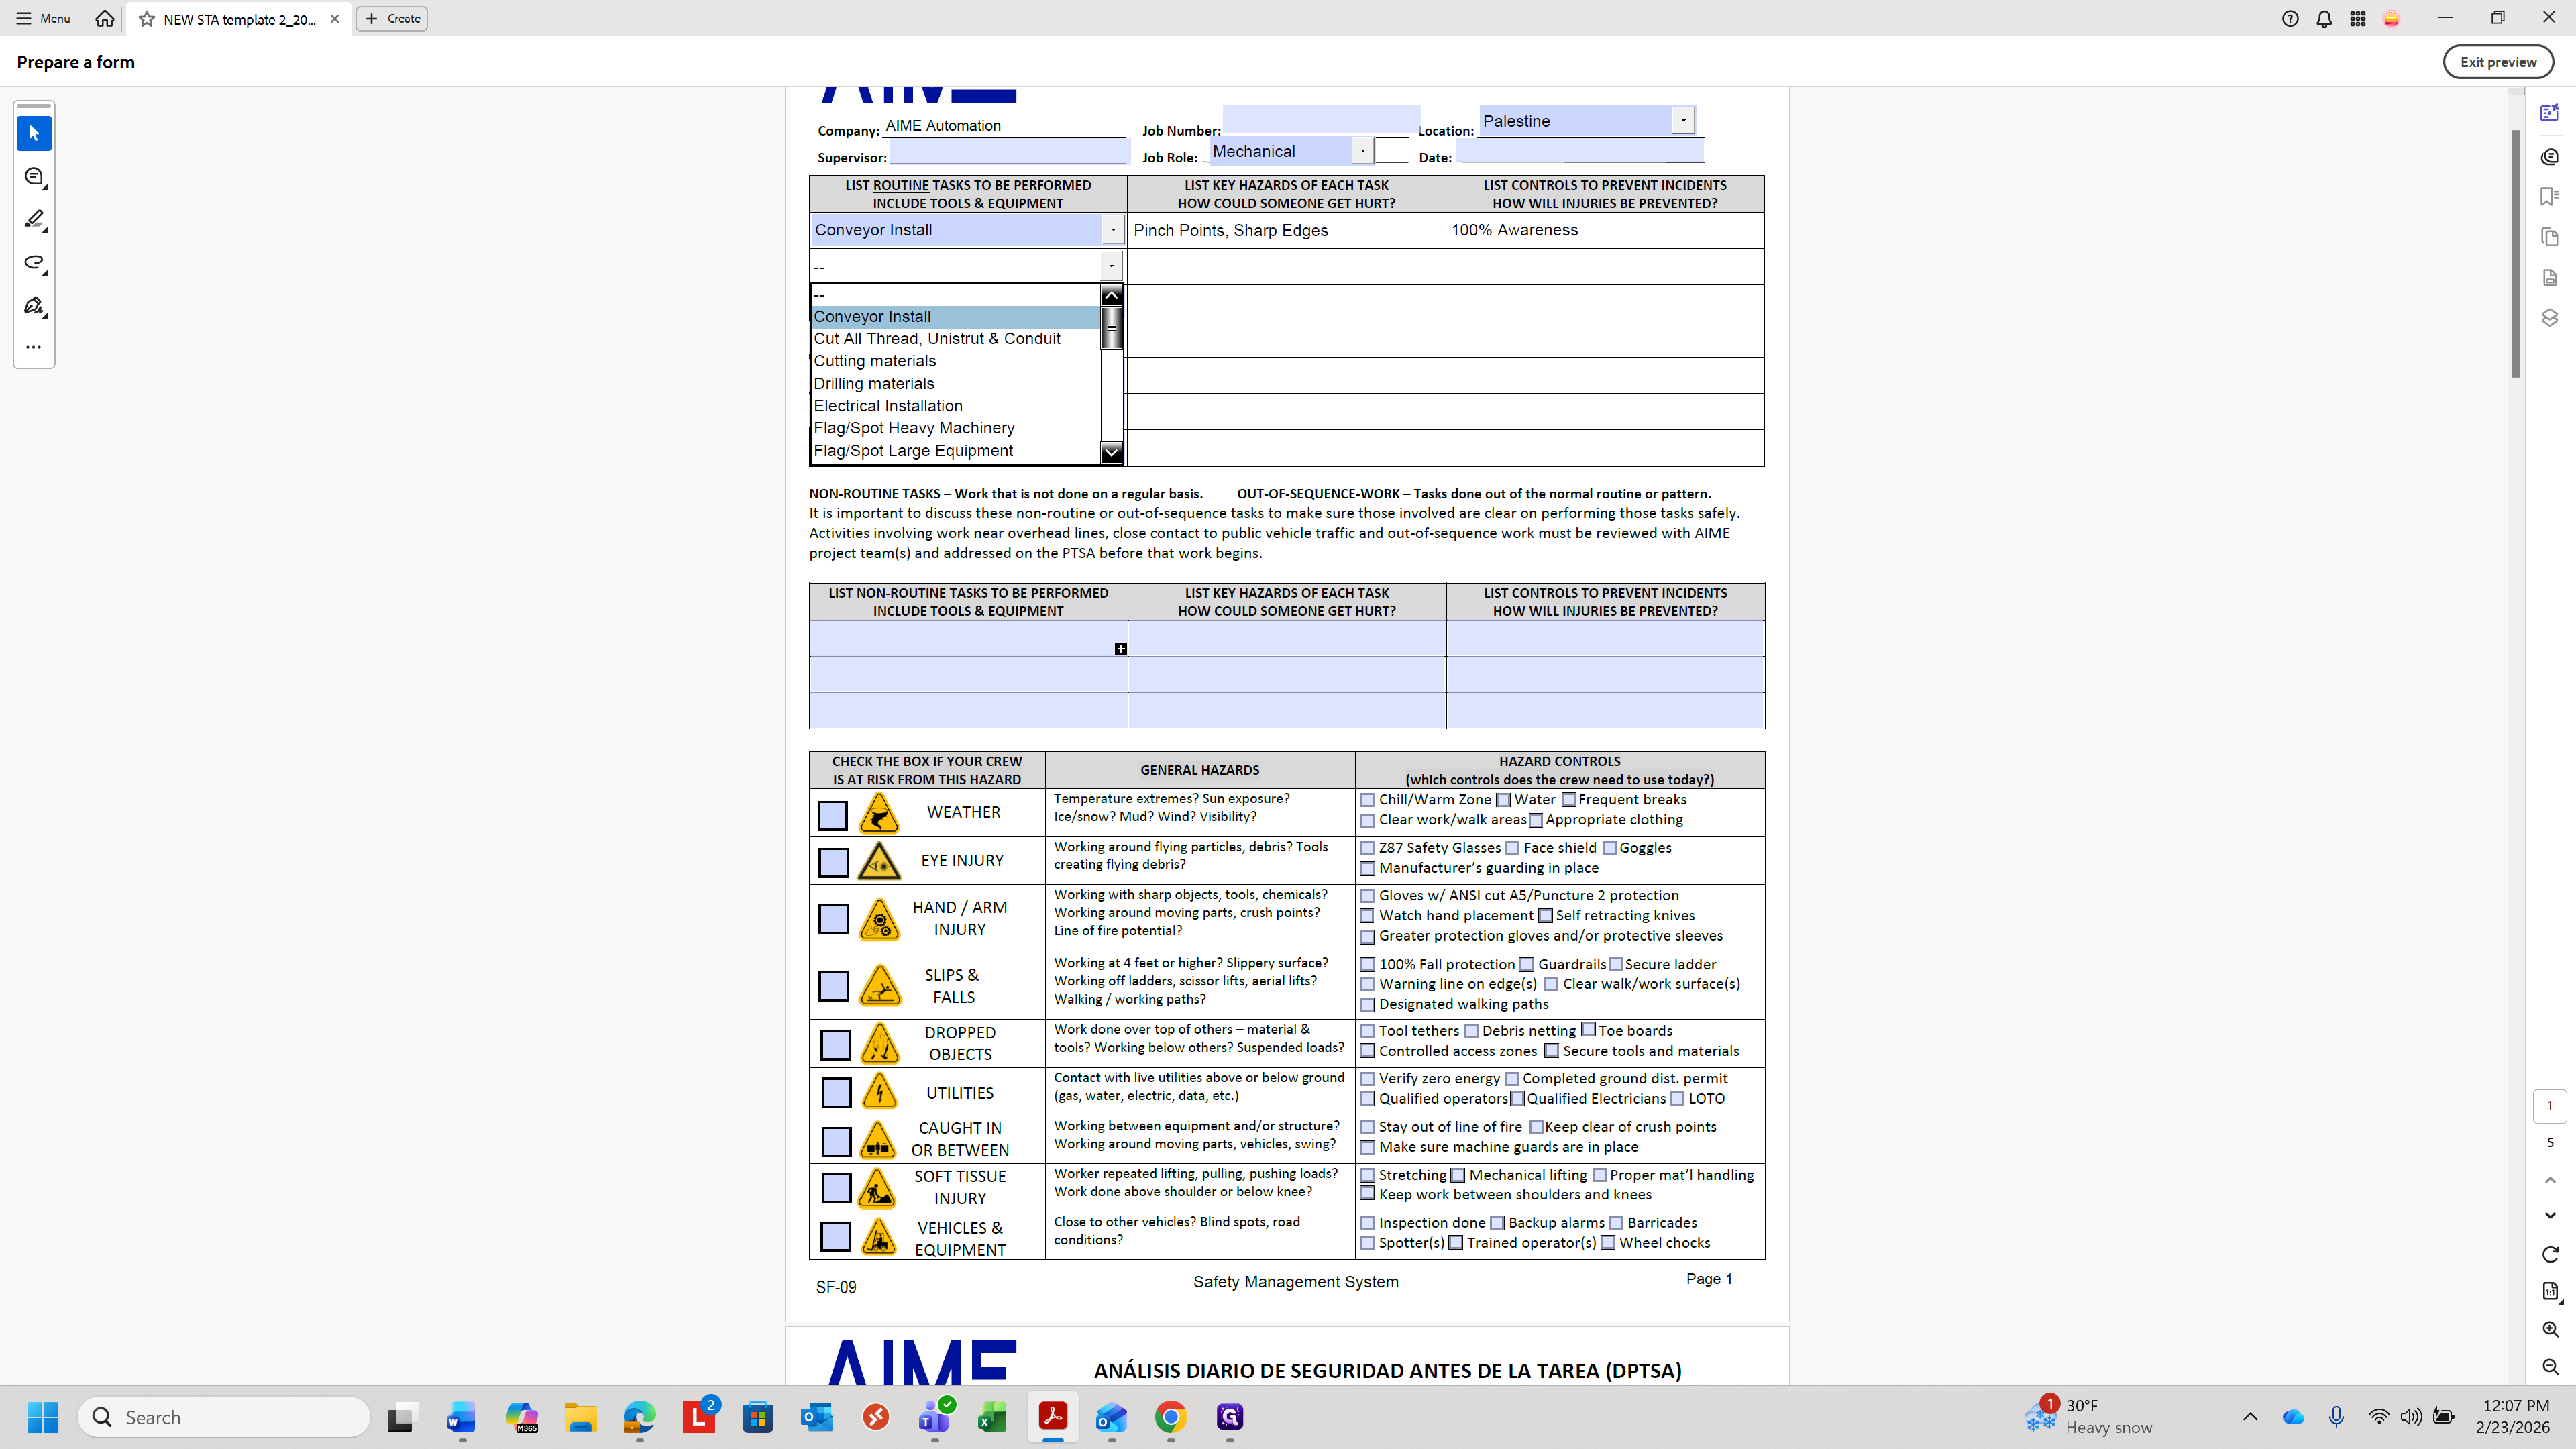
You can fill in these boxes as you choose. The drop down tasks will automatically populate the same sheet, but in Spanish. Here, you would come down and scan the employee ID.
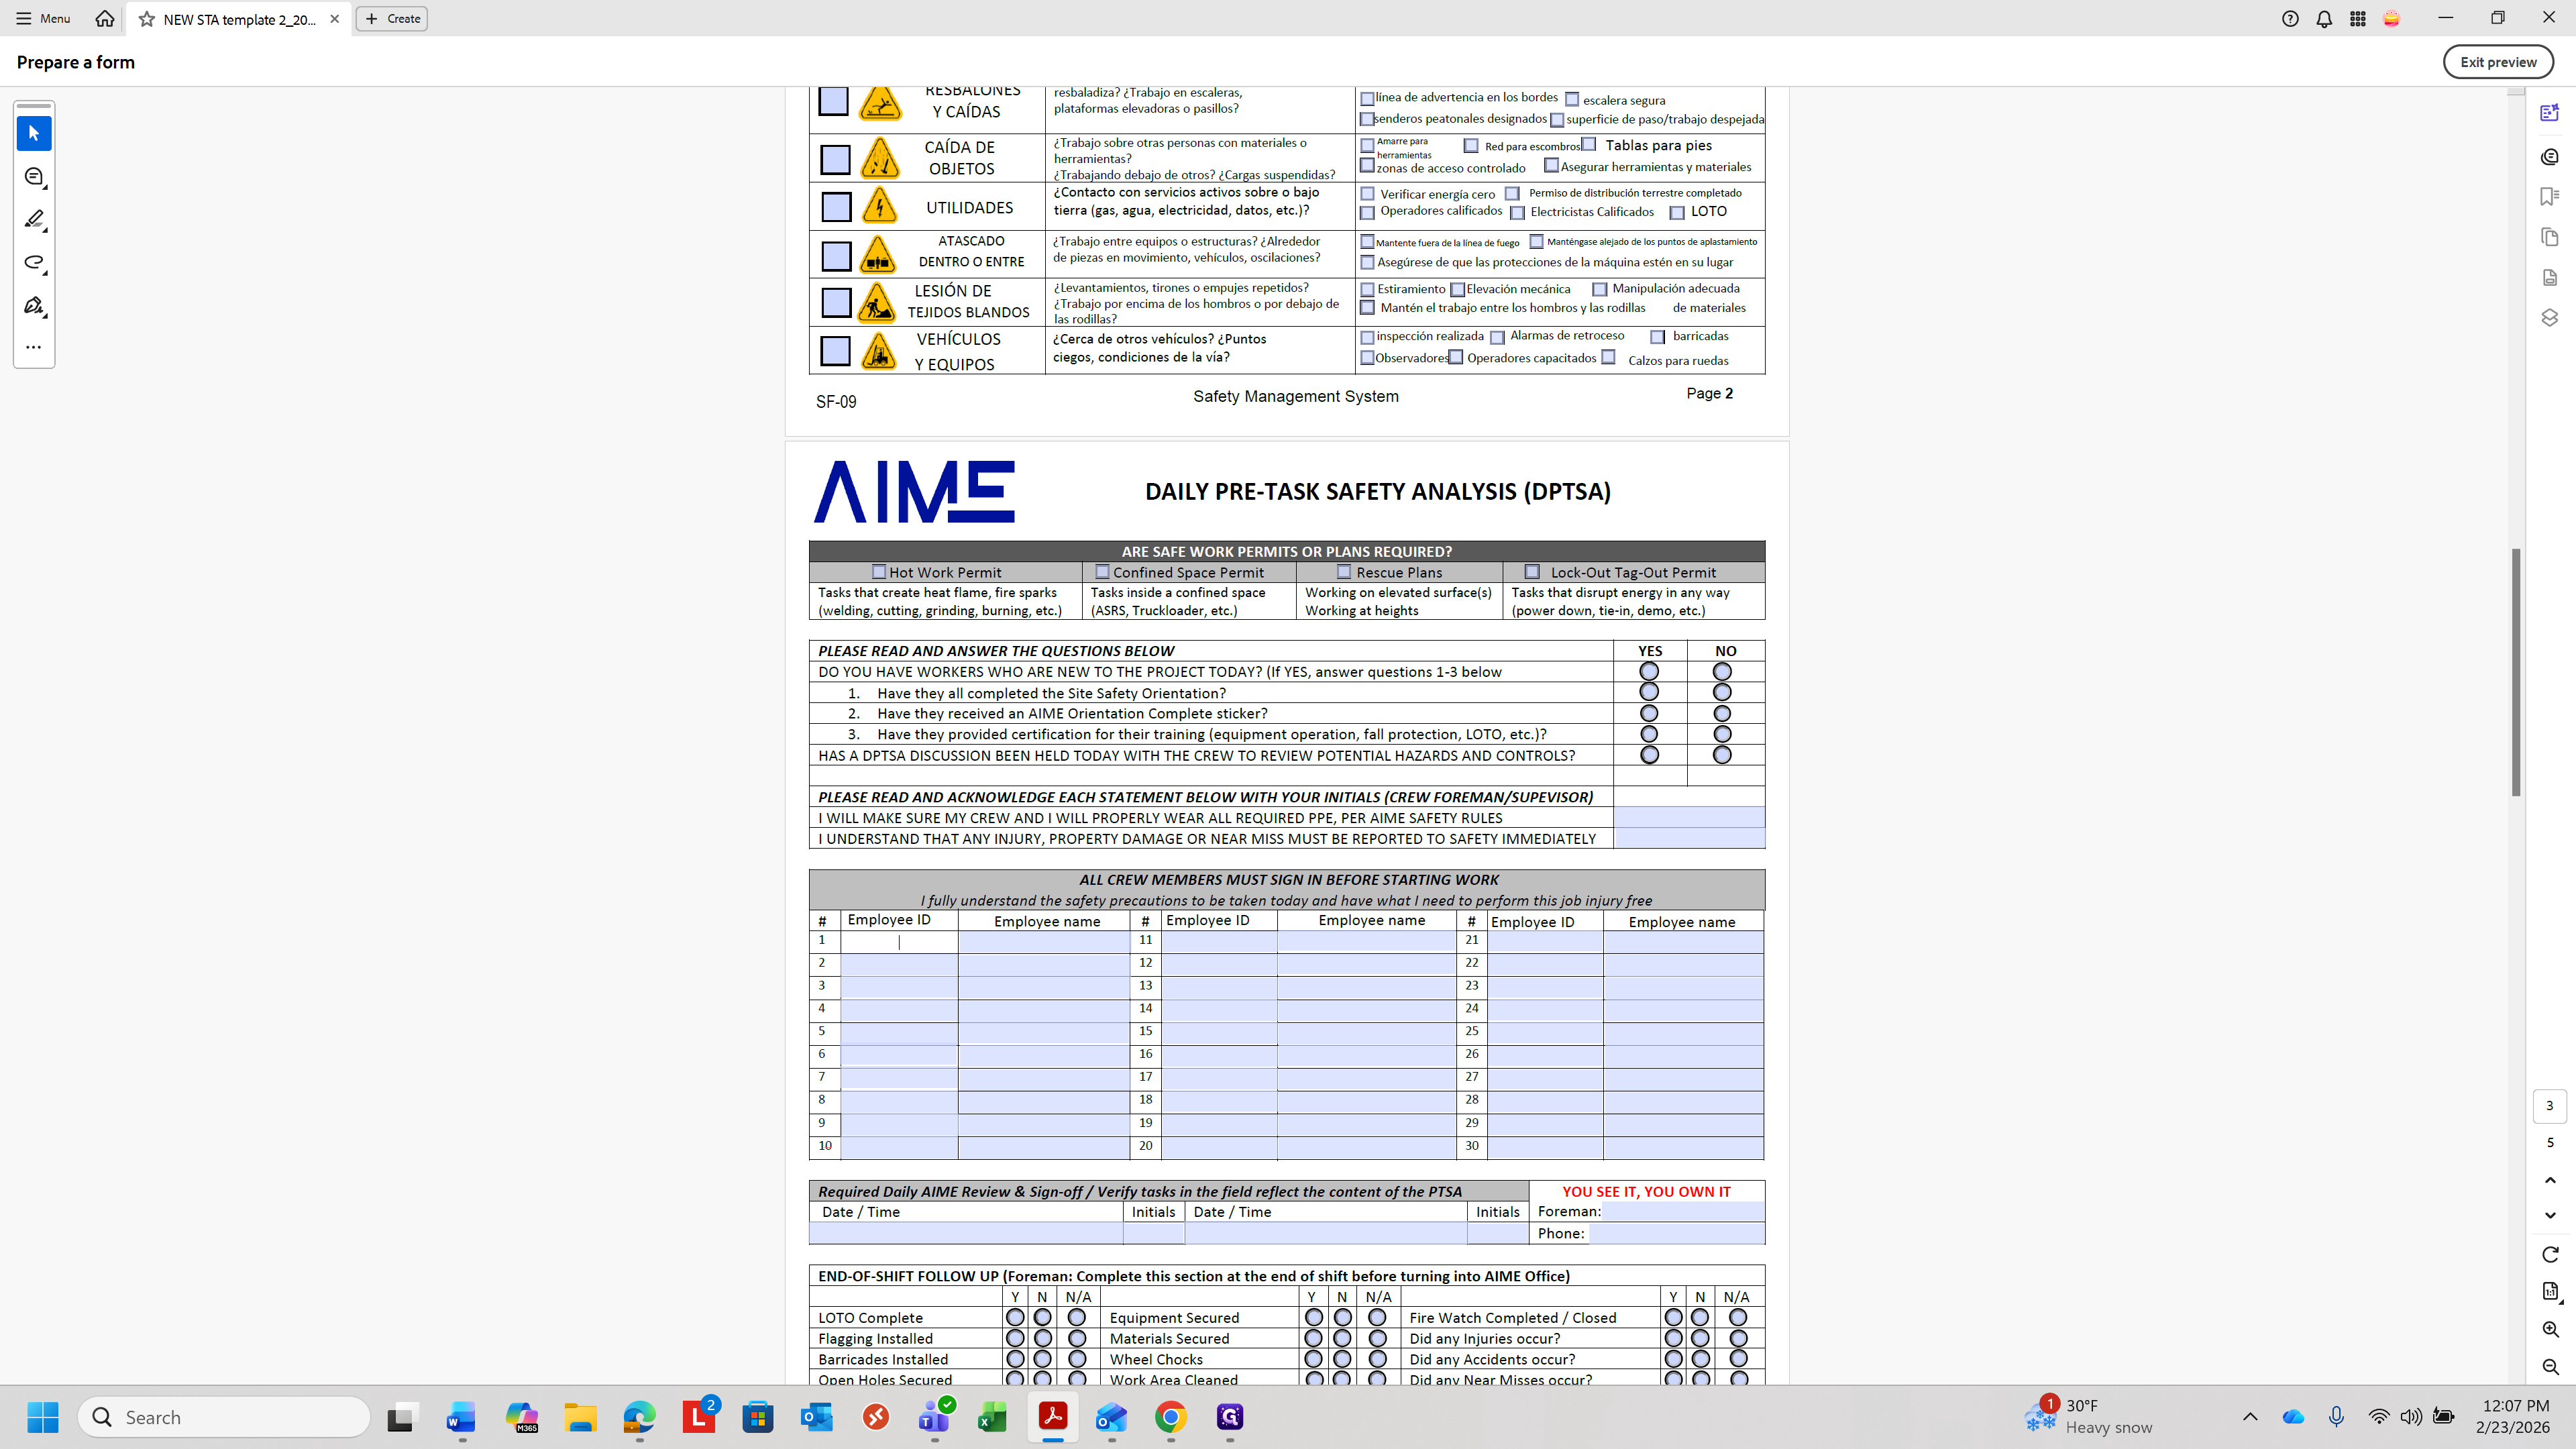
If the scanner isn't set up, you can type in the employee ID number, and it will populate automatically. Then it would move to the next one and continue feeding. There is an extra page for additional tasks if needed, and another page if there are more than 30 employees for the day.

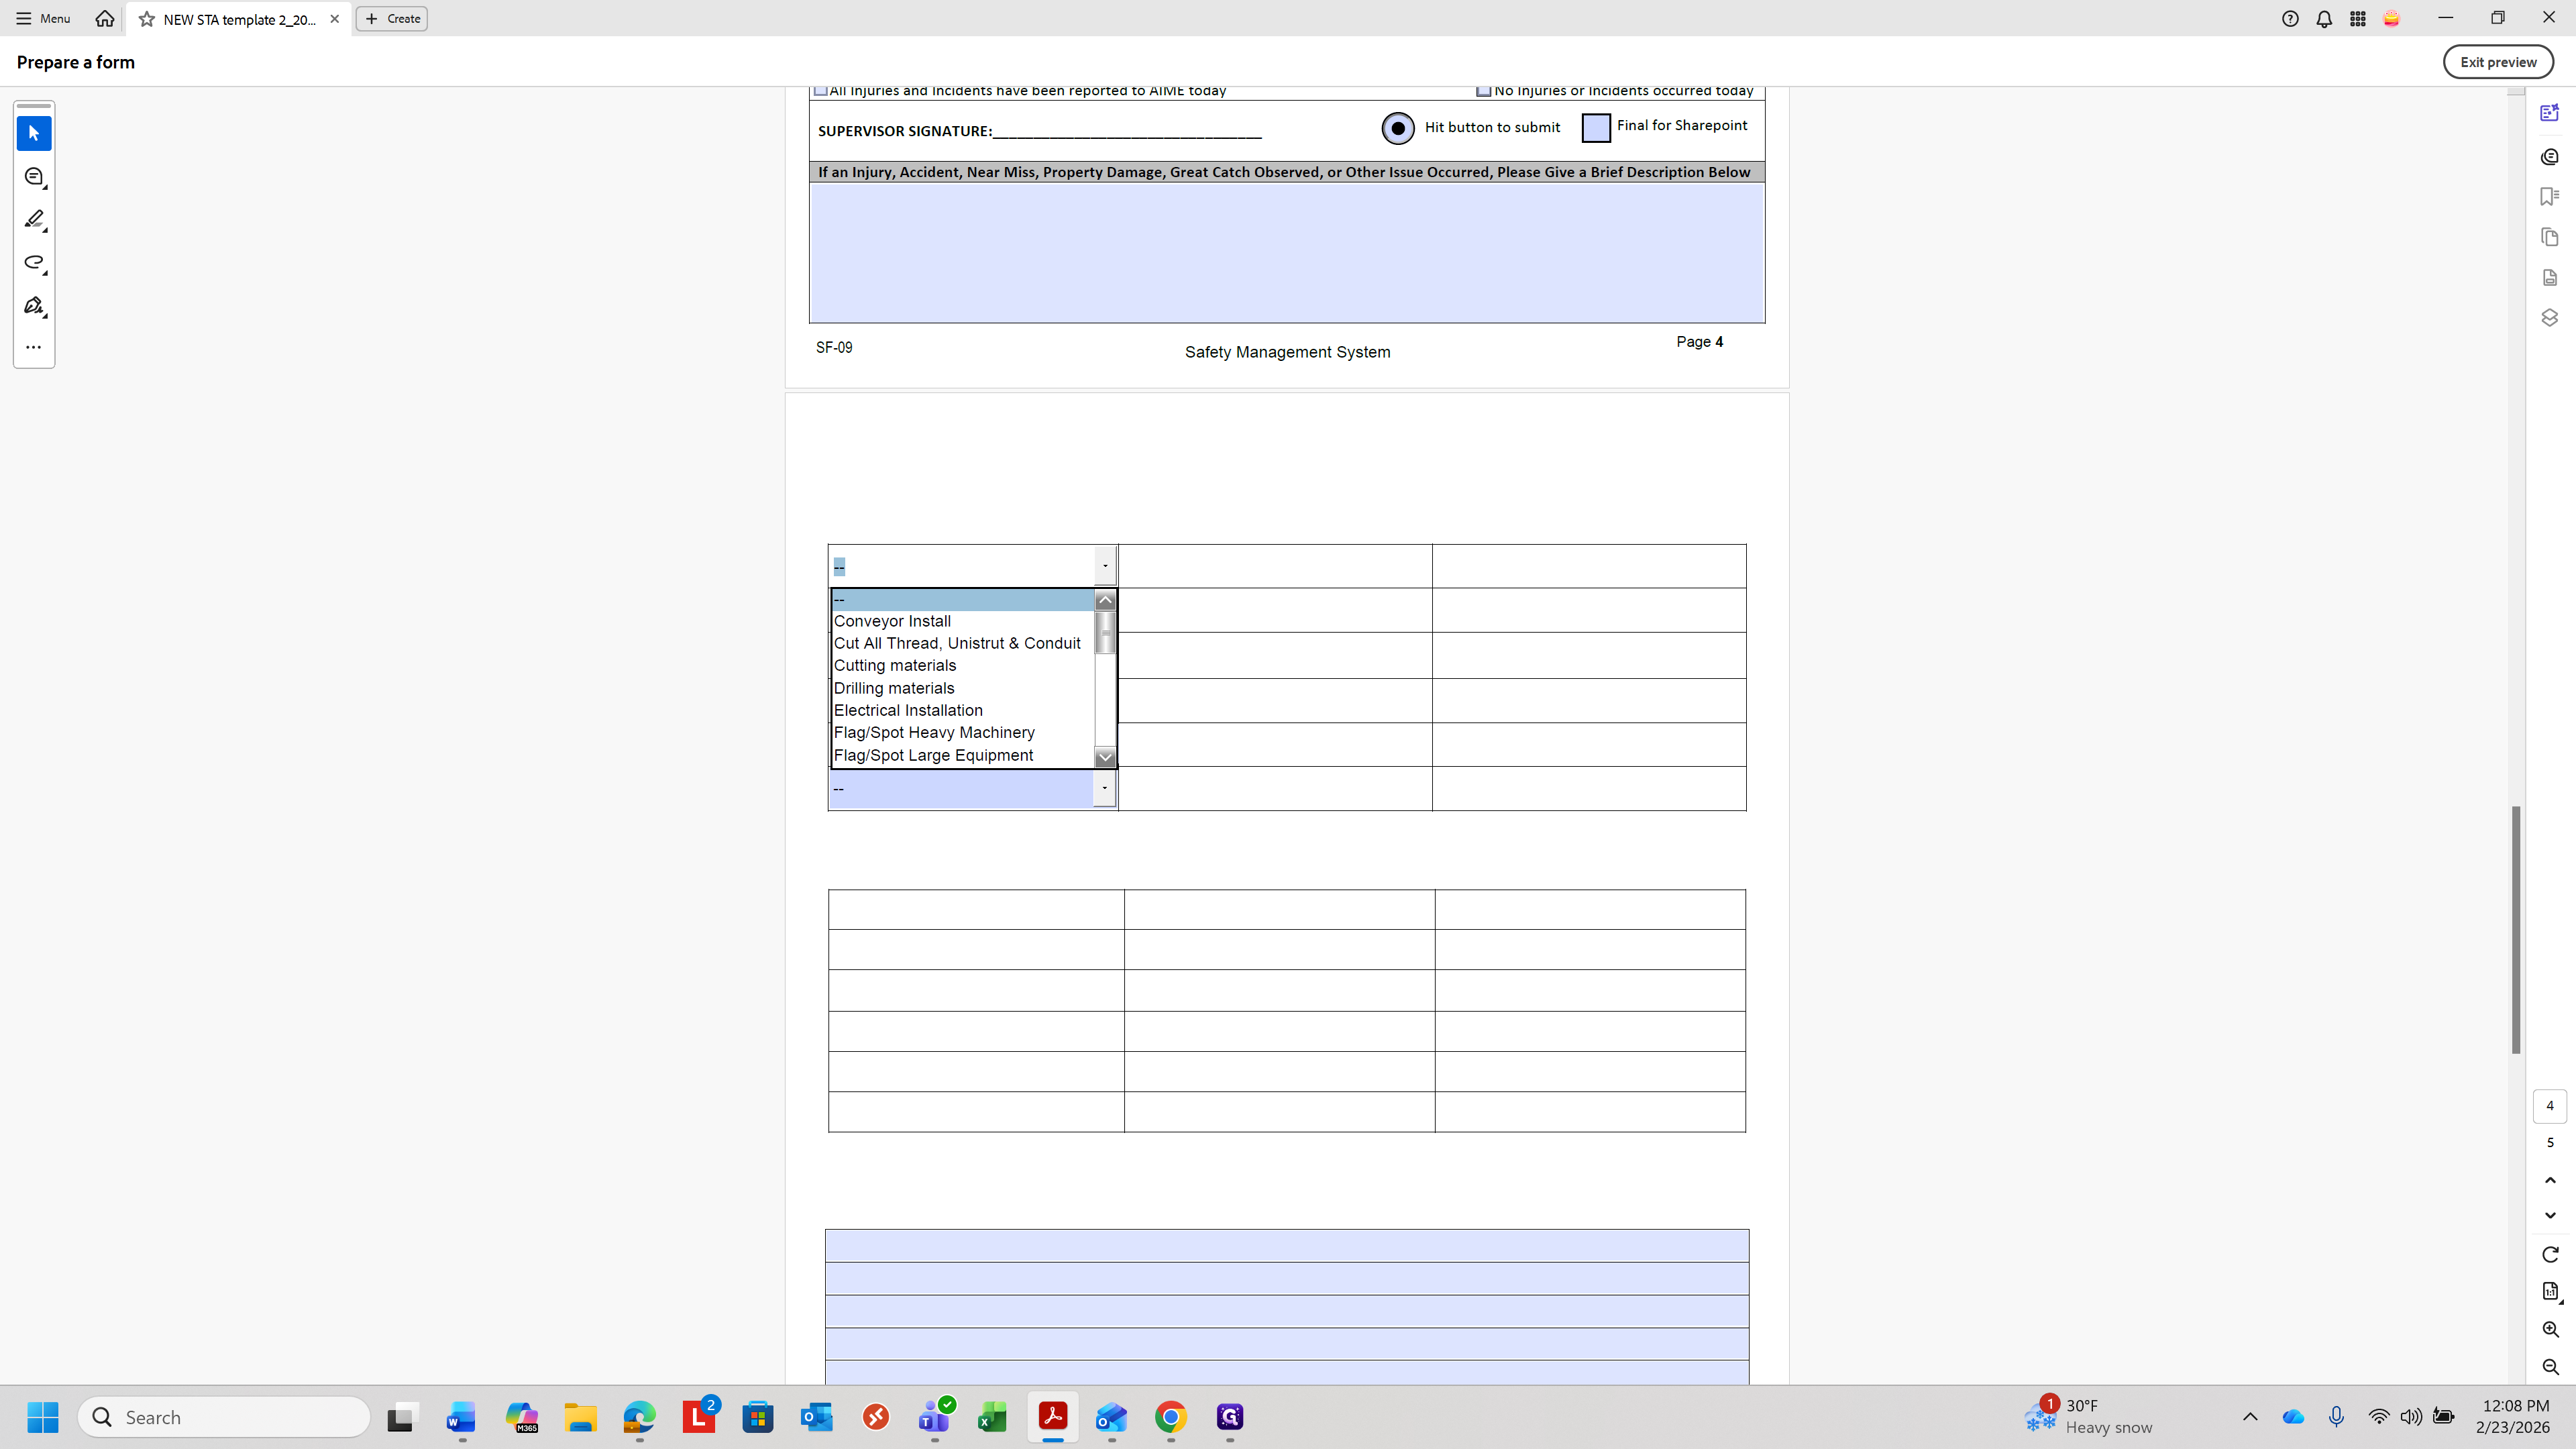
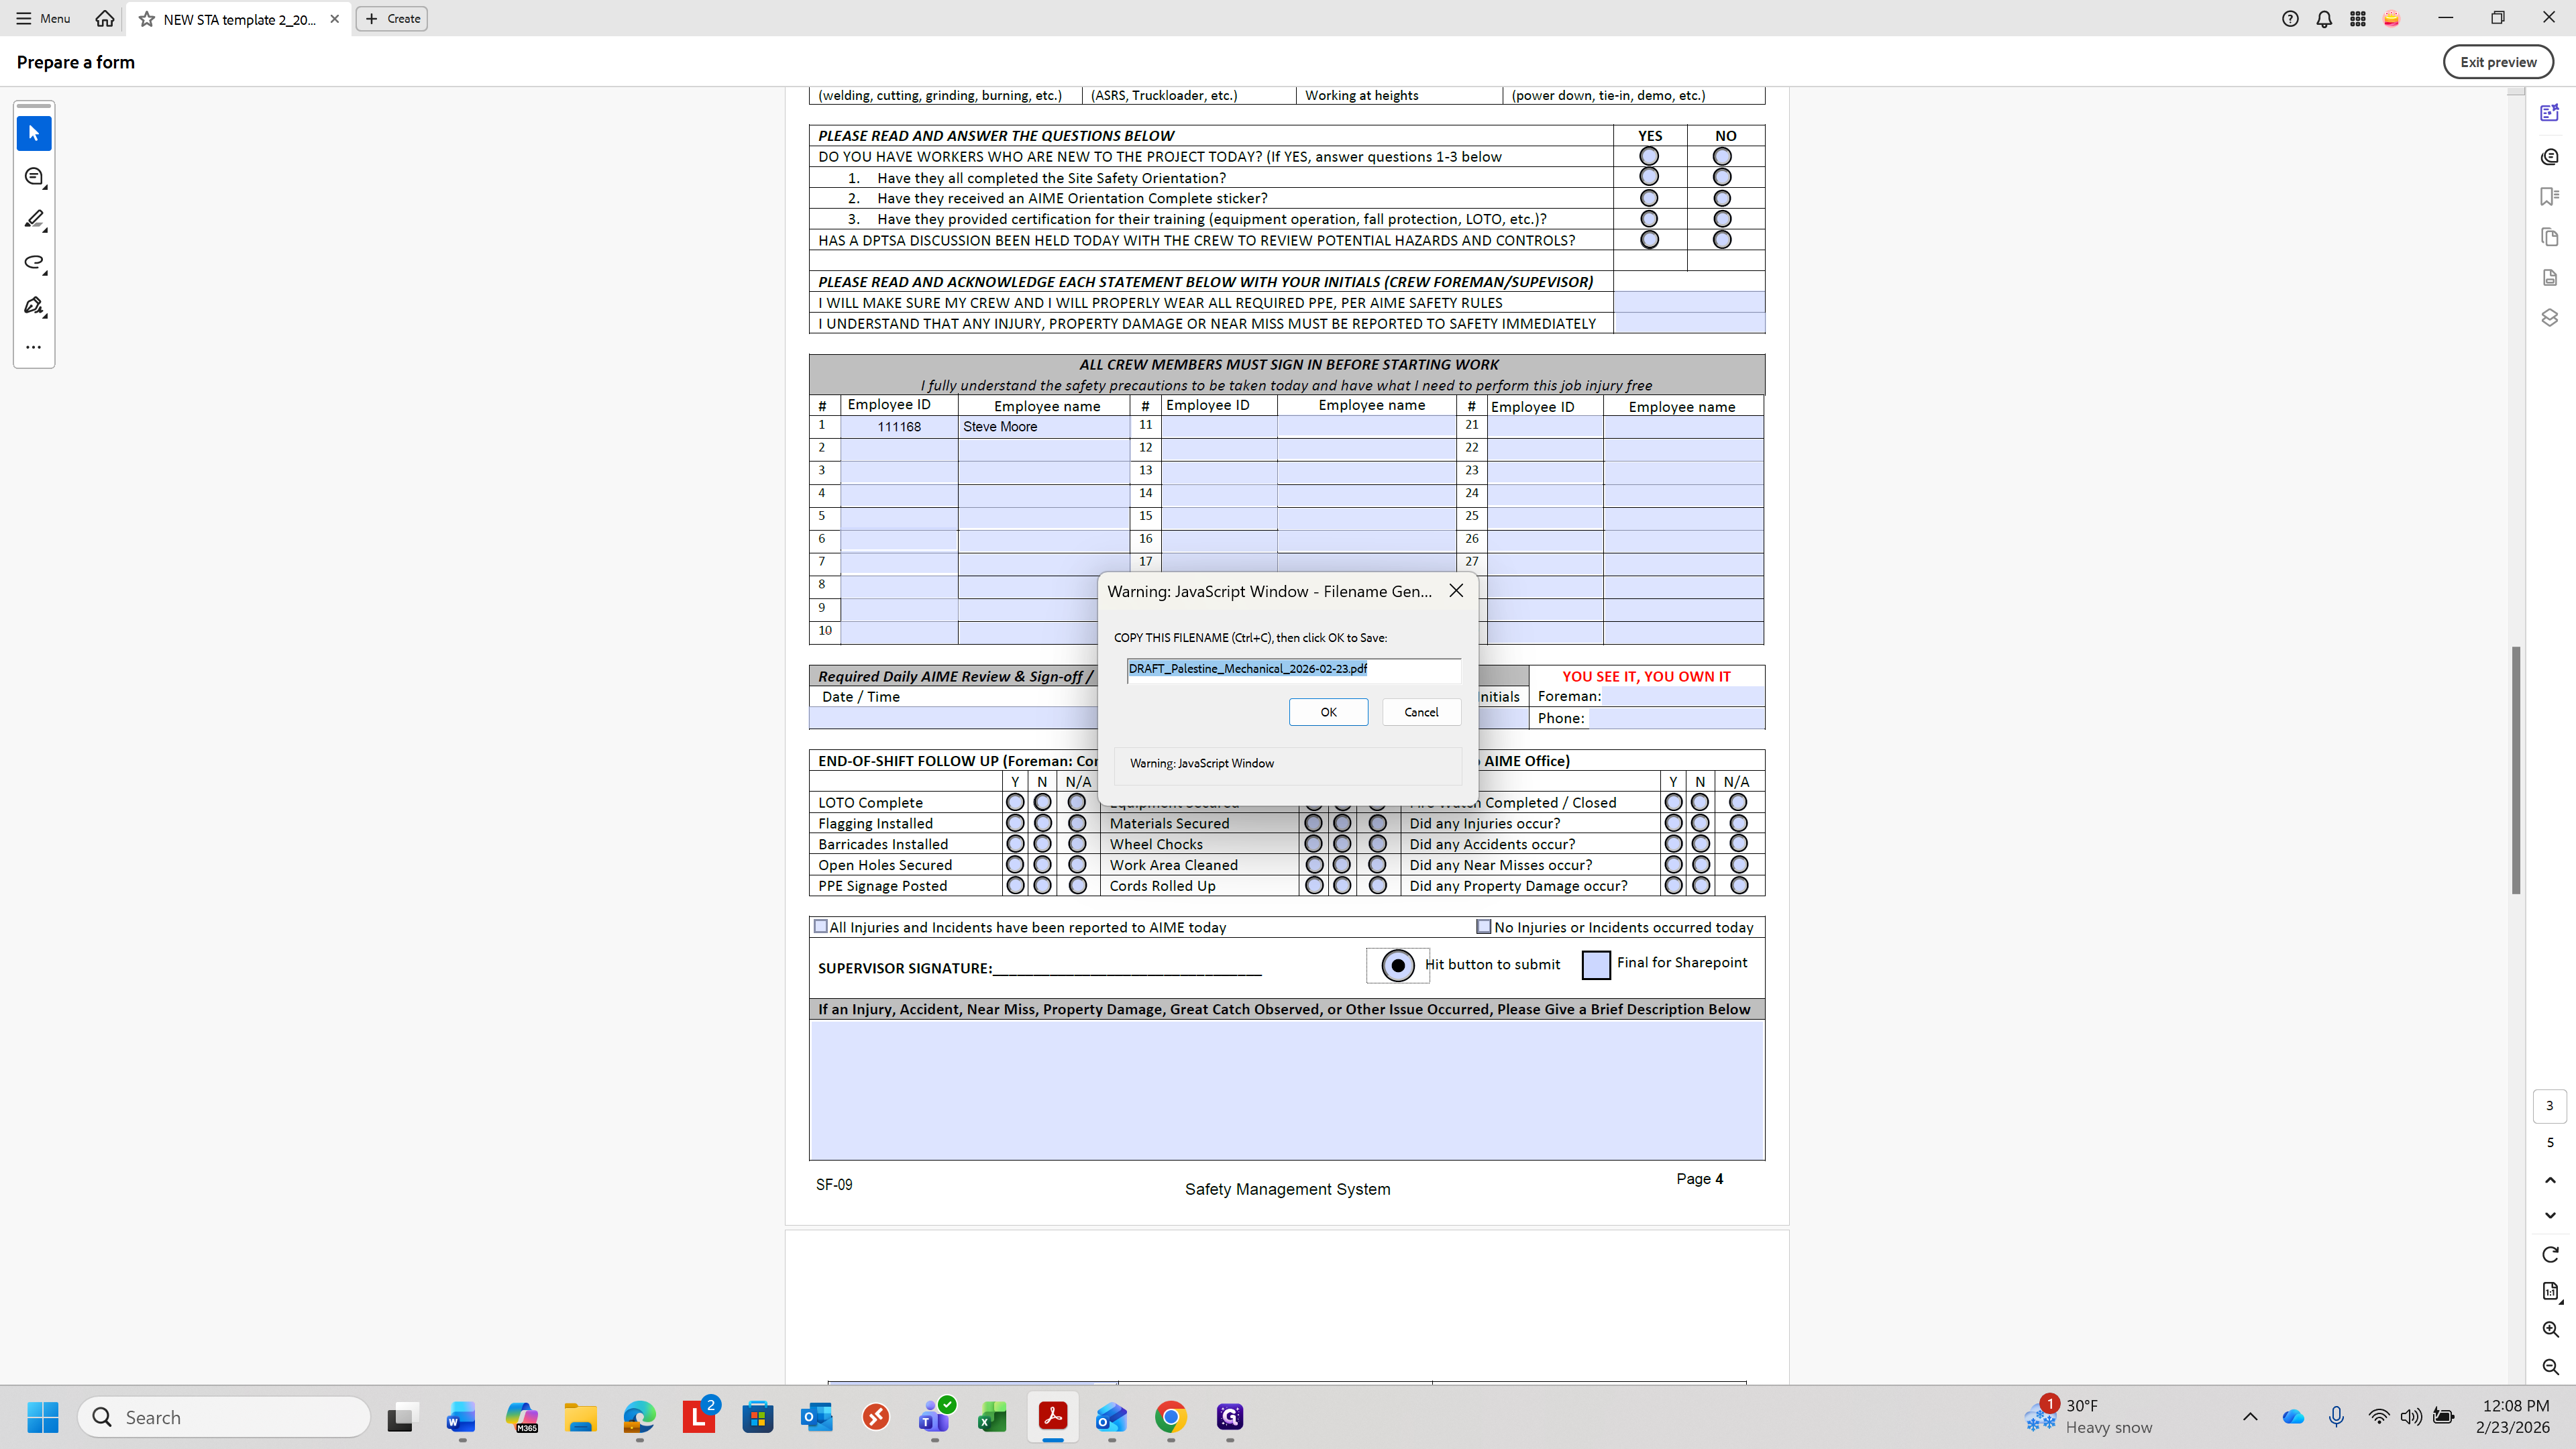
Click the Submit button.

That will give you a name, which you can copy using Control+C when saving. If it is ready to be saved as a final version, you can save it for SharePoint.
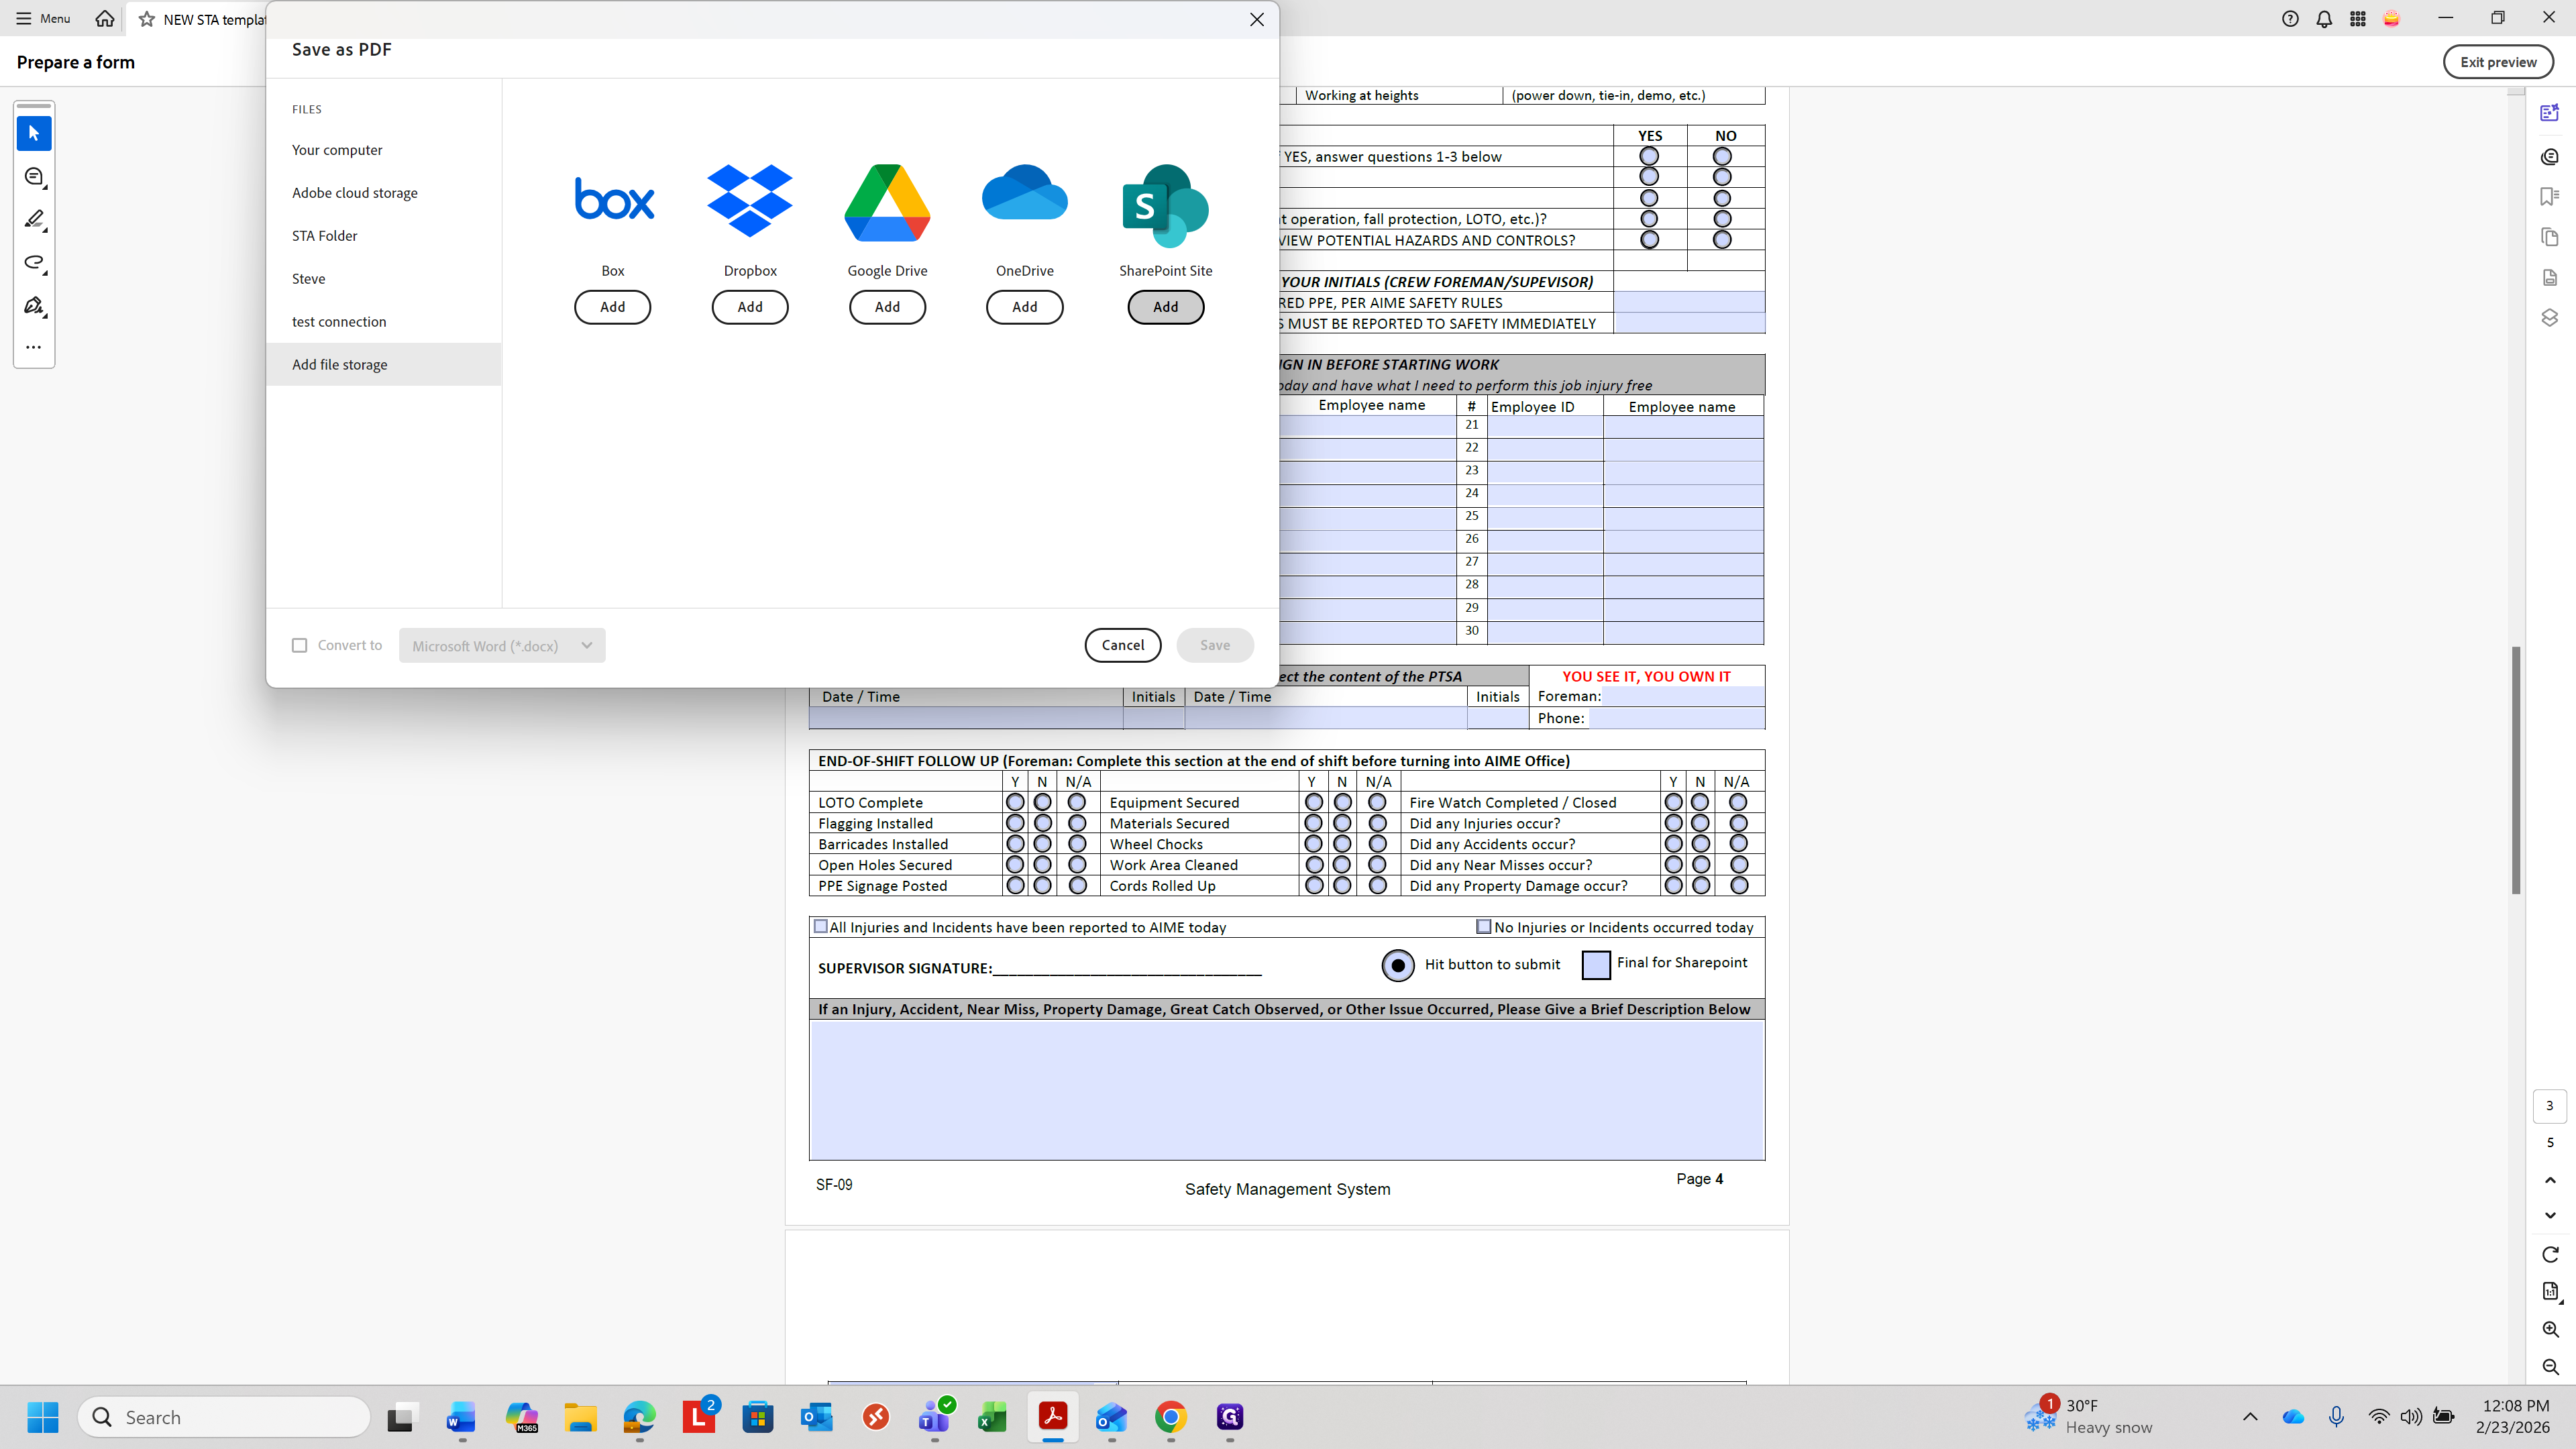
If you don't already have the STA folder set up with a direct link to SharePoint or Teams, you can add file storage and add your SharePoint site here. You can name it whatever you want, and set the folder name as given on the sheet. This is where you want it to point to.
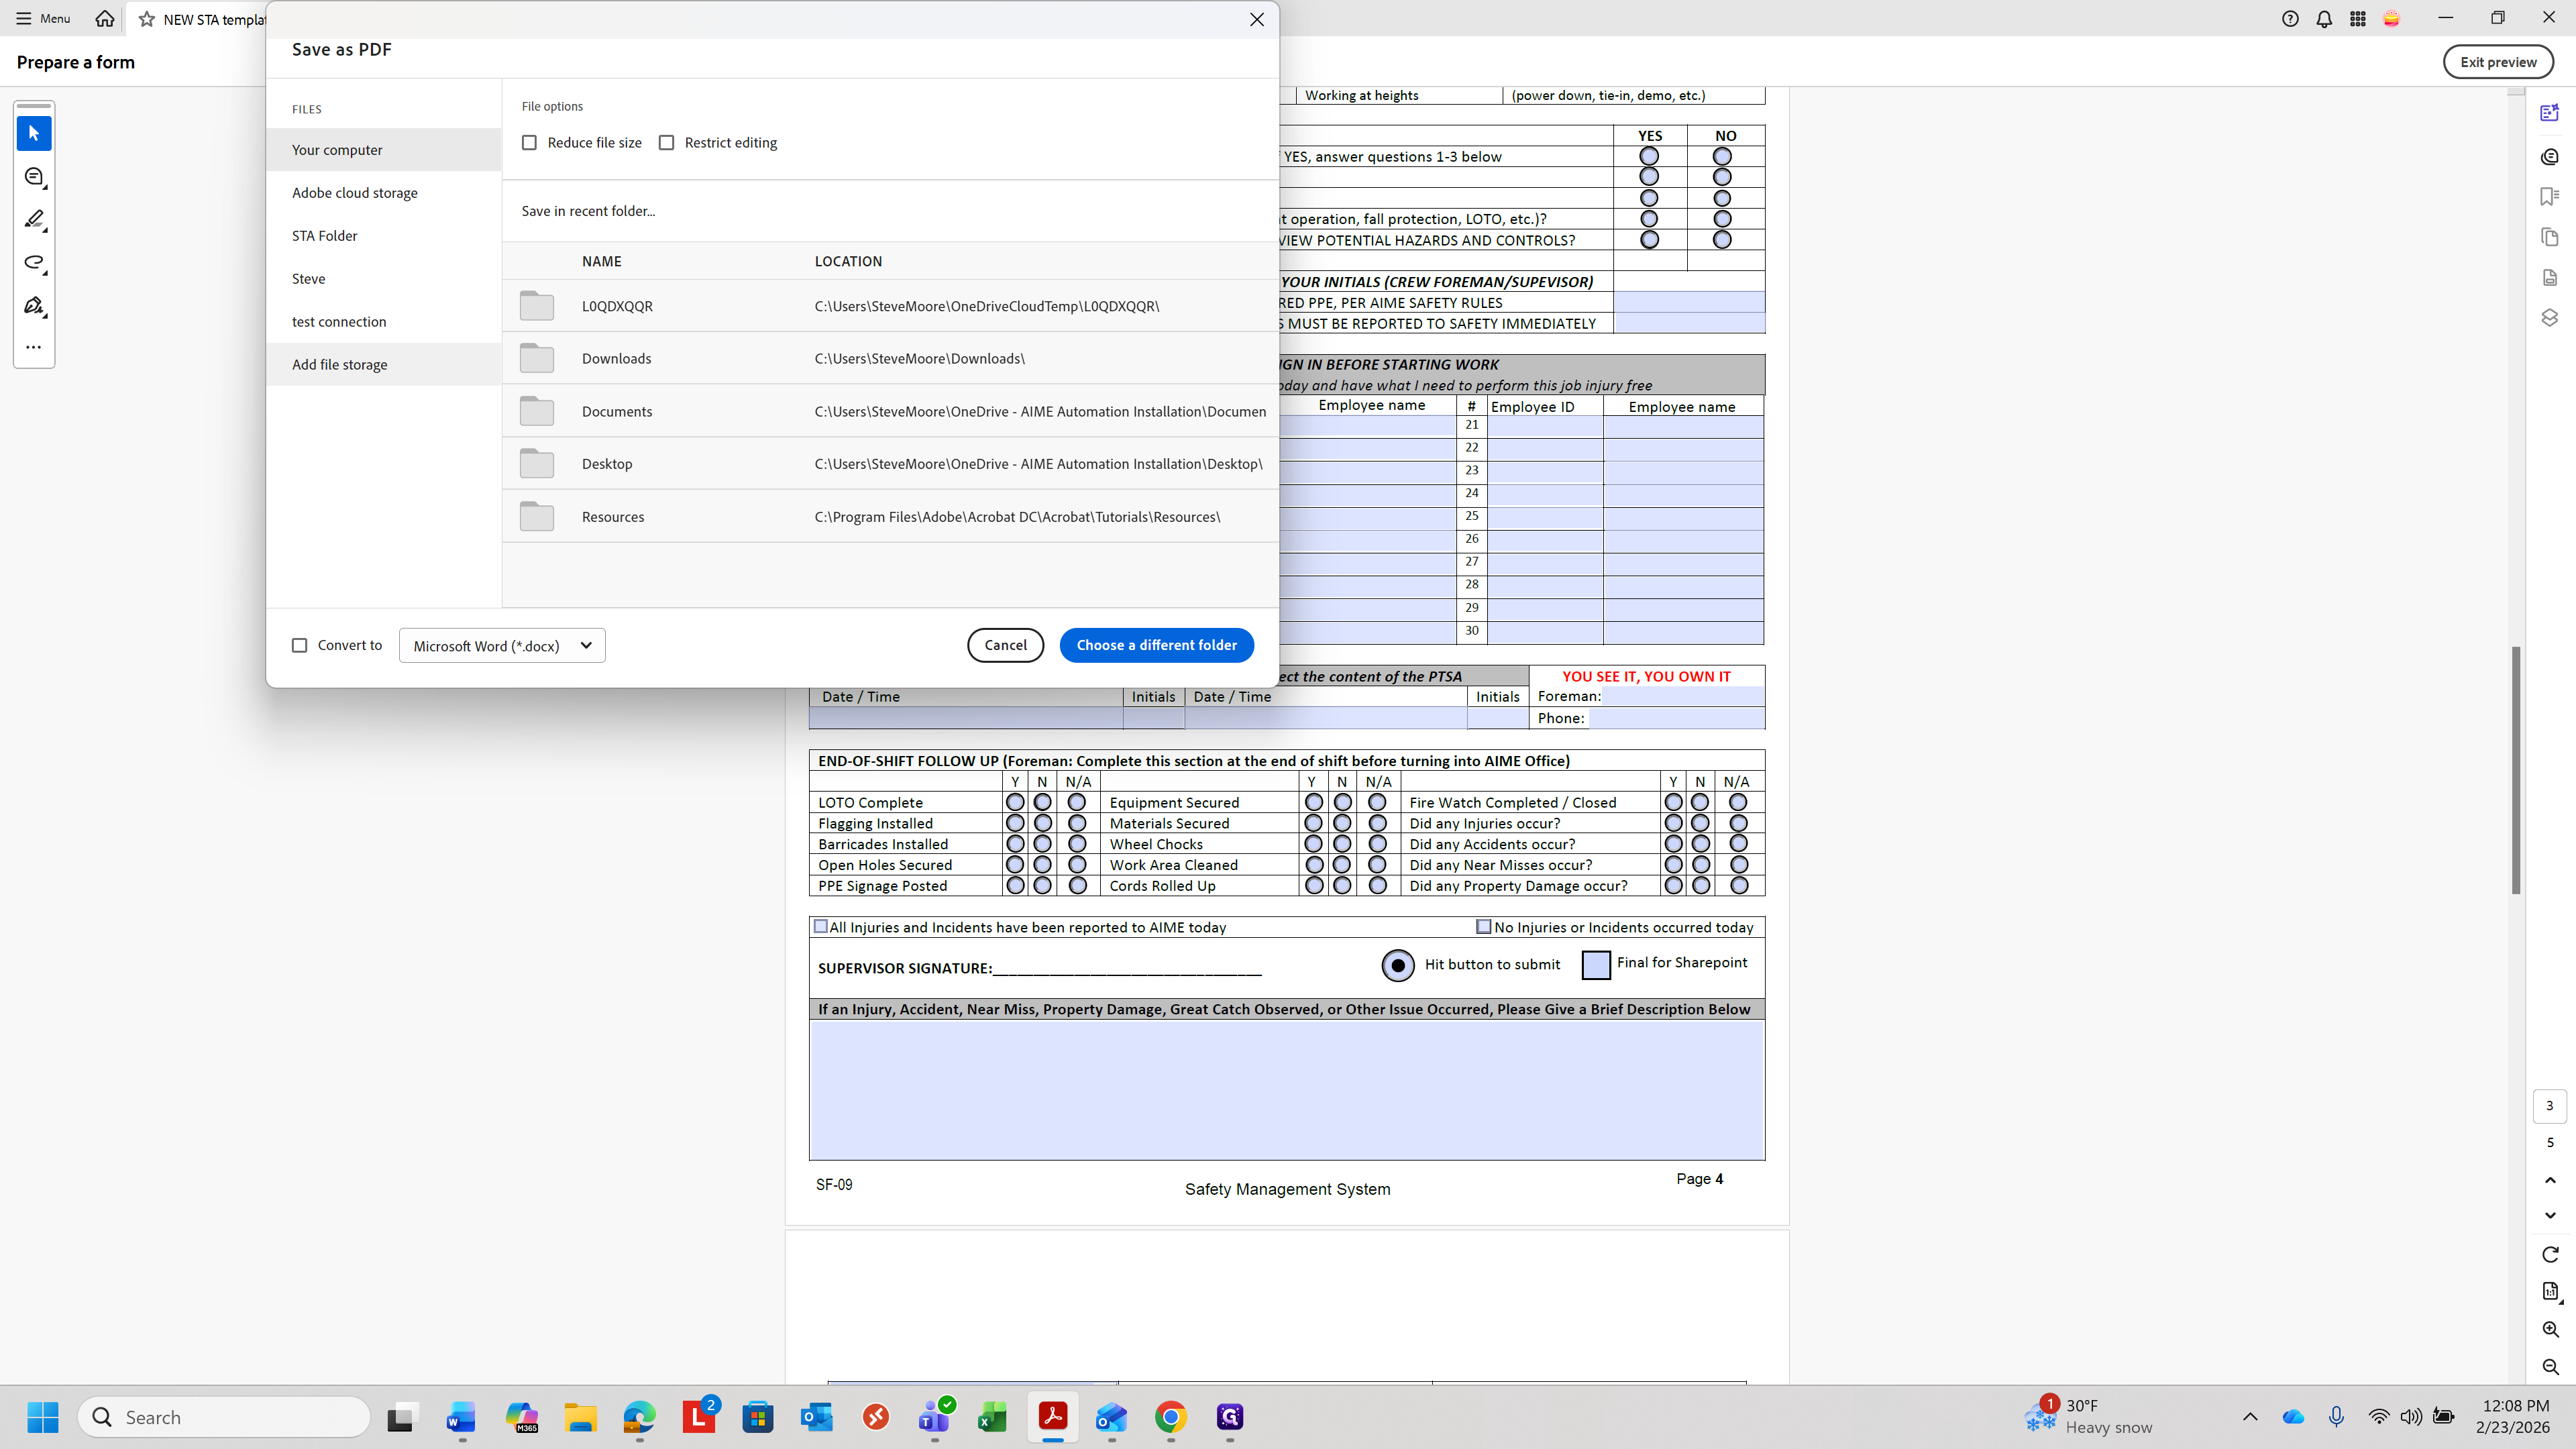
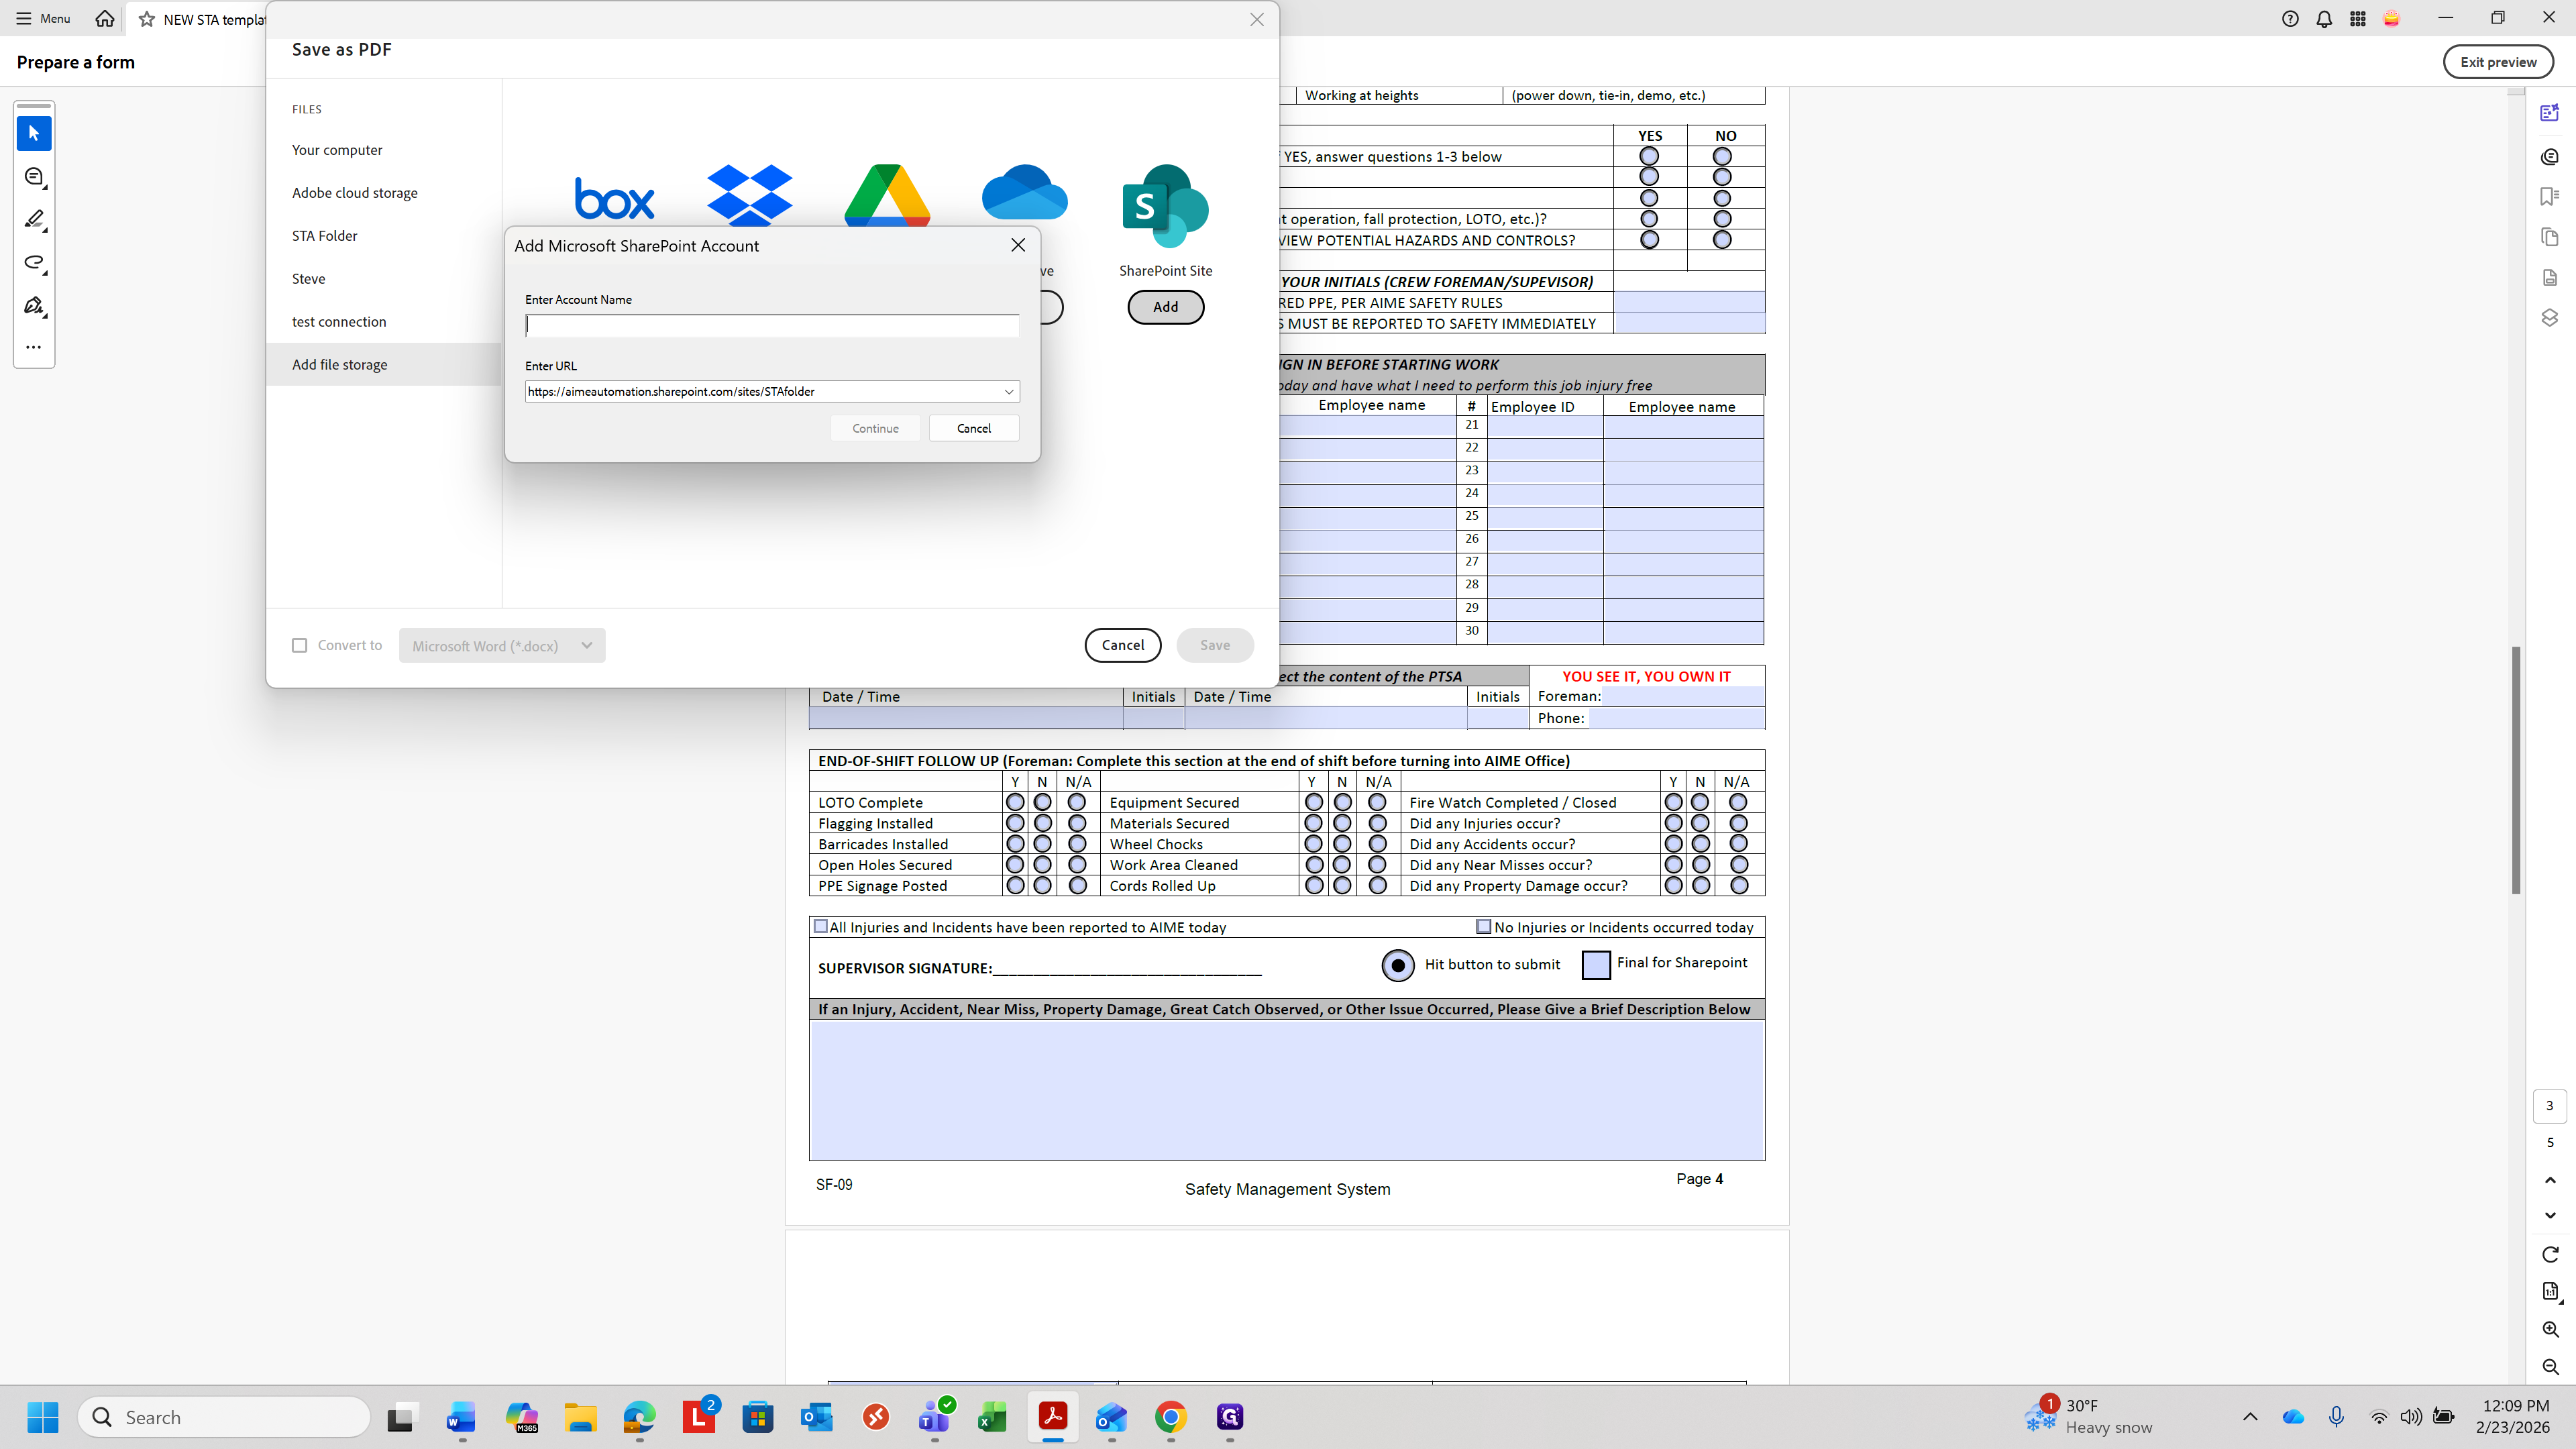
That is where you would type in or copy and paste the directory for sharepoint, STA folder - Home

That is how you do this. Once you save it, you can save it to the specific folder for your site.
You can add additional folders as needed.
Thank you.