Icon

How to Optimize Your Video Uploads for Engagement and Success

Learn step-by-step how to structure your video uploads for maximum audience engagement. Discover best practices for writing engaging titles and descriptions, adding affiliate links, choosing thumbnails, using tags like AI, no-code tools, workflow, founders, personal growth, and success, and optimizing cards and end screens. Perfect for creators looking to grow their channel and boost conversions.

By Taylor Quade

In this guide, we'll learn how to structure and publish engaging content for your audience. We will cover how to add affiliate links, format descriptions, upload thumbnails, use tags, and include links in cards and end screens.

You will also learn how to schedule your content for release. These steps help ensure your content is organized and ready for viewers.

Let's get started

1
Click here
Step #1: Click here

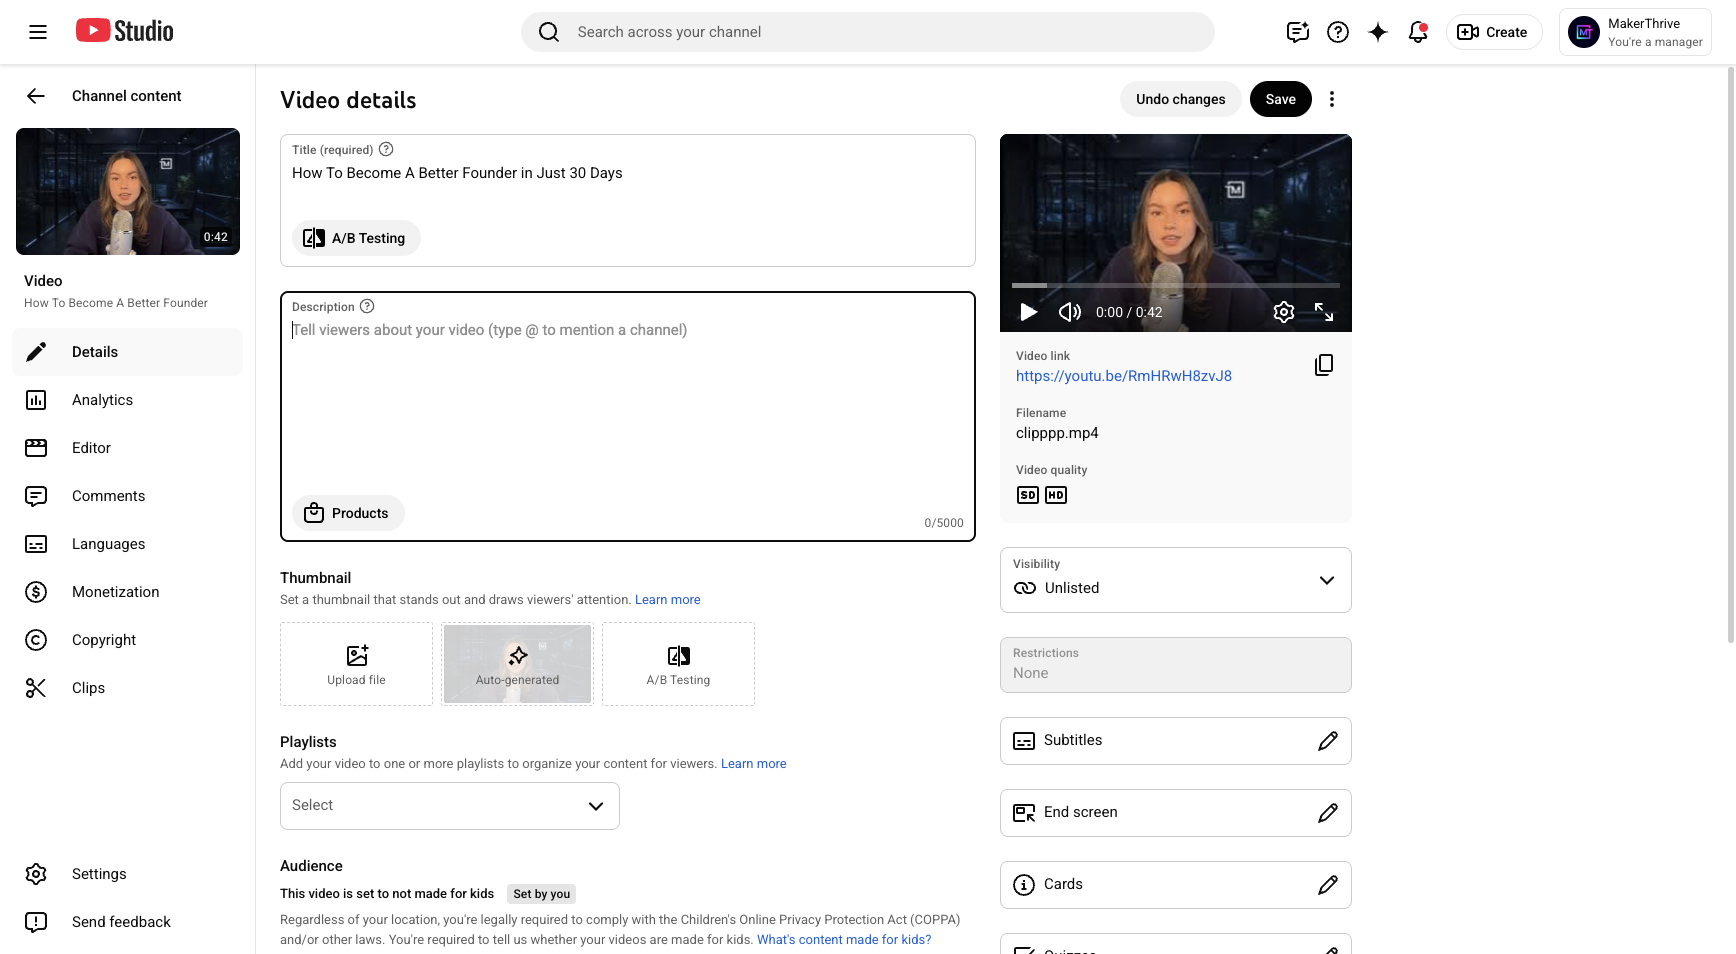
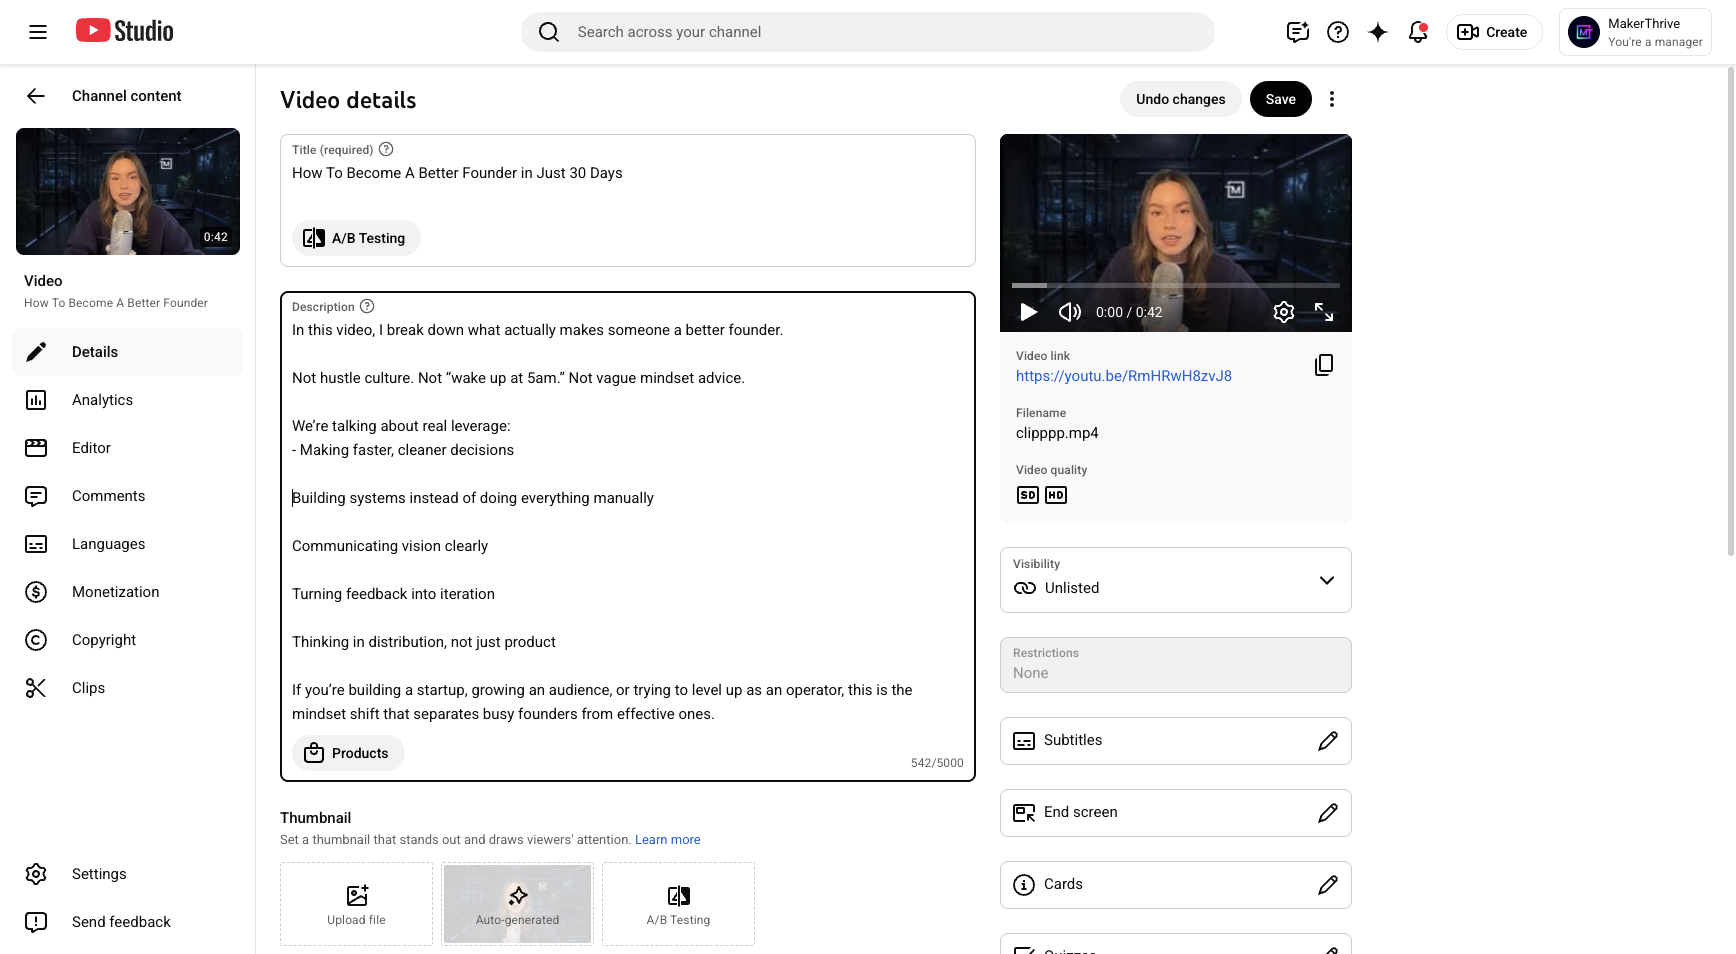
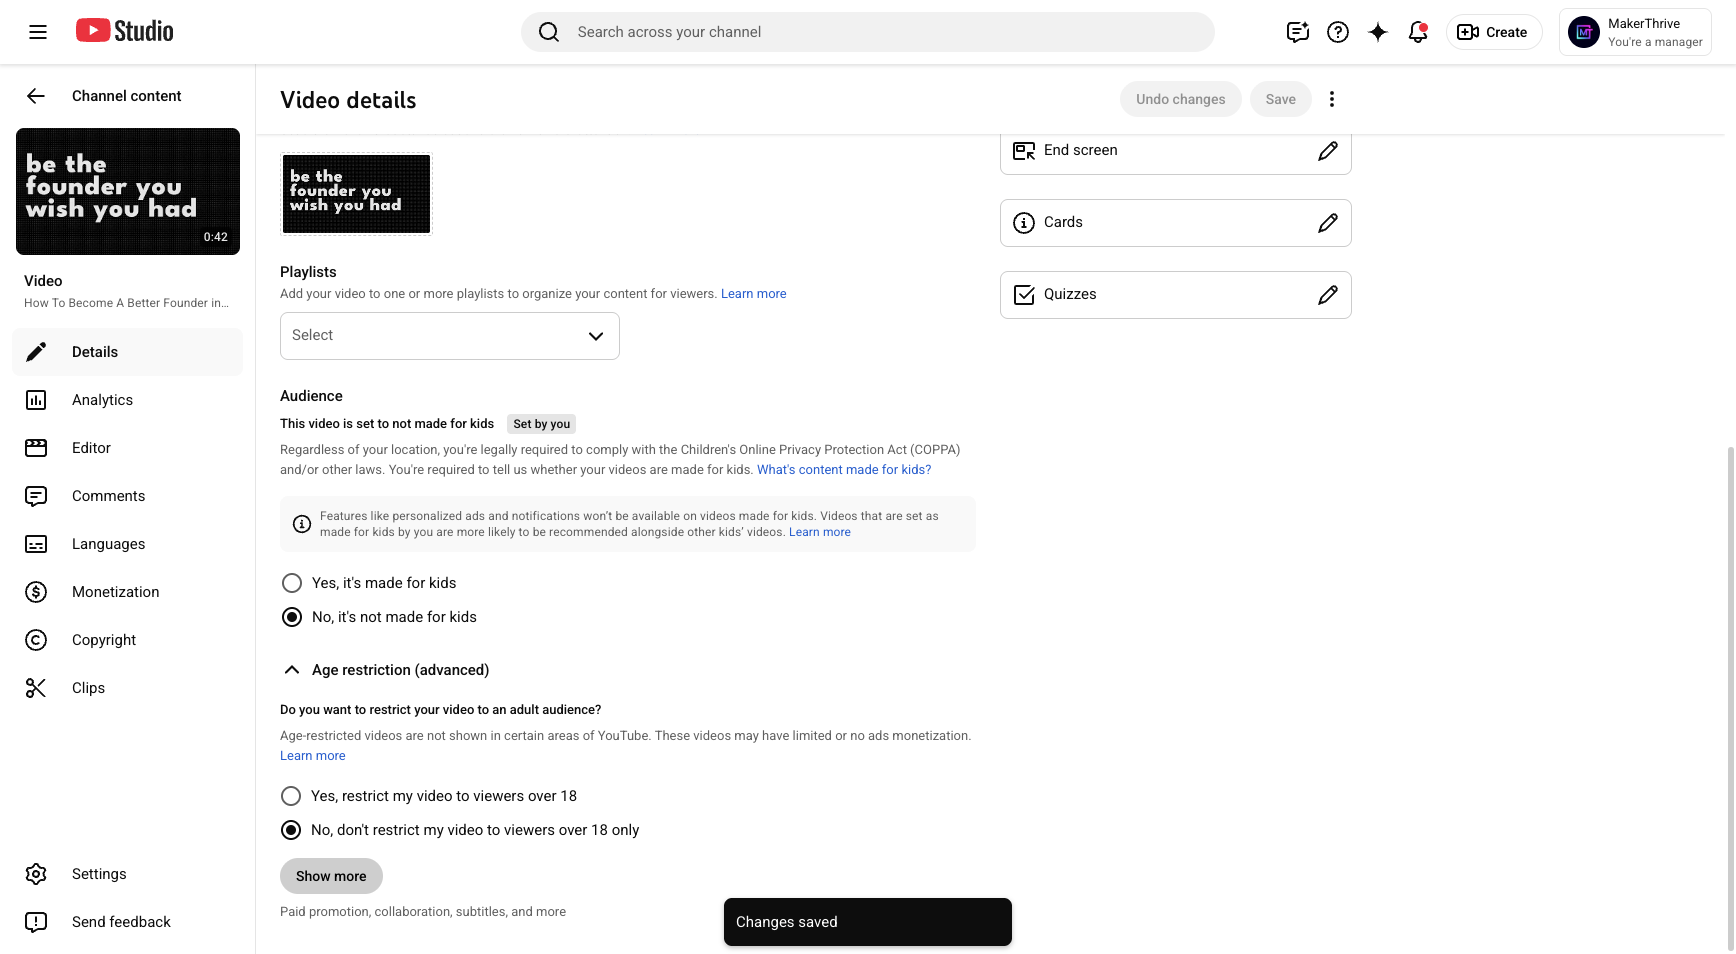
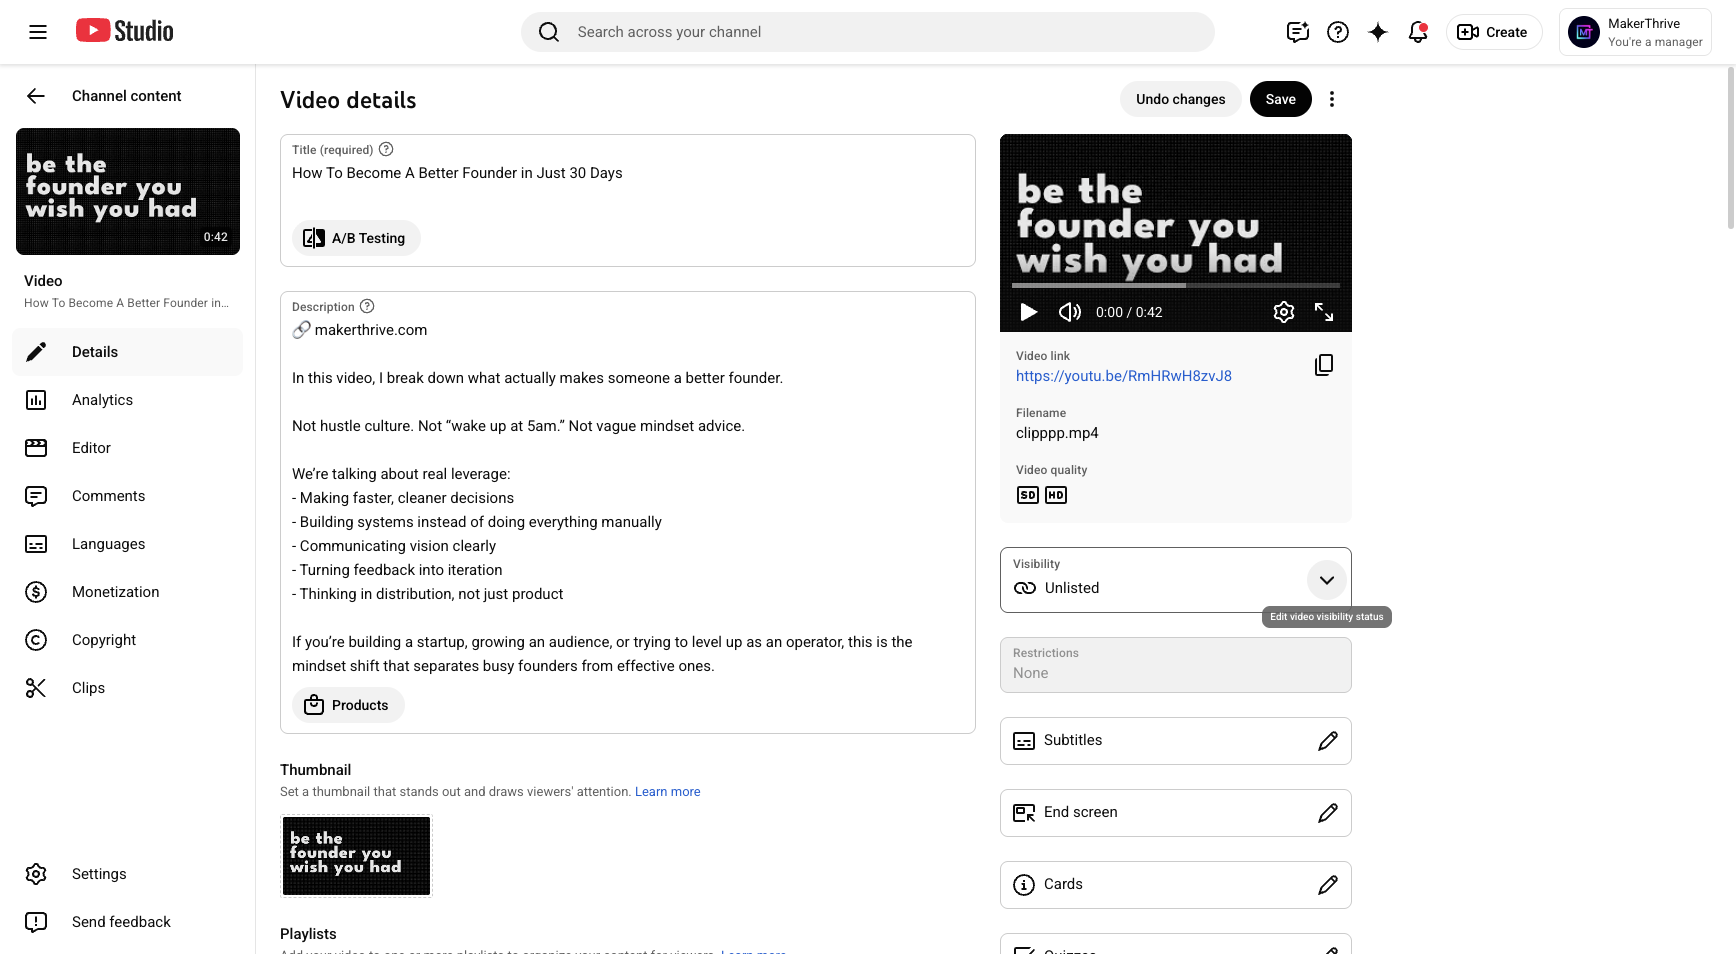
This is where I will write the title. Make sure it’s engaging for your audience. This is also where I structure the description.

2
Click on "type @ to mention a channel )"
Step #2: Click on "type @ to mention a channel )"

3
Make sure to say "Auto-gen"
4
Type "Just 30 Days"

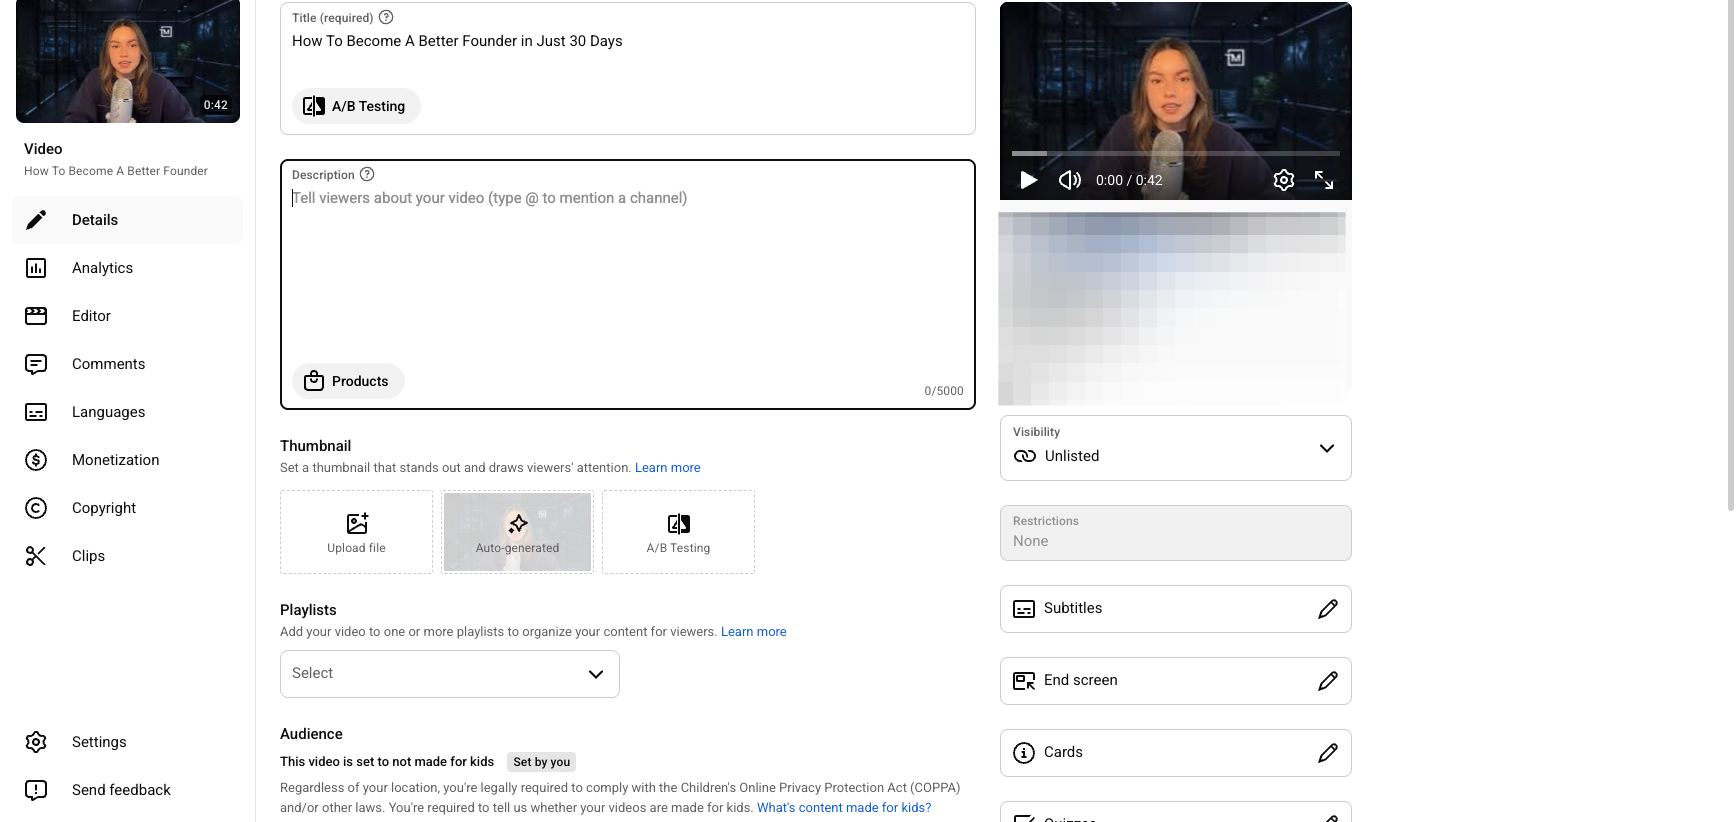
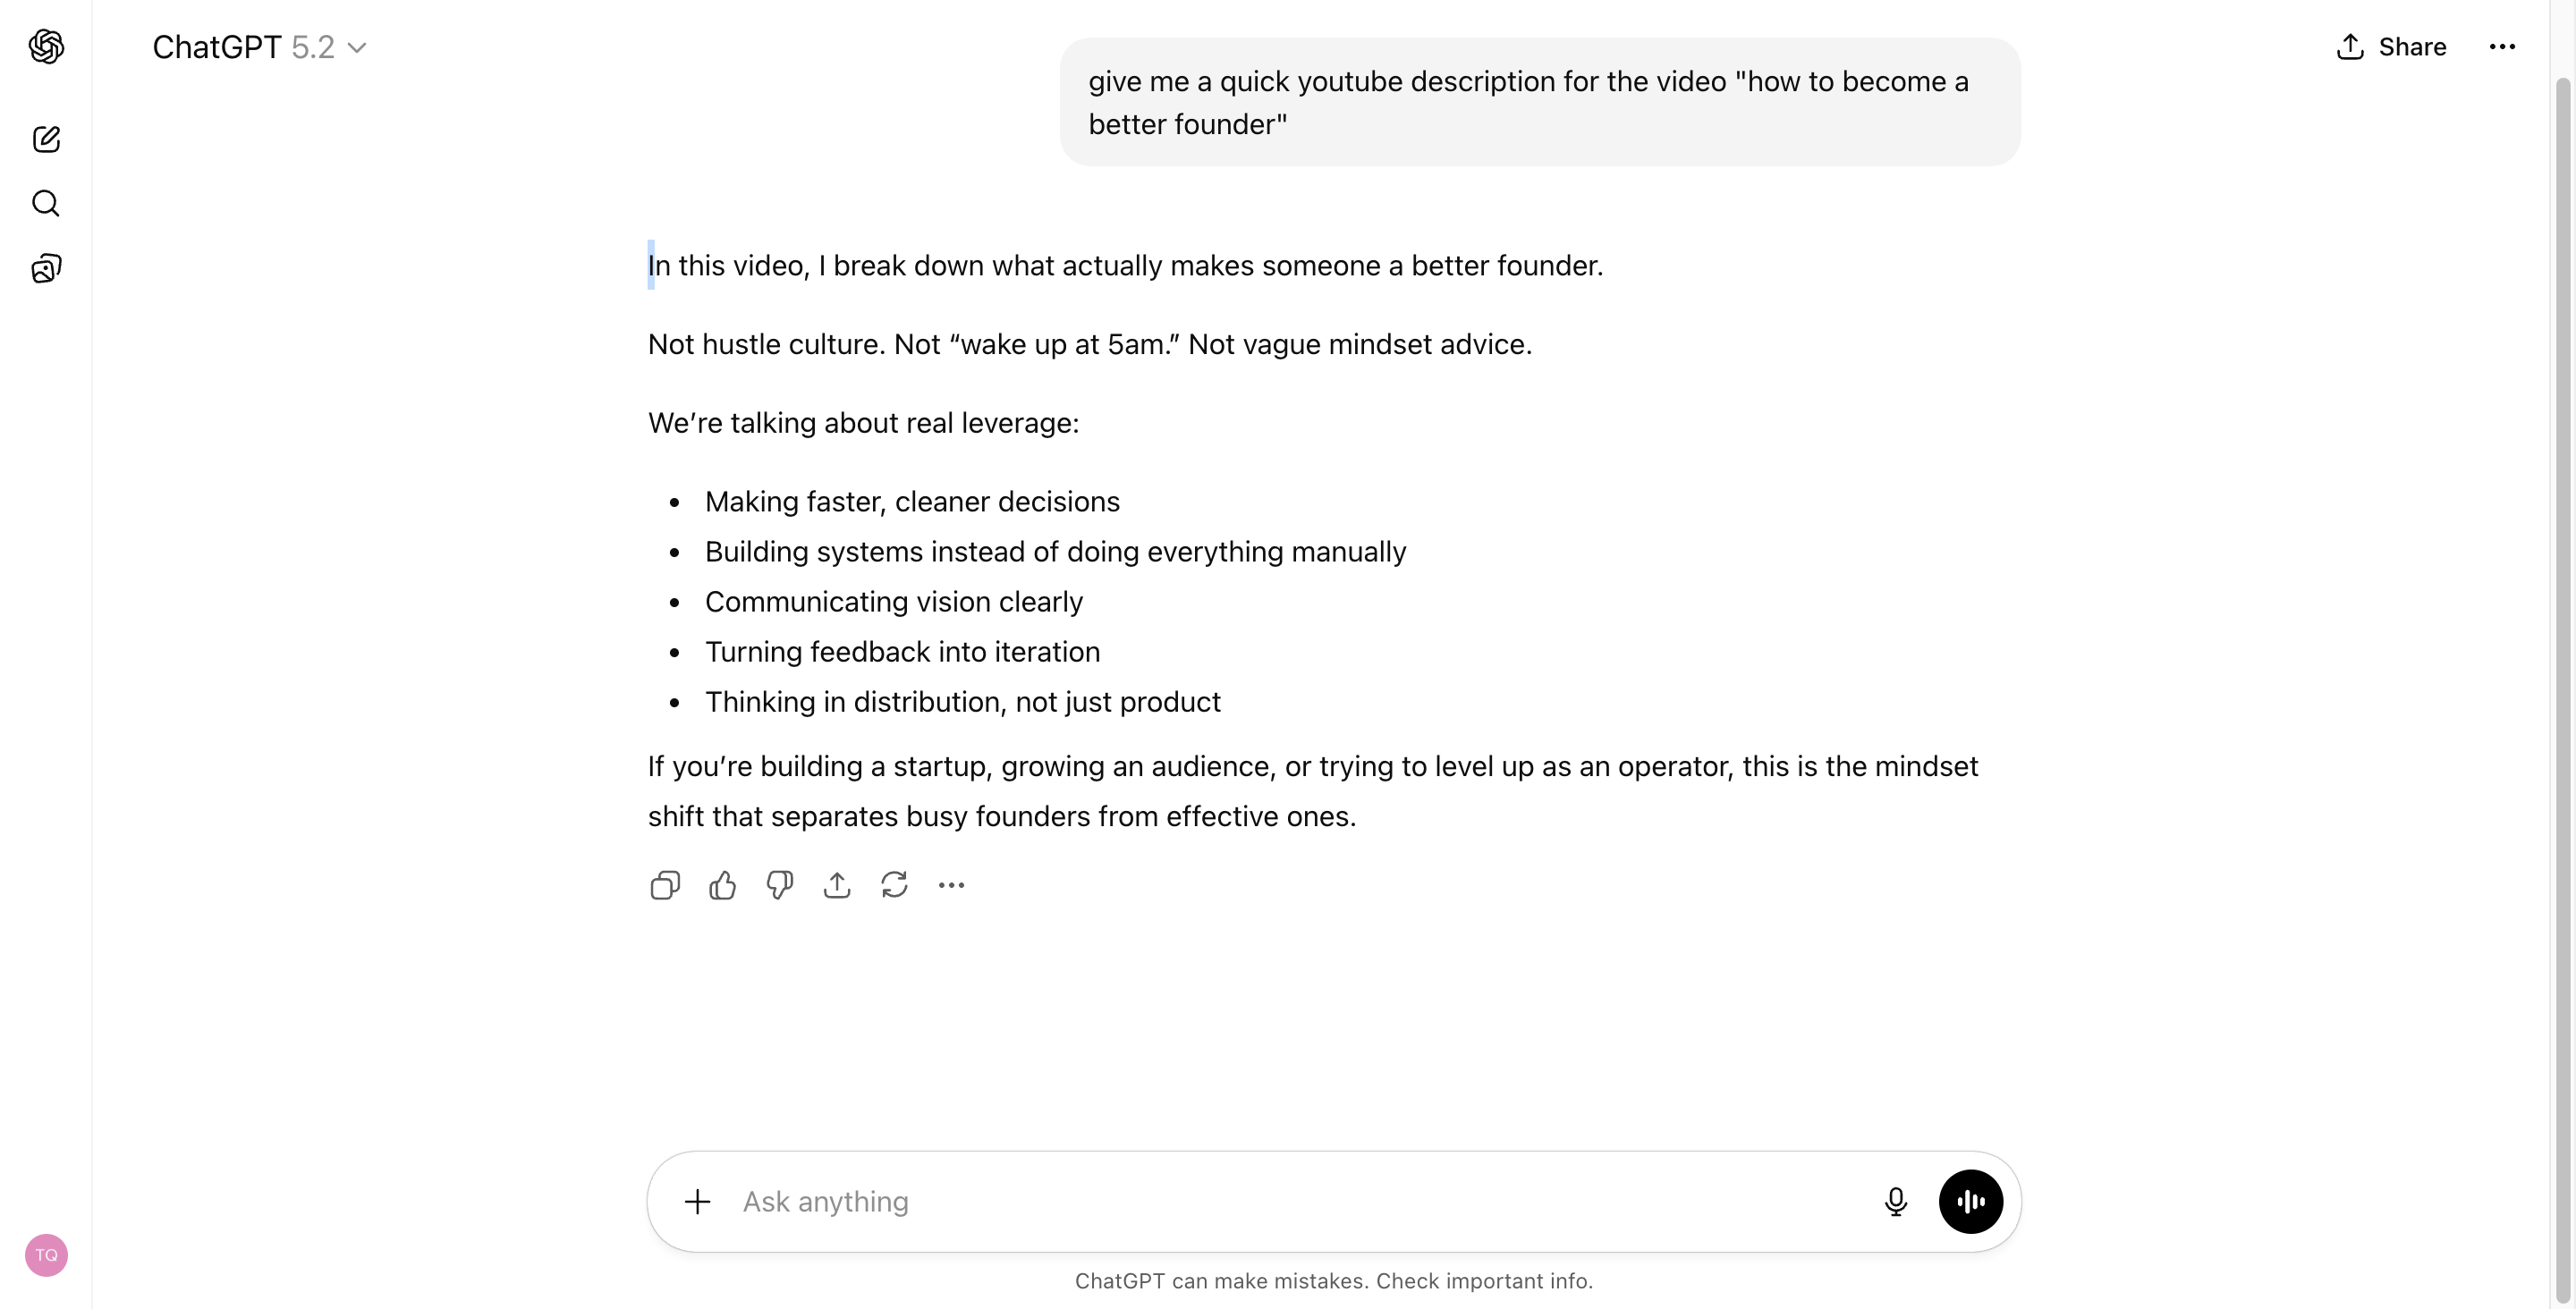
I usually use the description from ChatGPT and format it neatly.

6
Click on "In"
Step #6: Click on "In"
7
Type "Cmd + C"
8
Type "Cmd + V"
9
Click on "type @ to mention a channel"
Step #9: Click on "type @ to mention a channel"
10
Click on "Making faster"
Step #10: Click on "Making faster"
11
Click on "Making"
Step #11: Click on "Making"

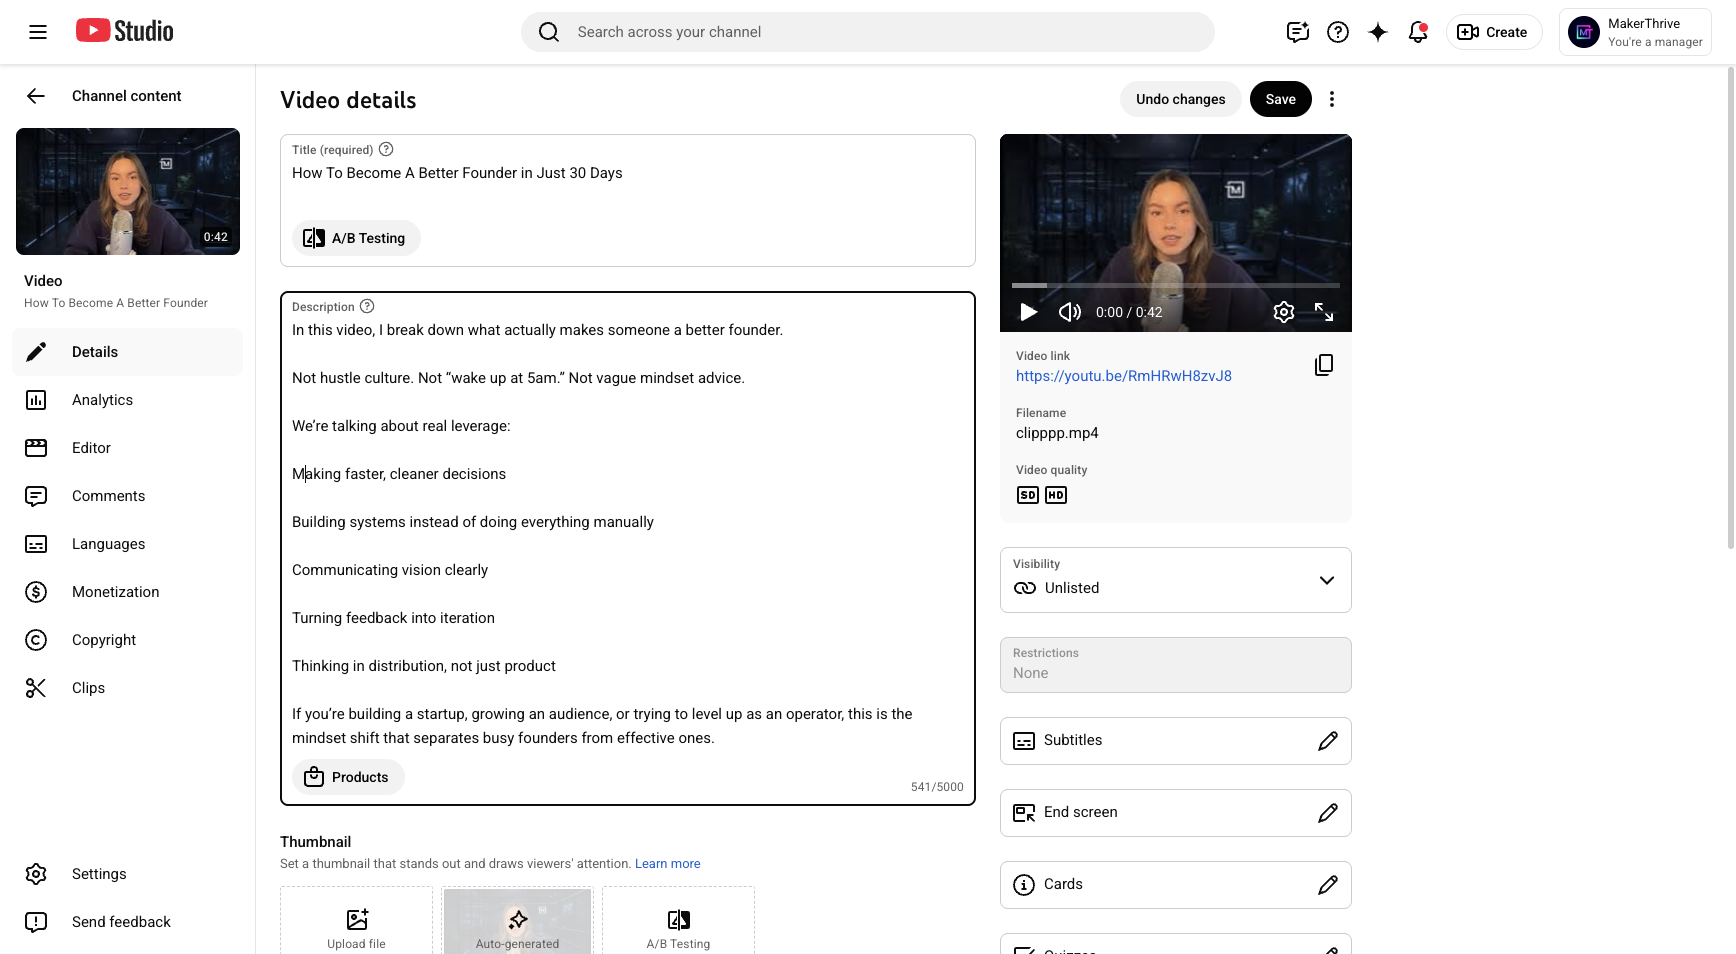
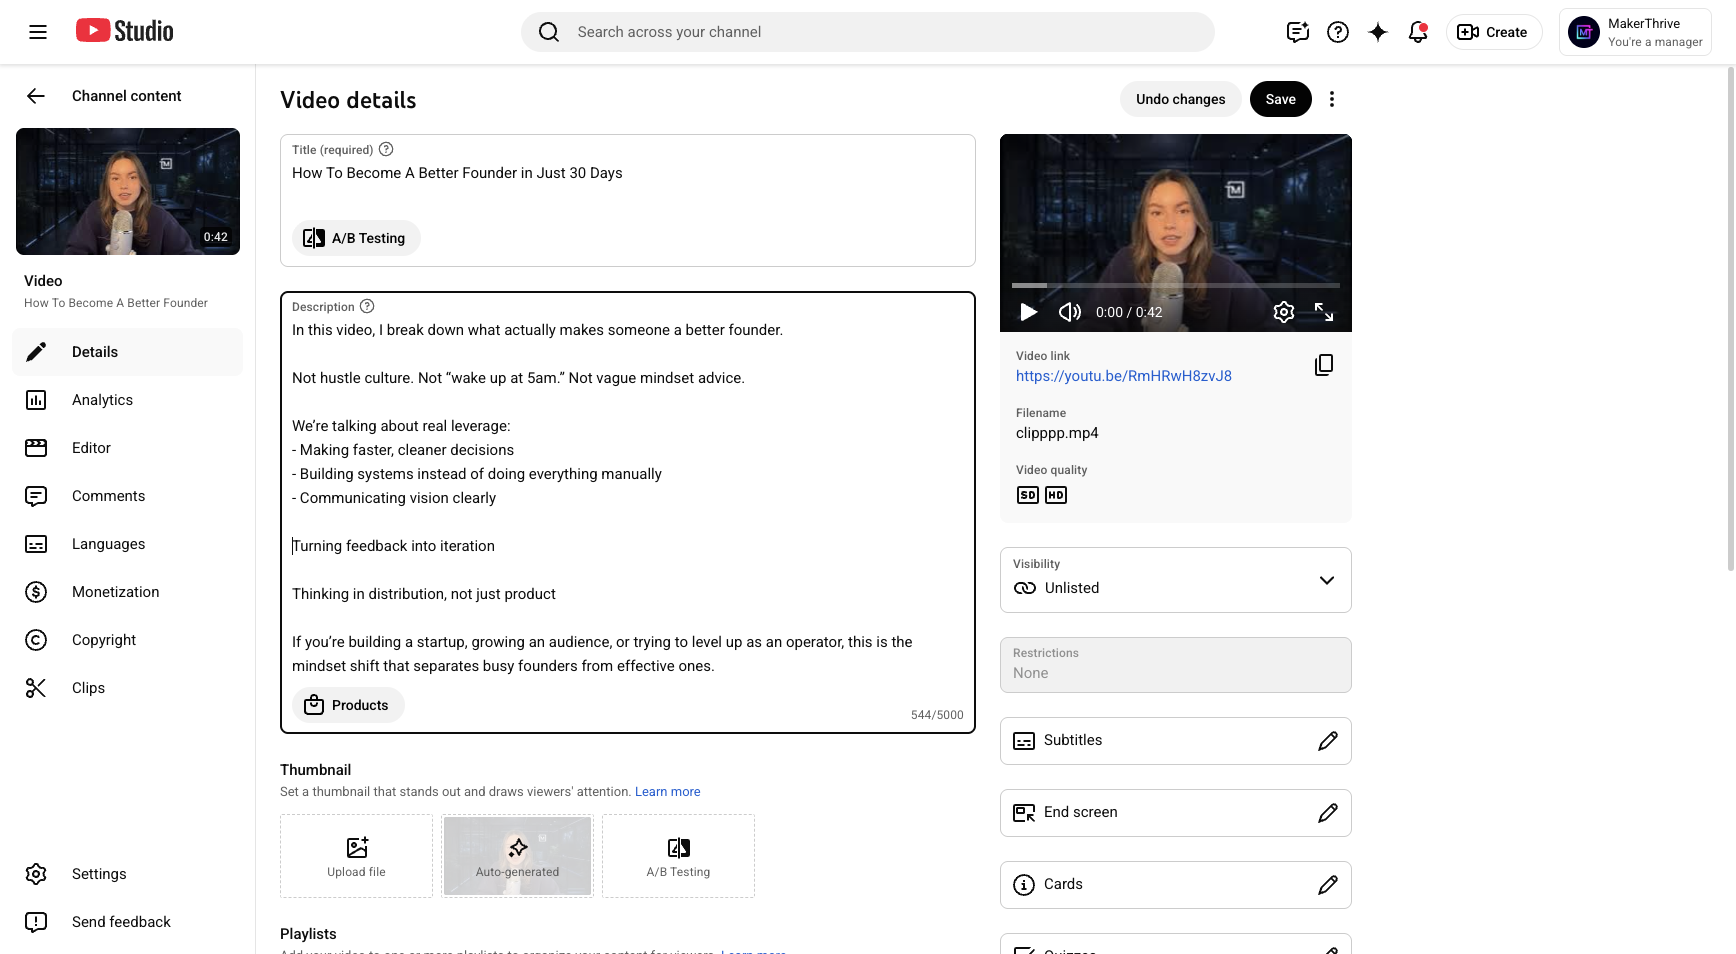
Make sure to include different checks. Add all of them in the description box.

12
Type "Backspace"
  • refer to step 1

  • ask john in design

13
Click on "Building"
Step #13: Click on "Building"
14
Type "- "
15
Type "Backspace"
16
Type "- "
17
Type "Backspace"
18
Click on "Turning feedback into"
Step #18: Click on "Turning feedback into"
19
Type "- "
20
Click on "Turning feedback into"
Step #20: Click on "Turning feedback into"
21
Type "Backspace"
22
Type "- "
23
Type "Backspace"

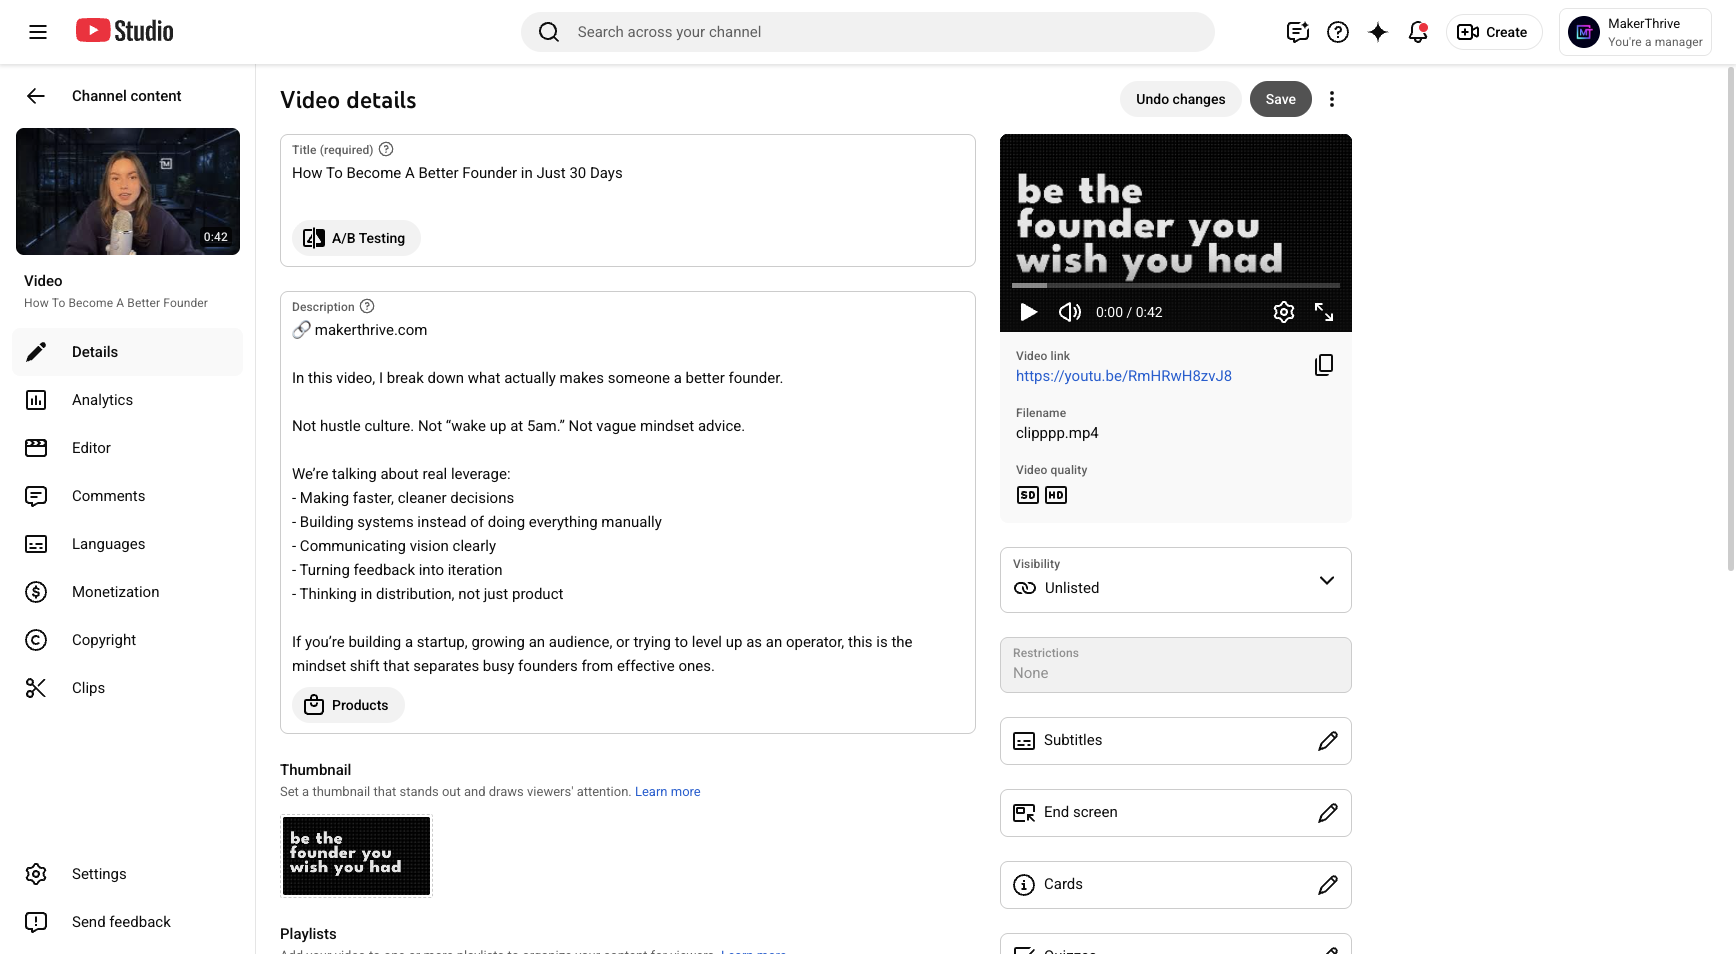
I place my affiliate link just above the description.

24
Click on "level up as an operator"
Step #24: Click on "level up as an operator"
25
Type "- "
26
Click on "In"
Step #26: Click on "In"
27
Type "Enter"
28
Type "Enter"

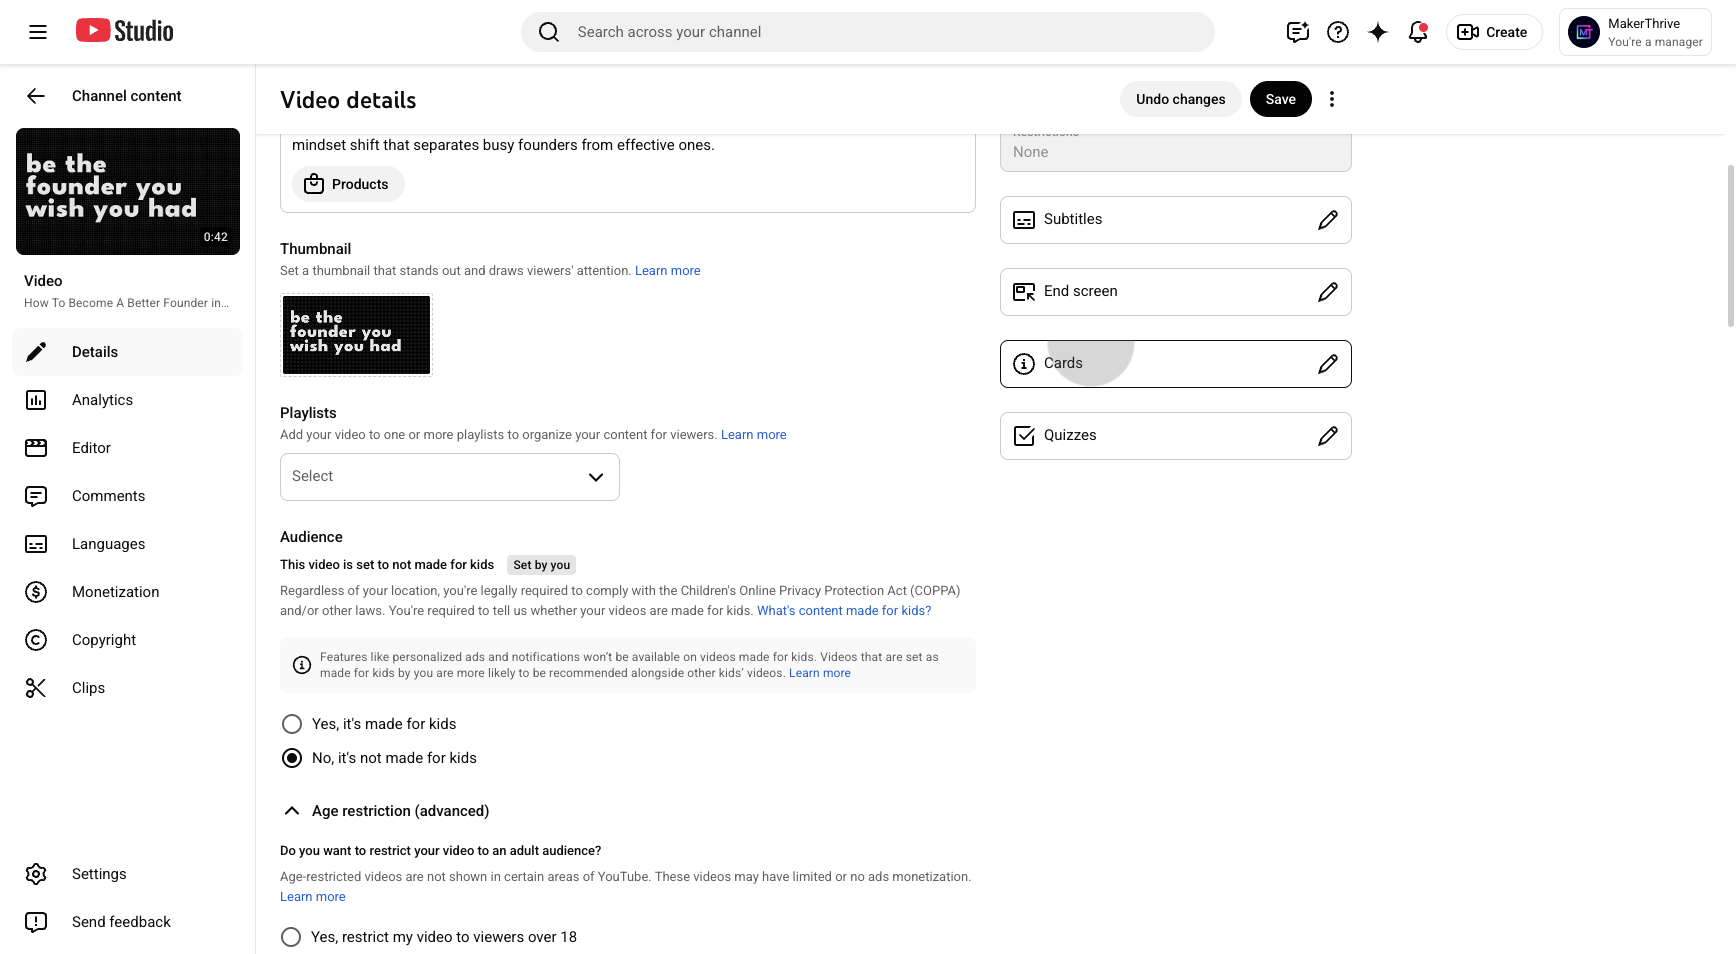
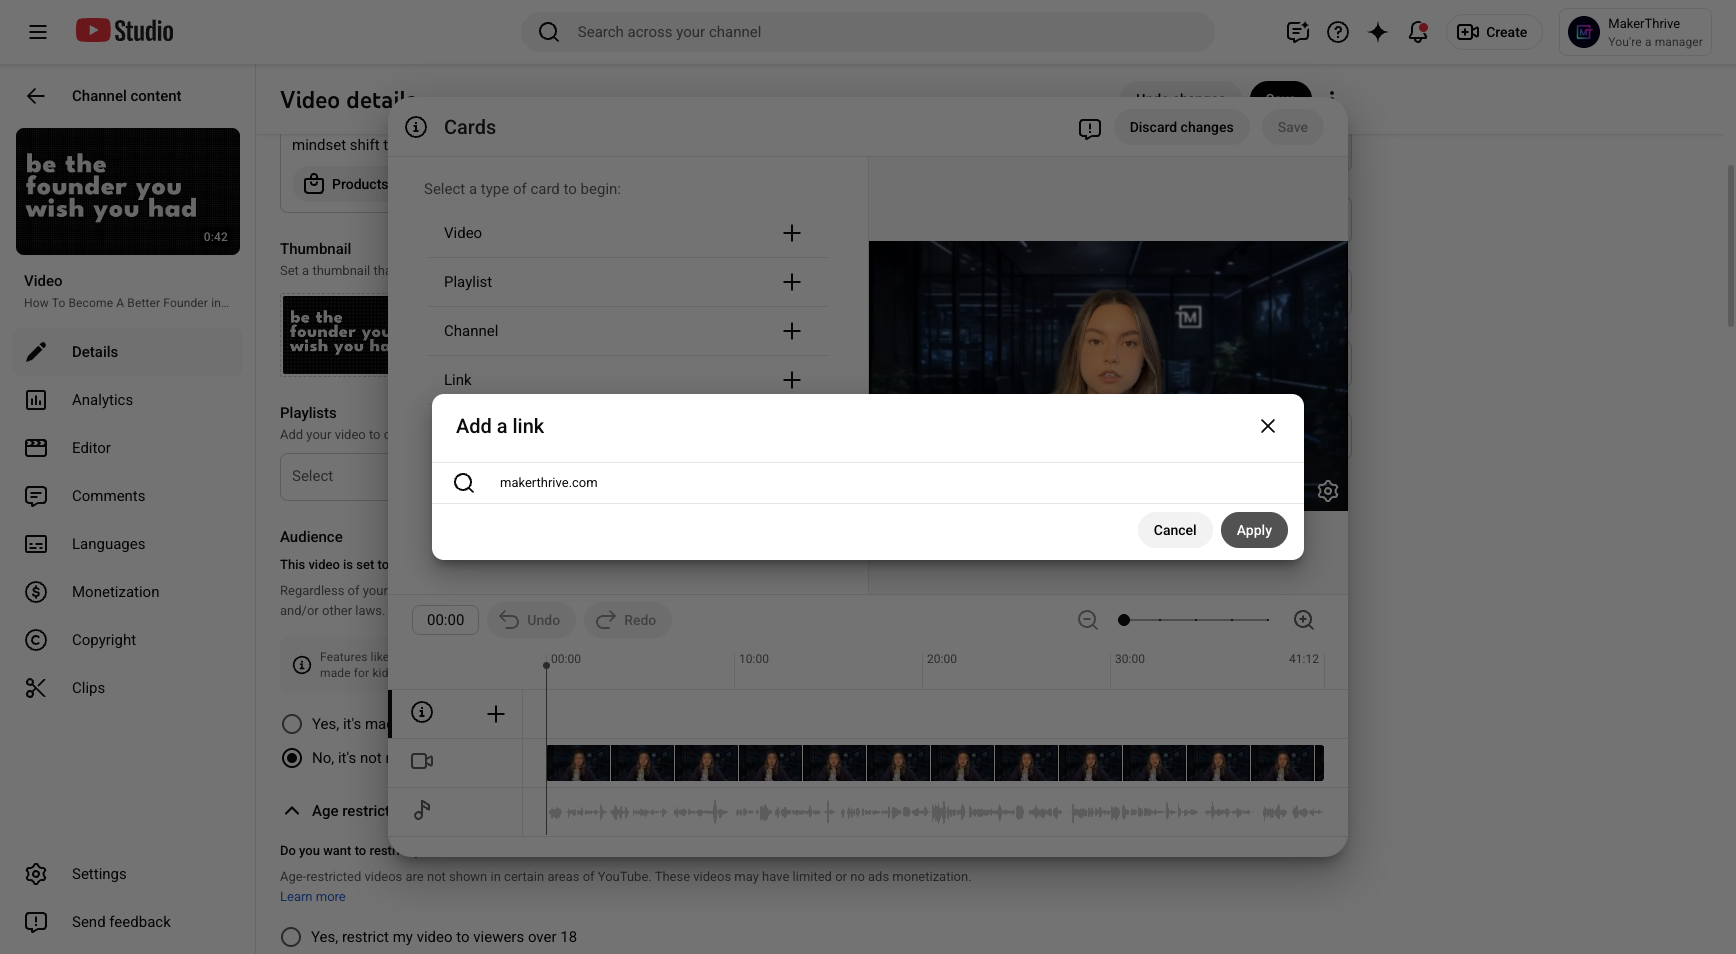
I always use the link emoji, then add makerthrive.com. You can place your affiliate tag anywhere here. Next, upload your thumbnail here. Always choose an engaging image to attract your audience.

29
Type " makerthrive.com"

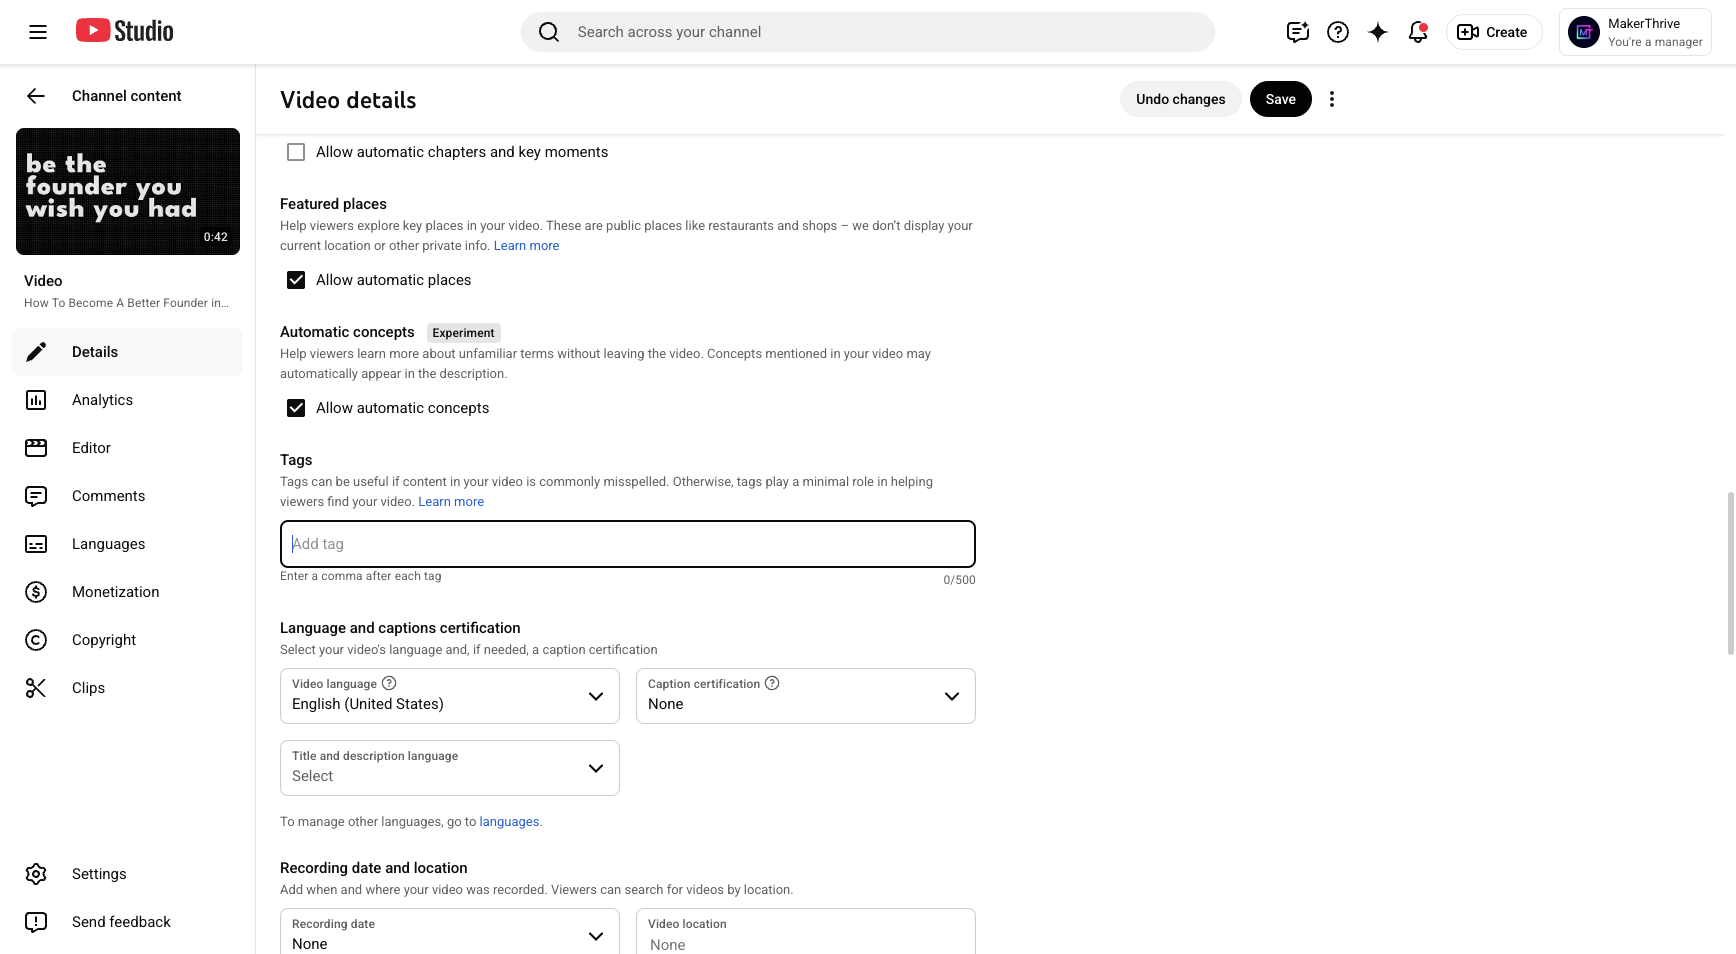
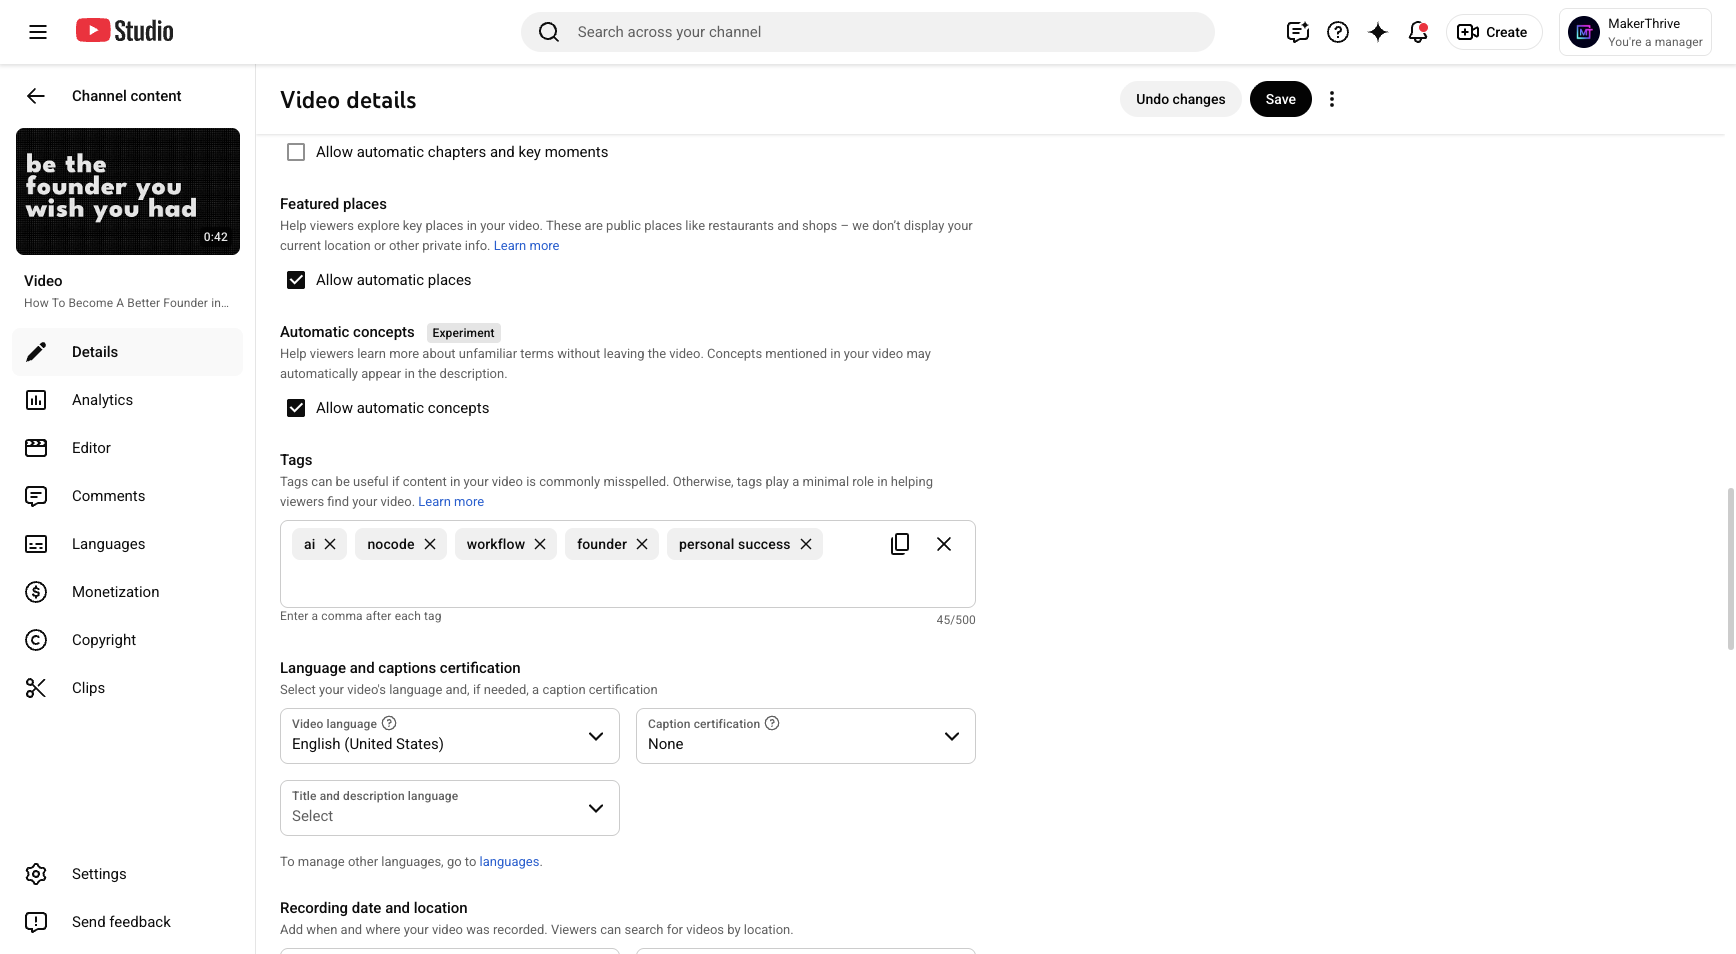
We'll save our progress. Next, click "Show More," scroll to tags, and add a few tags.

30
Click on "Save"
Step #30: Click on "Save"
31
Click on "Show more"
Step #31: Click on "Show more"
32
Click here
Step #32: Click here

We will focus on AI, no-code tools, workflow, founders, personal growth, and success.

33
Type "ai + Enter"
34
Type "nocode + Enter"
35
Type "workflow + Enter"
36
Type "founder + Enter"
37
Type "personal success + Enter"

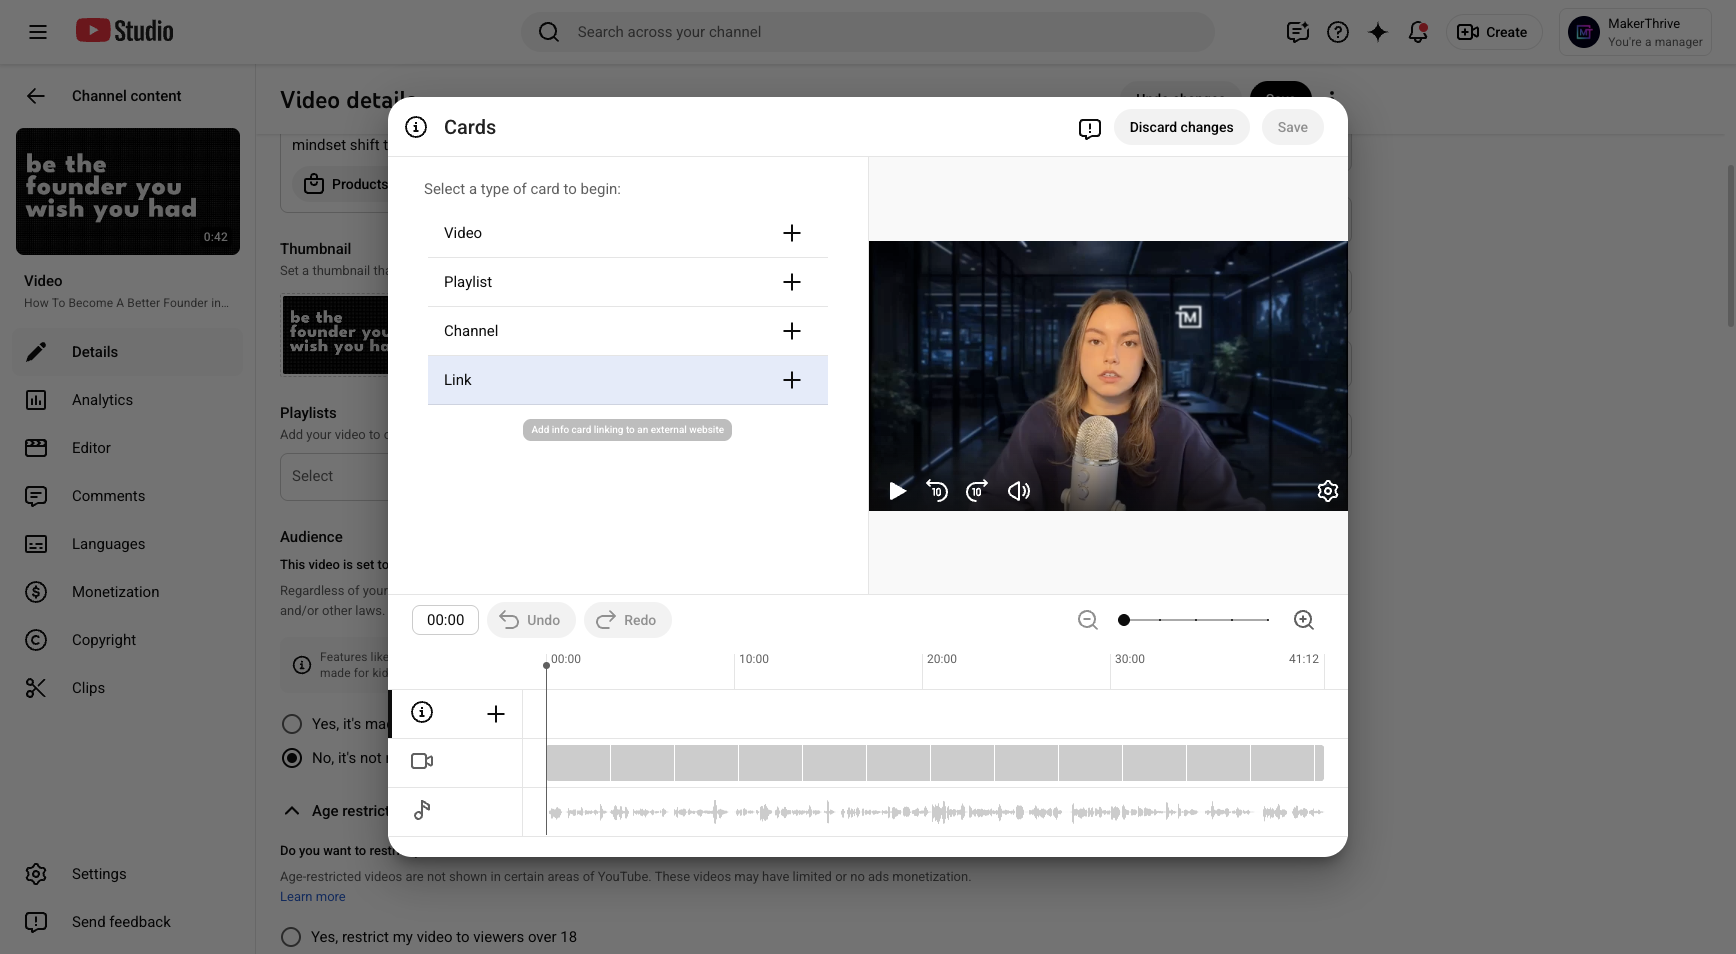
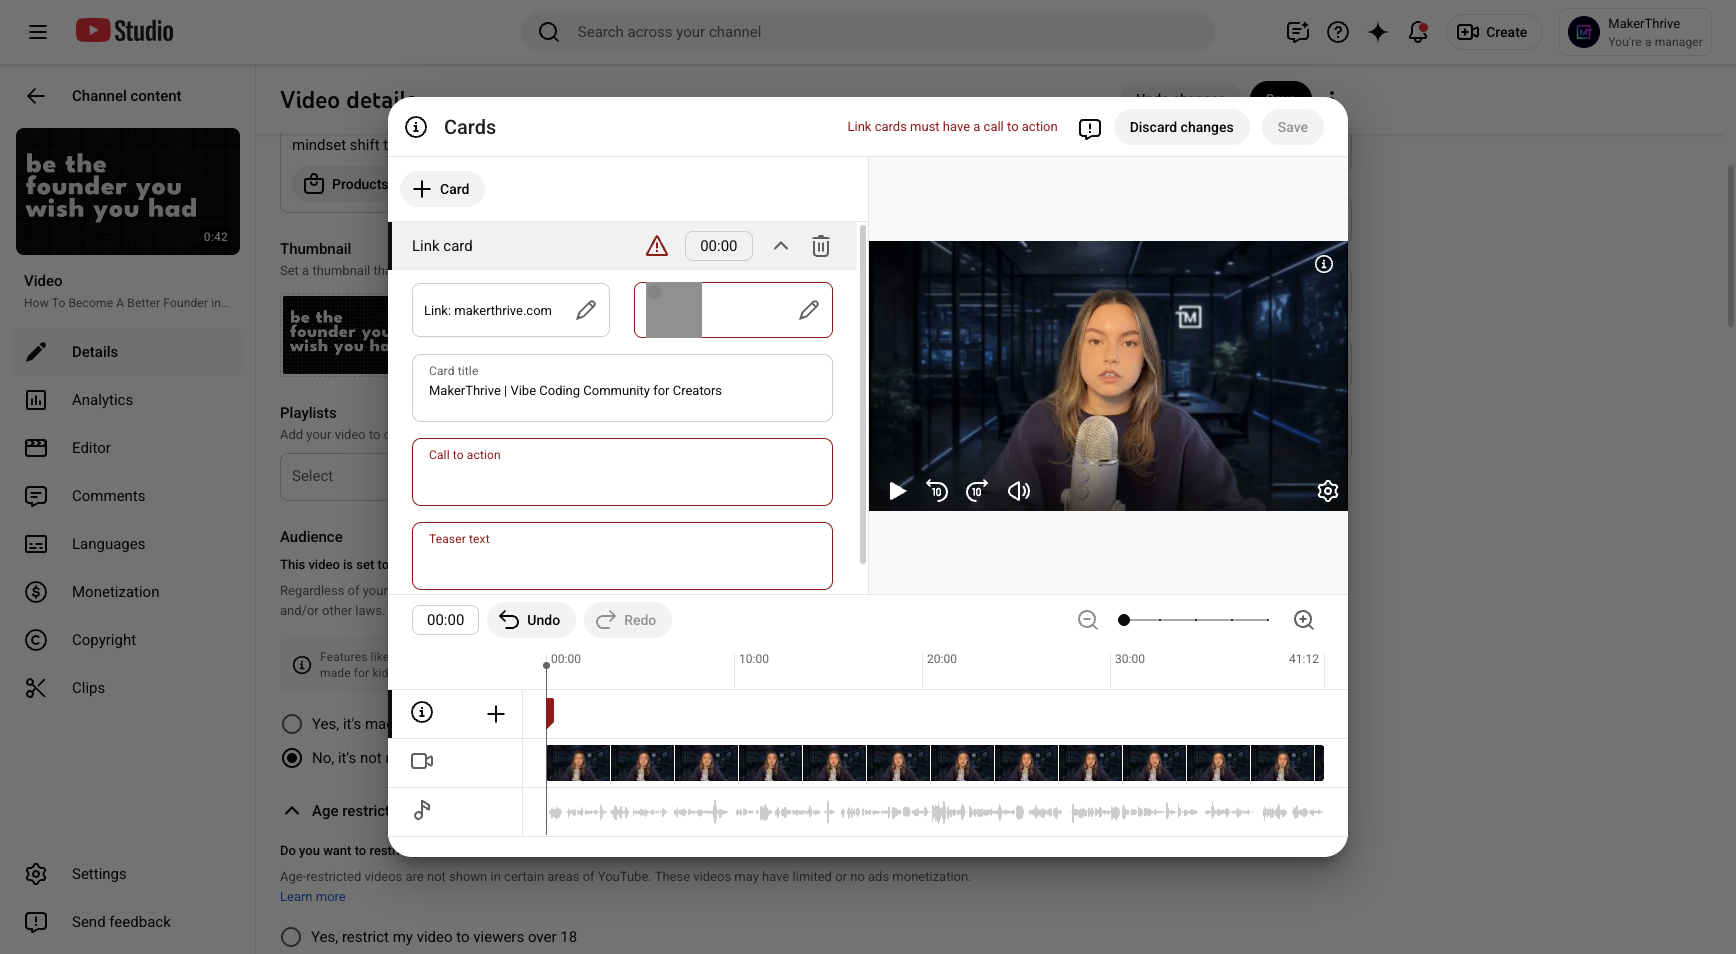
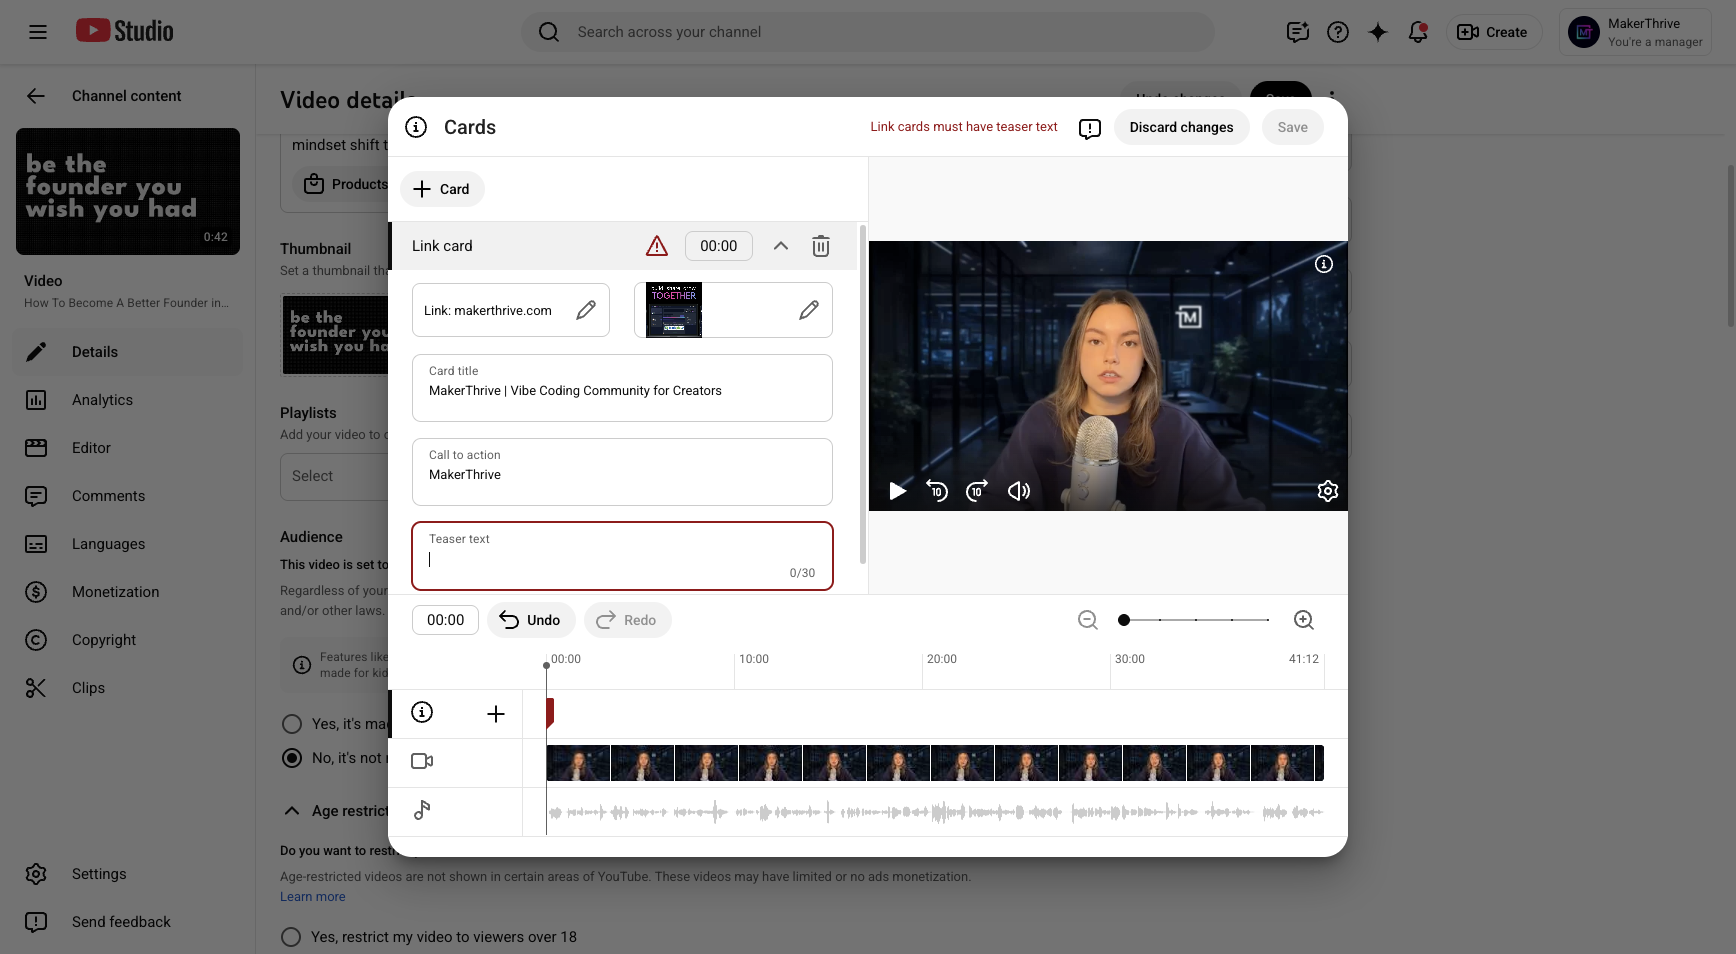
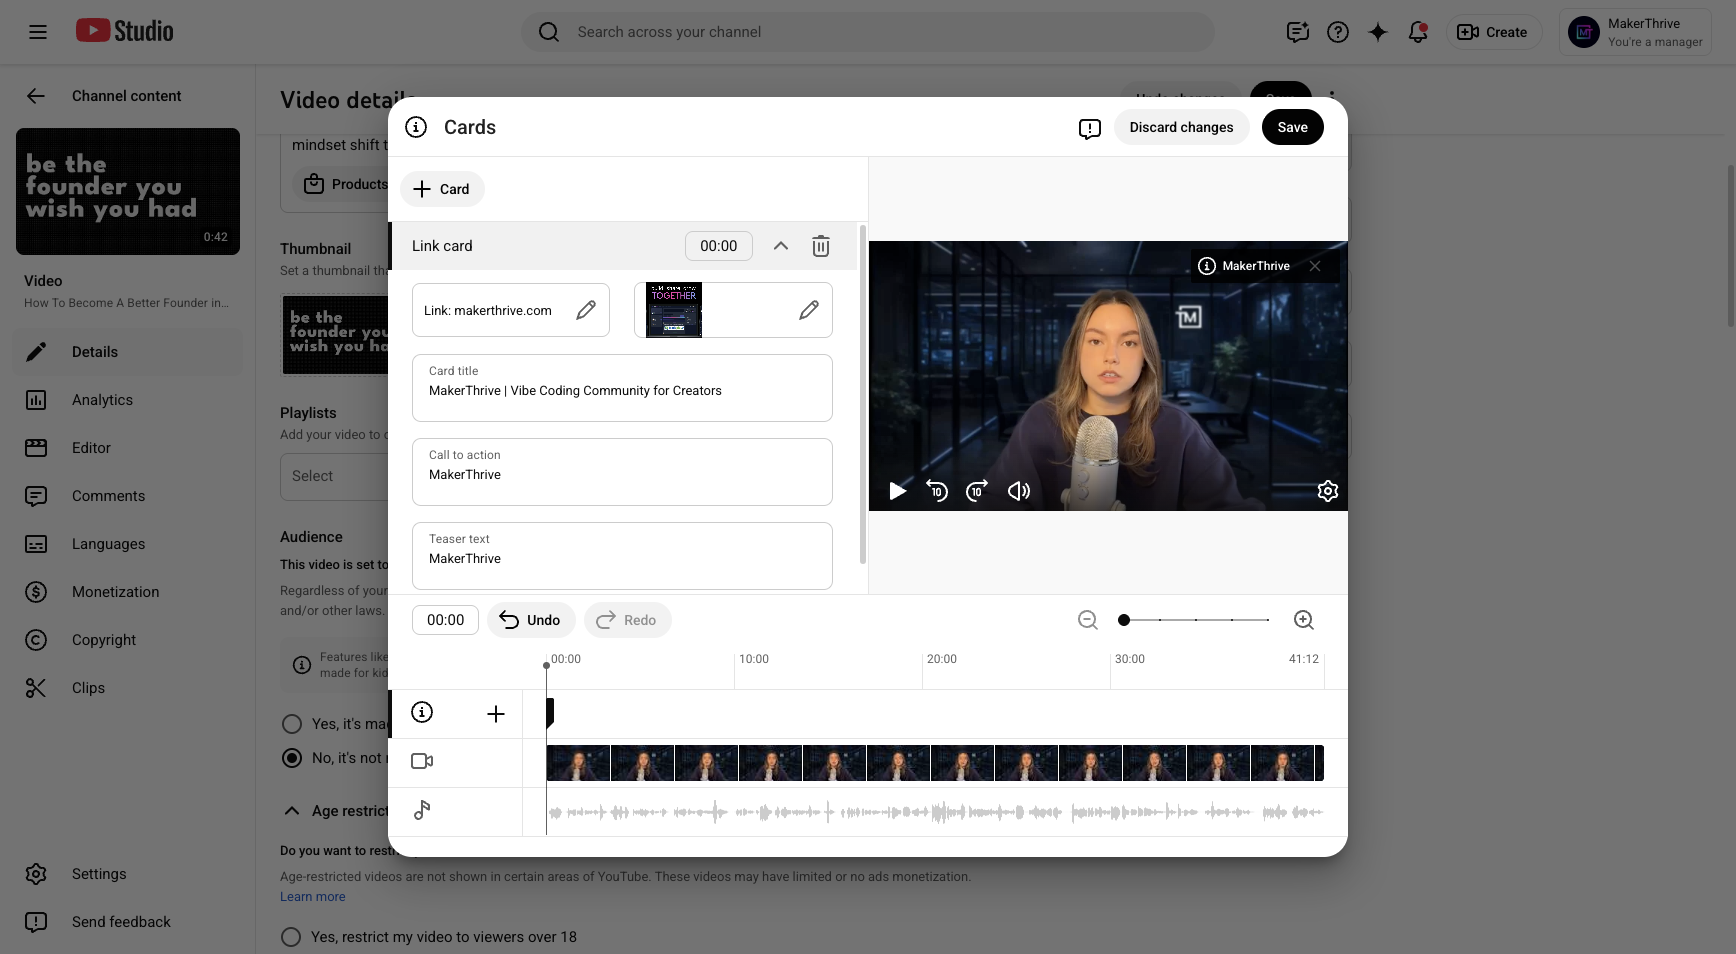
We'll add the tags there. Next, make sure to include the link here in the cards.

38
Click here
Step #38: Click here
39
Click here
Step #39: Click here
40
Type "Cmd + C"
41
Click on "Cards"
Step #41: Click on "Cards"

Click "Link," then "Add a link," and apply it here. Make sure to add your image. Enter "Maker Thrive" as the text. Place this at an interesting part of the video.
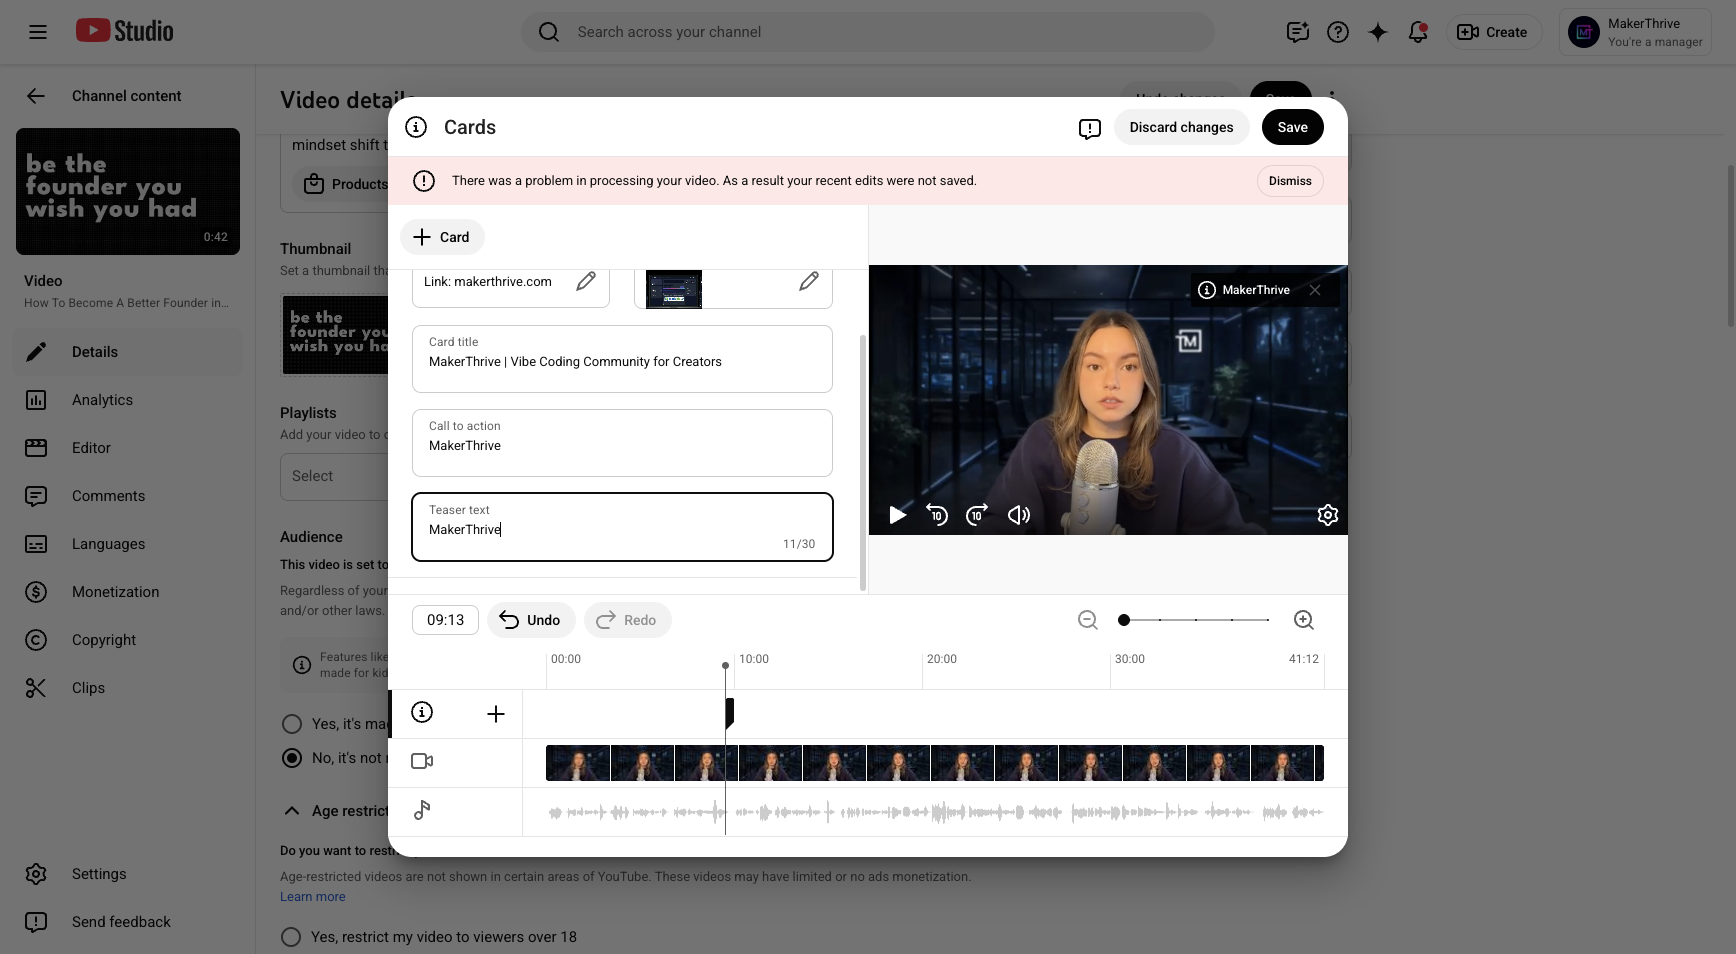
42
Click here
Step #42: Click here
43
Type "Cmd + V"
44
Click on "Apply"
Step #44: Click on "Apply"
45
Click here
Step #45: Click here
46
Click on "TOGETHER"
Step #46: Click on "TOGETHER"
47
Click on "Apply"
Step #47: Click on "Apply"
48
Click here
Step #48: Click here
49
Click on "Maker Thrive"
Step #49: Click on "Maker Thrive"
50
Click on "Maker Thrive"
Step #50: Click on "Maker Thrive"
51
Type "Cmd + C"
52
Click here
Step #52: Click here
53
Type "Cmd + V"
54
Click on "Teaser text"
Step #54: Click on "Teaser text"
55
Type "Cmd + V"
56
Click here
Step #56: Click here
57
Click on ":"
Step #57: Click on ":"

Save that.

58
Click on "Save"
Step #58: Click on "Save"

We also need to include our teaser text.

59
Click on "Teaser text MakerThrive"
Step #59: Click on "Teaser text MakerThrive"
60
Click here
Step #60: Click here
61
Click on "Dismiss"
Step #61: Click on "Dismiss"
62
Click on "Save"
Step #62: Click on "Save"
63
Click here
Step #63: Click here

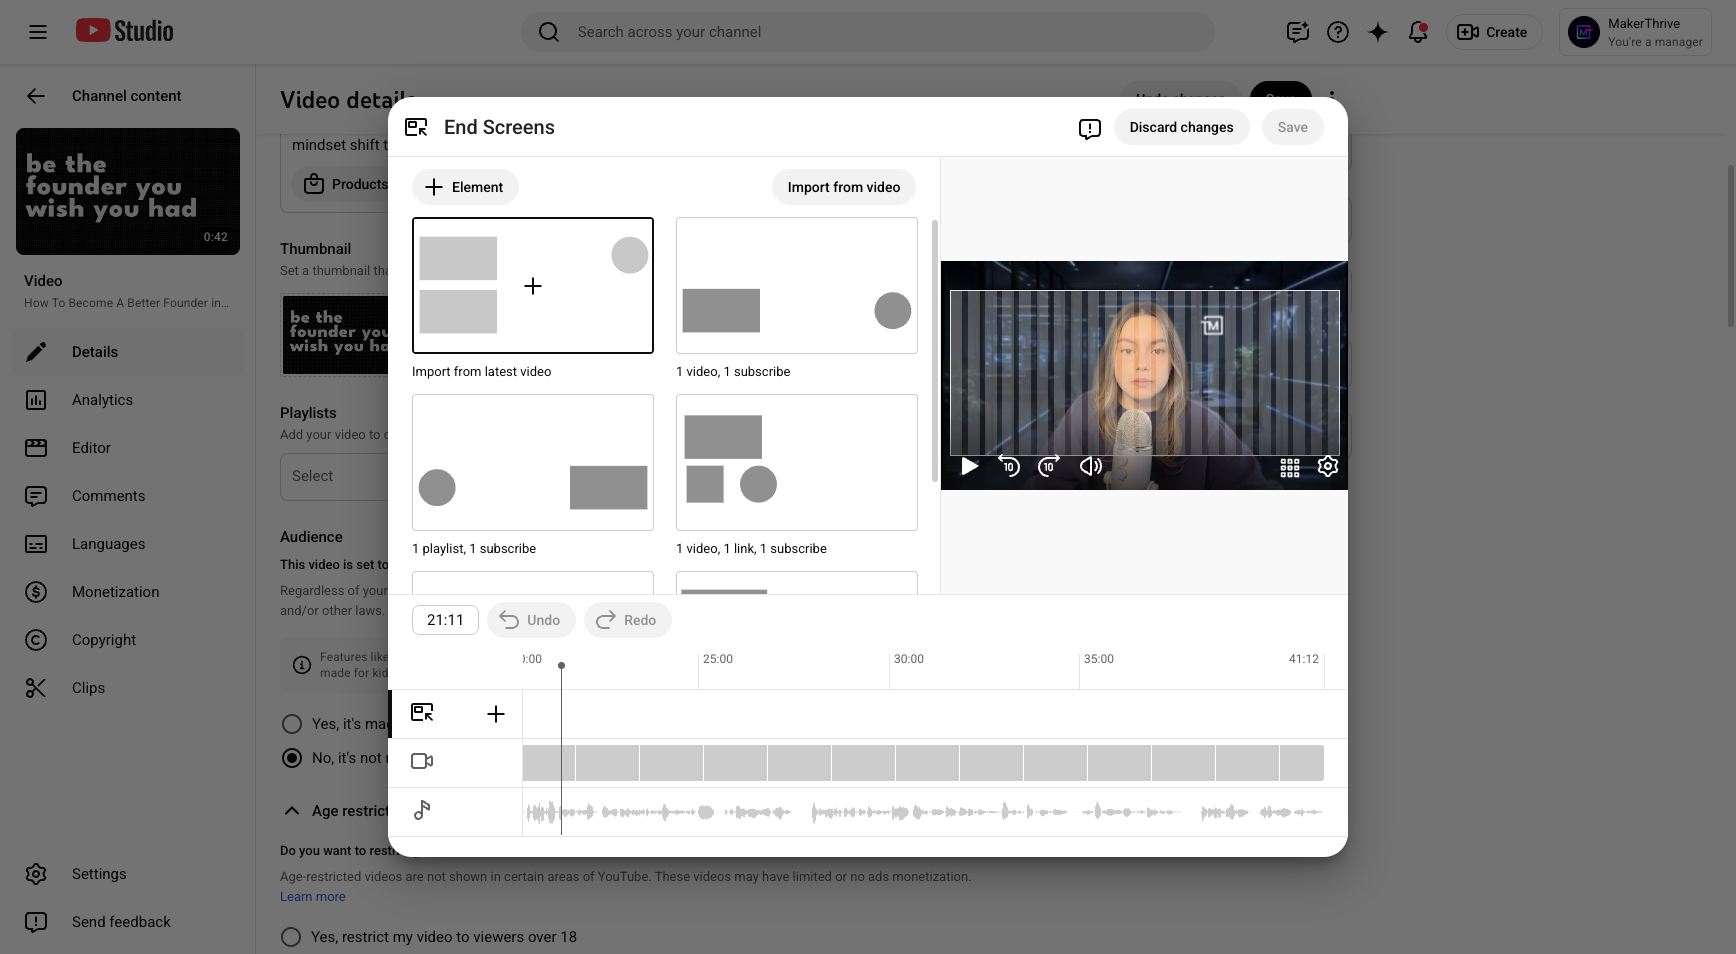
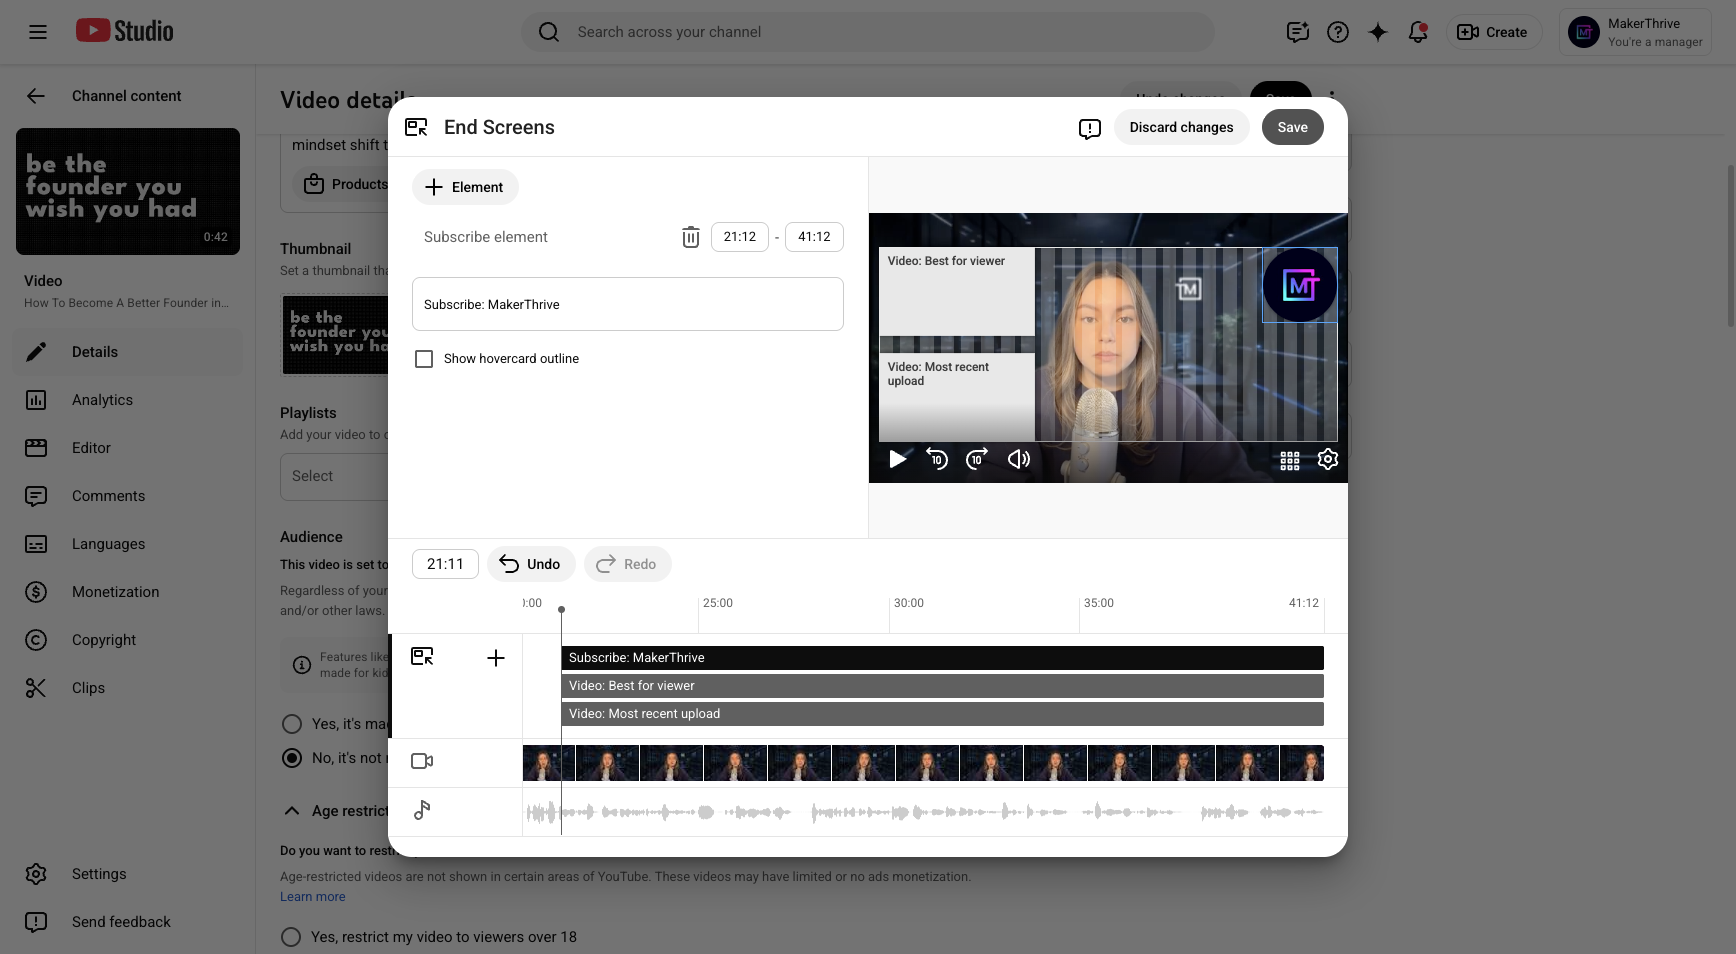
Next, add the end screen by importing it from the latest video. Save your changes, then set the video to be scheduled.

64
Click here
Step #64: Click here
65
Click on "Save"
Step #65: Click on "Save"
66
Click here
Step #66: Click here
67
Click on "Schedule"
Step #67: Click on "Schedule"

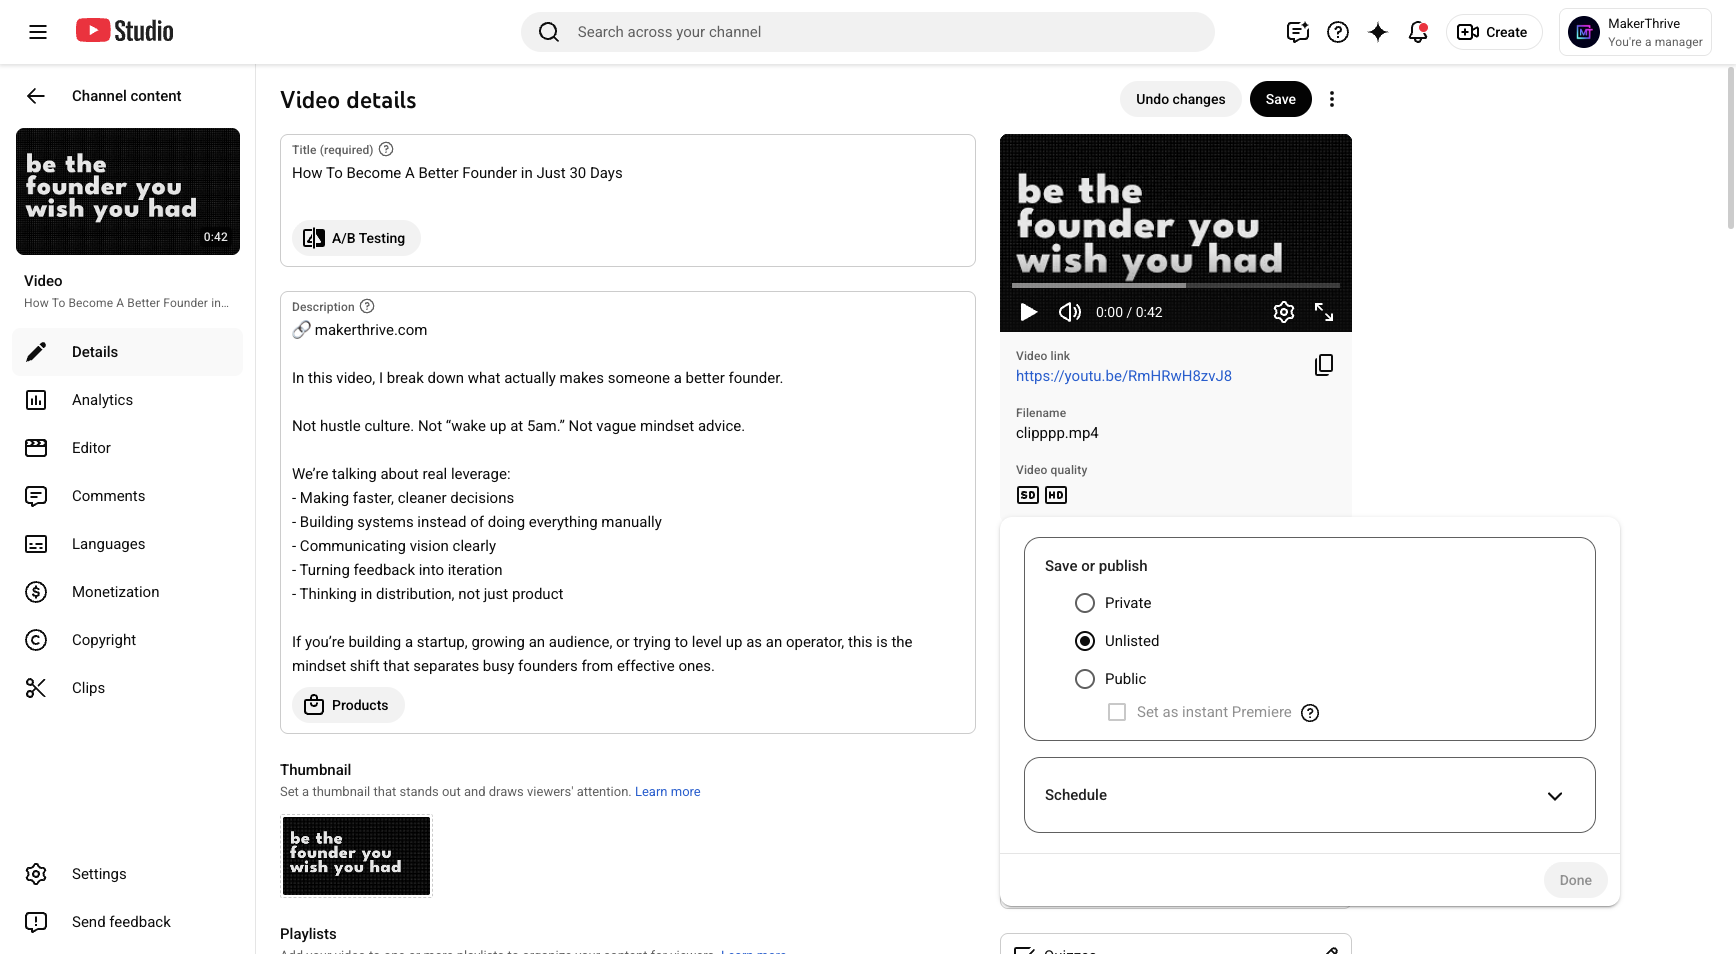
We'll schedule it there. That's all you need to know.

68
Click on "Save"
Step #68: Click on "Save"
69
Click on "Save"
Step #69: Click on "Save"
70
Click on "Thinking in"
Step #70: Click on "Thinking in"
71
Click on "Communicating vision"
Step #71: Click on "Communicating vision"

Now from here...