Icon

How to Organize and Manage Beyond Biology Book Club Activities in Google Classroom

Learn step-by-step how to set up, organize, and manage Beyond Biology Book Club activities in Google Classroom. Discover tips for structuring topics, adding discussion questions, sharing resources, and encouraging student interaction.

By Robin Dickinson

In this guide, we'll learn how to organize and manage a book club in Google Classroom. The main goals are to help participants find materials easily and reply to discussions. We will cover how to set up topics, add discussion questions, and use simple tools like emojis to highlight important information.

You'll also see how to keep resources organized by month and make sure everyone can participate in conversations.

Let's get started

Hey, Jill. I'm in Google Classroom, and I'll show you how to complete the Beyond Biology Book Club sample activities. We want people to be able to reply to messages and easily find information. Those are our two main goals. I simplified it.

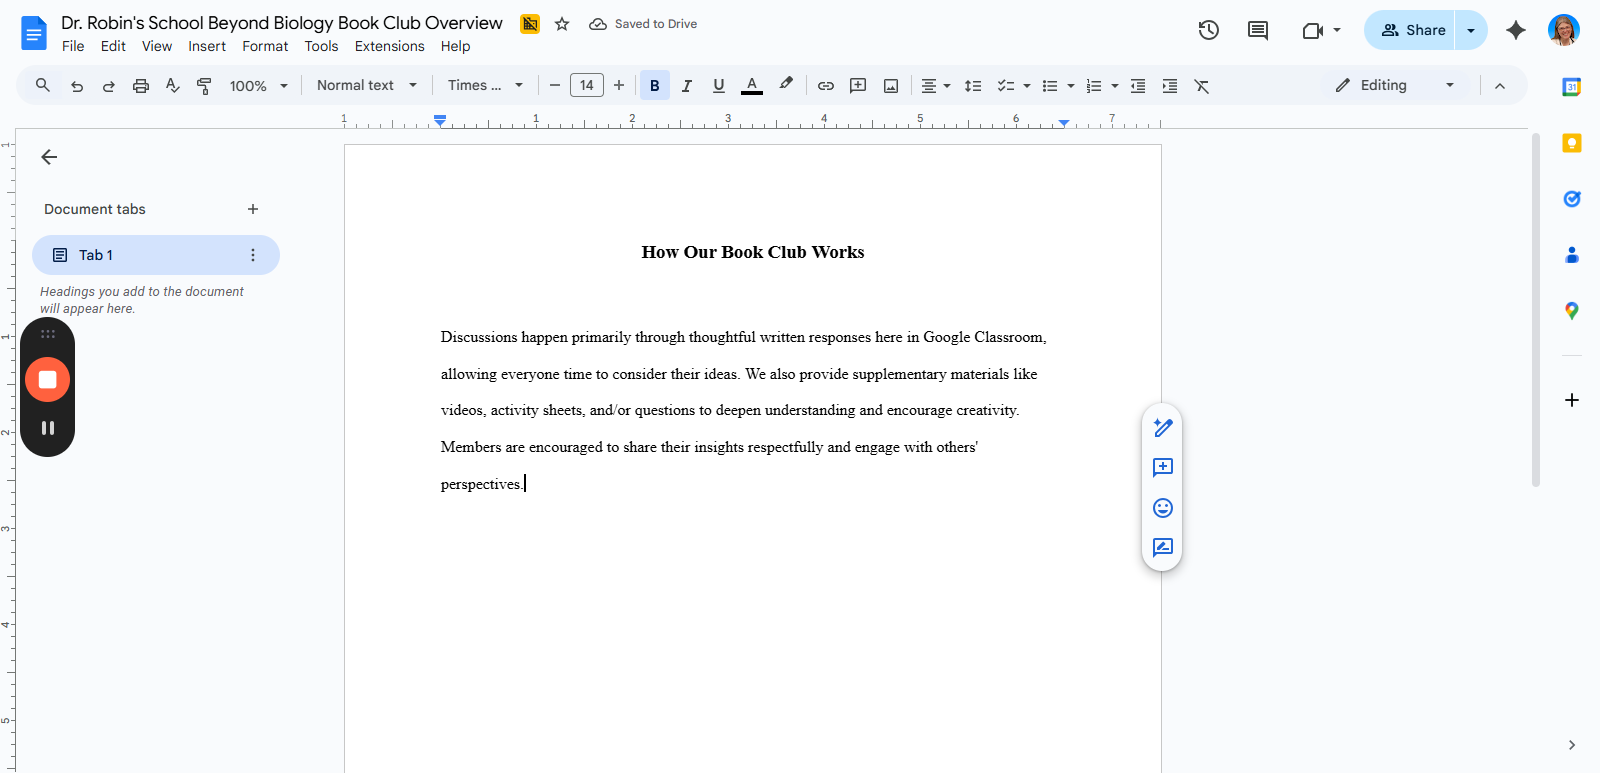
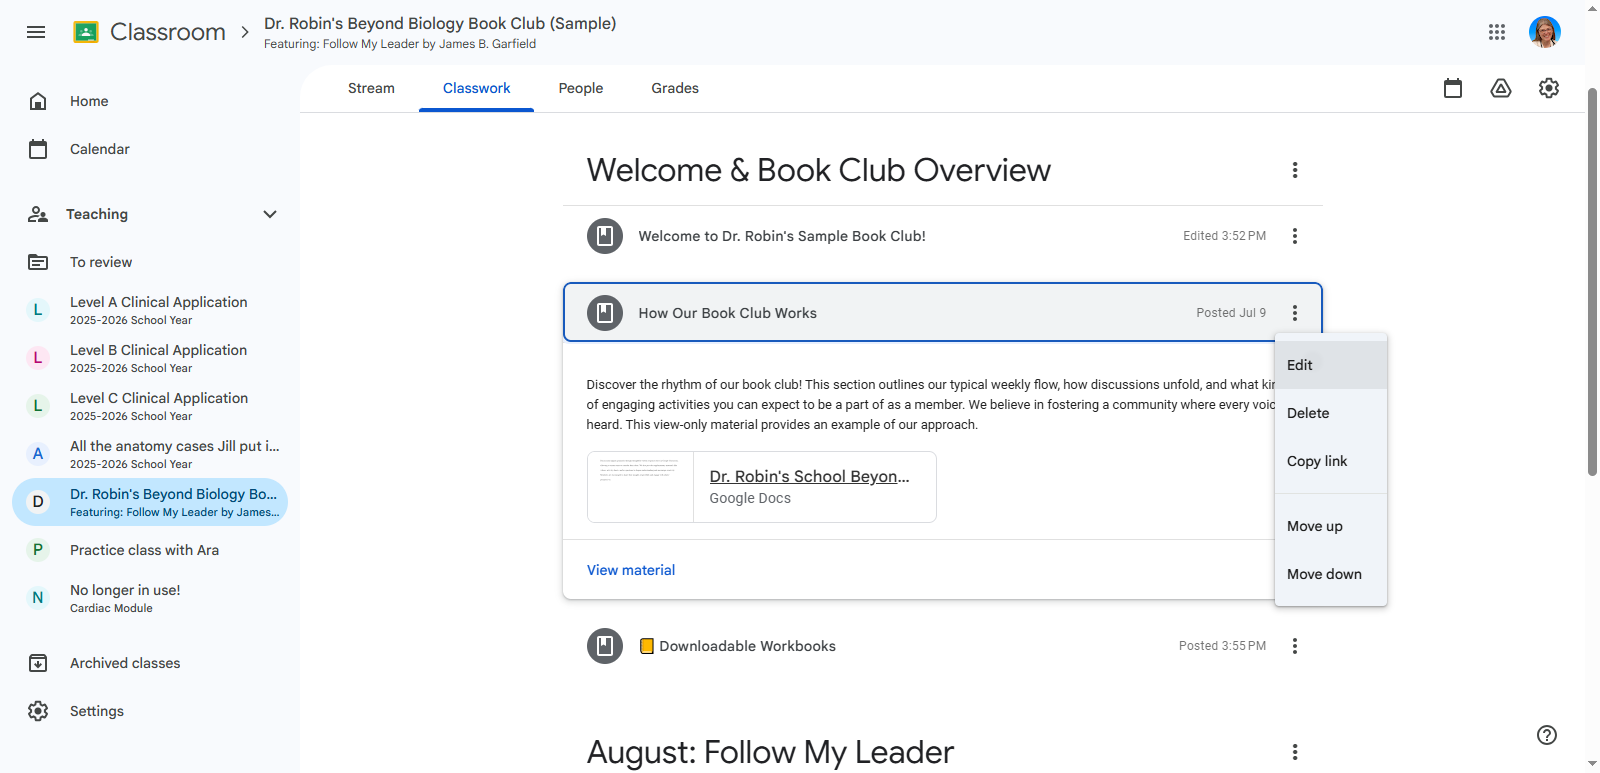
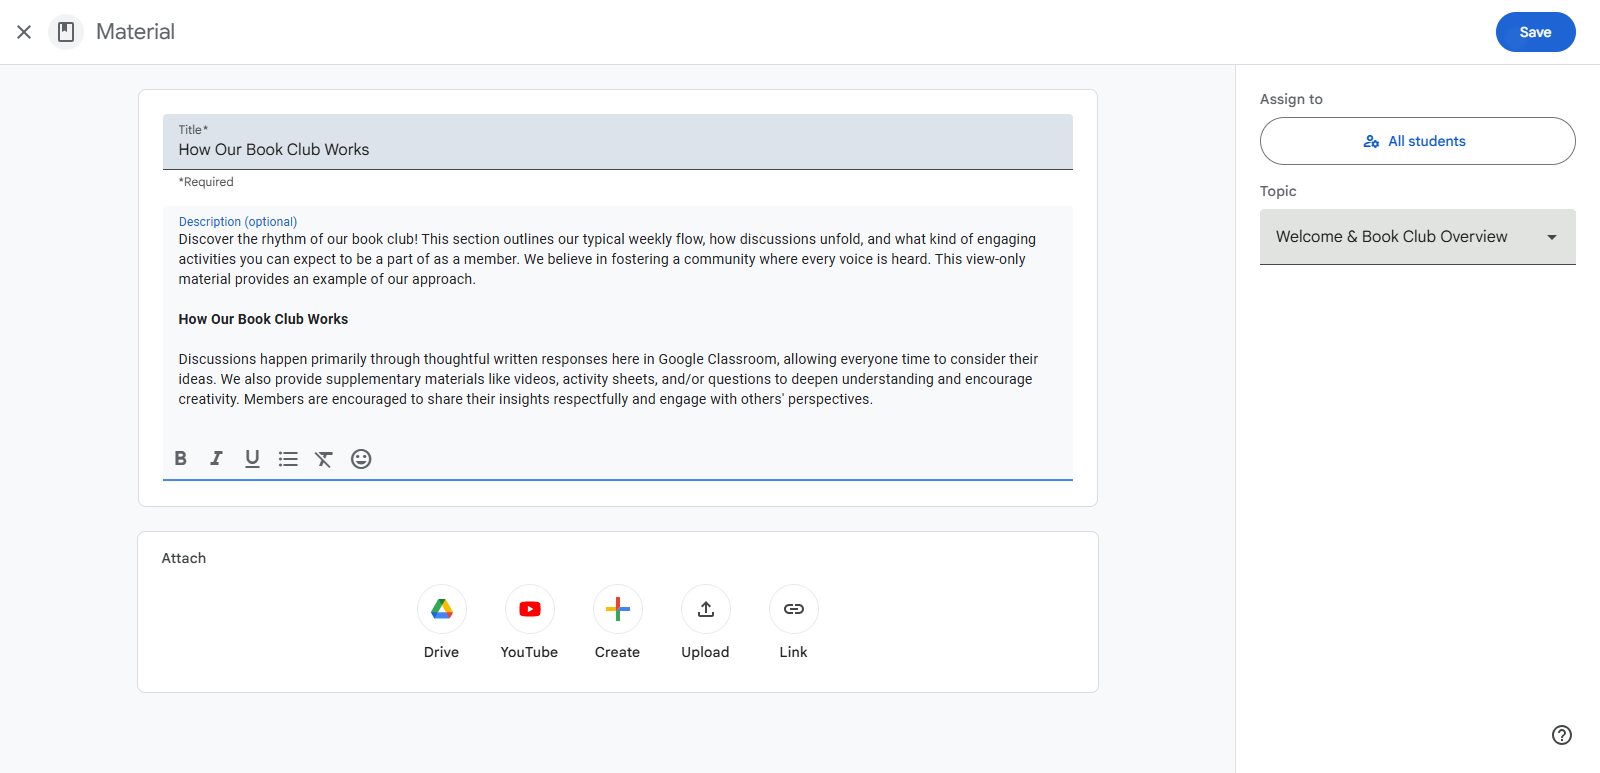
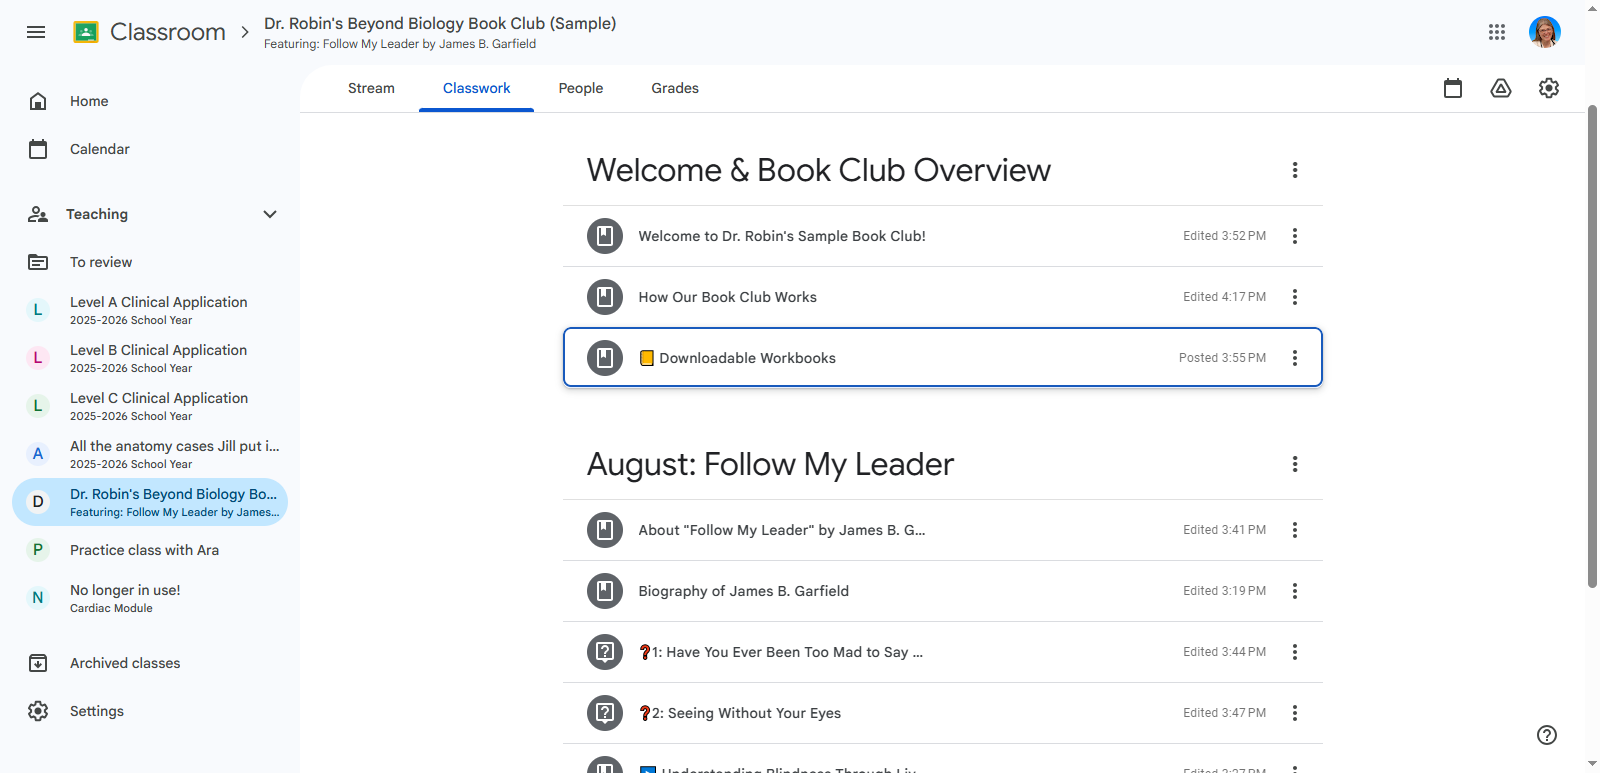
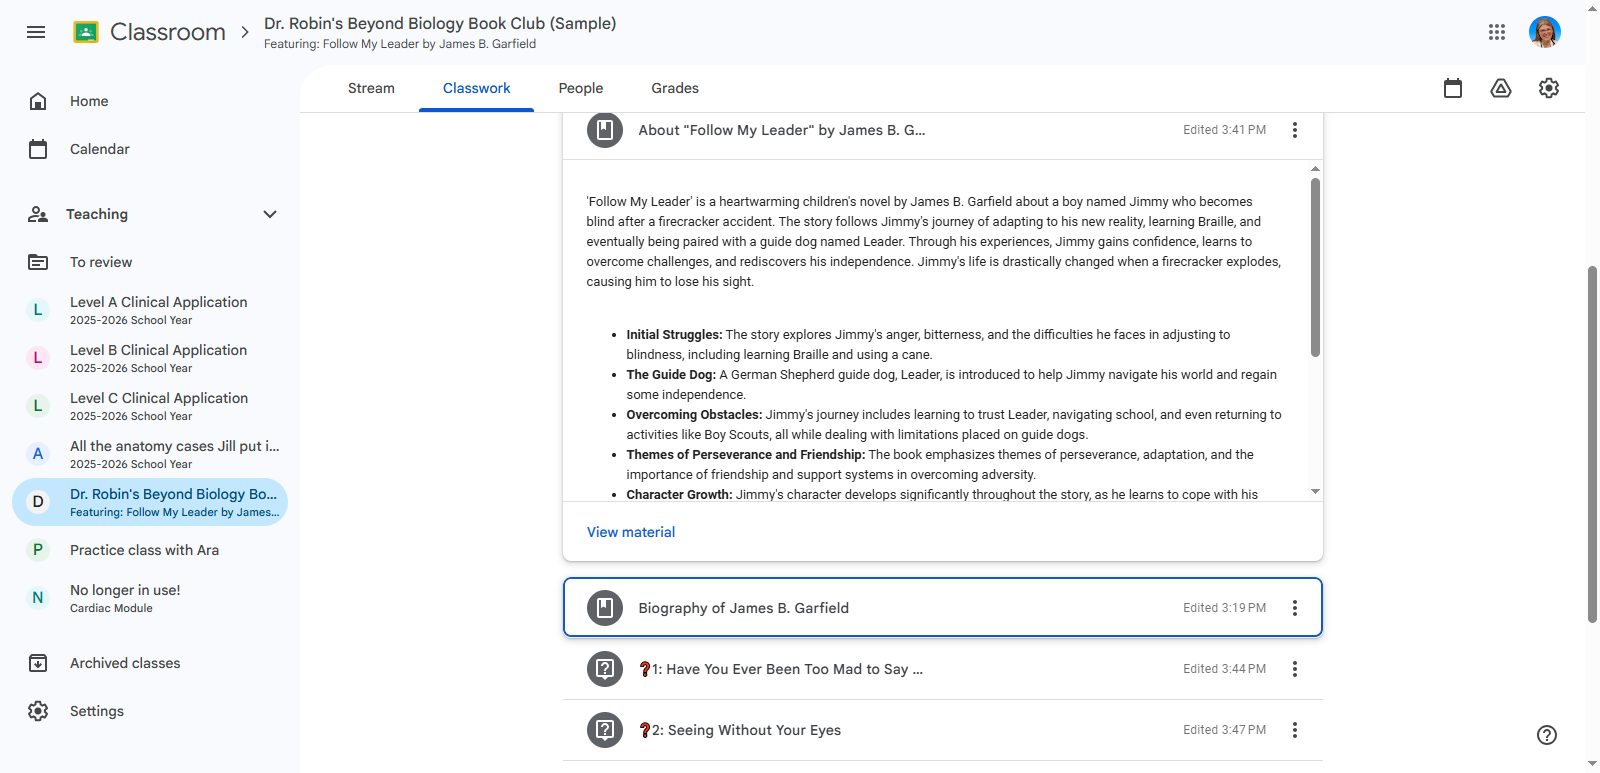
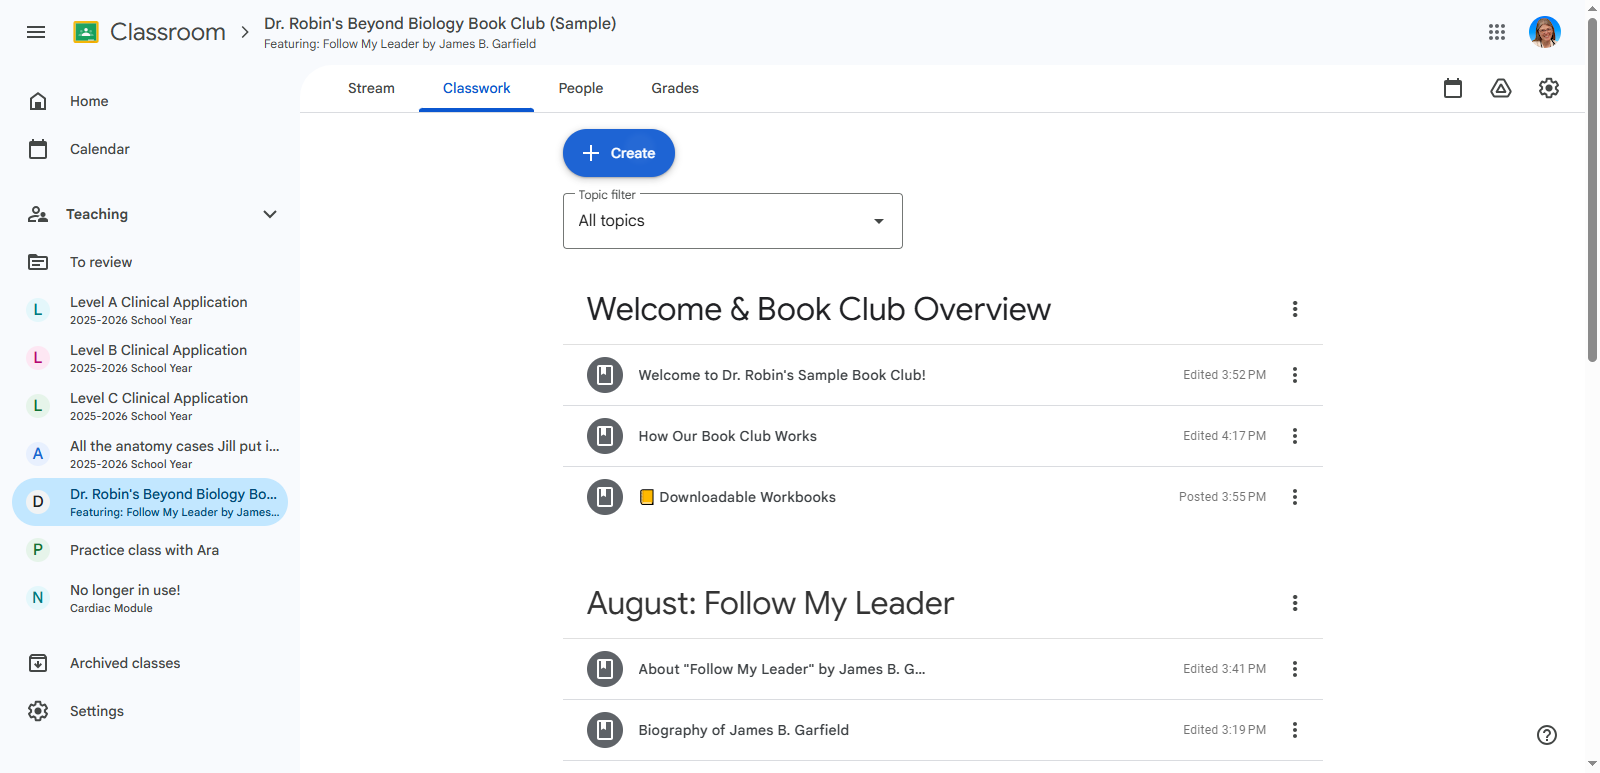
I put "Welcome" at the top, then "August," followed by "Archived." You can add September or October here, between Welcome and August. We can move the months lower while keeping the welcome message at the top. Throughout the whole classroom, try to keep everything as simple as possible. I will show you how to change the section titled "How Our Book Club Works."

2
This is an example of how to simplify it.
Step #2: This is an example of how to simplify it.
3
You can see that here they would have to open a google doc to access the information instead of just getting it right here in the club.
Step #3: You can see that here they would have to open a google doc to access the information instead of just getting it right here in the club.

4
We can copy the information we need and paste it directly into the post
Step #4: We can copy the information we need and paste it directly into the post
5
Click on the three dots to edit.
Step #5: Click on the three dots to edit.
6
Click on "Edit"
Step #6: Click on "Edit"
7
Then paste in whatever information you want them to have.
Step #7: Then paste in whatever information you want them to have.

8
Click on "Save"L
Step #8: Click on "Save"L

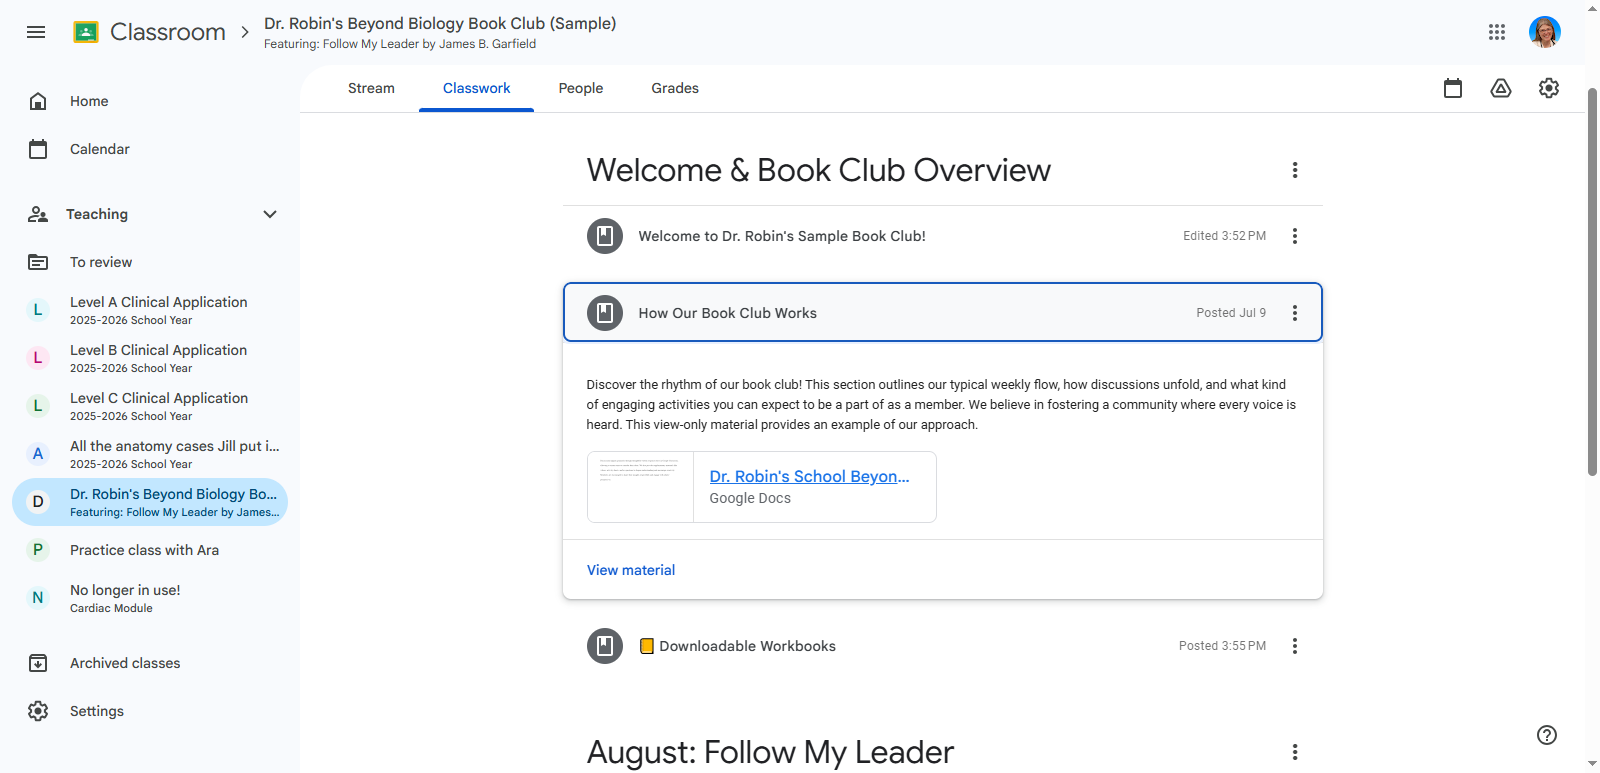
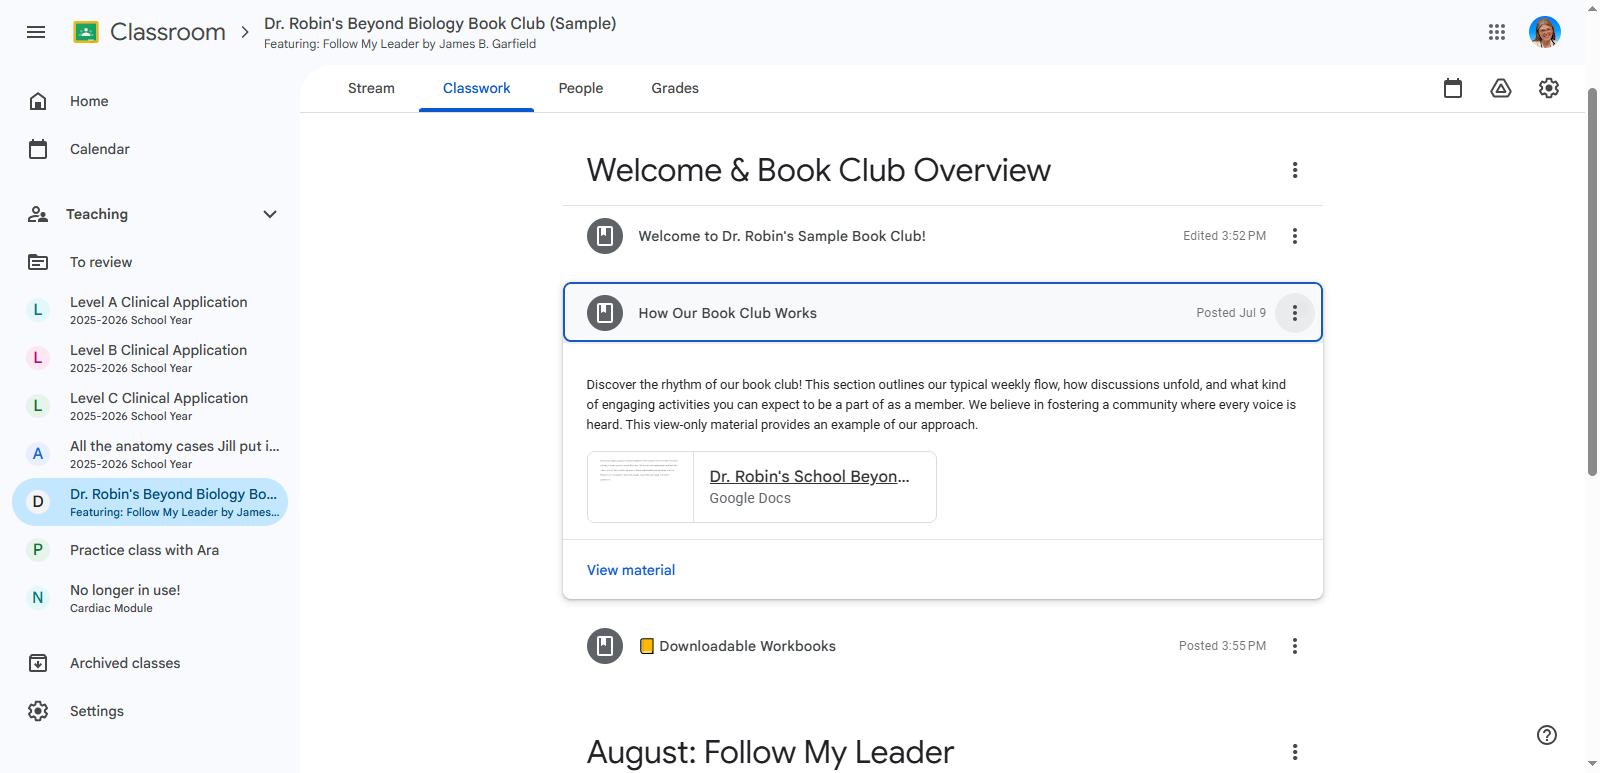
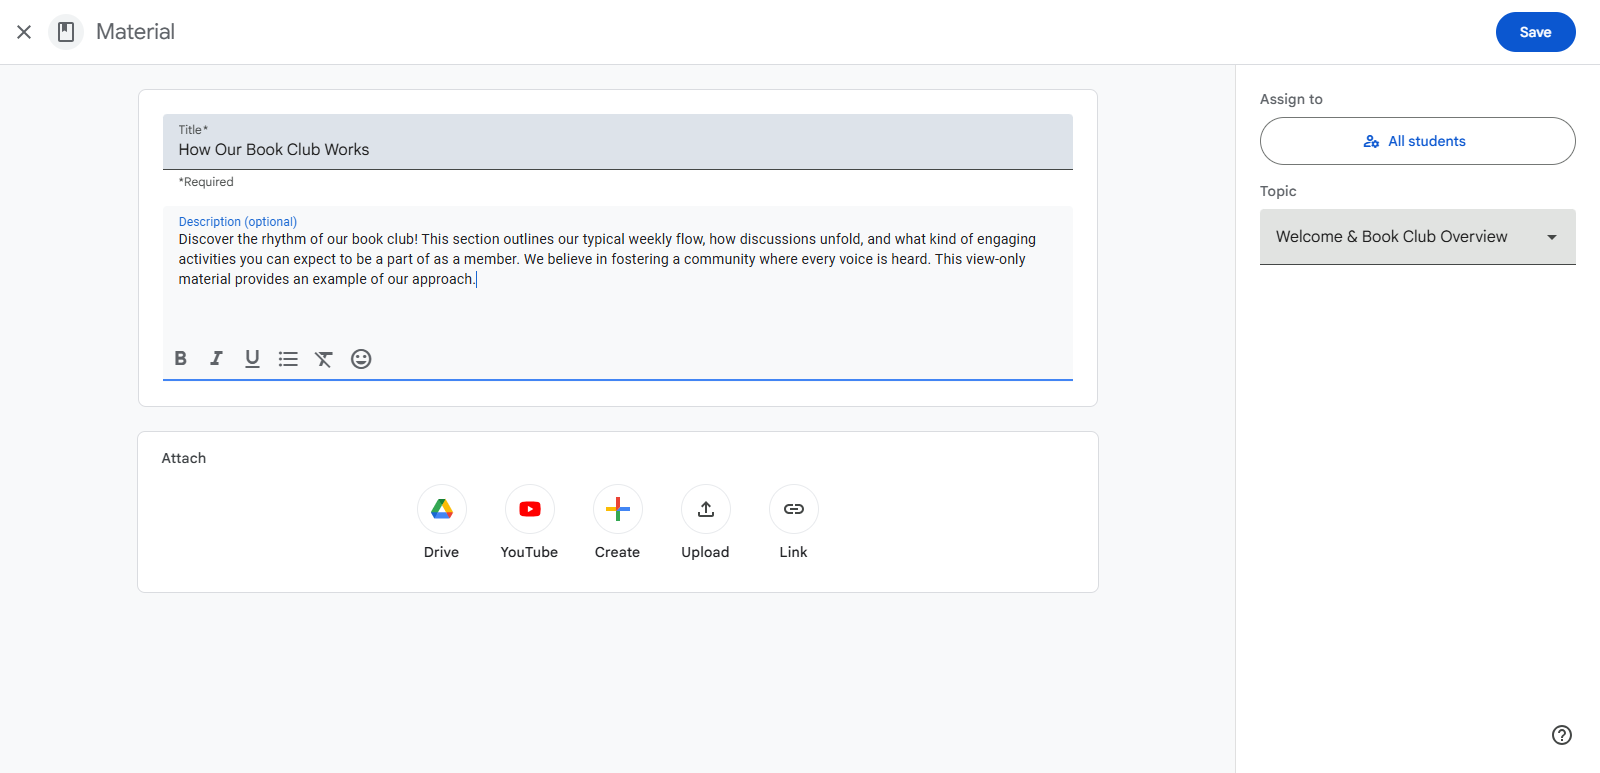
Now when we go back to the classroom, you can see that I'm using emojis to highlight important information, since we can't use different fonts.

Here are the downloadable workbooks. There aren't any here, but instead of using things made by others, I prefer to use what we've created ourselves. I sent you two options that you can send to Jovana if you want. I also included information about them here already if you want to use them.

9
Click on "☐ Downloadable Workbooks"
Step #9: Click on "☐ Downloadable Workbooks"

Now I want to focus on the different types of posts.

10
Some of these look like bookmarks. The problem is that you can't reply to them. That's where you enter information.
Step #10: Some of these look like bookmarks. The problem is that you can't reply to them. That's where you enter information.

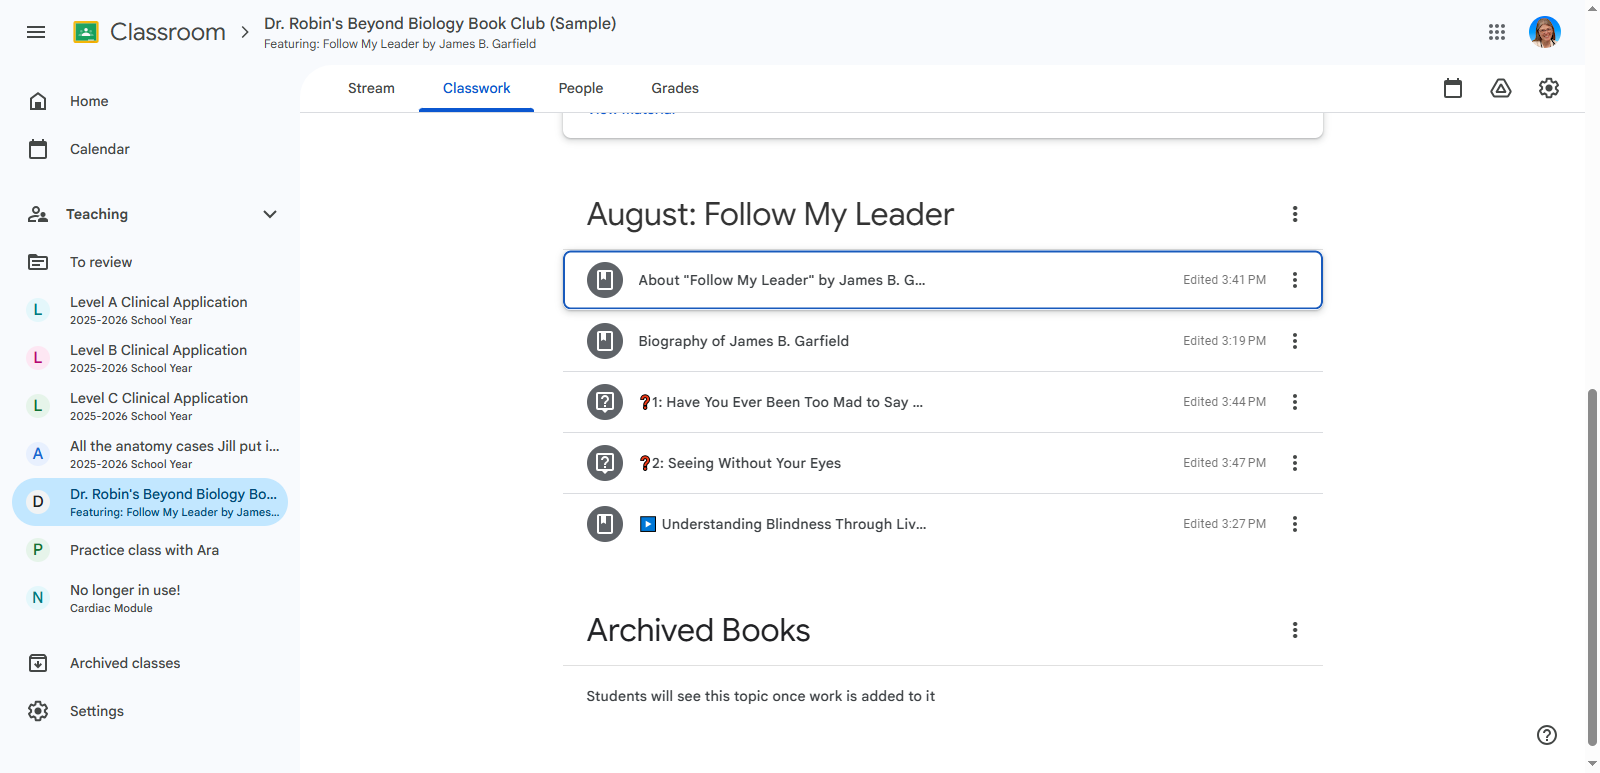
Here is information about Follow My Leader. We can't provide a transcript of James Garfield's biography since it was written by someone else. Instead, I included a direct link to their work.

11
Biography of James B Garfield
Step #11: Biography of James B Garfield

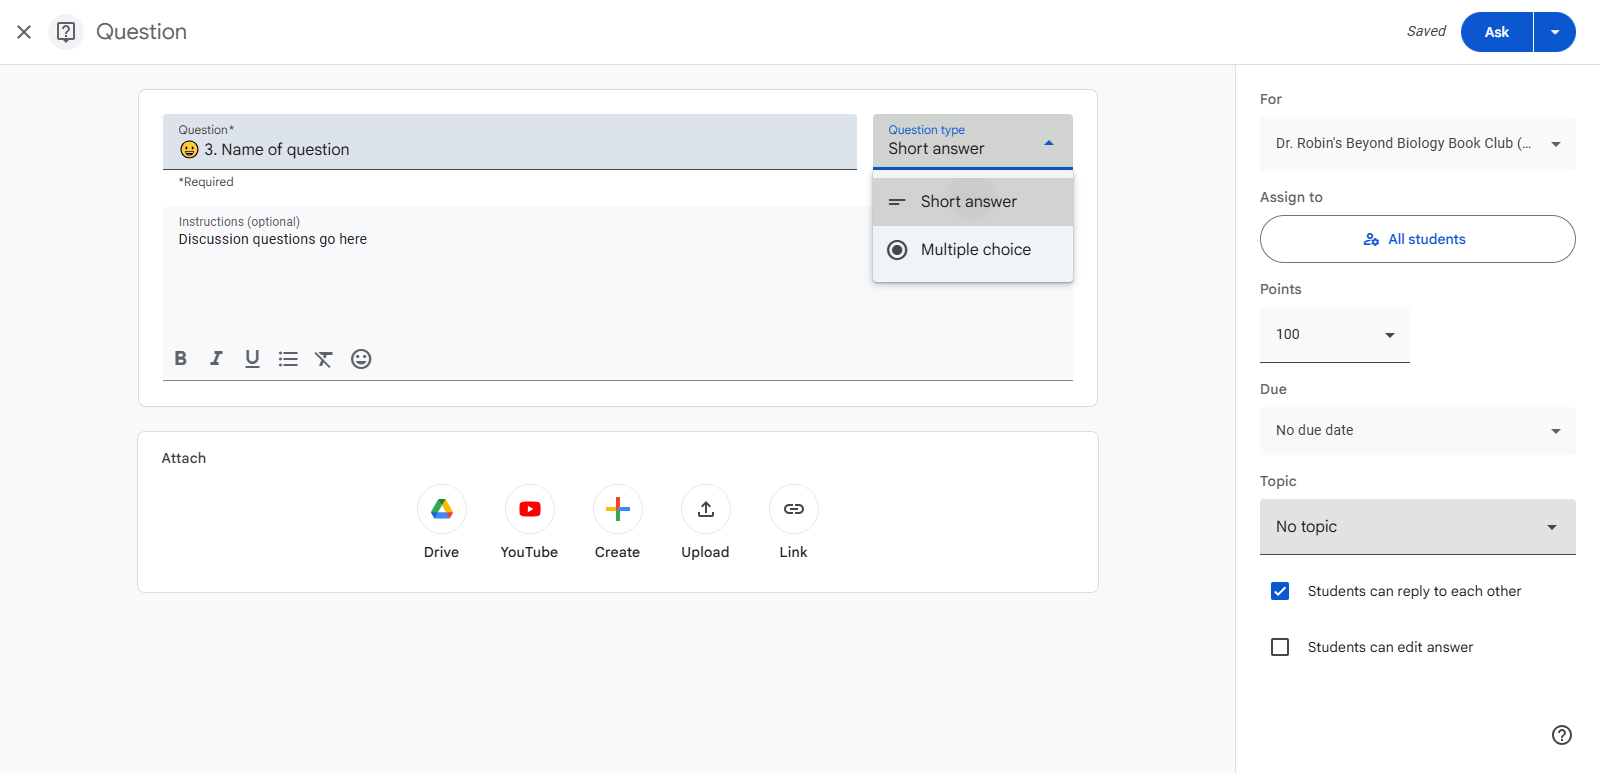
Since we're in Google Classroom now, we could add a link to a real video about that if we want.

12
For discussion questions, go to the top, click "Create," then select "Question."
Step #12: For discussion questions, go to the top, click "Create," then select "Question."

That way, it appears as a question that students can answer.

13
Click on "Question"
Step #13: Click on "Question"

14
Next, we'll title the questions. Add a question mark emoji, then write the number and the name of the question. Keep the title really short or they won't be able to see anything meaningful in the list. Then add more information about it below.
Step #14: Next, we'll title the questions. Add a question mark emoji, then write the number and the name of the question. Keep the title really short or they won't be able to see anything meaningful in the list.  Then add more information about it below.

15
Make sure to select "short answer," not "multiple choice."
Step #15: Make sure to select "short answer," not "multiple choice."

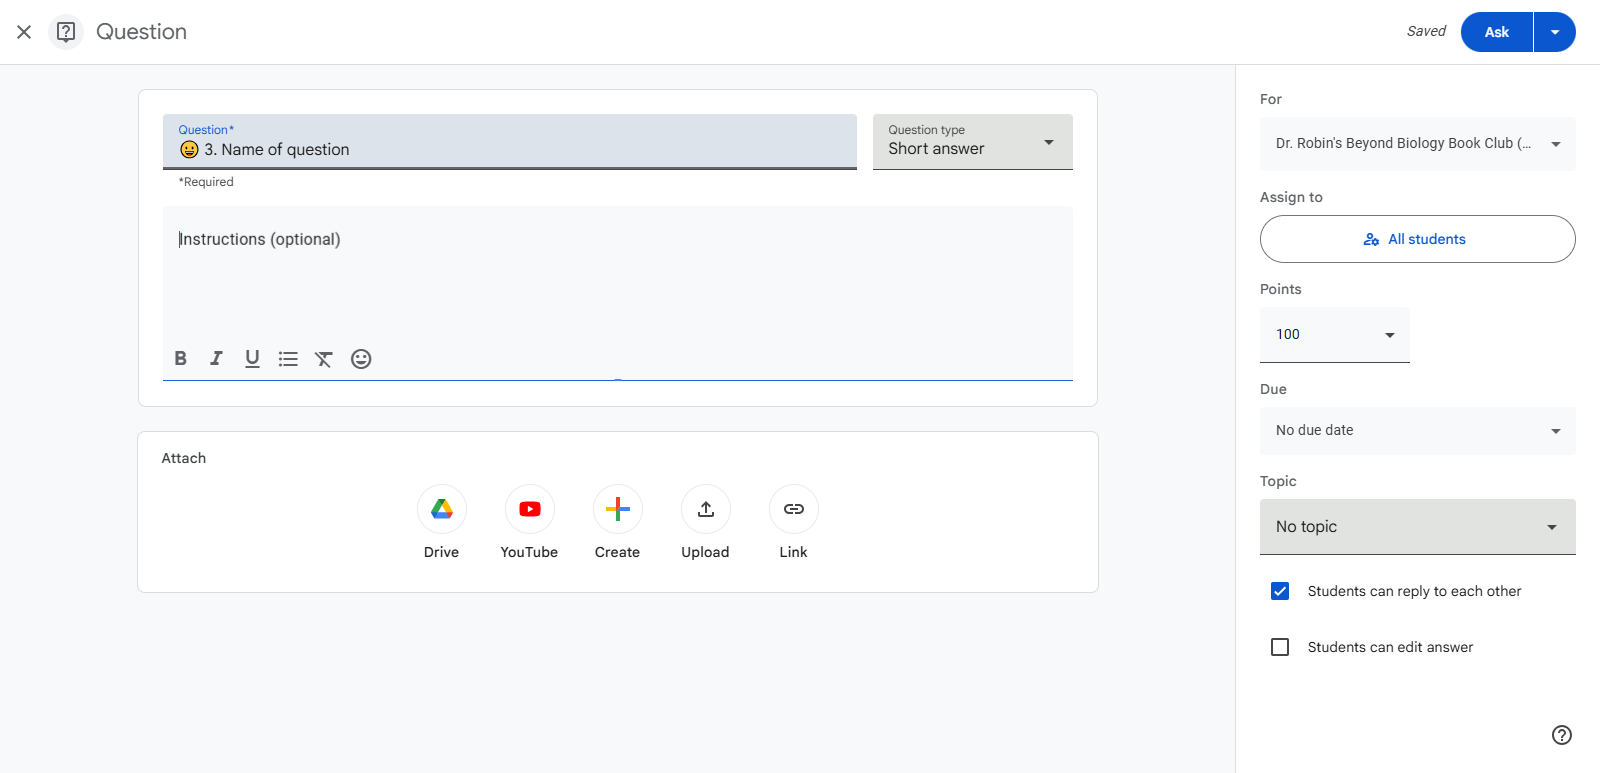
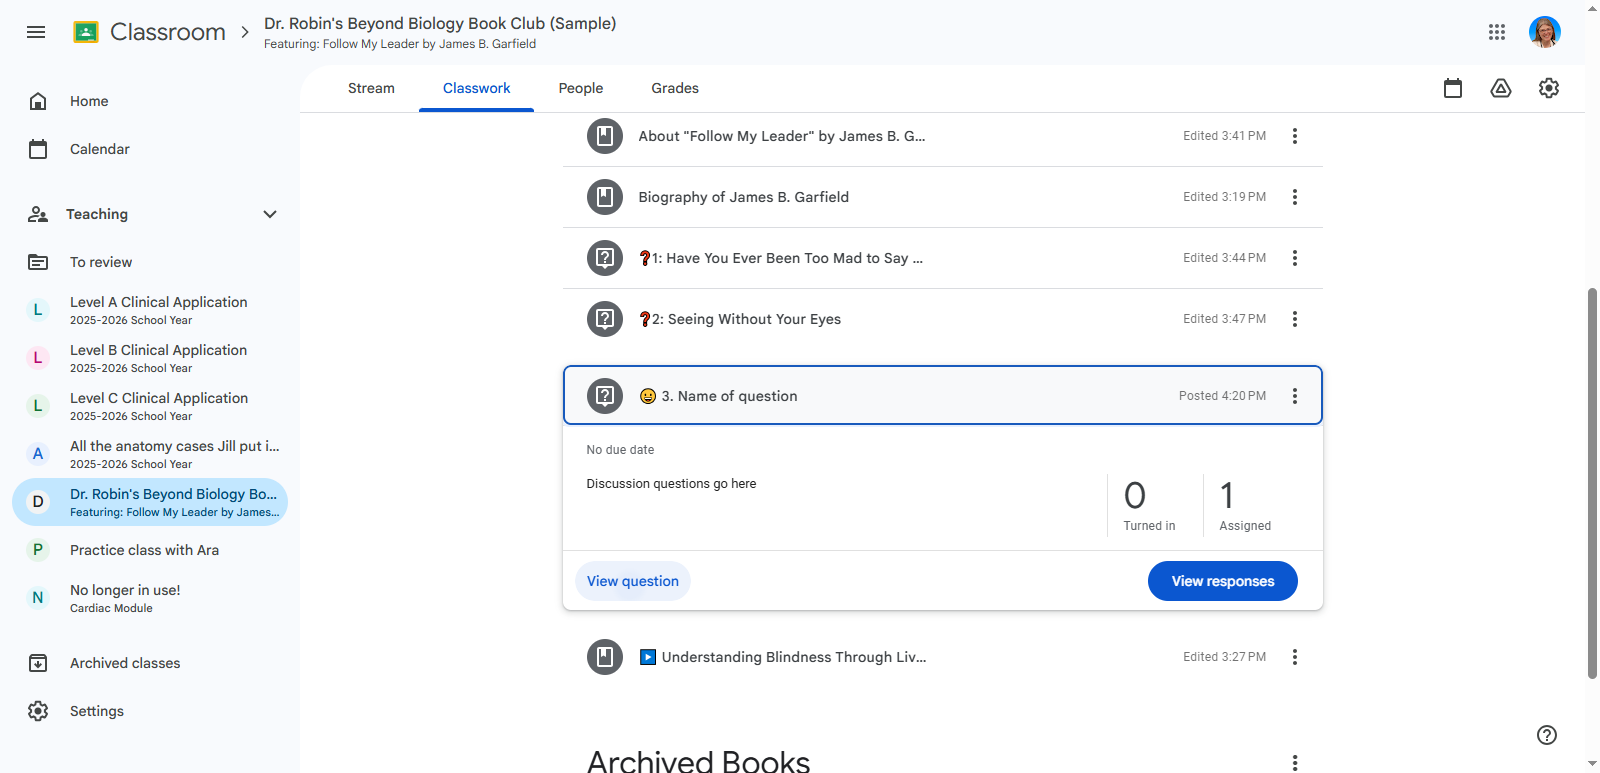
Now you'll take care of the information along the right hand column.

You want it to go to all students.

16
You want it to go to all students. That way any new students will also see the questions.
Step #16: You want it to go to all students.  That way any new students will also see the questions.

17
Click on the point value to change it to ungraded.
Step #17: Click on the point value to change it to ungraded.
18
Click on "Ungraded"
Step #18: Click on "Ungraded"

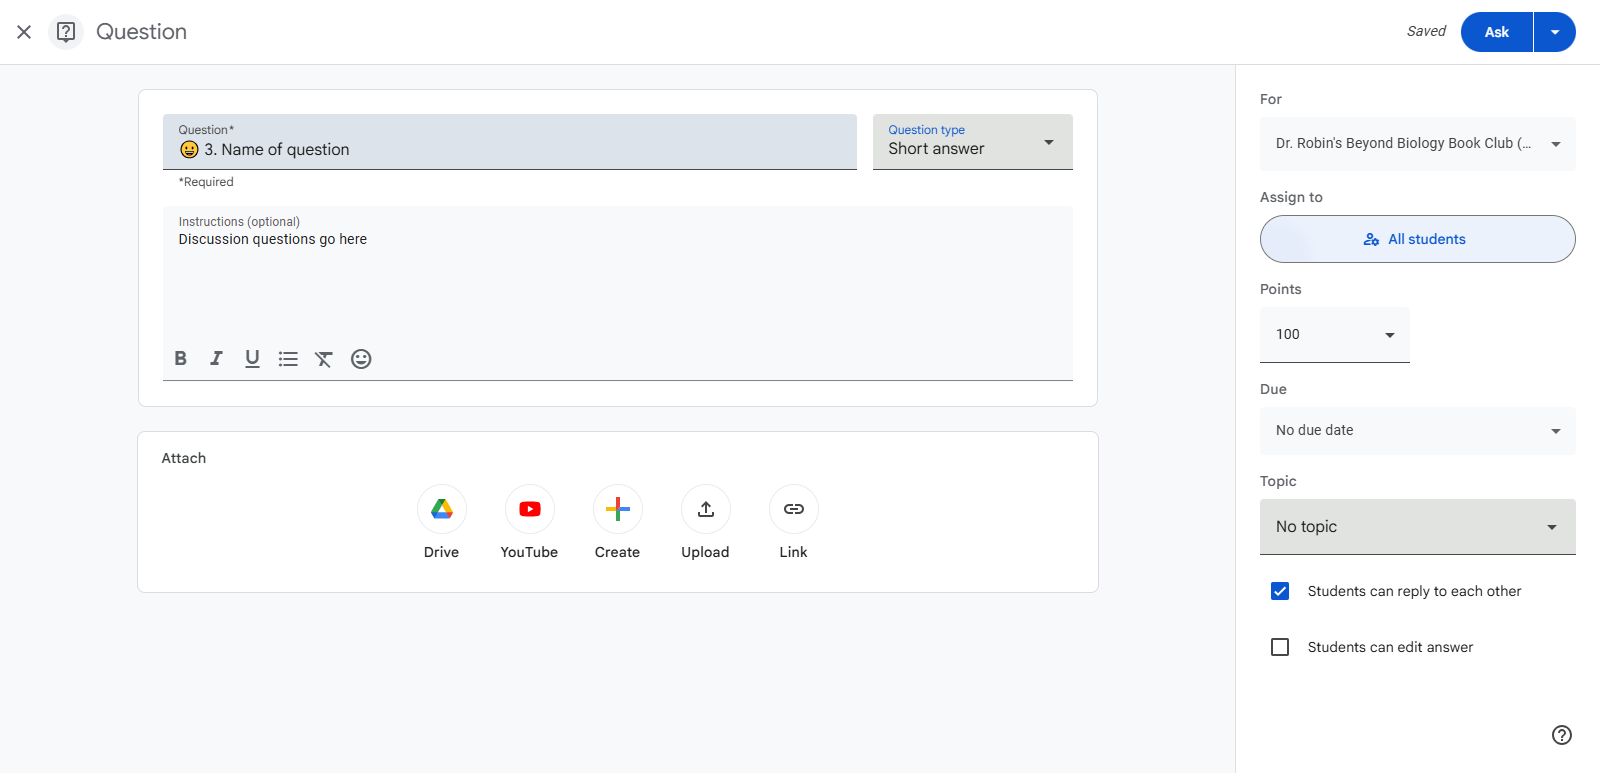
It should already say no due date.

19
Click on "No topic" to choose which topic/month it belongs with.
Step #19: Click on "No topic" to choose which topic/month it belongs with.

20
Make sure students can reply to each other. Otherwise, they can't have a discussion!
Step #20: Make sure students can reply to each other.  Otherwise, they can't have a discussion!
21
I think it's probably a good idea to let students edit their answers but that's up to you.
Step #21: I think it's probably a good idea to let students edit their answers but that's up to you.
22
Now to post the questions, click on "Ask"
Step #22: Now to post the questions, click on "Ask"

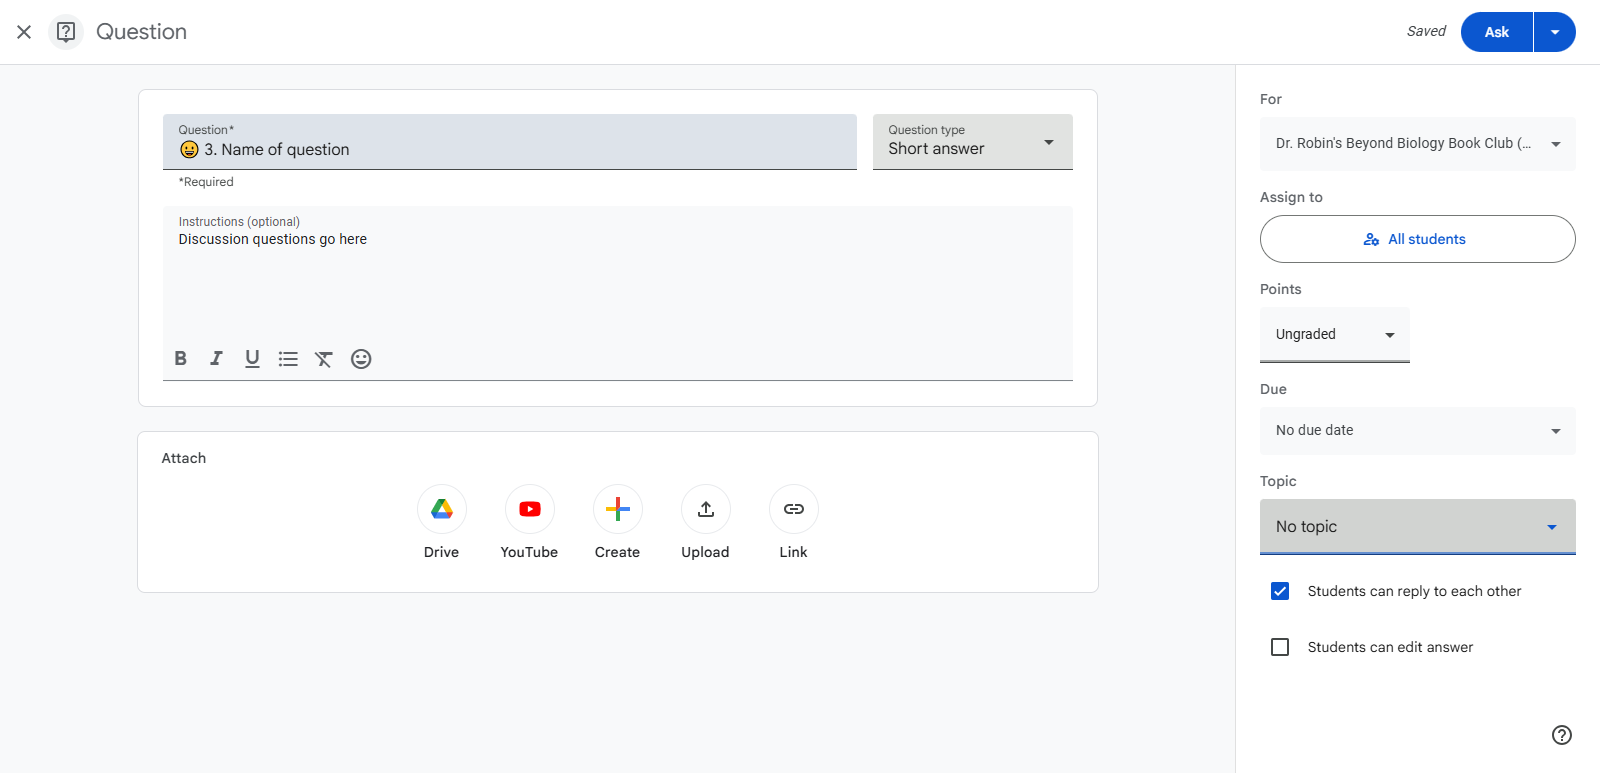
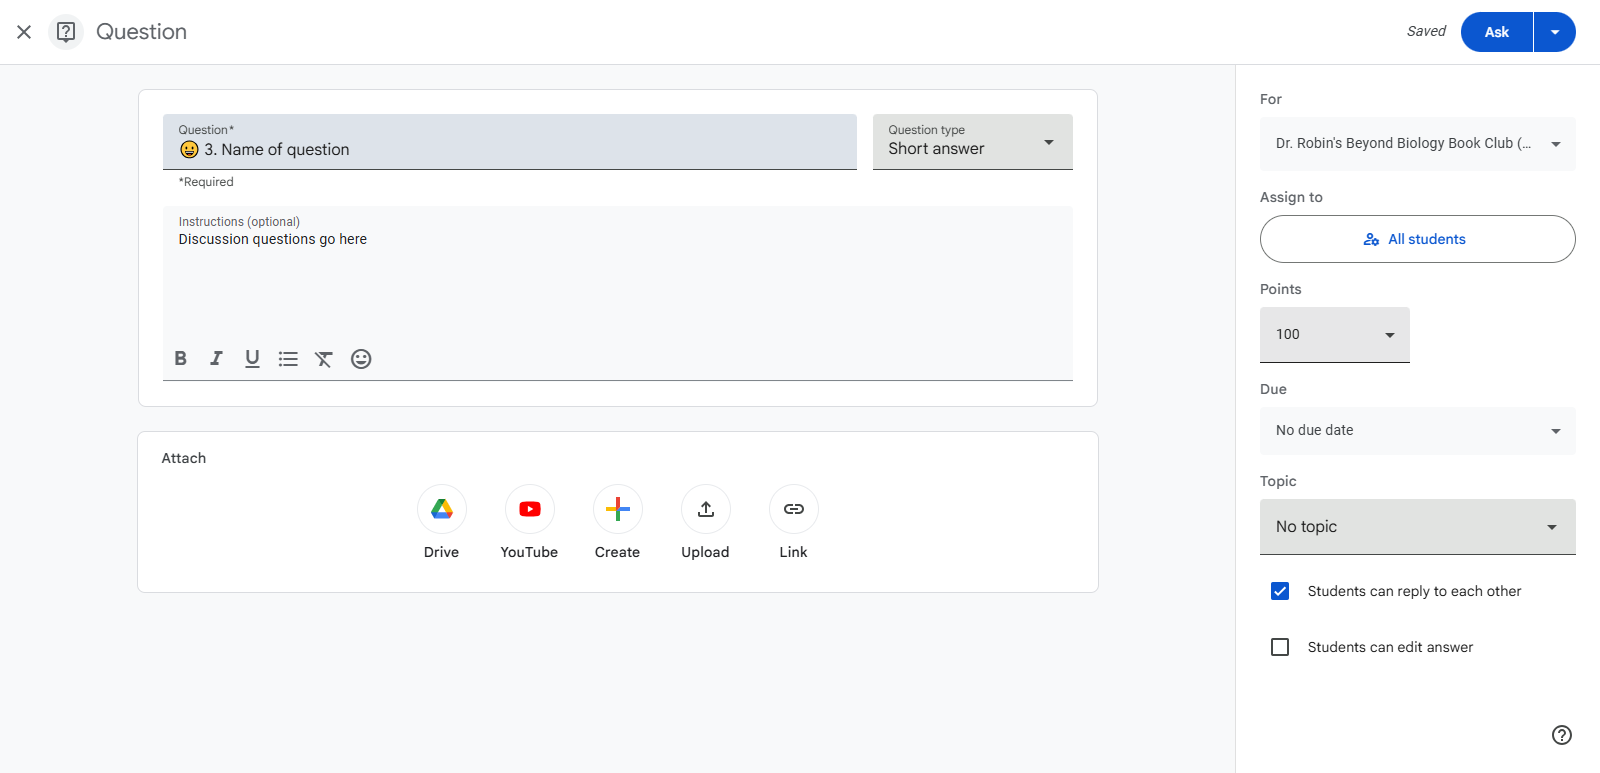
Notice how little of each name students can see. So you want the name to have the critical information at the beginning.

Now, you can drag it to your desired location. (You should also change it to a question mark instead of a smiley face.)

23
Here I'm dragging it to the right place.
Step #23: Here I'm dragging it to the right place.

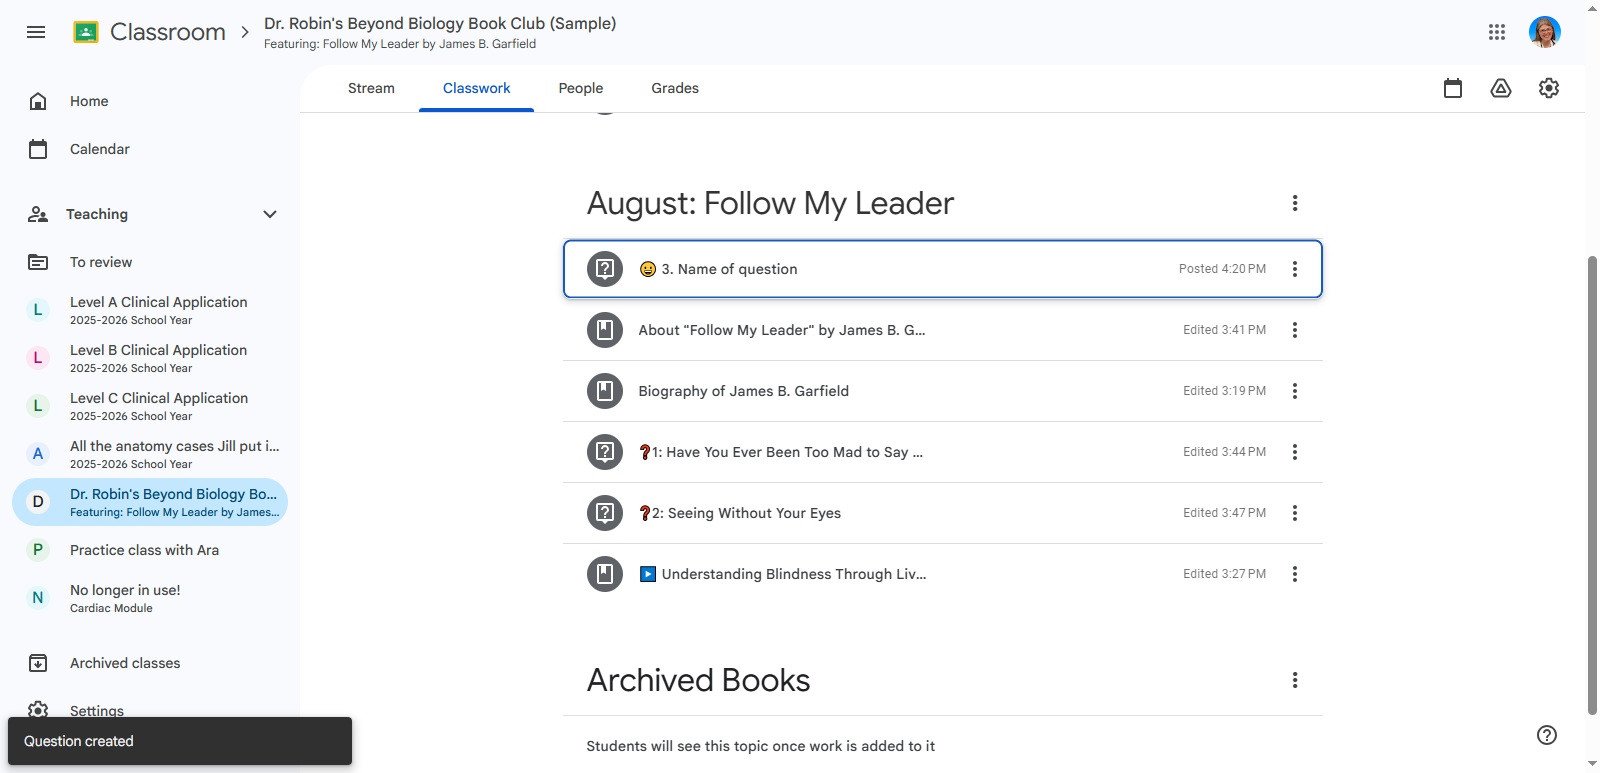
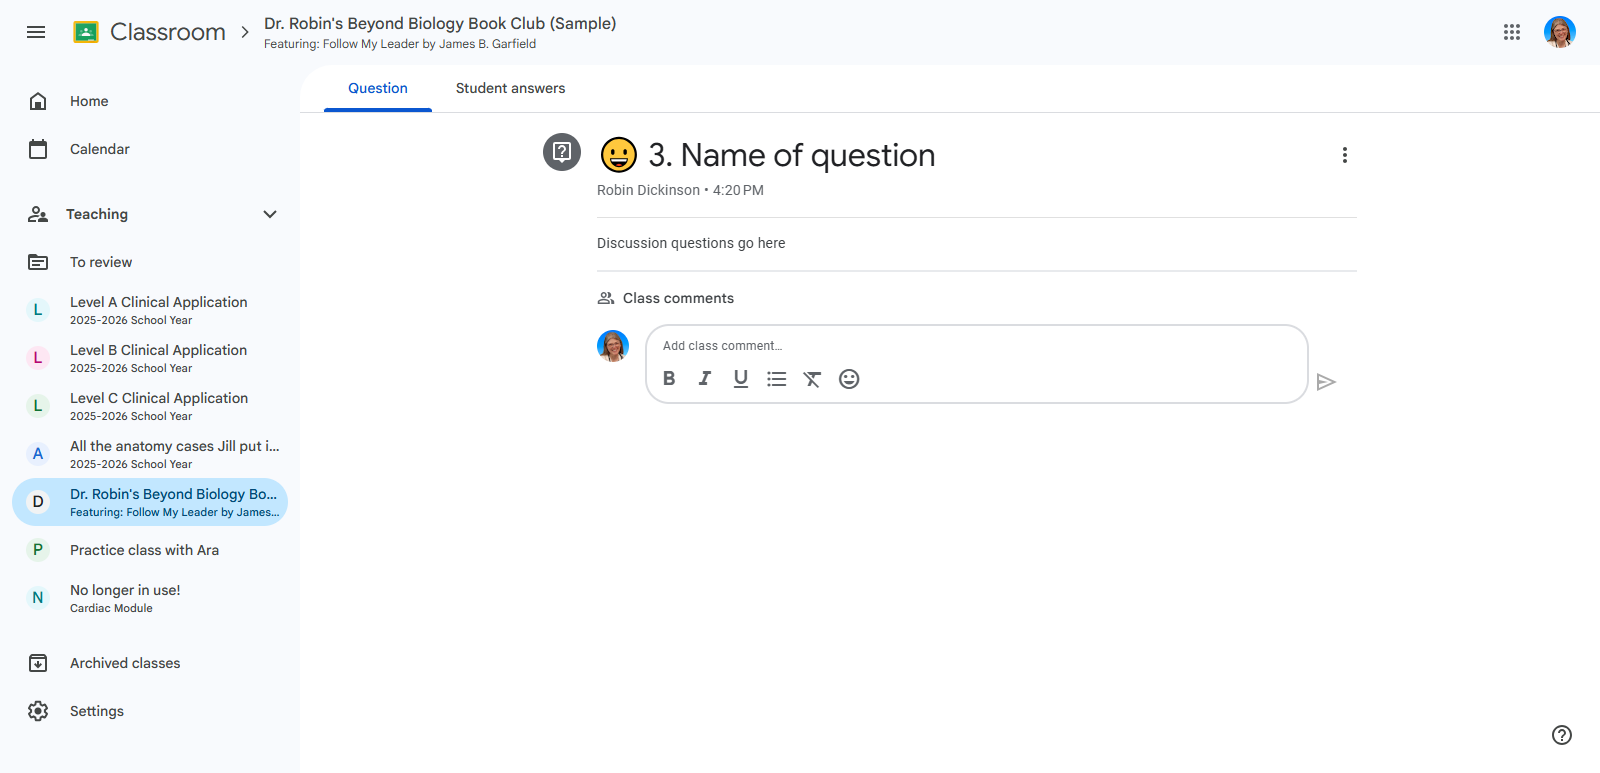
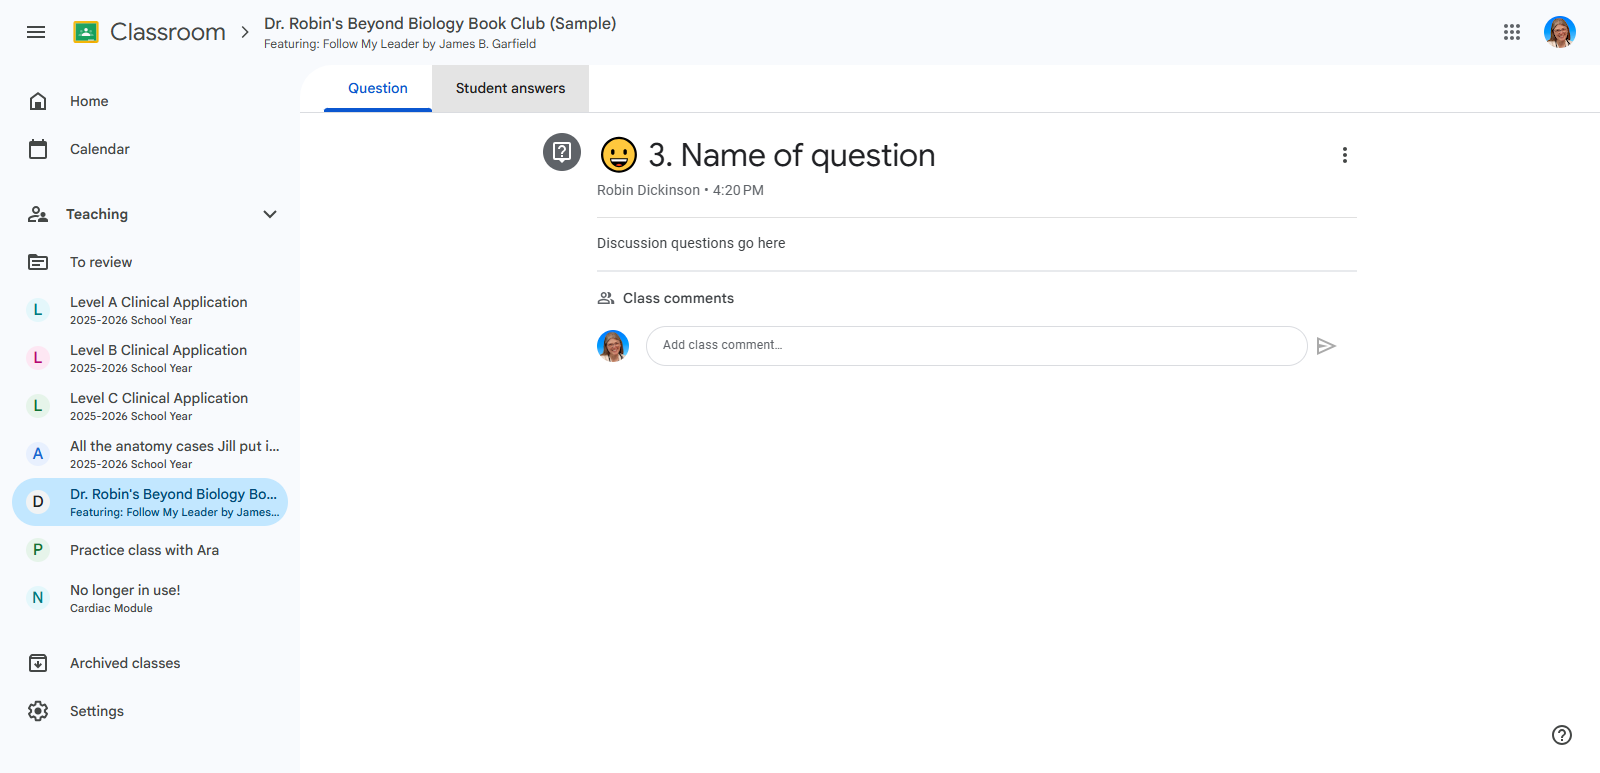
Now, when you look at the question, you can see the class comments. People can also reply to each other.

24
Click on "View question"
Step #24: Click on "View question"
25
And here is where kids can type in their answers.
Step #25: And here is where kids can type in their answers.
26
Click on "Student answers" to view everyone's responses.
Step #26: Click on "Student answers" to view everyone's responses.

Now I will show you the videos.

27
I combined all the videos into one post and added a video play button emoji. I put all the videos together to keep everything tidy. I have all the ones I sent you, and they are from different people who are blind. In the description for the students, I mentioned the importance of learning from lived experience
Step #27: I combined all the videos into one post and added a video play button emoji. I put all the videos together to keep everything tidy. I have all the ones I sent you, and they are from different people who are blind. In the description for the students, I mentioned the importance of learning from lived experience

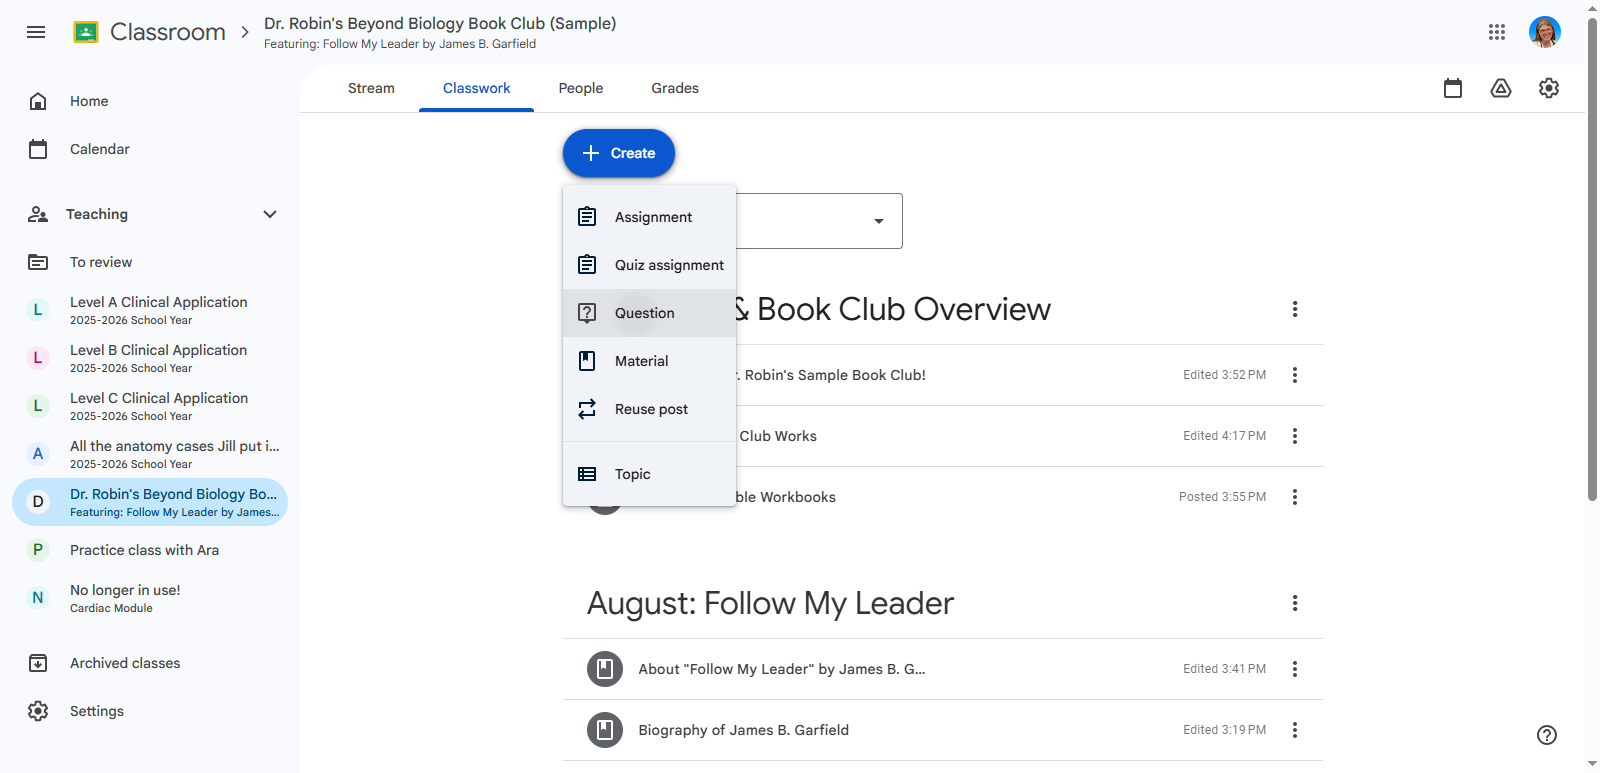
The most important thing is to click "Create" and select the correct option when you start. After that it should all go smoothly.

28
Click on "+ Create"
Step #28: Click on "+ Create"

If you select material, they cannot respond.

If you choose a quiz assignment, they will respond with a quiz.

If you choose "assignment," students will submit something to you.

If you select "question," you will see the discussion questions.

Let me know if you have any questions.

How to Organize and Manage Beyond Biology Book Club Activities in Google Classroom