
How to Utilize Your Upload Folders For Designs
Learn how to use your upload folders for projects.
By Lyn Dauber
In this guide, we'll learn how to utilize your upload folders that I've created to organize the uploads in Canva. We'll explore how to create a new design and navigate to the Projects section to access your upload folders.
Let's get started
1
Click on "+" to create new design
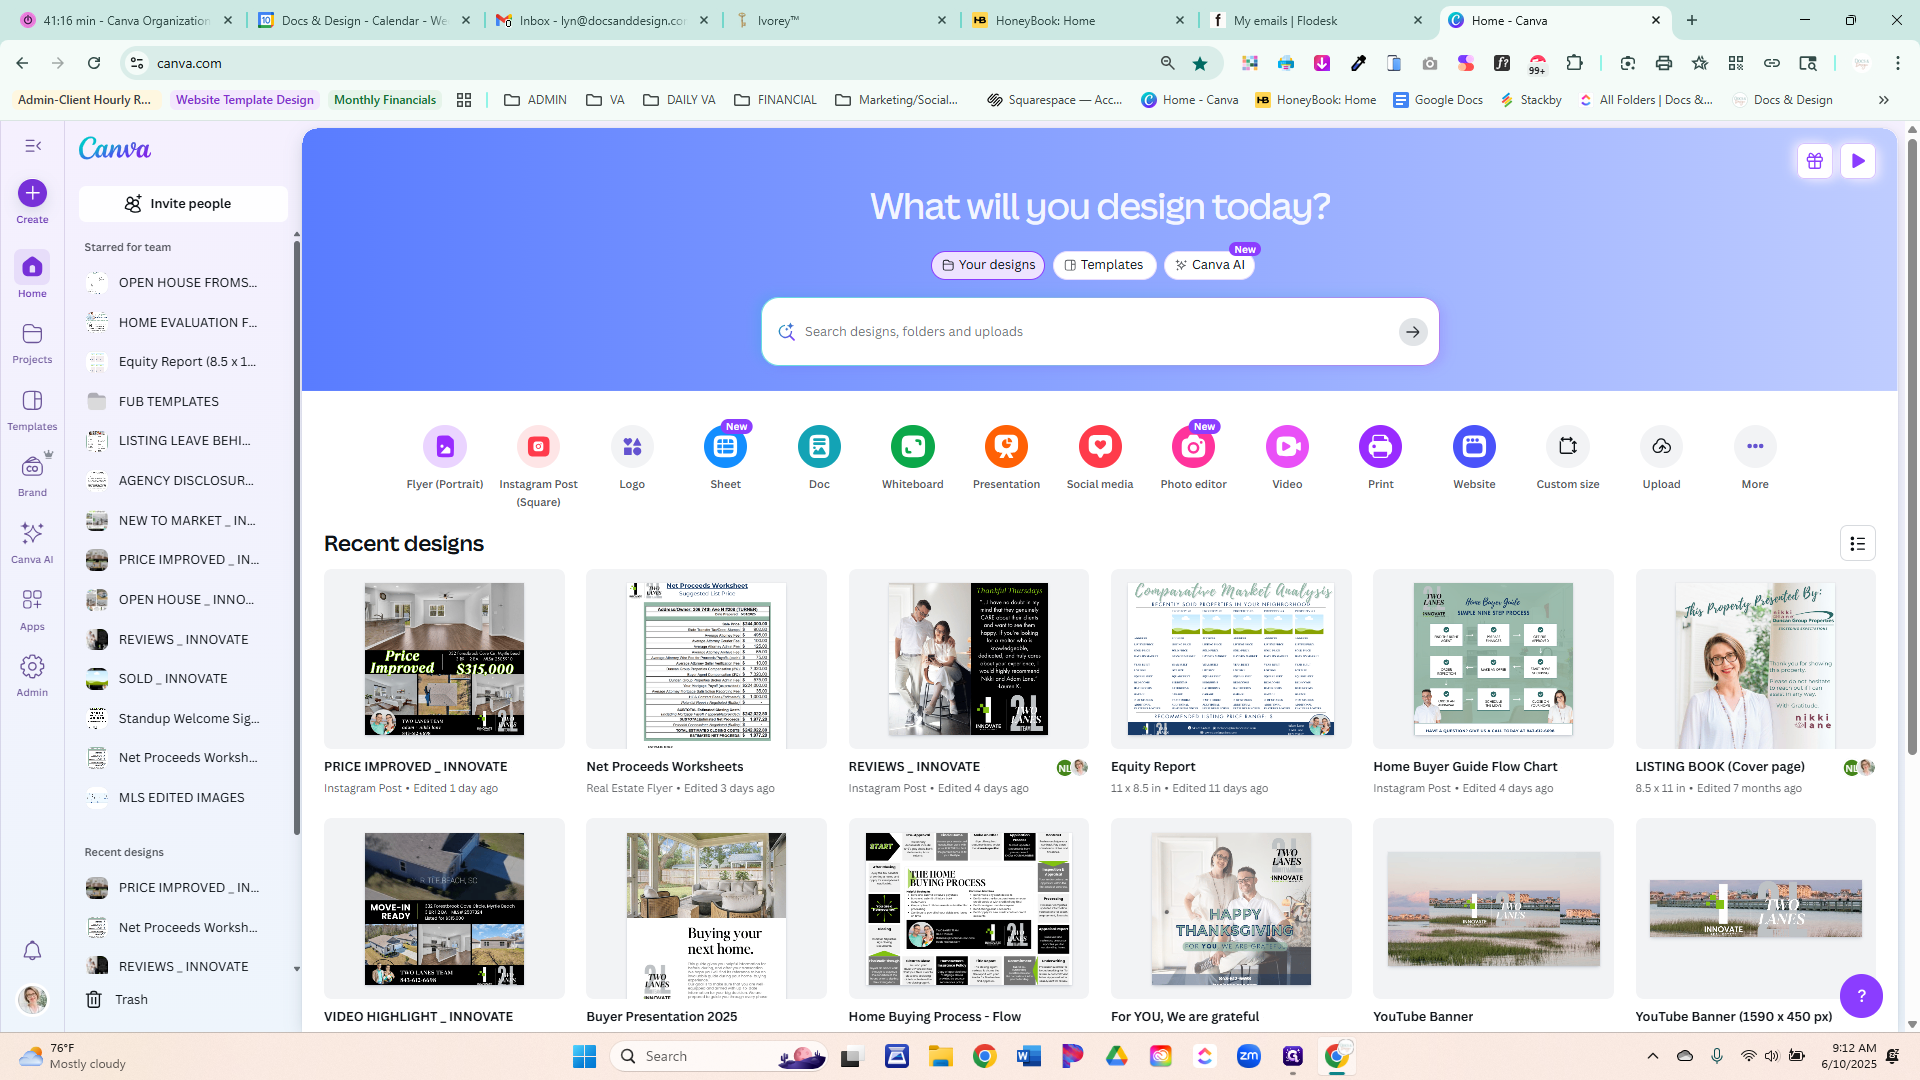
We'll create a new design or work with the current one.
2
Click here
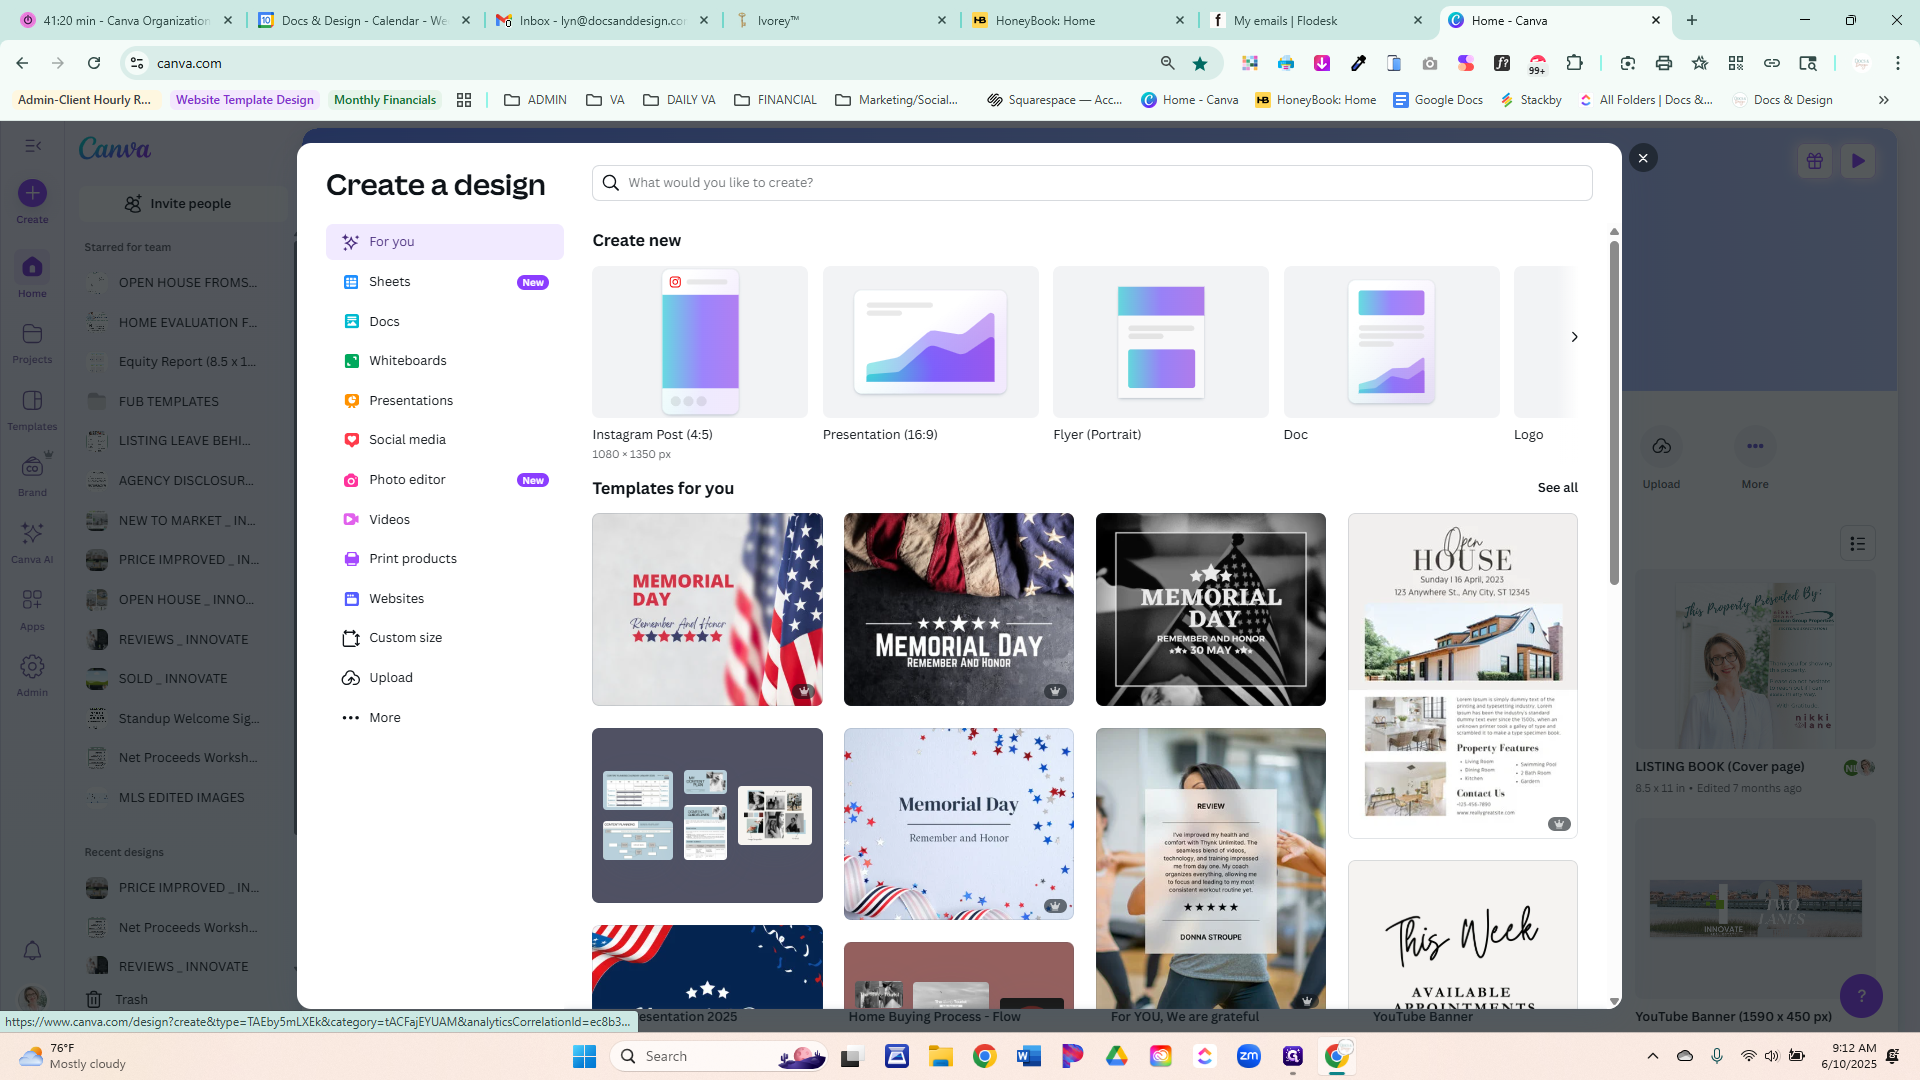
Instead of accessing your pictures/videos in the Uploads tab, you will instead go to the Projects folder.
3
Click here
Go to Projects.
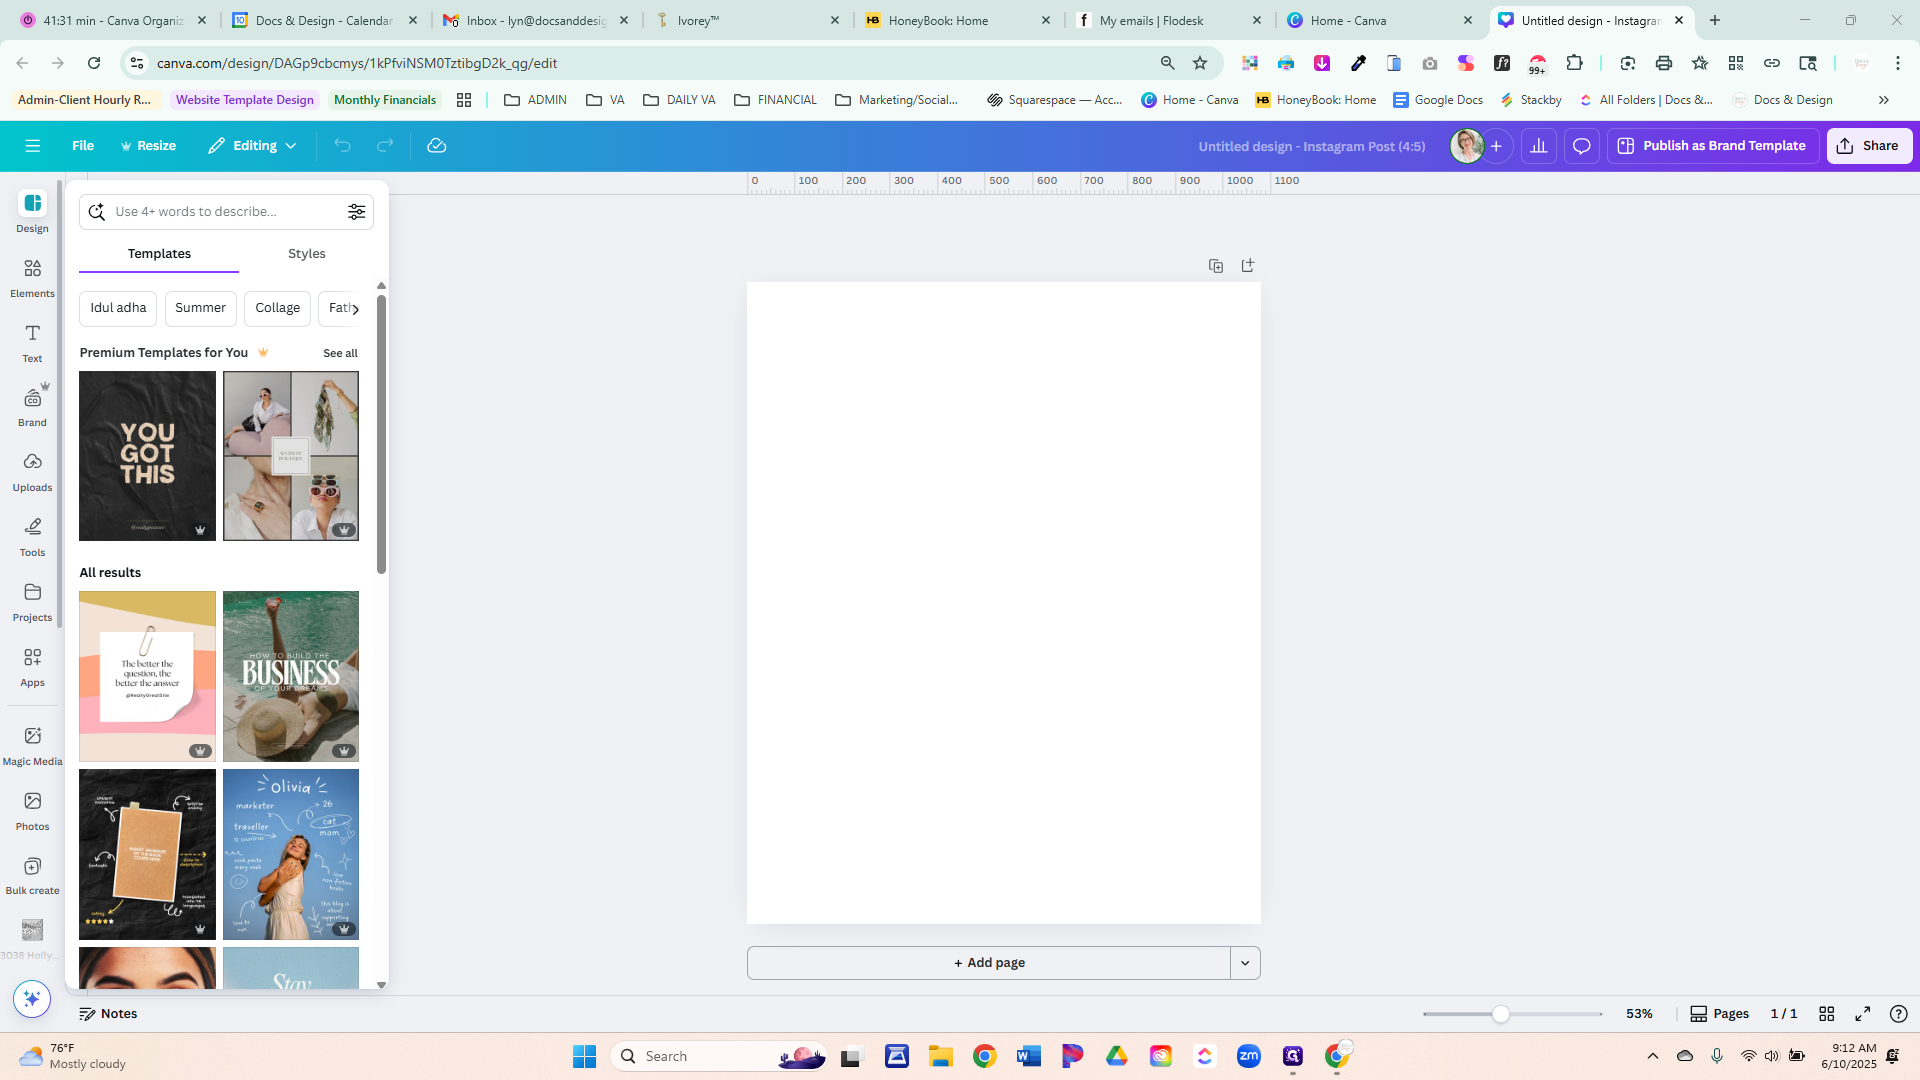
4
Click on "Projects" tab
Select your Upload folder.
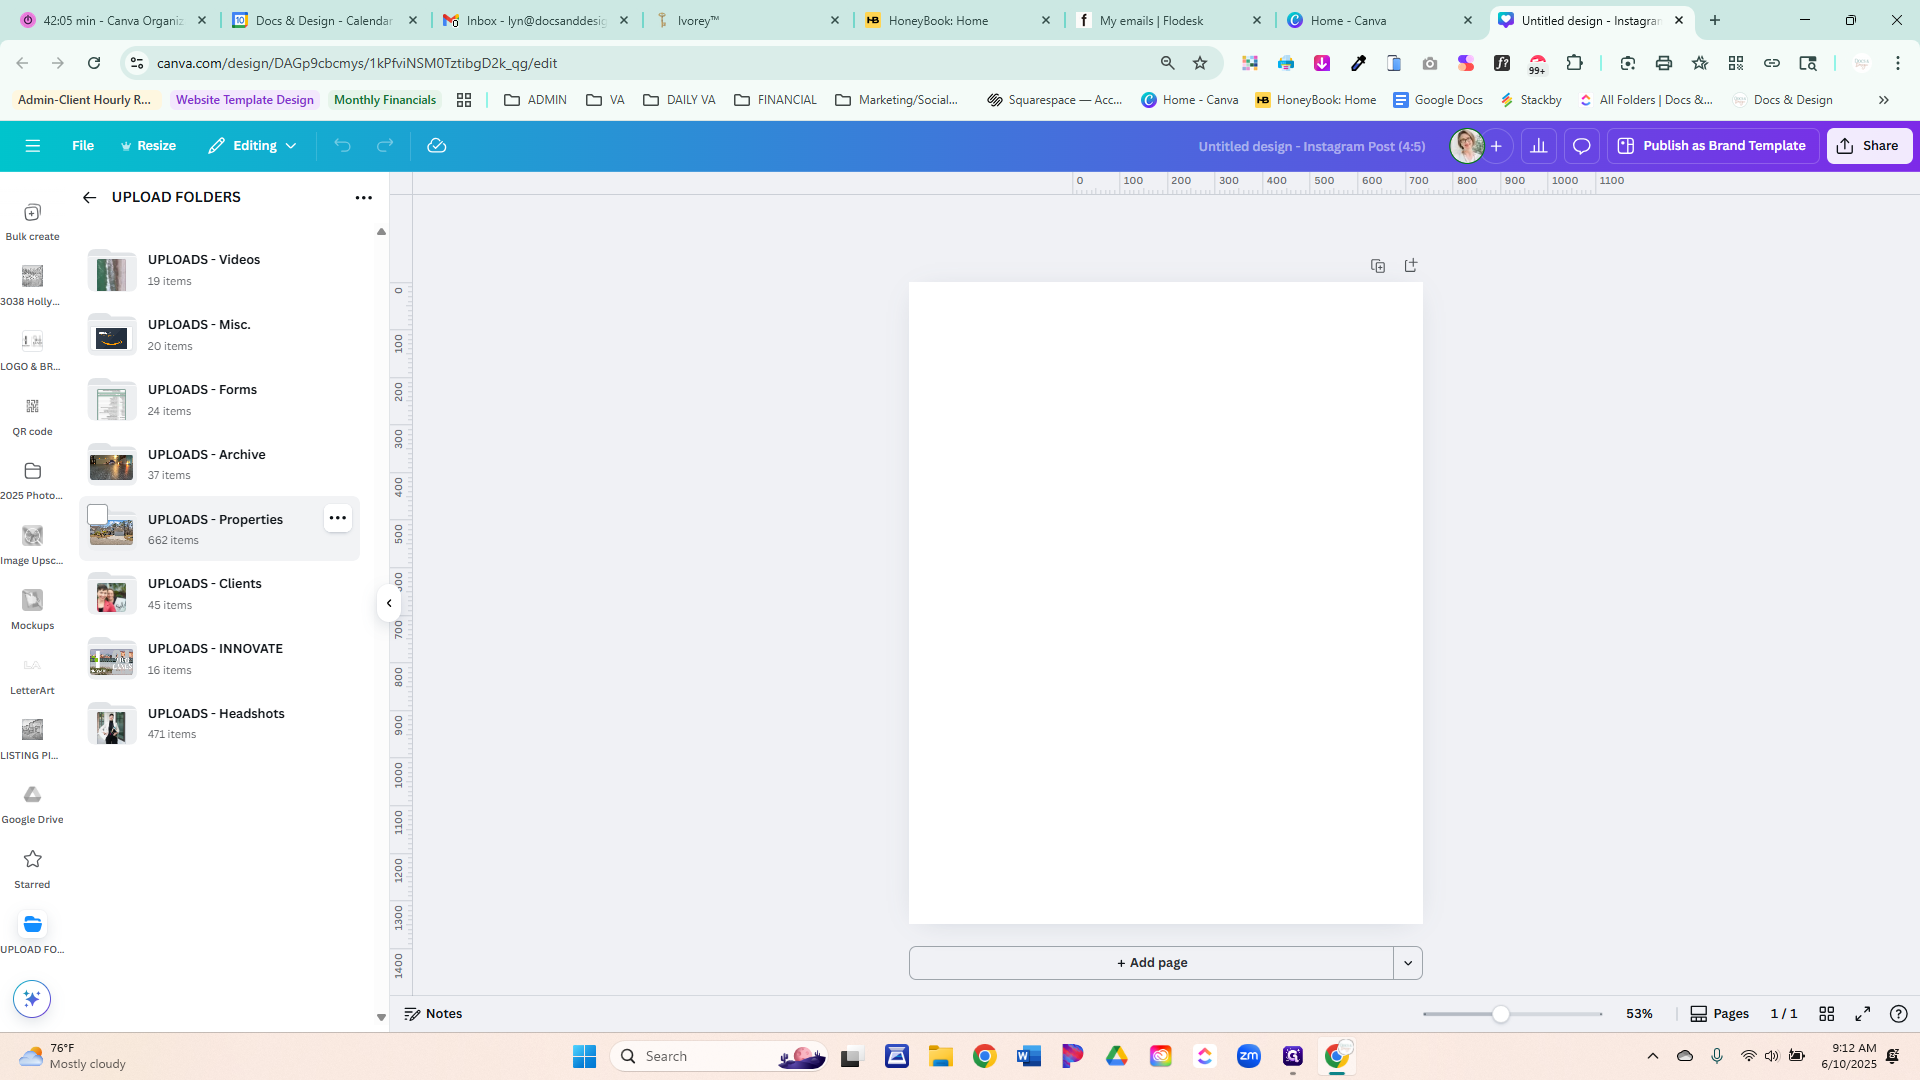
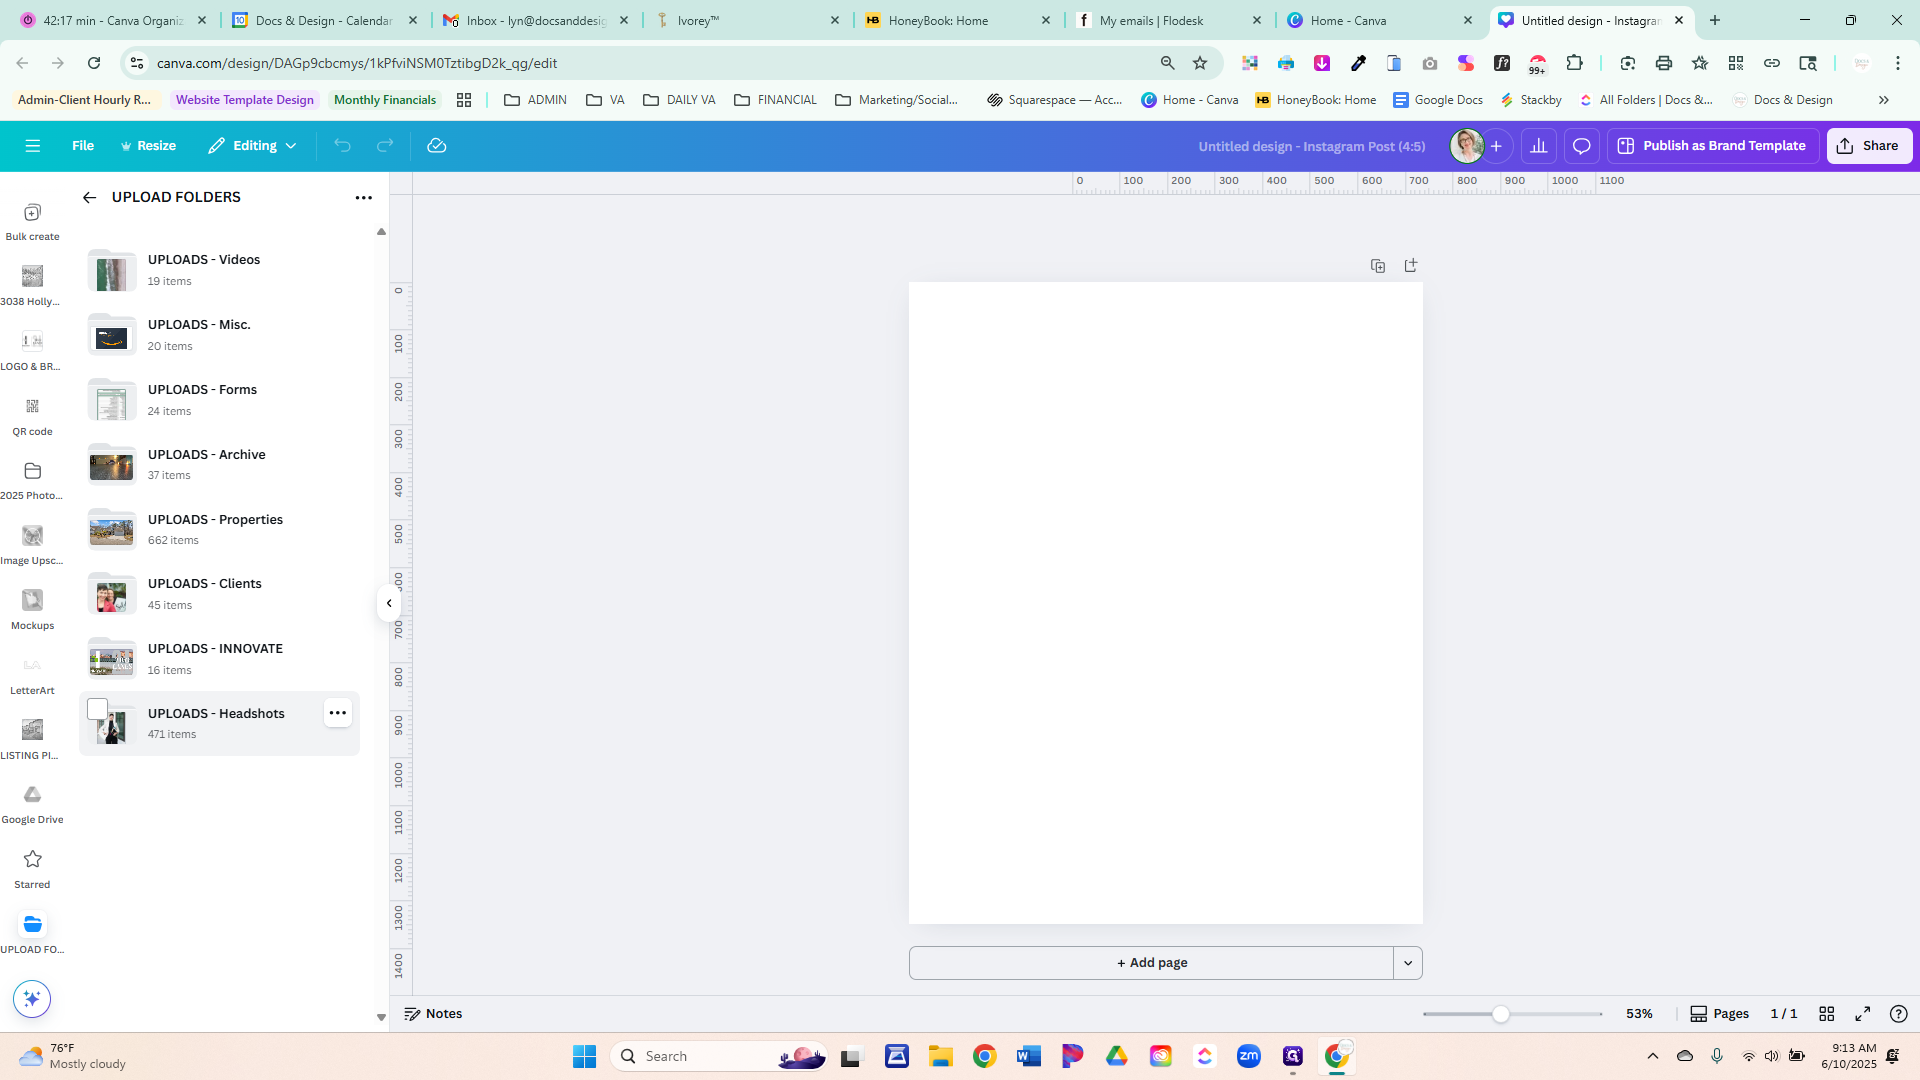
5
Click on "UPLOAD FOLDERS"

Inside, you'll find various folders containing your videos and photos. I sorted them into specific categories based on the photos in your uploads.
6
"UPLOADS - Videos"

7
"UPLOADS - Misc."

8
"UPLOADS - Forms"

9
"UPLOADS - Properties"
10
"UPLOADS - Clients"

11
"UPLOADS - INNOVATE"

12
"UPLOADS -Headshots"
You can easily access the folders in your main Projects section. I recommend when you have time to go through each folder to delete any you do not need.