
How to Parse CVs onto Invenias: Step-by-Step Guide
Learn how to parse CVs on Invenias using the Outlook plug-in. Follow this step-by-step guide to update candidate records, add work history, and manage CV information efficiently.
In this guide, we'll learn how to upload CVs to Invenias using the Outlook plug-in. This process helps you quickly add or update candidate records when you receive CVs by email.
We'll cover how to review and edit candidate details, add missing work history, and ensure the information is accurate before saving. This guide will also show you how to code candidates for industry and job function.
Let's get started
We will look at how to parse CVs on Invenias. There are several ways to do this. One of the easiest ways to do this is through Outlook if someone emails you their CV. Go to the Invenias plug-in and press parse CV.
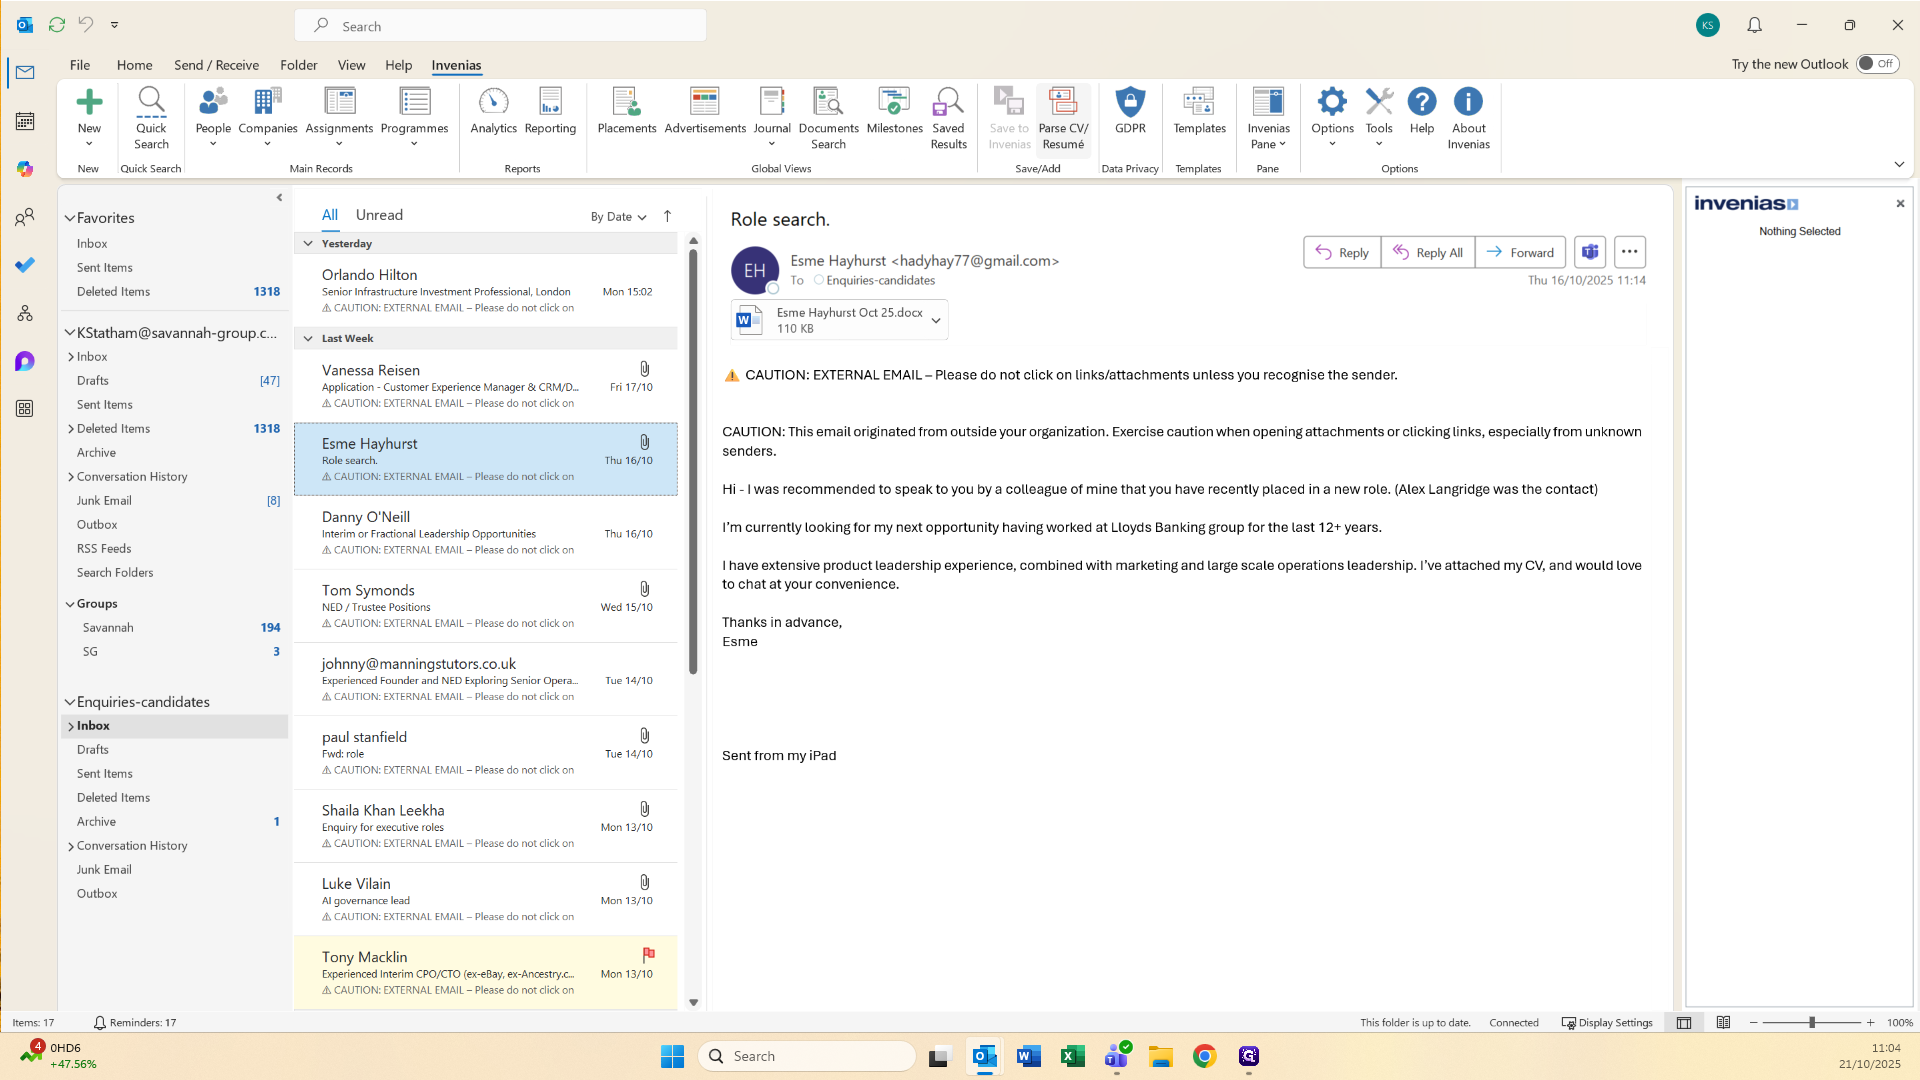
A new window will open in your browser. Invenias will automatically check if the candidate is already in the system. It allows you to update an existing record. You just need to check that the suggestions are for the candidate you want to parse.
On the first page, you need to ensure that you select candidate.

and that you make this the default CV or resume.
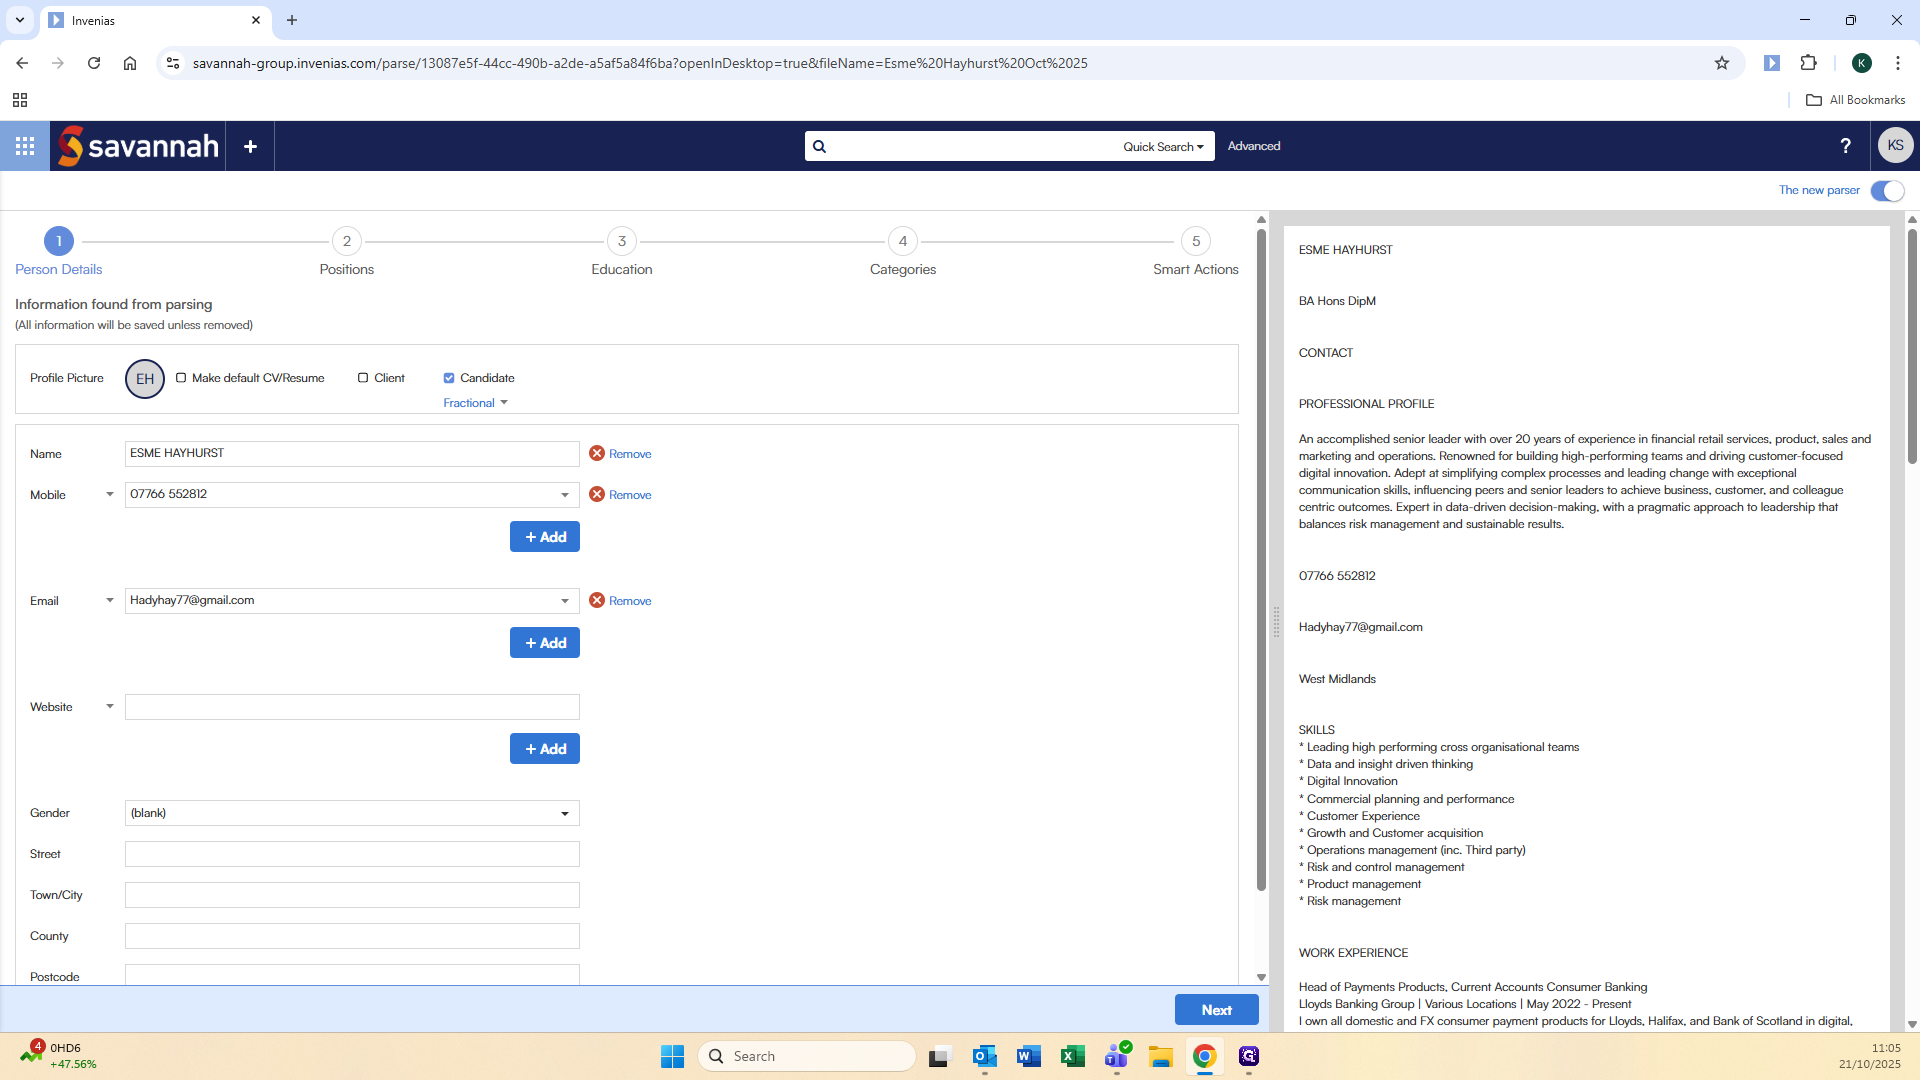
You also need to do this when updating a candidate to ensure that we are able to easily see that this is the most recent CV.
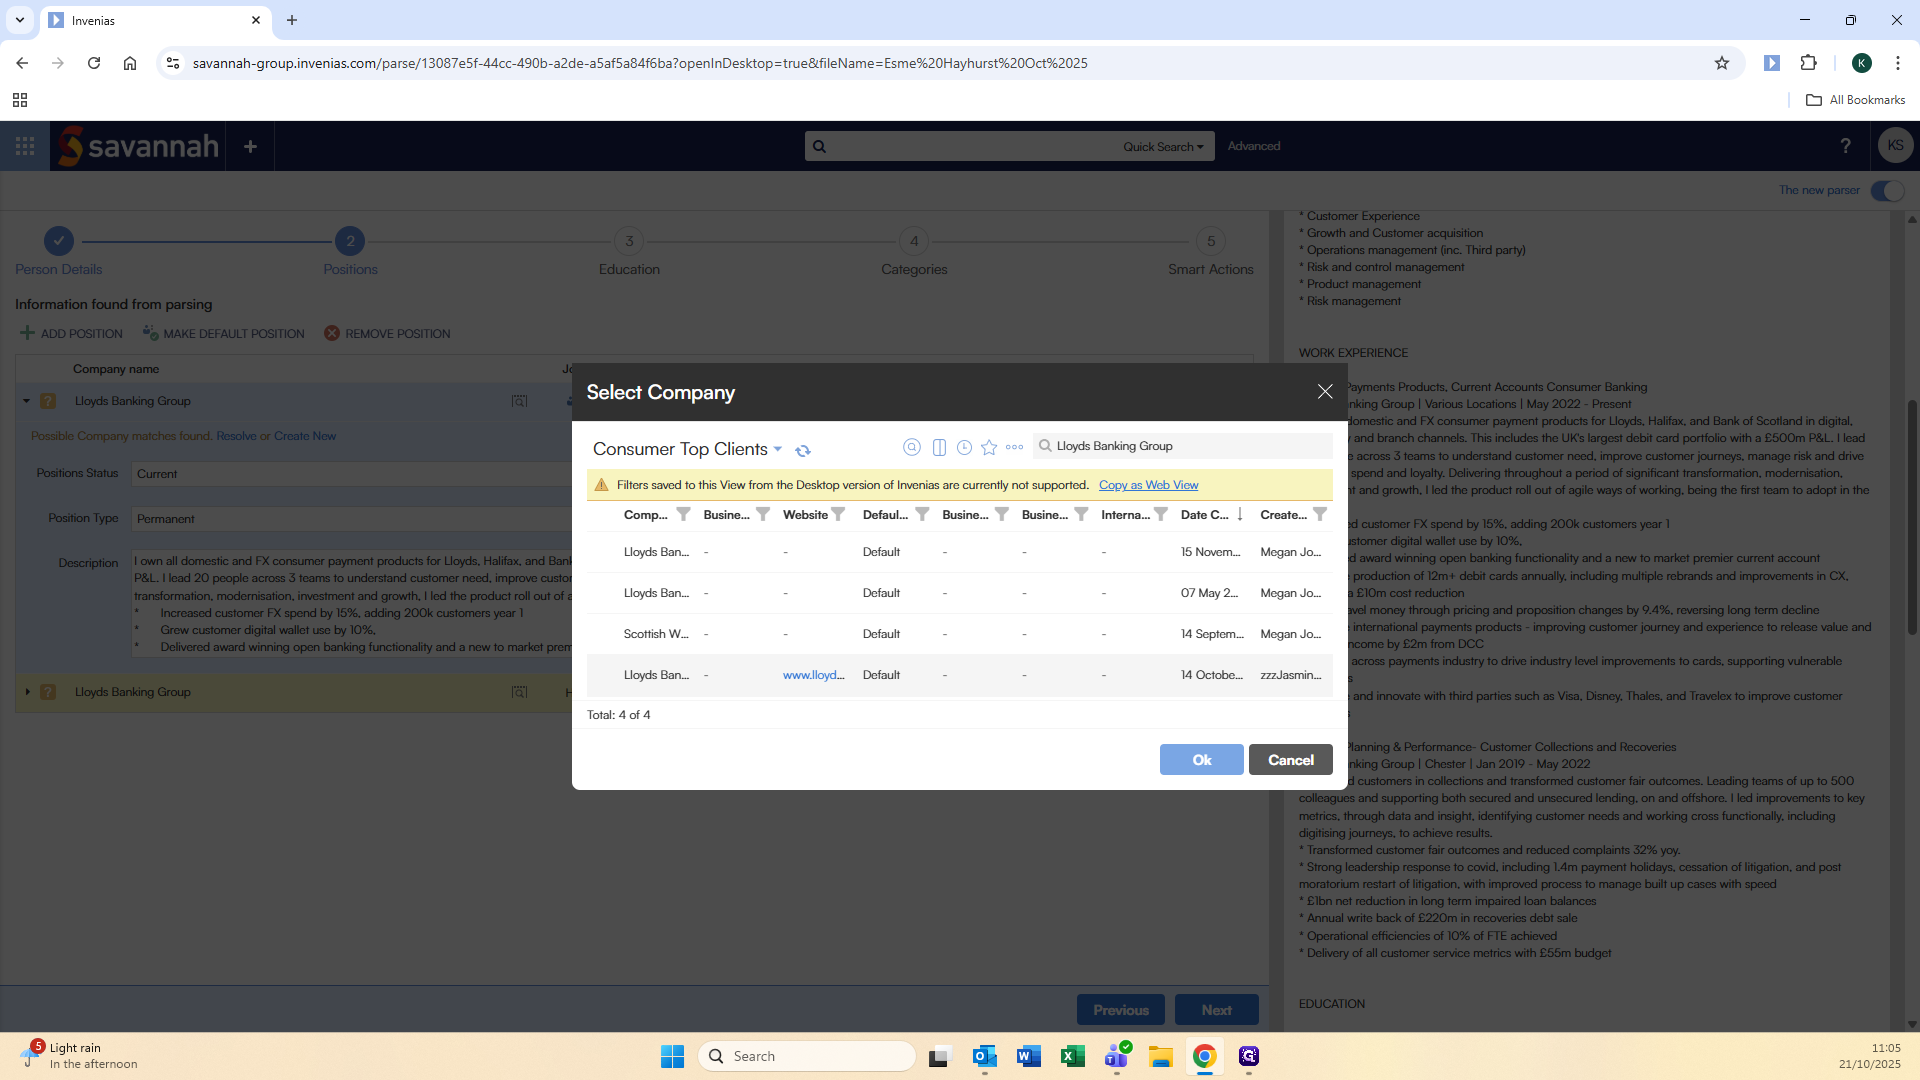
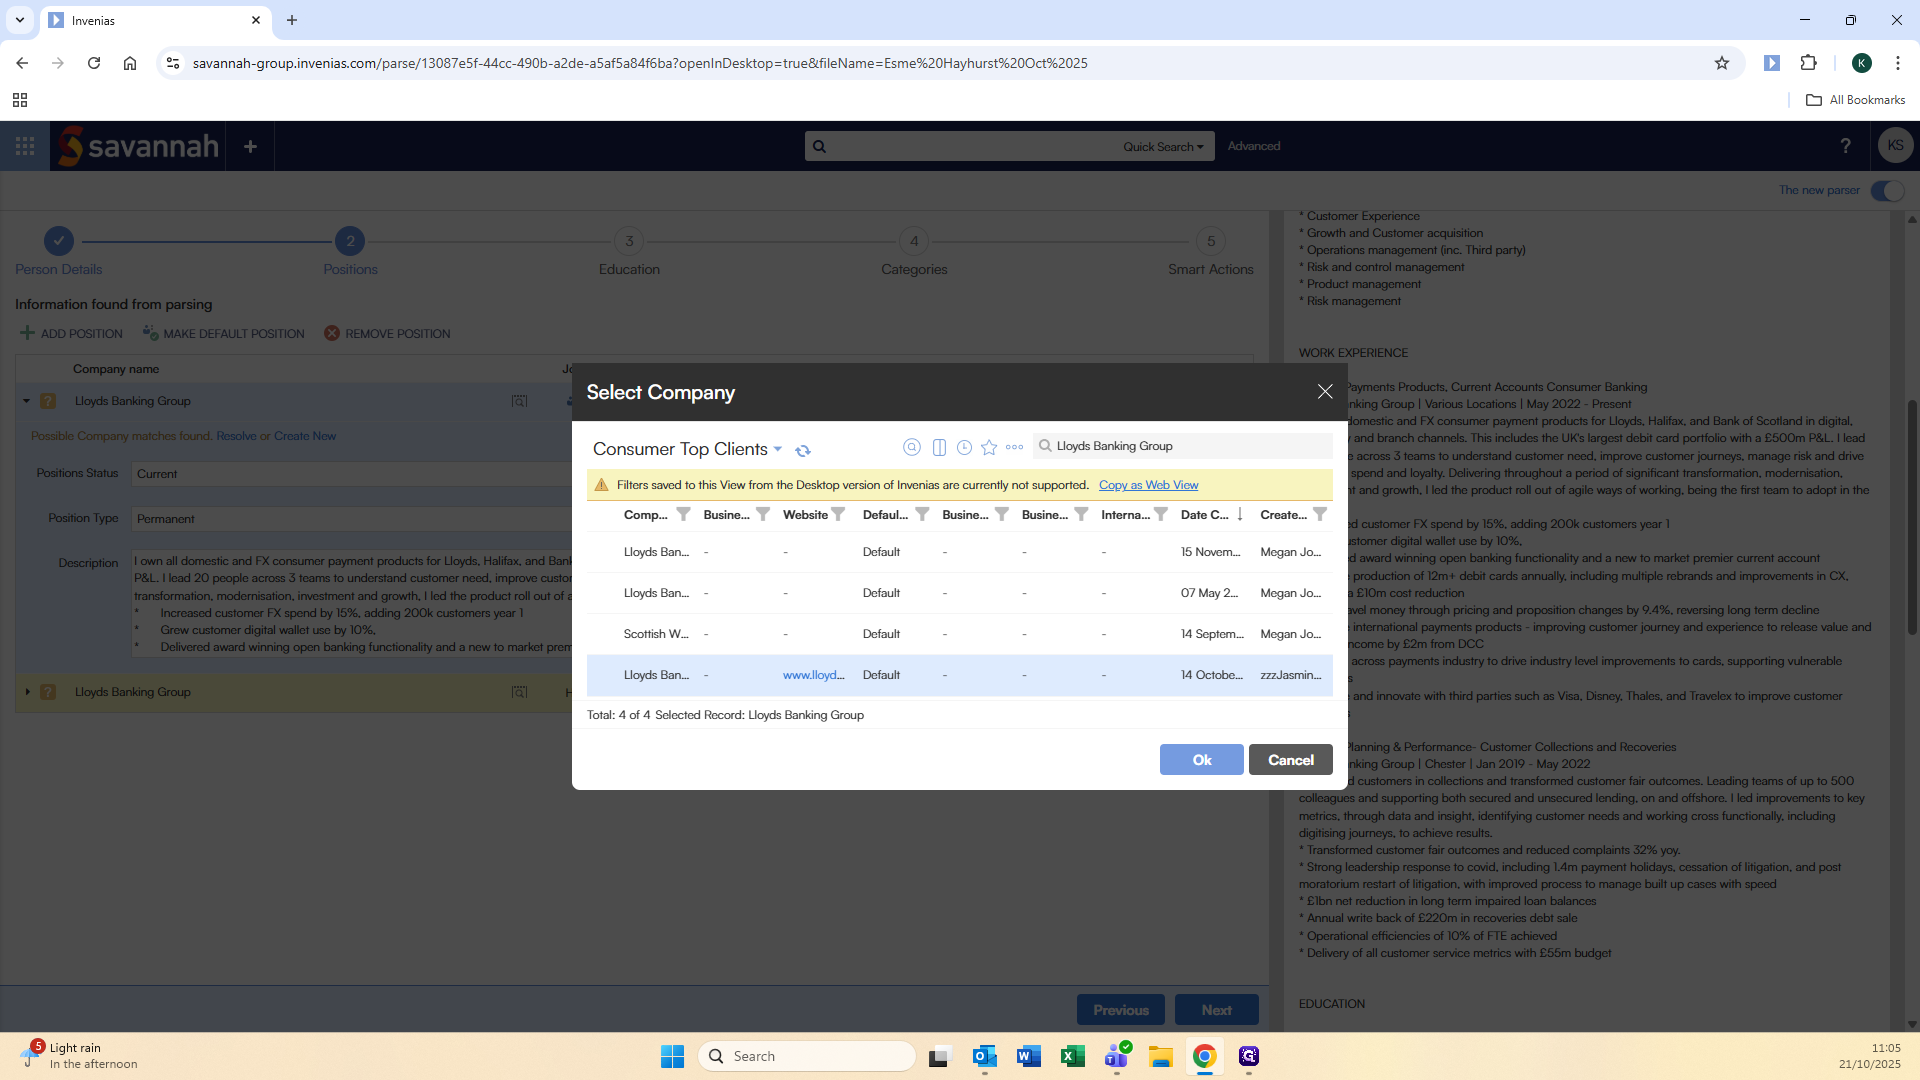
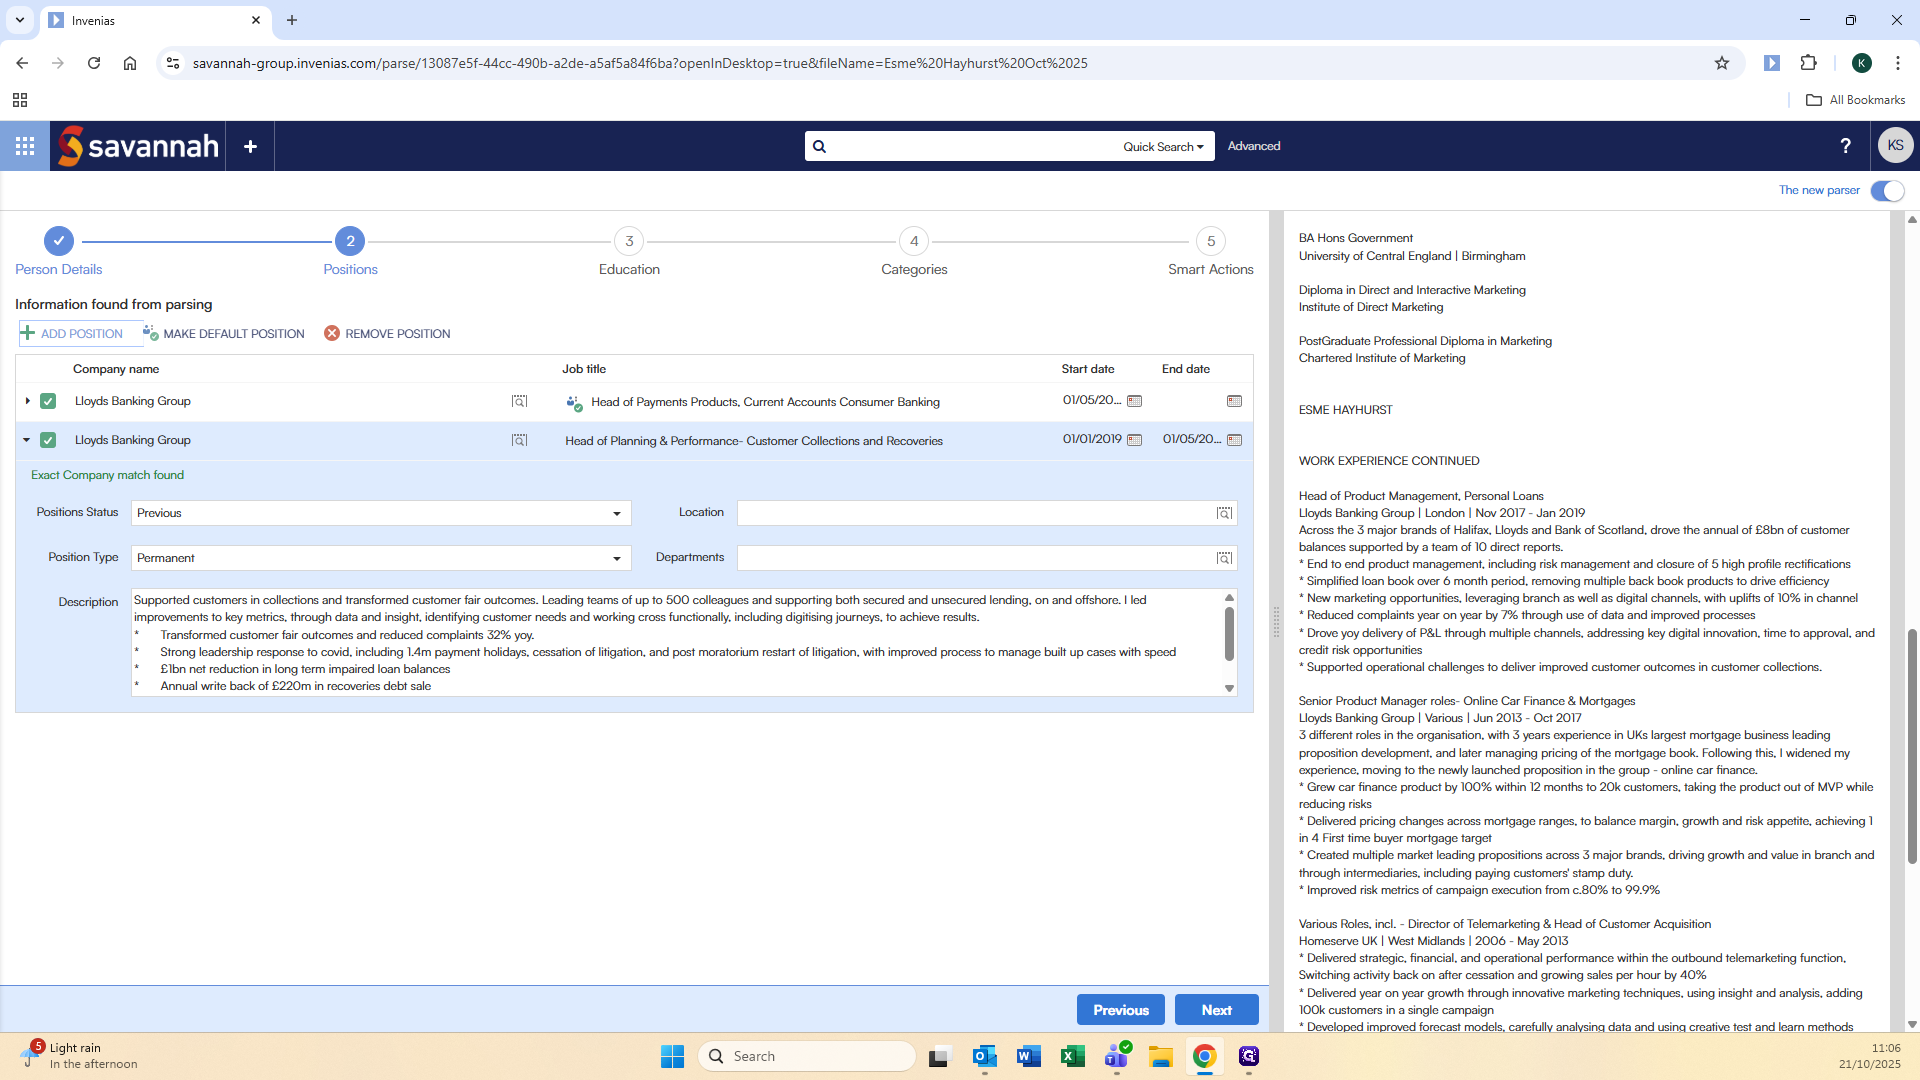
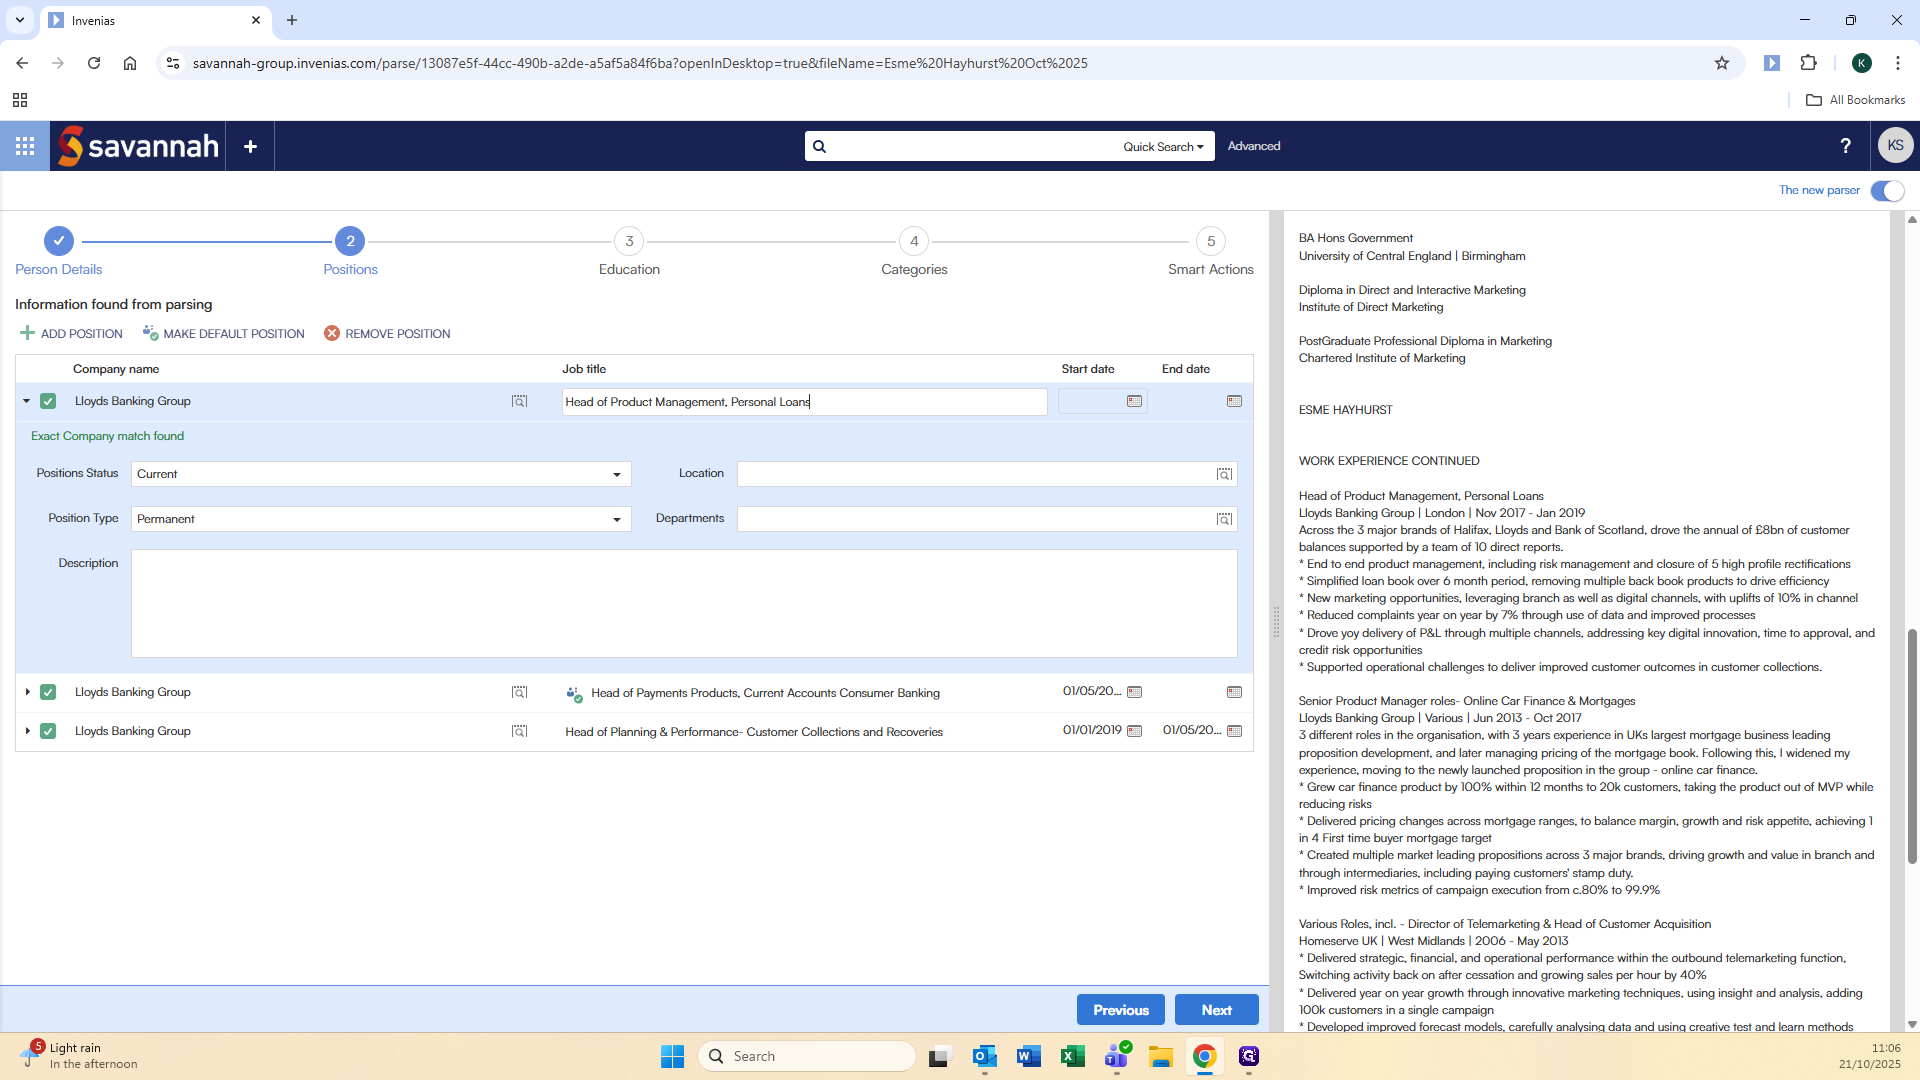
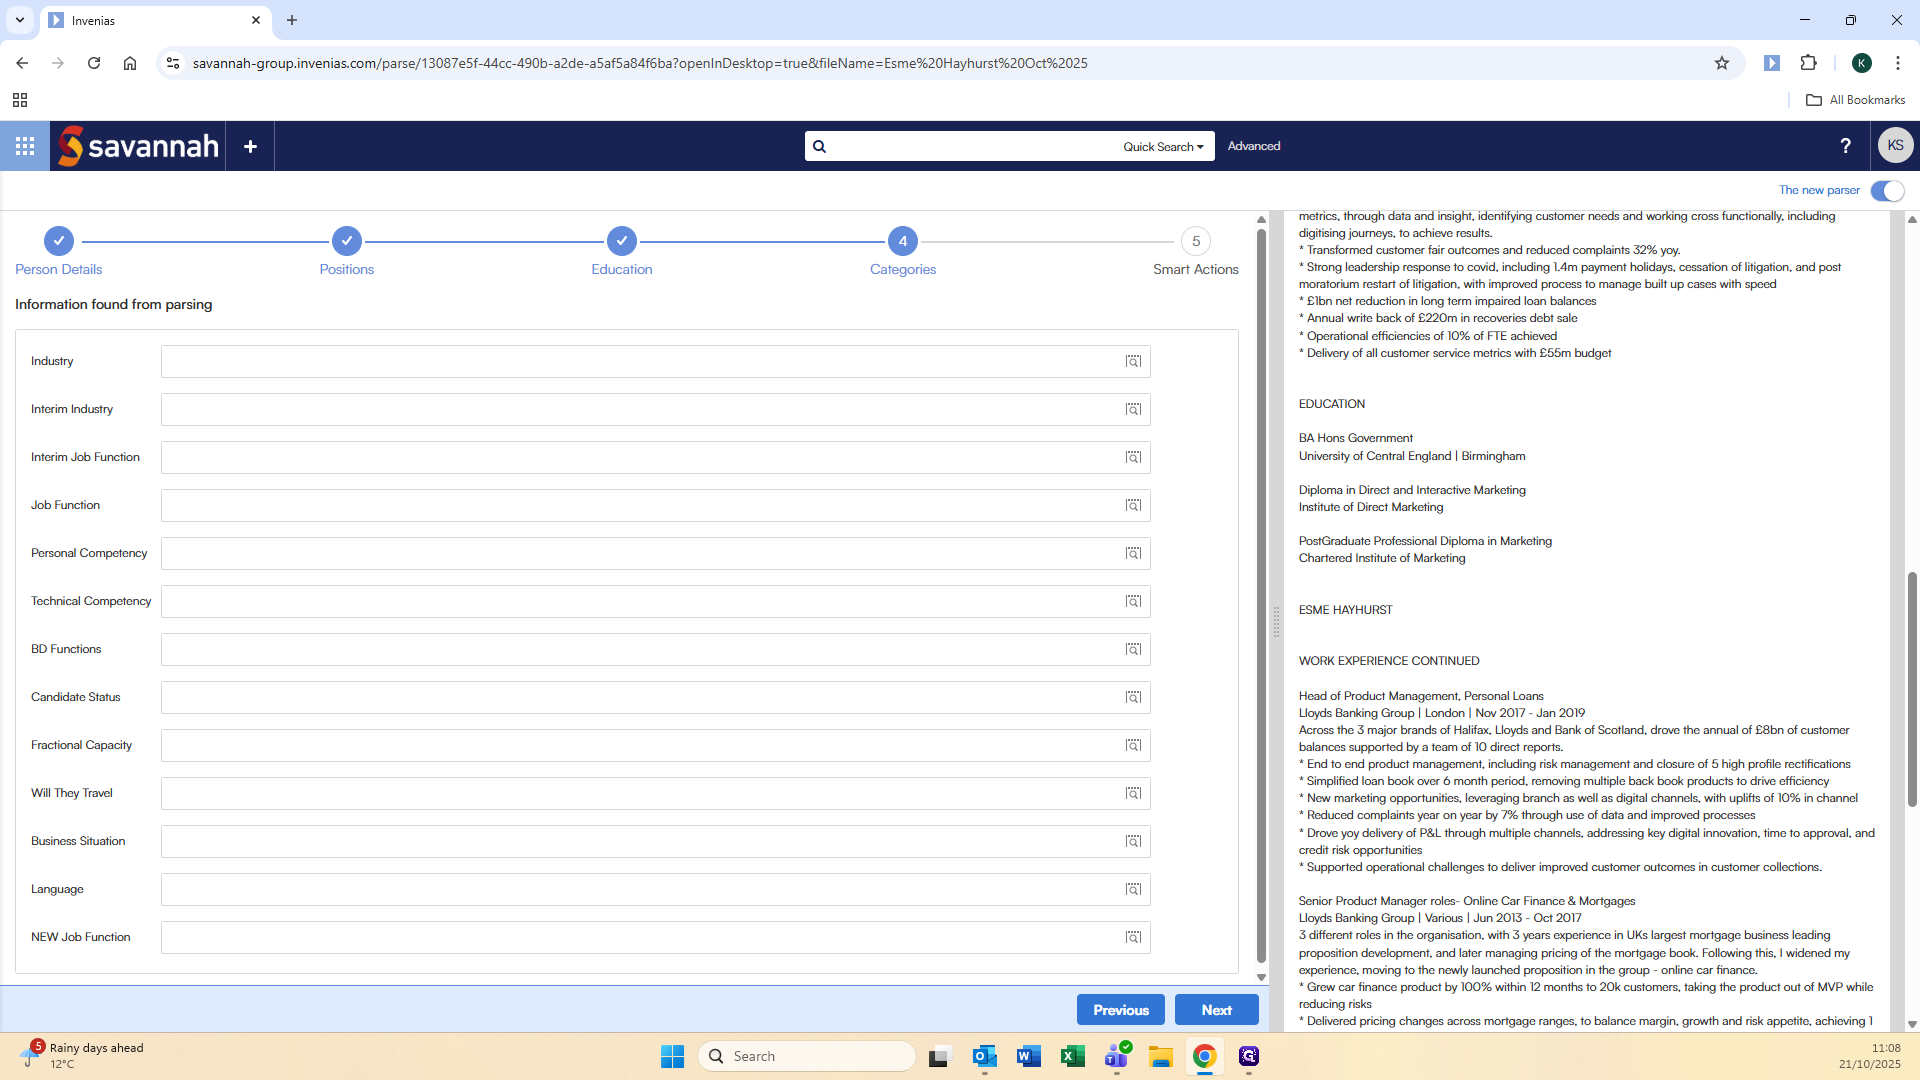
The pane on the right is the information on the CV that Invenias has reviewed. In this example, Invenias hasn't pulled the complete work history, so we'll need to add the missing roles. It suggested Lloyds Banking Group as the employer, which is correct. There are two ways to confirm that.
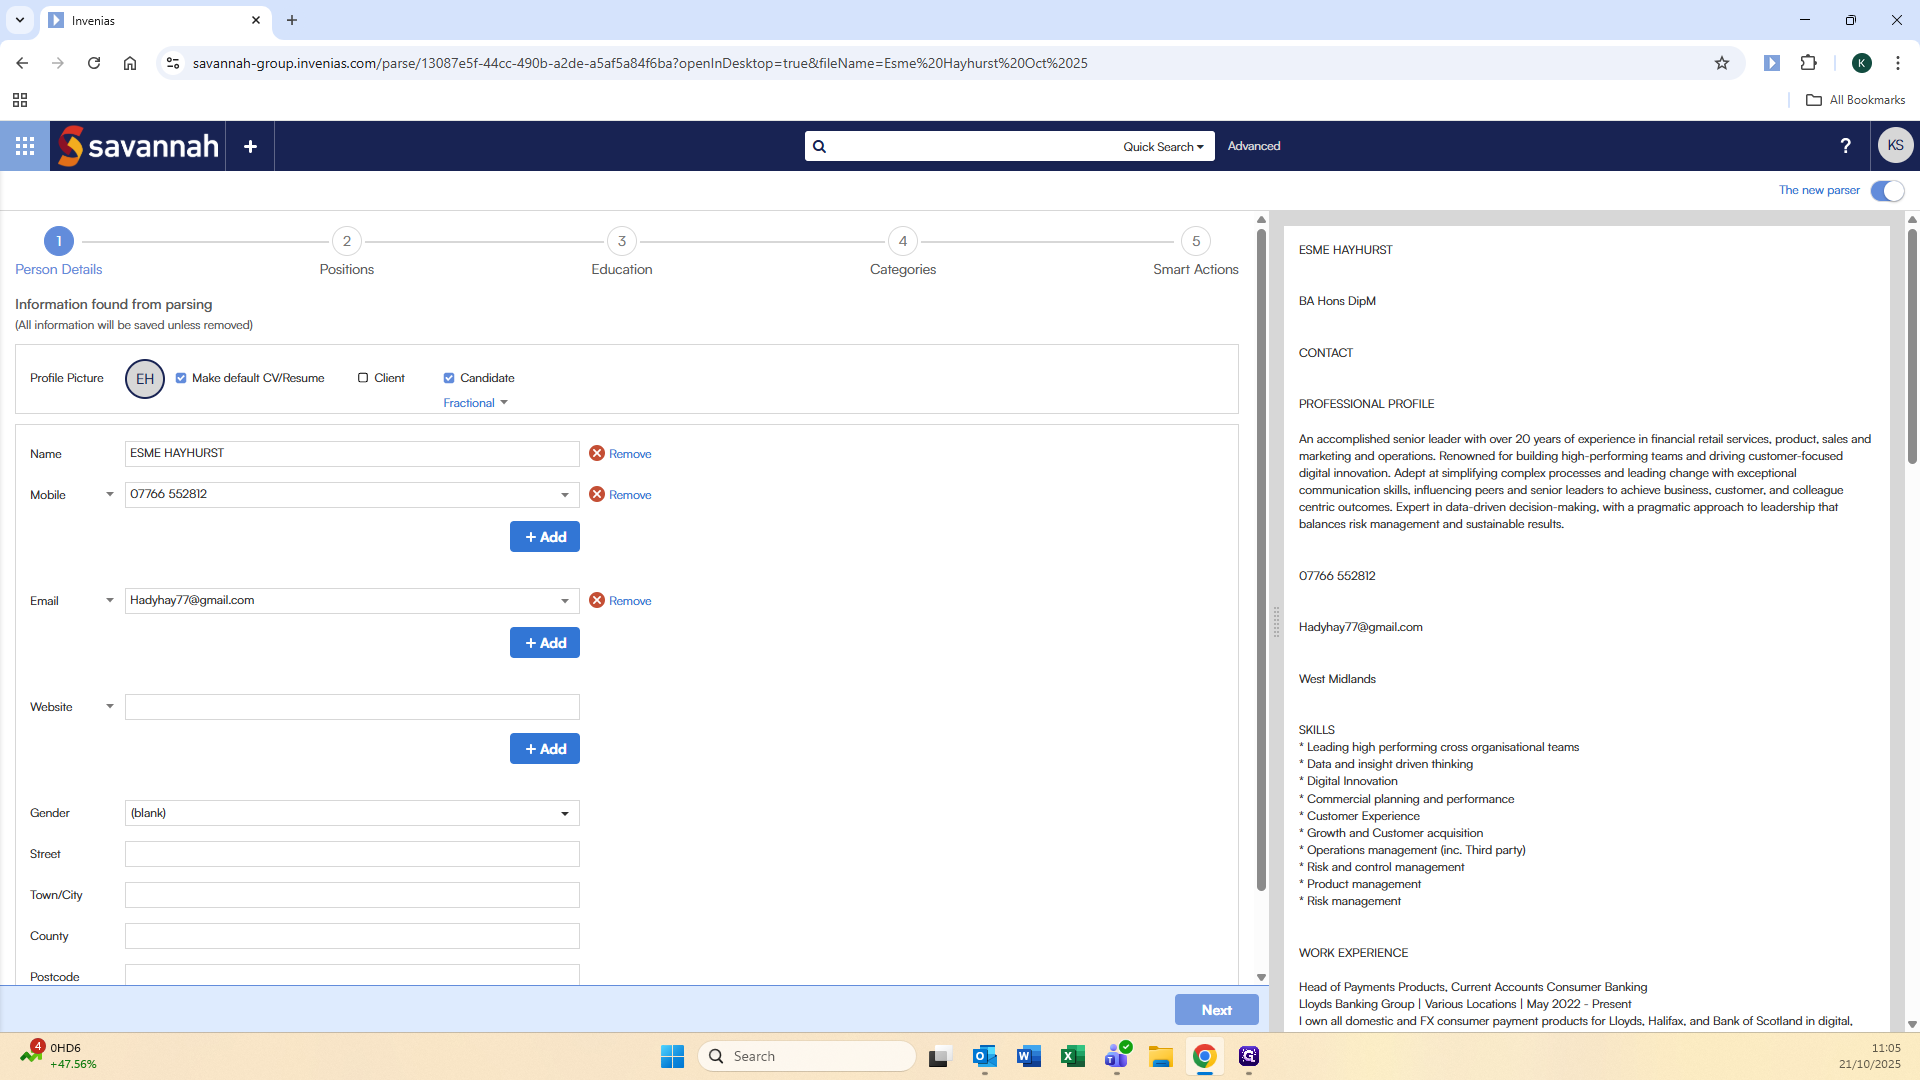
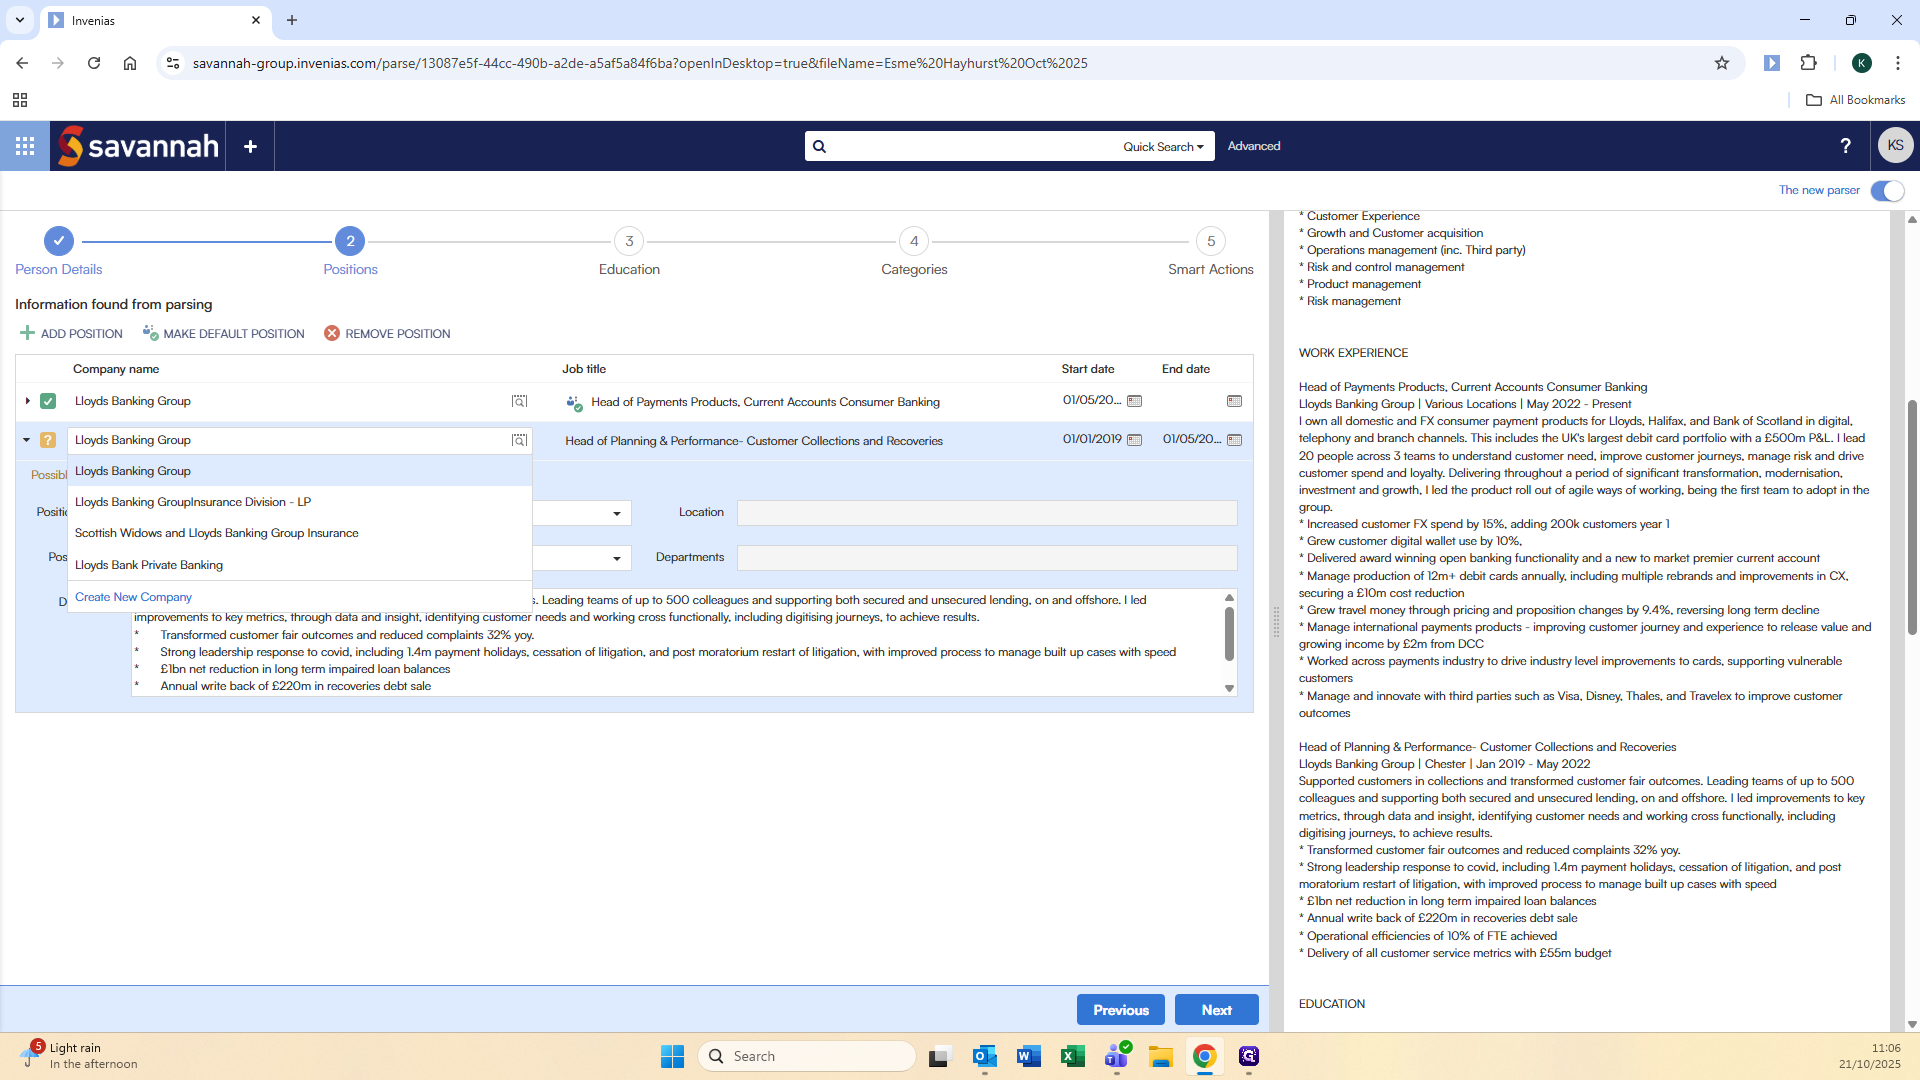
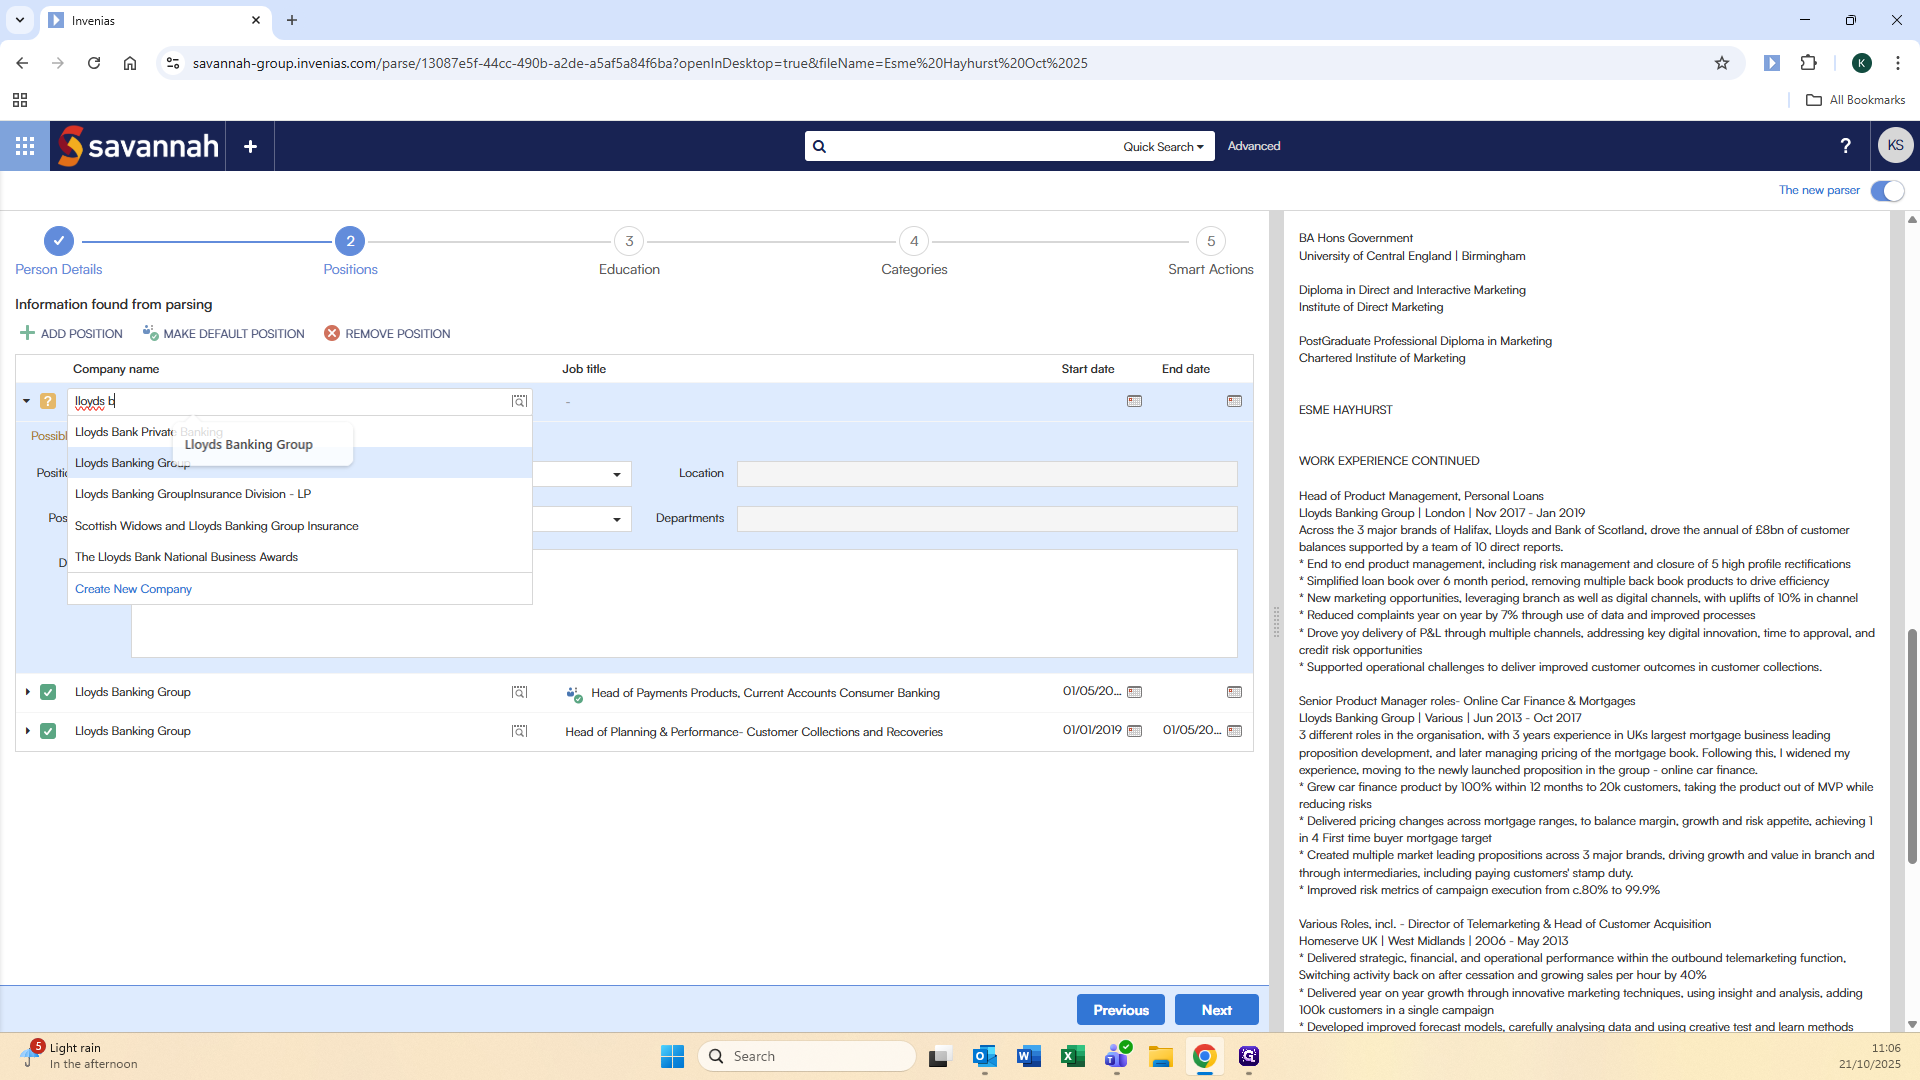
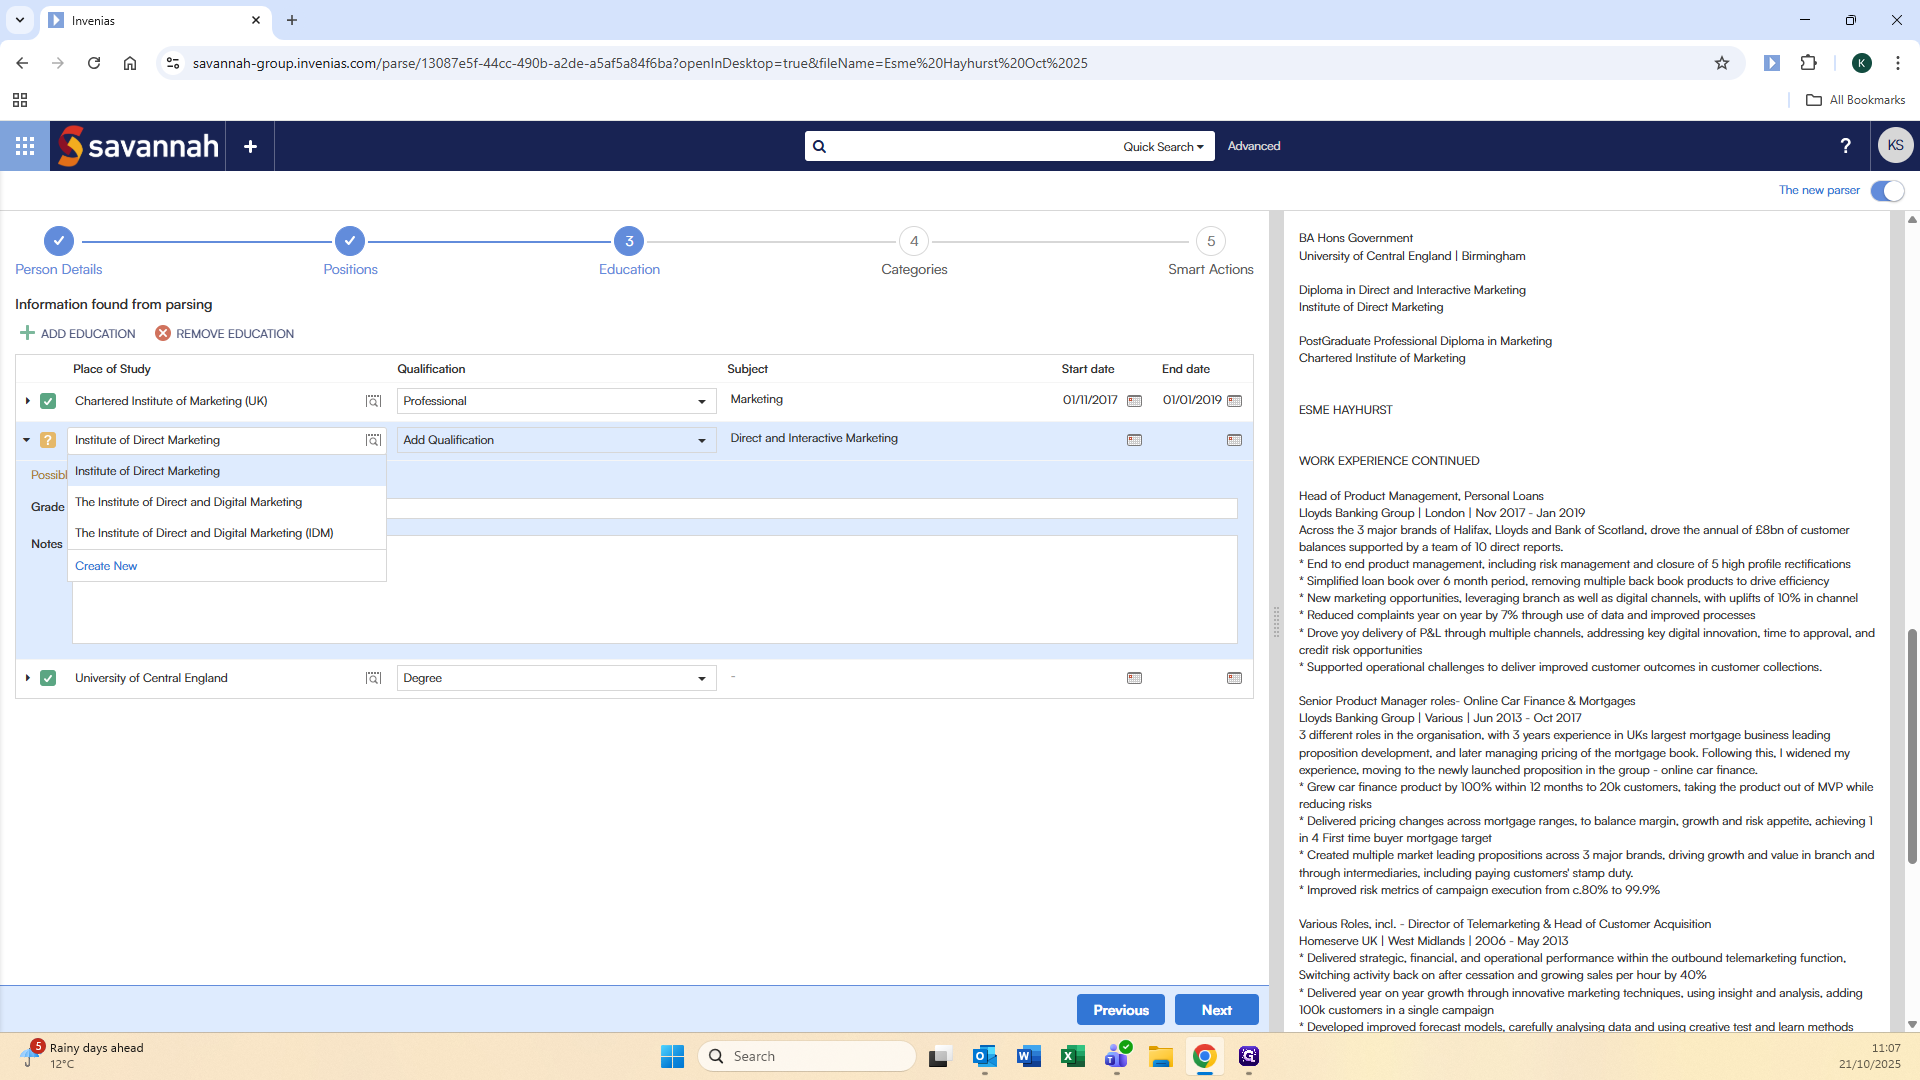
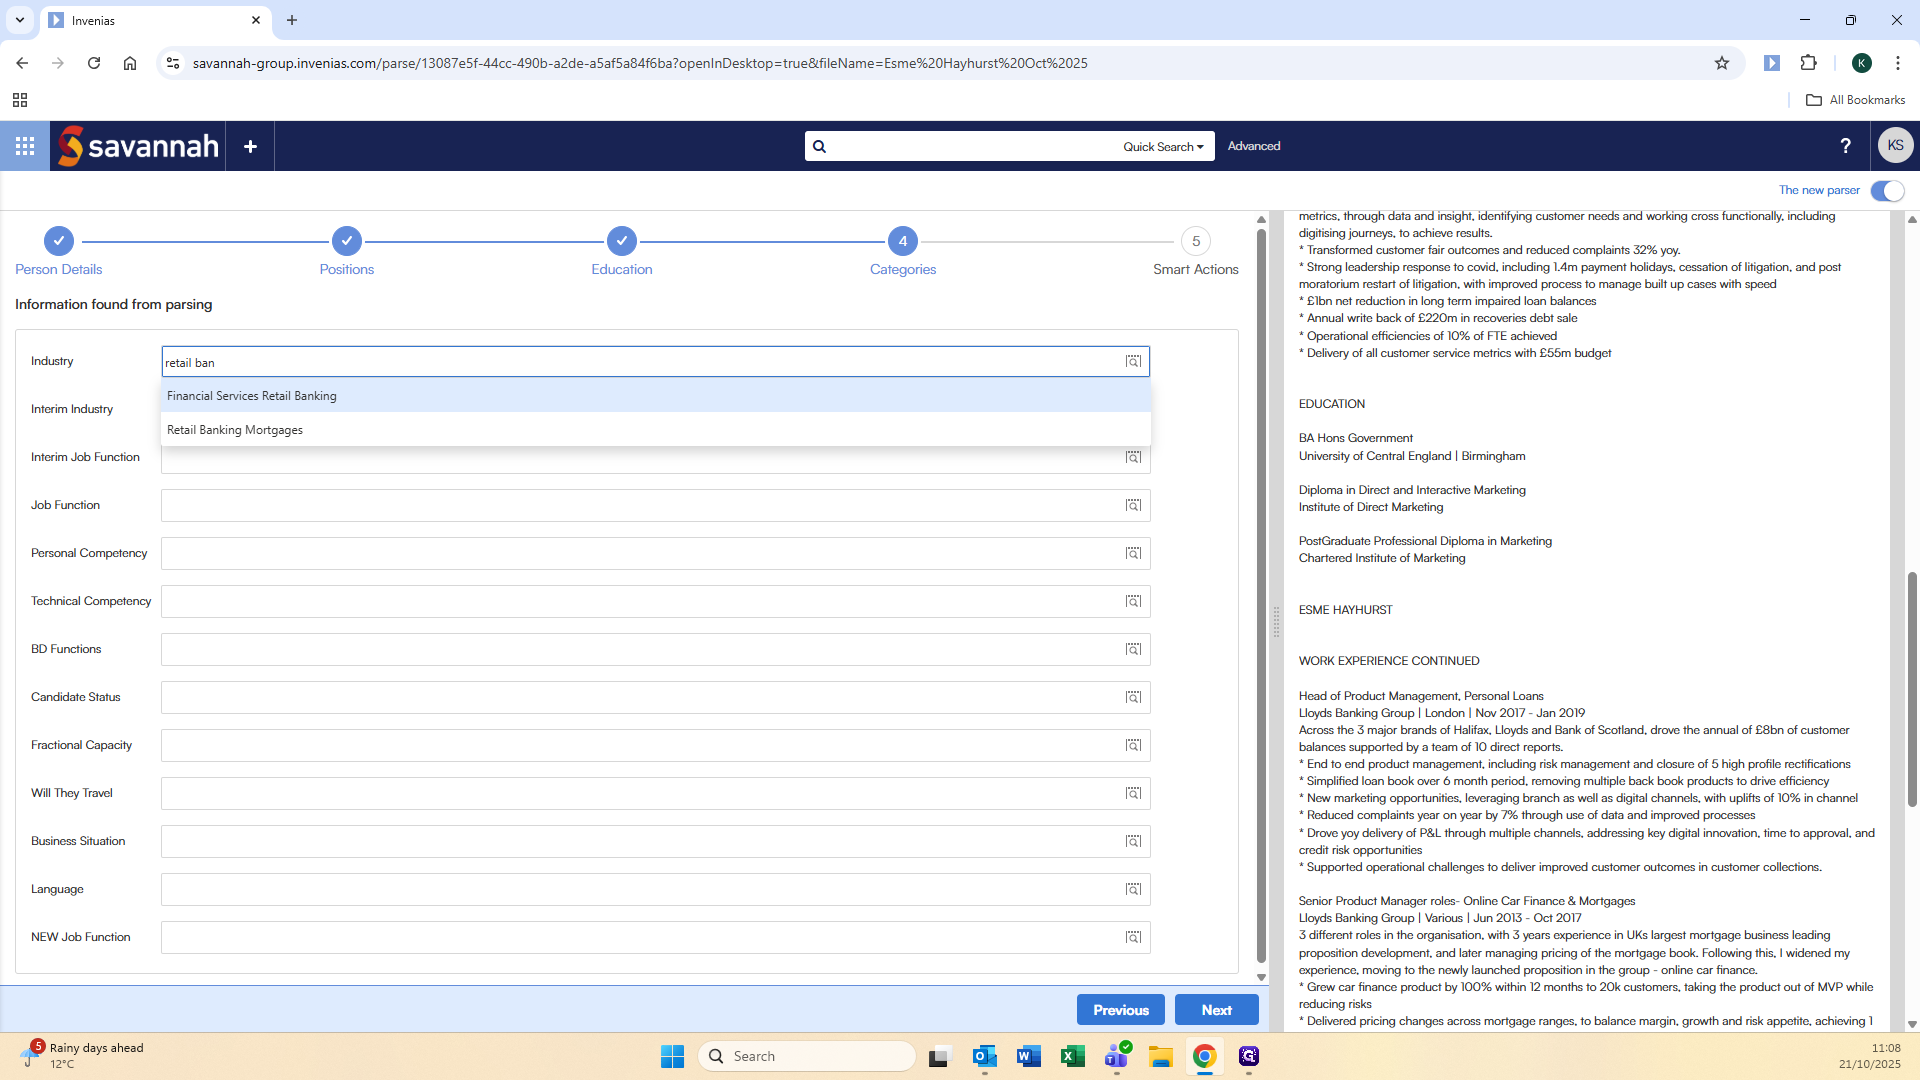
You can also click the box itself to reveal a dropdown of options.
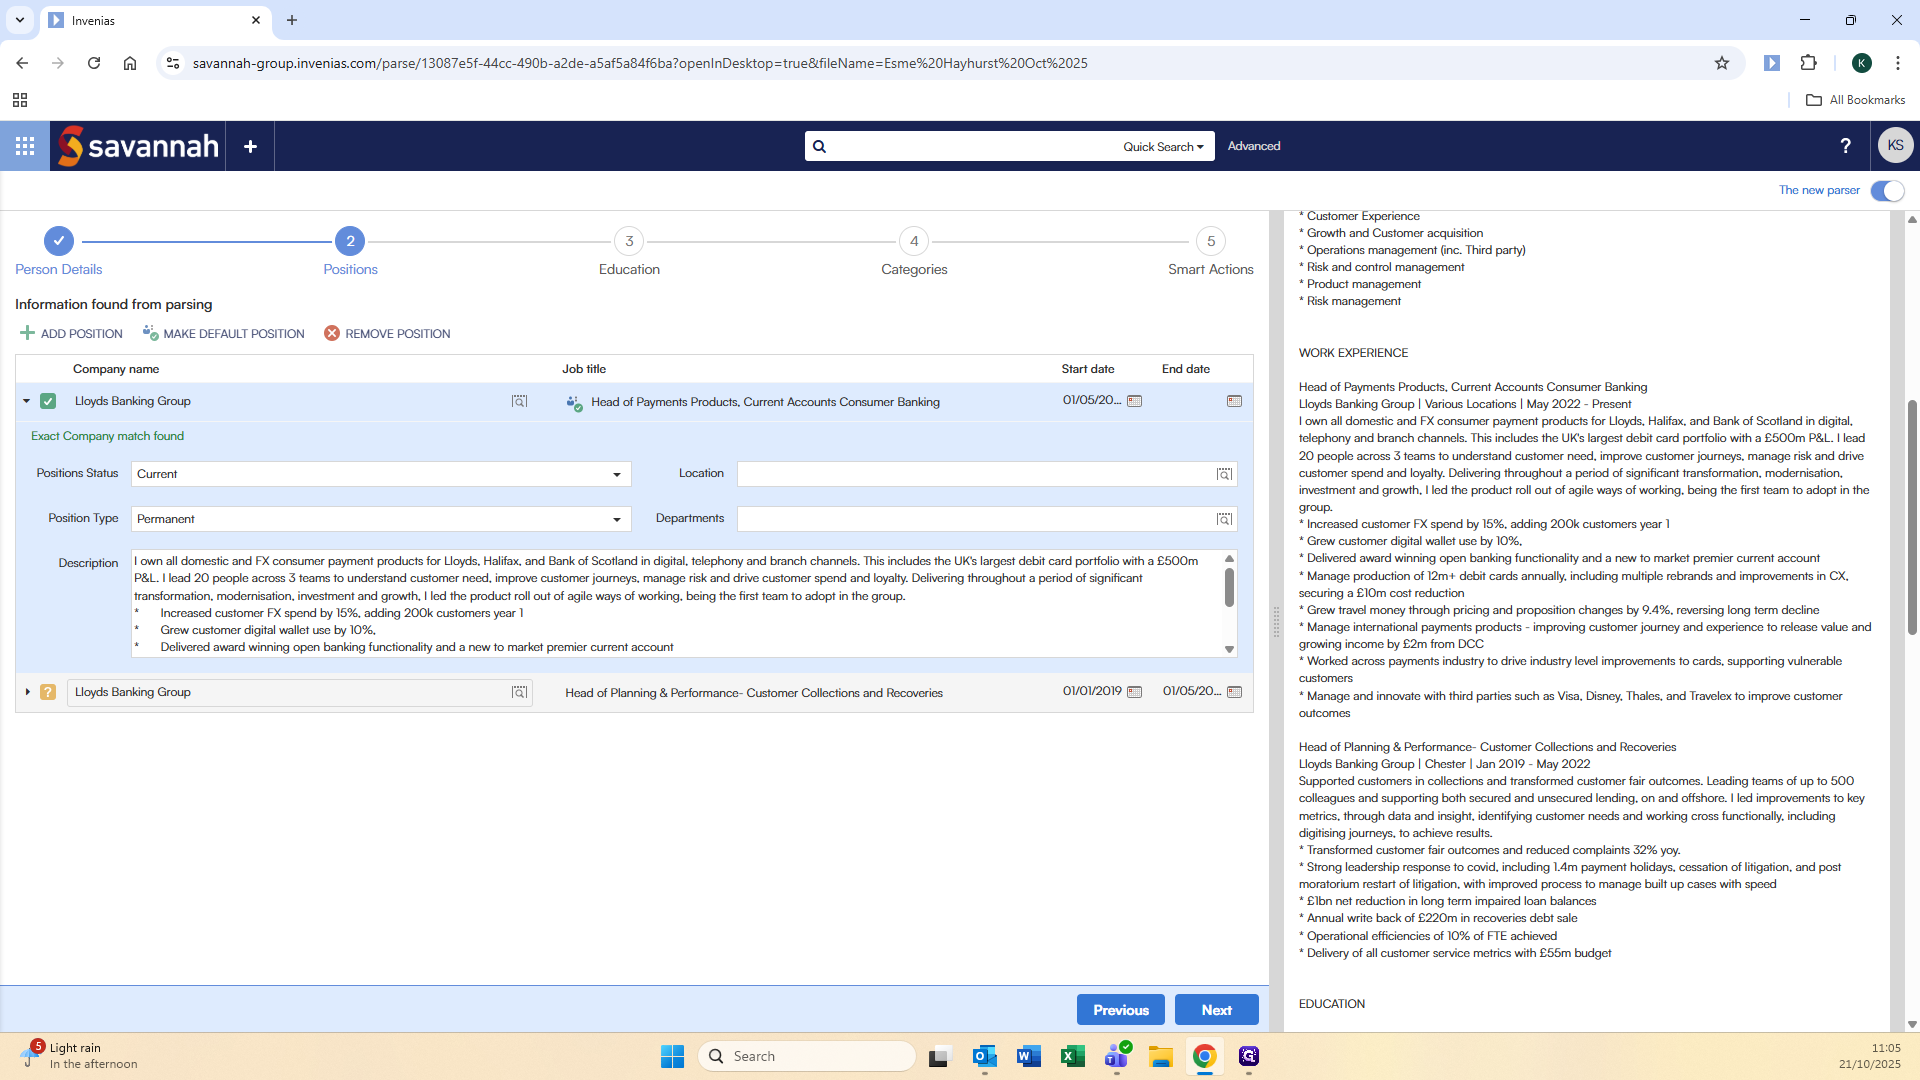
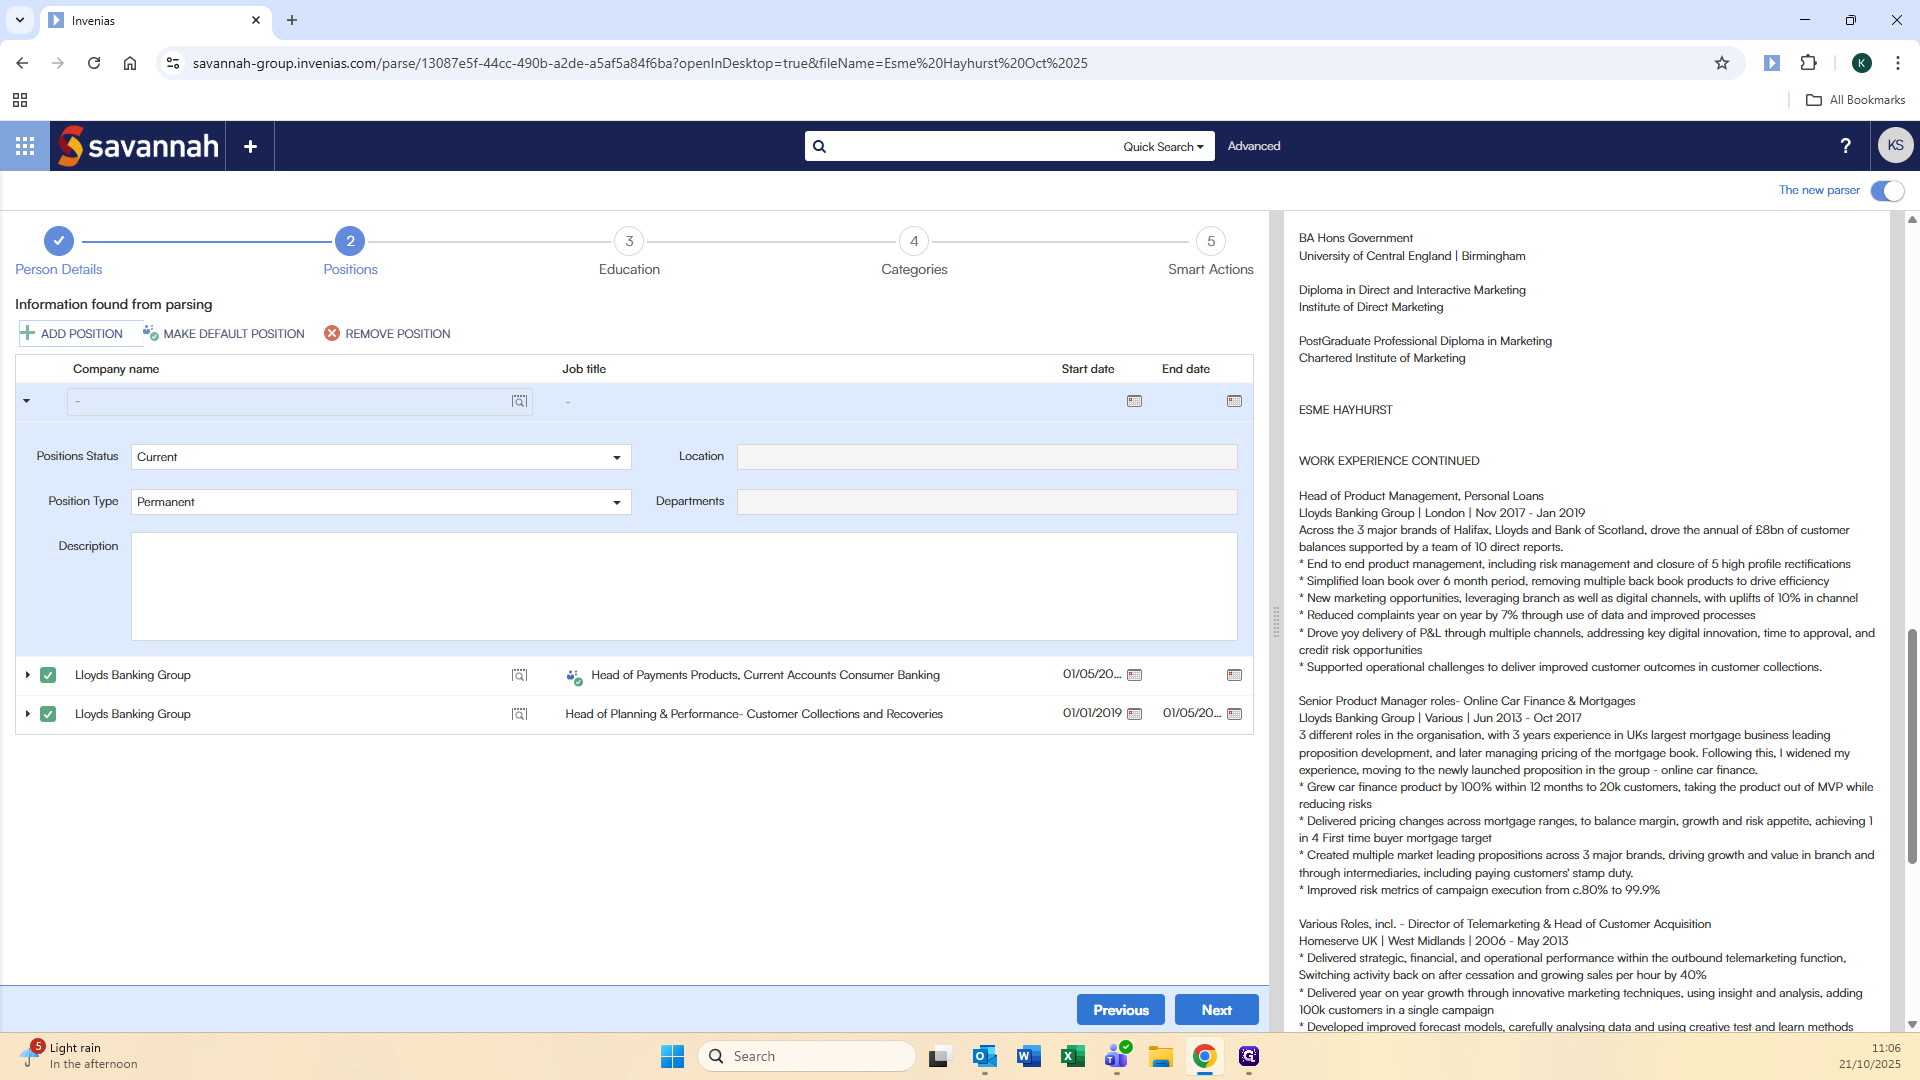
Next, add the additional career history if required.
We add the position at Lloyds Banking Group.
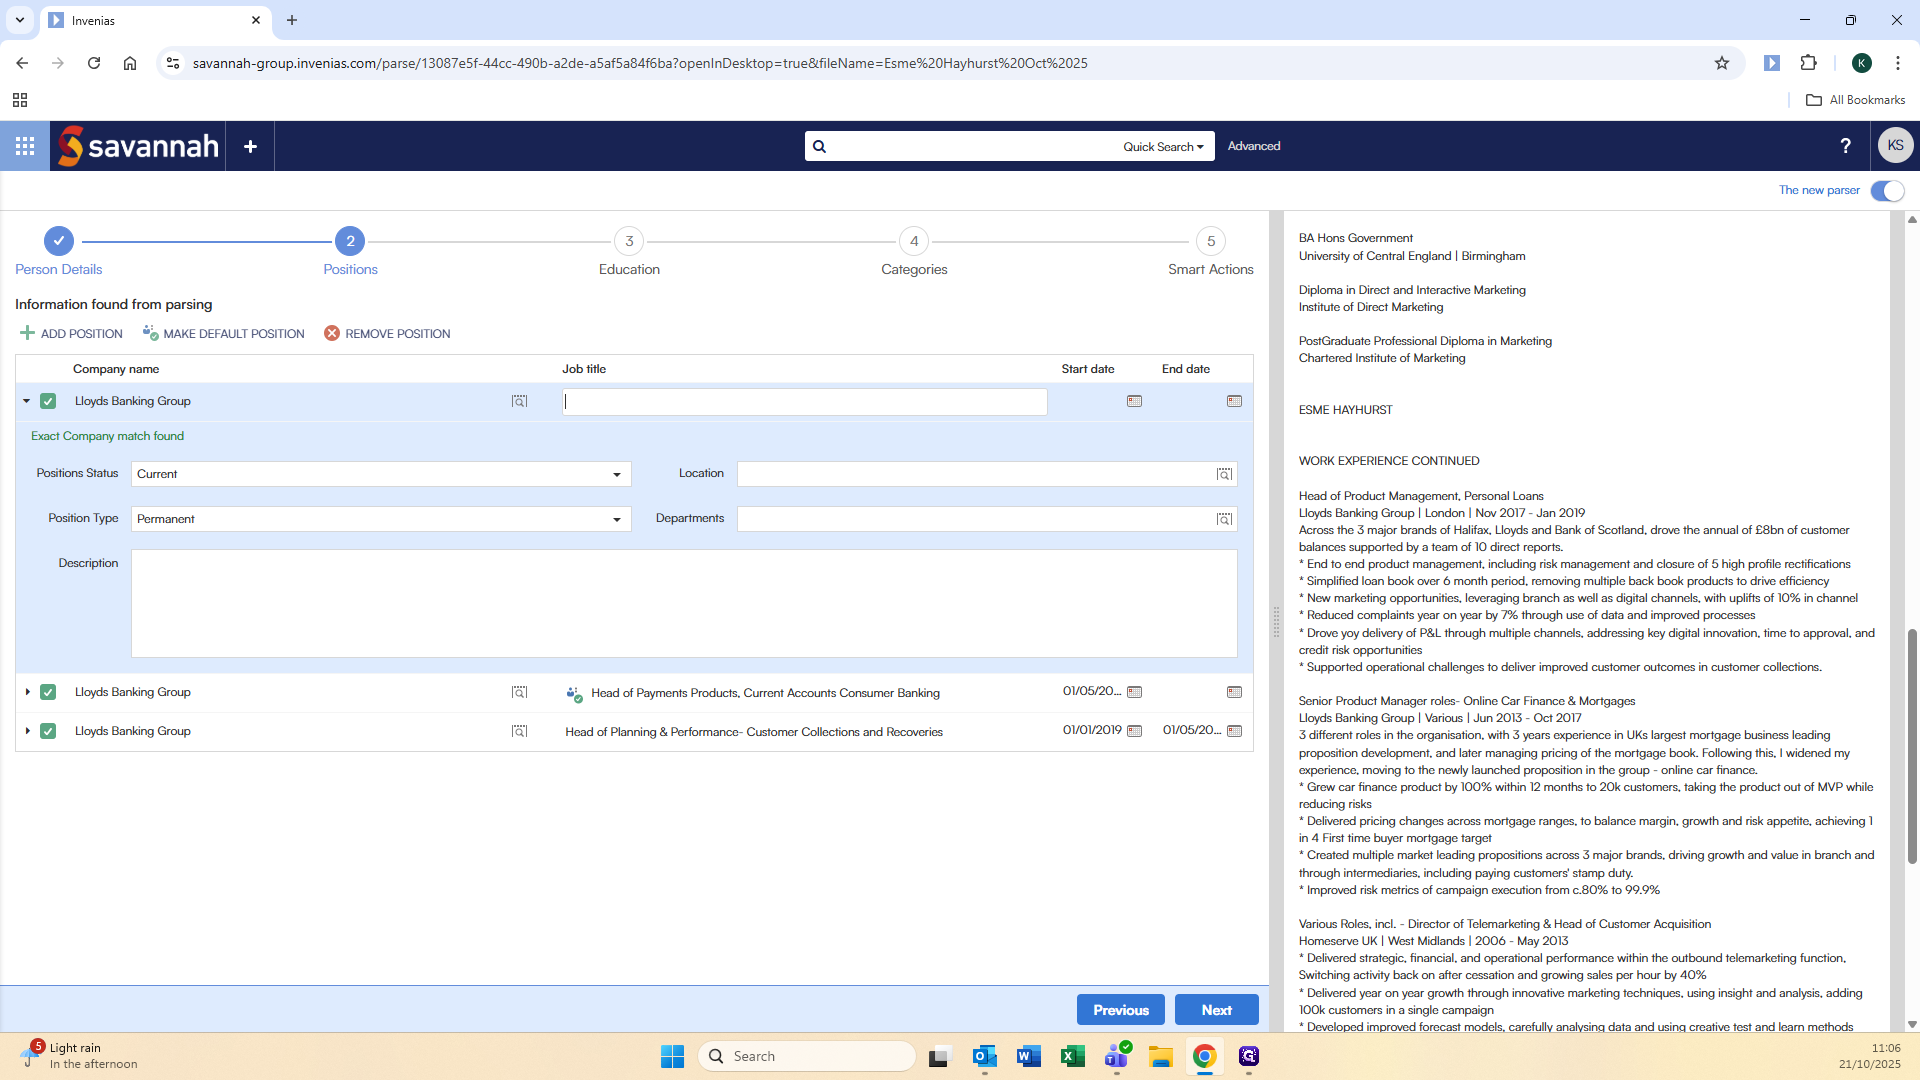
Add the job title, then the dates of employment.
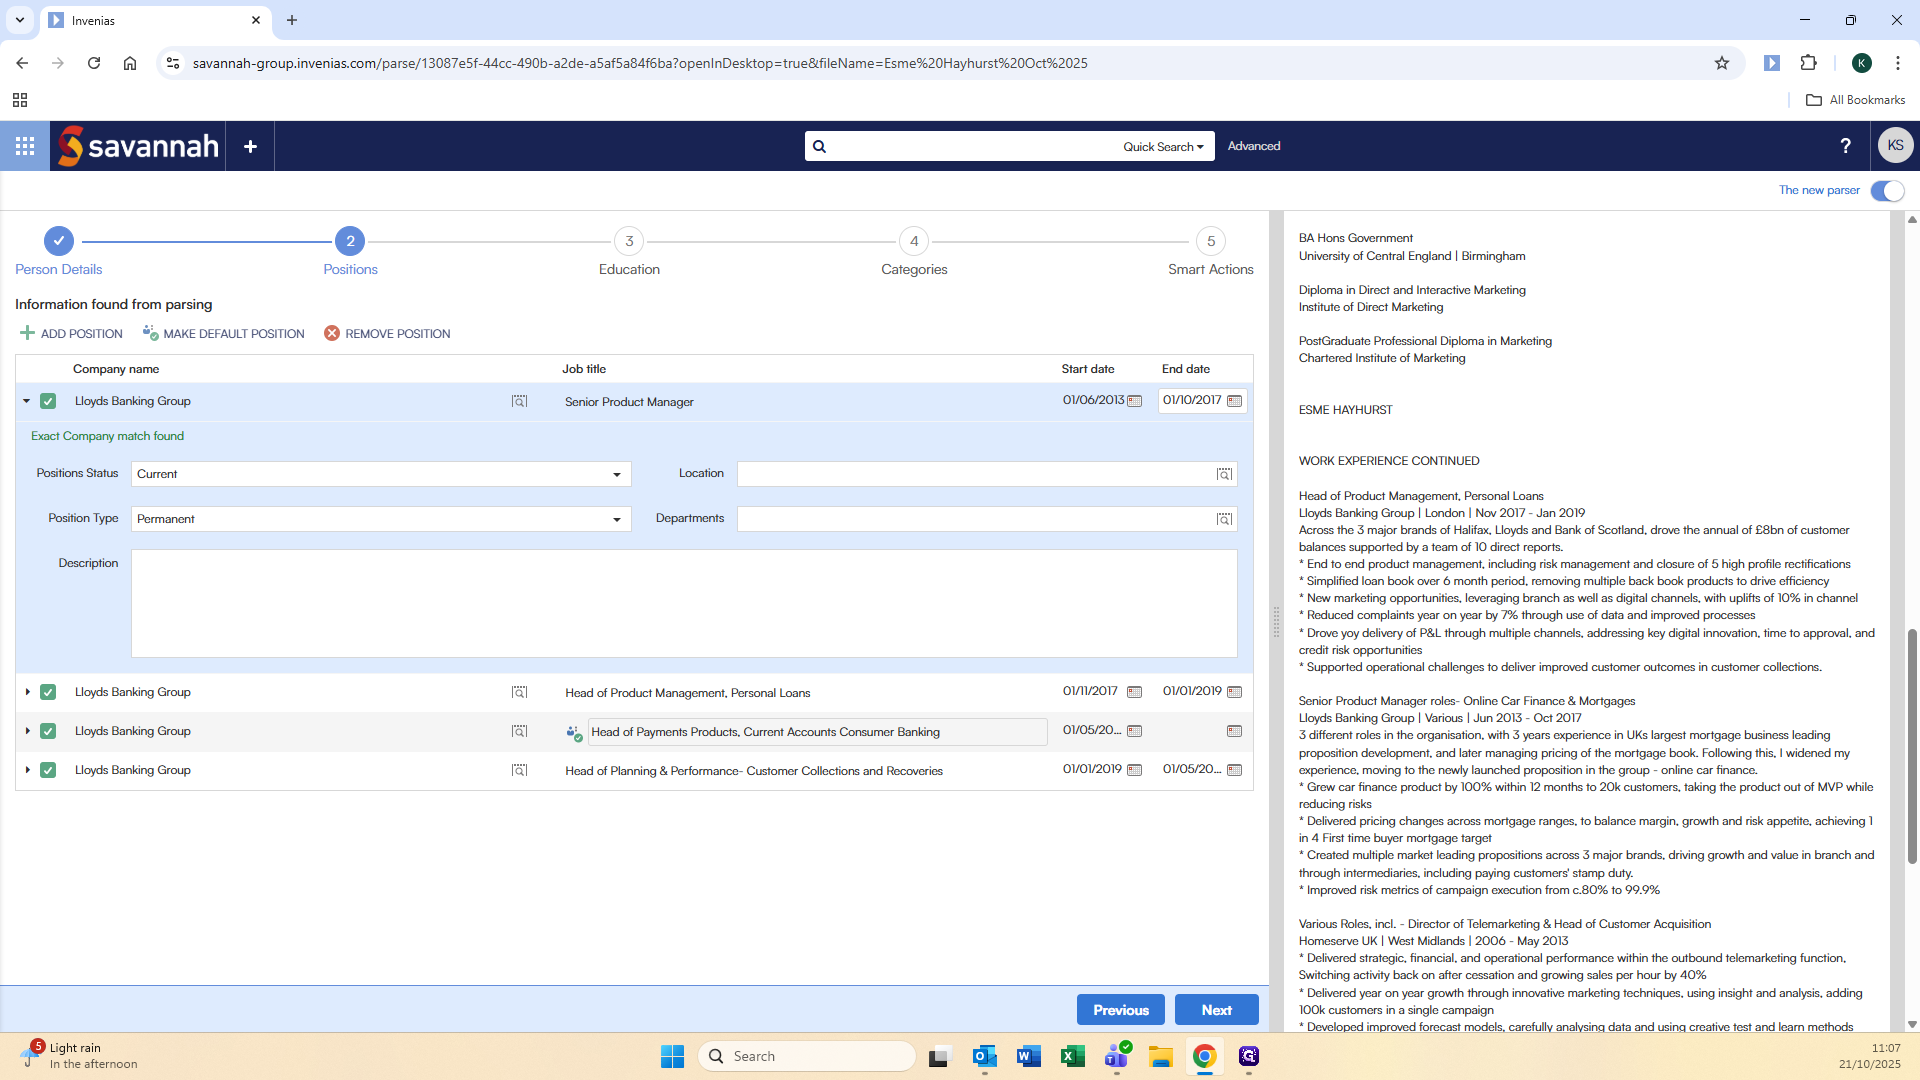
This is correct in this case. You can change this by clicking on a position and selecting "Make Default Position."
You can also remove positions. If someone has included voluntary work or board positions that you don't want to show in the career history, you can remove them.

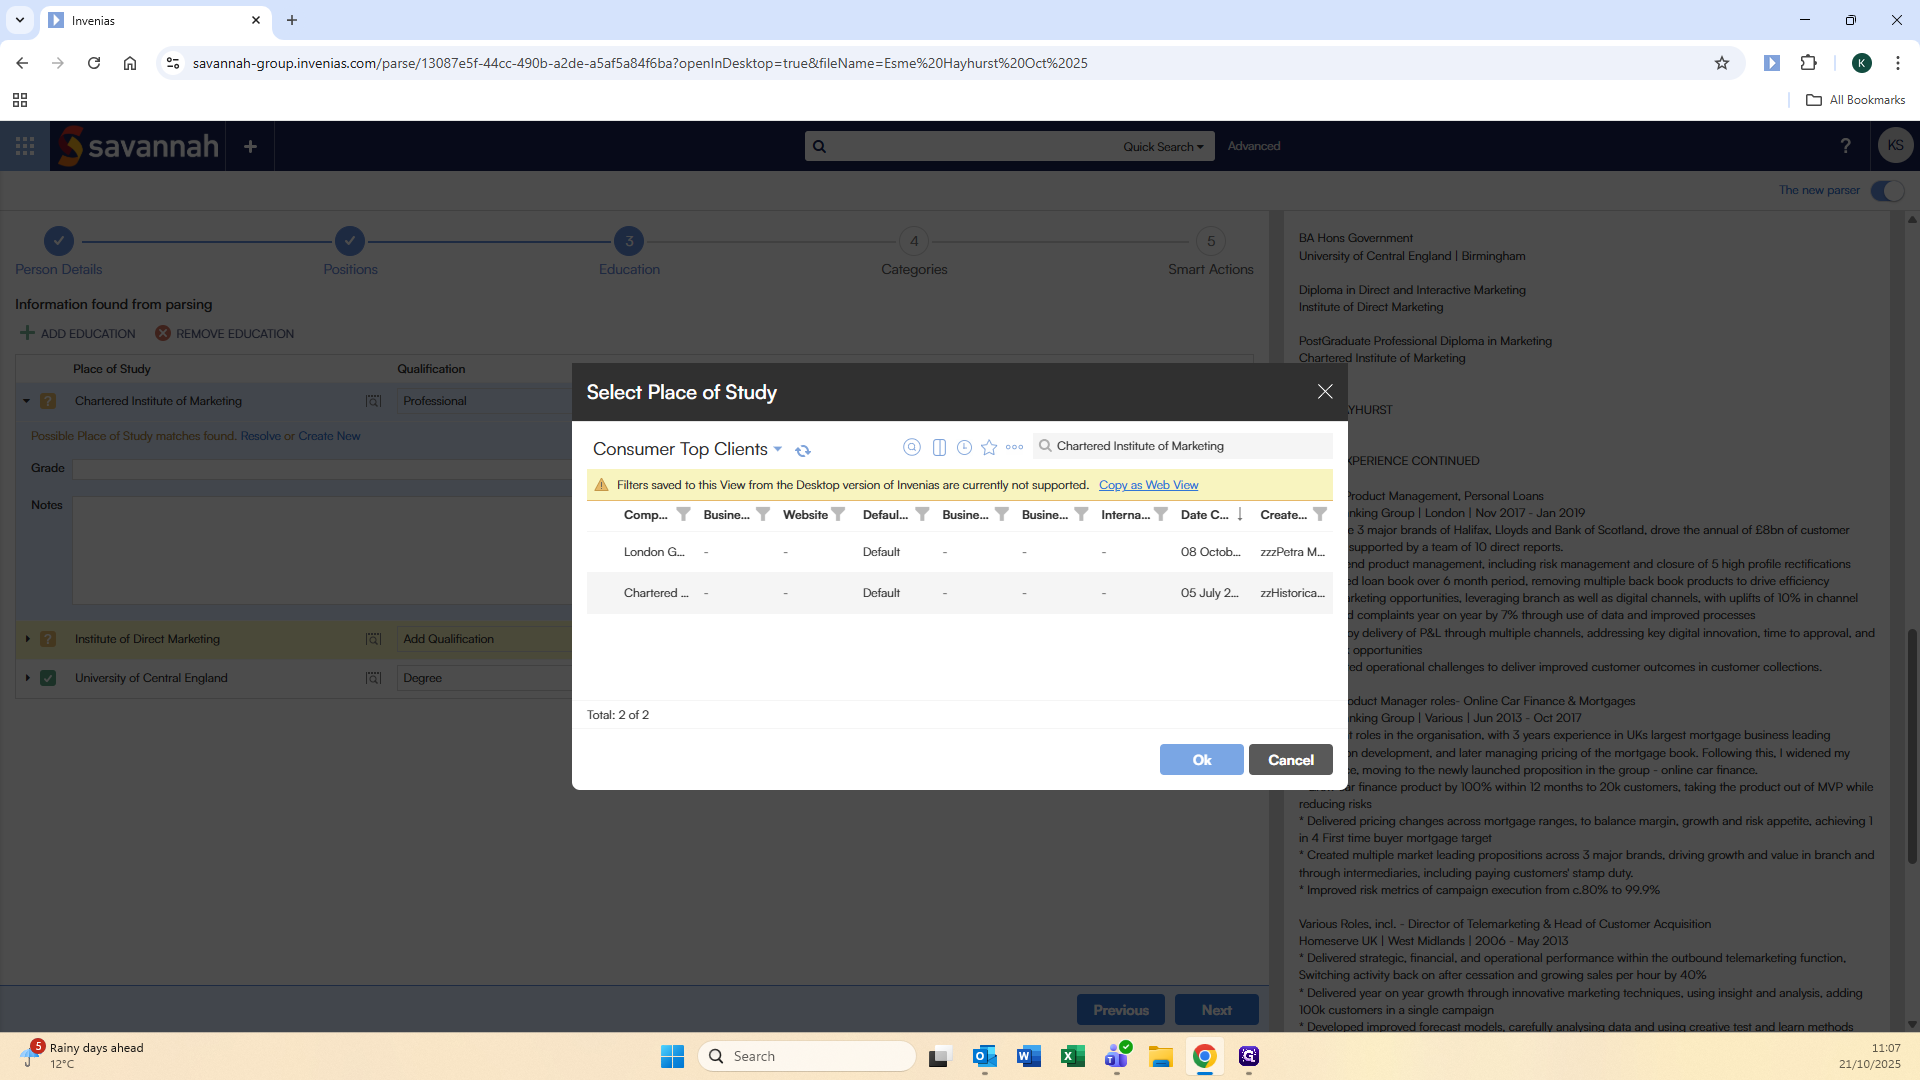
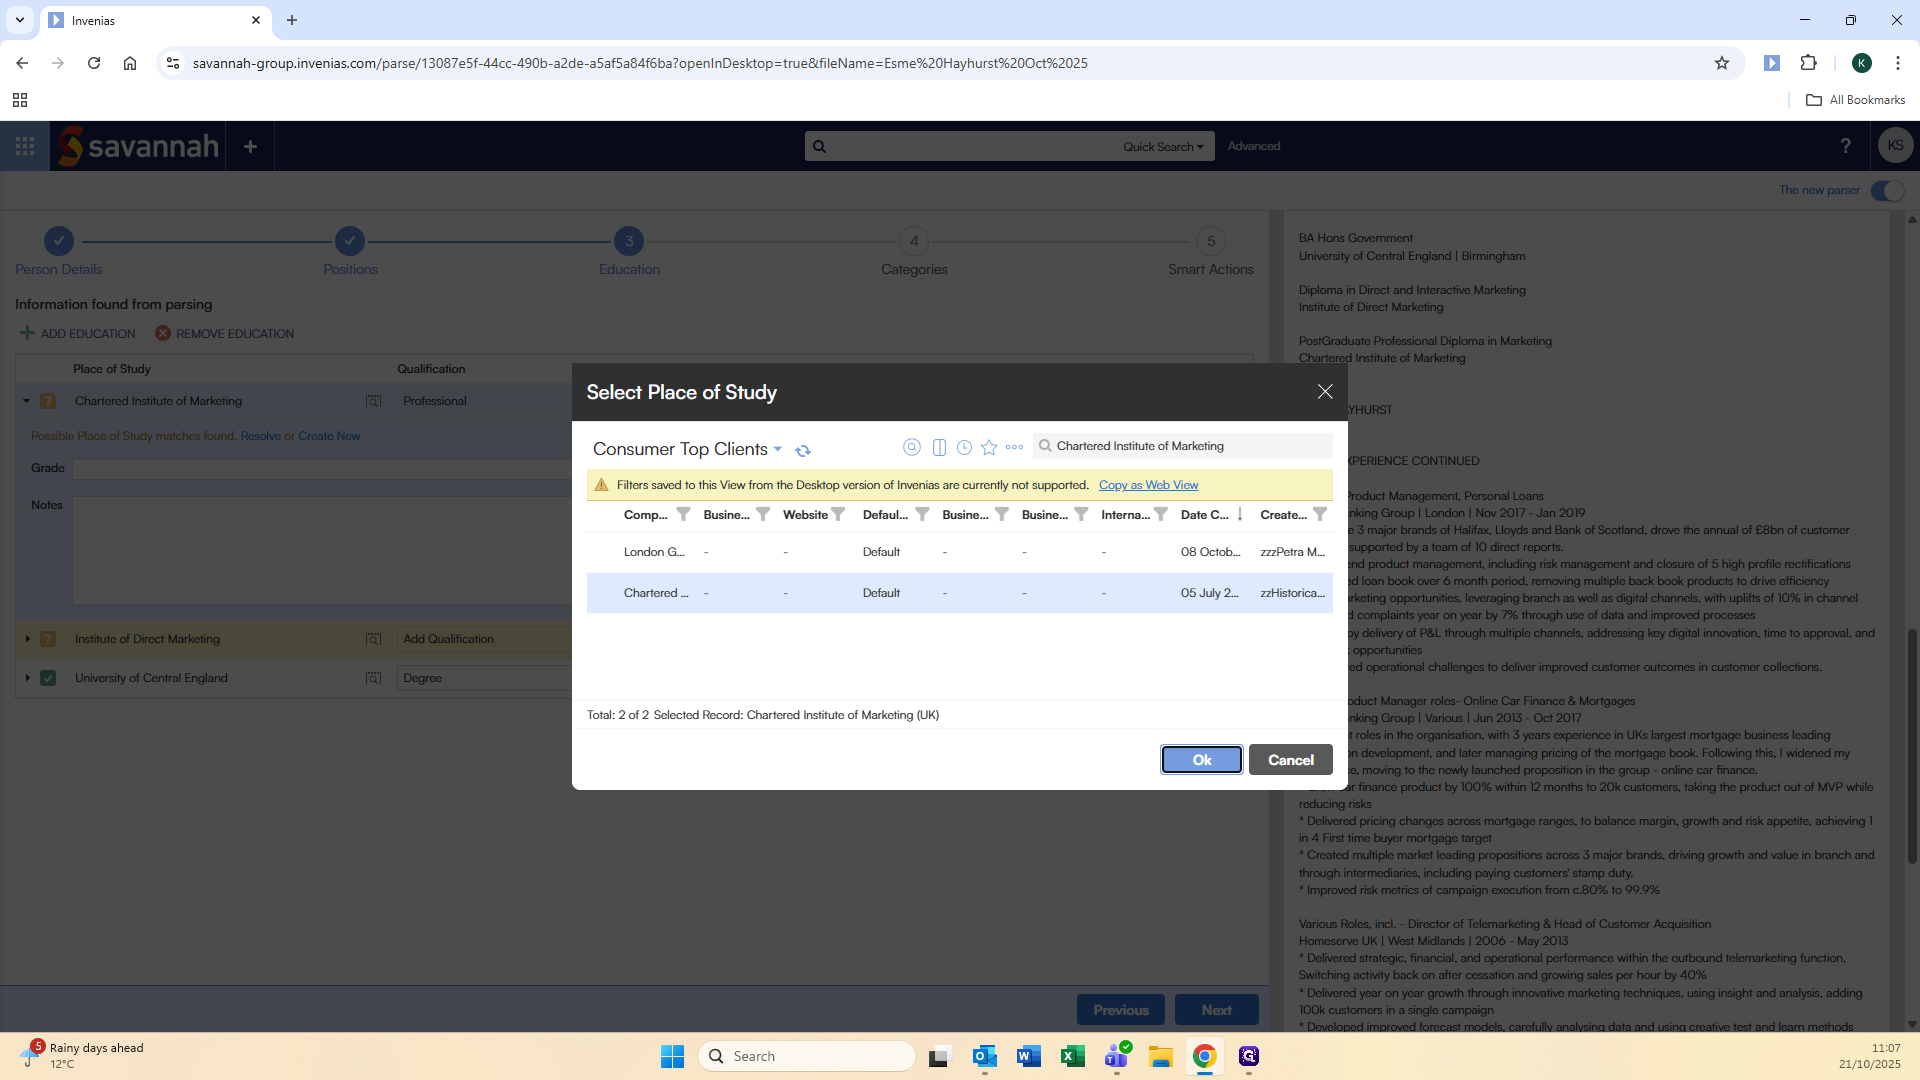
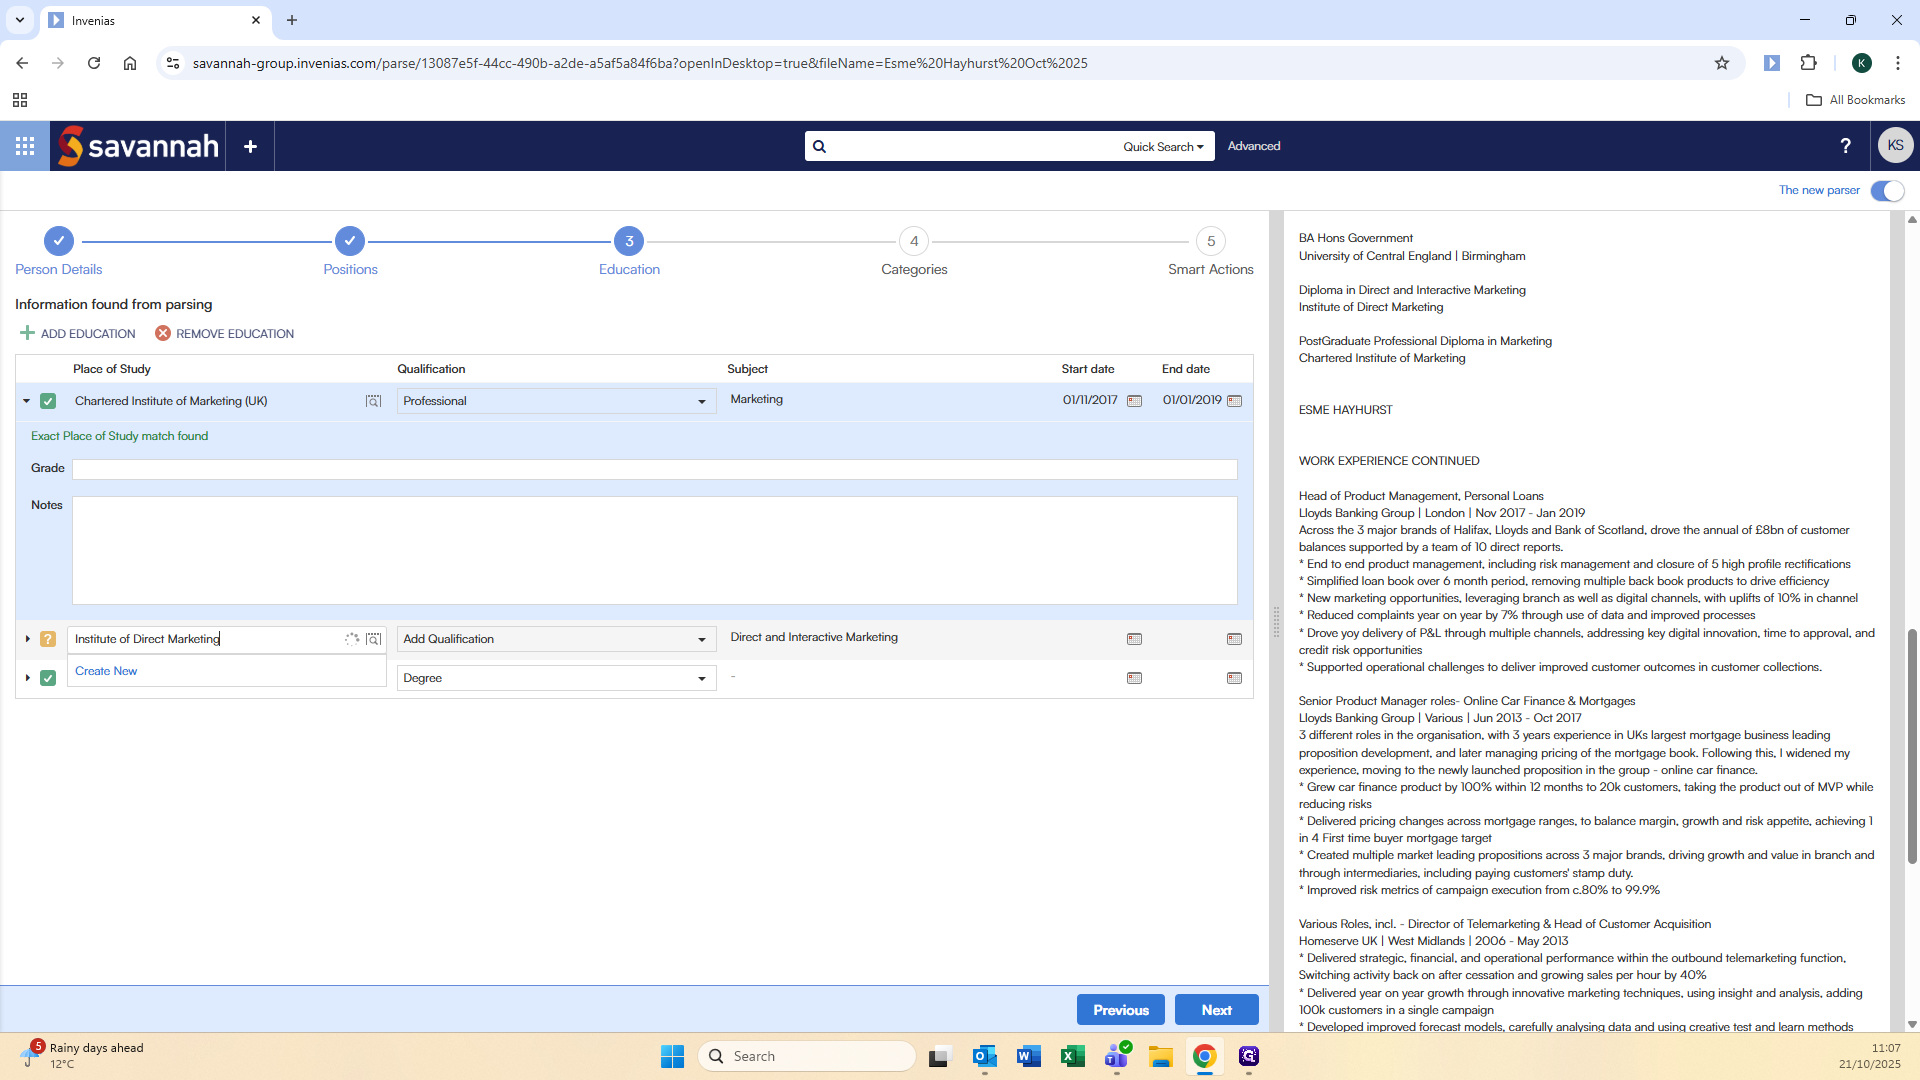
The education section appears. It works the same as the company options, either click the magnifying glass or into the box itself to confirm or search for the place of study you are looking for.
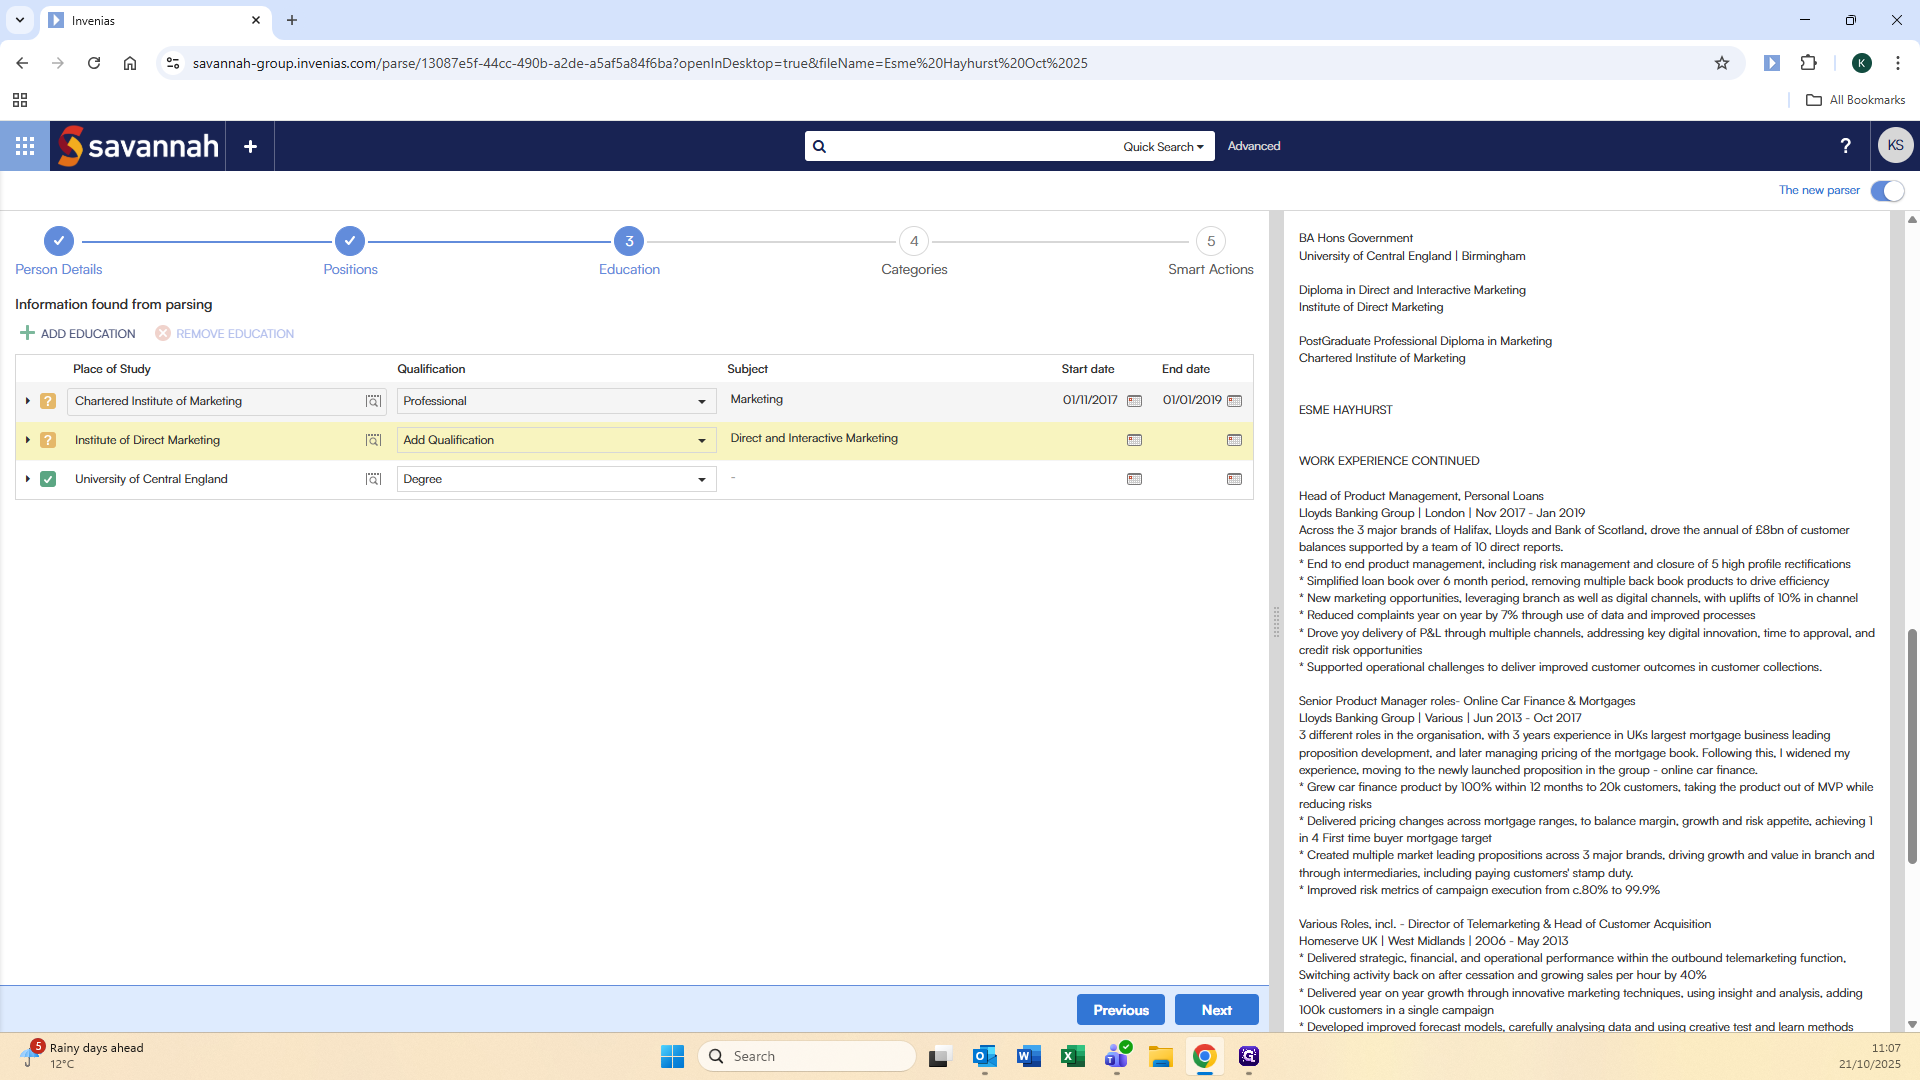
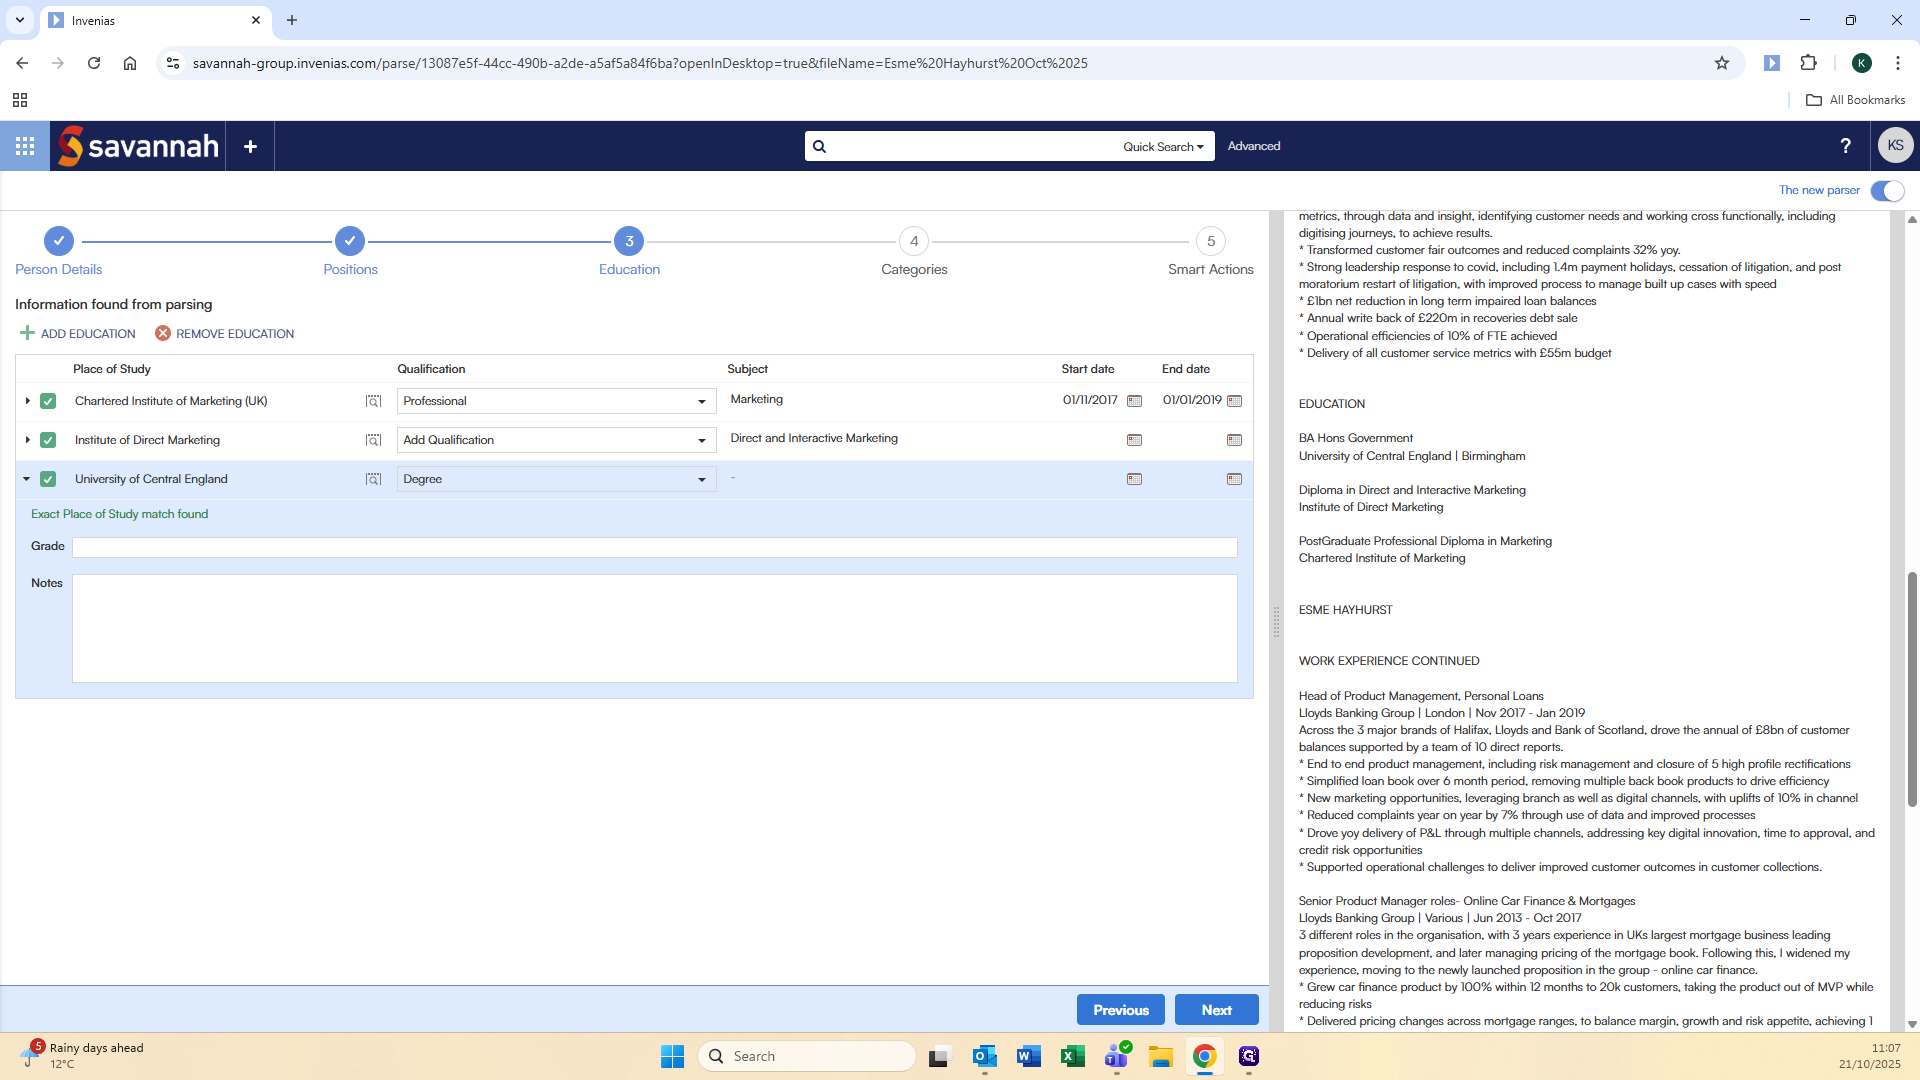
The subject was not included in their university degree.
We will manually enter that.
Click Next.

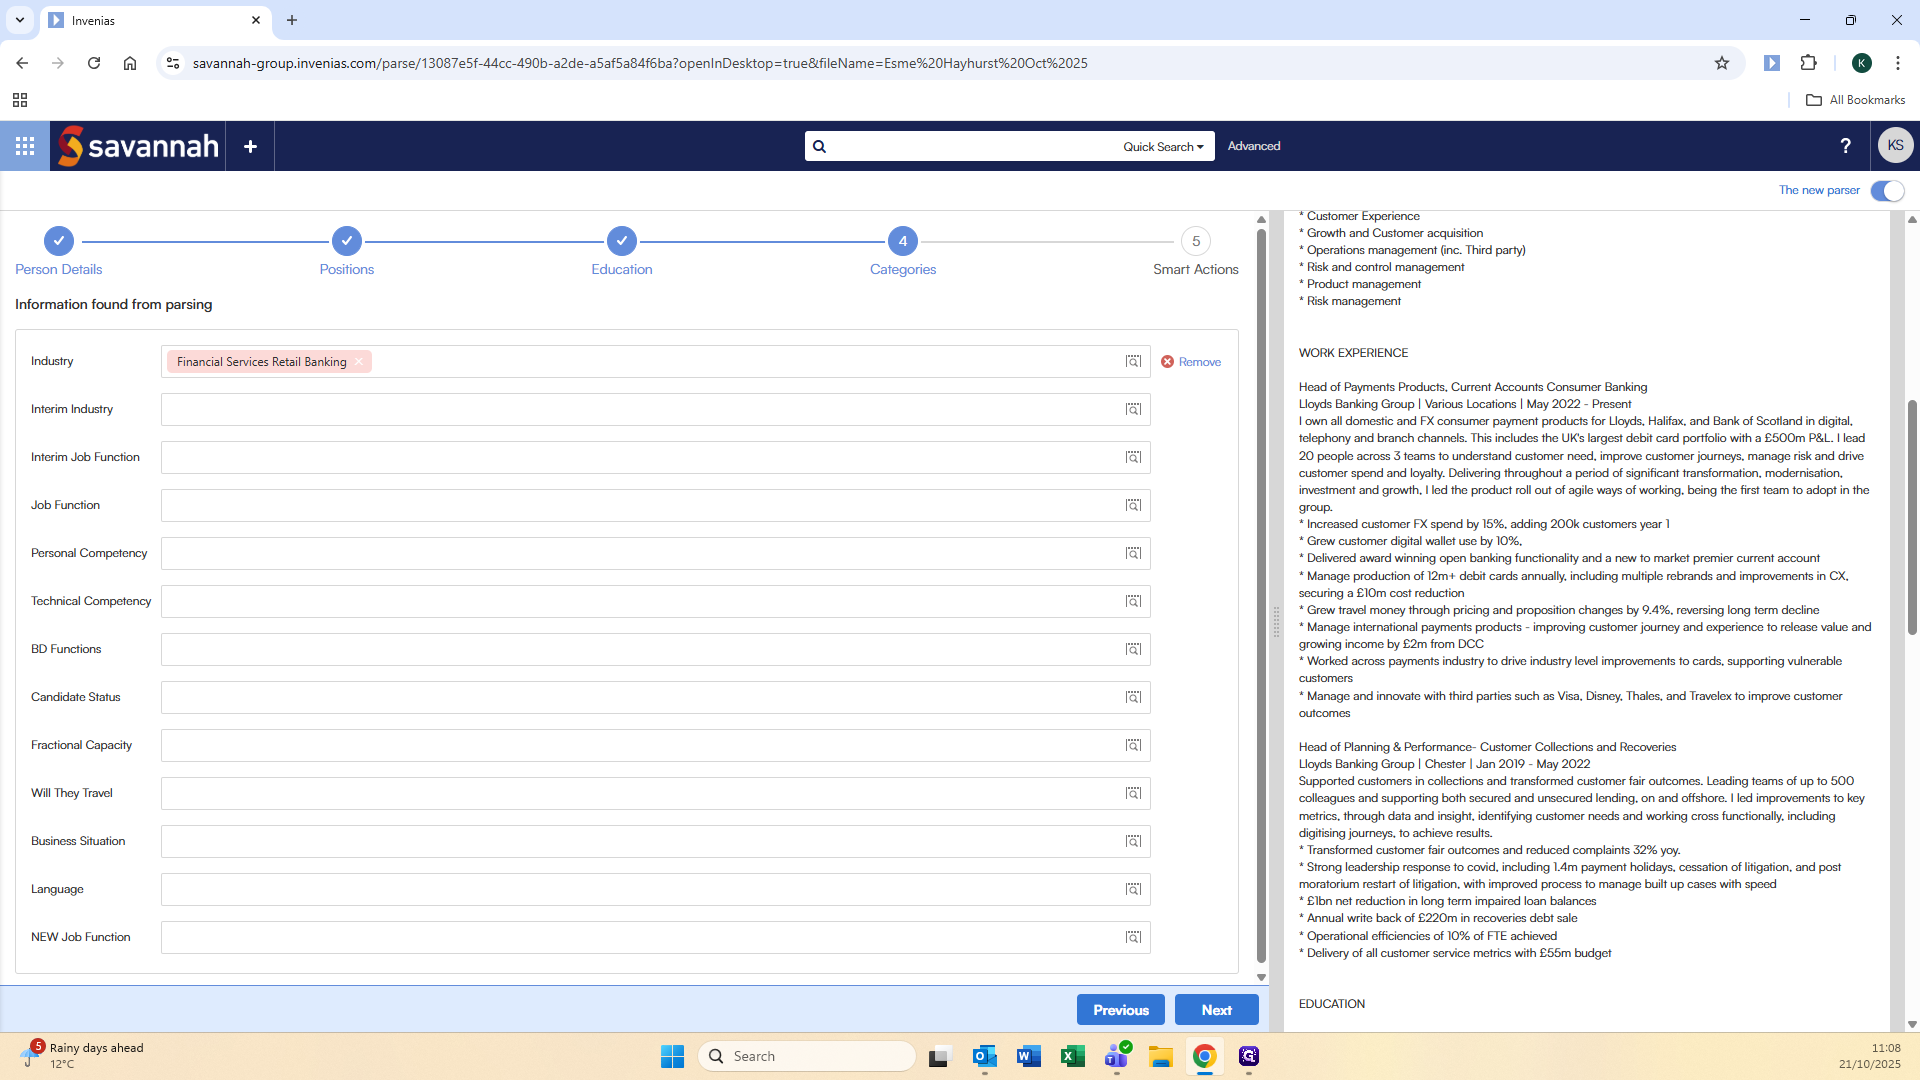
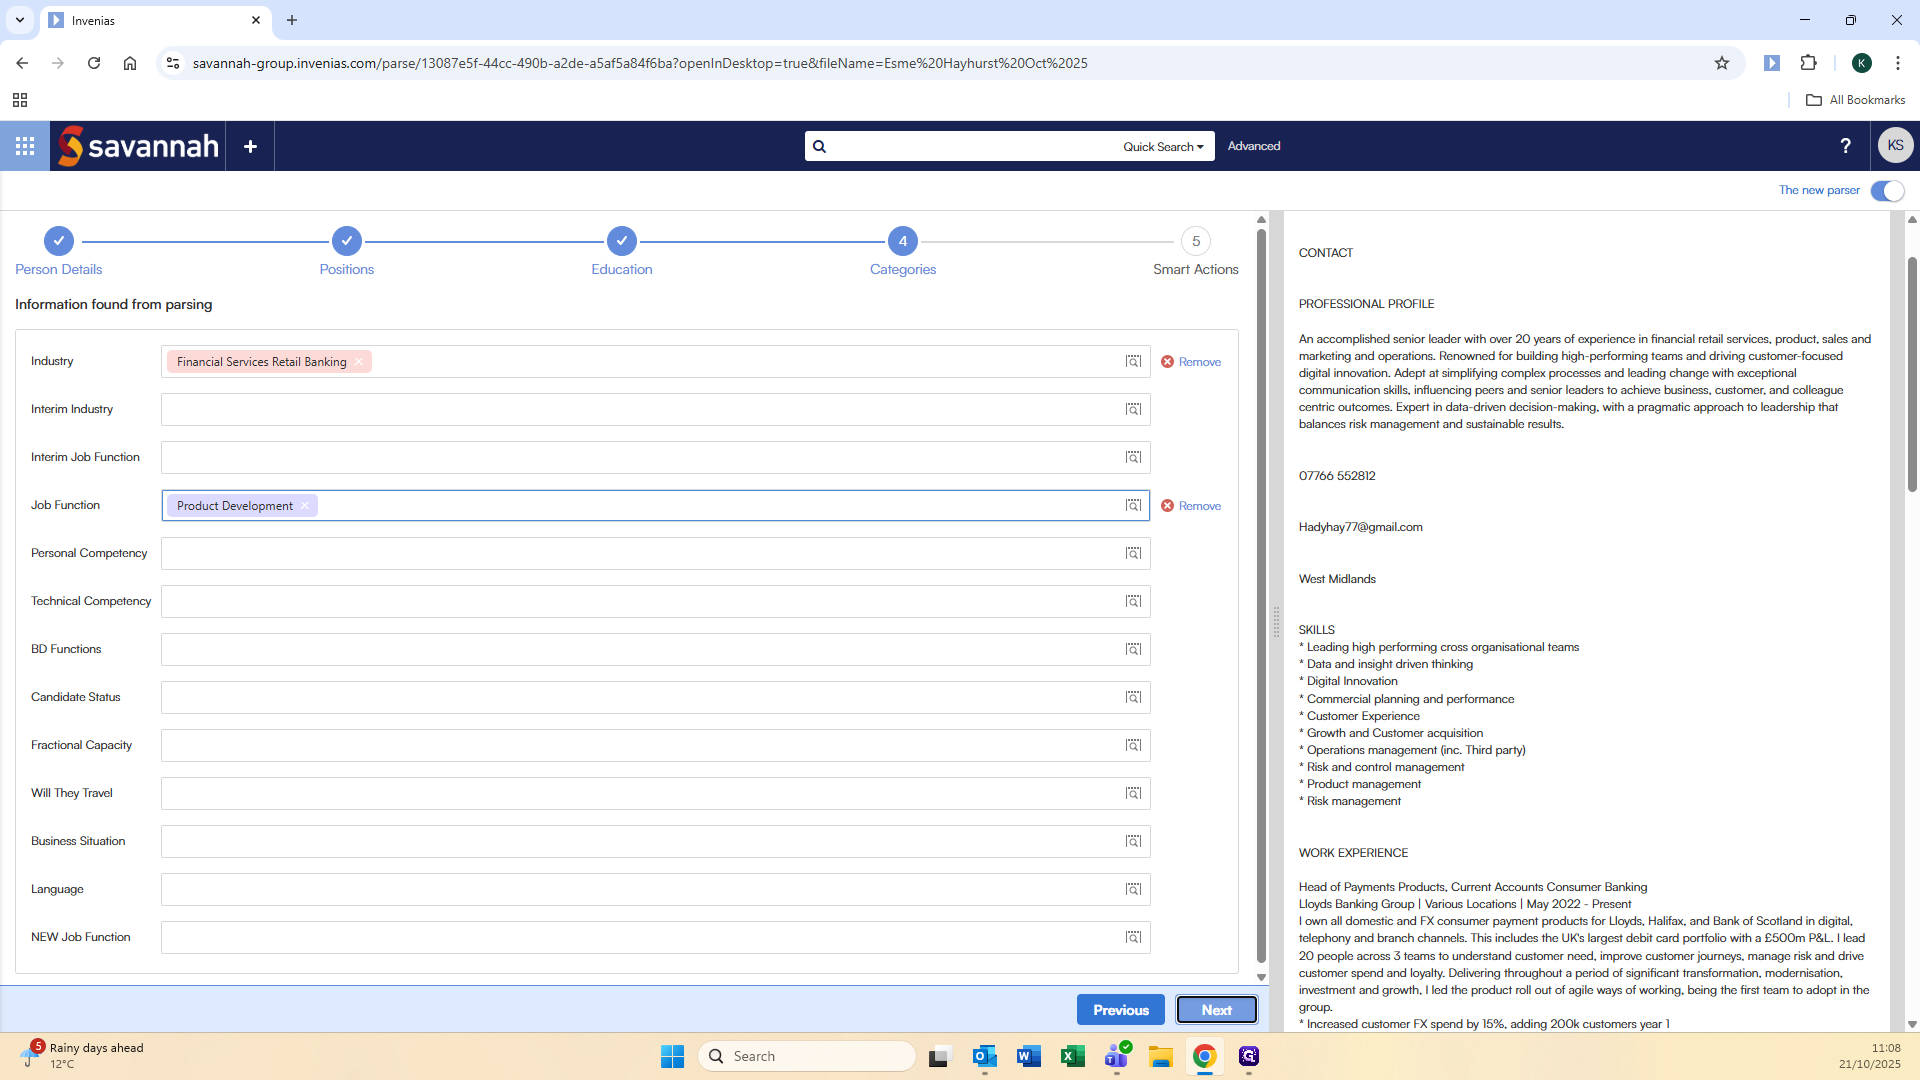
Now we need to code the candidate with their industry specialism.
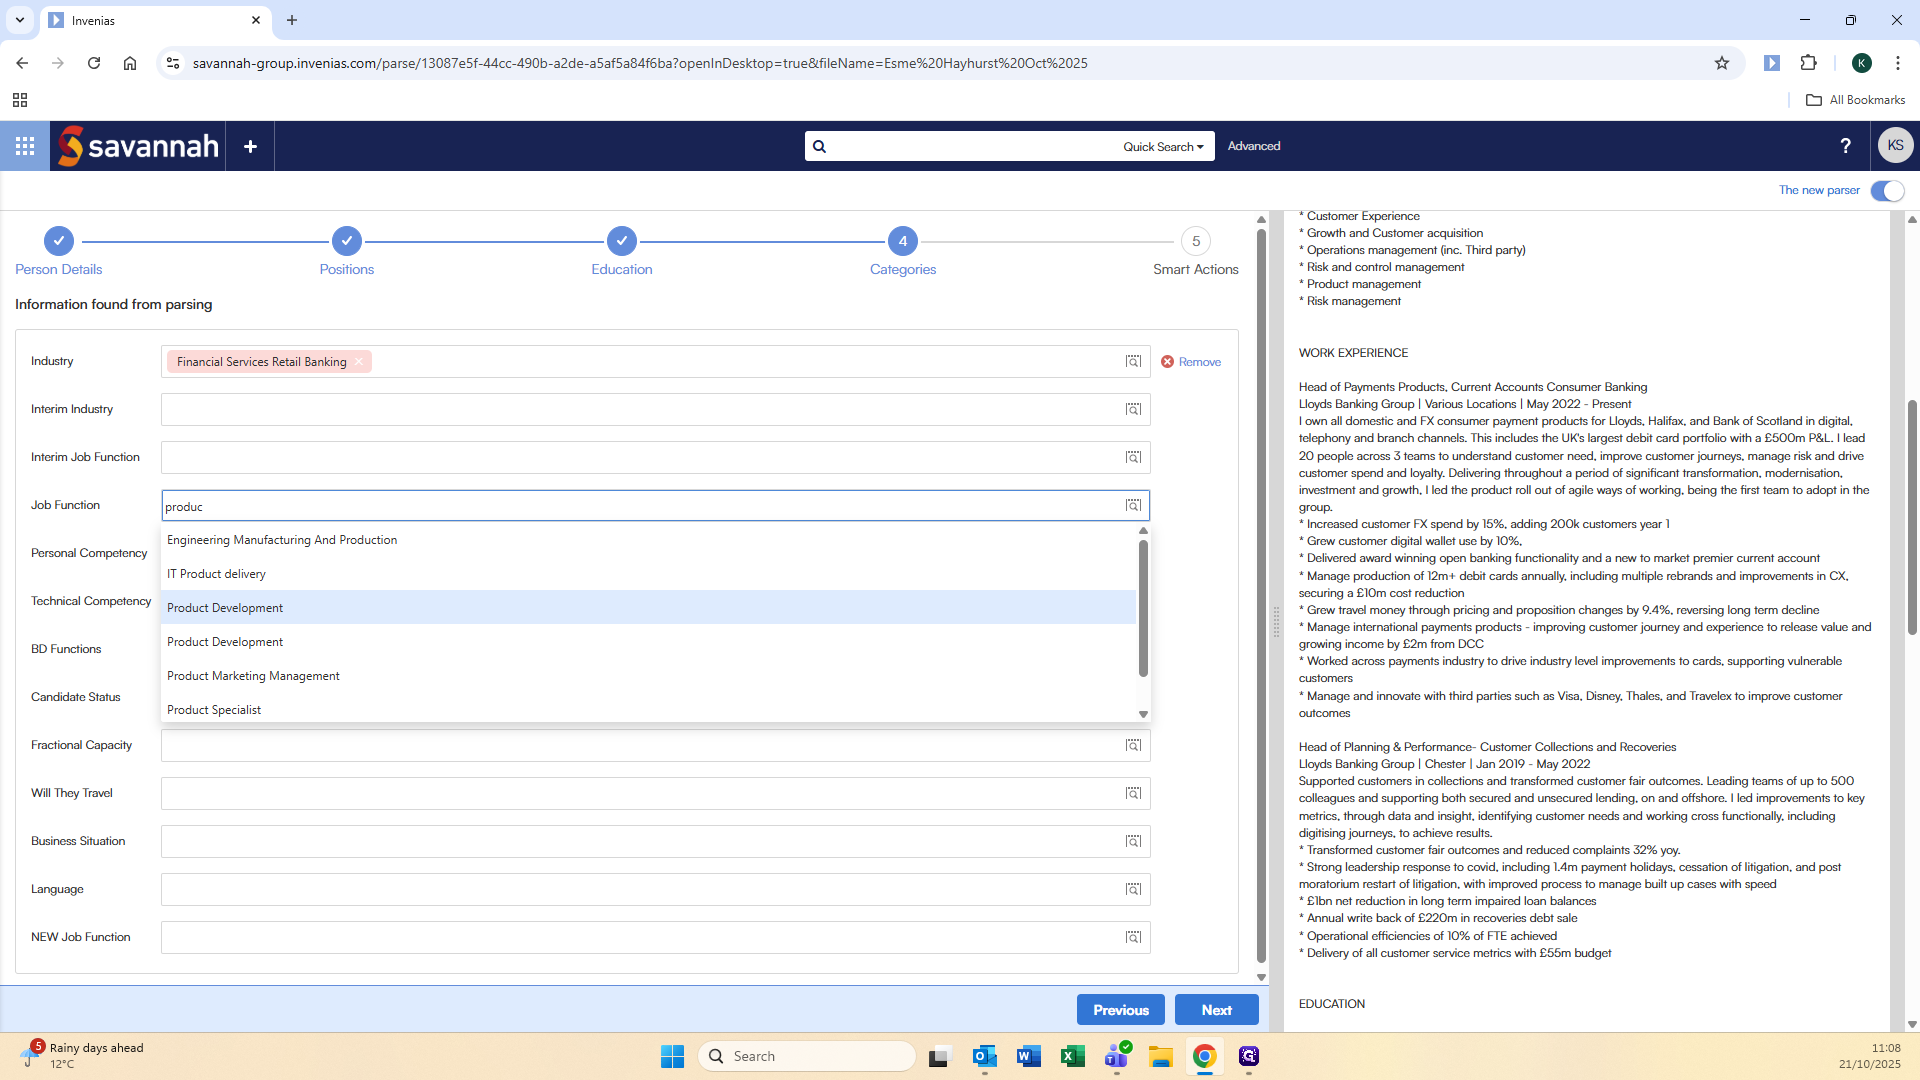
Then code them for their job function.

Again, you can manually type into the box or you can also open the full list of jobs and functions and search through it.

You can include as many or as few as are relevant to the candidate. Now, press Next.
They are now parsed onto Invenias.