
How to Perform Automatic Qualitative Coding of Interviews with Scribewave
Learn how to efficiently perform automatic qualitative coding of interviews using Scribewave. Follow our step-by-step guide to transcribe and analyze your interviews seamlessly. Scribewave's private assistant will automatically suggest relevant codes and indicate them in your transcript. Of course, you can edit if you like.
In this guide, I'll show you how to perform automatic qualitative coding of interviews using Scribewave. It's a fast and easy process that starts with uploading your interview file to the platform, where it will be transcribed. Once transcribed, you can analyze the transcript to generate codes and summaries automatically.
We will explore how to manage these codes, including adding, editing, and deleting them, to streamline your qualitative analysis. This method can significantly speed up the evaluation of interview data, making it way more efficient than manual coding.
Let's get started
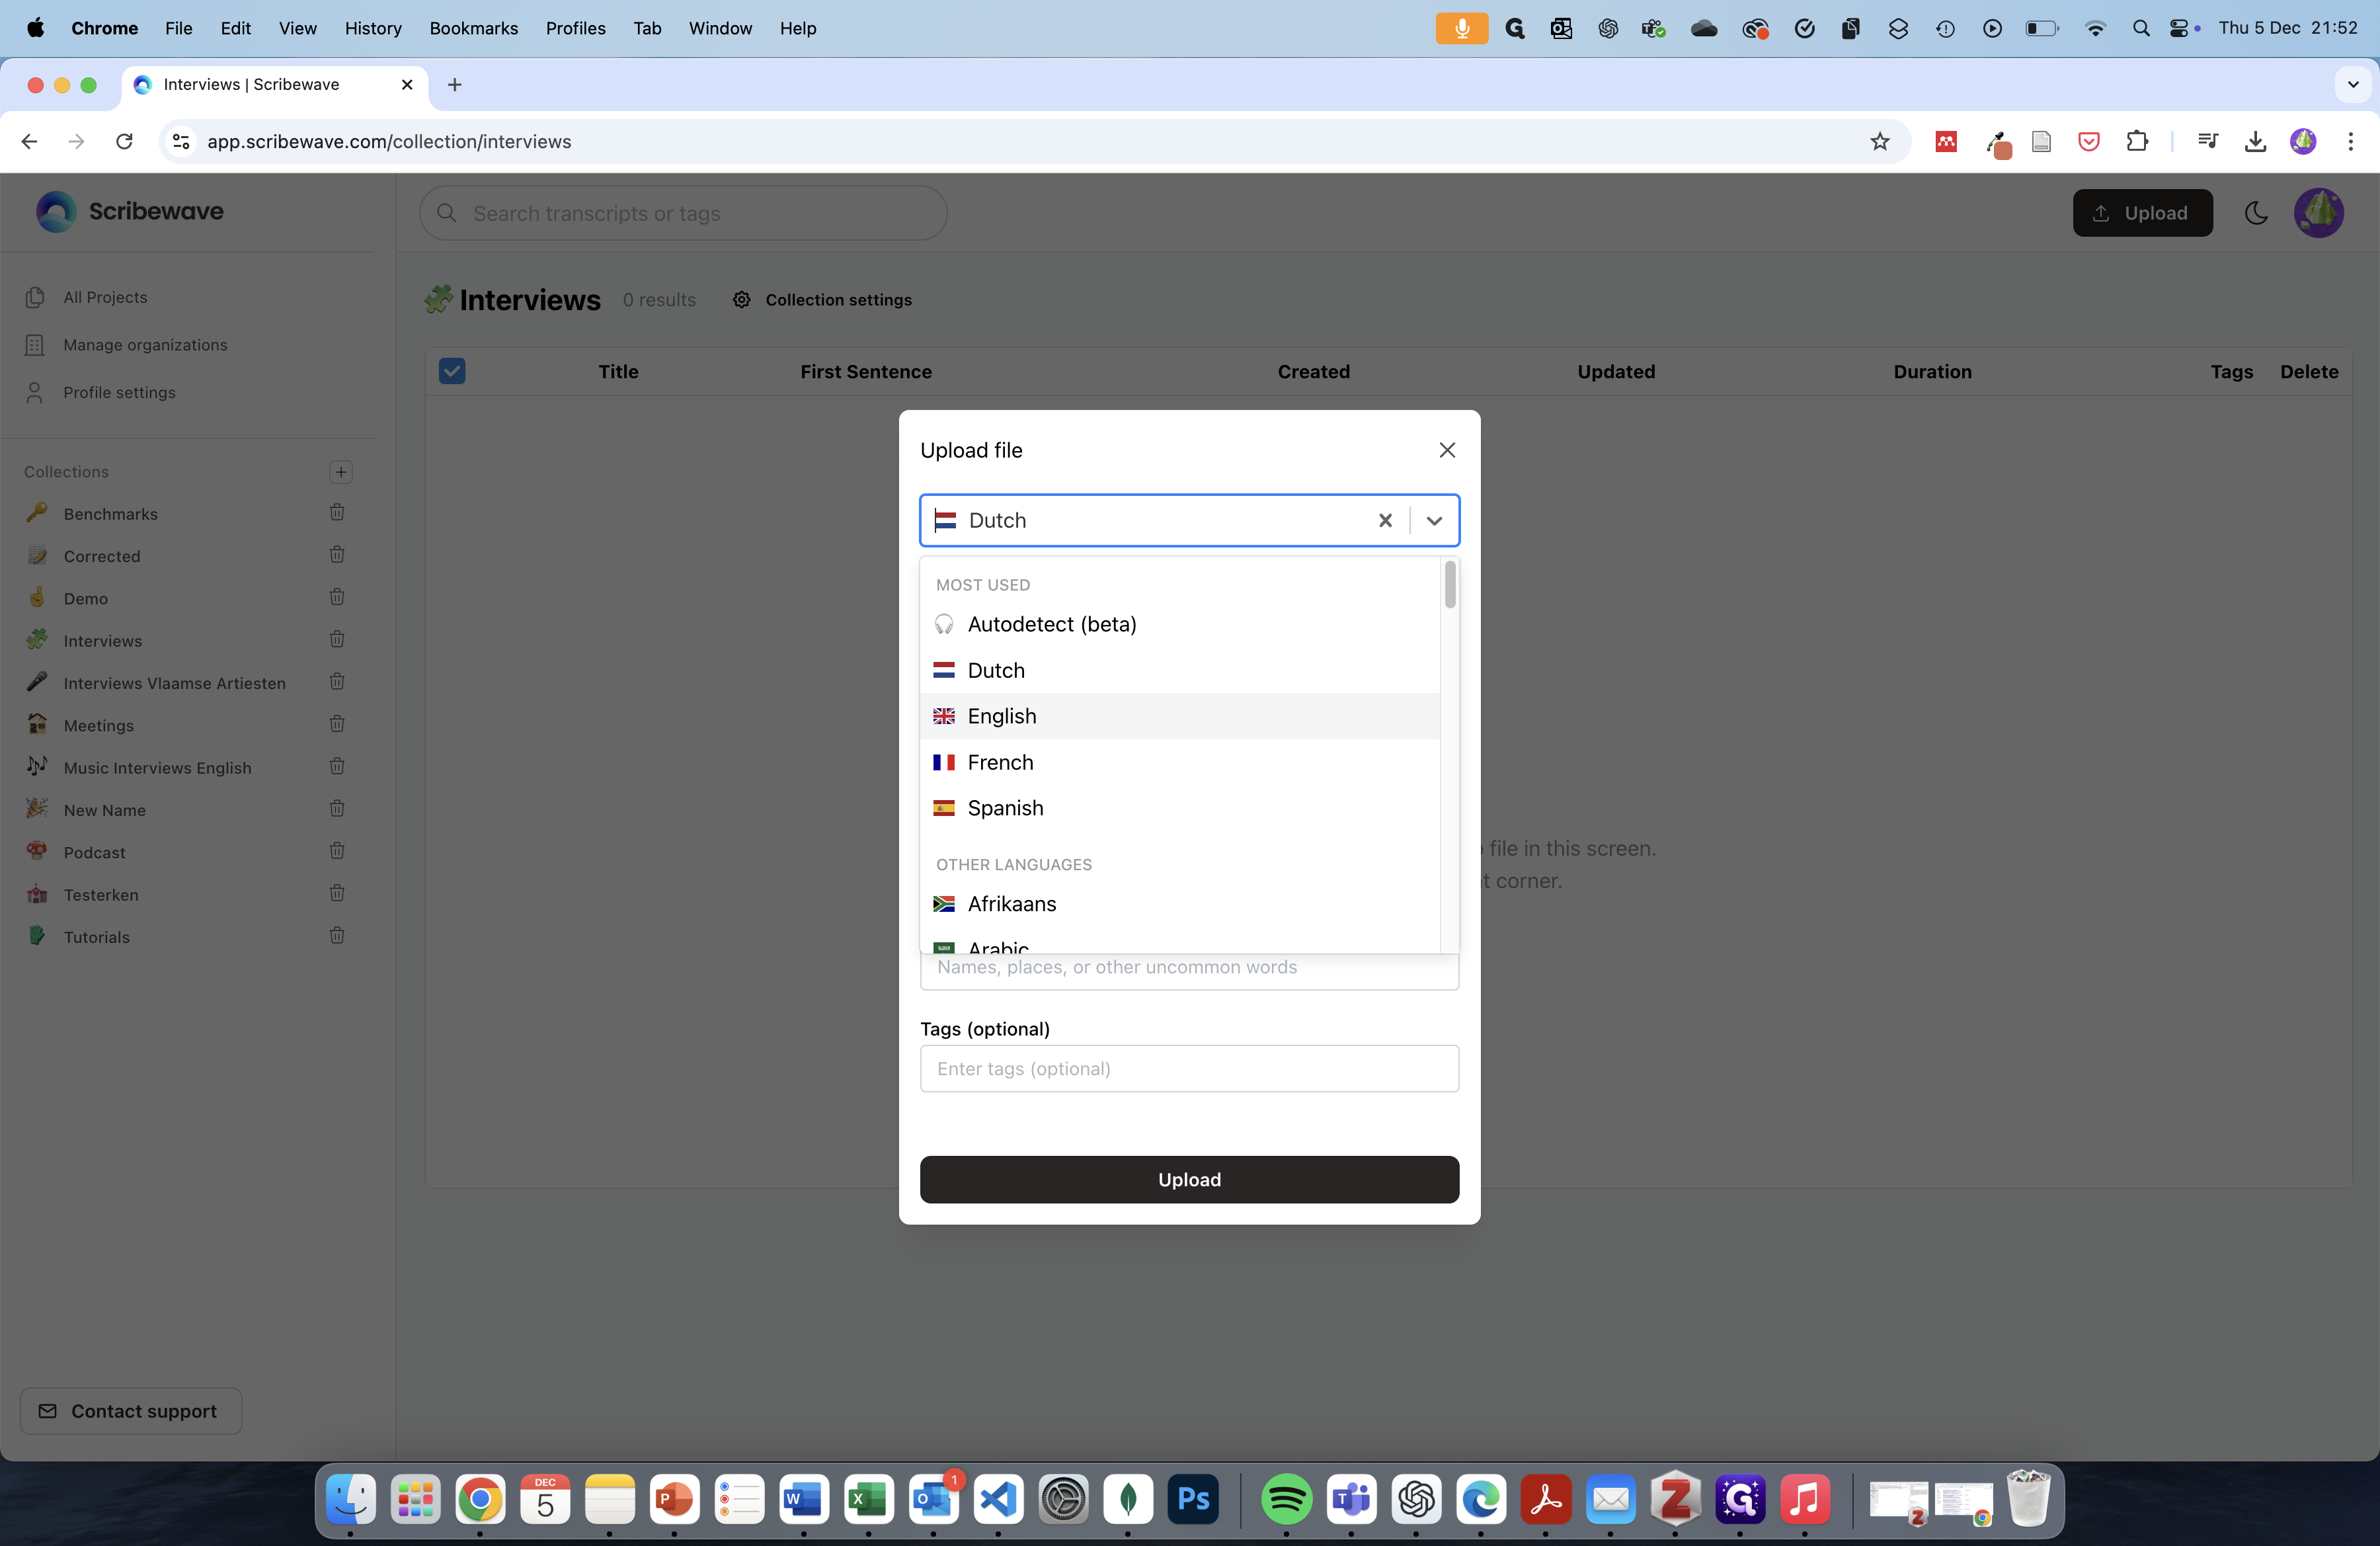
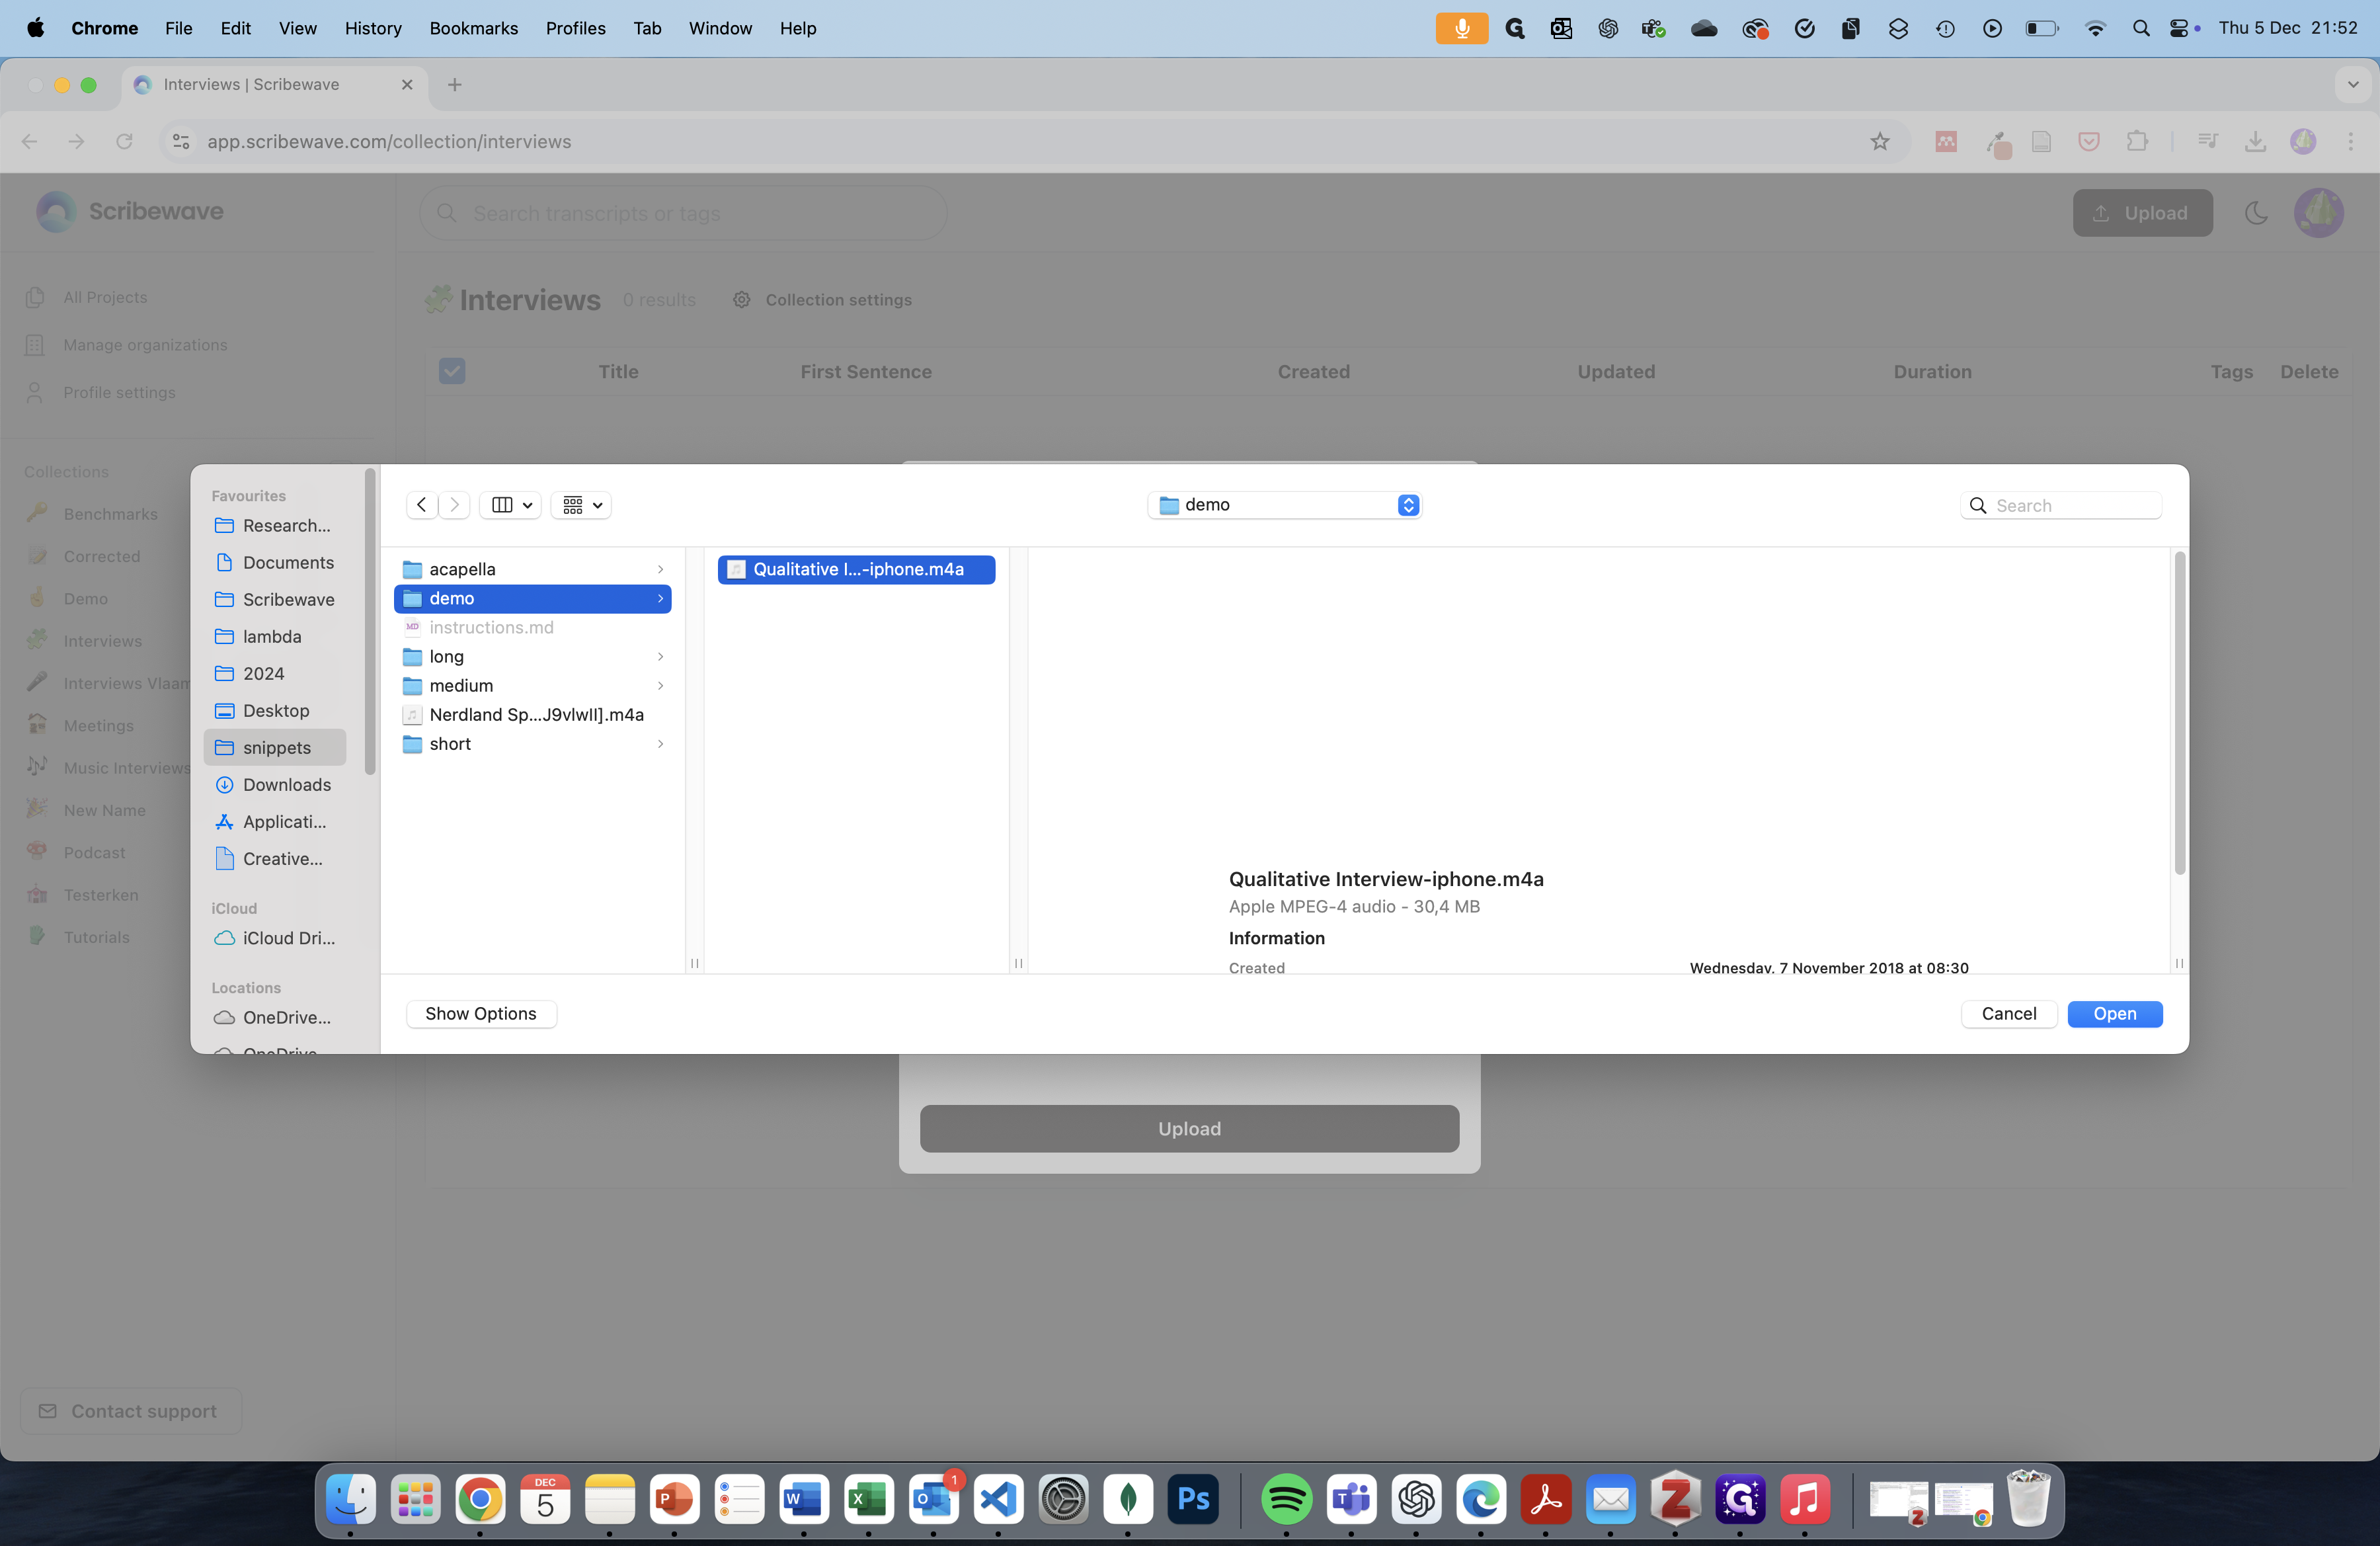
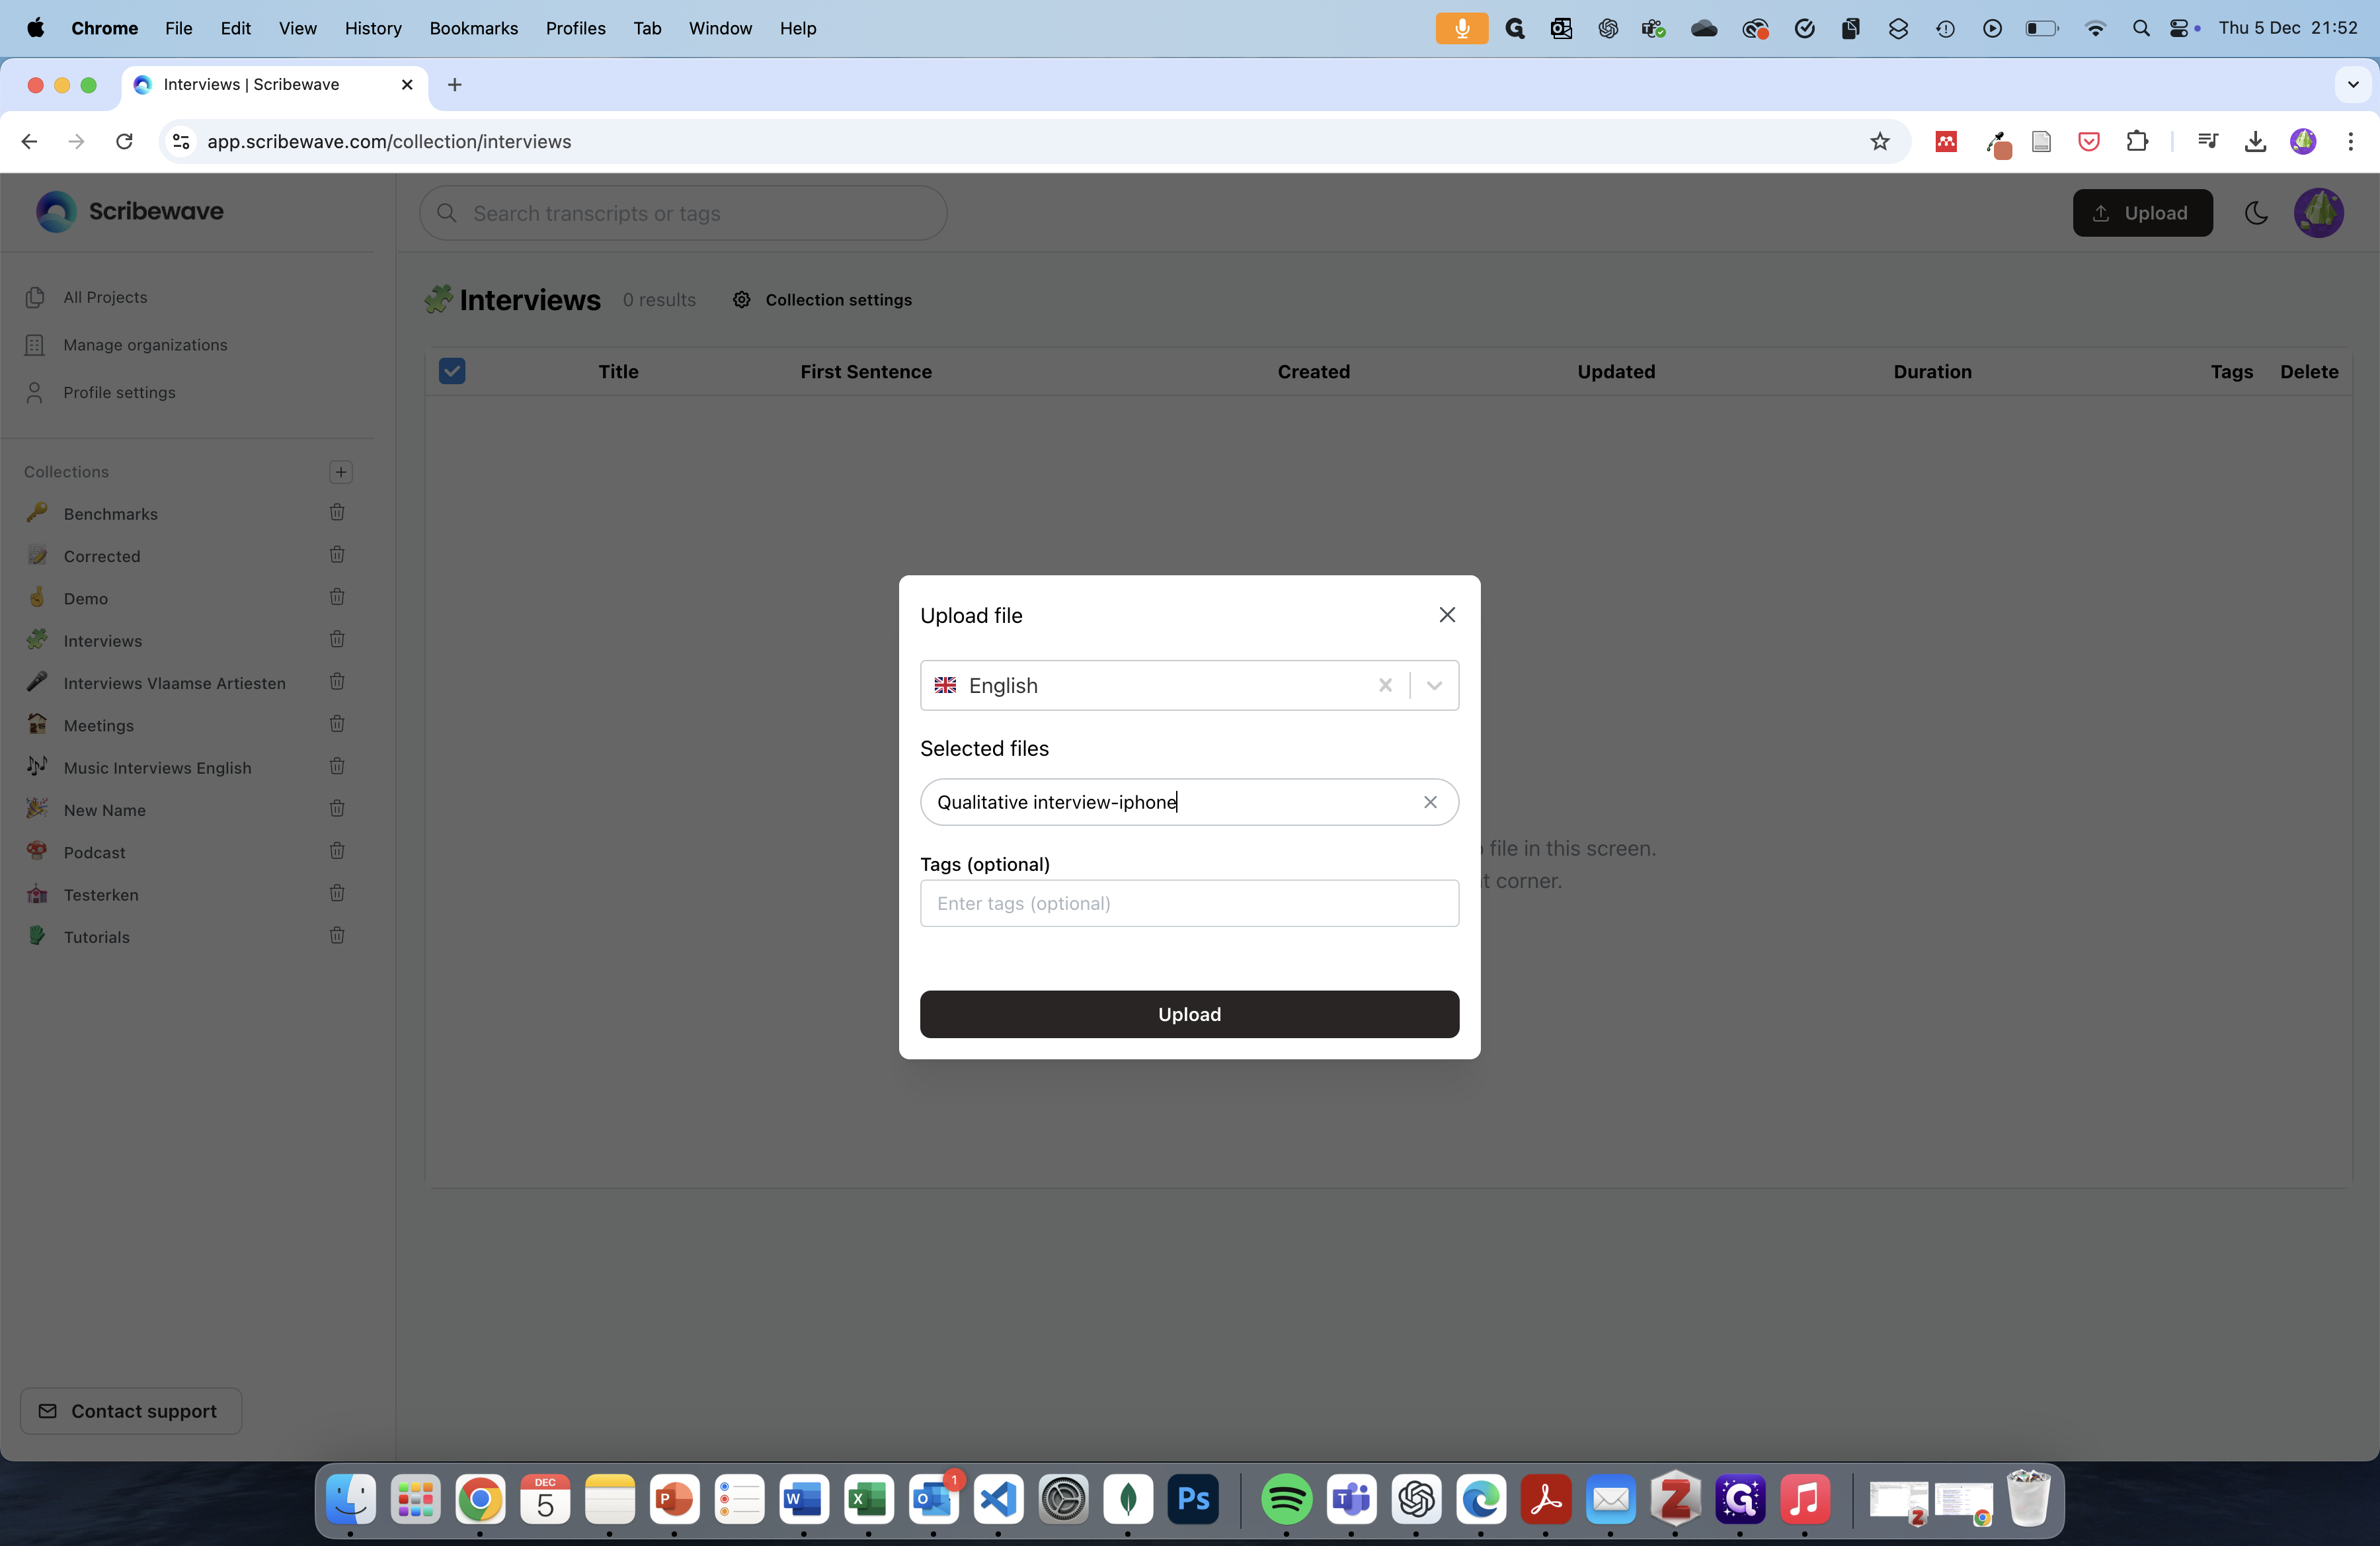
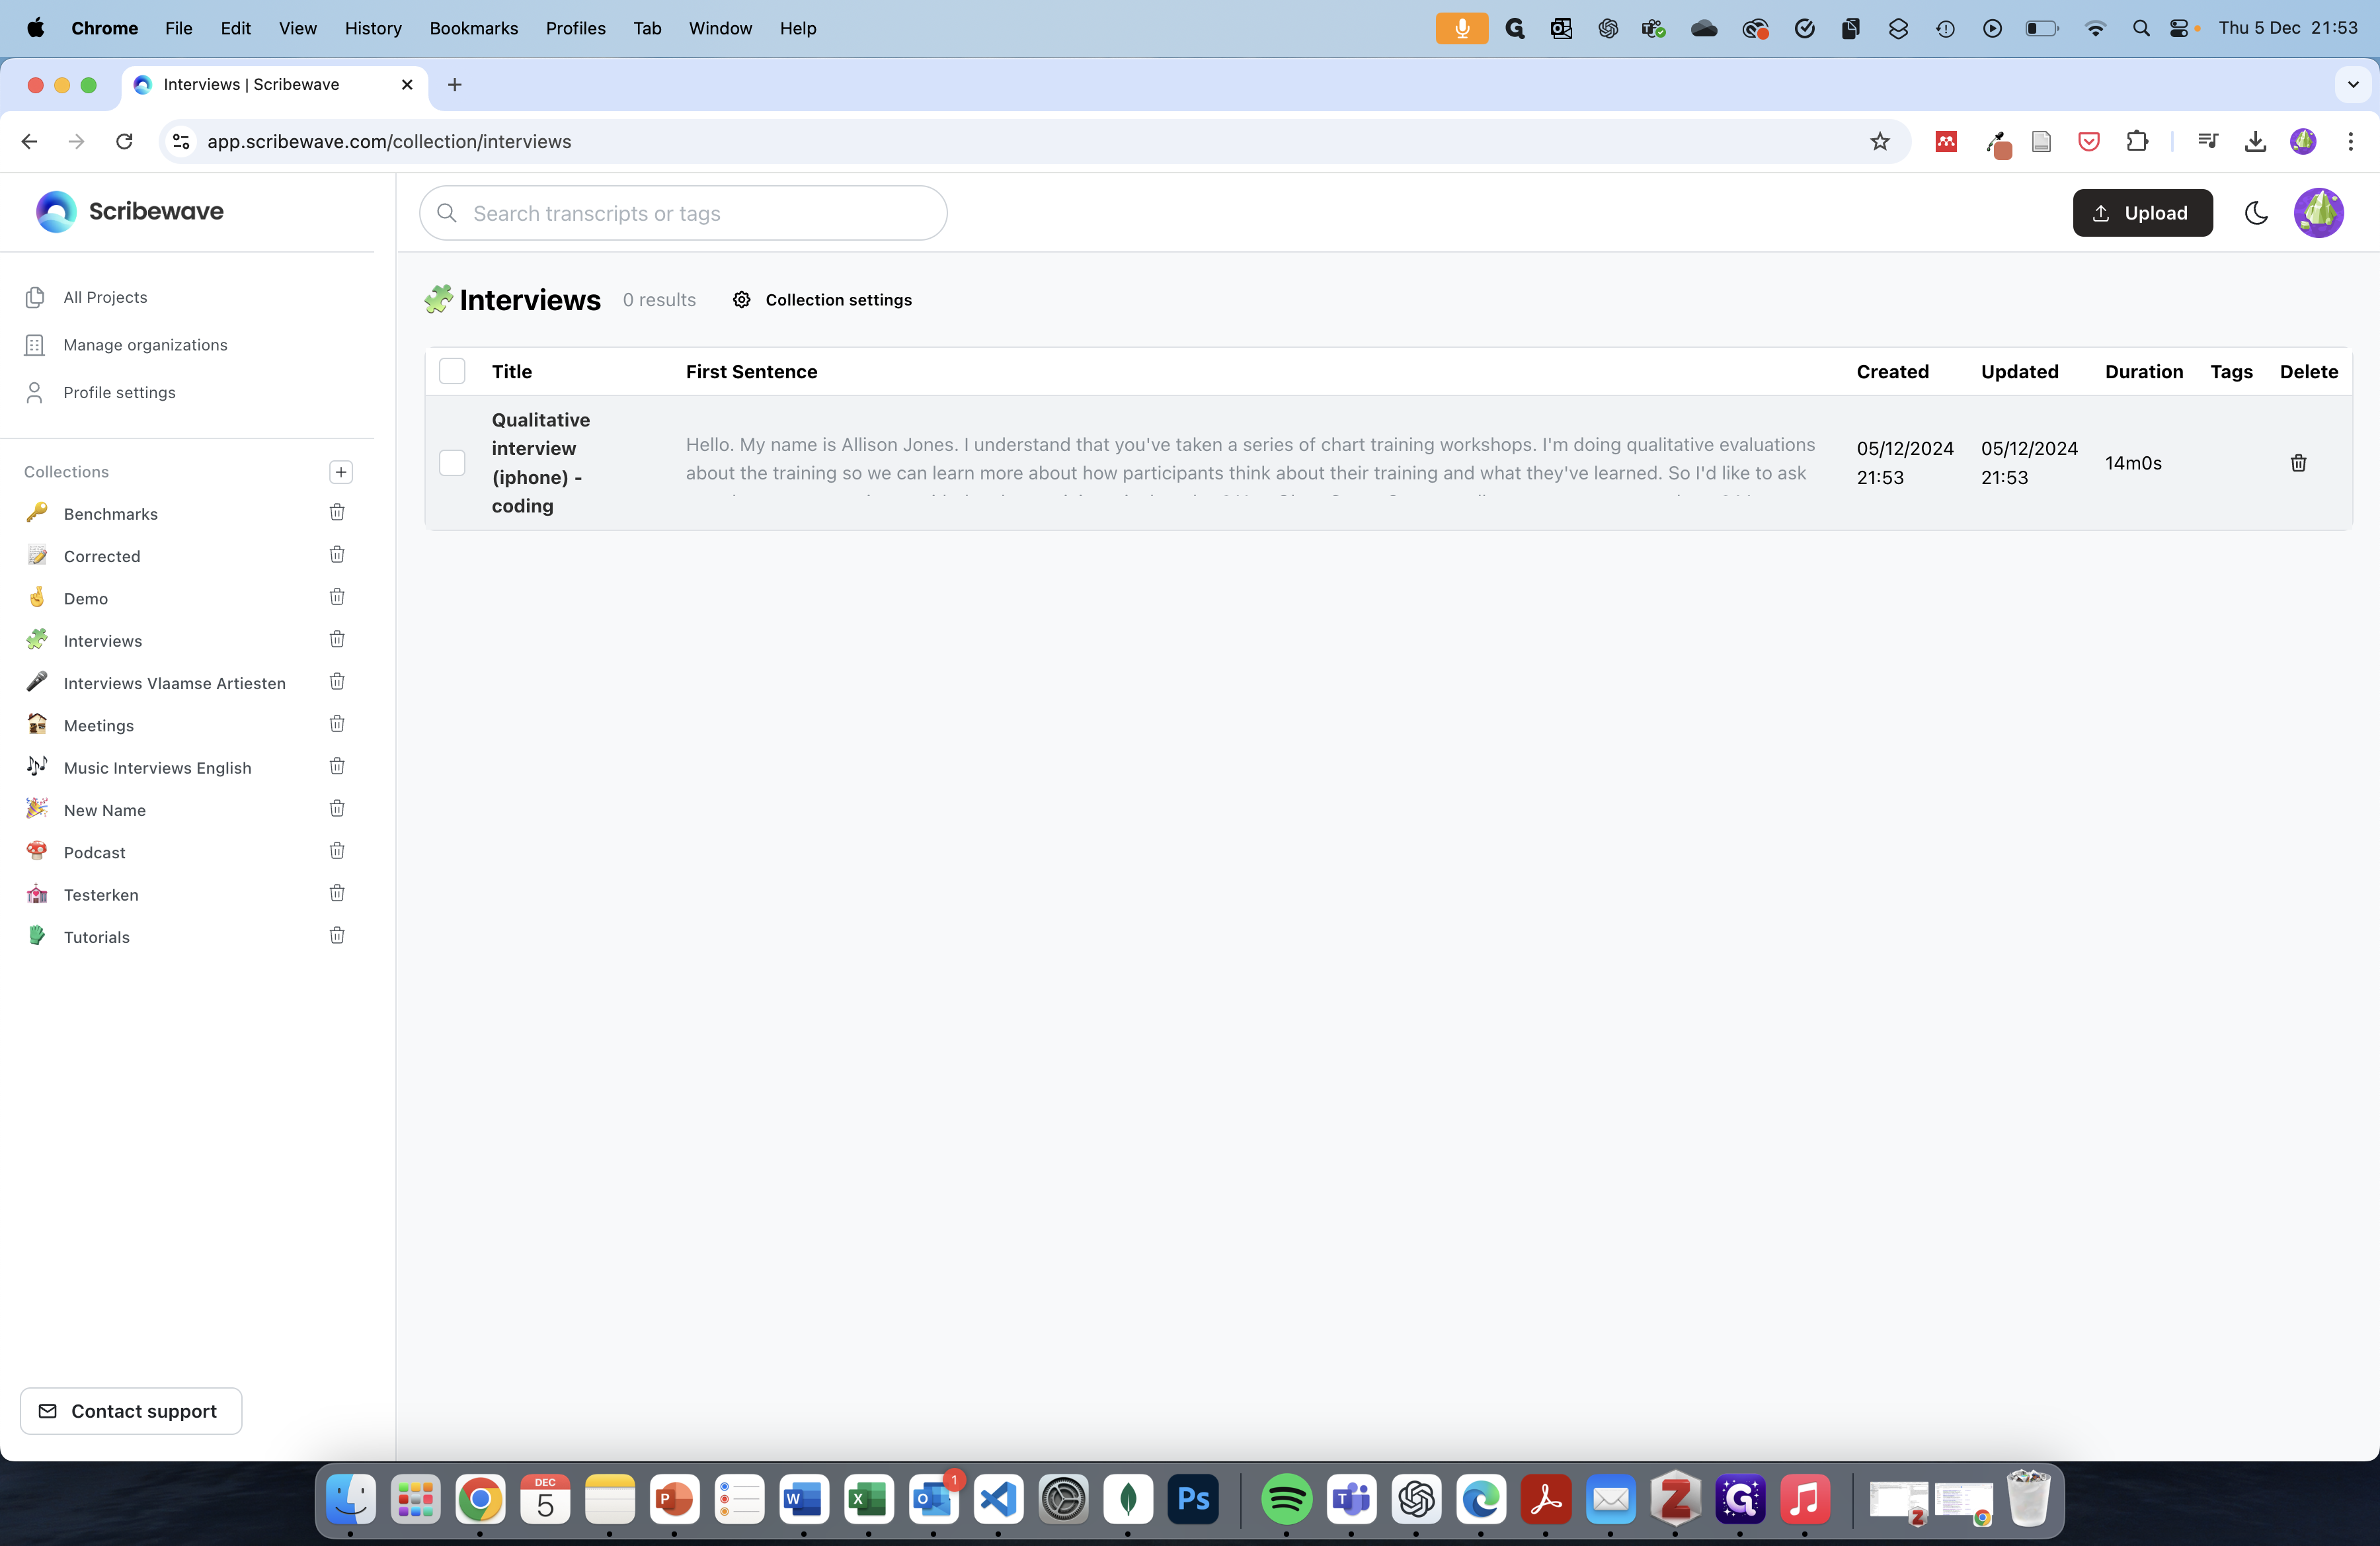
First, go to scribewave.com, log in, and upload your file. You can upload a file by dragging it into the main window or by clicking "Upload" in the upper right corner. Then, select your language and choose the file you need to upload.


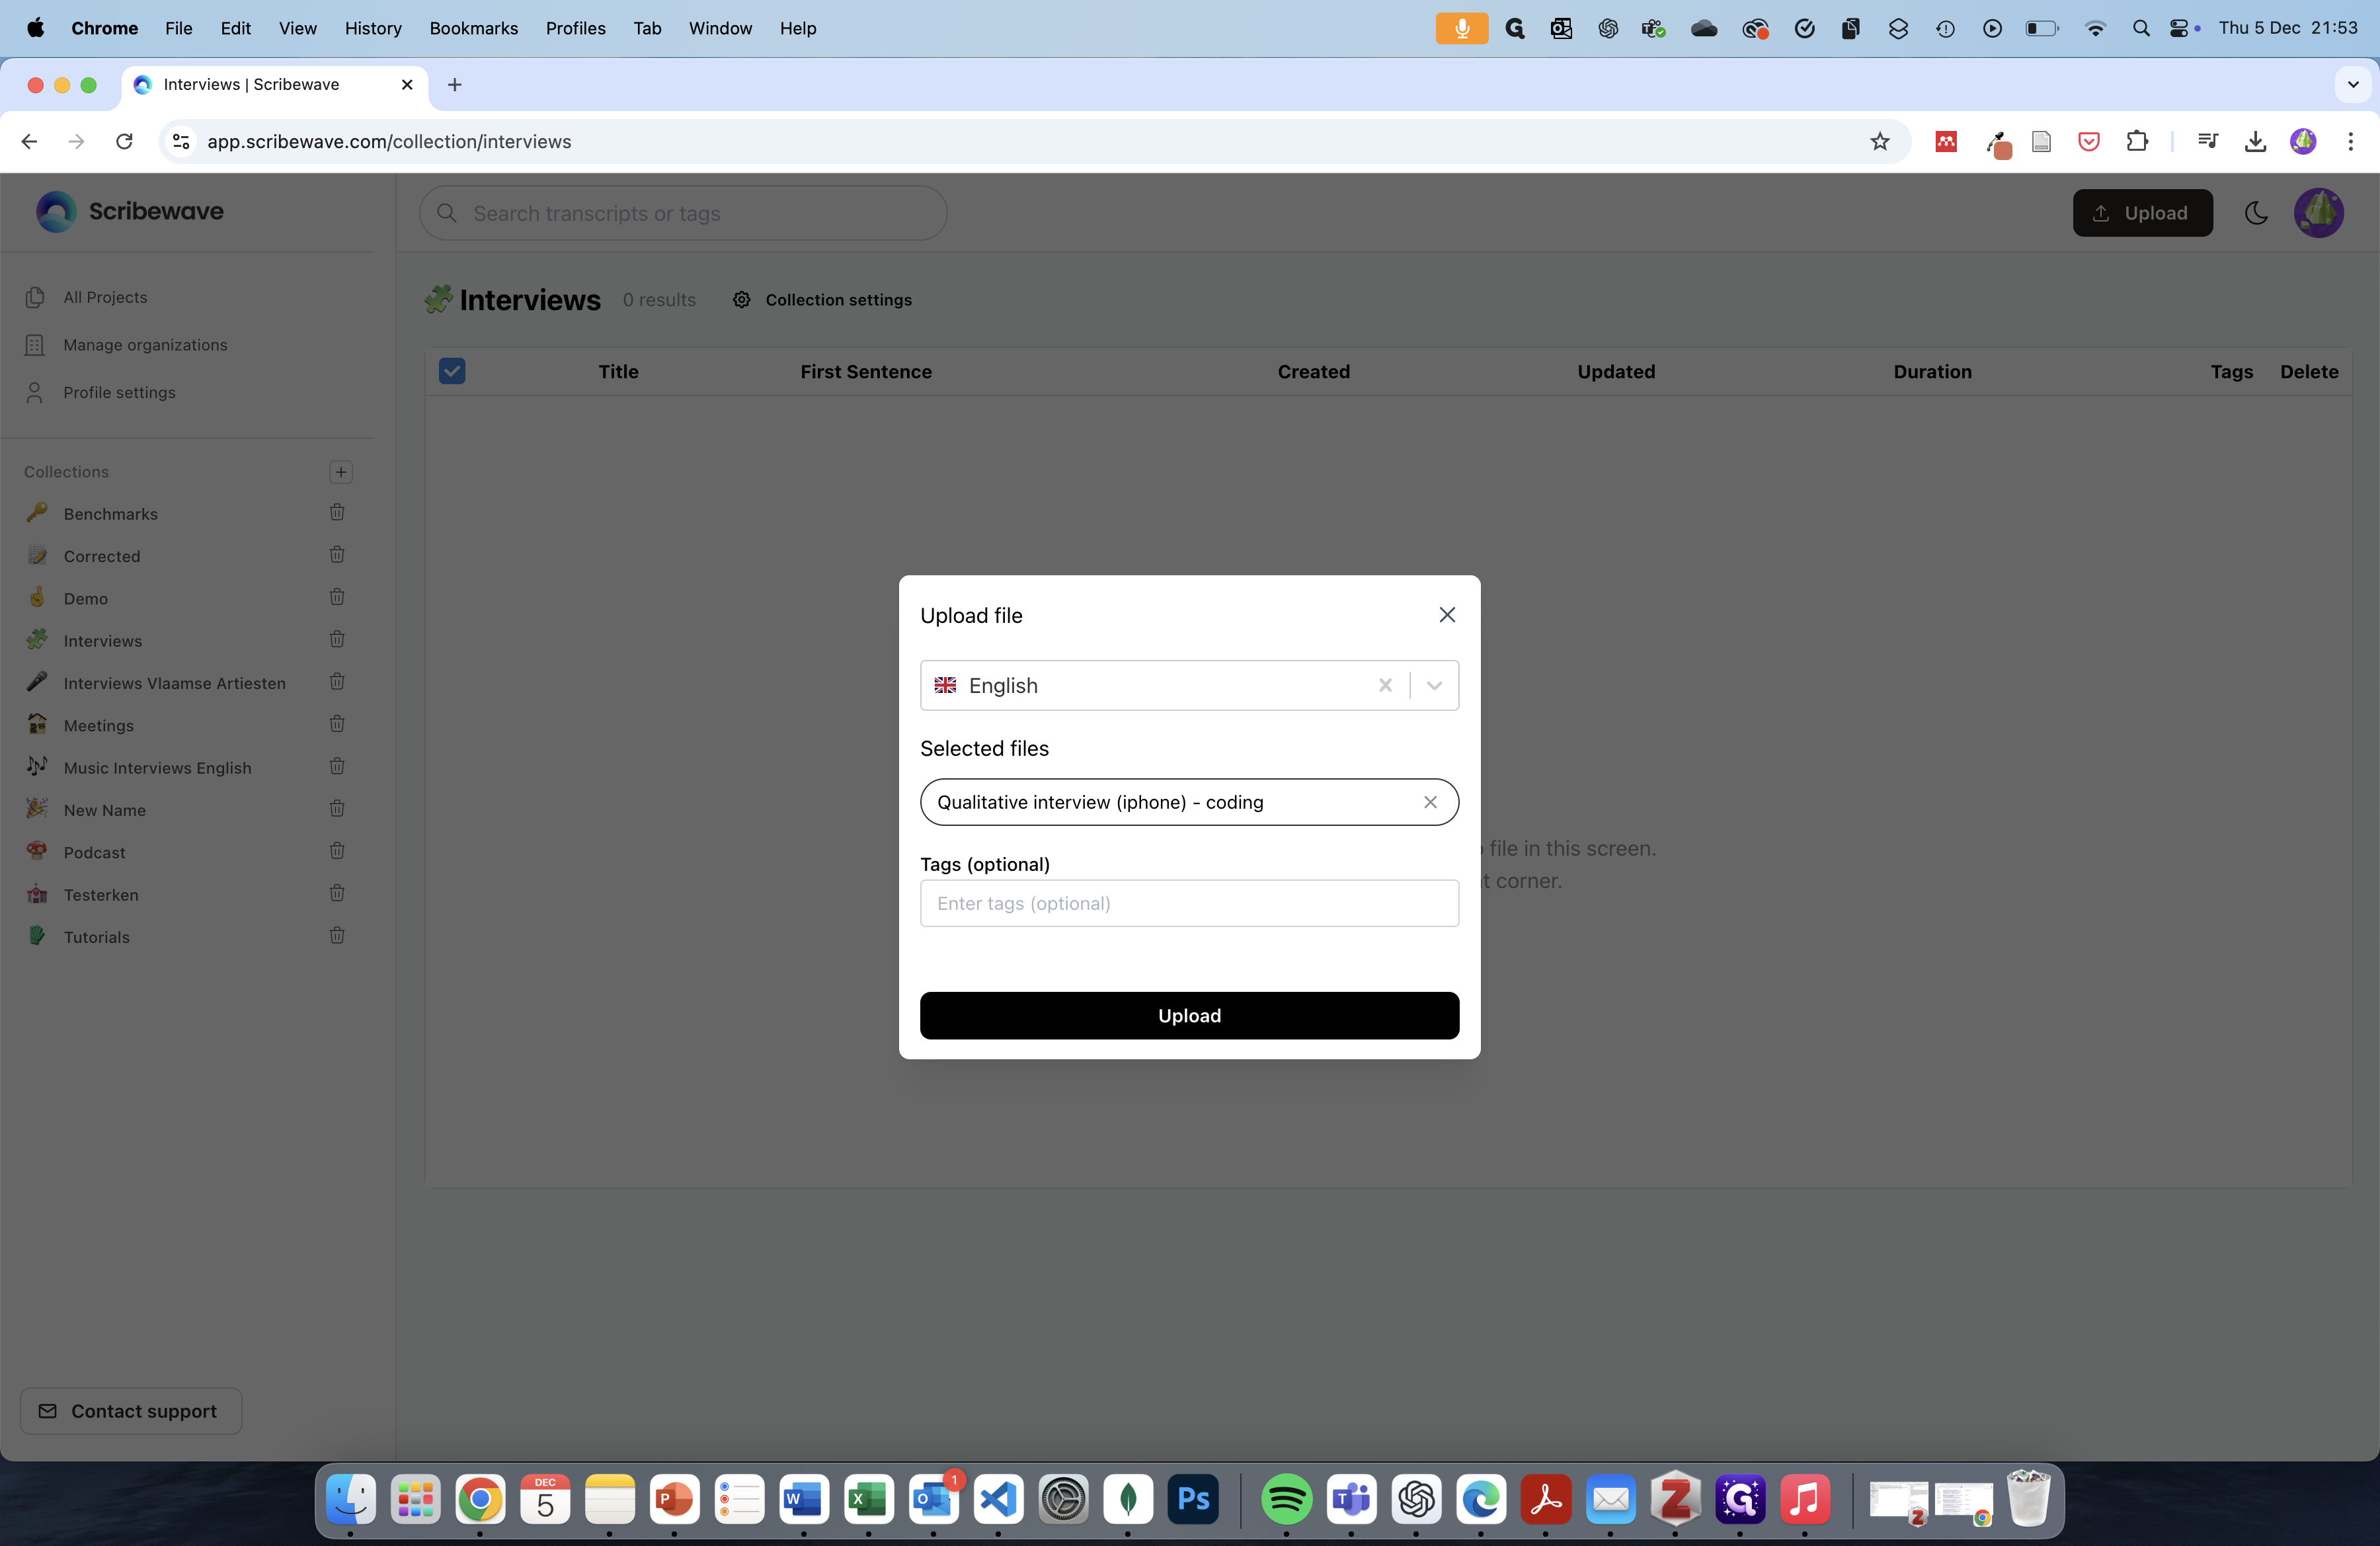
Uploading may take some time, depending on your internet speed. Once uploaded, the file will be automatically transcribed. You can grab a coffee while this happens, as it usually takes about one to two minutes to transcribe an entire interview. Now that our interview is transcribed, we can click on it.
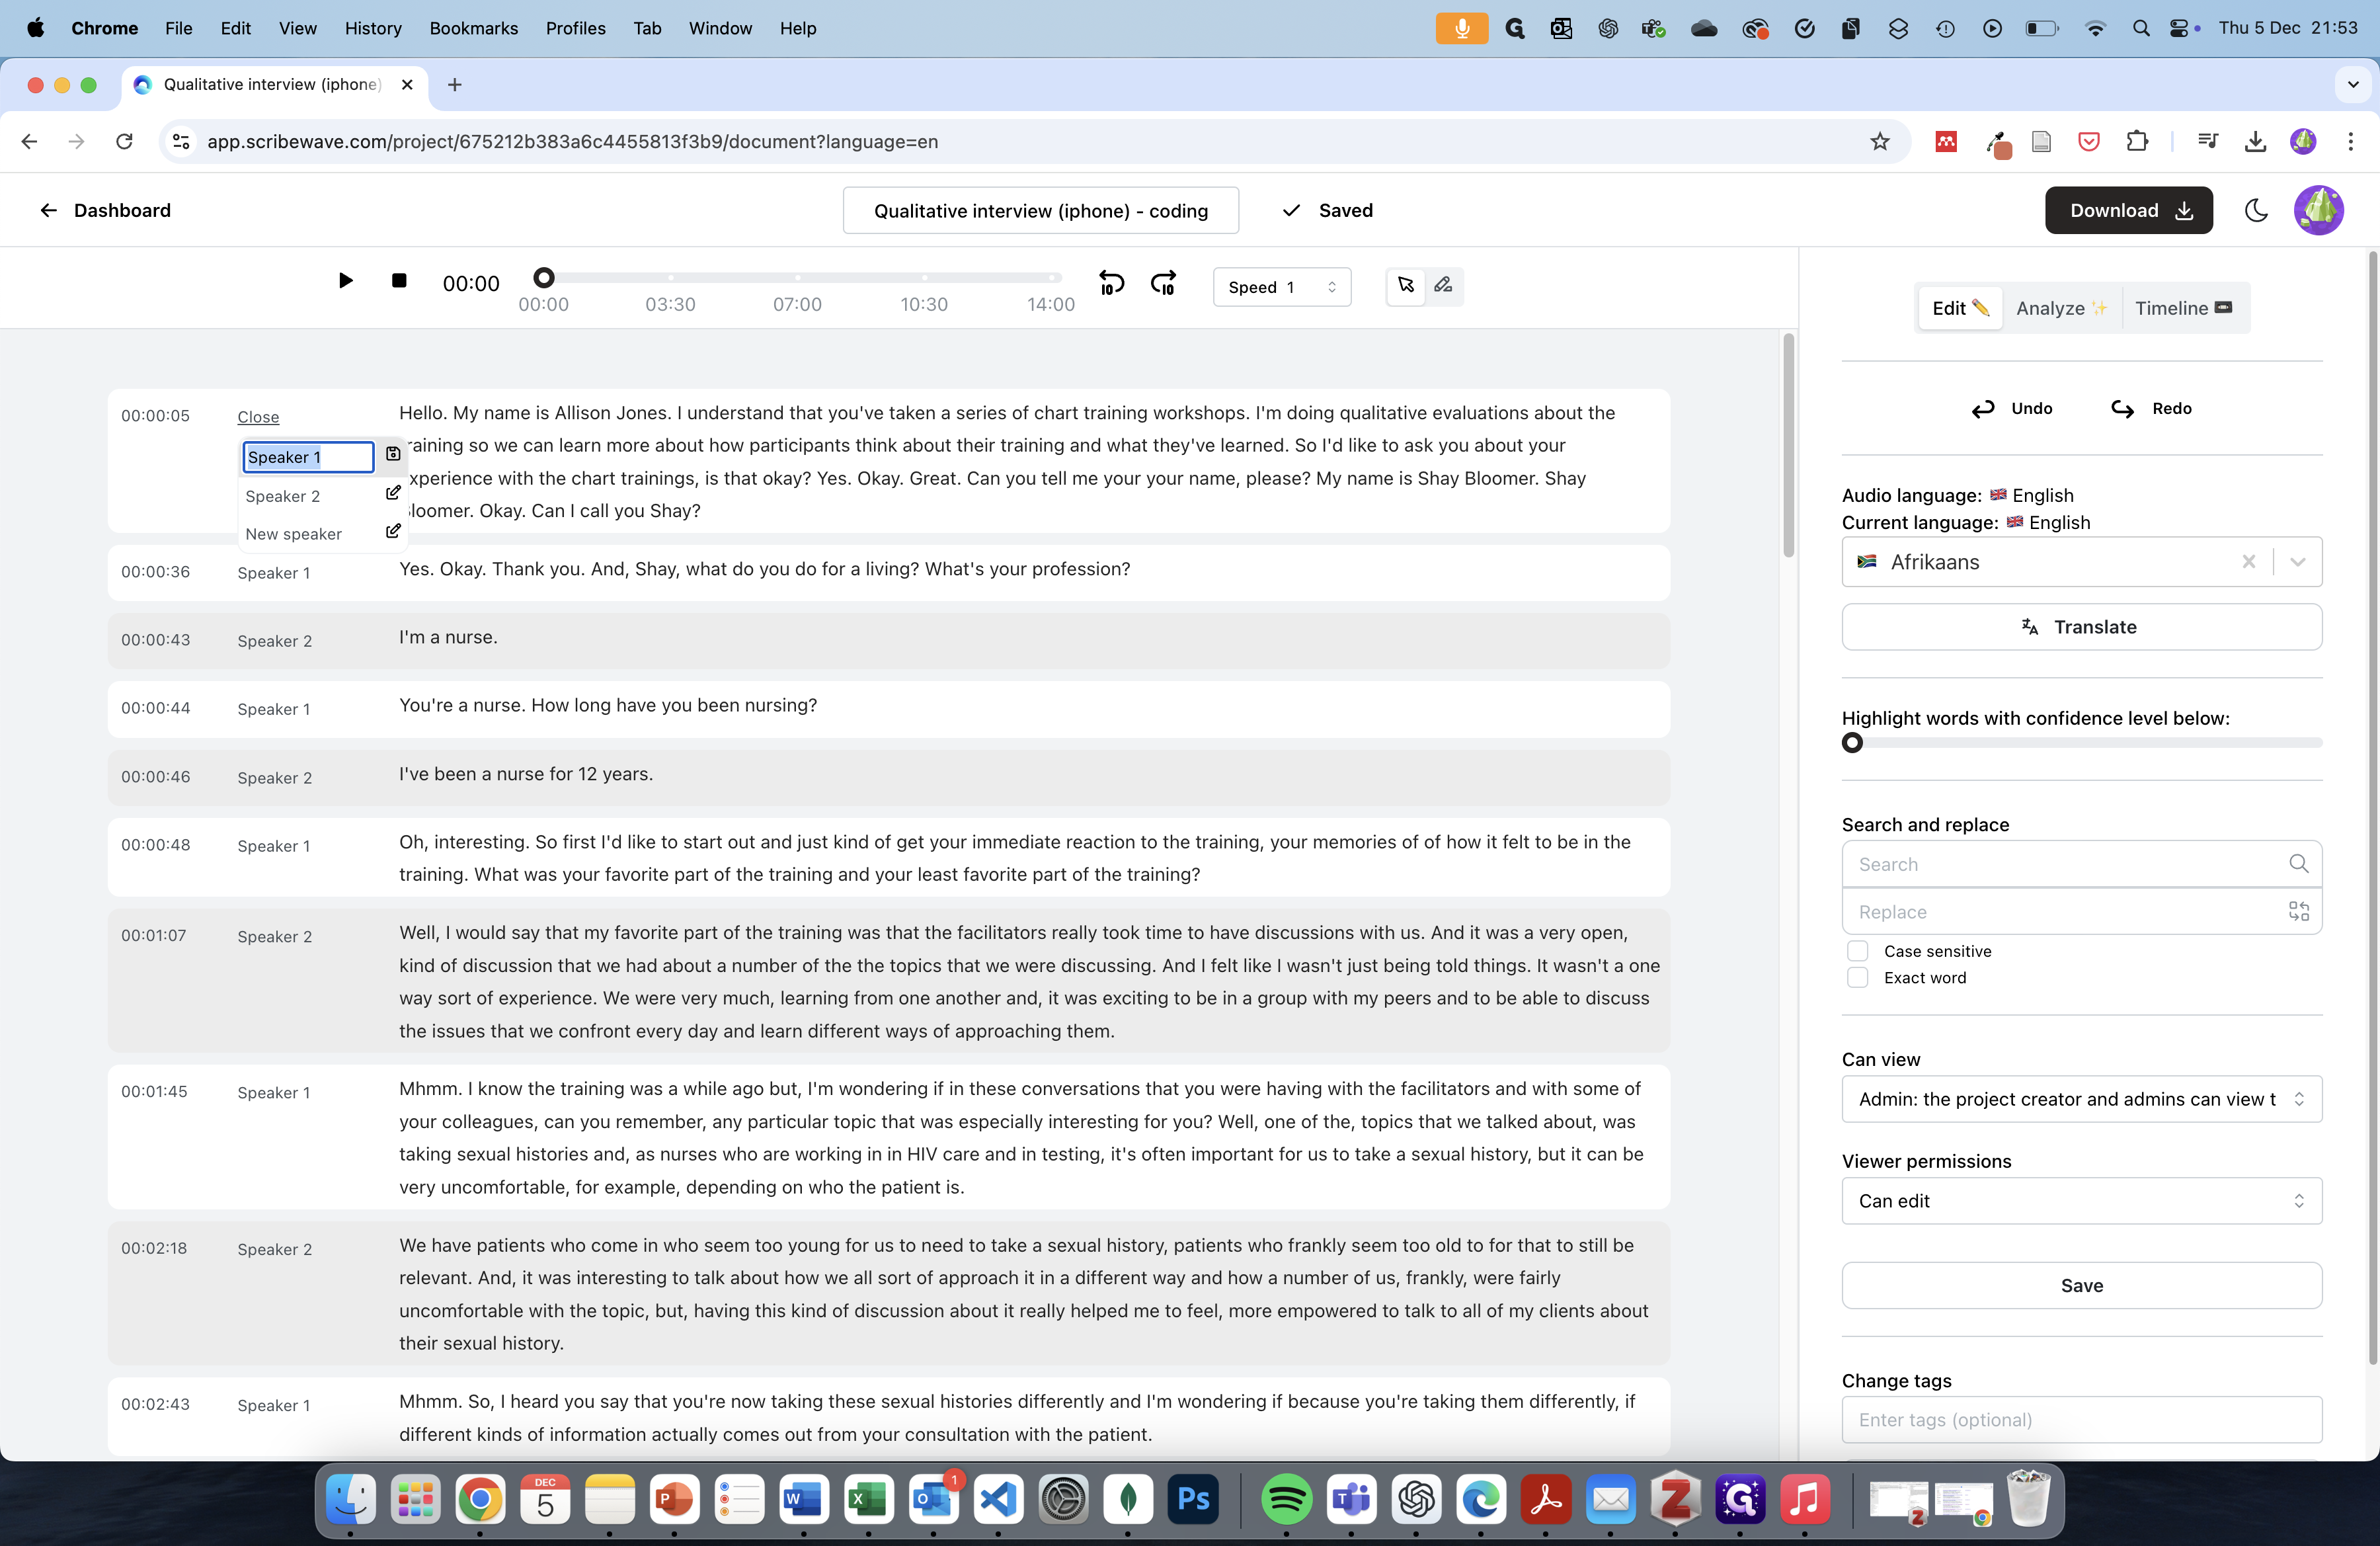
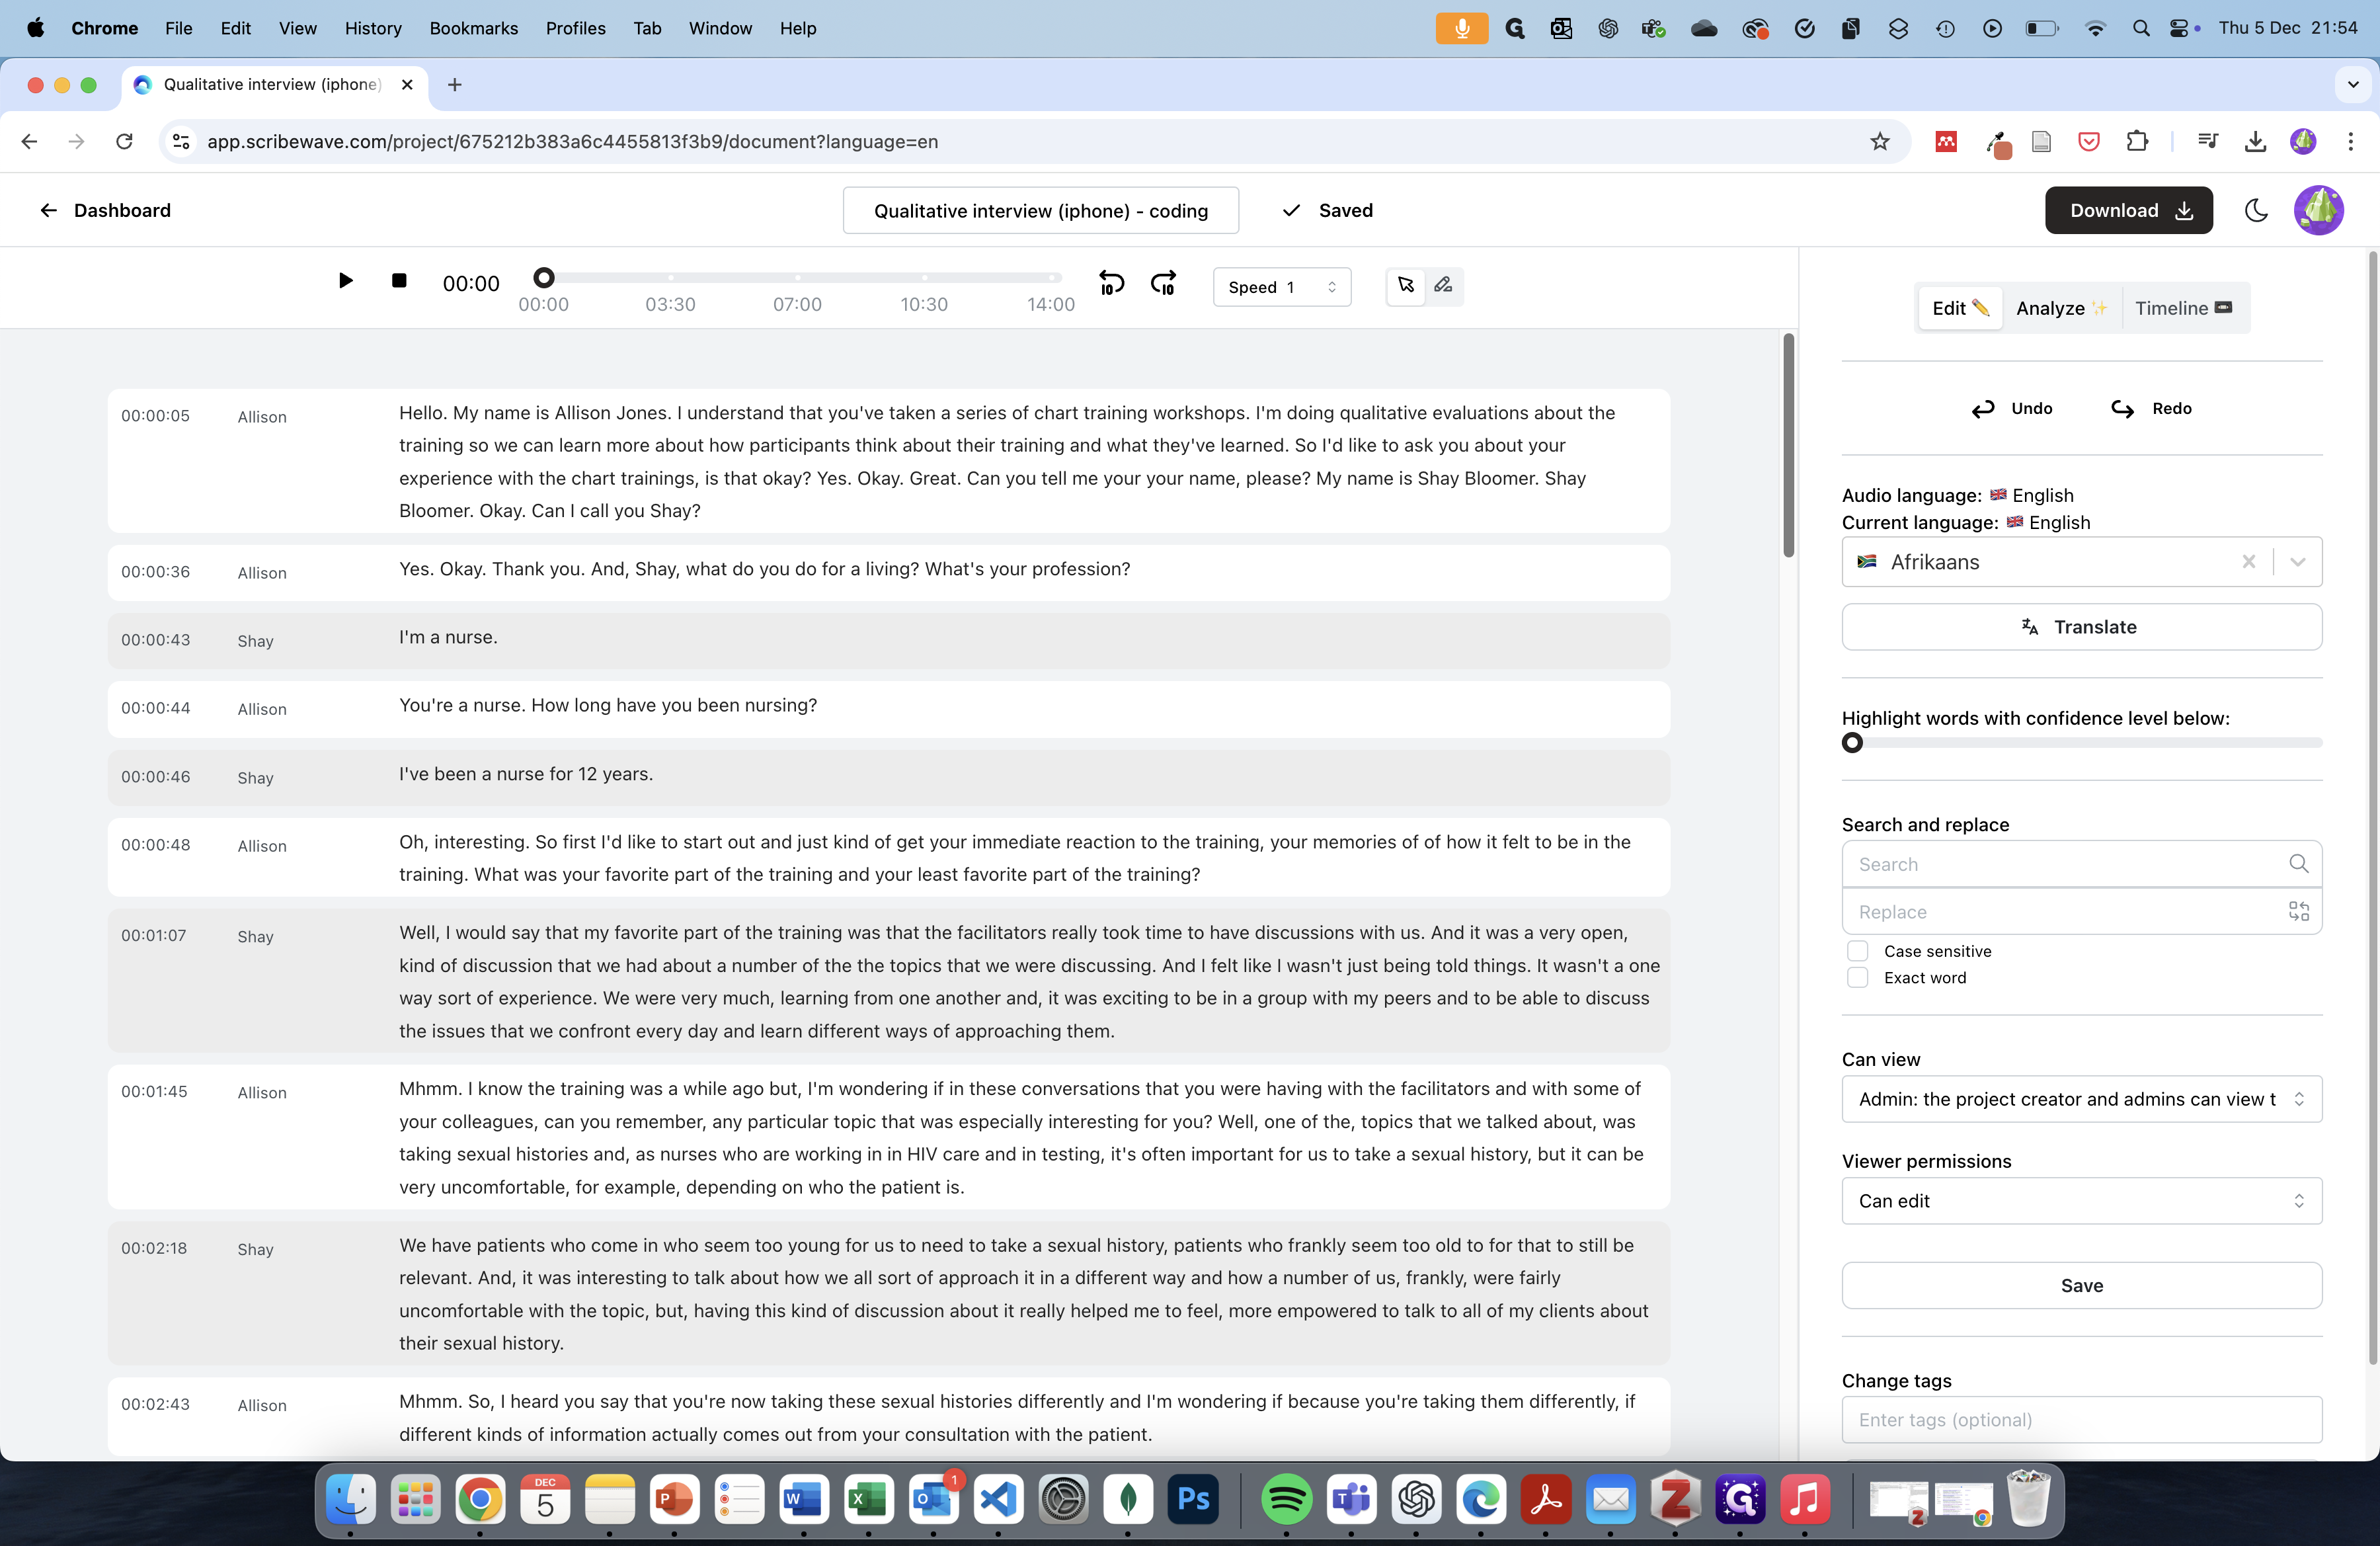
The speakers are automatically identified (we call this "diarization"). By clicking on a speaker, you can edit the speaker name. This is not obligatory, but it will make our analysis more accurate.
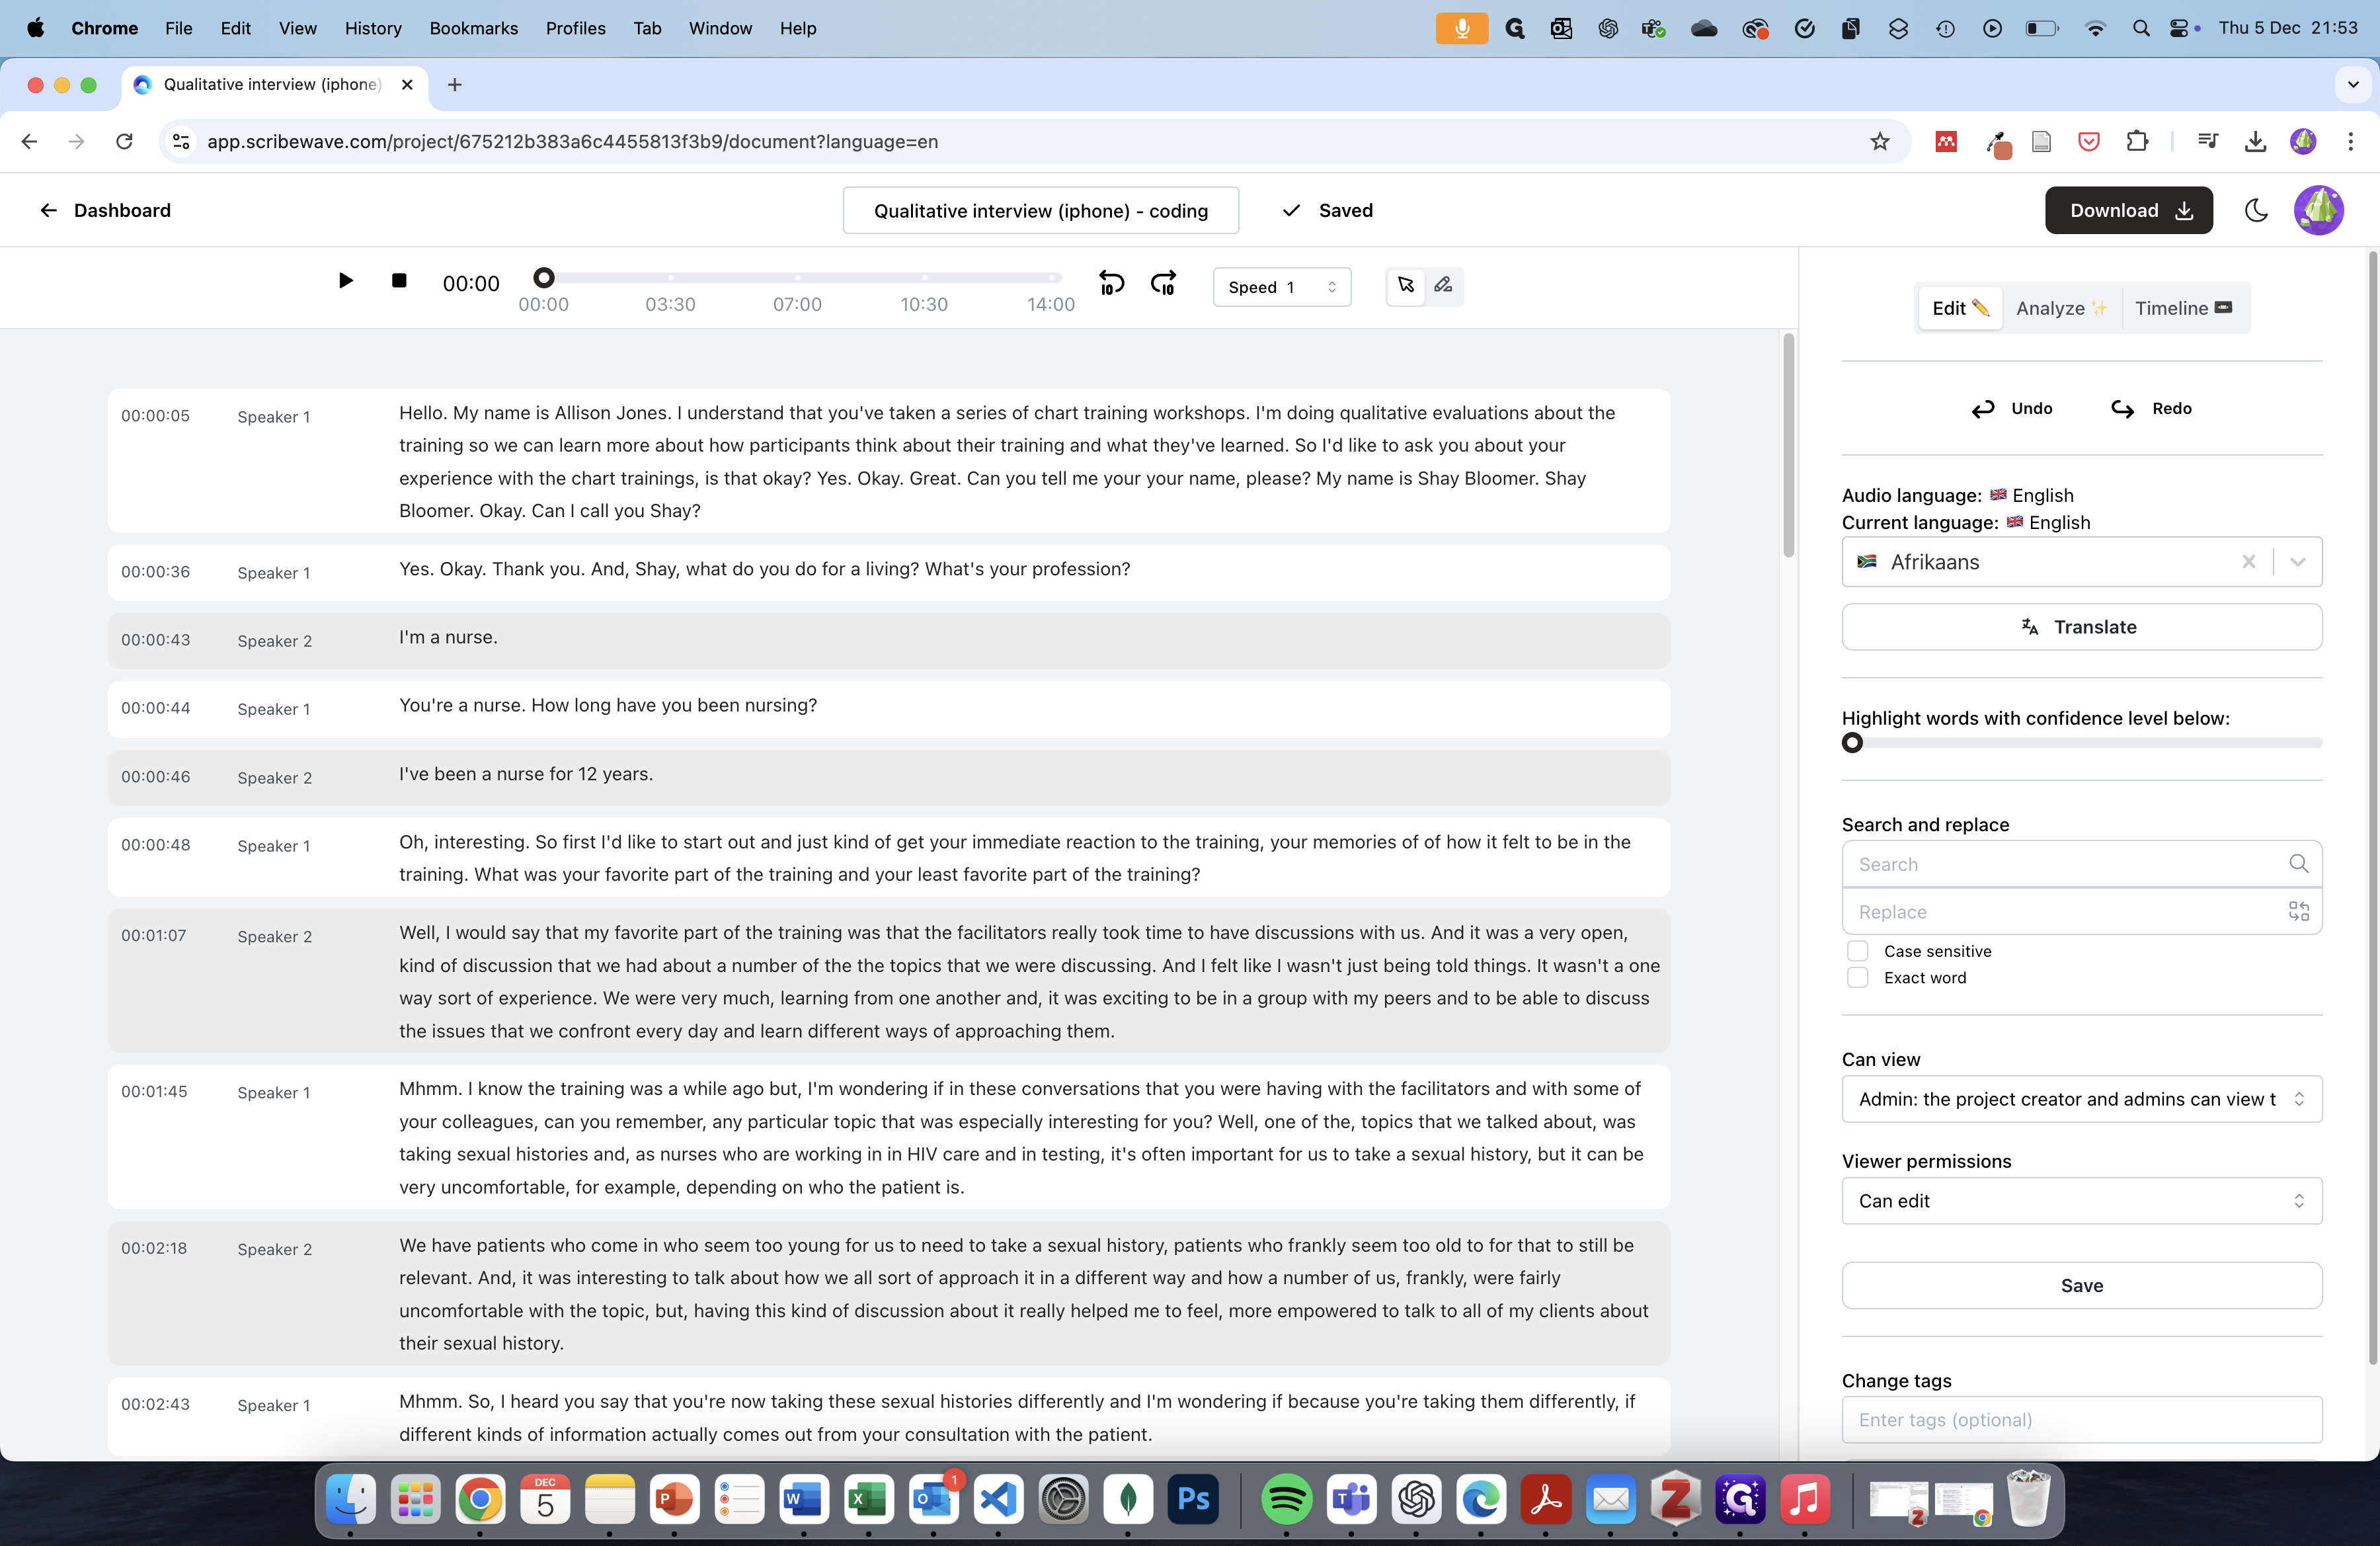
Now the magic happens: Scribewave will automatically summarize and code this interview. To access this feature, go to the right sidebar and click on the "Analyze" tab.
Now we can automatically analyze the entire document by clicking on the "Analyze" button.
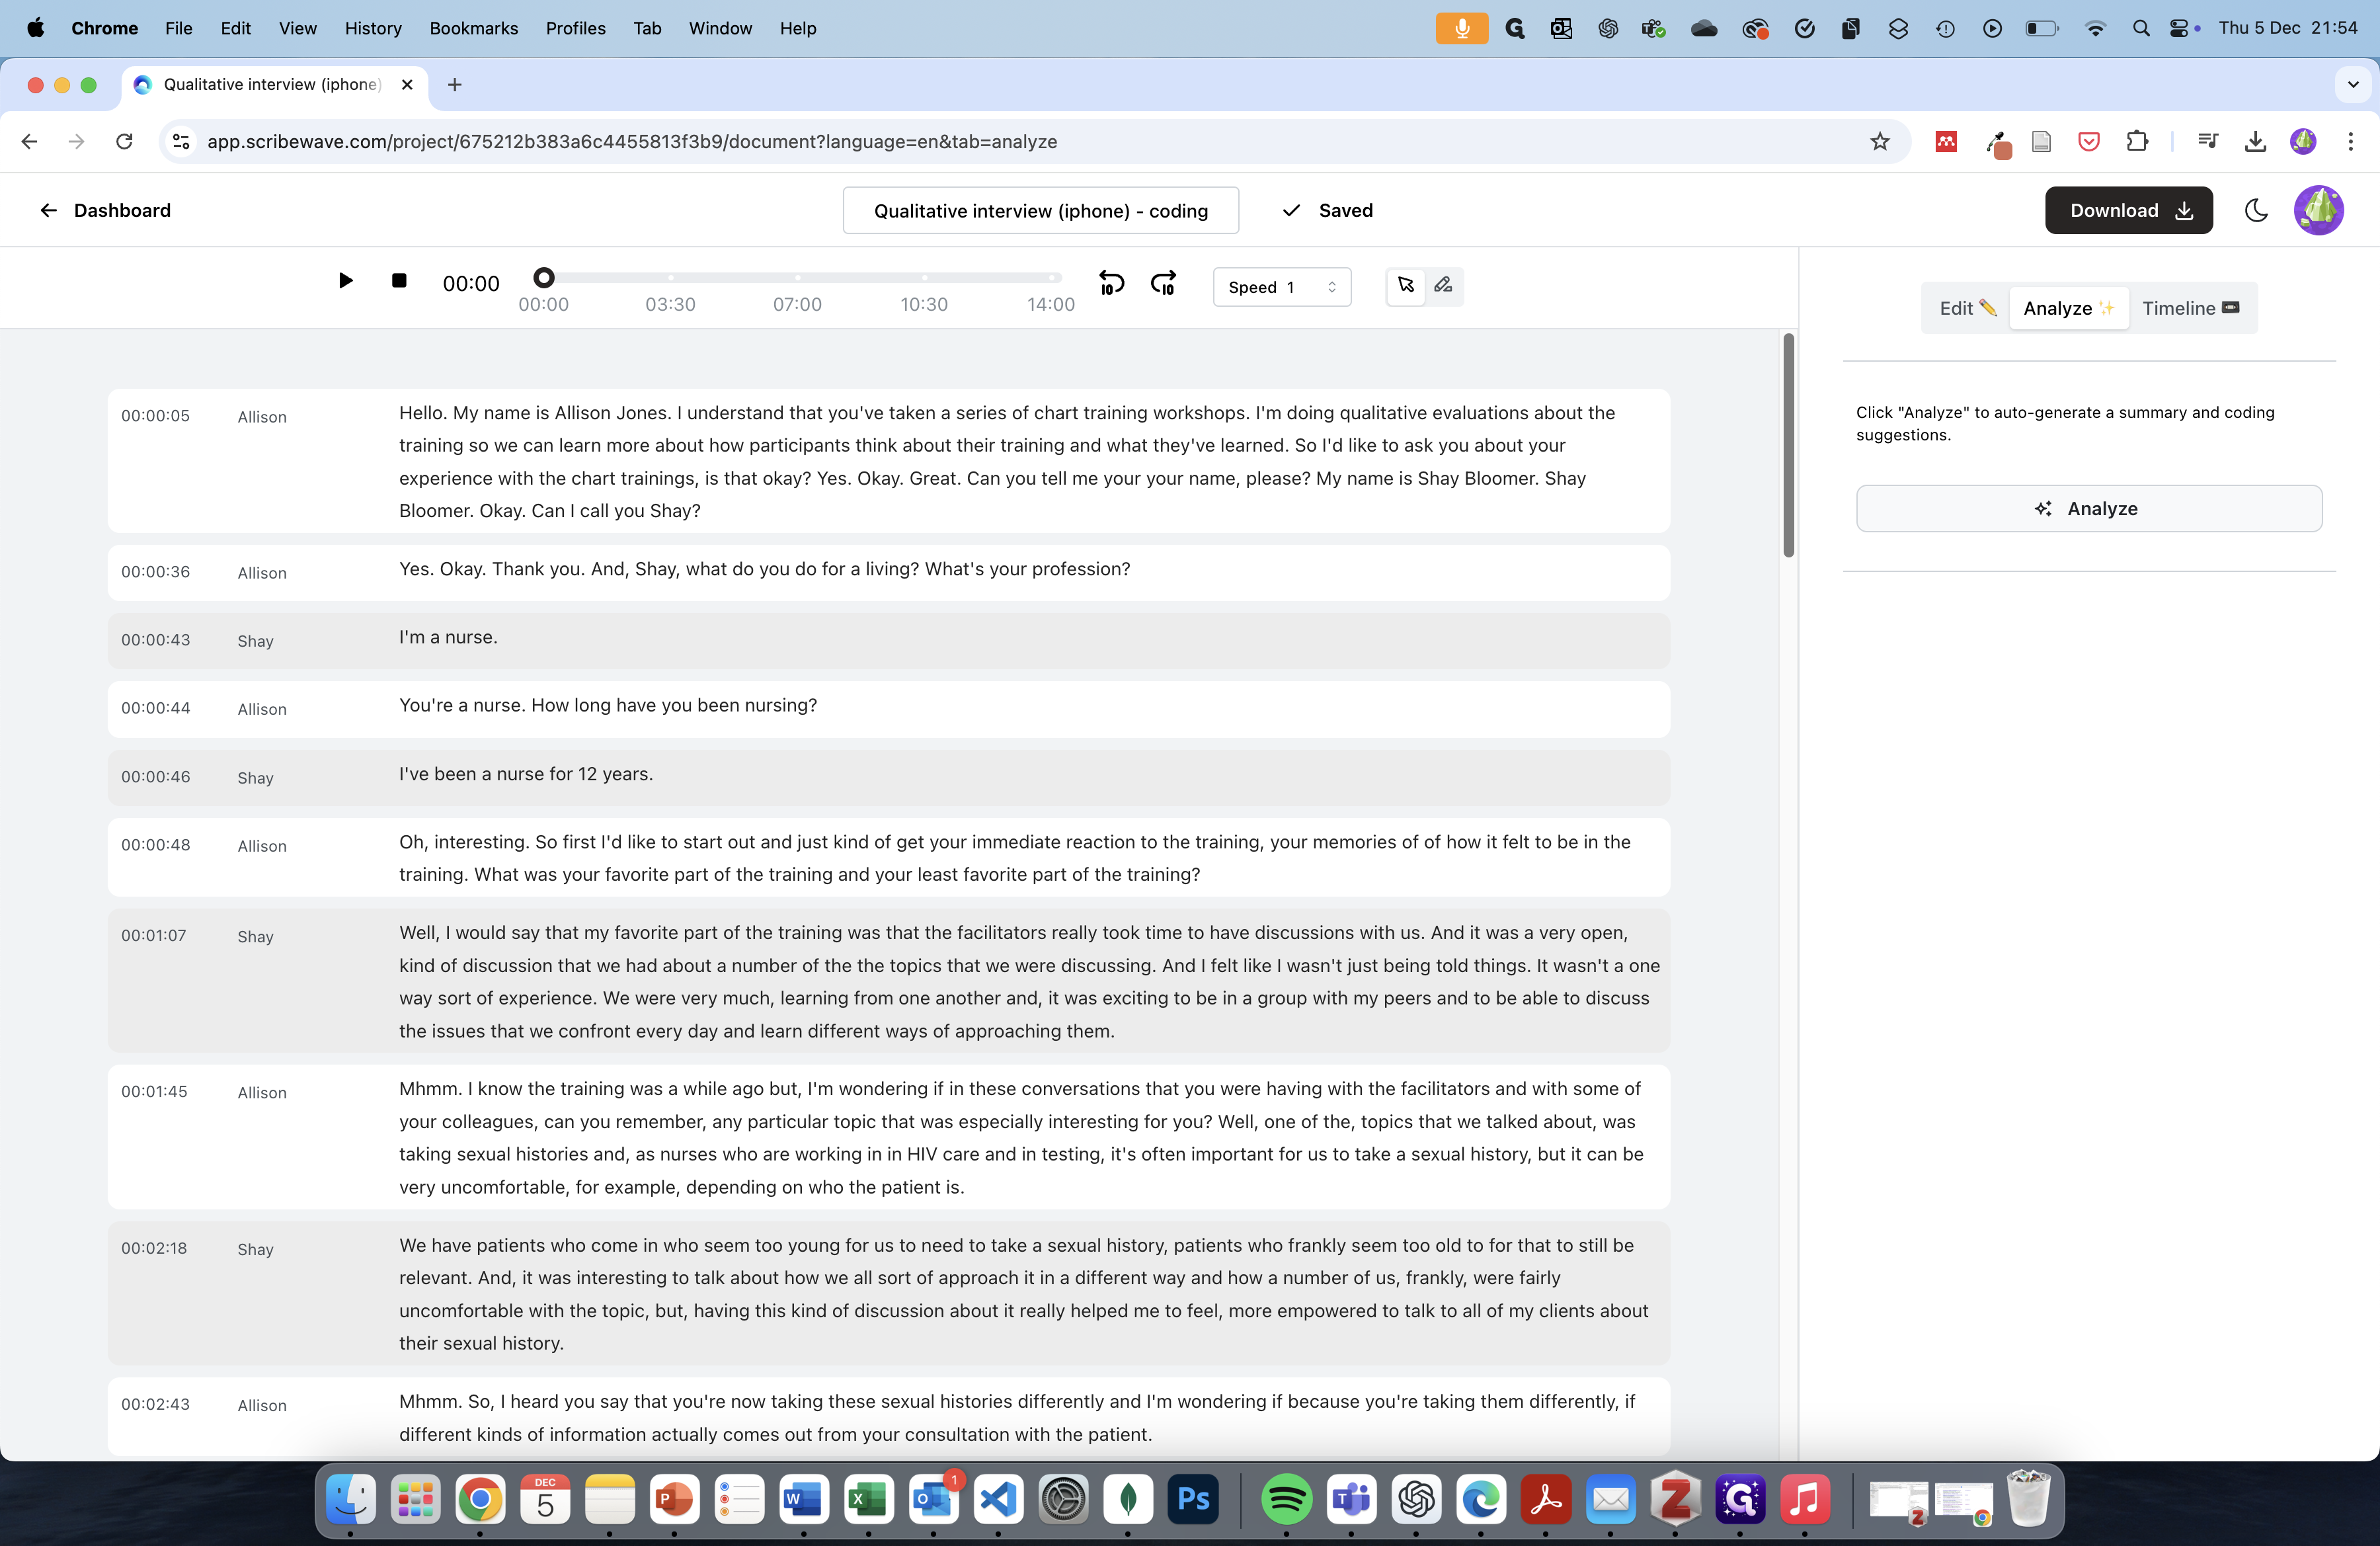
Depending on the audio file's length, the analysis might take a minute. This saves you hours of time!
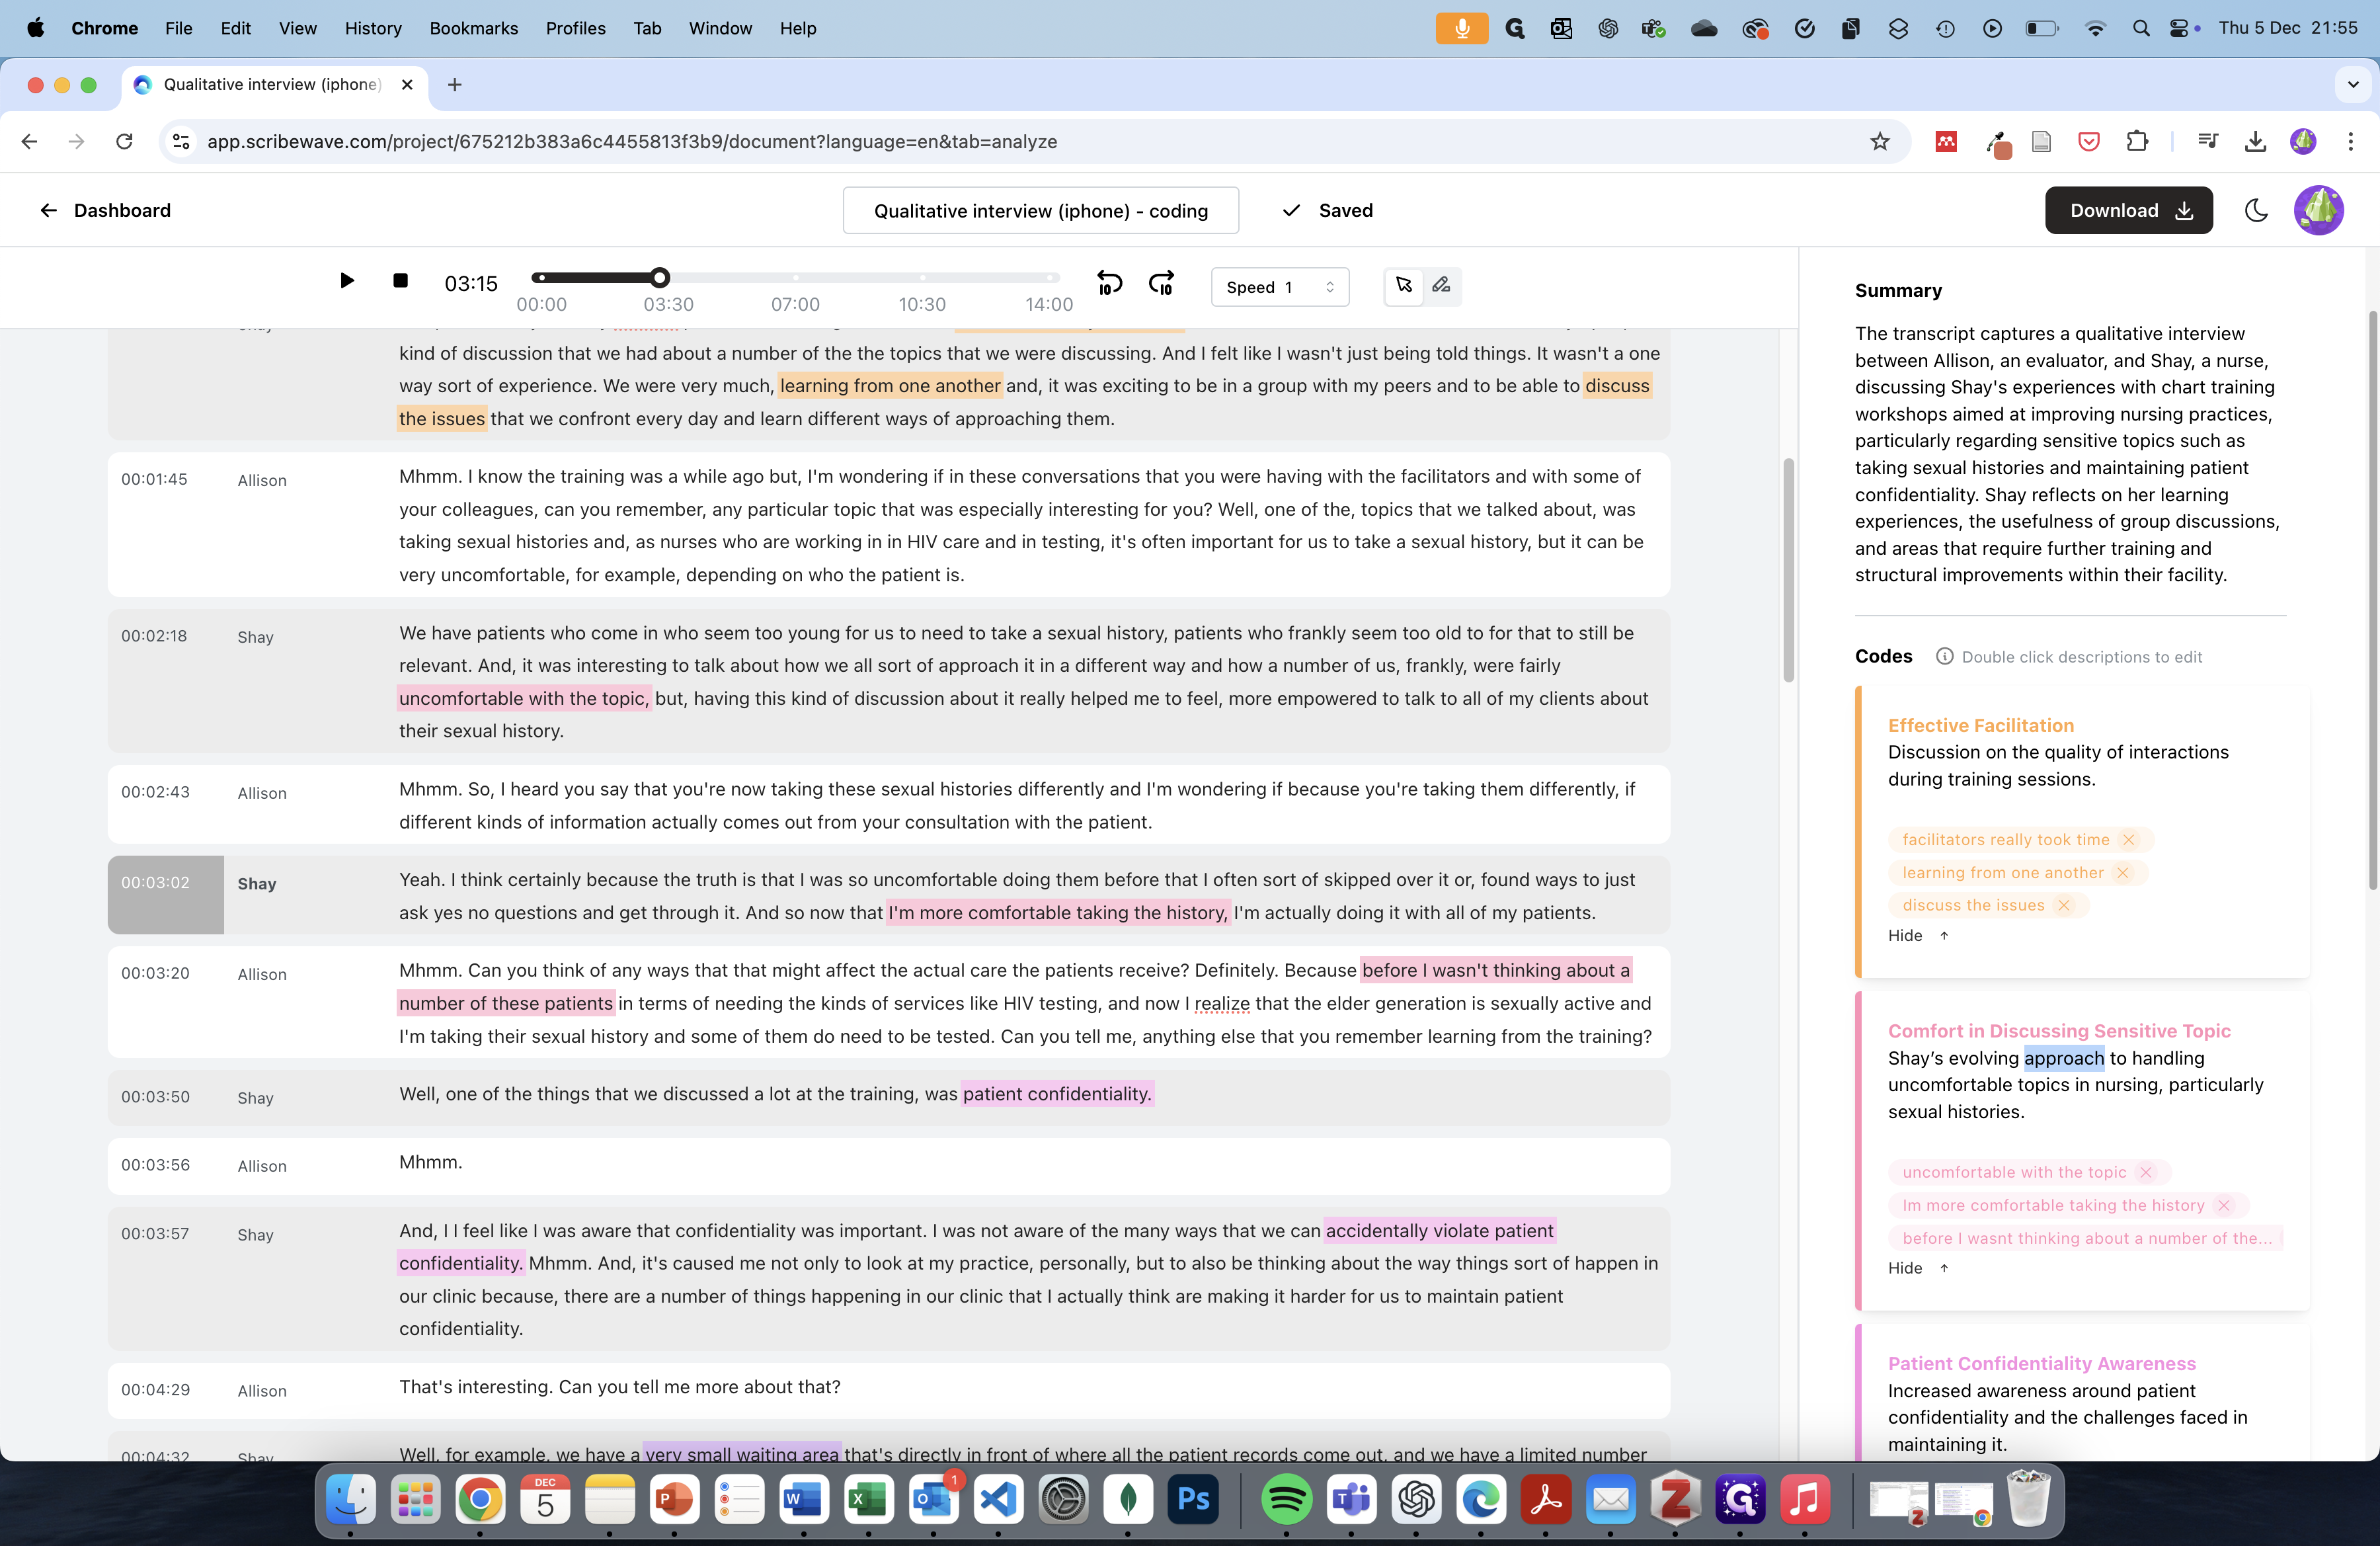
You will see that a summary is automatically generated from the conversation, and relevant codes are added. To view these codes, click on "show all codes" and click on a code to jump to that exact moment in the file.
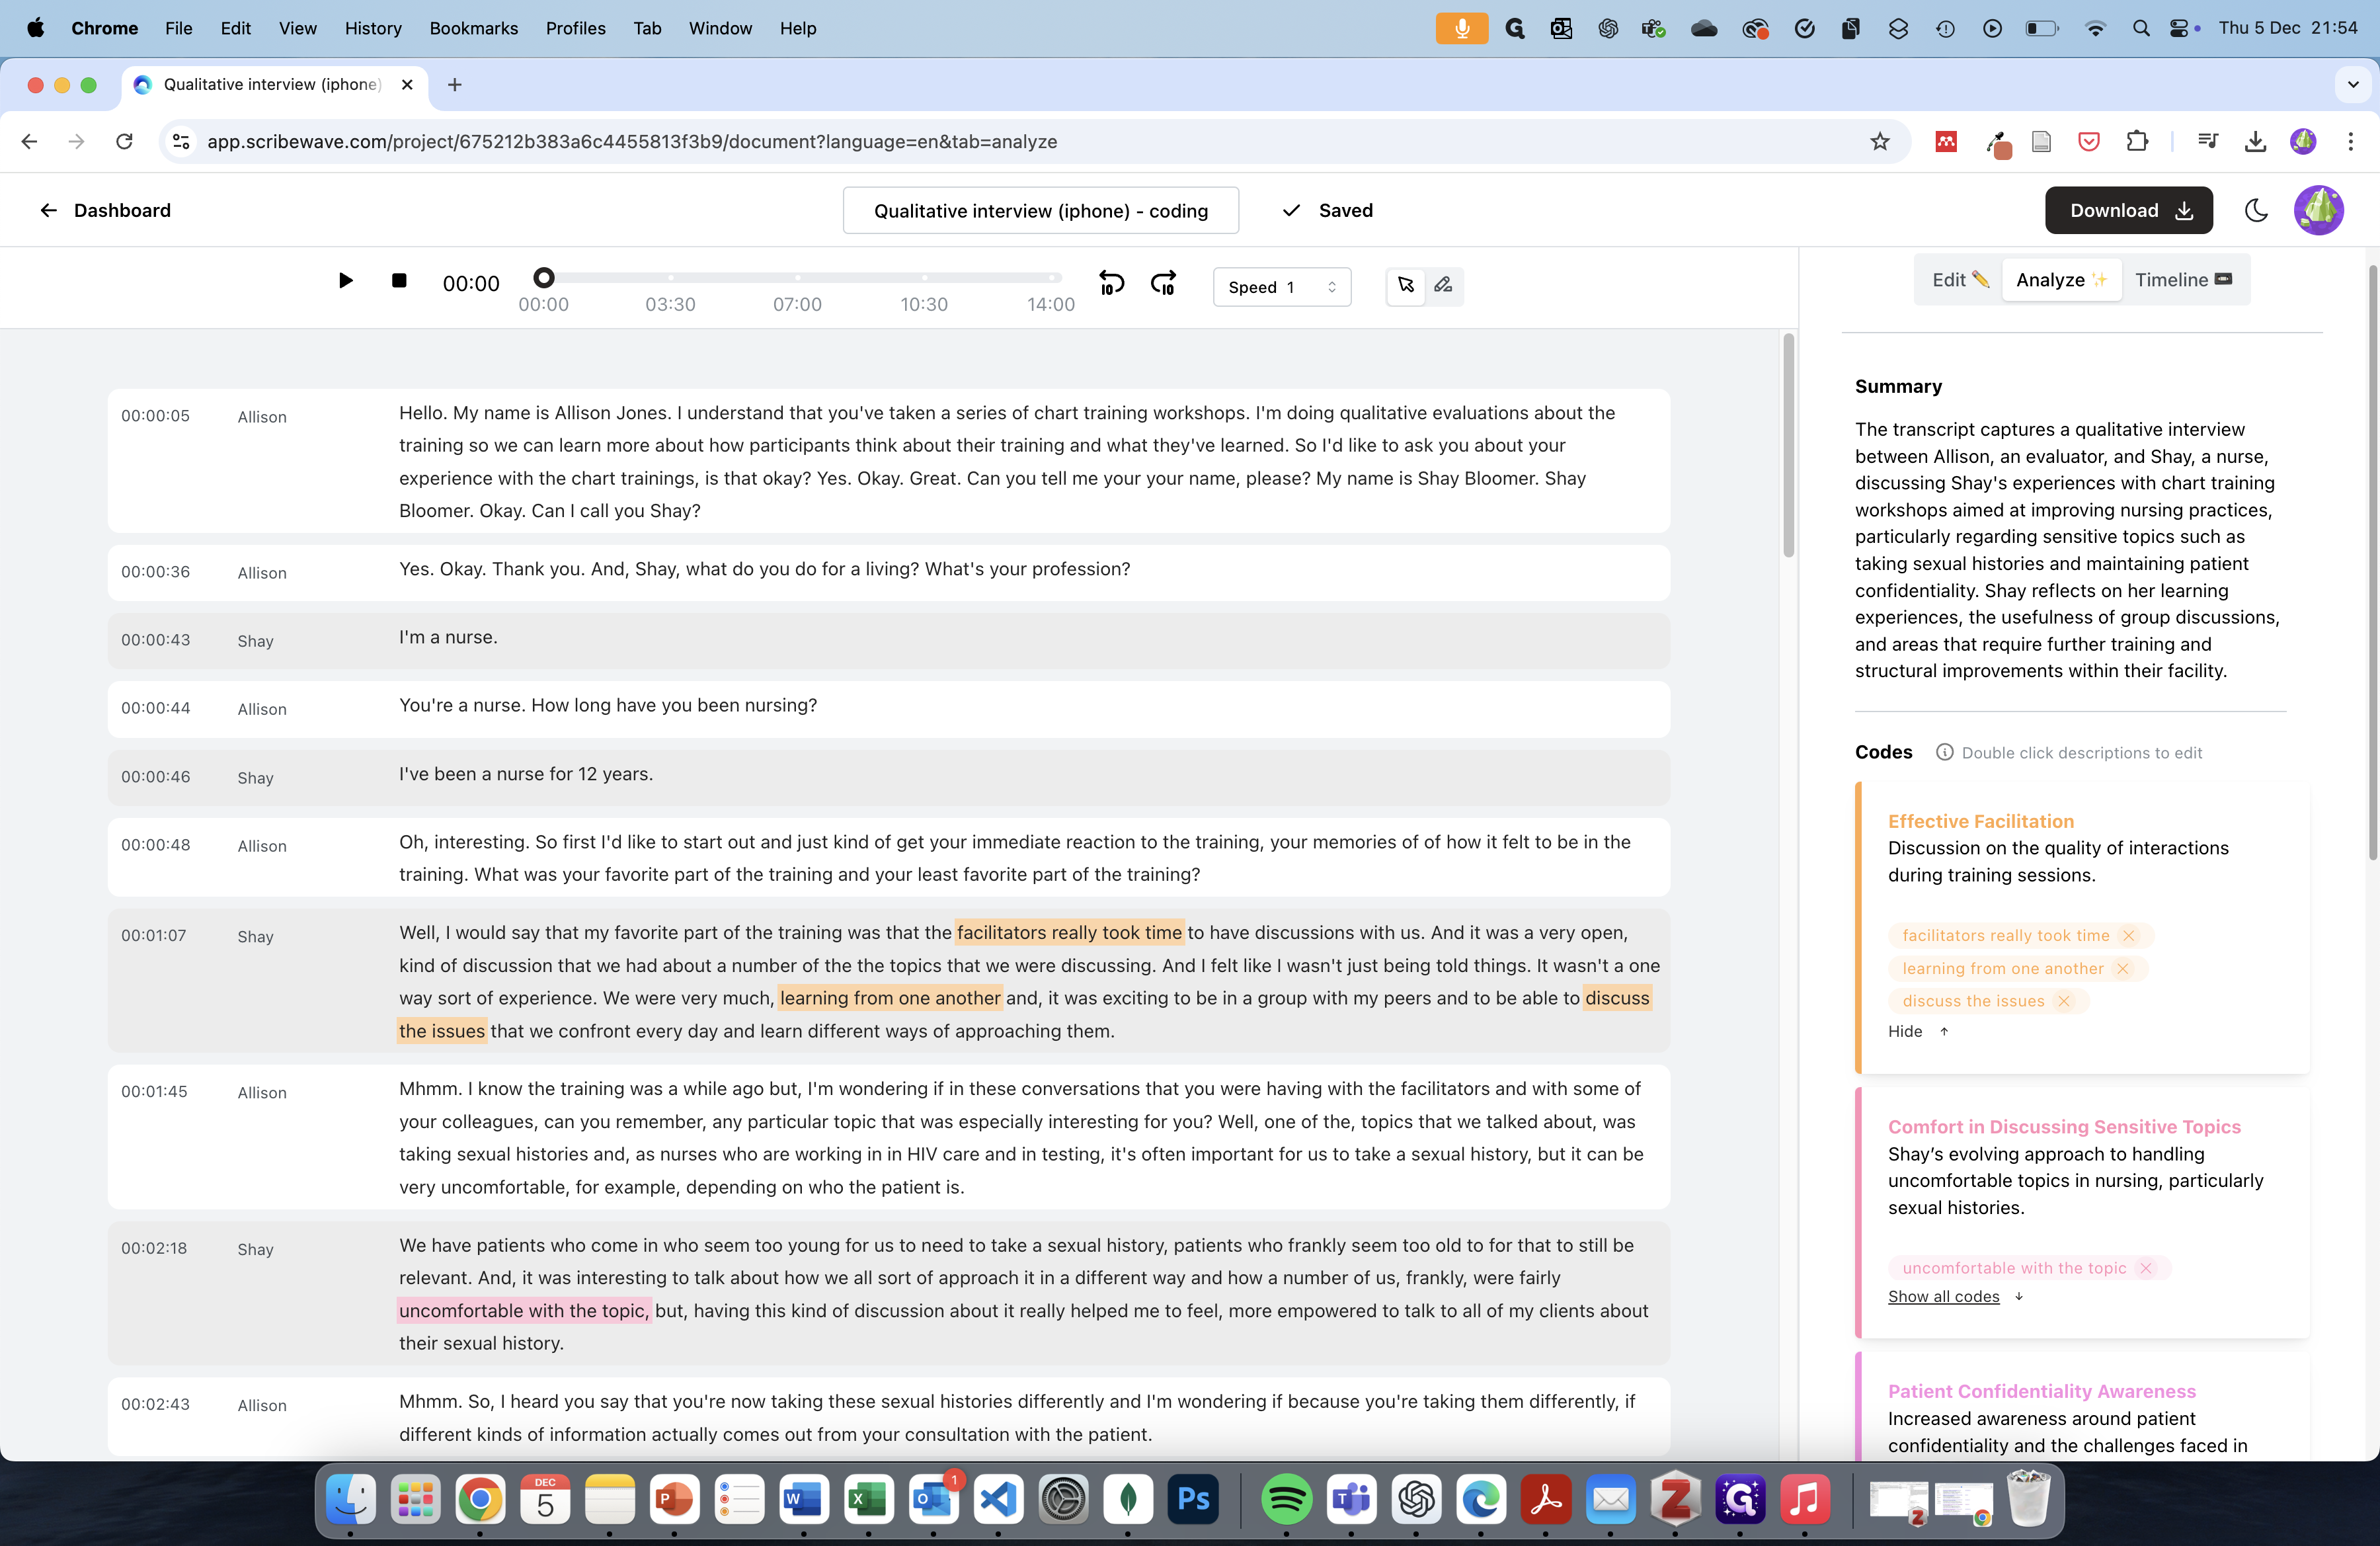

When you click that, the audio will automatically jump to that point. If you're not happy with a certain code, you can click the "x" behind it to delete it.
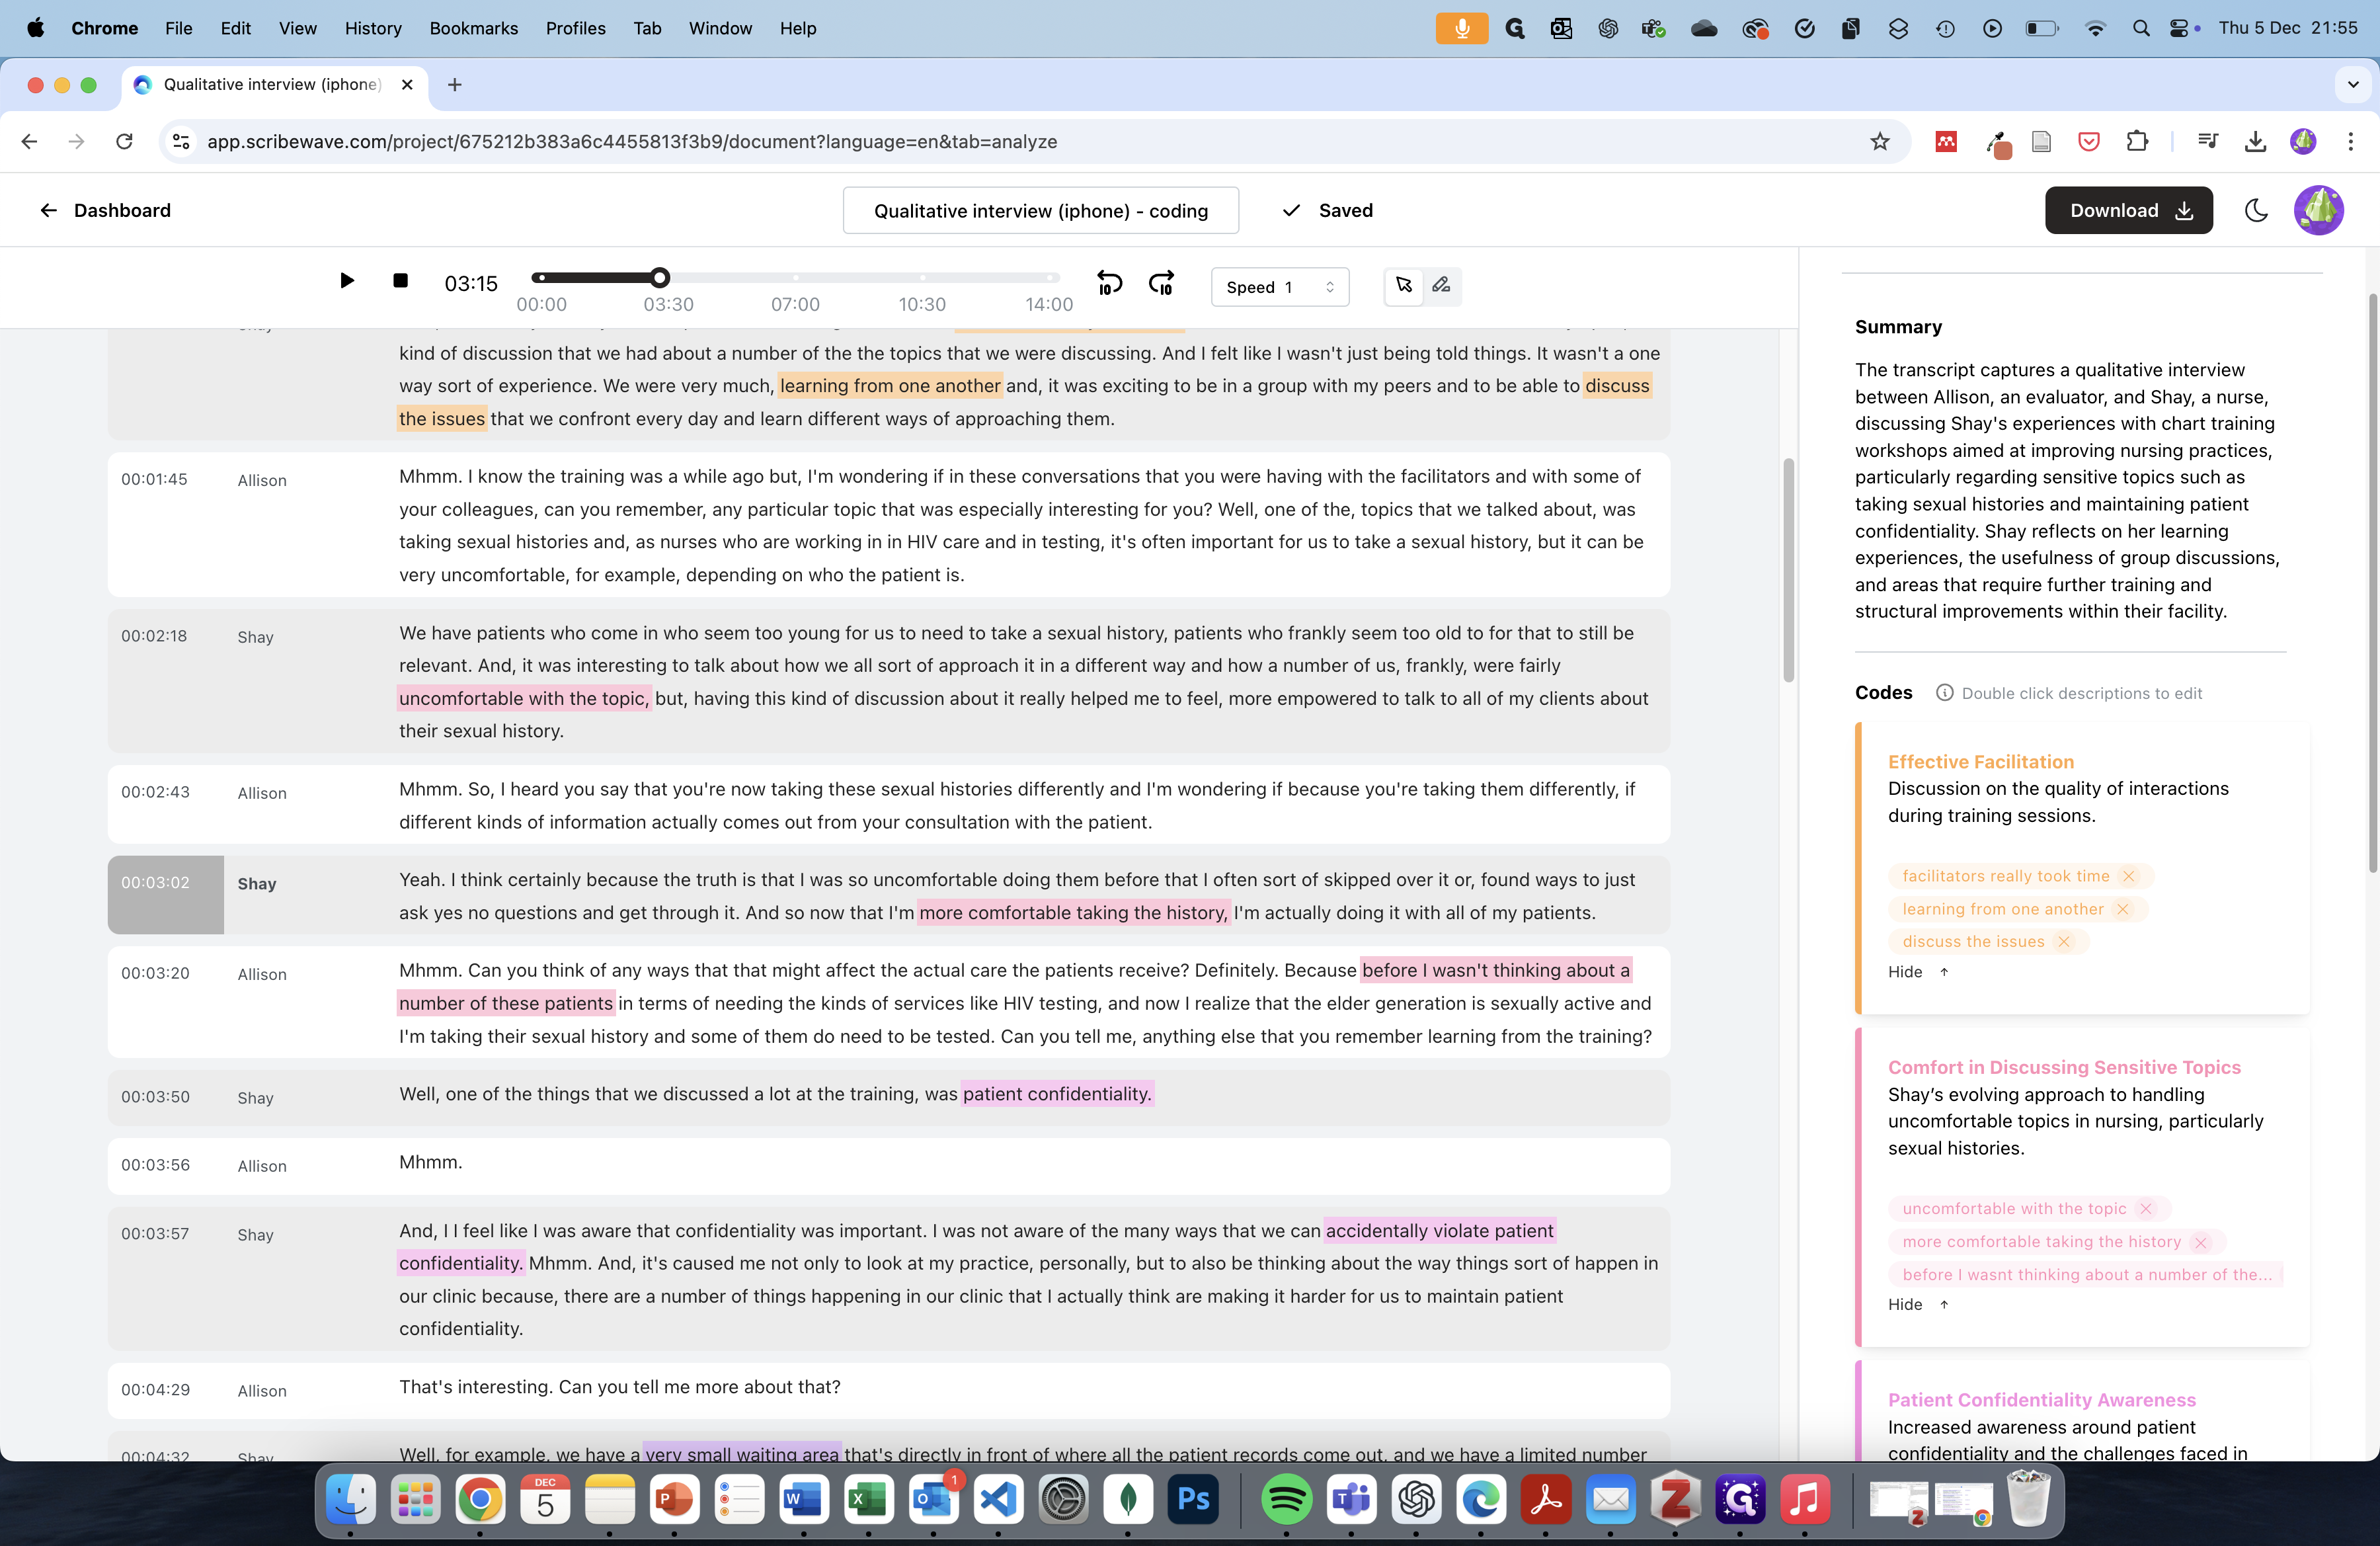
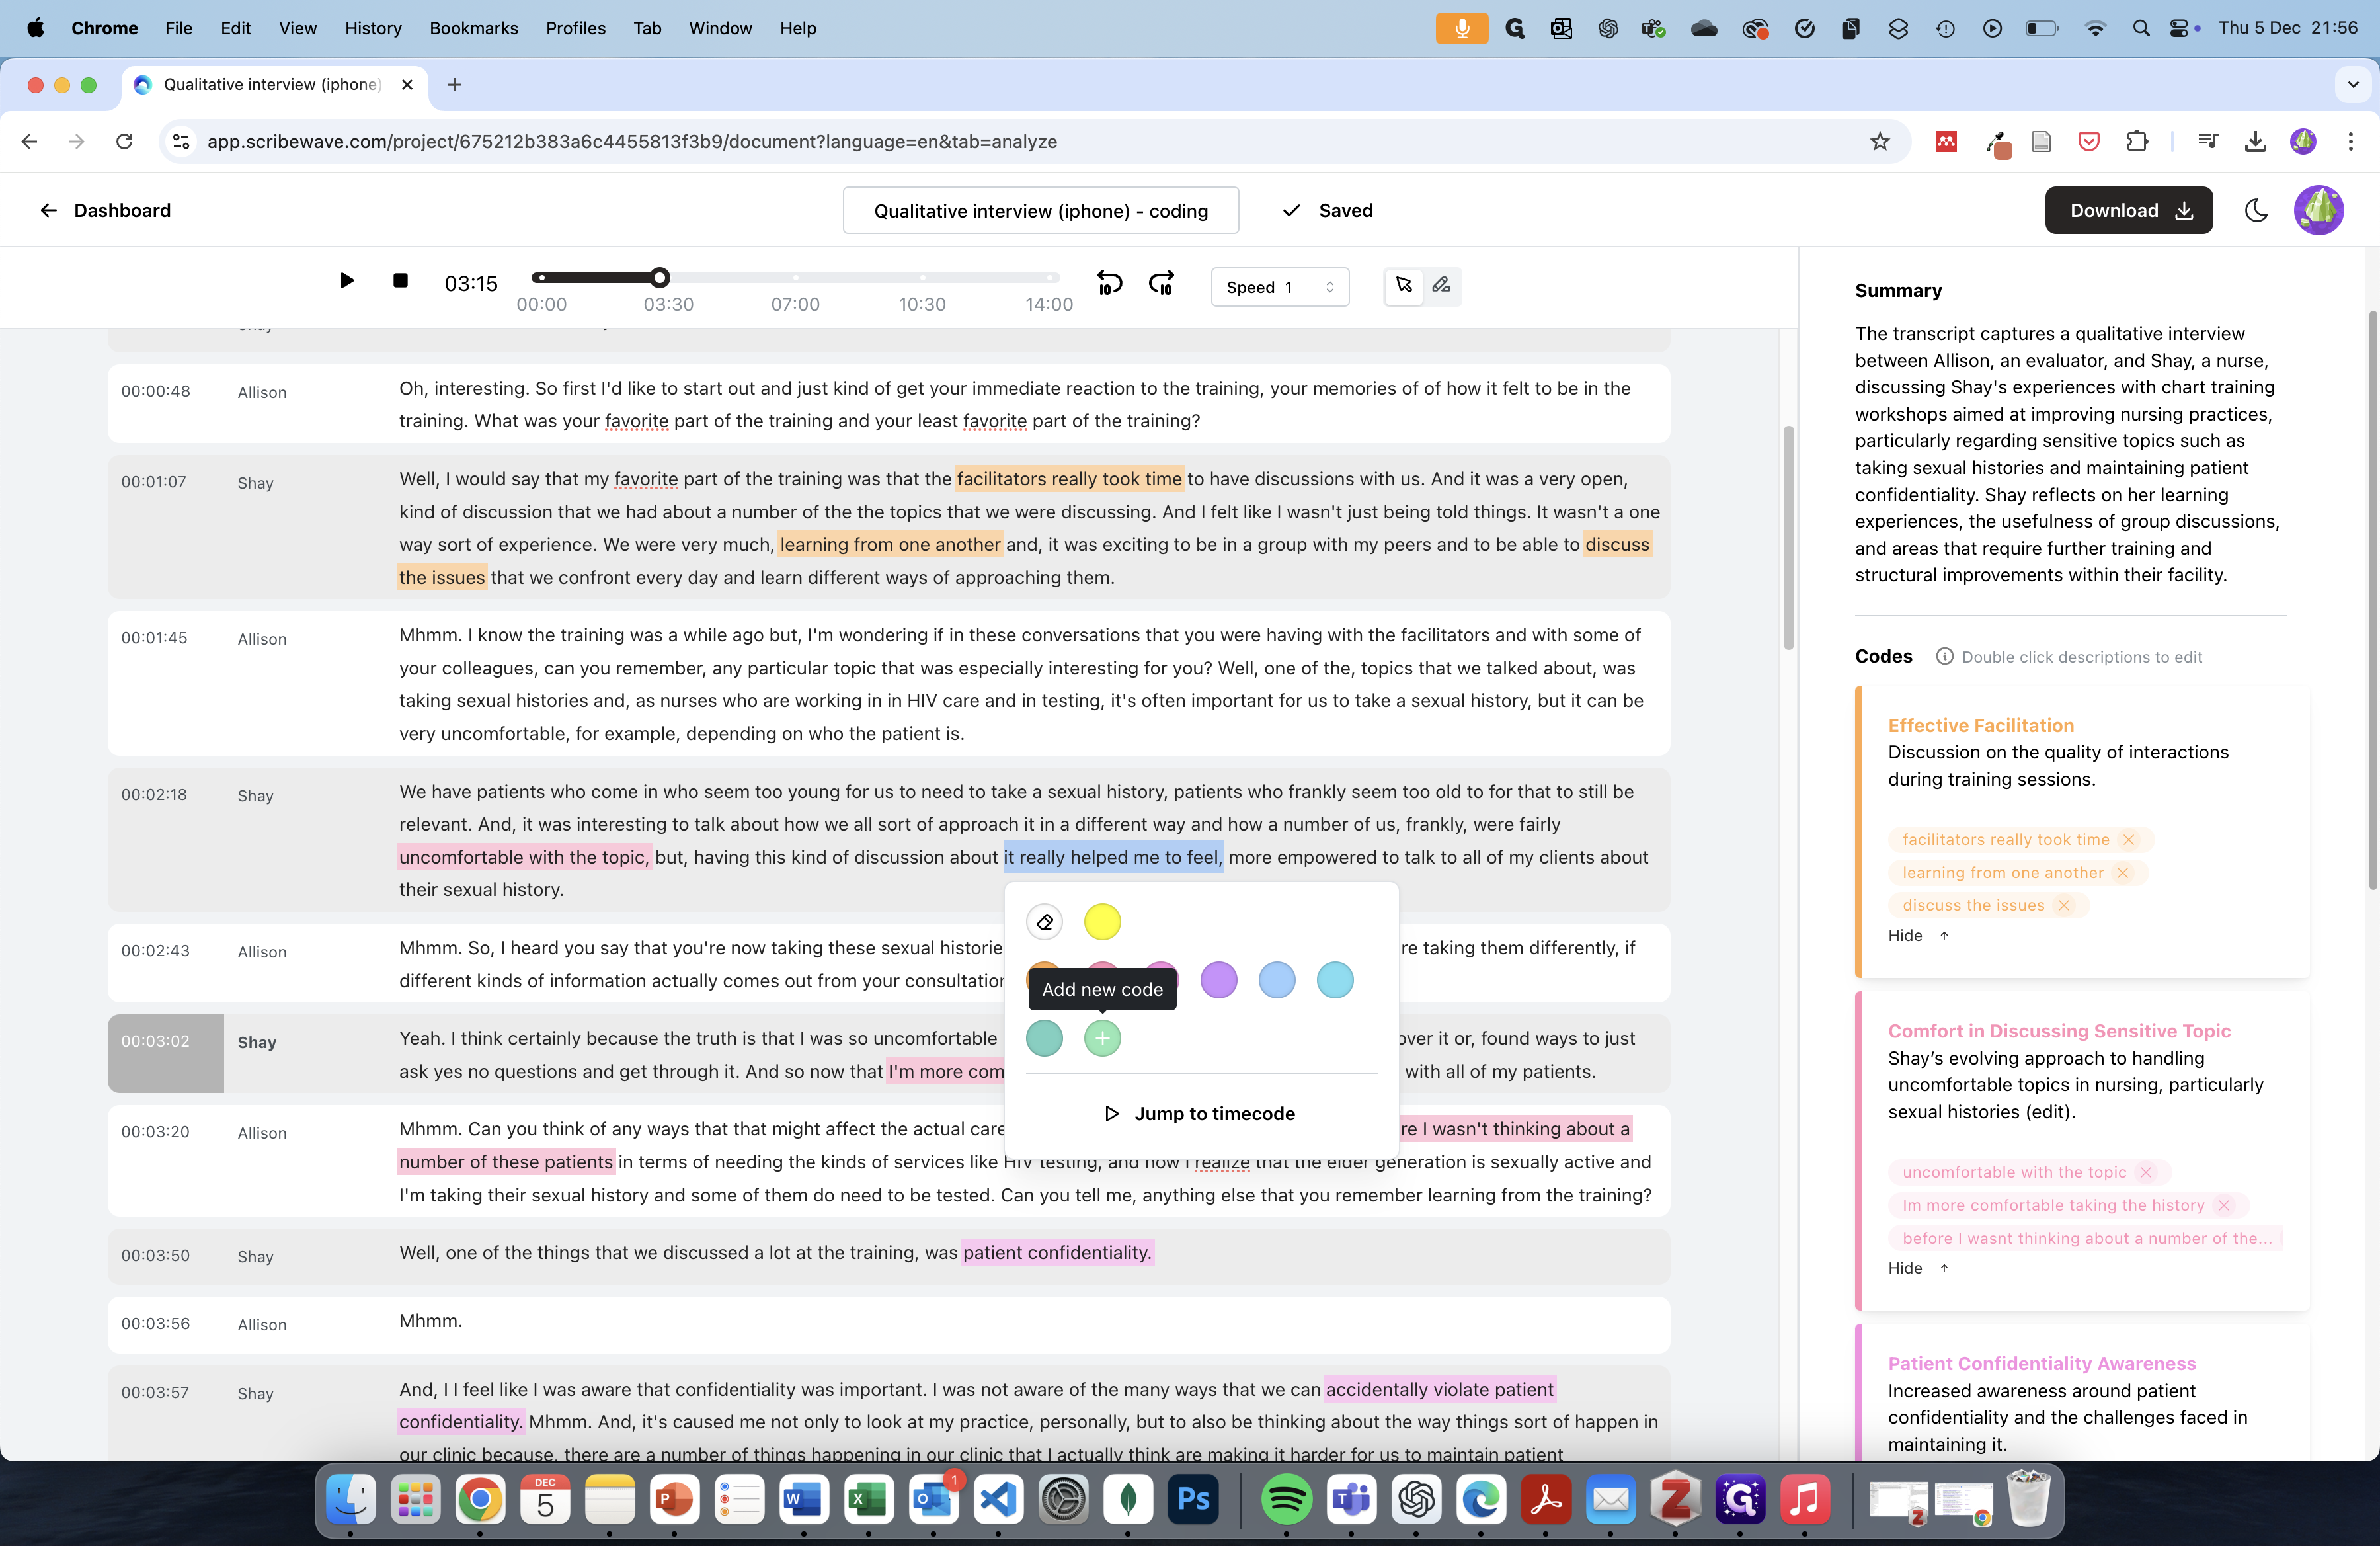
If I want to add code, you can select some text and choose the appropriate code from the context menu.

When you hover over the different colors, the tooltip will show which code corresponds to each color.
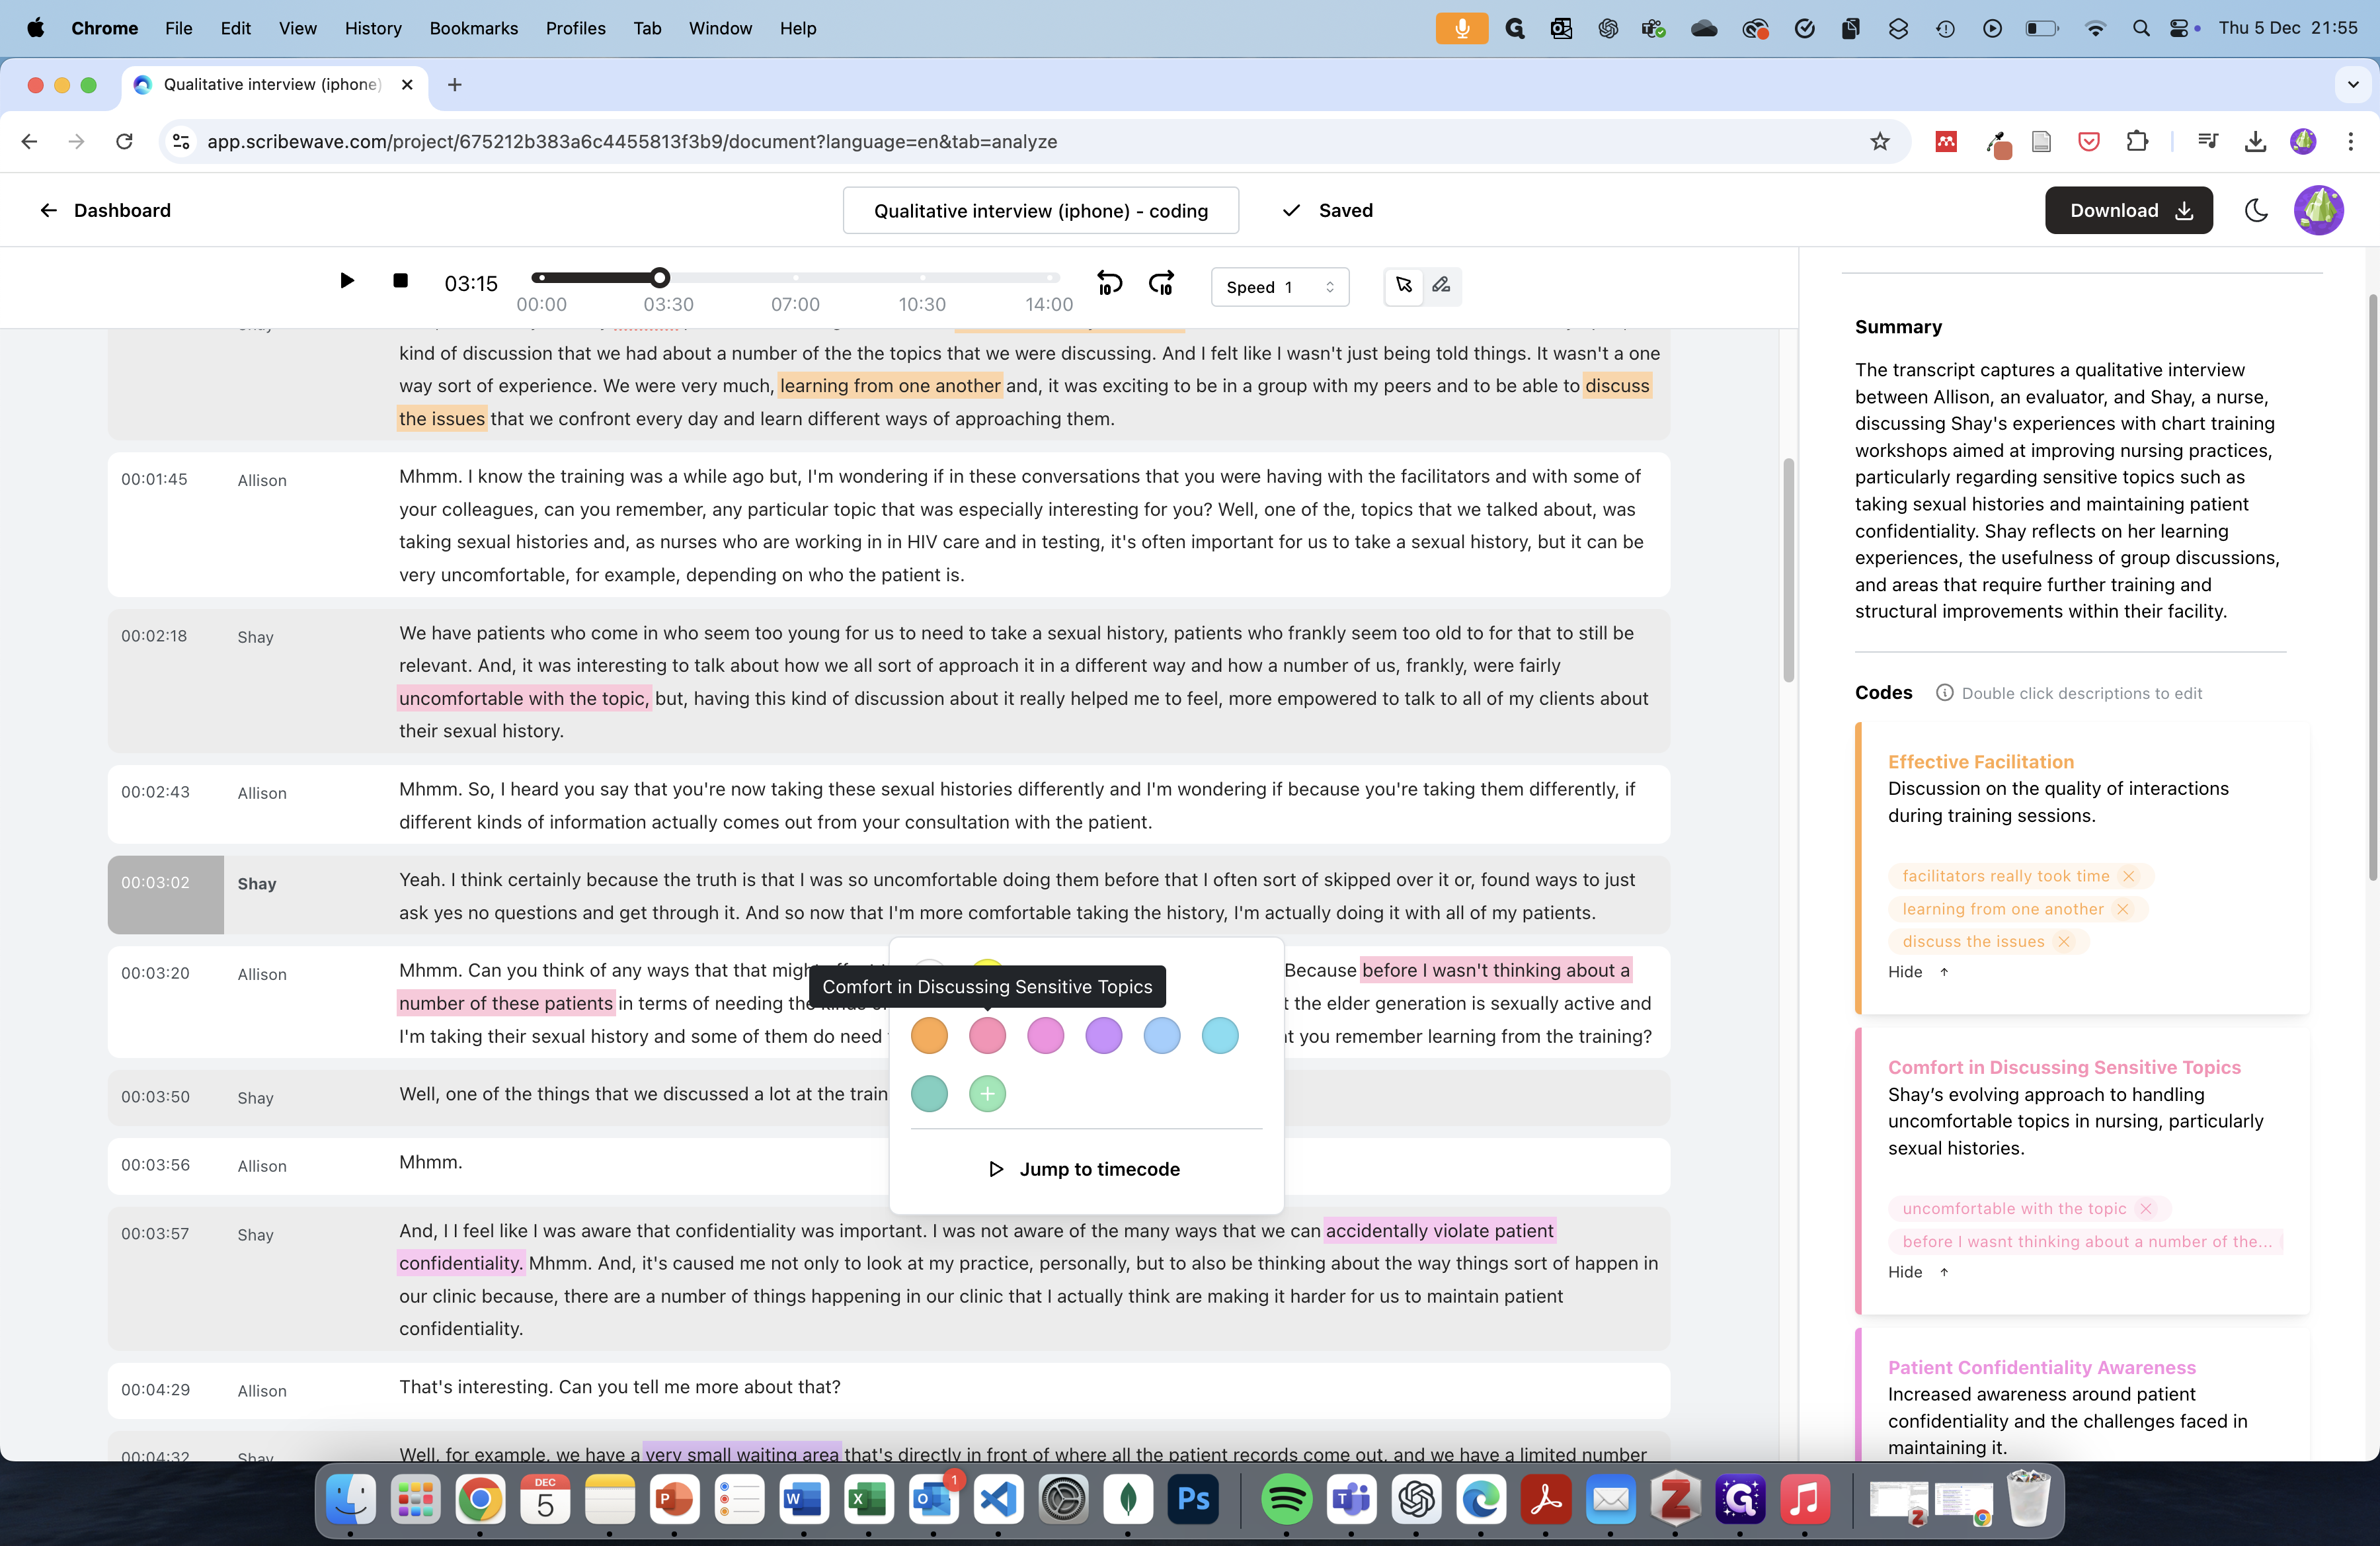
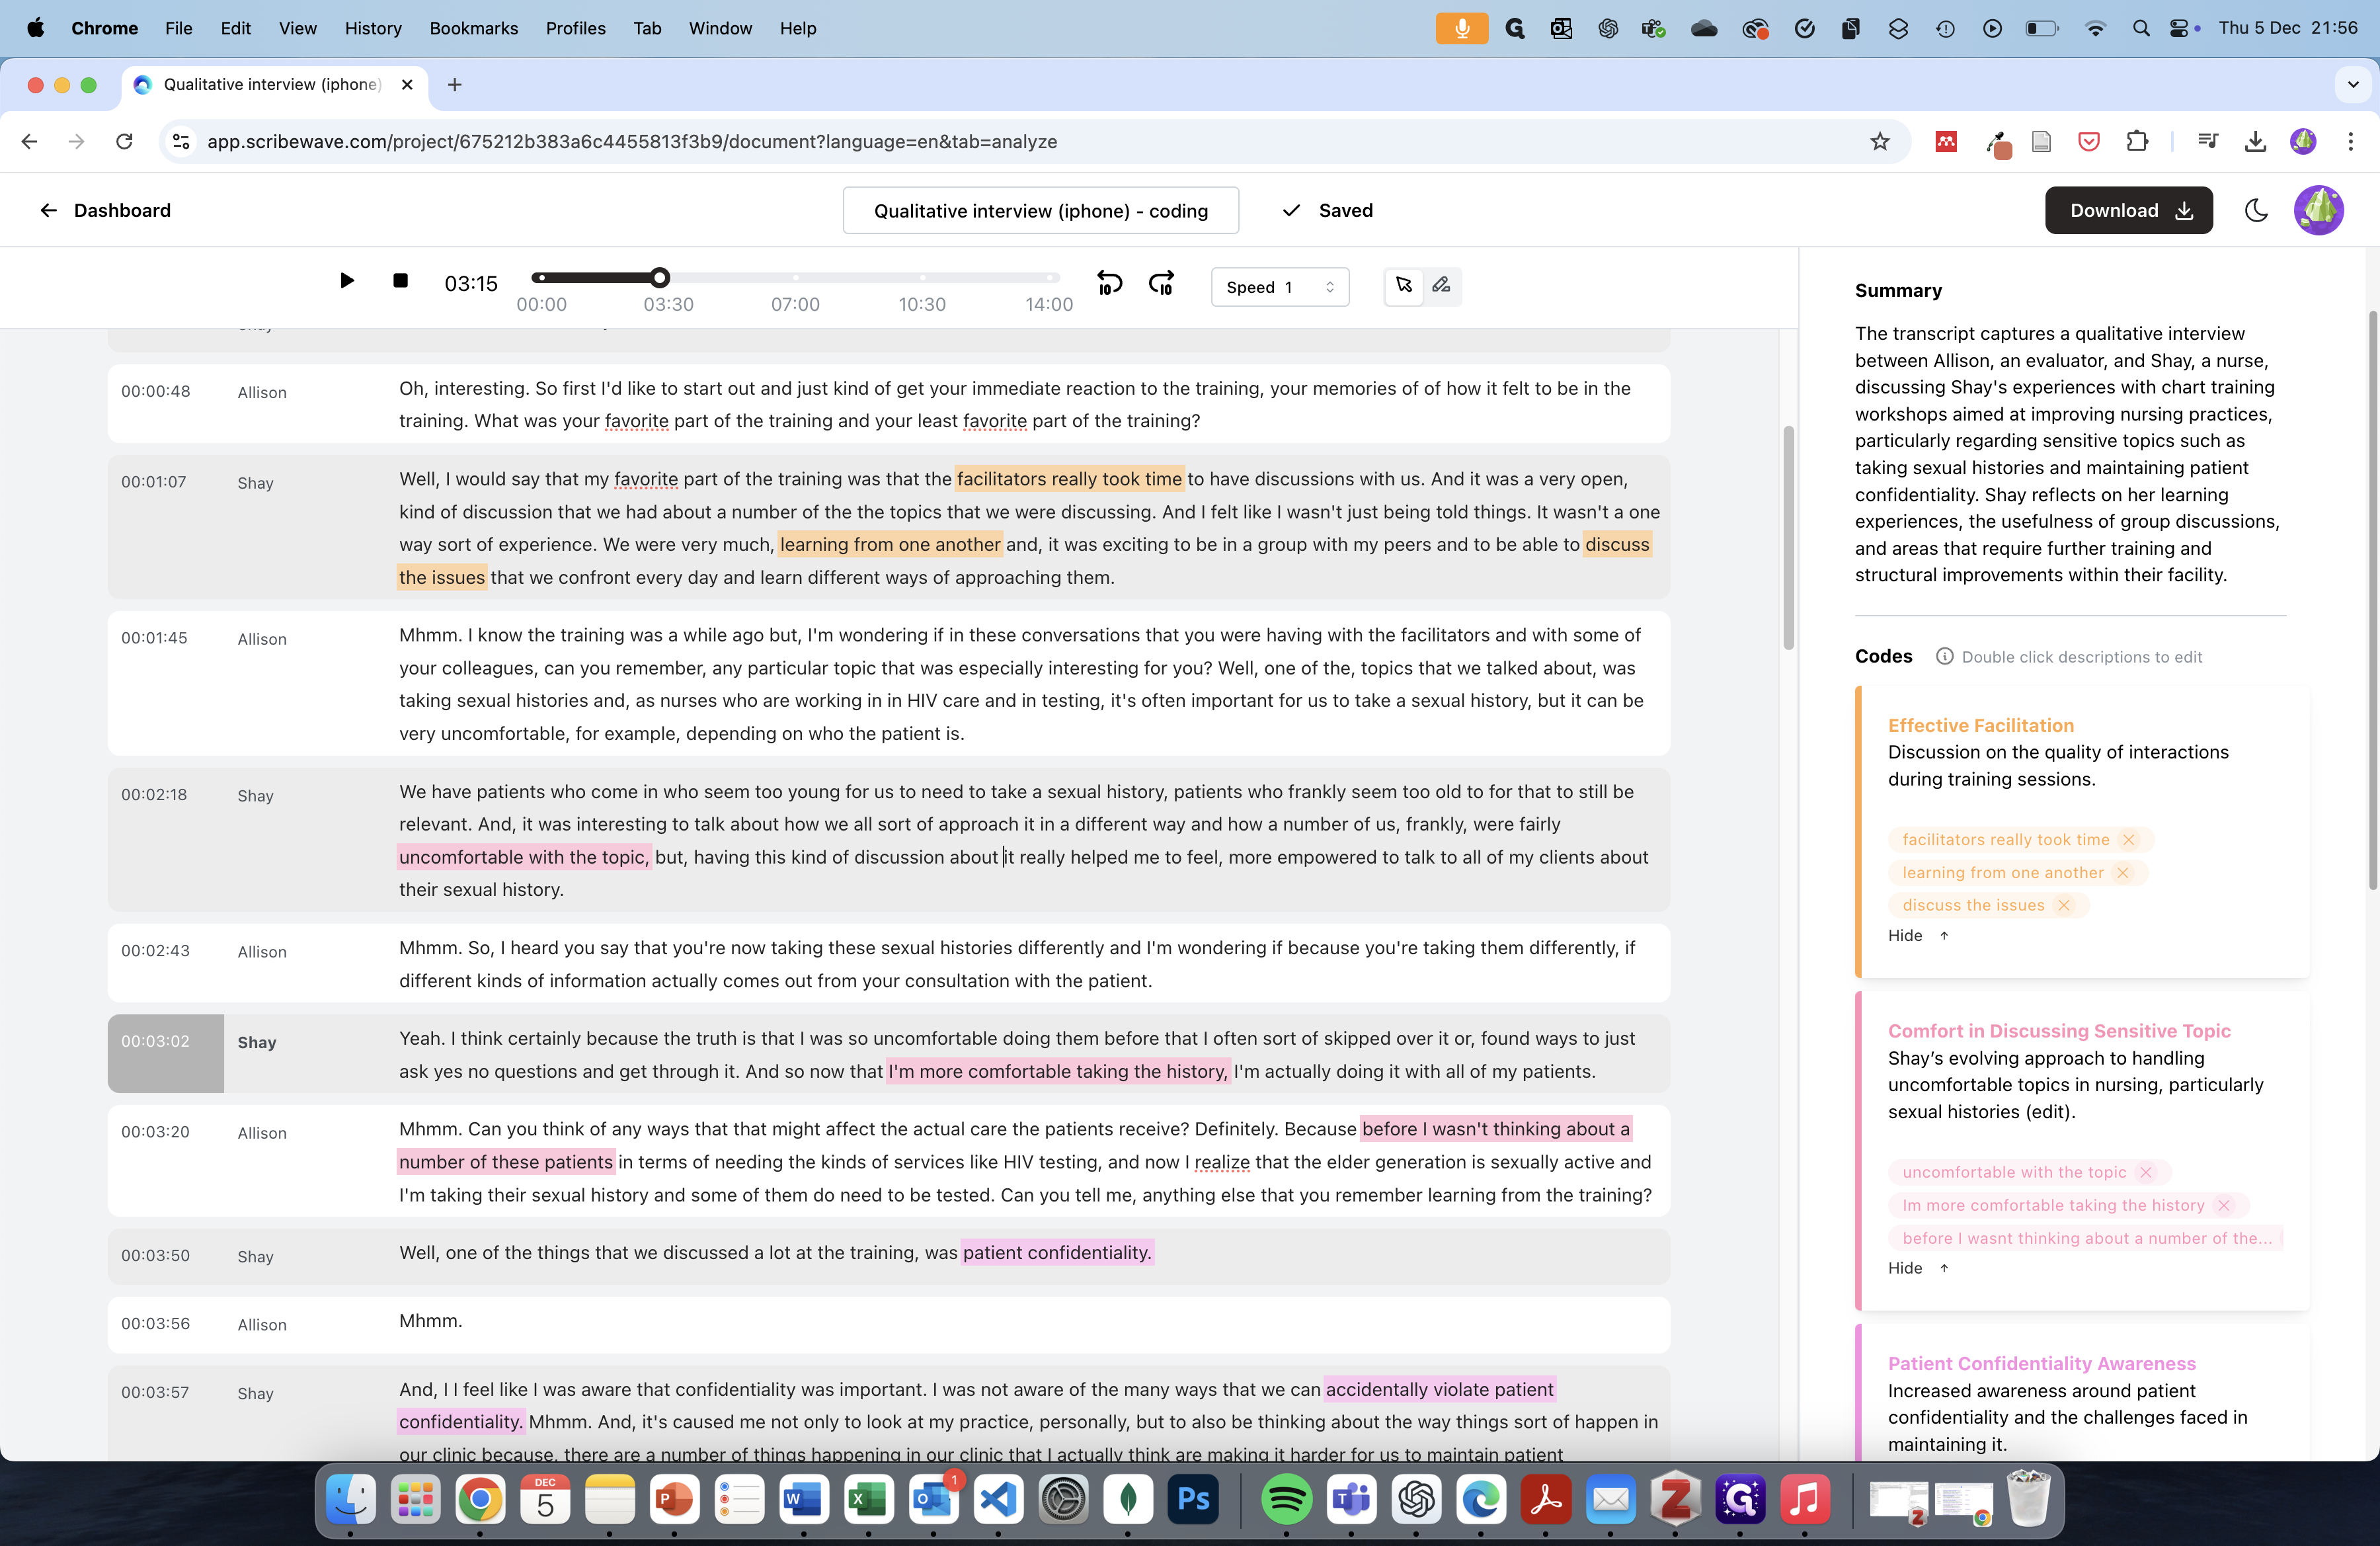
To edit a code group, double-click on the title or the description to modify it.

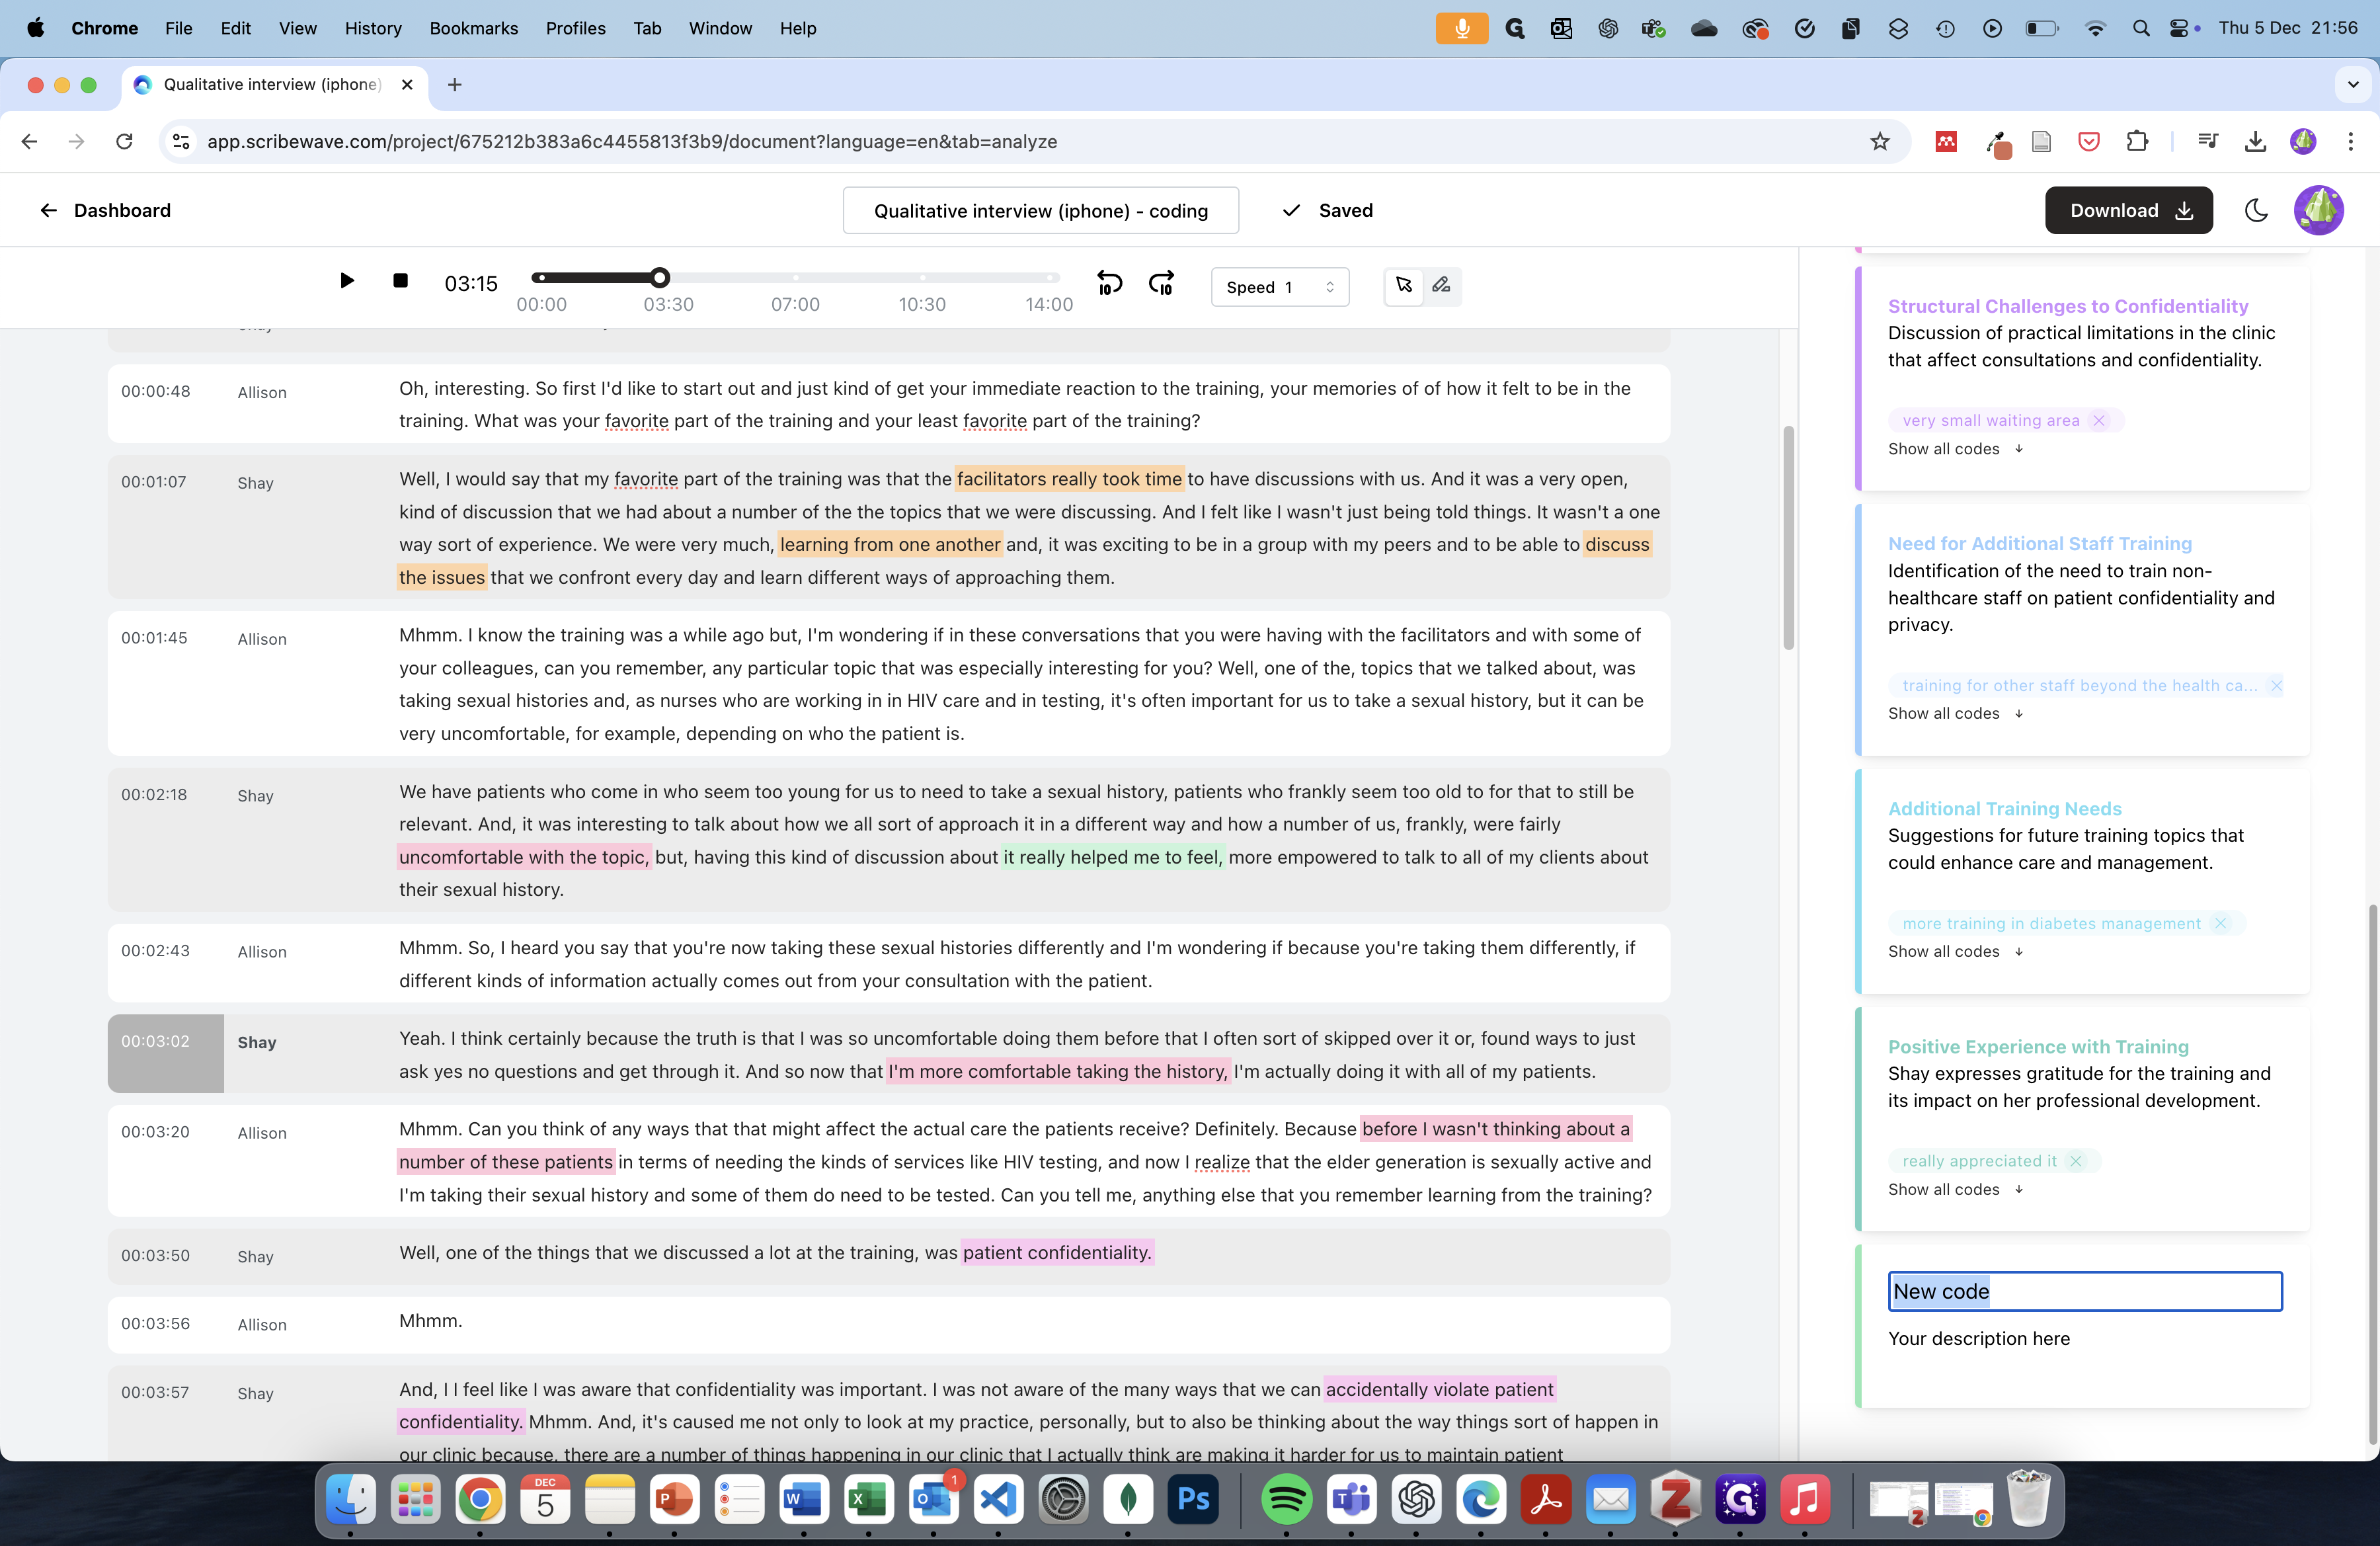
Finally, you can add an extra code group by selecting text and then clicking "Add New Code". Scroll down in the right sidebar to give it an appropriate title and description.
That's it! Now you're ready to evaluate your codes and proceed much faster than before.