How to Place a Warranty Order for Karman Cabinetry
Learn the step-by-step process to place a warranty order for Karman cabinetry, including filling out forms, uploading documentation, and submitting your order.
In this guide, we'll learn how to place a warranty order for Karman Cabinetry. Understanding the specific process for warranty orders is crucial, as it differs from regular or hot part orders. We'll navigate through the Karman Quote system, starting from signing in to submitting the necessary documentation. This includes filling out the warranty form, uploading photographic evidence, and ensuring all details are correctly entered. By following these steps, you can efficiently submit a warranty order and await confirmation from Karman's customer service.
Let's get started
First, go to karmanquote.com.
Go to the website and sign in. Enter your credentials, and once they're entered, click "Sign In."
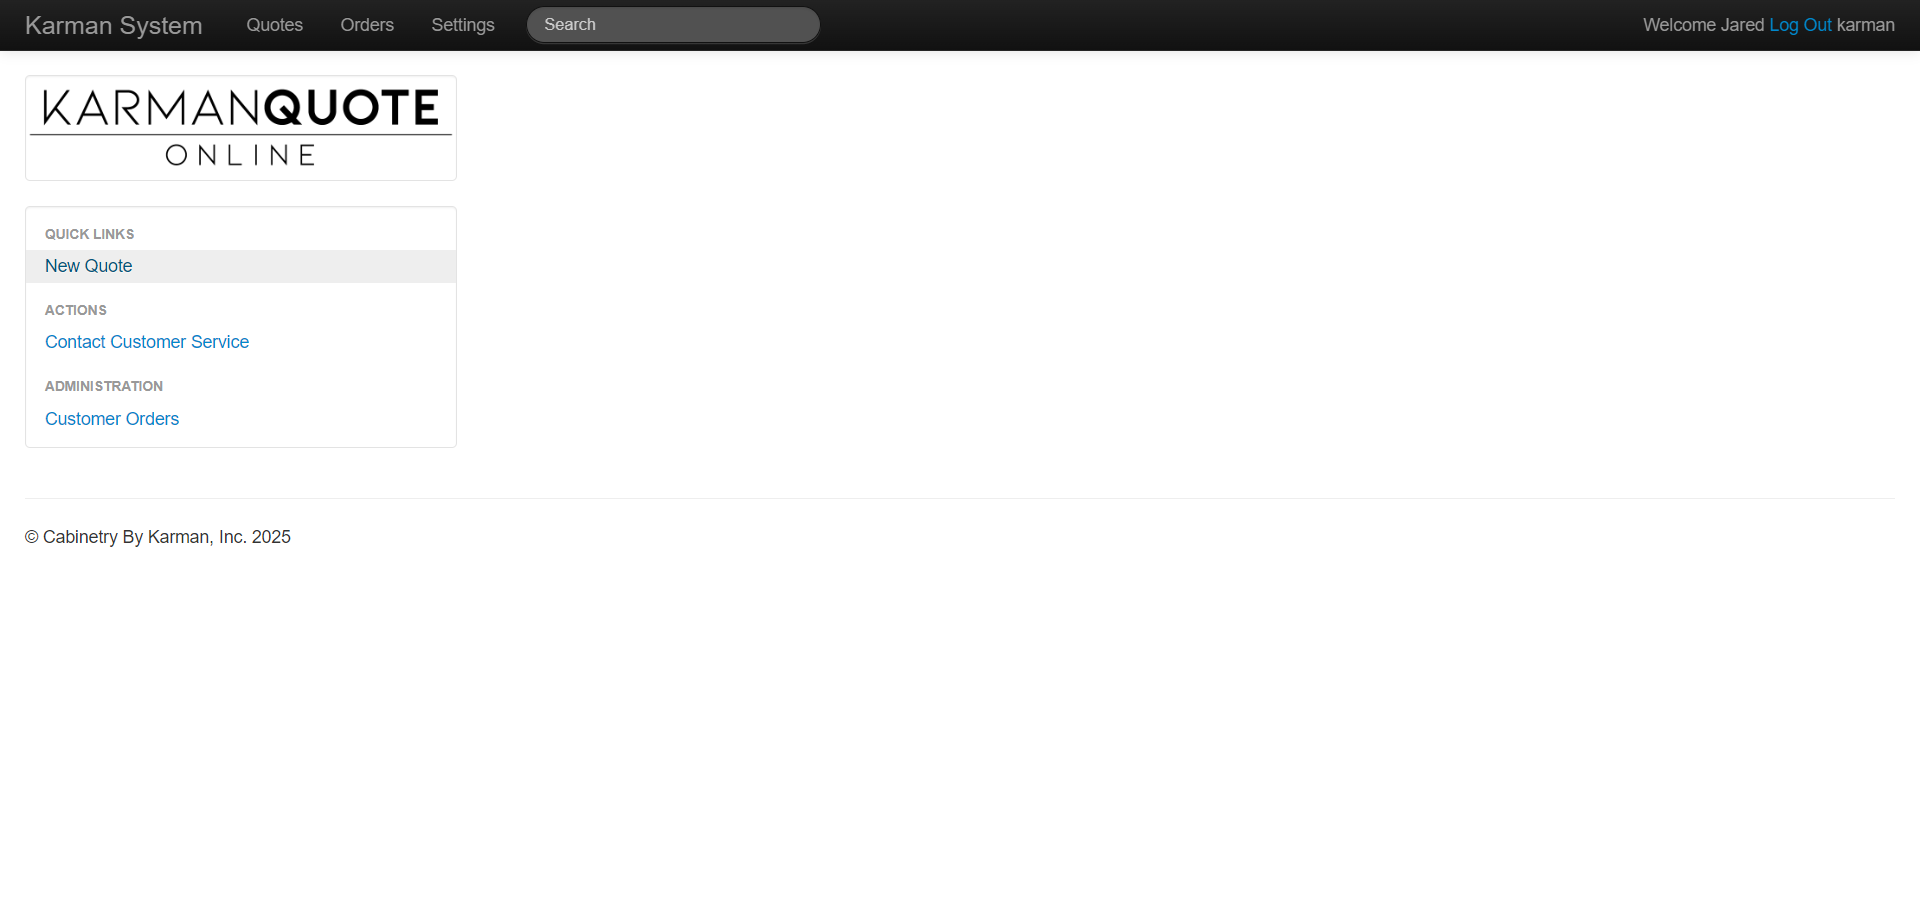
You will be taken to the blank Karman Quote online screen. From here, go to the left and look for quick links. Under quick links, click on "New Quote."
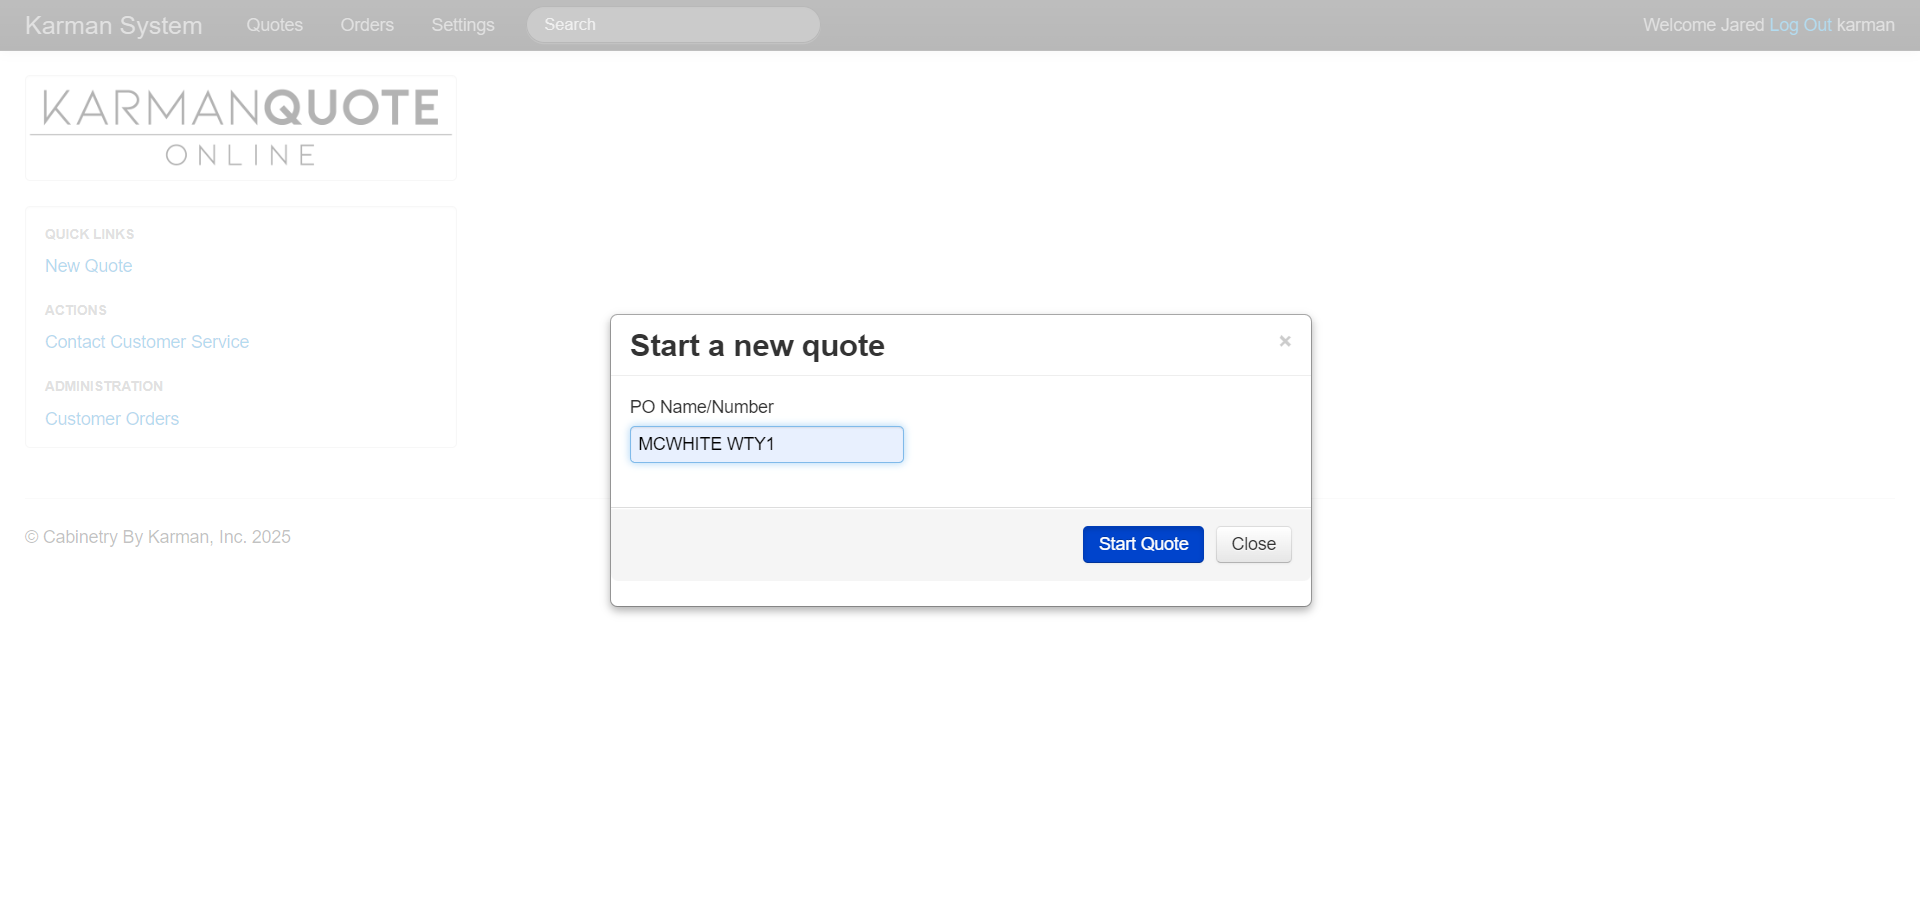
A pop-up will appear, prompting you to enter the project name and the PO number. Enter the project name / PO Number then scroll down to "Start Quote" in blue and click it.
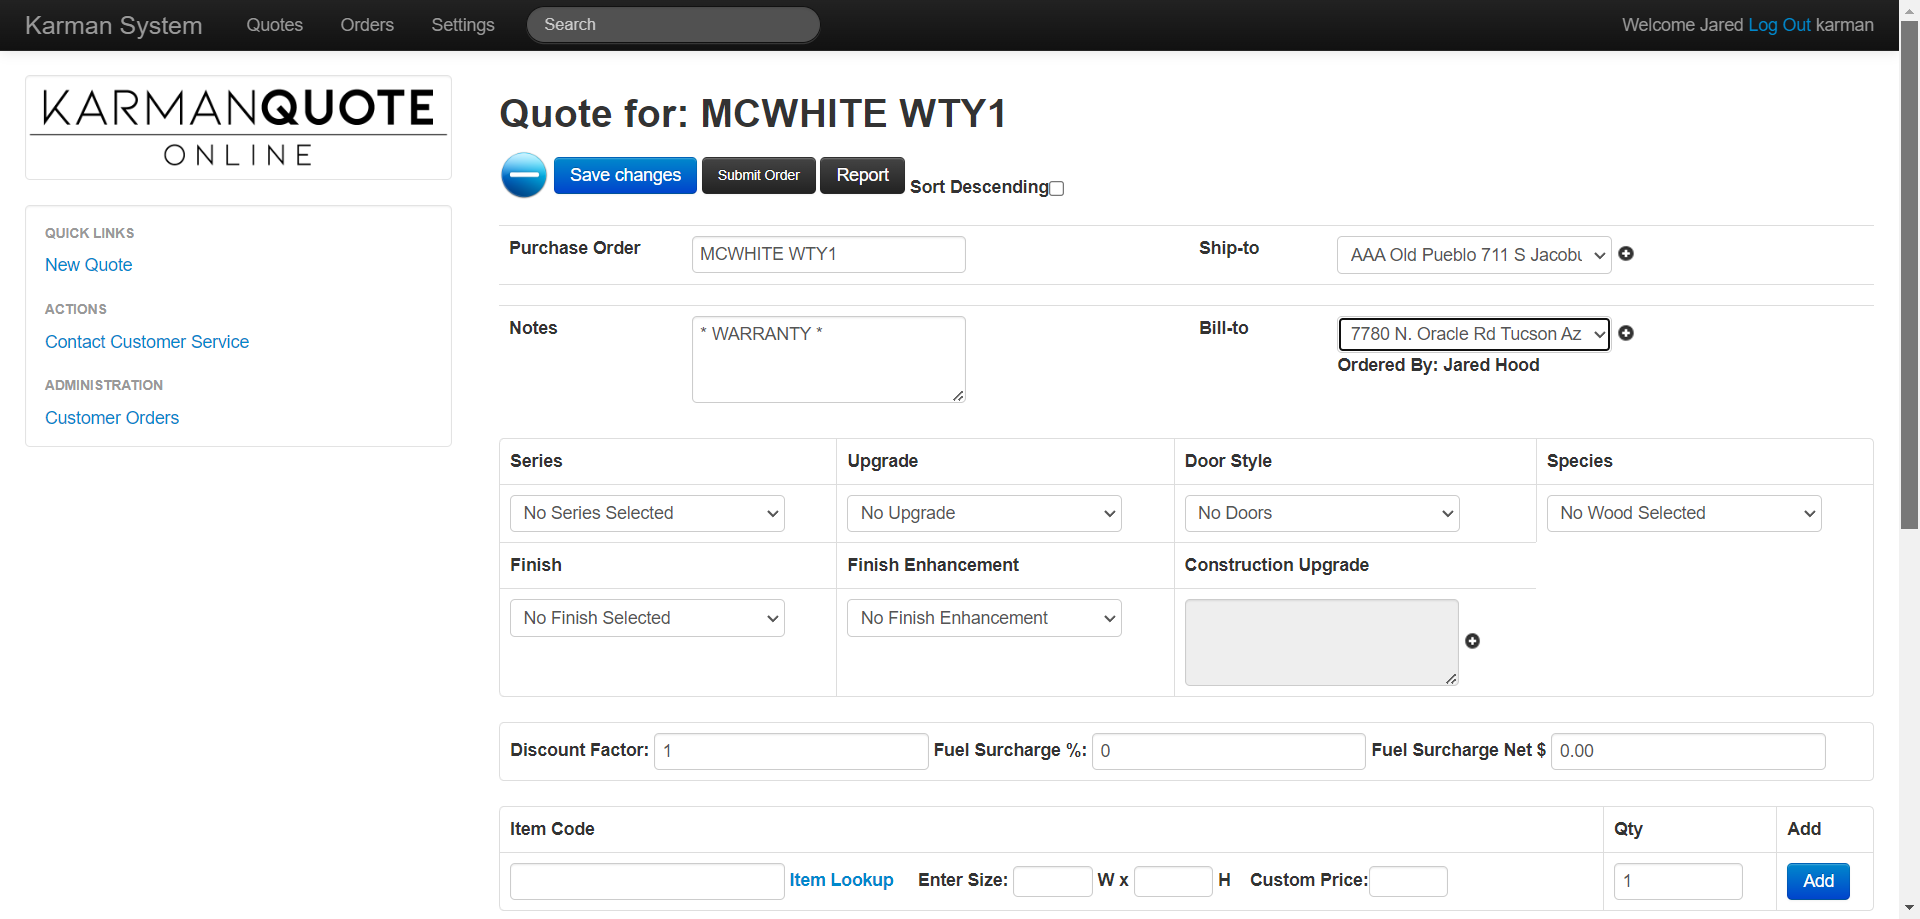
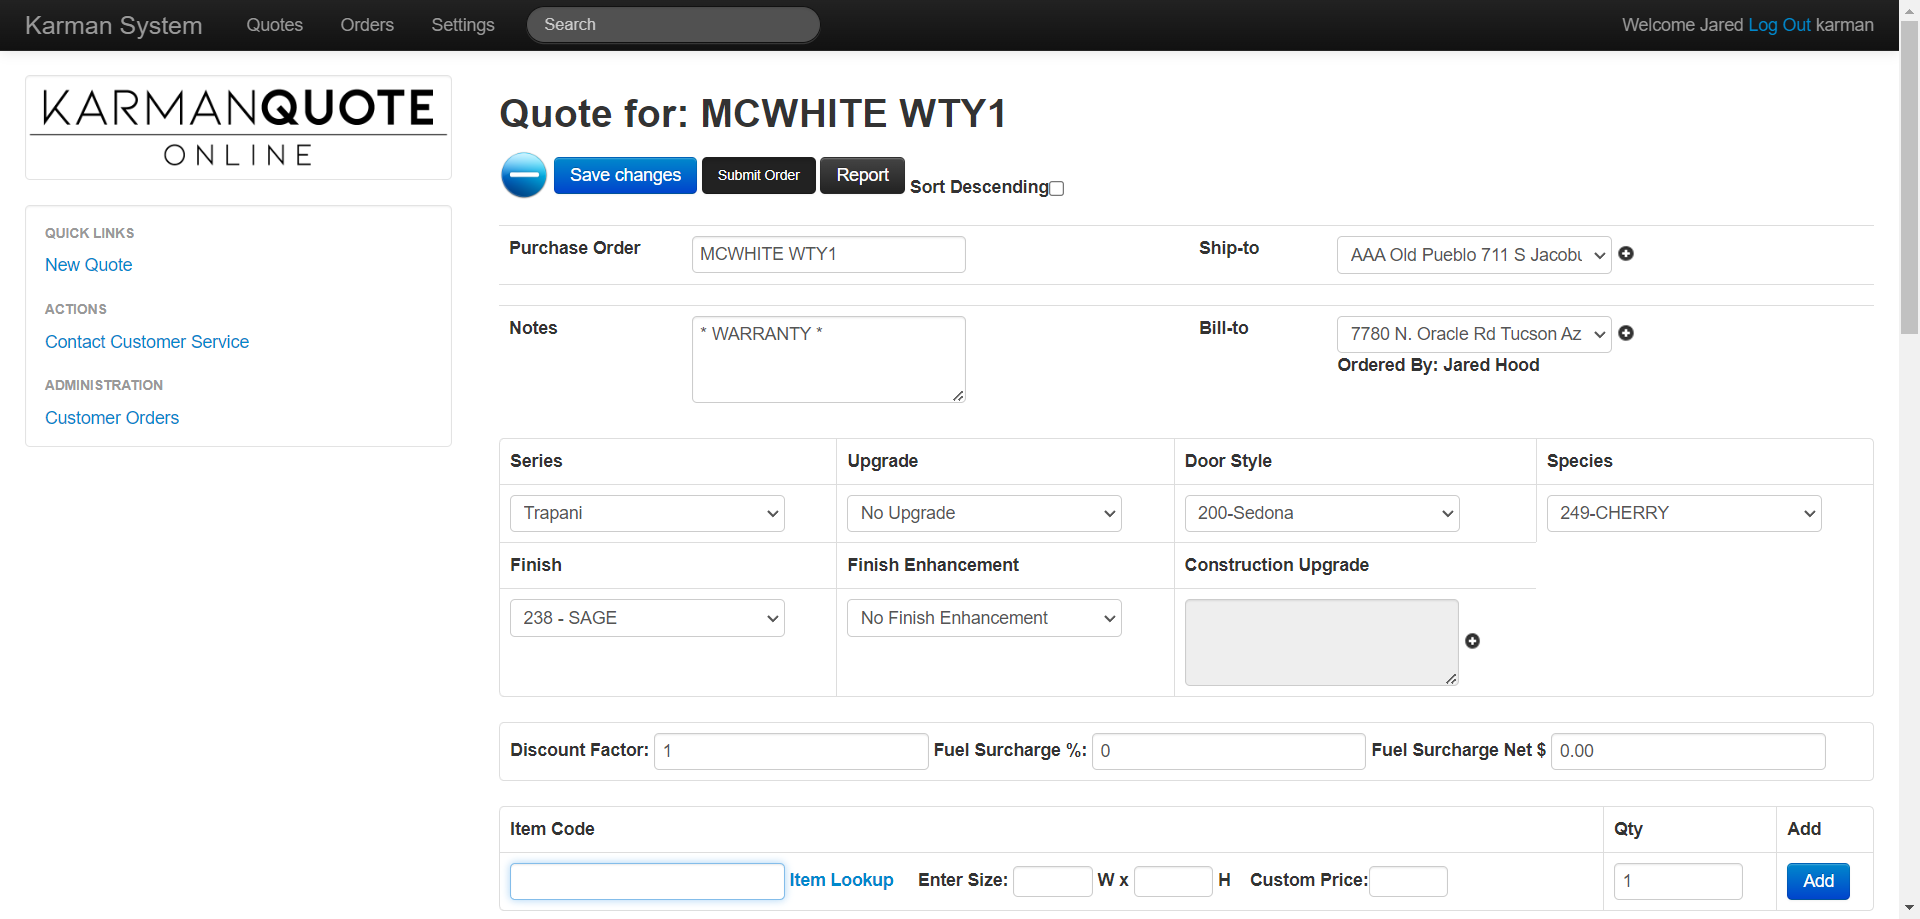
This takes you to the Karman Quote ordering page. It's exactly the same as the regular or hot parts order, with some differences that we'll cover. First, you'll notice the purchase order is auto-populated. The next field is the shipping area, offering options to ship either to our Showroom or to Old Pueblo storage facility. This example order includes some cabinet boxes. Noramlly, we try to have rush orders or warranty orders shipped to our showroom. However, since this examples includes a couple of cabinet boxes we will have them ship to our storage facility, so we'll click on Old Pueblo's address.
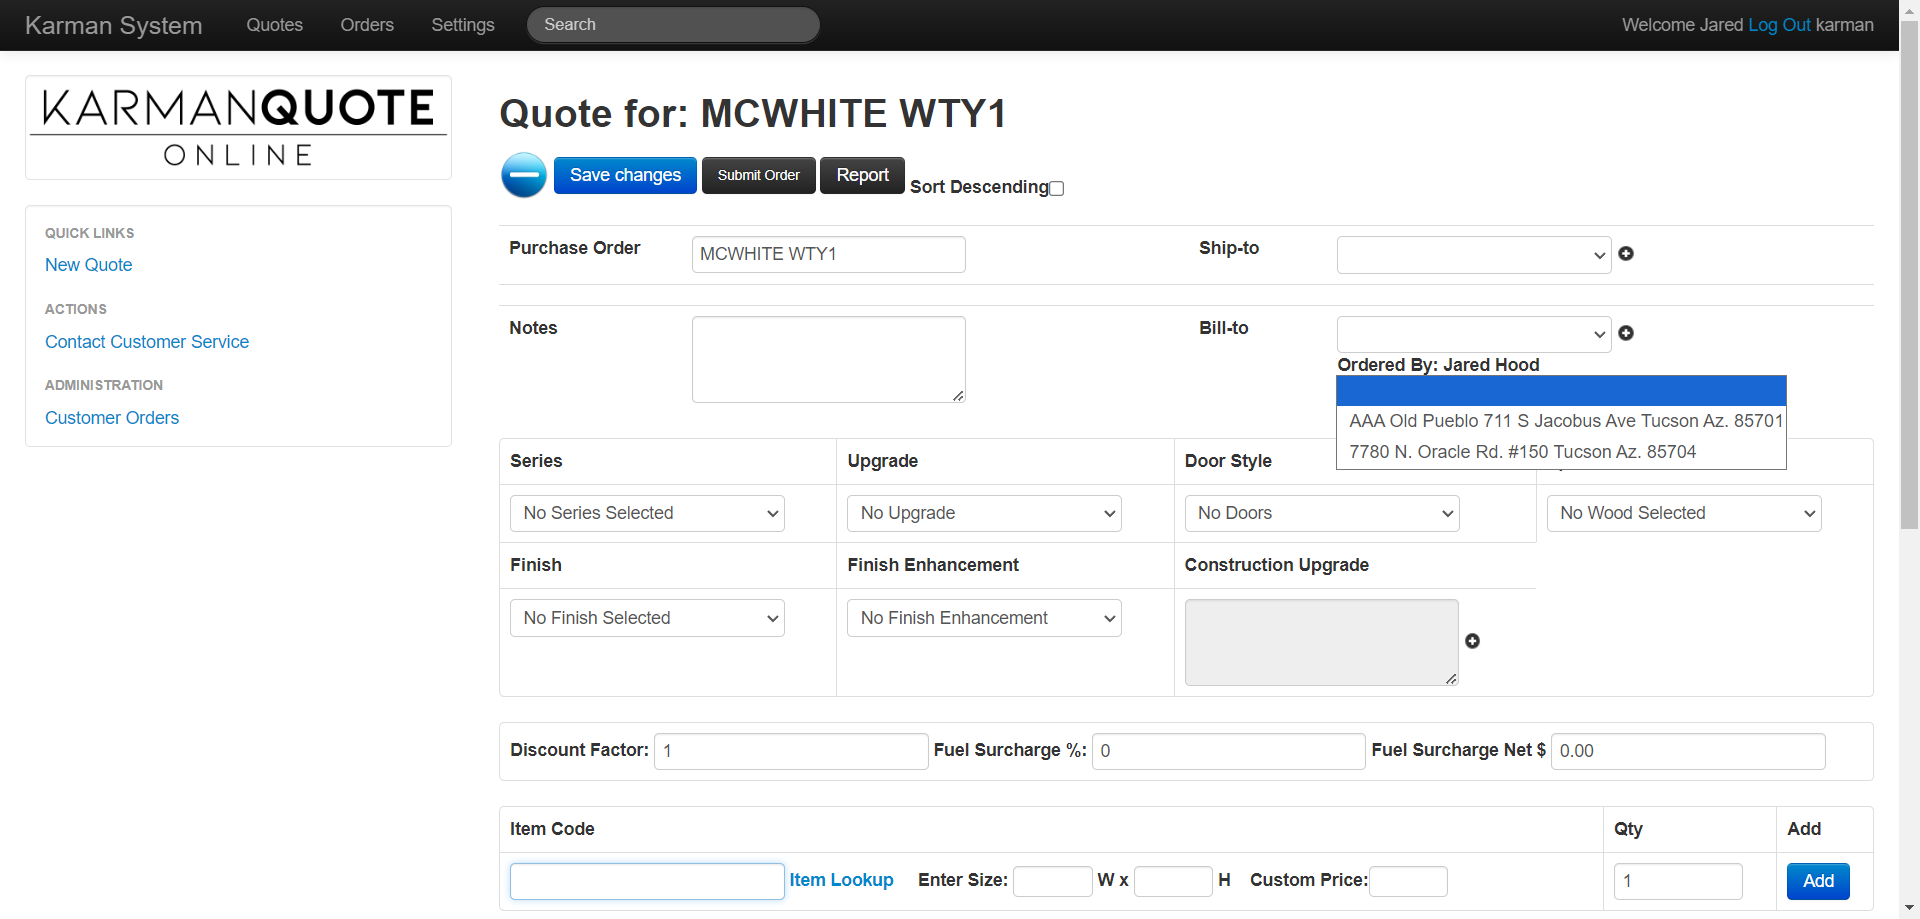
Then, we can move to the Notes section. If this were a Regular order, we would not type anything in the Notes section. However, since it's a warranty, we'll need to indicate that.

Next, use the tab button to navigate to "Bill-to." The only option is to bill to our address so click on that.
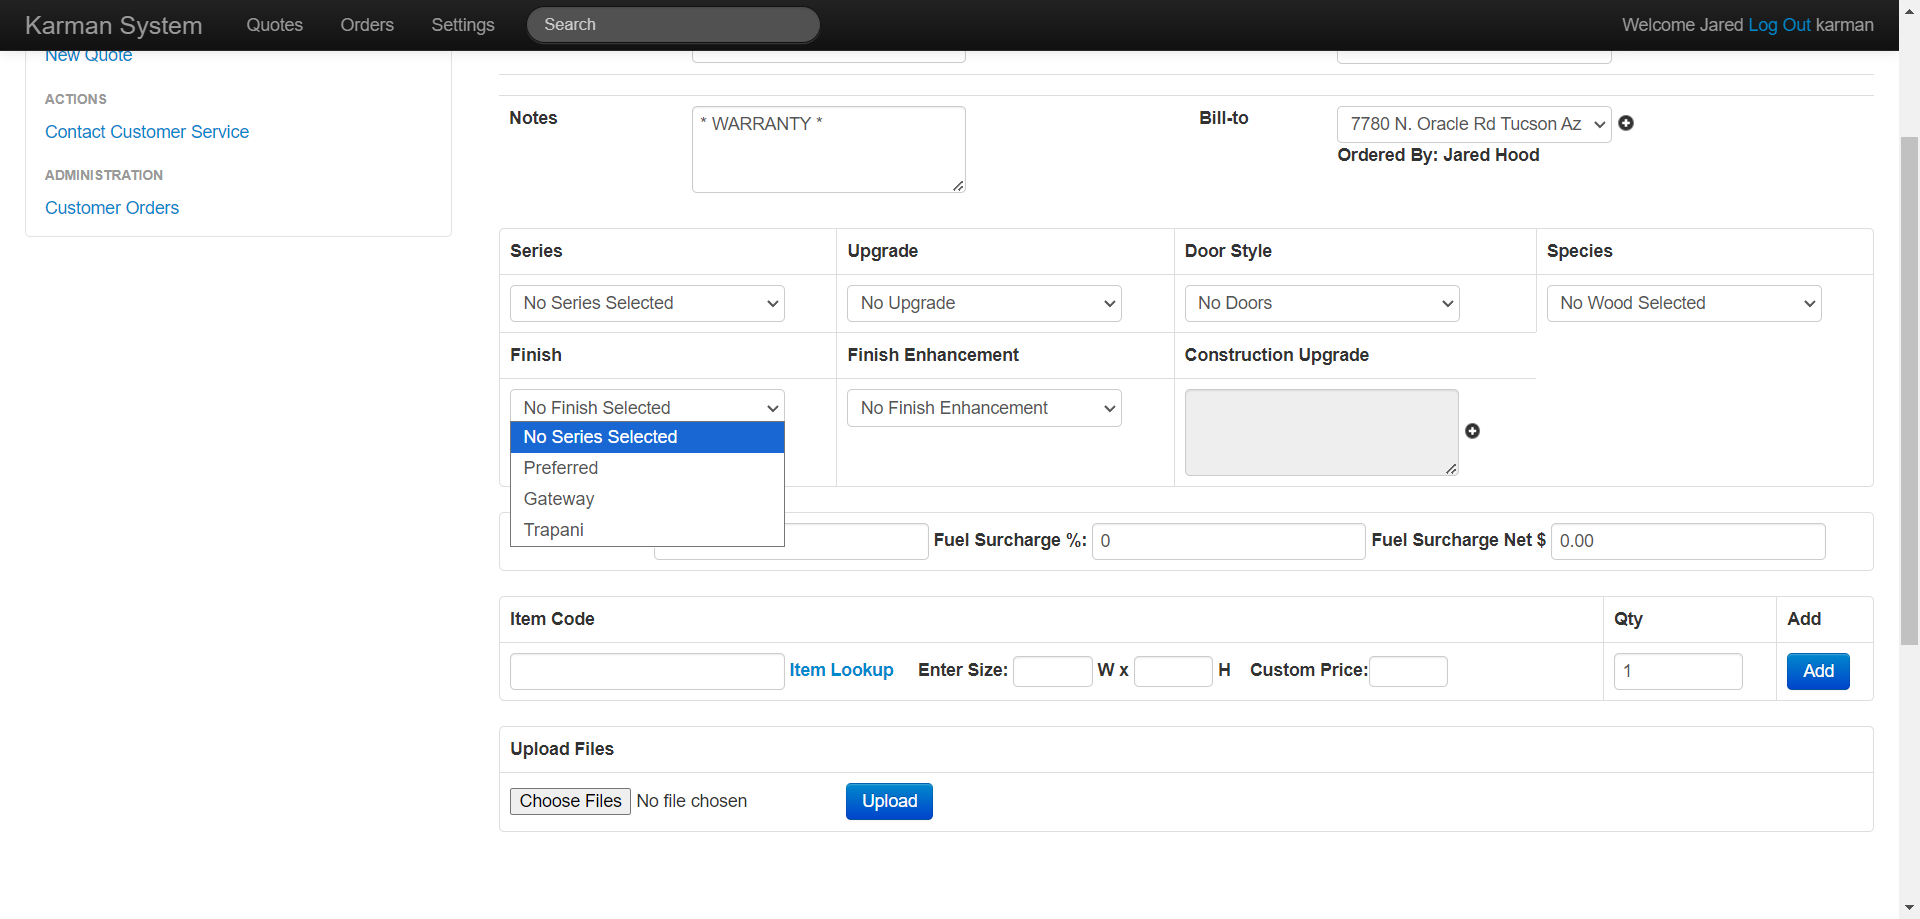
Next, enter the cabinetry style details, also known as the Globals. First, go to the Series tab and click on the appropriate selection for our example. For our example we will select Trapani by clicking on that option.
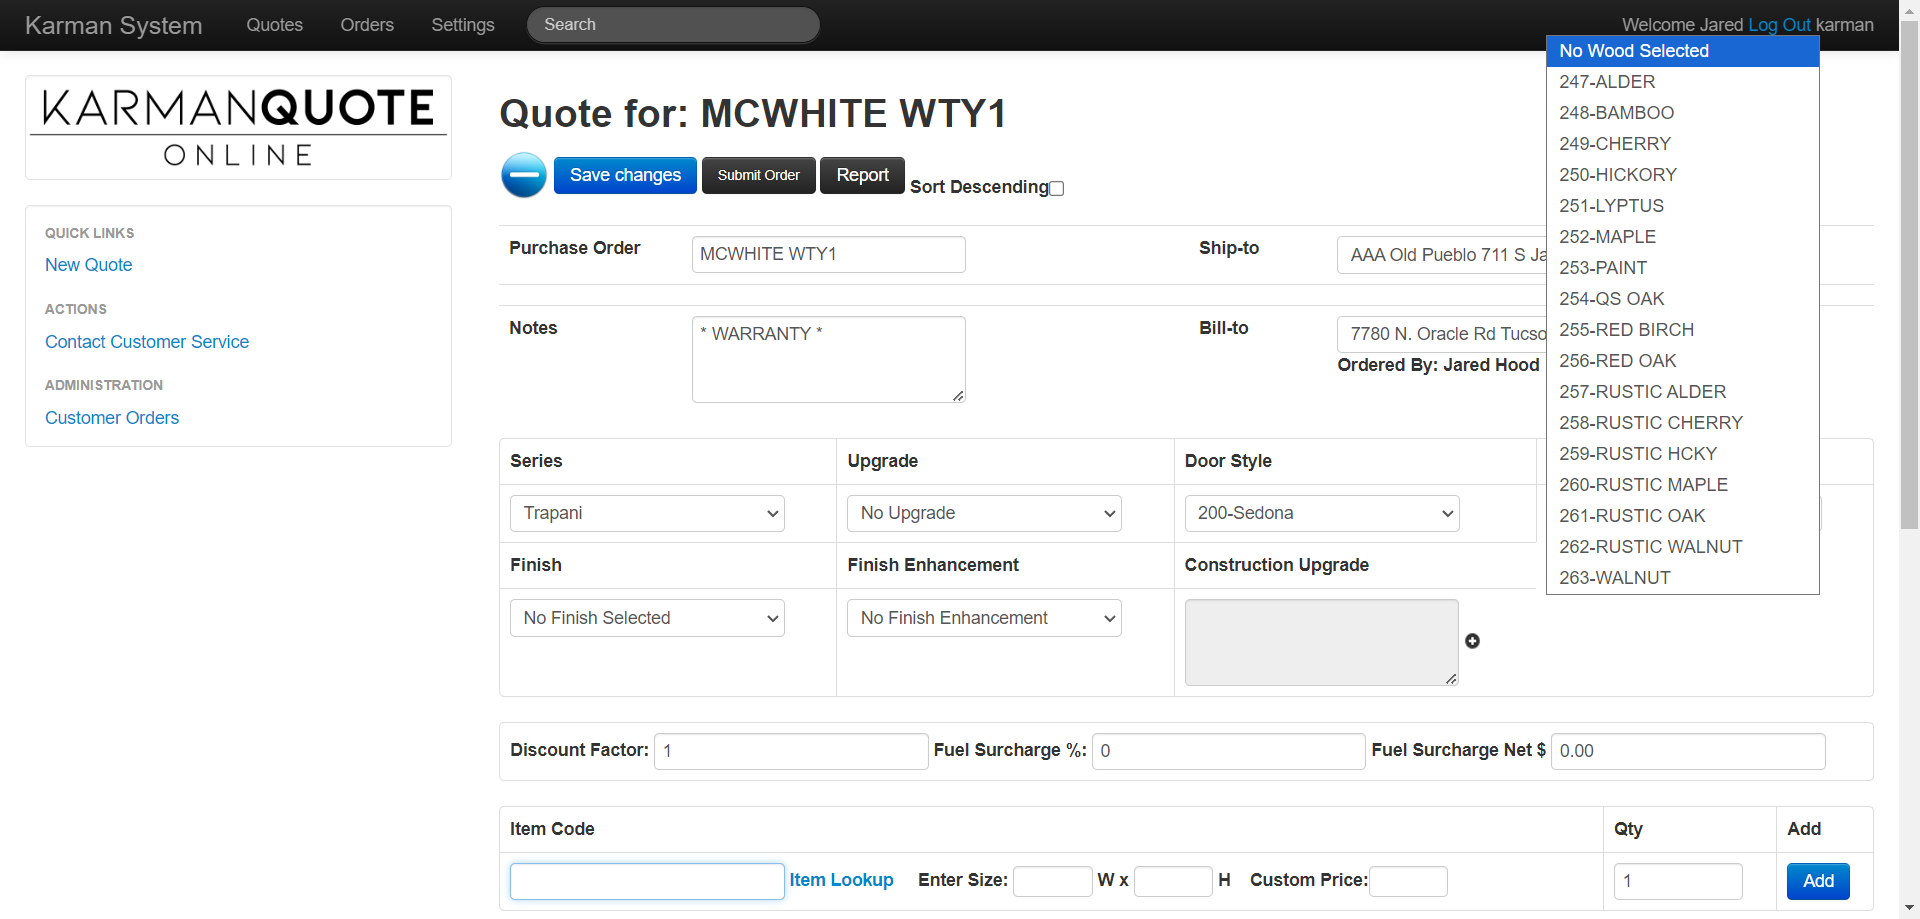
The next section is "Upgrade," but since there is no upgrade available, we'll leave it blank. We will then select the Door Style by clicking on that drop-down box and scrolling to the desired drawer style.

Next, go to Species, click on the drop-down menu, and choose the correct species.
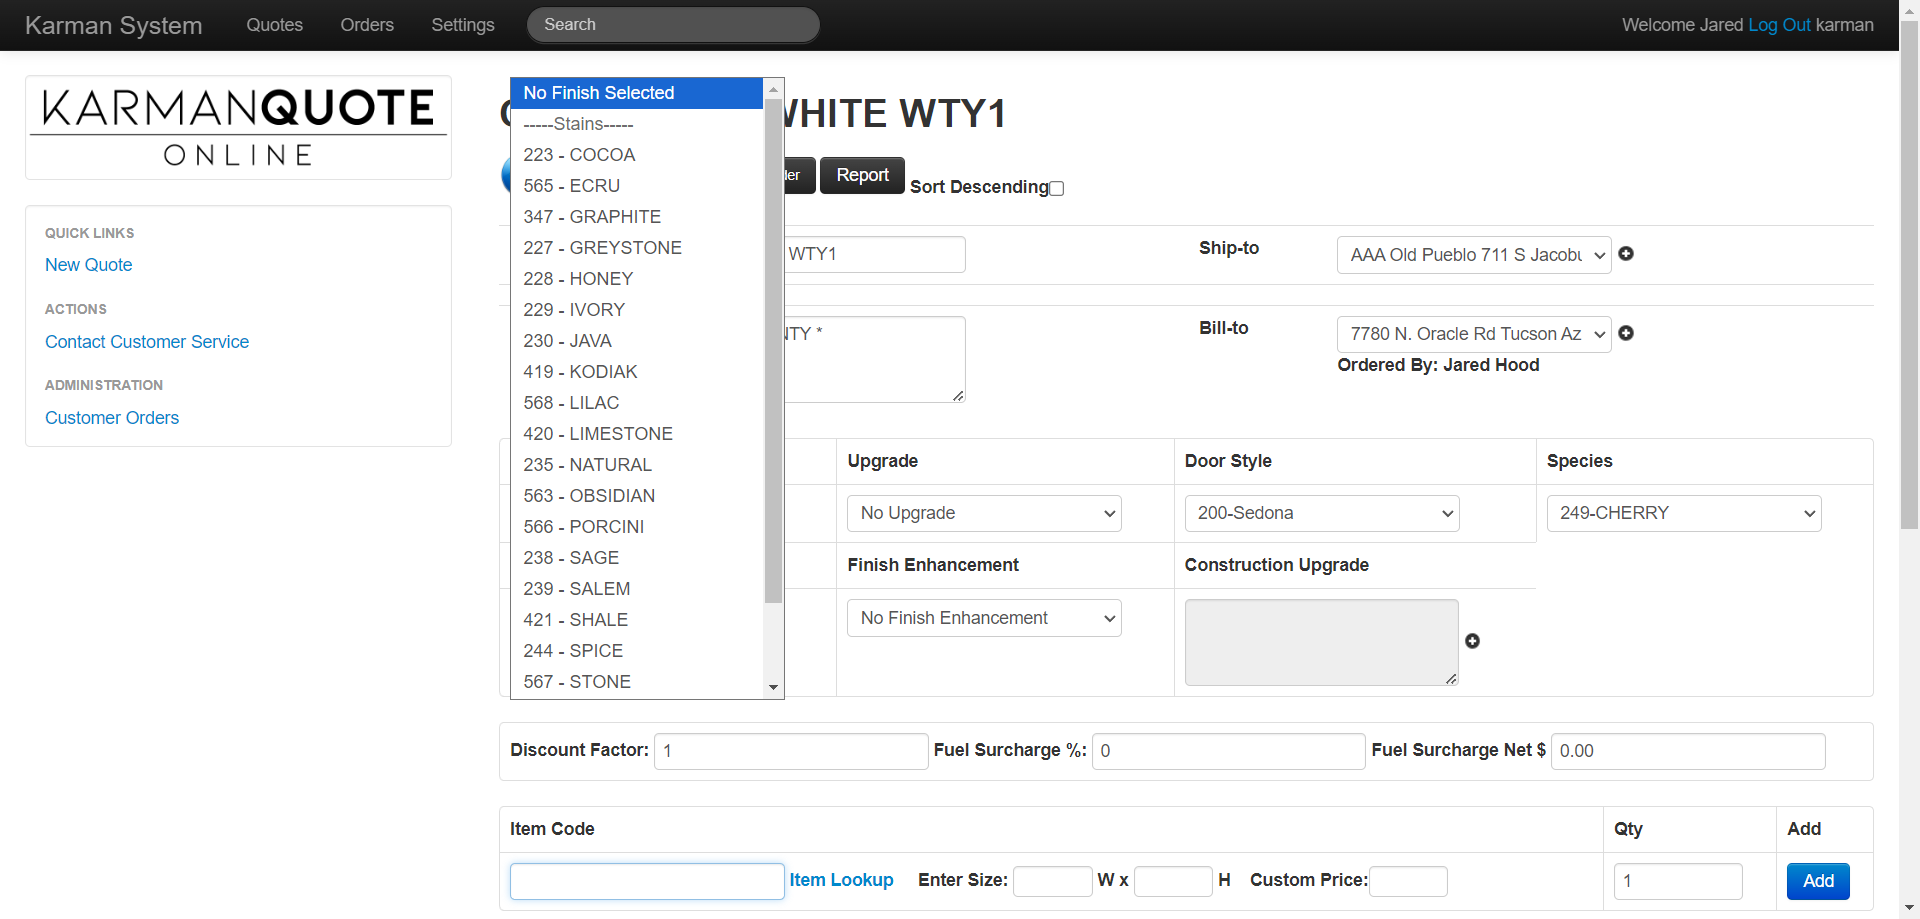
Then we will need to select the cabinet color or stain. Go to "Finish," click on the drop-down menu, and choose the appropriate option.
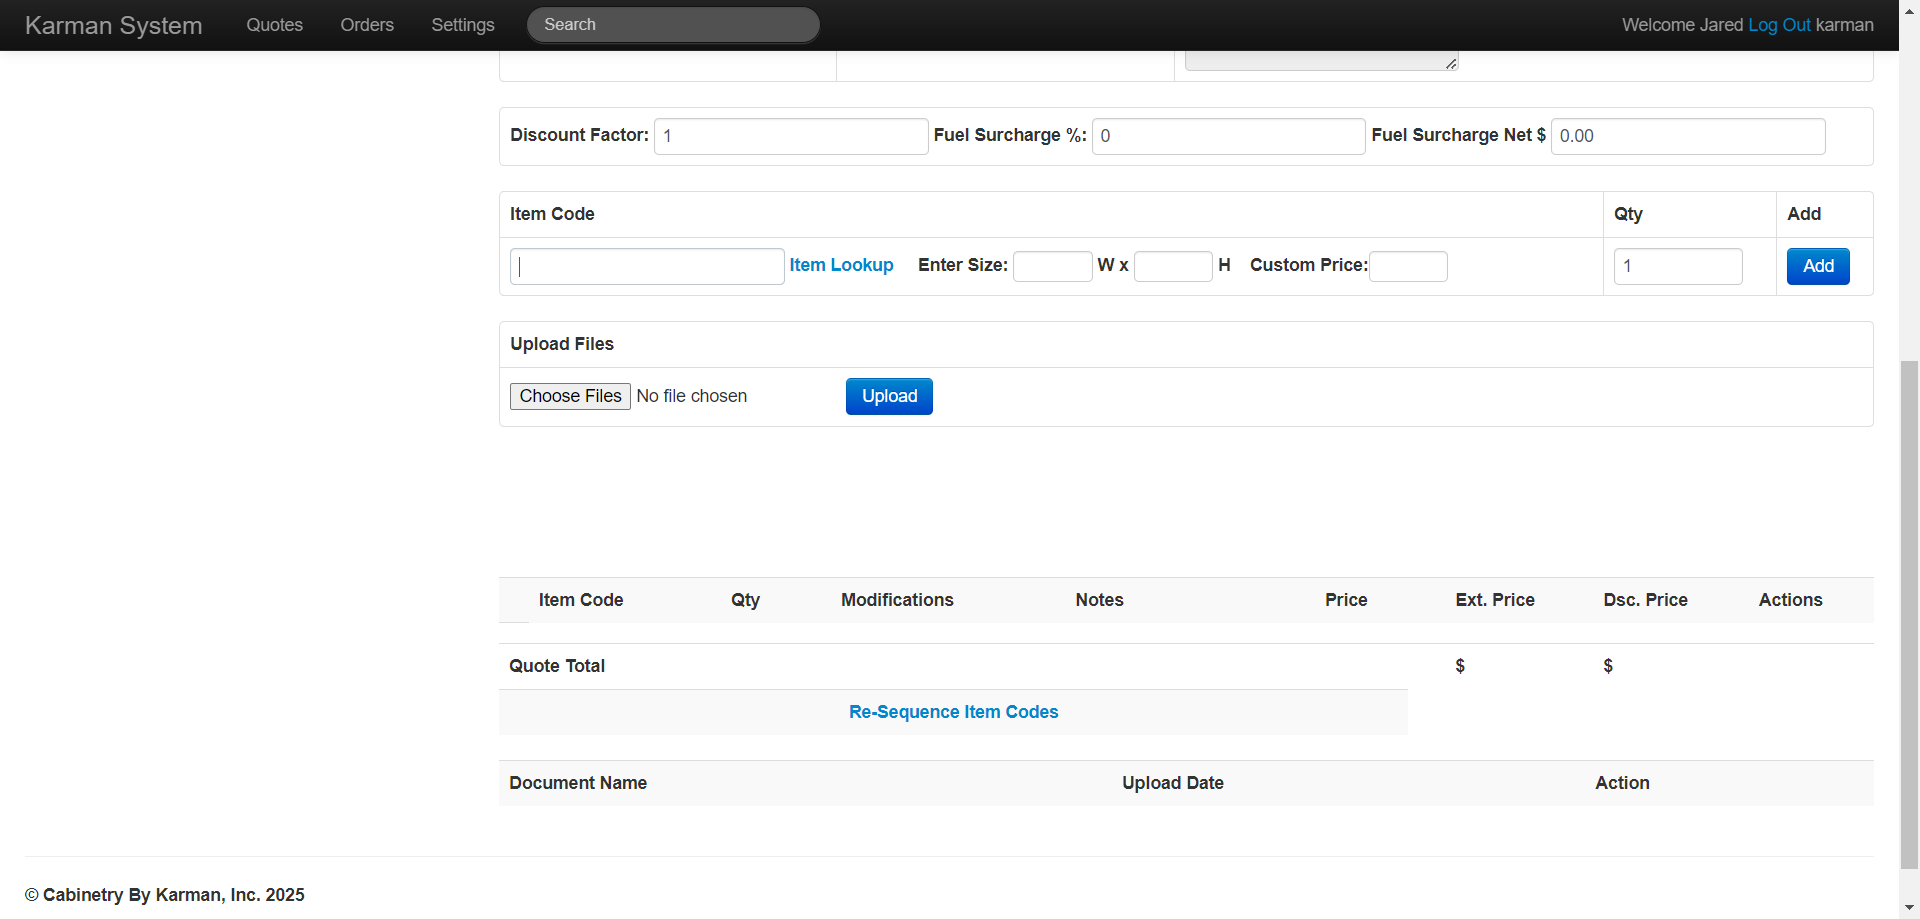
For regular orders or hot part items you would always enter the item code or keyword next. However, for warranties, you must fill out a special form. To do this, go to the order form.
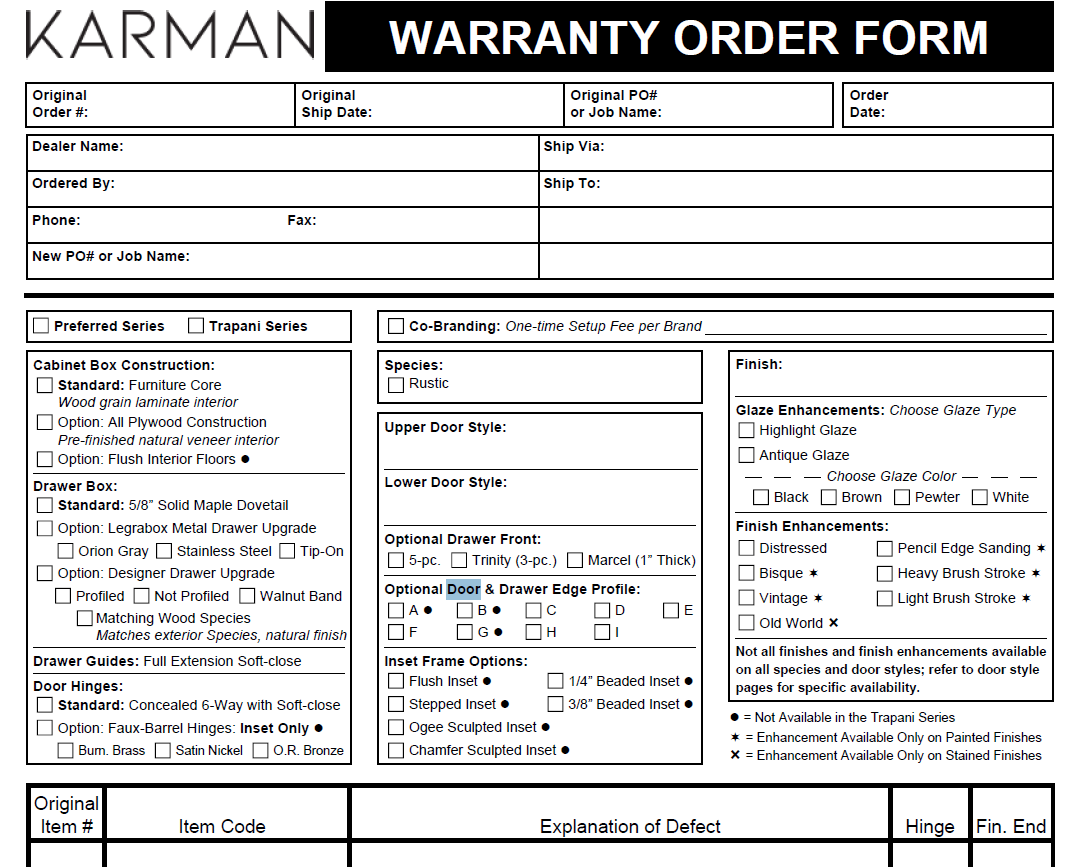
This is the current Karman Warranty Order Form. Here is what a blank one looks like. You need to fill out all the information on the top of the form, including the original order number, the original shipping date, the PO number, etc. Then complete the middle section which is the cabinetry detail or globals section. Finally, you must also complete the line number (from the original order), item code, and defect explanation.
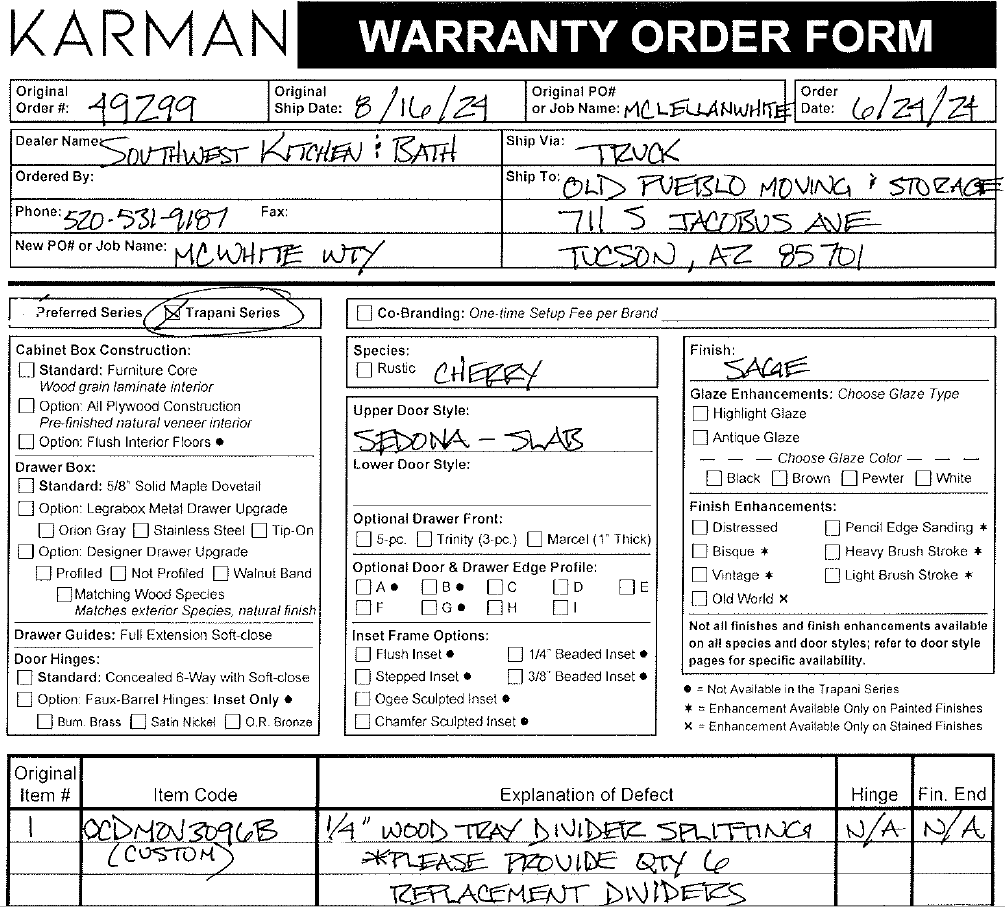
Below is an example of what the completed form should look like. It shows the original order number, ship date, original PO number, and the date it was ordered. It includes dealer information, job name, warranty, and shipping preferences. We also handle the globals here which should match what we previously entered into the system in the steps above. I've selected the Trapani series, species type, door style, and finish. At the bottom, we entered the item number from the original order acknowledgment, the item code, and an explanation of the defect or damages along with our request for replacement.
For our example, we have tray dividers in a OCDMOV3096B cabinet that are splitting and splintering, so we entered the item number from the original acknowledgement, the item code, explained the damage, and requested replacements of the impacted items. If hinging or a finished end was involved we would note that in the appropriate spot provided on the form.
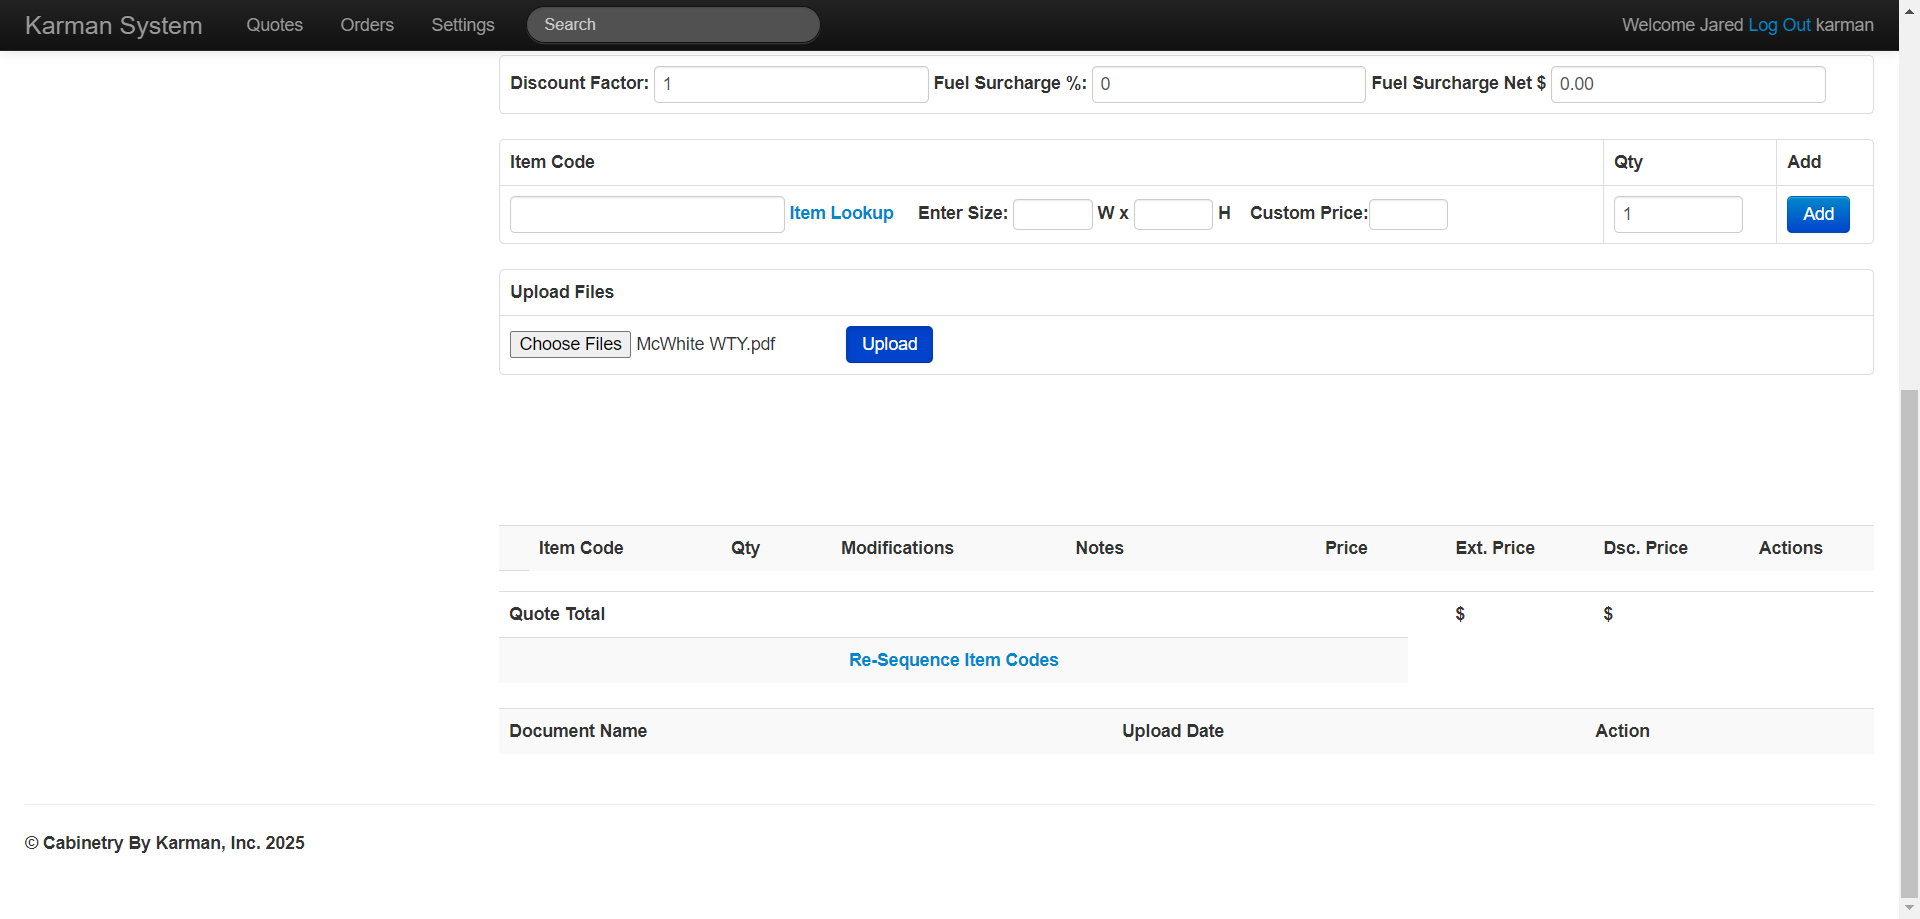
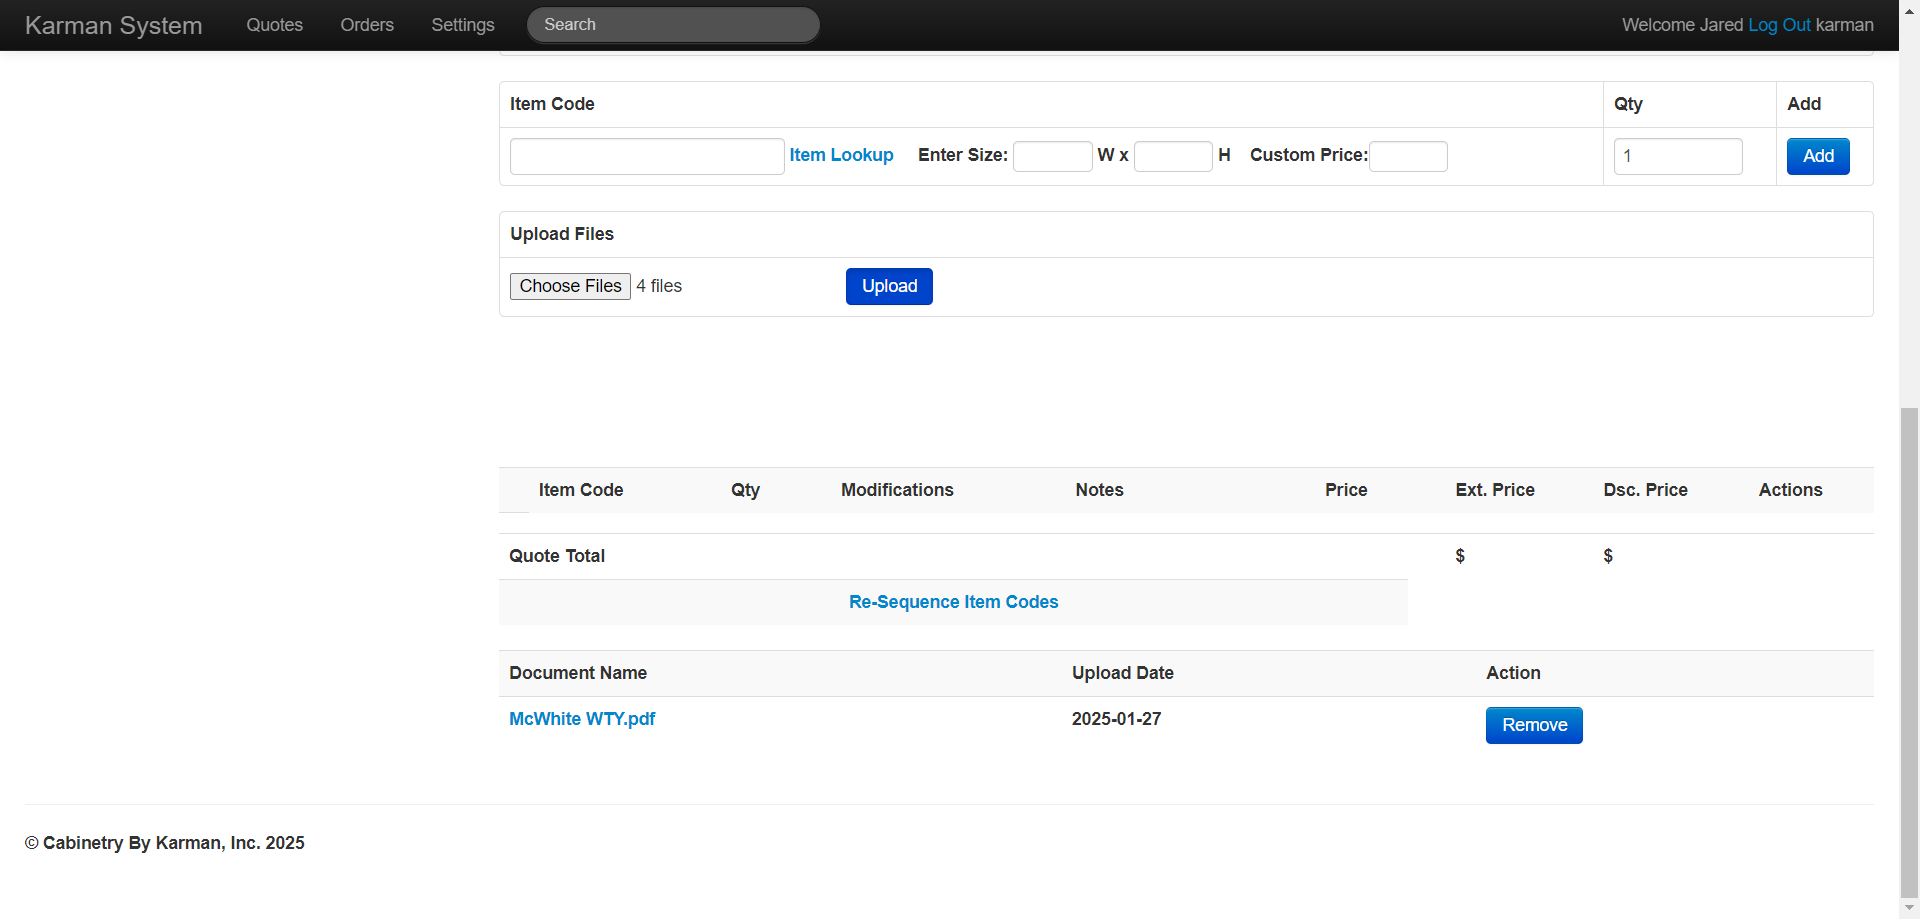
Scan in the completed Karman Warranty Order Form. Then, go to "Upload Files". Click on "Choose Files" and select the PDF that we've already filled out and scanned. Then, we'll click on "Upload"
As you can see, the document is listed at the bottom and has been uploaded, confirming its presence. When we press enter, it will be visible to the customer service reps. In addition to the warranty form, we'll use documentation to show what was wrong. We always take pictures to document any defect or damage. When claiming a warranty, manufacturers always request photographic documentation.

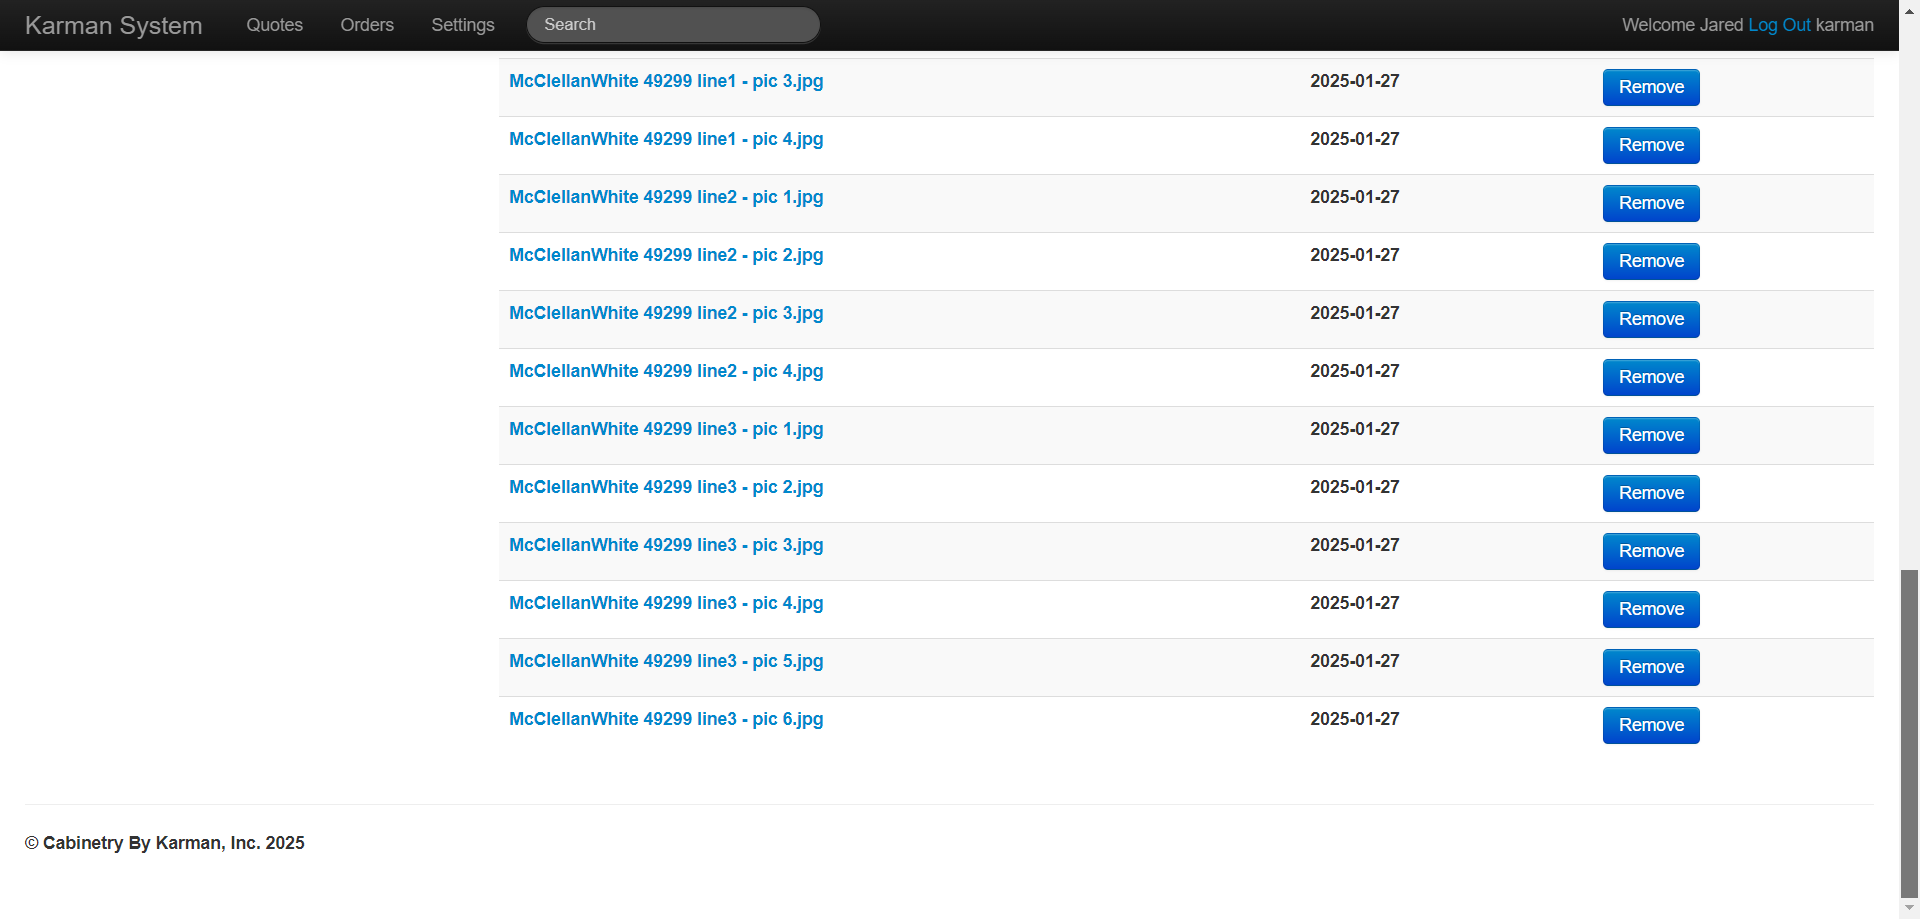
Next, we'll go back into our files to upload our warranty documentation. I have a separate file for warranty pictures. Label your documents/pictures clearly for easy identification. For example, label photographs with the client name, original order acknowledgment number, and line number. Go to Upload Files then select all the pictures related to the first line item we need to warranty. Click on the pictures that document the first line item we want to warranty. We'll open and upload these files just like we did for the warranty form.
It may take a few moments for them to all upload. When the system has uploaded them you will see them listed under "Document Name" at the bottom of the screen. Repeat this process until you have uploaded all the necessary pictures to document each and every line item being claimed on the Warranty Form. Then scroll to the bottom of the page to verify that all the forms & documenting pictures are listed ensuring that all uploads were successful
Now that we have uploaded all the photo documentation and the warranty form, which is crucial, we can proceed. Once everything is scanned and uploaded, go to the top of the page and click "Submit Order."
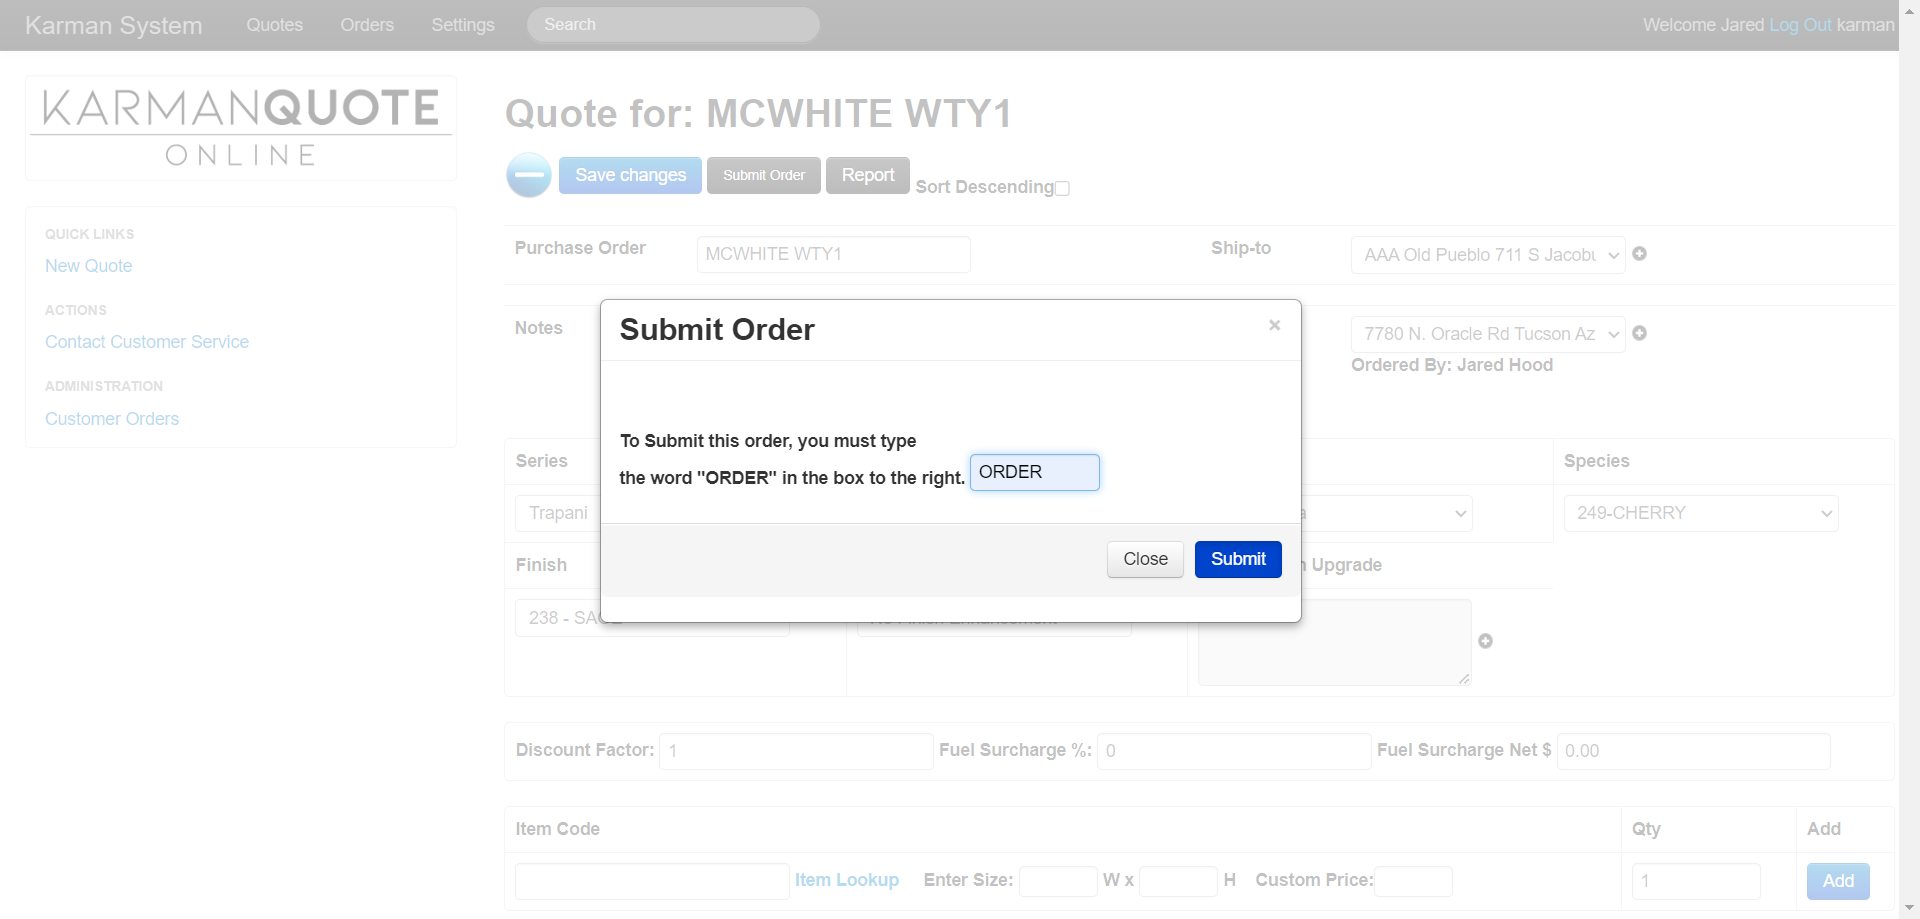
After clicking "Submit Order," a final verification pop-up window will appear.
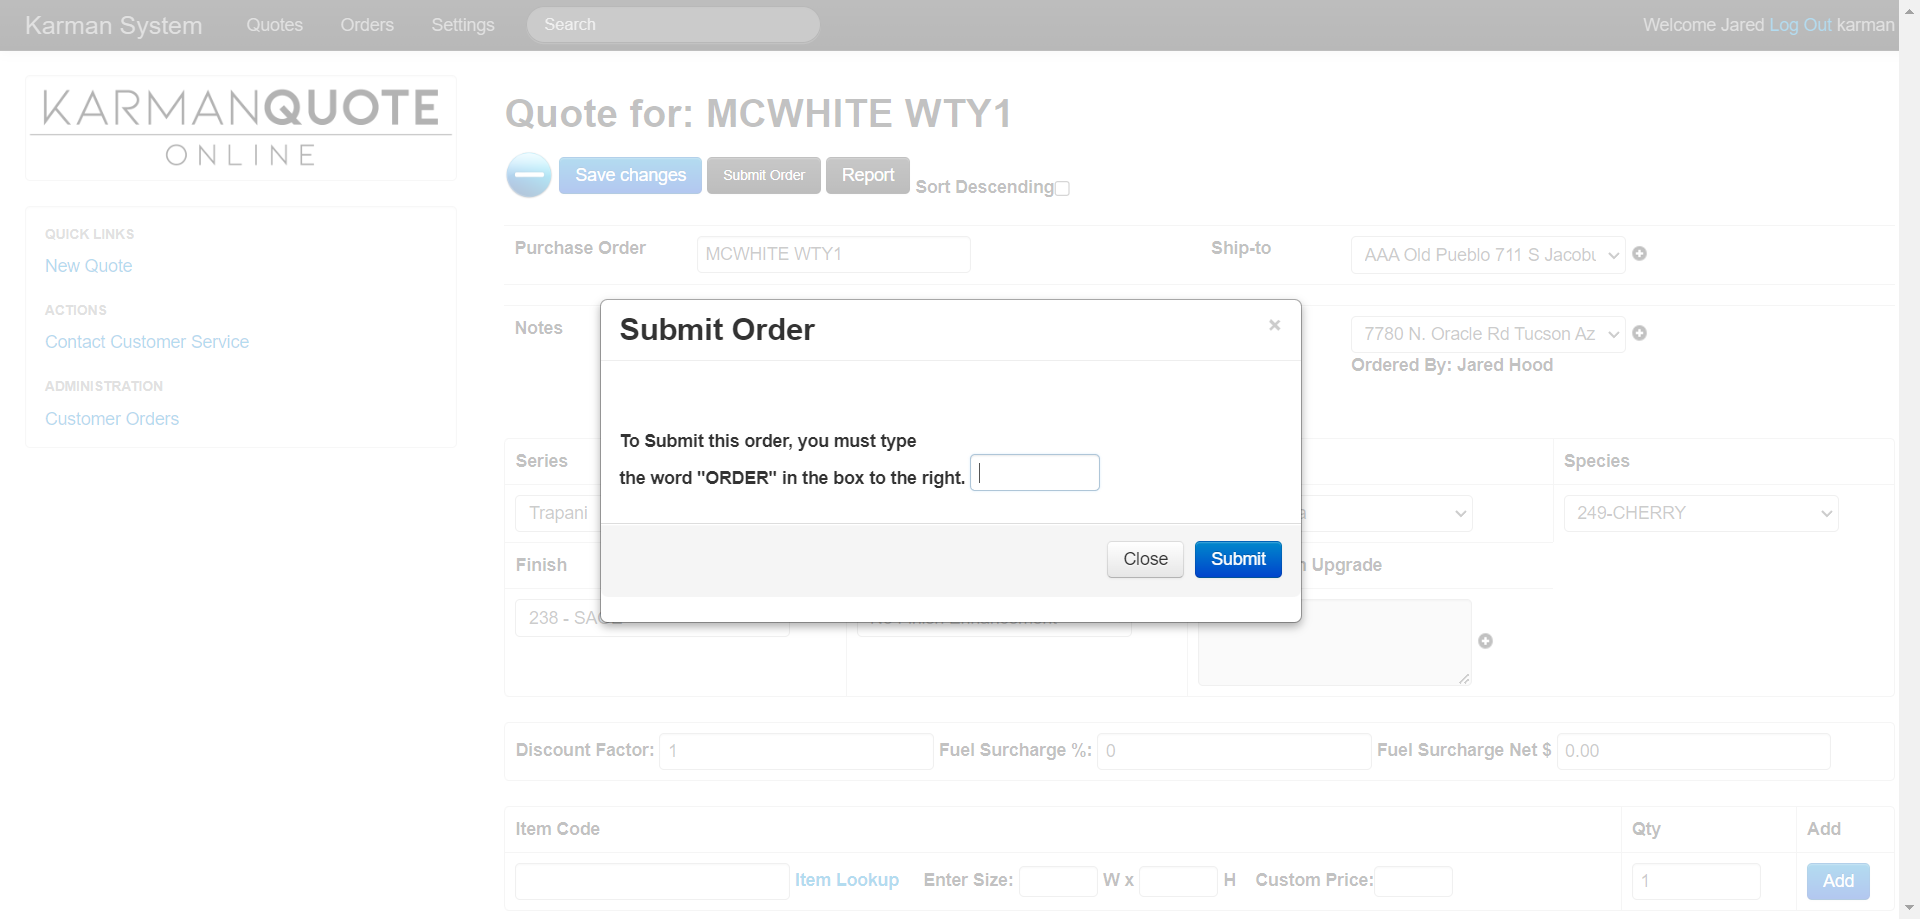
You must type "ORDER" to confirm that you are ready to submit
You can see we received another pop-up indicating our quote has been released. This will be sent to their customer service department for review. They will assess the warranty's validity and then begin production. If we check the orders dashboard, the warranty order we placed is now visible there.
Now we just need to wait to hear back from Karman customer service. They will confirm the warranty acceptance and send us a formal acknowledgment with an estimated delivery date. That's all there is to it.