
How to Place a Warranty Order with Showplace Cabinetry
Learn the step-by-step process to place a warranty order with ShowPlace Cabinetry, ensuring your cabinetry issues are resolved efficiently.
In this guide, we'll learn how to place a warranty order with Showplace Cabinetry. Each cabinetry company has its own process for handling orders, and understanding these steps is crucial for ensuring accurate and timely replacements. We'll walk through the process of logging into the Showplace dealer portal, selecting the correct order type, and entering necessary details such as job information and shipping preferences. This guide will help you navigate the system efficiently, ensuring that your warranty orders are processed correctly and without delay.
Let's get started
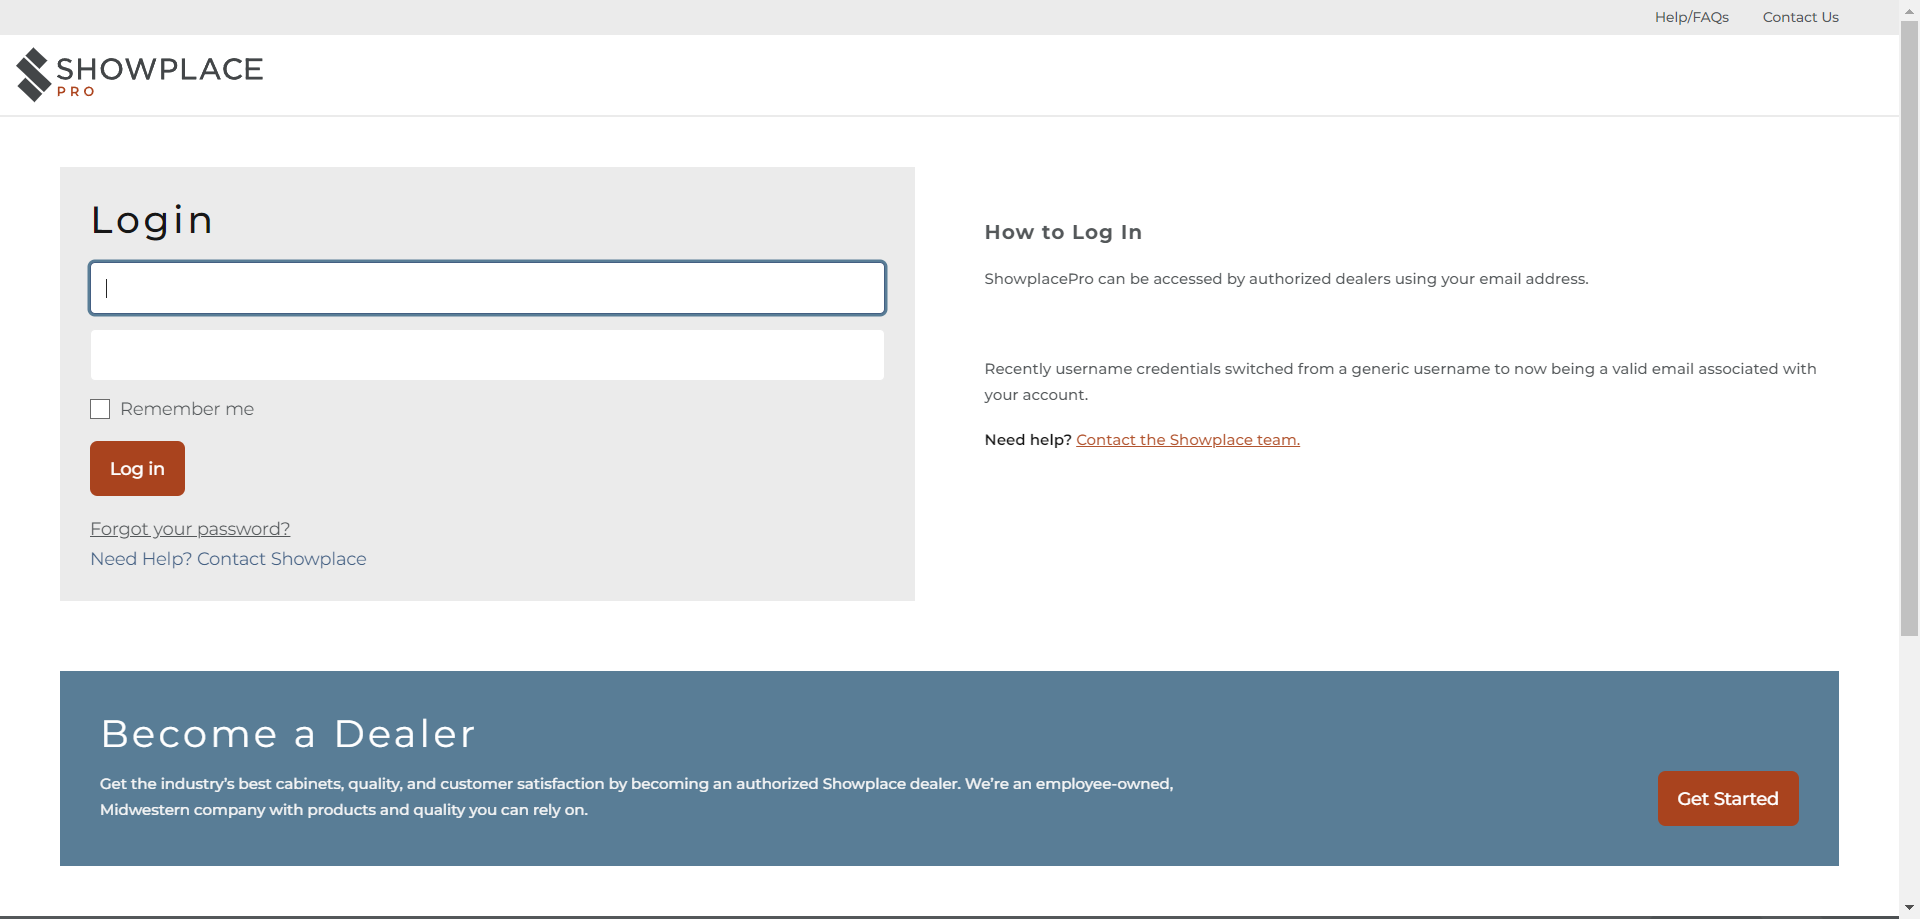
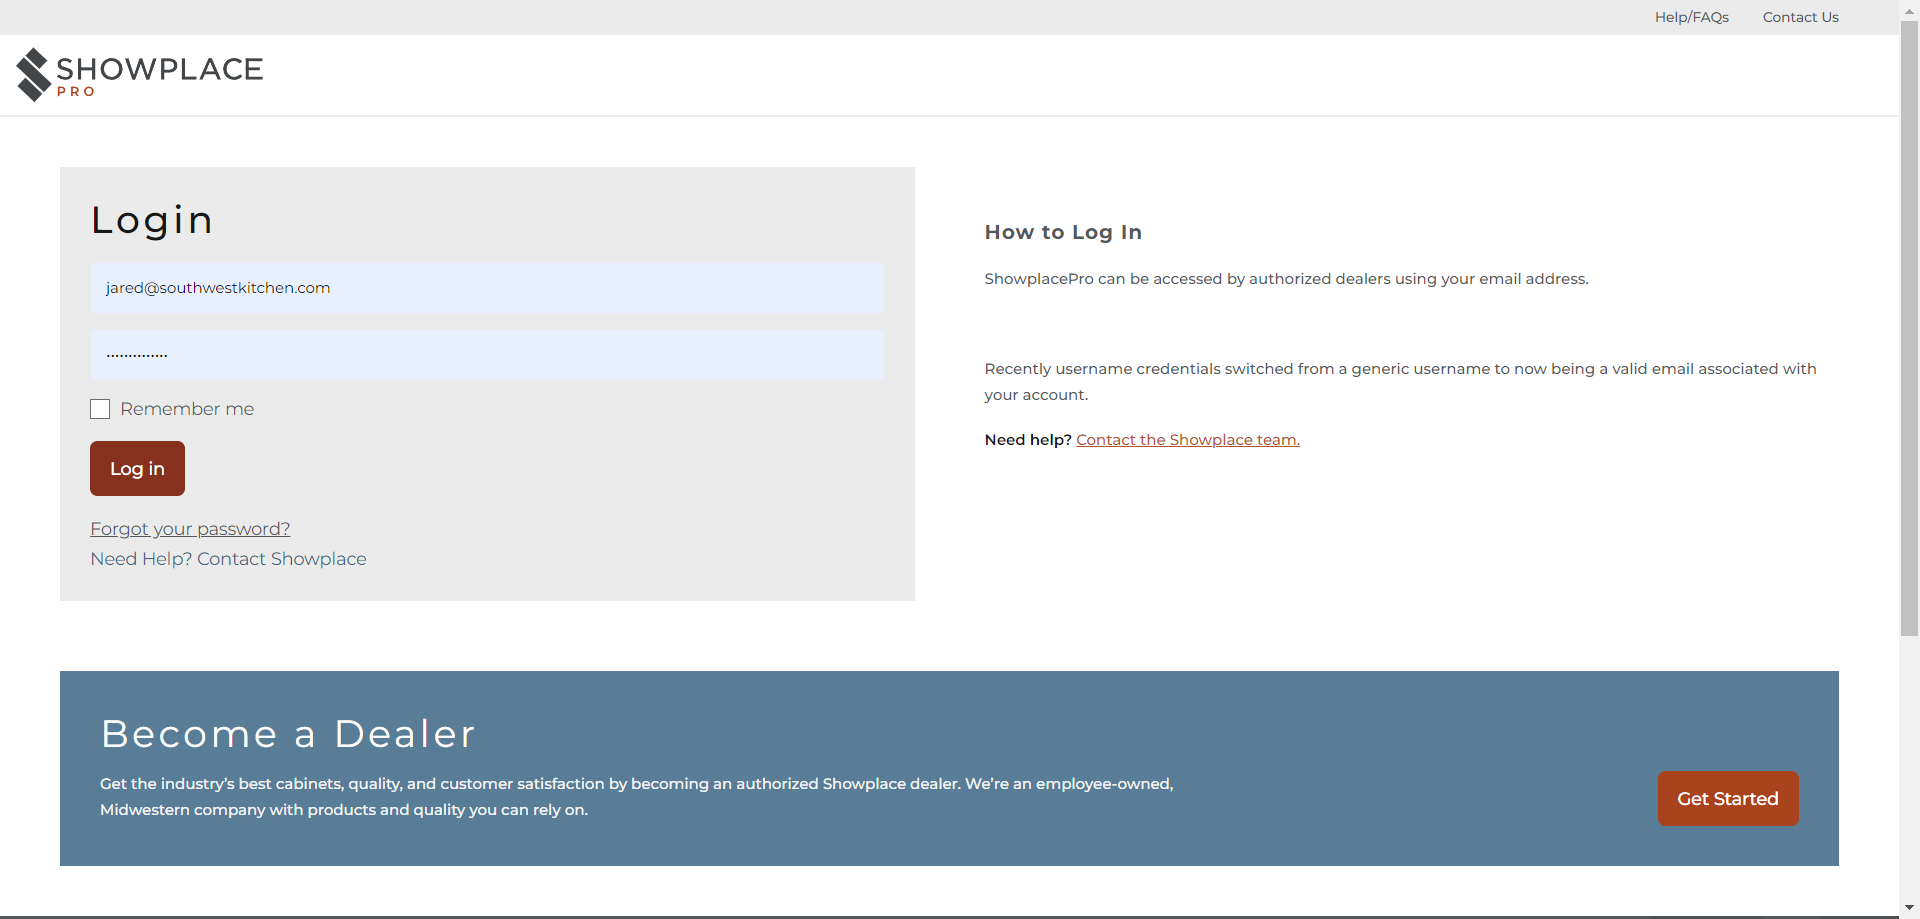
First, log into showplace.biz, which is their dealer portal. Then, go to the login section and enter your credentials.
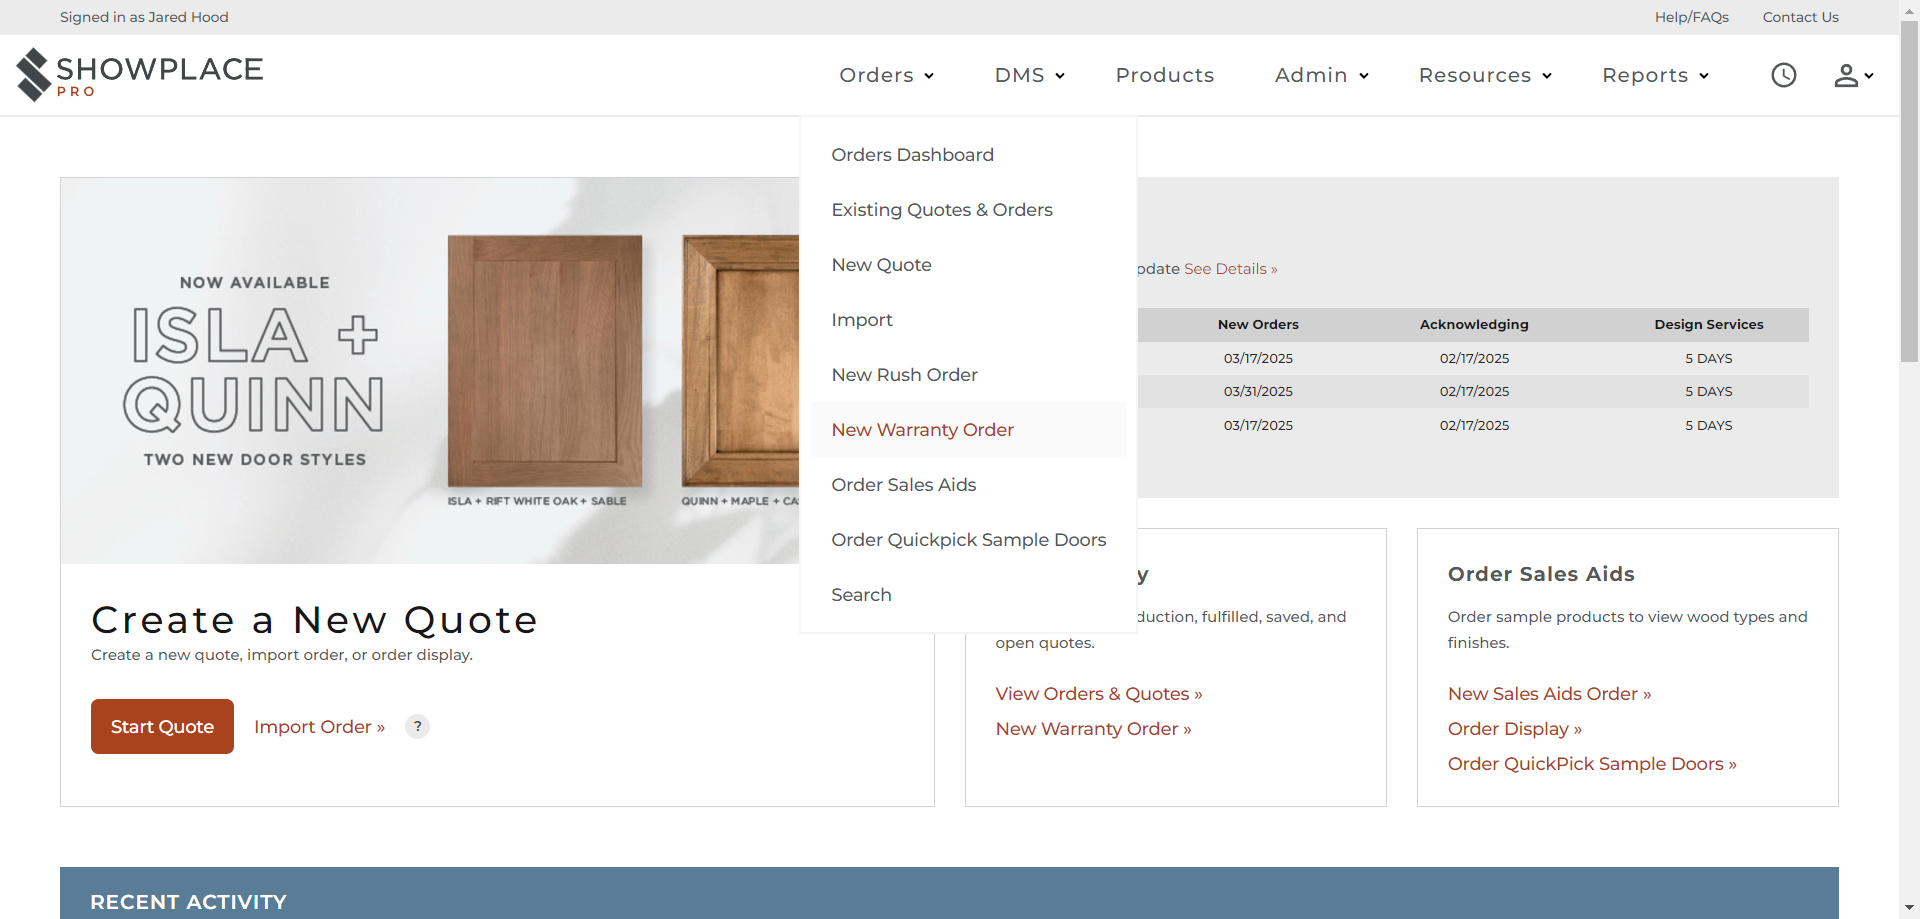
Once you have access to their dealer portal, go to the "Orders" tab on the top ribbon. Scroll down to "New Warranty Order" and click on it.
Ensure the order type is set to "warranty." Other options include normal production, rush order, and sales aid, but we need "warranty" for our purposes.
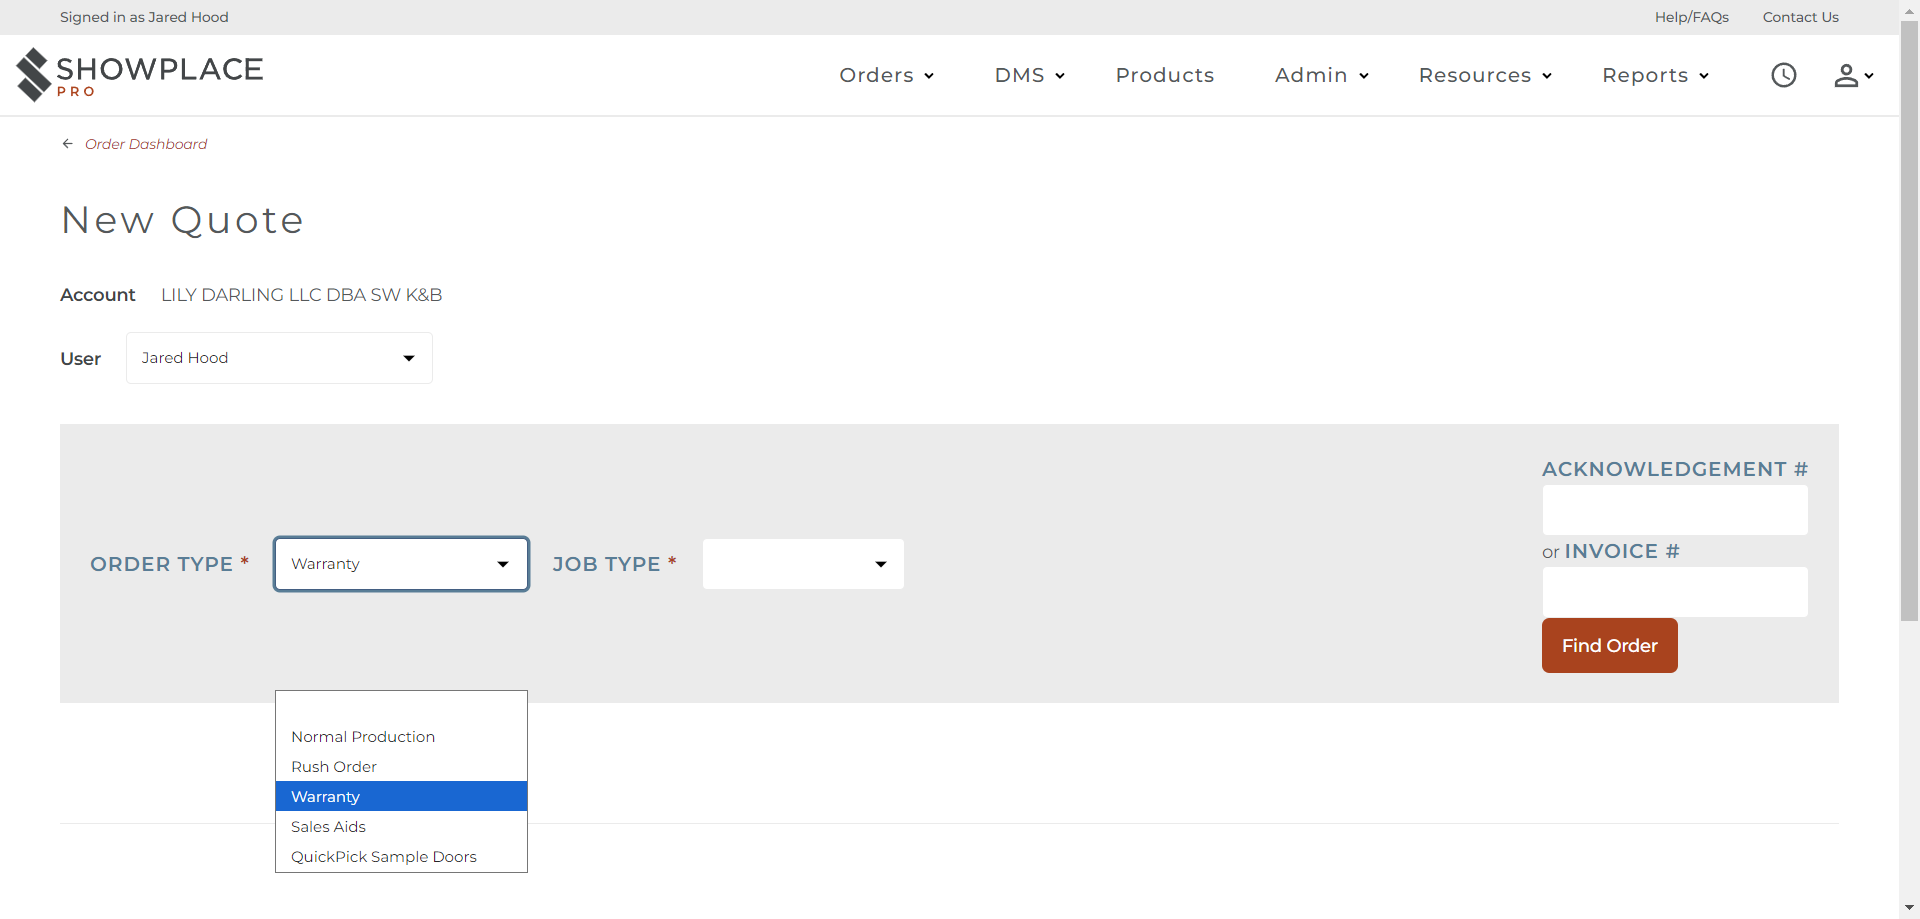
Then they ask you what type of project it is.
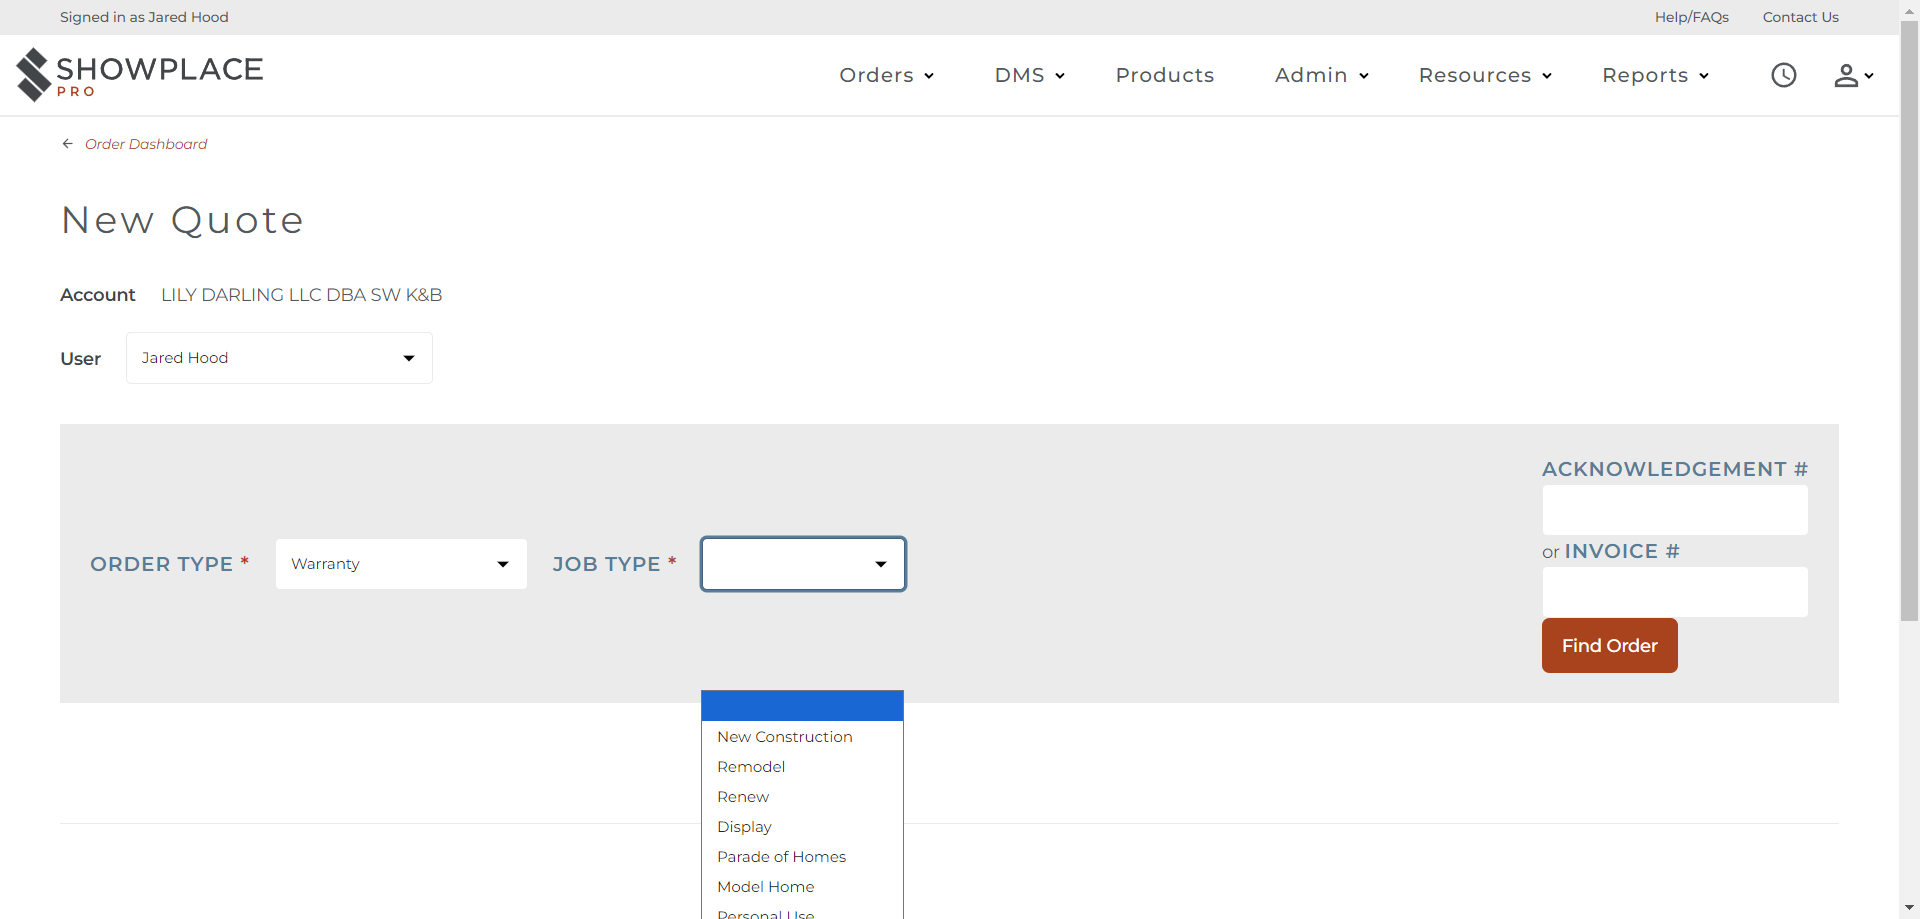
We typically handle remodels or renewals. Renewals refer to refacing. For this project, we're focusing on a remodel. We'll click on remodel.
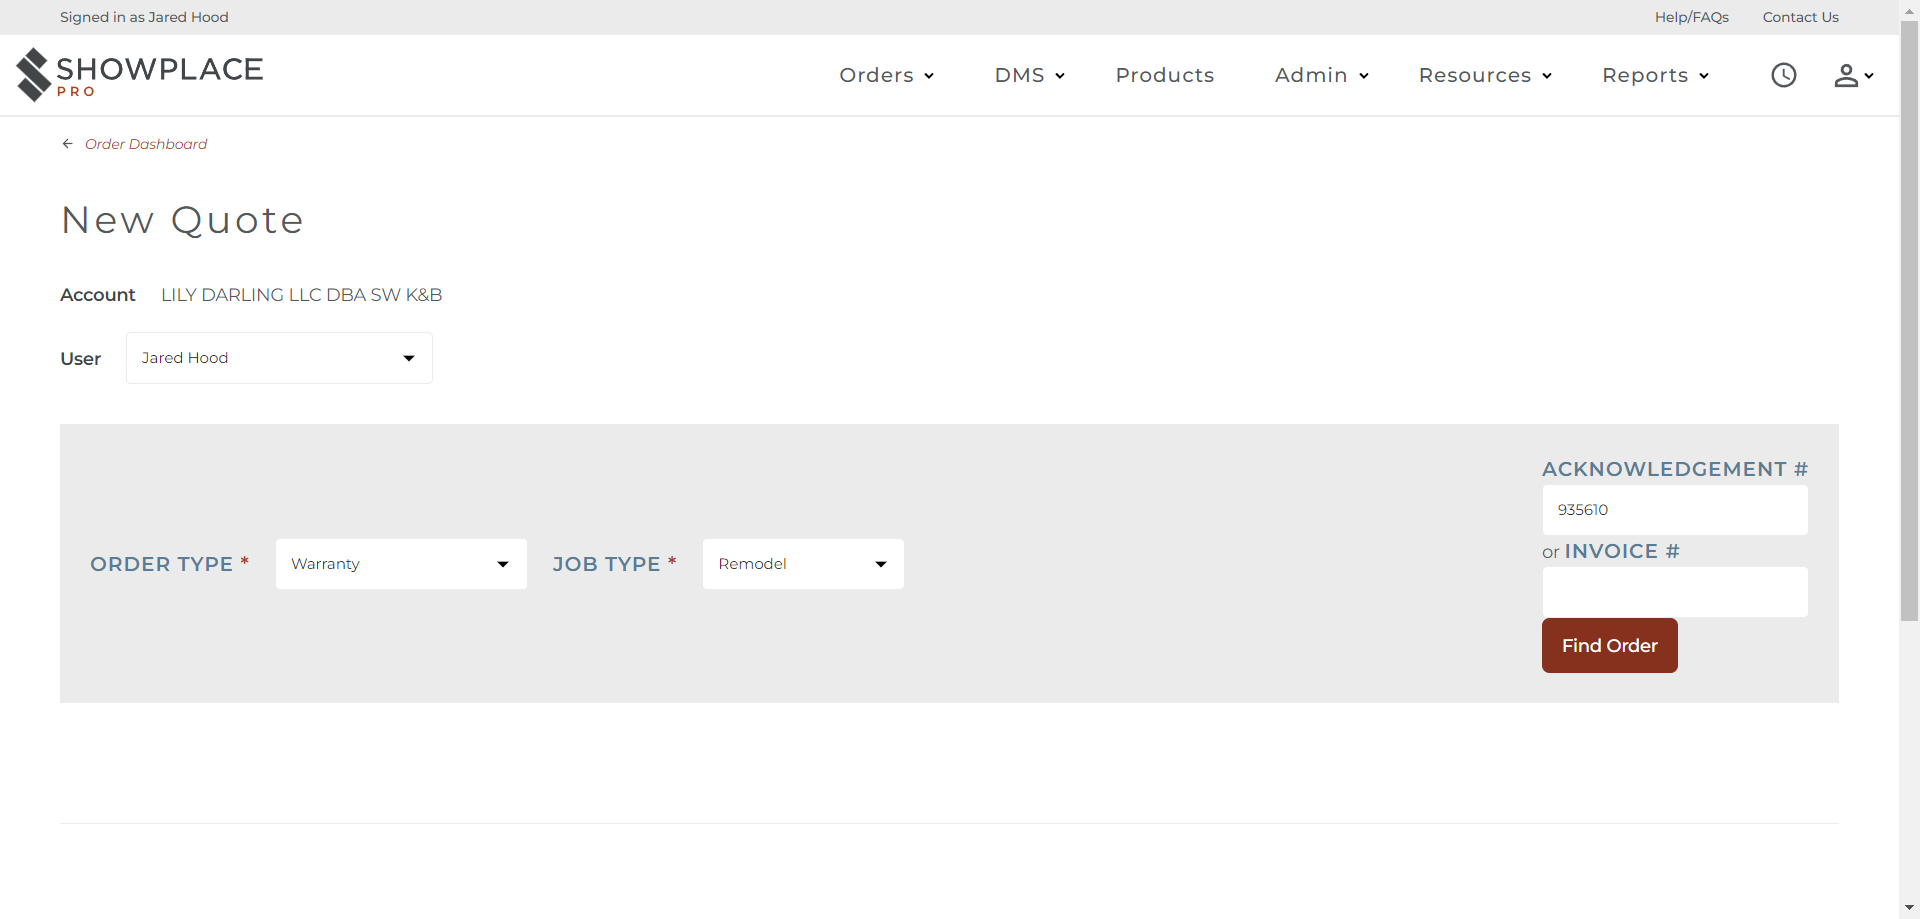
Then, we need to provide the acknowledgment or order number from the original order for the warranty. Enter the acknowledgment number, then click "Find Order."
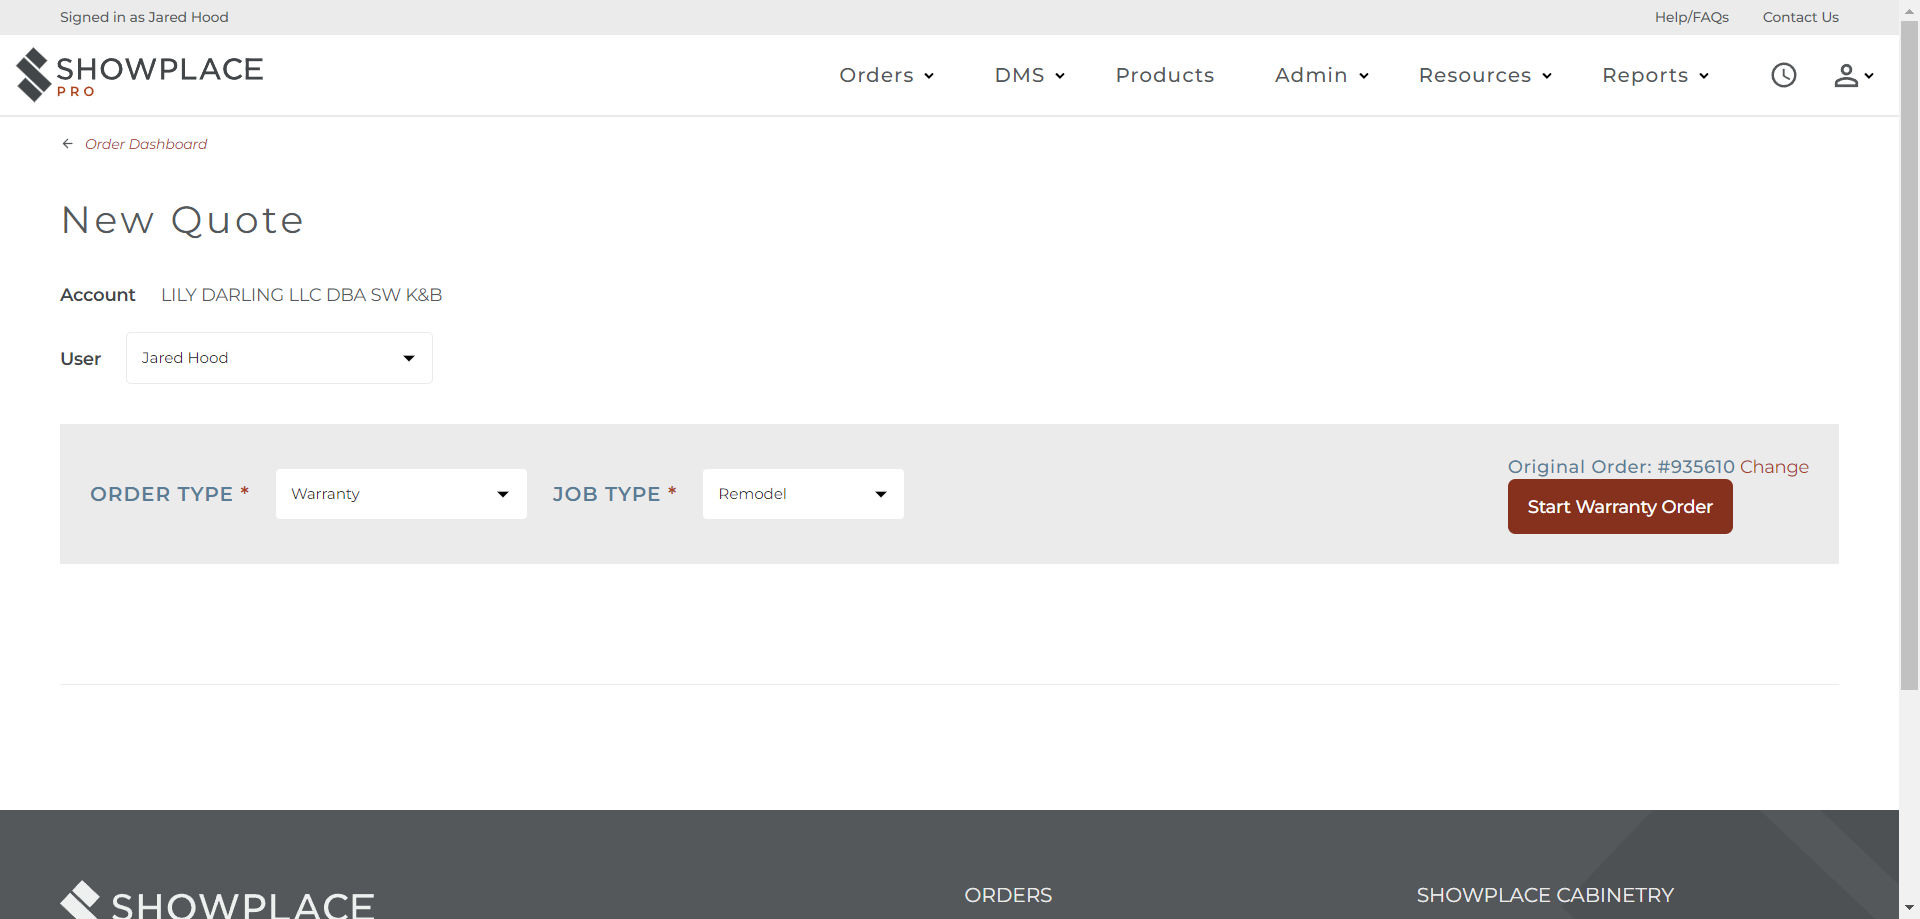
Once the system finds the order first verify the order numbers match then click "Start Warranty Order."
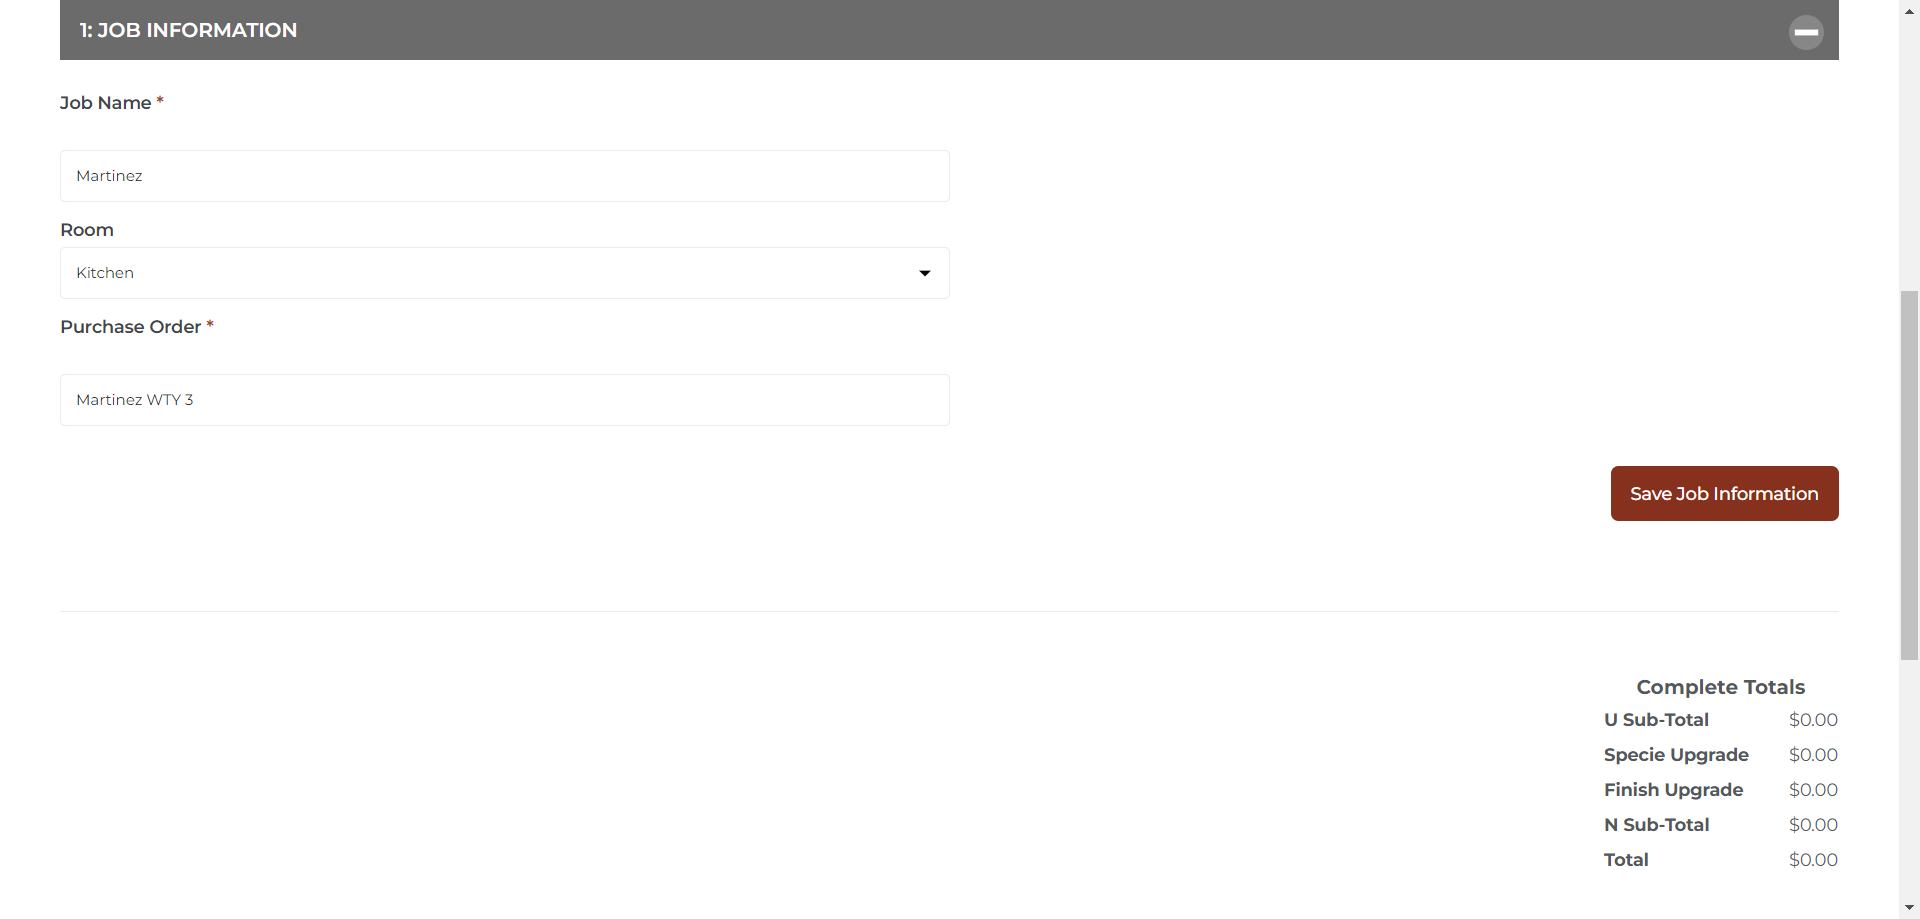
Next, enter the basic job information. This includes the job name (client's last name), the room type, and the Purchase Order name/number.
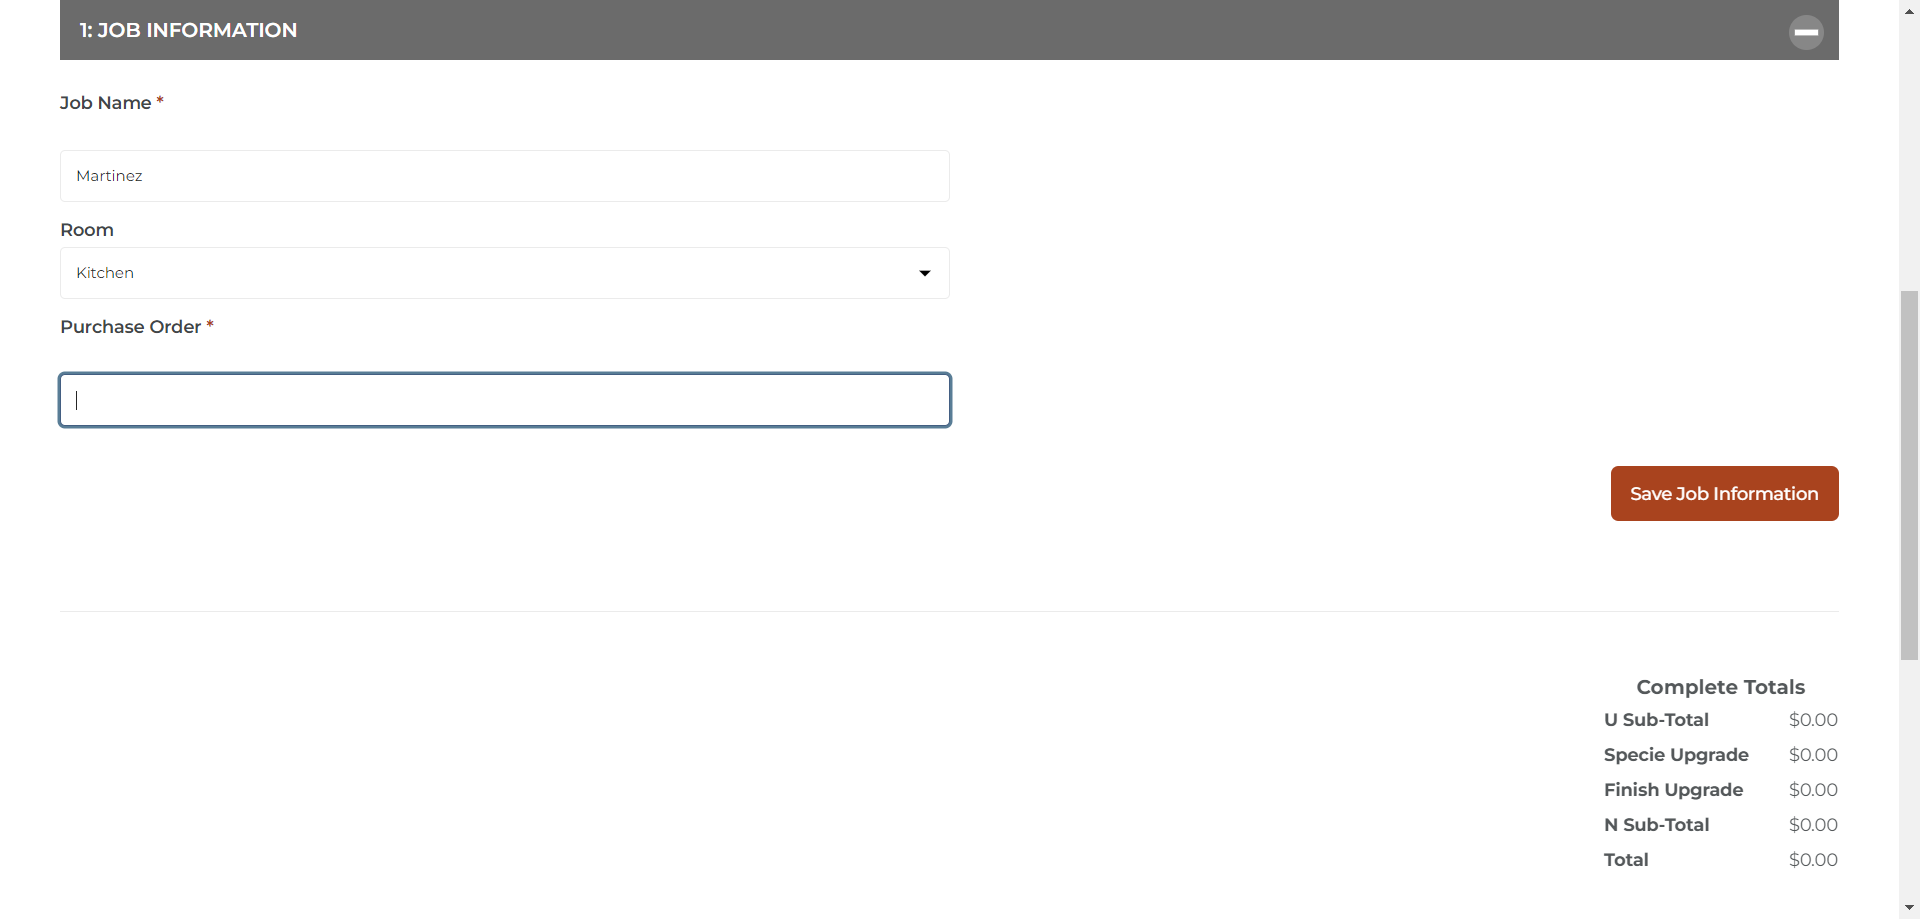
Here, we'll use the client's last name followed by "WTY" for warranty. Then, we'll number which warranty order this is.
After entering the information and creating a PO number, click "Save Job Information."
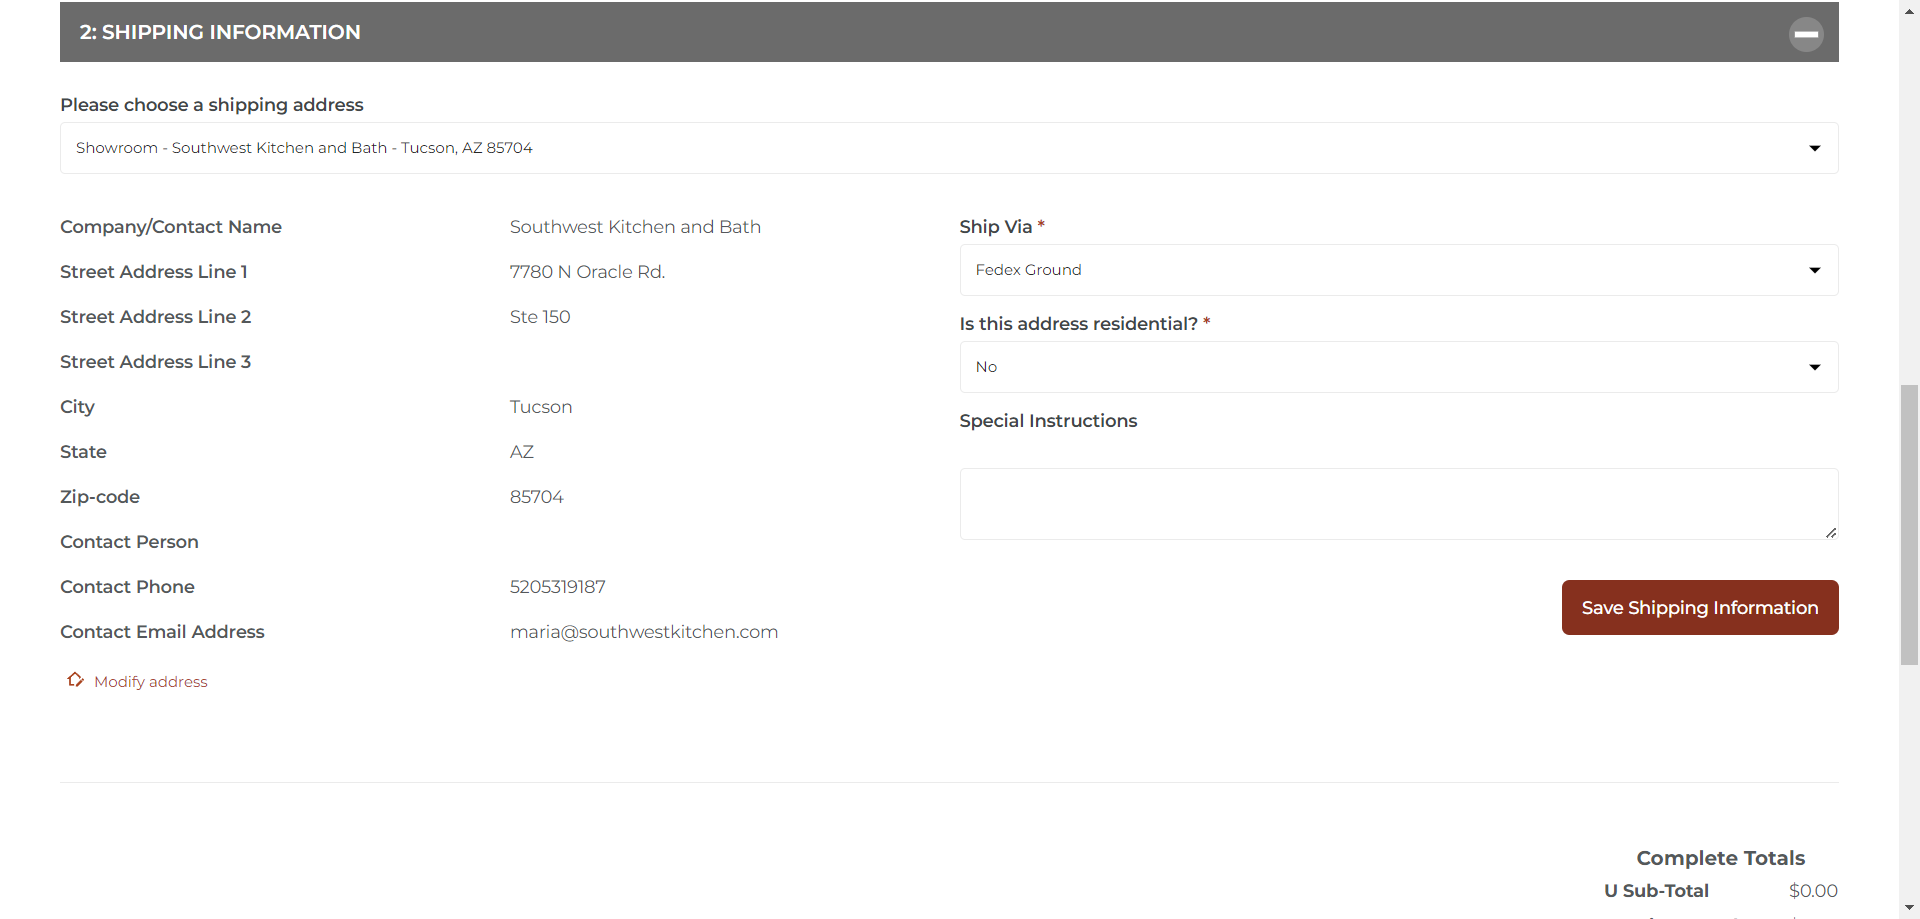
Next, it will ask for our shipping information. In the drop-down menu labeled "Please choose a shipping address," click the arrow. Then, select either our address (the showroom), or our receiving & storage facility (Old Pueblo).
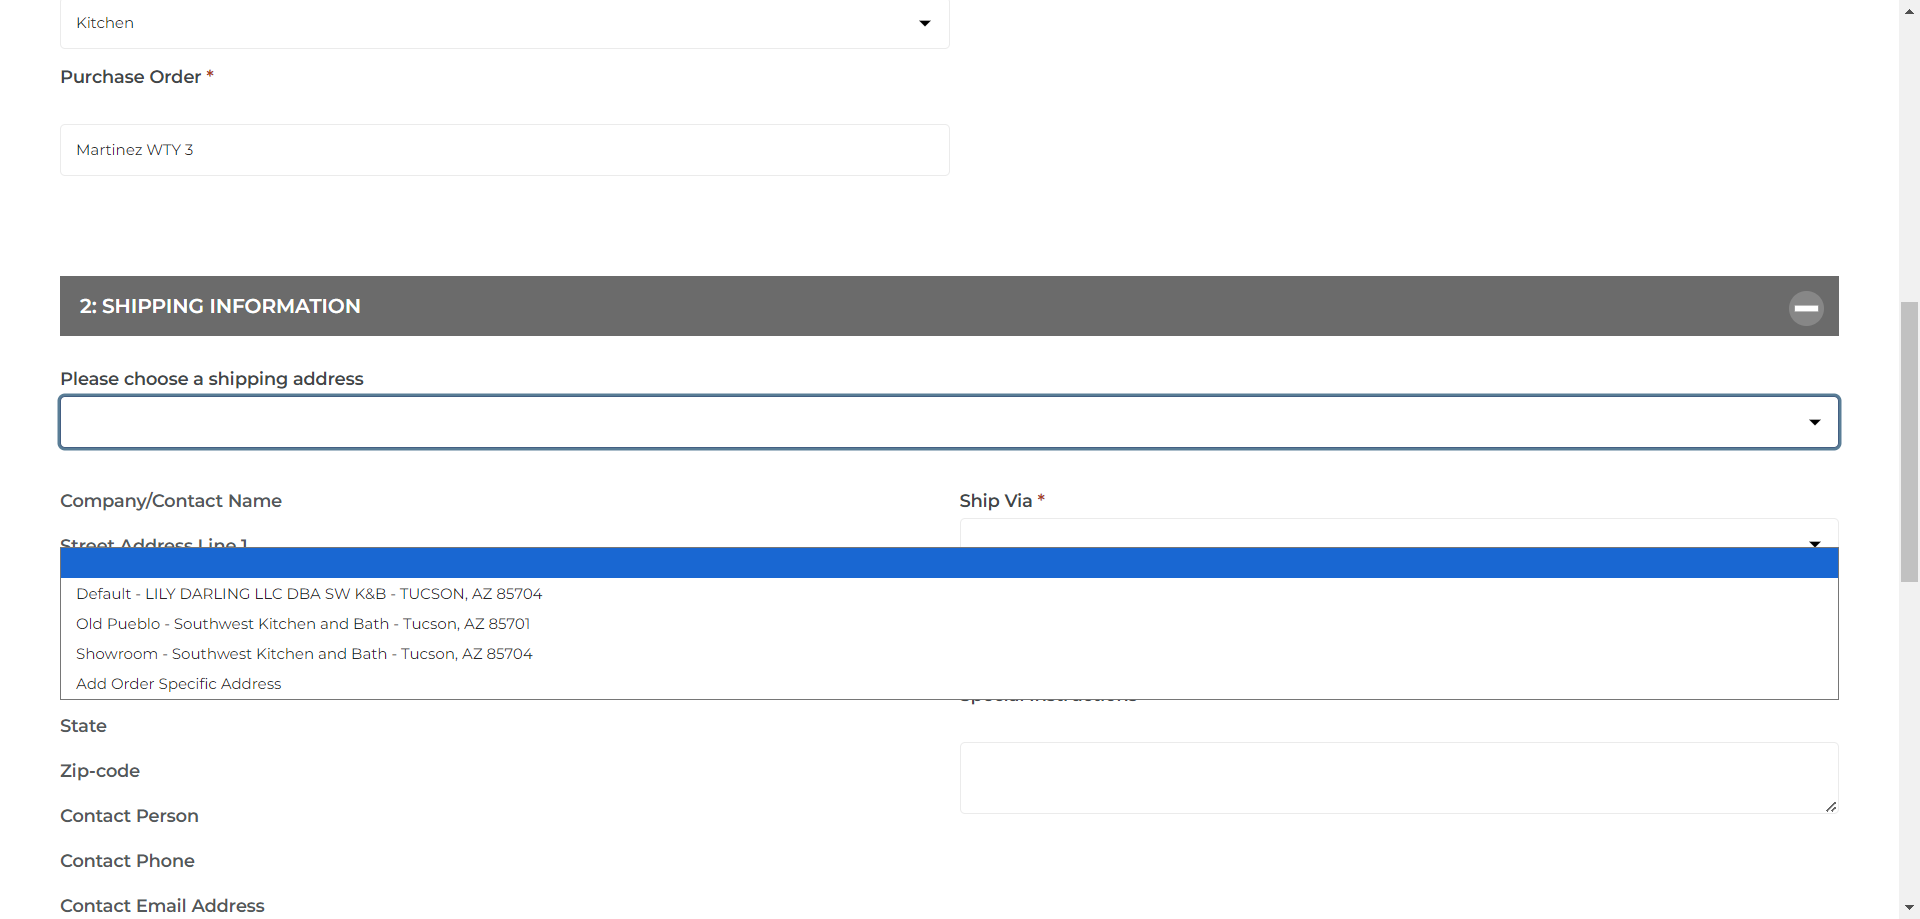
If the order is large with many boxes, send it to our storage facility at Old Pueblo. However, this example order is for just one door, so it can be shipped directly to our showroom. Click on showroom. Next, choose the delivery method.
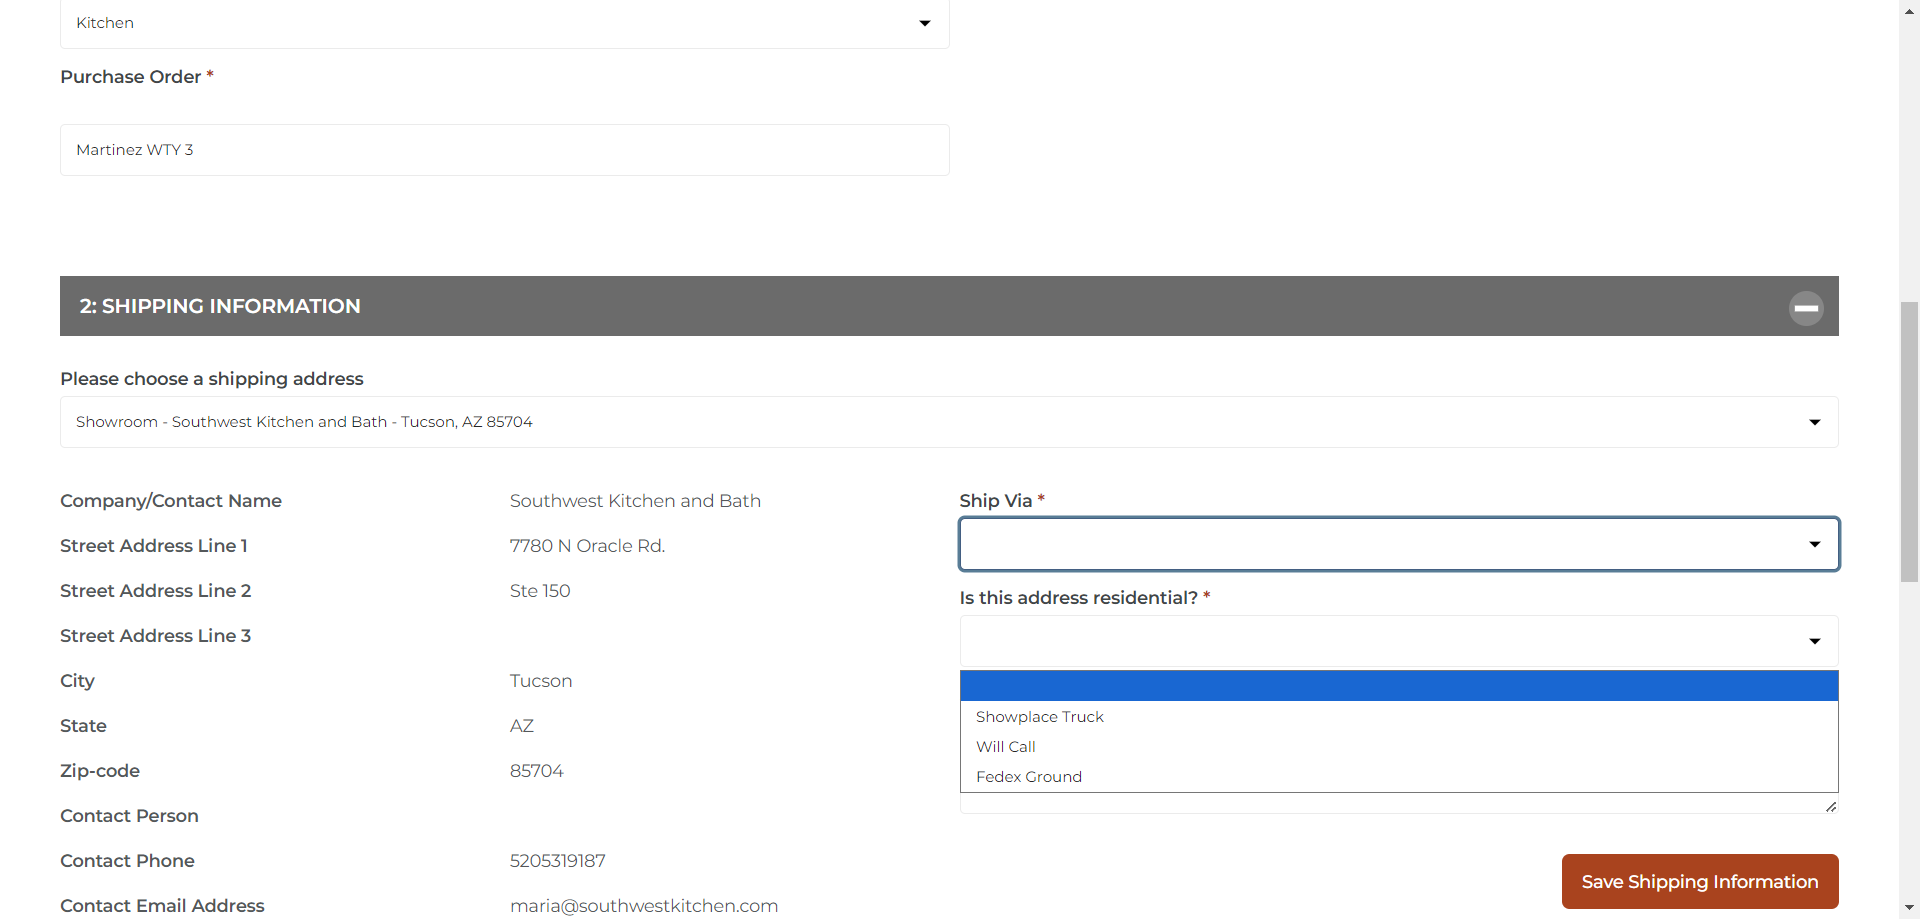
If it's a large warranty order, we recommend using a truck for delivery. For orders with long items like toe kick, crown, or scribe molding, choose truck shipping. Mailing can result in items being cut down, such as a 96-inch stick being reduced to 93 inches due to shipping limits. To receive full-length items, always opt for truck delivery. In our example, we're ordering a door, so we'll select FedEx Ground for shipping.
Neither our showroom nor our storage facility is a residential address, so we always select "no" under the "Is this address residential" tab.
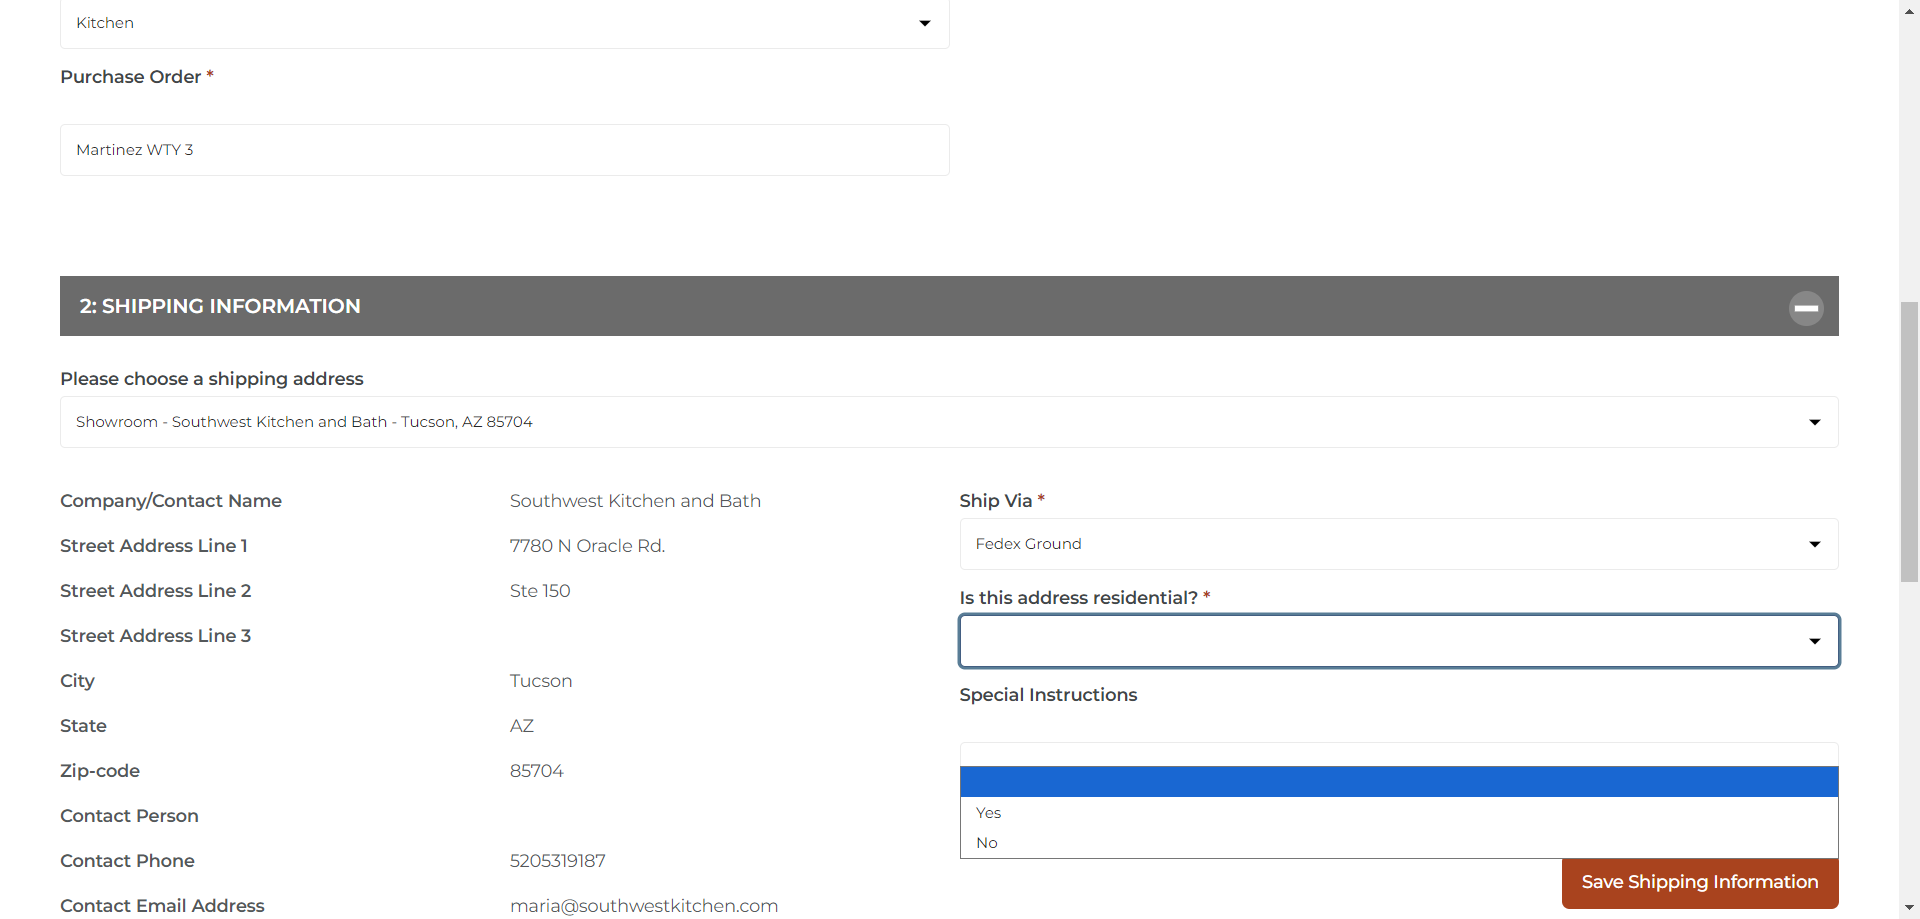
If there are any specific delivery instruction type them in the "special Instructions" line. We have no other special instructions for this example.
Once you have entered the shipping information, click "Save Shipping Information."
Once you've done that, it should automatically fill in the global job details.
Your global options include door styles, colors, and finishes. Ensure they match the original order. Check all the options on the left to confirm they align with the original order.
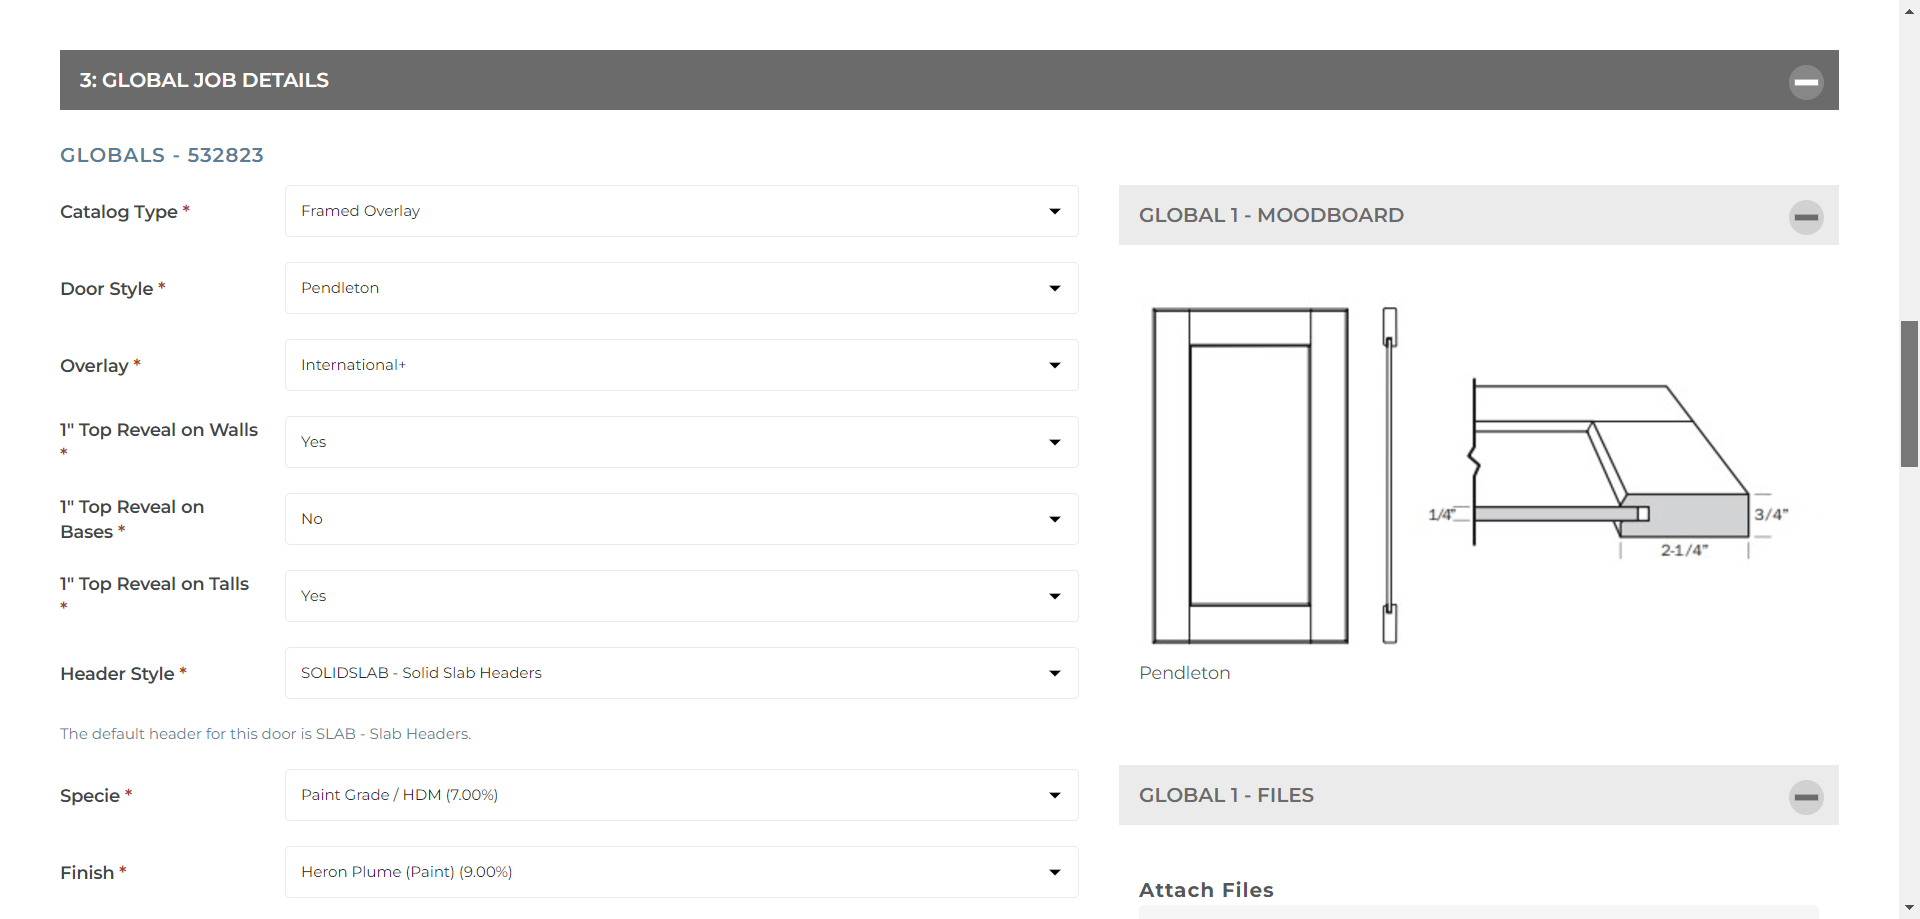
Once you've confirmed all the information is correct, click save and continue.
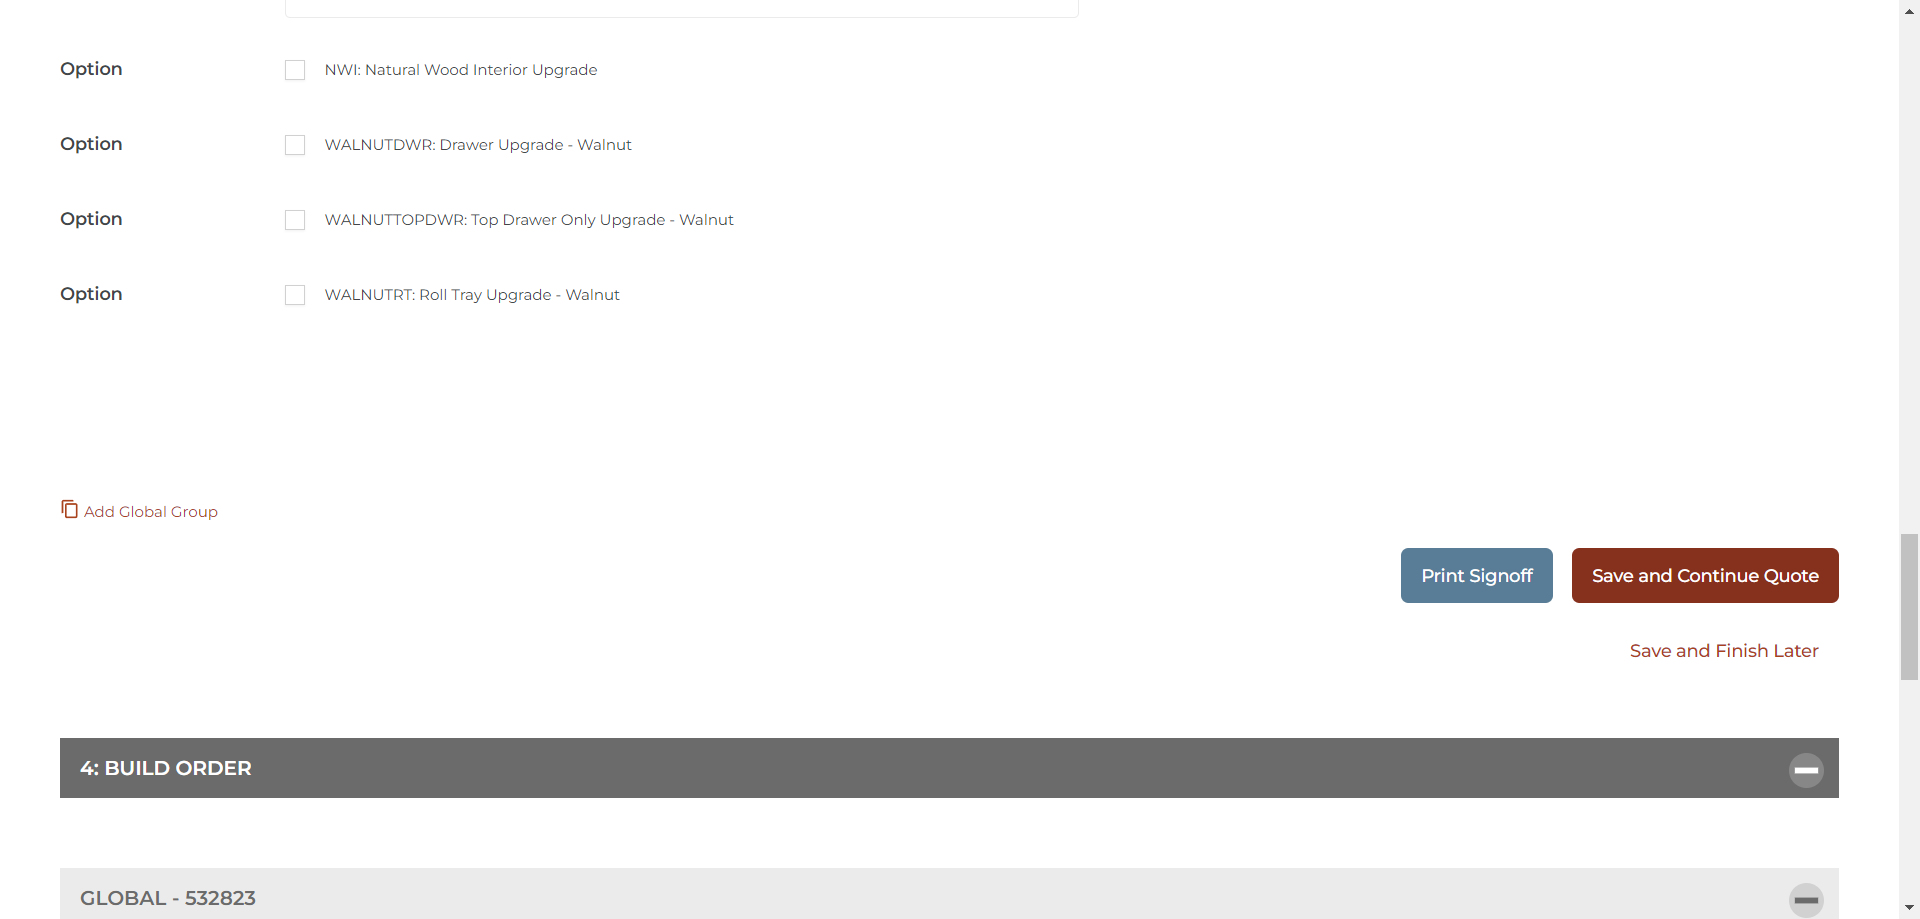
Next, go to the bottom to build your order.
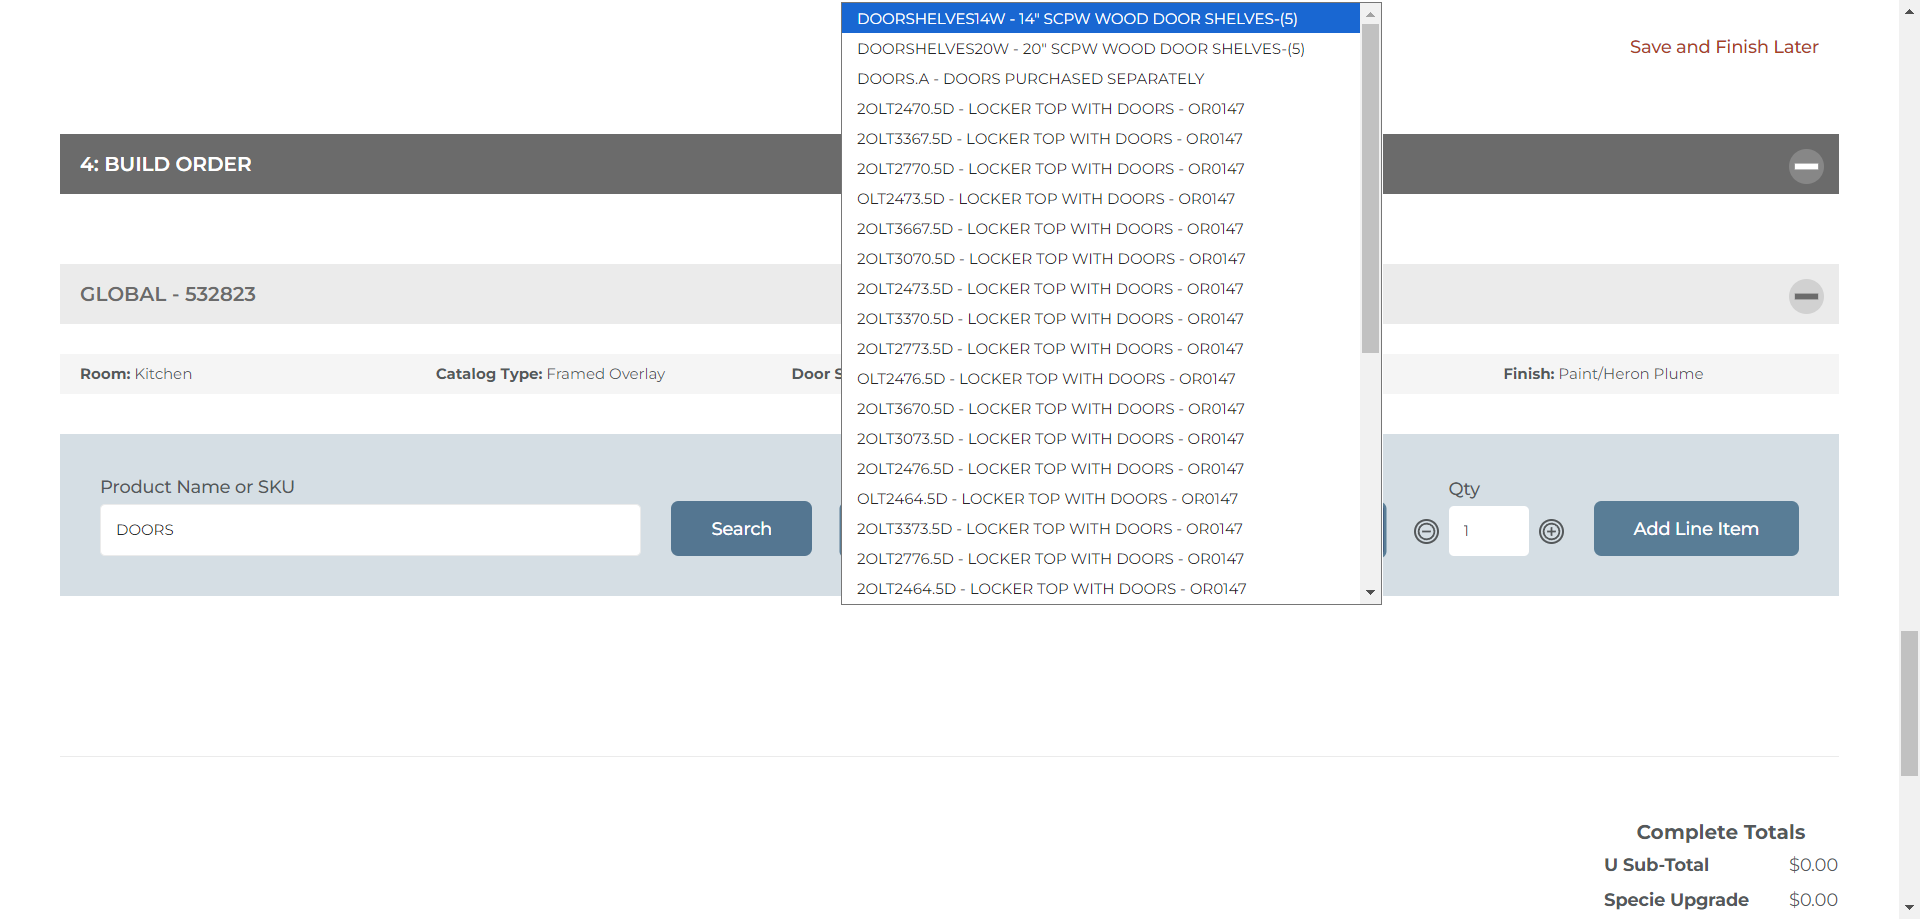
We need just one door. We need them to replace it because it came in the wrong color. So, we're going to enter the nomenclature for the door under "Product Name or SKU".
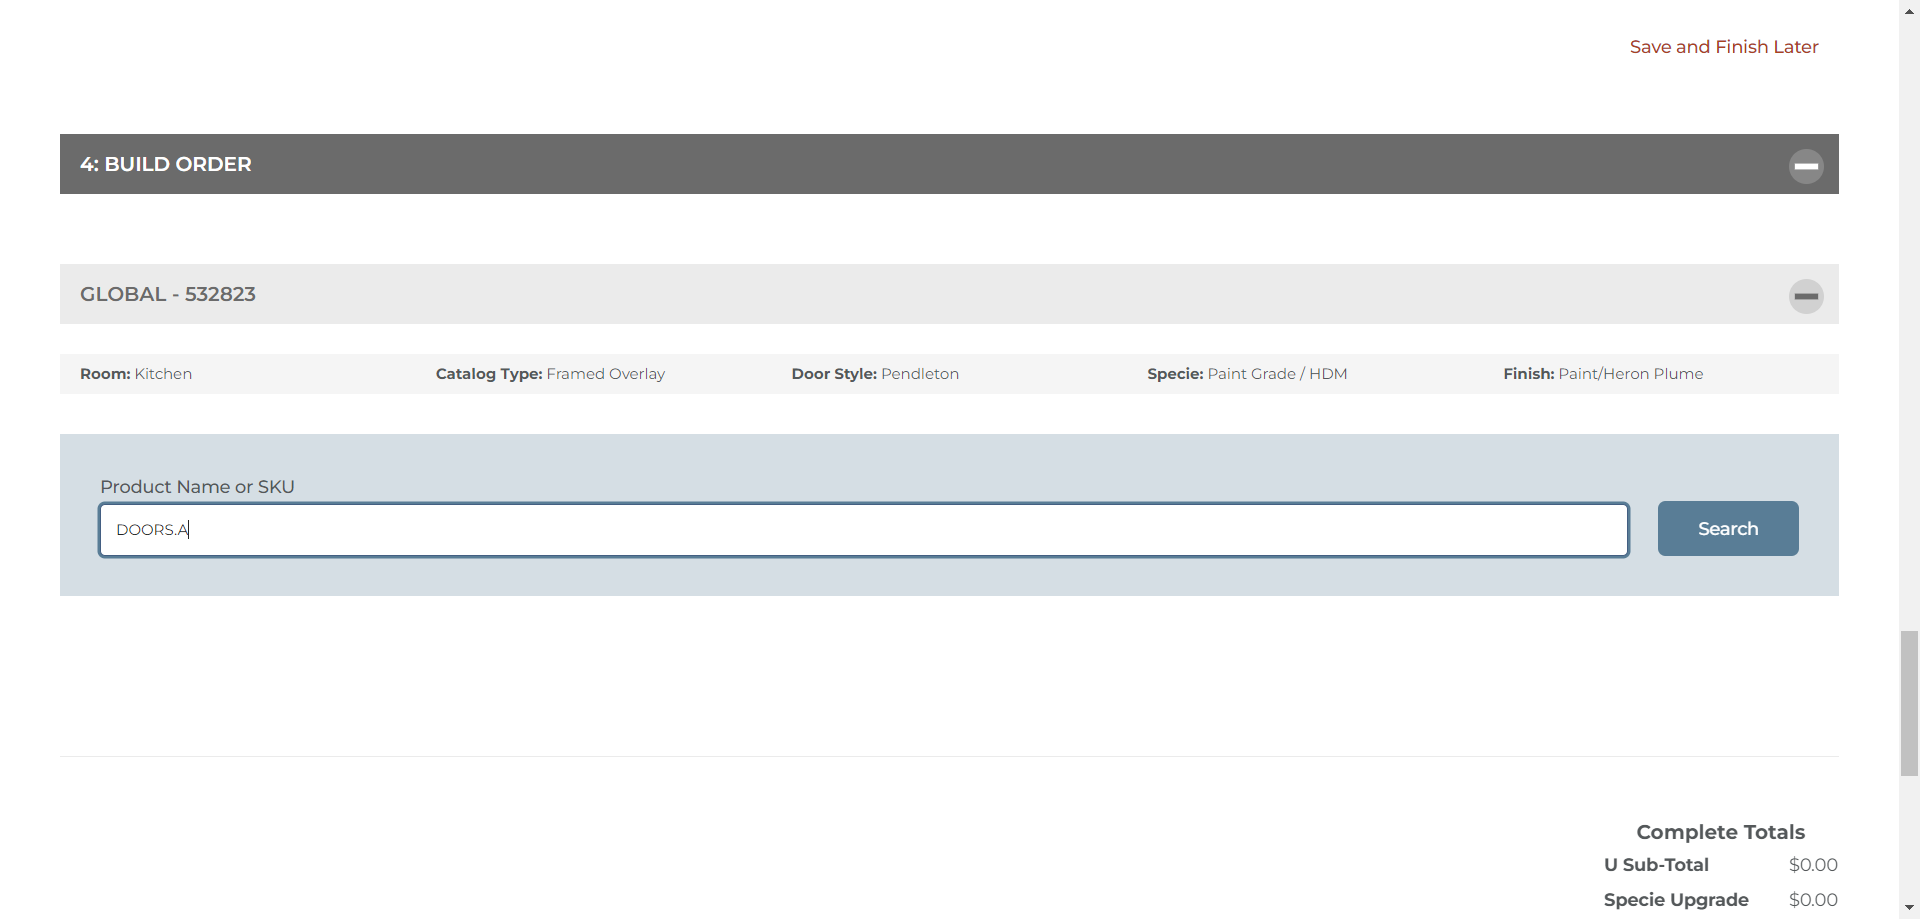
If you don't know the exact terminology be as specific as possible and the system will populate options from which you may choose. For example, if you type "door" and hit search, it will display all the door options. You can then choose the correct one from the dropdown.
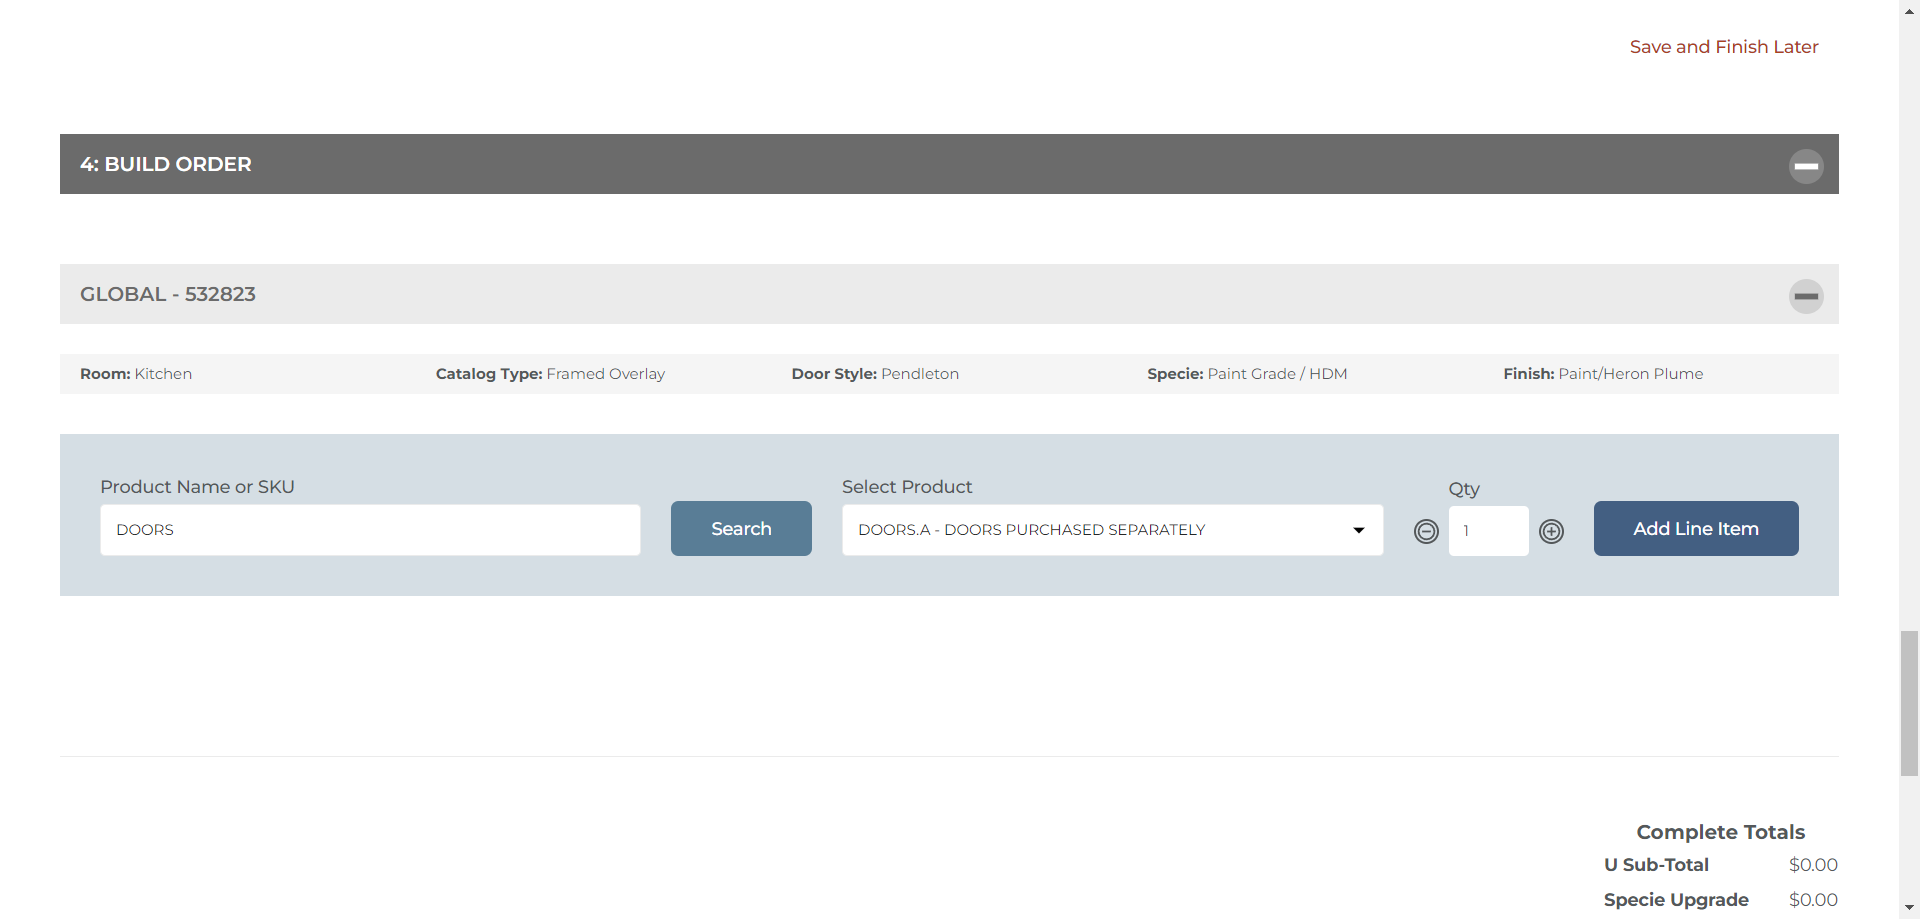
We want to purchase just the doors separately, so I'll click on that ("DOORS.A")and then enter the quantity of the needed the item.
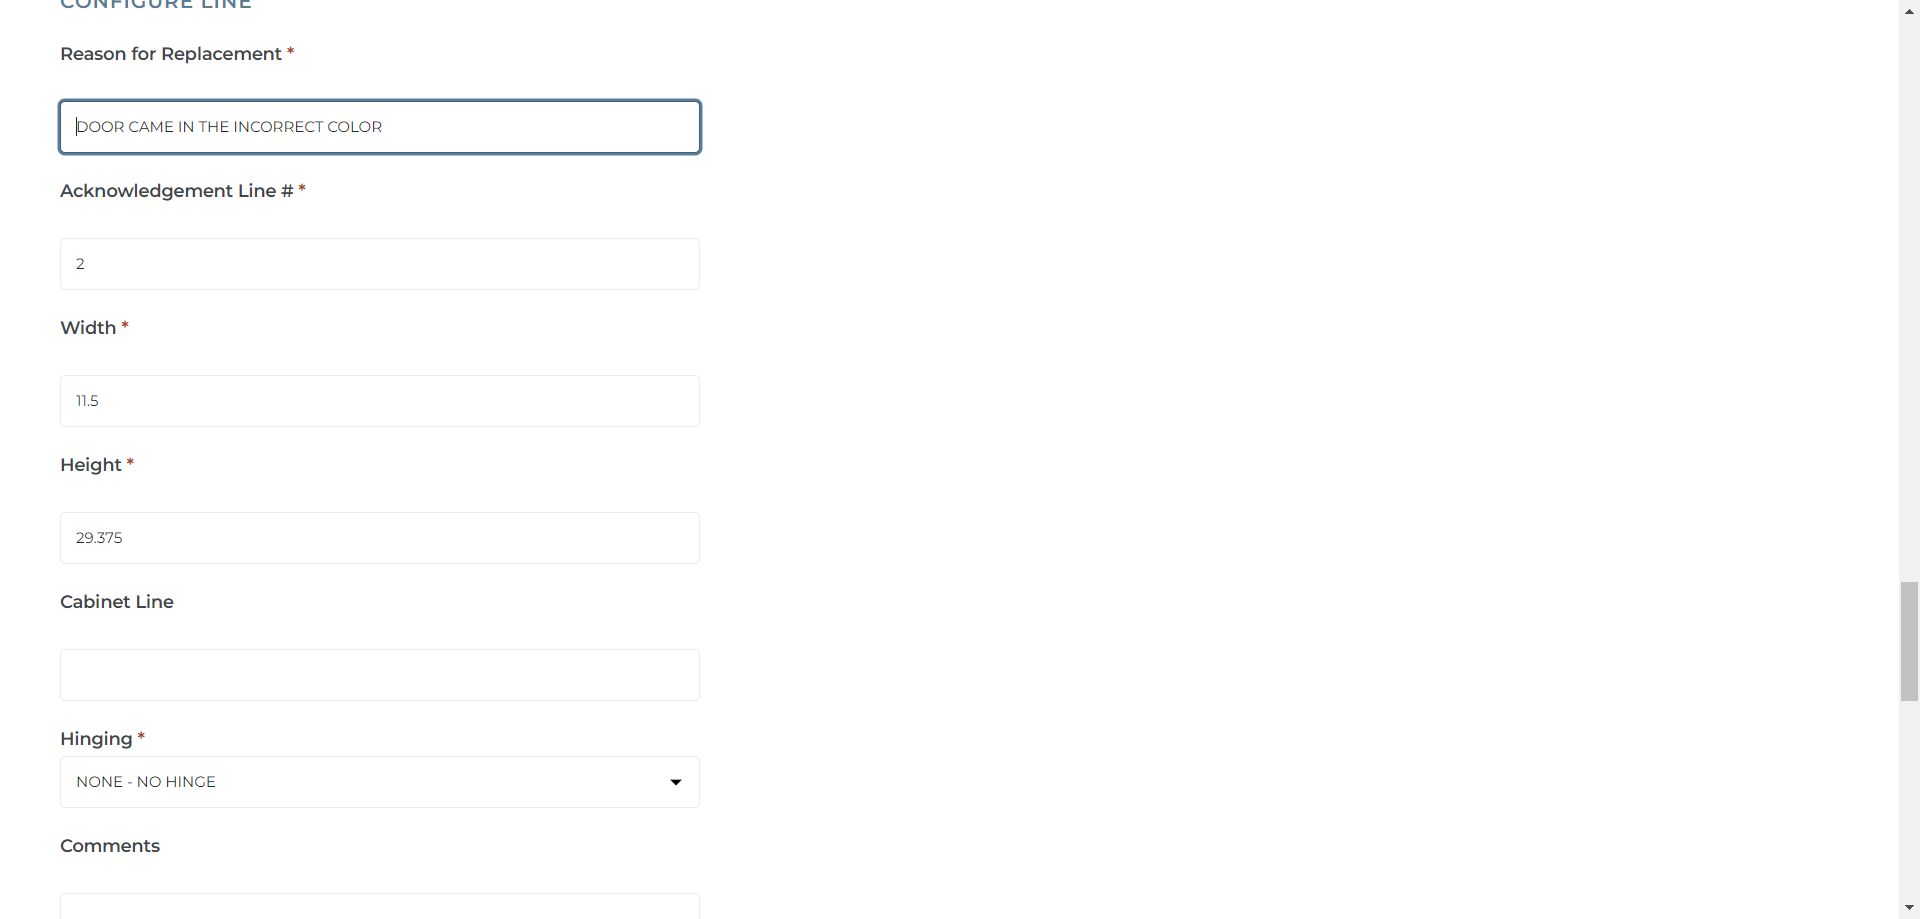
Reason for the replacement? Be specific but concise. Clearly explain why you need a warranty.
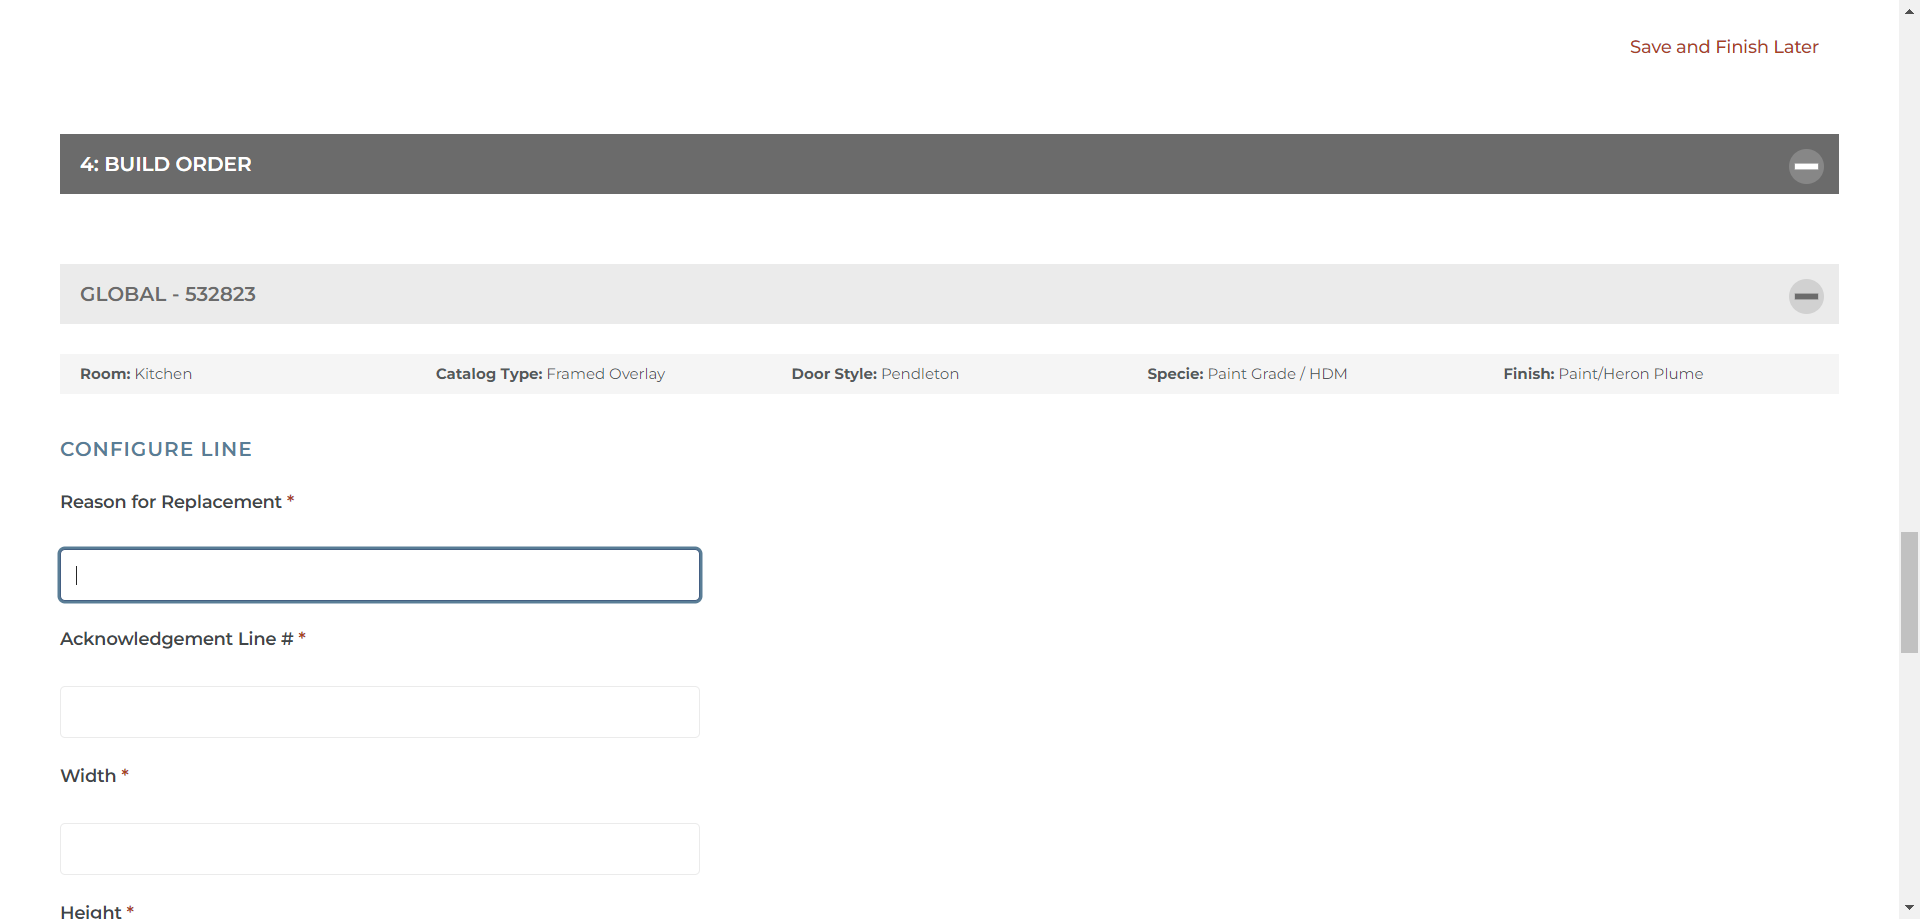
In most cases, issues fall into a few general categories. Either A, we never received the item, requiring a shipping manifest, B, the item received was incorrect (such as ordering a door and getting the wrong size), or C, the item was received damaged. In any of these instances, you need to provide documentation, like a shipping manifest or a photo of the damaged or incorrect item. In our example, we are ordering a replacement for a door that came in the wrong color. First, enter the reason for the replacement (door came in the incorrect color) in the proper field. Then, you need to provide the line item # of the specific part from the original acknowledgment/order.
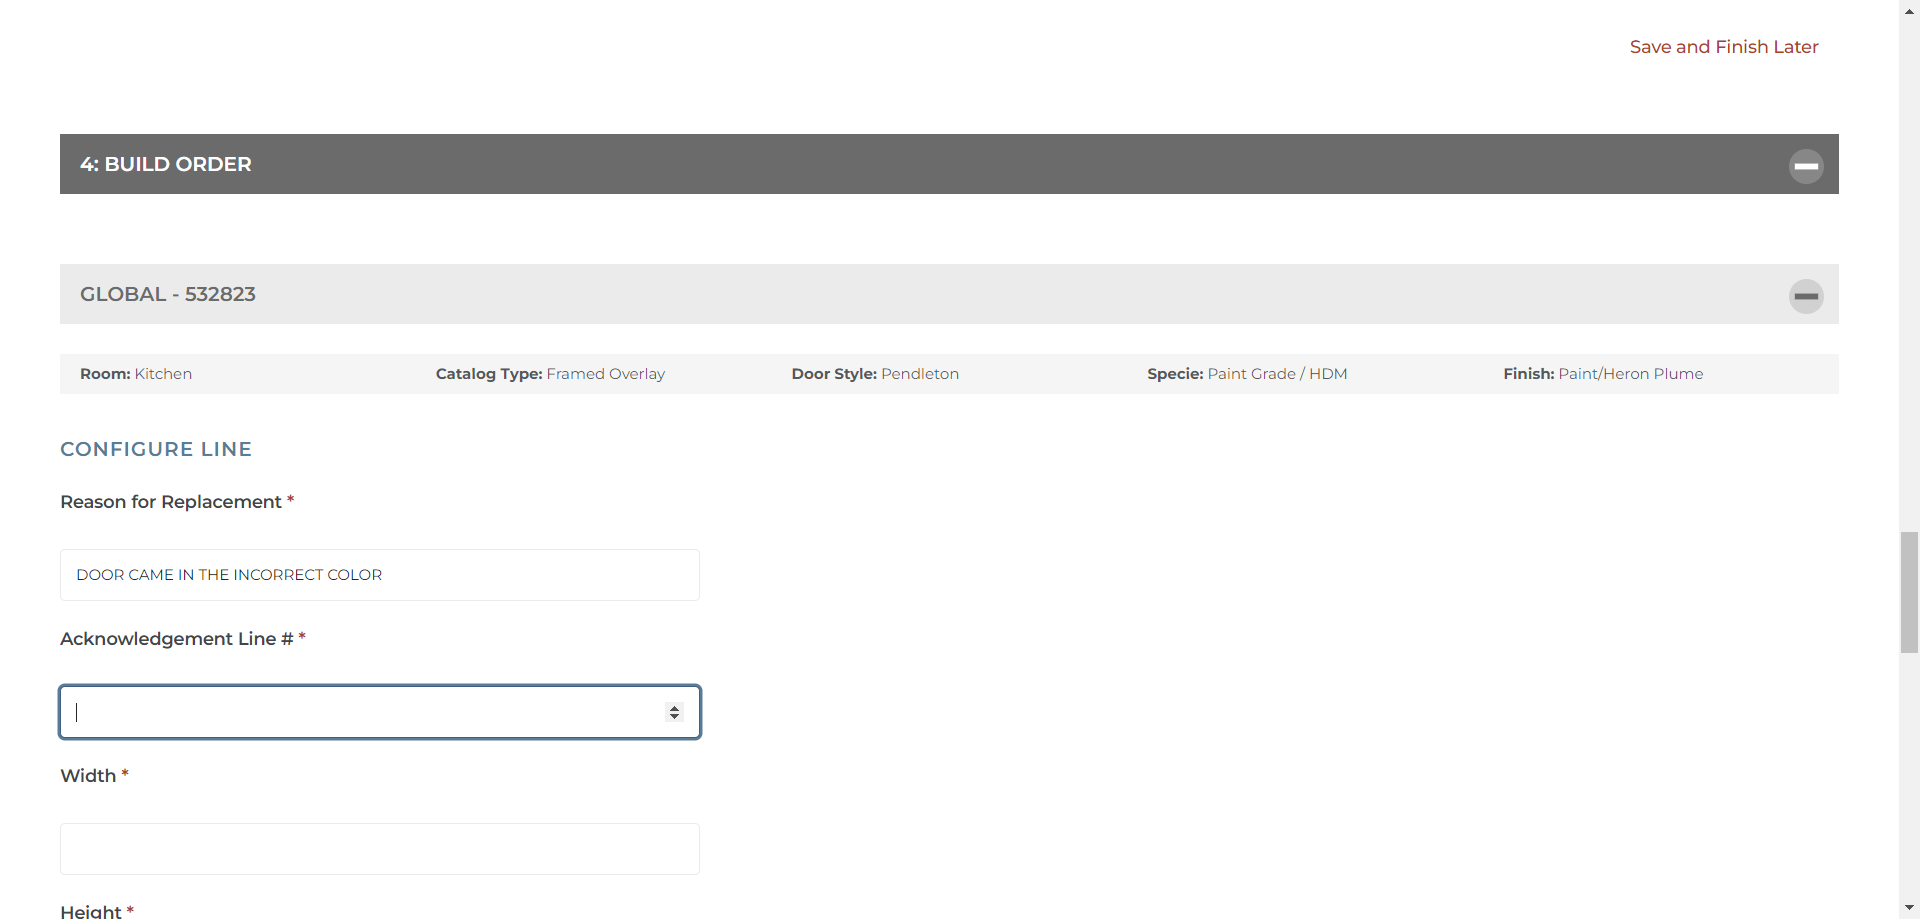
After entering that information we will need to give Showplace the proper item details
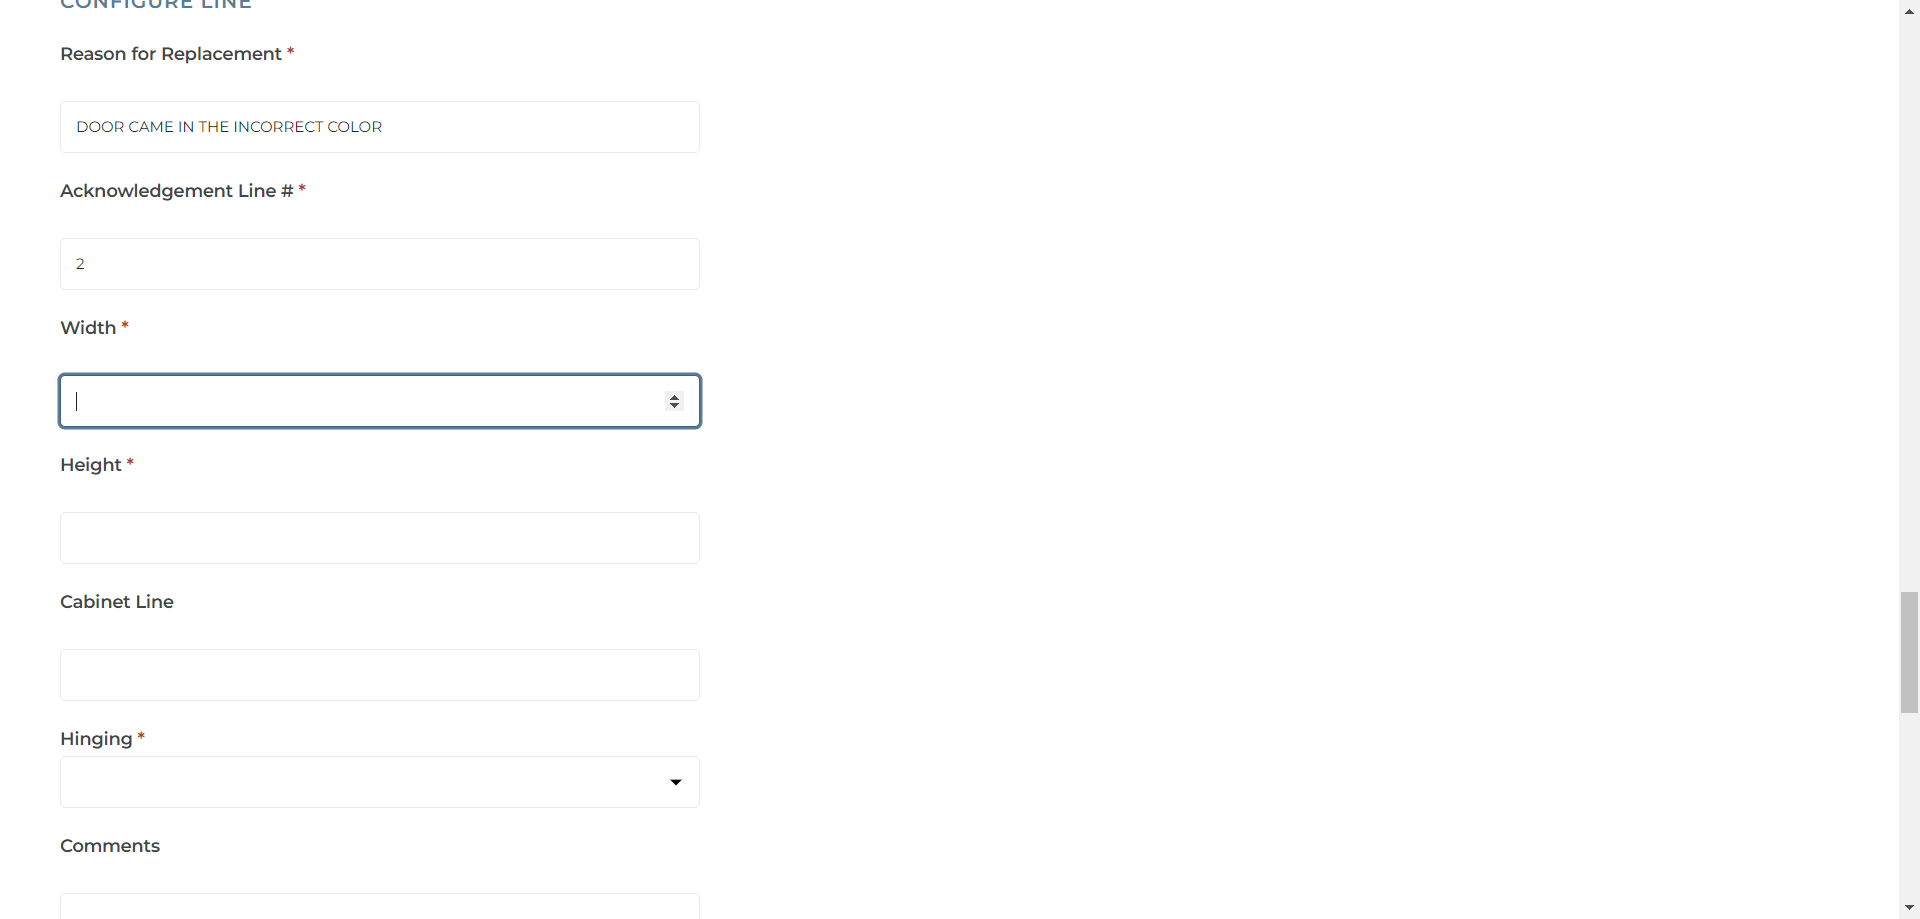
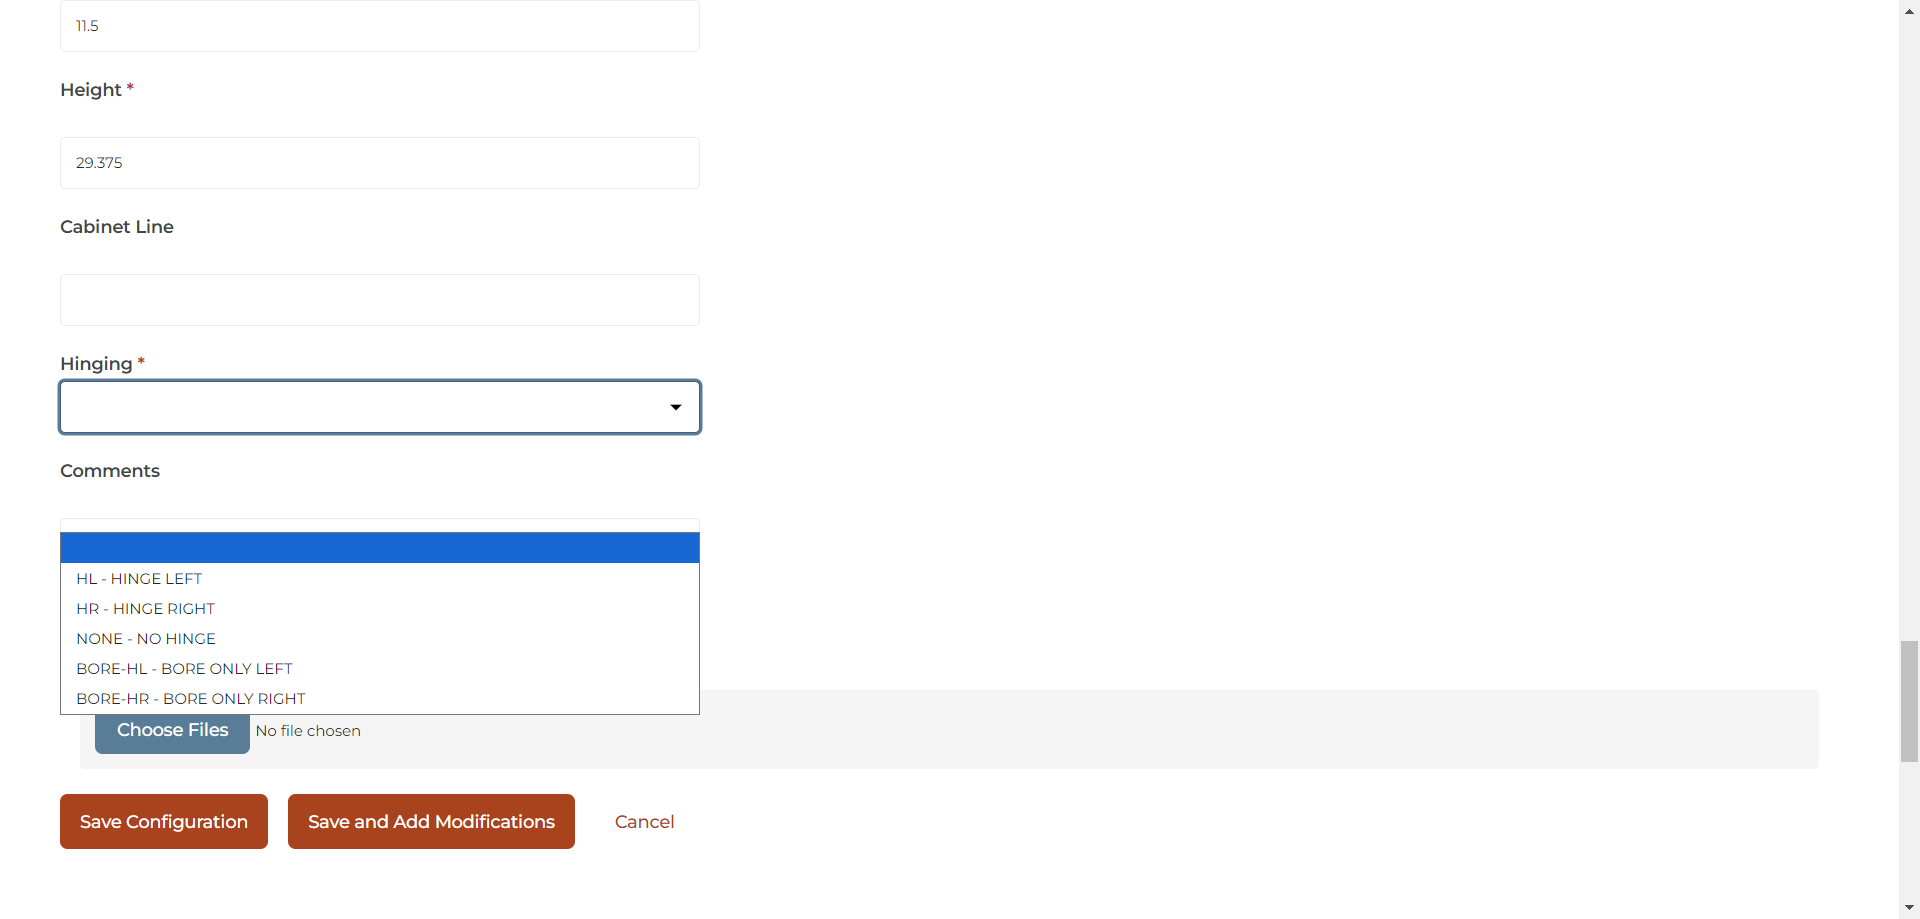
In this example, we have verified that the replacement door needed has a width of 11.5 and a height of 29.
The "Cabinet Line" info is not necessary for our purposes, so you can skip that field. The replacement item needed is a deco door, so we do not need or want any hinges or bore holes. Therefore we will choose "None / No Hinging" in the dropdown display.
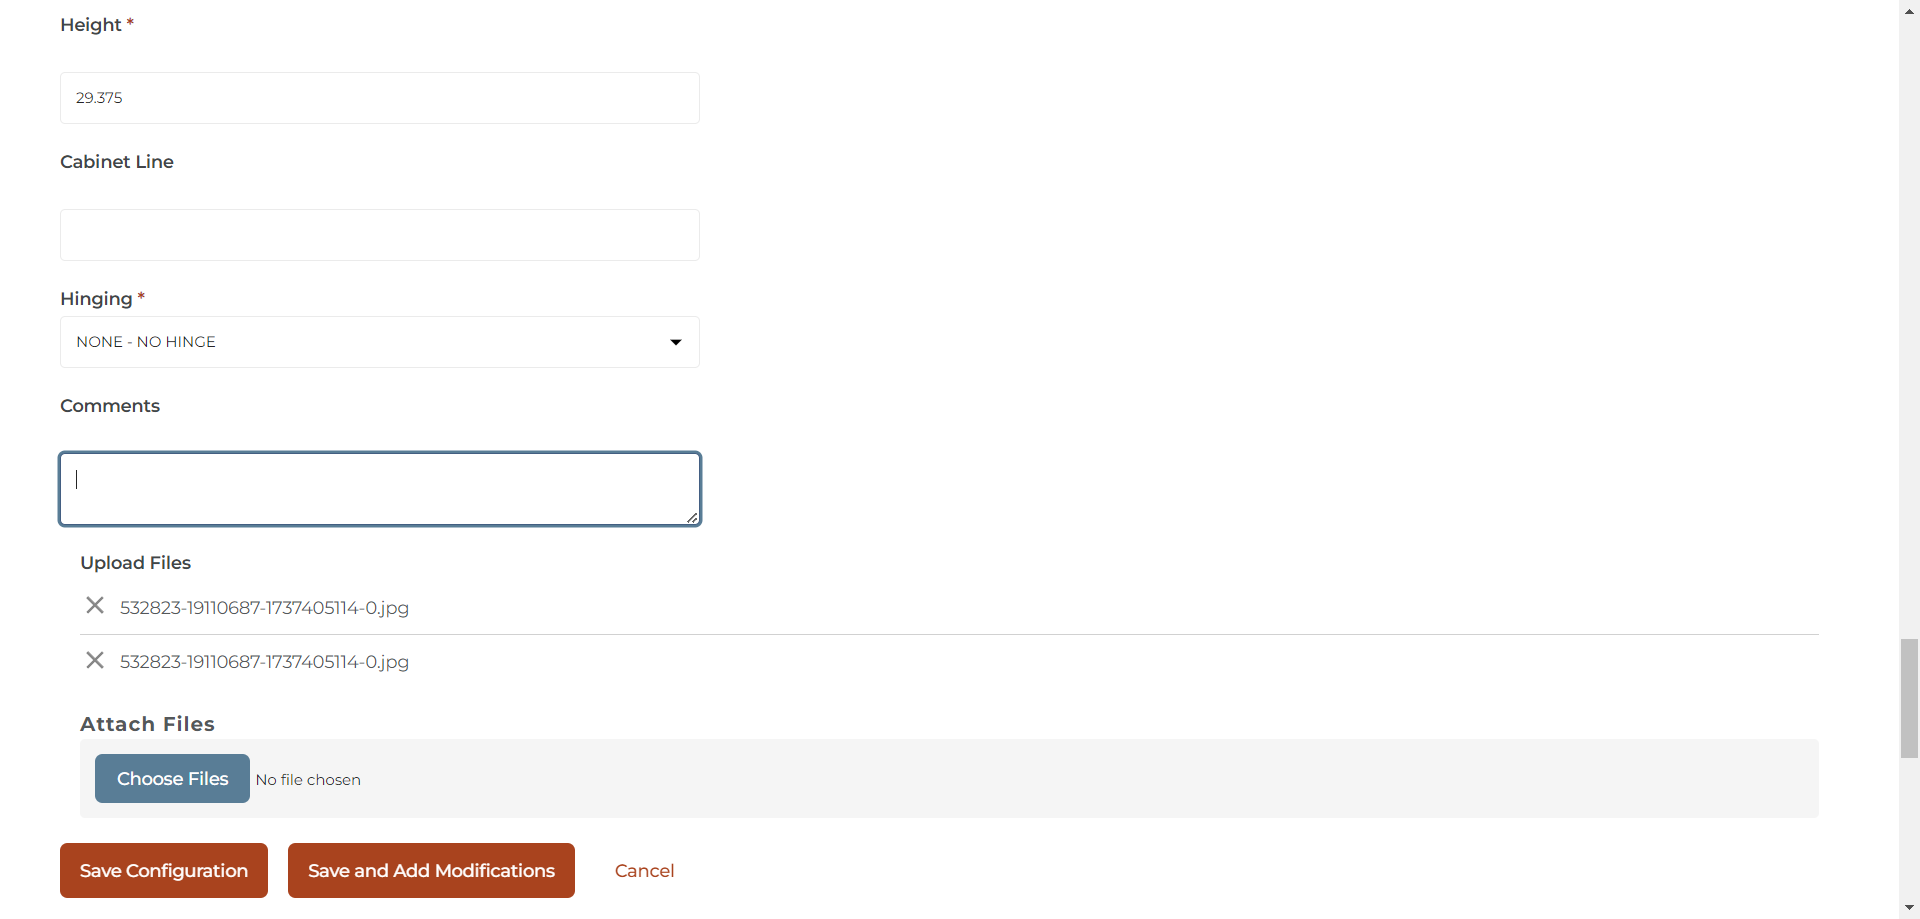
Since the item received was incorrect color we will need to document this with photos to show the wrong color. Choose a file and locate the stored photos. I have two photos showing the doors in the wrong color. These photos display the incorrect color next to the correct color, making it clear that the color is wrong.
I usually try to get two to three photos for any warranty claim. It's good to have one photo of the incorrect or damaged item taken from afar and another close-up showing the actual damage or incorrect part. These photos should be large enough to clearly show the issue. In this example, you can see the color differences in the photos. These are the items we're using for documentation.
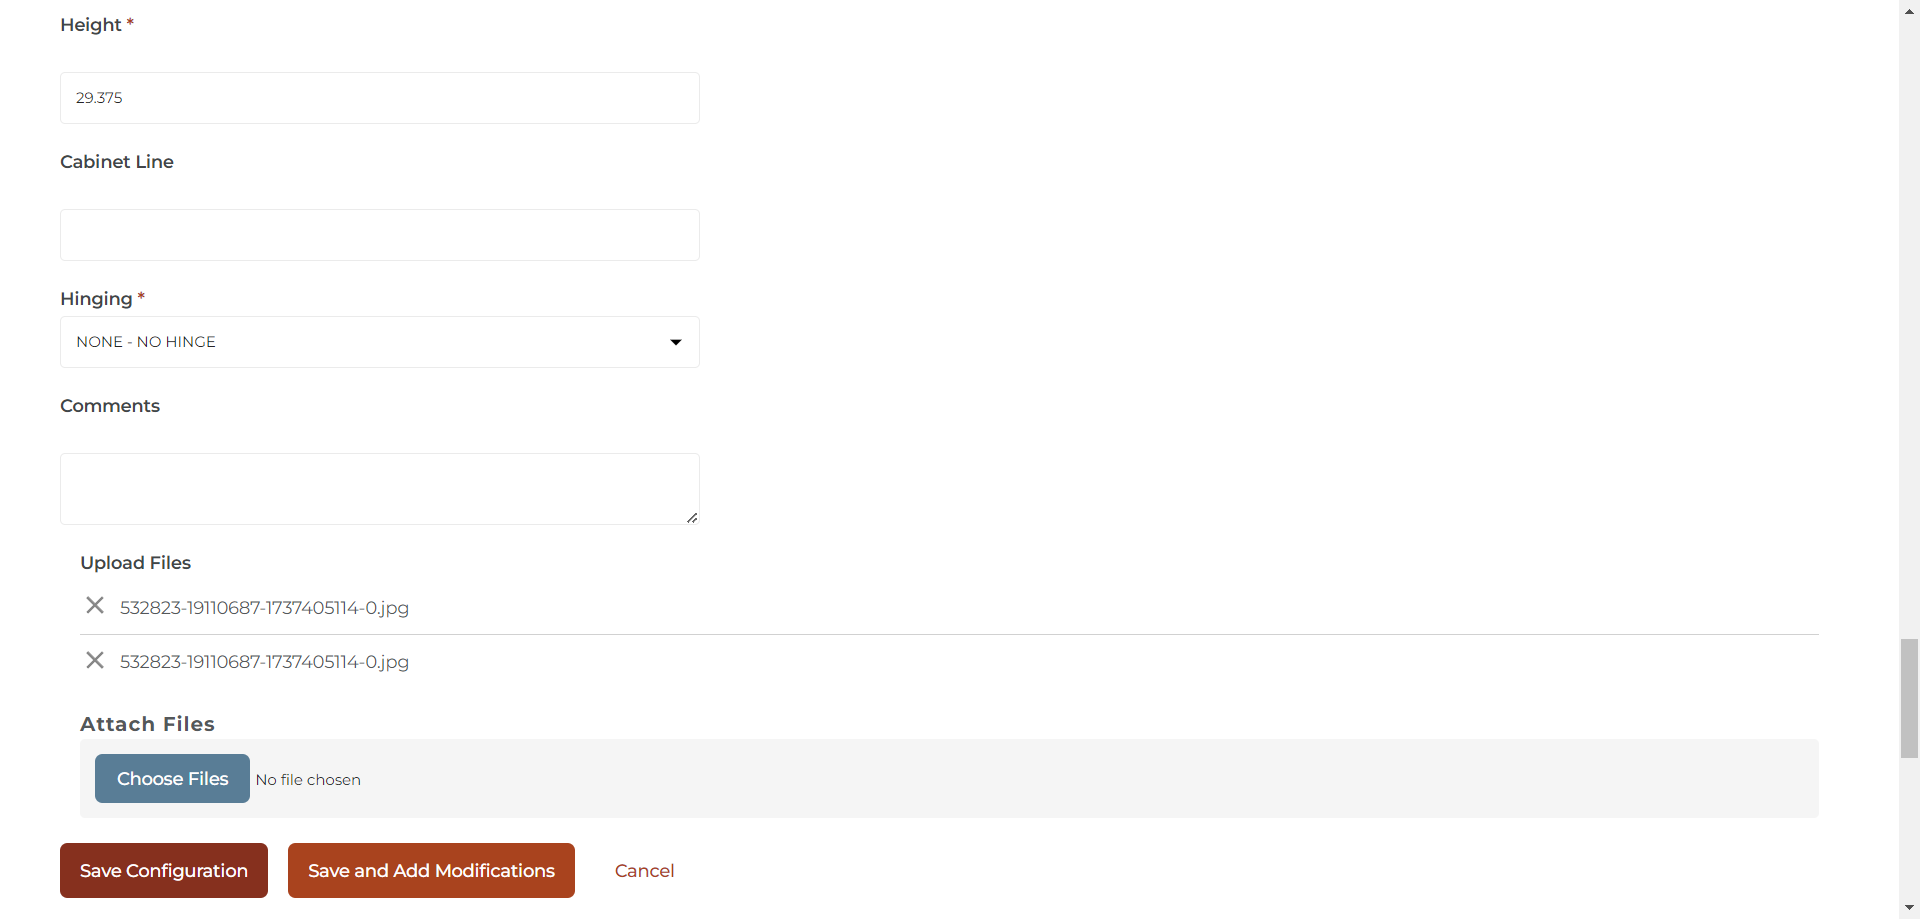
Once you have all the photos, verify that everything you've typed is correct, such as the reason for replacement, the line number, the width, and the correct height.
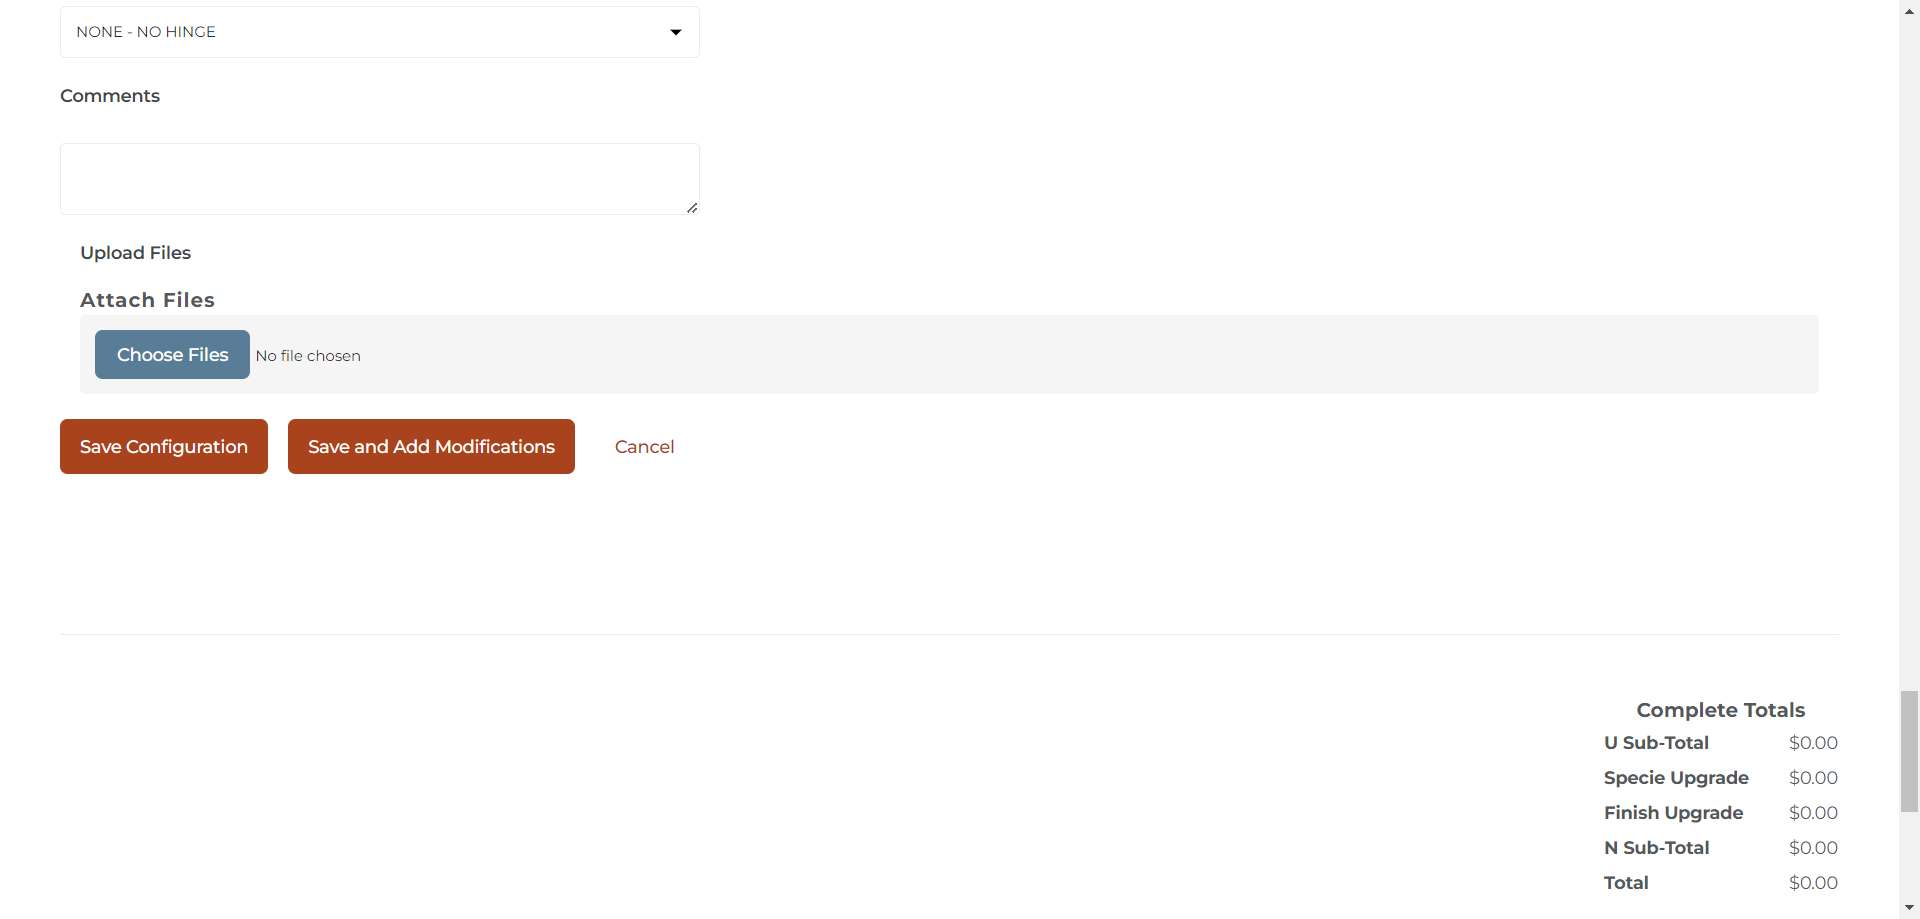
If there's anything special about this order, you can add a note in the comment section to help process the order or expedite the warranty. In this instance, we don't need that, so we'll click Save Configuration.
Here, you can review all the information again. Ensure it is correct, matches the original order, and is exactly what you need. The height and width are crucial for this example - double check those numbers. Ensure you see the paper clip icon on the right, indicating file uploads. This confirms that files are uploaded and available for warranty order processing. After verification, add any additional parts. You can enter the product name or SKU for other warranty issues, allowing you to order multiple parts in a single warranty order.
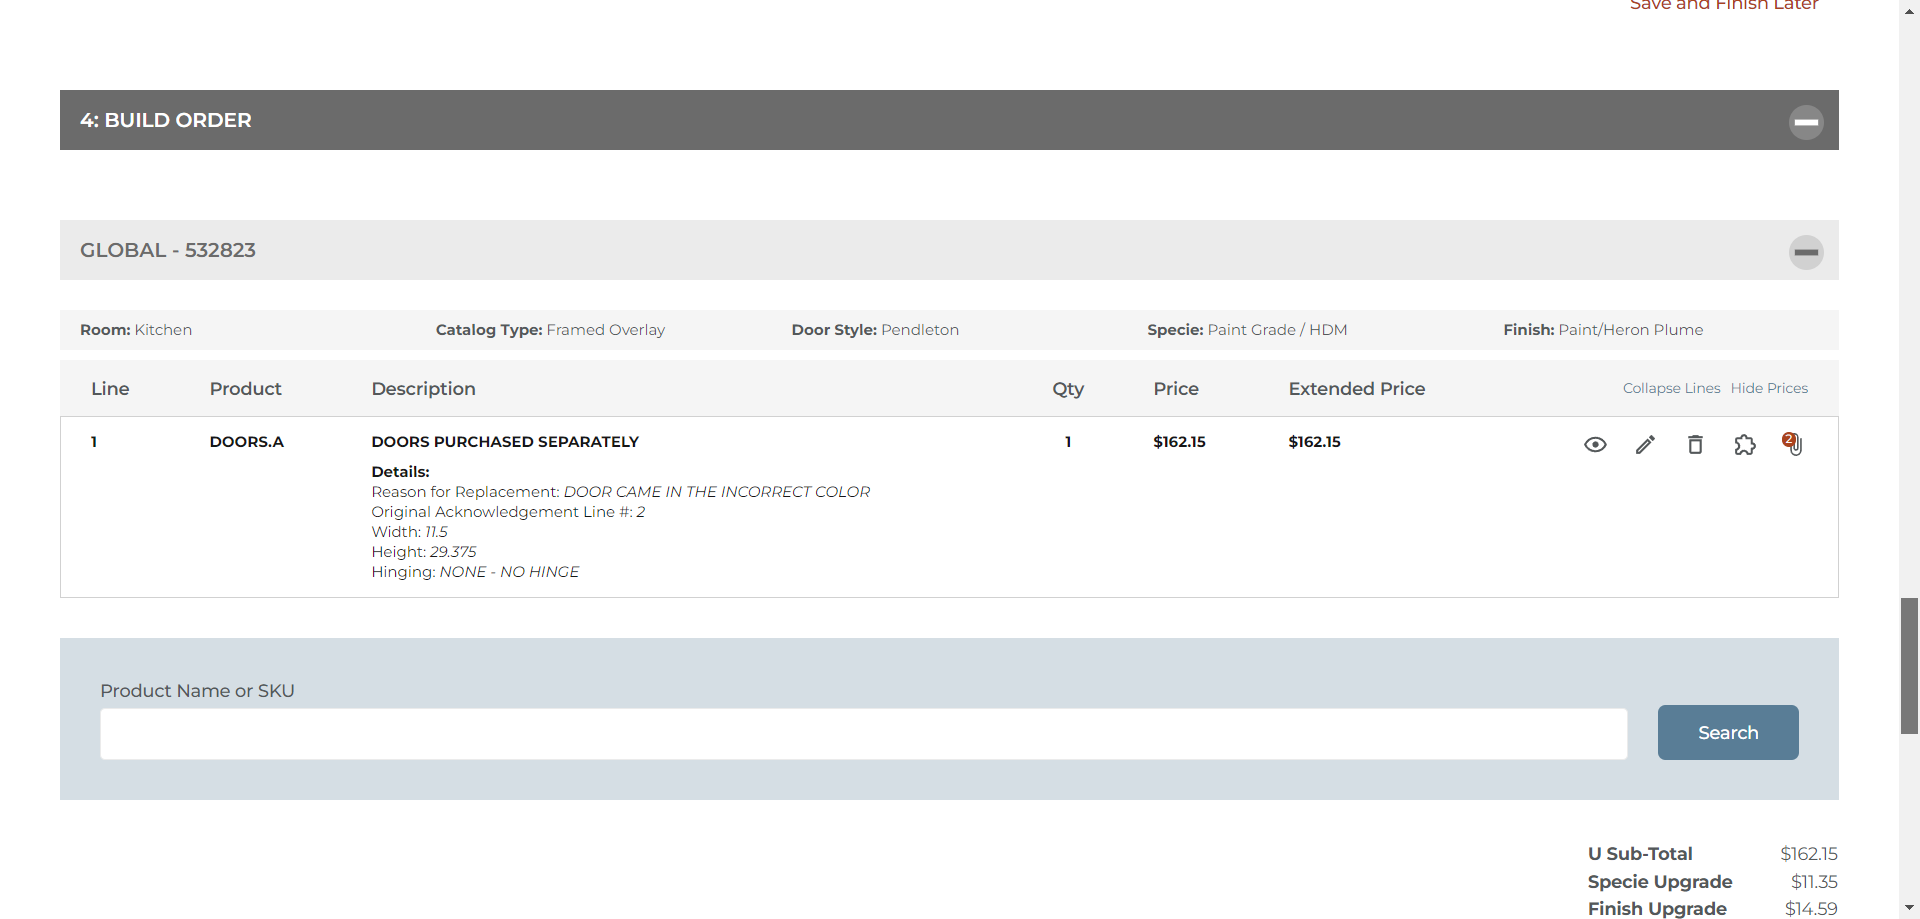
For our example, we only need one item. Go to the bottom of the page and click "Submit Order."
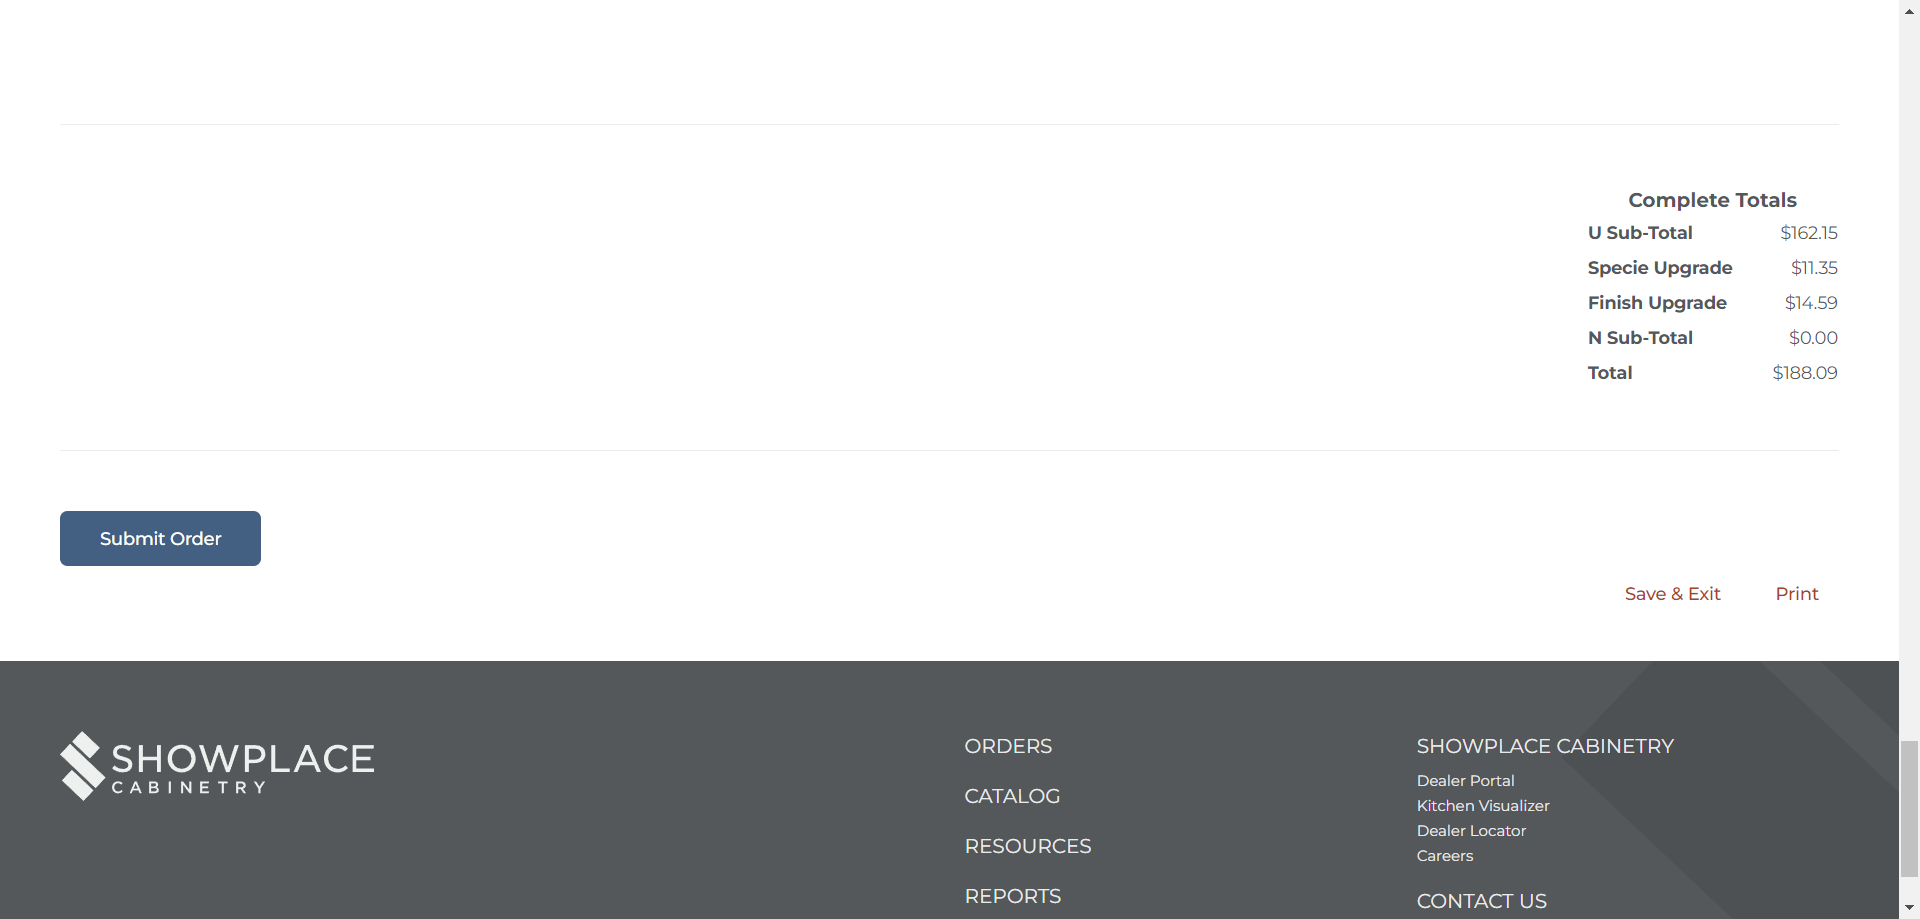
Confirm that everything is correct. This is your last chance to verify. Once confirmed, click "Yes, Submit Order."
You will return to your order dashboard, where you can see your order has been accepted. A pro number is assigned, and the PO and status show it was just submitted. When someone receives the order, a new acknowledgment number and ship week will auto-populate. That's all there is to it. We've completed our warranty order and now wait for acknowledgment to find out the arrival date.