Icon

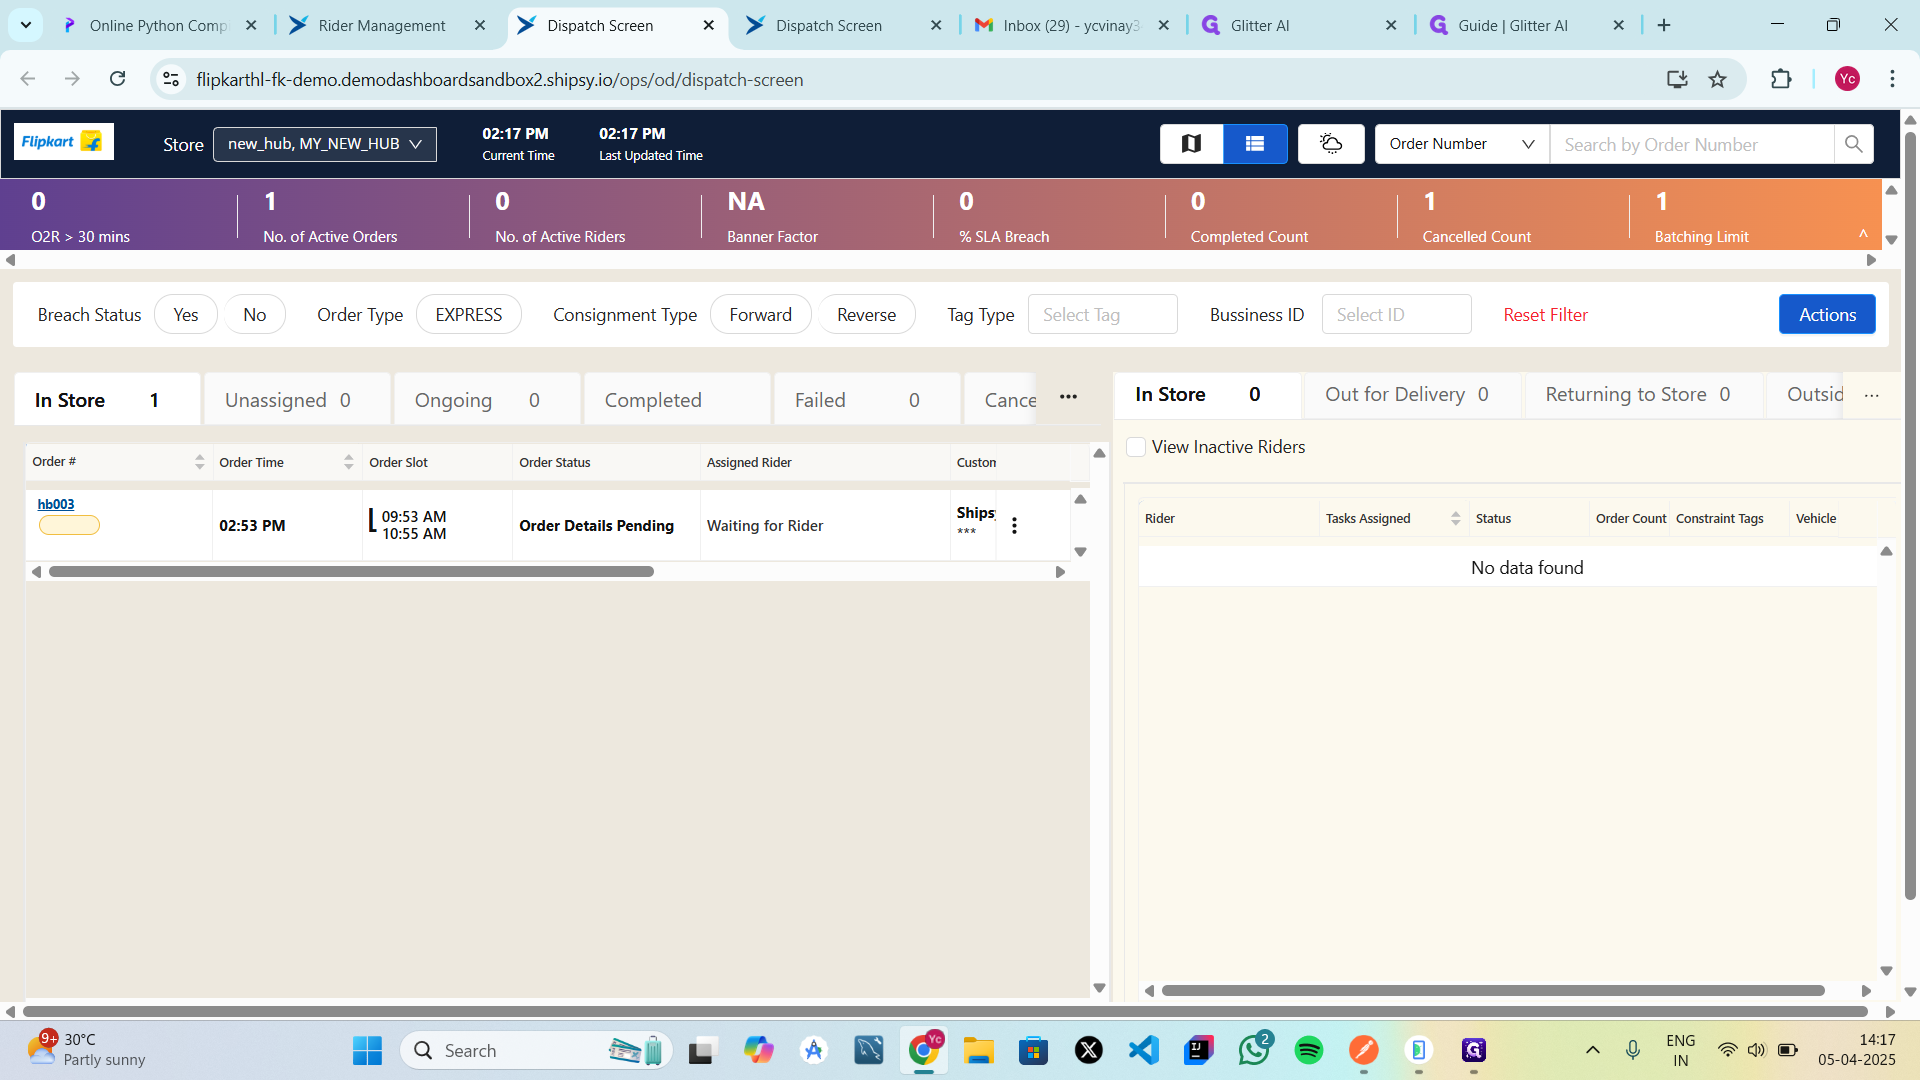
How to Place and Dispatch Orders

By Yc Vinay

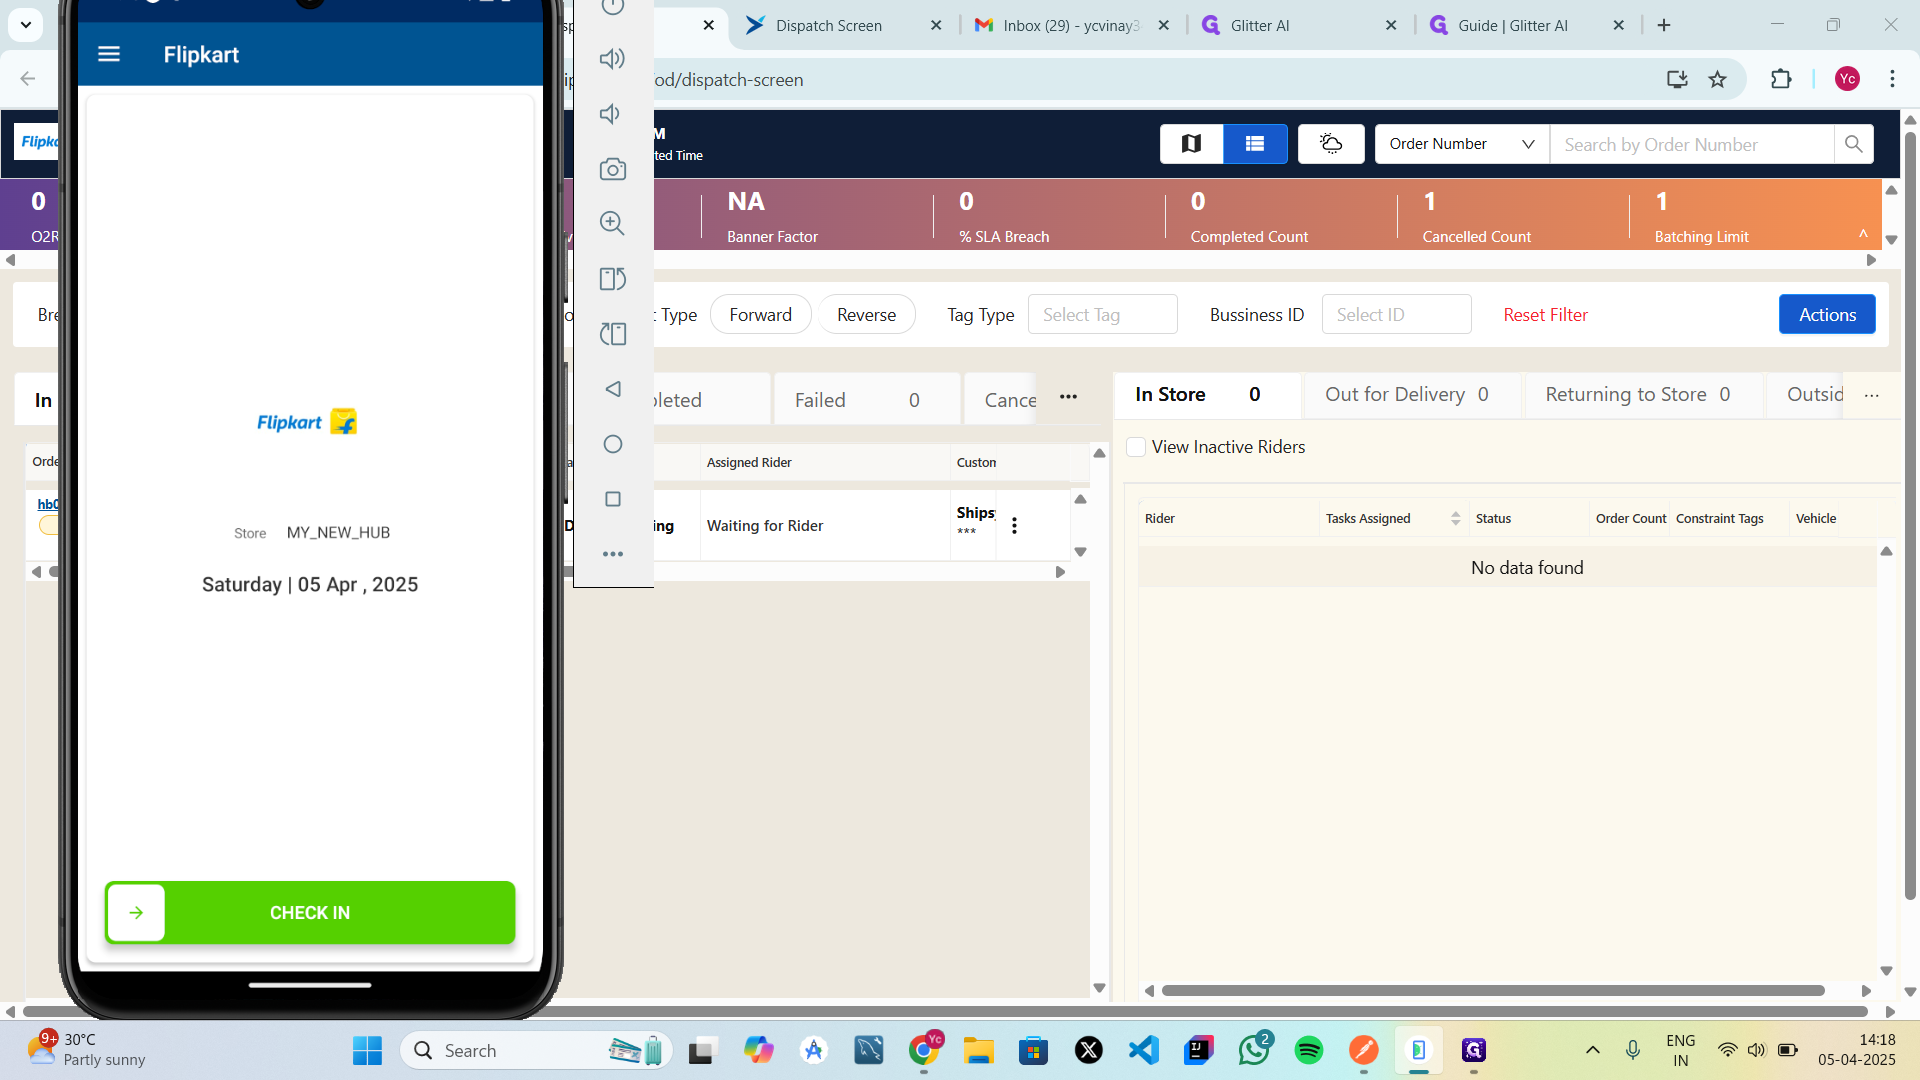
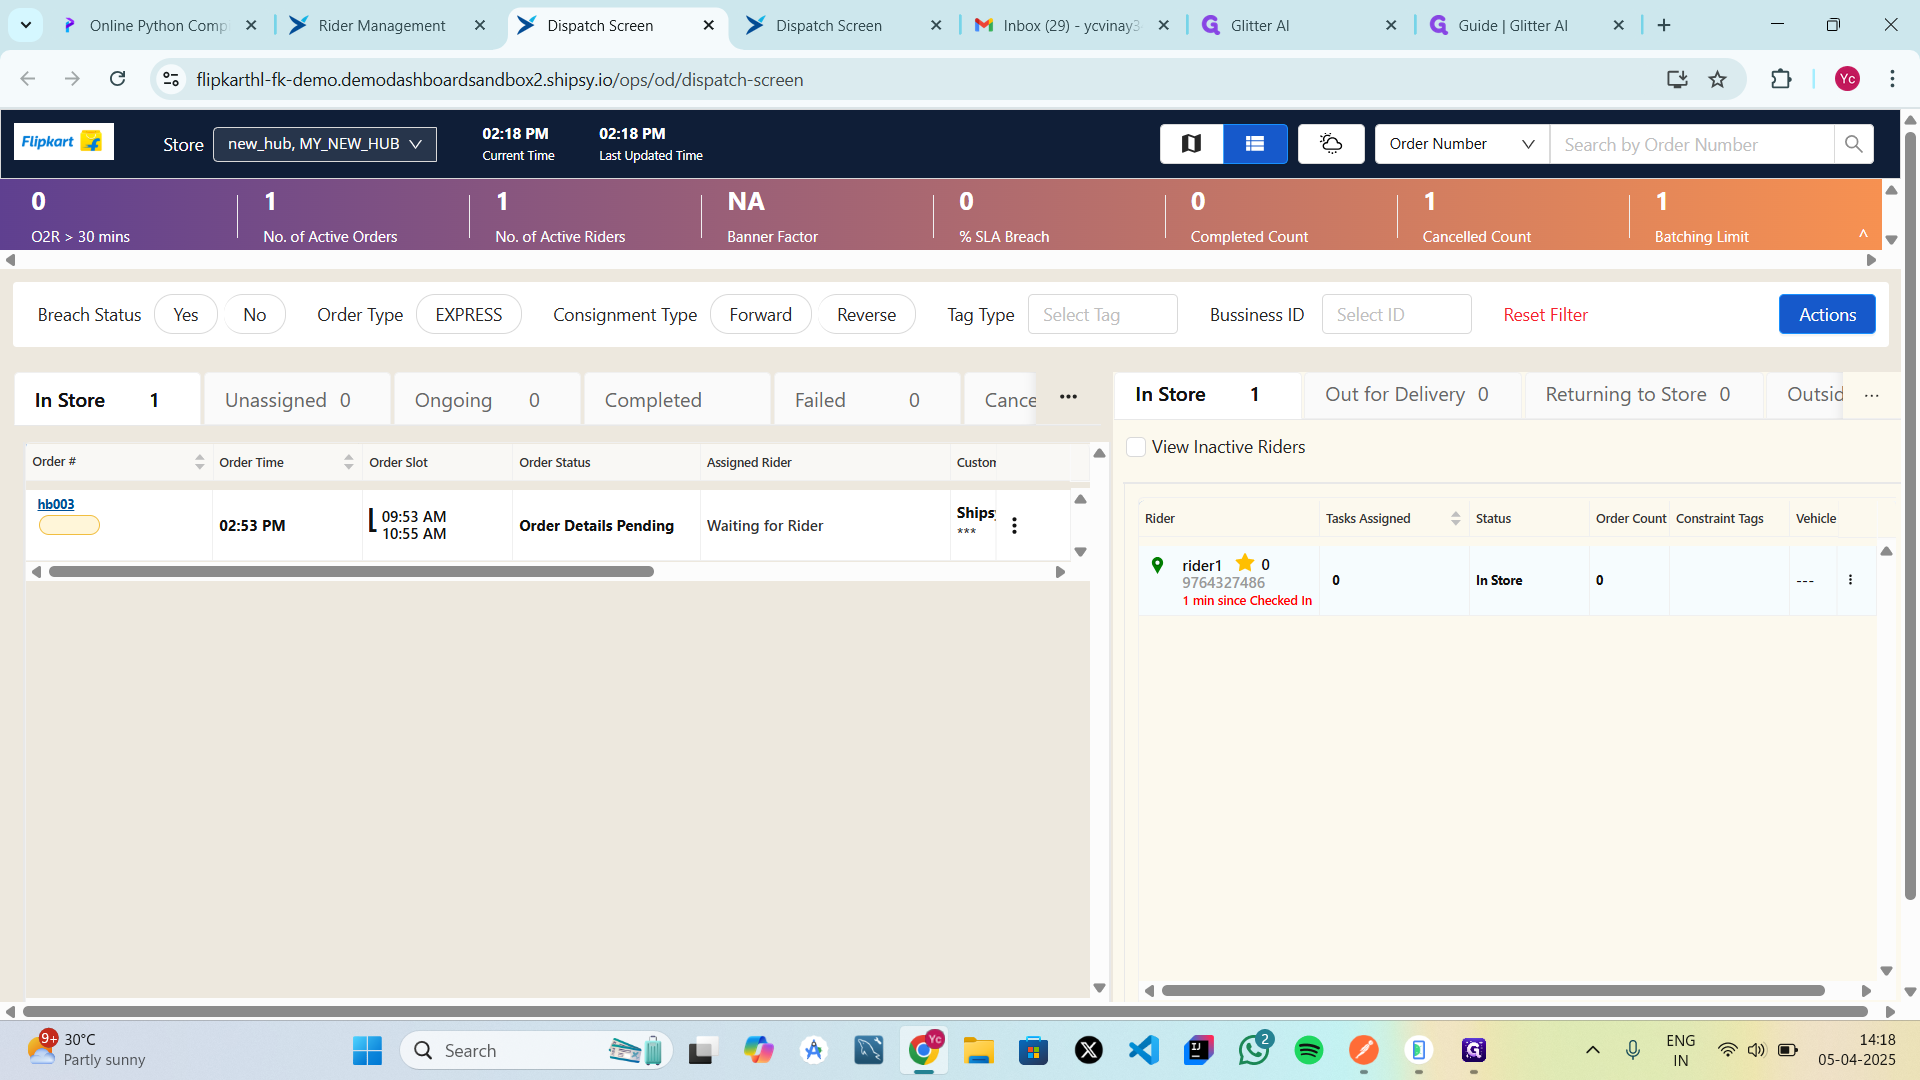
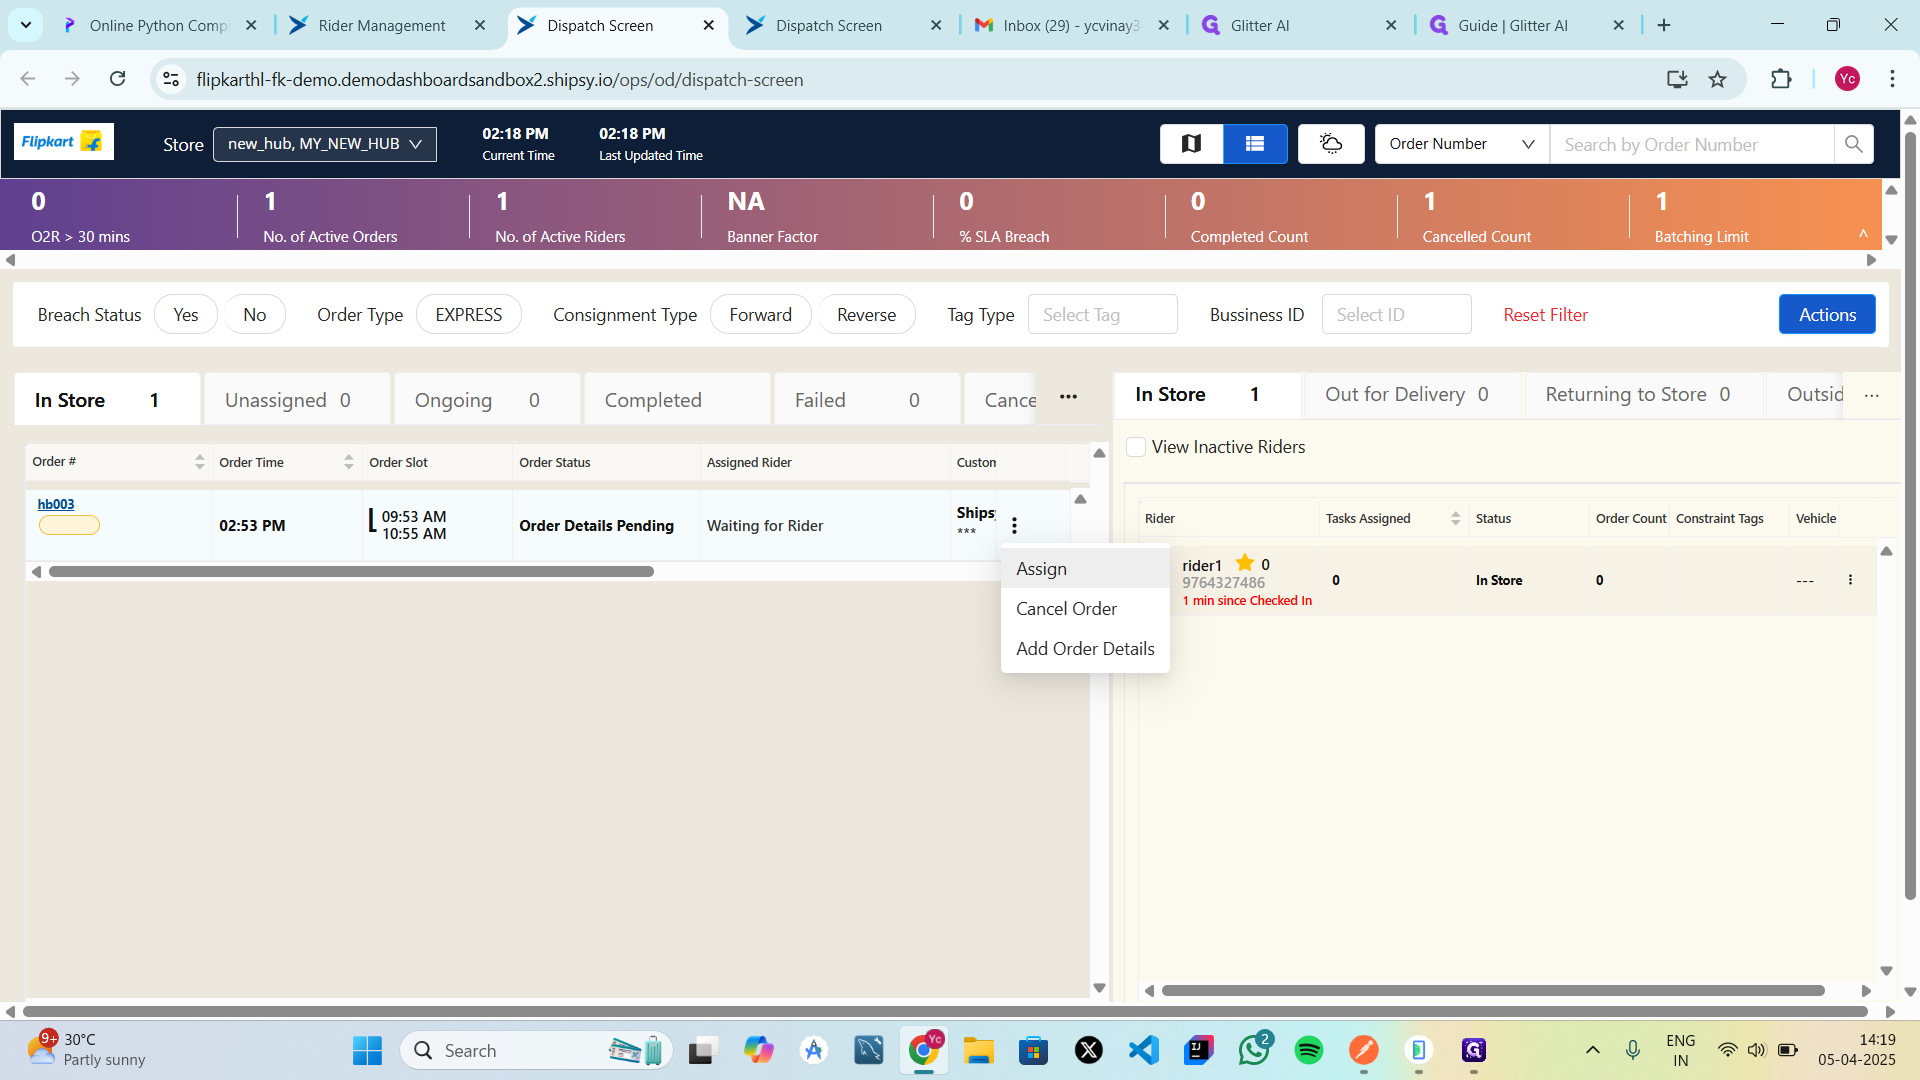
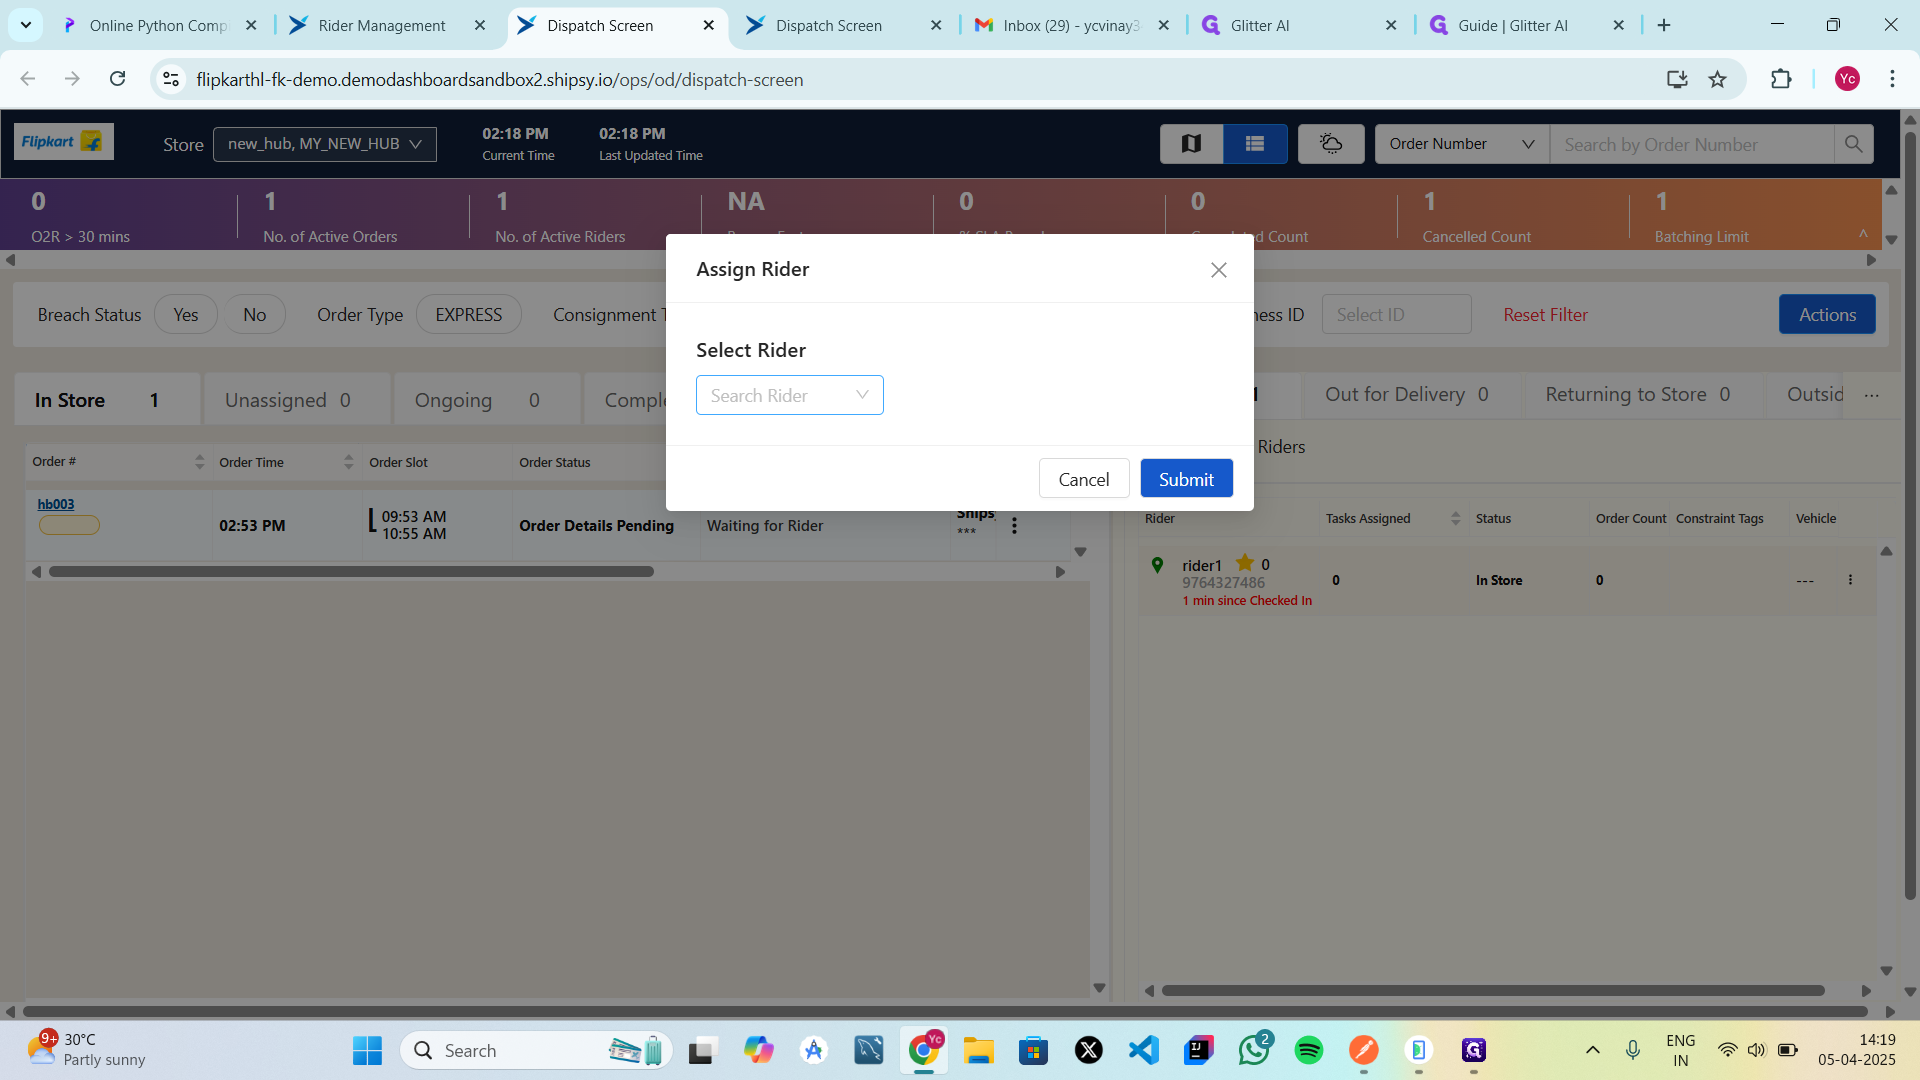
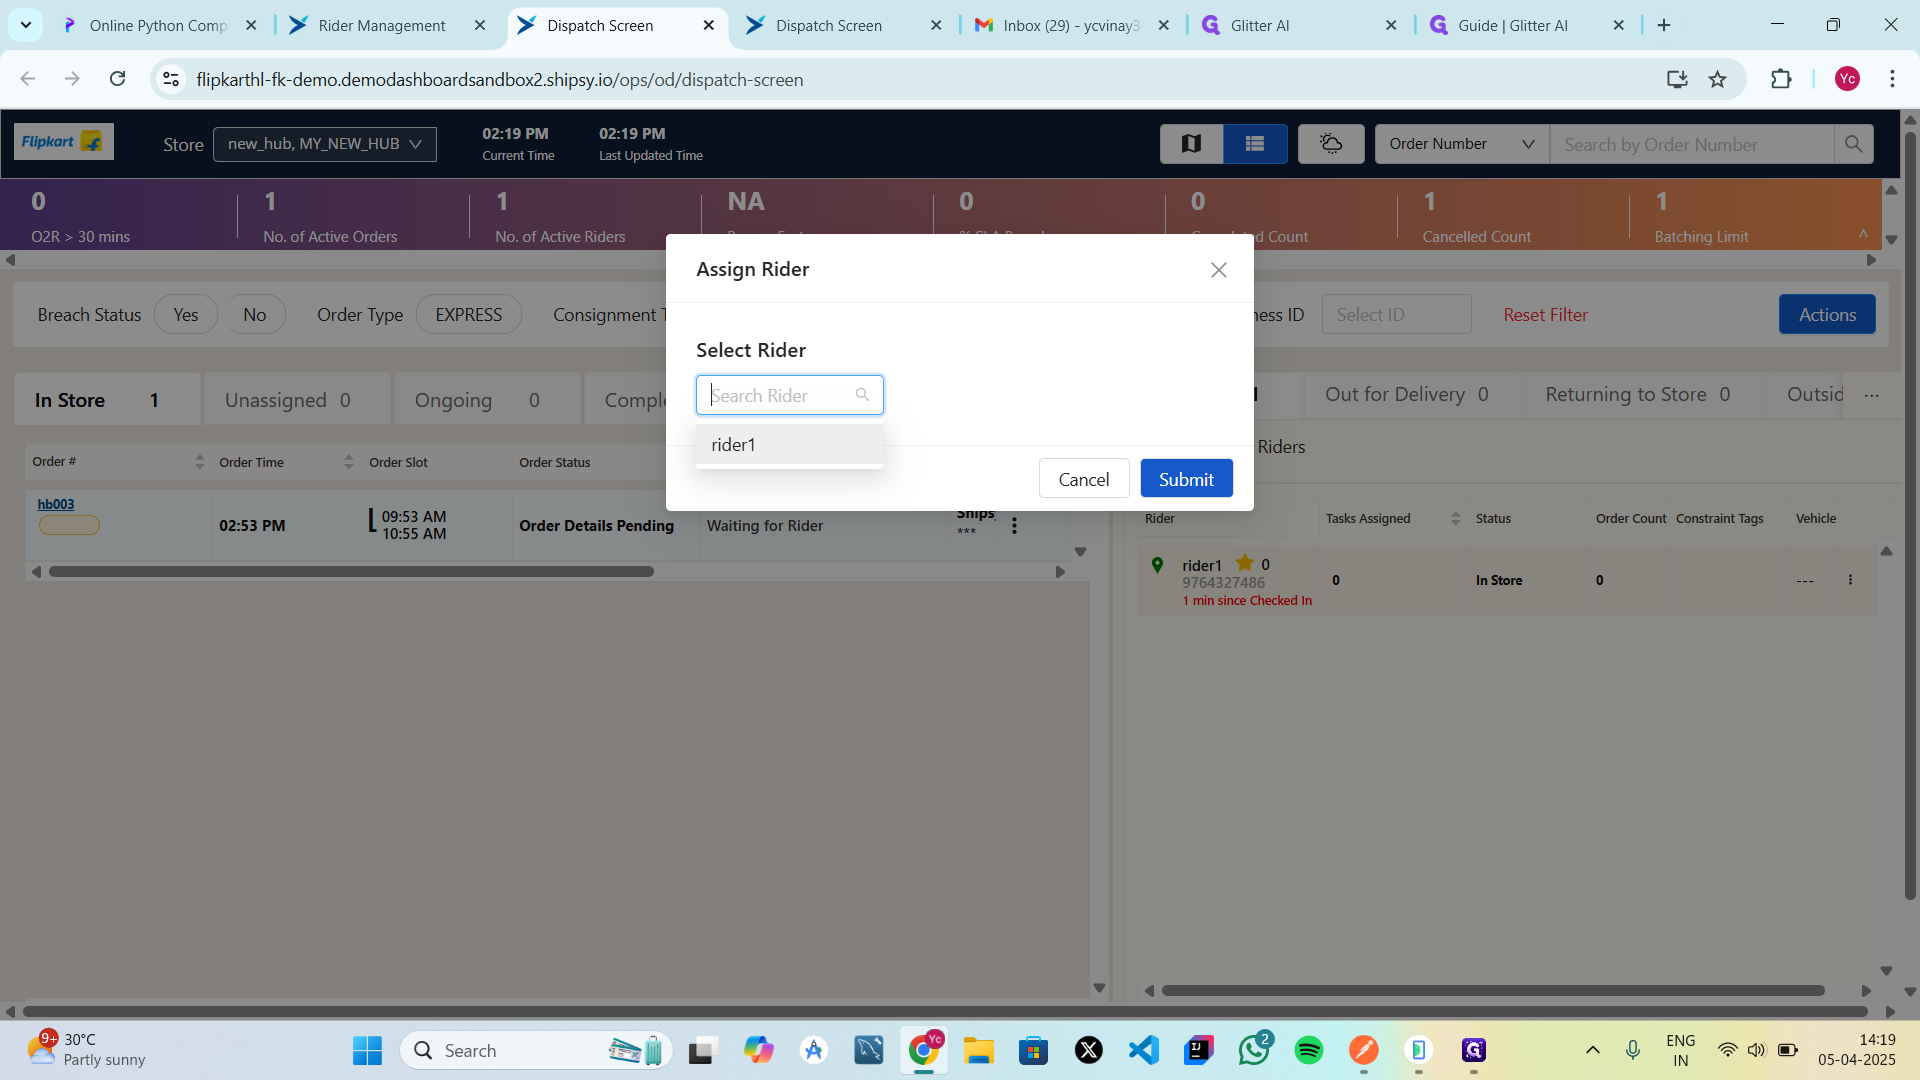
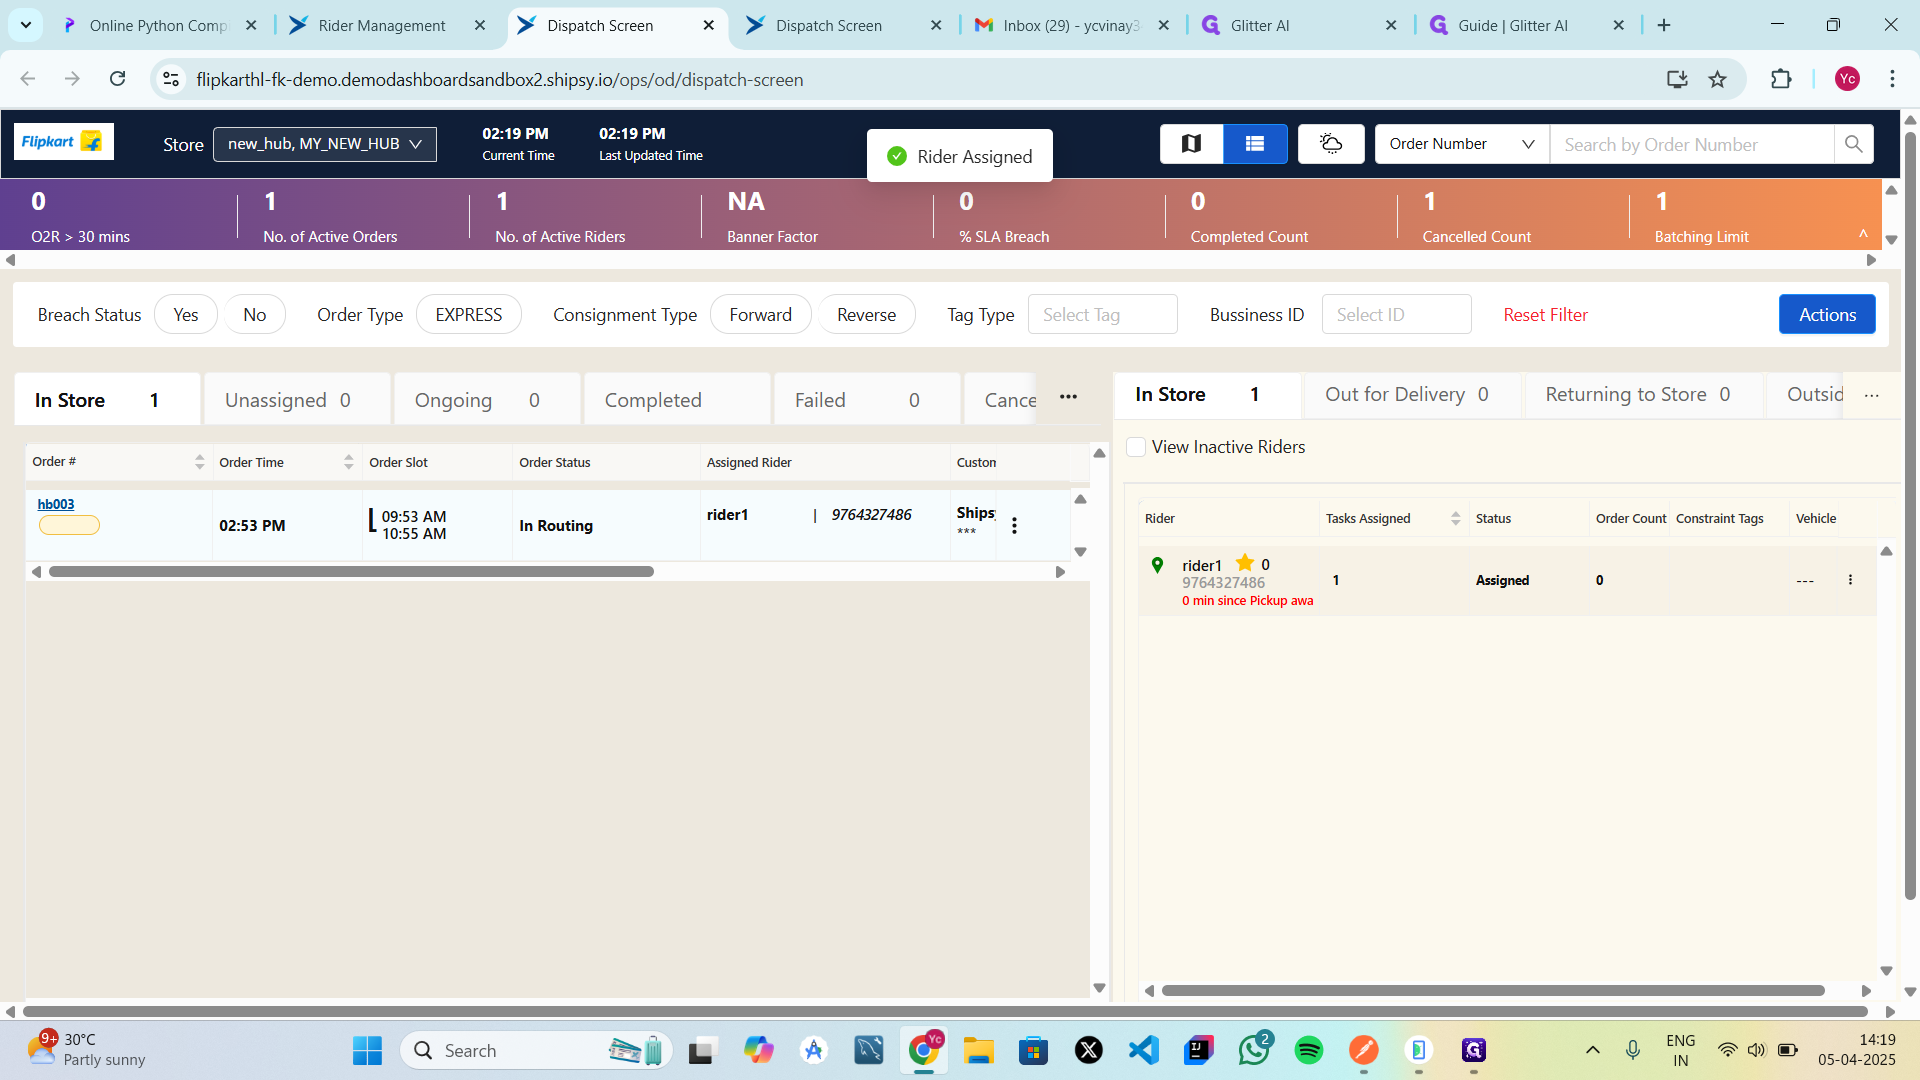
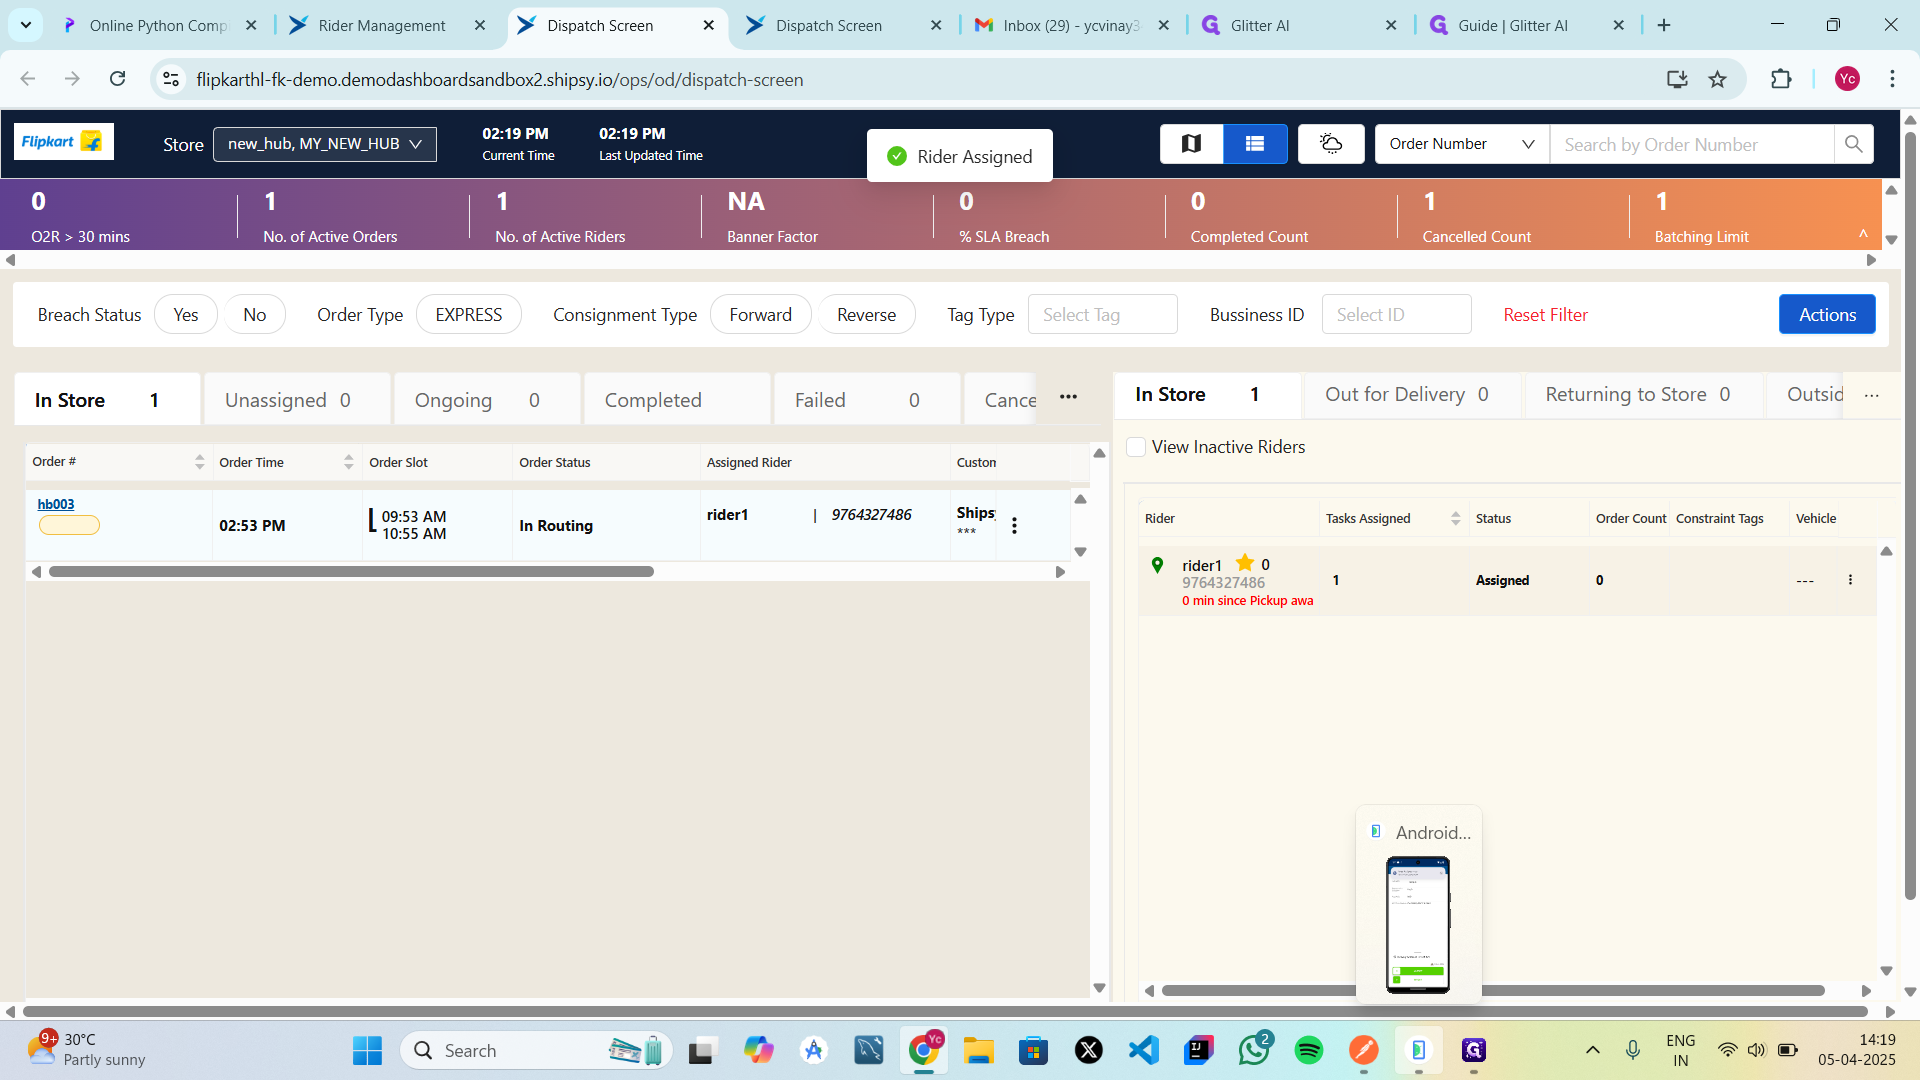
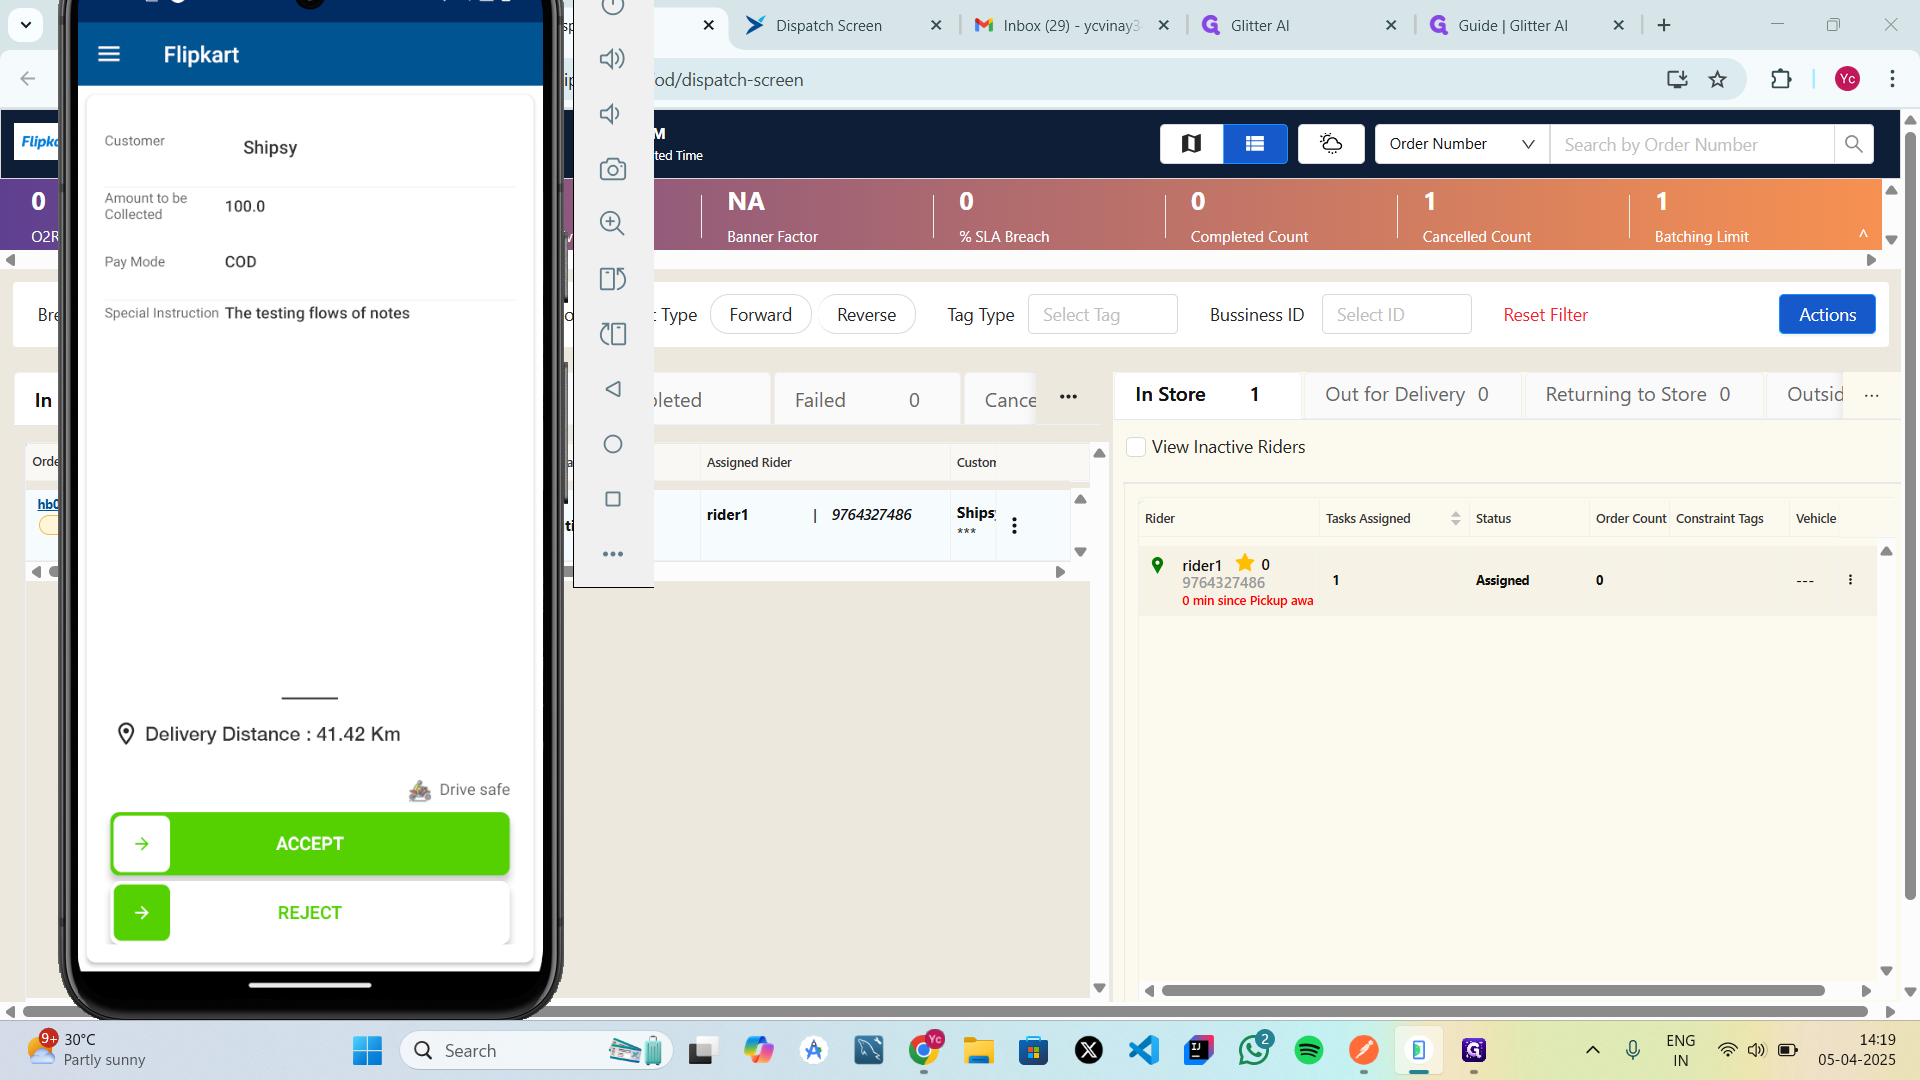
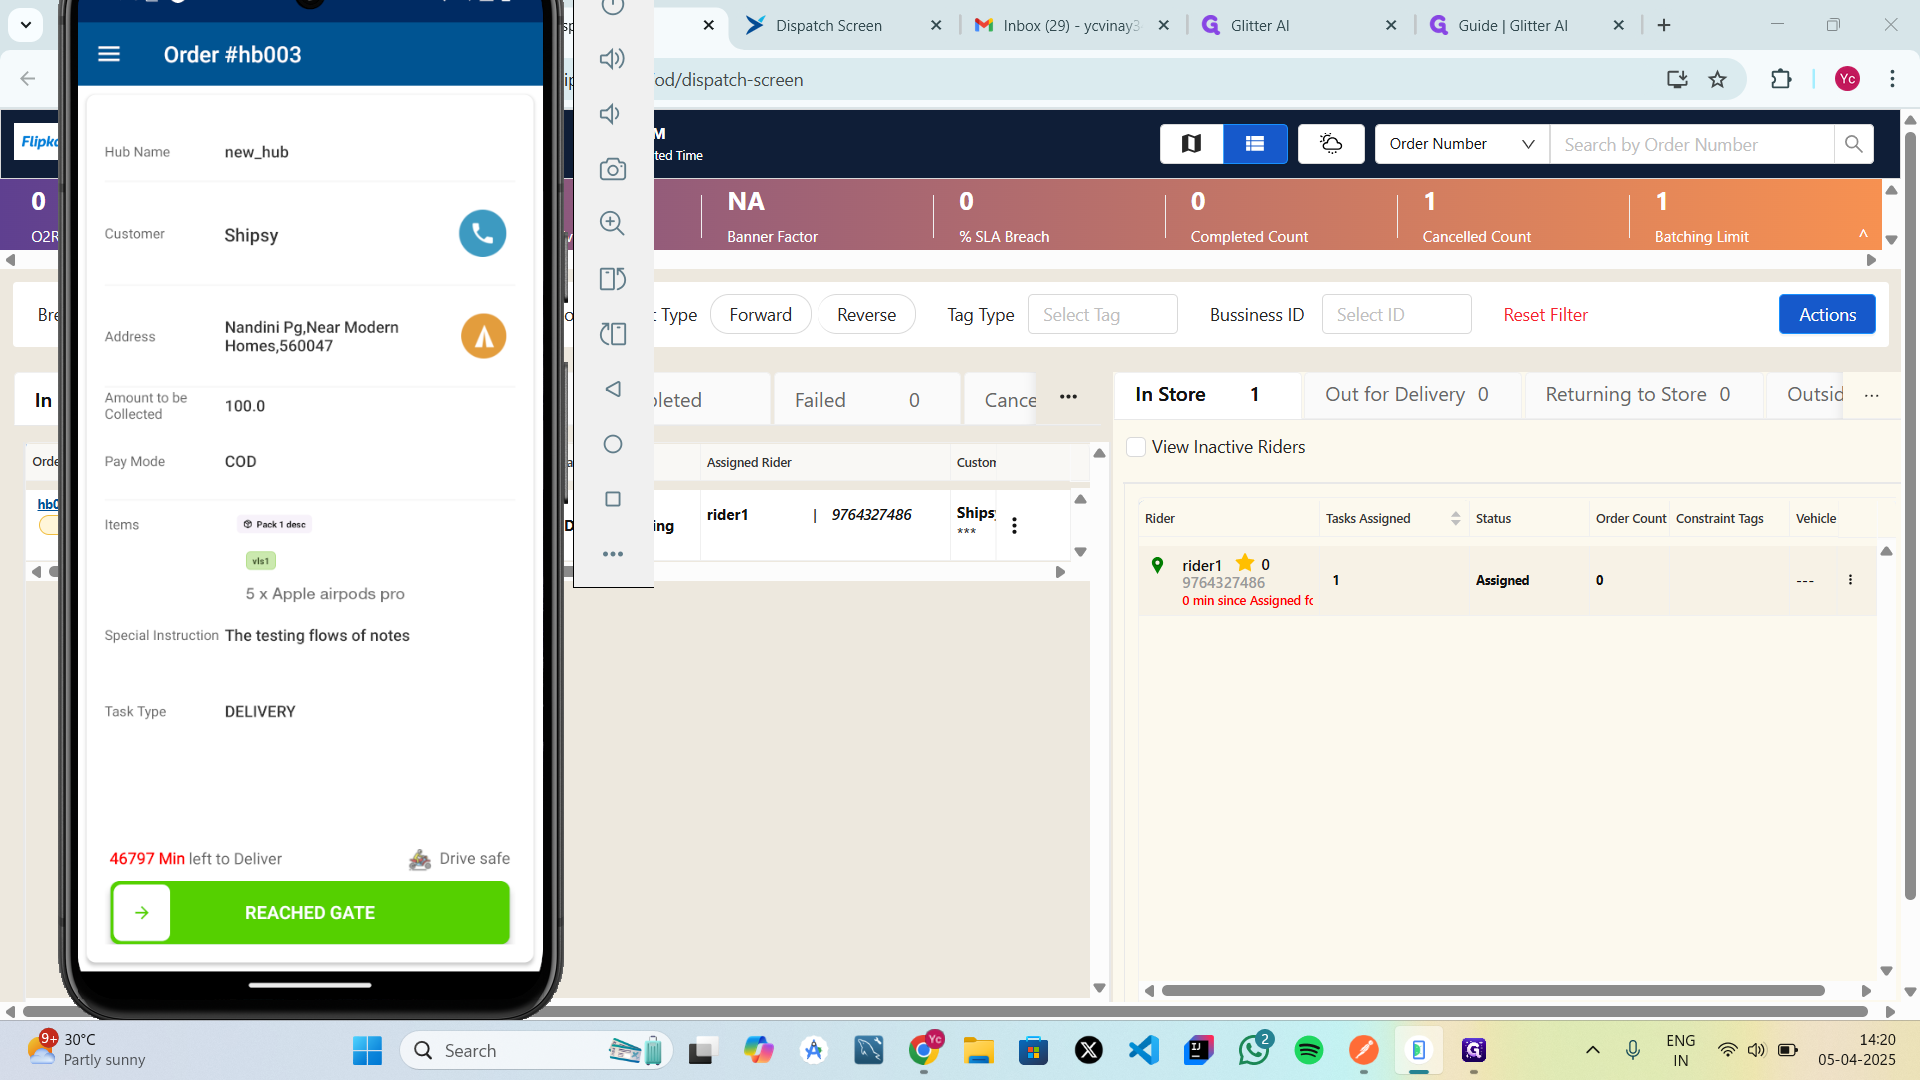
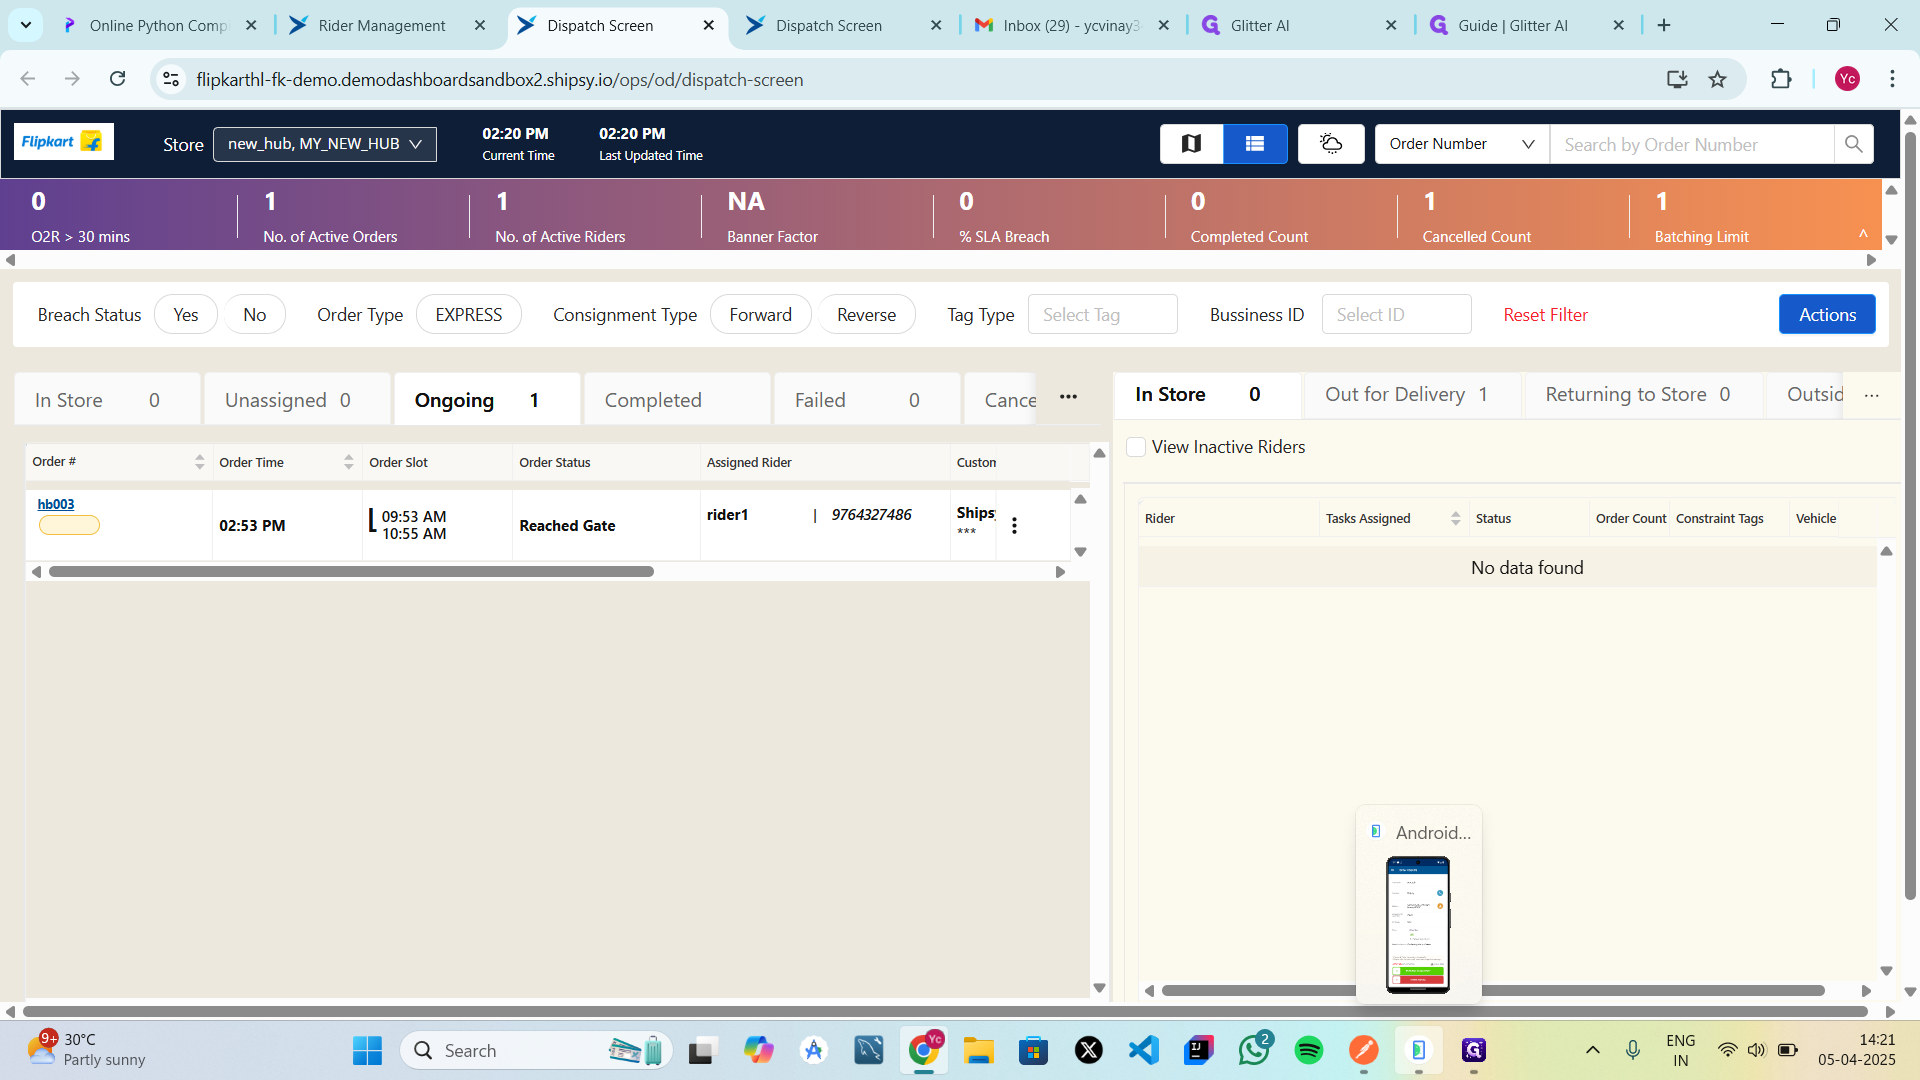
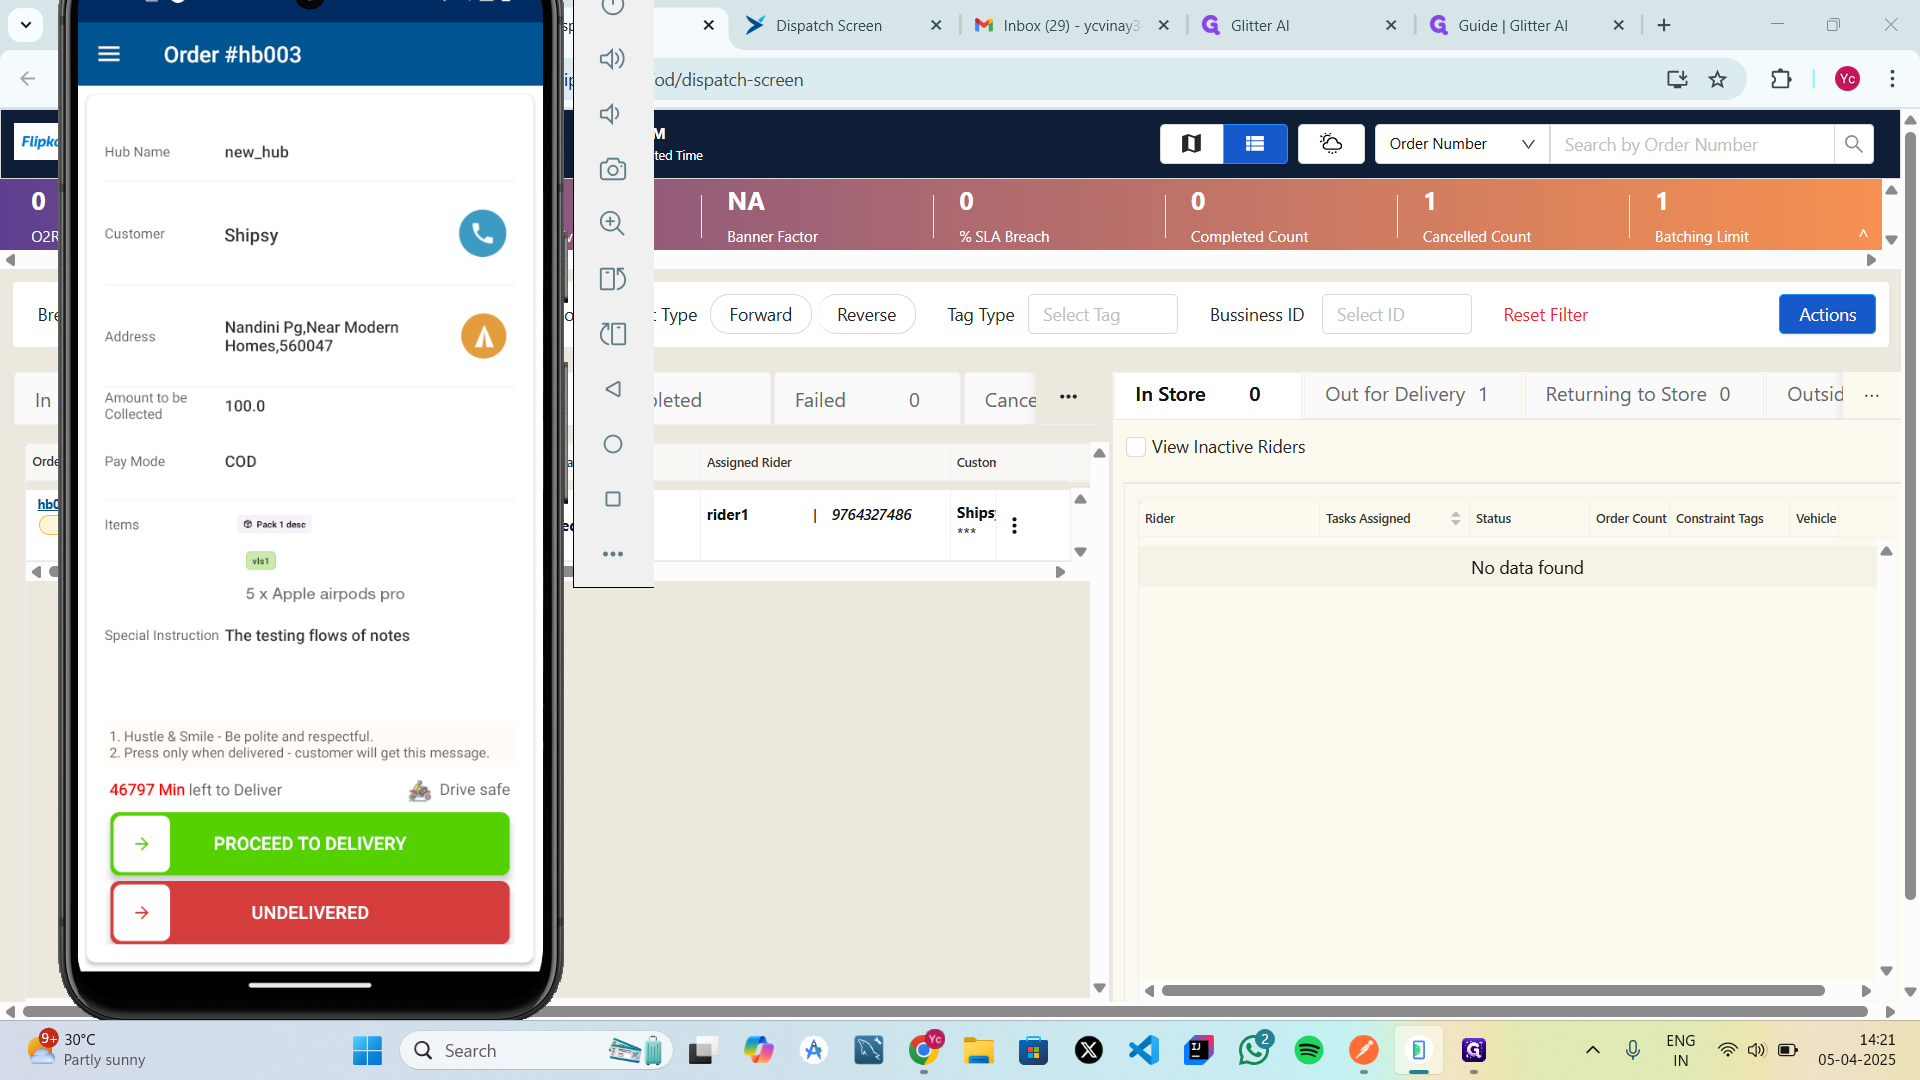
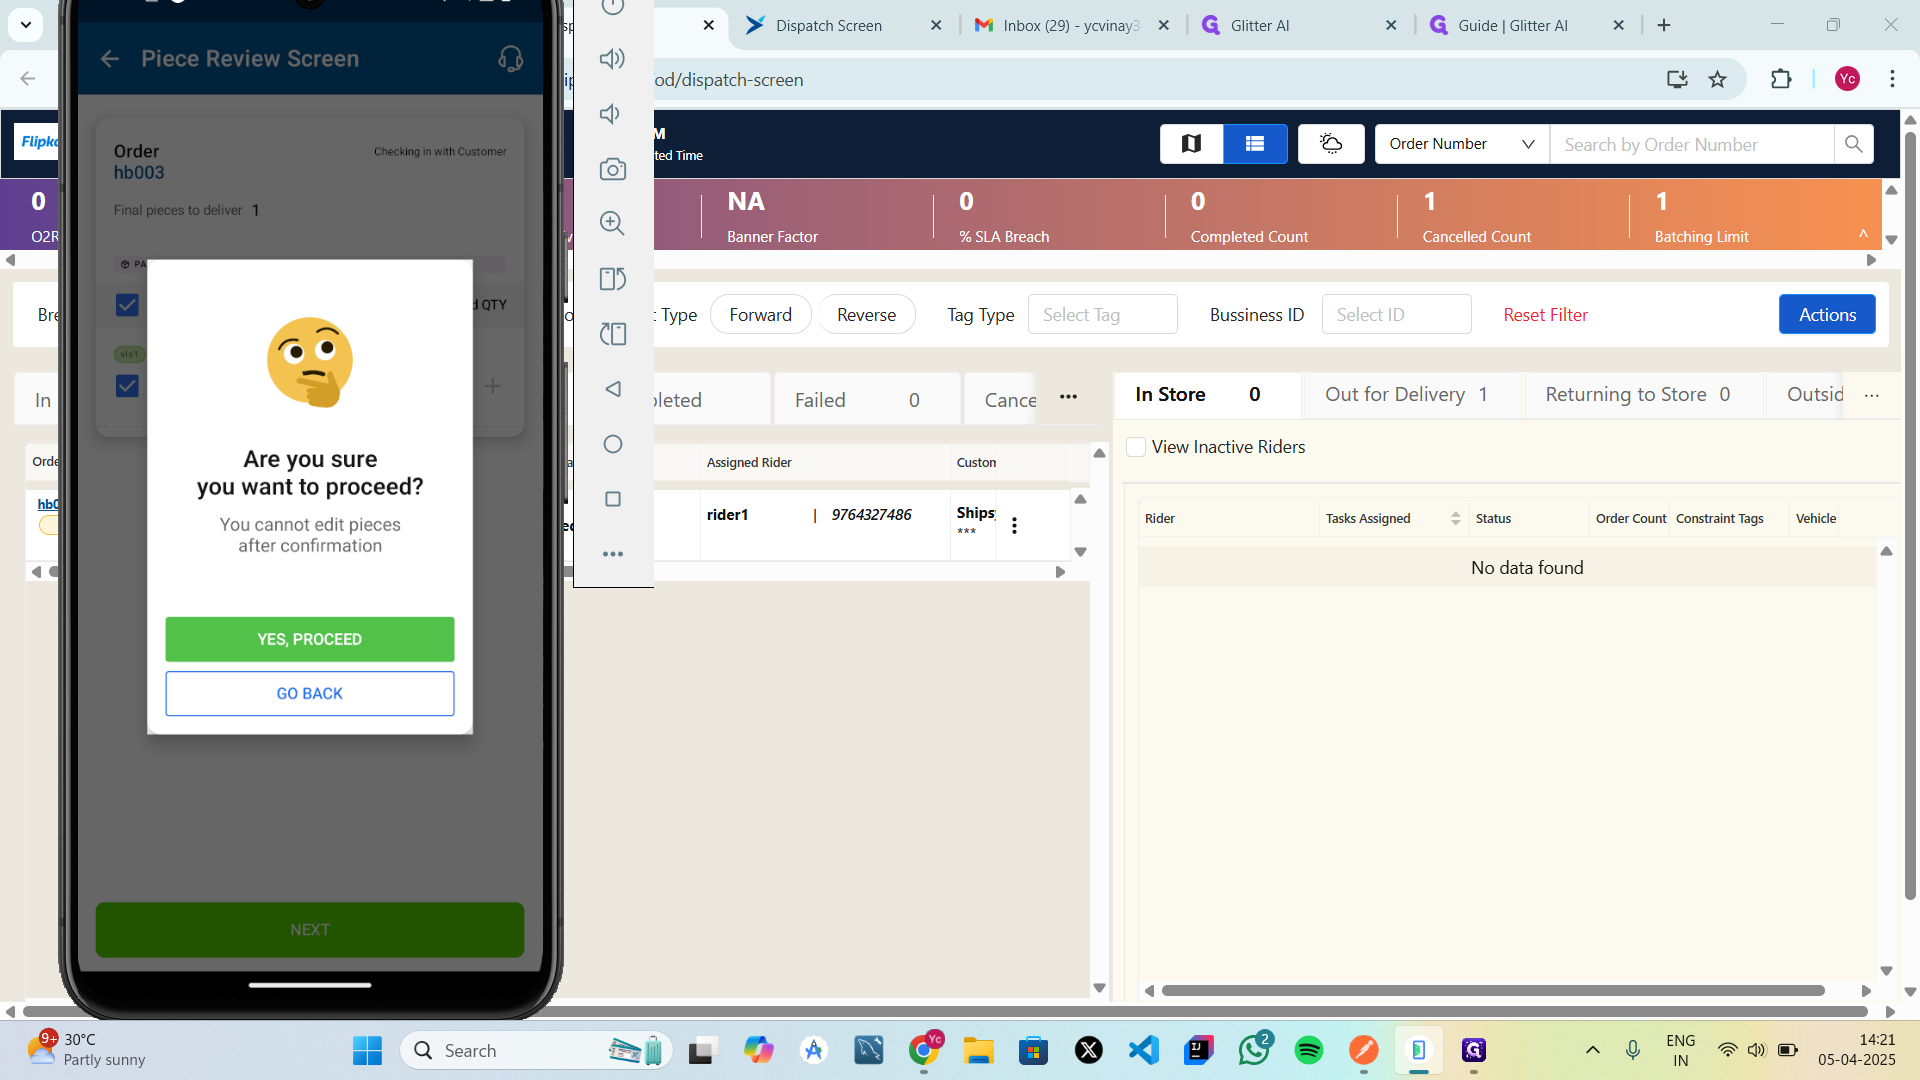
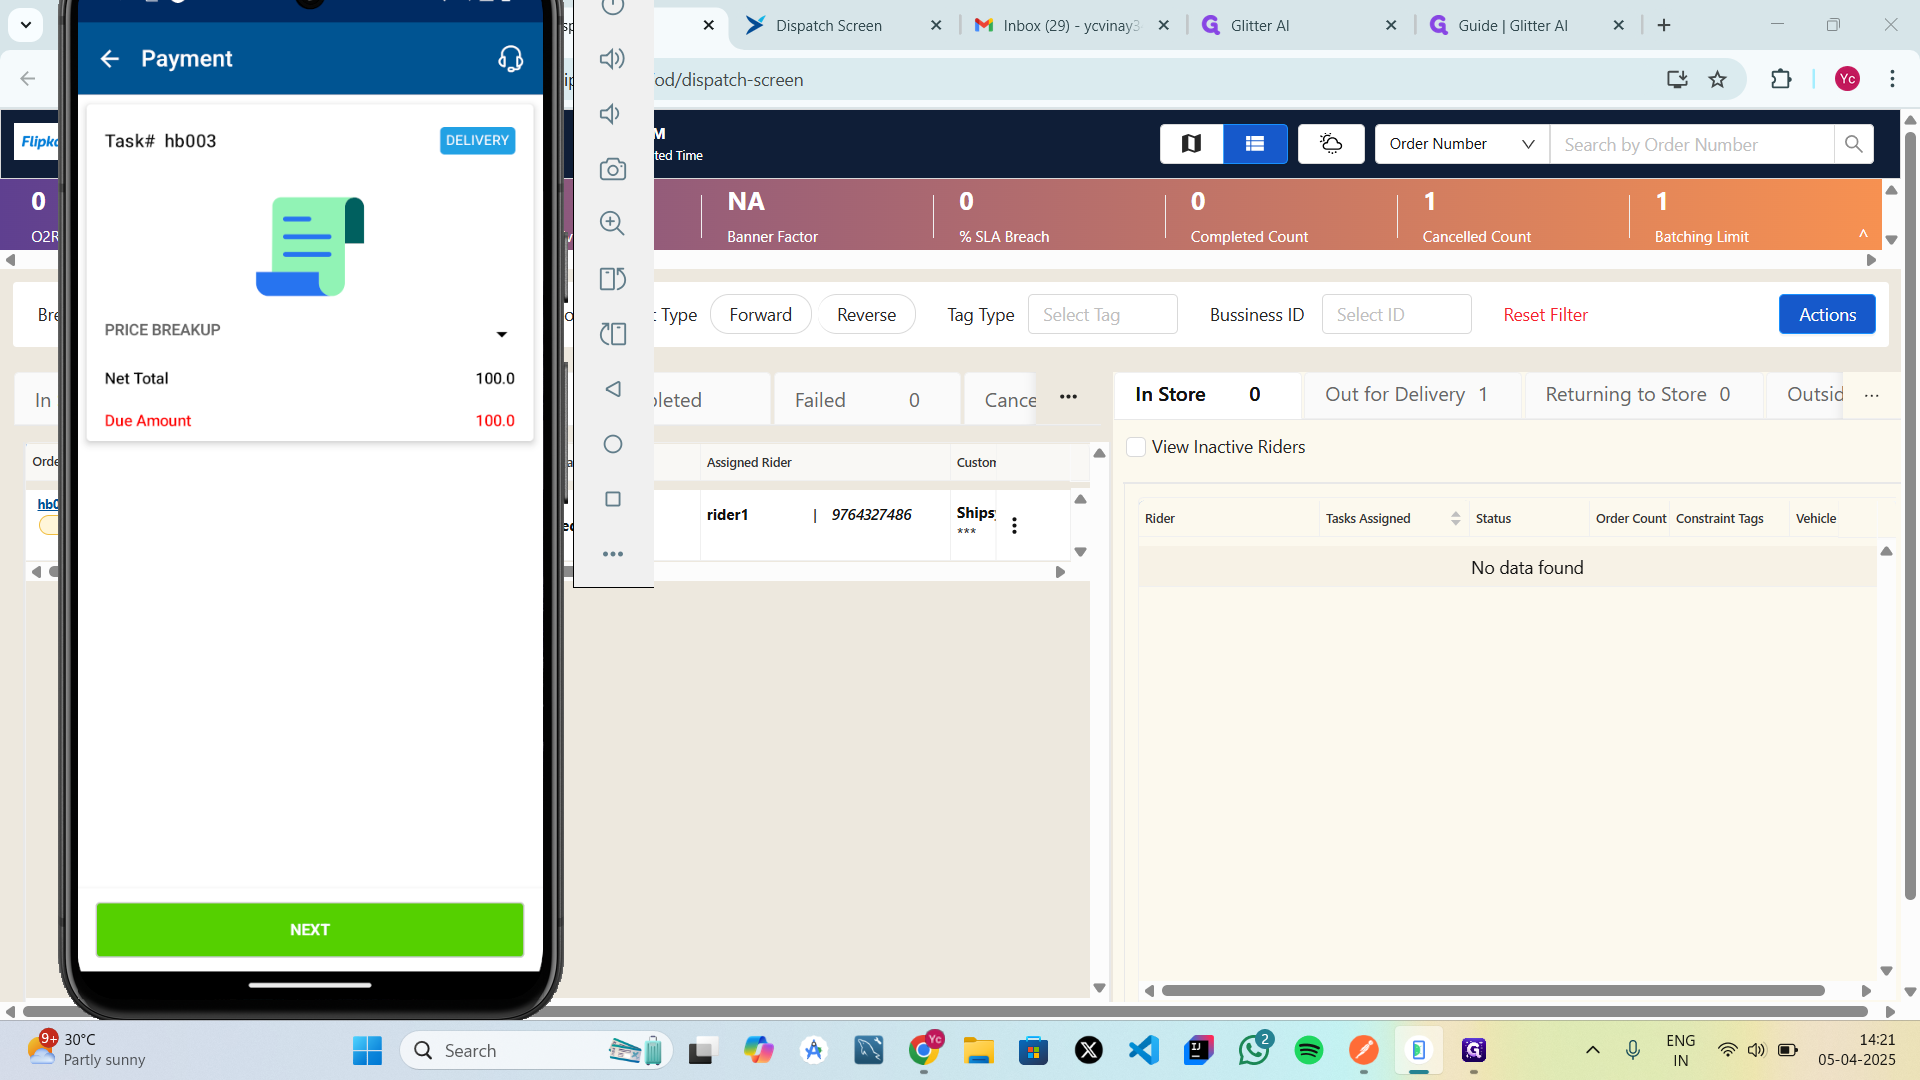
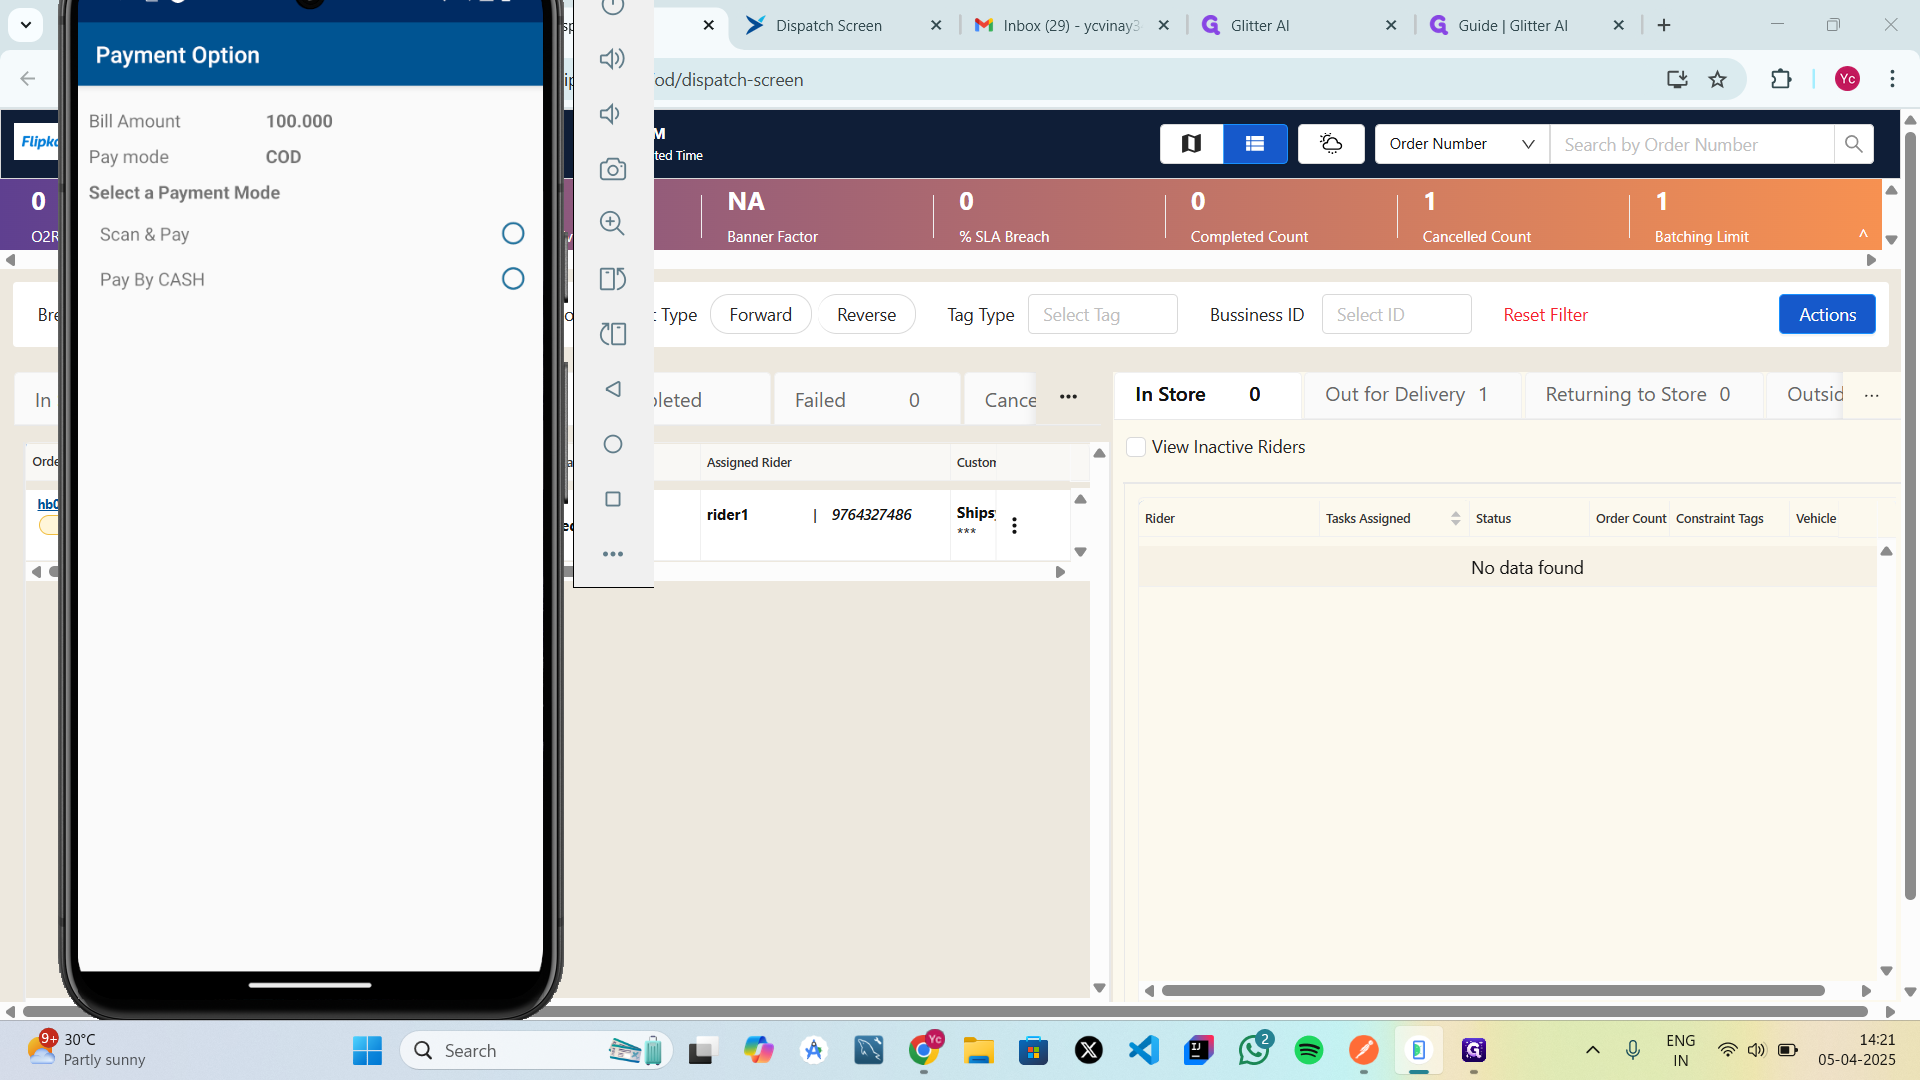
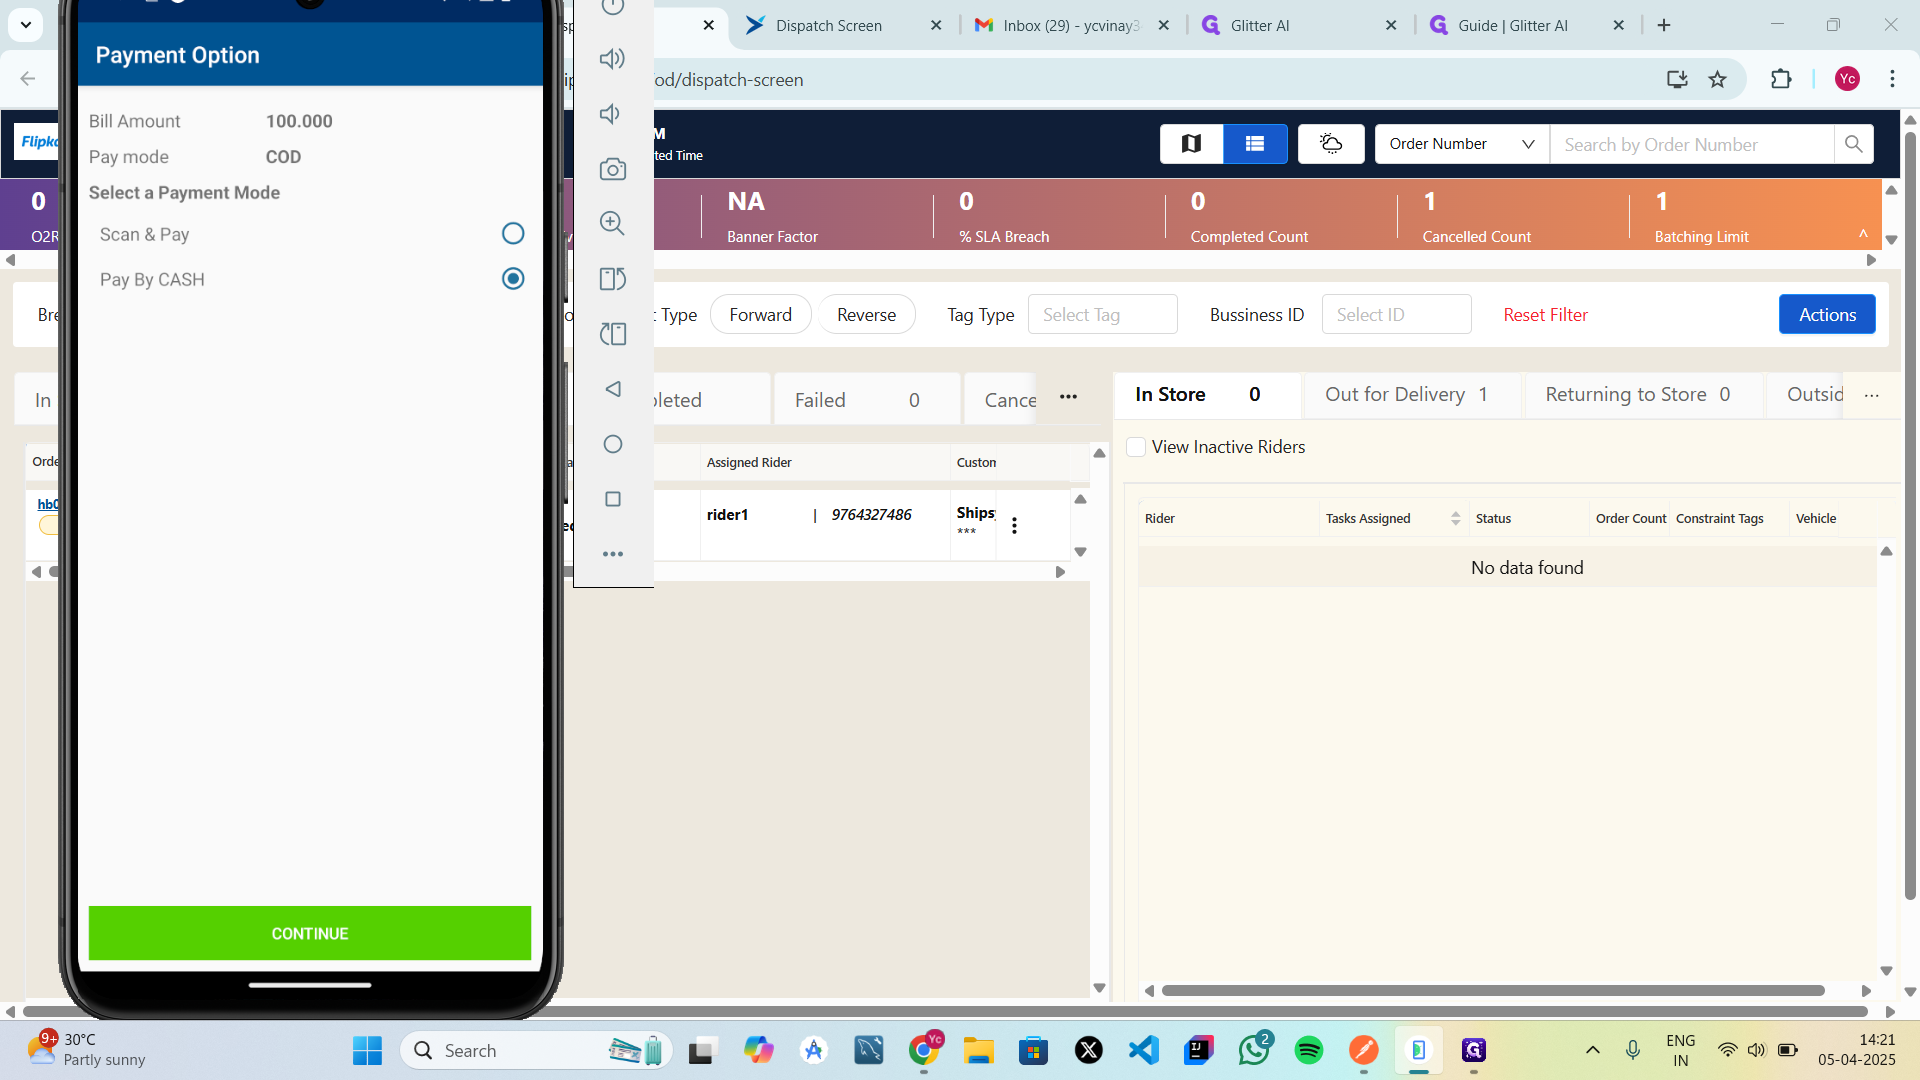
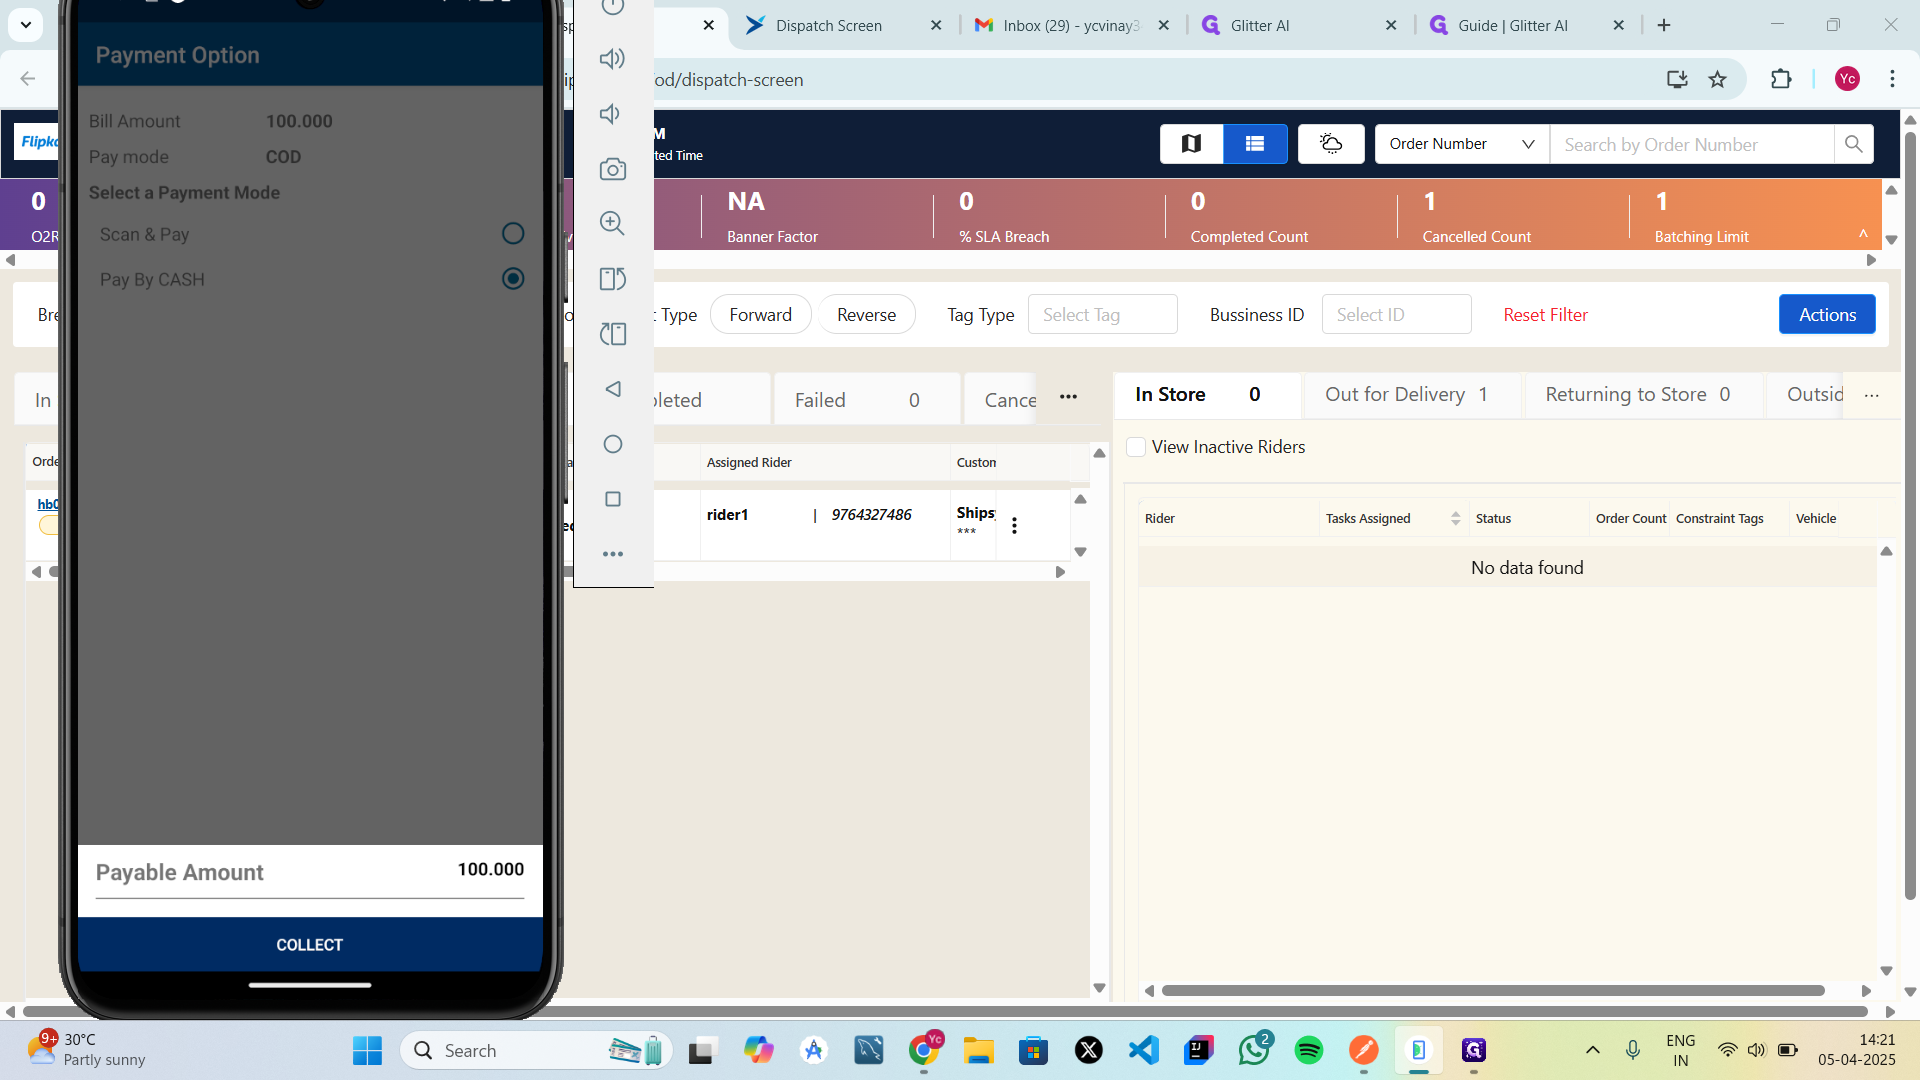
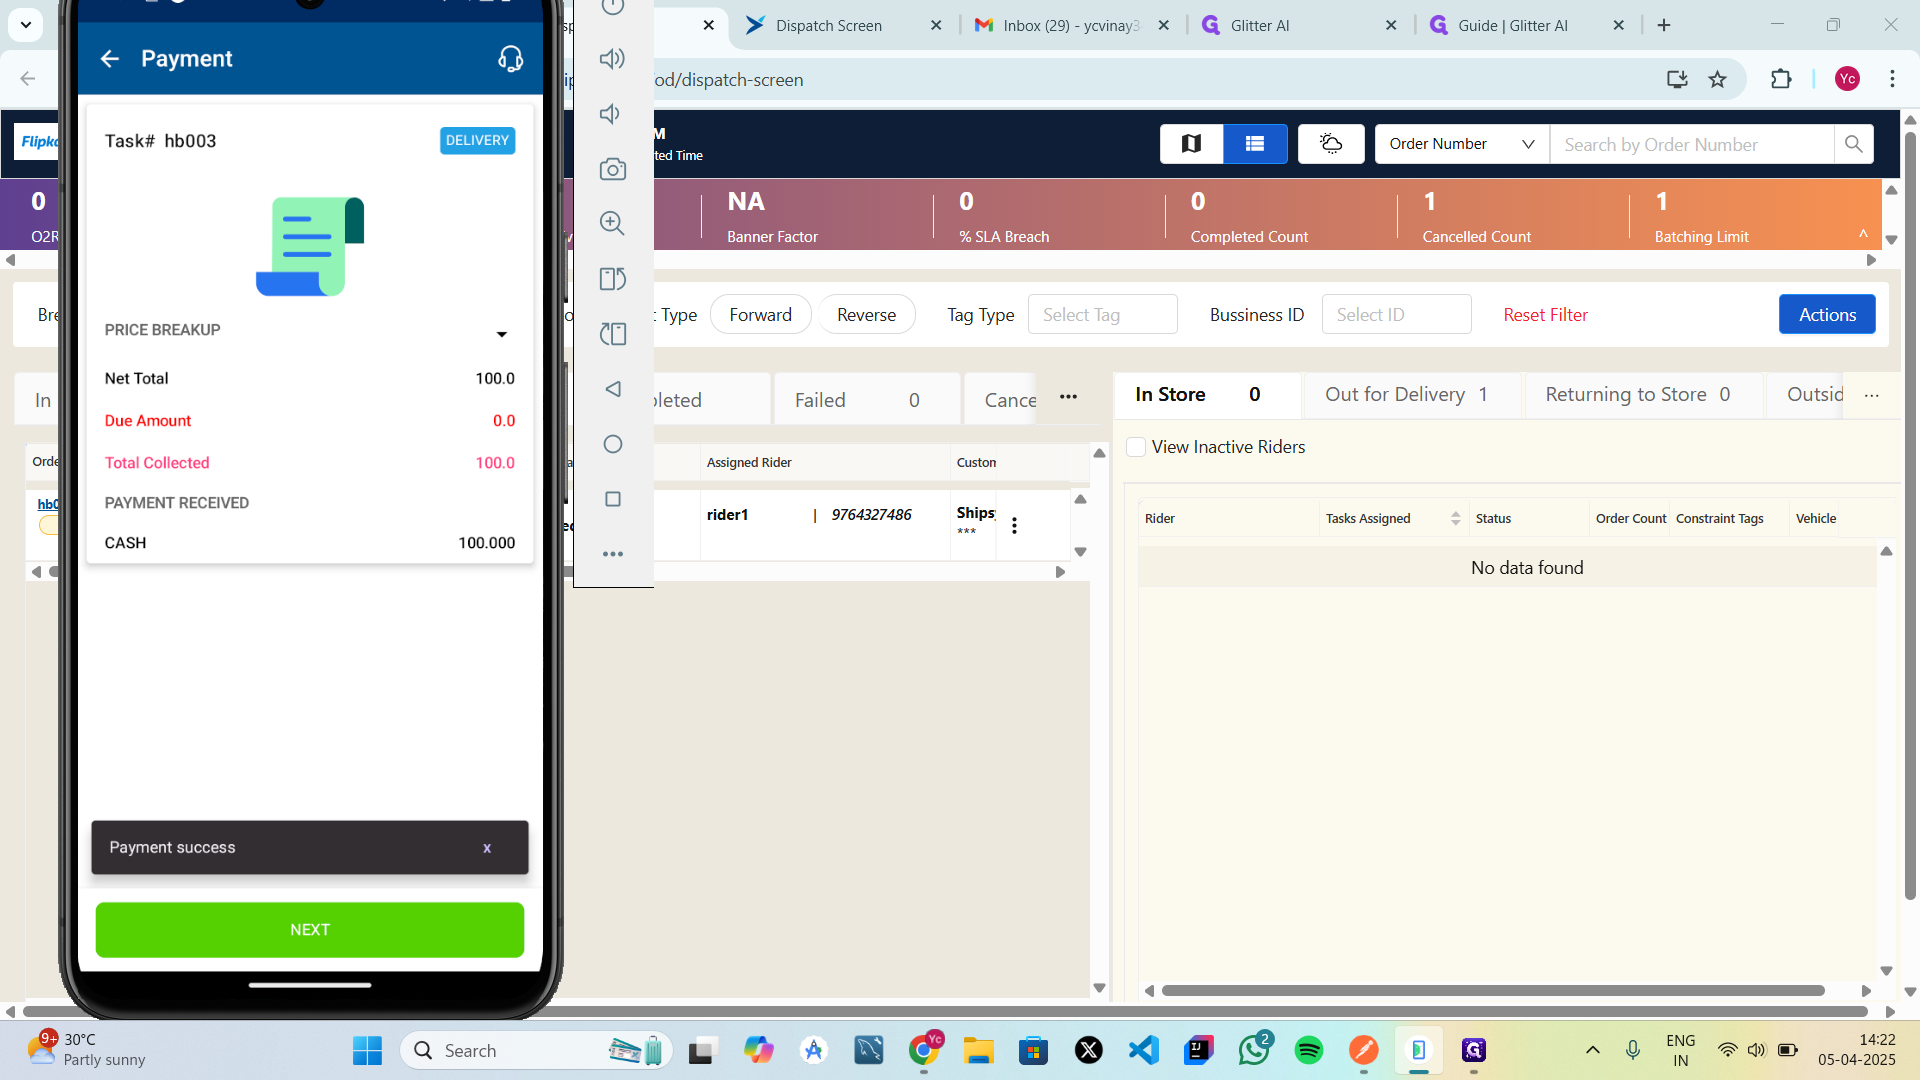
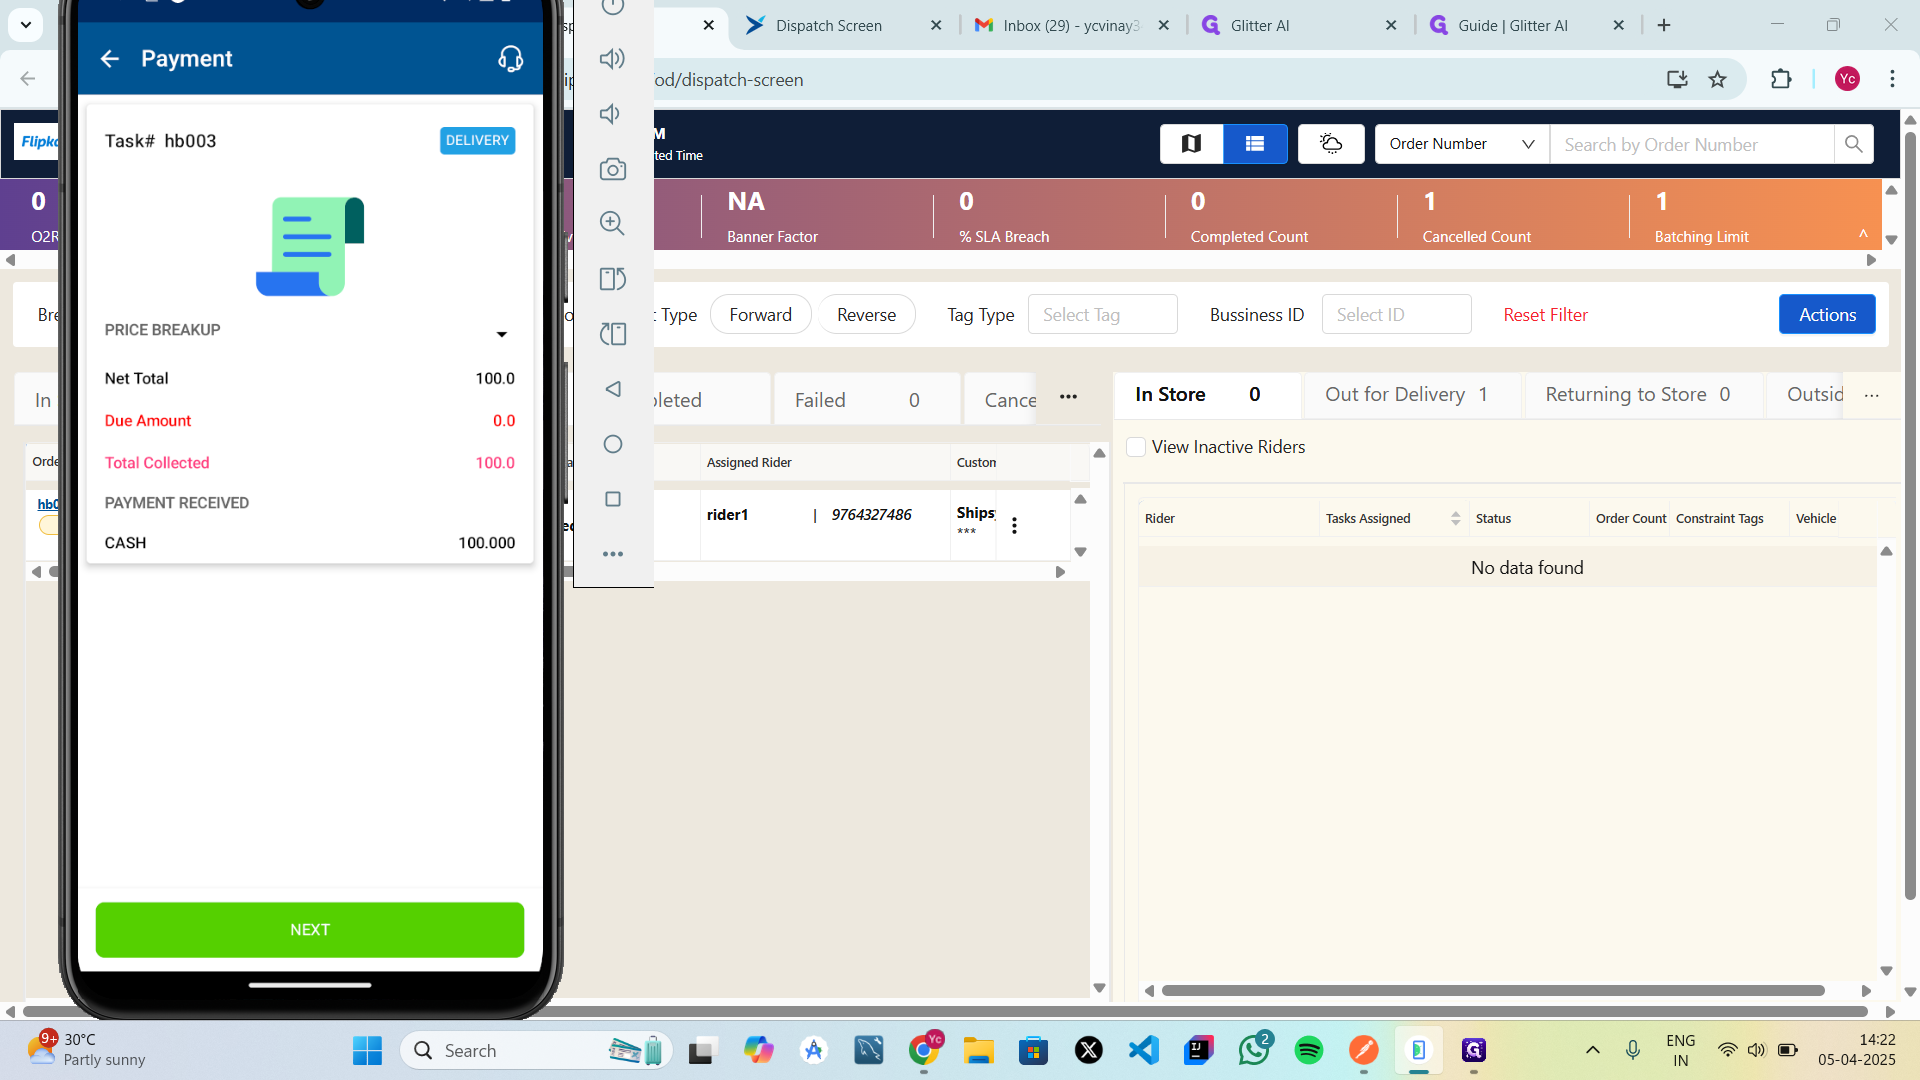
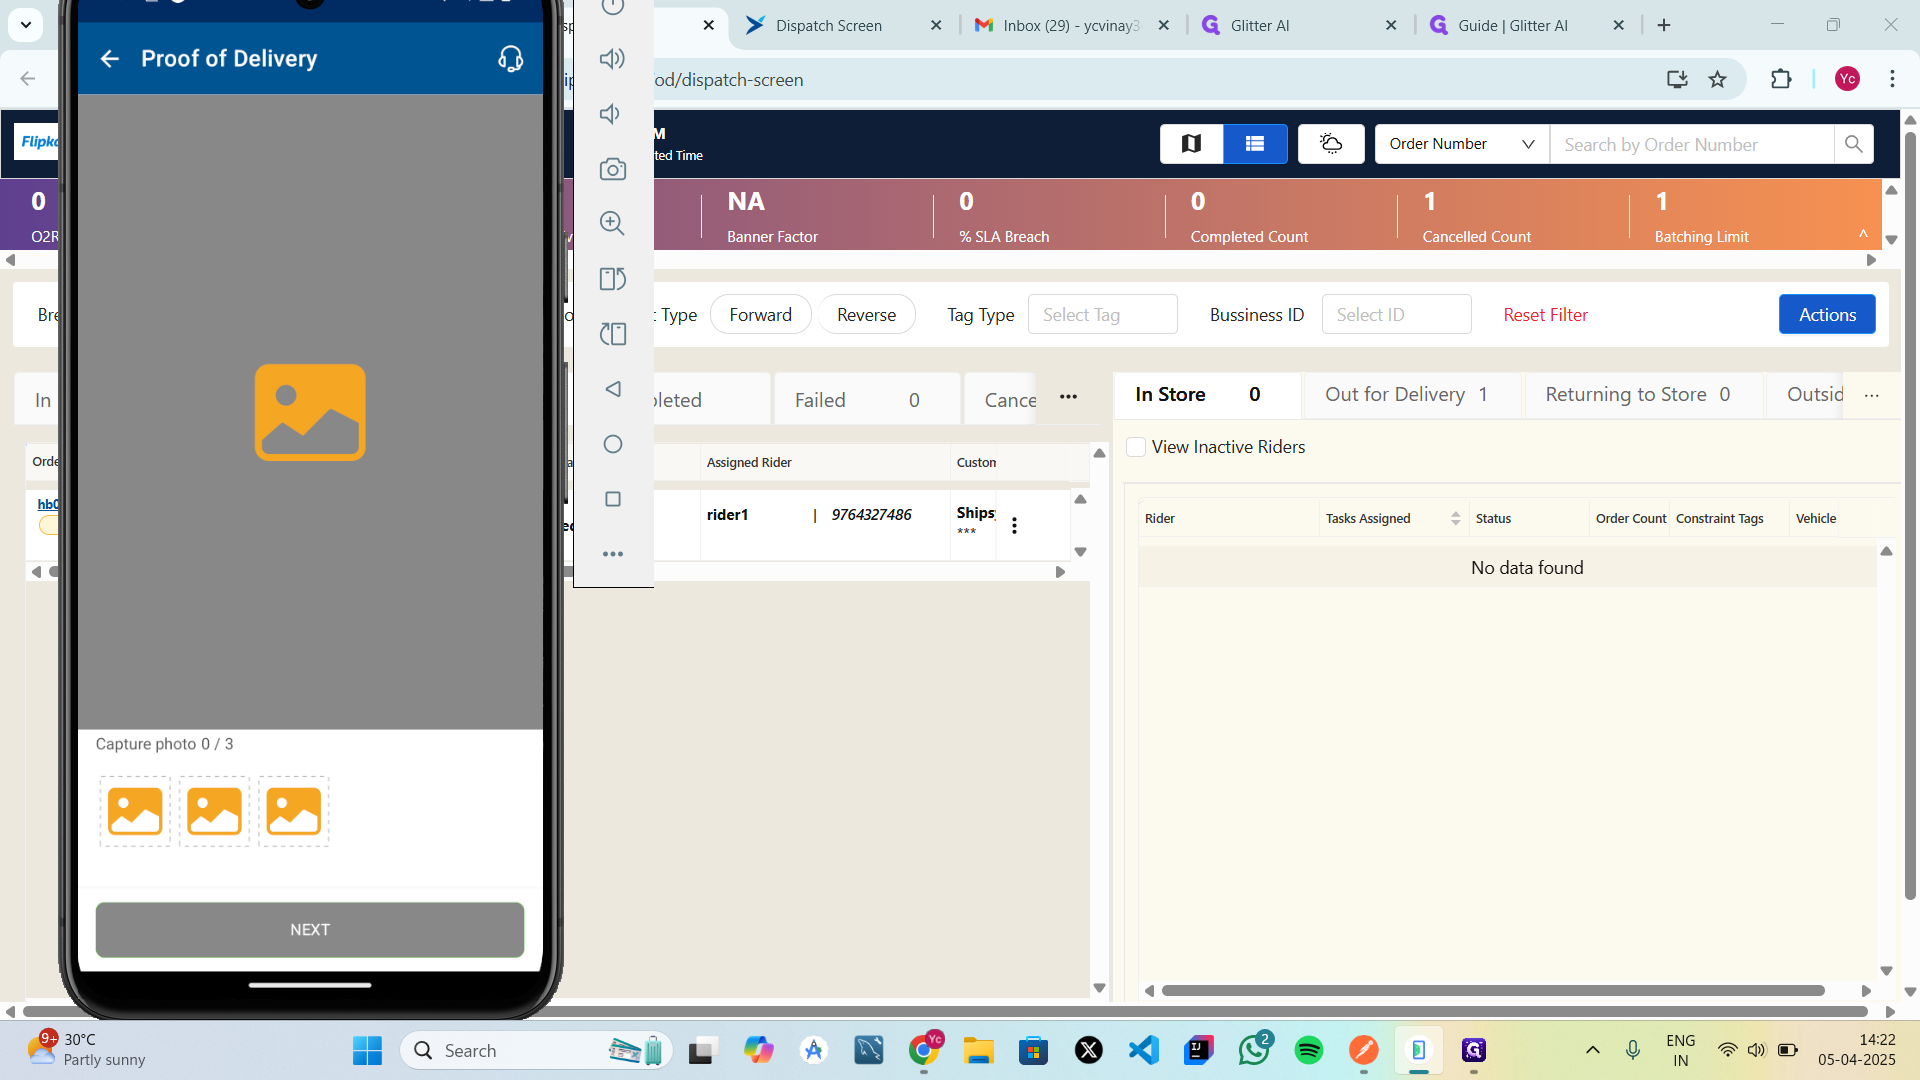
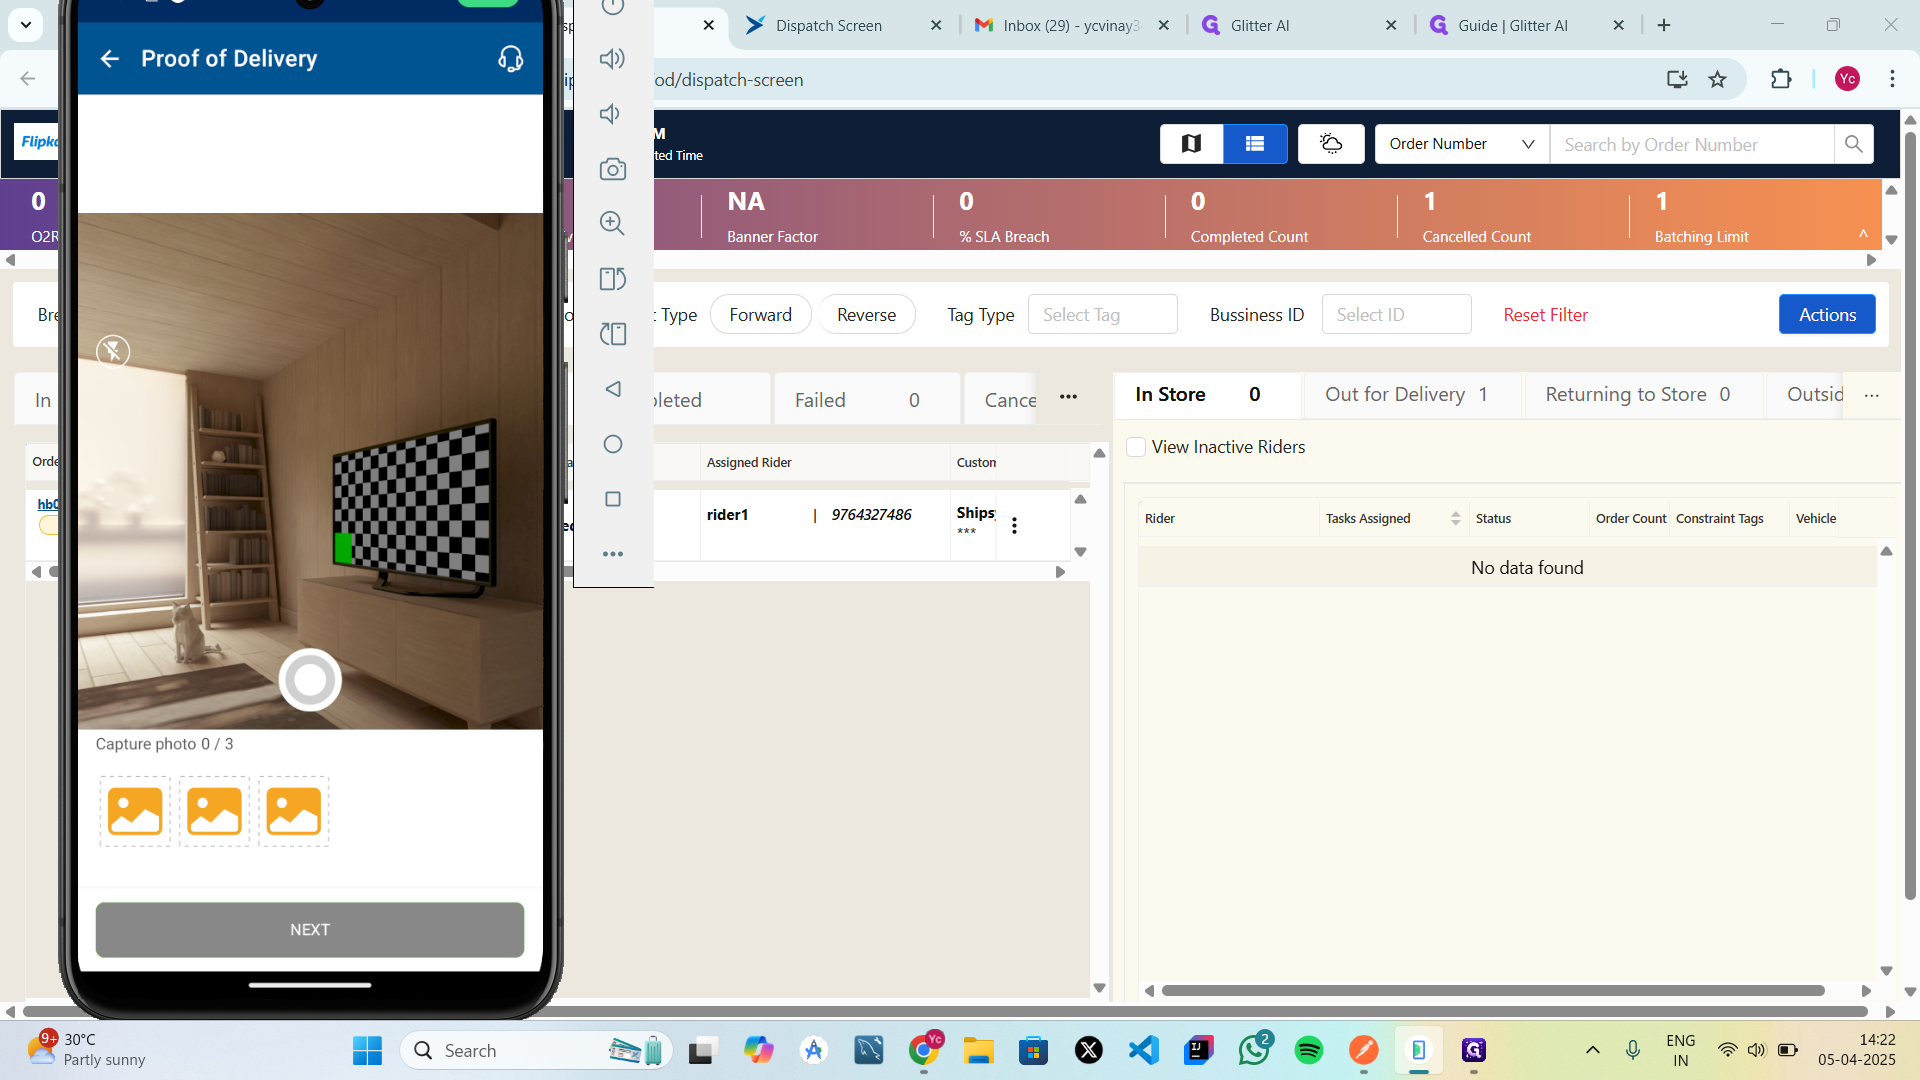
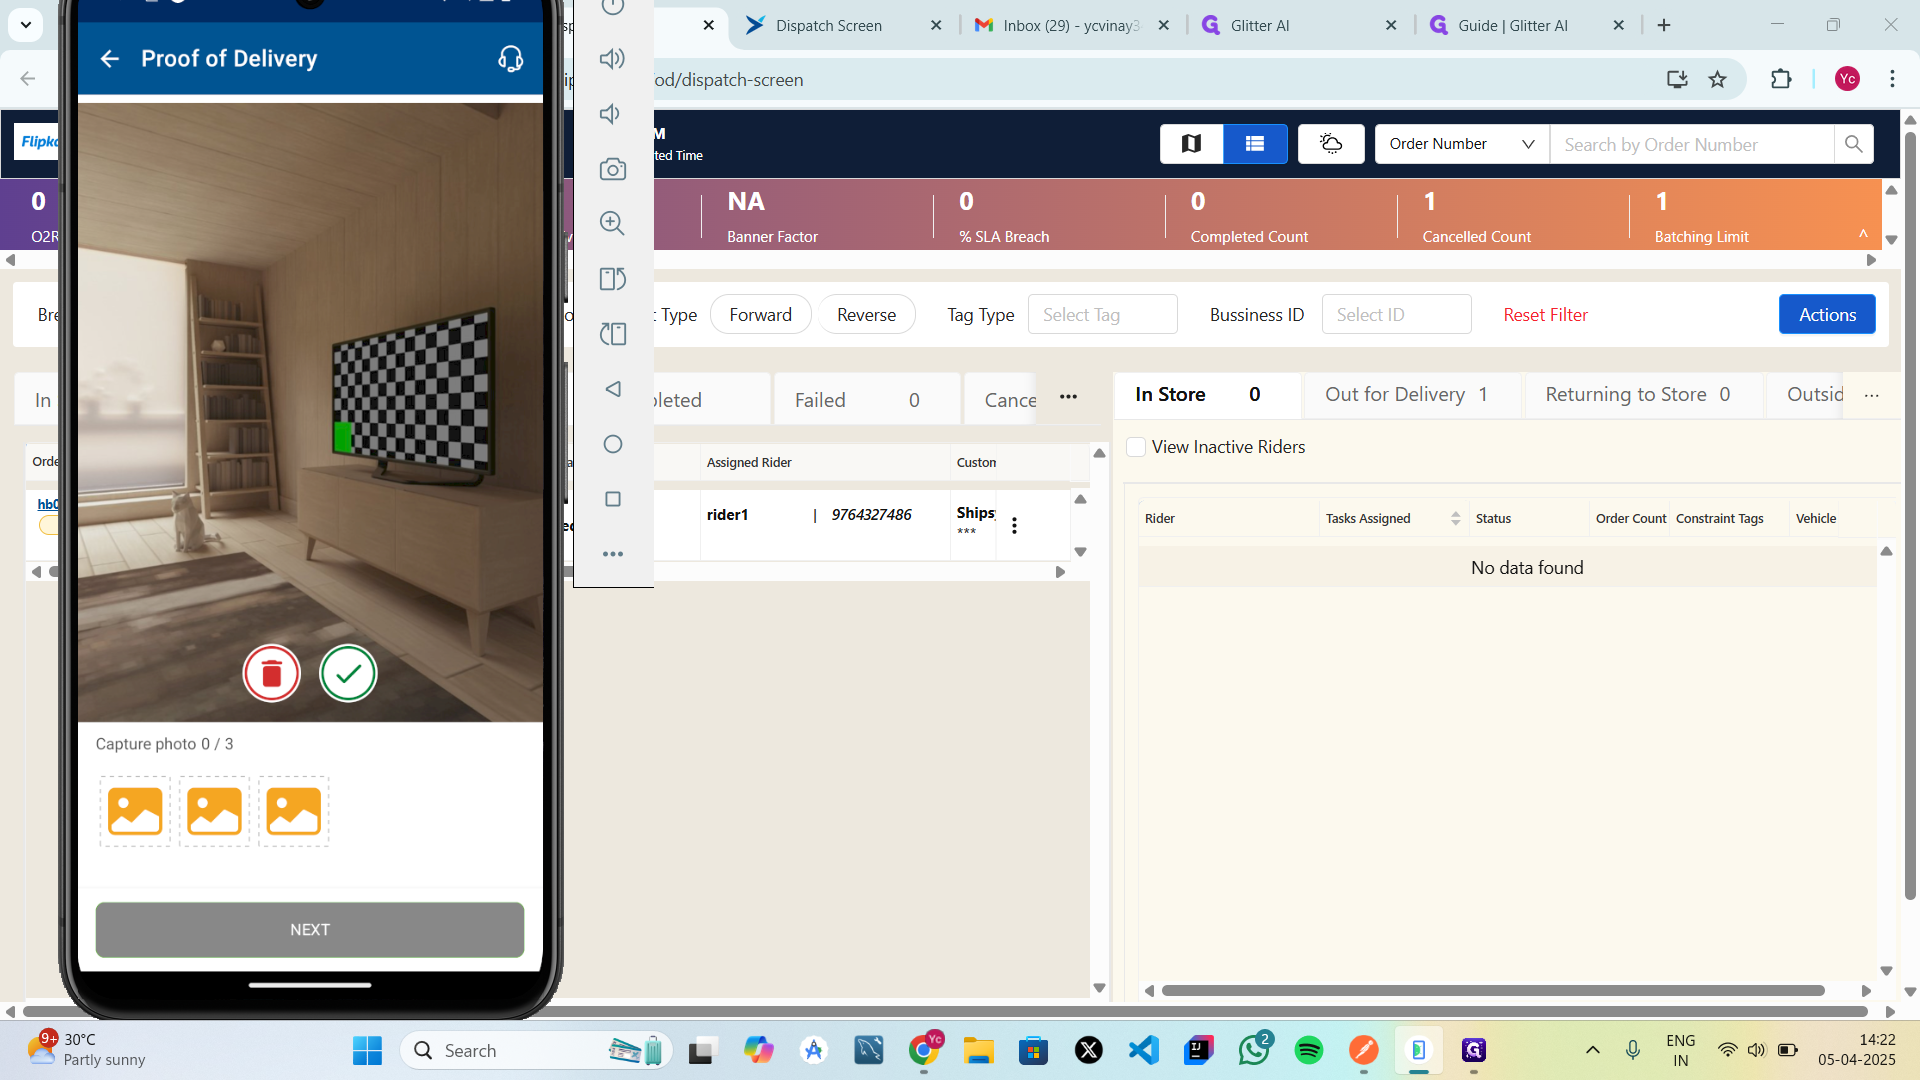
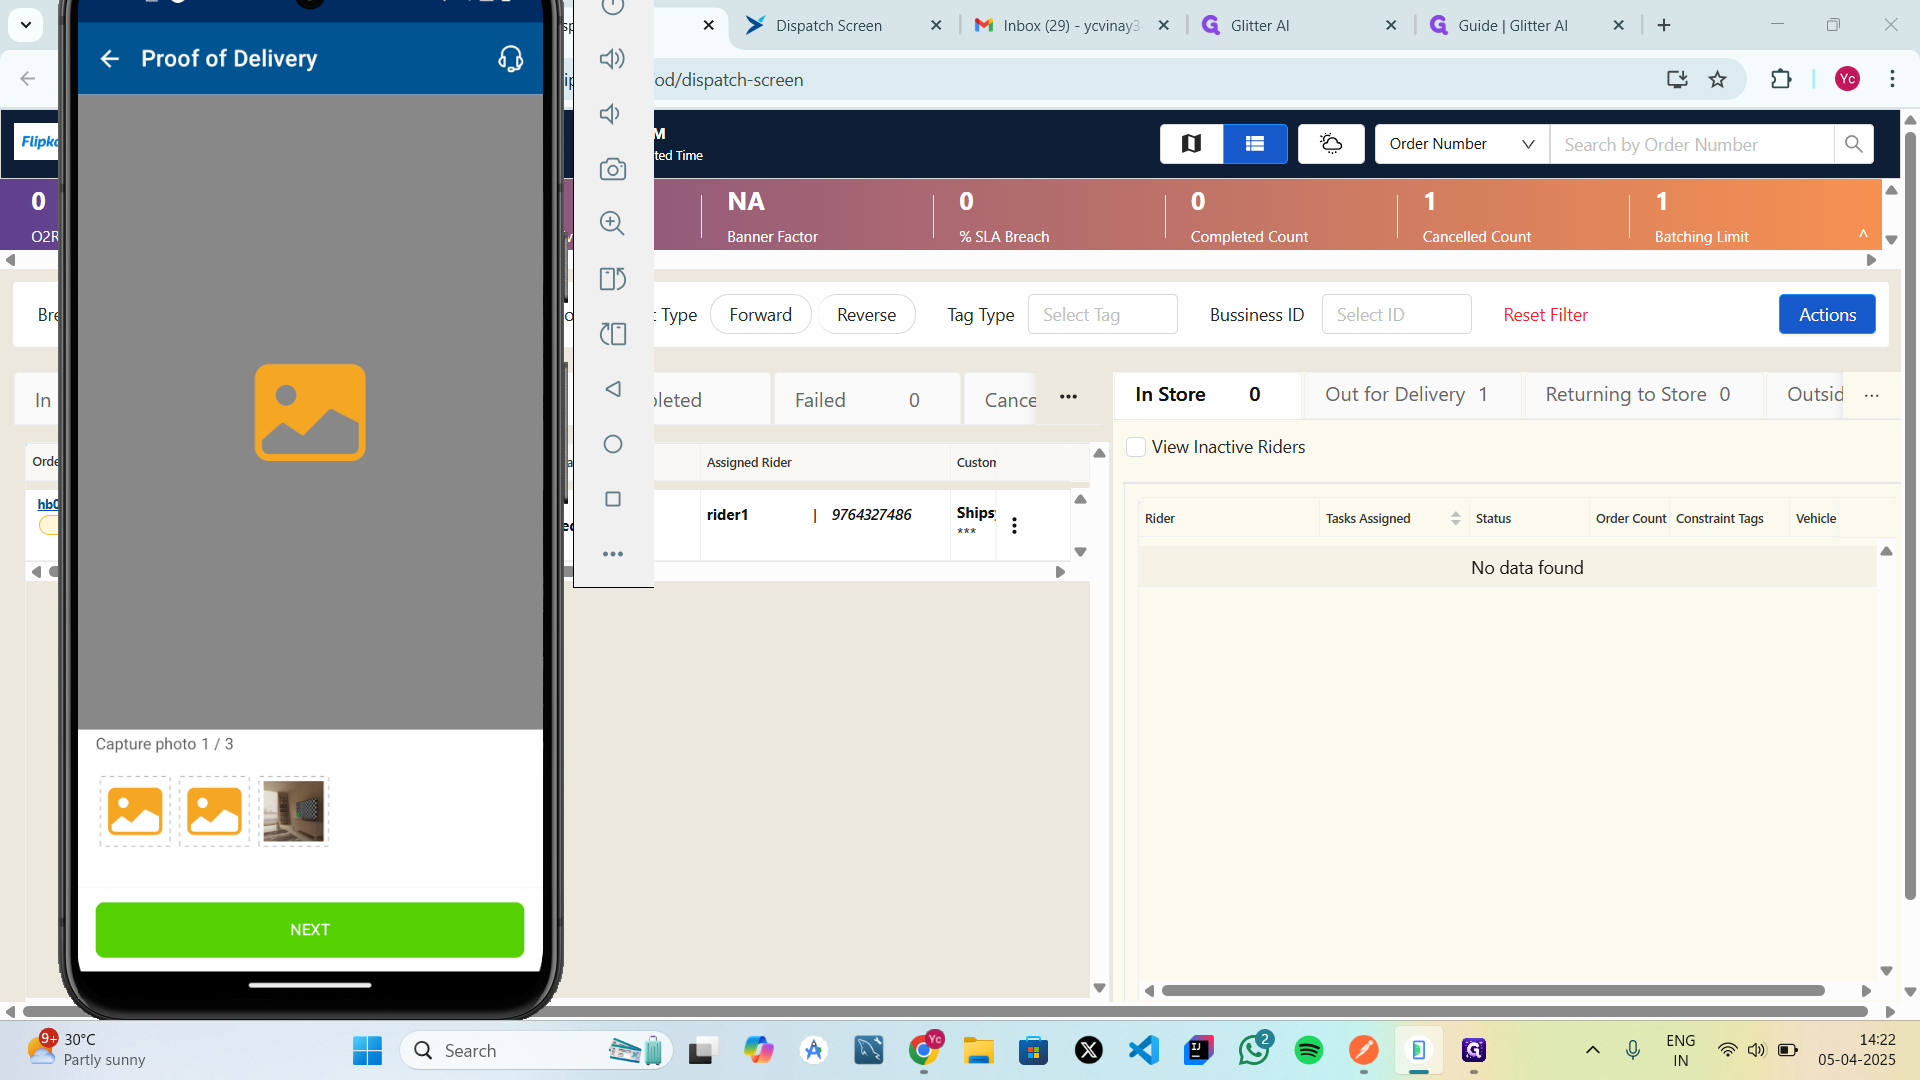
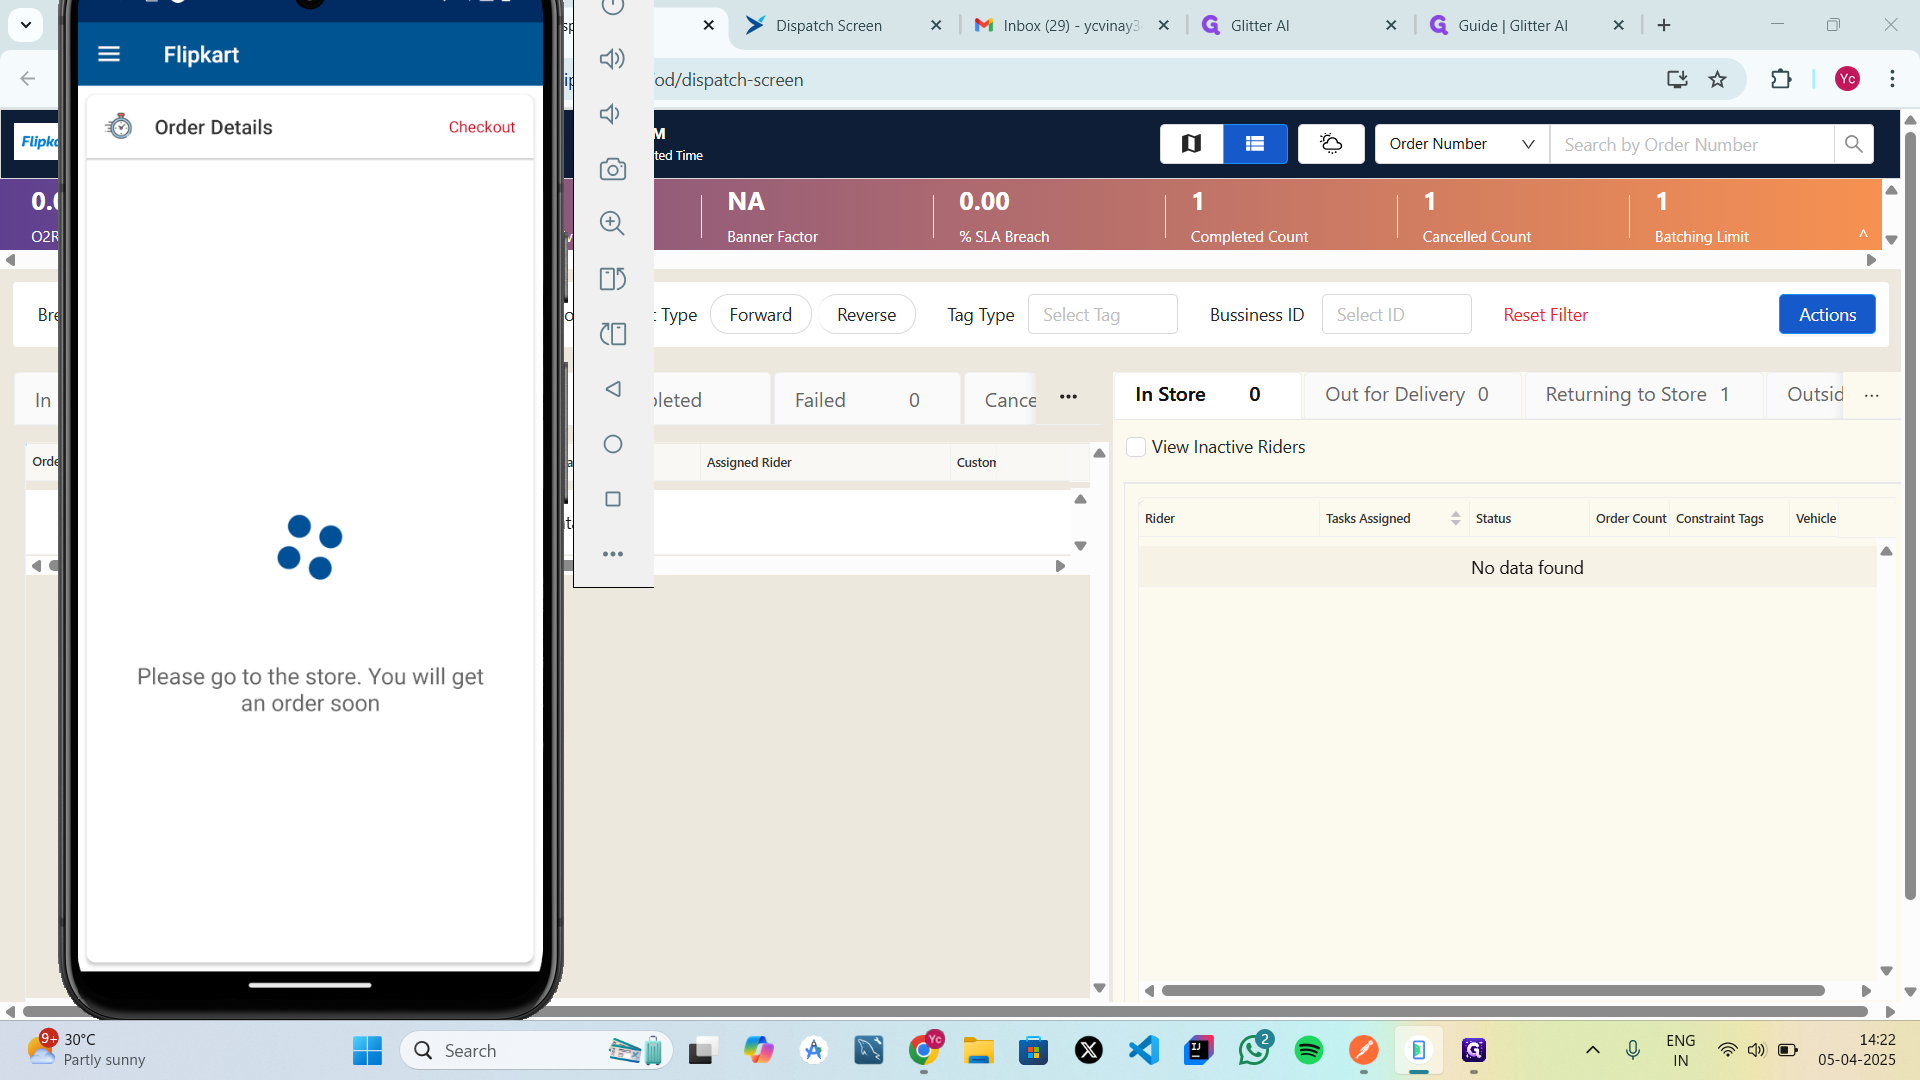
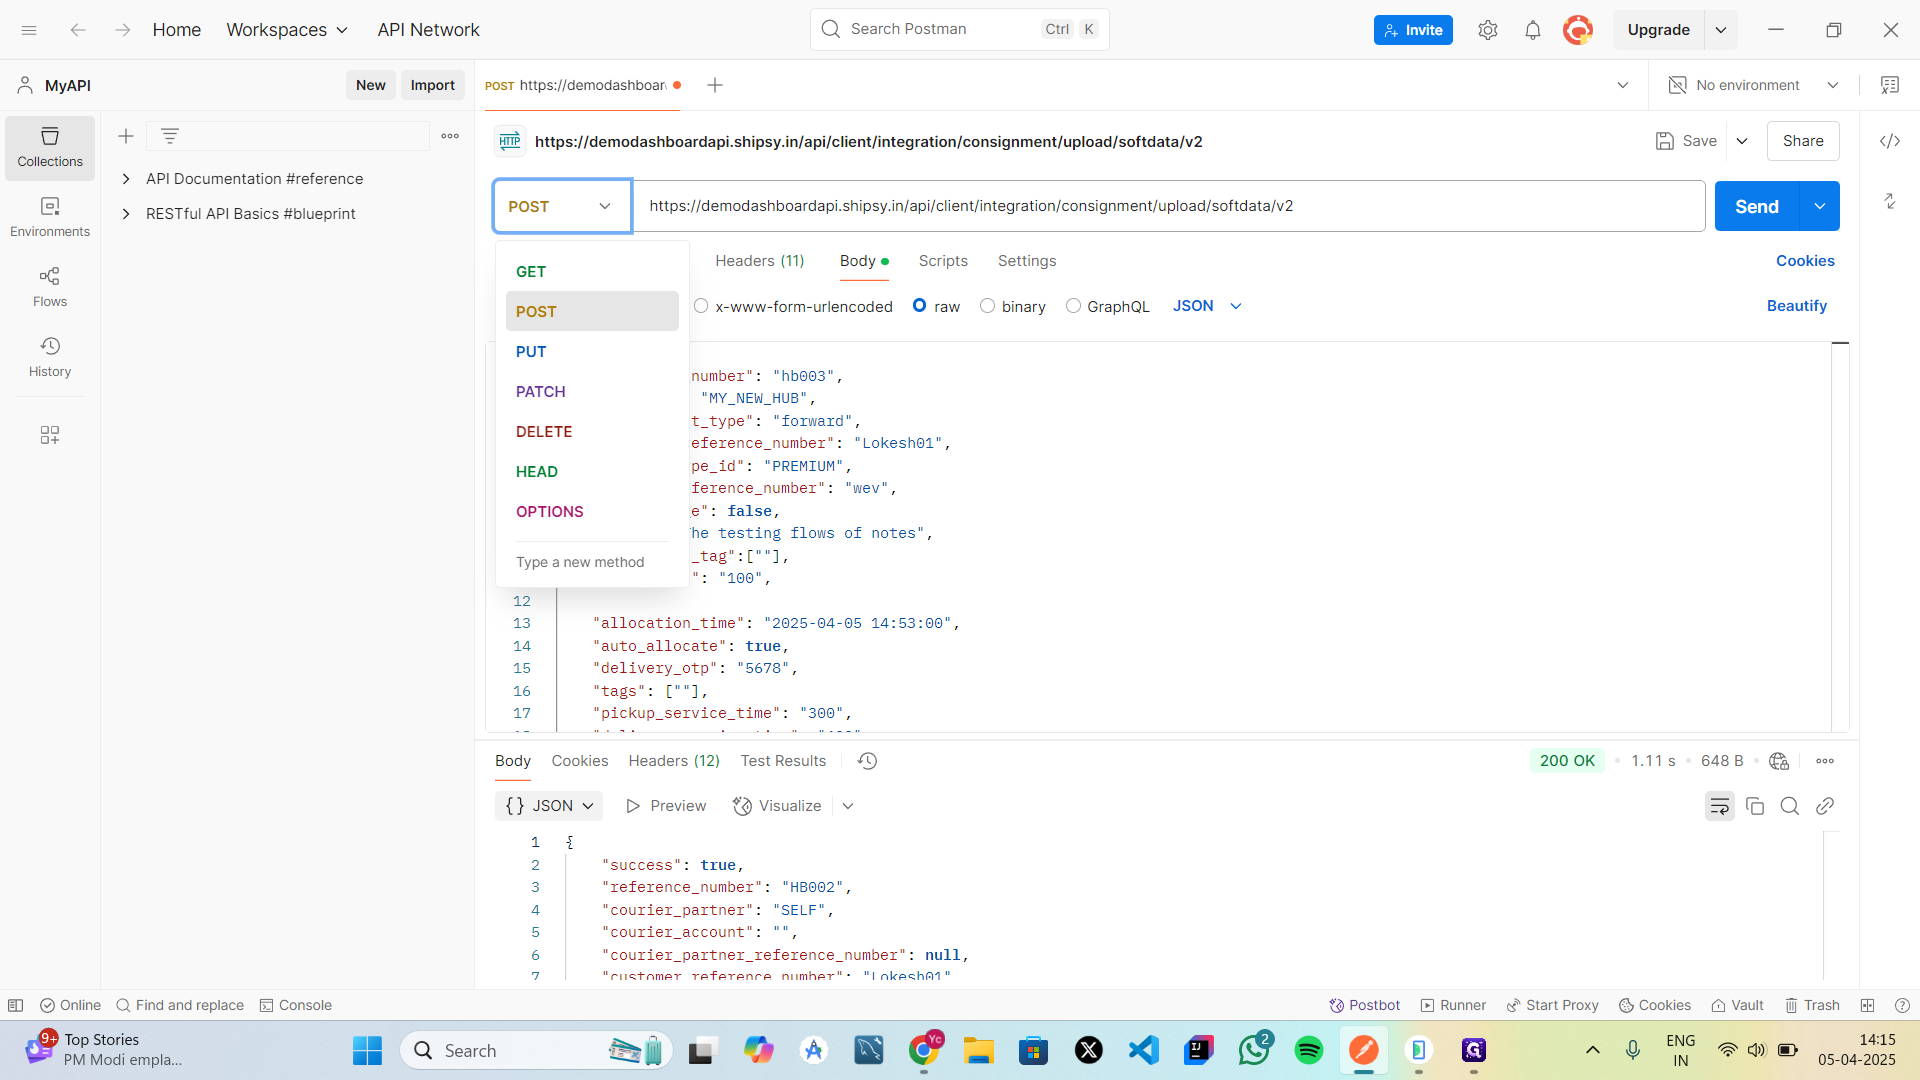
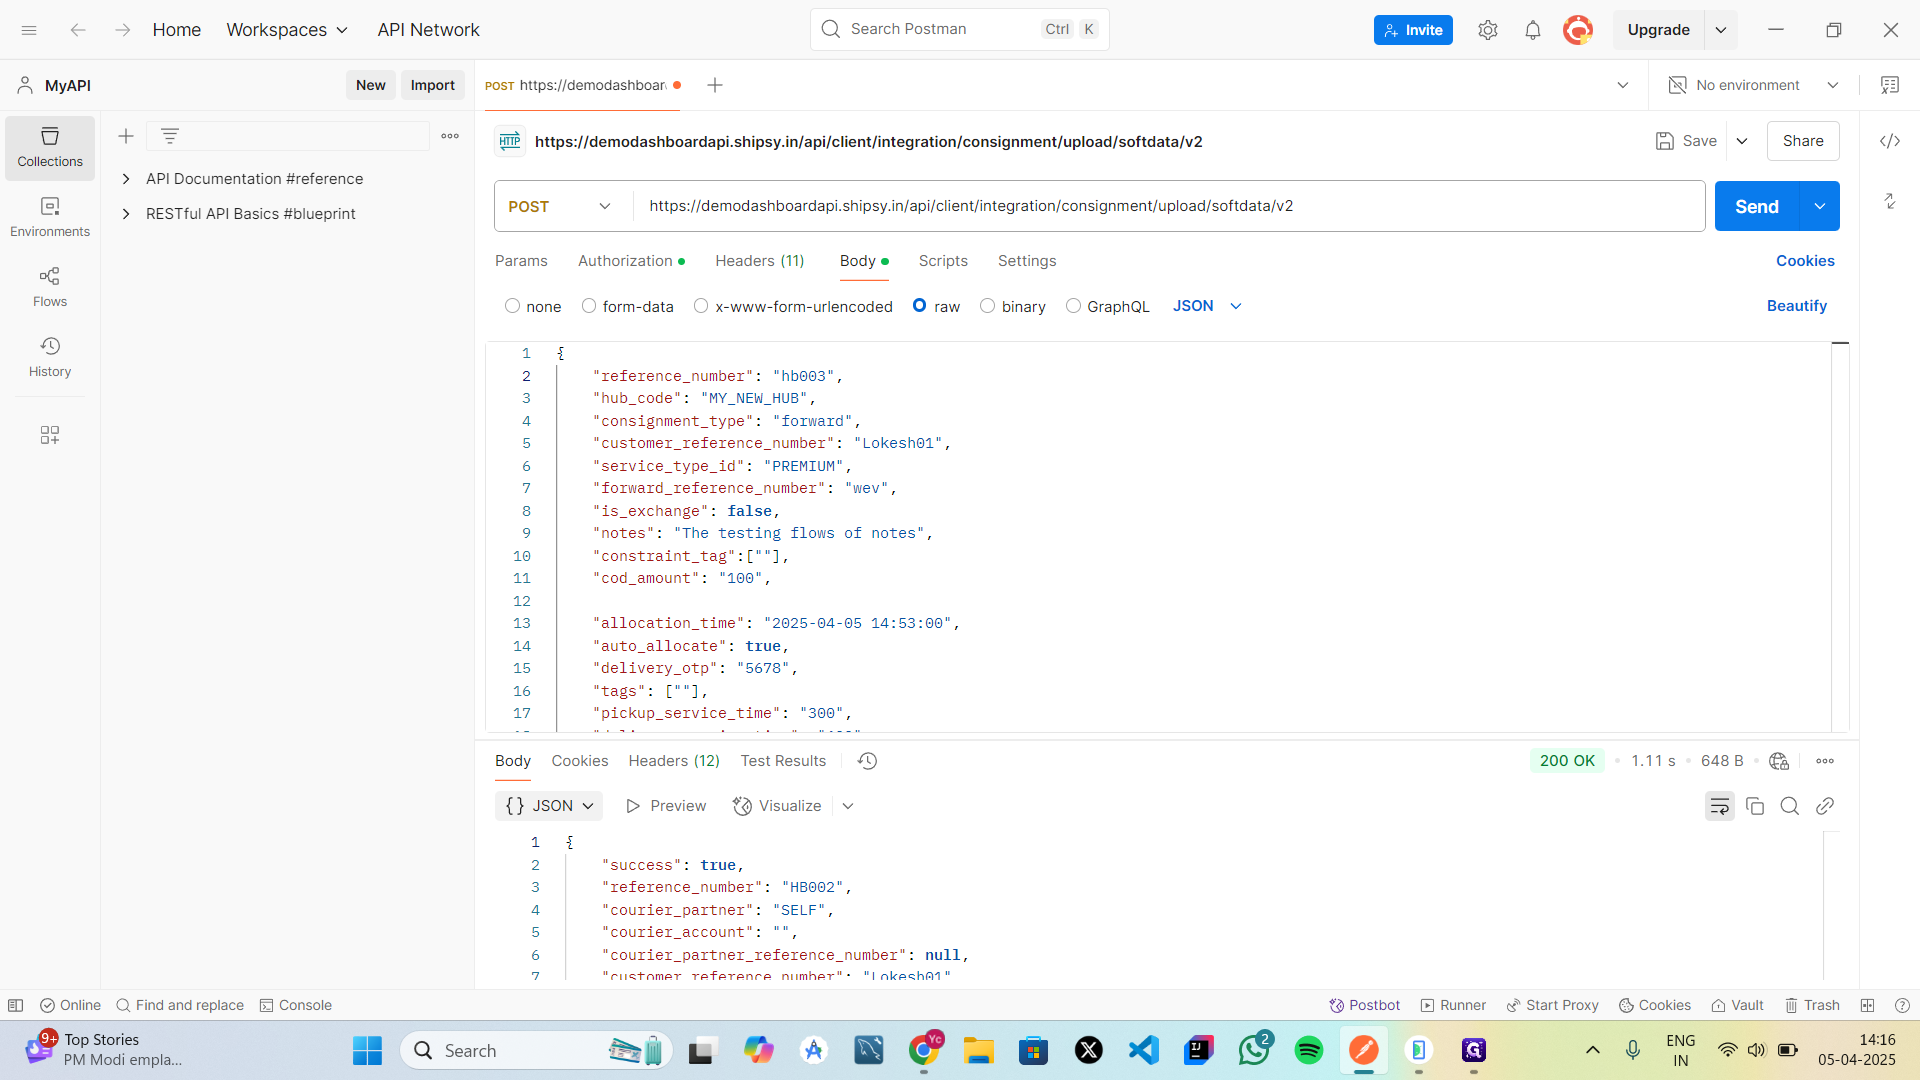
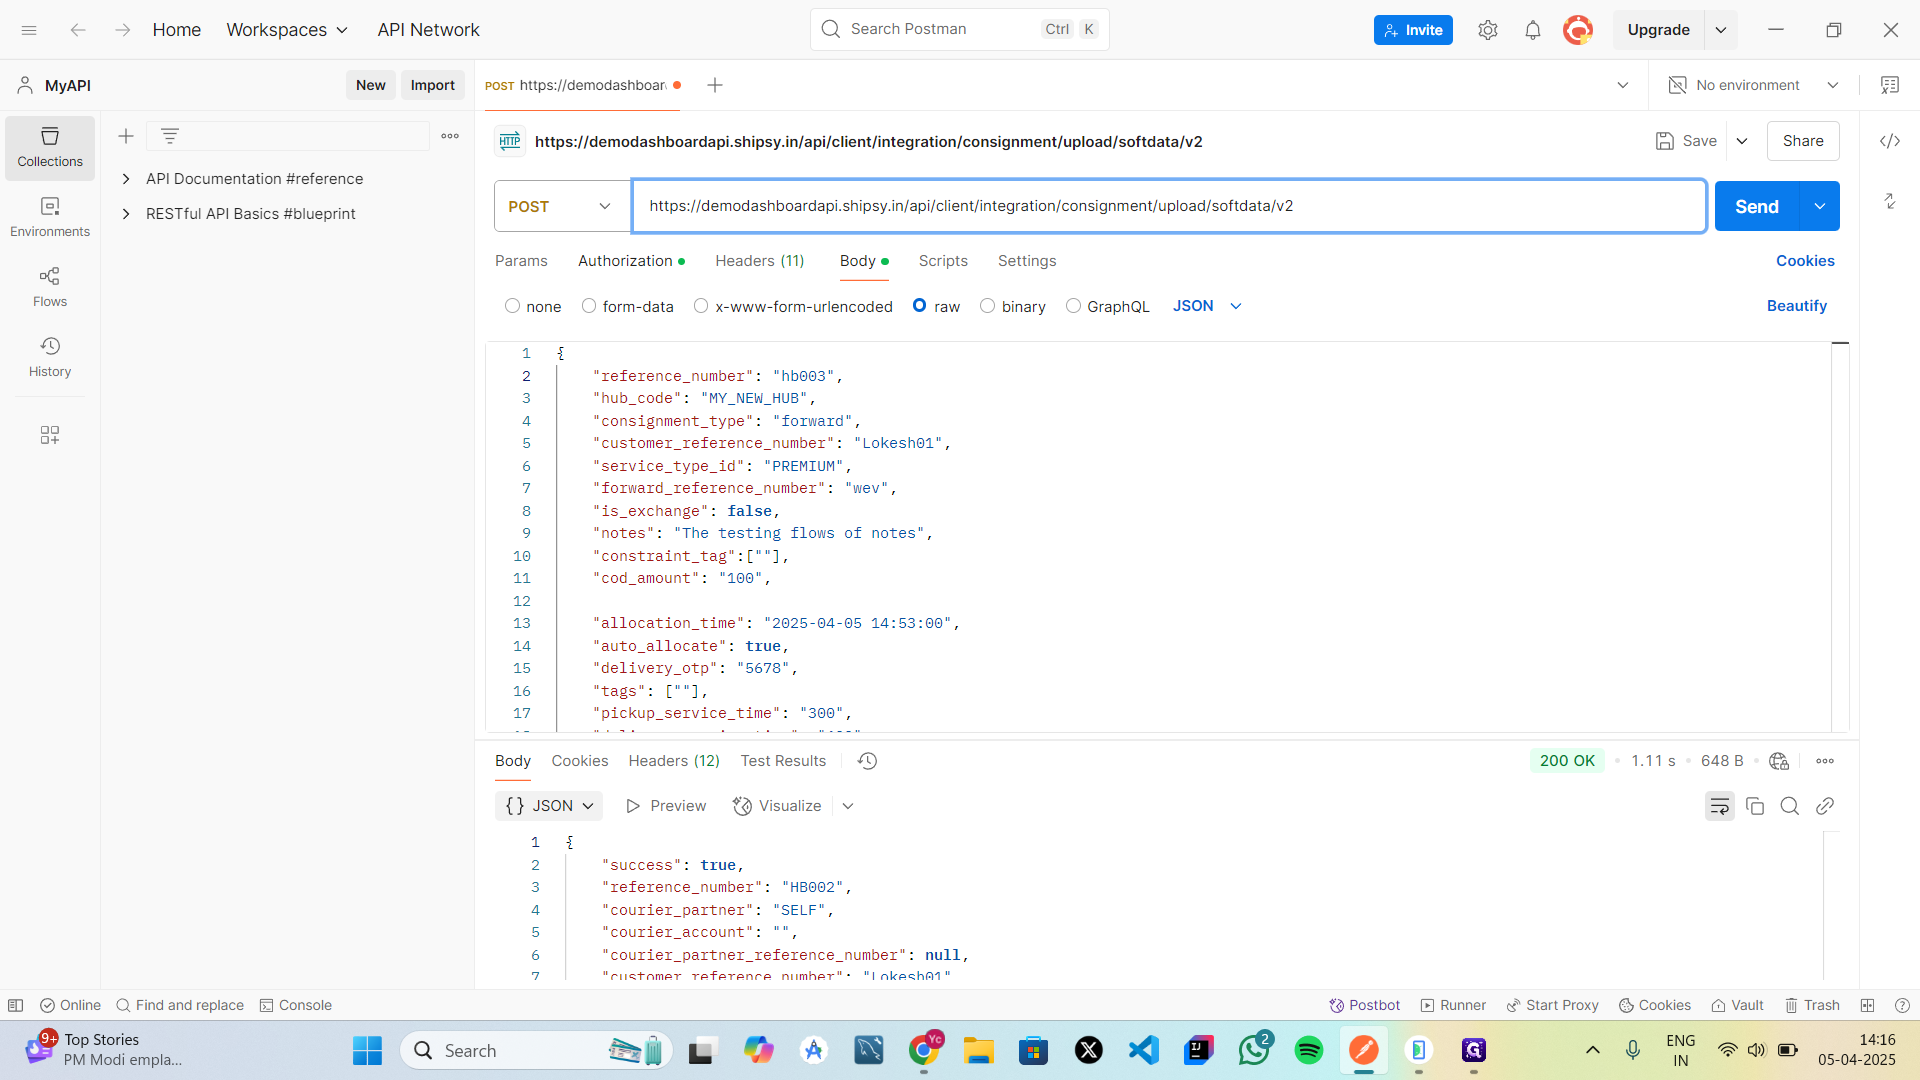
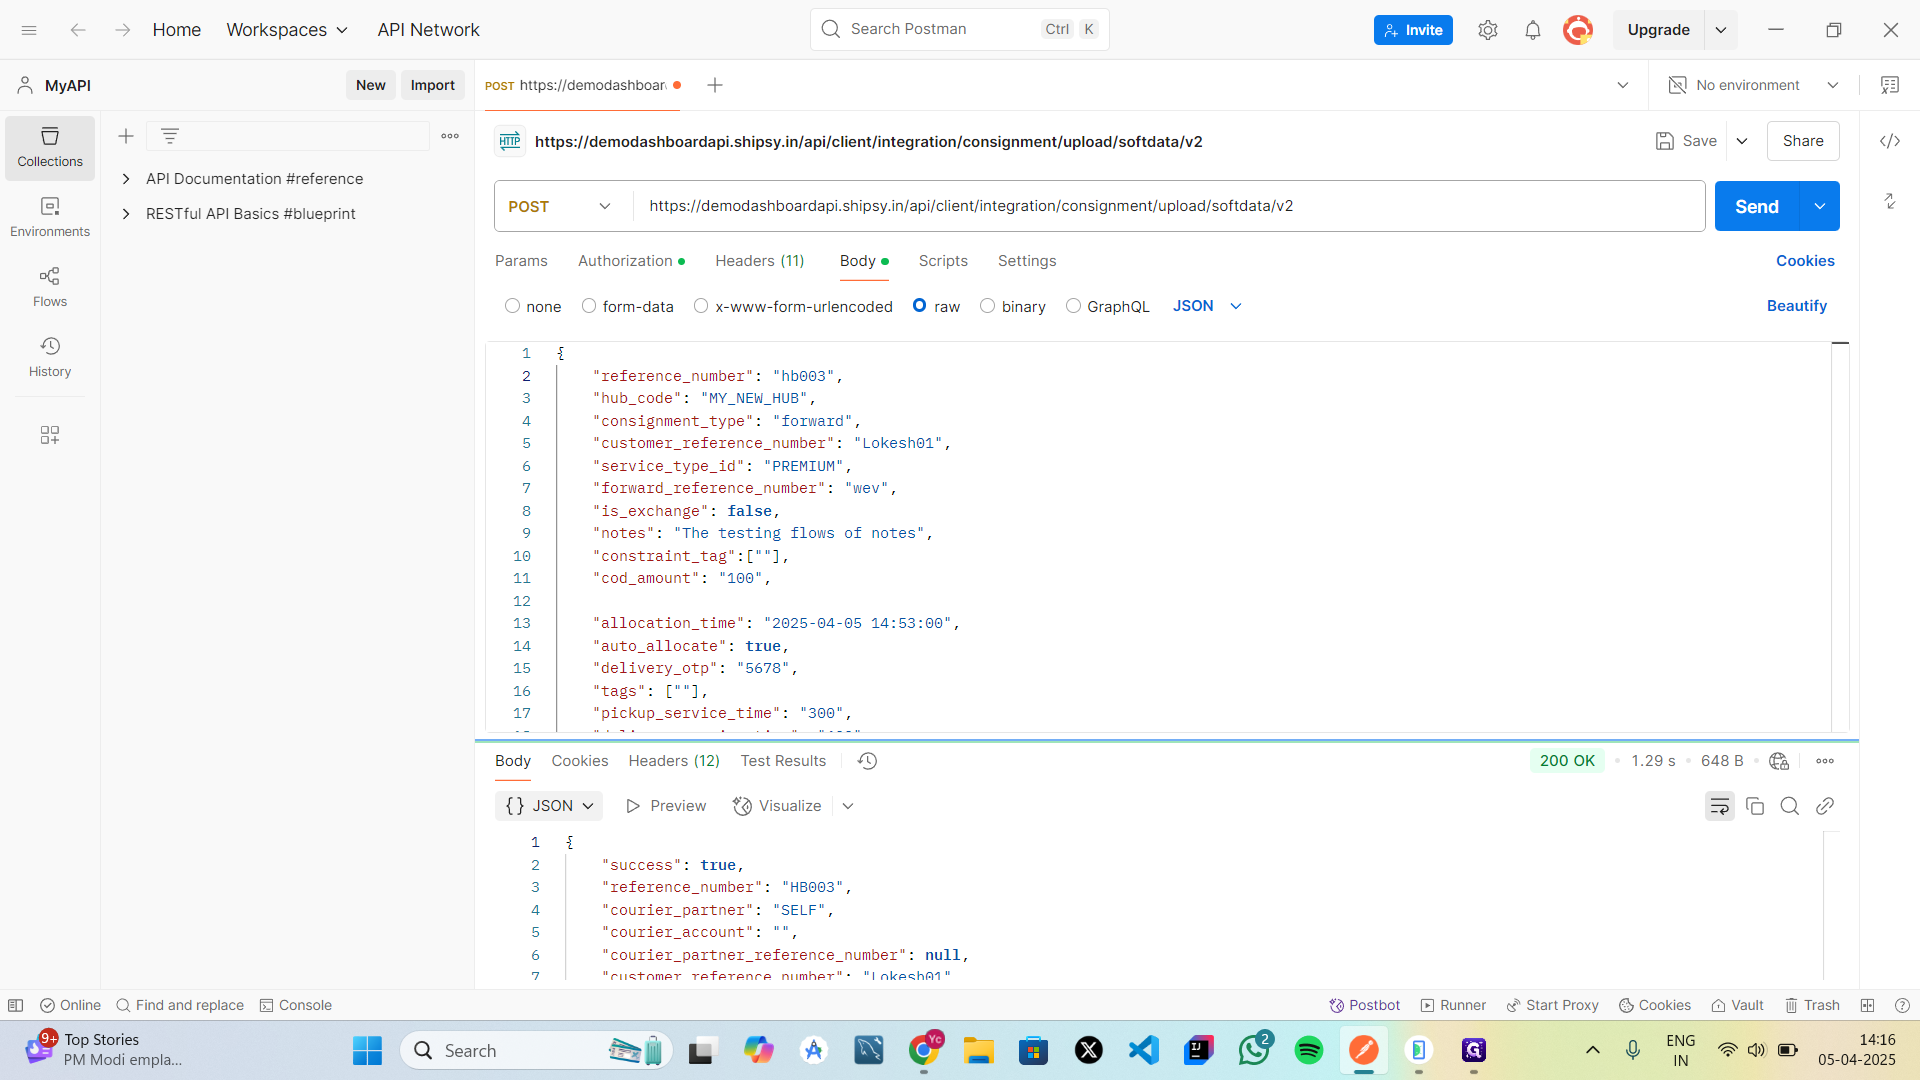
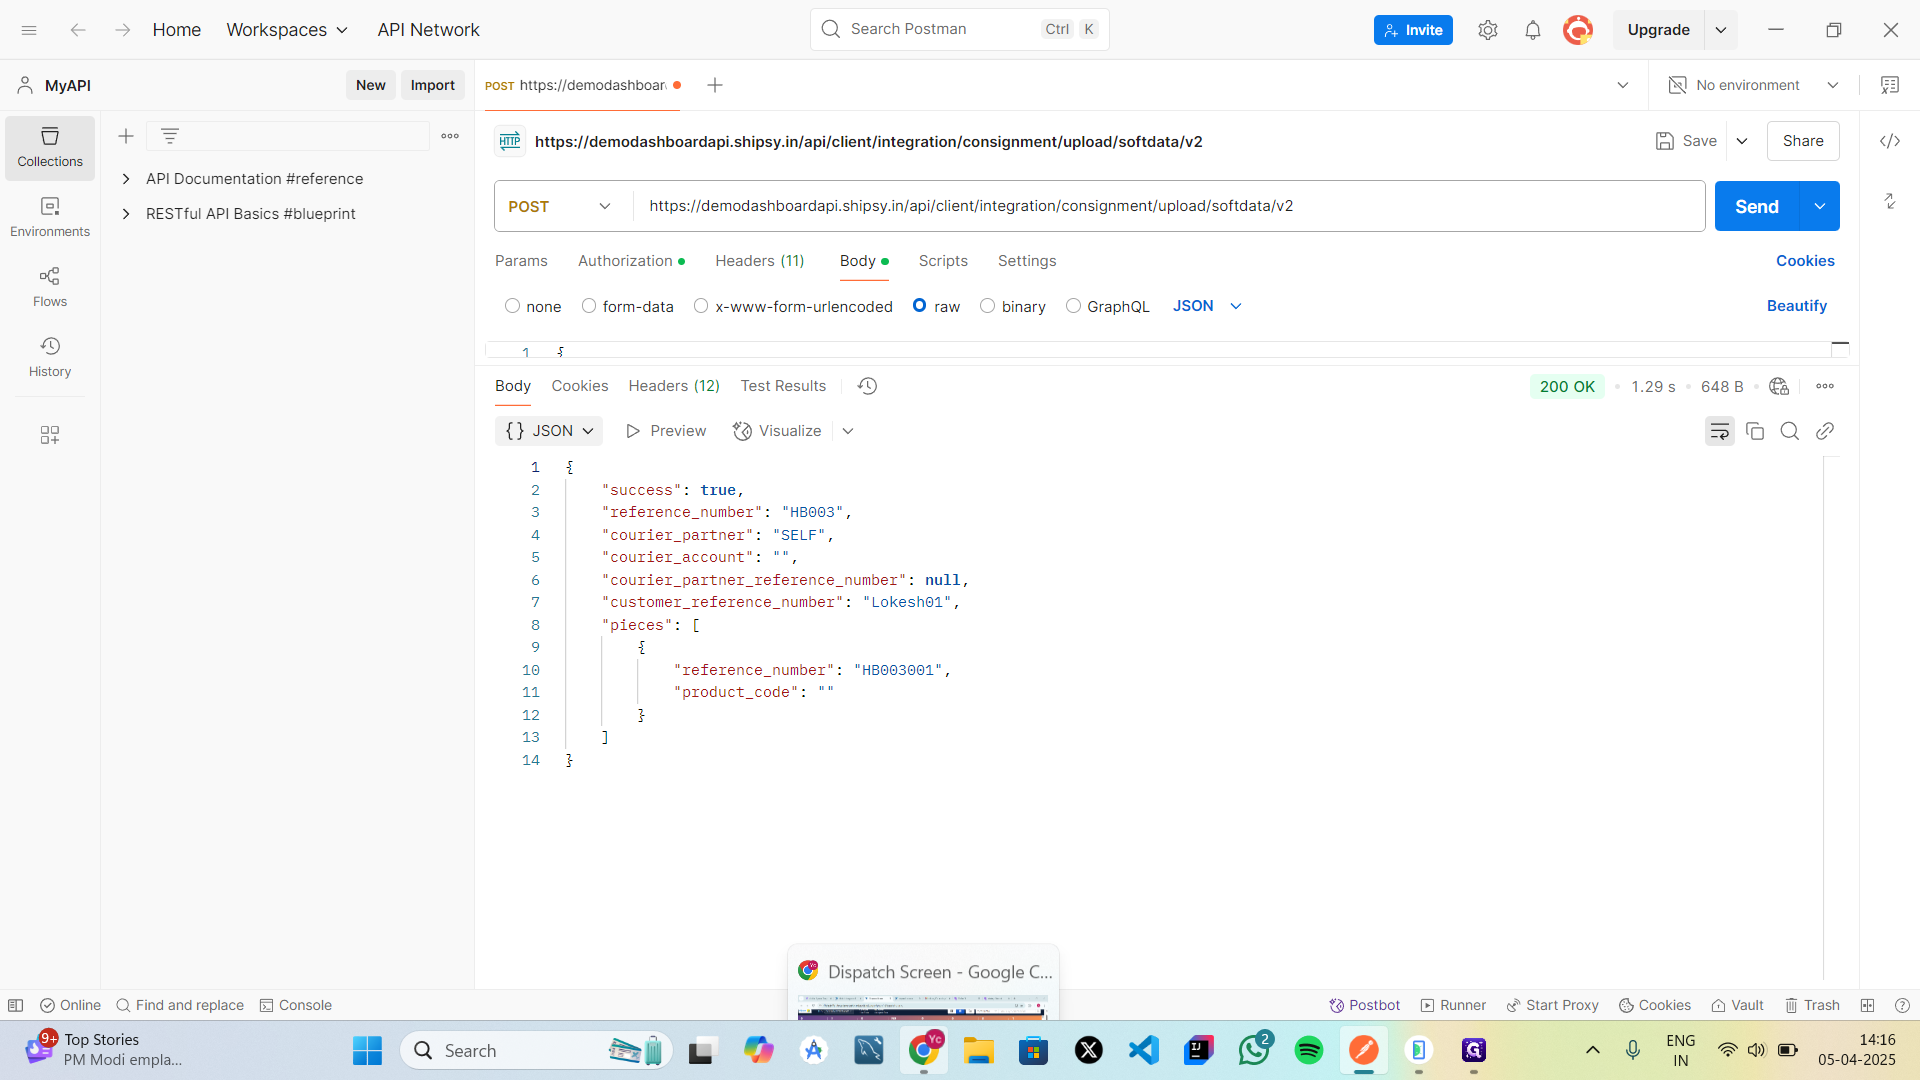
In a delivery system, the entire workflow begins when a customer decides to place an order for a product. To interact with the system need to submitting the necessary product details. These details typically include the name of the item, quantity, price, and physical dimensions like weight, height, length, and width. Along with this, a secure authorization key is included to ensure only verified users can place orders. Once submitted, the system processes the request, and if everything is valid, it returns a success message confirming that the order has been created and is now stored in the system. After the order is successfully placed, it appears in the order management or dispatch panel used by hub operators or administrators. Here, the order can be reviewed and managed. This includes options to update order information, cancel the order if needed, or assign it to a delivery rider. At this stage, the order is awaiting assignment, and for it to proceed, a delivery rider must be available. If there are no riders currently in the system, a new rider must register by the admin/employee or using the dedicated delivery rider application. The rider creates an account, logs in, and checks in to mark themselves as available for delivery. This check-in process updates their availability status and shares their location and shift information with the system. Once a rider is checked in, they become visible on the dispatcher’s interface as ready to accept orders. The dispatcher or system admin then assigns the pending order to the available rider. This assignment sends the order information directly to the rider’s application, which includes critical details like the customer’s address, the total amount to be collected (if applicable), and the delivery distance. The rider is notified of the assignment and must accept it to proceed. Upon acceptance, the order status changes from "unassigned" to "ongoing." With the order accepted, the rider begins the delivery process. They navigate to the customer's address, and once they are near or have arrived, they can notify the customer through the app. The rider then verifies the order and delivery details before proceeding to finalize the handoff. If the order requires payment upon delivery, the rider collects the cash and confirms it through the app, which then generates a receipt. Additionally, the rider may capture proof of delivery, as an photo, to ensure accountability and traceability. After completing these steps, the rider marks the order as delivered in the system. The status of the order is then updated to "delivered" on the hub or order management dashboard, confirming that the transaction is complete. The rider is now marked as available again and can be assigned a new order.

1
Open the Postman. click the button which is on the left side of Input field and select the POST method.
Step #1: Open the Postman. click the button which is on the left side of Input field and select the POST method.
2
Enter the valid API URL for creating the order in the input field.
Step #2: Enter the valid API URL for creating the order in the input field.
3
Click on "Authorization " and give valid username and password.
Step #3: Click on "Authorization " and give valid username and password.
4
In body tab, select the raw field and enter the valid details to request order in a JSON format. Then click on send button to place the order.
Step #4:  In body tab, select the raw field and enter the valid details to request order in a JSON format. Then click on send button to place the order.
5
You can see below that it has placed an order successfully.
Step #5: You can see below that it has placed an order successfully.
6
Below is the response of the order request.
Step #6: Below is the response of the order request.
7
Now go to Dispatch Management page and there we can see the order is "In Store". Now click on 3 dots to check what can do for the order. It will show Assign for delivery the order, Cancel Order for cancelling and Add Order Details for adding details.
Step #7: Now go to Dispatch Management page and there we can see the order is "In Store". Now click on 3 dots to check what can do for the order. It will show Assign for delivery the order, Cancel Order for cancelling and Add Order Details for adding details.
8
So, for assigning any orders we need a riders. so you can check now that there are no active riders available currently. So , rider should be in active to assign the orders. so for check in the rider see the below document.
Step #8: So, for assigning any orders we need a riders. so you can check now that there are no active riders available currently. So , rider should be in active to assign the orders. so for check in the rider see the below document.
9
Open the rider app and login by giving proper credentials, then it will redirect to home page.
You can refer this document for rider Management.
Step #9: Open the rider app and login by giving proper credentials, then it will redirect to home page.You can refer this document for rider Management.
10
The homepage will be look like below with CHECK IN option. by Swiping the arrow to the right, the rider will be ready to get the orders.
Step #10: The homepage will be look like below with CHECK IN option. by Swiping the arrow to the right, the rider will be ready to get the orders.
11
You can see the rider is in active now. so now orders can be assigned to this rider.
Step #11: You can see the rider is in active now. so now orders can be assigned to this rider.
12
By click on 3 dots, can assign the order to the rider.
Step #12: By click on 3 dots, can assign the order to the rider.
13
Click on "Select Rider"
Step #13: Click on "Select Rider"
14
Select the available rider from the list.
Step #14: Select the available rider from the list.
15
Click on "Submit"
Step #15: Click on "Submit"
16
A Toast will be displayed as "Rider Assigned".
Step #16: A Toast will be displayed as "Rider Assigned".
17
Now open the rider app and rider could get a notification about the order.
Step #17: Now open the rider app and rider could get a notification about the order.
18
Rider can either ACCEPT or REJECT the order. So, now swipe the ACCEPT to accept the order.
Step #18: Rider can either ACCEPT or REJECT the order. So, now swipe the ACCEPT to accept the order.
19
Now swipe the start bike to deliver the order in a rider app.
Step #19: Now swipe the start bike to deliver the order in a rider app.
20
Now swipe the Reached gate to inform the user that order has arrived.
Step #20: Now swipe the Reached gate to inform the user that order has arrived.
21
Now the order is changed from In Store status to ongoing status. Click on "Ongoing" and see the order.
Step #21: Now the order is changed from In Store status to ongoing status. Click on "Ongoing" and see the order.
22
We can see the order status is reached gate.
Step #22: We can see the order status is reached gate.
23
Then swipe the "Proceed to Delivery" for further process.
Step #23: Then swipe the "Proceed to Delivery" for further process.
24
Click on "NEXT"
Step #24: Click on "NEXT"
25
Click on "PROCEED"
Step #25: Click on "PROCEED"
26
Click on "NEXT"
Step #26: Click on "NEXT"
27
Select a payment option for payment.
Step #27: Select a payment option for payment.
28
Click on "CONTINUE"
Step #28: Click on "CONTINUE"
29
Click on "COLLECT".
Step #29: Click on "COLLECT".
30
Then it shows as "Payment success".
Step #30: Then it shows as "Payment success".
31
Click on "NEXT"
Step #31: Click on "NEXT"
32
Finally it asks to capture the images for proof of delivery.
Step #32: Finally it asks to capture the images for proof of delivery.
33
Click the image of the product.
Step #33: Click the image of the product.
34
Proceed if image is properly captured.
Step #34: Proceed if image is properly captured.
35
Click on "NEXT"
Step #35: Click on "NEXT"
36
Finally, swipe the "Delivered" option to delivered successfully.
Step #36: Finally, swipe the "Delivered" option to delivered successfully.
37
Now rider can go to store again for receiving more orders.
Step #37: Now rider can go to store again for receiving more orders.
38
Now rider can accept new orders.
Step #38: Now rider can accept new orders.