Icon

Bill Aging Reports: Part 1/5

Learn how to efficiently prepare, organize, and manage bill aging reports with this detailed step-by-step guide. Includes tips on folder organization, file management, and data cleanup for accounting professionals.

By Jessica Esslinger

In this guide, we'll learn how to organize and prepare bill aging reports for weekly review. We will cover how to save and manage files, process daily reports, and clean up data in Excel to ensure accurate records. This process helps keep accounting information up to date and ready for analysis.

Let's get started

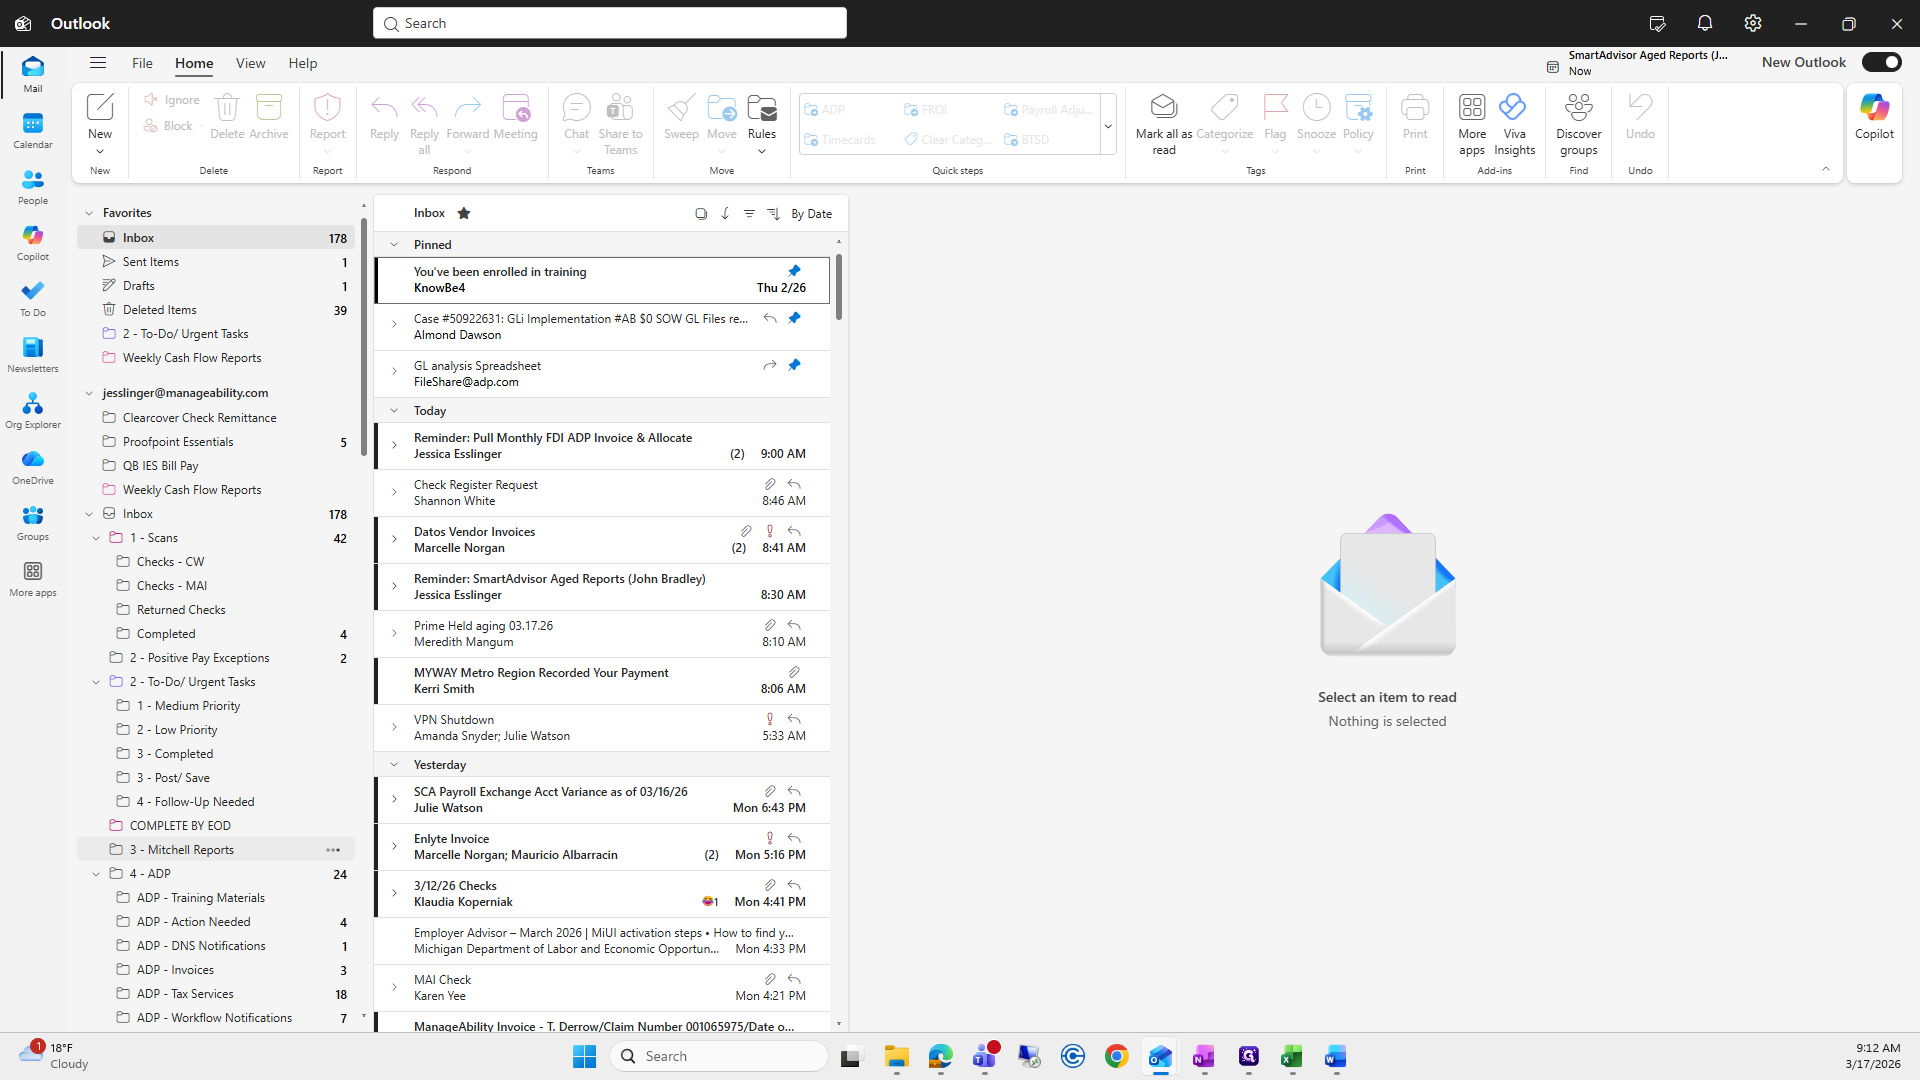
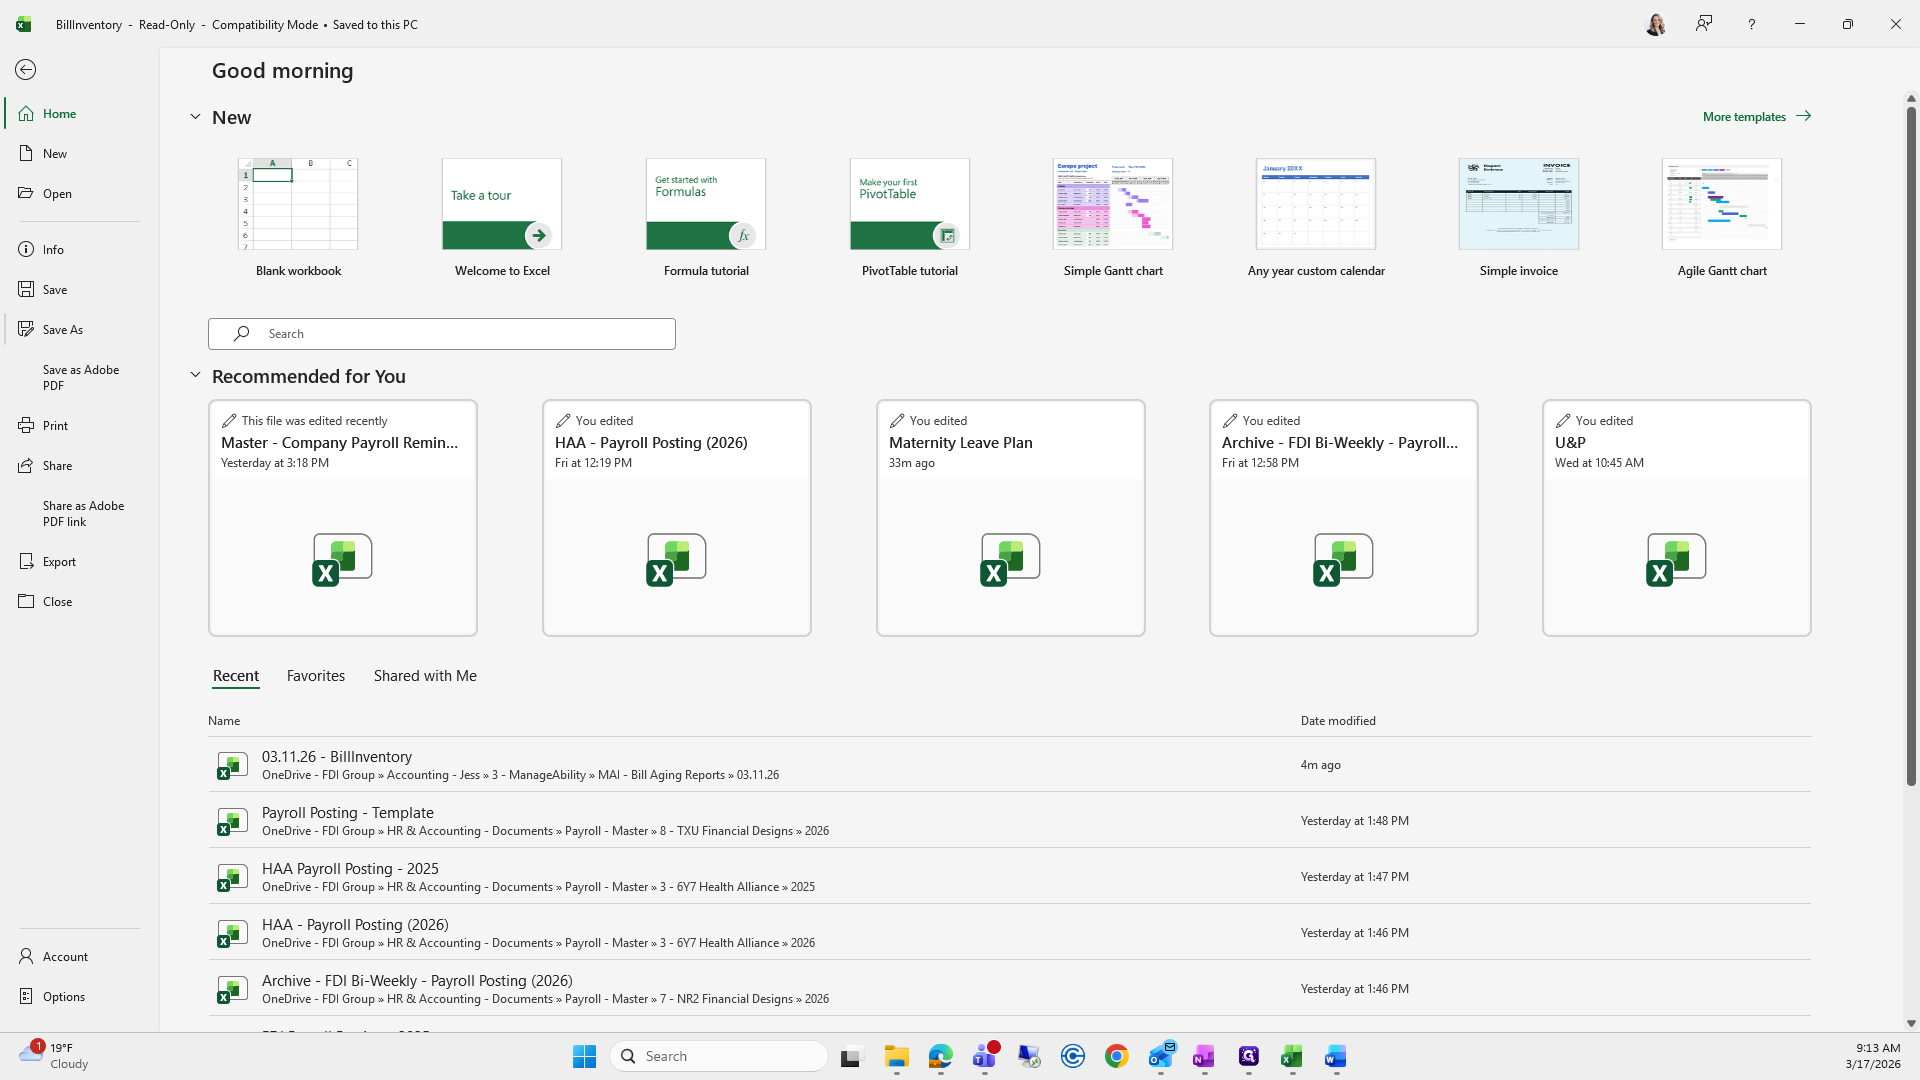
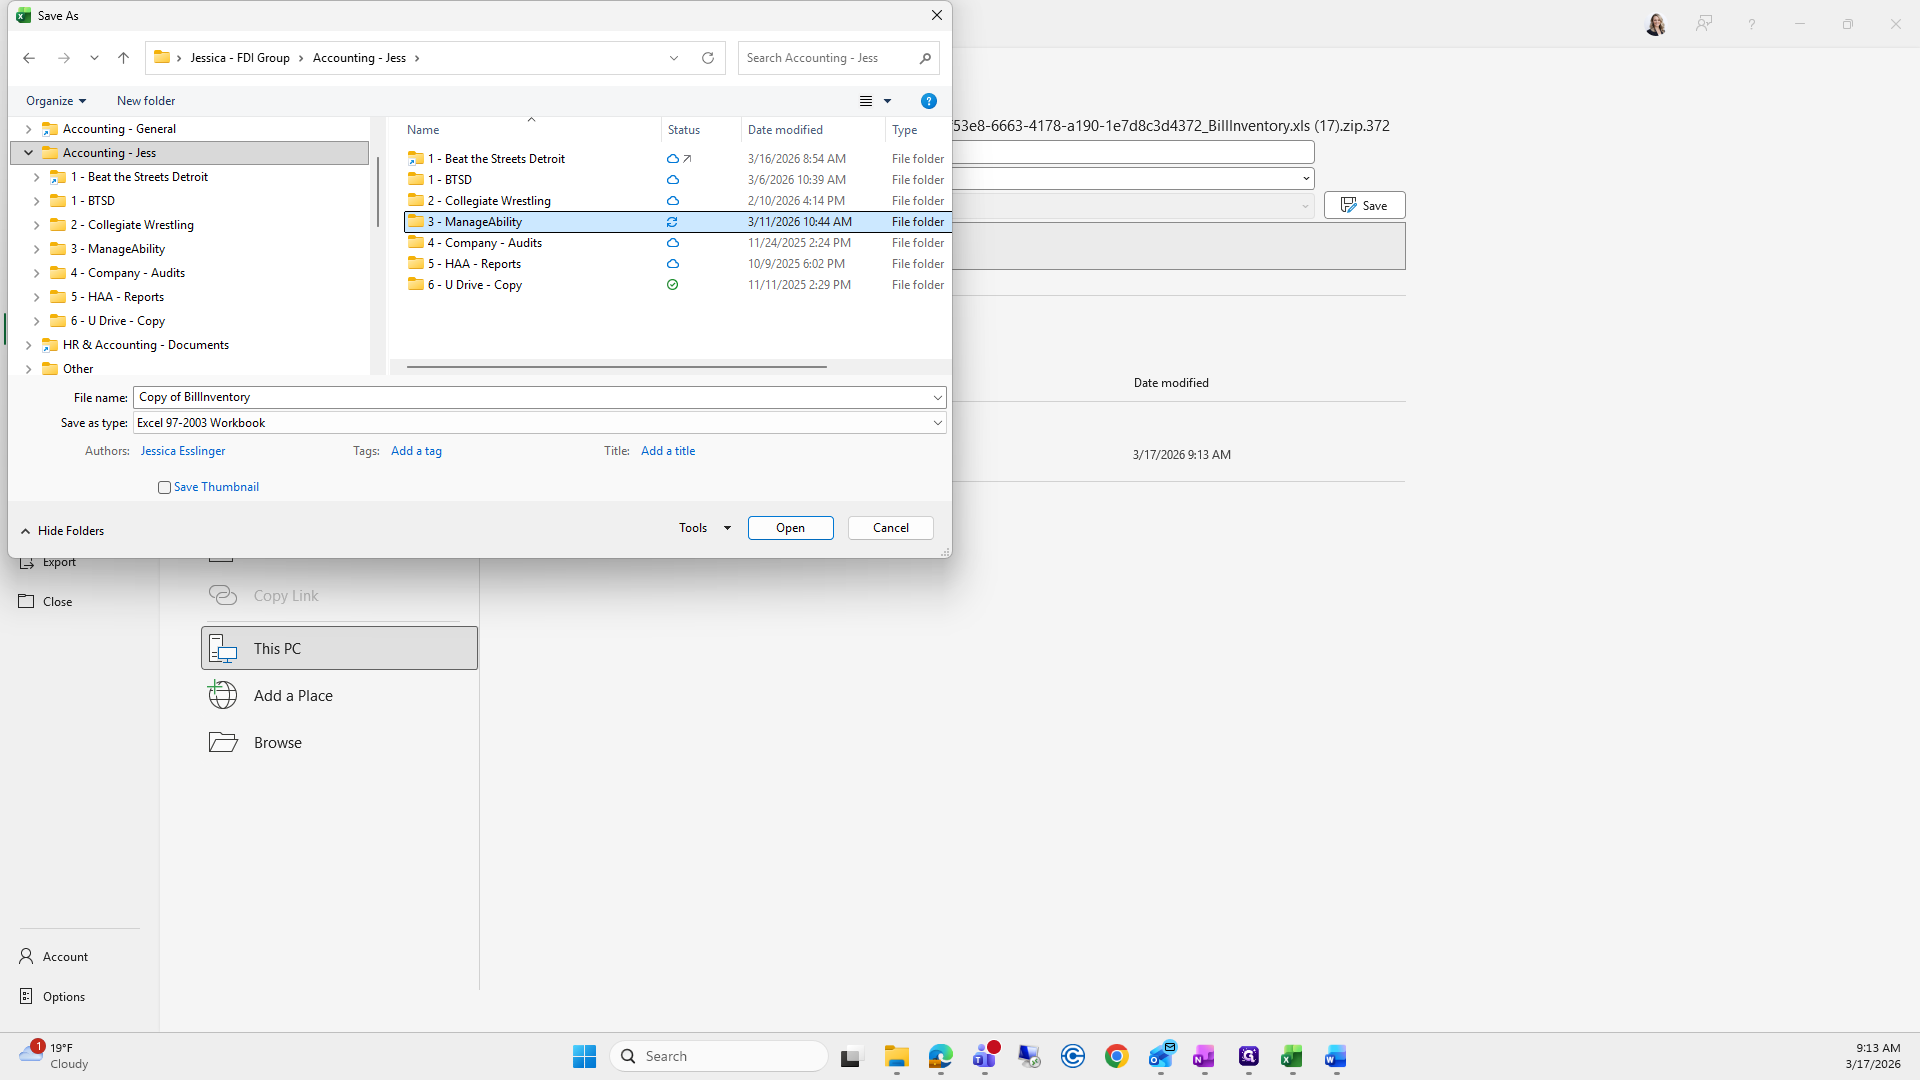
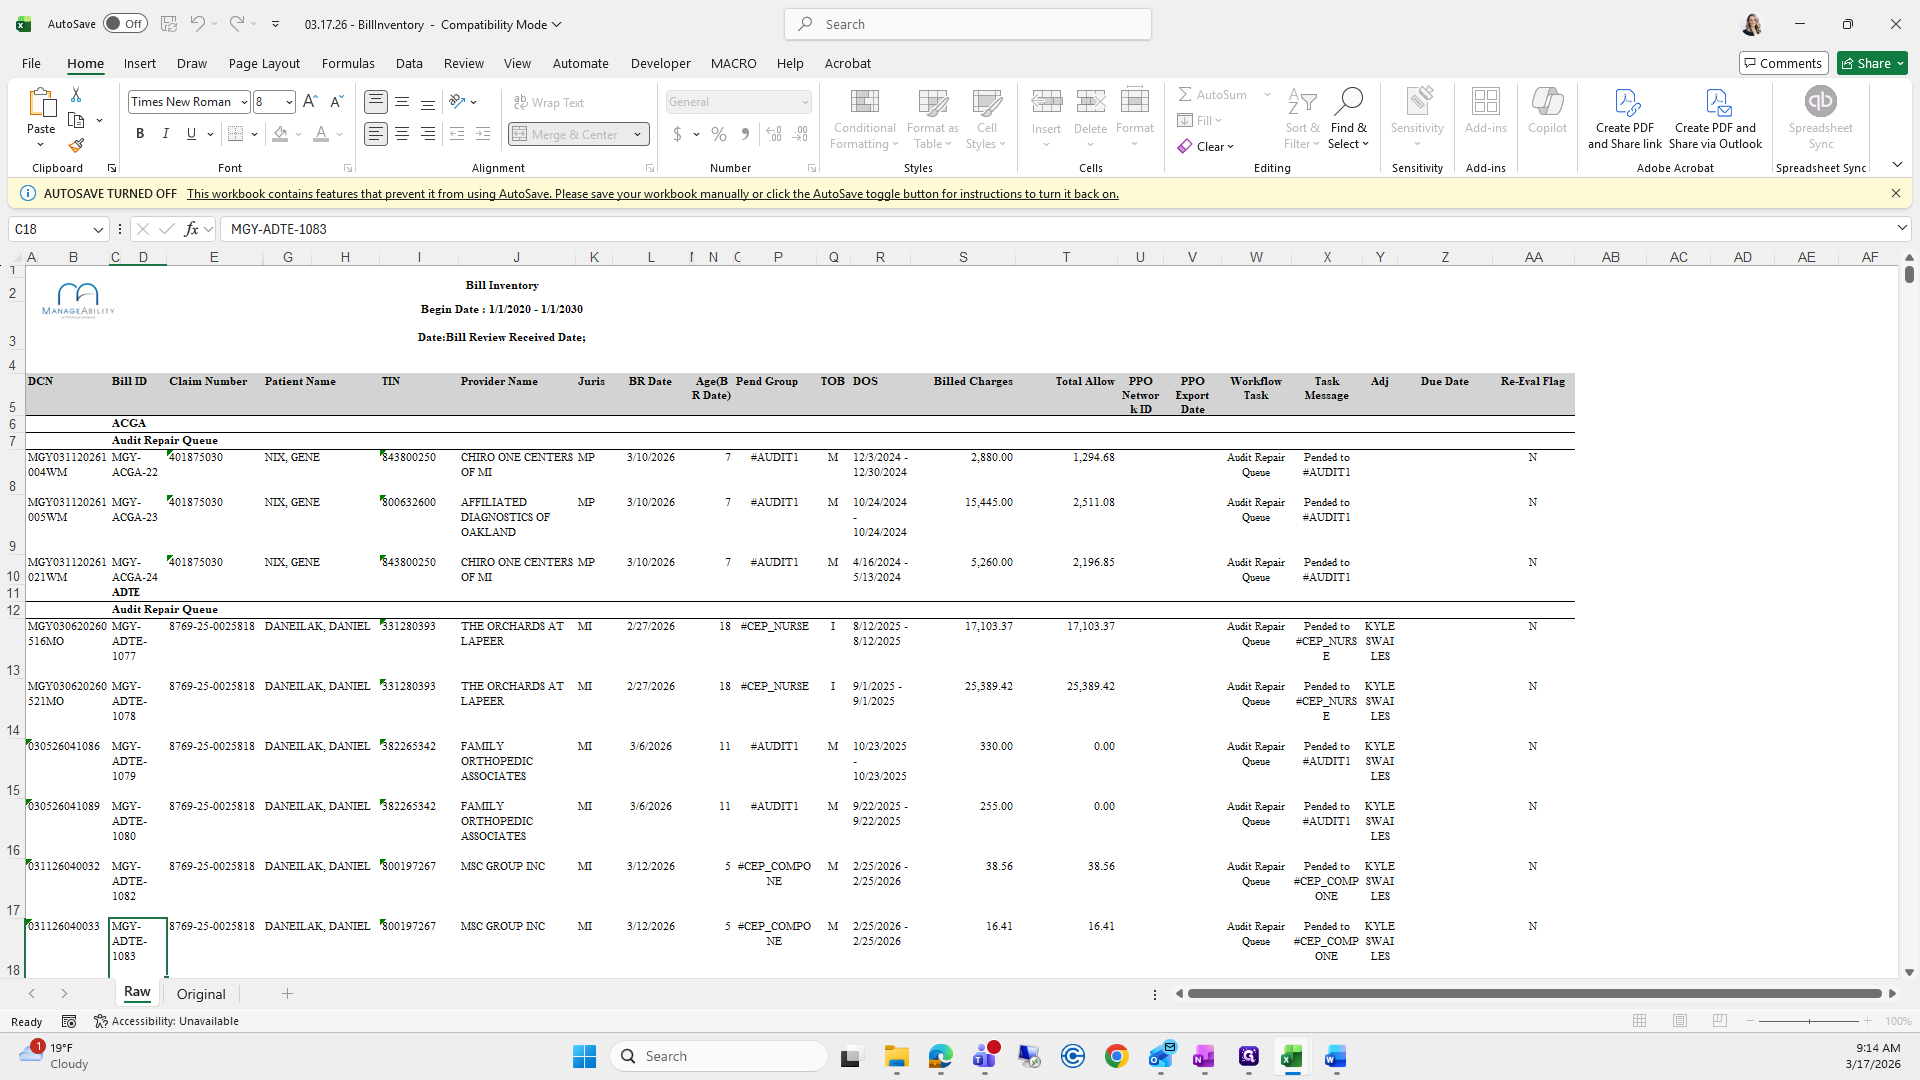
In this video, we will cover bill aging reports. Send these out every Tuesday before 10 o'clock. Meredith will send an email in the morning with prime bills to be included in the report. When you receive it, save it to your accounting folder. For manageability, I have a Bill Aging Report folder.

1
Click on "Bills P ..."
Step #1: Click on "Bills P ..."
2
Click here
Step #2: Click here
3
Drag here
Step #3: Drag here
4
Click on "Accounting"
Step #4: Click on "Accounting"
5
Double-click on "4- Company - Audits"
Step #5: Double-click on "4- Company - Audits"
6
Double-click here
Step #6: Double-click here

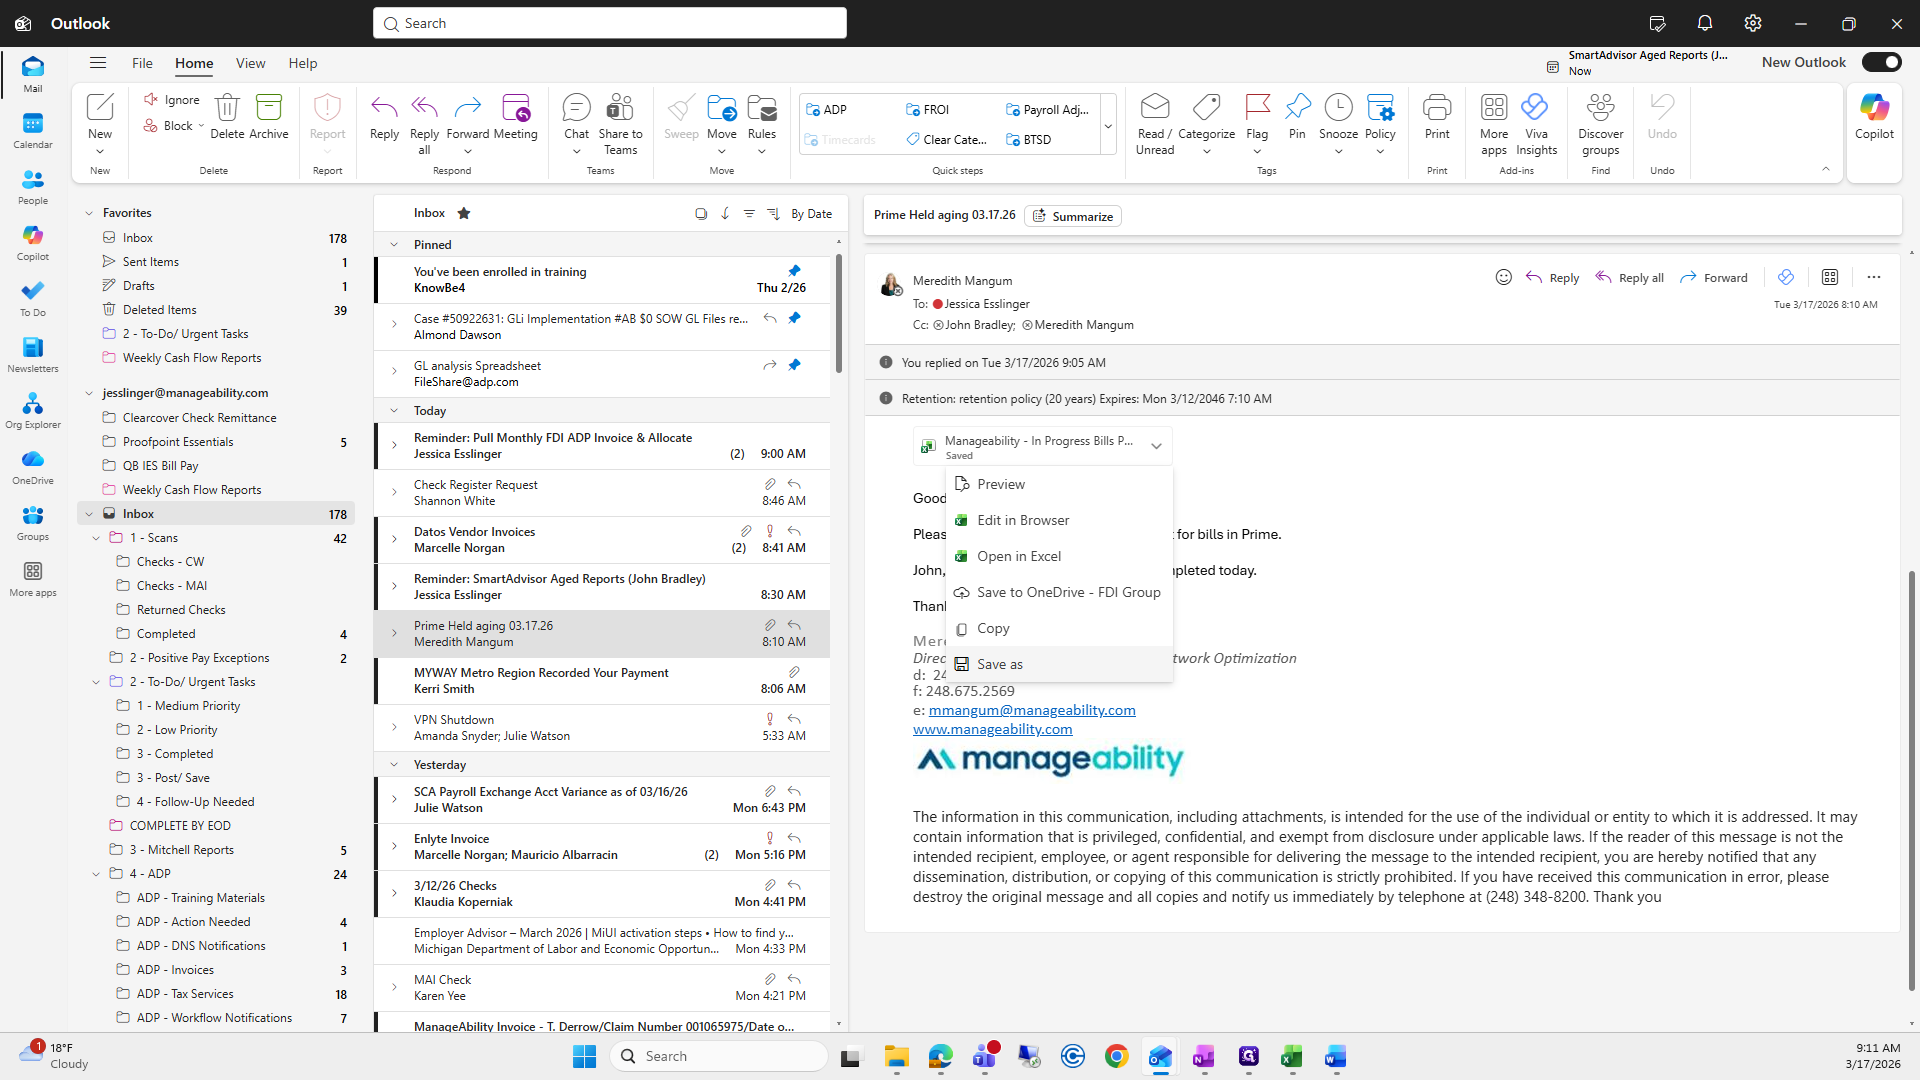
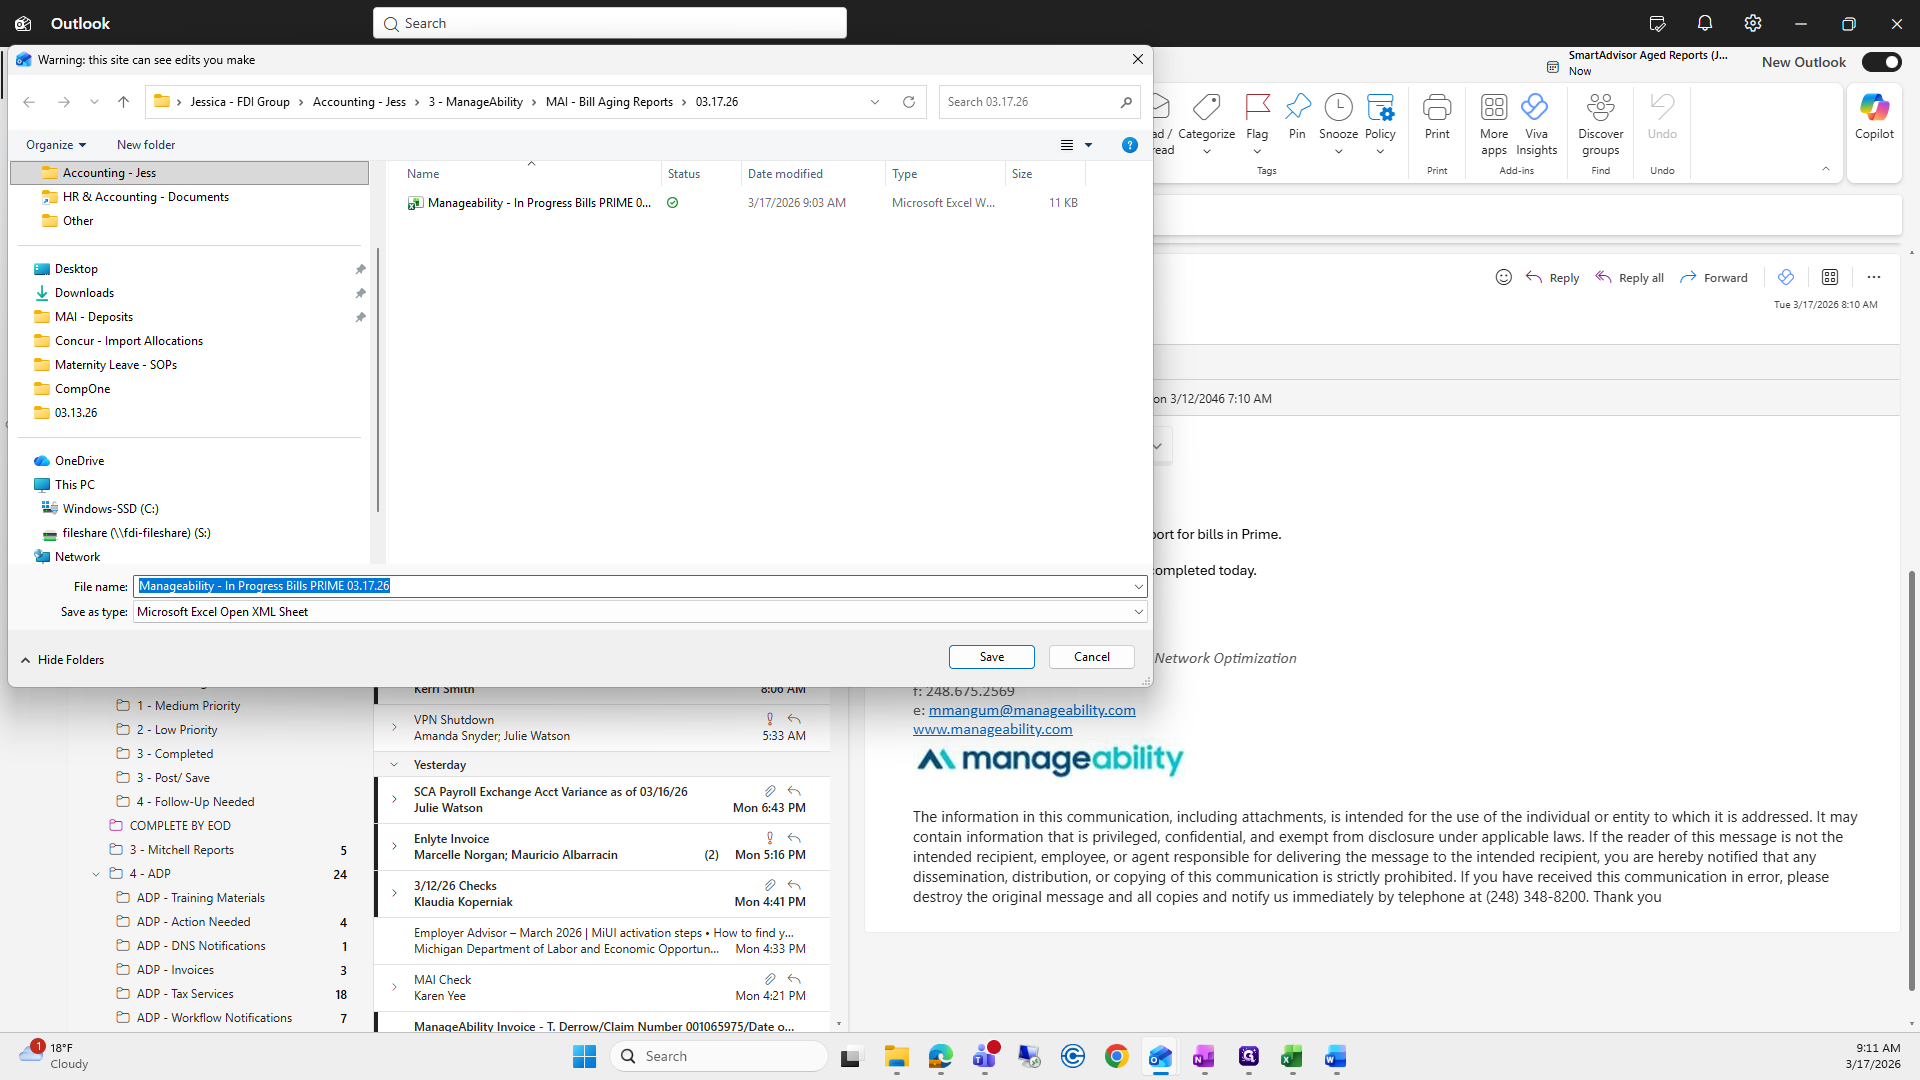
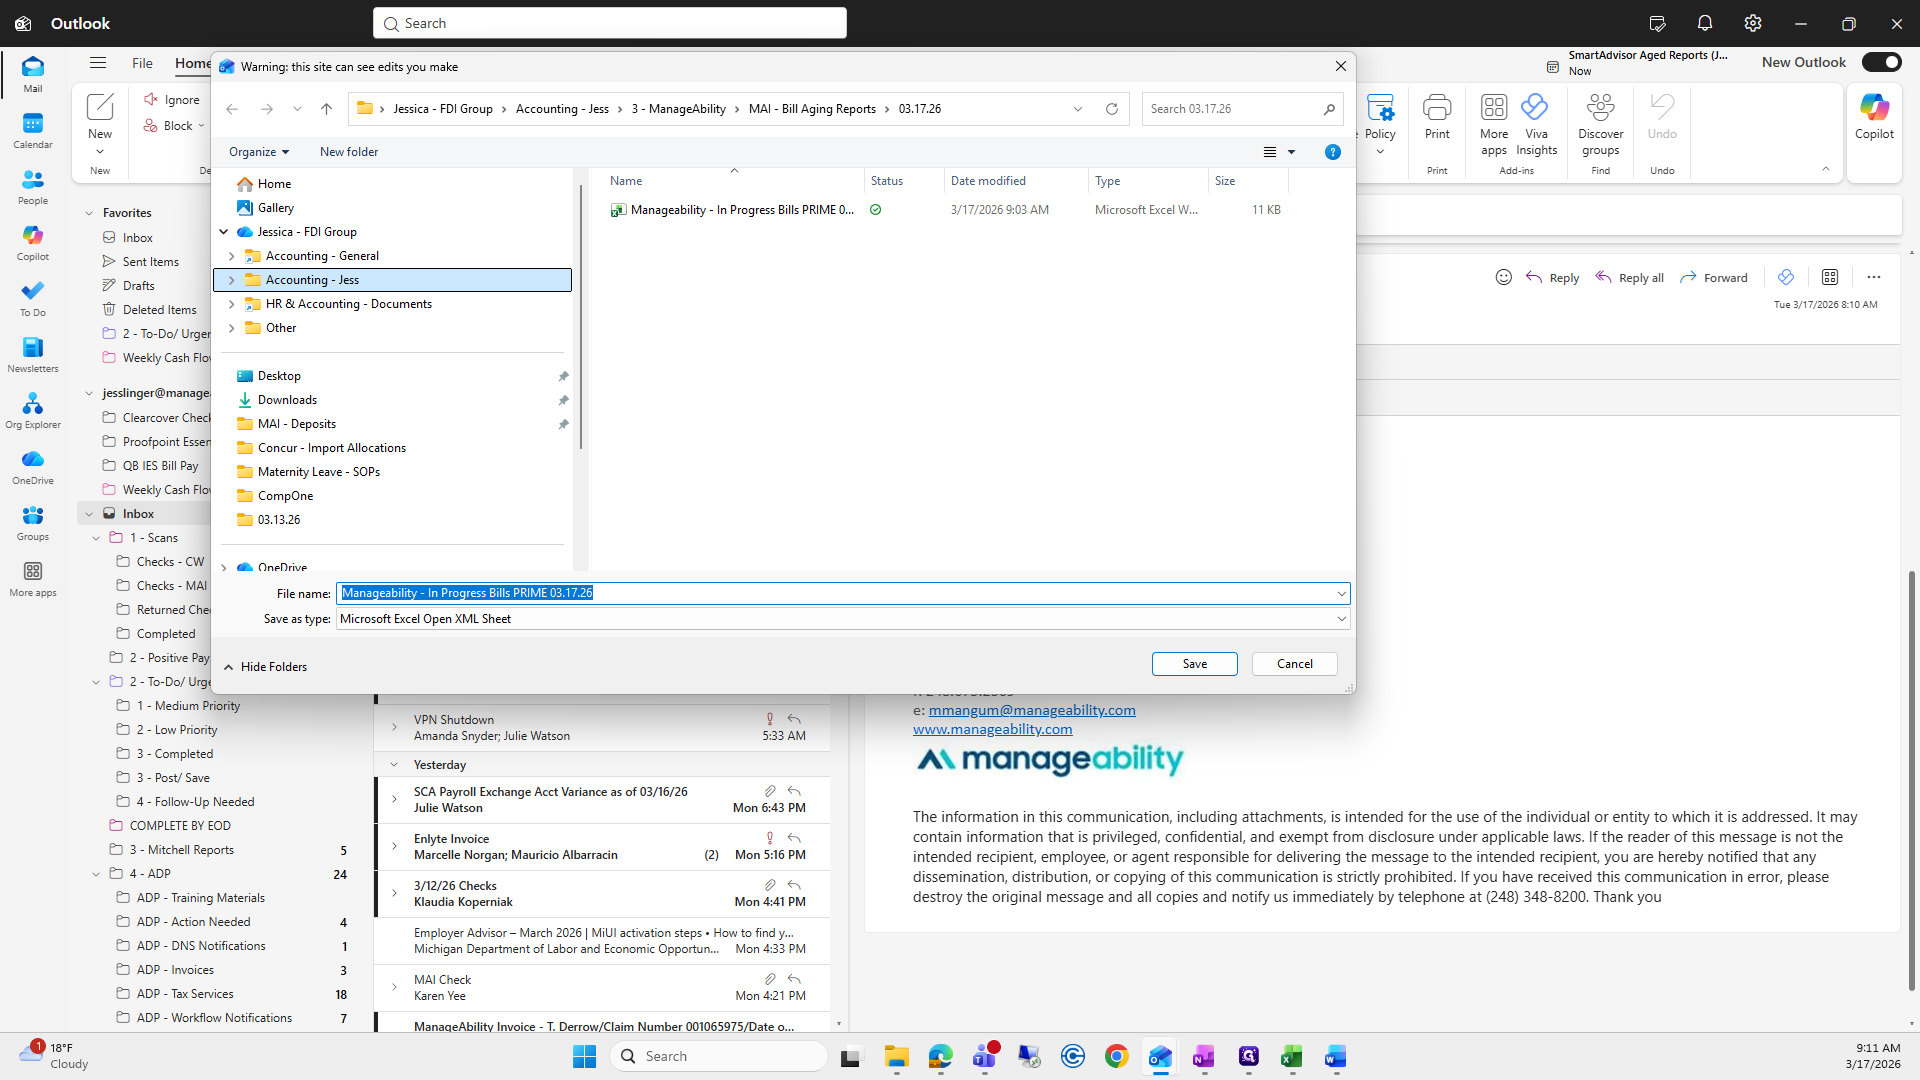
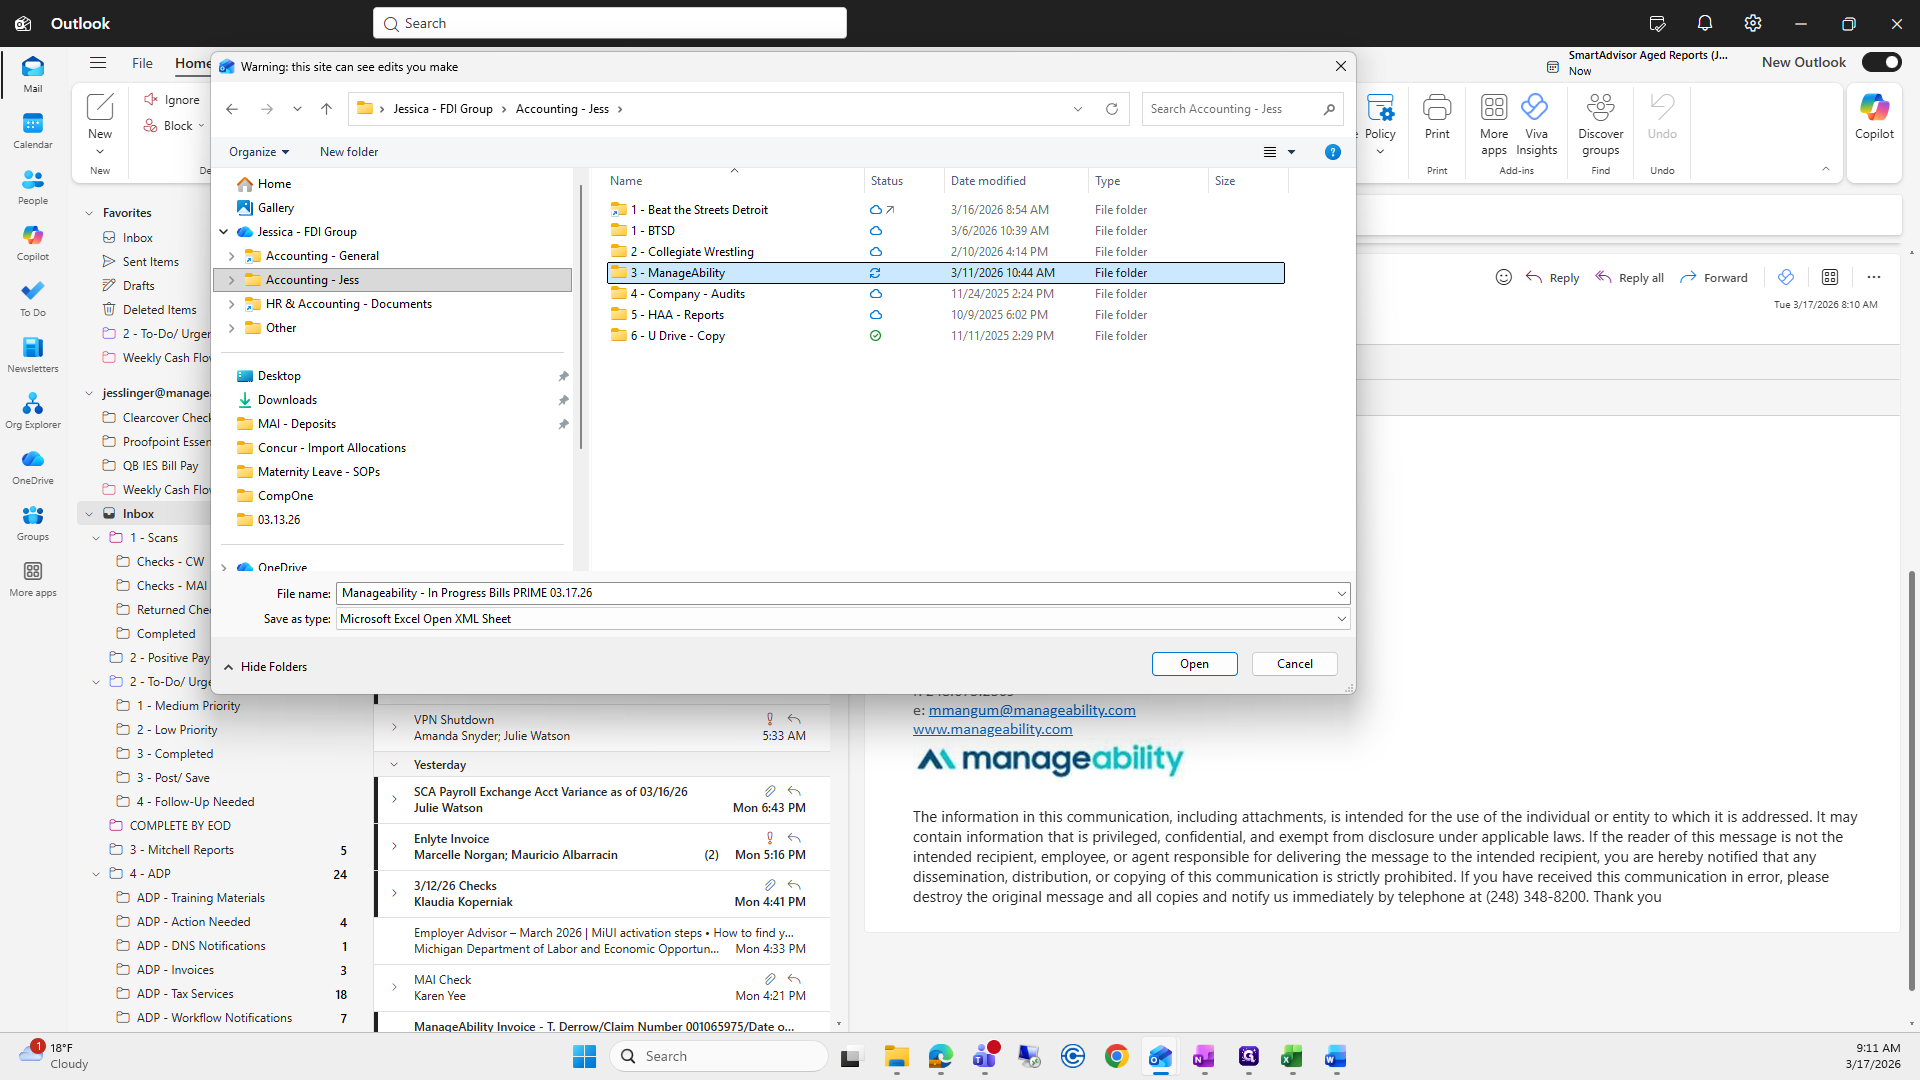
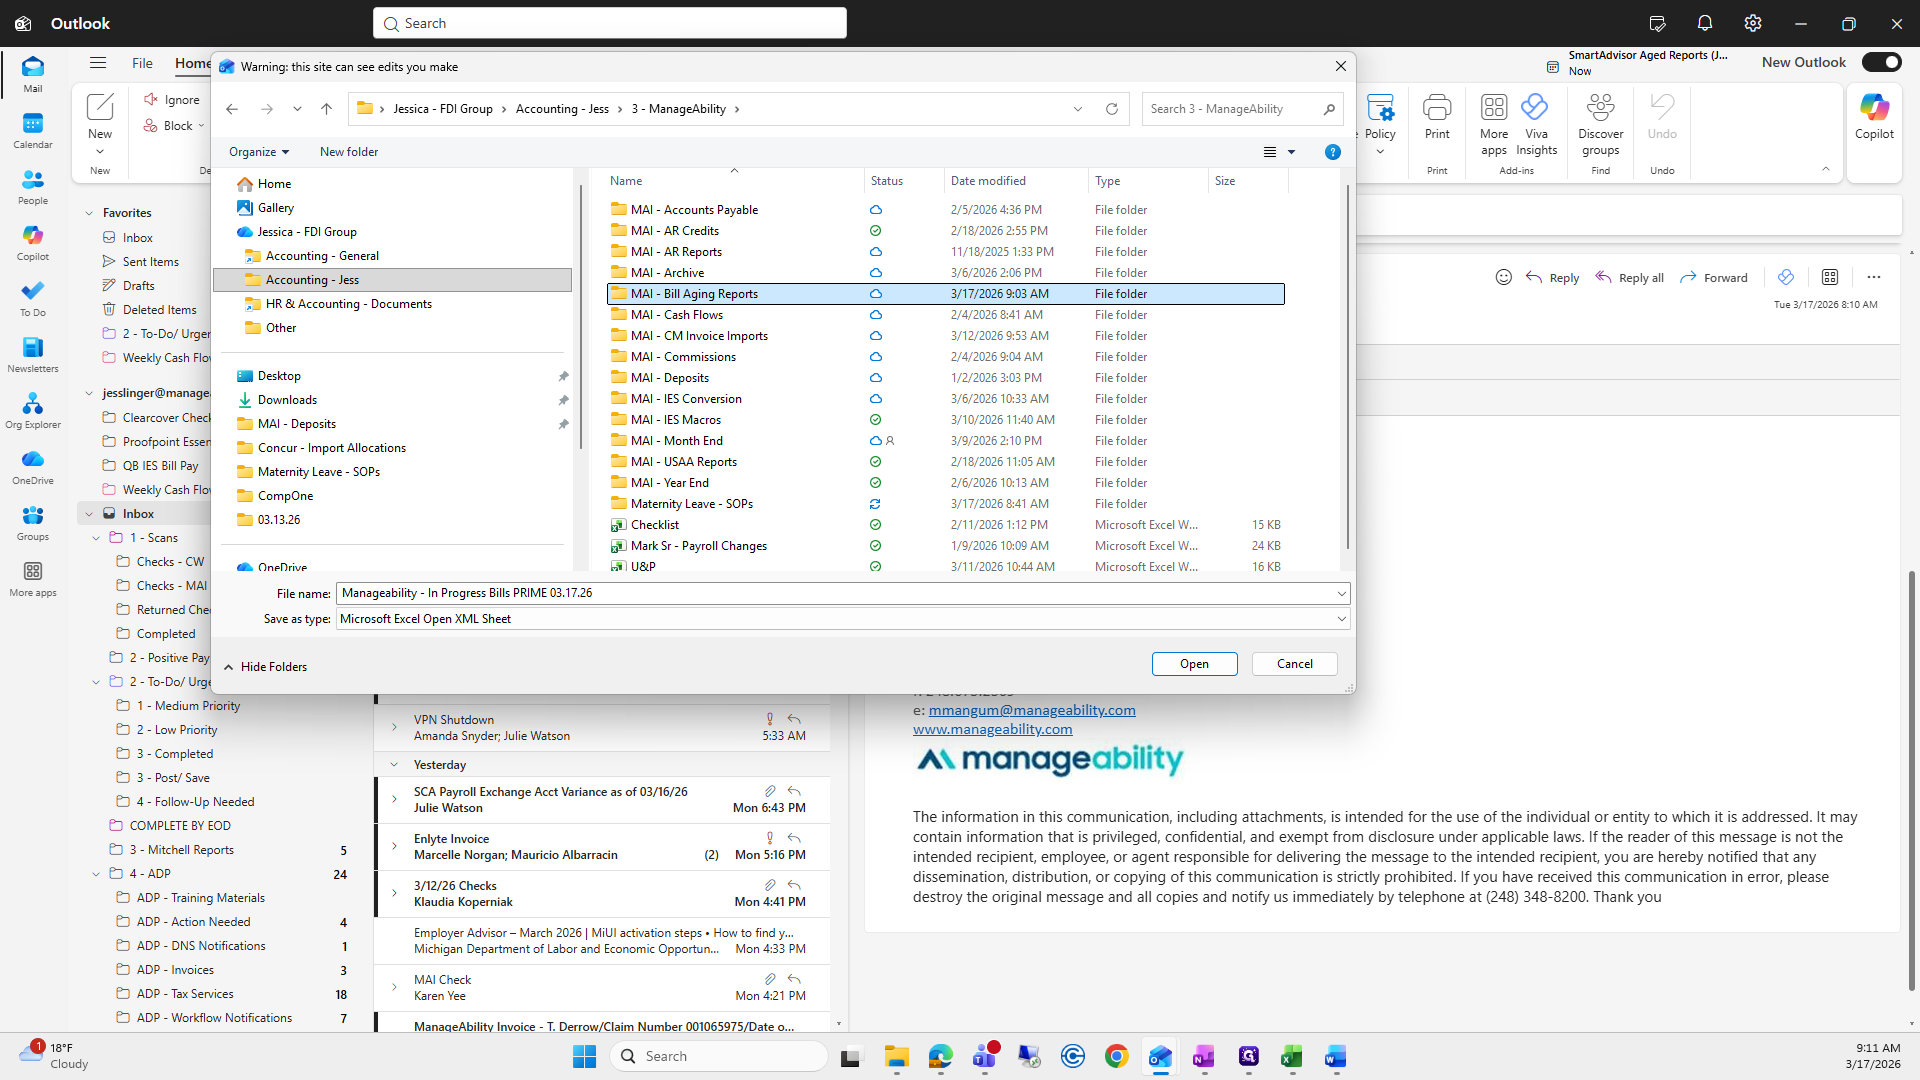
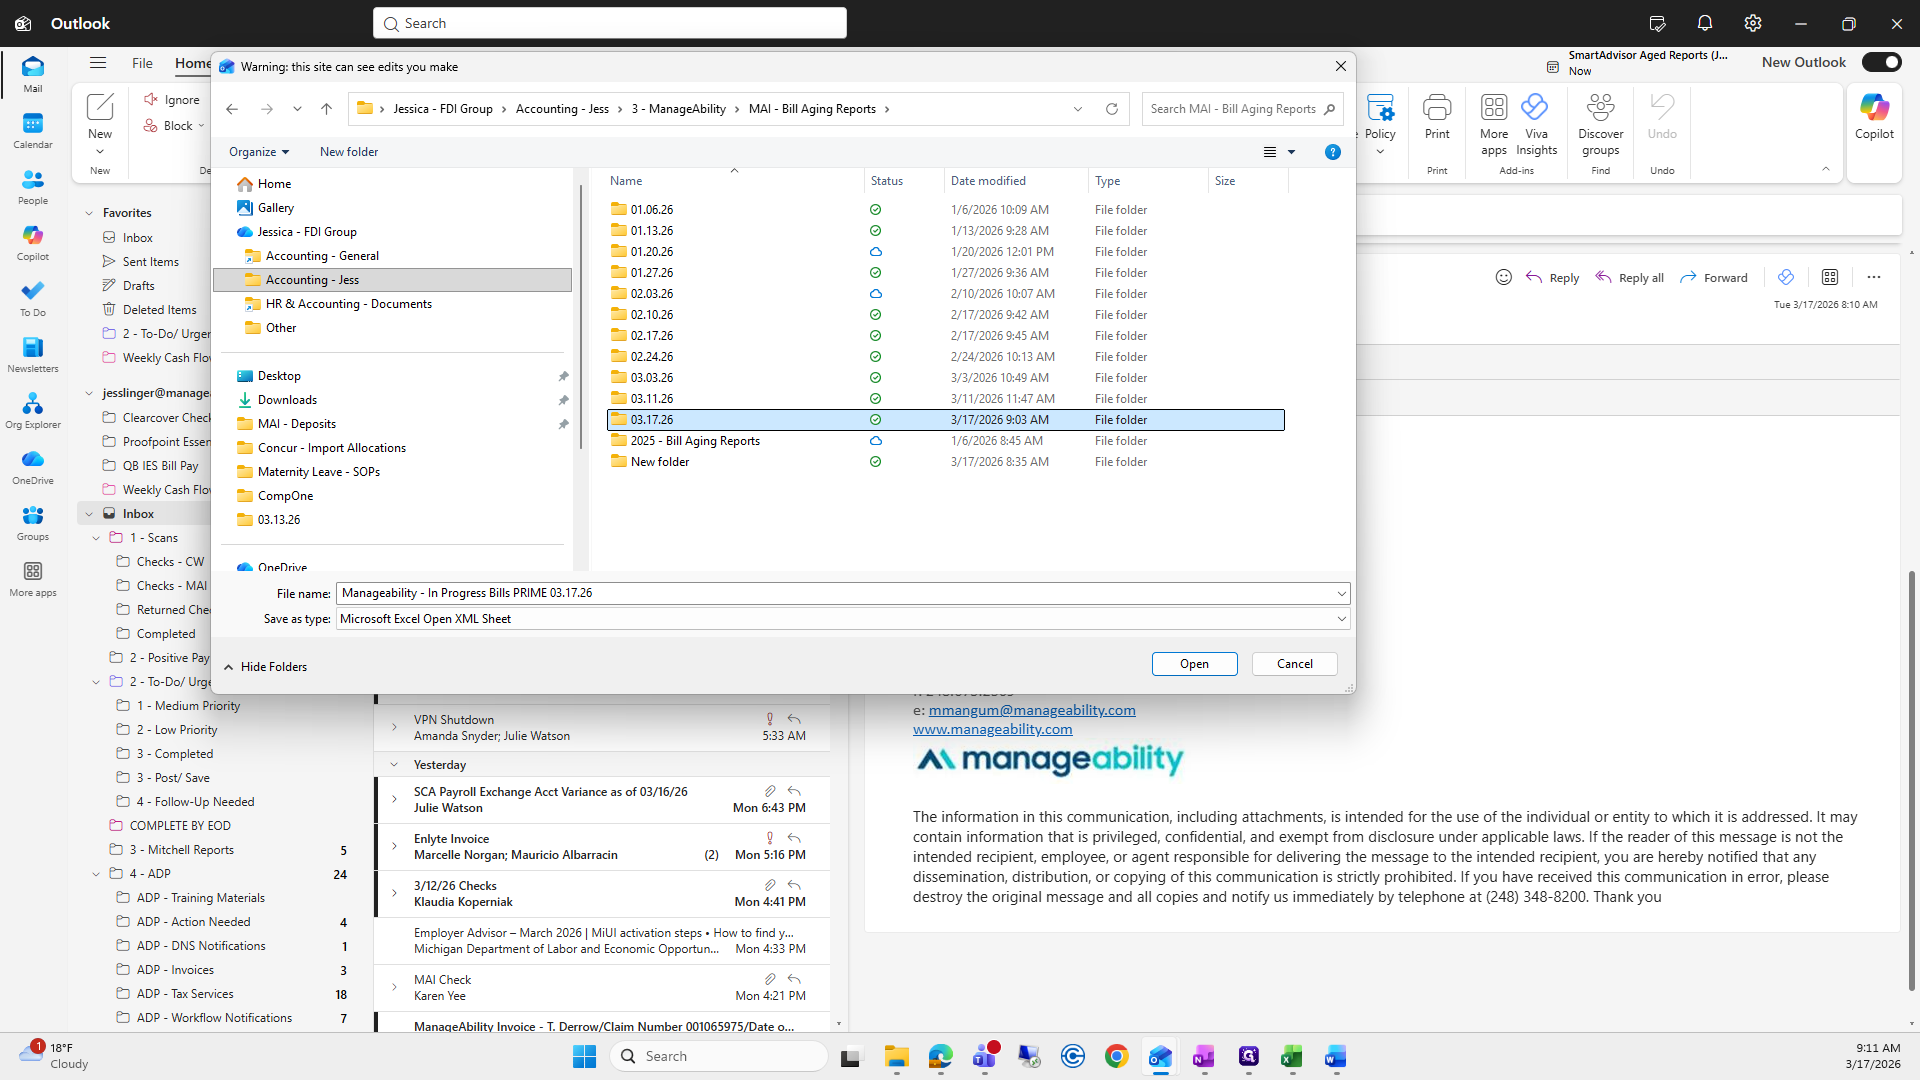
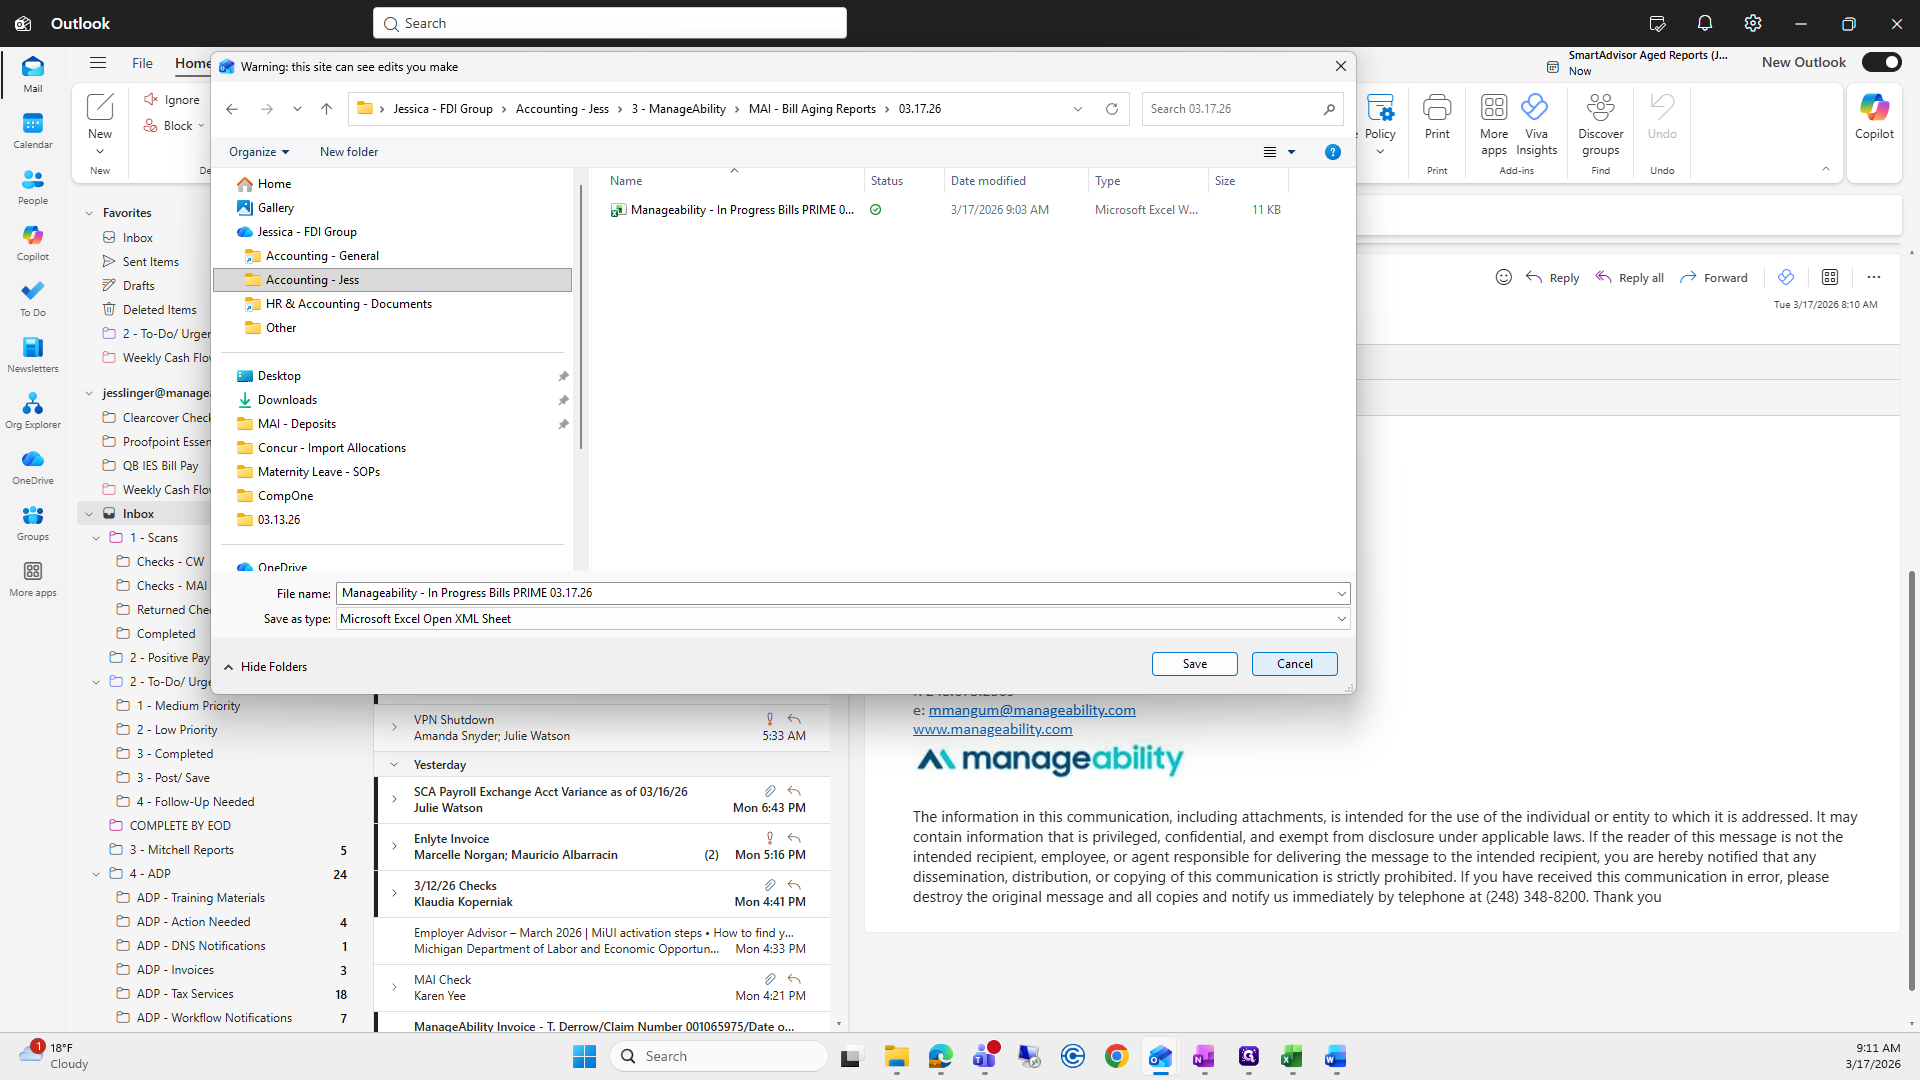
I created a new folder for Tuesday, which I already did today. We will save it in this folder.

7
Double-click here
Step #7: Double-click here

Click Save.

8
Click on "Cancel"
Step #8: Click on "Cancel"

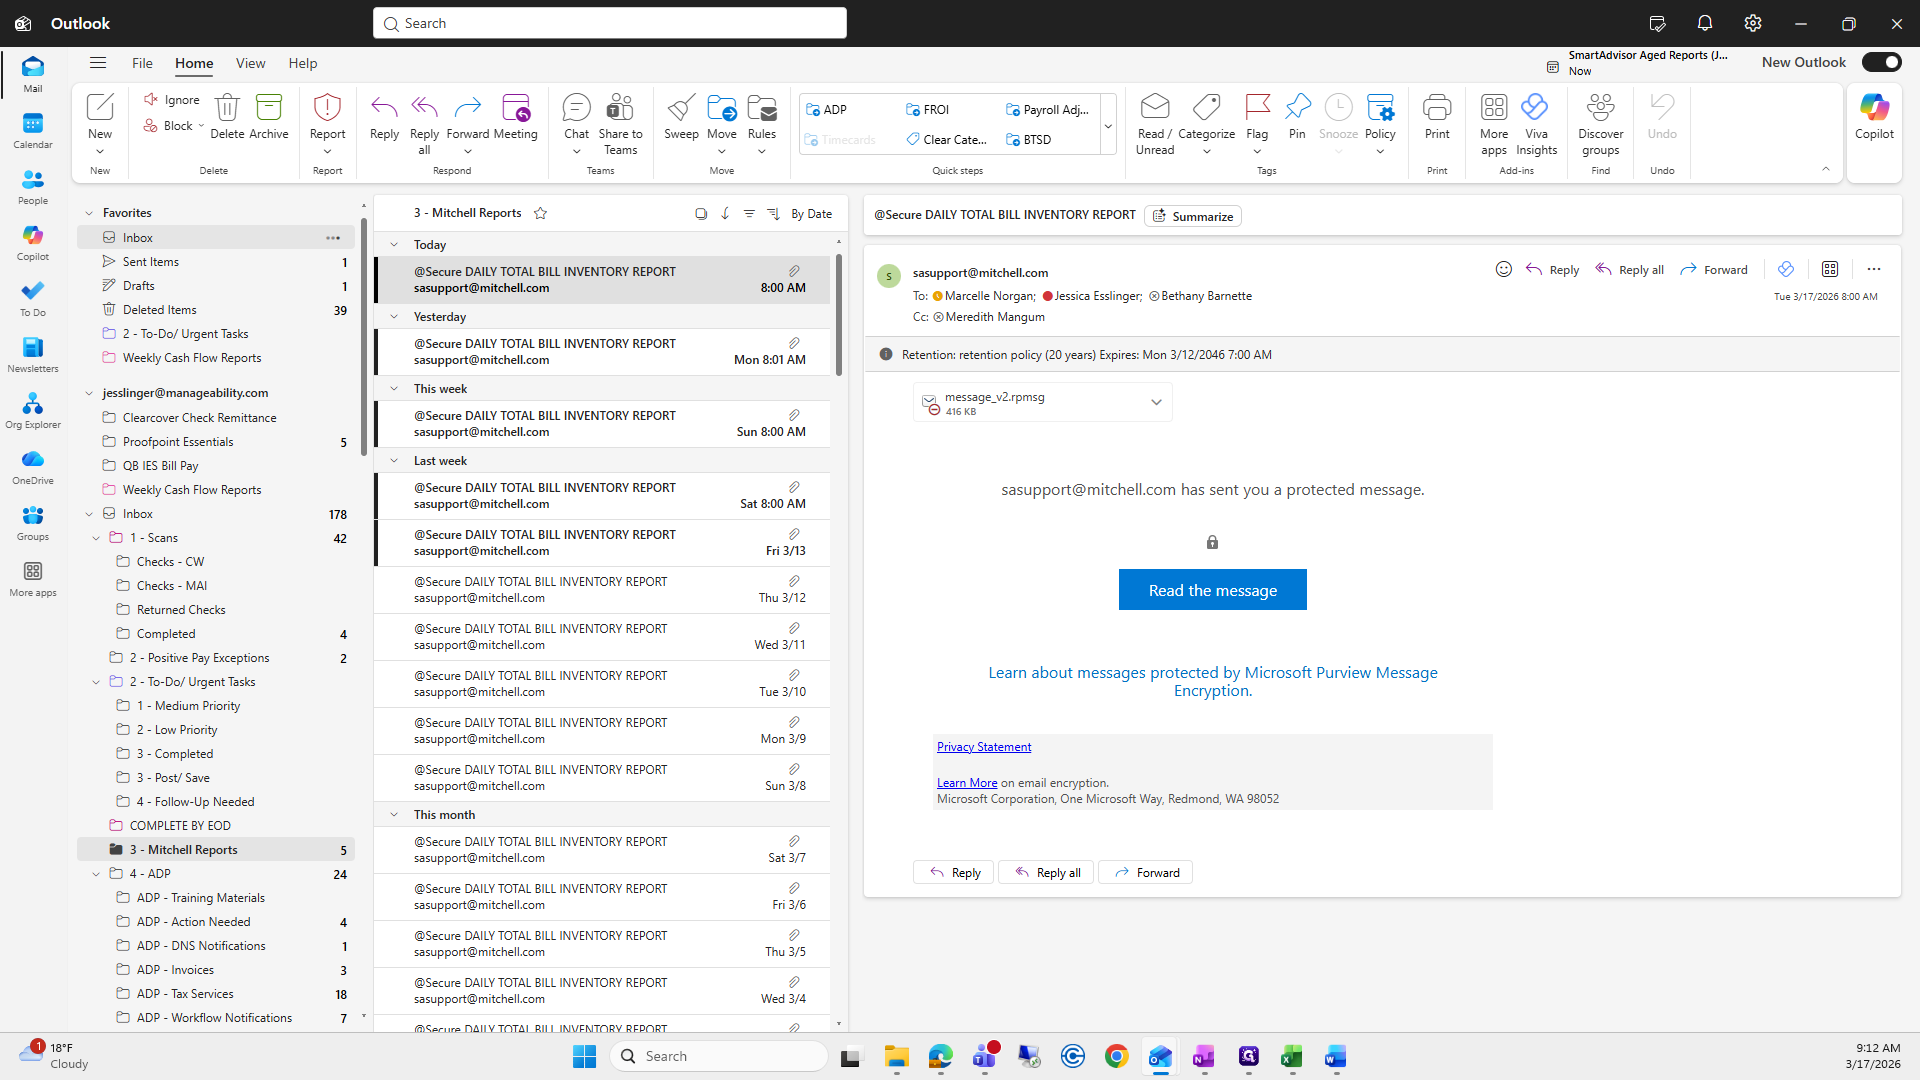
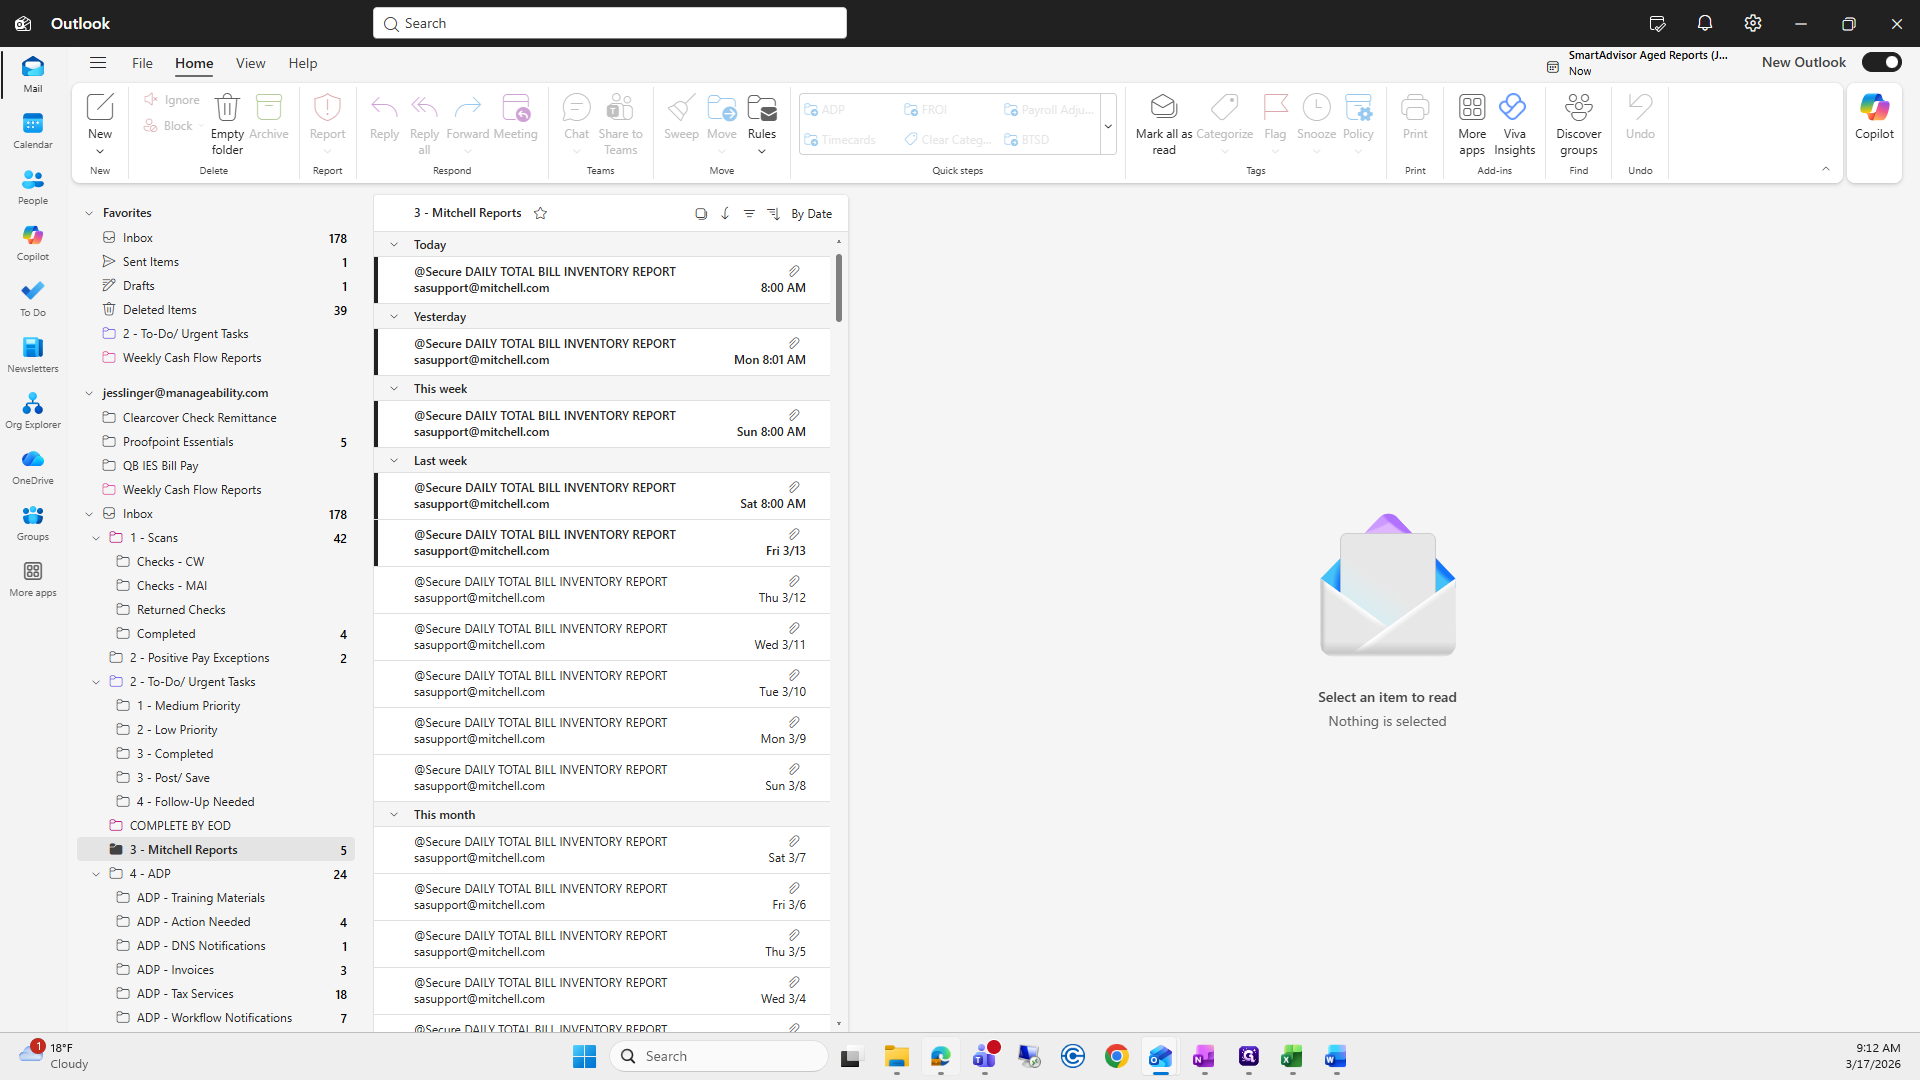
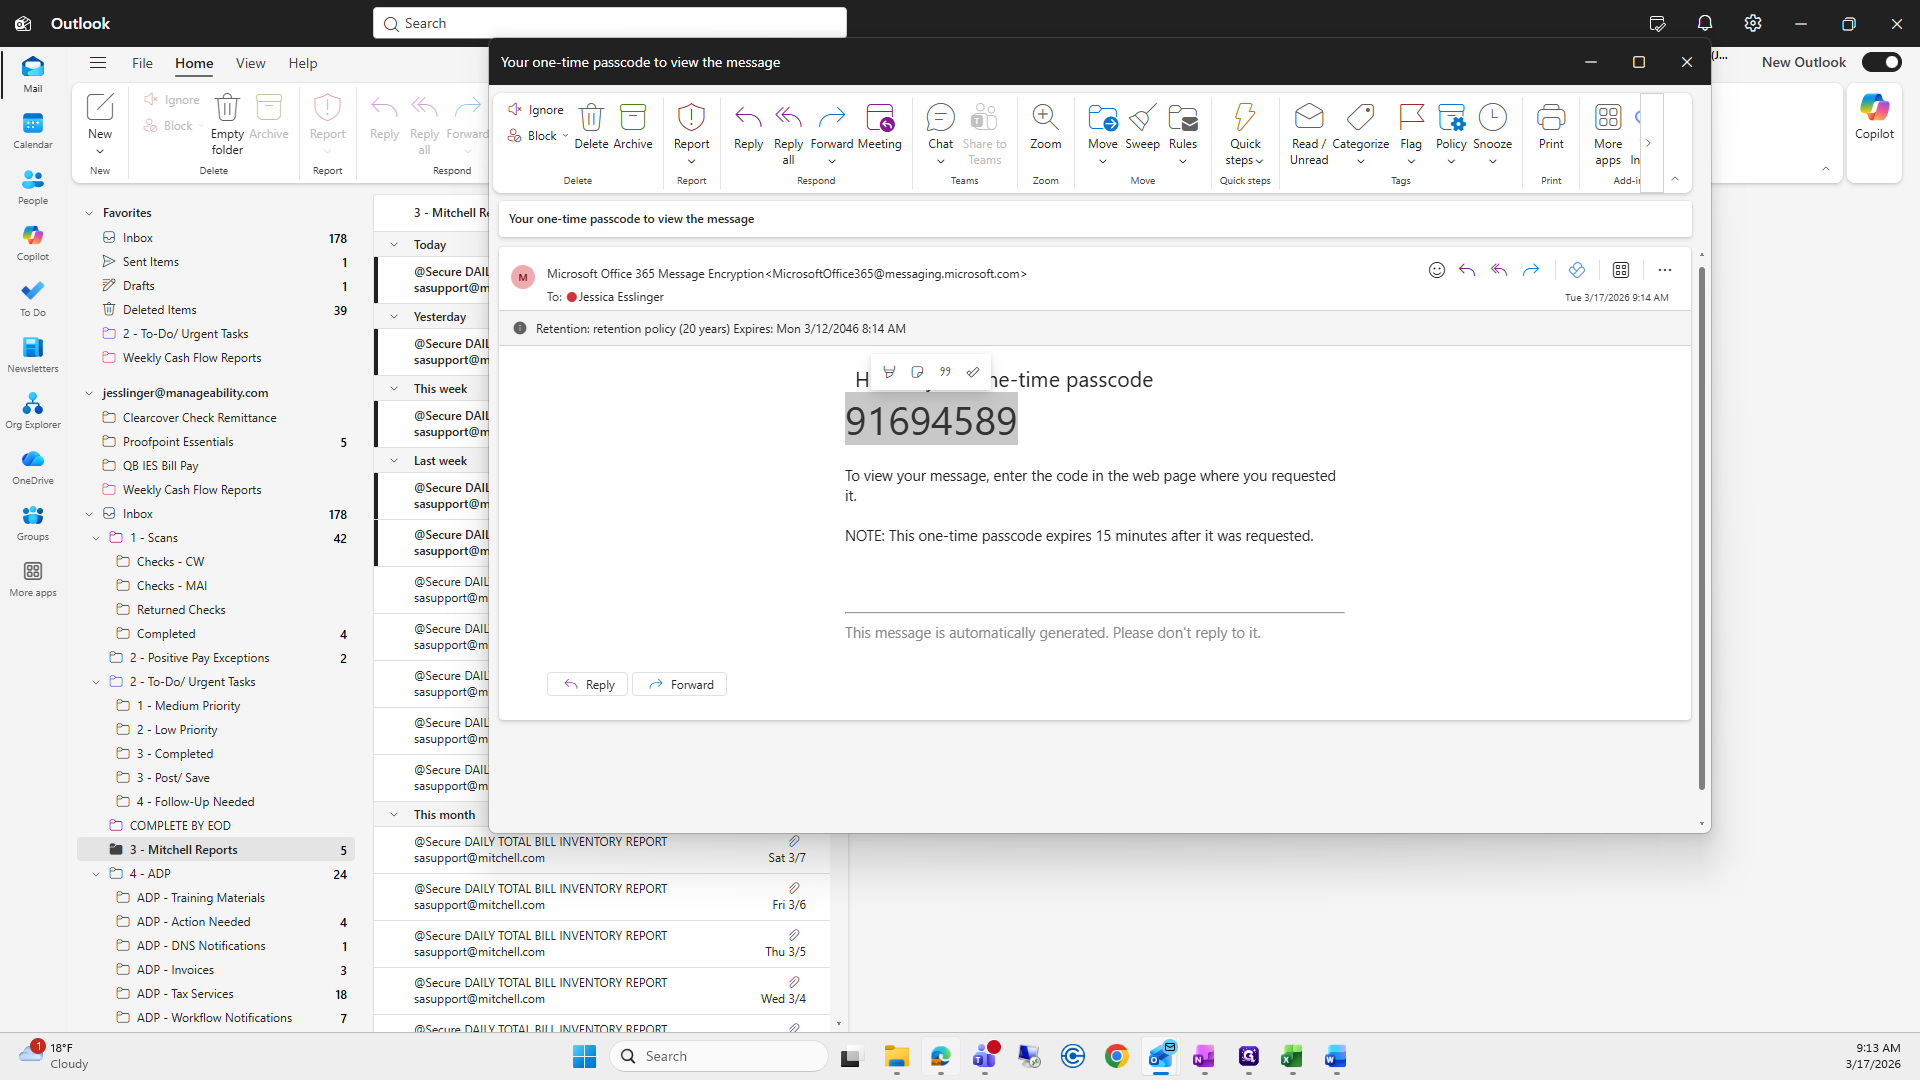
From there, daily Mitchell reports are sent to me.

9
Click here
Step #9: Click here
10
Click on "@Secure DAILY TOTAL BILL INVENTORY REPORT"
Step #10: Click on "@Secure DAILY TOTAL BILL INVENTORY REPORT"

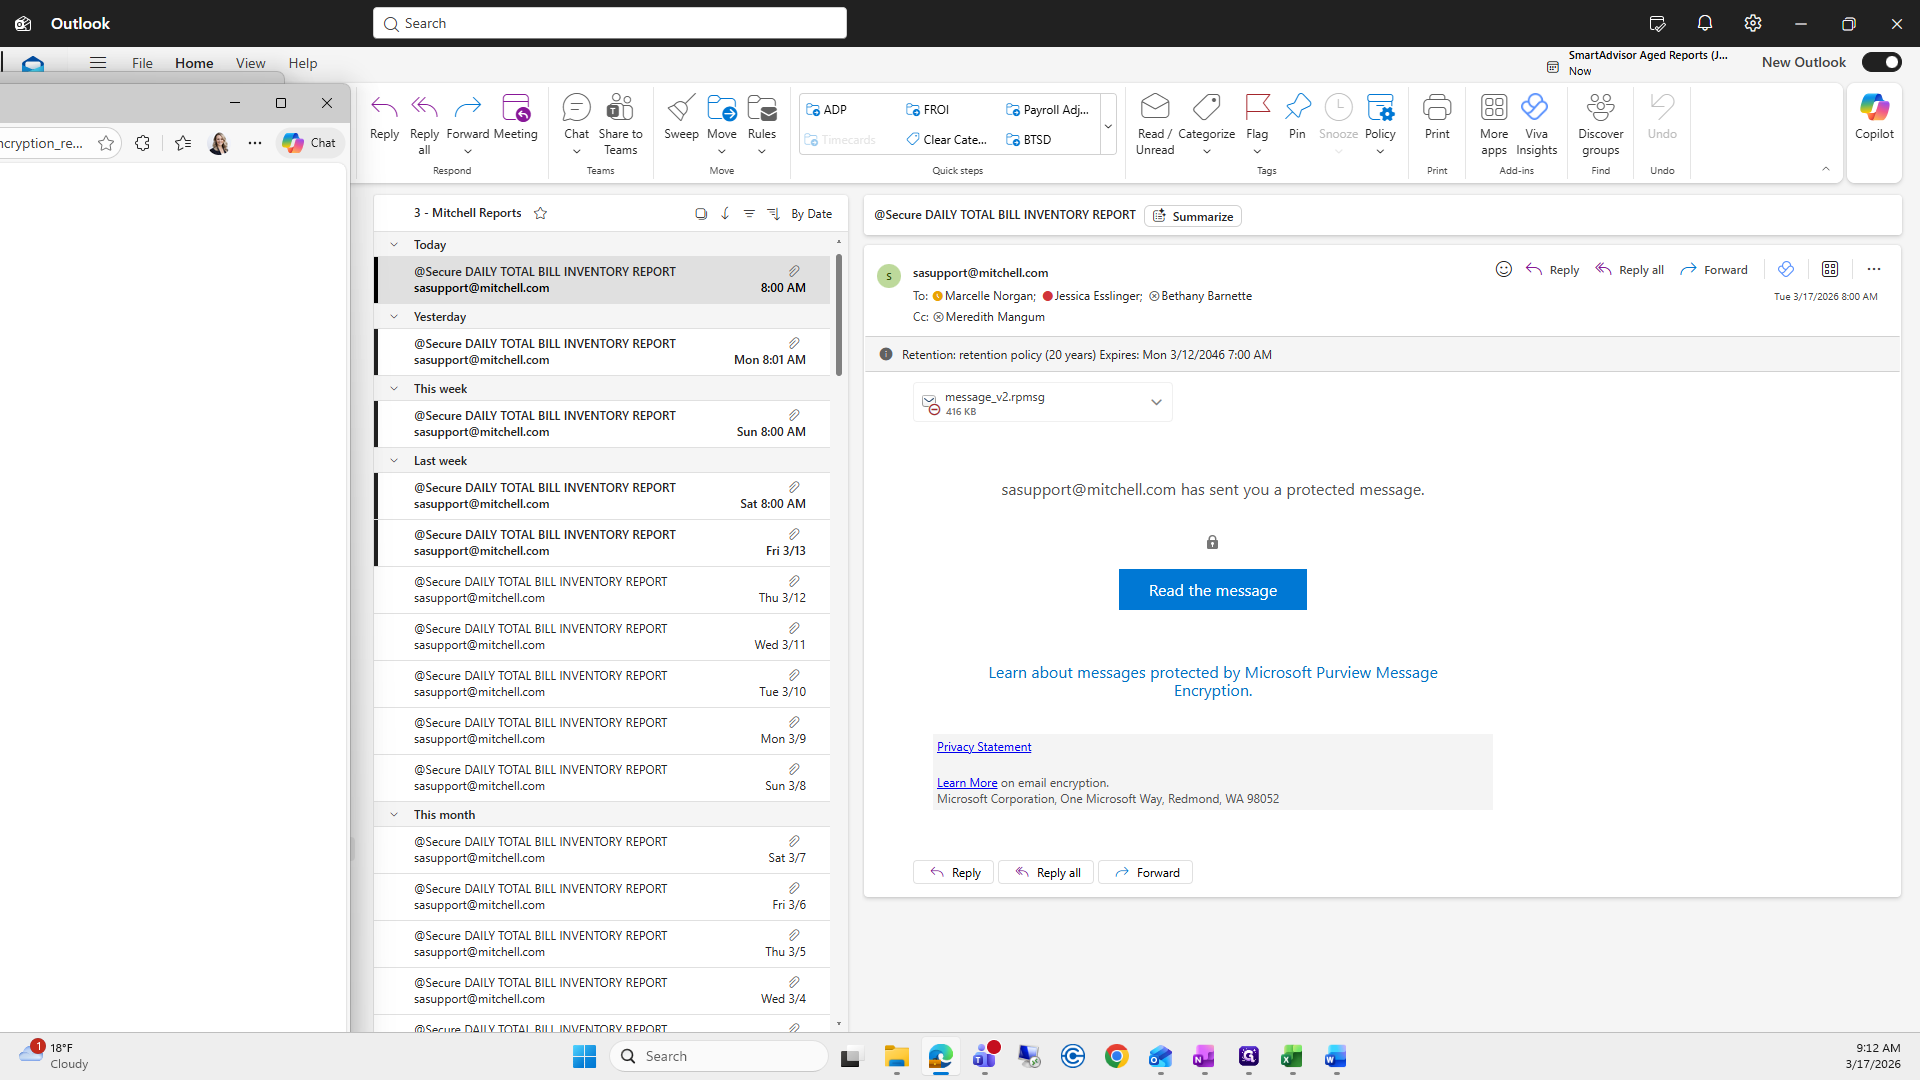
Next, click "Read the Message." A pop-out window will appear.

11
Click on "Read the message"
Step #11: Click on "Read the message"
12
Drag "cryption_re"
Step #12: Drag "cryption_re"
13
Click here
Step #13: Click here

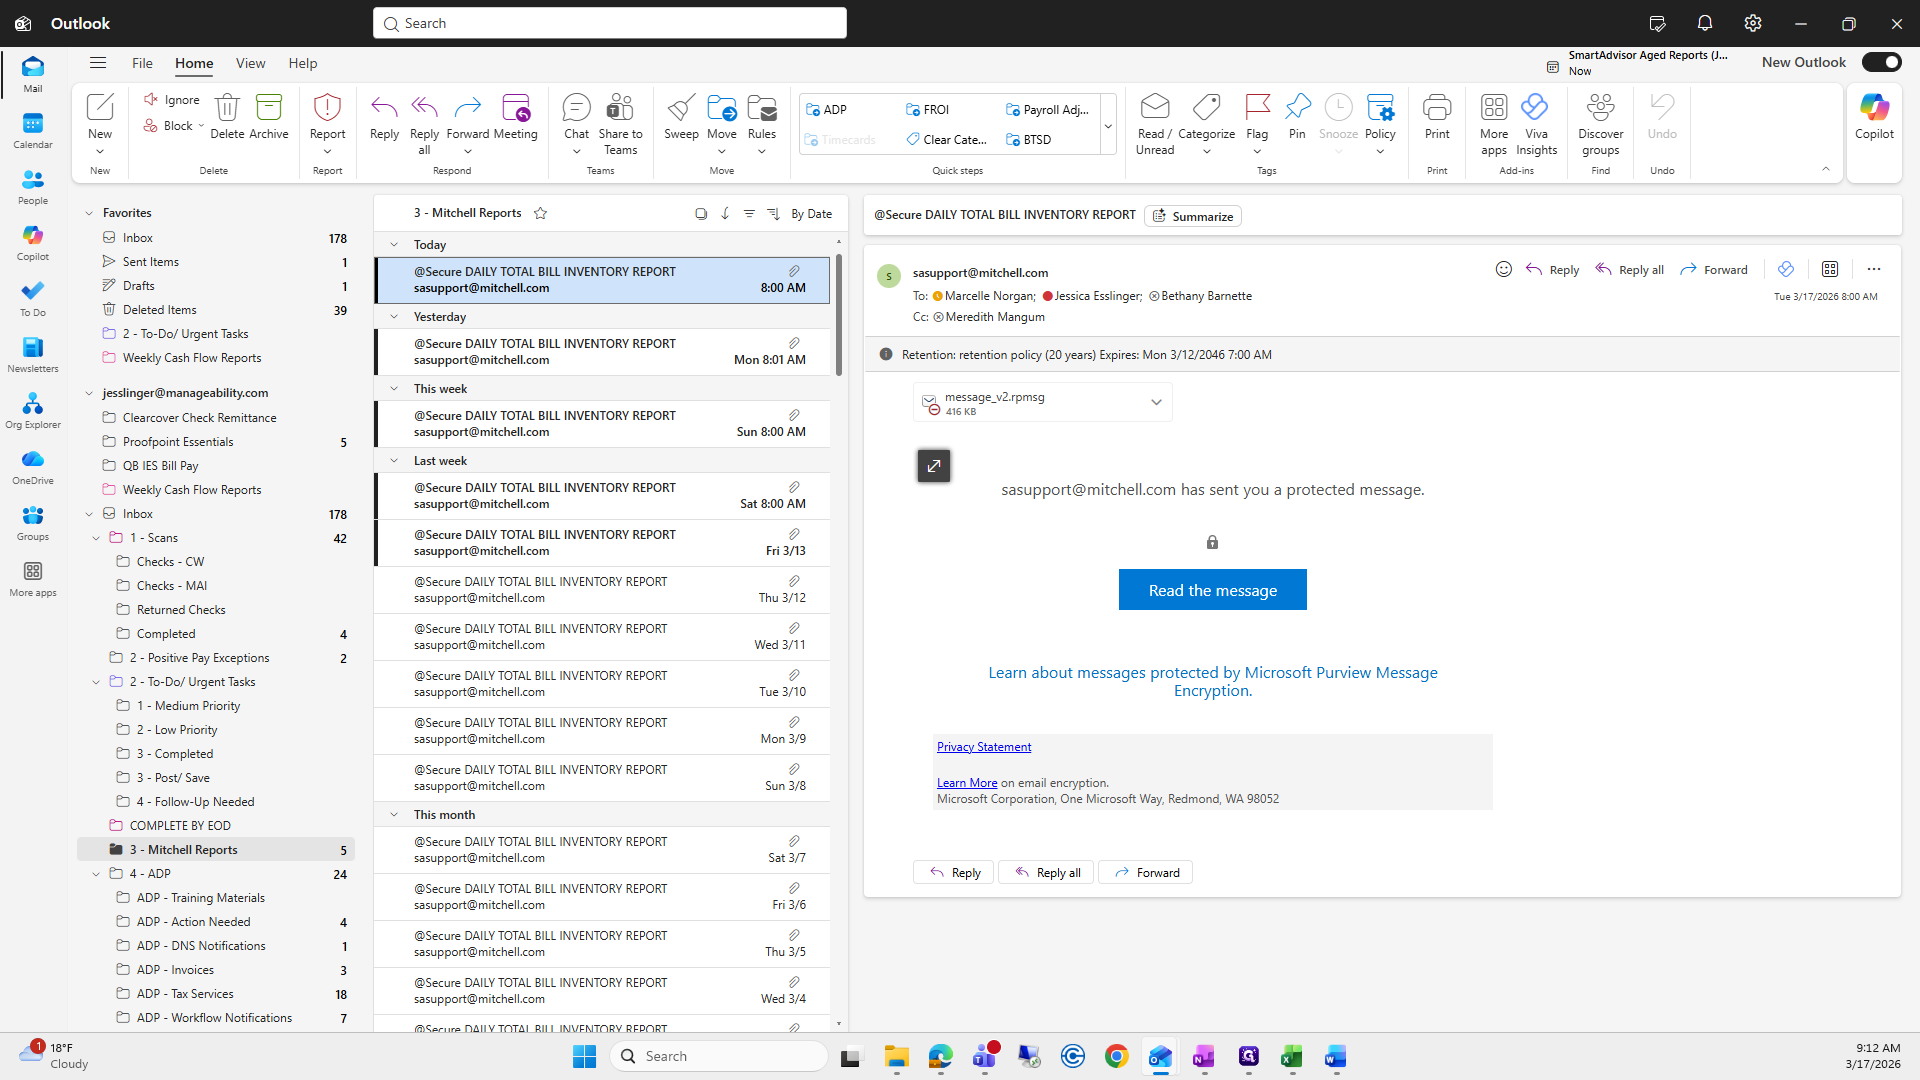
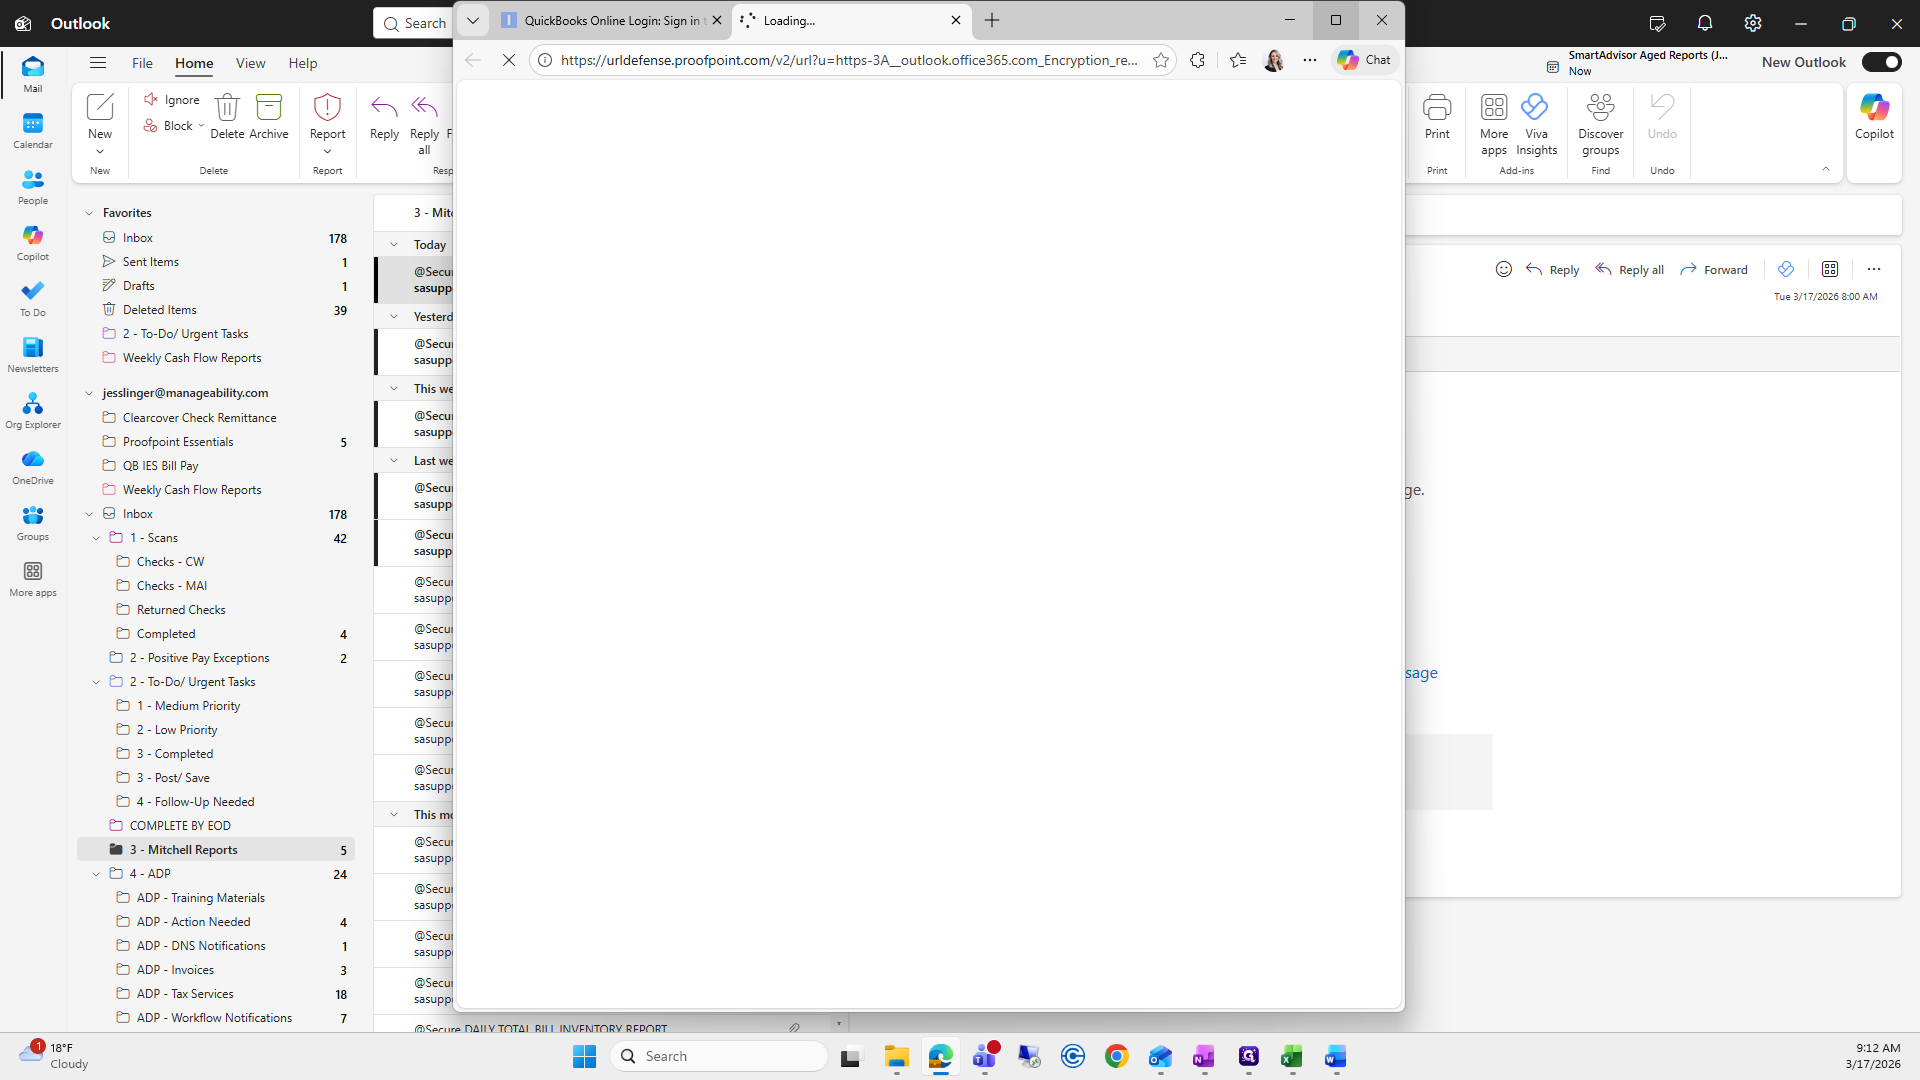
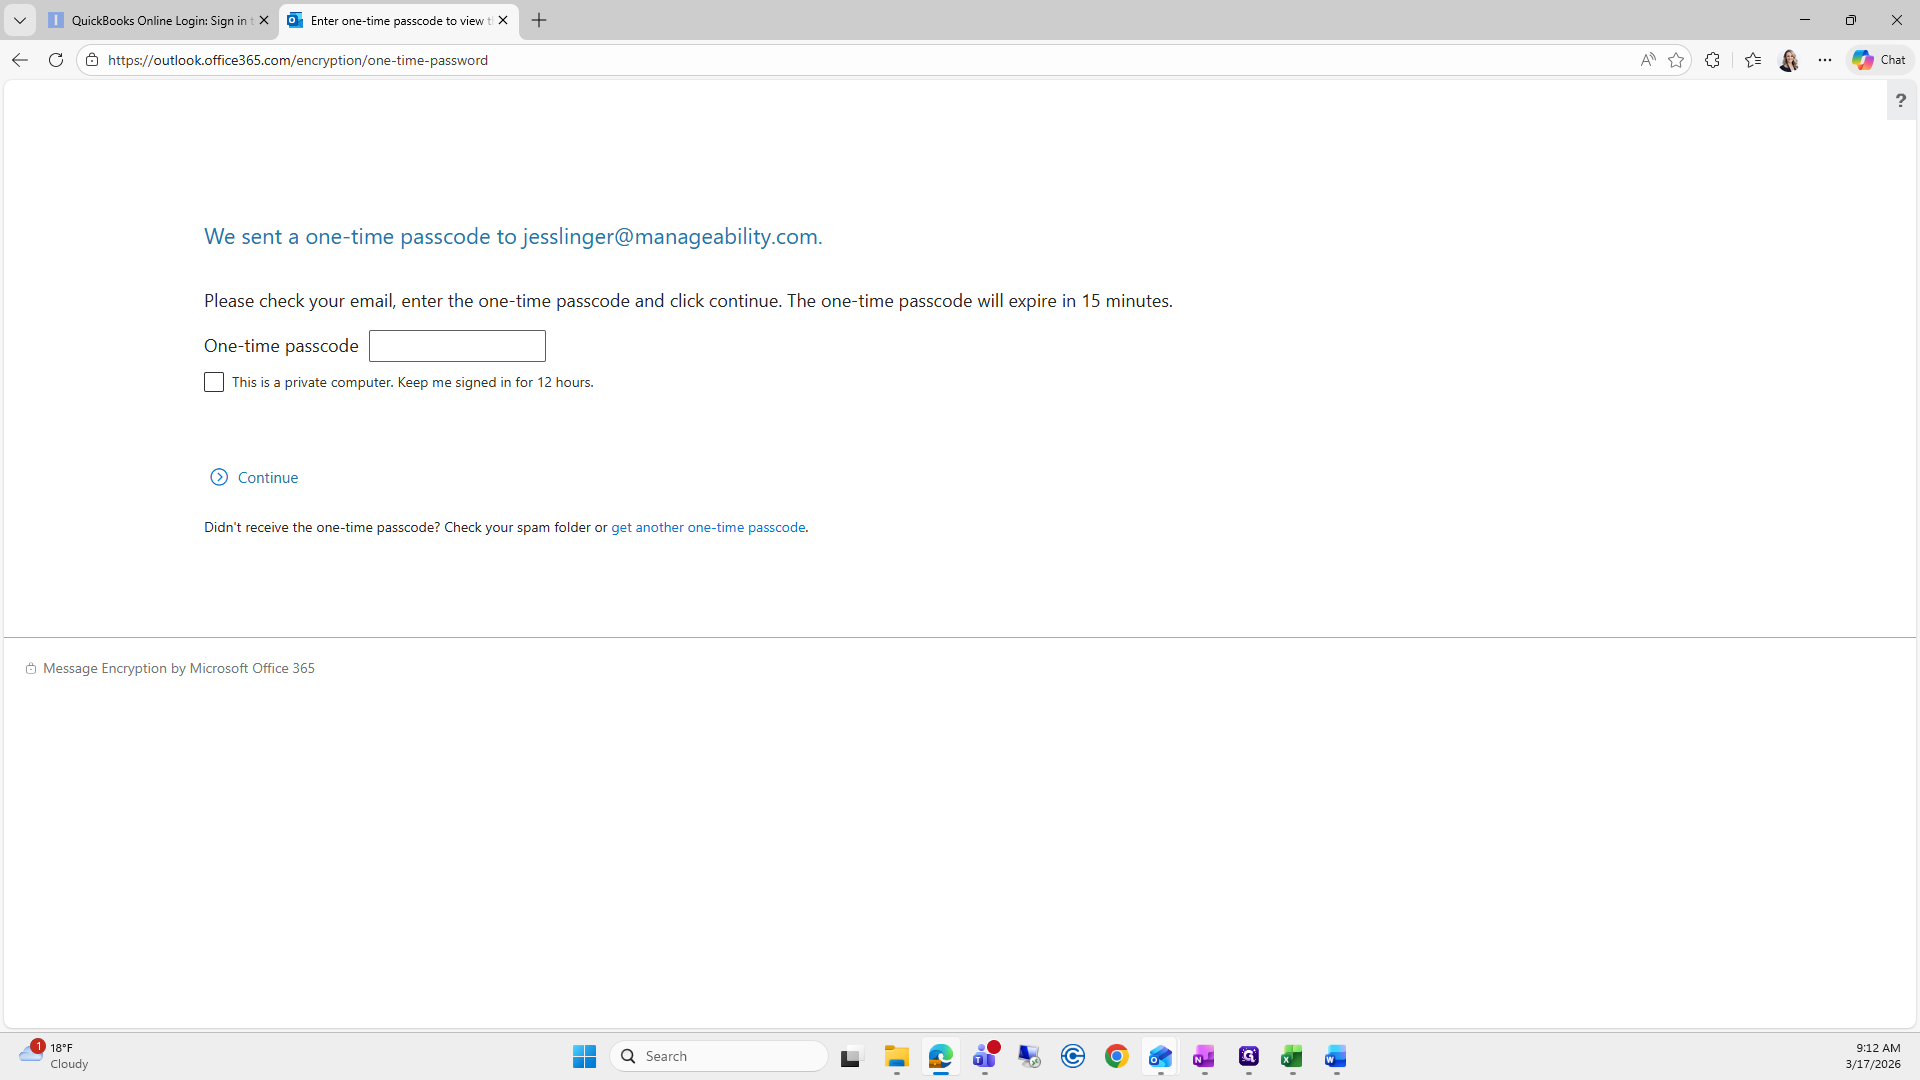
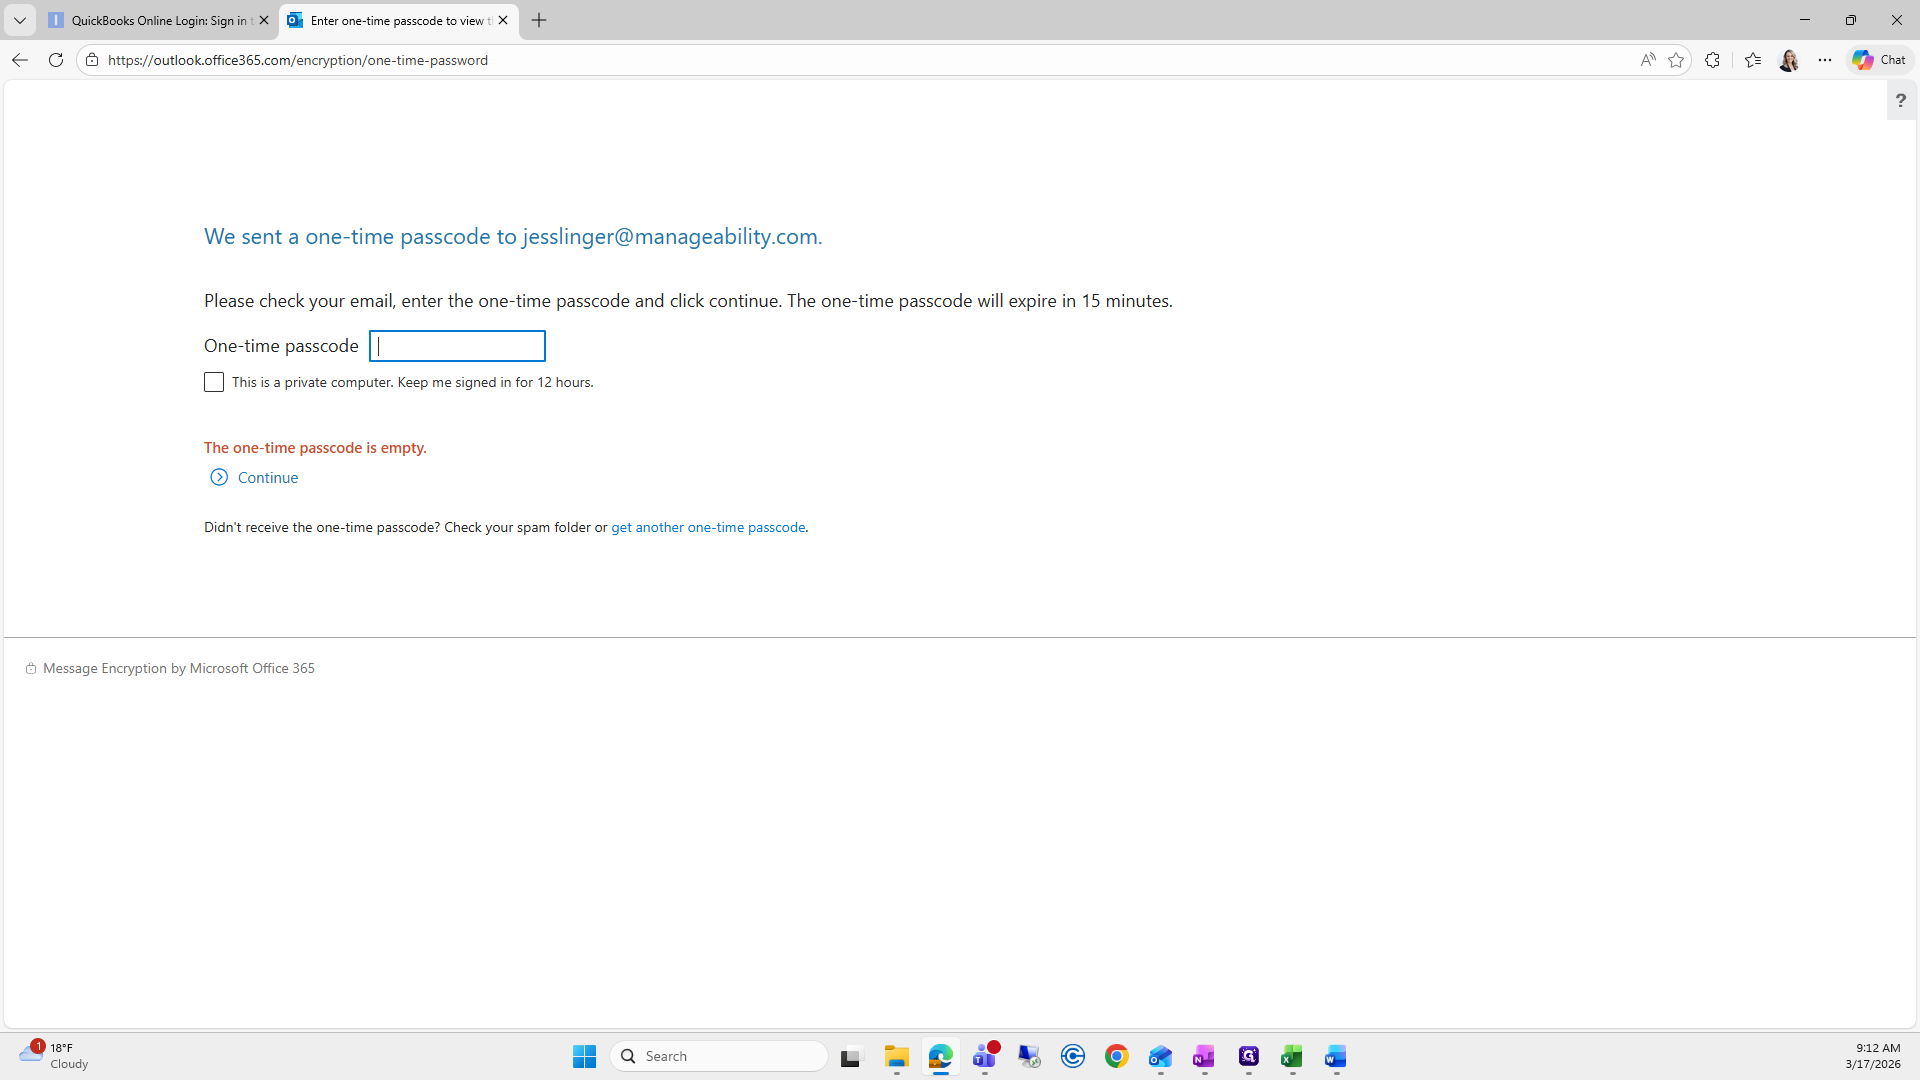
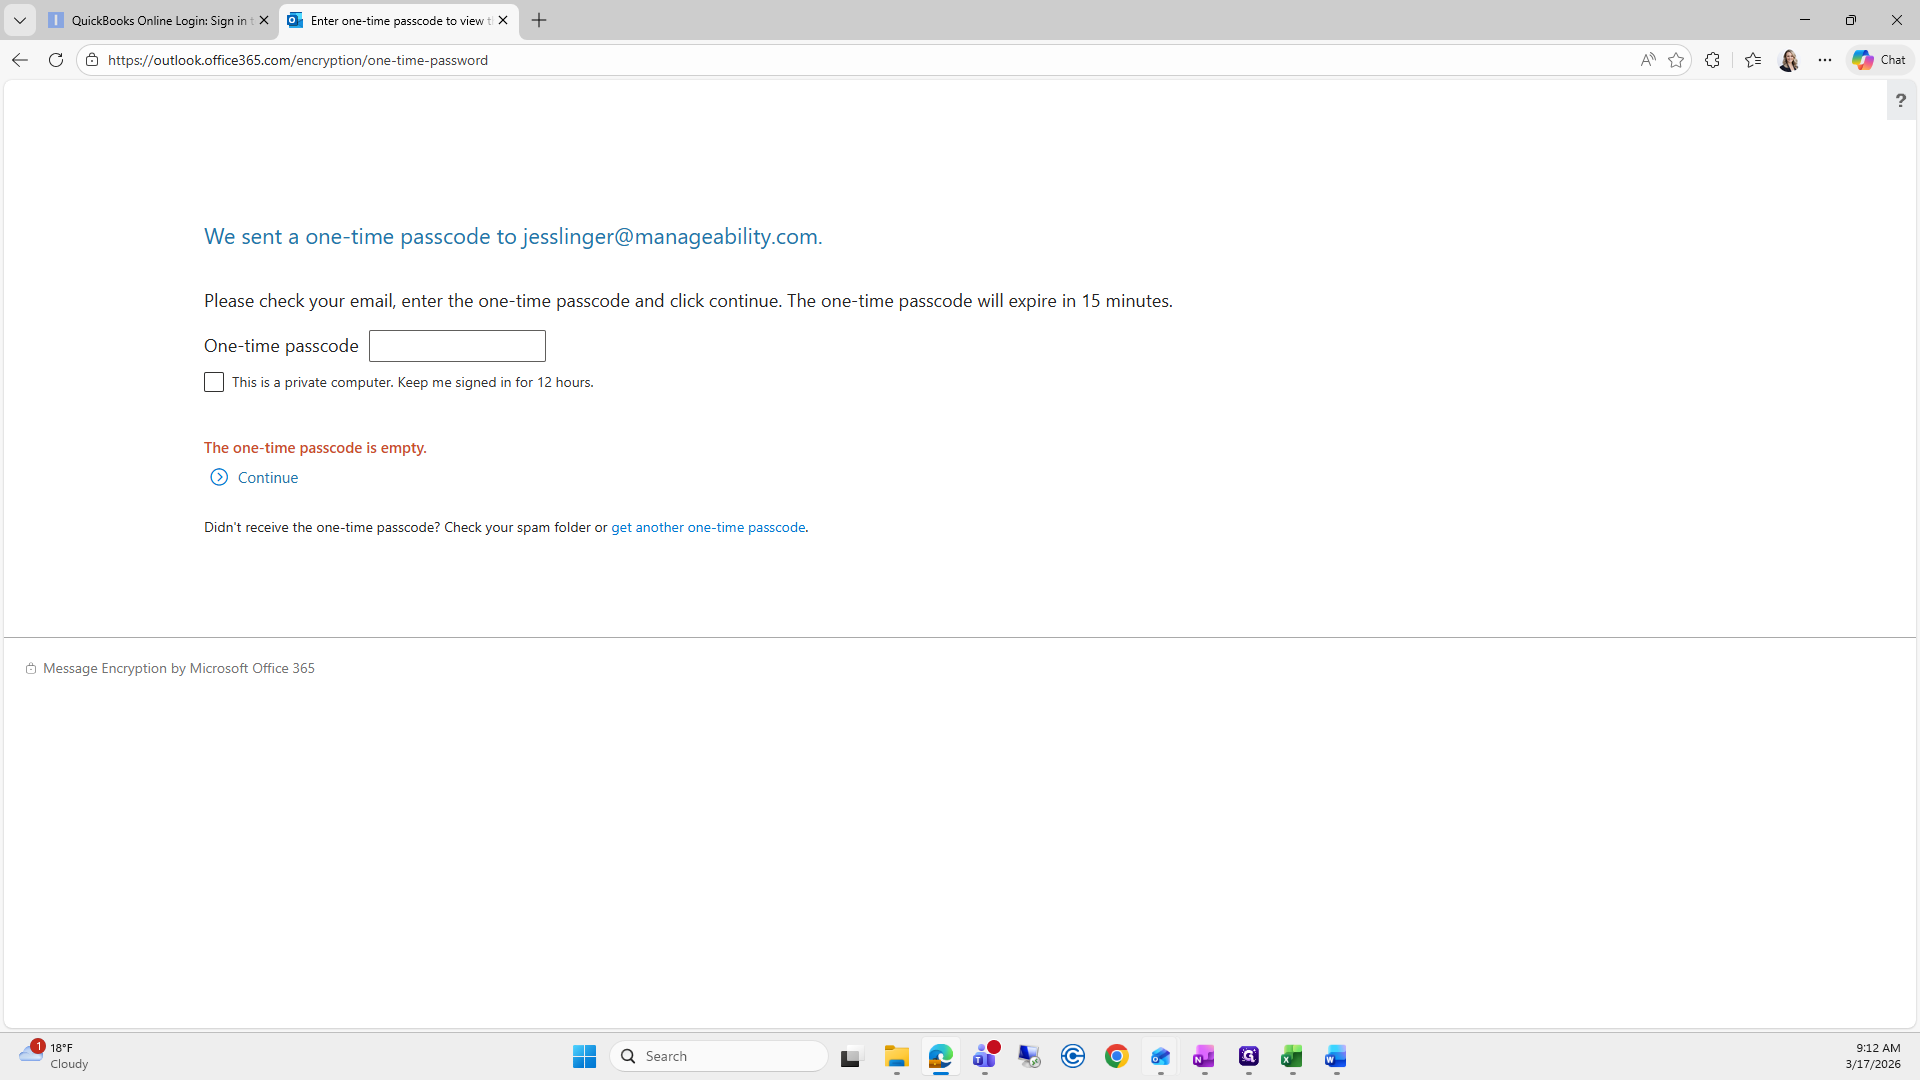
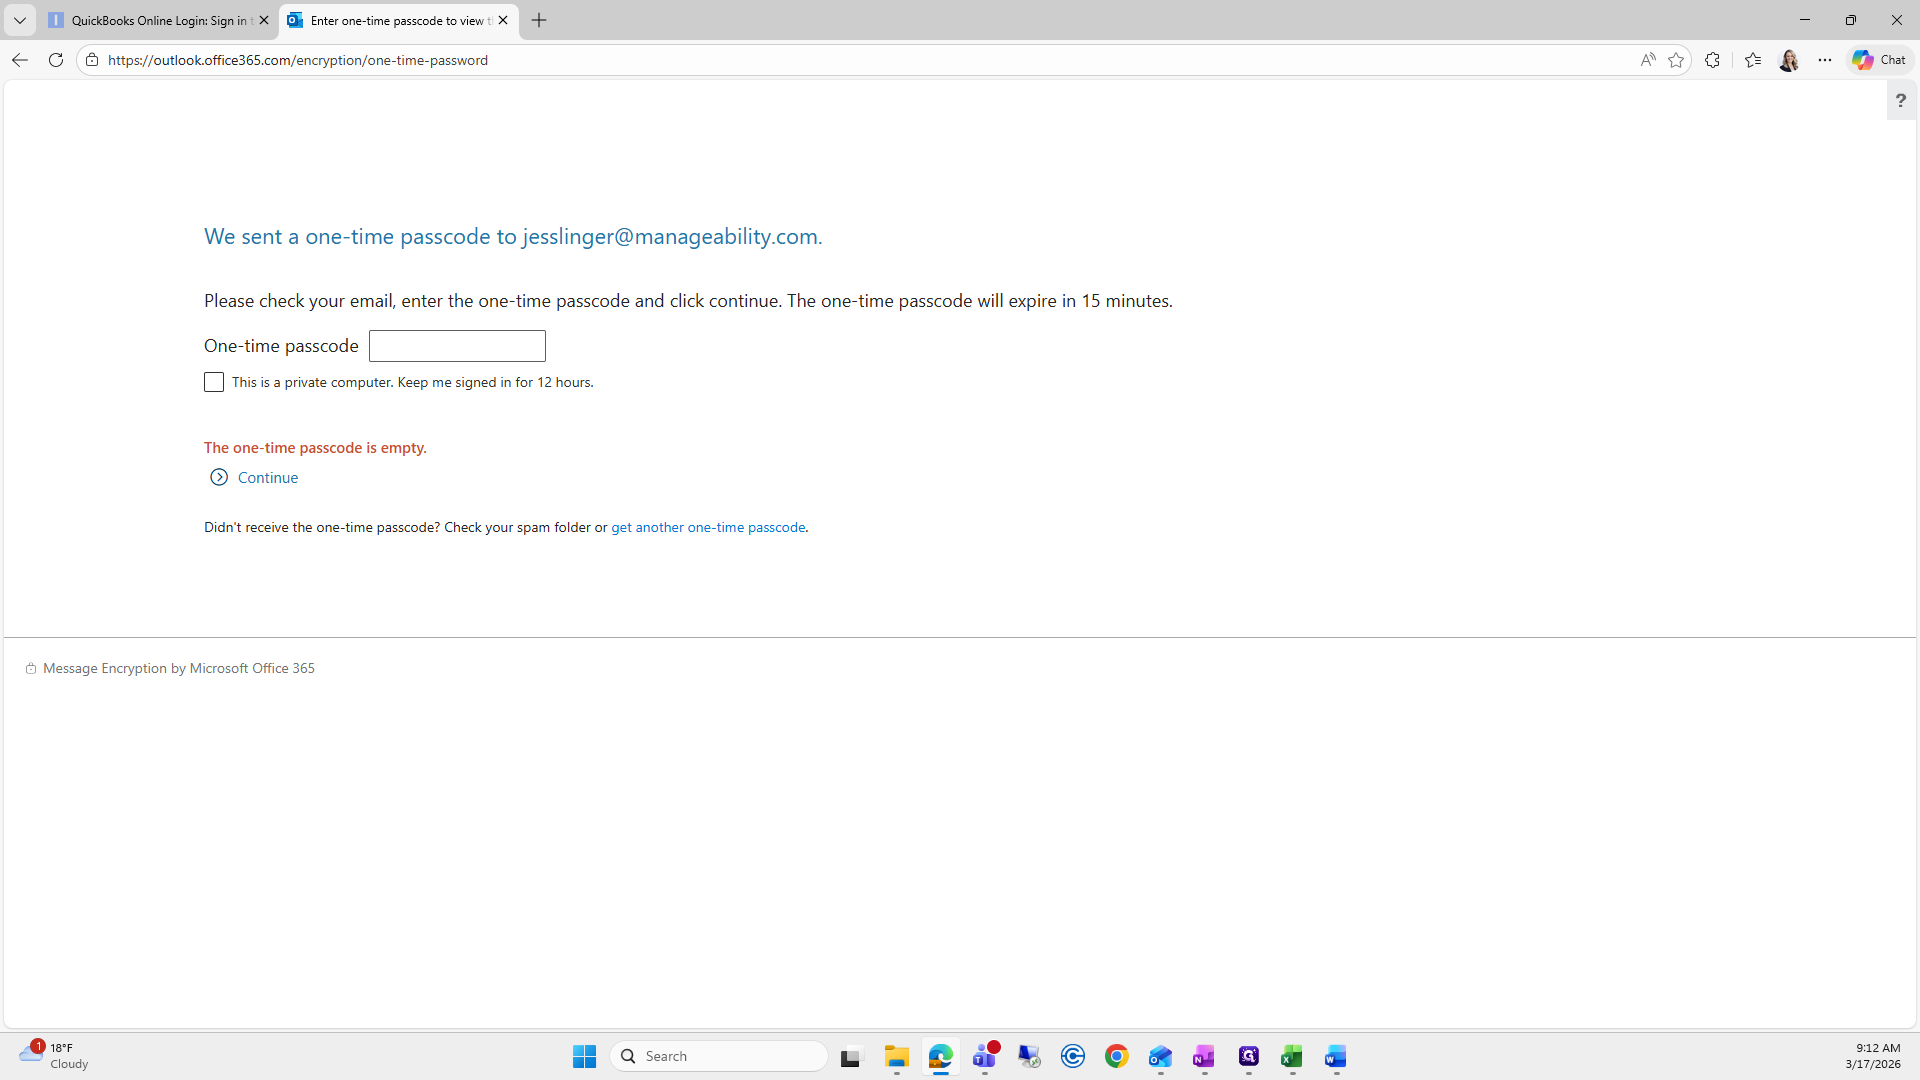
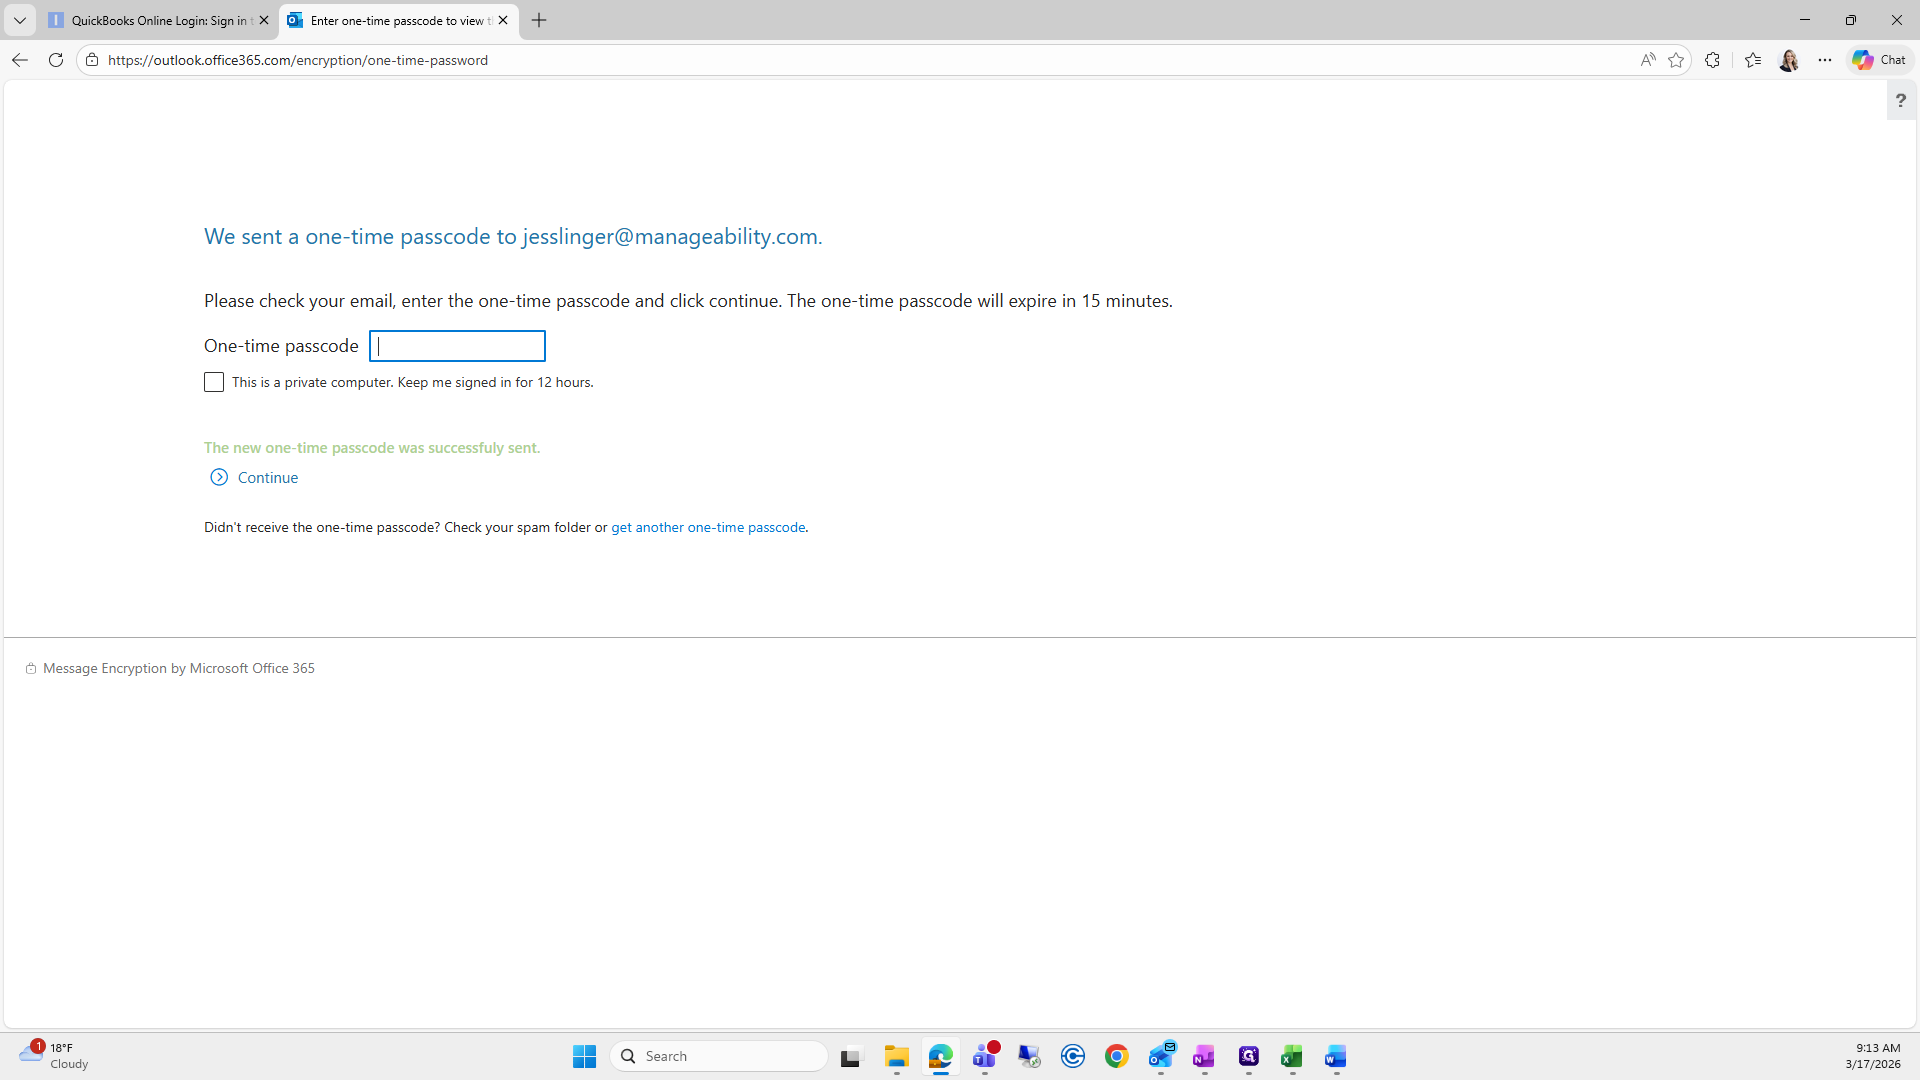
You’ll need to sign in with a passcode, which will be sent to your email.

14
Click on "in with a One - time passcode"
Step #14: Click on "in with a One - time passcode"
15
Click here
Step #15: Click here
16
Click here
Step #16: Click here
17
Click here
Step #17: Click here

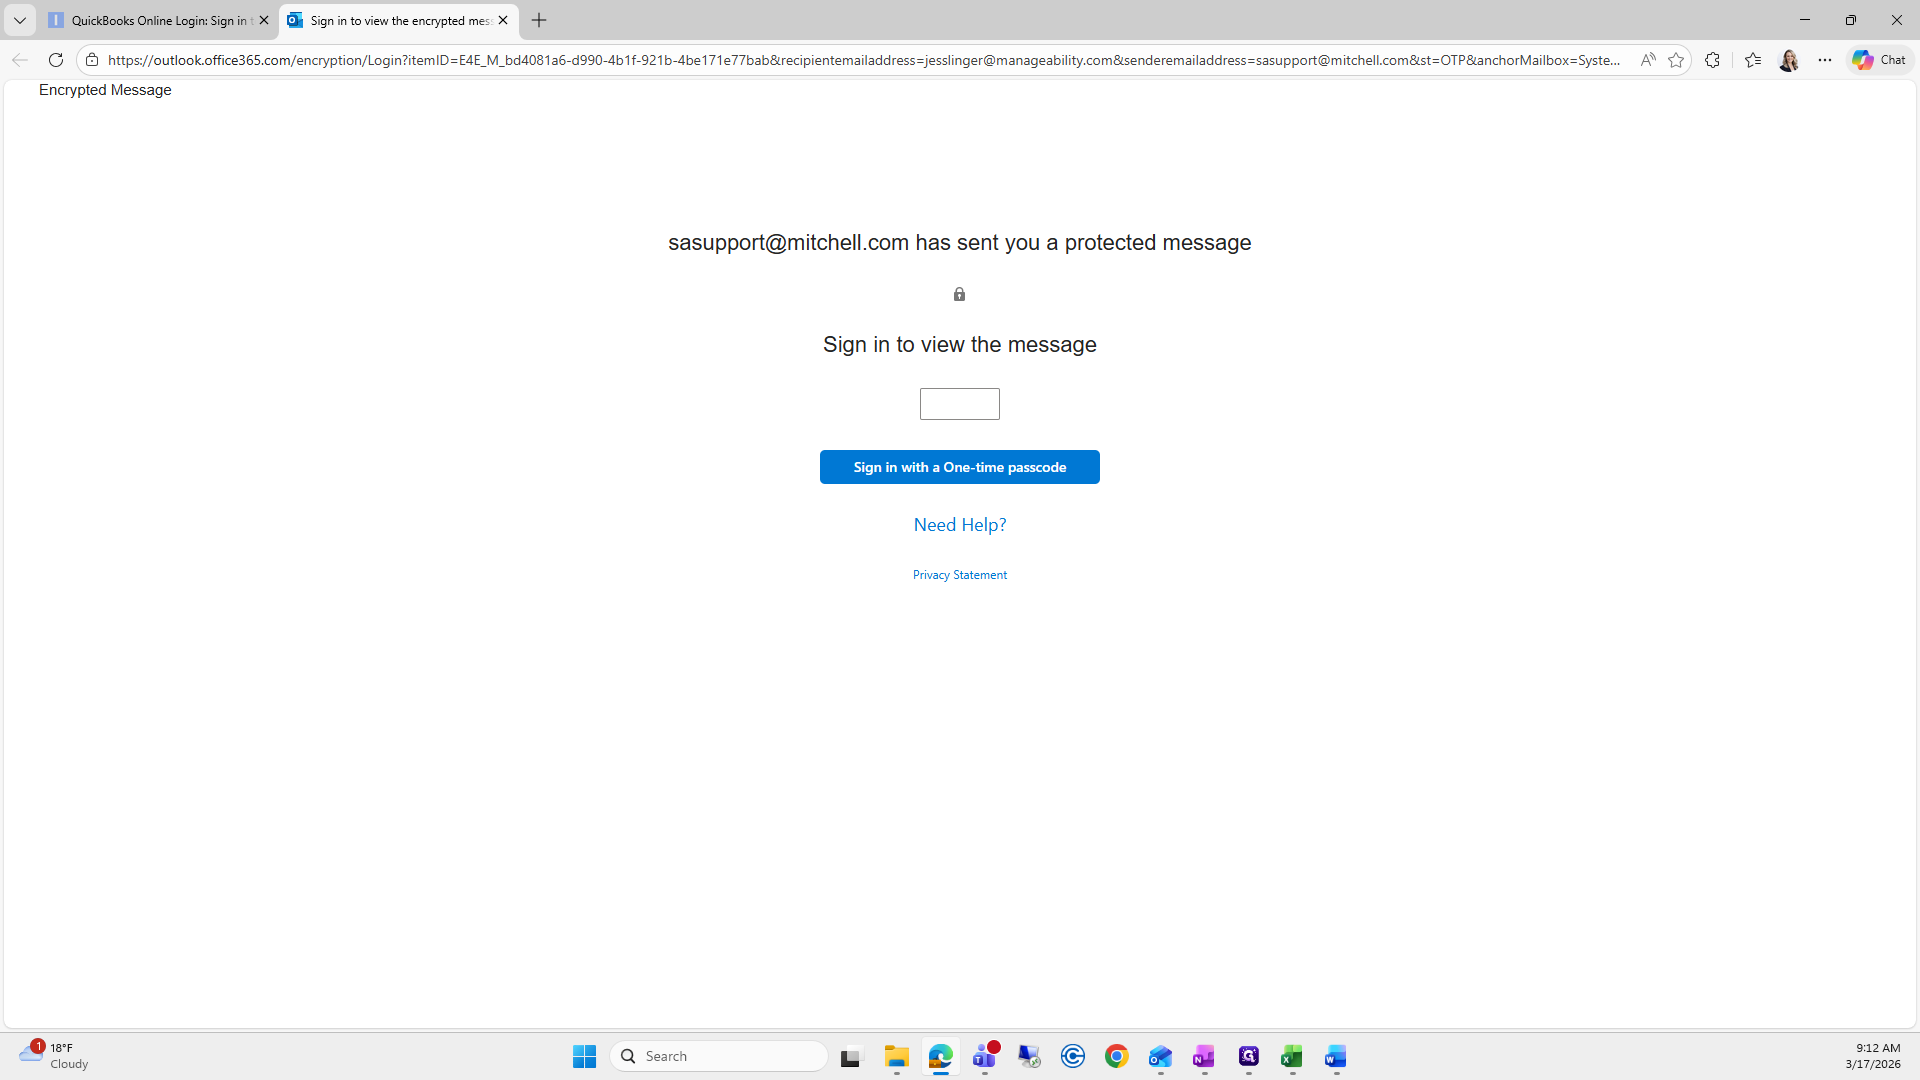
Waiting for the passcode. Maybe I did it wrong. Hold on.

18
Click here
Step #18: Click here

I have to press continue after I enter. Where is the passcode?

19
Click on "Continue"
Step #19: Click on "Continue"
20
Click here
Step #20: Click here
21
Click here
Step #21: Click here
22
Click here
Step #22: Click here

Taking a long time.

23
Click here
Step #23: Click here

Well, this one.

24
Click on "3- Mitchell Reports"
Step #24: Click on "3- Mitchell Reports"
25
Click here
Step #25: Click here
26
Click on "Continue"
Step #26: Click on "Continue"

Try it again.

27
Click on ">"
Step #27: Click on ">"
28
Click on "Didn't receive the one - time passcode ? Check your spam folder or get another one - time passcode"
Step #28: Click on "Didn't receive the one - time passcode ? Check your spam folder or get another one - time passcode"

Usually, it appears immediately, but it won't this time because I'm recording.

29
Click here
Step #29: Click here
30
Click here
Step #30: Click here

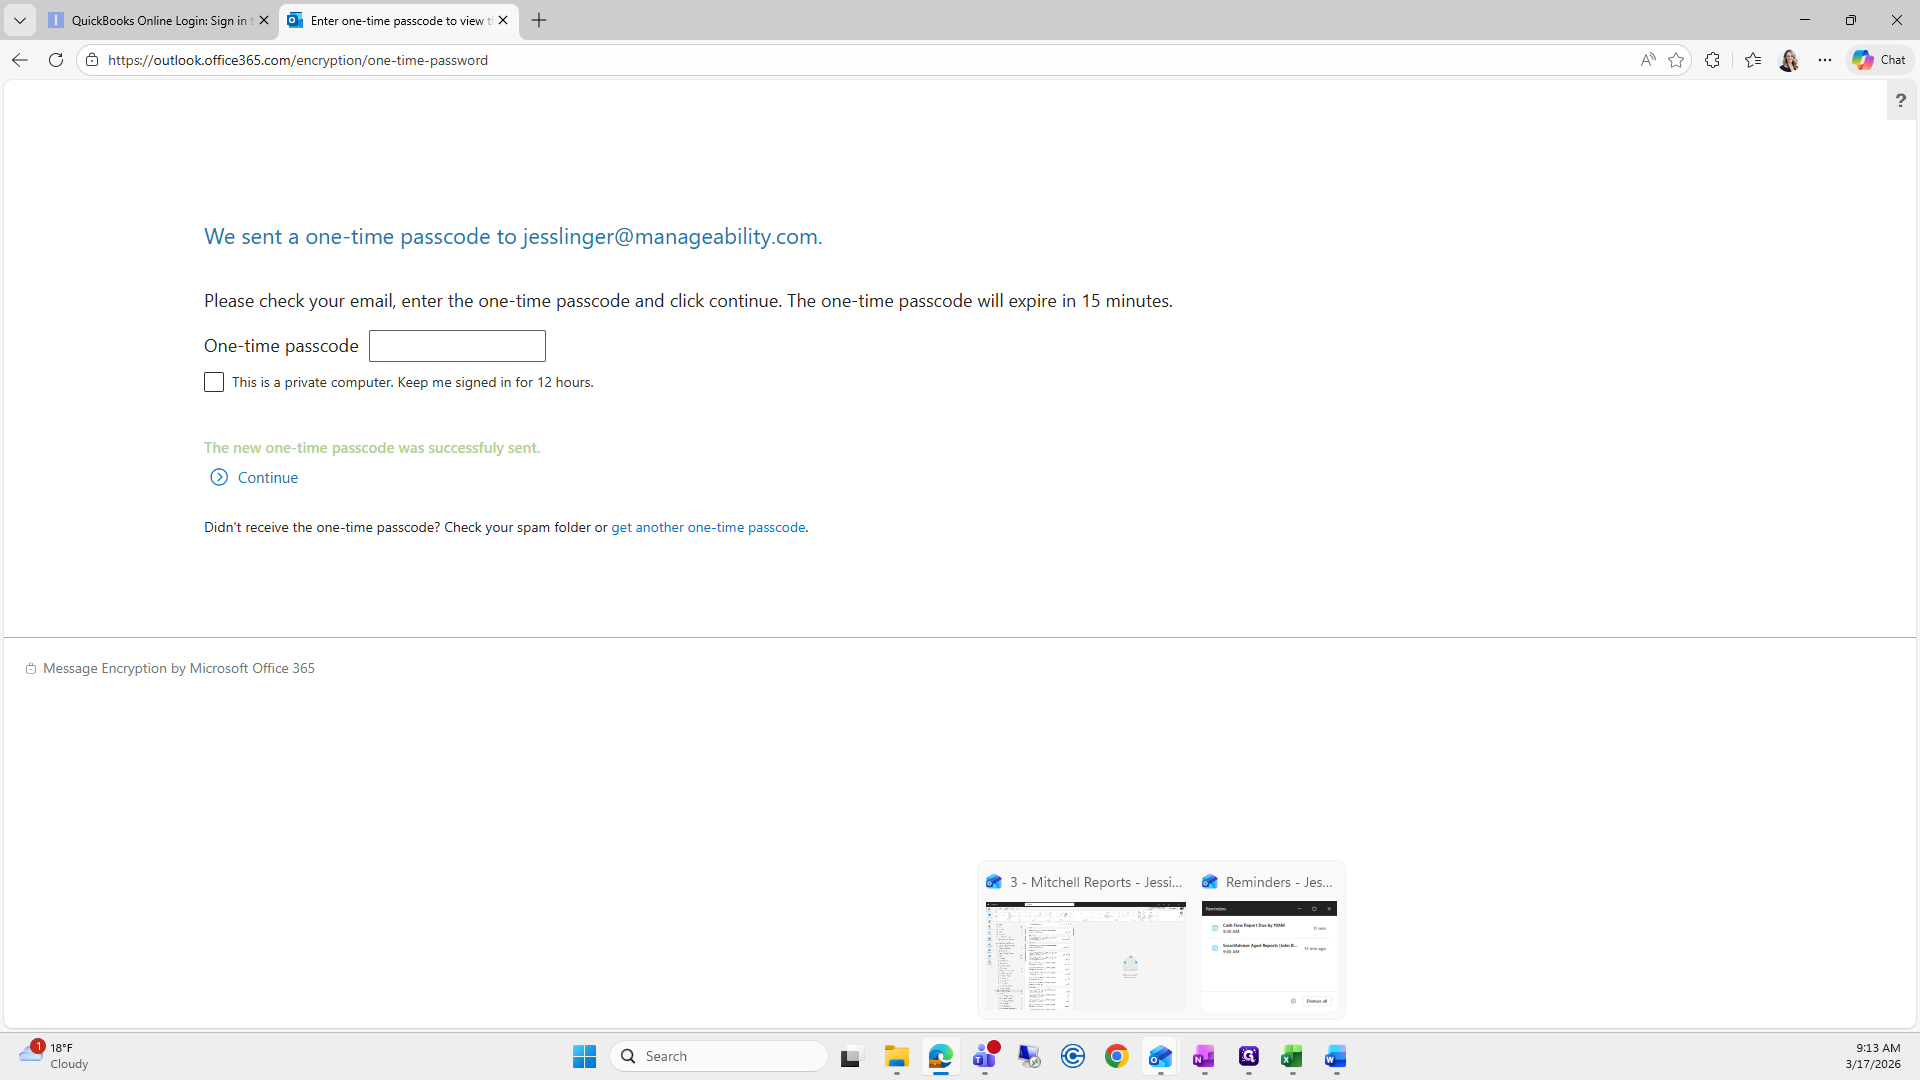
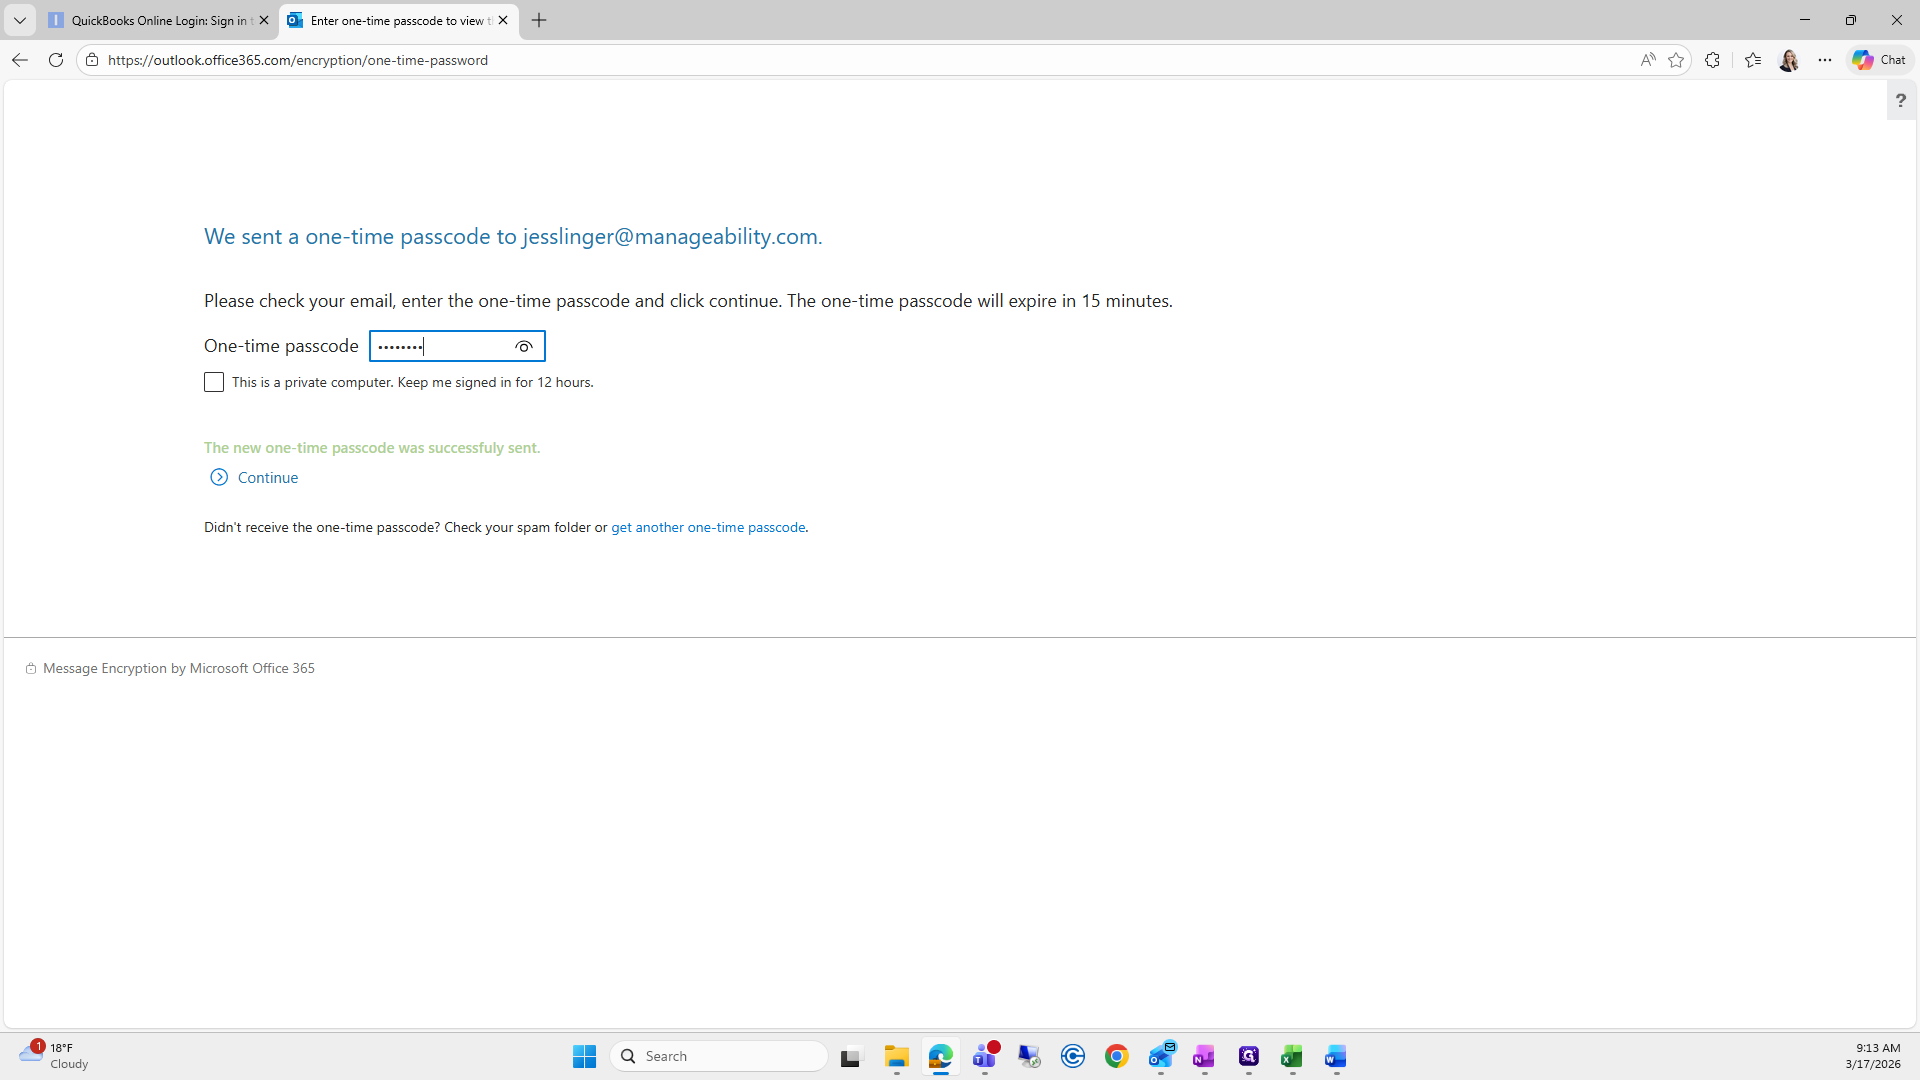
There it is. We found it.

31
Double-click on "91694589"
Step #31: Double-click on "91694589"
32
Type "Ctrl + C"

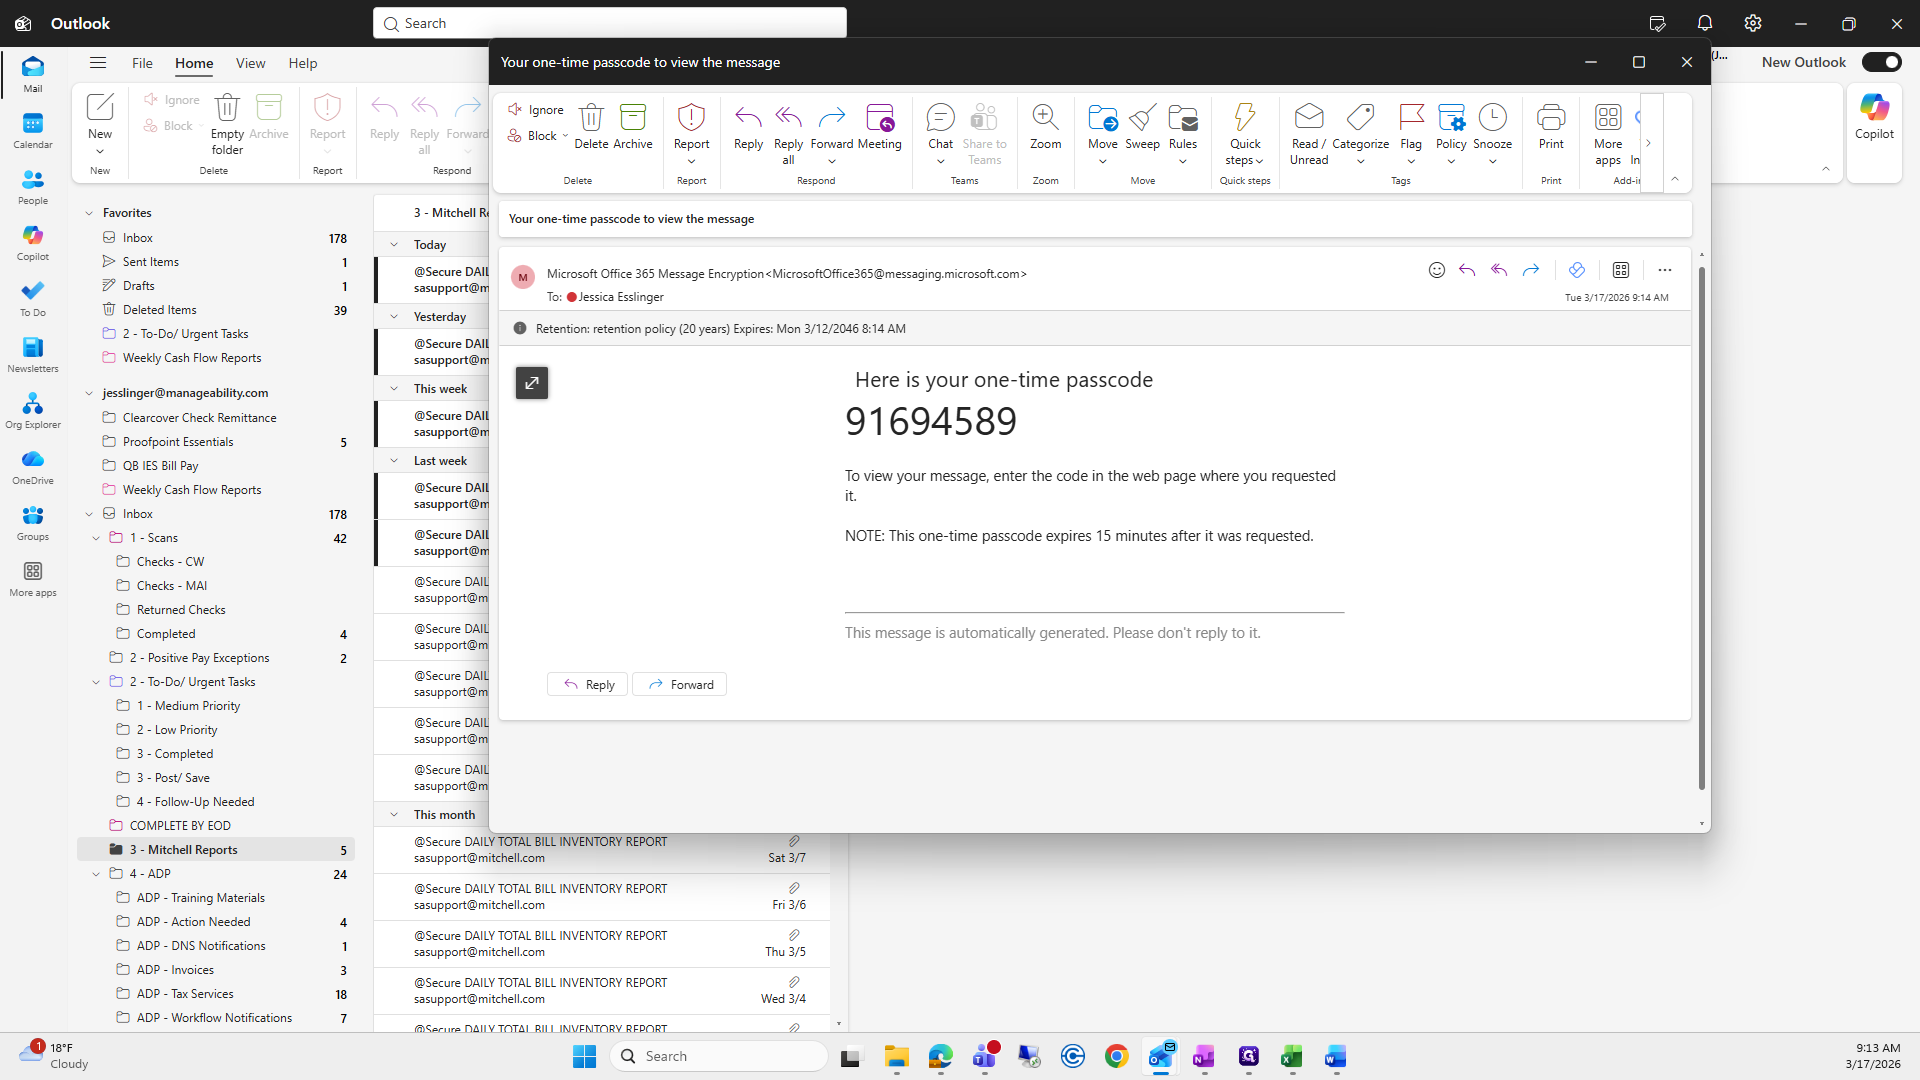
Enter your passcode and continue.

33
Click here
Step #33: Click here
34
Click here
Step #34: Click here
35
Type "Ctrl + V"
36
Click on "Continue"
Step #36: Click on "Continue"

Then you'll have a file.

37
Click here
Step #37: Click here
38
Click on "BillInventory.xls.zip"
Step #38: Click on "BillInventory.xls.zip"

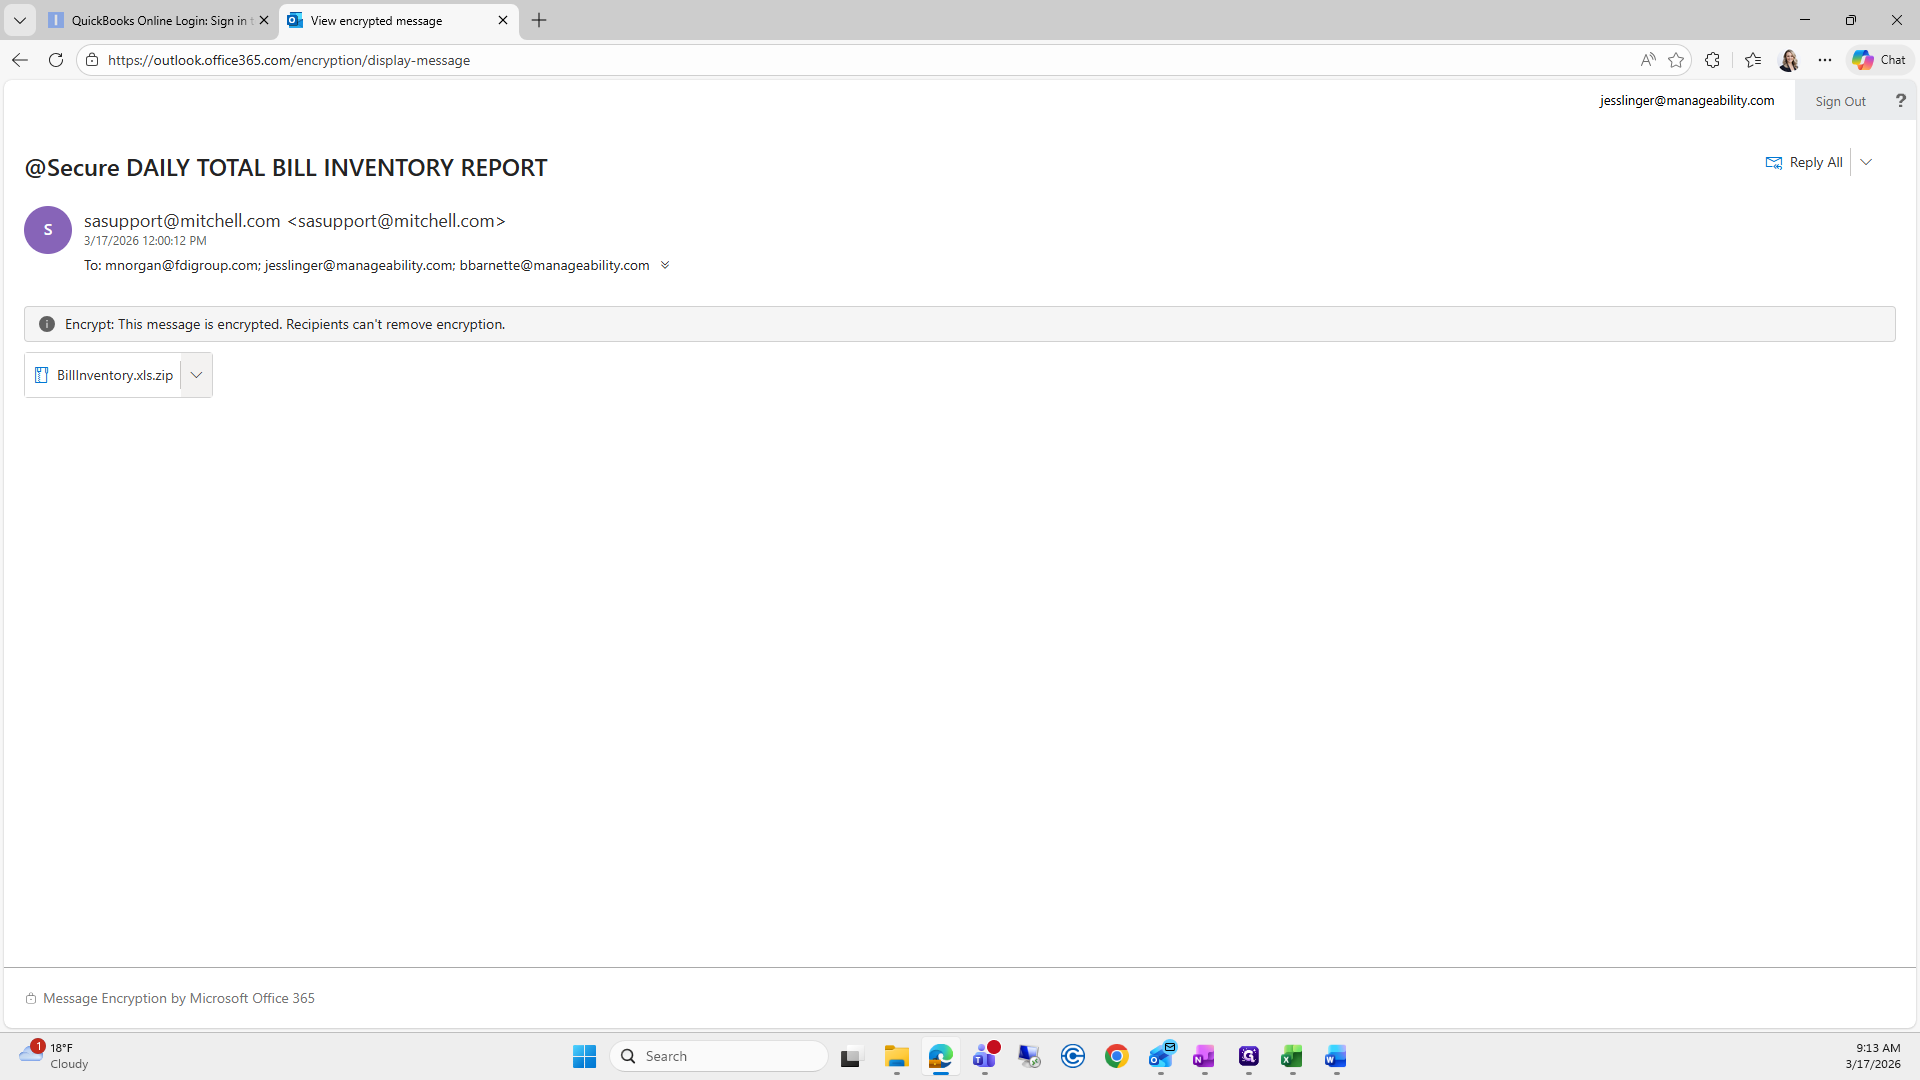
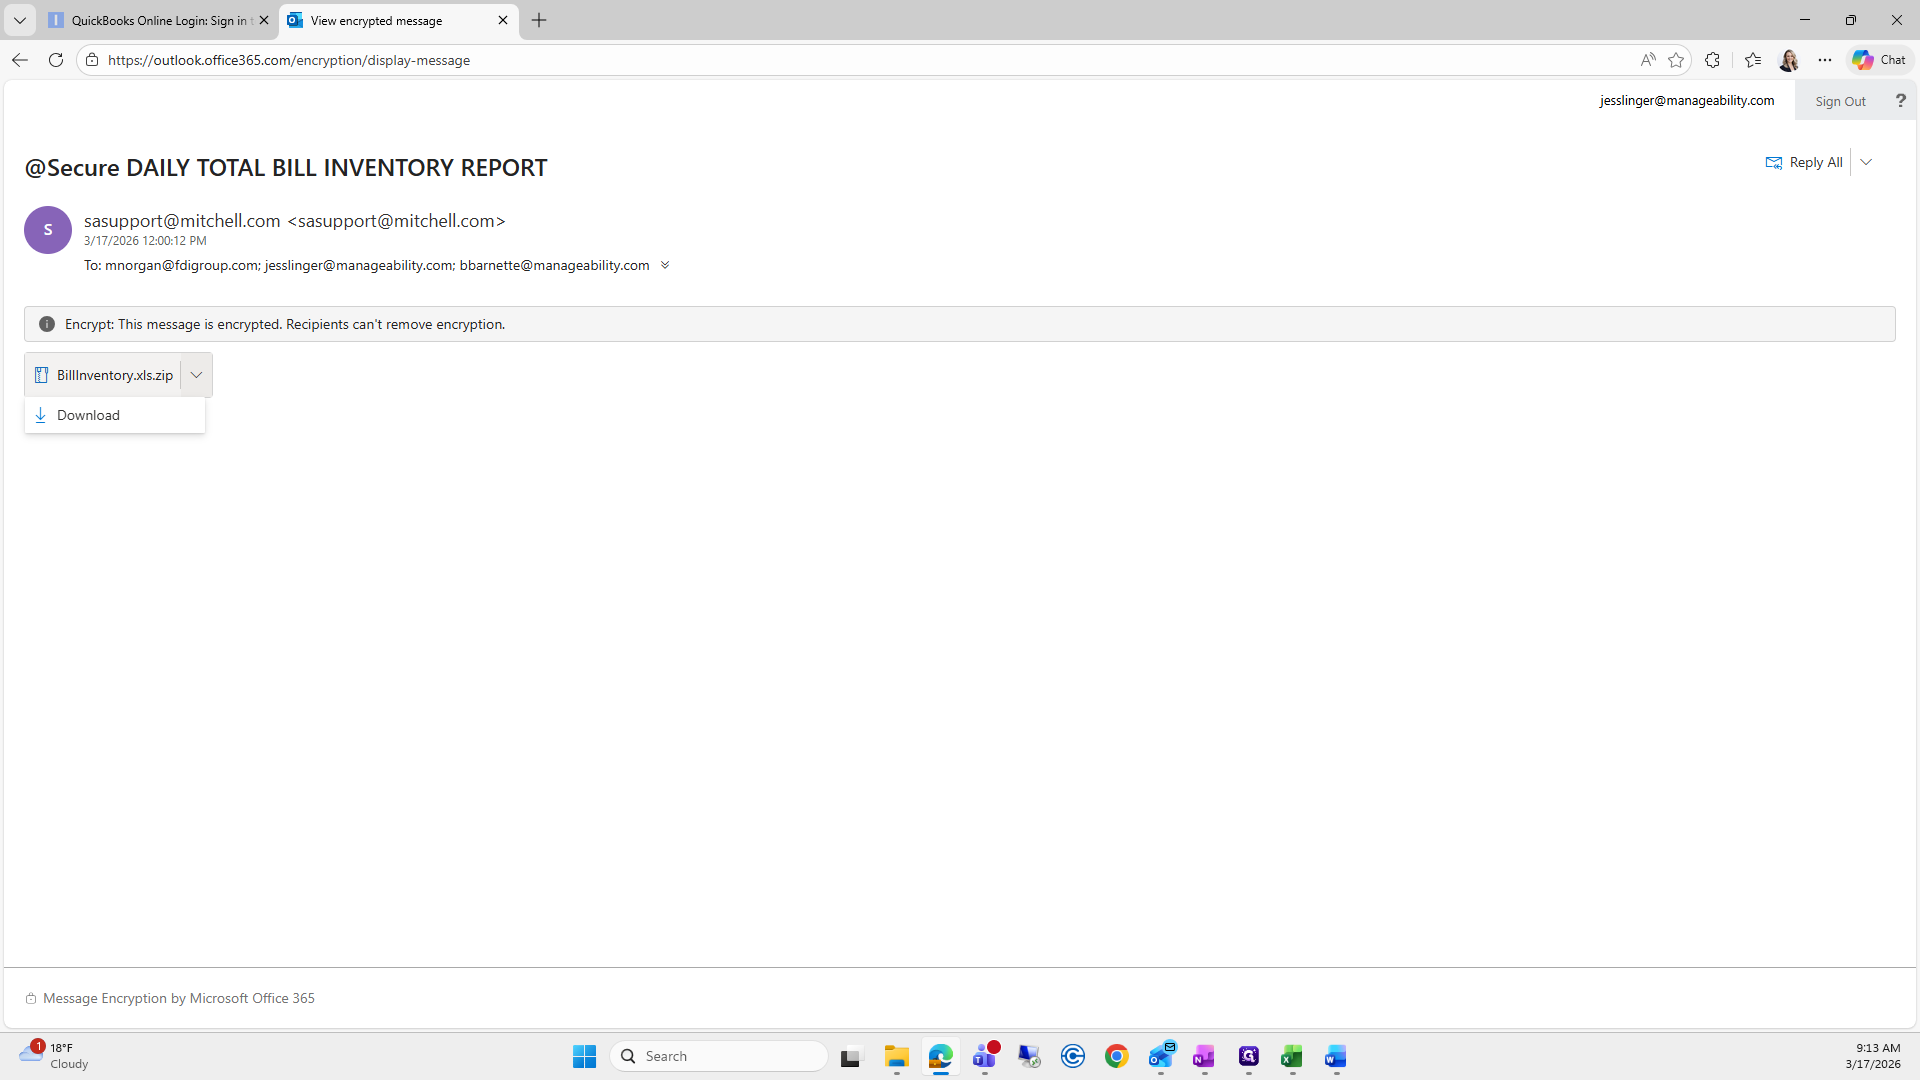
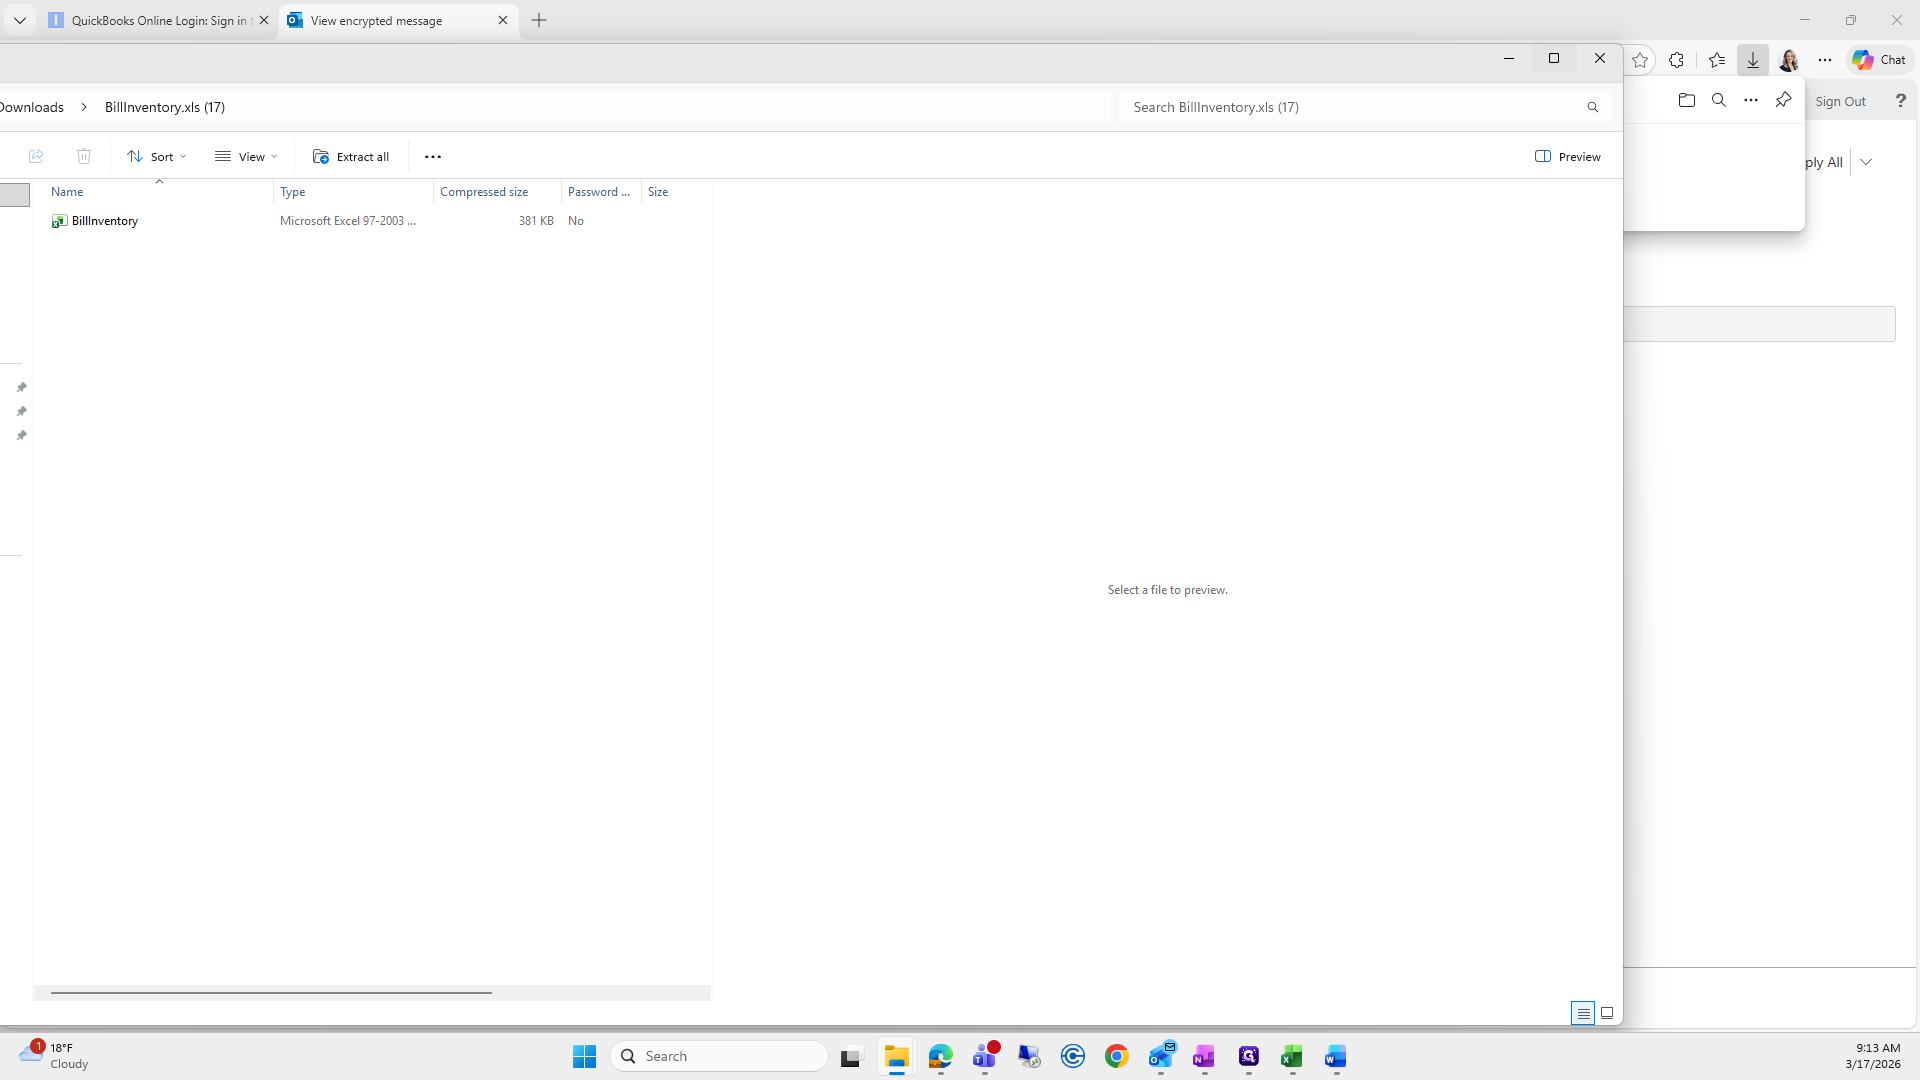
I usually open the zip file.

39
Click on "BillInventory.xls.zip"
Step #39: Click on "BillInventory.xls.zip"
40
Click on "Open file"
Step #40: Click on "Open file"

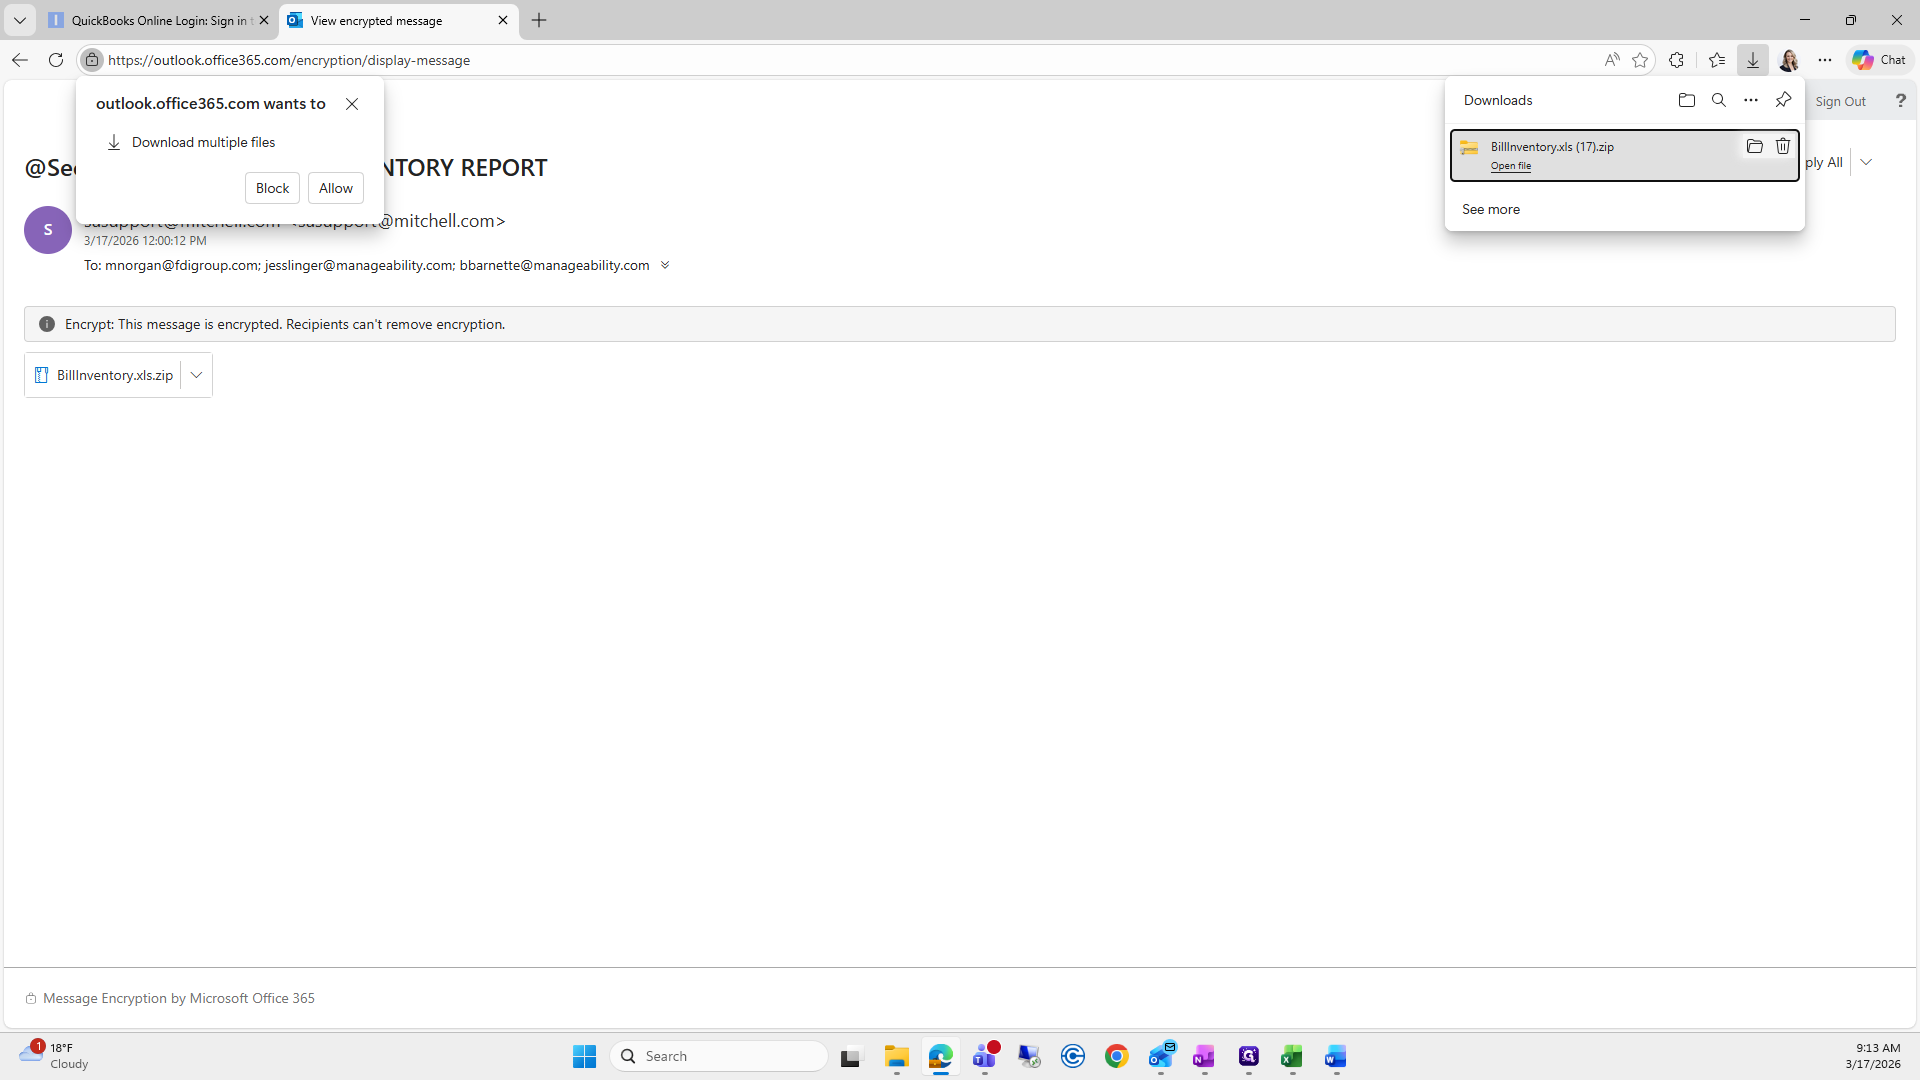
I open the file from the zip archive.

41
Drag here
Step #41: Drag here
42
Click here
Step #42: Click here
43
Double-click here
Step #43: Double-click here

I click Enable Editing, then save the file to the same folder.

44
Drag "◆ Home"
Step #44: Drag "◆ Home"
45
Click here
Step #45: Click here
46
Click on "Enable Editing"
Step #46: Click on "Enable Editing"
47
Click on "File"
Step #47: Click on "File"
48
Click on "Save As"
Step #48: Click on "Save As"
49
Double-click on "This PC"
Step #49: Double-click on "This PC"
50
Click on "This PC"
Step #50: Click on "This PC"

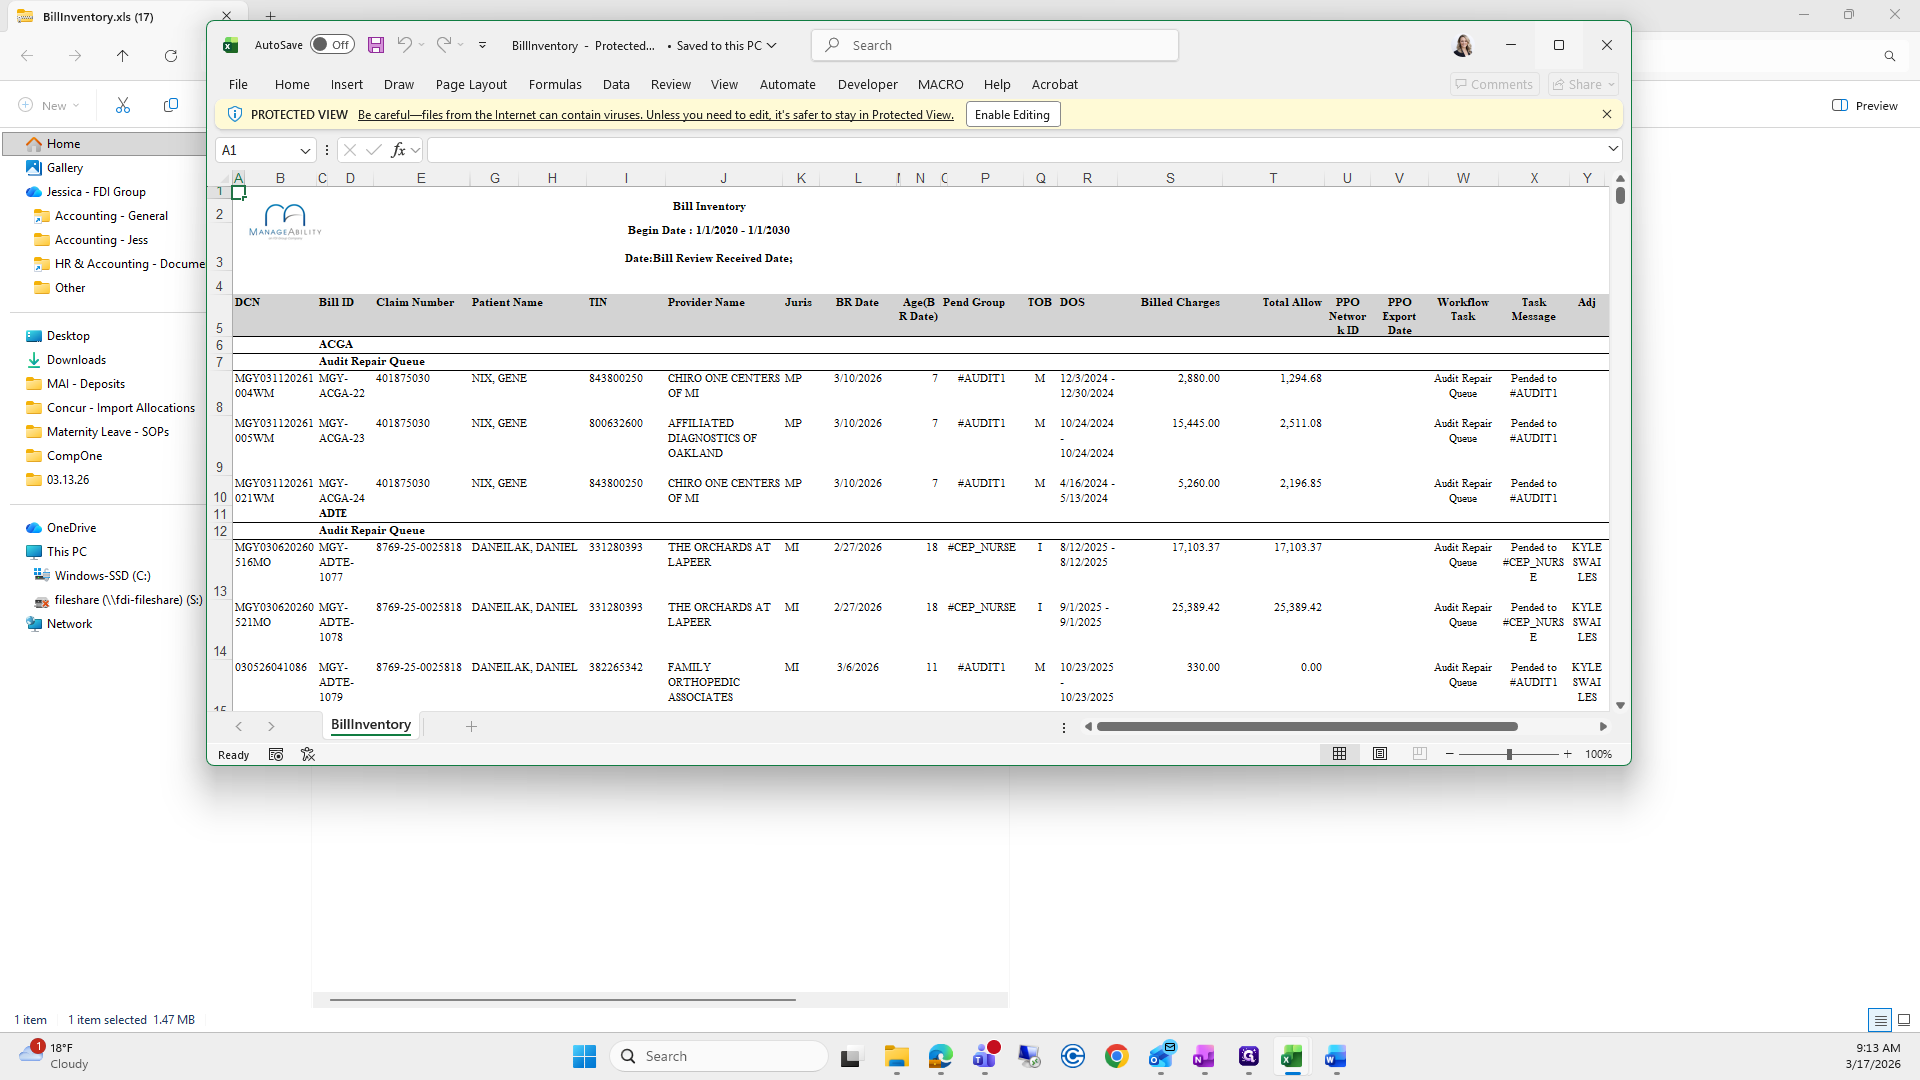
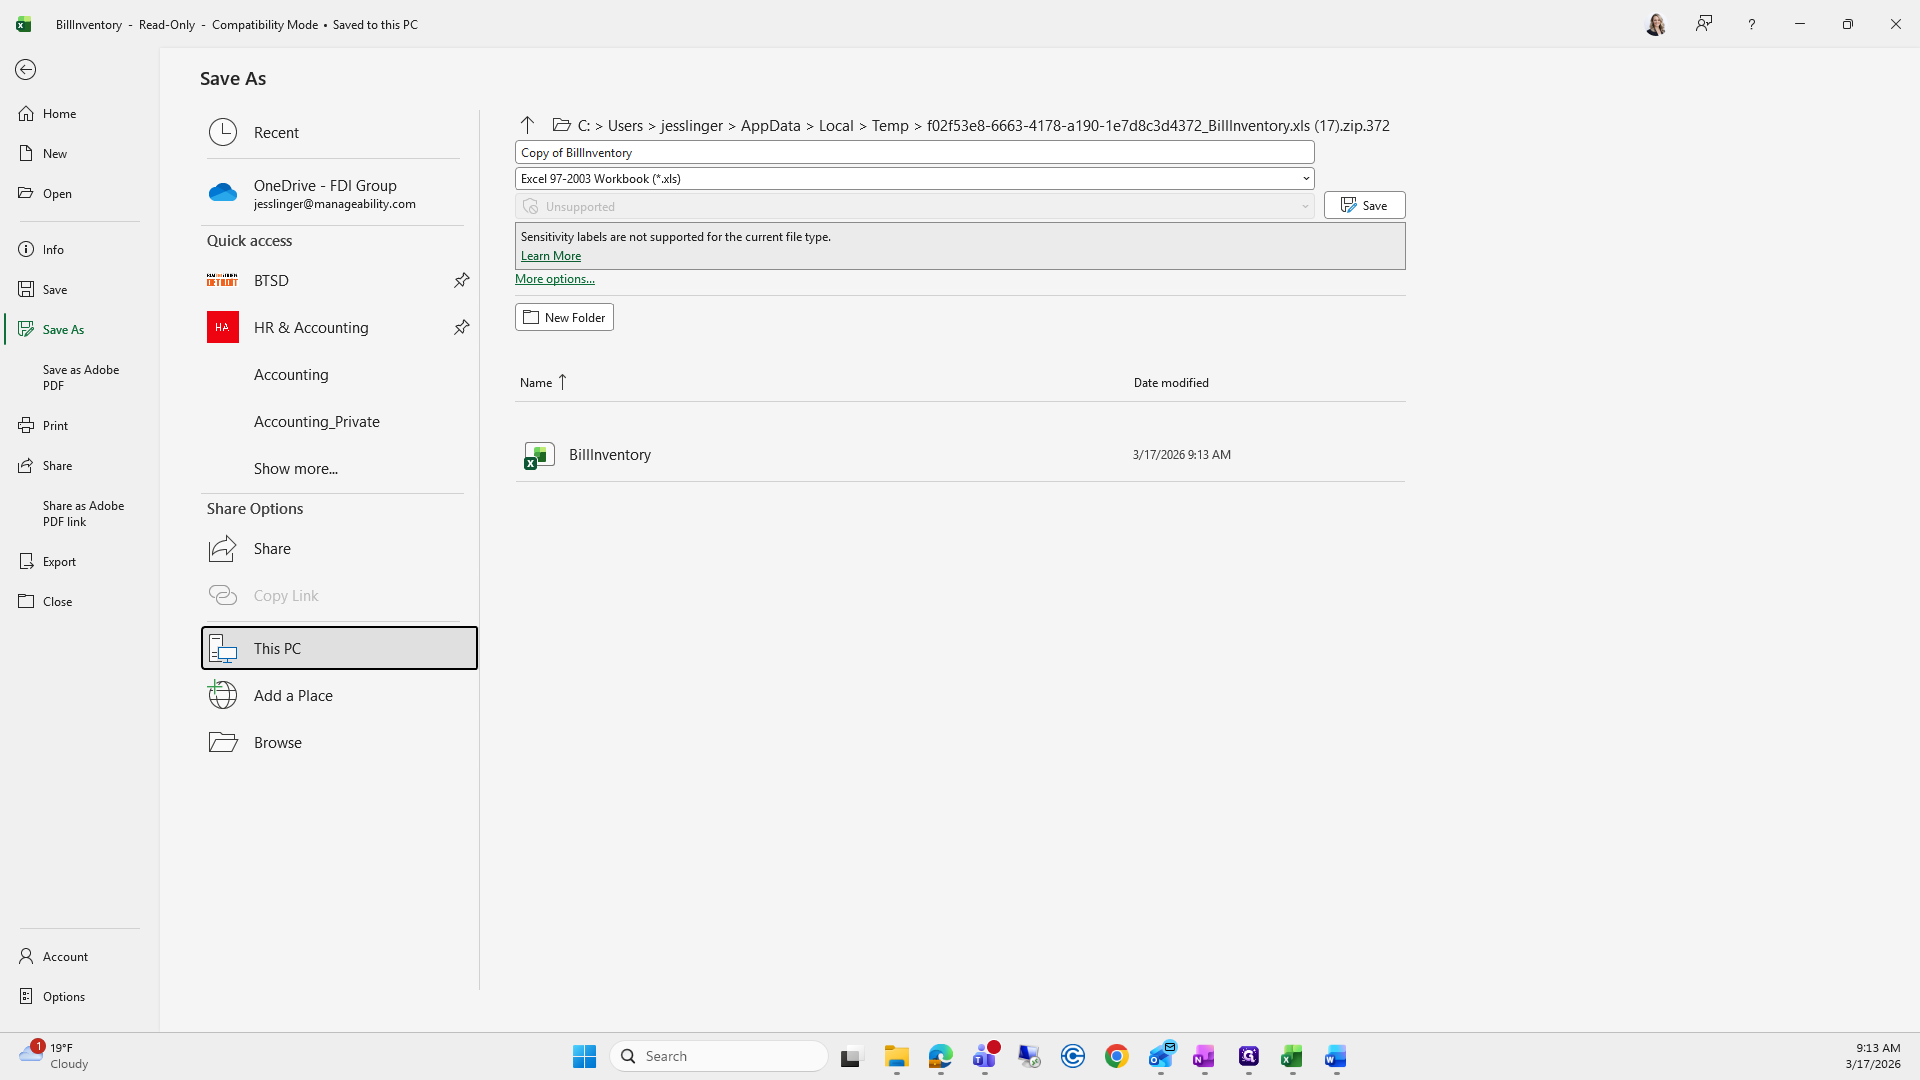
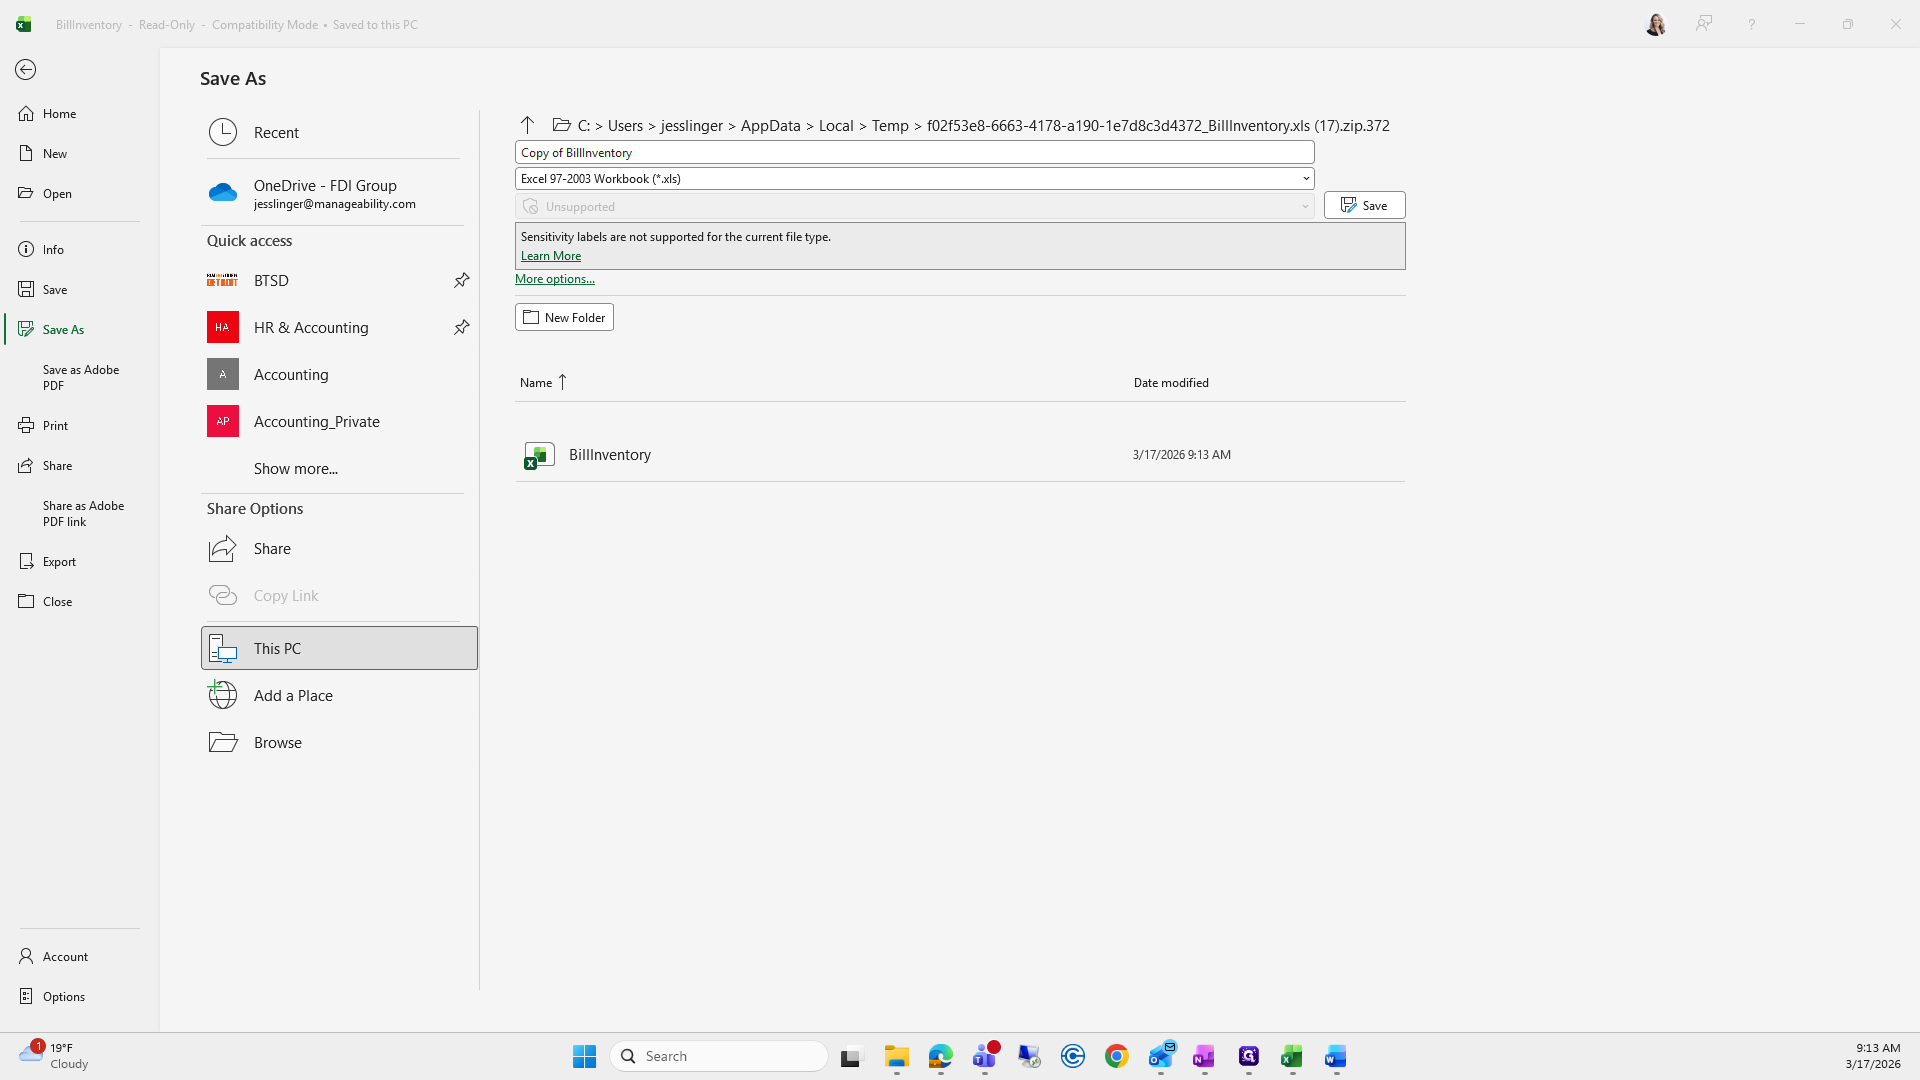
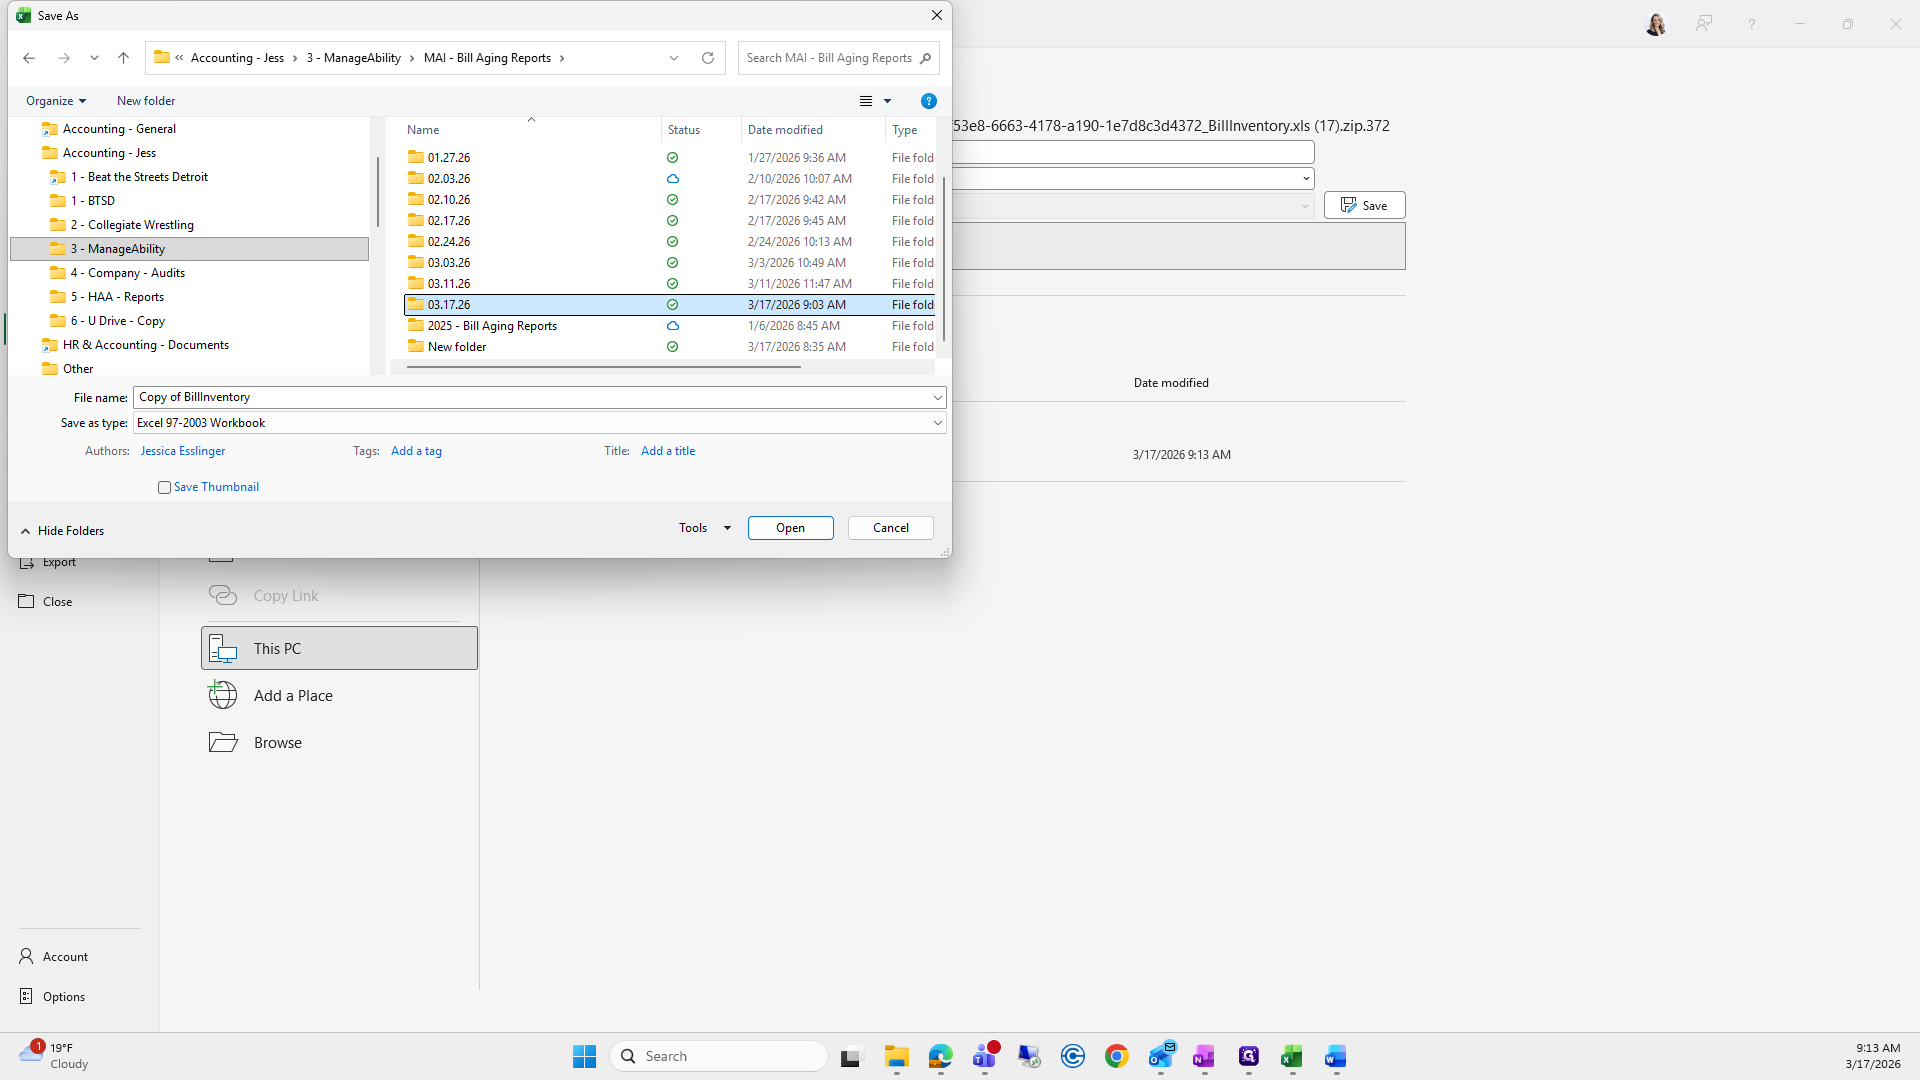
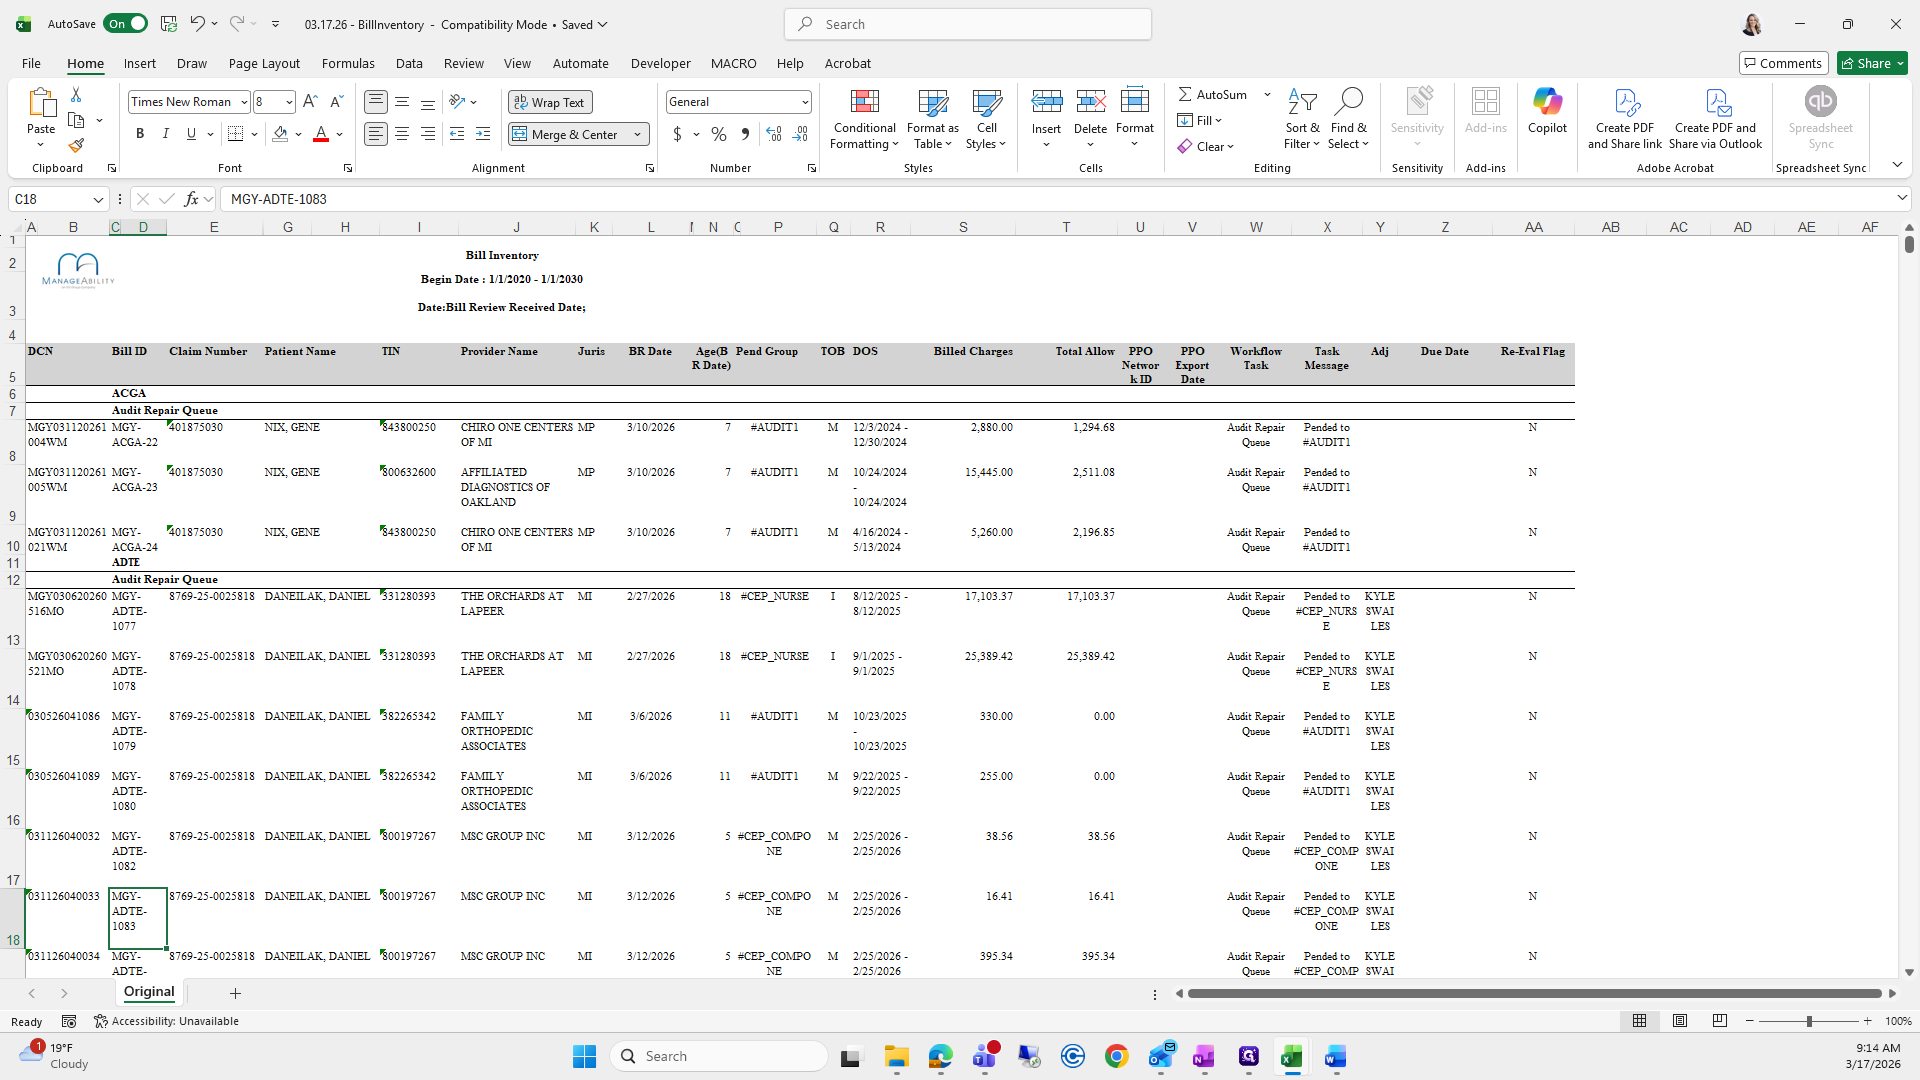
Go to Accounting, then Manageability, and open Bill Aging Reports 317. Save the report as an Excel workbook.

51
Double-click on "Accounting - Jess"
Step #51: Double-click on "Accounting - Jess"
52
Double-click on "3 - ManageAbility"
Step #52: Double-click on "3 - ManageAbility"
53
Double-click here
Step #53: Double-click here
54
Double-click on "03.17.26"
Step #54: Double-click on "03.17.26"
55
Click on "Copy of Billinventory"
Step #55: Click on "Copy of Billinventory"
56
Click on "Excel 97-2003 Workbook"
Step #56: Click on "Excel 97-2003 Workbook"
57
Click on "Excel Workbook"
Step #57: Click on "Excel Workbook"
58
Click on "Copy of Billlnventory"
Step #58: Click on "Copy of Billlnventory"
59
Drag "Copy of"
Step #59: Drag "Copy of"

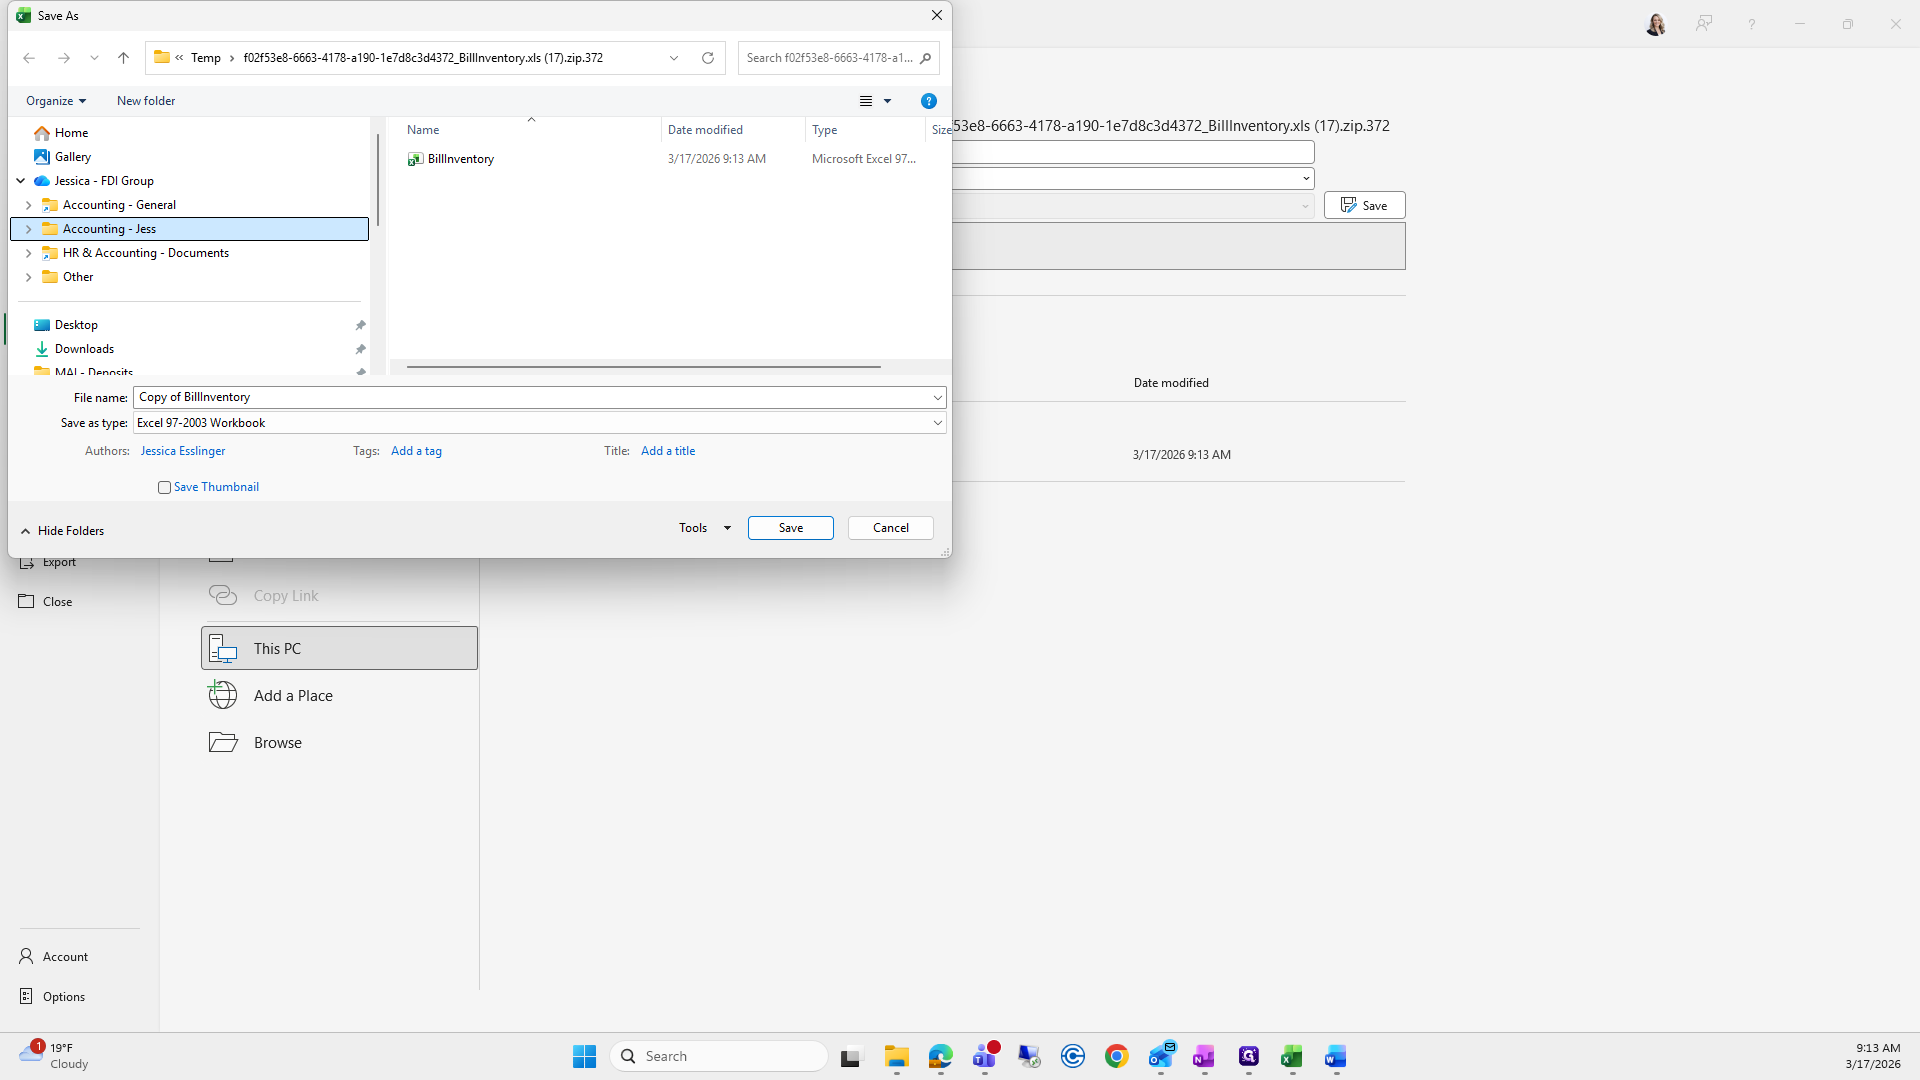
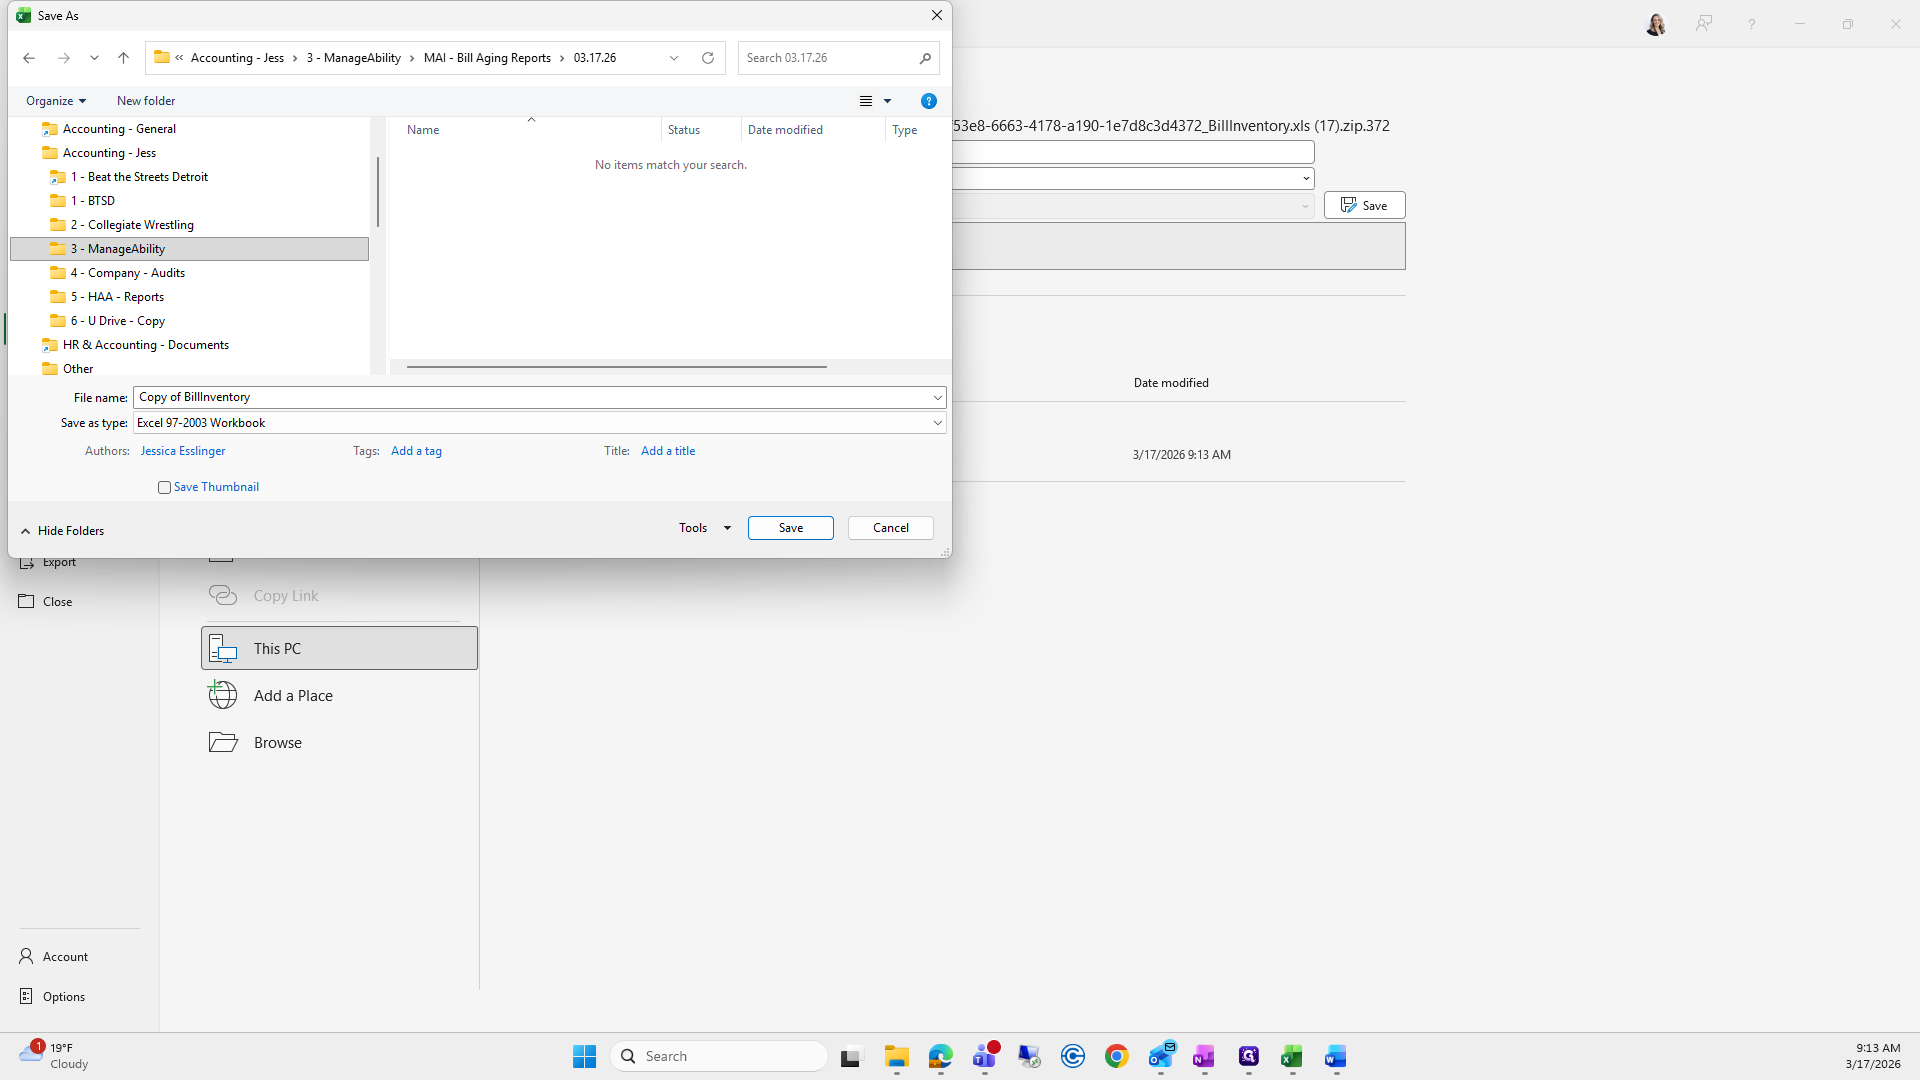
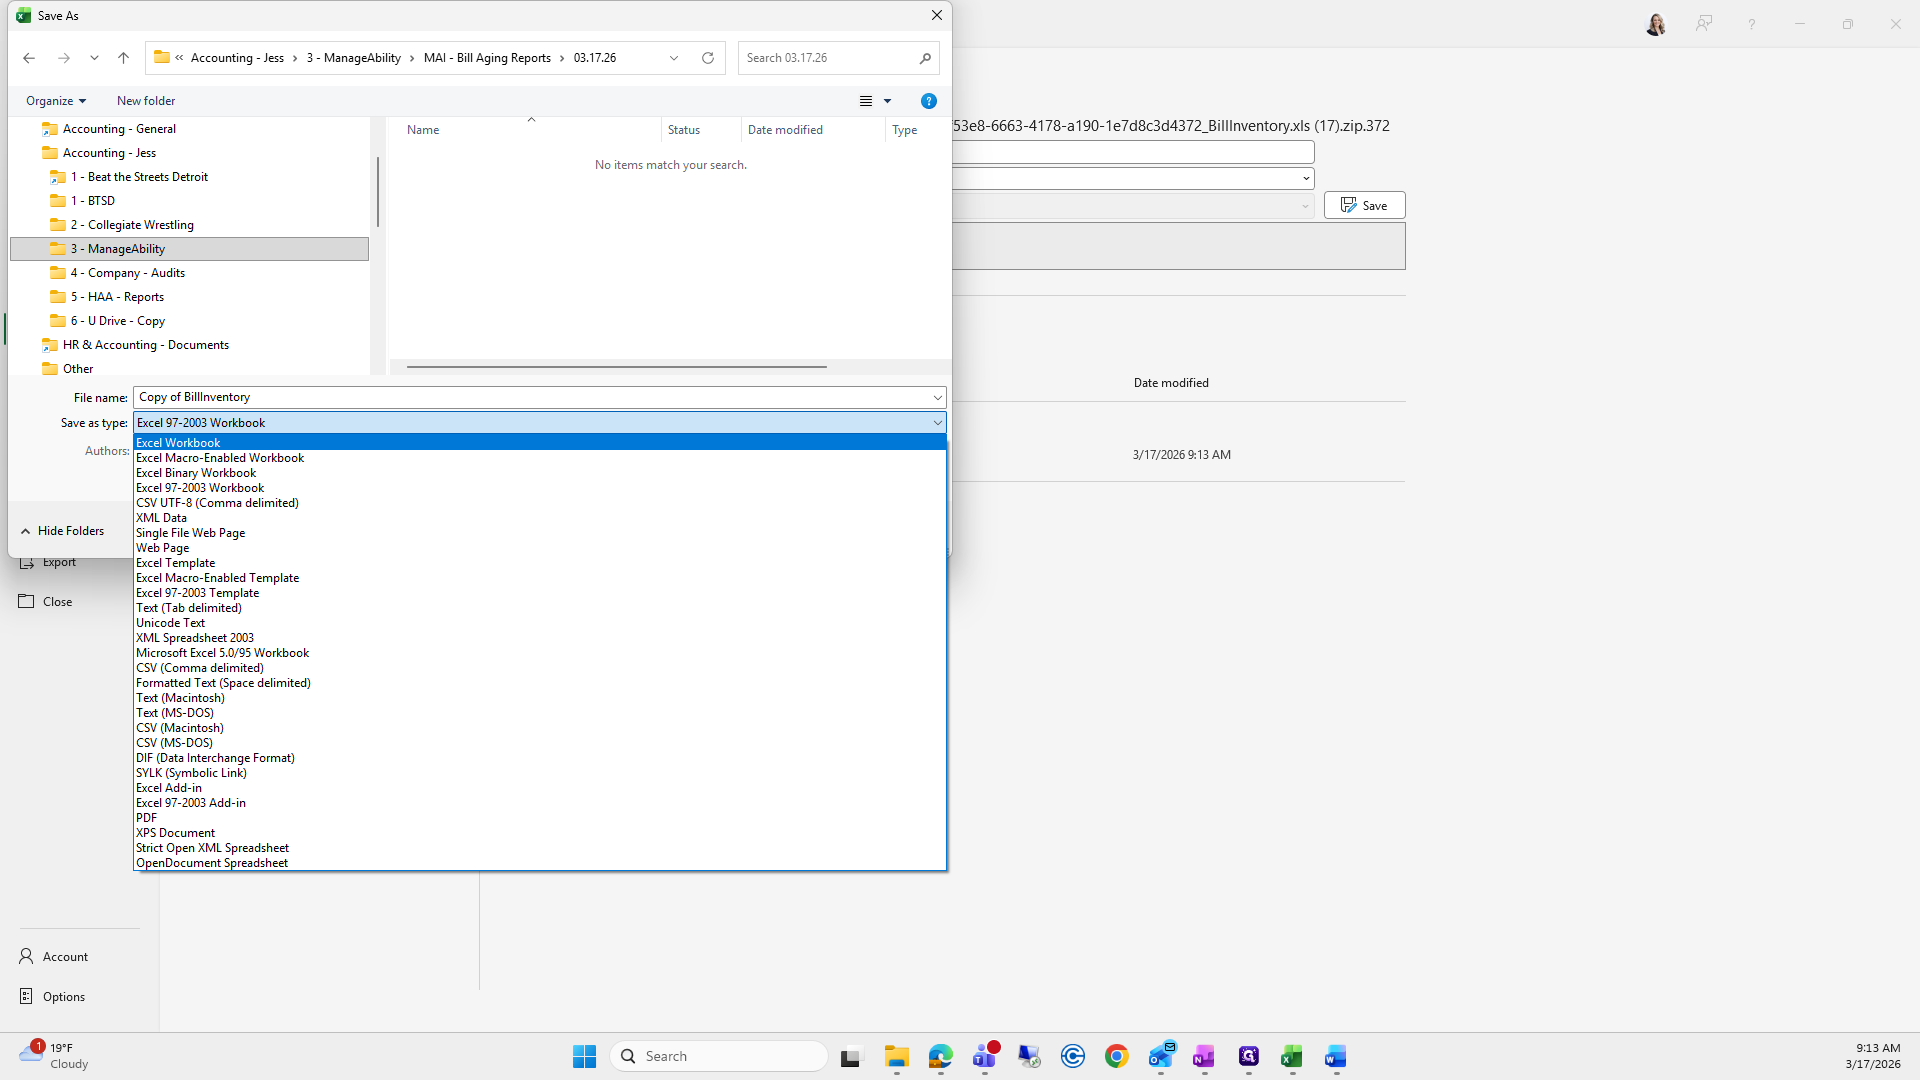
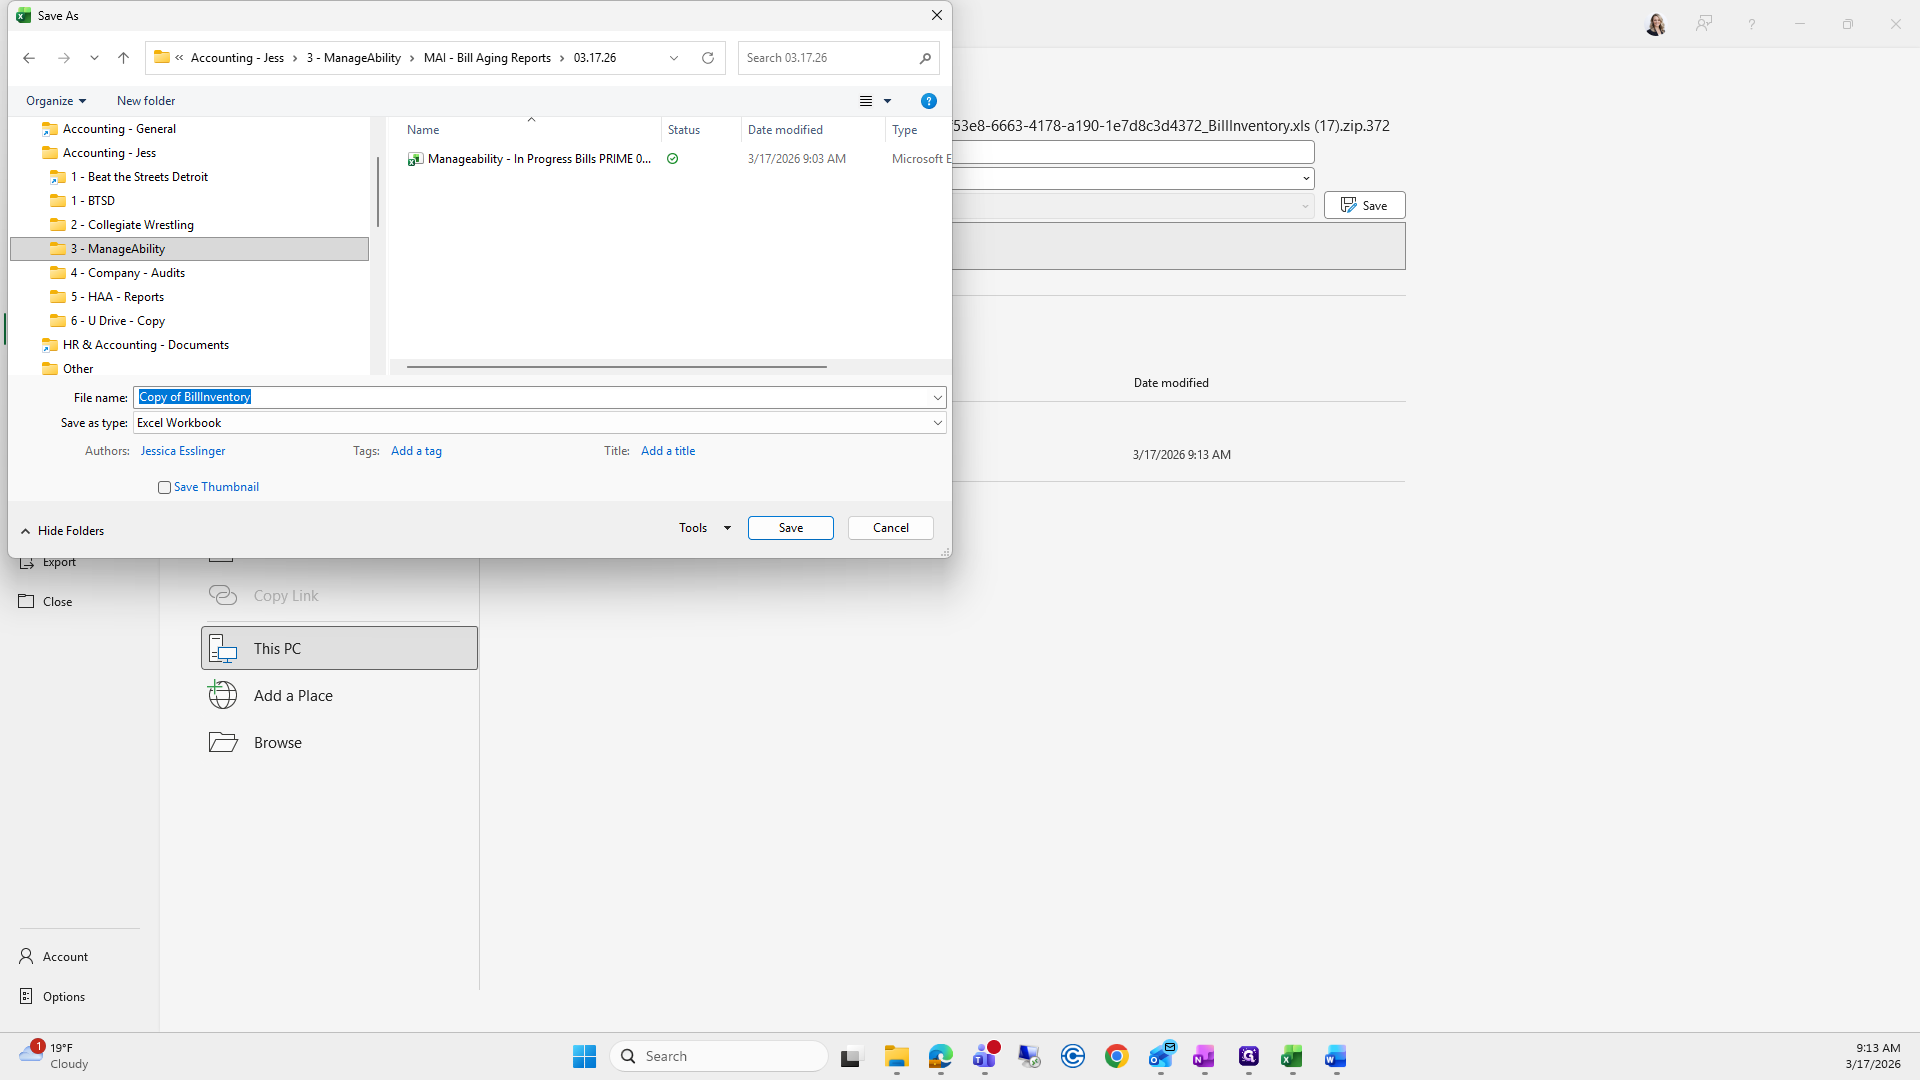
All I do is enter the date and save.

60
Type "03.17.26 - + Enter"

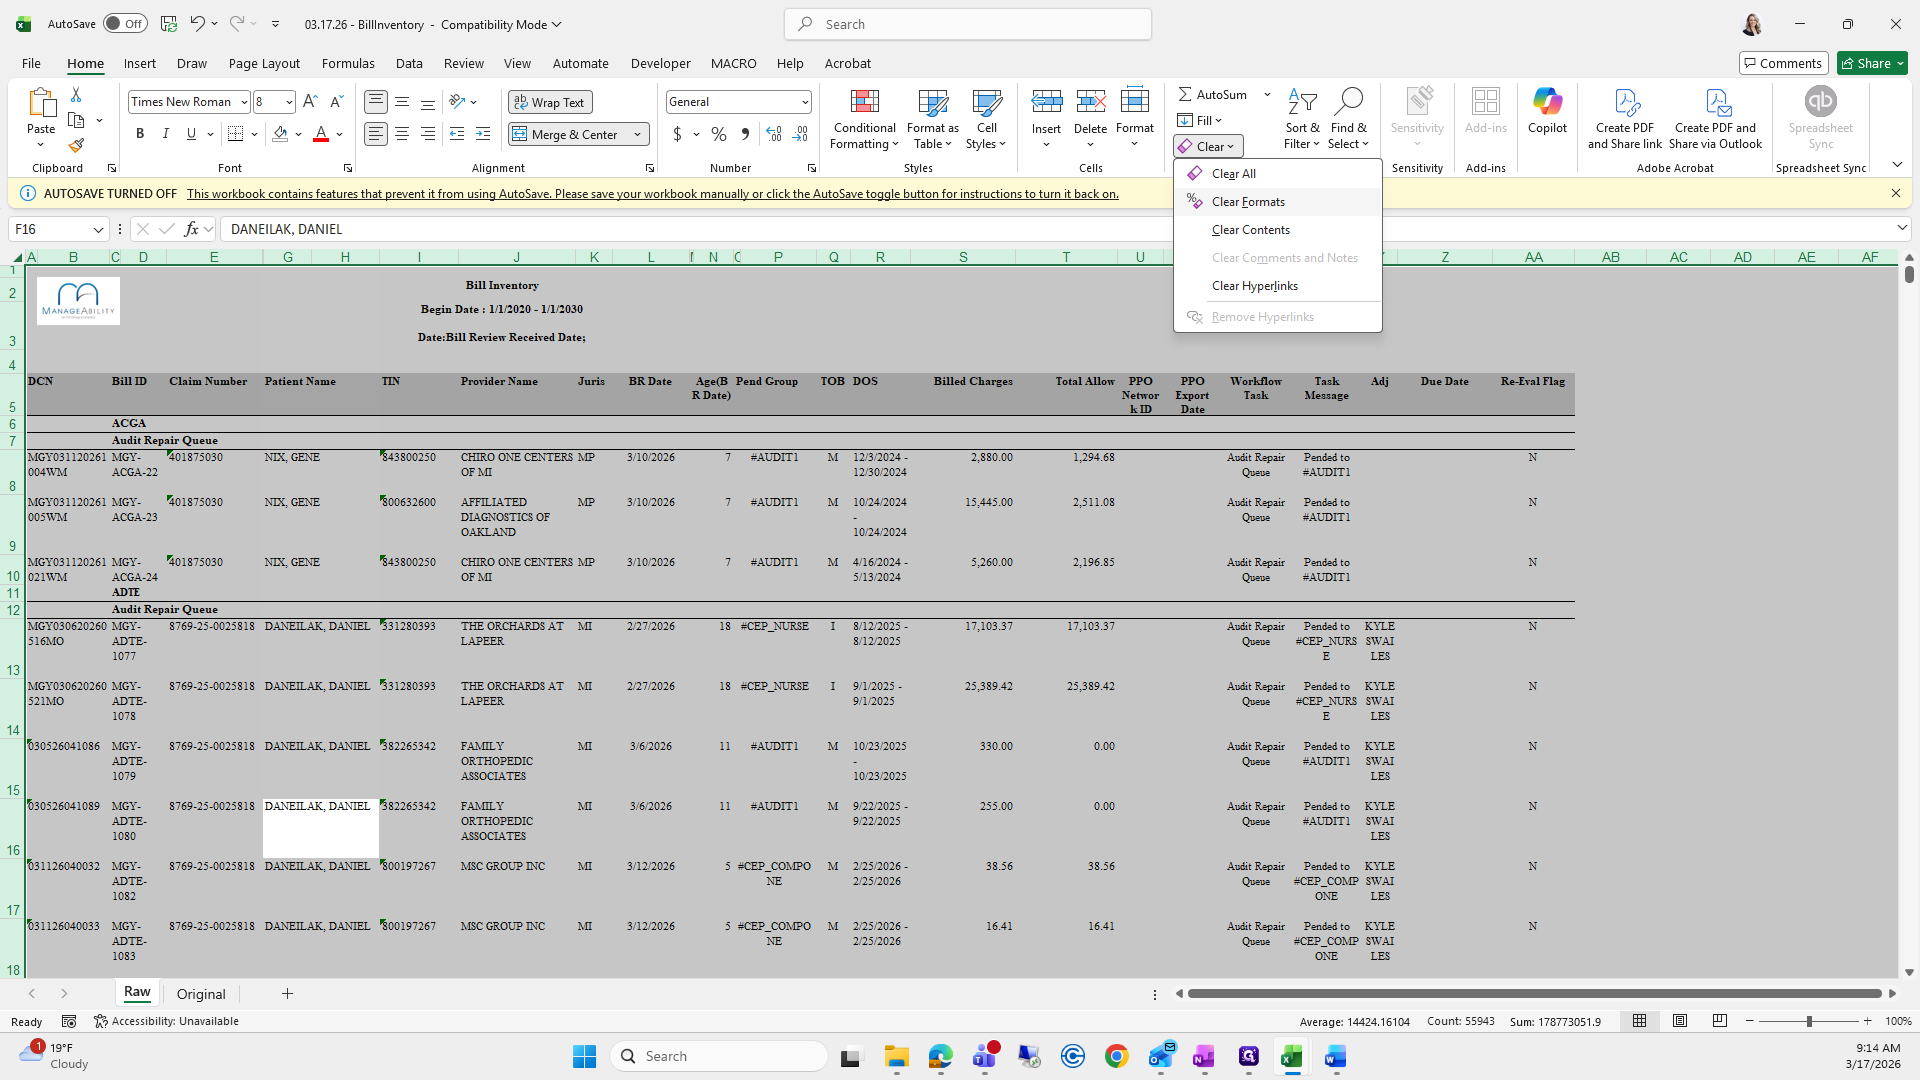
From here at the bottom, I'll make this the original.

61
Double-click on "BillInventory"
Step #61: Double-click on "BillInventory"
62
Type "Original"
63
Right-click on "Original"
Step #63: Right-click on "Original"
64
Click on "Move or Copy"
Step #64: Click on "Move or Copy"

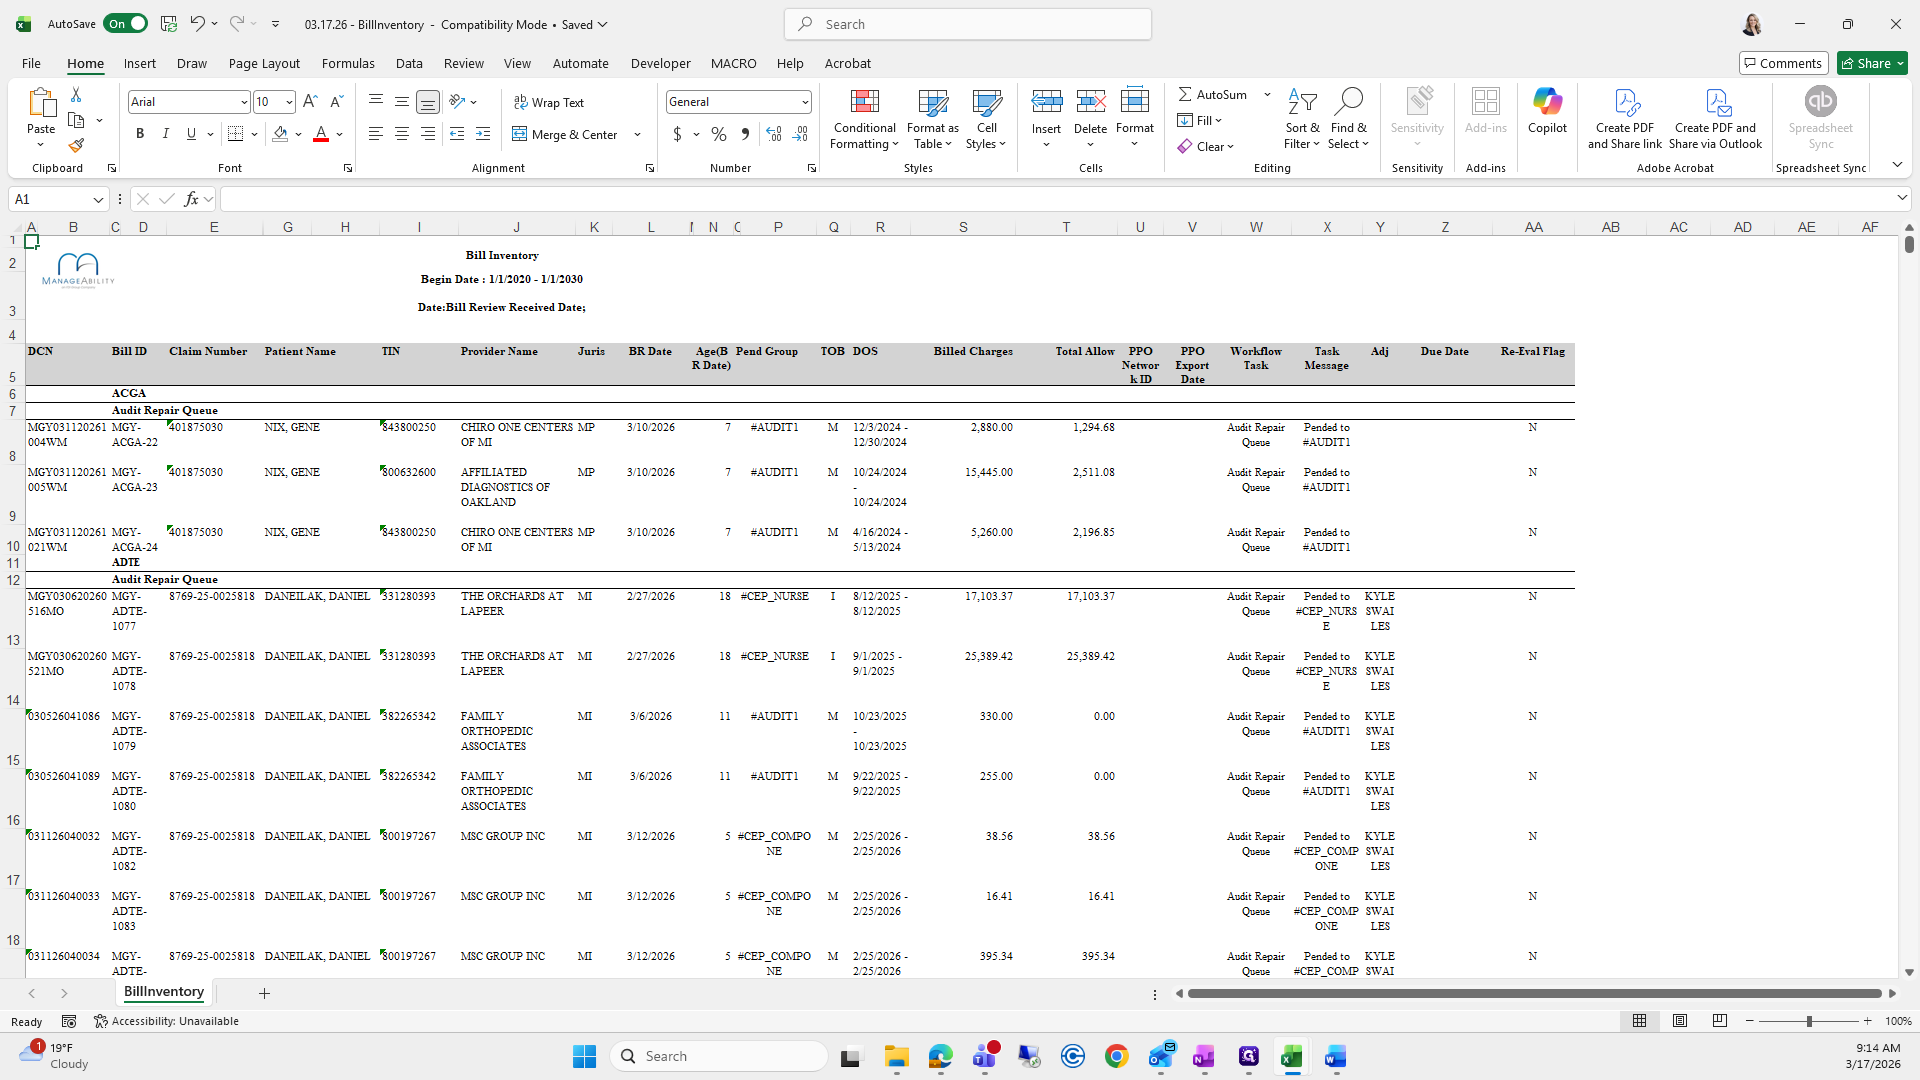
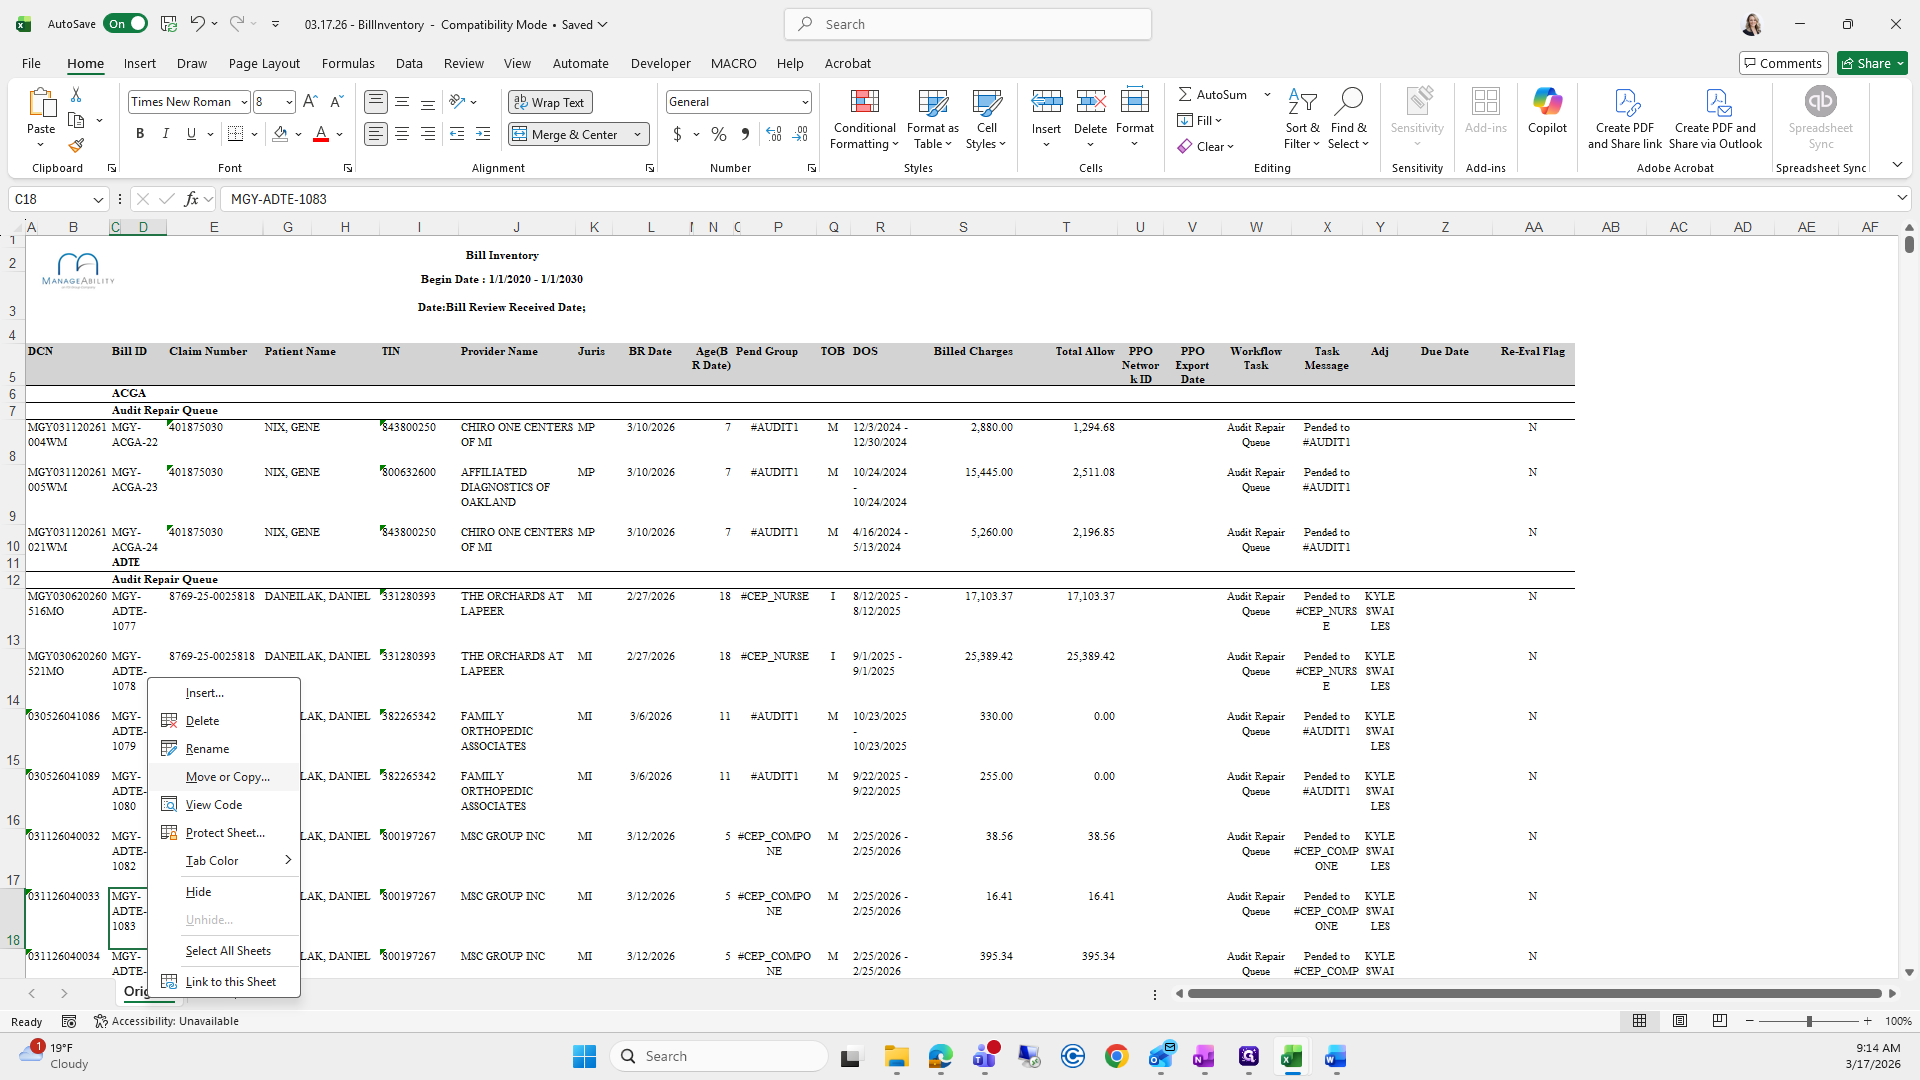
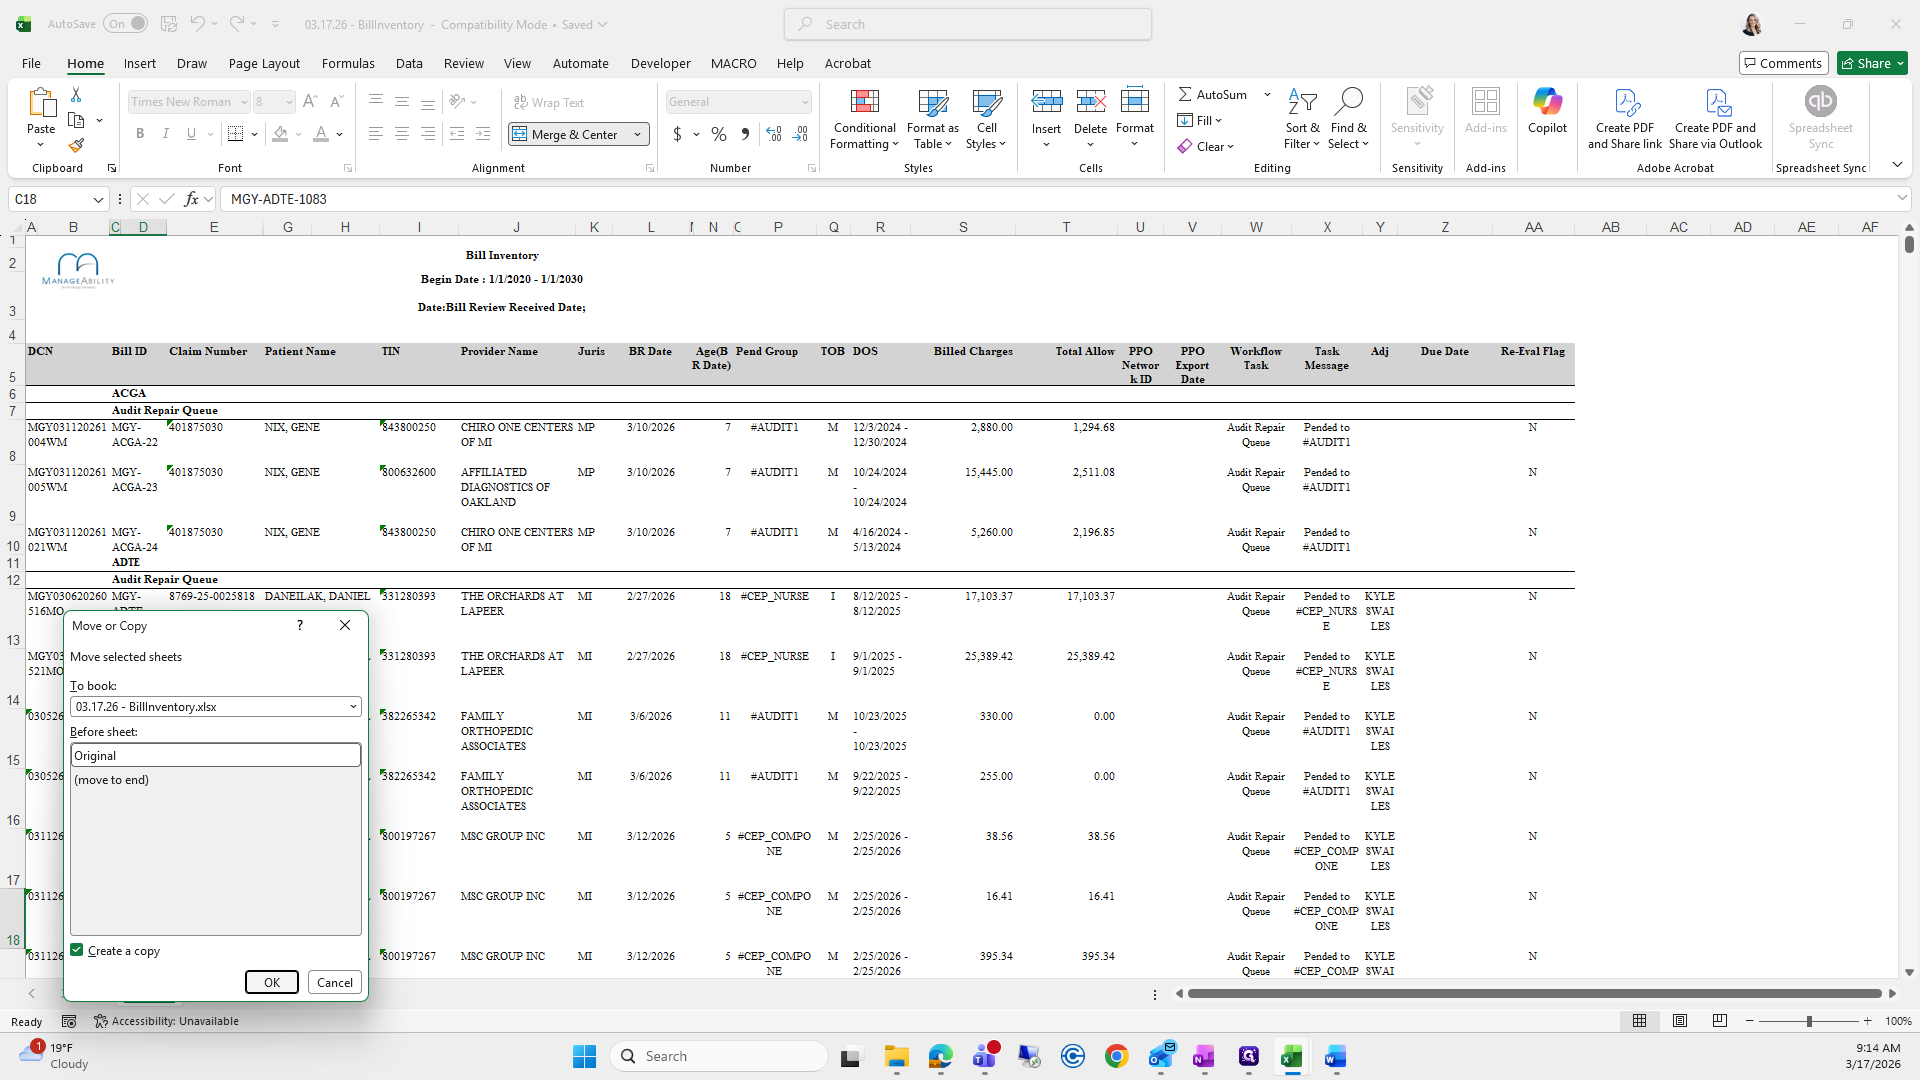
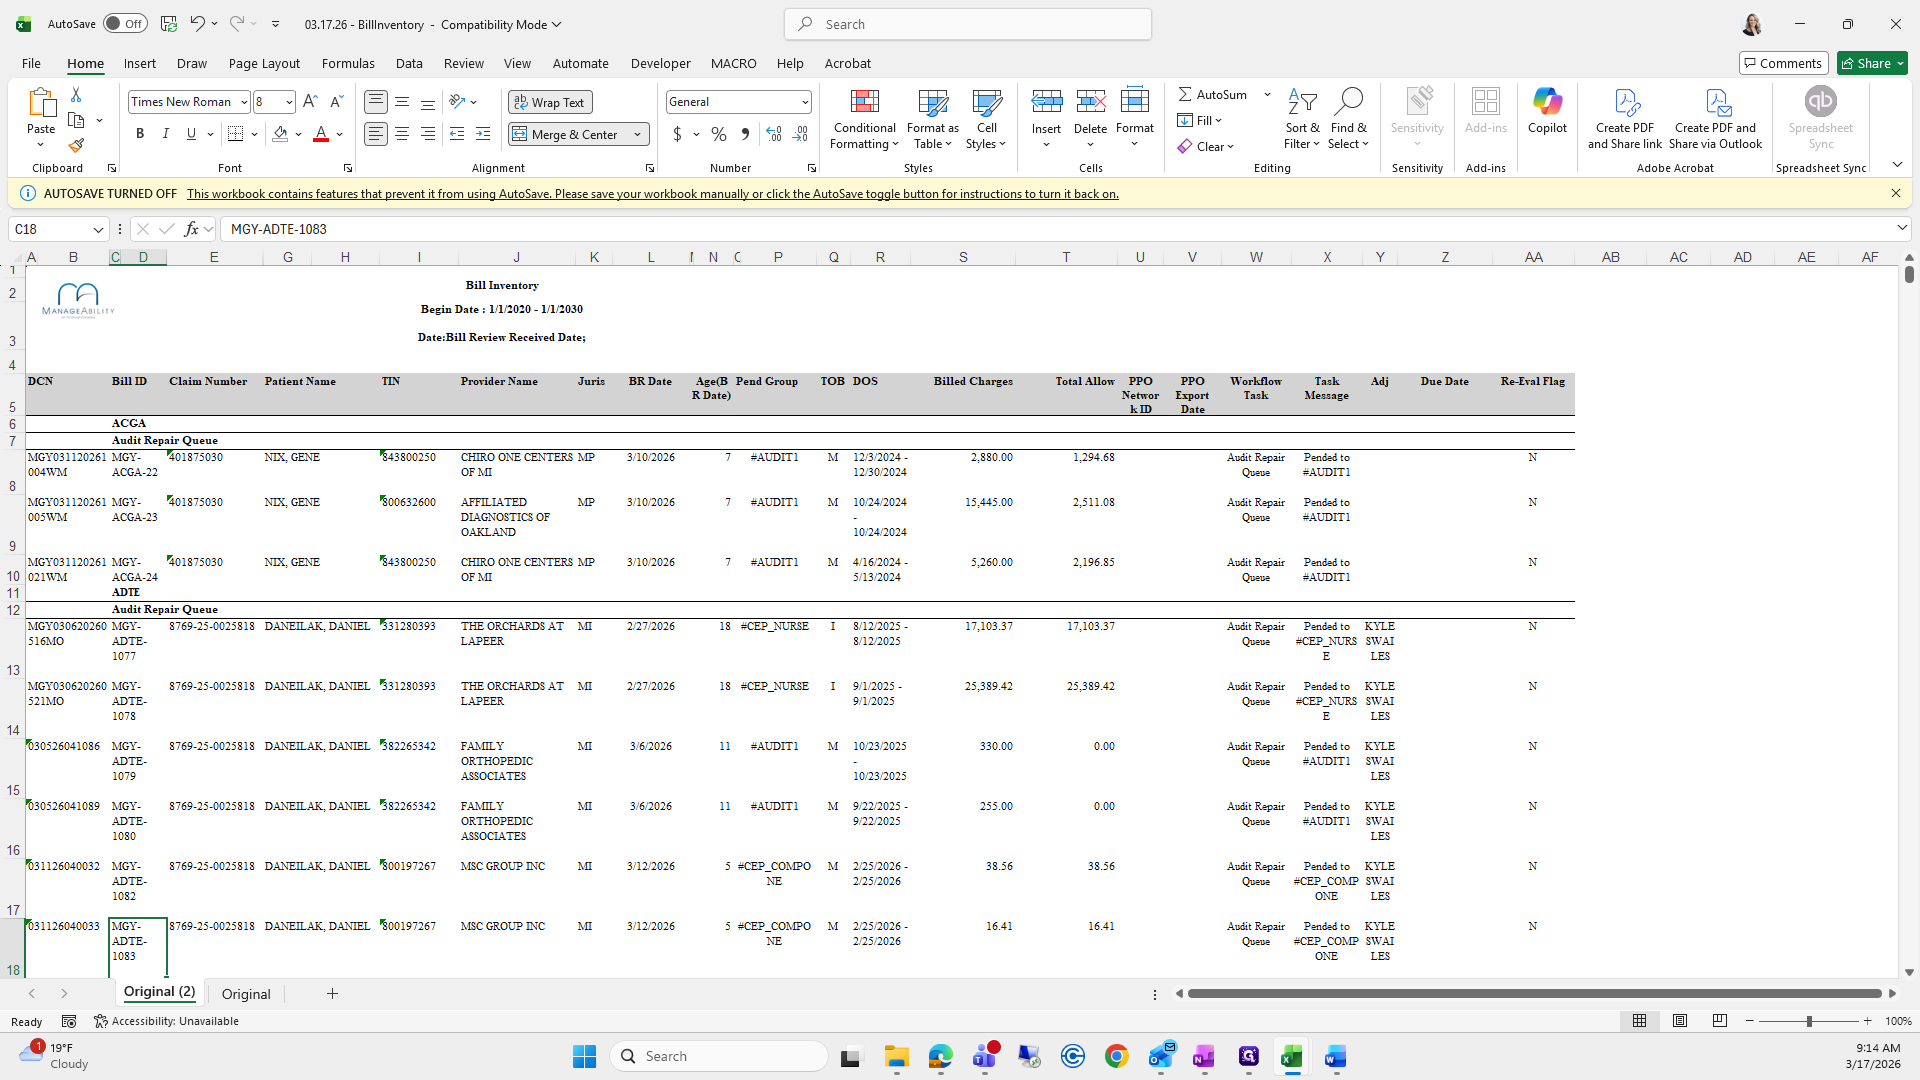
I'll copy the original, label it as raw data, and then select all.

65
Double-click on "OK"
Step #65: Double-click on "OK"
66
Double-click on "Original"
Step #66: Double-click on "Original"
67
Type "Raw"
68
Click on "8769-25-0025818 DANEILAK"
Step #68: Click on "8769-25-0025818 DANEILAK"
69
Type "Ctrl + A"
70
Type "Ctrl + A"

I will clear all the formats and then view it with the grid lines, as I prefer.

71
Click on "Clear"
Step #71: Click on "Clear"
72
Click on "Formats"
Step #72: Click on "Formats"
73
Click on "Data"
Step #73: Click on "Data"
74
Click on "View"
Step #74: Click on "View"
75
Click on "Gridlines"
Step #75: Click on "Gridlines"
76
Click on "Begin"
Step #76: Click on "Begin"

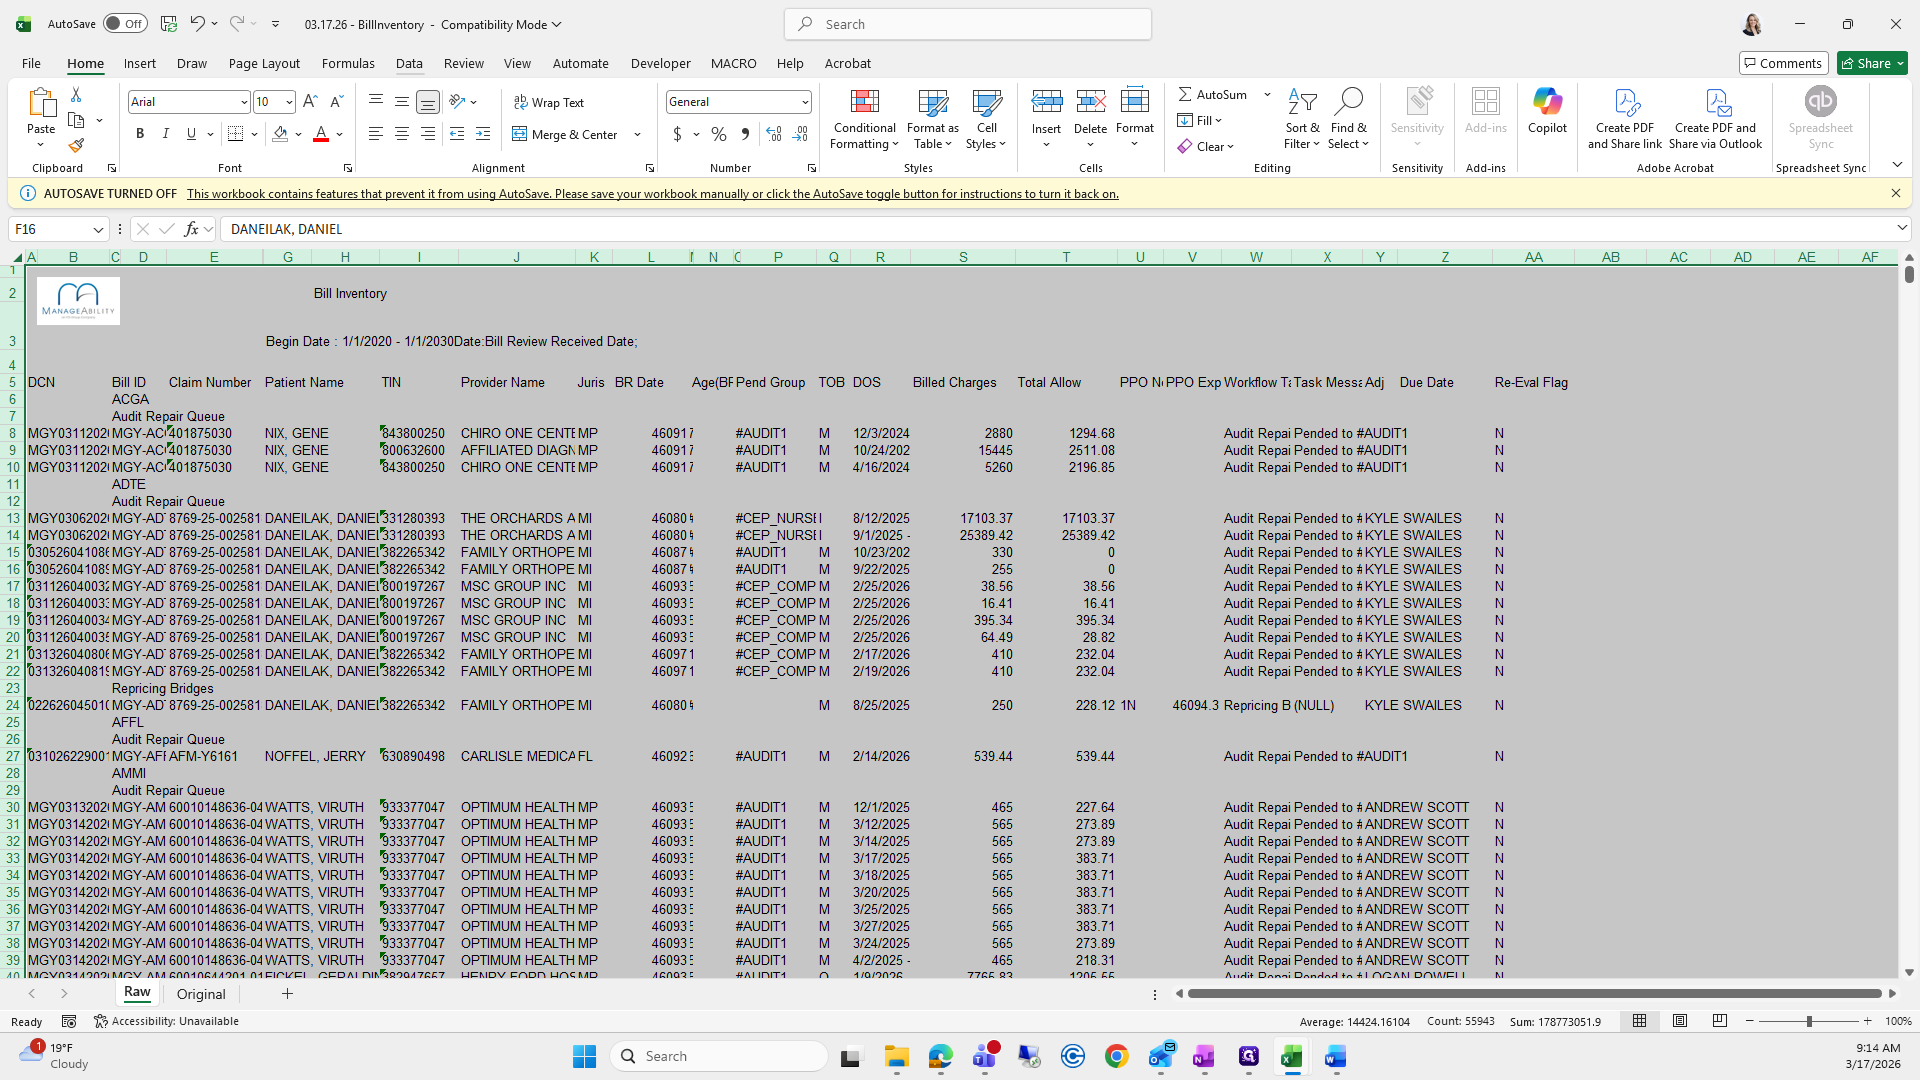
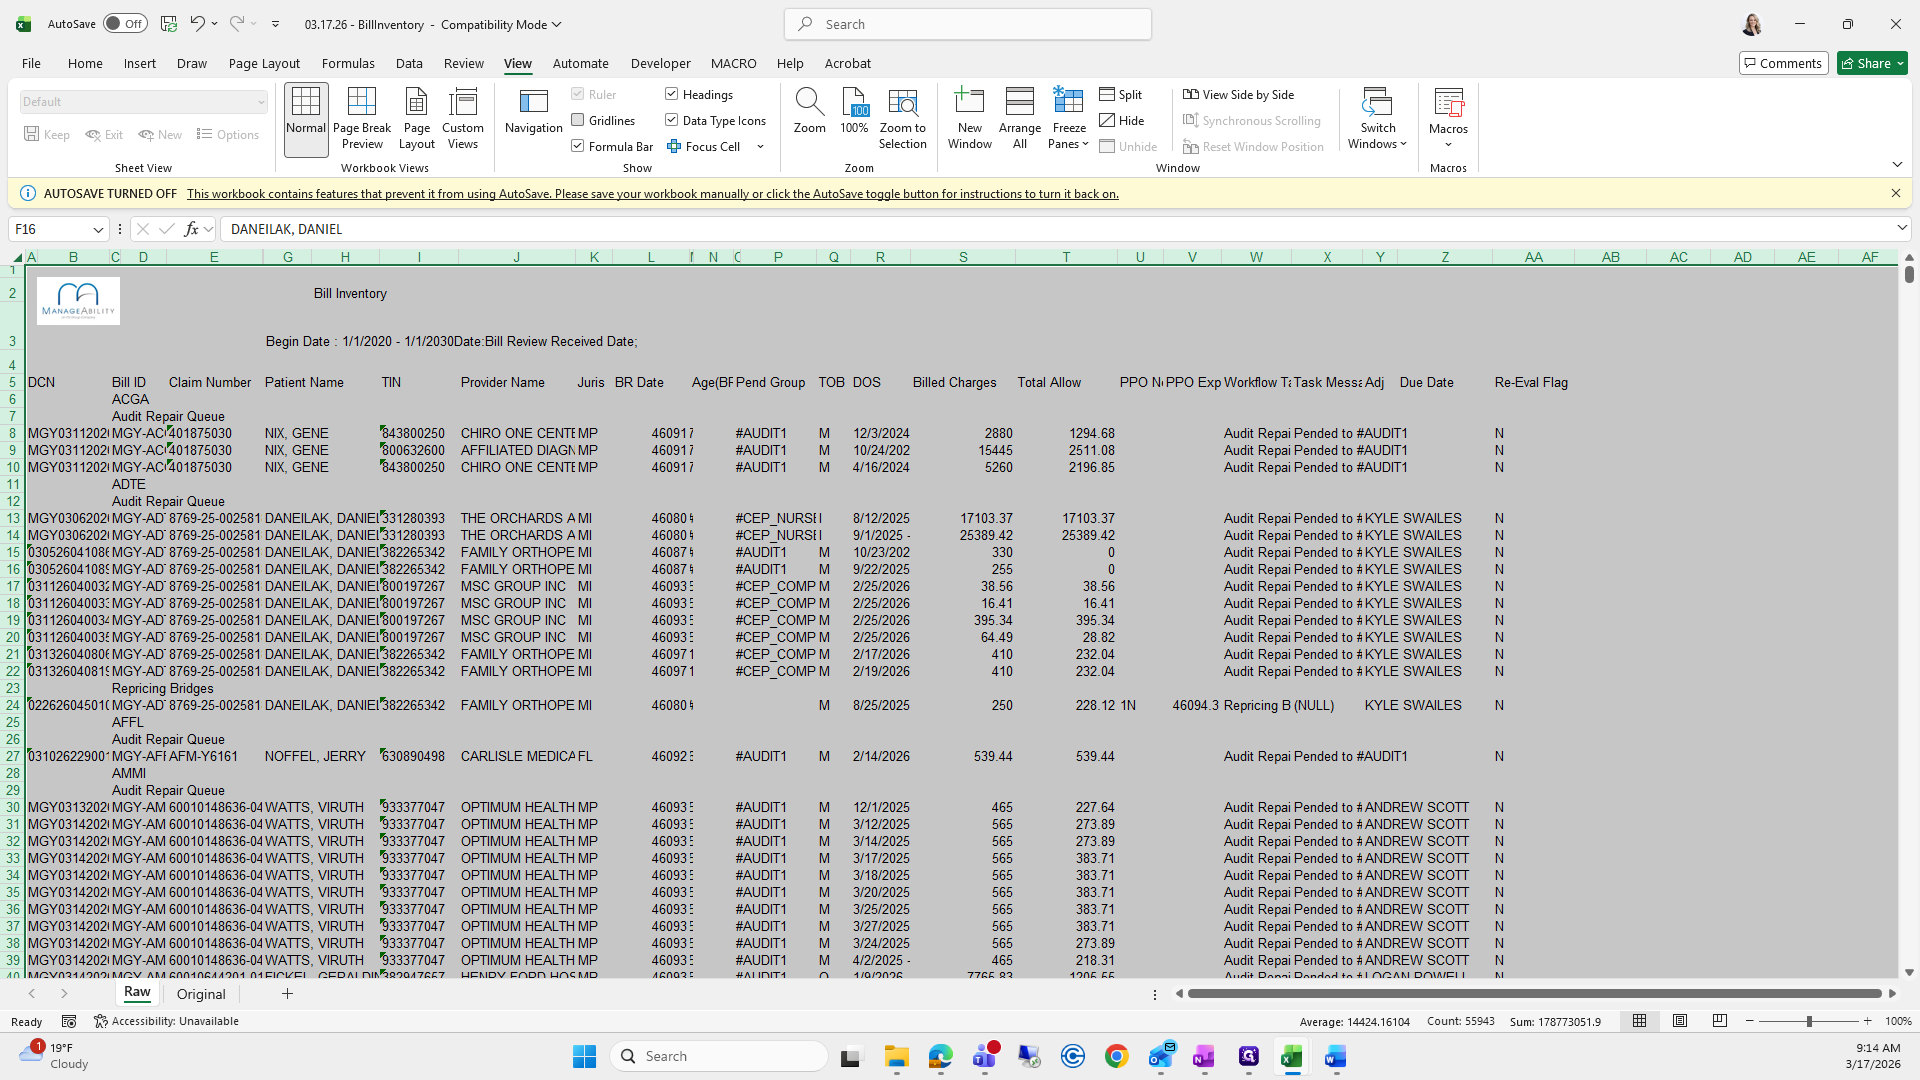
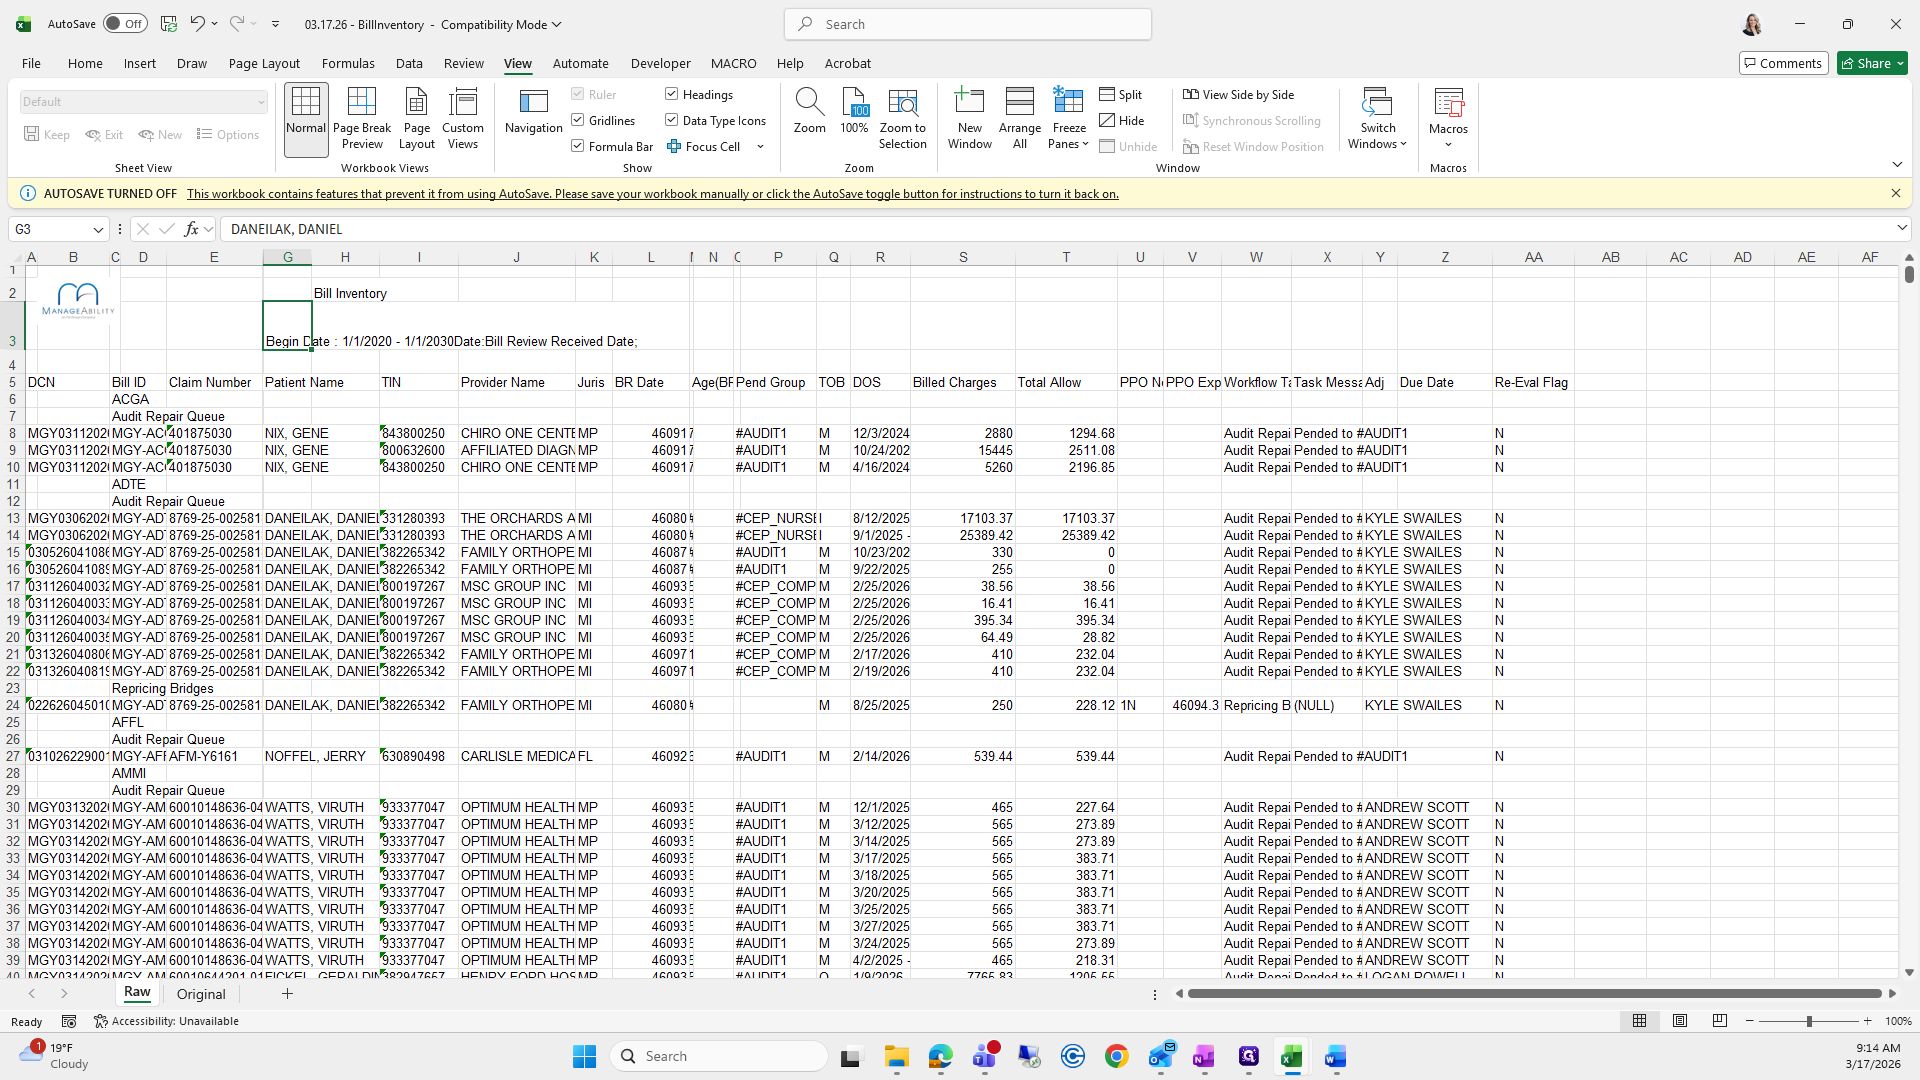
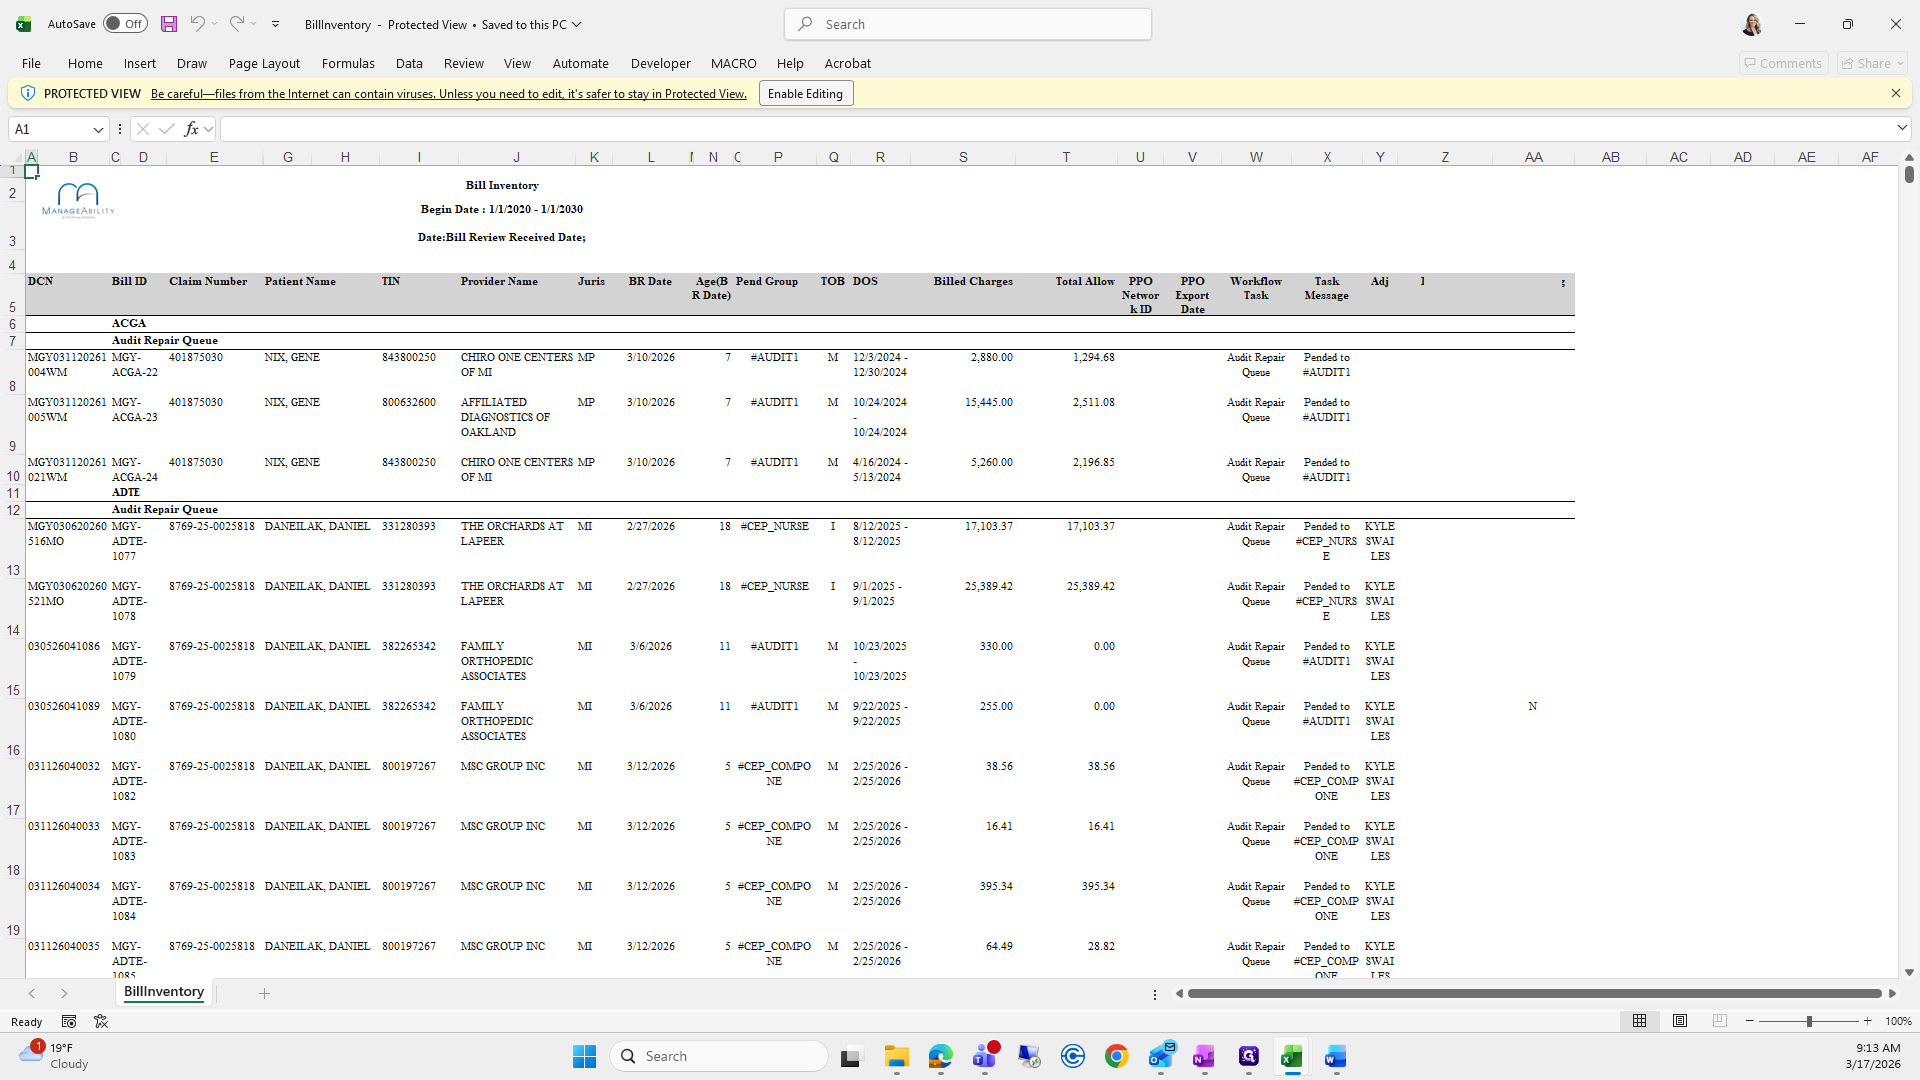
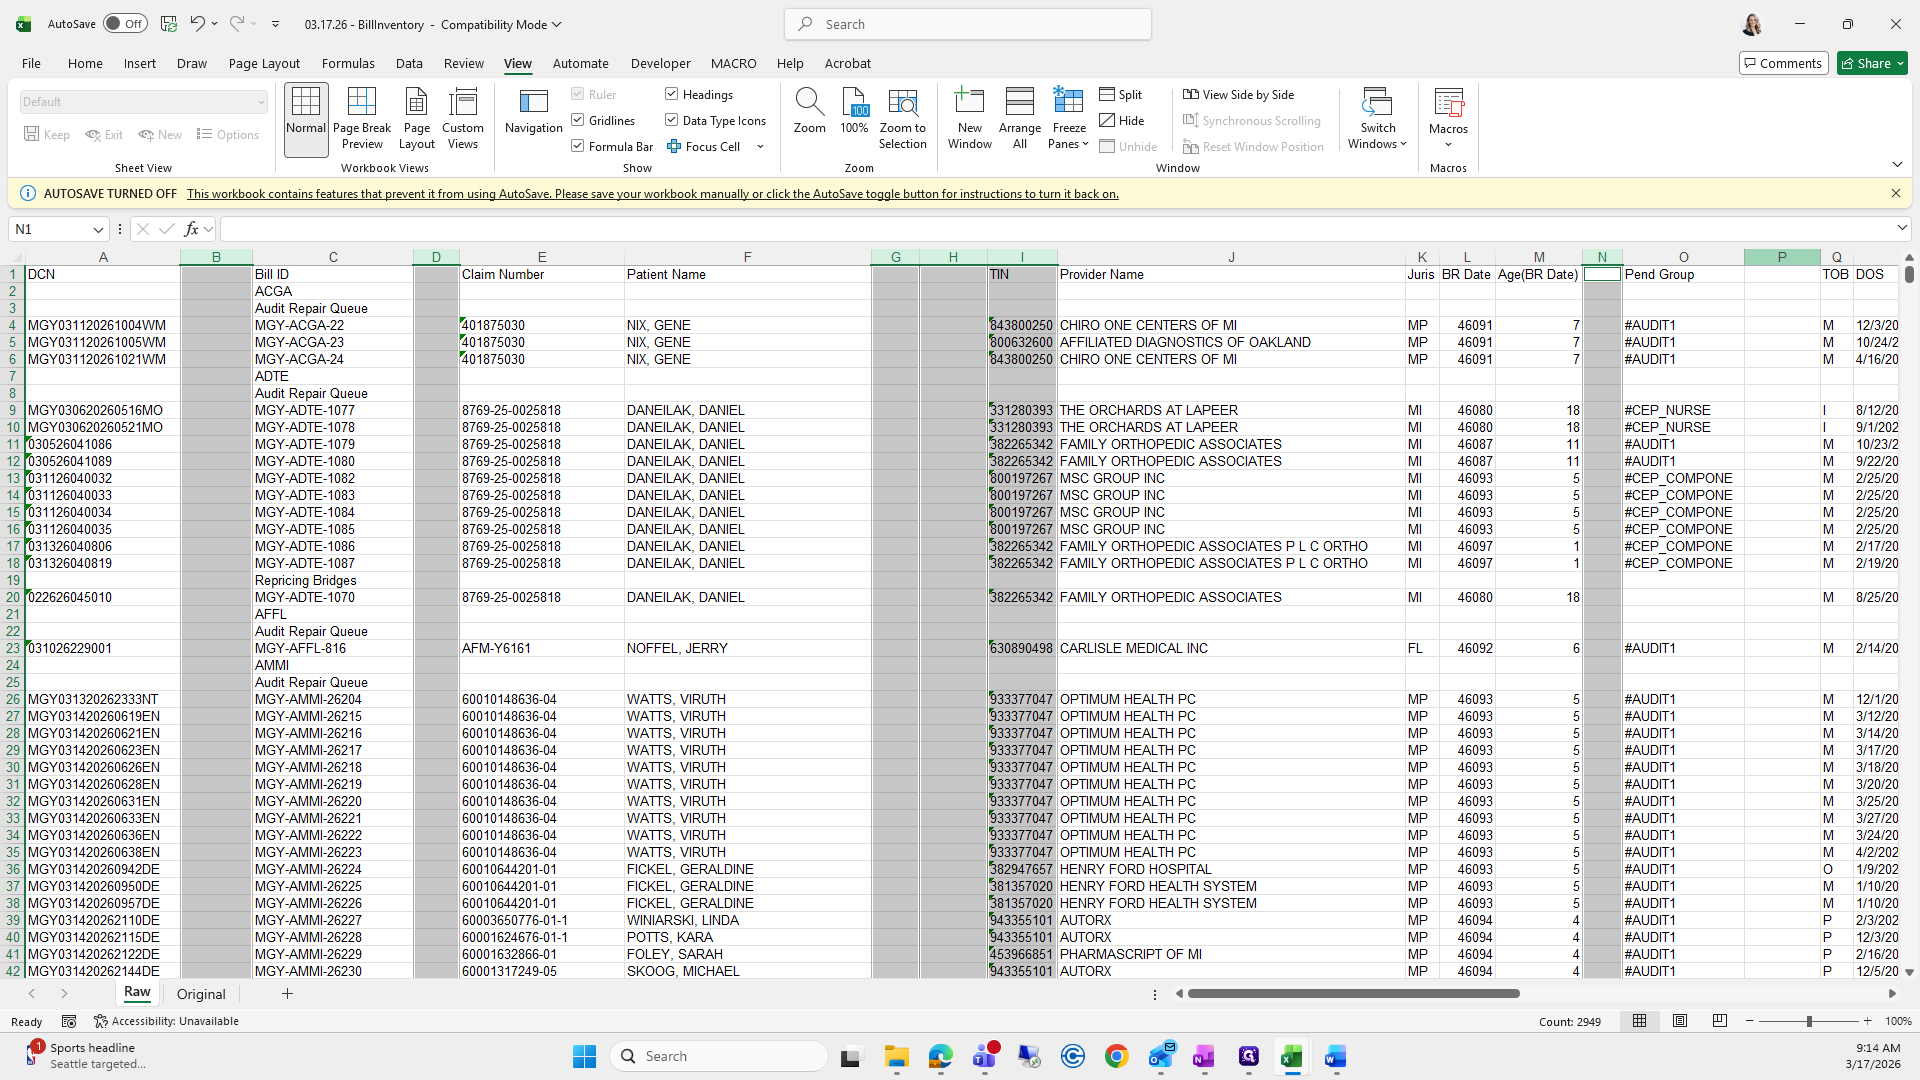
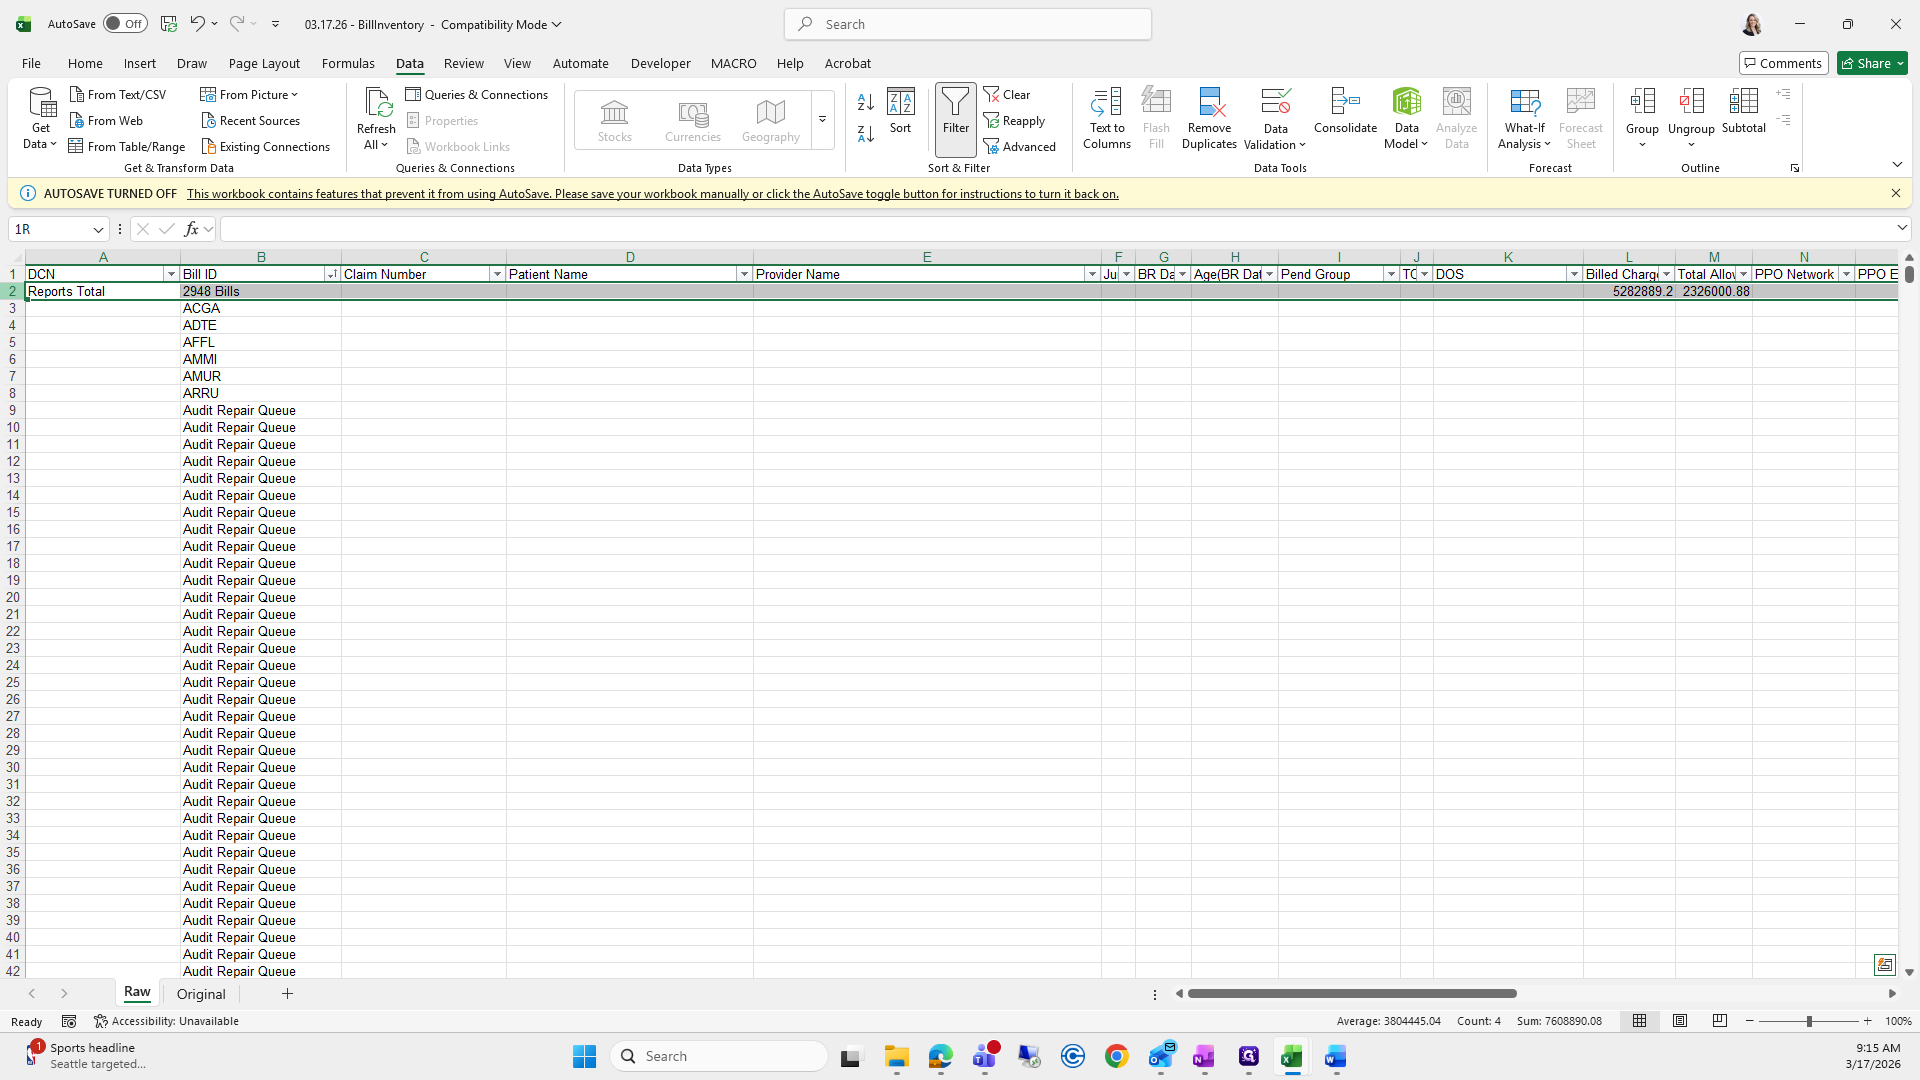
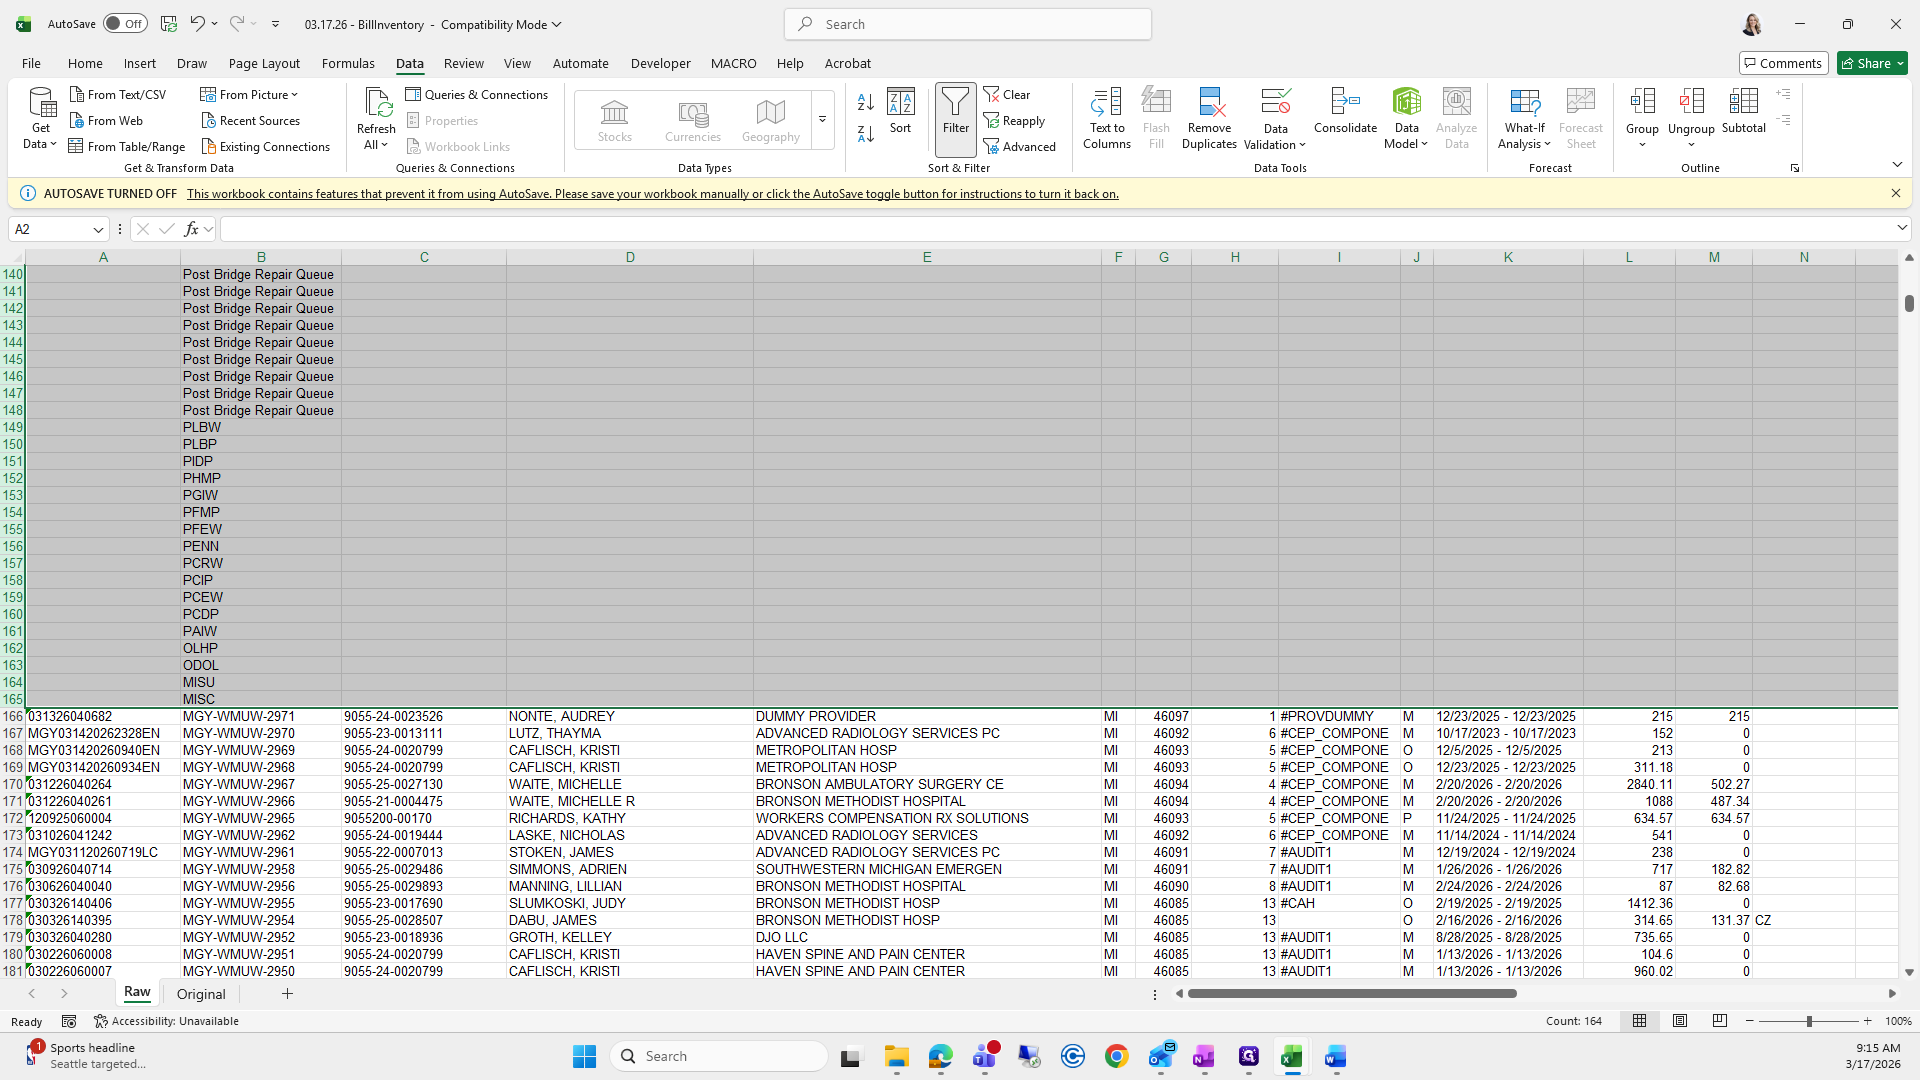
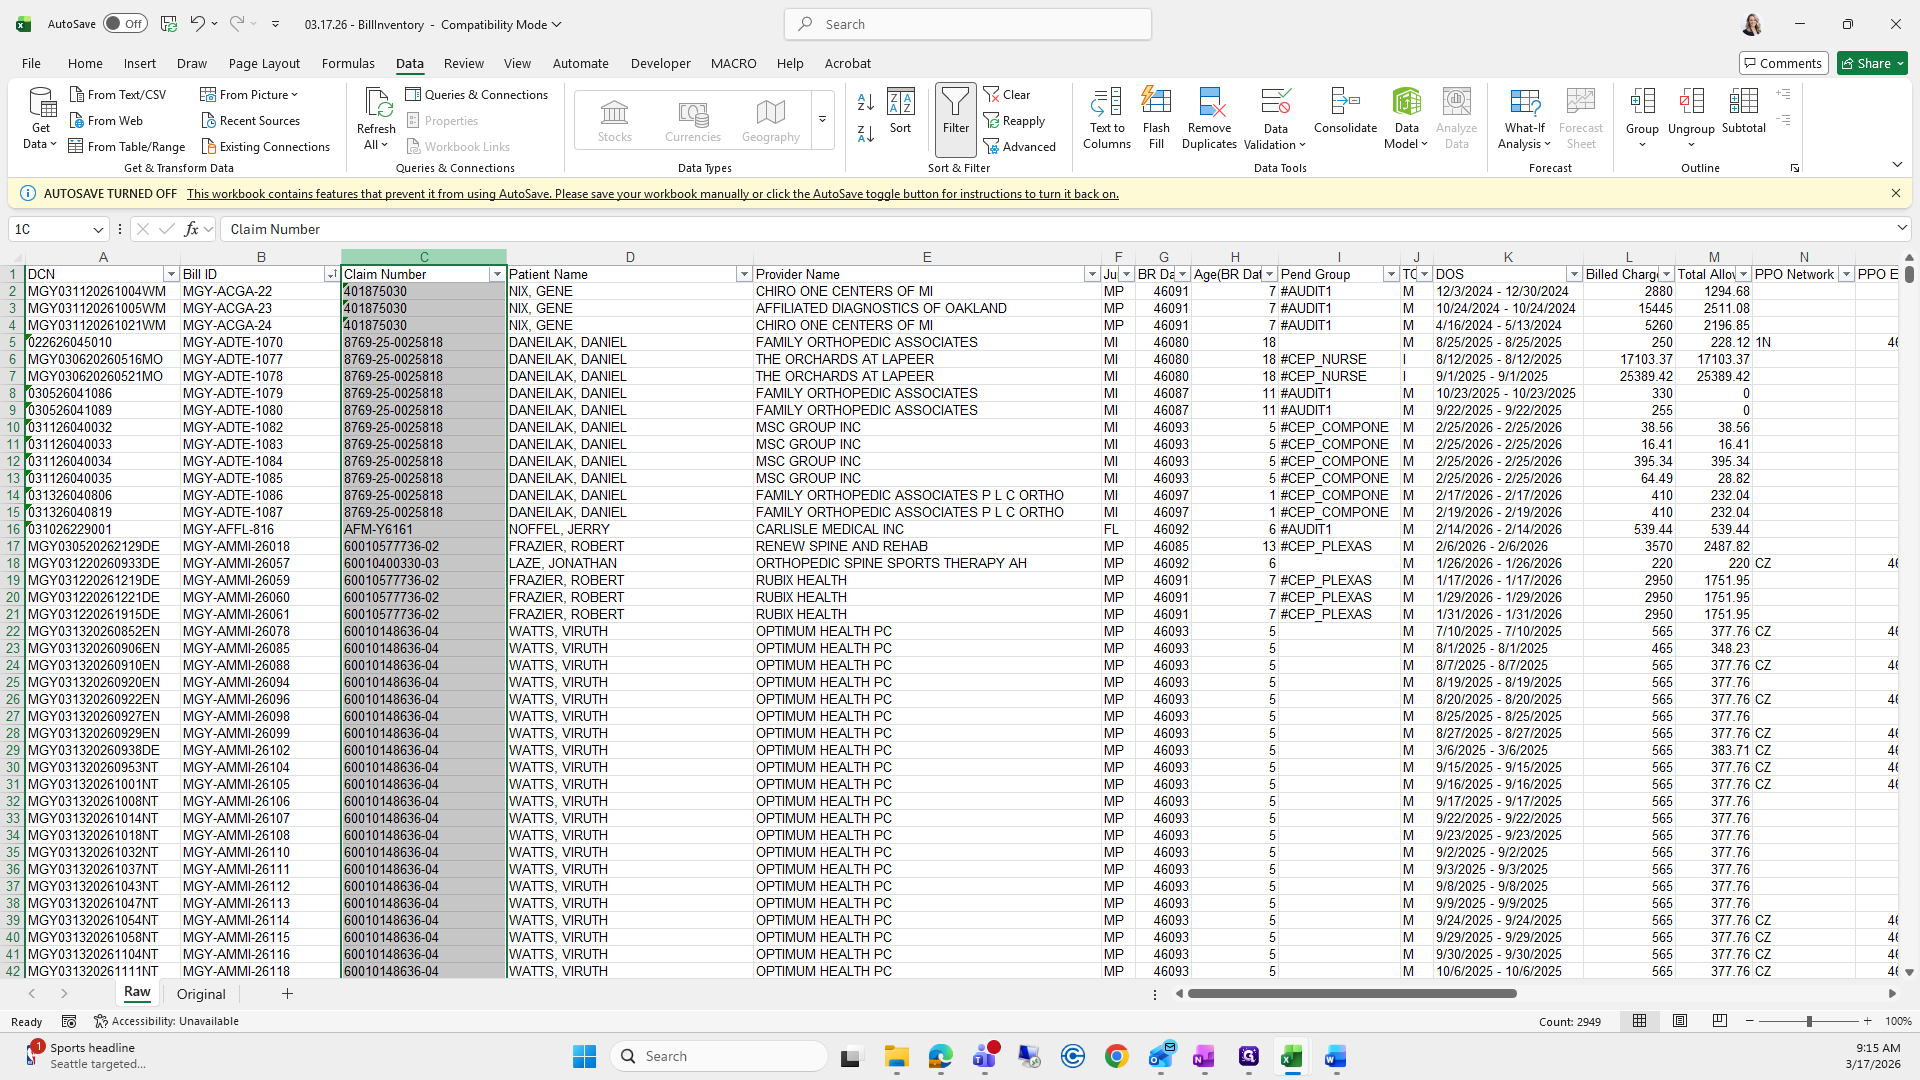
Next, I will remove rows one through four and delete them.

77
Click on "A"
Step #77: Click on "A"
78
Drag "☐ ☐"
Step #78: Drag "☐ ☐"
79
Right-click here
Step #79: Right-click here
80
Click on "Delete"
Step #80: Click on "Delete"
81
Click on "DANIEL 382265342"
Step #81: Click on "DANIEL 382265342"

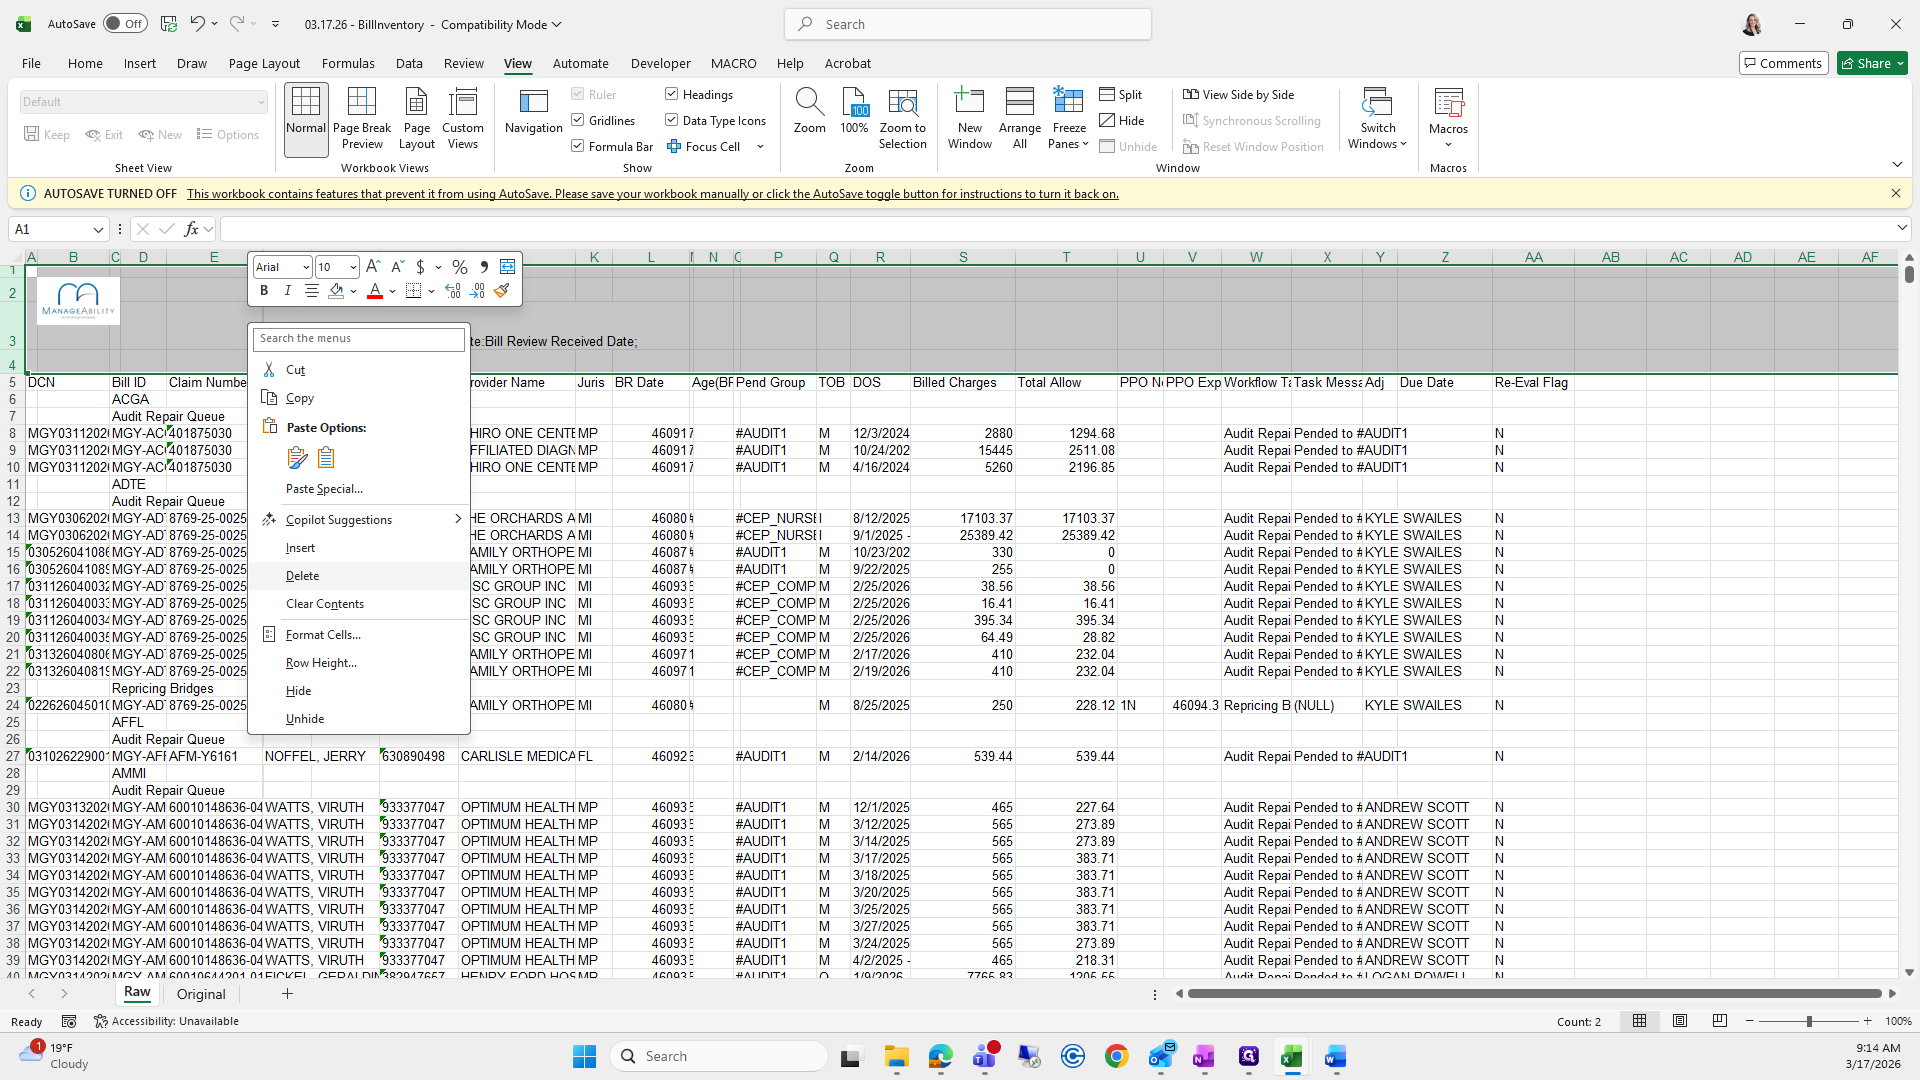
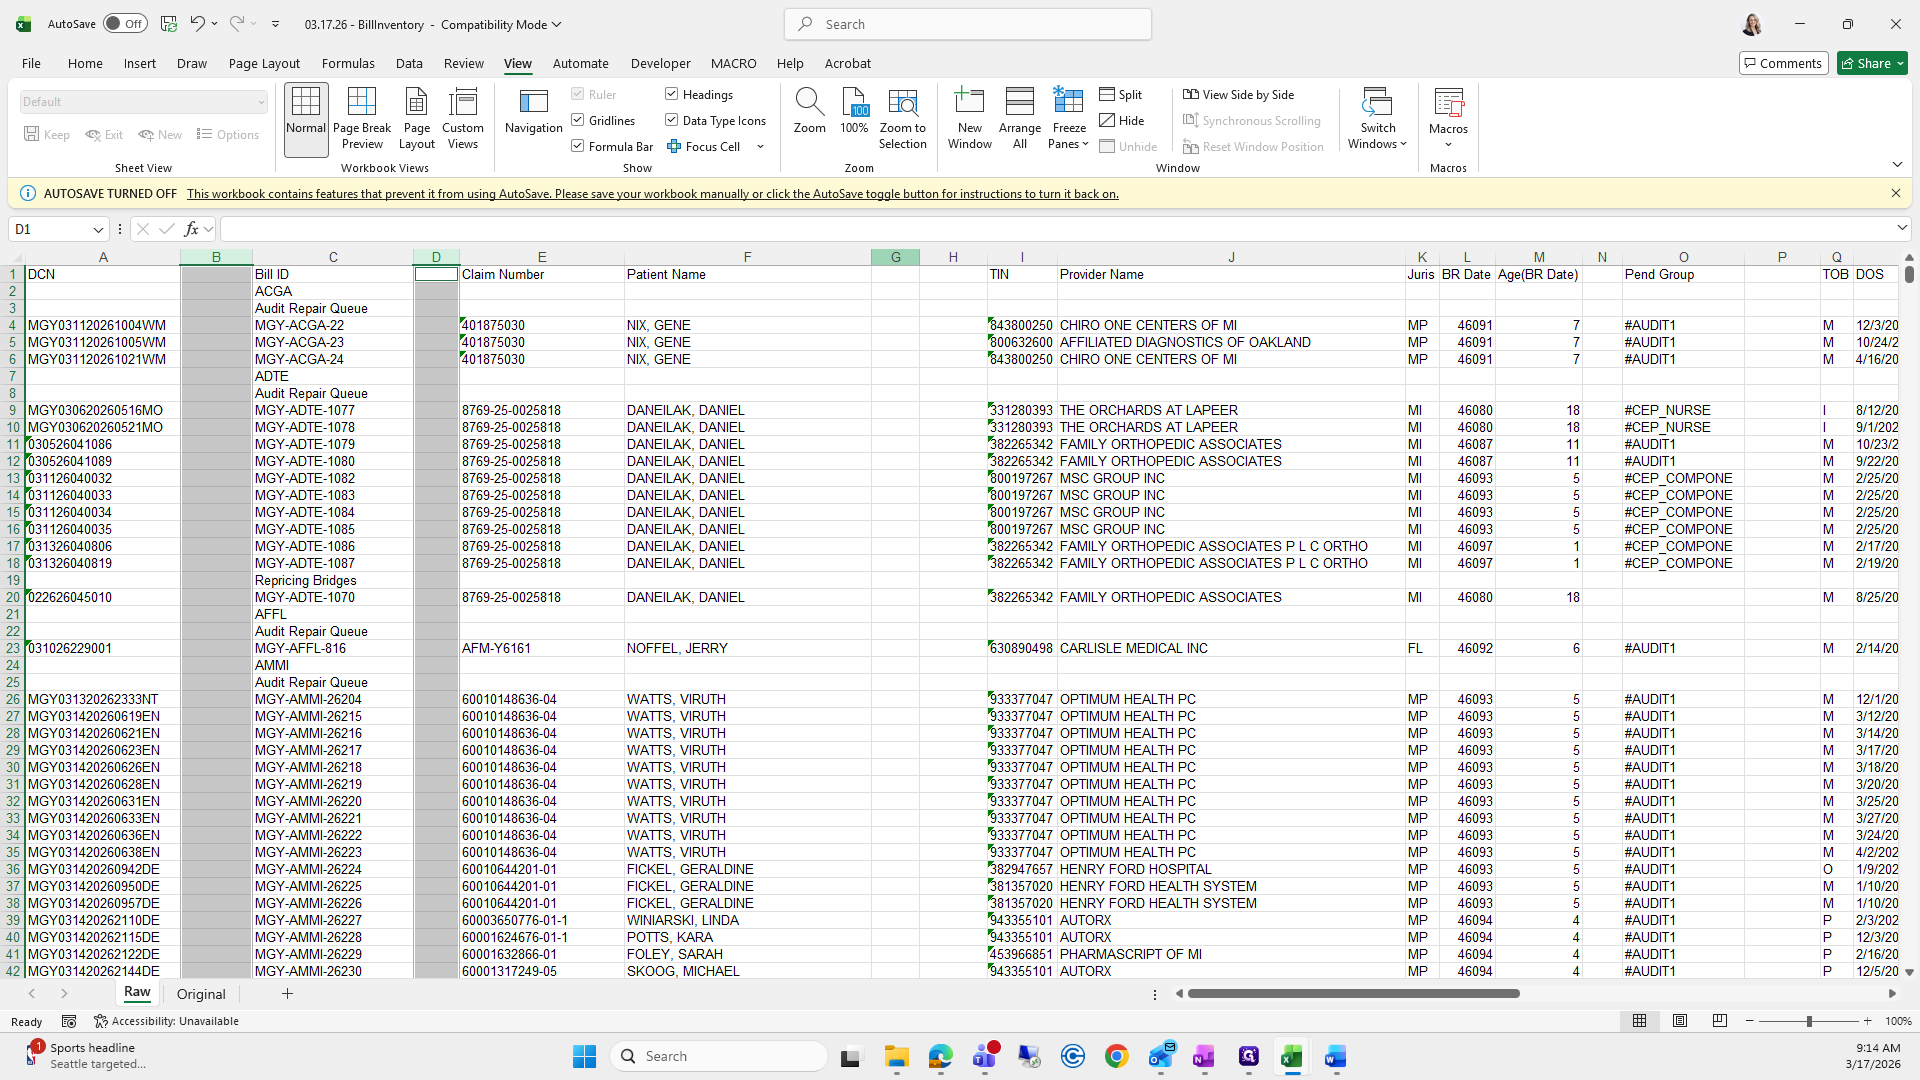
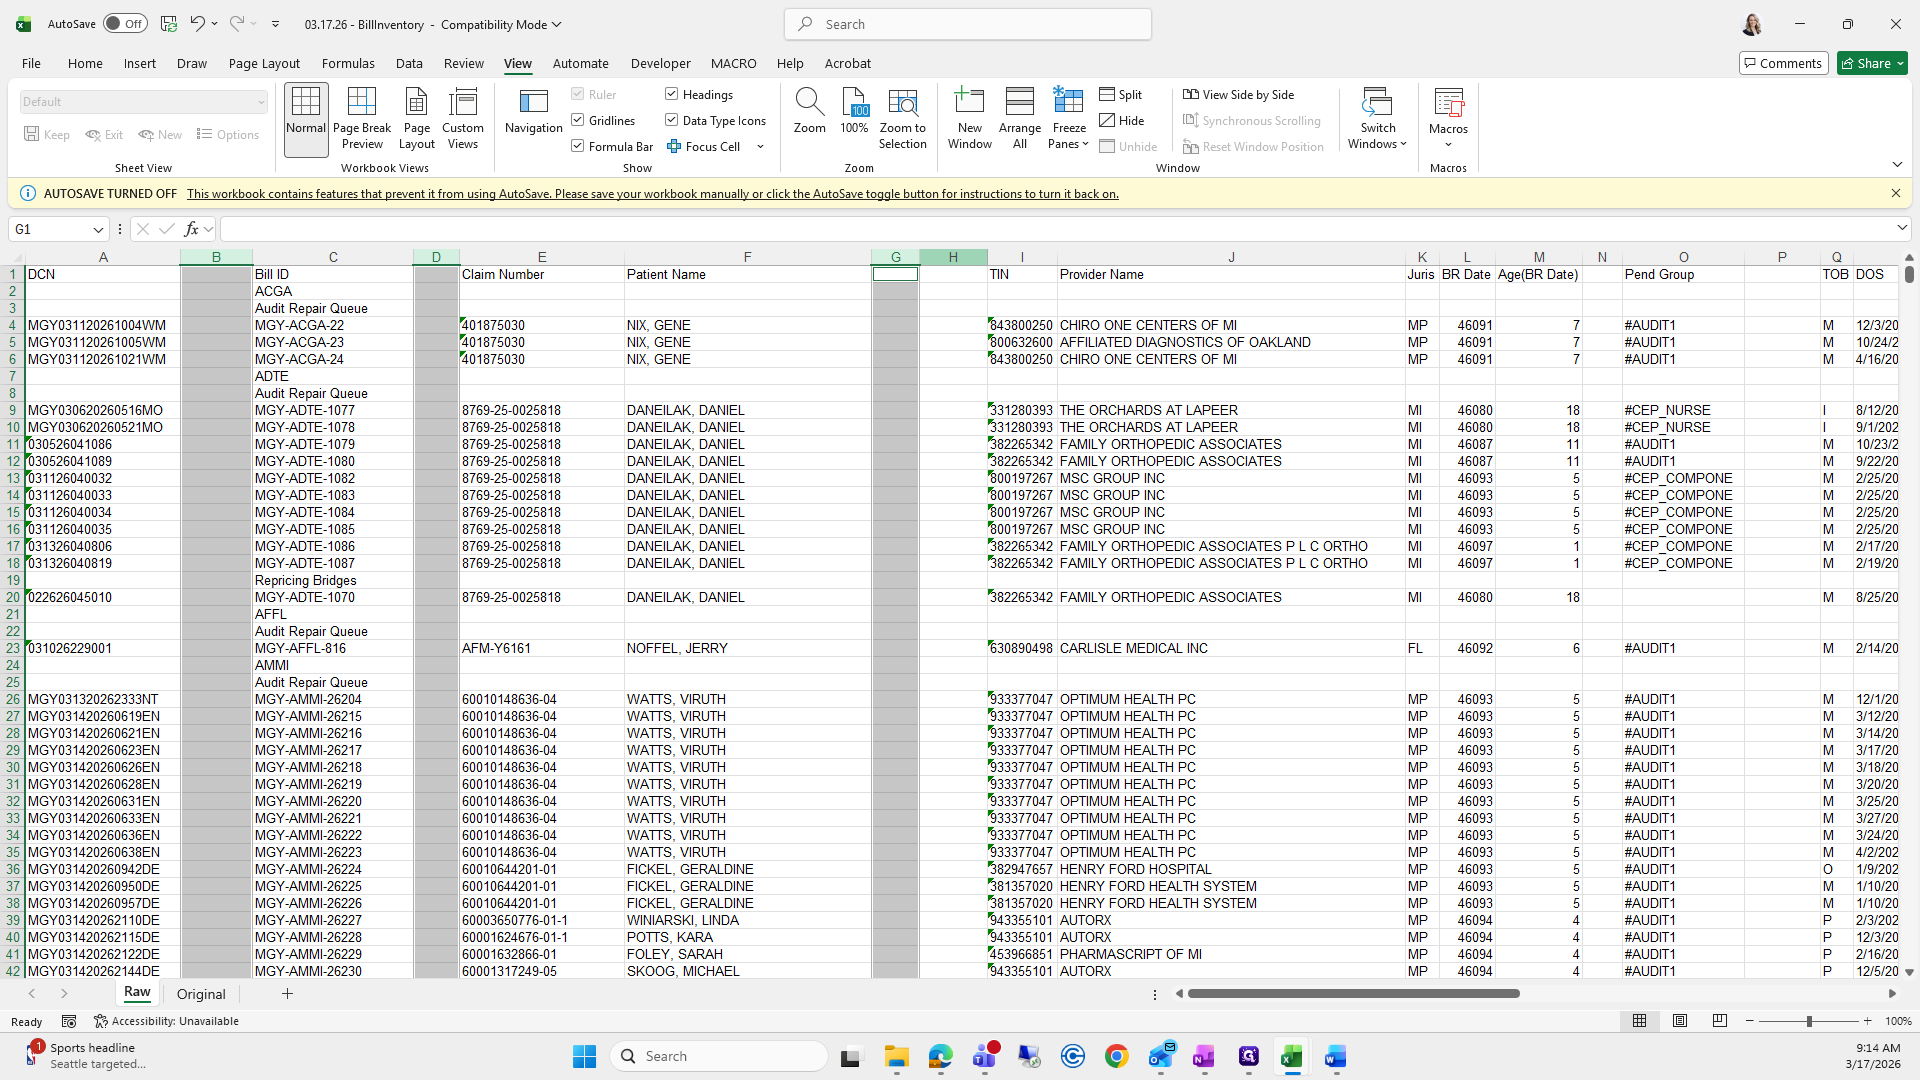
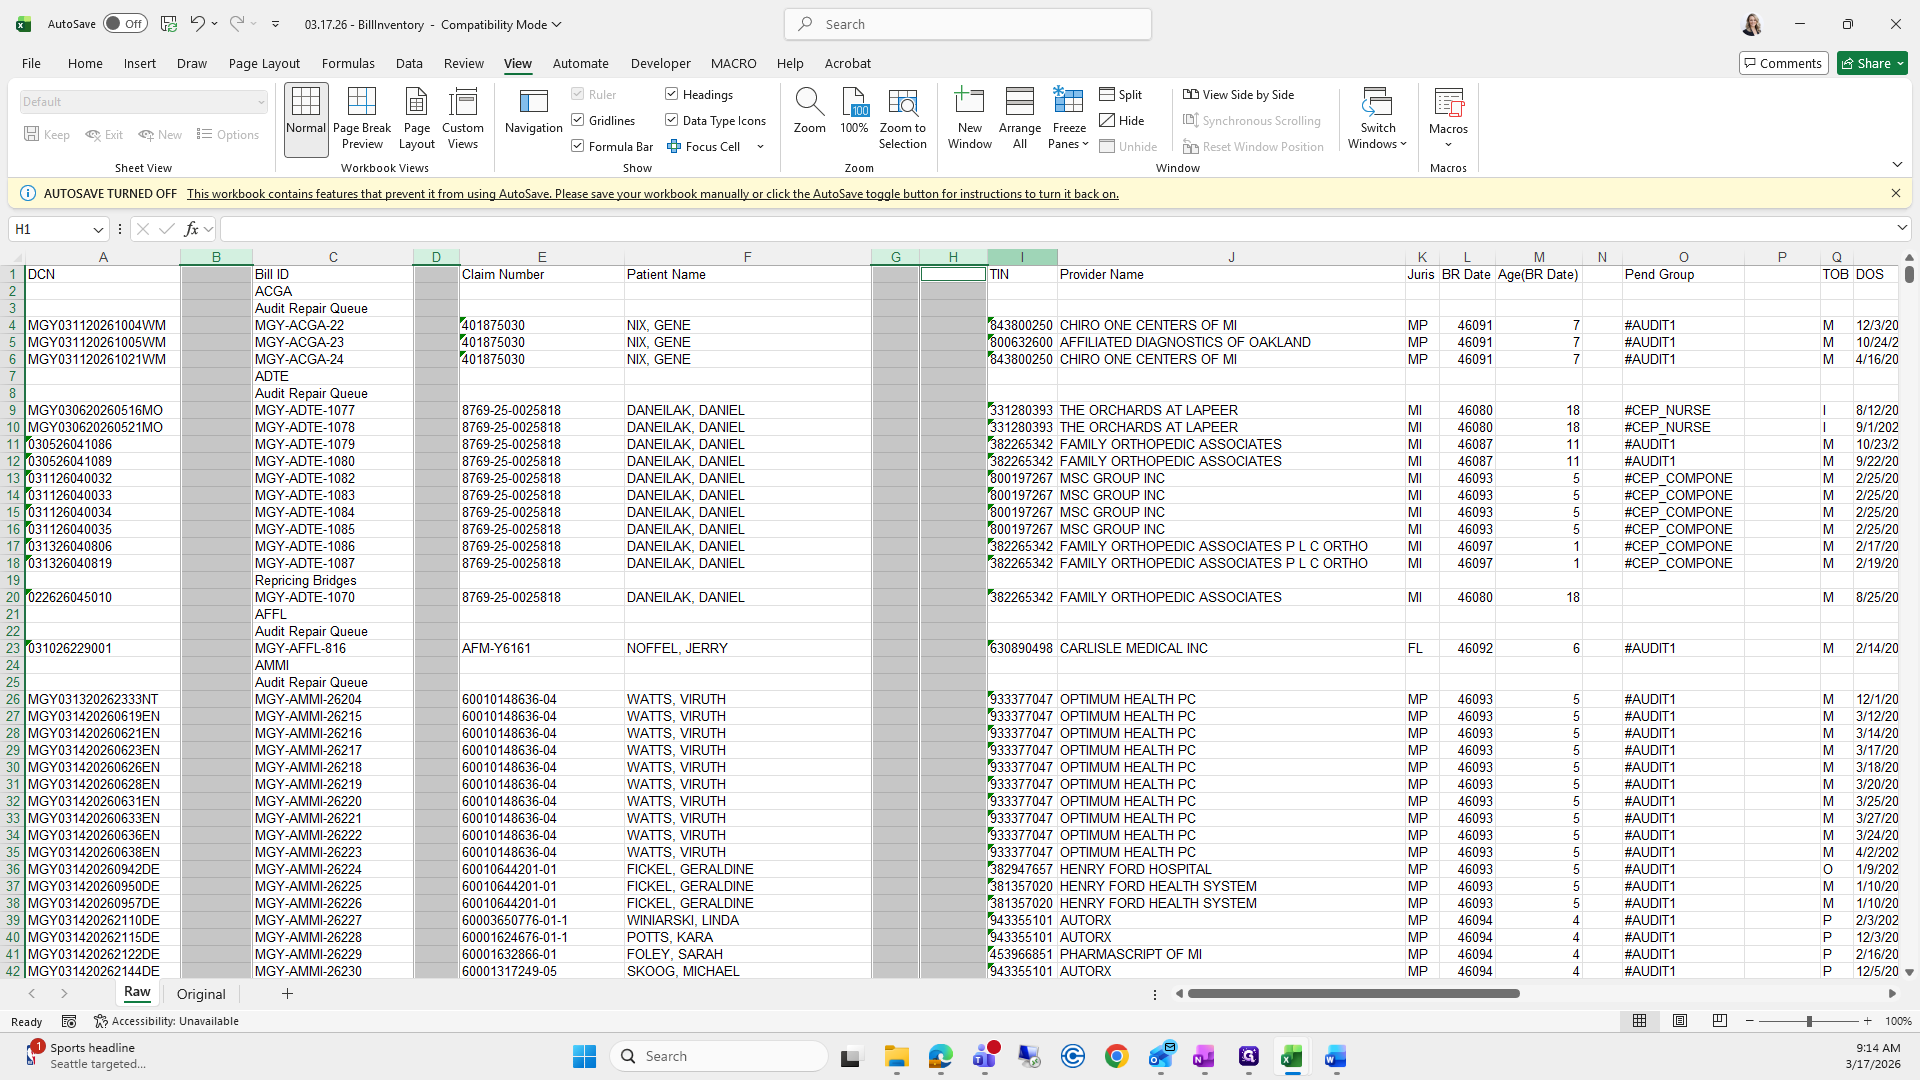
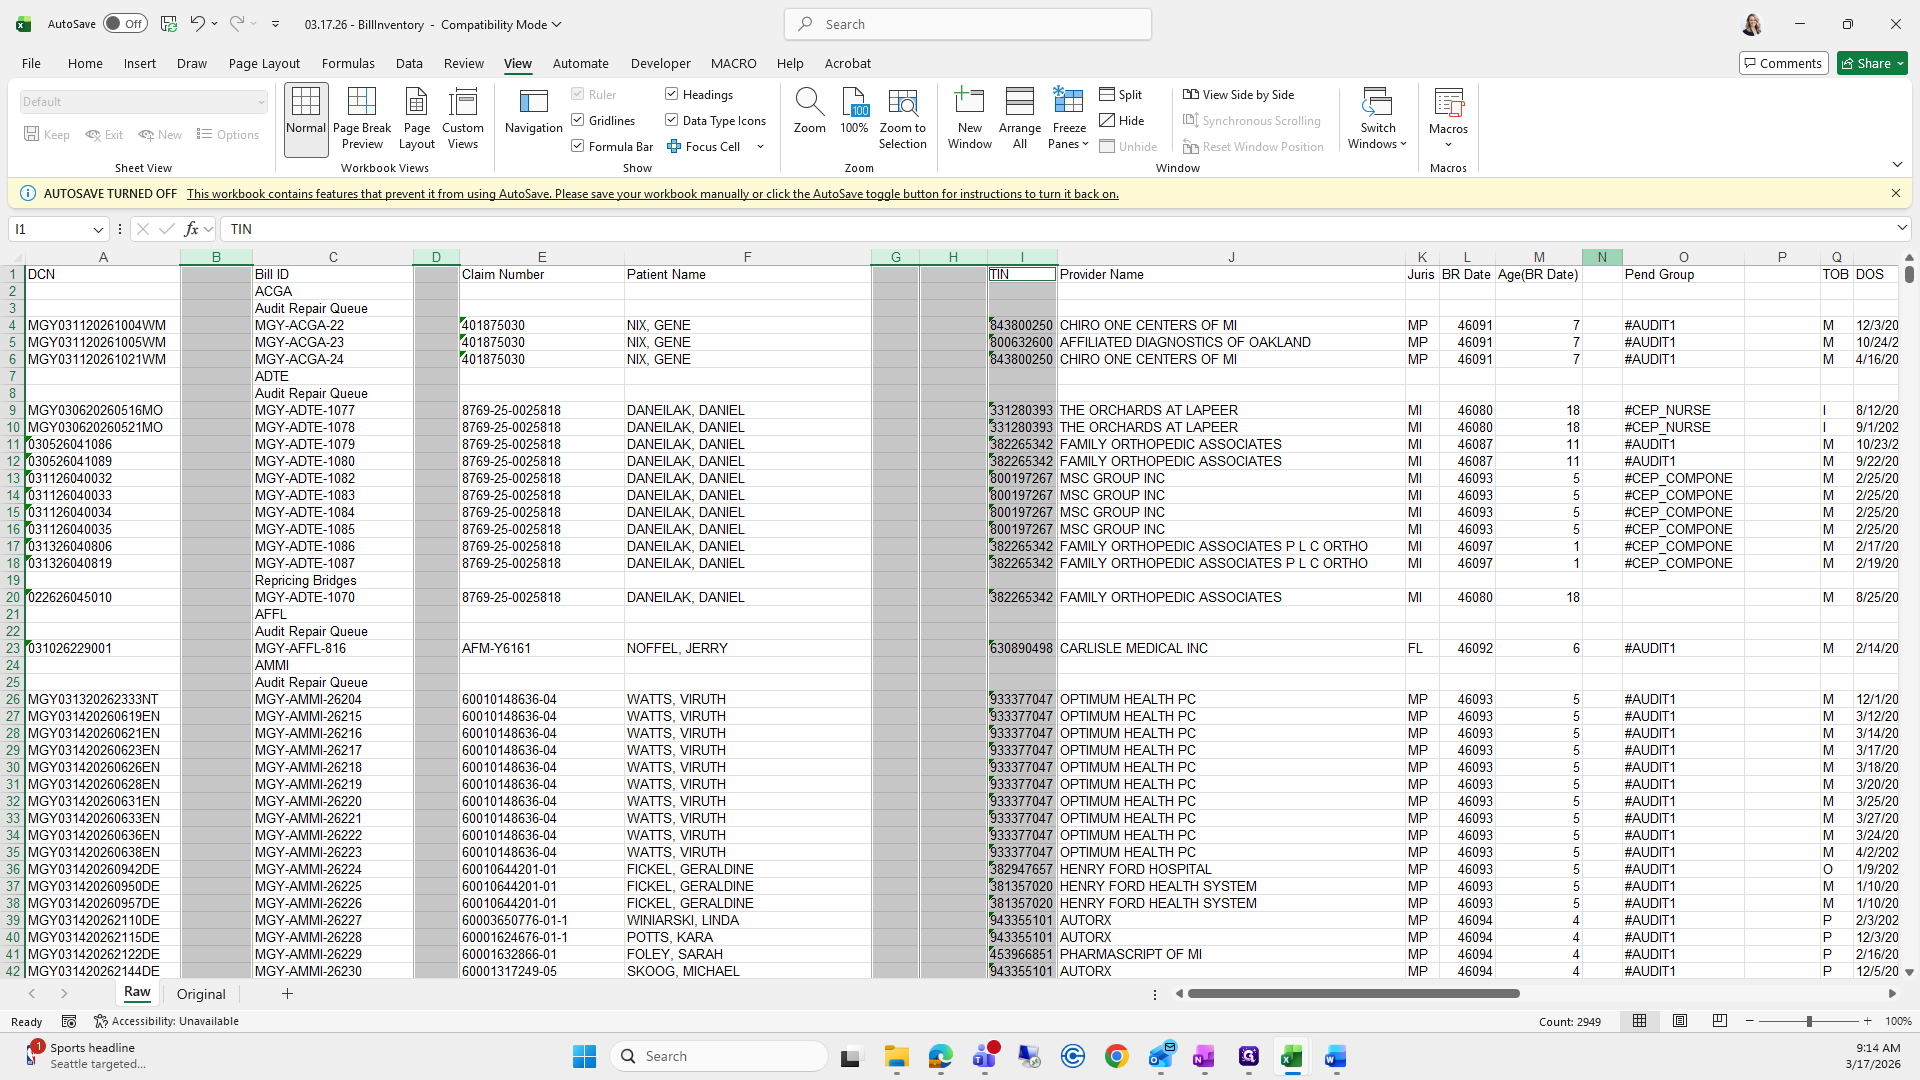
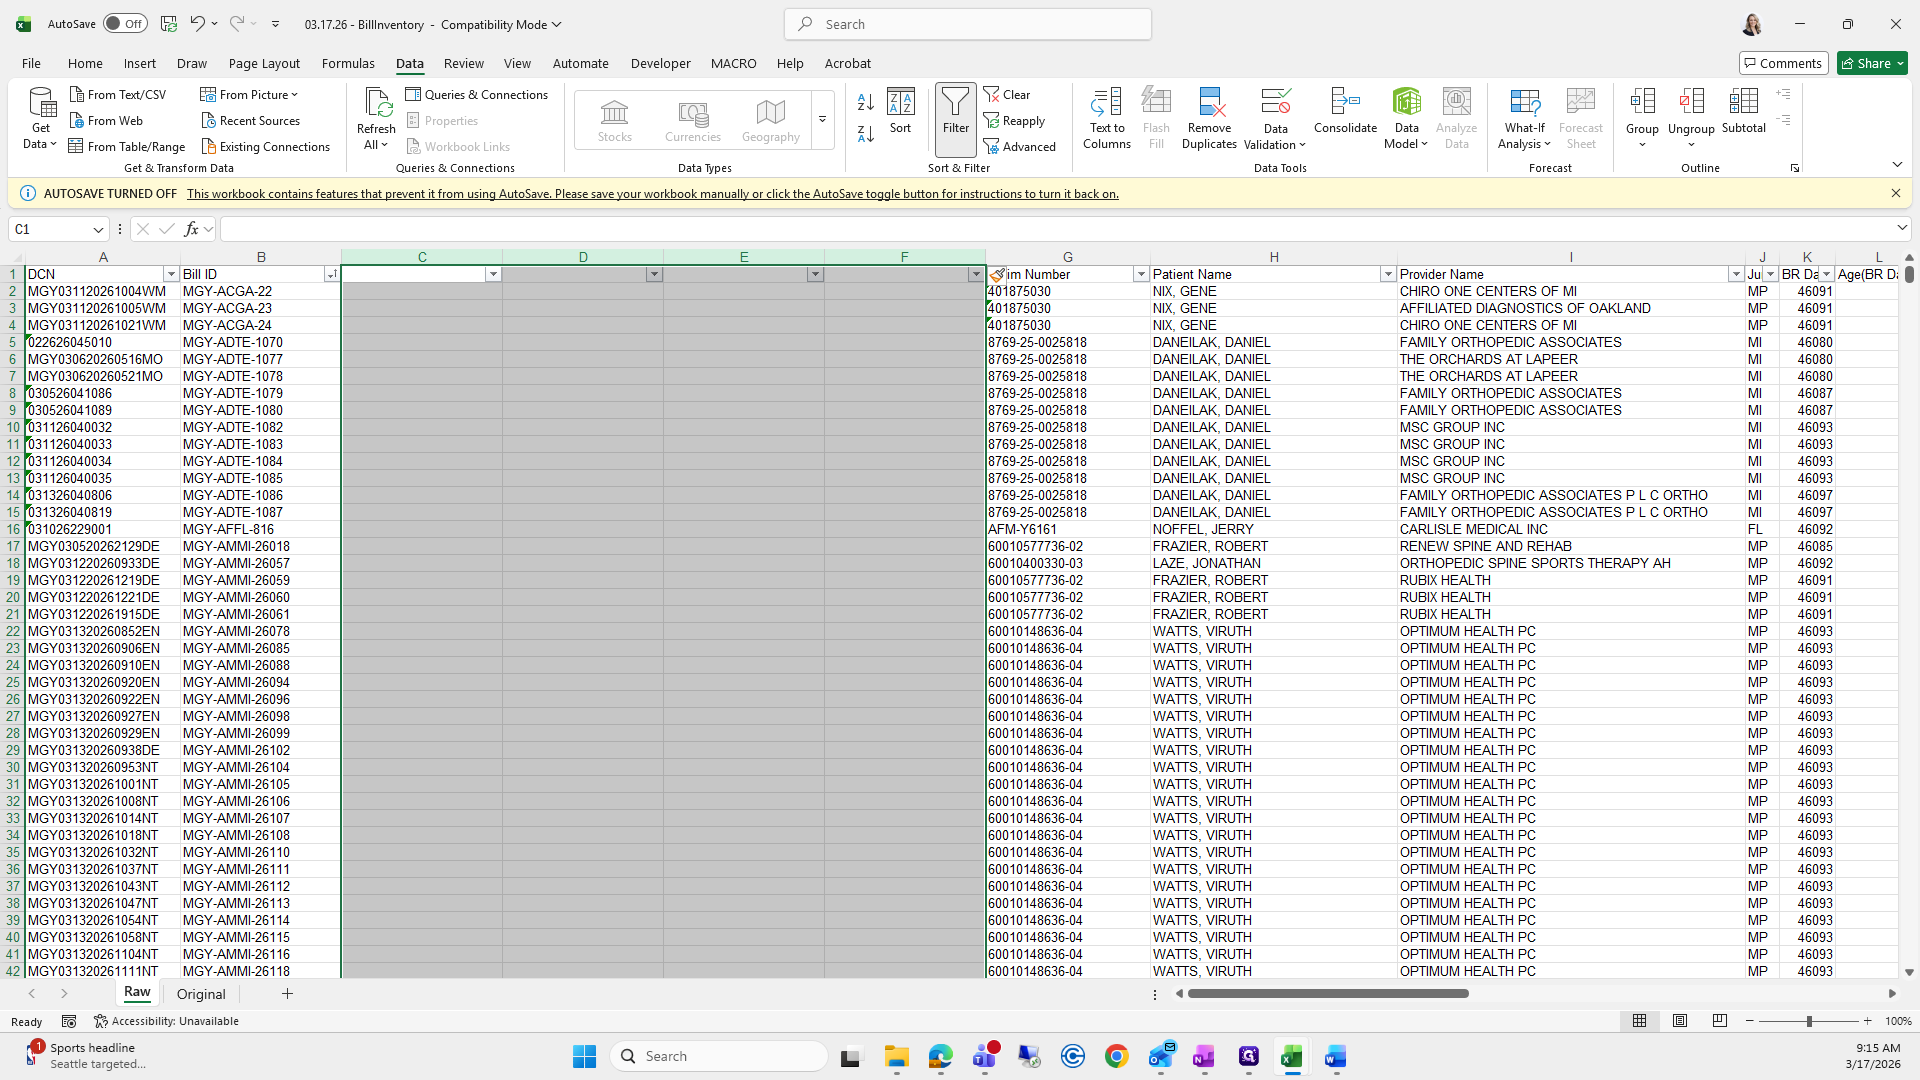
Next, select all columns and open them. Delete all blank columns: B, D, G, H, I (with the TIN number), N, and P.

82
Type "Ctrl + A"
83
Type "Ctrl + A"
84
Double-click here
Step #84: Double-click here
85
Click here
Step #85: Click here
86
Click on "B"
Step #86: Click on "B"
87
Click on "D"
Step #87: Click on "D"
88
Click on "G"
Step #88: Click on "G"
89
Click on "H"
Step #89: Click on "H"
90
Click here
Step #90: Click here
91
Click on "N"
Step #91: Click on "N"
92
Click on "P"
Step #92: Click on "P"

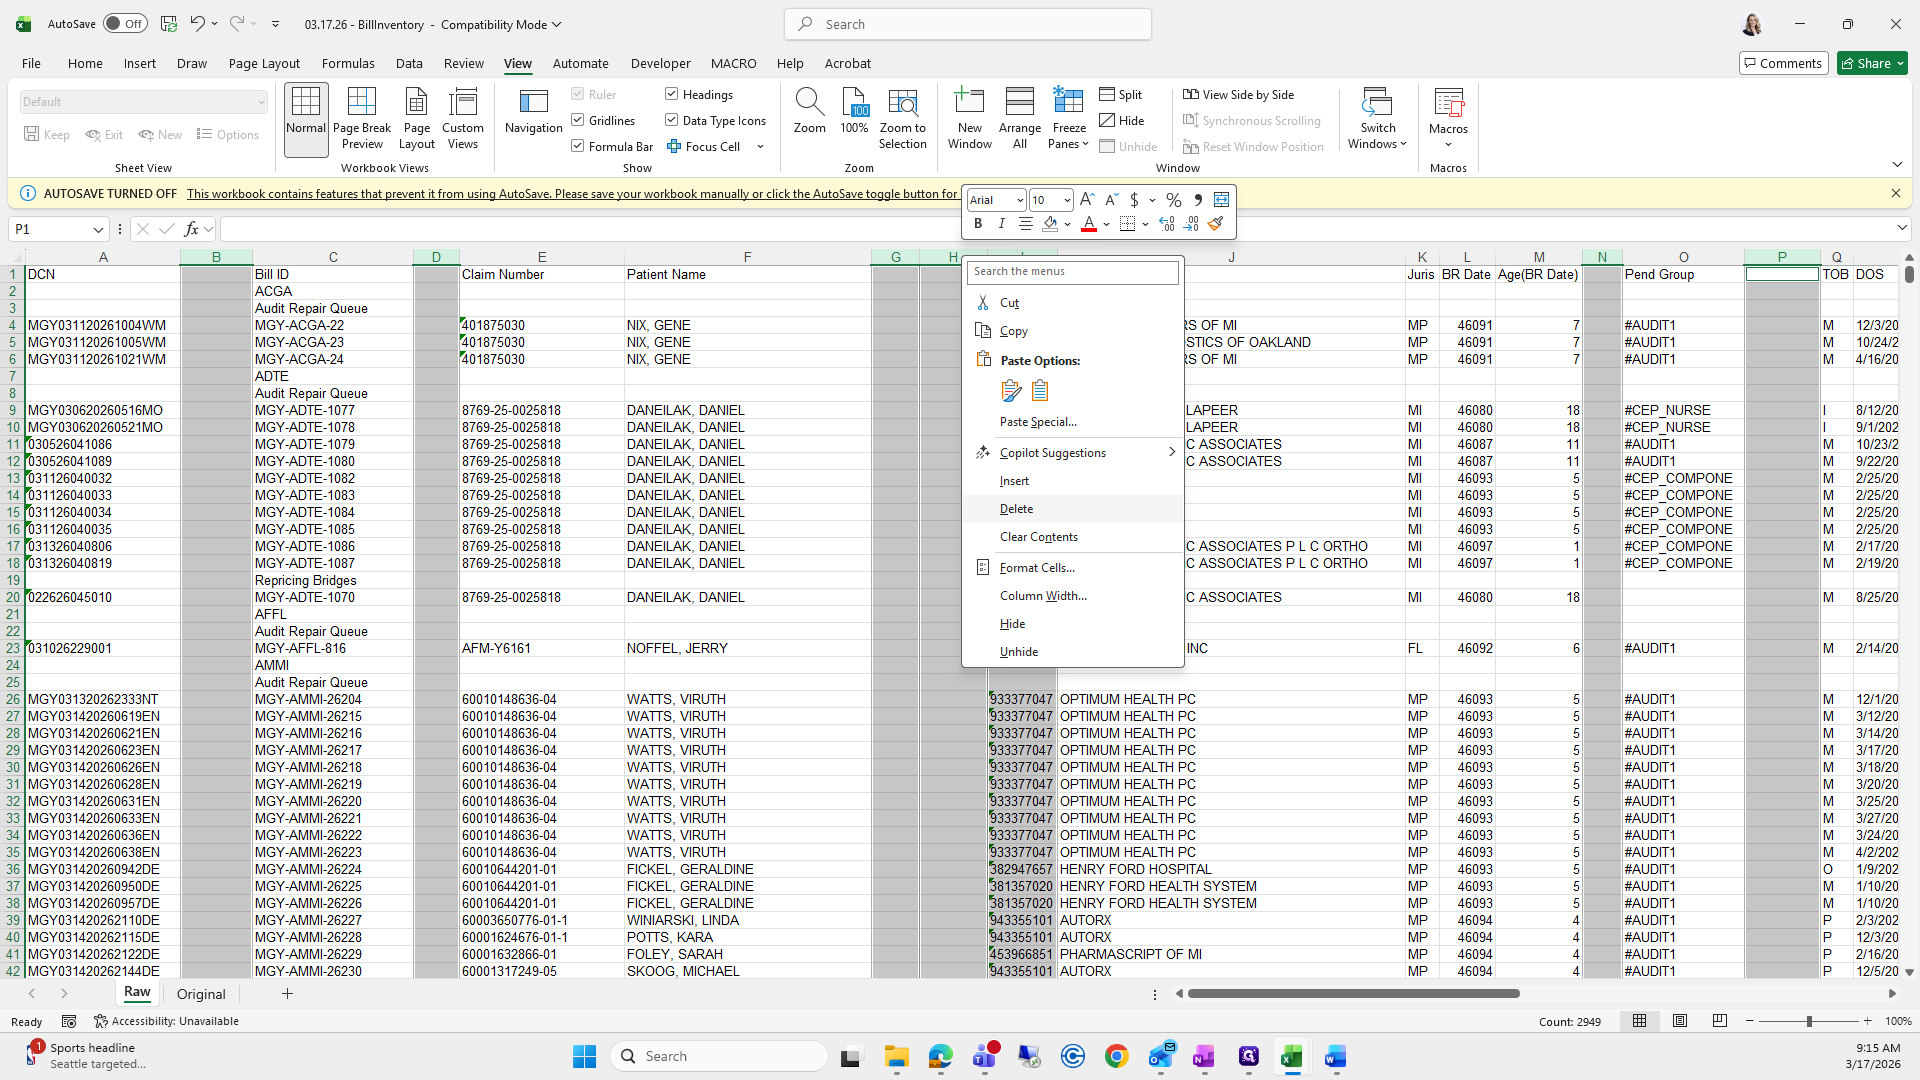
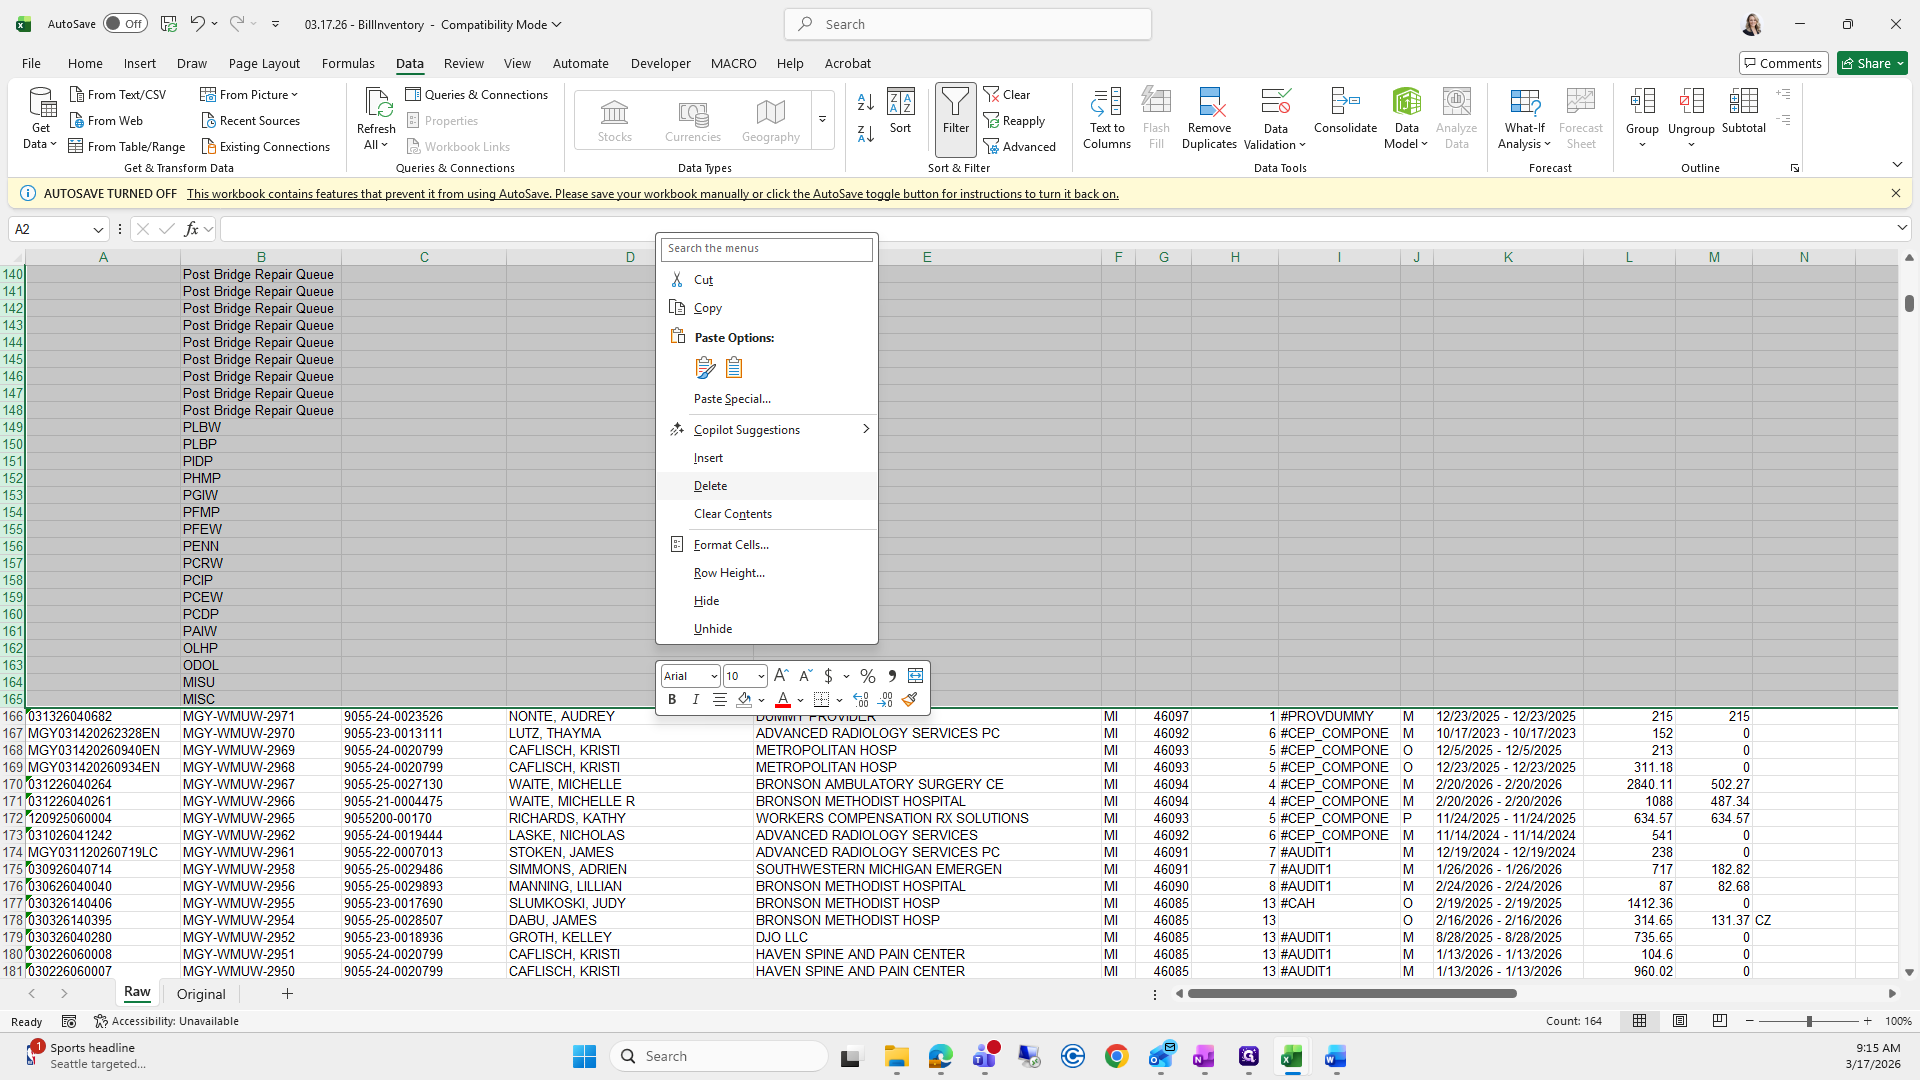
Then I right-click and delete.

93
Right-click on "H"
Step #93: Right-click on "H"
94
Click on "Delete"
Step #94: Click on "Delete"

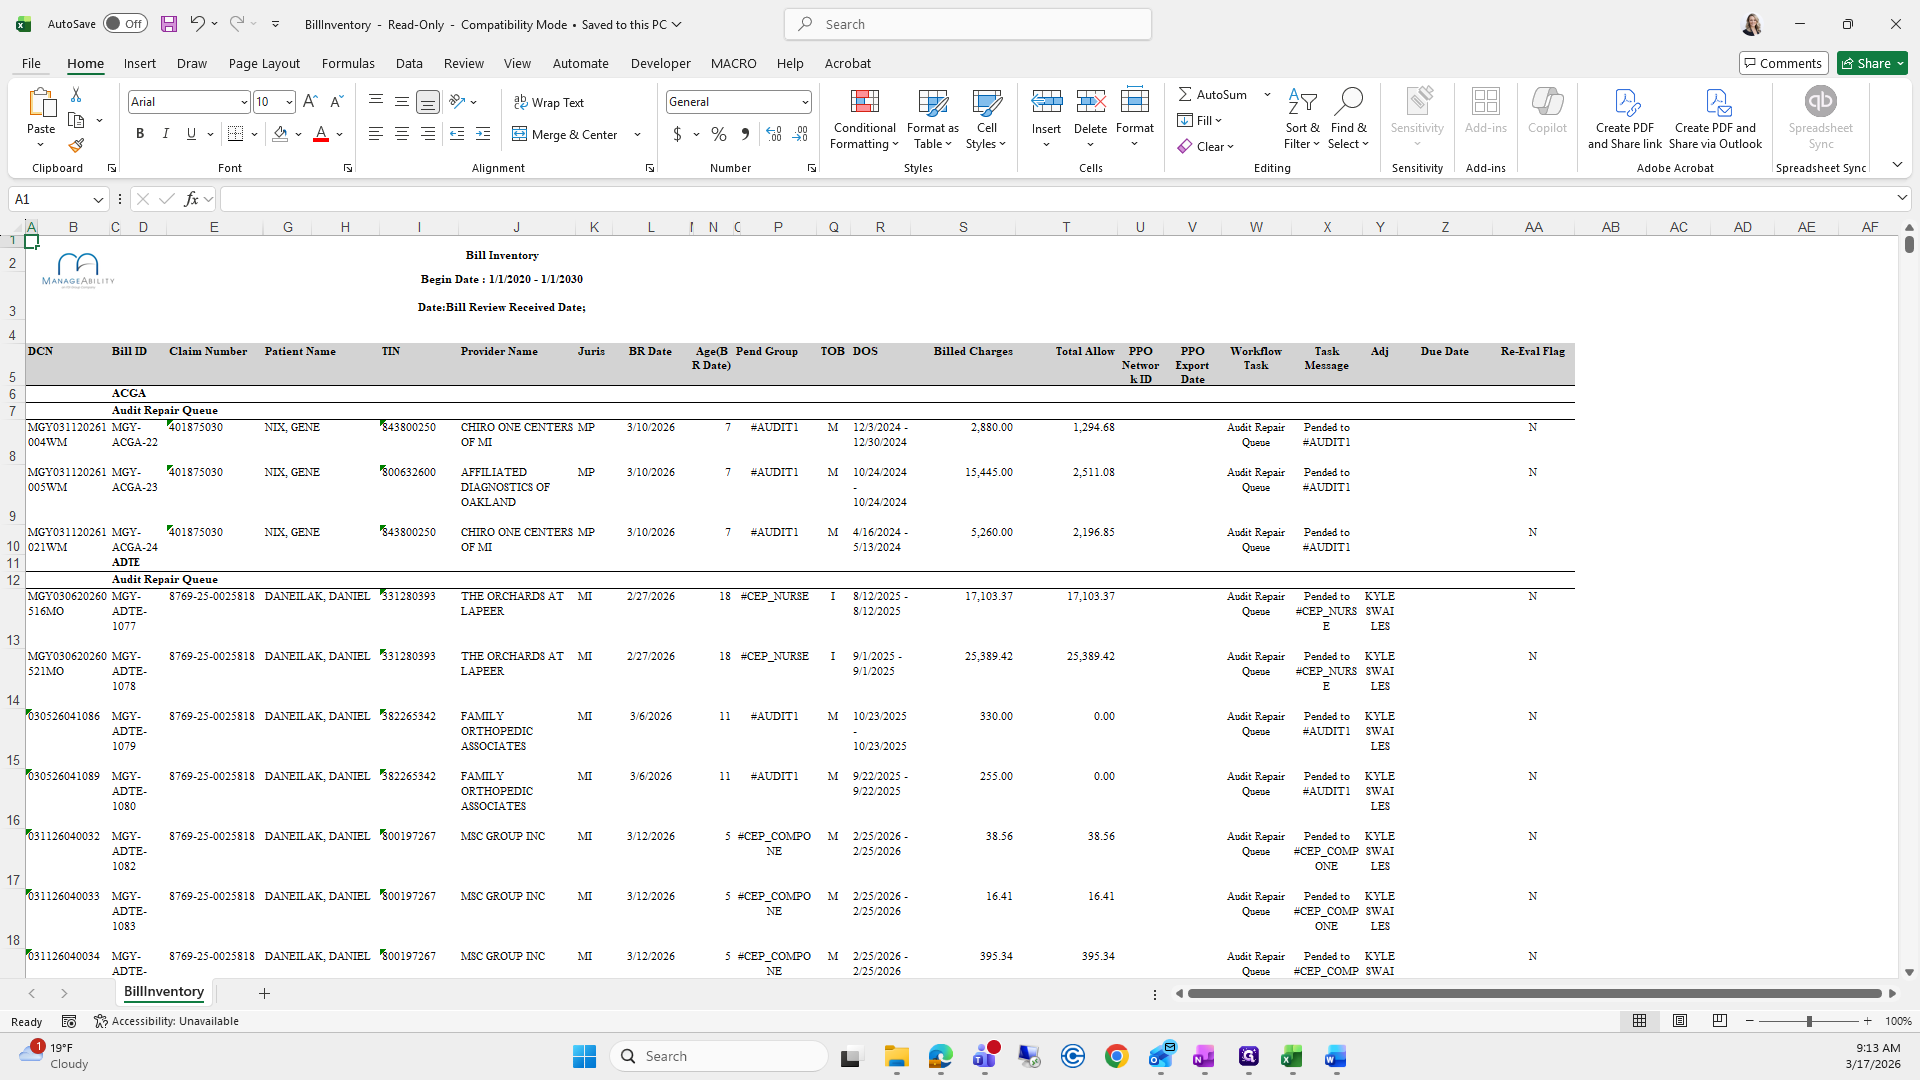
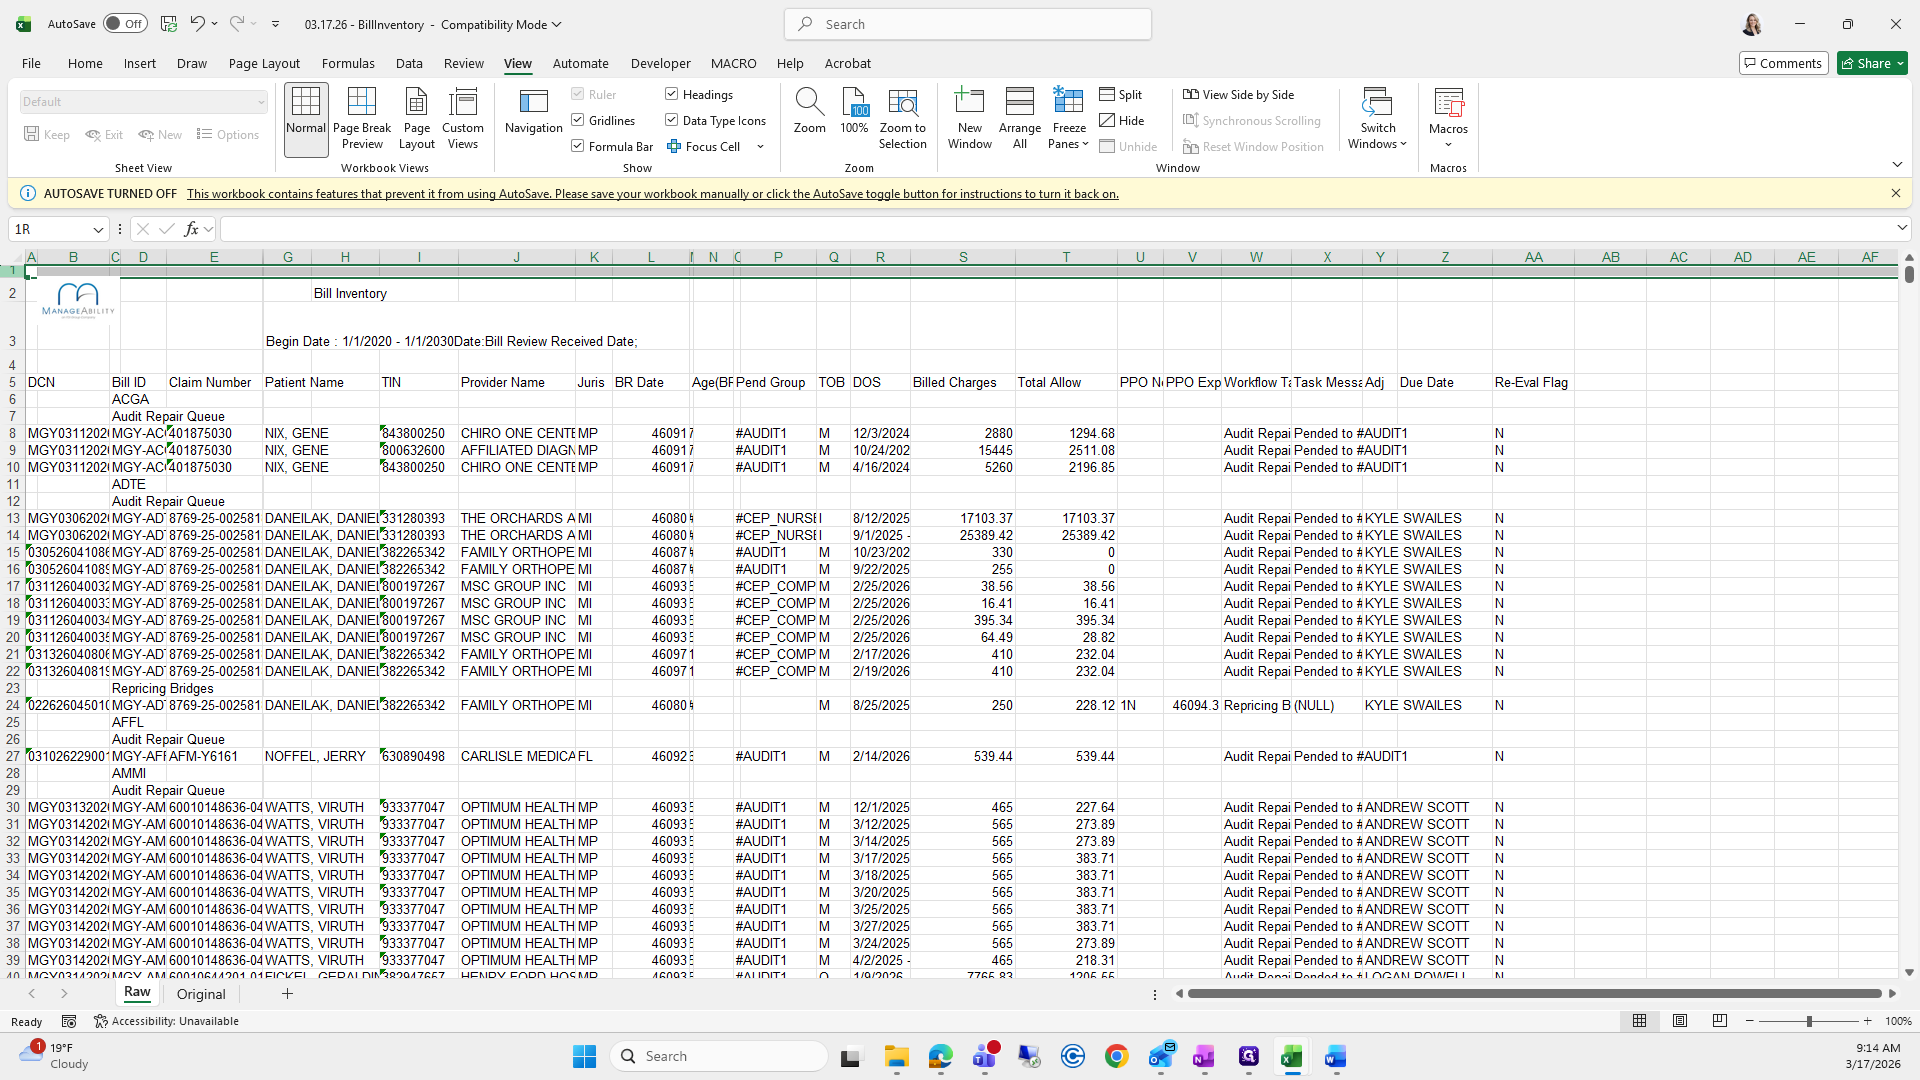
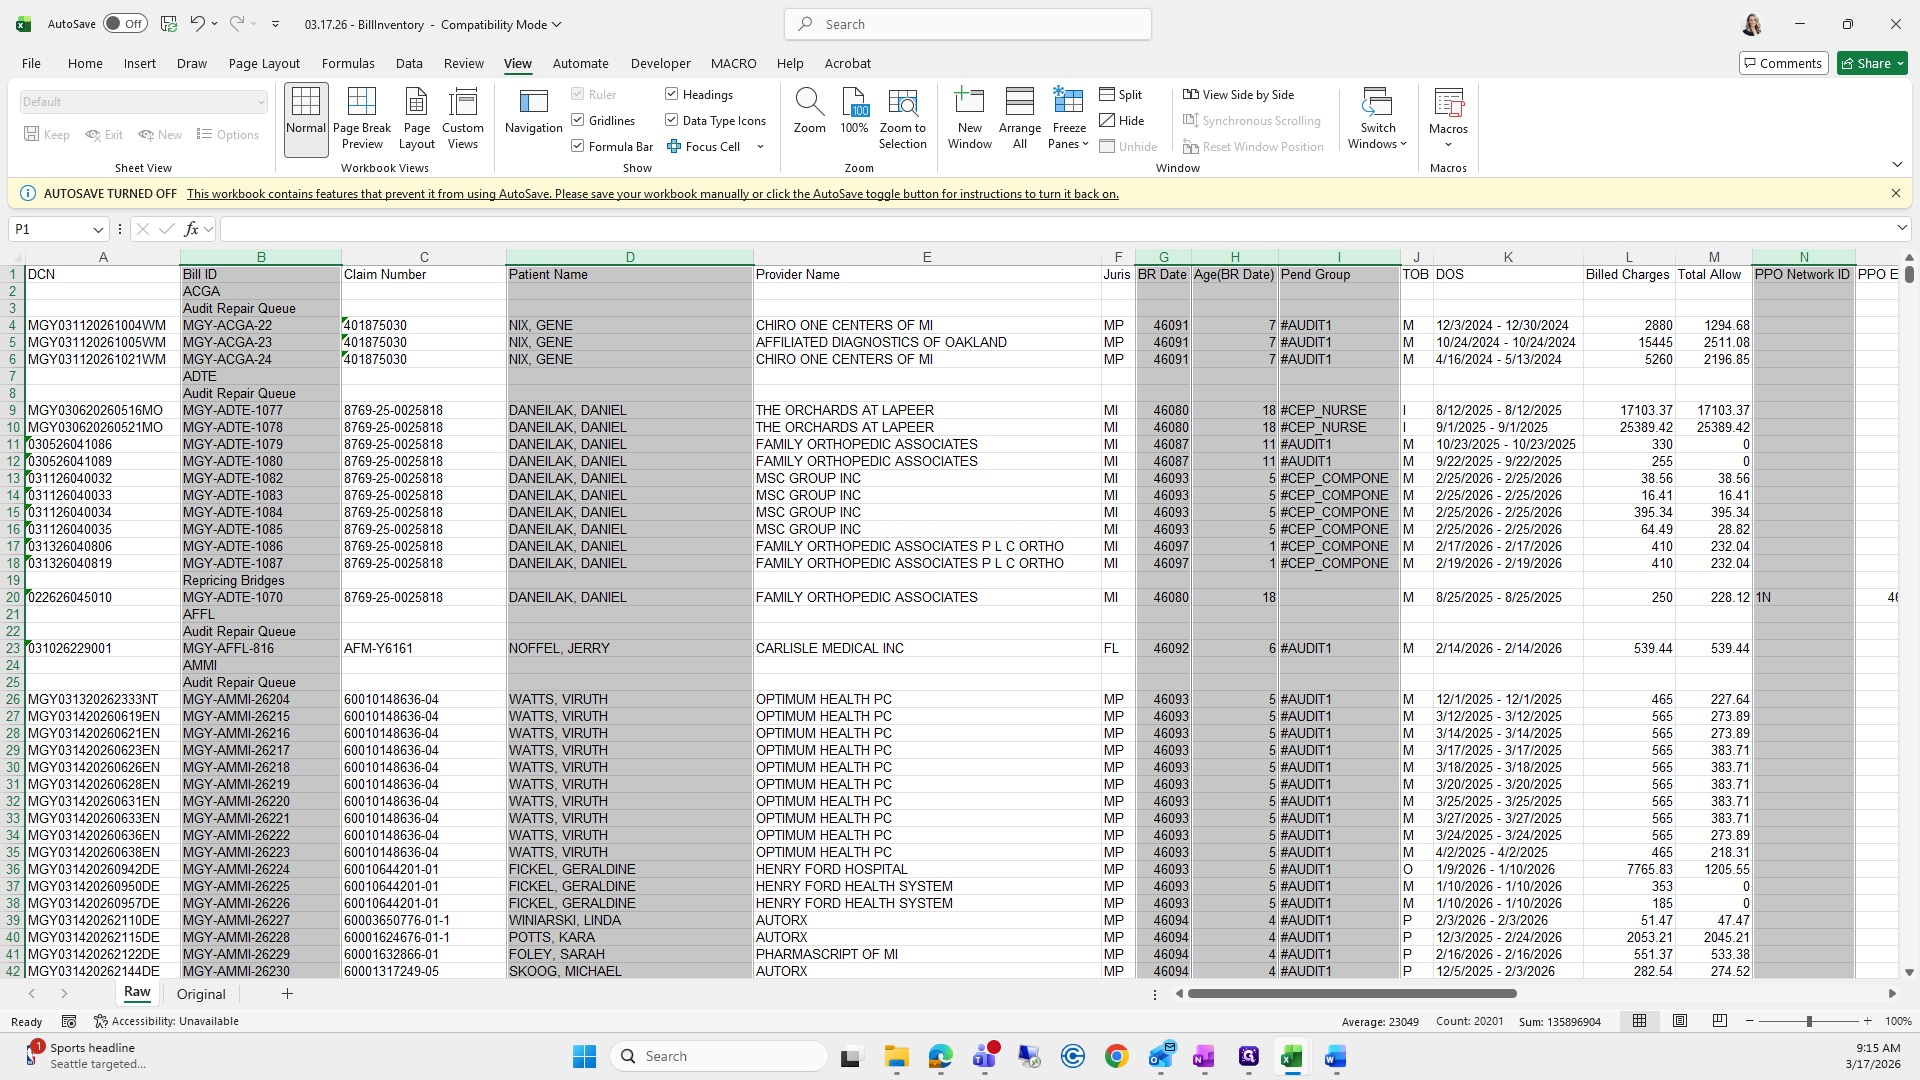
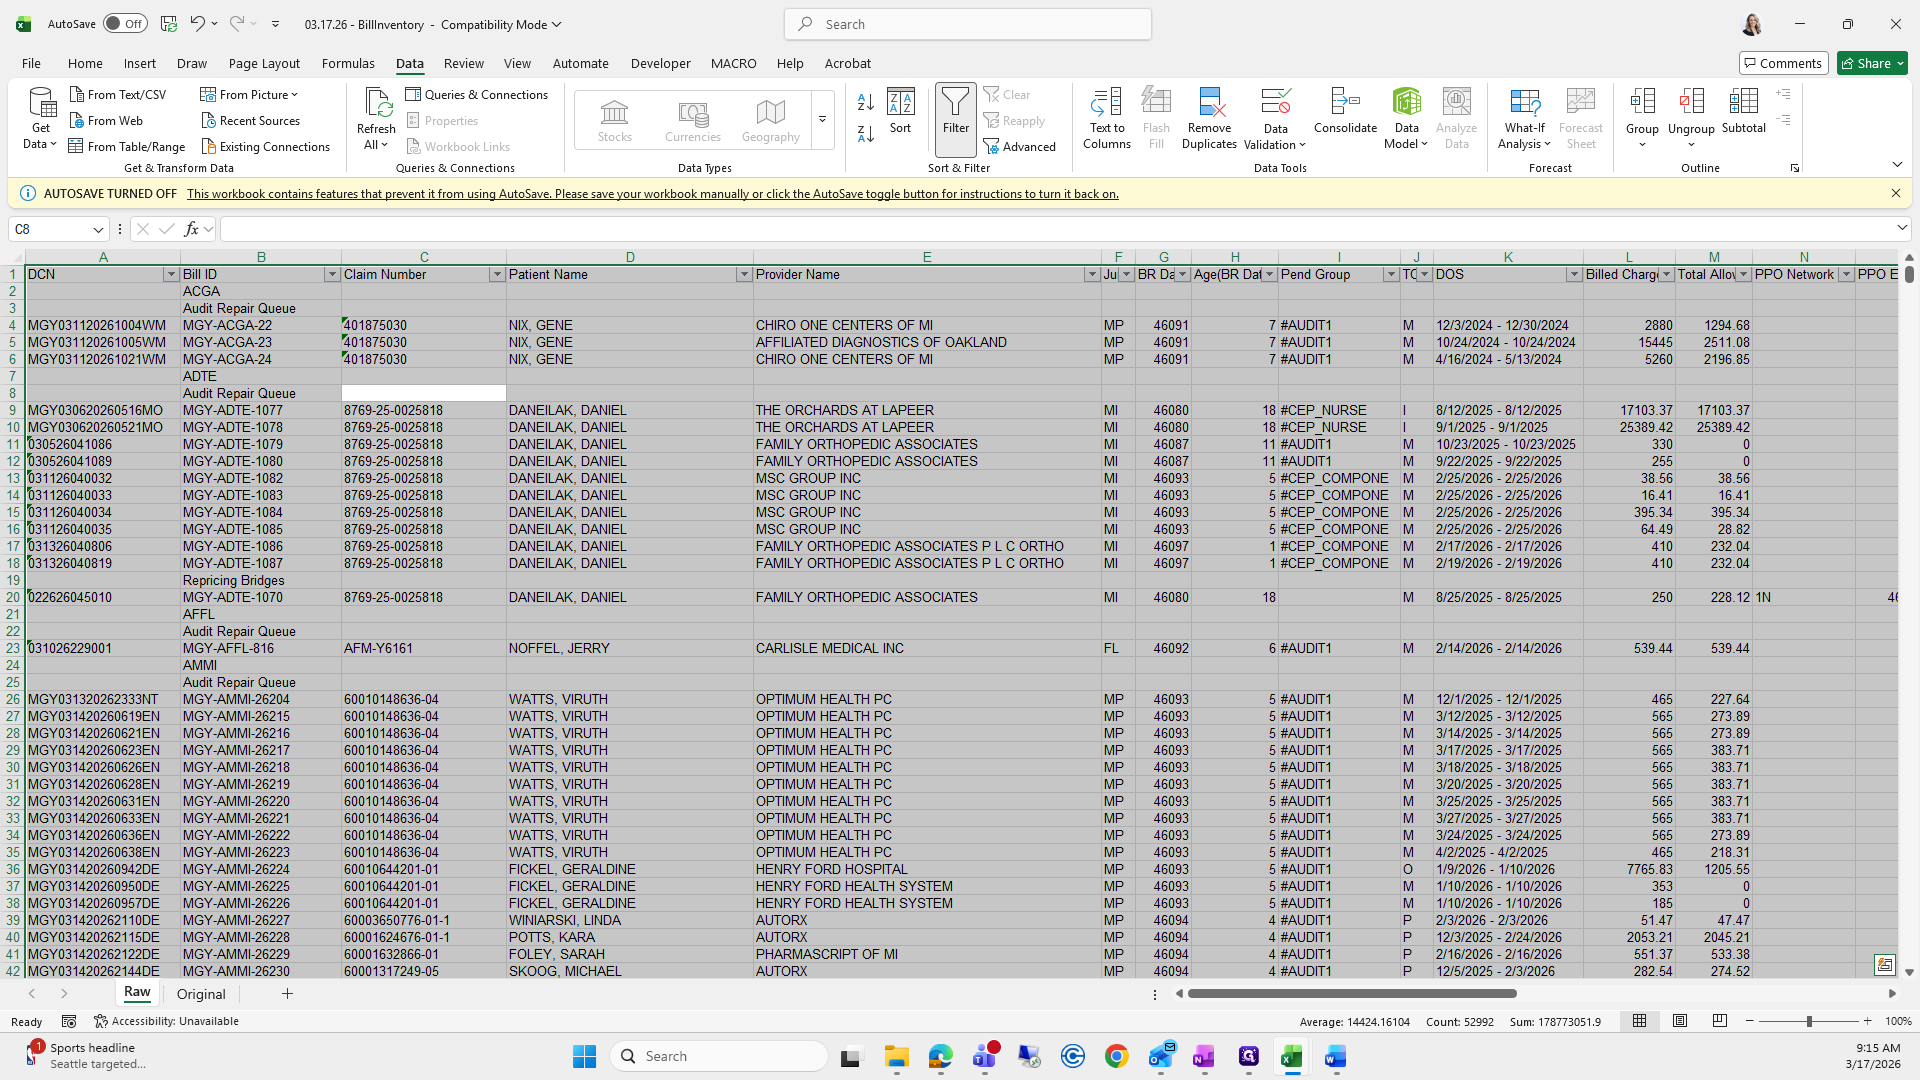
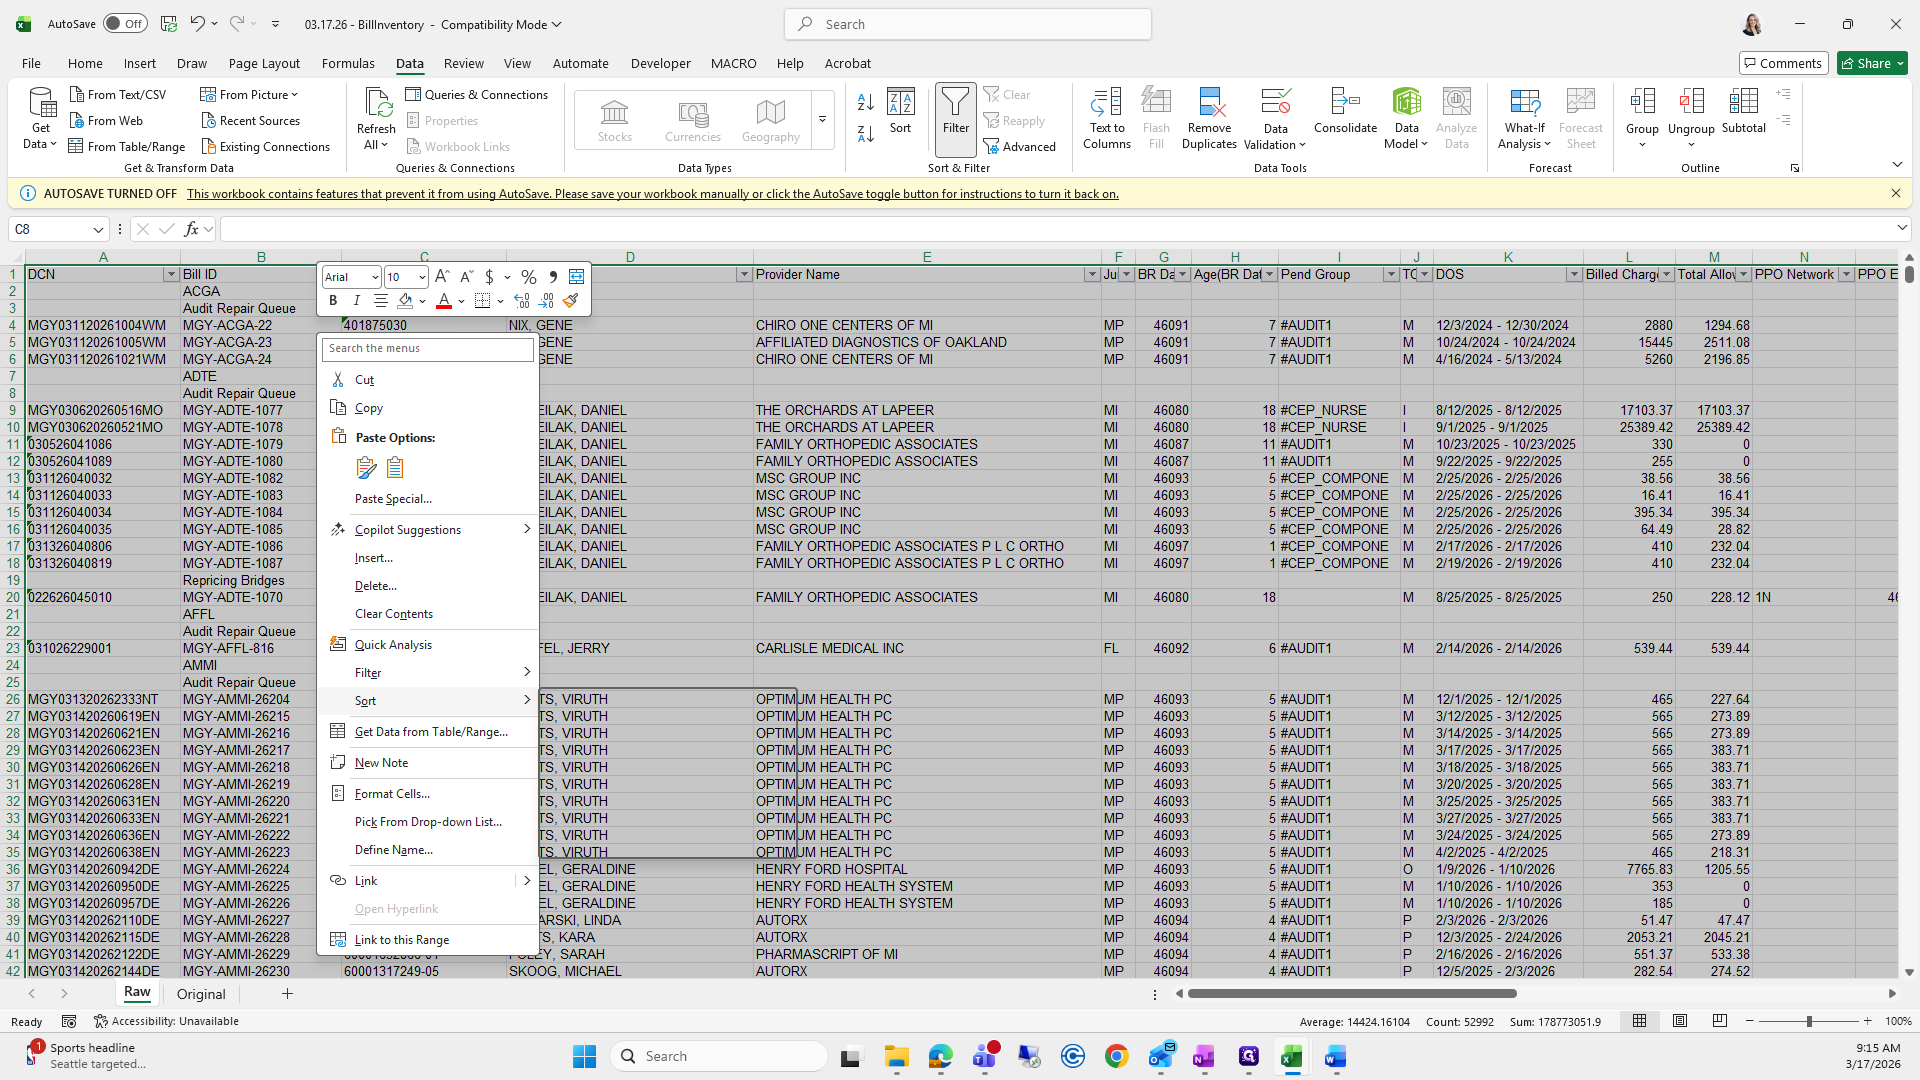
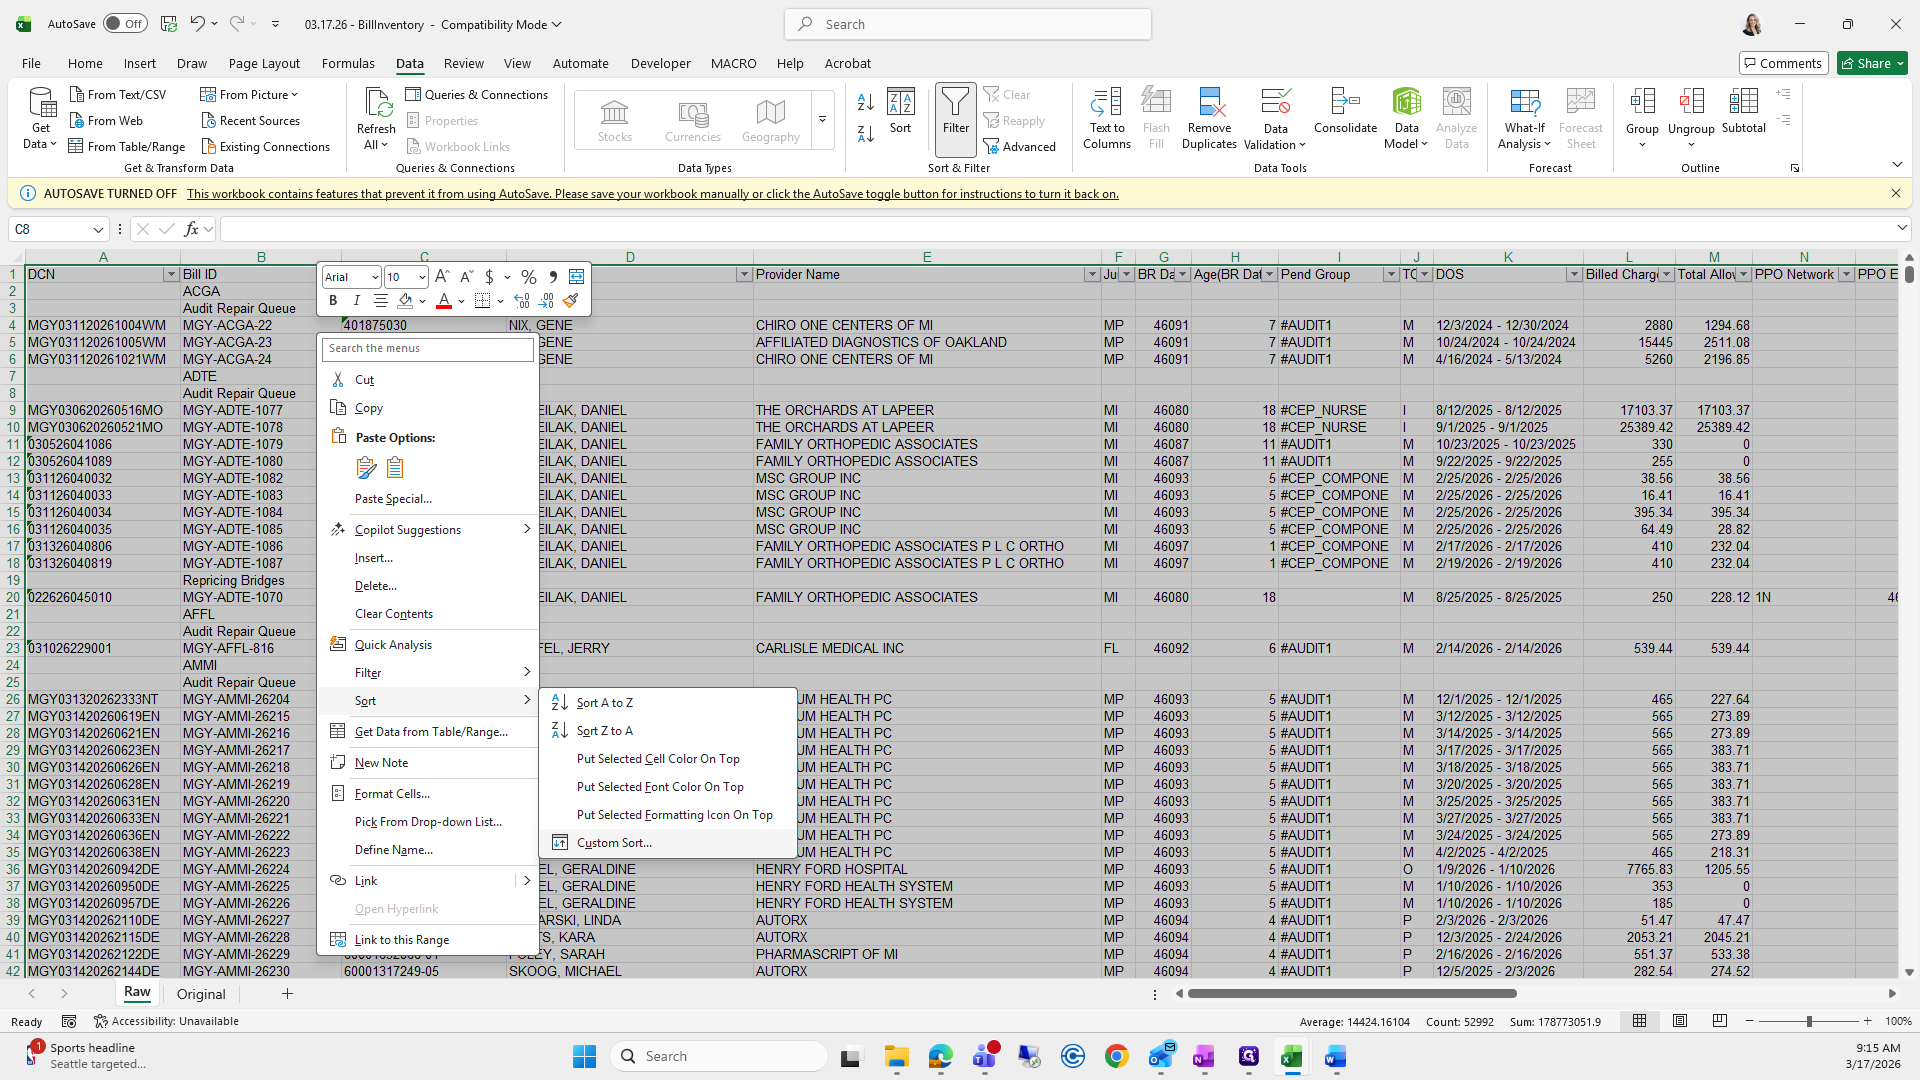
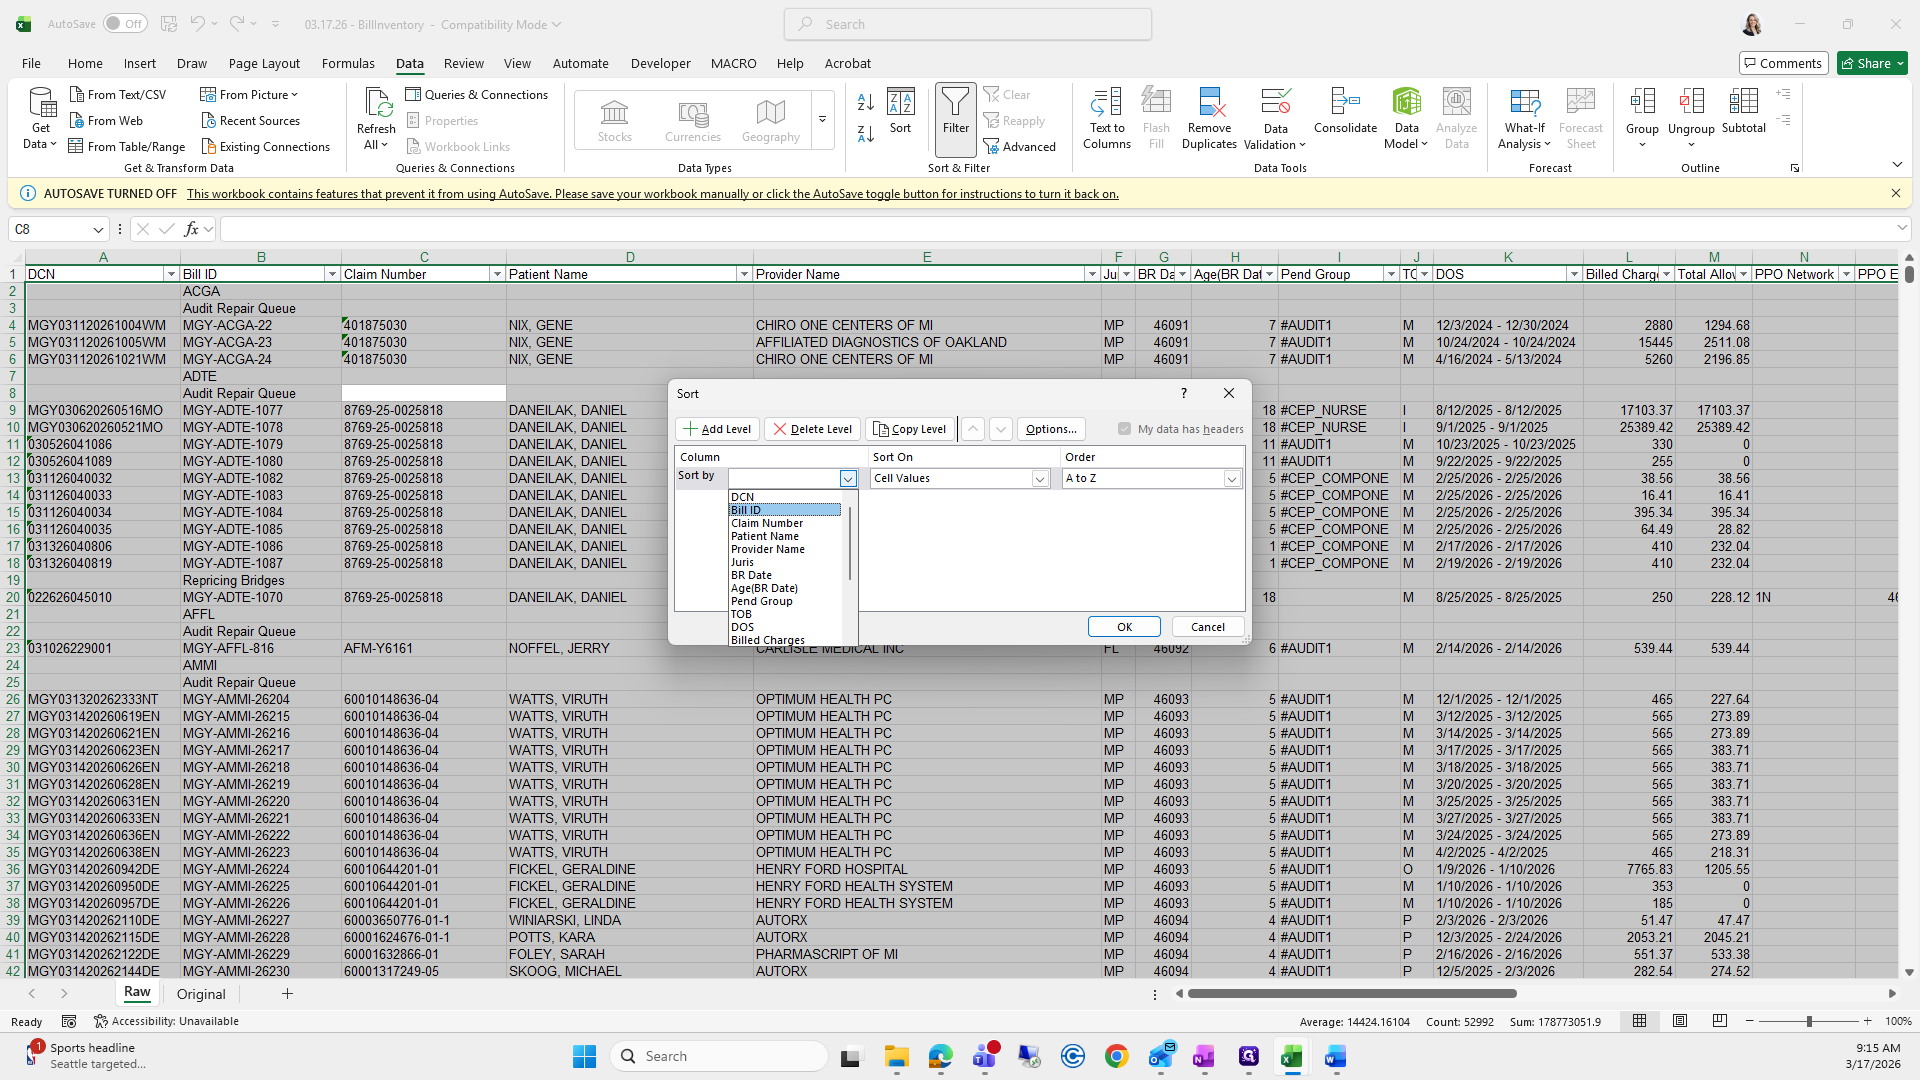
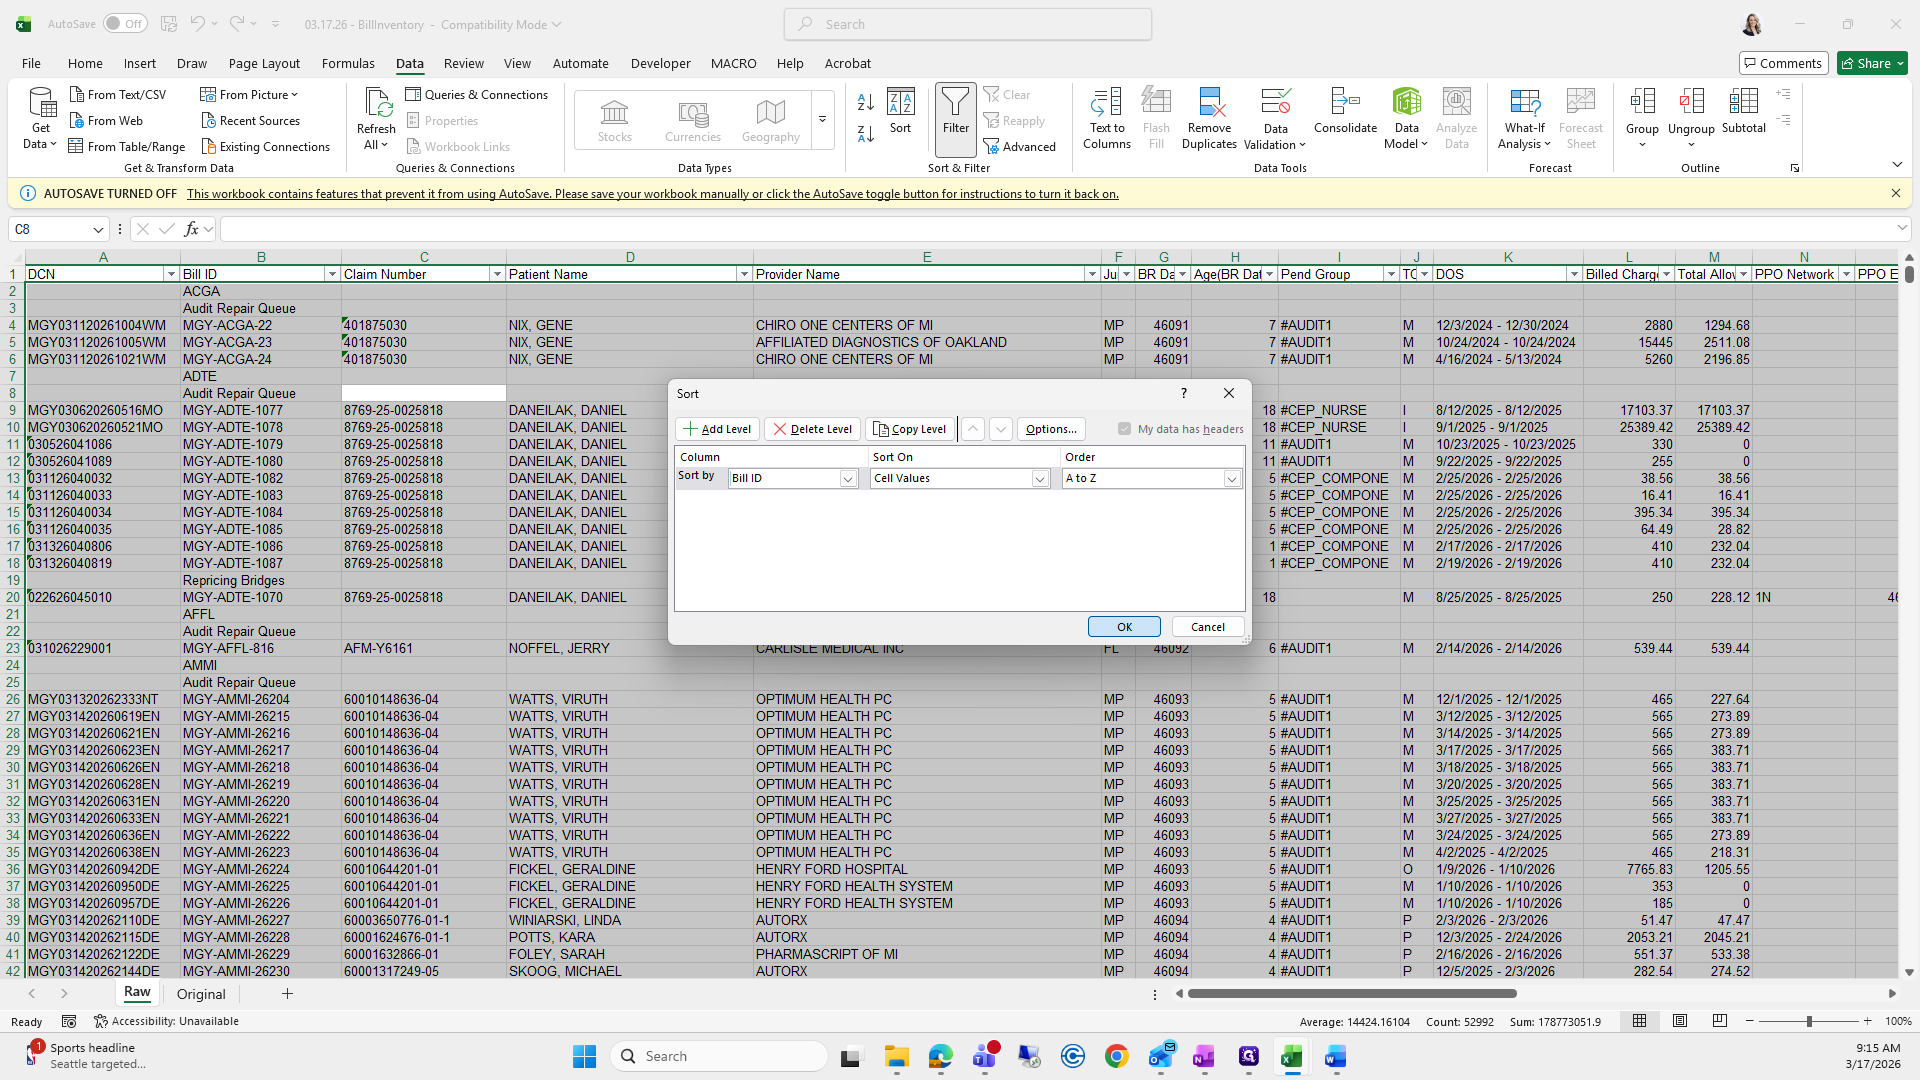
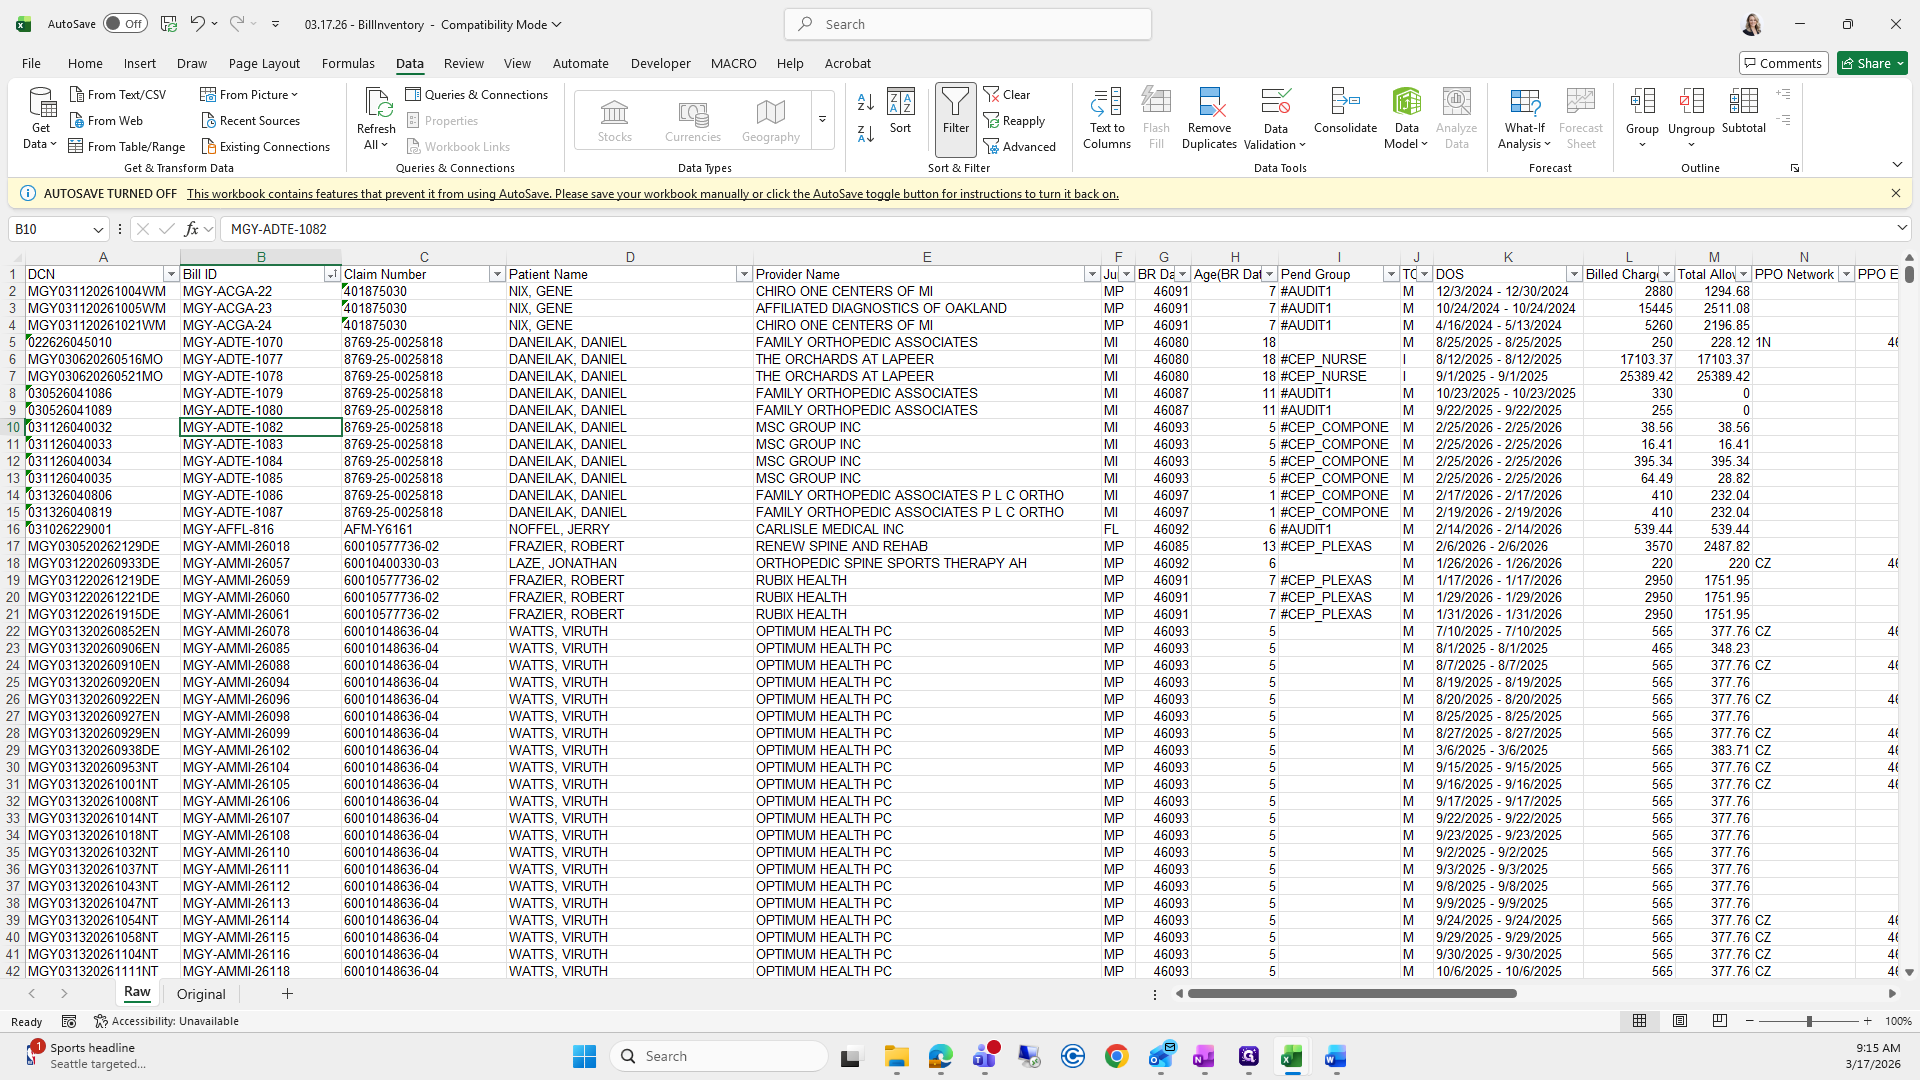
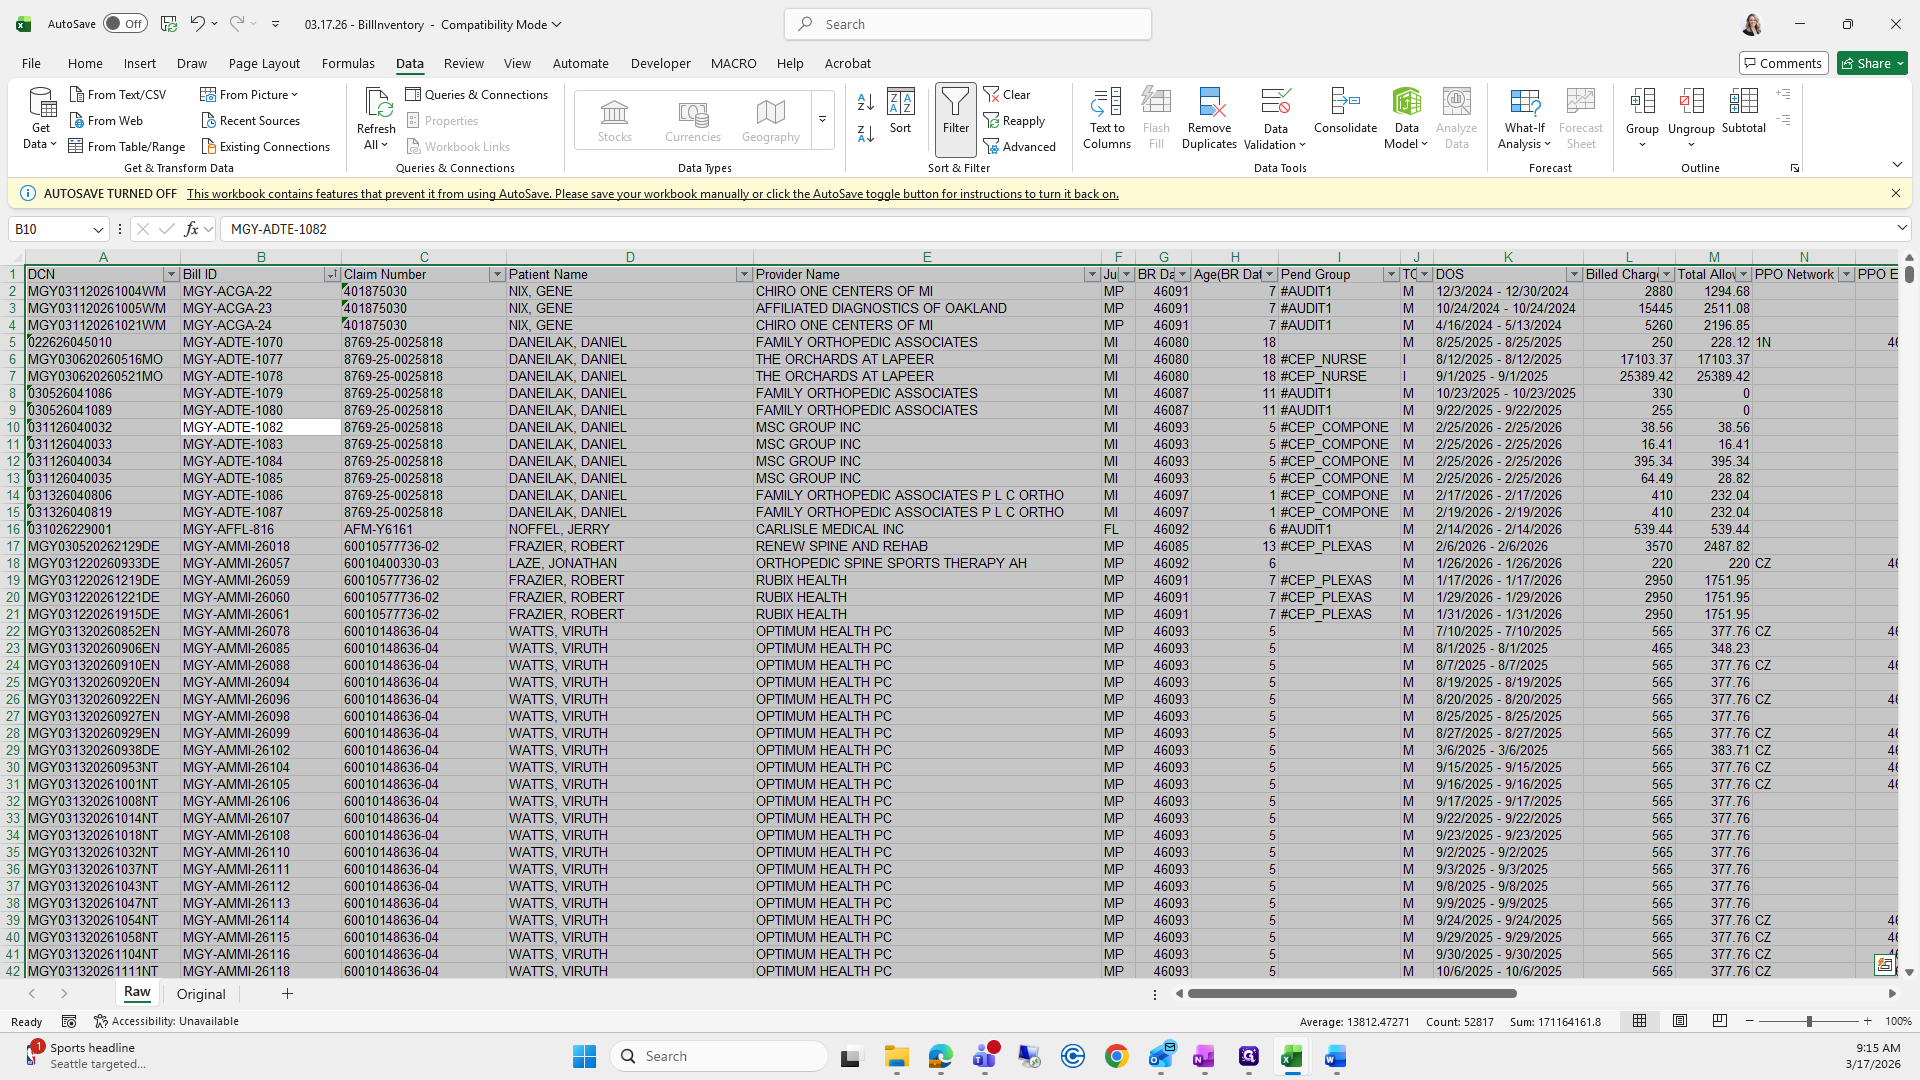
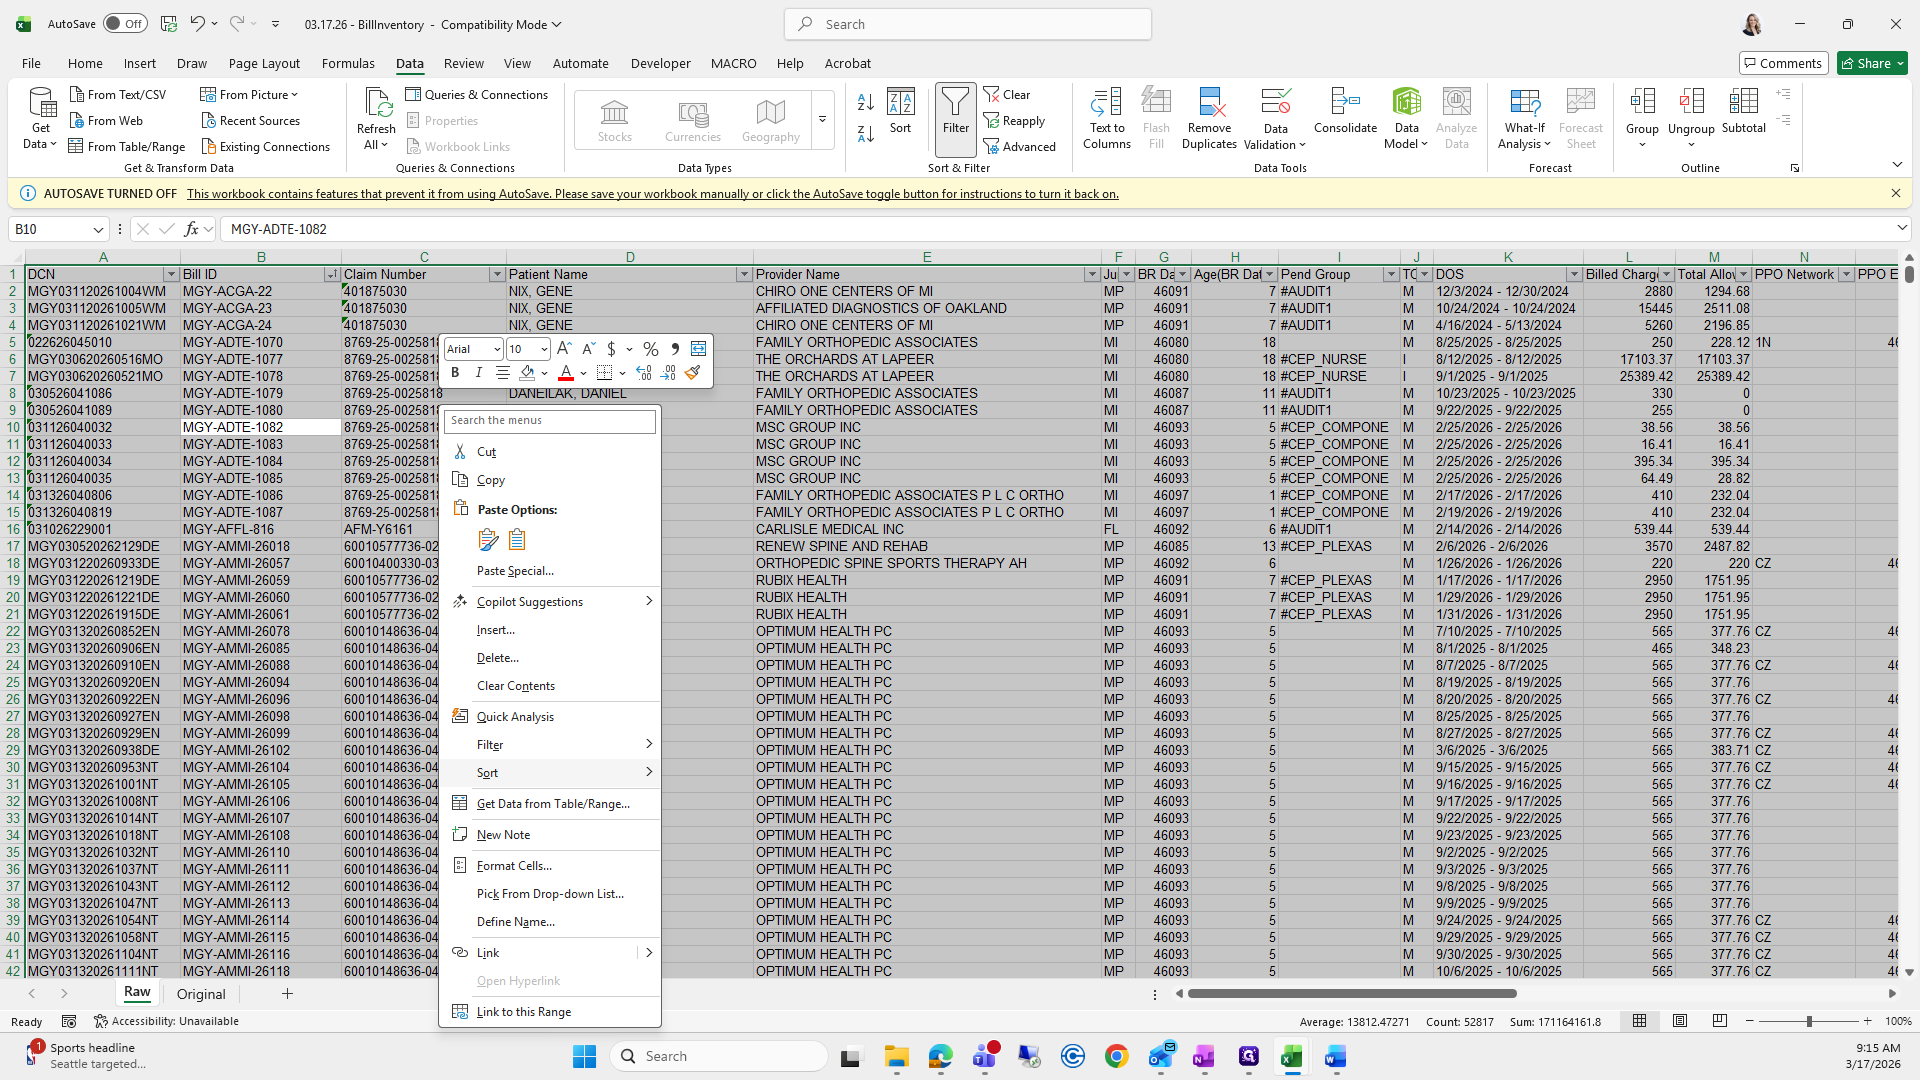
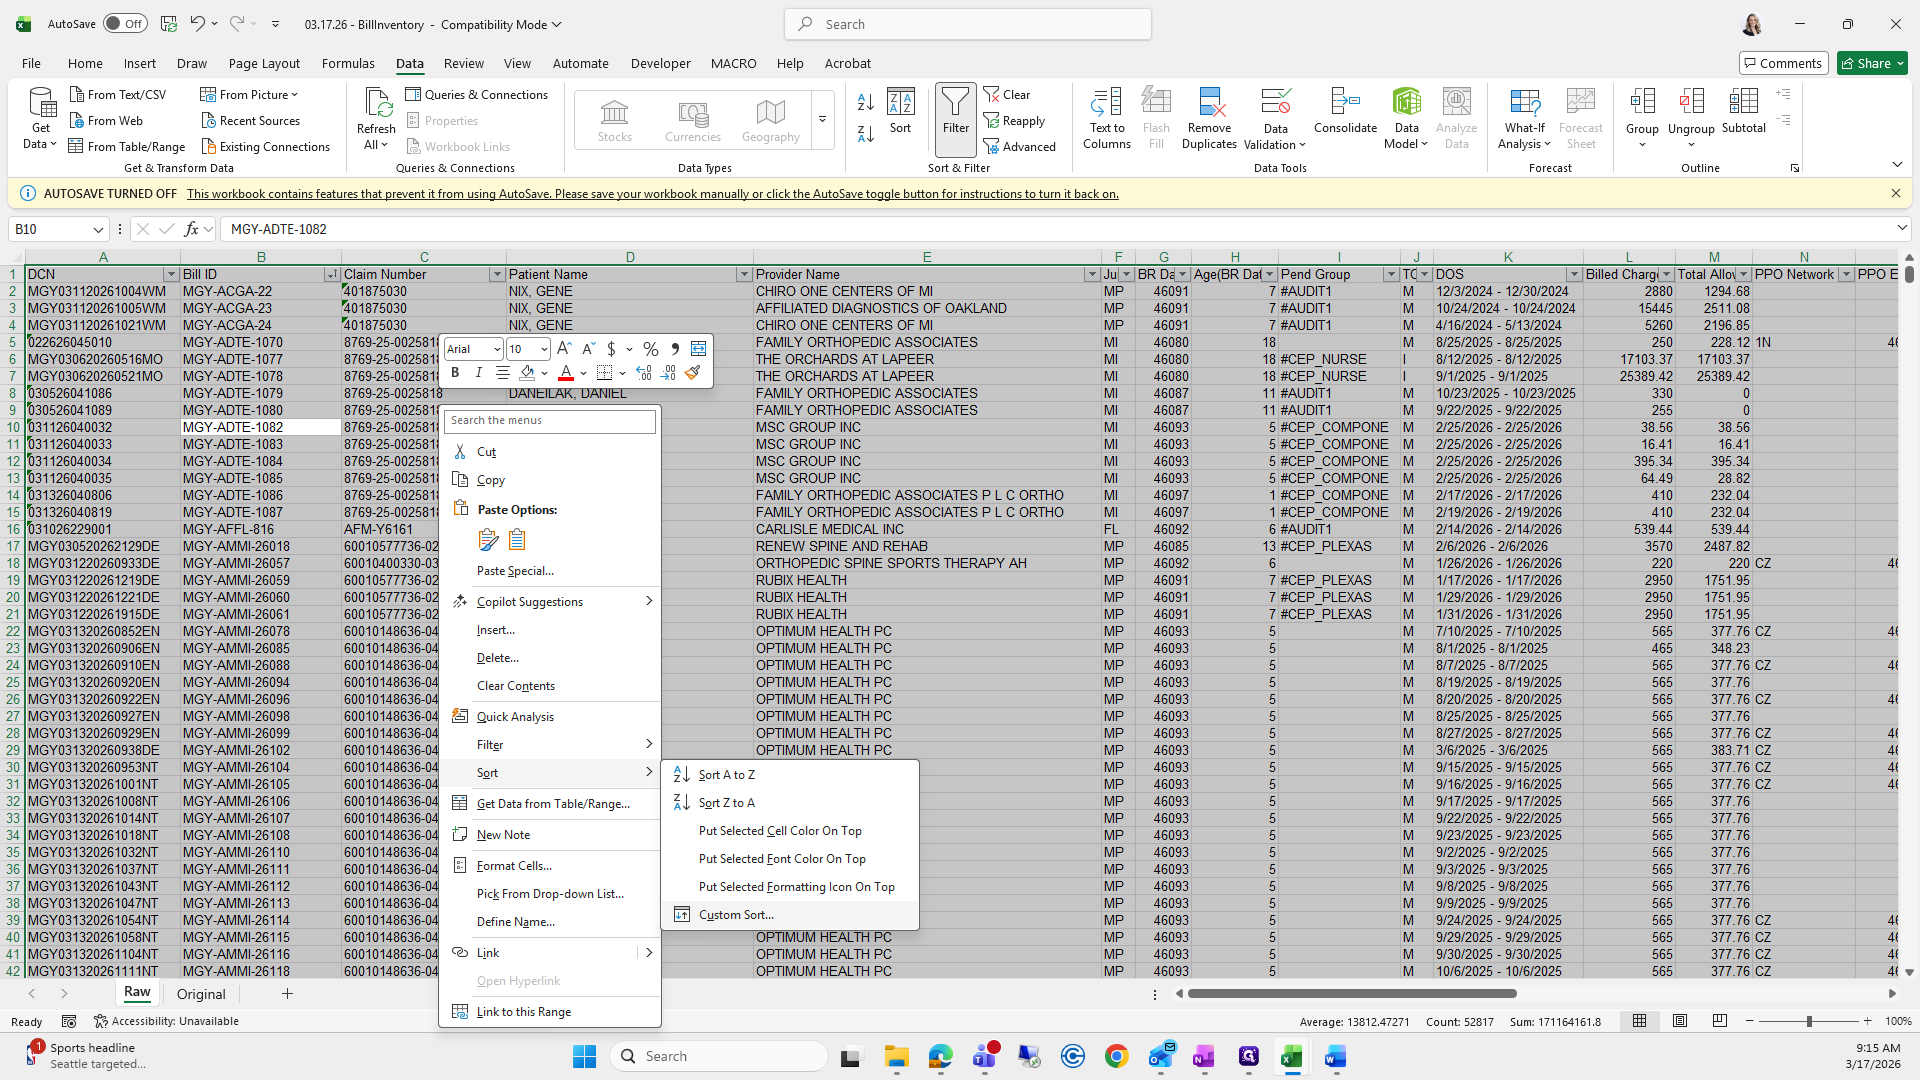
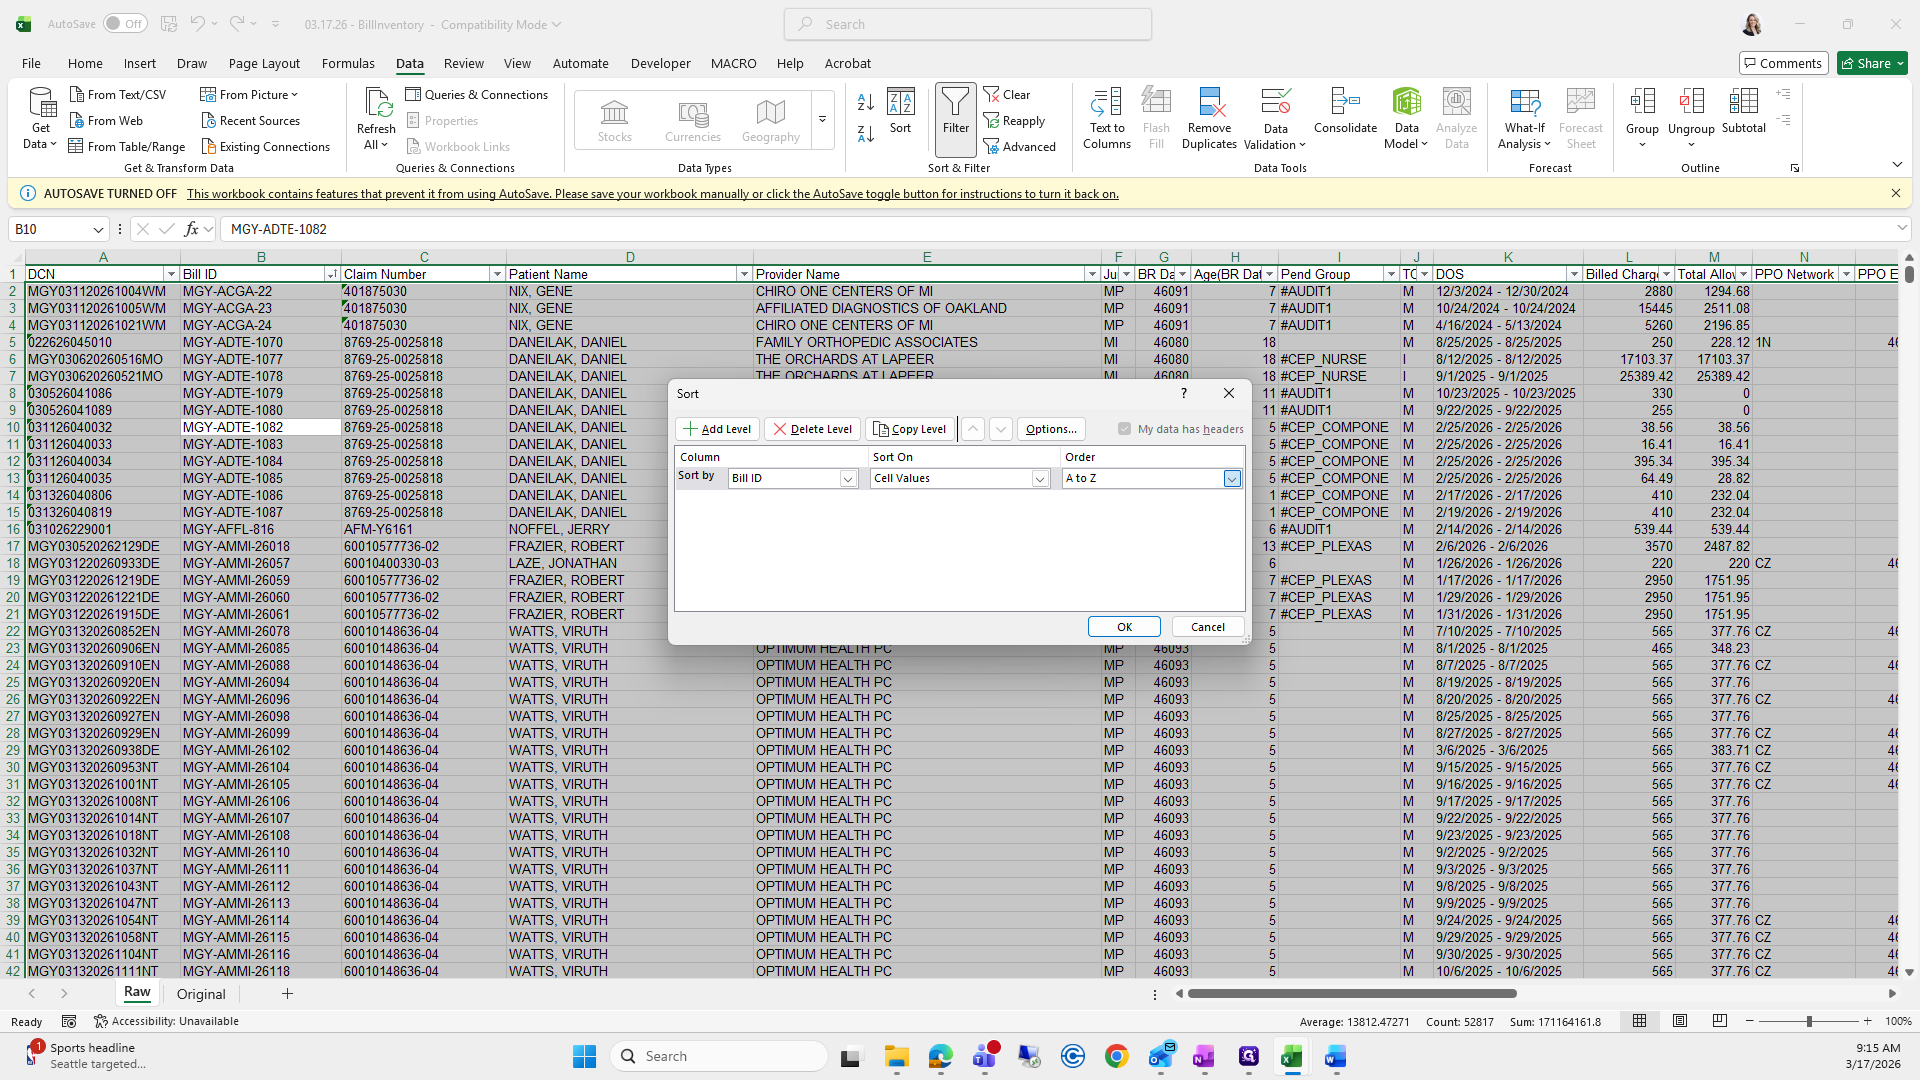
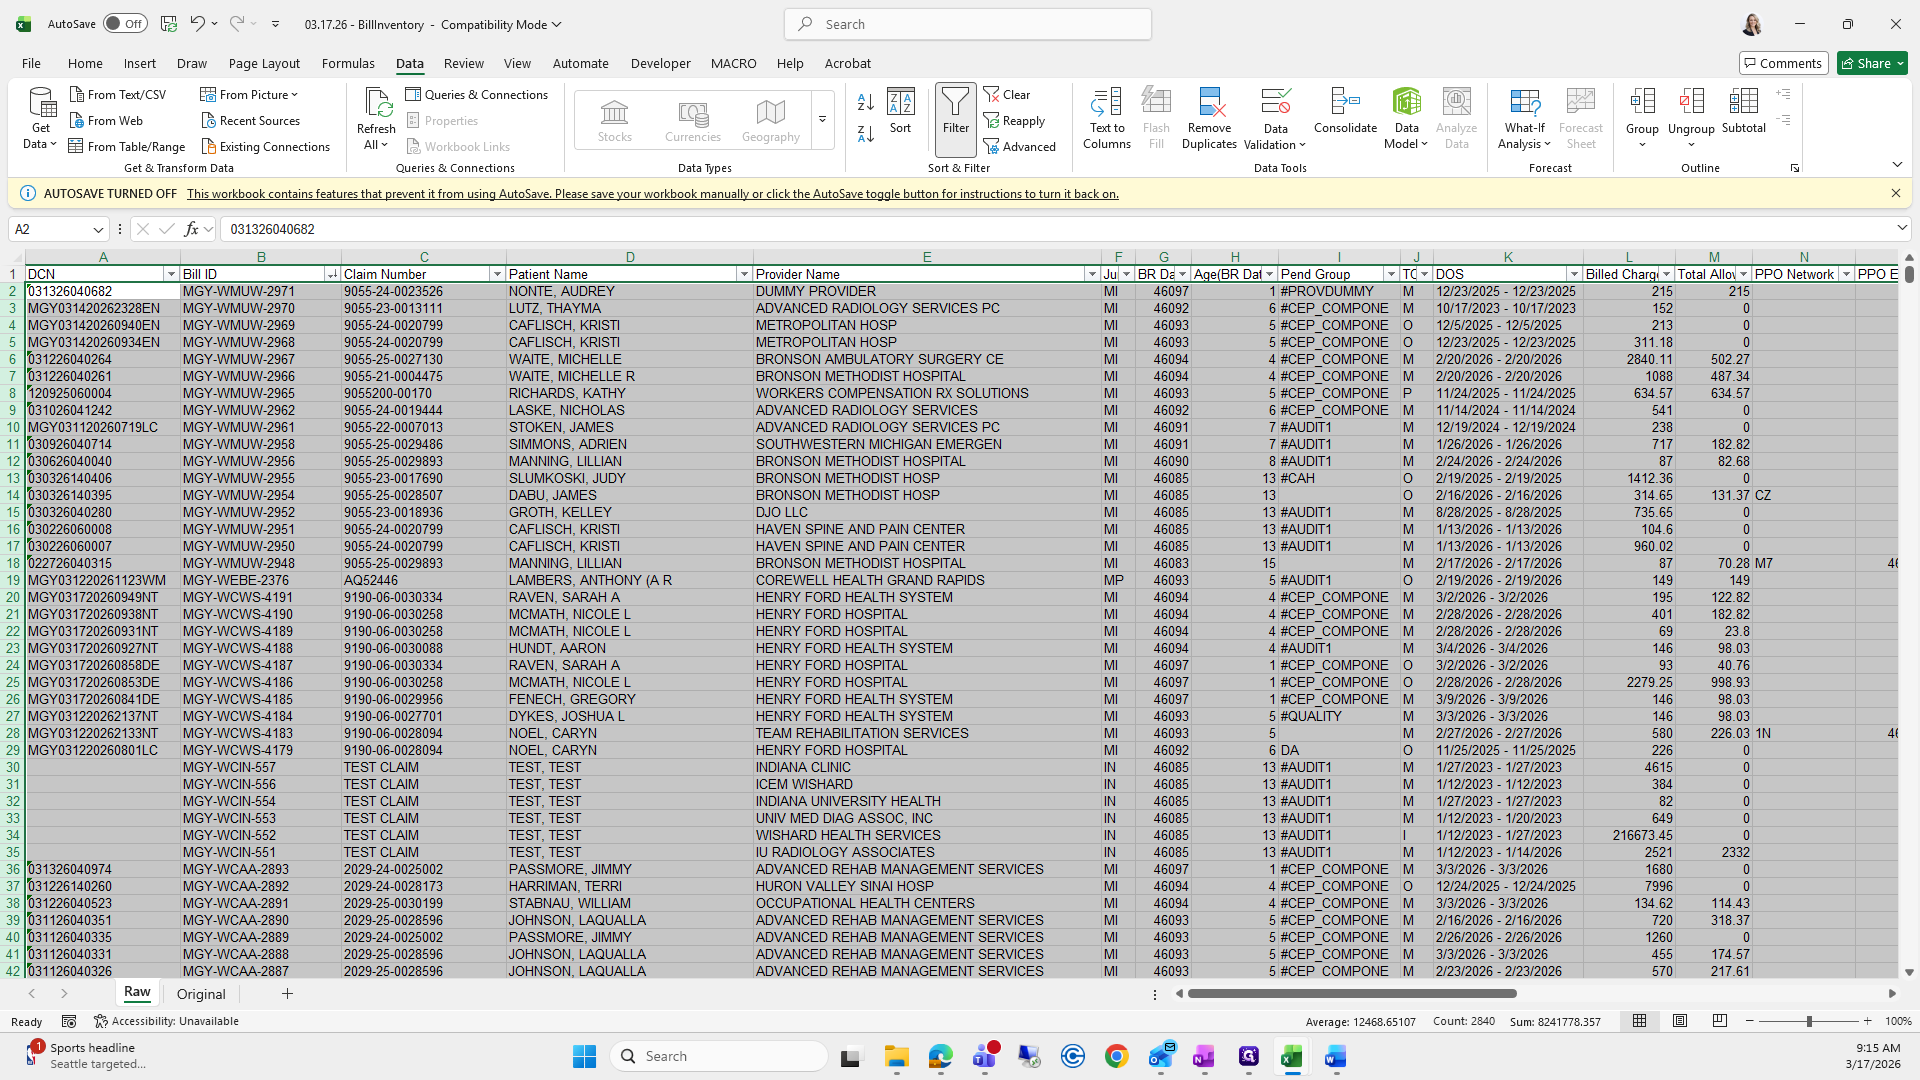
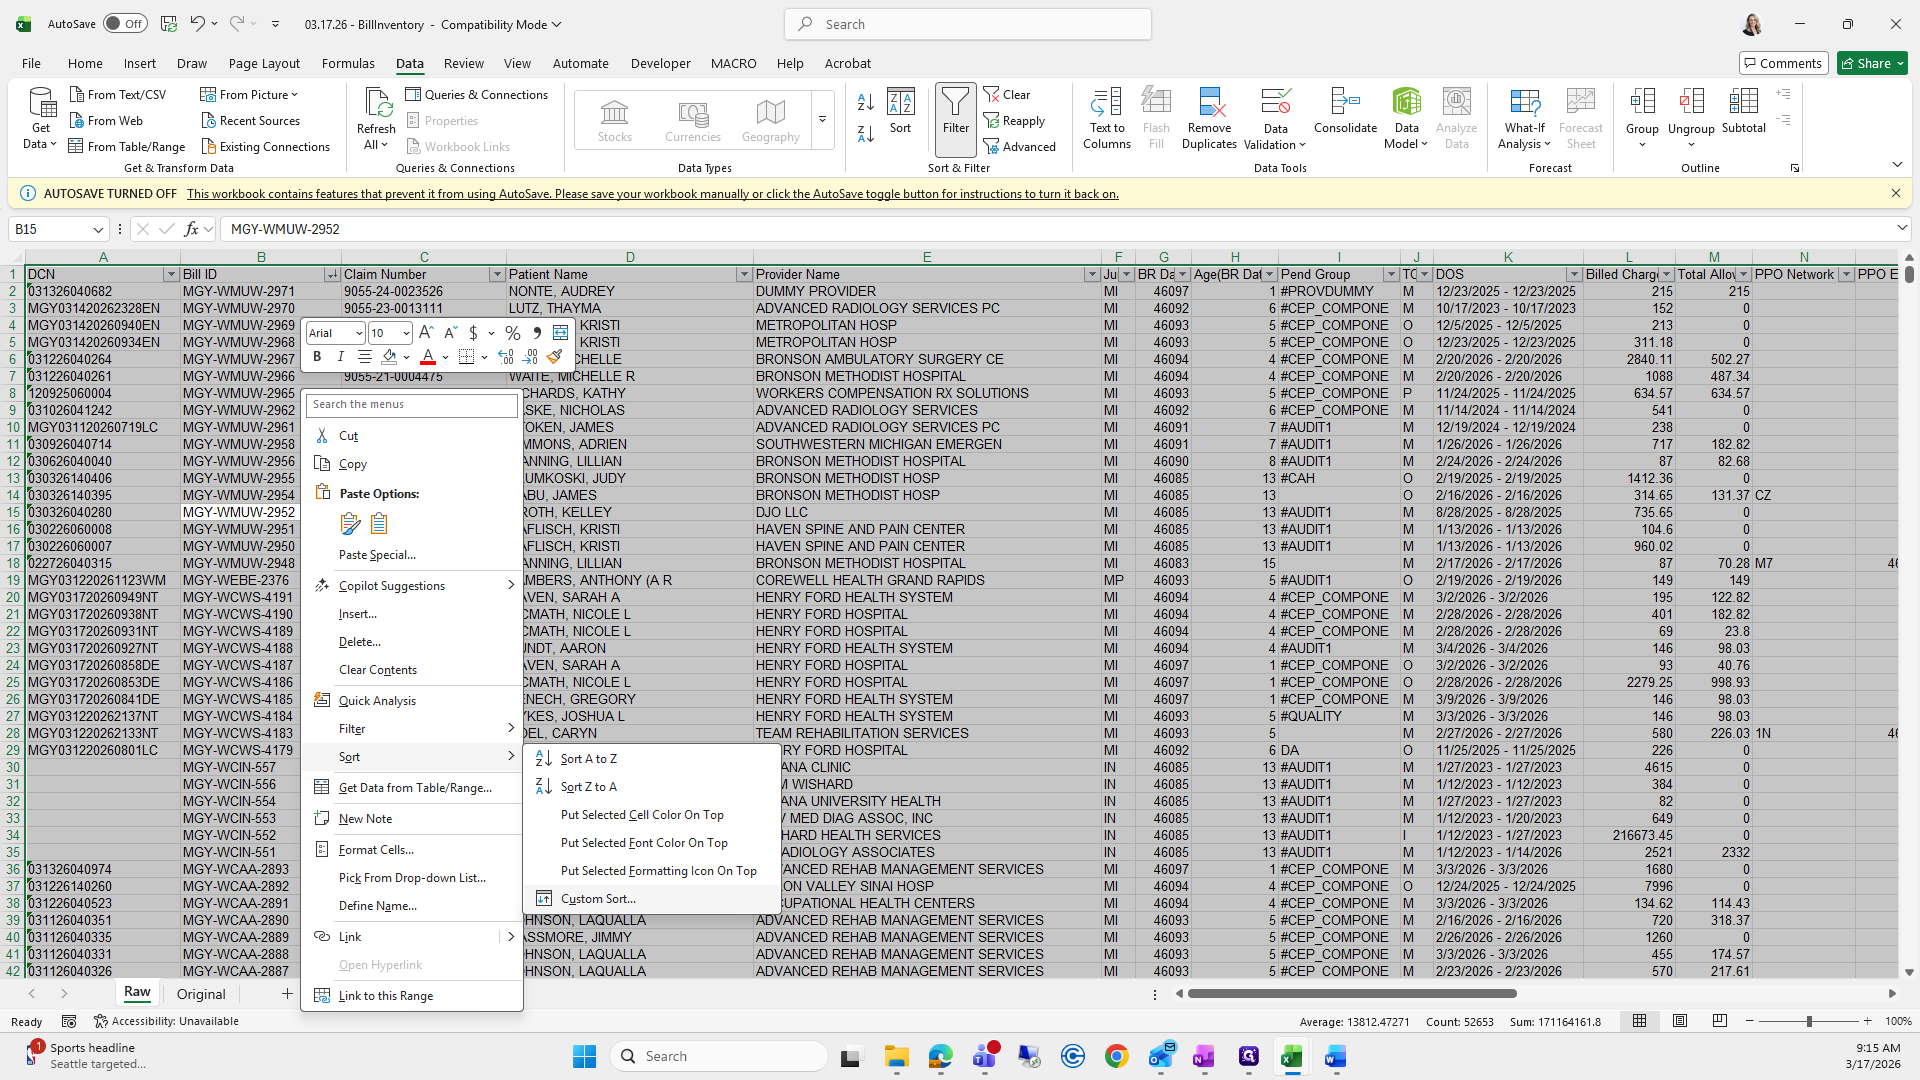
First, select all the data. Then, apply a filter and sort by bill ID. Remove all the blank rows, as they are not needed.

95
Click here
Step #95: Click here
96
Type "Ctrl + A"
97
Click on "Data"
Step #97: Click on "Data"
98
Click here
Step #98: Click here
99
Right-click here
Step #99: Right-click here
100
Click here
Step #100: Click here
101
Click on "..."
Step #101: Click on "..."
102
Double-click on "Claim Number"
Step #102: Double-click on "Claim Number"
103
Click here
Step #103: Click here
104
Drag "1"
Step #104: Drag "1"
105
Right-click here
Step #105: Right-click here

Then I will do it again.

106
Click on "Delete"
Step #106: Click on "Delete"
107
Type "Ctrl + A"
108
Right-click on "MGY - ACGA - 24 MGY - ADTE - 1070"
Step #108: Right-click on "MGY - ACGA - 24 MGY - ADTE - 1070"

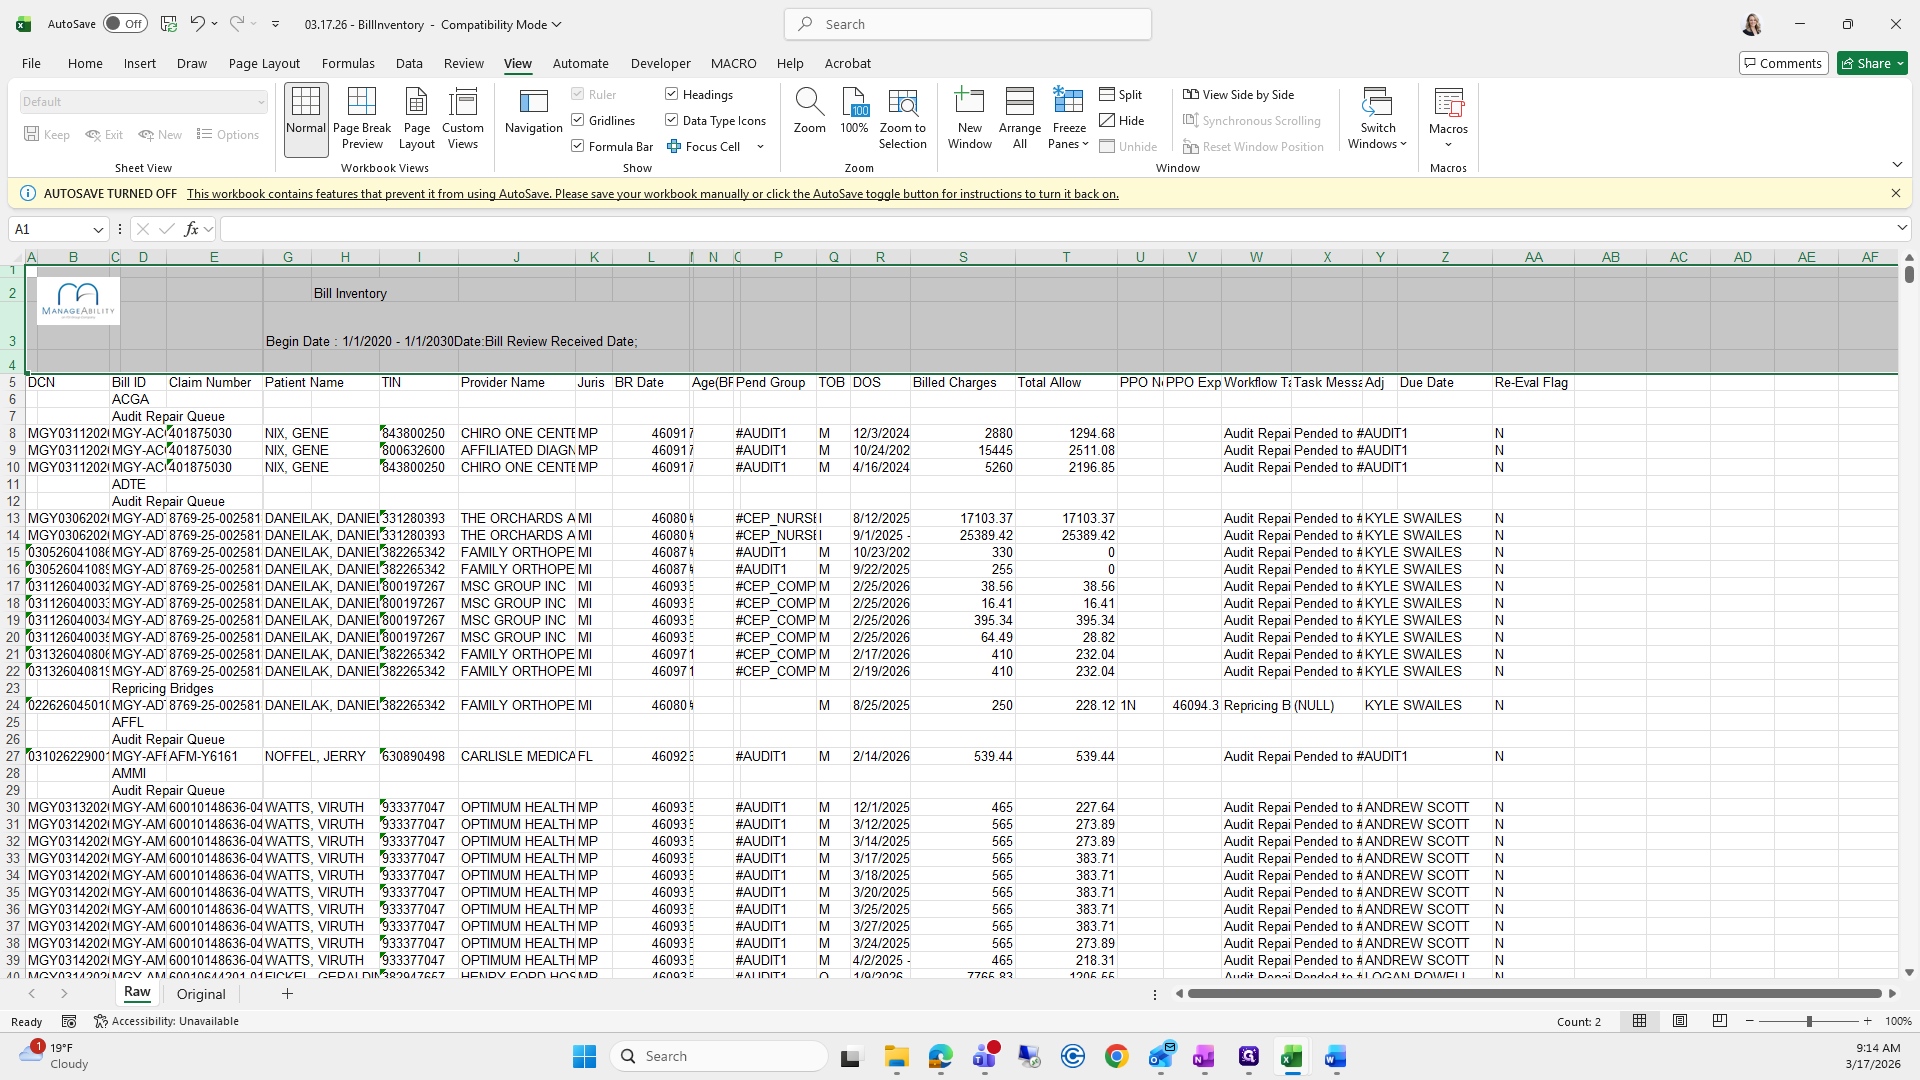
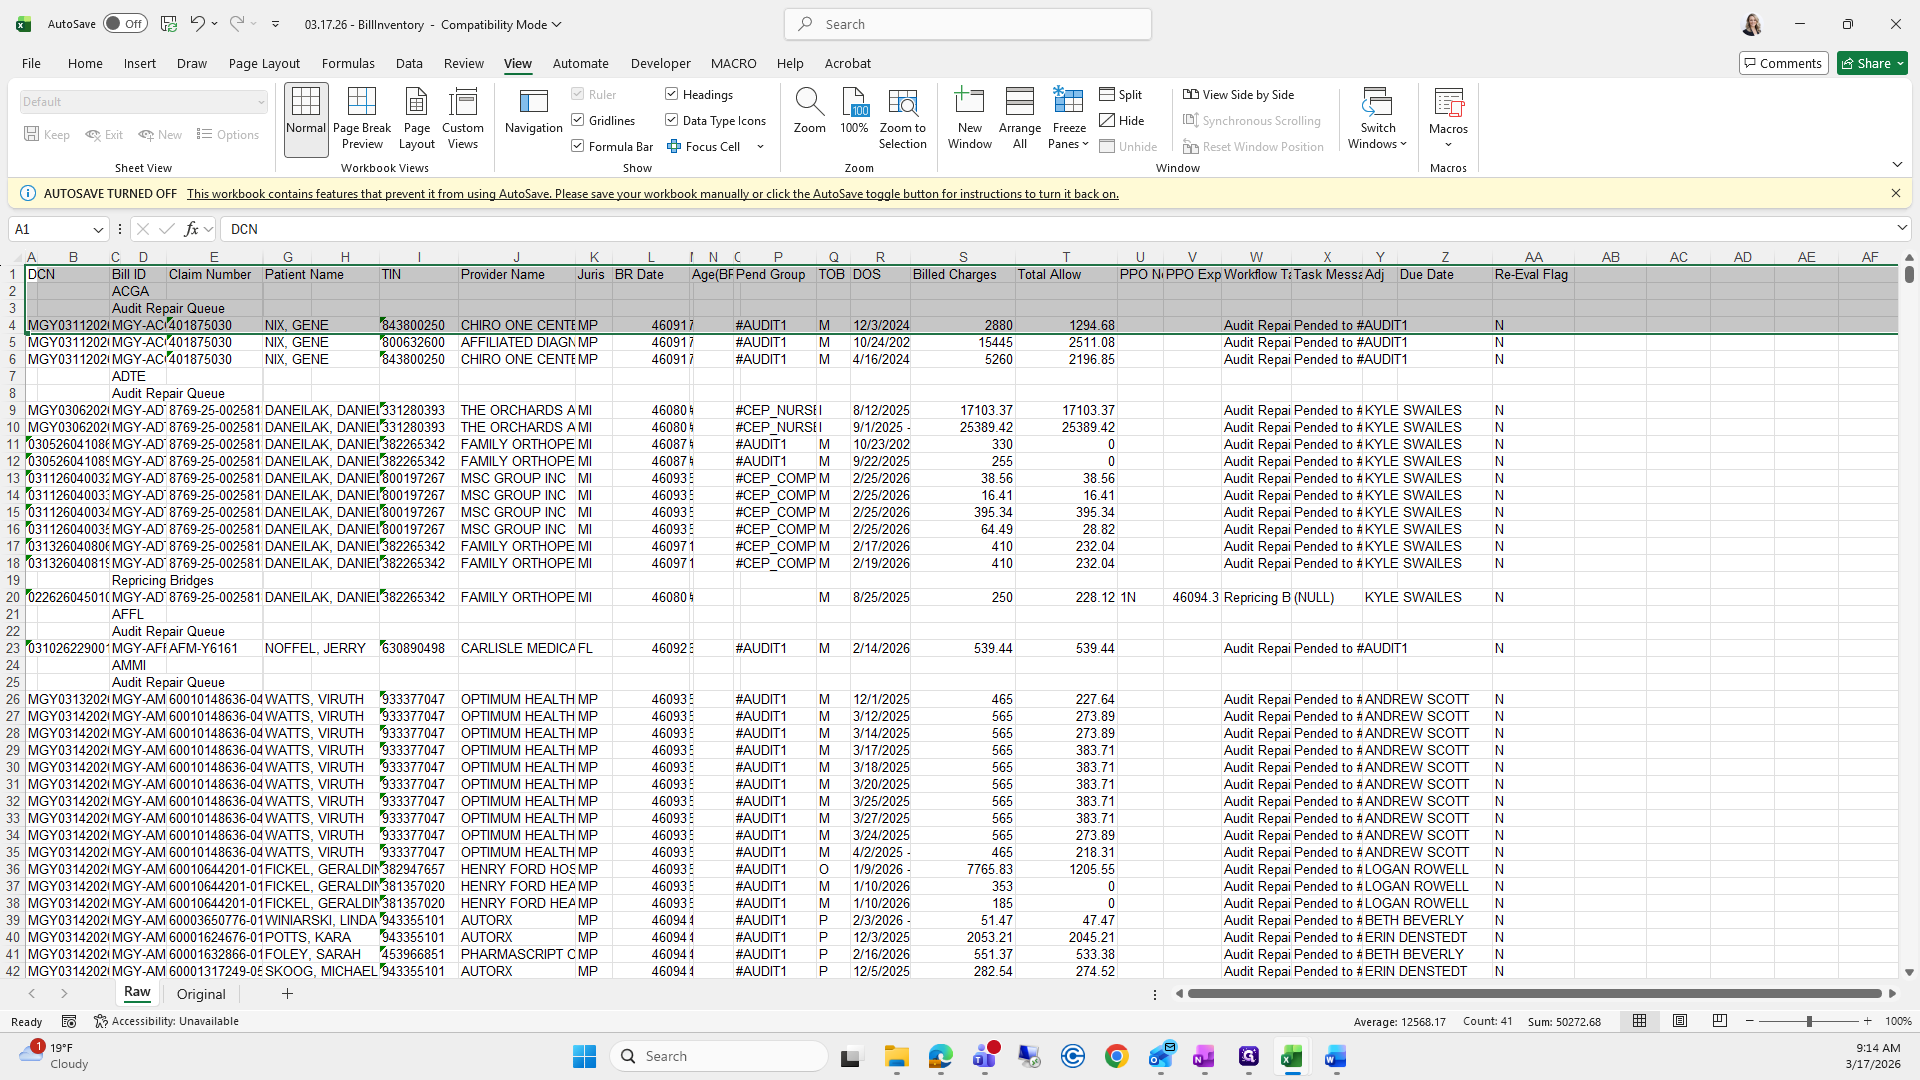
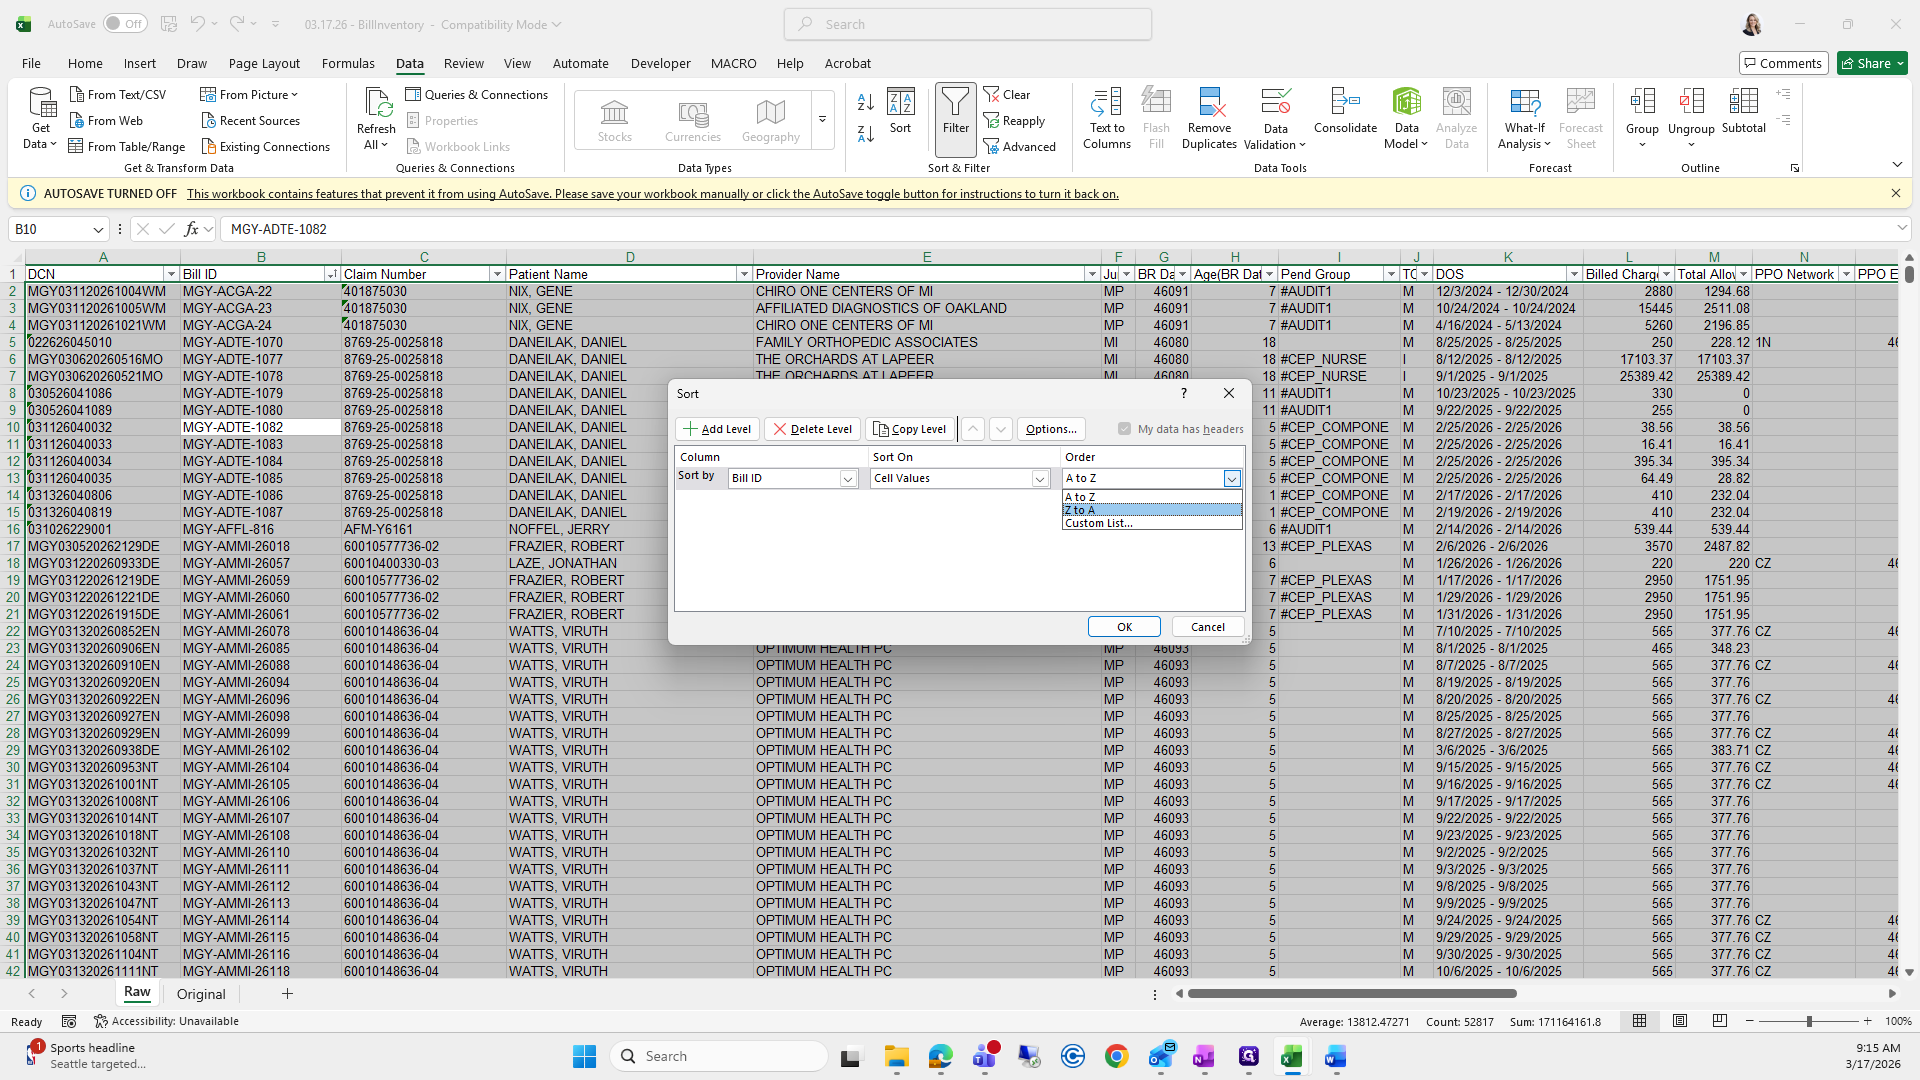
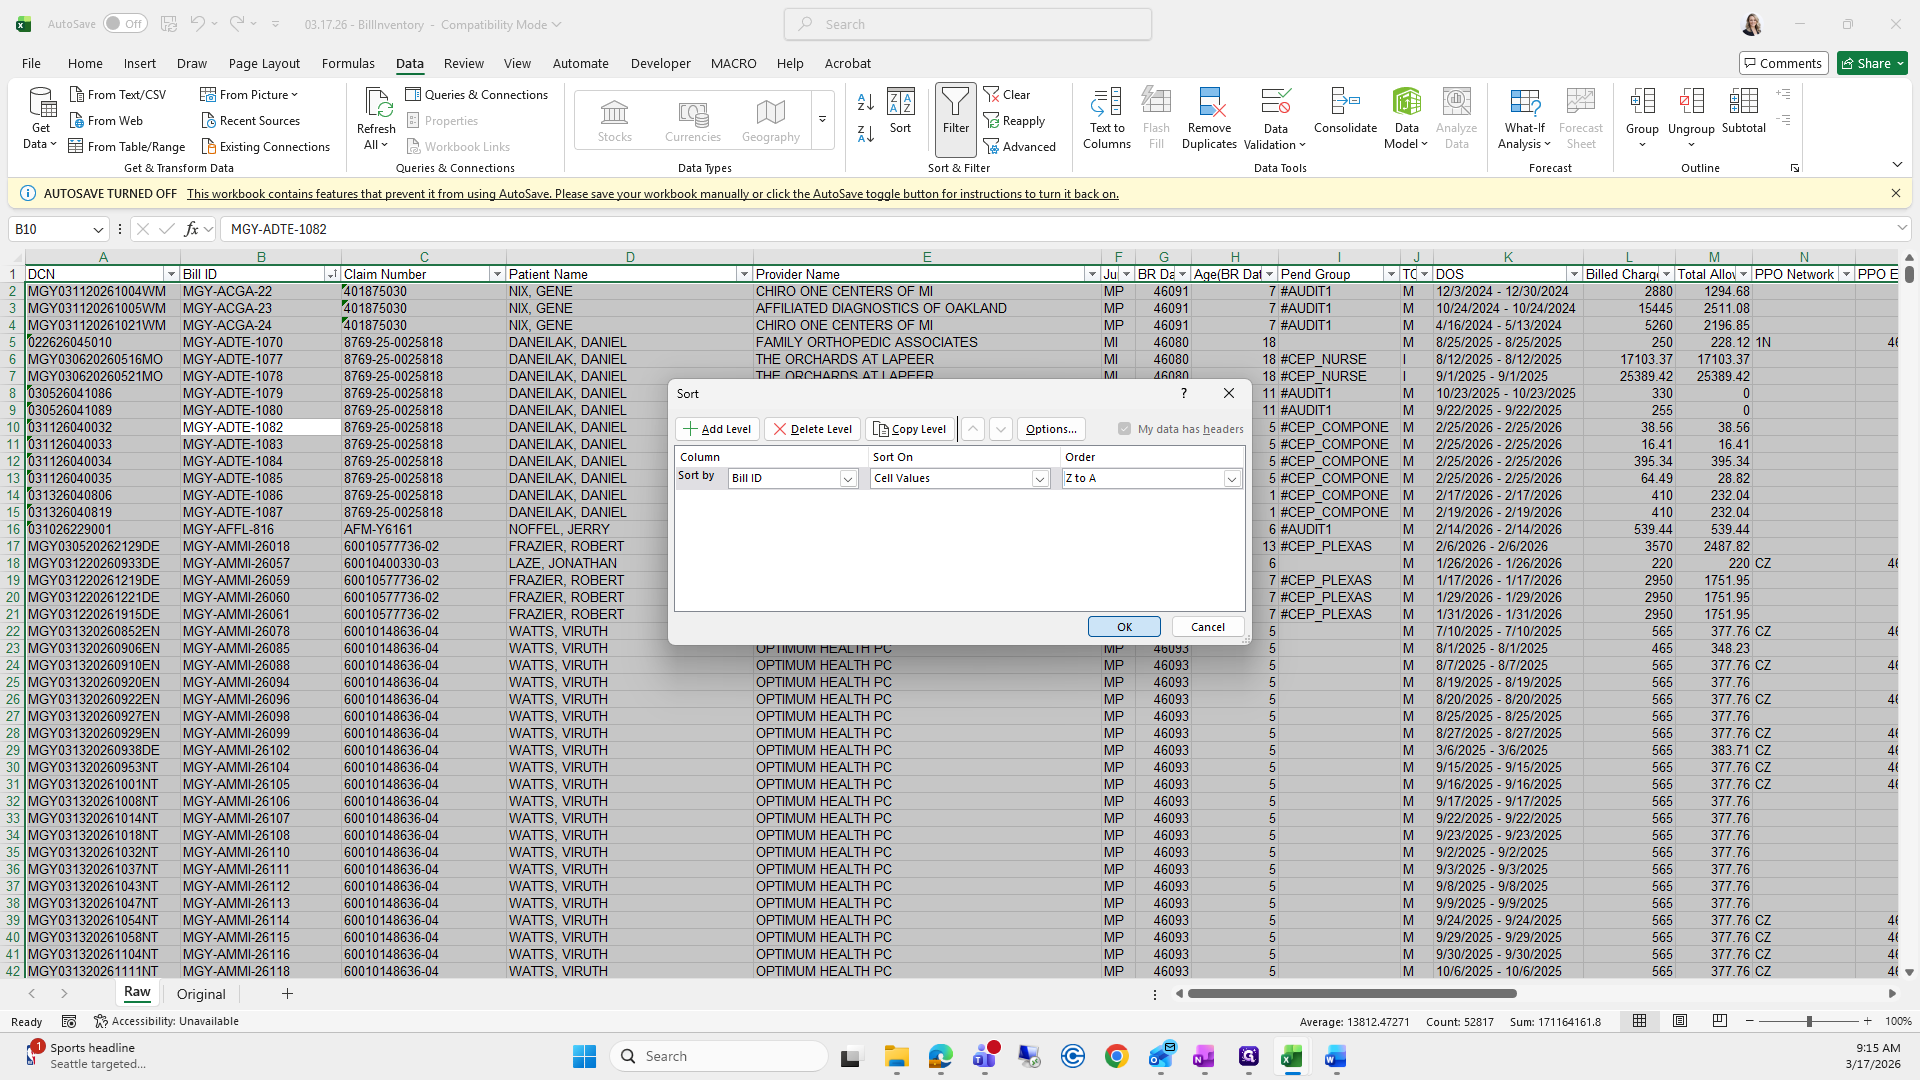
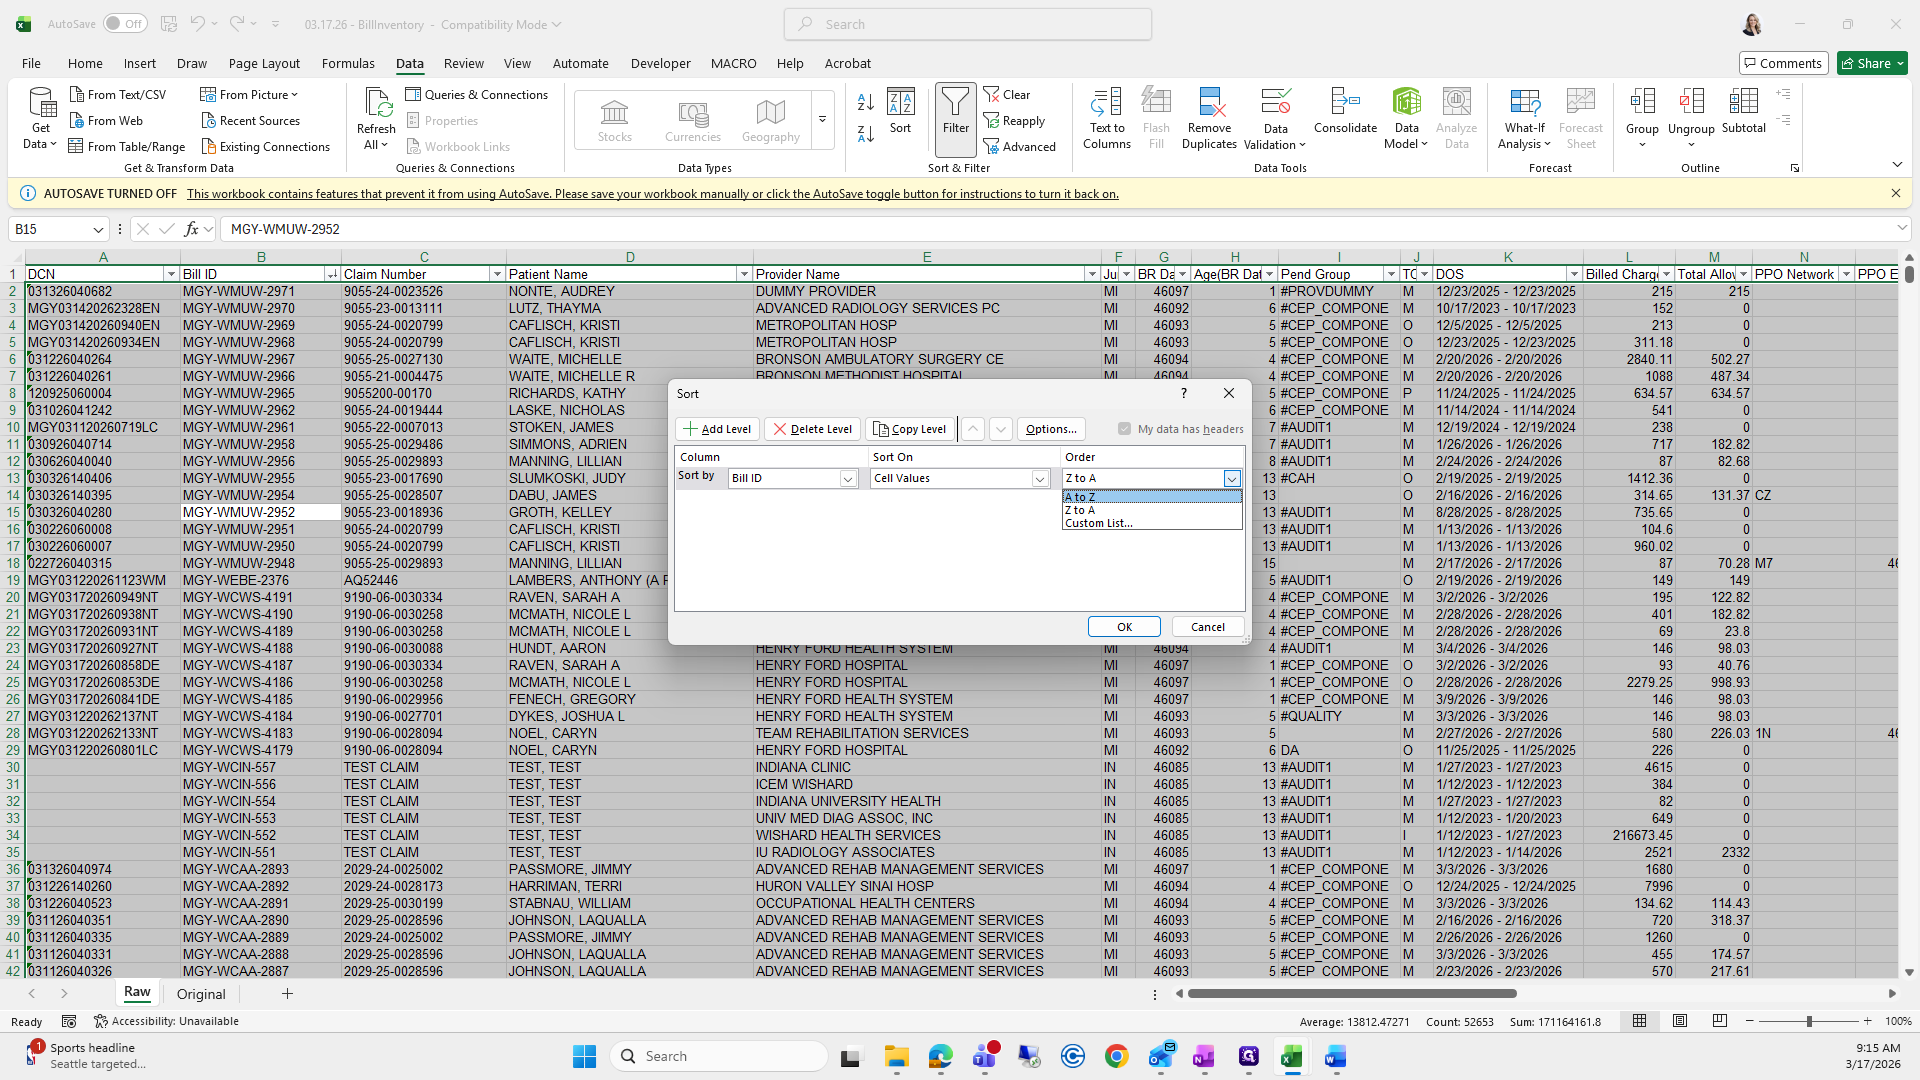
Select all and sort by bill ID, from Z to A. Remove all unnecessary items.

109
Double-click on "- ADTE - 1082"
Step #109: Double-click on "- ADTE - 1082"
110
Type "Ctrl + A"
111
Right-click on "8769-25-0025818"
Step #111: Right-click on "8769-25-0025818"
112
Click on "Sort"
Step #112: Click on "Sort"
113
Click on "↓ ↑ Custom Sort"
Step #113: Click on "↓ ↑ Custom Sort"
114
Click on "A to Z"
Step #114: Click on "A to Z"
115
Click on "Custom List"
Step #115: Click on "Custom List"
116
Click on "OK"
Step #116: Click on "OK"
117
Drag "2"
Step #117: Drag "2"
118
Right-click here
Step #118: Right-click here

""

119
Click on "Delete"
Step #119: Click on "Delete"

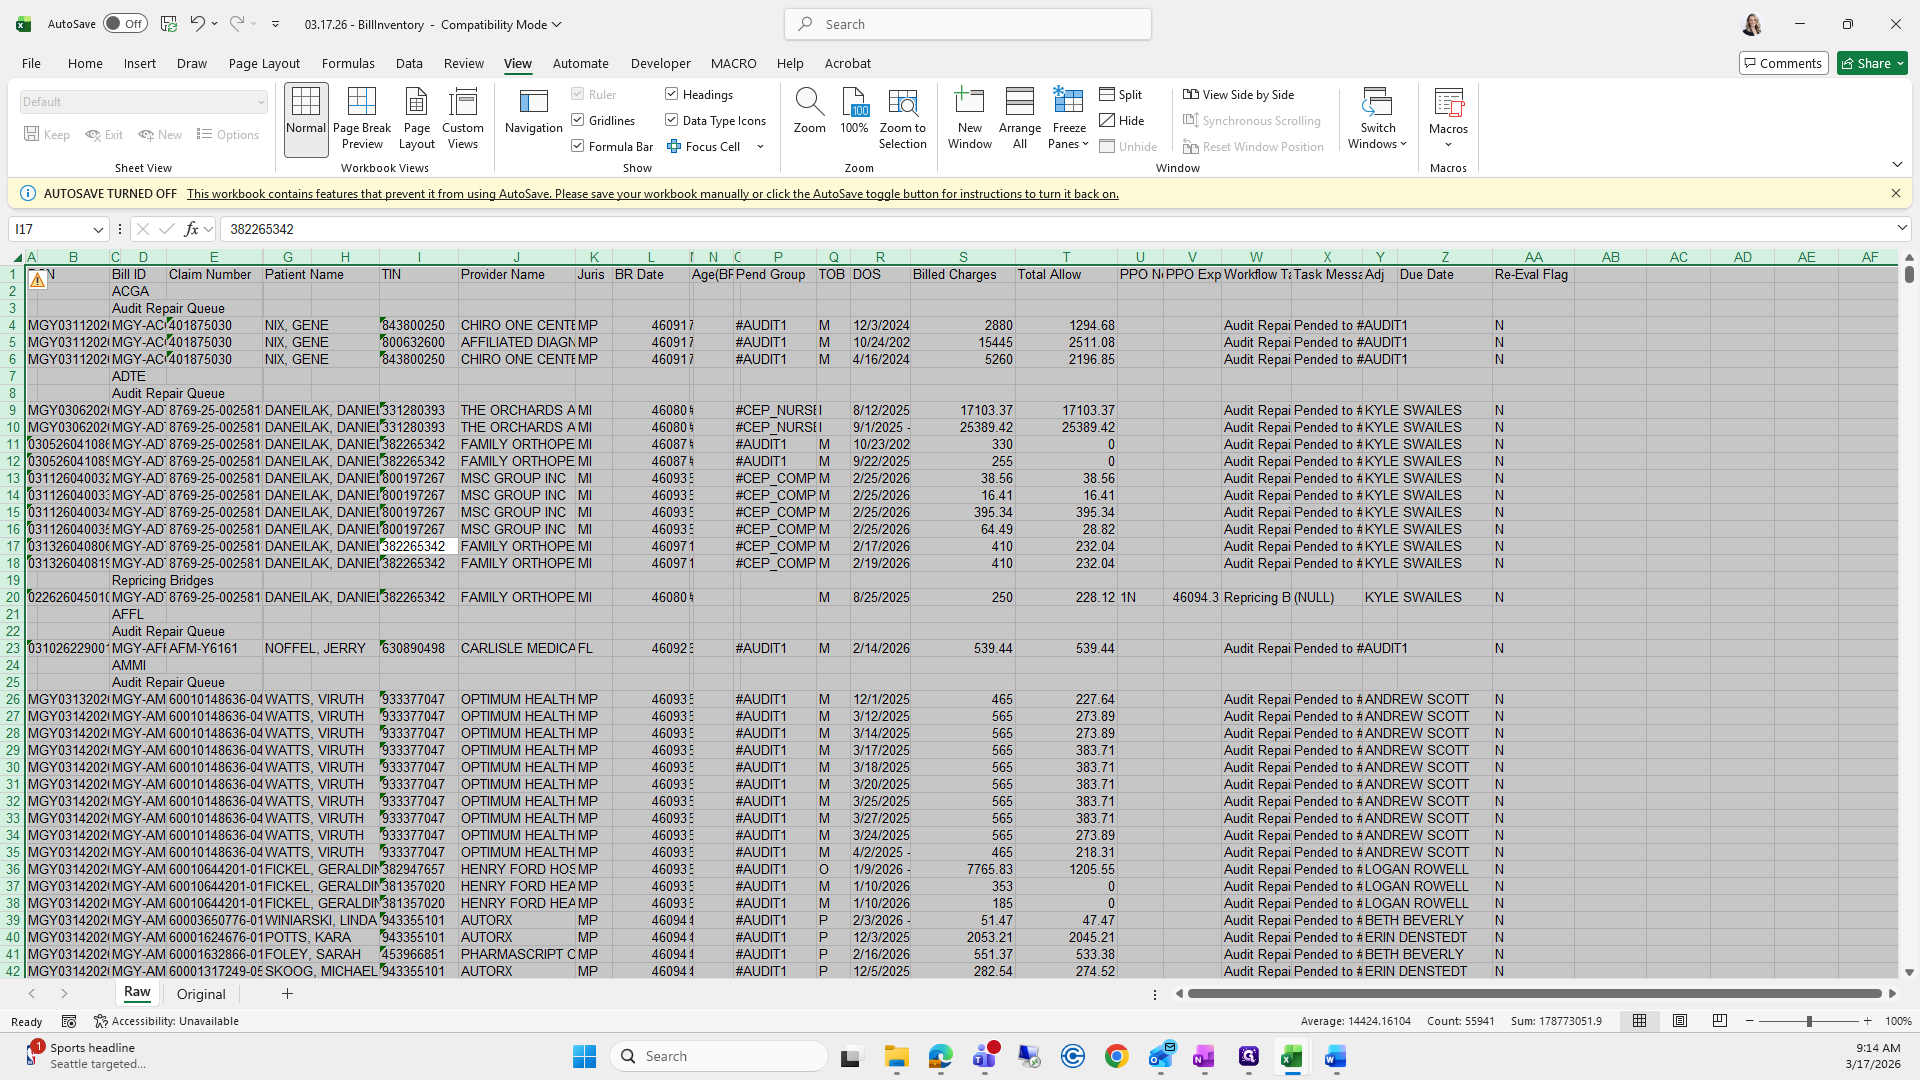
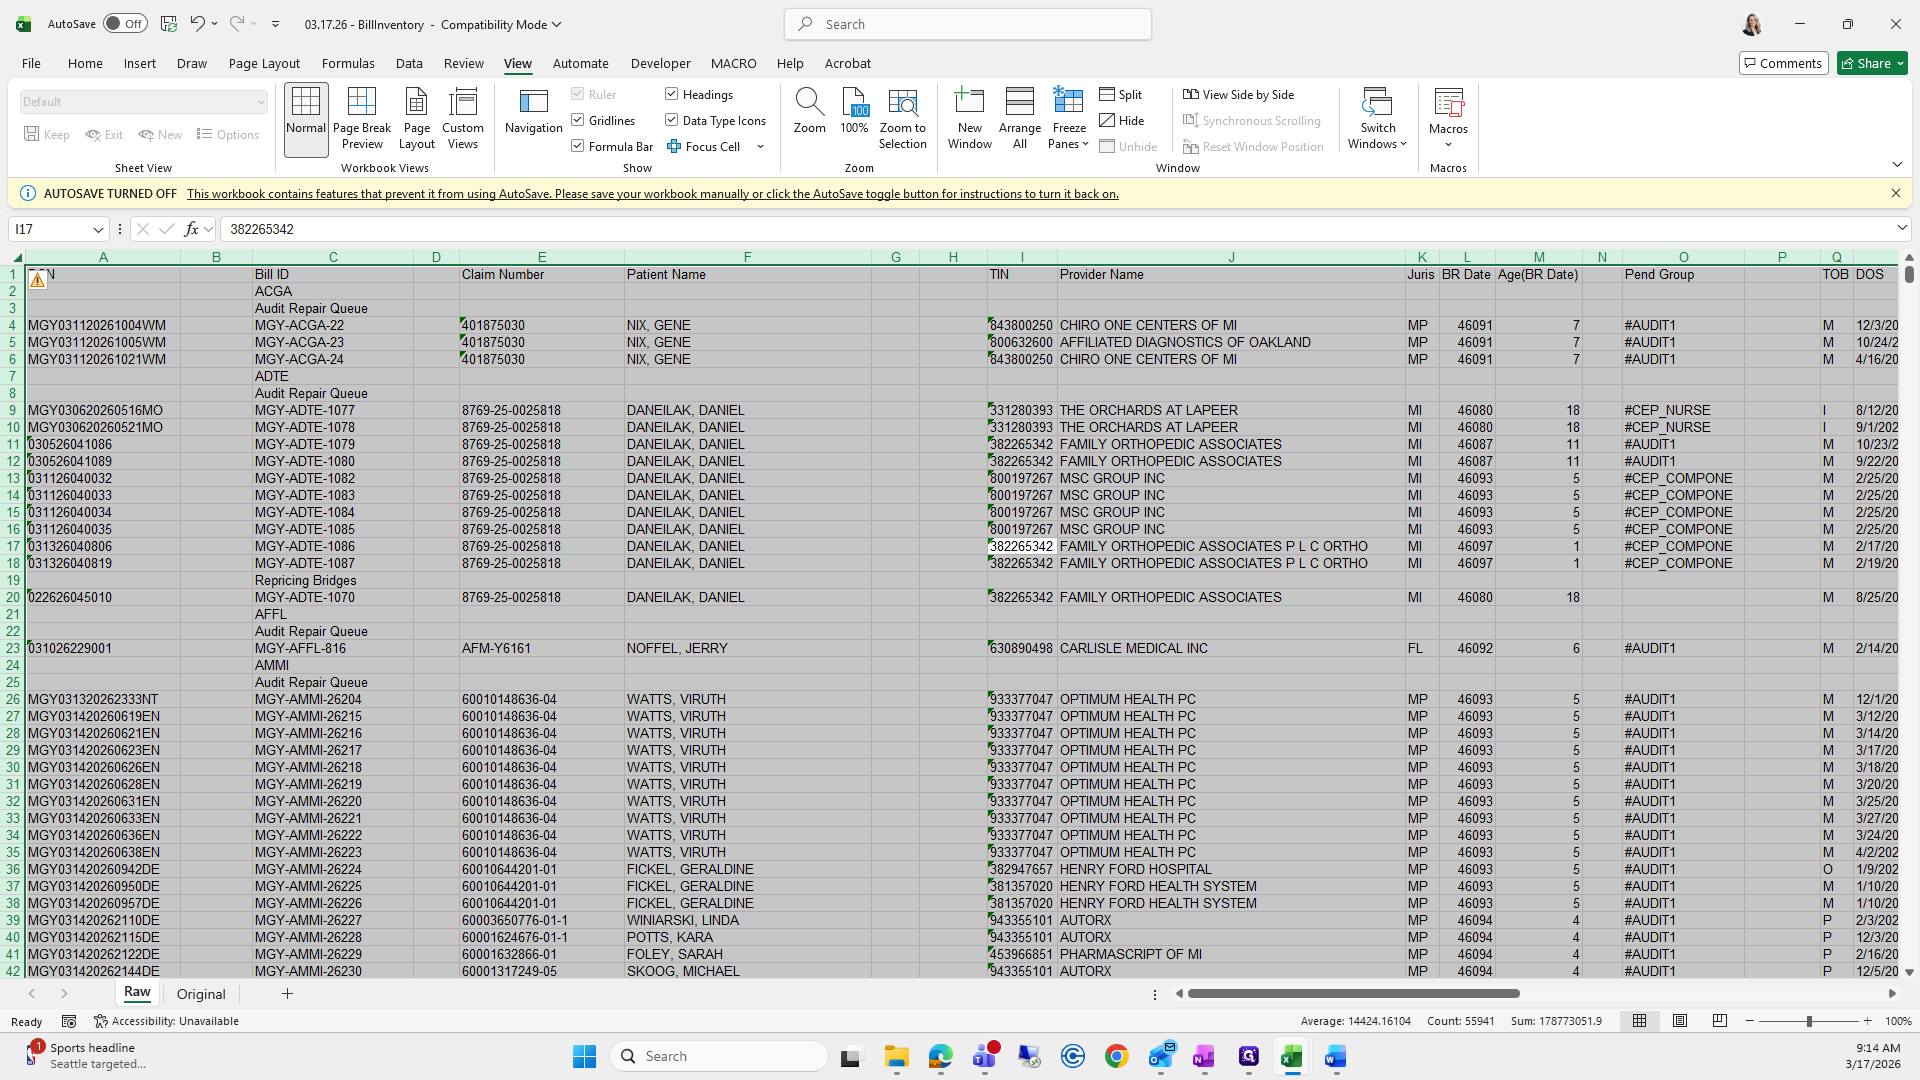
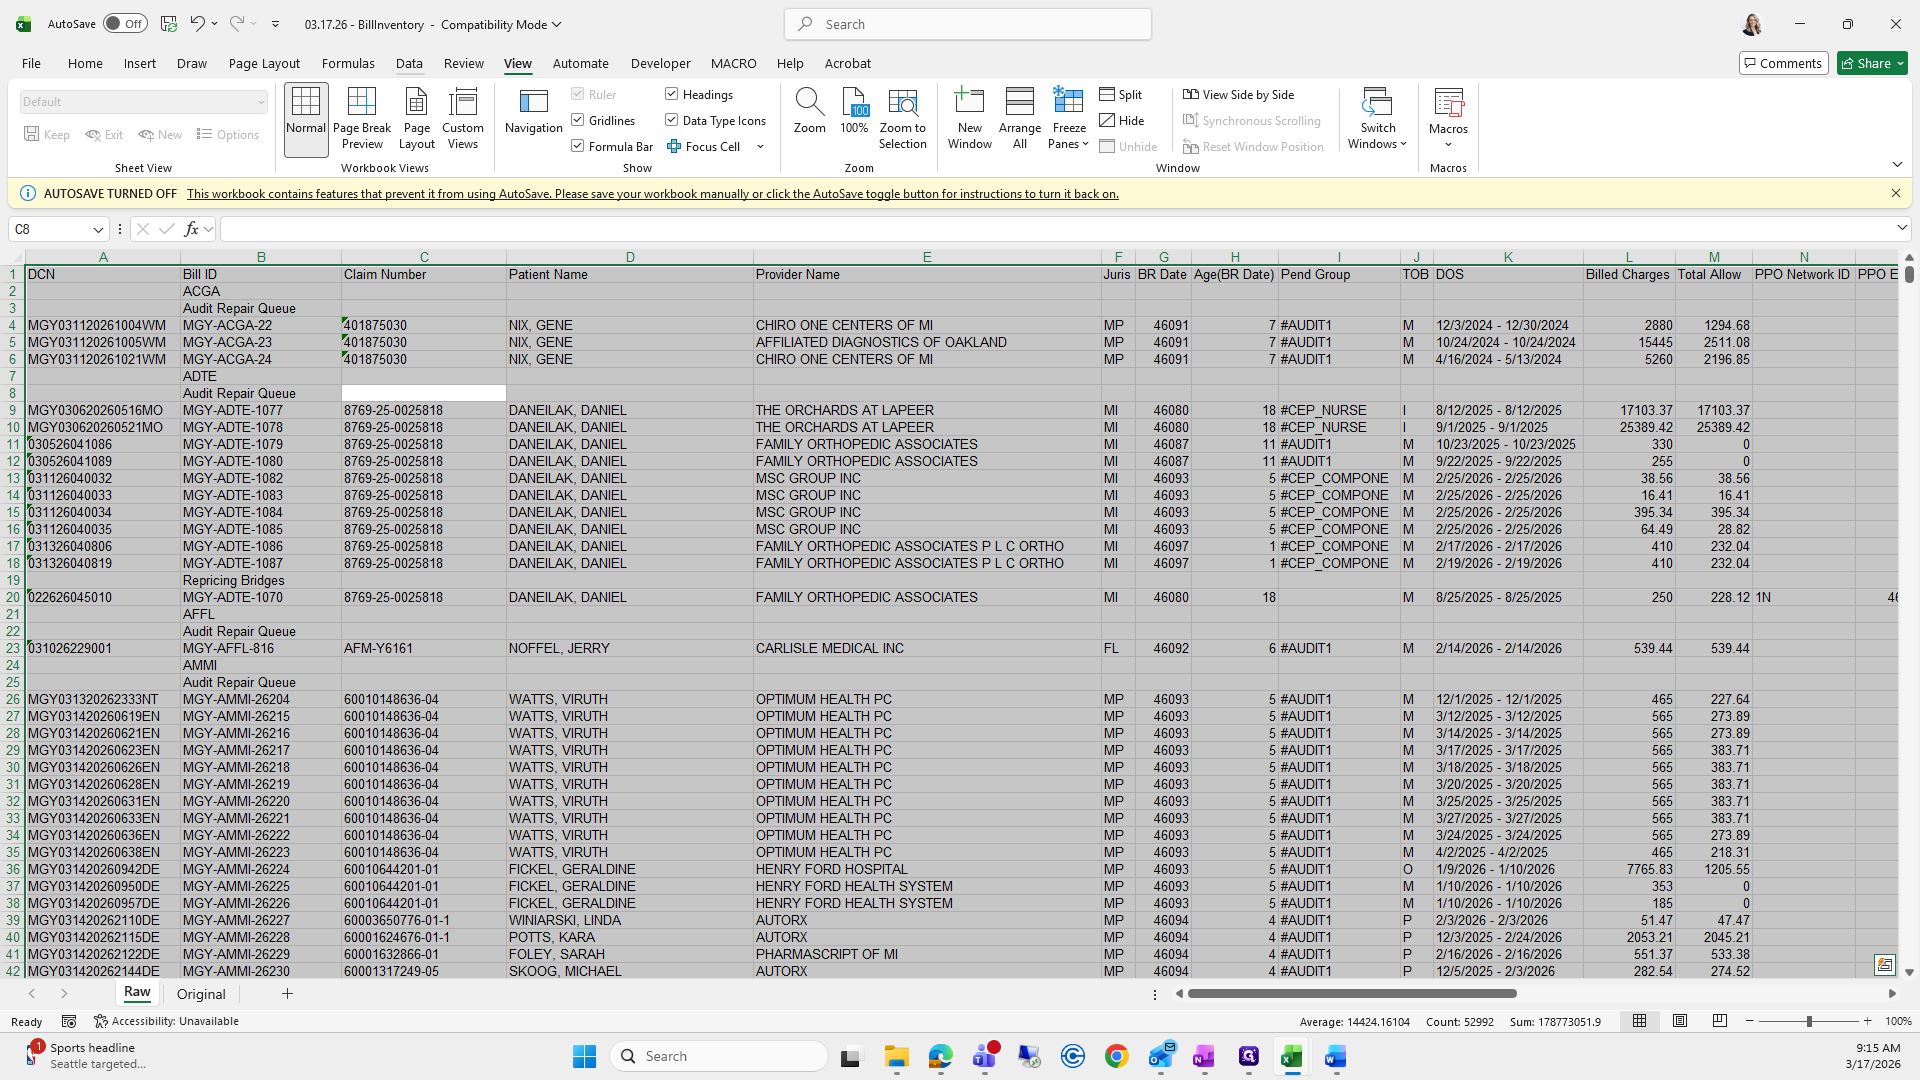
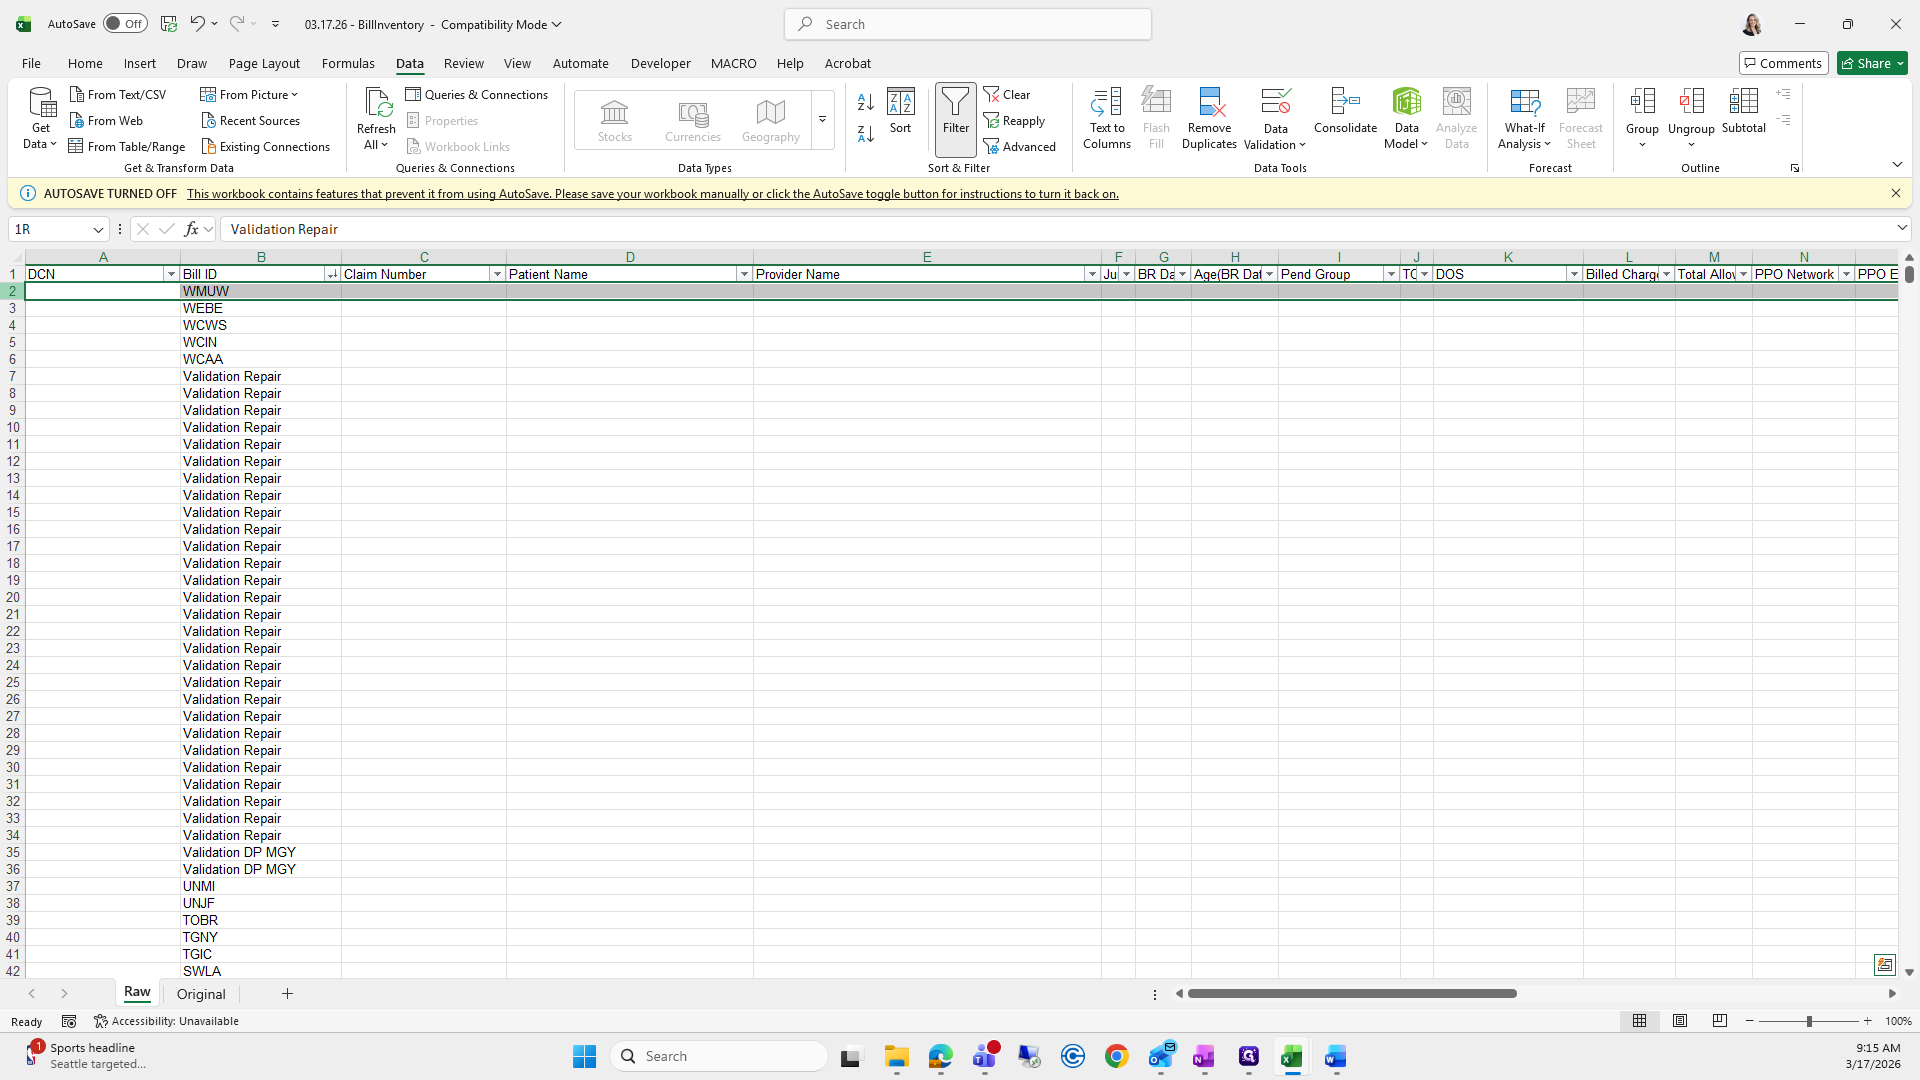
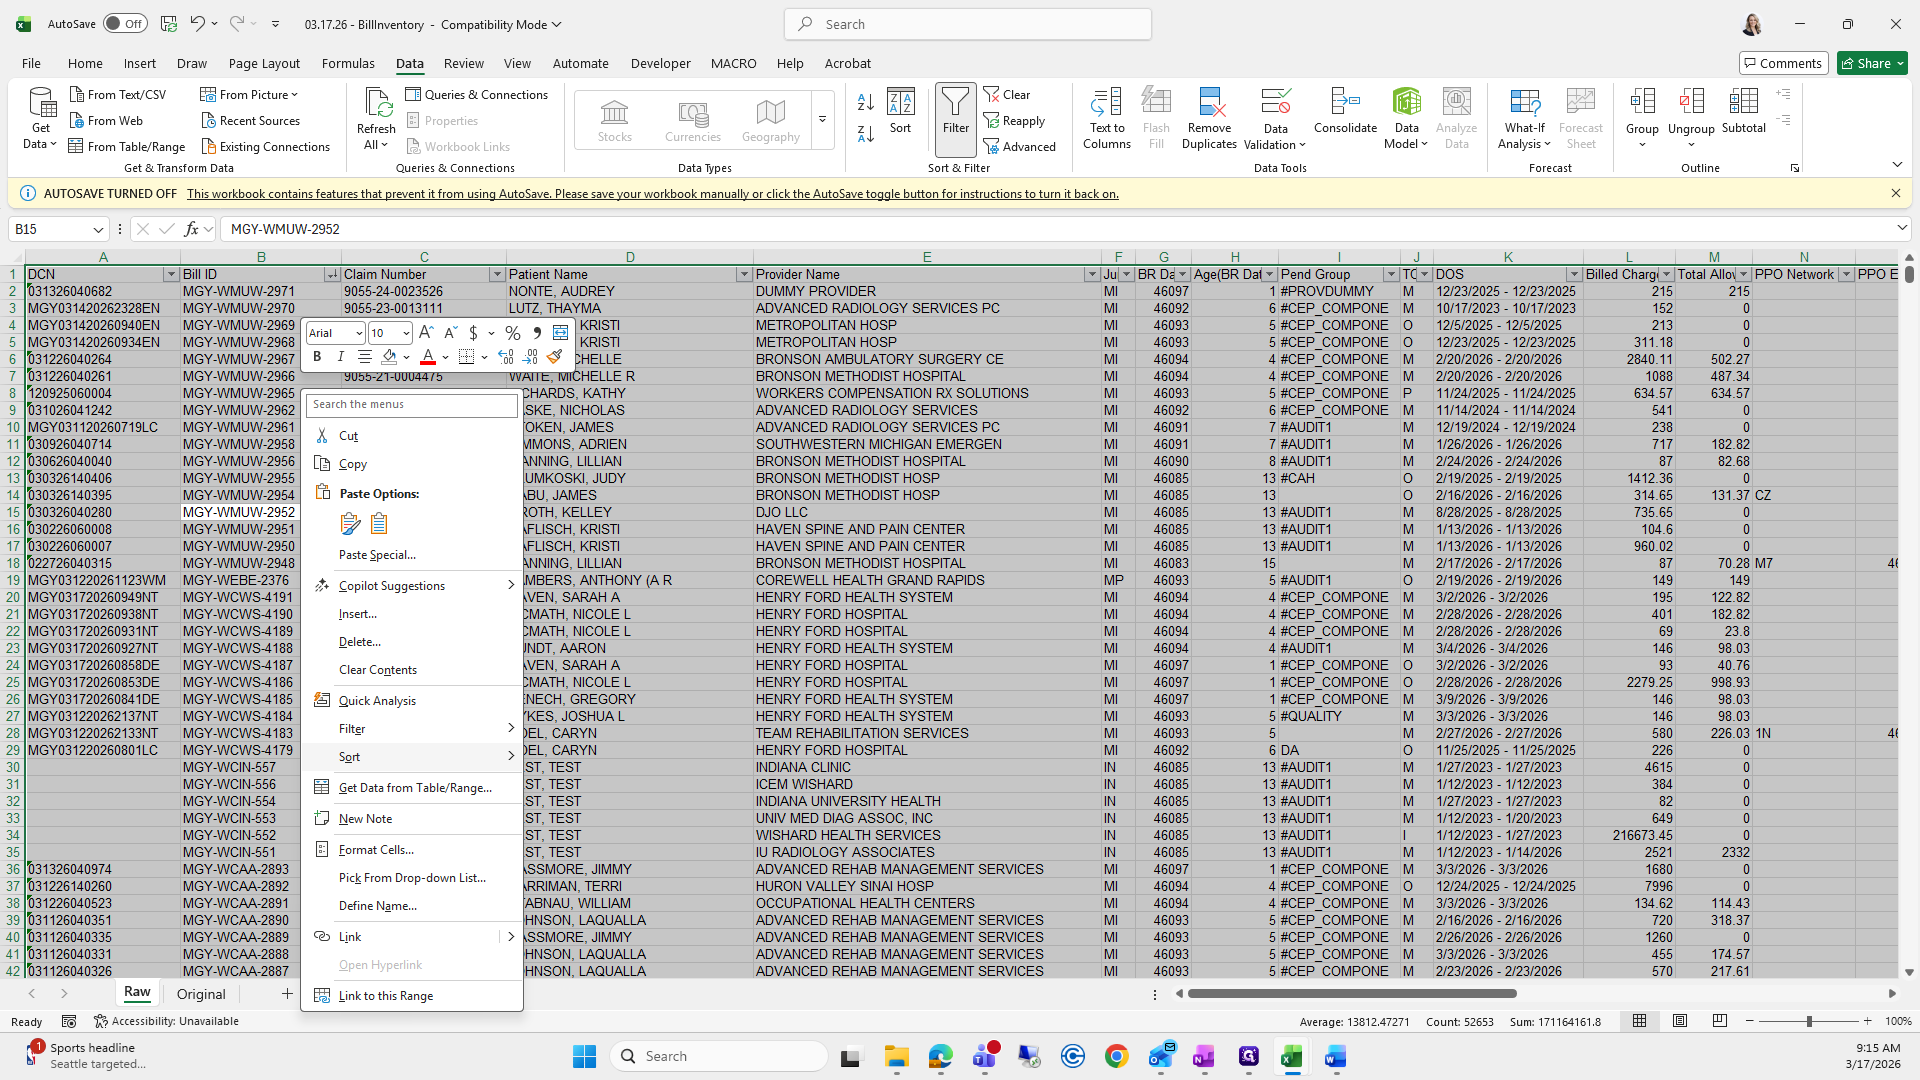
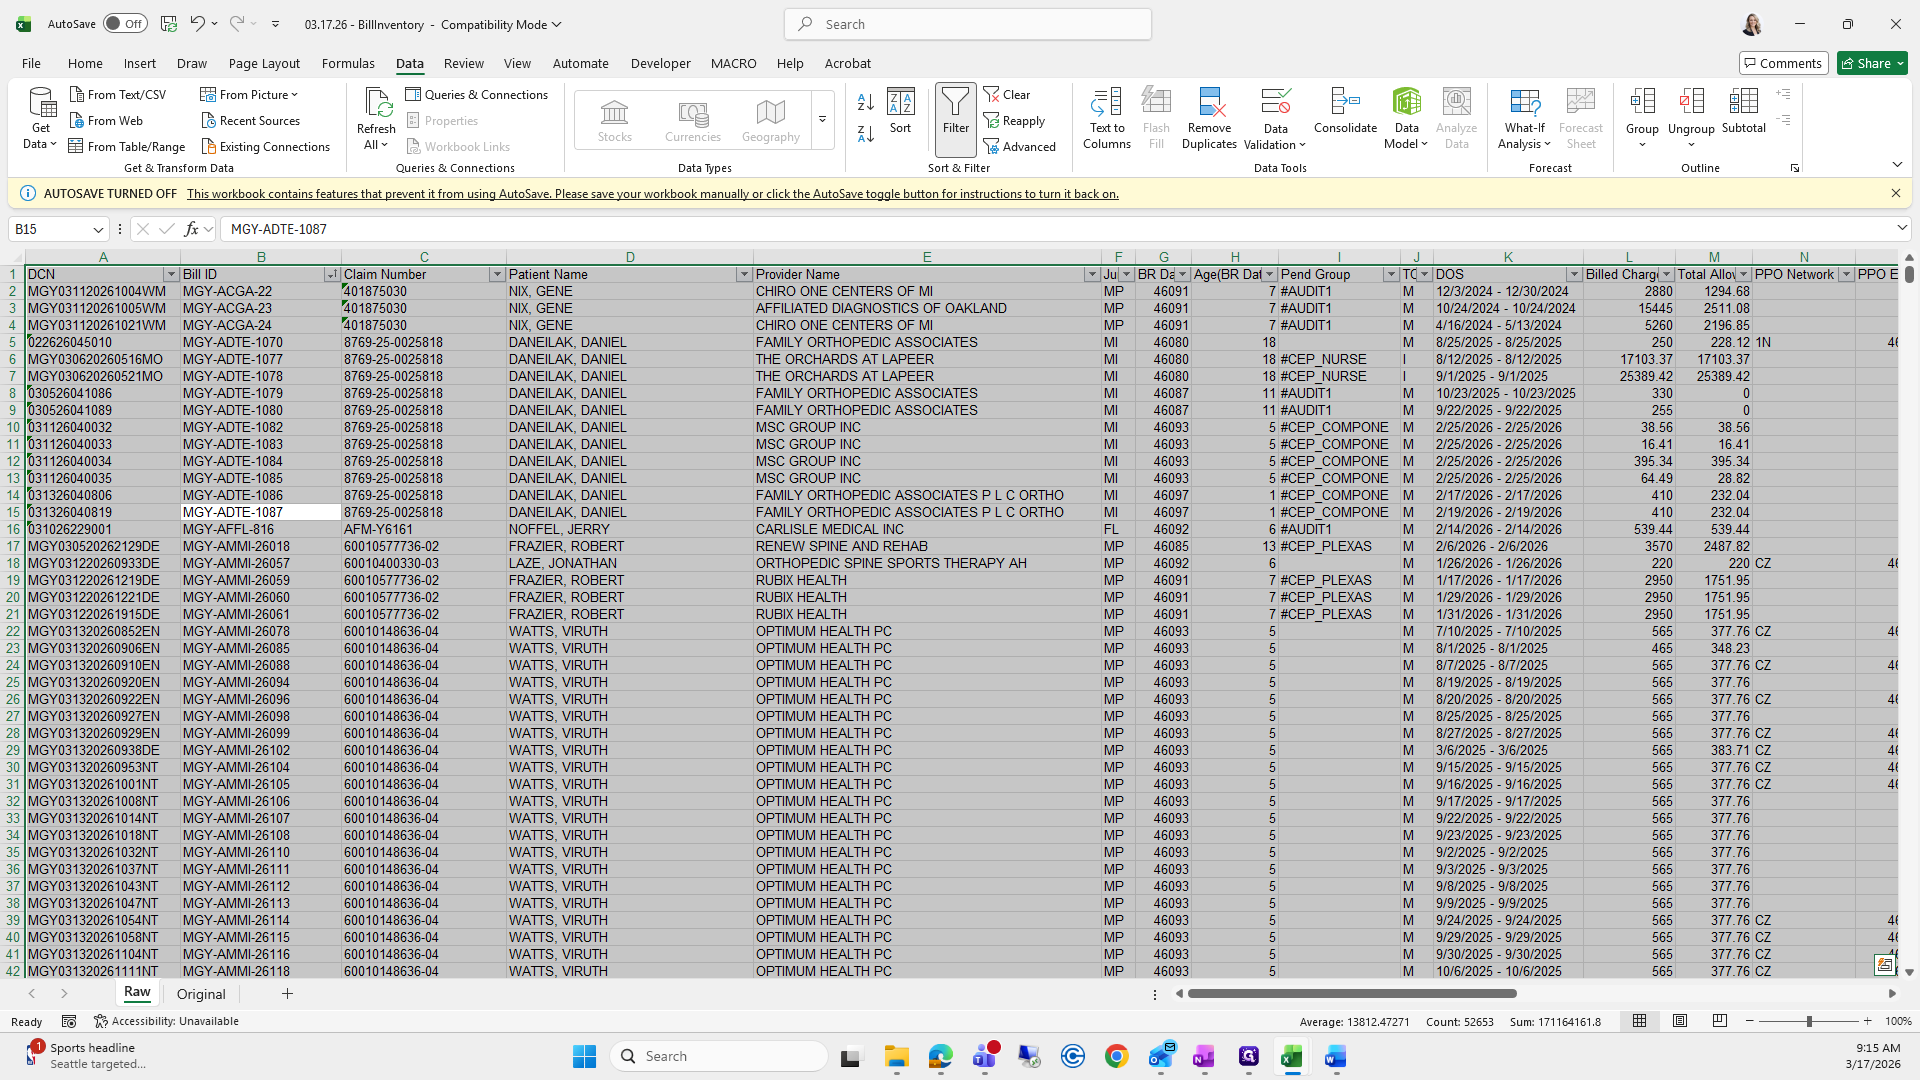
Next, sort the data from A to Z. Then, insert four new columns after column B.

120
Click on "- 2952"
Step #120: Click on "- 2952"
121
Type "Ctrl + A"
122
Right-click on "- 2965"
Step #122: Right-click on "- 2965"
123
Click here
Step #123: Click here
124
Click on "..."
Step #124: Click on "..."
125
Double-click on "A to Z"
Step #125: Double-click on "A to Z"
126
Double-click on "ROBERT"
Step #126: Double-click on "ROBERT"
127
Type "Esc"
128
Click on "8769-25-0025818"
Step #128: Click on "8769-25-0025818"
129
Drag here
Step #129: Drag here
130
Right-click on "FAMILY ORTHOPEDIC ASSOCIATES"
Step #130: Right-click on "FAMILY ORTHOPEDIC ASSOCIATES"
131
Click here
Step #131: Click here
132
Click here
Step #132: Click here

I'll stop here because our recording will end in about 10 seconds. I'll restart for the next steps in the following recording.

Bill Aging Reports: Part 1/5