How to Prepare Files for Creating a New Lesson in Member Vault

Learn step-by-step how to prepare images and PDFs for a new lesson in Member Vault. This guide covers downloading, naming, and organizing your files for easy lesson creation.

By Robin Dickinson

In this guide, we'll learn how to prepare files for creating a new lesson in Member Vault. The goal is to have both an image and a PDF for each lesson, so you can display an image and link to a PDF below it.

We'll cover how to download all pages as images, and then download each page separately as a PDF. You'll also see how naming files before downloading can help keep your materials organized.

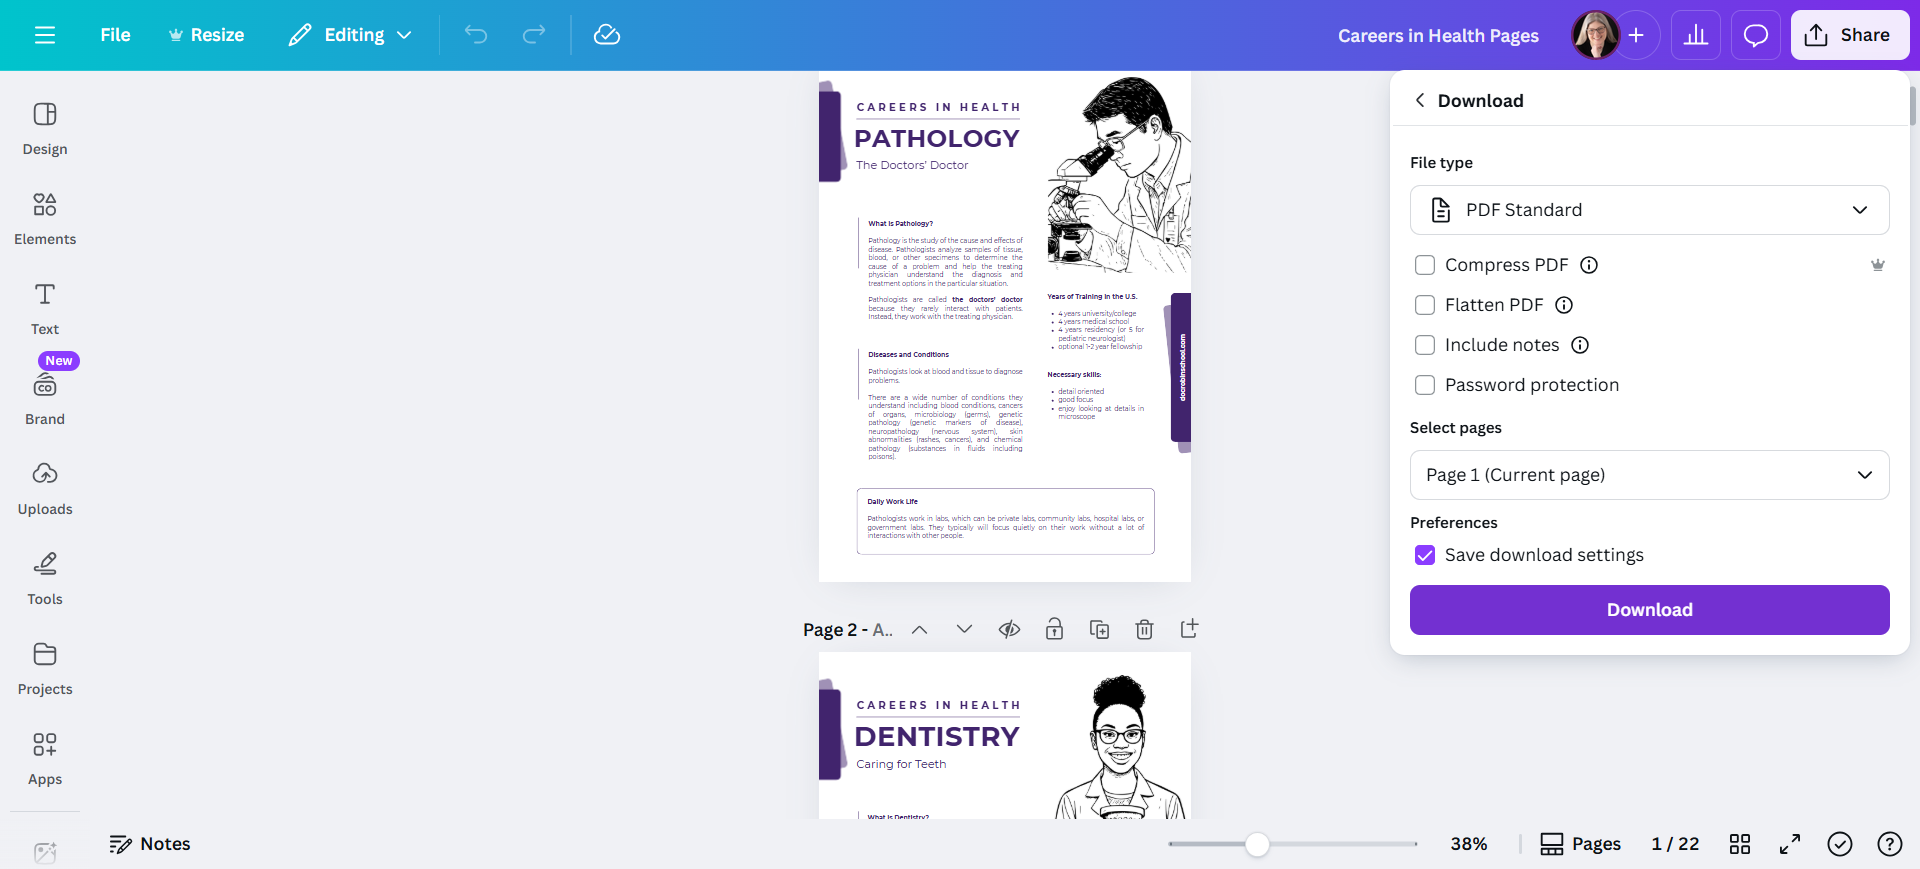
At the bottom I'll show how to name the PDF files before downloading

This will usually save a lot of time and energy. Then you don't have to name them later. This only works with single page PDFs.

Let's get started

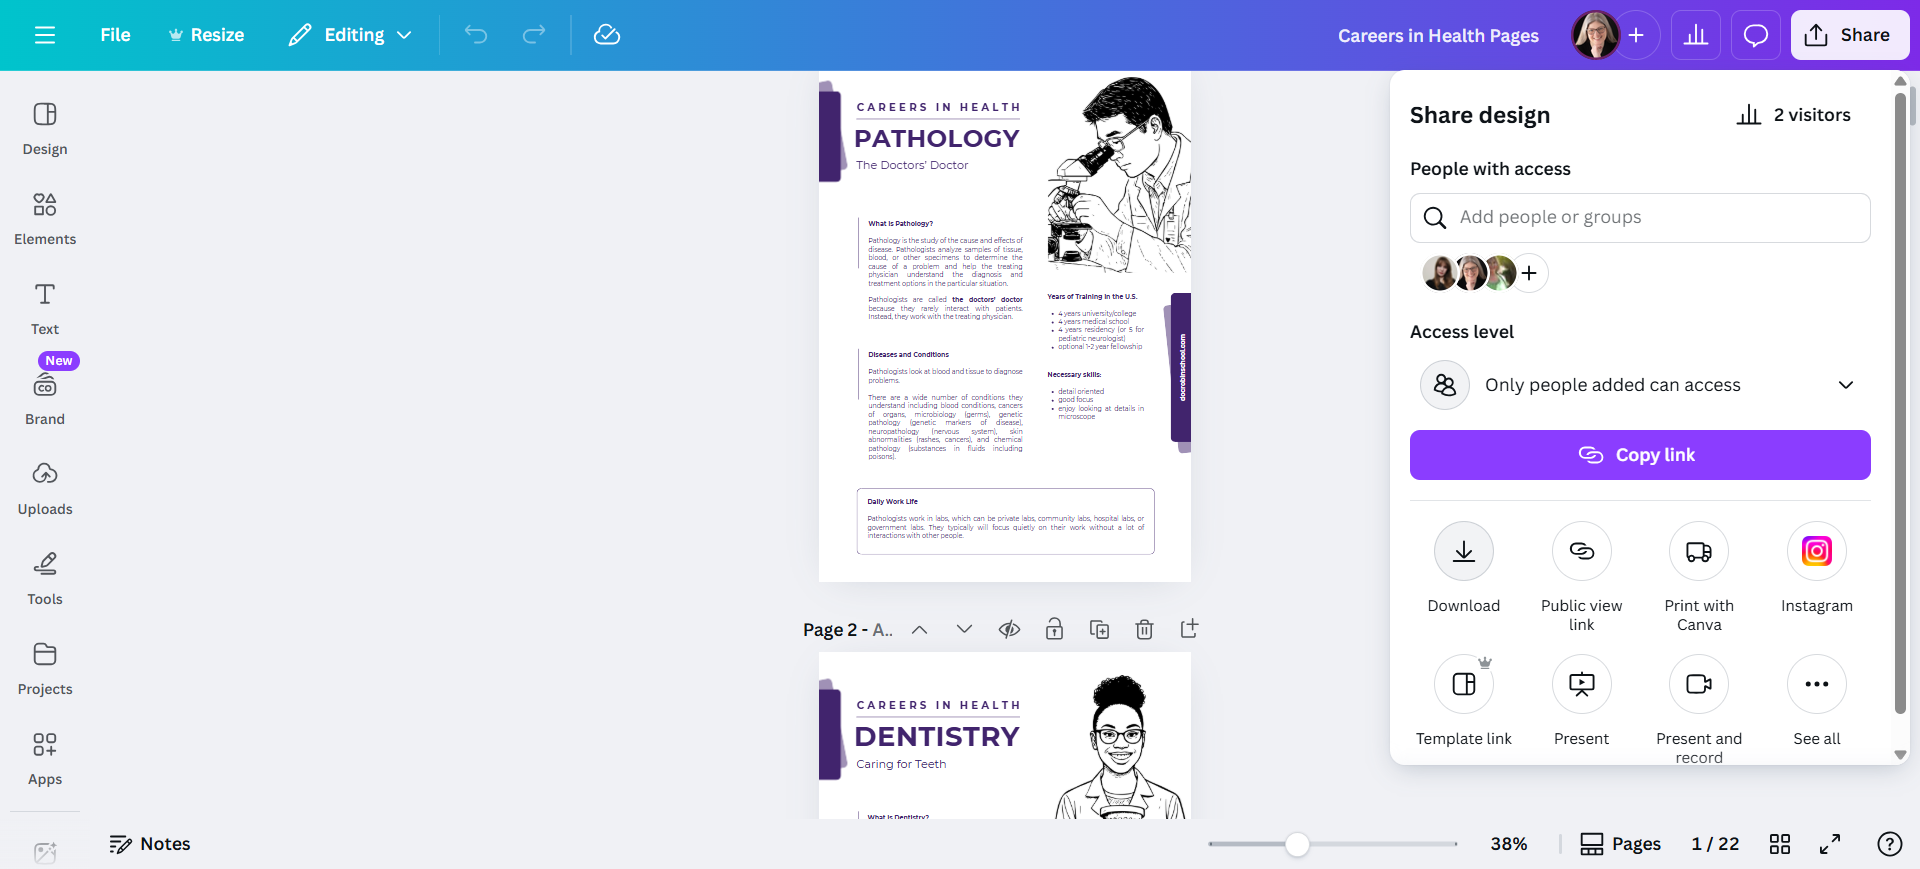
This guide will show you how to prepare files for creating a new lesson in Member Vault. Often, you will want both an image and a PDF. The image can be displayed in the lesson, while the PDF is linked below.

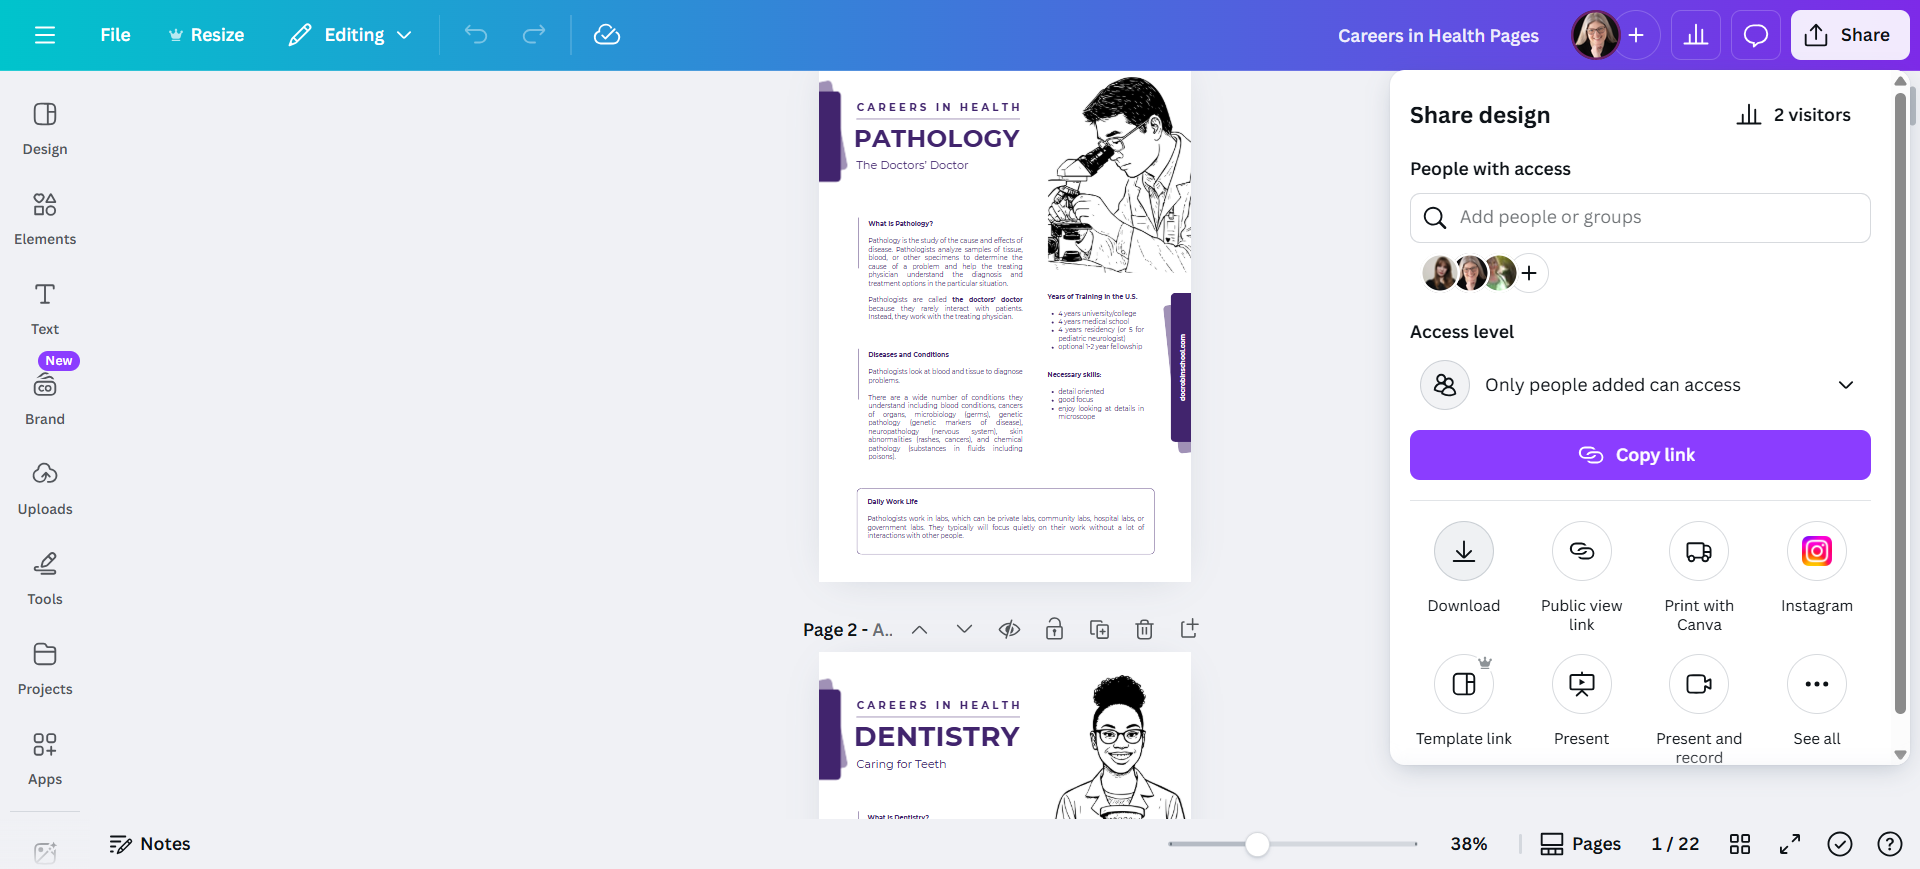
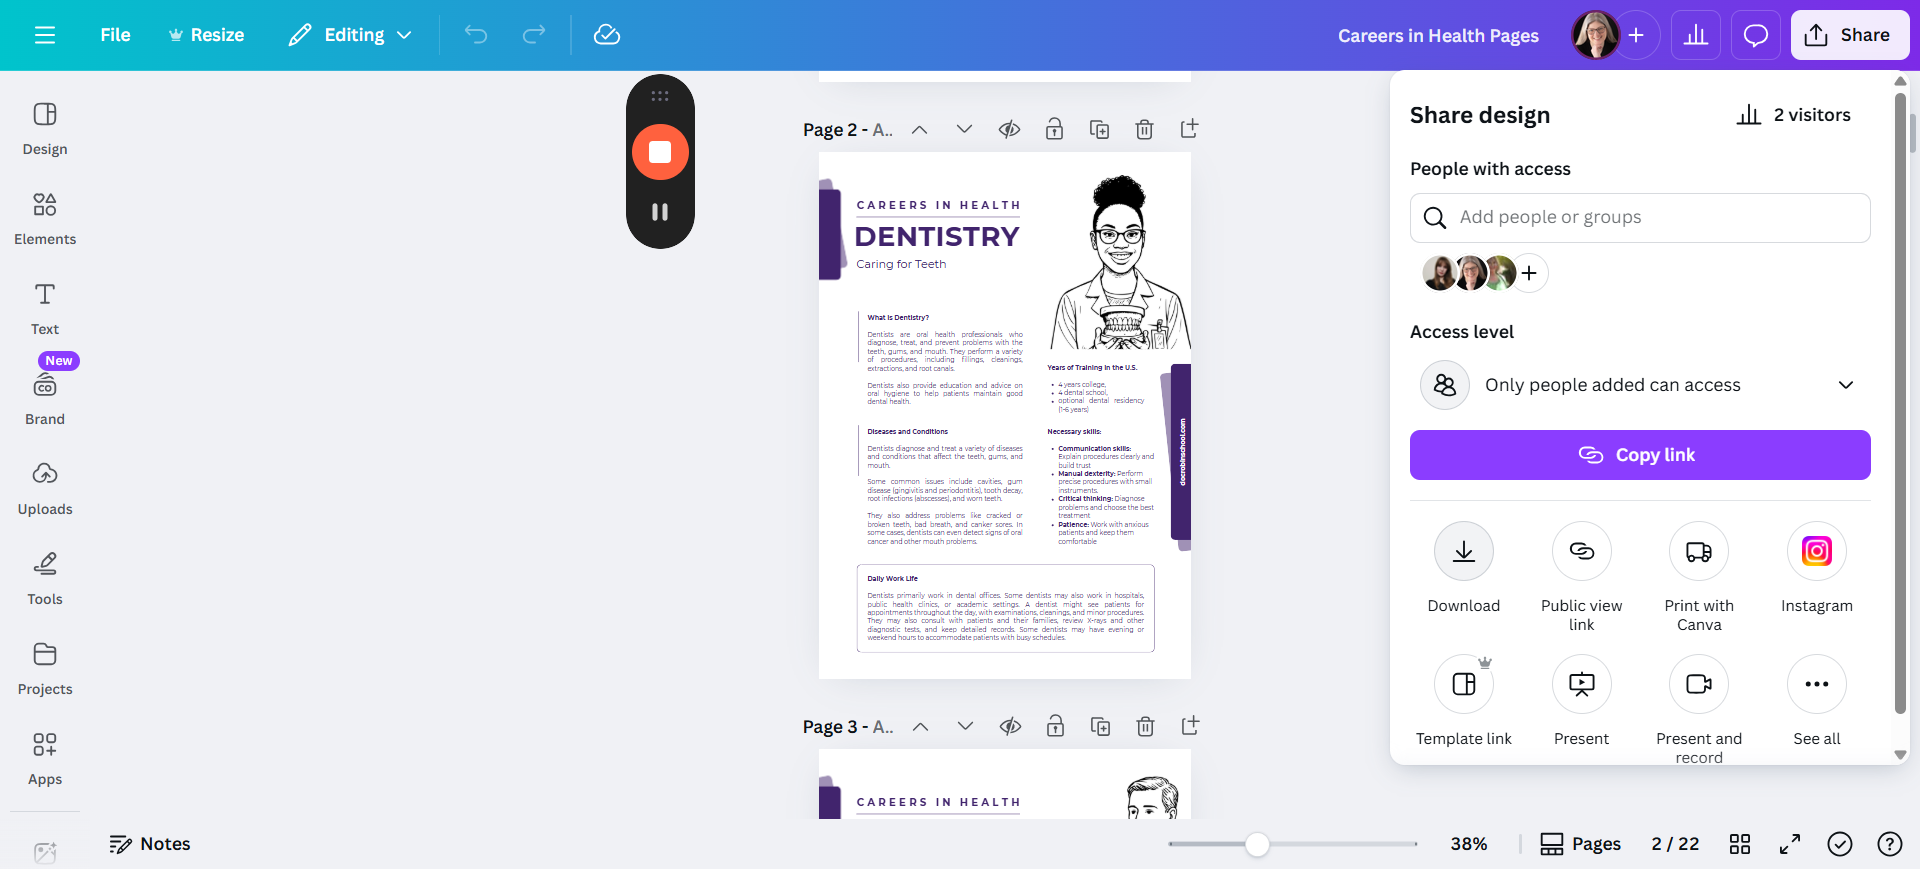
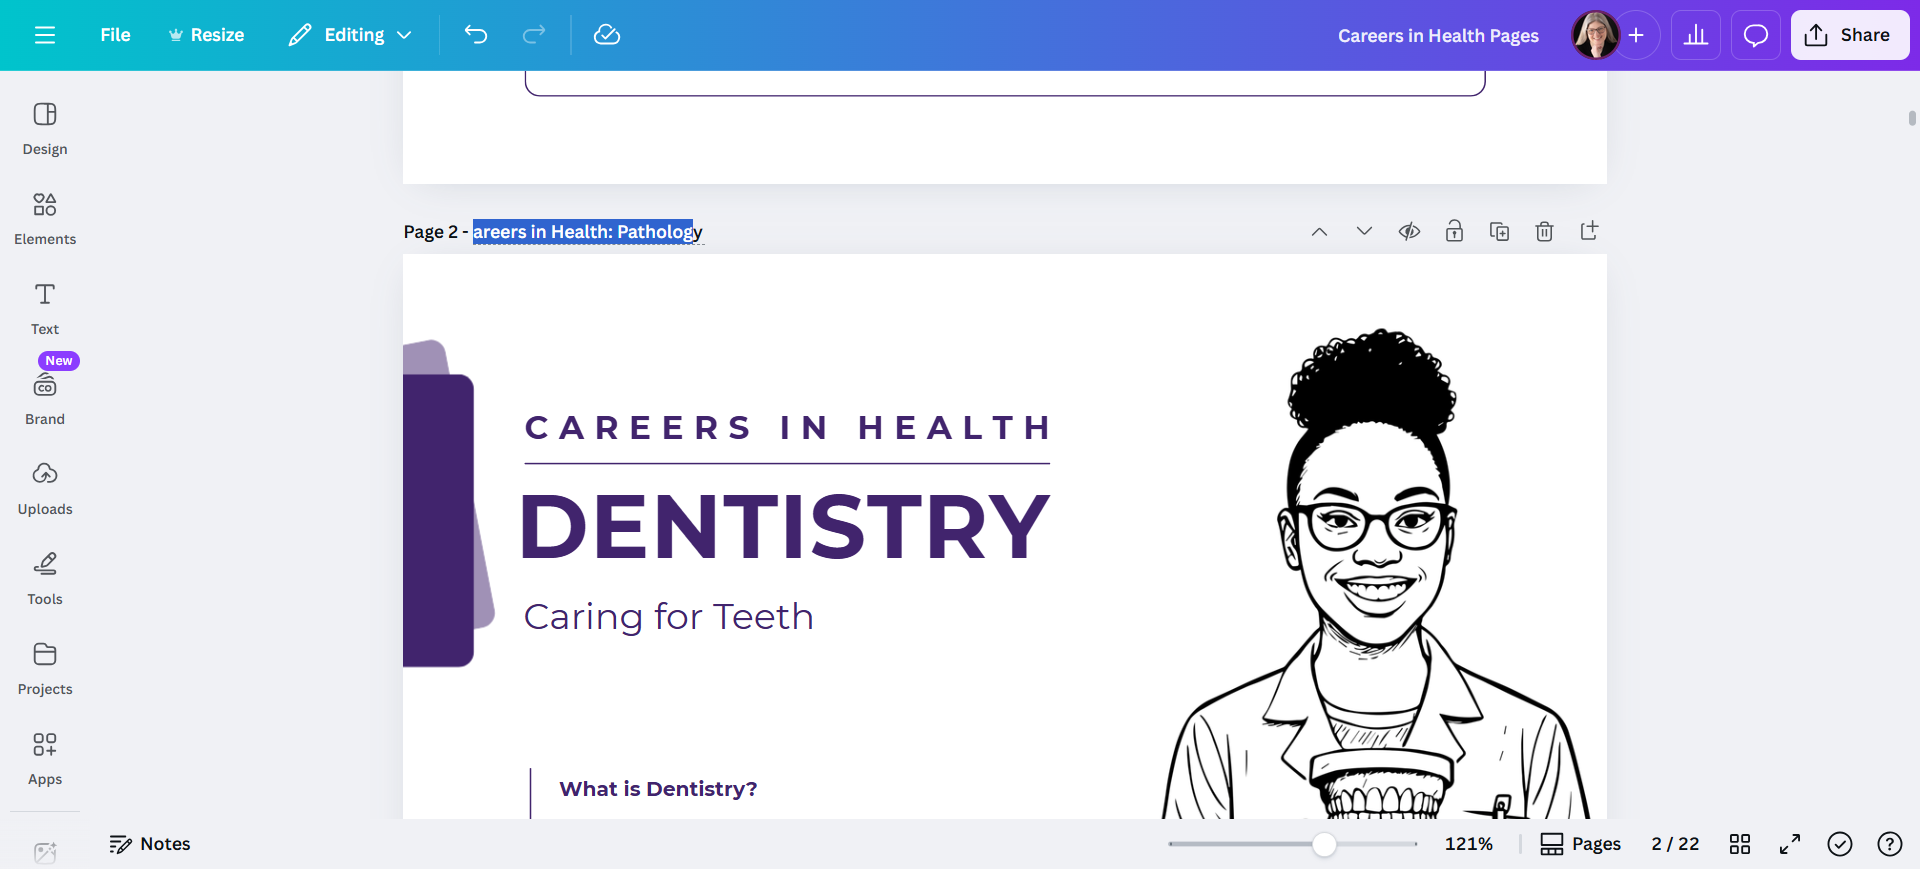
First, find the file you are using in Canva. Sometimes there will be only one item that you need. Other times, all items will be included. In this case, it will be all of them because we need to put together all the career pages.

1
Click "Share," then "Download."
Step #1: Click "Share," then "Download."
2
Download
Step #2: Download

3
This first time we'll do PNG. I'll just download the whole file.
Step #3: This first time we'll do PNG.  I'll just download the whole file.

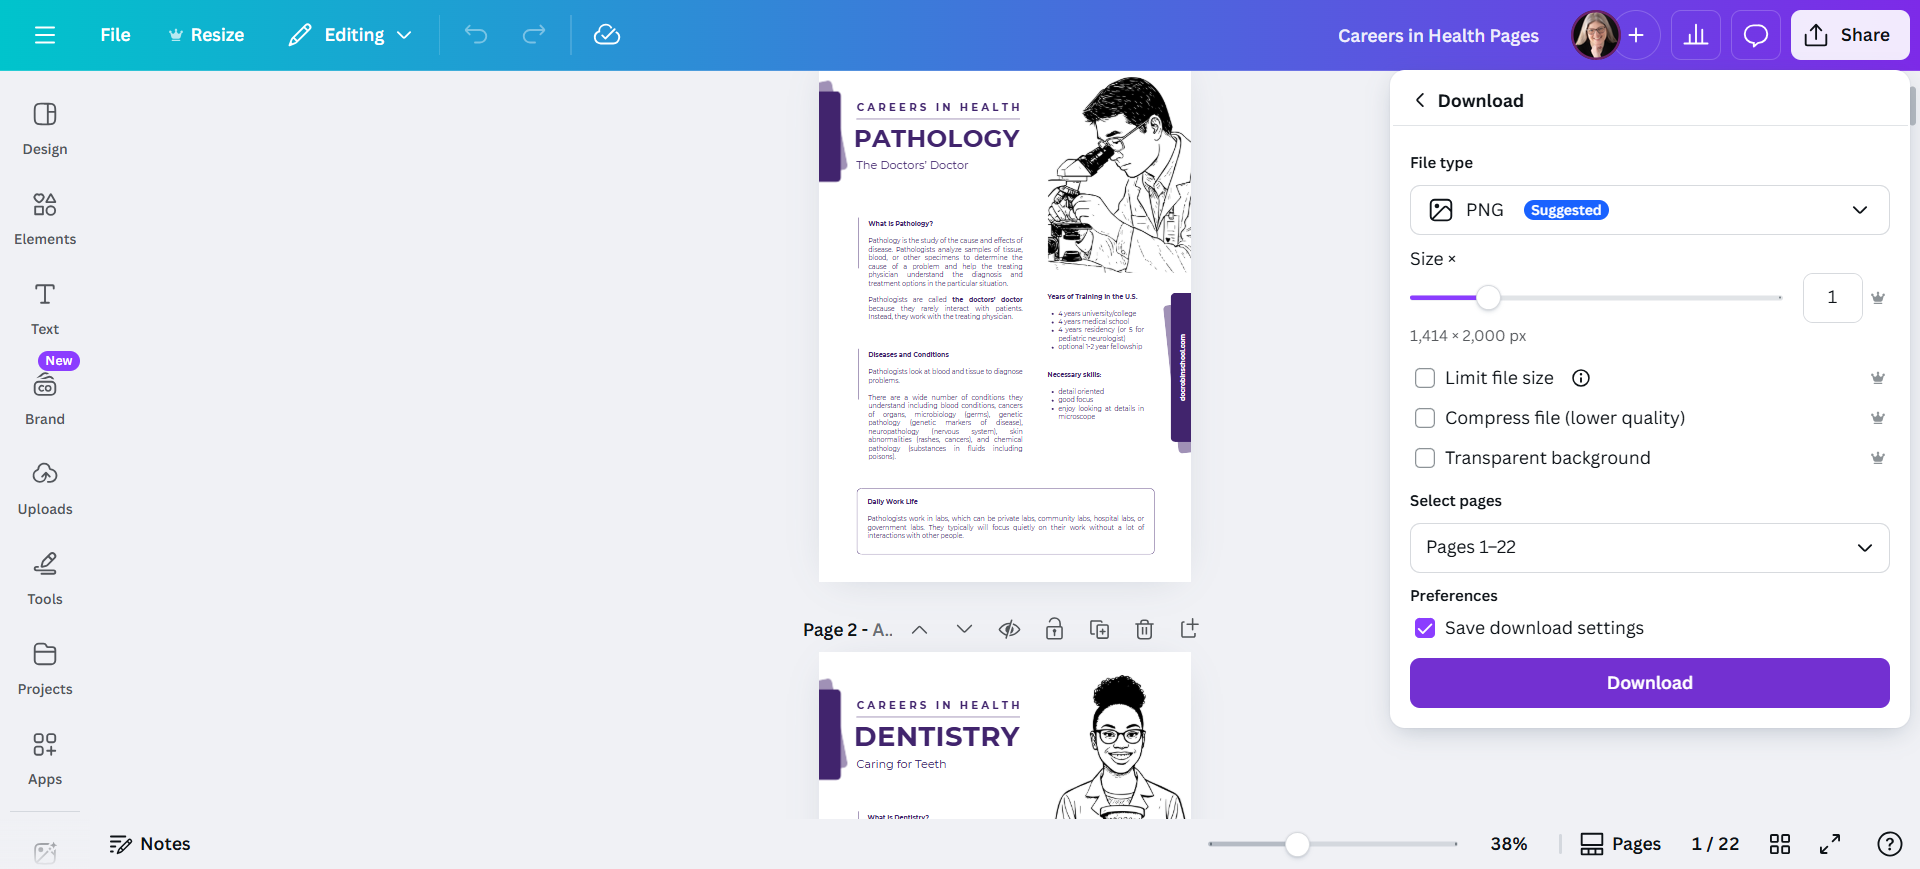
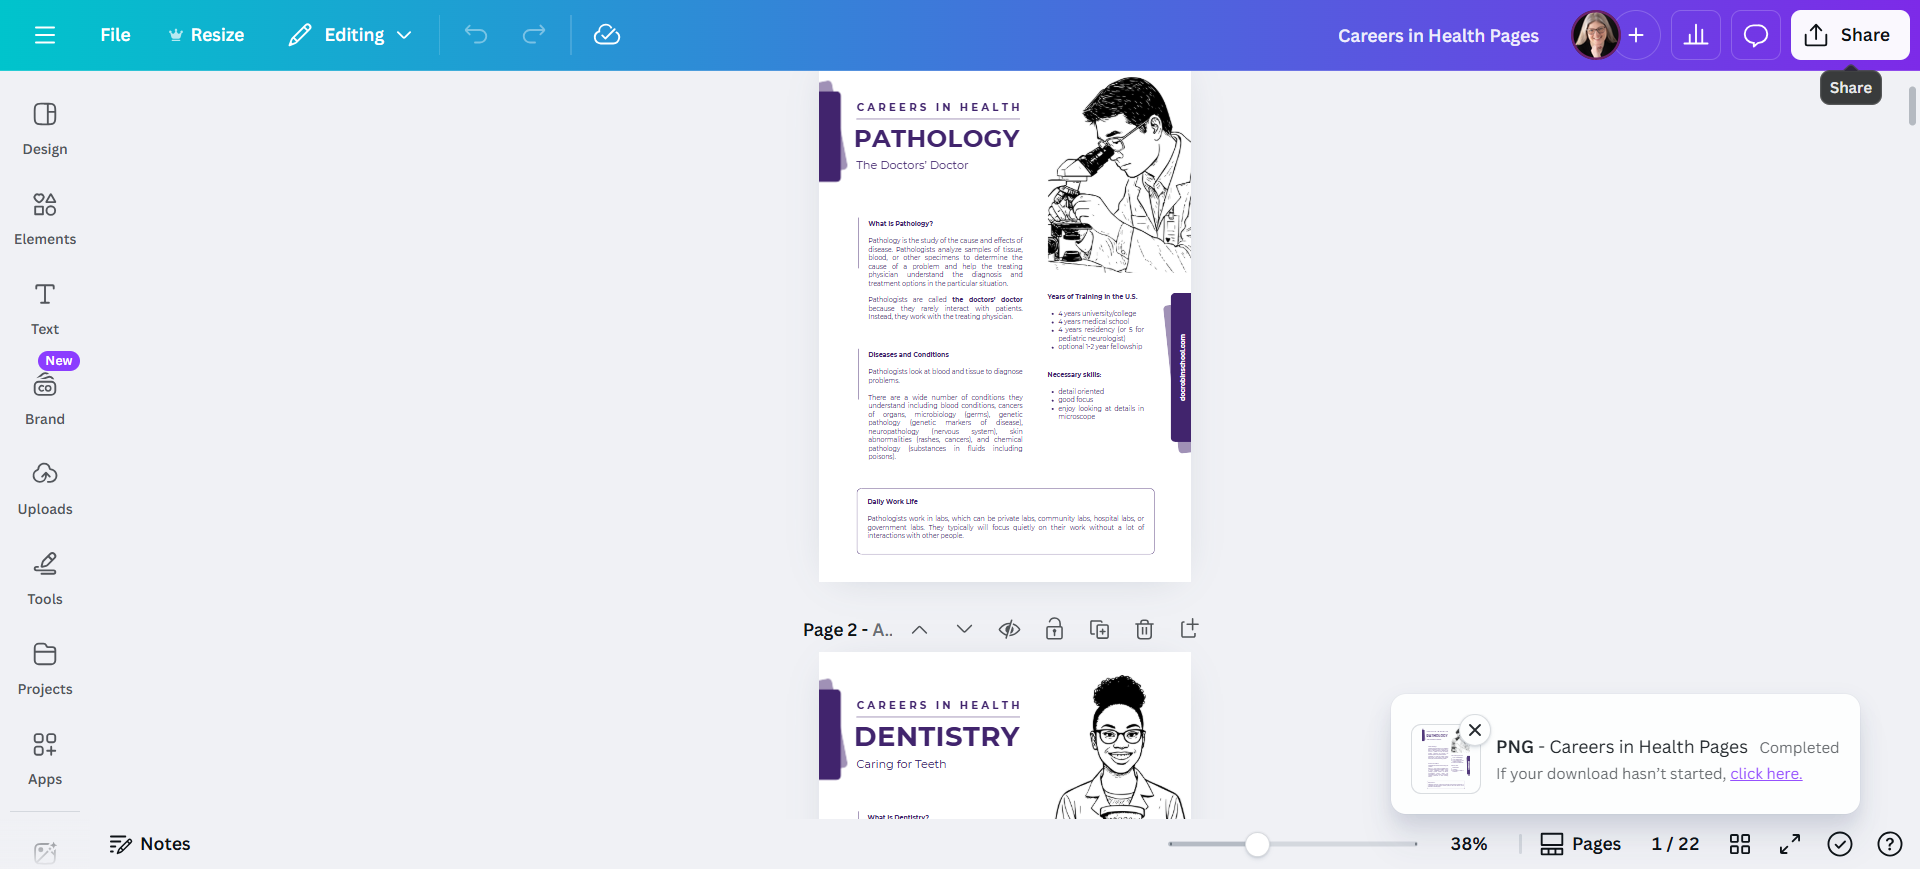
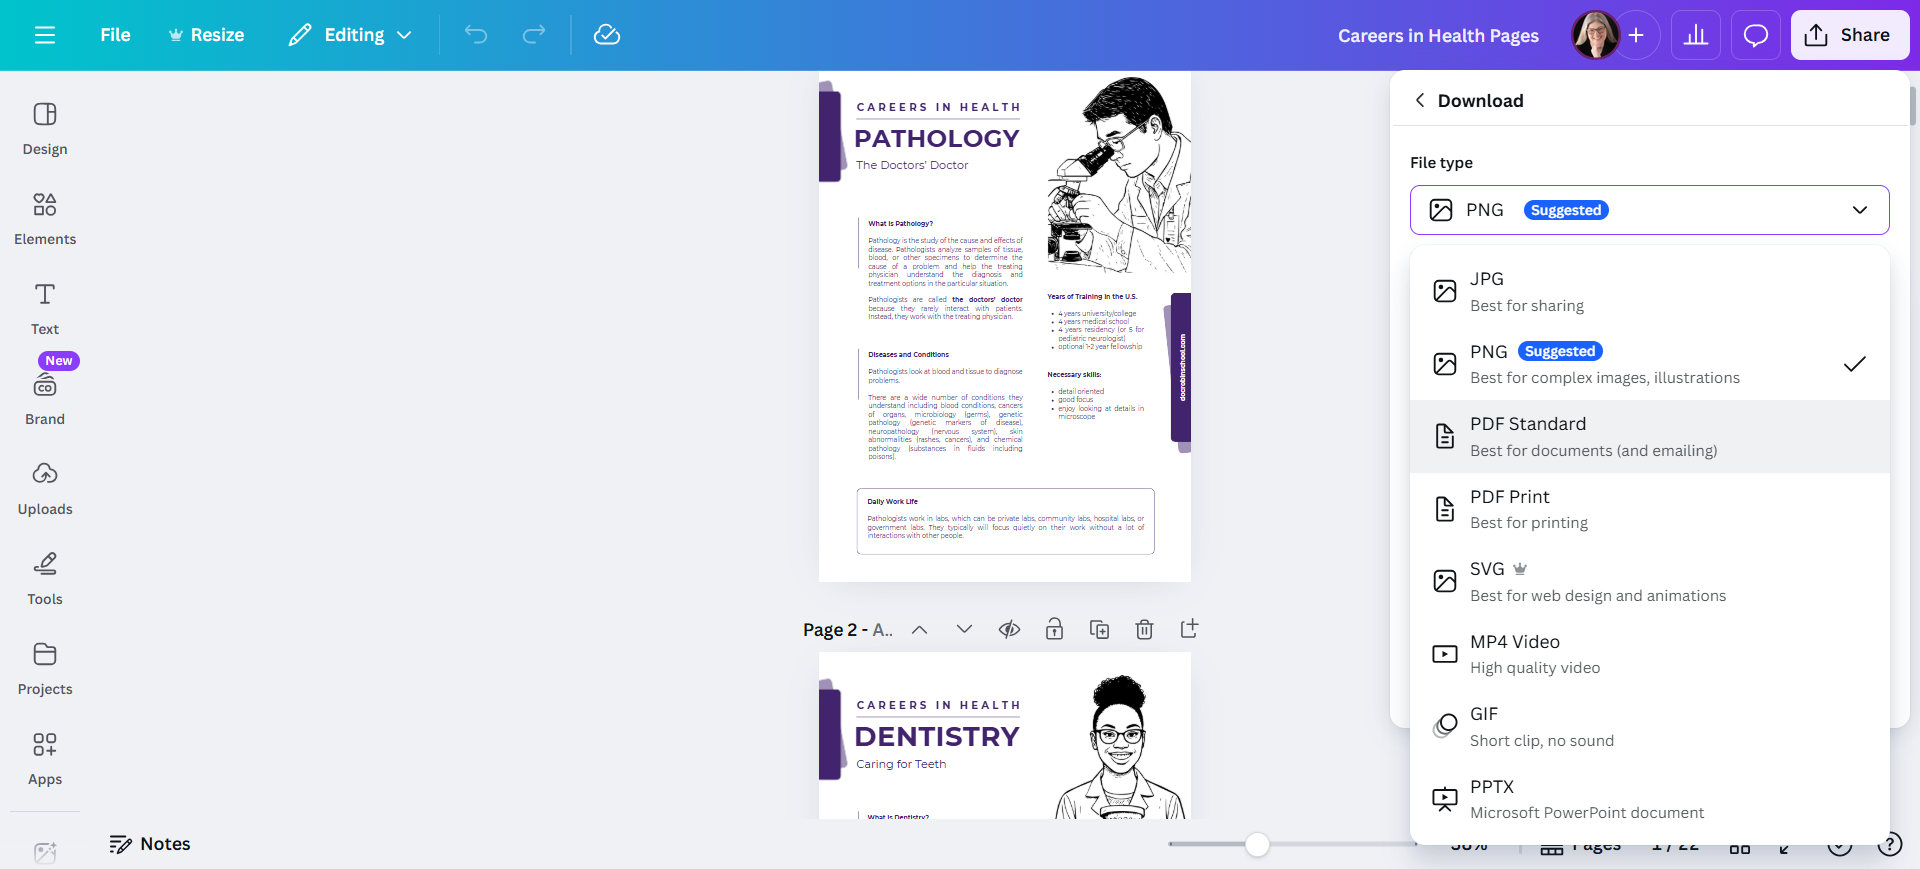
That will give me a file that needs to be unzipped. It will contain all the images we need.

4
For PDF, I will download each page separately.
Step #4: For PDF, I will download each page separately.

5
The fastest way to do this is to click Download, change the format to PDF Standard, and select Current Page.
Step #5: The fastest way to do this is to click Download, change the format to PDF Standard, and select Current Page.
6
Click here to change the file type
Step #6: Click here to change the file type
7
Click here to choose PDF standard. We want to use standard for this because we don't want it to be too large a file to download for families.
Step #7: Click here to choose PDF standard.  We want to use standard for this because we don't want it to be too large a file to download for families.
8
Click on the page numbers to choose just one.
Step #8: Click on the page numbers to choose just one.
9
The fastest way to do one at a time is to choose "current page" because you can just scroll down through the file, downloading each one.
Step #9: The fastest way to do one at a time is to choose "current page" because you can just scroll down through the file, downloading each one.

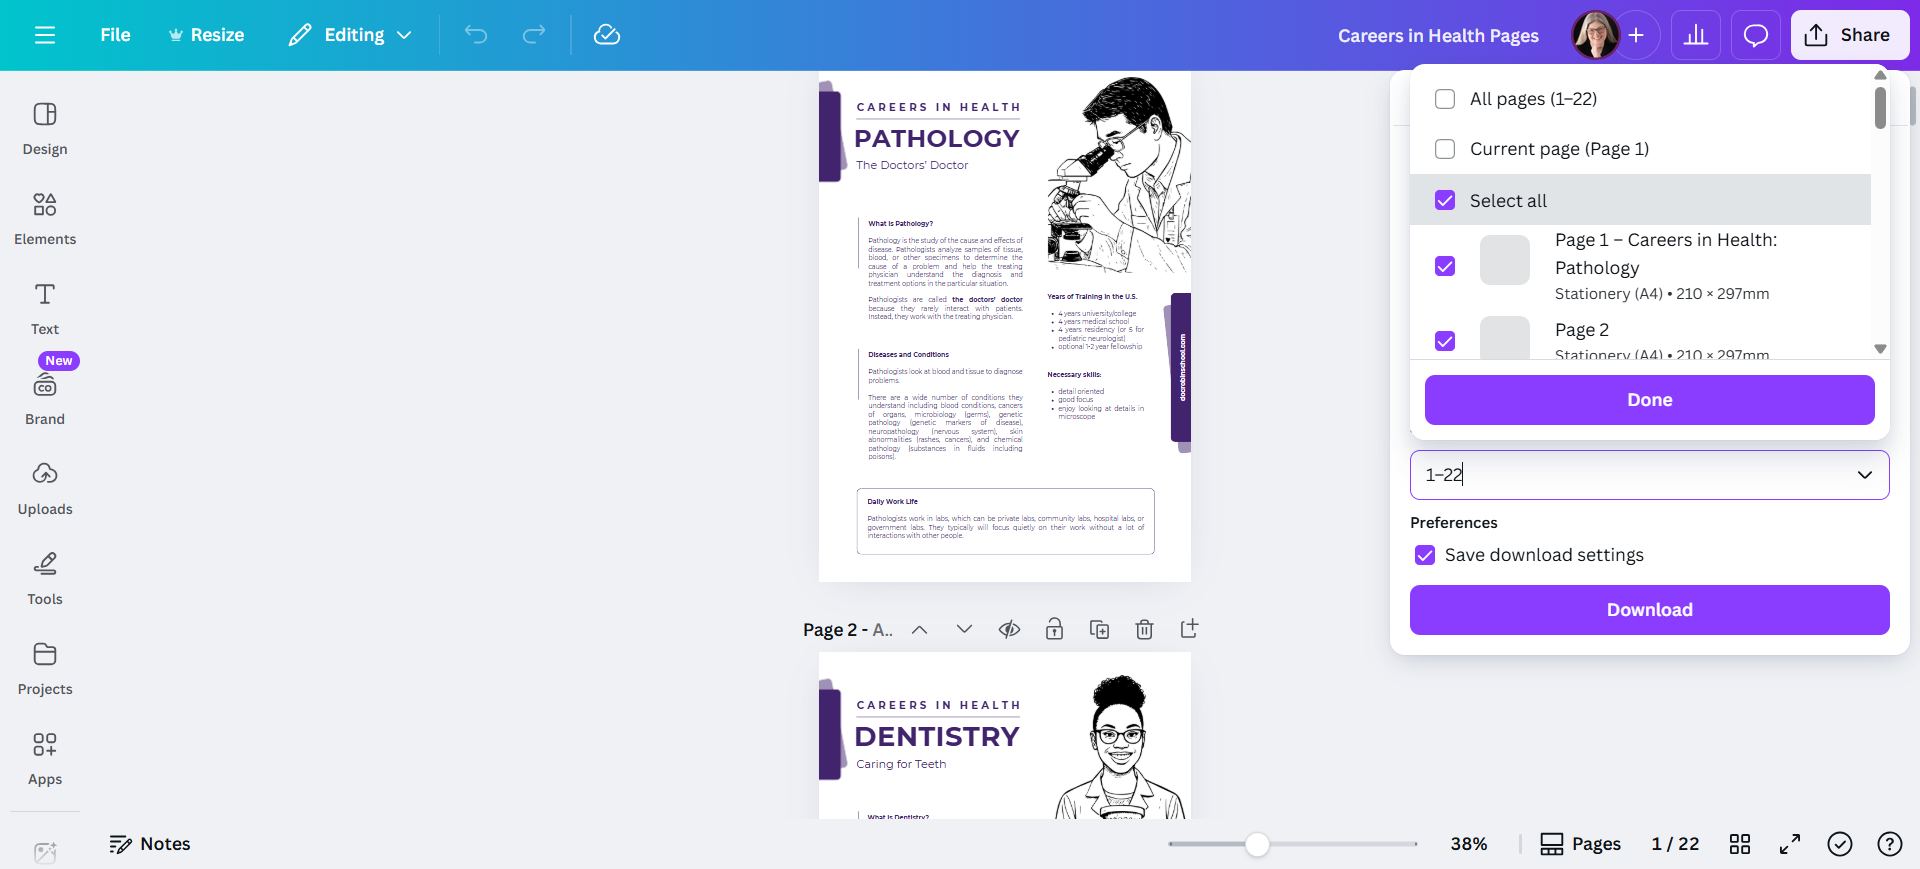
Click "Done" to confirm that you want to do the current page.

10
Click here
Step #10: Click here
11
Click download to download it.
Step #11: Click download to download it.

12
Now you can do the next one. Just use your mouse to scroll down to the next page. Double-check that it now says "page two," then download again.
Step #12: Now you can do the next one. Just use your mouse to scroll down to the next page.   Double-check that it now says "page two," then download again.
13
Click Download
Step #13: Click Download
14
Check that it says page 2 (current page) and click download.
Step #14: Check that it says page 2 (current page) and click download.

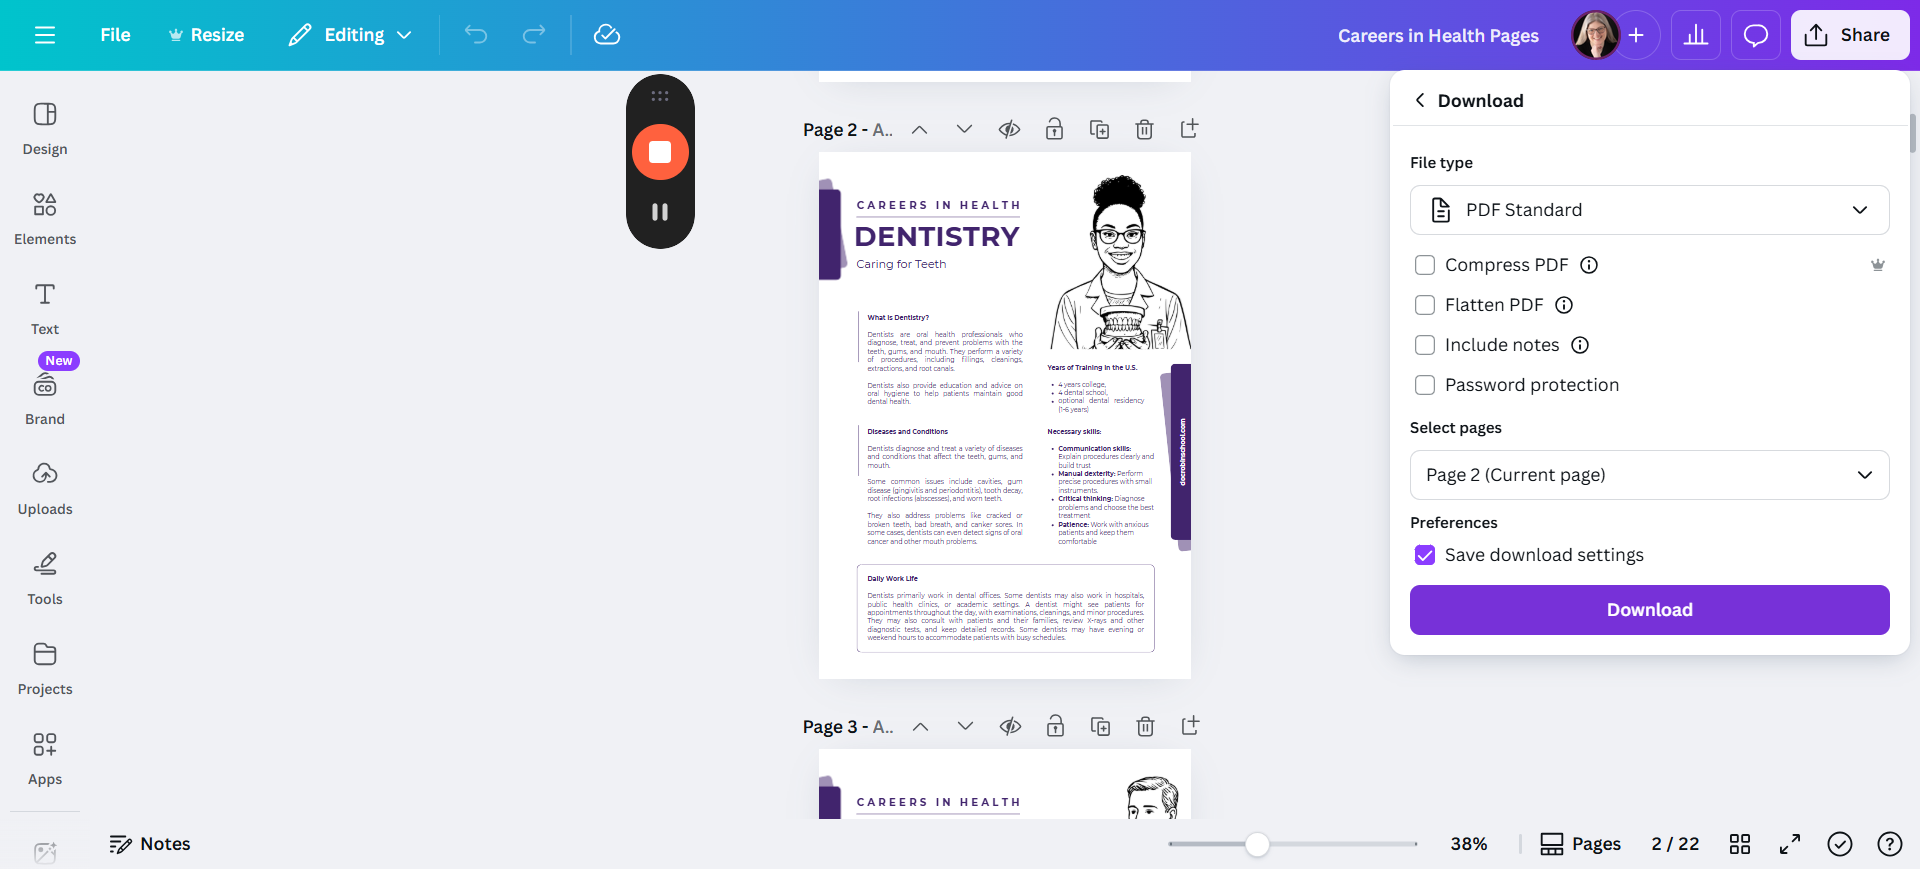
If you want to avoid naming them all later, a simple trick is to name them now.

15
This currently says "Careers in Health: Pathology." I'm going to copy and paste this to save having to type "Careers in Health" over and over.
Step #15: This currently says "Careers in Health: Pathology." I'm going to copy and paste this to save having to type "Careers in Health" over and over.

If you can't see the whole title then just use the bar at the bottom to make it all bigger.

16
Now I can paste the title and change it to Dentistry
Step #16: Now I can paste the title and change it to Dentistry

17
There we go. Dentistry
Step #17: There we go.  Dentistry

18
You can do the same with every page before you start downloading, copying and pasting the information on each page.
Step #18: You can do the same with every page before you start downloading, copying and pasting the information on each page.
19
And the next one.
Step #19: And the next one.

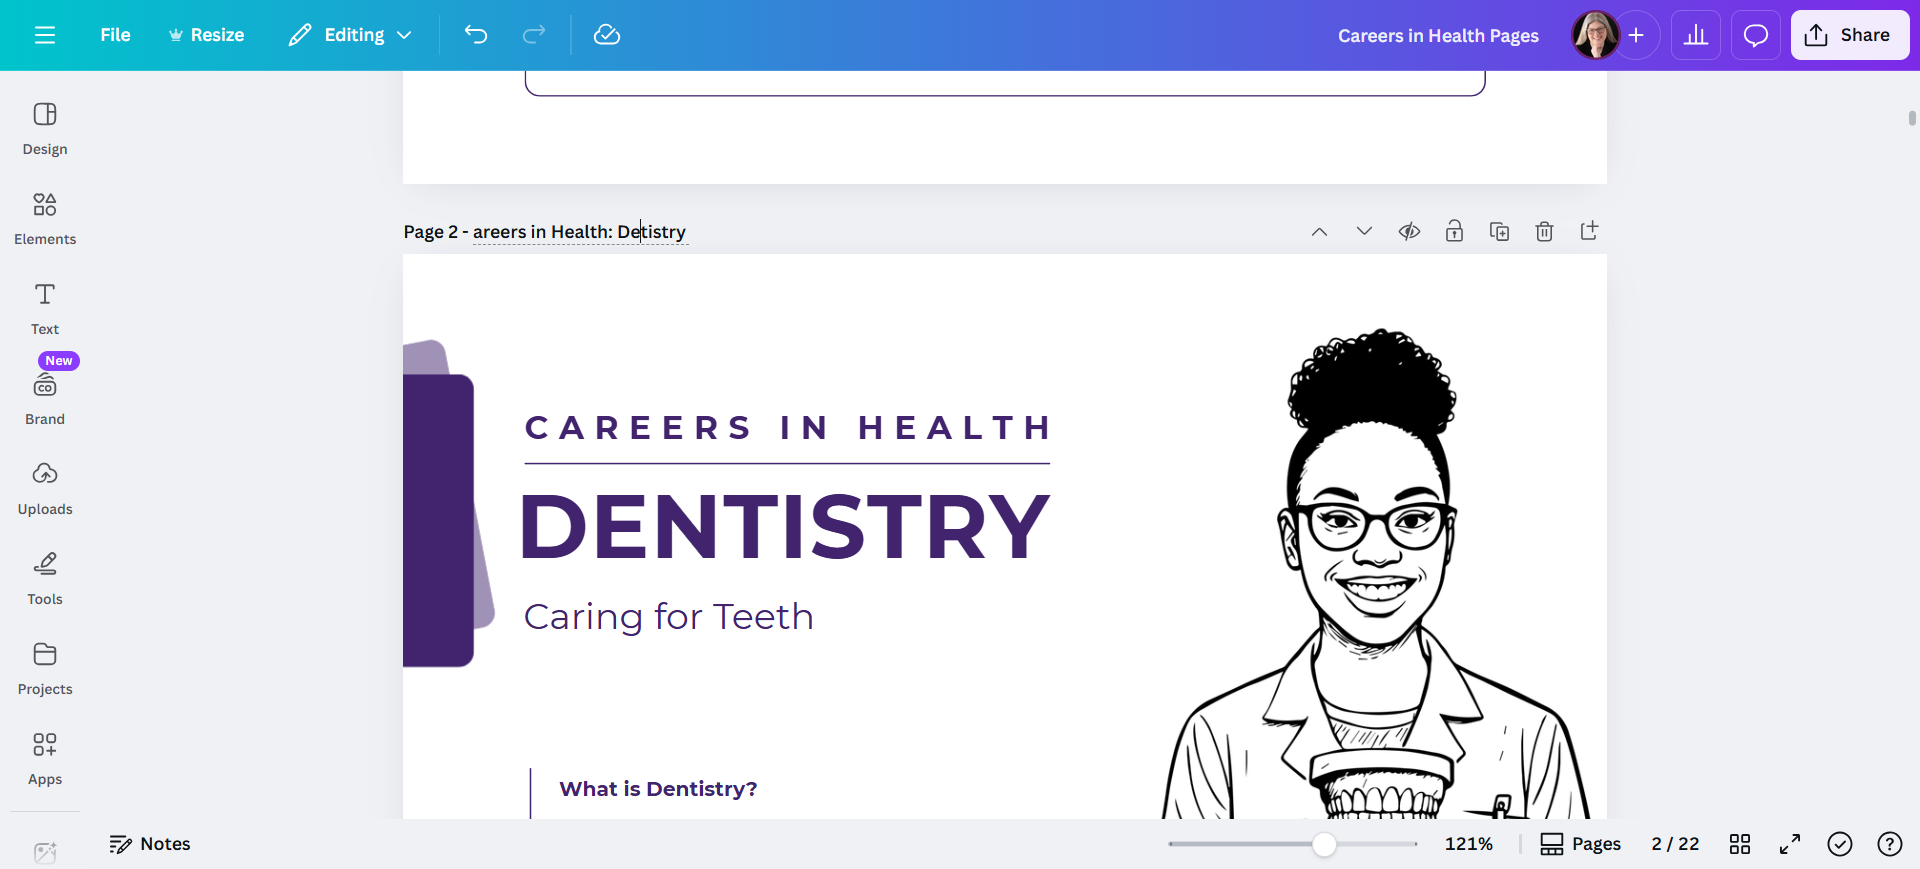
If you do it this way, each page you download will have the correct name, so you won't need to rename it later.

I move all the files to a single folder so they are easy to find, or you can just leave them in your downloads.

You now have both the PDF and the image to add to the lessons.