How to Prepare Microphones and In-Ear Packs for Sunday Morning
Step-by-step guide for preparing microphones and in-ear packs for Sunday morning services, including battery installation, equipment arrangement, and setup tips for church sound teams.
In this guide, we'll learn how to prepare microphones and in-ear monitor packs for Sunday morning by installing batteries and arranging the equipment for use. This process helps ensure that all singers and speakers have working microphones and in-ear monitors during the service.
We'll also cover how to identify and set up special microphones and headset packs, and where to place mic stands for the singers.
Let's get started
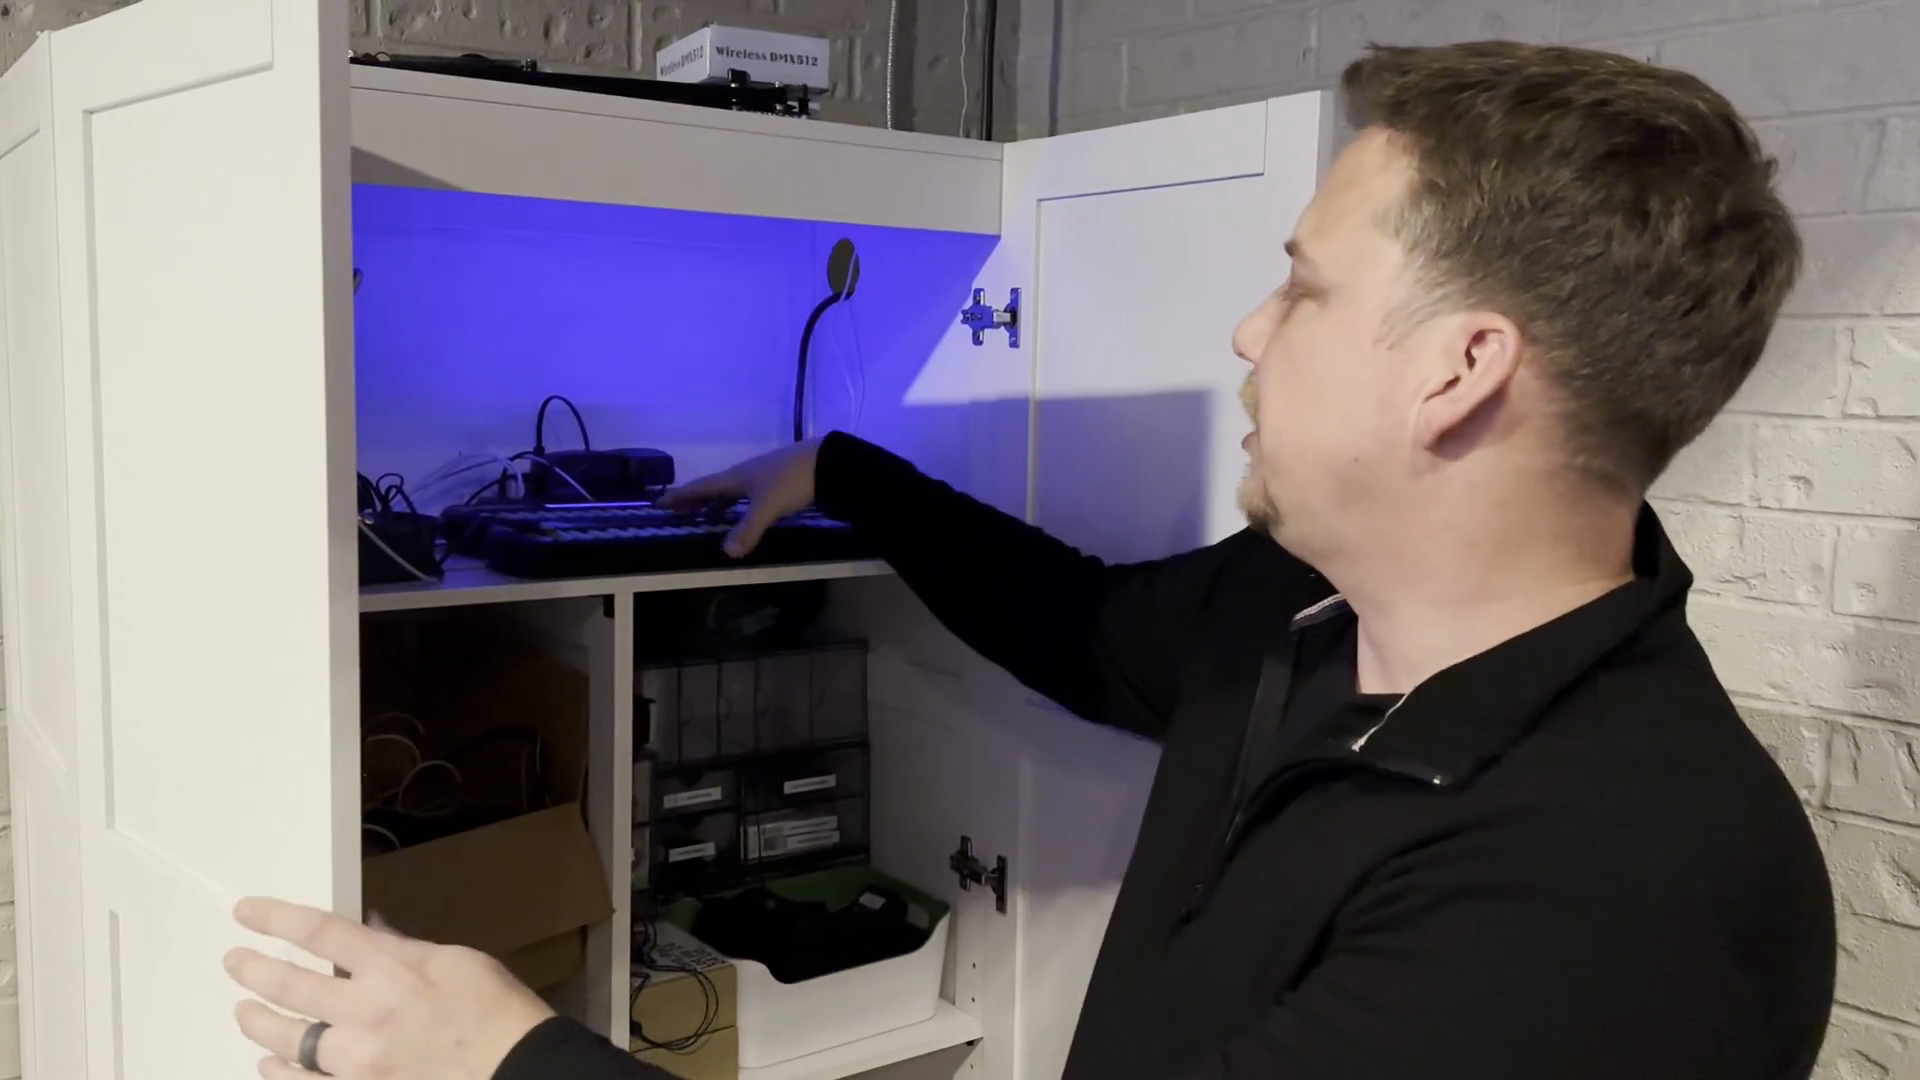
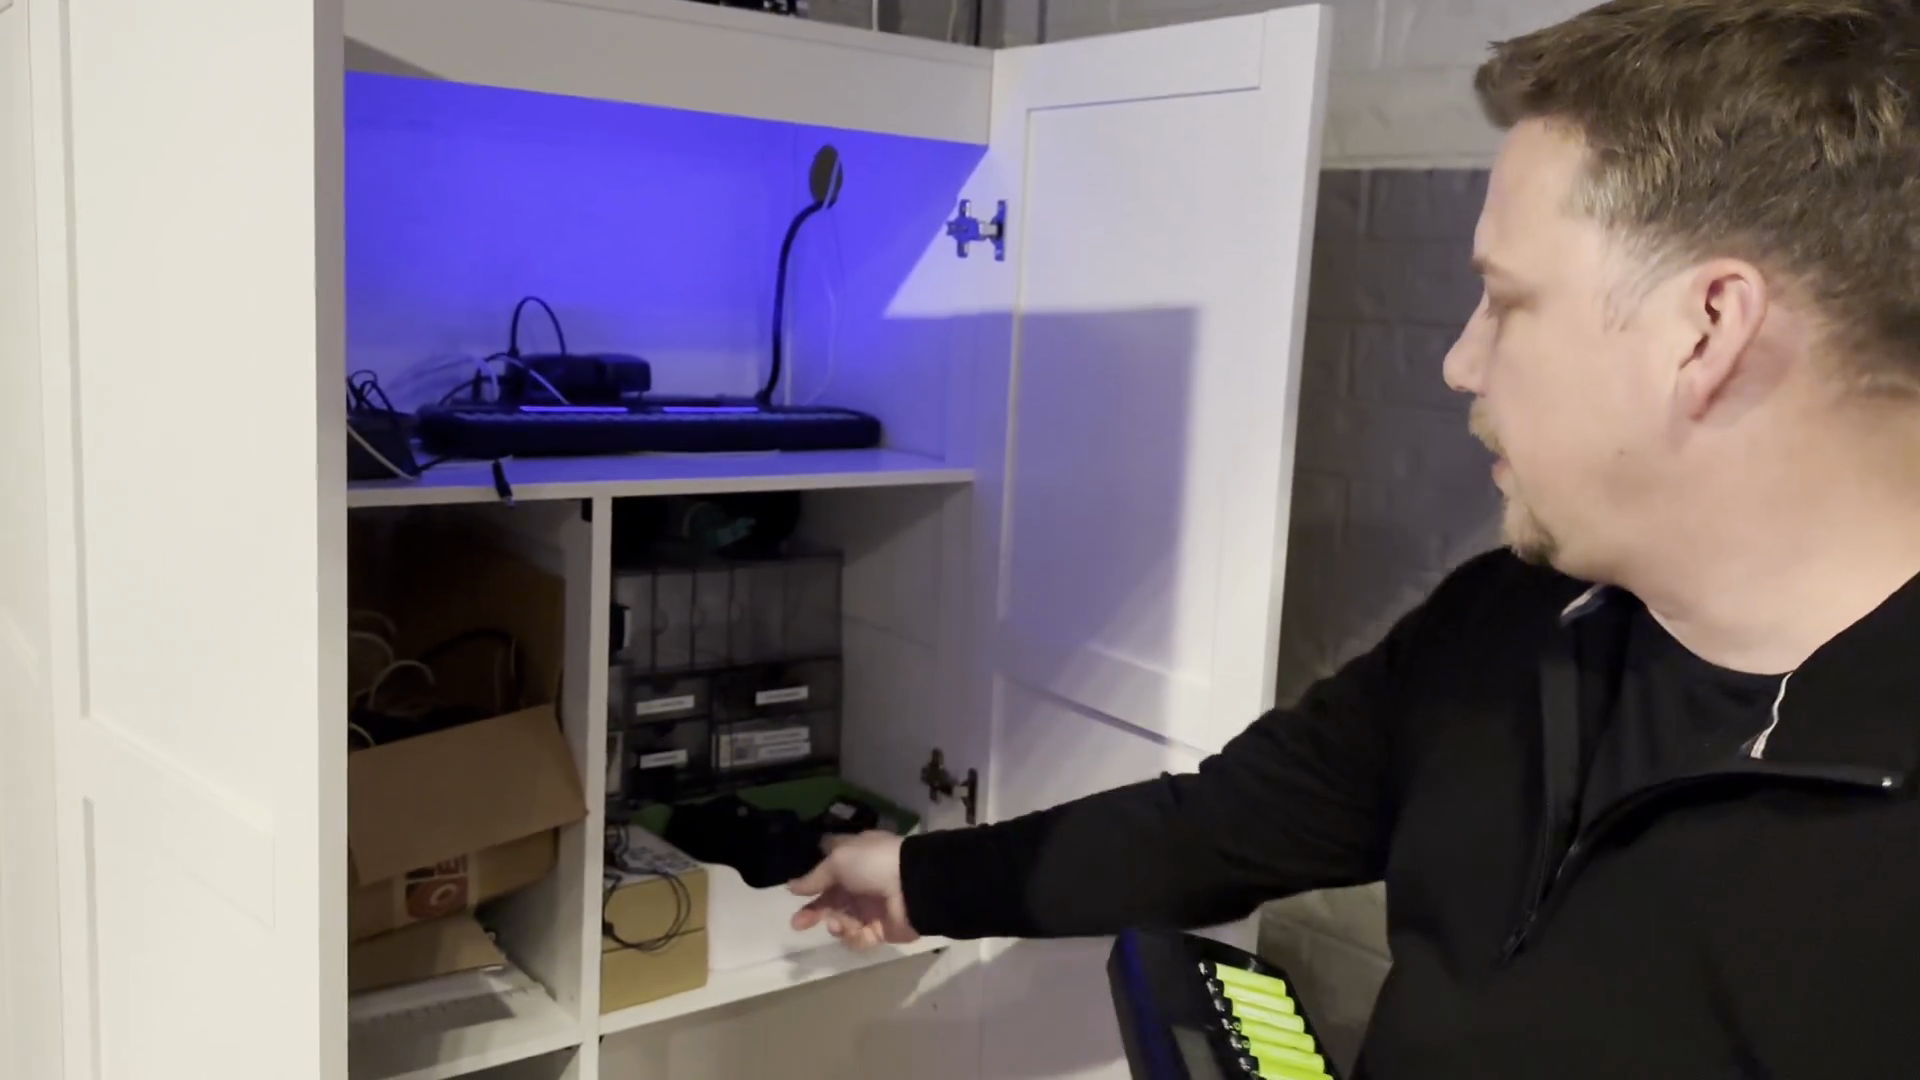
For each microphone labeled 1 through 9, match it with its corresponding numbered pack.
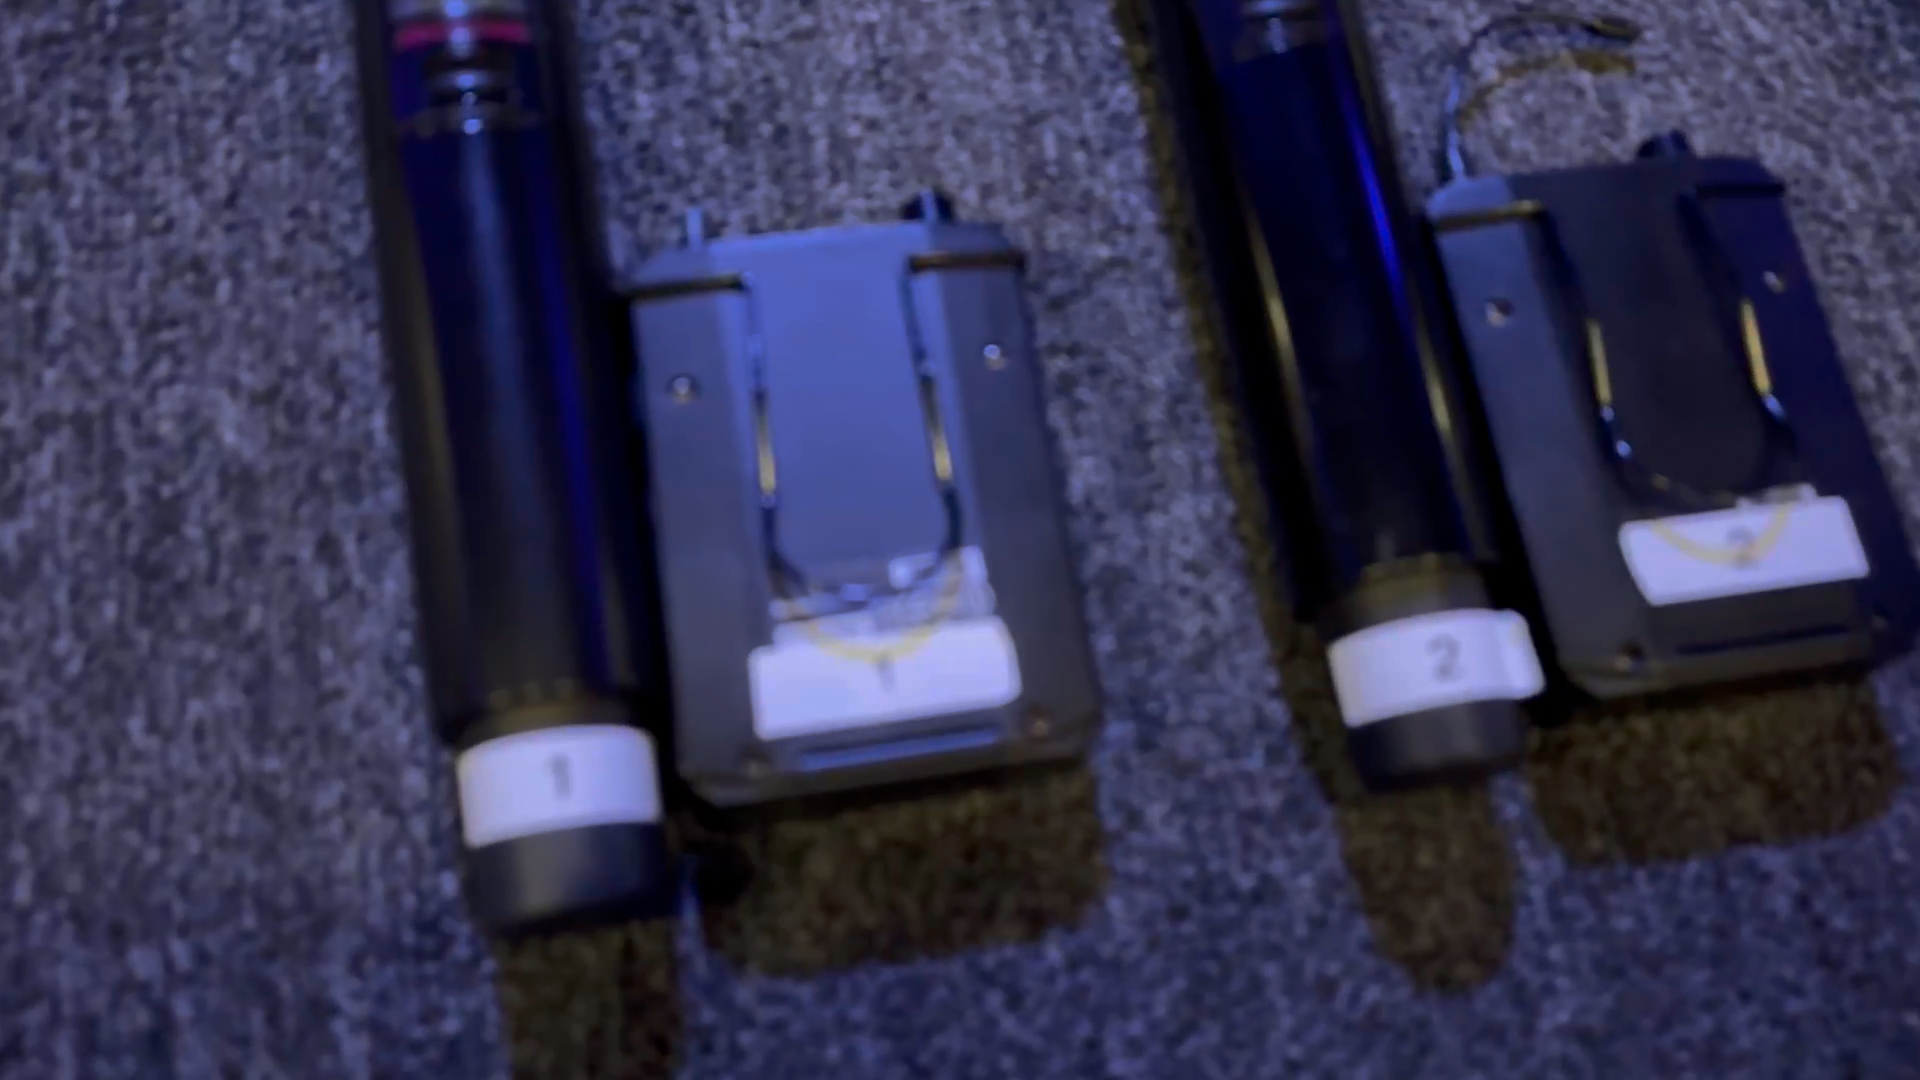
There is a microphone labeled number 10 that does not have a corresponding pack. Still, insert the batteries and have it ready for use.
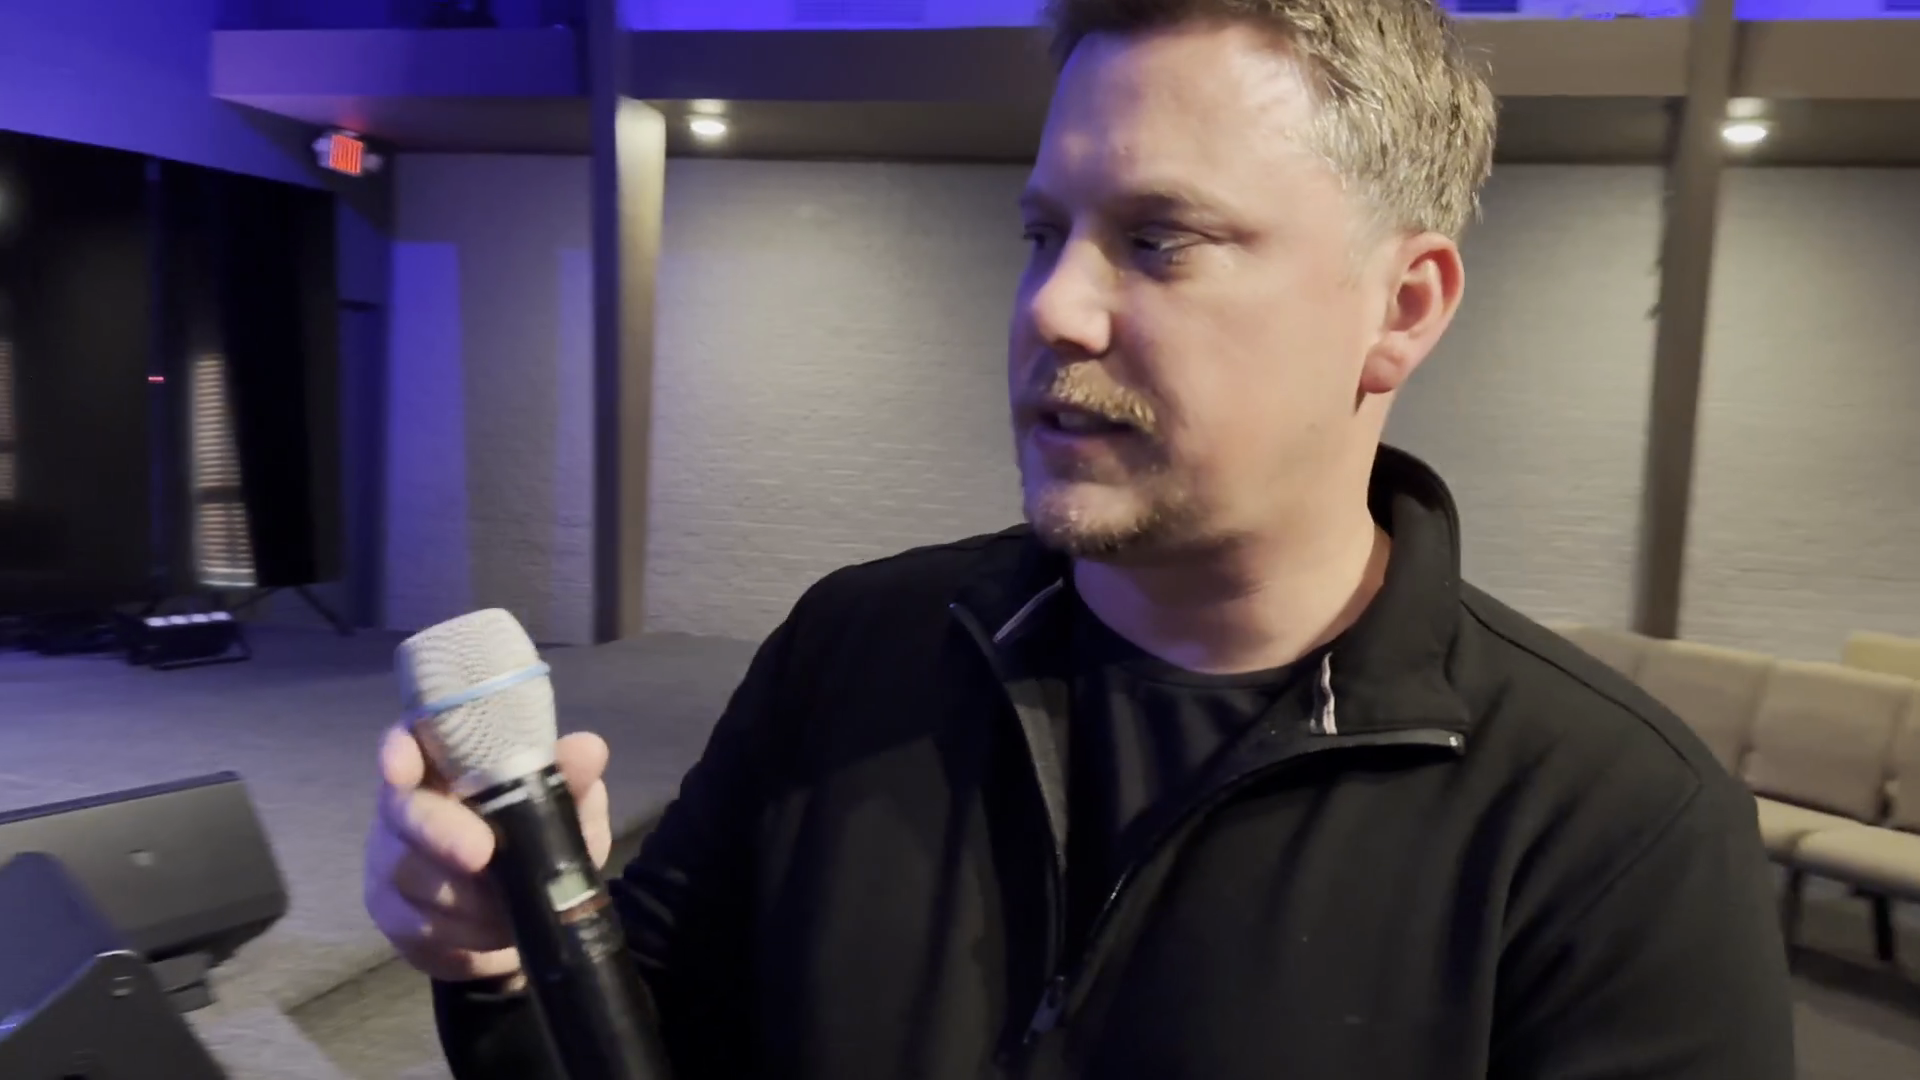
There is a microphone called the pulpit mic. It does not have a label or number, but it looks different from the other microphones.
It is flat on top and has a blue band around the head of the microphone. Once the batteries are installed, place it on the pulpit where the microphone rest is located.
Place the microphone on the pulpit's microphone rest.
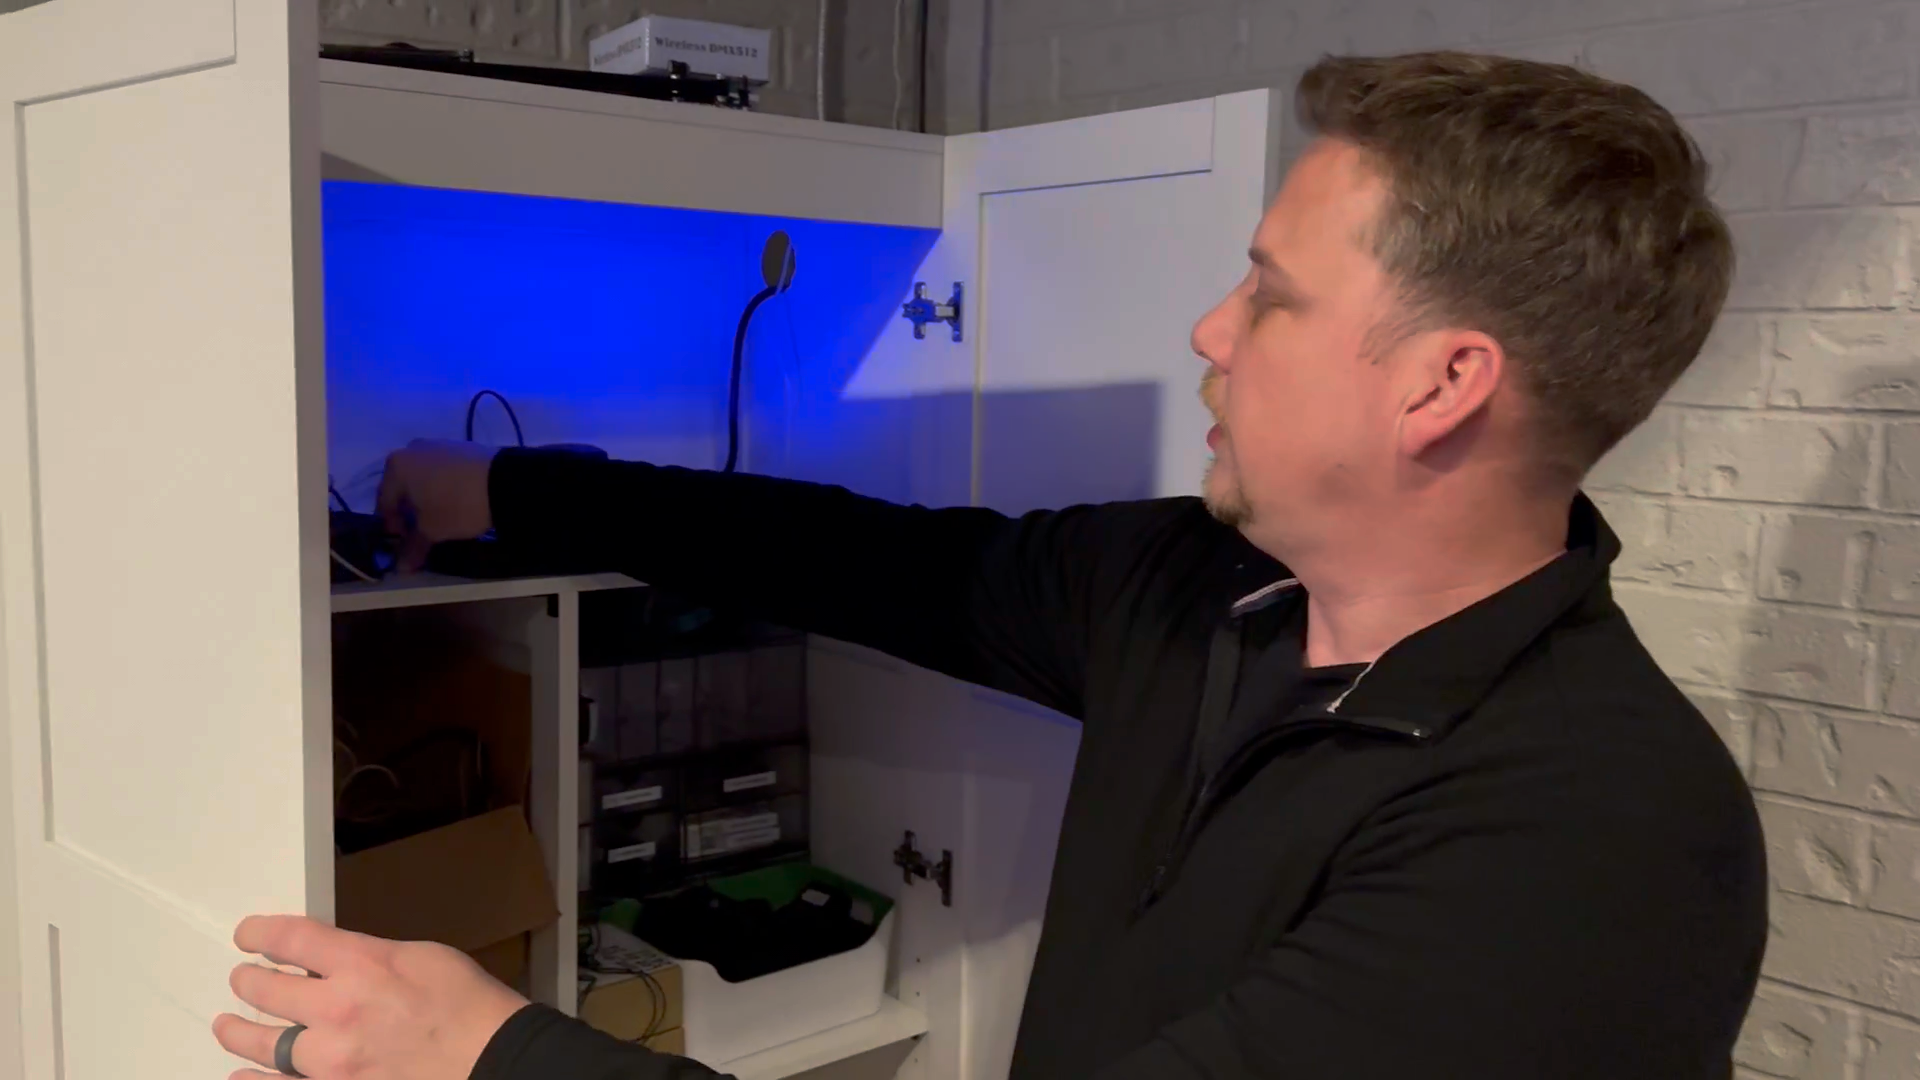
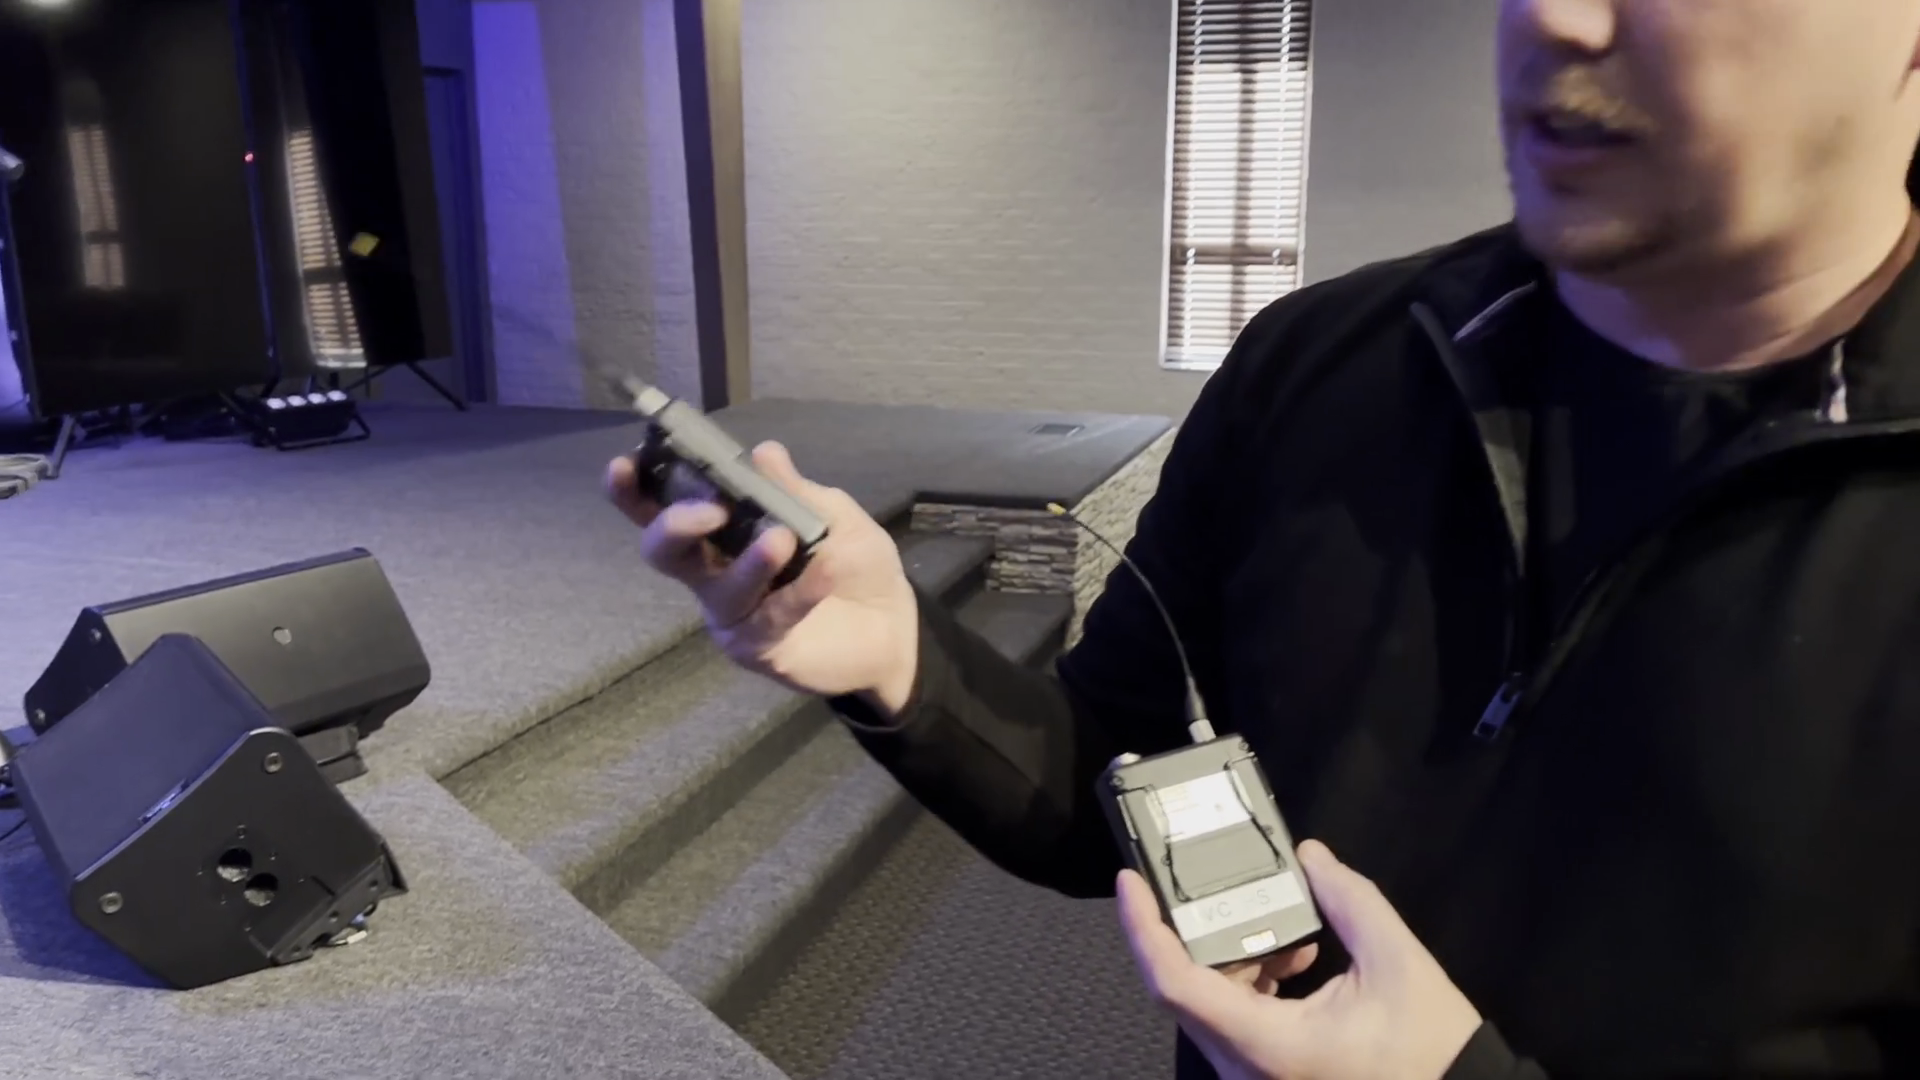
The other things to mention are the packs labeled "Pastor" and "MC HS."
Ensure the both headset packs are loaded with batteries.
Bring both items back to the sound booth. They can then be picked up by the next user.
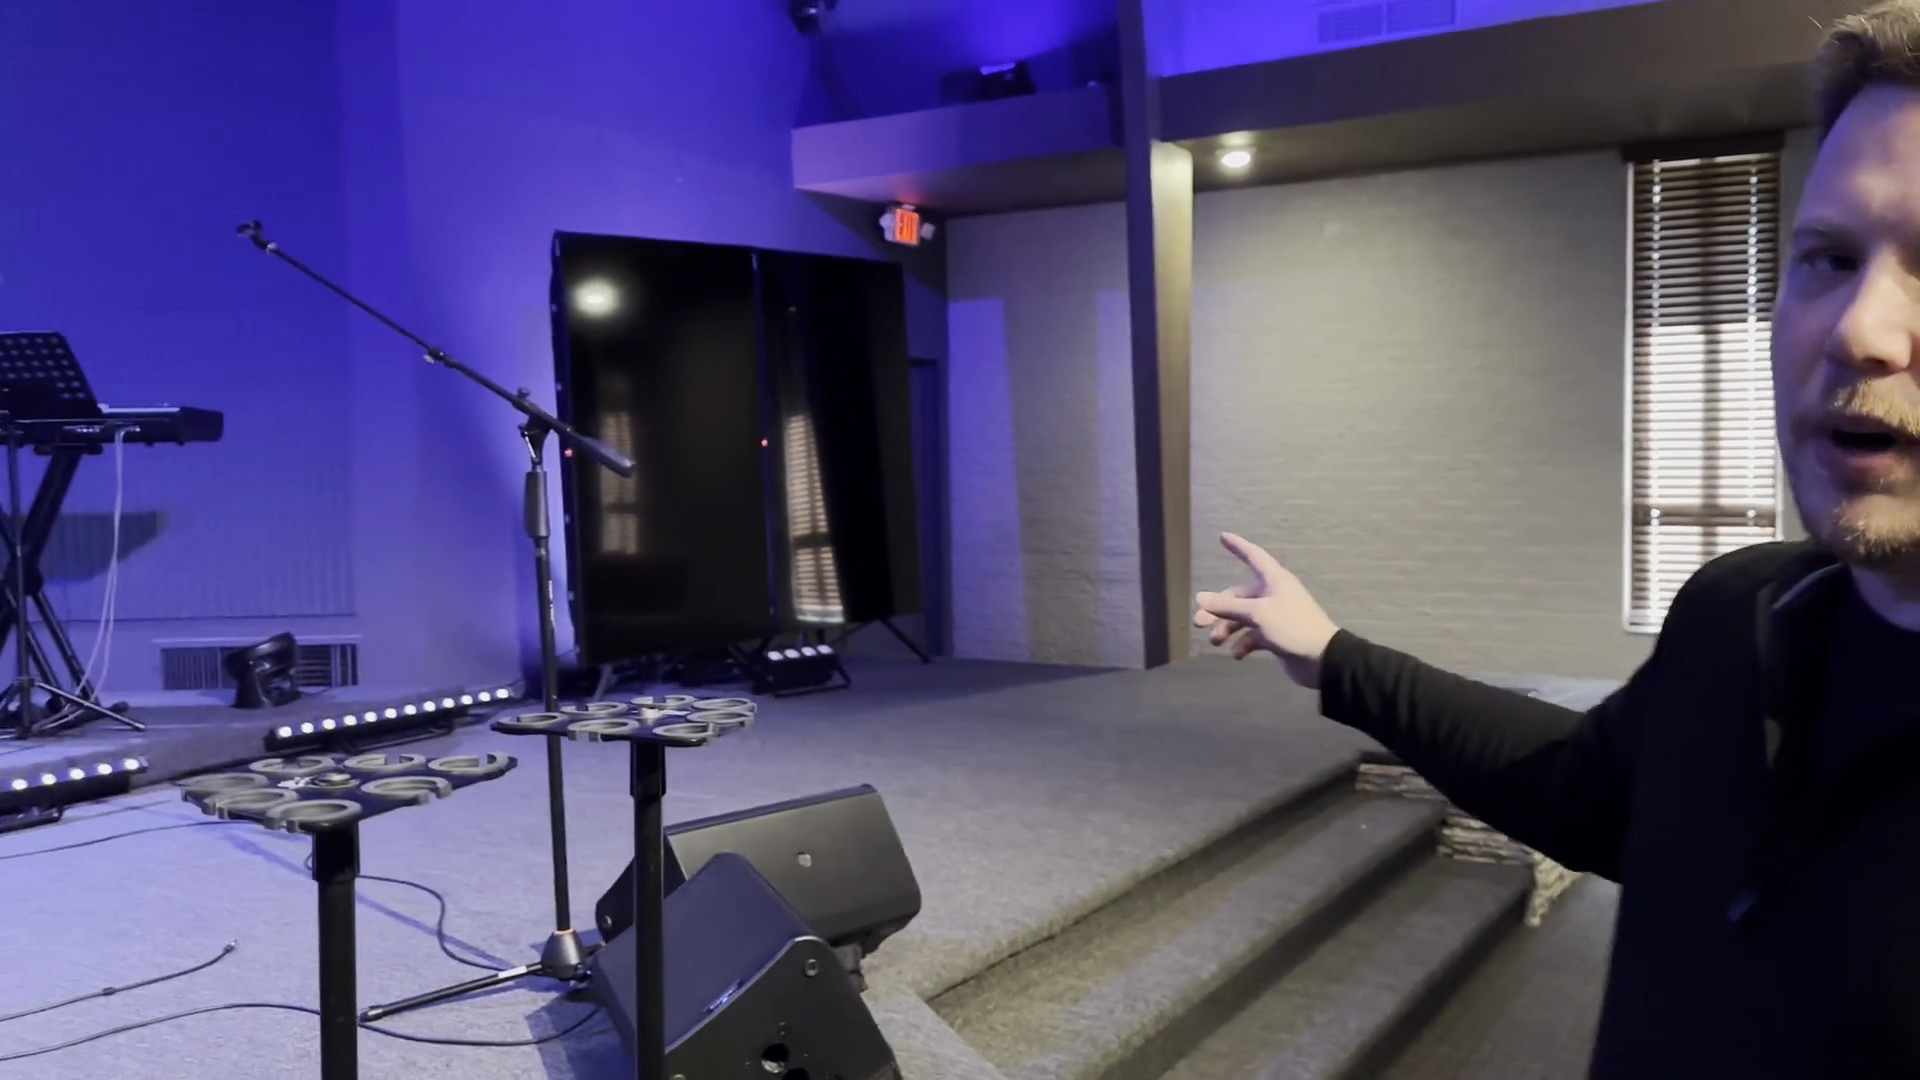
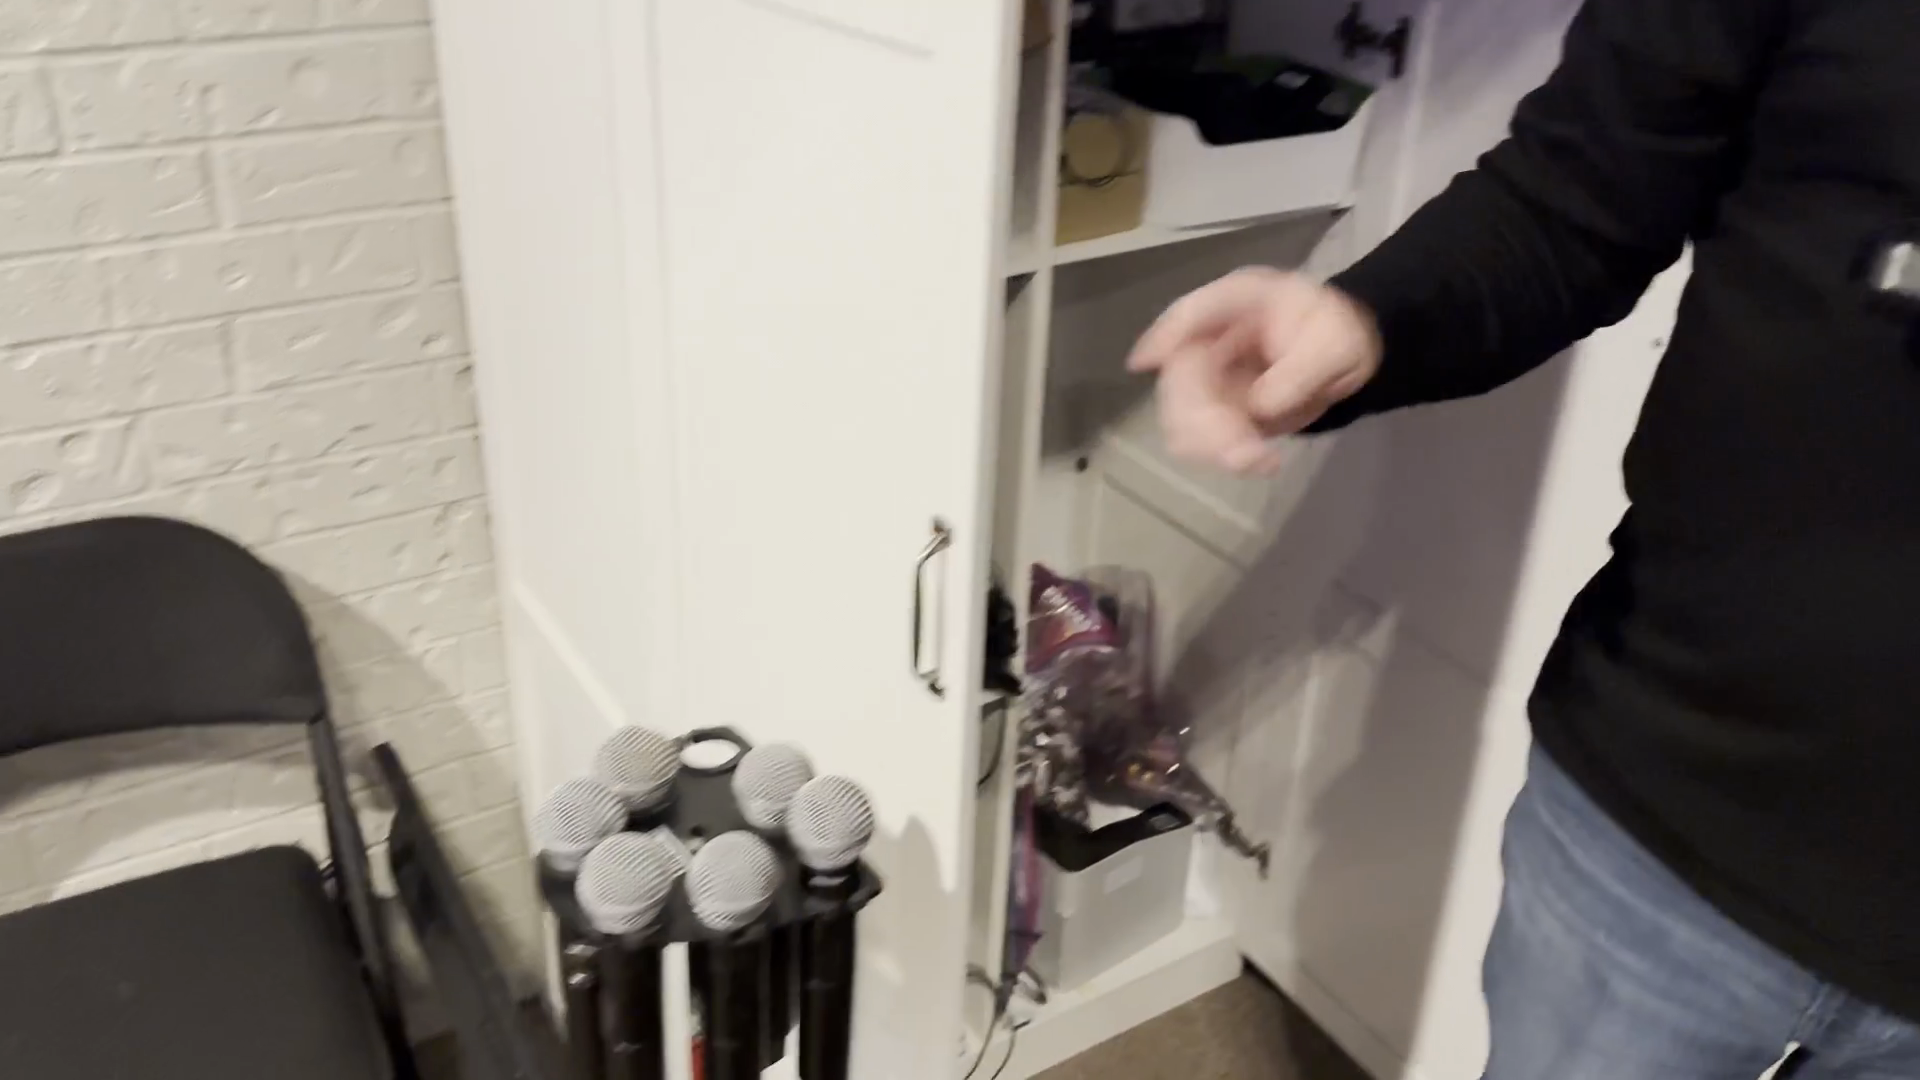
Finally, place a mic stand on each side of the platform behind the vertical monitors for the singers.