How to Prepare Orders with Serial Numbers and Do Crew Scheduling
Learn how to prepare orders with serial numbers, track inventory, and integrate crew schedules using Google Calendar in Reservety.
By Reservety
Learn how to prepare orders using serialized products and manage staff availability. Completing this guide ensures accurate inventory tracking and seamless crew scheduling for your rental or tour business.
This guide is intended for rental business owners and inventory managers. Use this workflow when fulfilling customer orders that require specific item tracking or when assigning guides and staff to bookings.
Part 1: Managing Serialized Orders
1
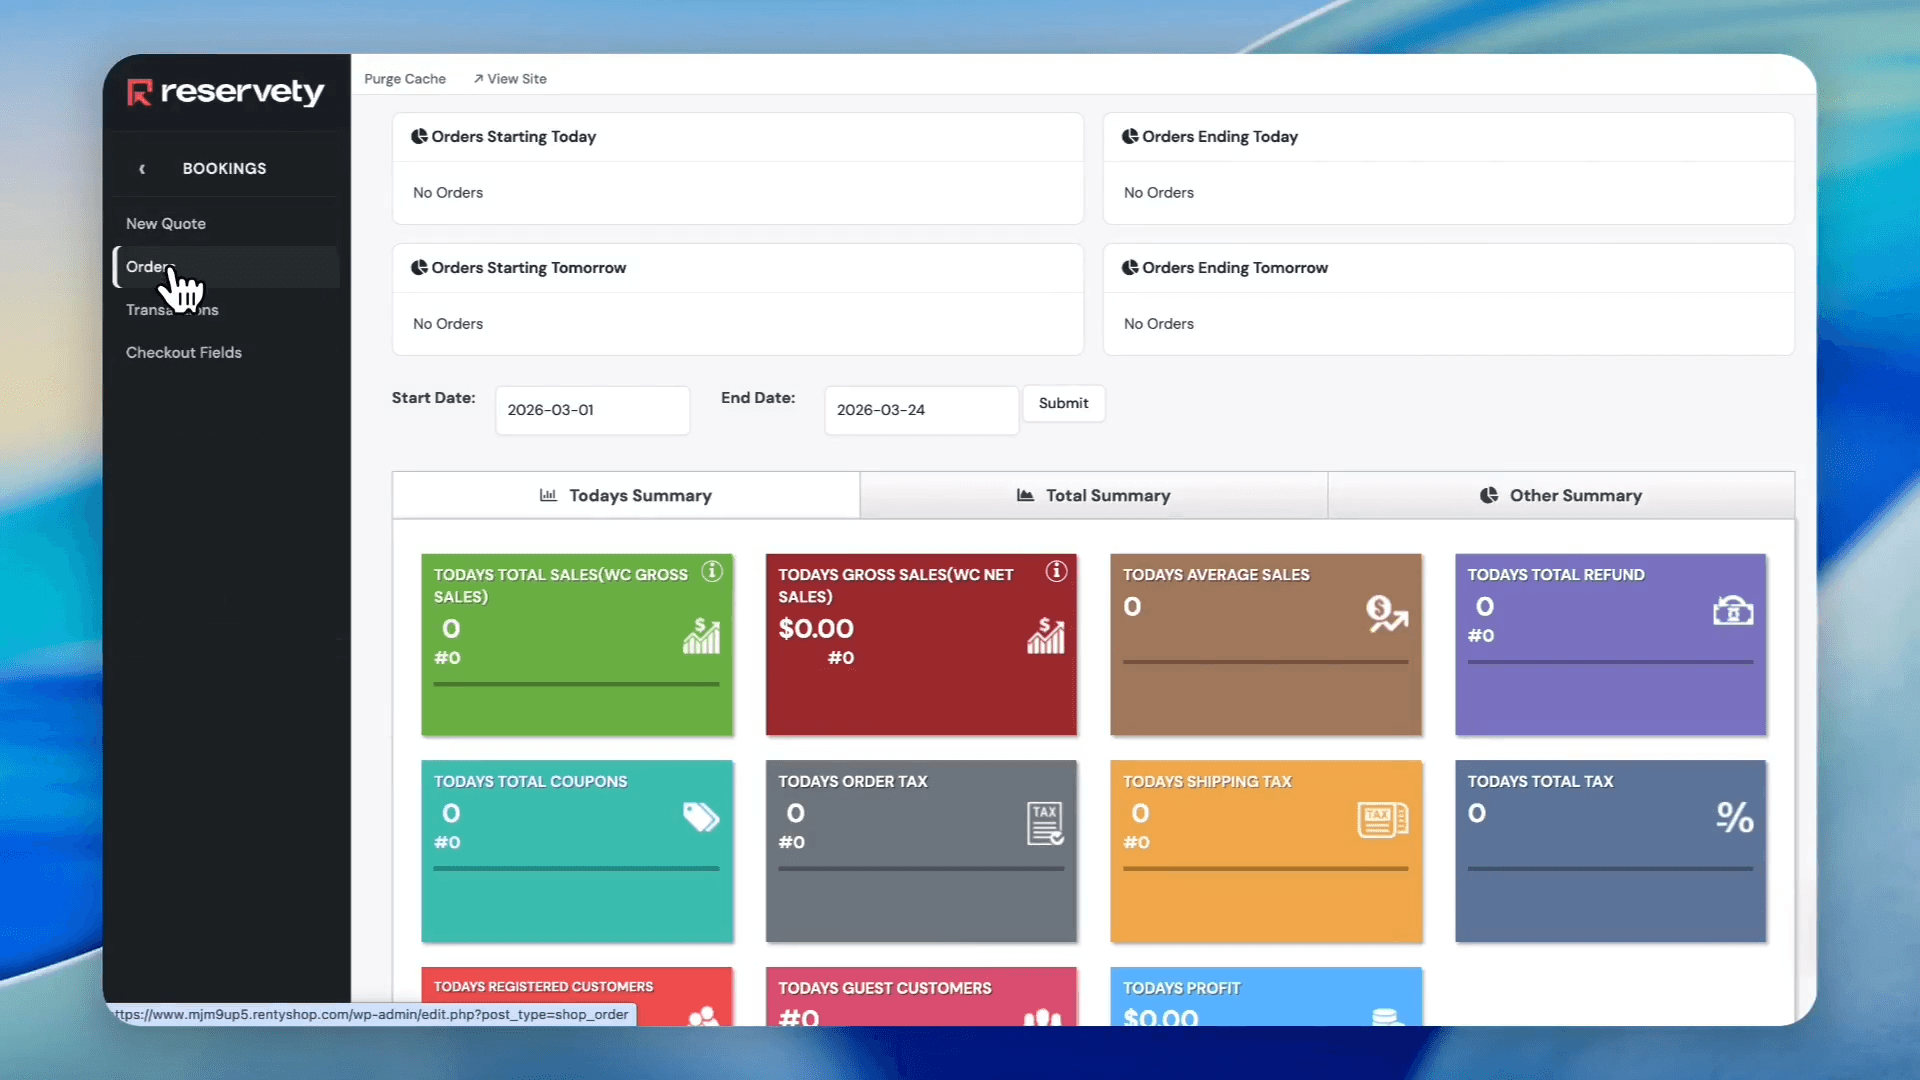
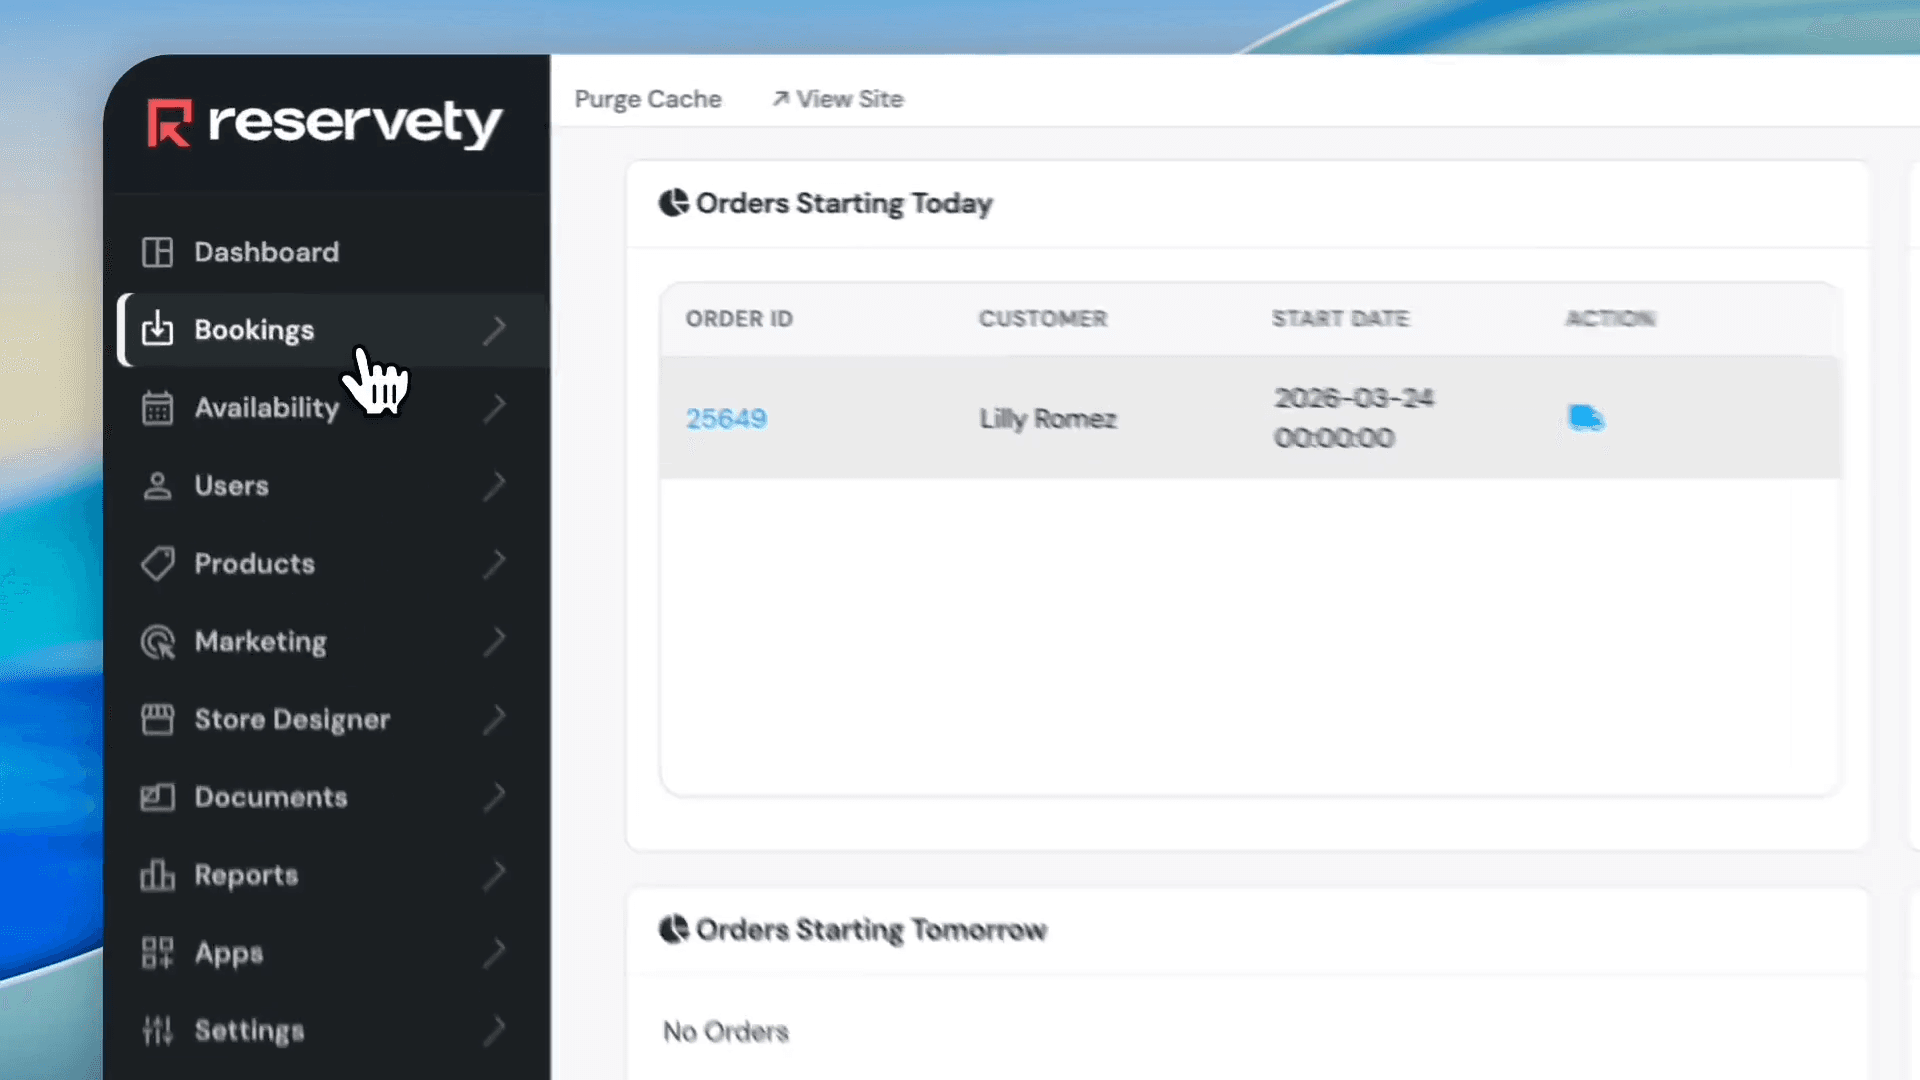
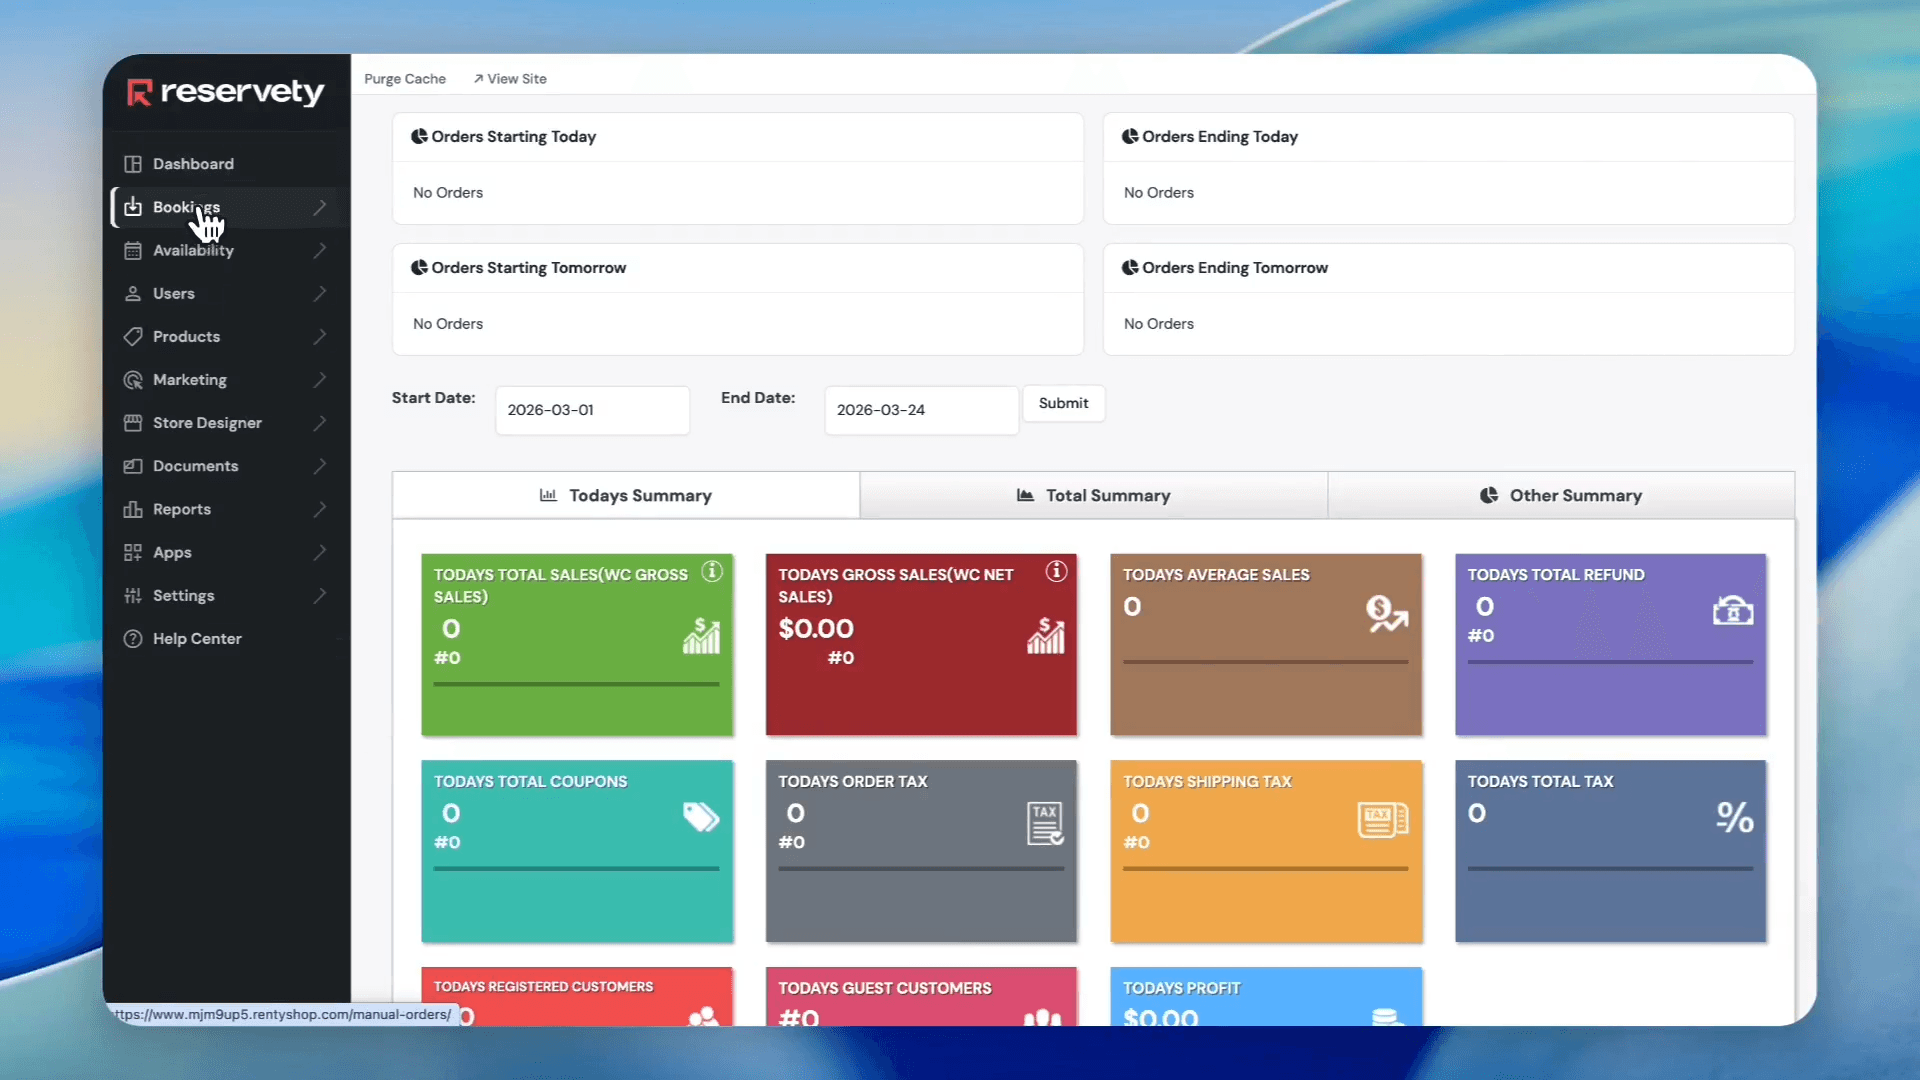
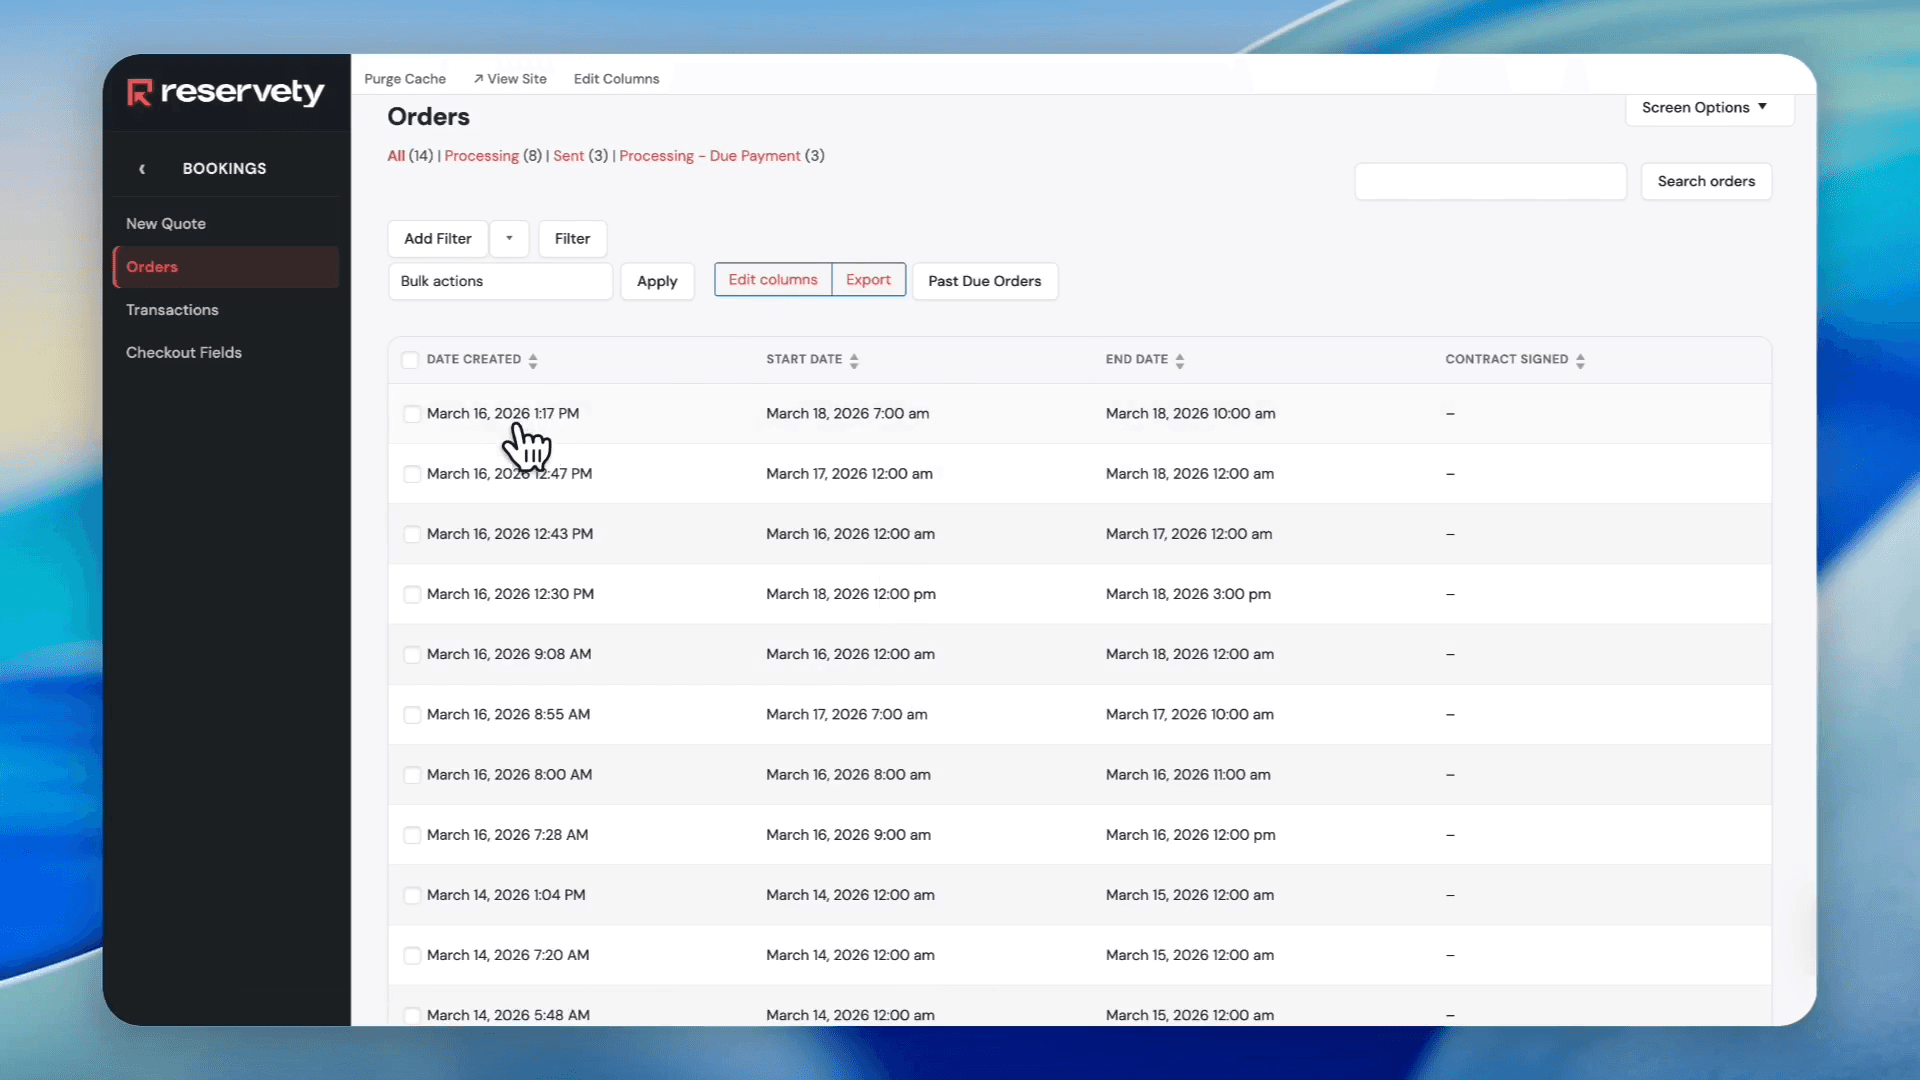
Click Bookings in the left sidebar menu.
2
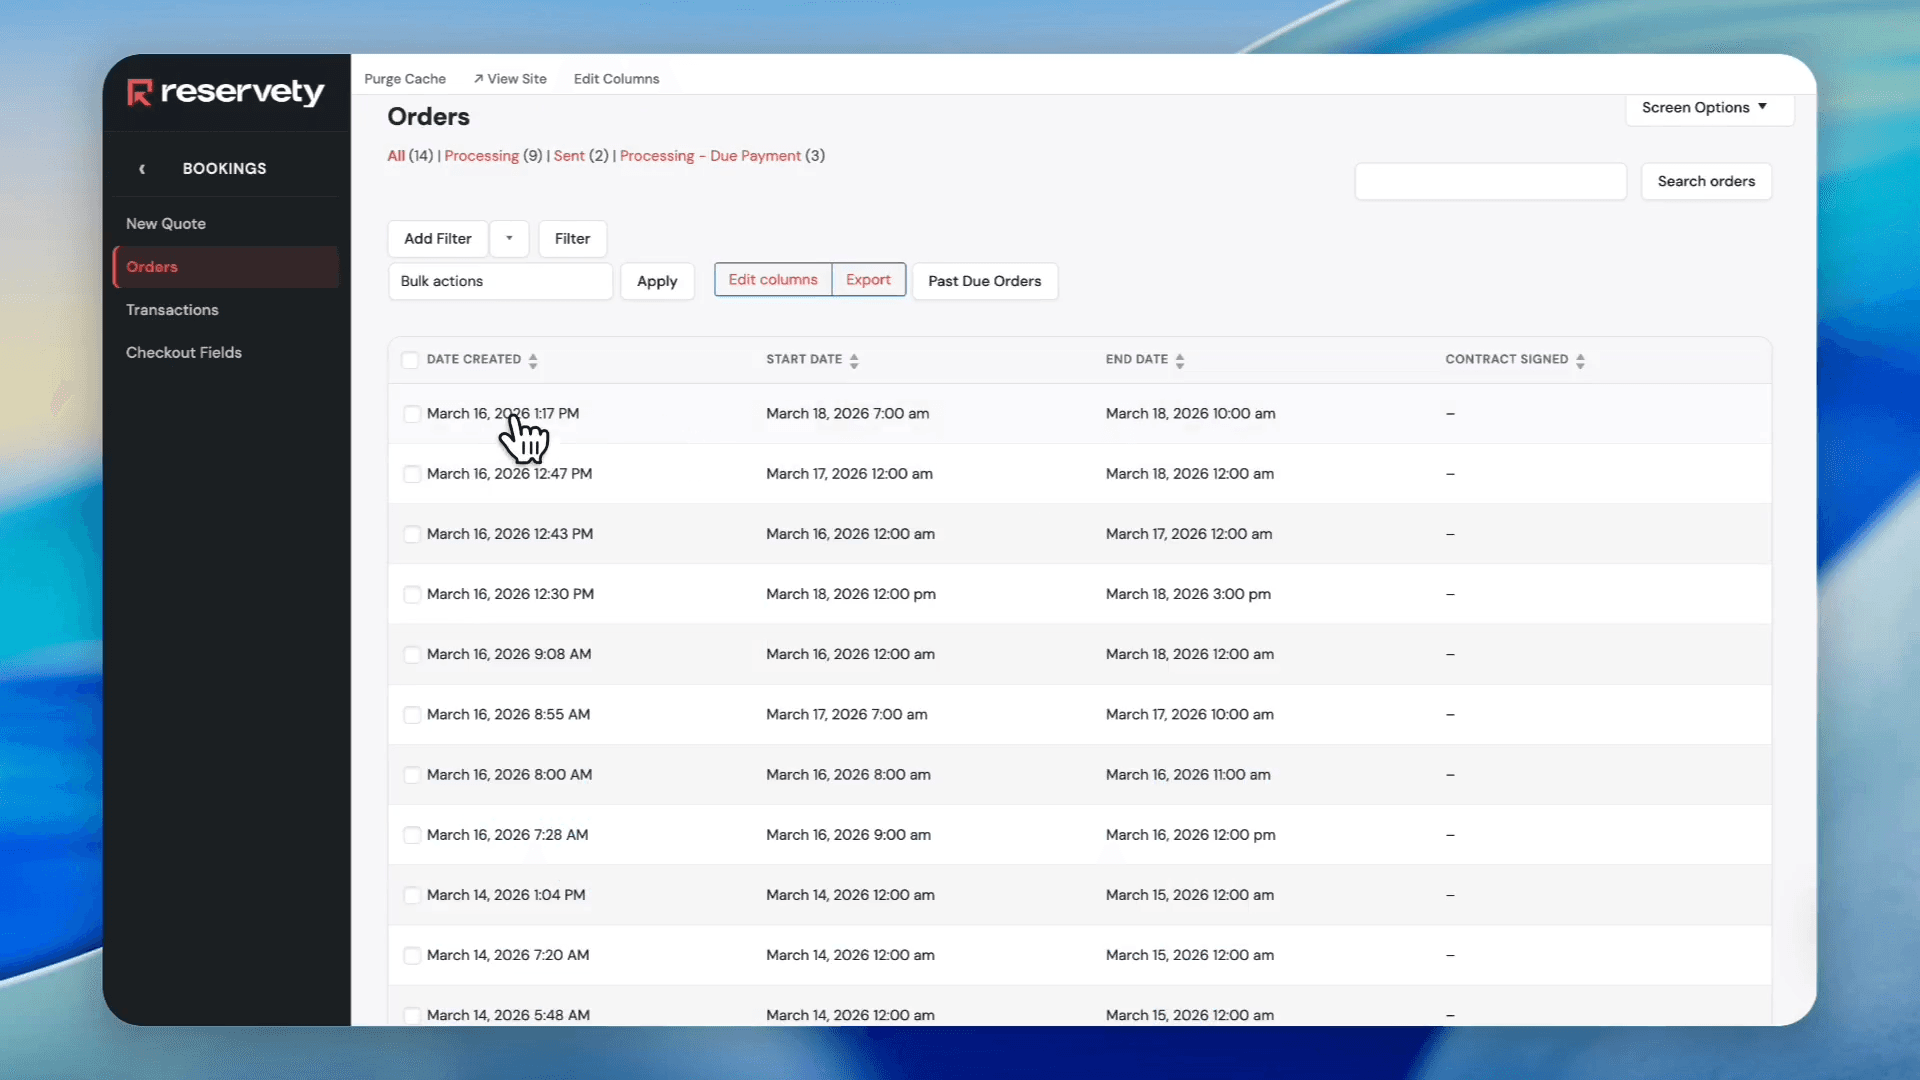
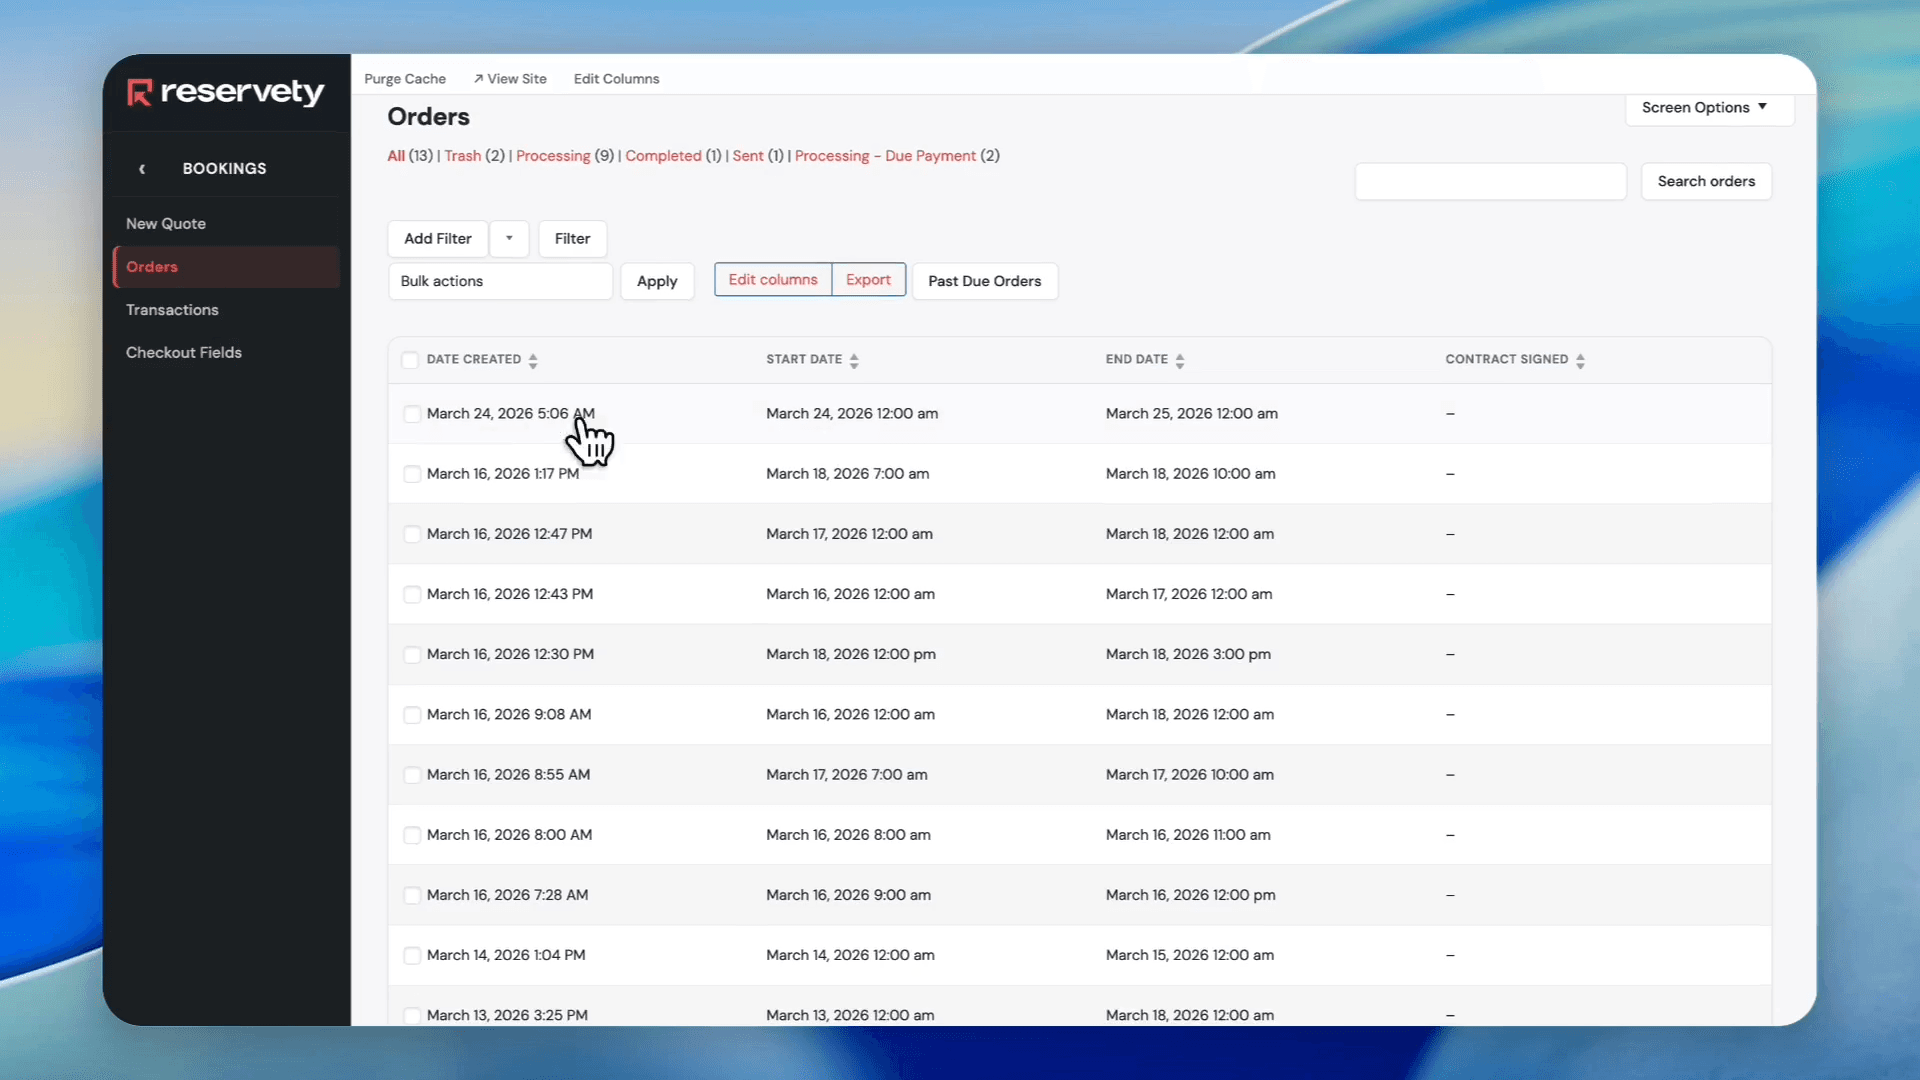
Click Orders to view your list of bookings.
3
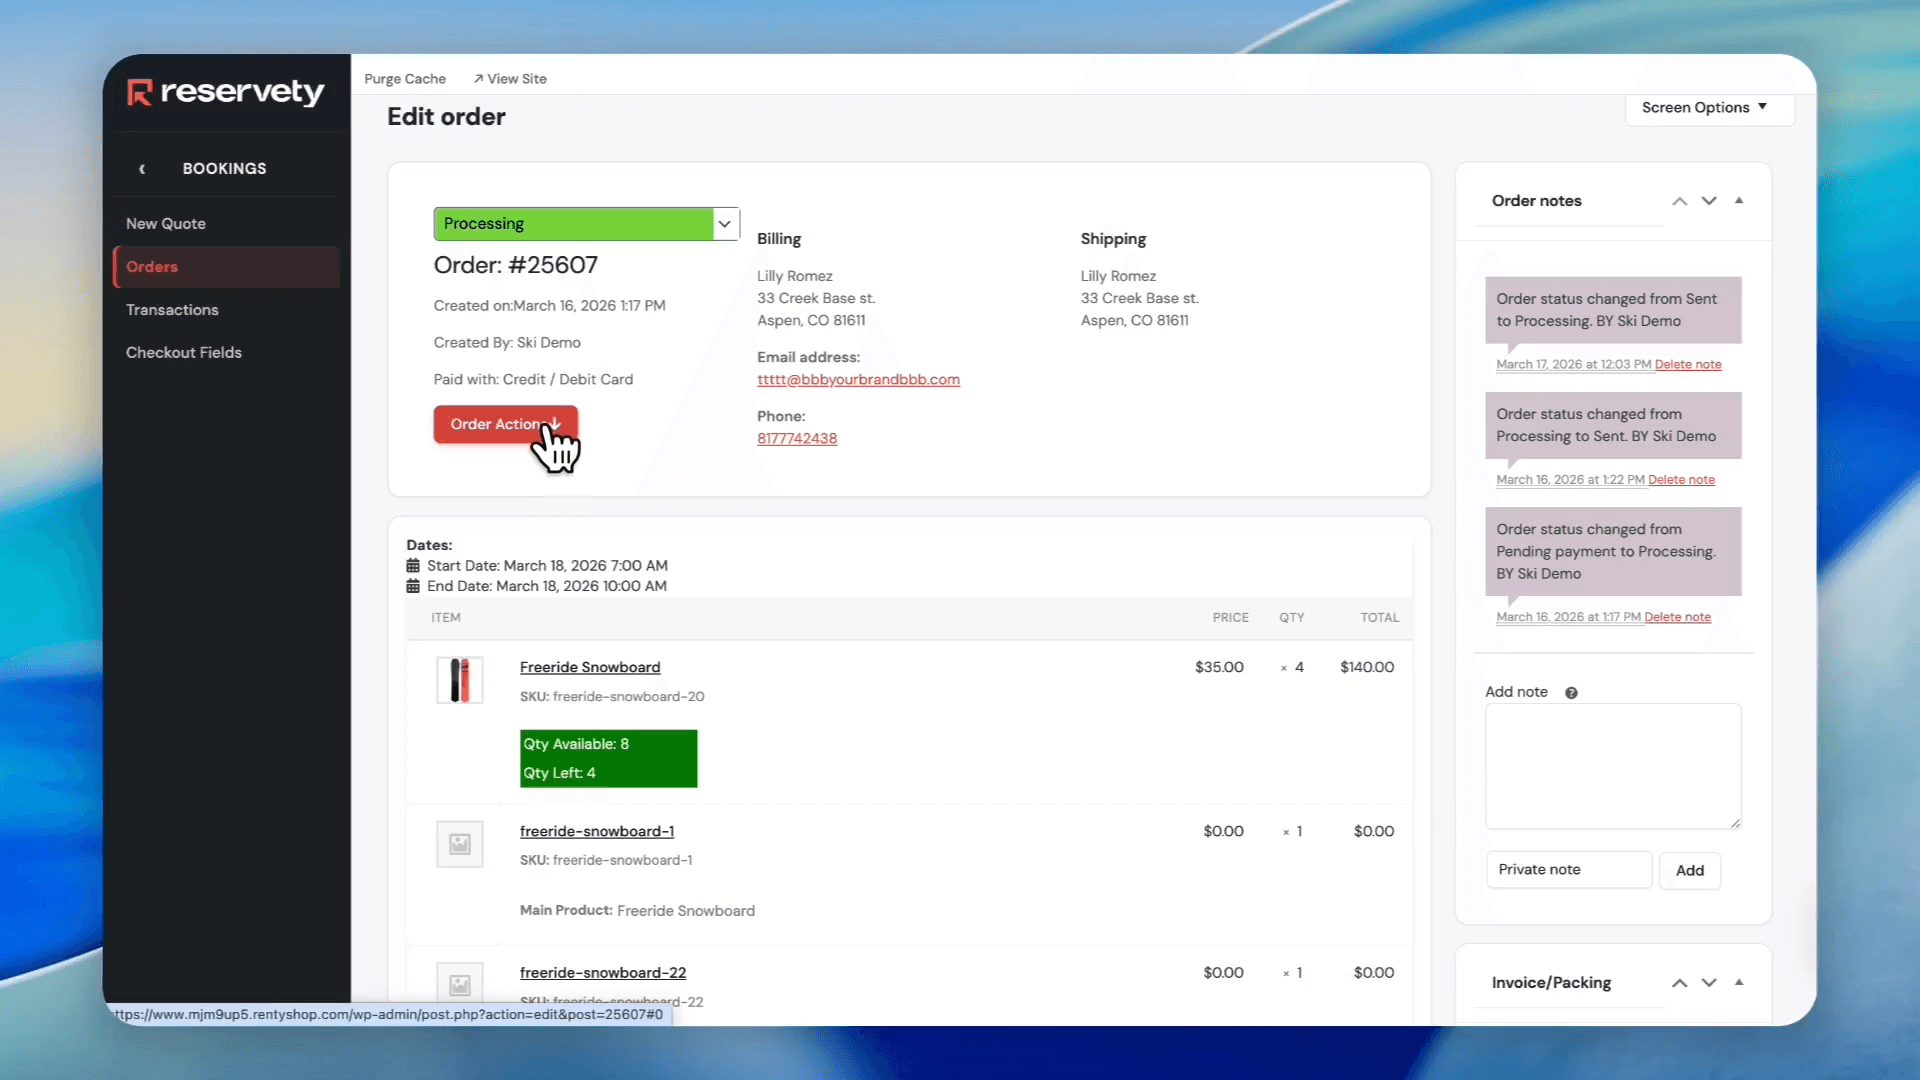
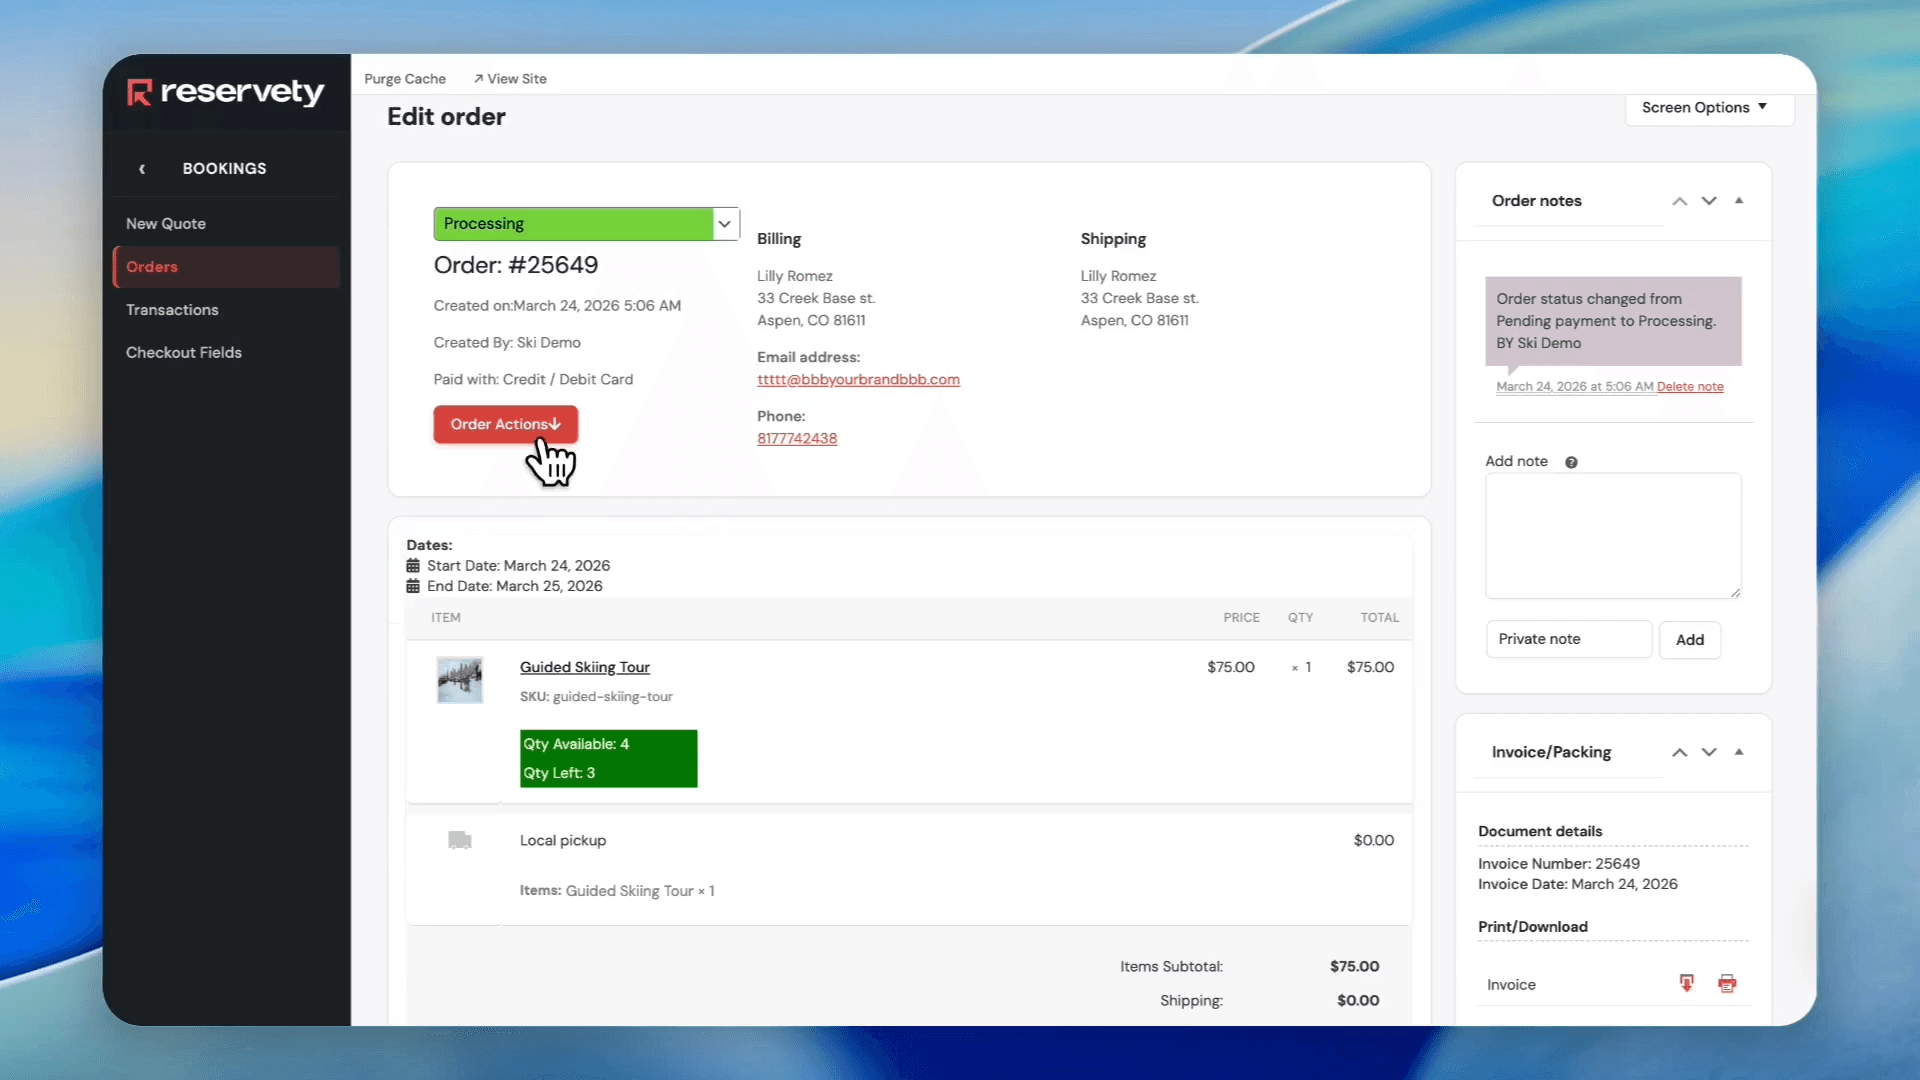
Click on the specific order you want to prepare.
4
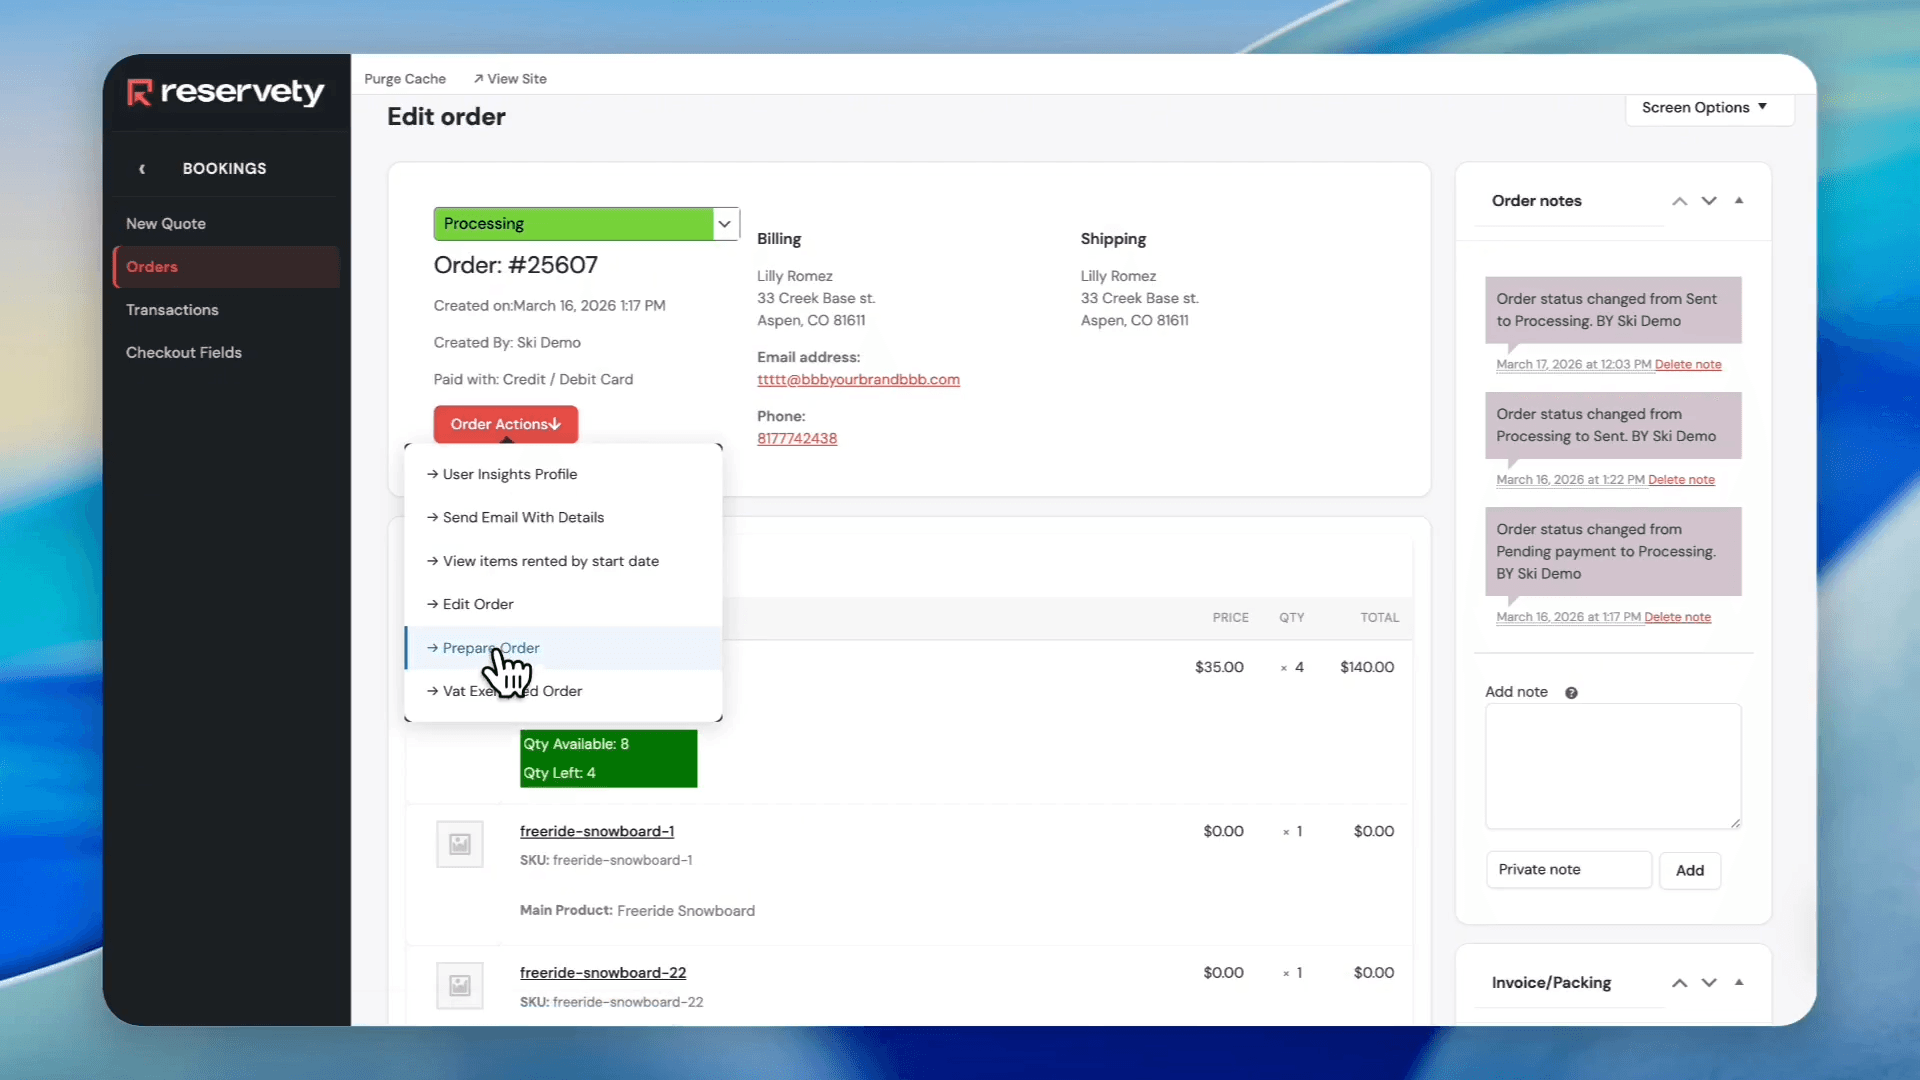
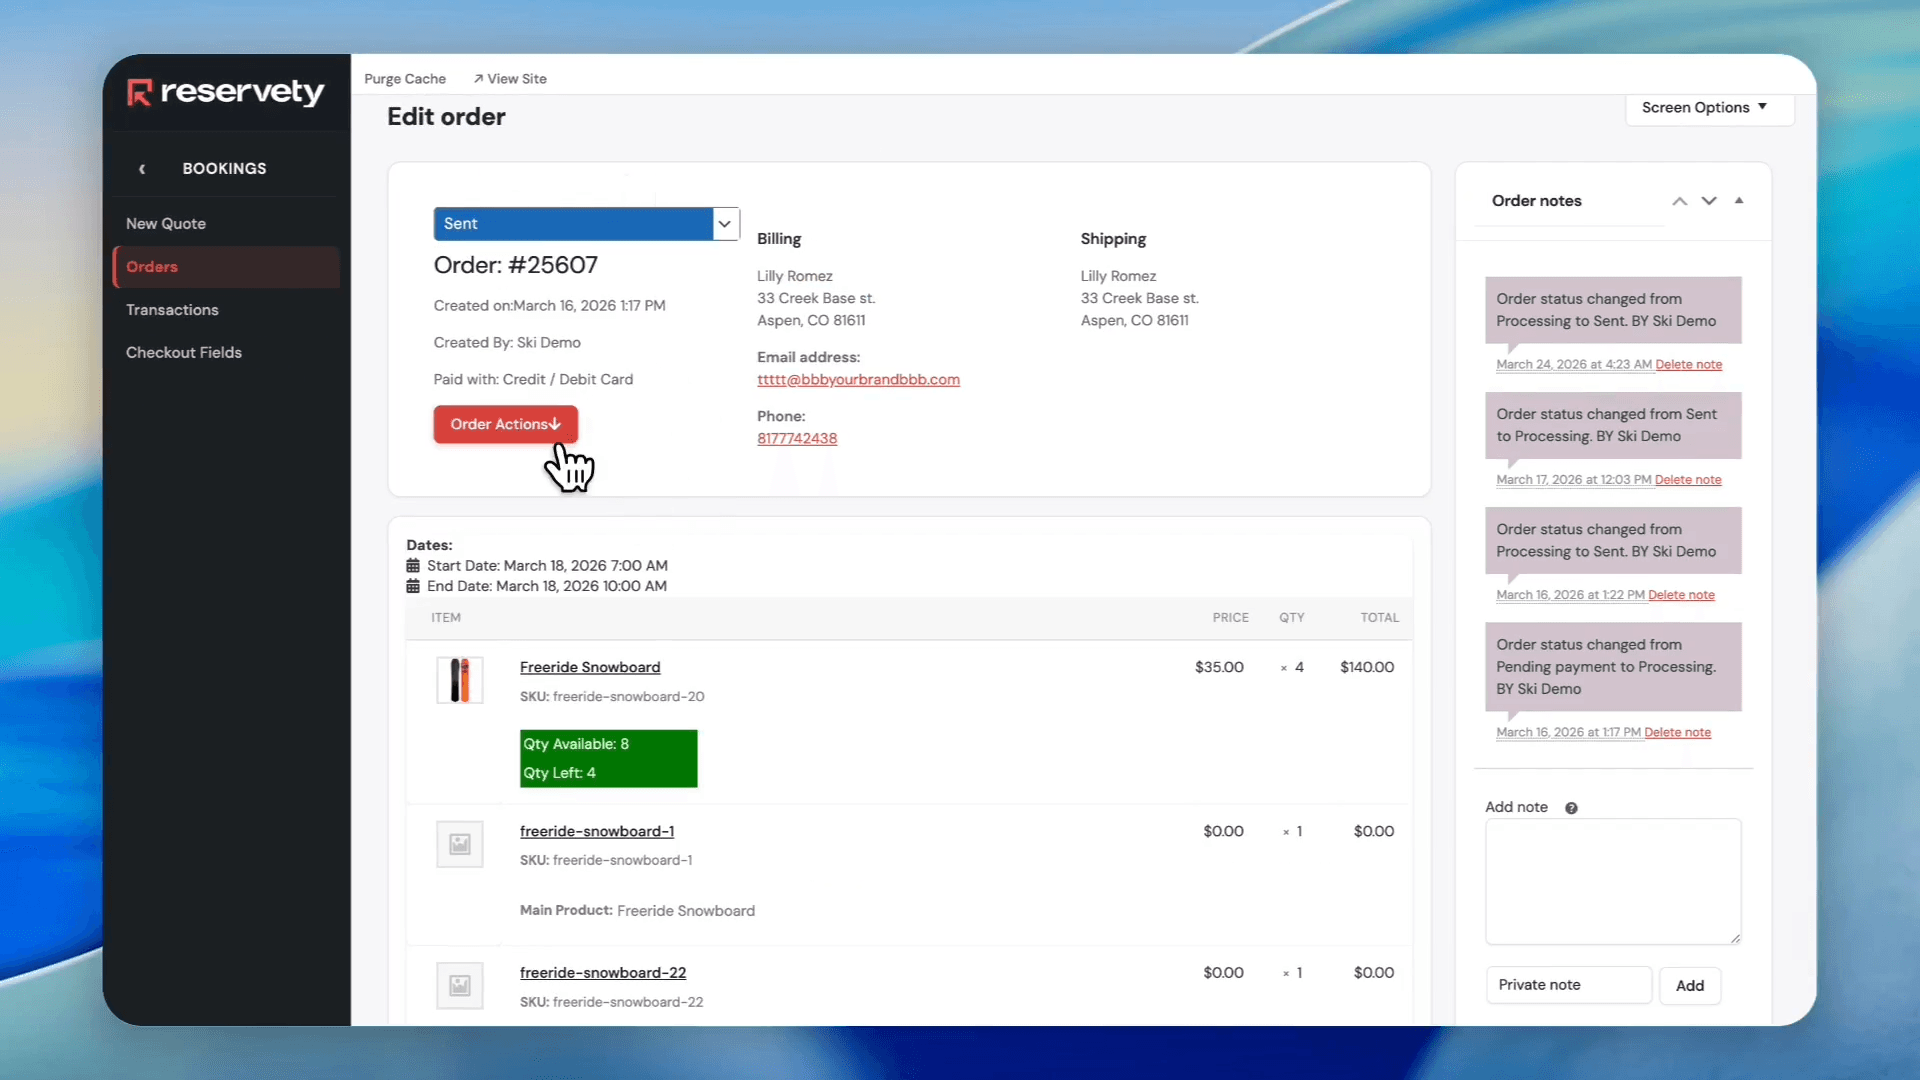
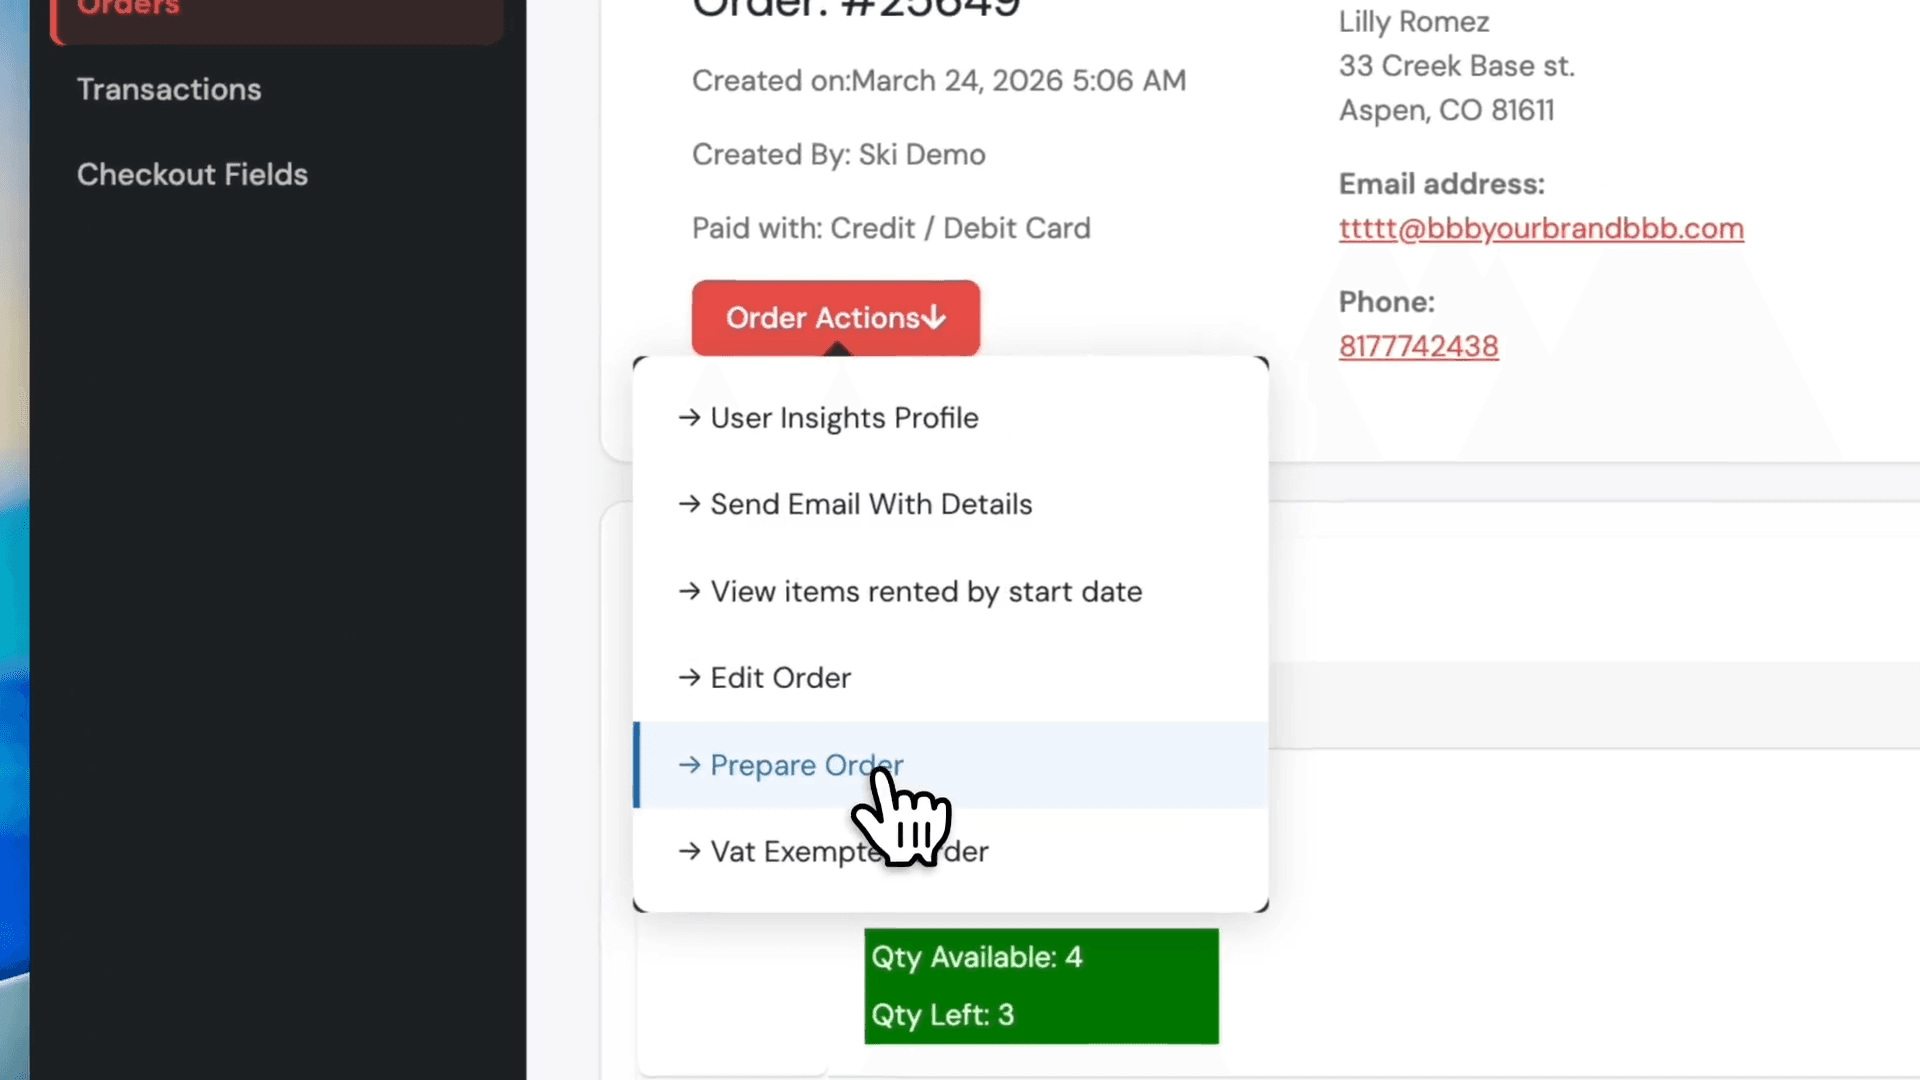
Click Order Actions.
5
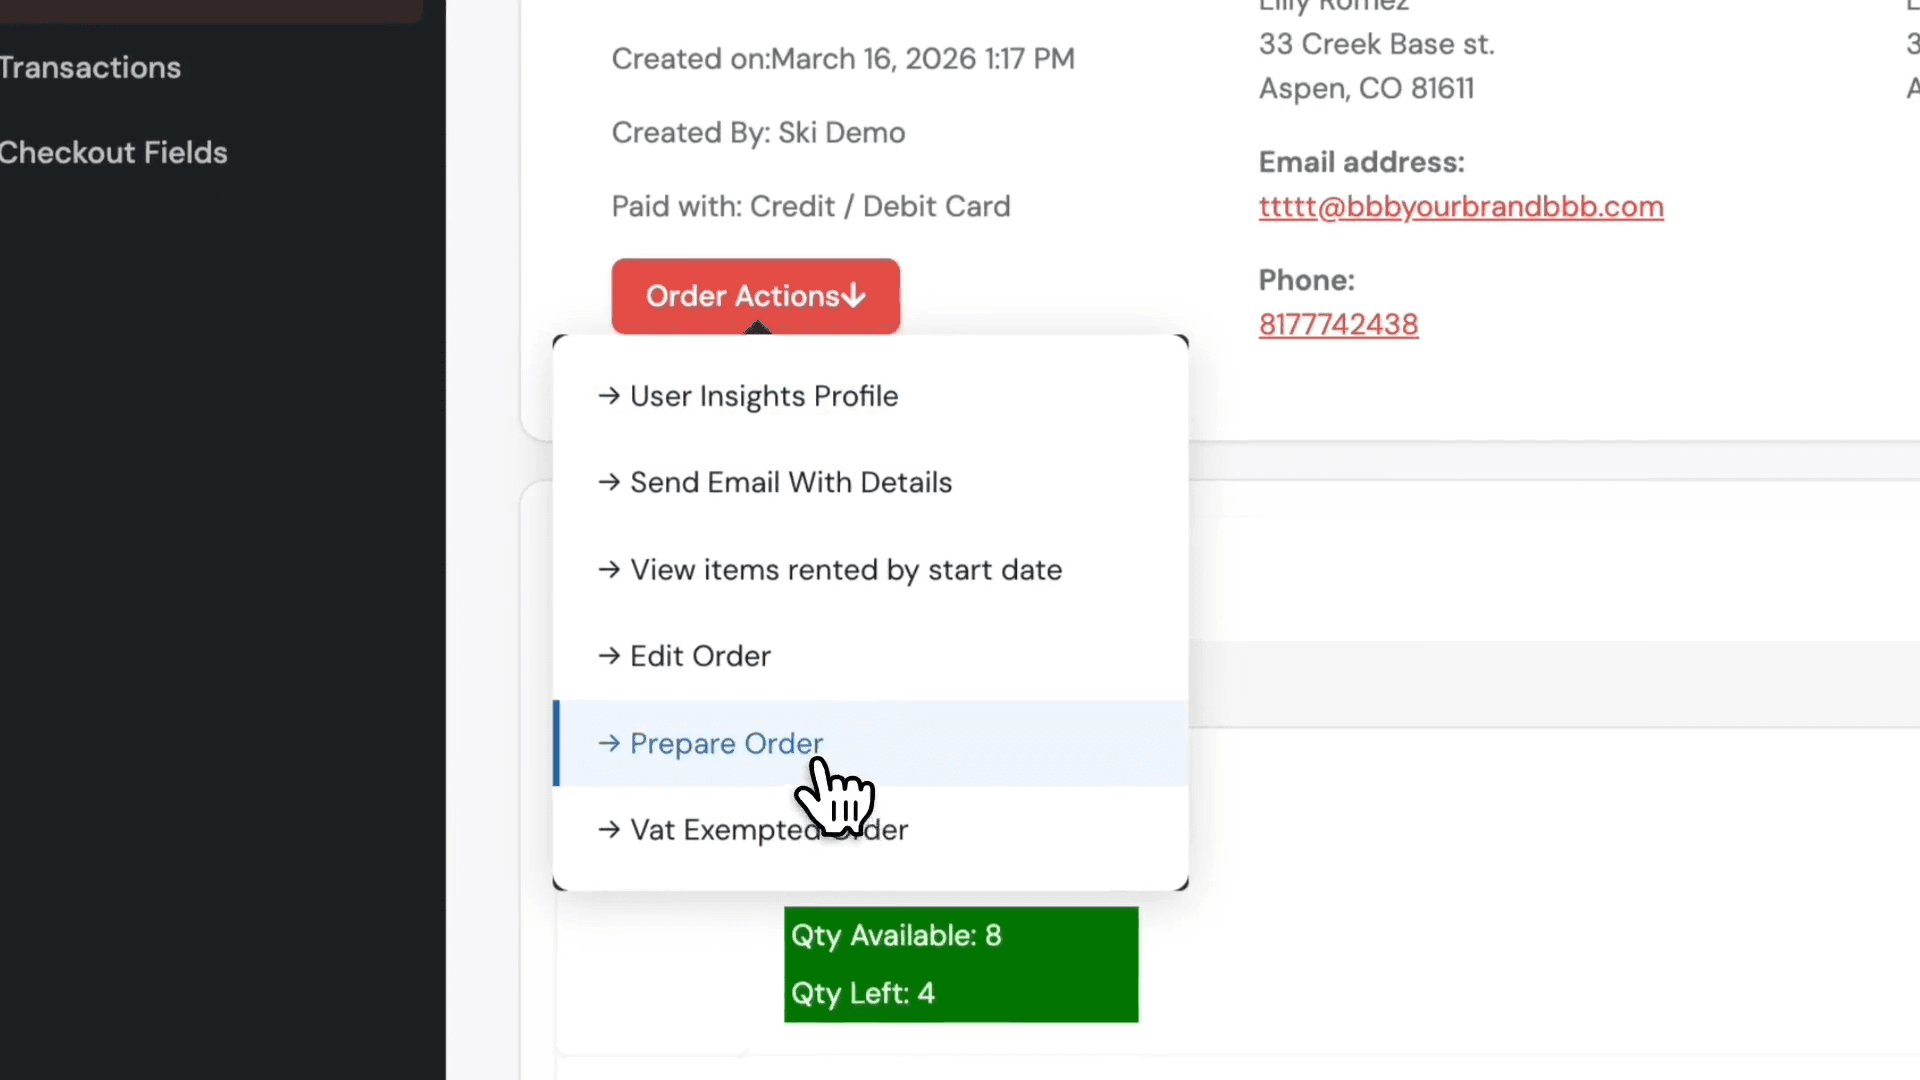
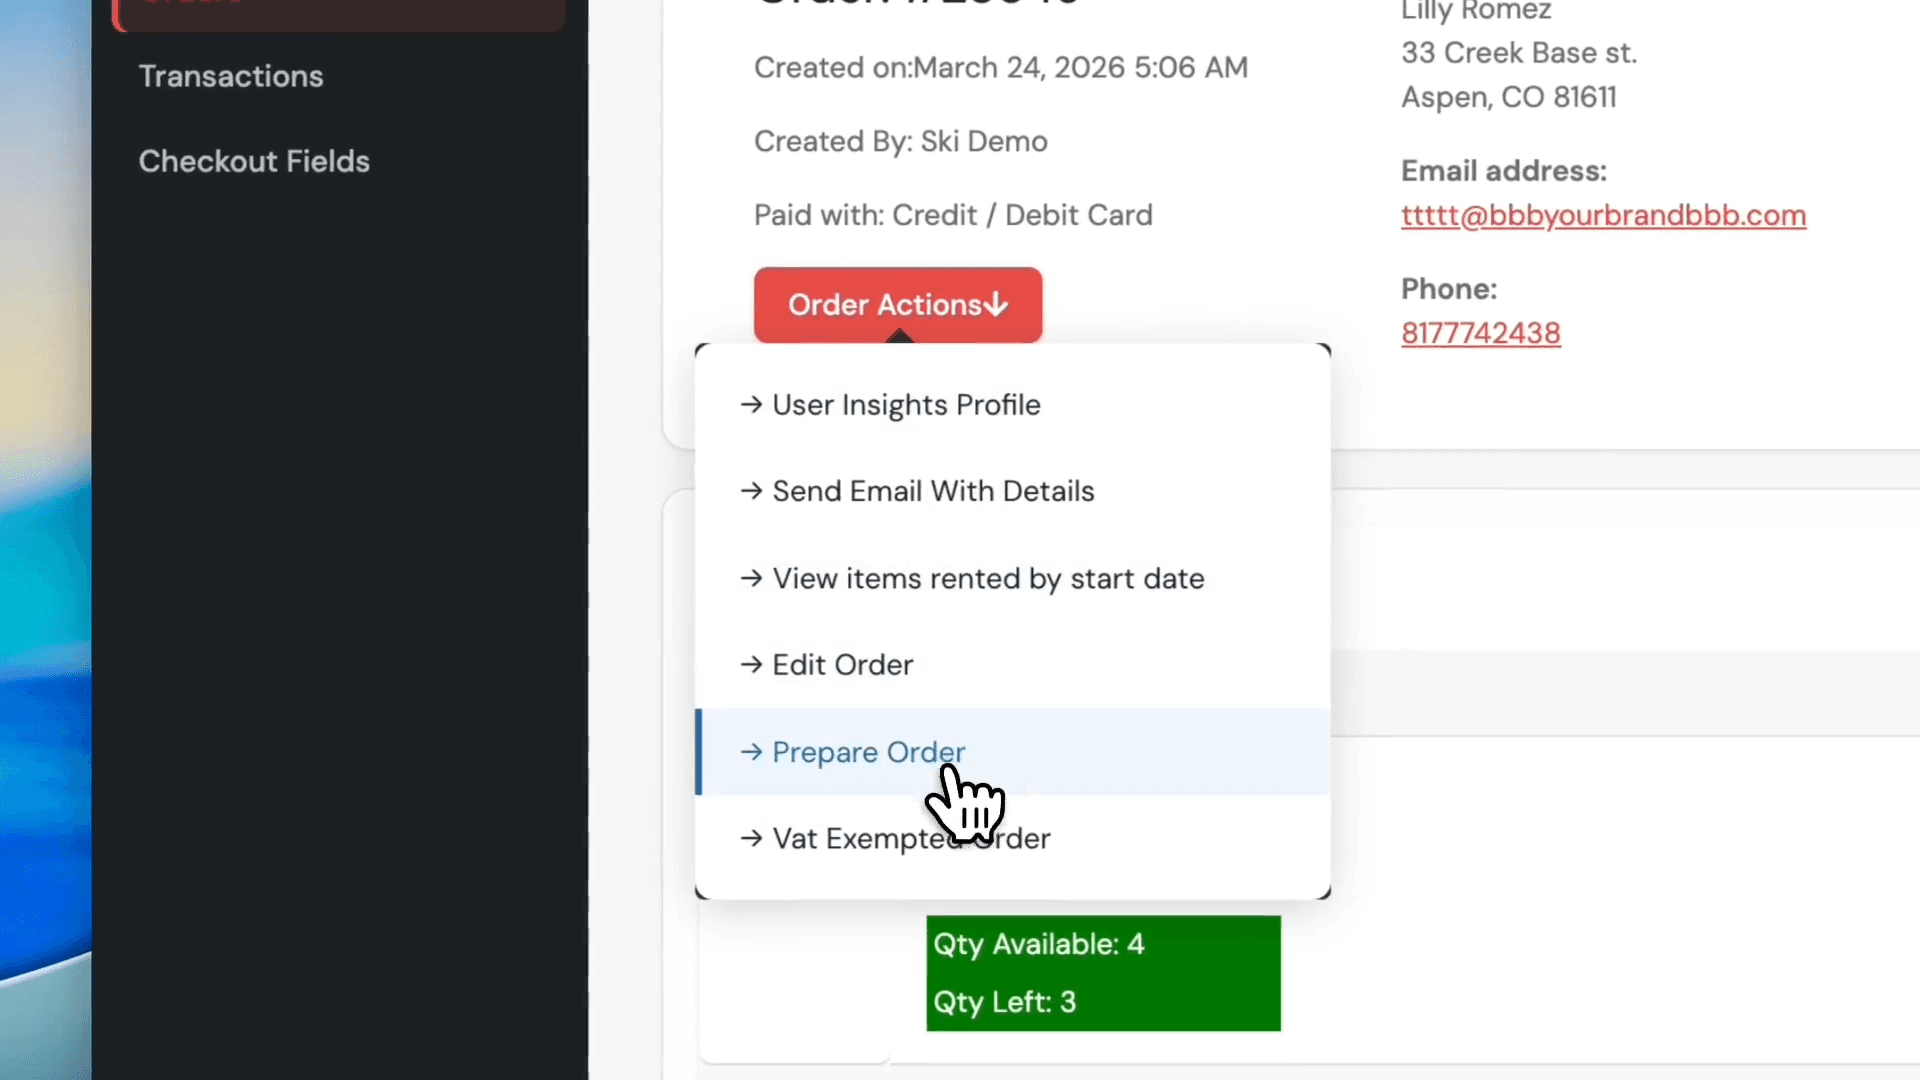
Click Prepare Order from the dropdown menu.
6
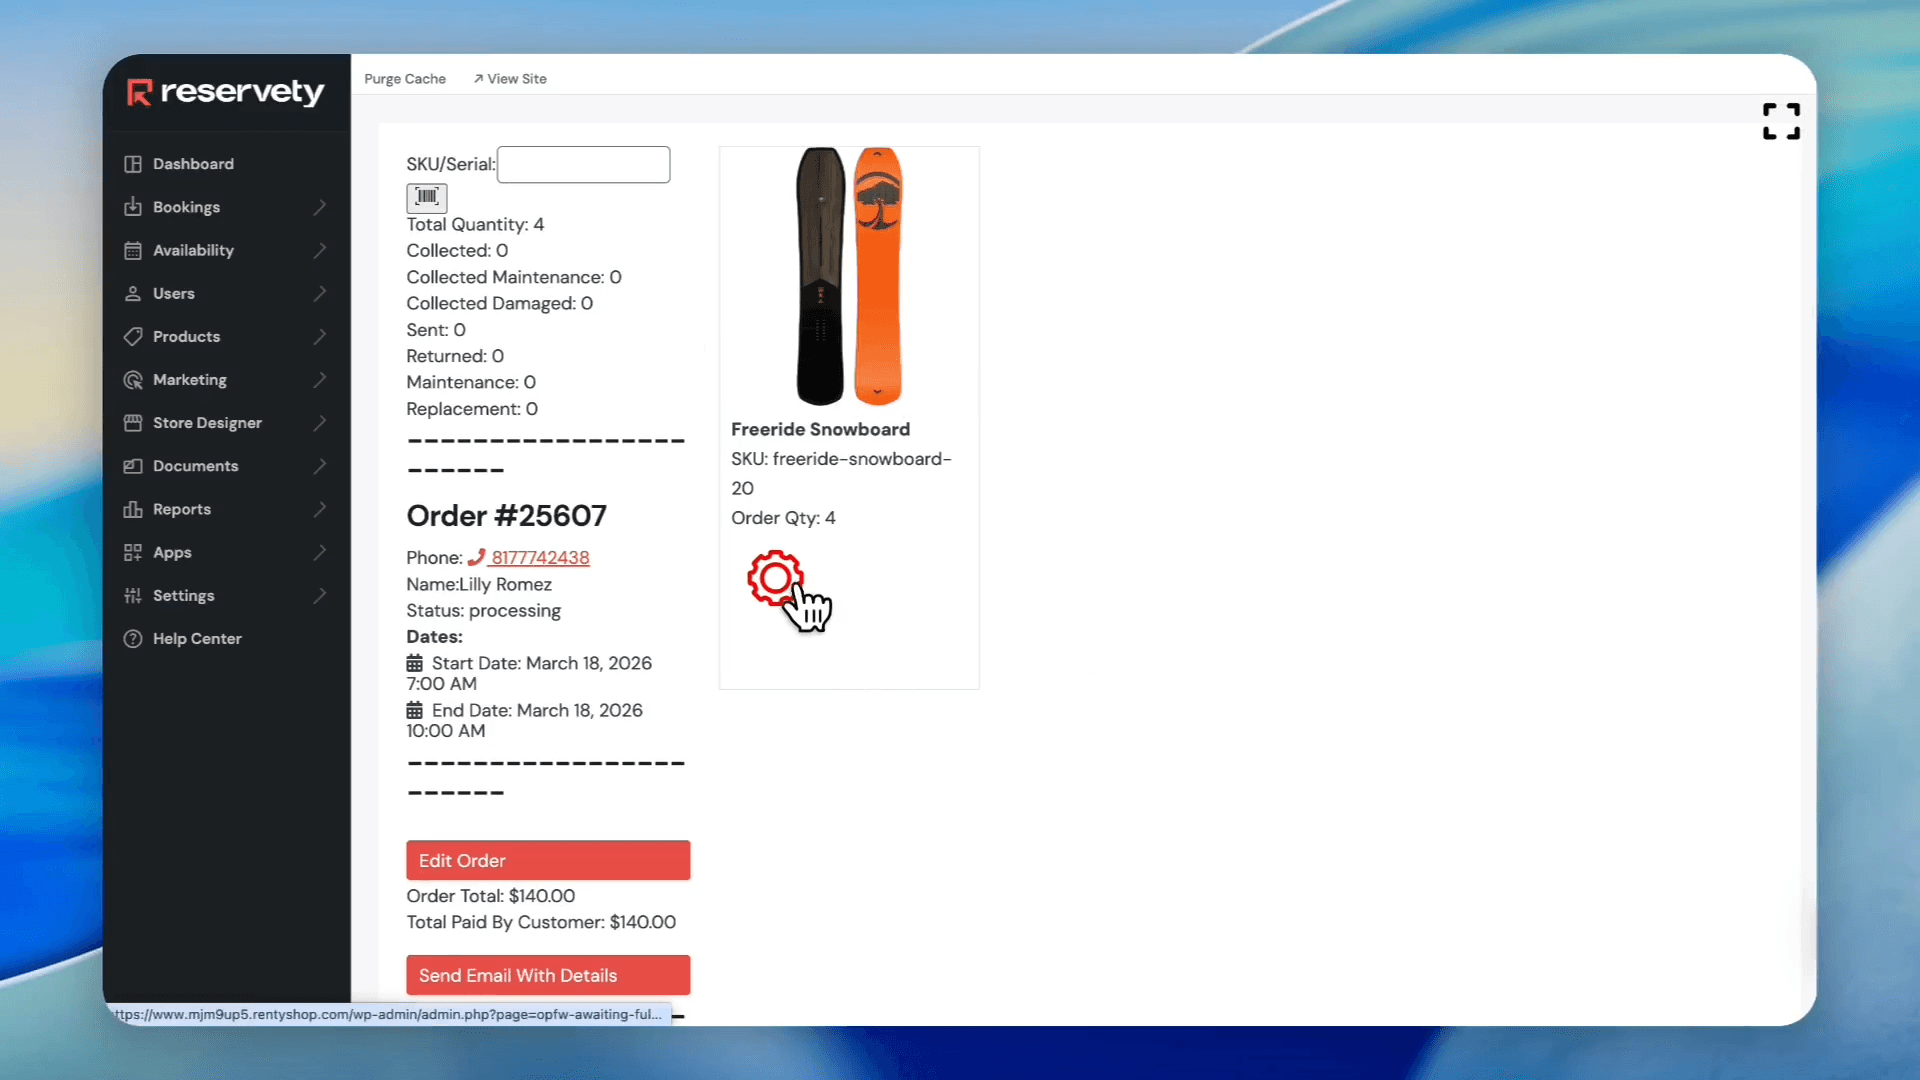
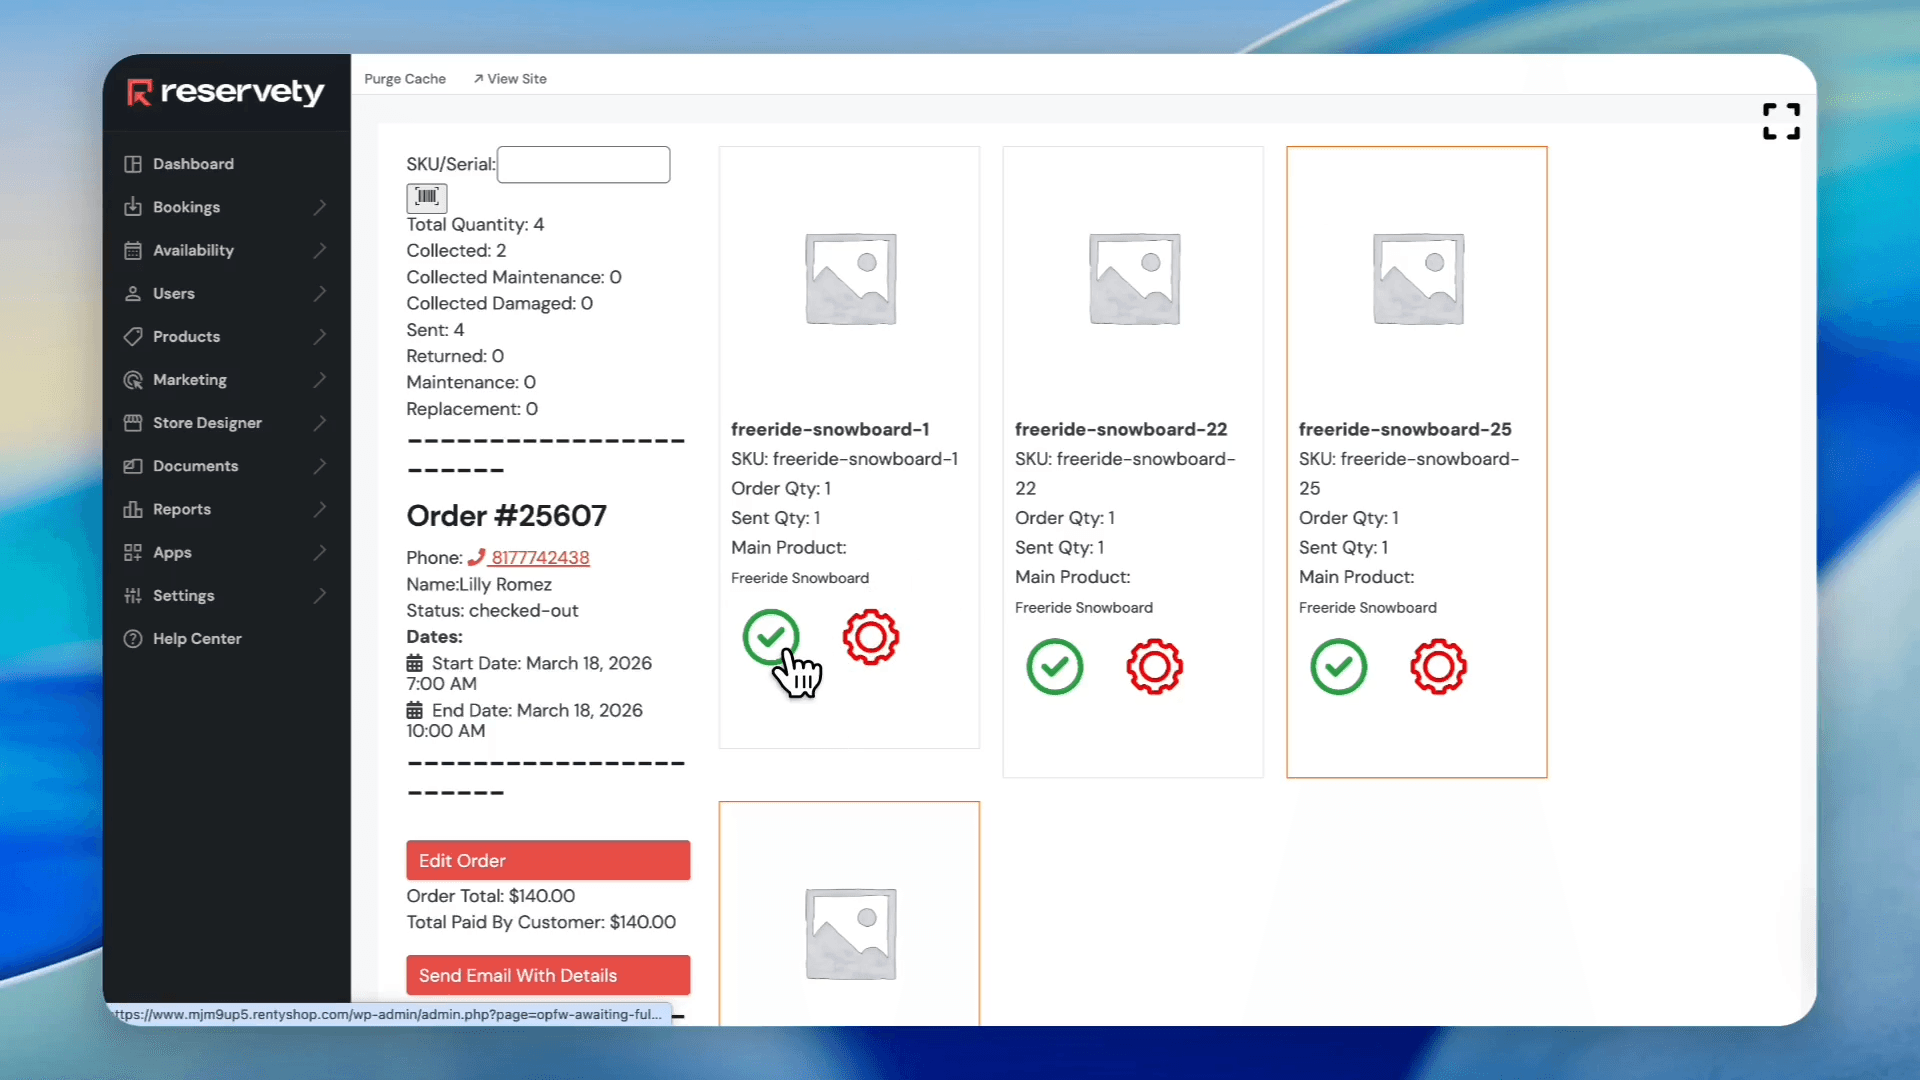
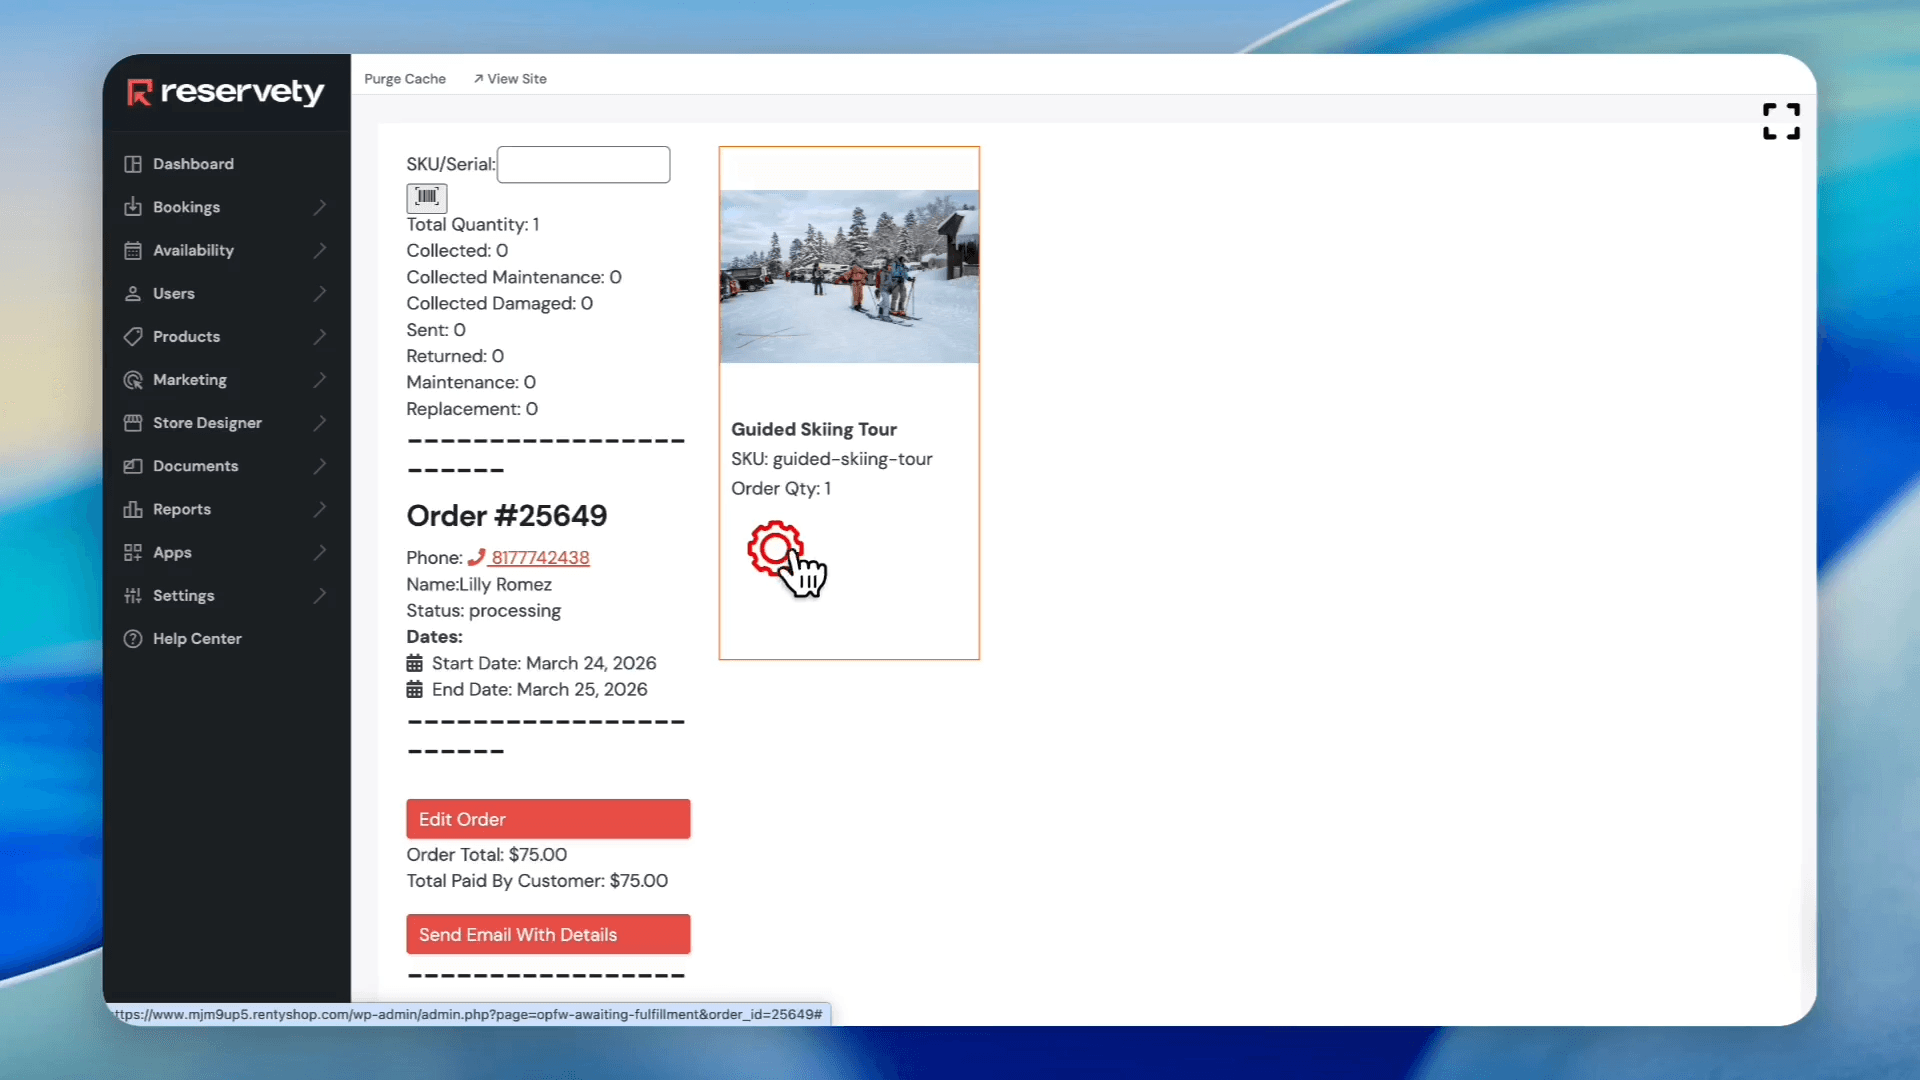
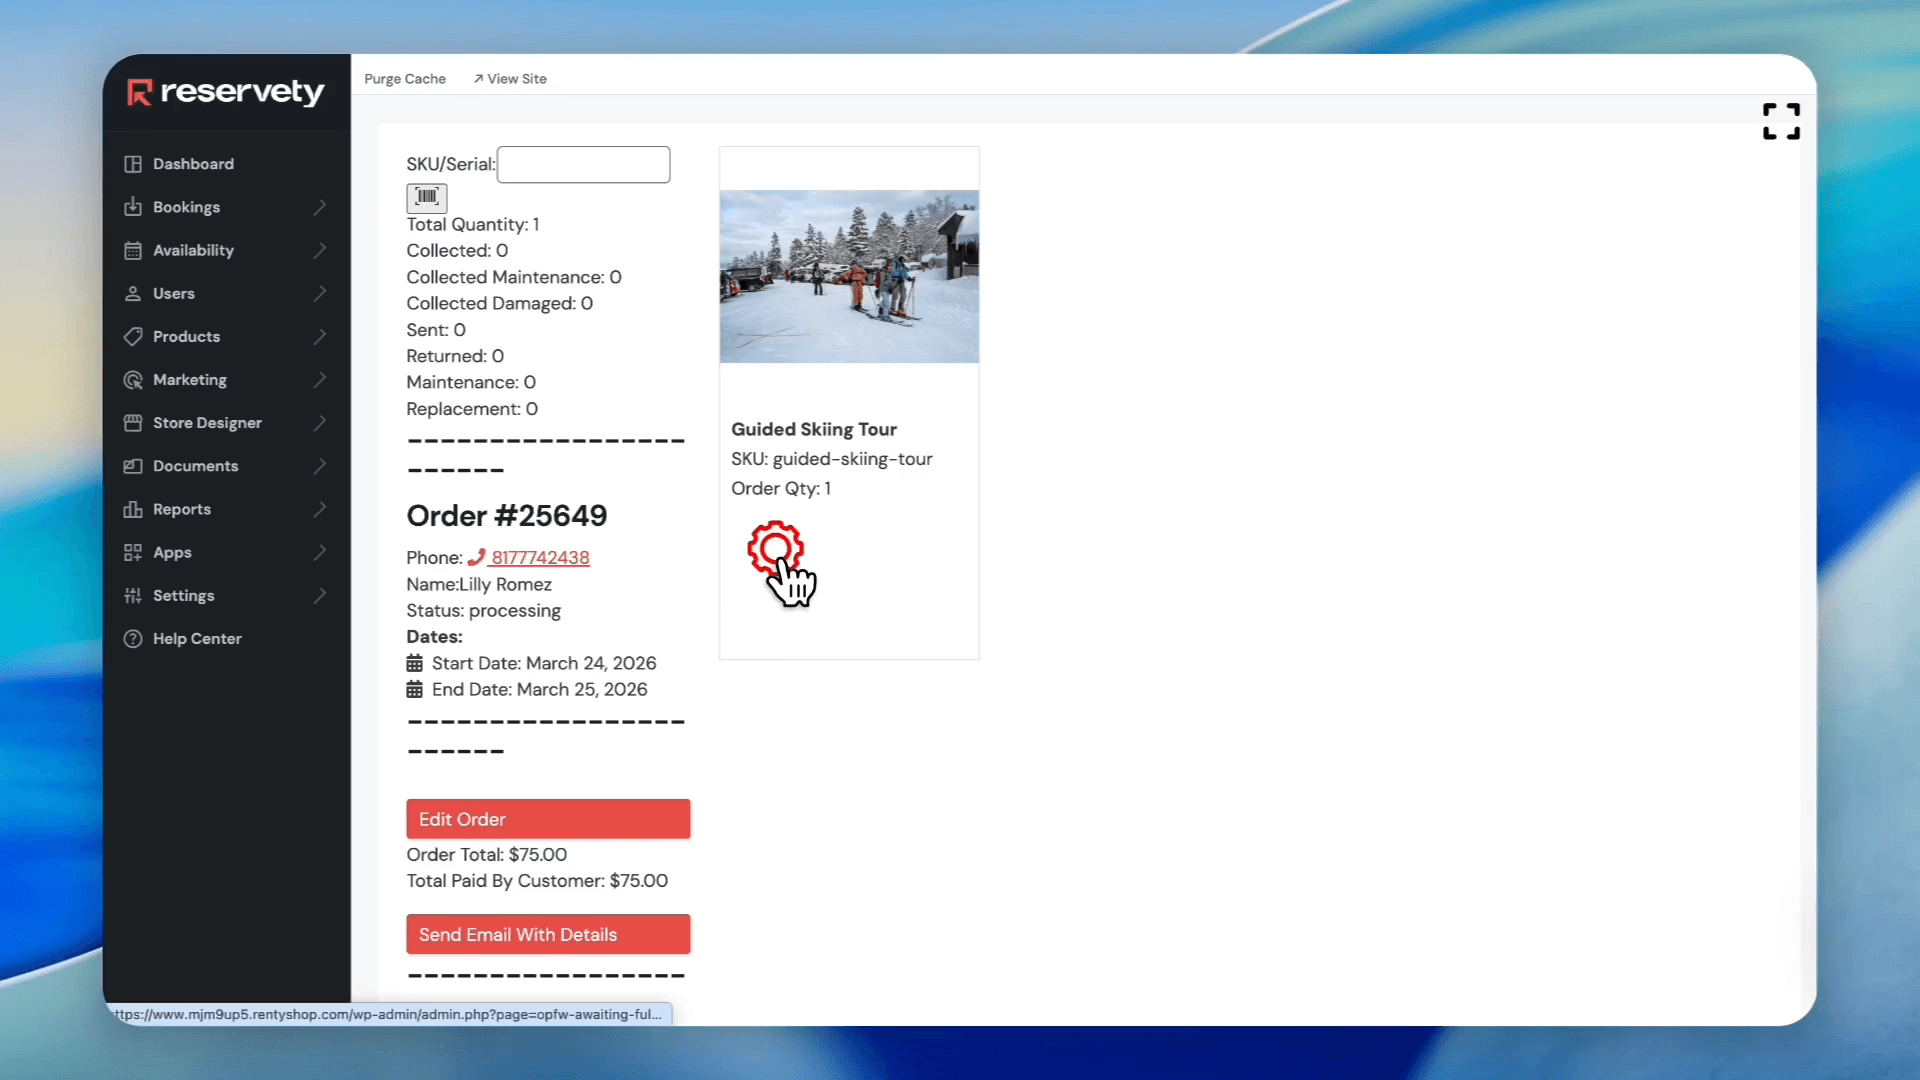
Click the red settings icon next to the product line item.
7
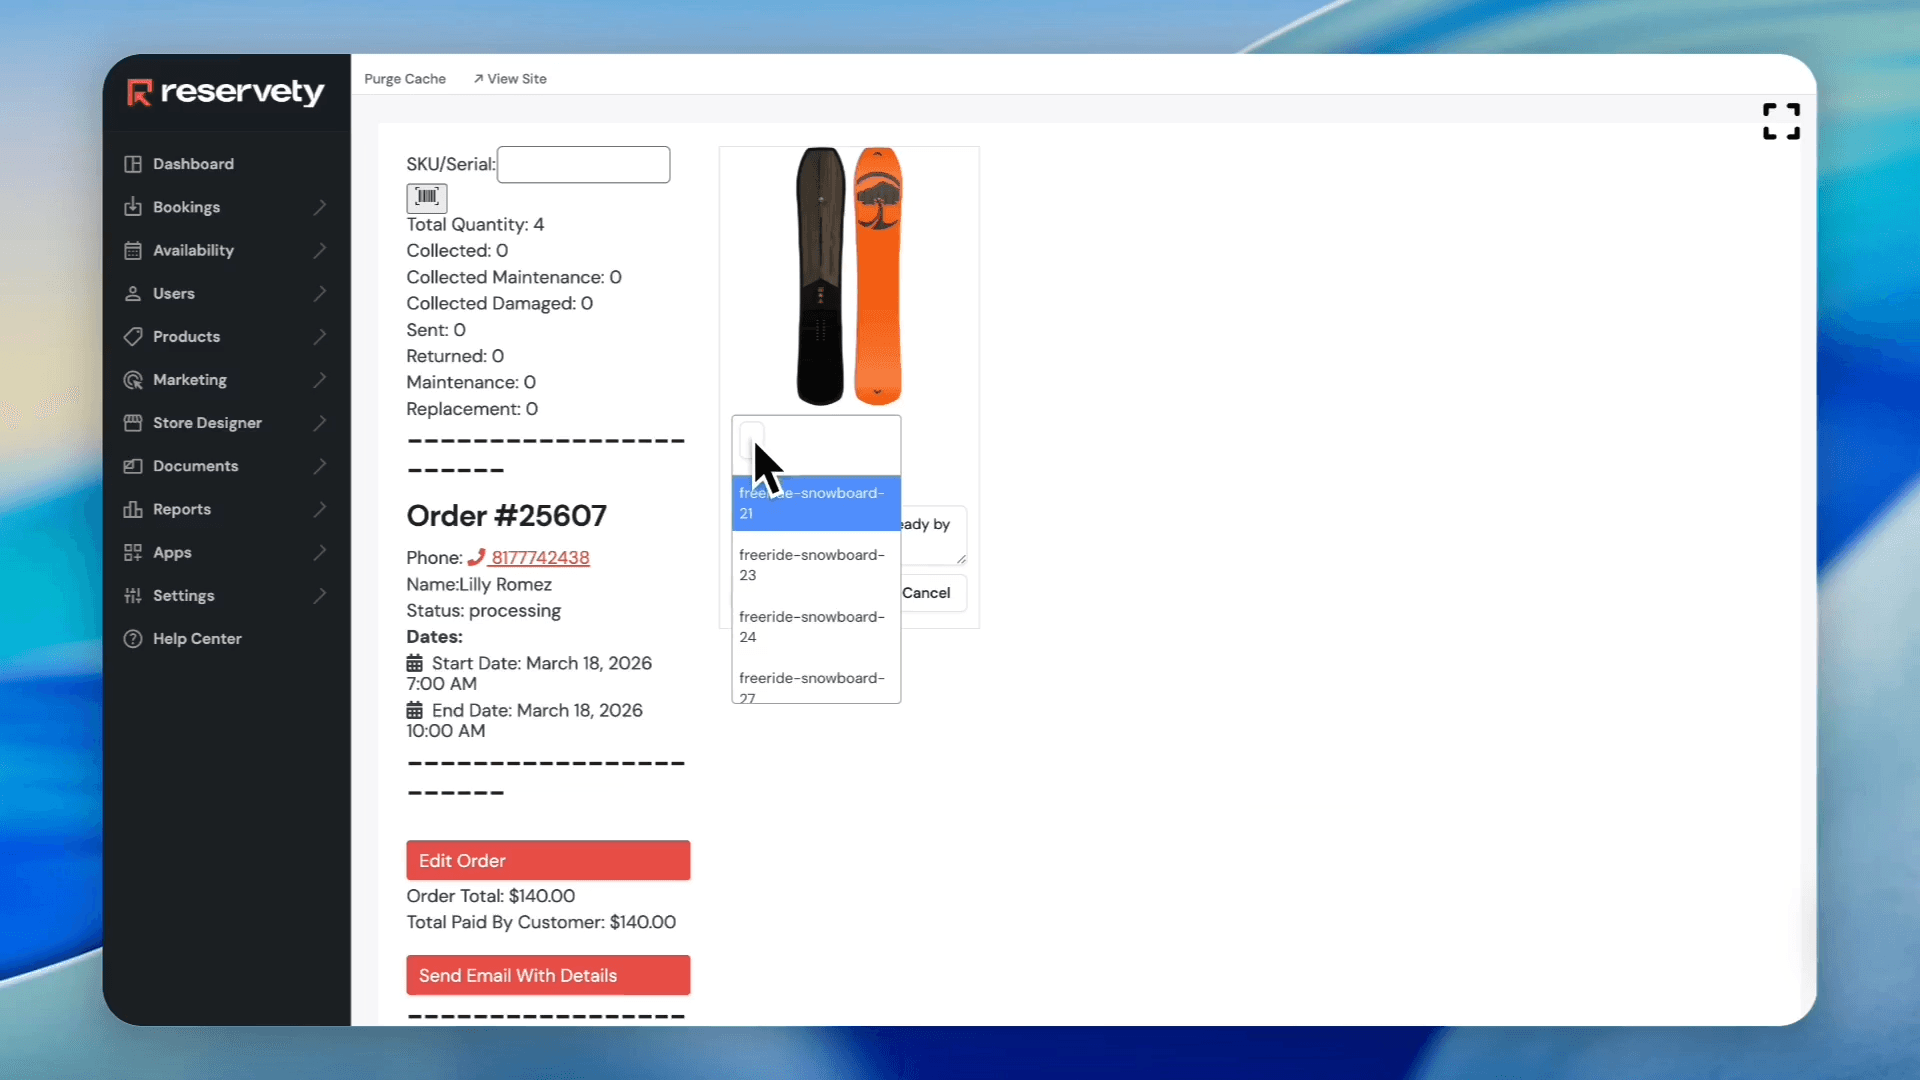
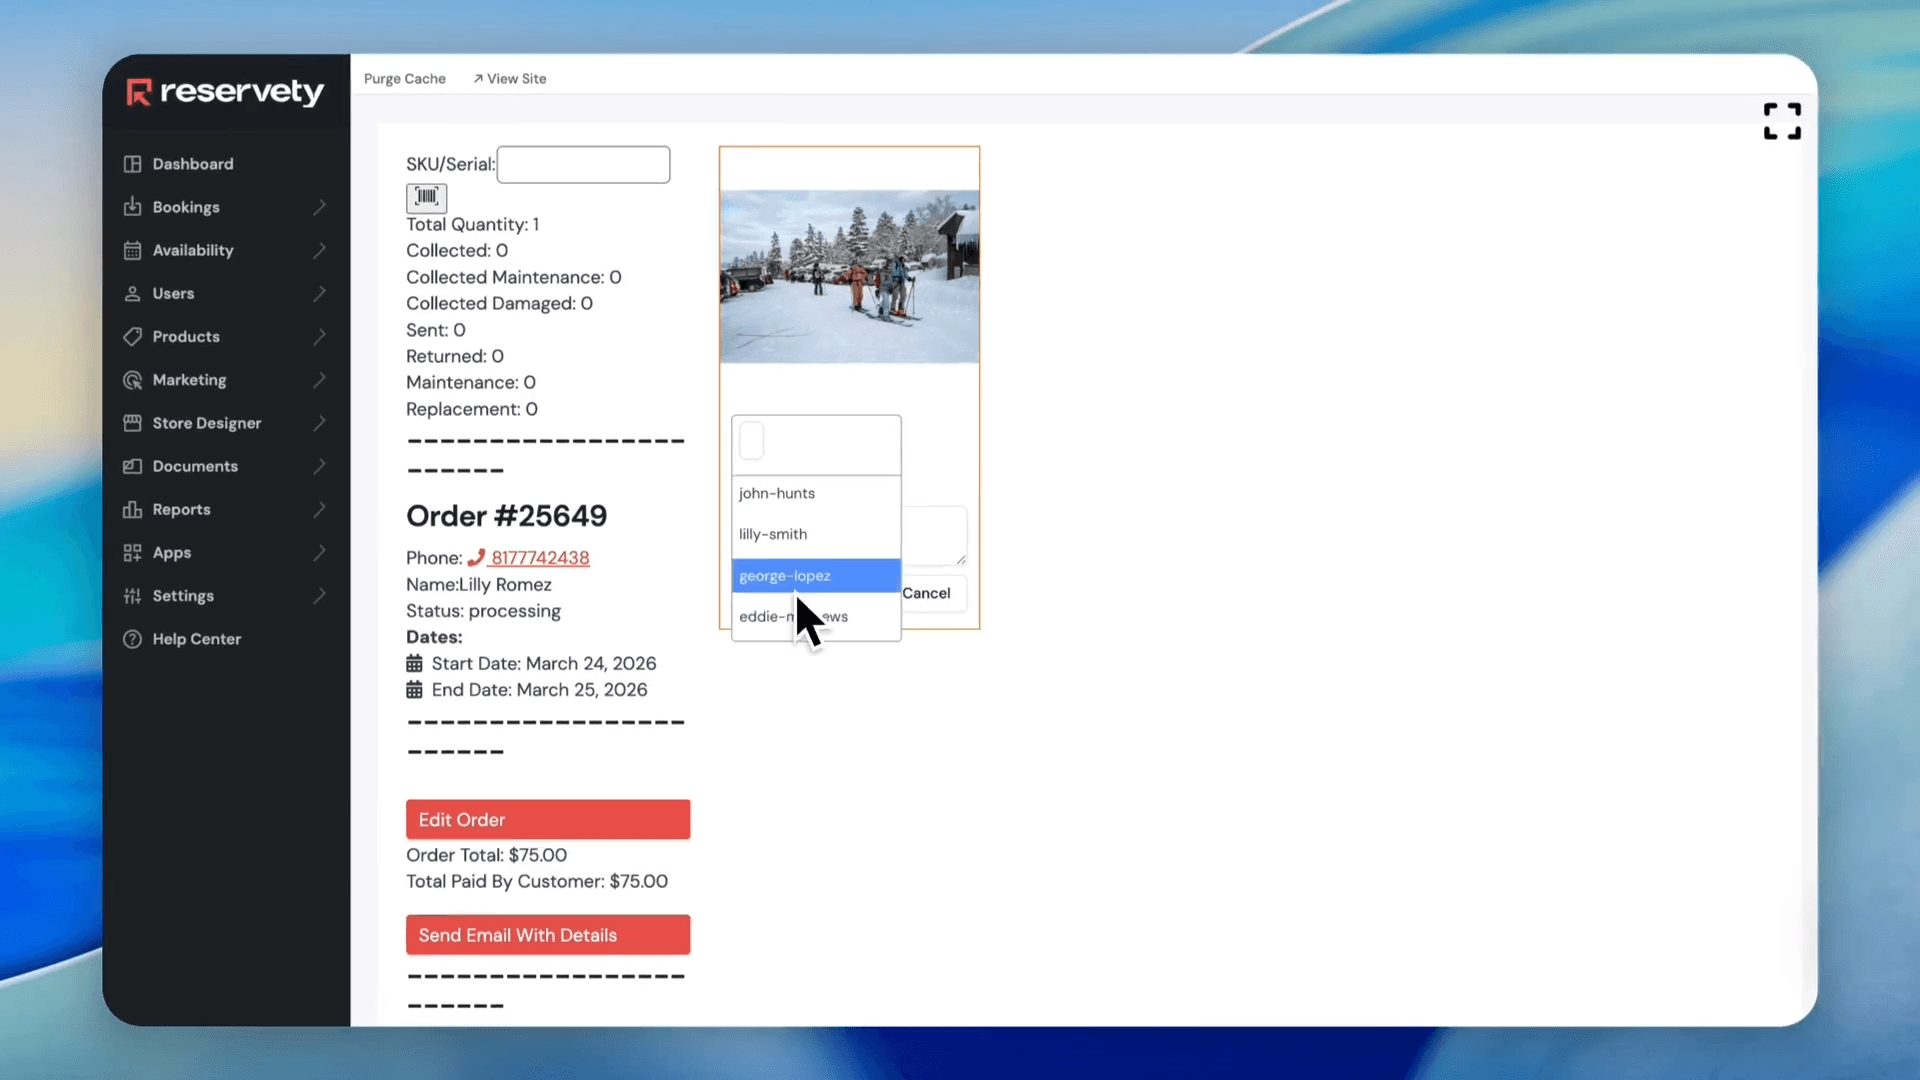
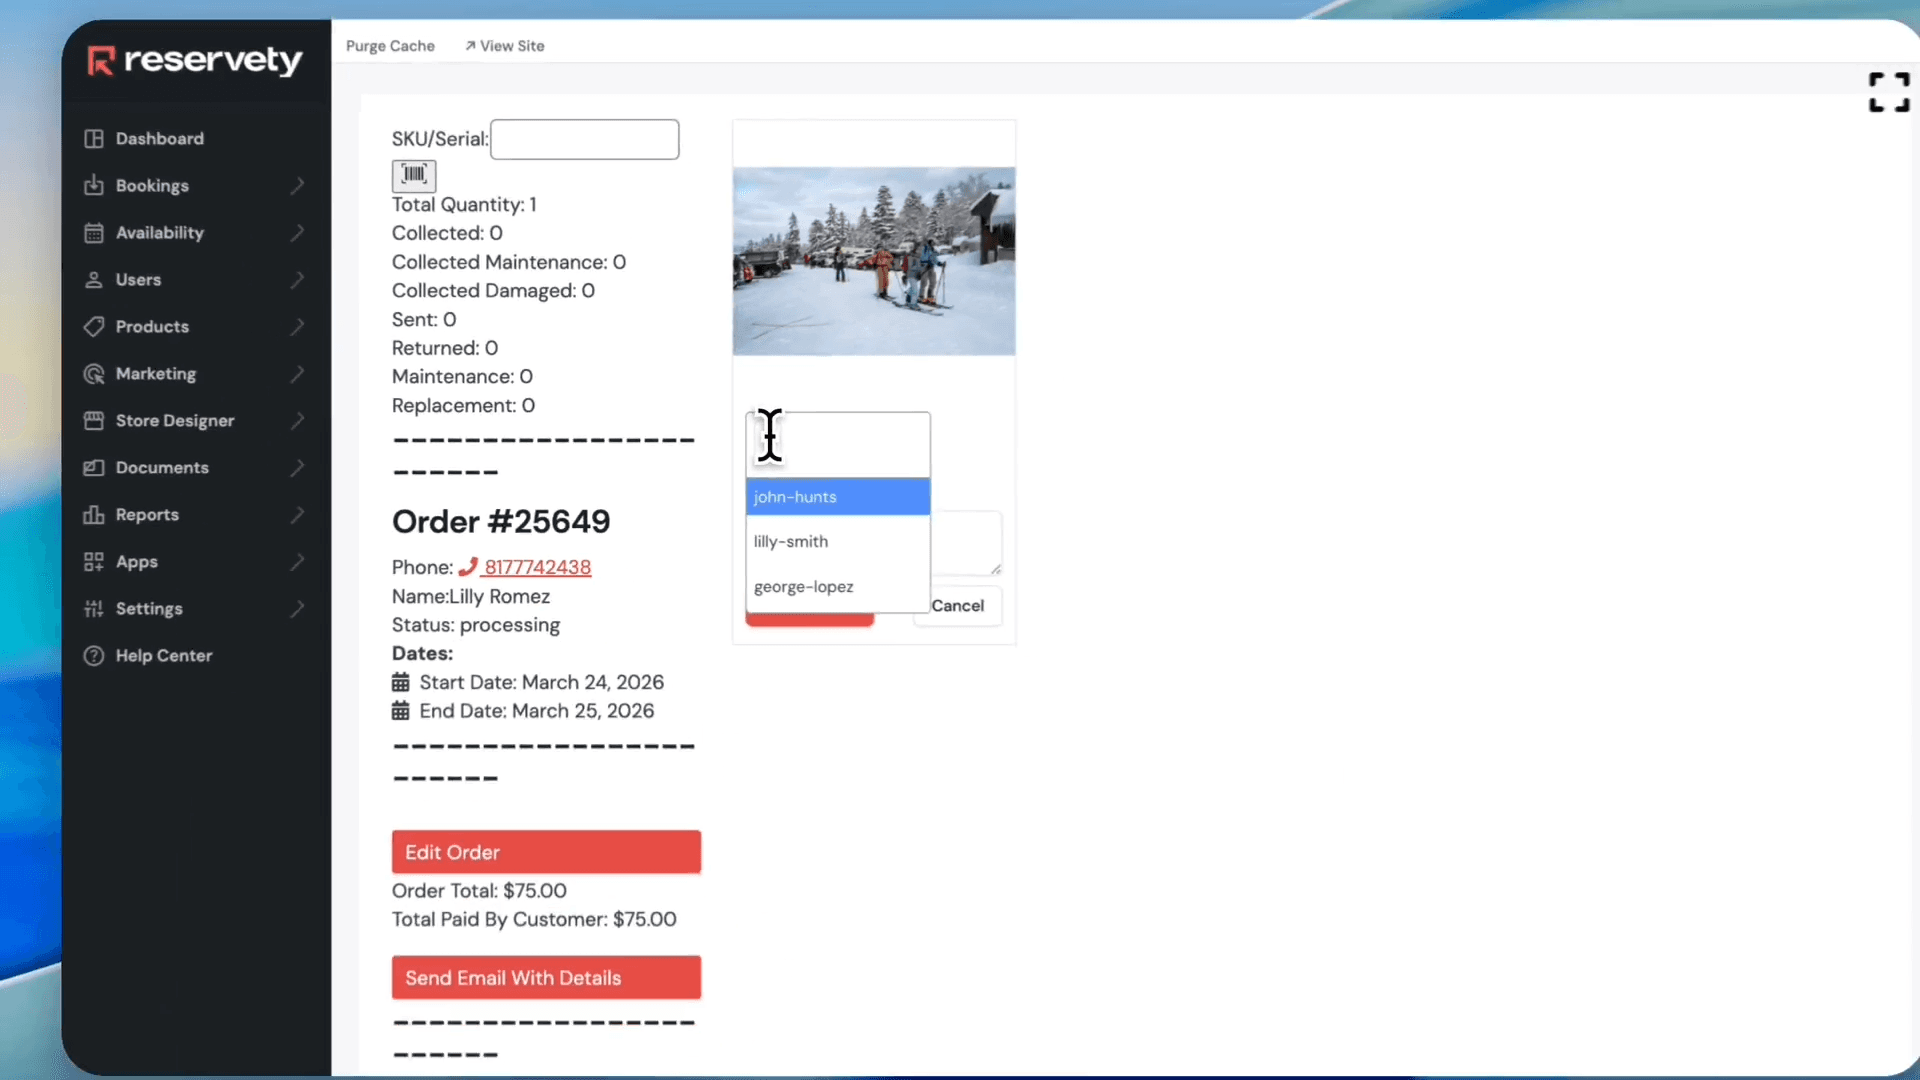
Click inside the serial selection box.
8
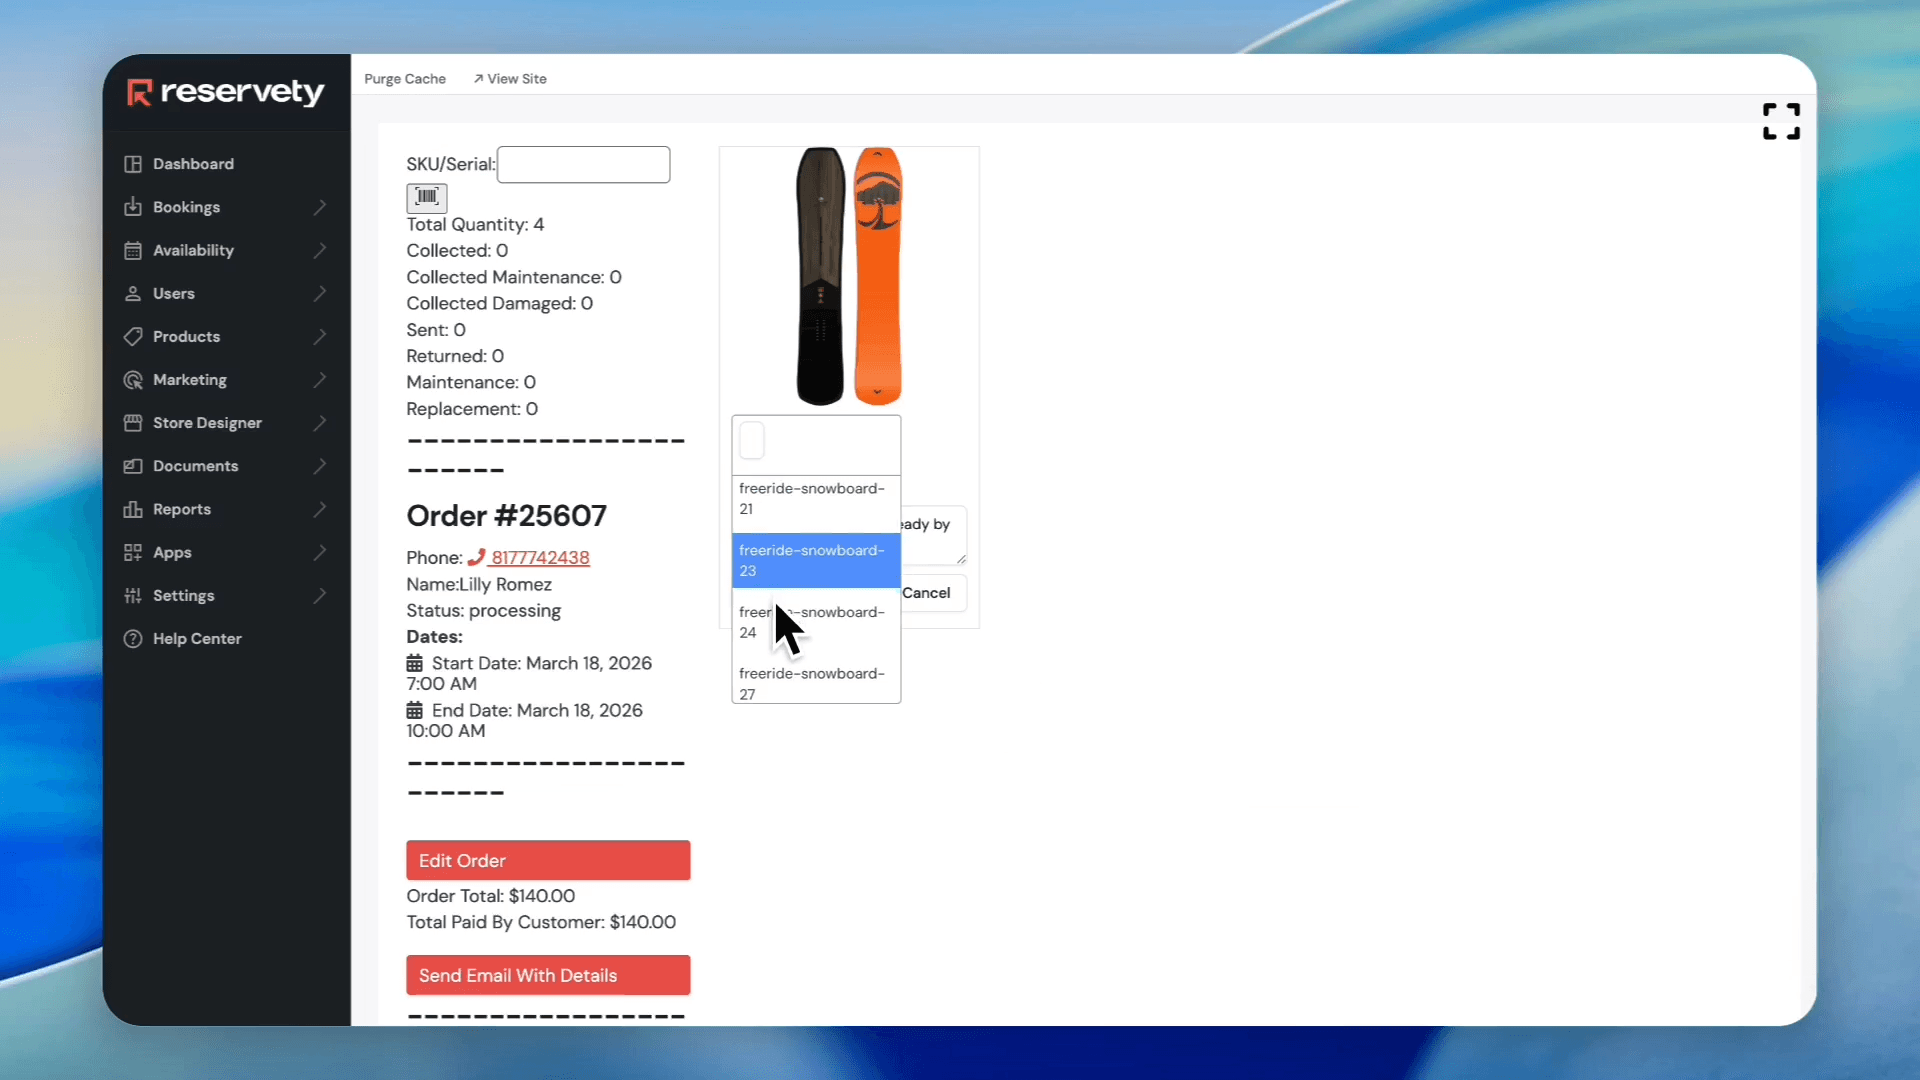
Select the specific serial numbers you want to assign to this order from the dropdown.
9
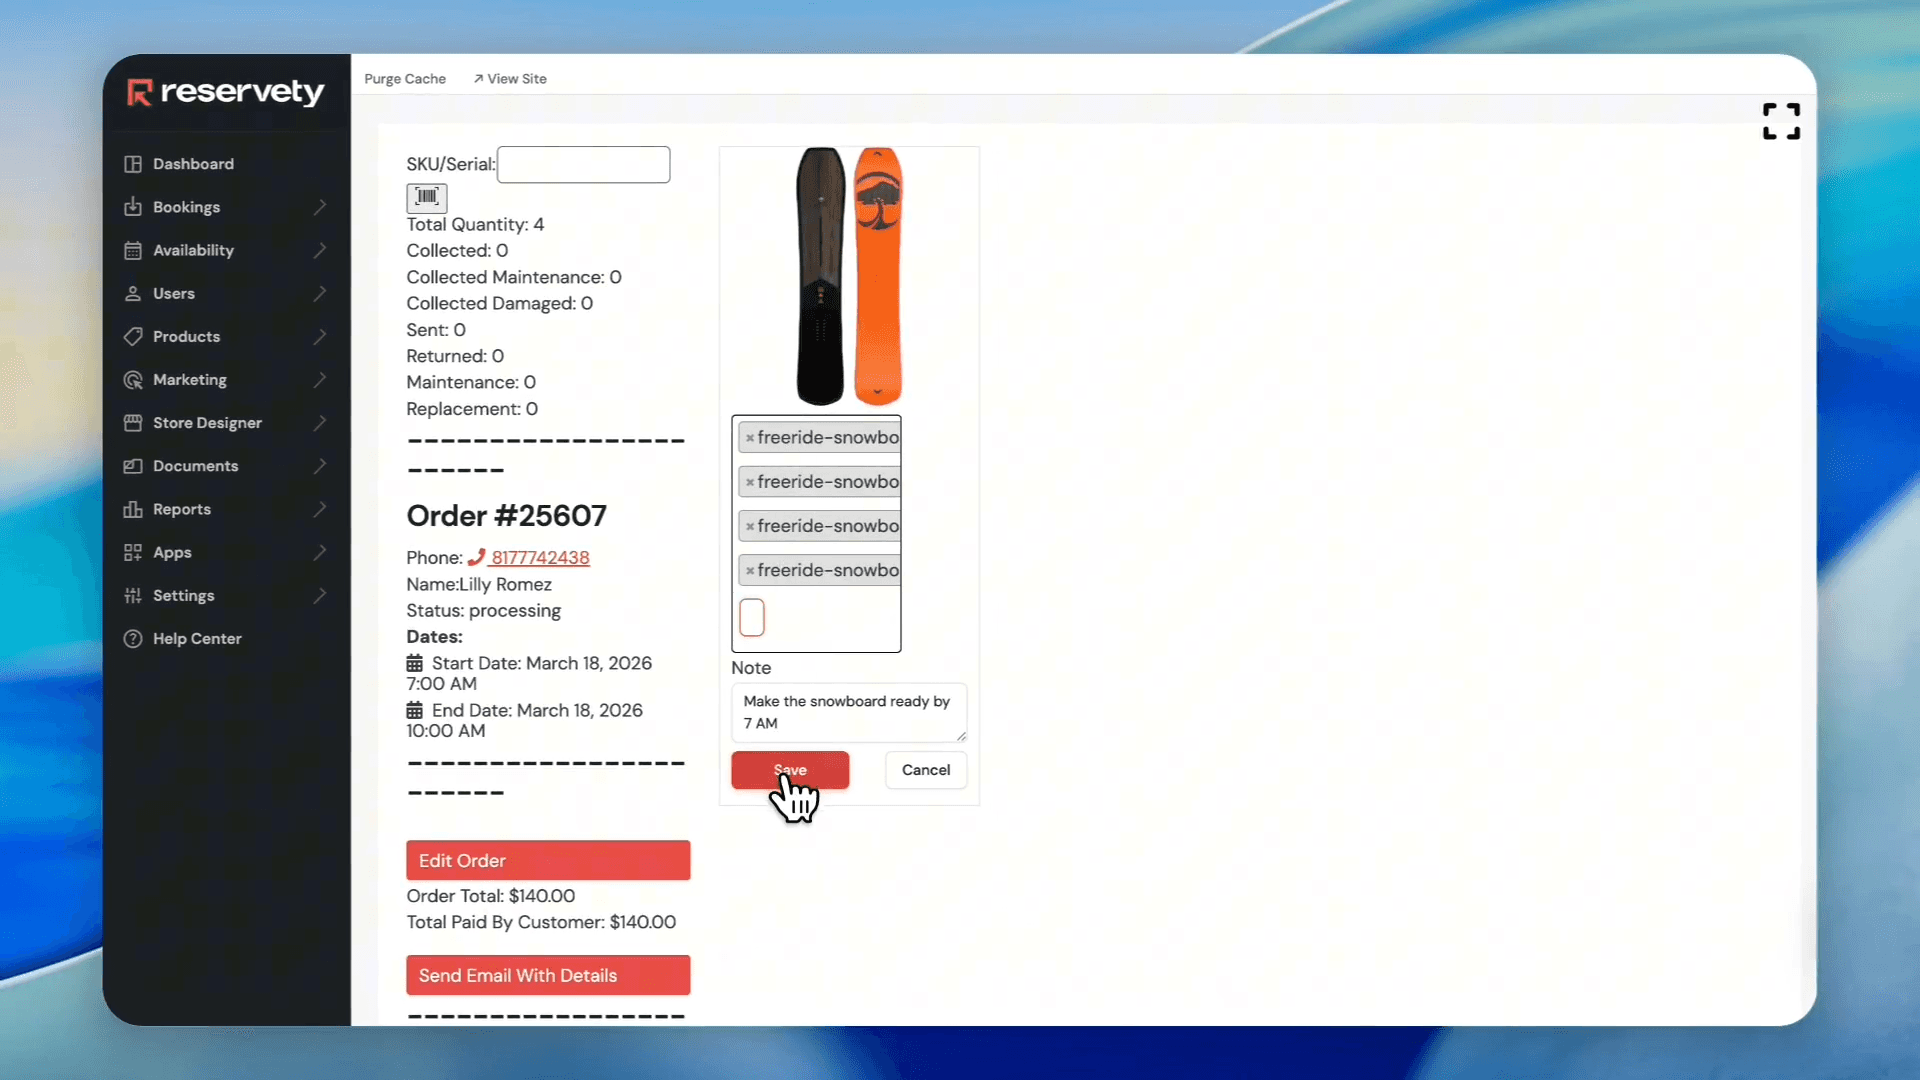
Click Save to confirm the assignment.
A green check mark indicates the items are ready for shipment or pickup. You can also use a barcode scanner connected to Reservety to speed up this process.
To move an order through its lifecycle, update the fulfillment status using the actions below:
Order Status
Description
Action Required
Processing
The default status when a new order is received.
Prepare the order by assigning serial numbers.
Sent
Indicates the customer has picked up or received the items.
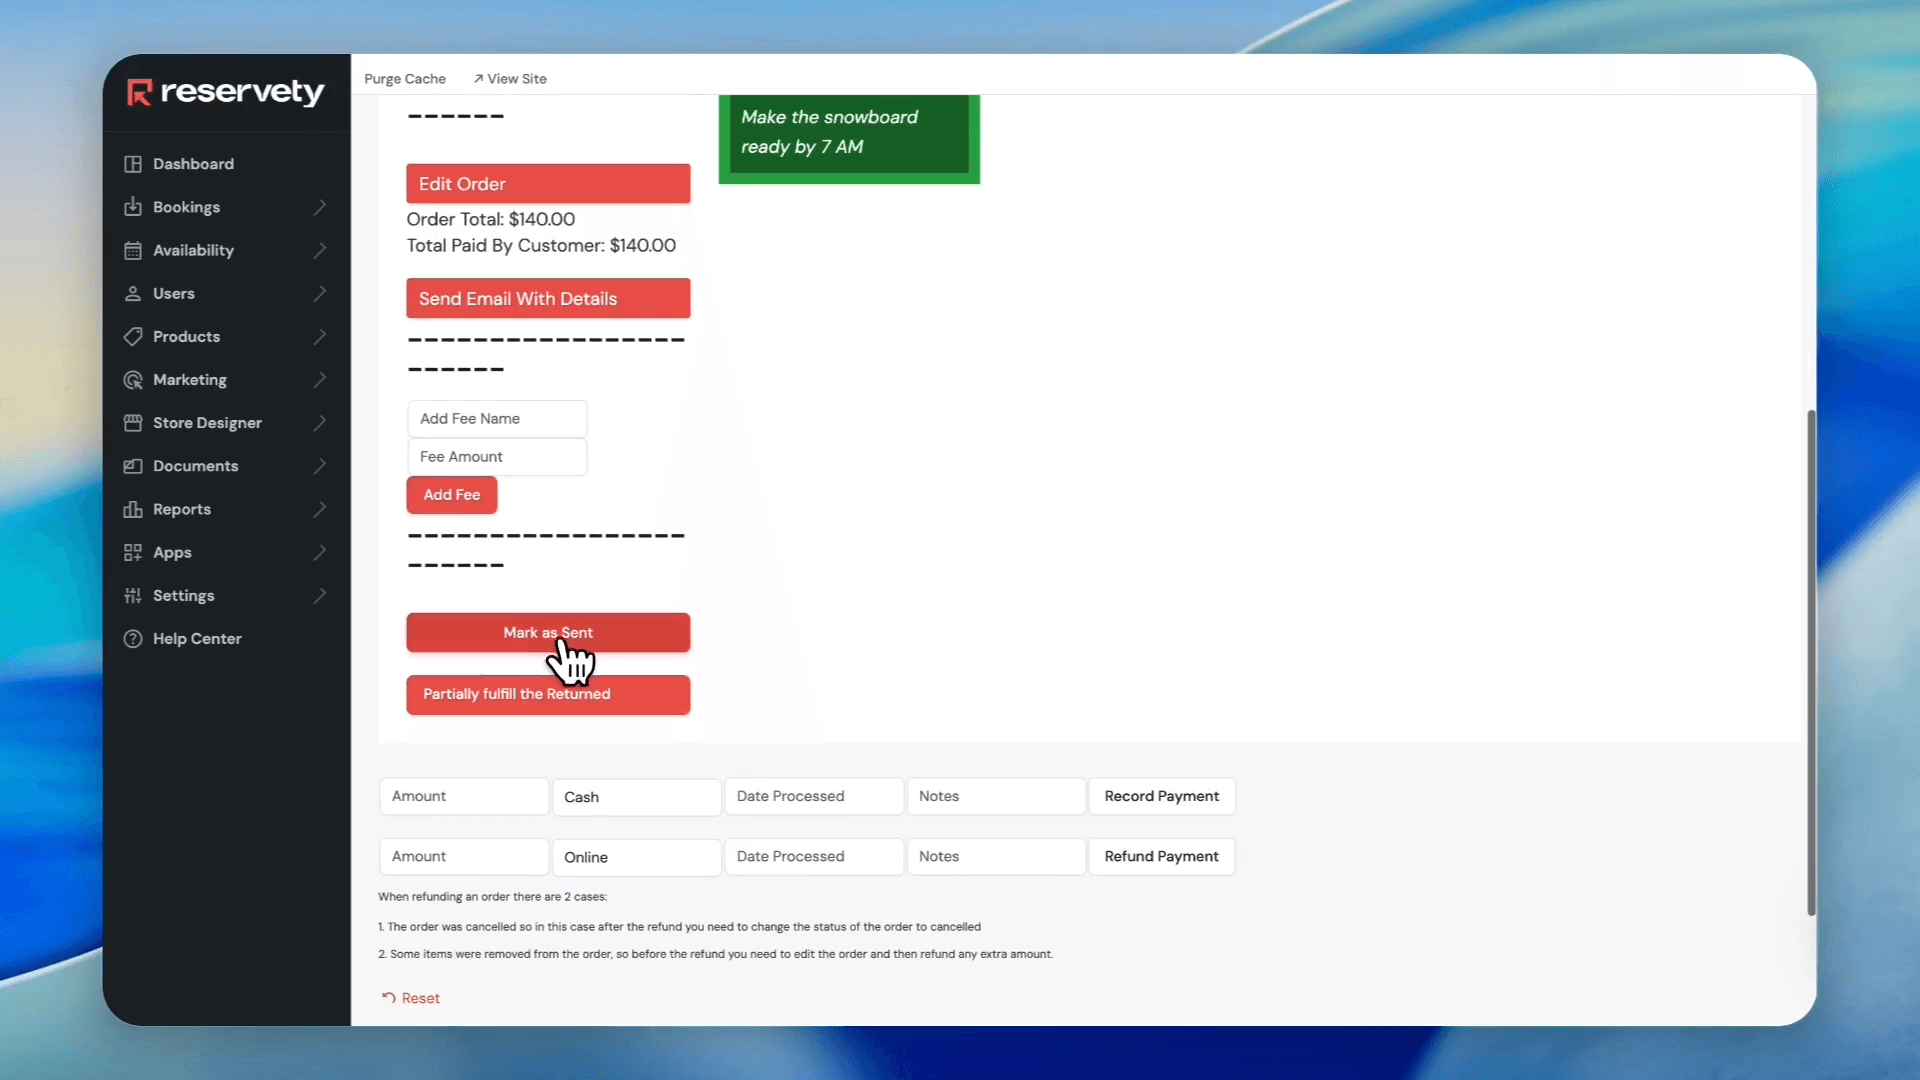
Click Mark as sent after finalizing the handover, then click OK.
Returned
Indicates items have been brought back to the warehouse.
Click the green checkmarks to receive individual items, then click Mark as returned.
10
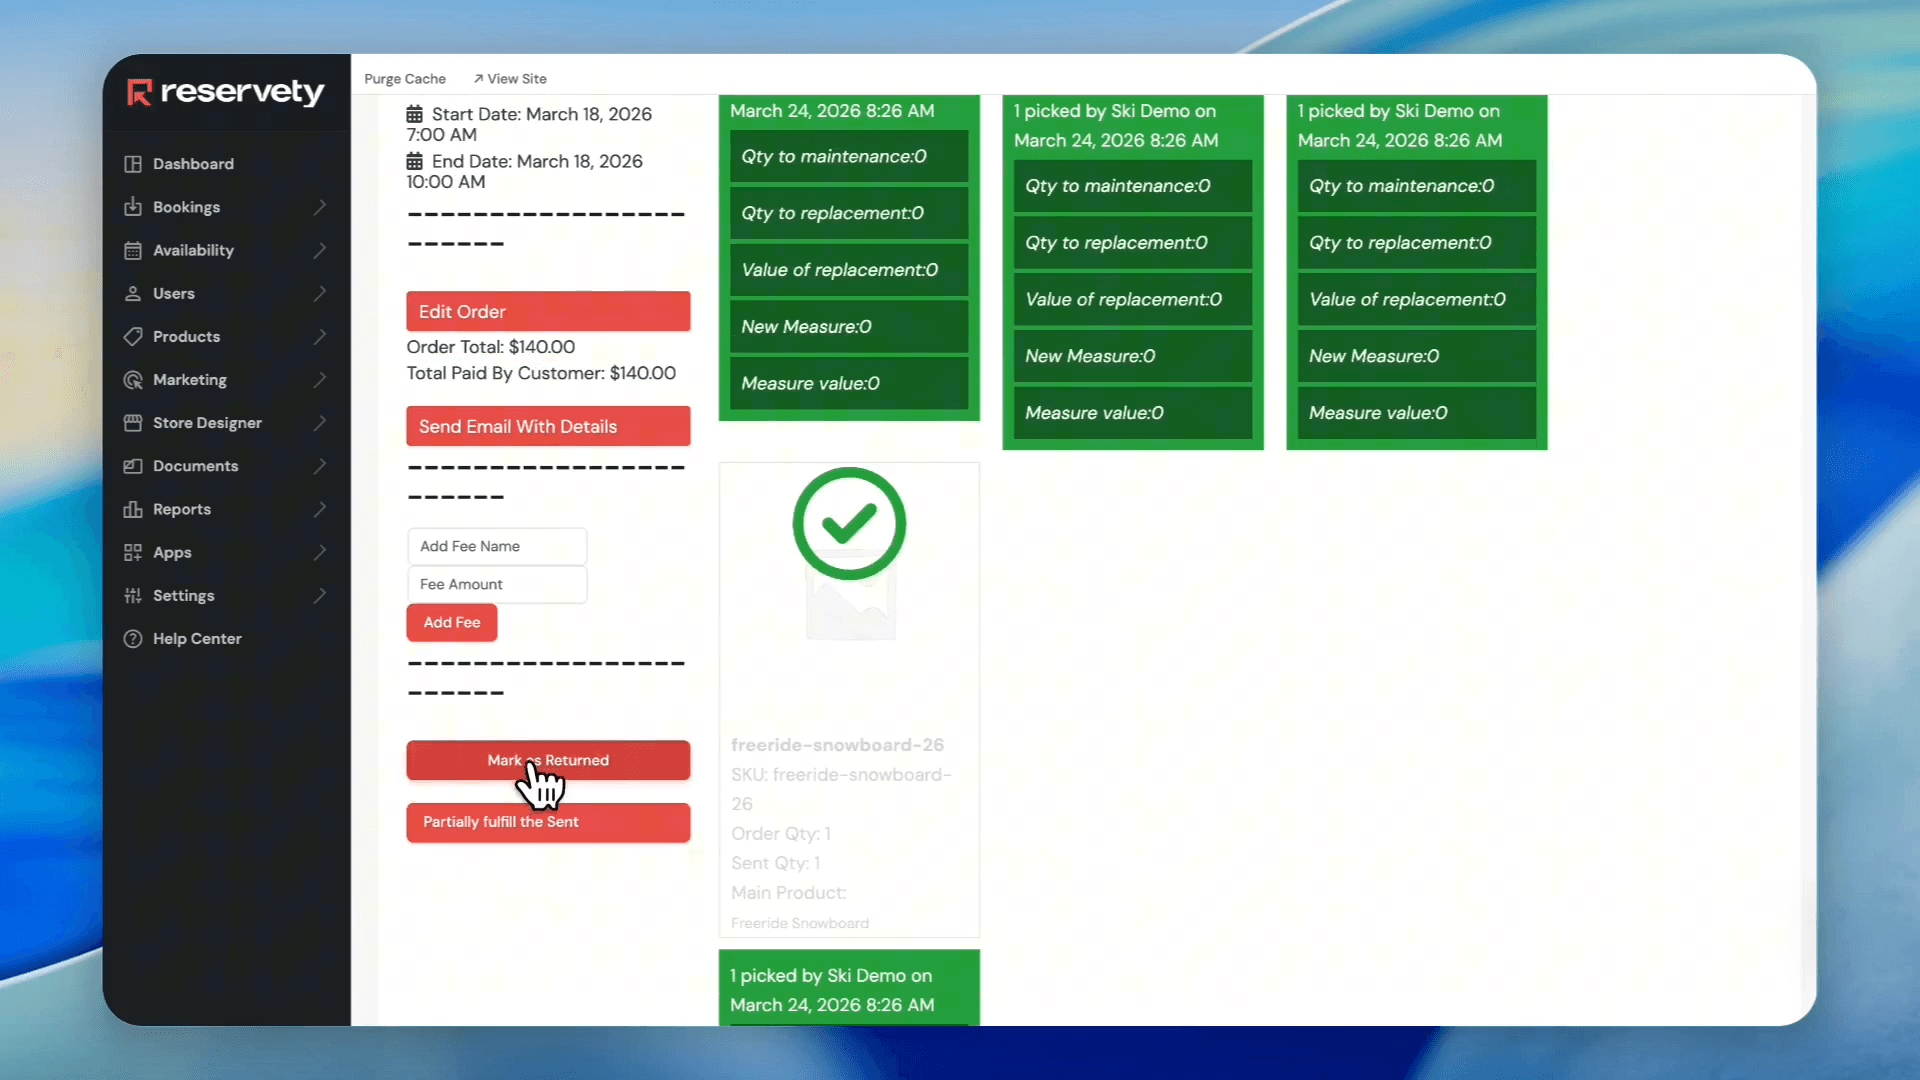
Click Mark as Sent once the customer has picked up the items.
11
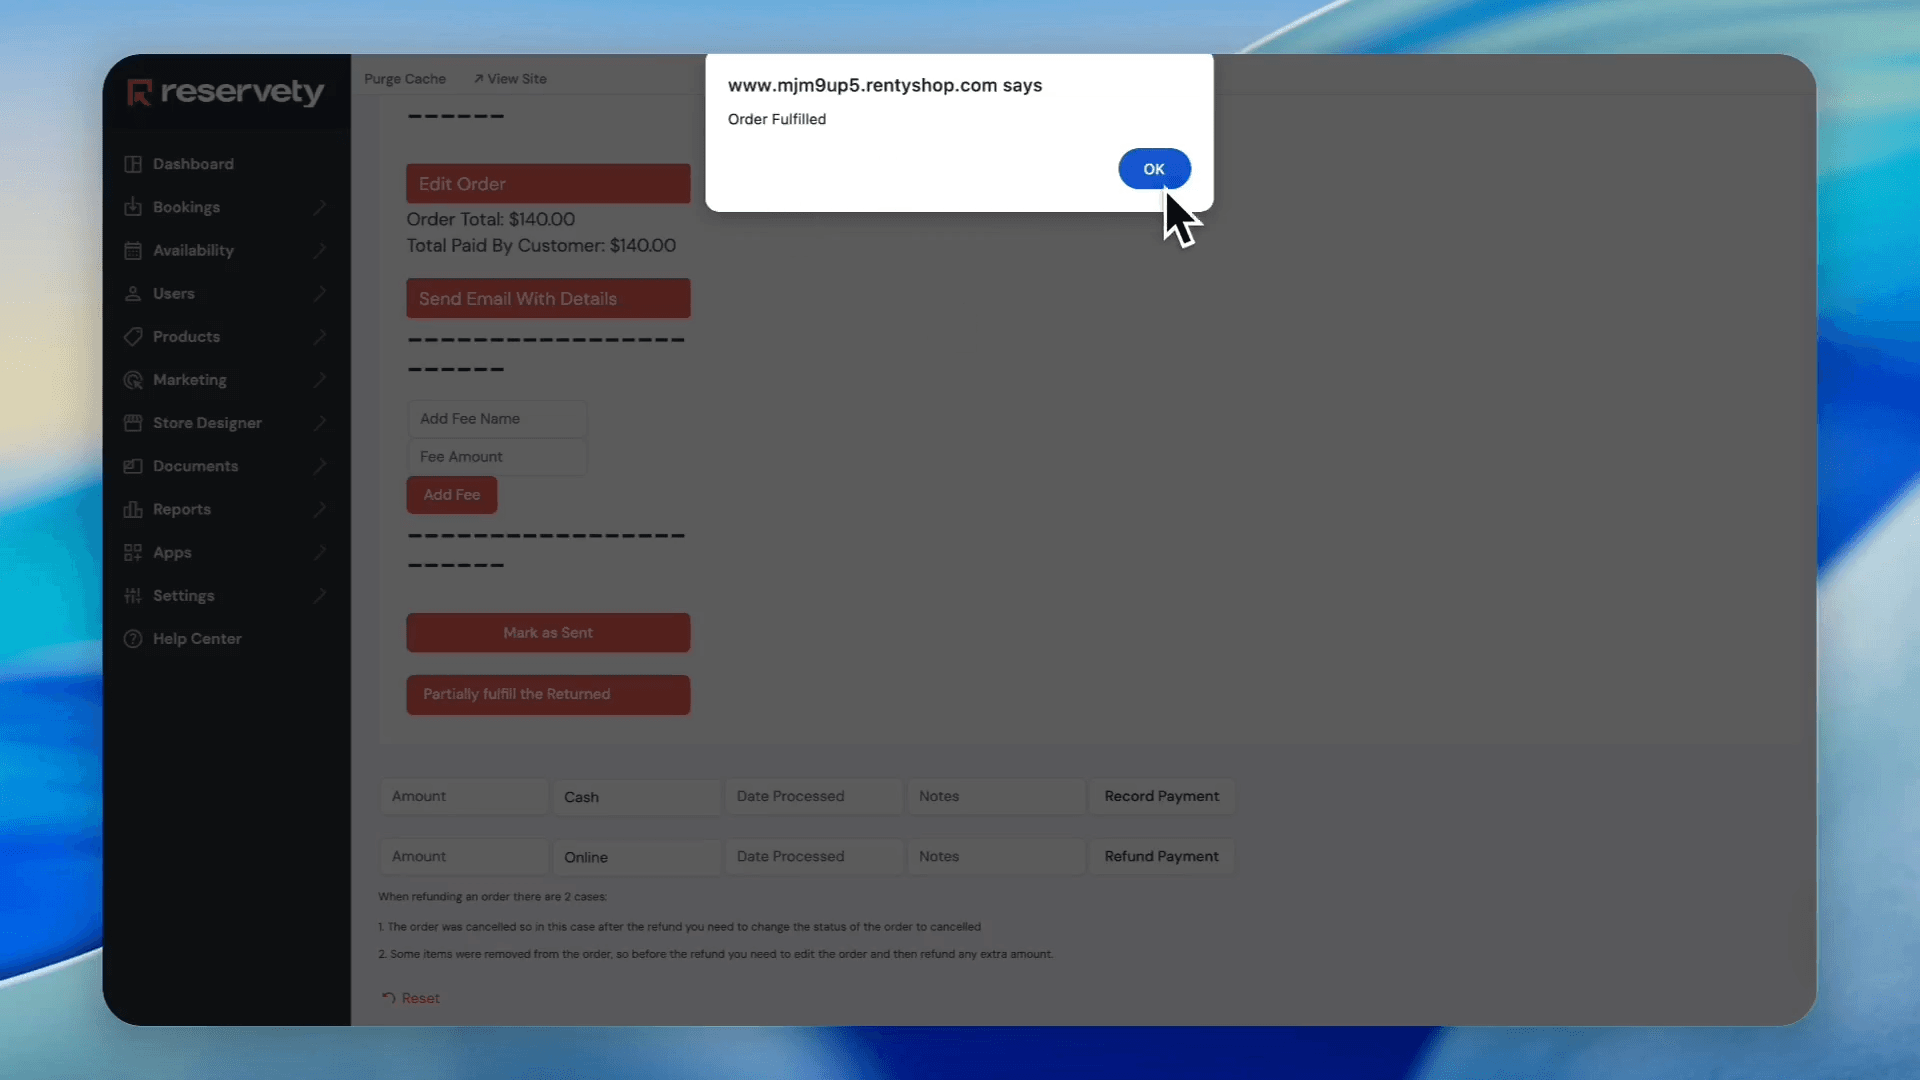
Click OK on the confirmation pop-up.
When the customer returns the items:
12
Click on the order link to reopen it.
13
Click Order Actions.
14
Select Prepare Order.
15
Click the green checkmark icon under each returned product to mark it as received.
16
Click Mark as Returned to finalize the return process.
Part 2: Creating Crew and Guide Profiles
To assign staff to orders and track their availability, add them as serialized products.
17
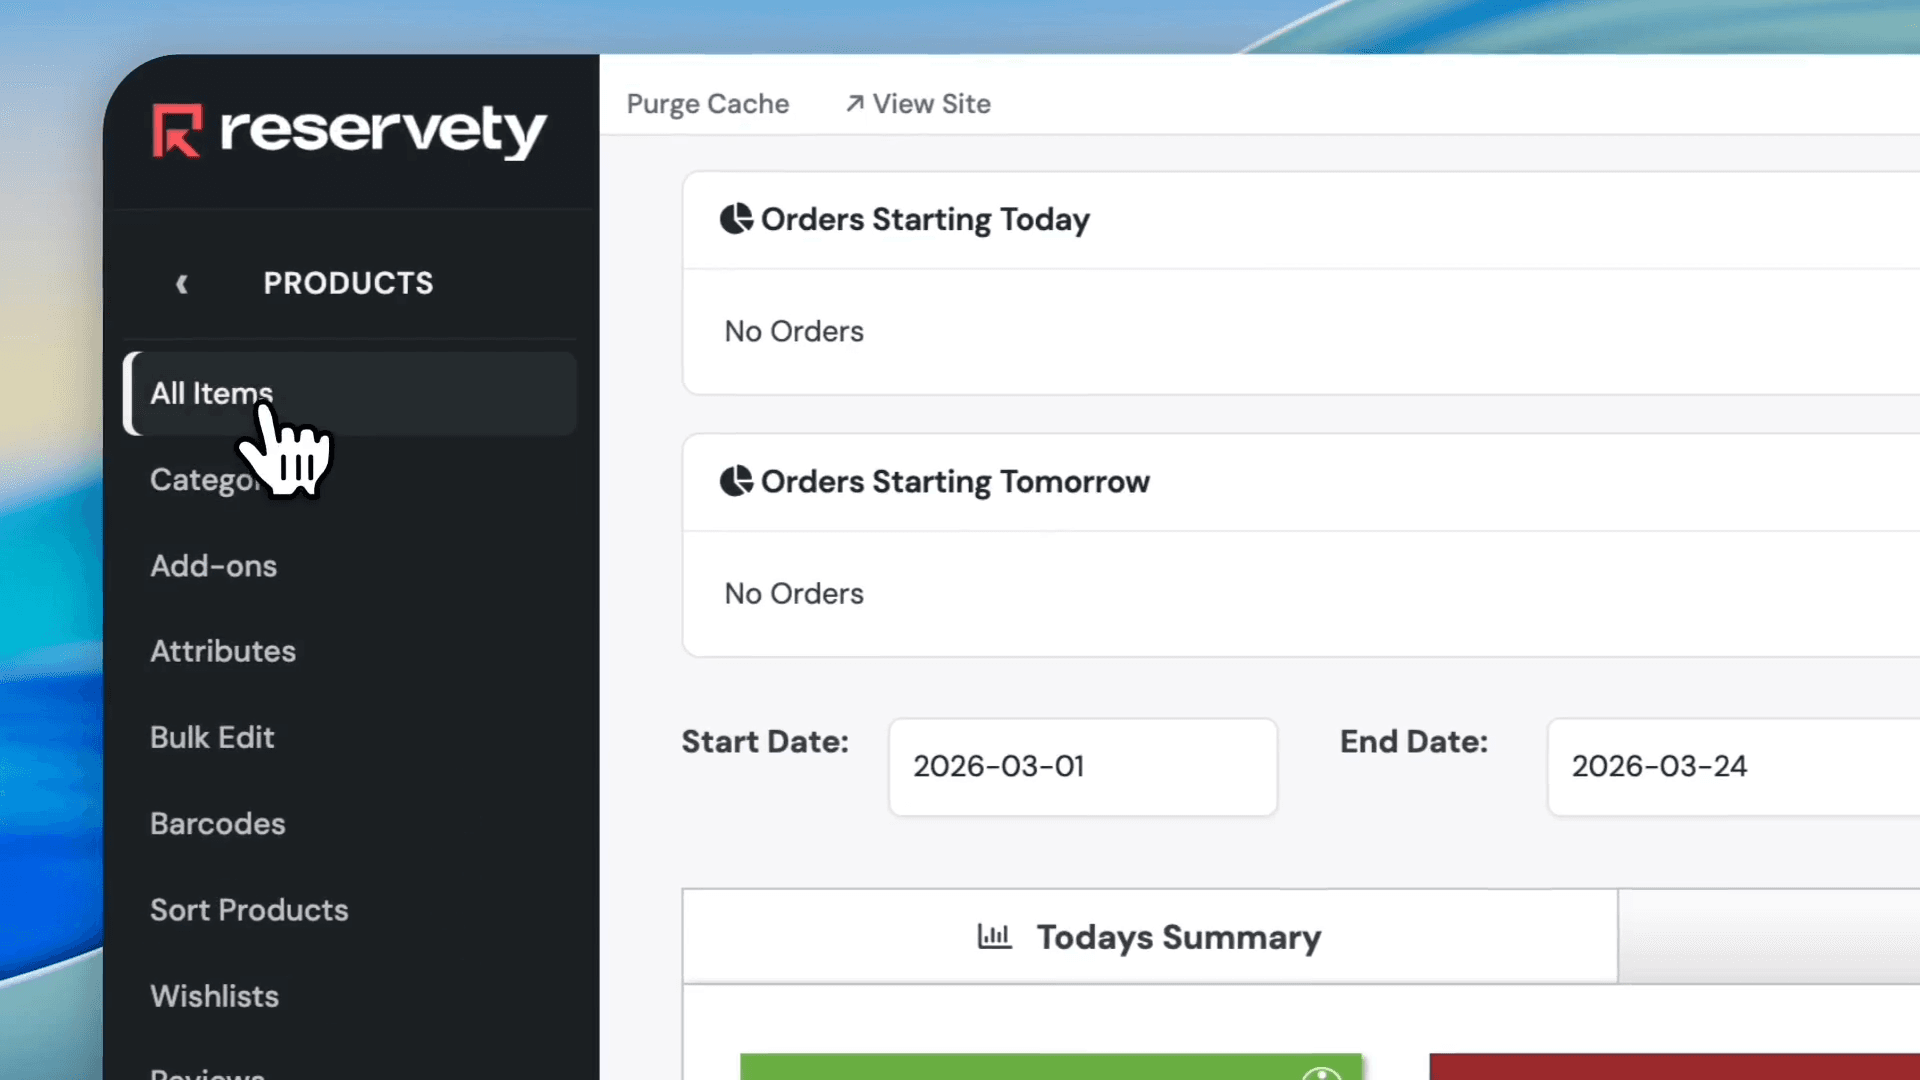
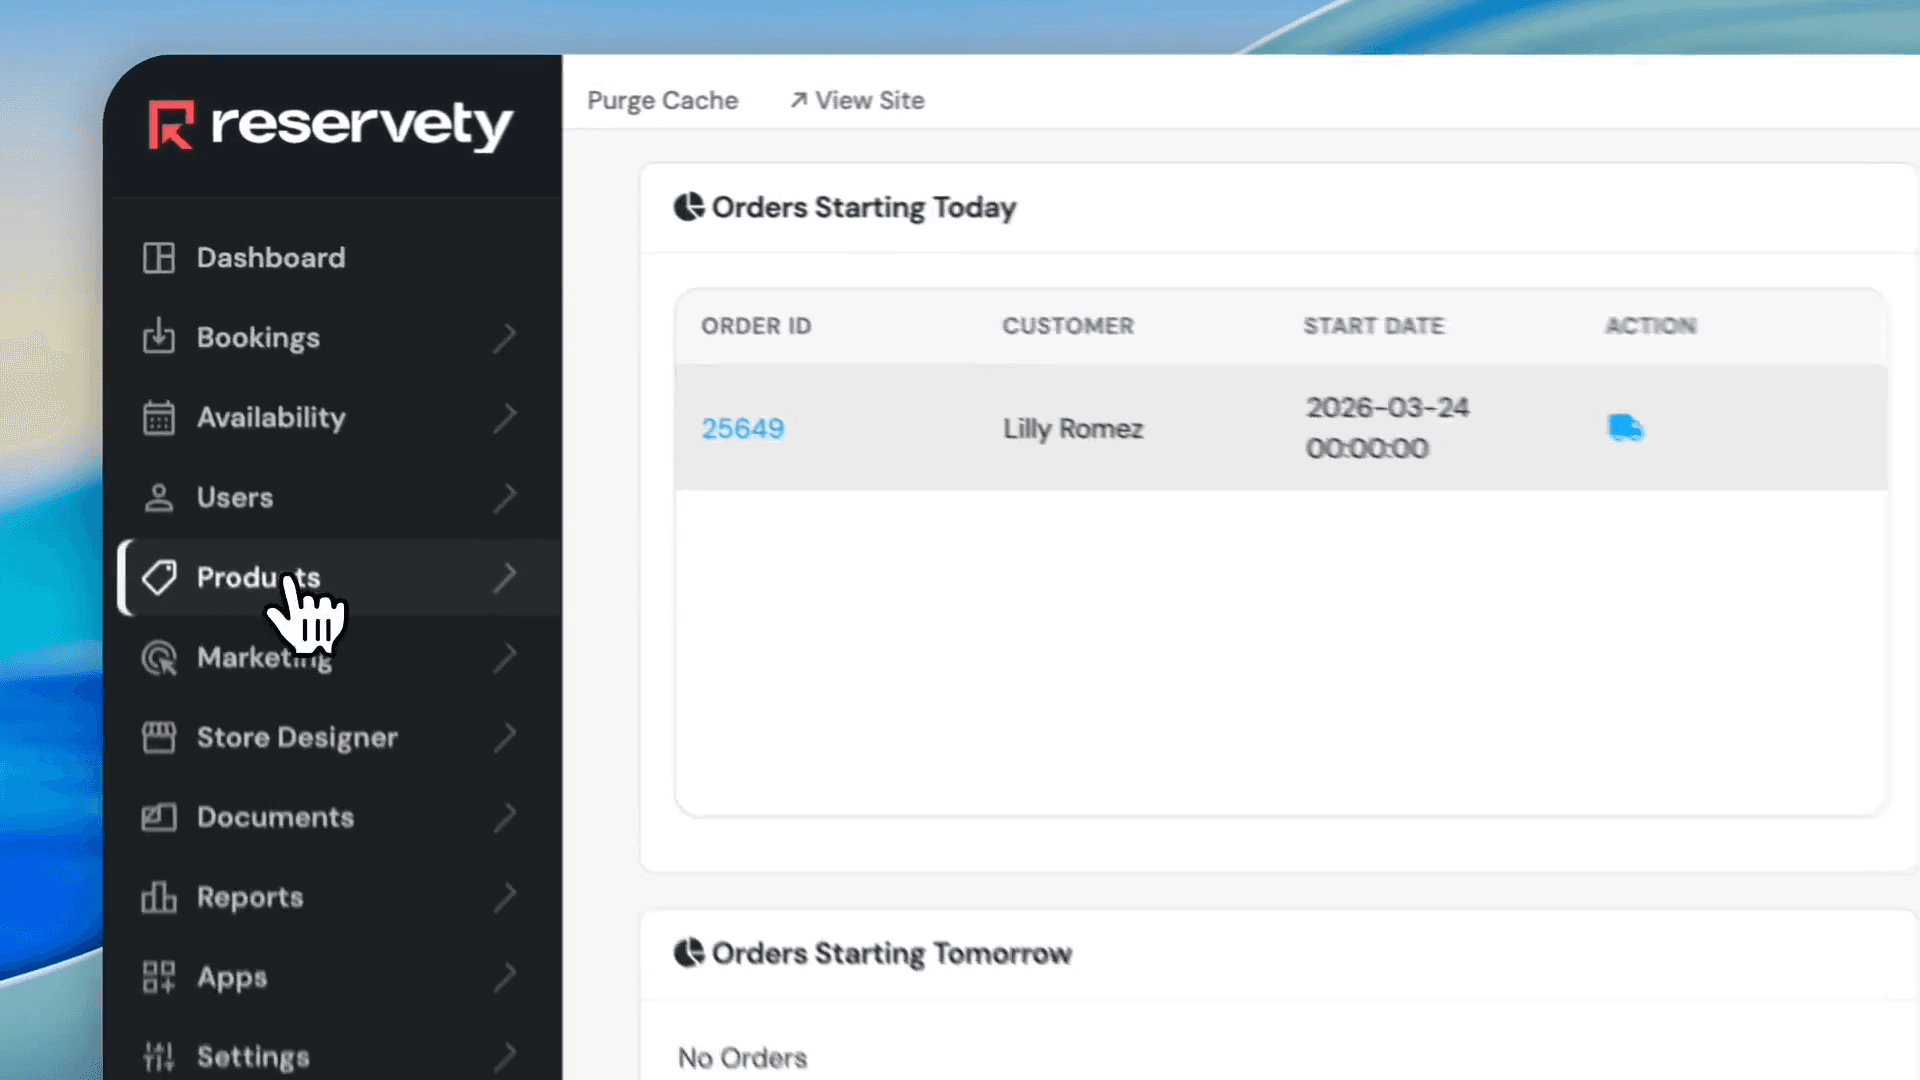
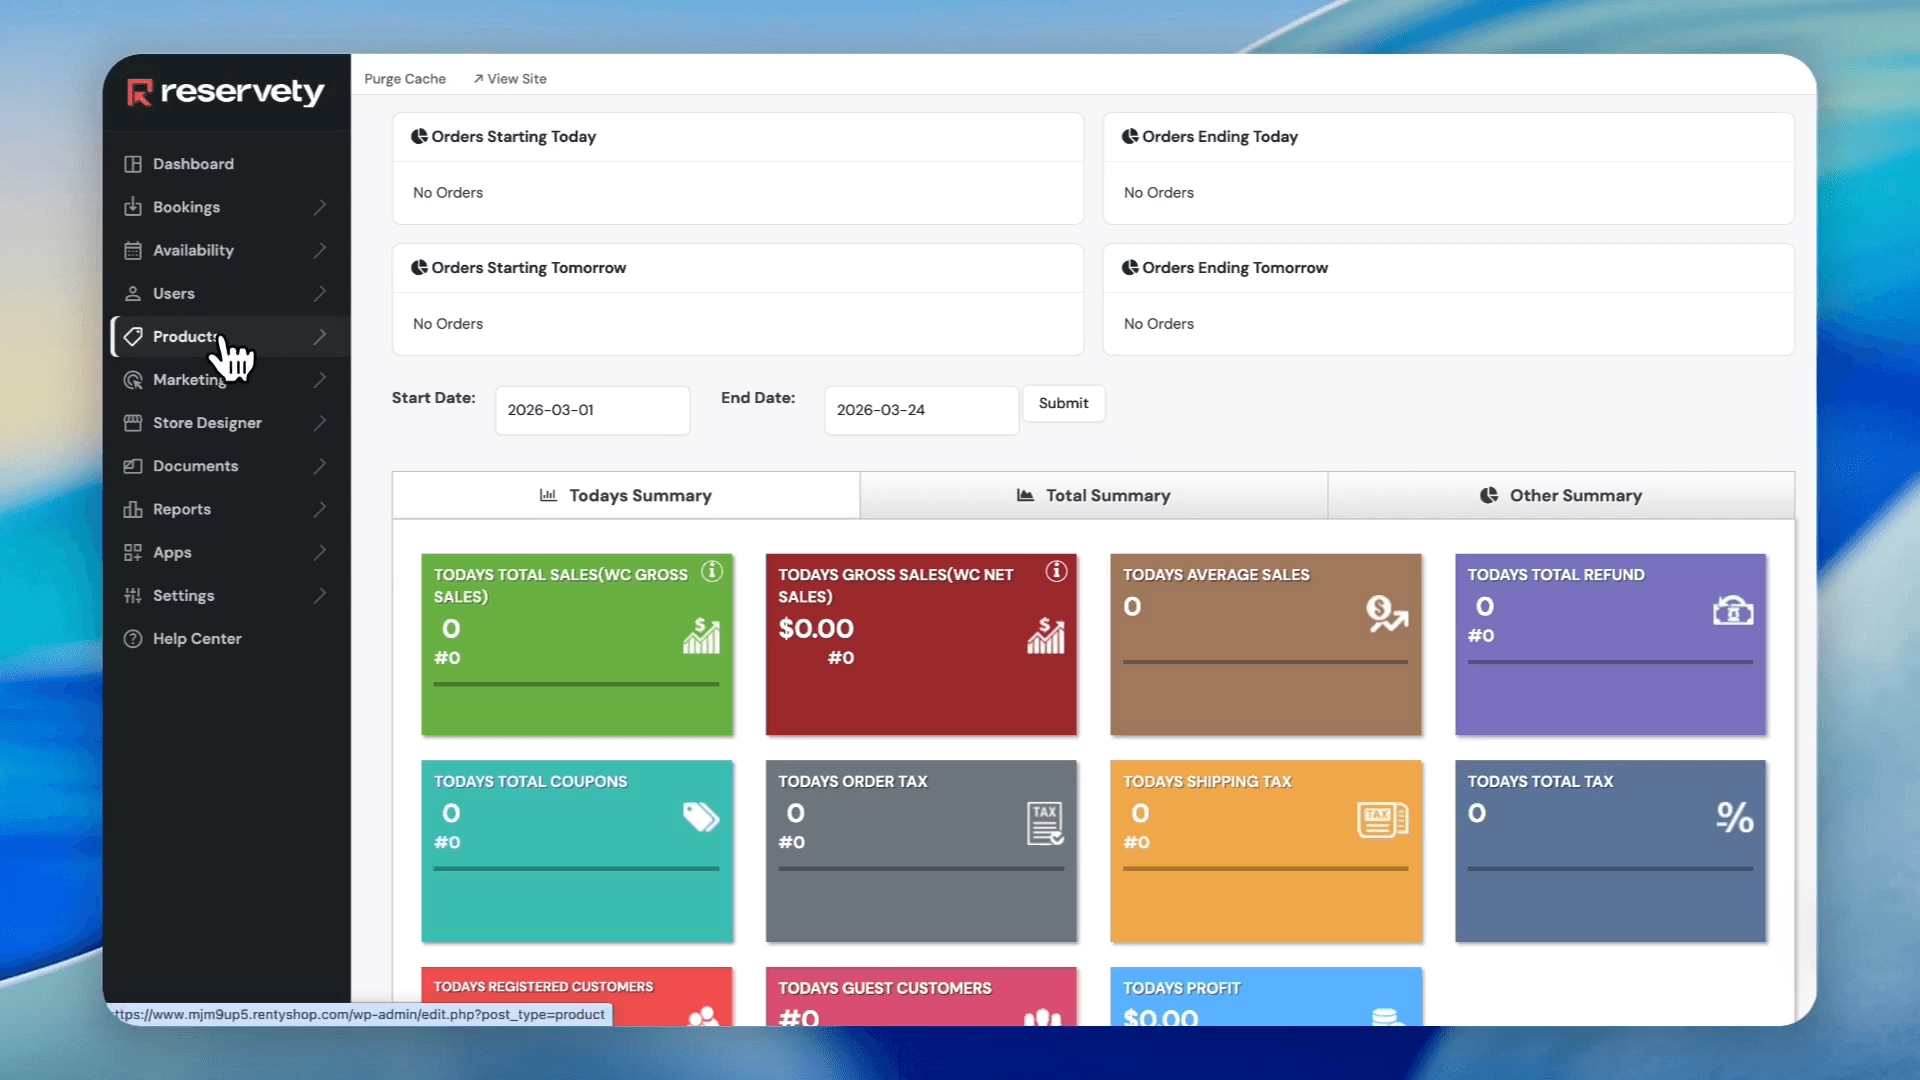
Click Products in the left sidebar menu.
18
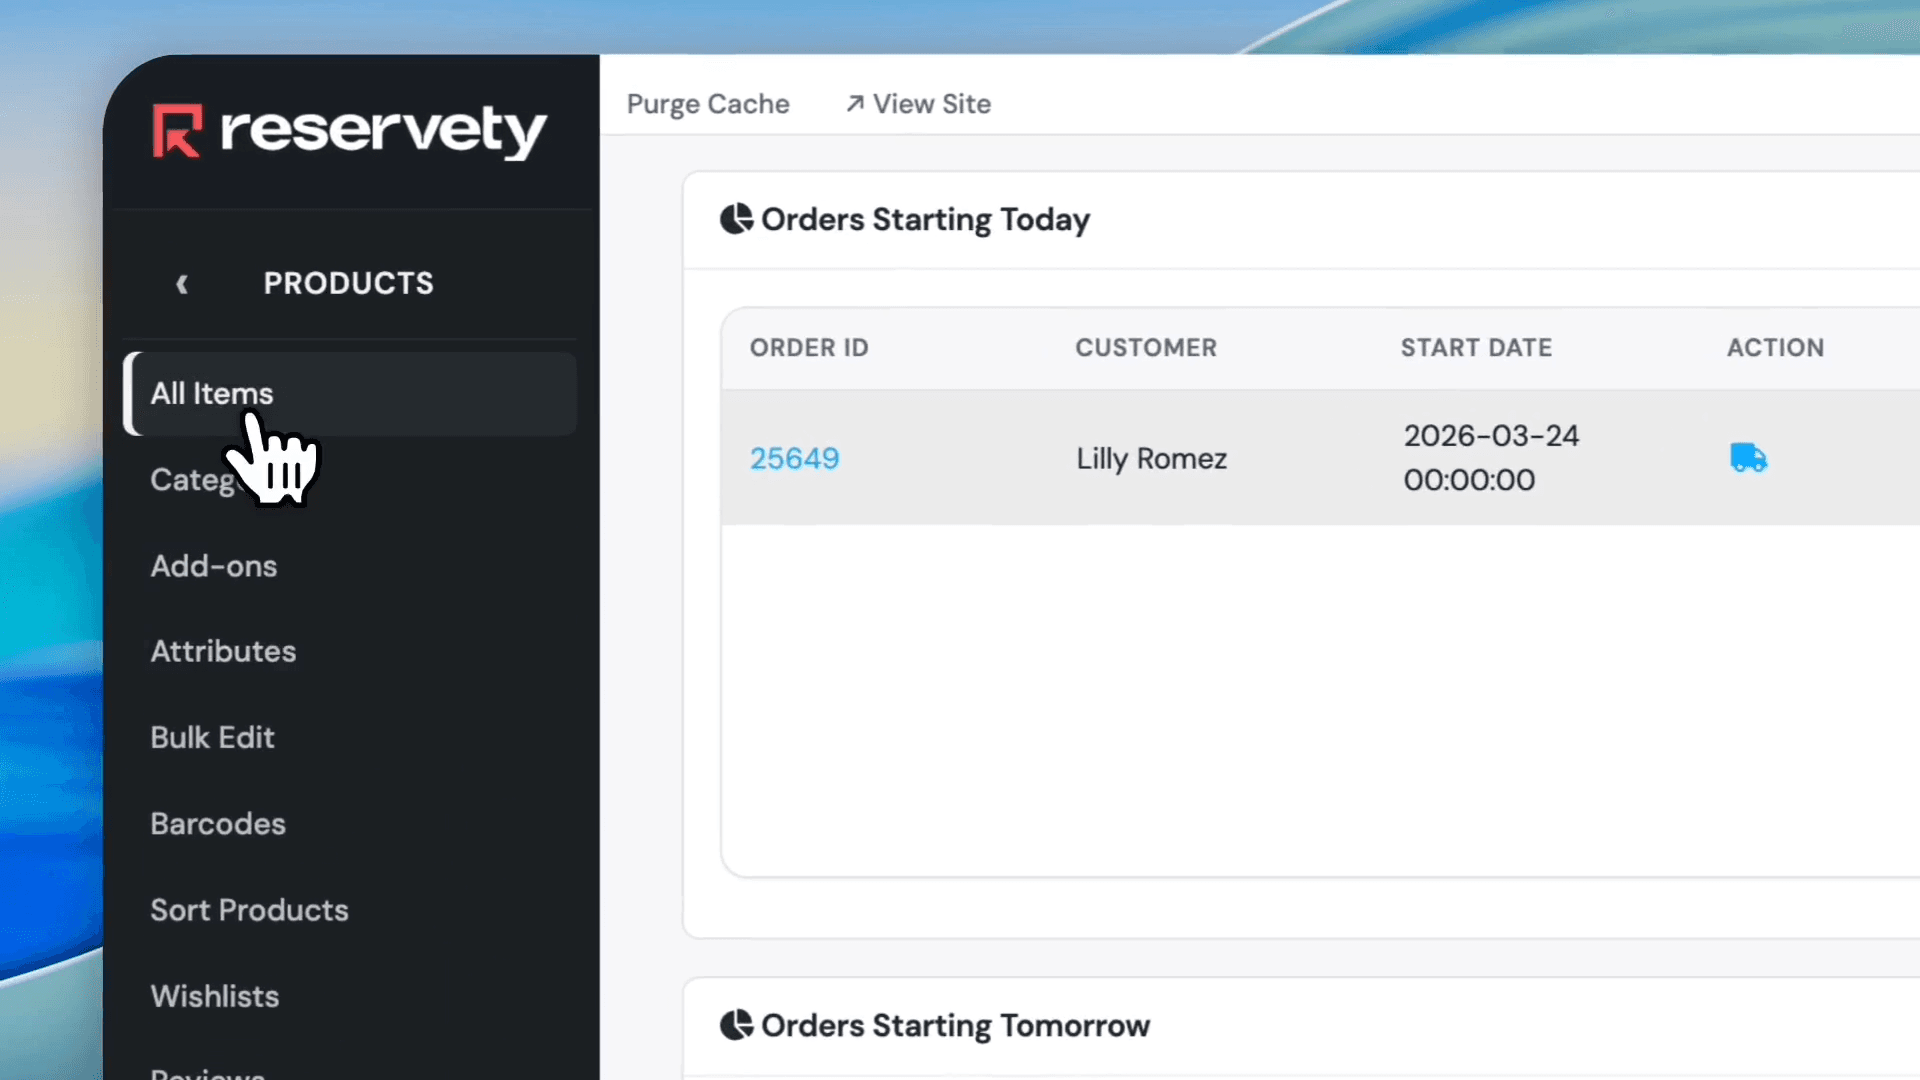
Click All Items.
19
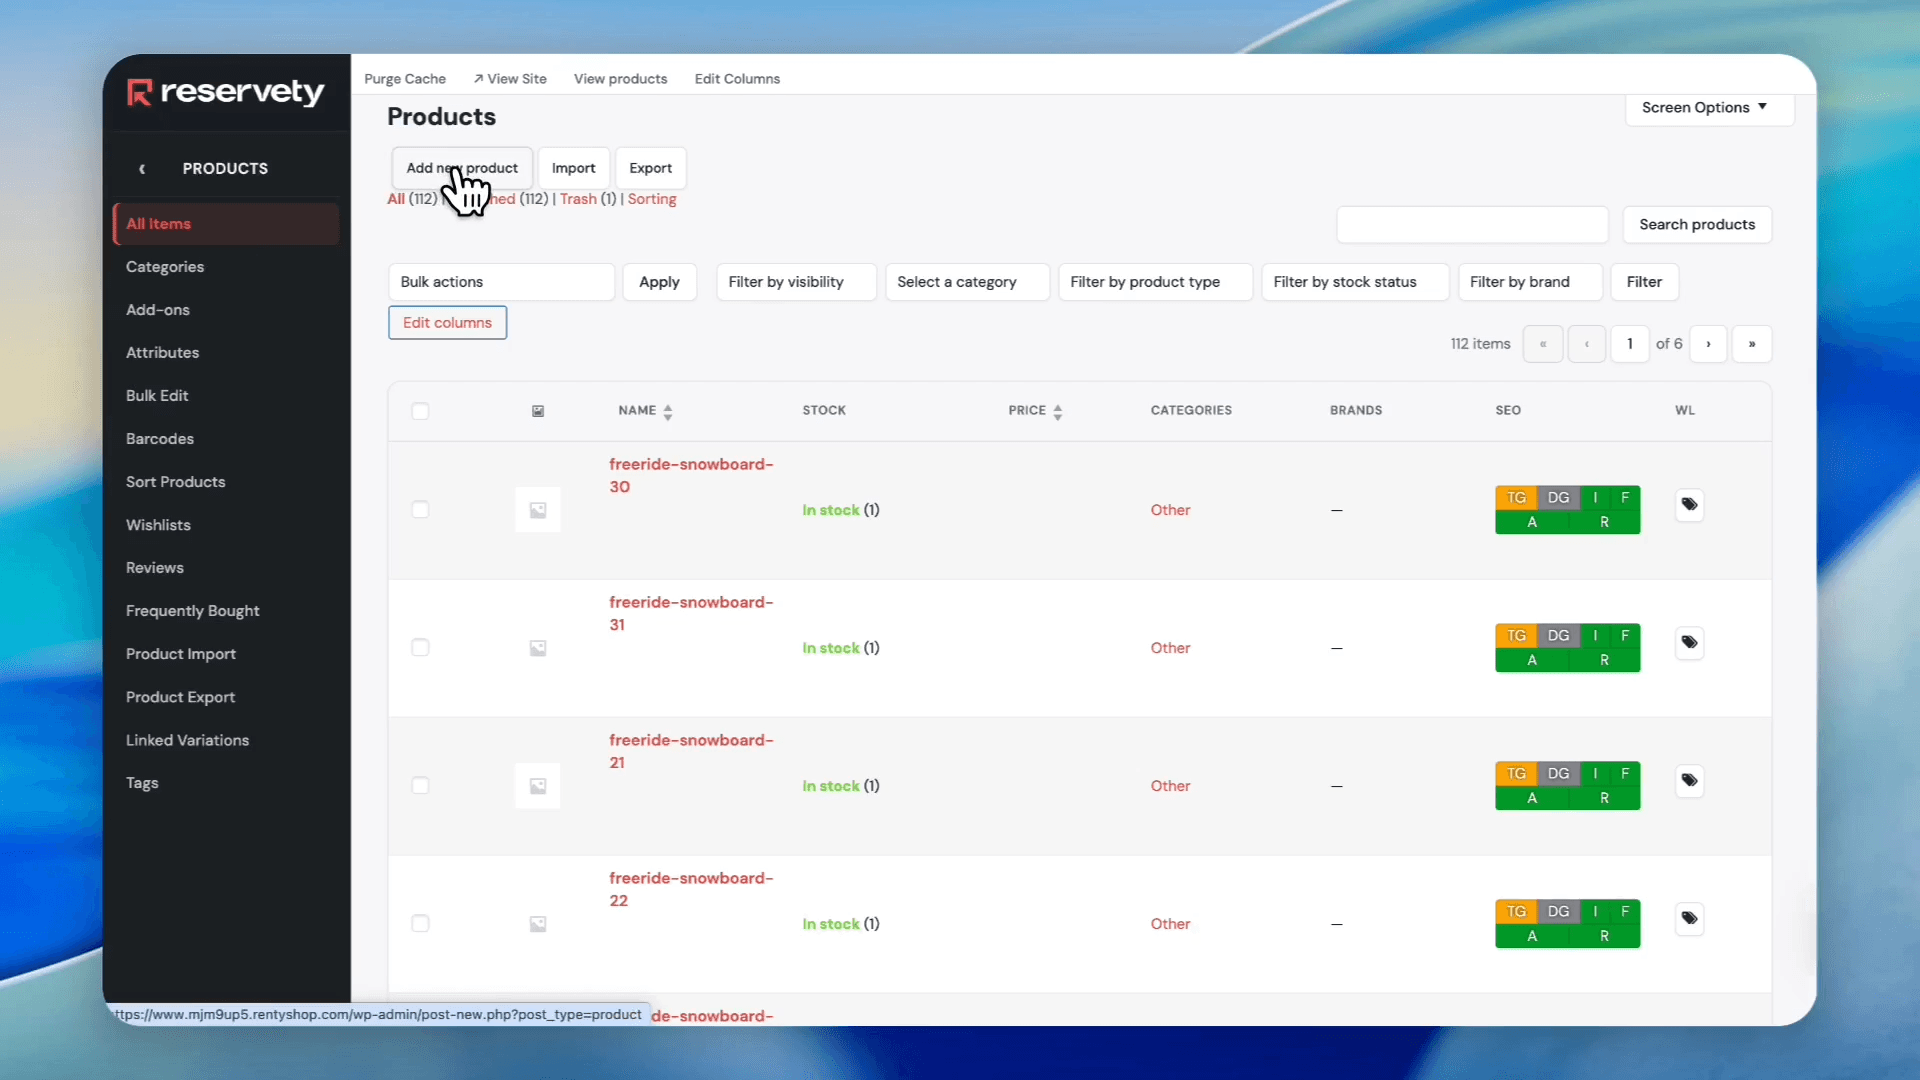
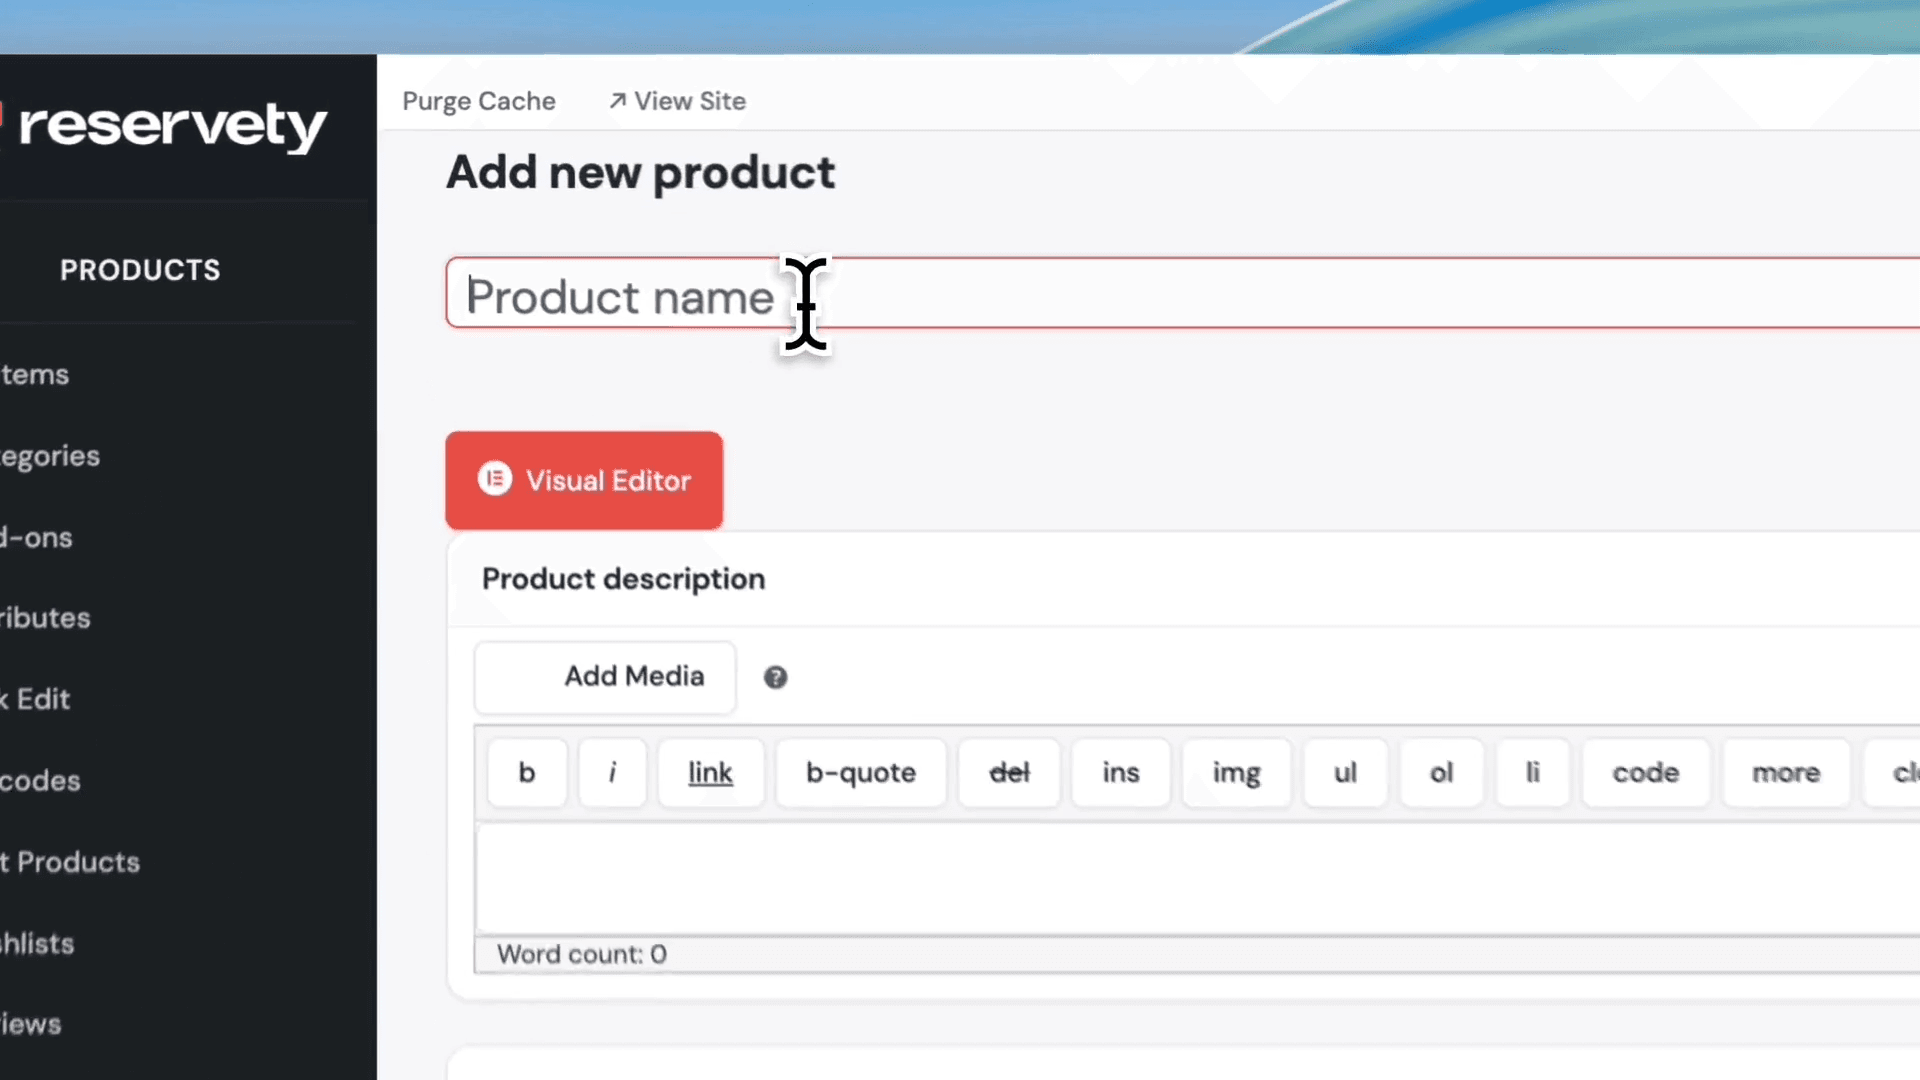
Click Add new product.
20
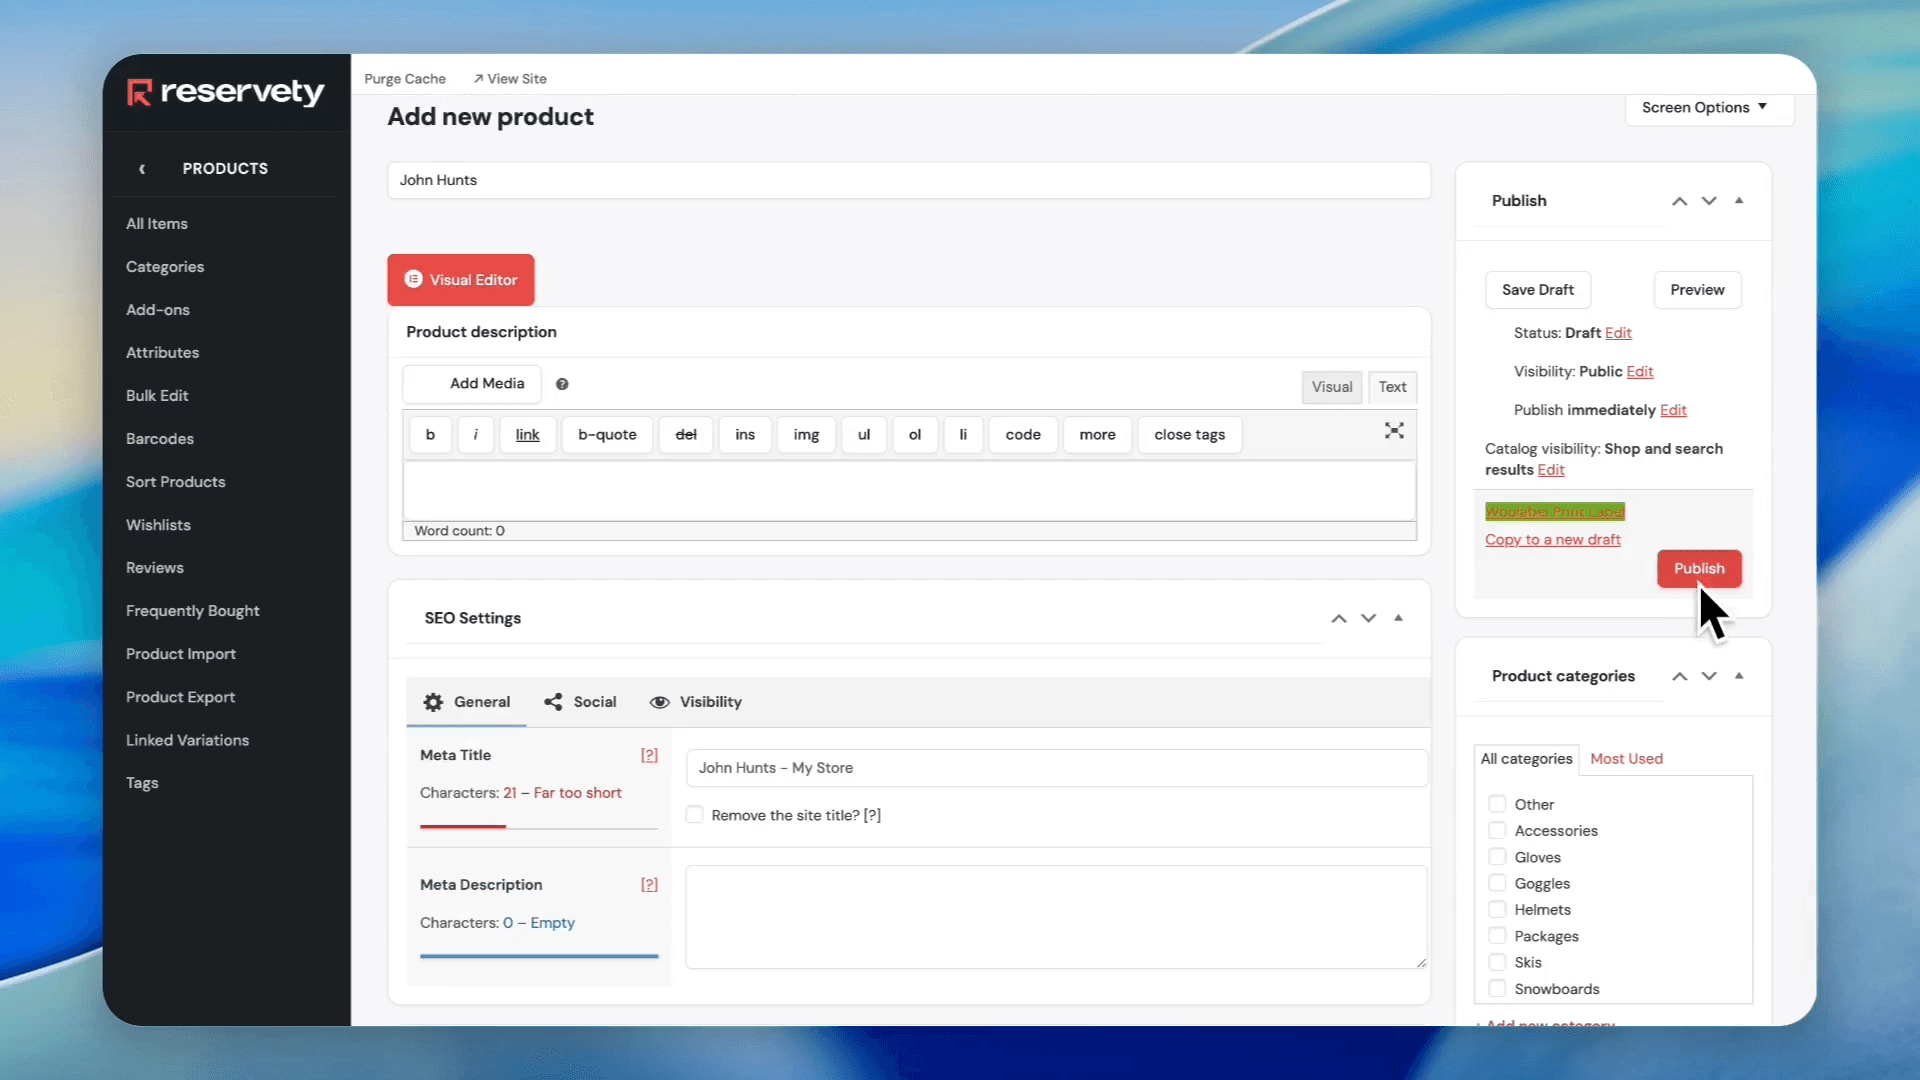
Click the Product name field.
21
Type the name of your guide (e.g., "John Hunts").
22
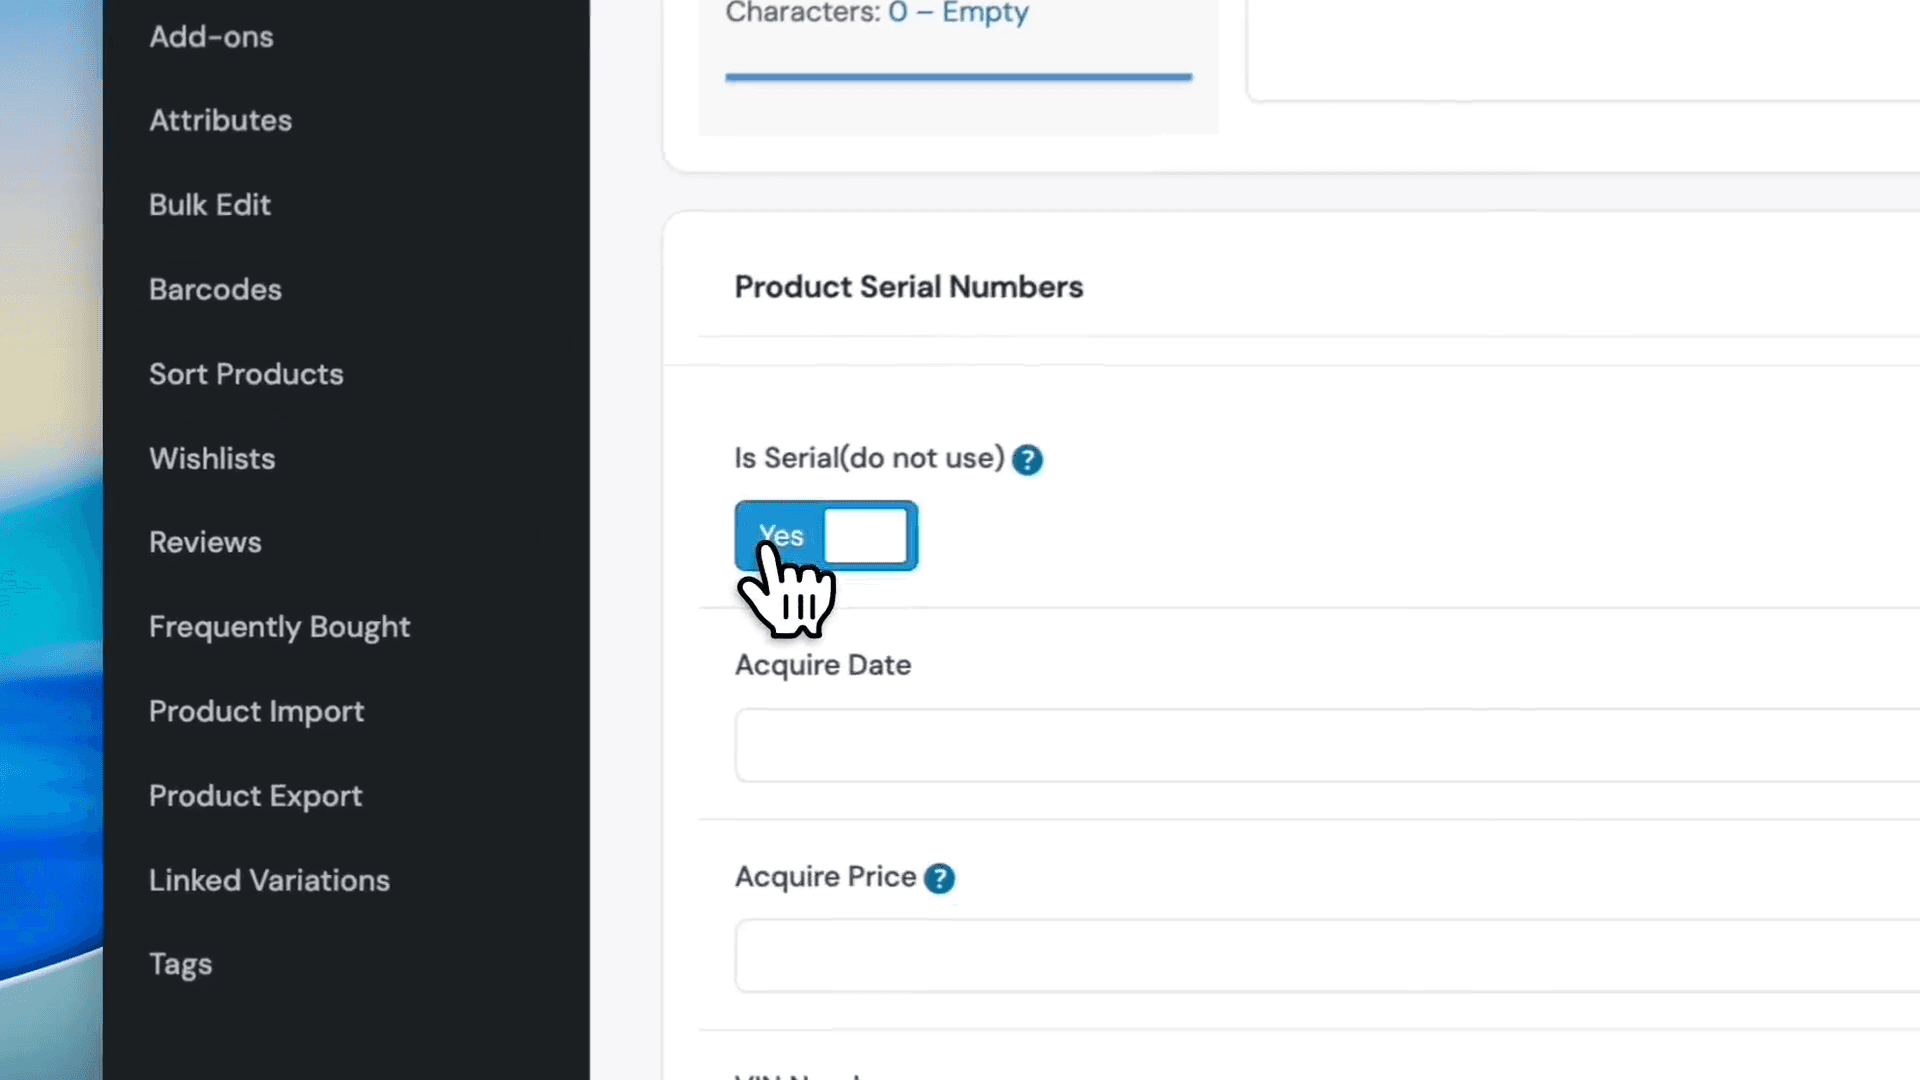
Under Product Serial Numbers, switch Is Serial to Yes.
23
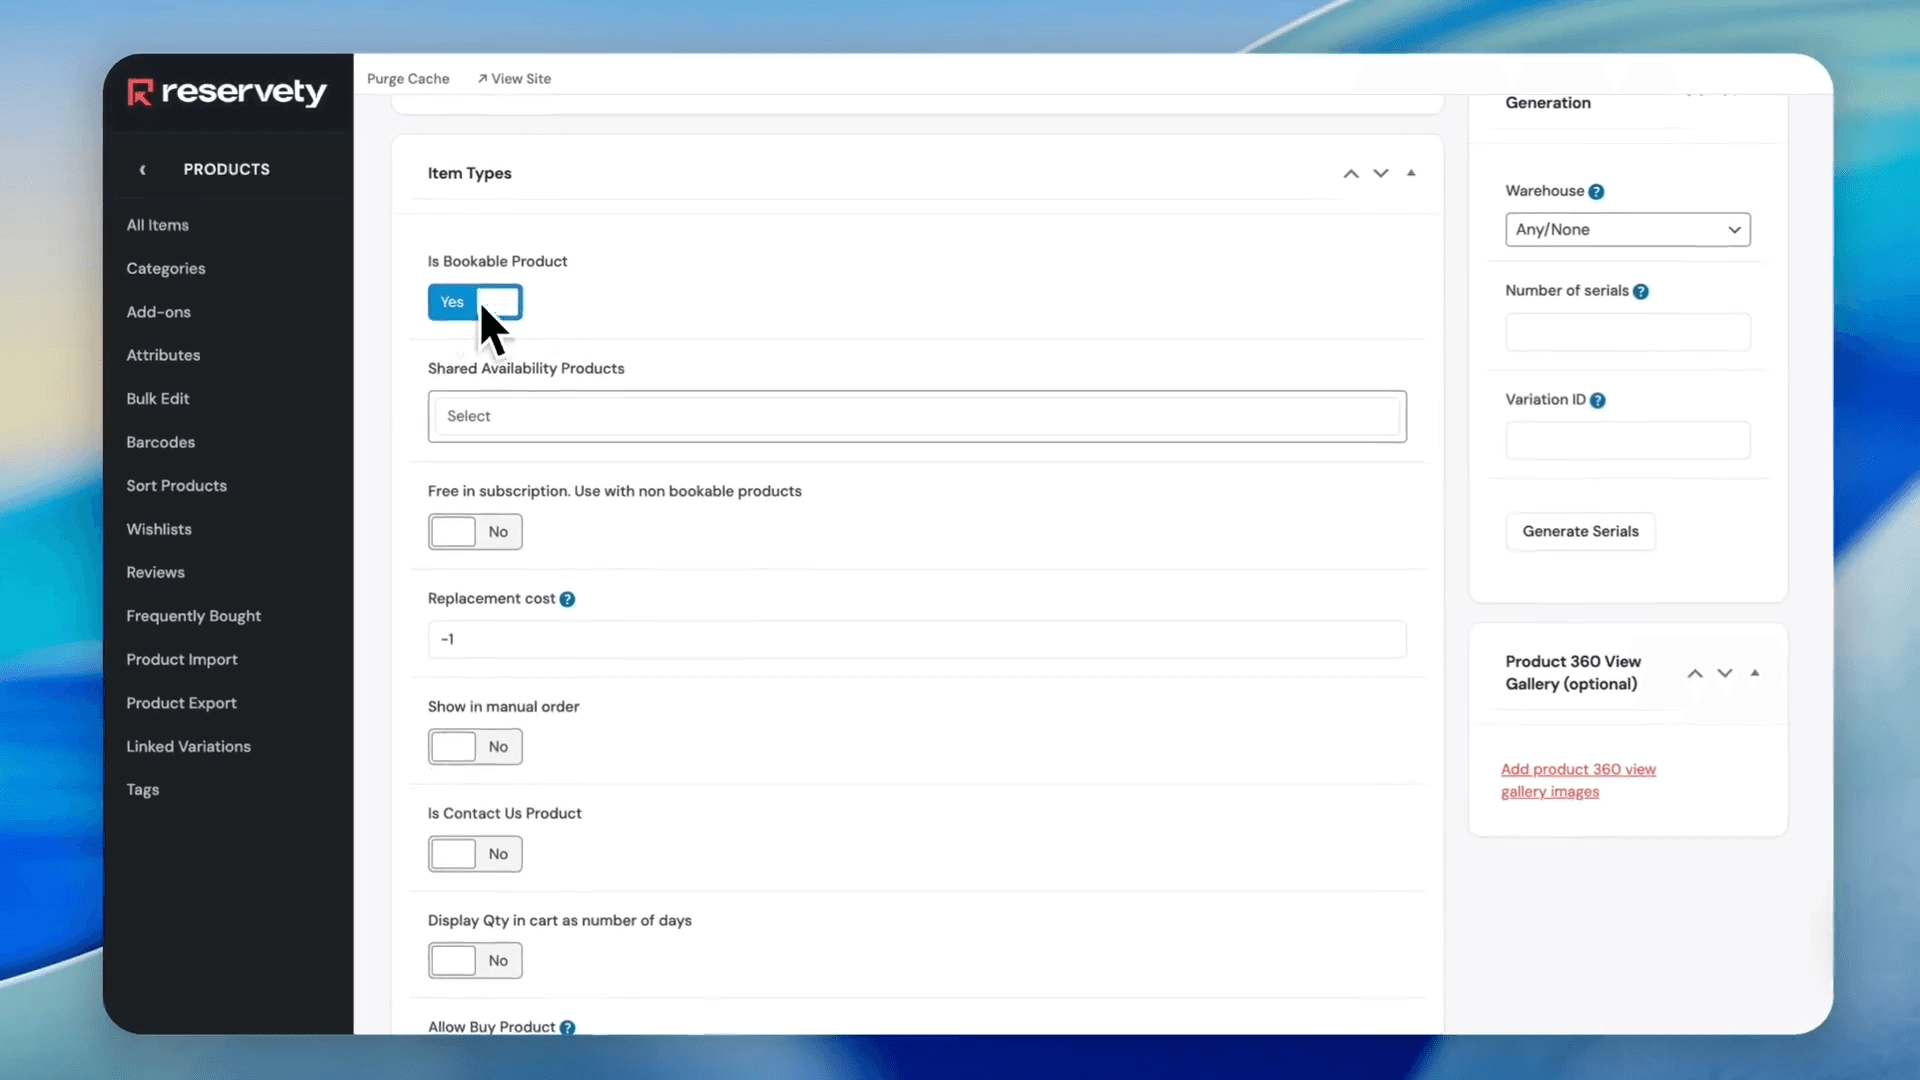
Under Item Types, ensure Is Bookable Product is switched to Yes.
24
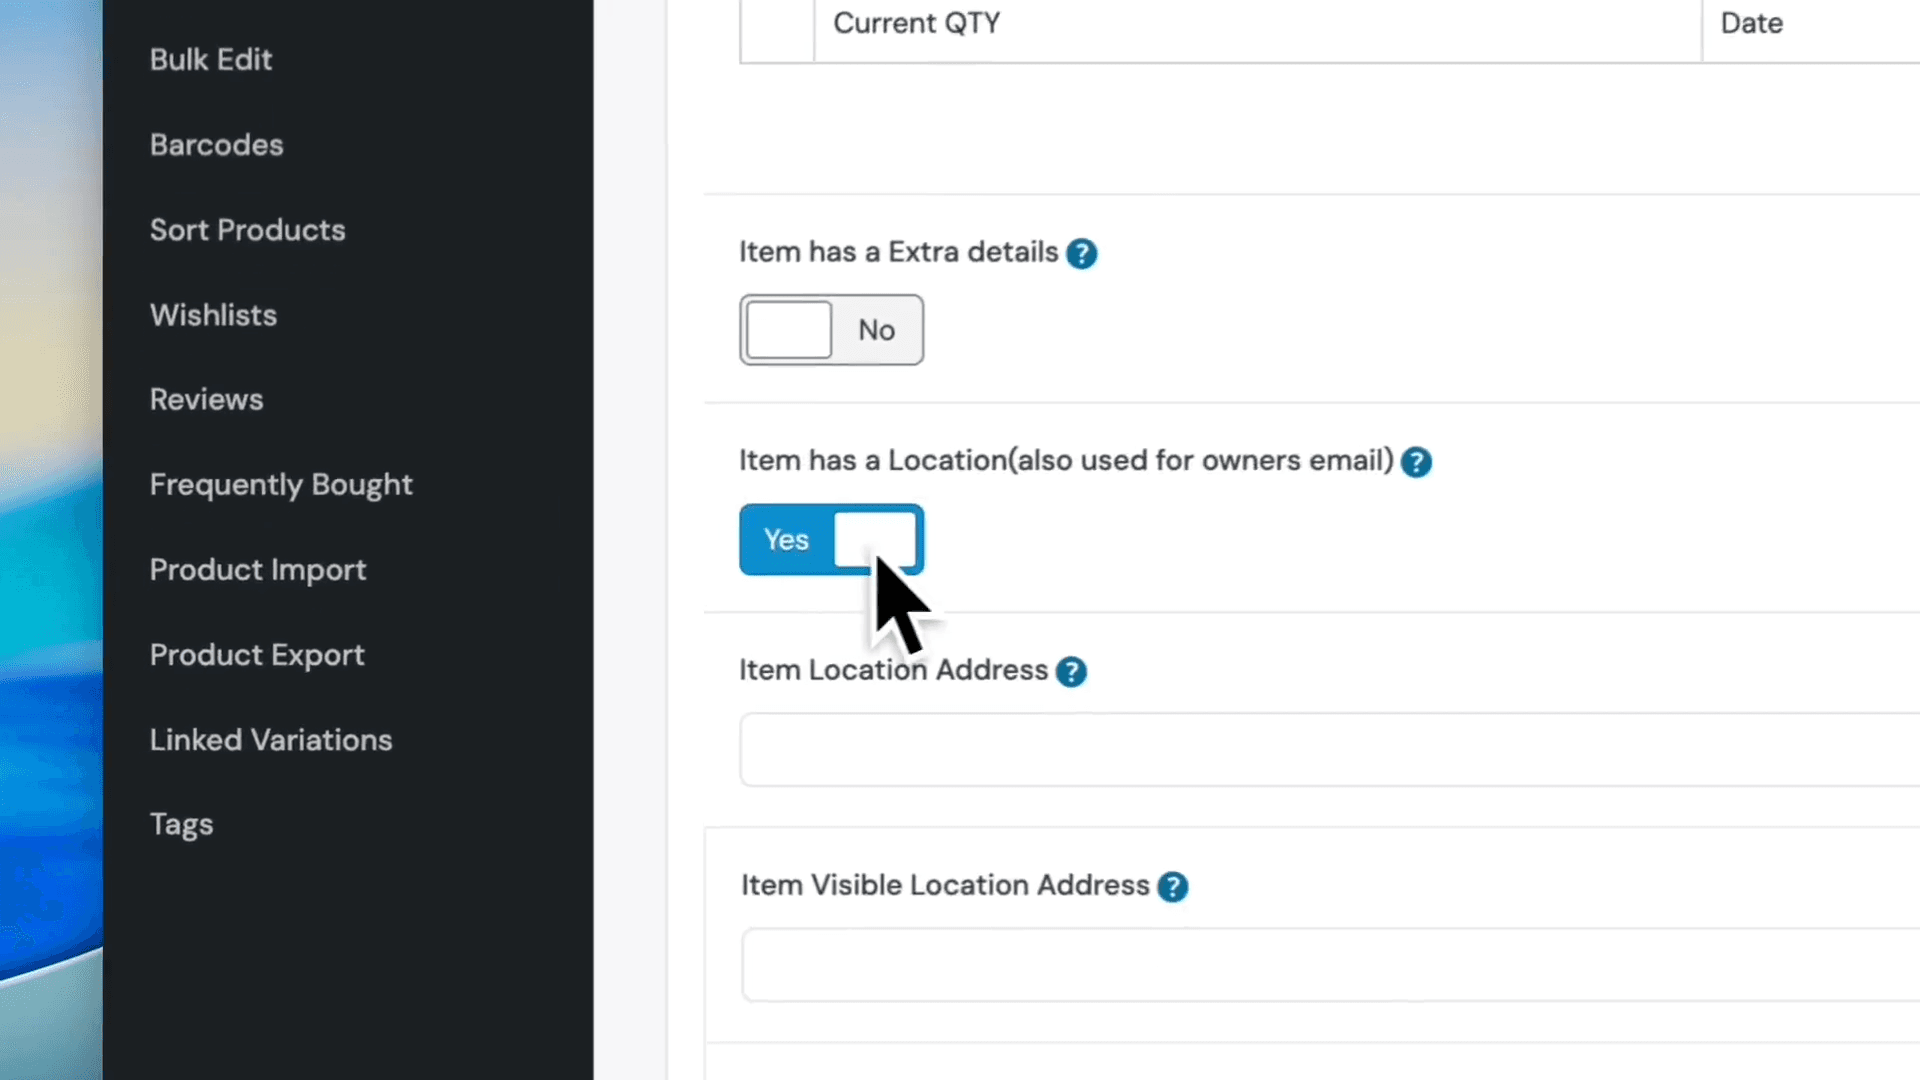
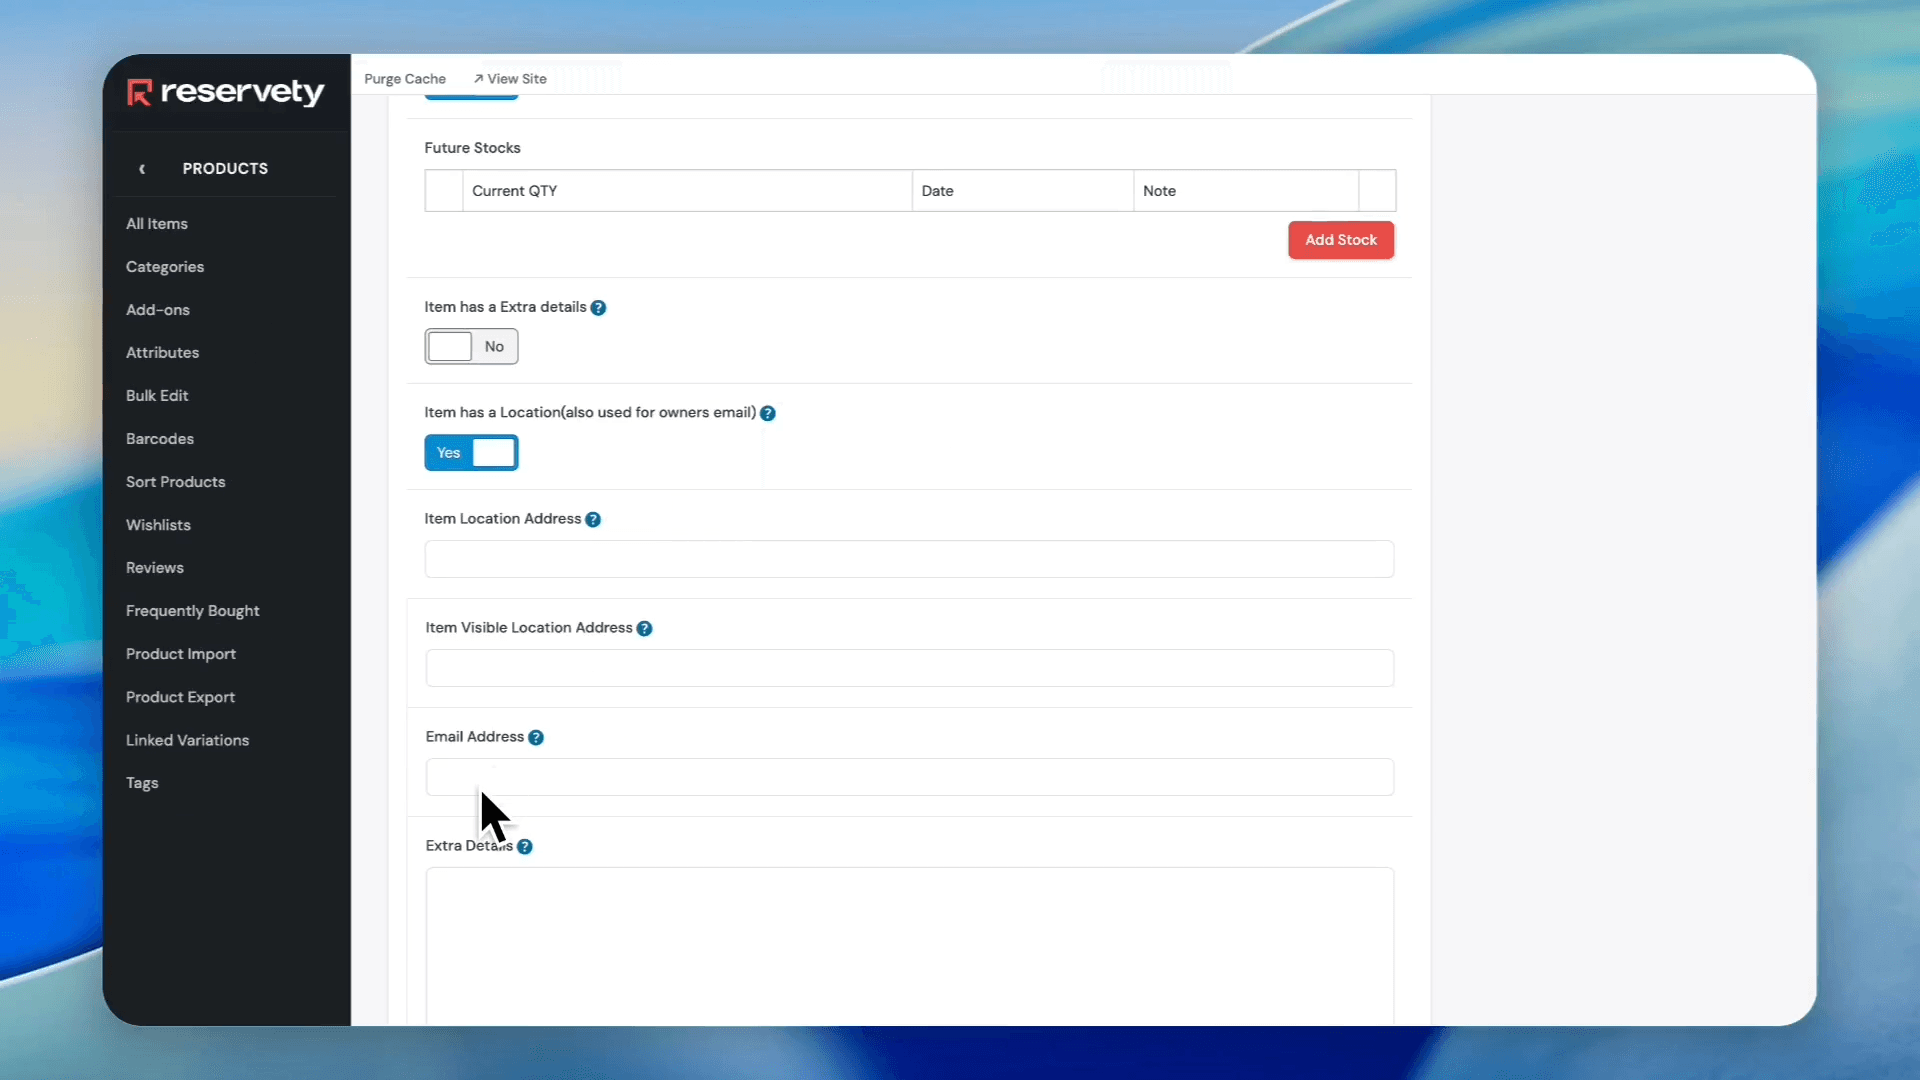
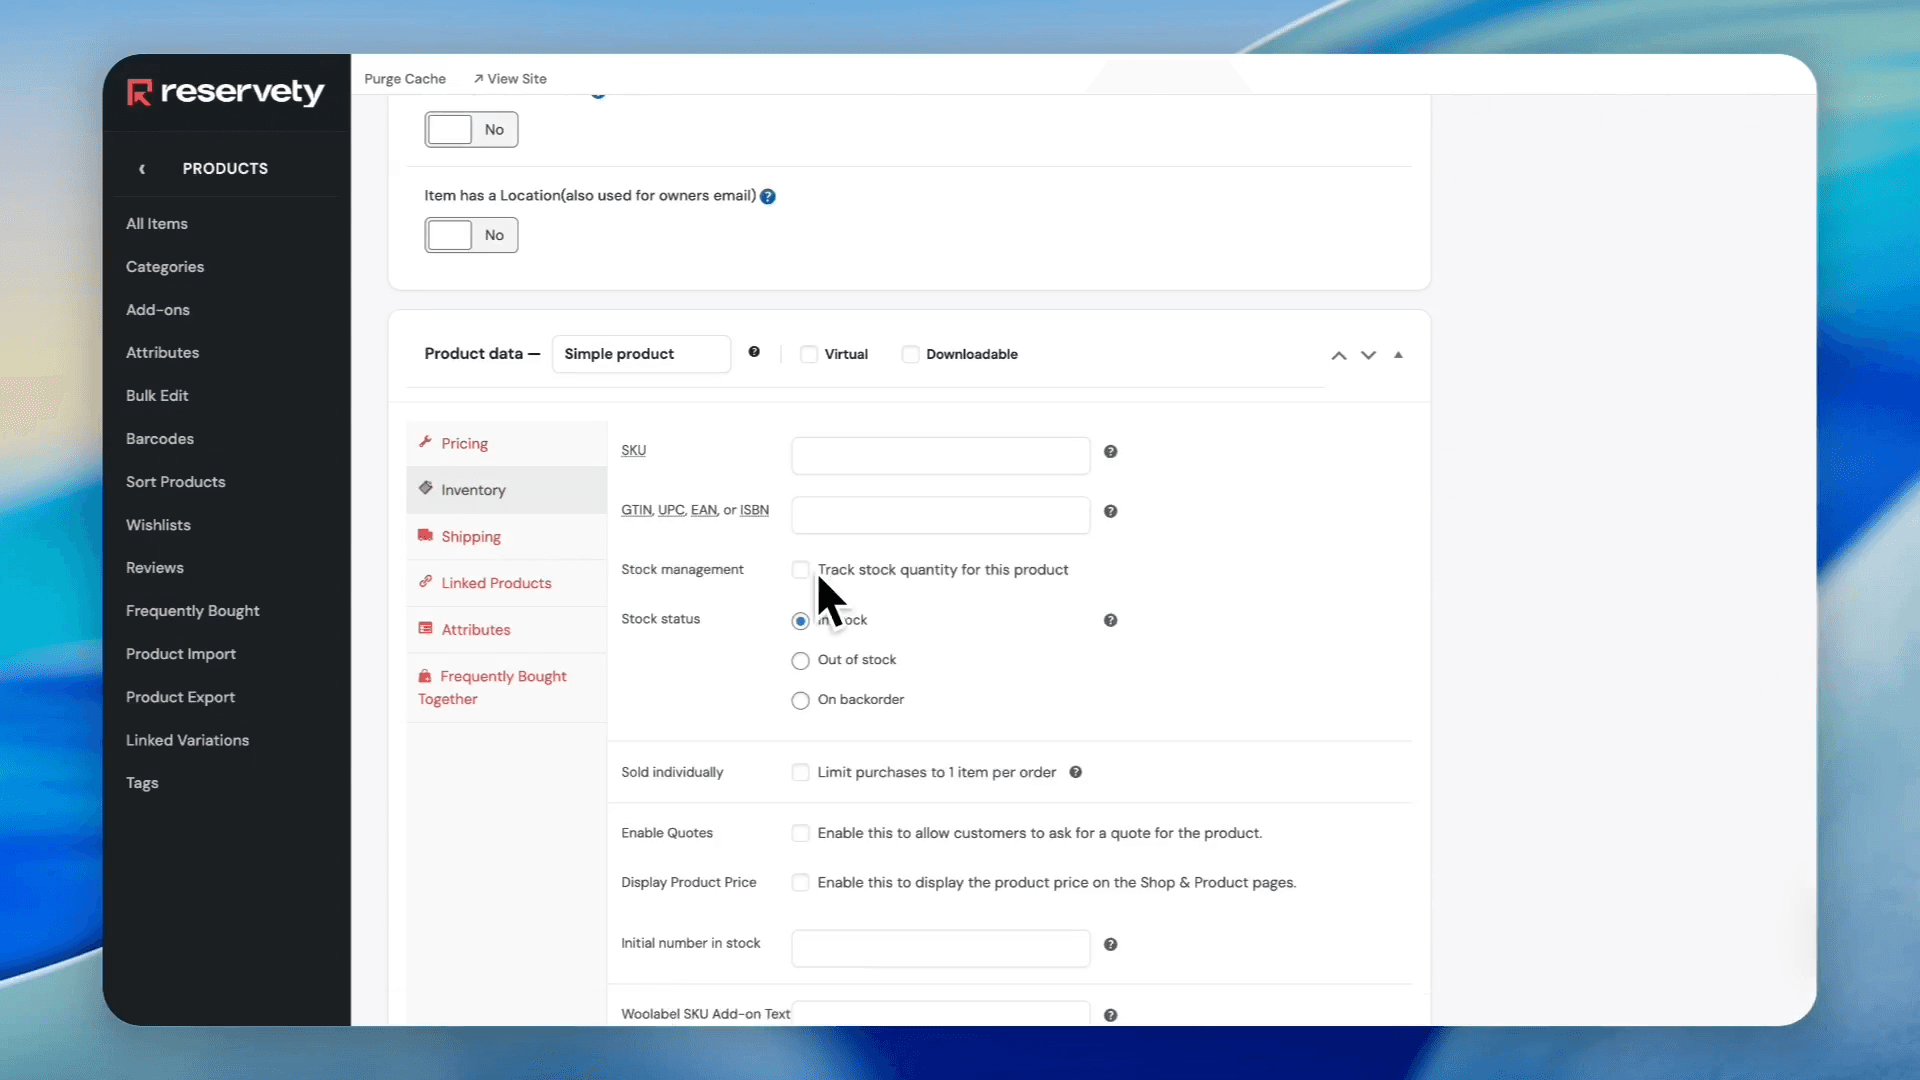
Find Item has a Location (also used for owners email) and switch it to Yes.
25
Click the Email Address field and enter the guide's email.
Providing an email address ensures the guide receives an automated message whenever they are assigned to an order.
26
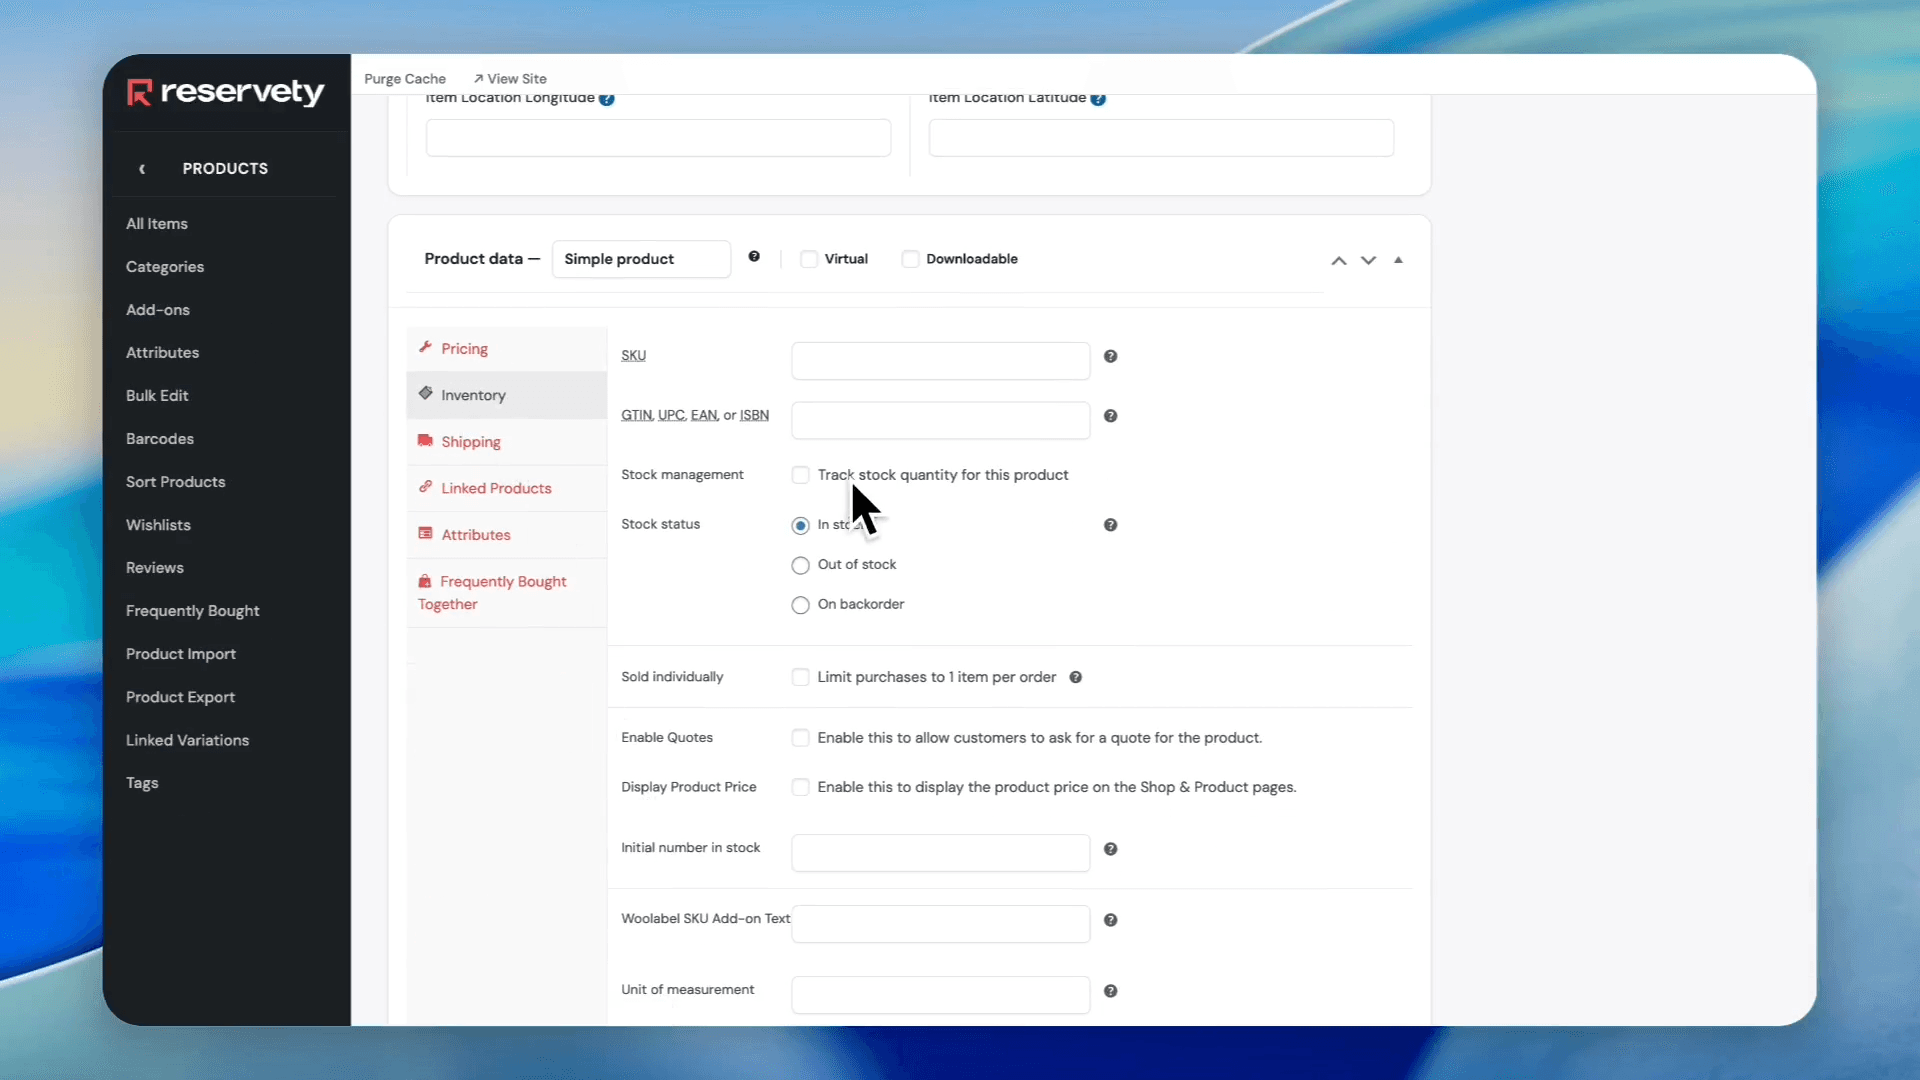
Click the Inventory tab and uncheck the Track stock quantity for this product box.
27
Click Publish.
Repeat these steps to build profiles for all available guides in your team.
Part 3: Creating a Bookable Tour with Guides
Now, create the main tour product and associate your guides as serial options.
28
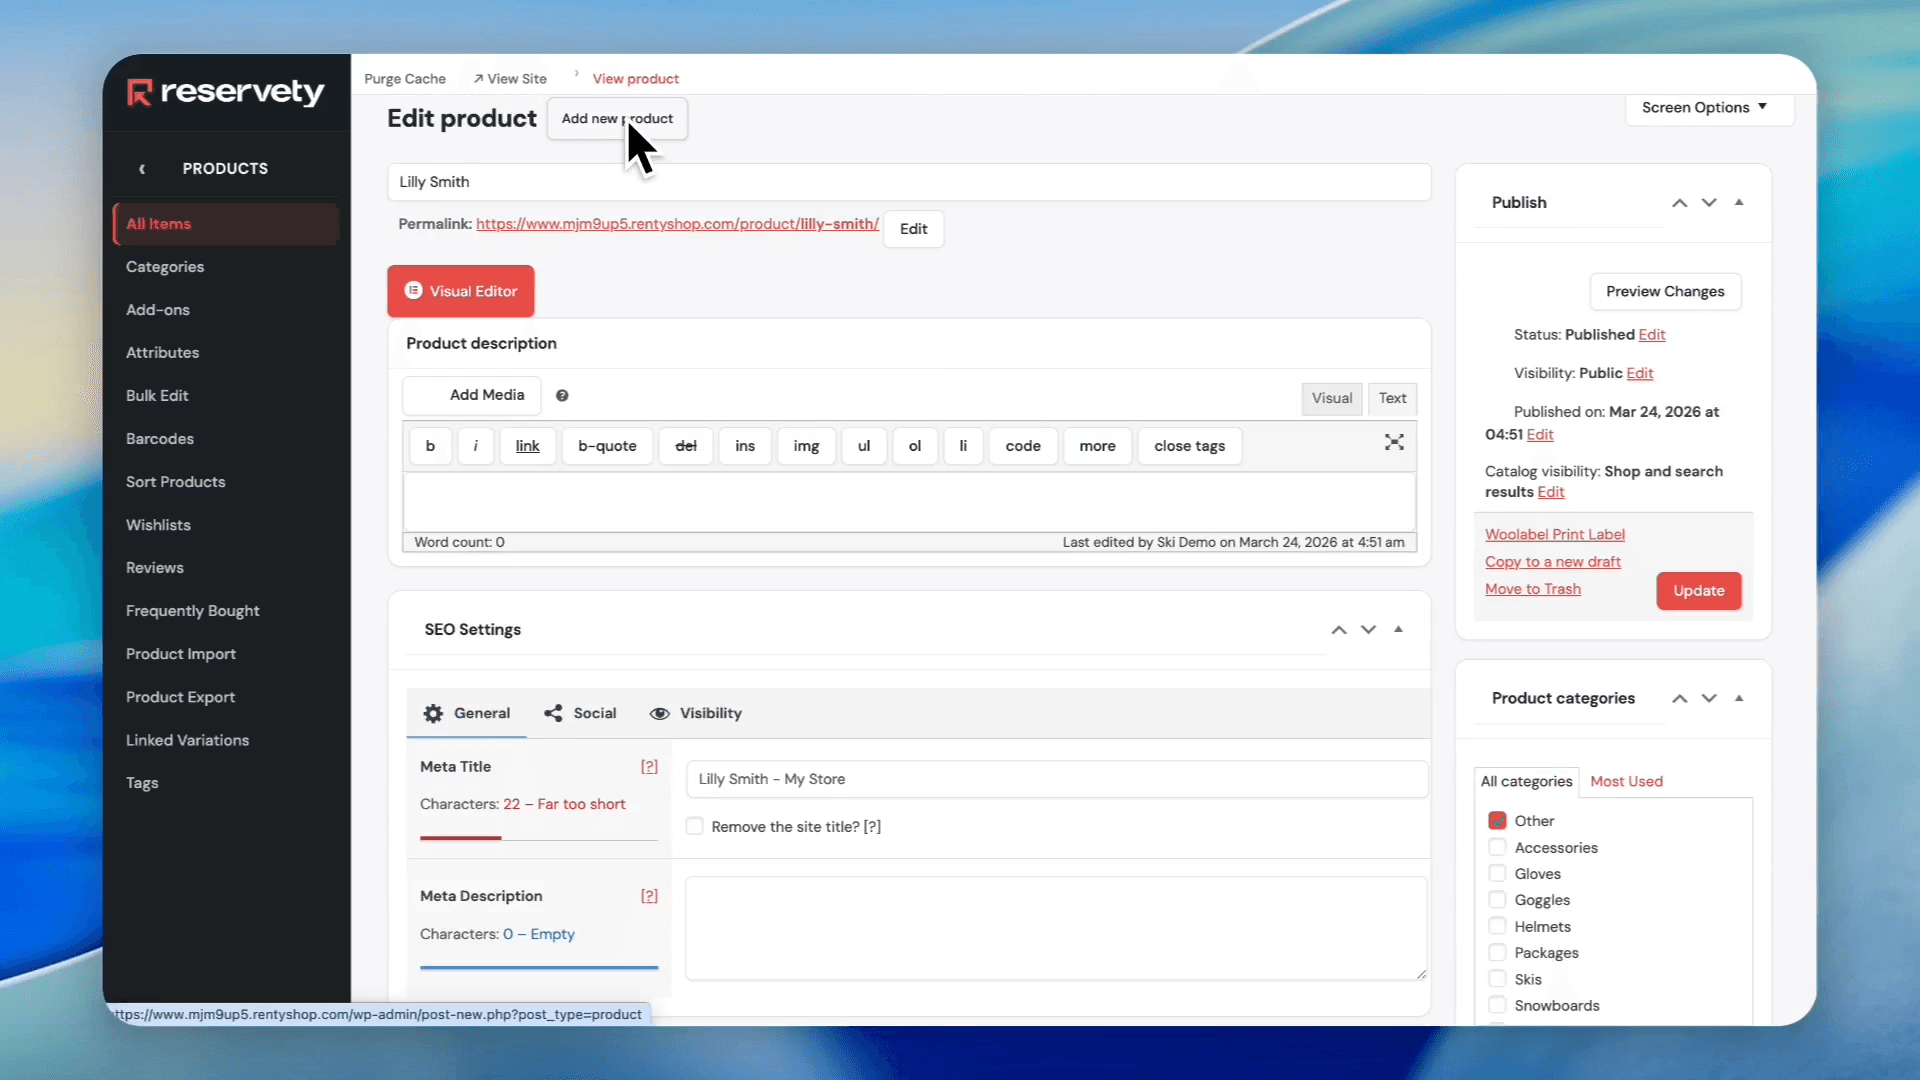
Click the Add new product button.
29
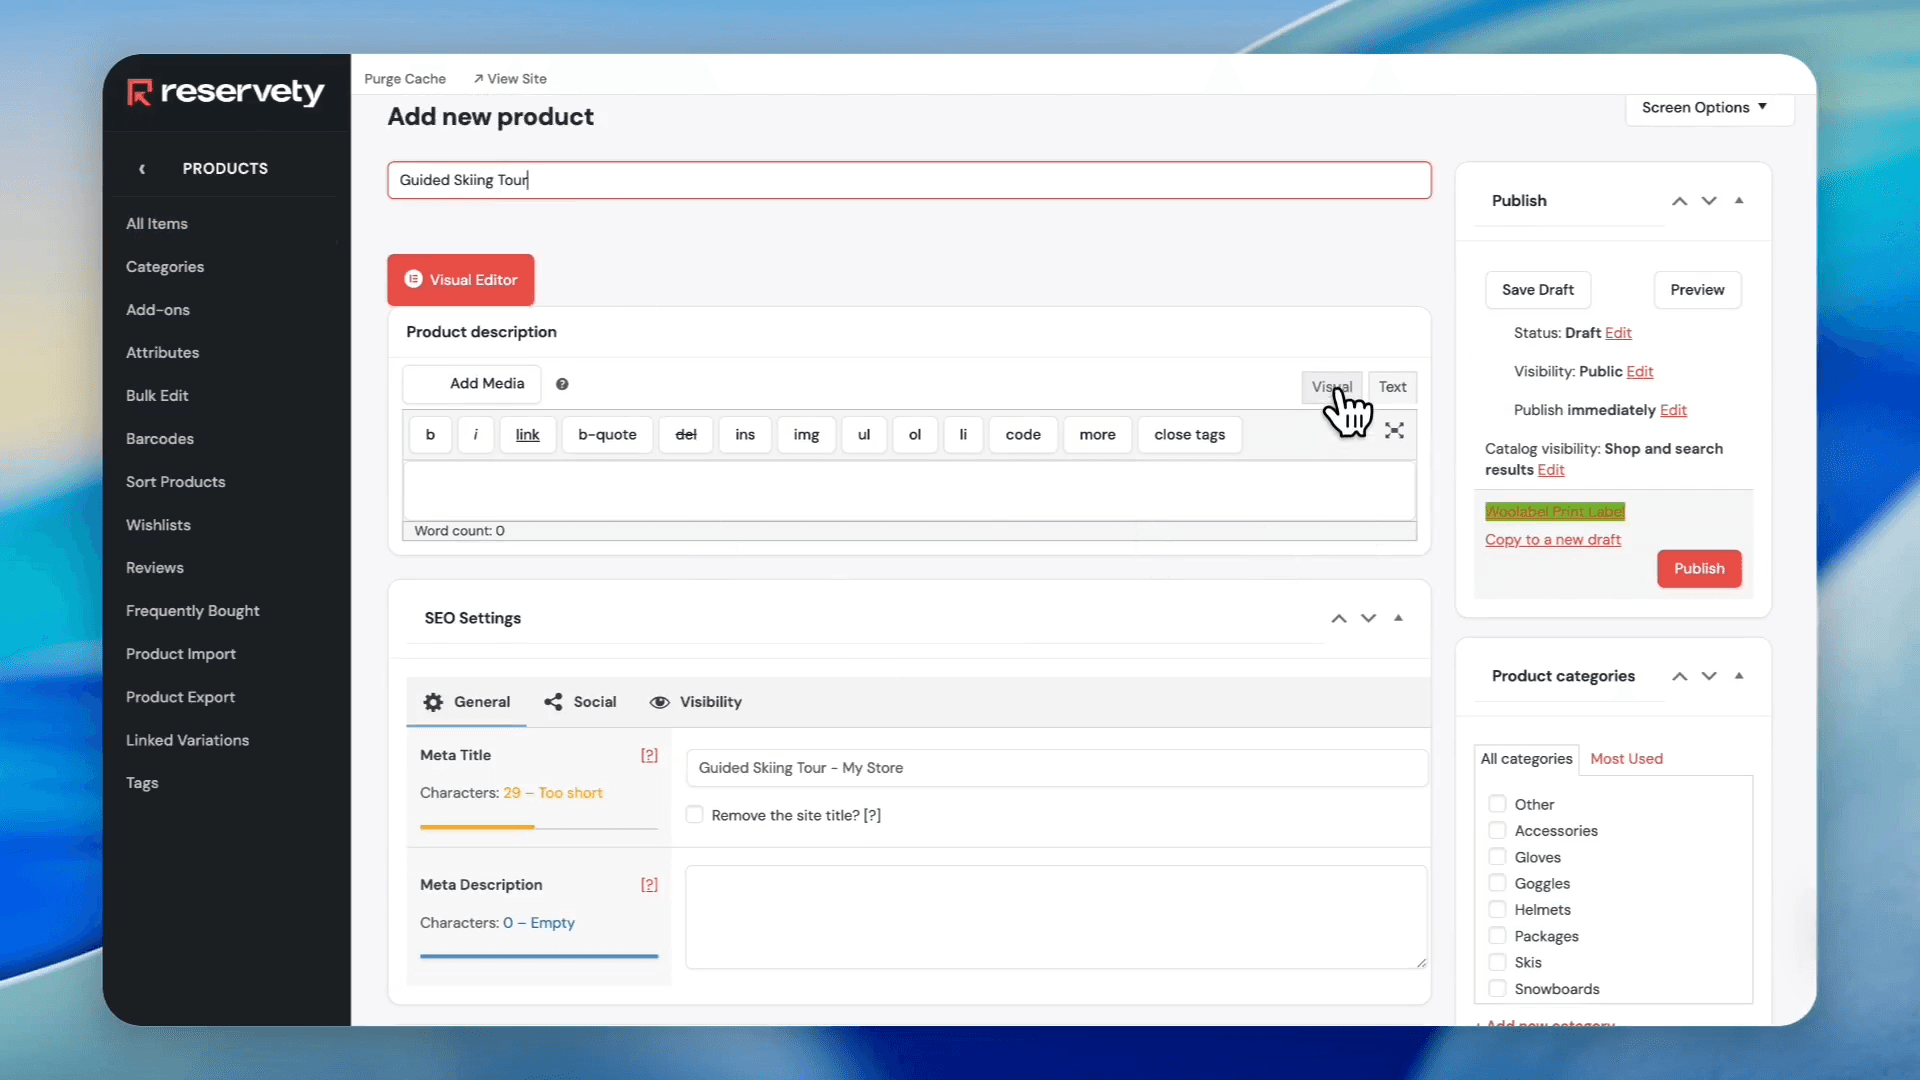
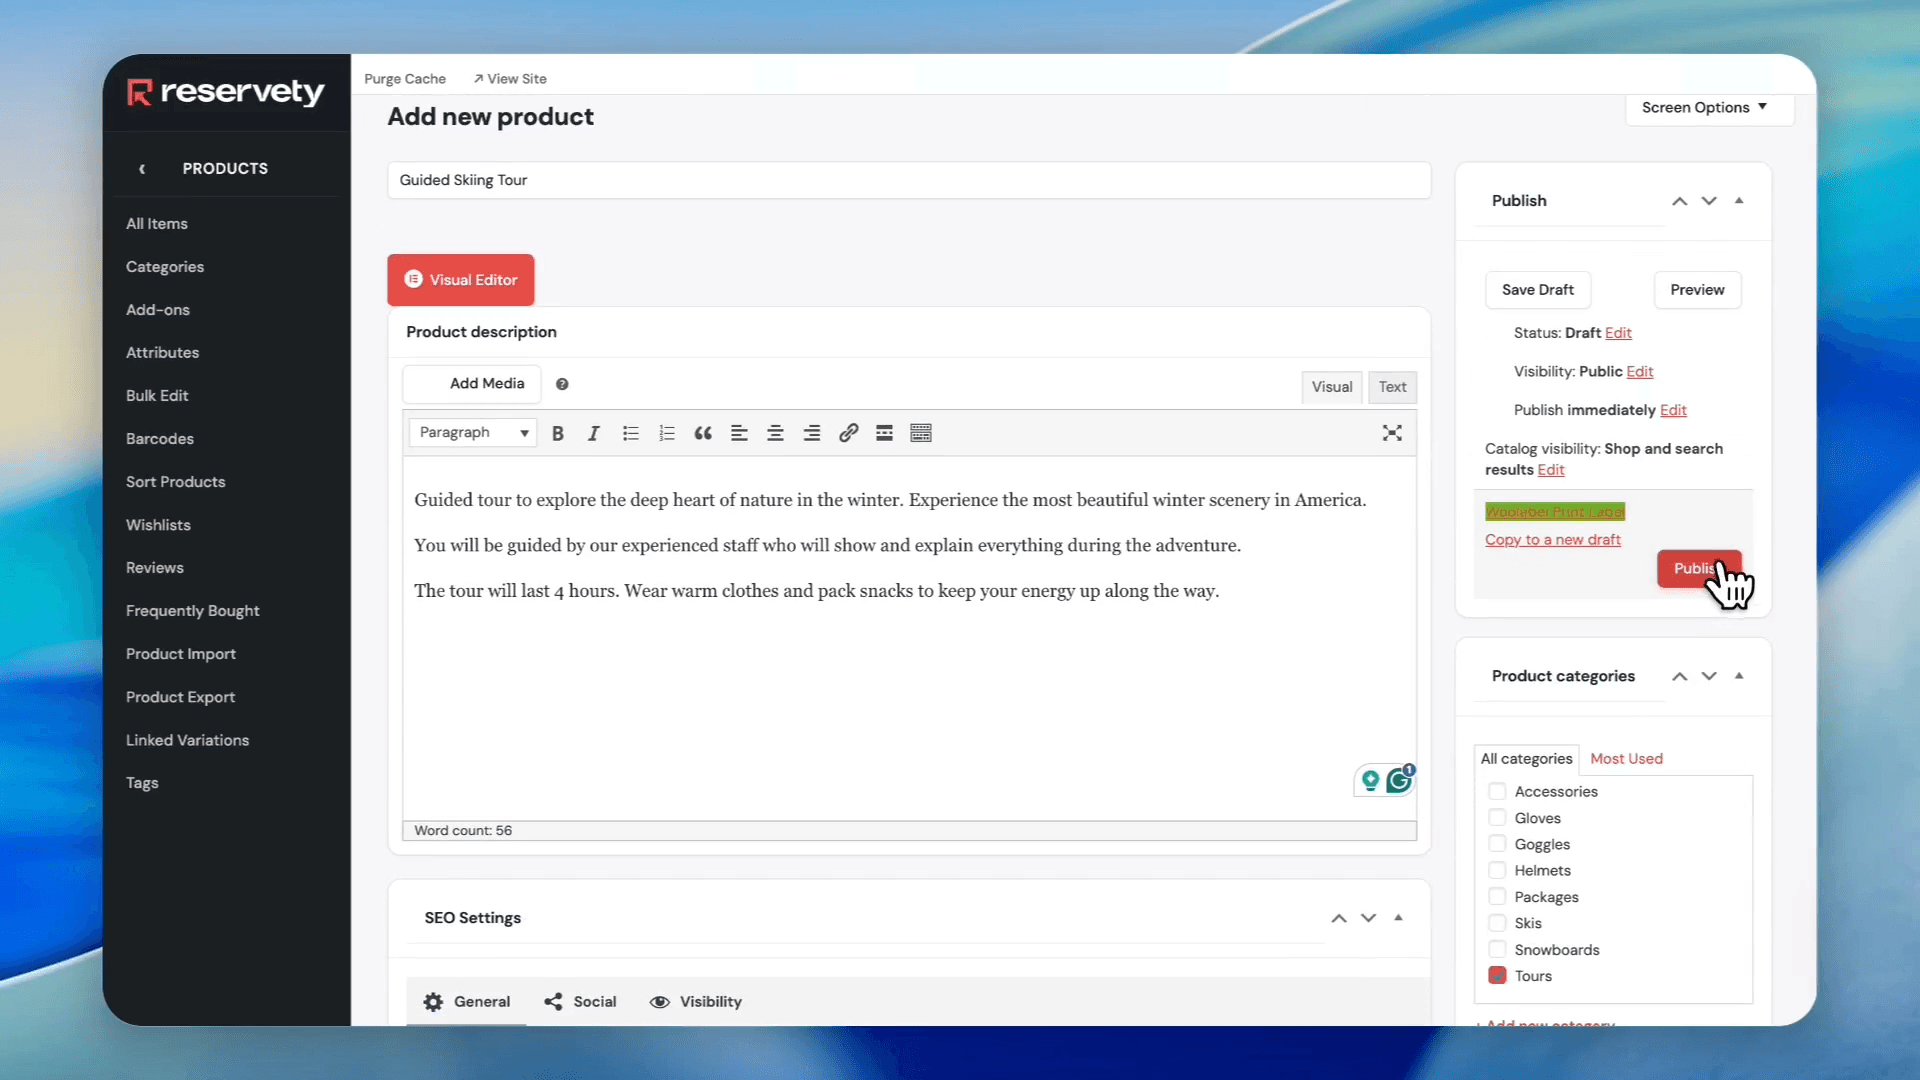
Type the name of your tour (e.g., "Guided Skiing Tour") into the product name field.
30
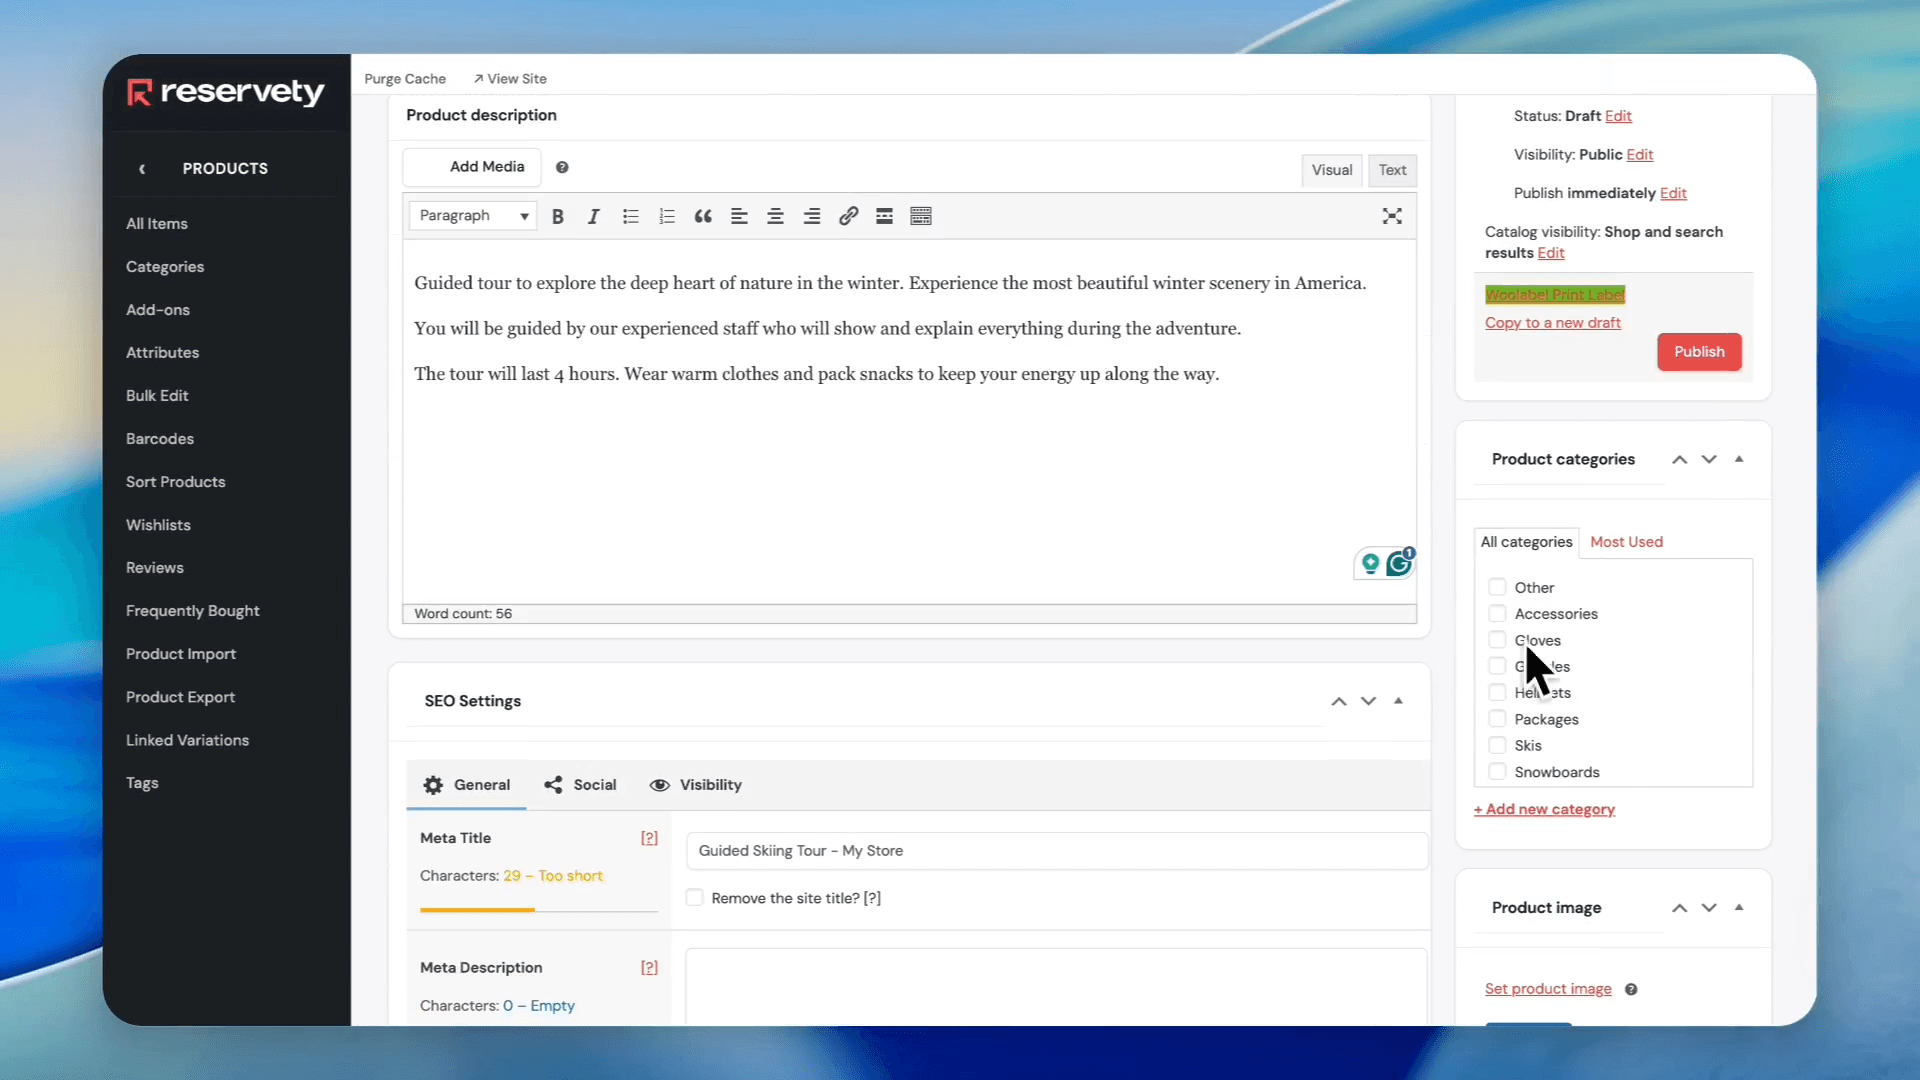
Click the Visual tab and write the description of your tour.
31
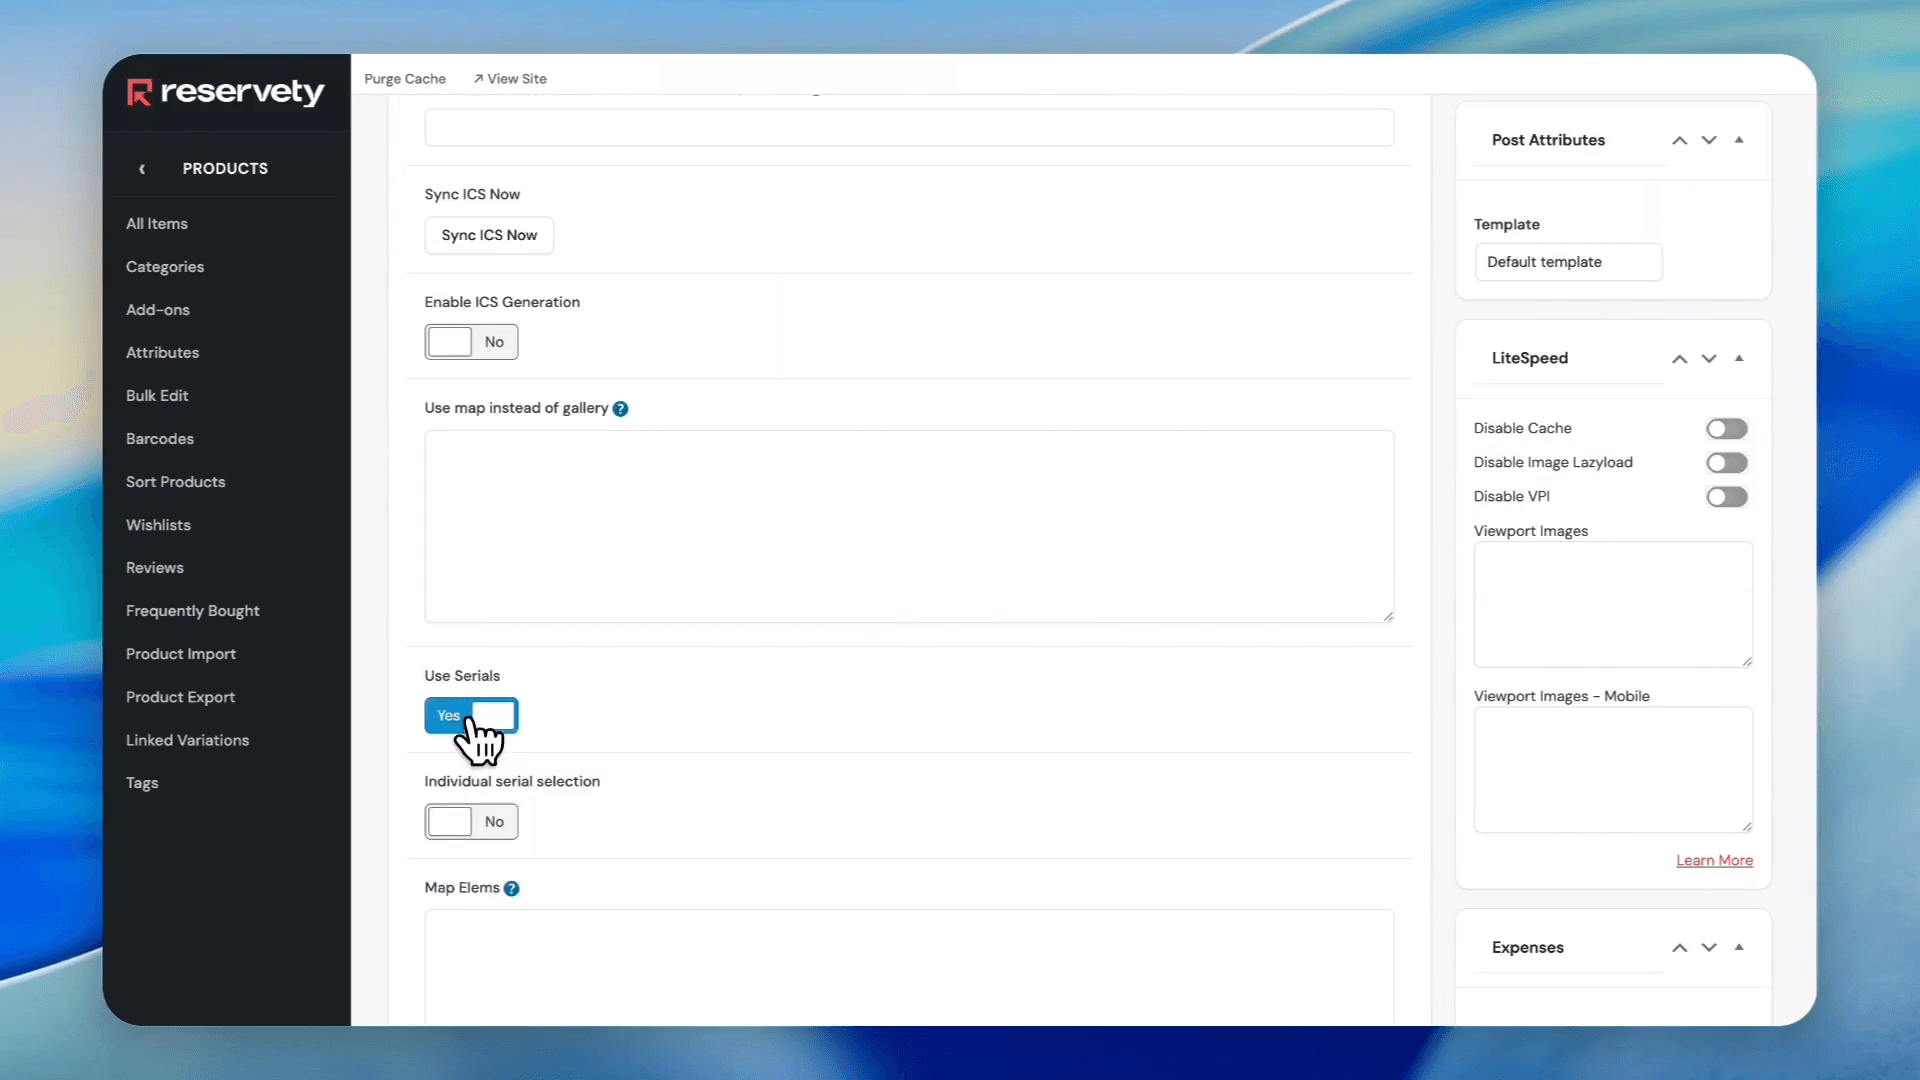
Scroll down and toggle the Use Serials switch to Yes.
32
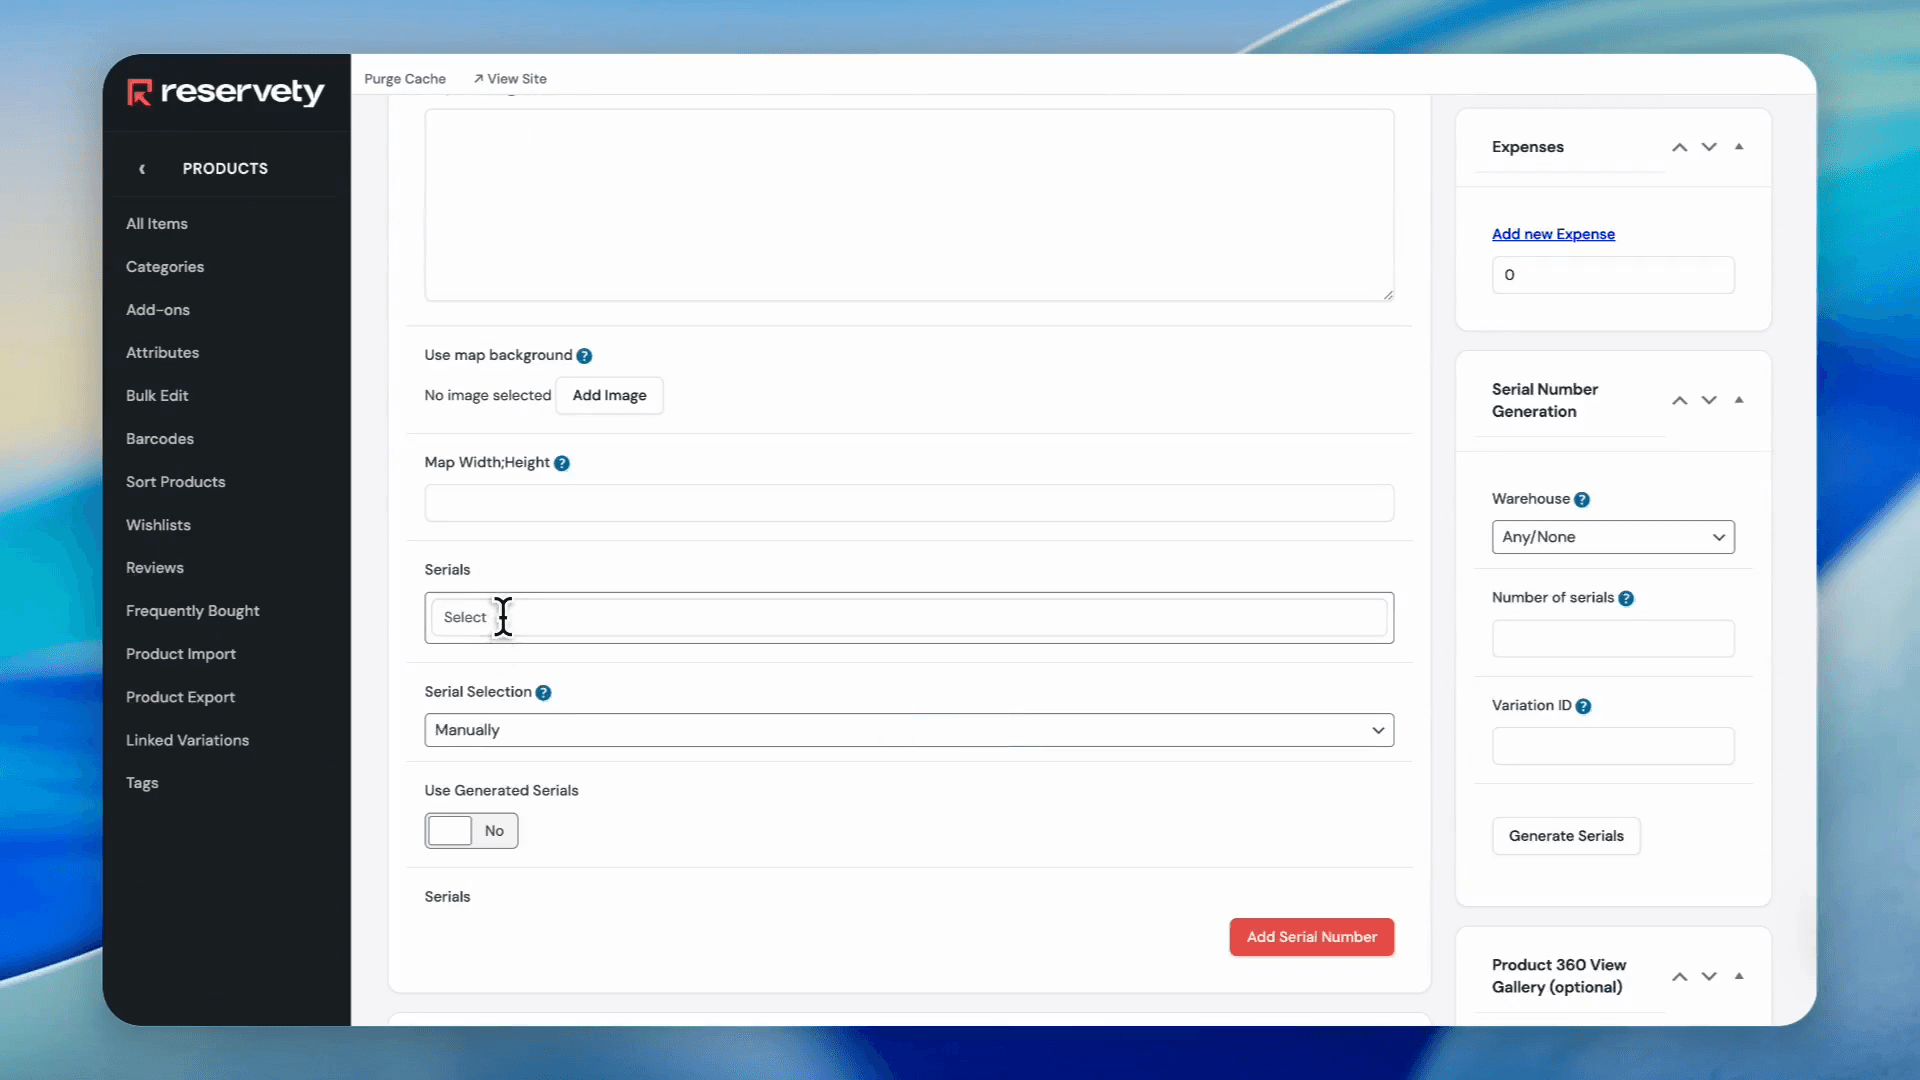
Click the Select option in the Serials section. Type or locate your guide names to add them to the tour.
33
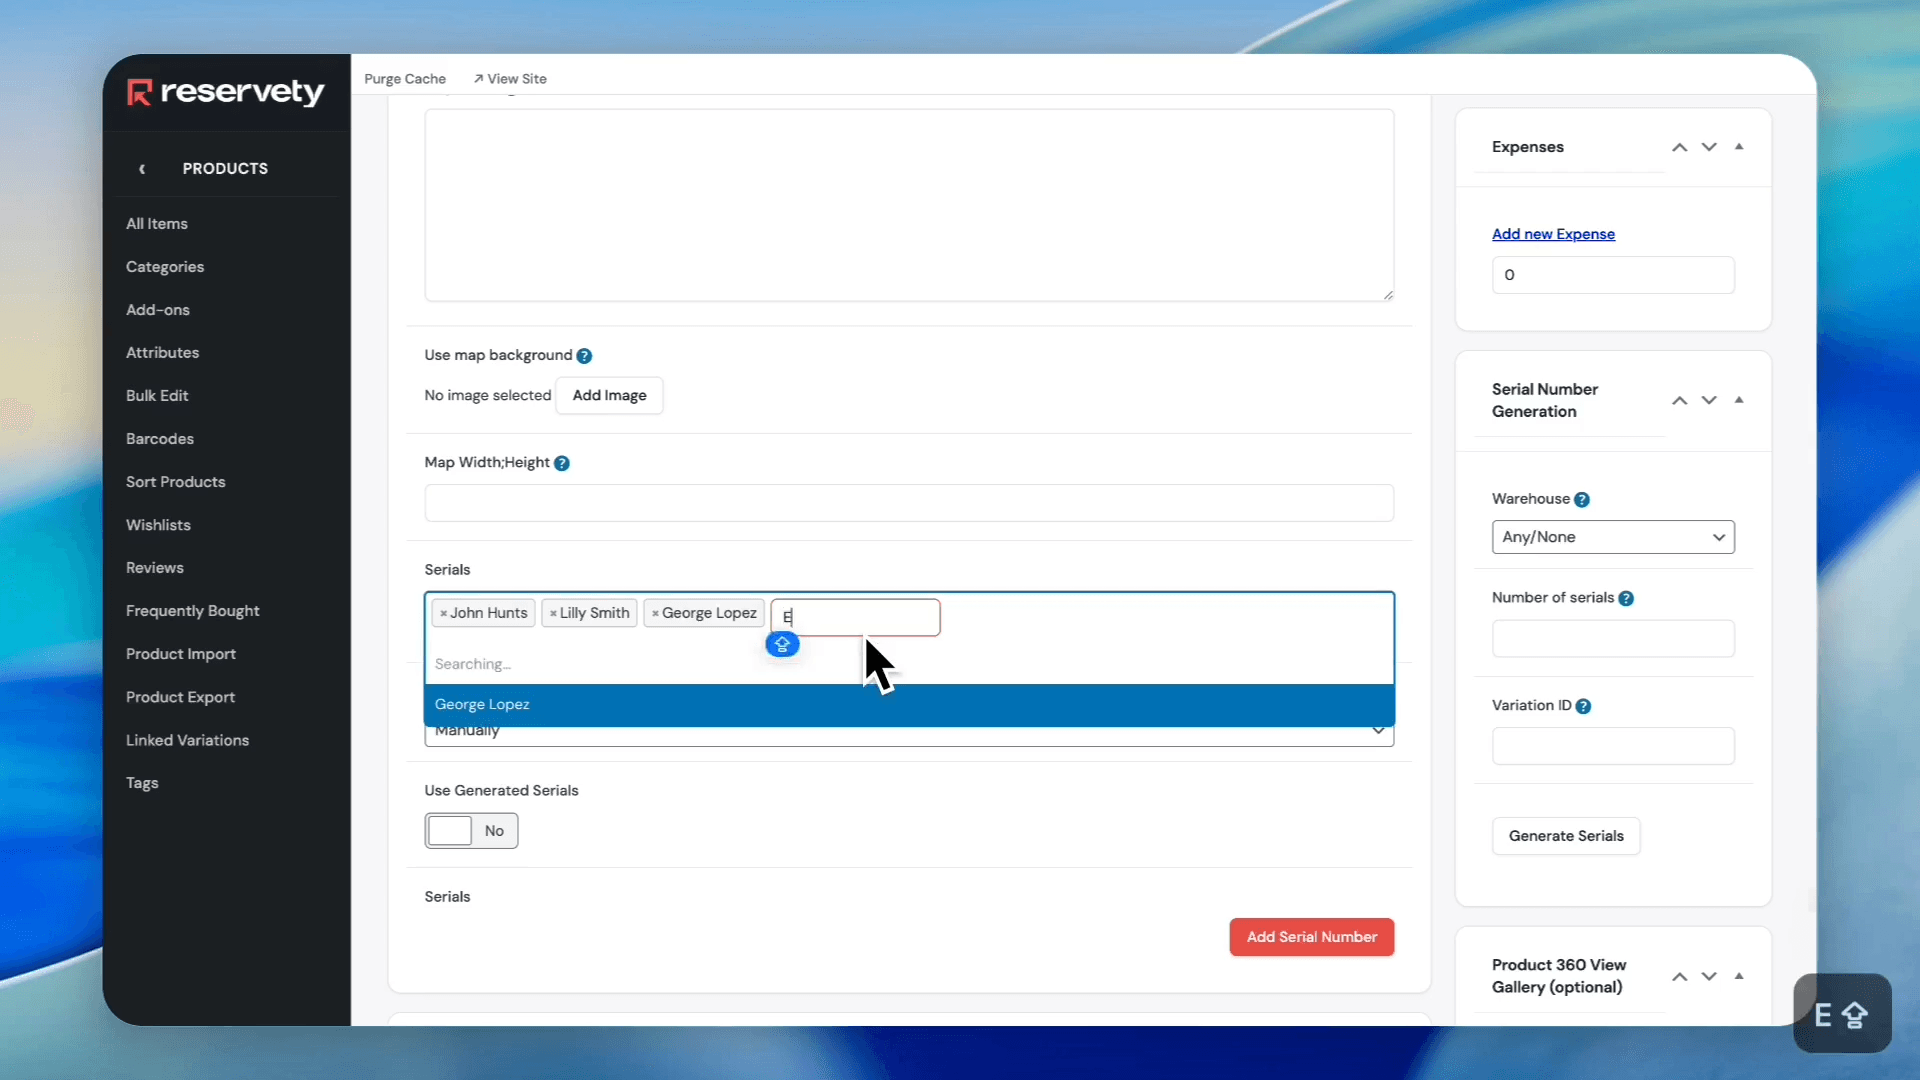
Select each guide from the dropdown.
34
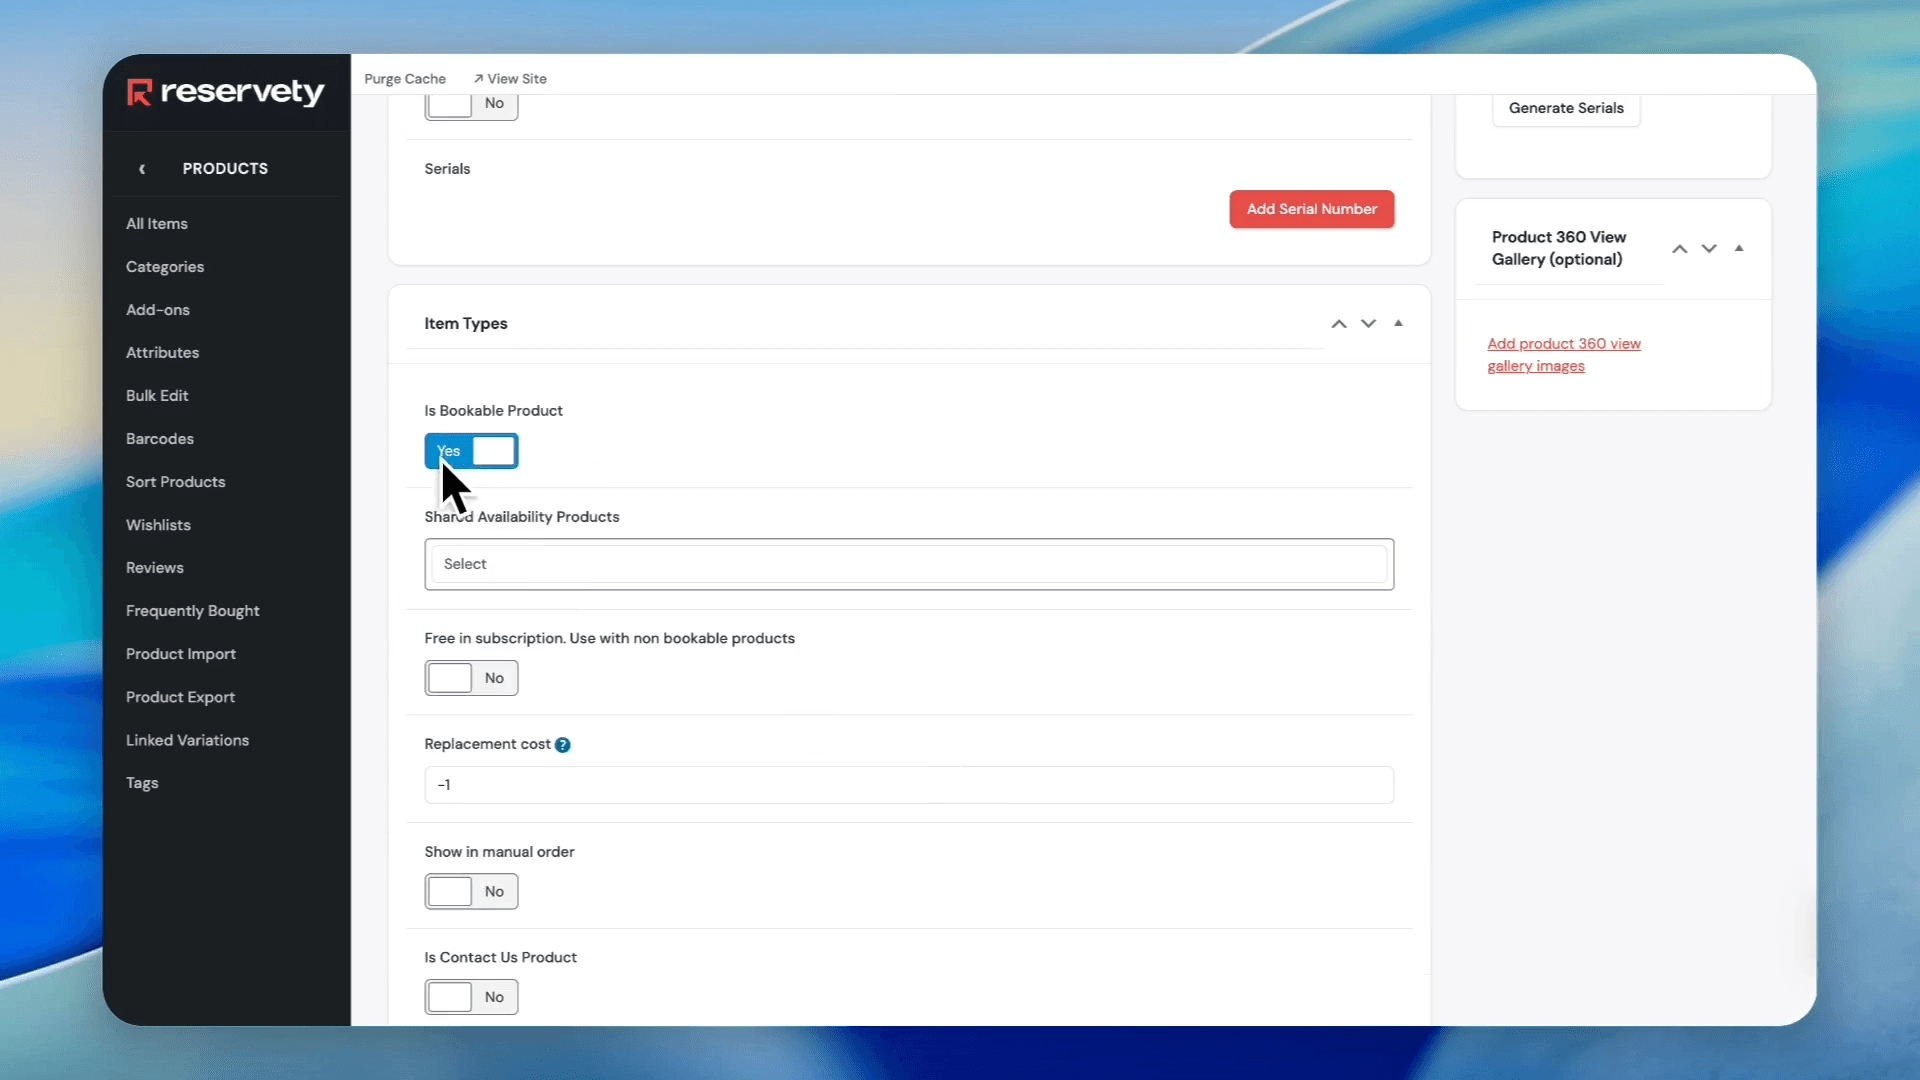
Ensure the Is Bookable Product checkbox is checked.
35
Click on Inventory and verify Track stock quantity is unchecked and status is set to In stock.
36
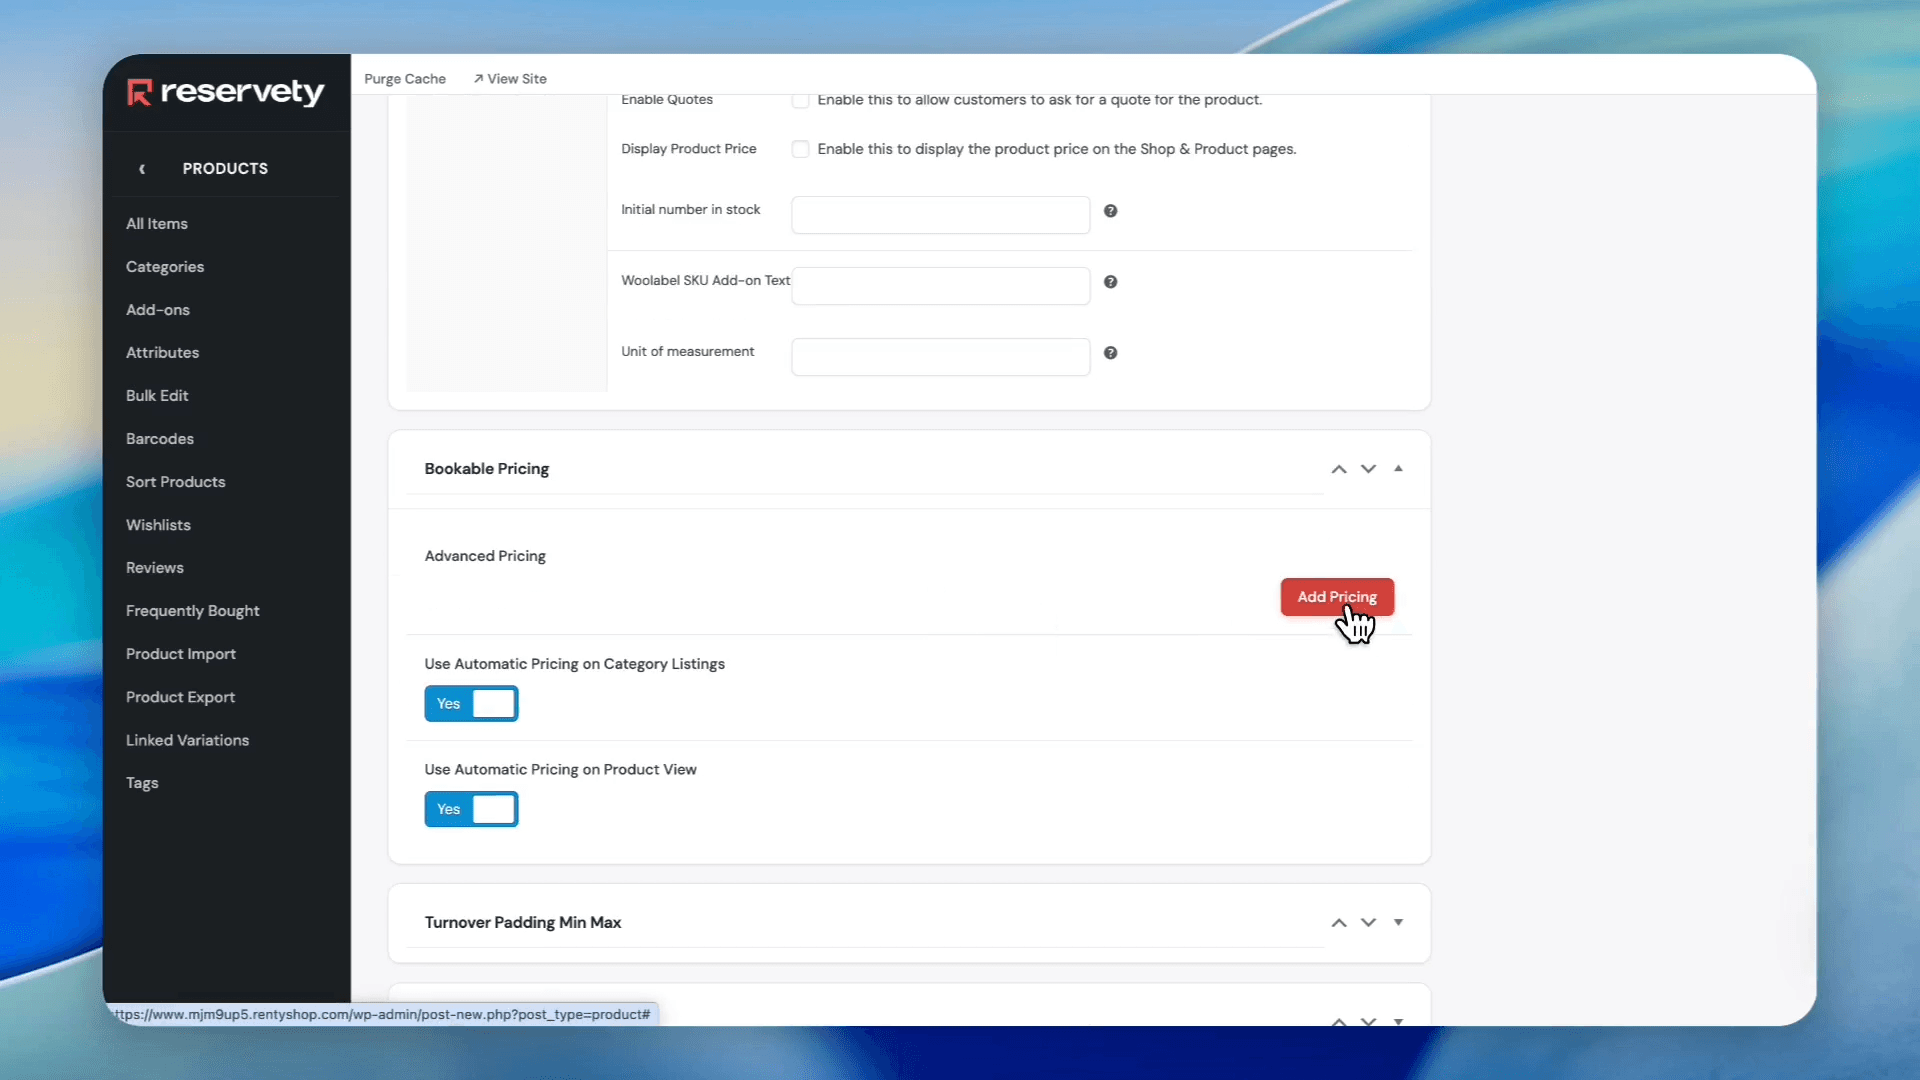
Click on Add Pricing and enter the tour's duration and price.
37
Check the appropriate category checkbox for your listing (e.g., Tours).
38
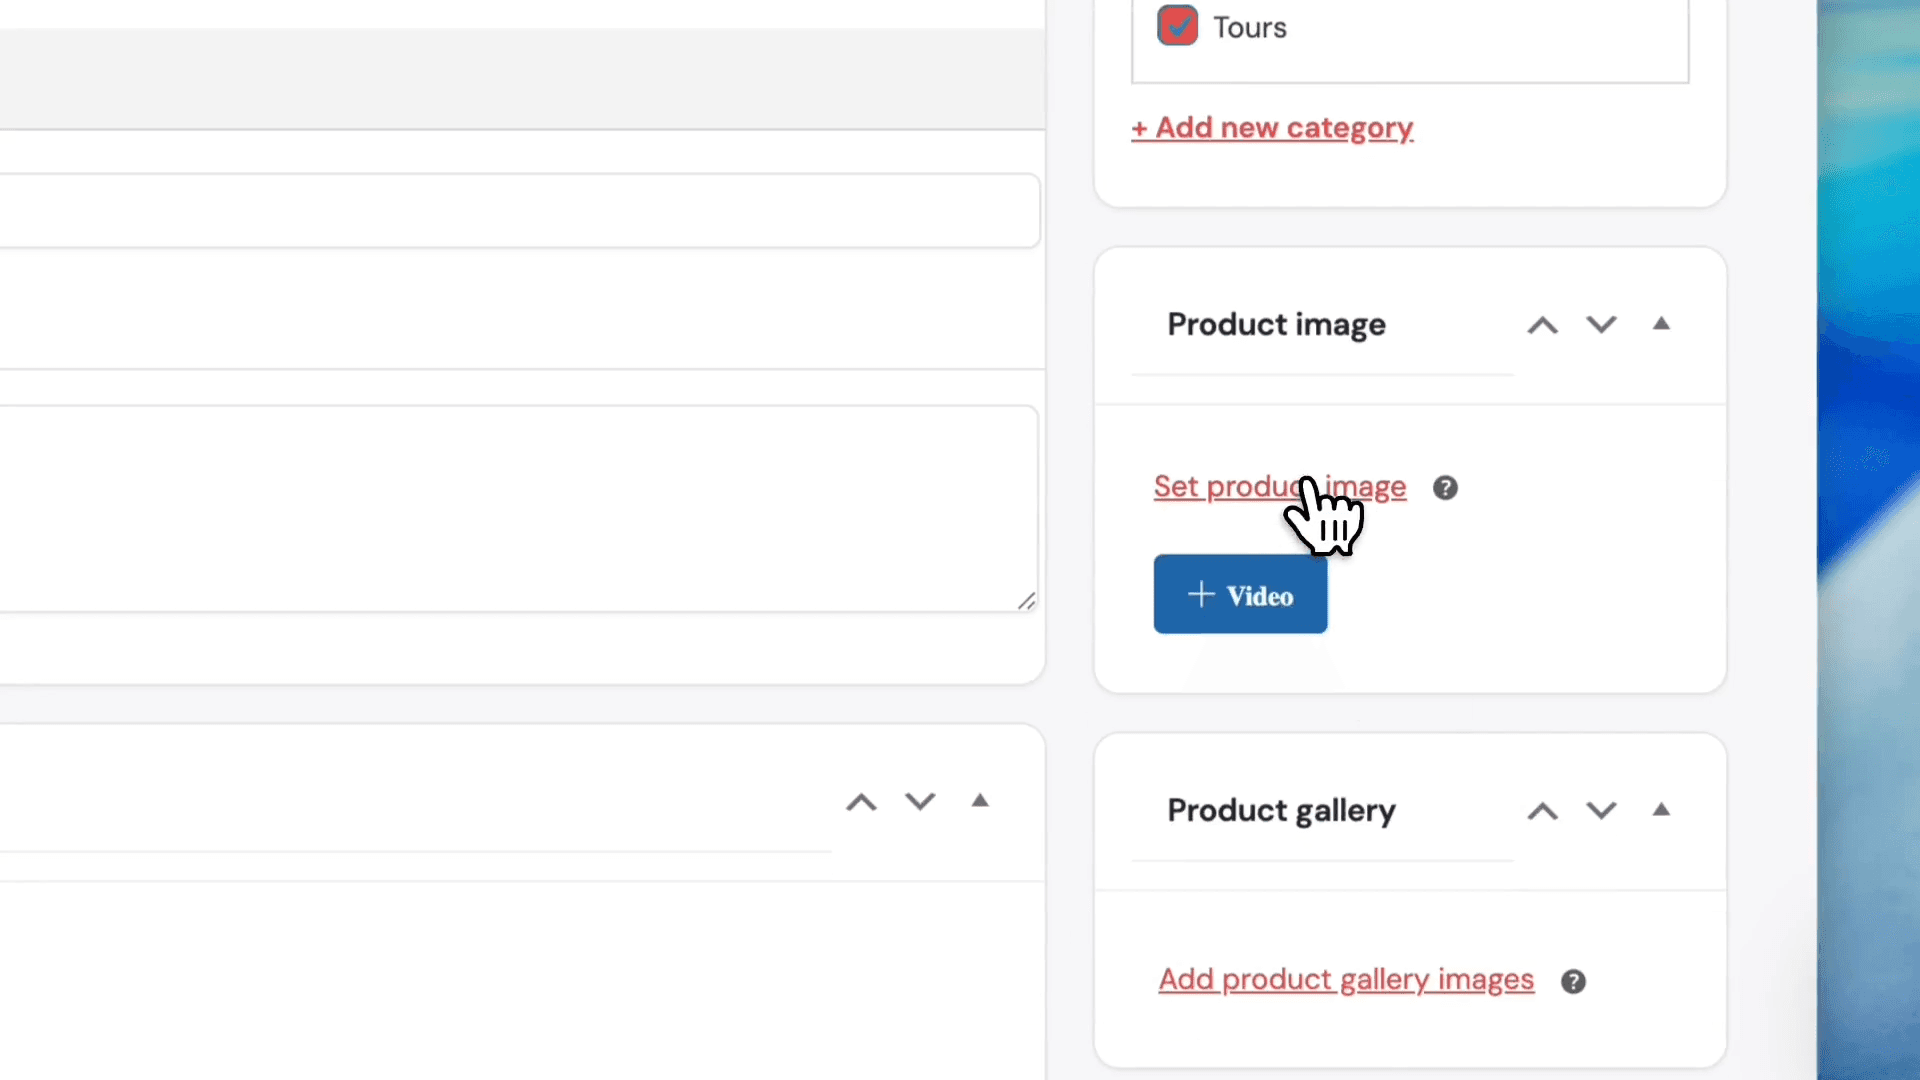
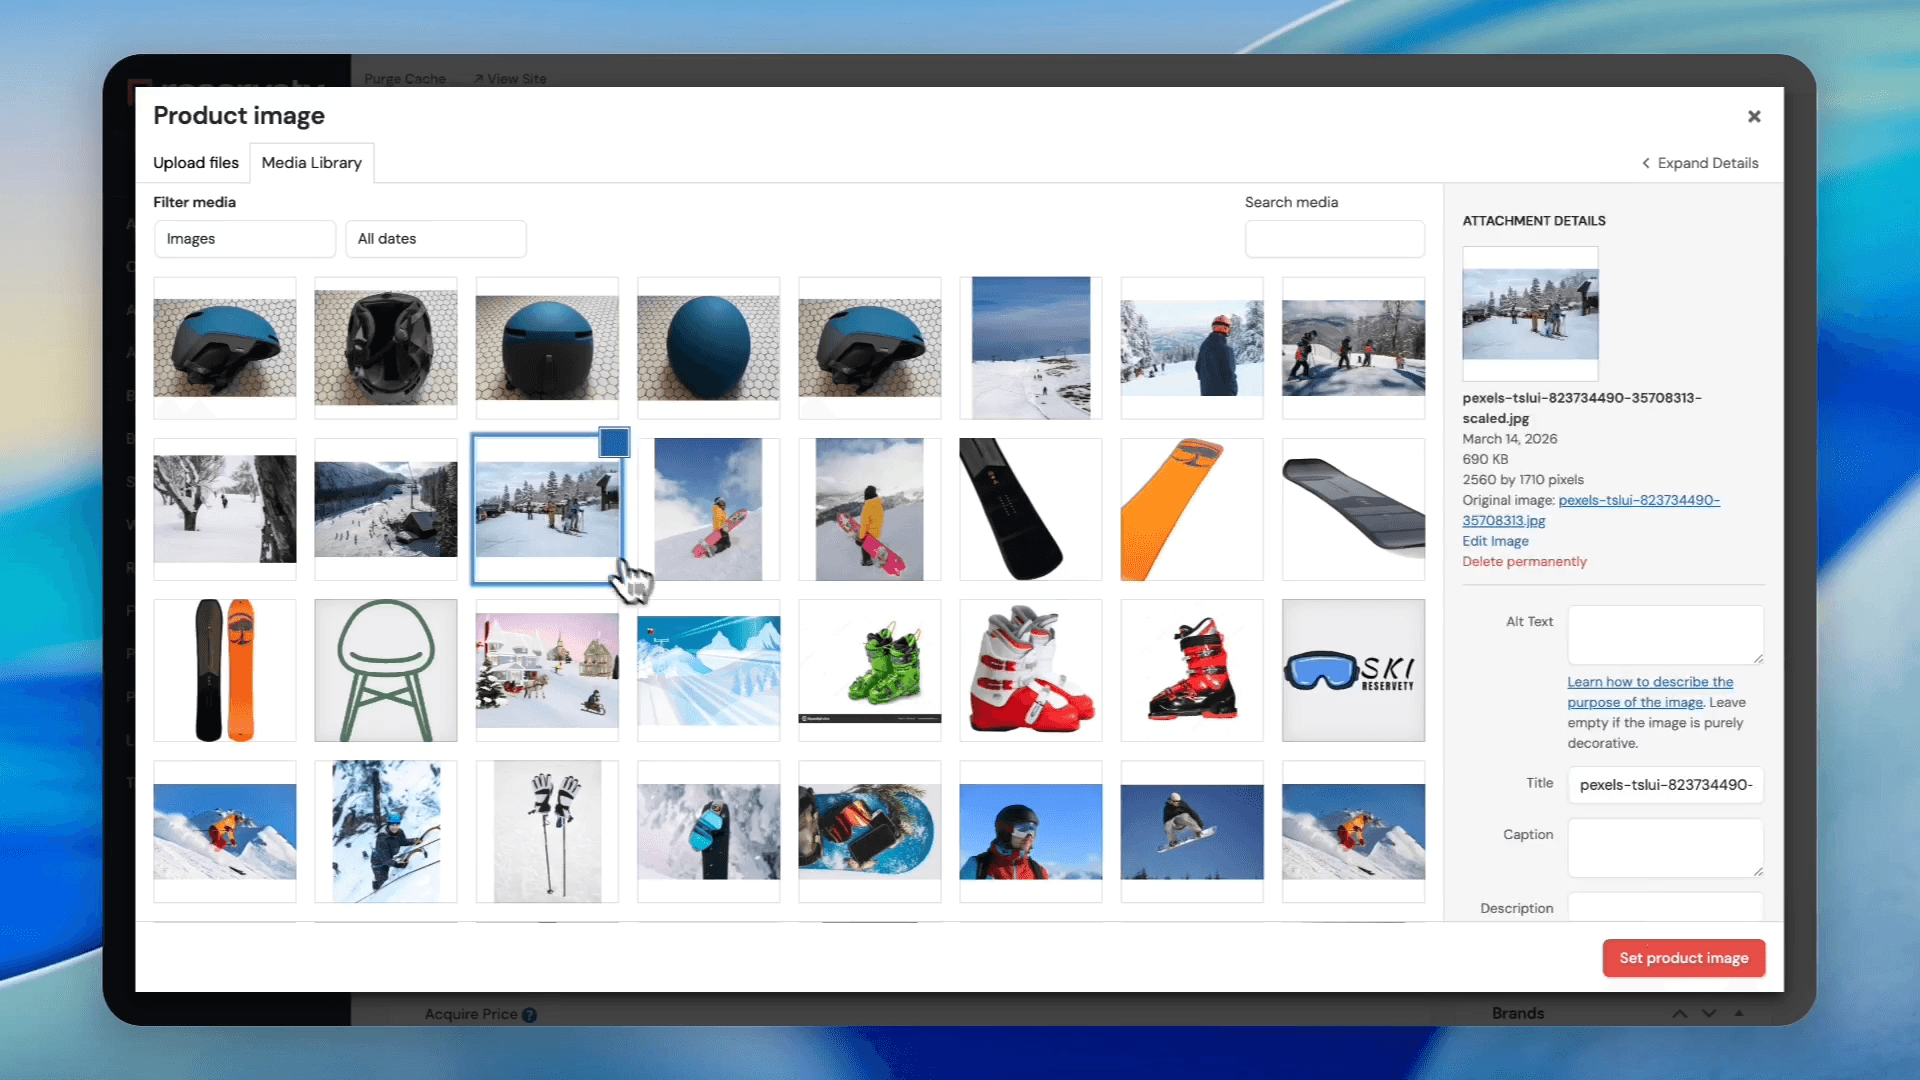
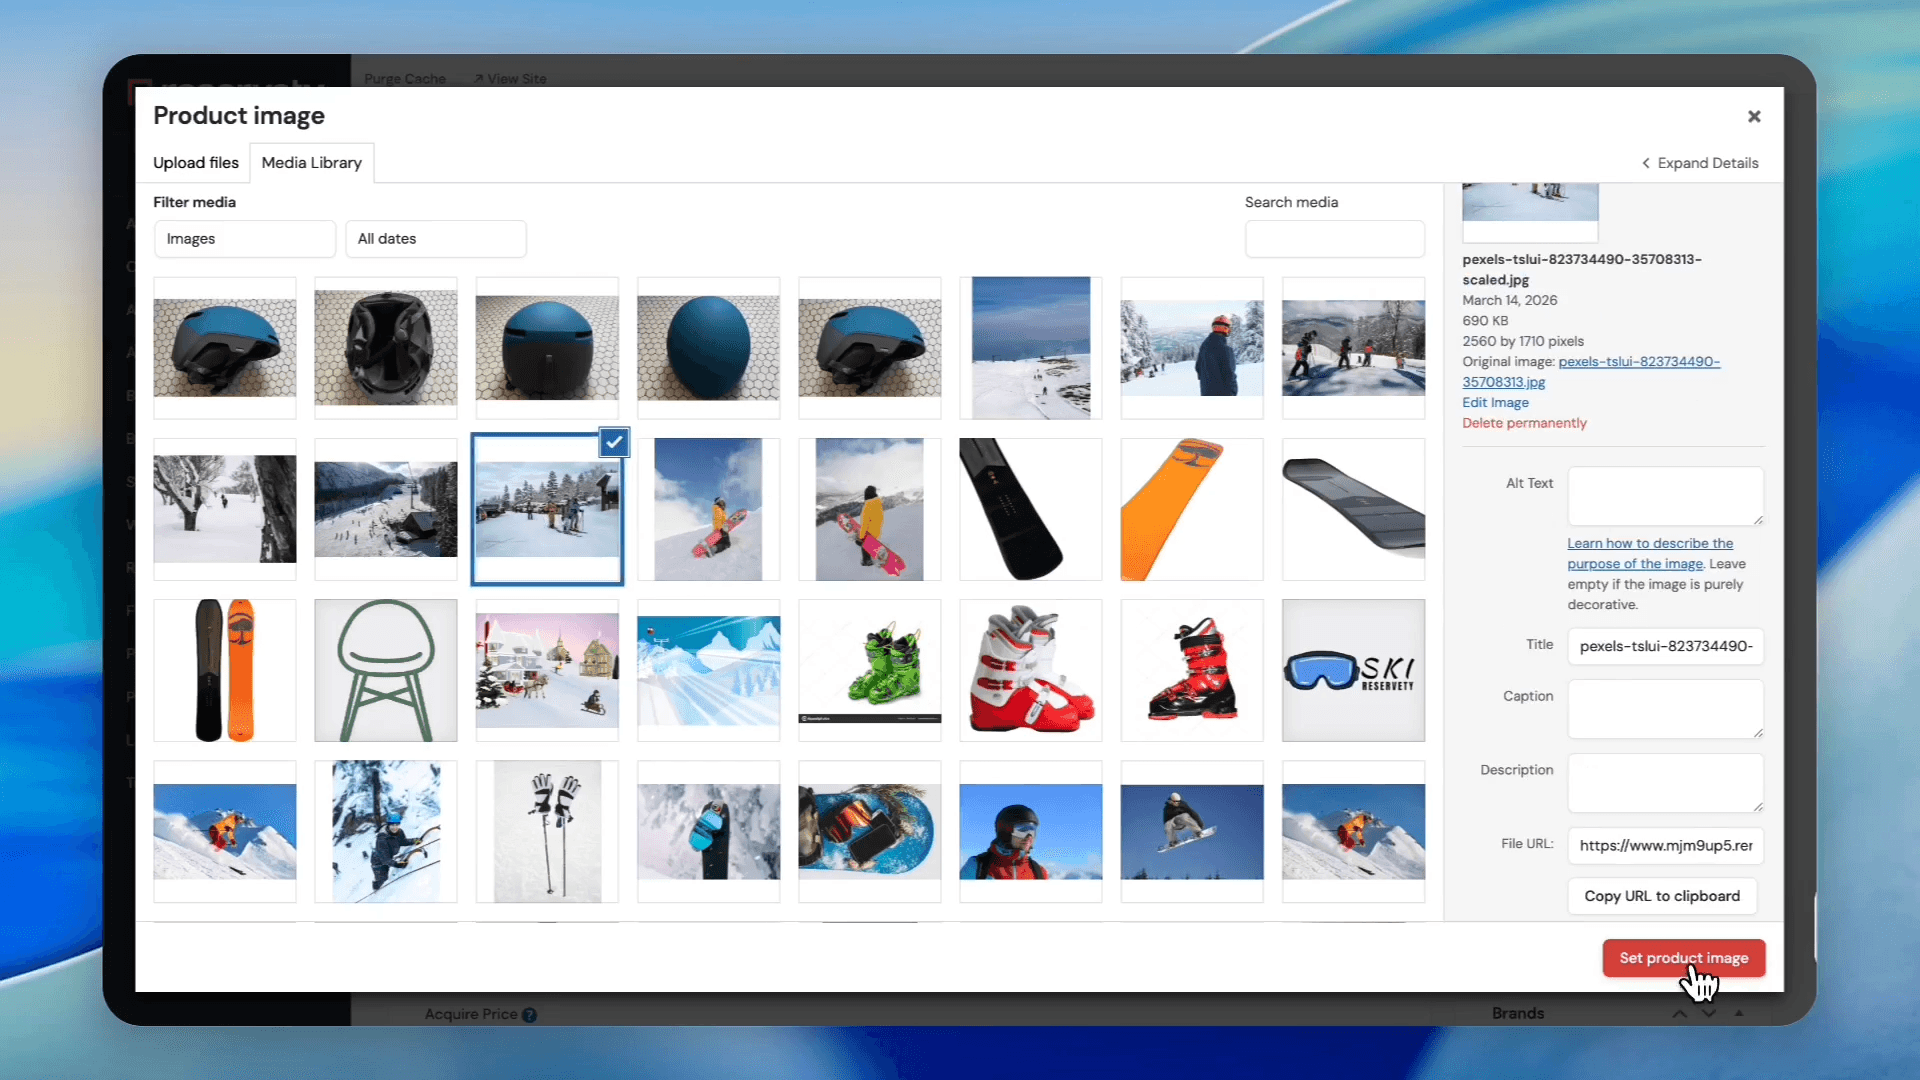
Click on Set product image.
39
Select the primary image from your media library.
40
Click on Set product image in the modal window.
41
Click on Publish to save the main tour product.
Part 4: Booking and Assigning a Guide
42
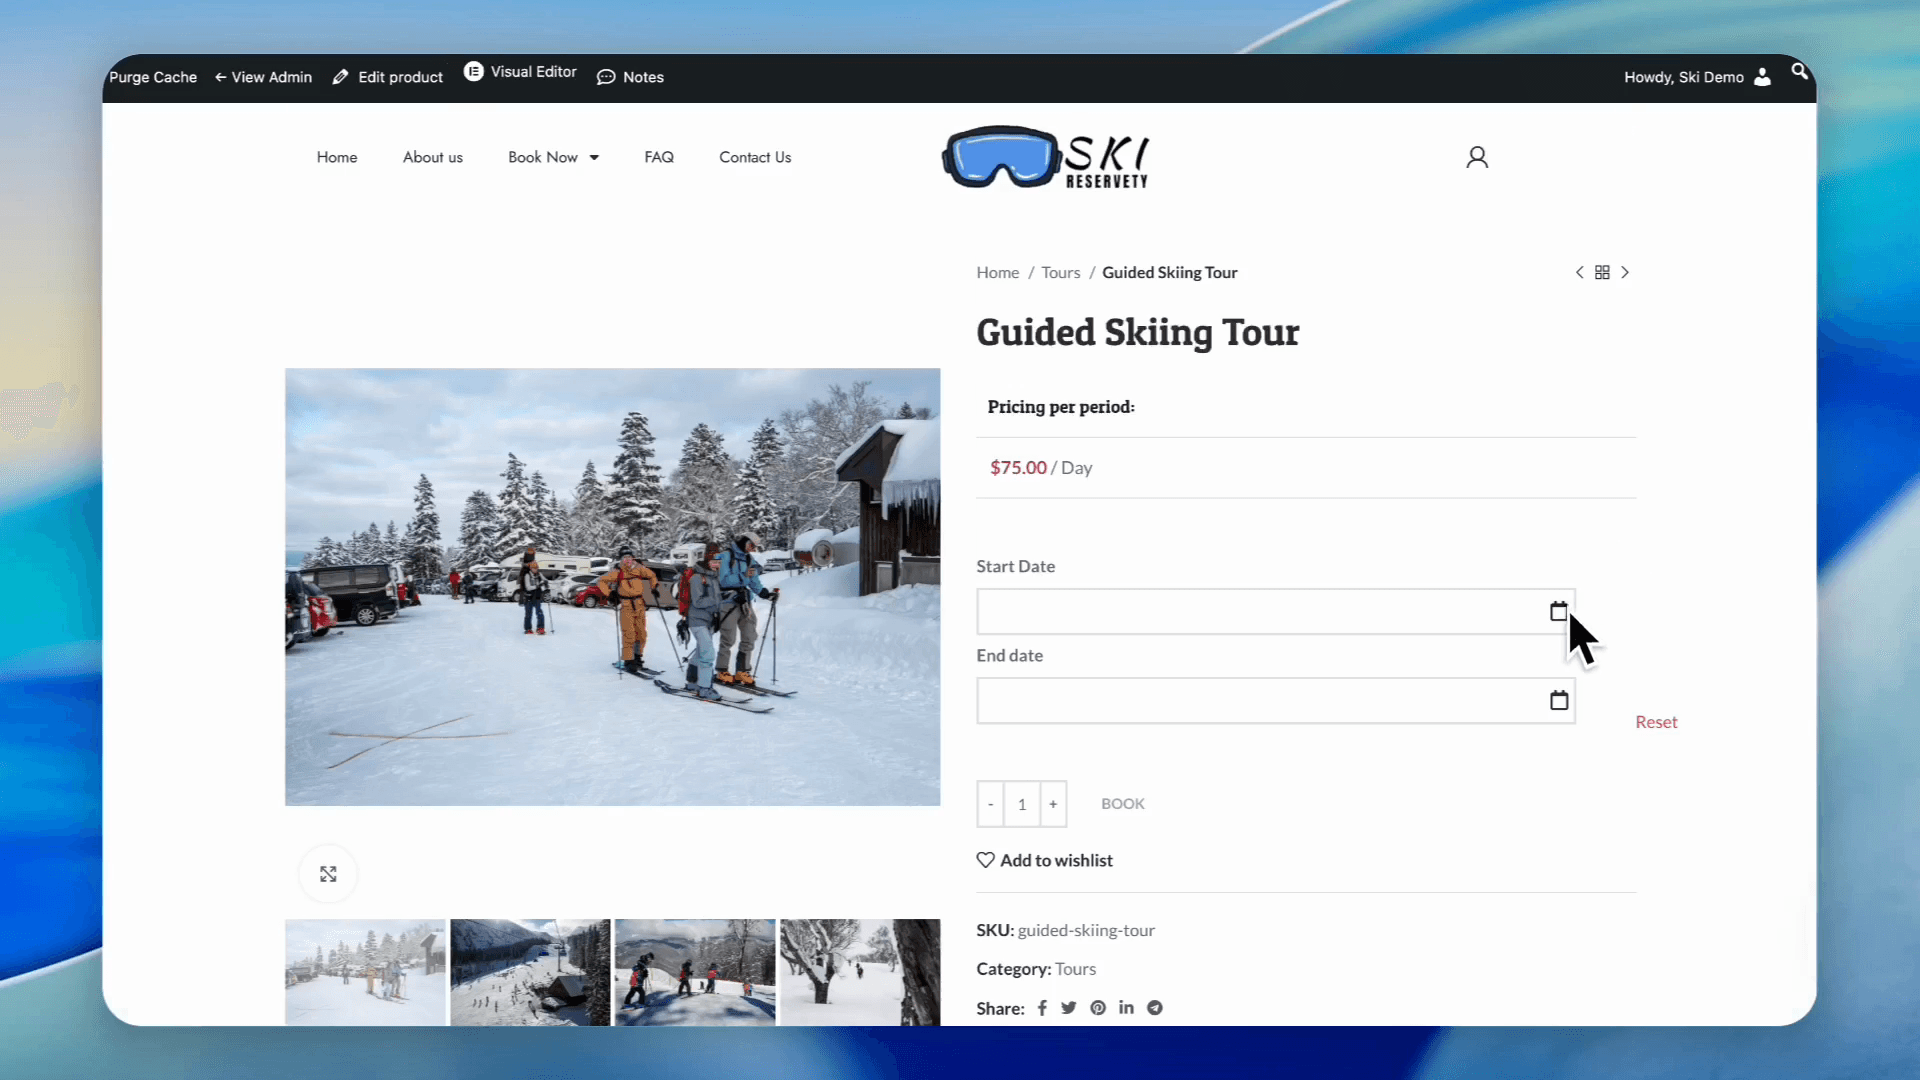
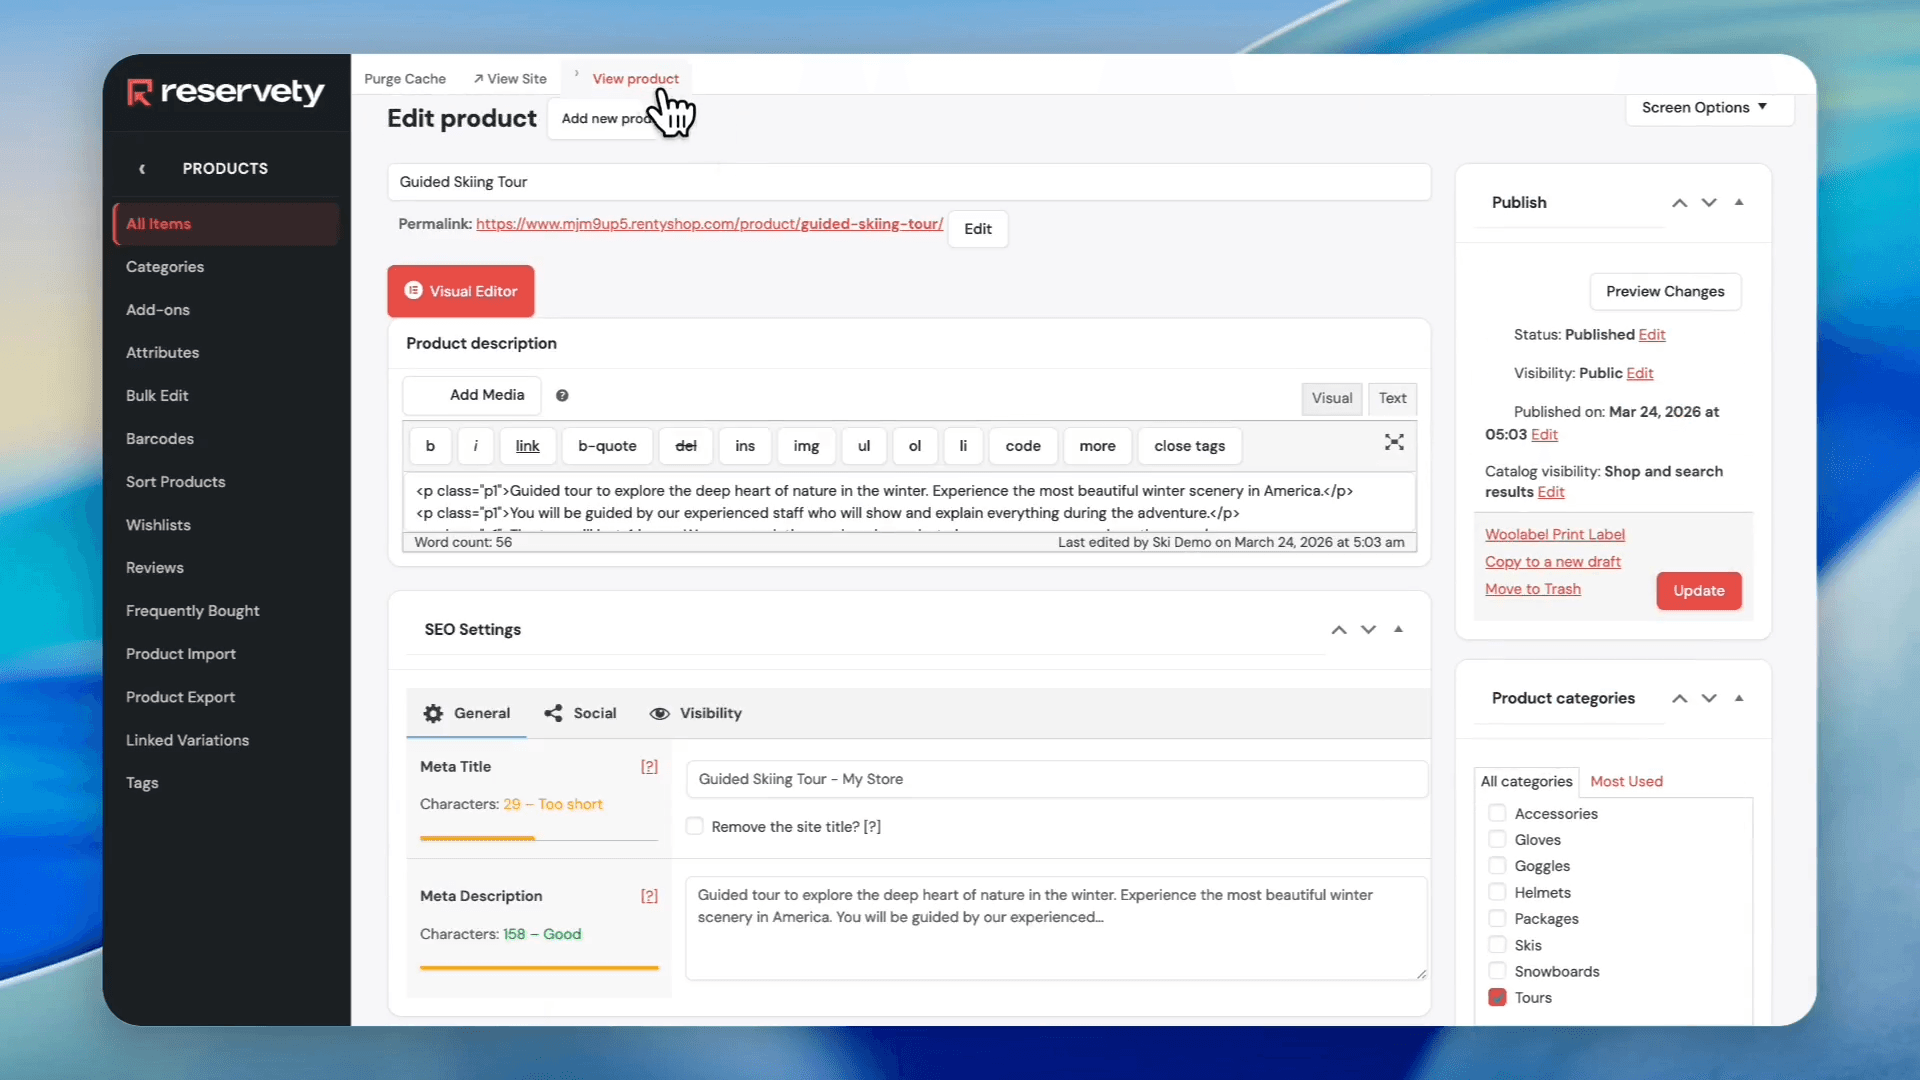
Click on View product to open the front-end listing and test the booking flow.
43
Select tour dates
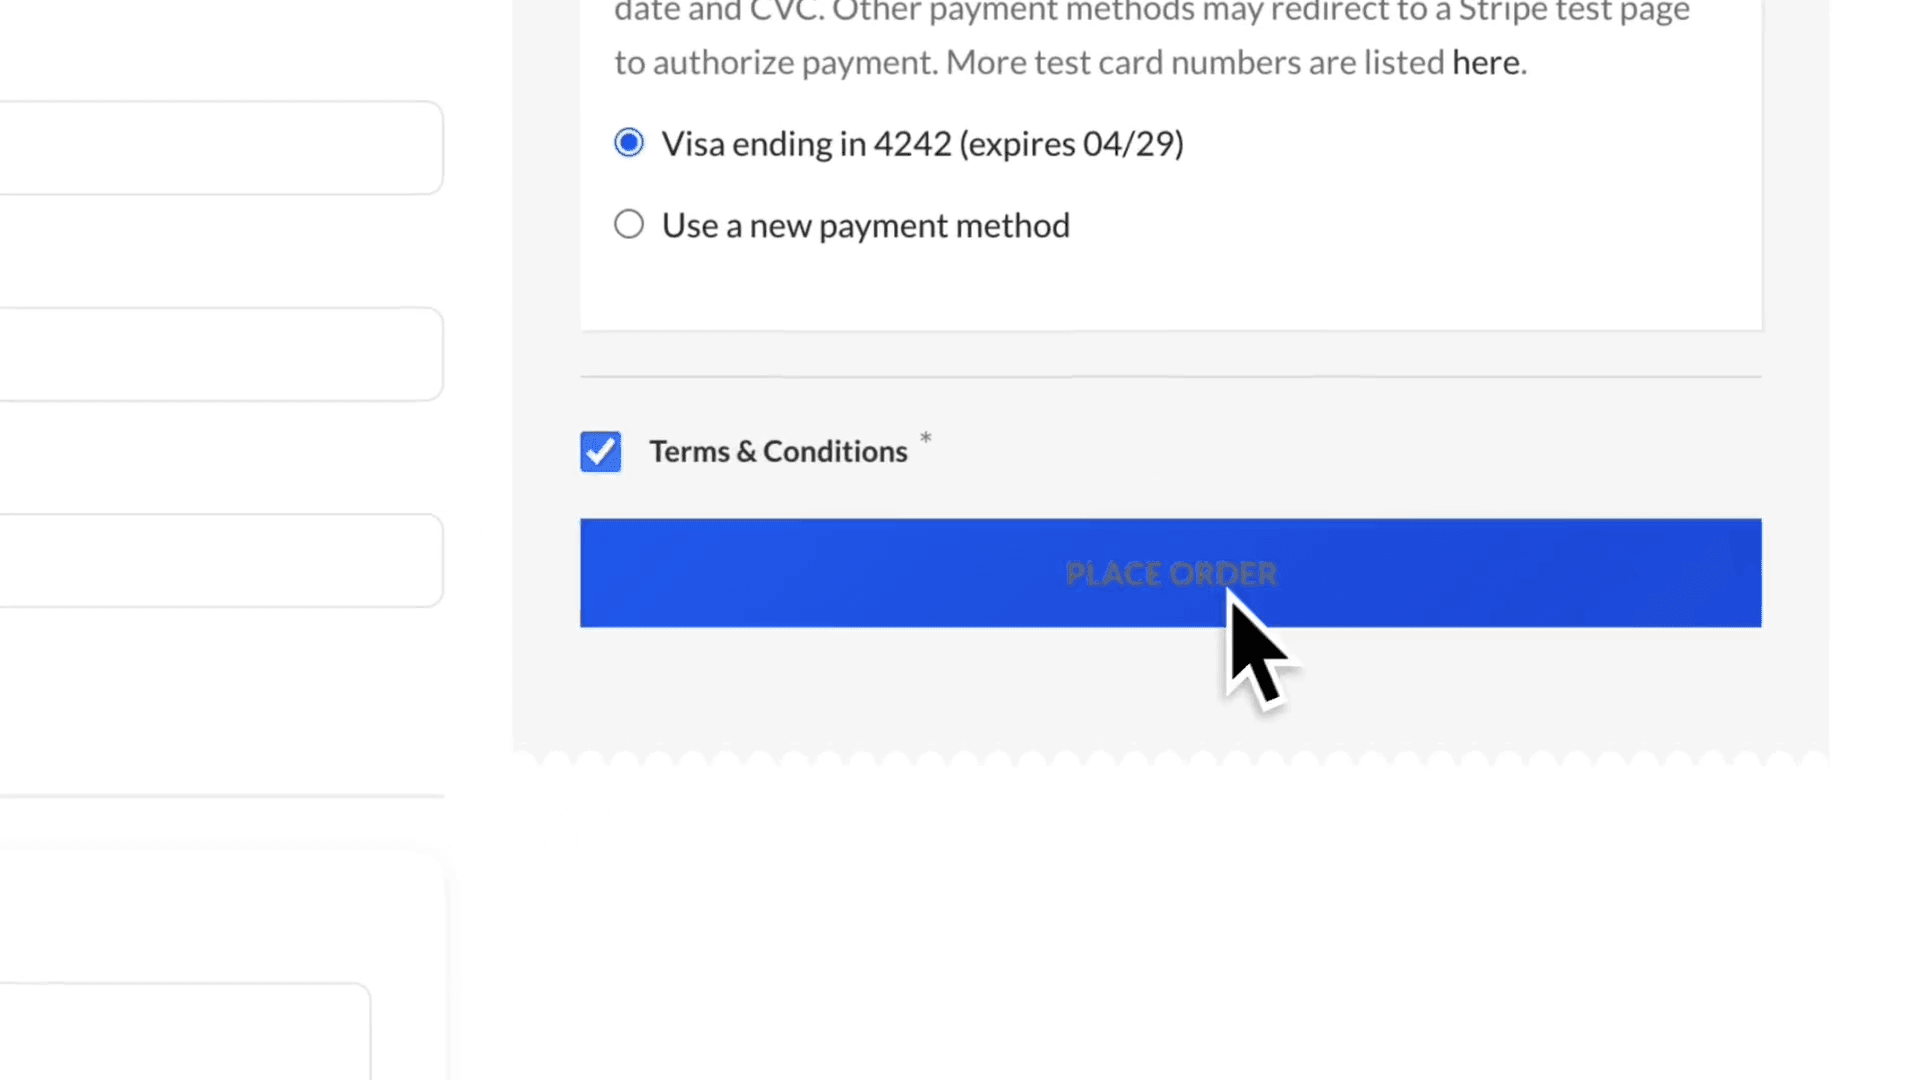
44
Click on PLACE ORDER.
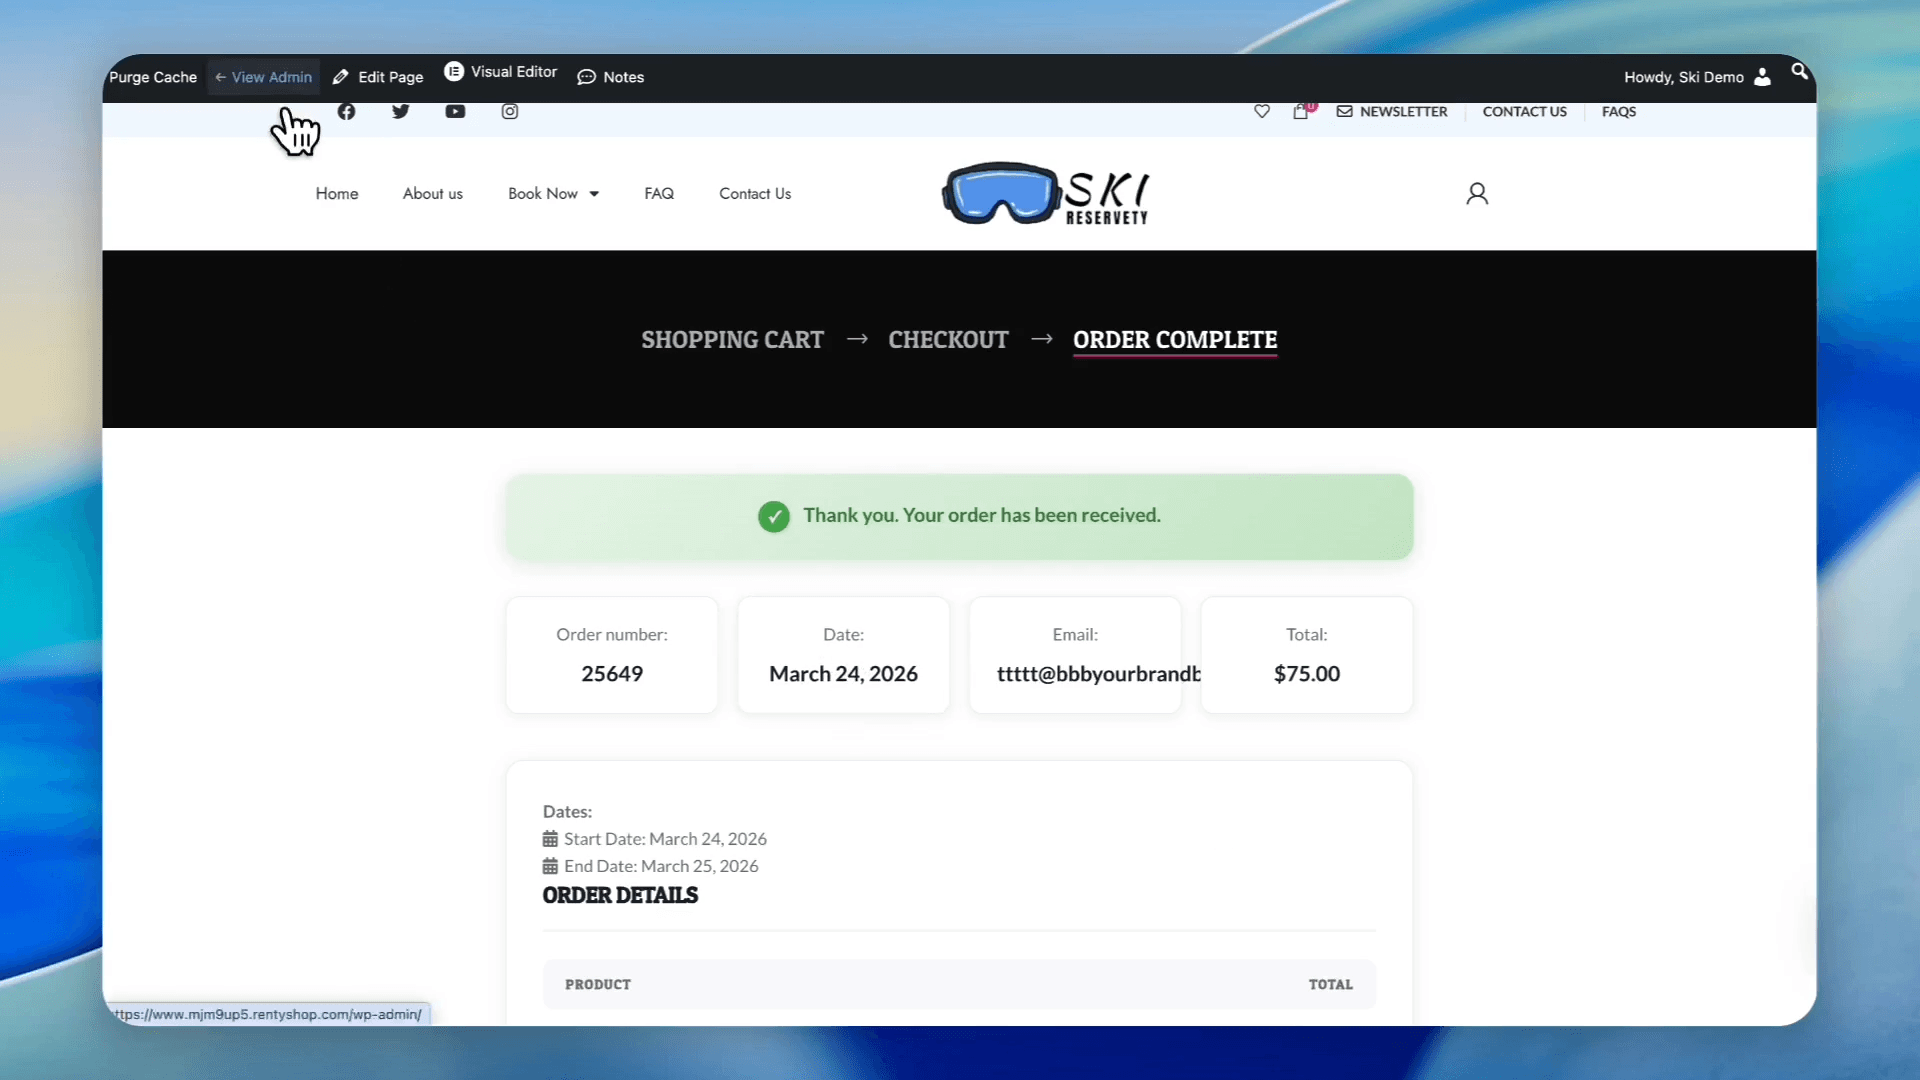
45
Click on View Admin in the top toolbar to return to the backend dashboard.
46
Navigate to Bookings > Orders.
47
Click on the newly placed order.
48
Click the Order Actions button.
49
Click Prepare Order.
50
Click the red icon, then click the selection box to view available guides.
51
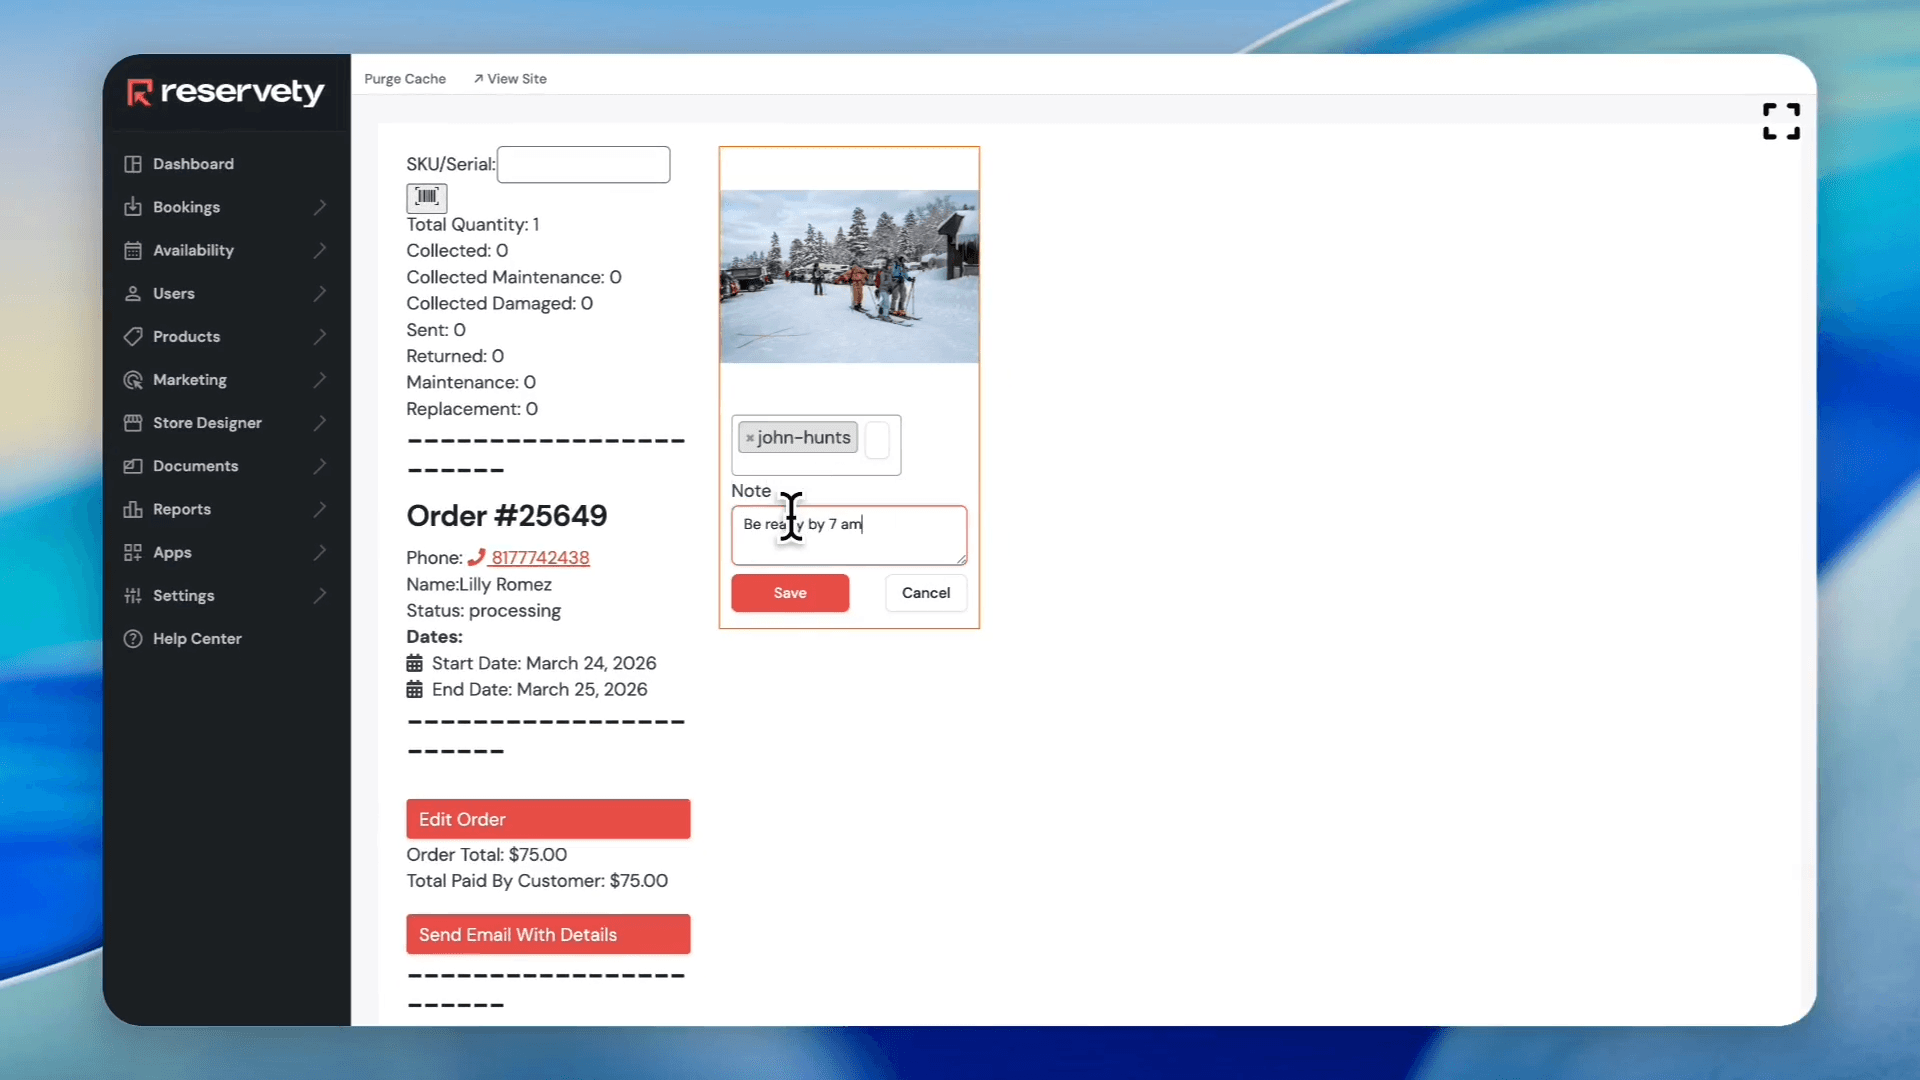
Select one of the guides from the list.
52
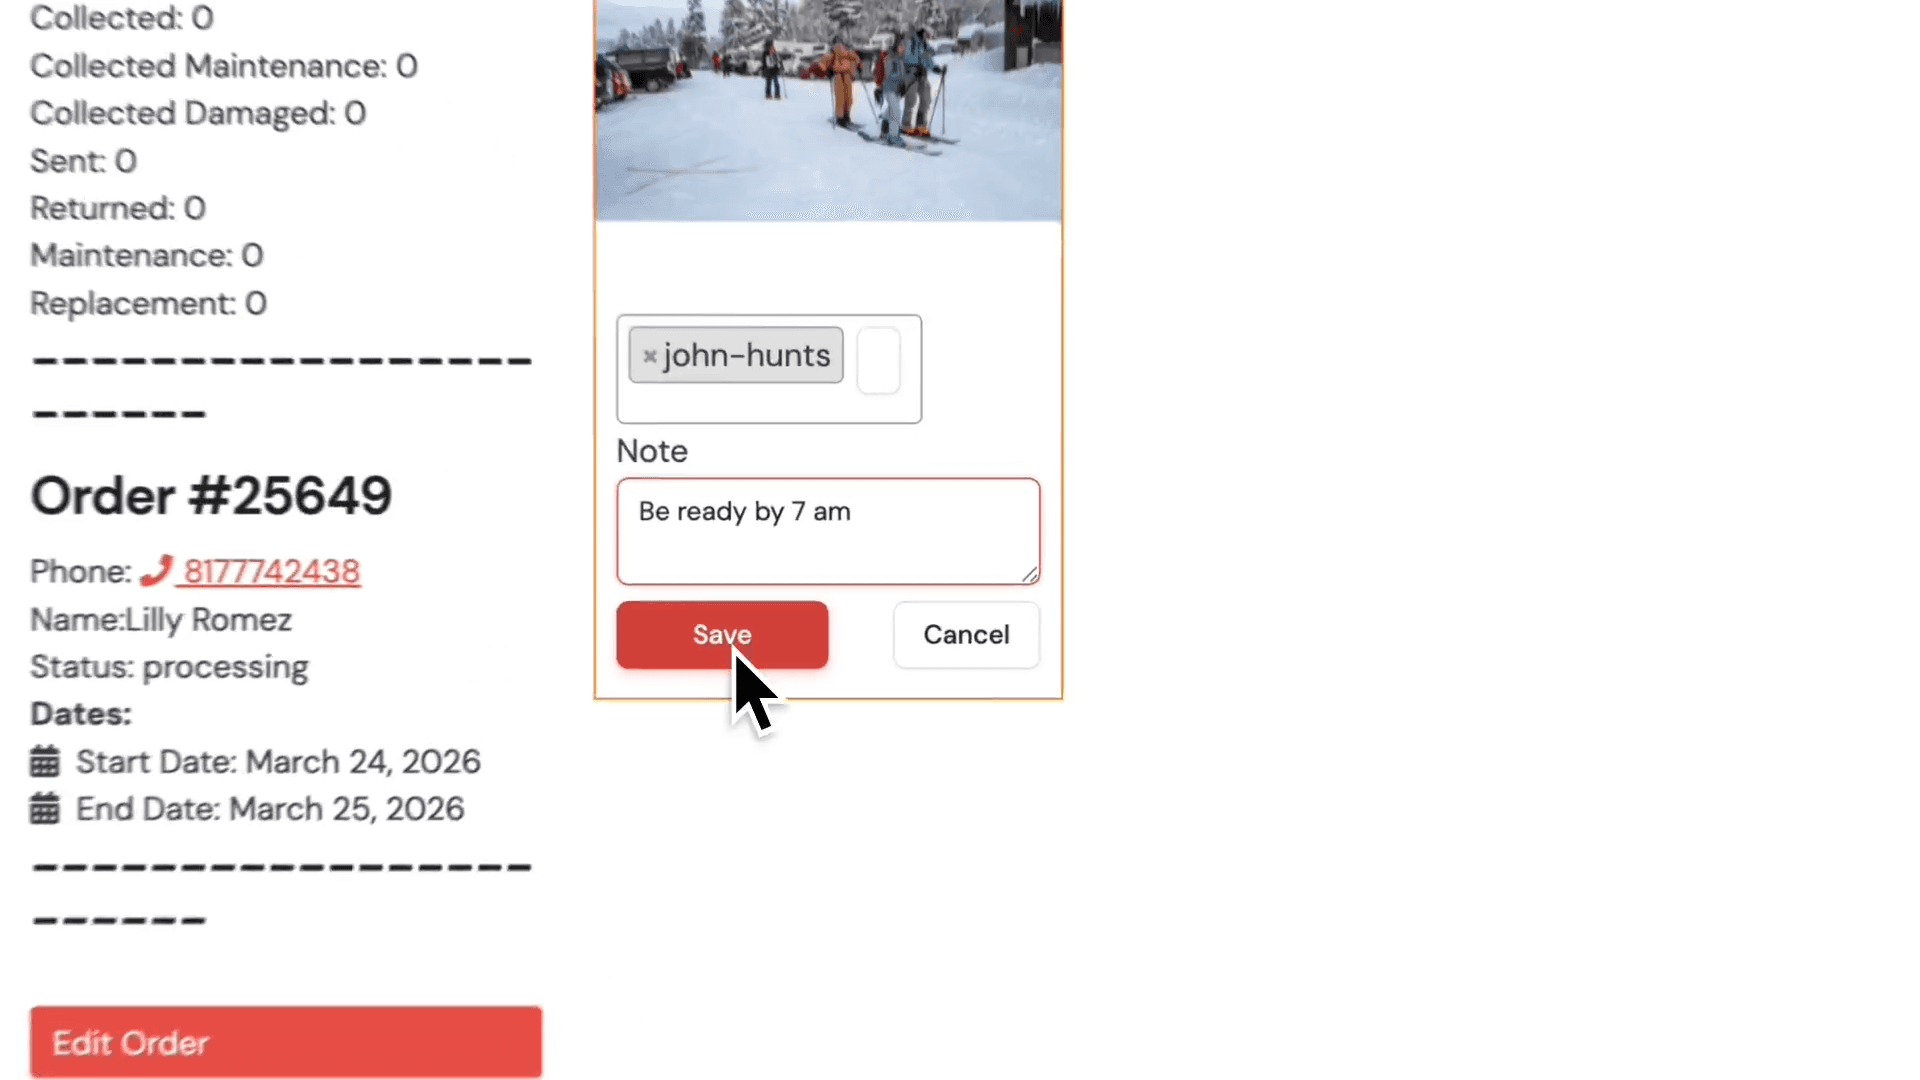
Click the note field to leave a special message for the assigned guide. Type your instructions (e.g., "be ready by 7:00 a.m.").
53
Click Save.
Part 5: Syncing Guide Availability with Google Calendar
To prevent double-booking, sync personal schedules with Reservety using Google Calendar.
54
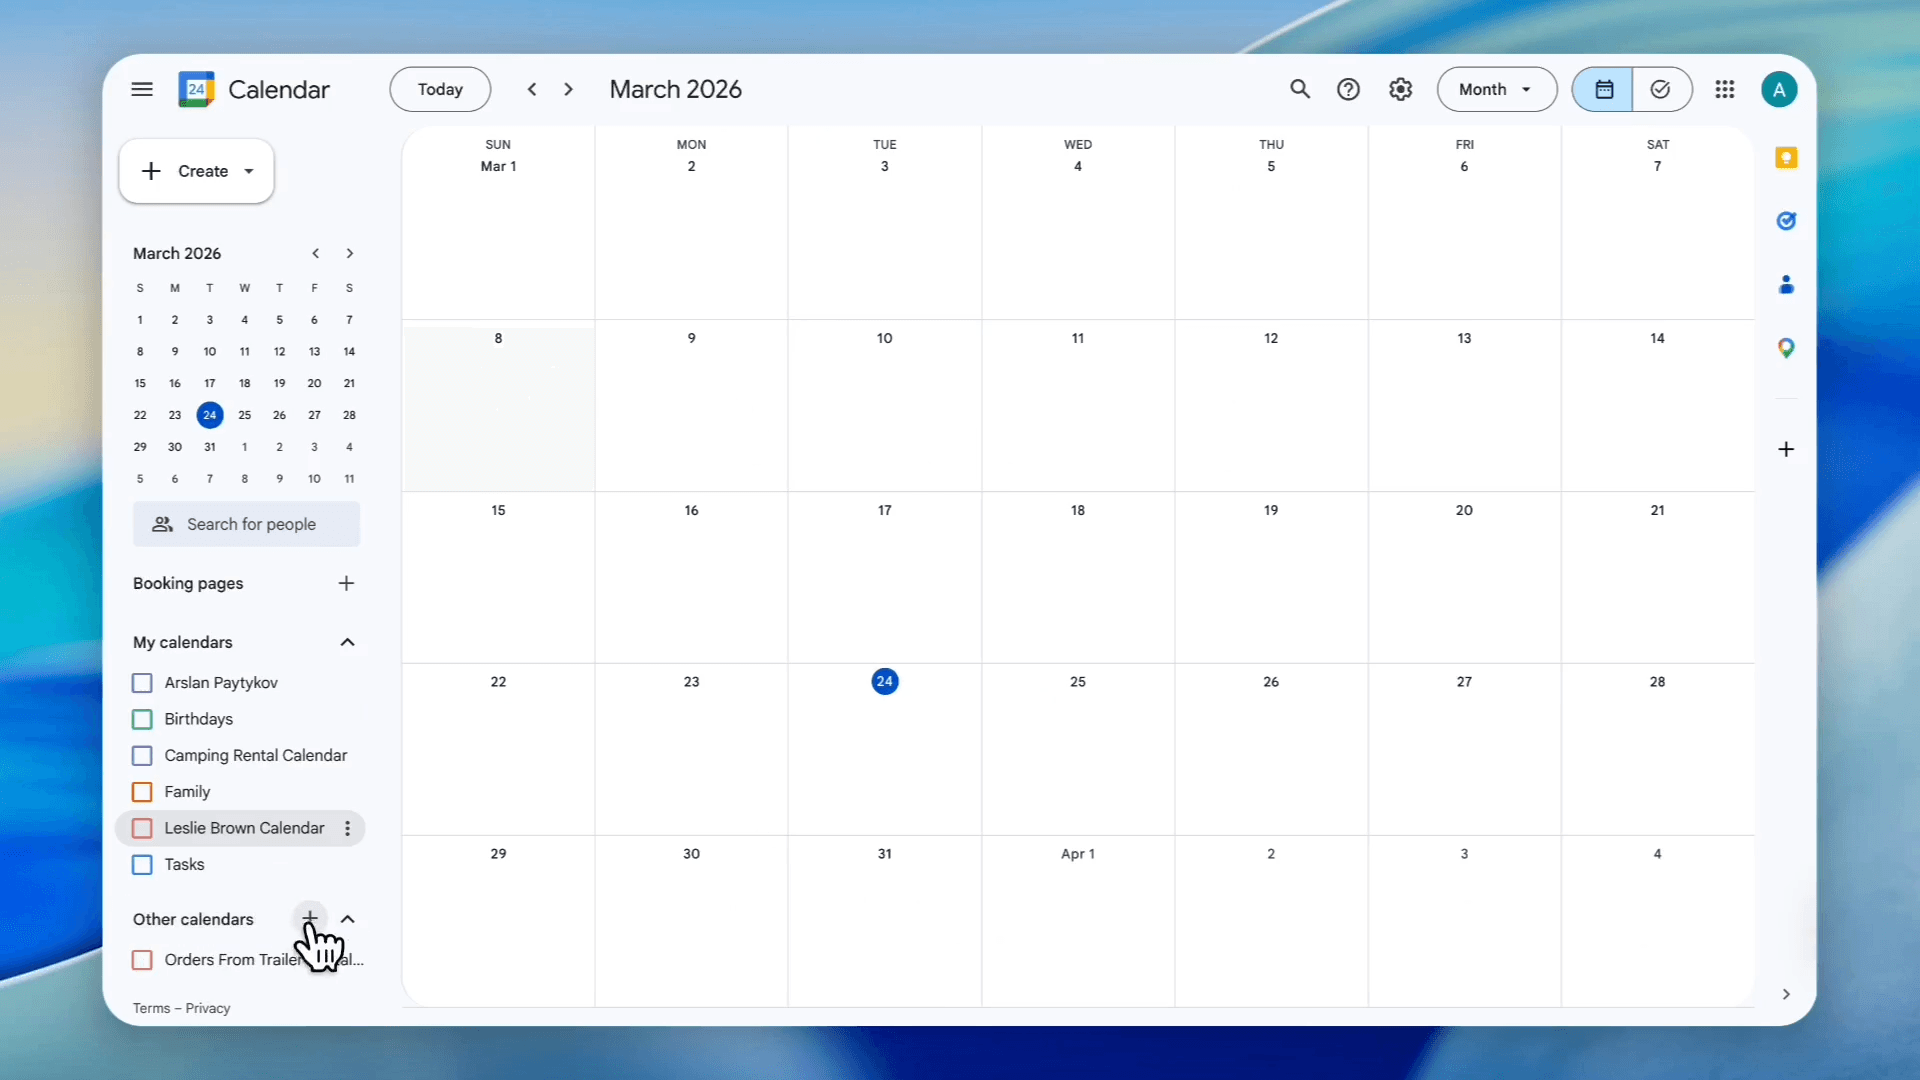
Go to Google Calendar.
55
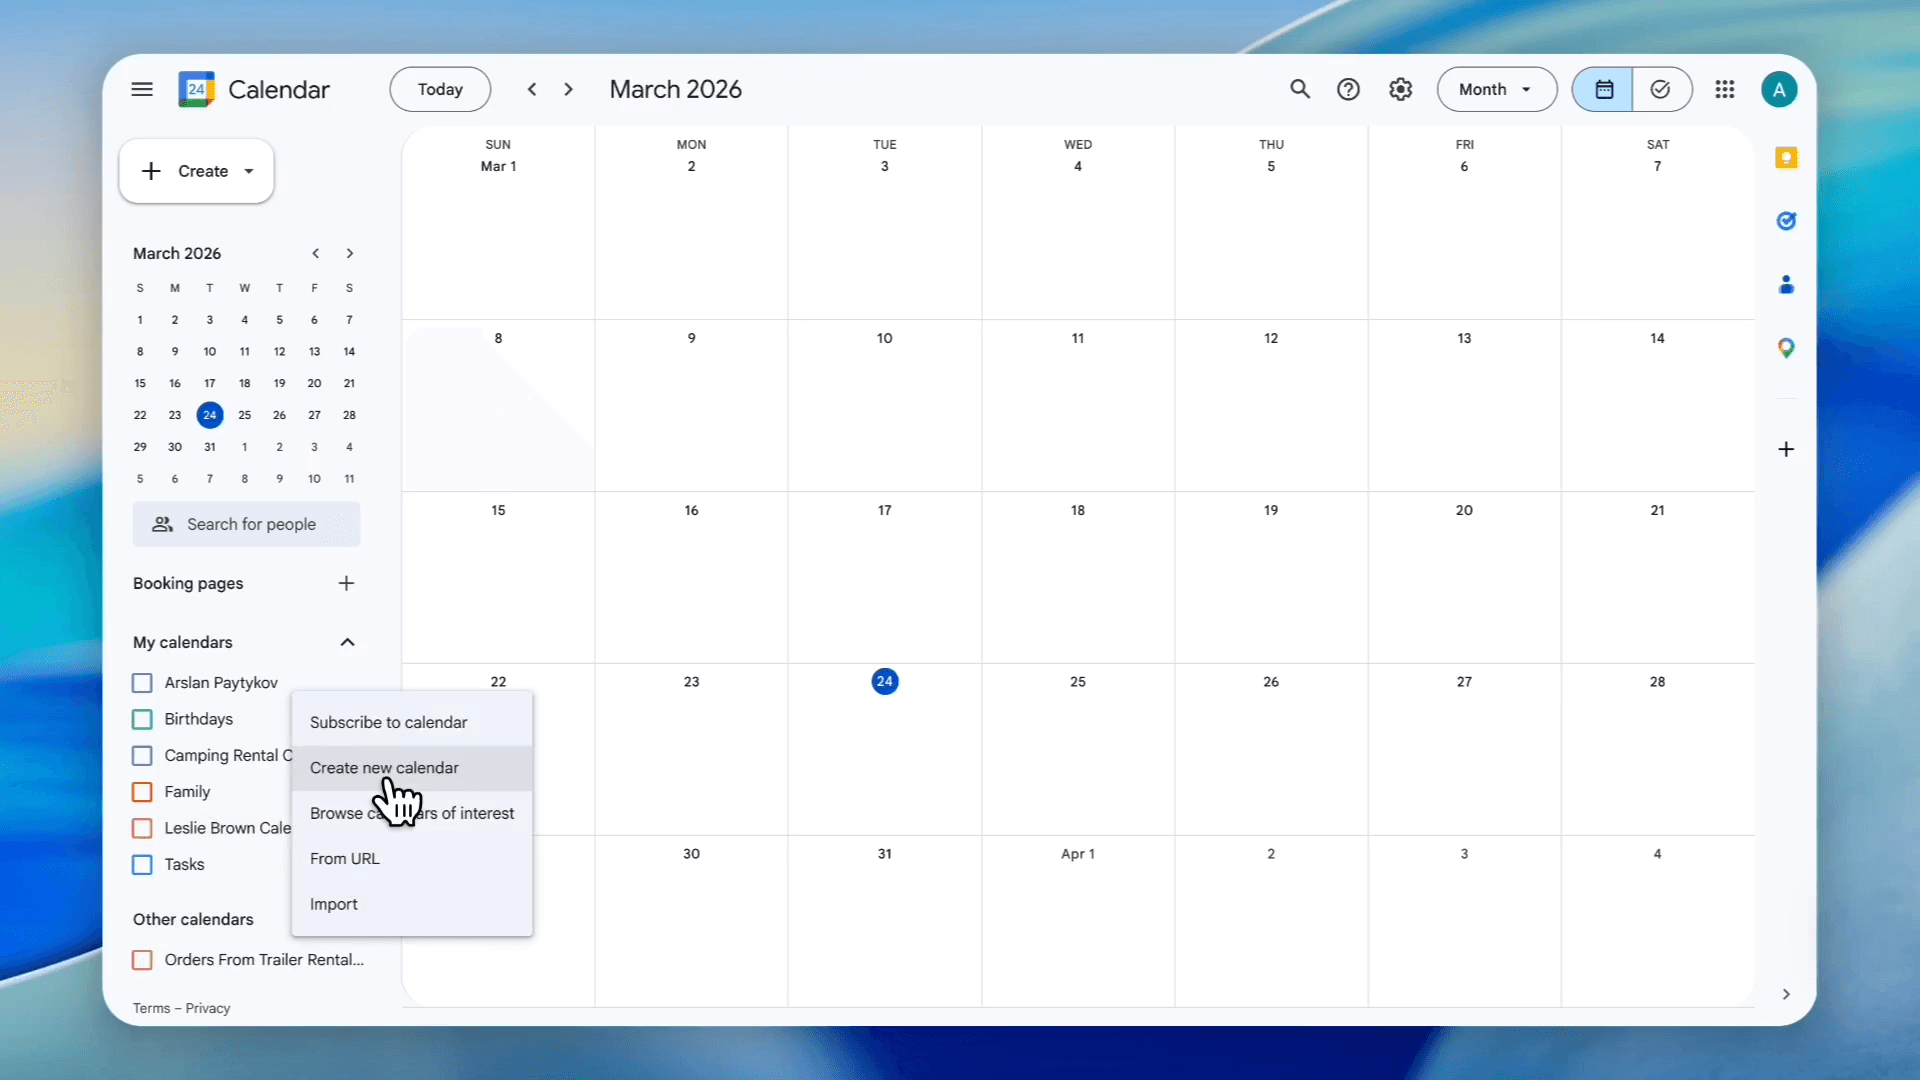
Click the plus icon next to Other calendars in the sidebar.
56
Select Create new calendar.
57
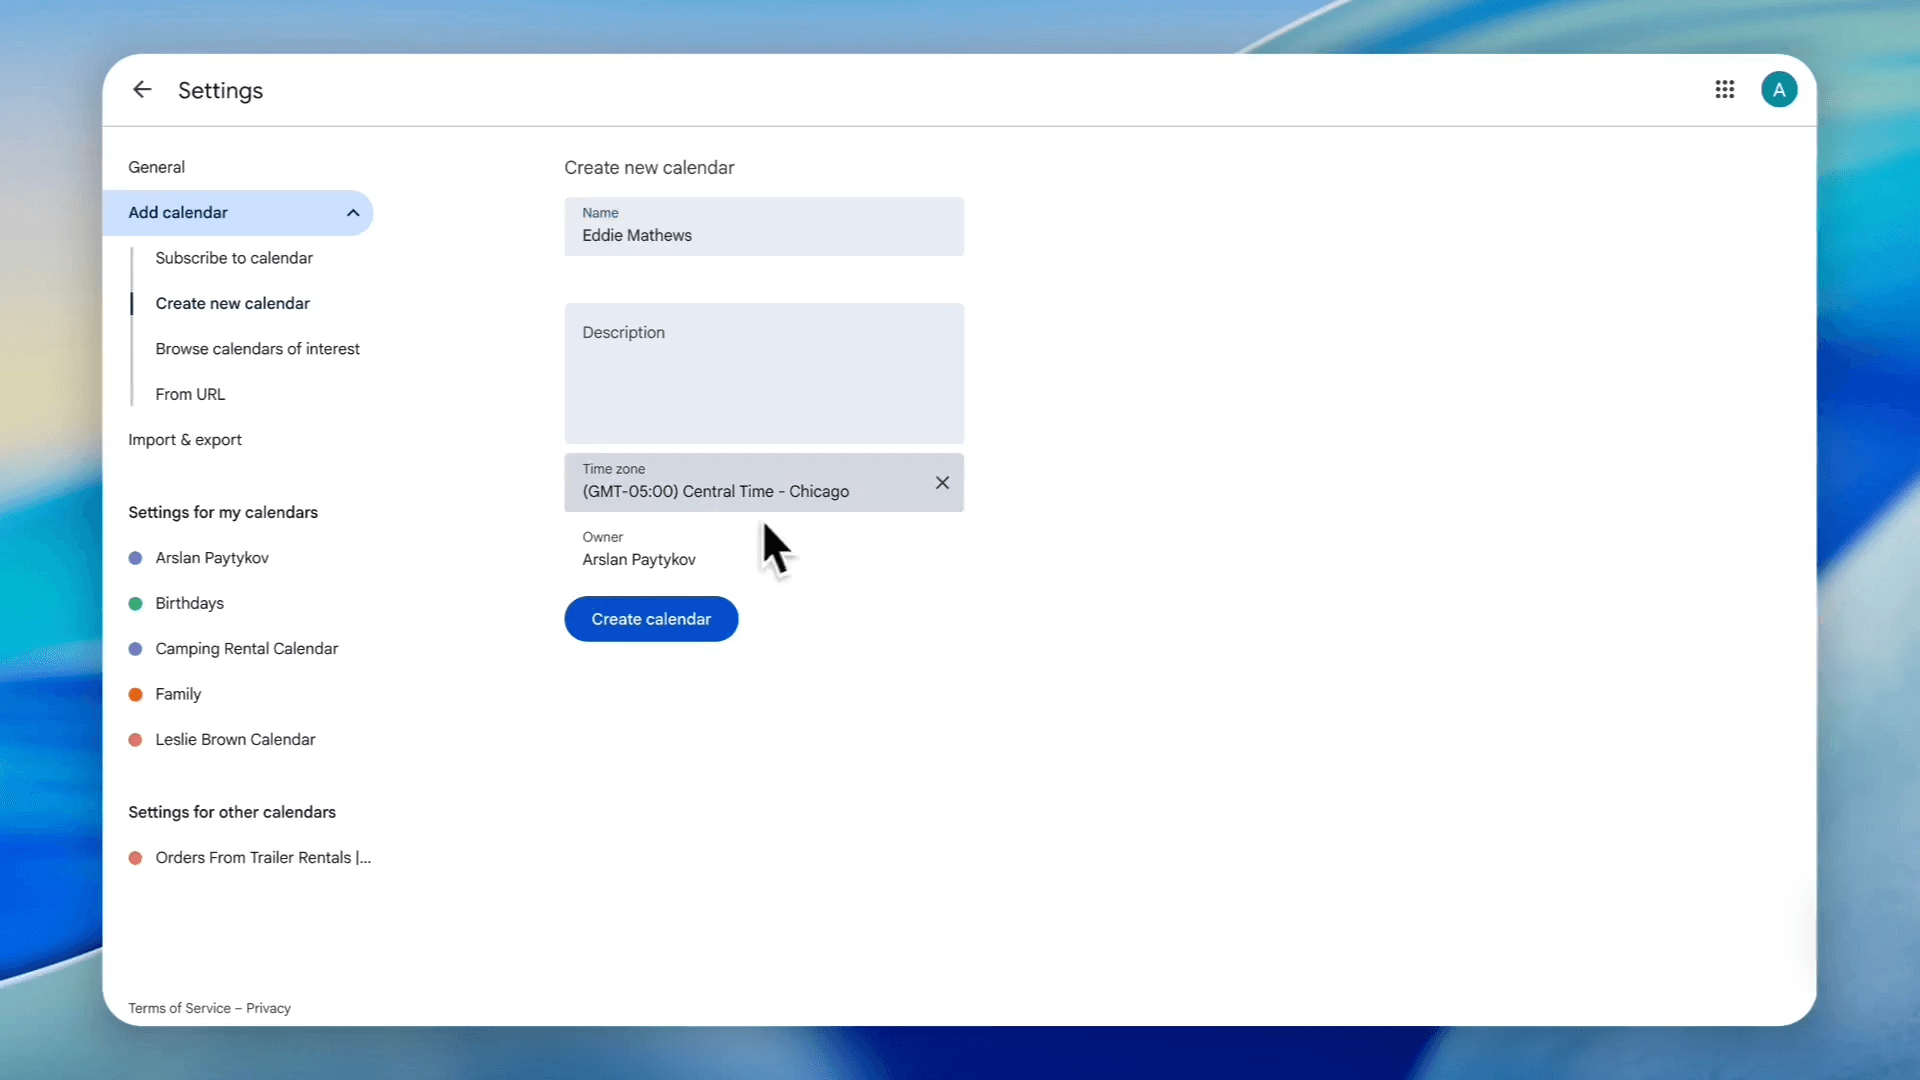
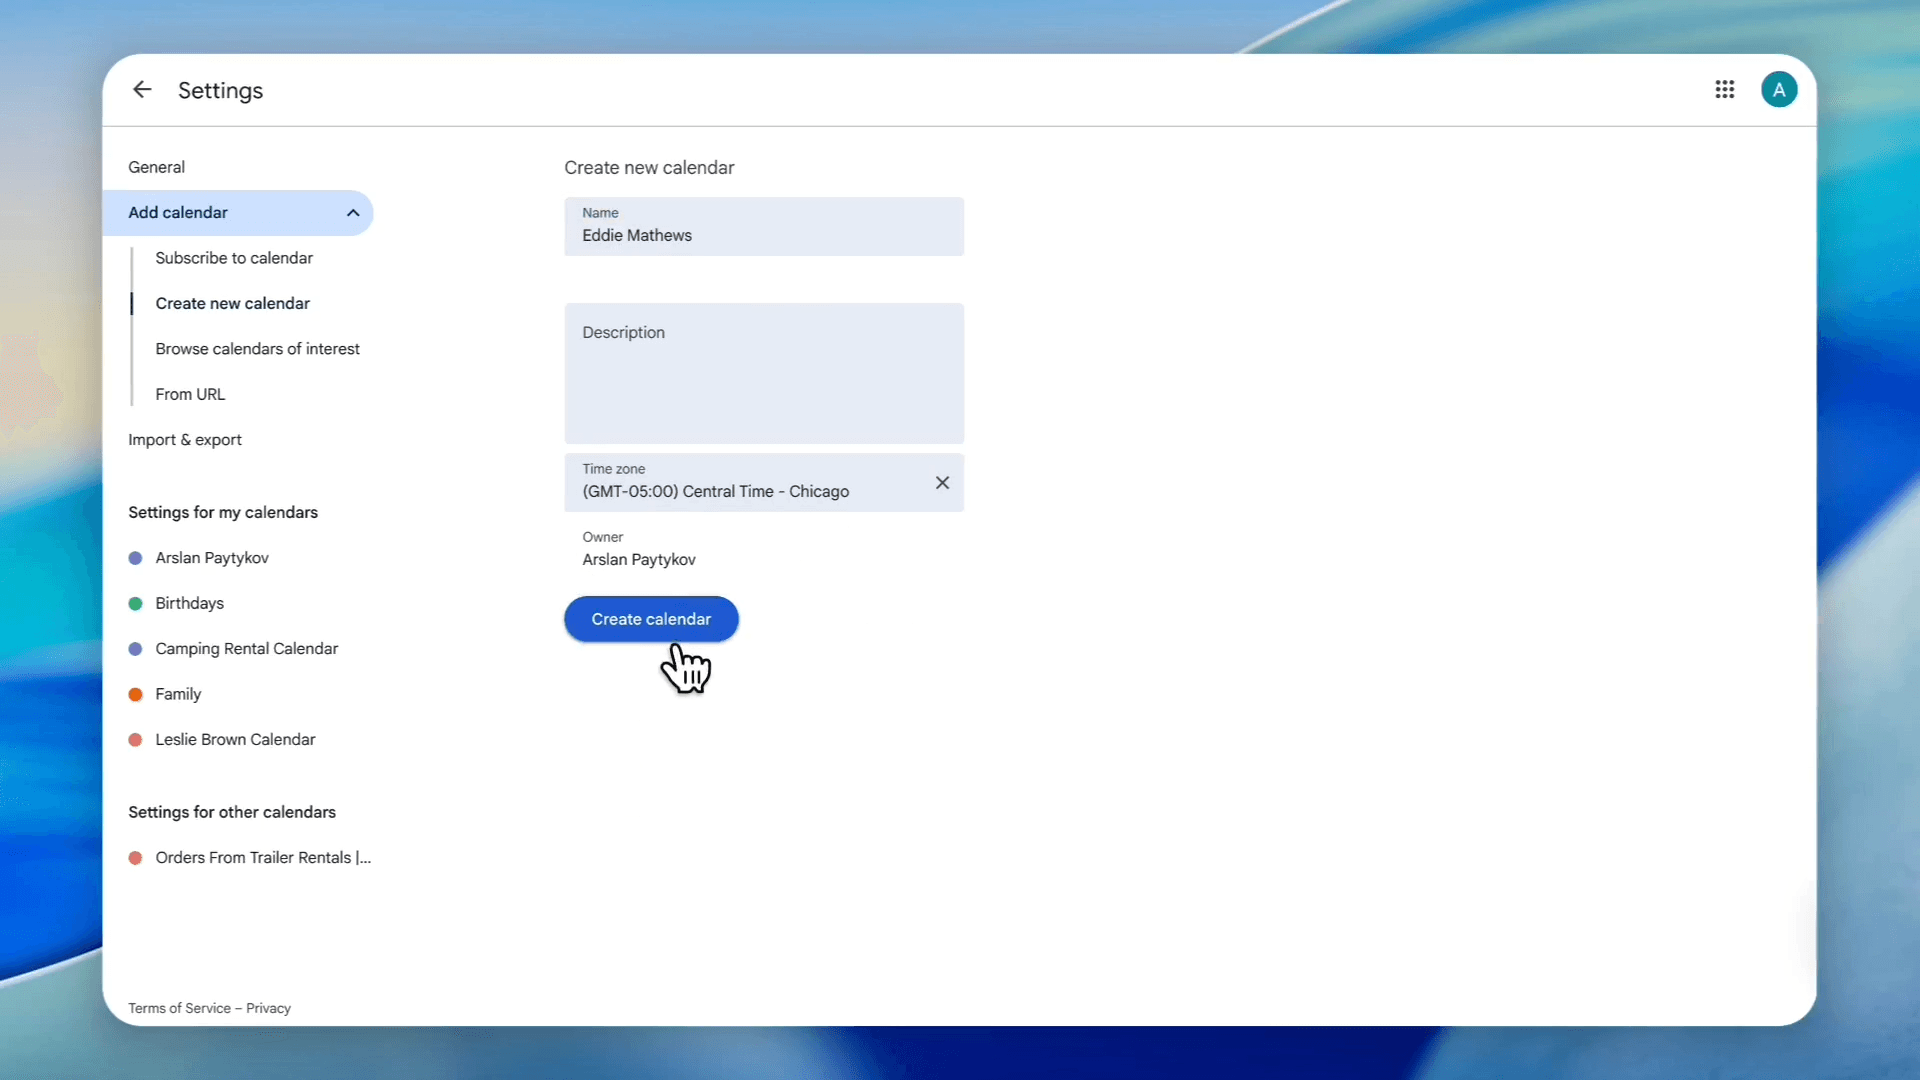
Name the calendar with your guide's name.
58
Select the correct time zone.
59
Click Create calendar.
60
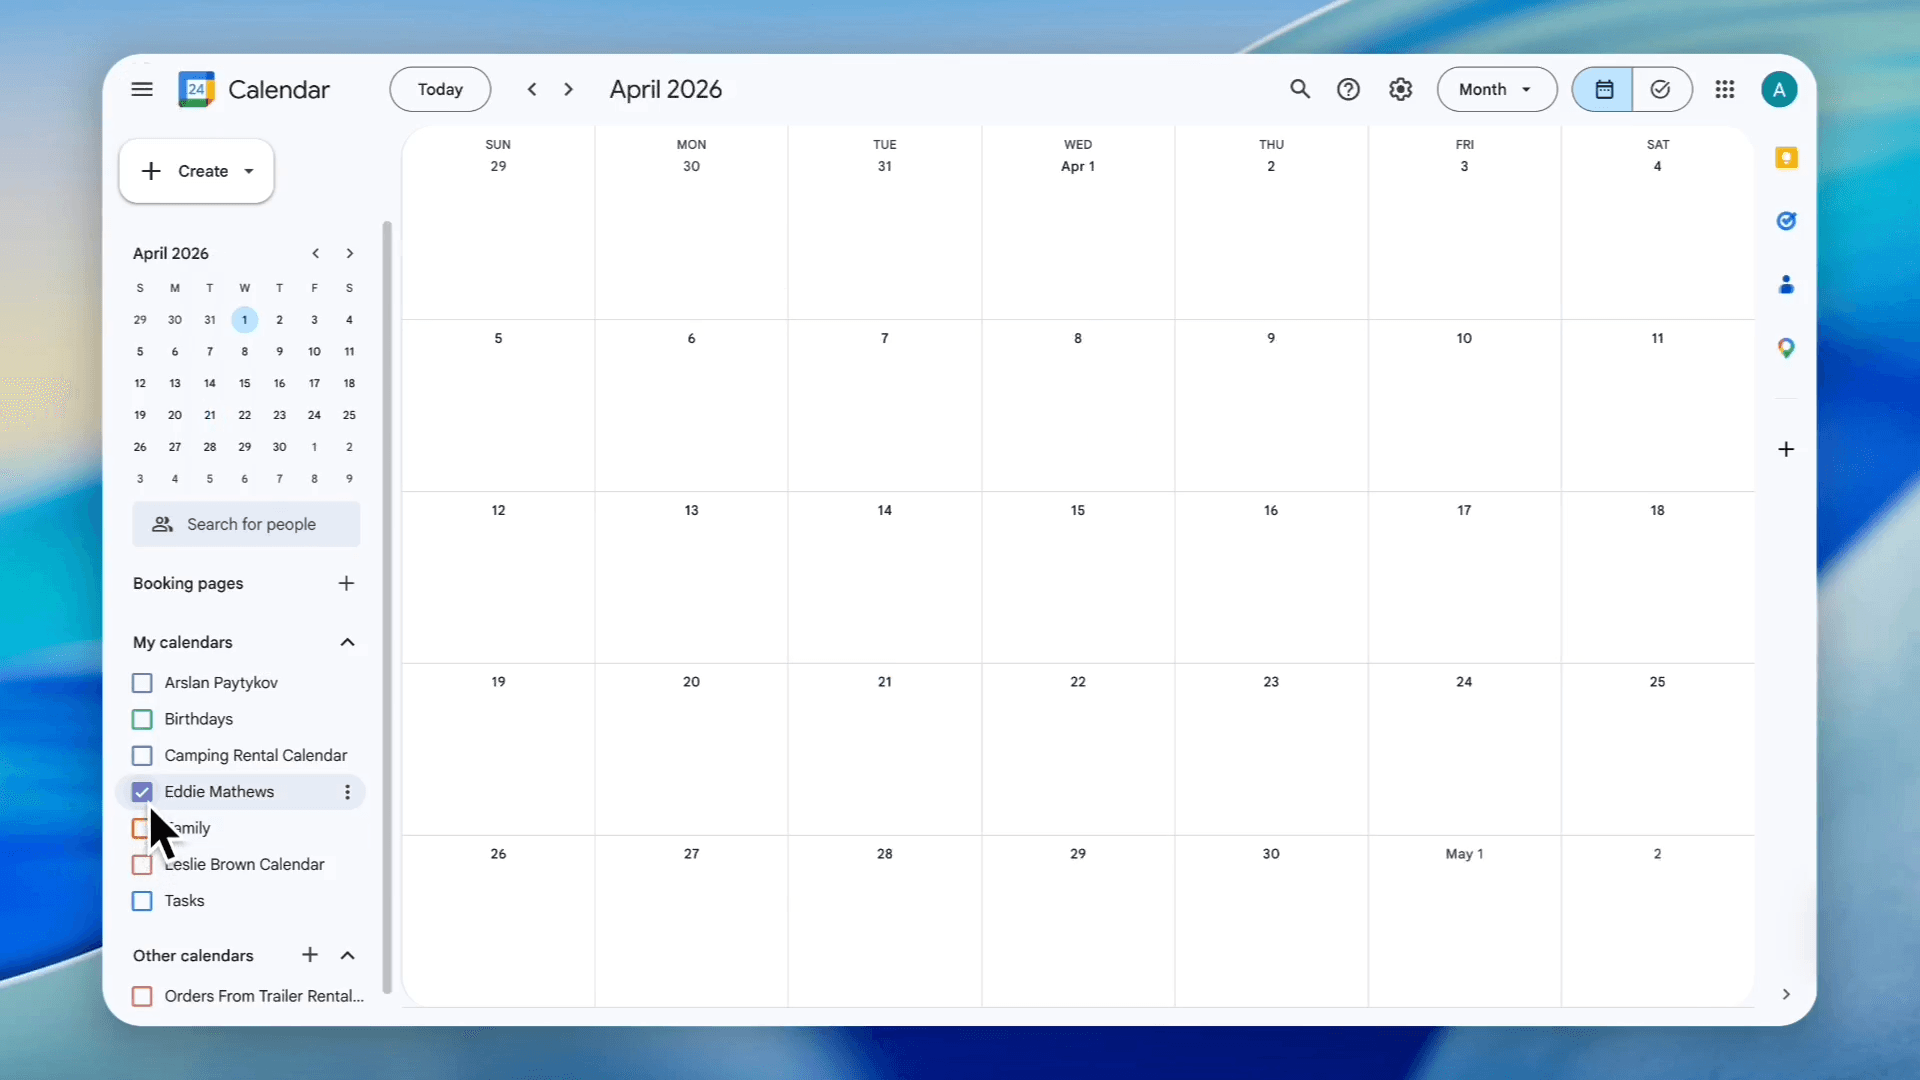
Return to the main view and check the box next to the newly created calendar.
61
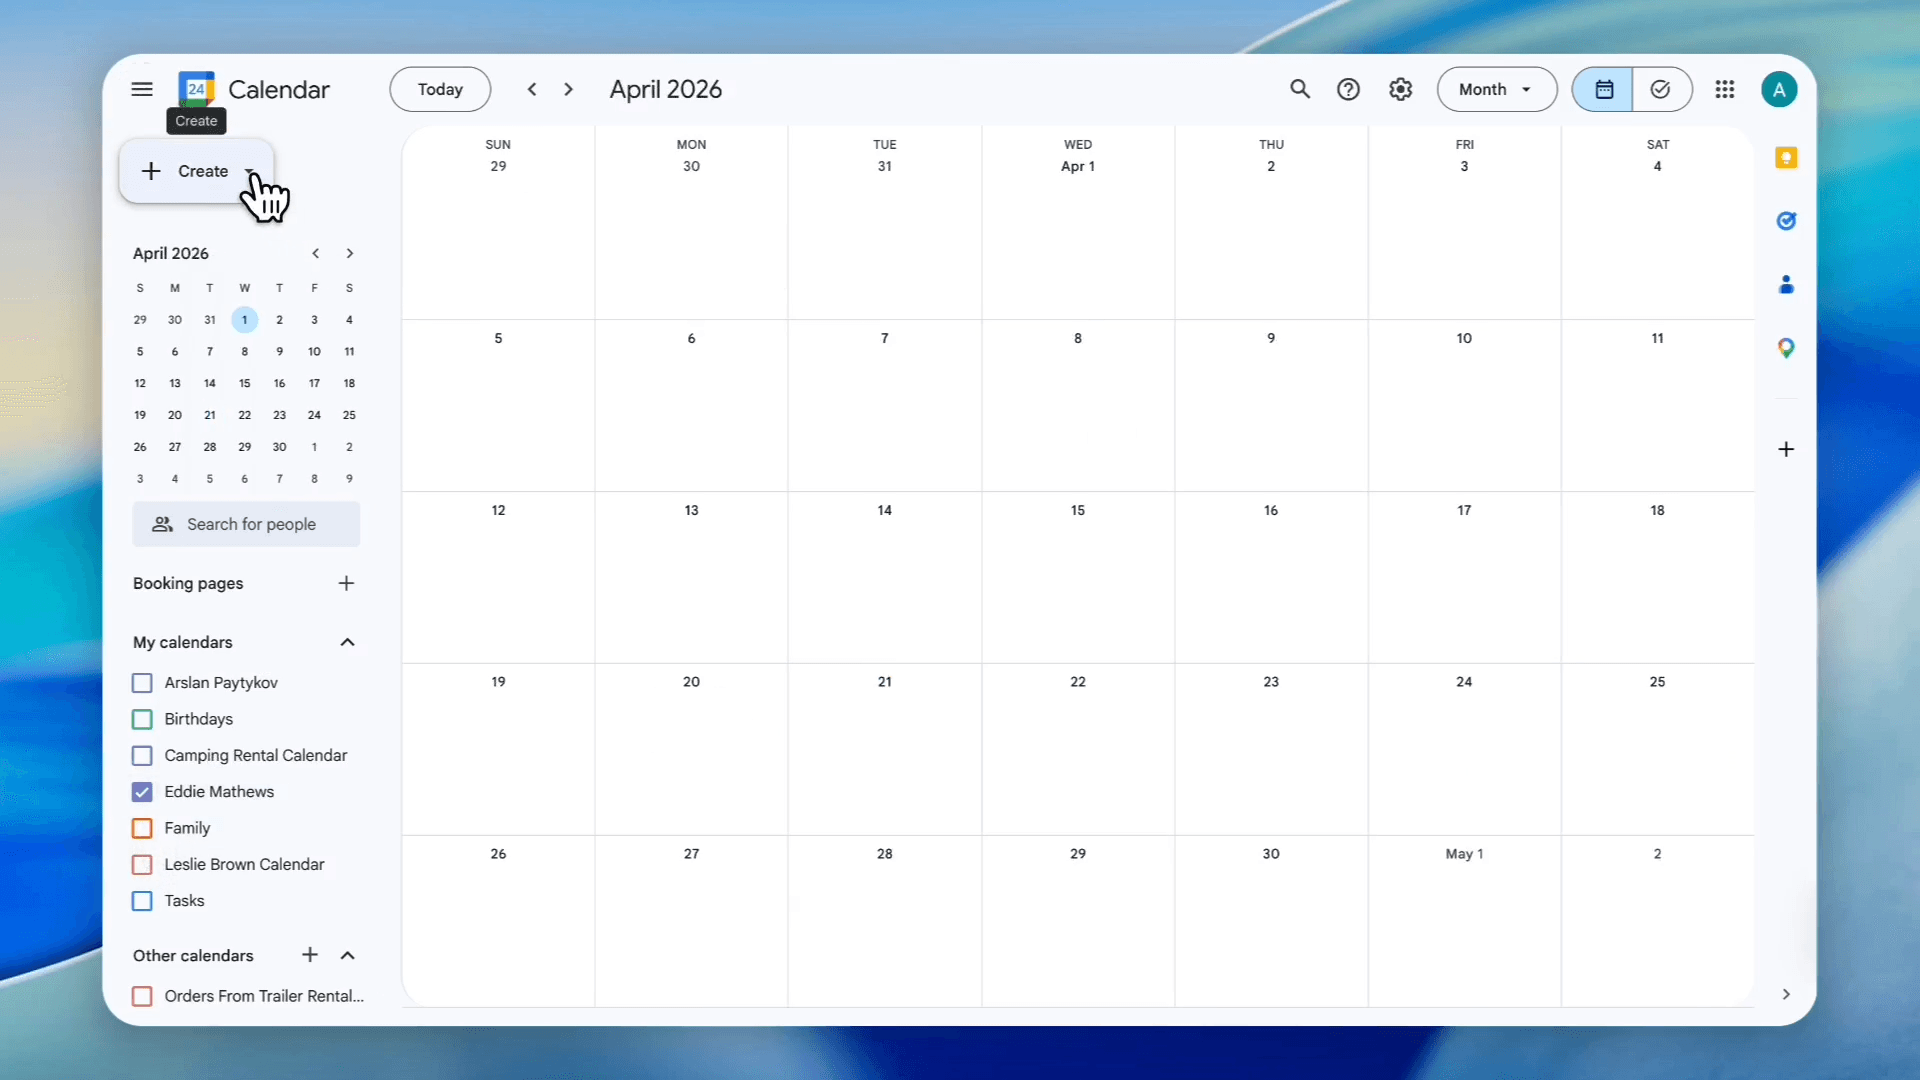
Click Create on the top left.
62
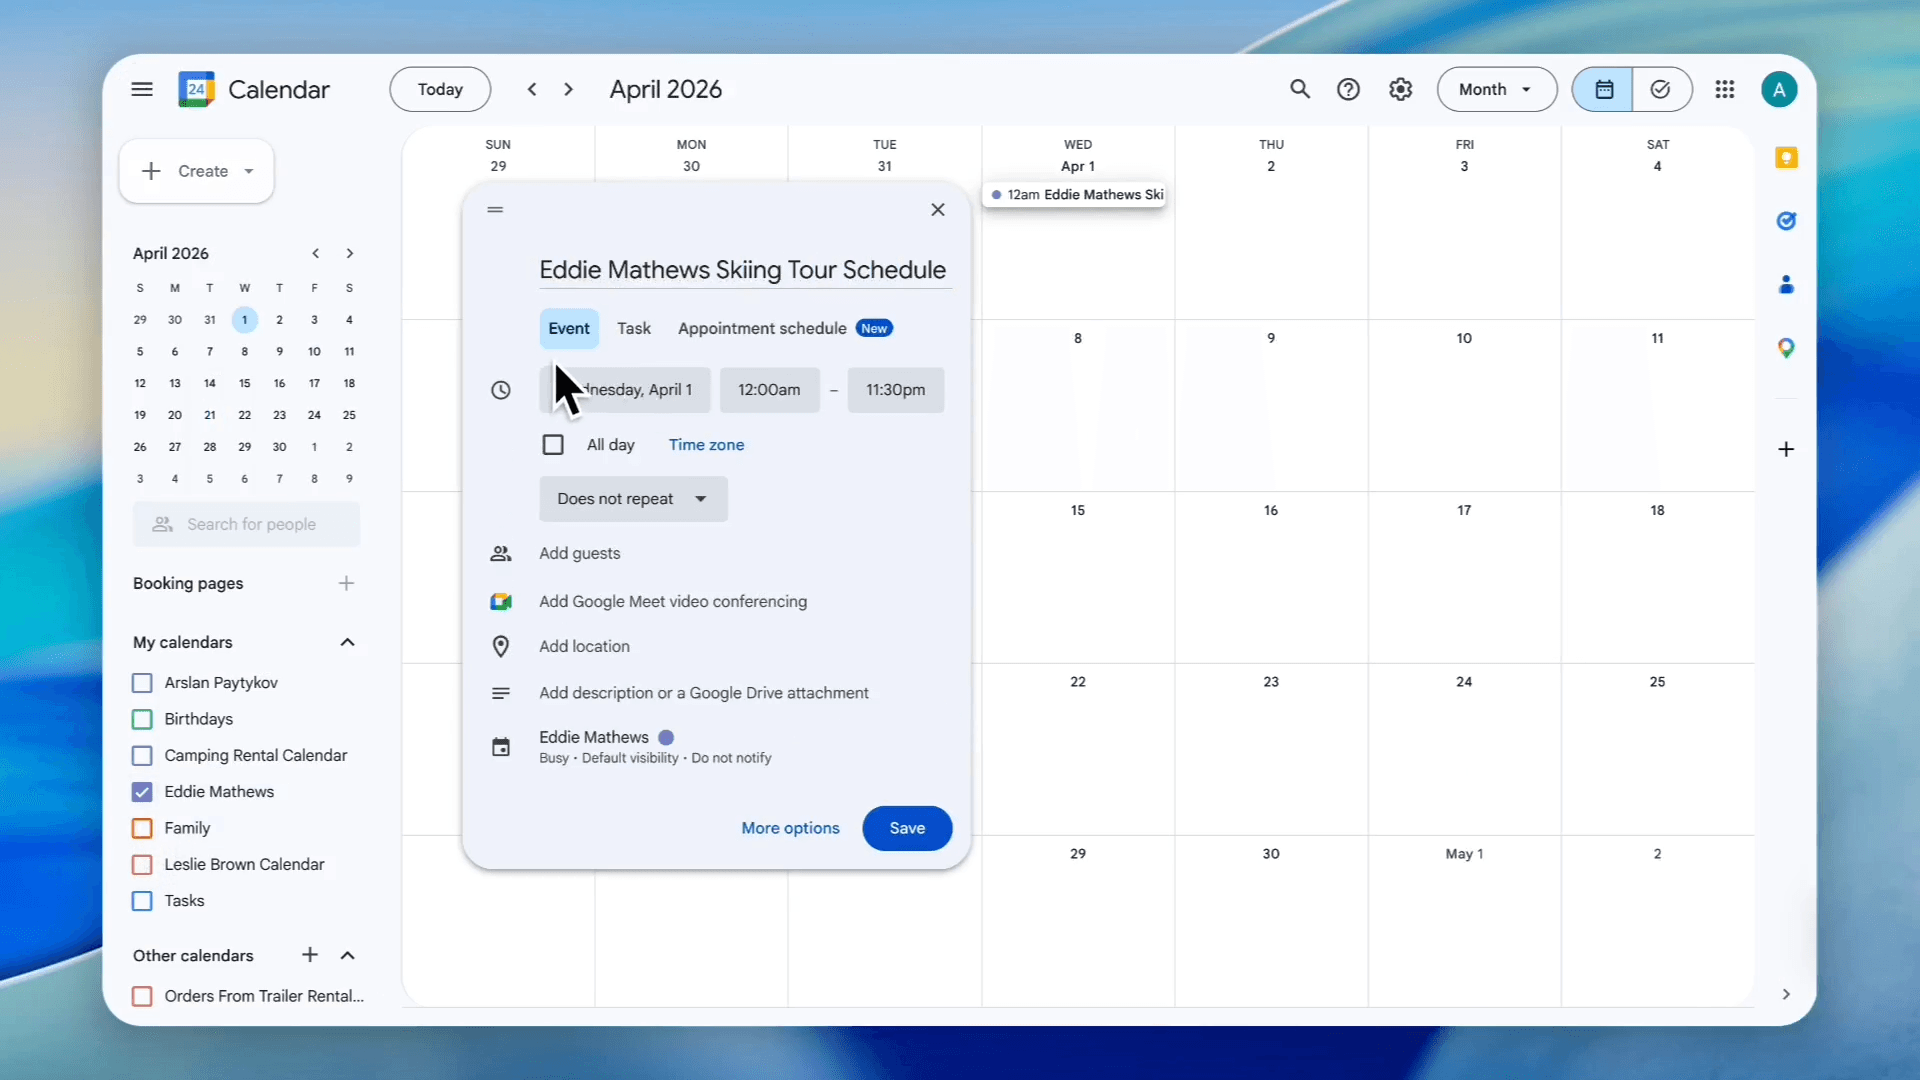
Click Event or Appointment schedule.
63
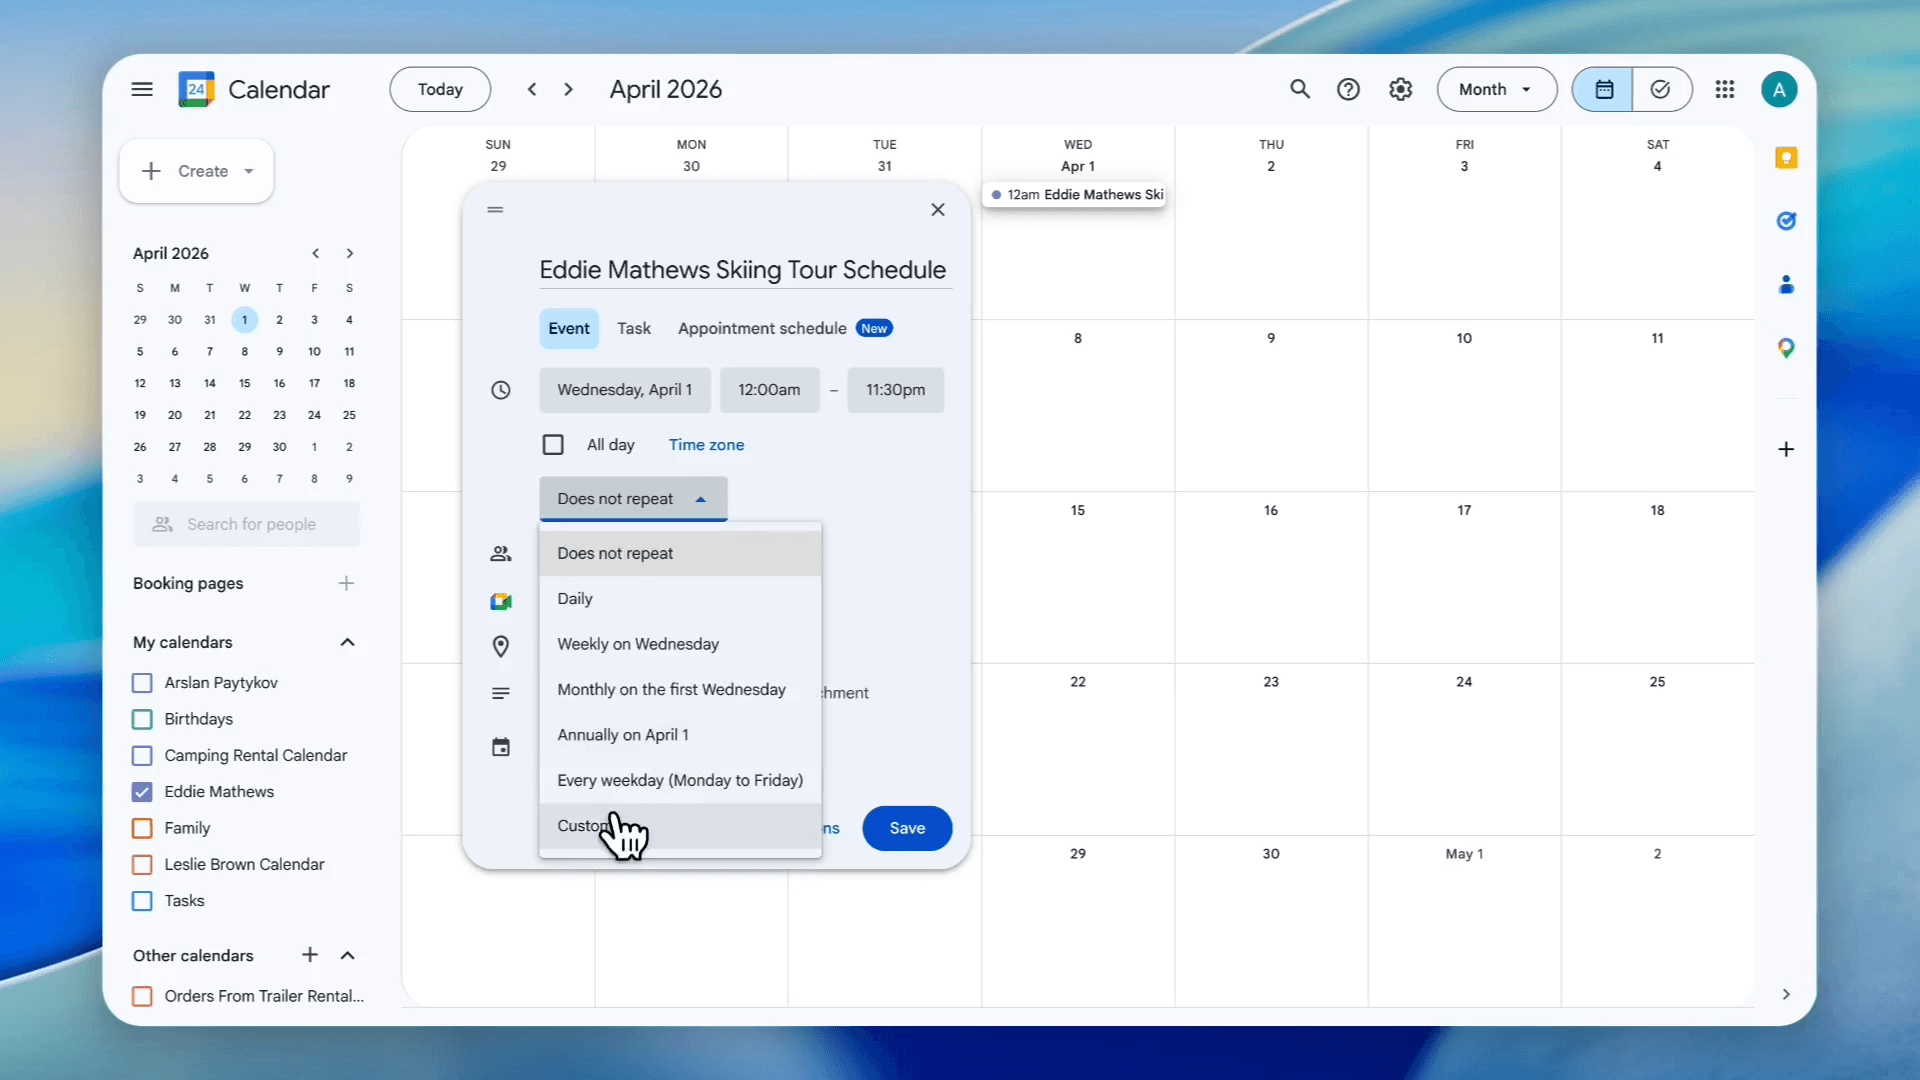
Type a name for the unavailable block (e.g., "Eddie Mathews Skiing Tour Schedule").
64
Click the recurrence dropdown.
65
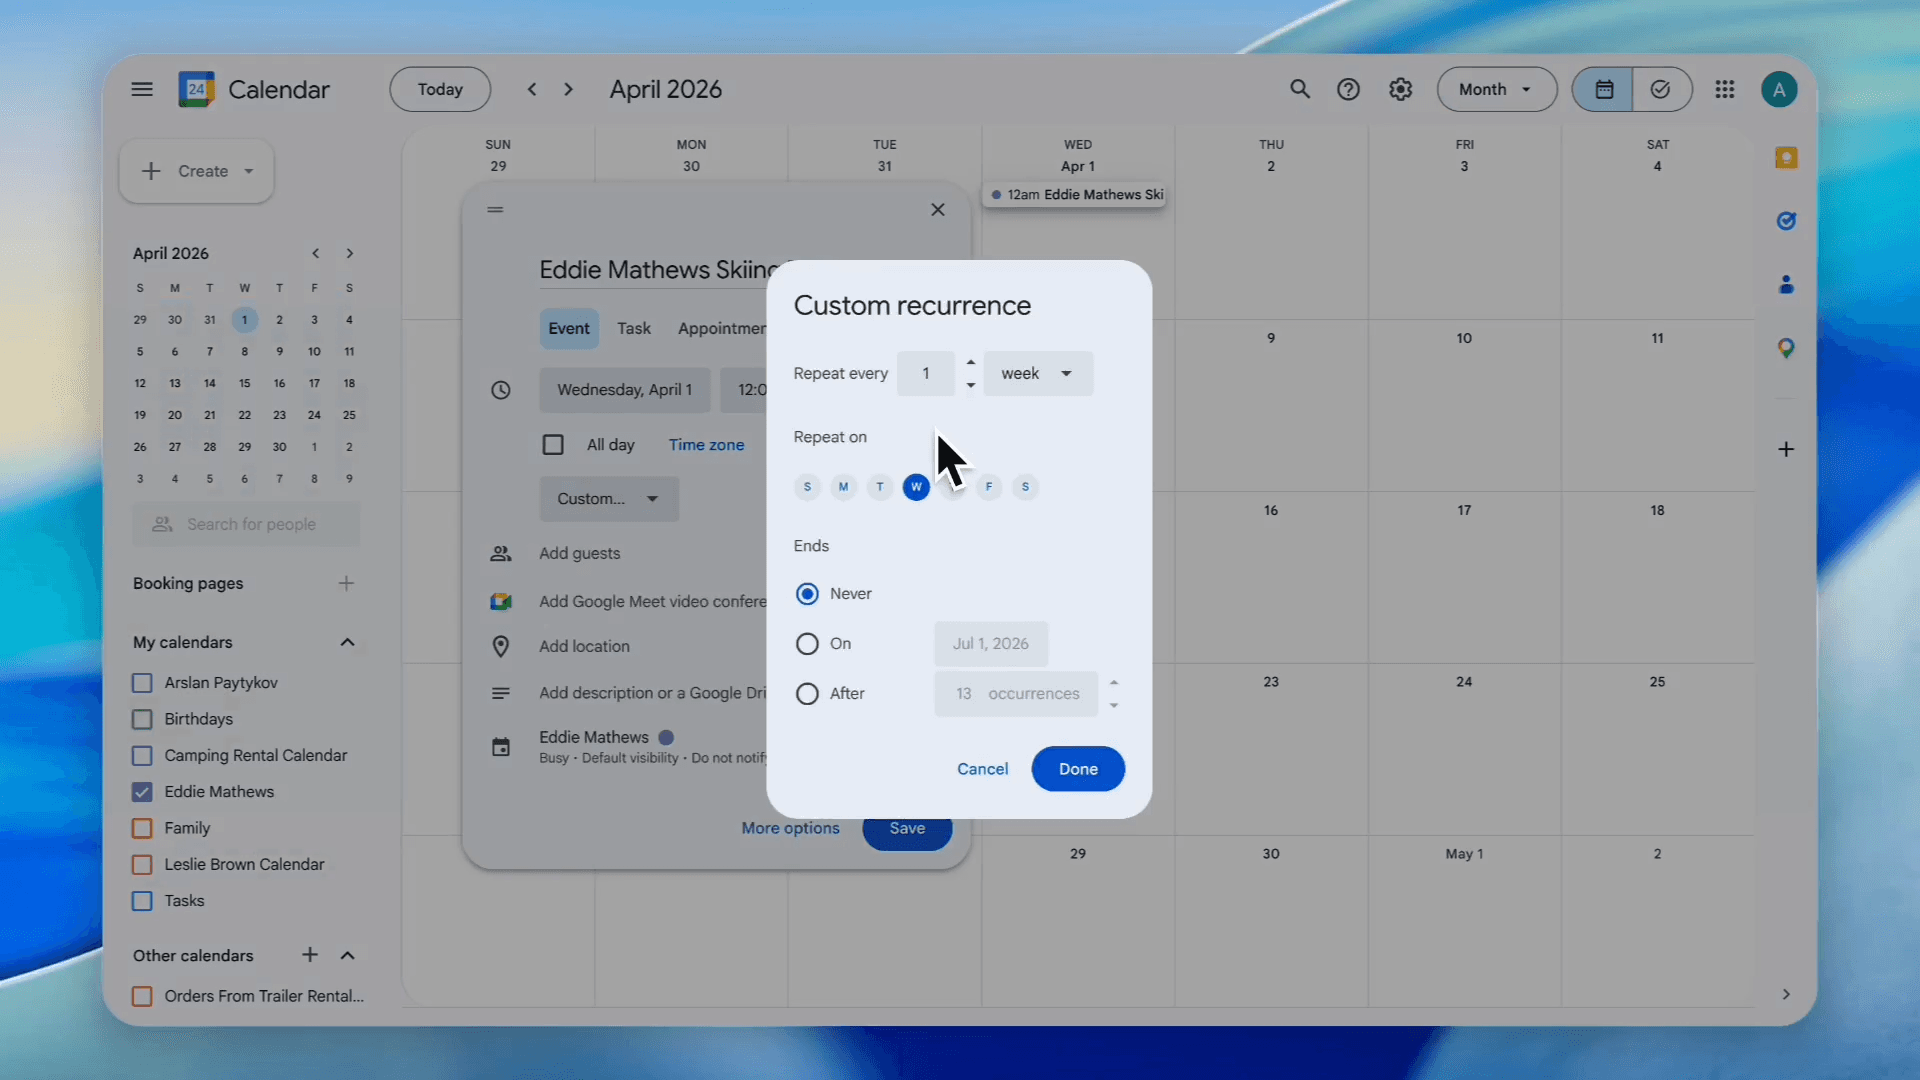
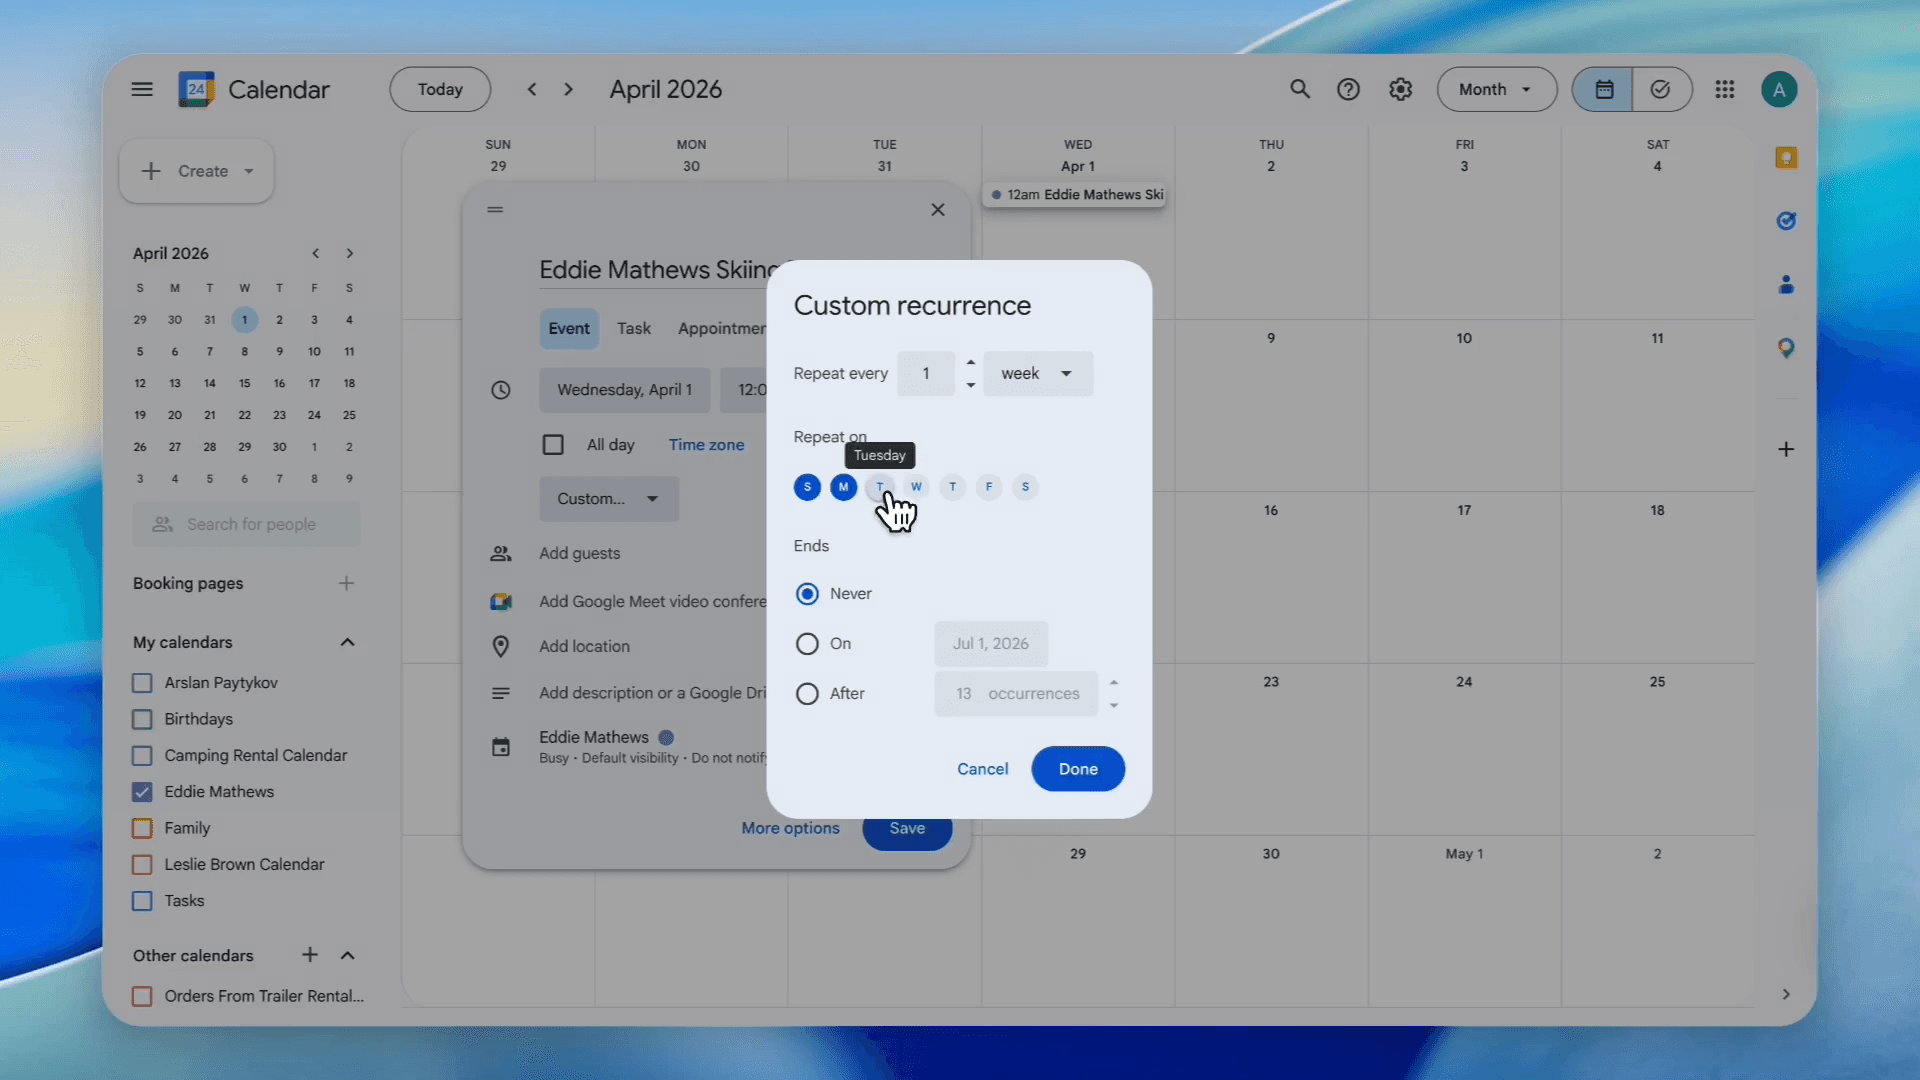
Click Custom... to specify unavailable days.
66
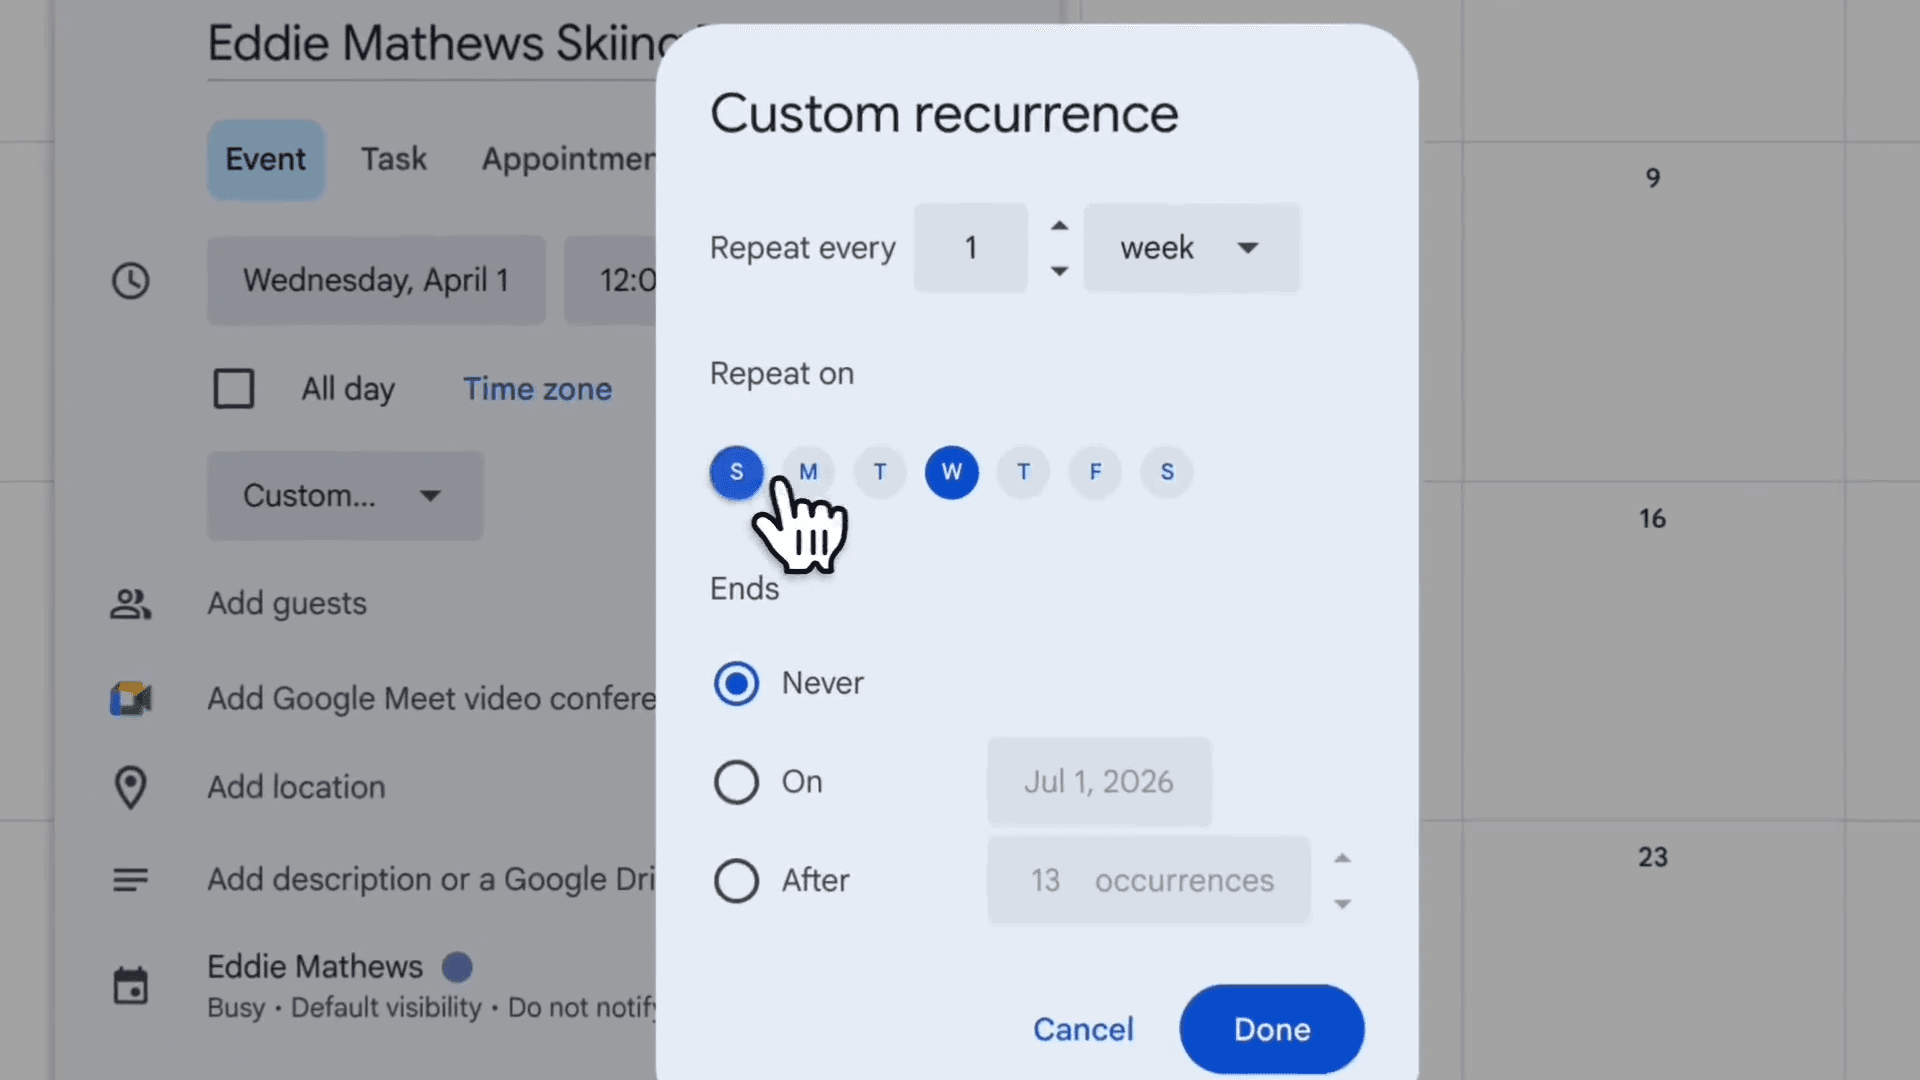
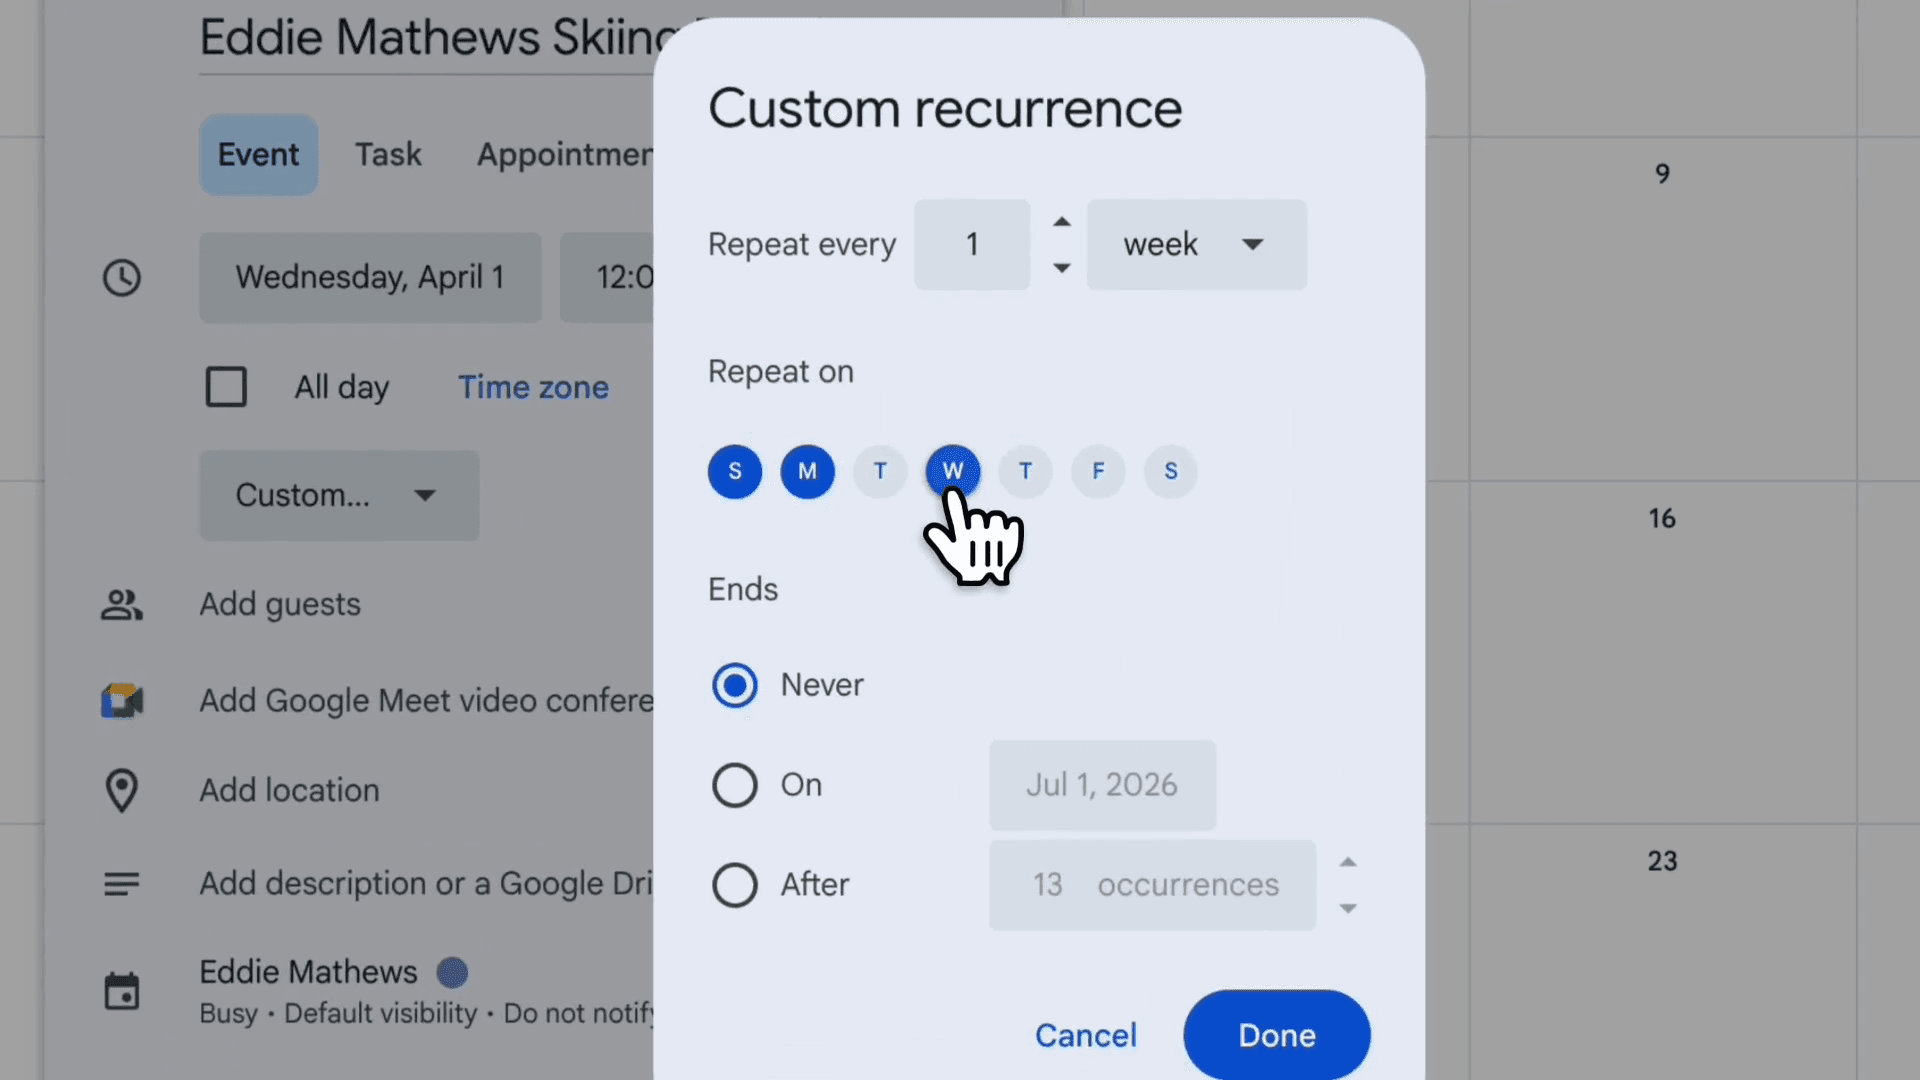
Click S (Sunday) to mark the guide unavailable on Sundays.
67
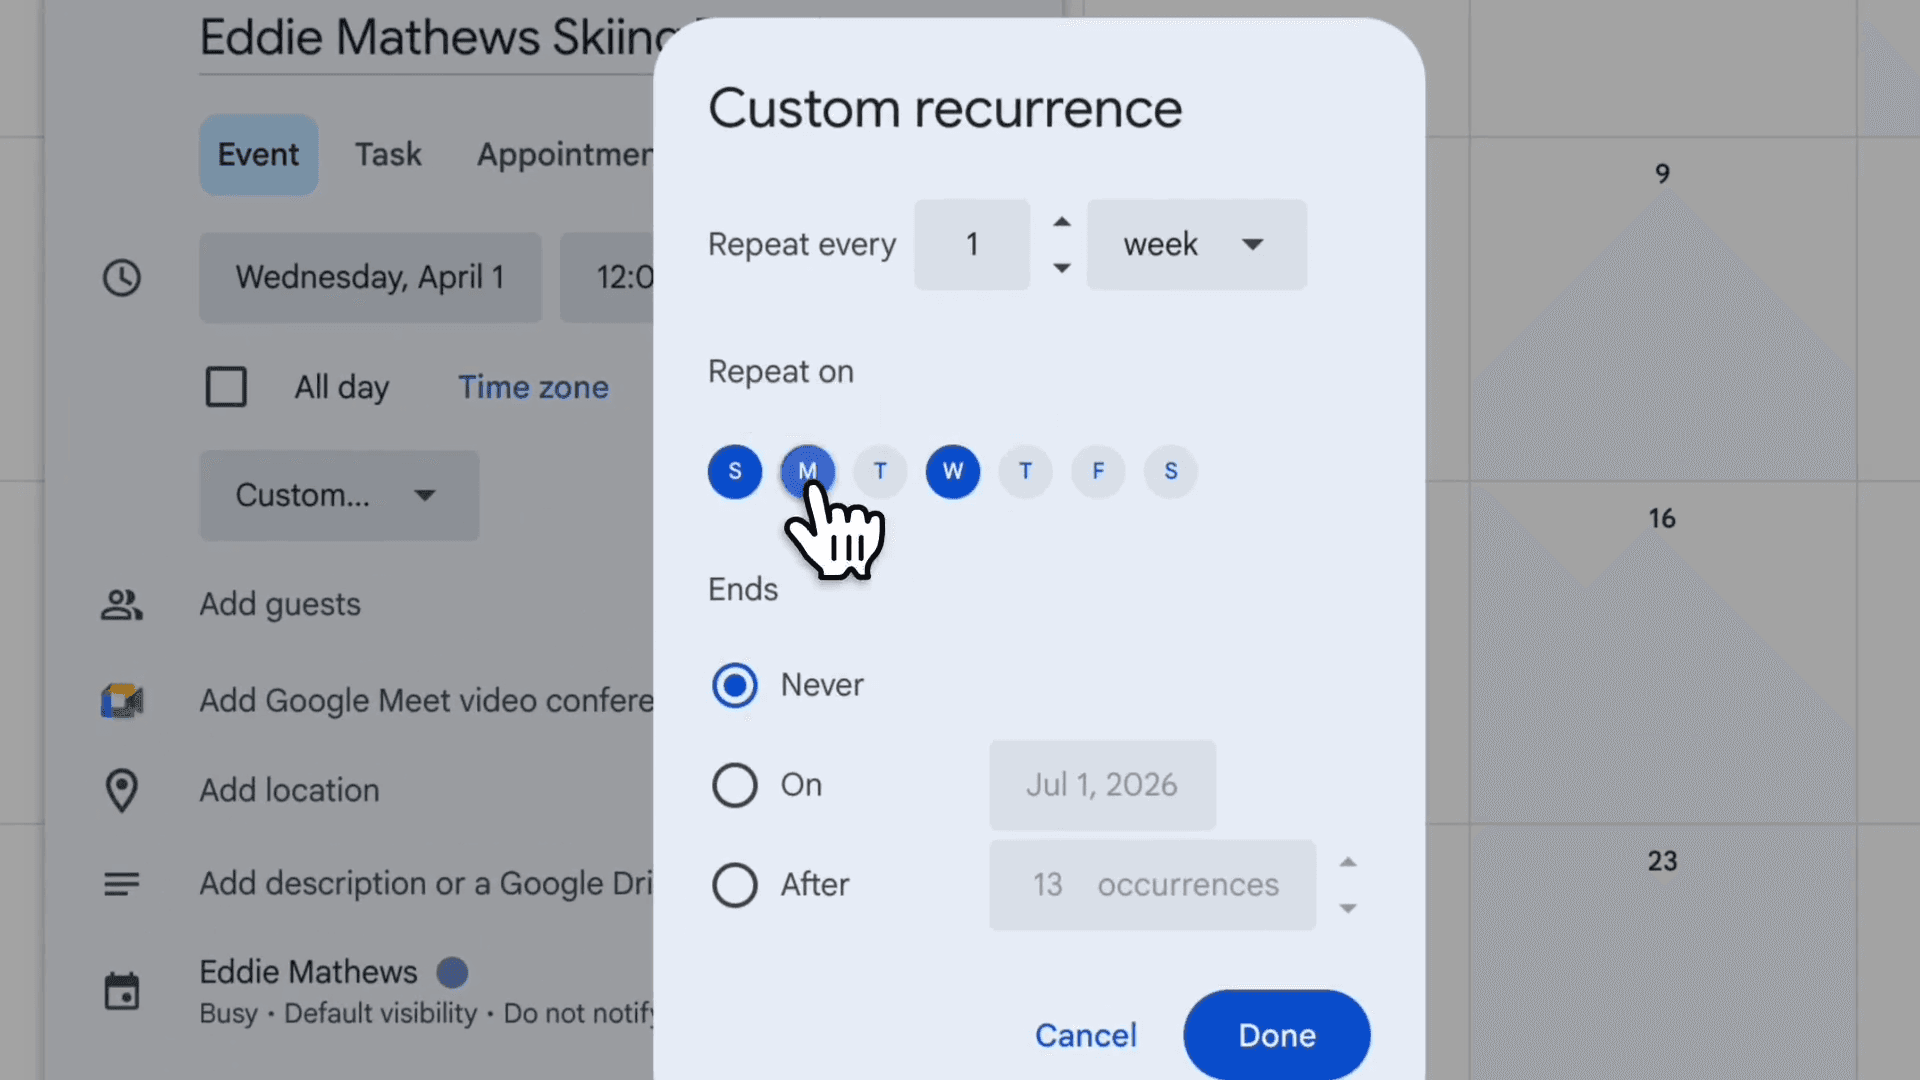
Click M (Monday) to add it to the unavailable schedule.
68
Click W to remove Wednesday if selected by default.
69
Click T to add Tuesday.
70
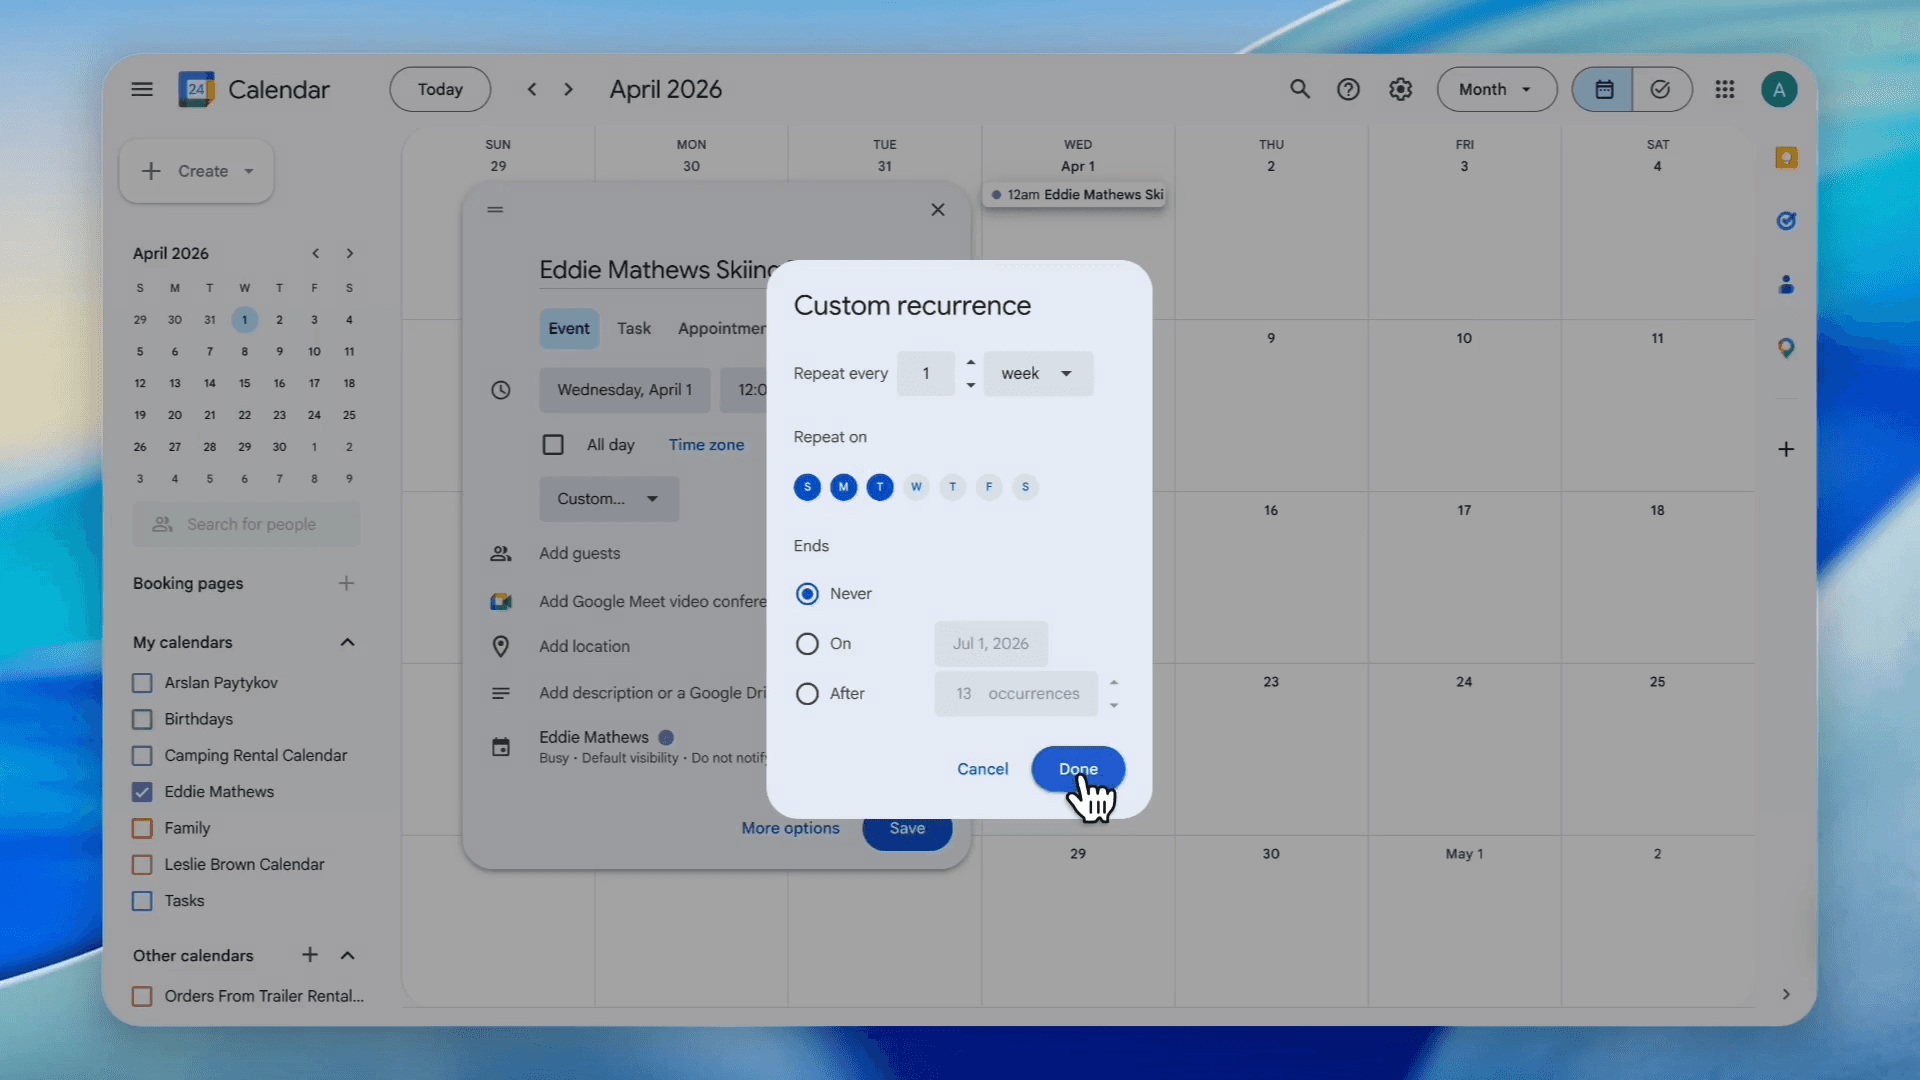
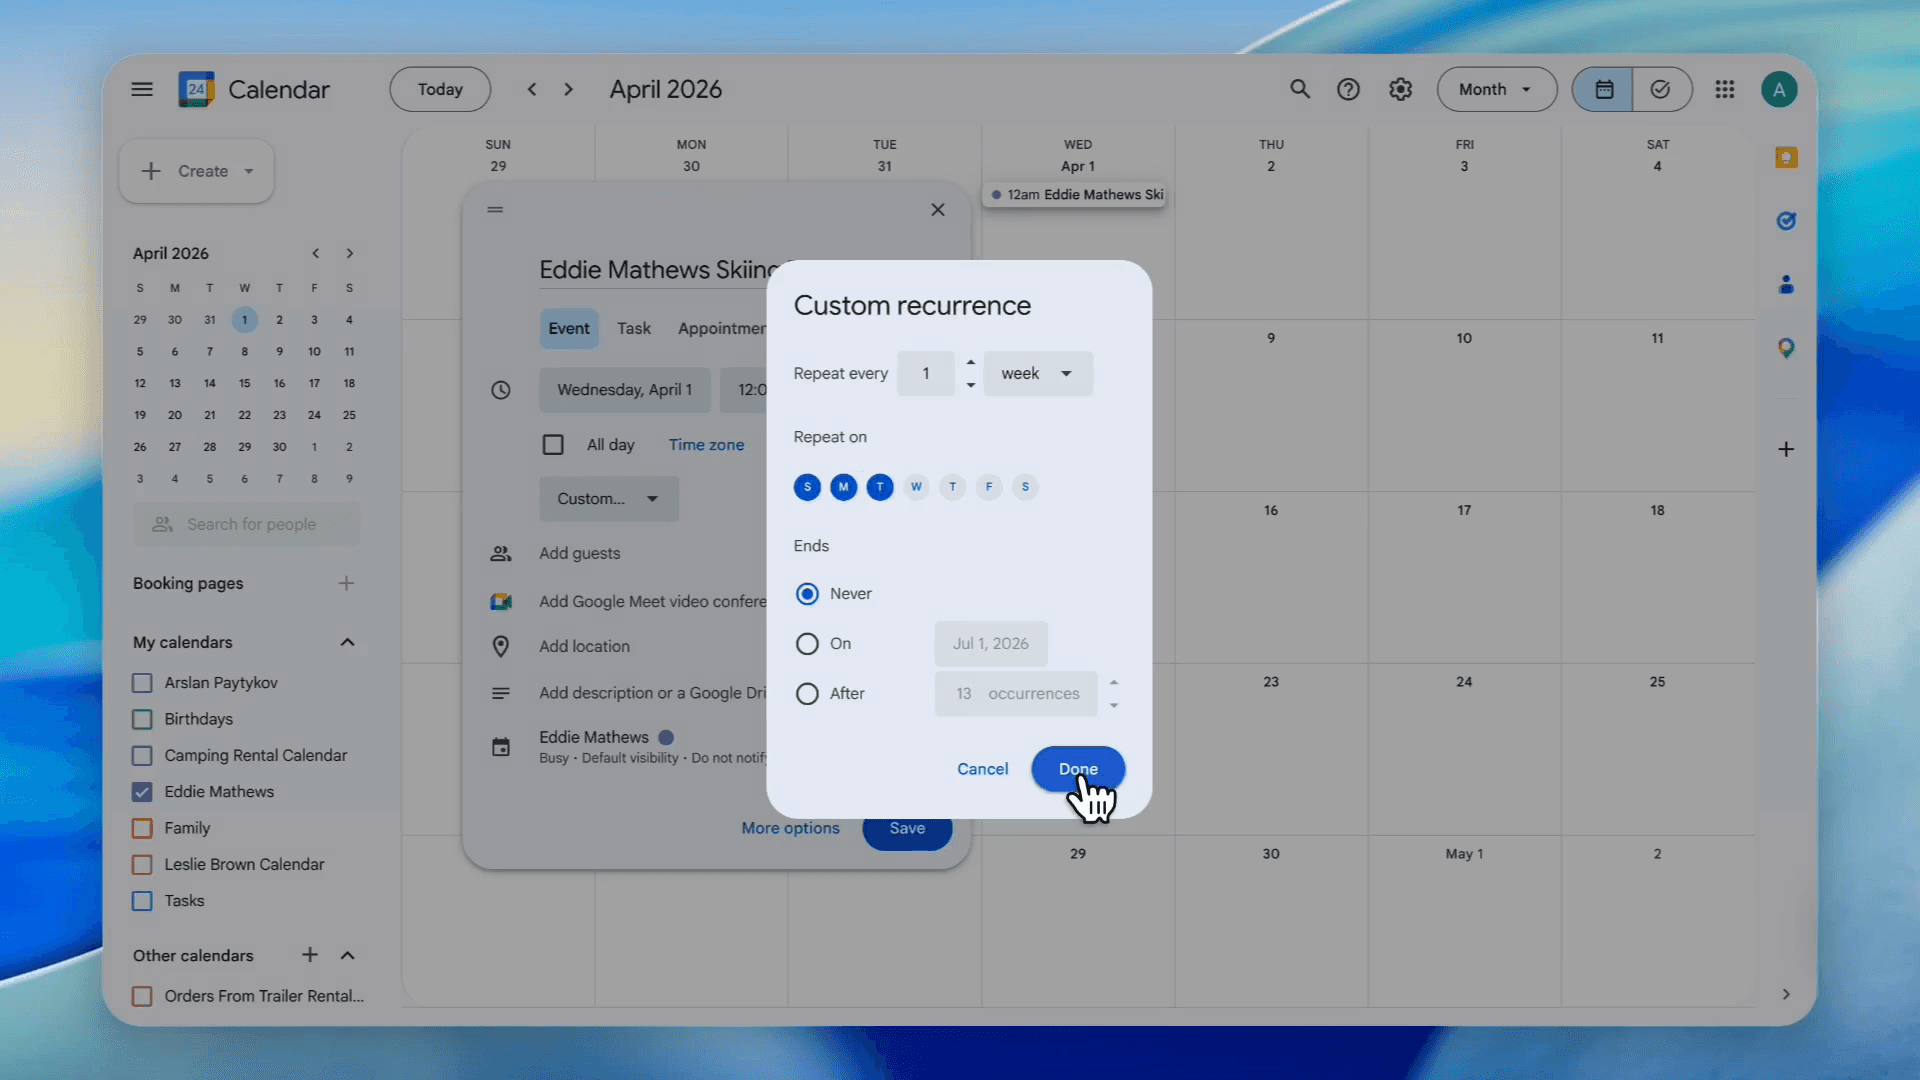
Click Done to close the custom recurrence modal.
71
Click Save to create the schedule block.
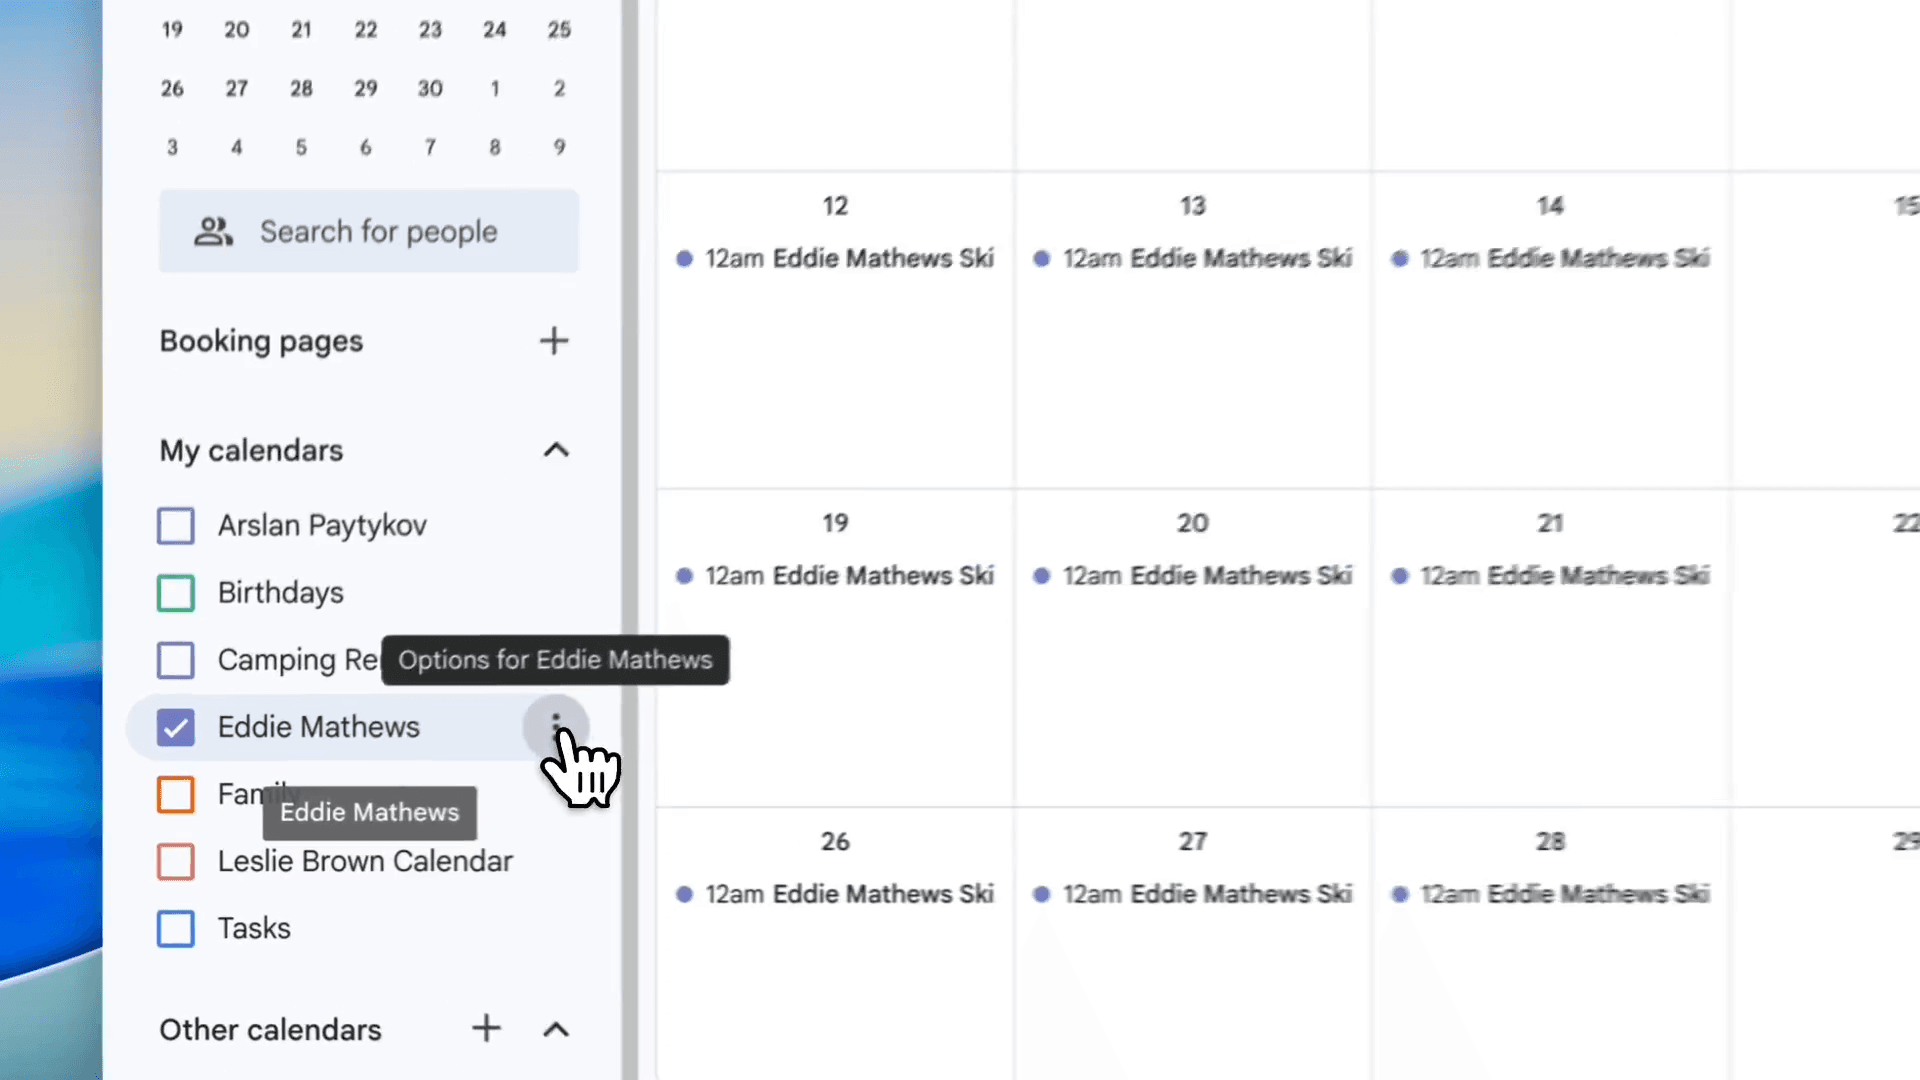
72
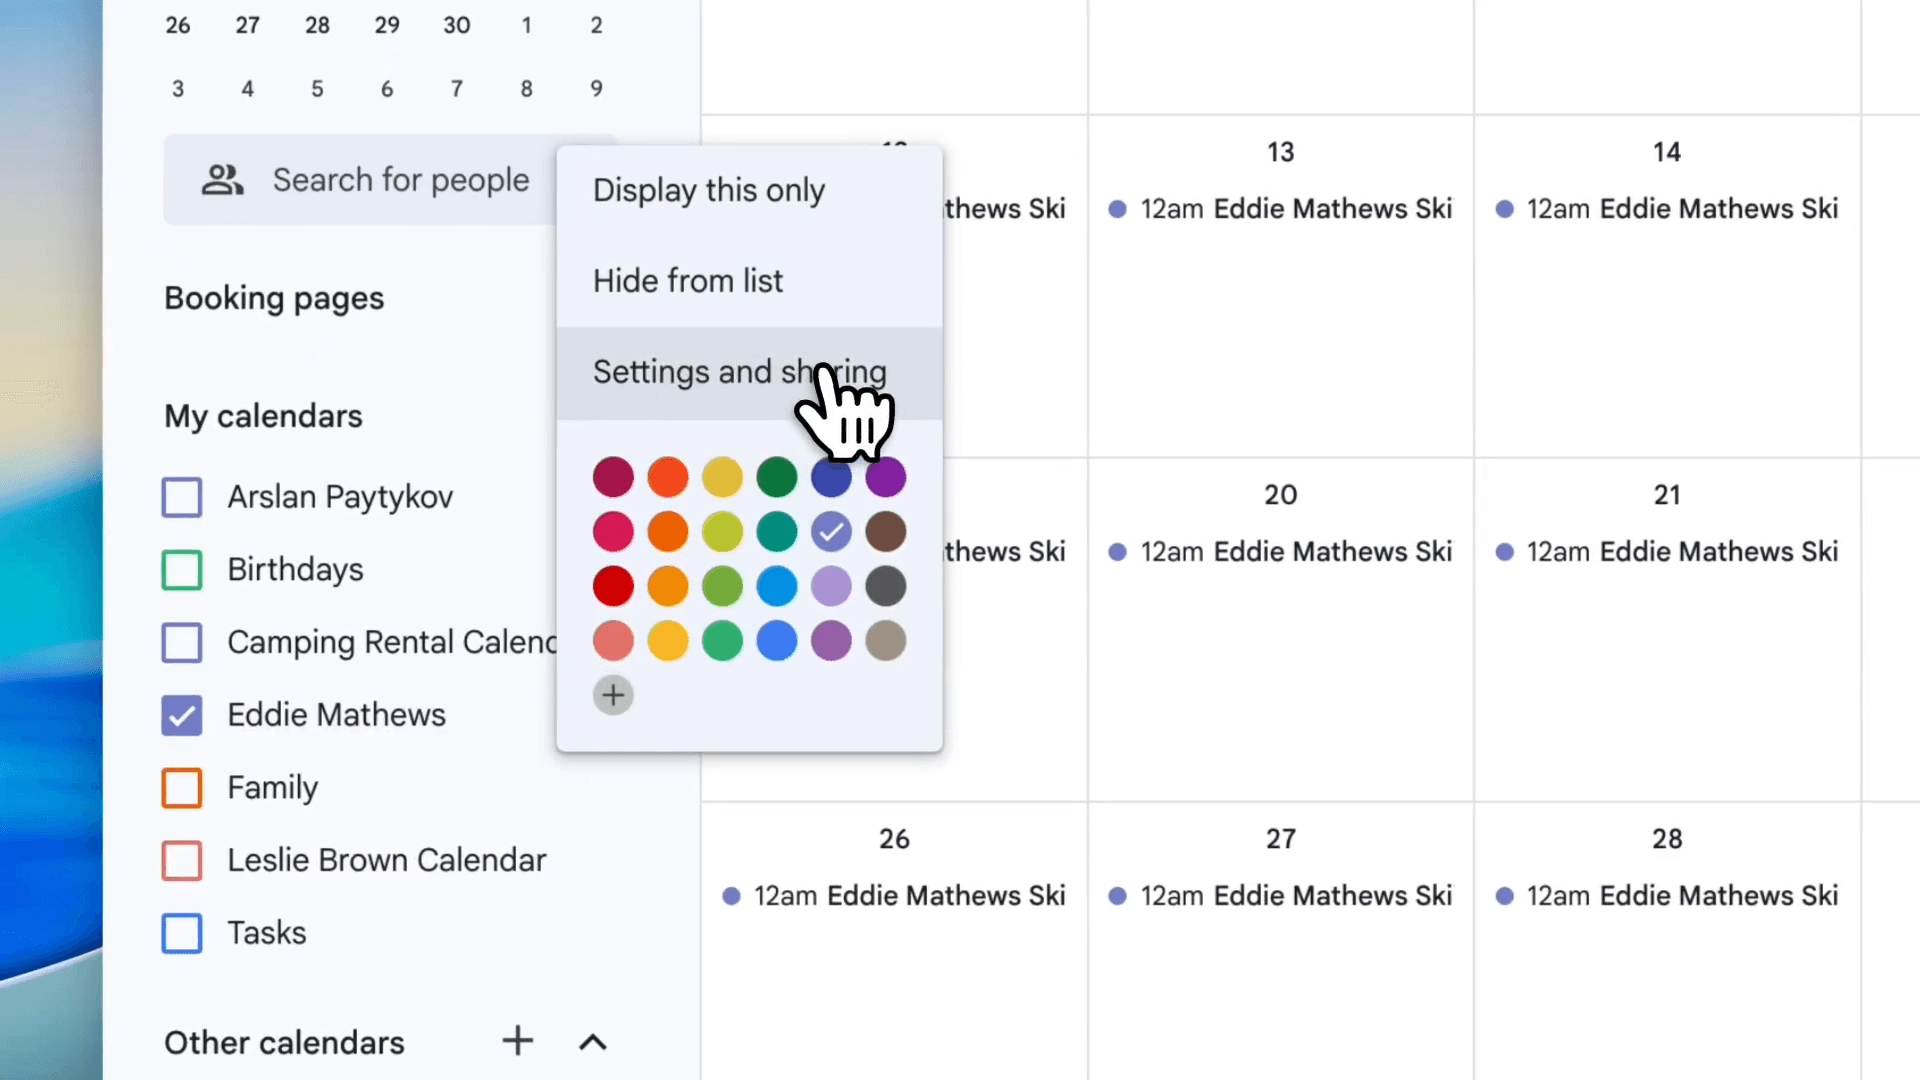
Hover over the guide's calendar in the left sidebar and click the three-dot options menu.
73
Click Settings and sharing.
74
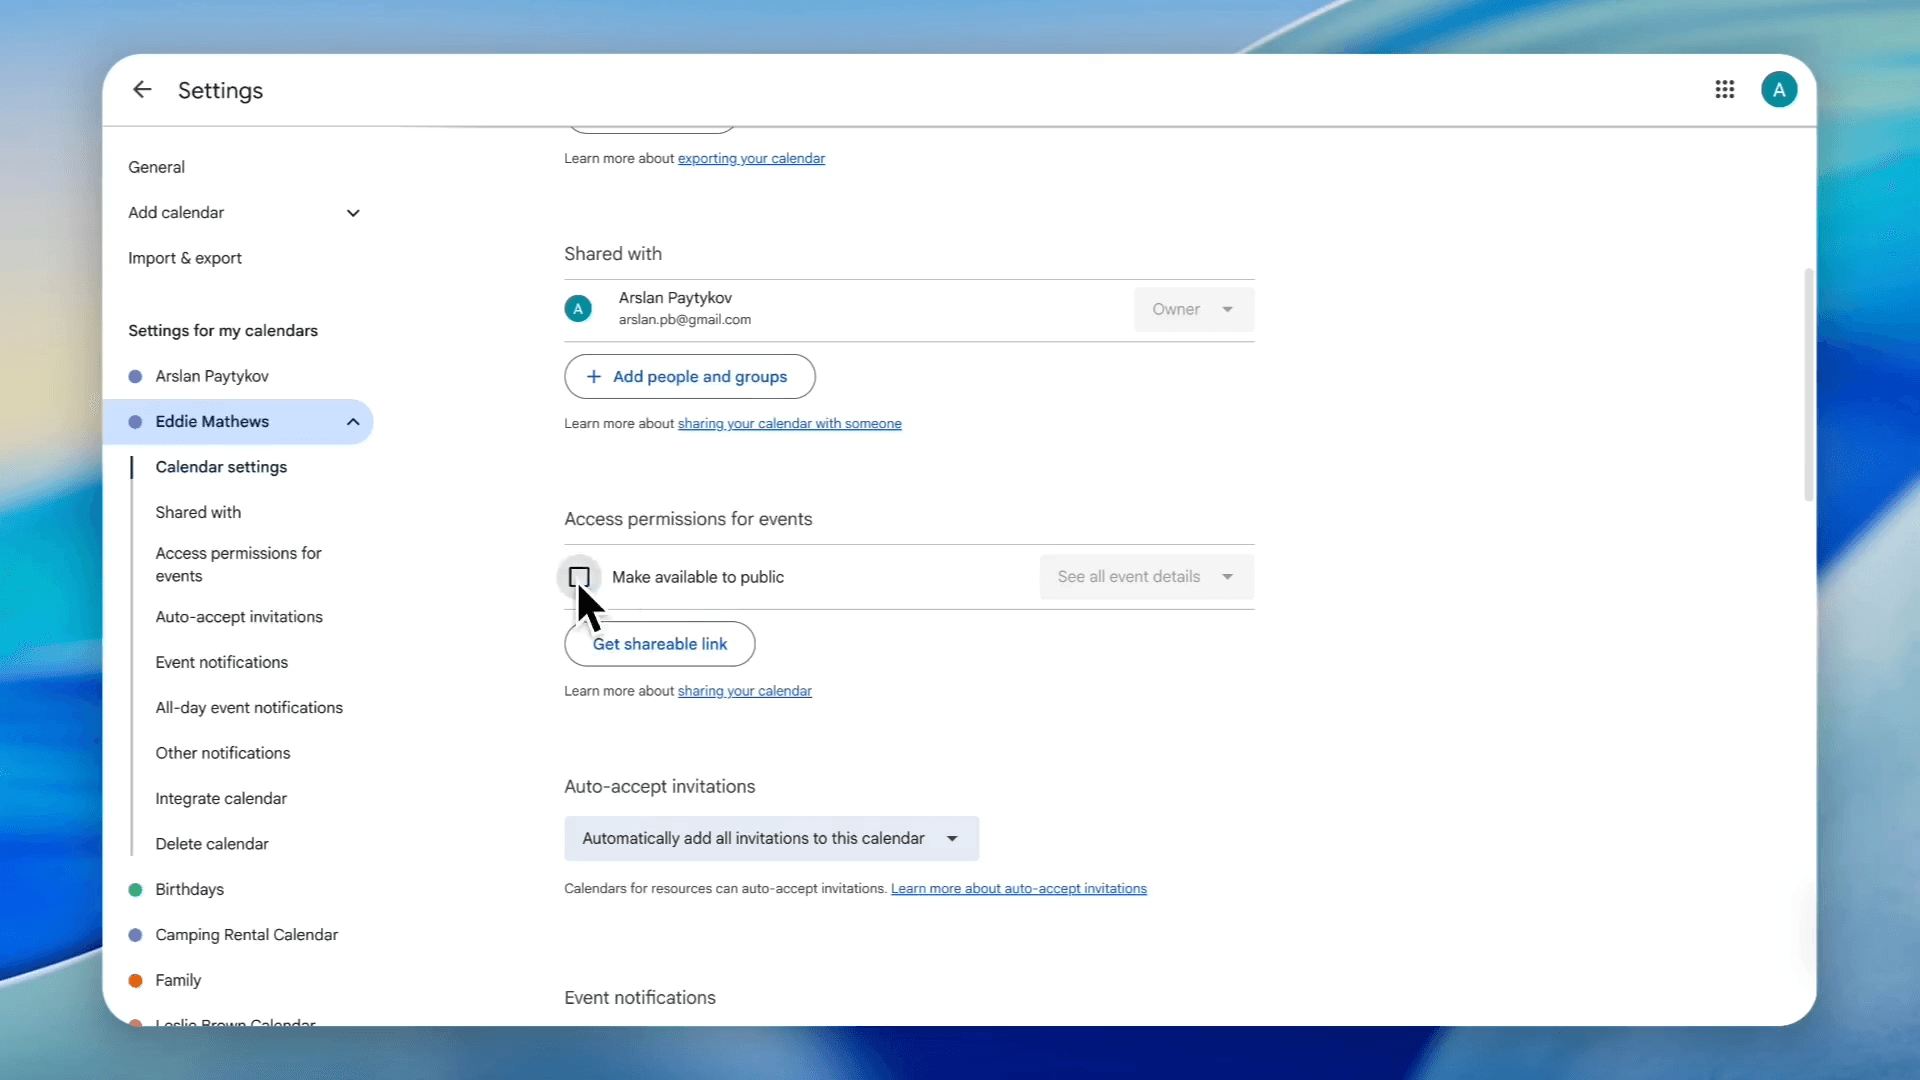
Scroll to Access permissions and click the Make available to public check box.
75
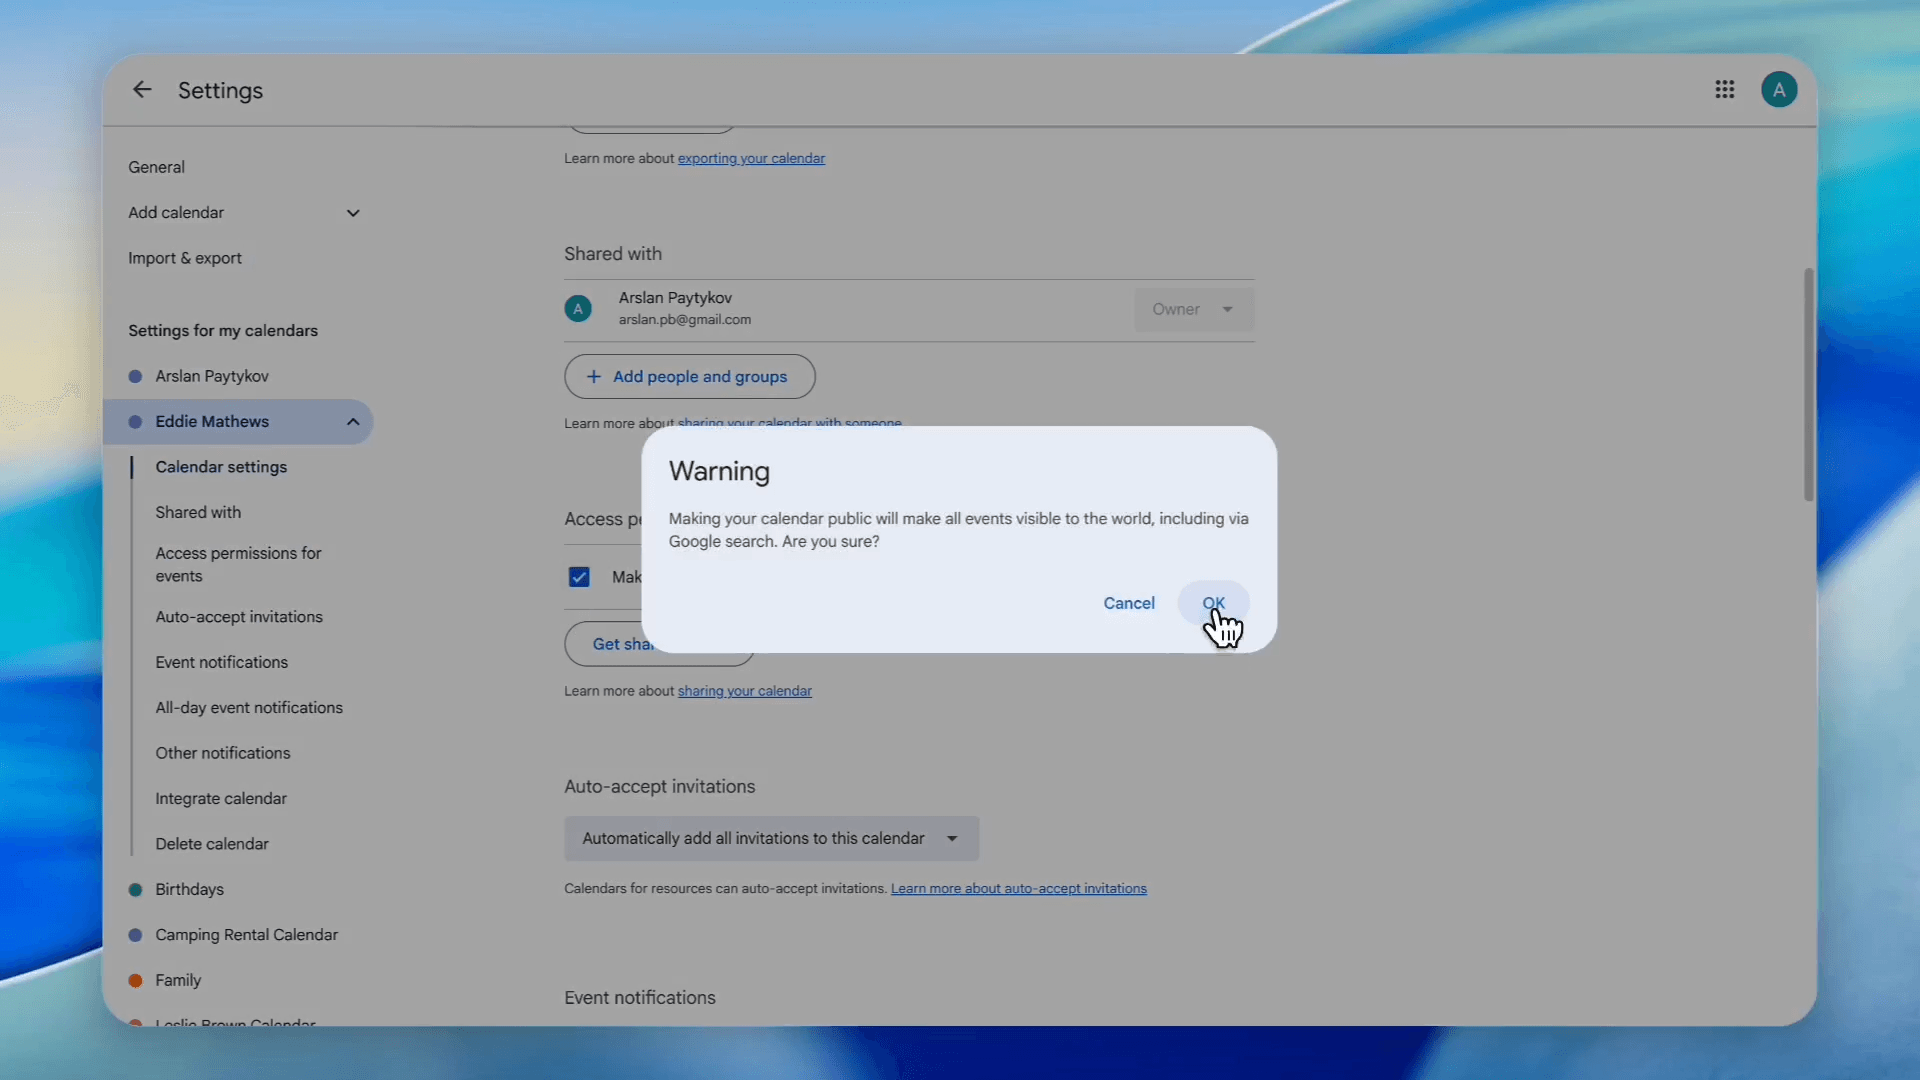
Click OK on the warning prompt.
76
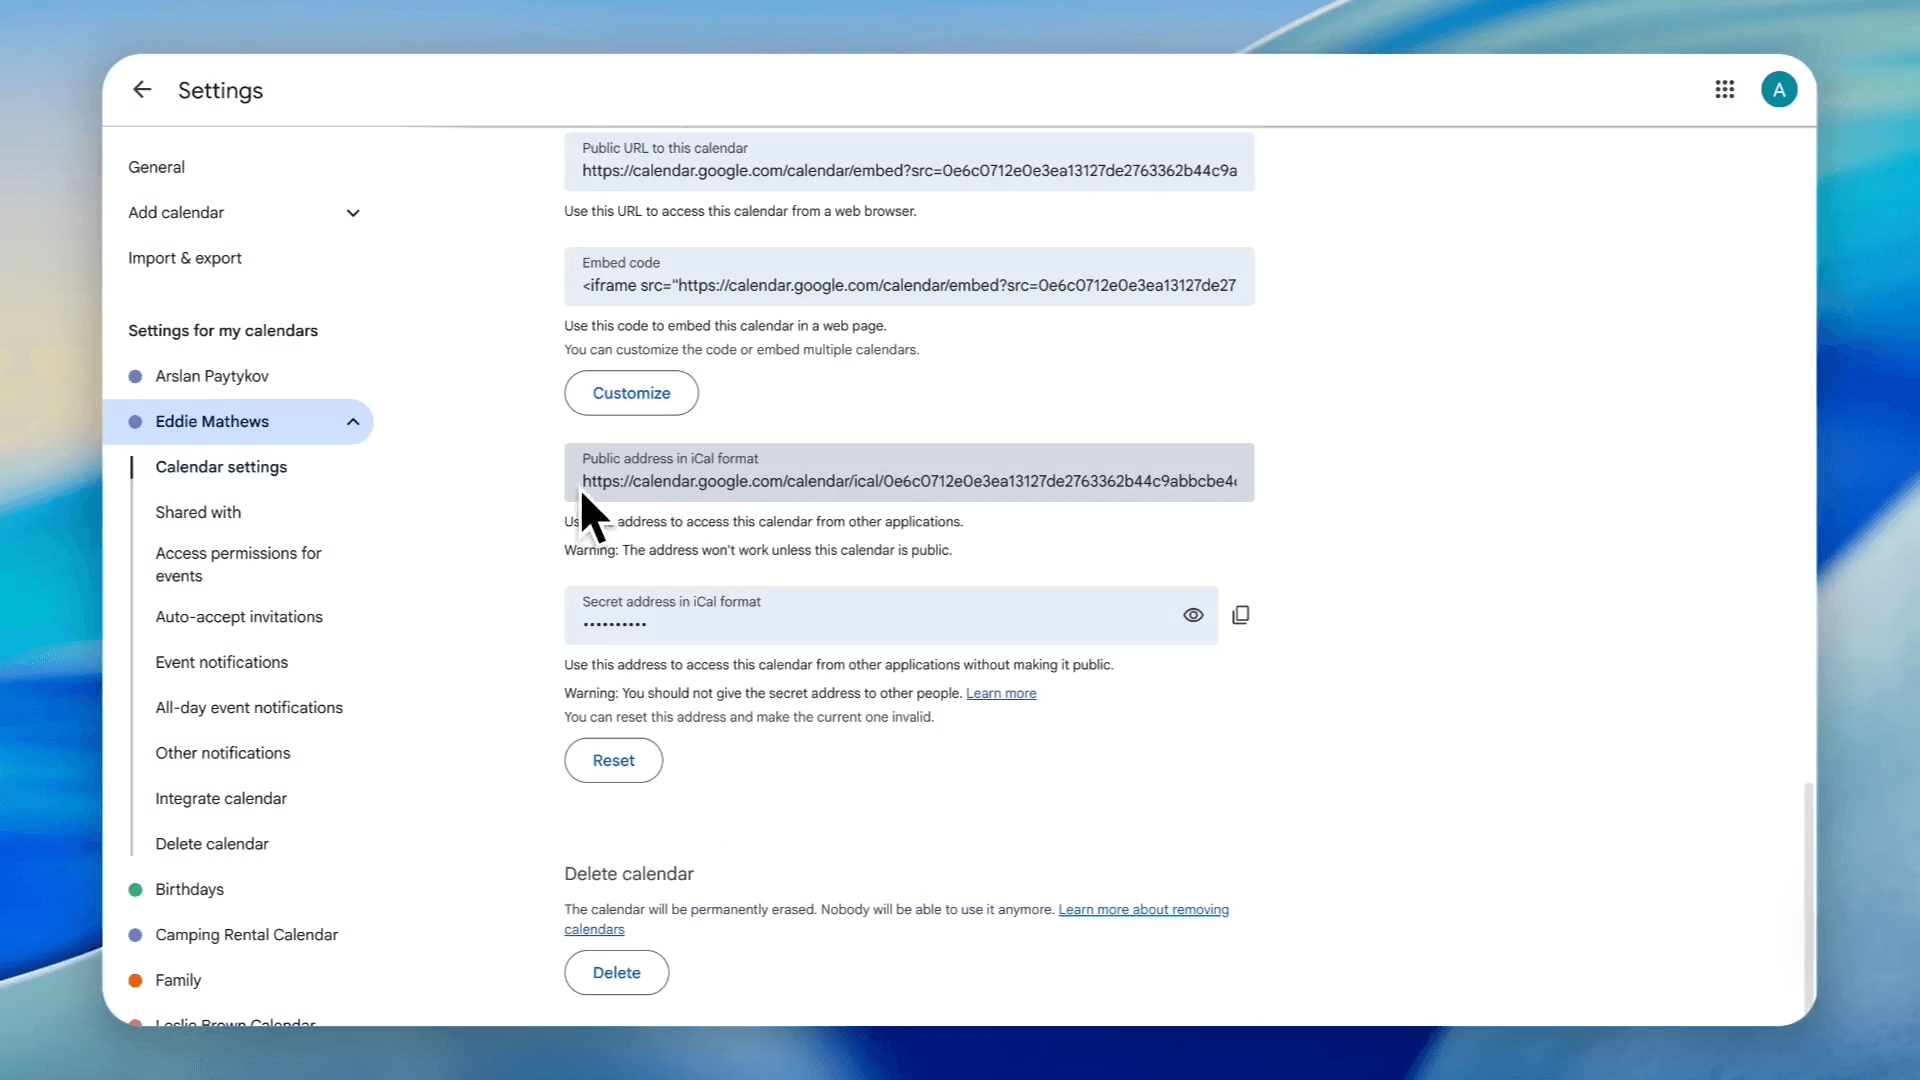
Scroll down to Public address in iCal format and double-click to copy the URL.
77
In the Reservety dashboard, click Products.
78
Click All Items.
79
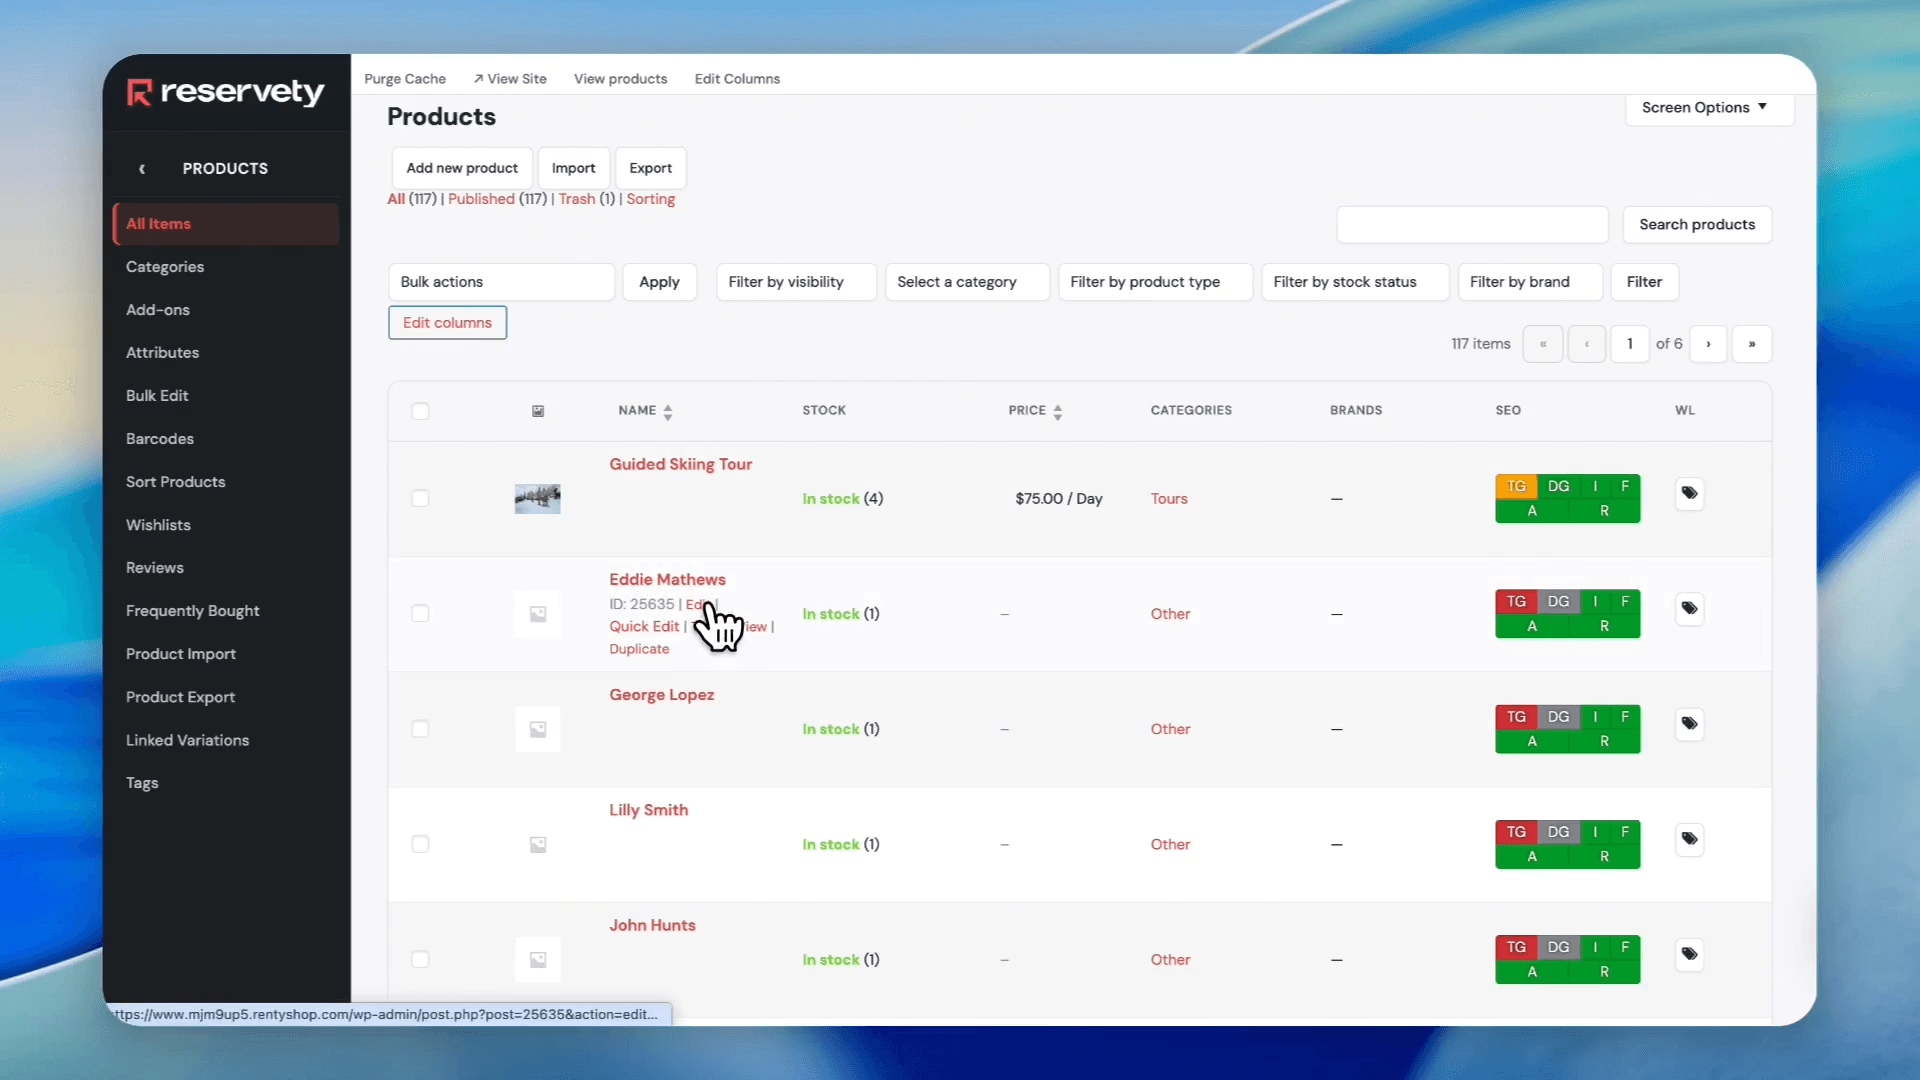
Find the specific guide and click Edit.
80
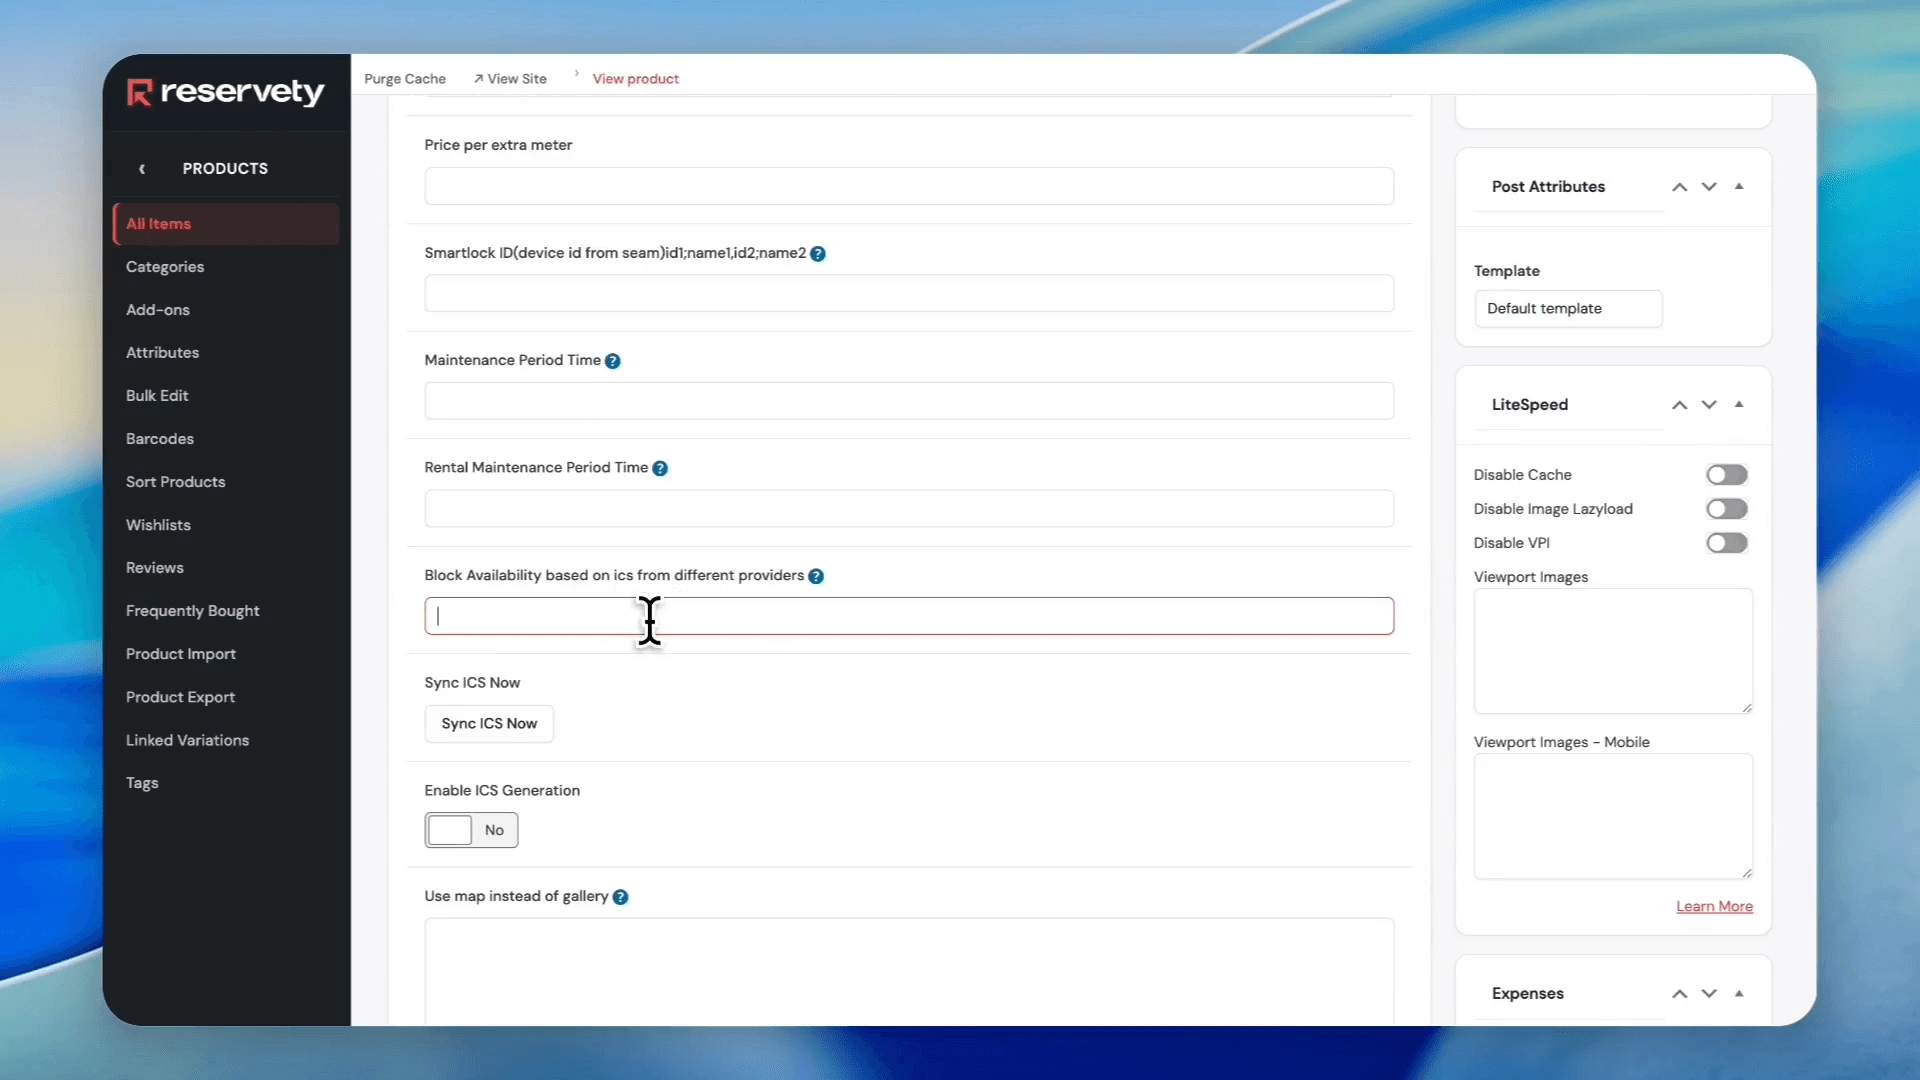
Scroll down and click on Block availability based on ics from different providers, then paste the copied link. Click Update to save the changes.
Once linked, the guide's unavailable days from Google Calendar will automatically sync.
81
To test the integration, open an order matching the unavailable date and click Prepare Order.
82
Click the red icon to open the assignment box.
83
Click the selection box; the guide's name will no longer appear on their busy days.
Q: Can I scan barcodes to select serial numbers instead of selecting them manually?
A: Yes, Reservety allows you to scan barcodes on products using your phone or a barcode scanner to speed up the order preparation process.
Q: Do guides receive automated notifications when assigned to an order?
A: Yes, if you enter the guide's email address in their product profile, they will automatically receive an email when assigned to a booking.
Q: Why isn't a specific guide's name showing up in the availability list during order preparation?
A: If a guide doesn't appear in the assignment dropdown, it means their integrated Google Calendar indicates they are busy or unavailable on the requested date.
Term
Definition
Serial Product
A specific individual item tracked in inventory using a unique serial number or barcode.
Bookable Product
An item or service that customers can rent or reserve for specific dates and times.
iCal Format
A standardized calendar format used to share and synchronize scheduling data between applications like Google Calendar and Reservety.