
How to Print a 3D Model from MakerWorld in Bambu Studio
Learn how to search for a 3D model on MakerWorld, open it in Bambu Studio, configure your printer and filament settings, and start the print job.
By Riya Shrestha Koirala
This guide covers how to discover 3D printable models on MakerWorld, import them seamlessly into Bambu Studio, configure essential slicing settings, and successfully send the print job to your Bambu Lab printer.
1. Import a Model from MakerWorld
Start by finding a model on the MakerWorld website and opening its profile within Bambu Studio.
1
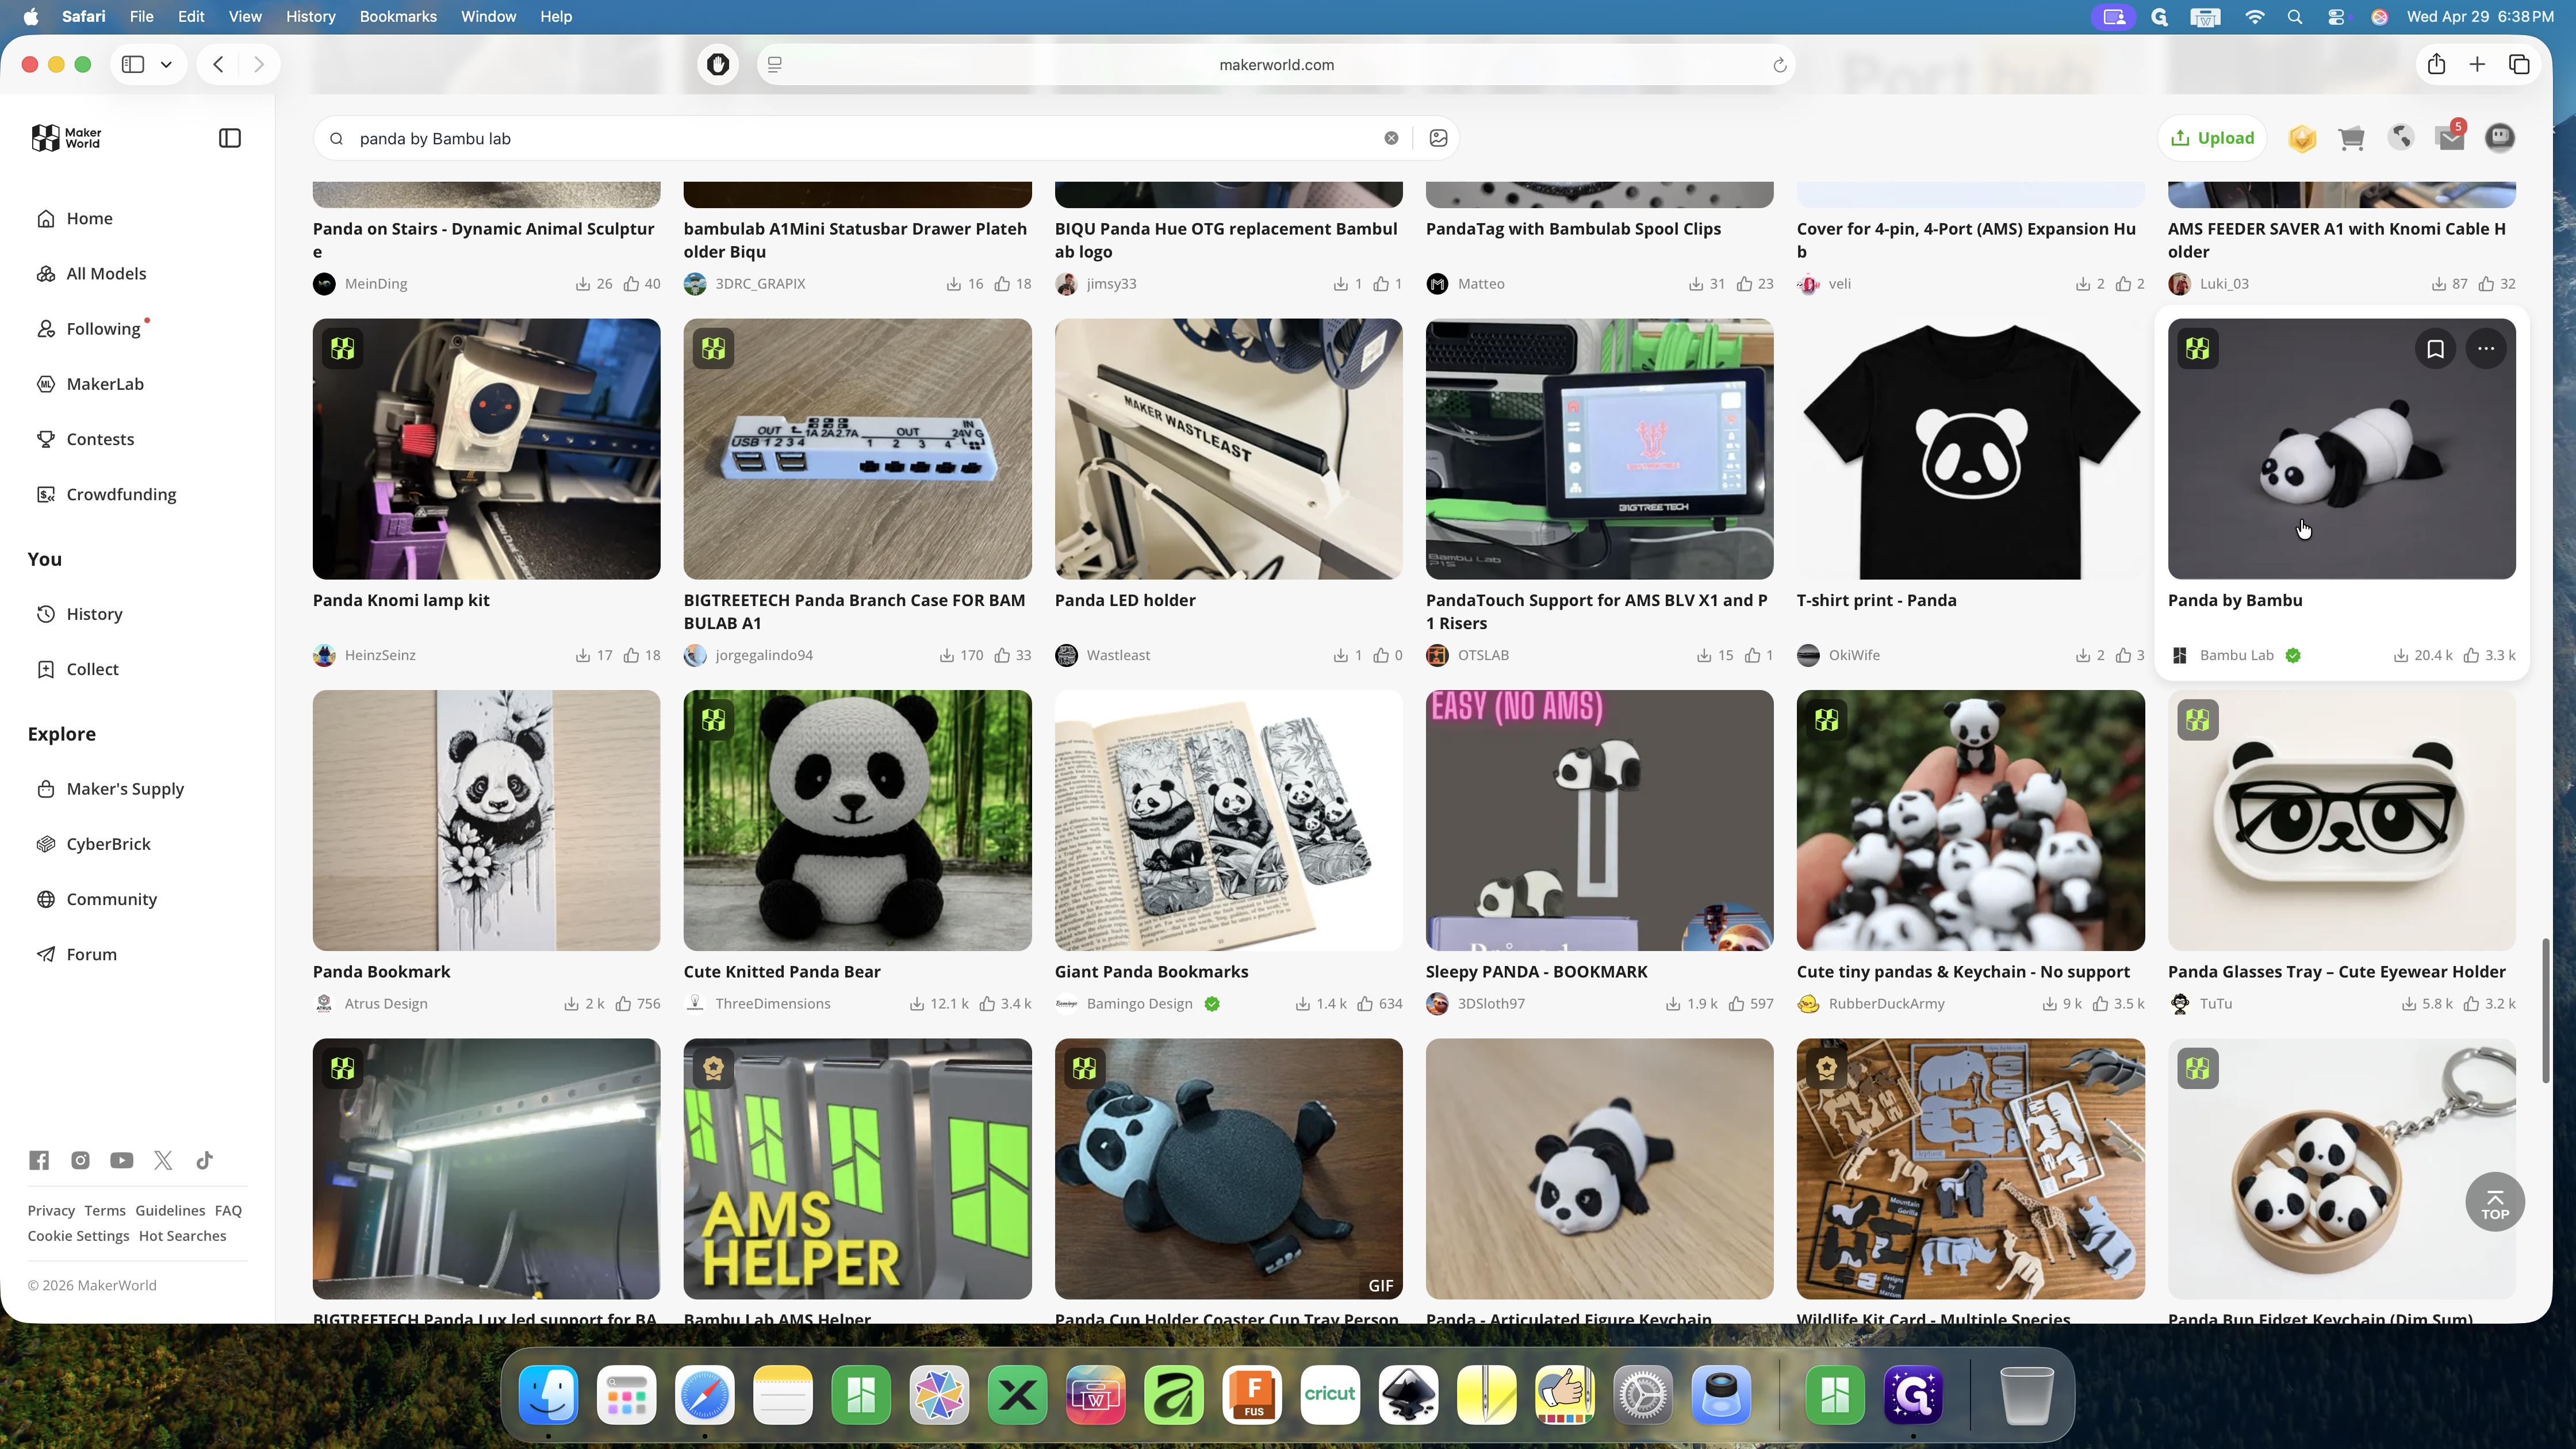
Search for a file you want to print in the top serach bar and press Enter. In this example I am searching for panda by bambu lab in the top search bar.
2
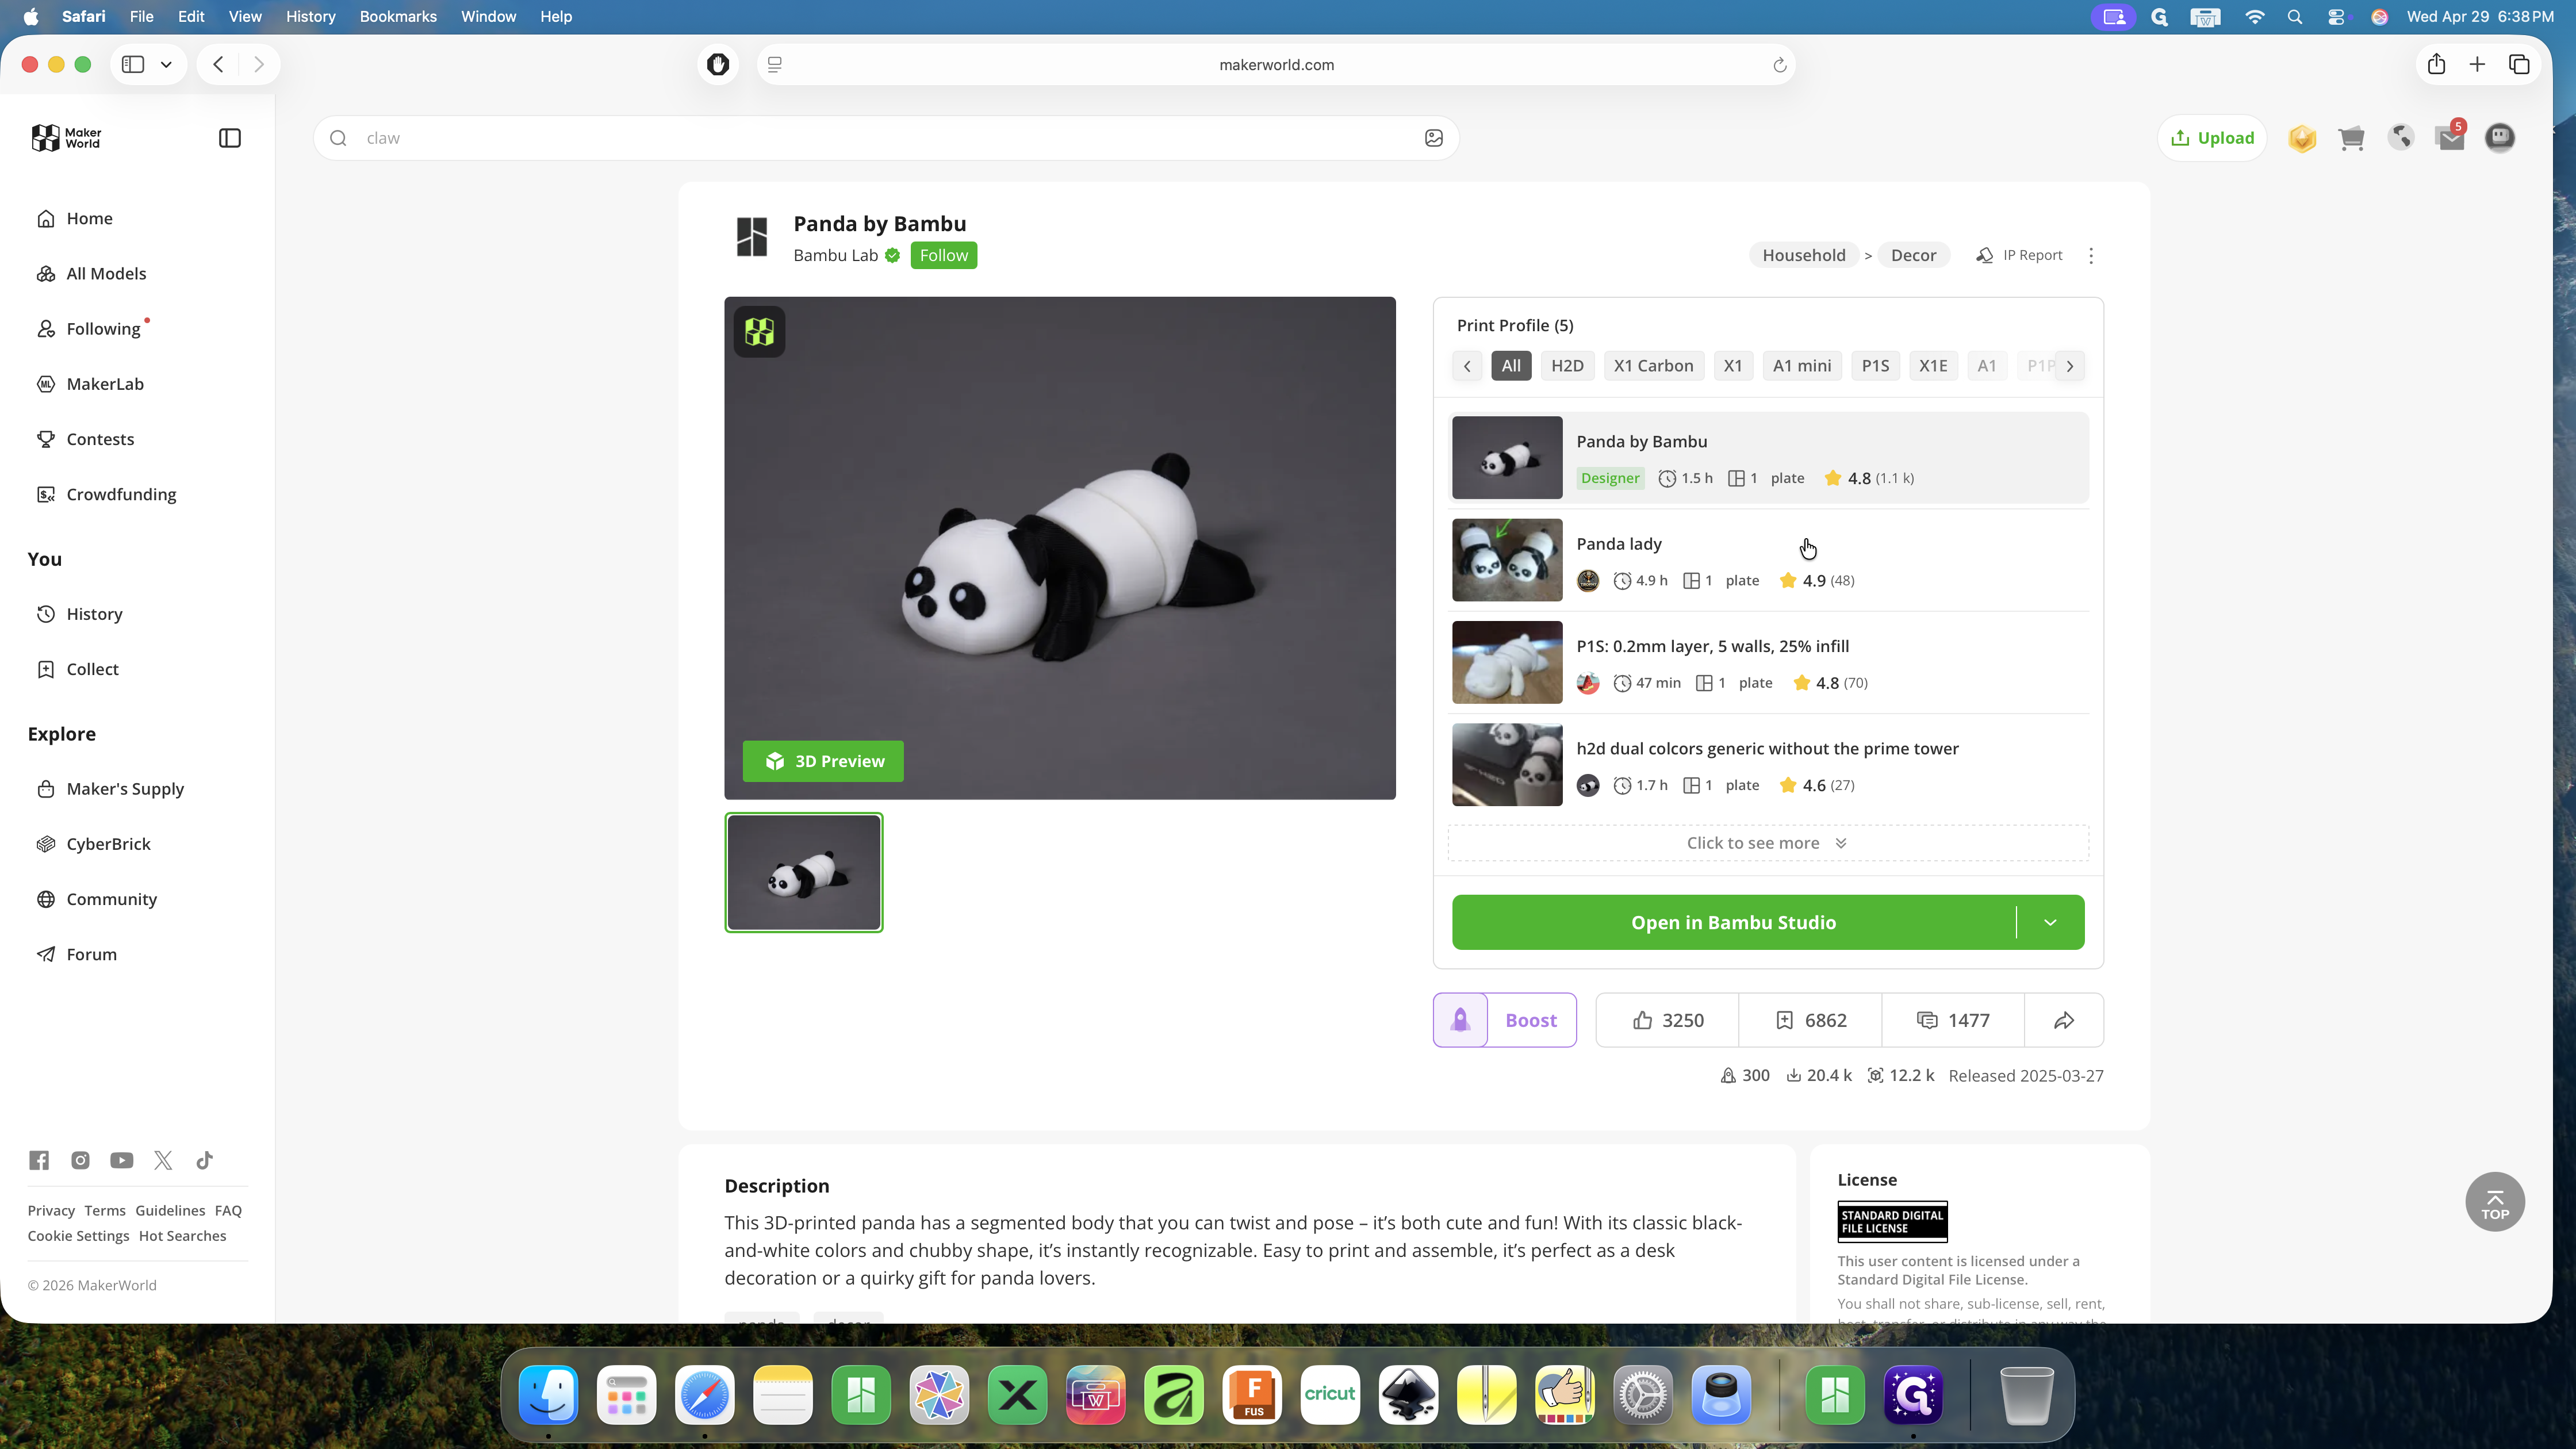
Select the Panda by Bambu model card from the search results.
3
Choose your preferred print profile, such as the Panda by Bambu profile, from the list on the right side of the project page. The first profile is selected by default.
4
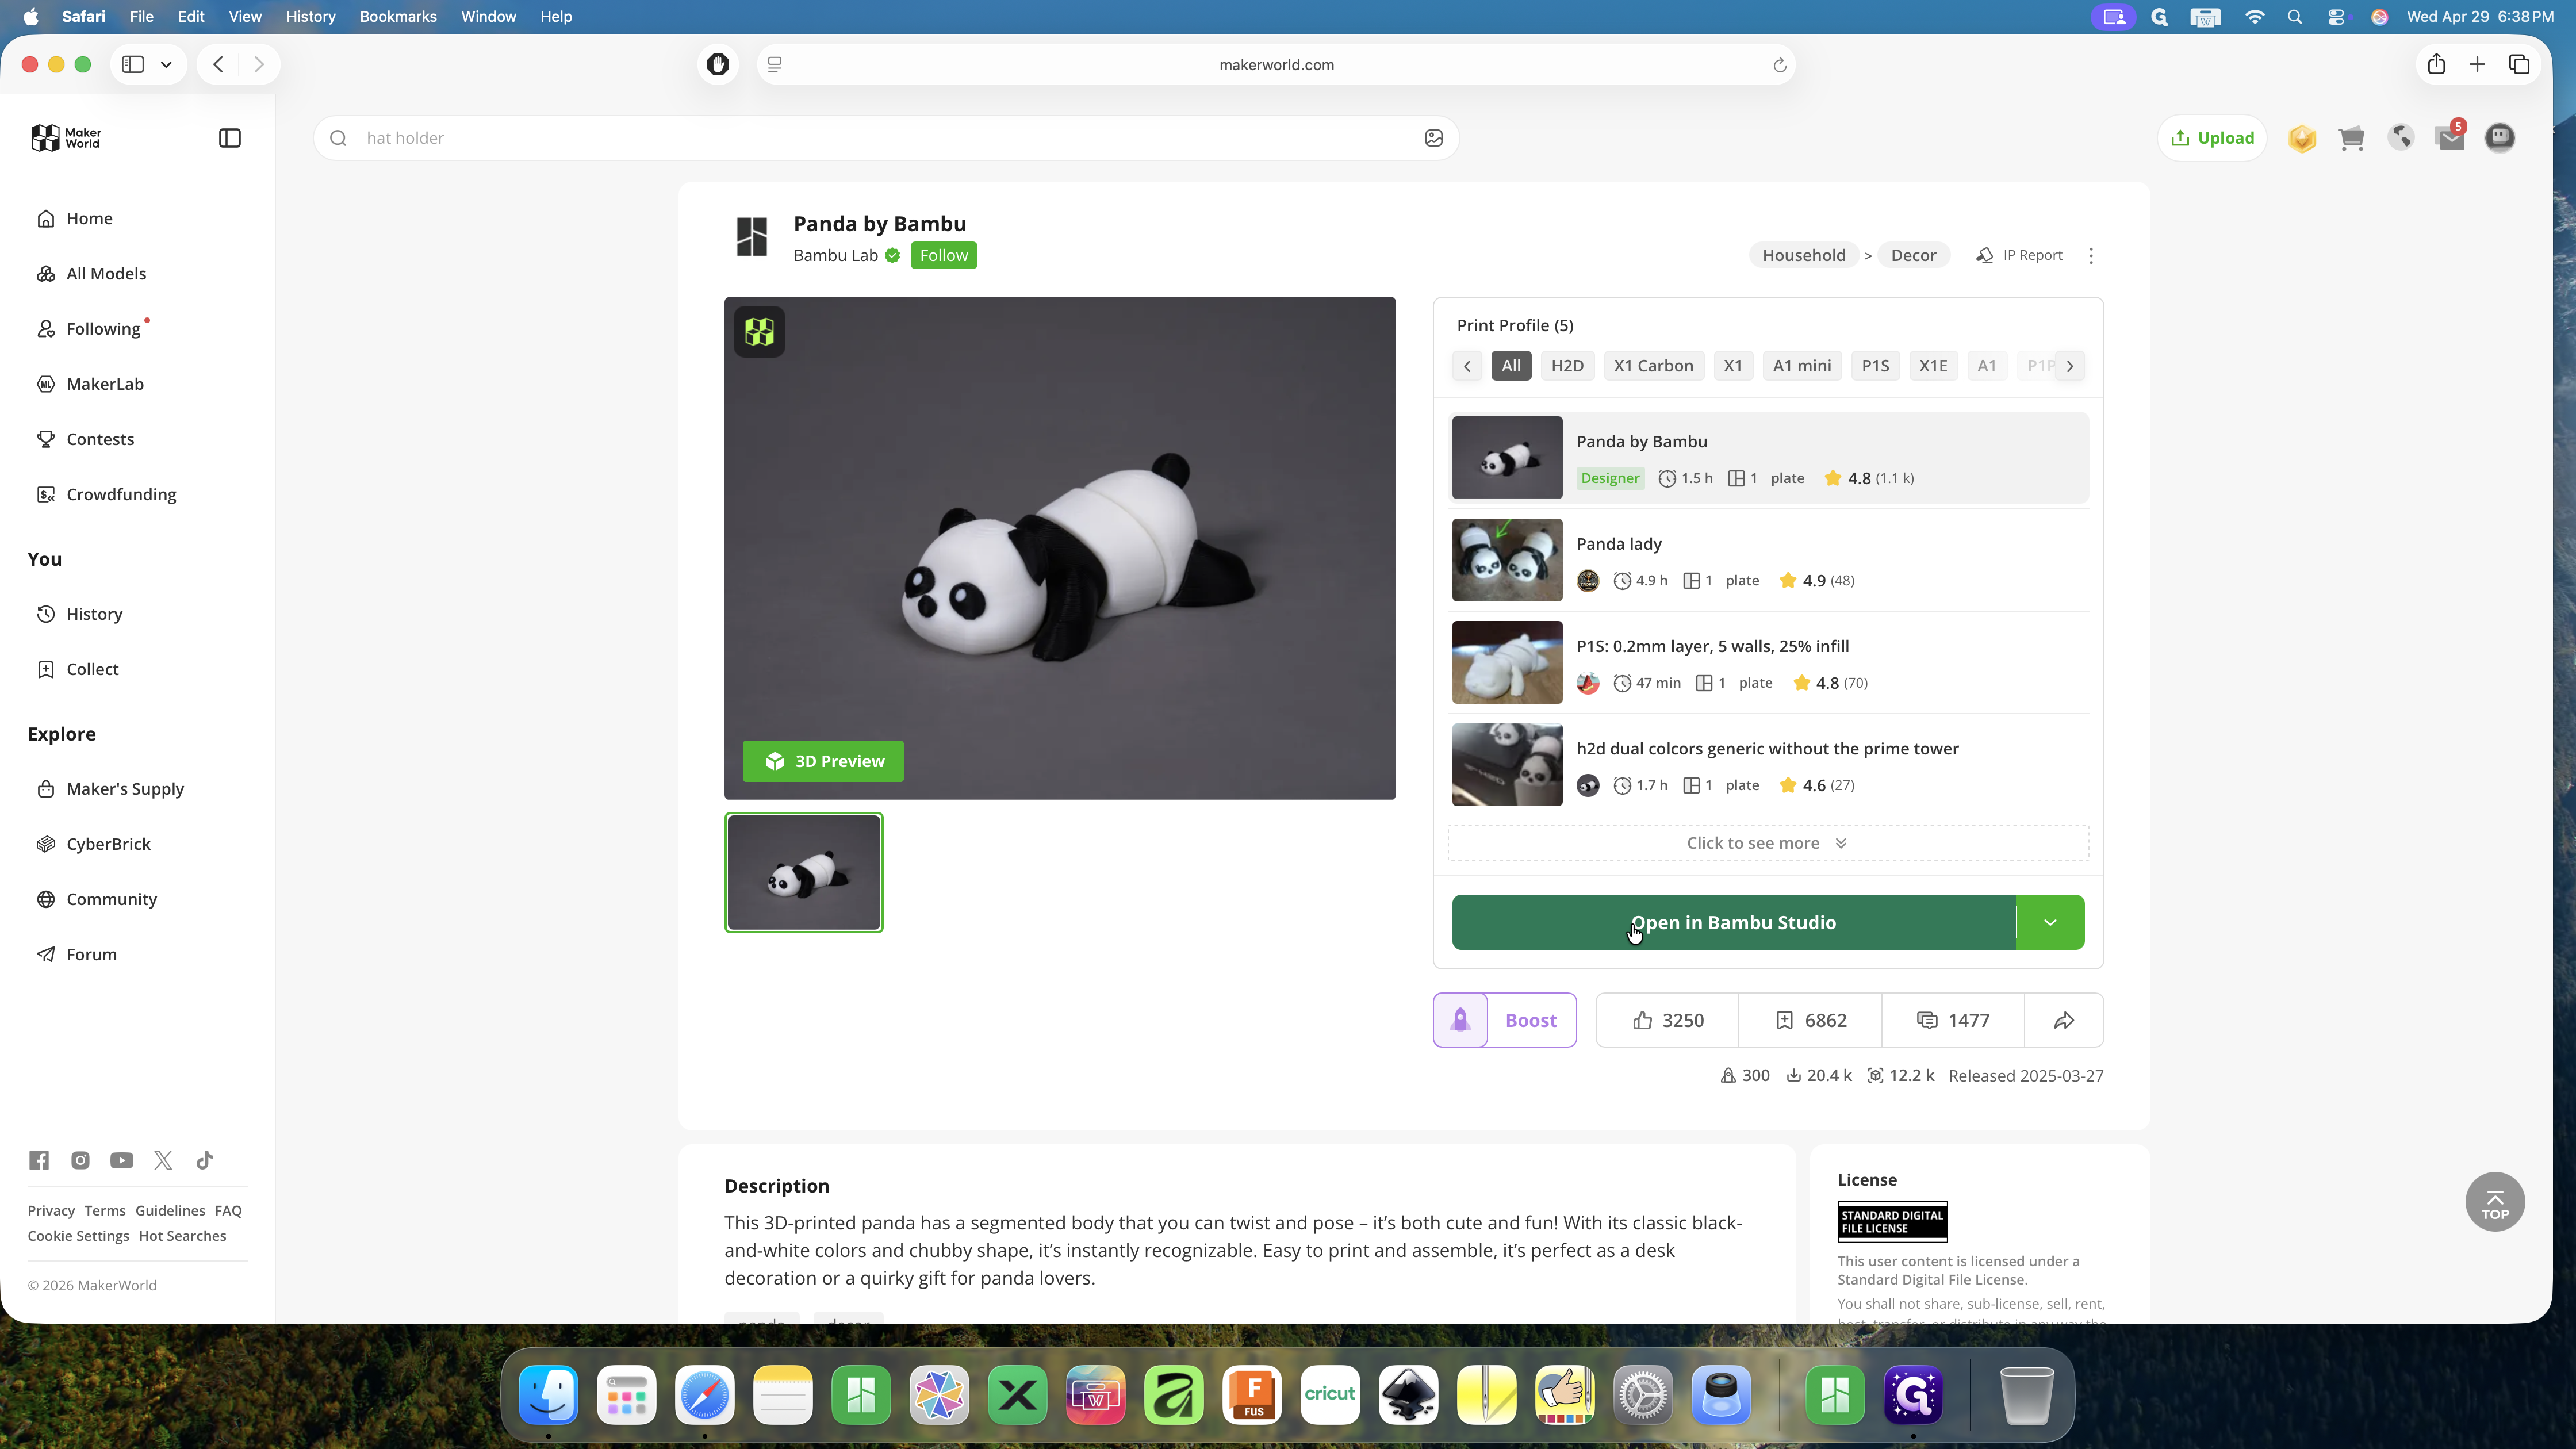
Click the large green Open in Bambu Studio button. If you do not see Open in Bambu Studio, click the dropdown button on the right and select Open in Bambu Studio option.
2. Configure Printer and Process Settings
Once the model is loaded in Bambu Studio, verify that your printer, build plate, and filament settings are correctly configured for your specific setup.
5
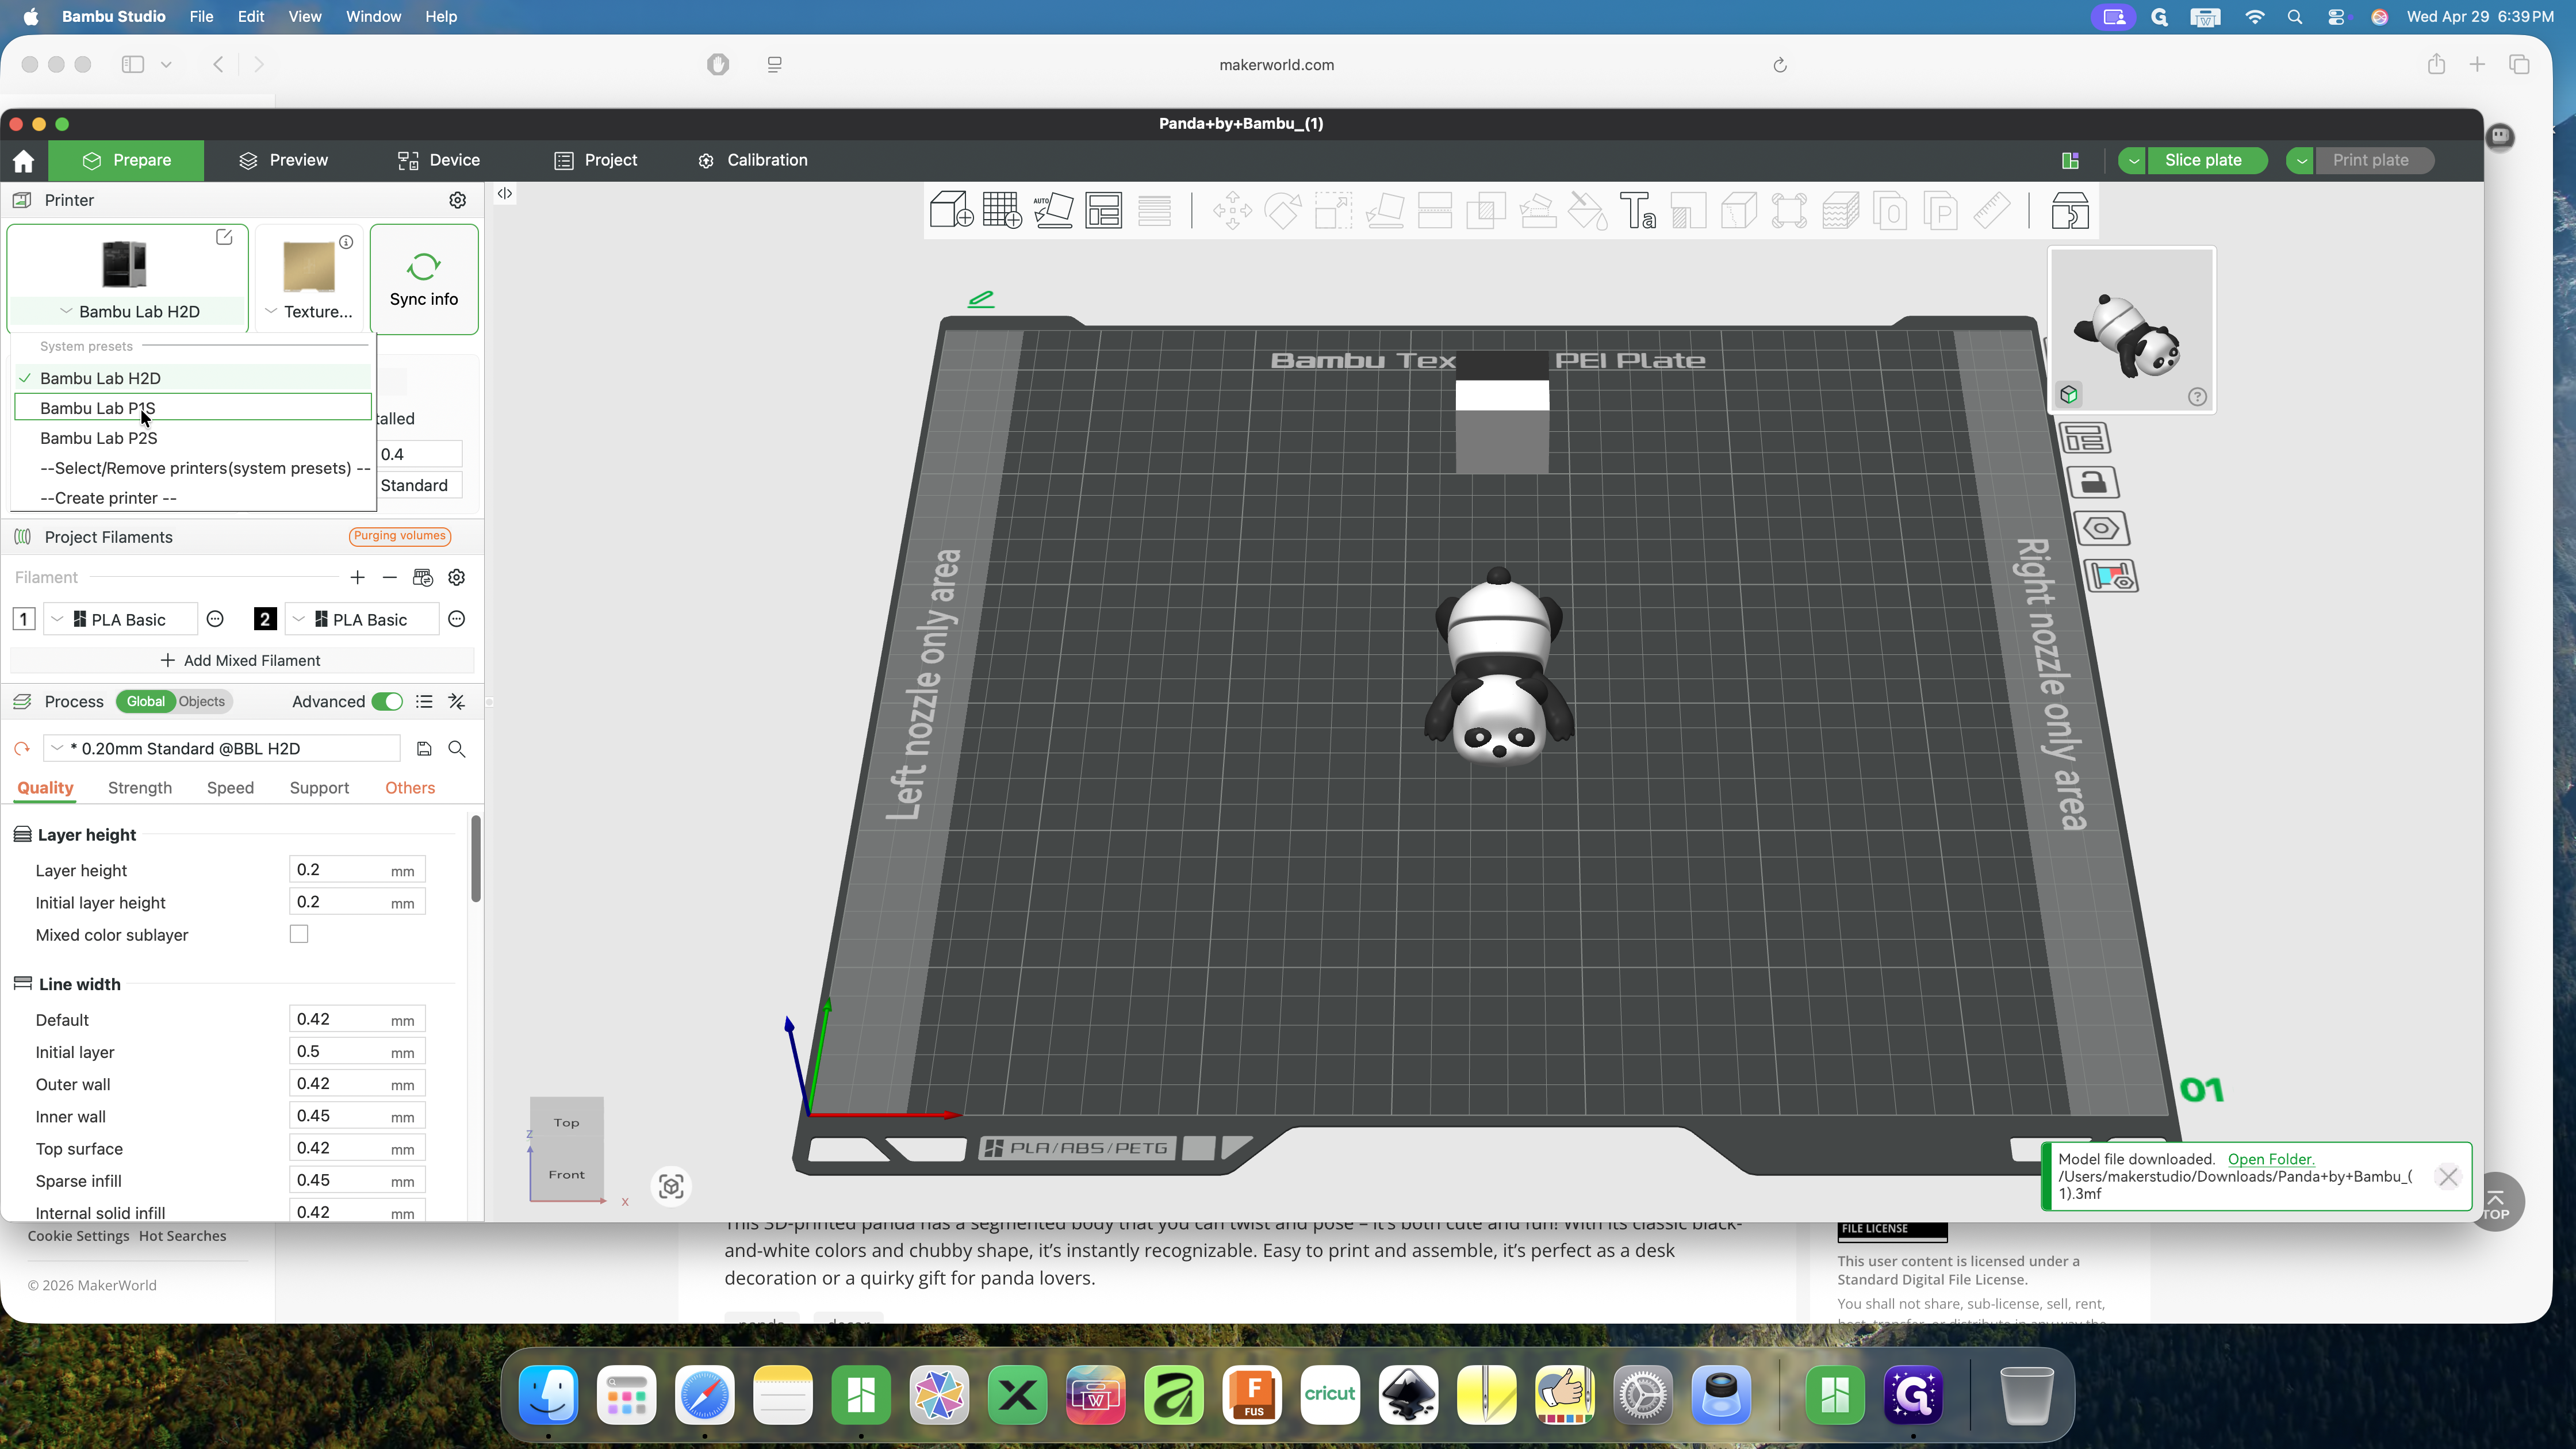
In the left sidebar, click the printer dropdown and select your target printer, such as Bambu Lab P1S.
6
Click the build plate dropdown and select Textured PEI Plate.

7
Verify or set your nozzle diameter to 0.4mm.

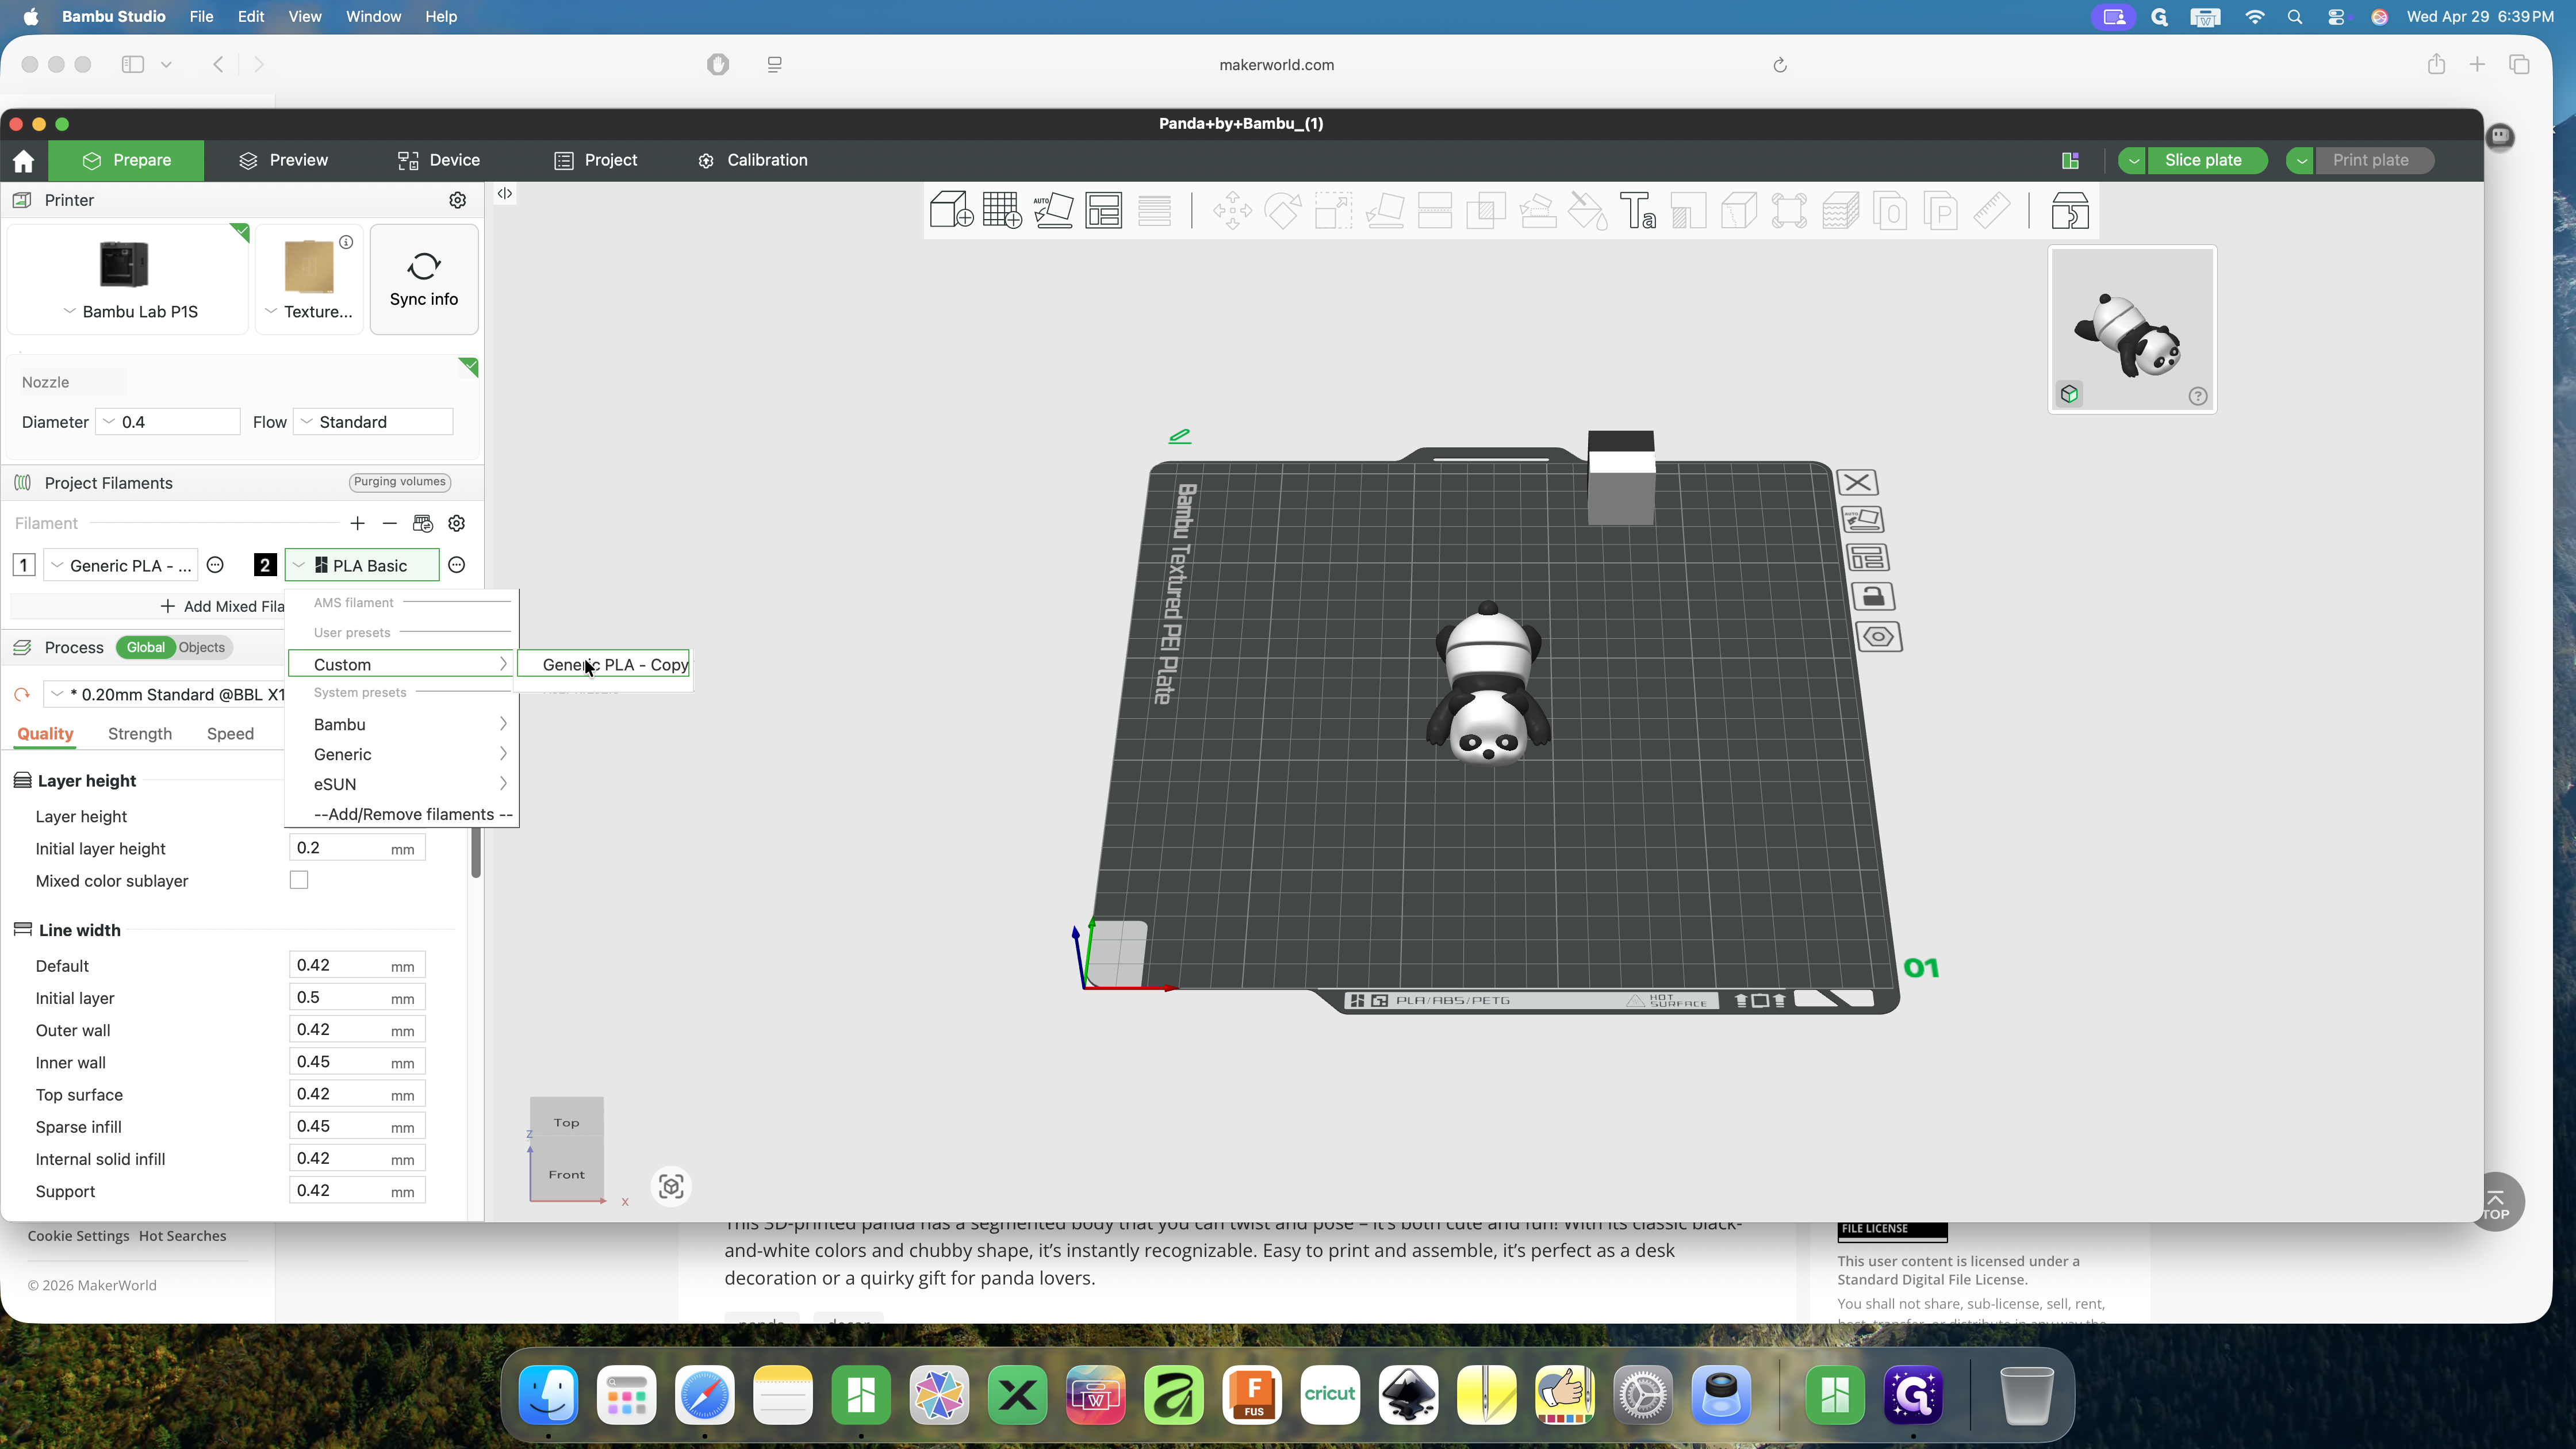
8
Choose your filament type from the dropdown, selecting Generic PLA or your preferred material.
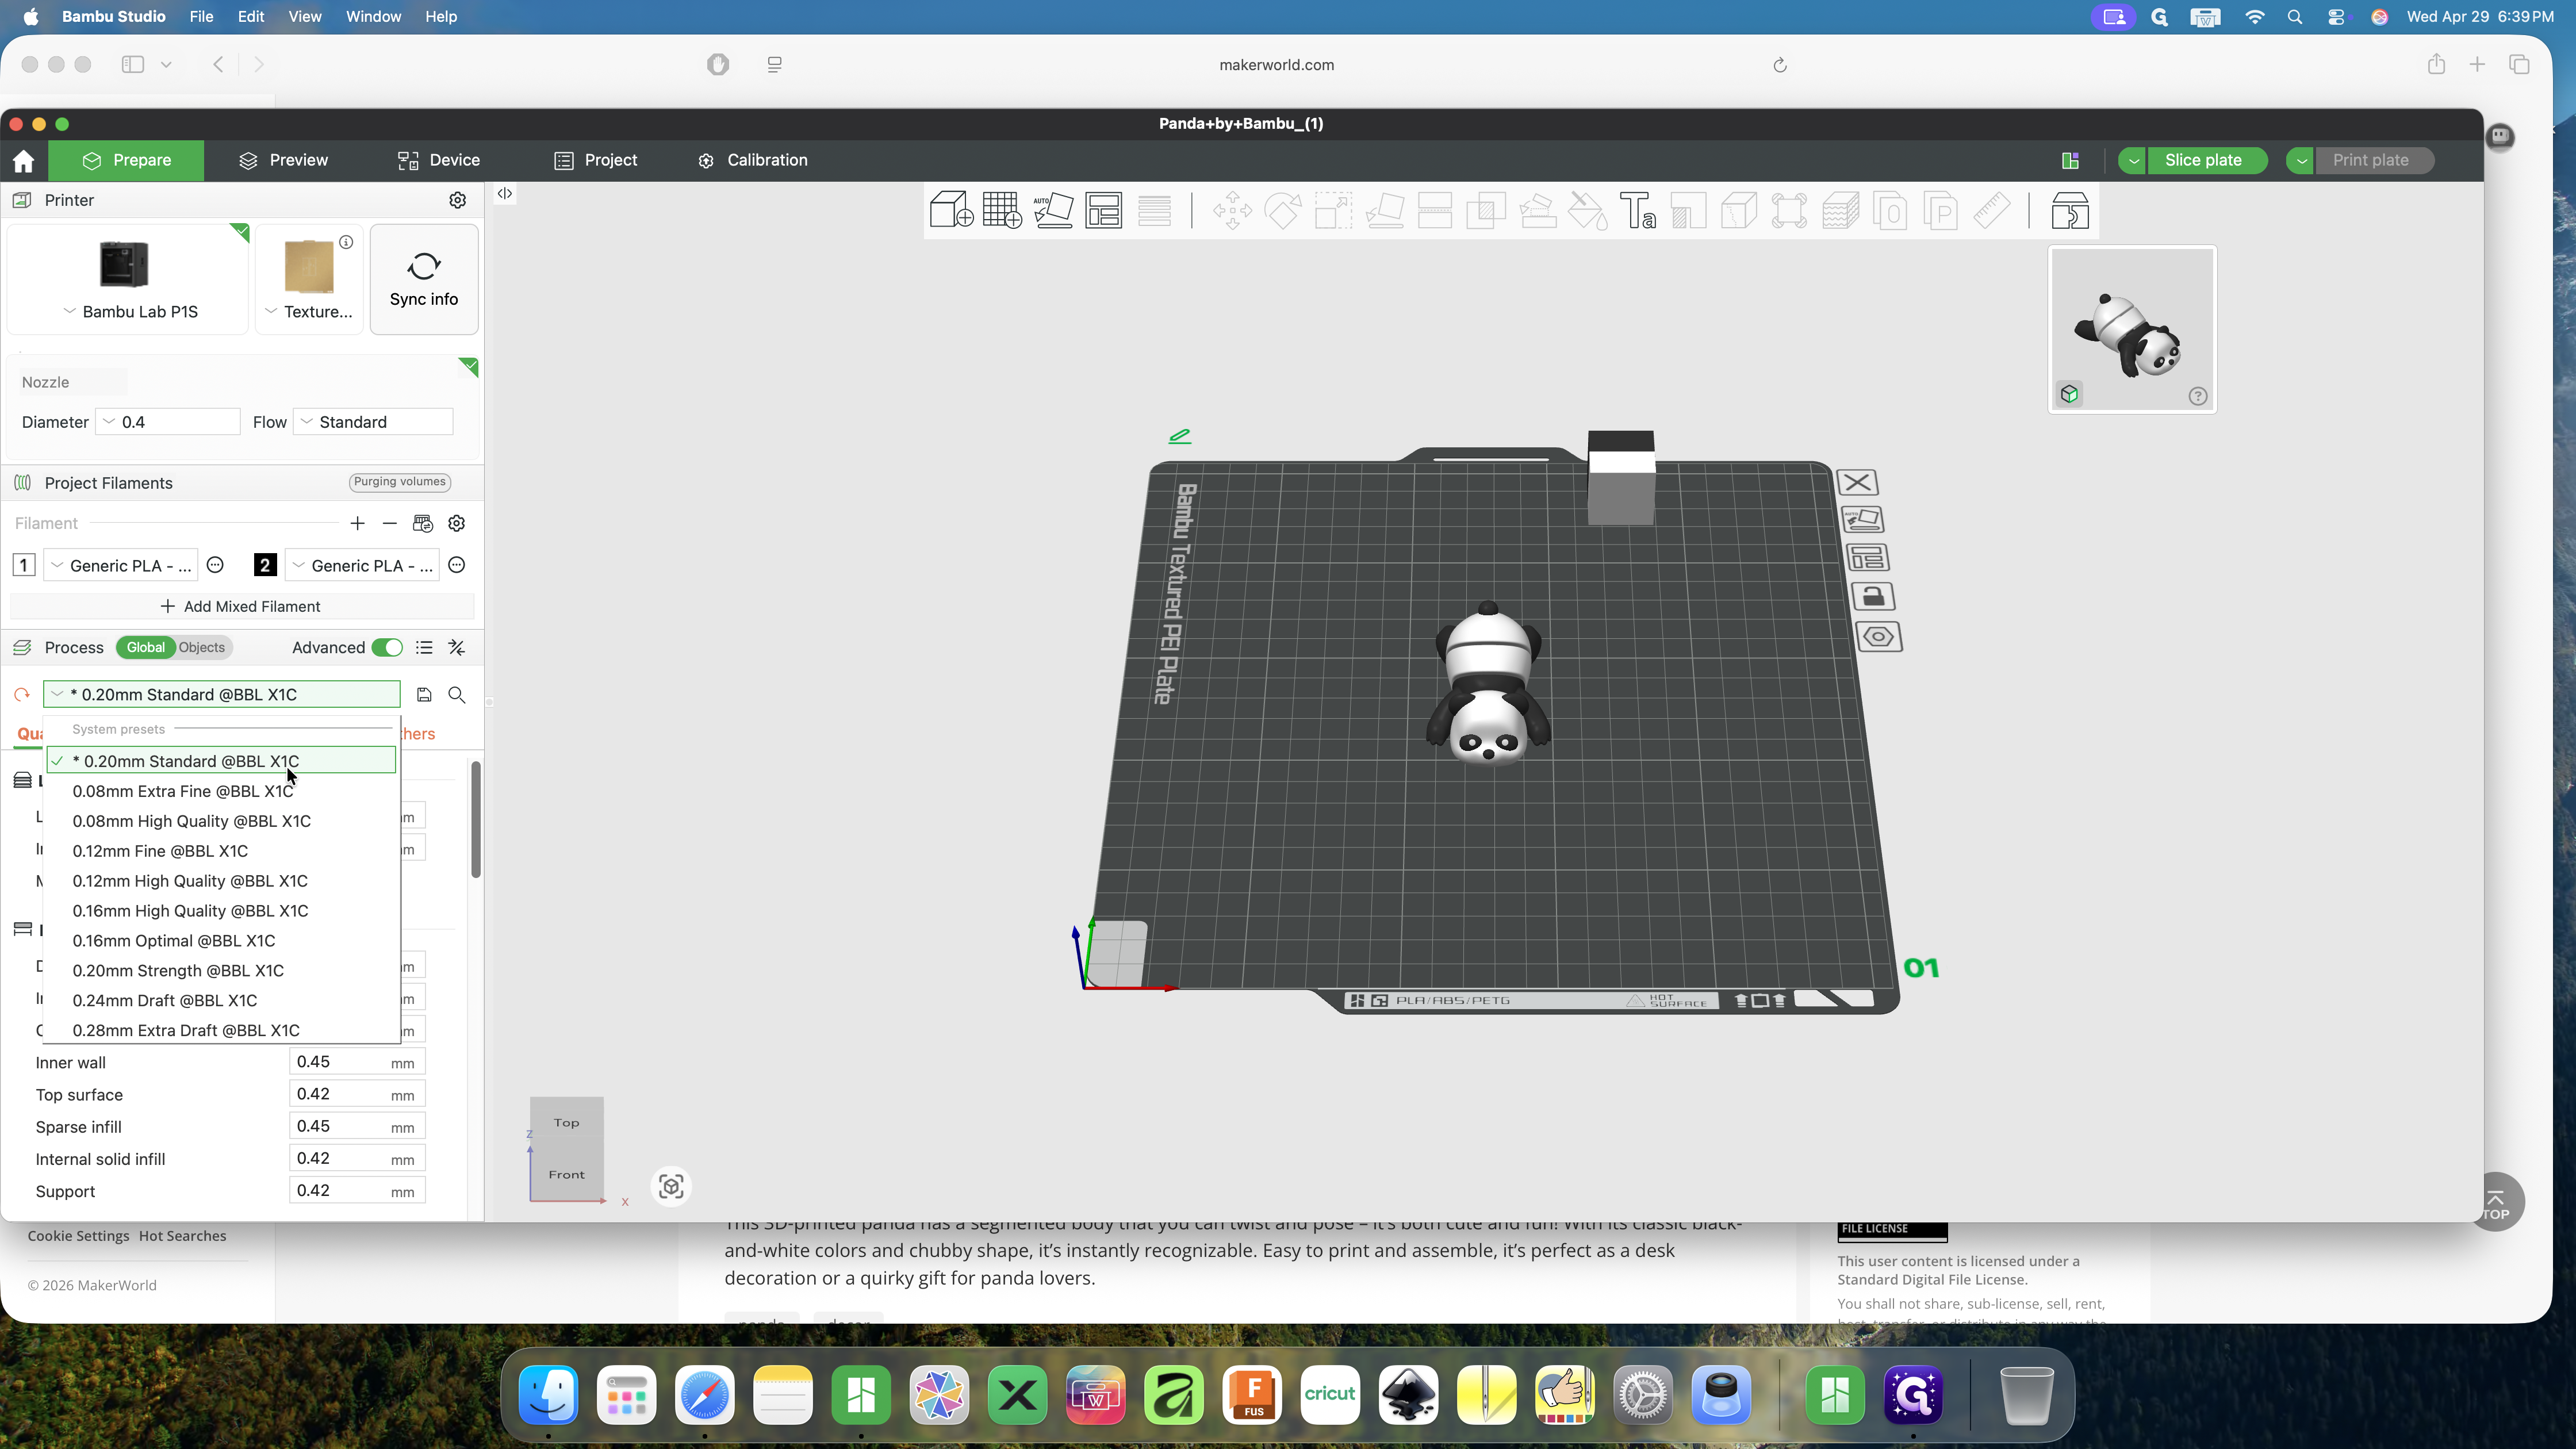
9
Under the Process section, select your desired print quality preset, like 0.20mm Standard.
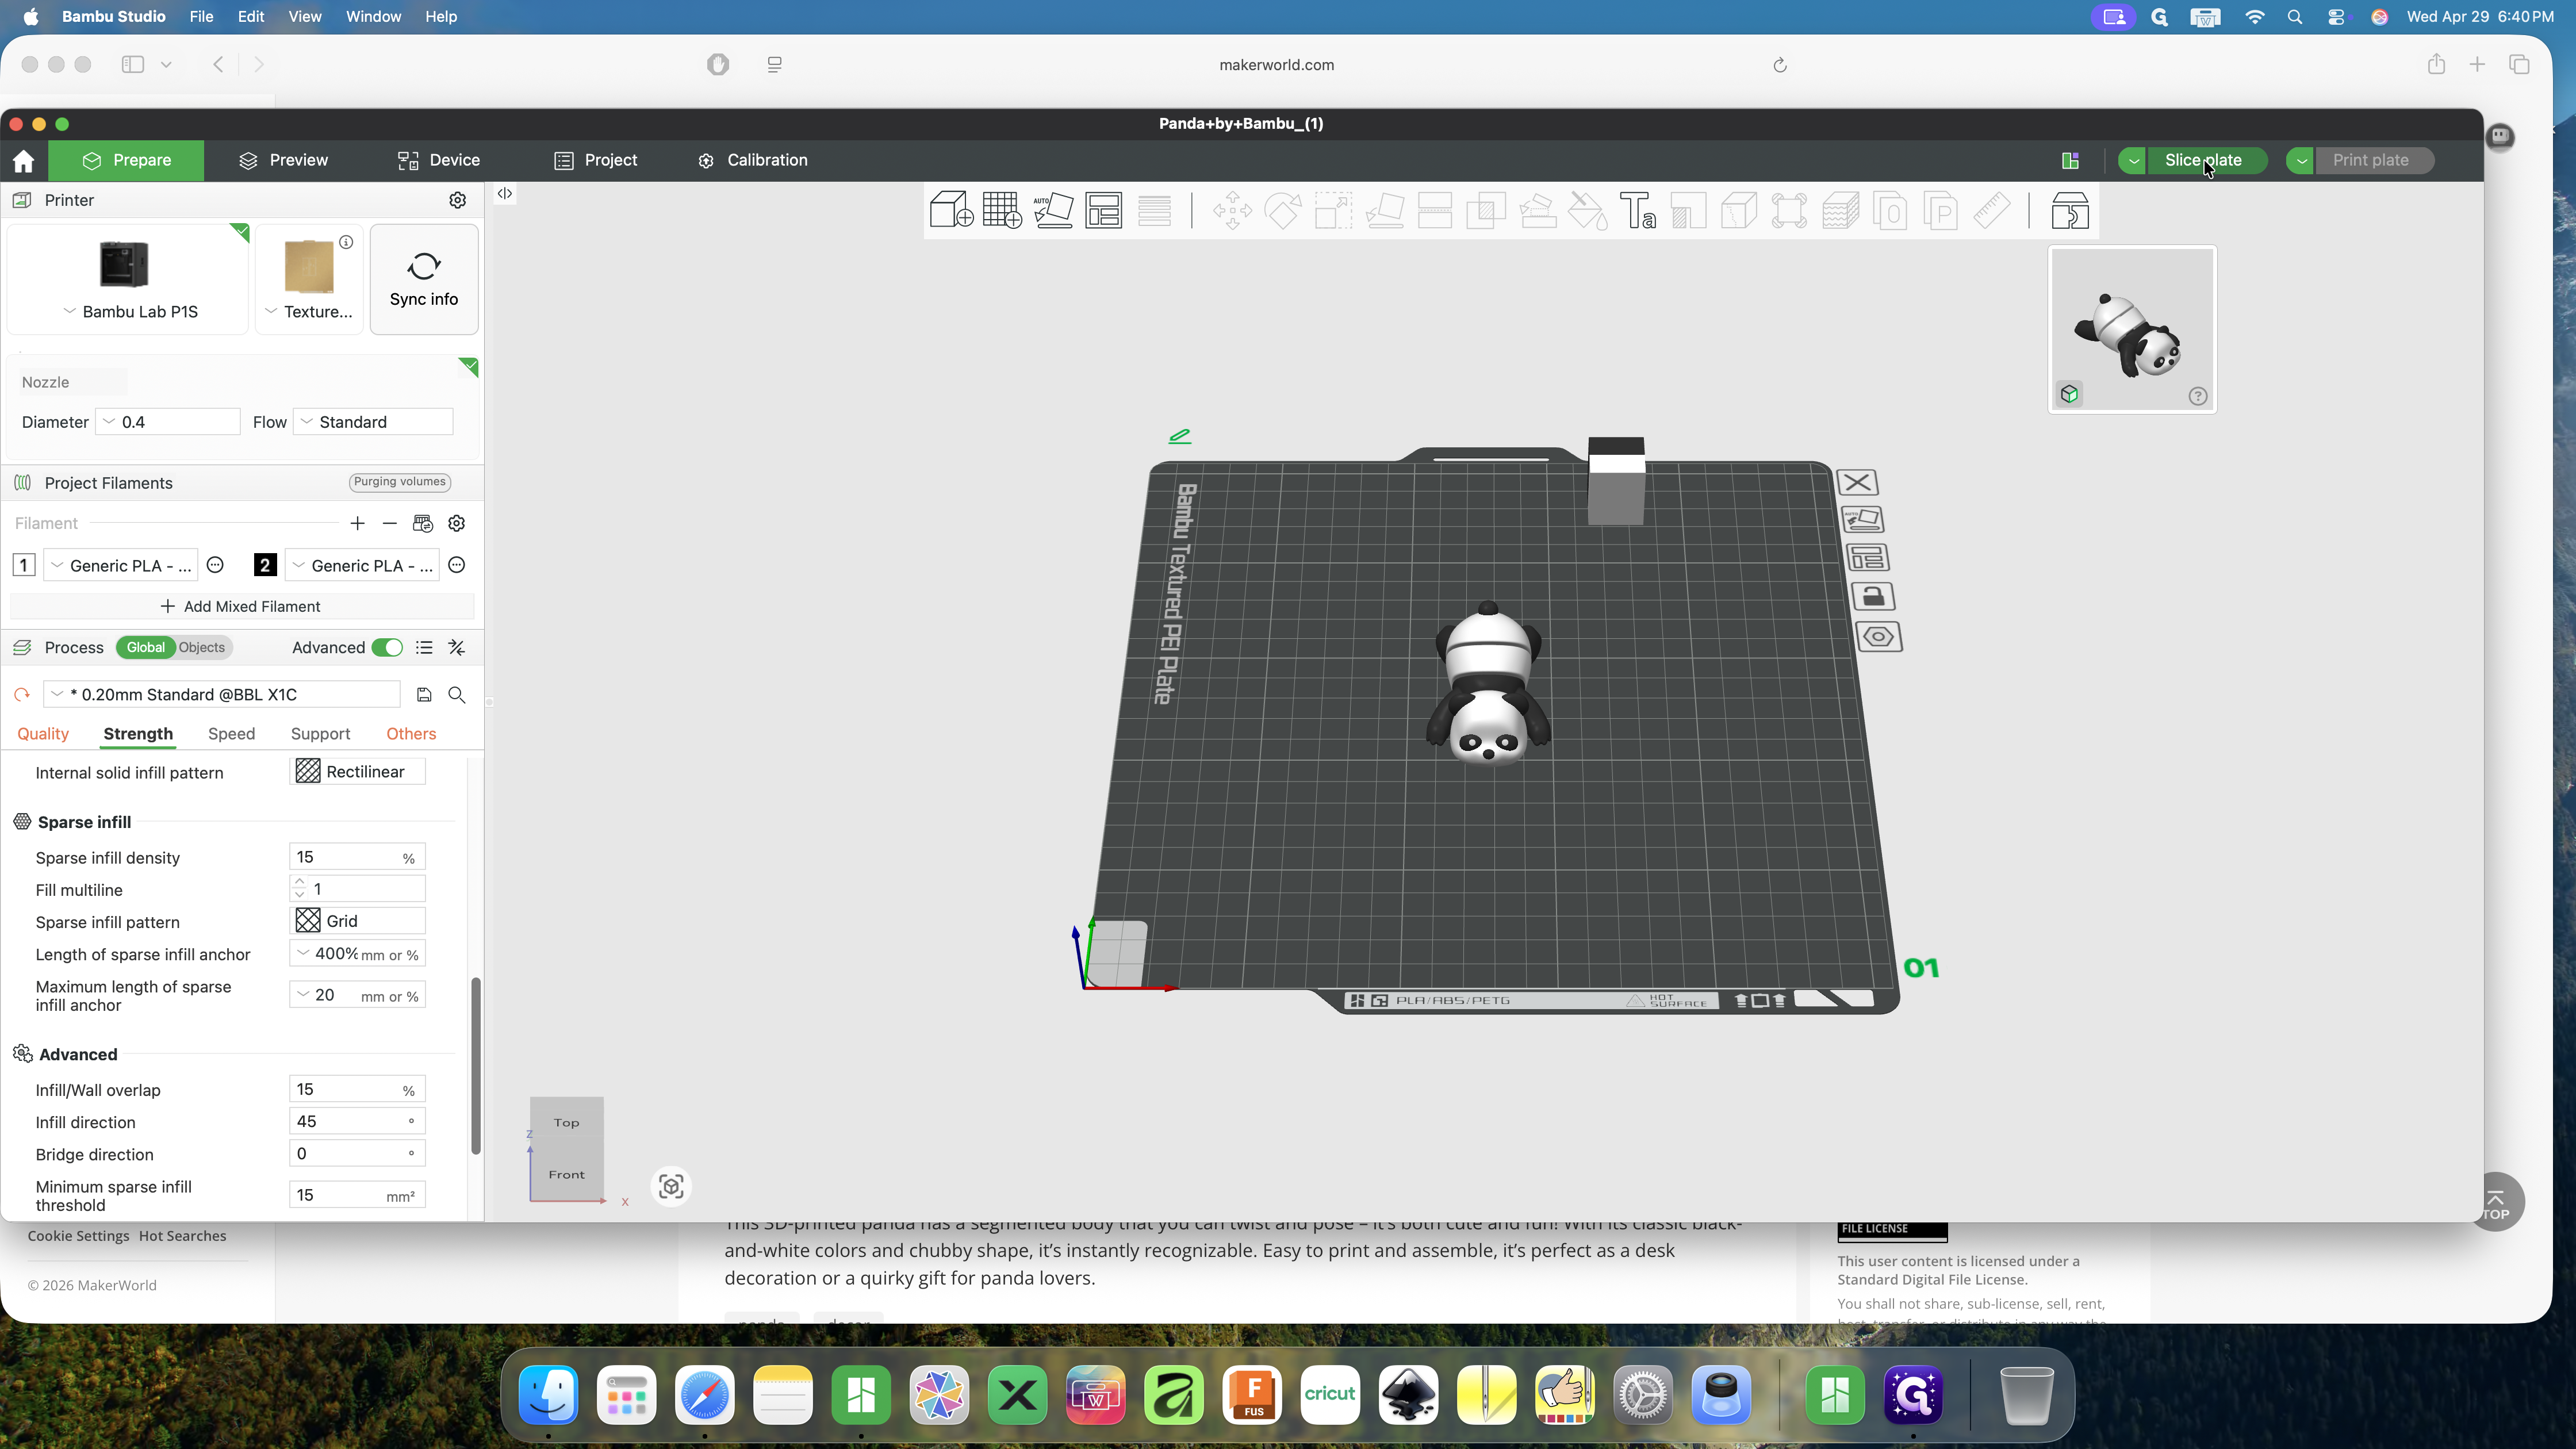
10
You can click through tabs like Strength or Others to adjust specific parameters like infill or brim width if needed.

3. Slice and Preview
Slice the model, generate the toolpath, and verify the print layers before sending it off.
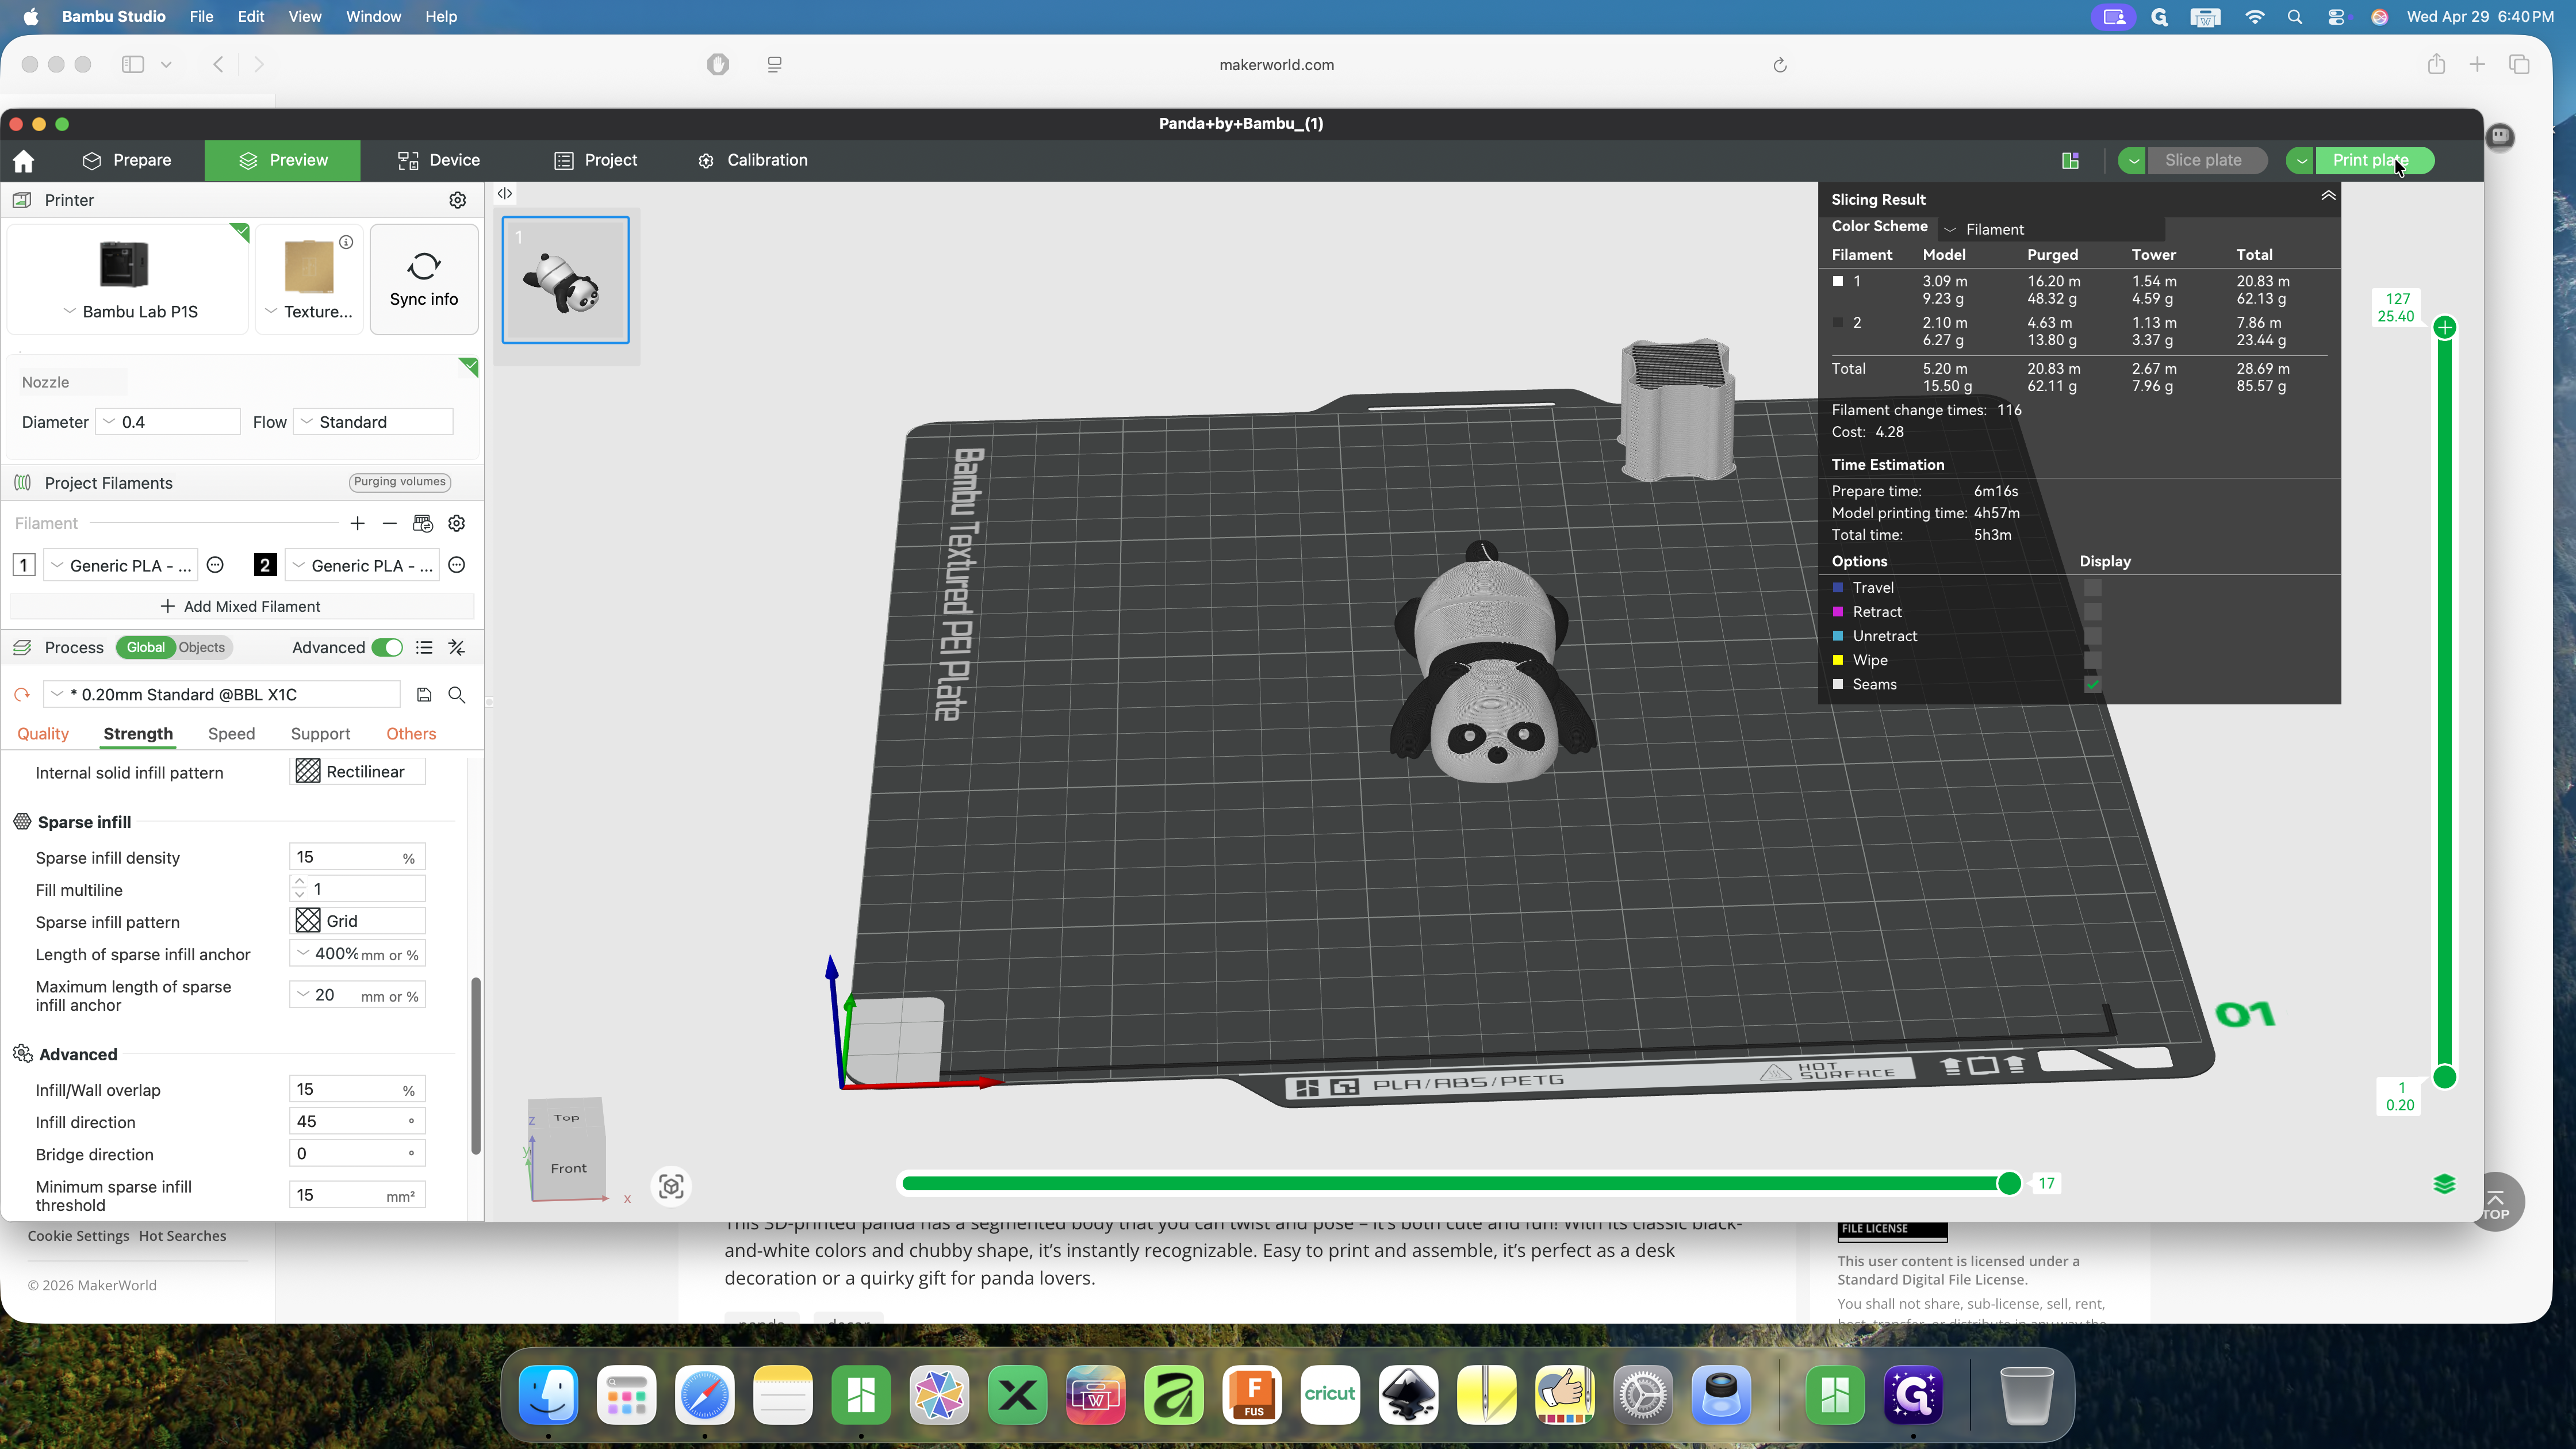
11
Click Slice plate in the top right corner to process the toolpath.
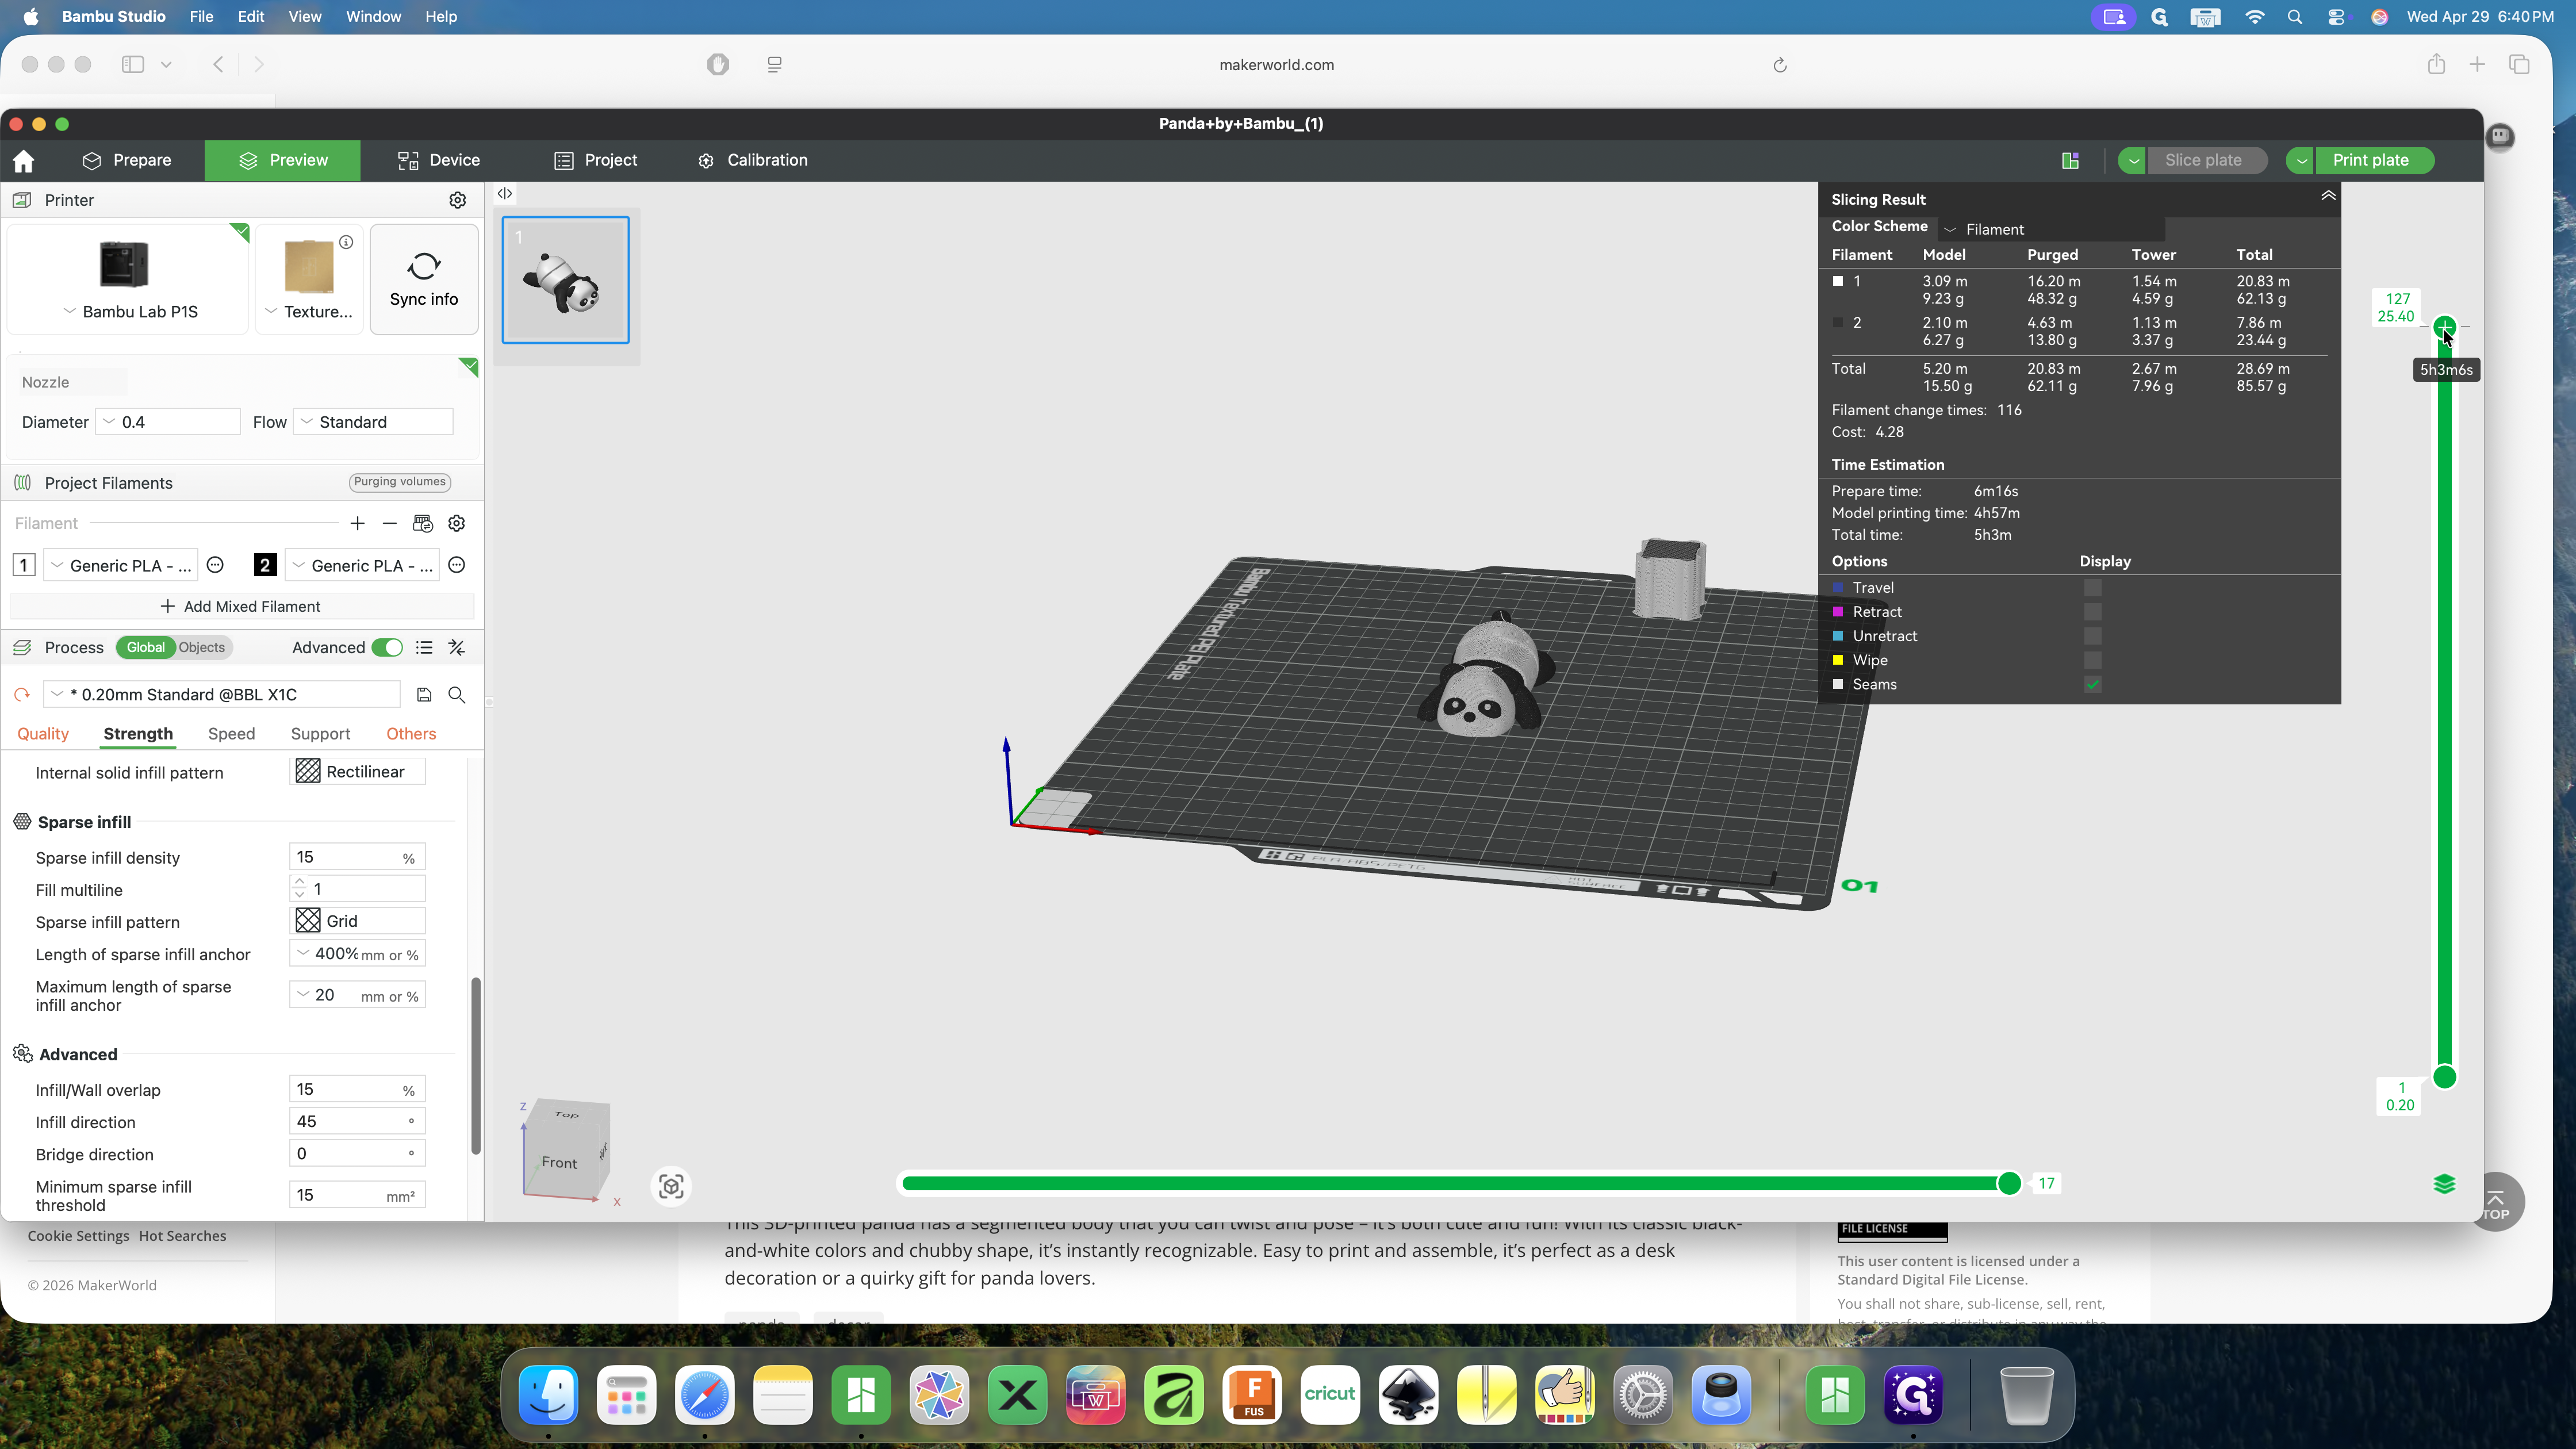
12
Use the vertical slider on the right side of the screen to preview specific layers of your sliced model and verify support placement.
4. Map Filament and Print
Finalize your print job by mapping software filament choices to your AMS (Automatic Material System) and sending the file to the printer.
13
Click the green Print plate button.
14
In the Send print job dialog, verify your target printer is selected.
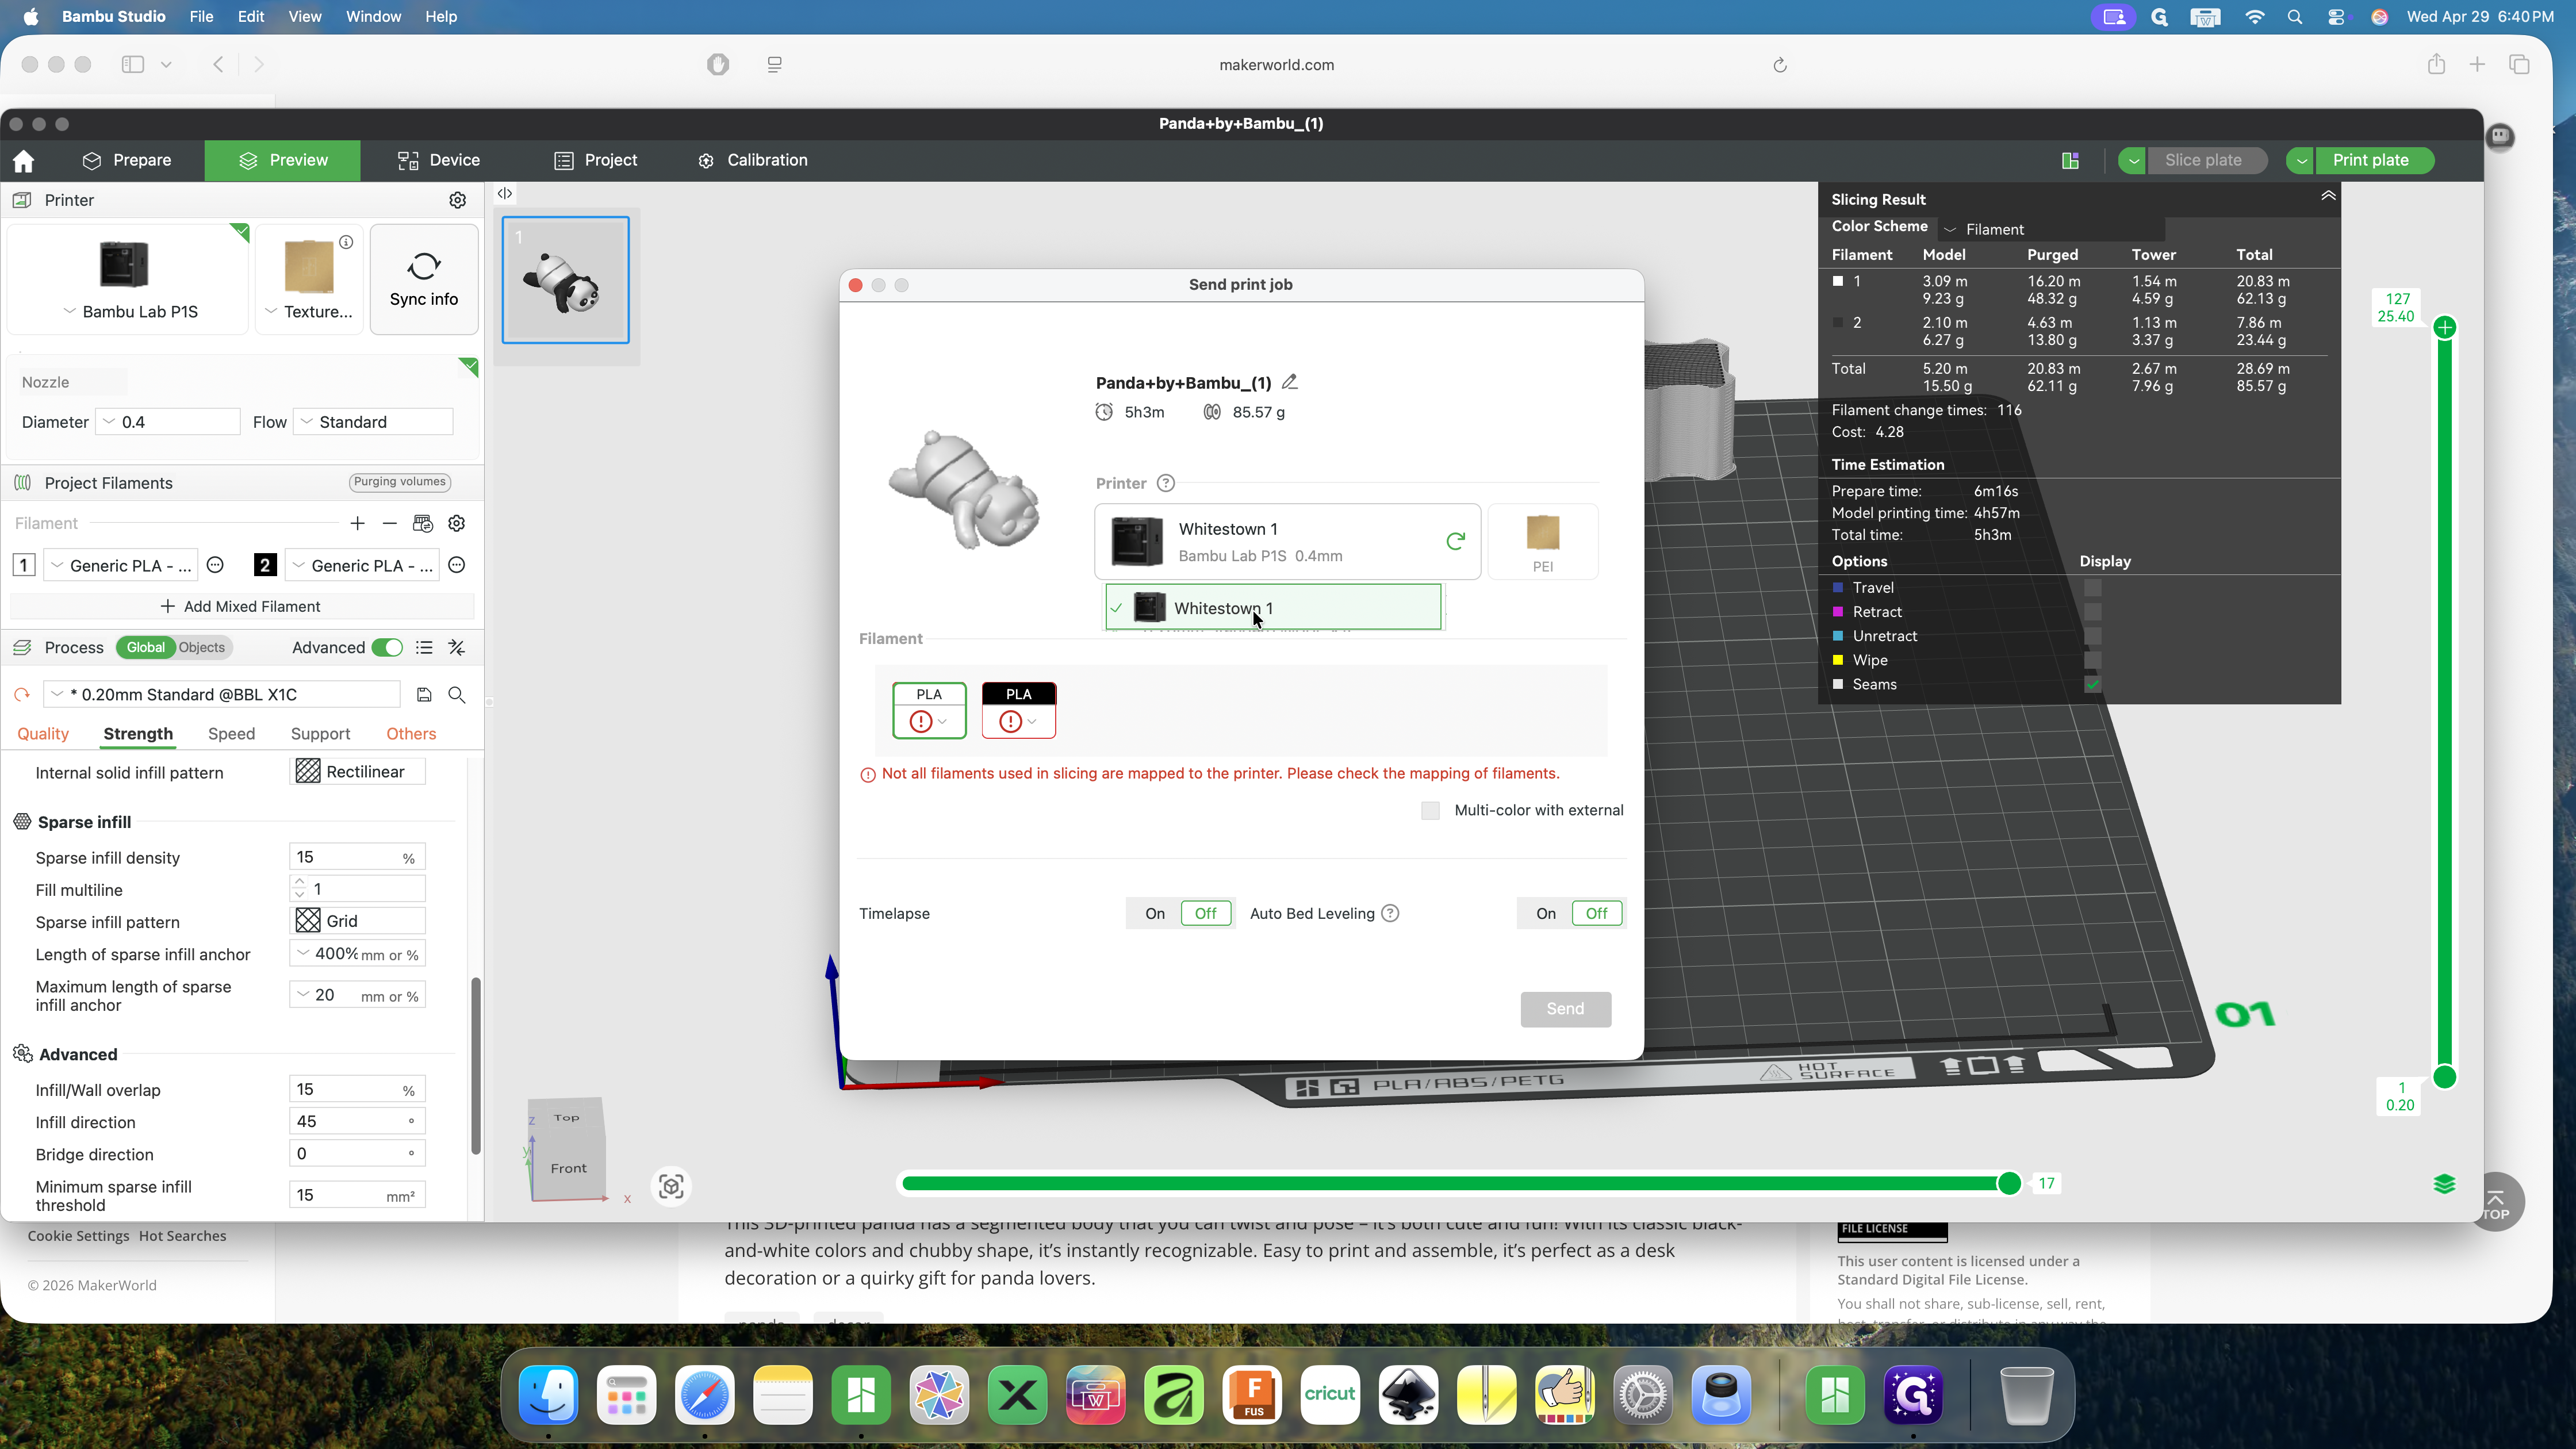
15
Check the filament mapping slots. If a slot shows a warning icon, select it and map the sliced file's filament to the corresponding physical slot in your AMS unit.
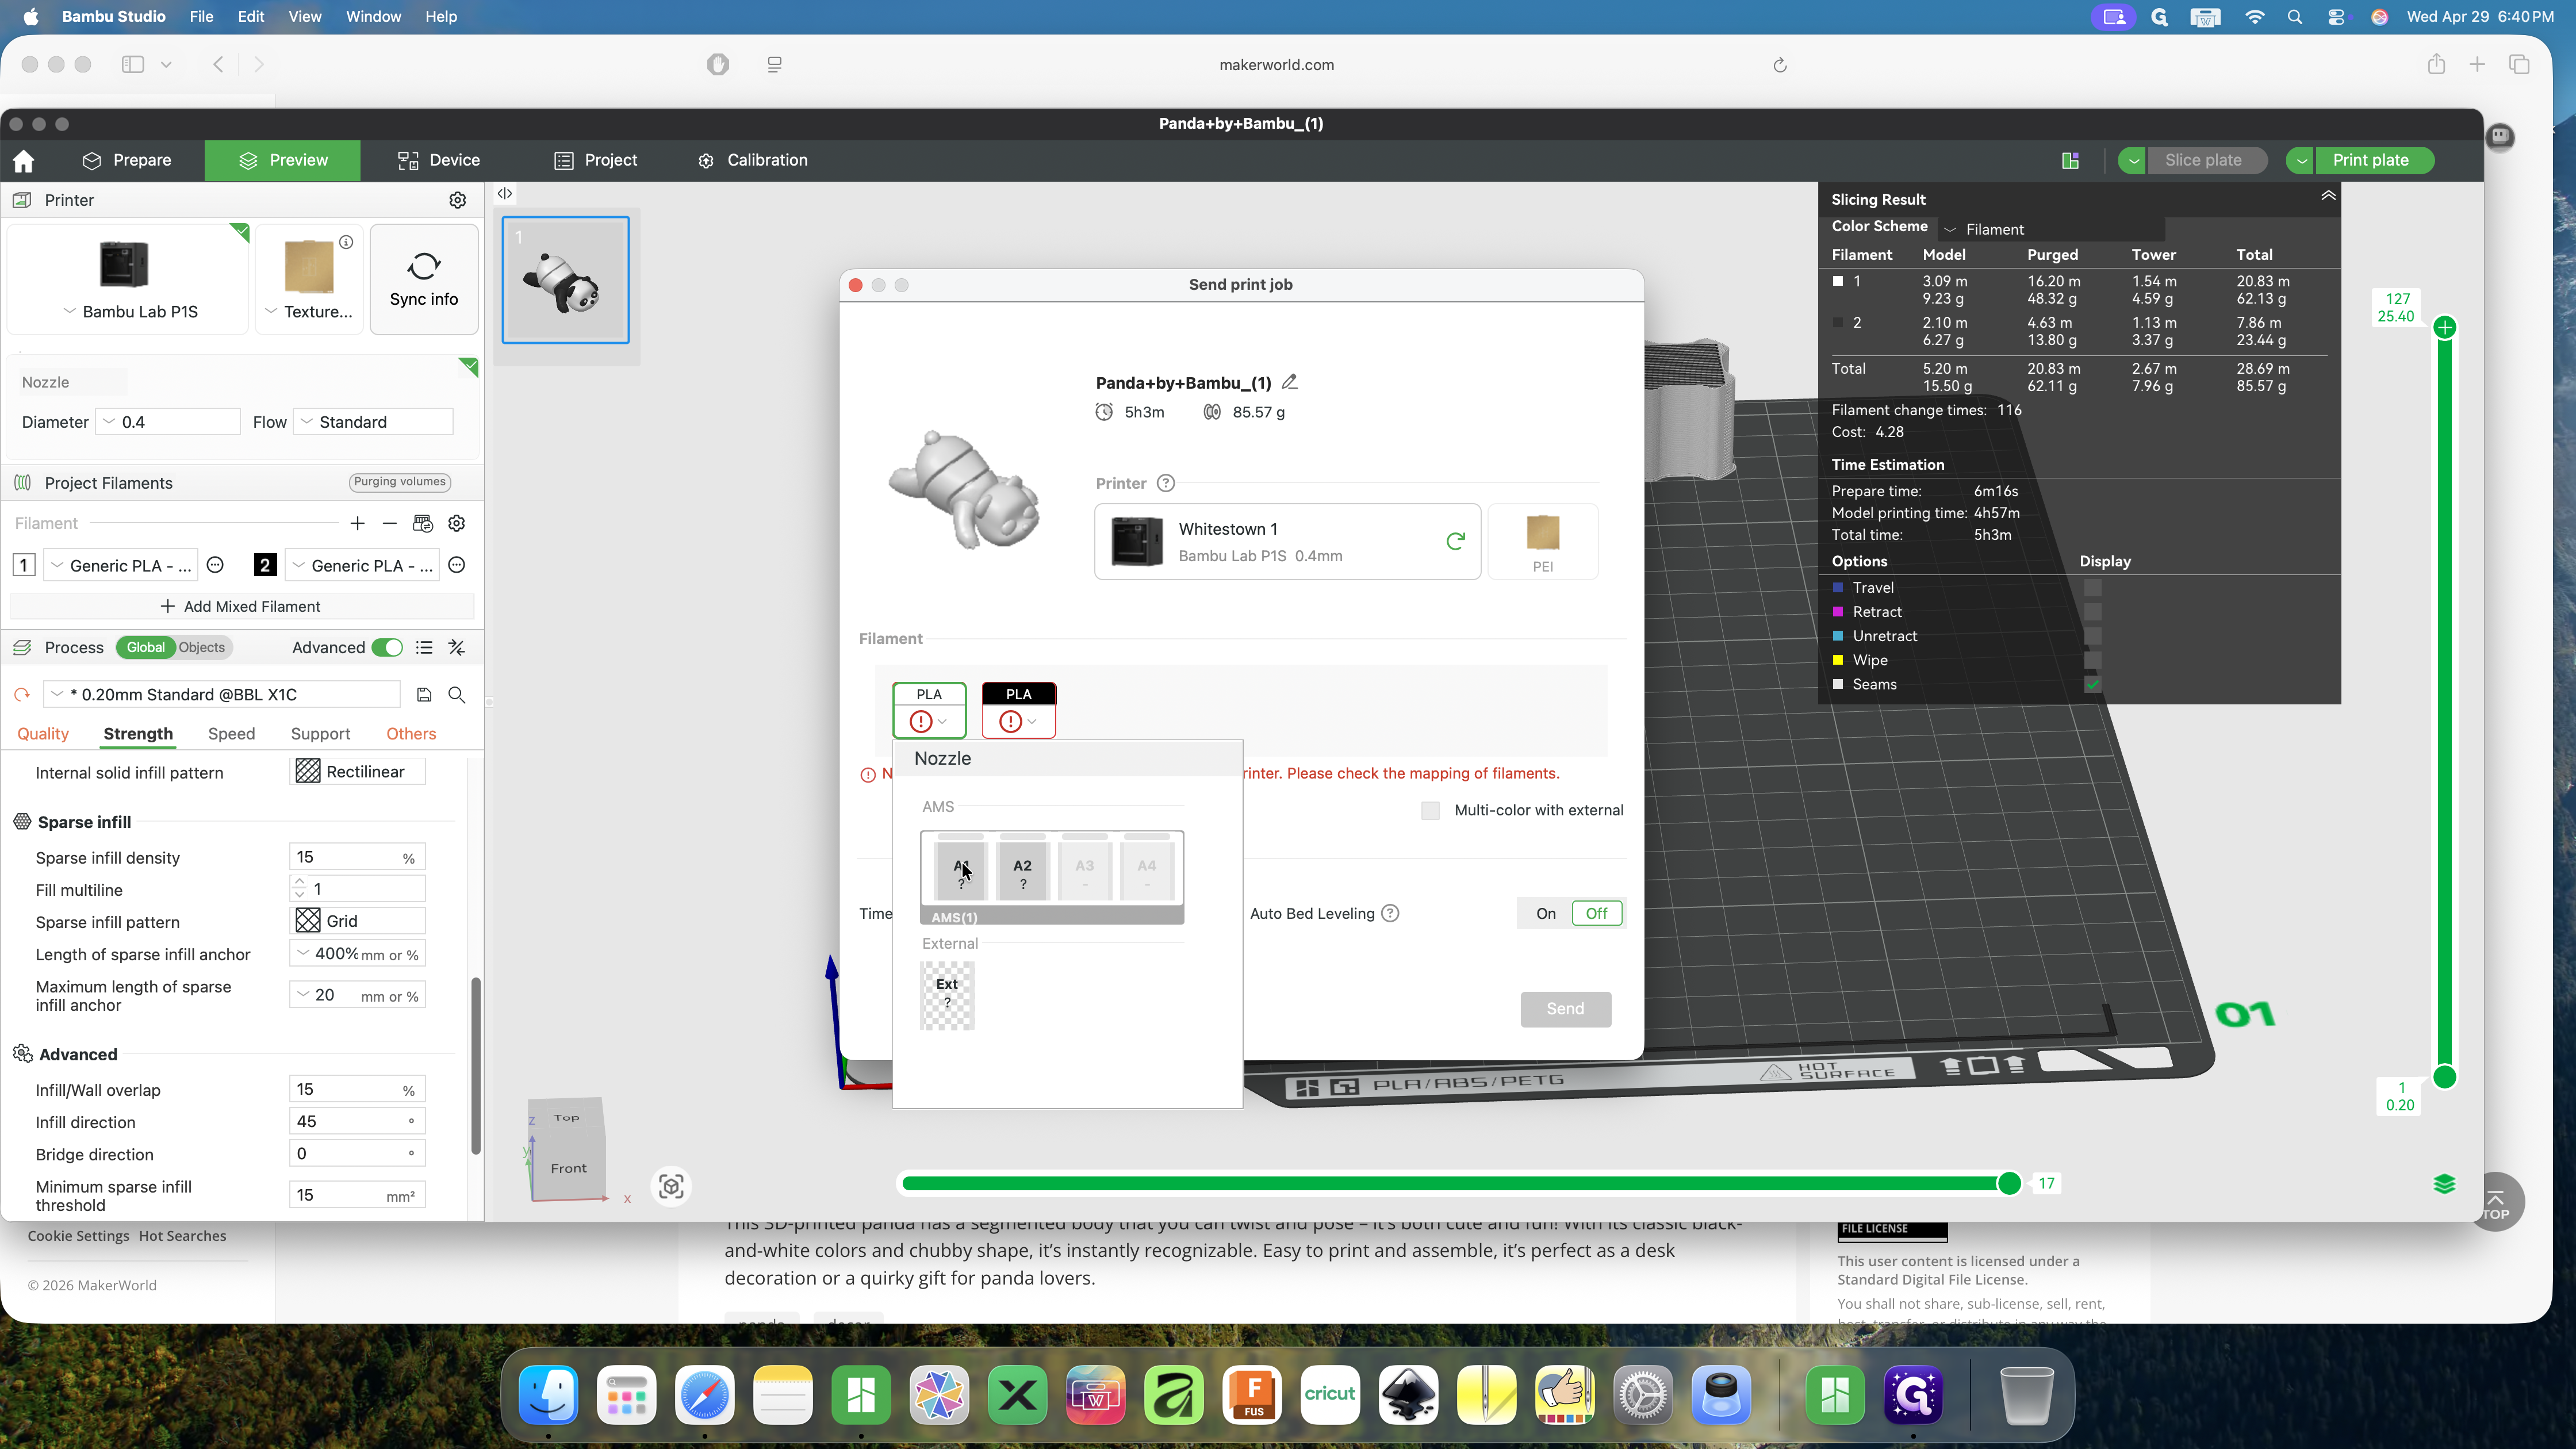
16
Click Send to transfer the processed file to your printer.

17
If a final warning about unmapped filaments appears and you are sure your setup is correct, click Confirm.
