Shipsy WMS Kimbal Move Inventory Serialised SKUs through Upload
Move Inventory through Uploads form enables bulk movement of serialised SKUs items by uploading a file with source and destination location details. It ensures accurate tracking of each item's movement within the warehouse
By Shipsy
1
Go to Stockone & then in the left side menu bar, go to "Extra" & then "Uploads"
2
Click here on Extras

3
Click on "Uploads"

4
Click here to change the form from Orders to Move Inventory

5
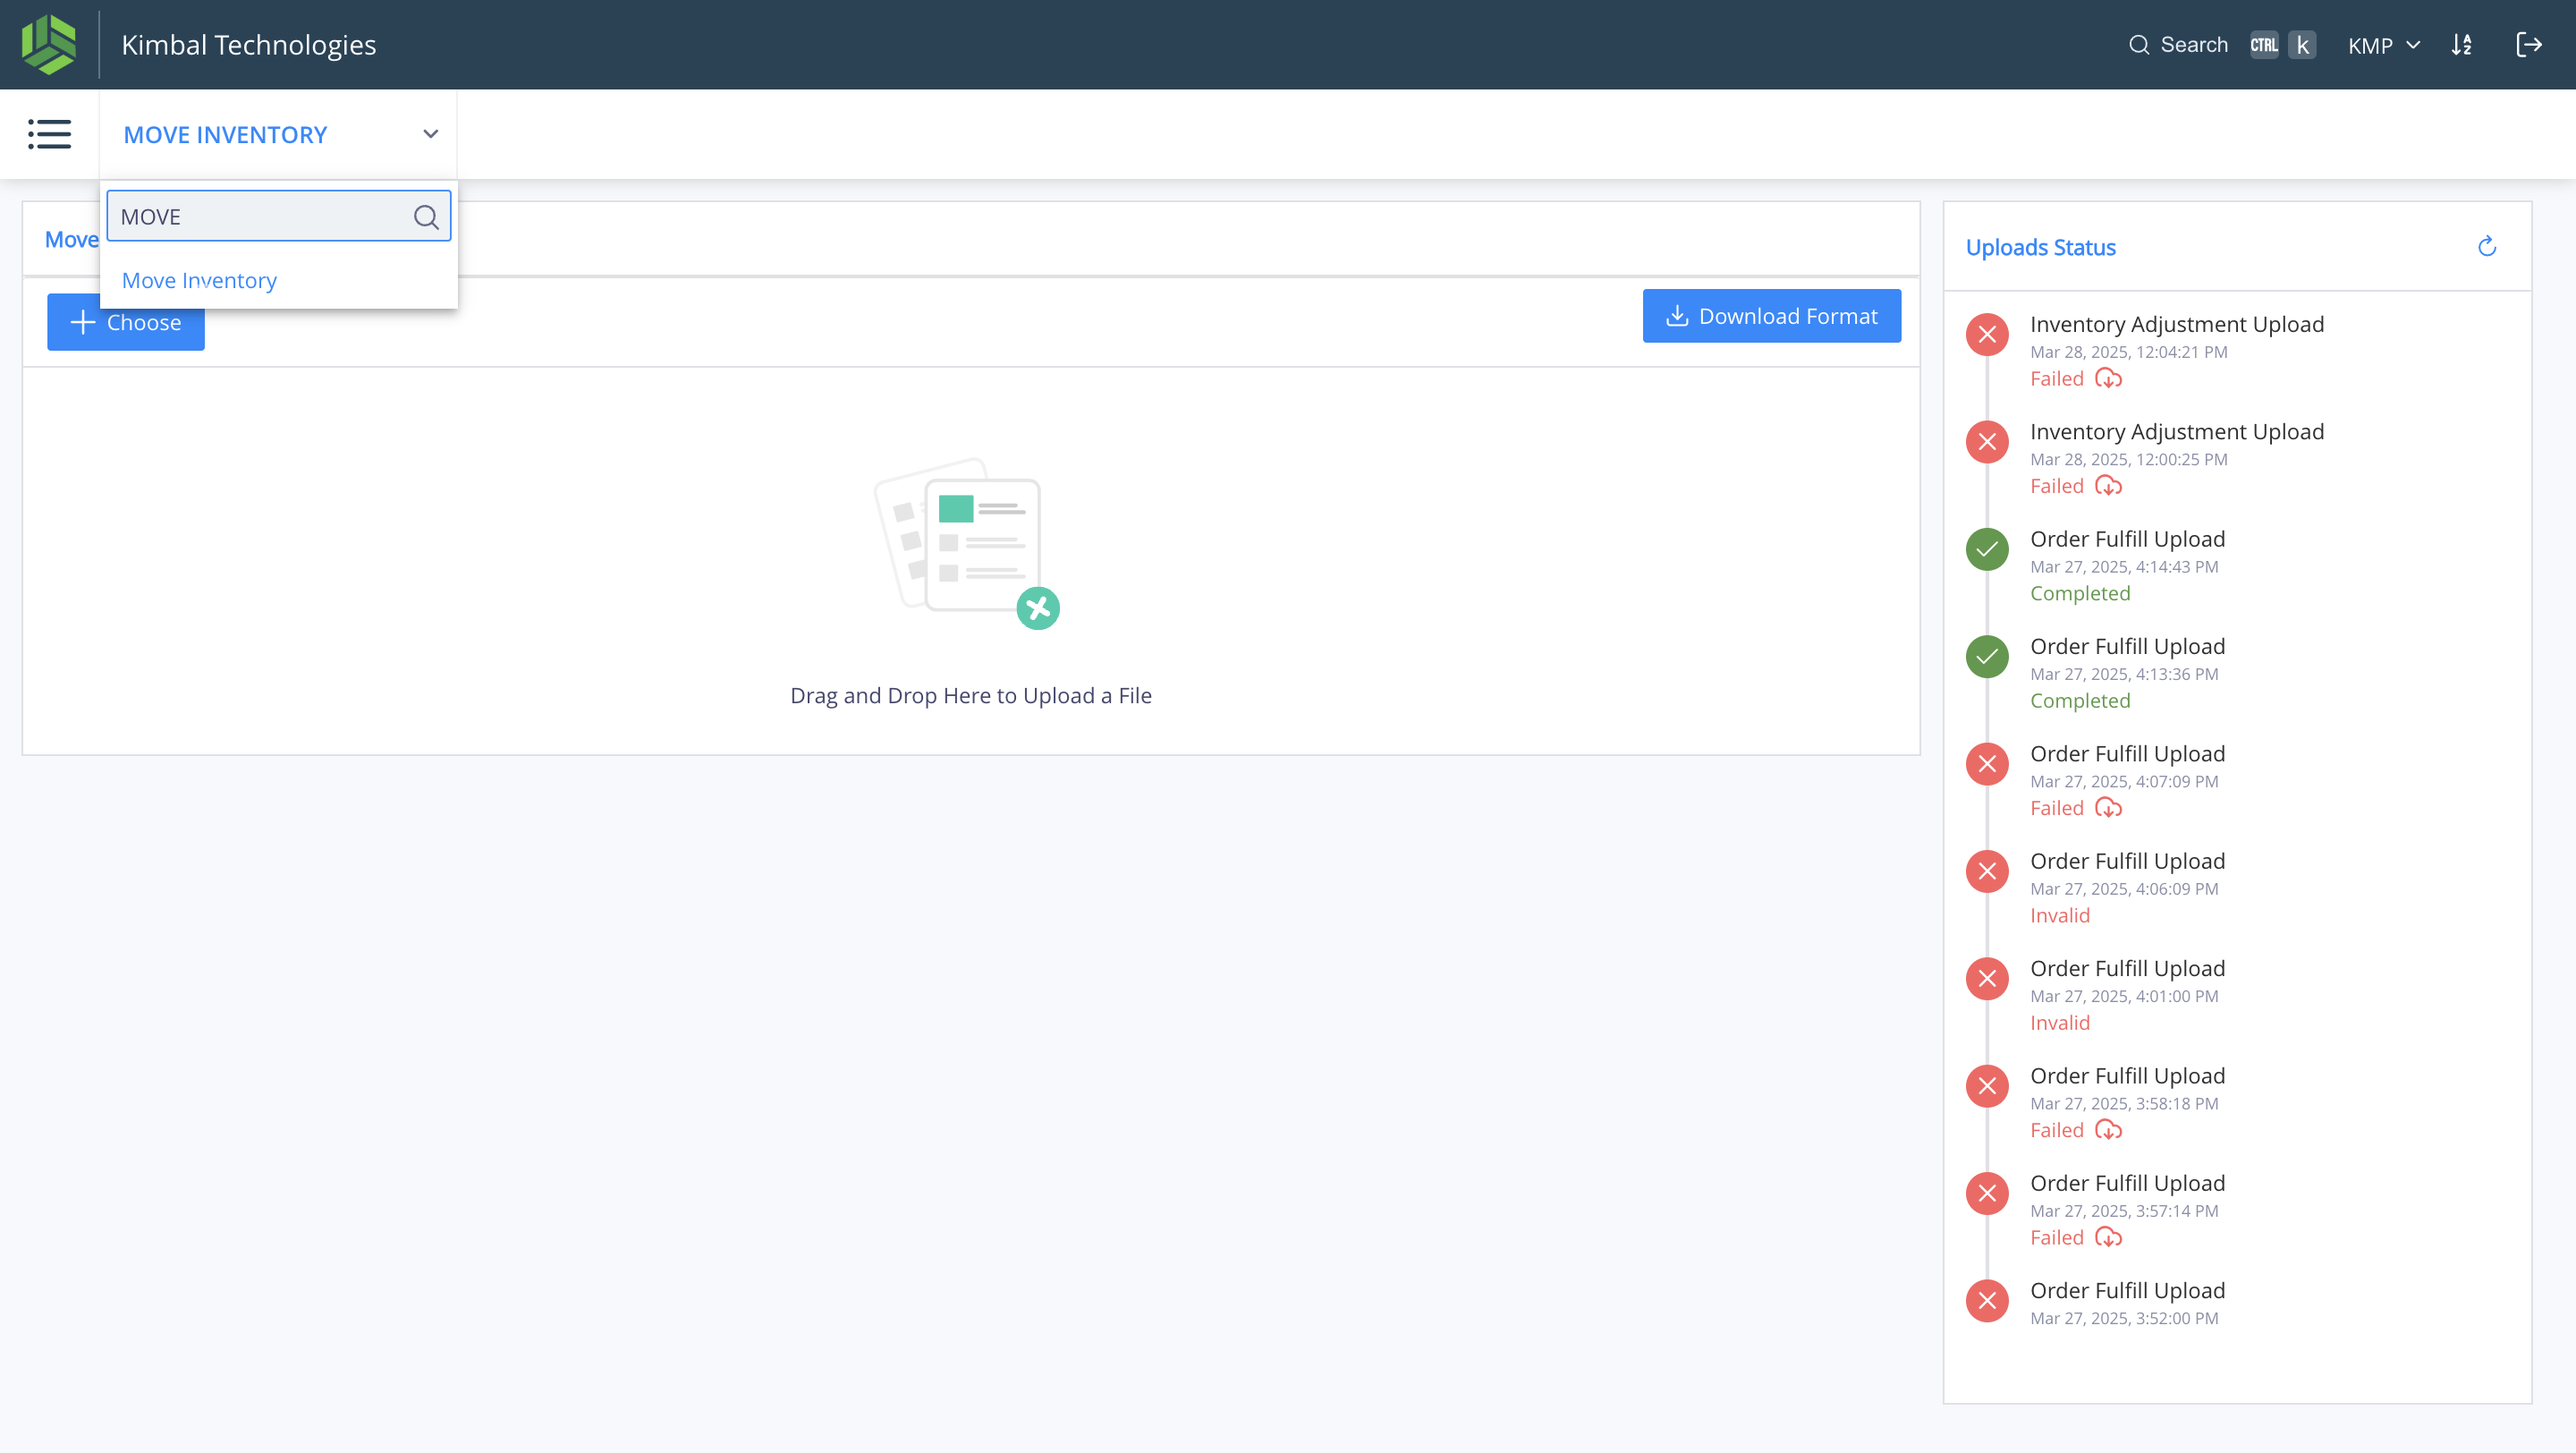
Start typing and click on "Move Inventory"

6
Download the format and open it in excel

7
Fill the excel with the required details (marked in star mark in column header)

8
Click here and start filling out the details of the required SKU to be moved from the inventory summary.

9
The Inventory details can be taken from the Inventory menu, Summary sub menu or from the Batch Level Inventory Report - Serial

10
The Inventory details can be taken from the Inventory menu, Summary sub menu or from the Batch Level Inventory Report - Serial

11
Click on "FILTER" and filter out the required SKU

12
Click on "Enter SKU Code"

13
Filter for the SKU and check the required details by opening the SKU level details pop up

14
Click here to expand the view

15
Click on "DETAILS"

16
Click on "View" to check the Serial Number in inventory

17
Copy all the serial numbers in that particular source location and move it to the excel sheet.

18
Enter the data in the form

19
Fill out the quantities as 1, because each Serial Number has 1 qty

20
Enter the "Reason" depending on the config (for example, here added as "Upload")

21
Enter the Source Location Details

22
Copy on "SCH001" (example location)

23
Enter the Source Location Details

24
Enter the SKU Code Details

25
Enter the SKU Code Details

26
Enter the Destination Location Details

27
Enter the Destination Location Details

28
Go back to the "Extra" & "Uploads" section to upload the form

29
Click on "Uploads"

30
Click here & change to Move Inventory

31
Type and Click on "Move Inventory"

32
Click on "+ Choose" to upload the filled form

33
Click here to upload the selected form

34
Once the message on the right side bar shows "Completed" in green color, the form is uploaded successfully and Inventory Movement done. In case error comes, it will be shown in red color as Failed with a downloadable error file

35
Click on "Inventory" and browse for the SKU under summary to check whether the stock has moved to the required location as per the uploaded form

36
Click here

37
Click on "FILTER"

38
Click on "Enter SKU Code"

39
Click here

40
The stock has successfully moved
