Rider Amount Reconcilation
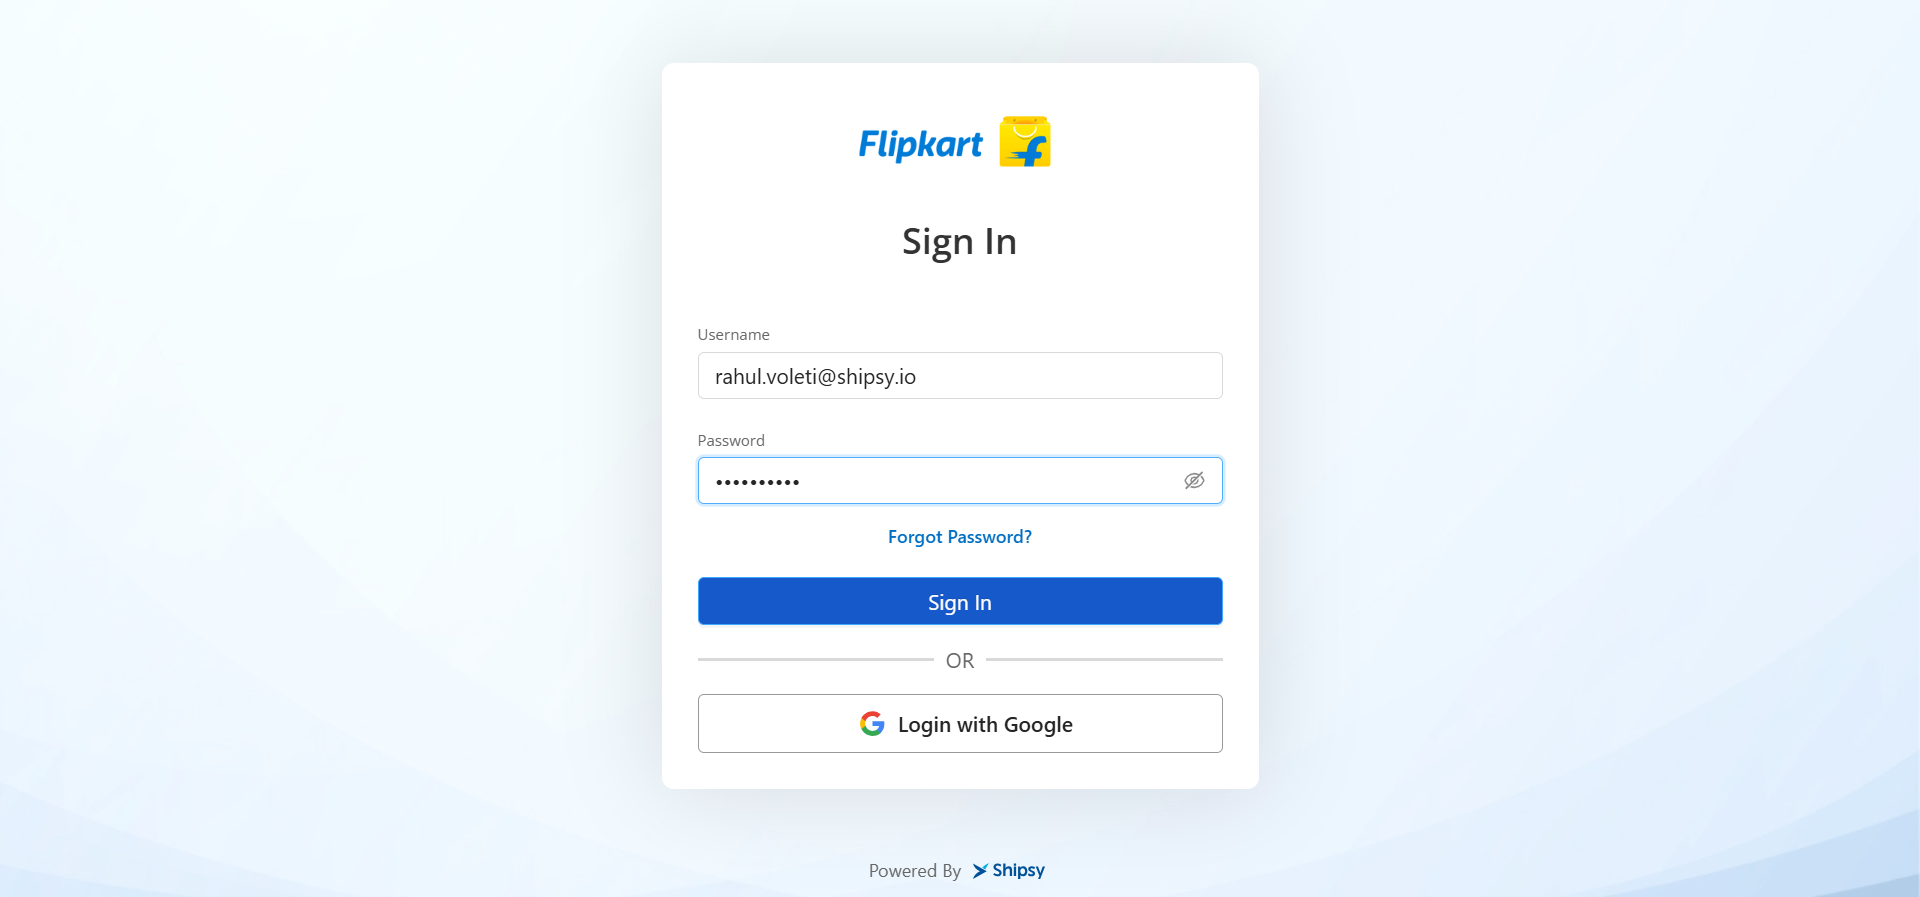
To begin the Rider Reconciliation Process, you first need to log in to the system using your valid username and password. After entering your credentials, click on the 'Sign In' button. Once you are successfully logged in, you will land on the Orders dashboard. This is your starting point for accessing different functionalities within the system, including finance-related tasks. Make sure that your login details are correct to avoid any issues while accessing the necessary pages for reconciliation. Once you are on the Orders dashboard, look for the hamburger menu located in the top left corner of the screen. Clicking on this menu will reveal several options related to different operations. From this menu, select 'Finance Operations' to proceed. This section of the system is dedicated to managing financial transactions and is essential for performing reconciliations for riders. After selecting this option, the system will take you to the next step necessary for ongoing reconciliation work. In the Finance Operations section, locate and choose the 'Rider Reconciliation' option. By selecting this, the system will redirect you to the Rider Reconciliation page, which is specifically designed to help you manage and track the financial activities of riders. This page will provide you with the tools and data necessary for ensuring that riders are properly reconciled with their financial tasks. It simplifies the process by allowing you to handle multiple riders and their corresponding financial information efficiently. Next, you will need to select the rider for whom you want to perform the reconciliation. Find the Rider Name field on the page and choose the appropriate rider from the available list. After selecting the rider, it is also important to choose the correct Hub name from the 'Current Hub' field. This step ensures that you are reconciling the financials with the correct organizational unit. Accurate selection at this stage is crucial, as it directly influences the data and reports you will later work with. The next step is to select the task completion date for which you want to view reconciliation data. This is done by choosing a date from the options provided in the system. The selected date will determine the information displayed, helping you focus on the specific period for reconciliation. After making your choice, the system will showcase the relevant details corresponding to that date, which will be essential for your reconciliation process moving forward. Lastly, once you have selected the task completion date, the system will show you the amount that needs to be reconciled for the chosen rider. This display is vital for your review, as it highlights the financial figures that require action. At this point, you can select the specific amount that you wish to proceed with for reconciliation. This final step completes the Rider Reconciliation Process, allowing you to ensure that all financial records are accurate and up to date for the rider in question.
By Rahul Voleti
1
Go to Dashboard
2
Enter a valid username and password, then select 'Sign In'.

3
Upon successful login, you will be directed to the Orders dashboard. Next, select the hamburger menu.

4
Choose the 'Finance Operations' option from the menu bar.

5
Navigate to Finance Operations and choose 'Rider Reconciliation.'

6
Upon selection, the system will redirect you to the Rider Reconciliation page. In the Rider Name field, please choose the appropriate Rider.

7
Choose the rider, and subsequently select the Hub name from the 'Current Hub' field.

8
Select the date under the Task Completion Date for which the rider wishes to view the reconciliation data.

9
For details on how the amount will be credited to the rider's account following a successful product delivery, please consult this document.
10
Once the date is chosen, the system will display the amount for the rider to reconcile. Please select the amount to proceed with the reconciliation.

11
To finalize the selected amount for reconciliation, please click on 'Settle'.

12
Upon selecting 'Settle,' the specified amount will be forwarded to the hub manager, and a notification will be generated to confirm that the amount has been successfully reconciled.
