How to Pull a Site Diagram from Google Earth: Step-by-Step Guide for Toyota Stadium
Learn how to create a site diagram using Google Earth with this detailed tutorial. Follow step-by-step instructions to capture a high-quality site overview of Toyota Stadium, including tips for optimal settings and image export.
In this guide, we'll learn how to create a site overview image of Toyota Stadium using Google Earth. This process helps you prepare a clear and accurate base for a site diagram by adjusting settings, positioning the view, and exporting the image with important map details.
You'll also learn how to set up Google Earth for the best image quality and how to crop the exported image to focus on the stadium.
Let's get started
Okay. Today, I will show you how to pull a site diagram, or site overview, from Google Earth. This is the first step in creating a site diagram. Today, we will look at Toyota Stadium. Before we get started, there are a couple of settings to check. Go to Google Earth Preferences. On Windows, this is found under Options. This will bring you to the correct view.

Go to Navigation.

Set your Fly-to speed to the fastest setting. Then, check "Do not automatically tilt while zooming," as shown here.

Click Okay. Then you need to look at the picture it gives you. Sometimes it will provide a high-quality image. Right now, I have 3D buildings turned off.
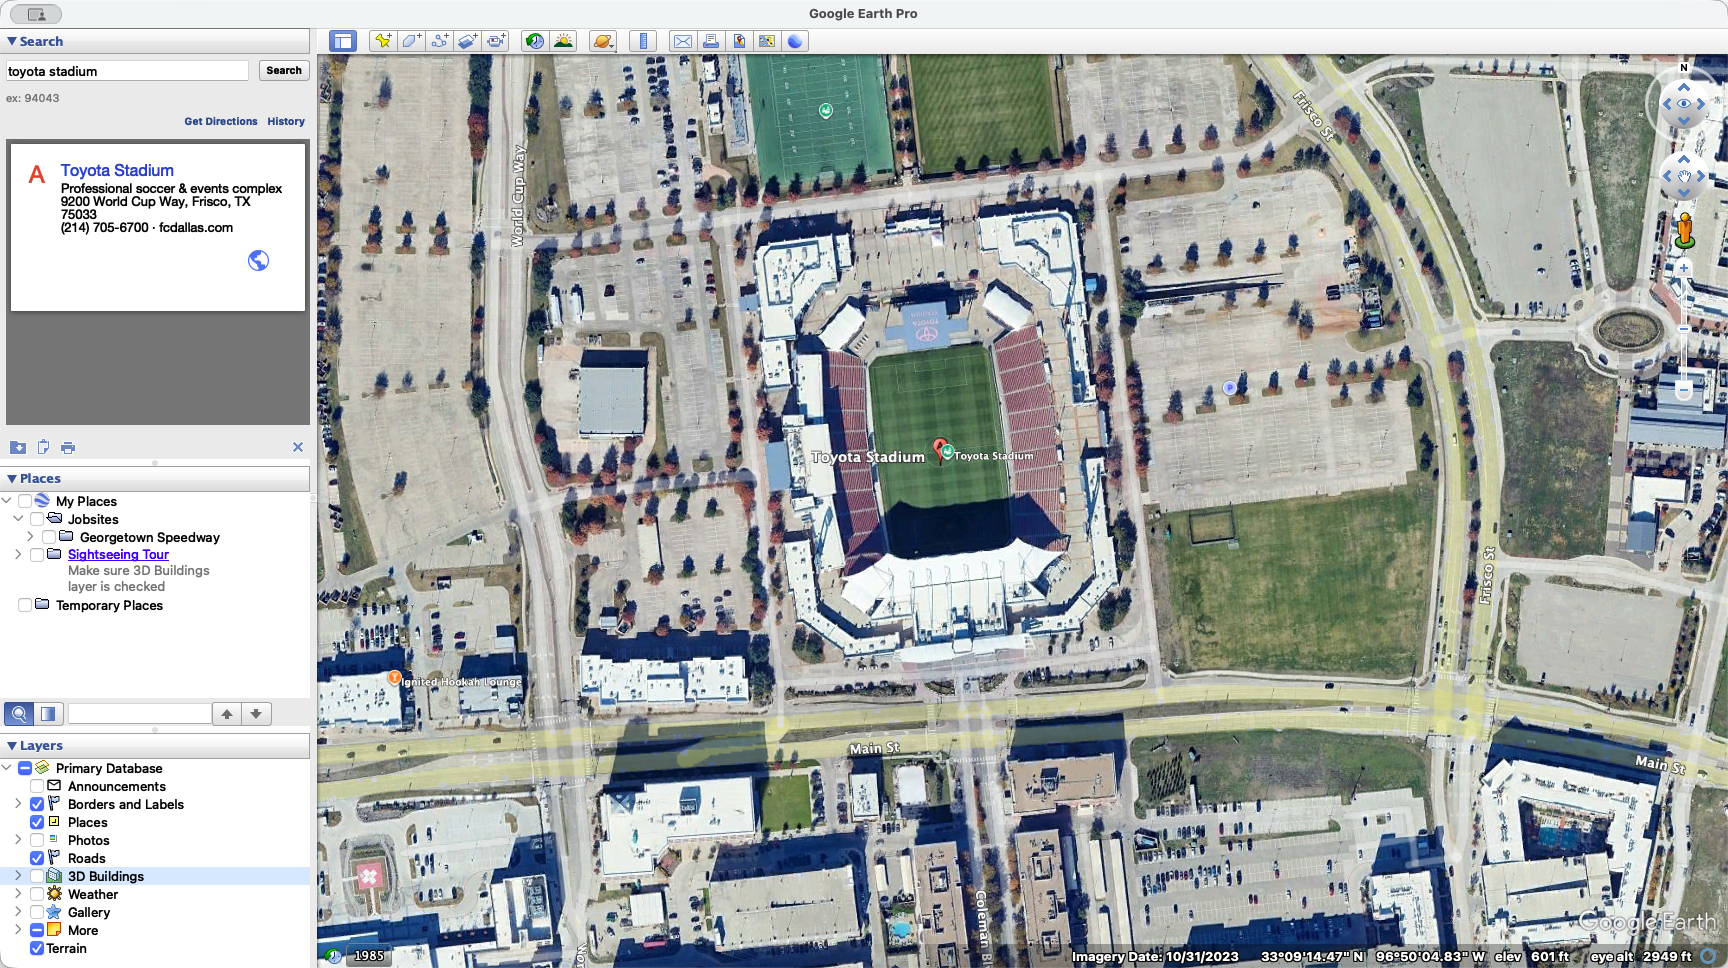
To give you an idea, that's what 3D buildings look like when they're turned on. I usually turn it off for 2D site diagrams because it makes the diagram cleaner.

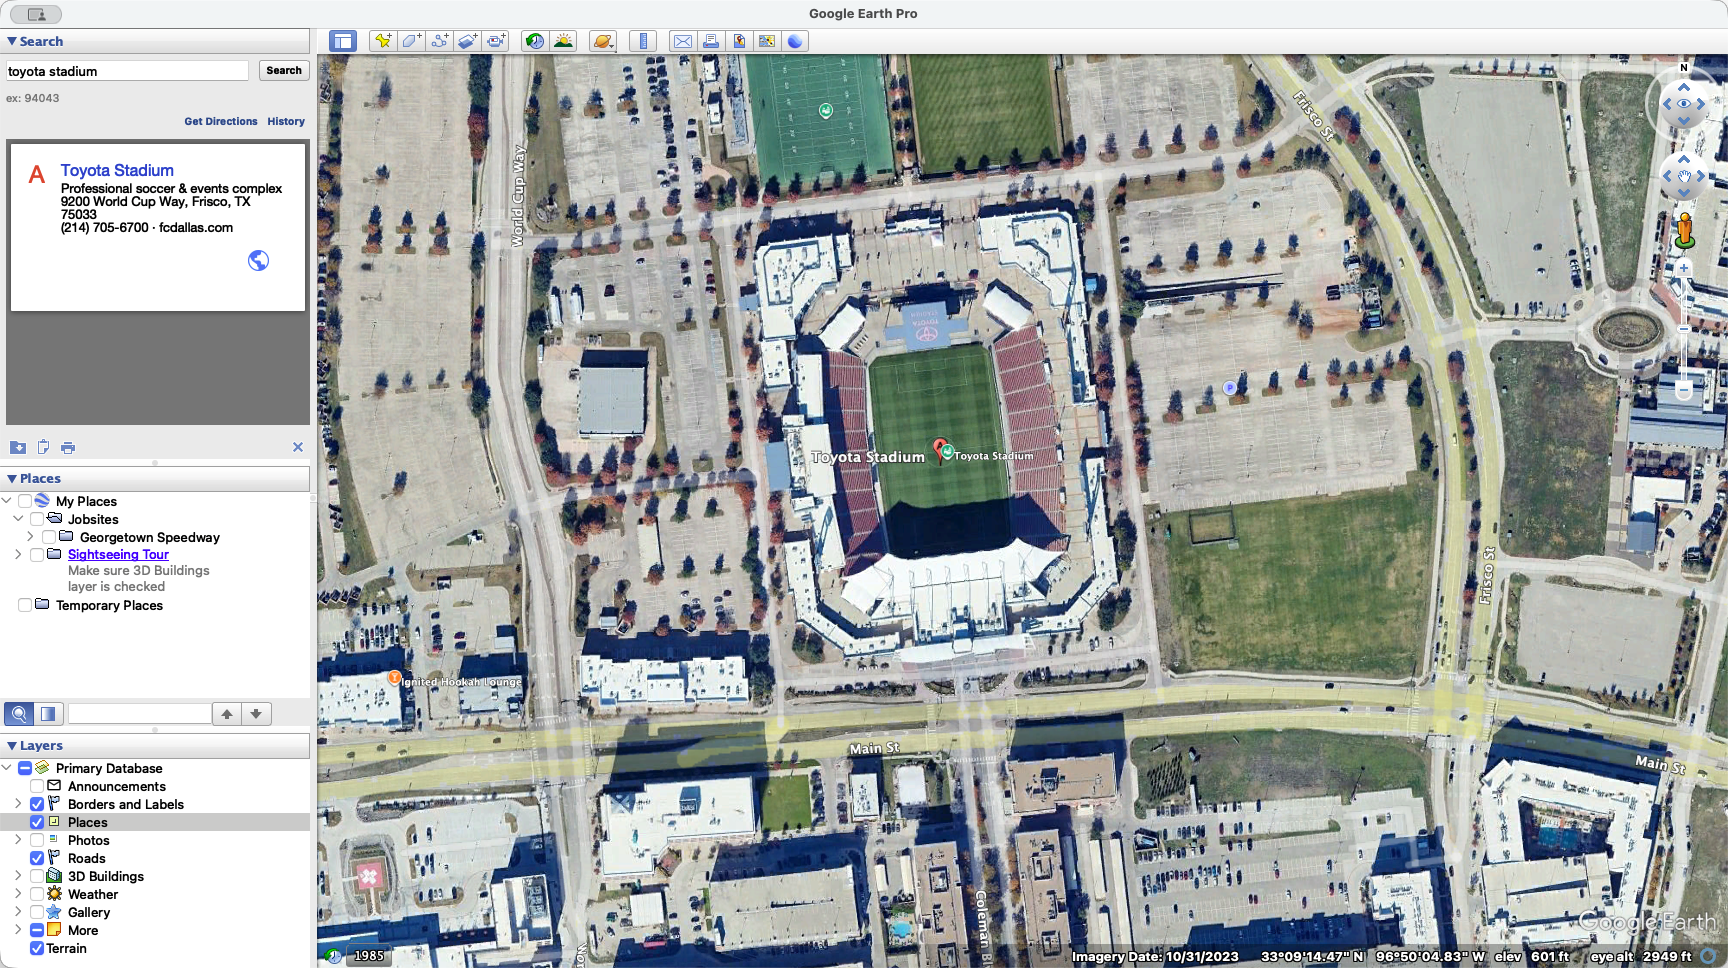
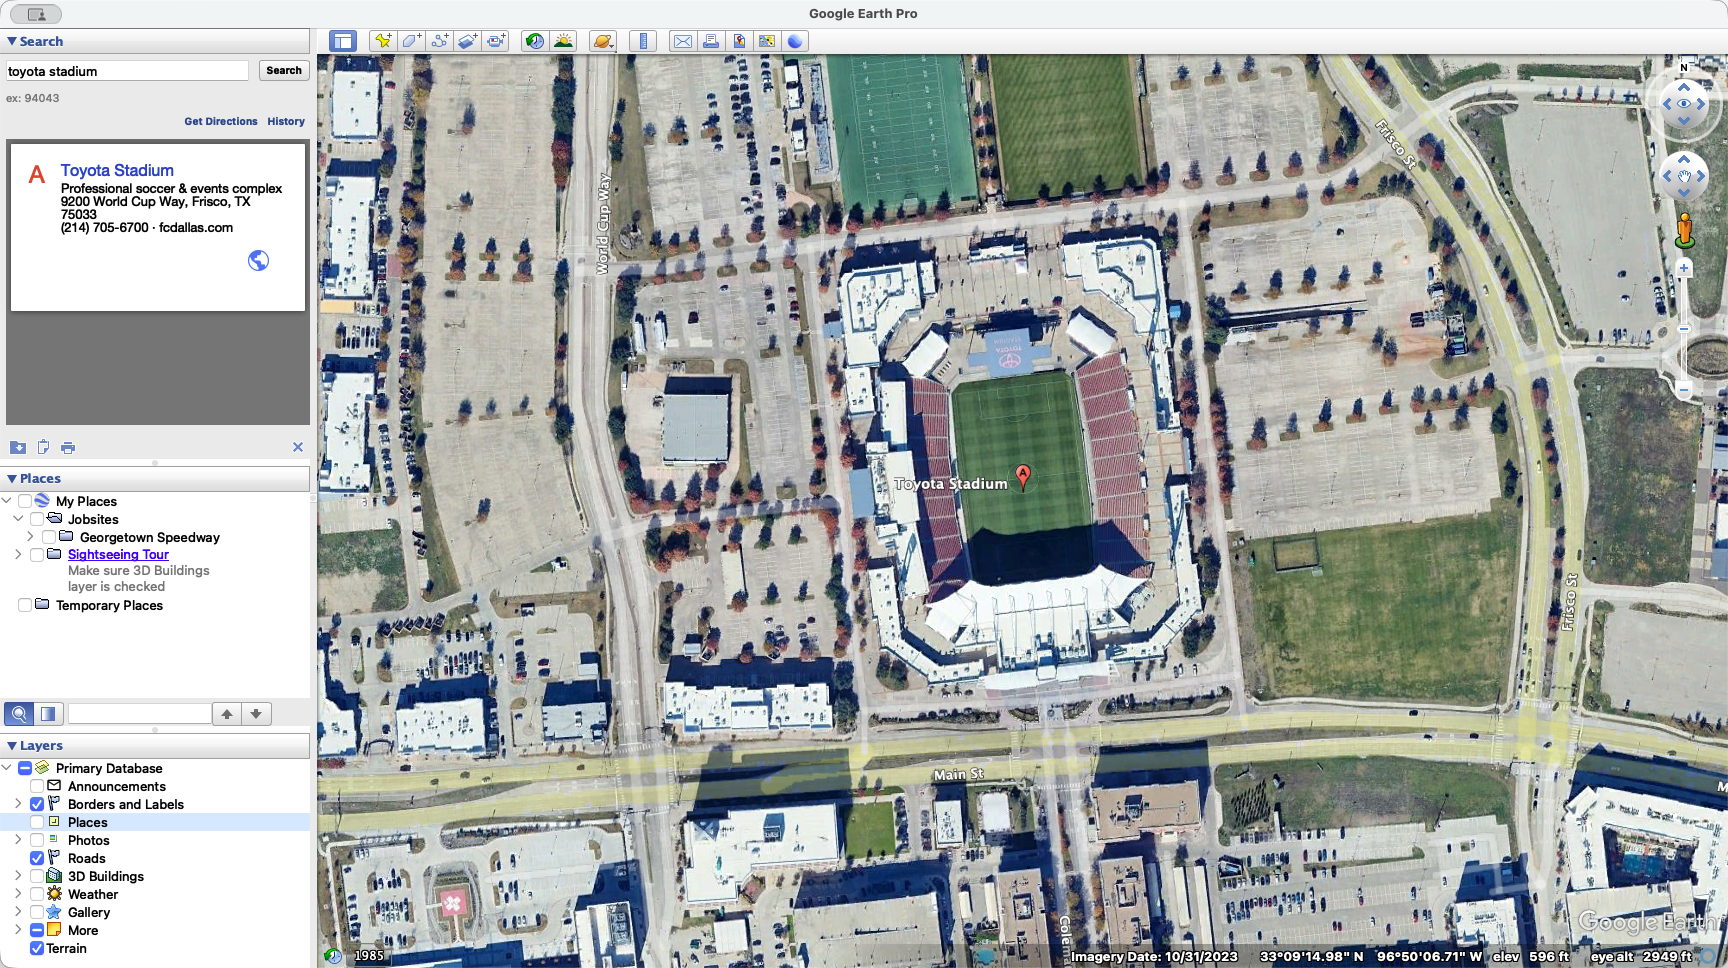
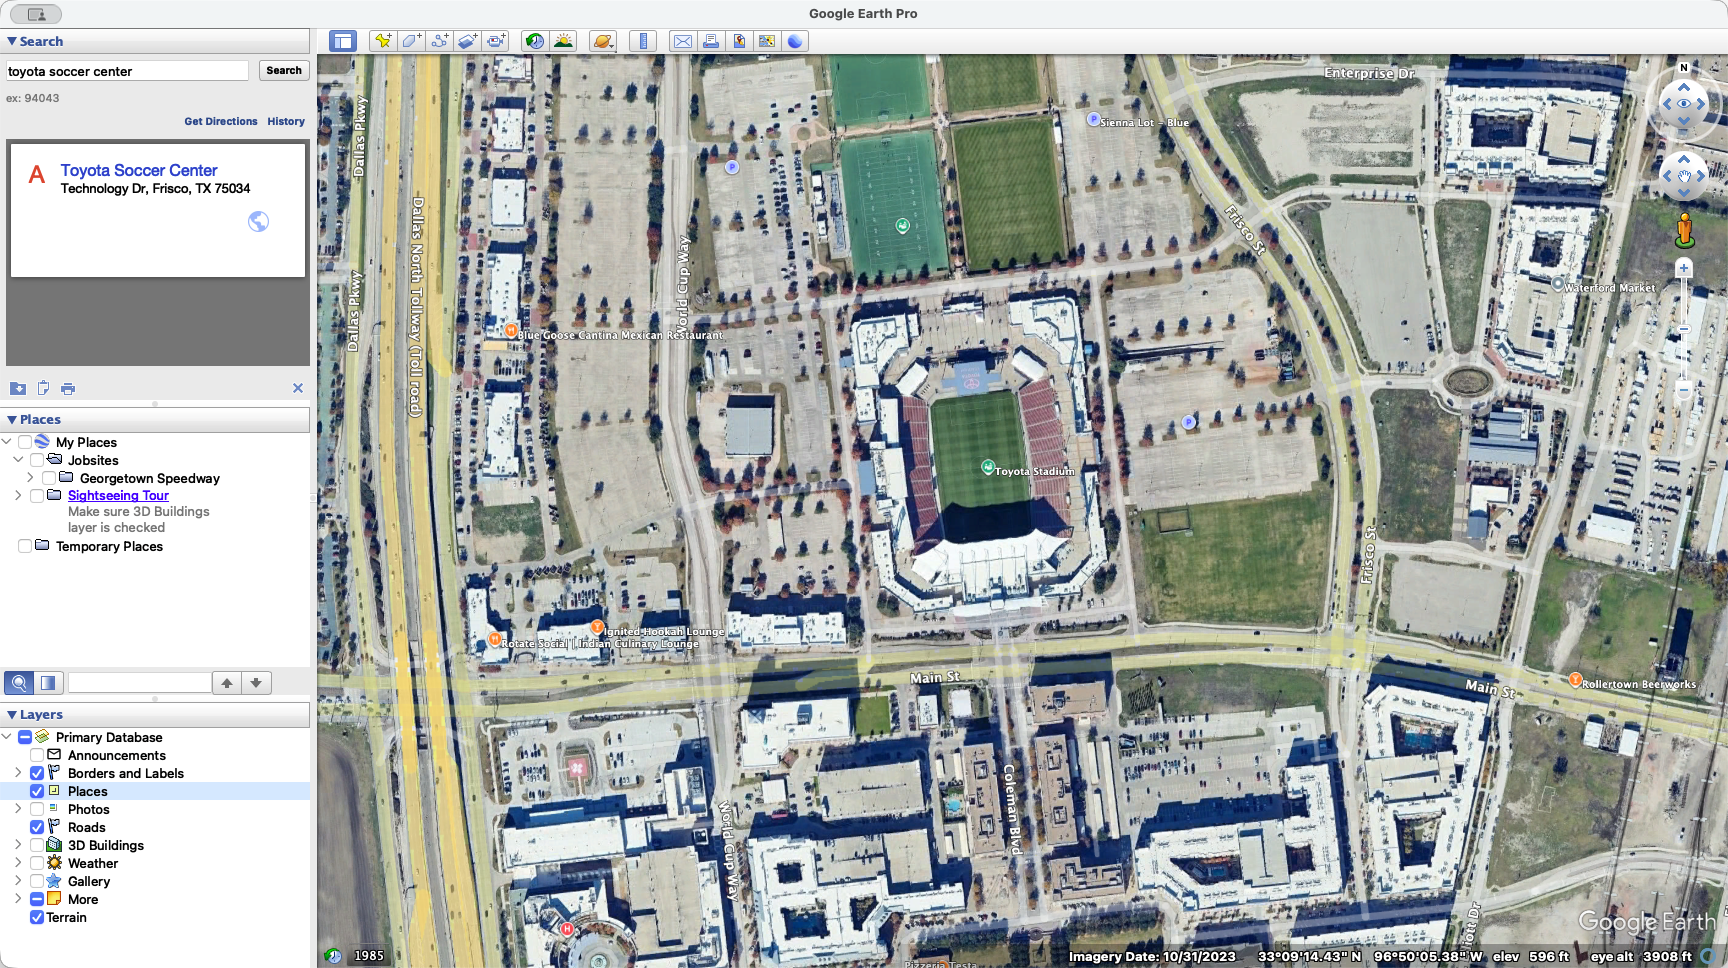
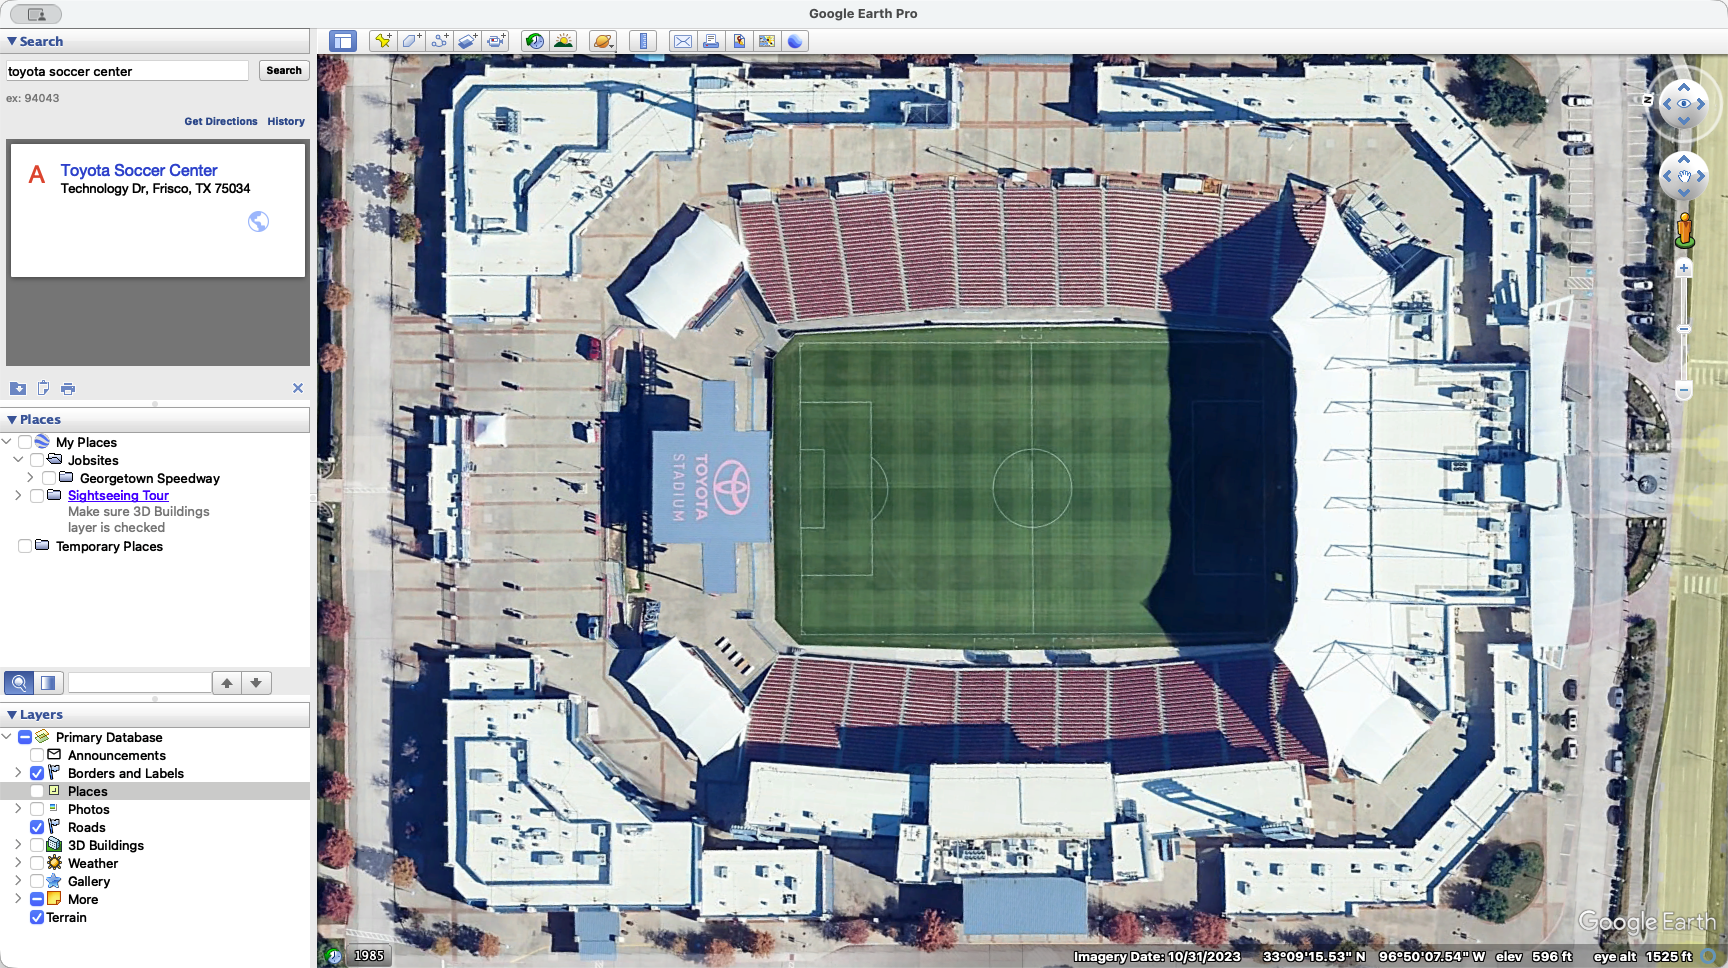
Now, with the place you've selected, enter your stadium in the search. Look at the stadium, then turn off the places.
That will turn off all those icons. For now, I'll leave it on. To remove your pin from Toyota Stadium, search for another nearby place.
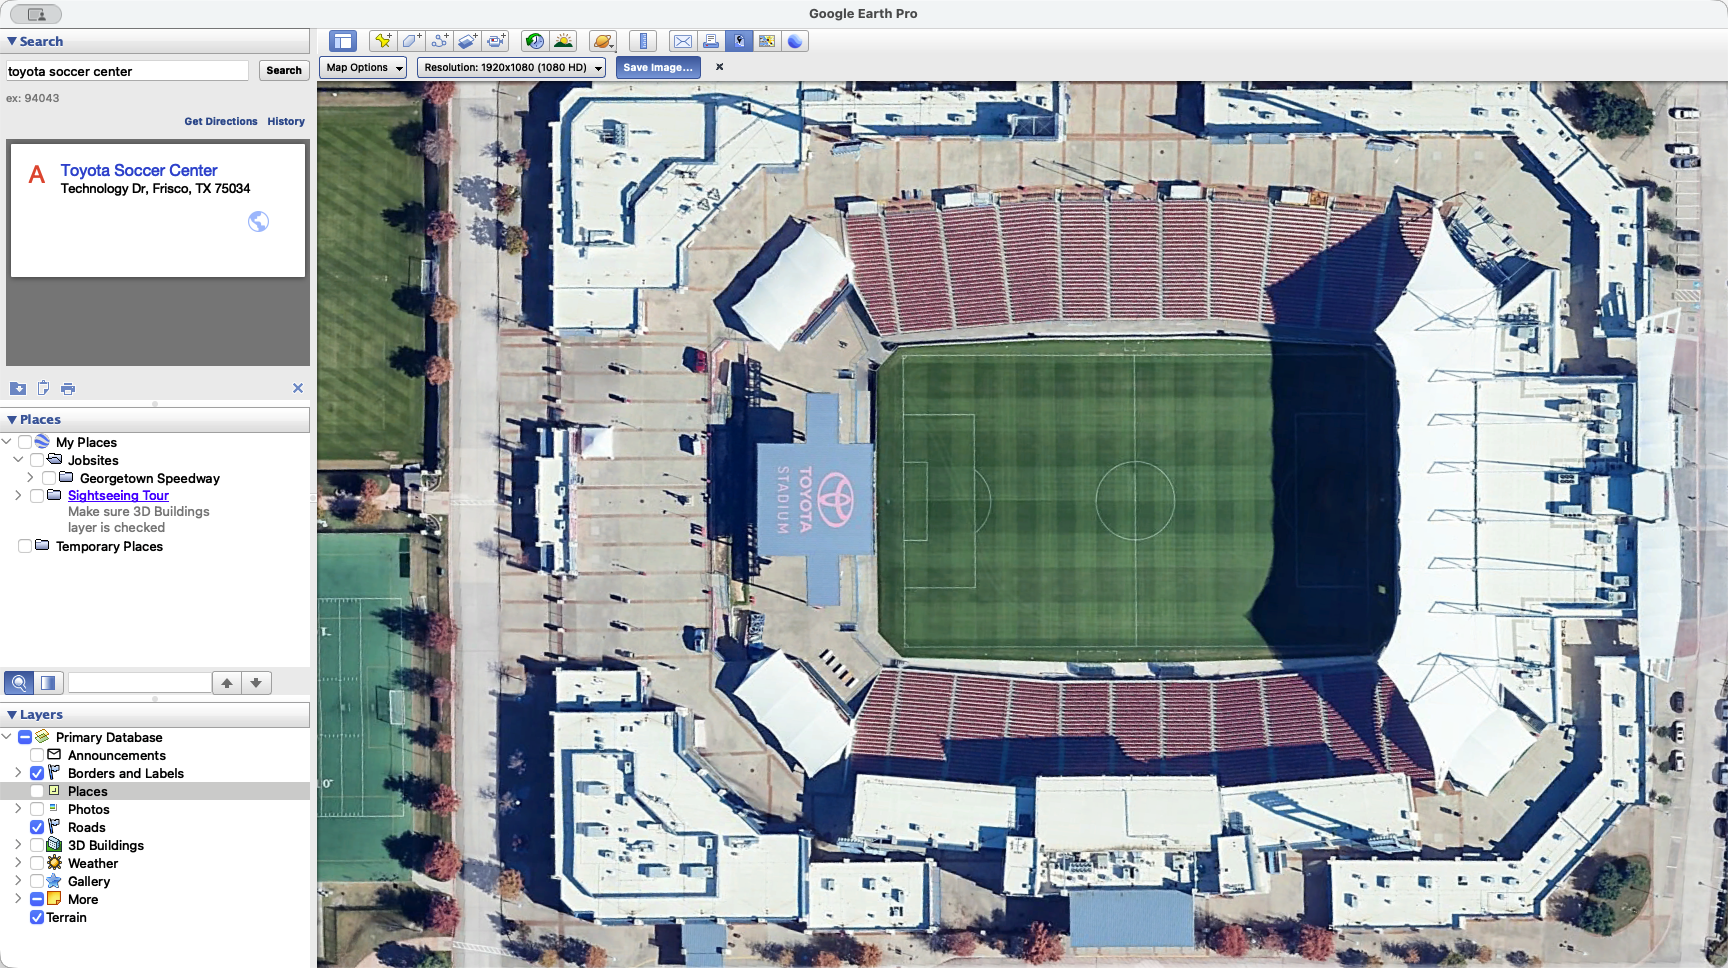
It's a bit of a hassle, but what I do is look for a nearby landmark to search. I find that the Toyota Soccer Center is directly north, so I search for it. It pulls up the location and drops a pin there. Then, I know the stadium is just below that.

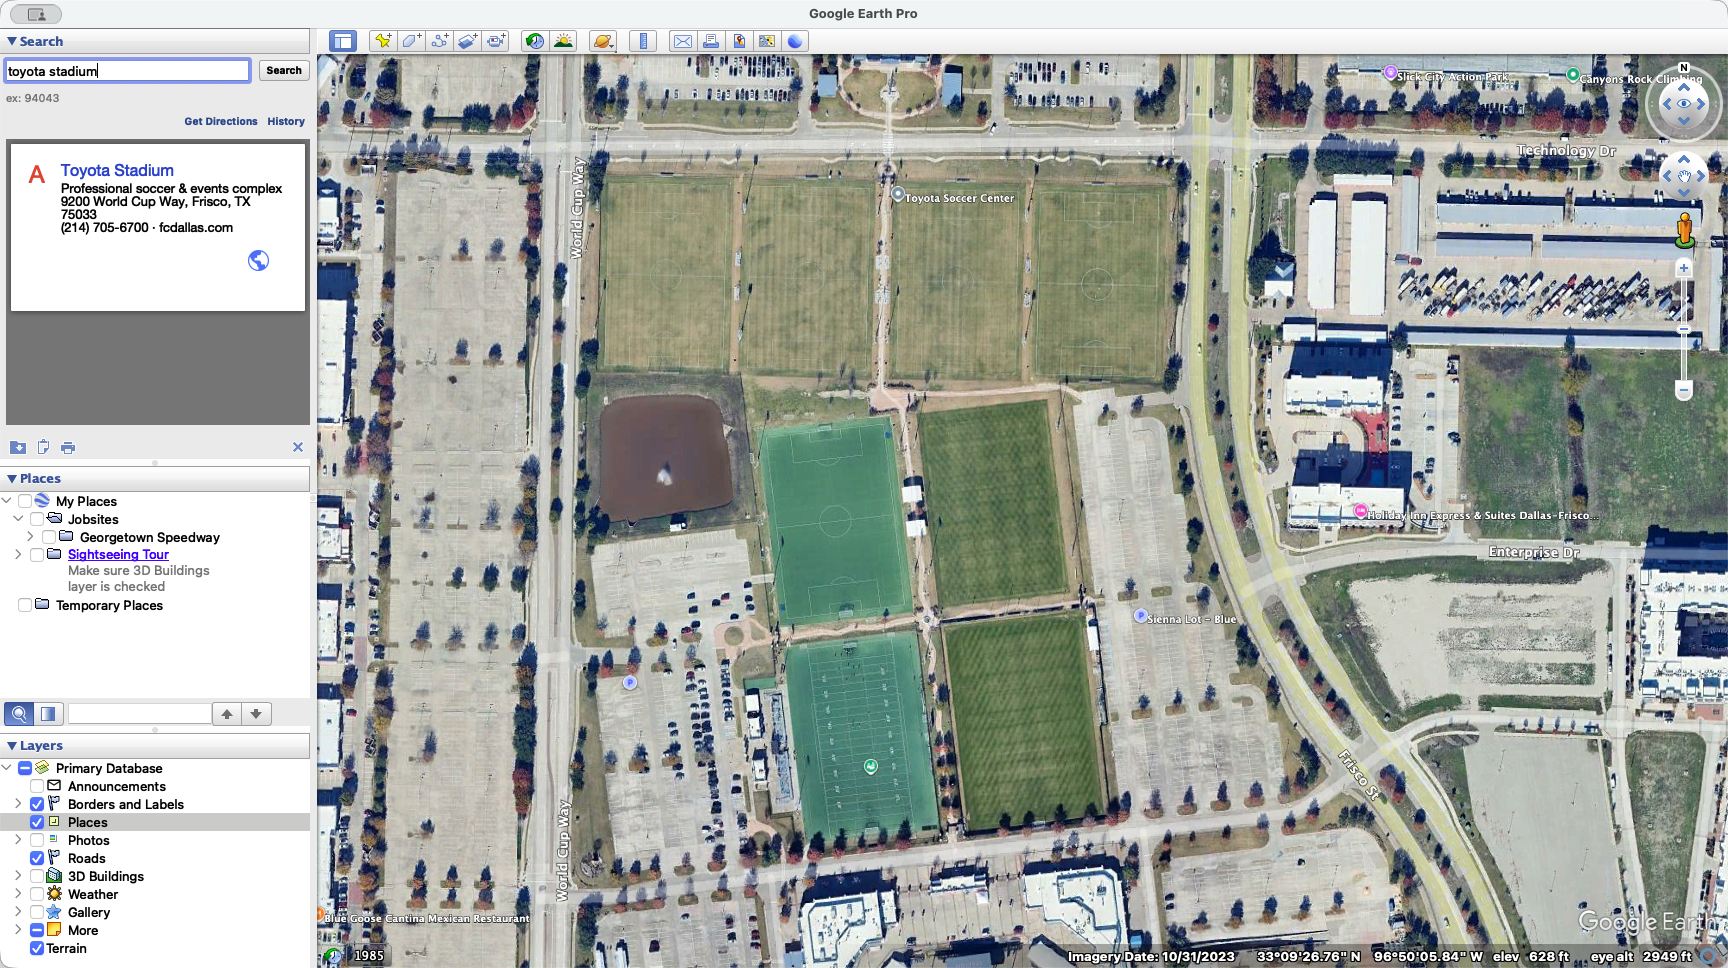

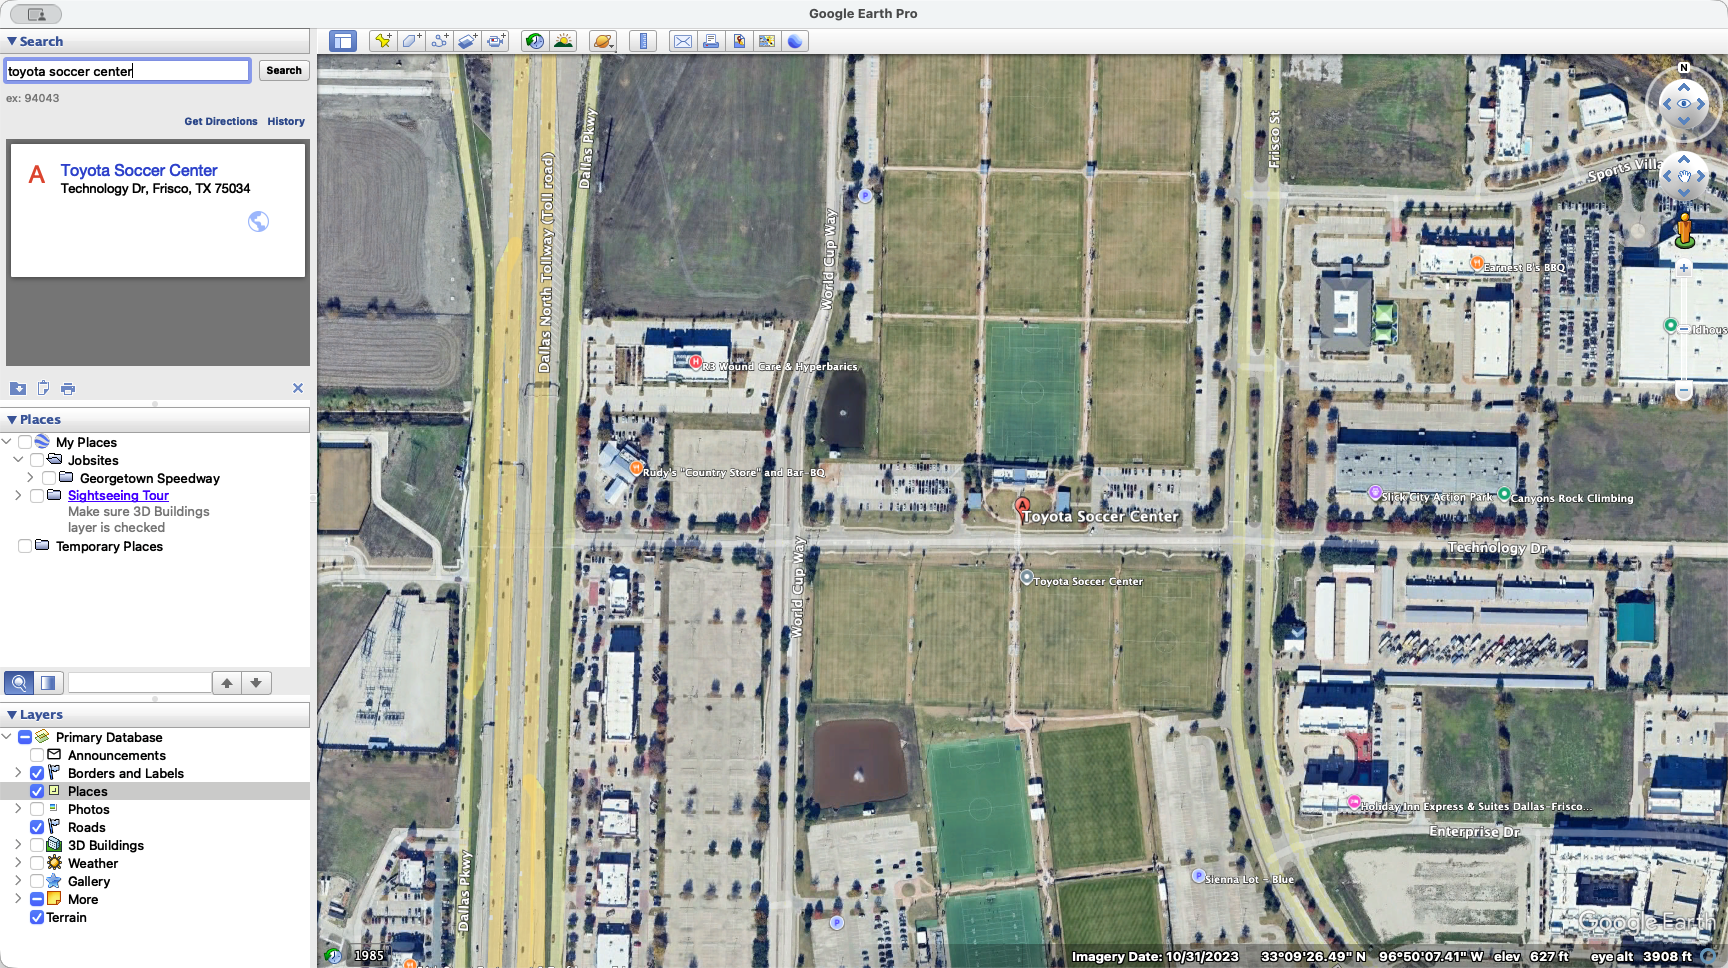
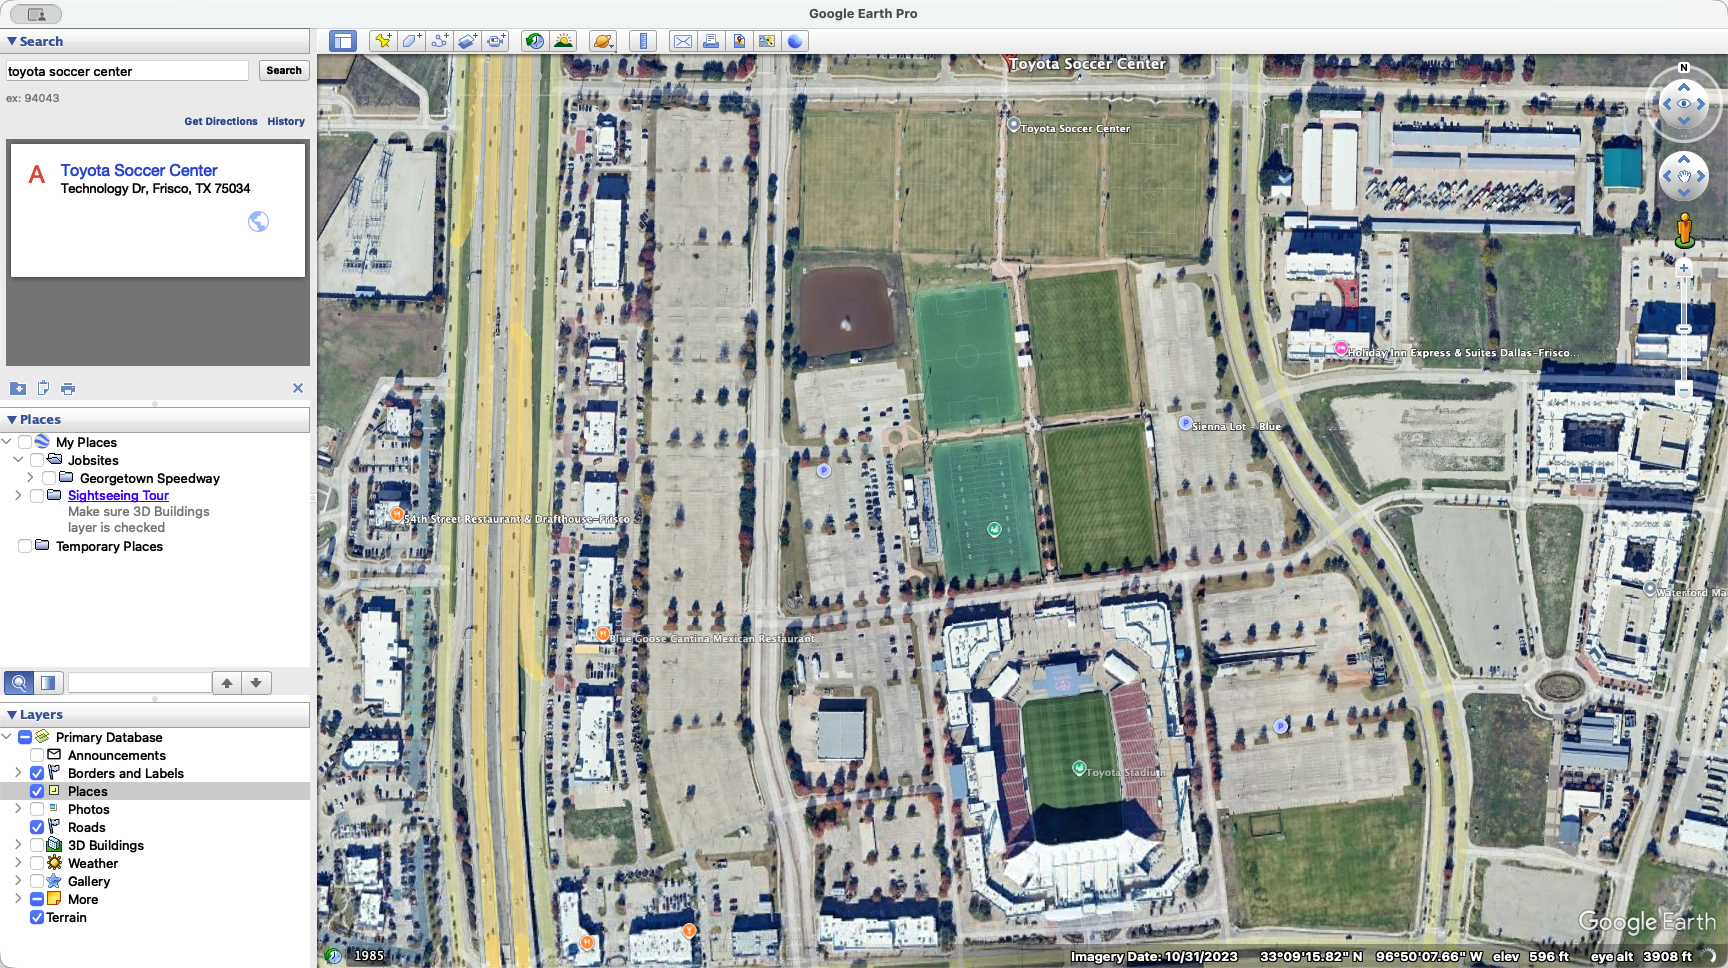
You're going to turn off places.
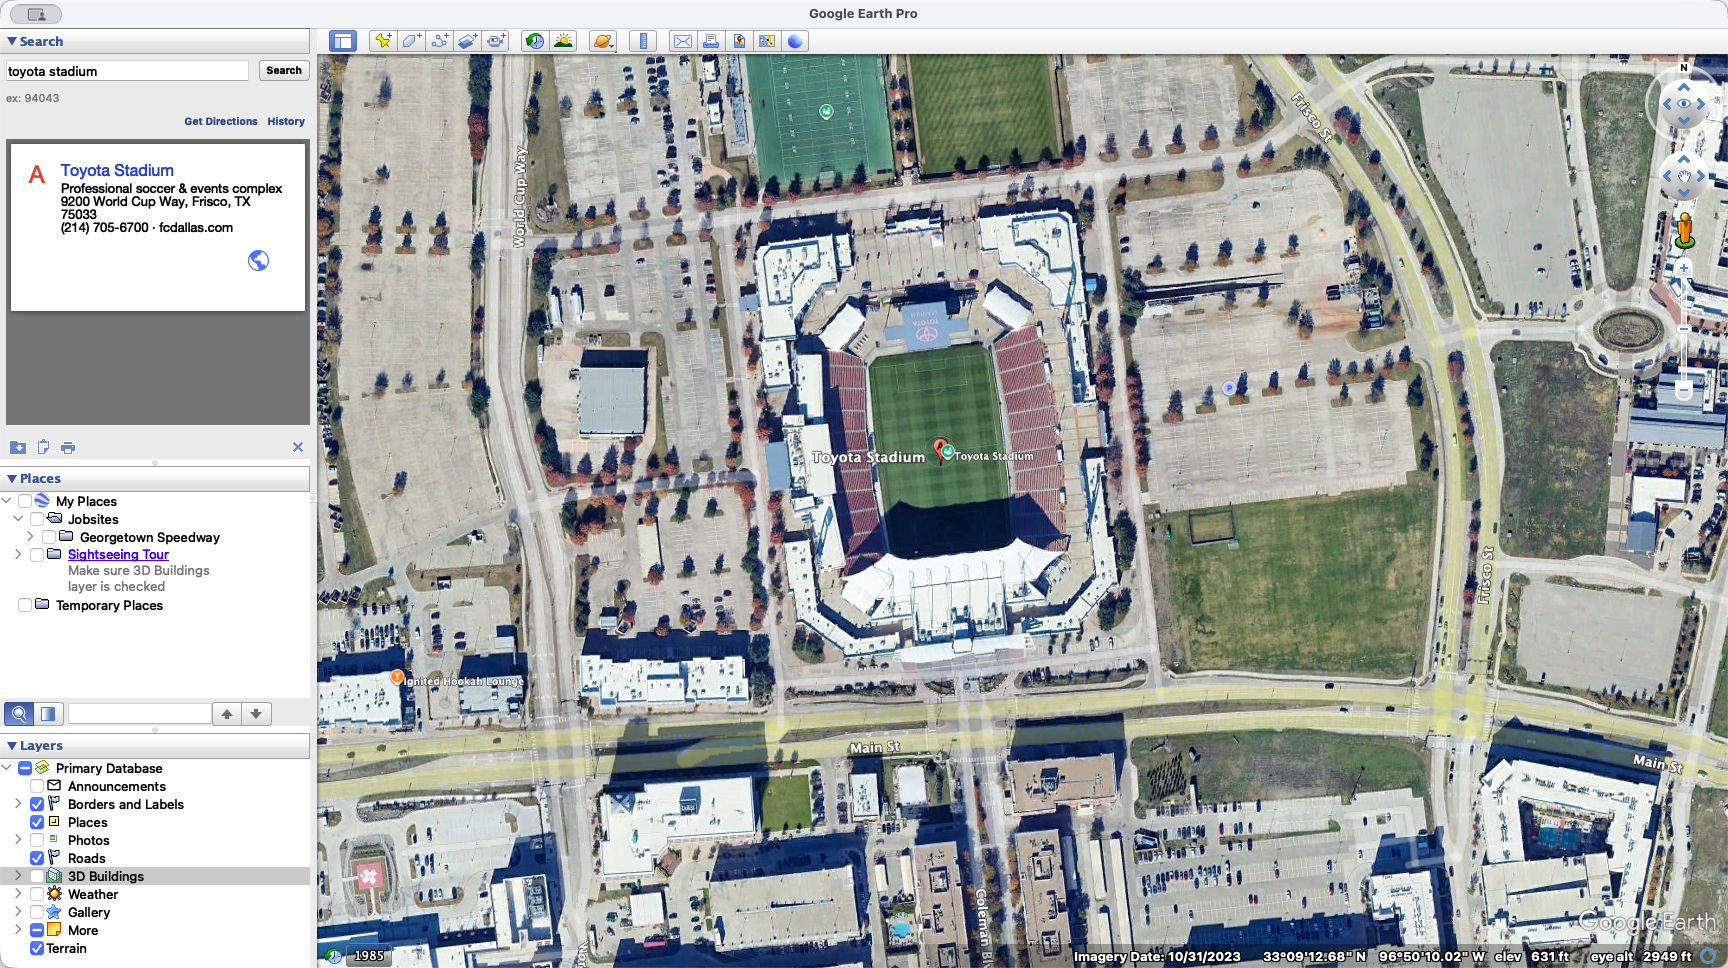
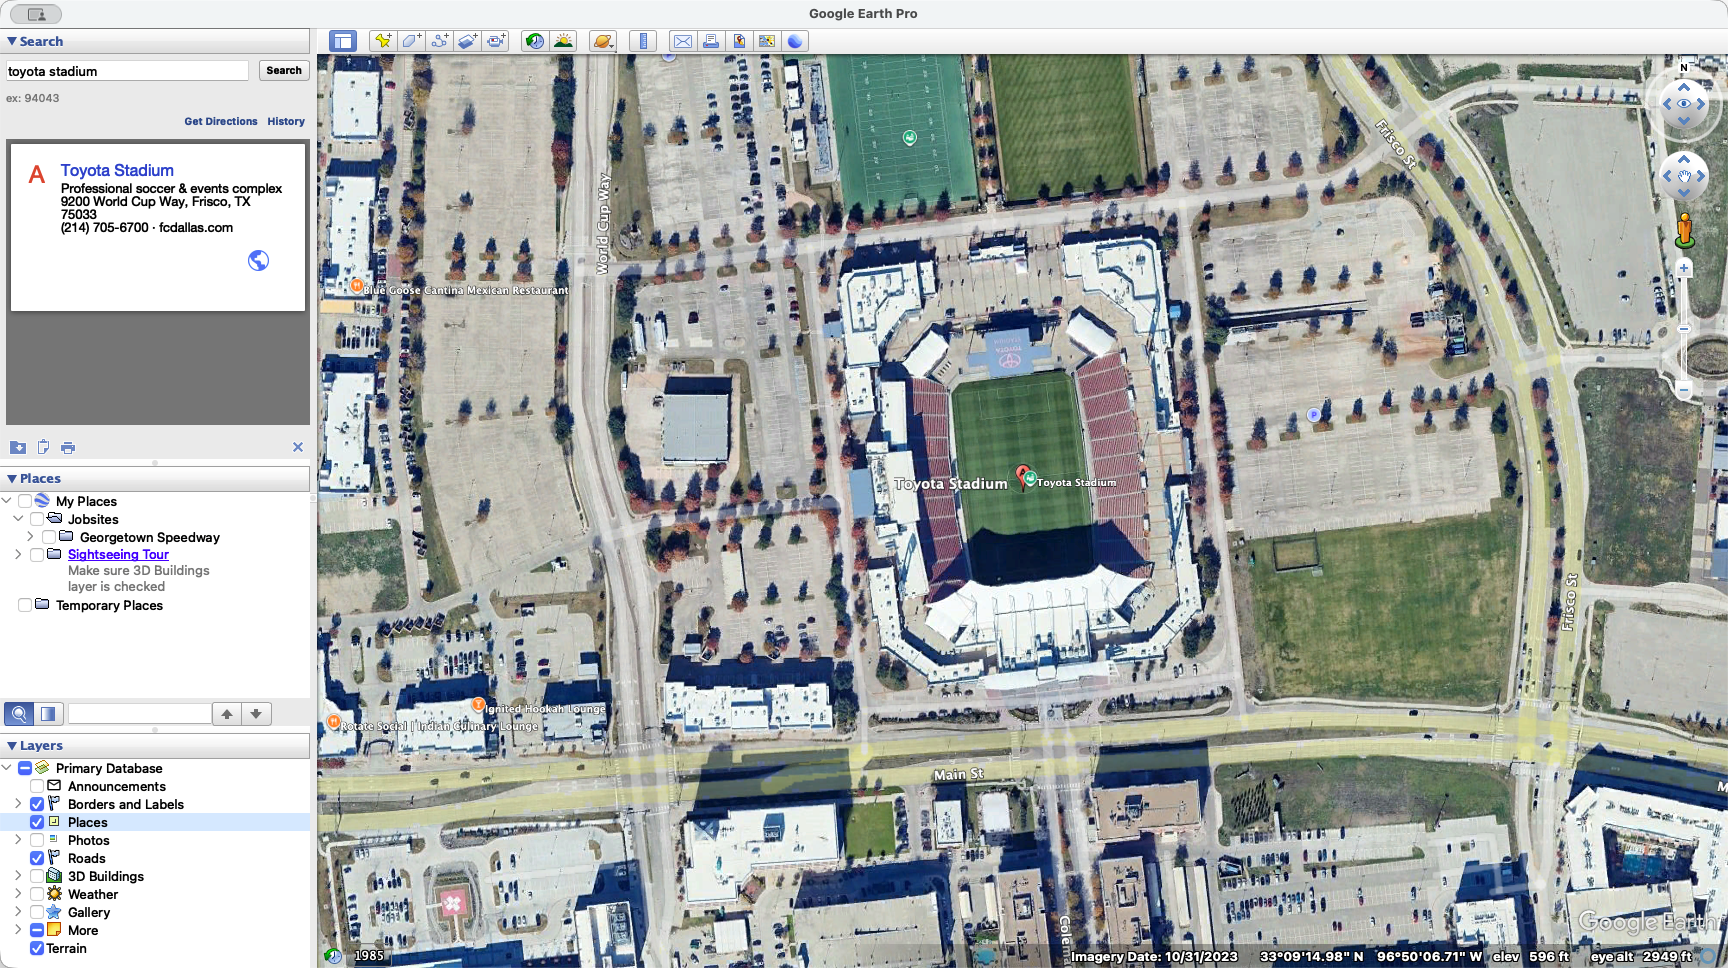
That gives you a clear view of the stadium. Use your mouse wheel to zoom in.
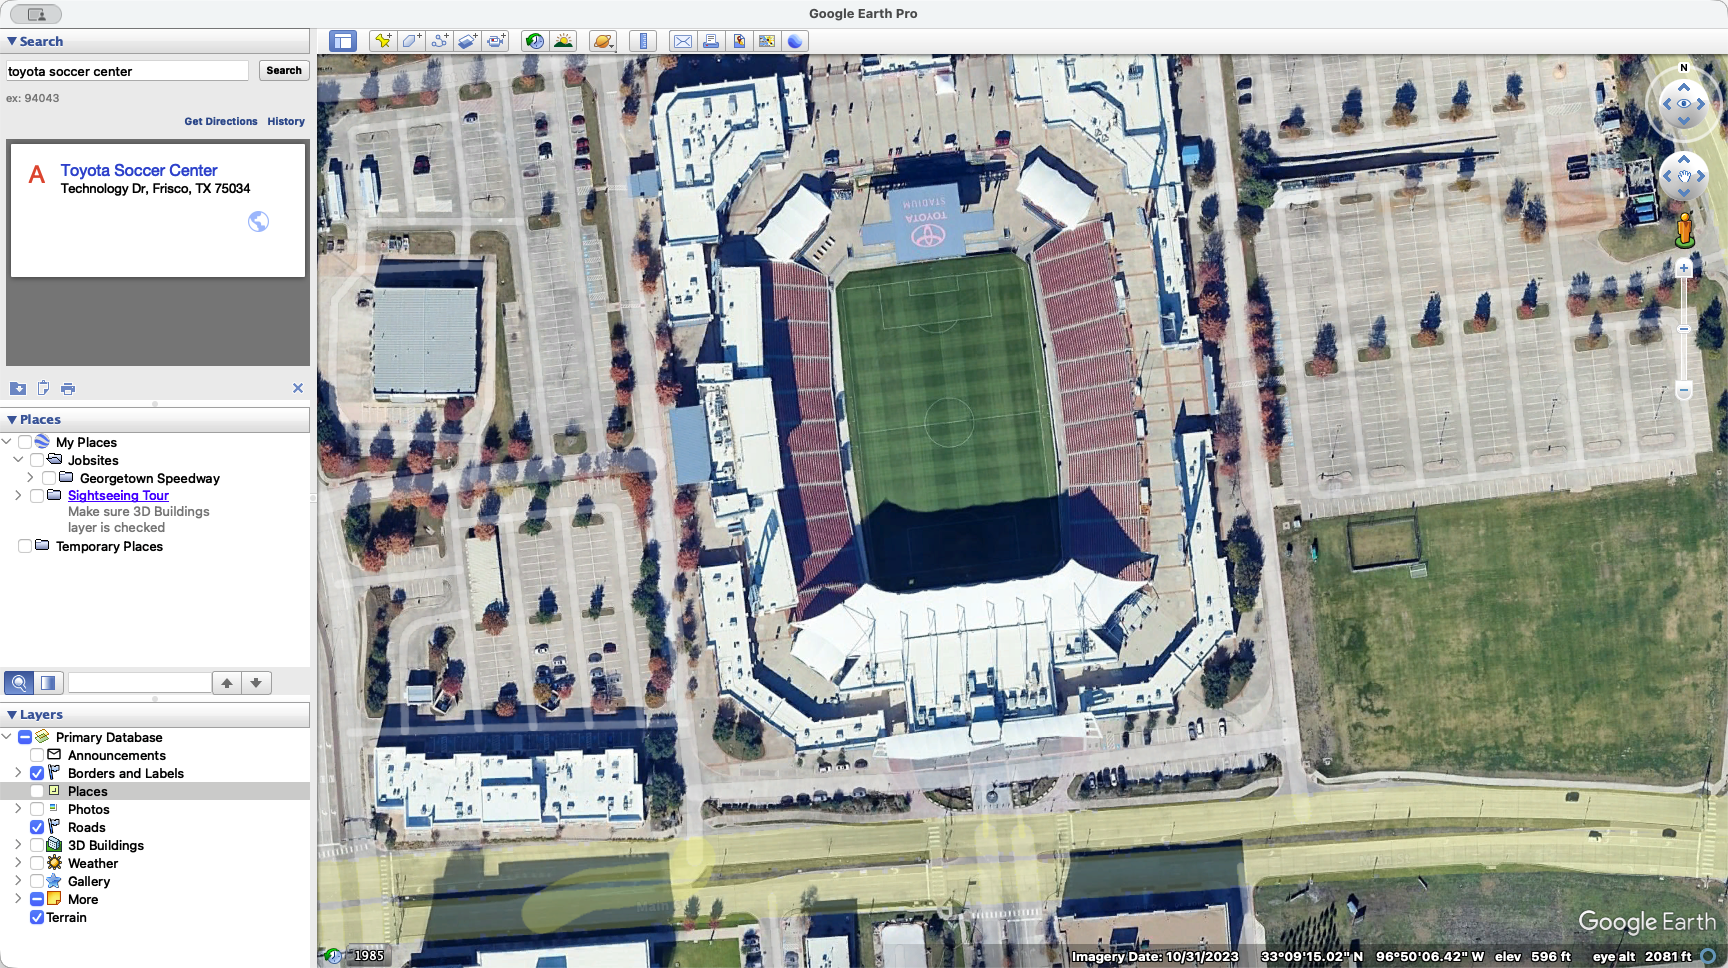
Try to make the stadium as large as possible within your field of view. For the site drawing, make sure your stadium or site is in landscape mode, as this matches the orientation of the site plan. To do that, press Option on Mac or Control on Windows. This allows you to pan your camera in all directions.
To turn the stadium, move your camera down and point it straight down. Then, go sideways and slightly up while holding Control and clicking. Get the stadium as good as you can.
Zoom in as much as possible to maintain all relevant stadium details.
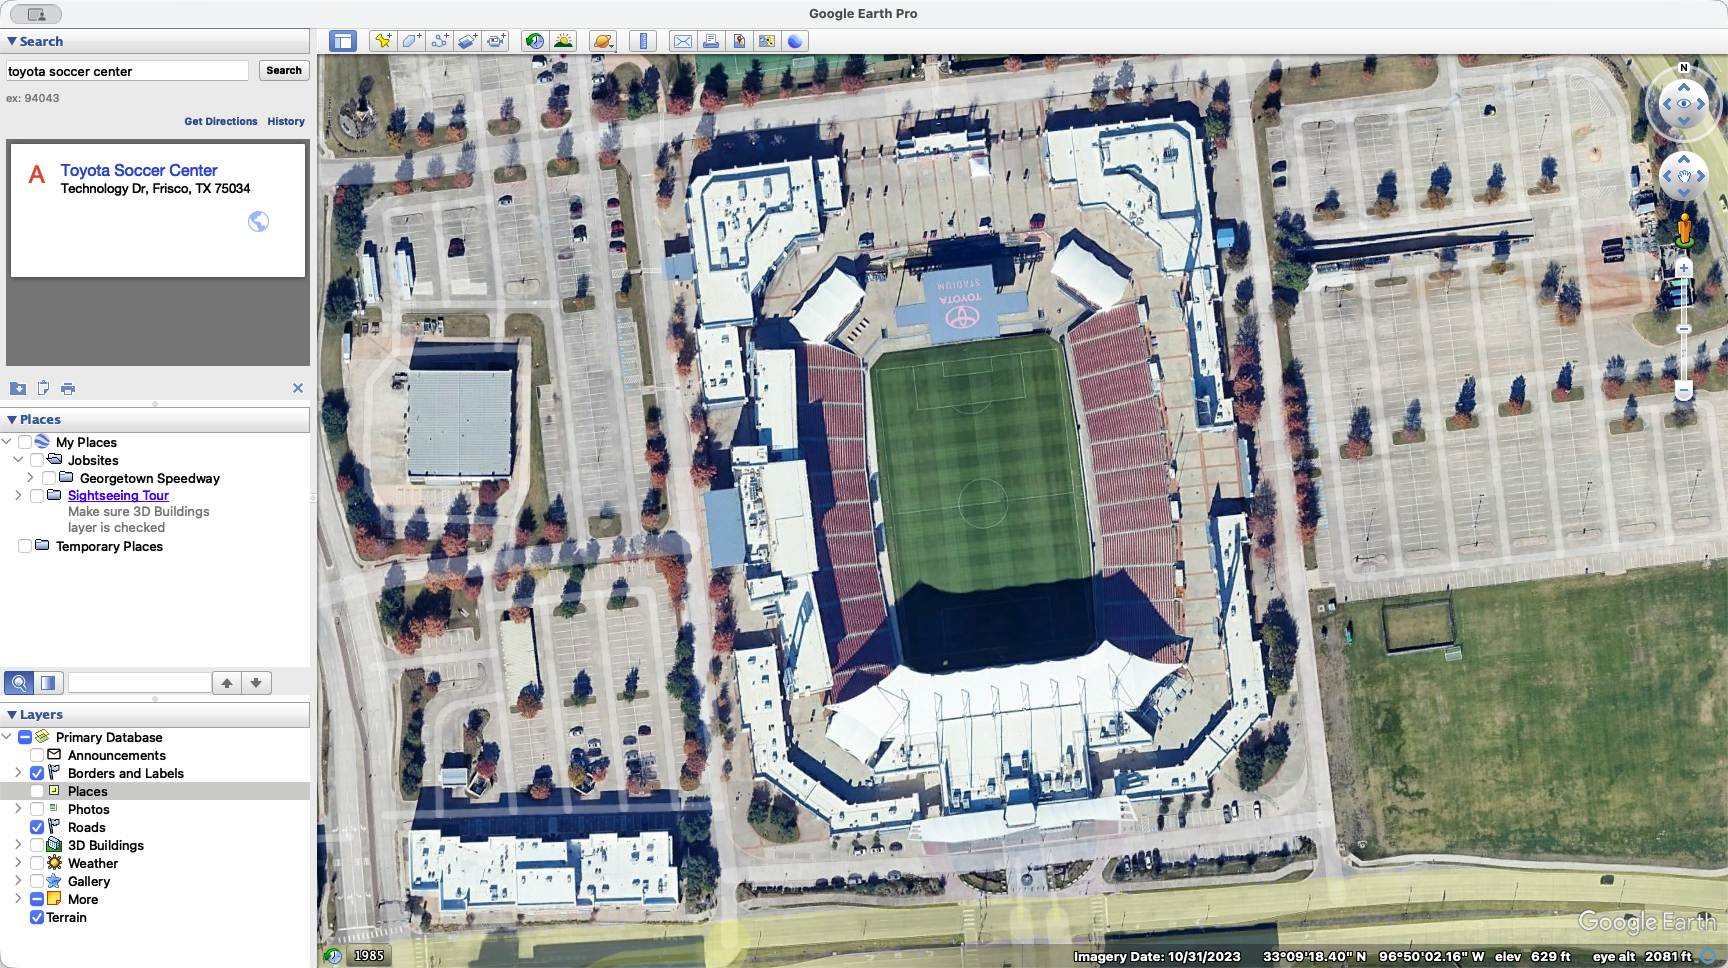
Then click on Save Image at the top.

Go to Map Options and turn off the Title.
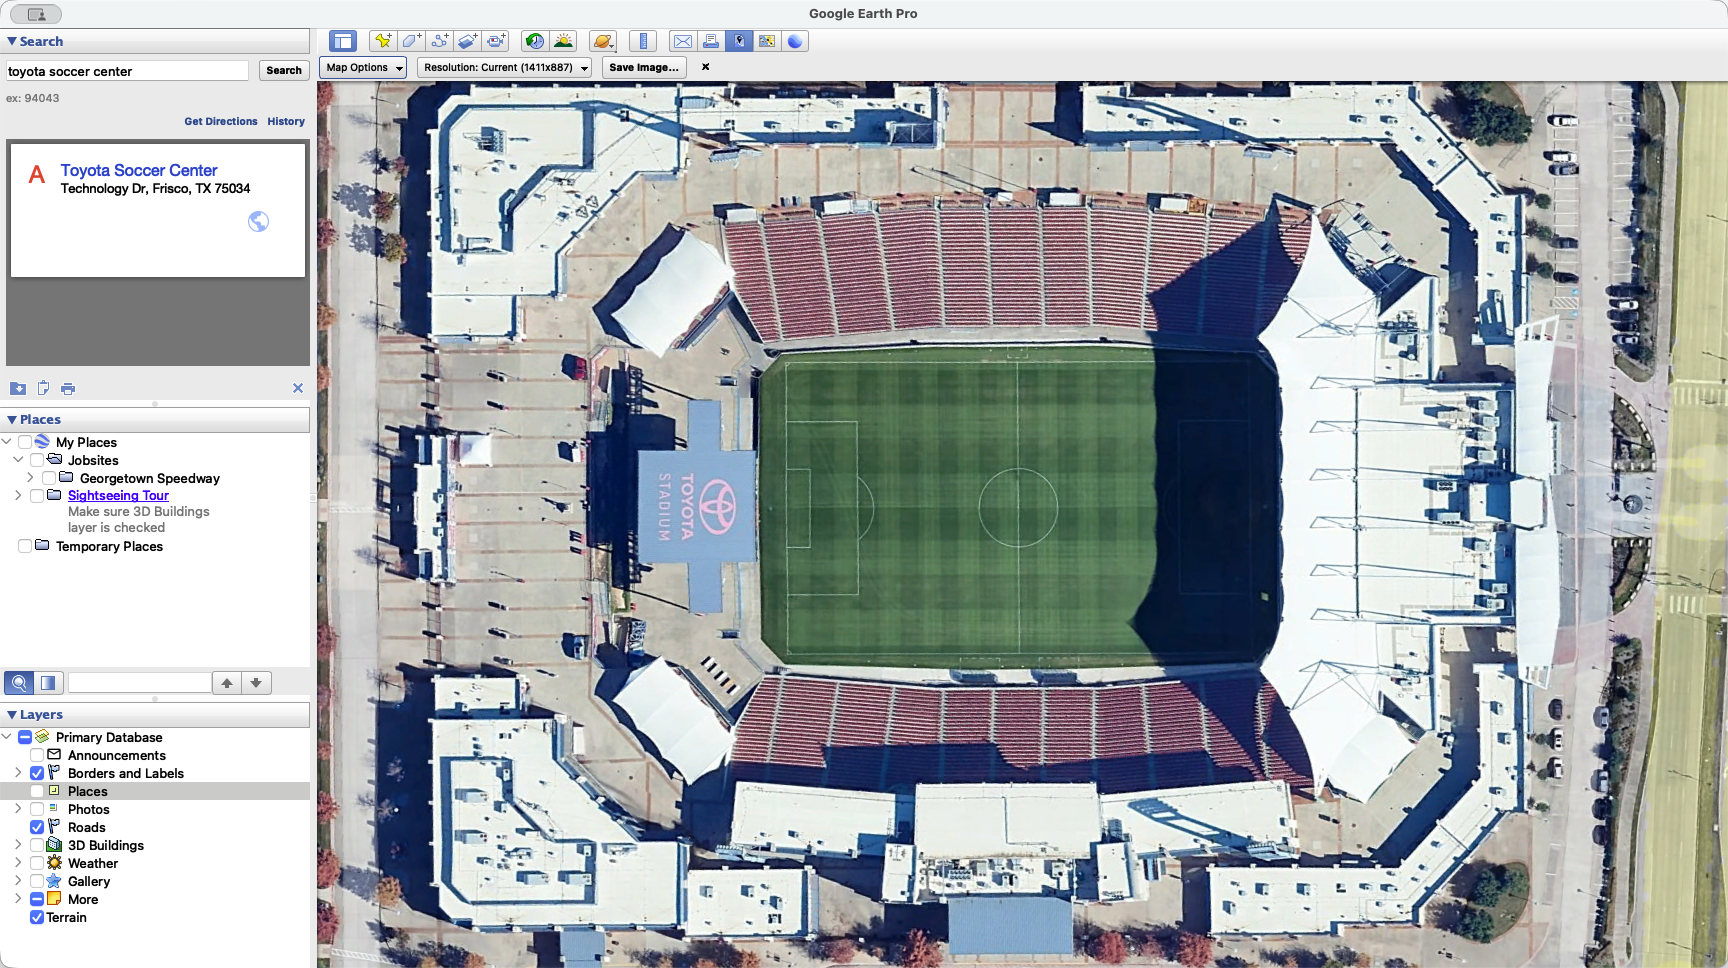

You can leave. I usually remove the Legend, but always keep the Scale and Compass on.


Now, you are going to change the resolution.

Typically, I try to get 1080i.
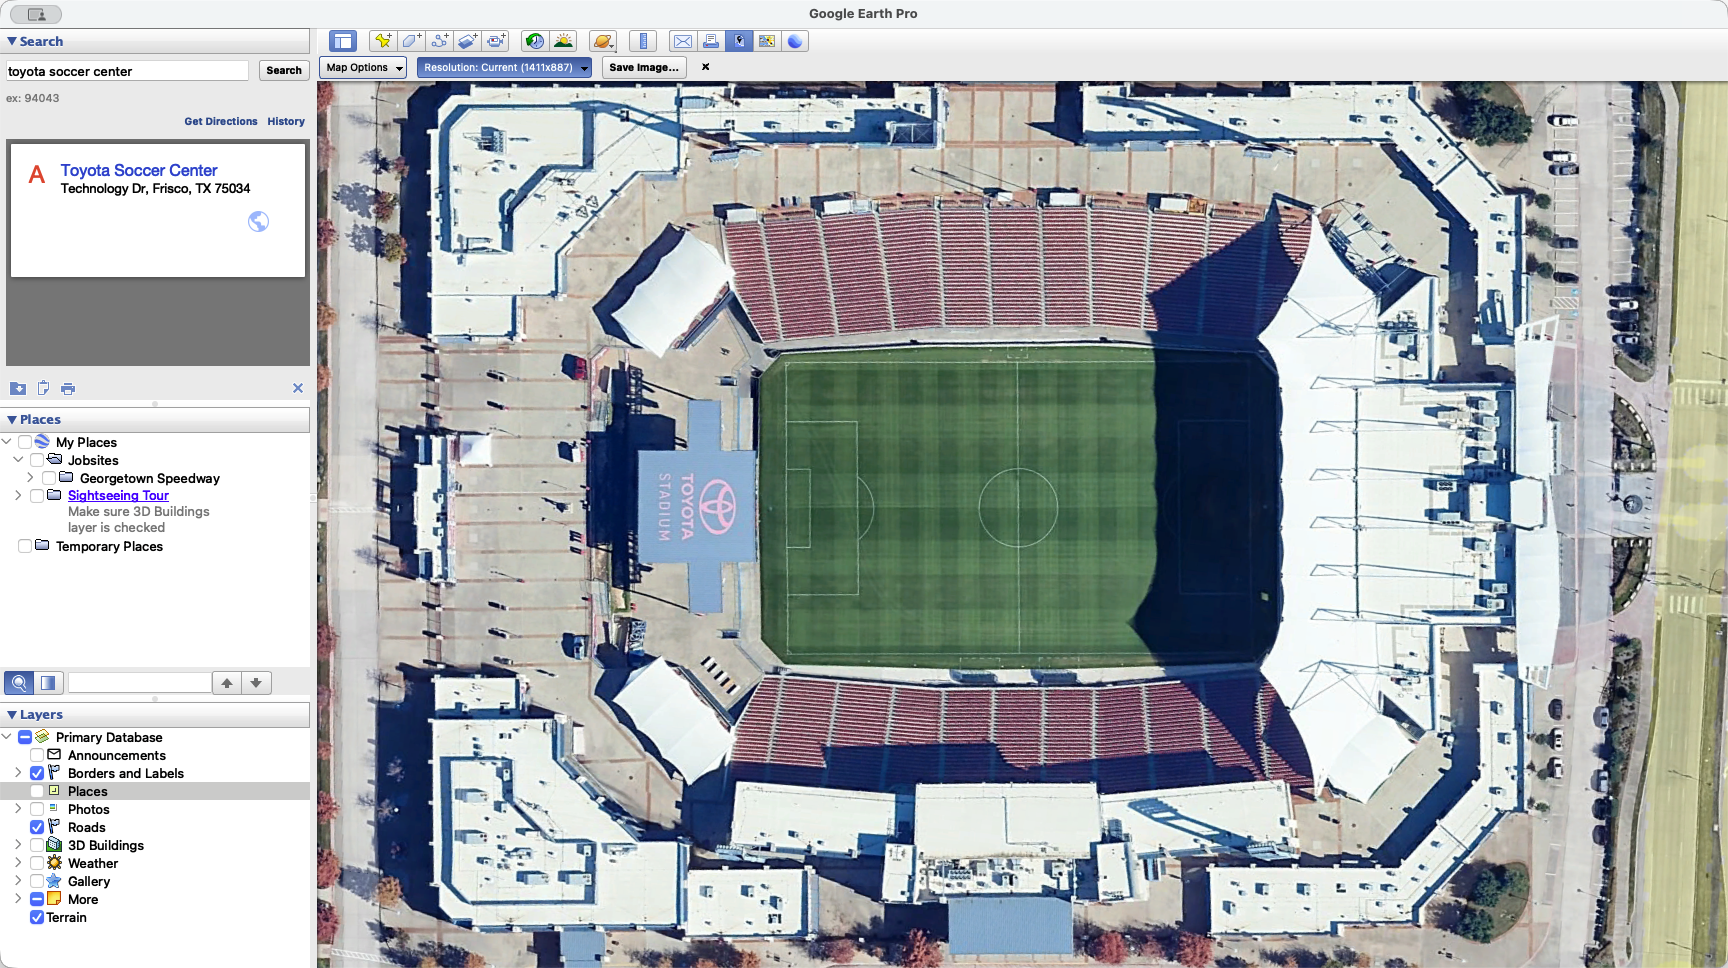
That will give you a high enough resolution to zoom in. Click to proceed. The goal is to export the image and then crop it to remove any unnecessary information.

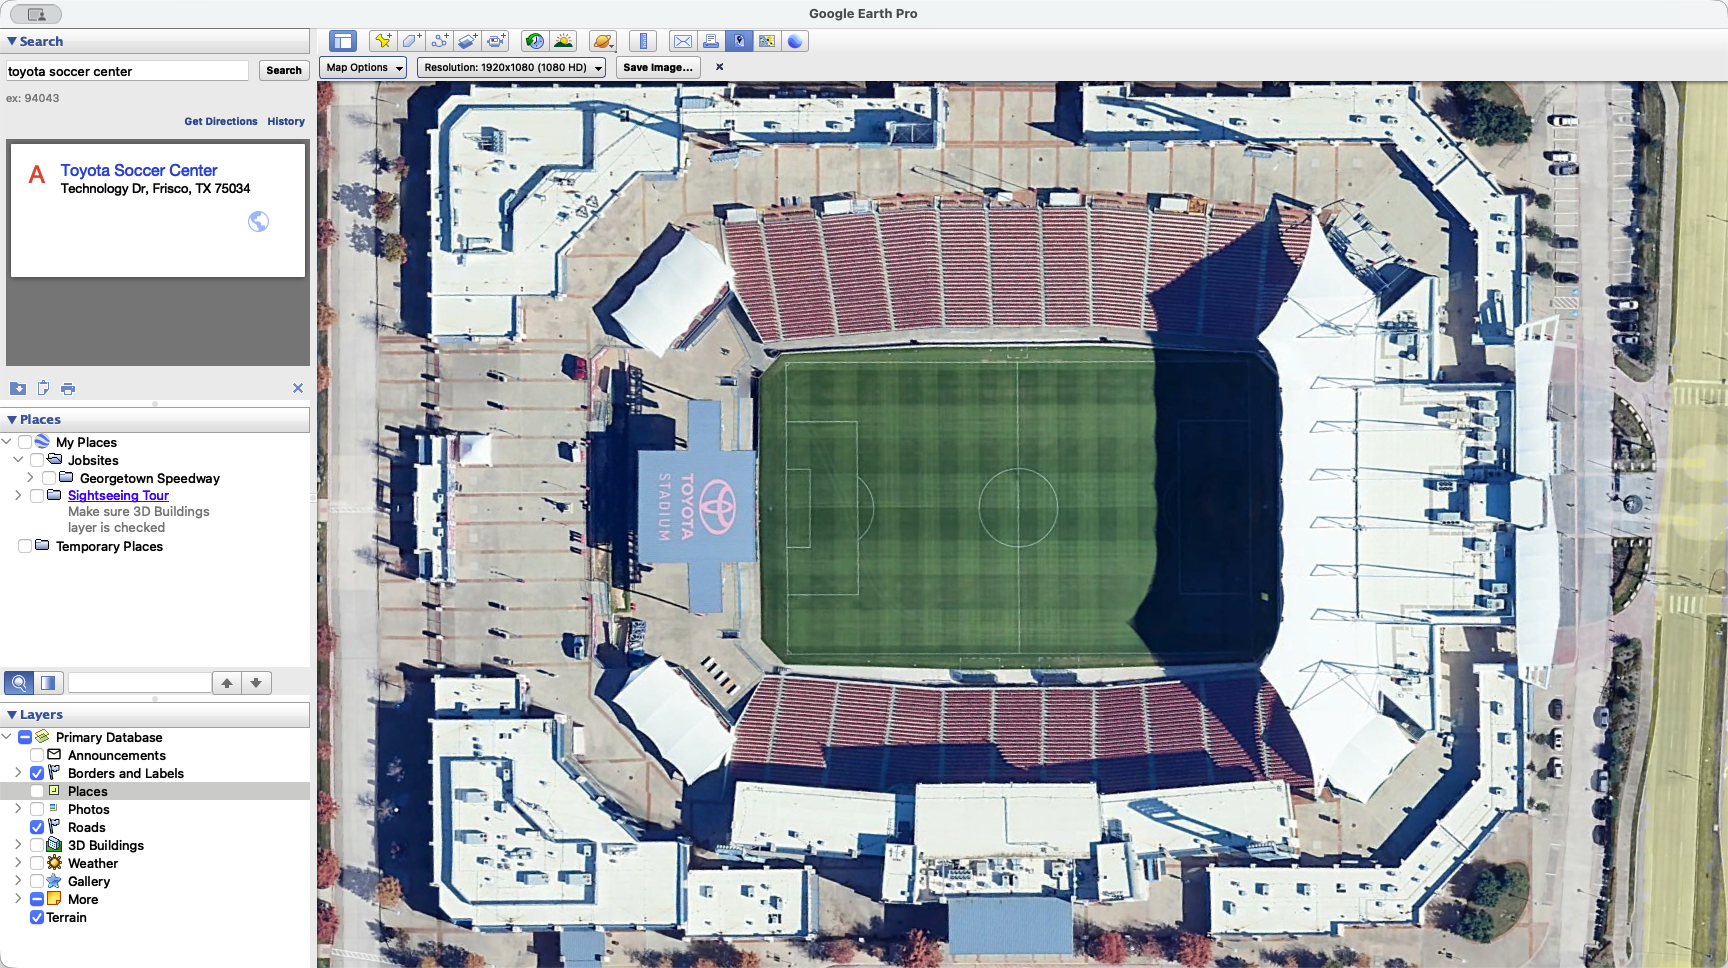
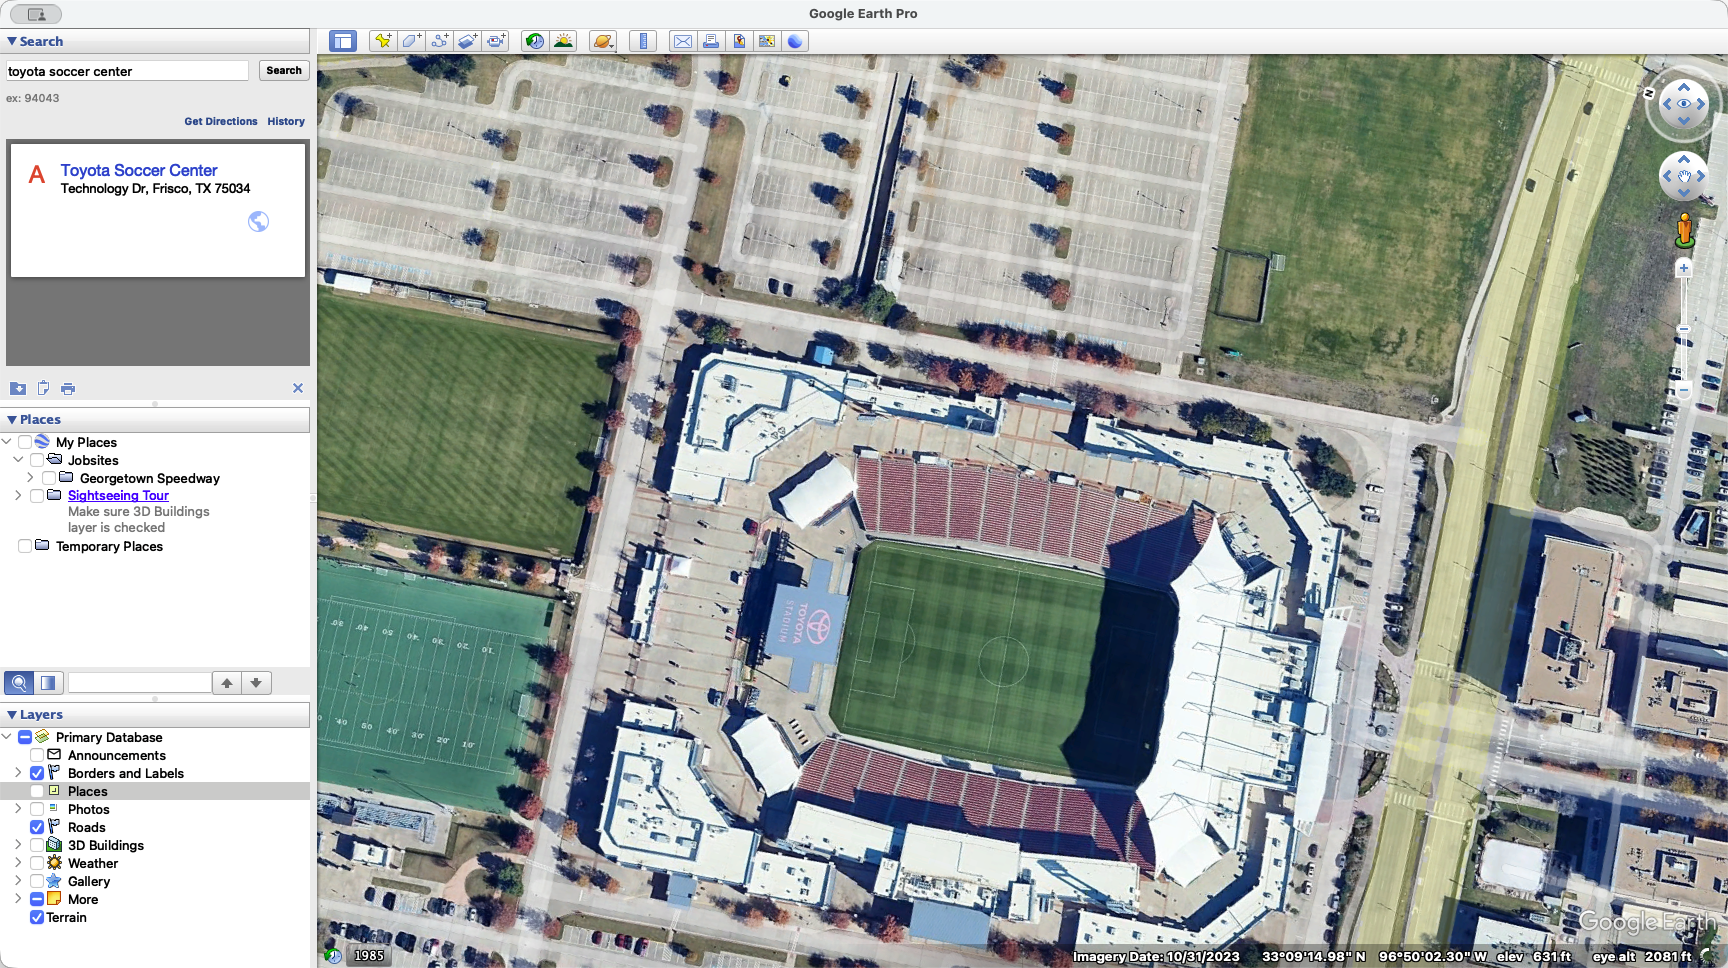
Drag the stadium by clicking near its edge. Move it all the way to the right side. This keeps your compass and scale visible. We will crop this area, as it is not relevant to our site plan. Then click Save Image.
I always save it to Downloads and name it Site Overview.