How to Pull and Review Transaction Reports in the iPos Portal
Learn step-by-step how to log into your iPos portal, pull transaction reports, download Excel files, and review key data such as fees, card types, and transaction numbers. Tips for identifying waived fees and commercial card transactions included.
In this guide, we'll learn how to pull transaction reports from the iPos portal. We will cover how to log in, select the right date range, run a search, and download the report. We will also look at how to review the Excel file, focus on key columns like fee and card type, and identify transactions where fees were waived.
Let's get started
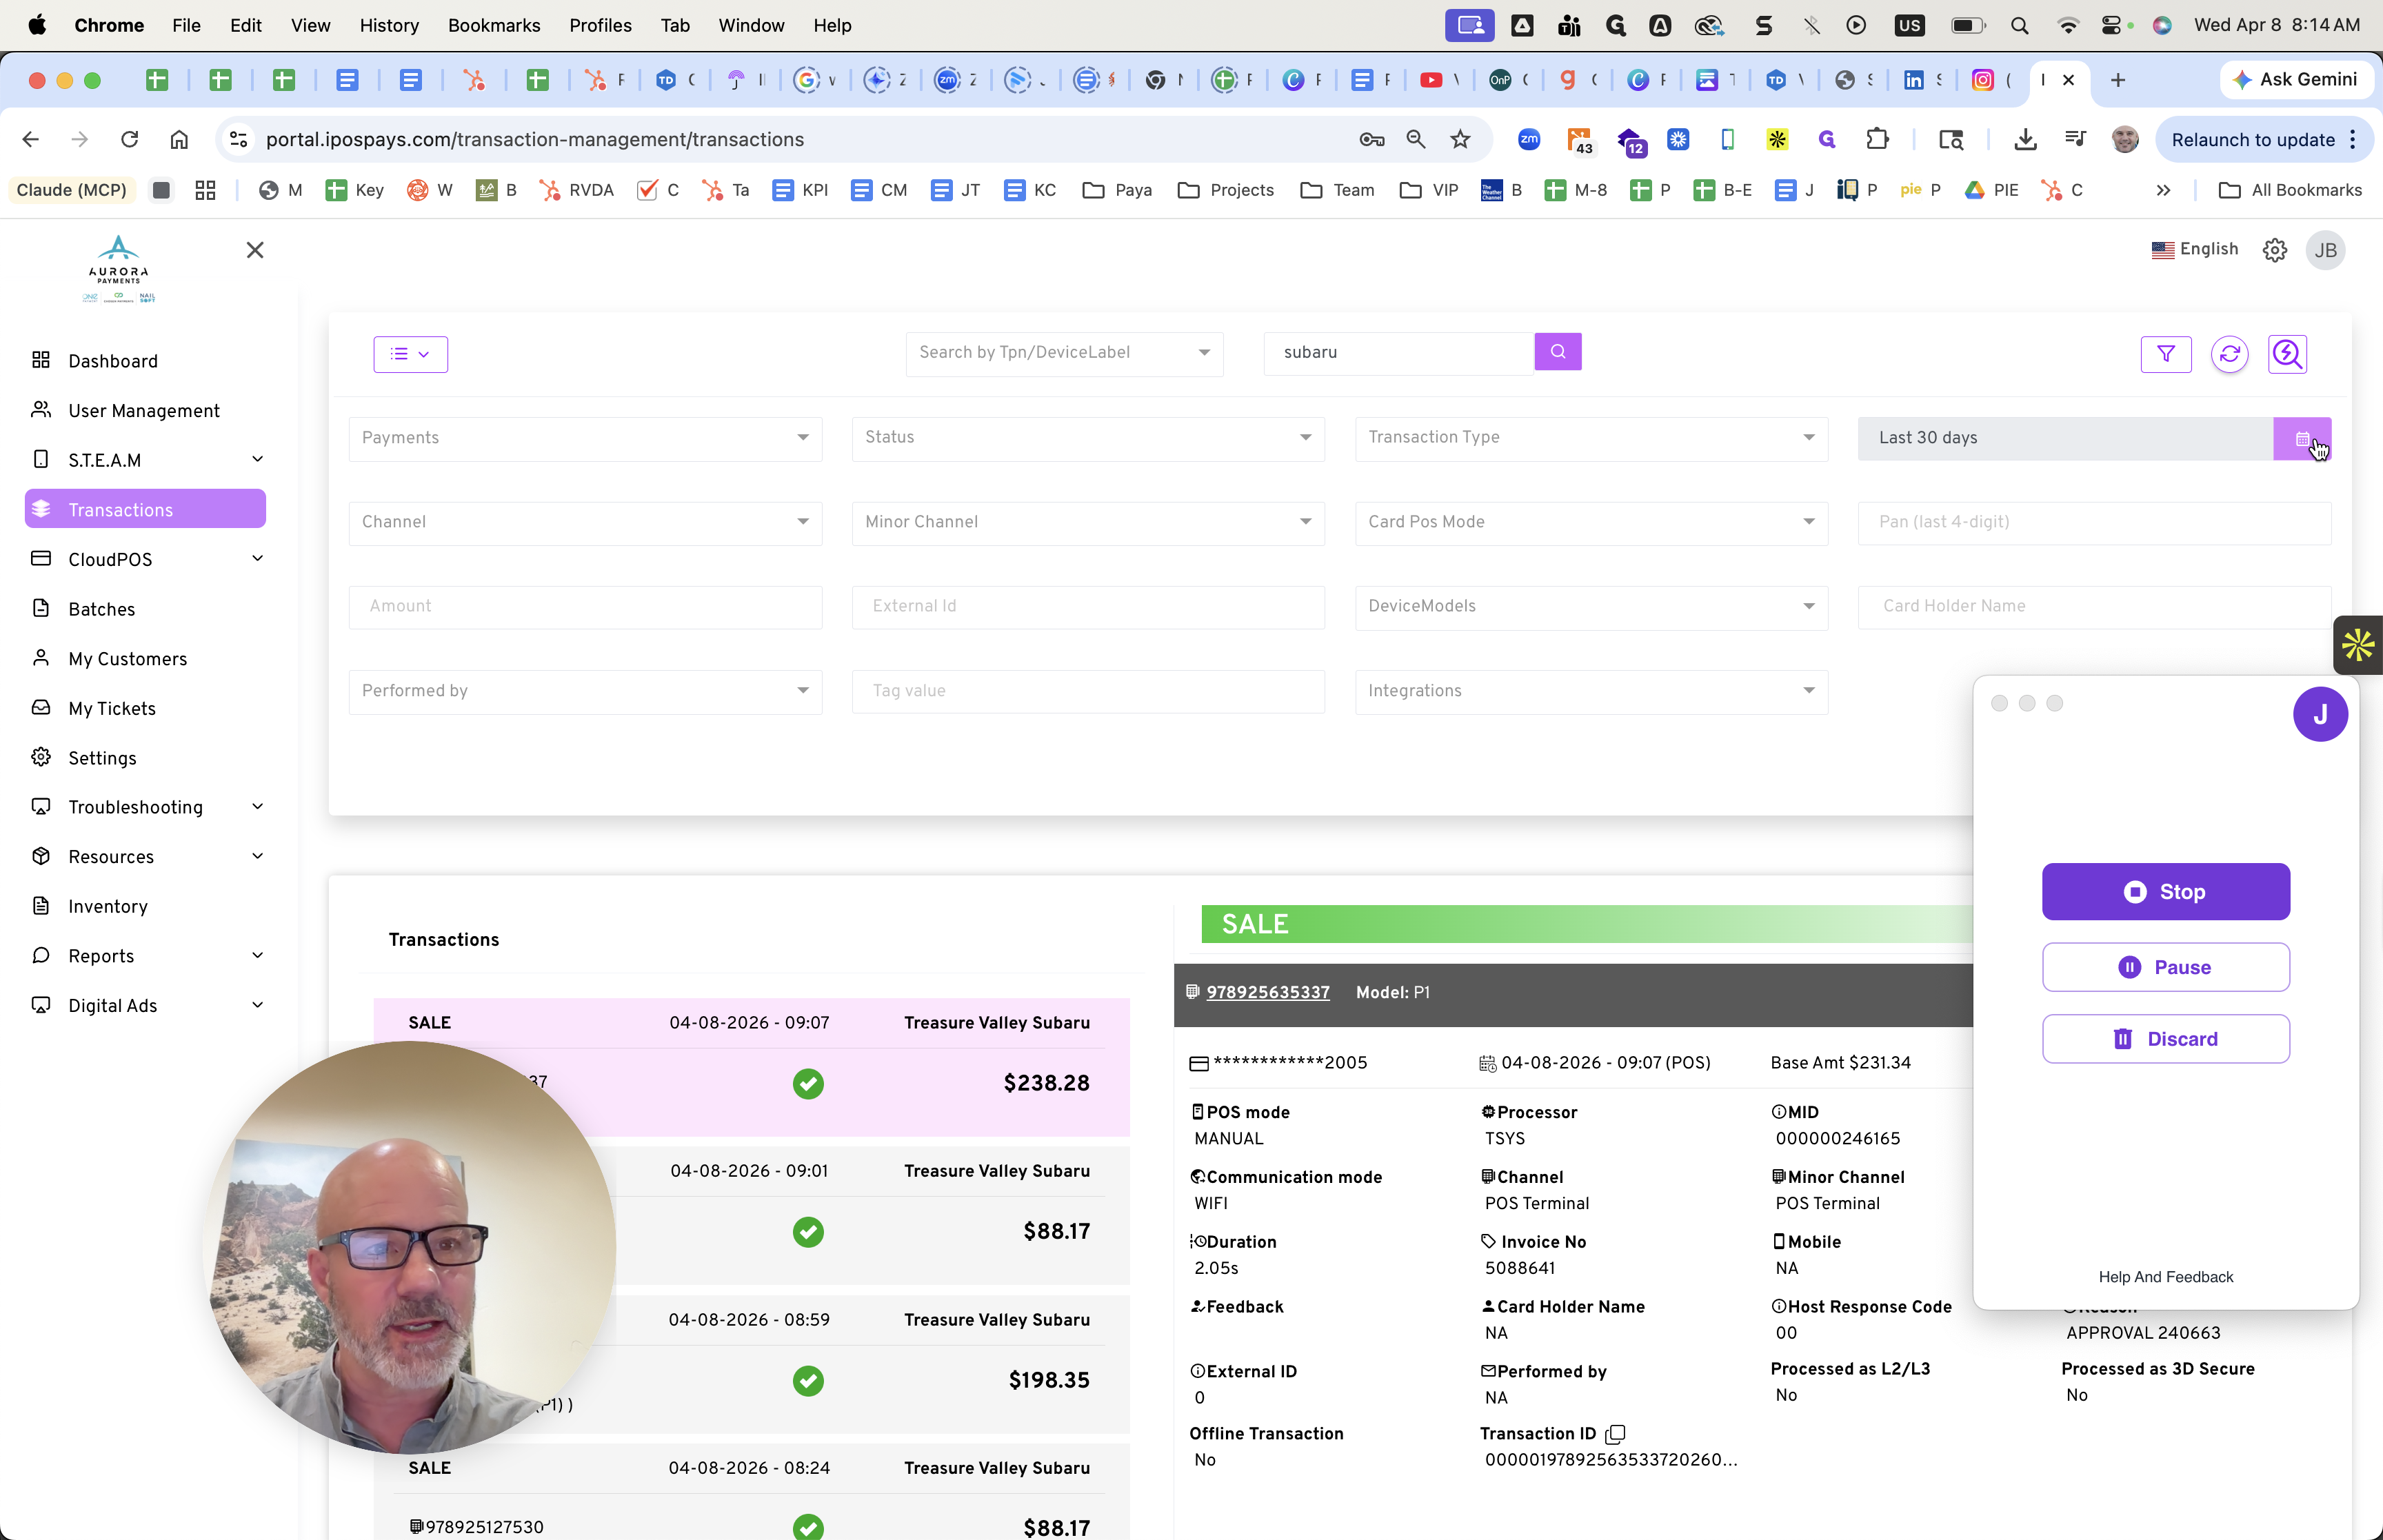
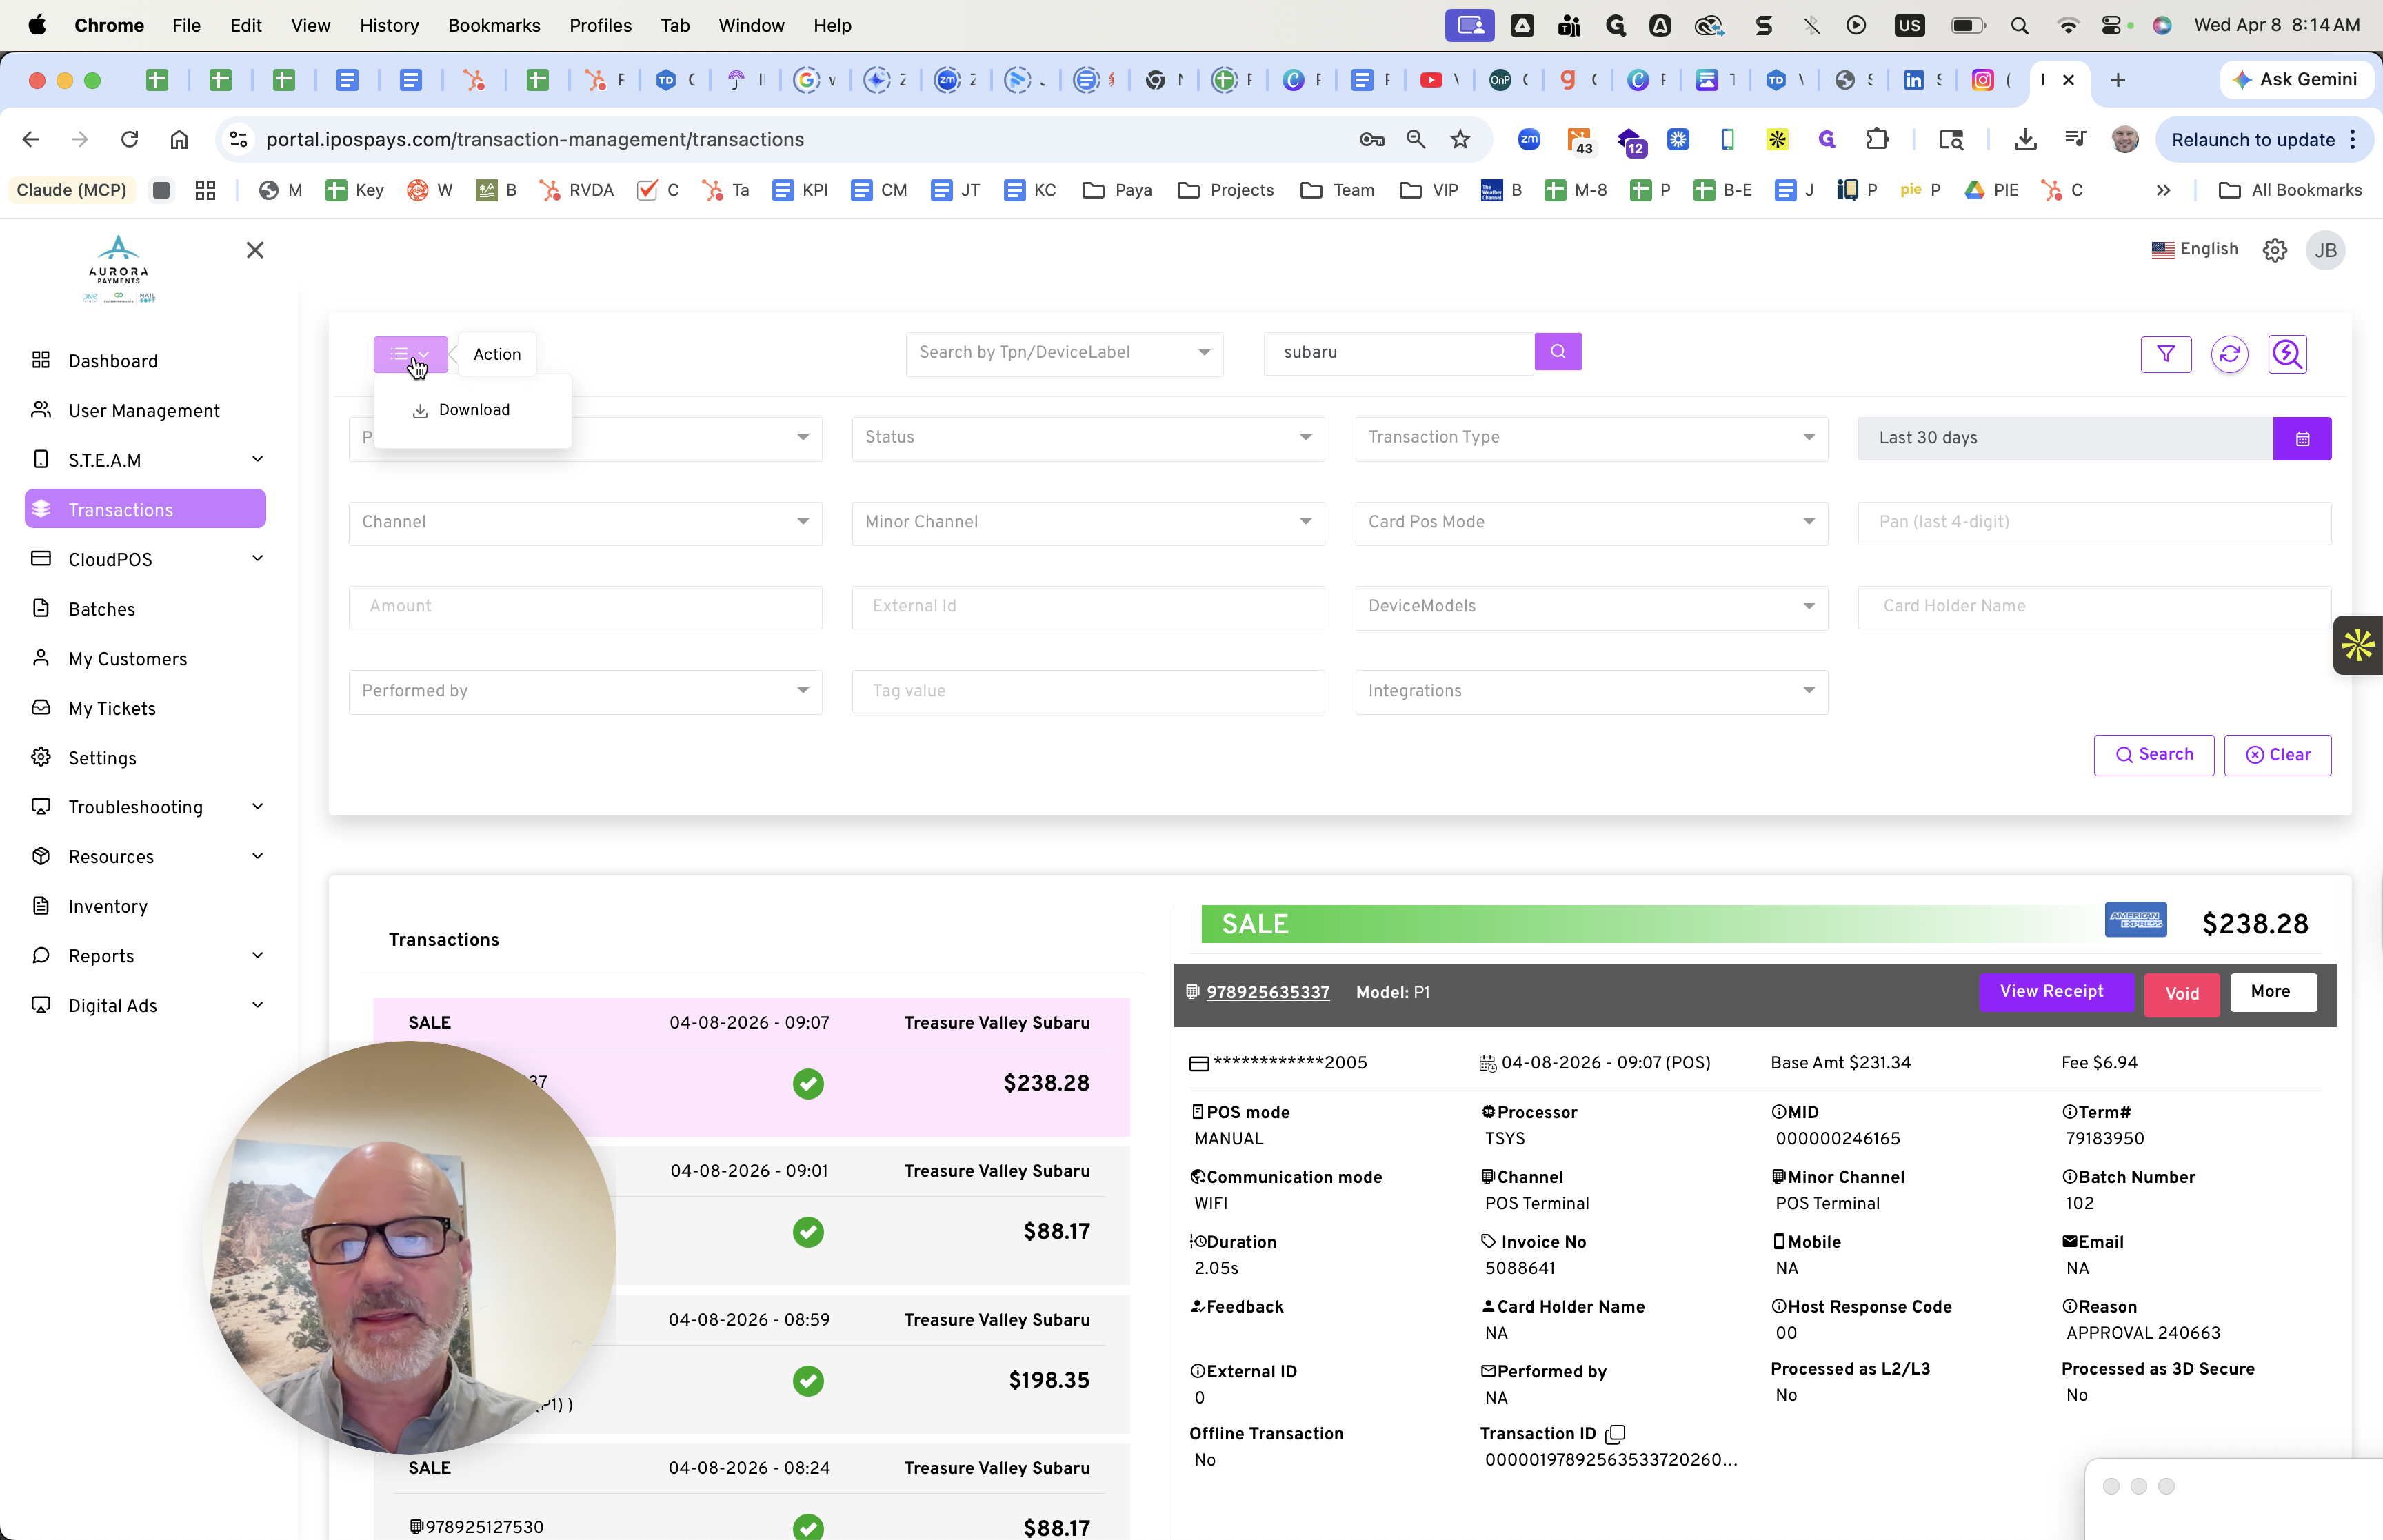
Hello, Brandon. Jamie here. This is how you will pull the reports here. Log into your iPos portal. You should have access to that.
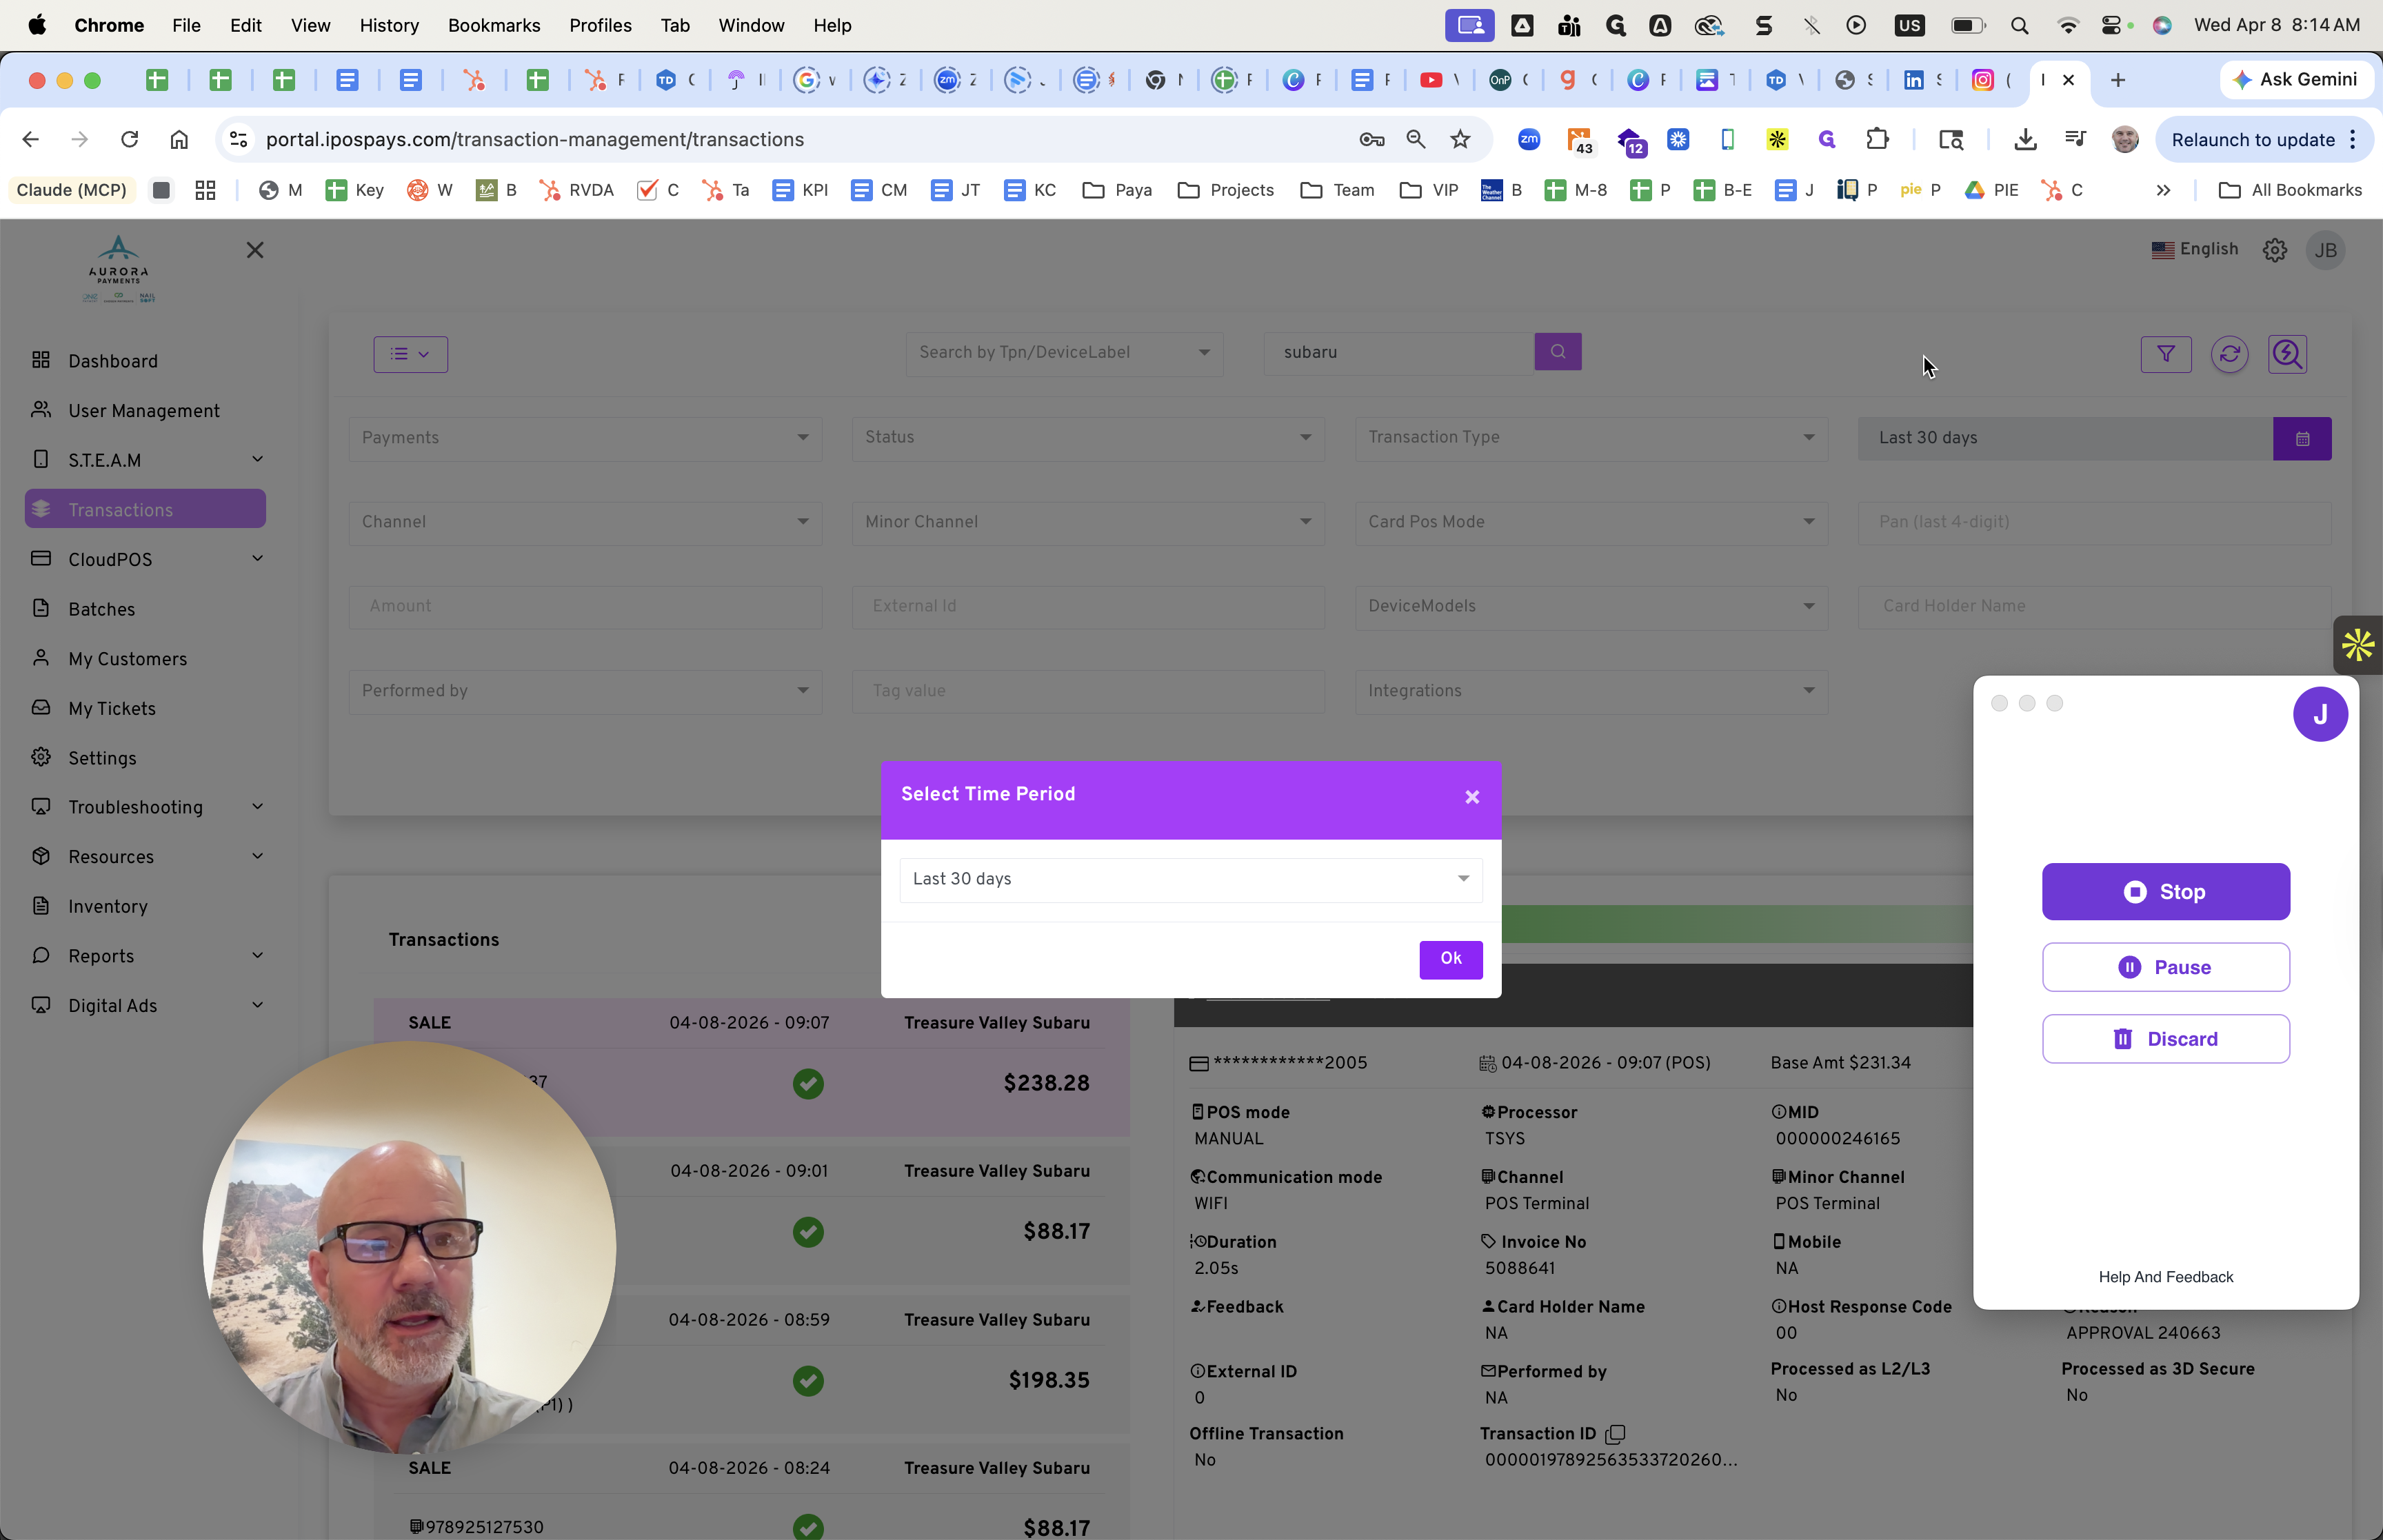
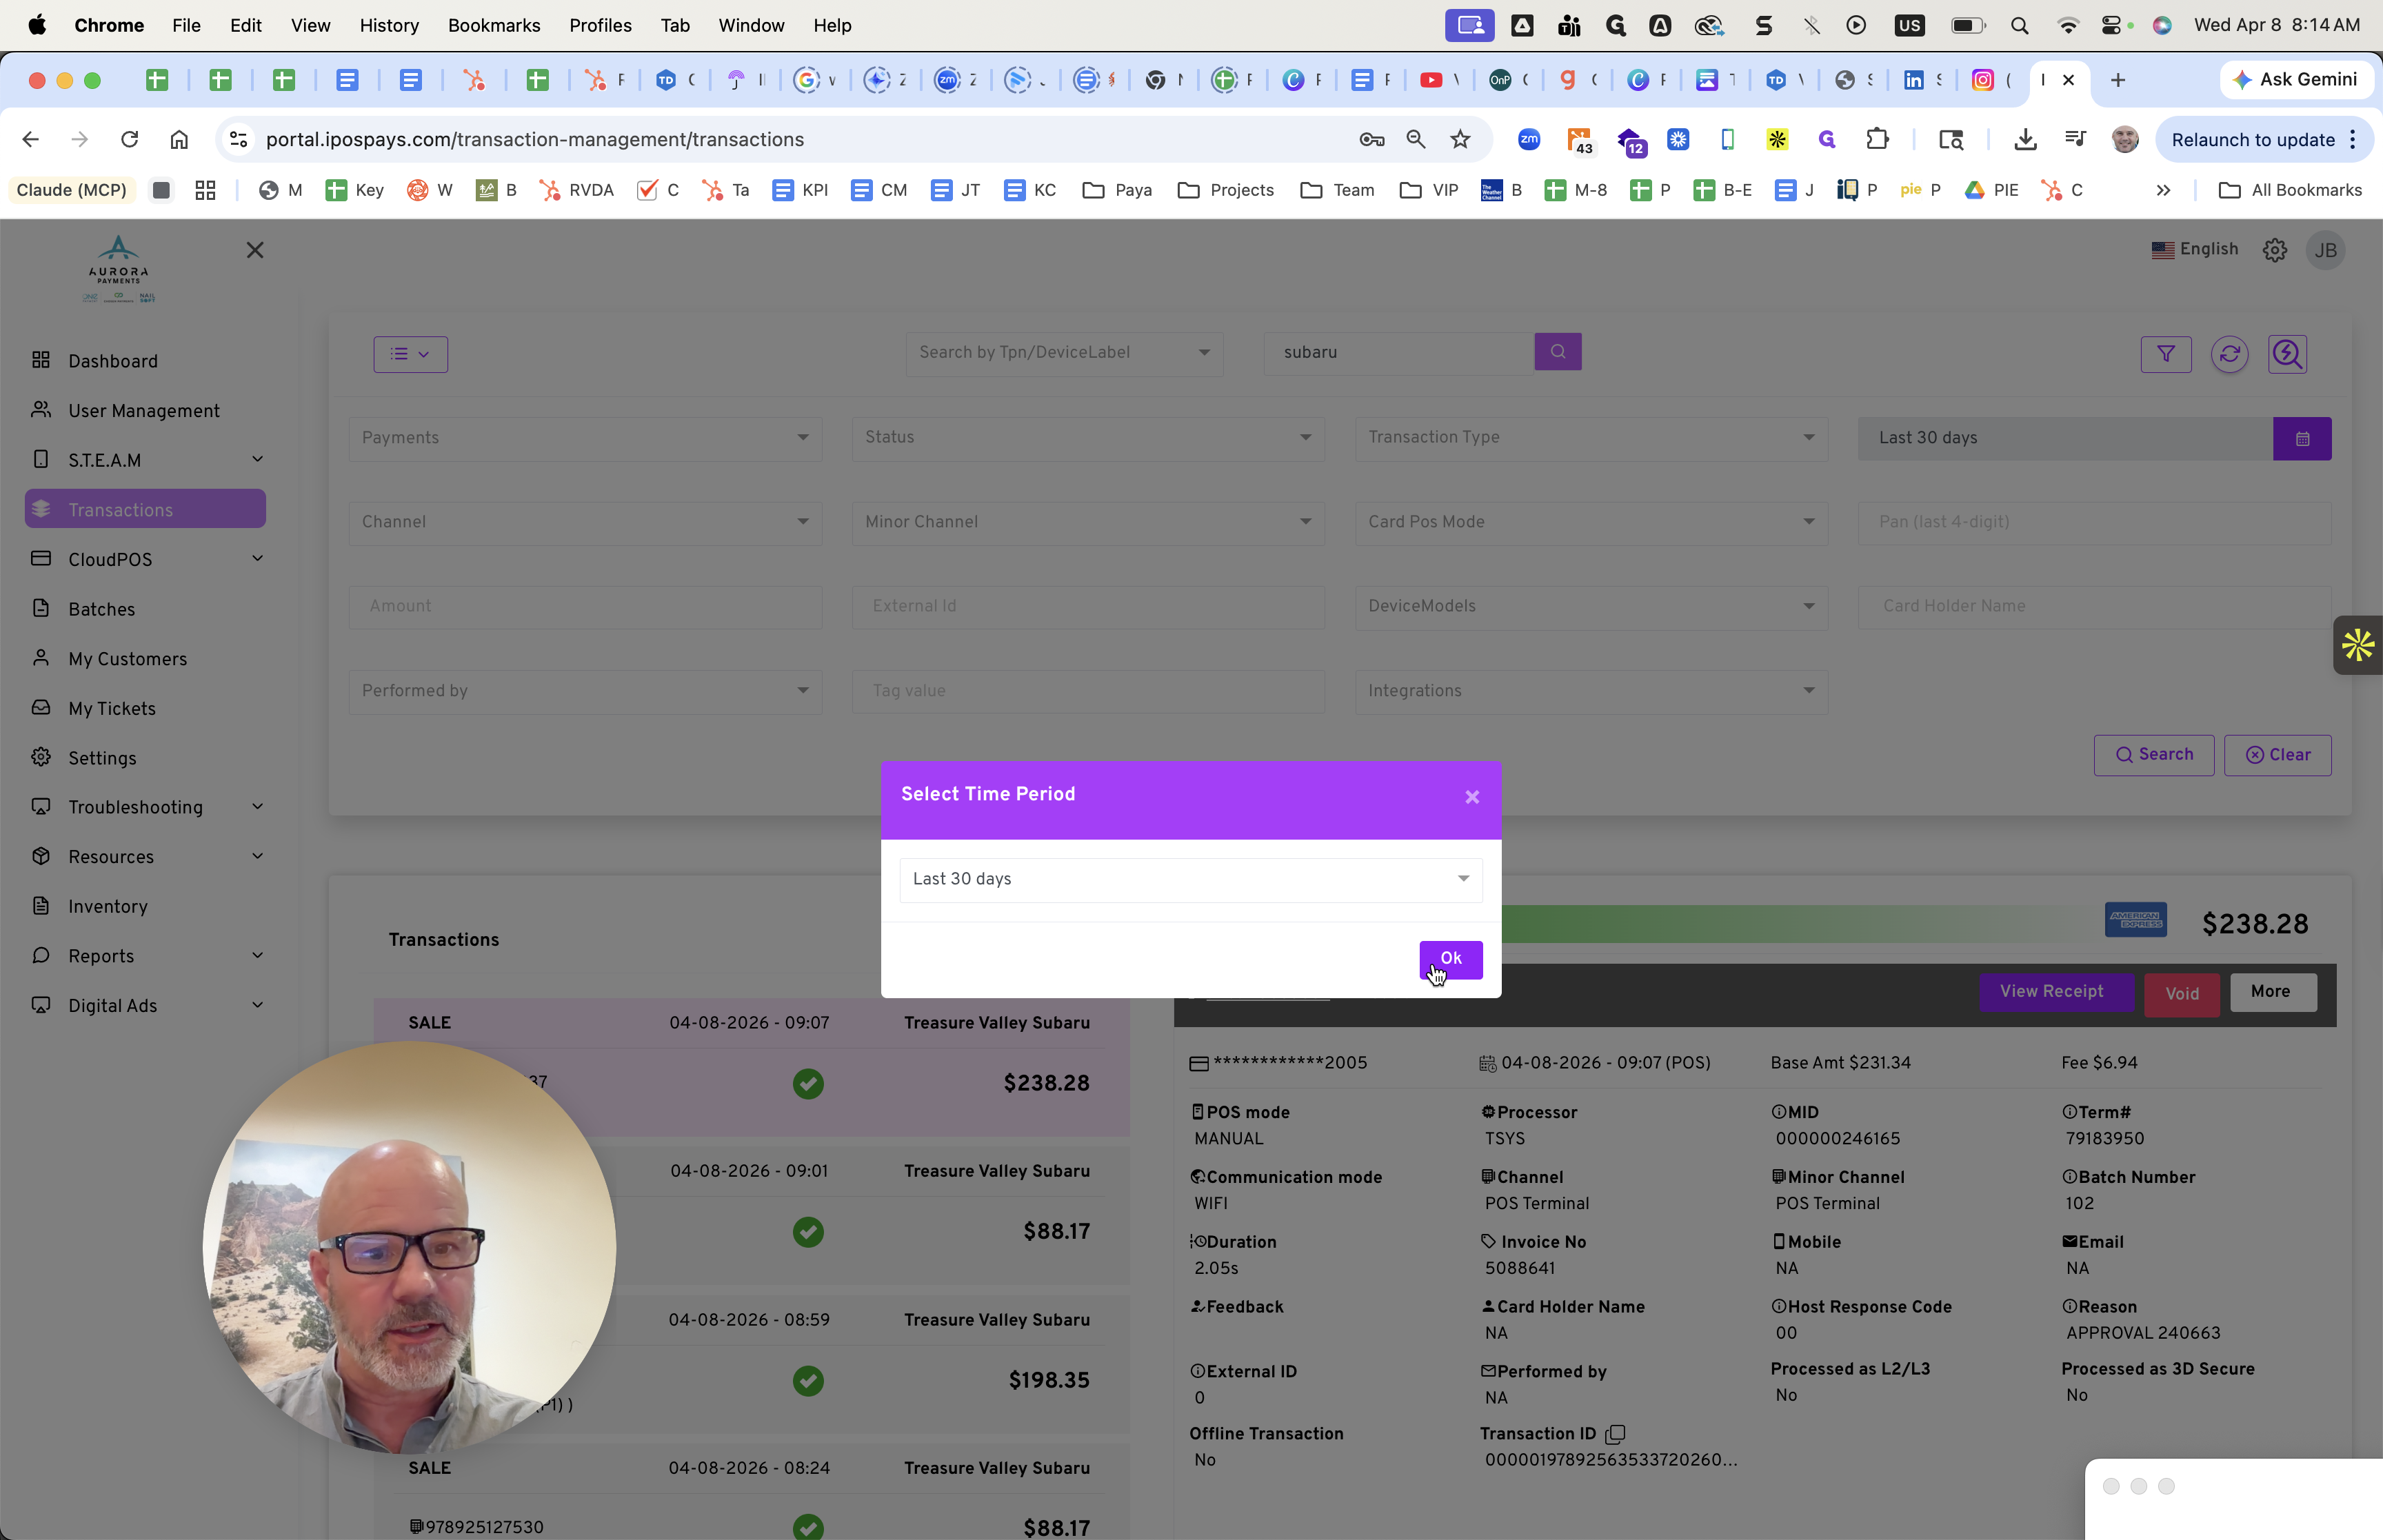
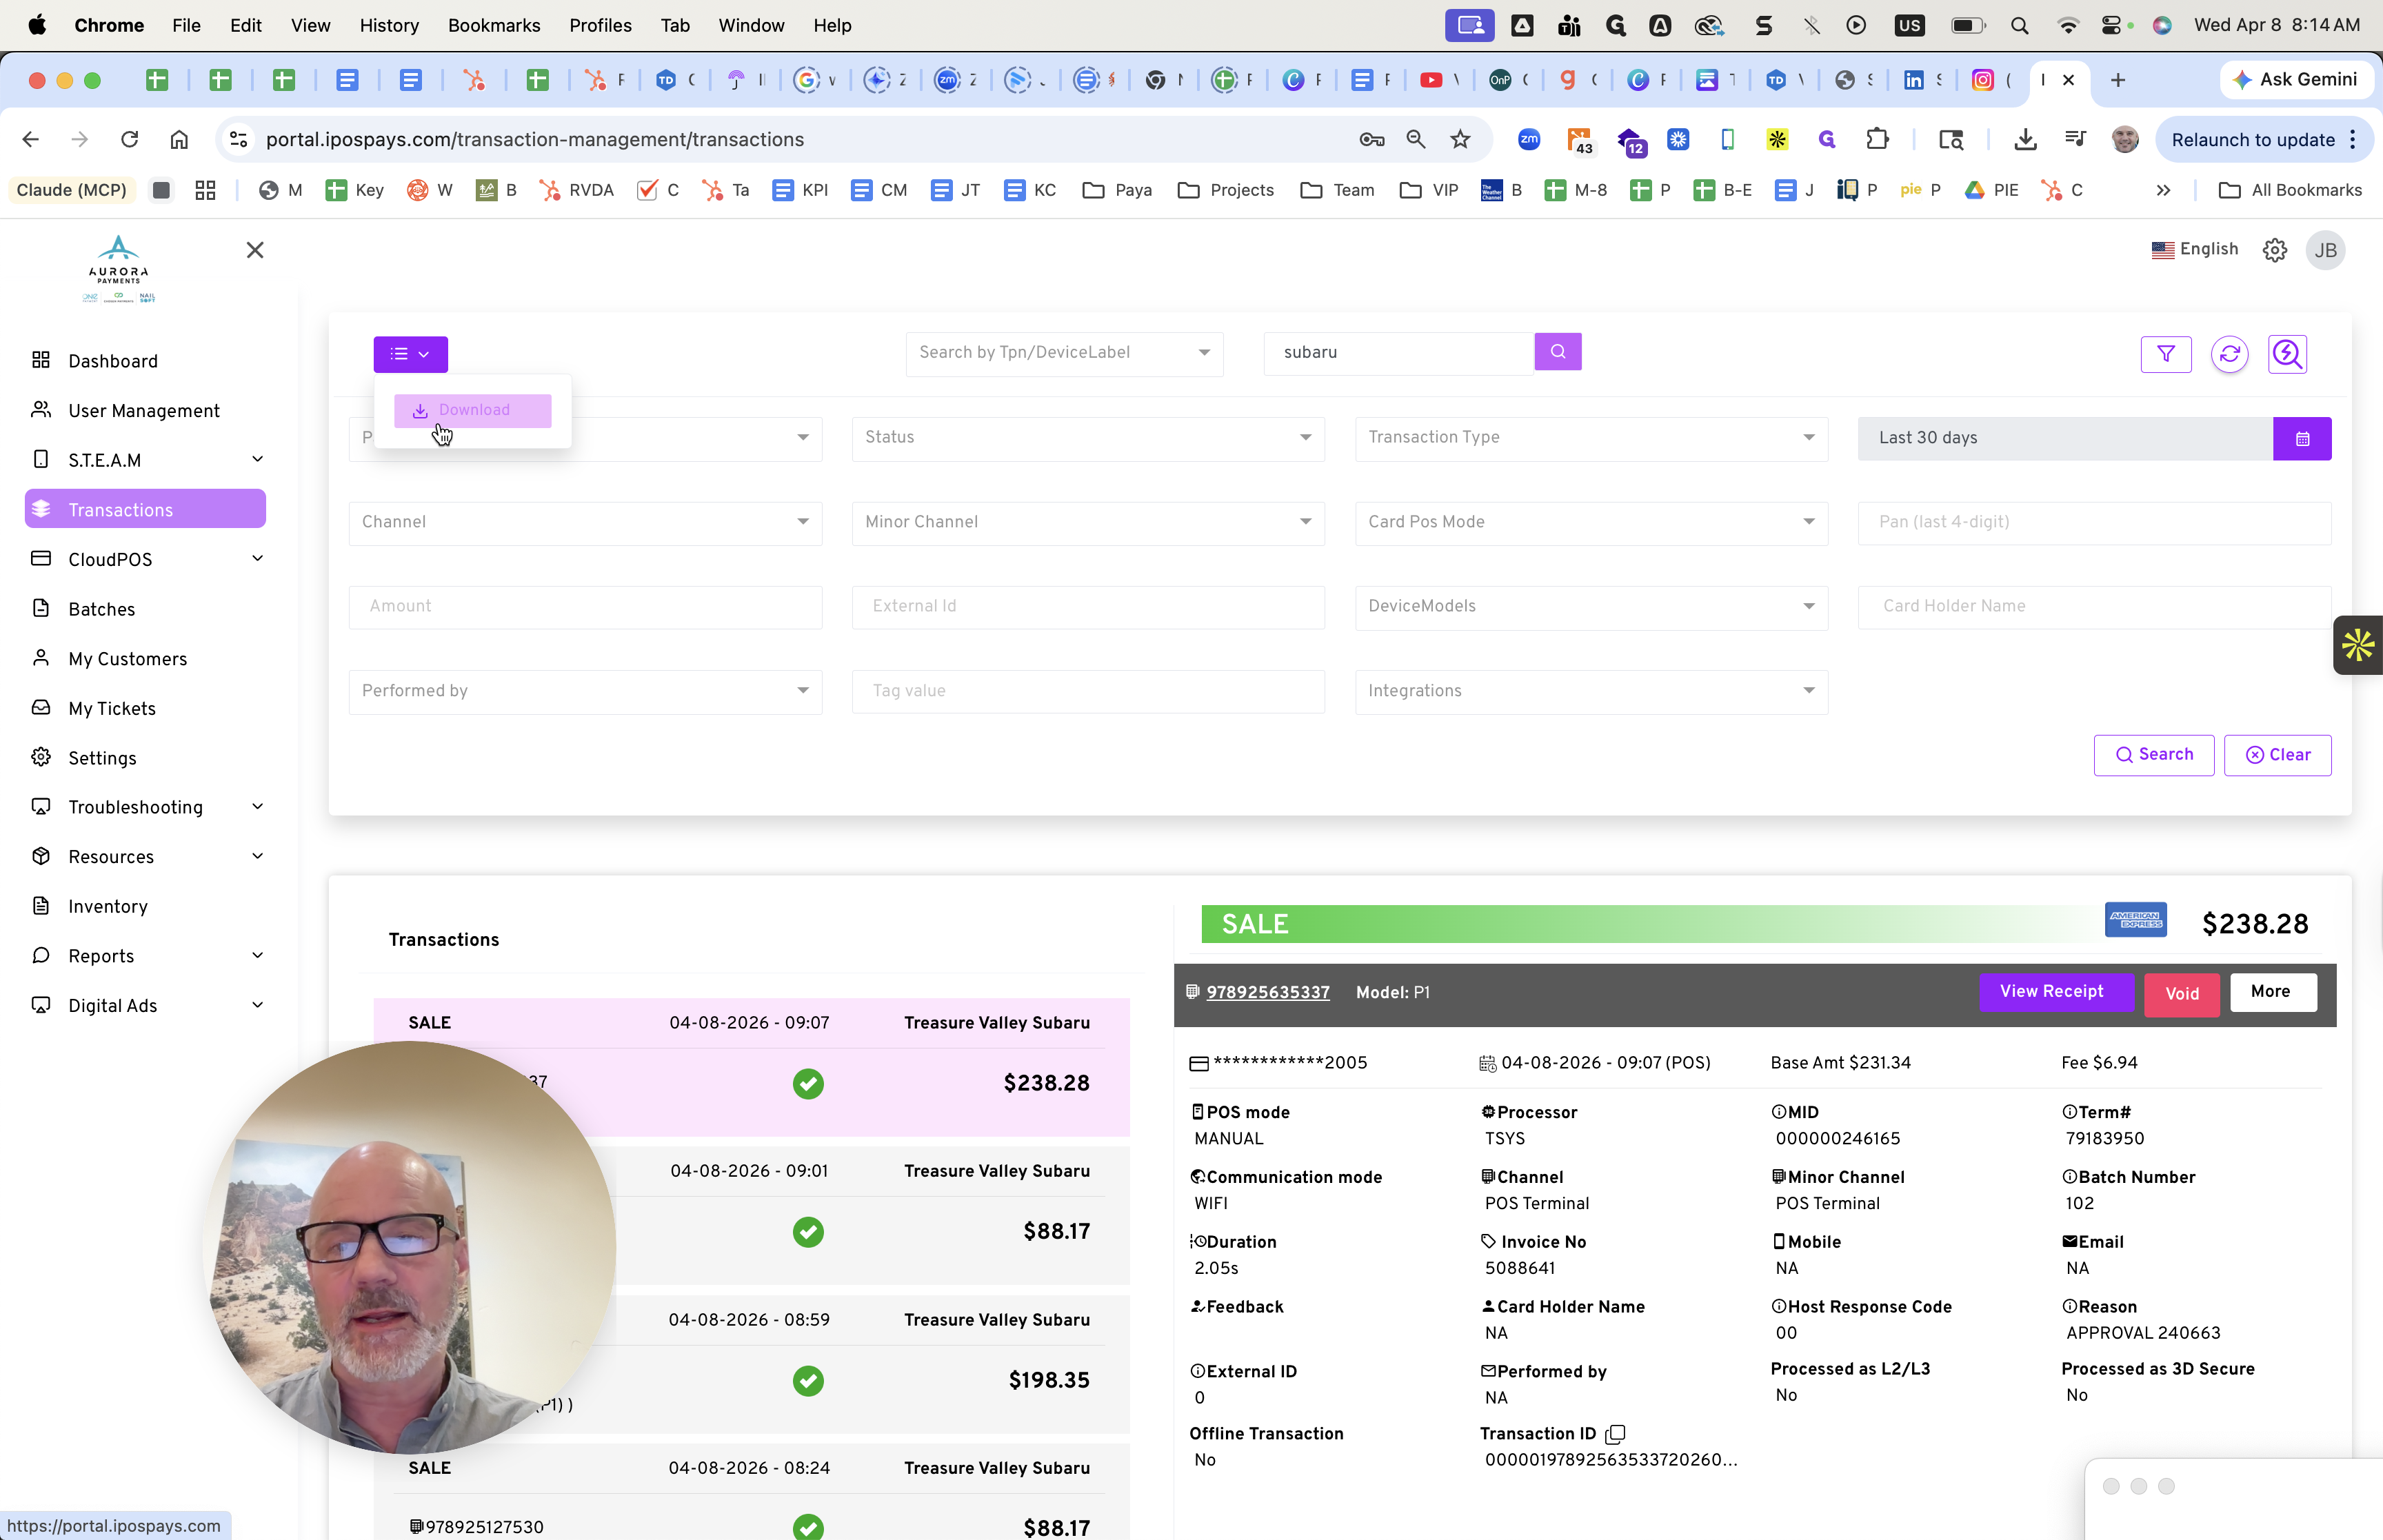
You don't need to enter the word Subaru here. Just log in. The transactions section is where you want to go. Choose your desired dates. You may want to view the last 30 days or select a specific month. The dropdown offers various options to choose from. Select one, then click "Search" to find those transactions. You can then download the report.


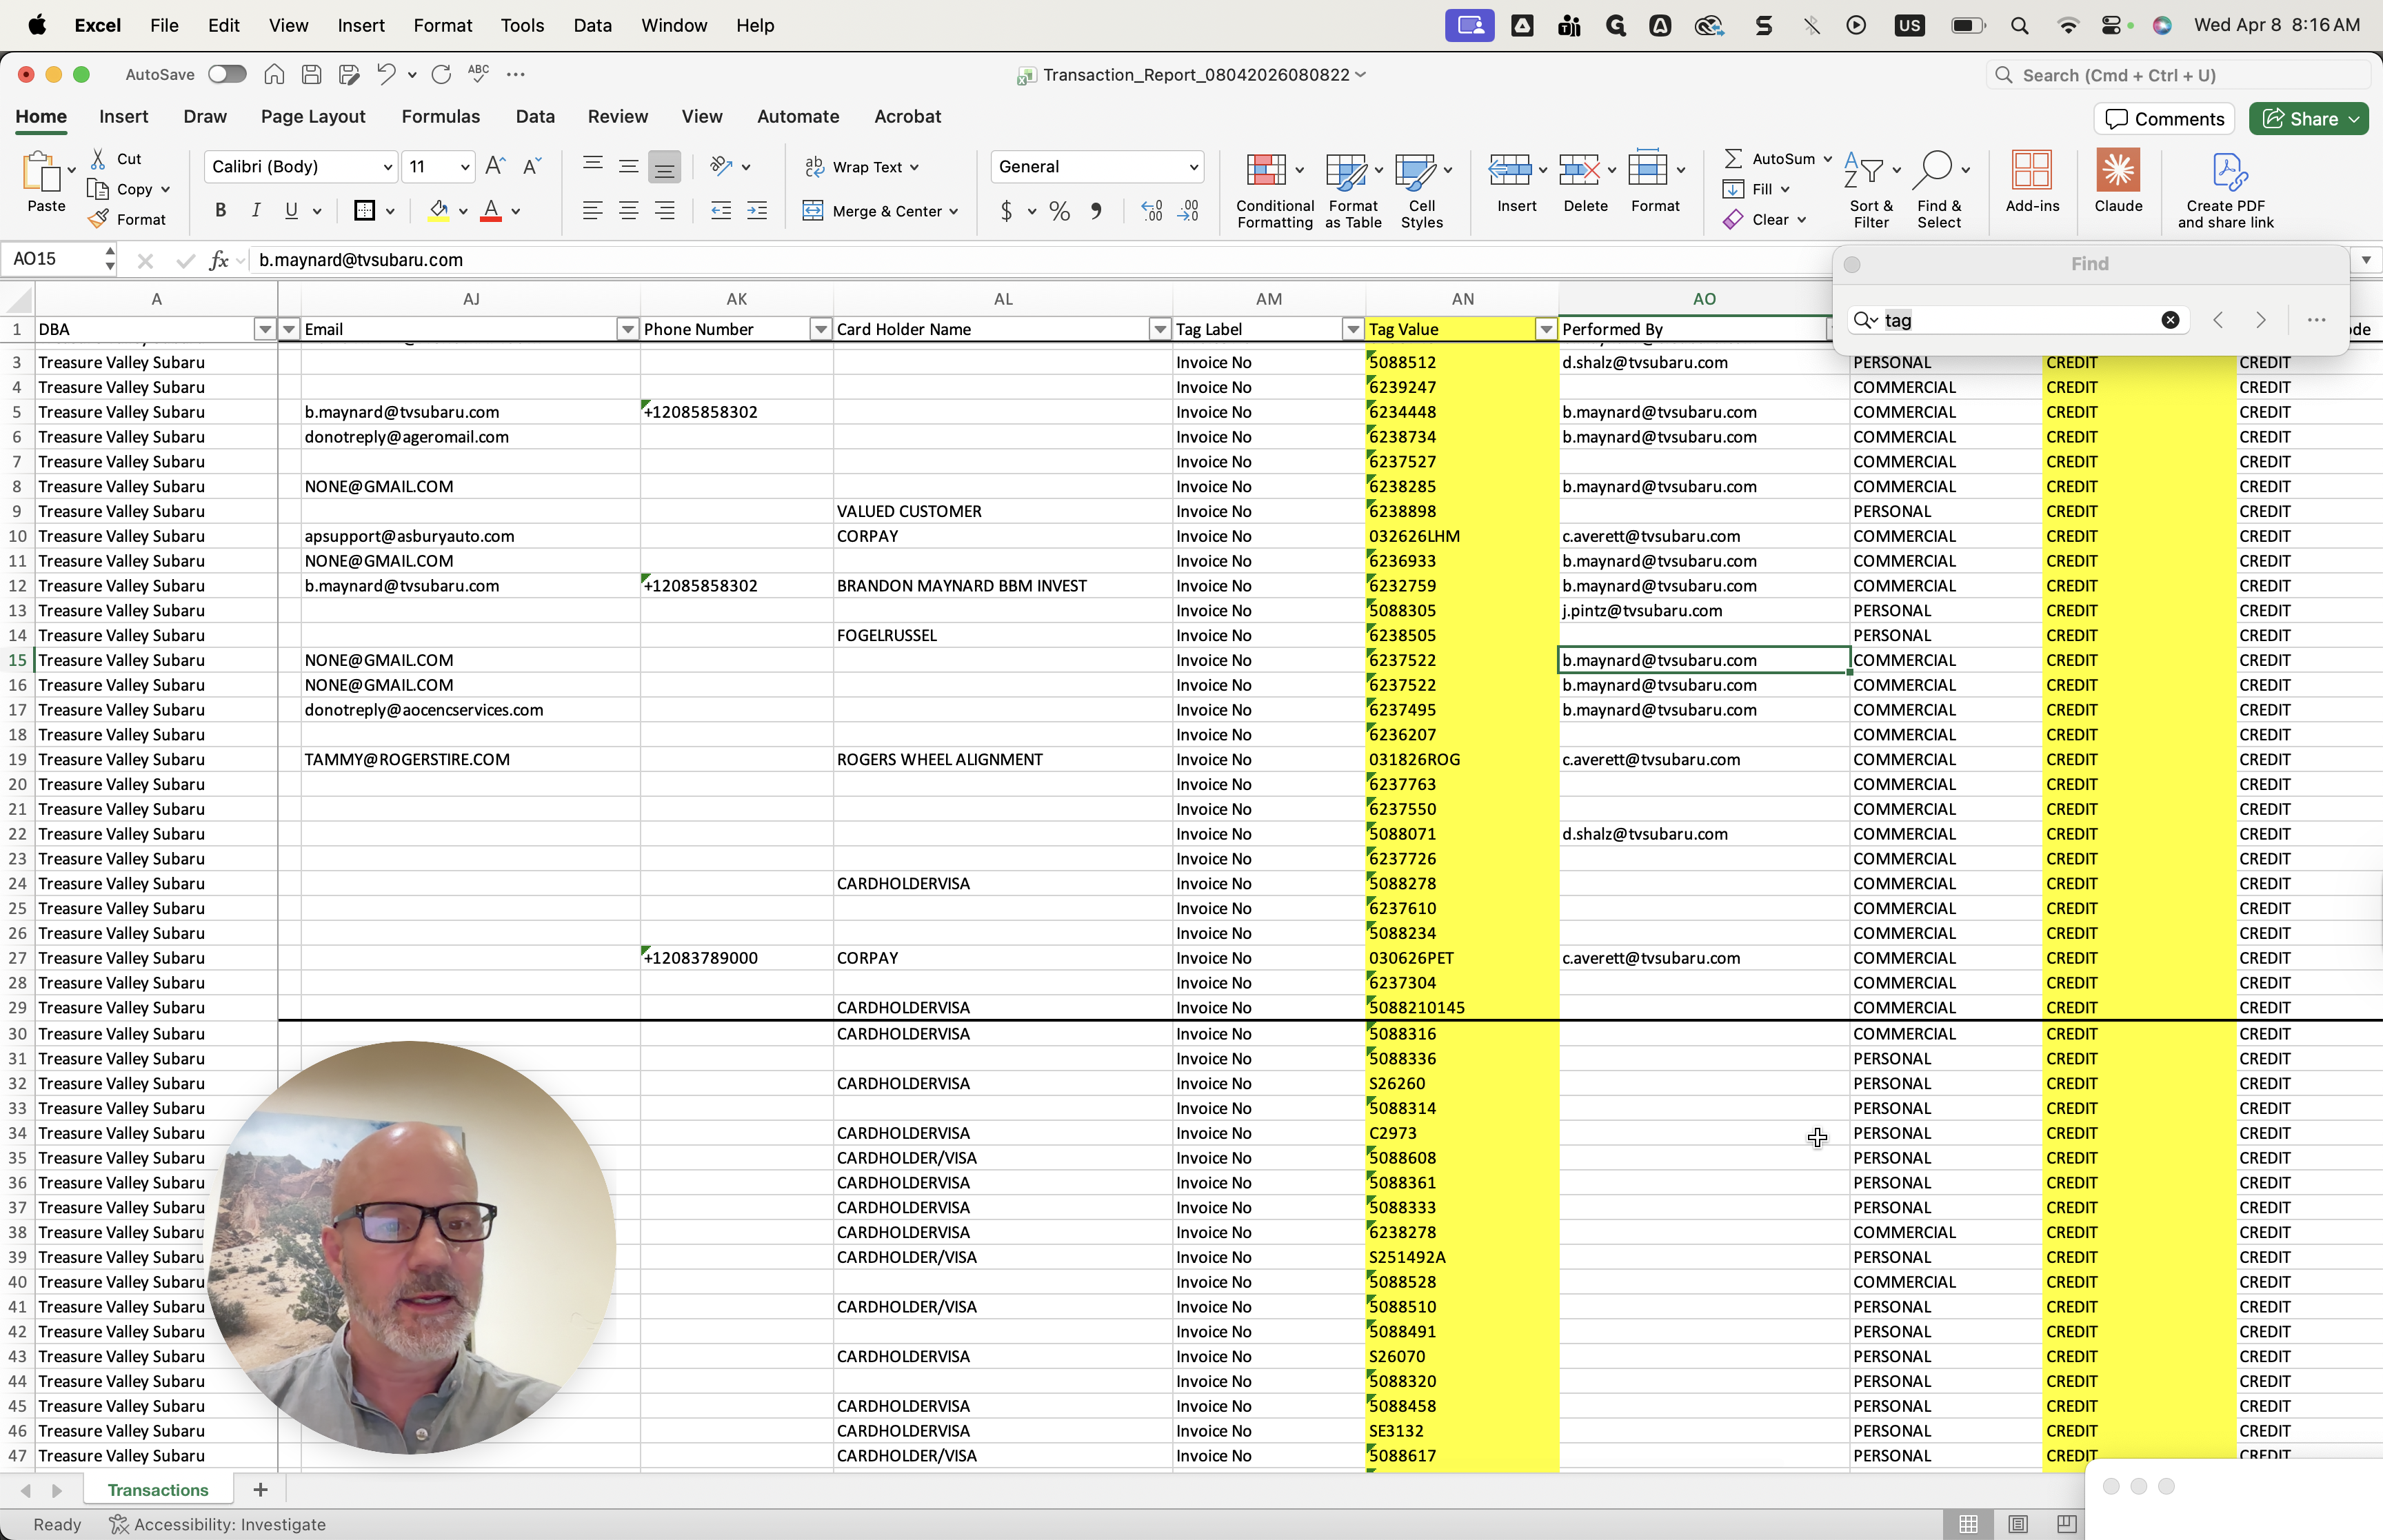
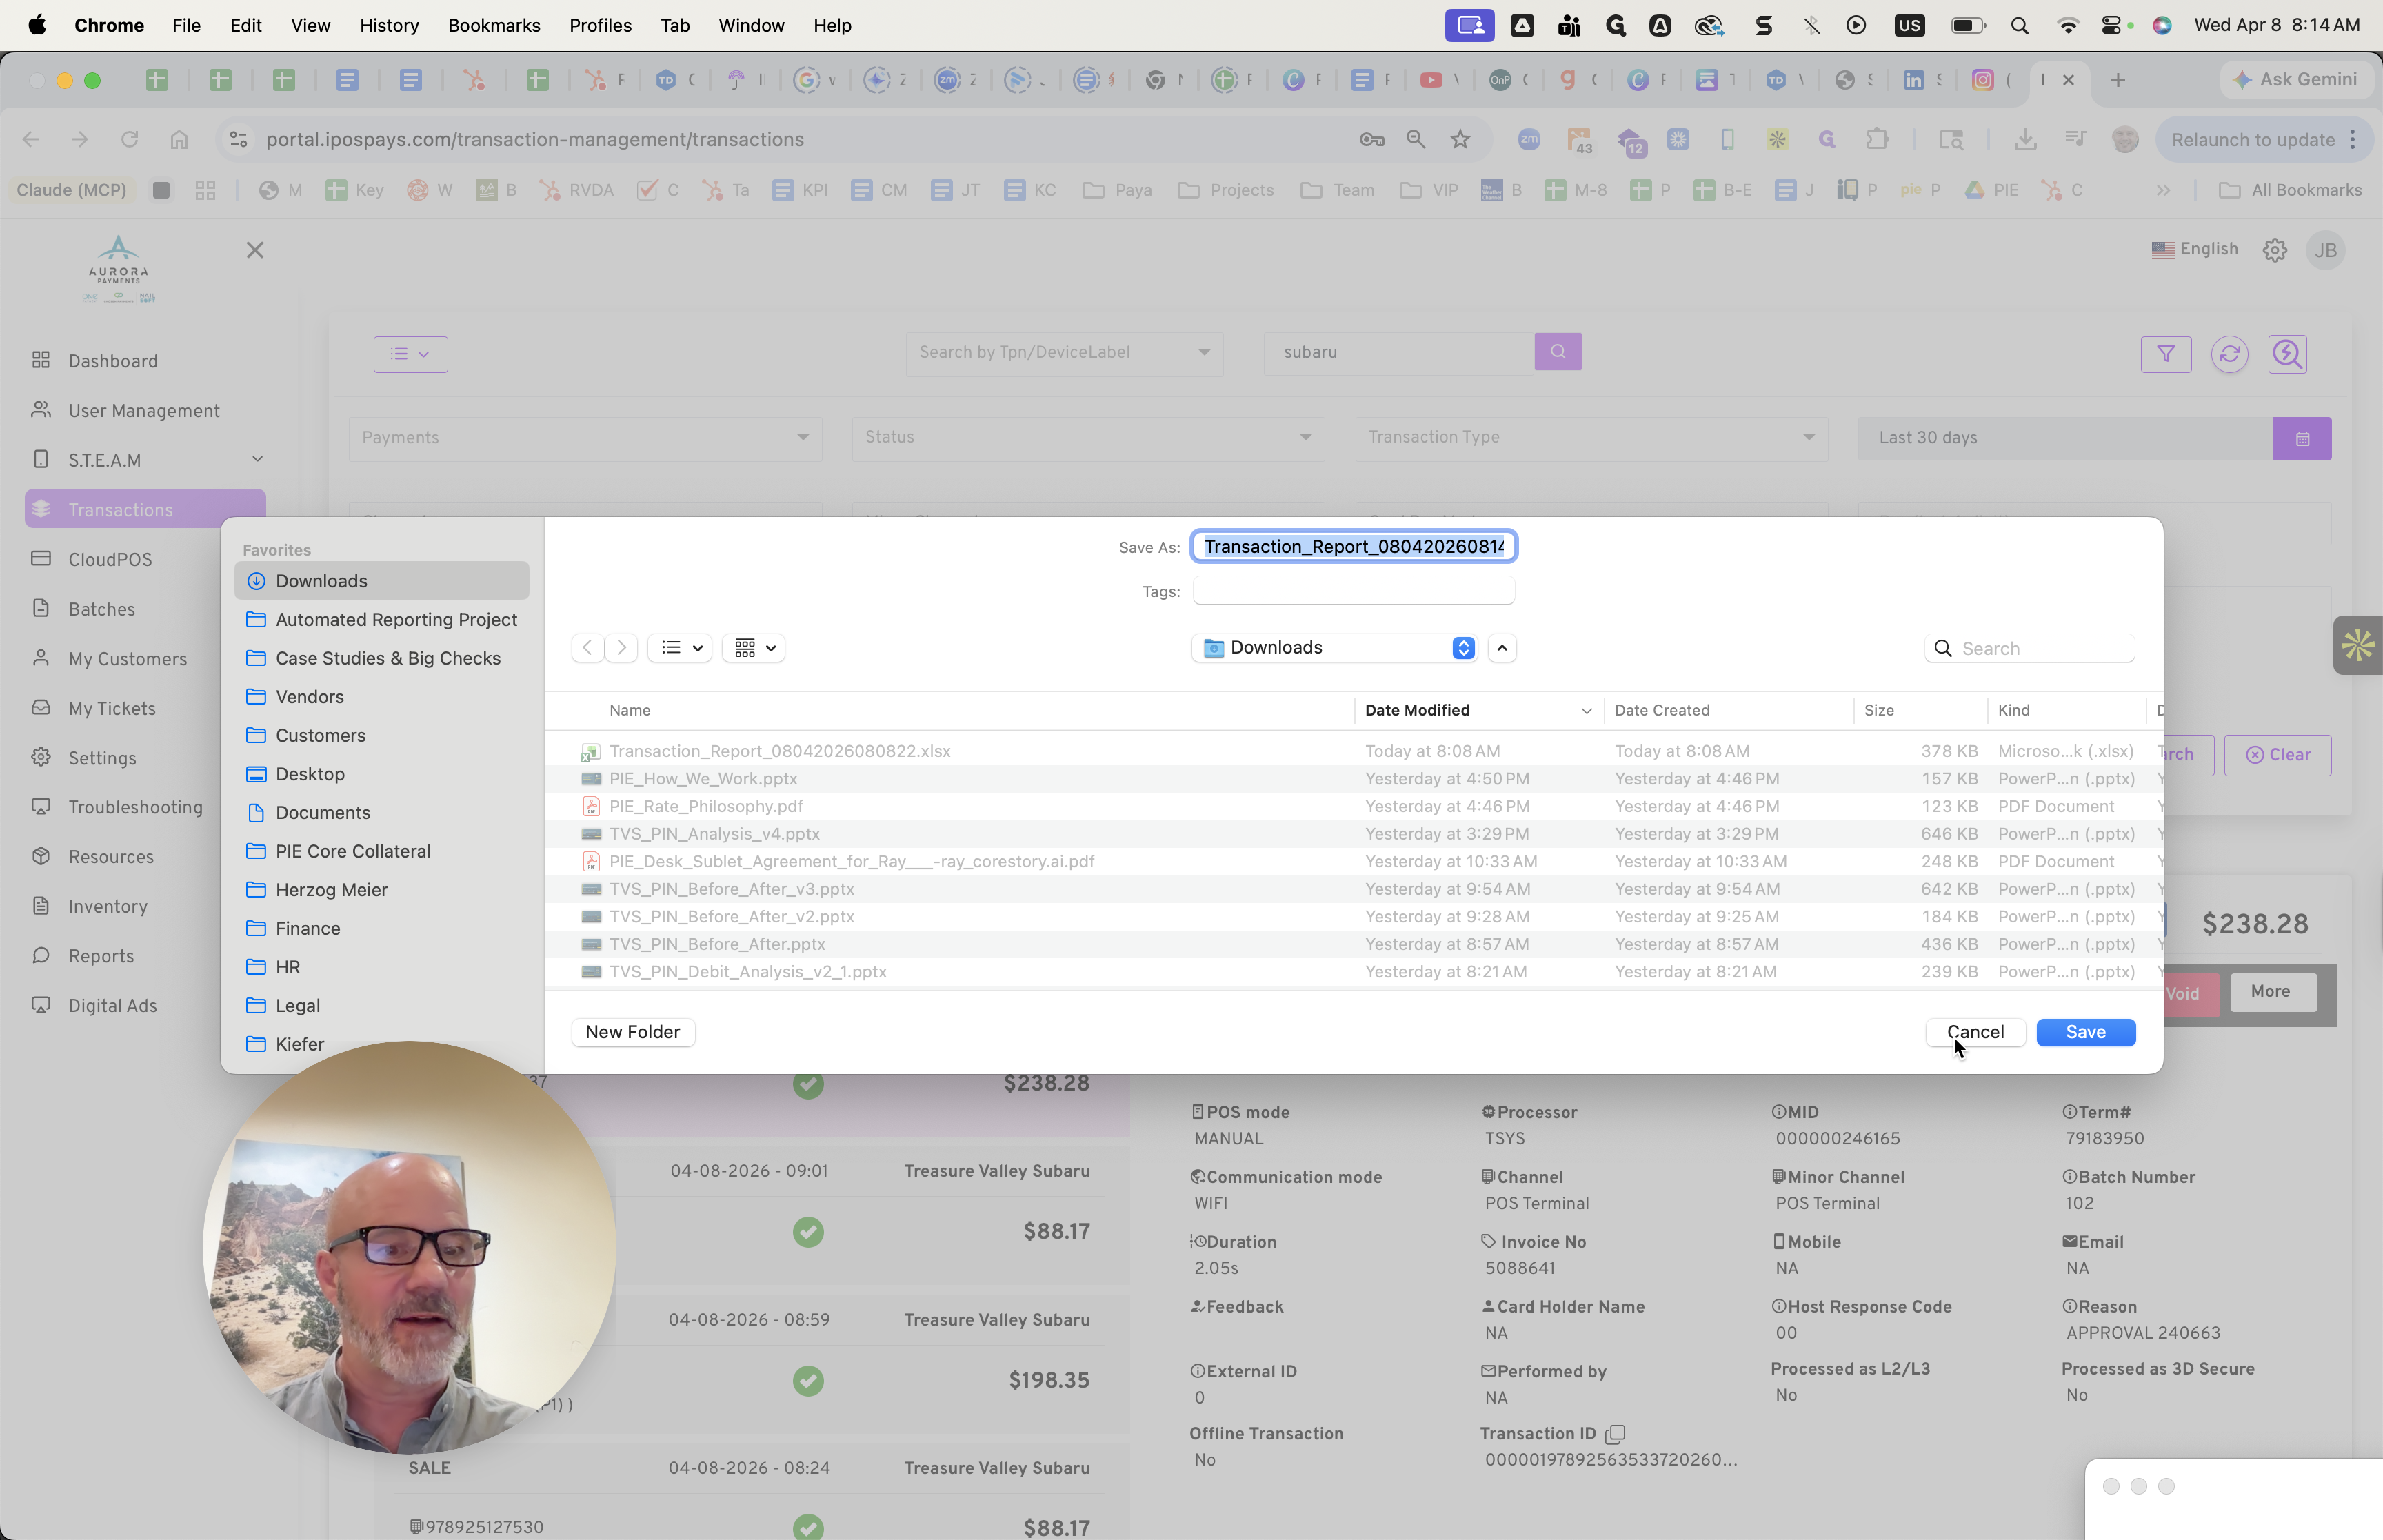
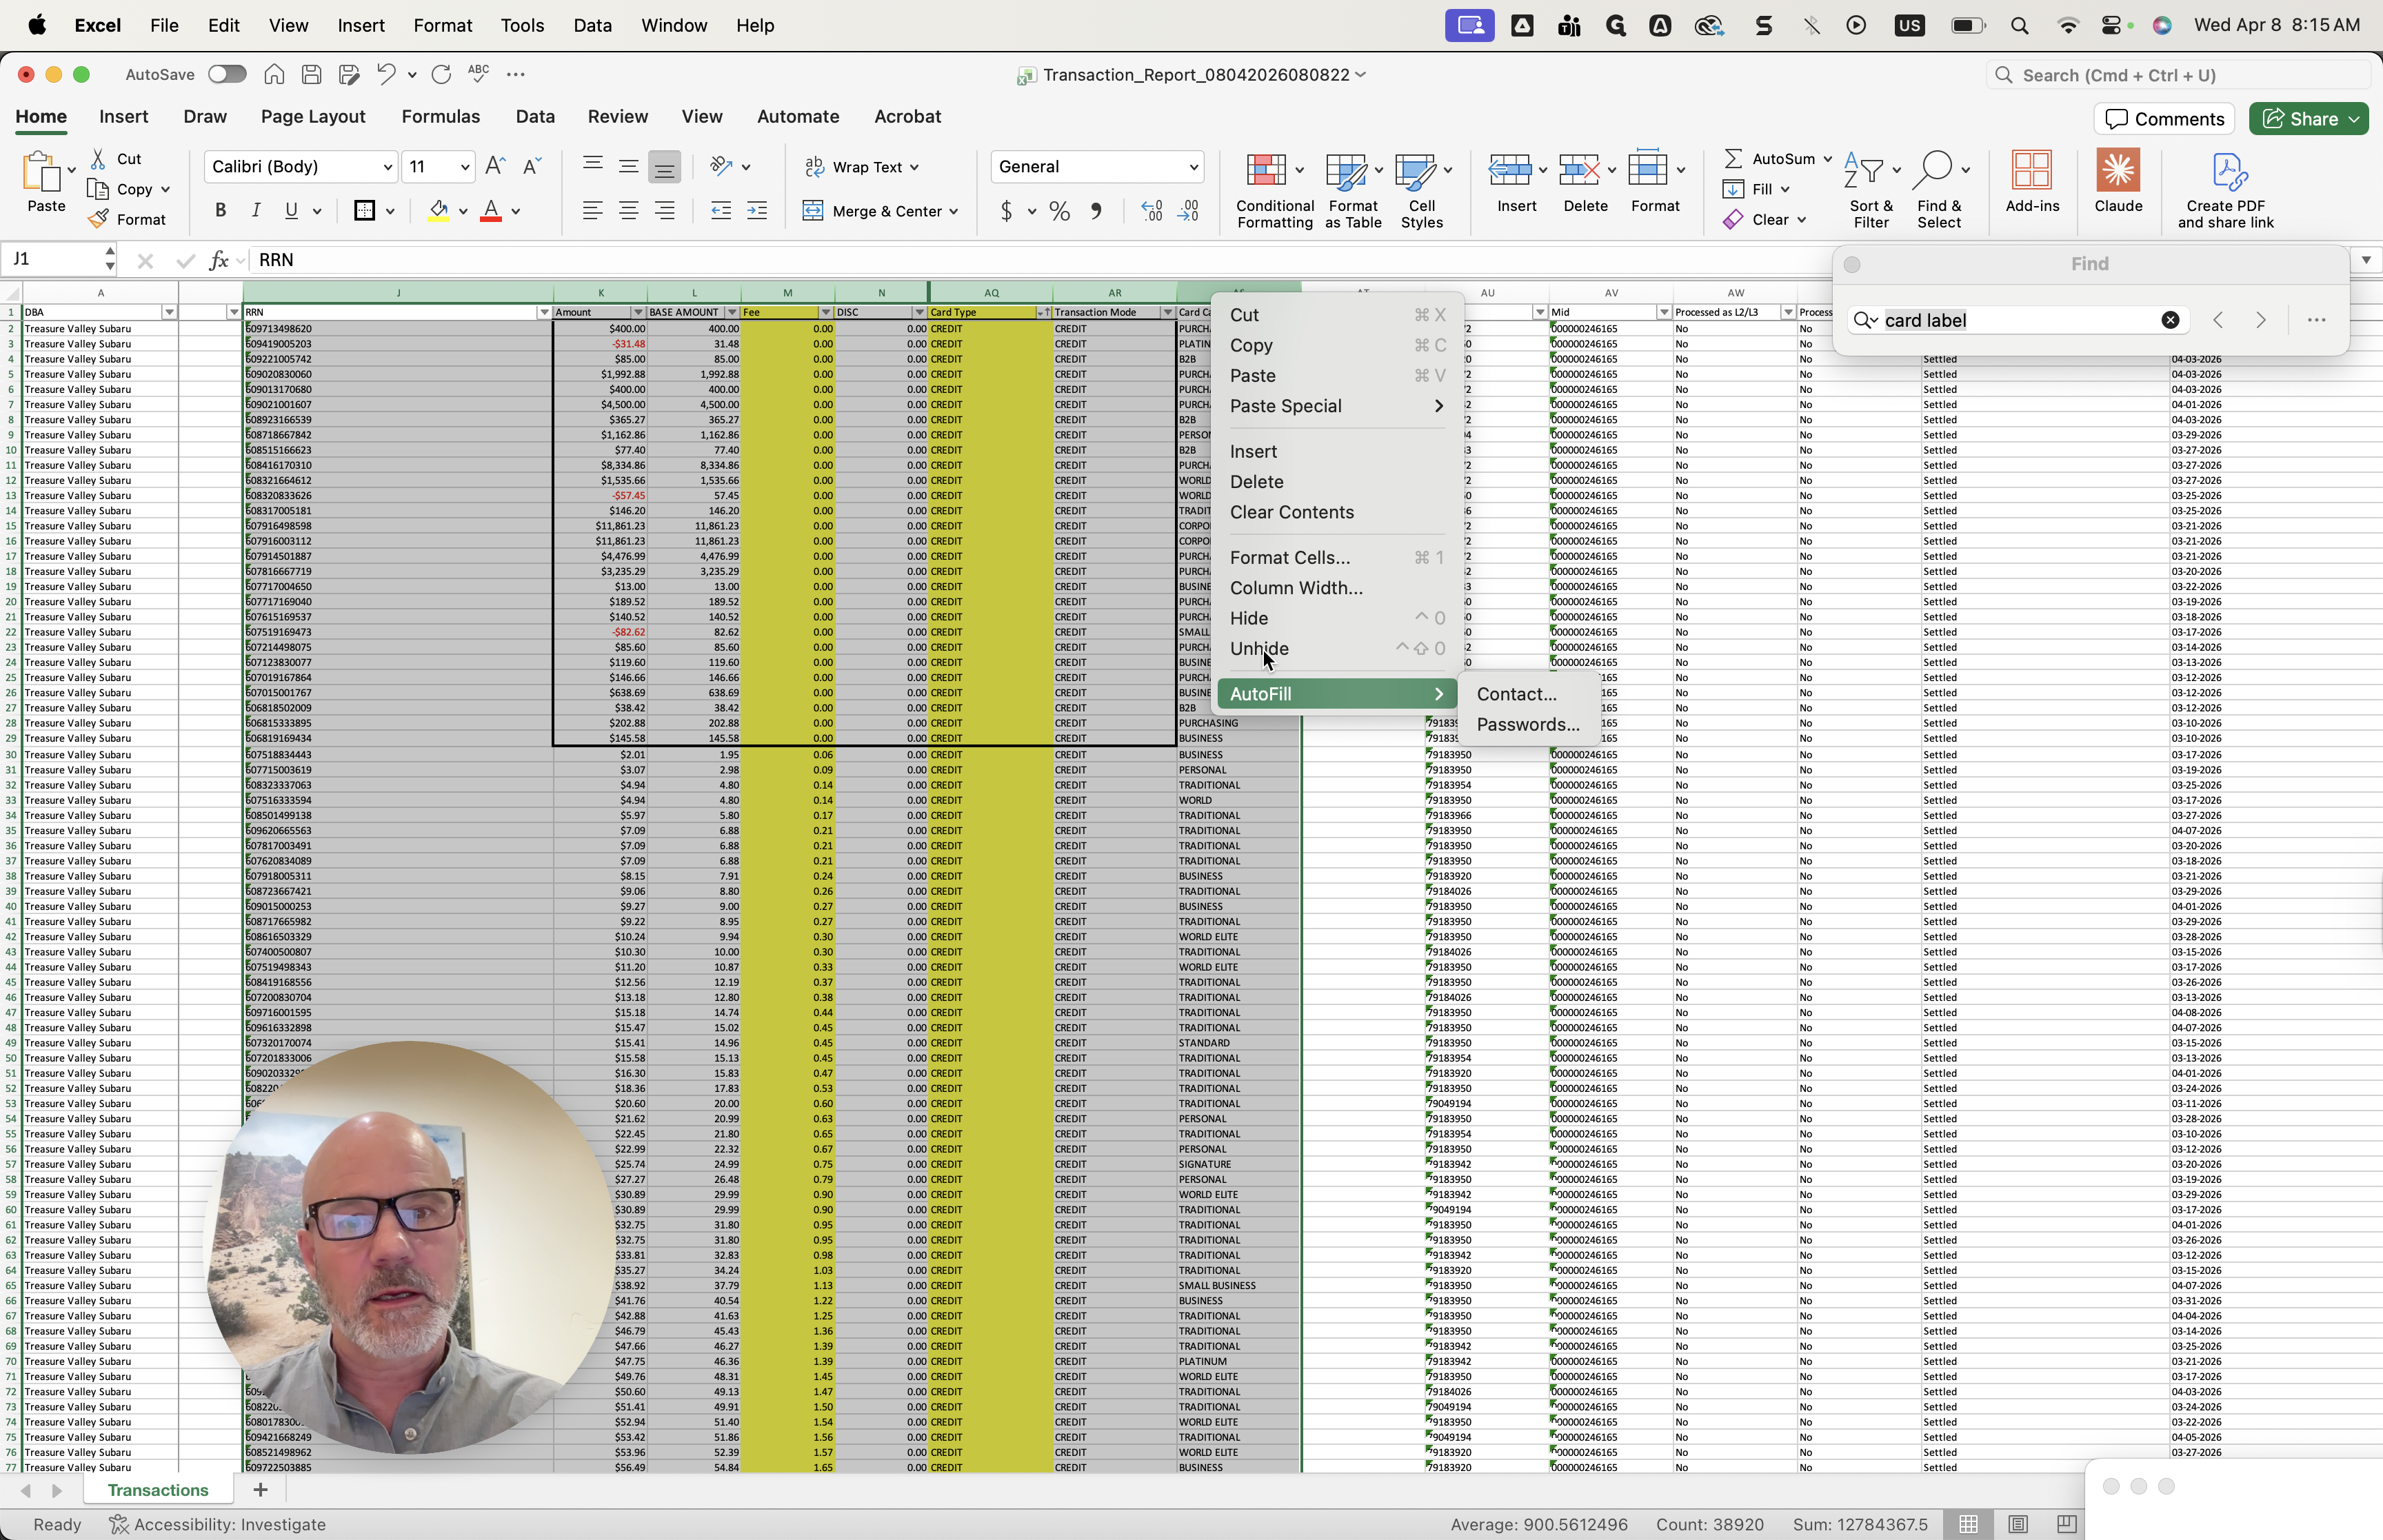
Once you download the report, it will save the Excel file in the correct format. When you open the file, you will see many columns.
You can see a lot of data. You only need to look at the fee column and the card type column. You can sort them and review the data if you or someone on your team knows Excel. It's simple. Look for any entries where the fee is zero and where it says "credit."
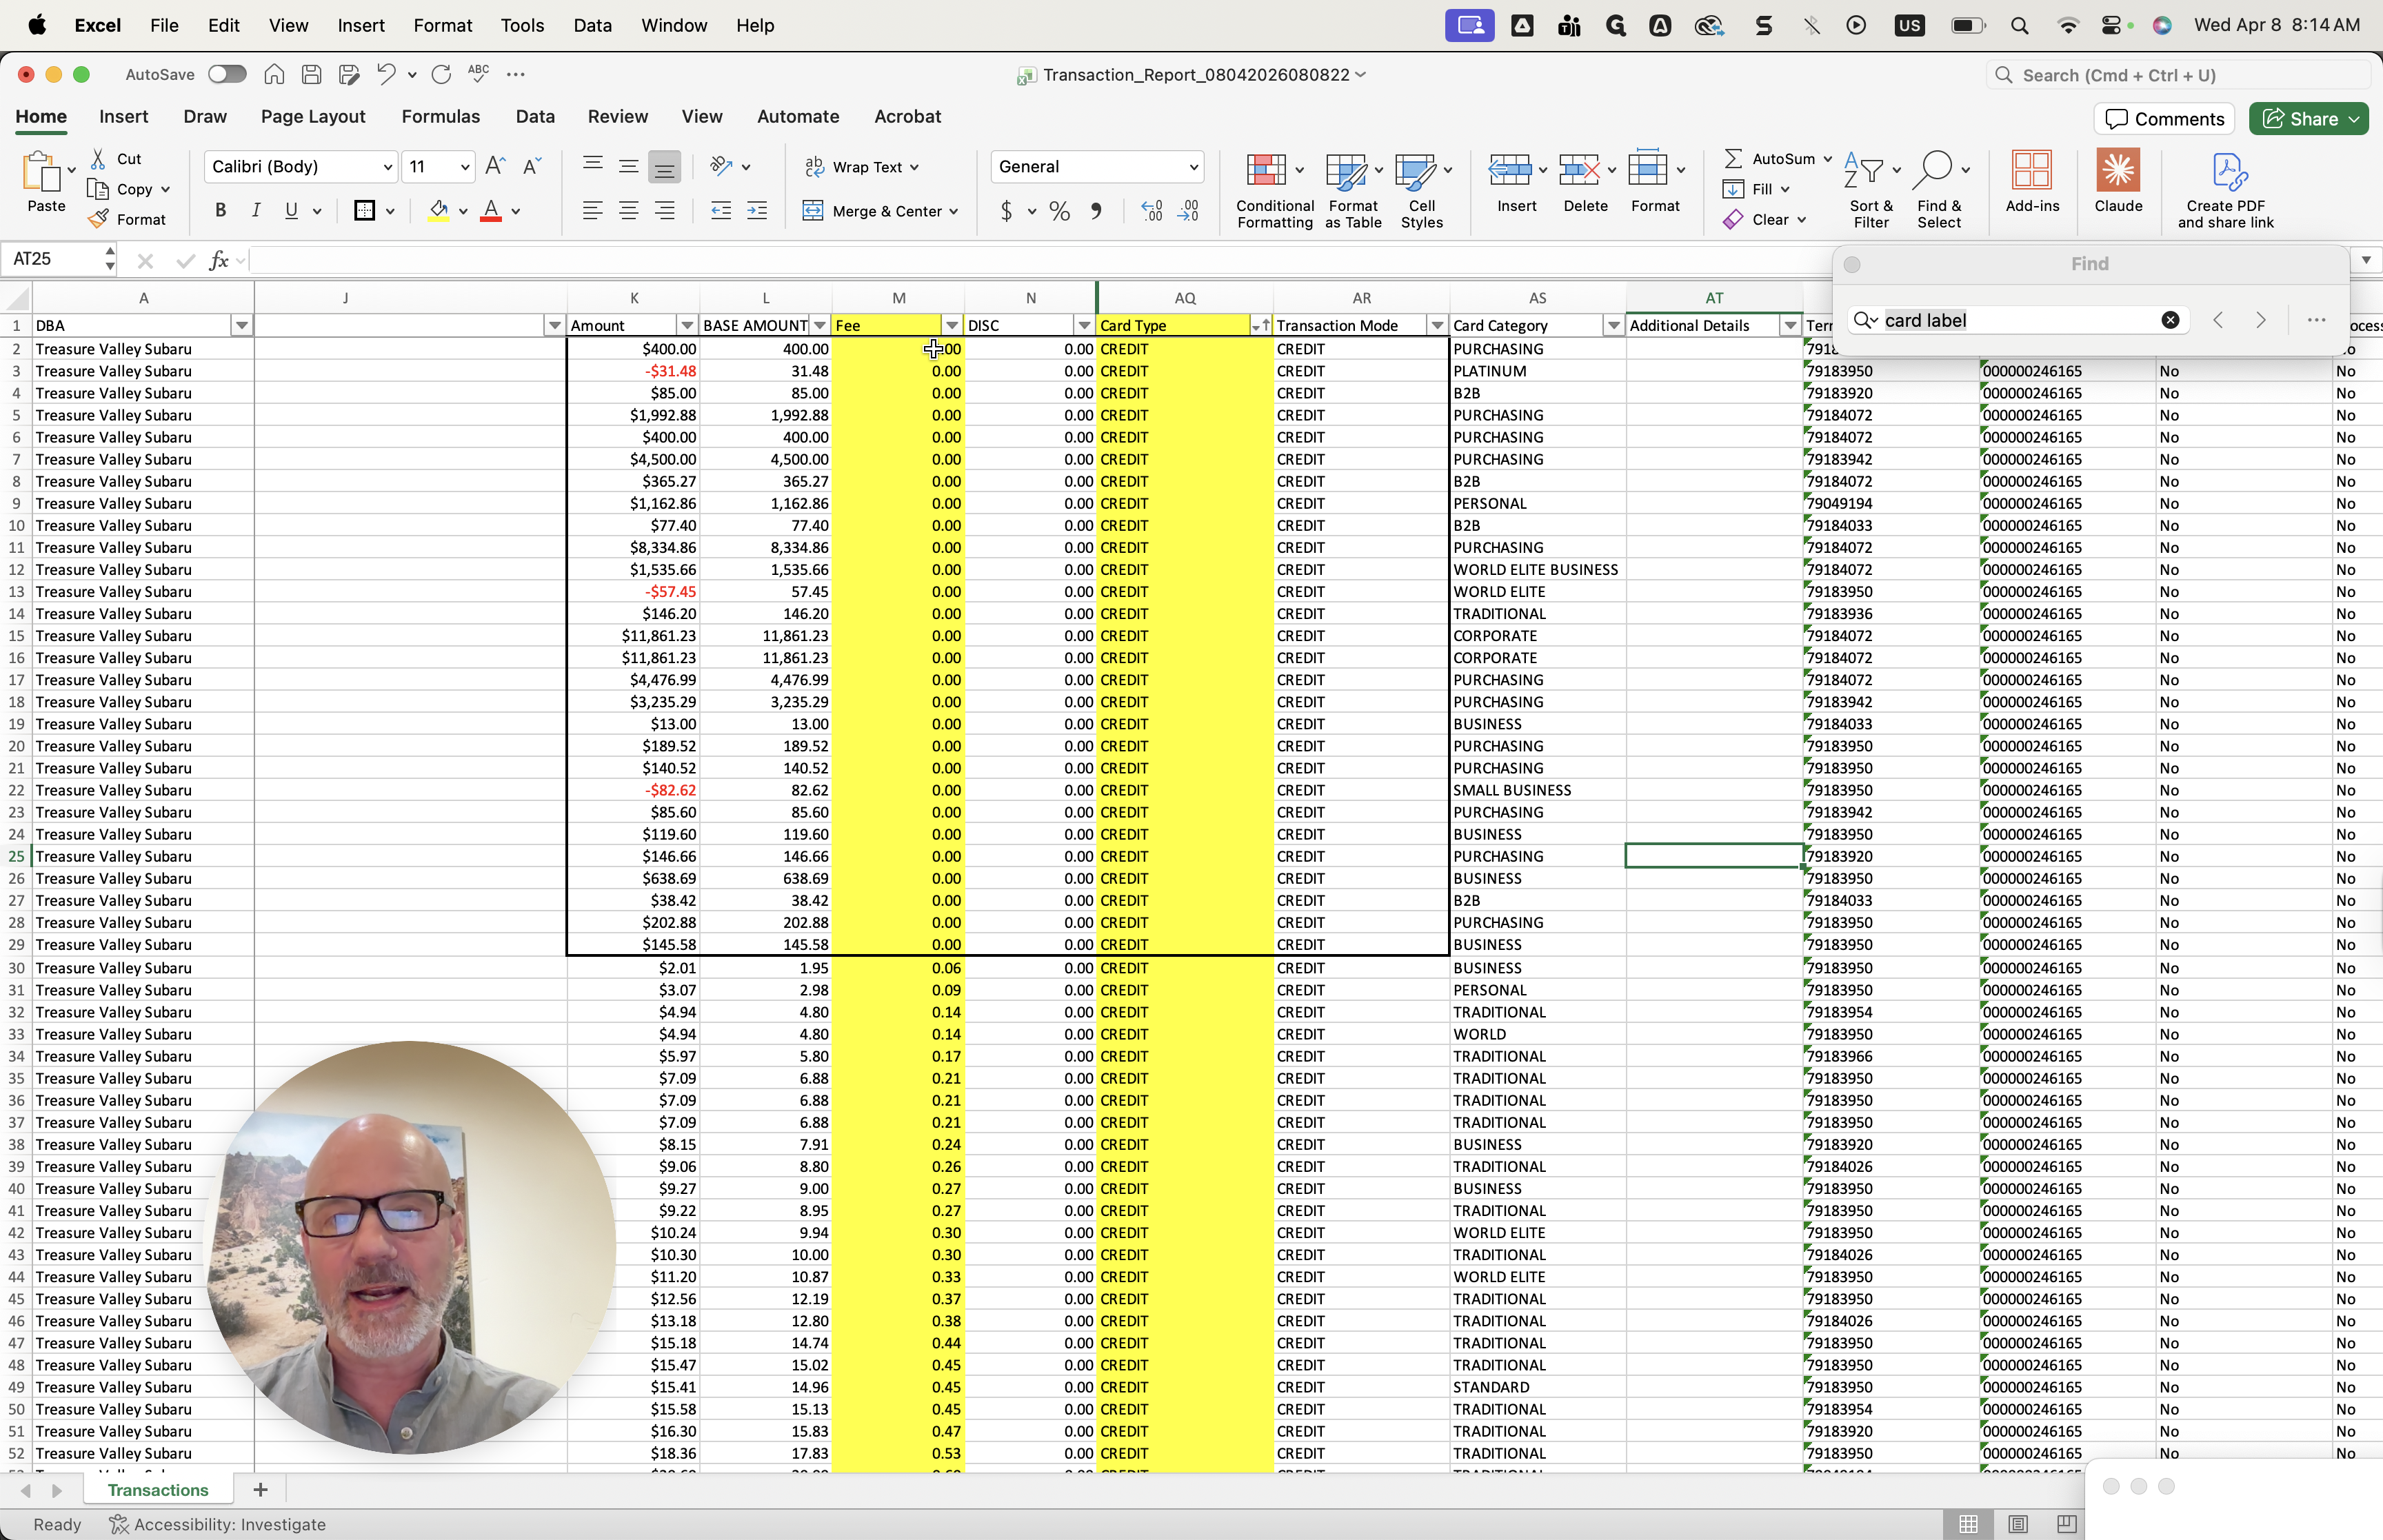
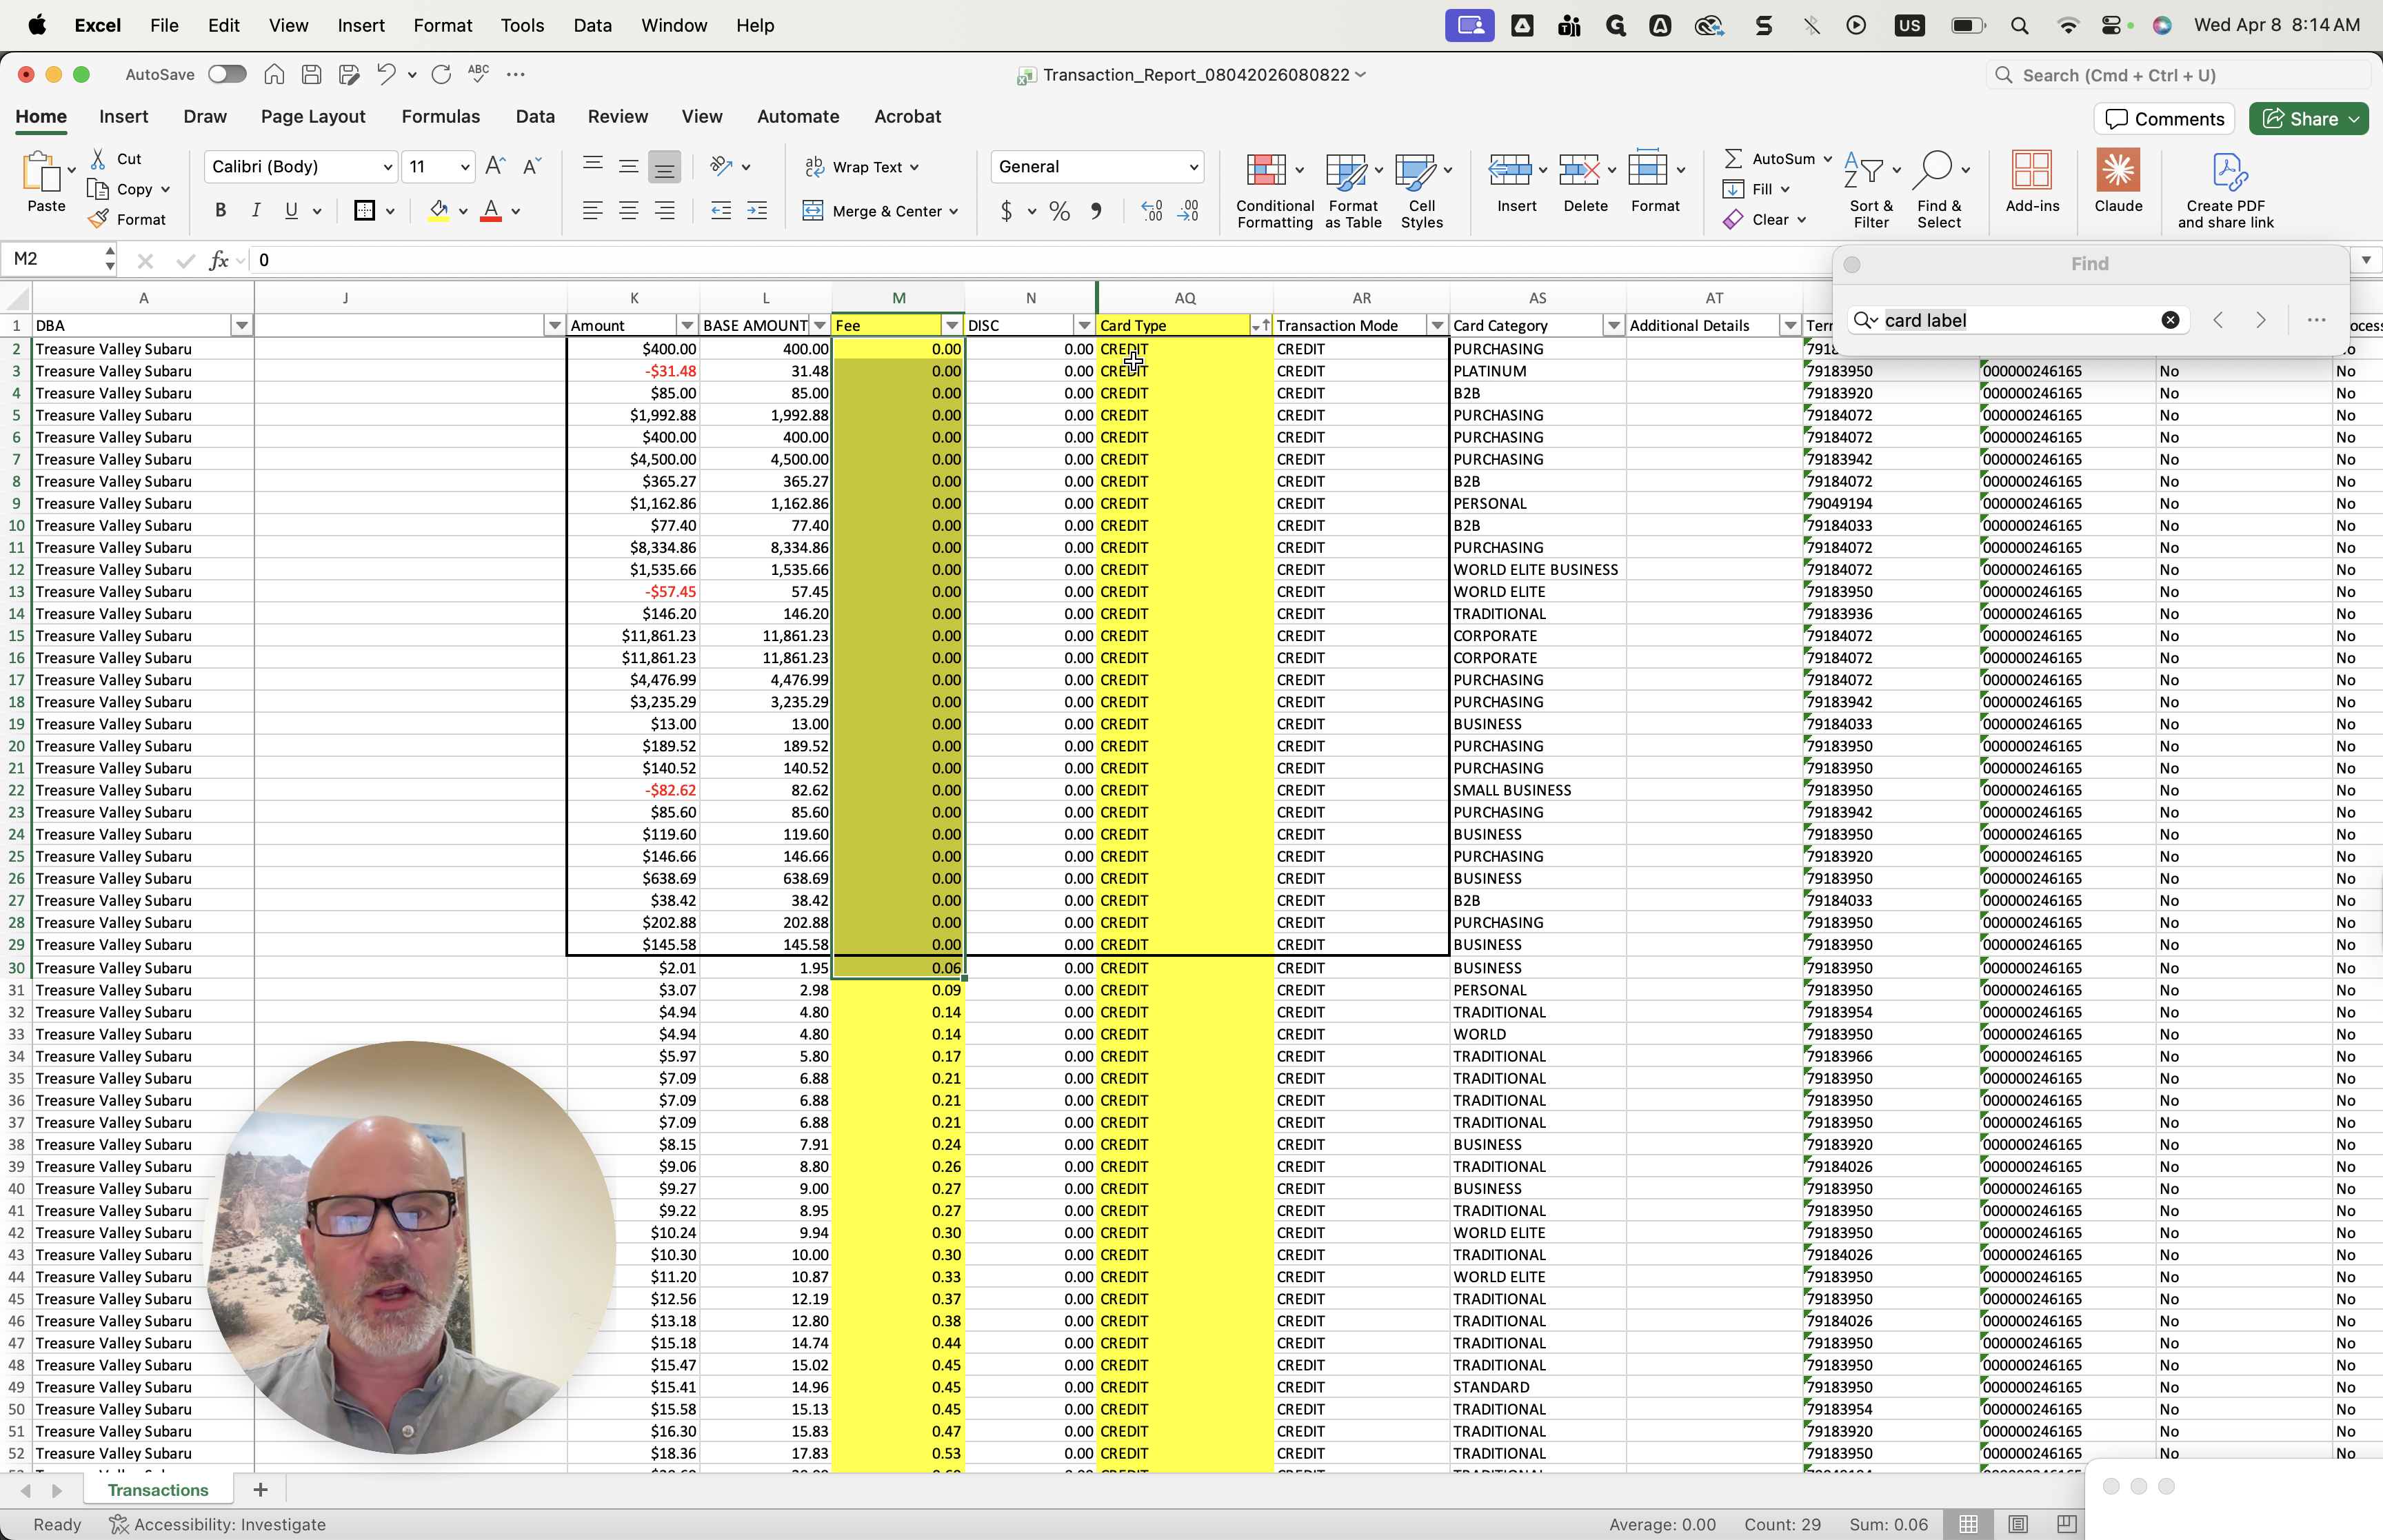
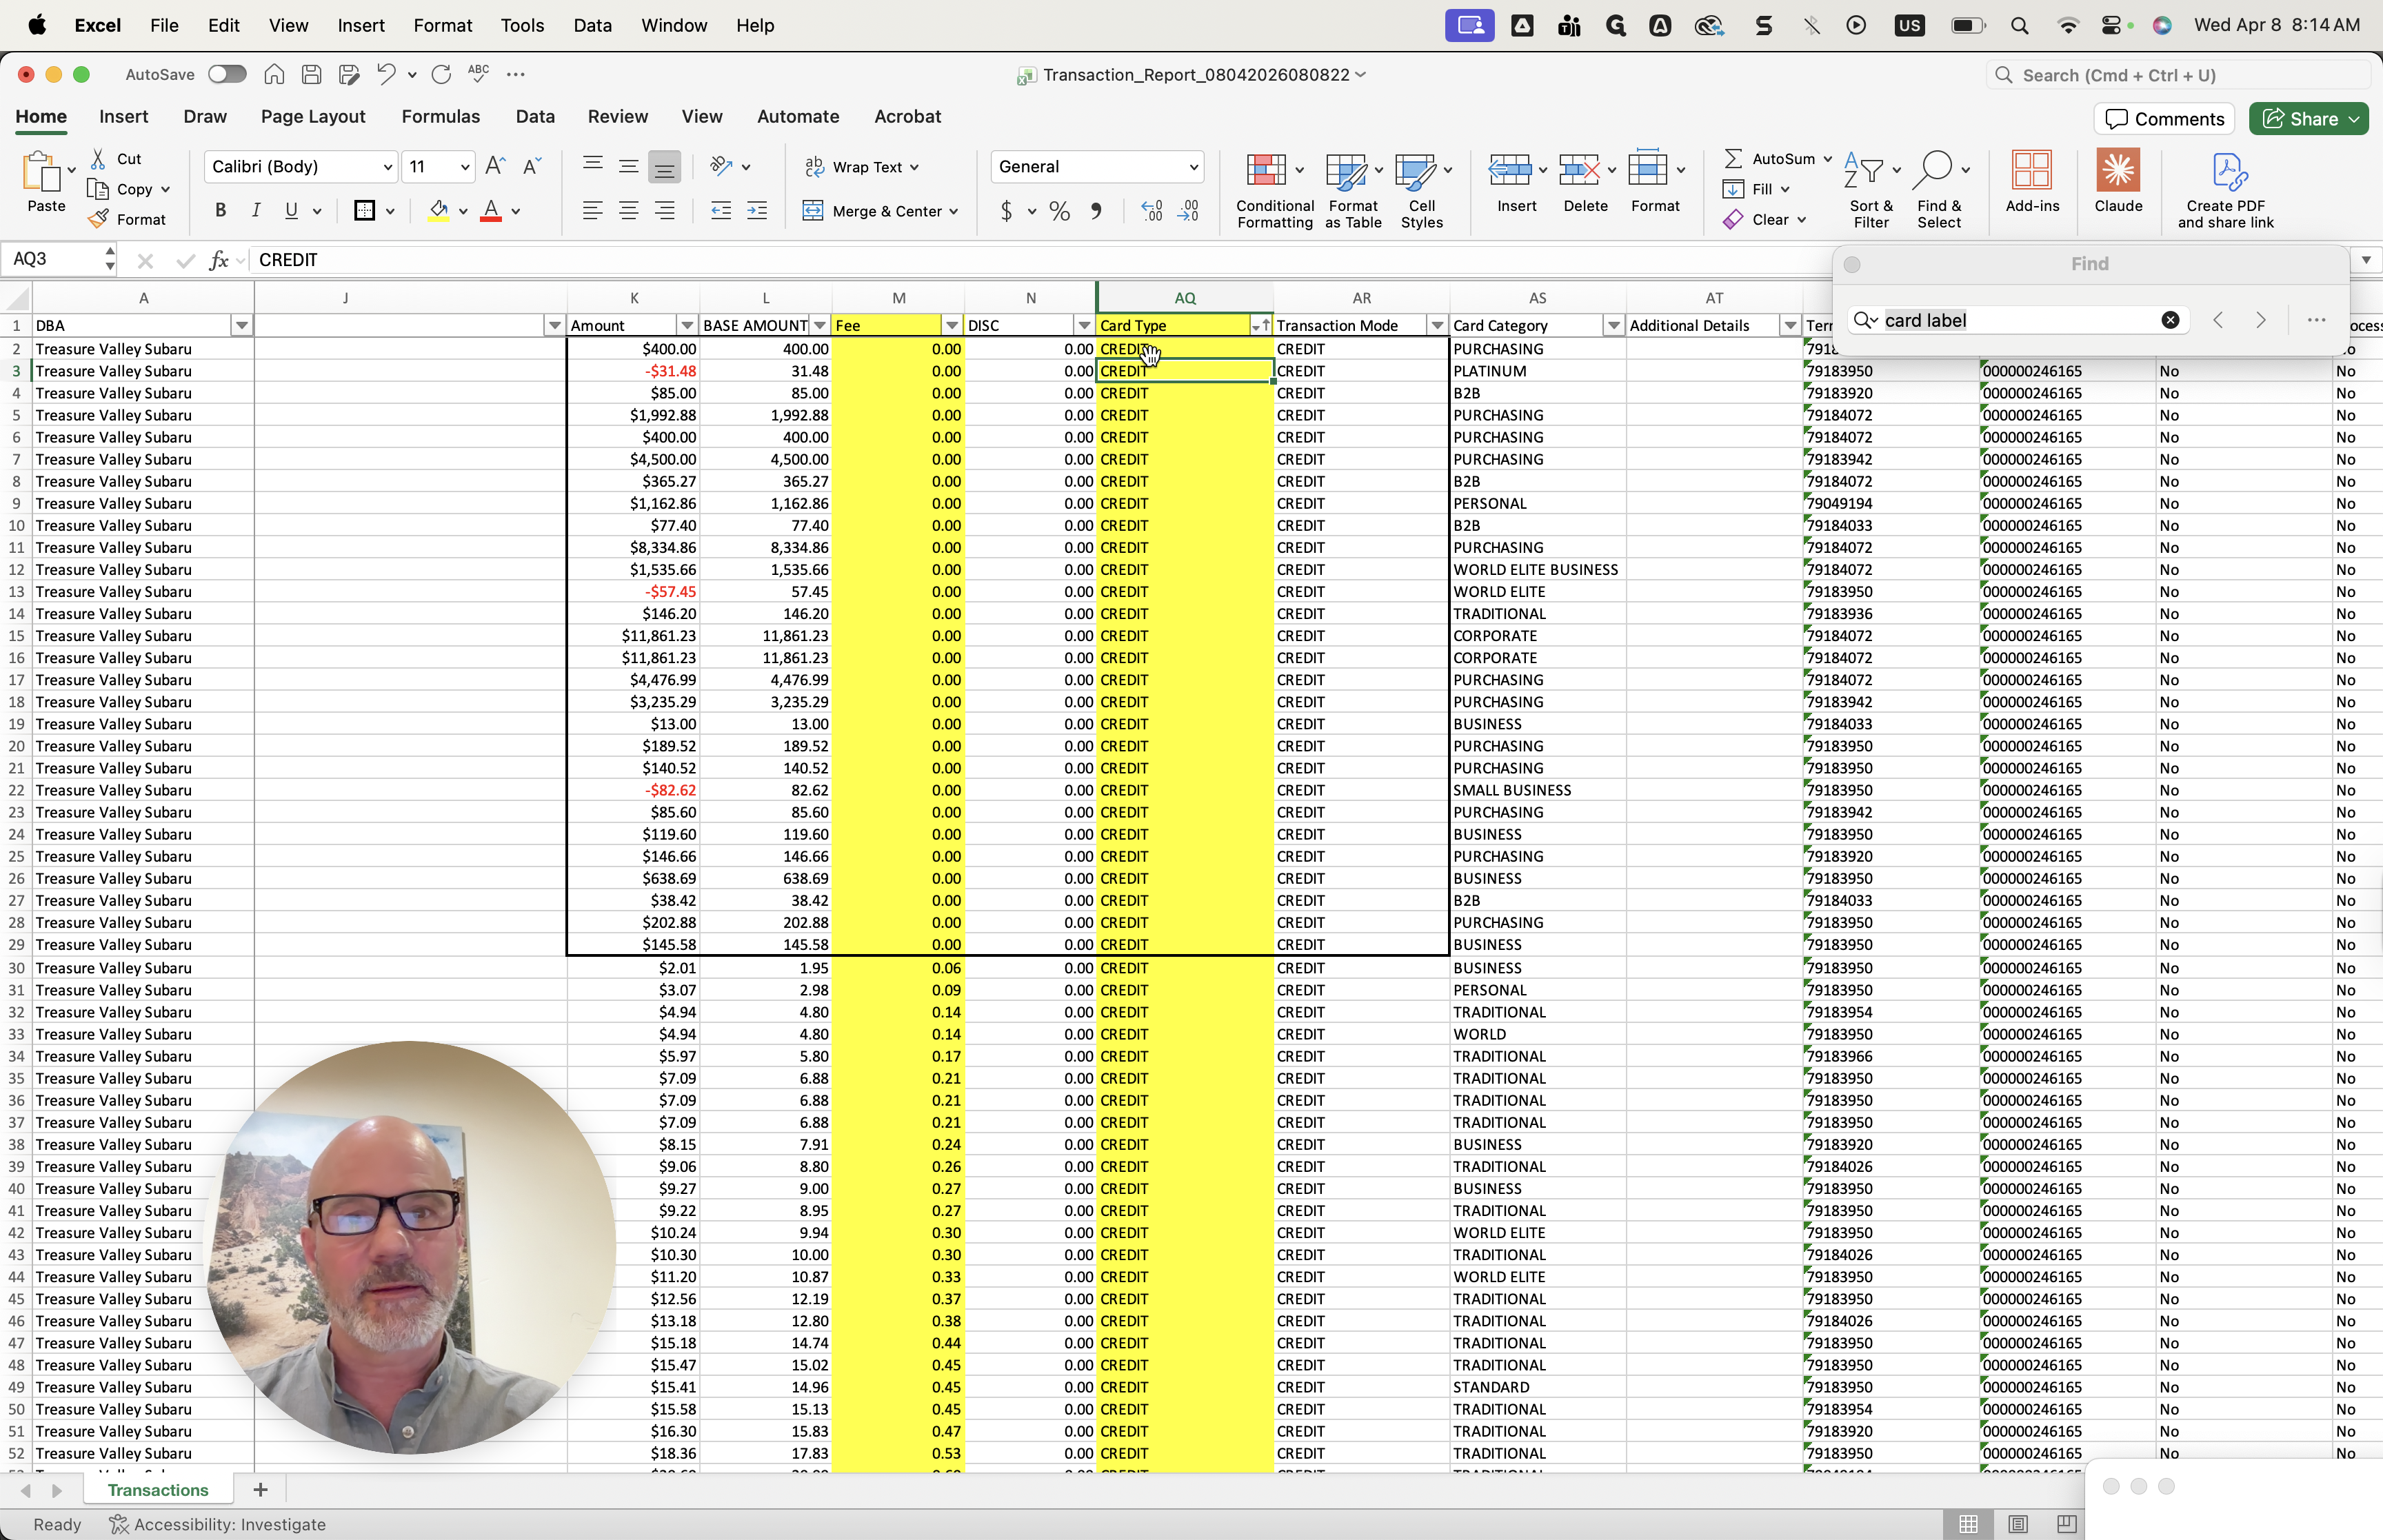
Those indicate when a fee was waived.

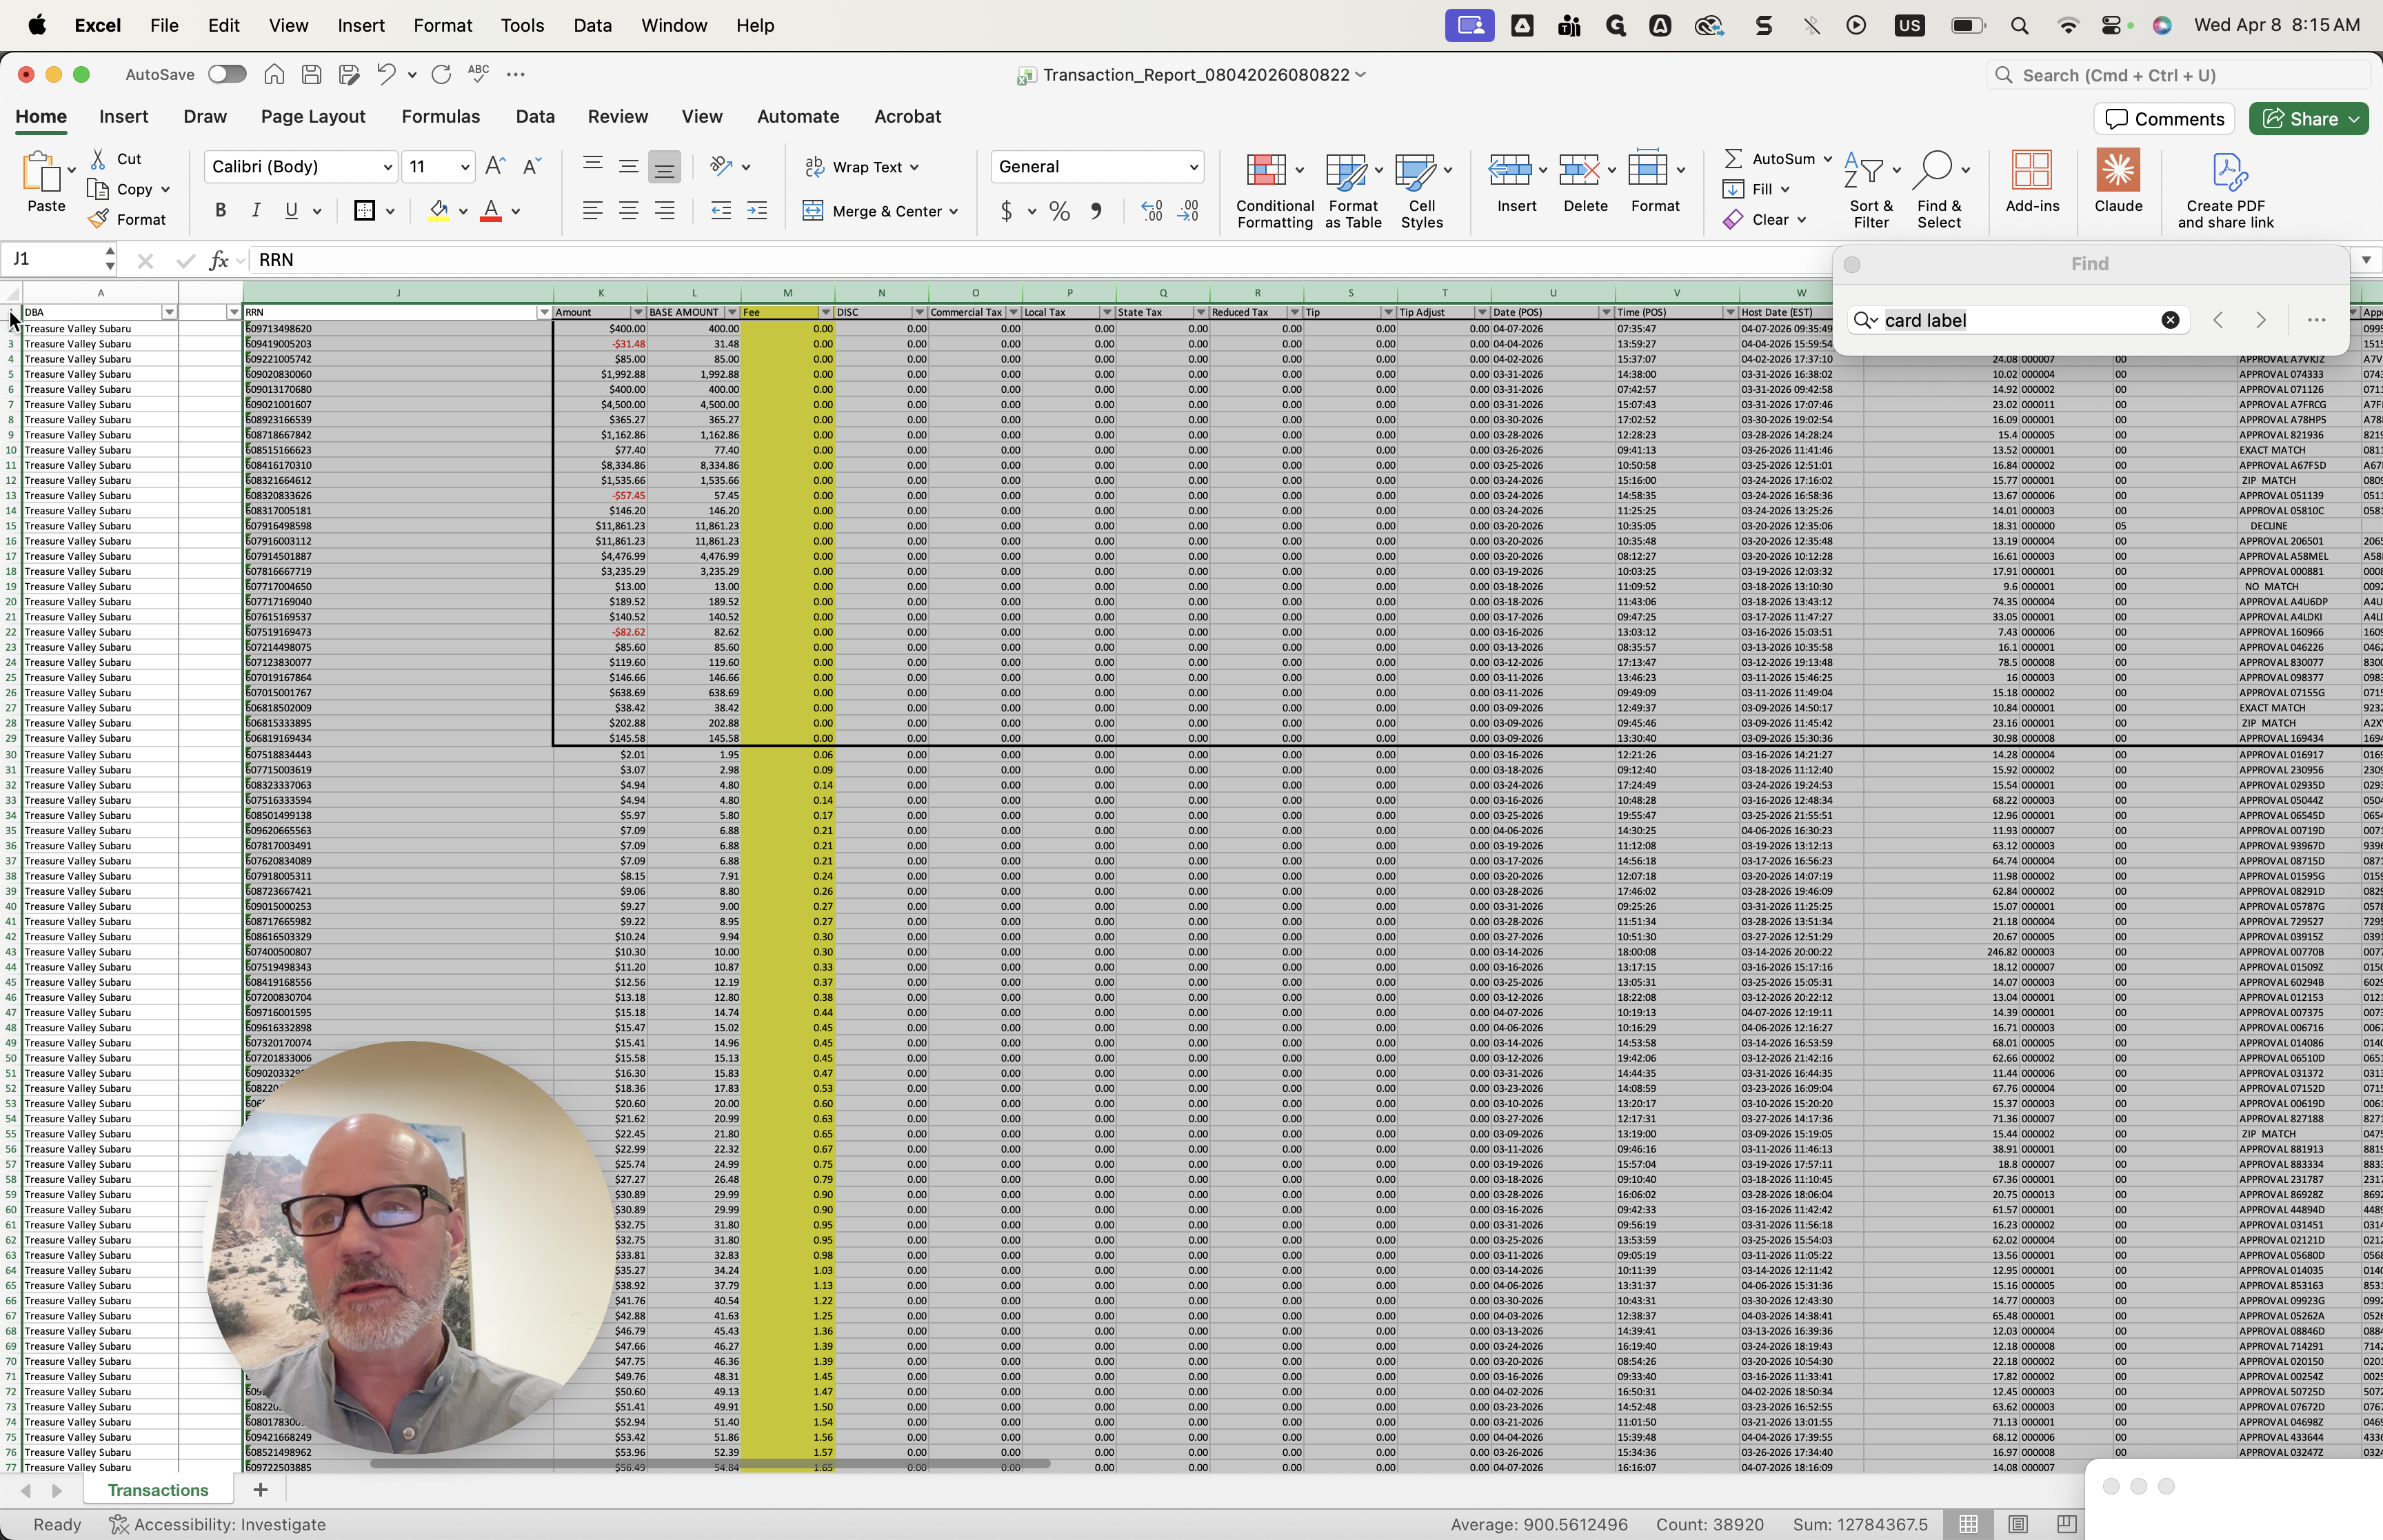
We are discussing with JP and the team to determine the best approach, since some of these might be under warranty. But this is where these will be found.

Any items highlighted in red are returns.
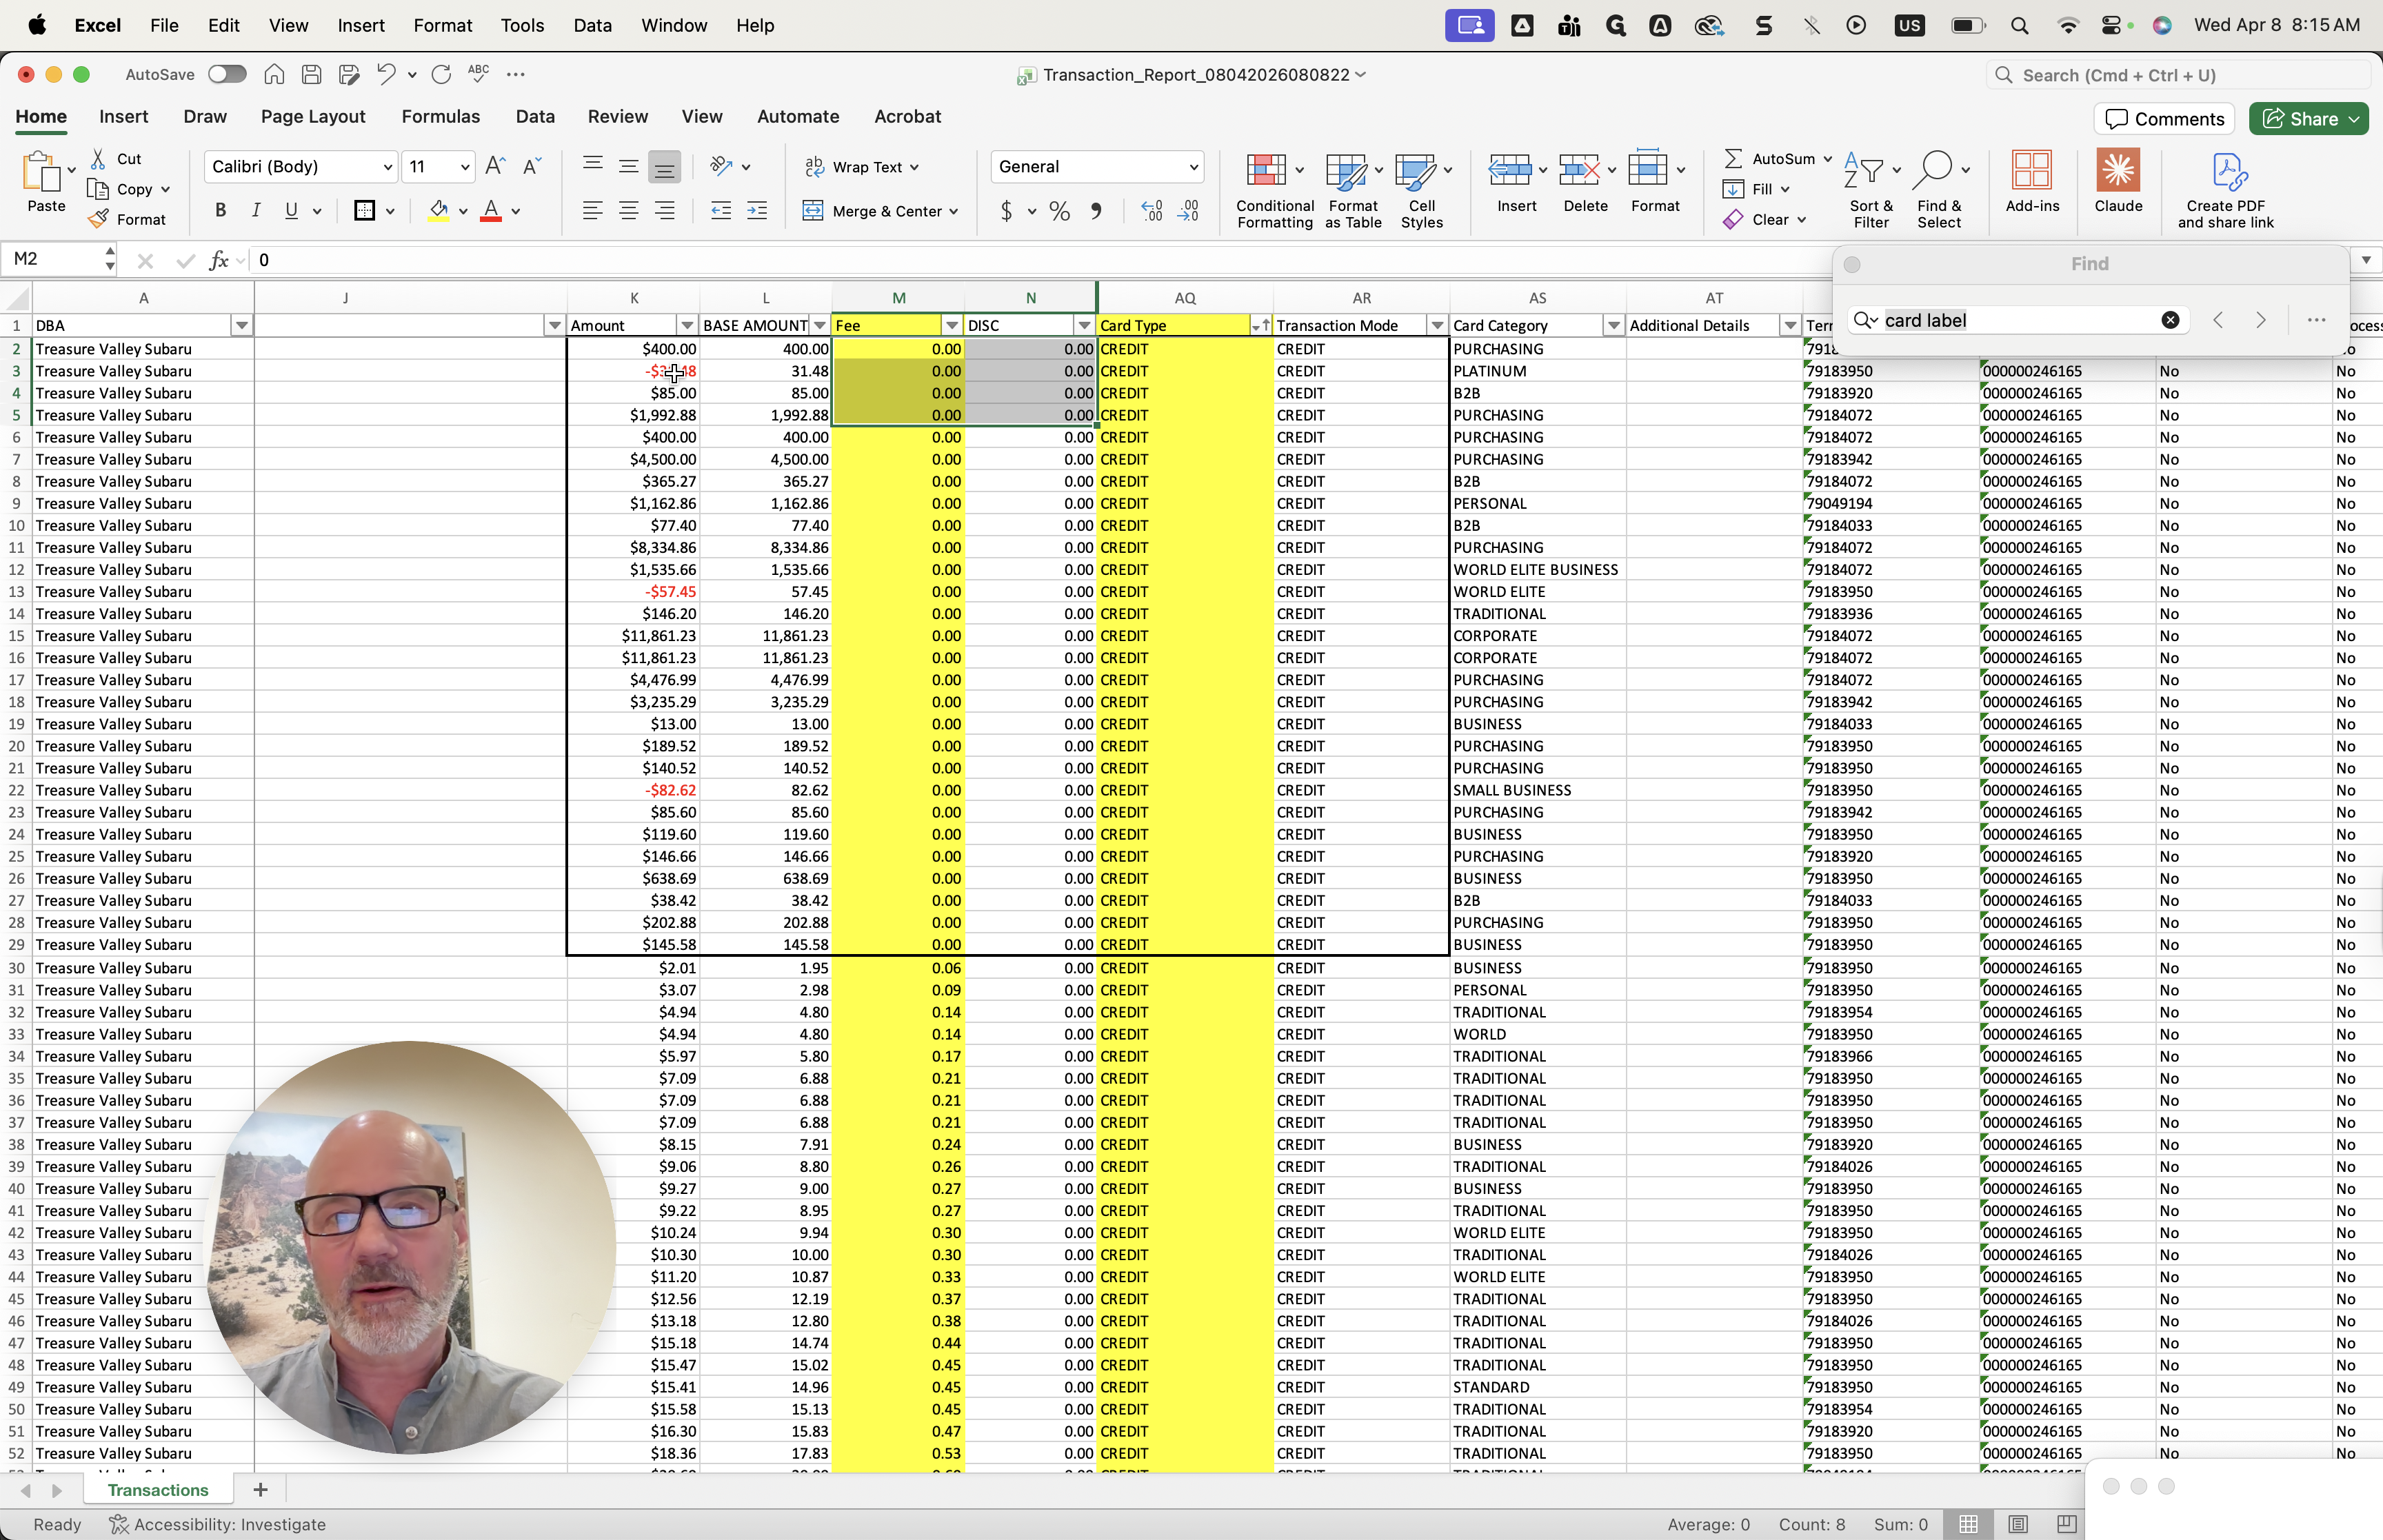

You should disregard those. You can view any of these here, and then you can go over them.

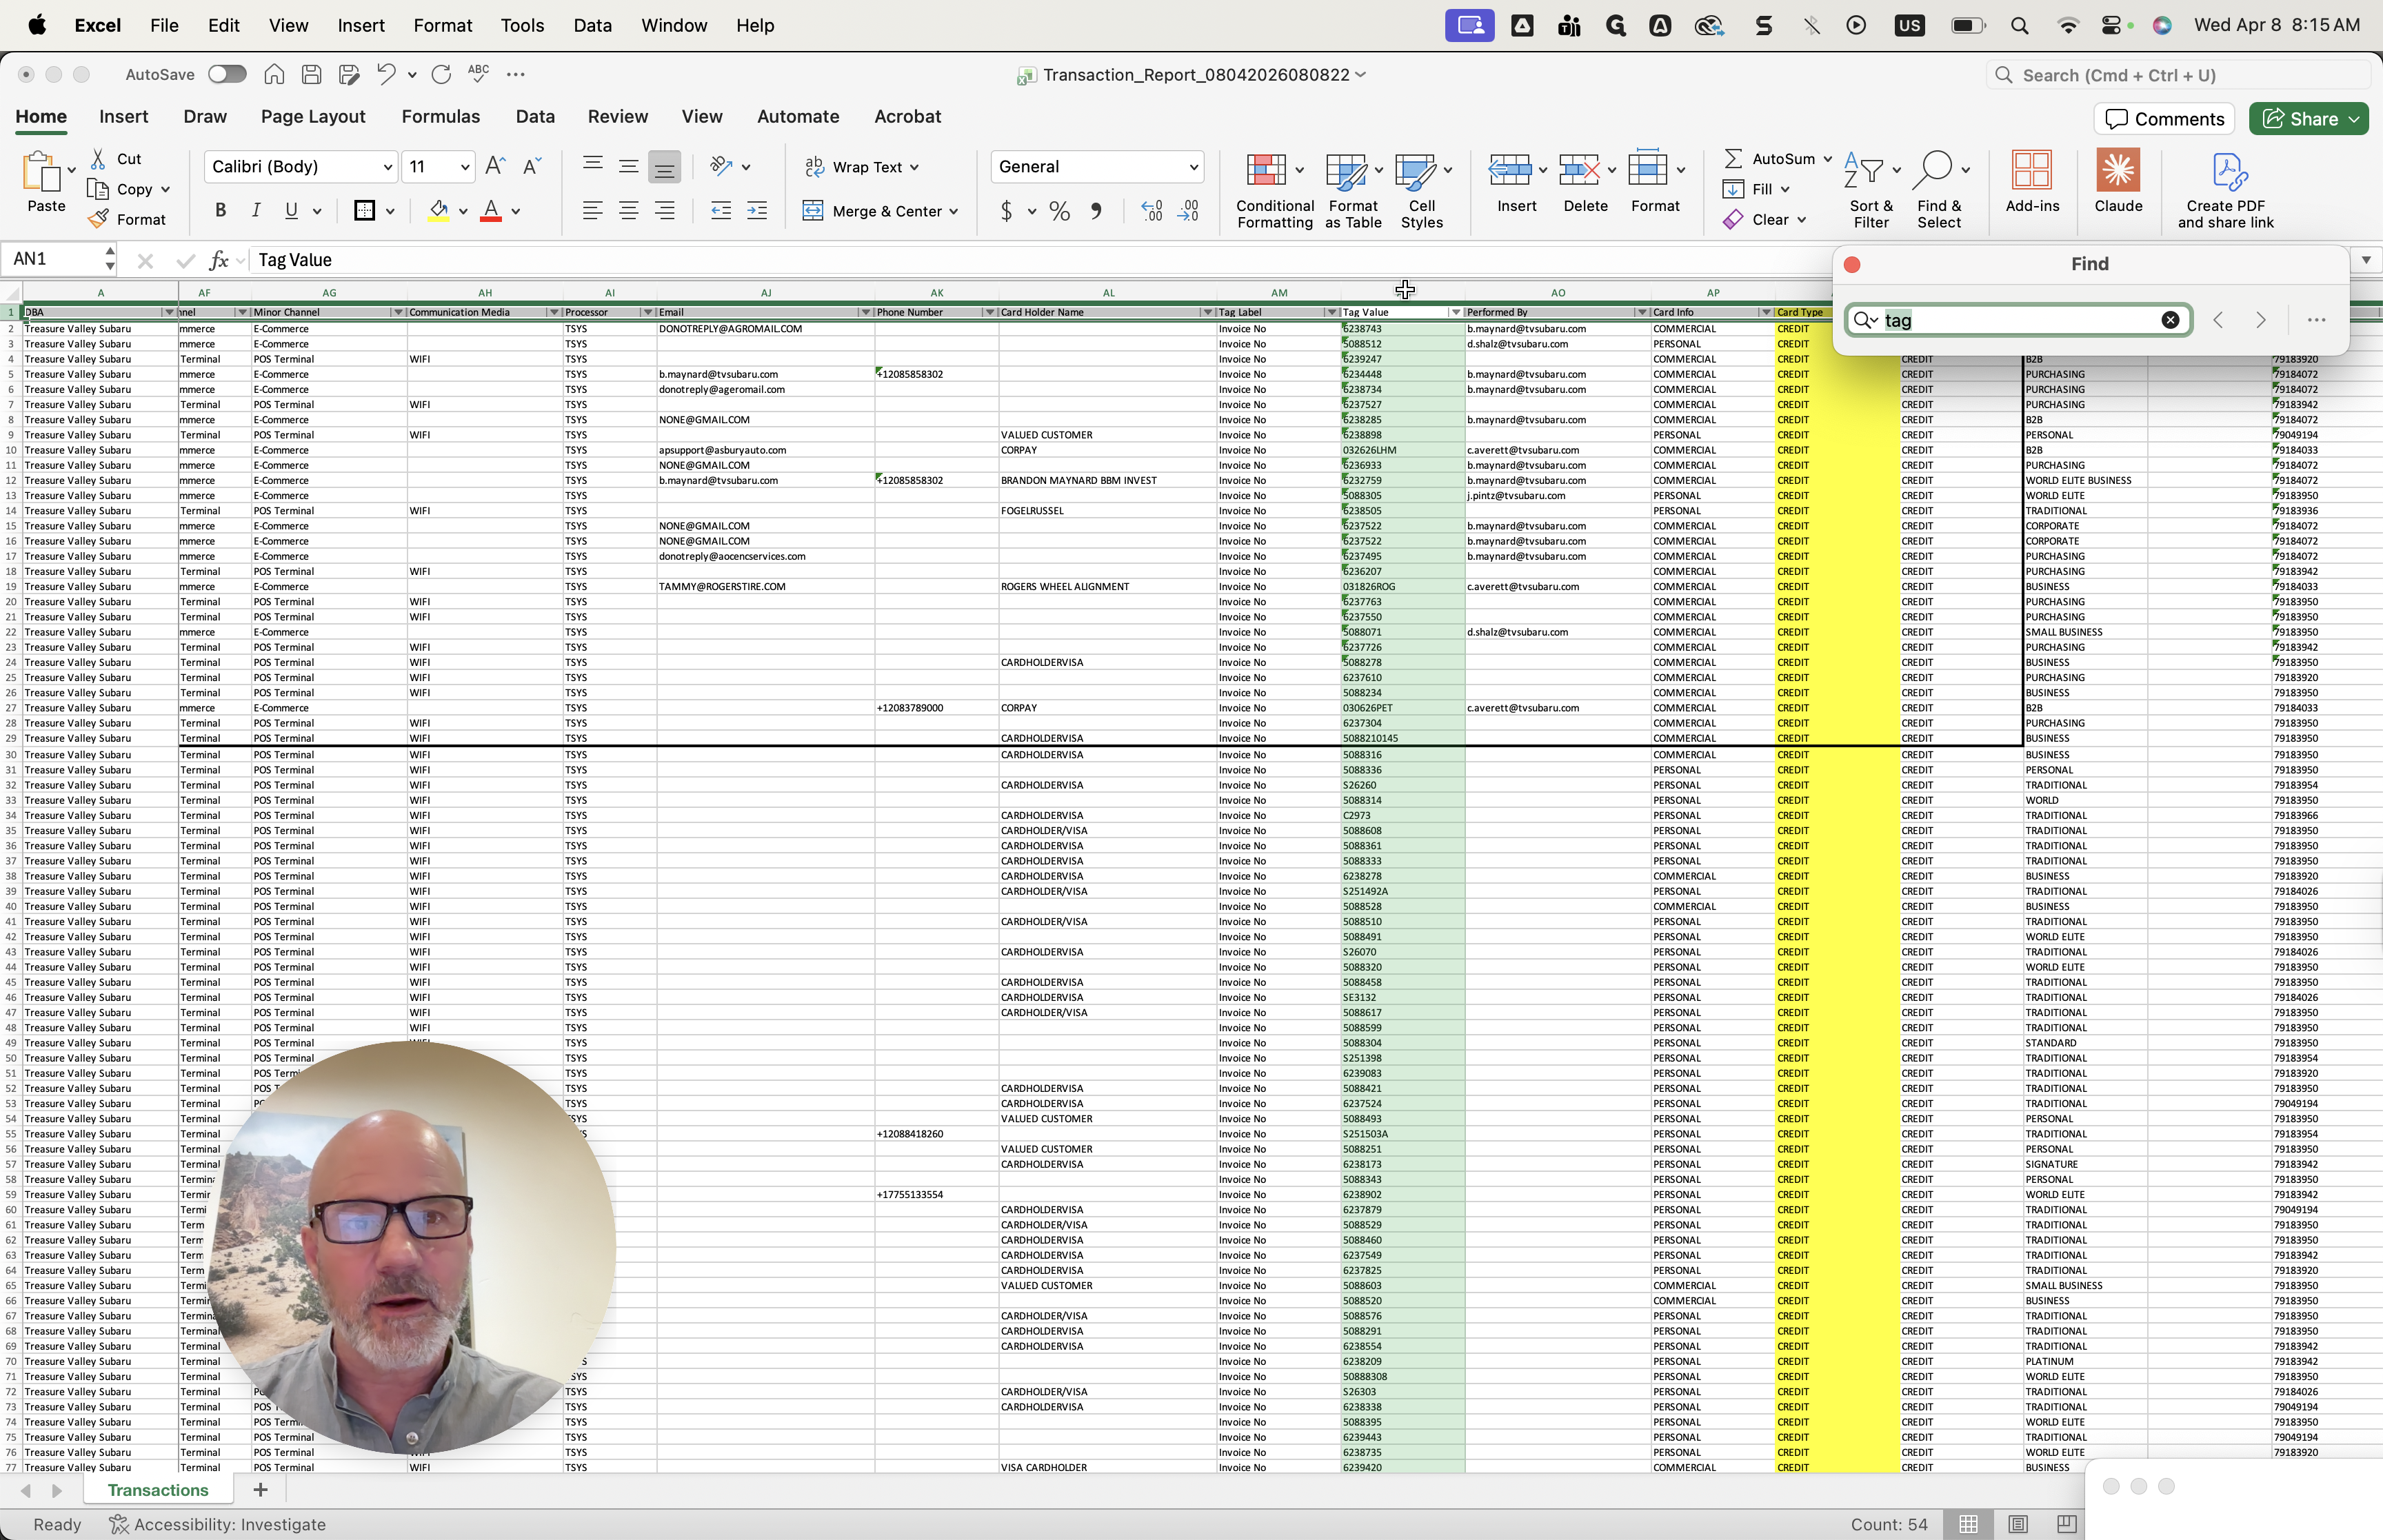
Another tab you might want to look at is called—where is it? Another tag value is the transaction number. You may want to review this as well.
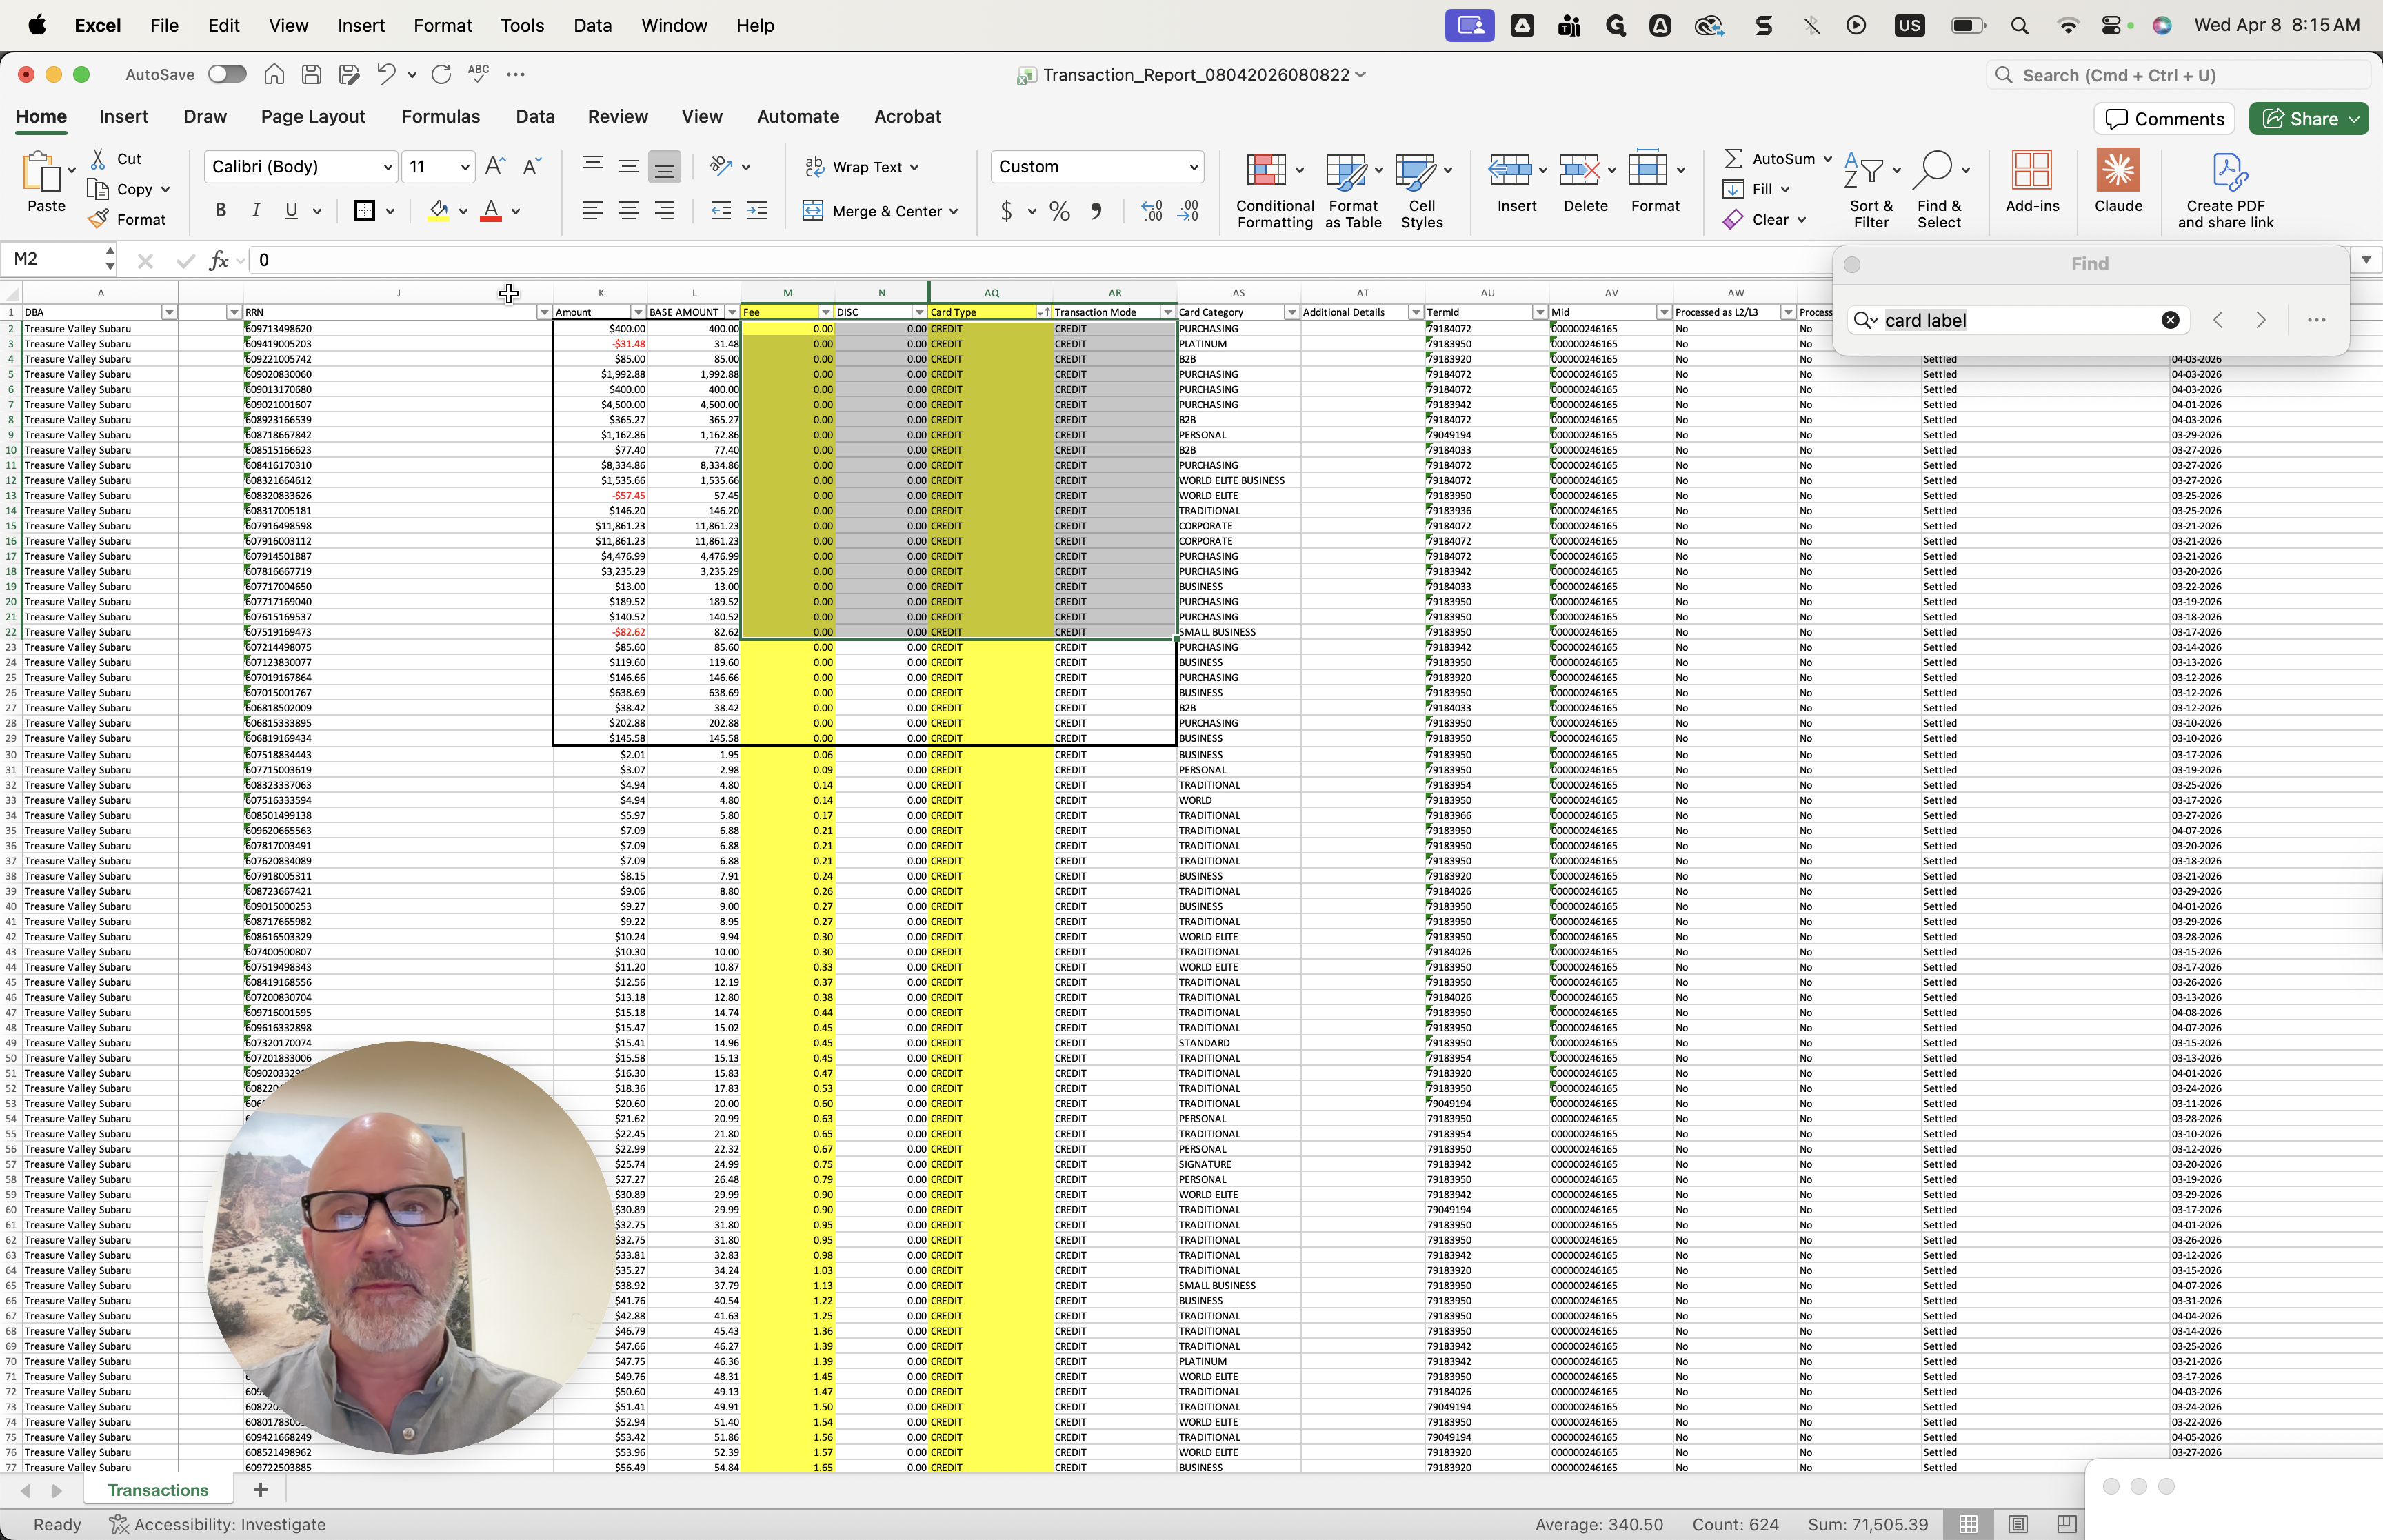

Let me see if I can unhide this. Once you have those items, you can also look for the tag.
I think it's the tag value here.
This tag value—let's see if I can fix one.

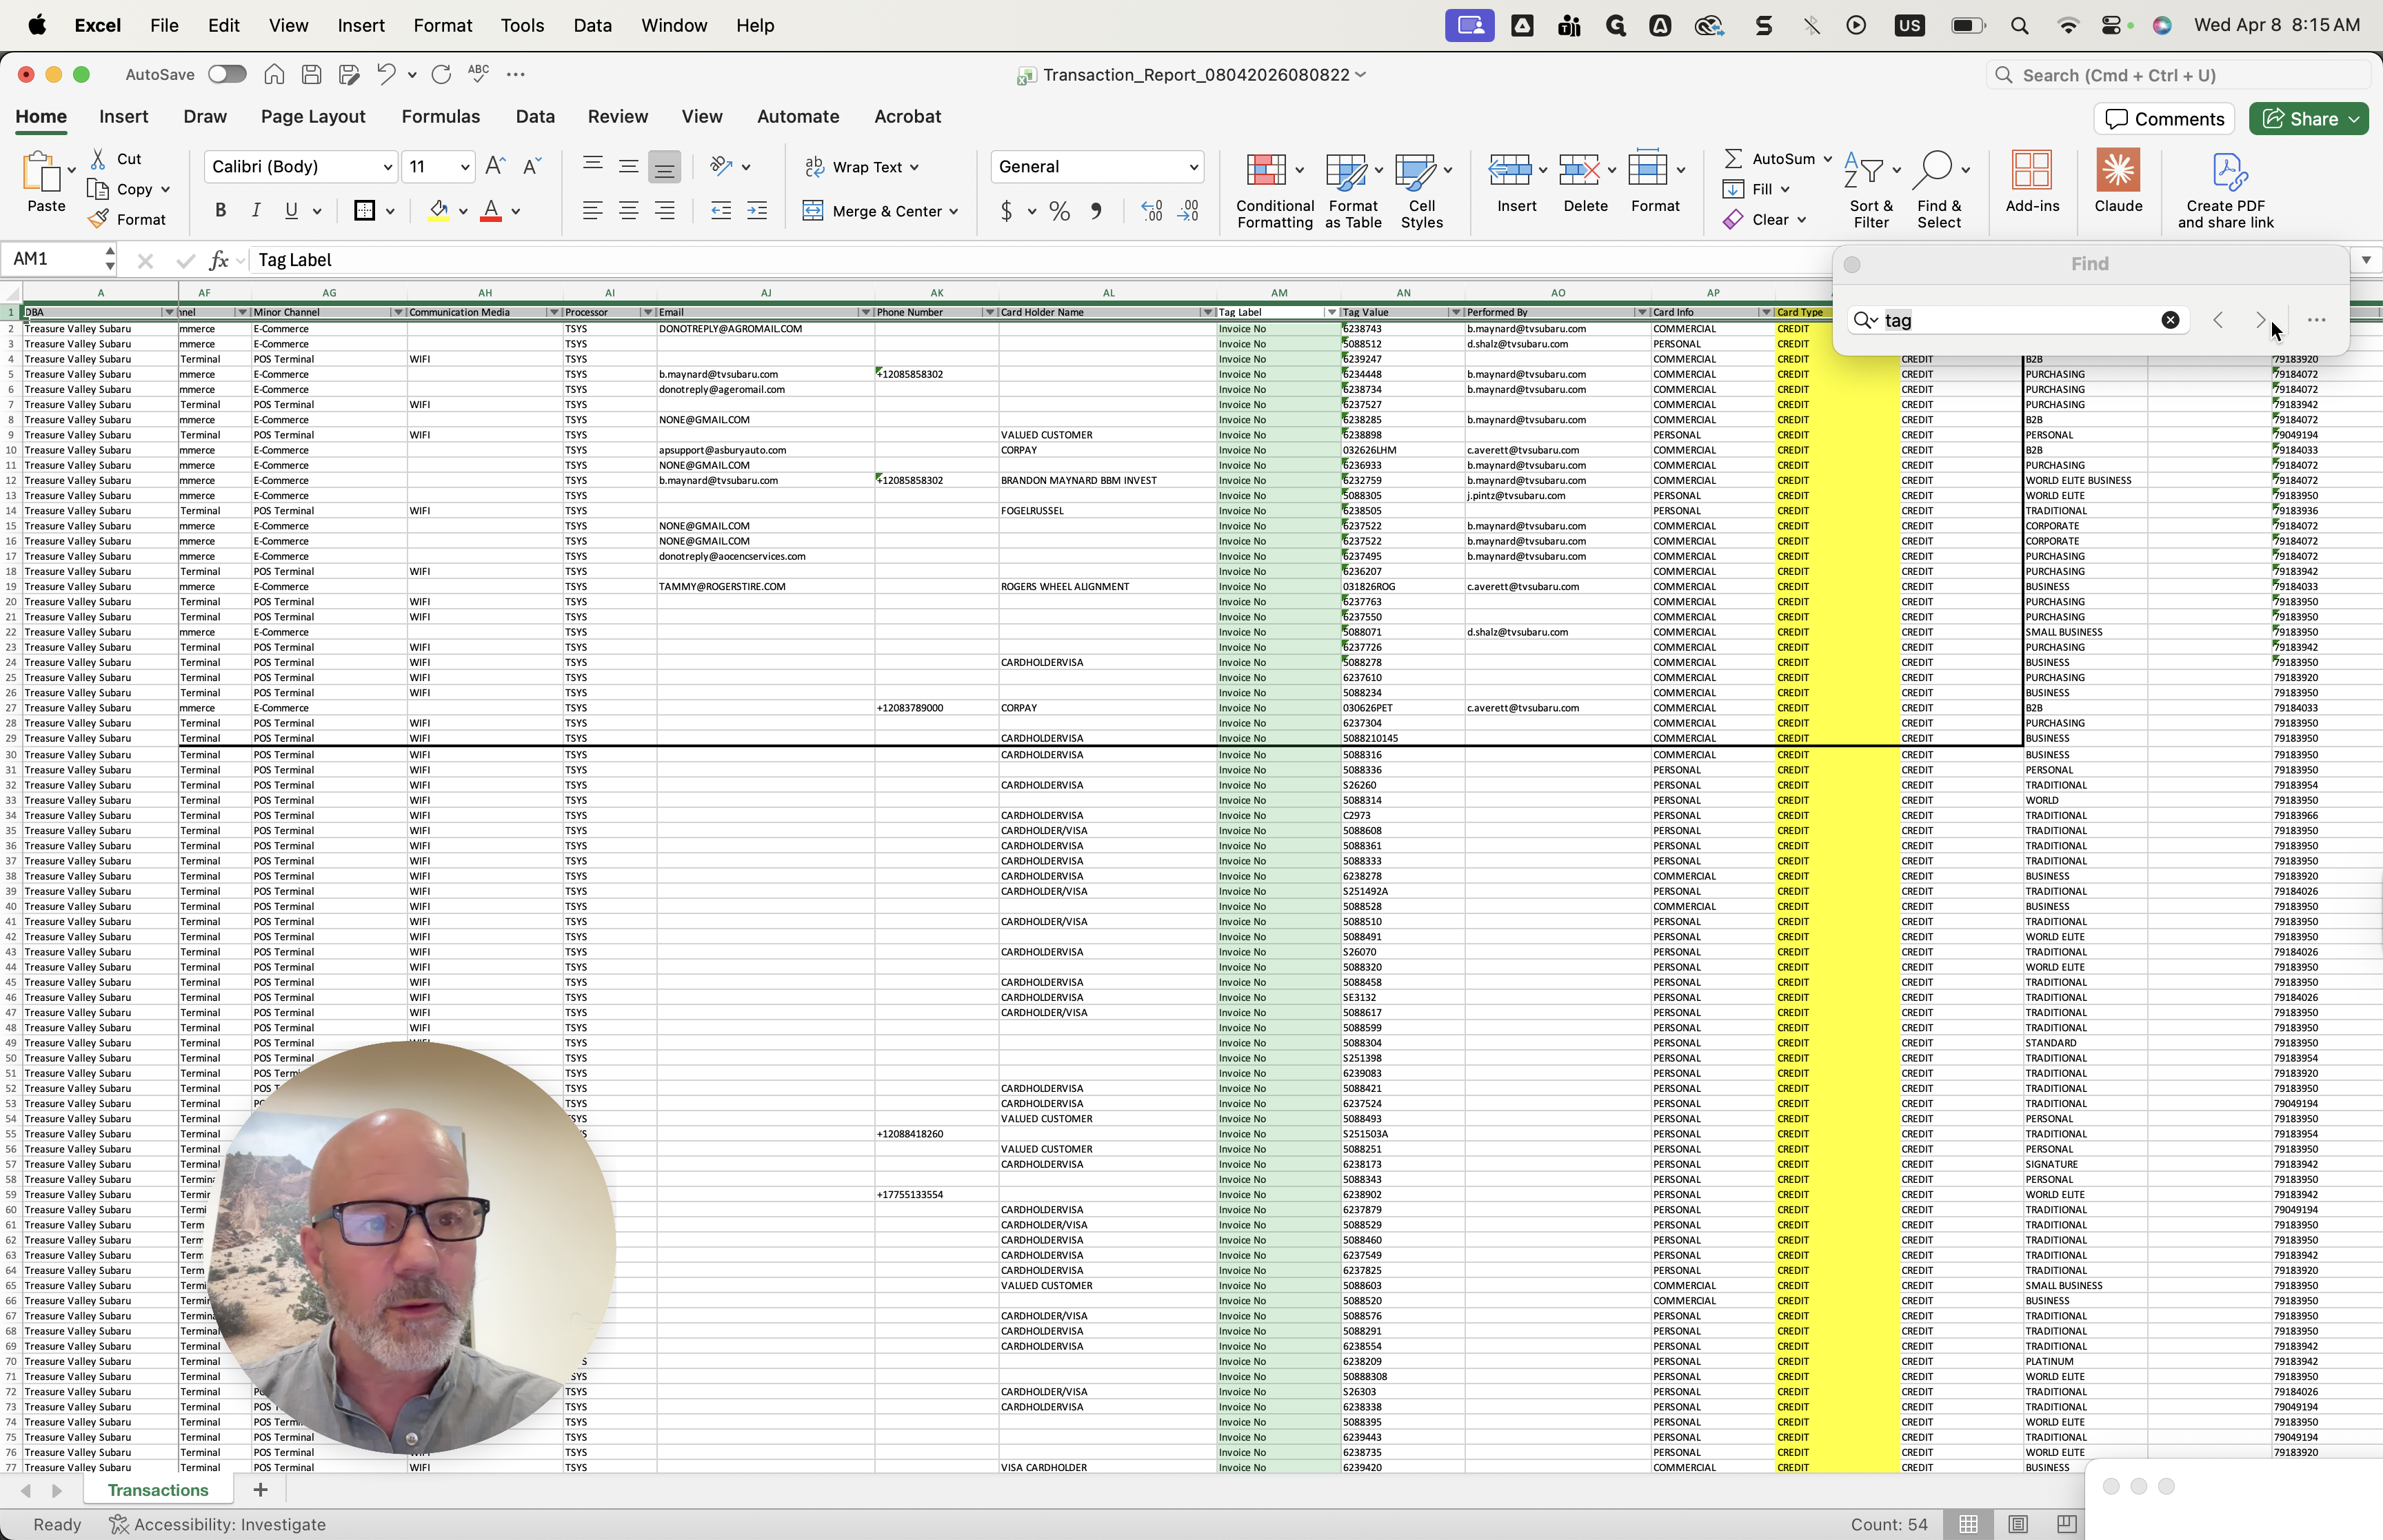
Tag value here. That's the transaction number.
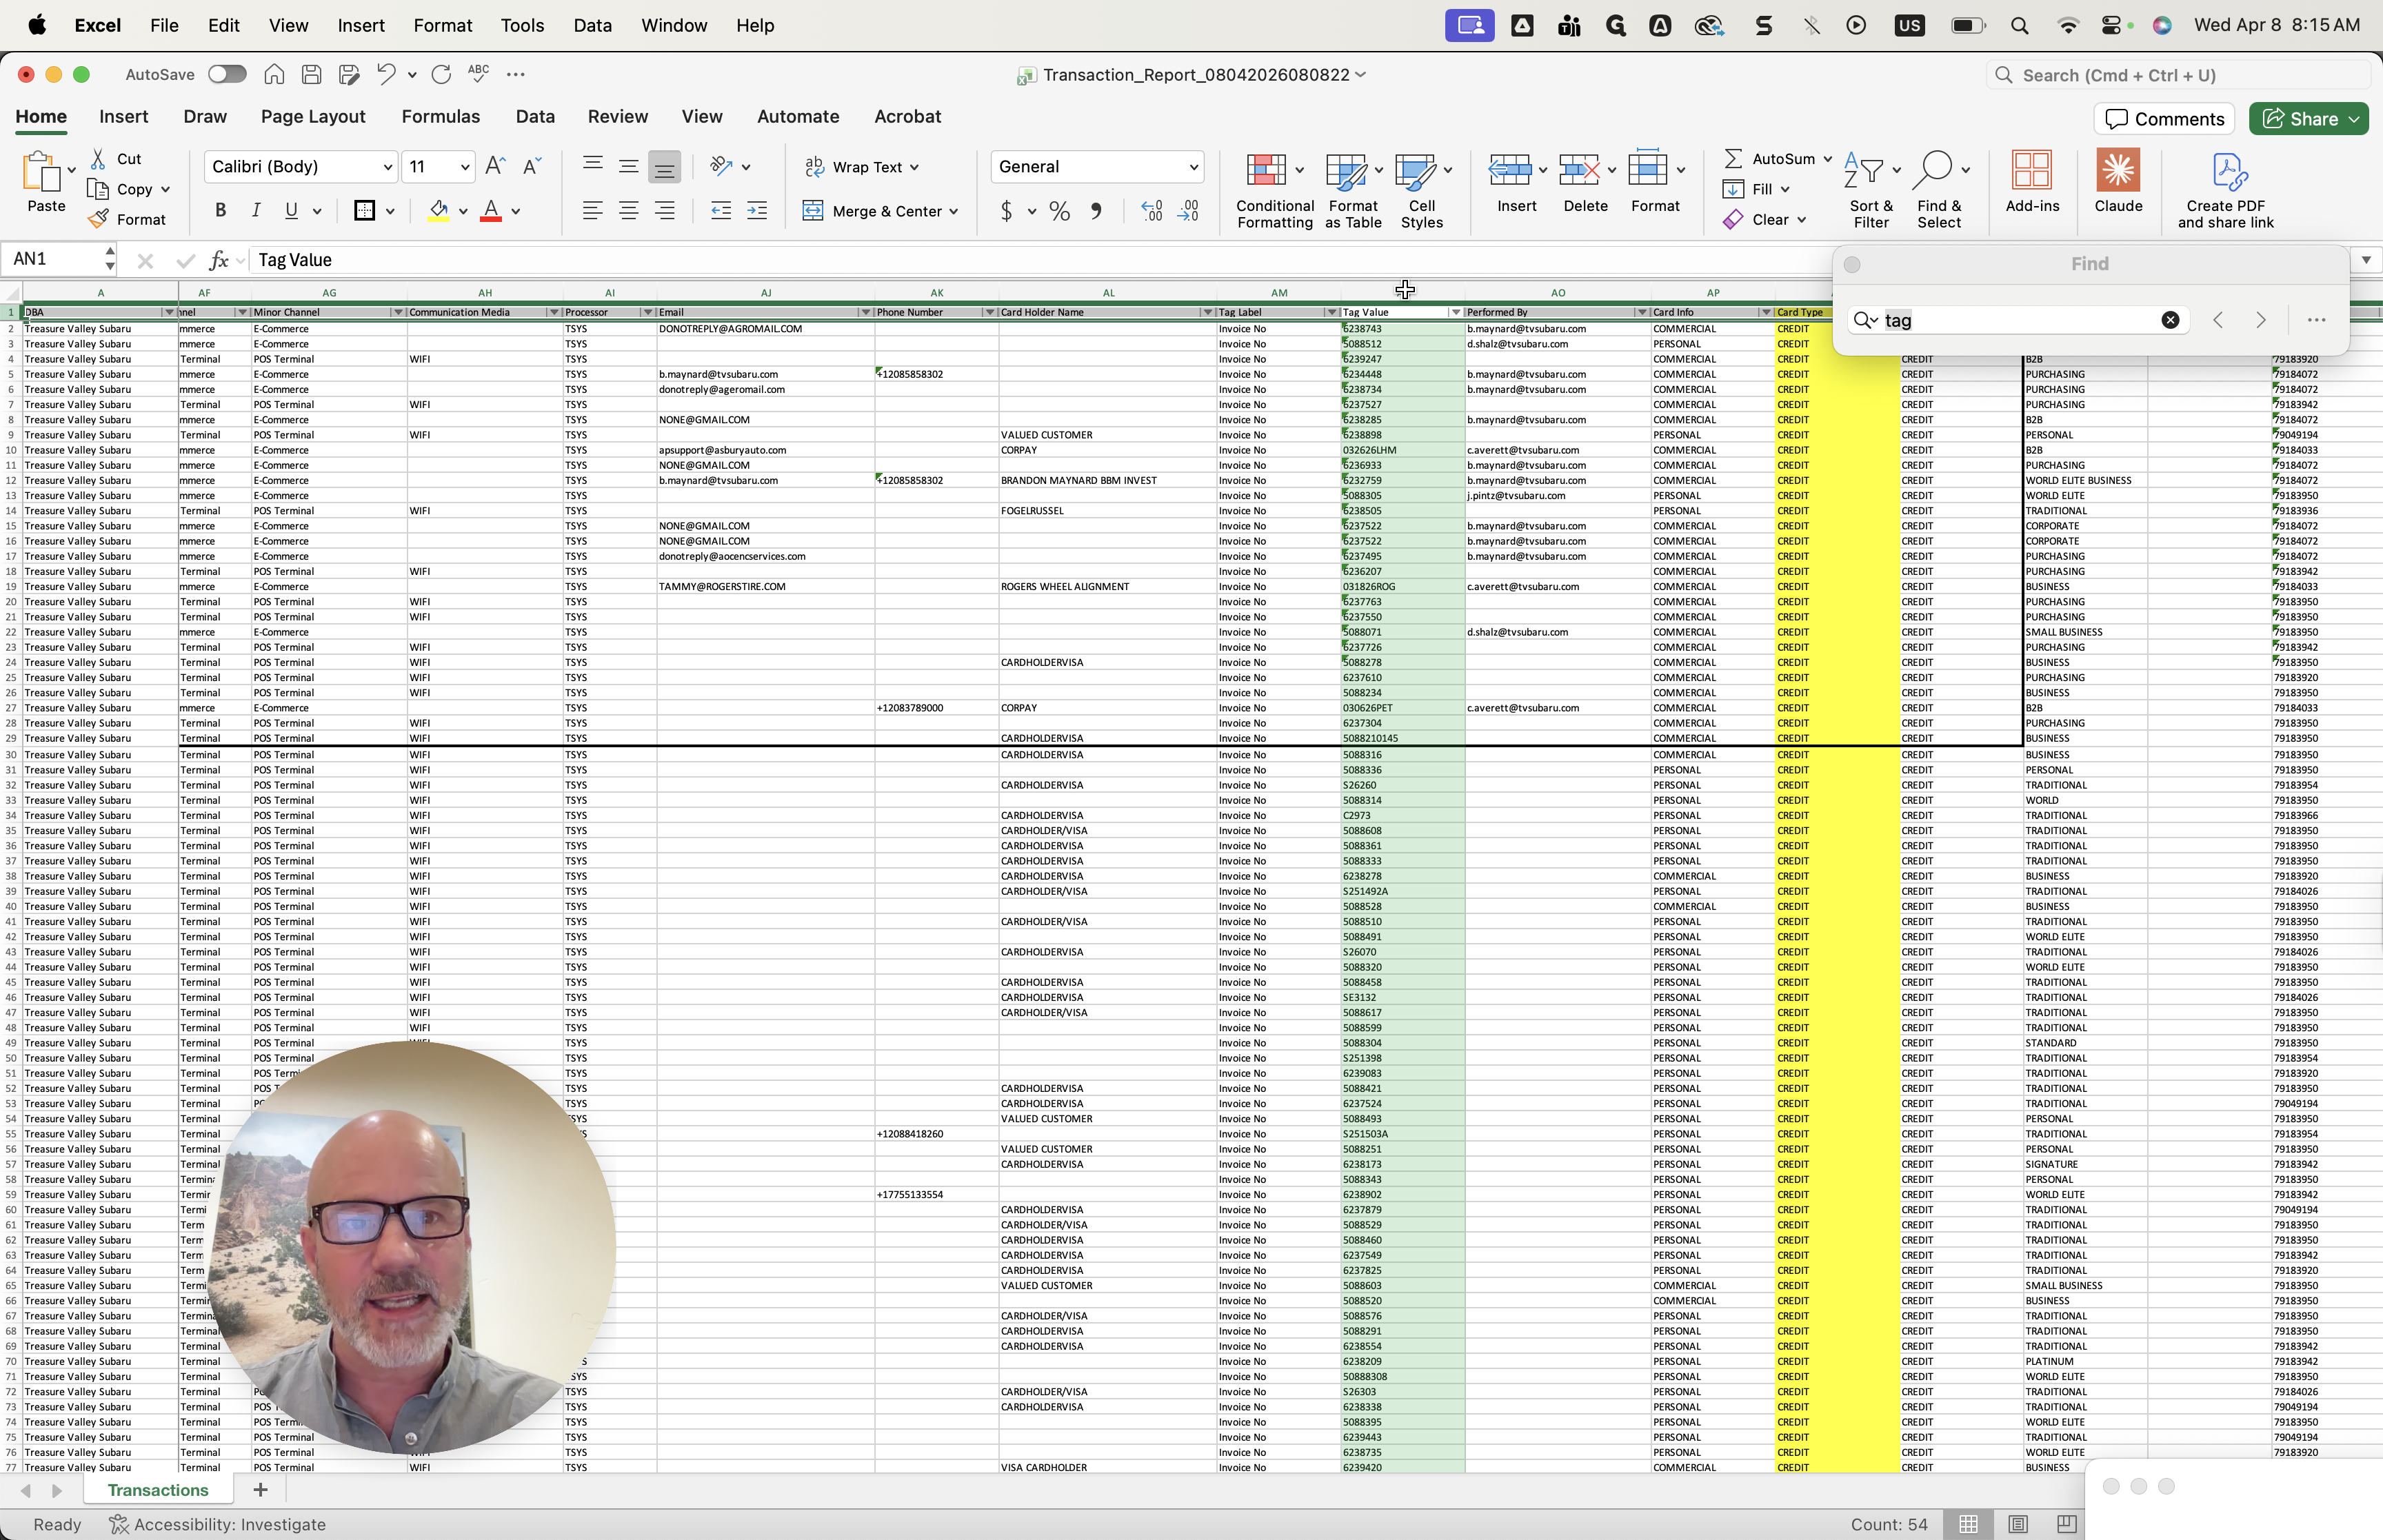
That was from the DMS. Any items flagged here can be searched.
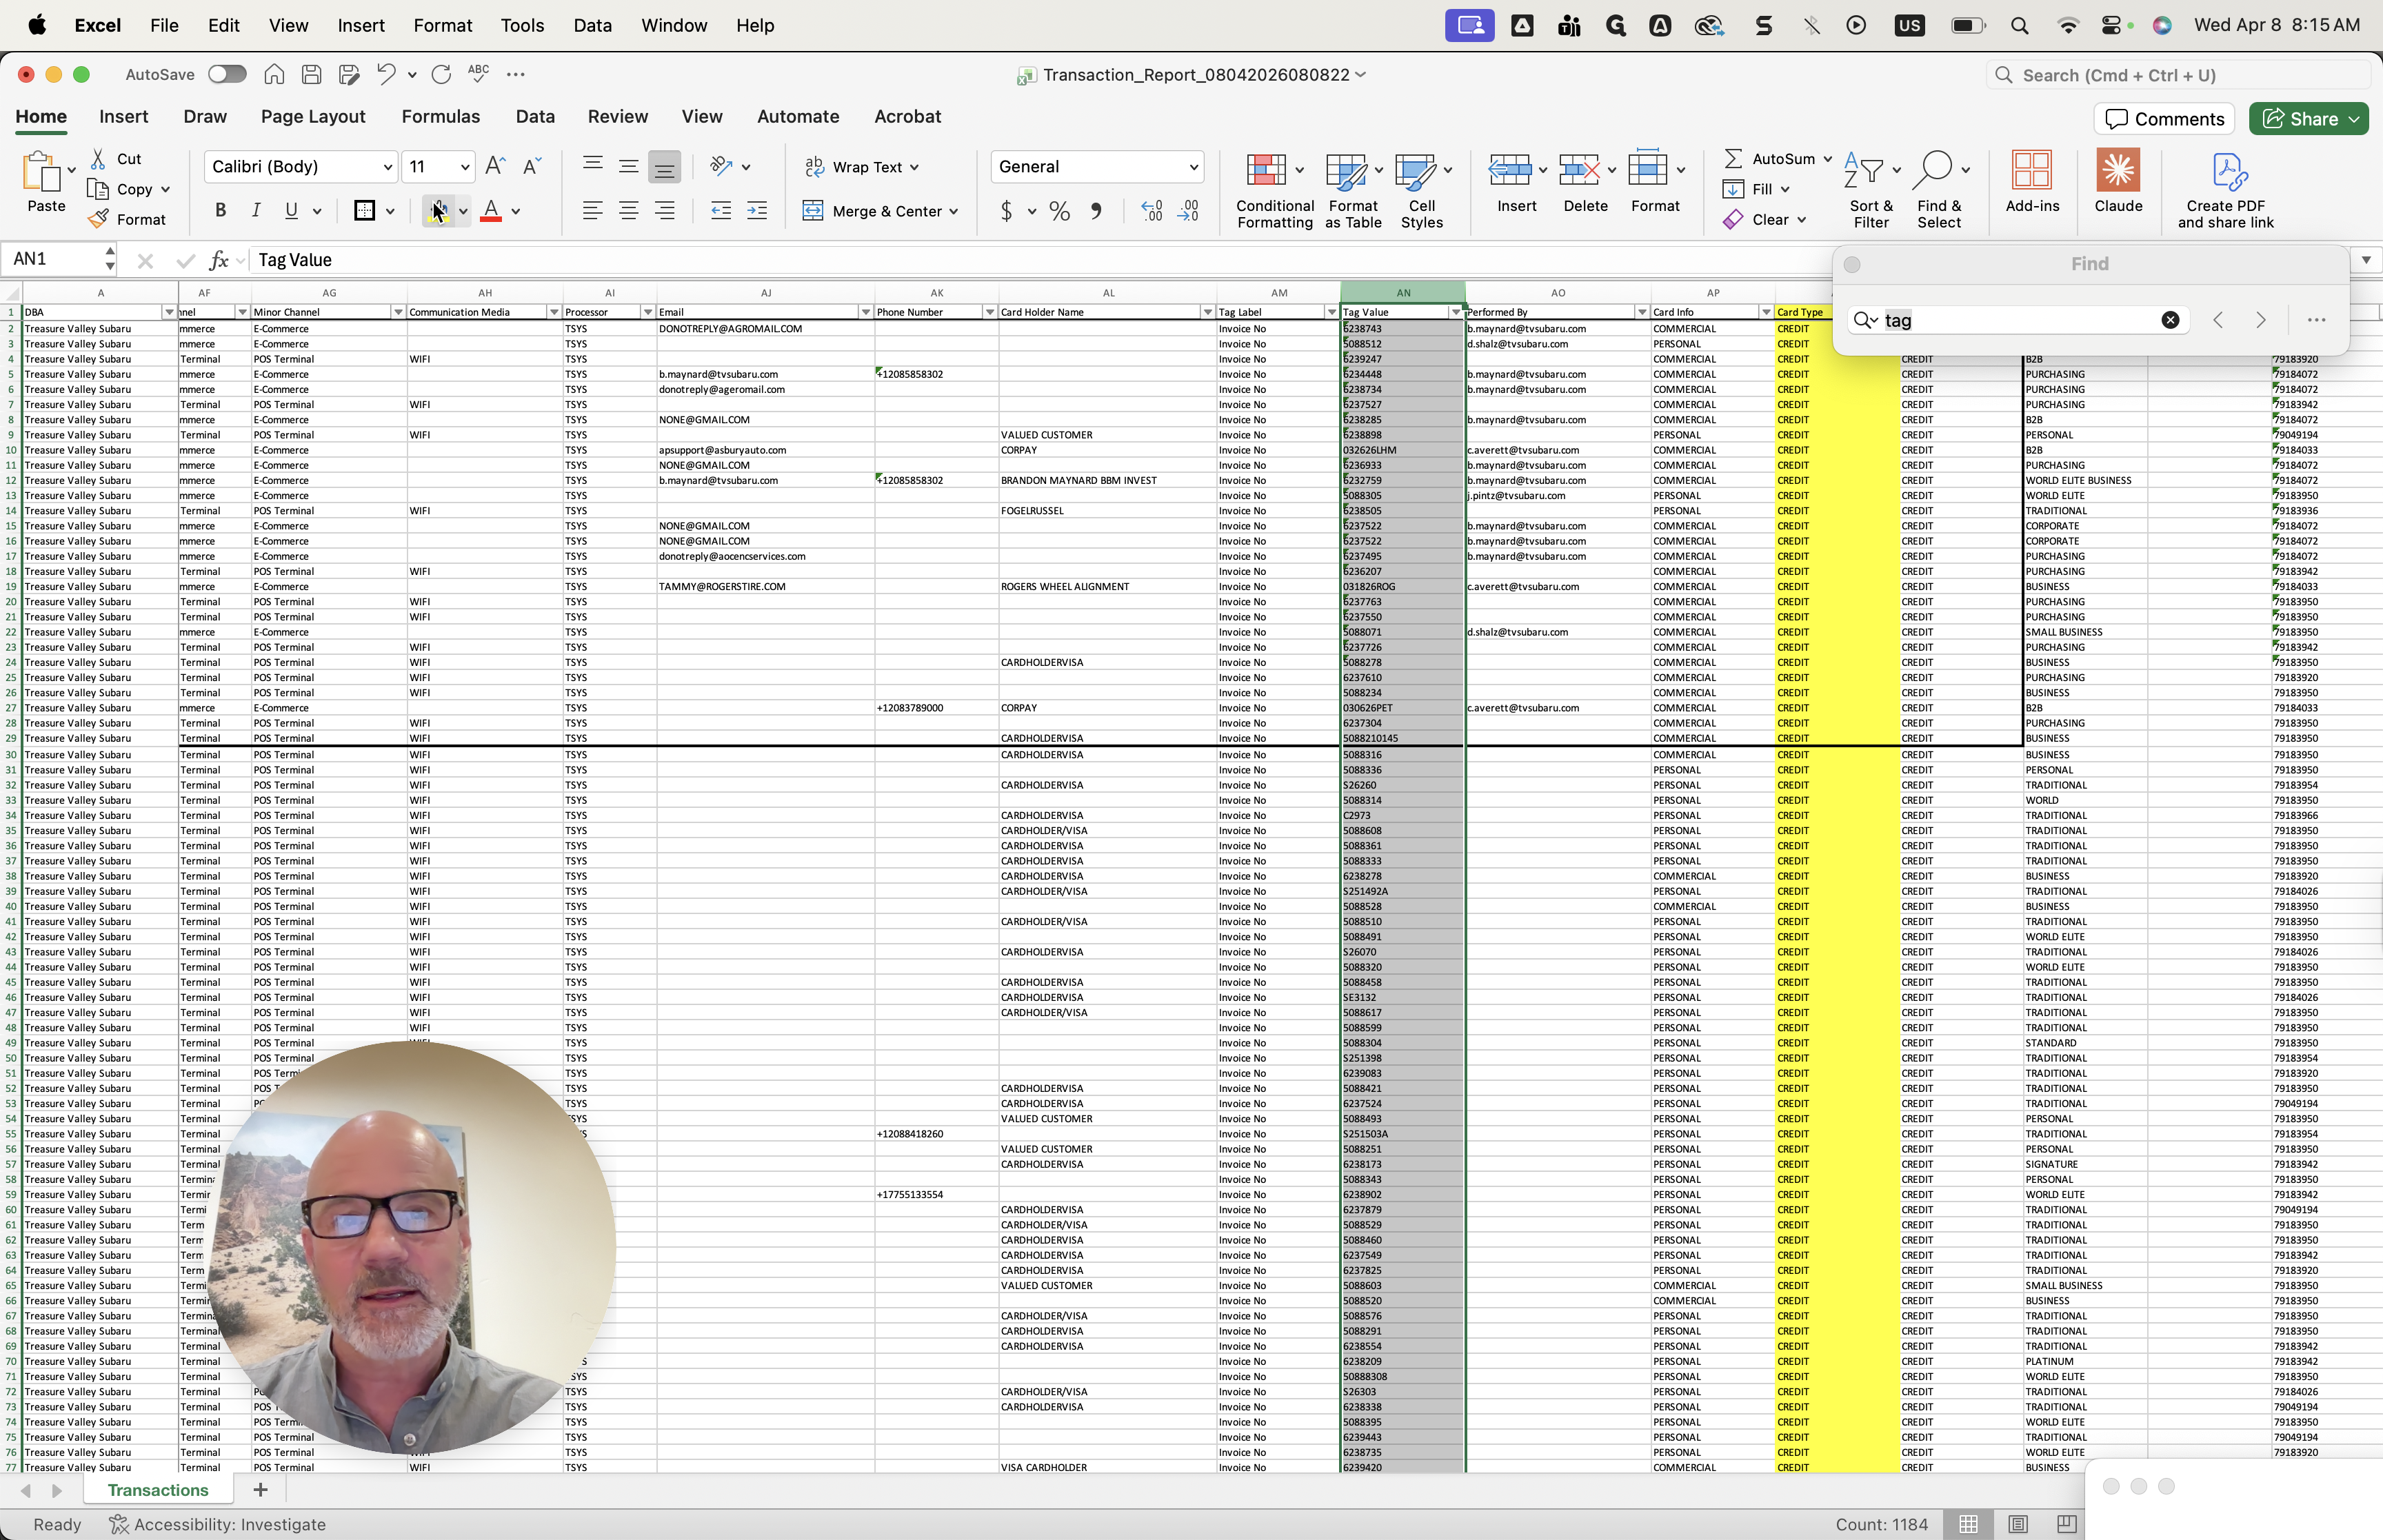
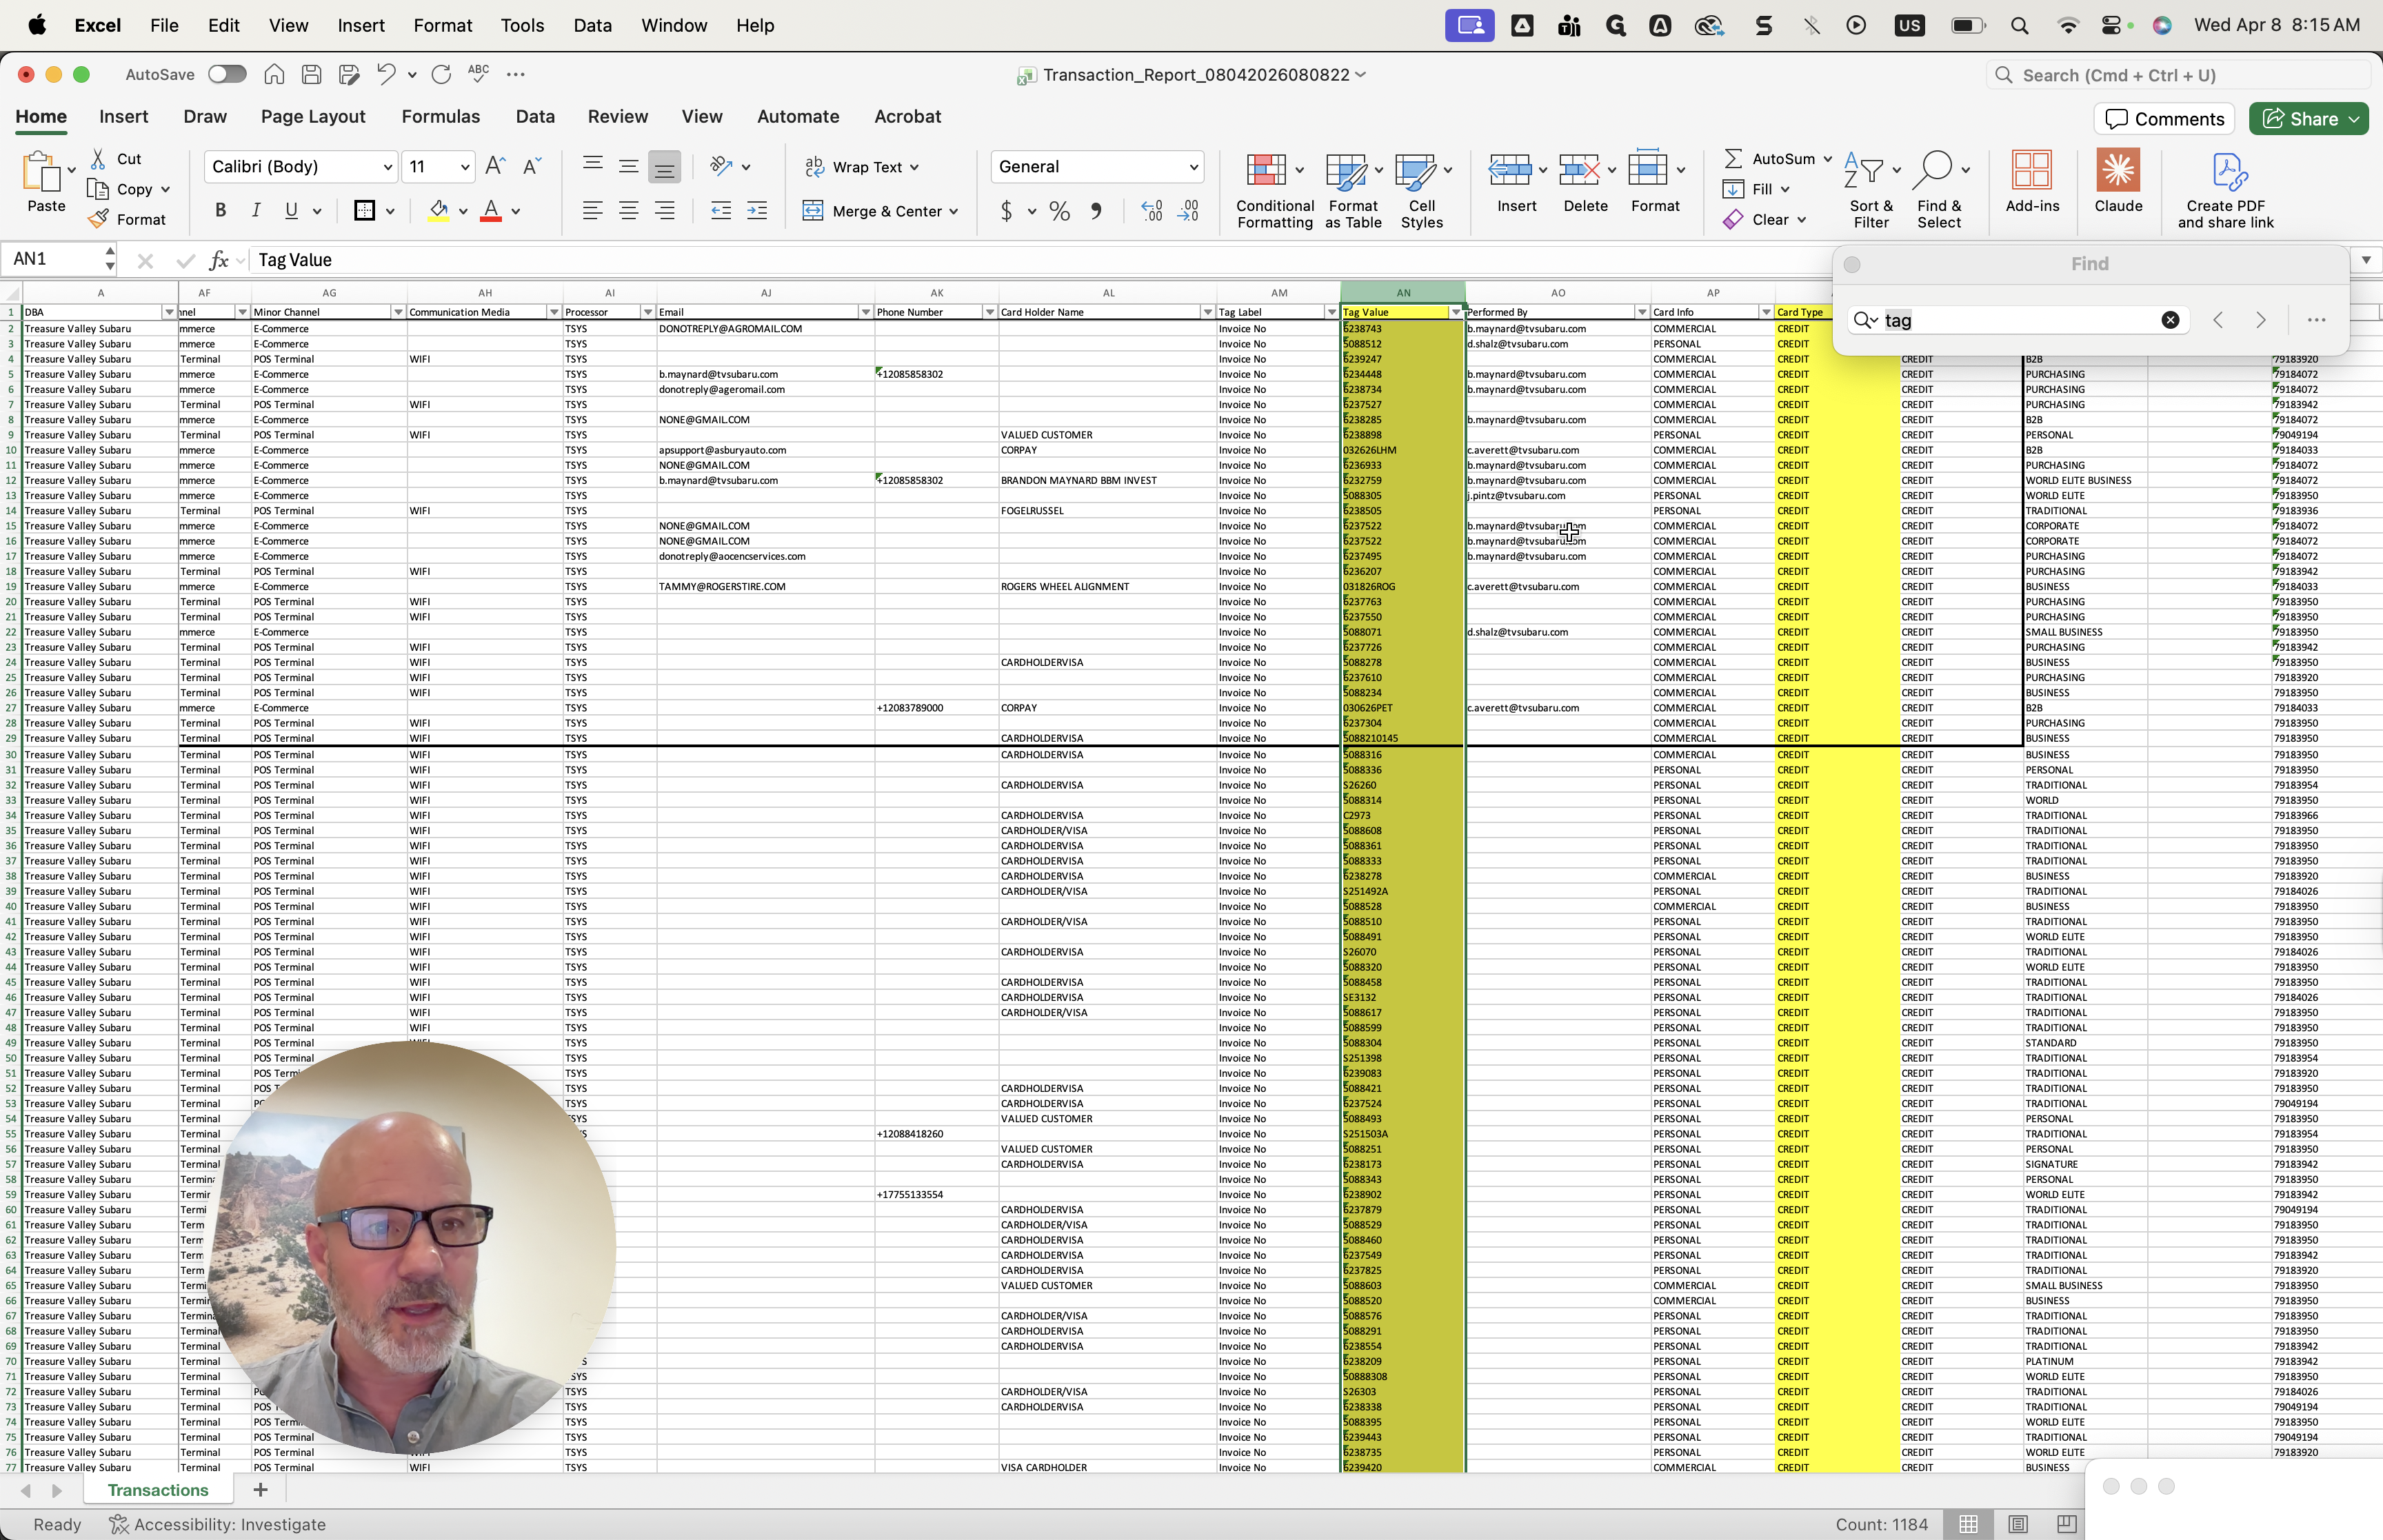
You can see who did them, and some of them are UGA. You can also see that some are U. Yes. Some of these are commercial cards, which gives you an idea of how to search for them. I hope that helps.