How to Pull the AR Report from QuickBooks: Step-by-Step Guide
Learn how to easily pull the Accounts Receivable (AR) report from QuickBooks. This step-by-step guide covers how to find, bookmark, and export your AR report for better financial management.
In this guide, we'll learn how to pull the Accounts Receivable (AR) report from QuickBooks. This process helps you find and export the information you need for your AR records, including totals and specific dates.
You'll also see how to bookmark the report for quick access in the future.
Let's get started
Okay. This guide will show you how to pull the AR report from QuickBooks so you can find the information you need for accounts receivable. First, make sure you are logged into your QuickBooks account. It's actually very simple. ... We are going to pull the report.
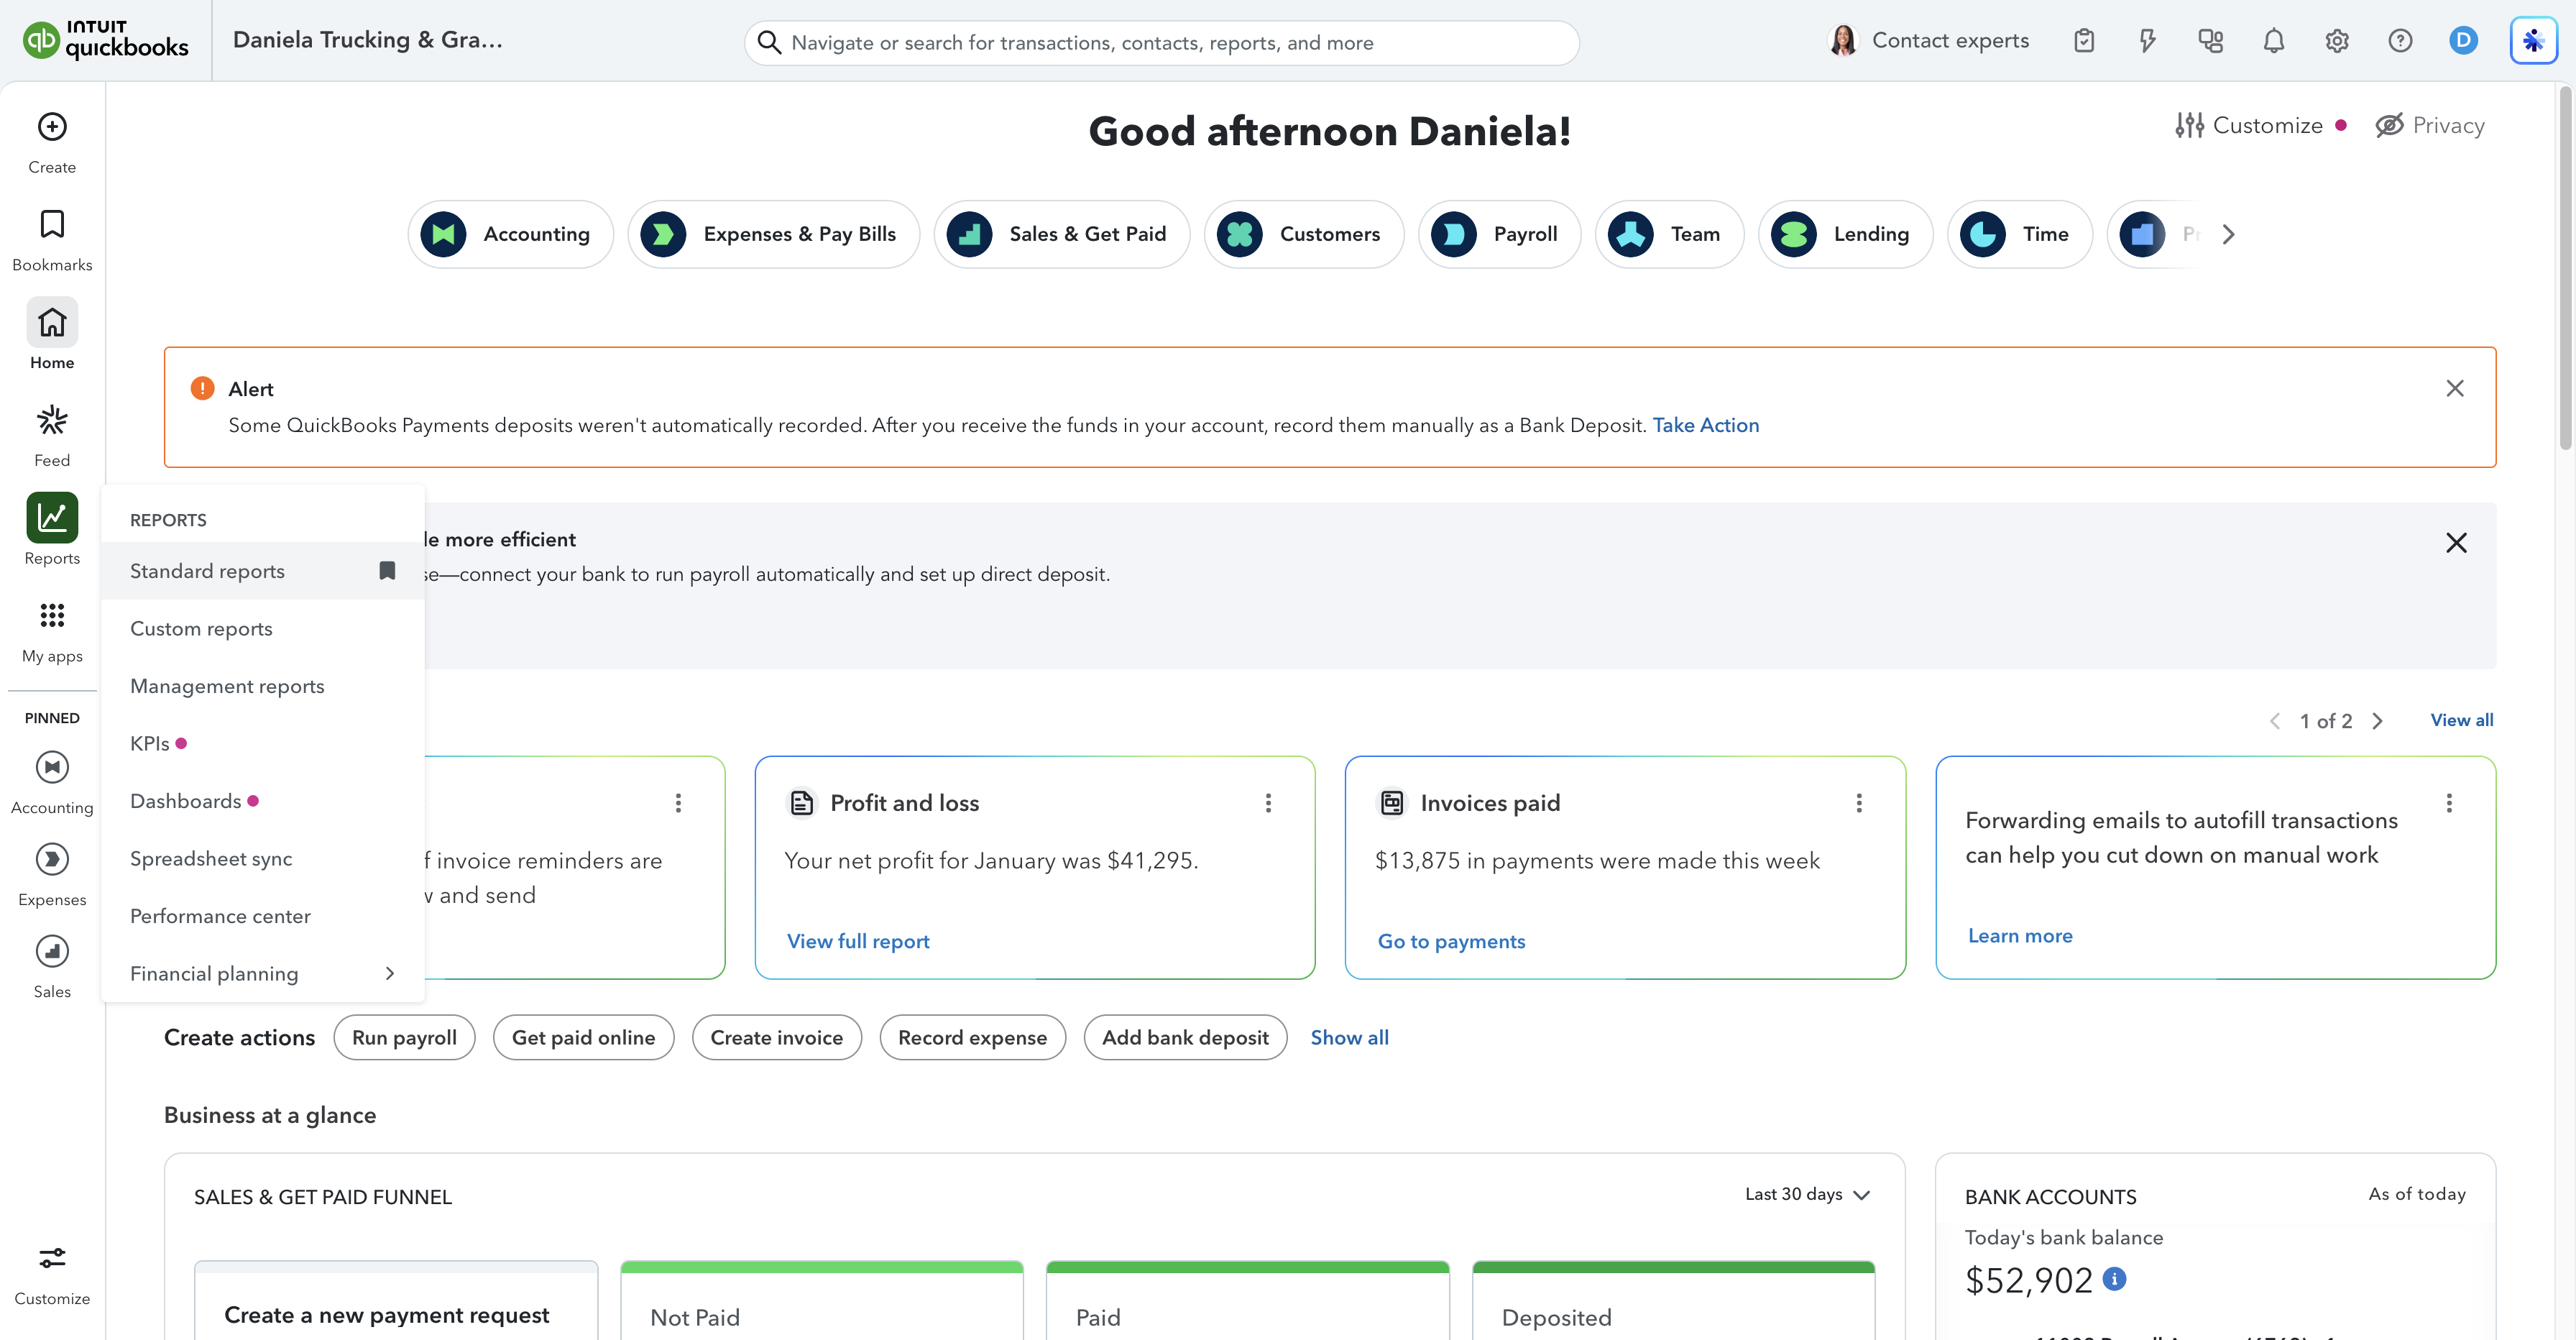
To find the AR report, look at the left-hand side and select Reports. Make sure that you bookmark it, for quicker access in the future. You can see that I have it bookmarked.
That way, it will appear under your bookmarks.
Once you hover over Reports, look for Standard Reports. Go ahead and click Standard Reports.
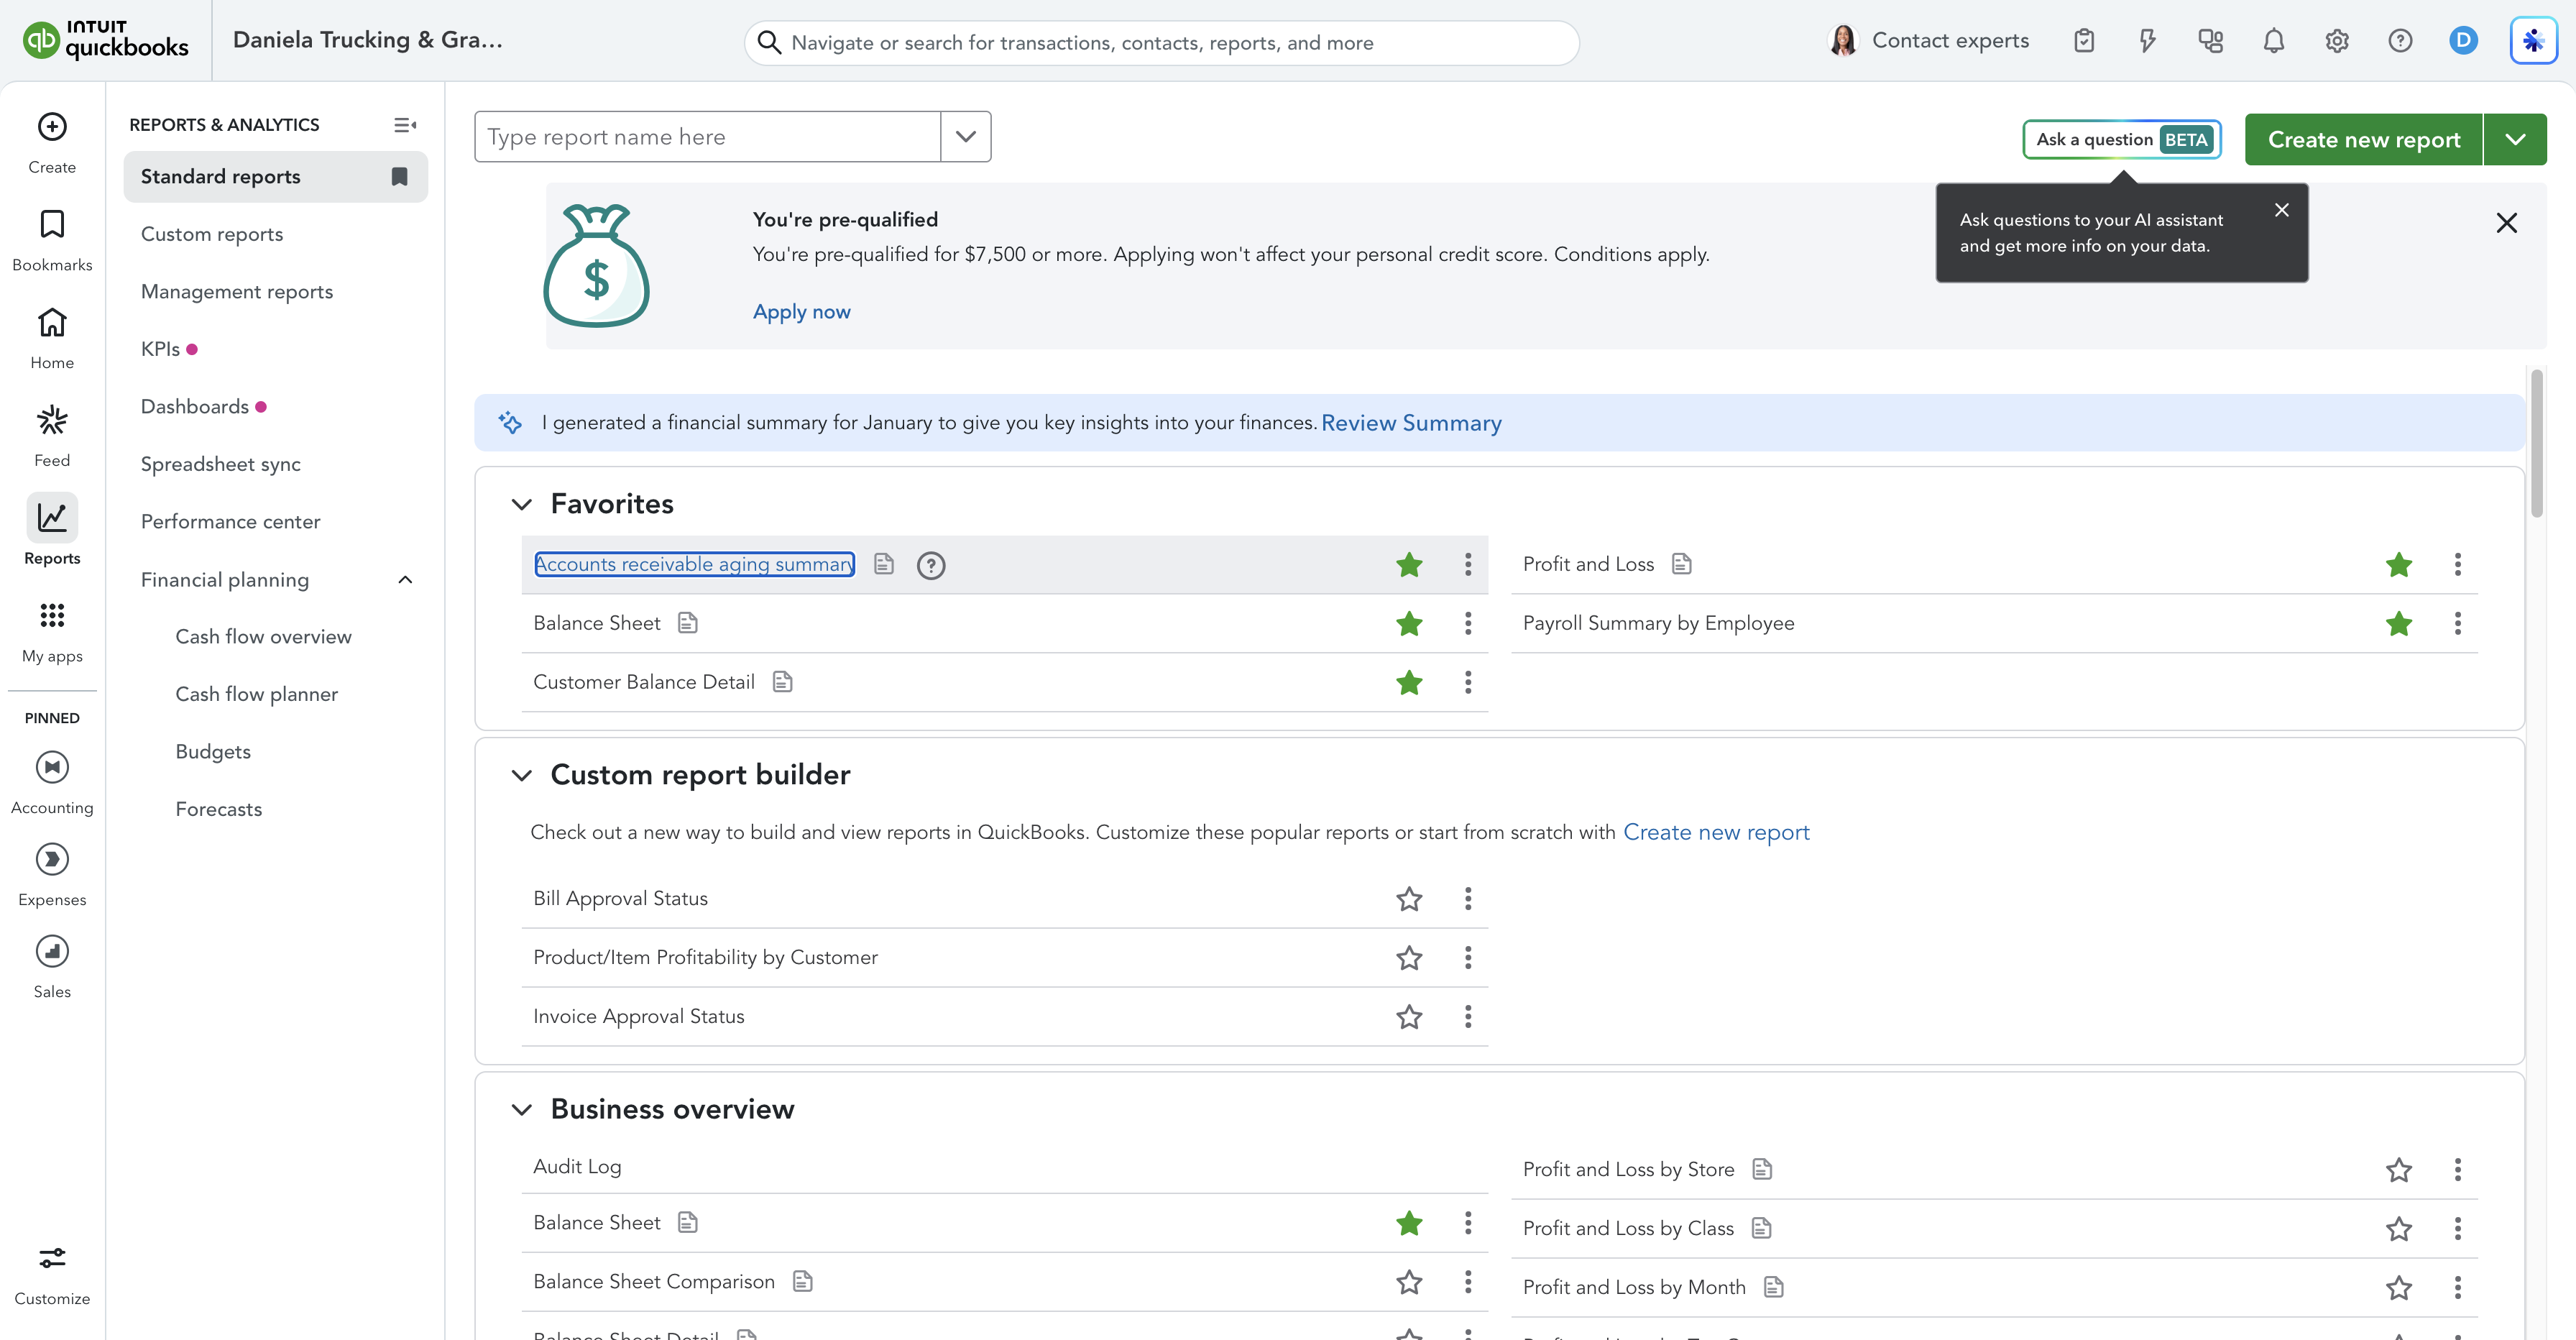
A few options will appear for you. It will always be this one: Accounts Receivable Aging Summary.
Click that option. Make sure to update the specific date you are looking for- for example, if you need the AR Report to show you up to a specific date, for example the 15th, make sure to update that "as of" date.
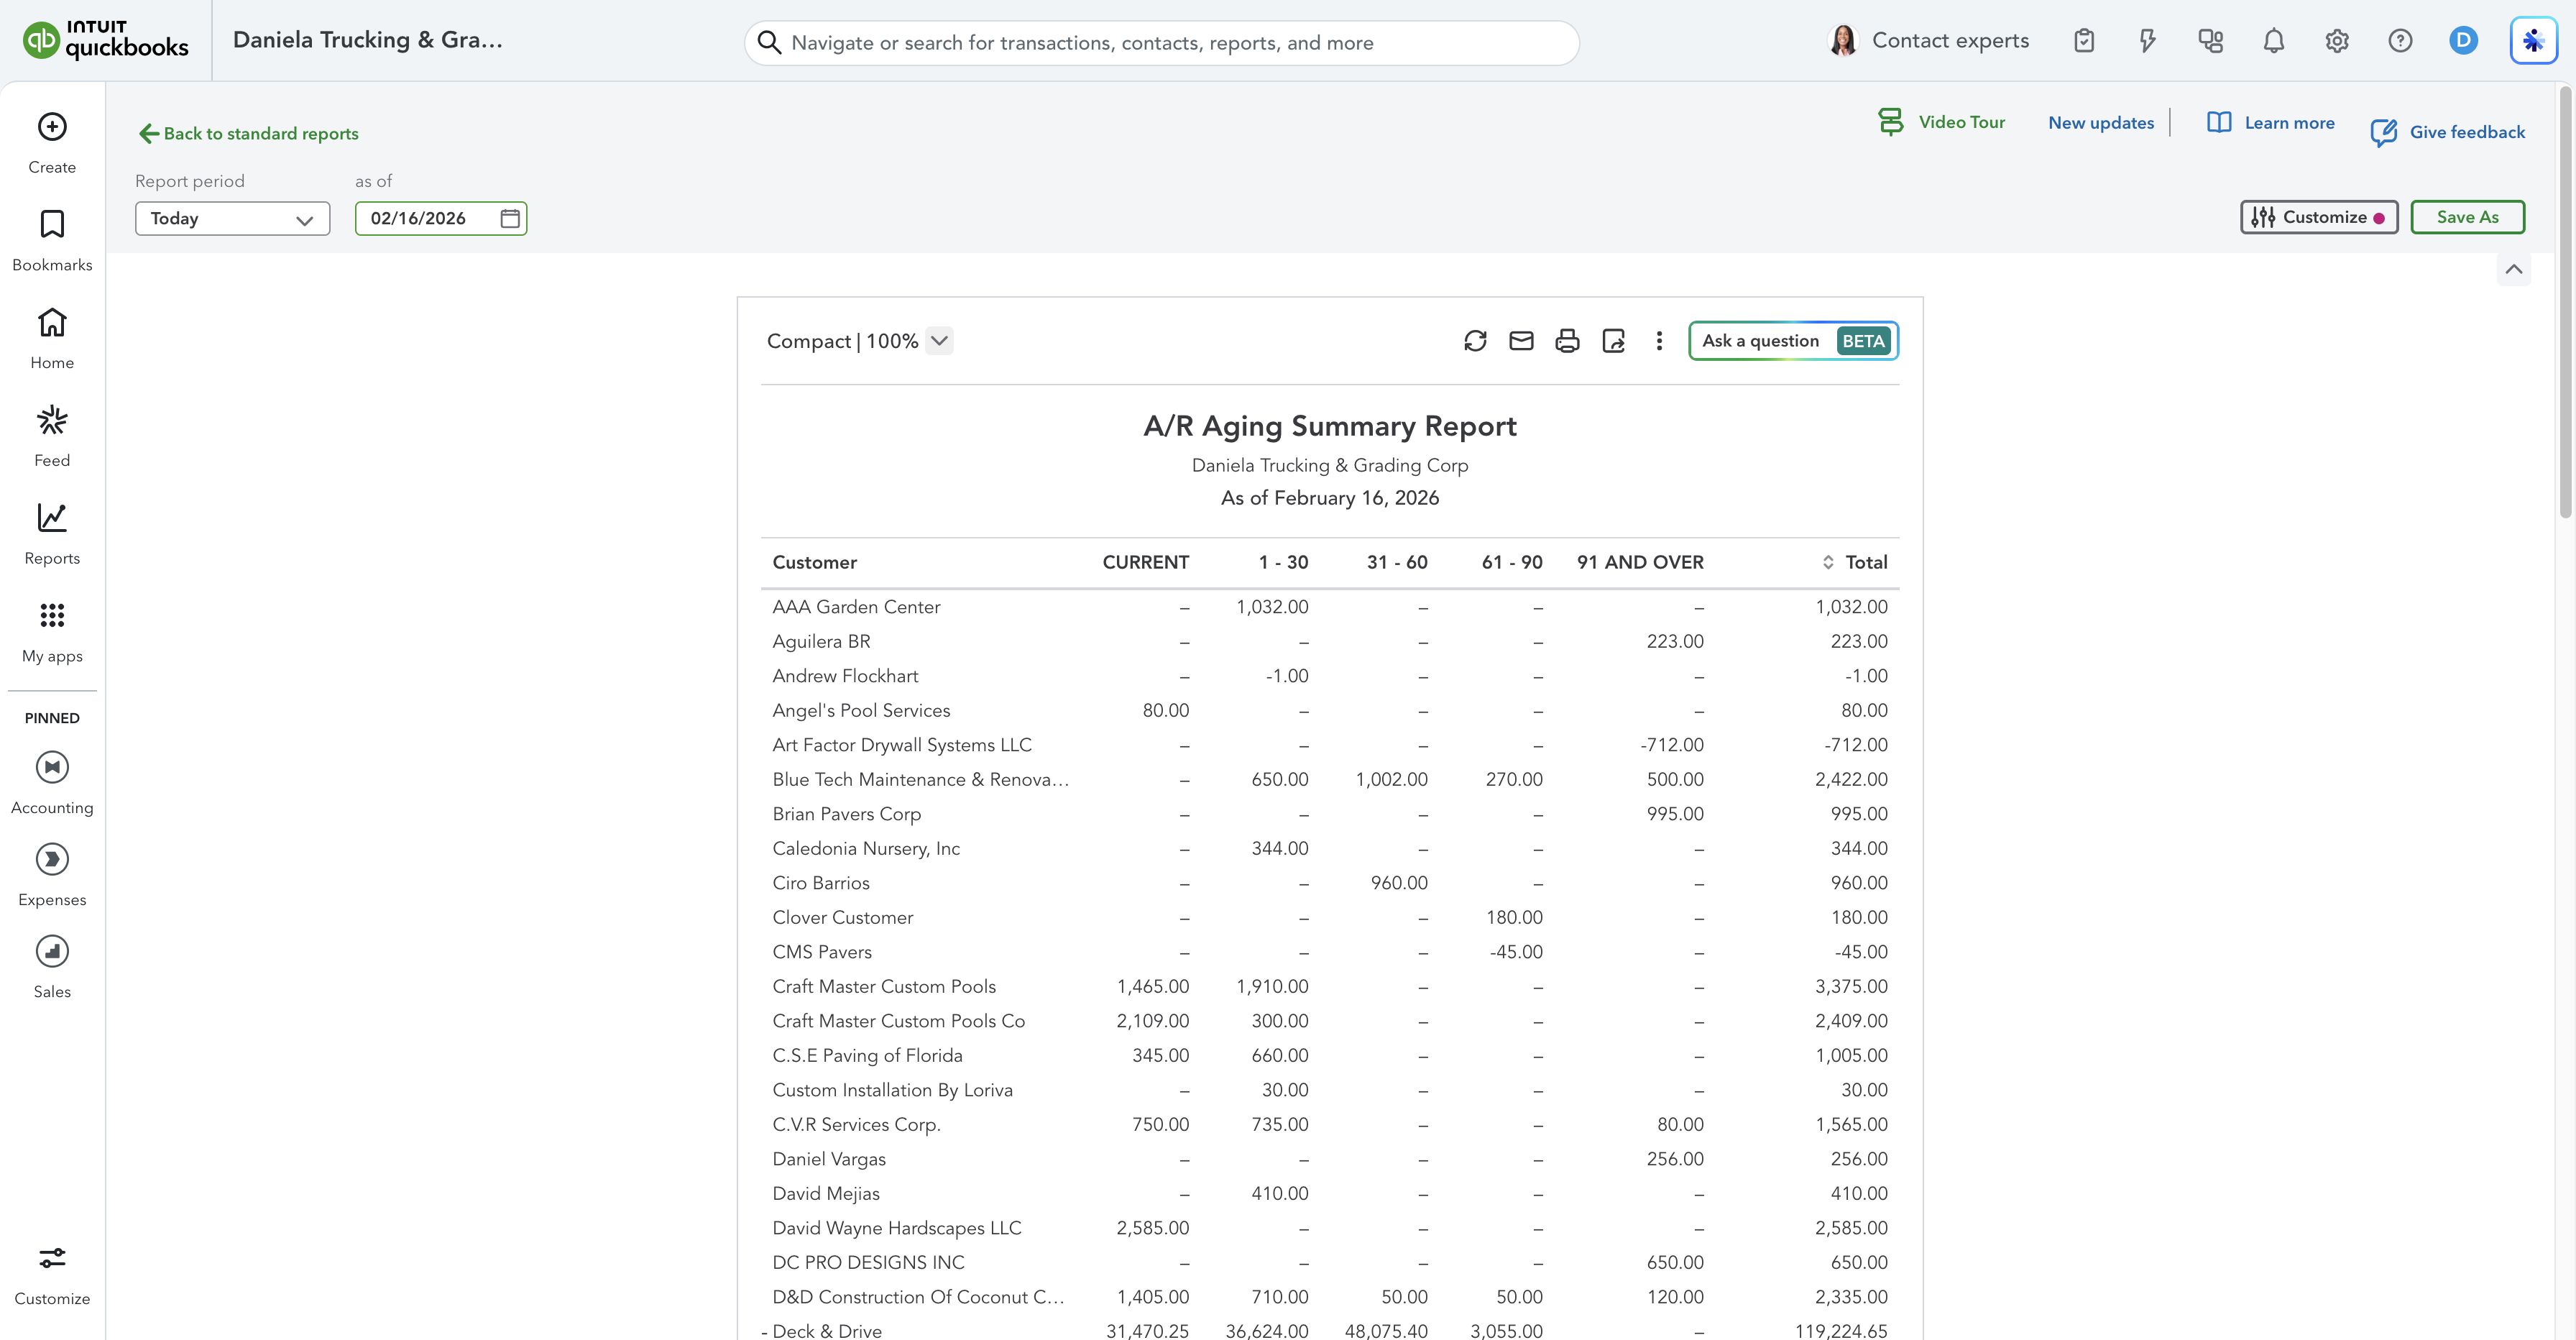
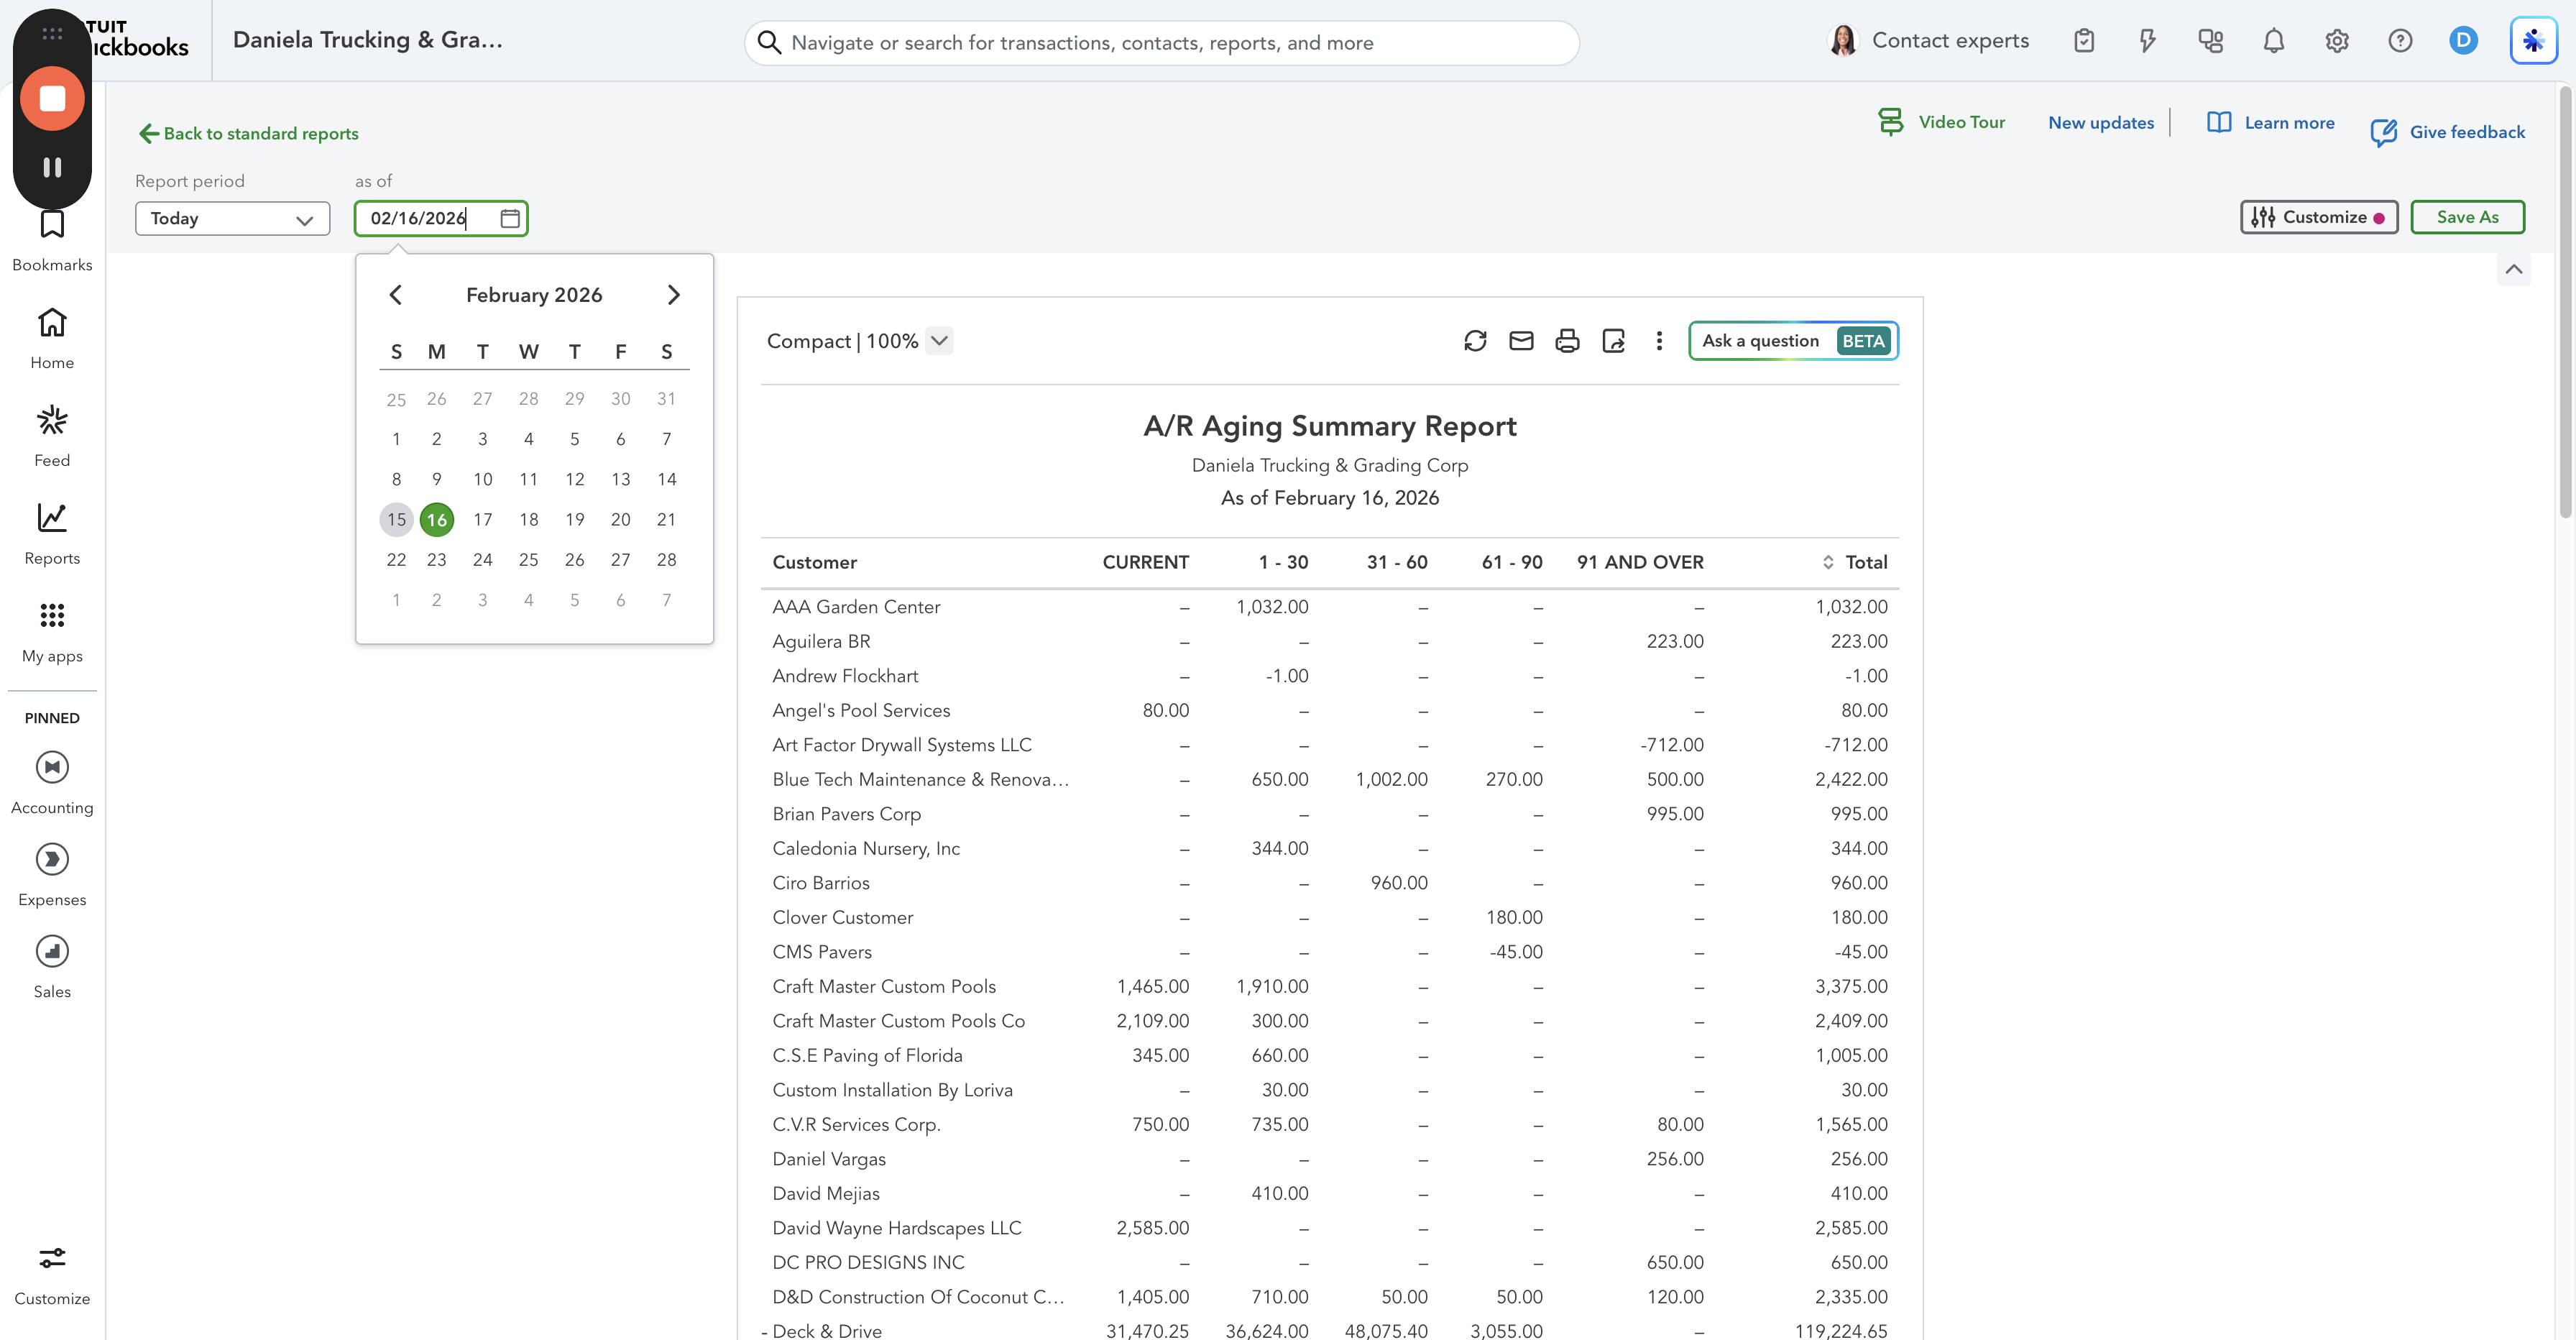
Click on the 15th. You will see that the AR report is now showing as of February 15th.
Scroll to the bottom to see the totals. If you scroll to the top, you'll see the dates. You can always export it if you need to, by clicking the export button at the top of the report itself.