How to Blur Sensitive Information from Screenshots in Glitter
Learn how to redact, remove, or blur sensitive information, like personally identifiable information (PII) from screenshots using Glitter
In this guide, we'll learn how to redact, remove, or blur sensitive information from screenshots in Glitter, a software that aids in creating step-by-step guides. This process is crucial when your captured screenshots include information that you may not want to be publicly accessible.
Understanding the Need for Redaction
While creating guides, you may inadvertently capture screenshots that contain personally identifiable information (PII). This could be anything from names, email addresses, phone numbers, or any other data that could be used to identify an individual. It's essential to ensure that such information is not made available to the general public to maintain privacy and adhere to data protection regulations.
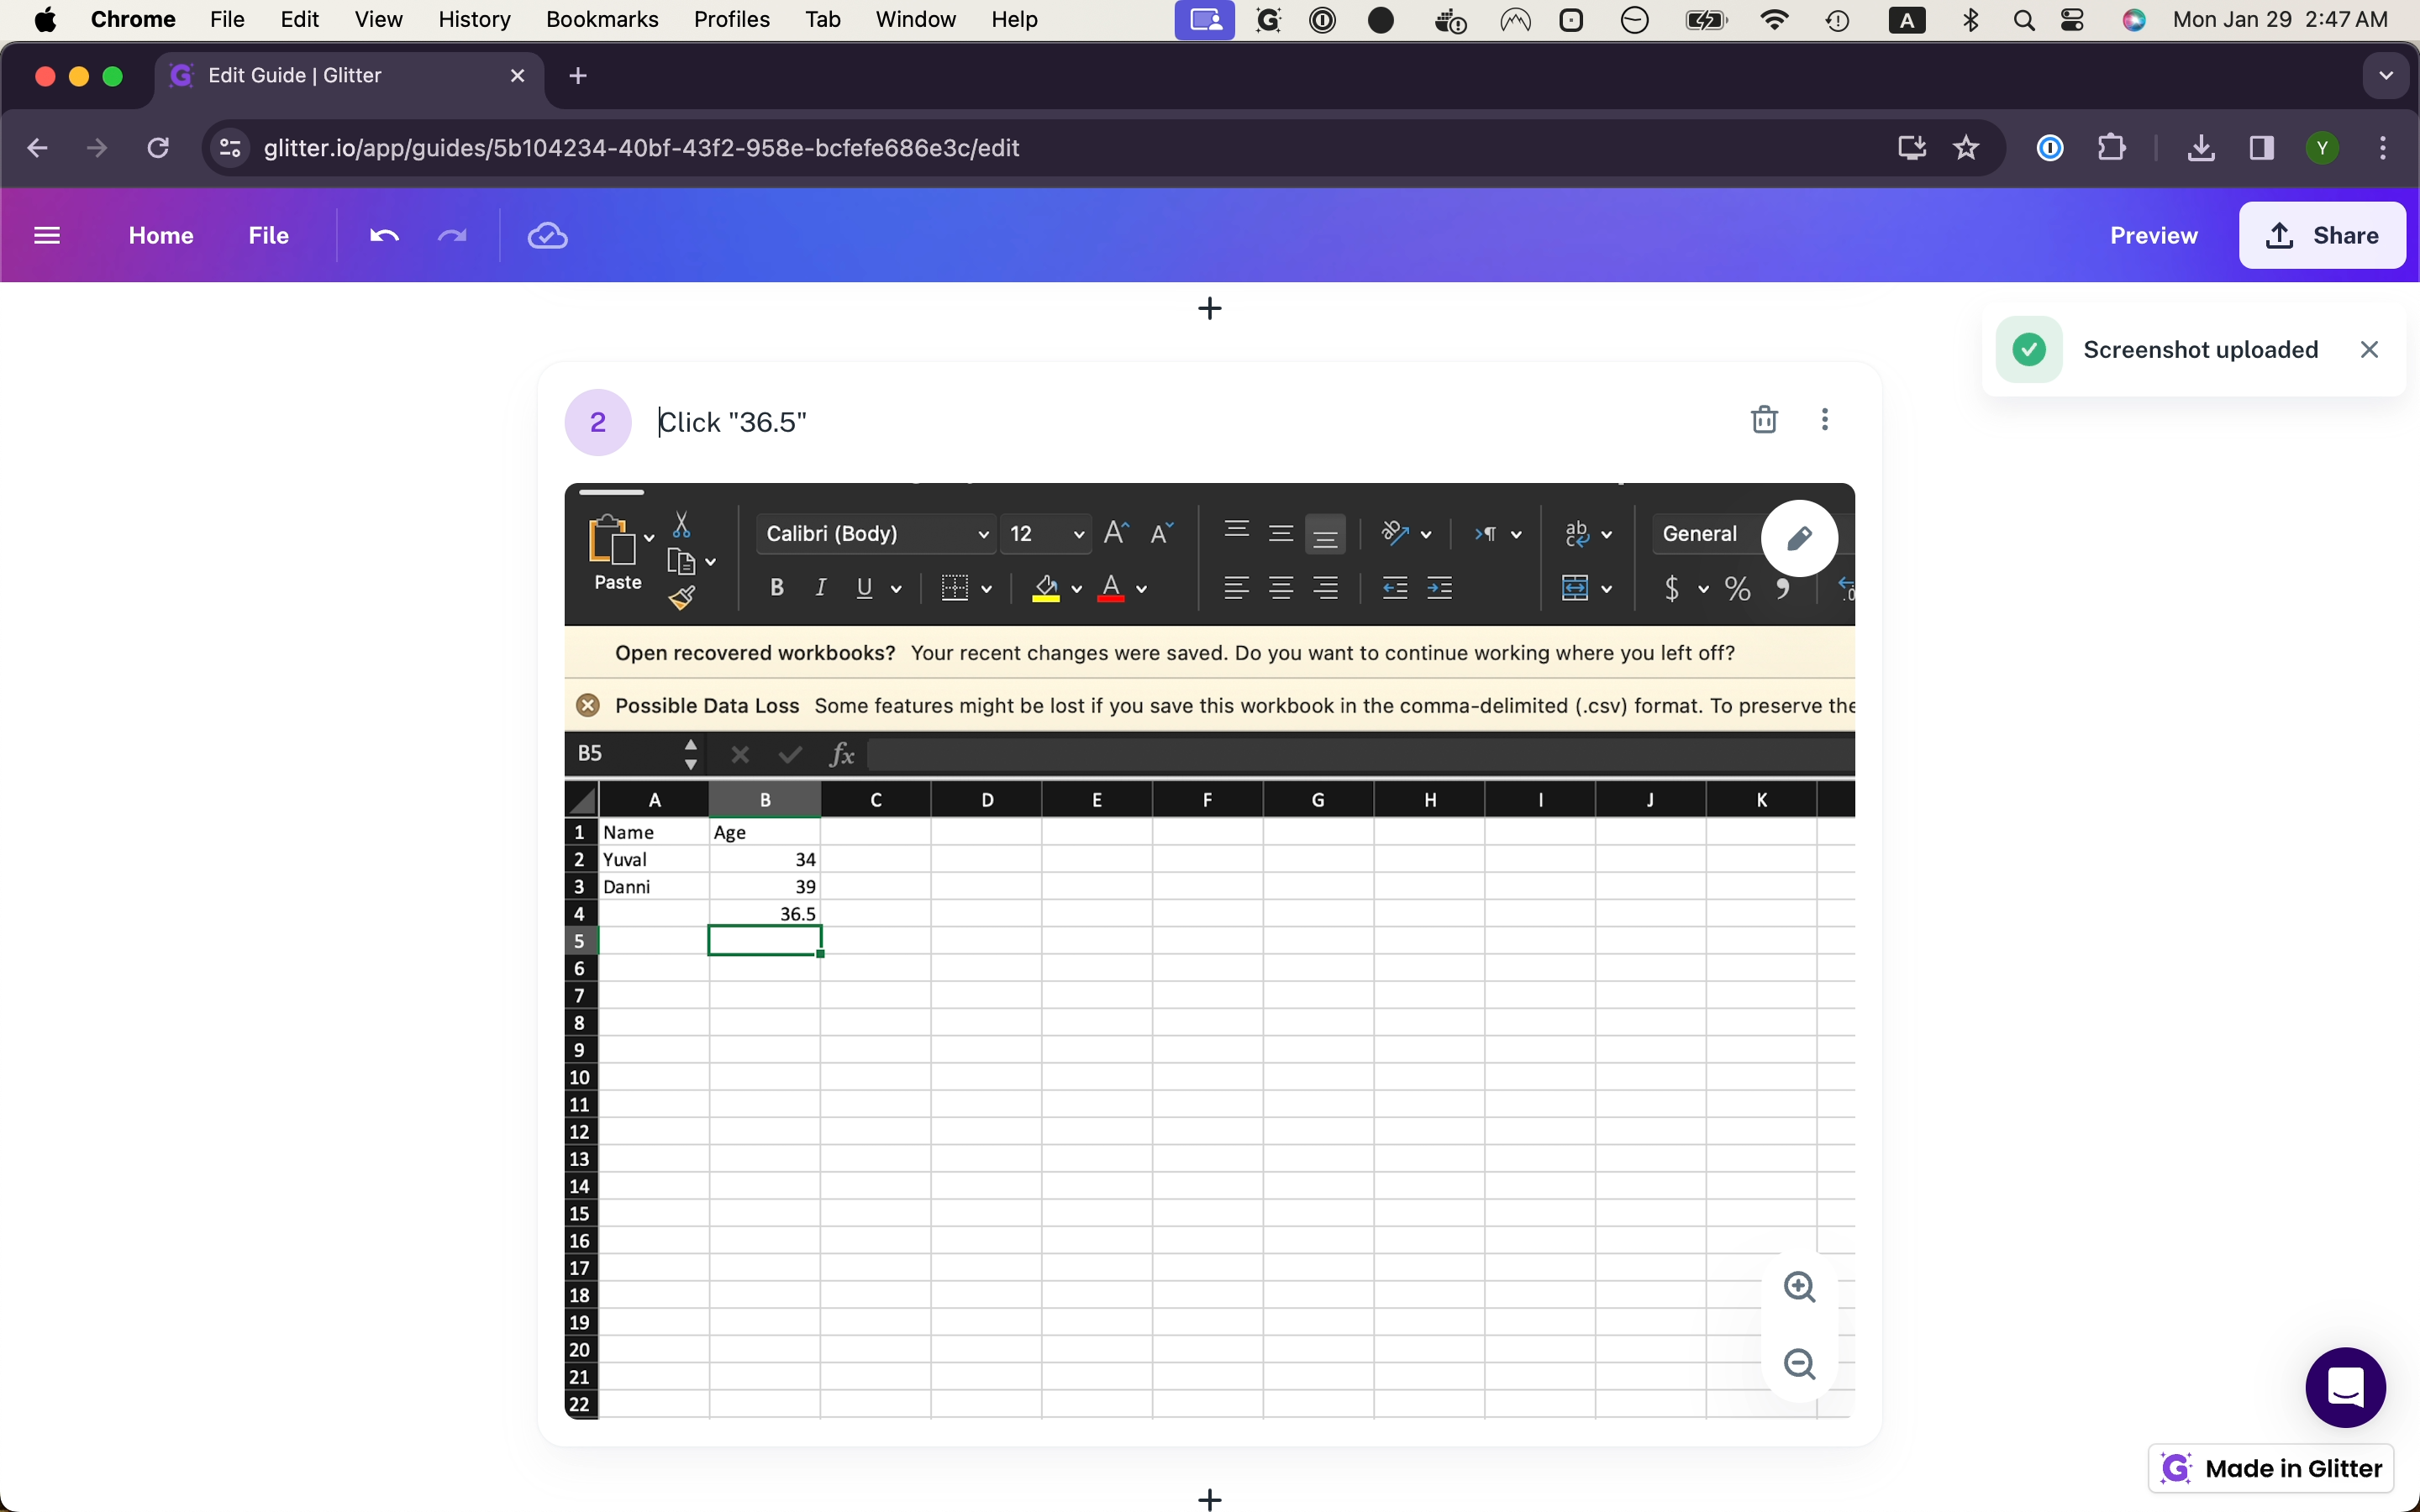
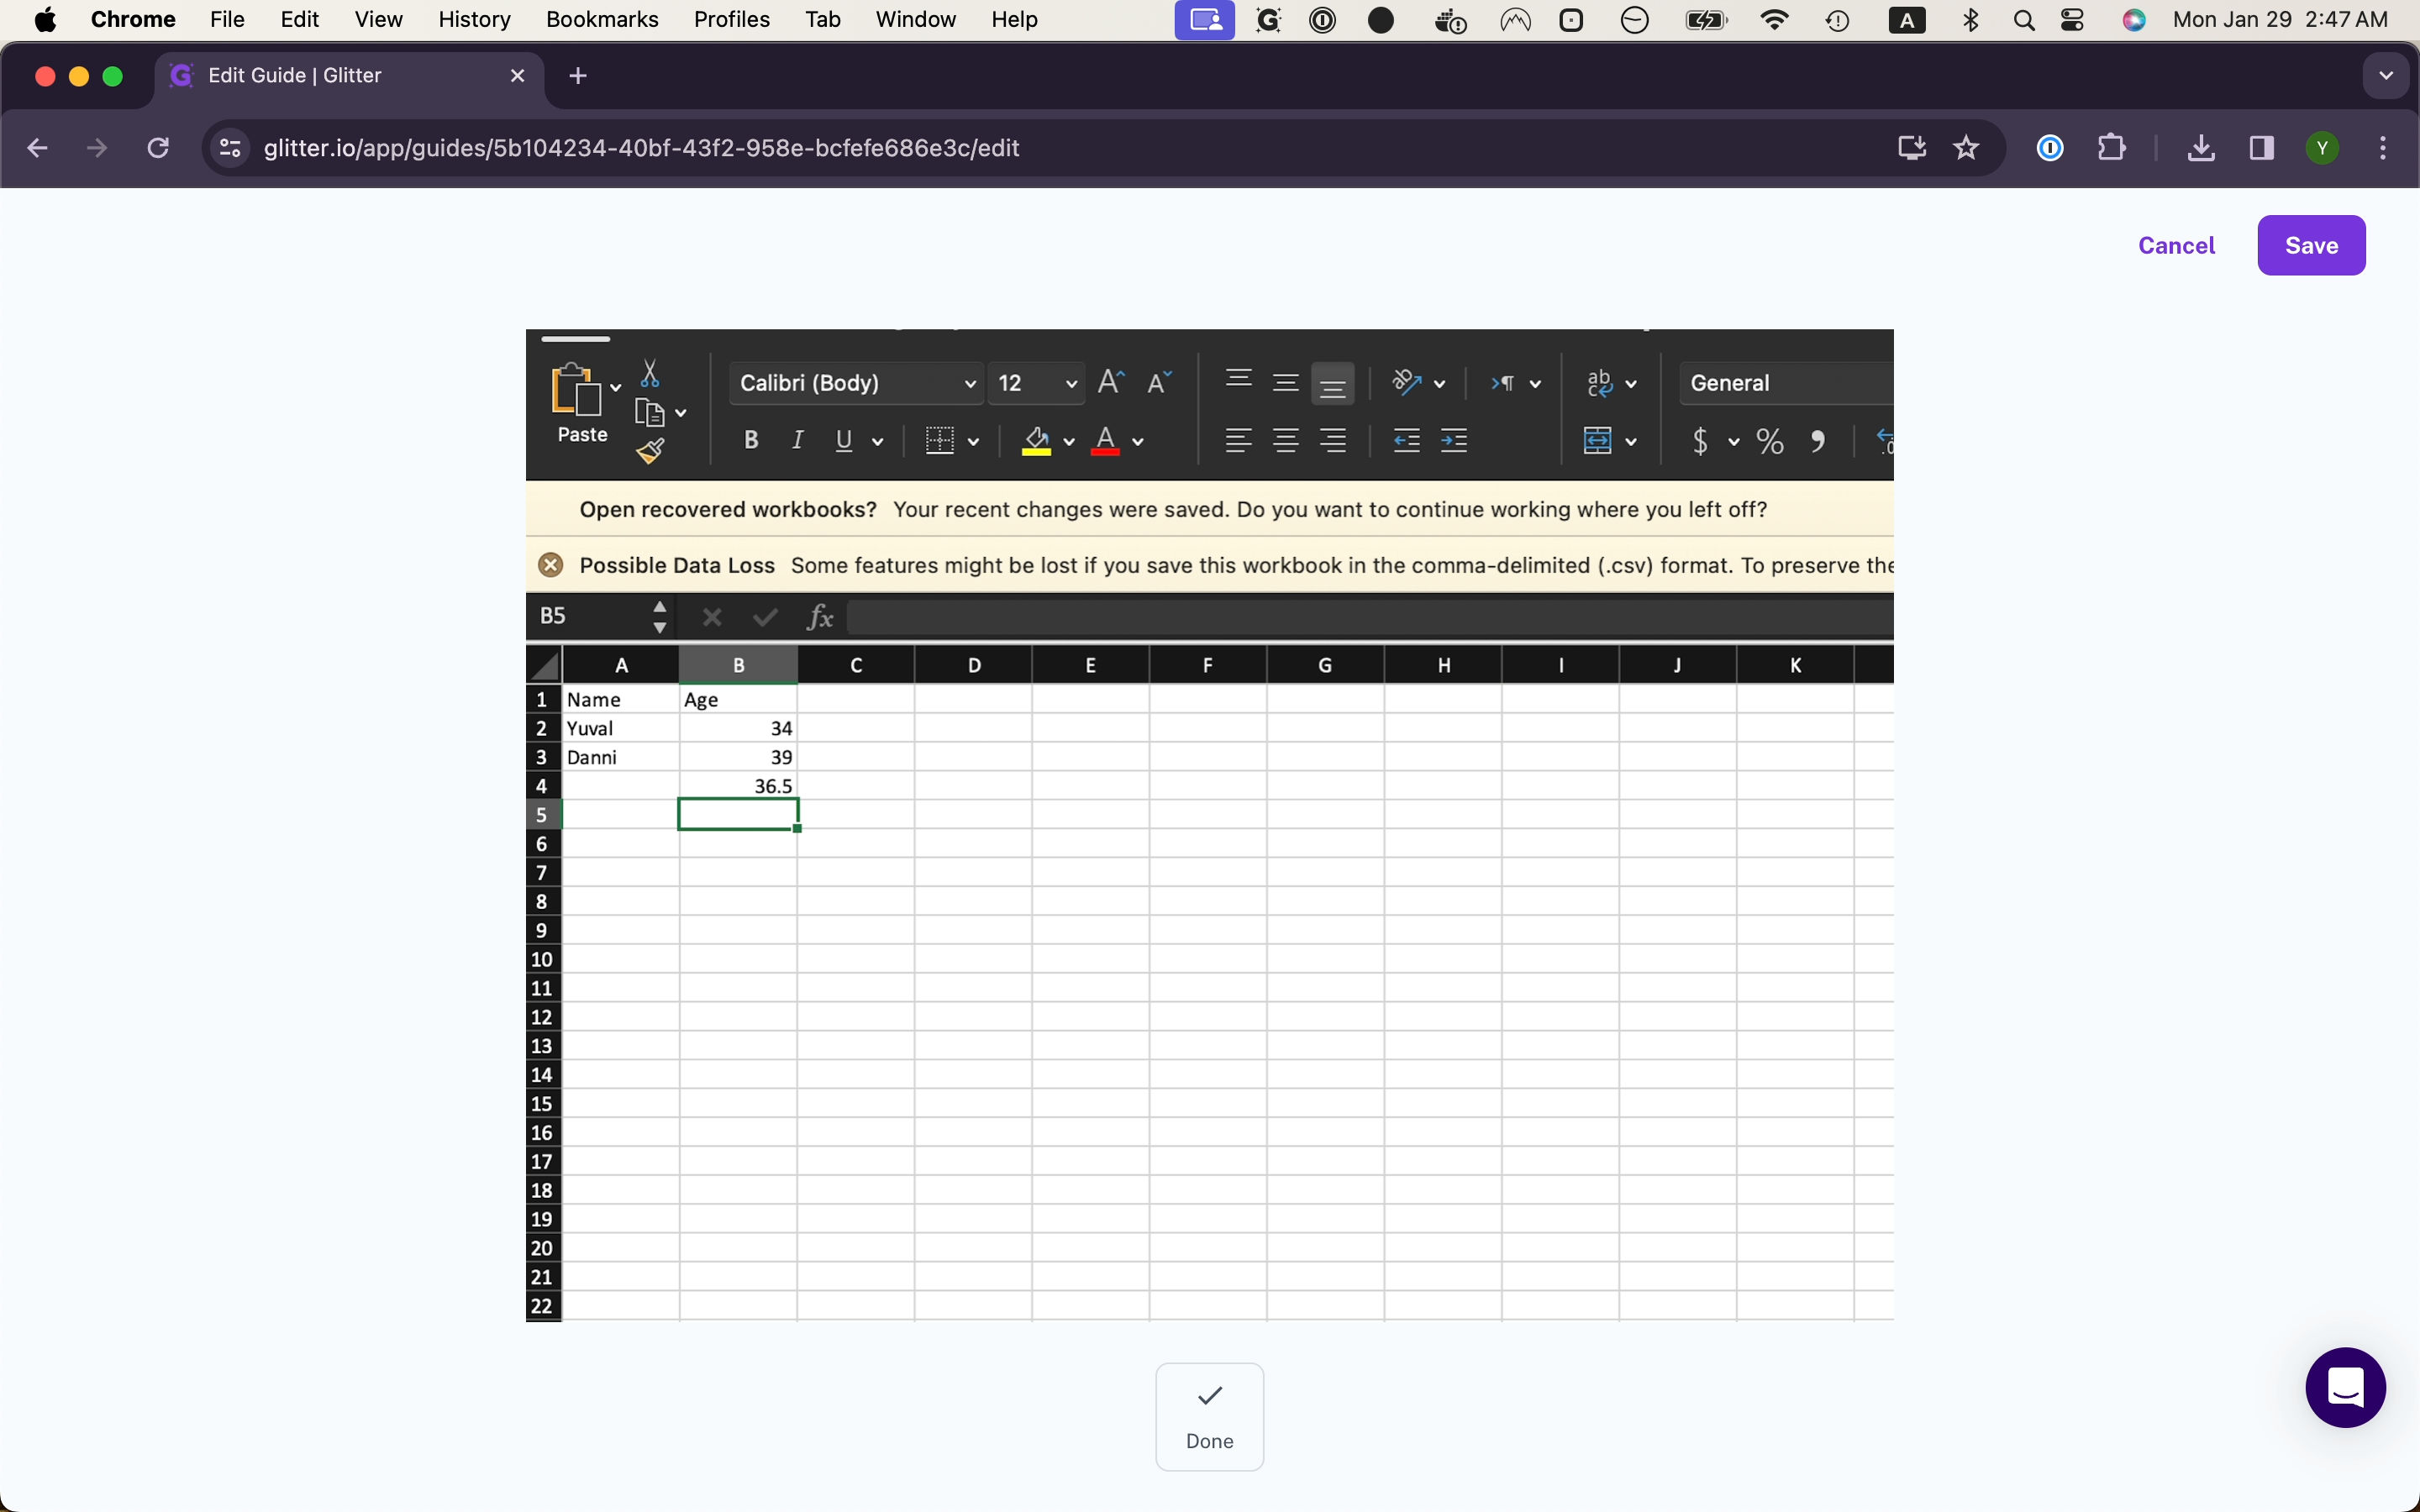
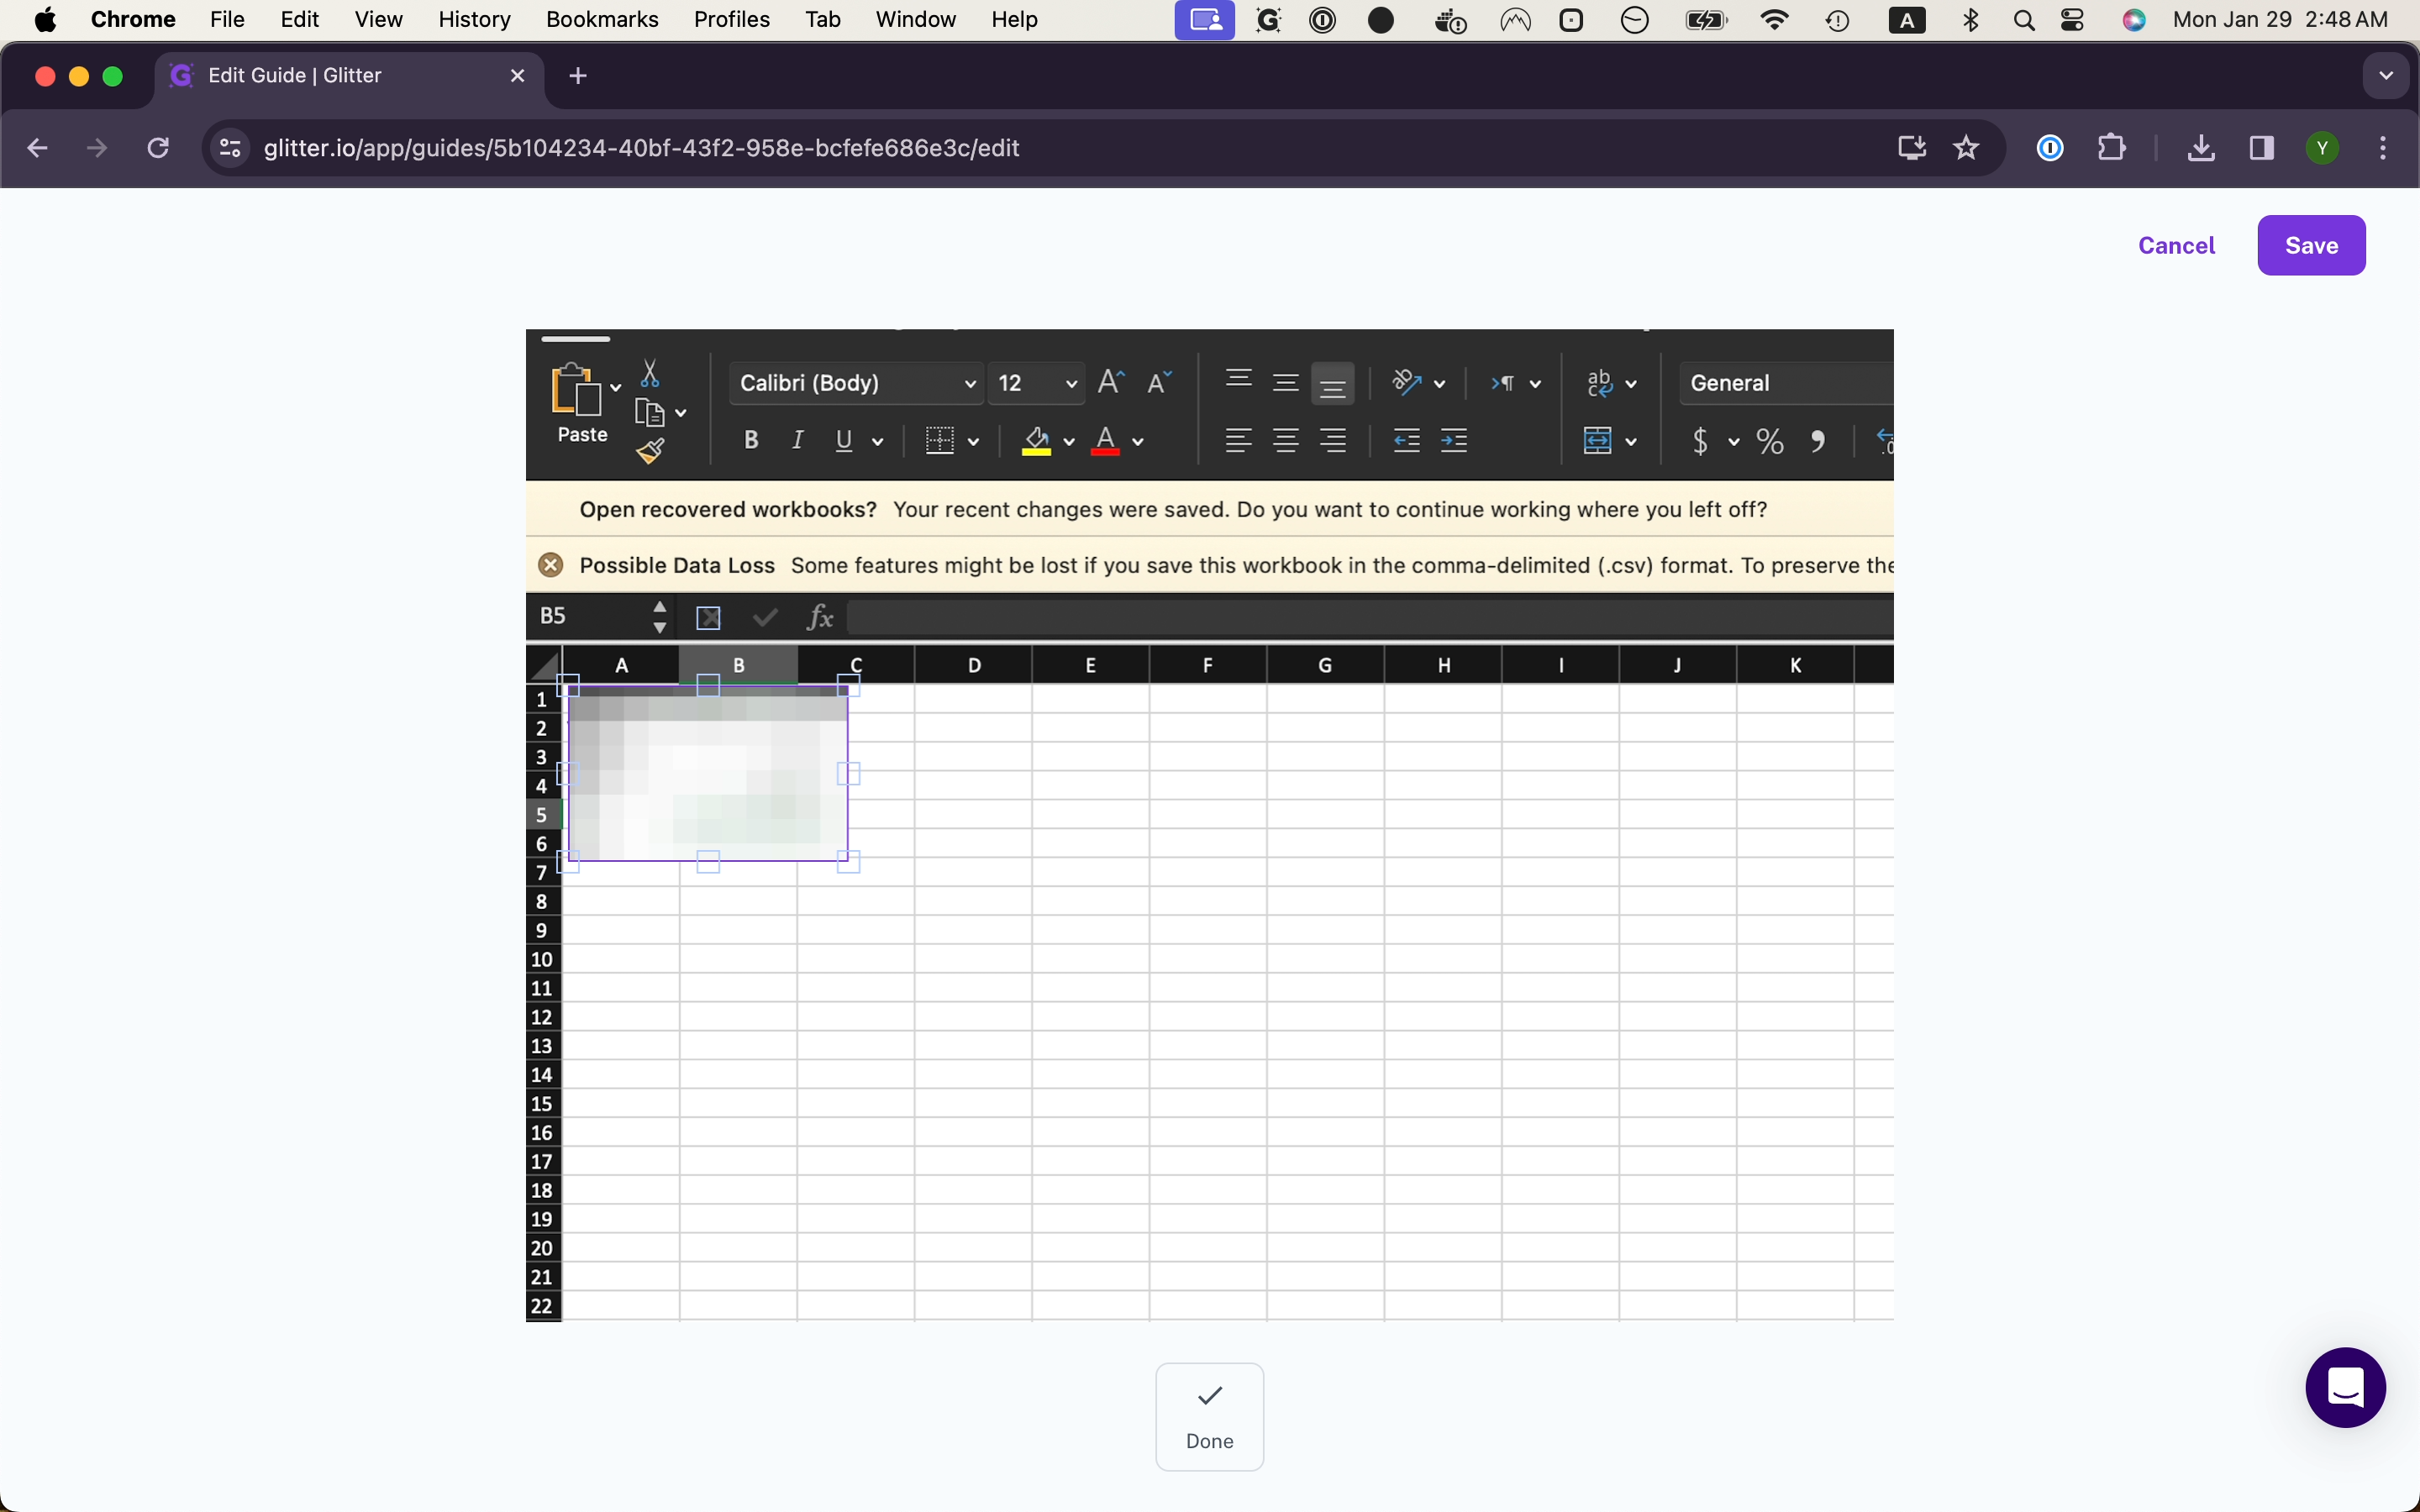
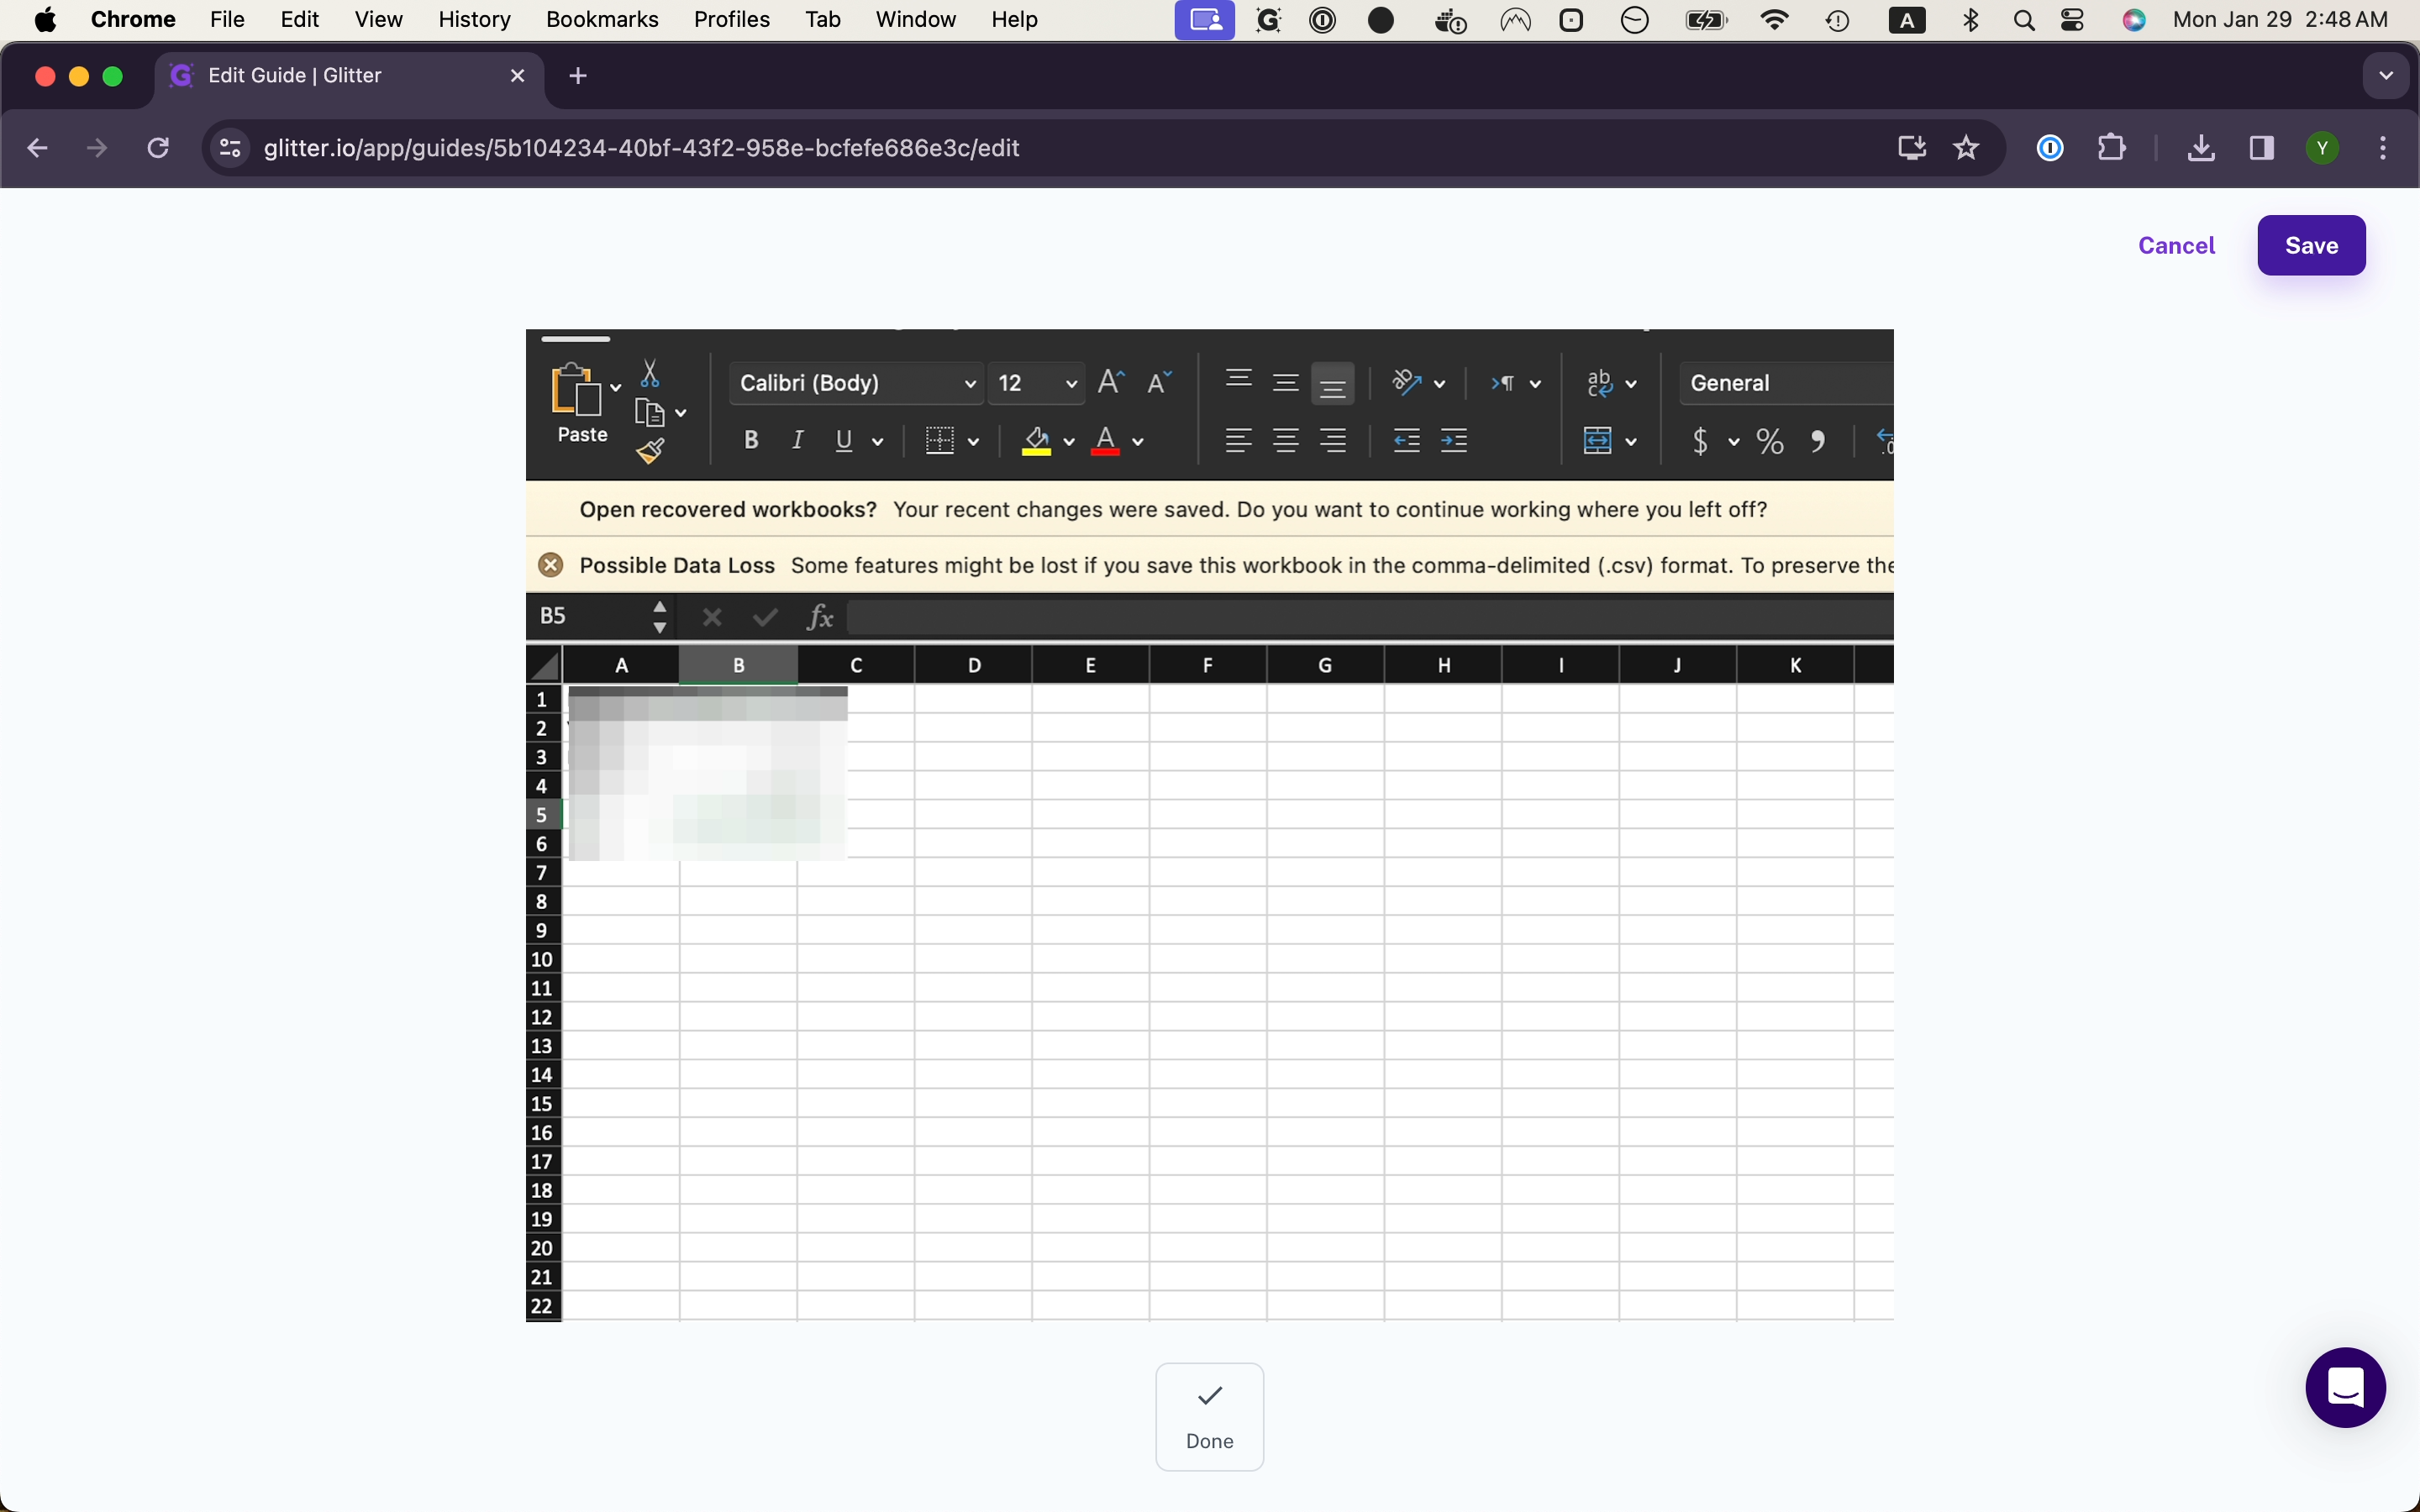
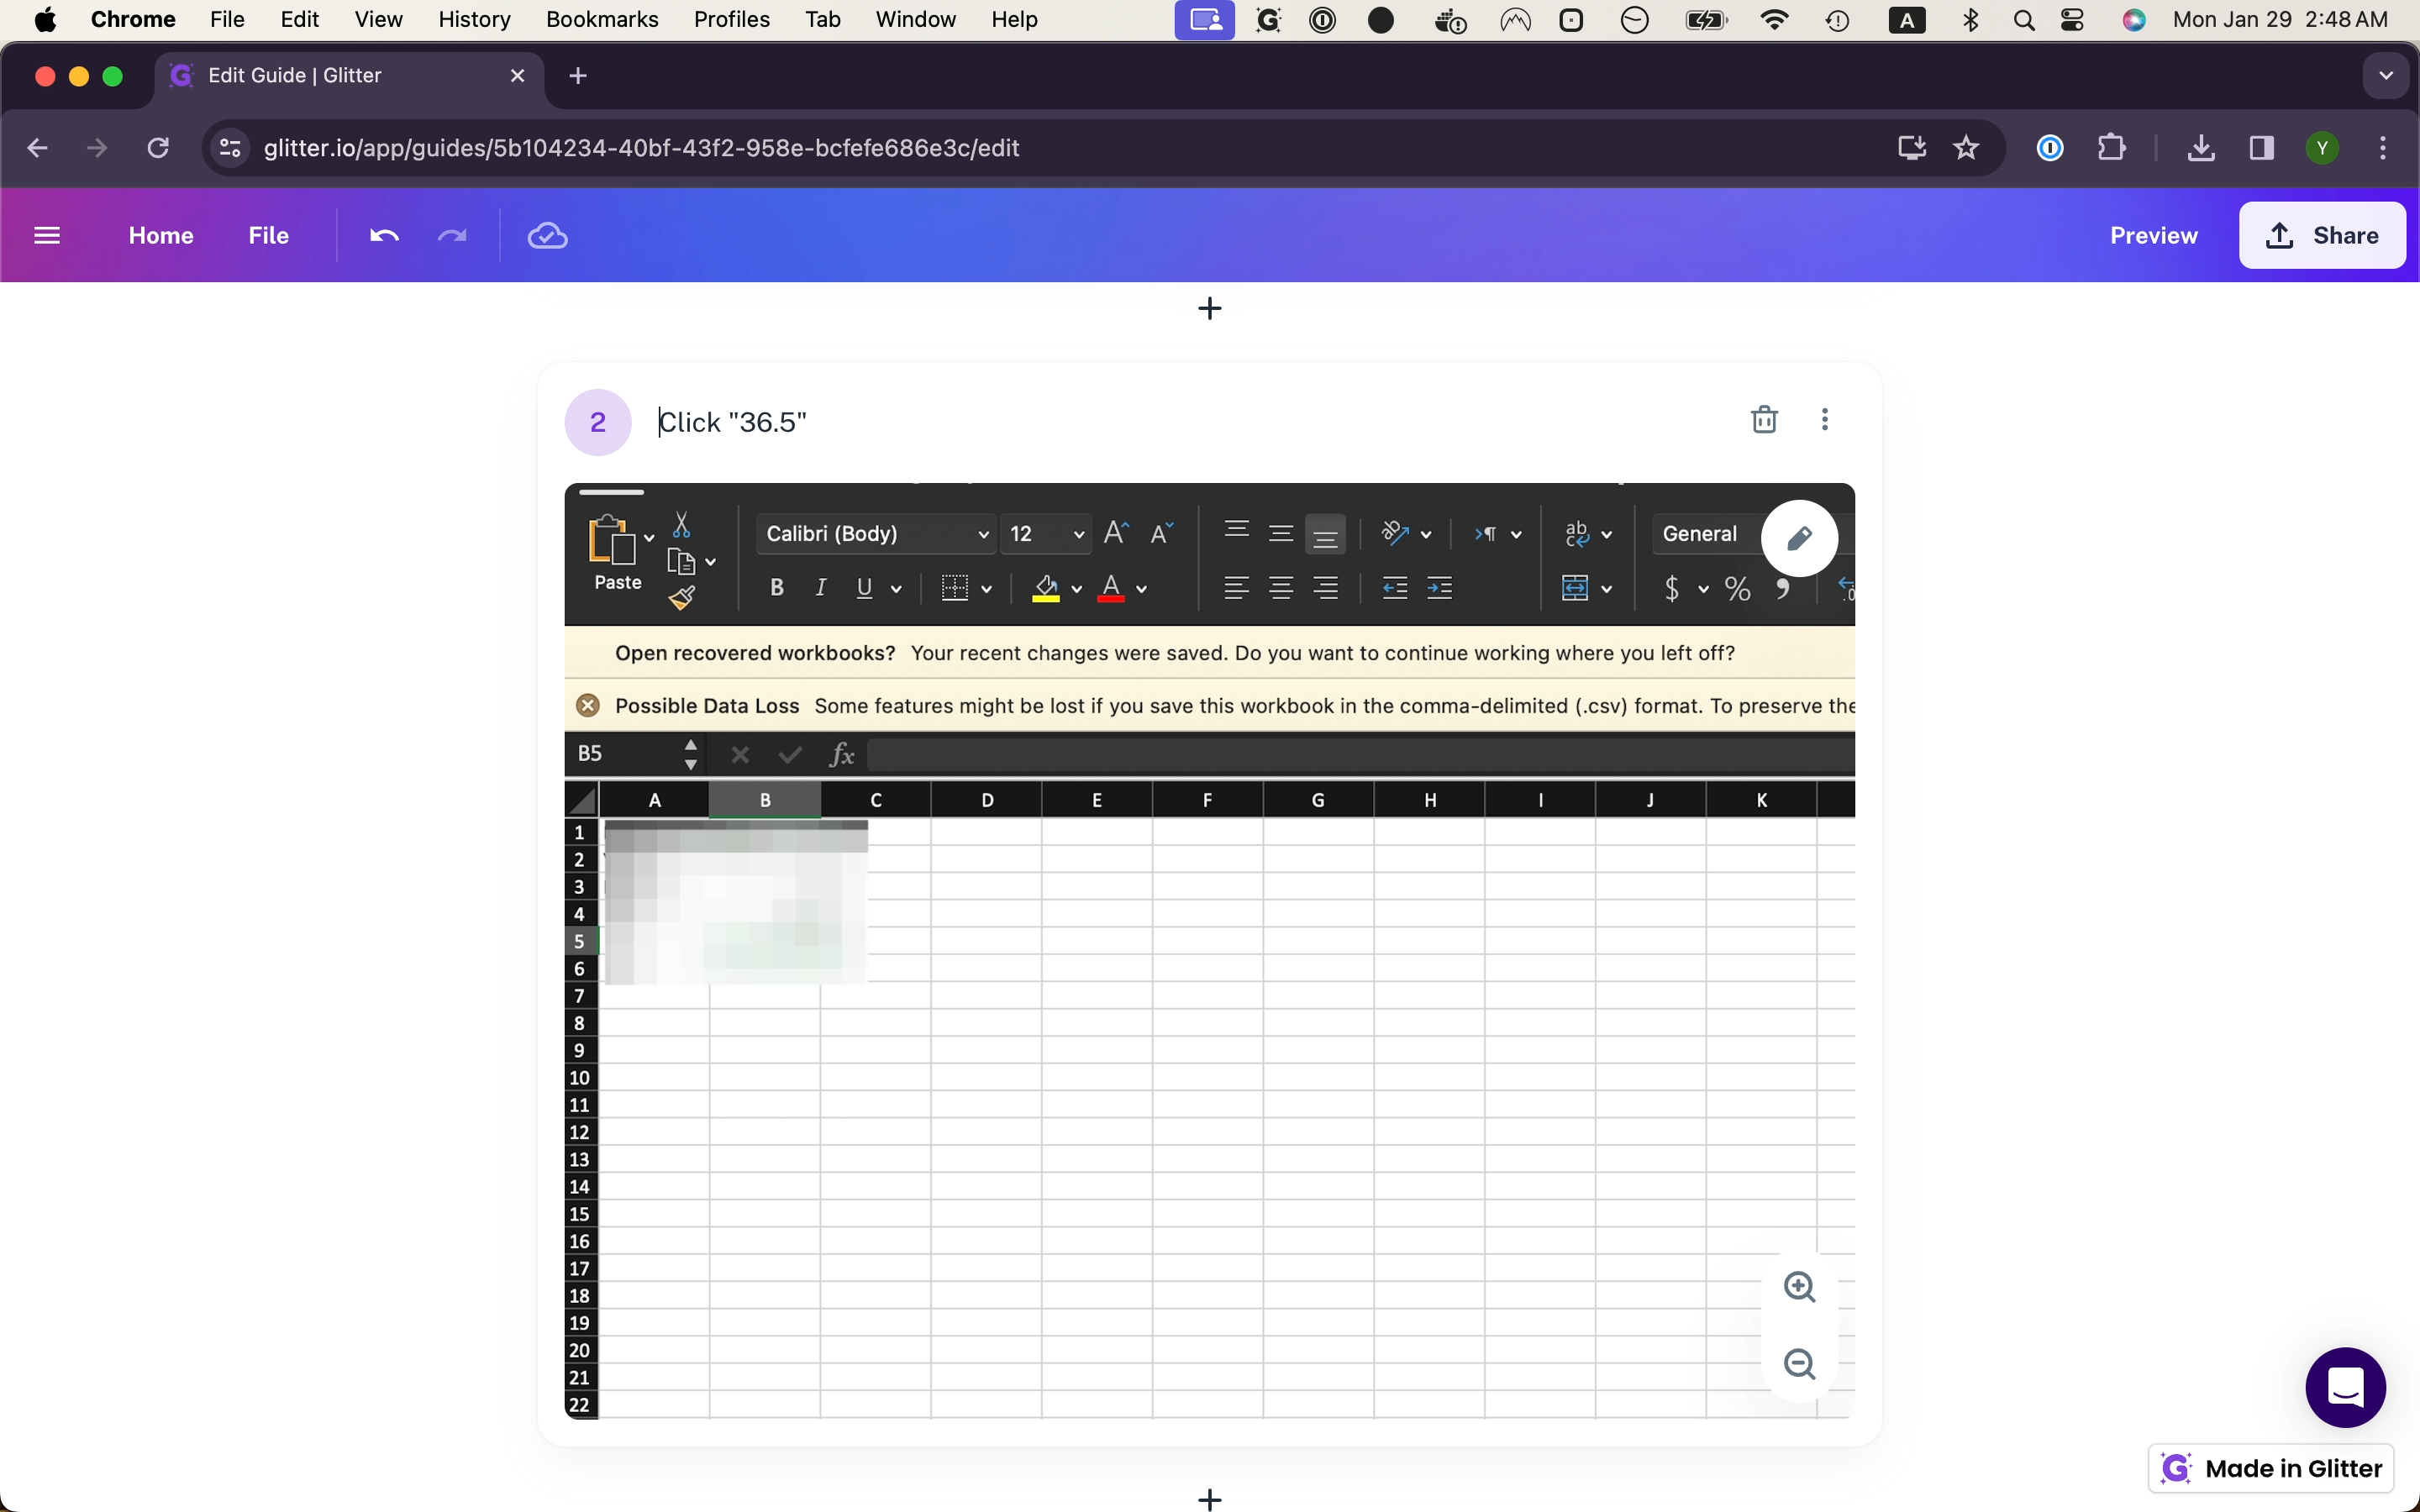
Redacting Information in Glitter
Redacting information in Glitter is a straightforward process. The software provides a simple-to-use feature that allows you to edit your screenshots and blur out any sensitive information. This is done by clicking on the pencil icon to edit, and then using the redact feature to pixelate the information you wish to hide. Once the changes are saved, a new version of the file is uploaded, effectively removing the PII from view.
In the following sections, we will delve into the step-by-step process of how to effectively redact information from your screenshots in Glitter.