How to Reference Original Invoice Numbers in Sage 100 for Gensco Returns
Learn the step-by-step process for referencing original invoice numbers and managing mixed returns in Sage 100 for Gensco, including handling multiple PM numbers and PO numbers efficiently.
By Rose Gomez
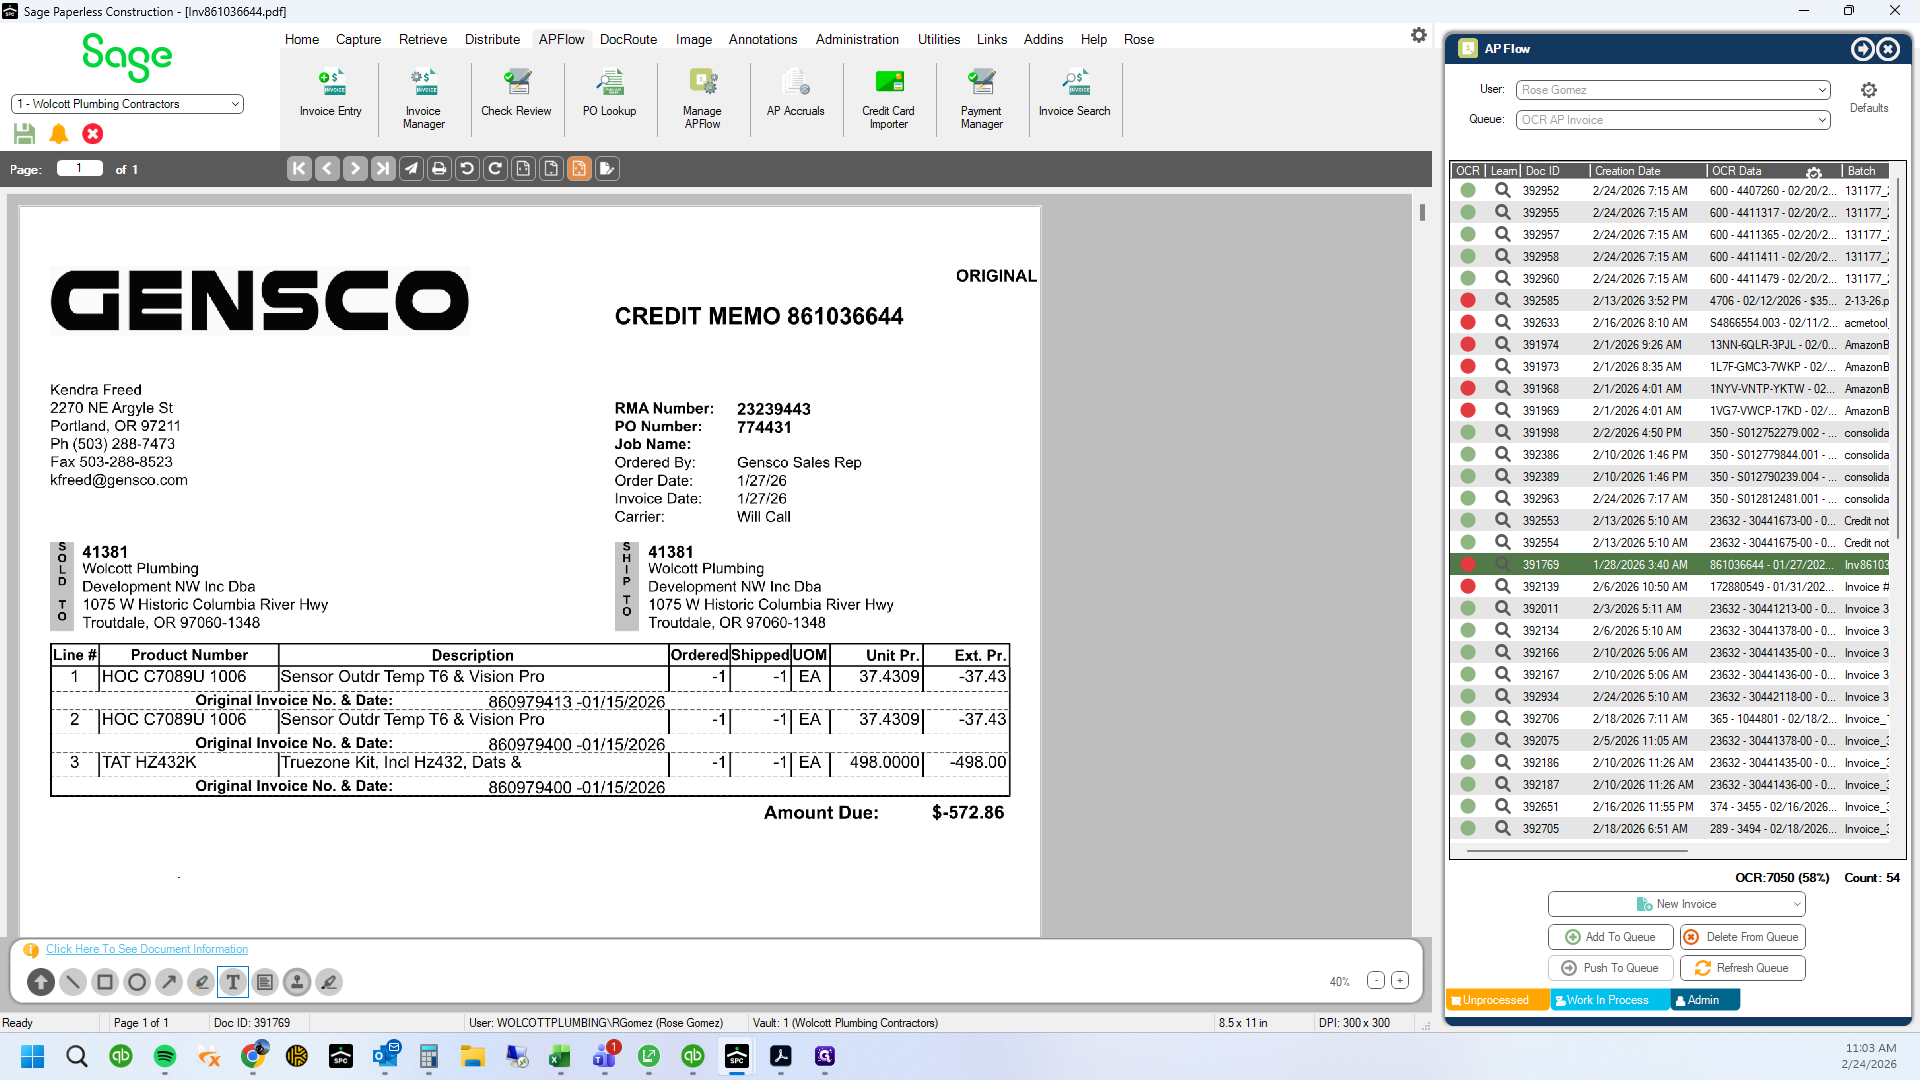
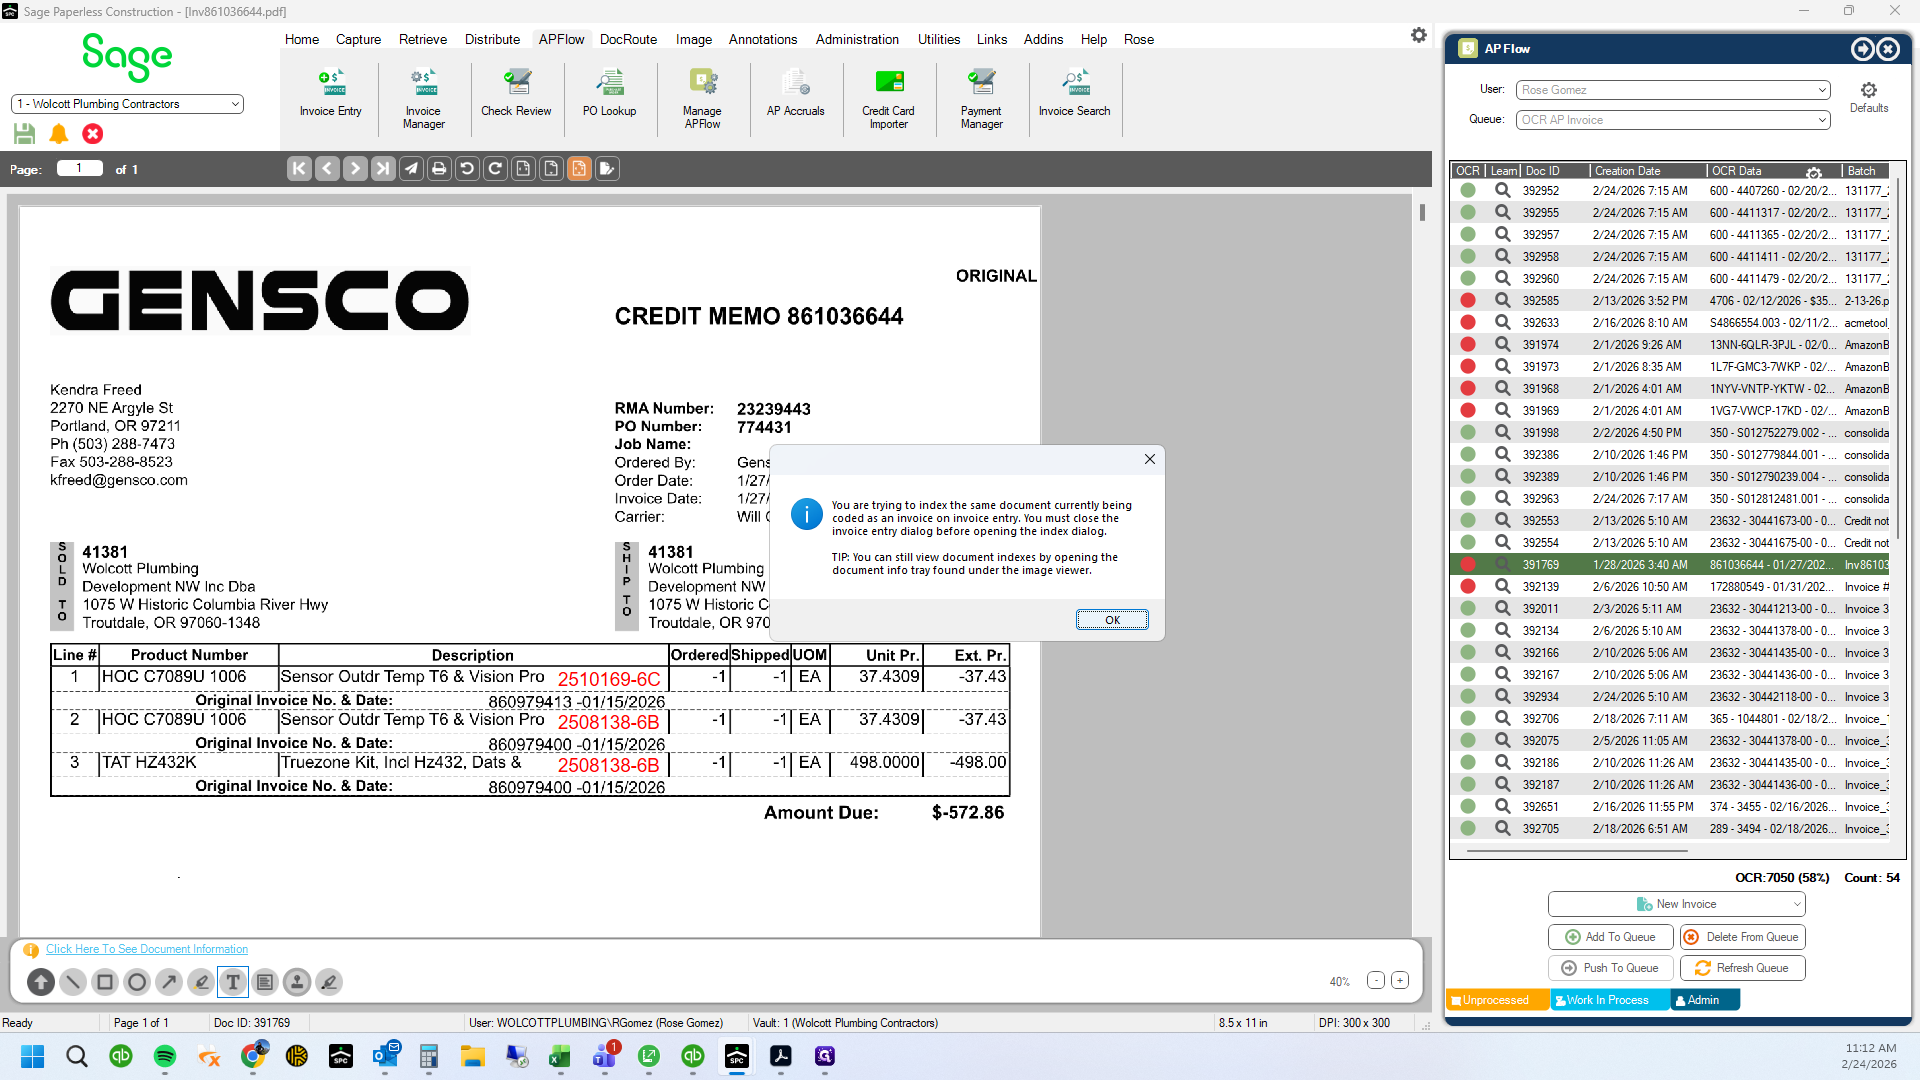
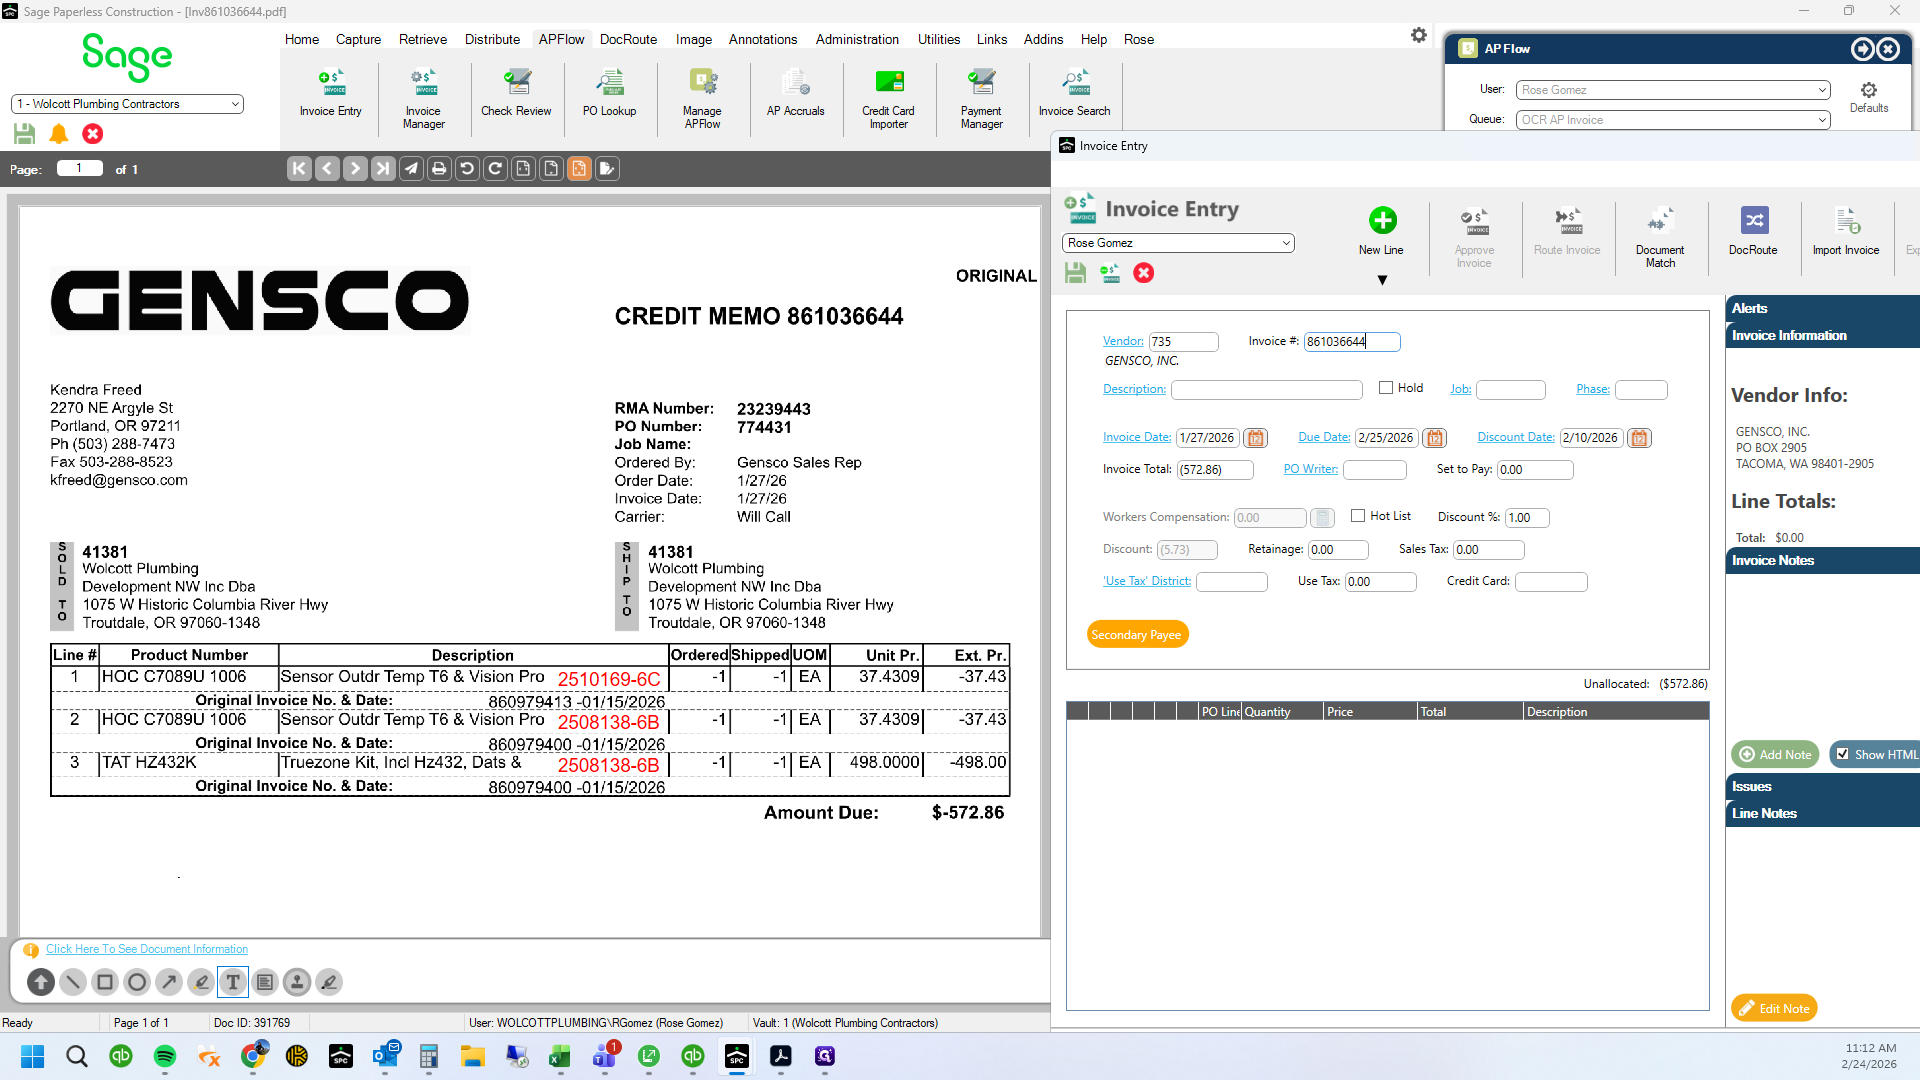
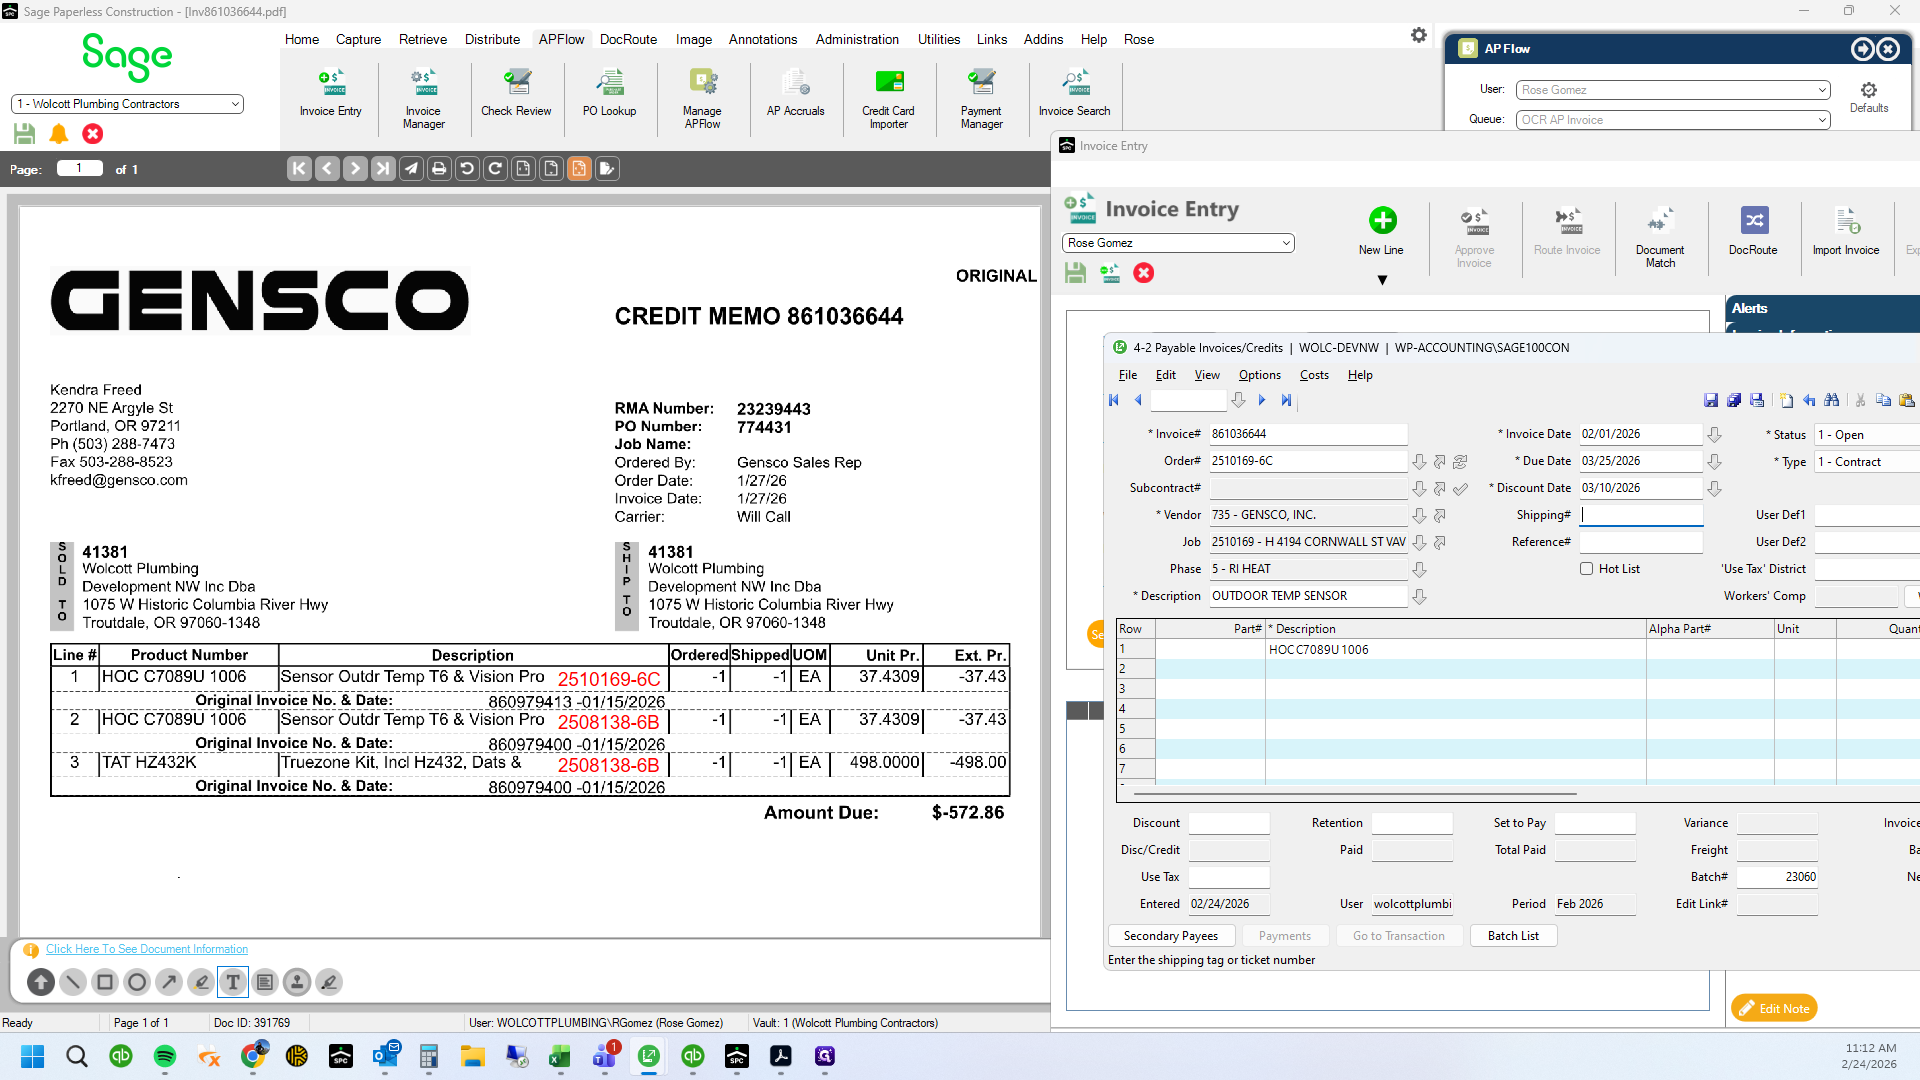
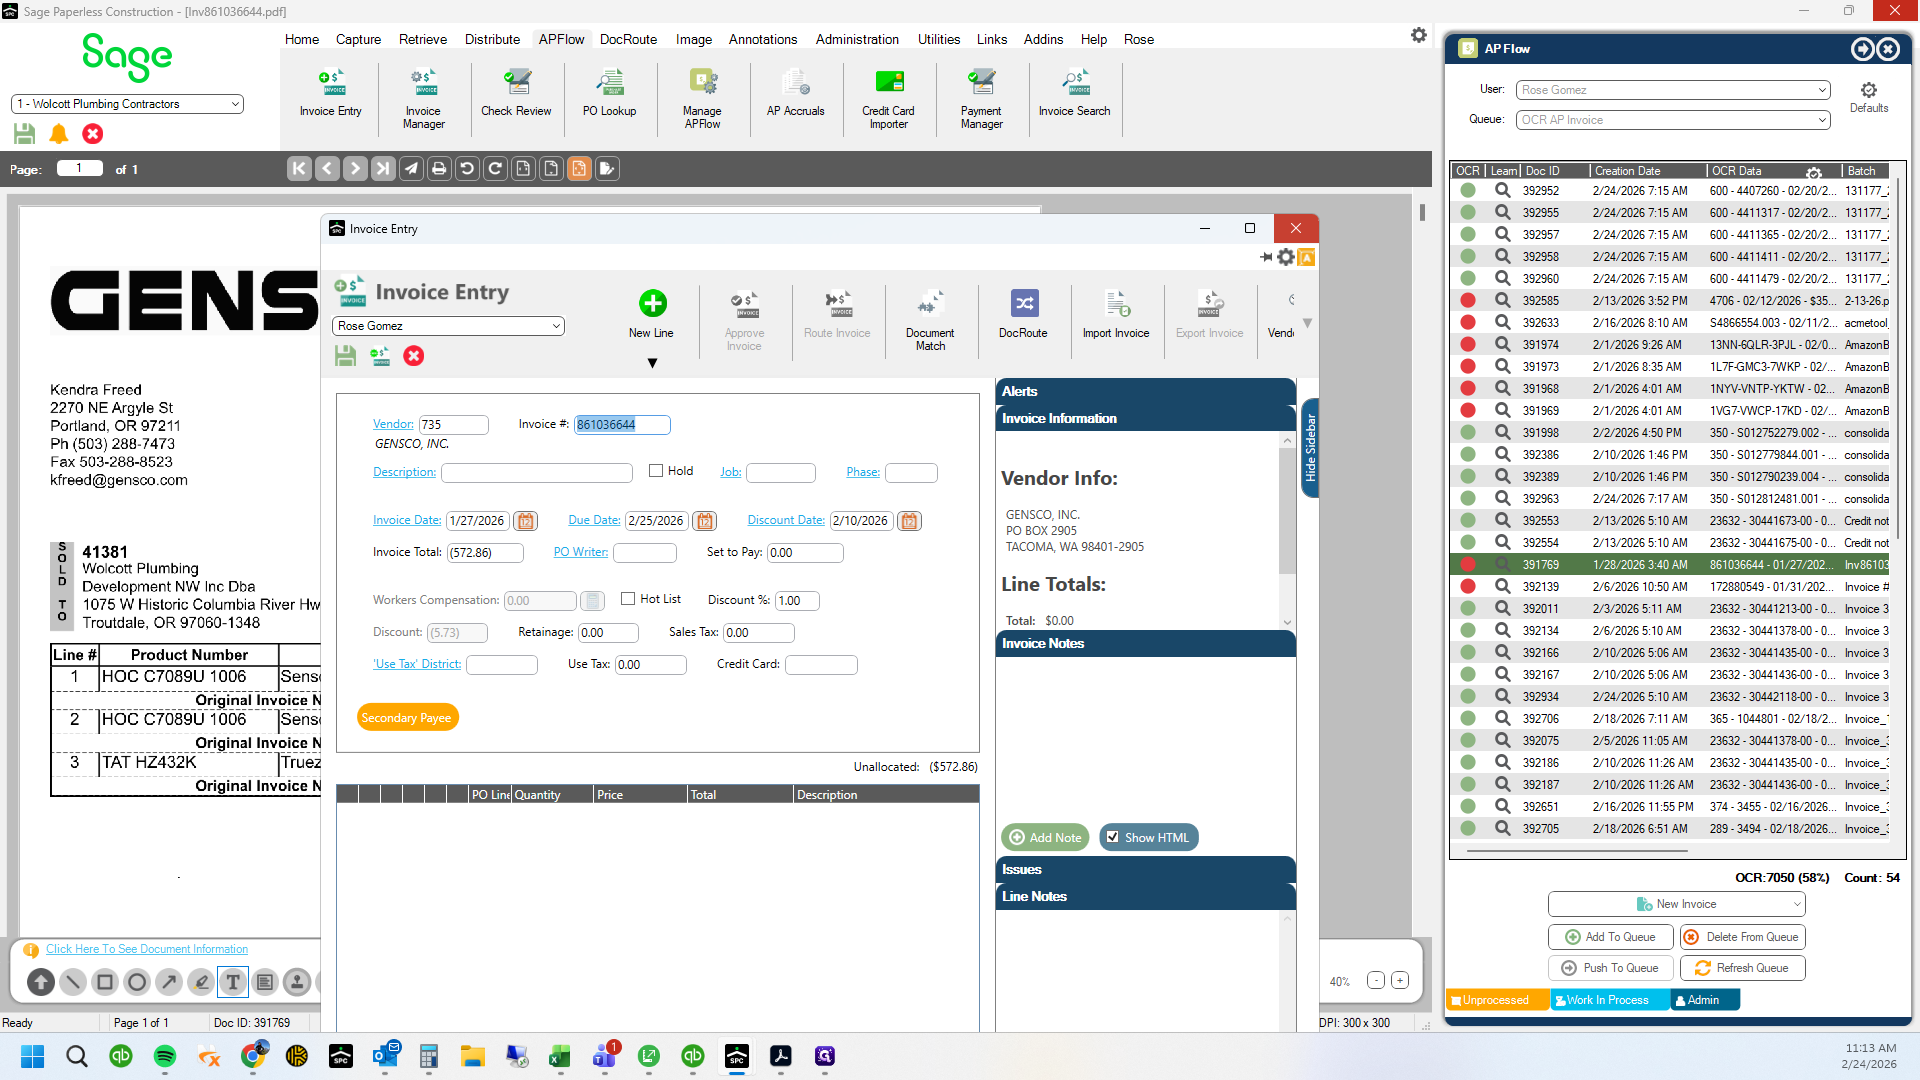
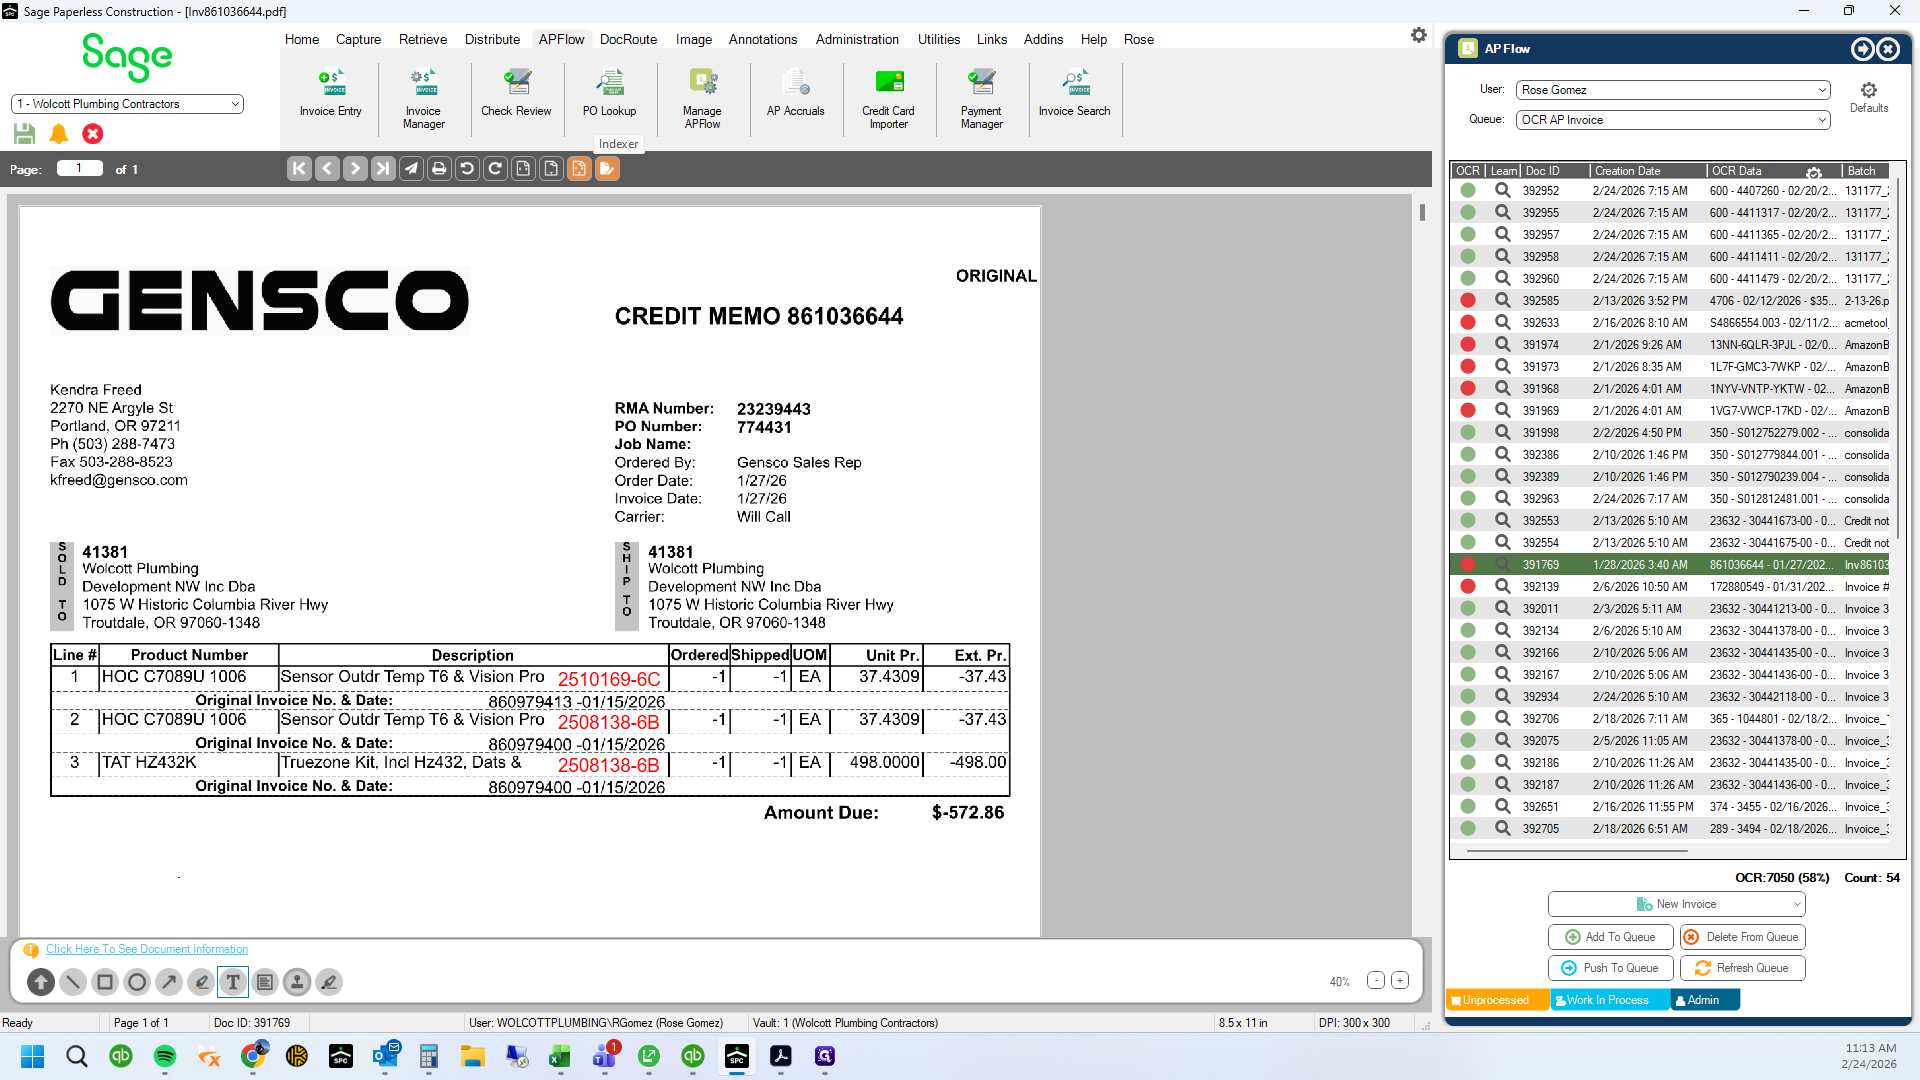
In this guide, we'll learn how to process mixed returns in Gensco by referencing original invoice numbers and entering the details in Sage 100. We will cover how to search for the original invoice, copy the PO and invoice numbers, and handle entries with multiple PM numbers. This process helps ensure accurate record-keeping and proper handling of returns. Sage Paperless will not allow the same invoice number used twice. Sage 100 will warn you, but will allow it. It is important to reference the correct invoice number on all line items related to the credit memo.
Let's get started
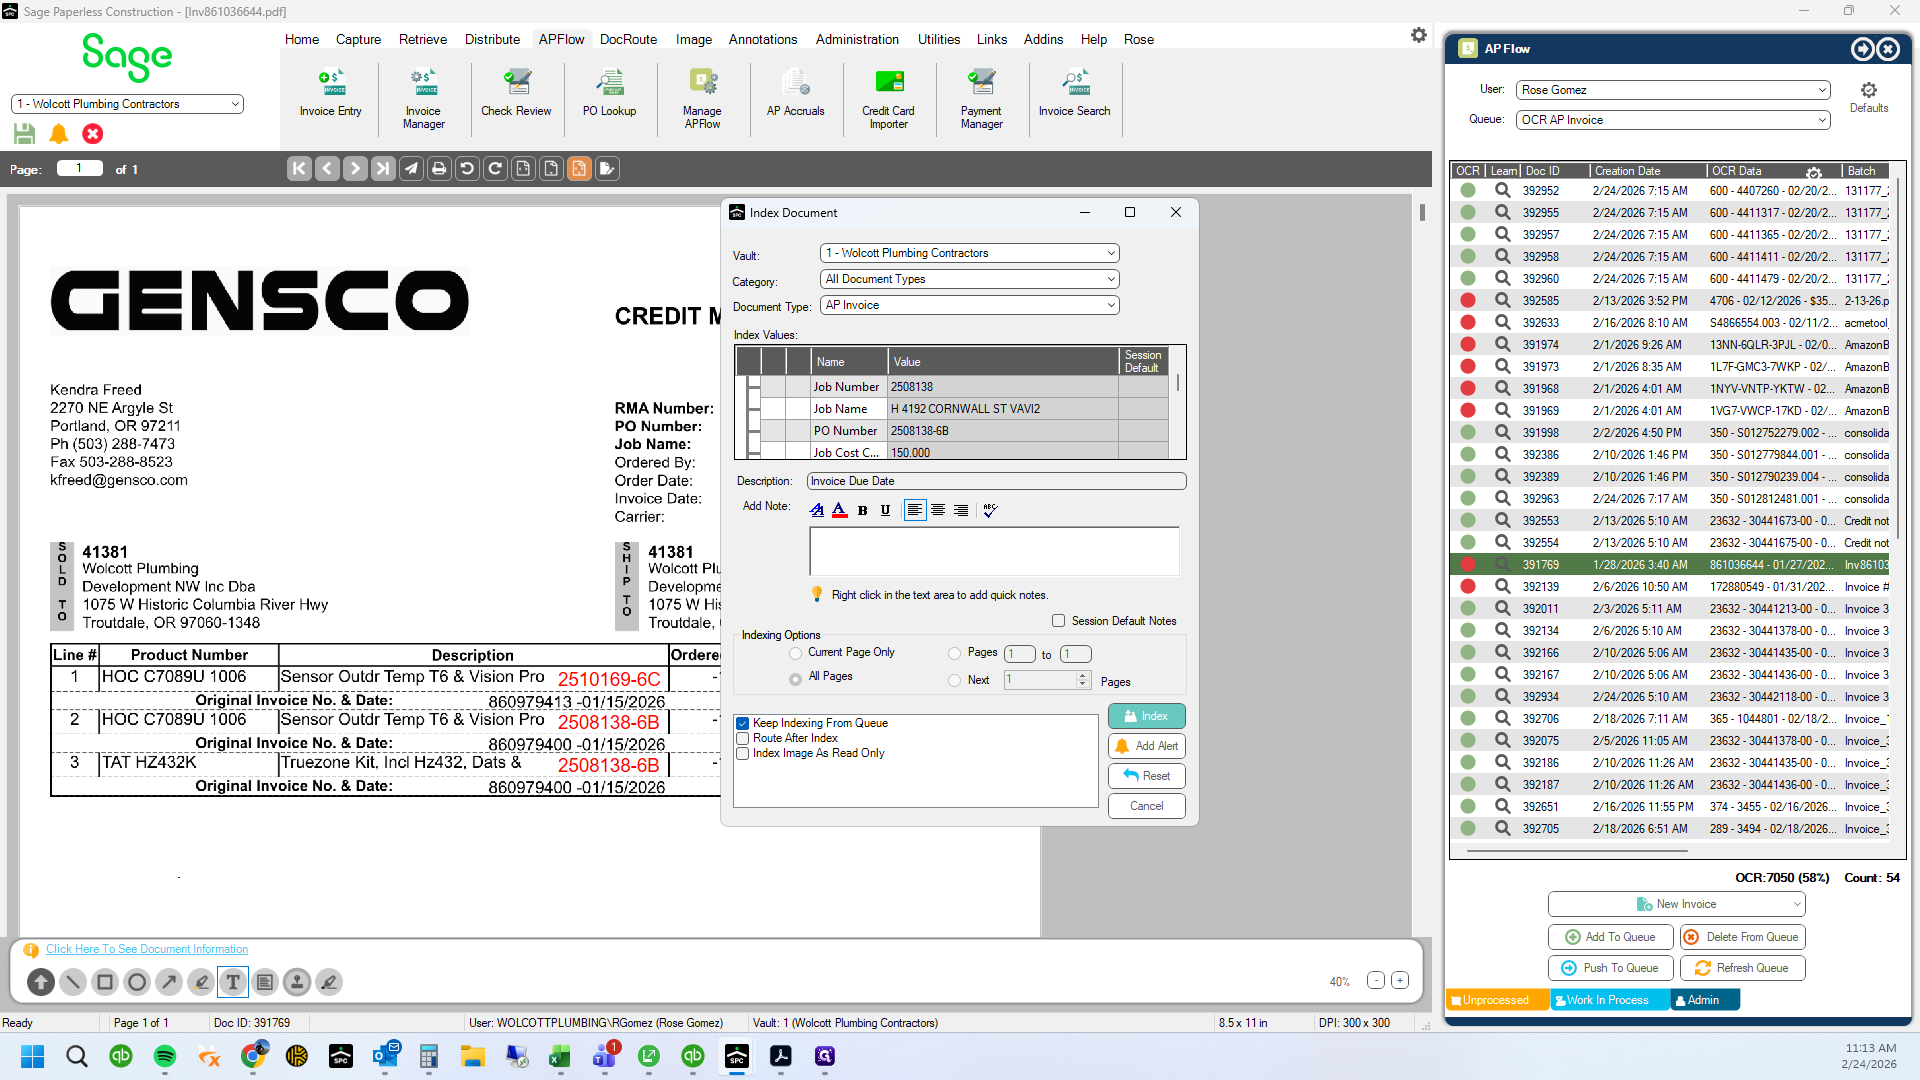
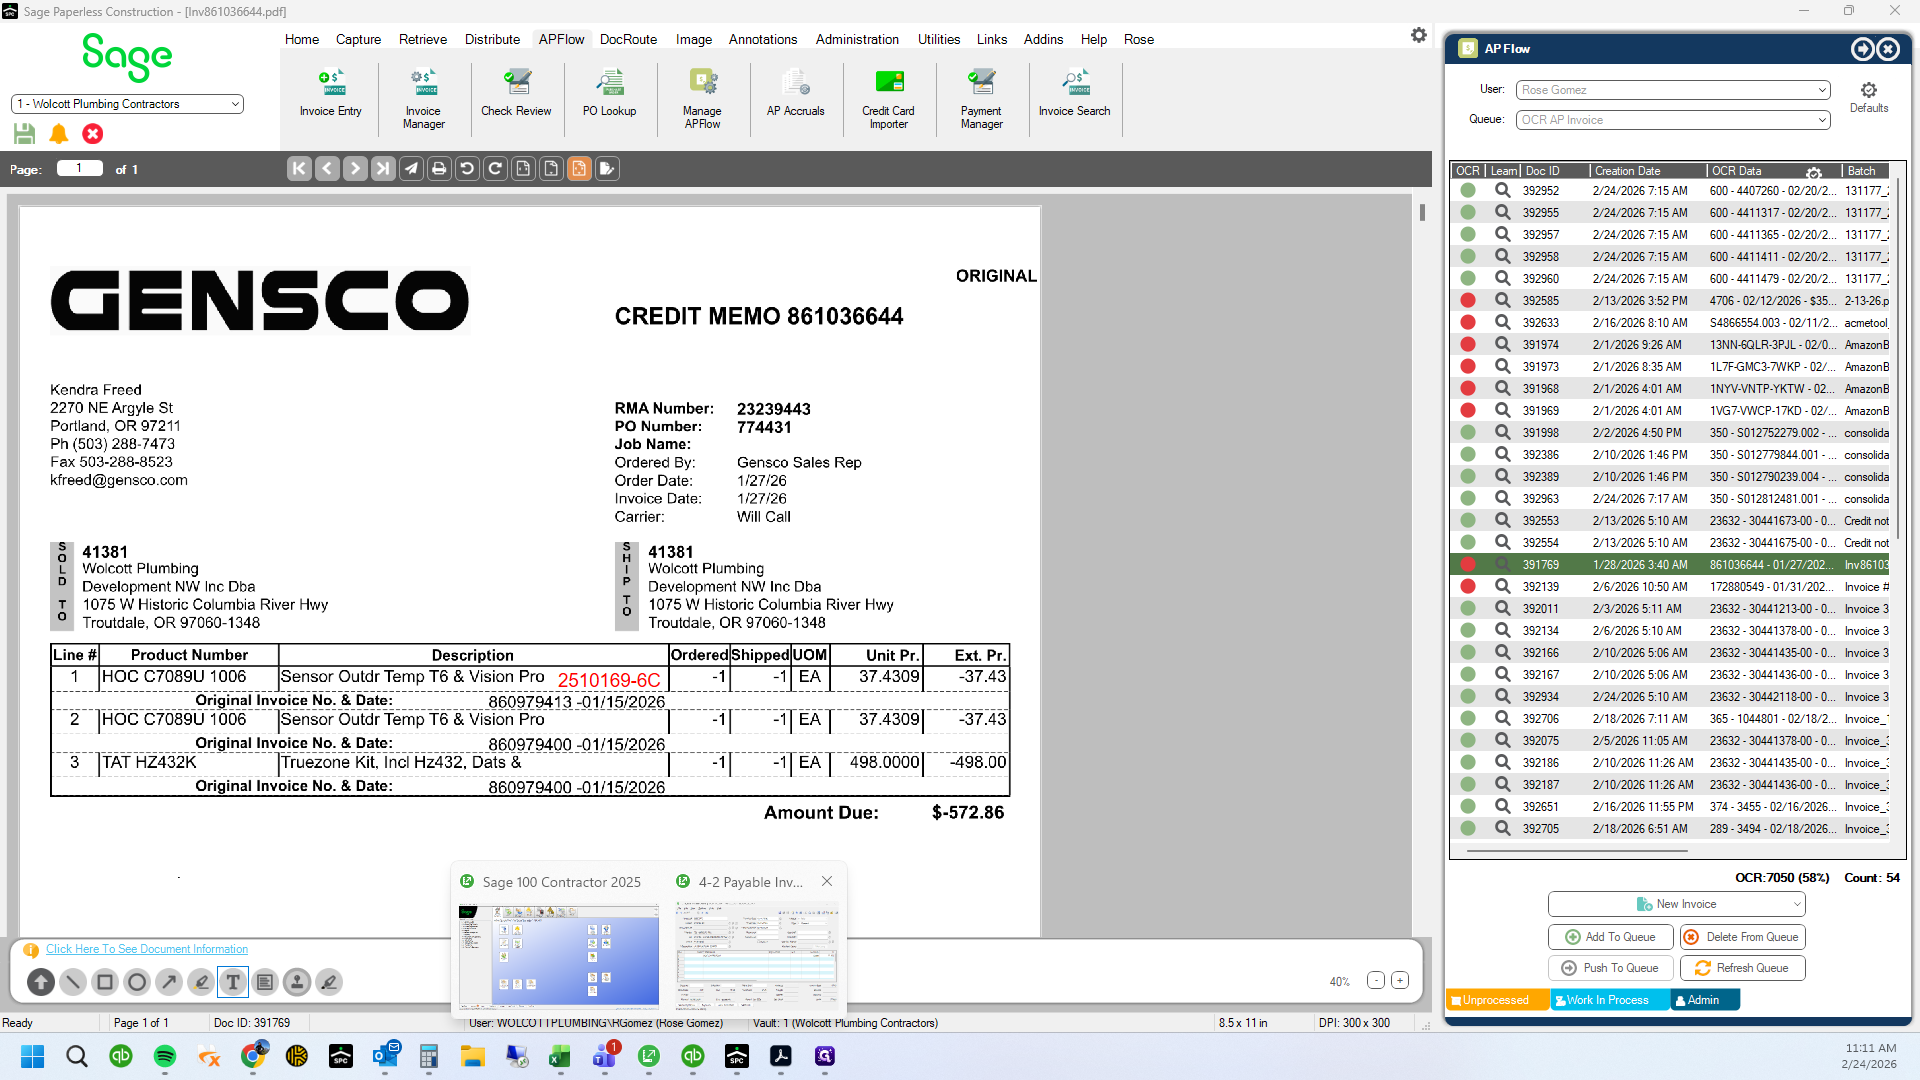
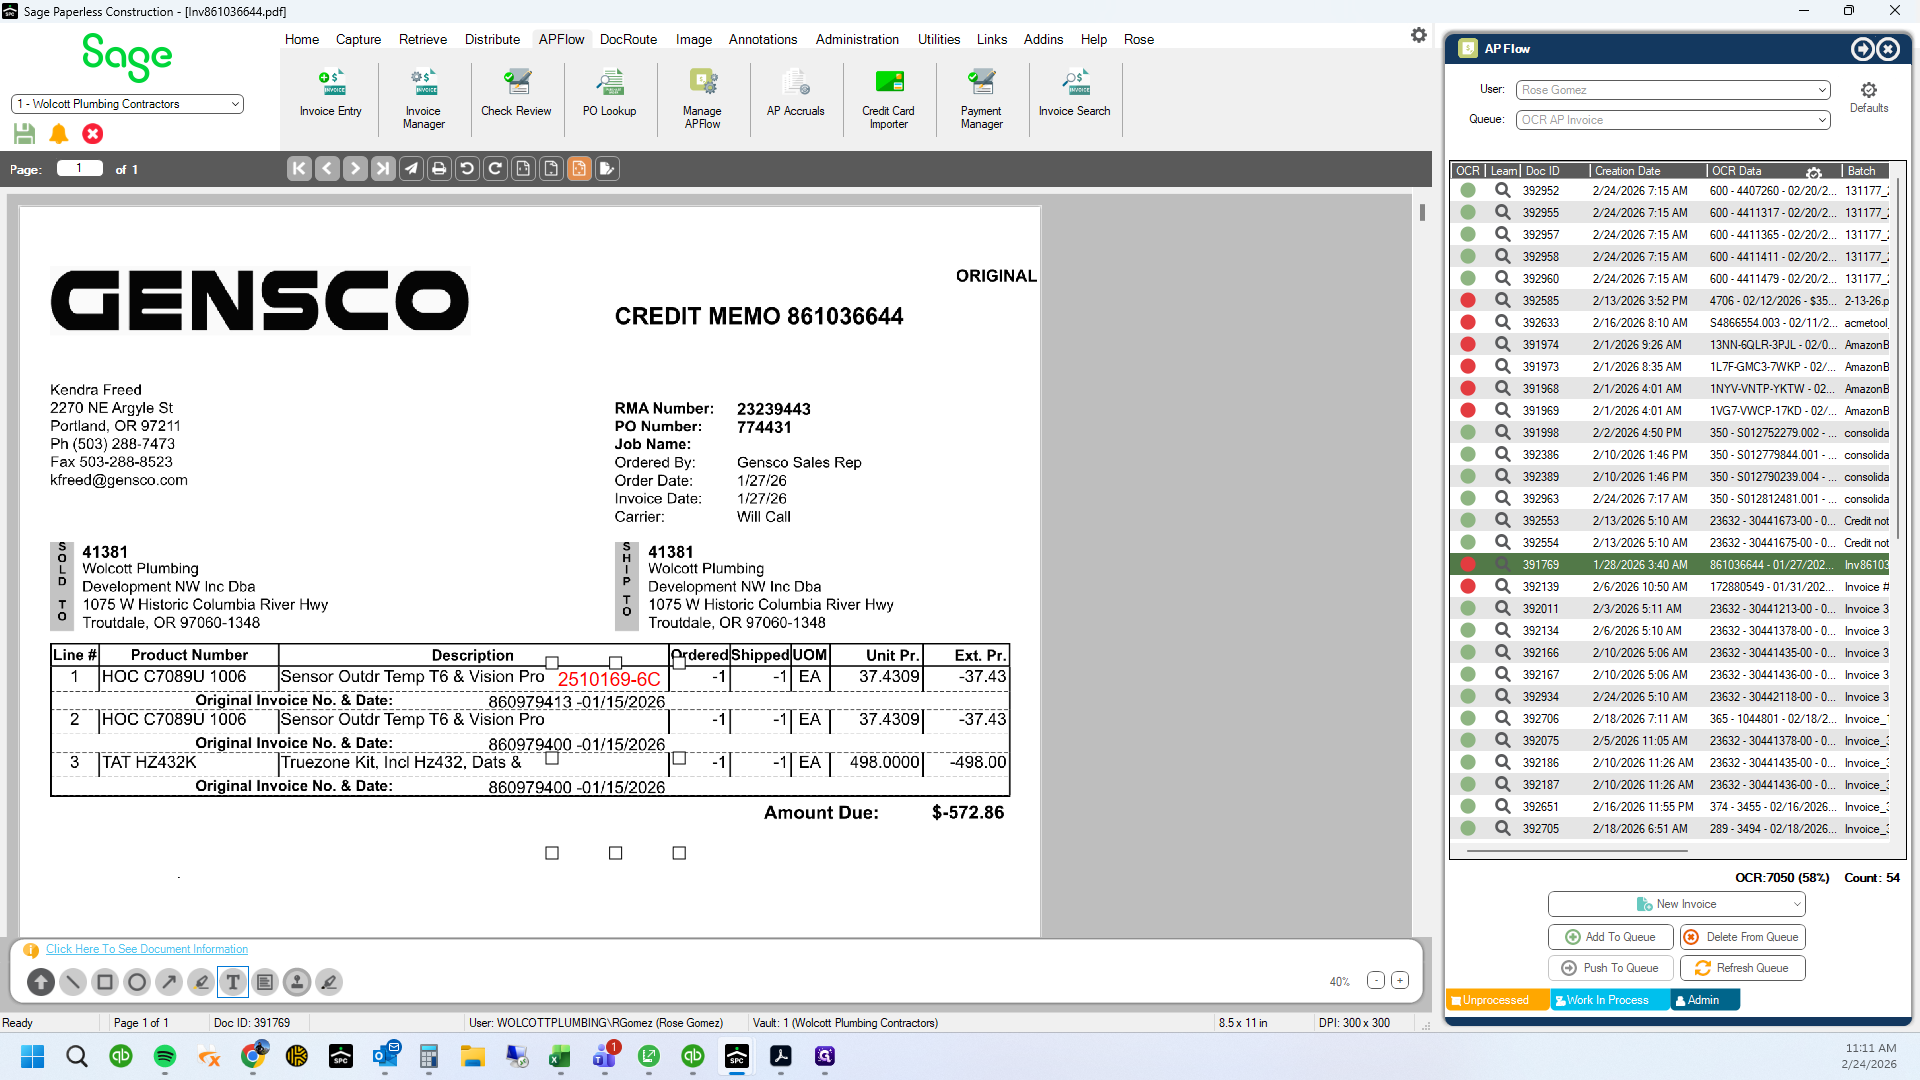
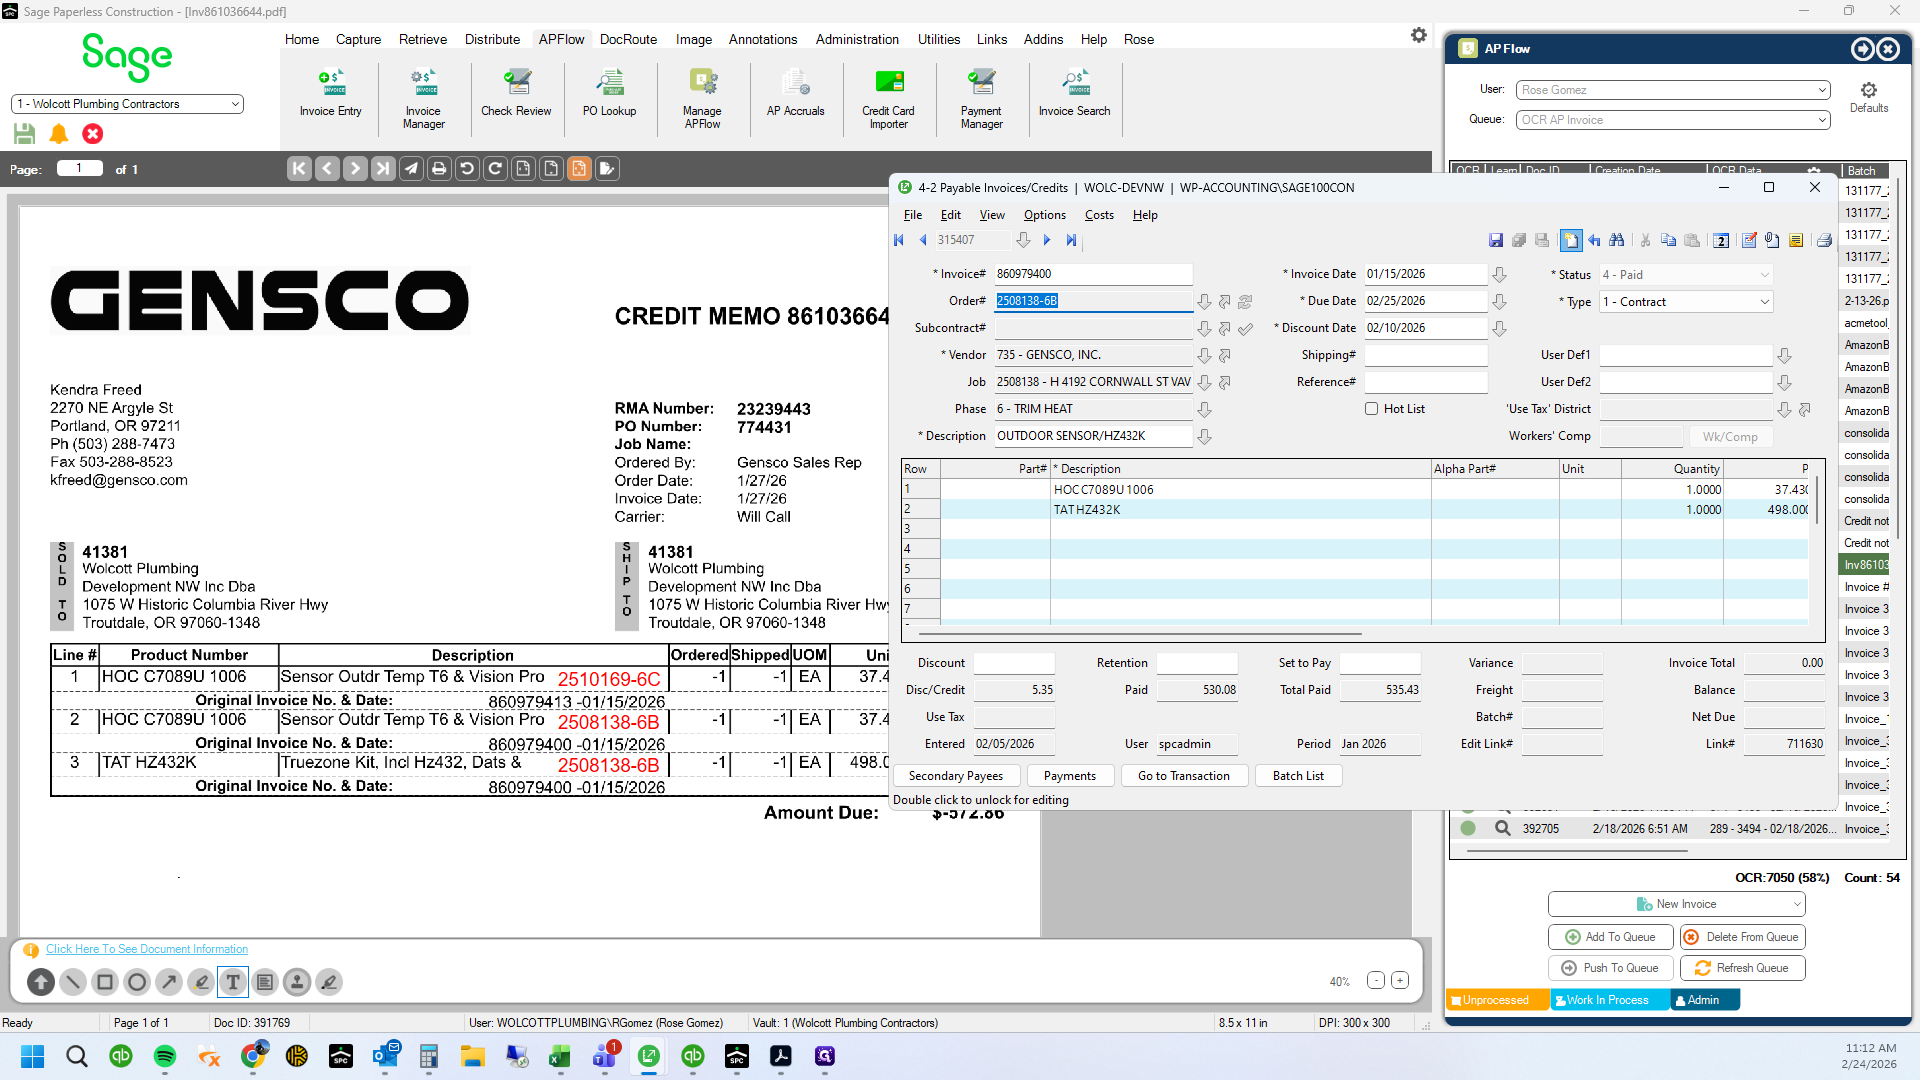
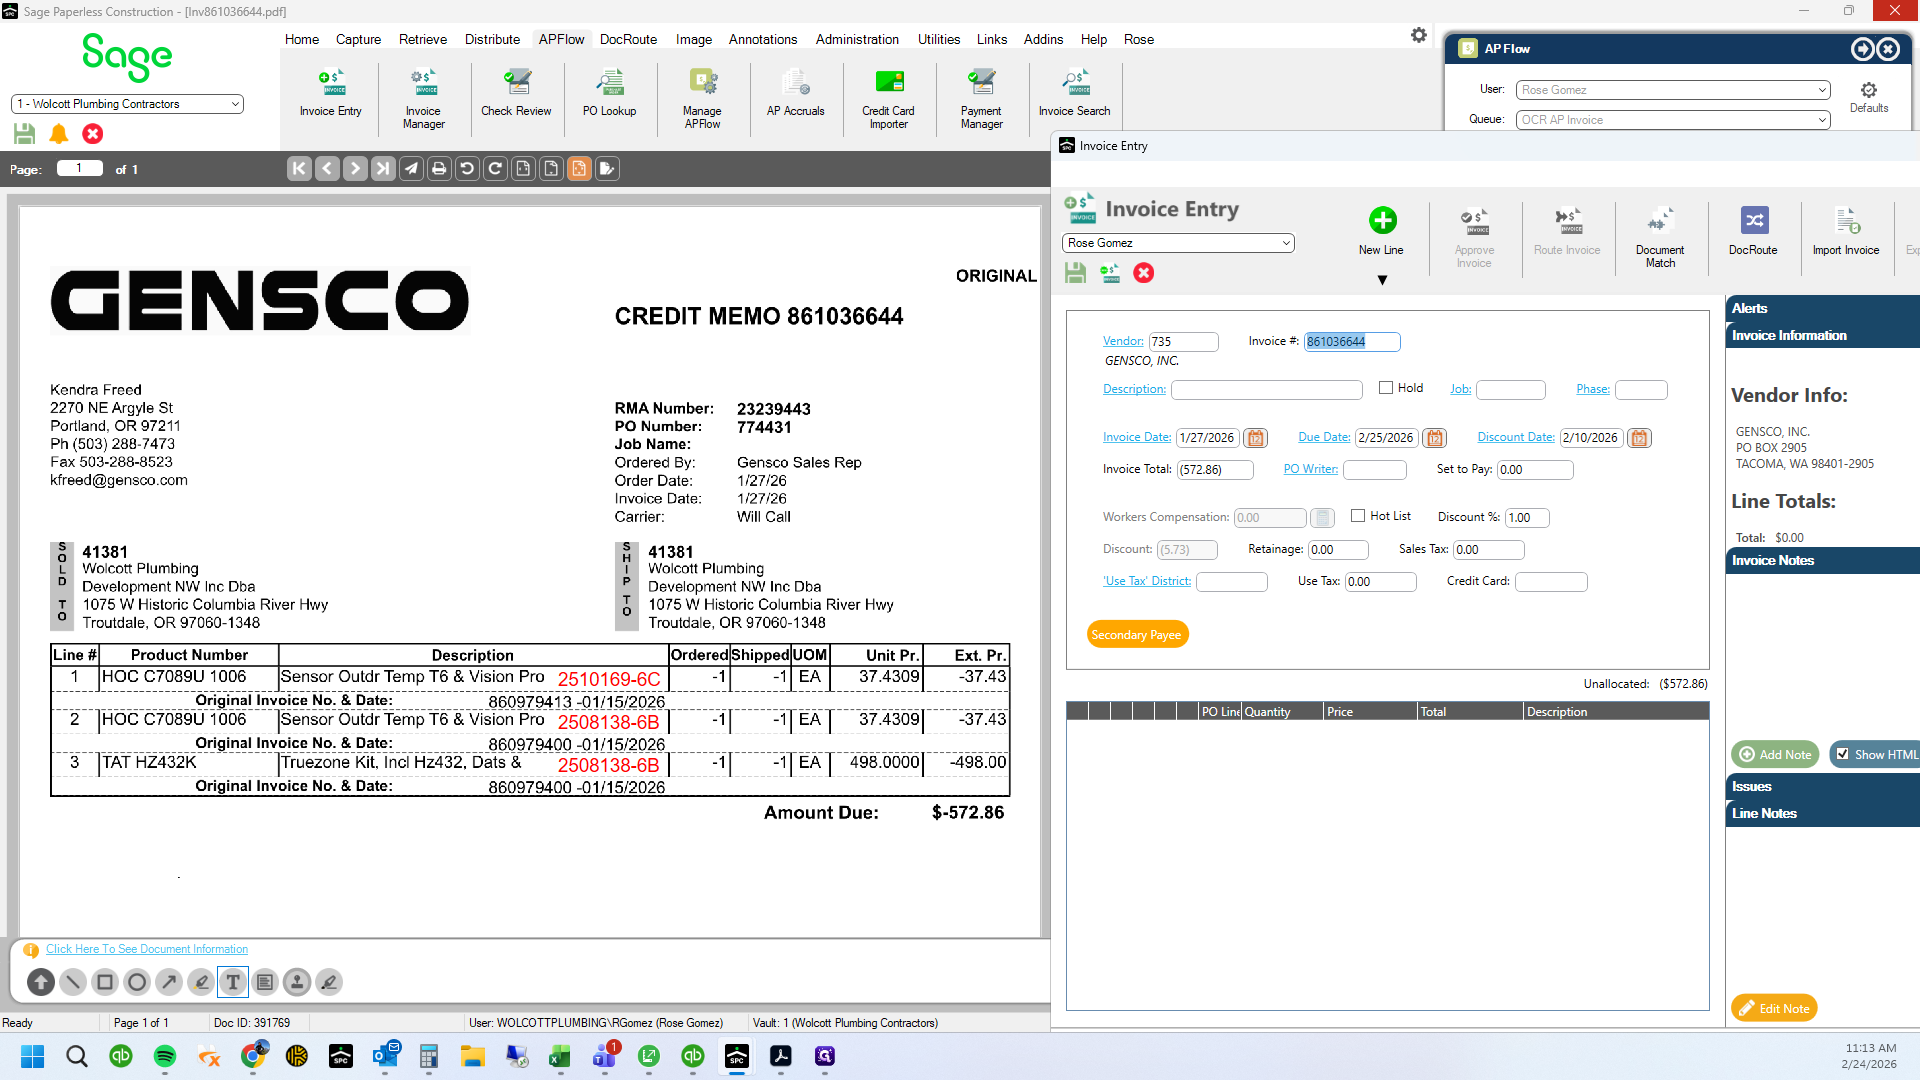
Gensco had mixed returns. This is where they reference the original invoice numbers.
1
These are the original invoice numbers for the returns

2
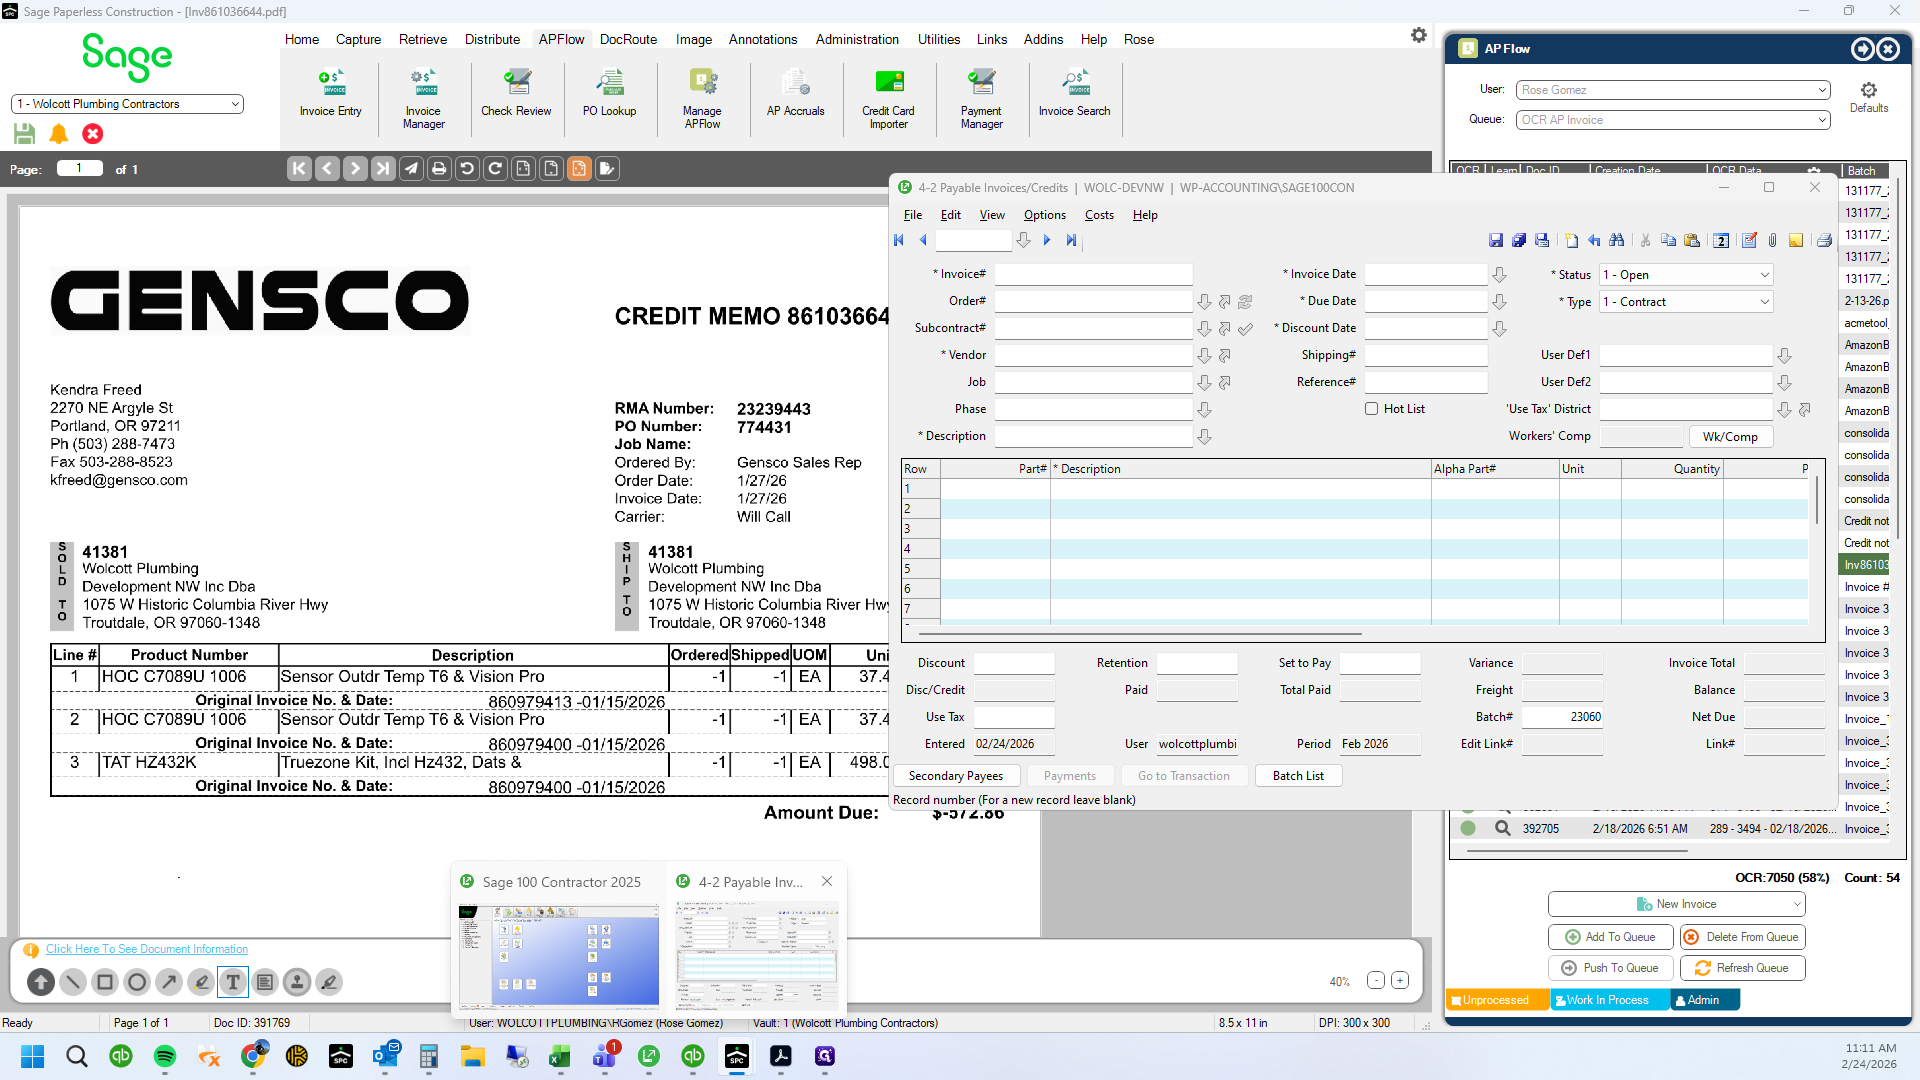
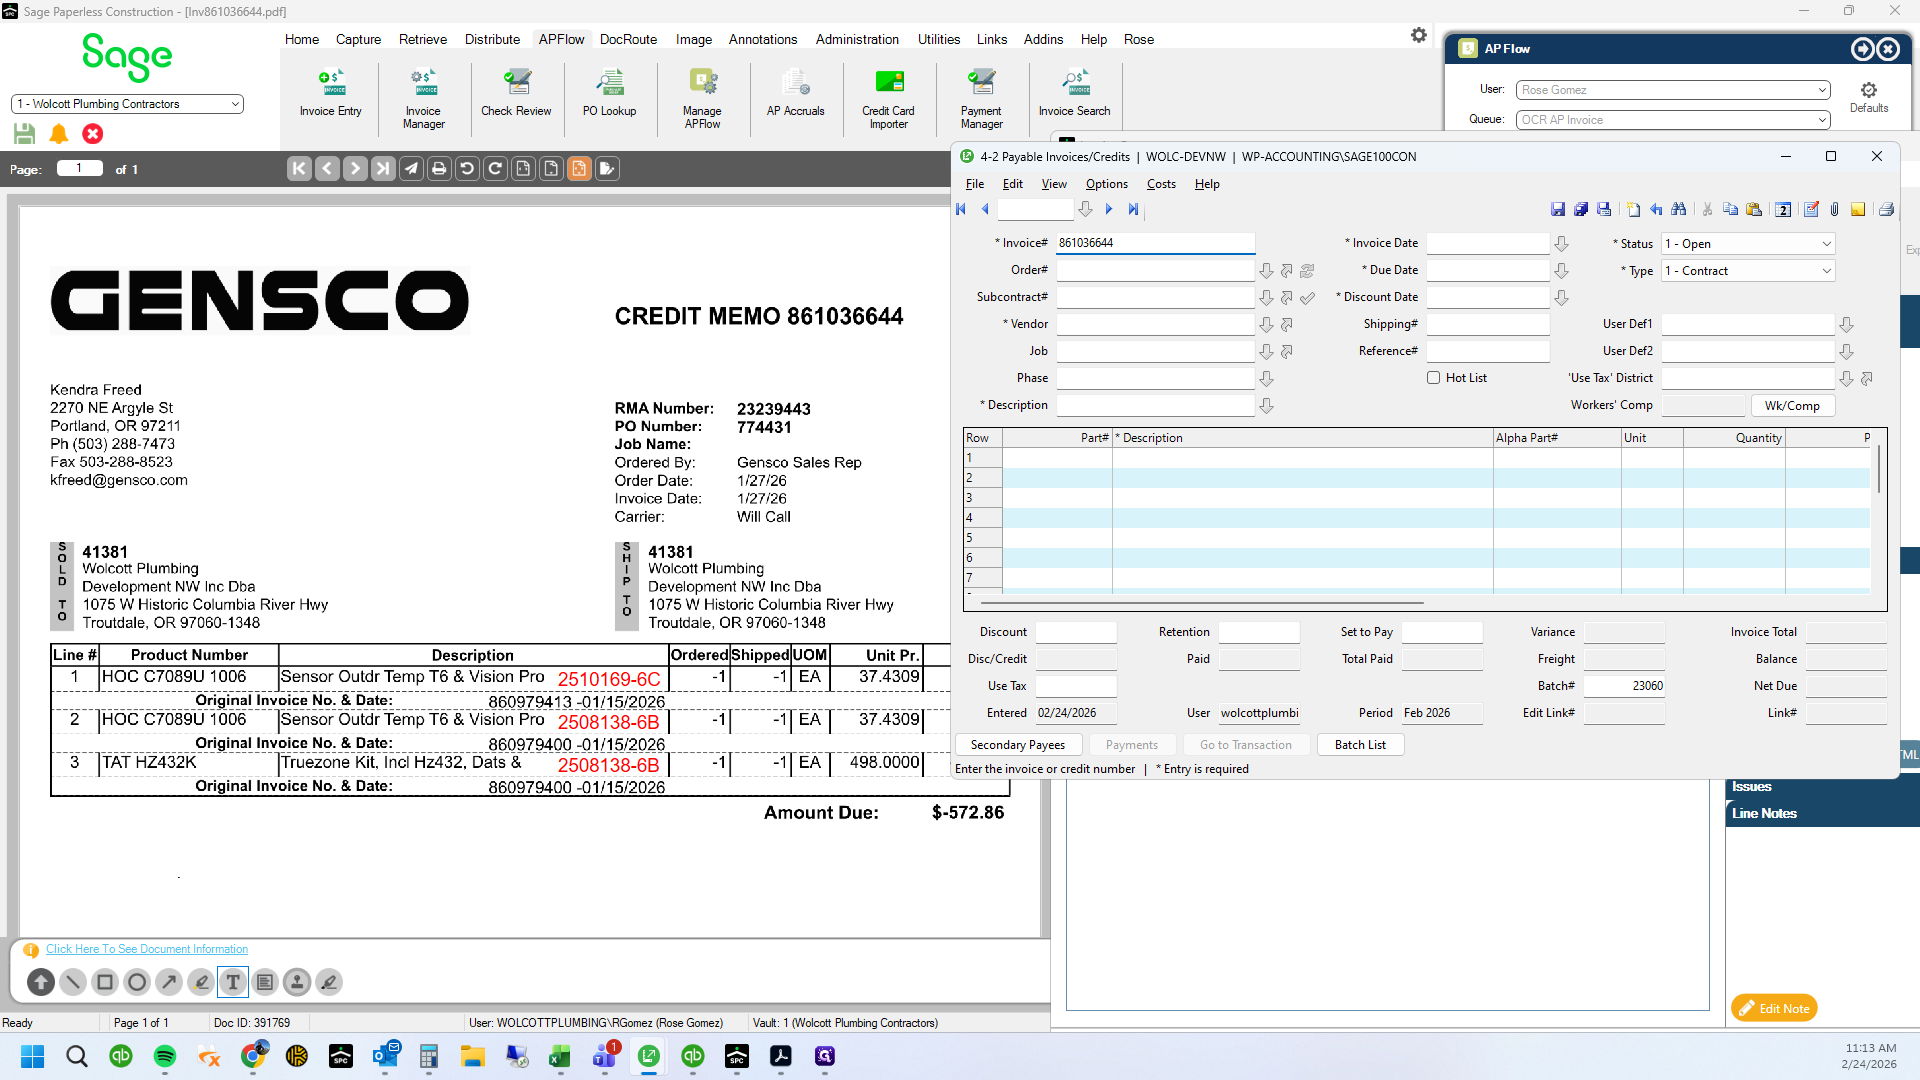
See that there are multiple invoices included on one credit memo.

3
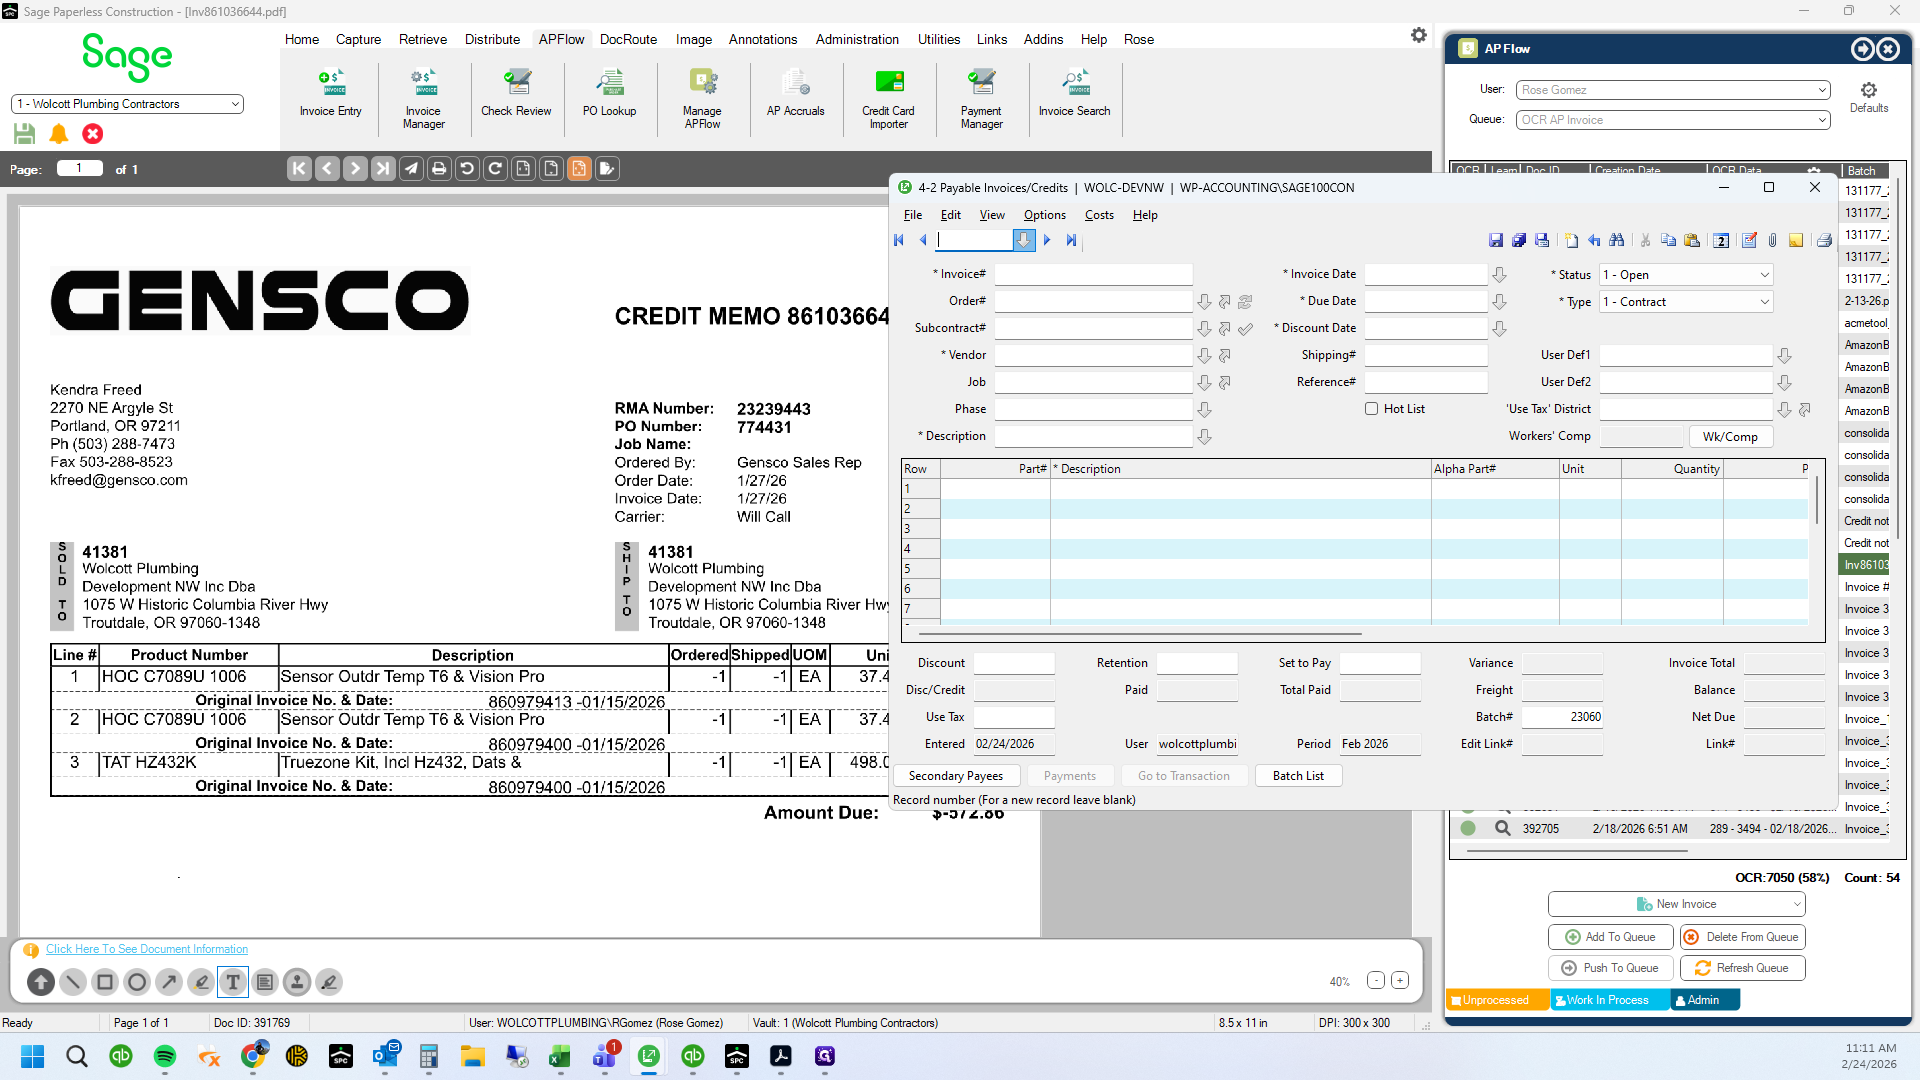
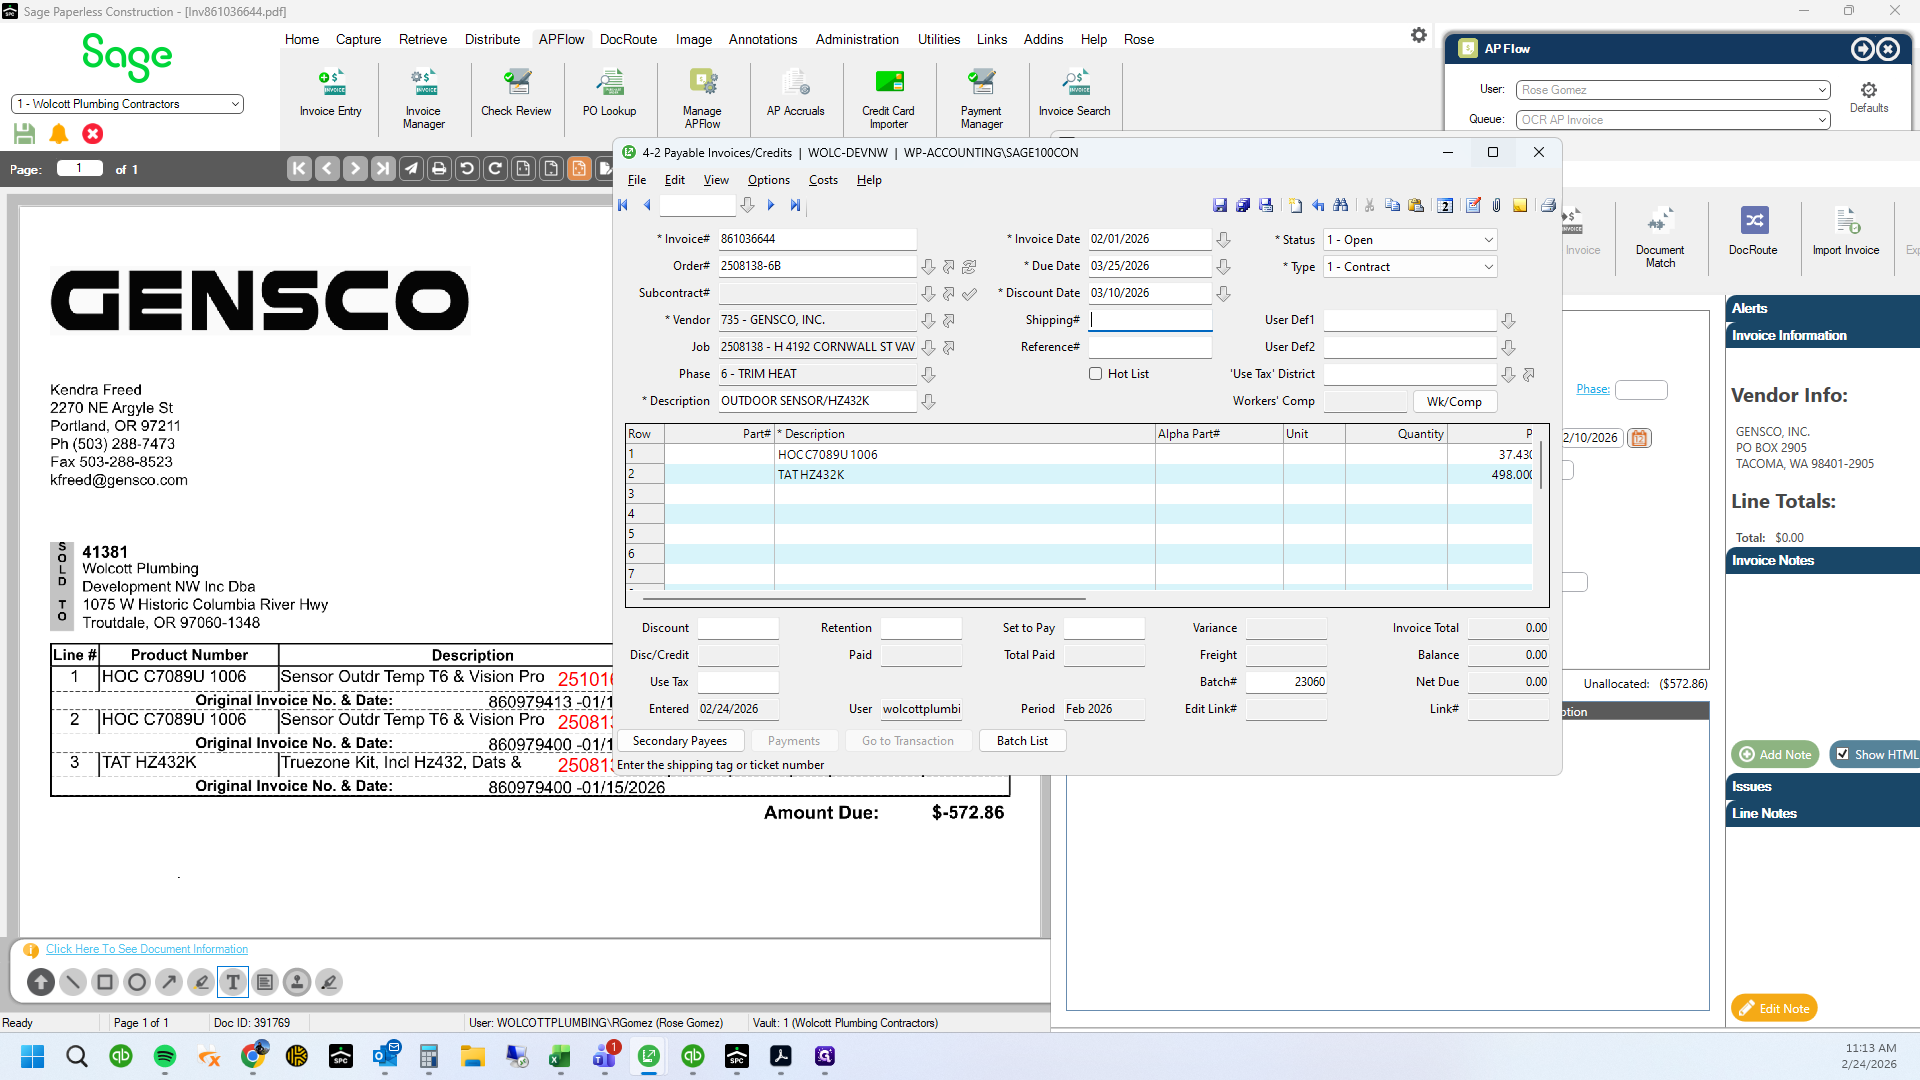
We will need to pull up each original invoice and note the PO related to it
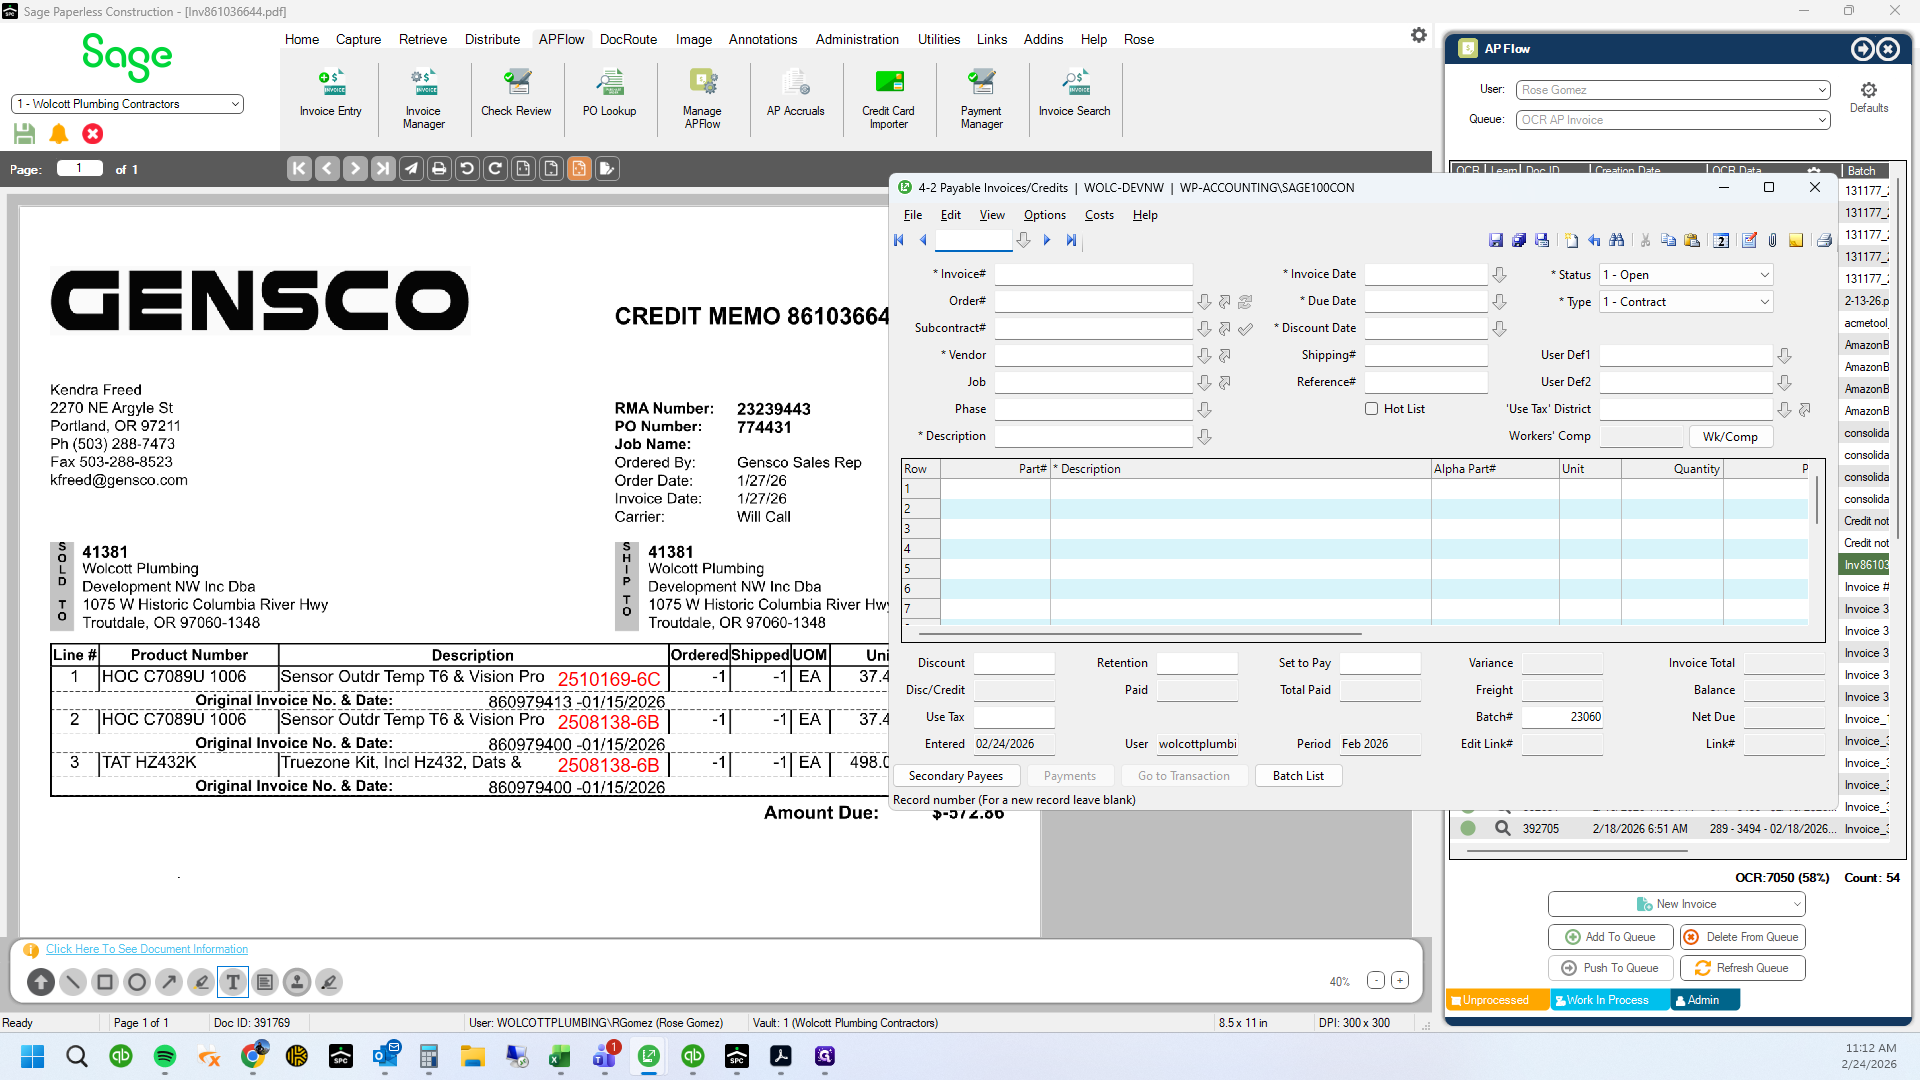
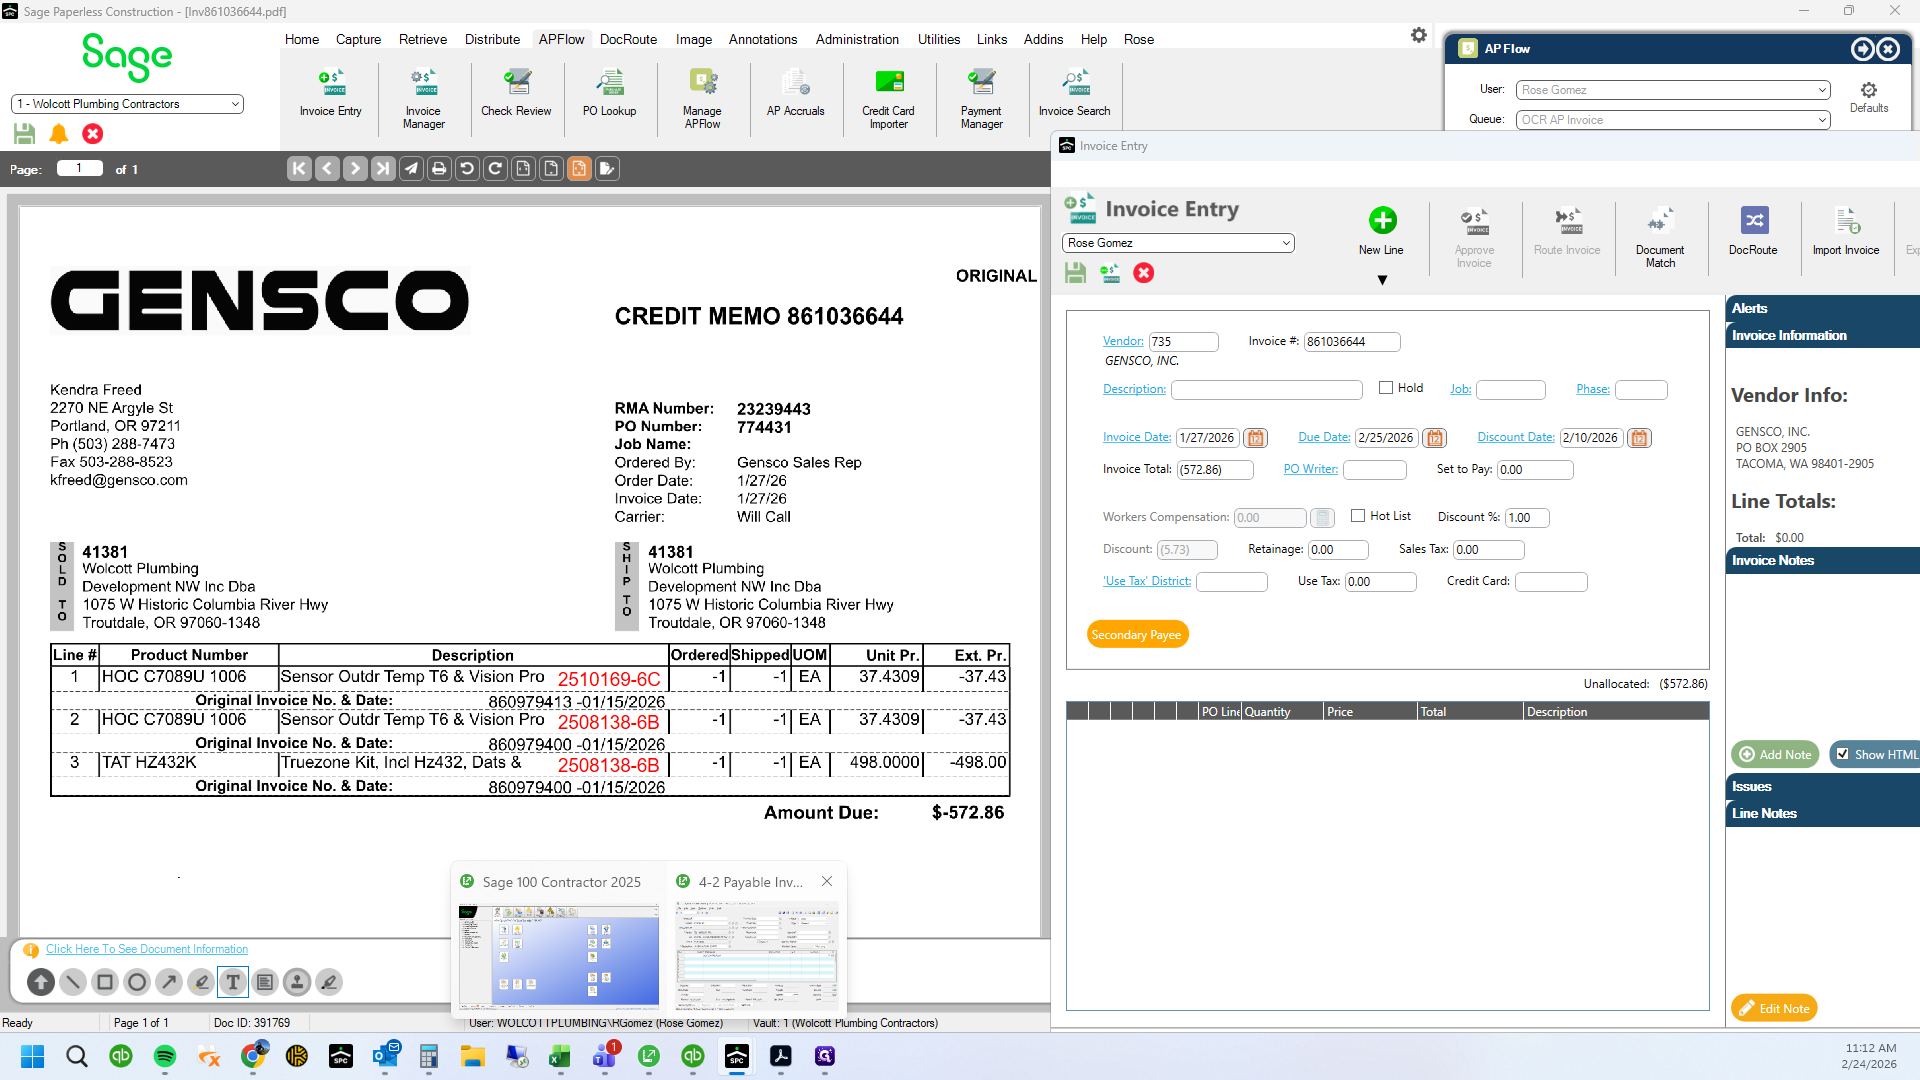
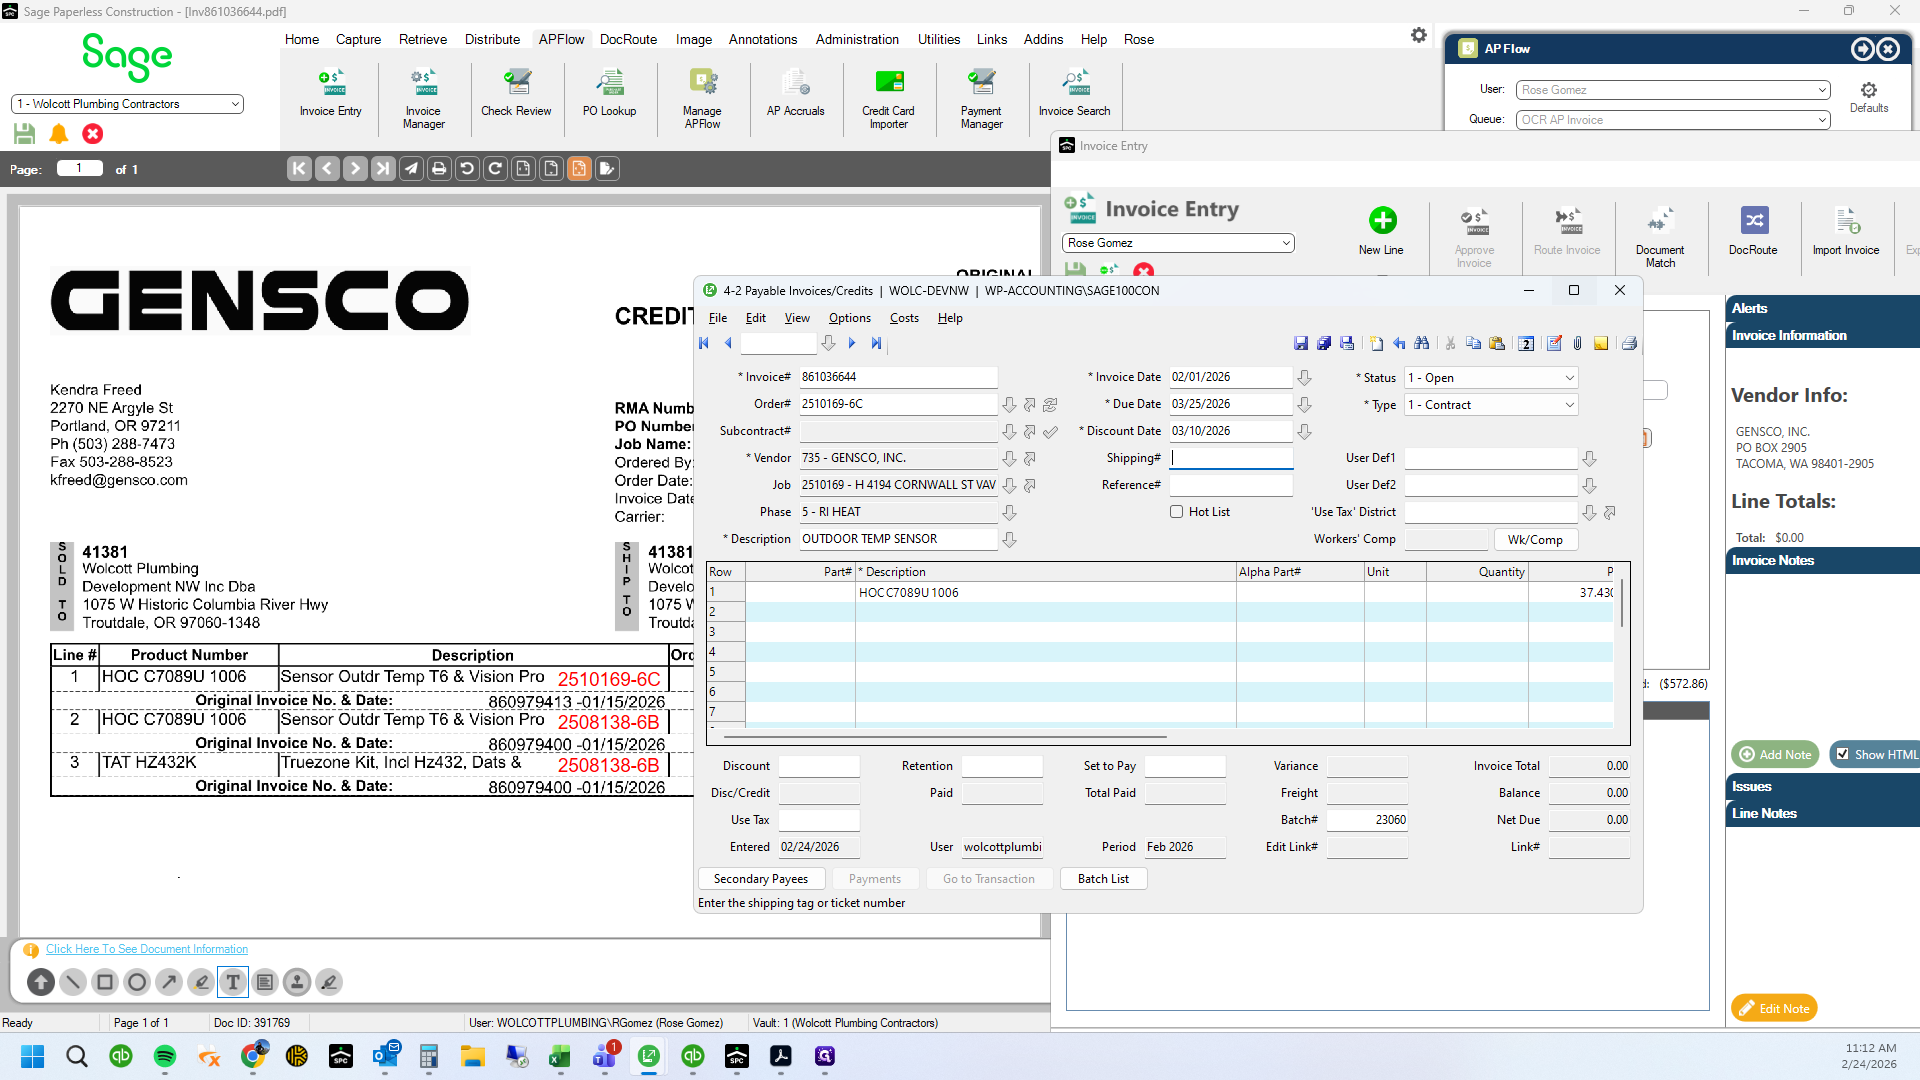
Sage 100.
4
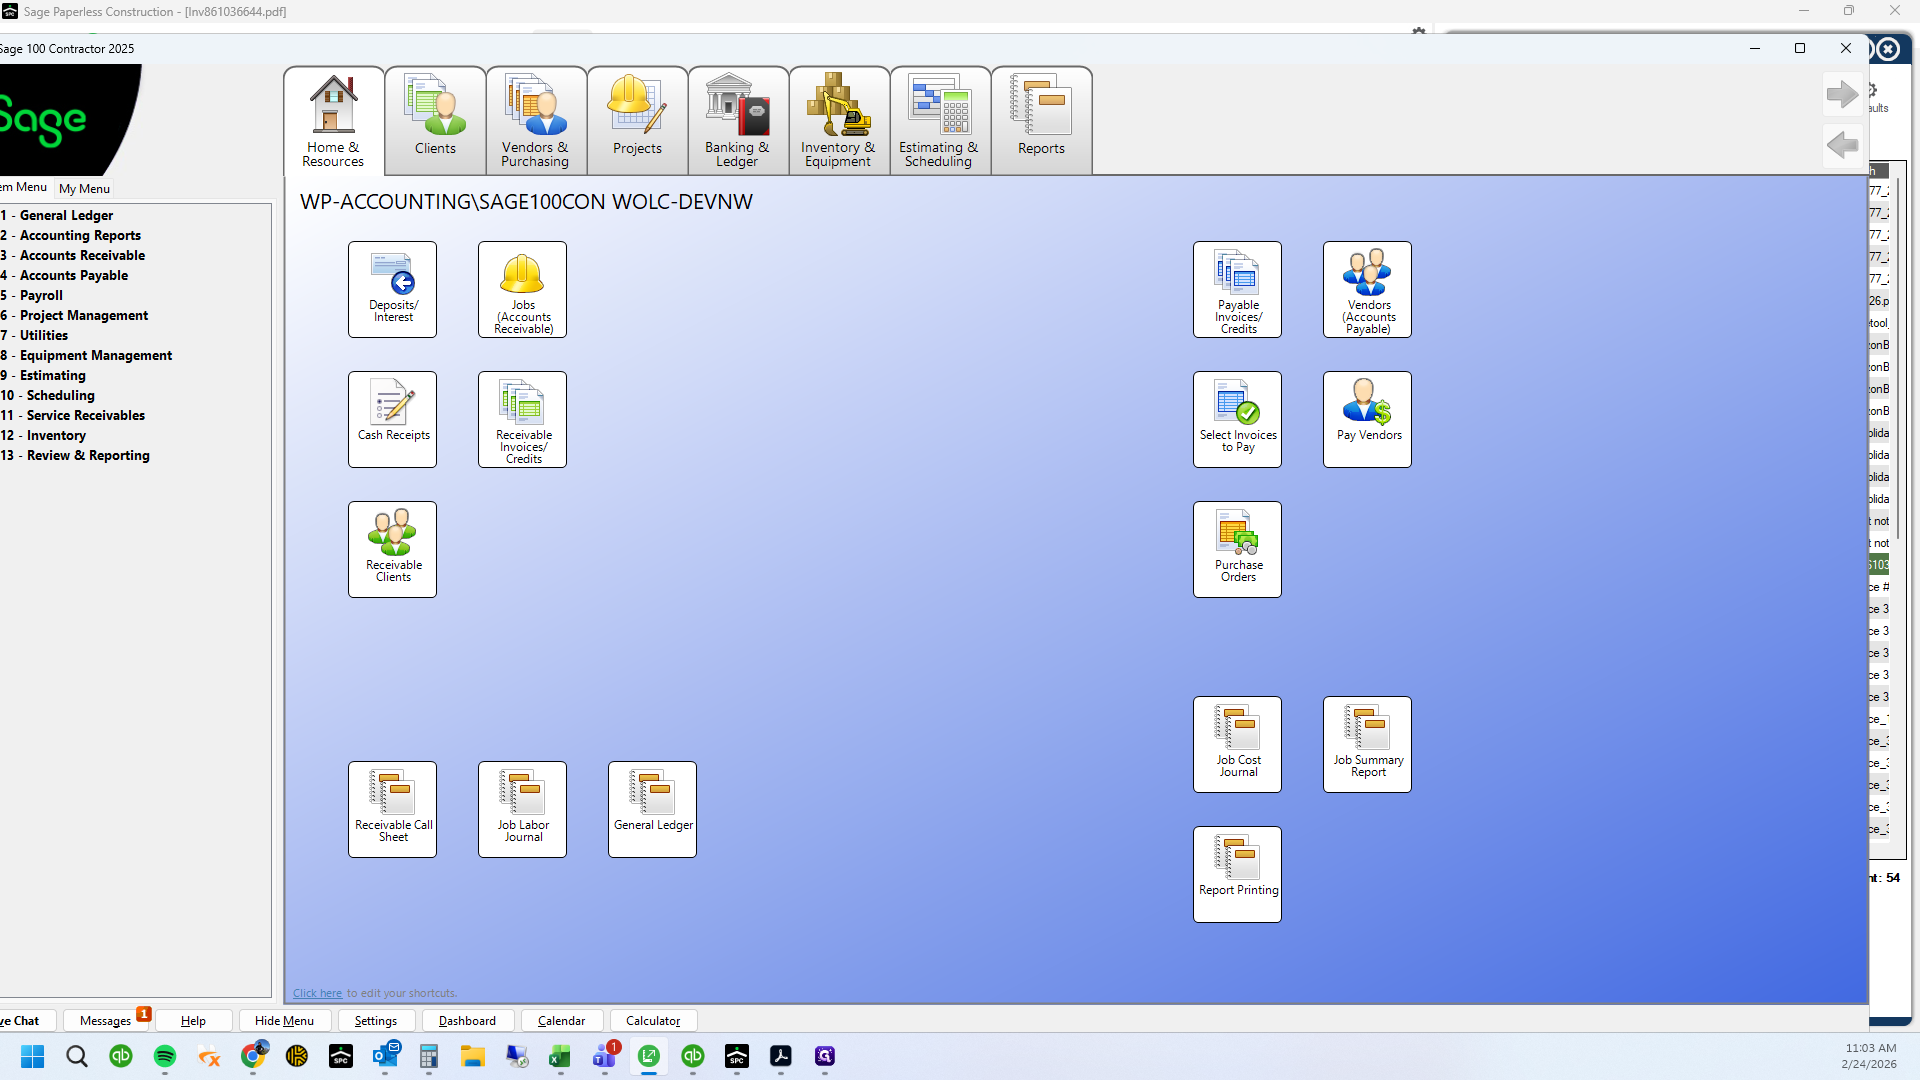
Open Sage 100
5
Drag "Sage"
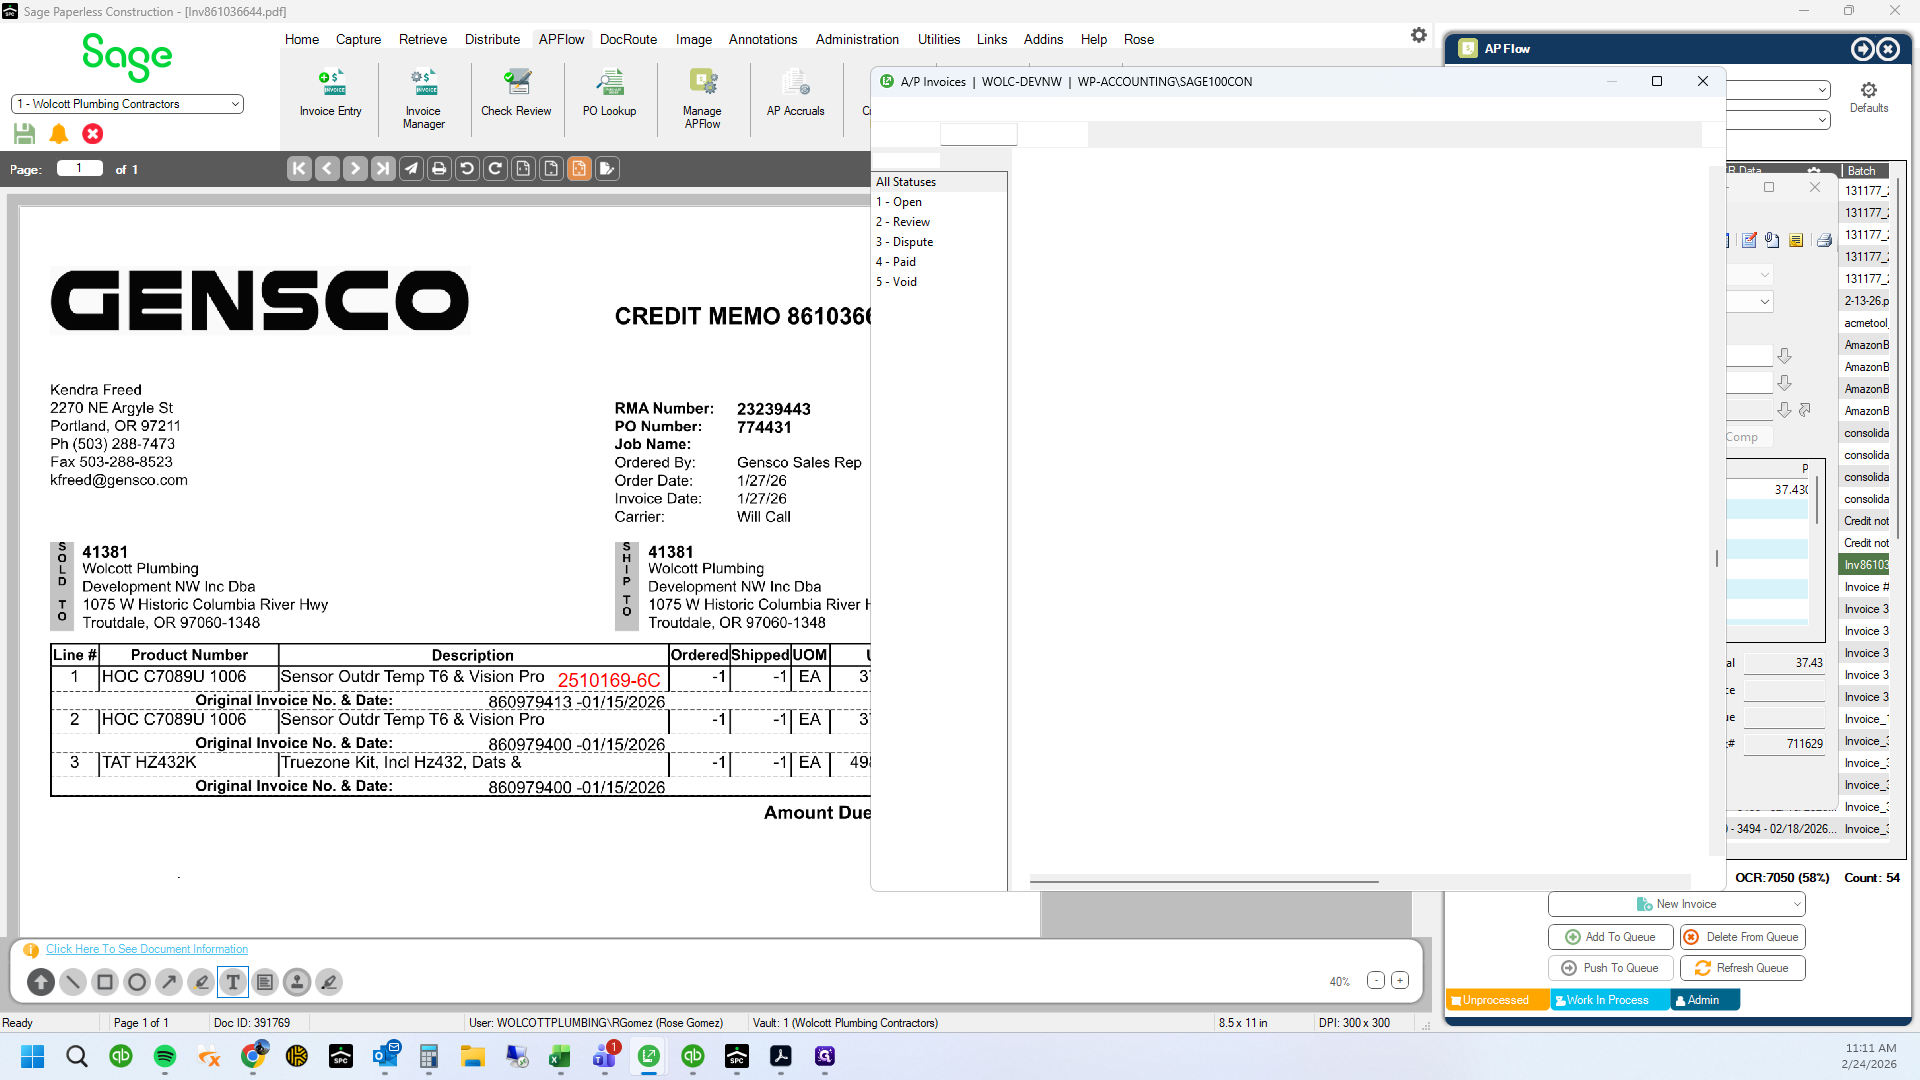
Search for the original invoice number.
6
Double-click on "Invoices /"
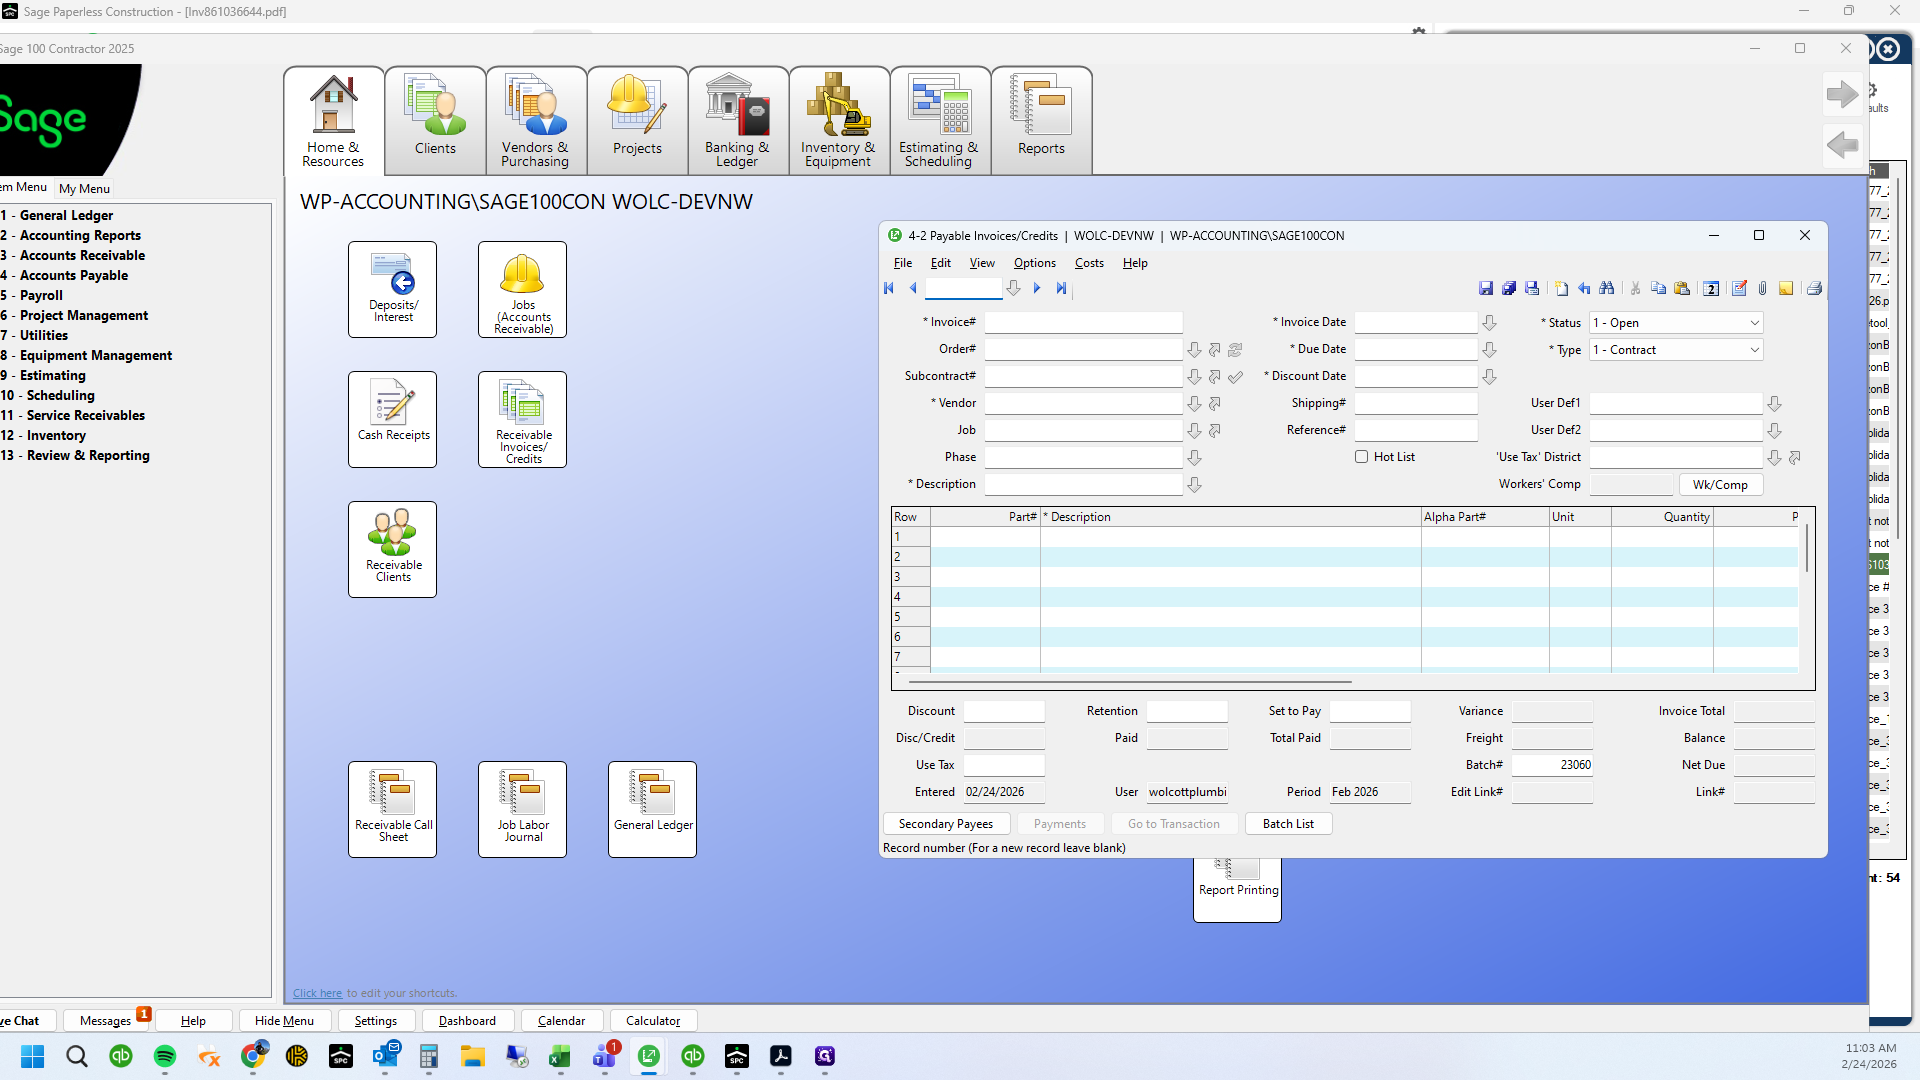
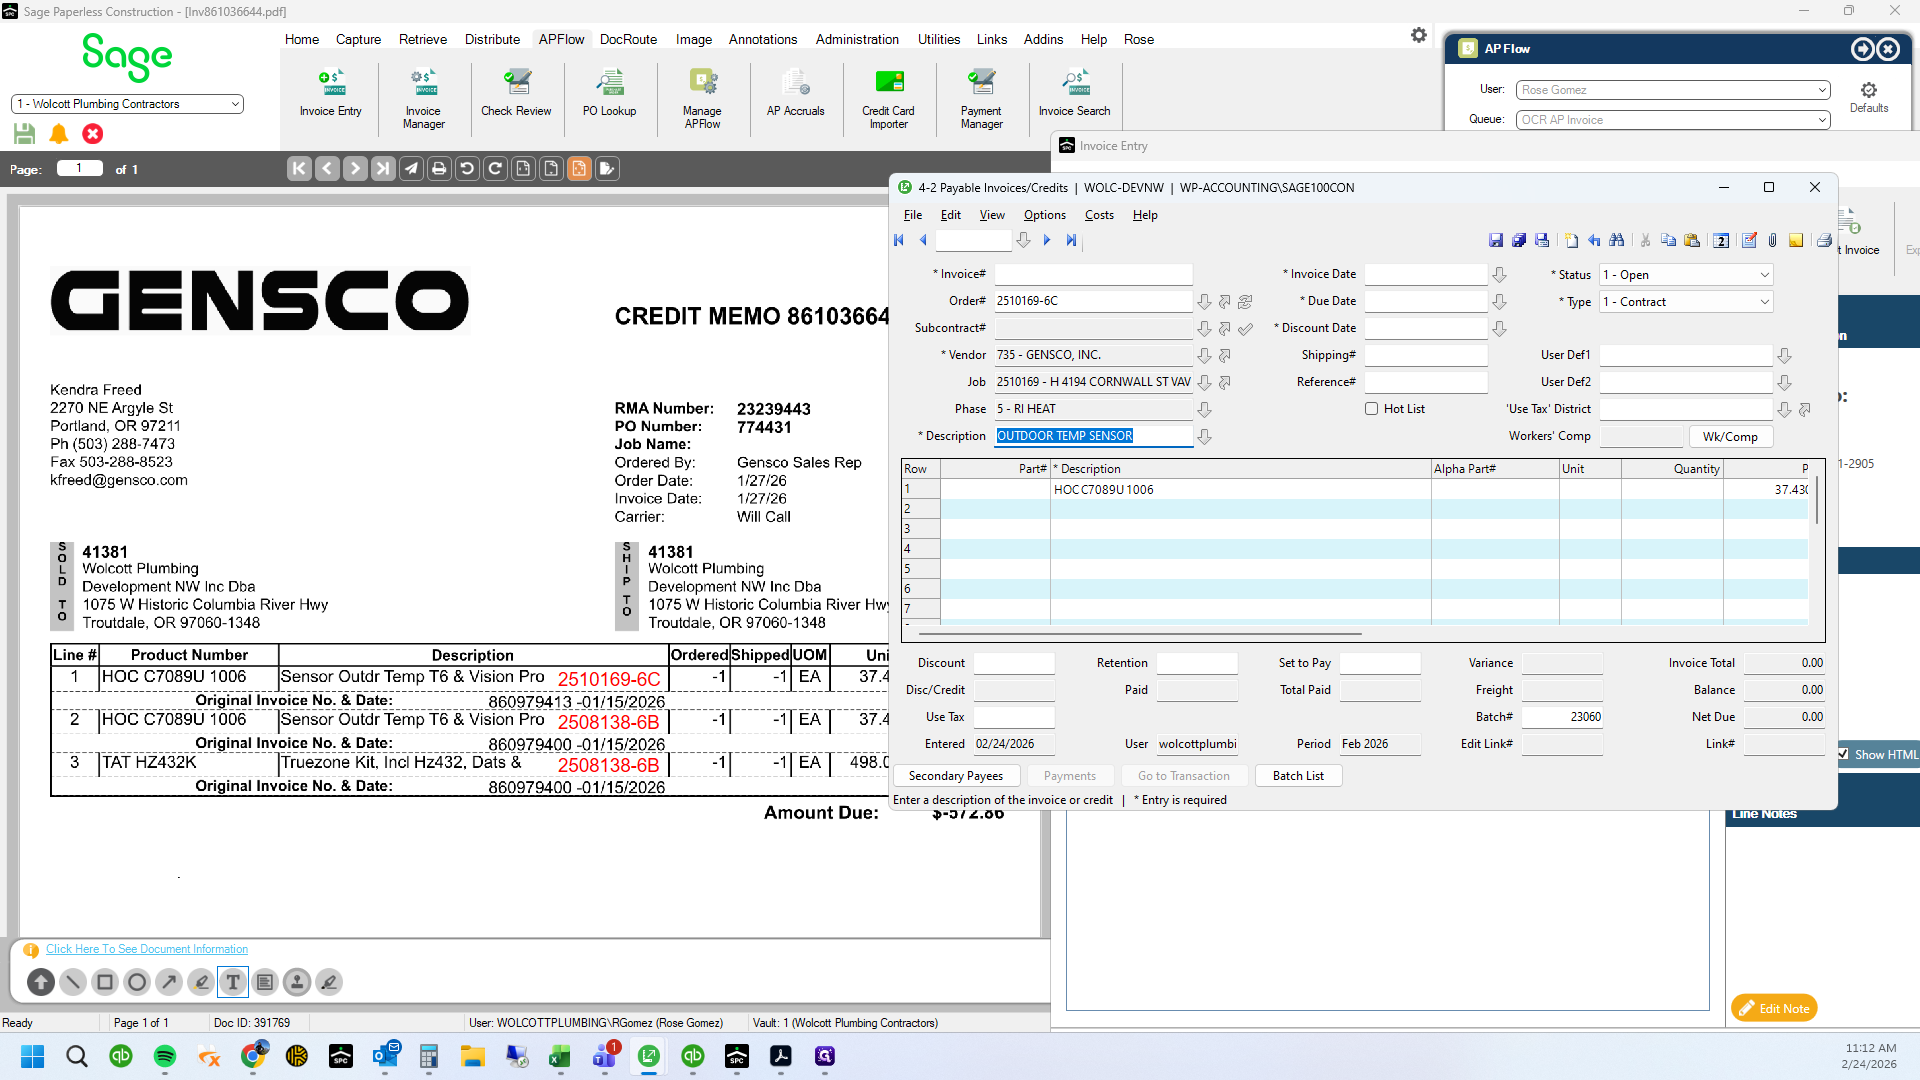
7
Open 4-2
8
Click here
9
Click here
10
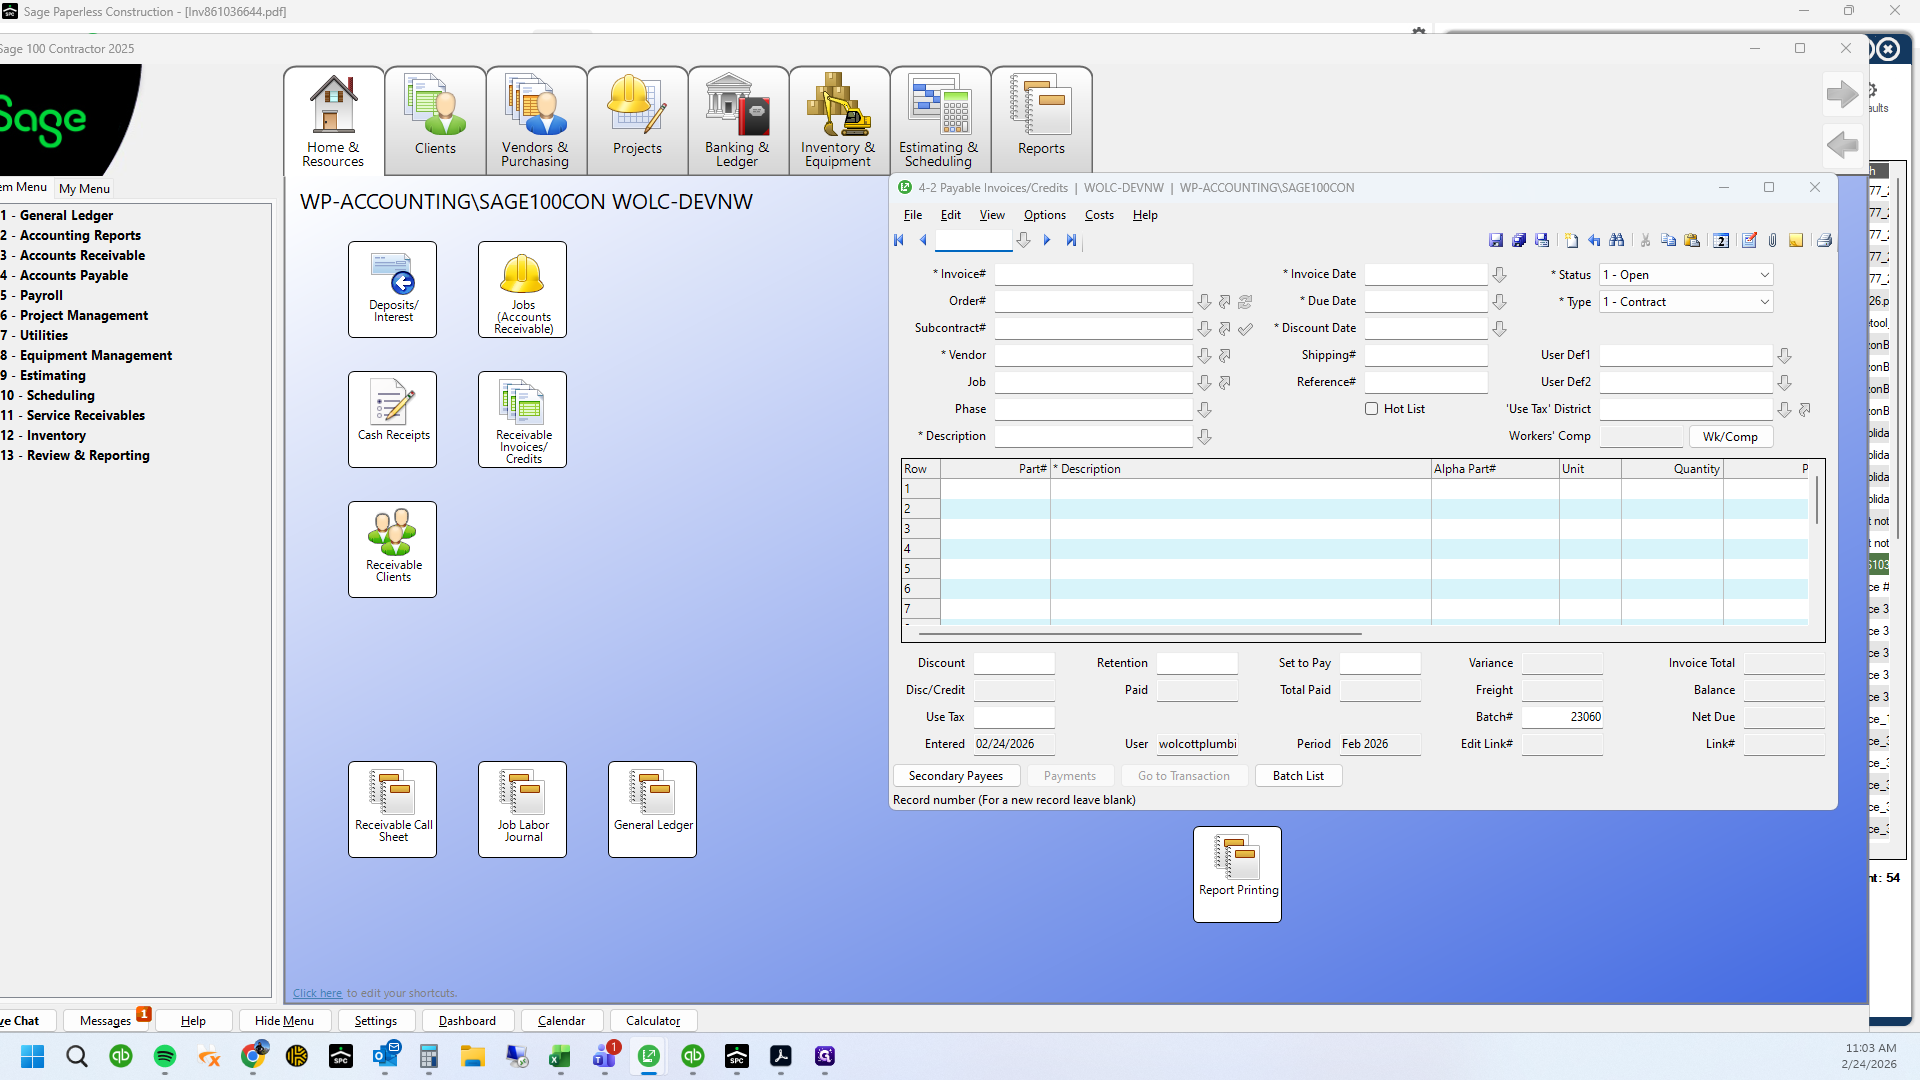
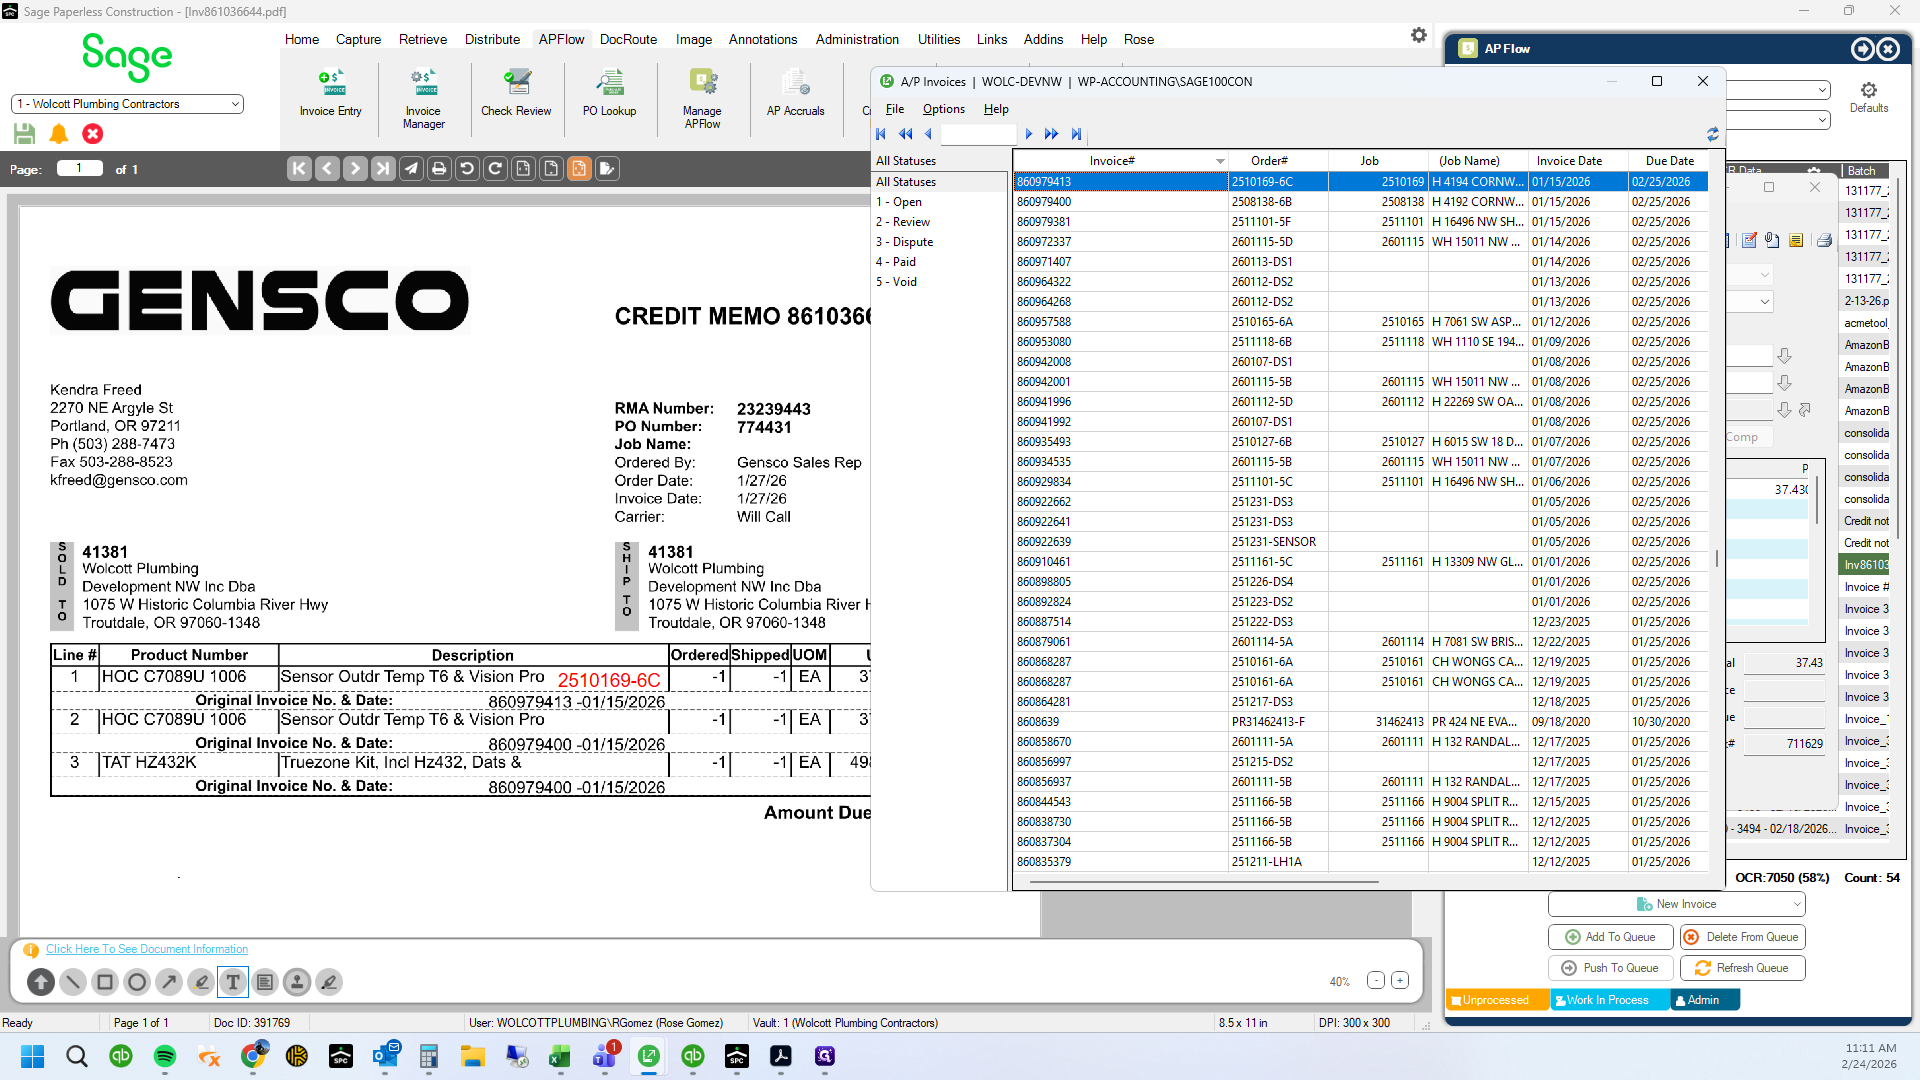
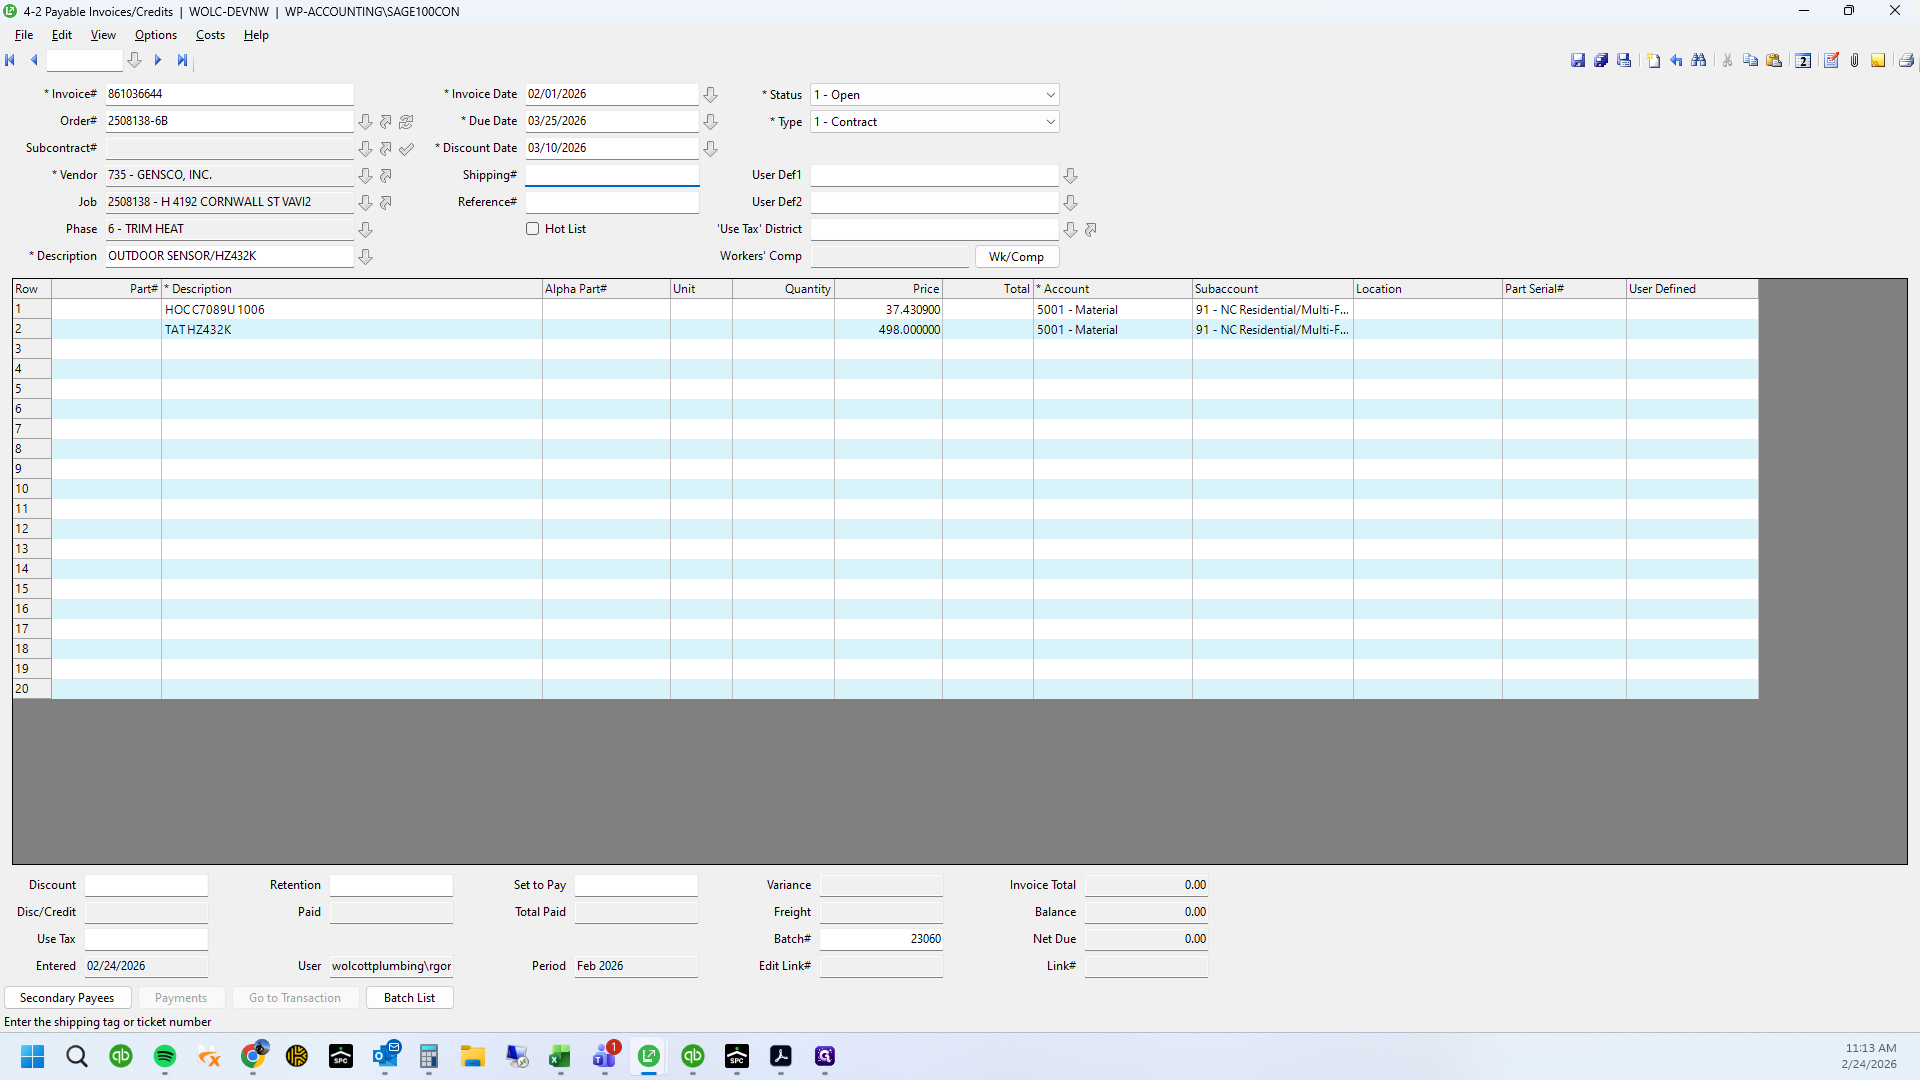
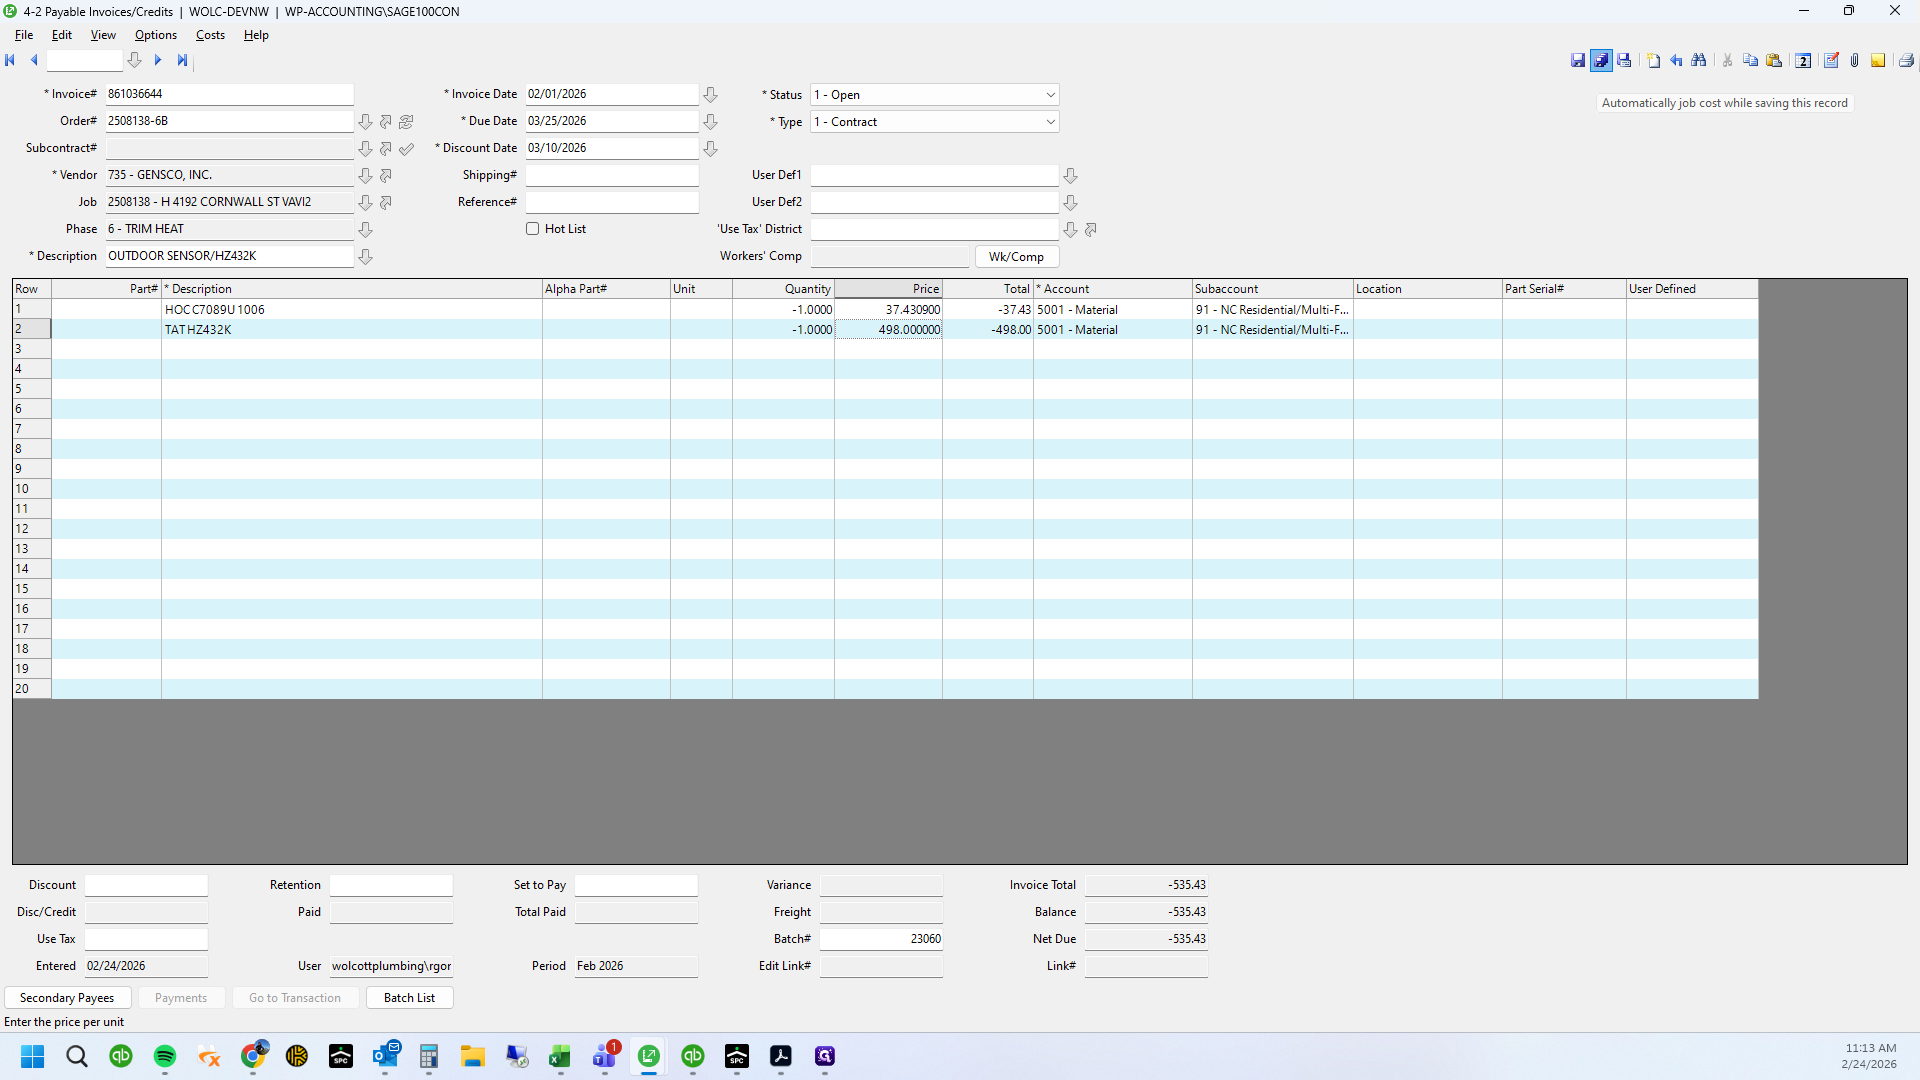
Look up each invoice number referenced
11
Click here

12
Type "860979413"
13
Double-click here

14
Drag "Order # 2510169-6C"

15
Type "Ctrl + C"
16
Click on "860979413-01 / 15 / 2026"

17
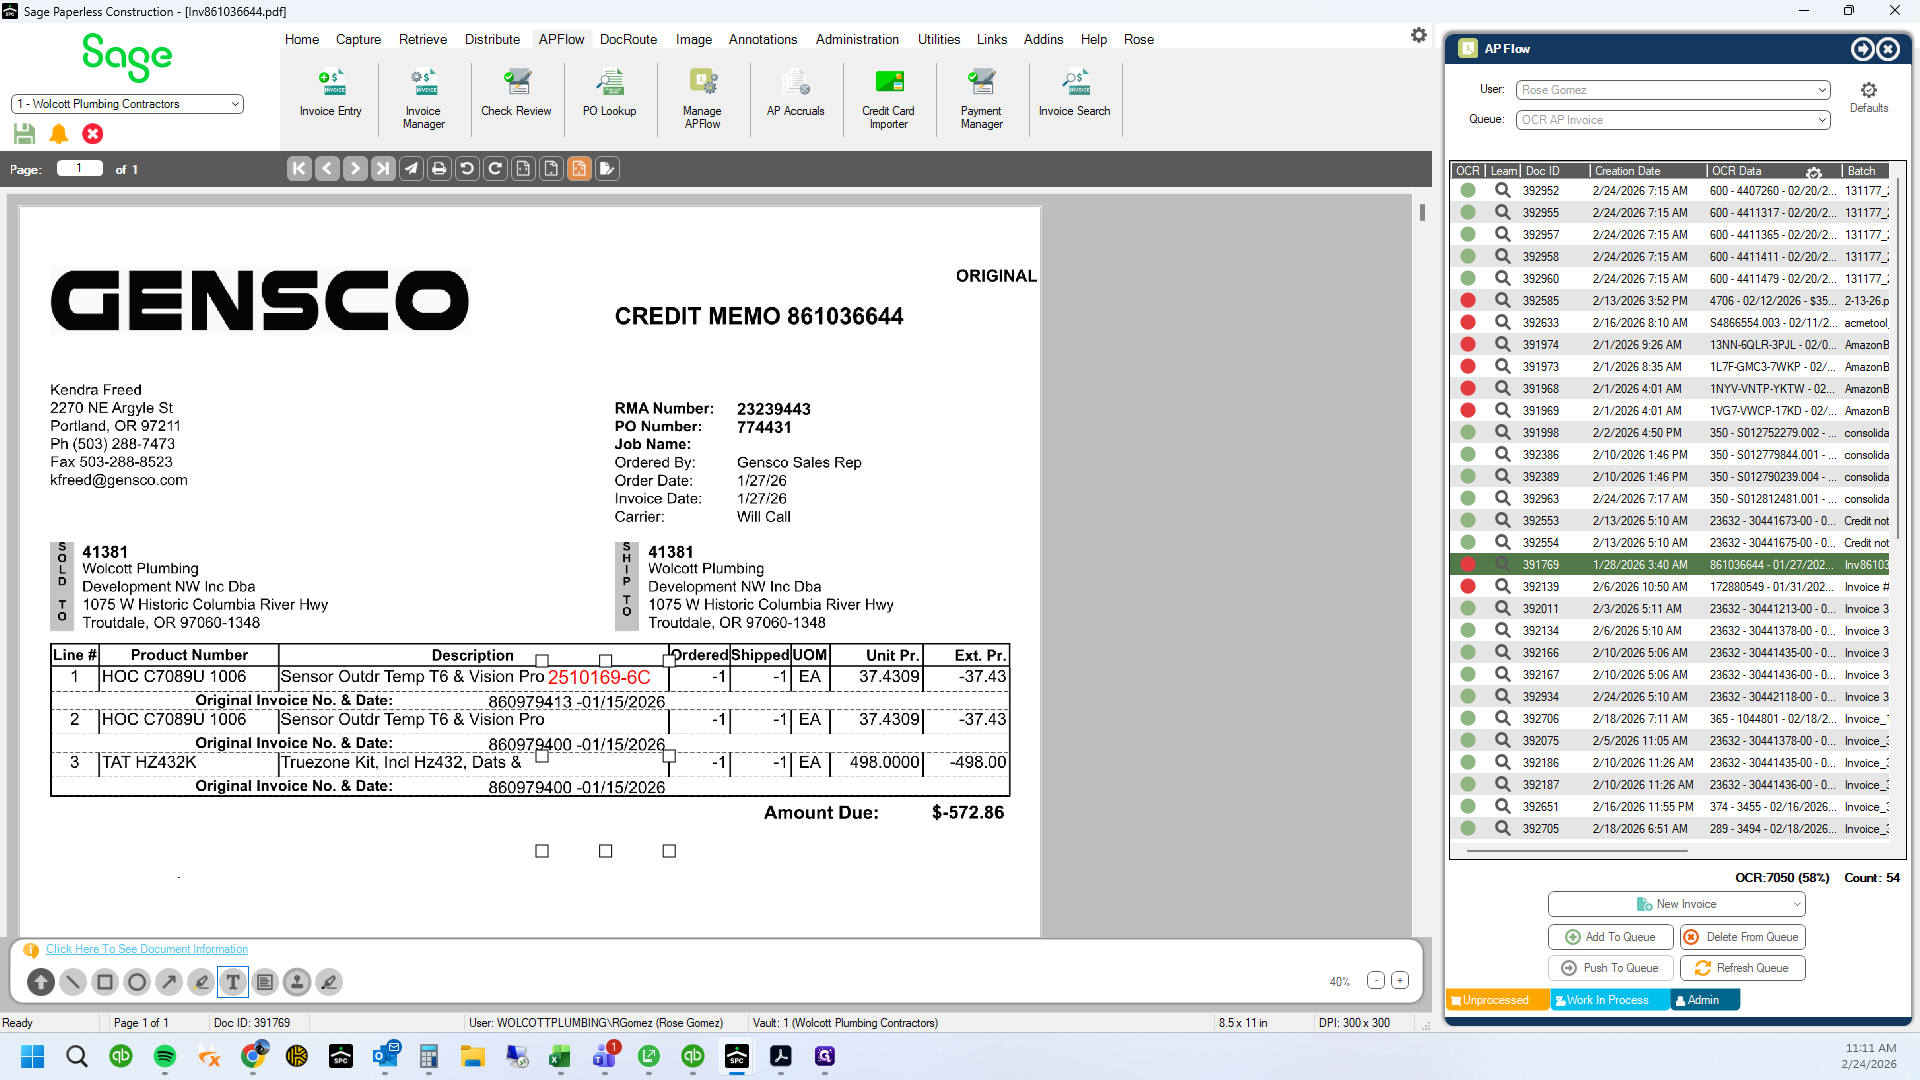
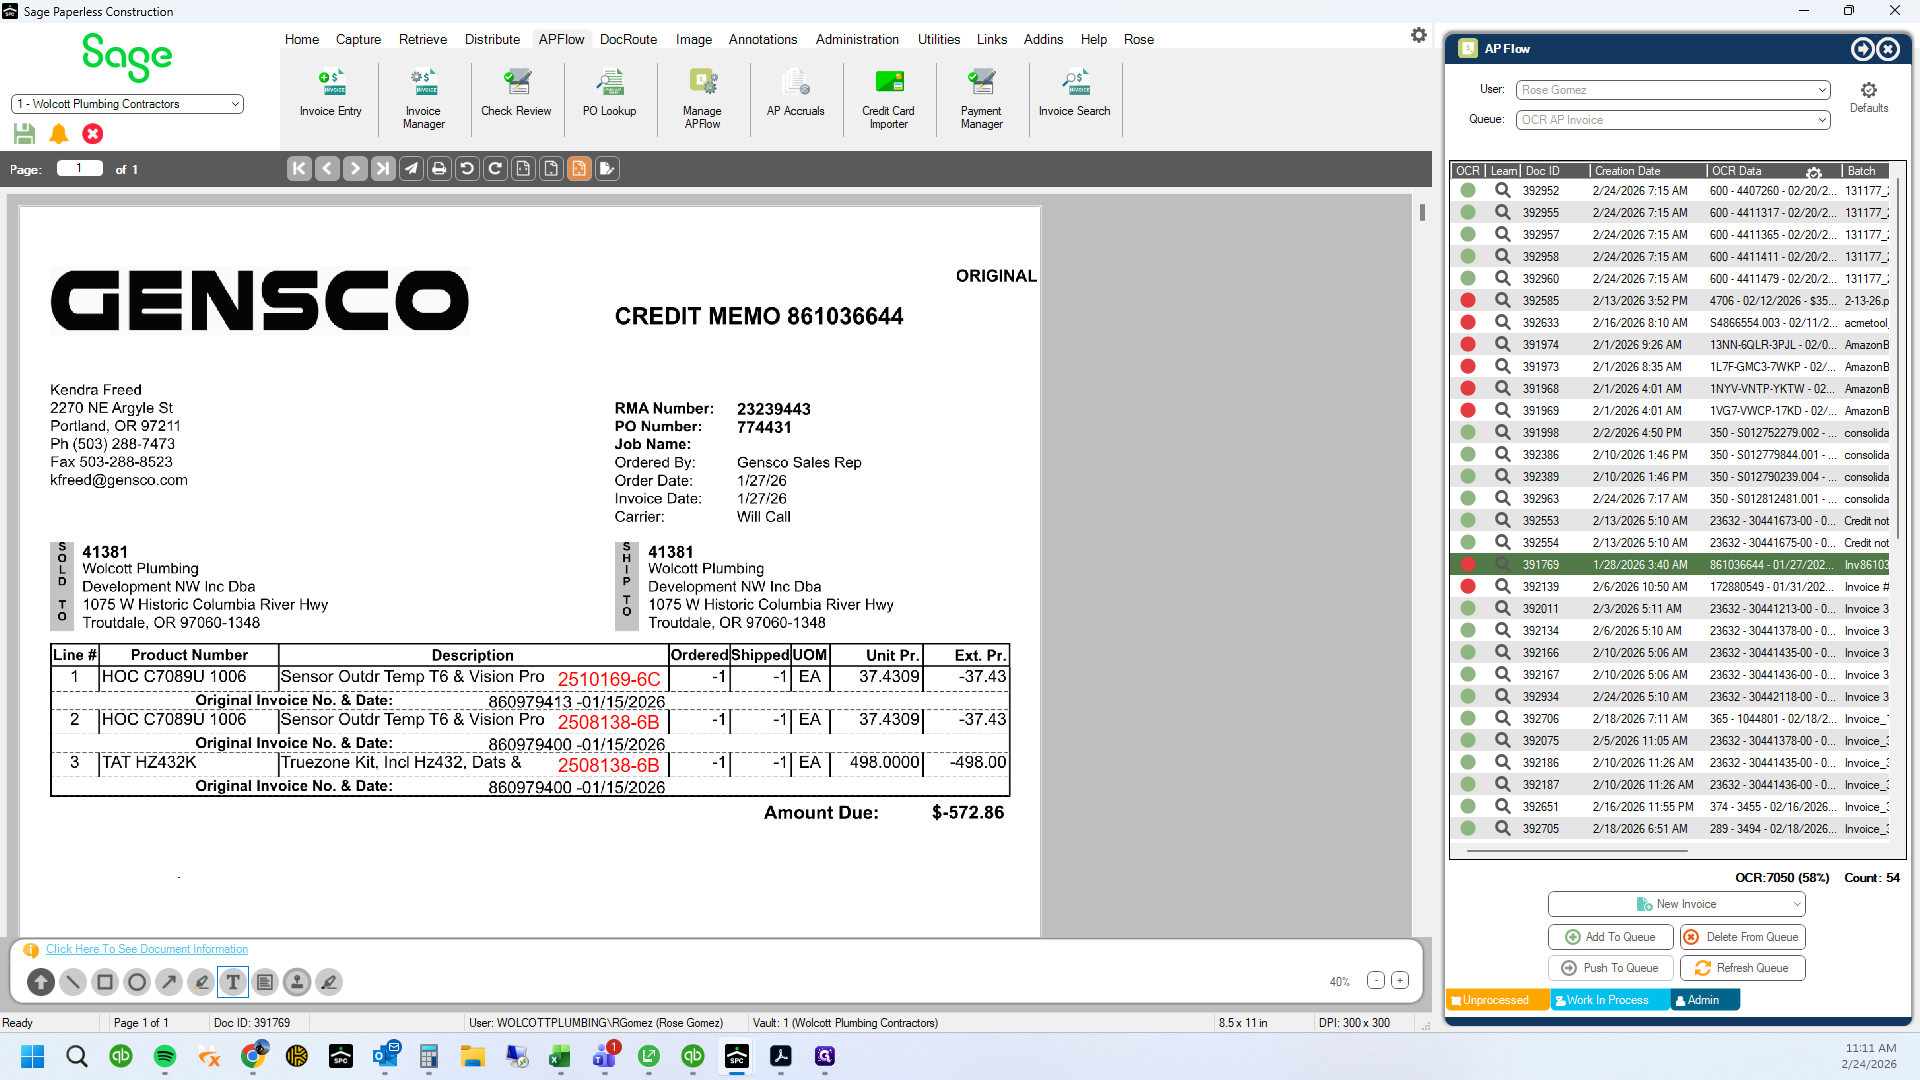
Copy and paste PO number on PDF invoice on corresponding line item

18
Type "Ctrl + V"
19
Drag "45" Change font size
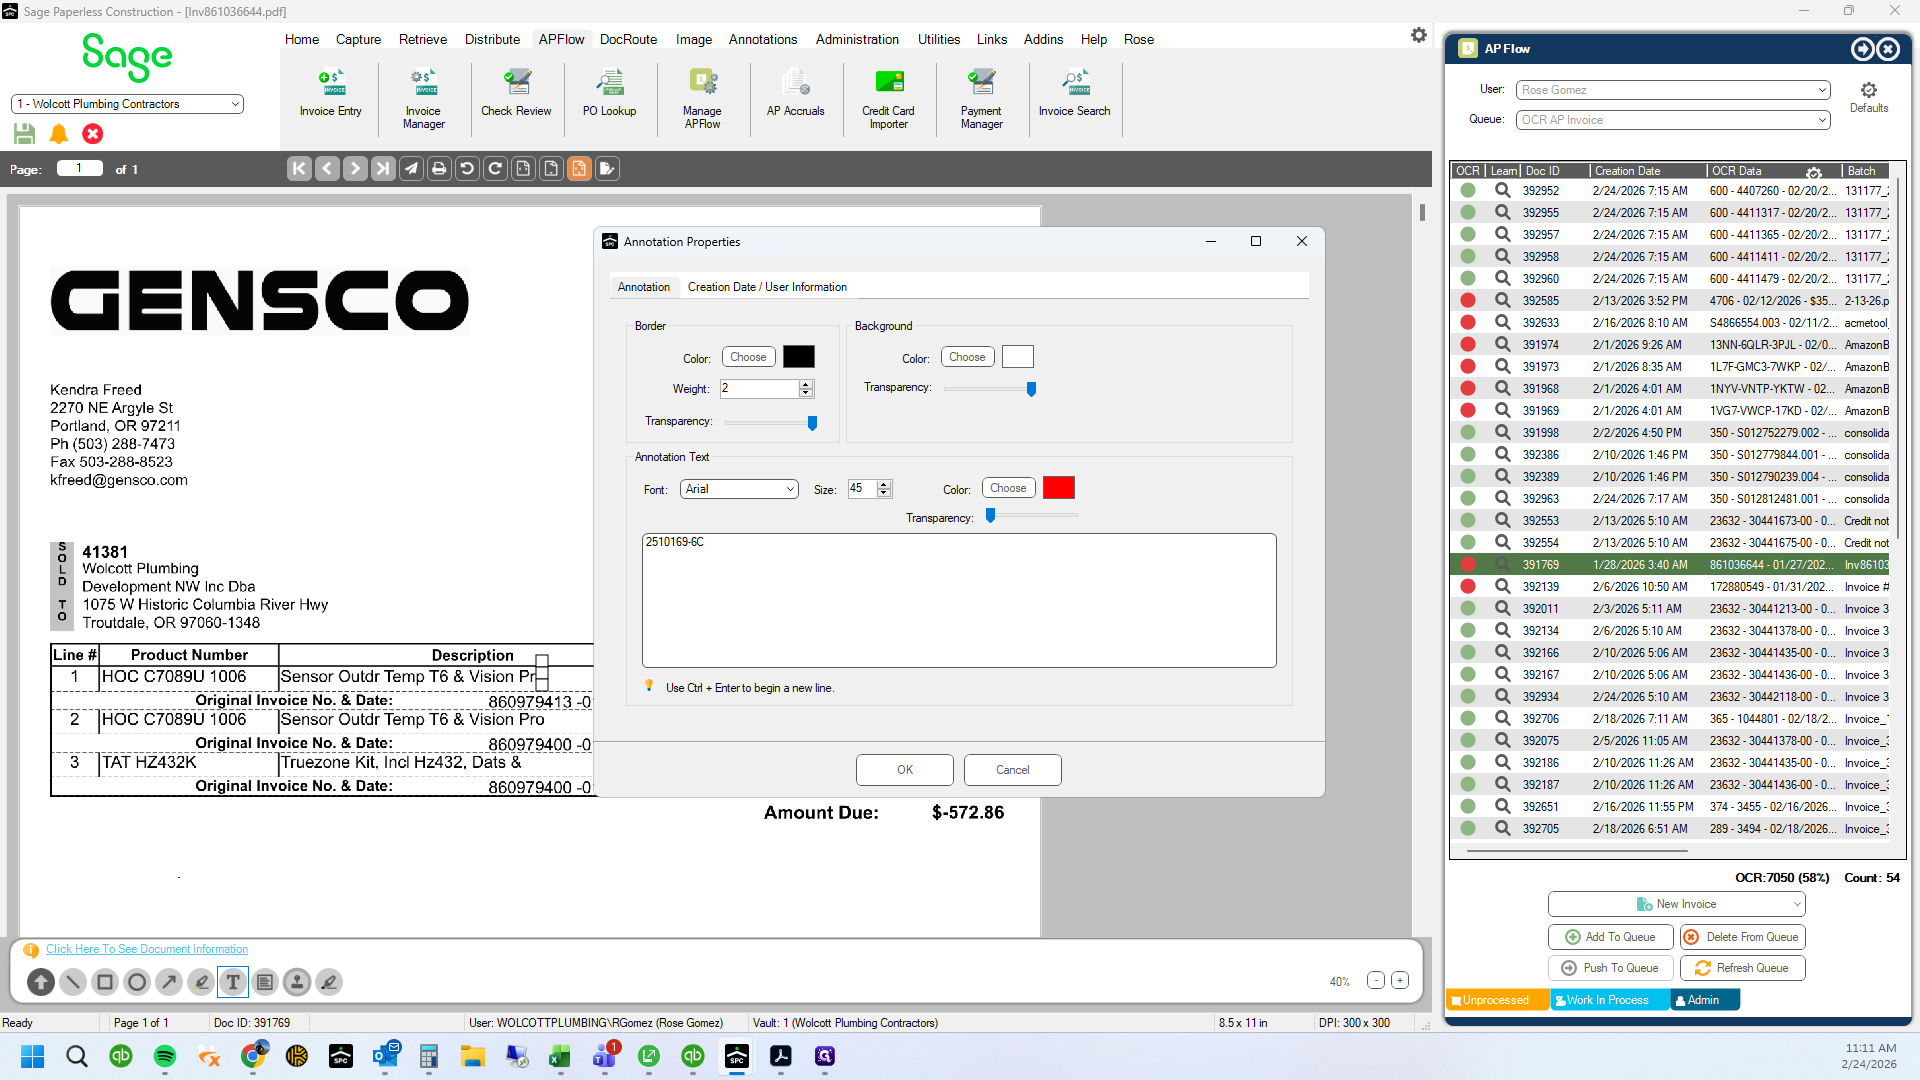
20
Type "35 + Enter"
21
Create text box

22
Paste PO number on line item
23
Click here

24
Click here
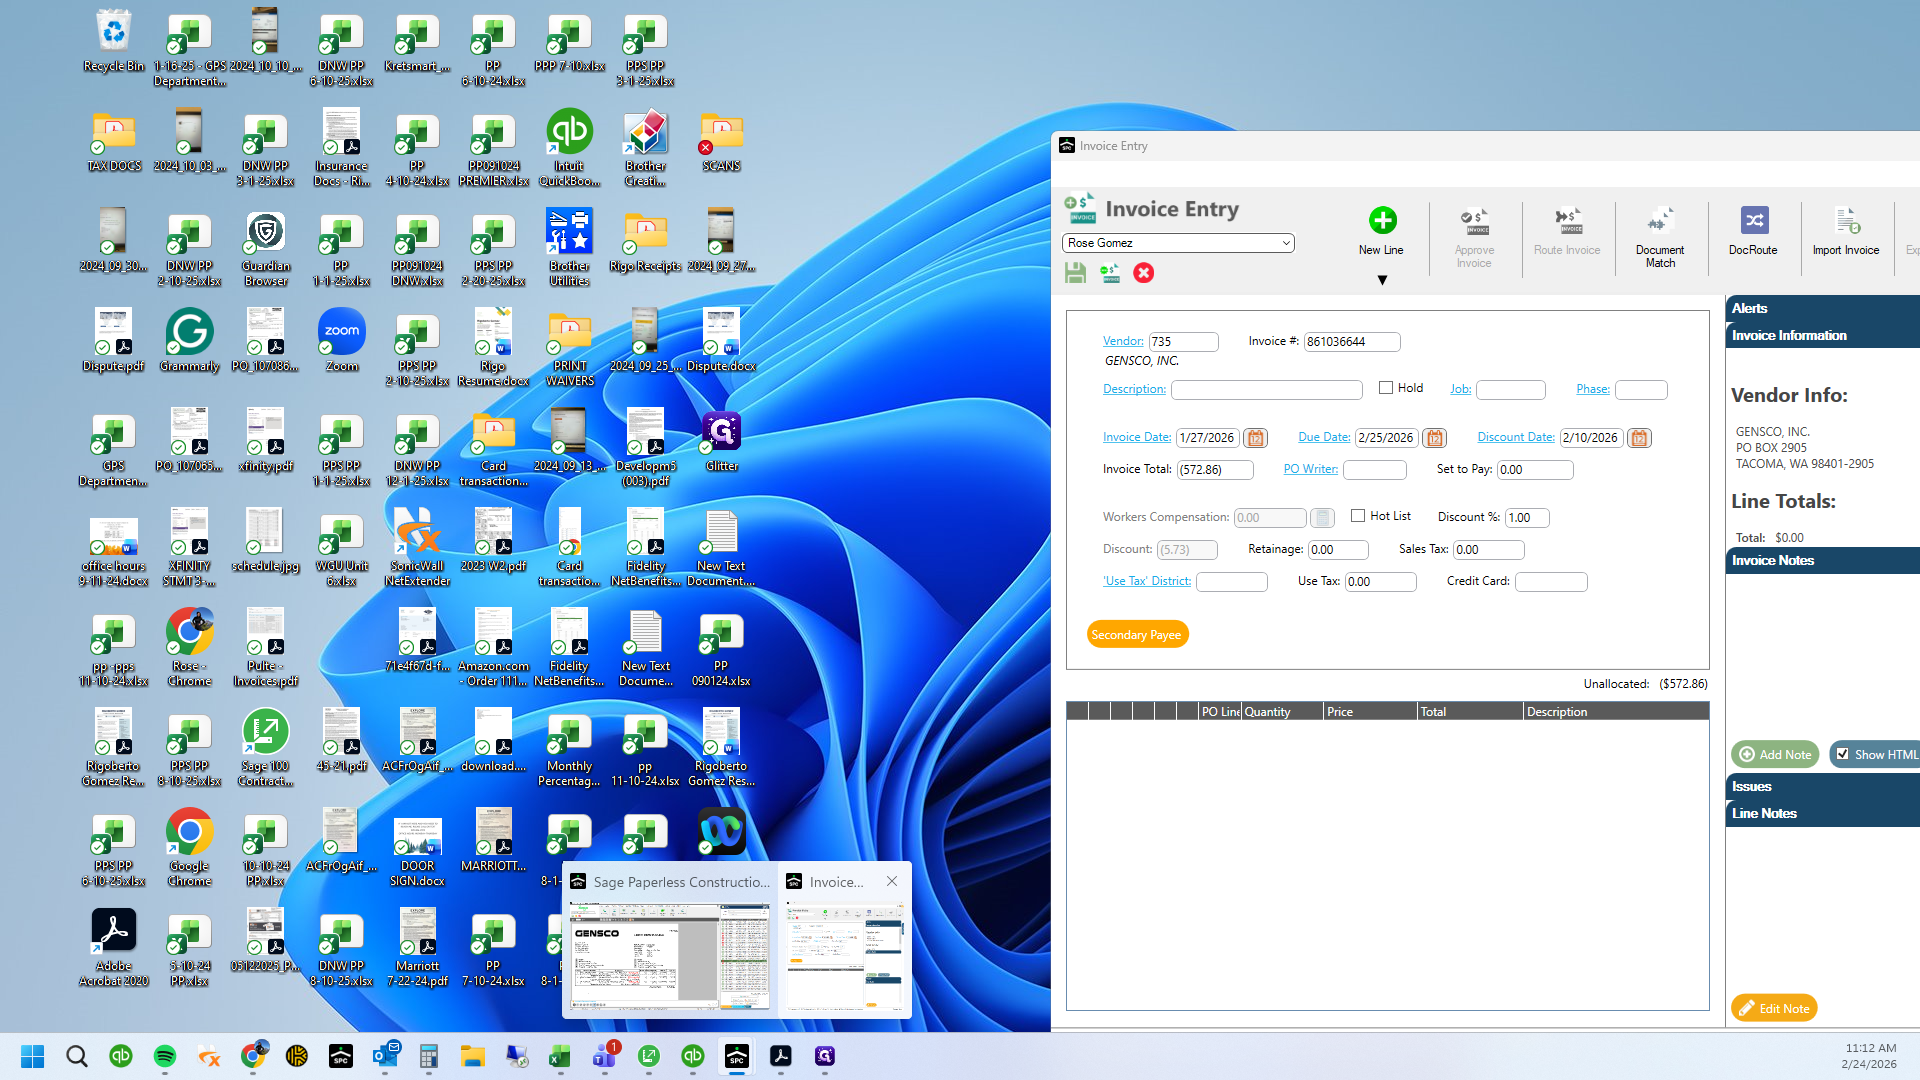
25
Click here
26
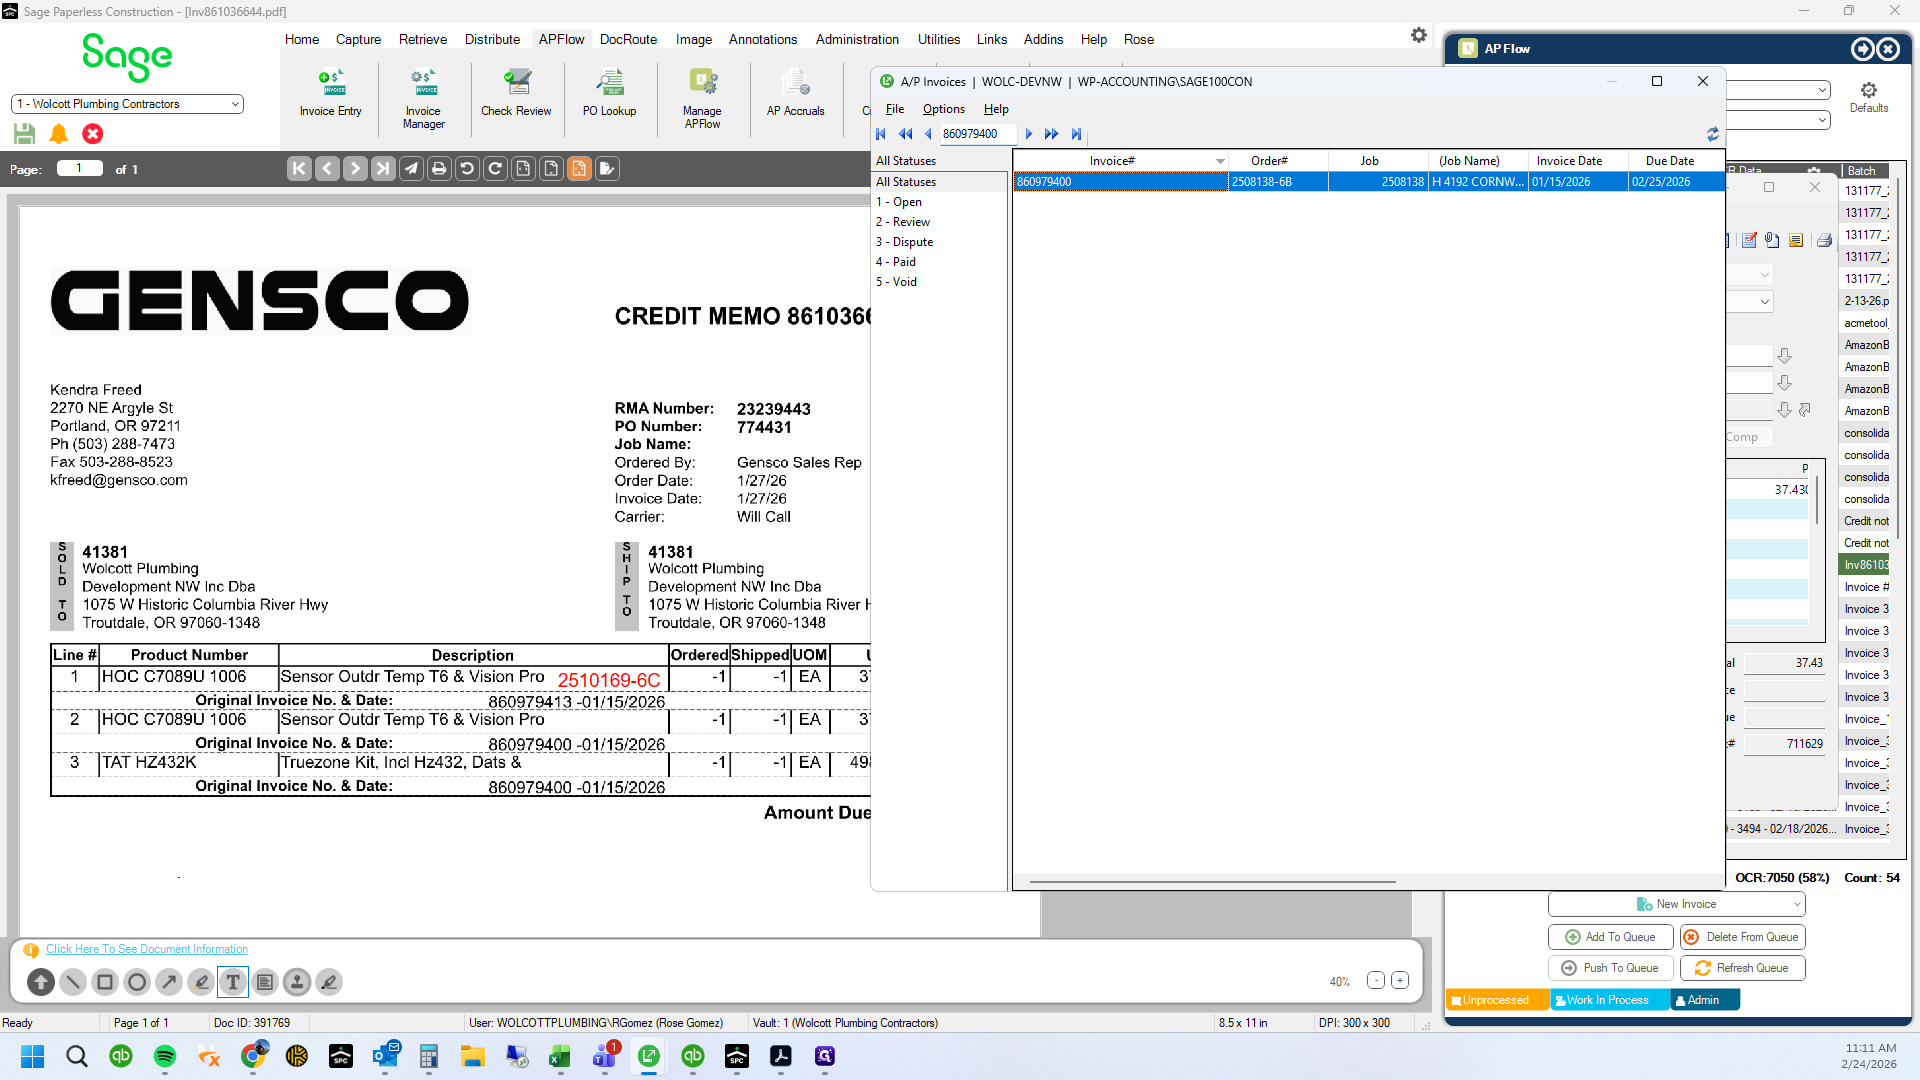
Look up second invoice number referenced

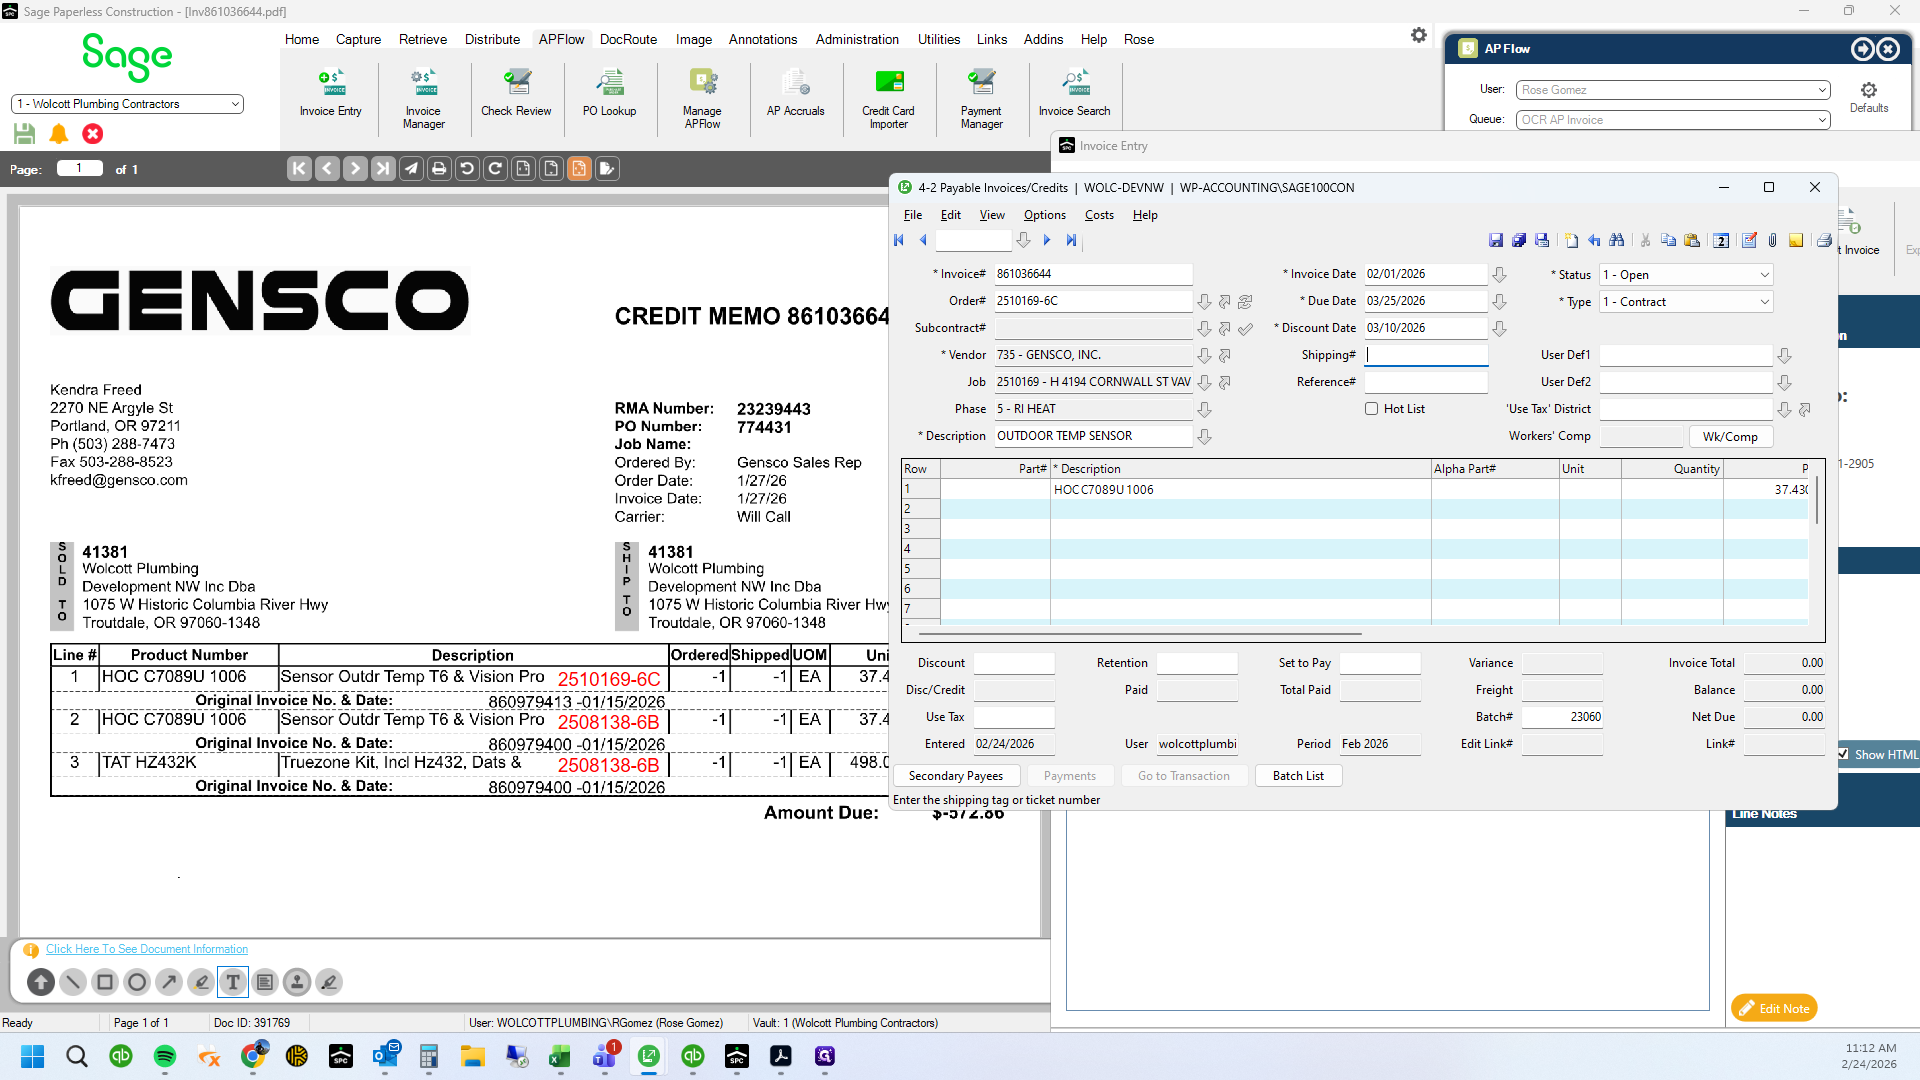
27
Click here
28
Click here
29
Type "860979400"
30
Type "860979400"
31
Double-click here
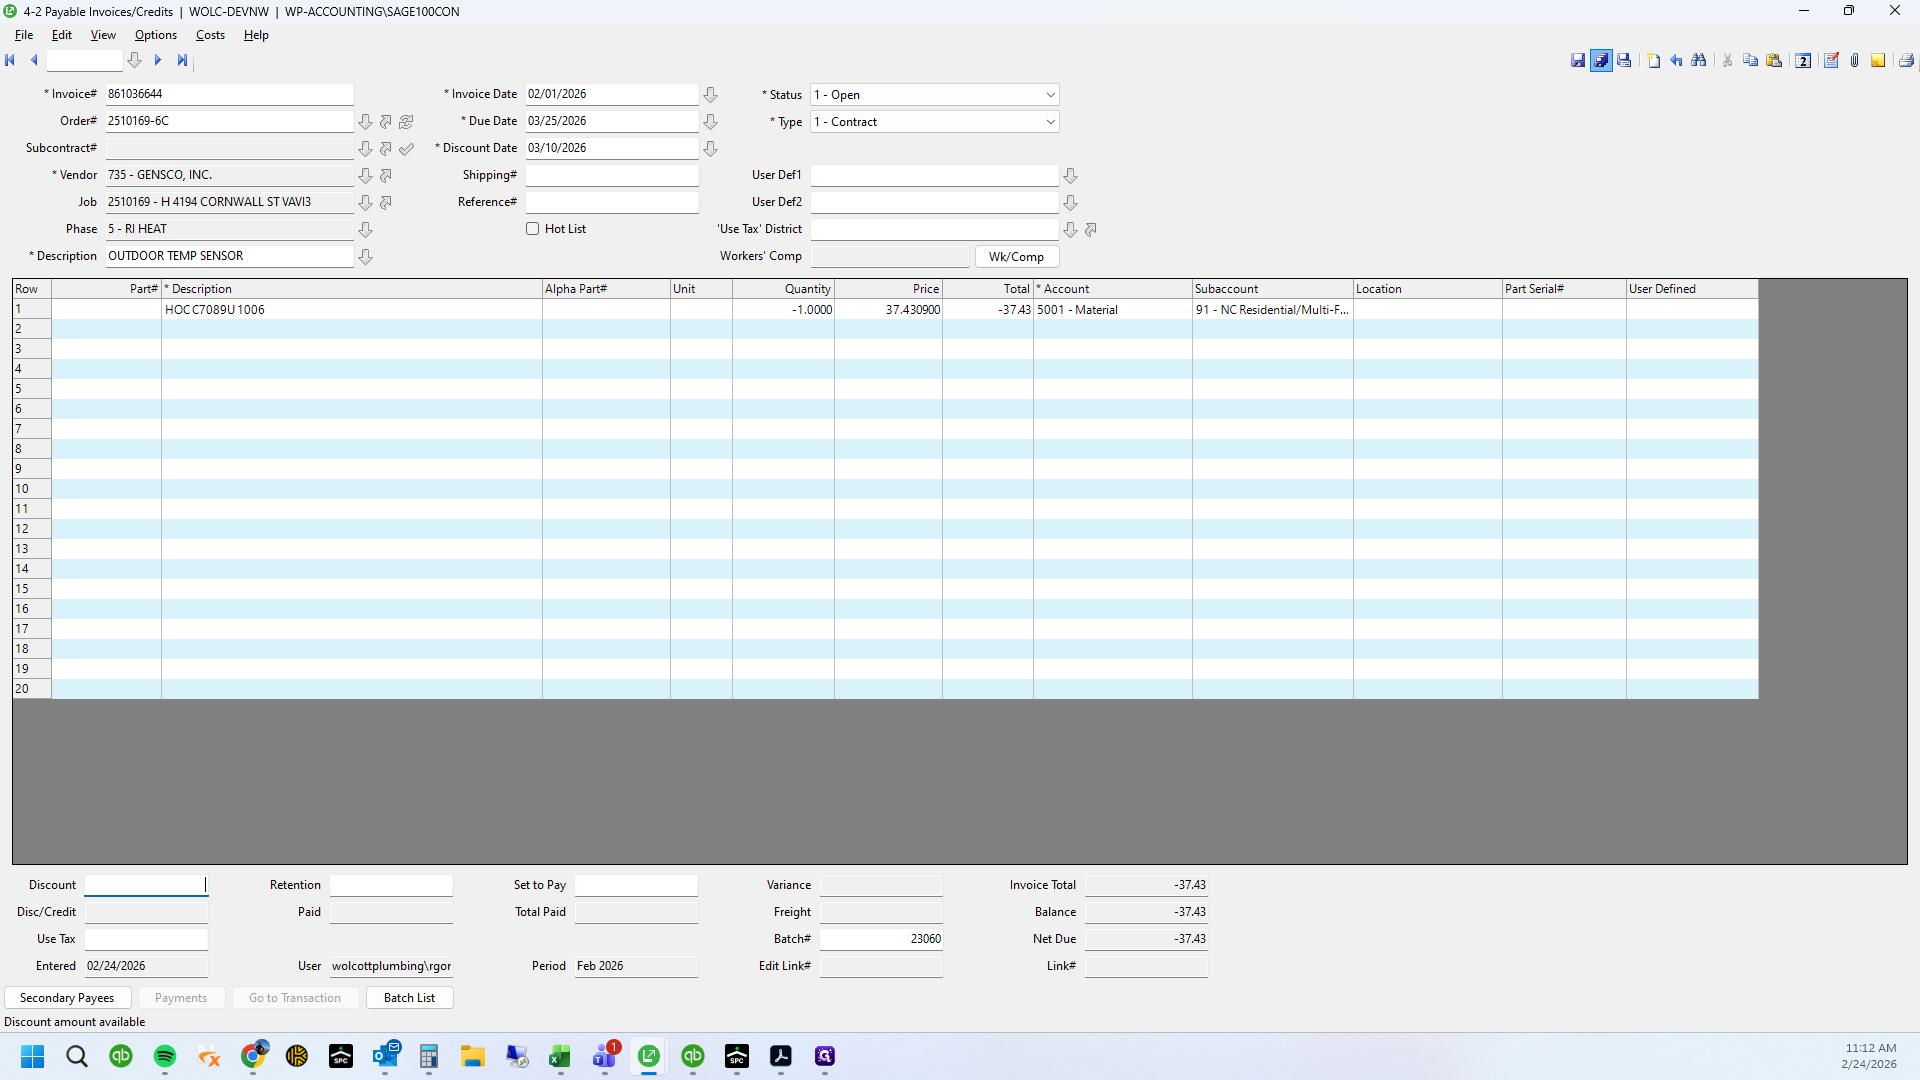
32
Drag here

33
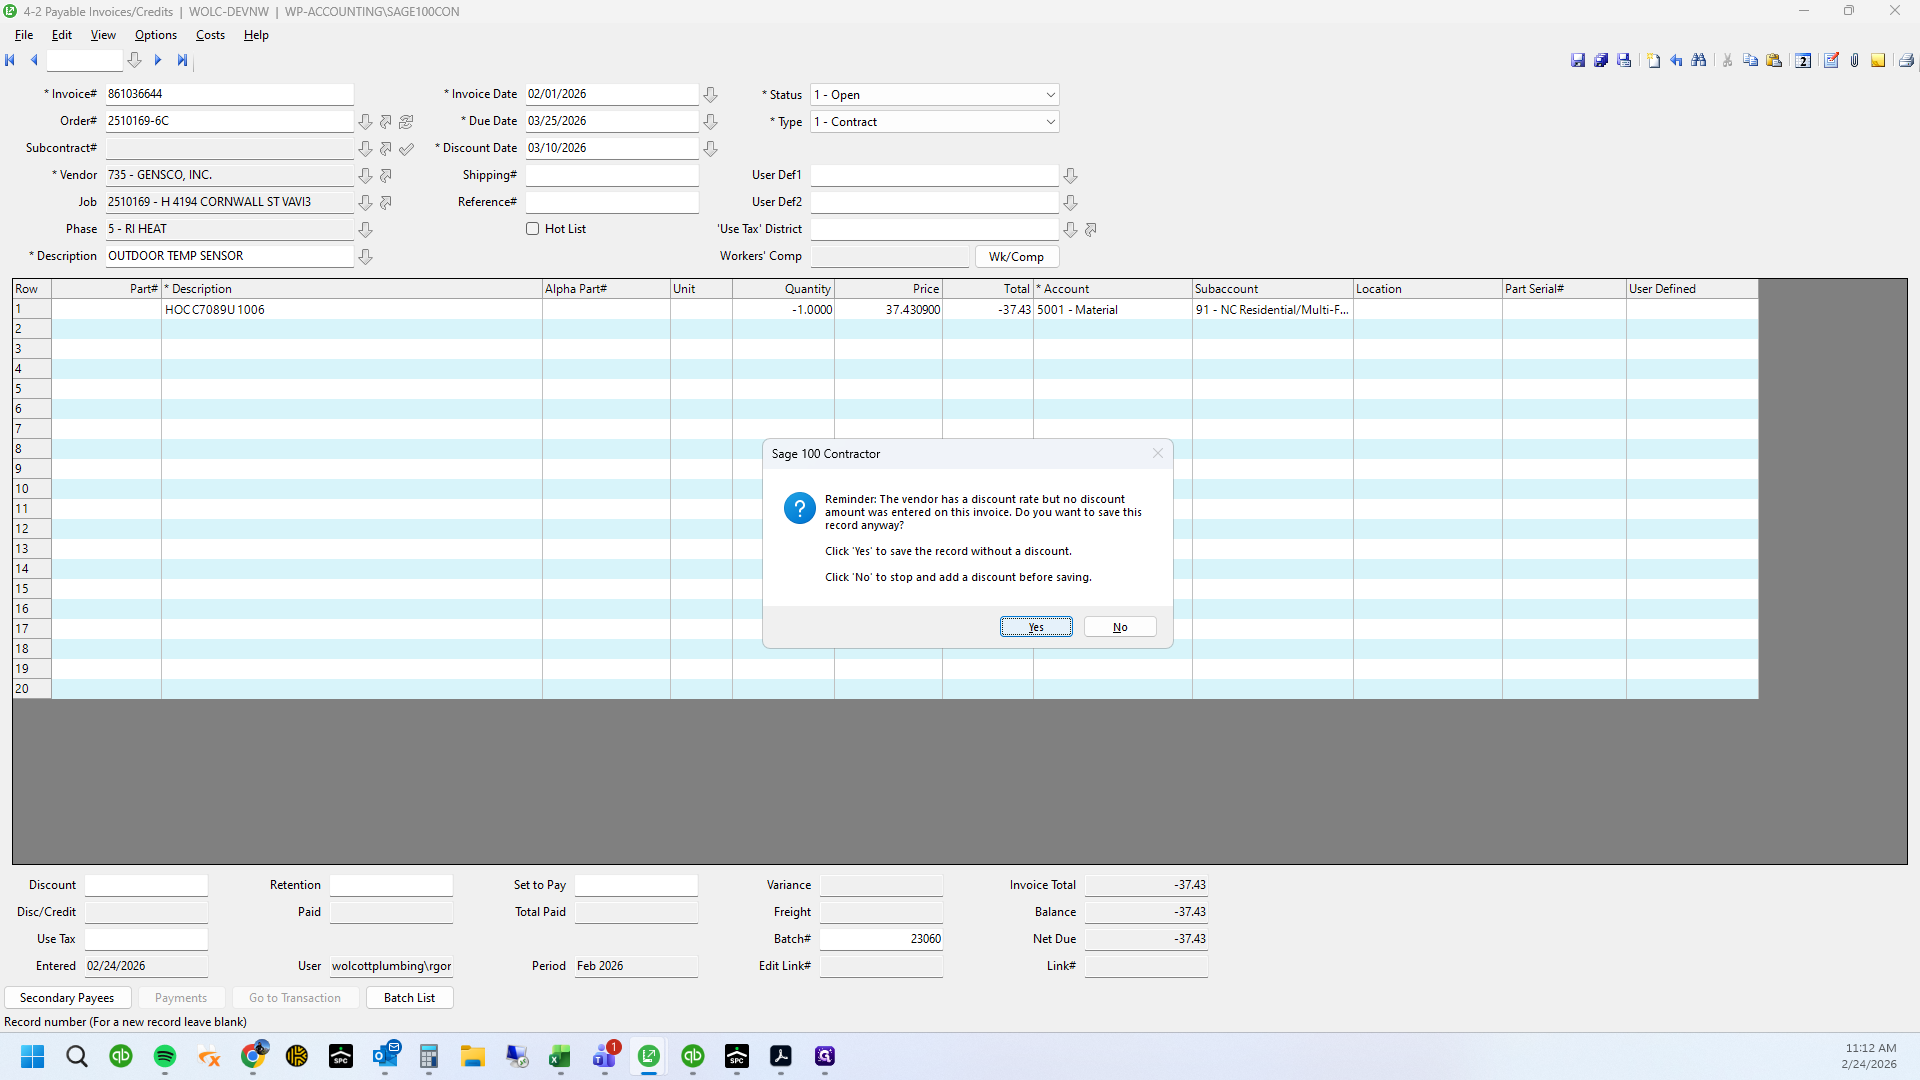
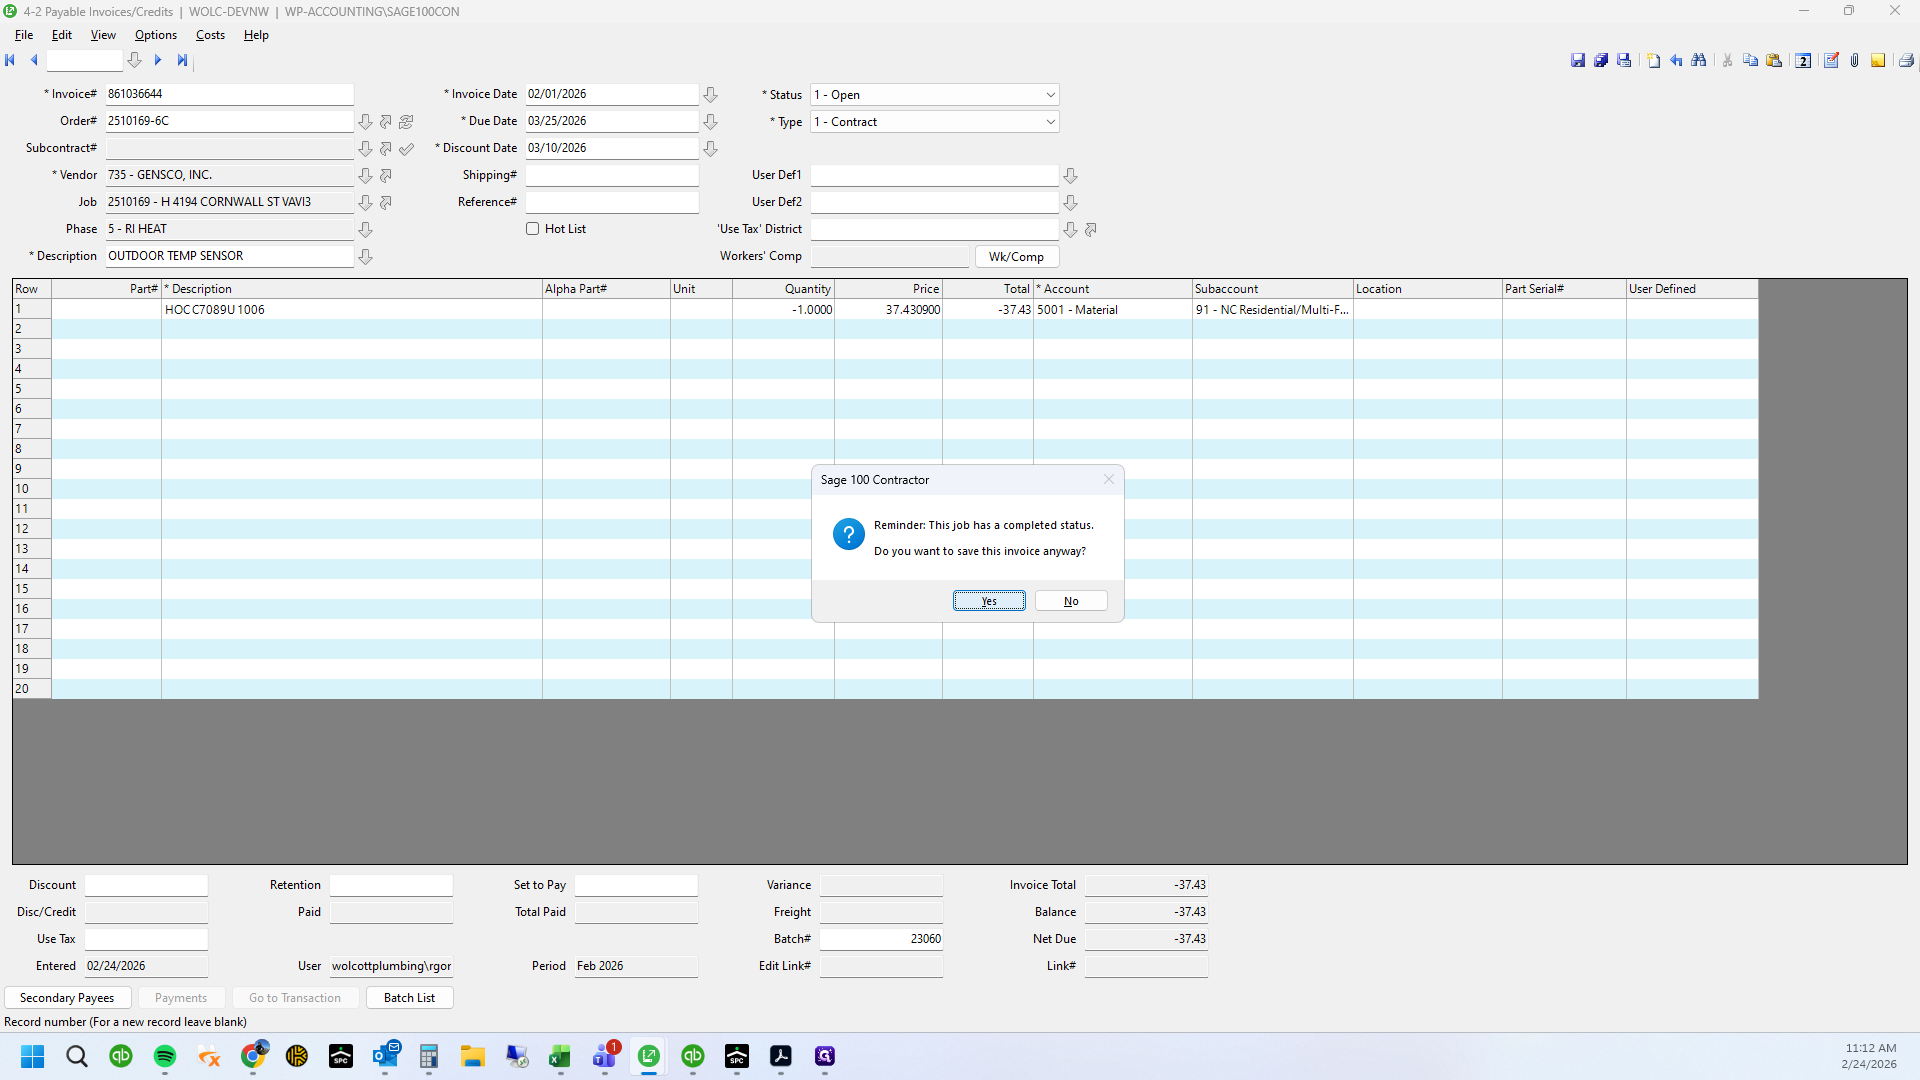
Type "Ctrl + C"
34
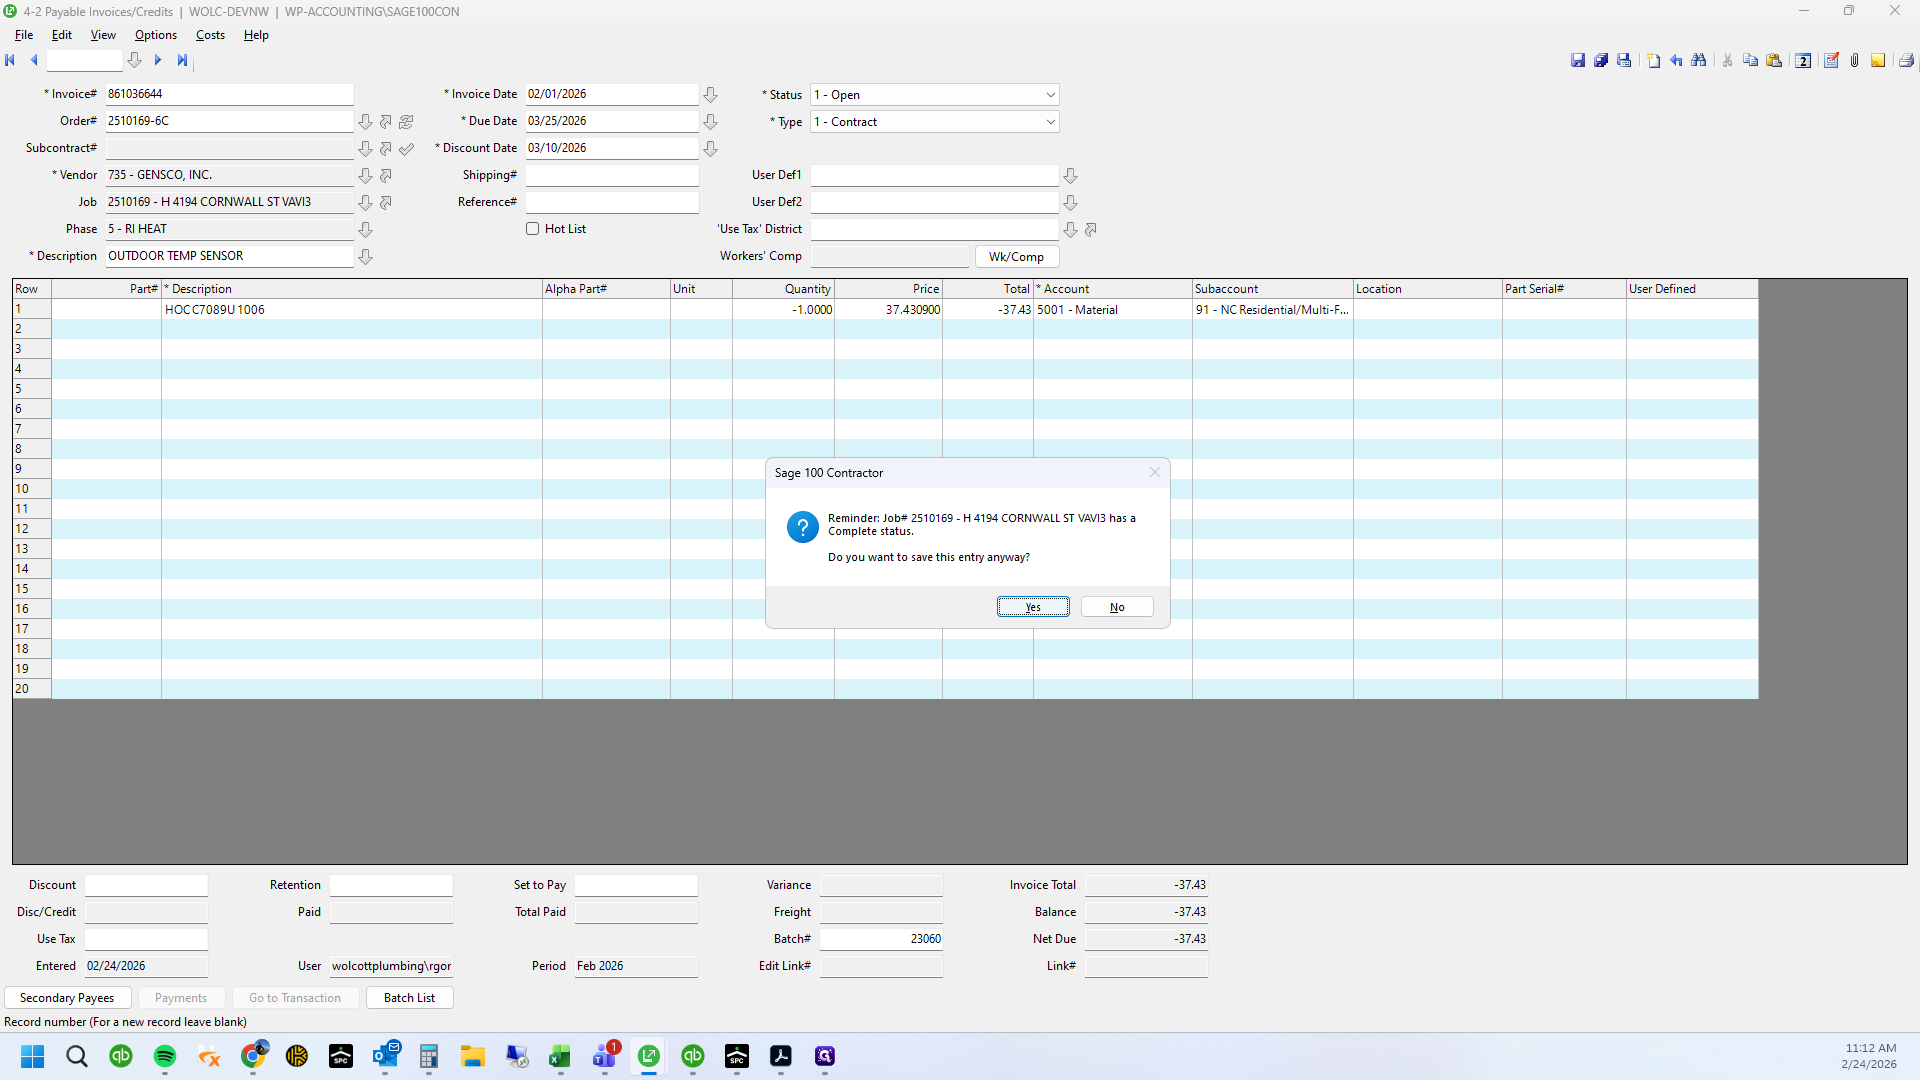
Copy and paste PO number on corresponding line items

35
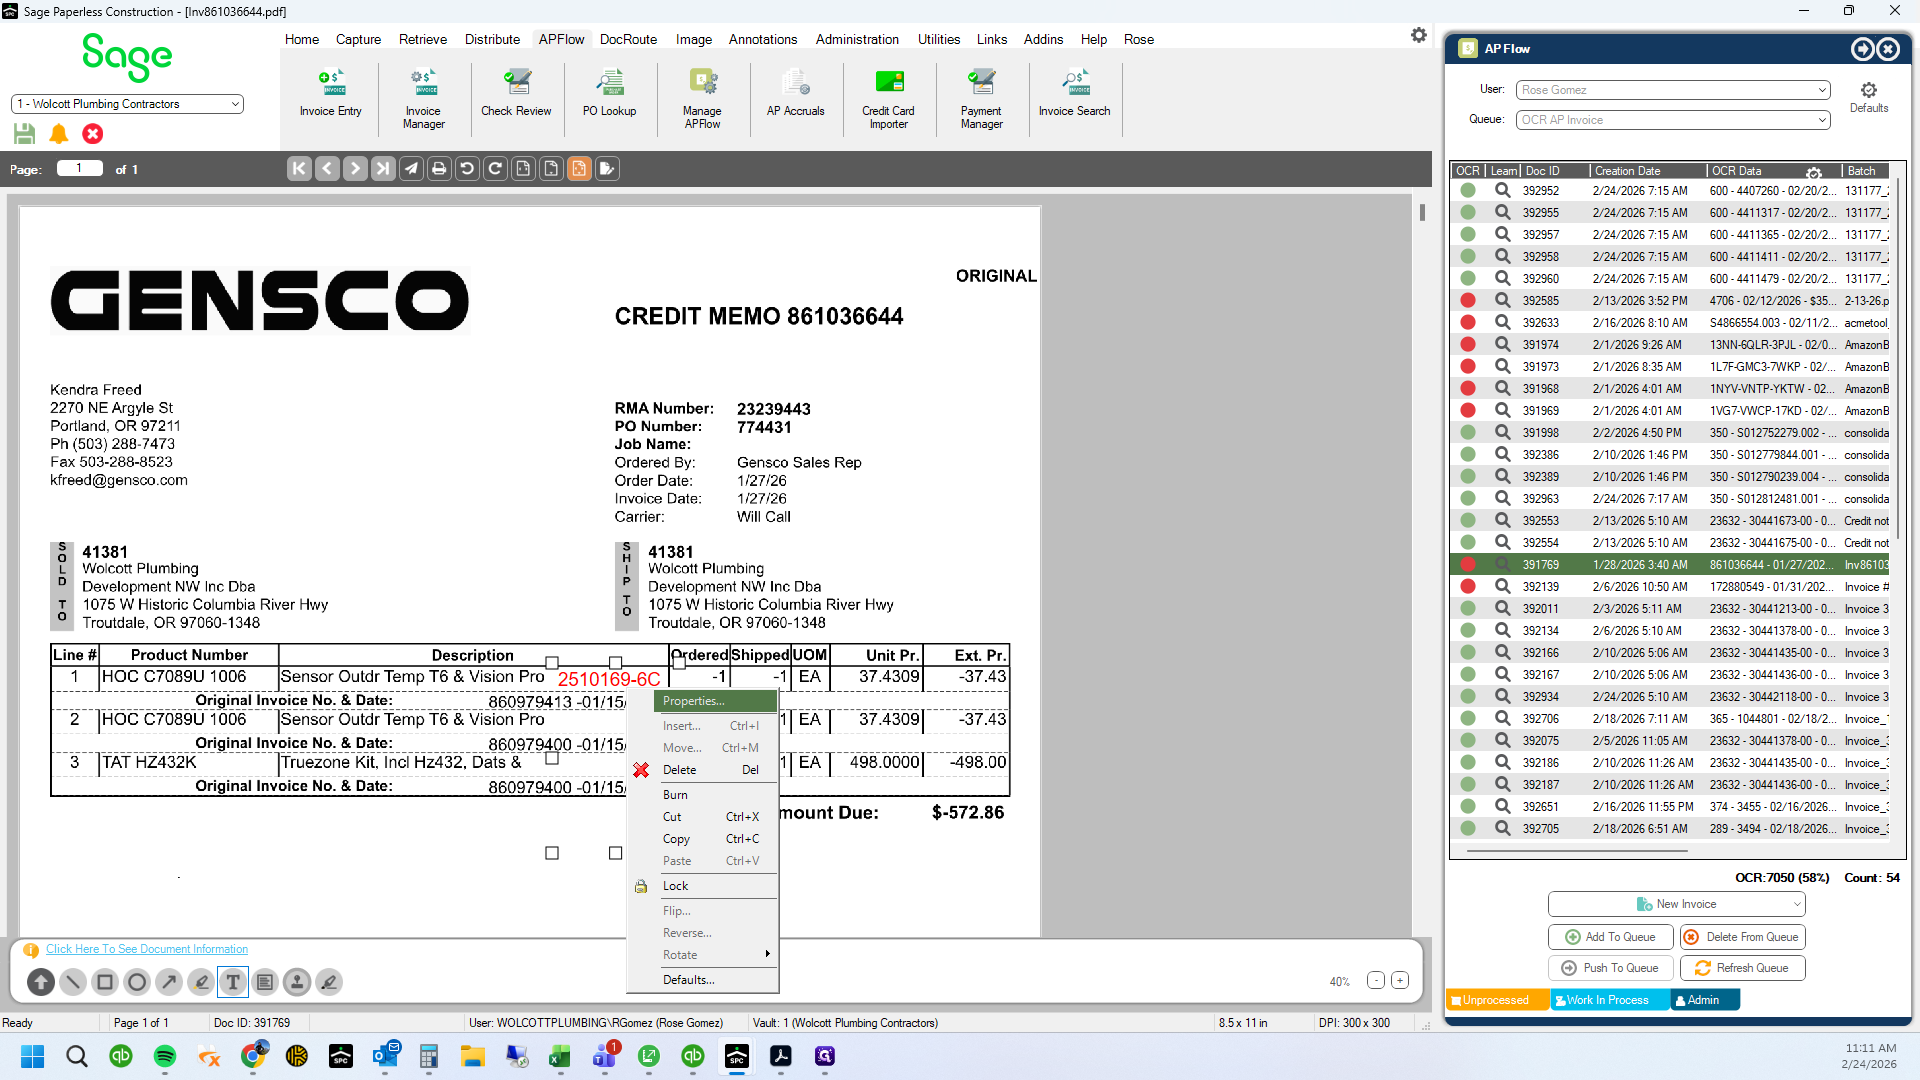
Right click to bring up your text box. Click "Properties"
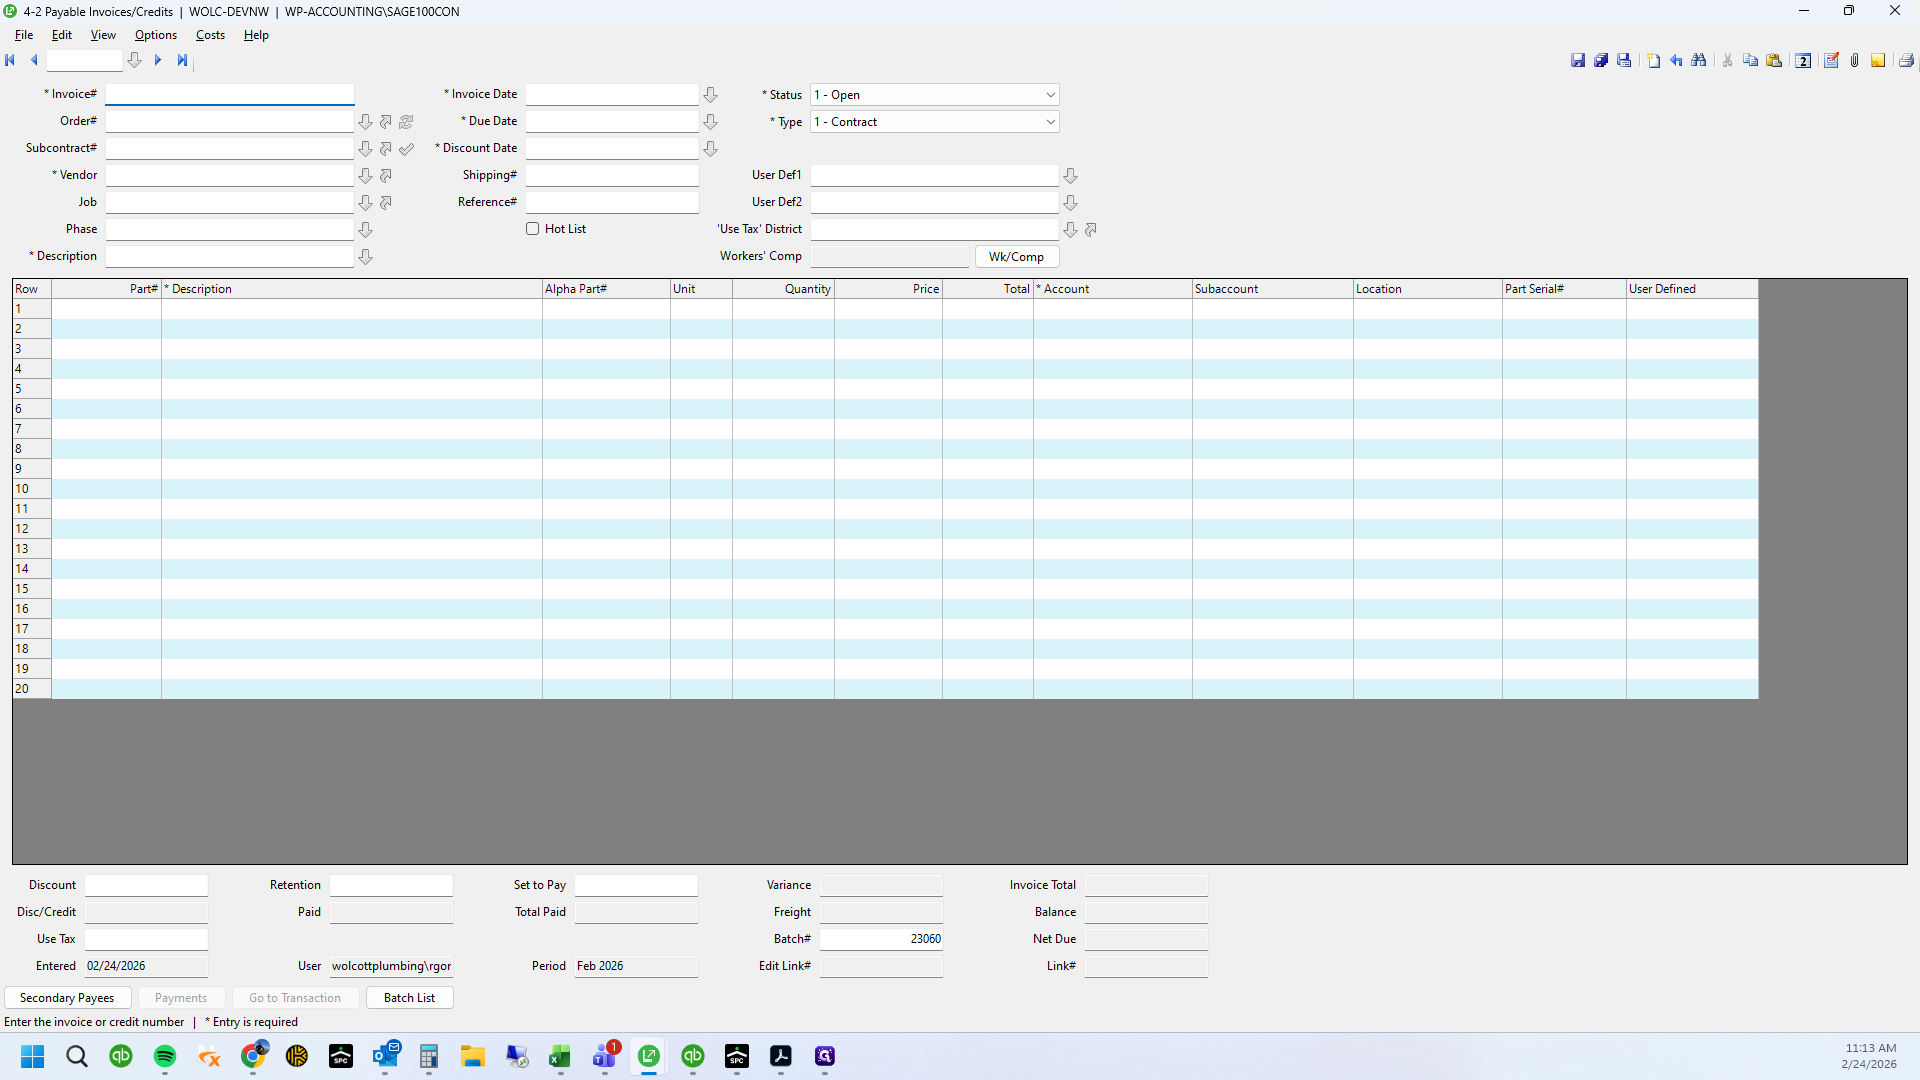
36
Click on "Properties"
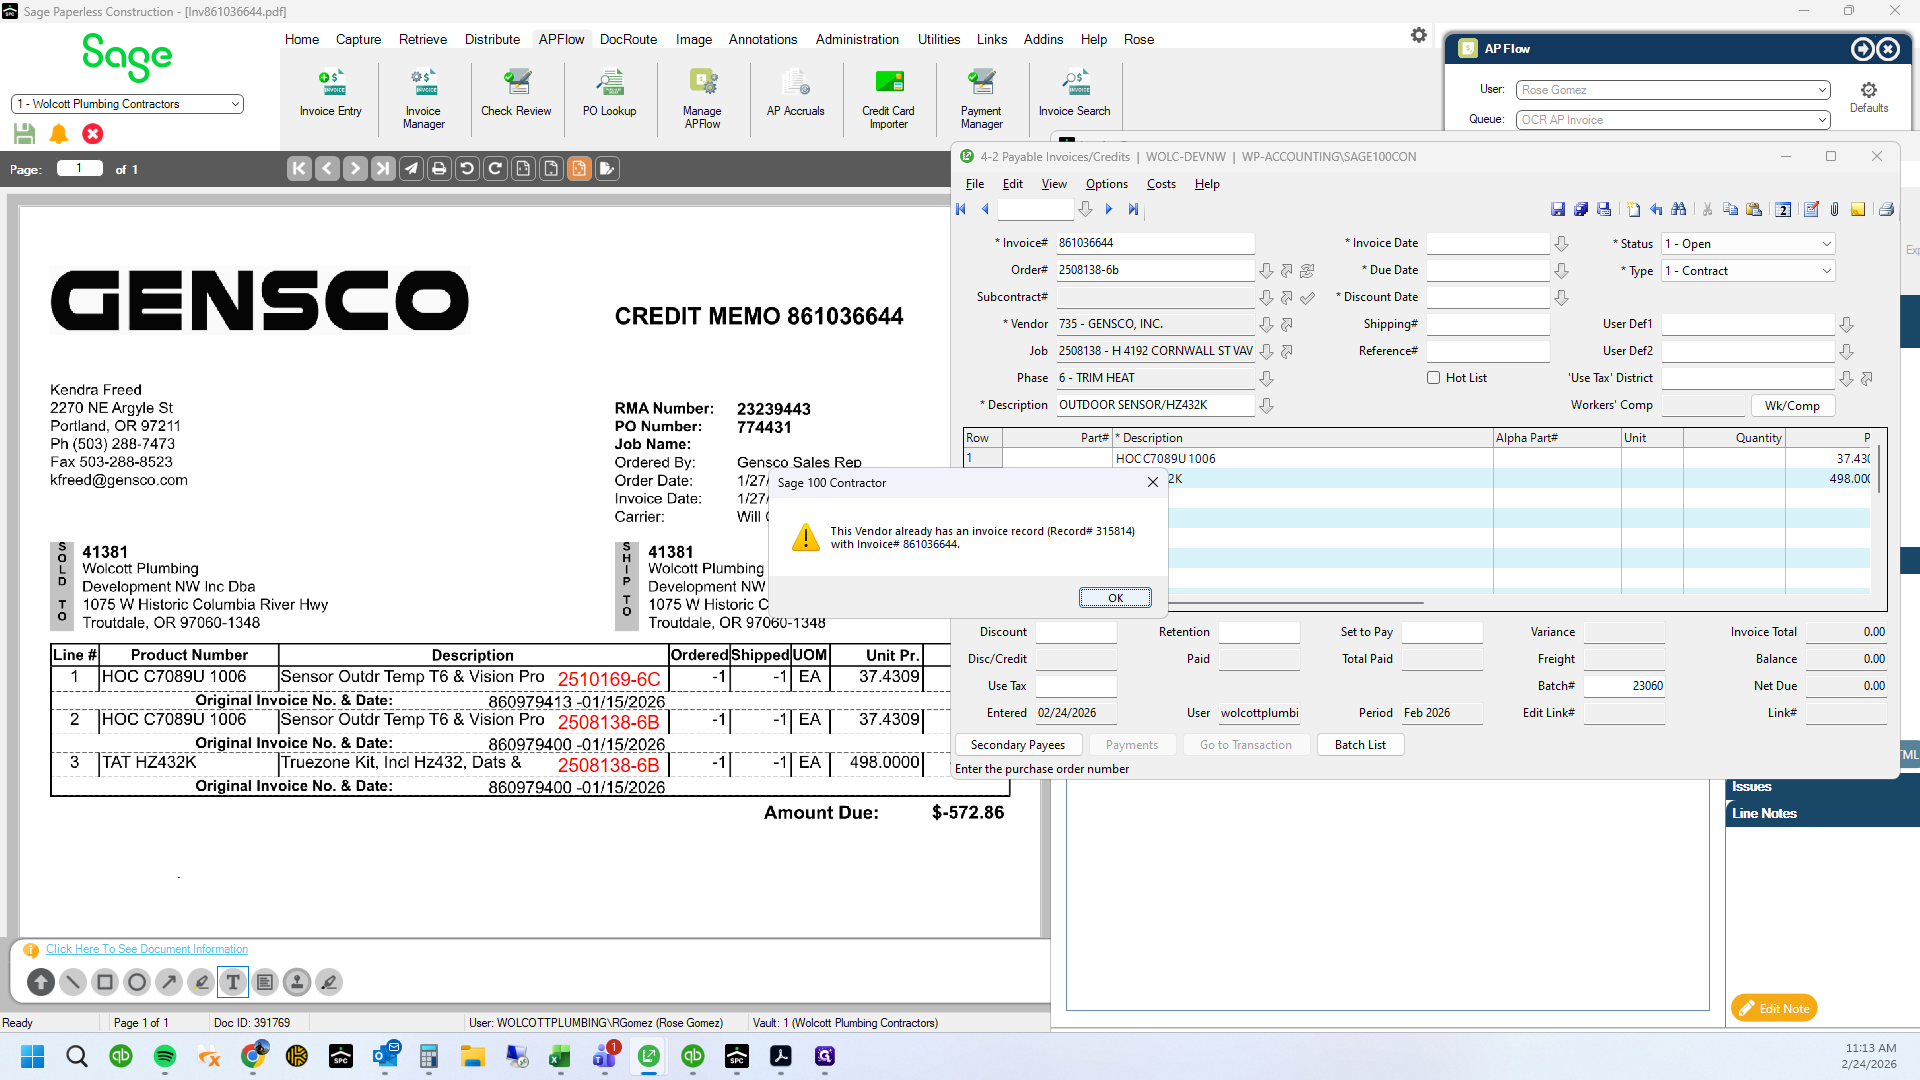
37
Click here

38
Type "Ctrl + Enter"
39
Type "Ctrl + Enter"
40
Type "Ctrl + Enter"
41
Type "Ctrl + V"
42
Type "Ctrl + Enter"
43
Type "Ctrl + Enter"
44
Type "Ctrl + V"
45
Type "Enter"
46
Click on "Order Date : Invoice Date : Carrier :"
47
Click here
48
Click here (New Invoice)
49
PO number is Order number
50
Type "2510169-6c + Tab"
51
Double-click here

52
Type "Backspace"
53
Type "C + Tab"
54
Click here

55
Close invoice entry box in paperless. We are not entering this in paperless but will
56
Click here
57
Copy invoice number
58
Type "Ctrl + C"
59
Click here
60
Paste invoice number and enter credit into Sage 100
61
Type "Ctrl + V"
62
Click here

63
Type "0201 + Enter"
64
Type "Enter"
65
Type "Tab + Enter"
66
Drag "WP - ACCOUNTING \ SAGE100CON"
67
Drag here
68
Click on "☐"
69
Click here

70
Type "-1 + Enter"
71
Click here

72
Save
73
Click on "Yes"

74
Click on "Yes"
75
Click on "Yes"
76
Click on "Yes"
77
Drag here
78
Create another invoice for the remaining credit memo items using the second PO

79
Type "Ctrl + V"
80
Reference the same invoice number and push OK on the warning (using the same invoice number twice)
81
Type "2508138-6b + Tab"
82
Click on "ок"
83
Double-click on "2508138-6bl"
84
Type "Backspace"
85
Type "B + Tab"
86
Click here
87
Type "0201 + Enter"
88
Type "Tab + Enter"
89
Type "Enter"
90
Drag here
91
Click on "ㅁ"
92
Click here
93
Type "-1 + Enter"
94
Click here

95
Type "-1 + Enter"
96
Click here
97
Double-click on "Yes"

98
Click on "Yes"

99
Double-click on "Yes"

100
Click on "Yes"

101
Click on "X"

102
Drag here
103
Click on "Х"
104
Click on "No"
105
Index the invoice PDF
106
Type "735 + Enter"
107
Click on "Index"