
How to Refine Photosphere Coordinates for Accurate Map Placement in HP Rady (Part 3)
Learn step-by-step how to accurately refine the longitude and latitude of multiple photoSpheres in HP Ready. This guide covers using visual clues, map alignment, and best practices for precise placement and template updates.
In this guide, we'll learn how to refine the coordinates of multiple photoSpheres in HP Ready by using visual clues from the scene and matching them to features on a map. This process helps ensure that each photoSphere is accurately placed, improving the alignment of hotspots and navigation points.
We'll focus on identifying key lines and intersections in both the photoSphere and the map to estimate longitude and latitude. Once the coordinates are set, we will update the photoSphere and later transfer the correct values to the template for future use.
Let's get started
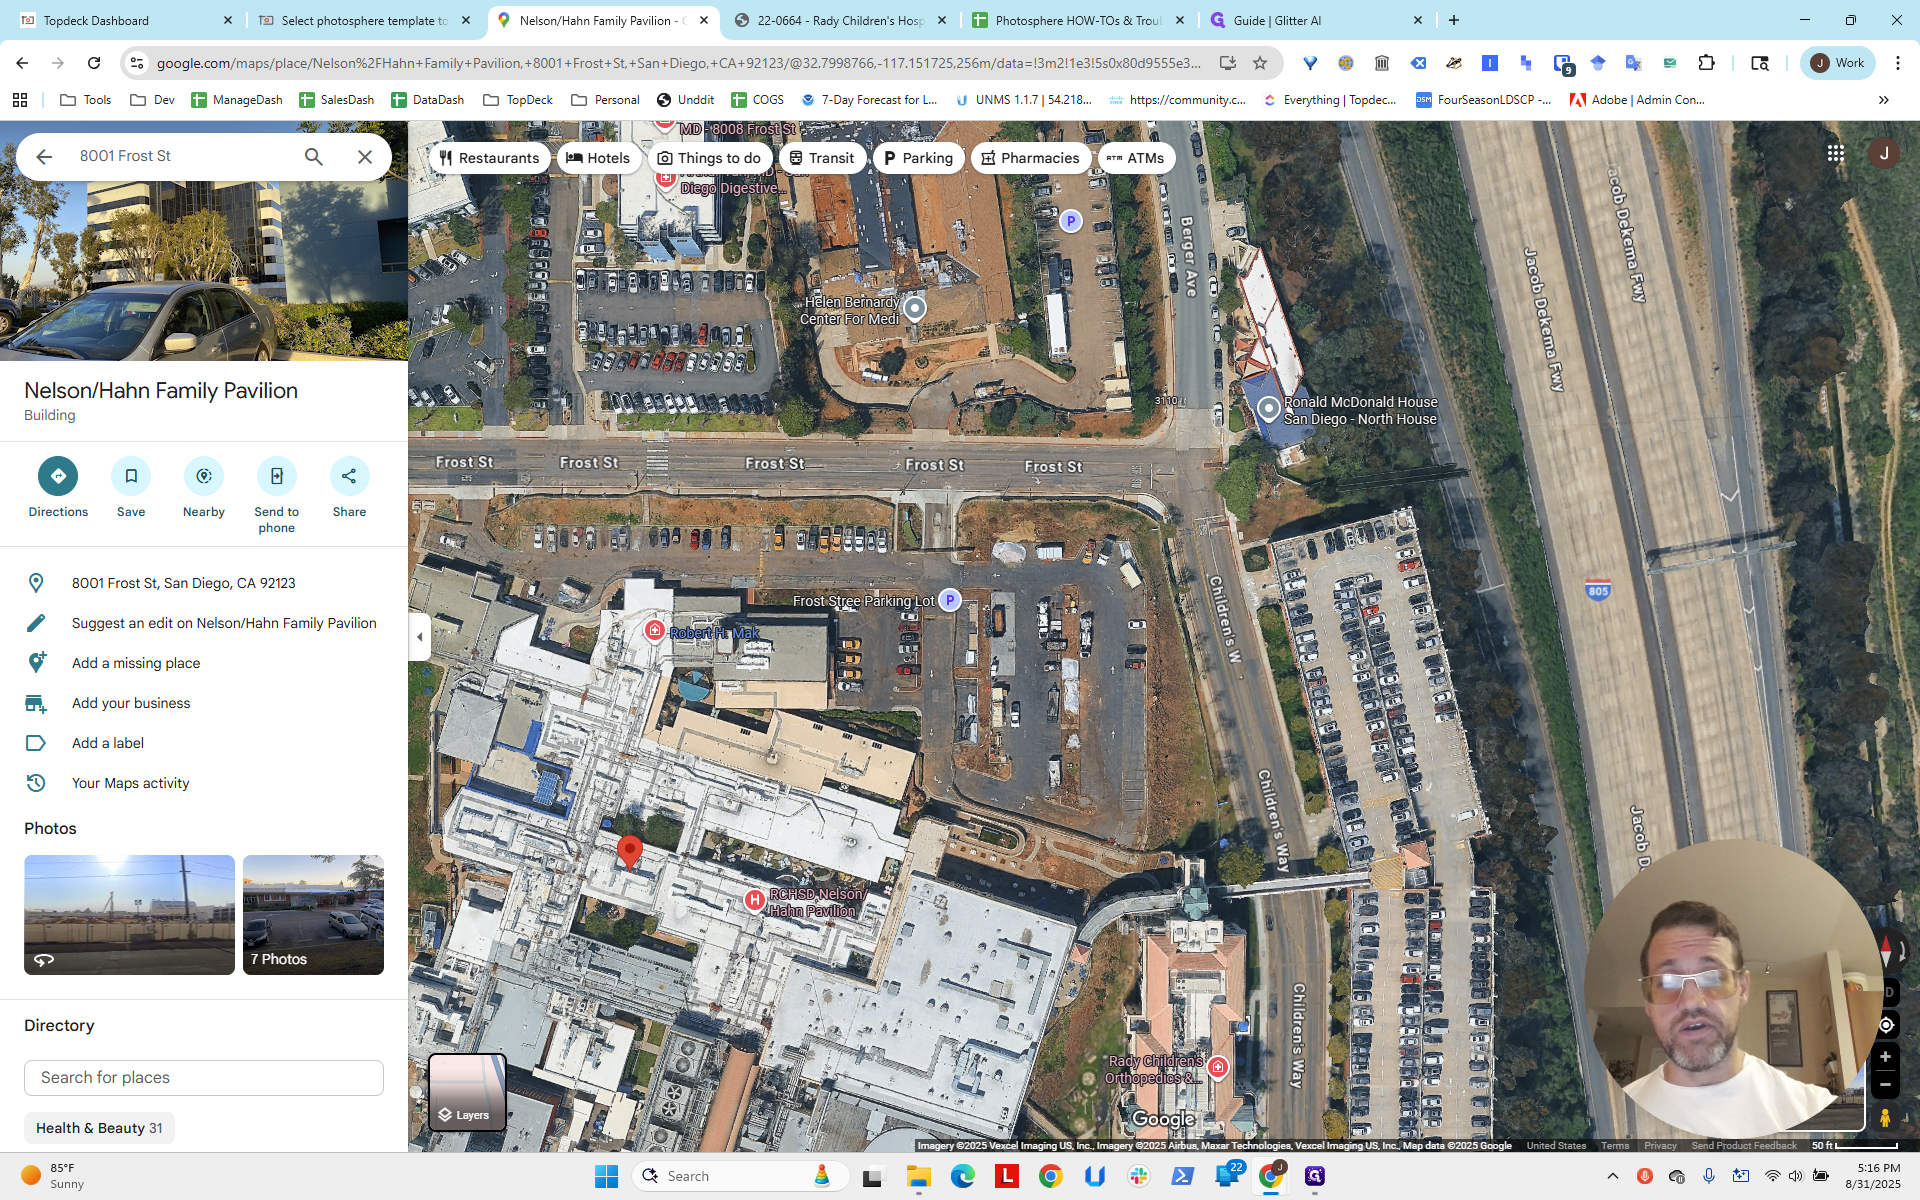
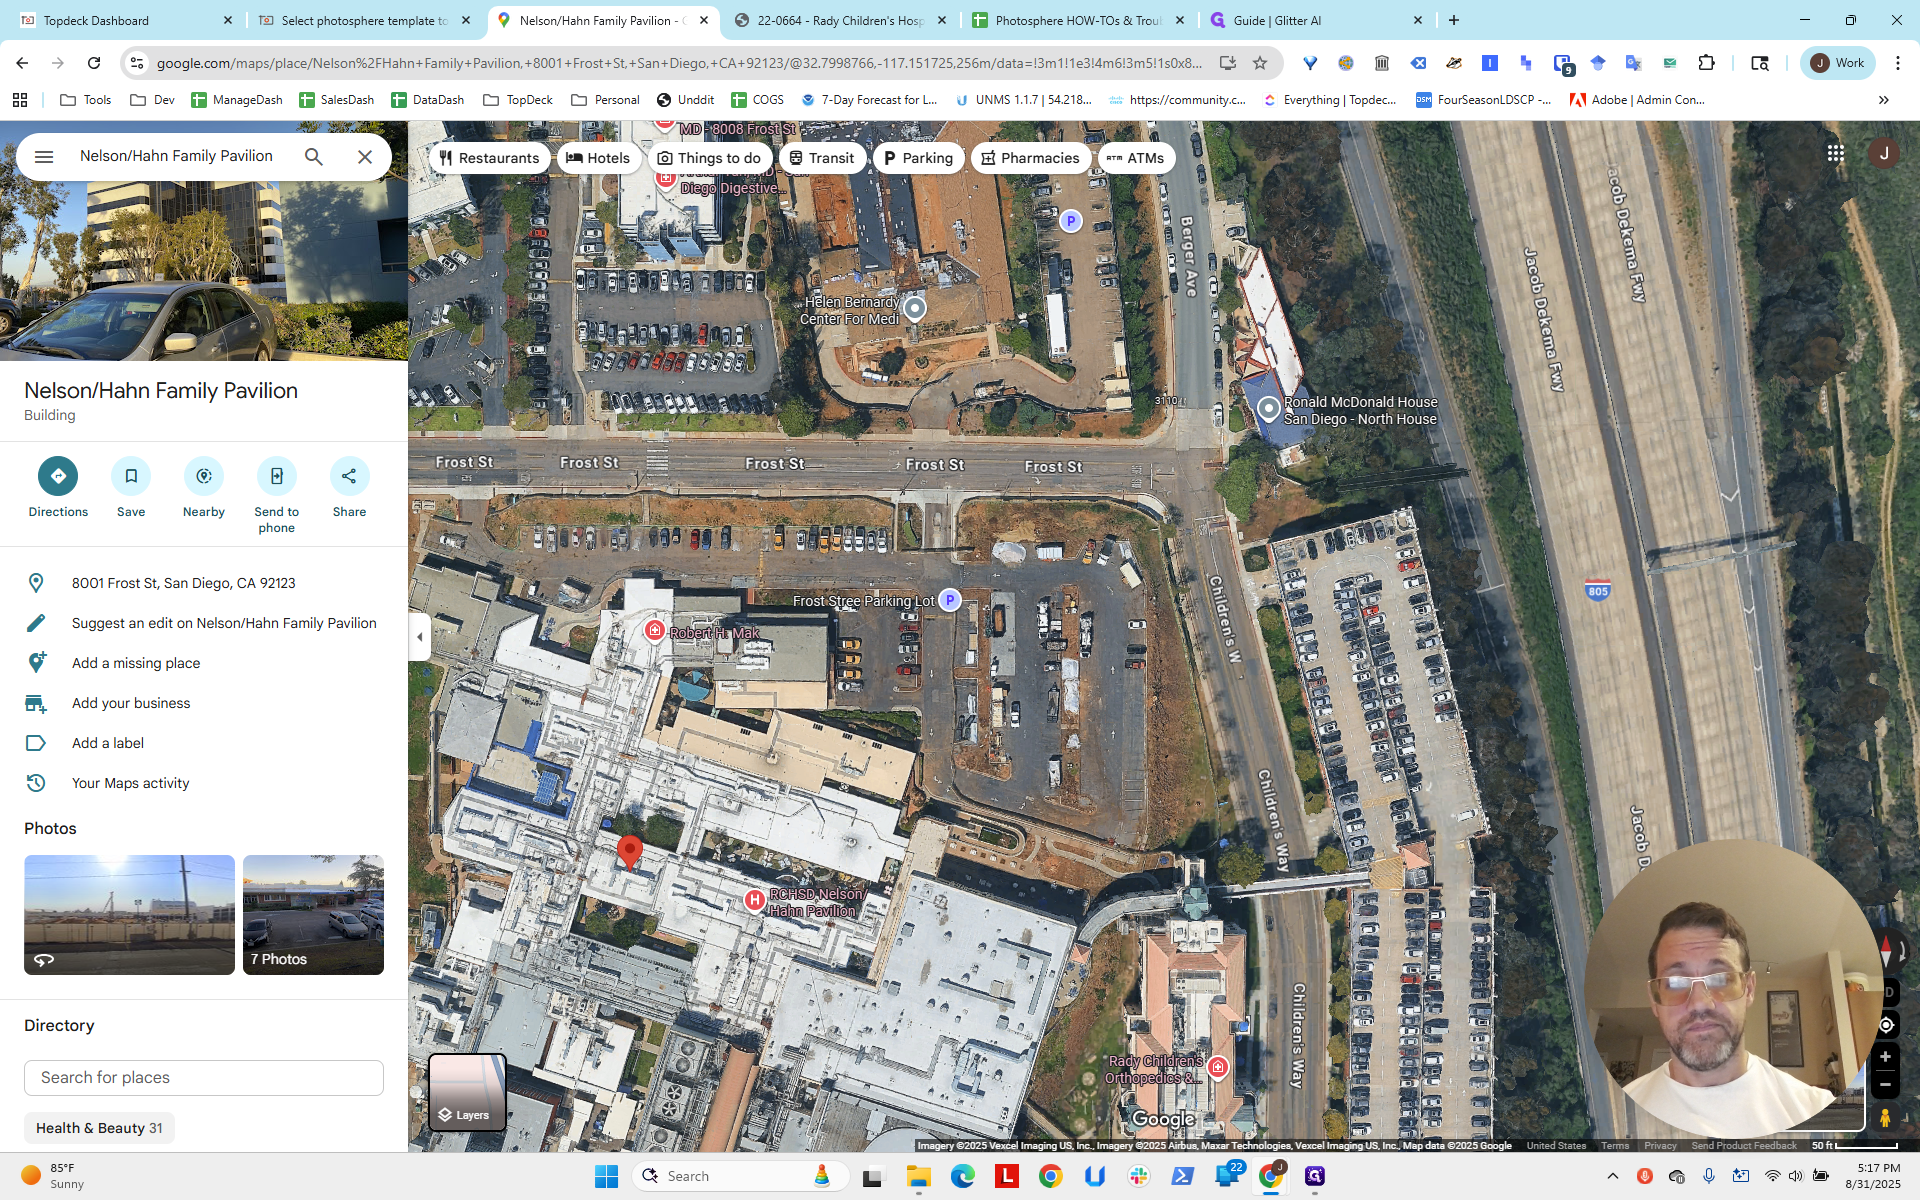
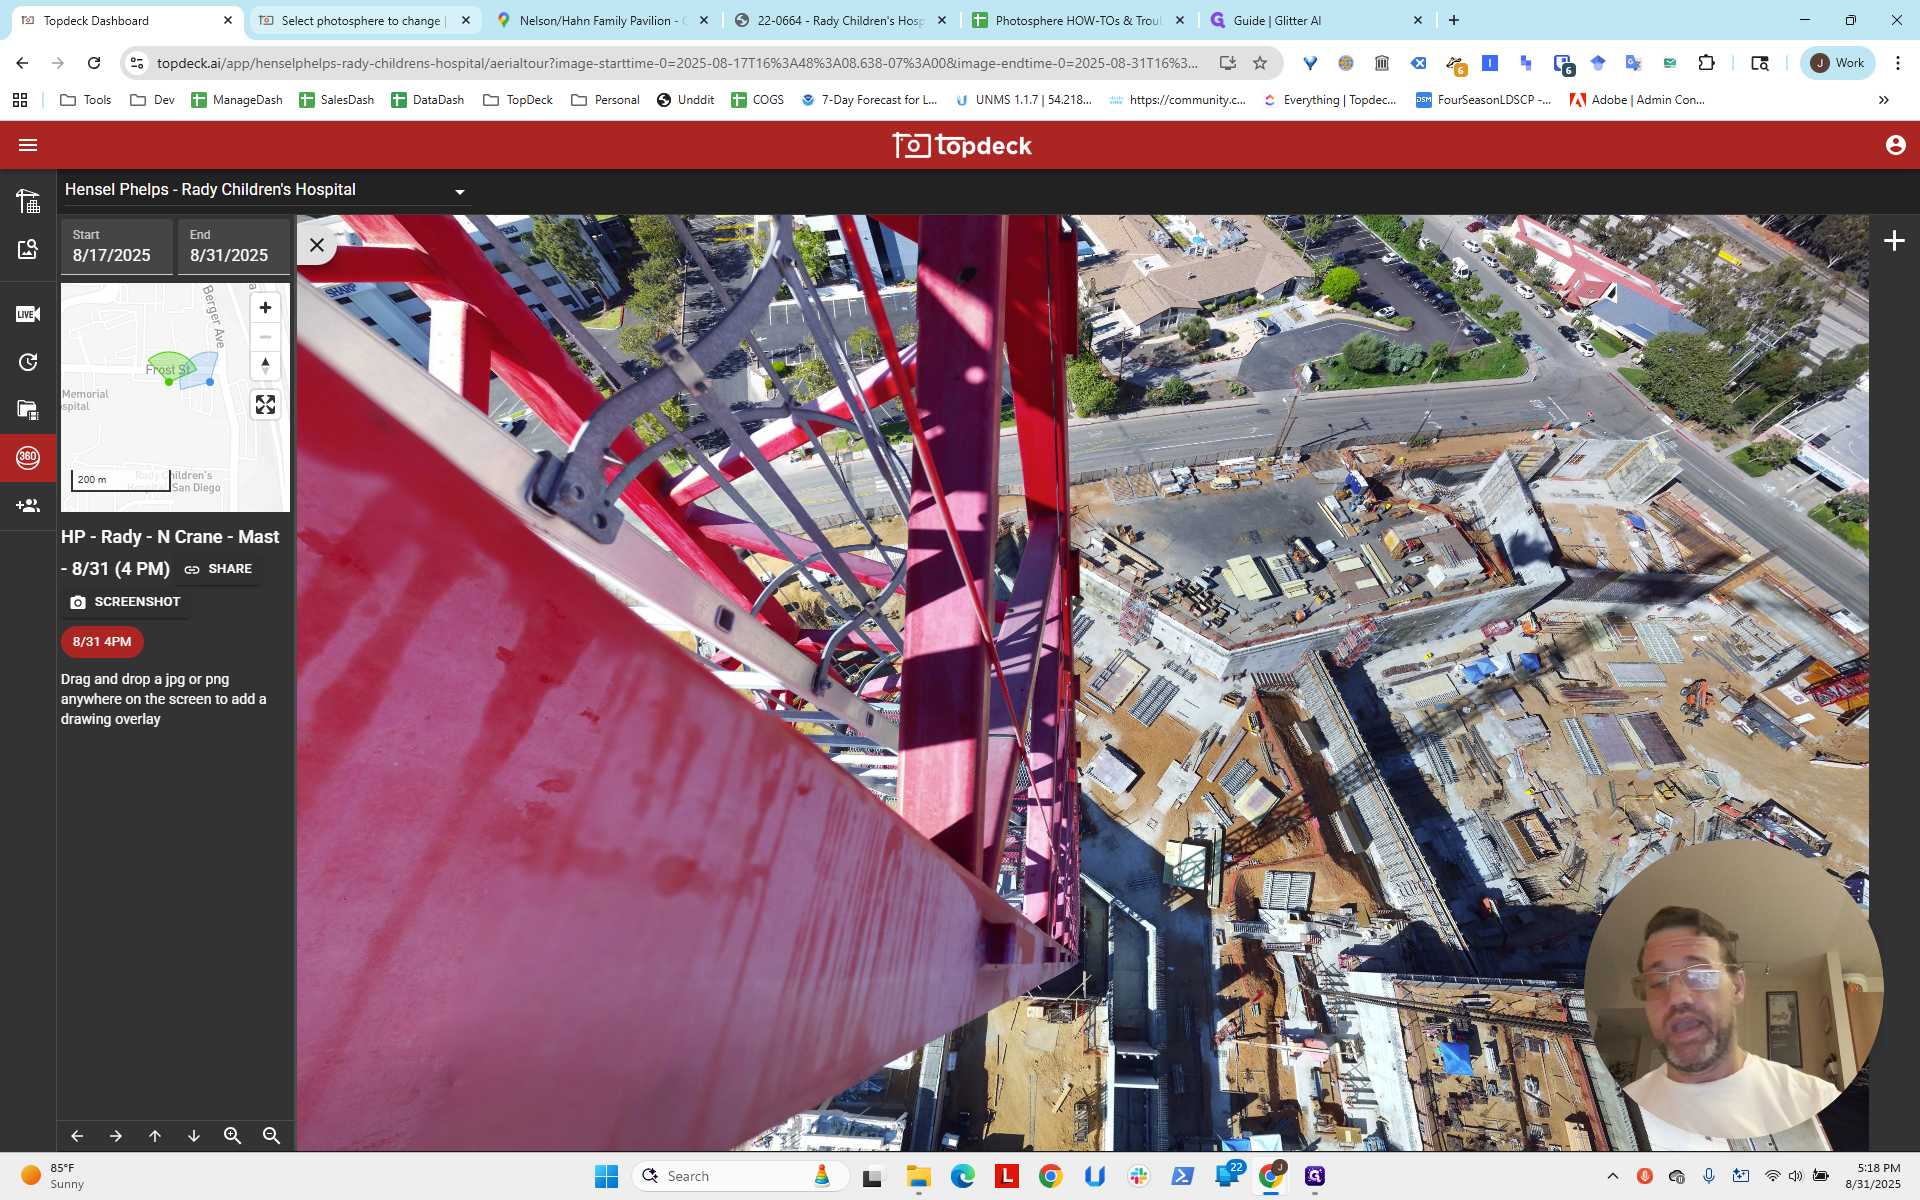
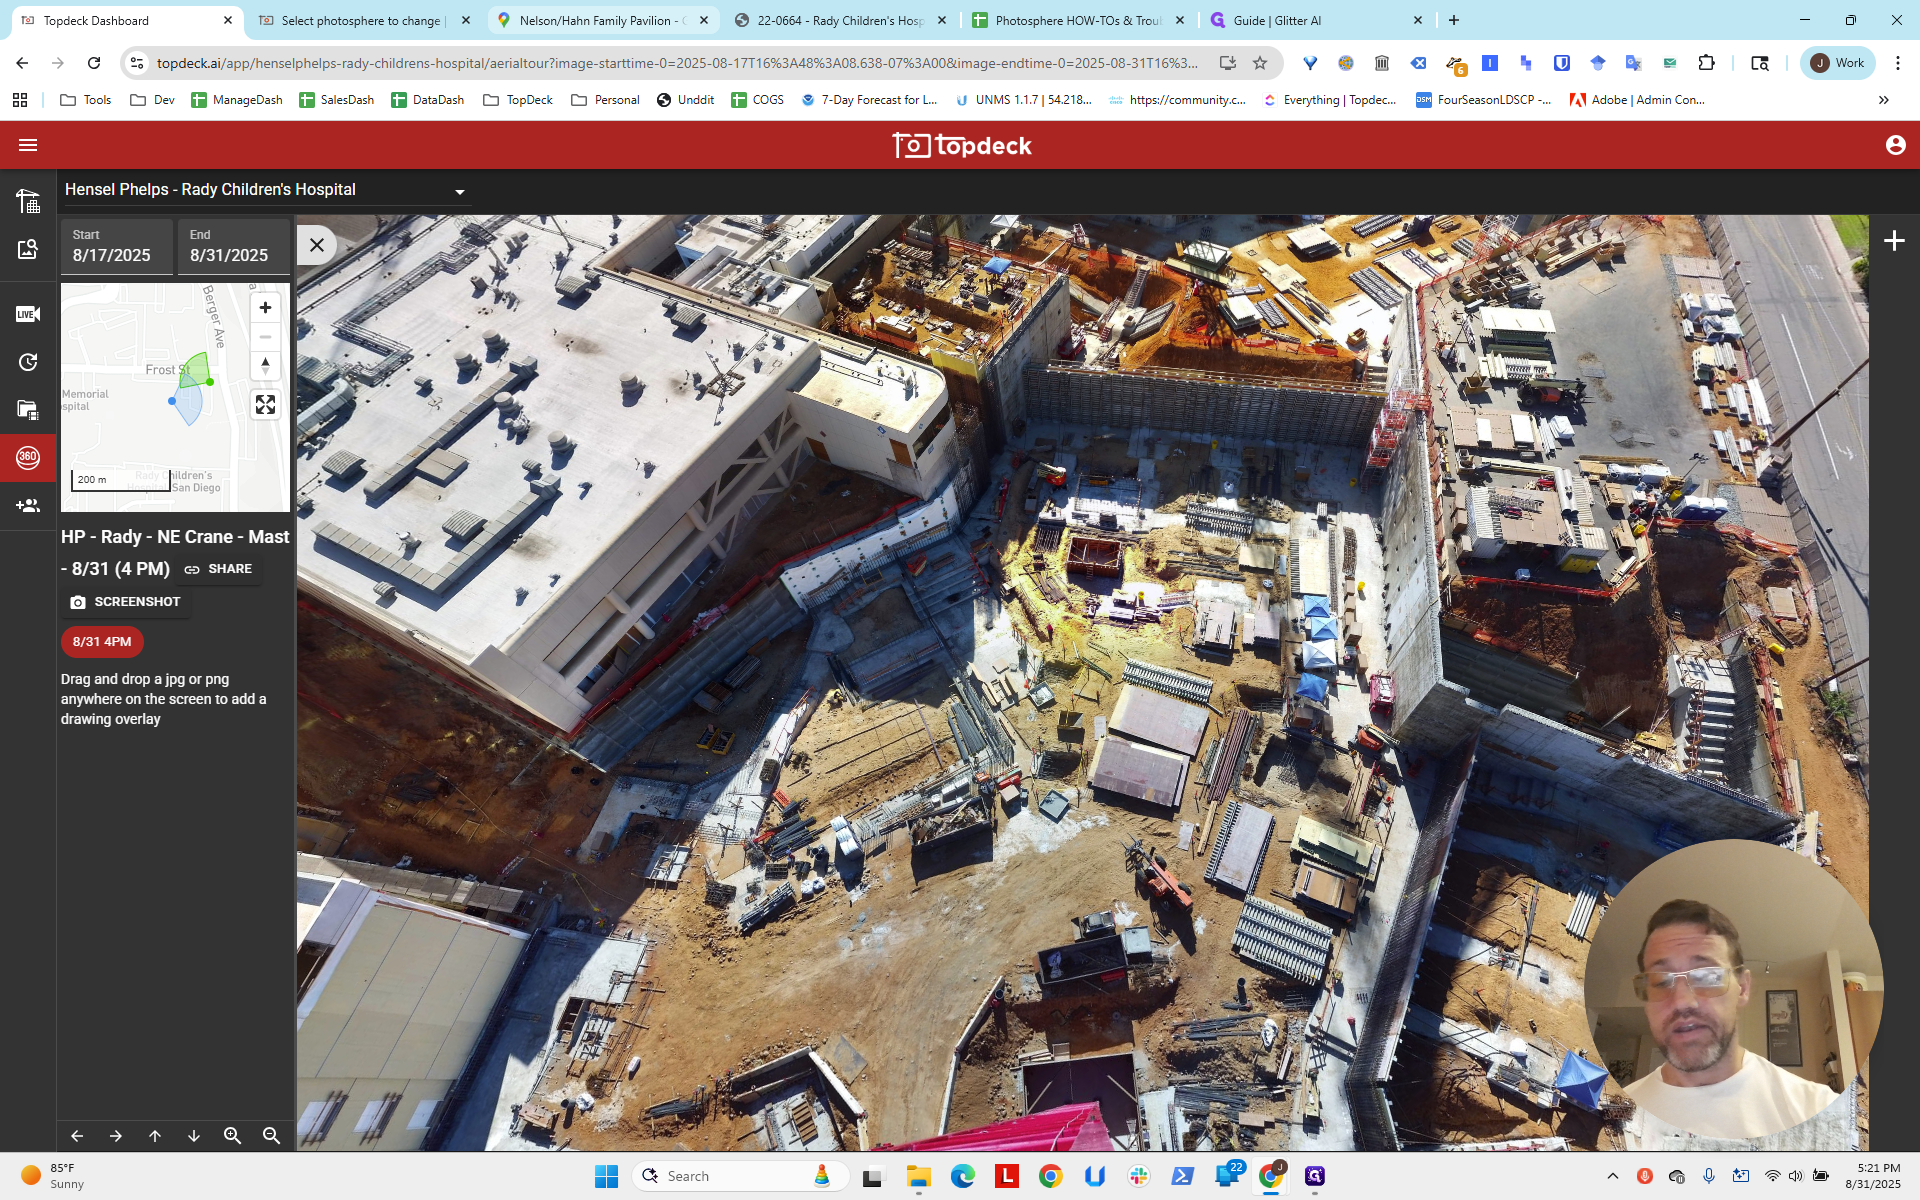
Hello, everyone. This is part three of setting up multiple photoSpheres for HP Ready. In the first part, we set up the templates. In the previous section, we set up the map. Now, we will refine the coordinates of the photoSphere—specifically the longitude and latitude—to place the dots accurately on the map.


You can see that if I reload, I have already set the HLookAt and VLookAt in the templates.

That is why it is facing the work site correctly by default, which is good.

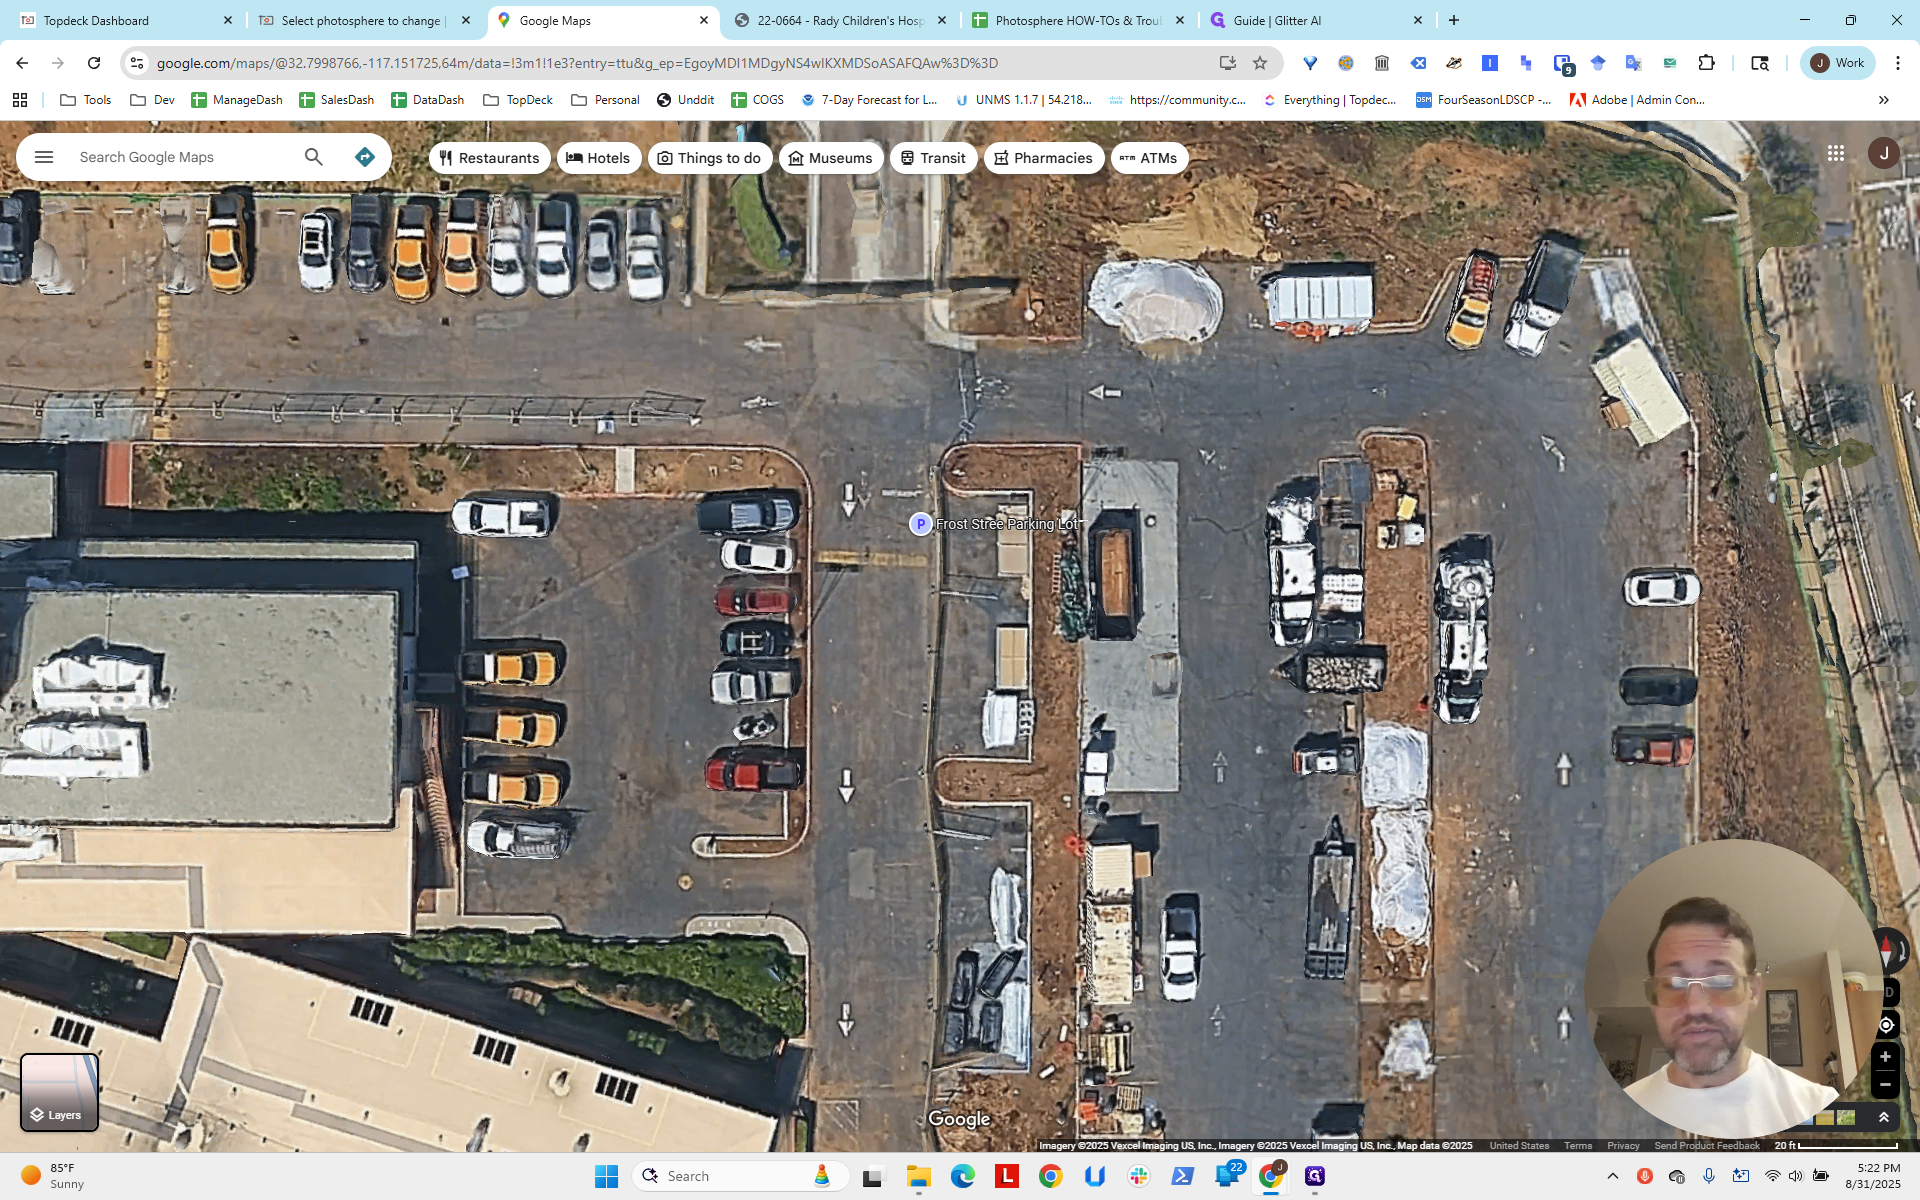
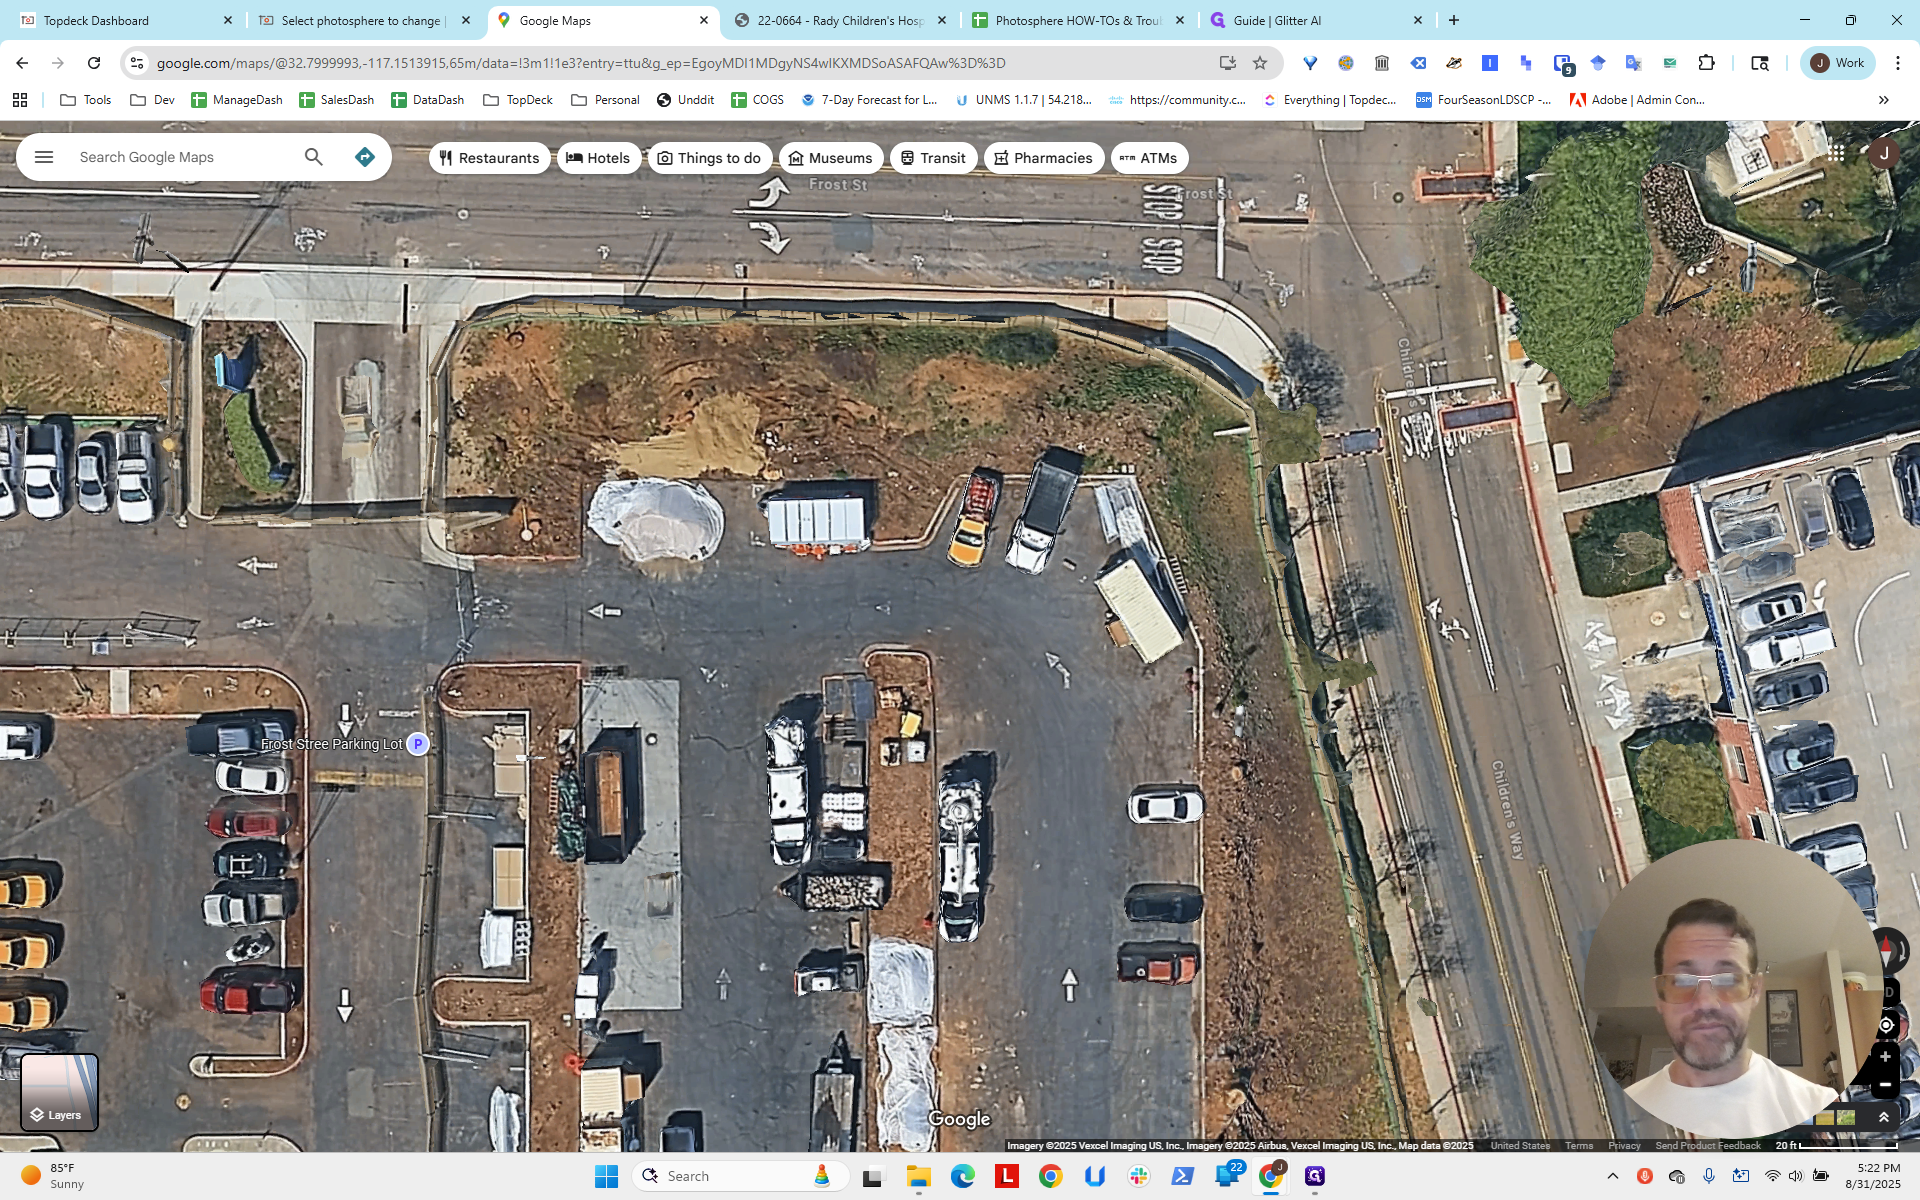
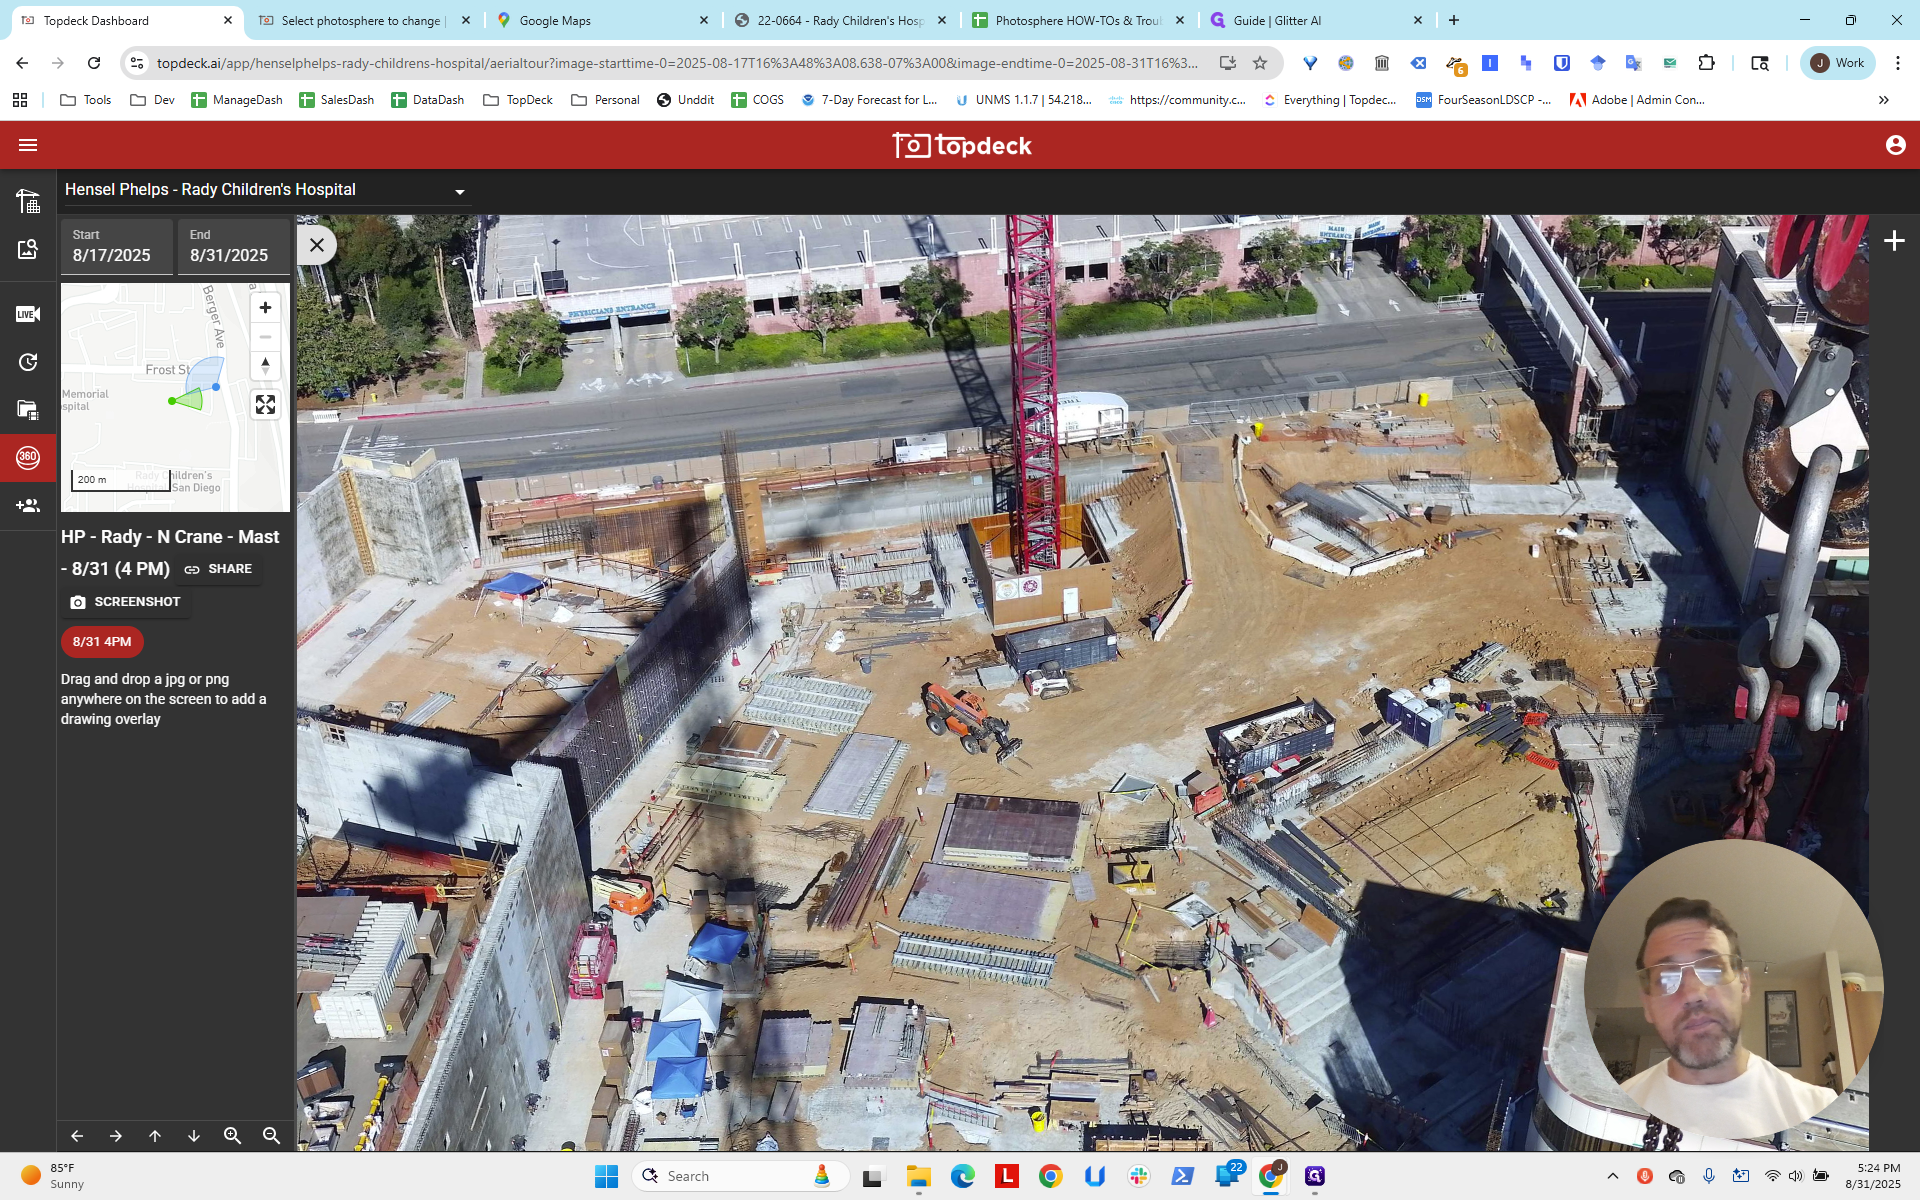
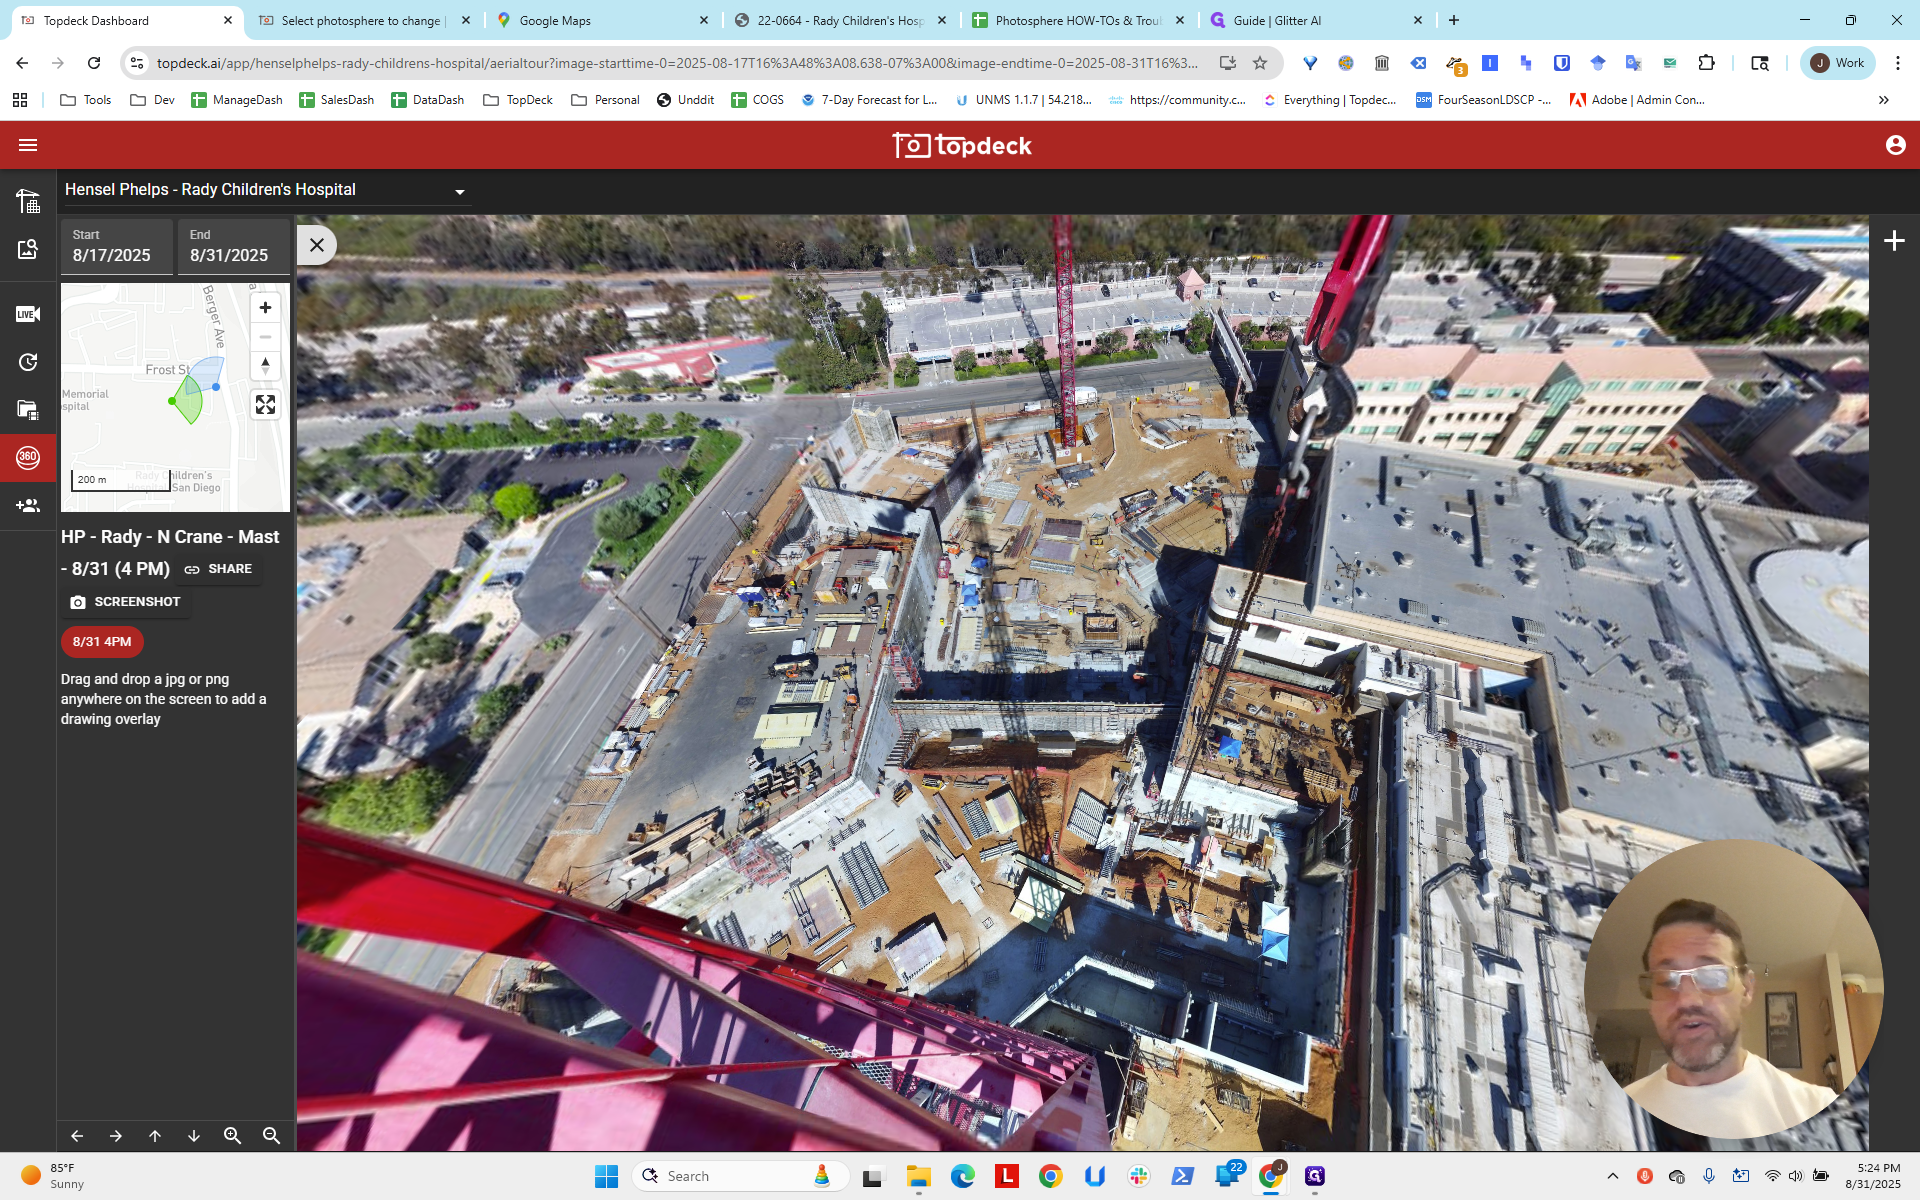
That's what you want. It's best to do that first. So, what do we do now? How do we find the longitude and latitude? The idea is to look for visual clues in the scene that help us identify features we can check on the map. We focus on things we know are to the east or on specific lines. By finding where two lines intersect, we can estimate an approximate location.


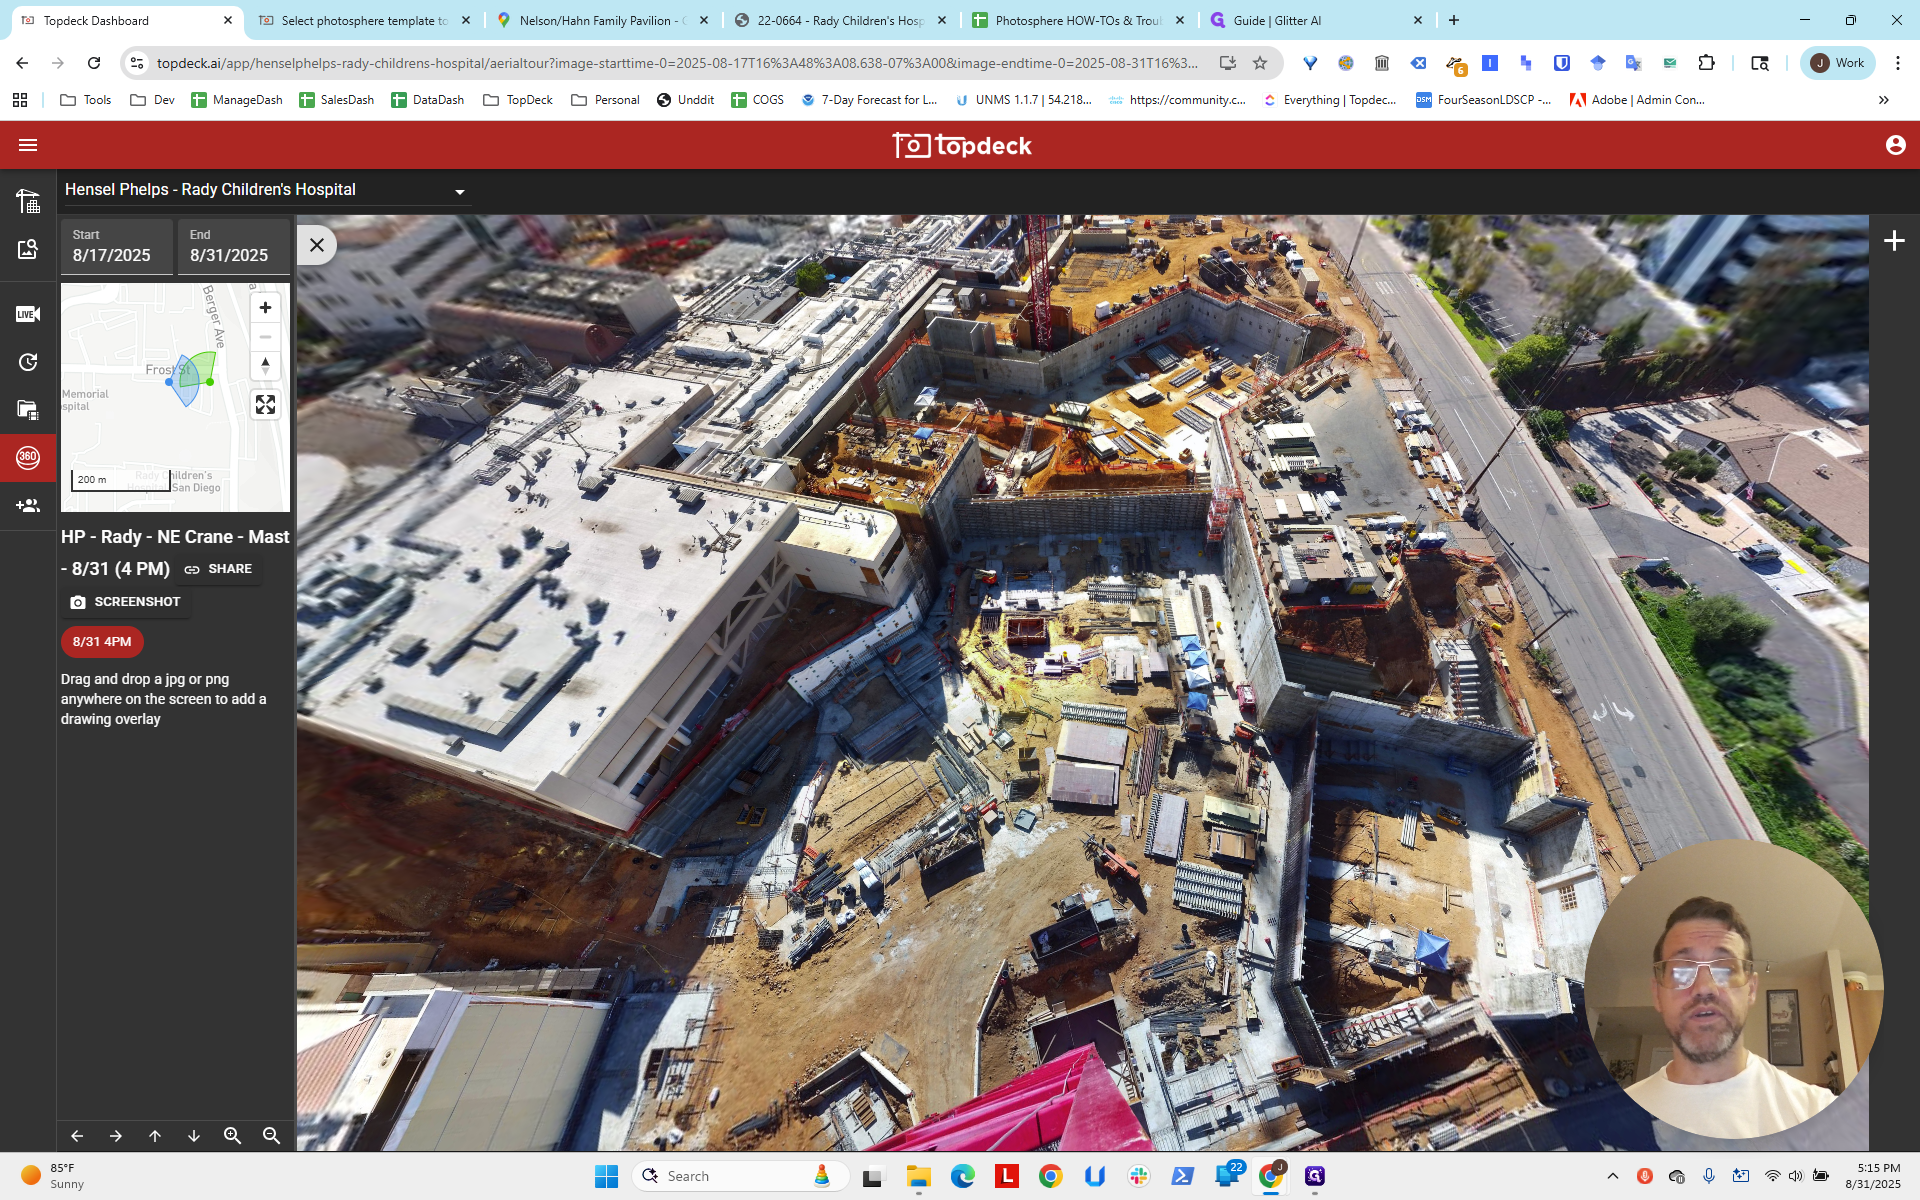
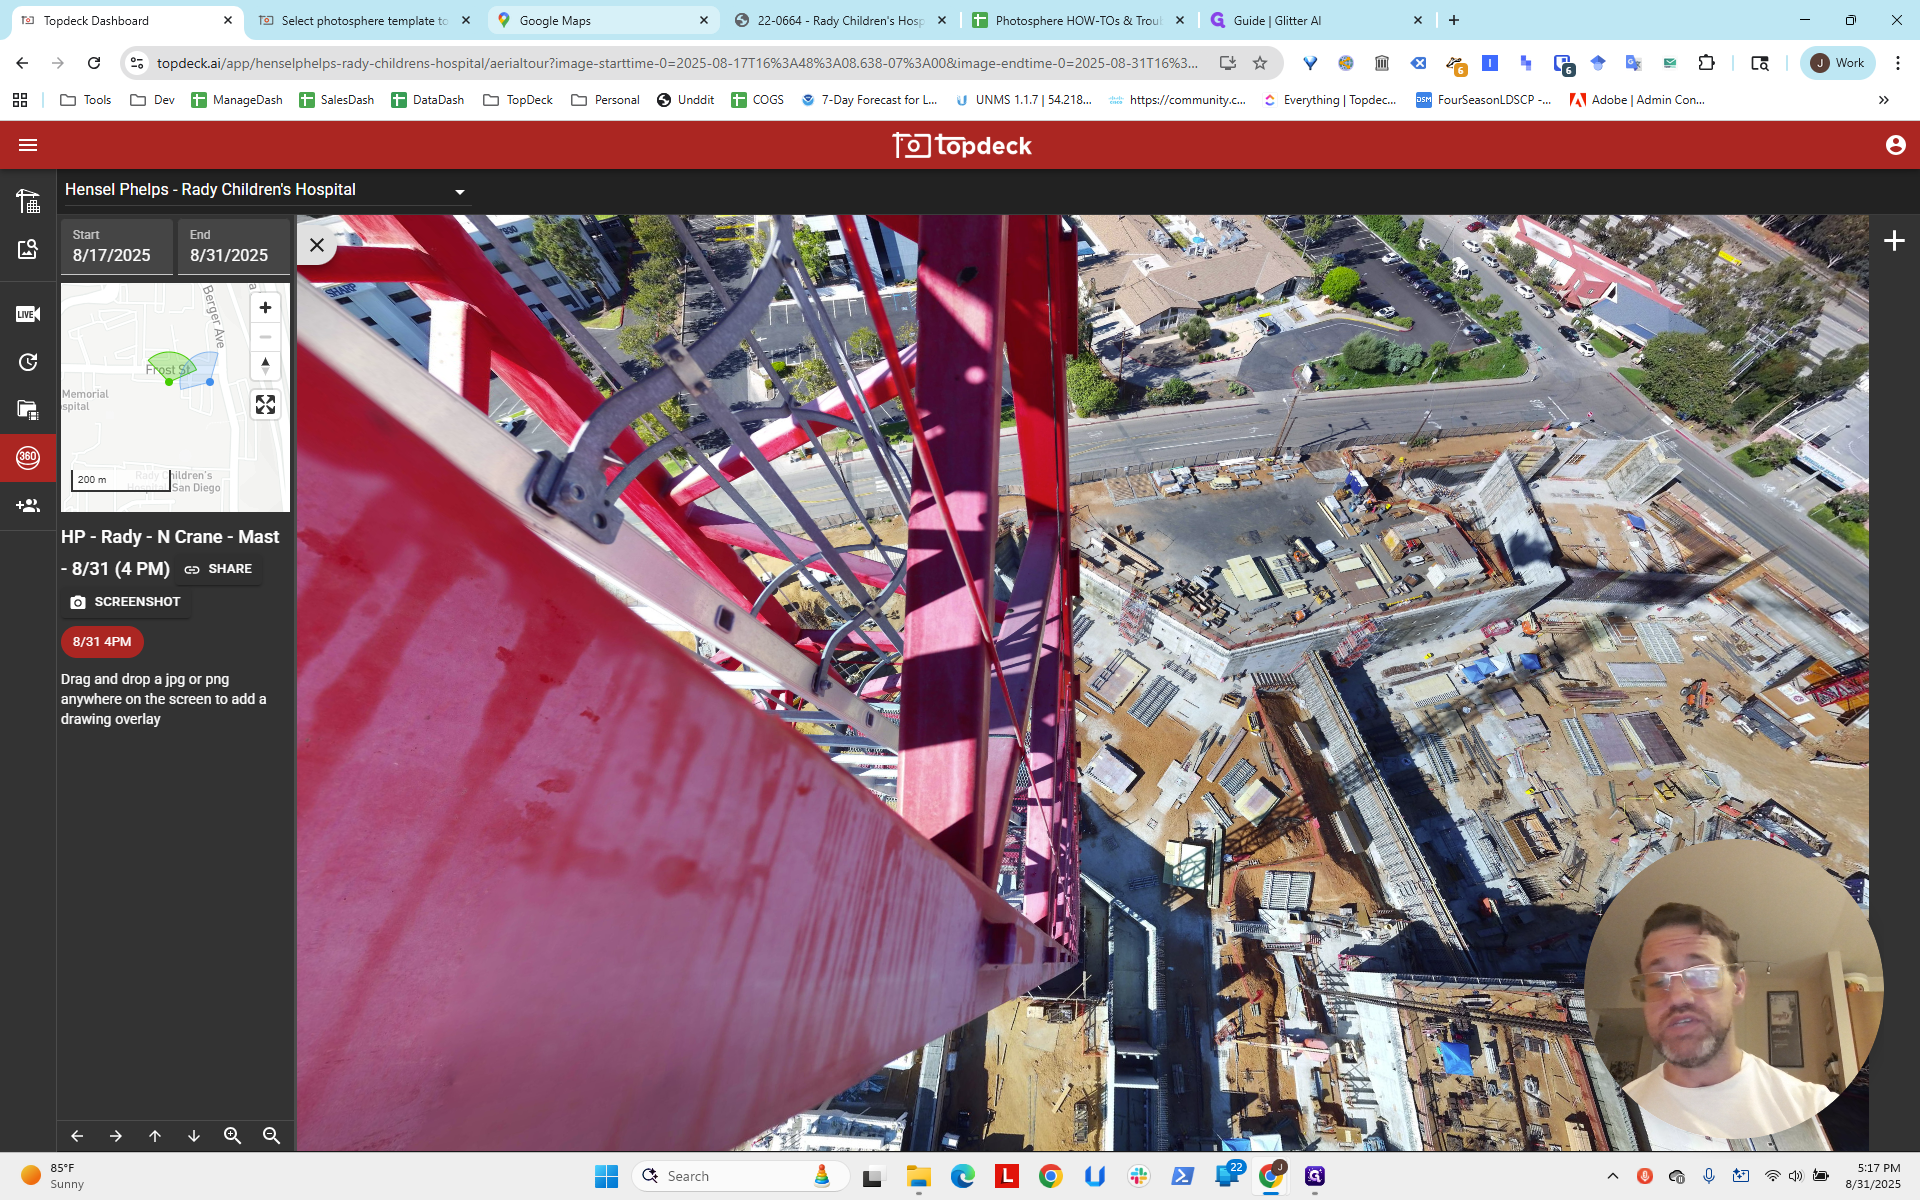
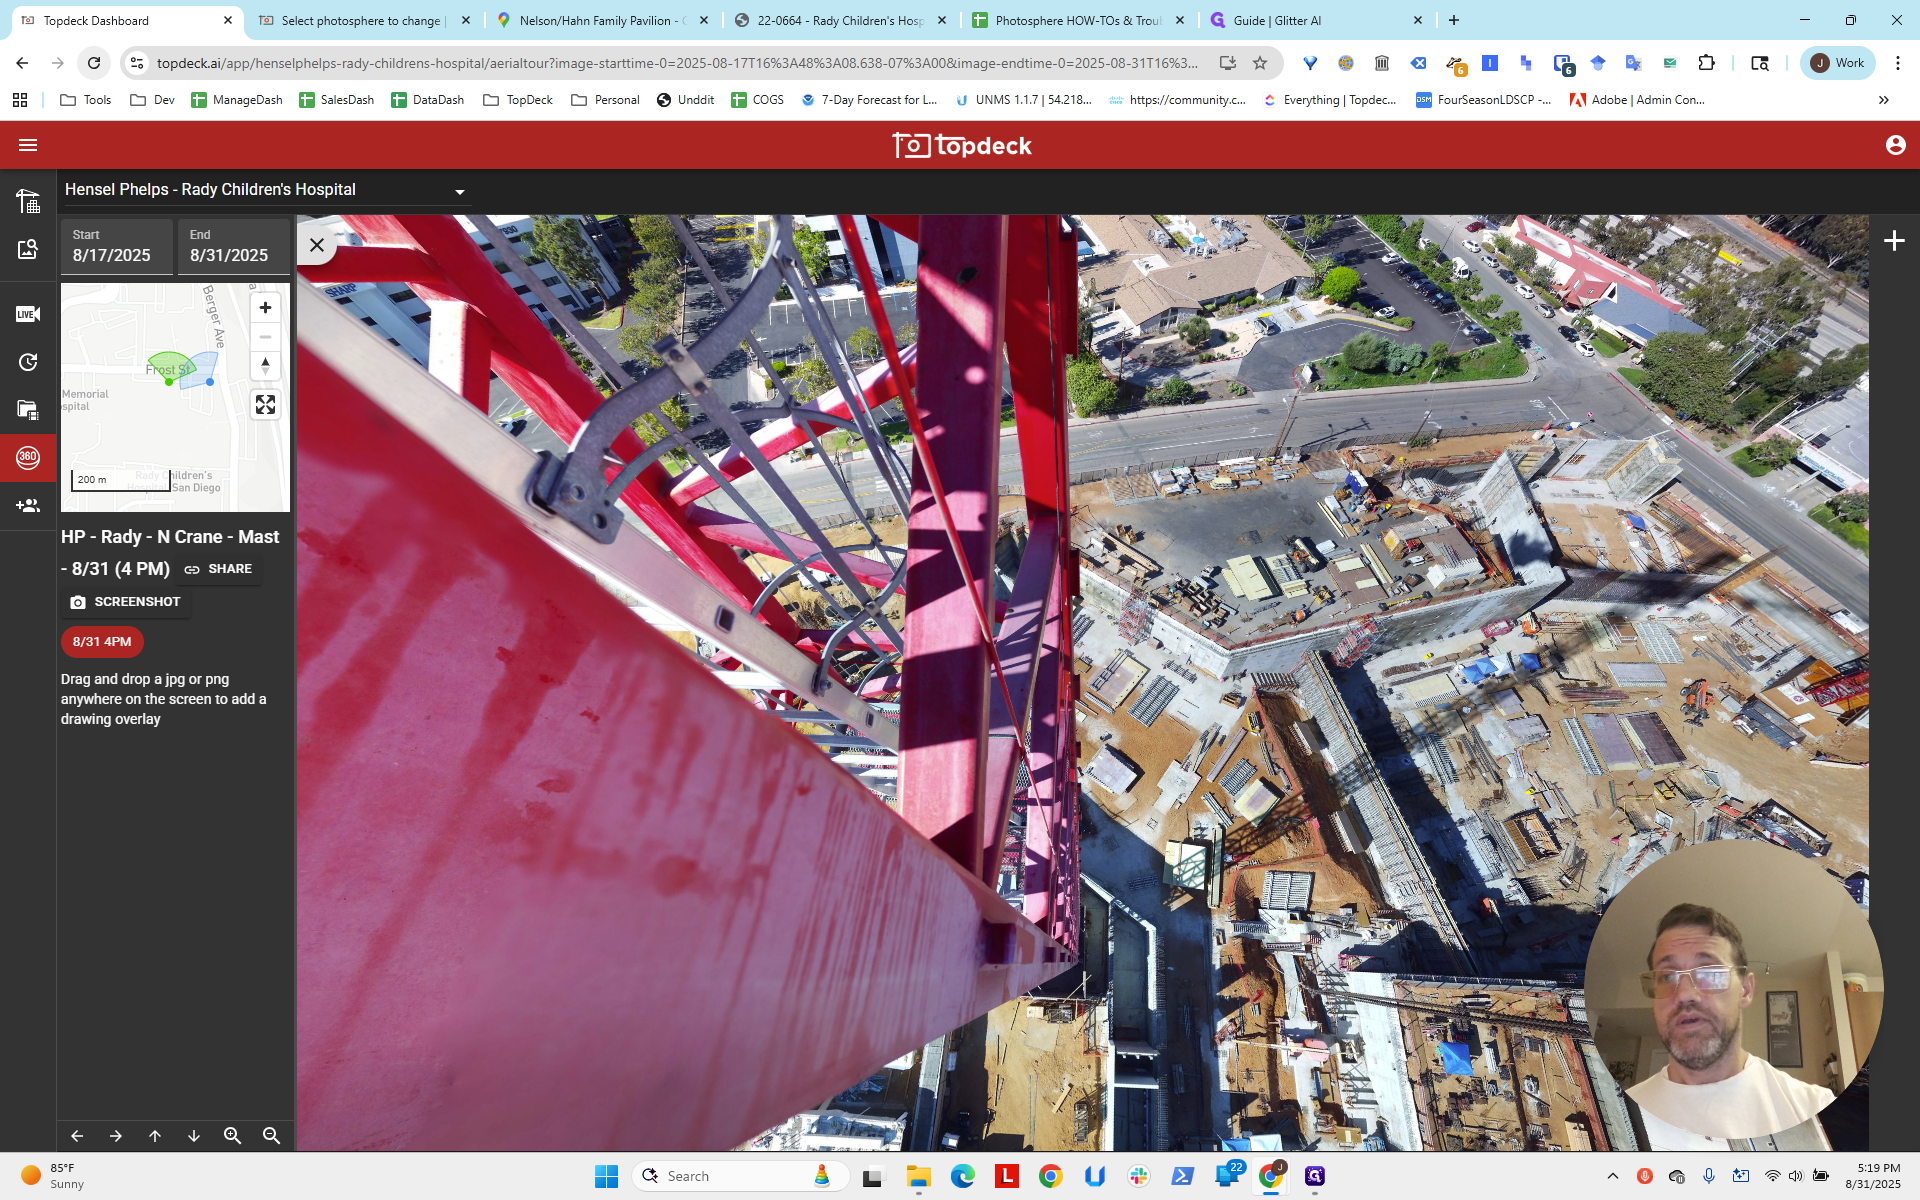
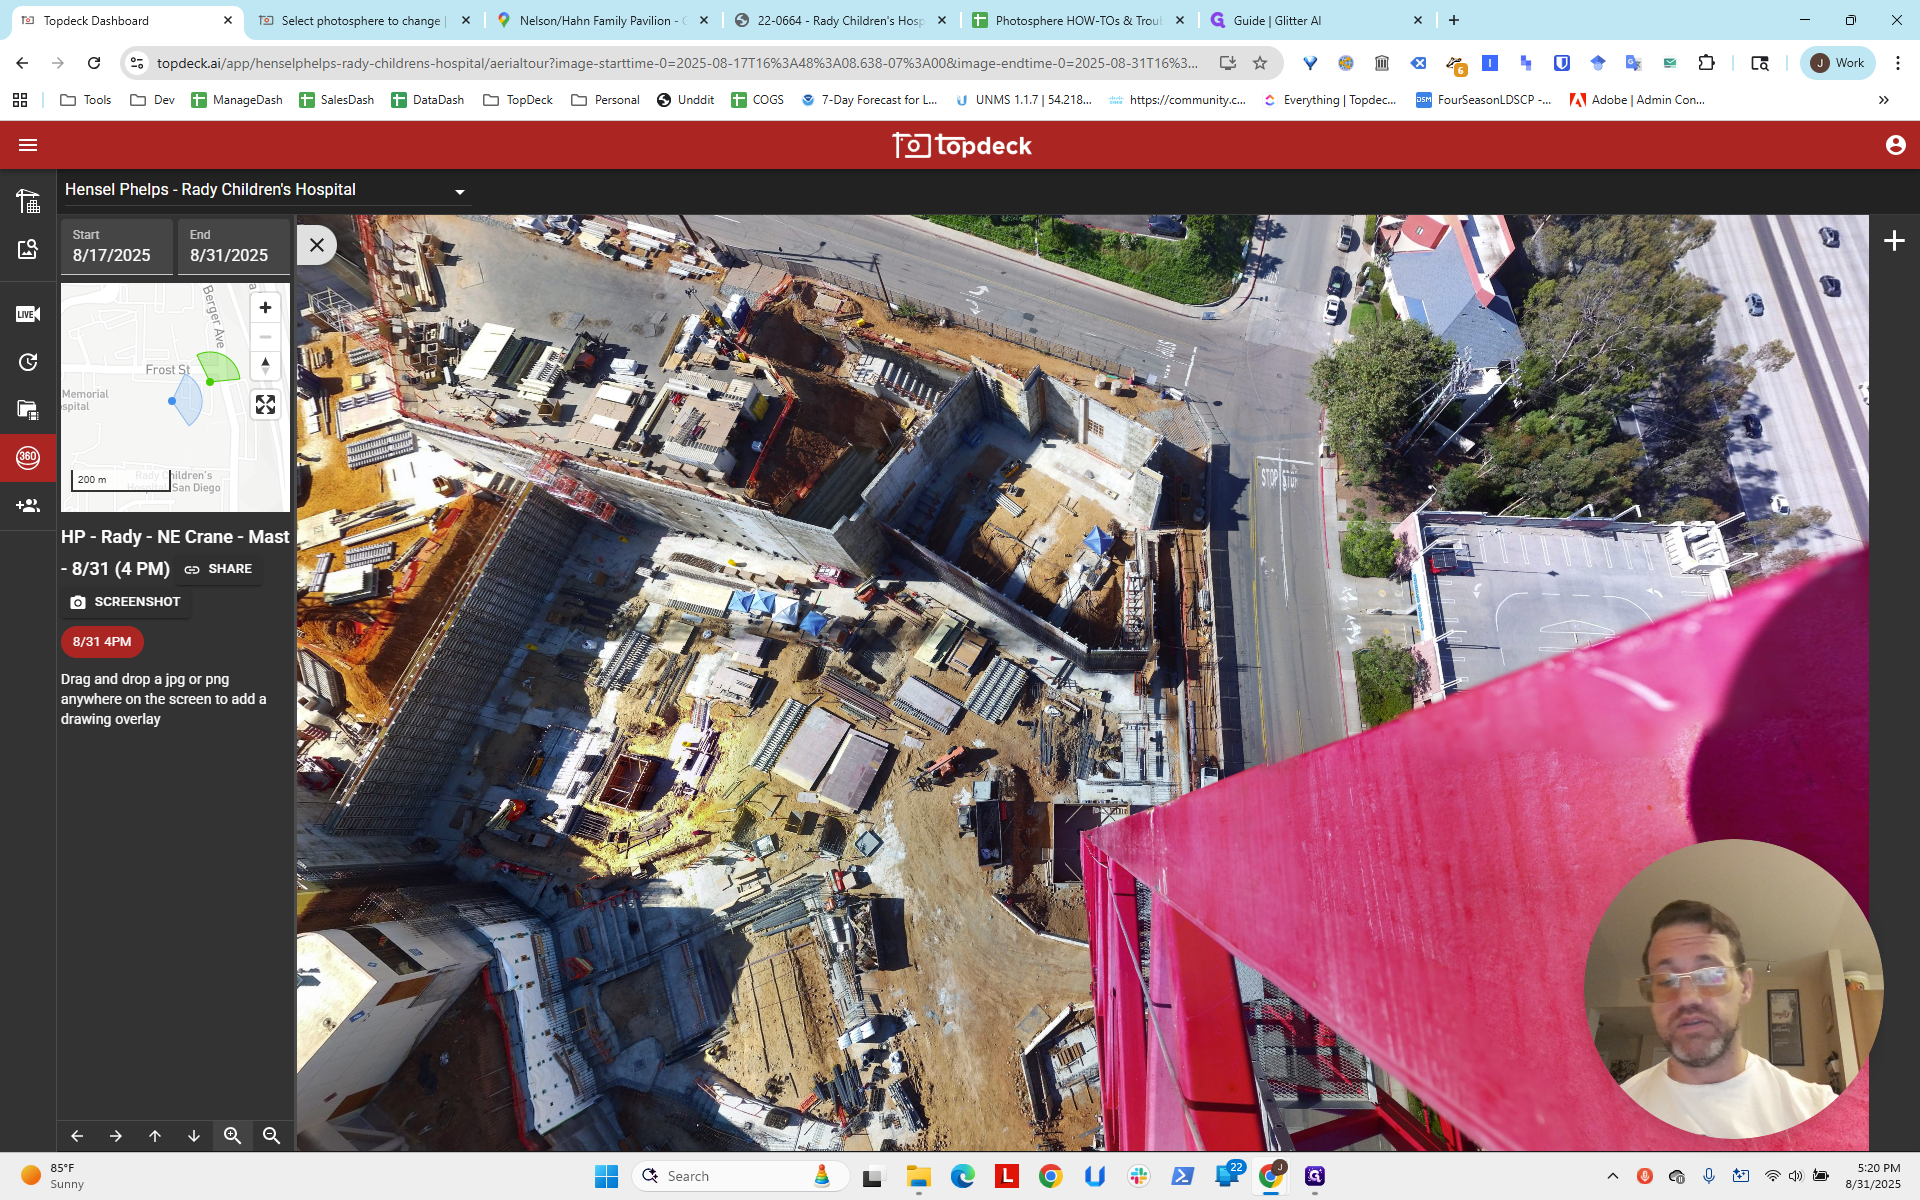
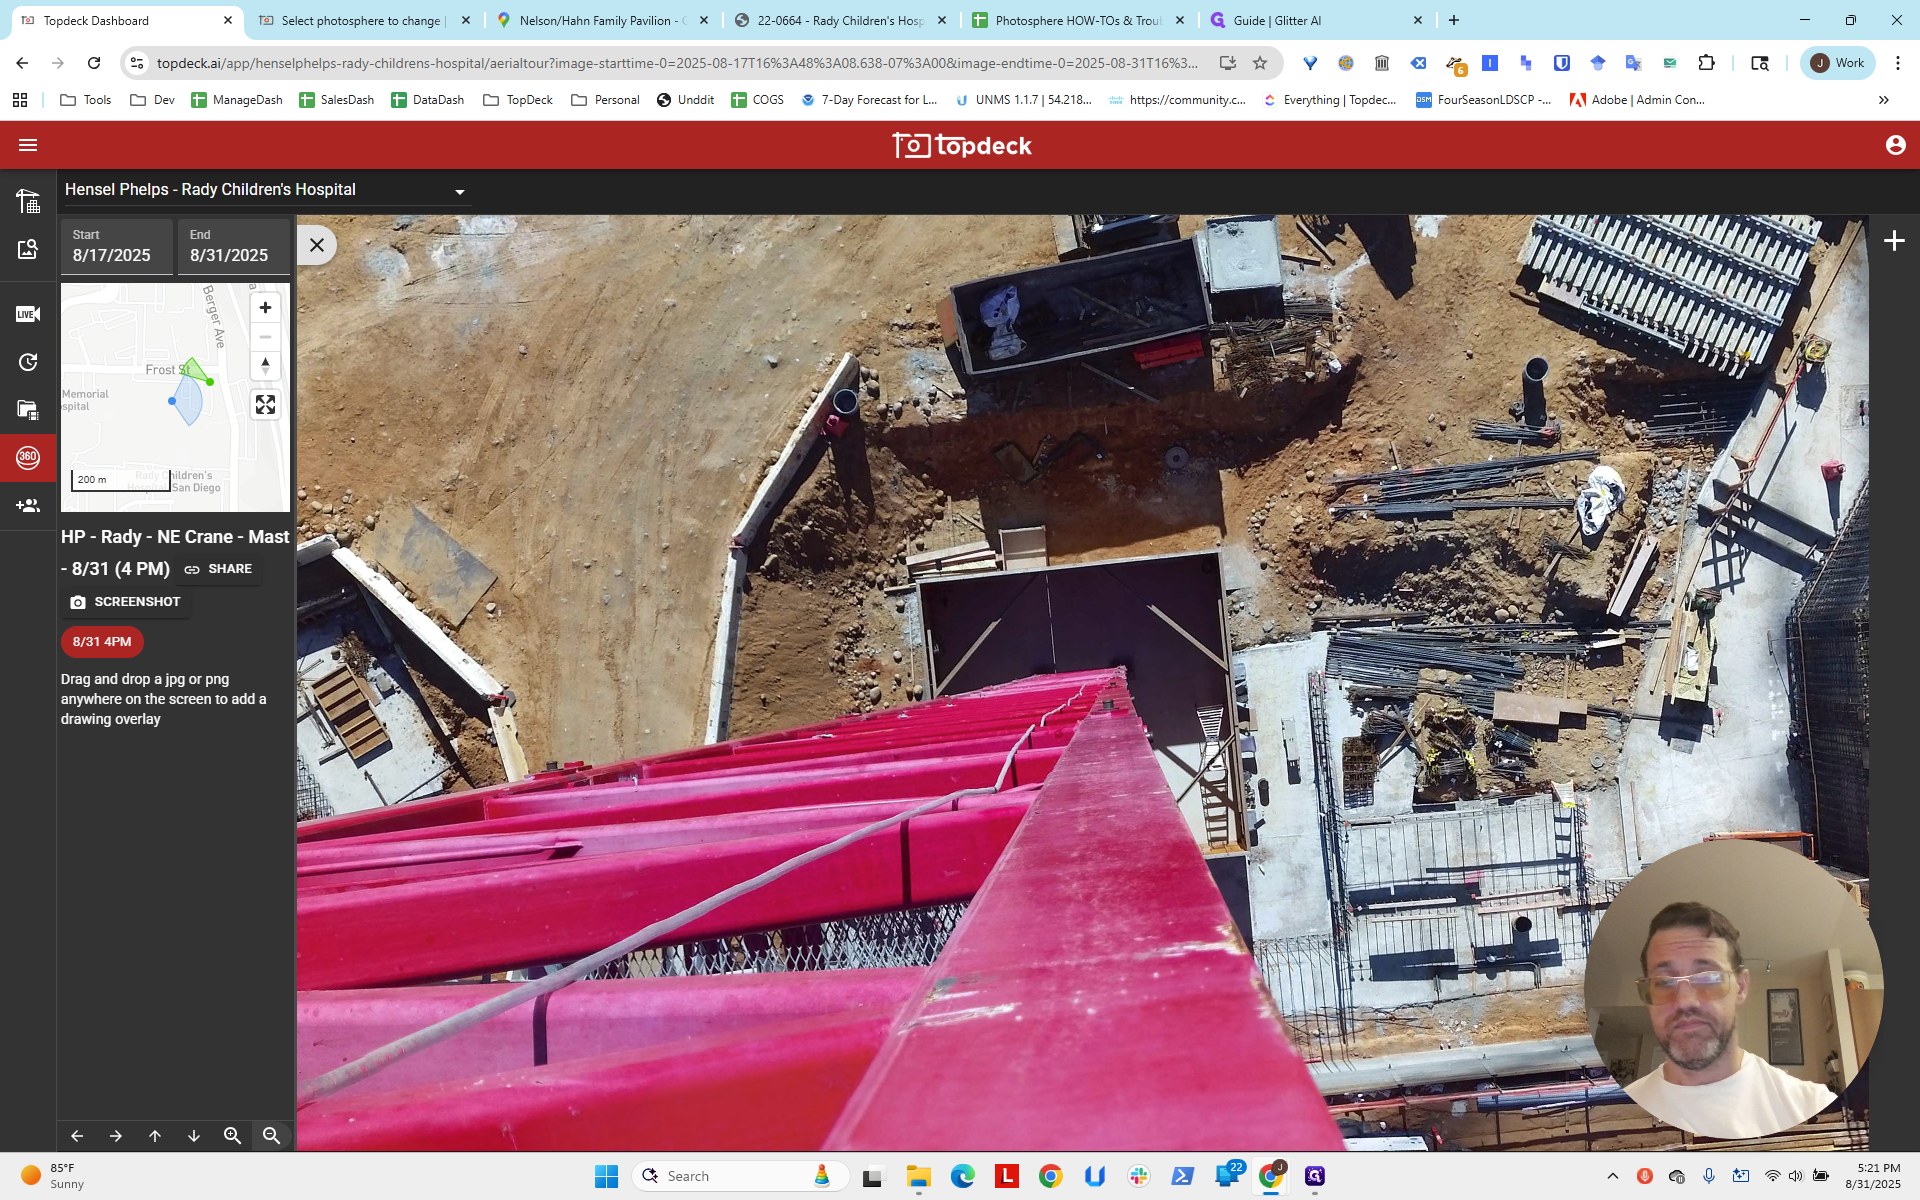
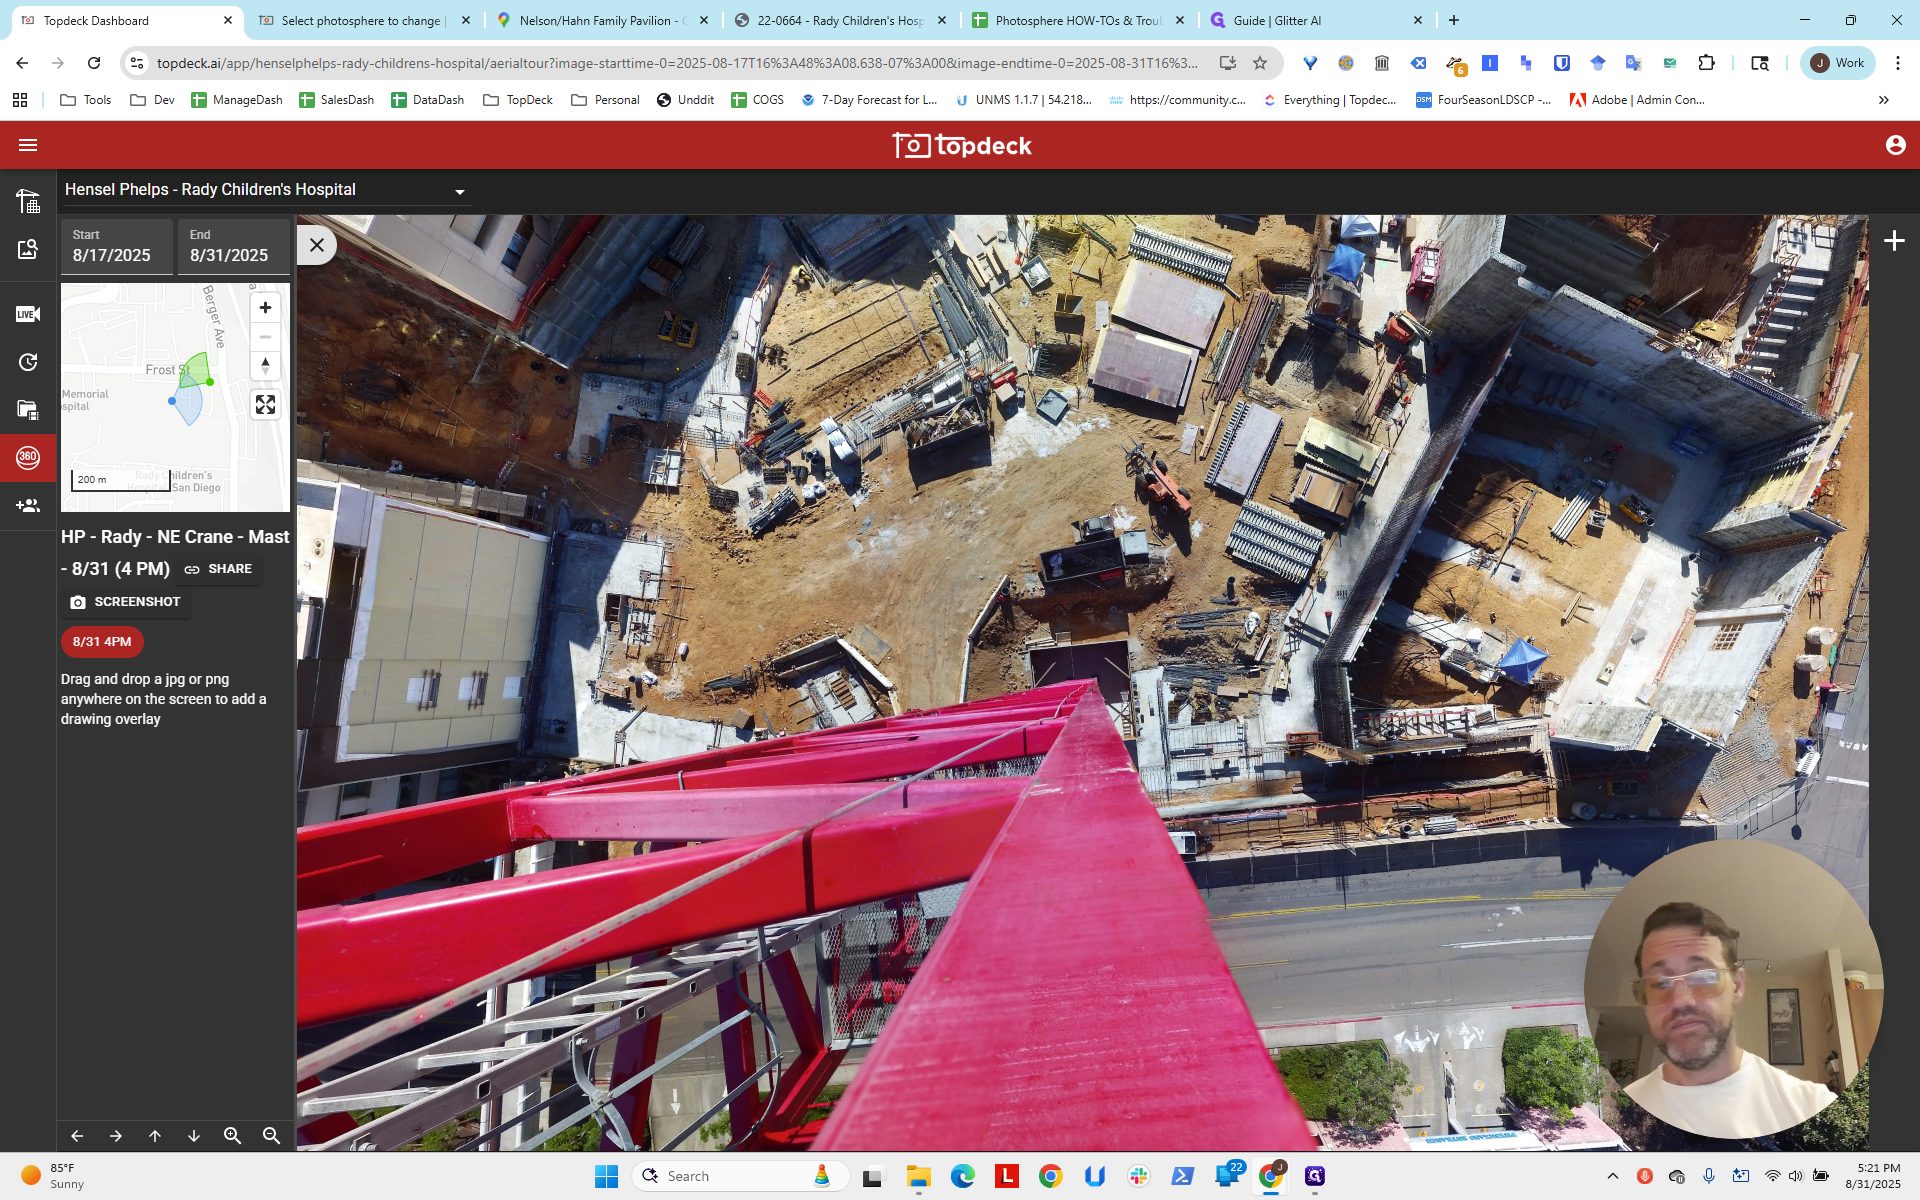
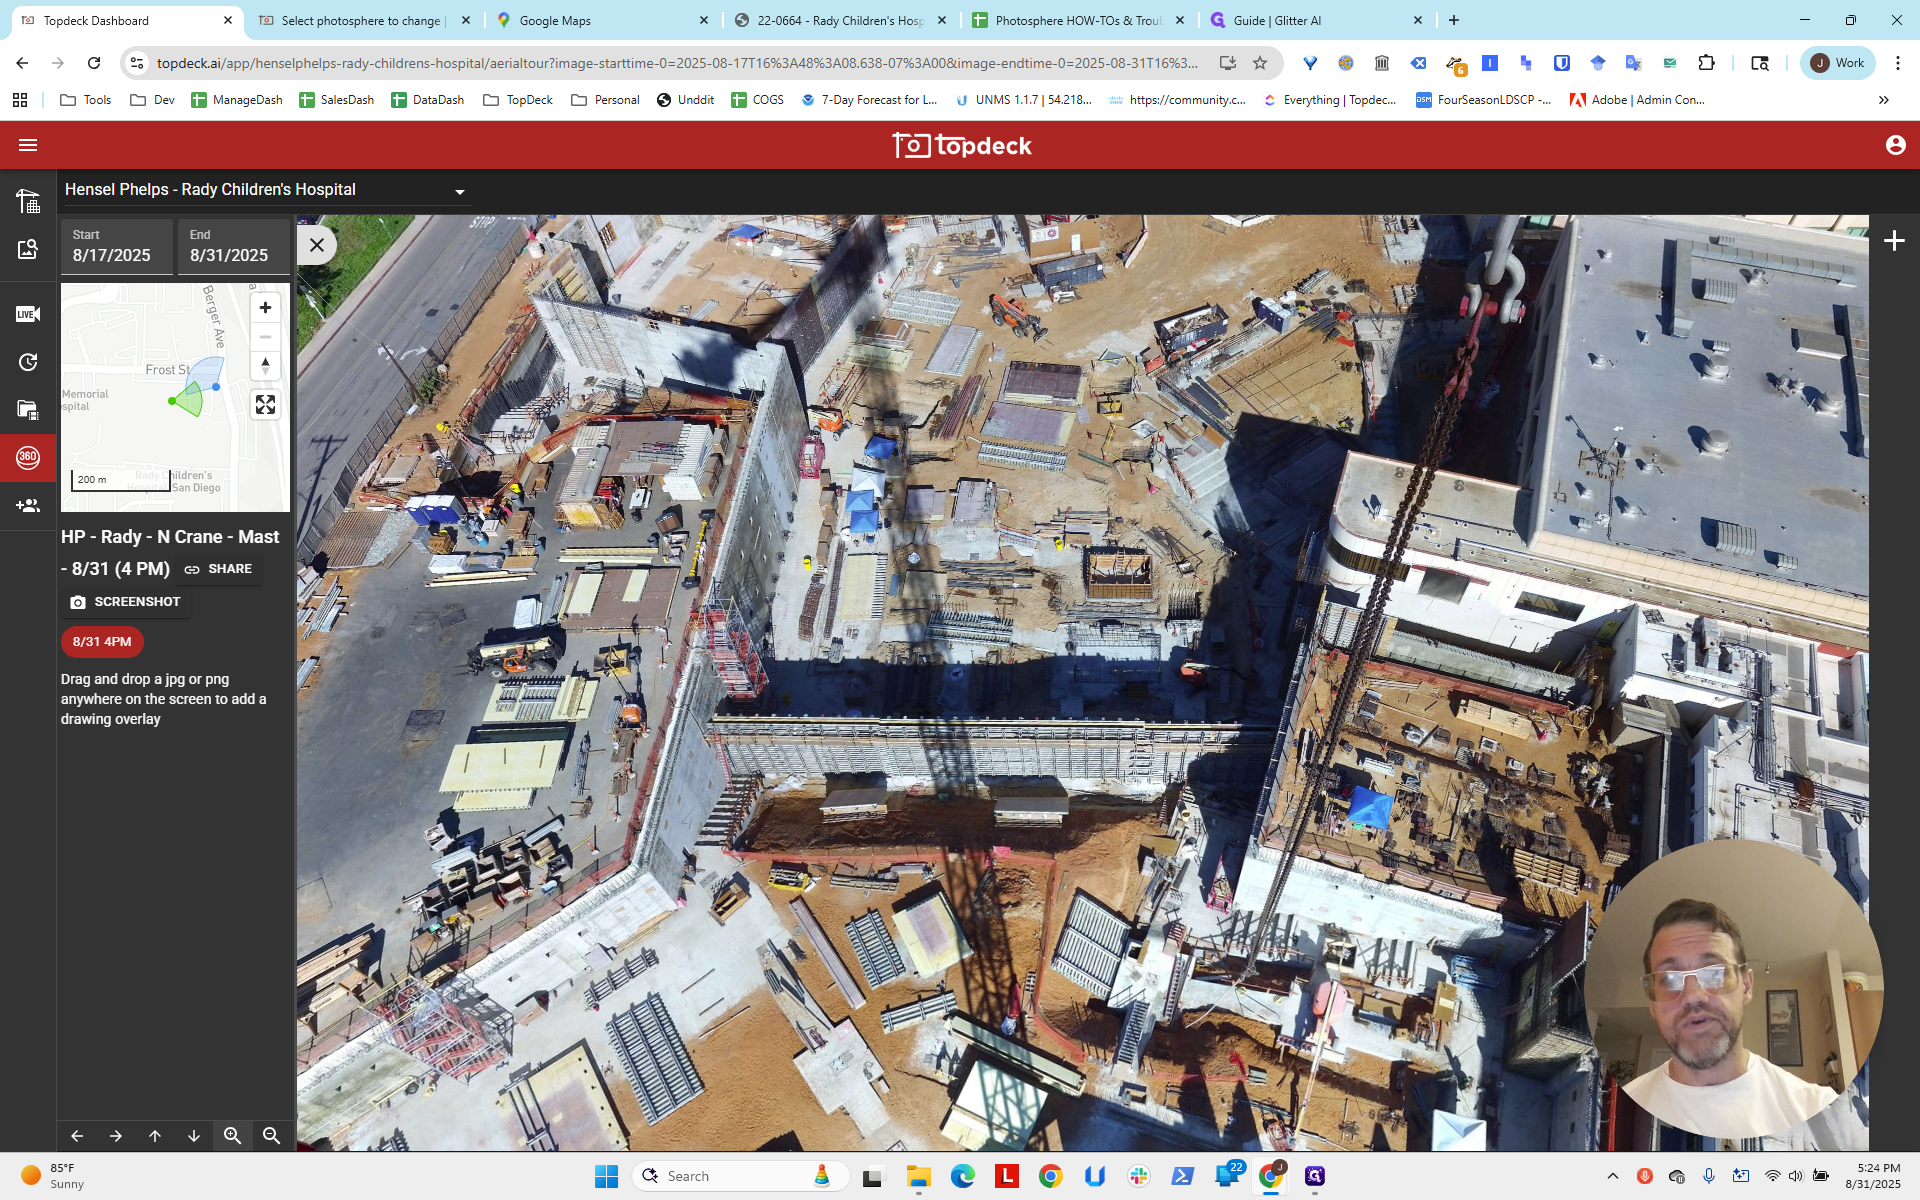
It's always helpful to look straight down and observe the lines here. The camera is clearly positioned on this corner of the tower crane.

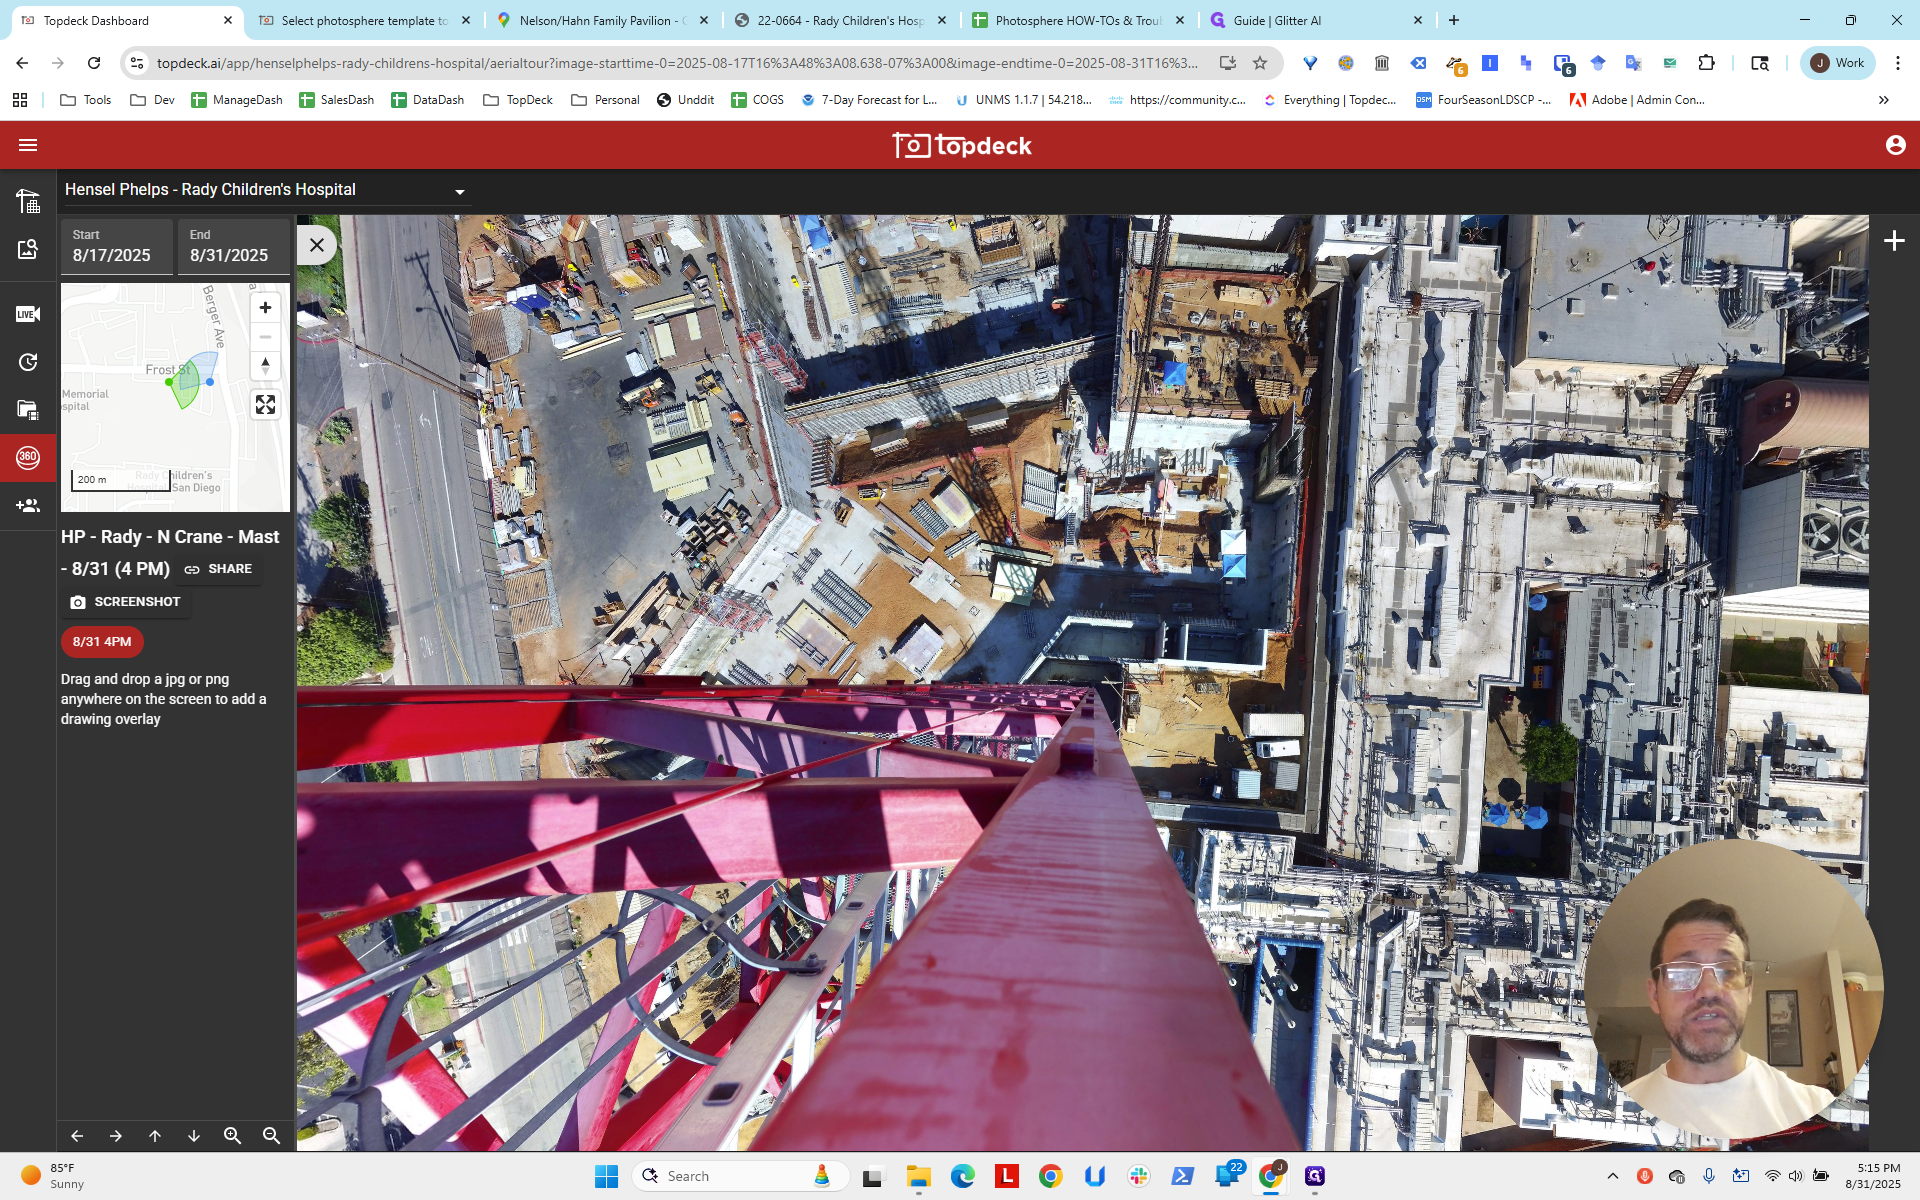
It goes straight down. It's in the small box at the bottom. Now, look at the line coming from this building. It points directly at the tower crane.
So, where is the line, and where does it go?

This line runs along the outside of the building, straight to where it meets the freeway just before the bridge, right?

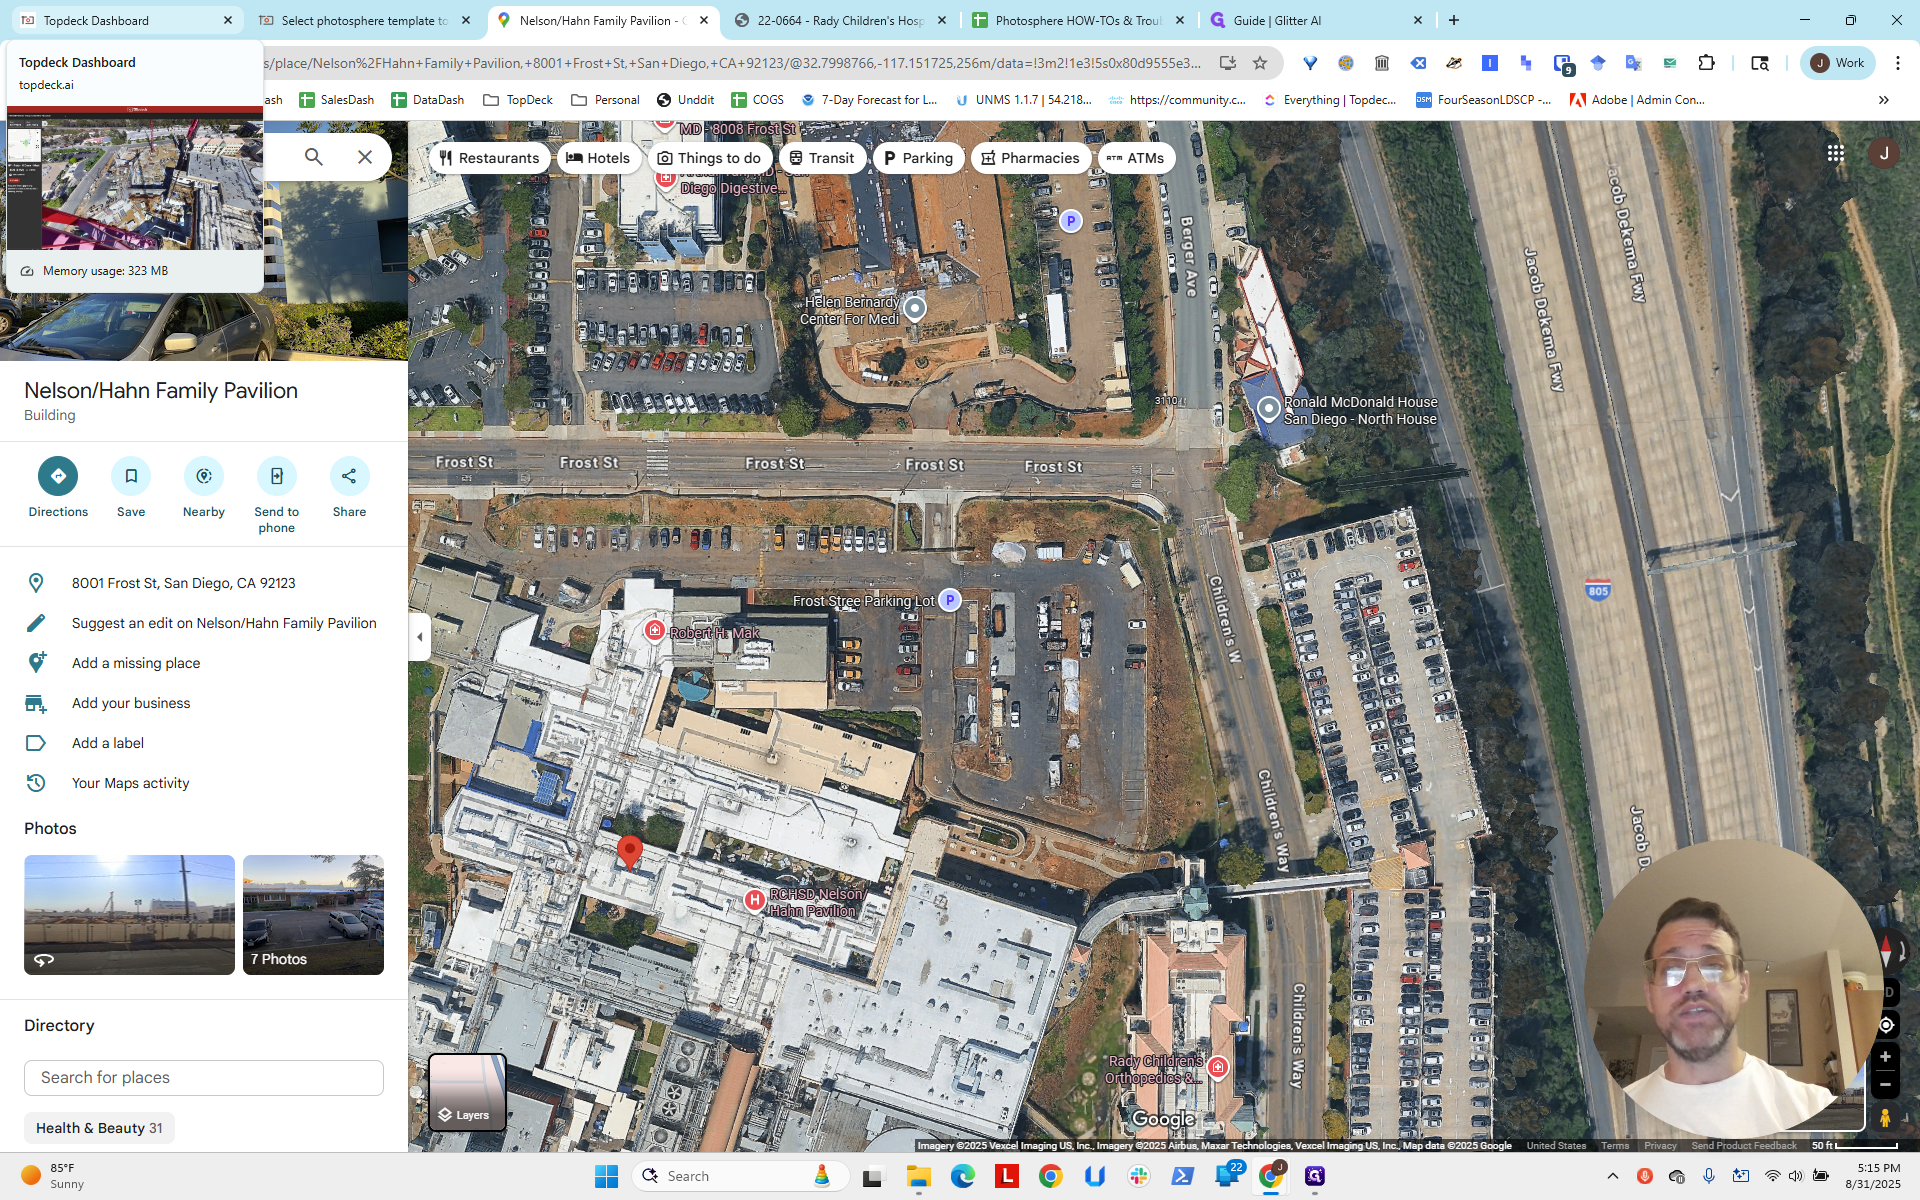
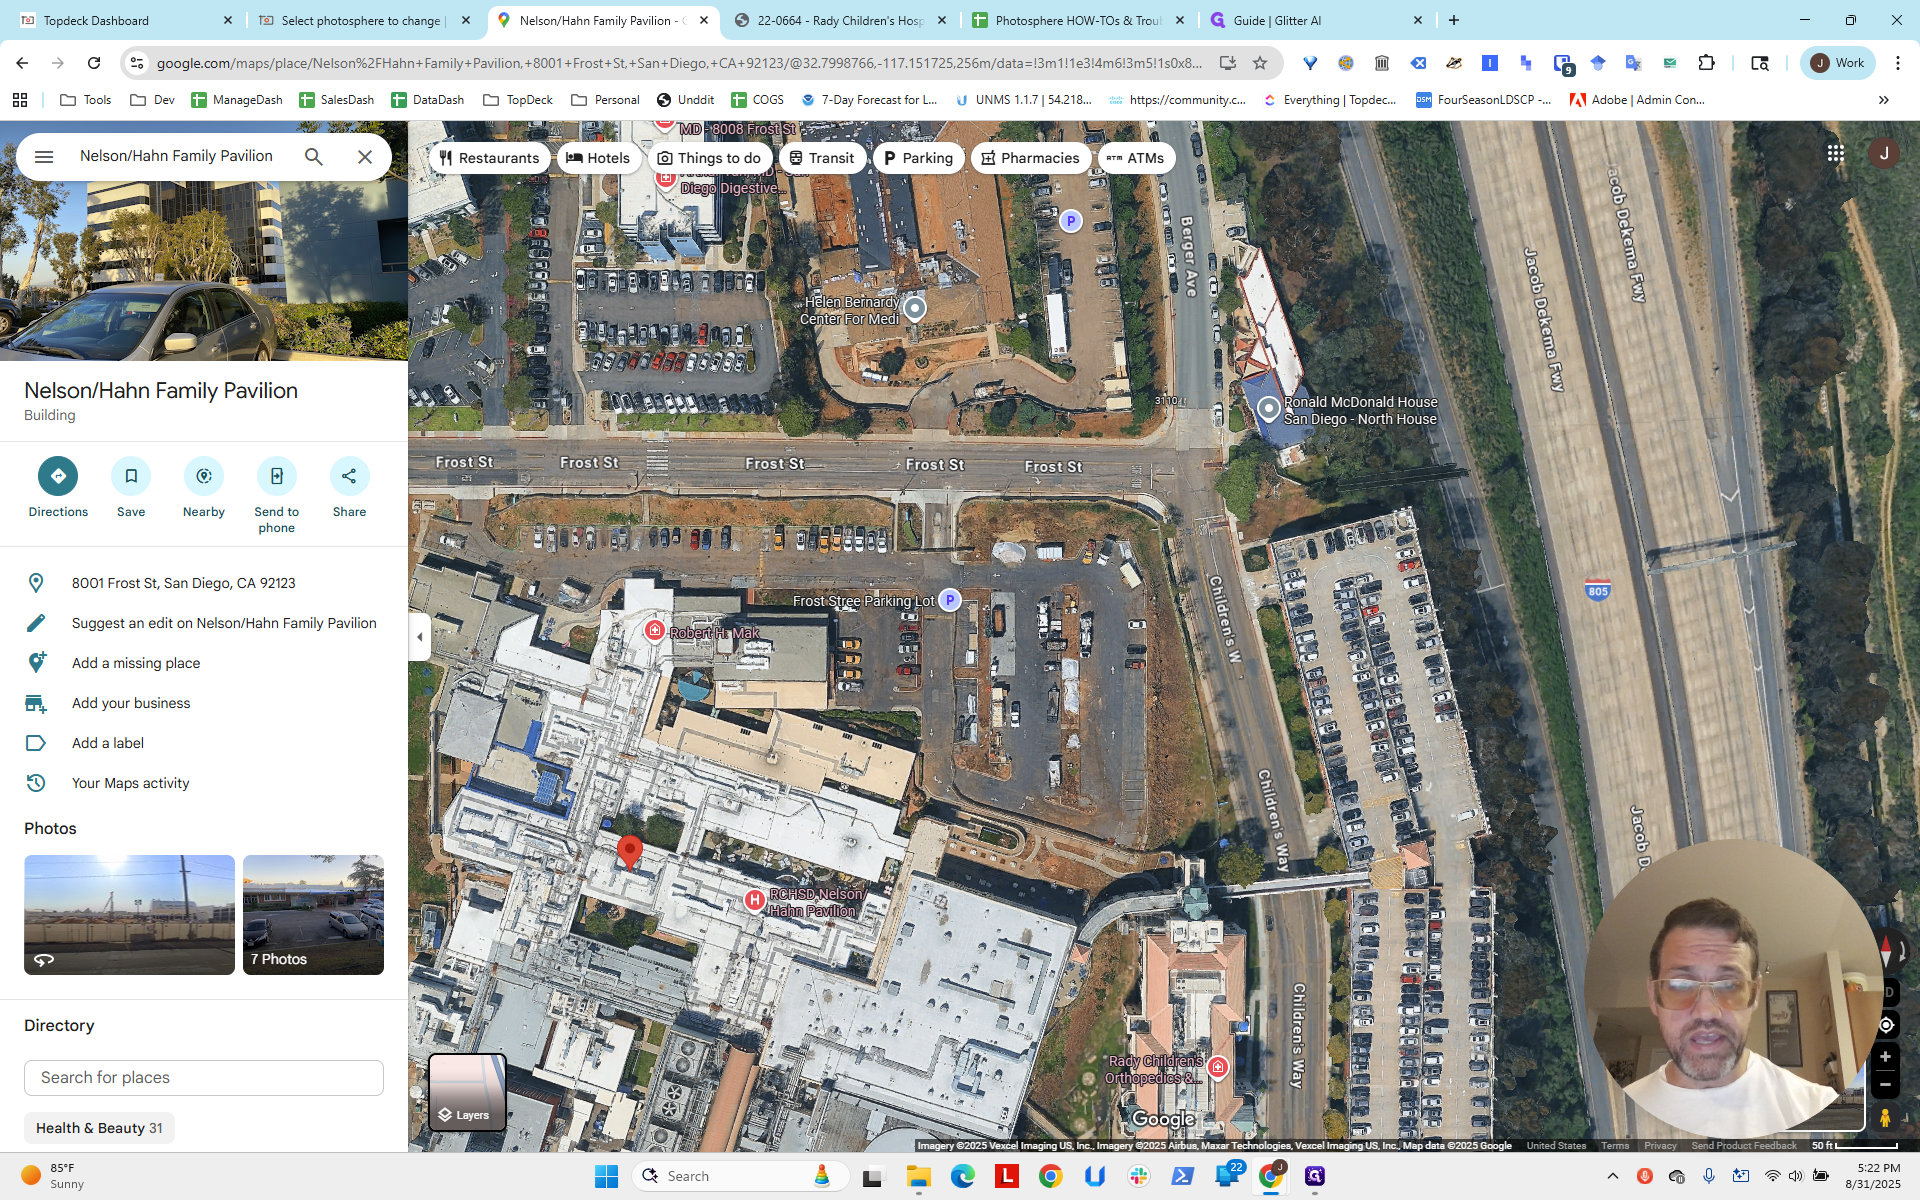
If we look at the map, it corresponds to this part of the building. It extends across and then crosses over into the bridge.

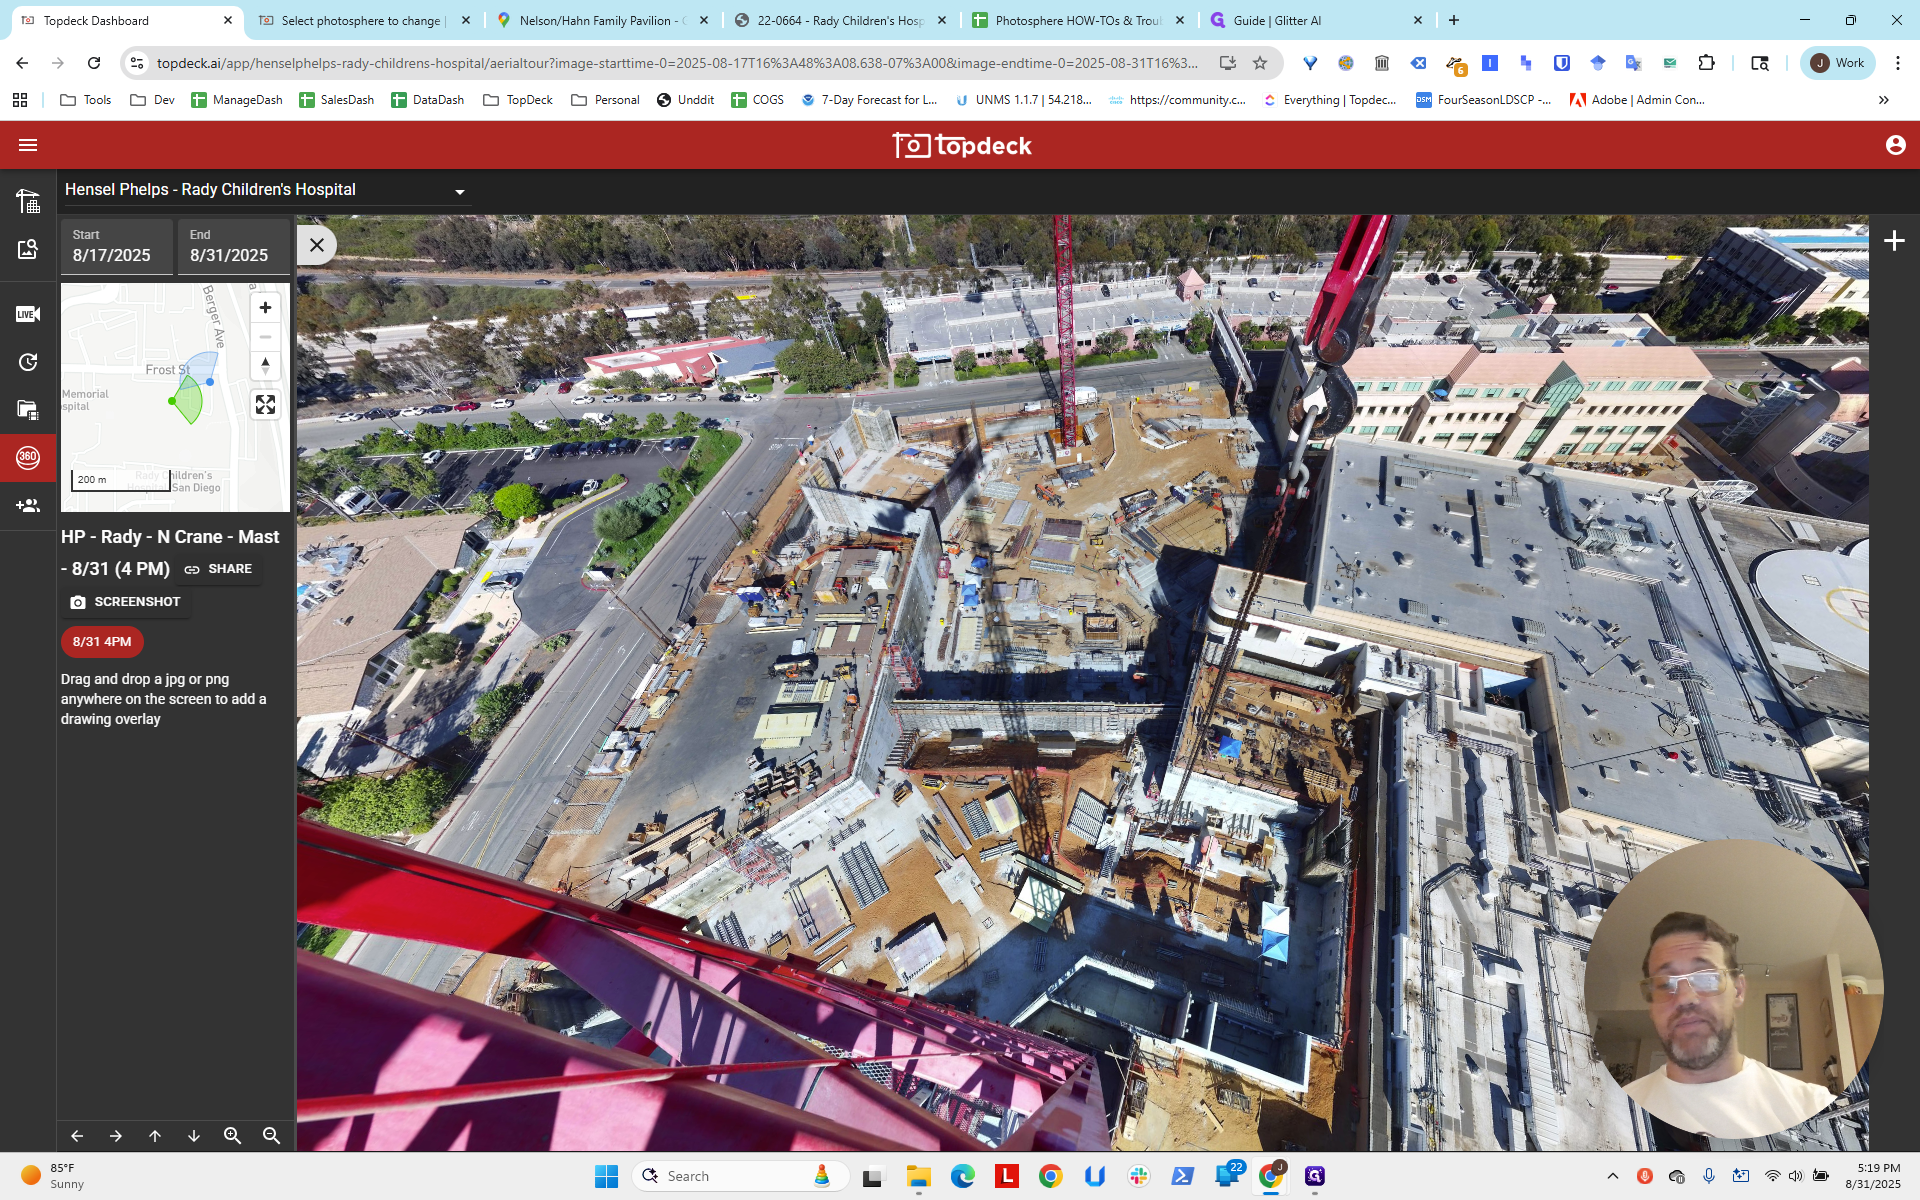
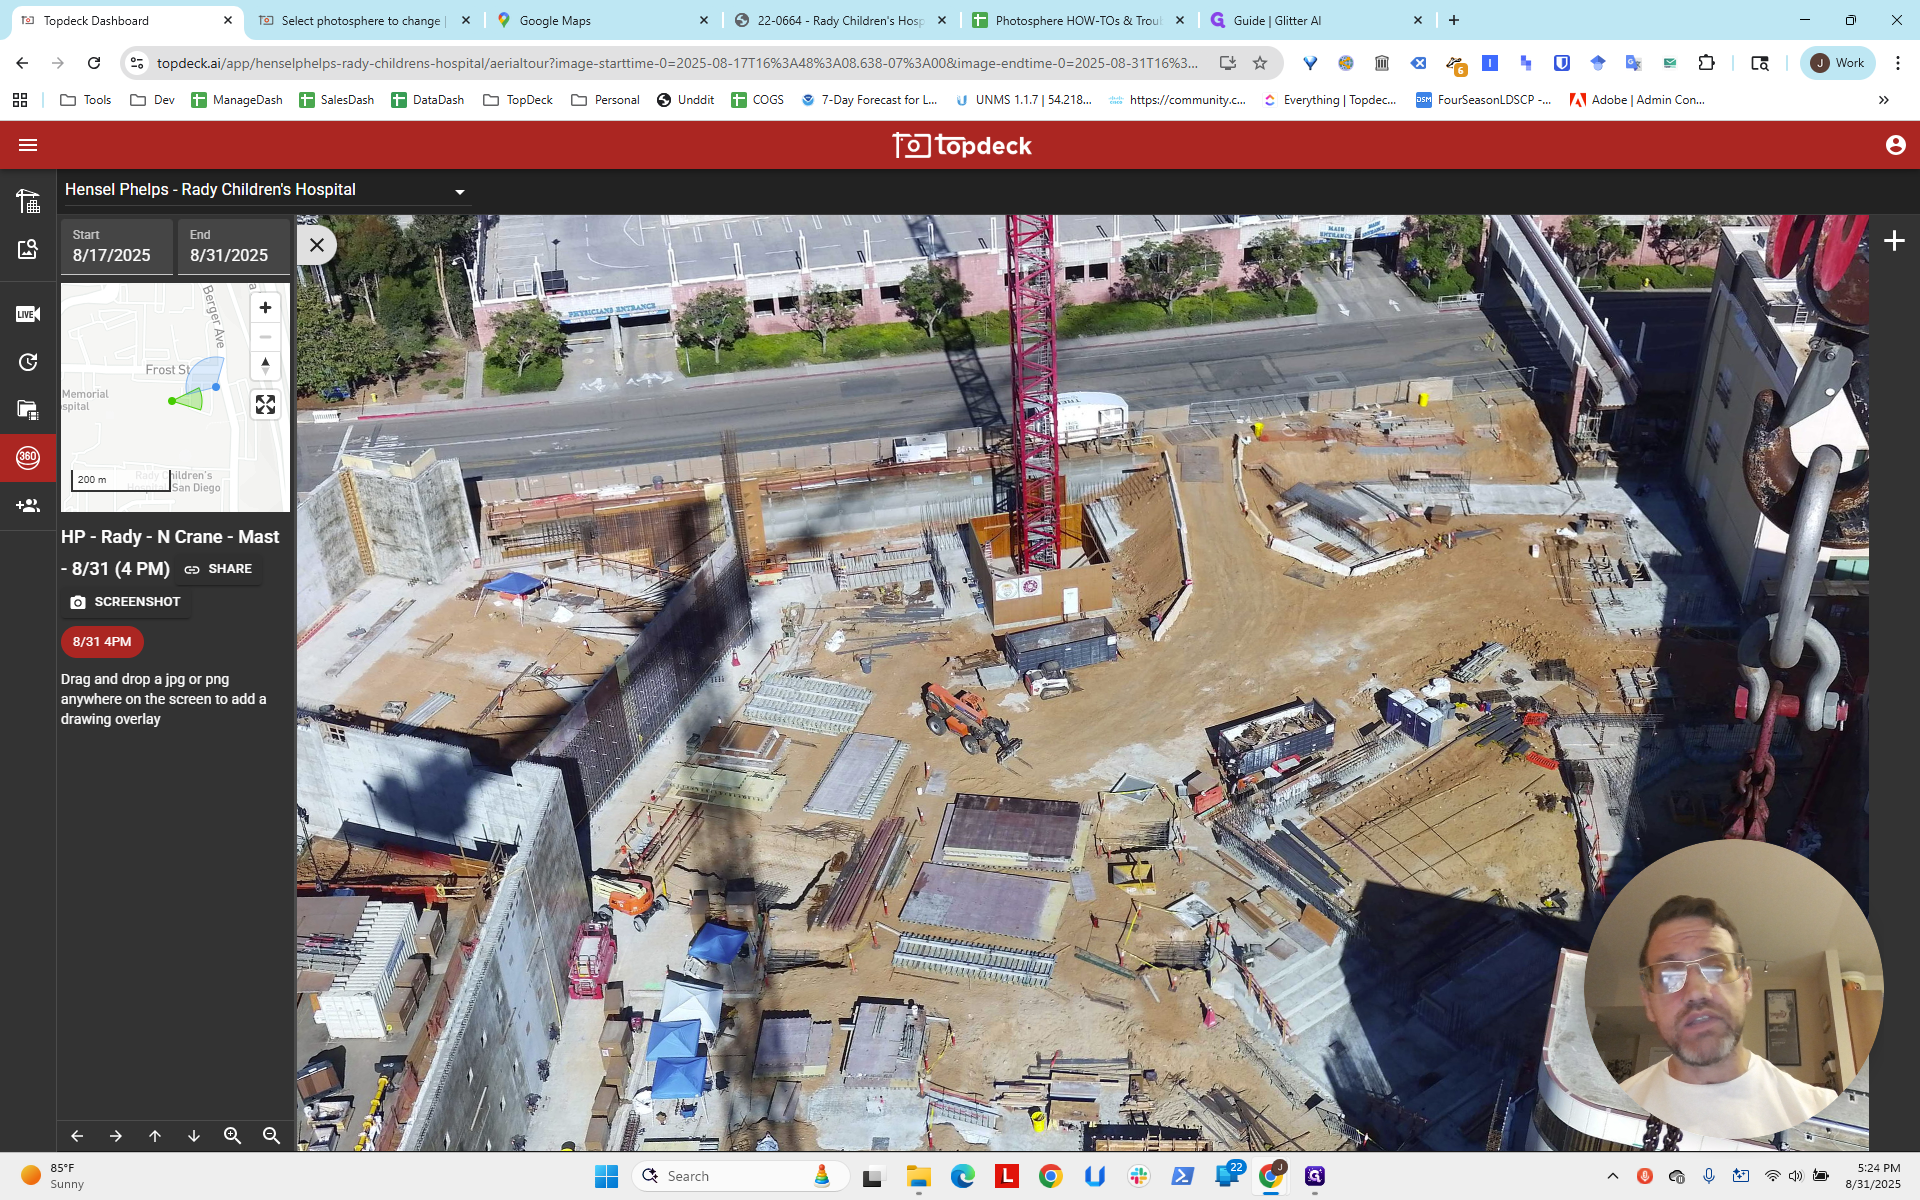
We know we are somewhere on that line. Alright. That gives us east-west. What about north-south? Let's go back and take a look.

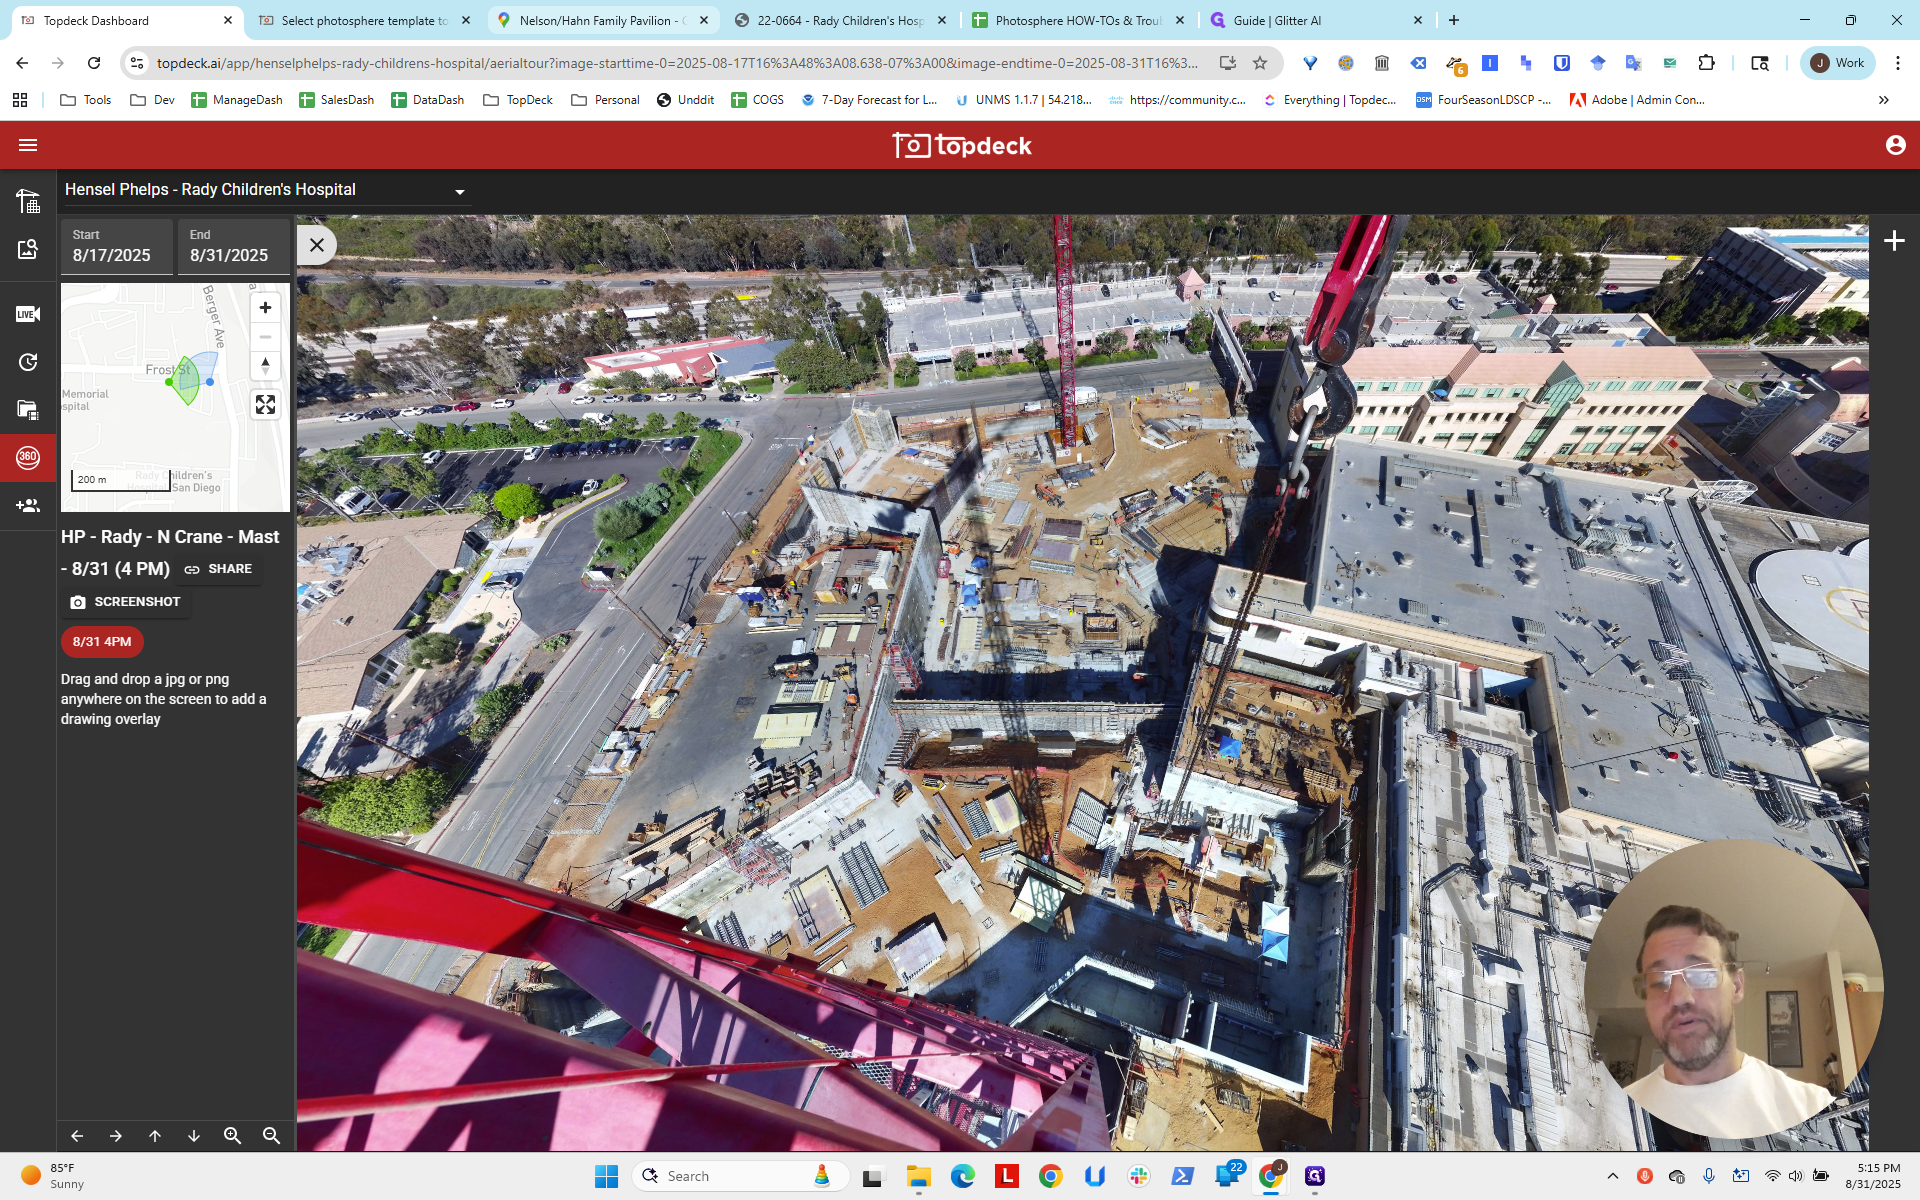
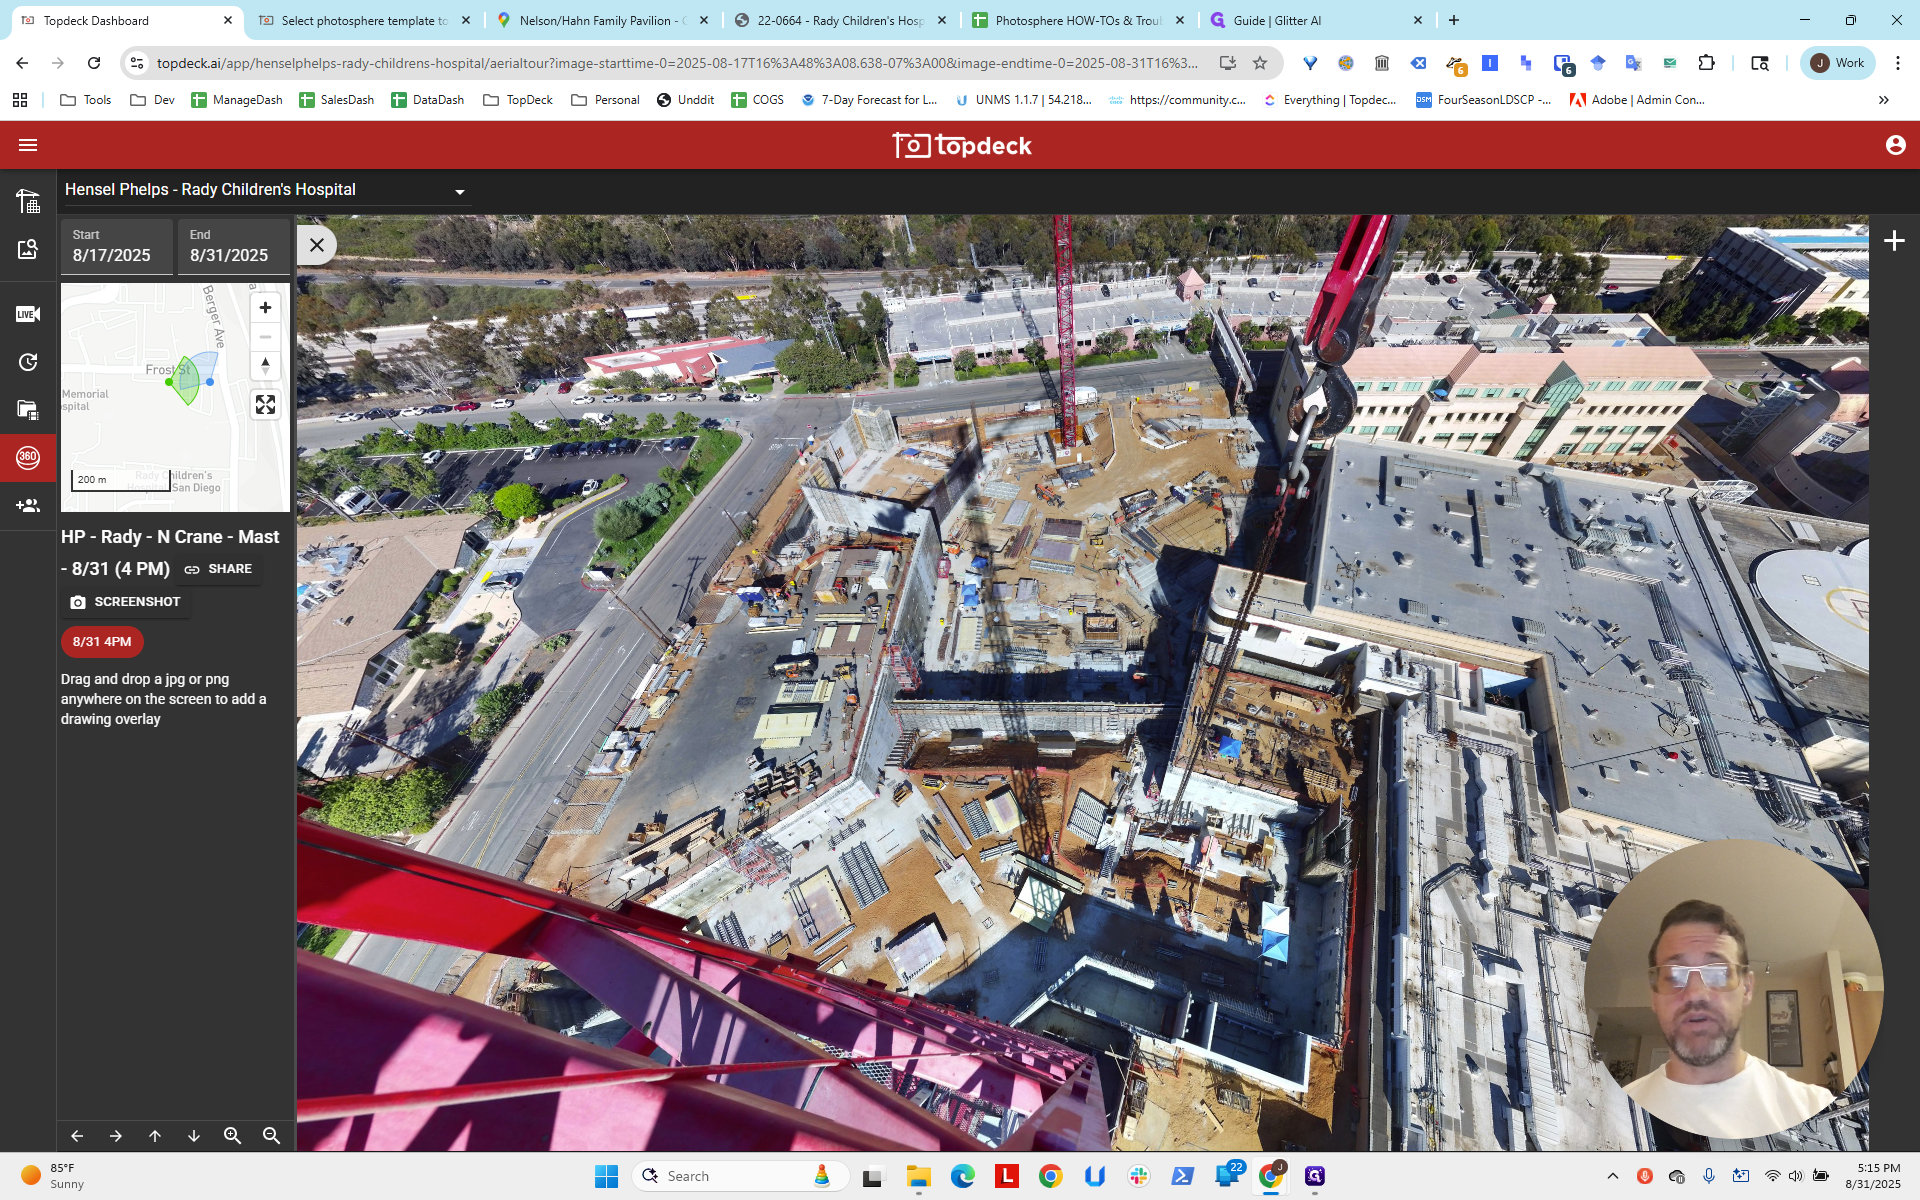
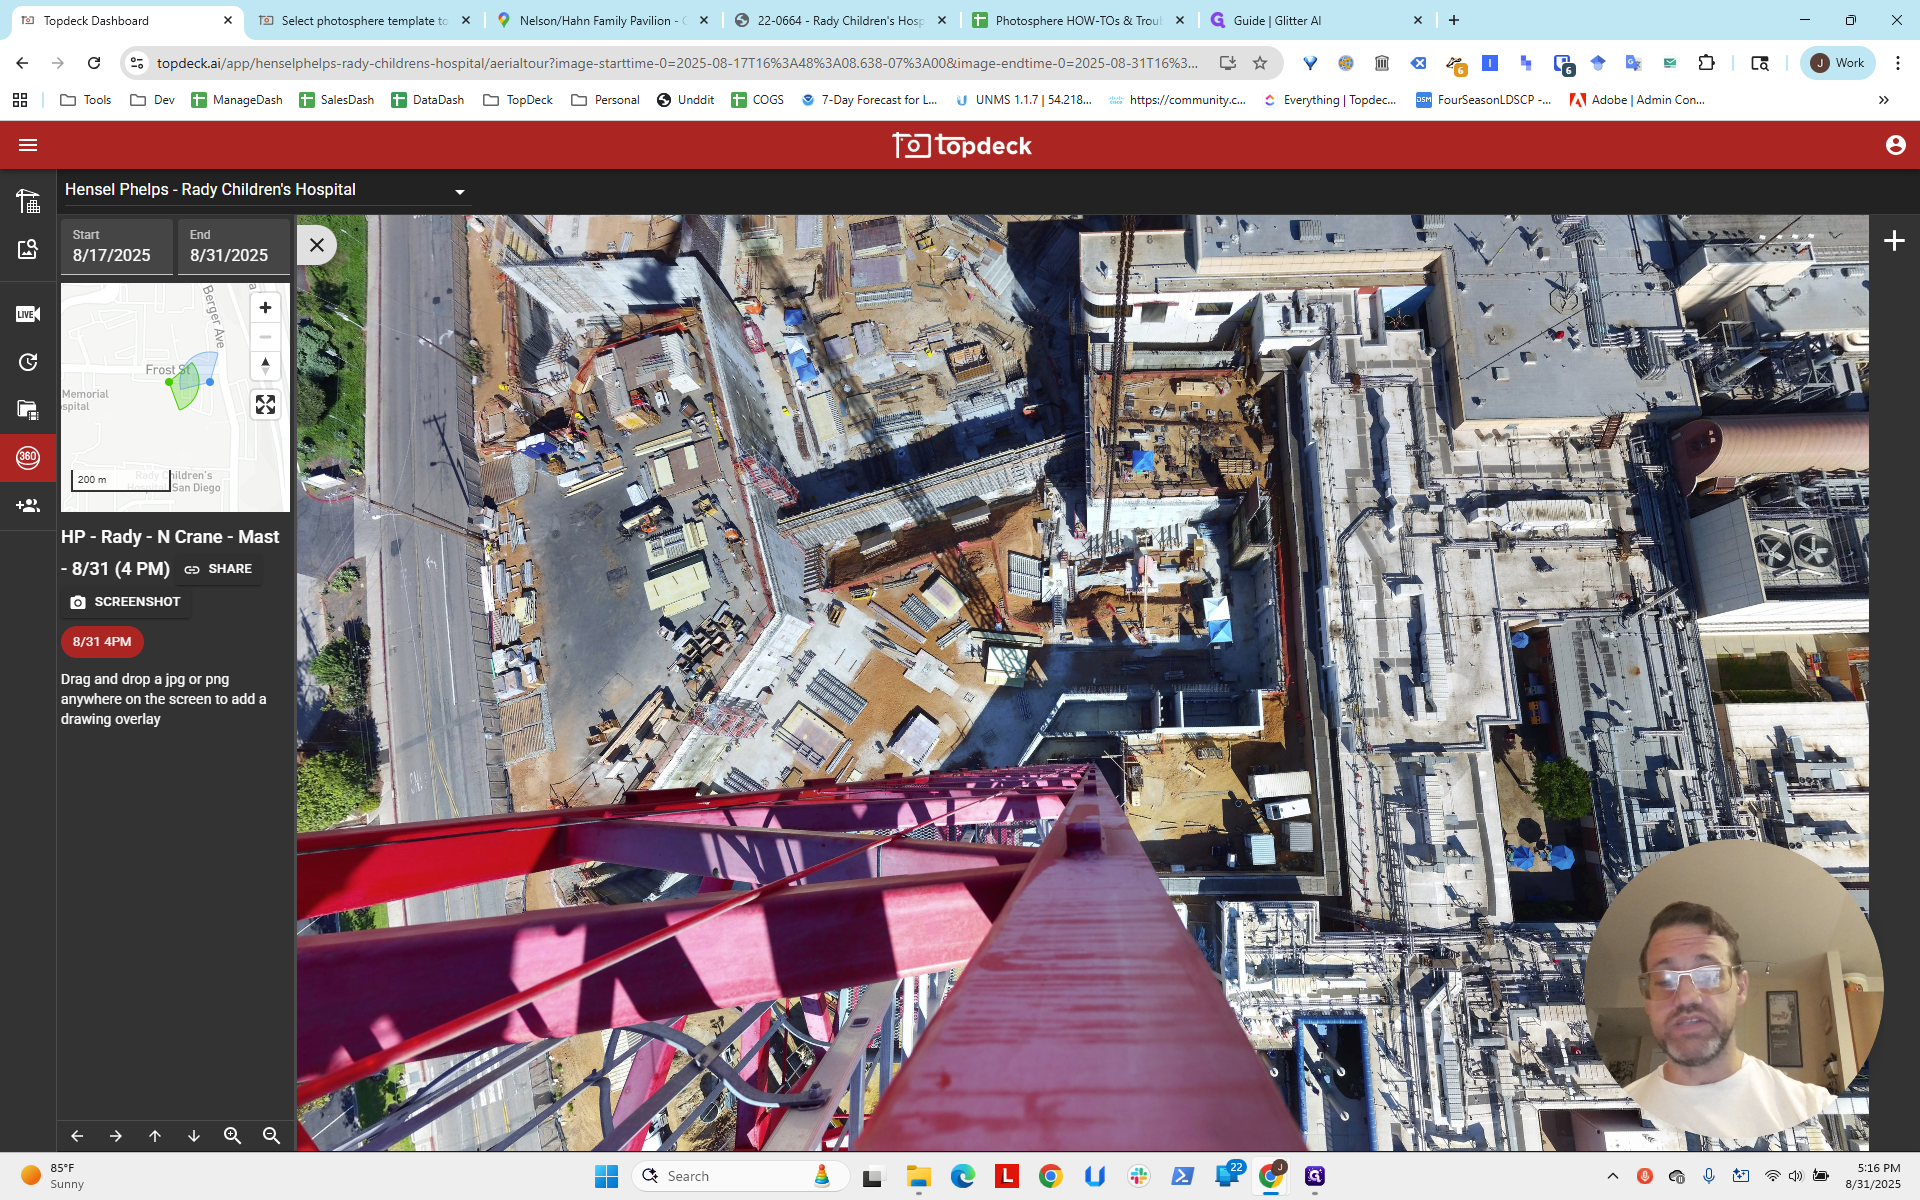
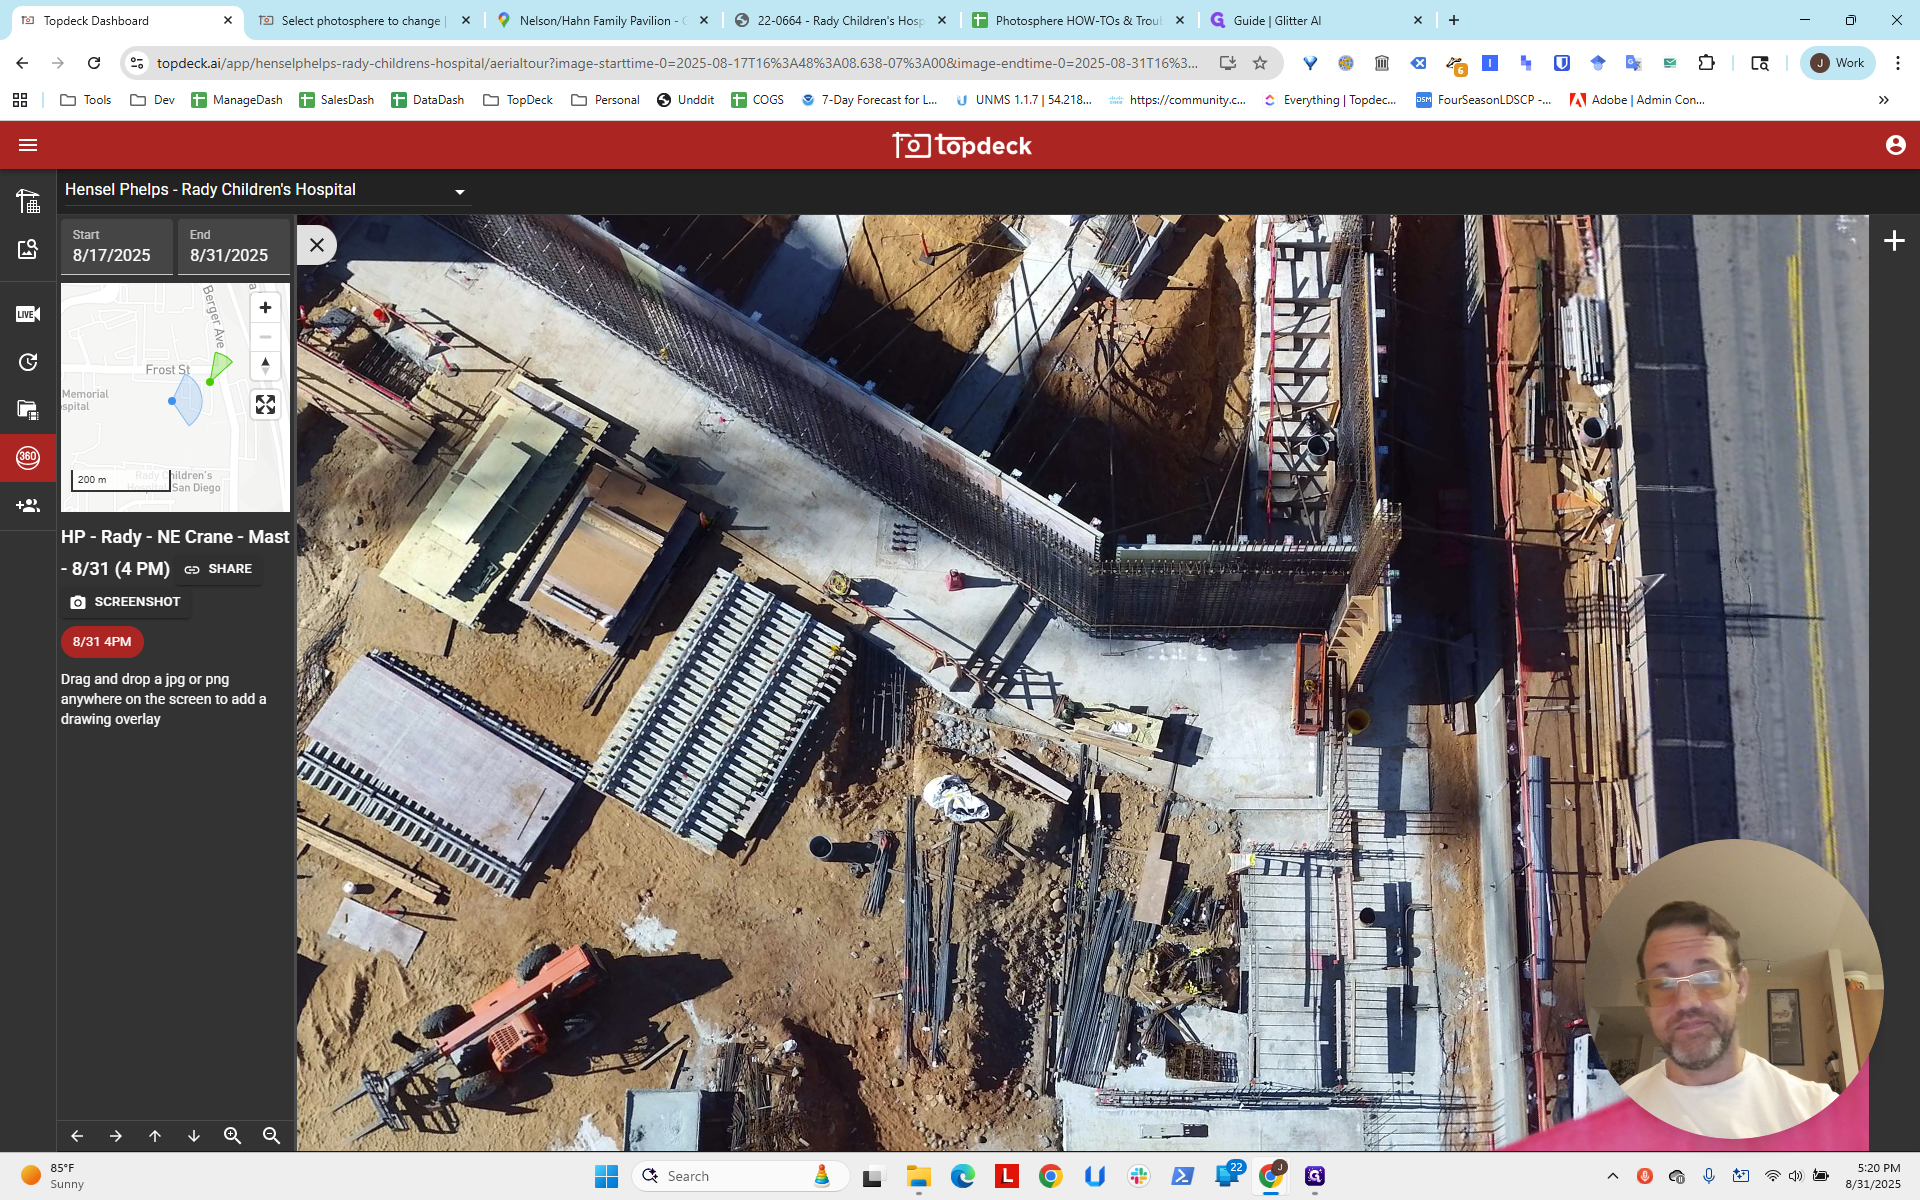
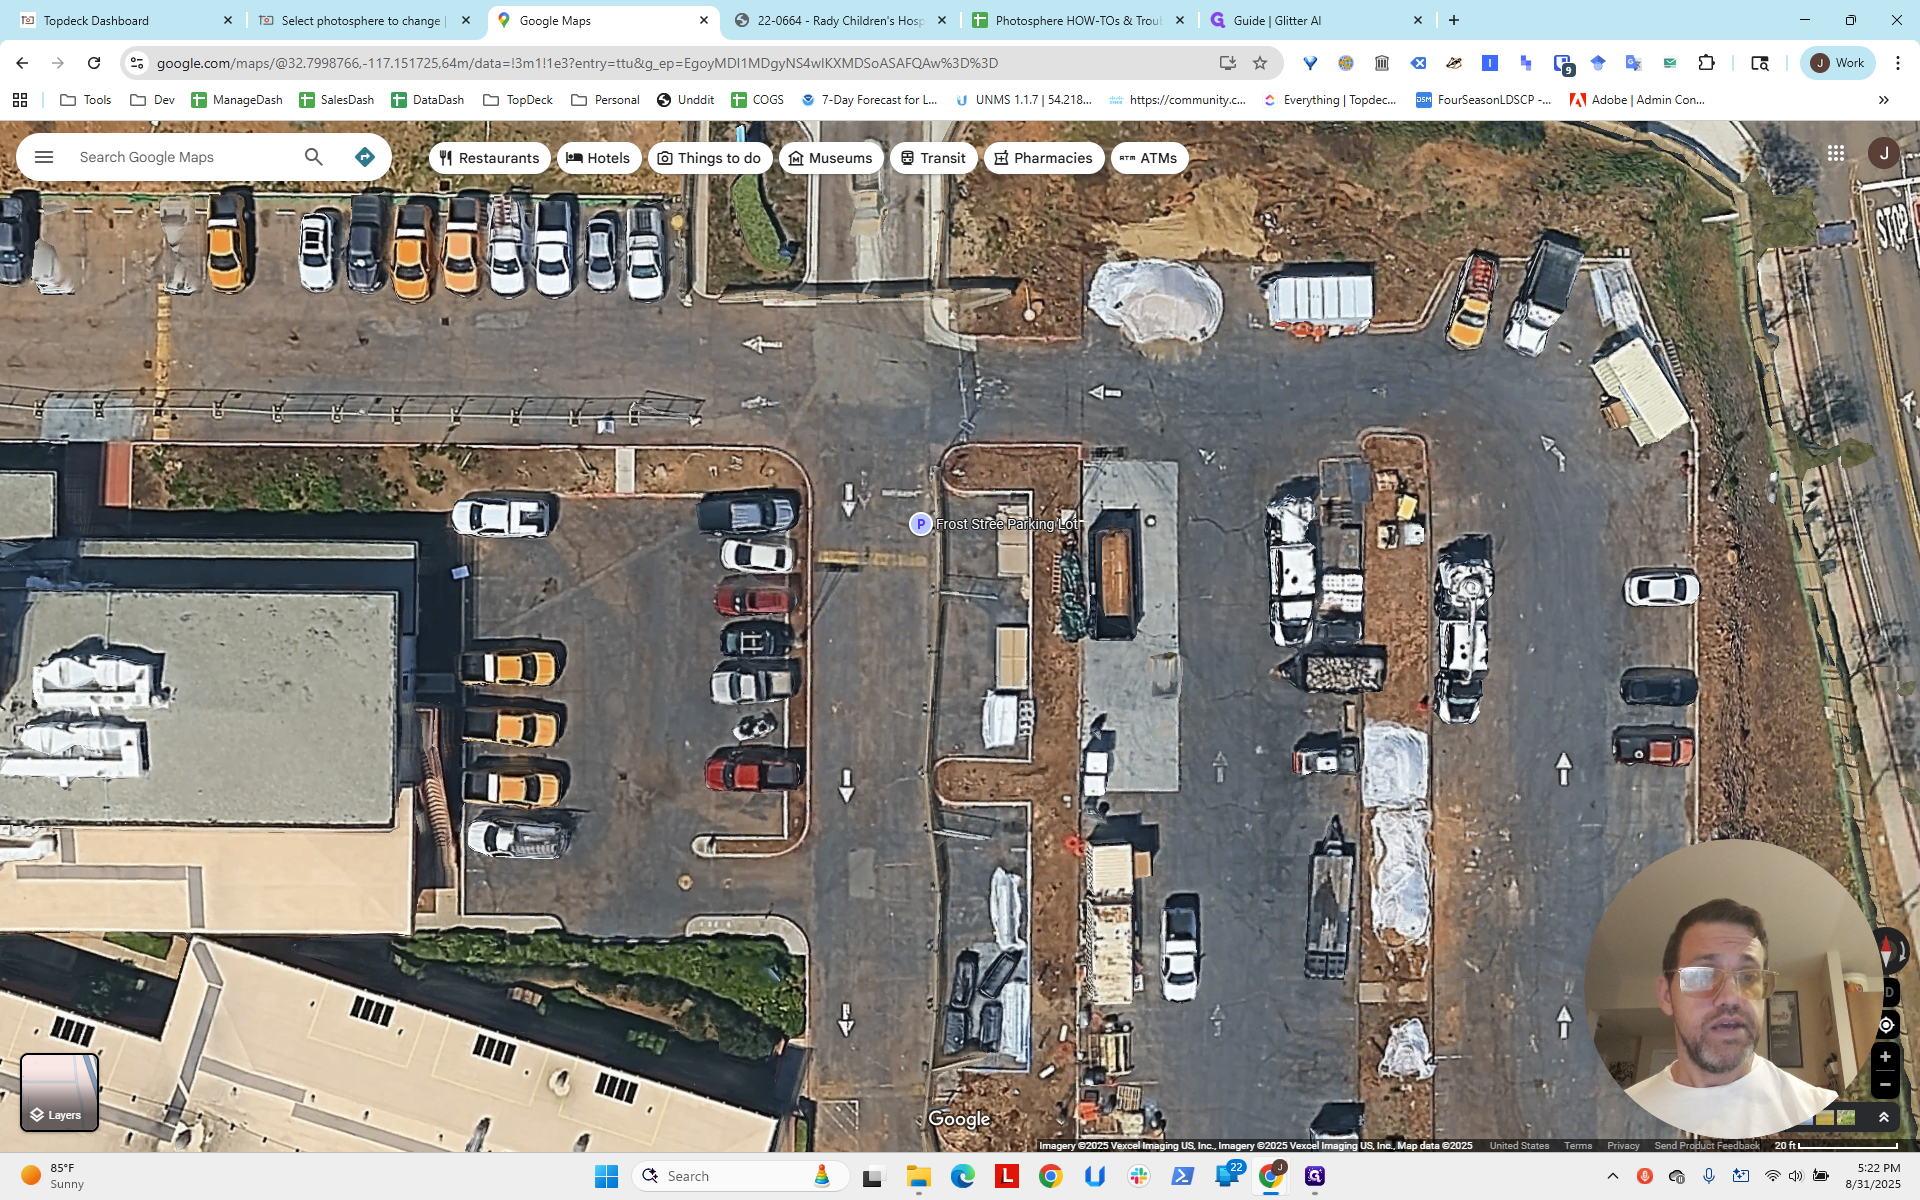
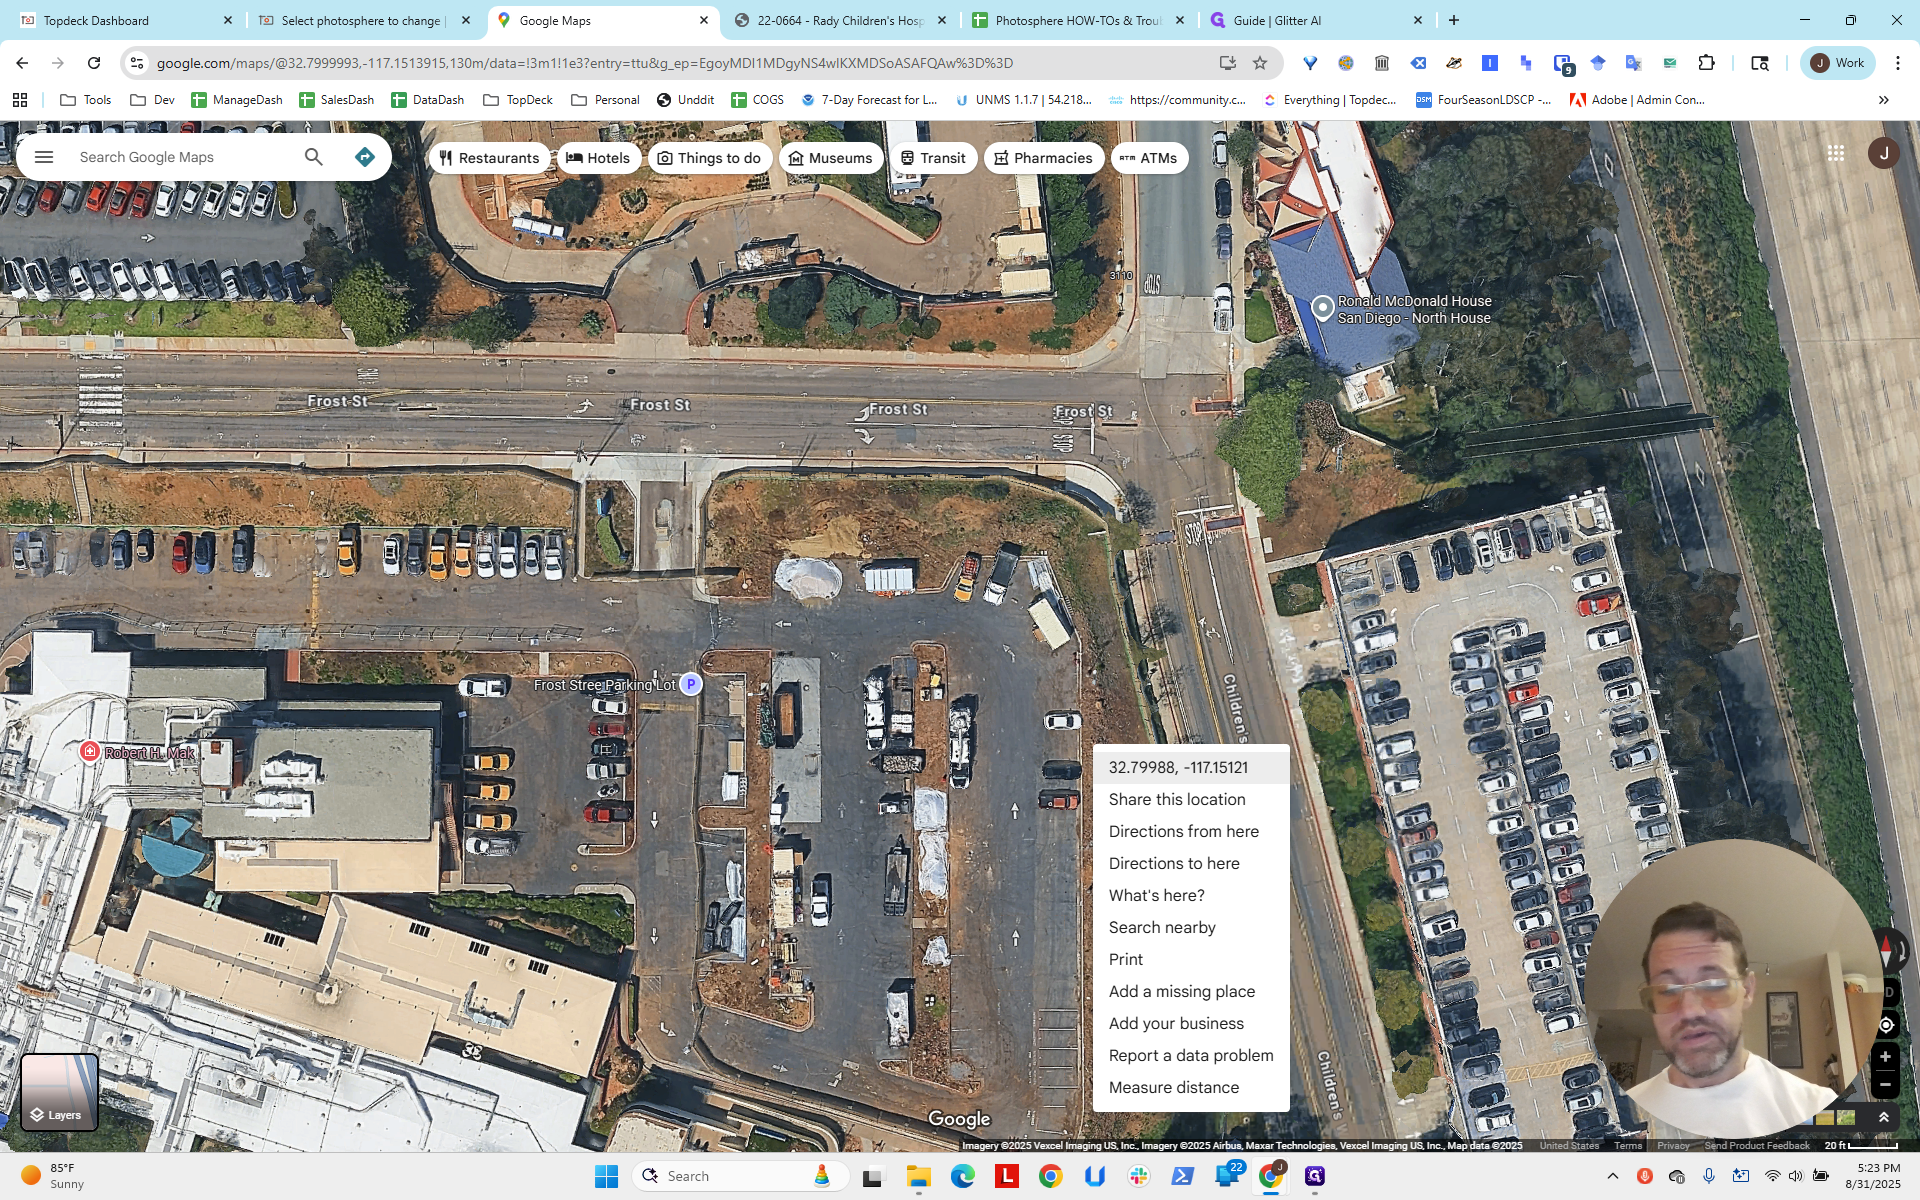
We look down at the base, click and drag to look around, and move the view north-south.
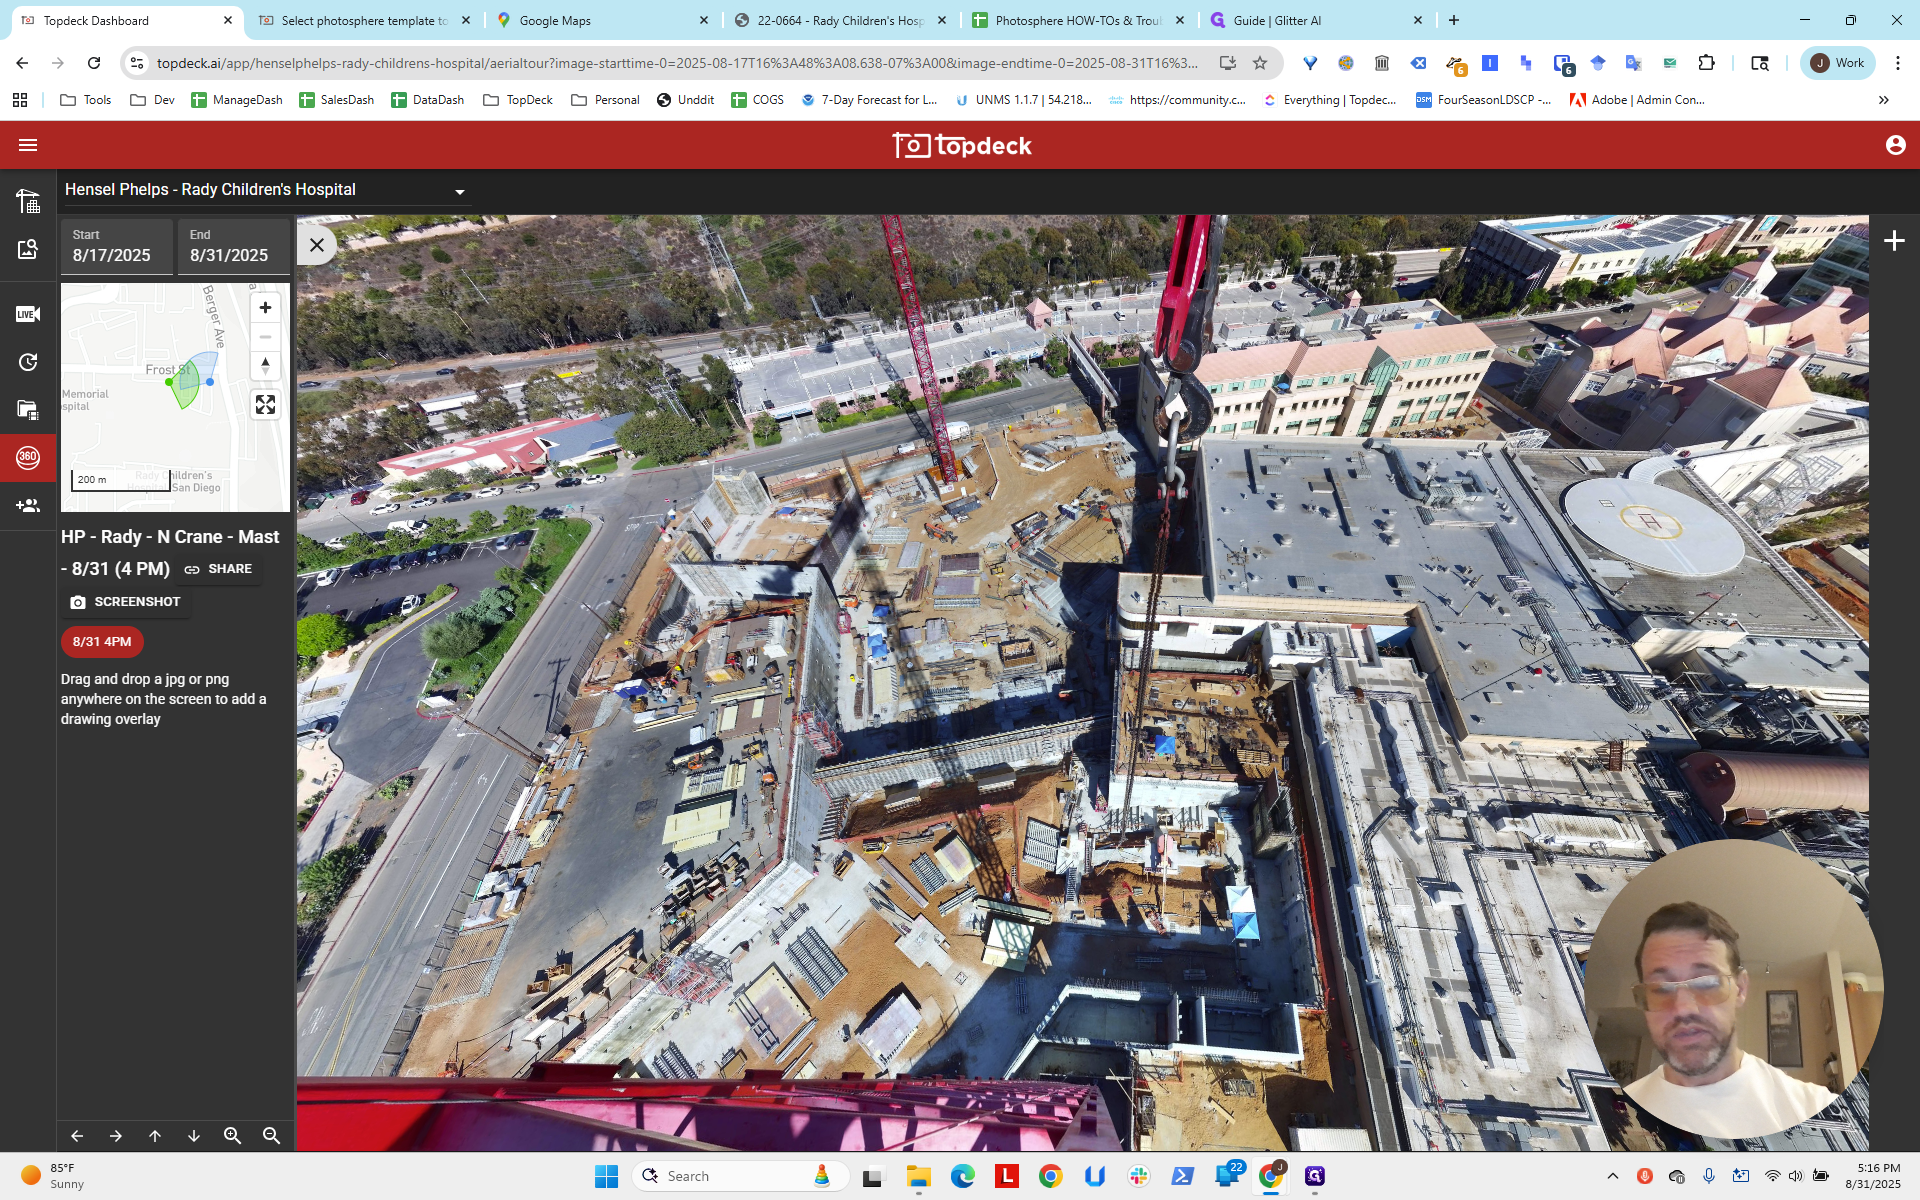


Okay, now there's a line going straight north. Where does that lead us? It seems to be pointing toward this bush up ahead, which runs straight and is oriented north-south toward the crane.

The intersection of that bush corresponds to this point, so that's the bush.
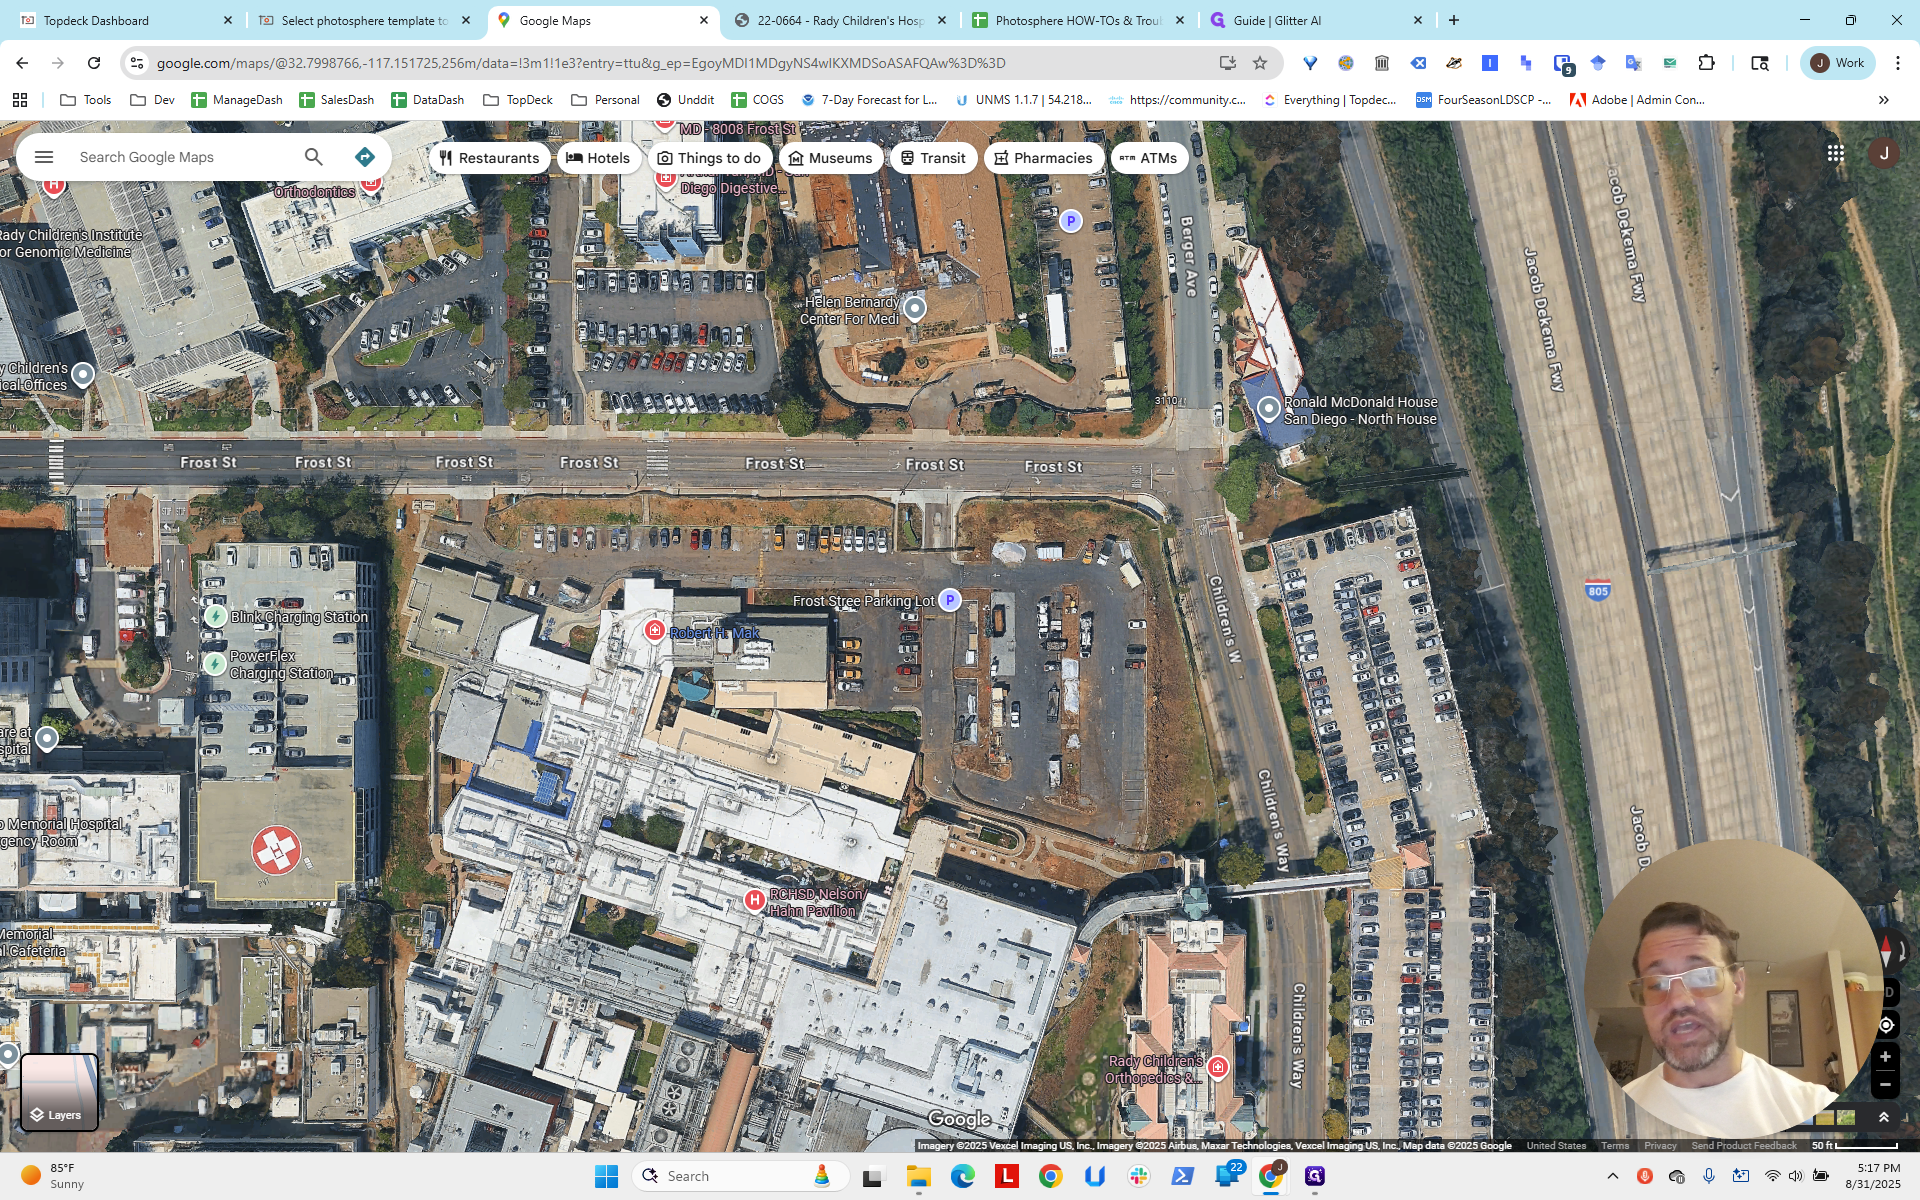
That's a straight line heading south. This line runs east-west, approximately here, giving us a point around there.
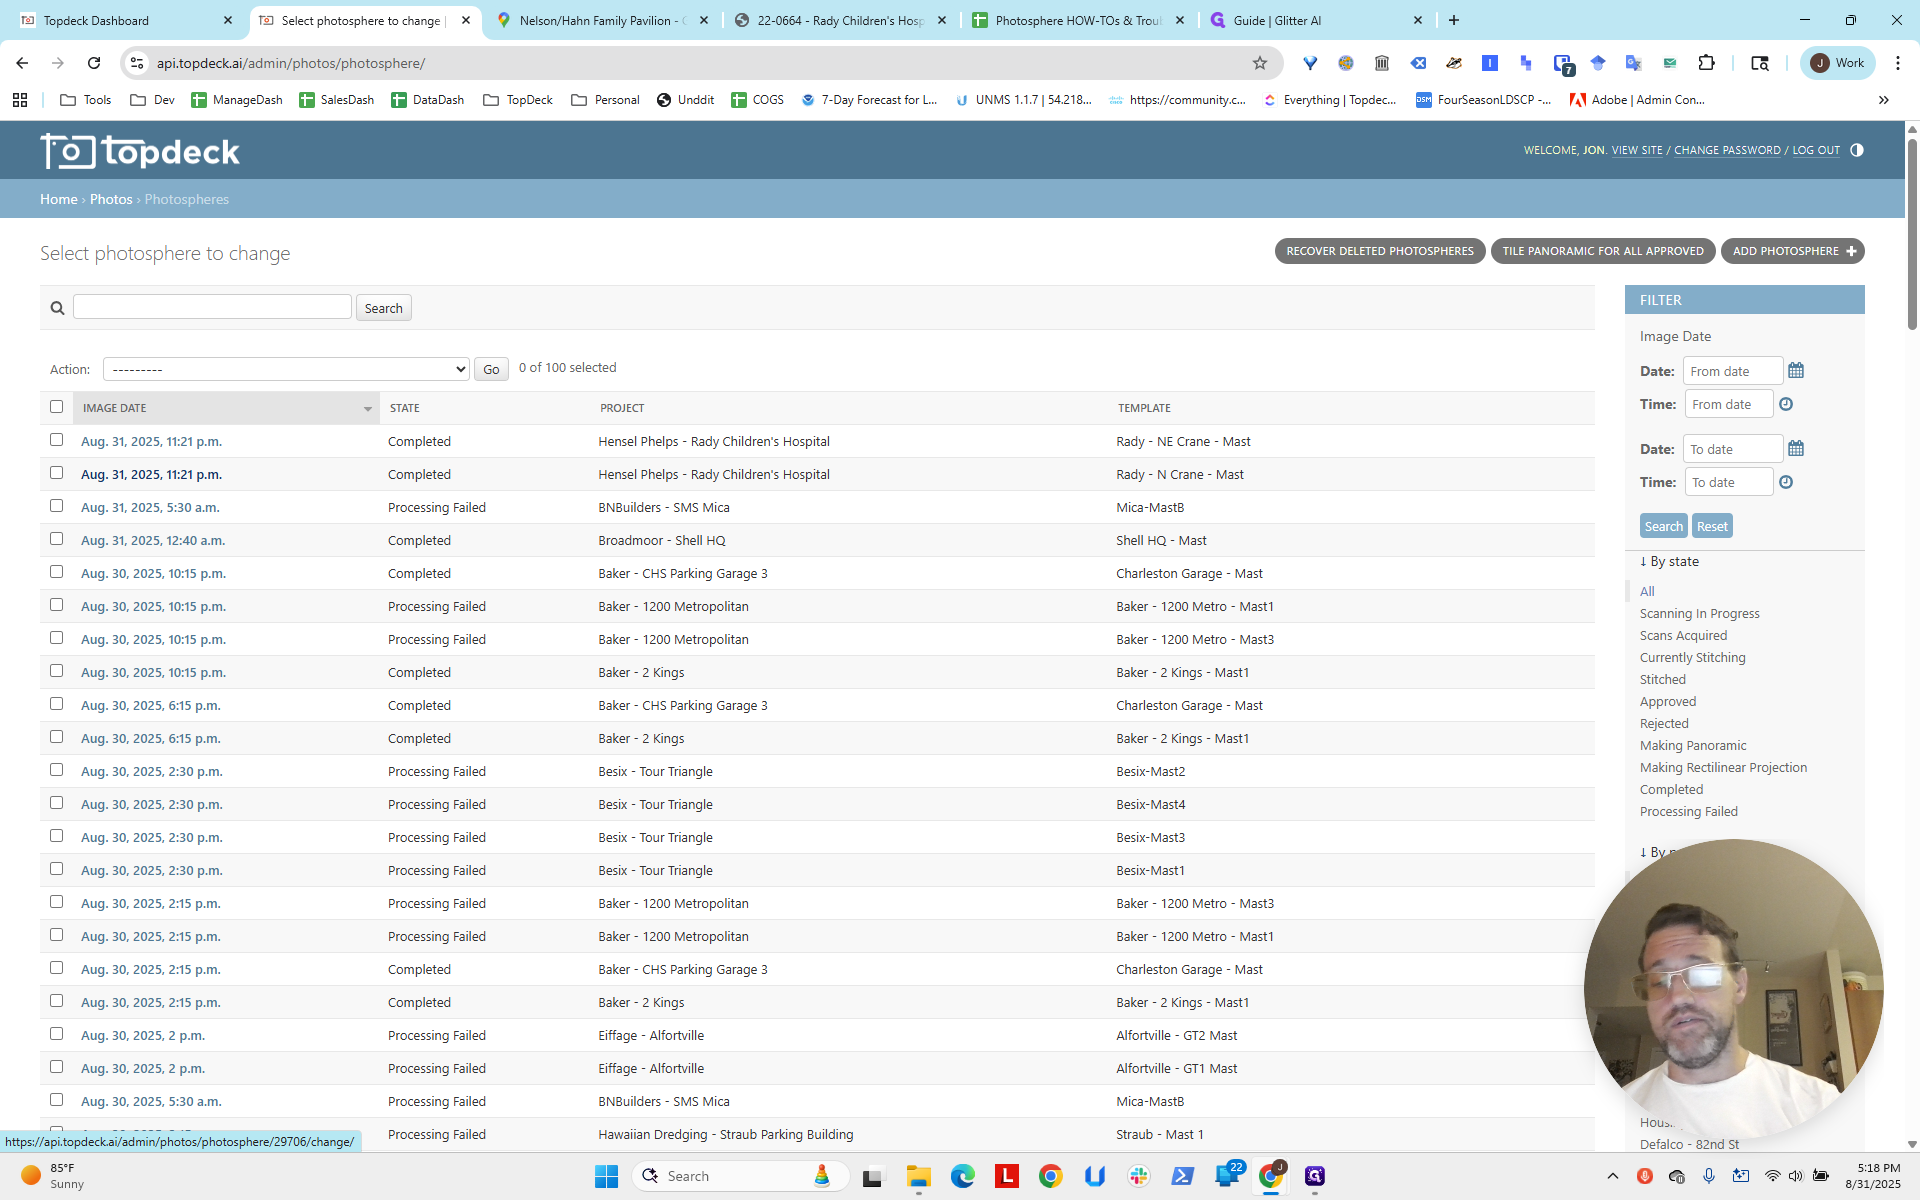
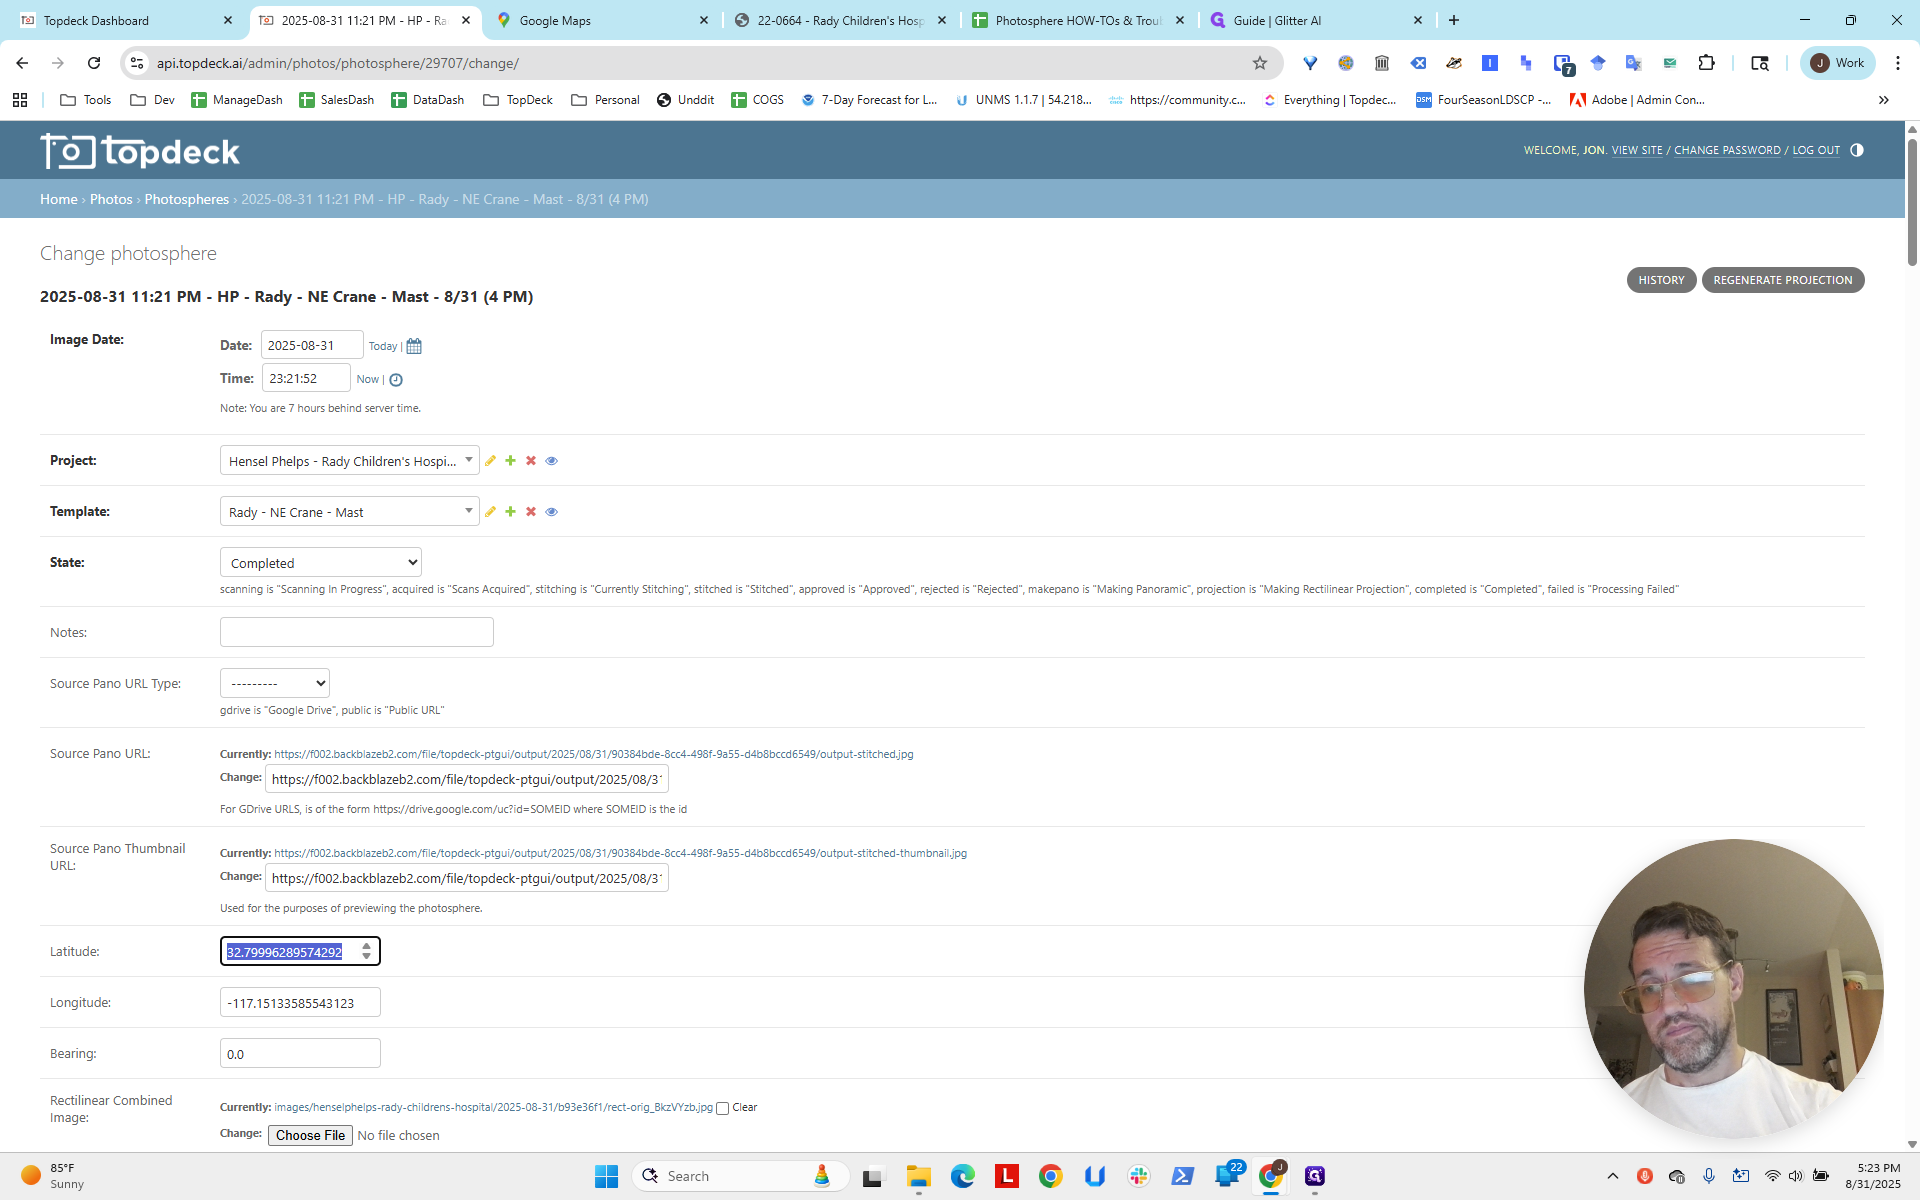
We will get the longitude and latitude and enter them directly into the photoSphere, not the template.

Why the photoSphere itself? We will continue refining and fixing the cones on the photoSphere. It's important to ensure the photoSpheres are functioning properly.

We will first fix the photoSphere until it is perfect. Once we are satisfied, we will copy the latitude, longitude, and bearing into the template. This ensures all future photoSpheres use the correct settings. This is the north crane we are on.
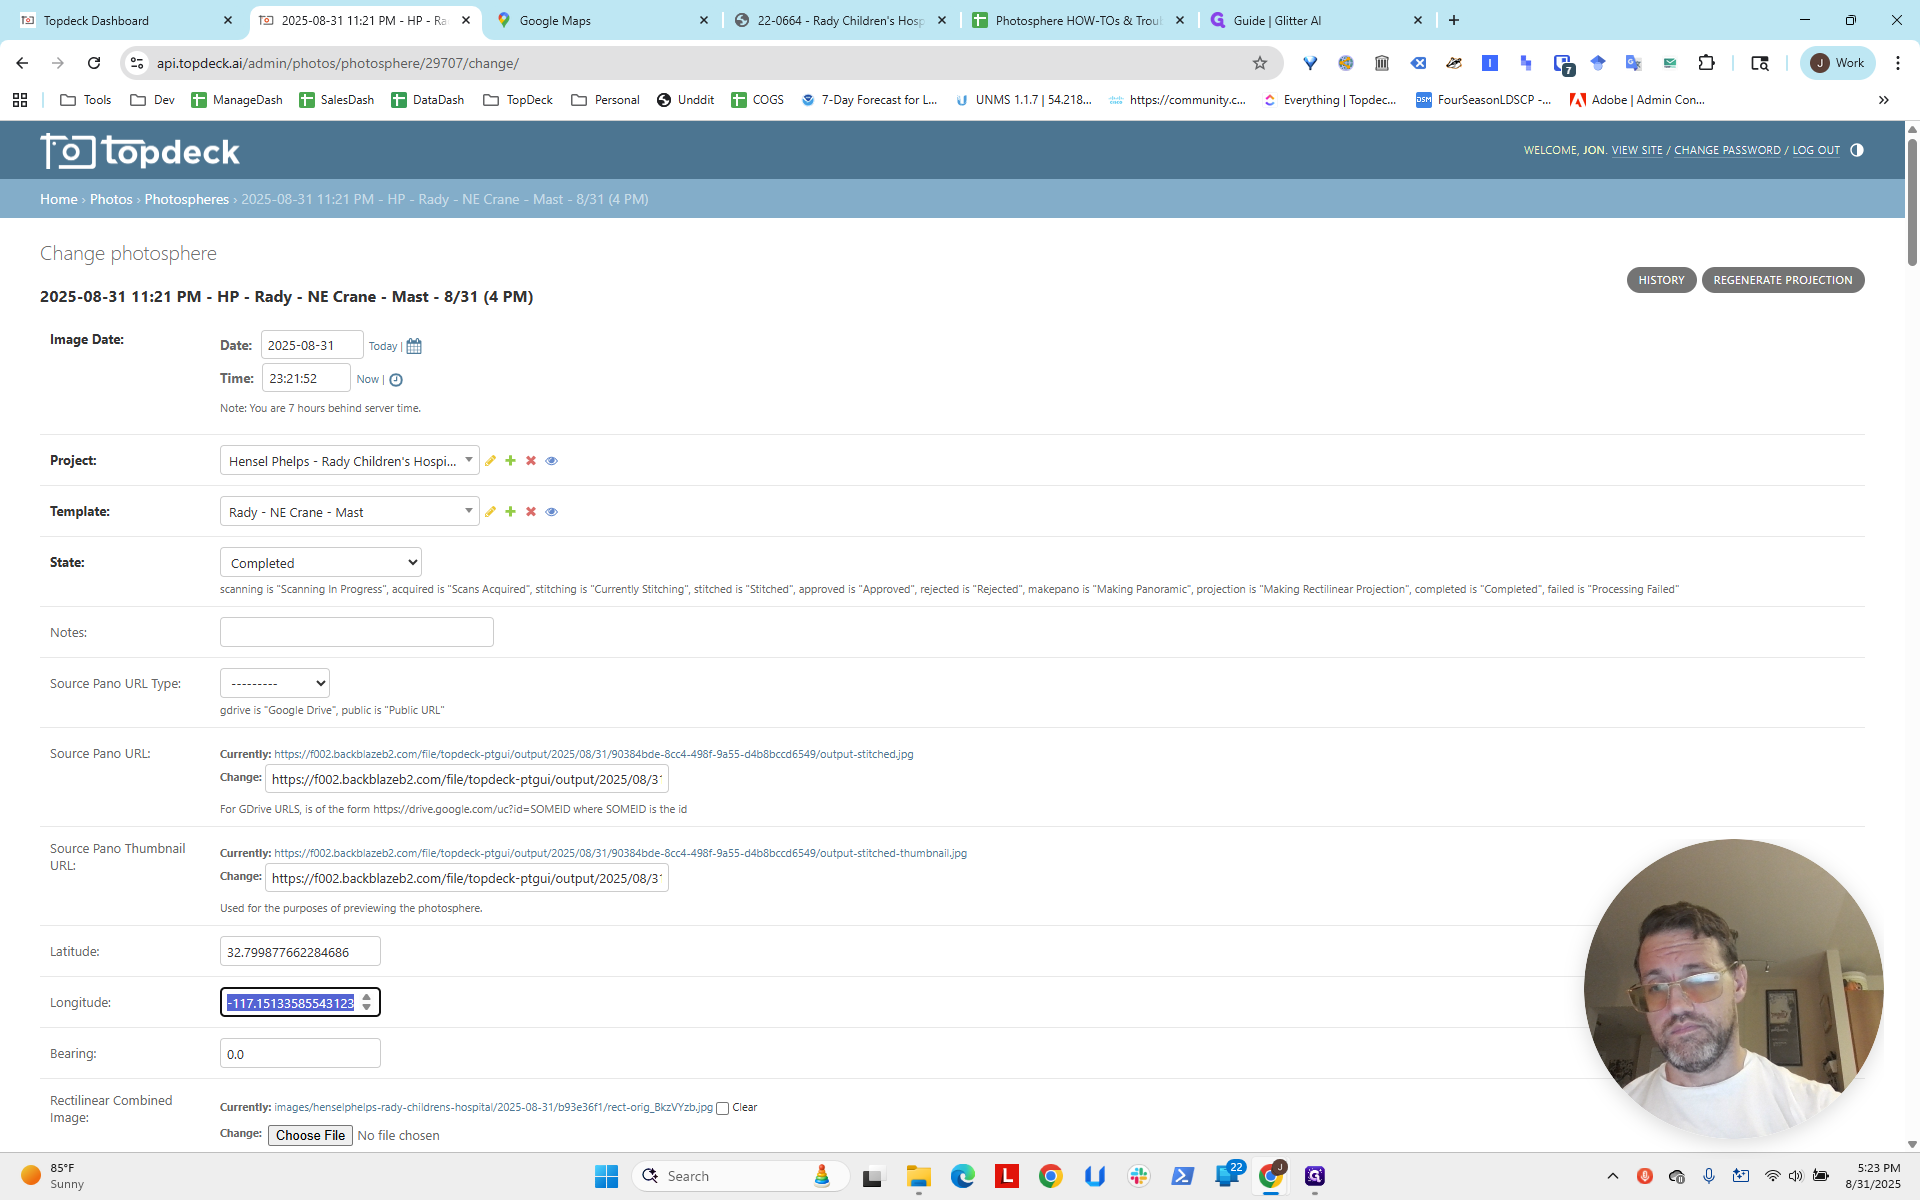
You can see it here. We will open the photoSphere and paste the latitude first, followed by the longitude. Remember to include the negative sign if needed.


The negative sign is used because it is west of Greenwich Mean Time. In France or further east, the value would be zero or positive. Then, we add the period.
We'll leave the bearing for now, as that's what we'll do next.

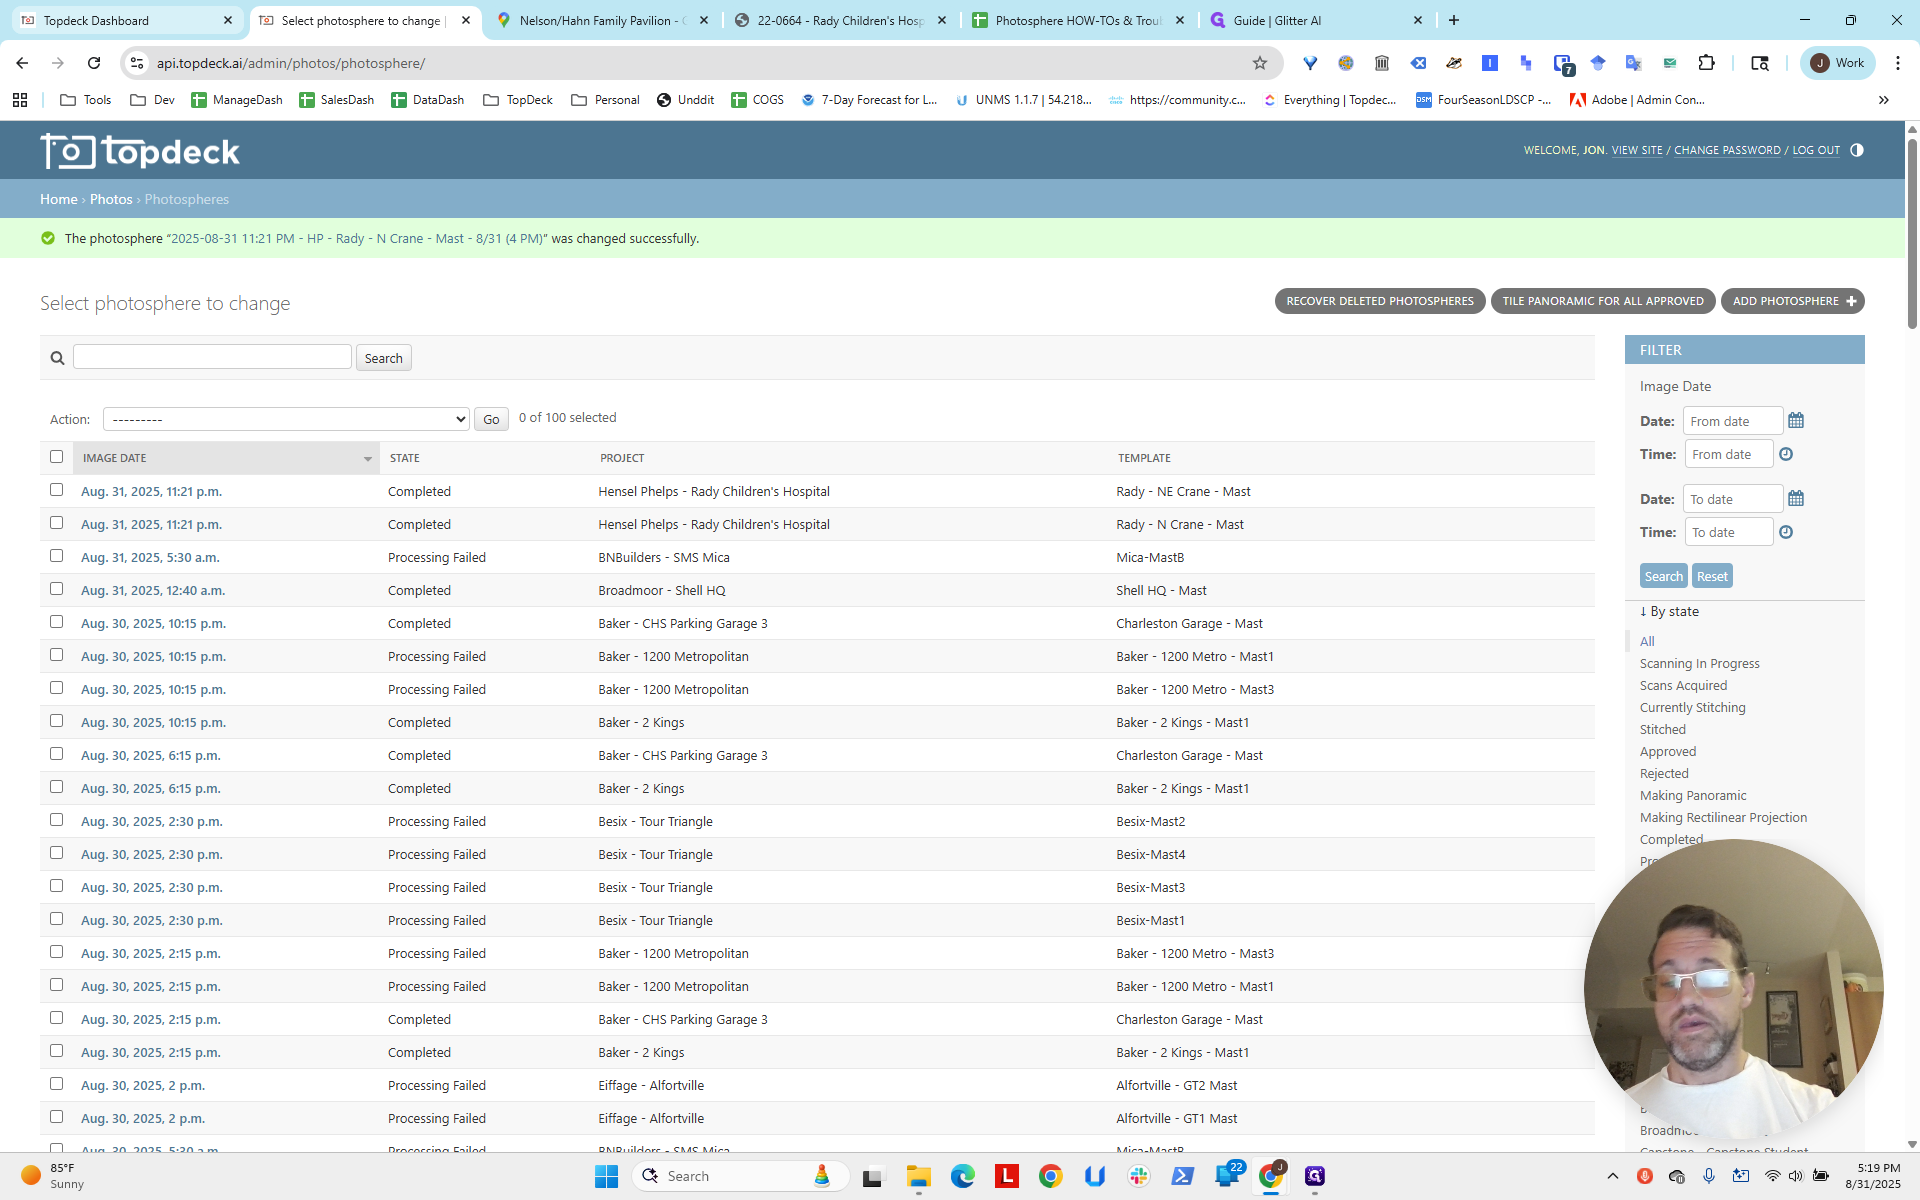
Then we go to Save.
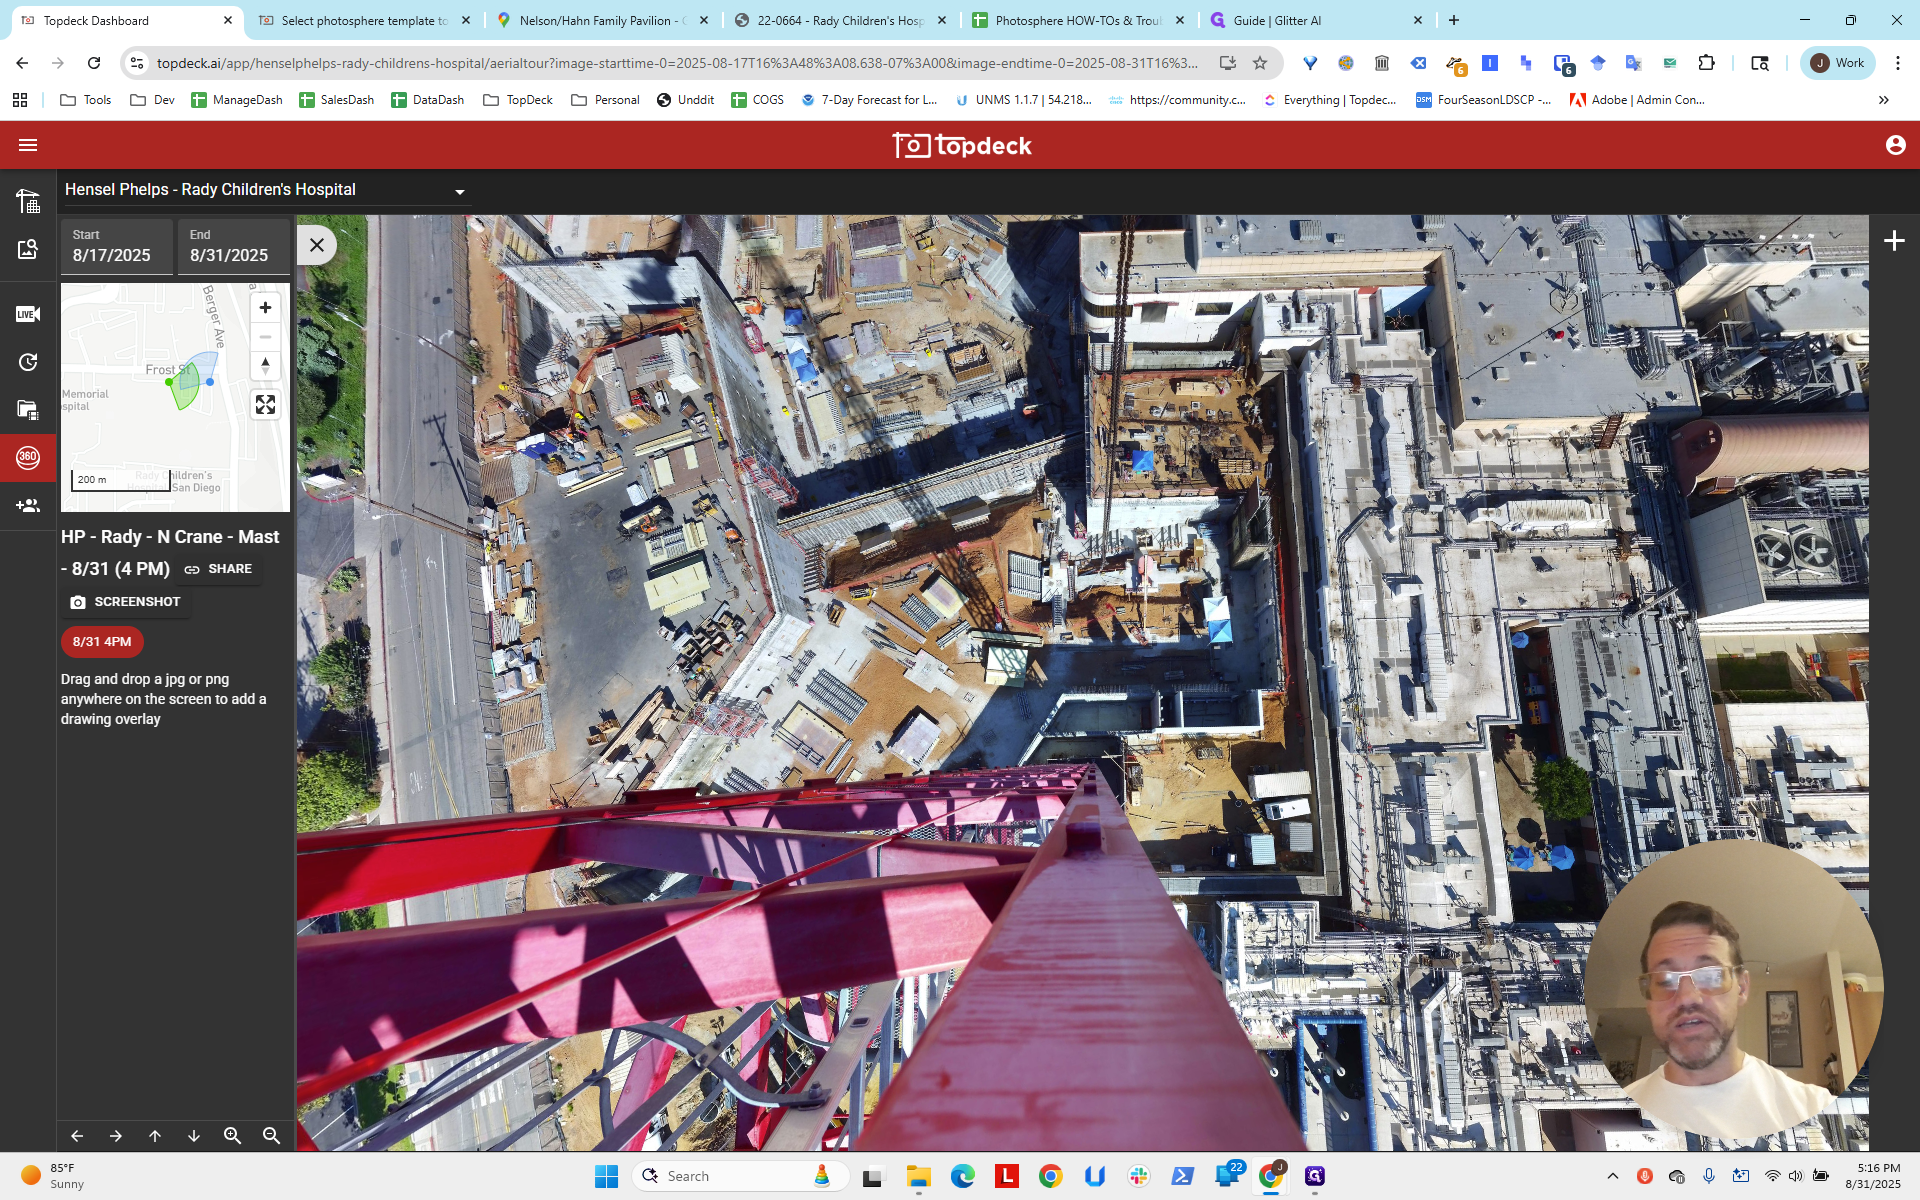
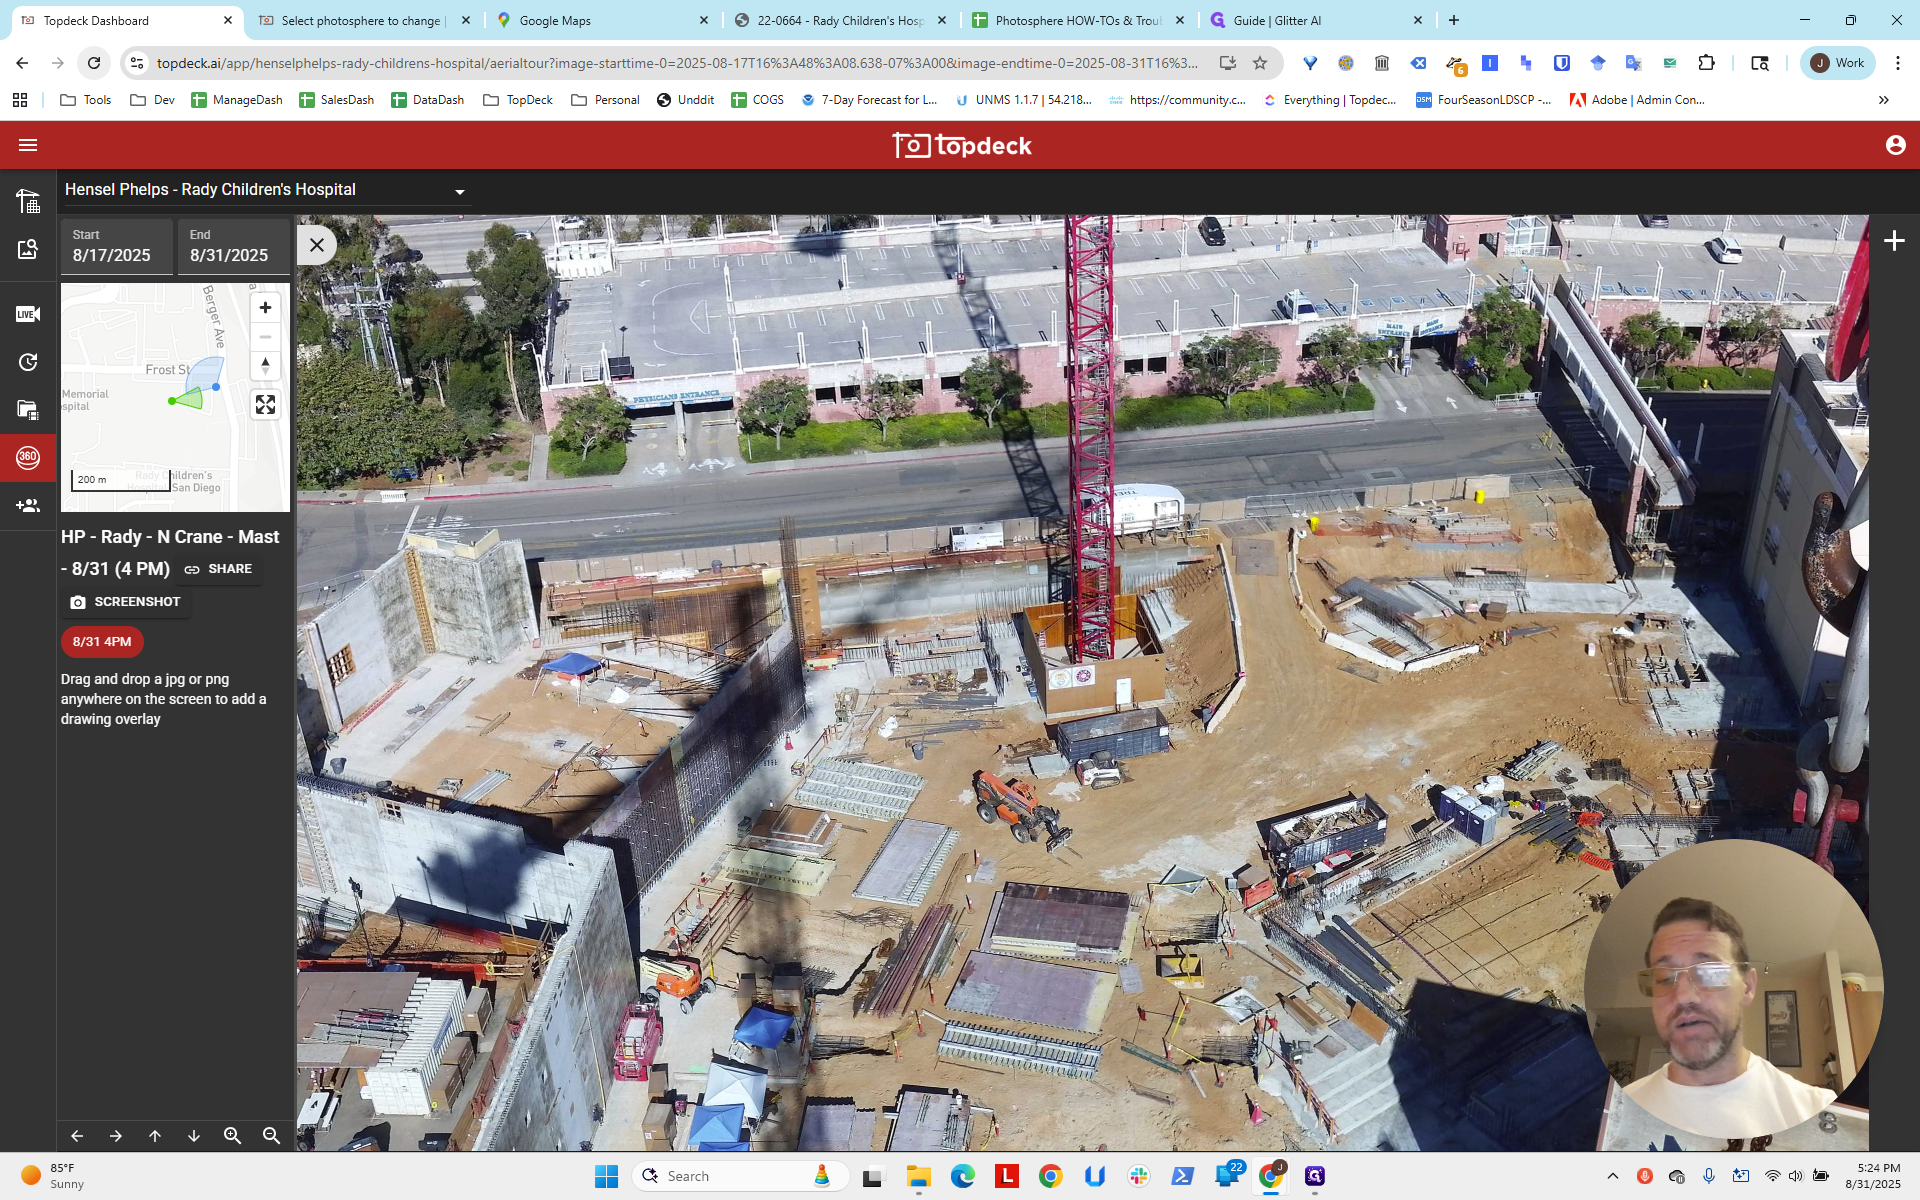
If we return to the map and click Reload, you'll see the position has changed. The longitude and latitude are now more accurate than before.

Actually, the bearing here isn't that bad compared to the other.
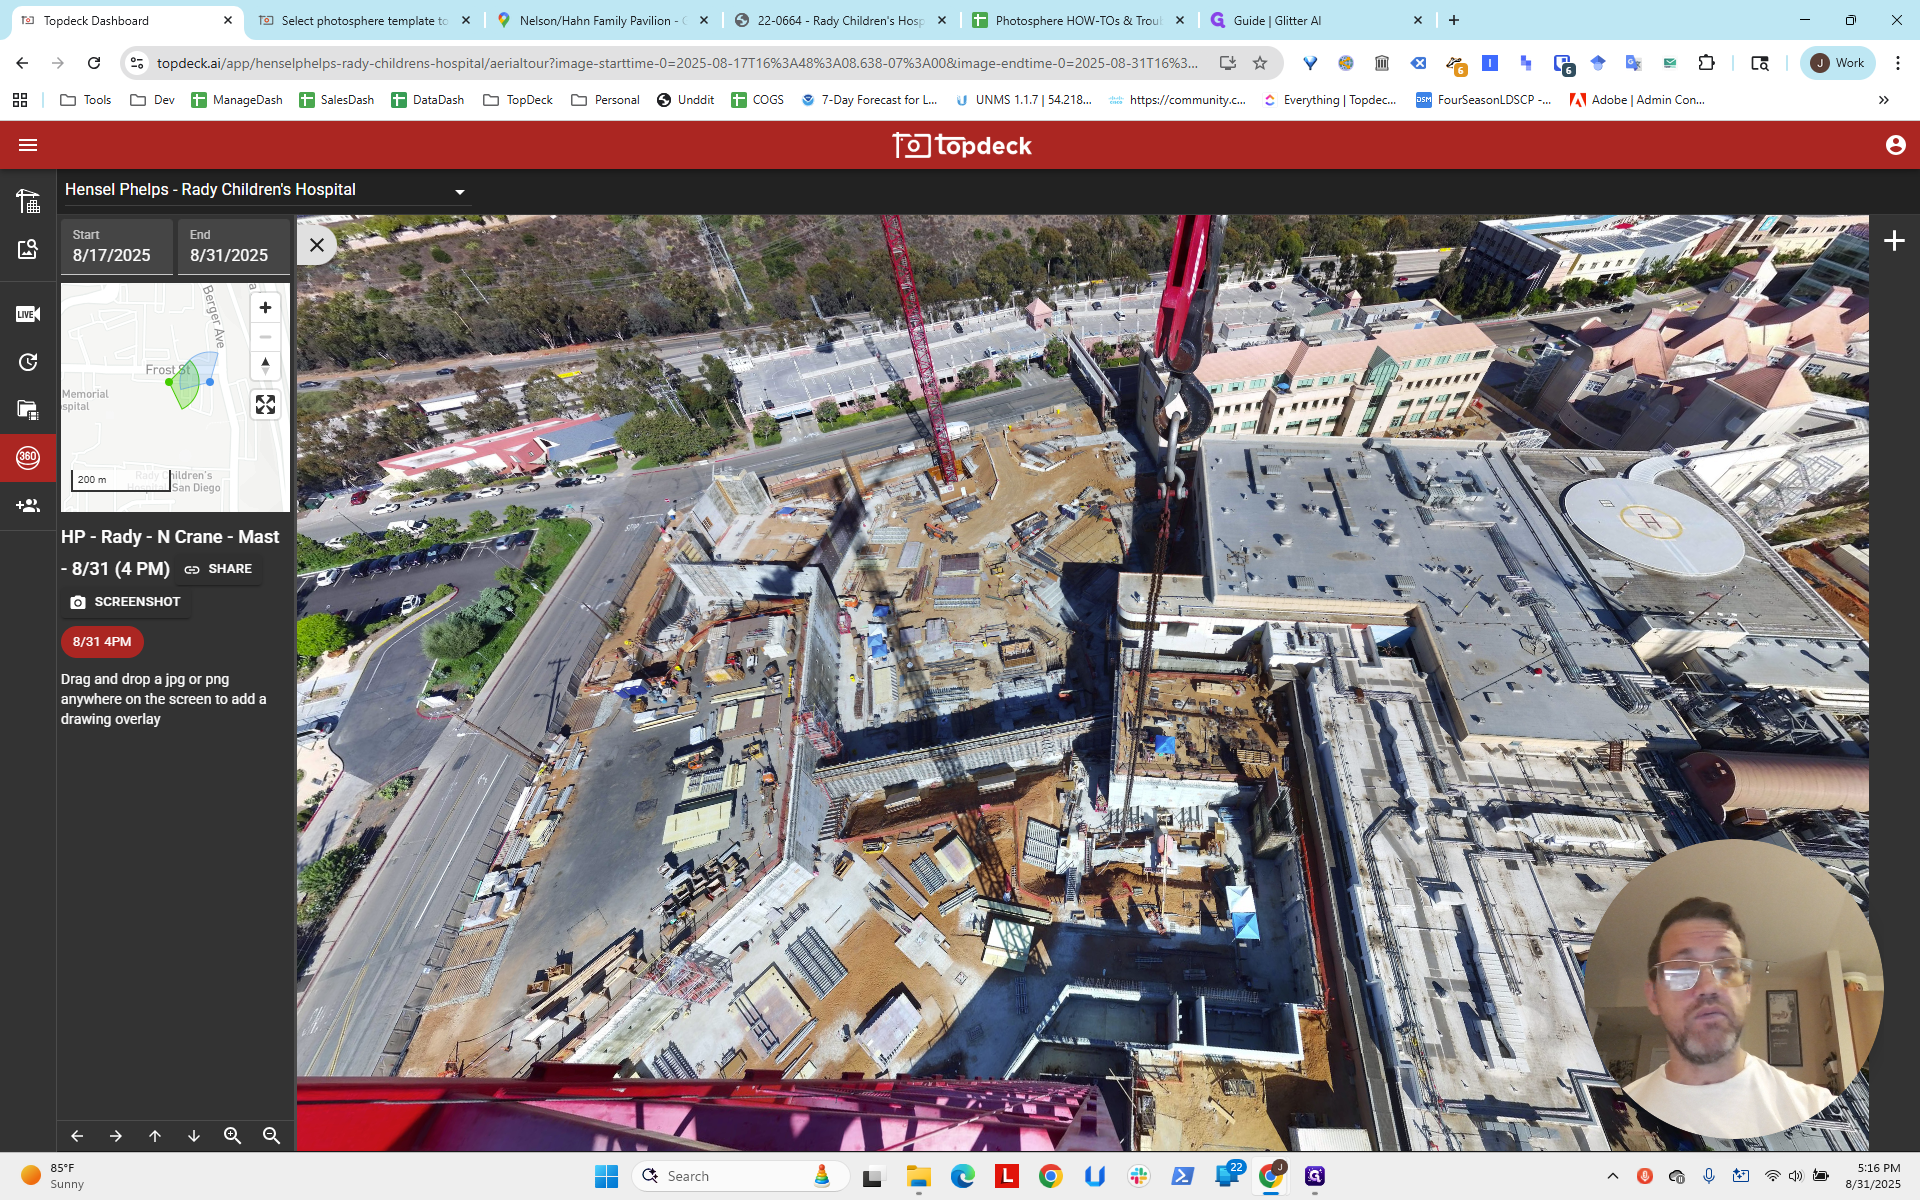
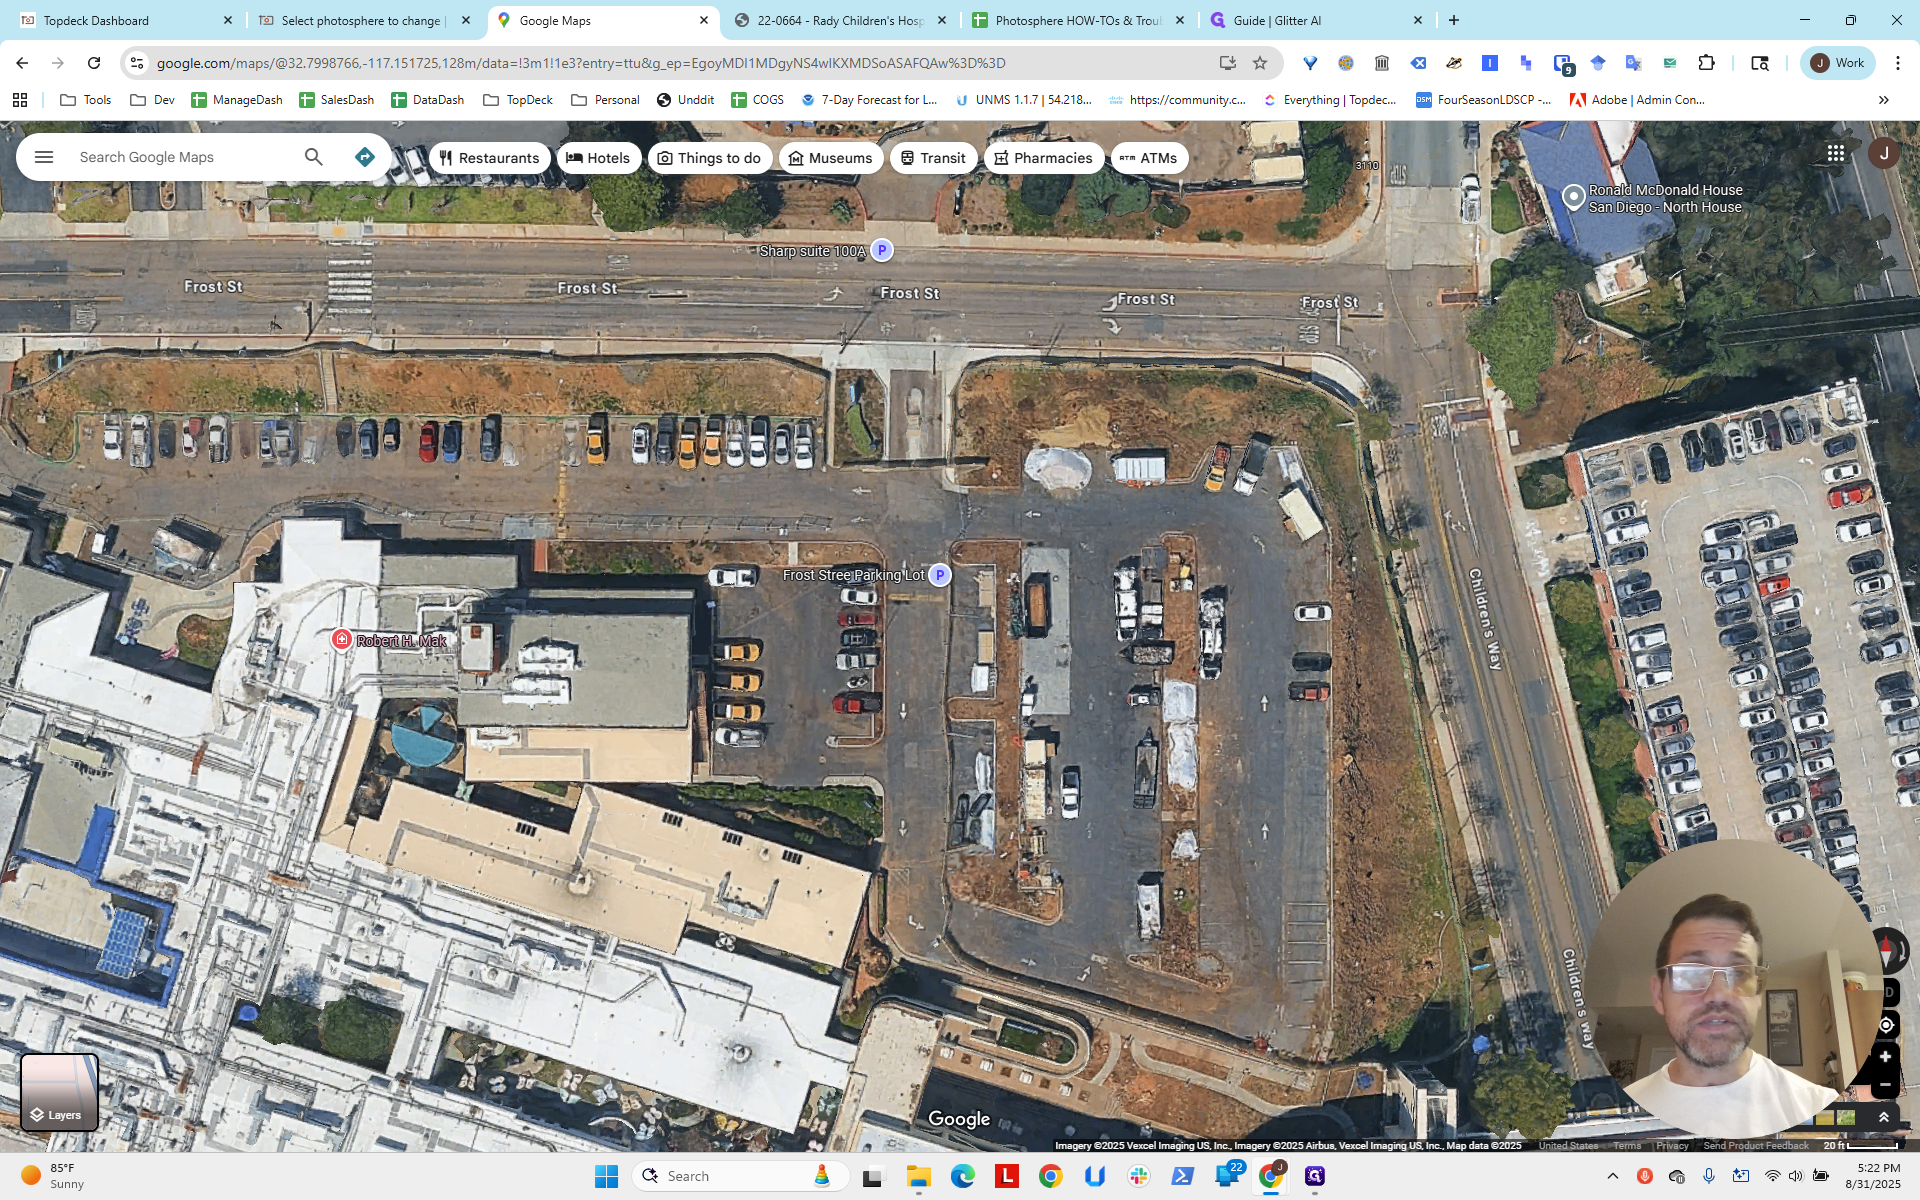
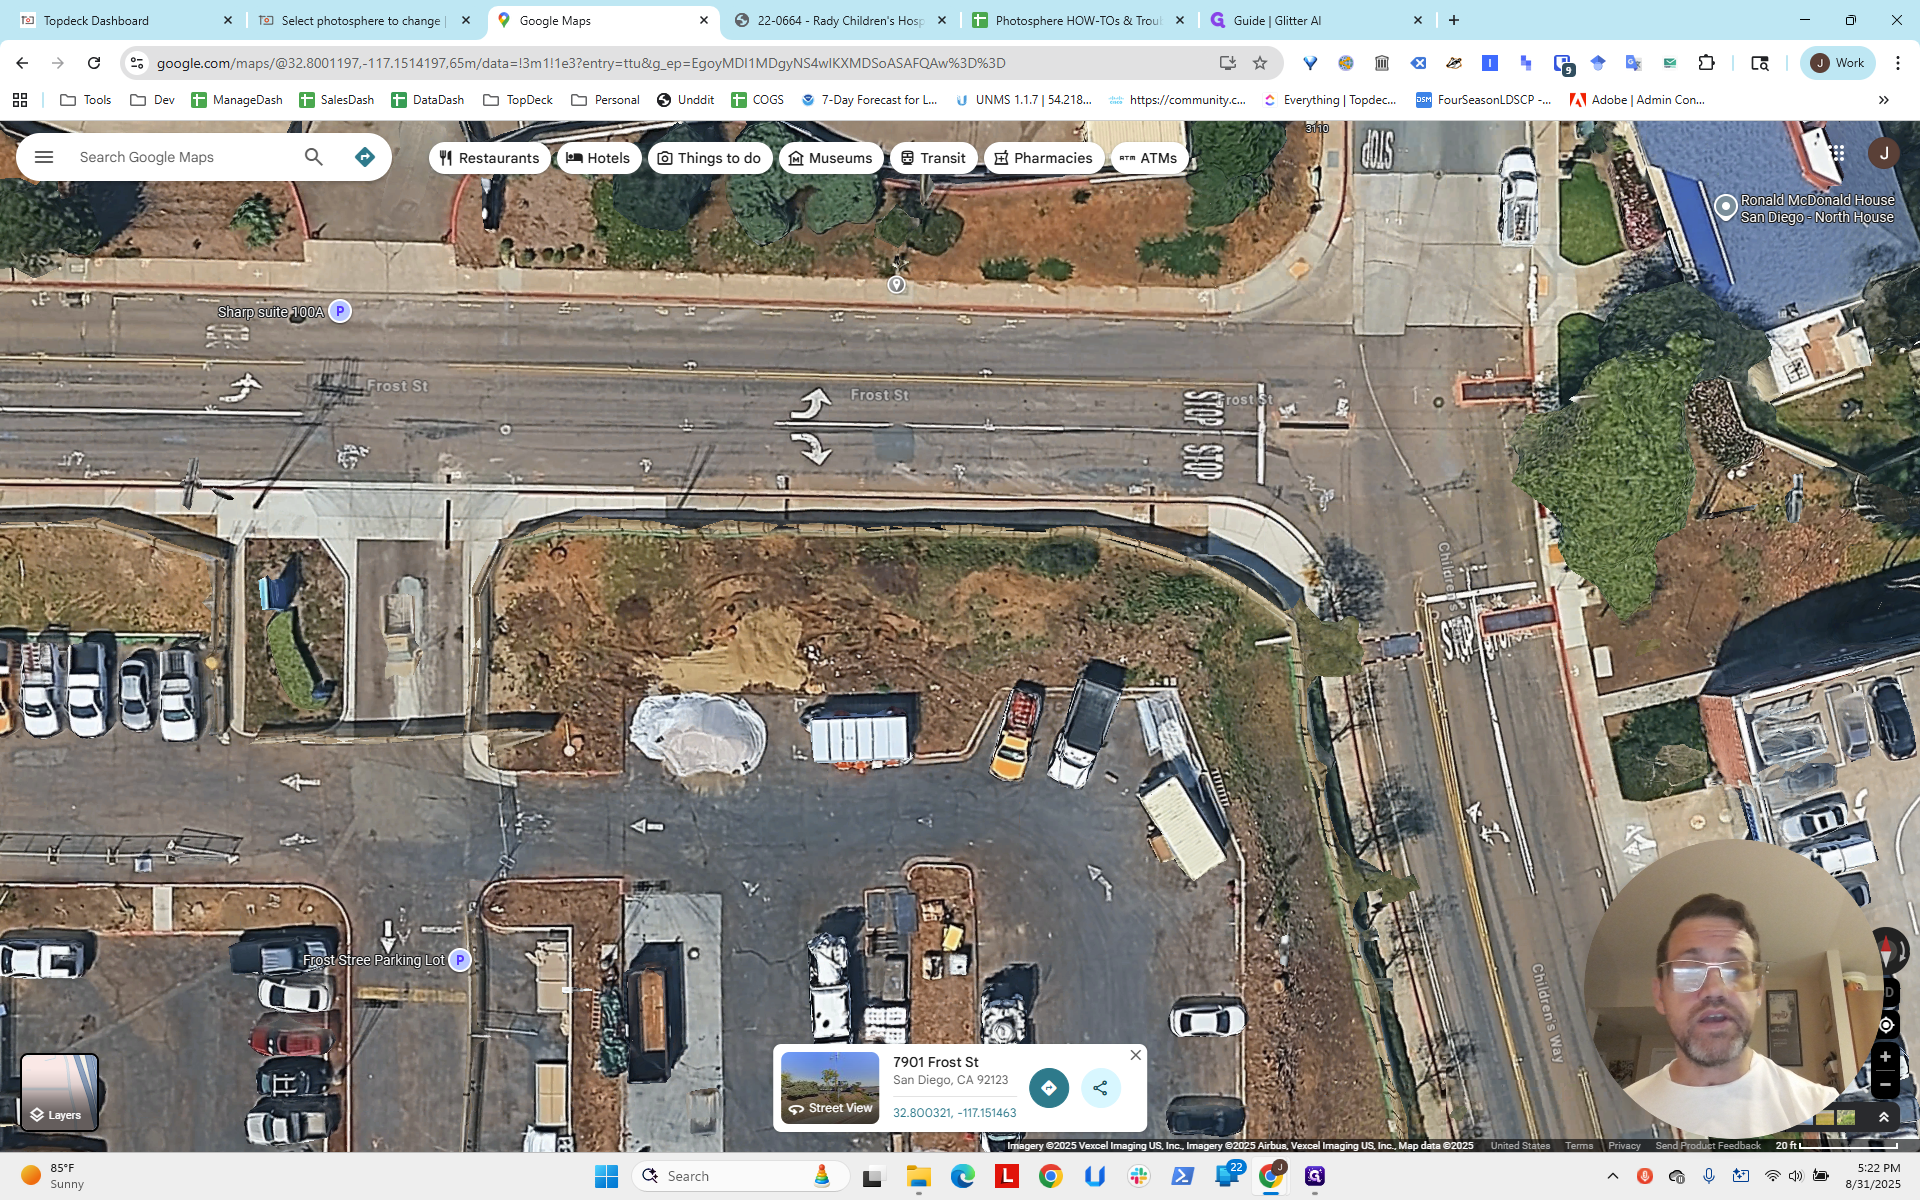
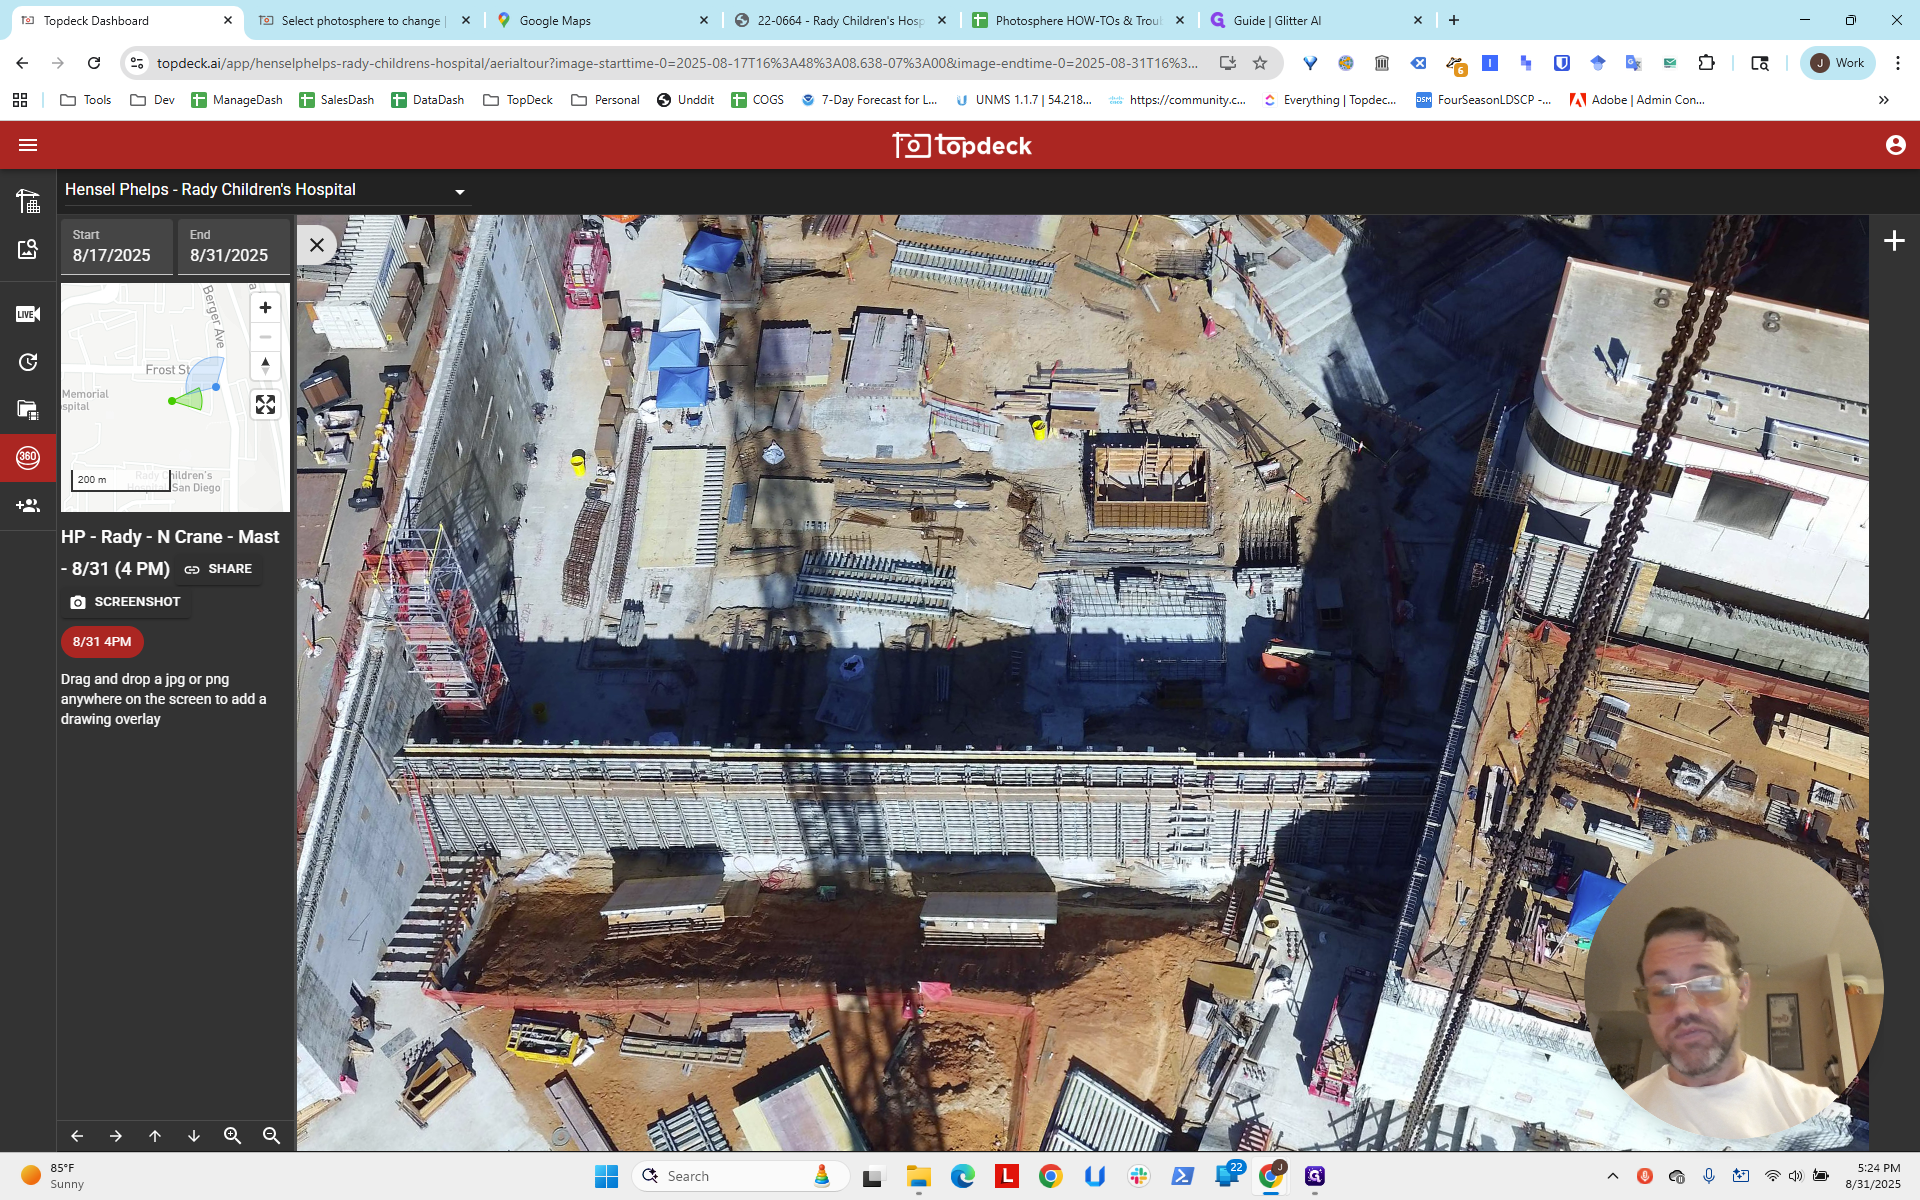
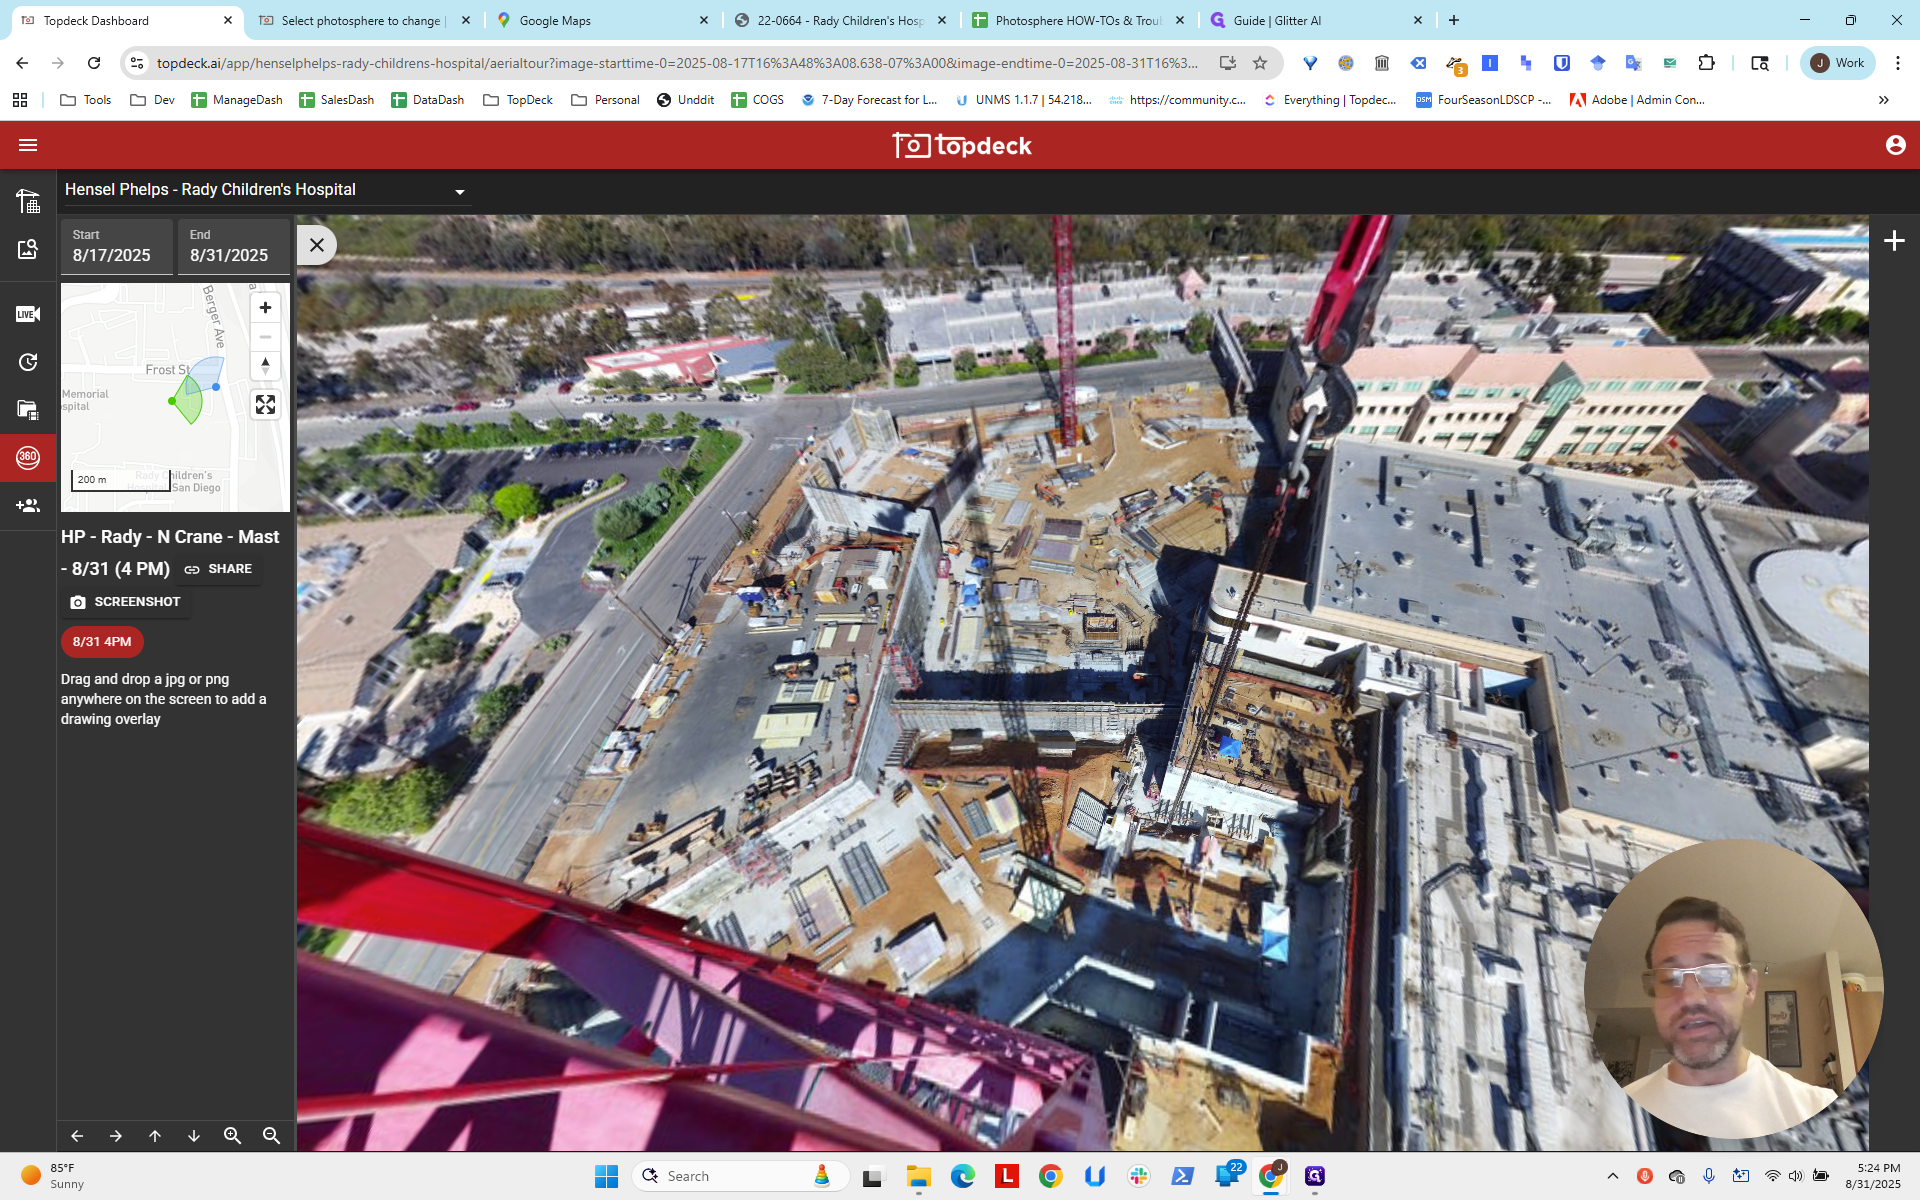
You can see the hotspot is slightly off, so we'll adjust it. I'll pause here and do the same for the other crane. I jumped over to the other crane and looked straight down. This one is a bit easier because you can see it is parallel to the street. The line running along the edge of the crane appears to go near the small break in the green area.
Maybe it's a bit offset. I don't know. Let me zoom in so we can take a closer look. It's hard to see. There appears to be a small post or light pole here, and it's slightly further over. Either way, it is parallel to the street.
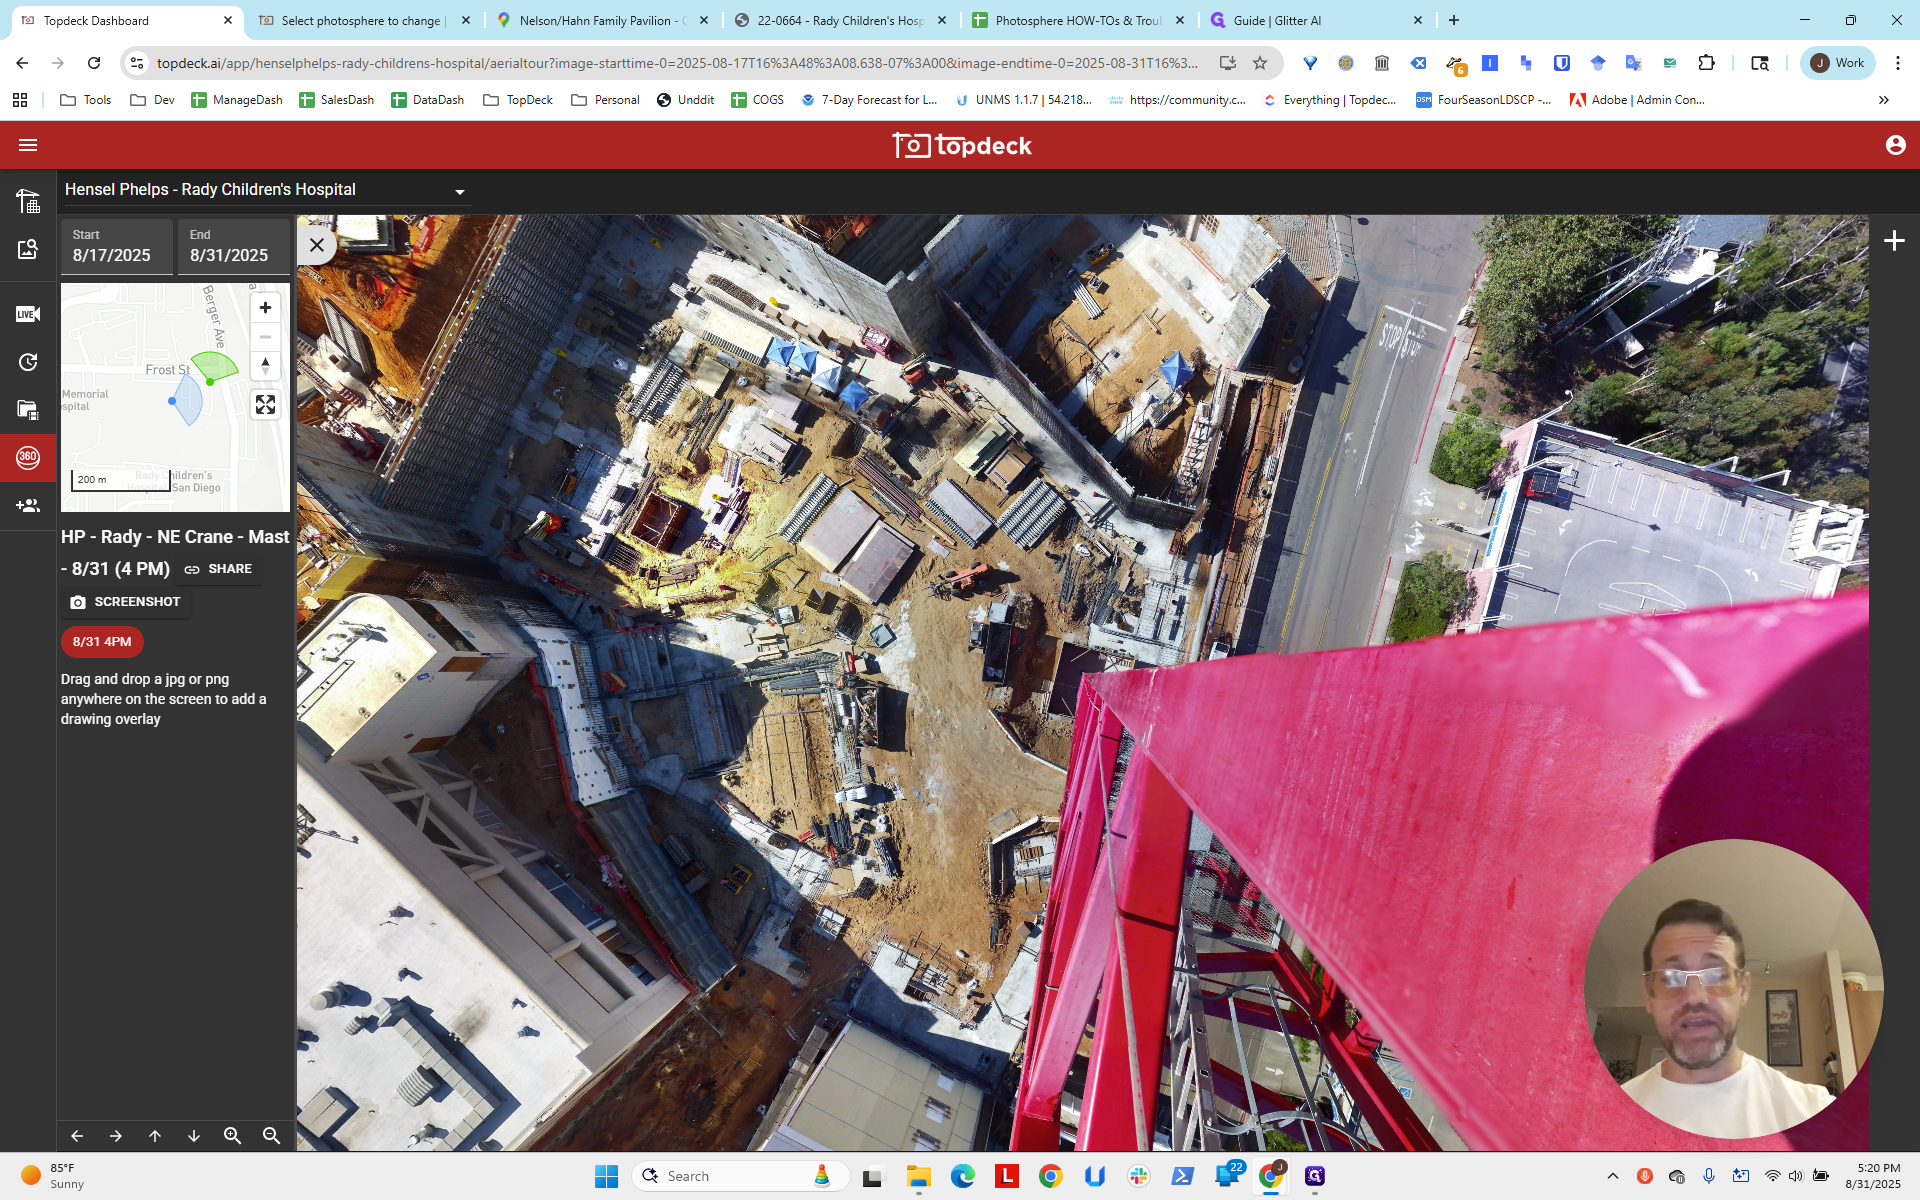

Now, what about east to west? Let's turn east-west.

And, uh, okay. This line runs straight toward the wall or panel here, which is slightly offset from the existing building.

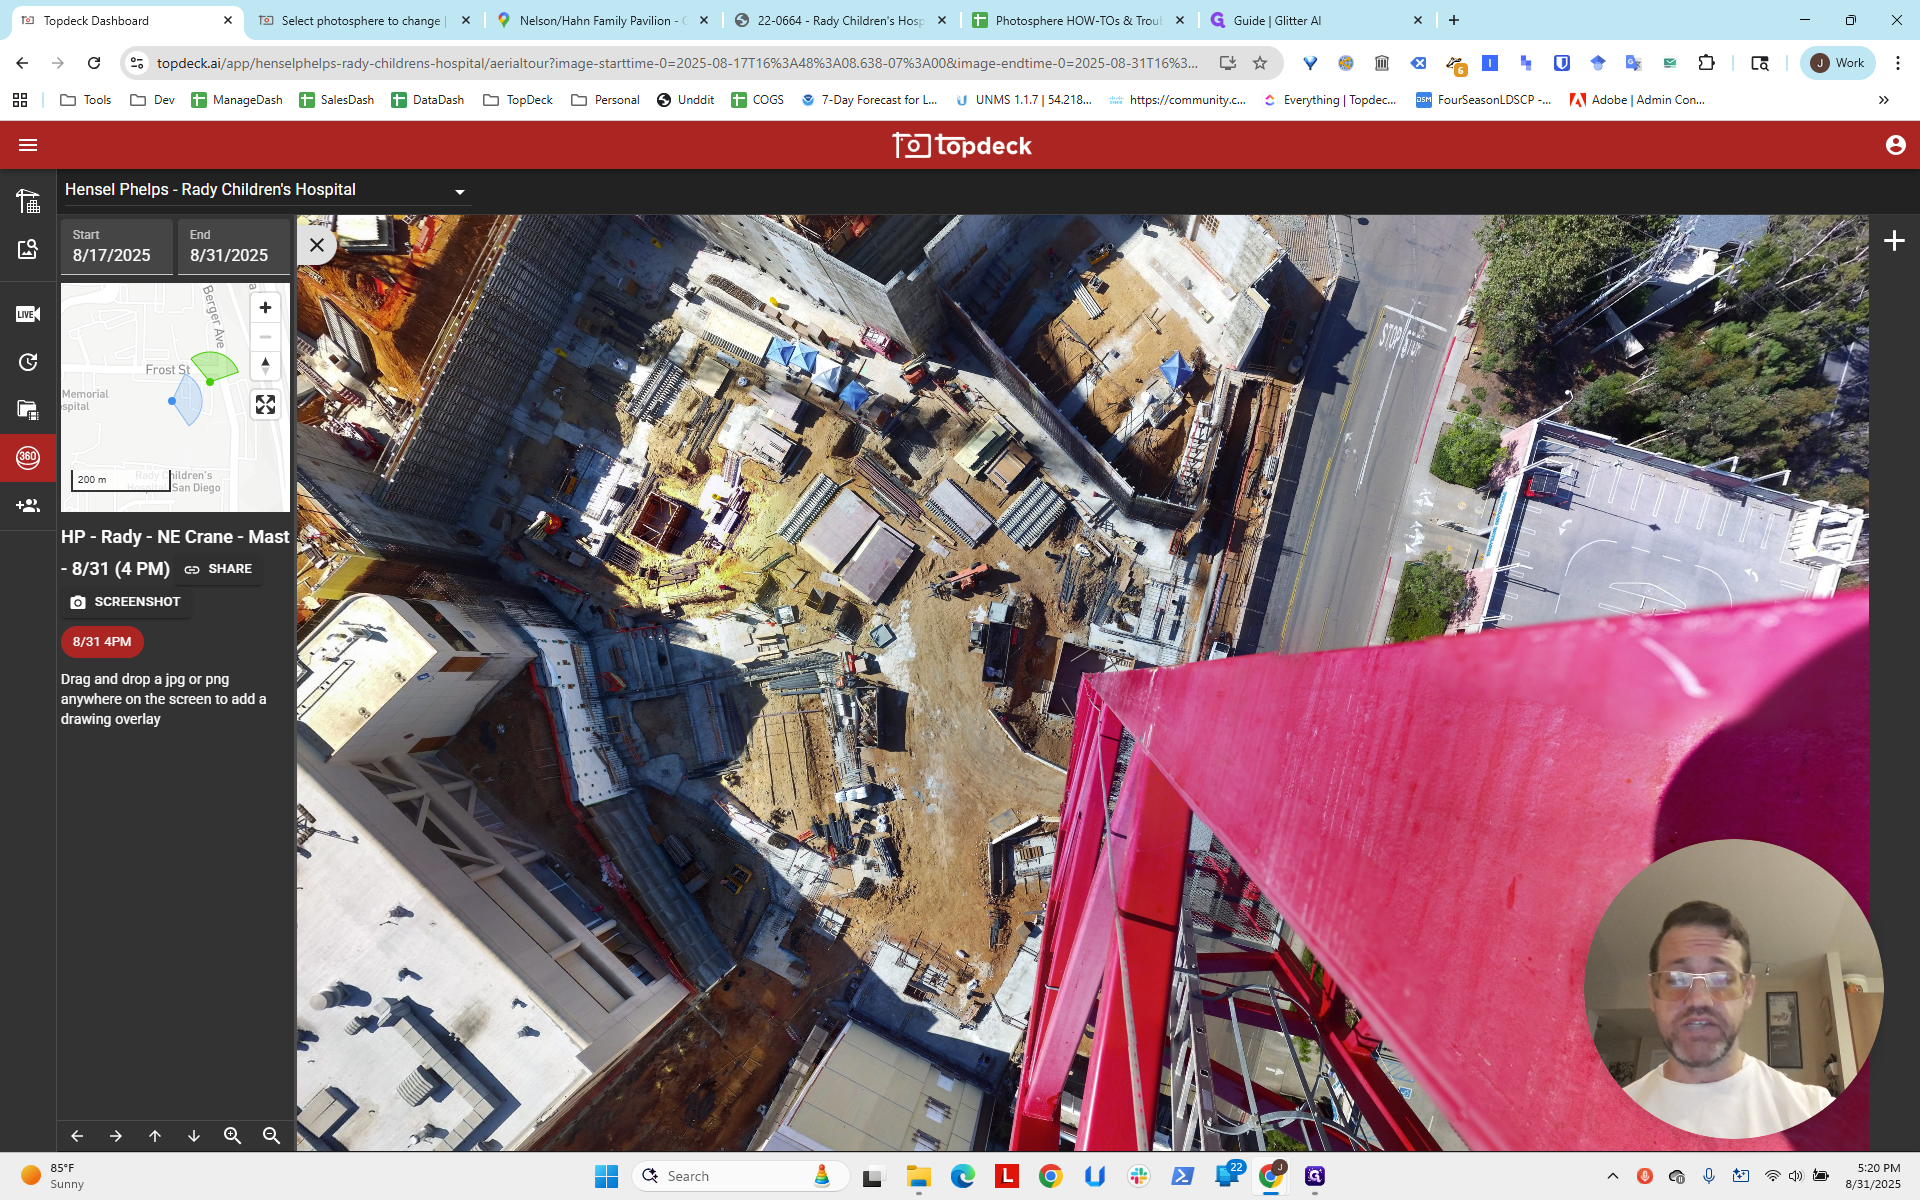
We need to look at that. What does that look like? The area of interest appears to be approximately here.
That's east-west, but at a slight angle.


We know it's parallel and appears to be aligned with the light pole.

I'll zoom in to see if we can spot the light pole. We hope we can. If not, we find something else to use.

I think that's the light pole.
I think this area is about where the line is, near one of those green bushes.
We run the line parallel, then extend it off the face of the other building. That should place us about here.

We obtain the latitude and longitude.
Remember, this is the northeast crane.

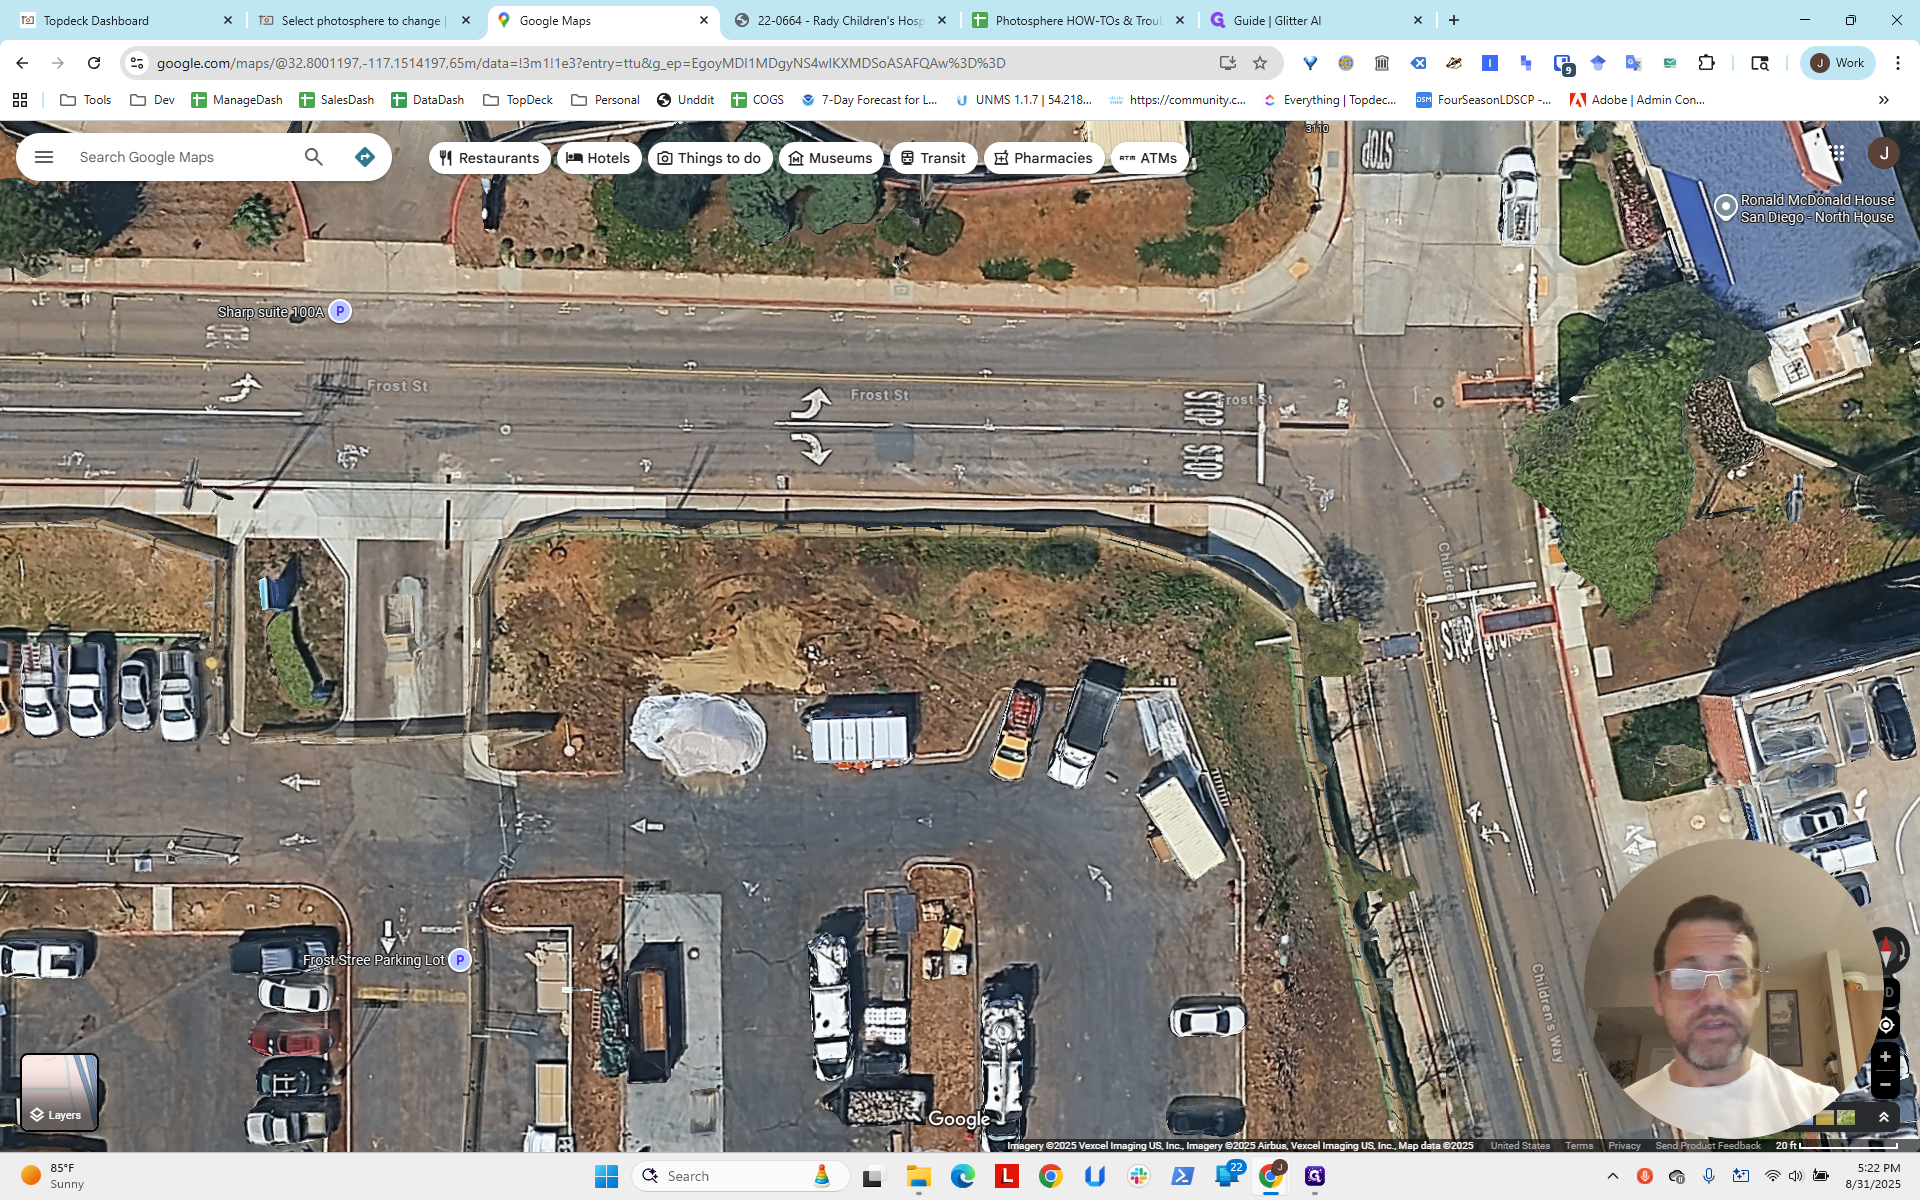

Fill that in.
Then we click Save.

Now go back and click Reload.
Now it is slightly reset.
Is this the best we can do?
There are other things we can do.
We could use other lines in the scene to iterate.
I'm not going to go too far with this right now, but I encourage others to do so.
You can also consider it from another angle.
From the other crane, you can see the base of this crane. You can also see where the perpendicular lines align.


It appears to be on the parking garage, at the third set of windows.

You can also use this method to see what lines up in the scene. We are not going to do that. We'll stick with this, but that's another technique.

You can get a sense of your performance by looking at the hotspot here.
It's almost above the crane, so the longitude and latitude we've set are fairly accurate, but could be improved slightly.
Leave that as an exercise for the reader.
The next step is to determine the bearings before we... Use a similar process to review errors on Google Maps and in the scene. Estimate and iterate to find a solution. Add this to the photosphere, then enter the correct numbers into the template. This ensures the information is saved for all future photospheres.
Okay?