How to Register an Additional Business Account in Weel
Learn how to easily add and register a new business account from your Weel dashboard after completing your initial verification.
By Jing Hui
Once you have successfully verified your first Weel account, you may need to register additional businesses. The process for adding subsequent accounts is much faster and smoother since your primary verification is already out of the way.
Follow these steps to add a new business to your Weel profile.
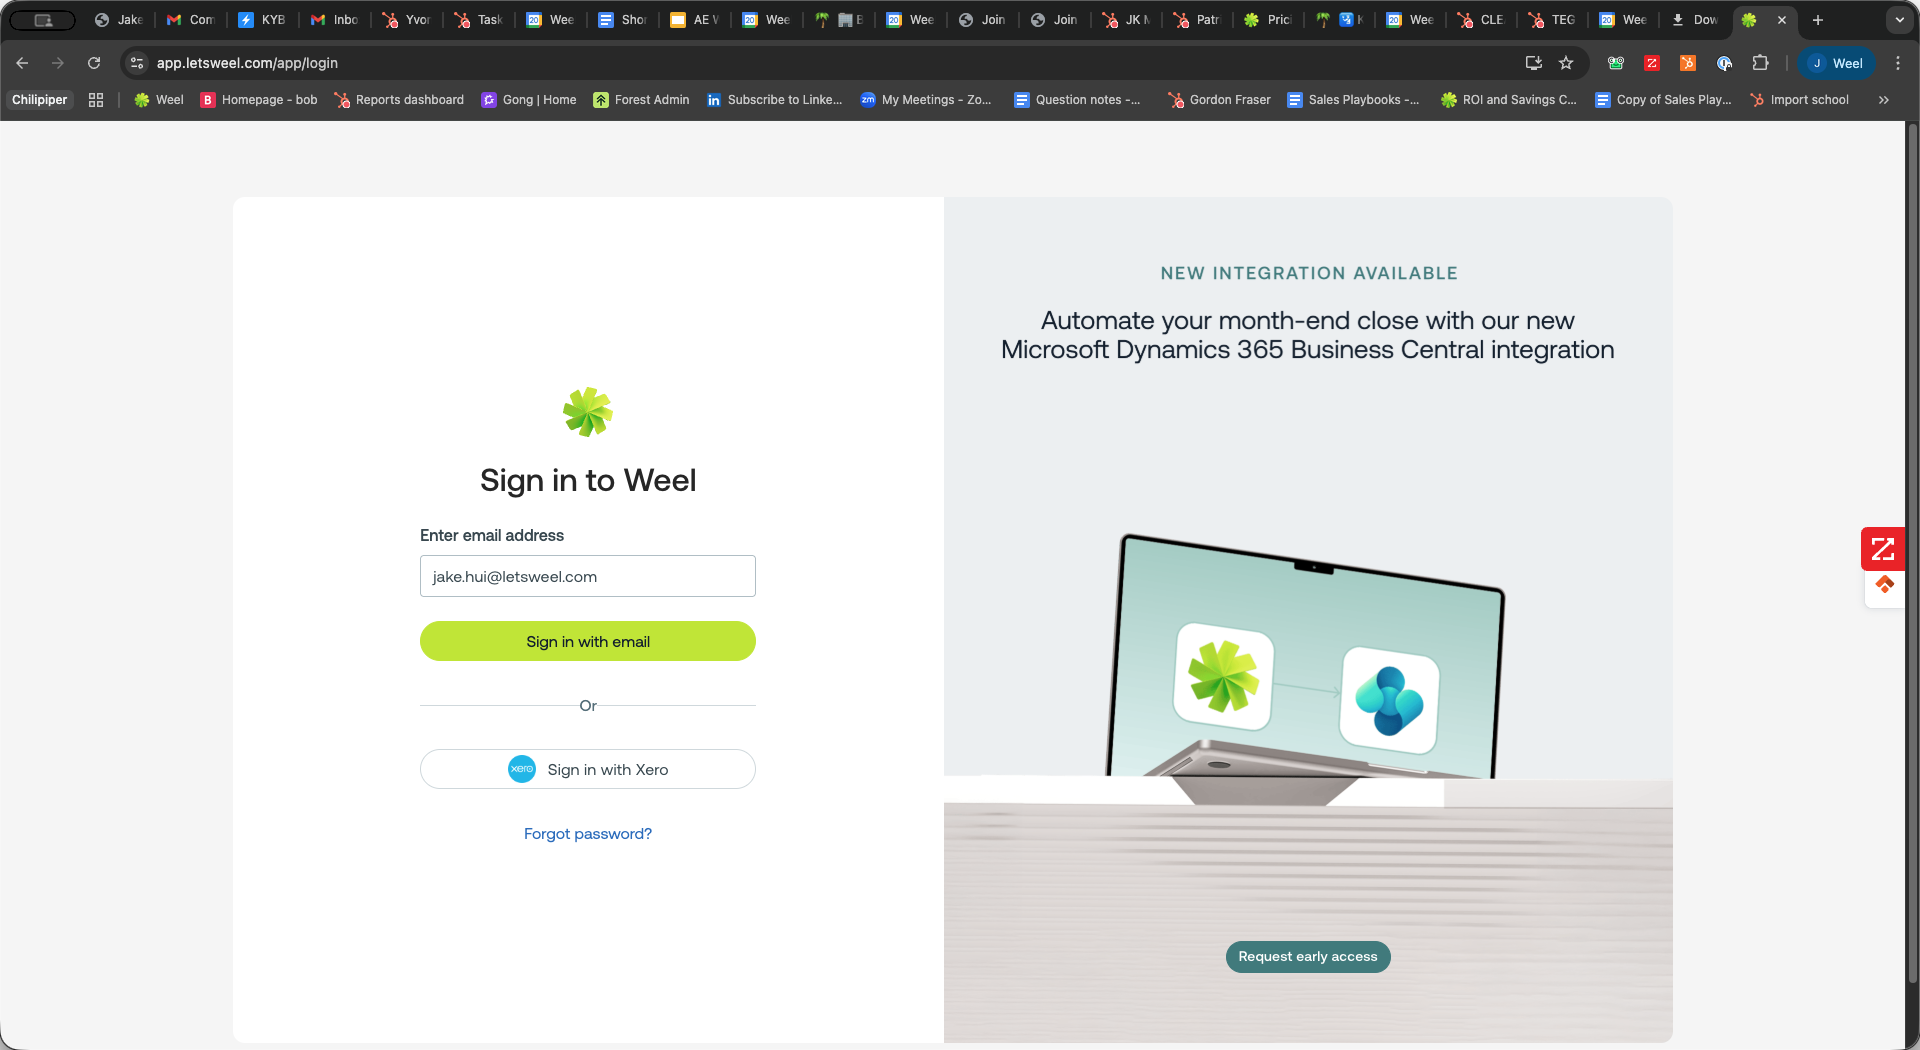
Log in to Weel
1
Click Sign in with email.
2
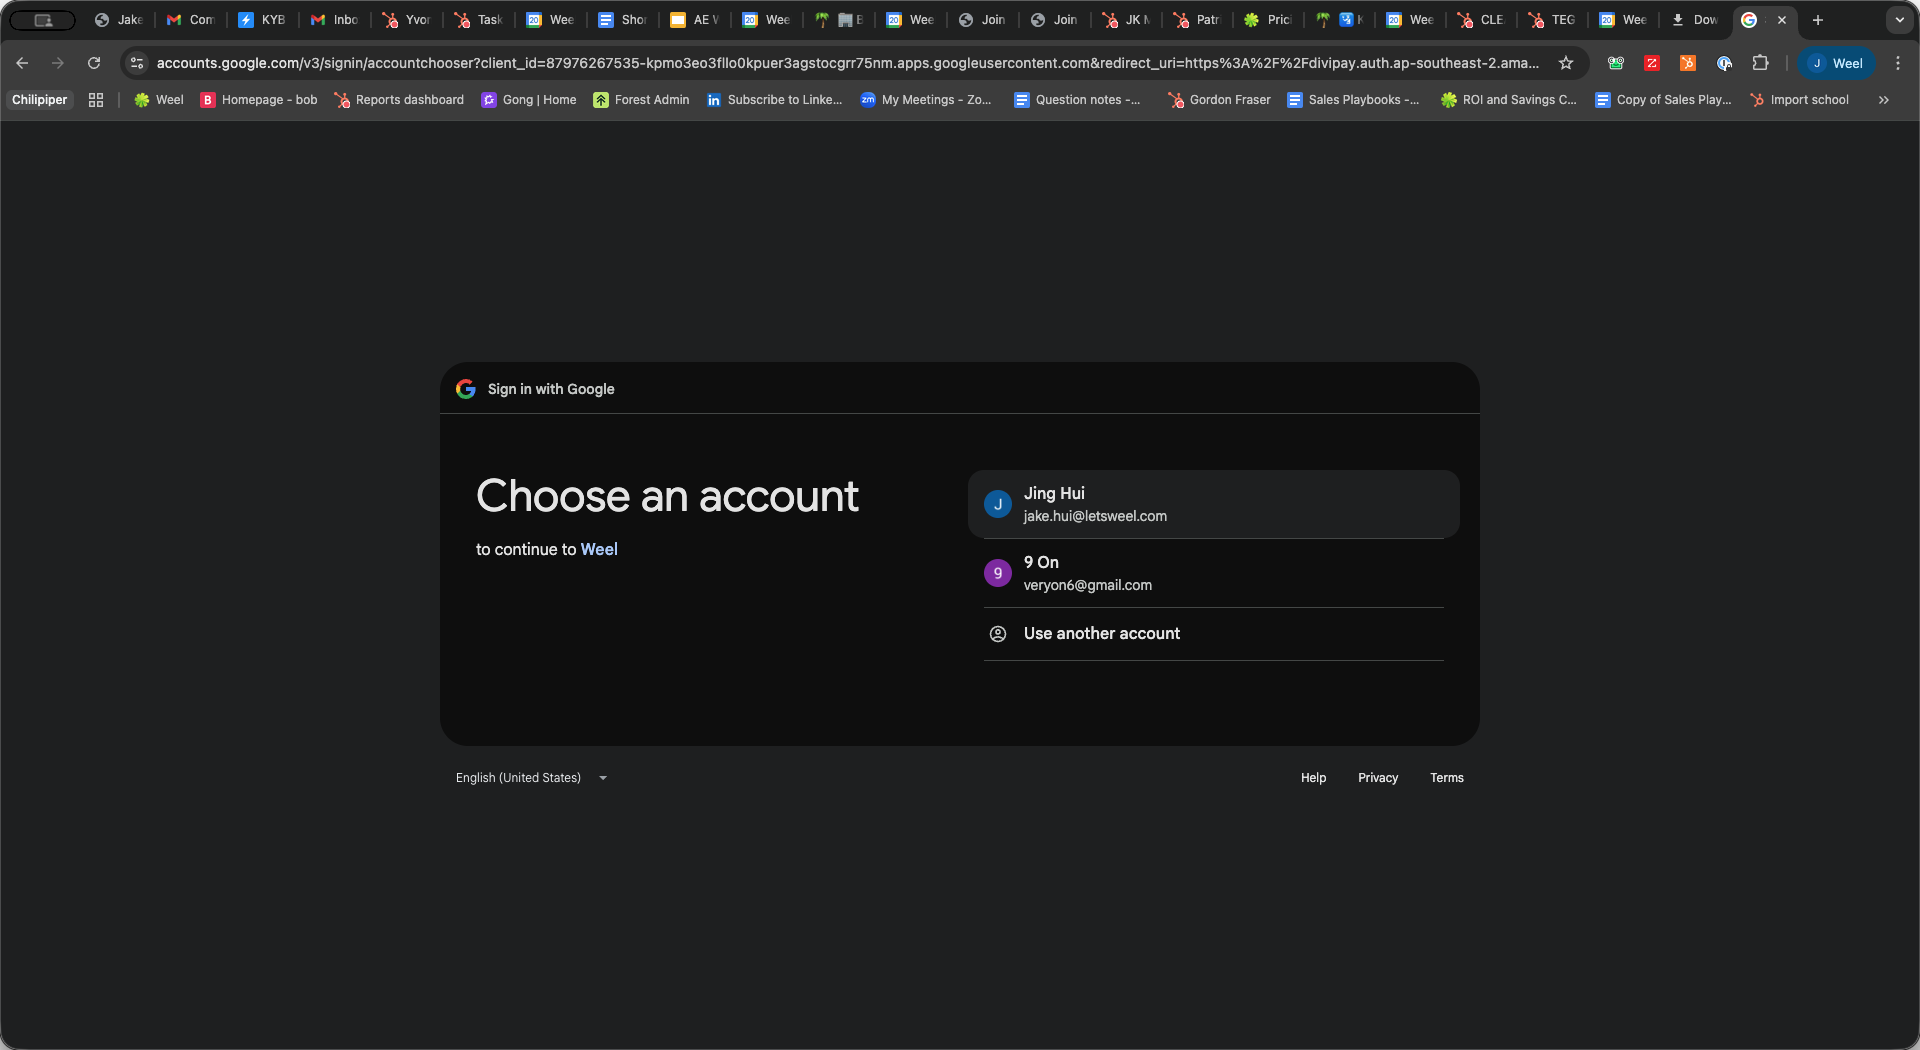
Select your account to log in.
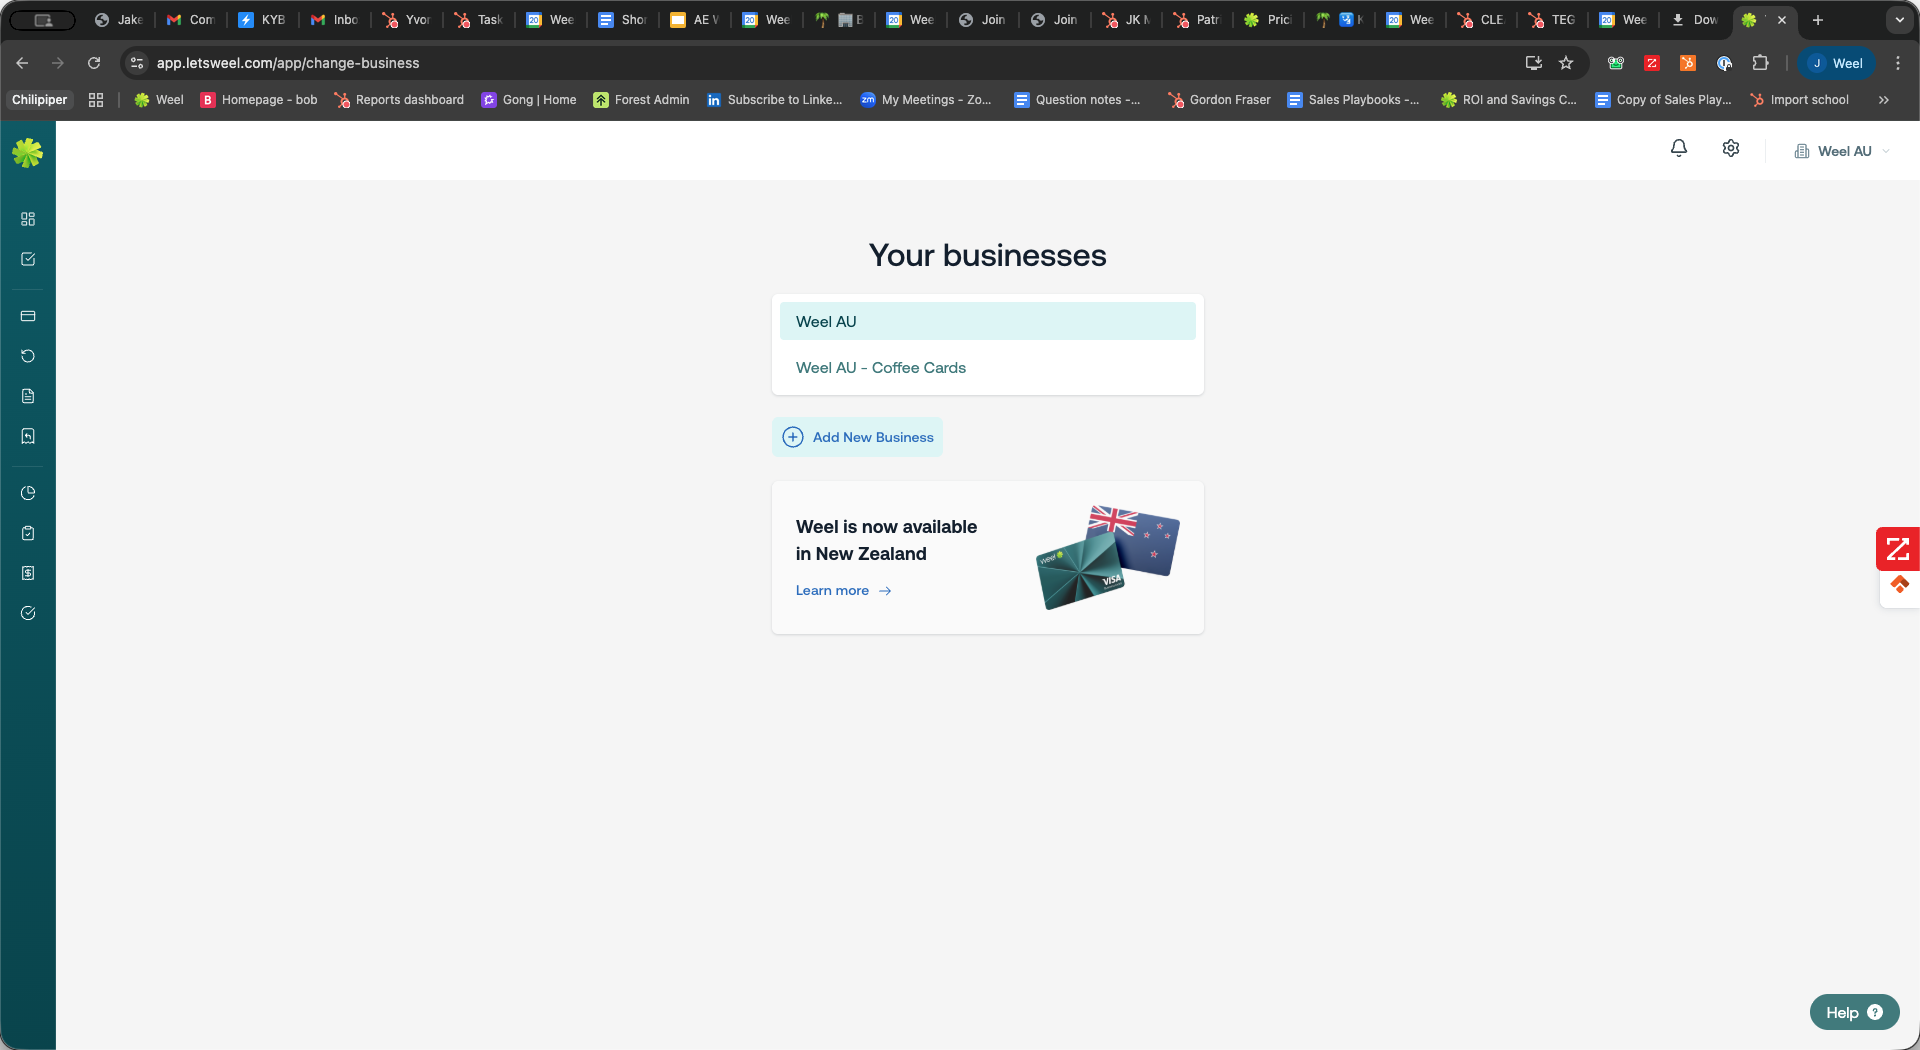
Add a New Business
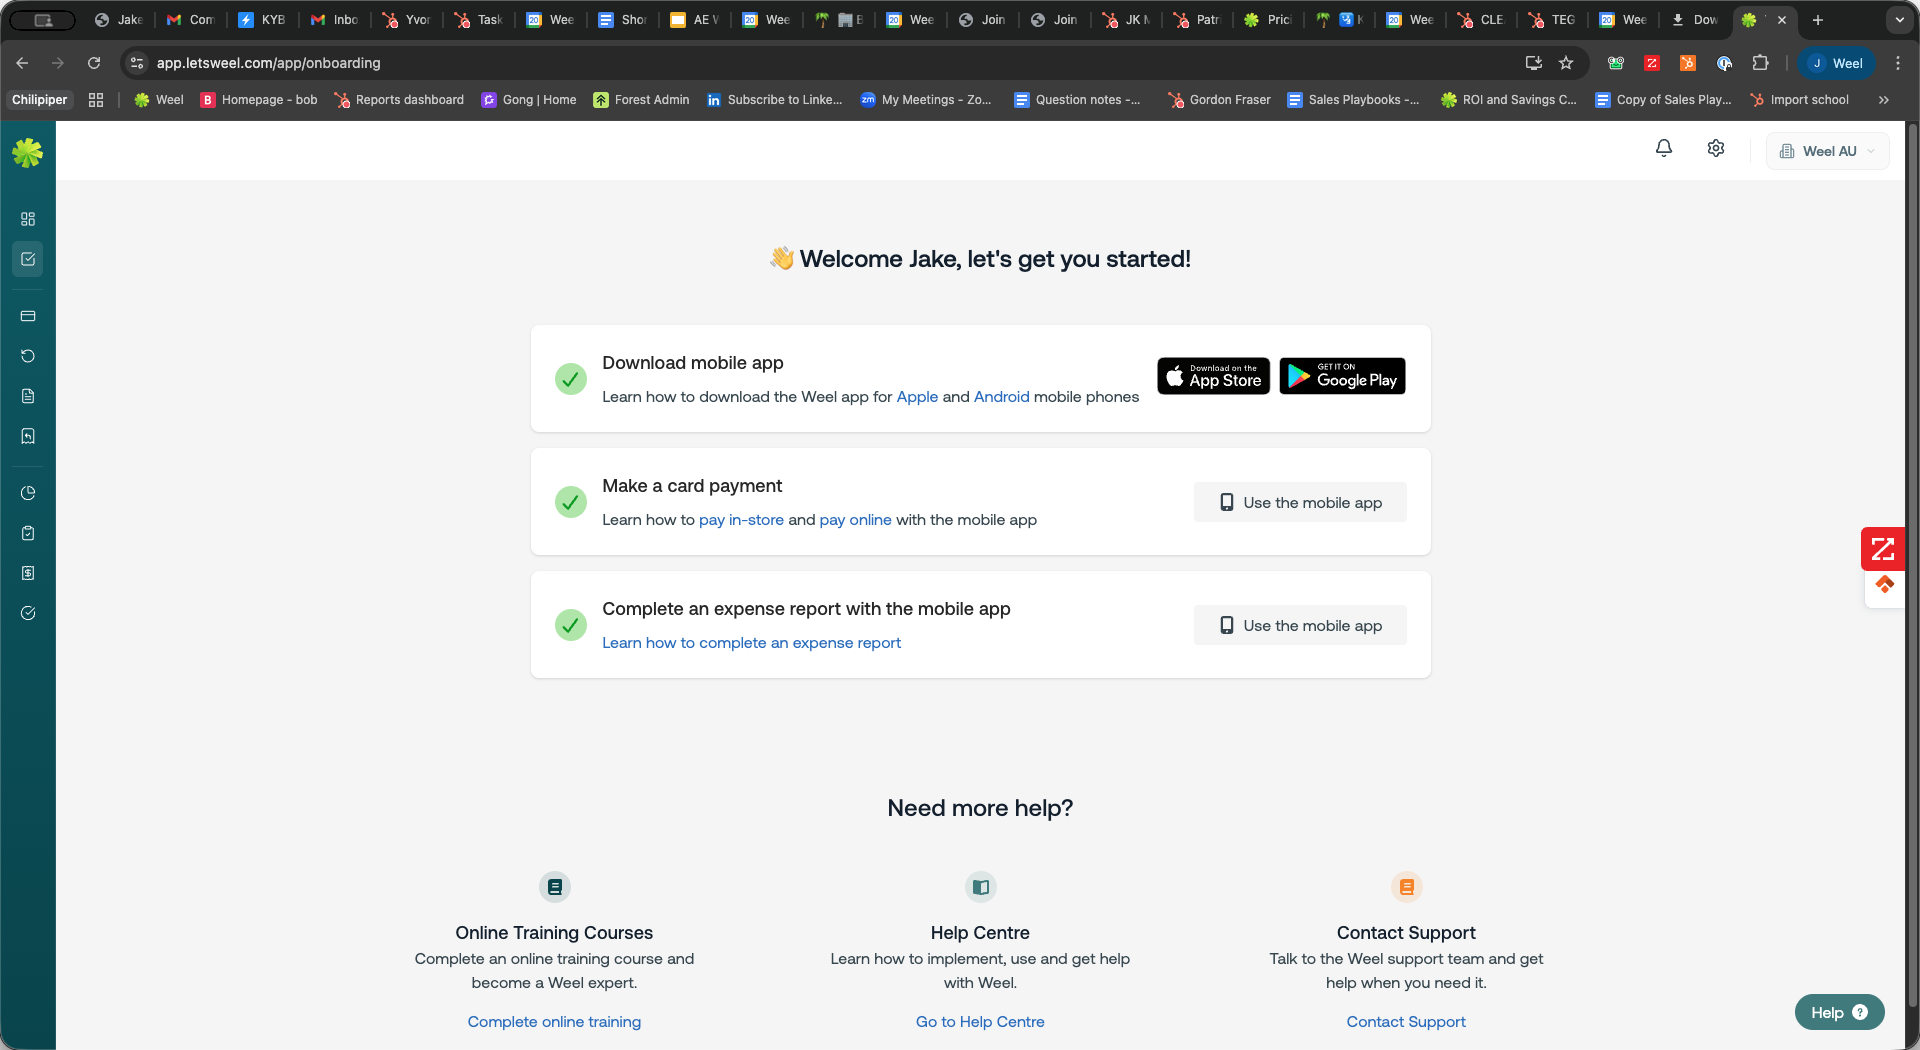
Once you are logged into your dashboard, you can switch businesses or add new ones directly from the navigation menu.
3
Click your current business name (e.g., Weel AU) in the sidebar menu.
4
Click Change business.

5
Click + Add New Business.
6
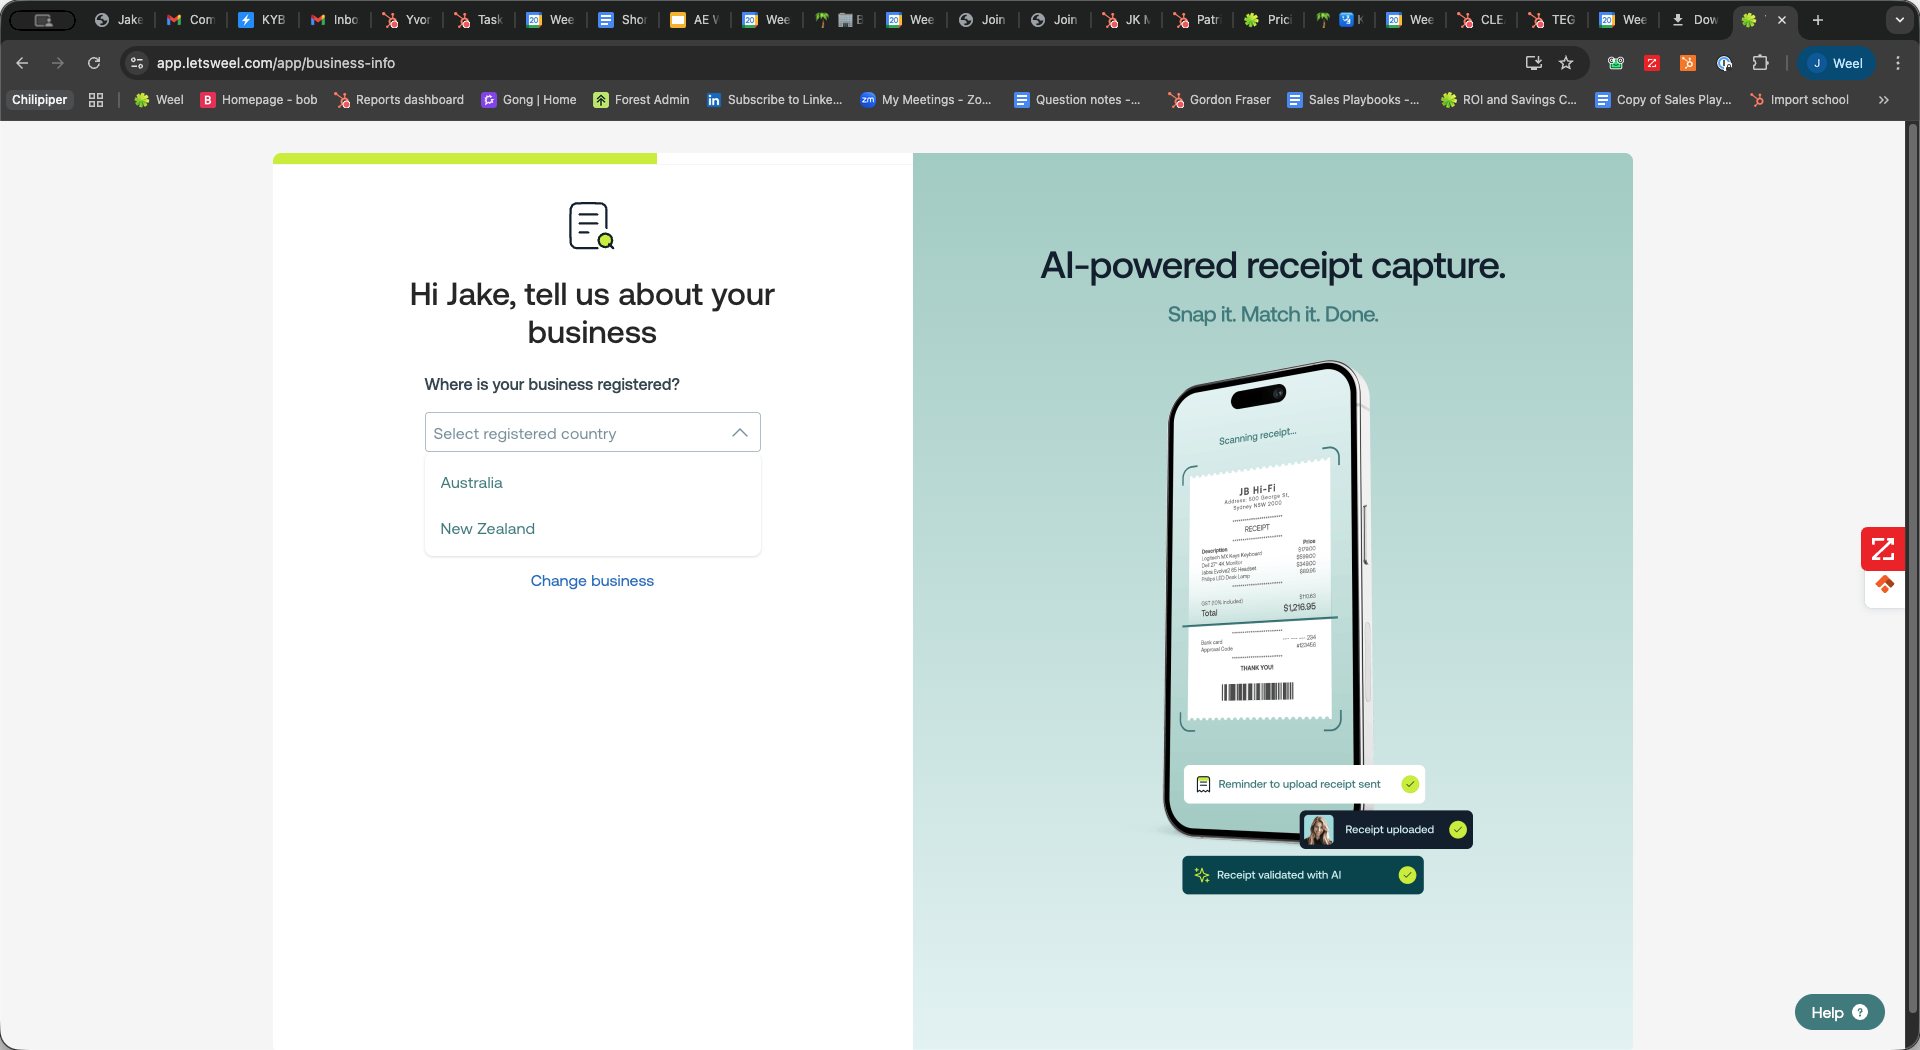
Click the Select registered country dropdown menu.
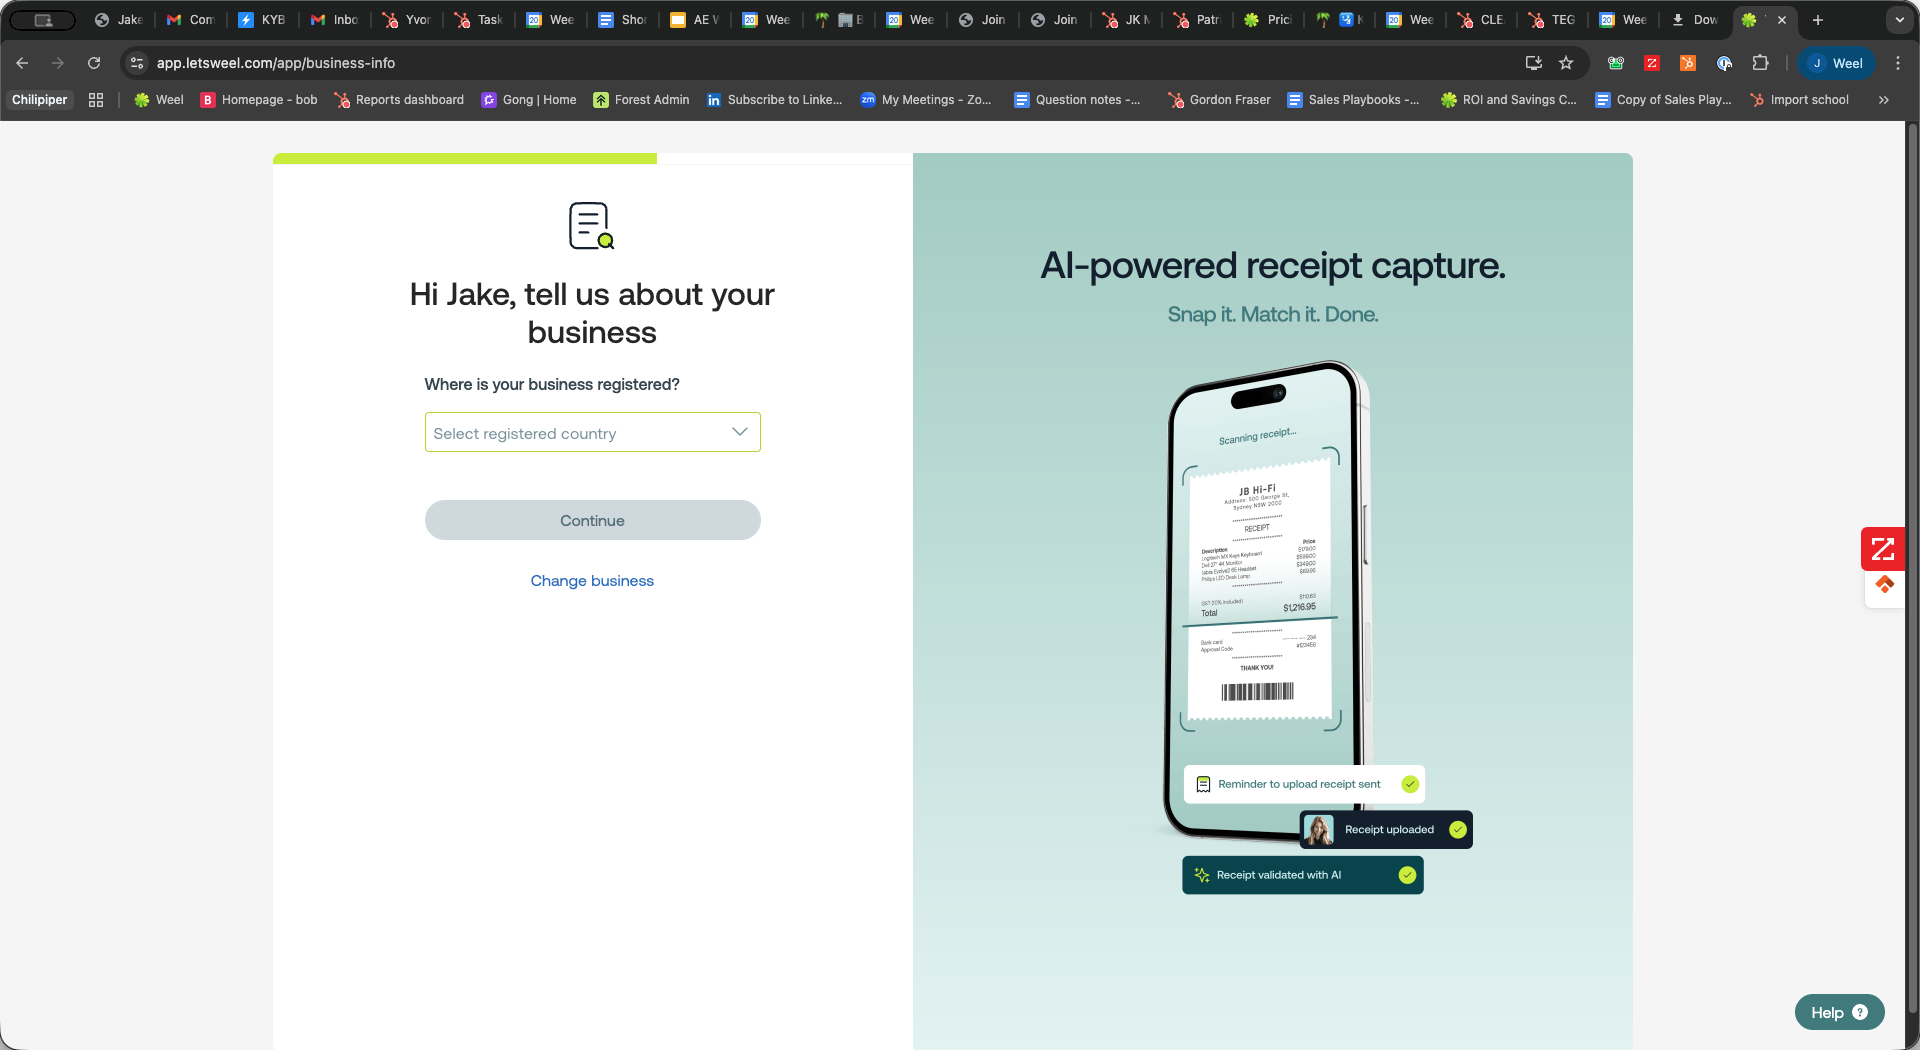
7
Select your business's registered country (e.g., Australia) to continue the onboarding process.