How to Register and Book Instrument
Learn how to register, book equipment, upload training documents, and use kiosk mode on the FALCON instrument booking system. Step-by-step guide for students and researchers.
In this guide, we'll learn how to register for the Carleton equipment booking website, book instruments in different rooms, and upload required training documents.
We'll also cover how to start your session using the dashboard or kiosk mode, and explain how access is granted after training.
Let's get started
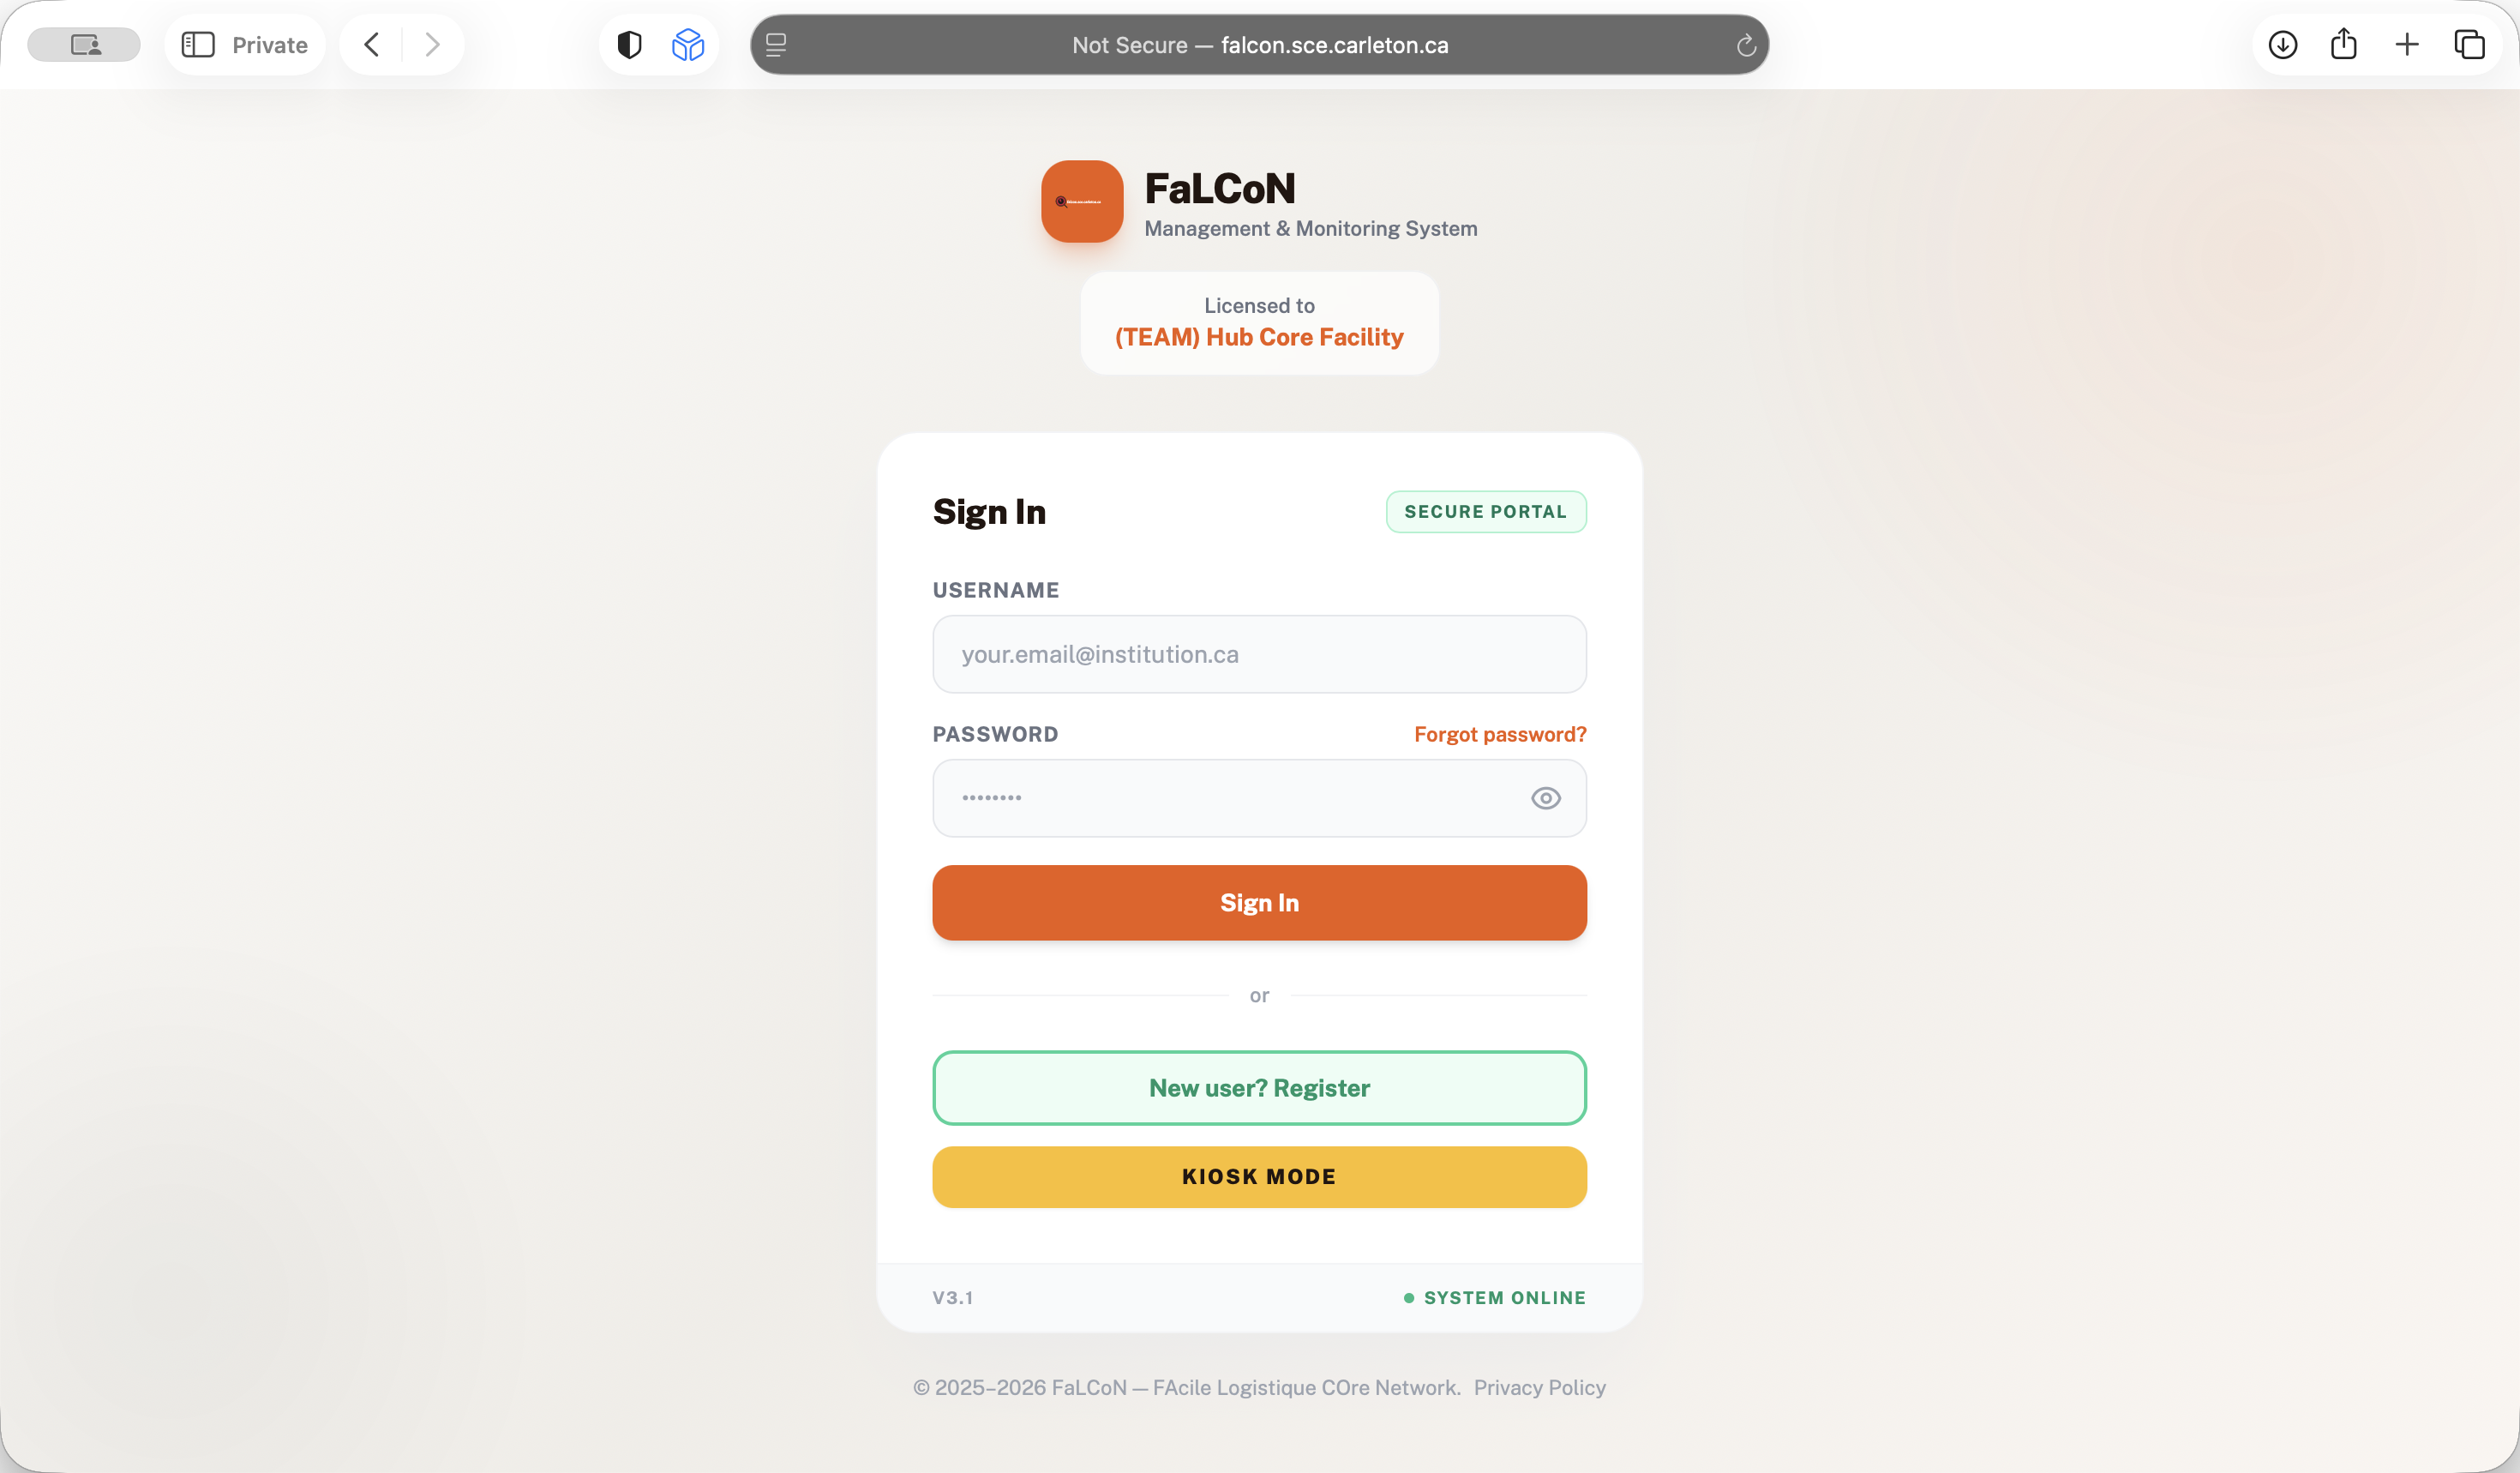
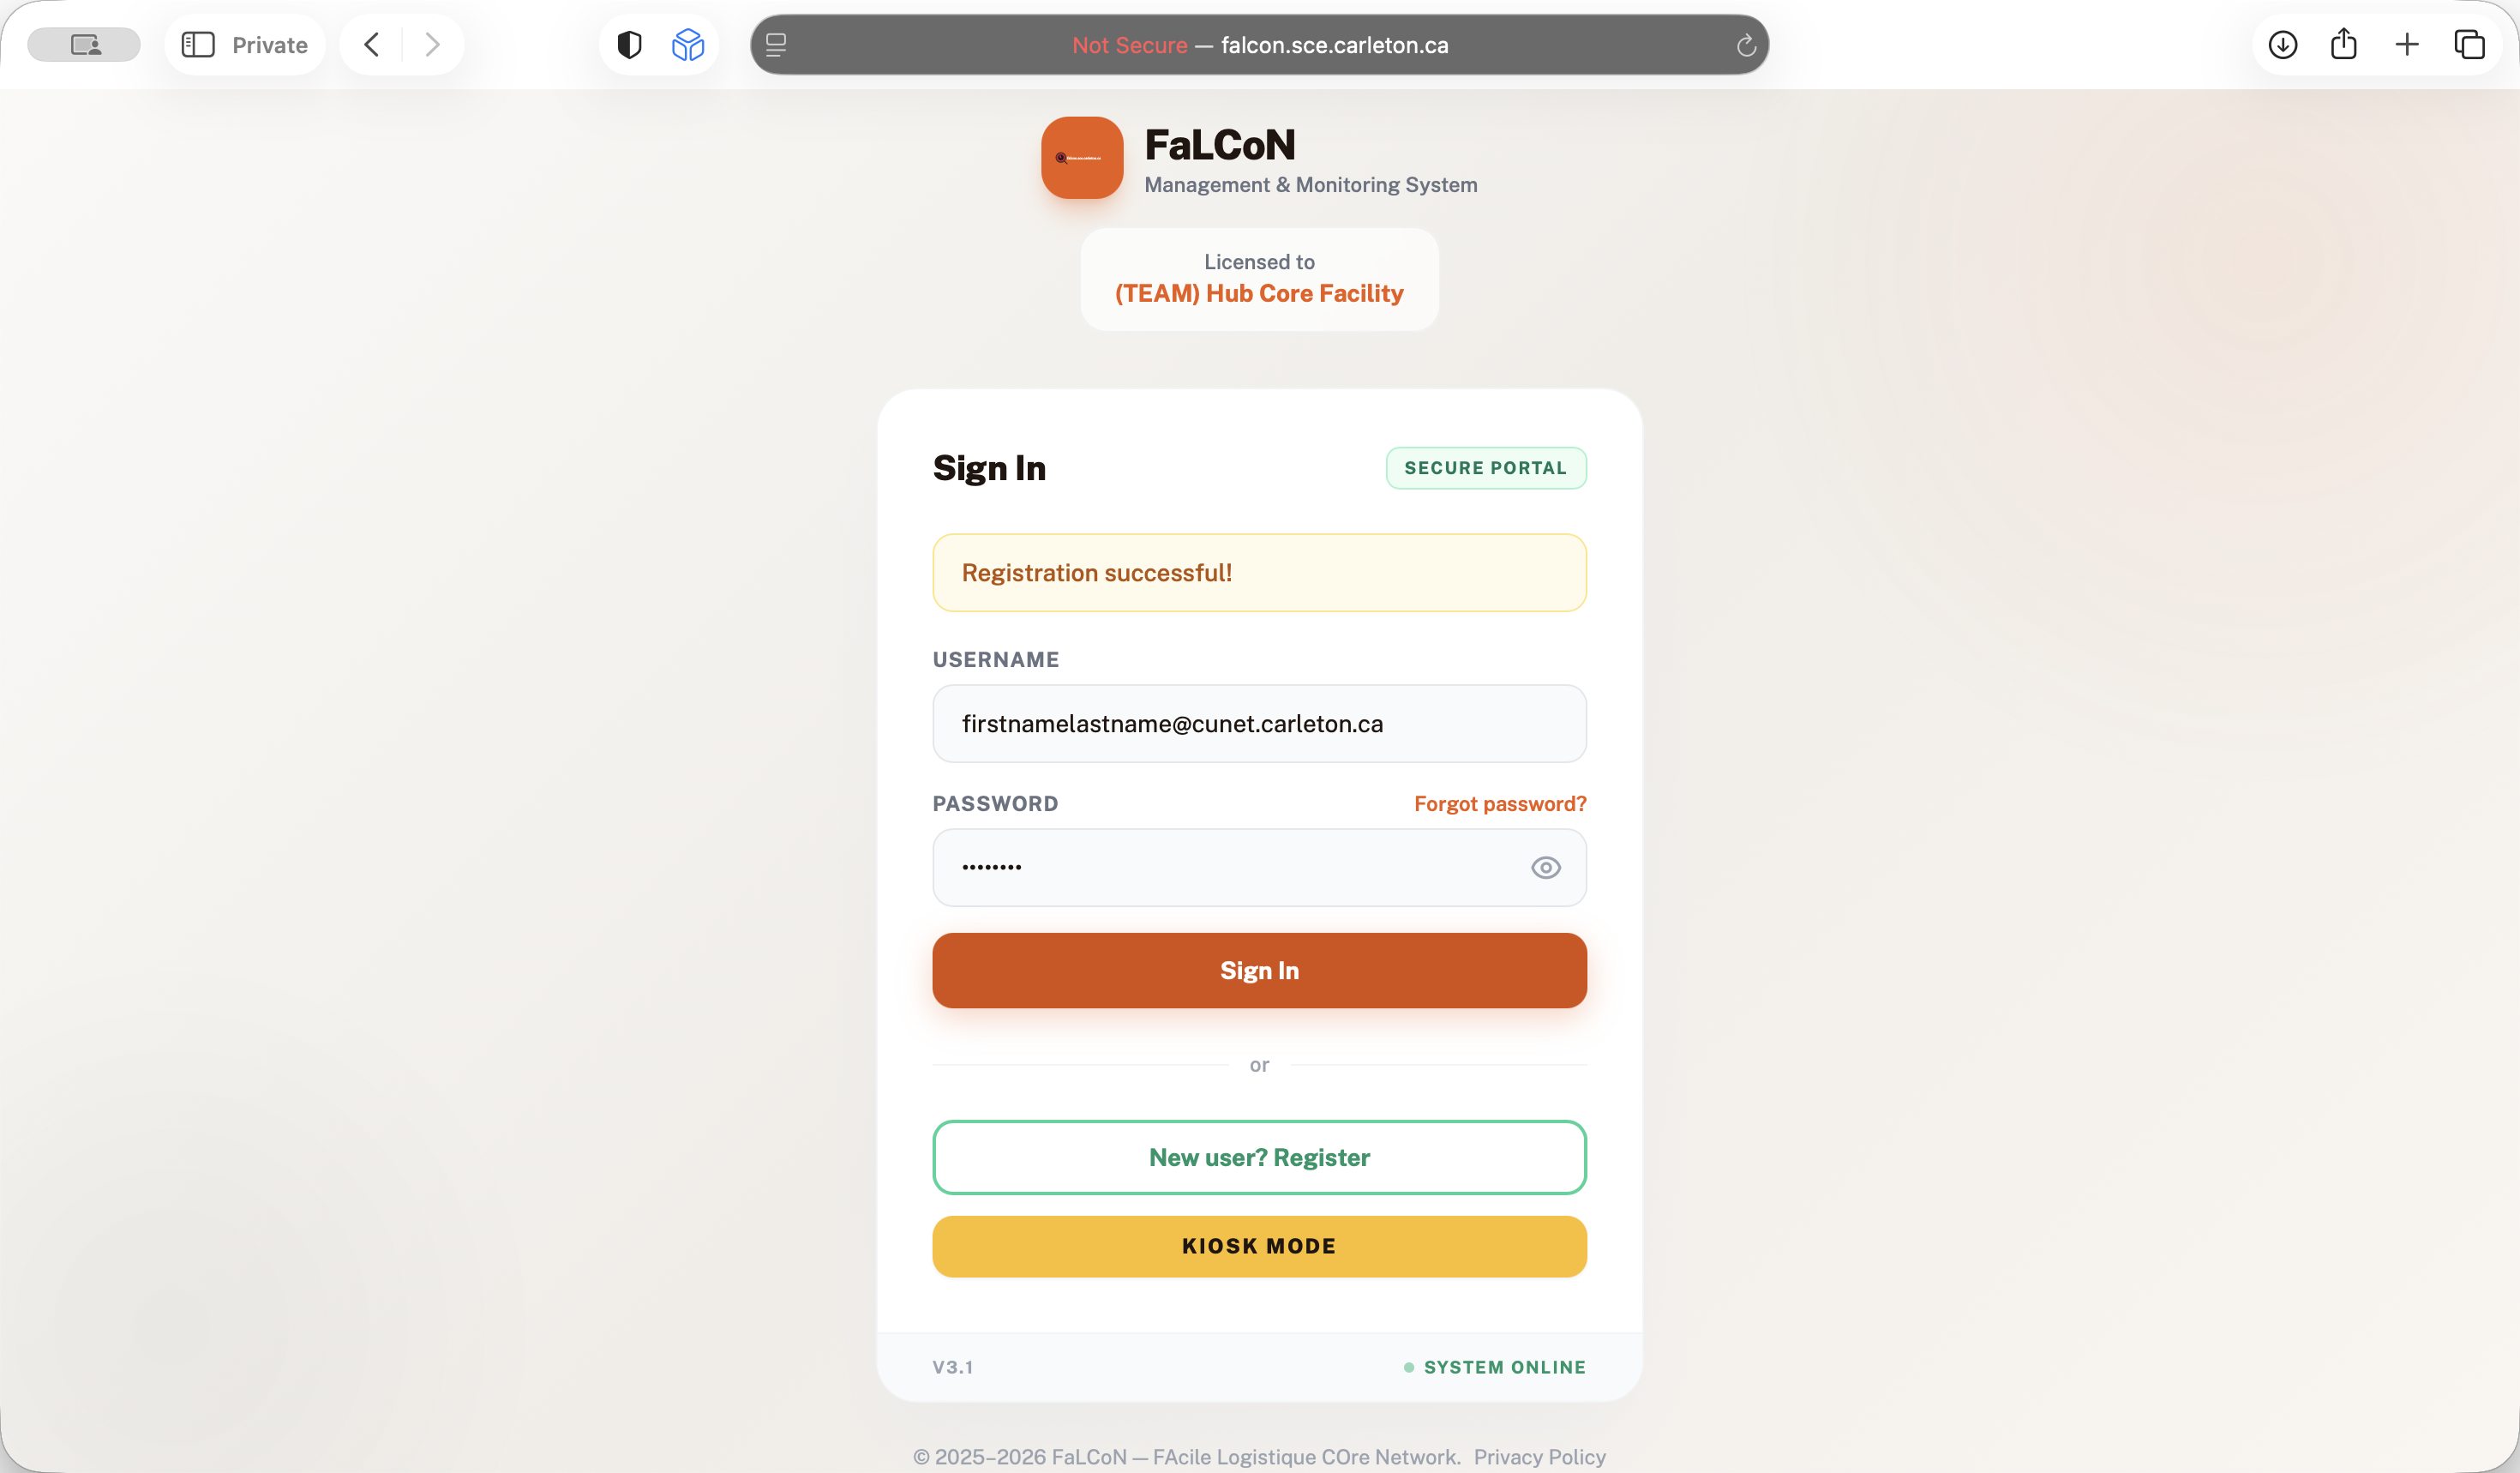
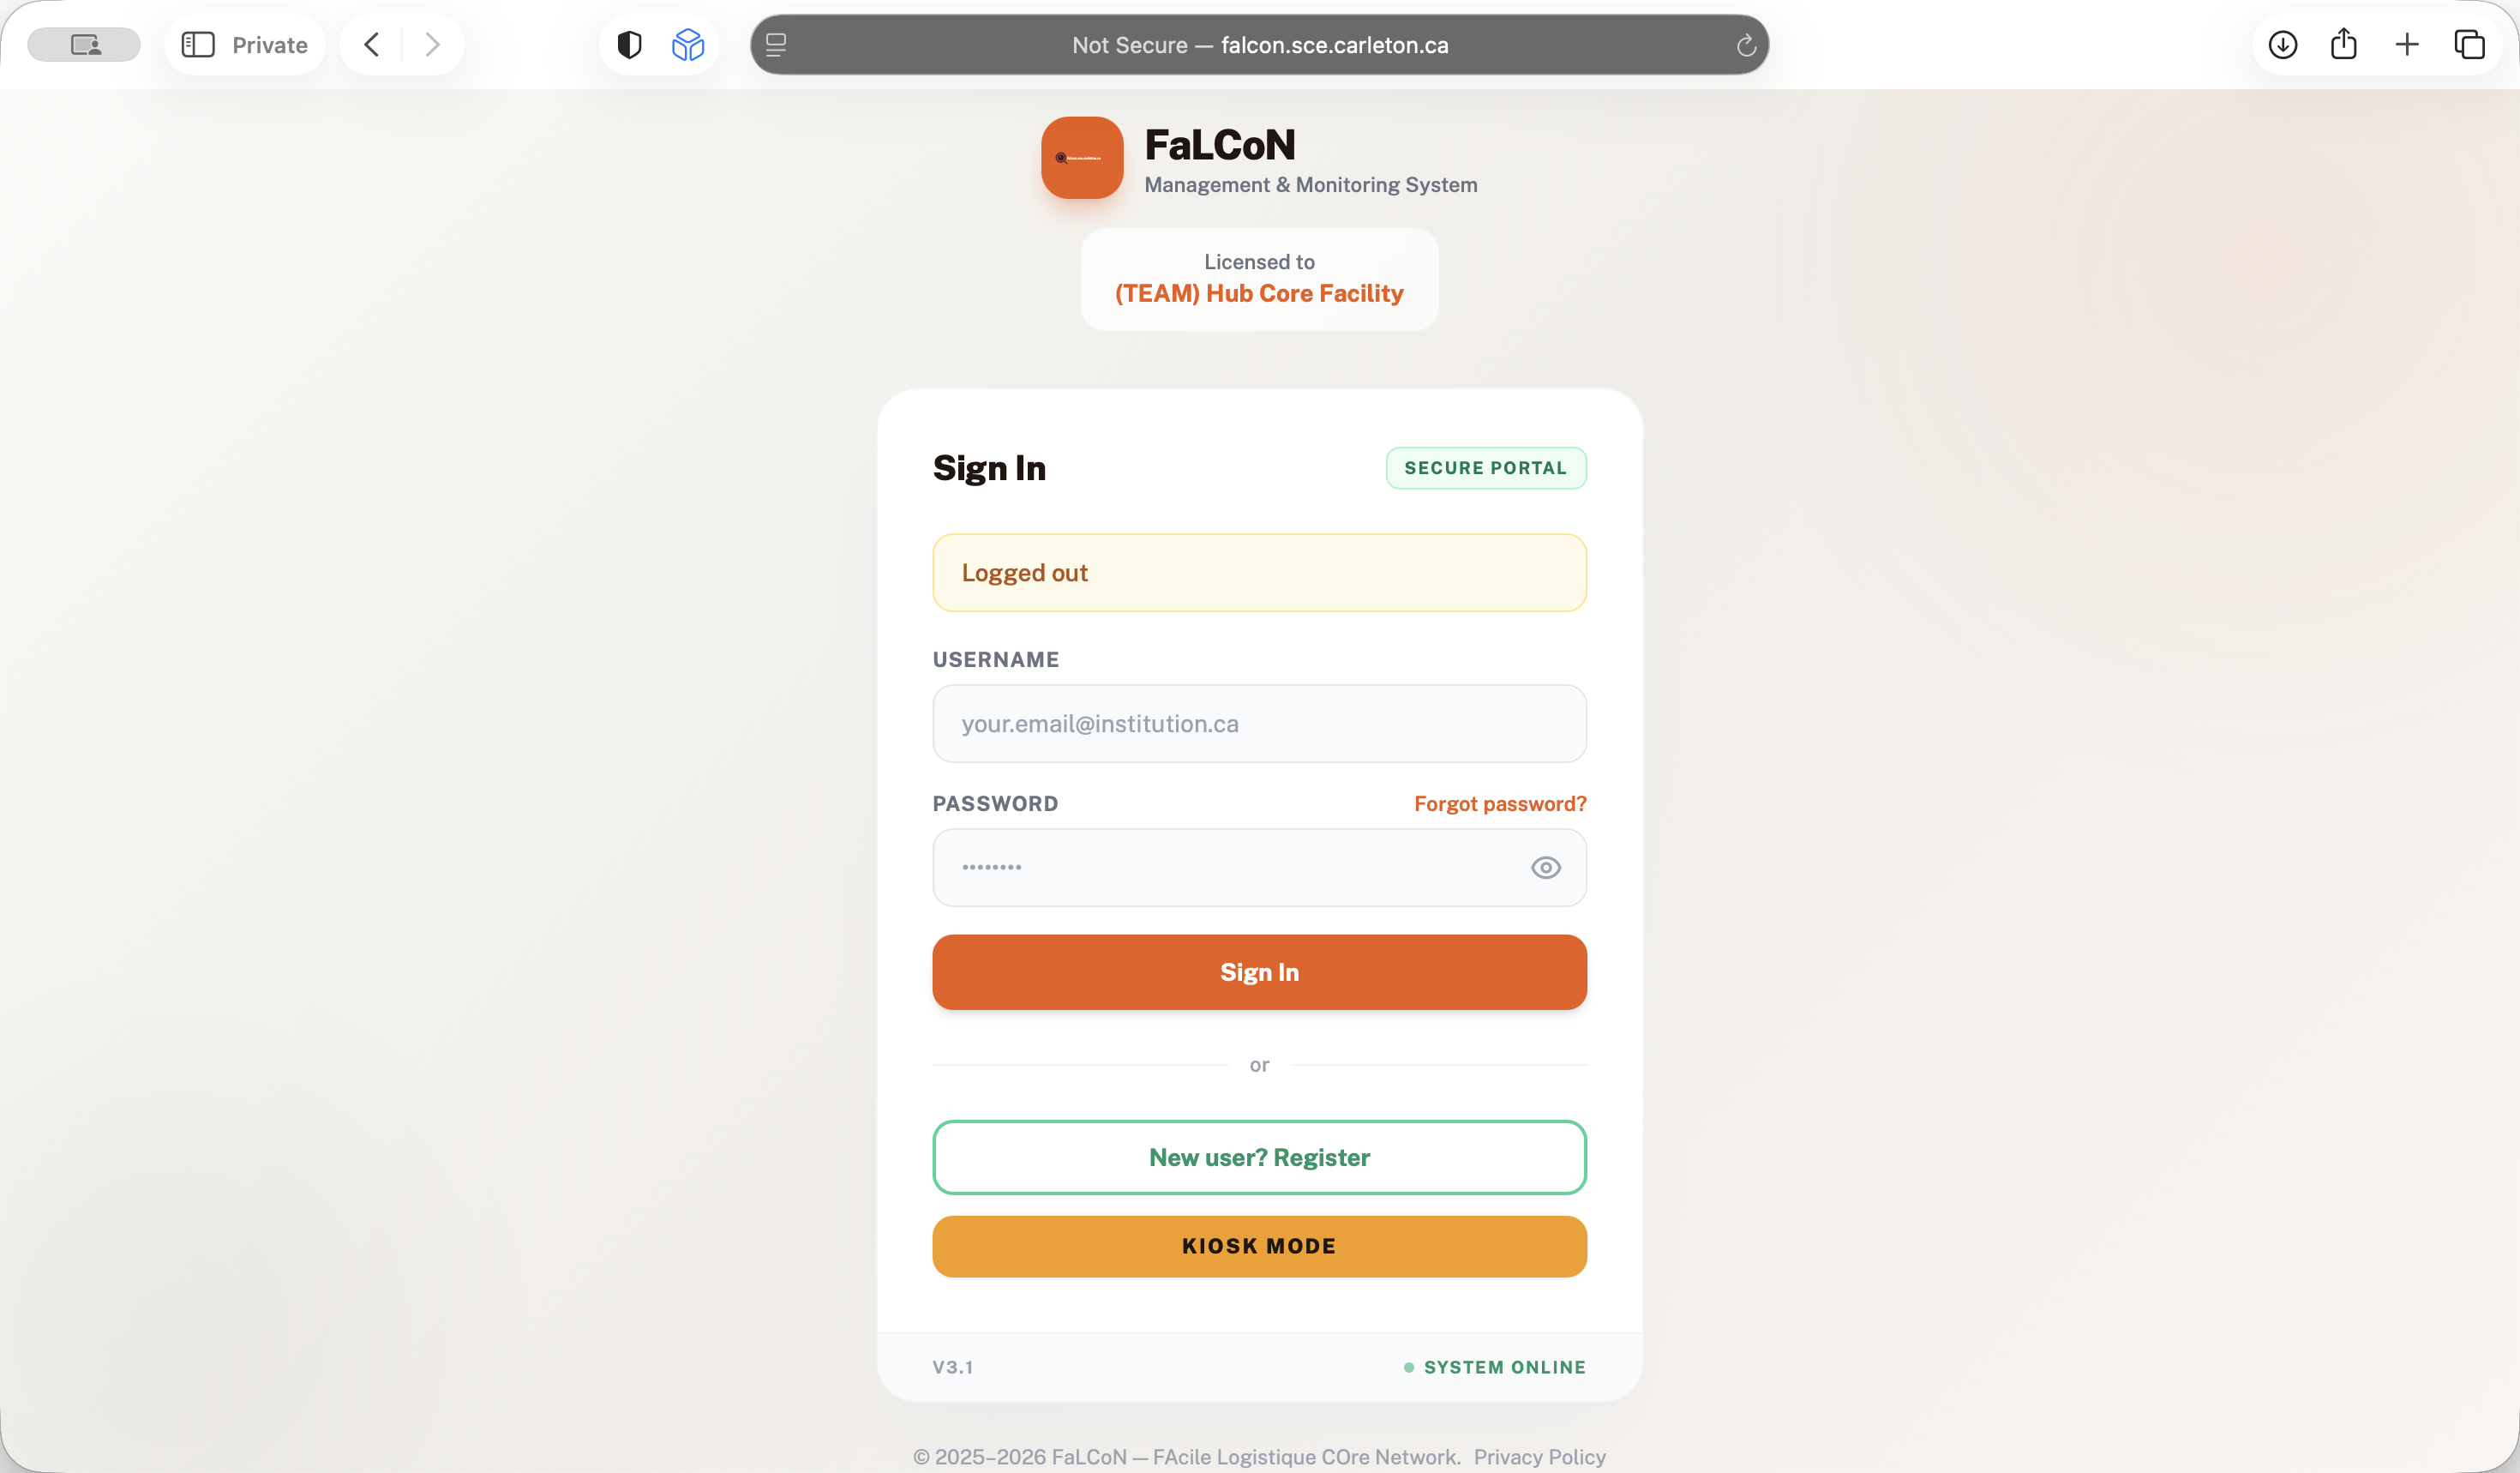
To register on our website, go to "New User" and select "Register."

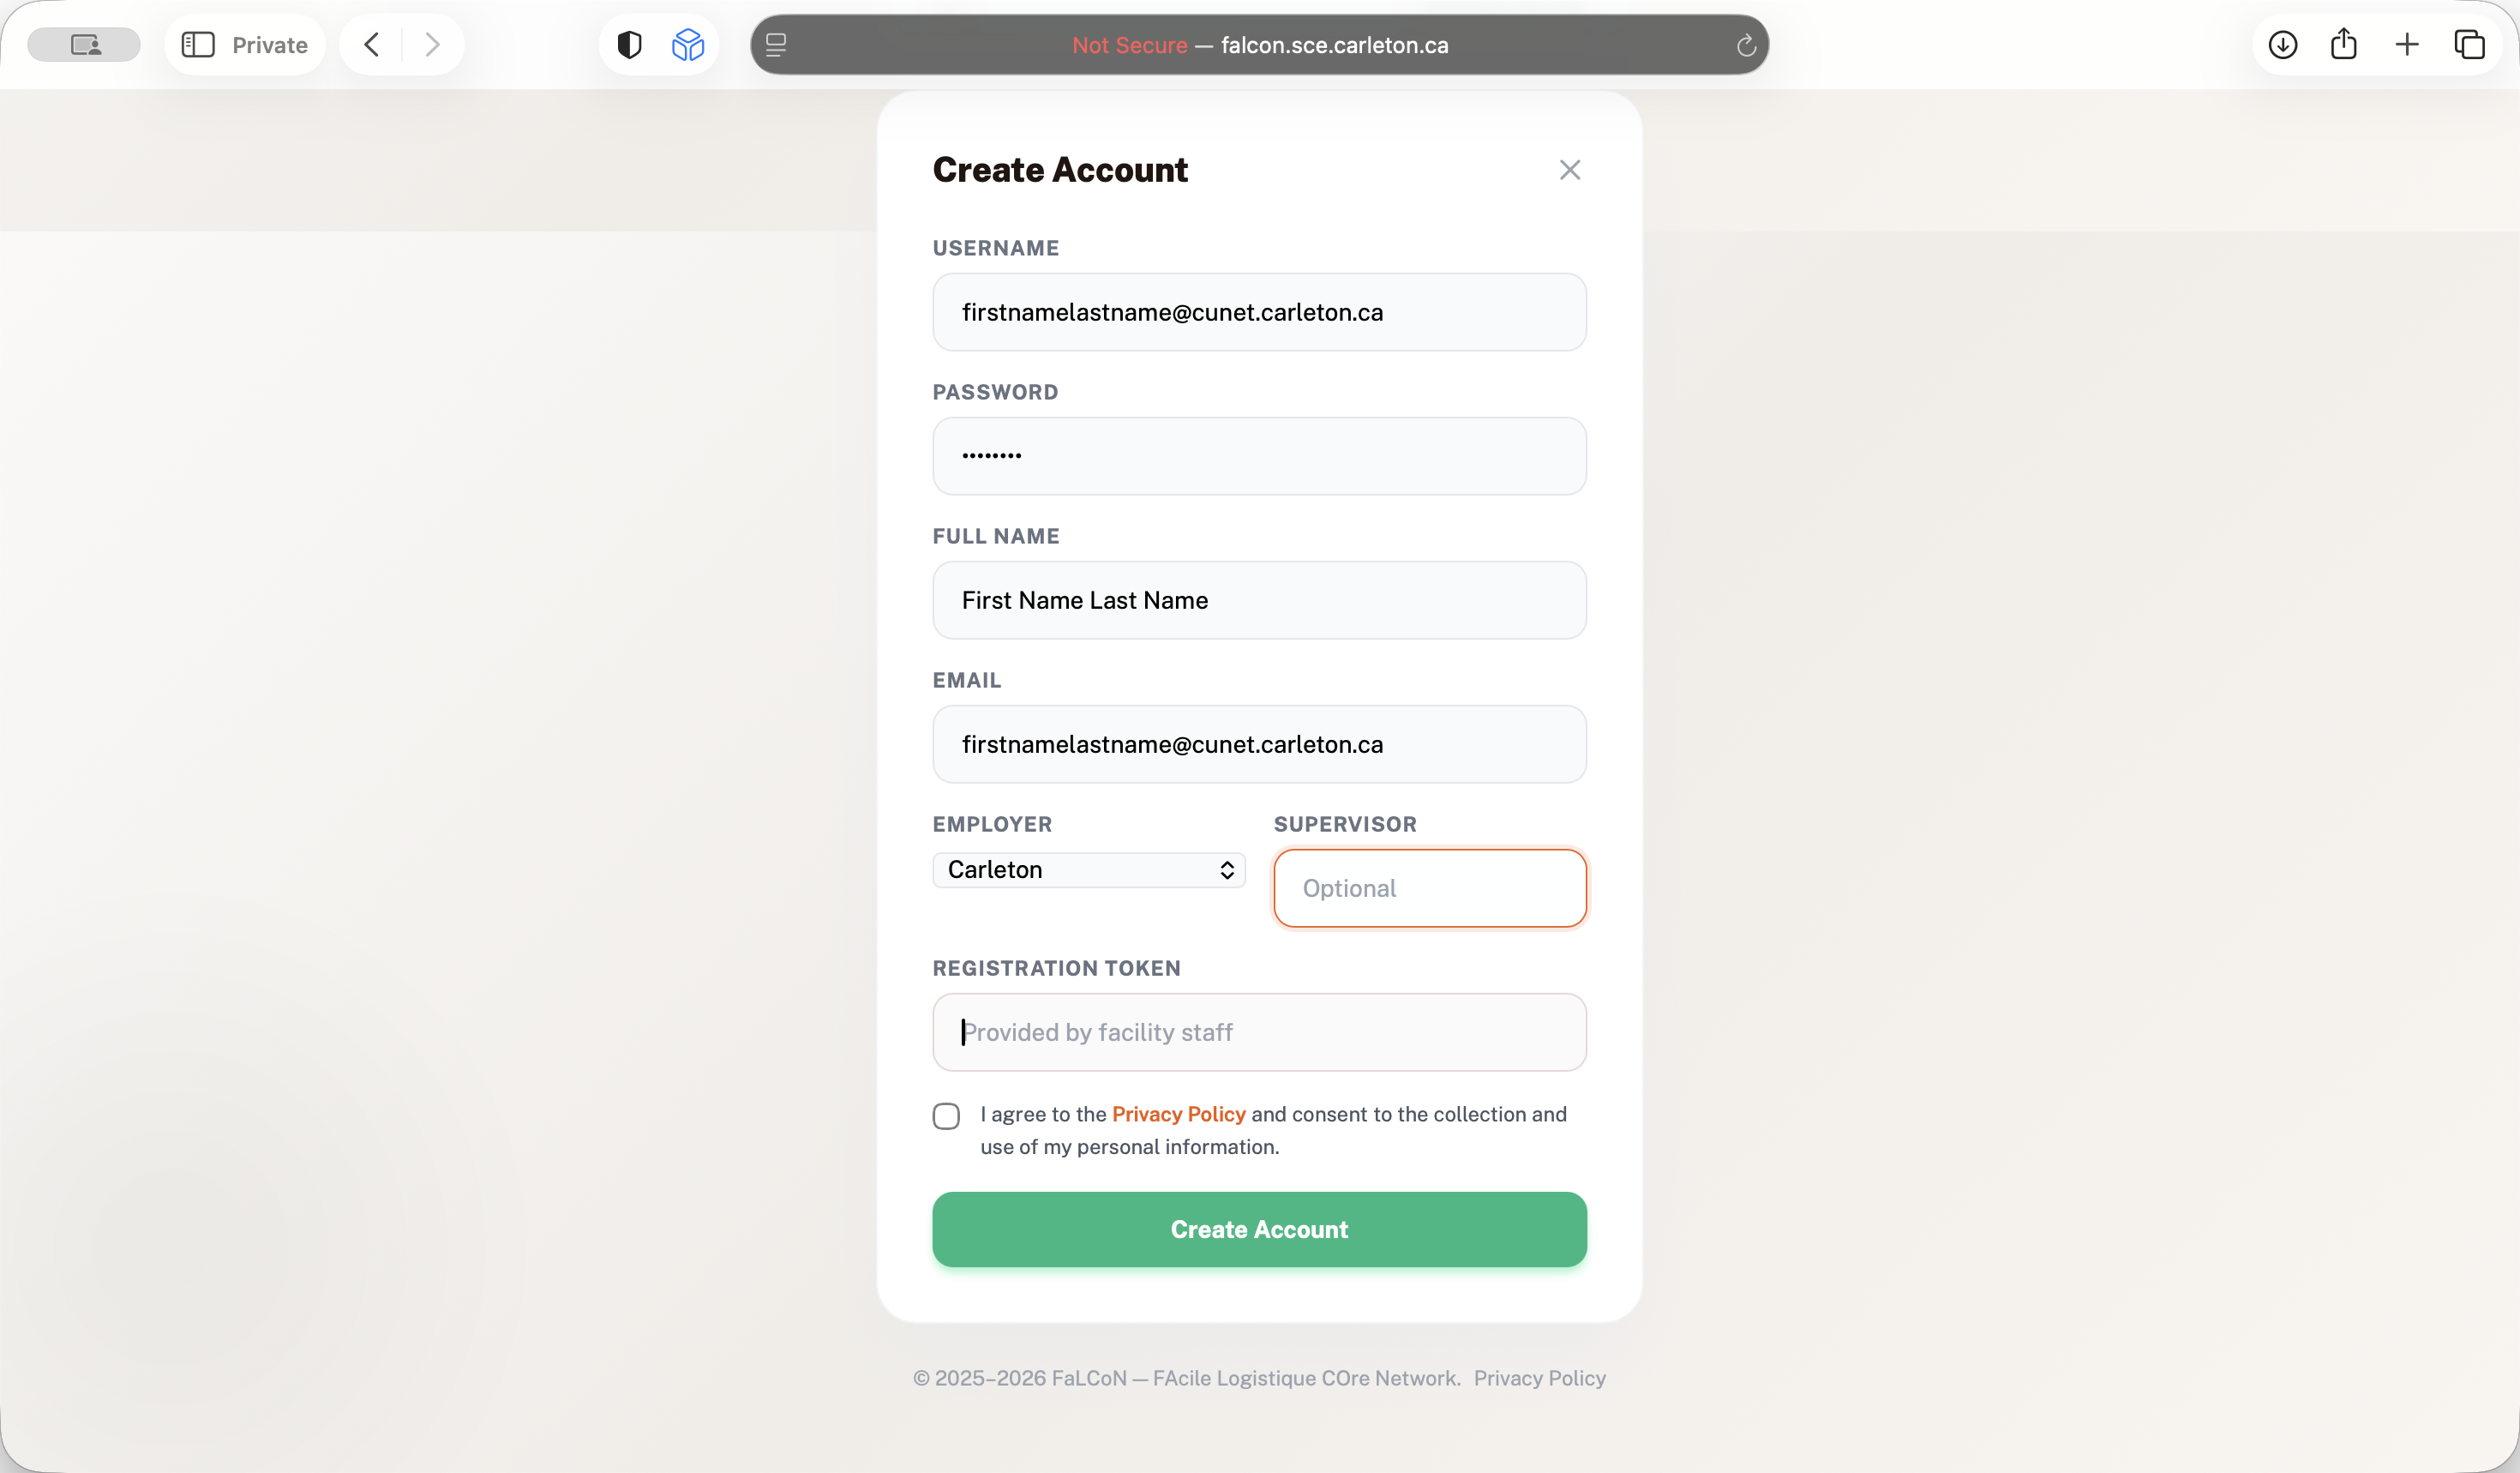
Enter your username.

Your username will be your full Carleton email address. First name, last name at cunet dot carl- ... ton.ca. Enter your password, full name, Carleton email, and supervisor.


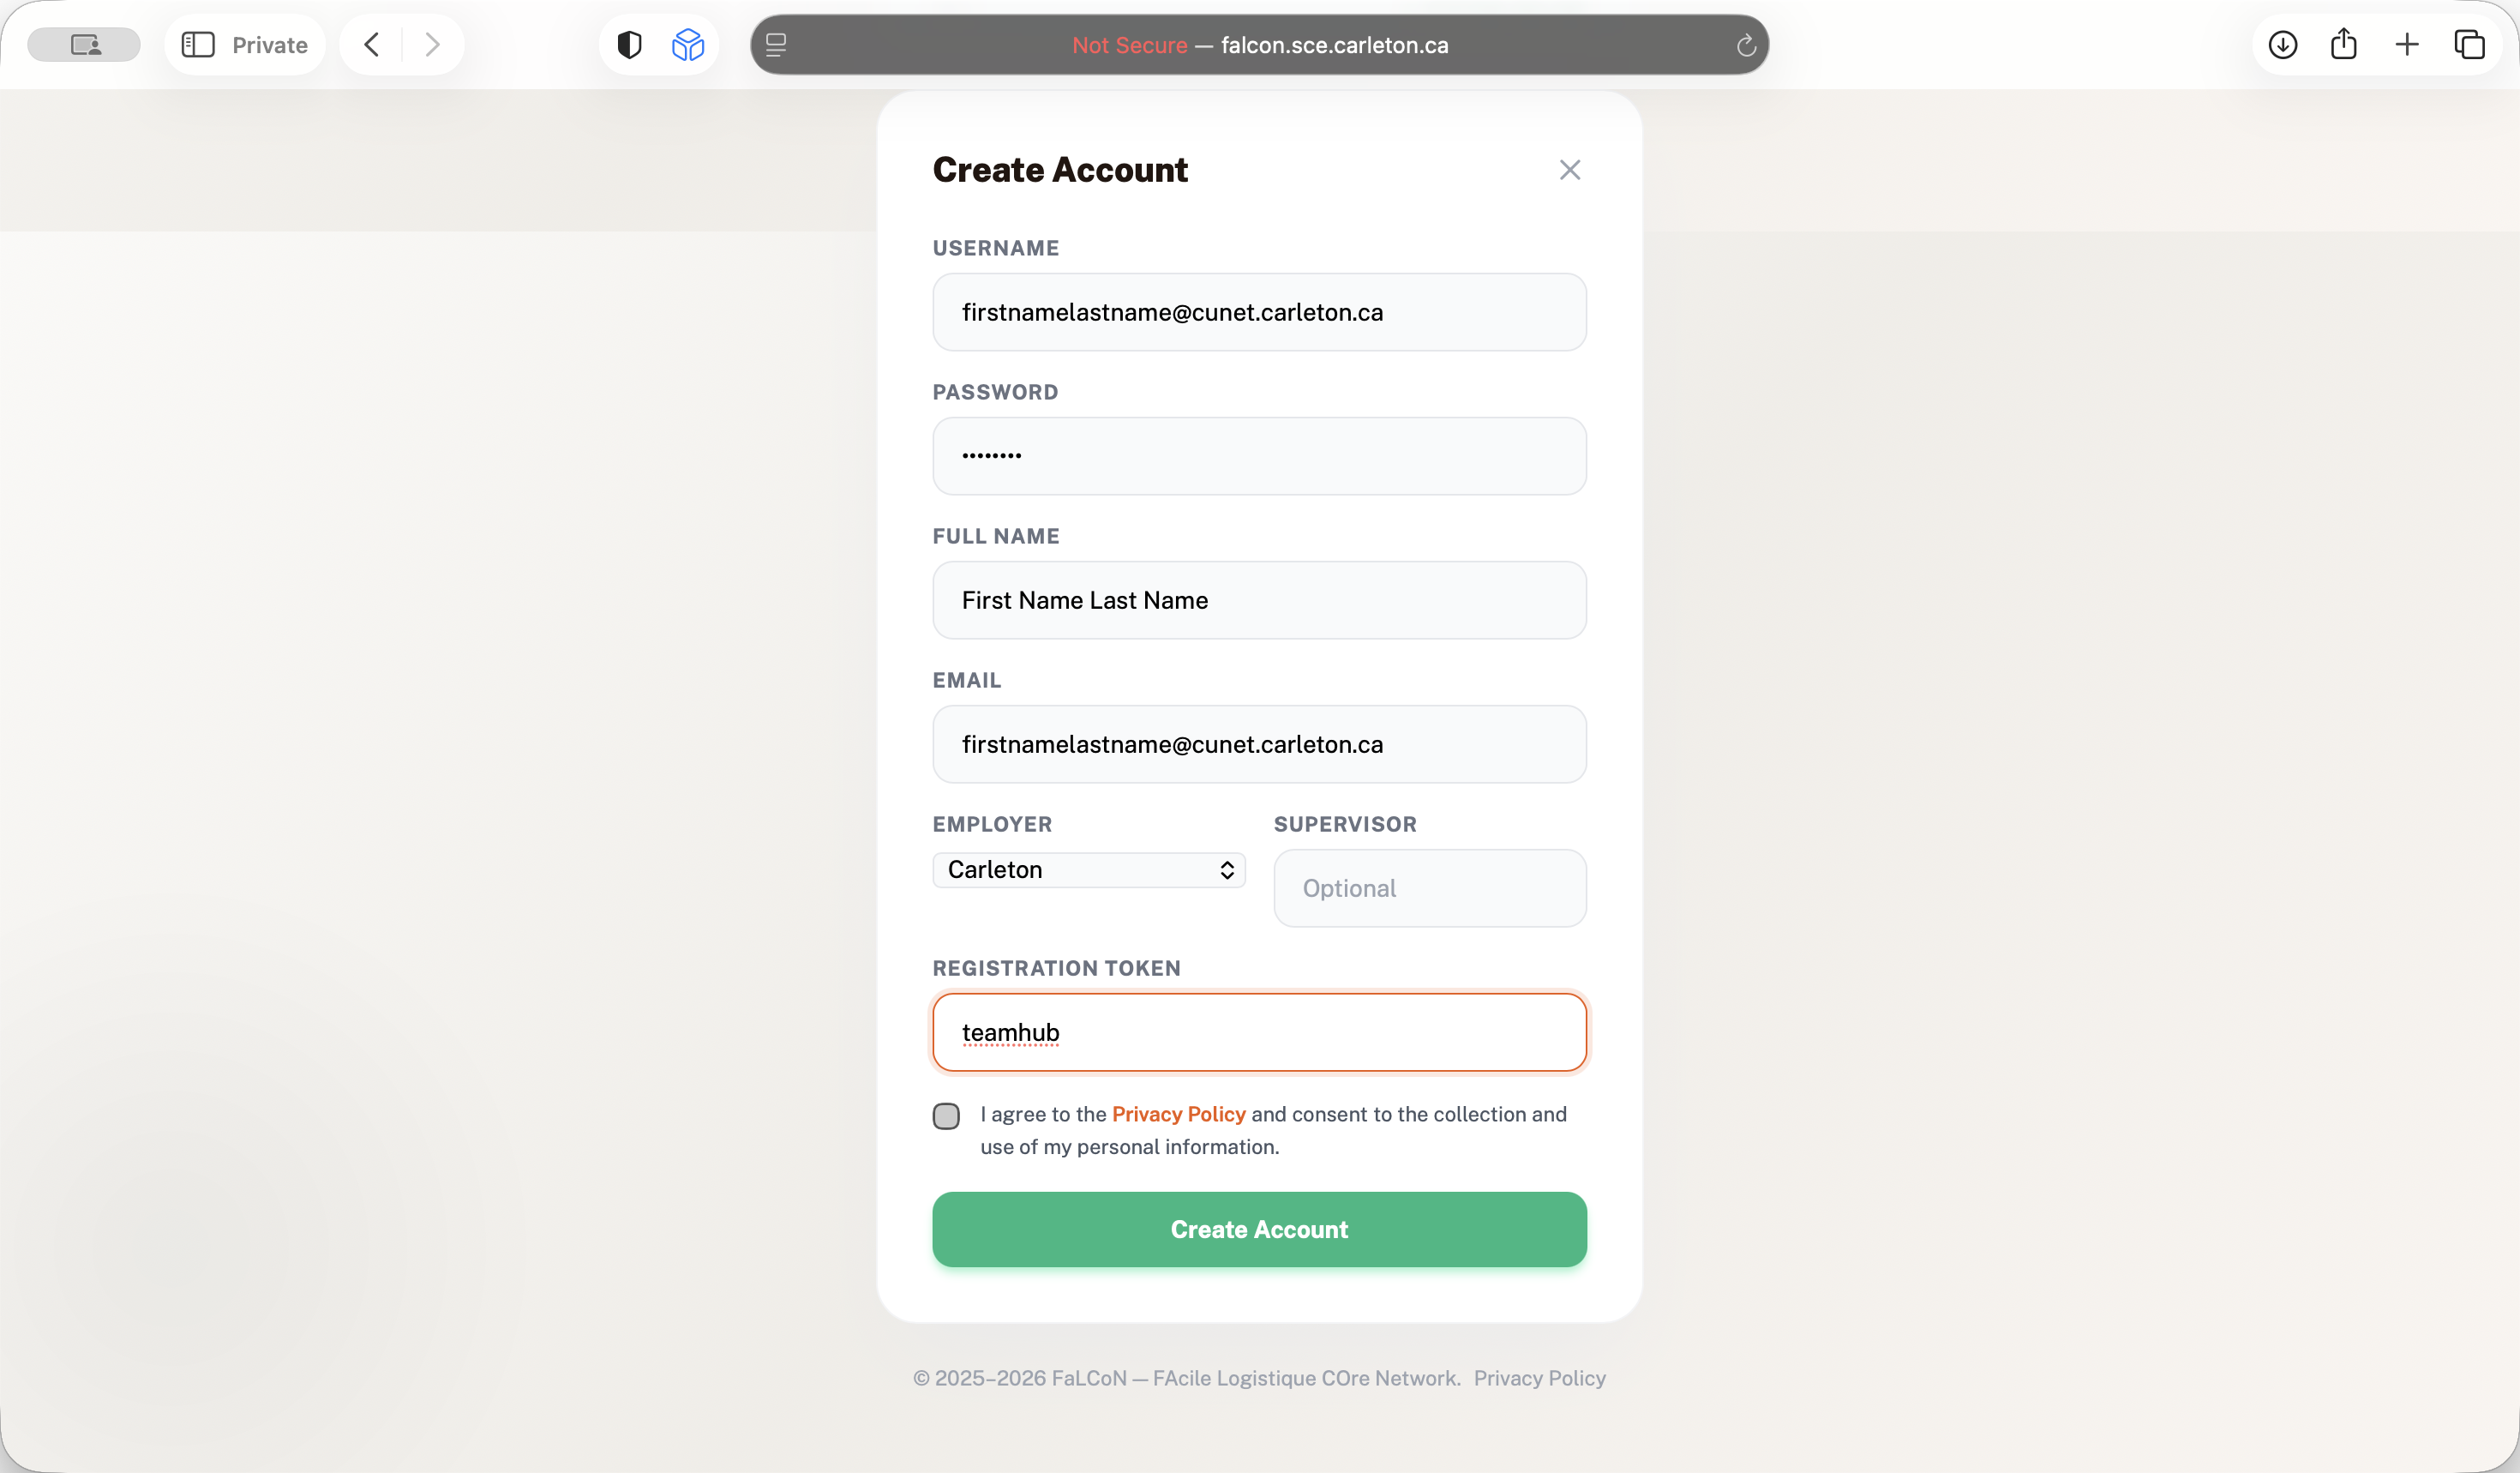
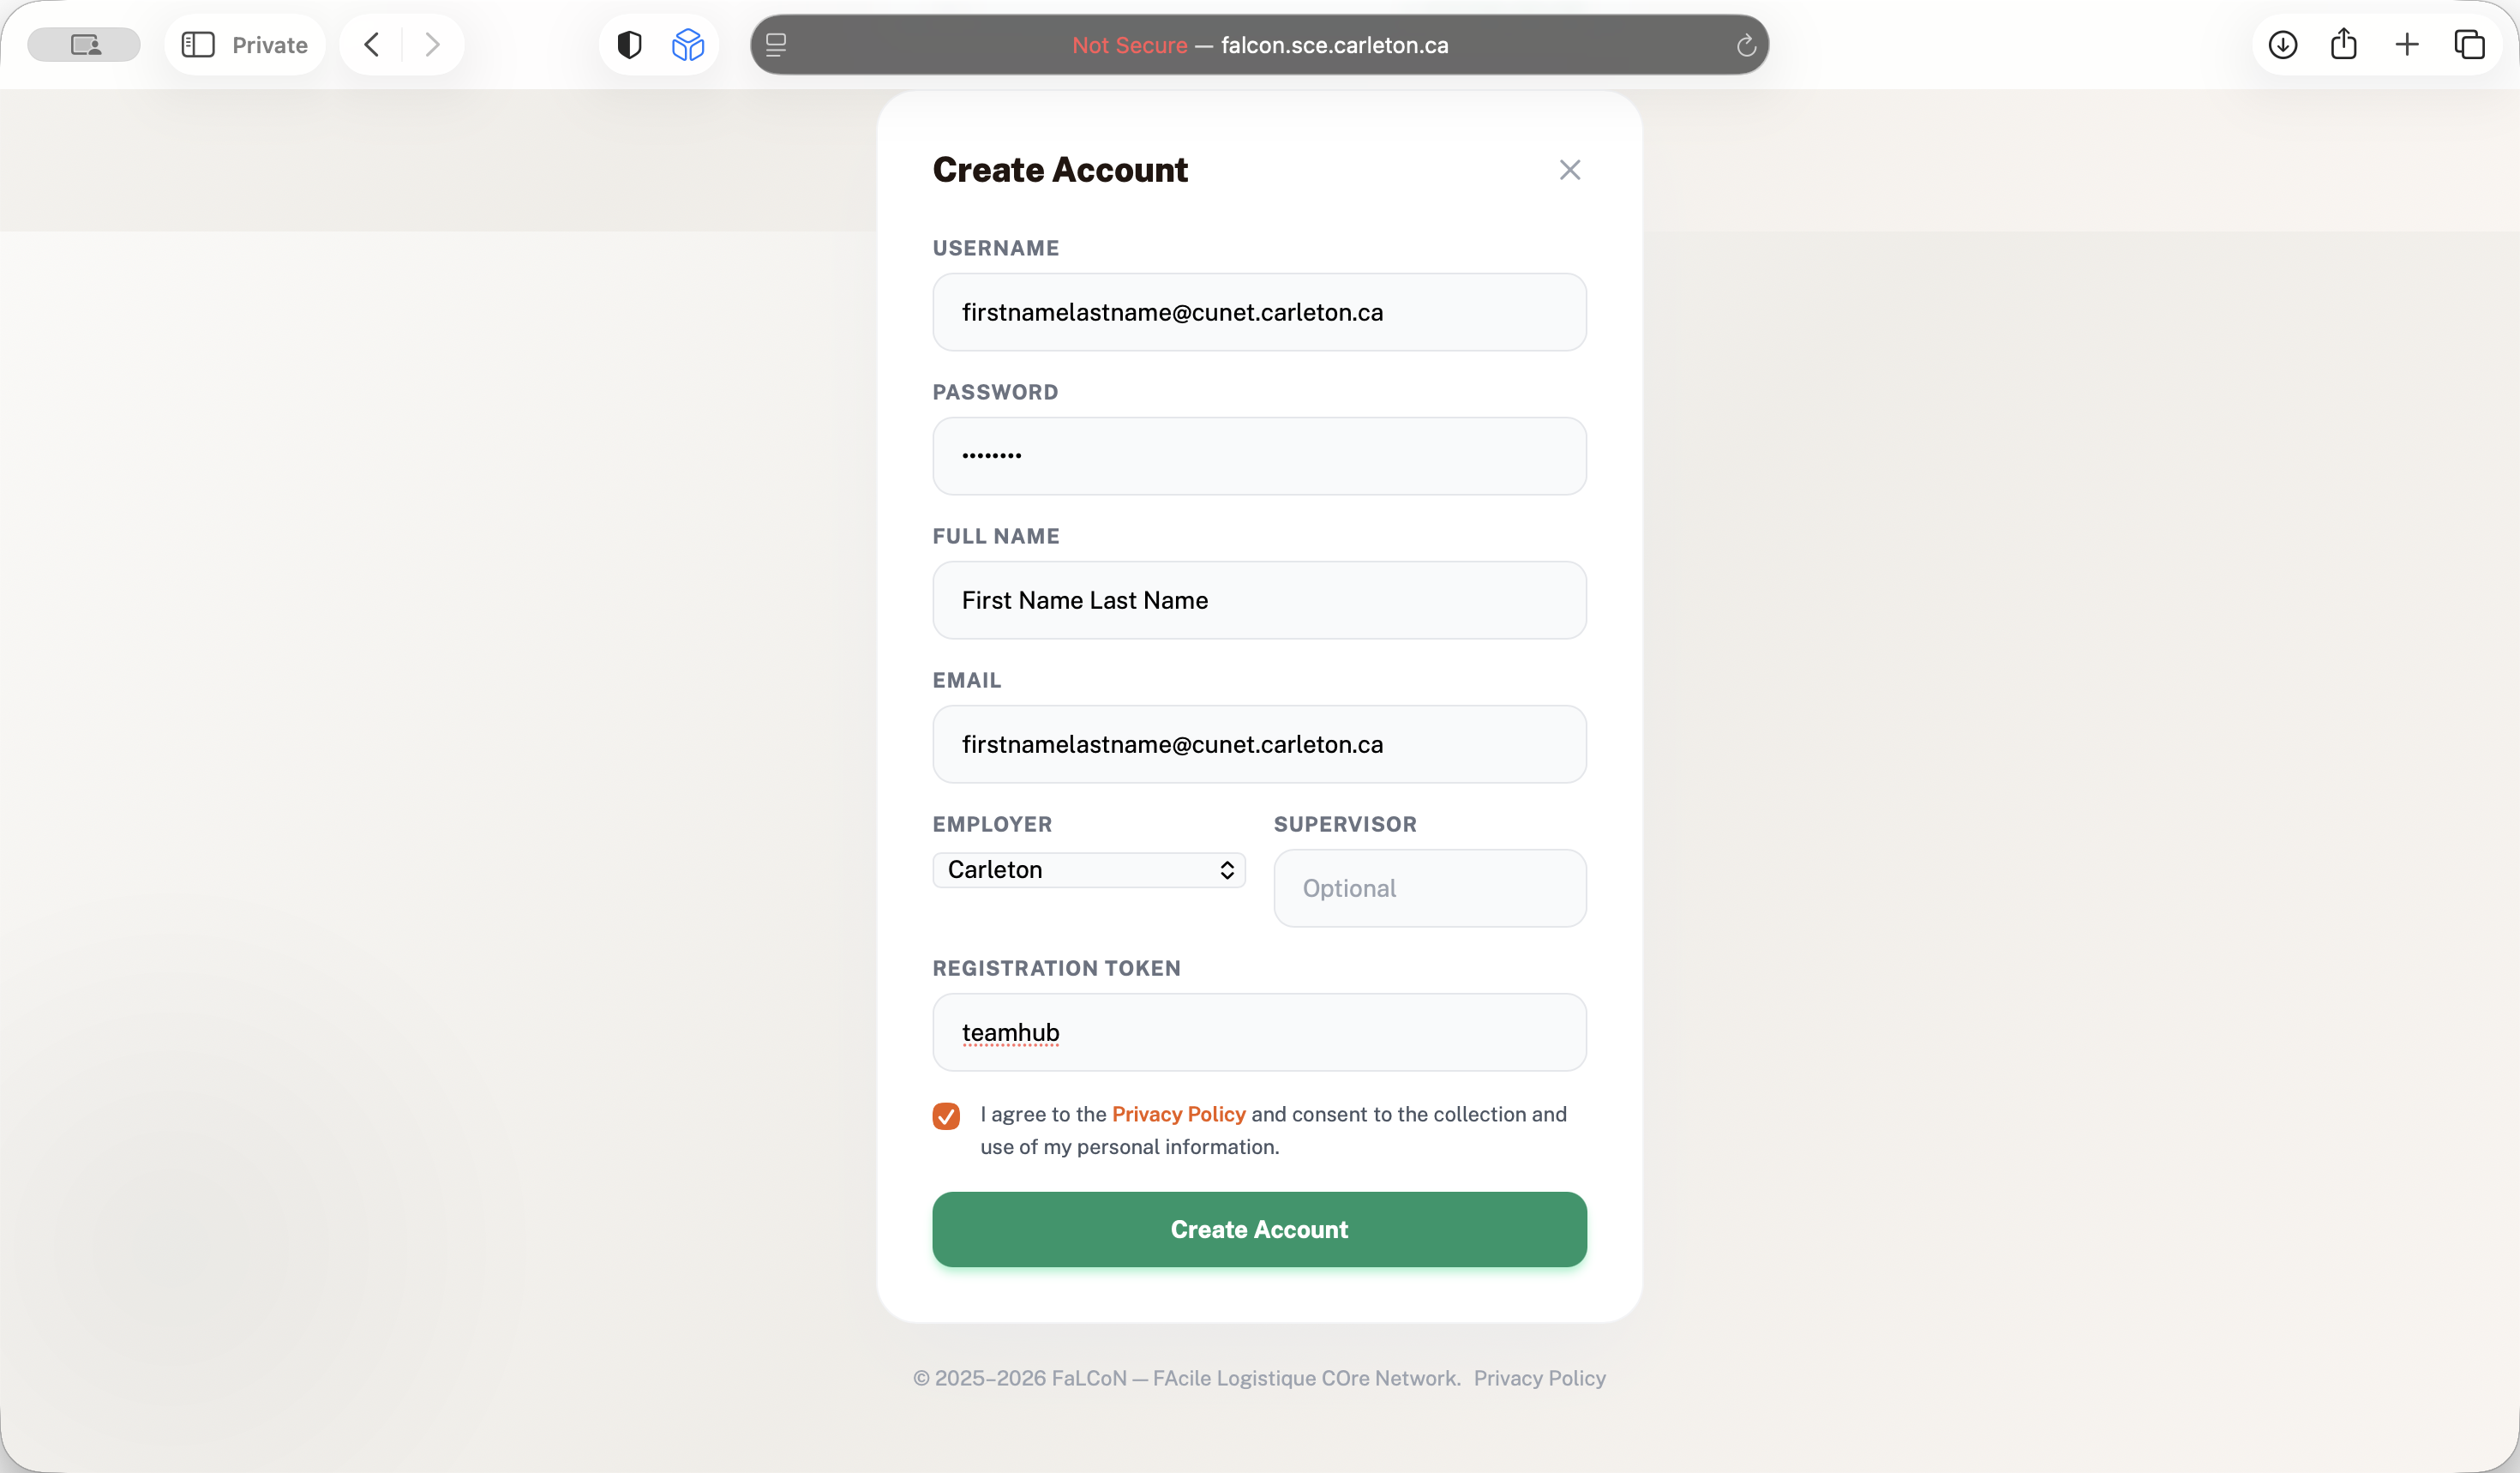
If you don't list your supervisor, we will assign one for you later. The registration token is teamhub.
Create your account.
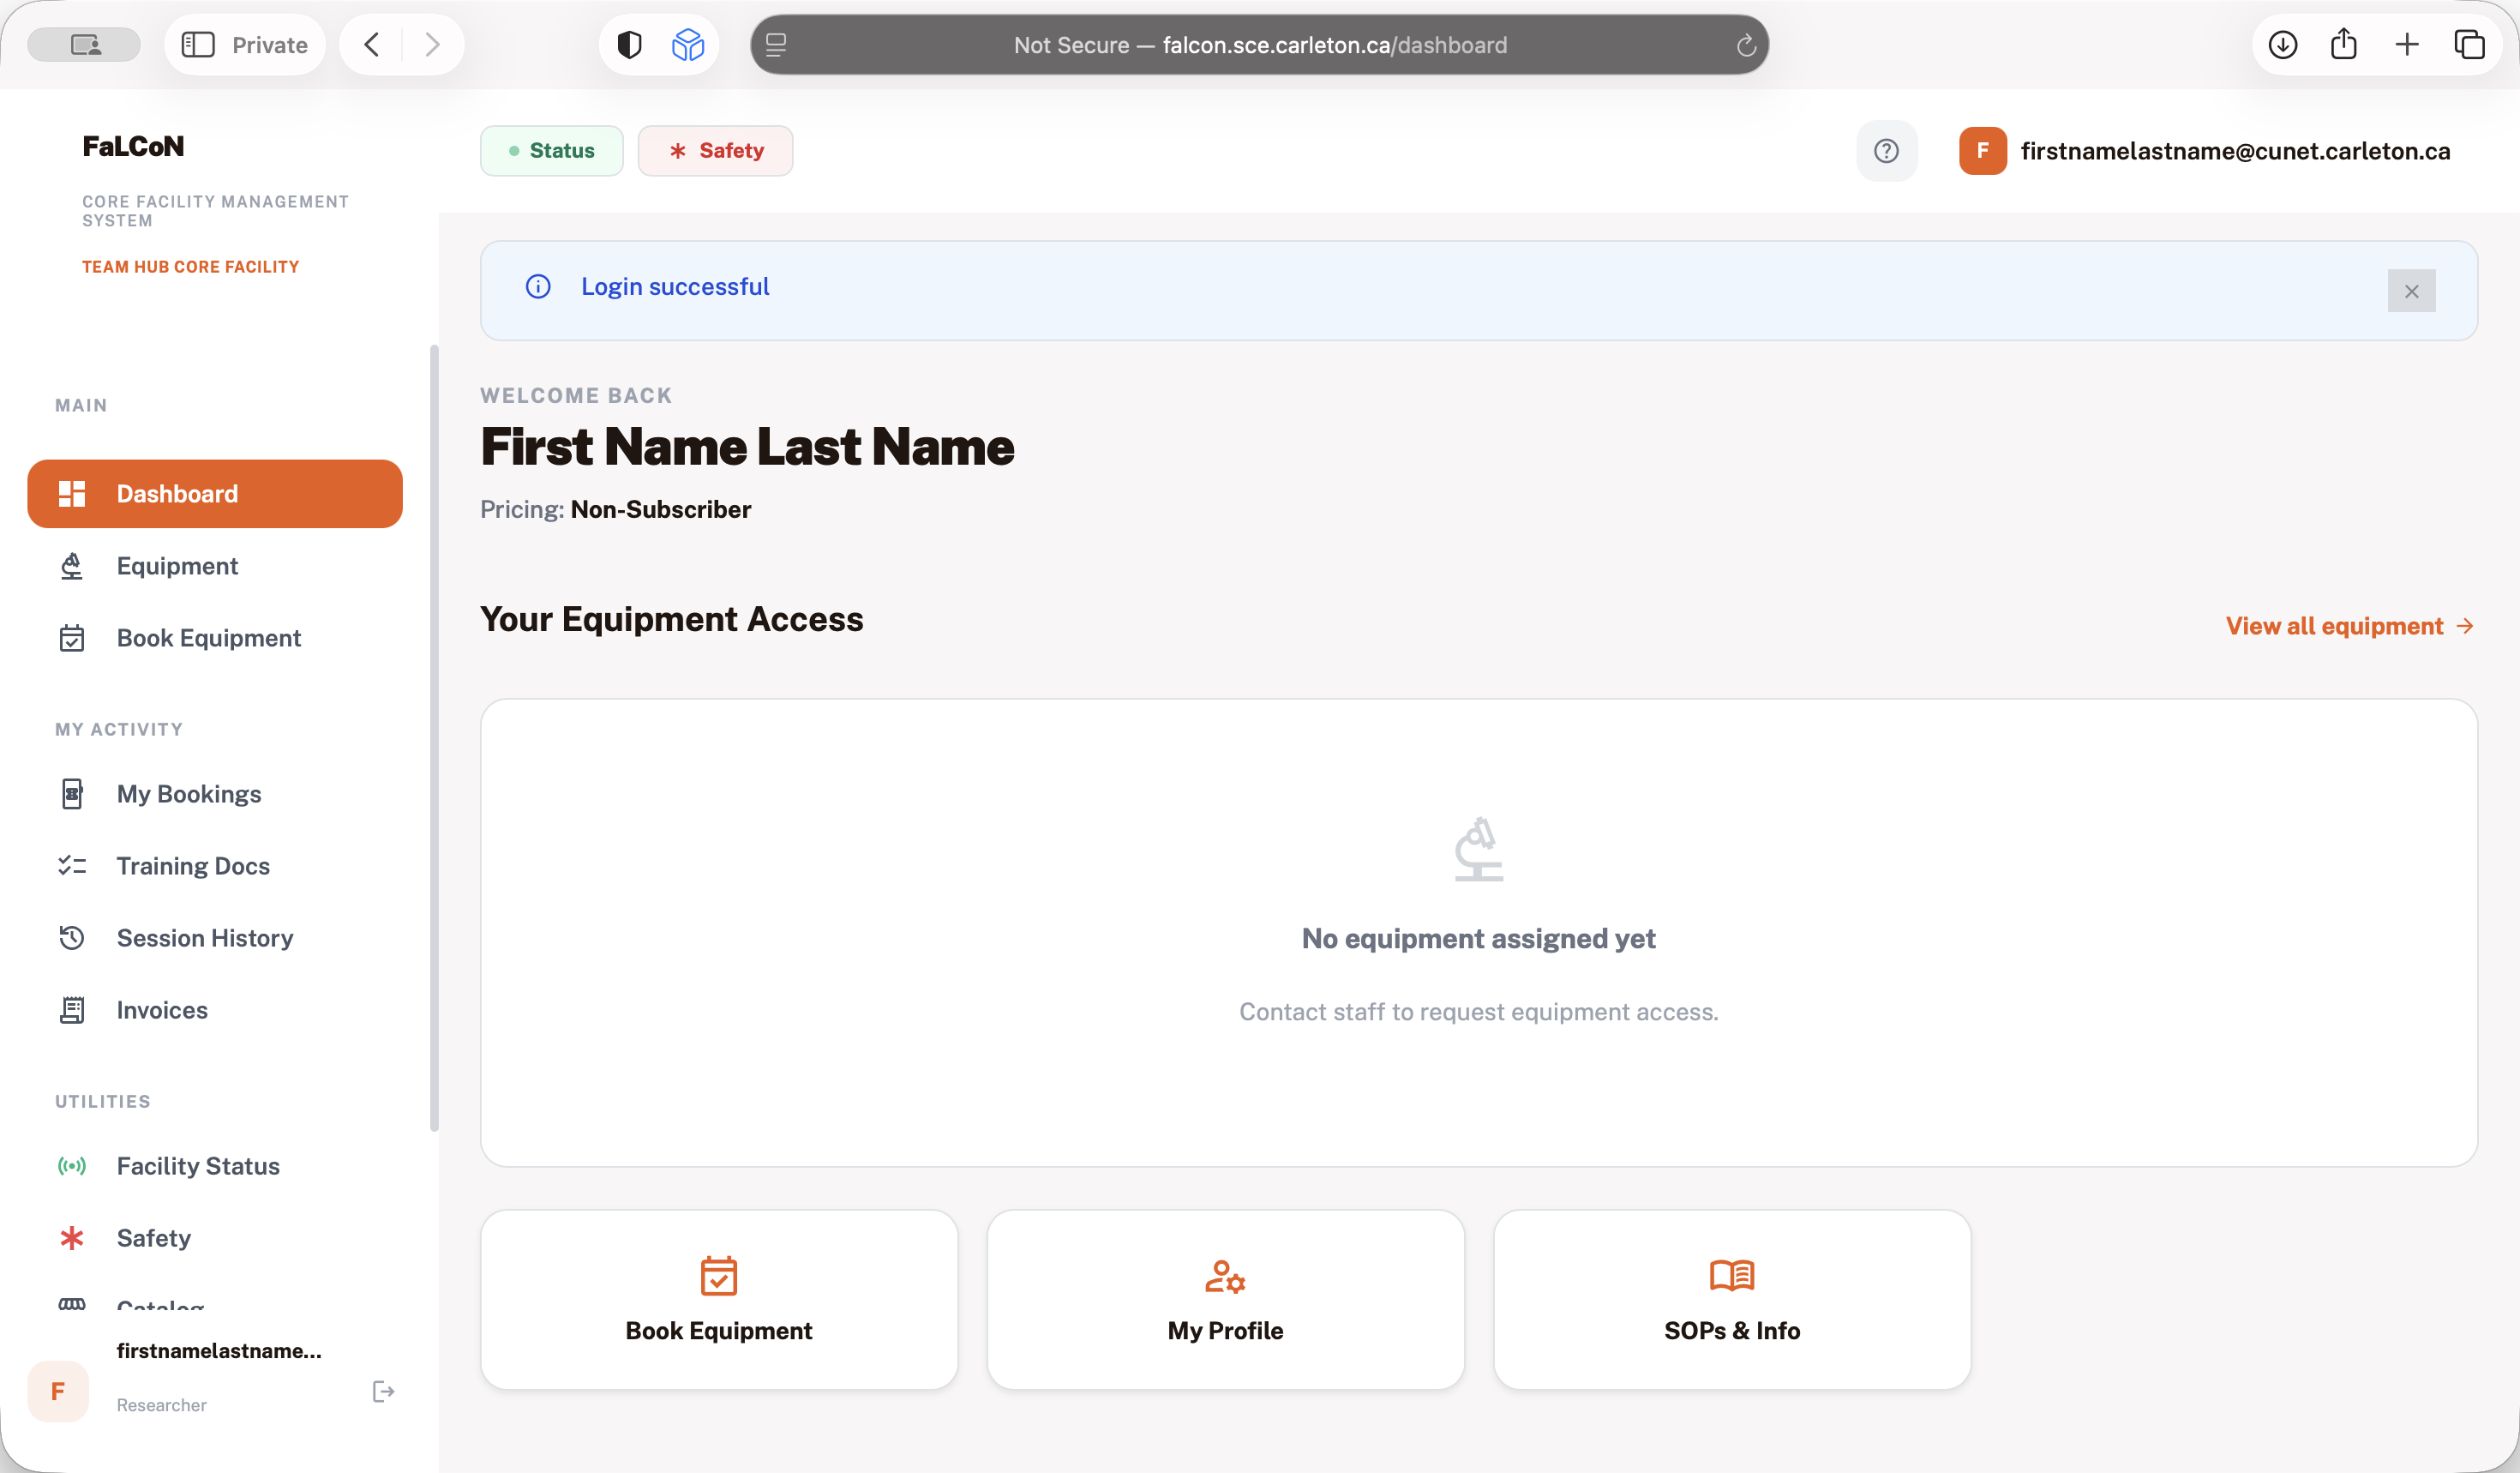
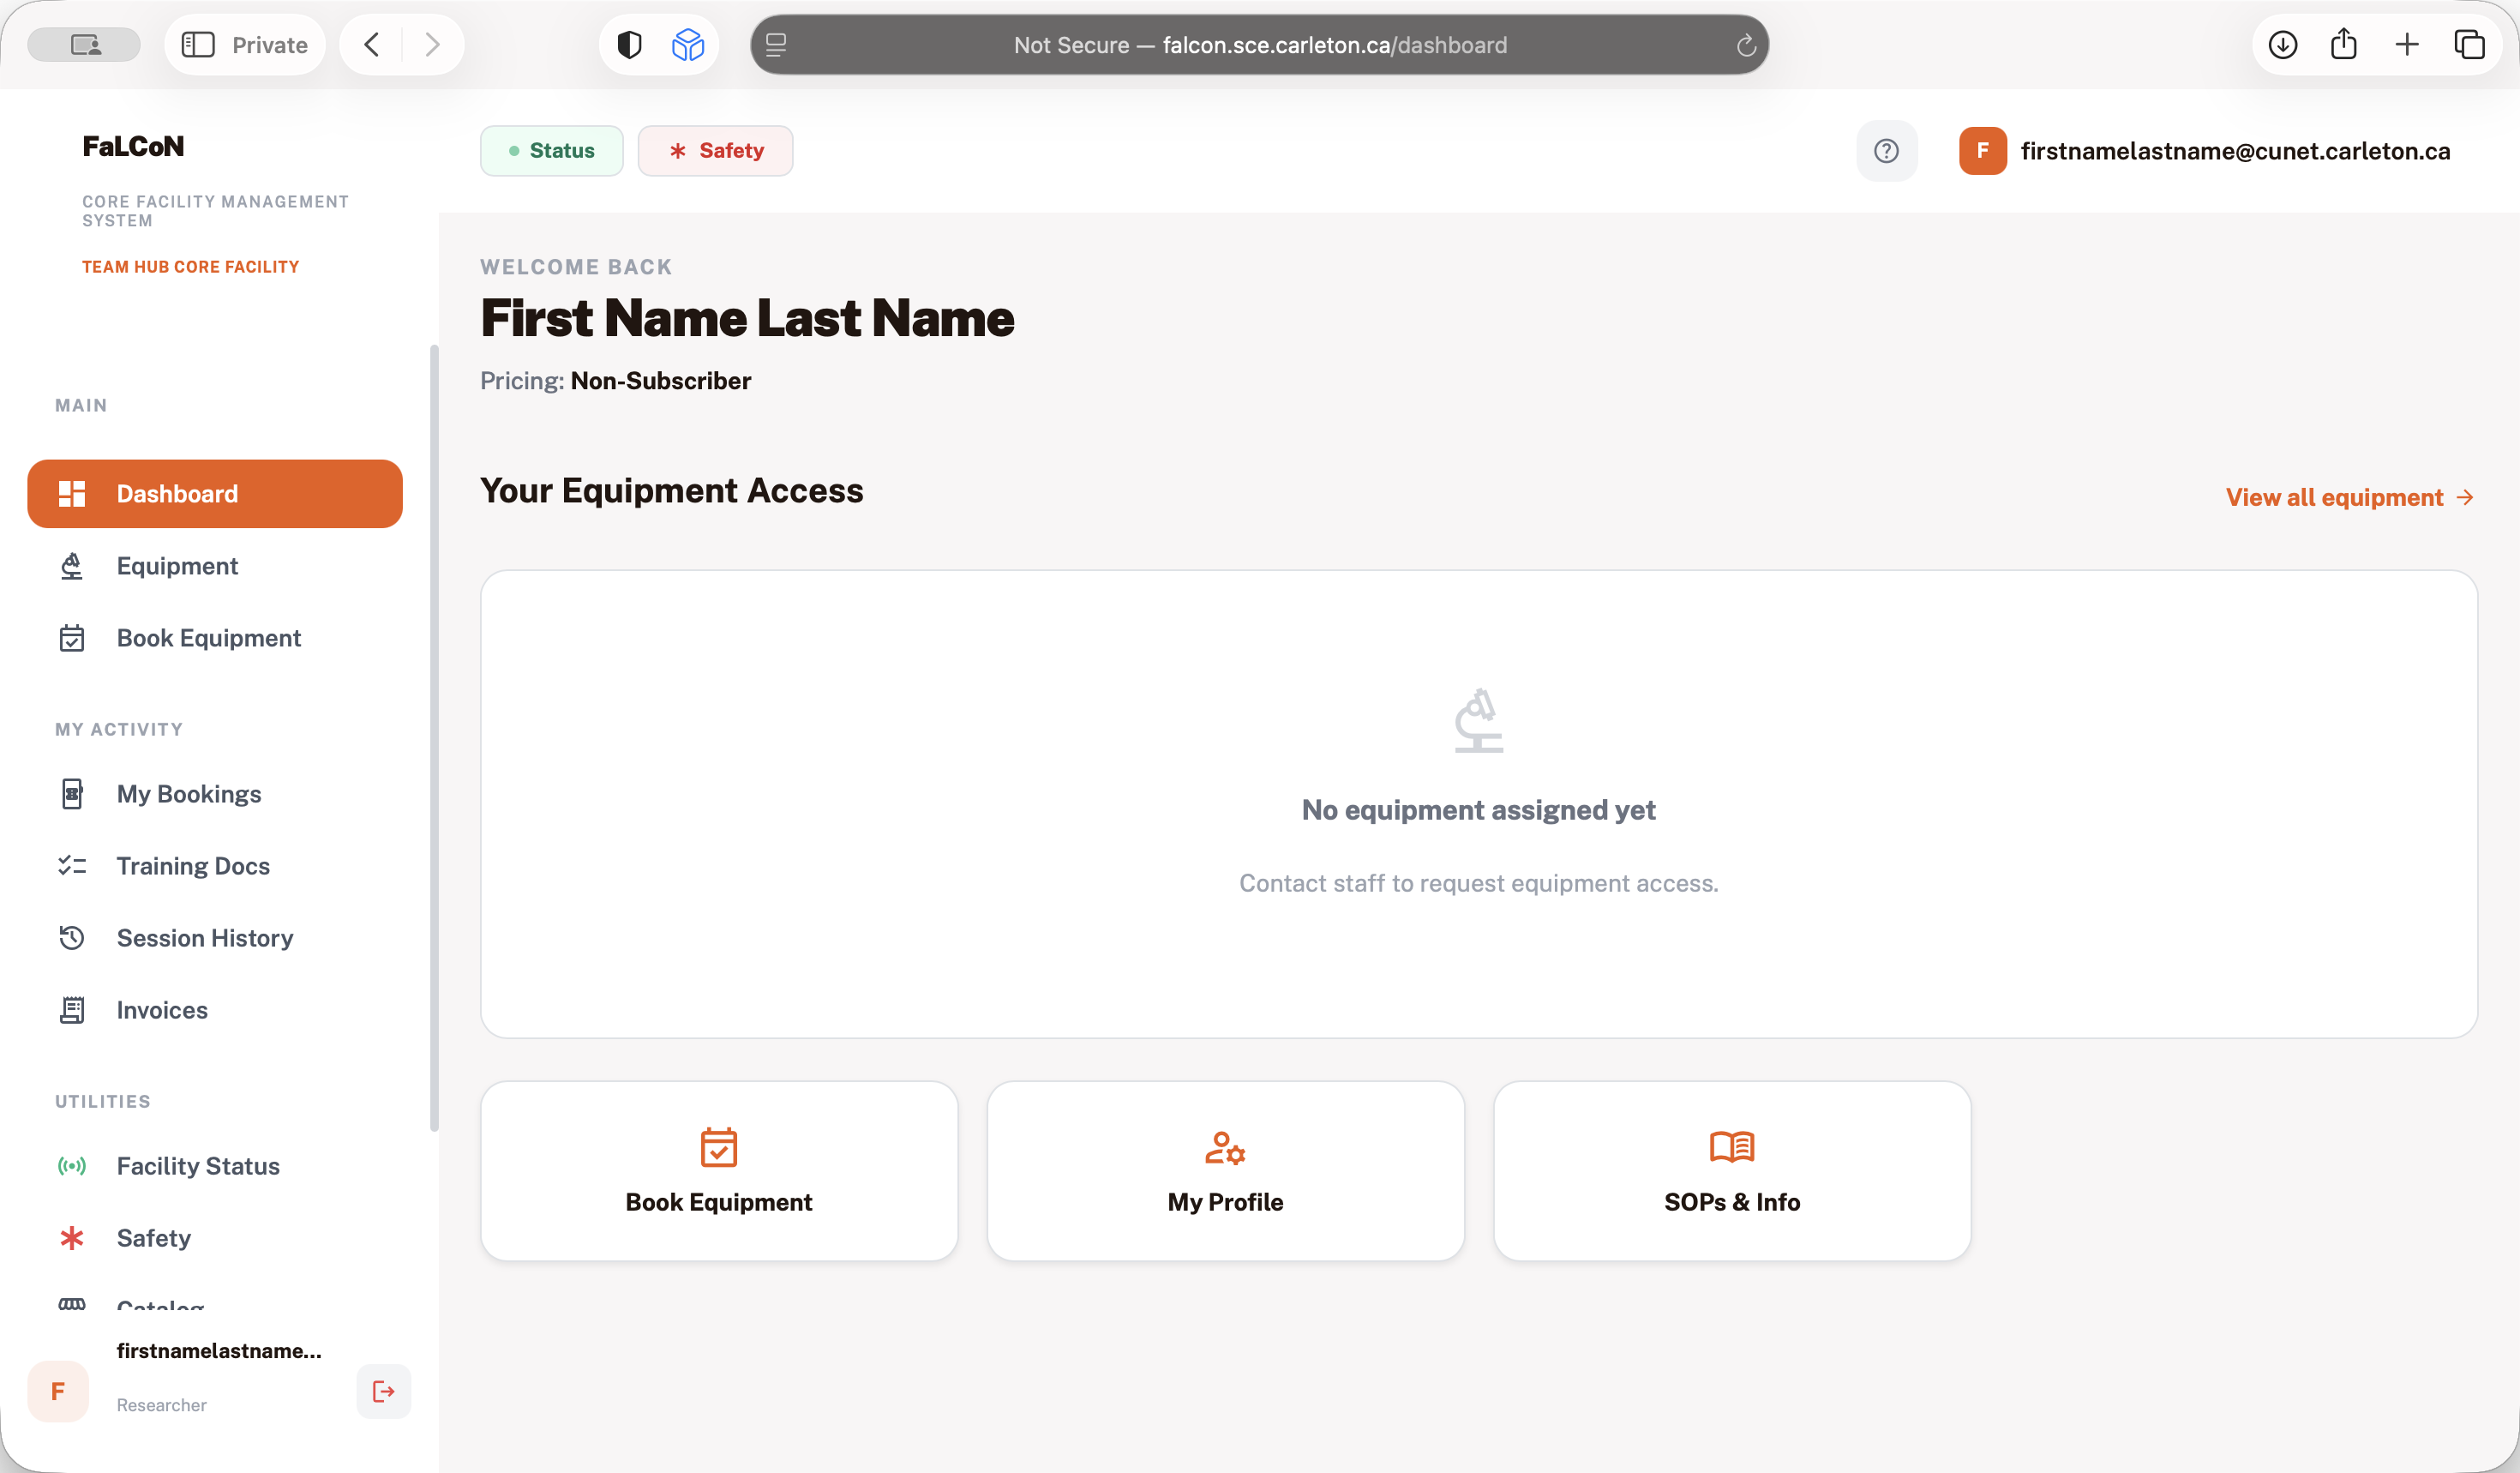
If you log in to your system now, you should be able to see the dashboard and the options to book the equipment.

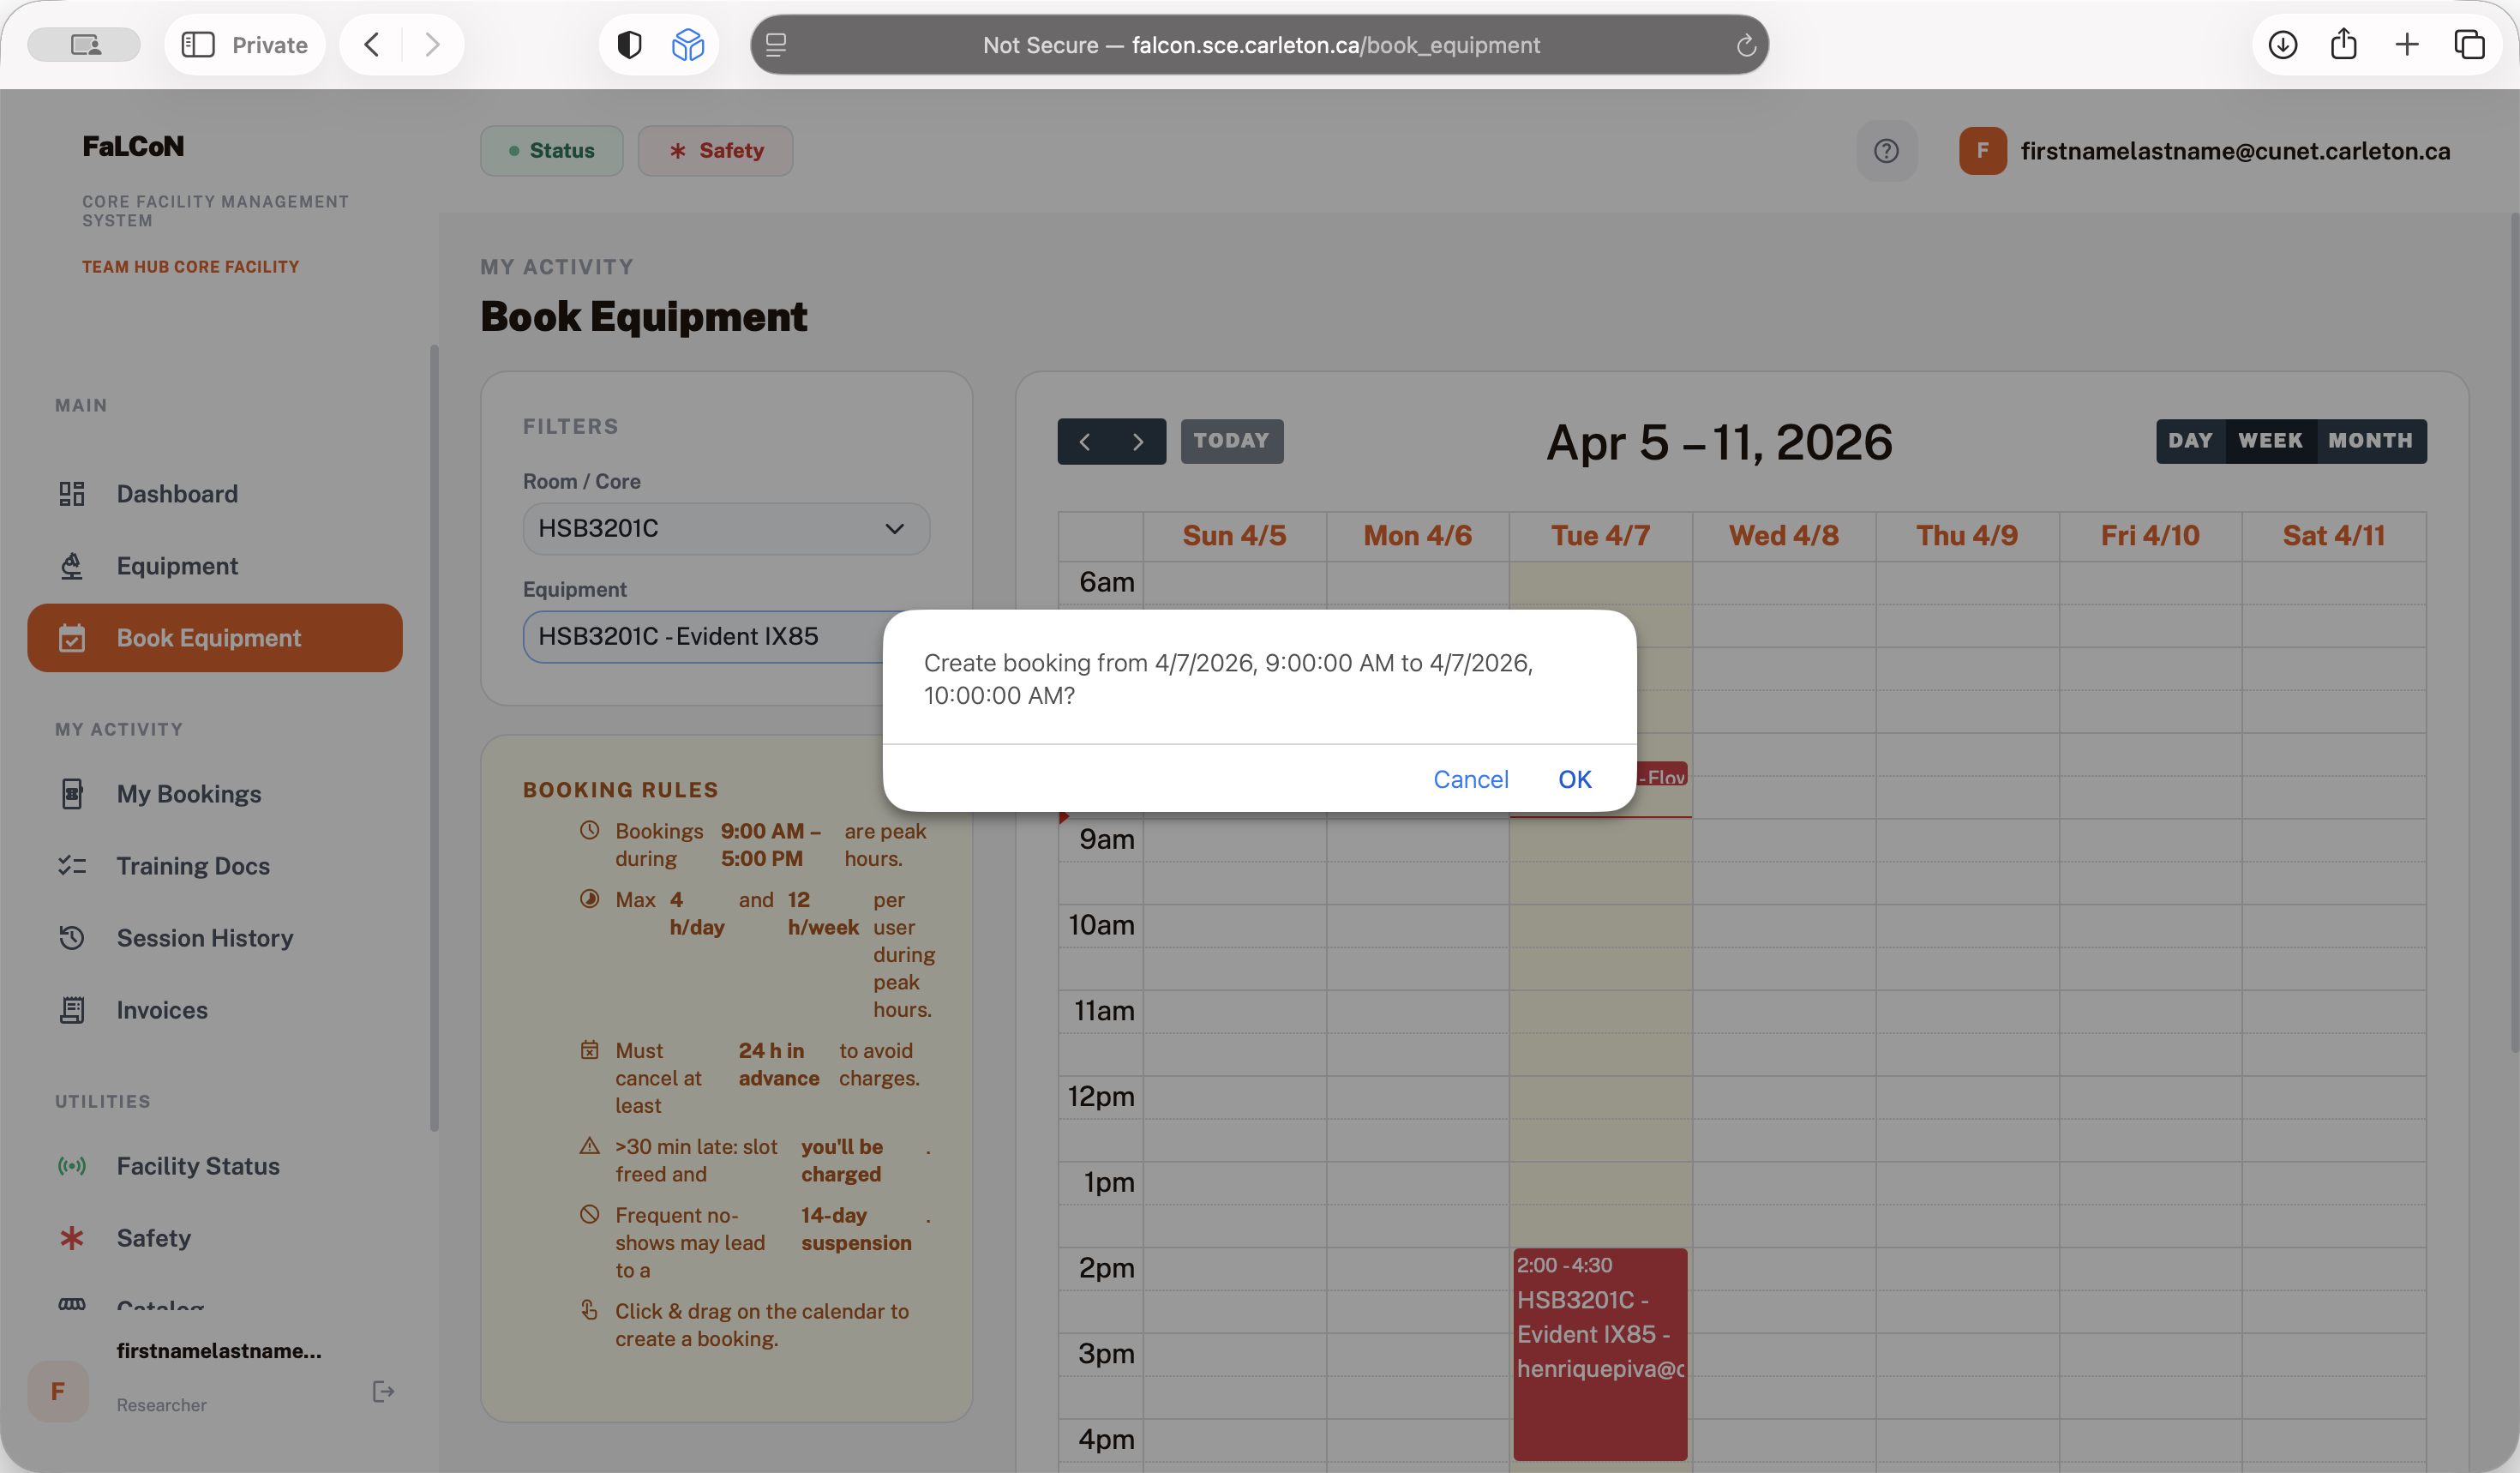
If you come here, you will find different rooms with instruments.
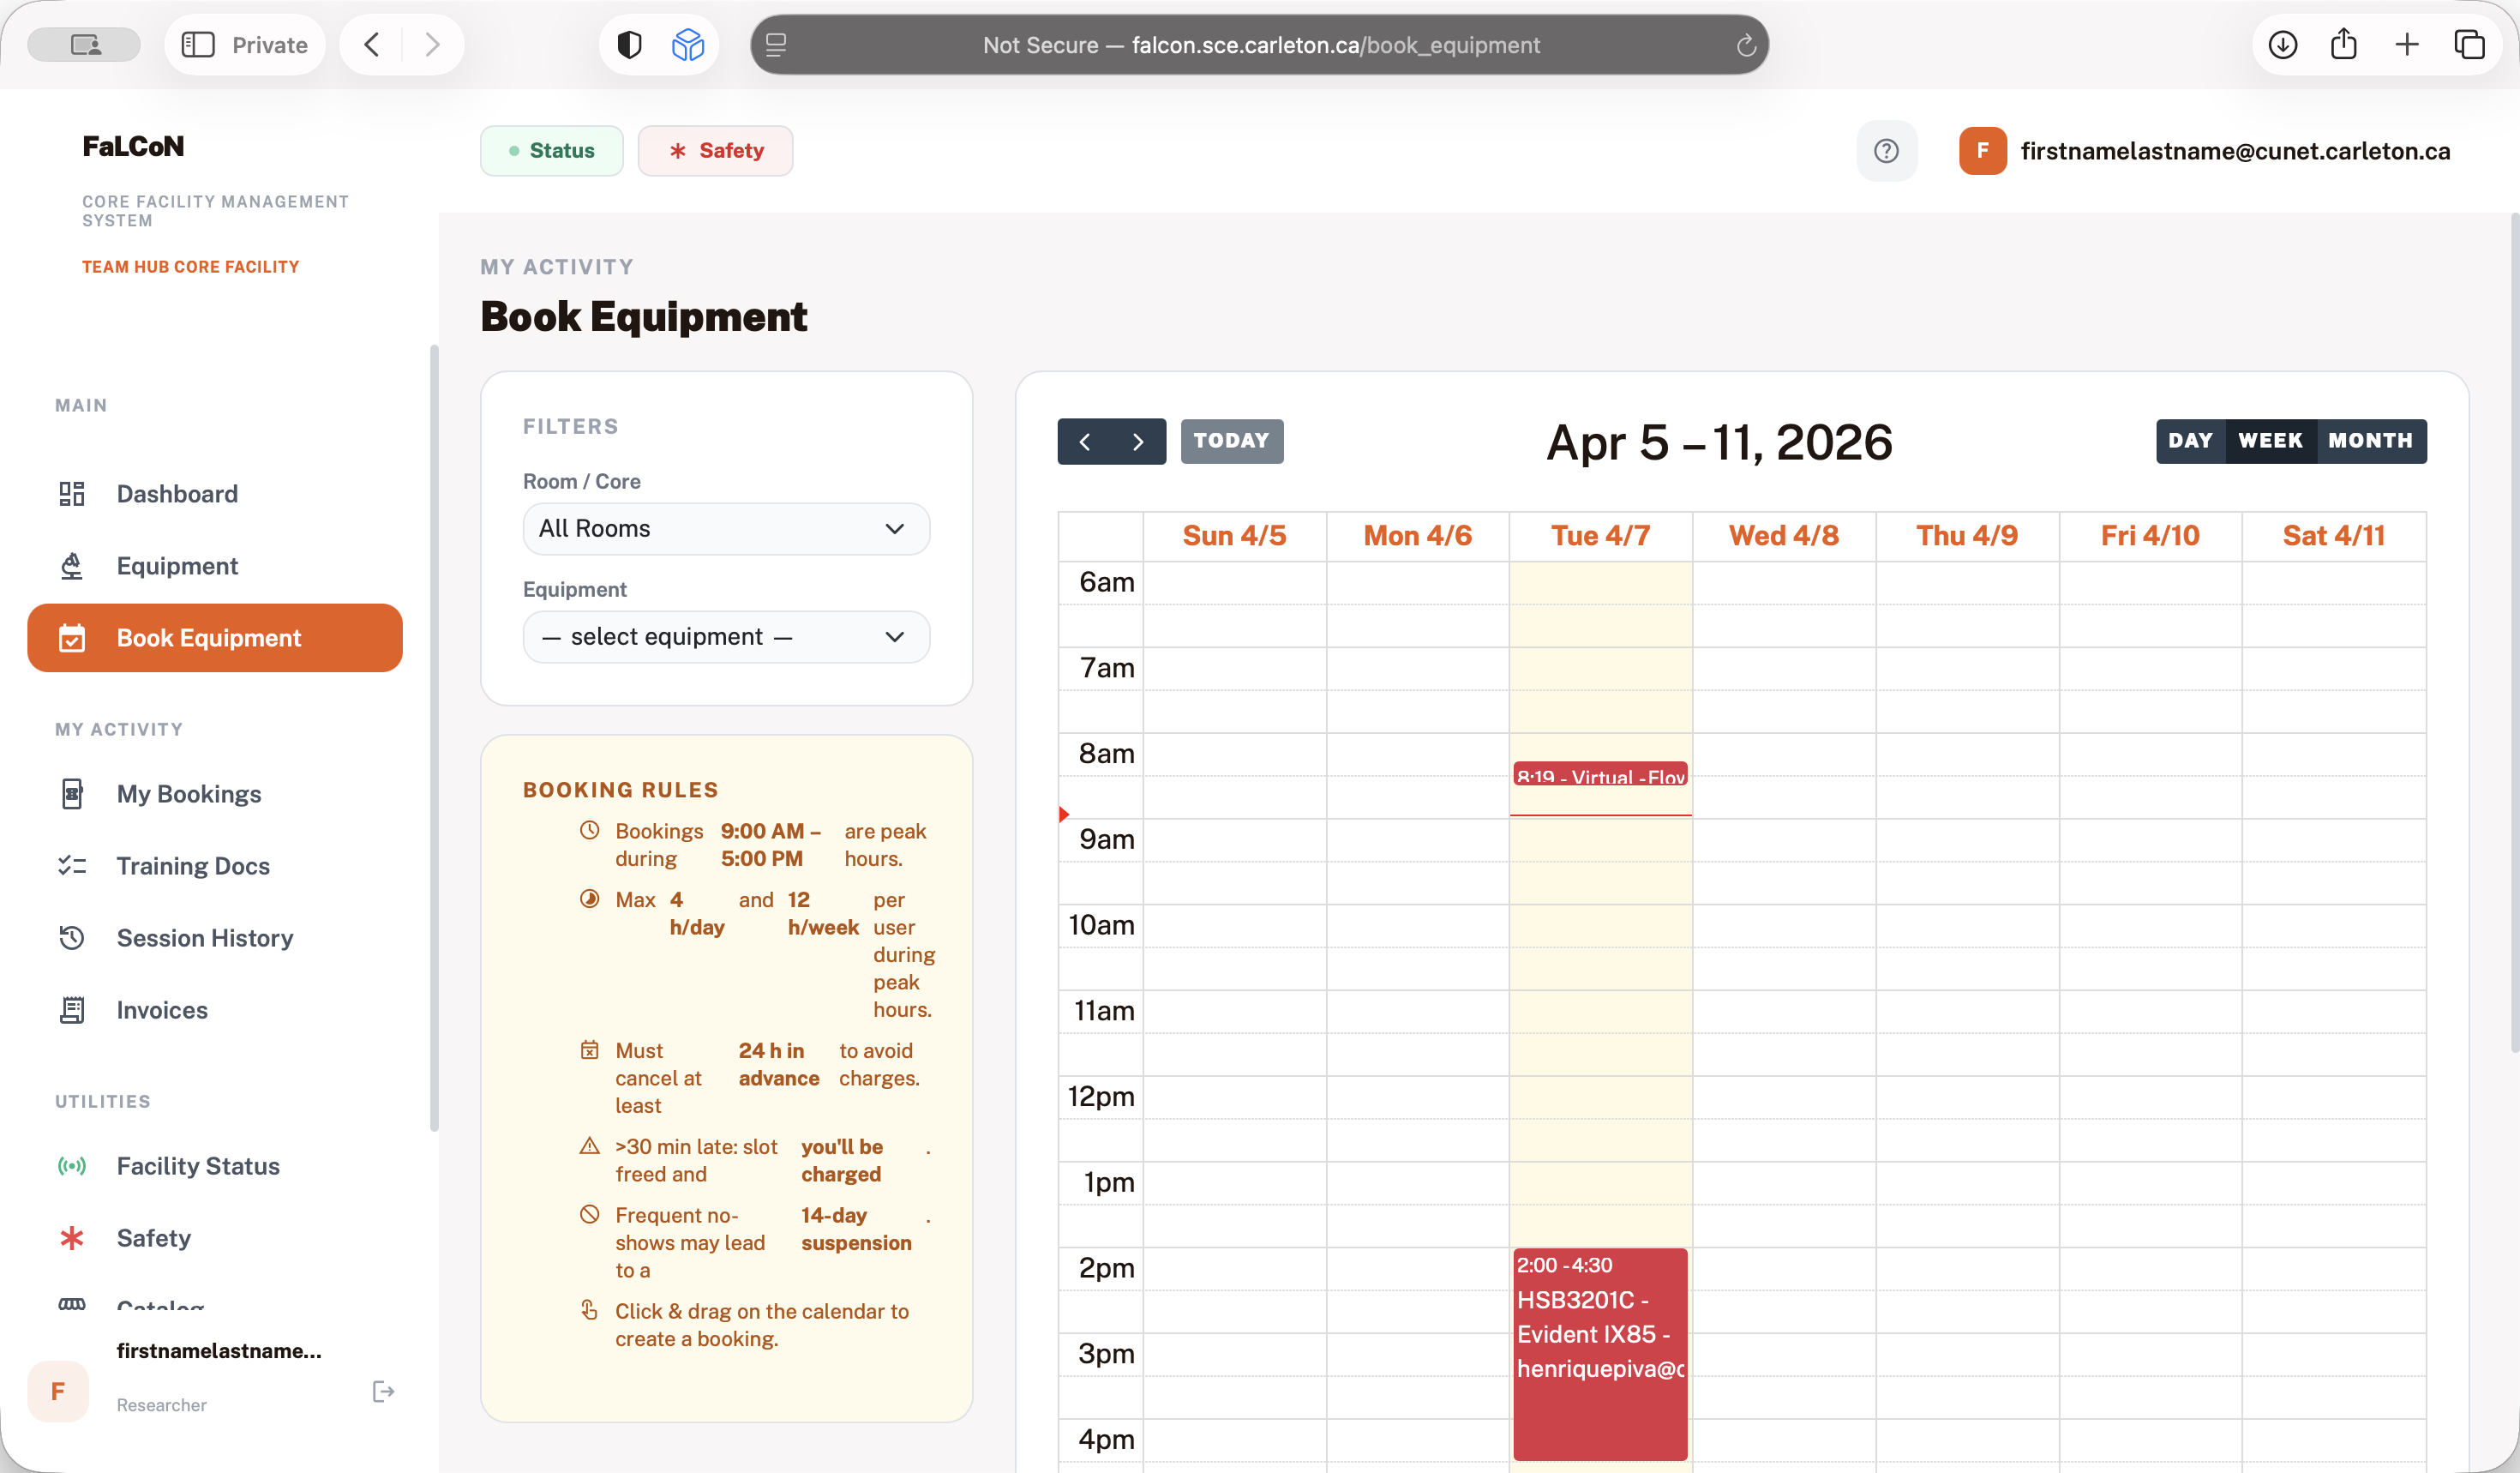
CB 5111 is the confocal room. We also have the HSV rooms: room A, room B, and room C.


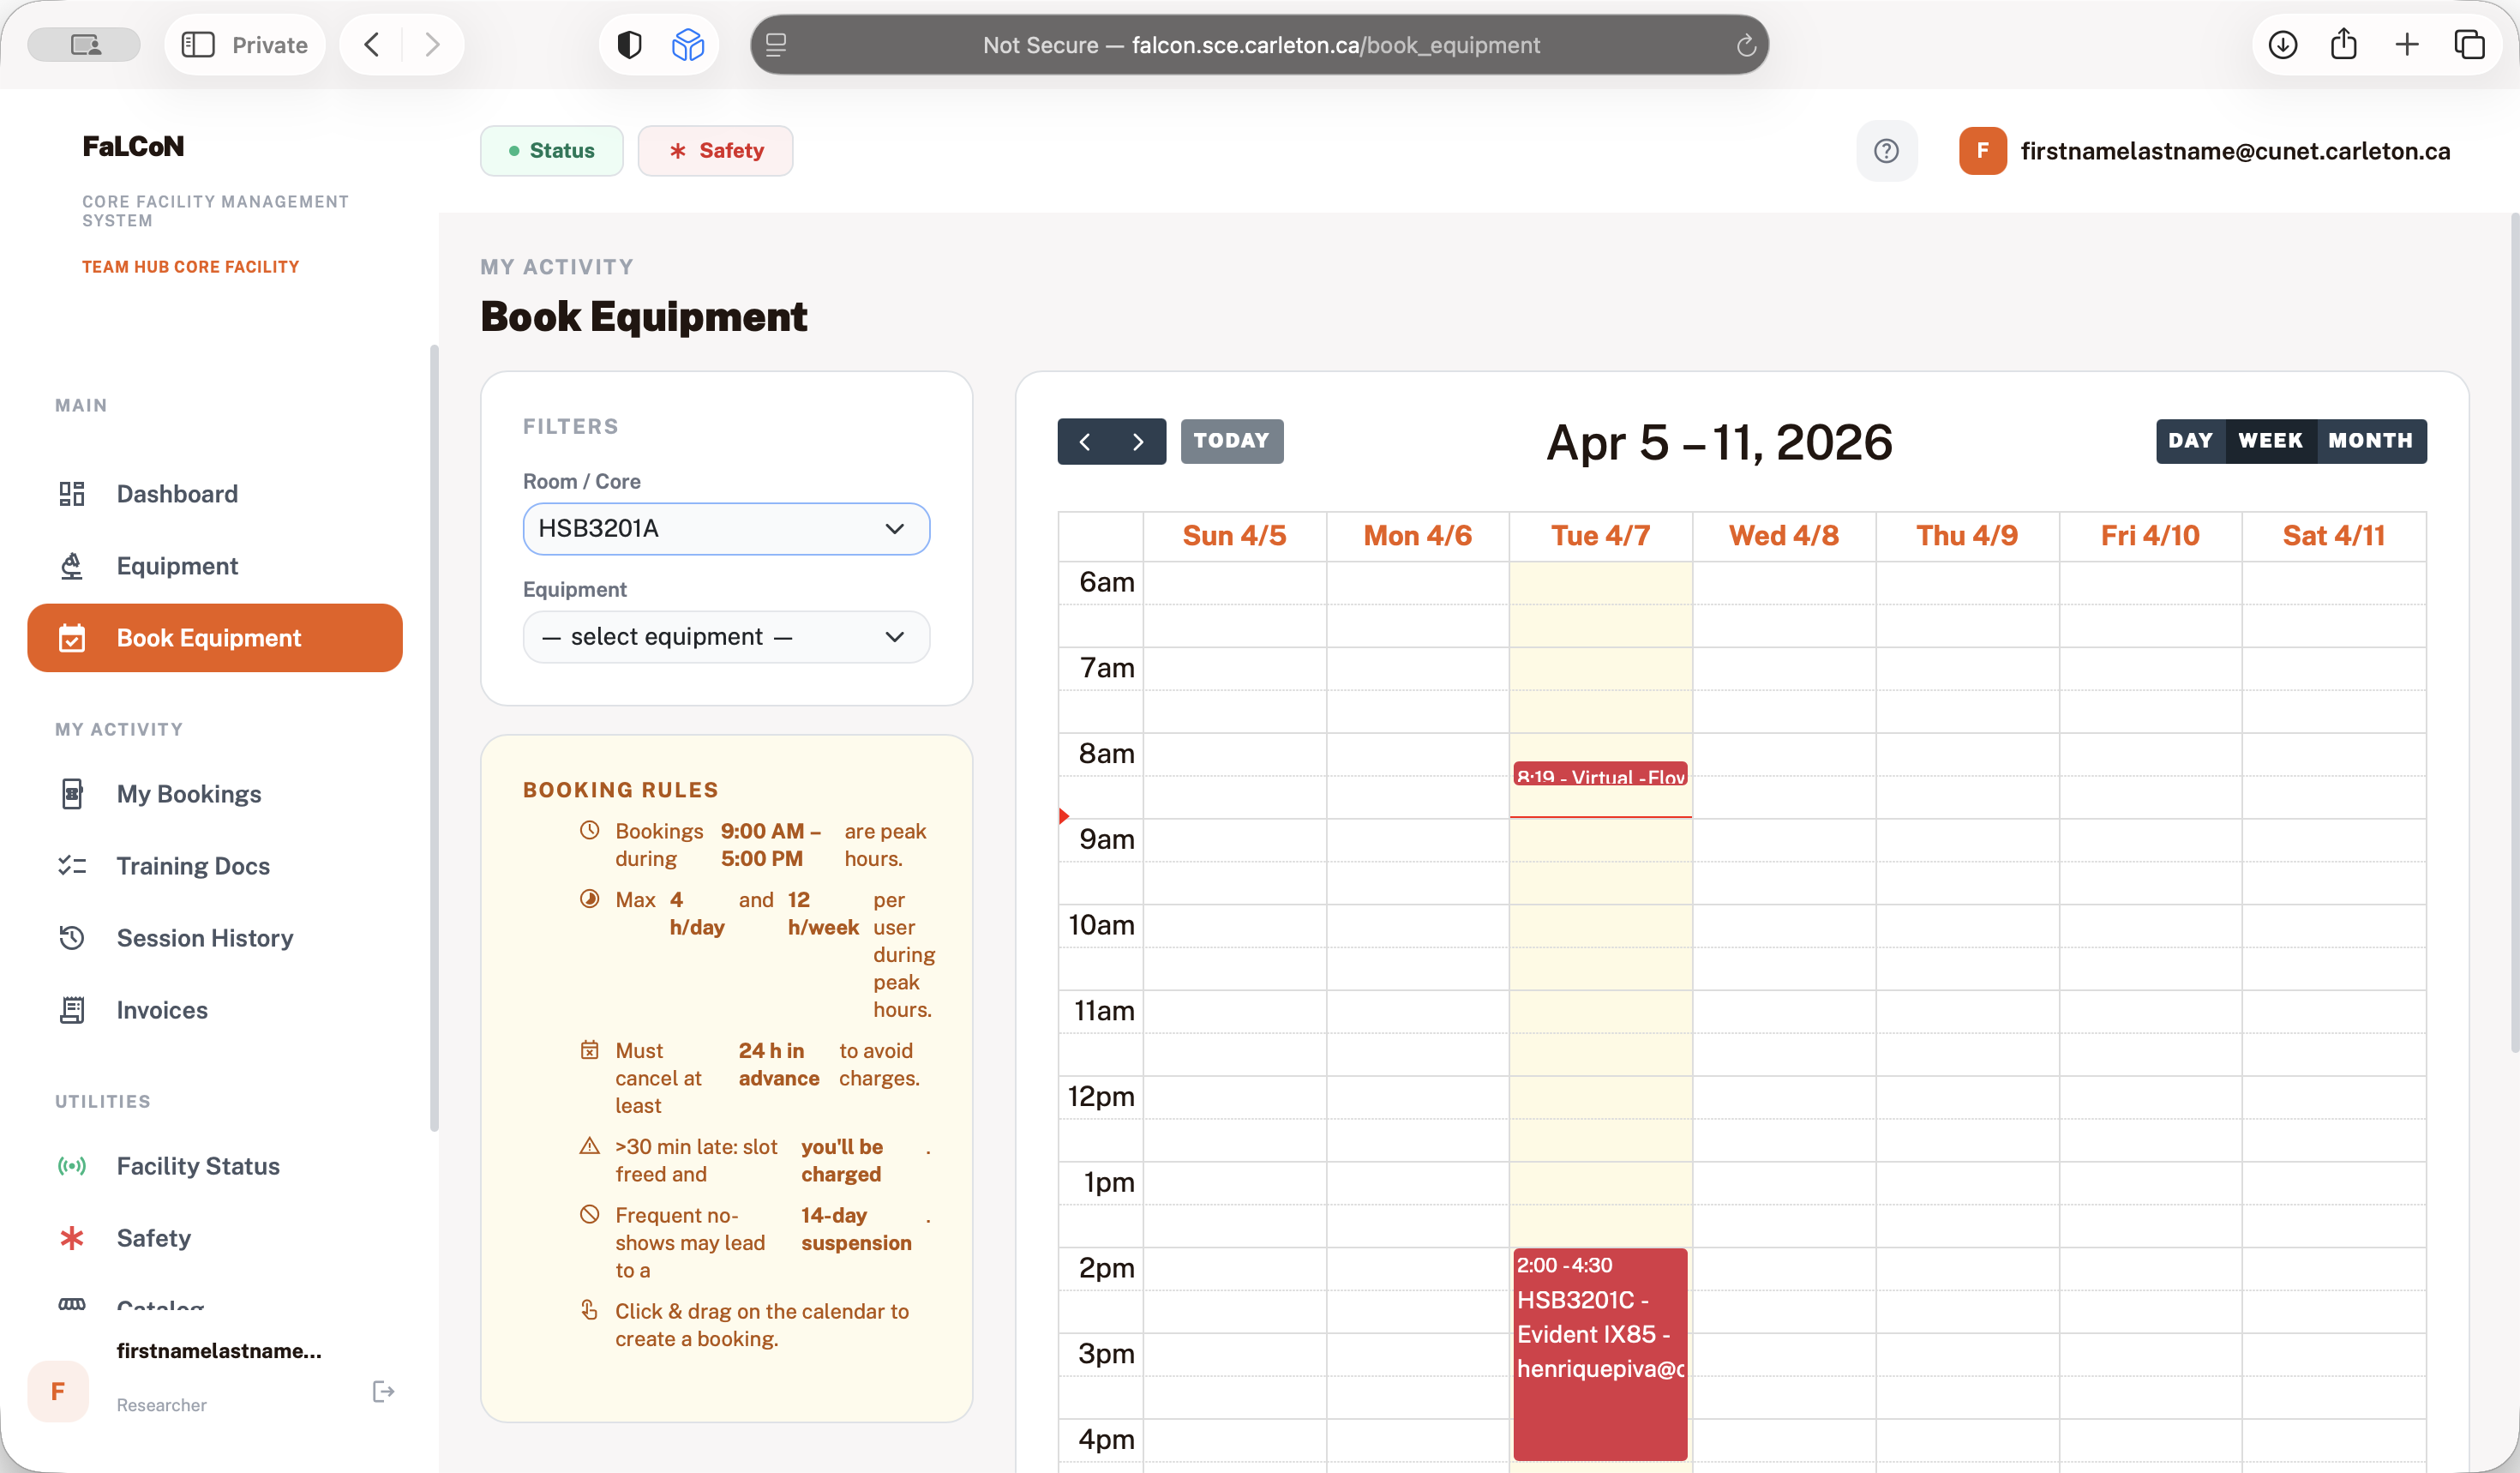

For example, room C is where we have the new microscope.


Select it, then book it. If I try to book it now, I won't be able to because I don't have access to the instruments.


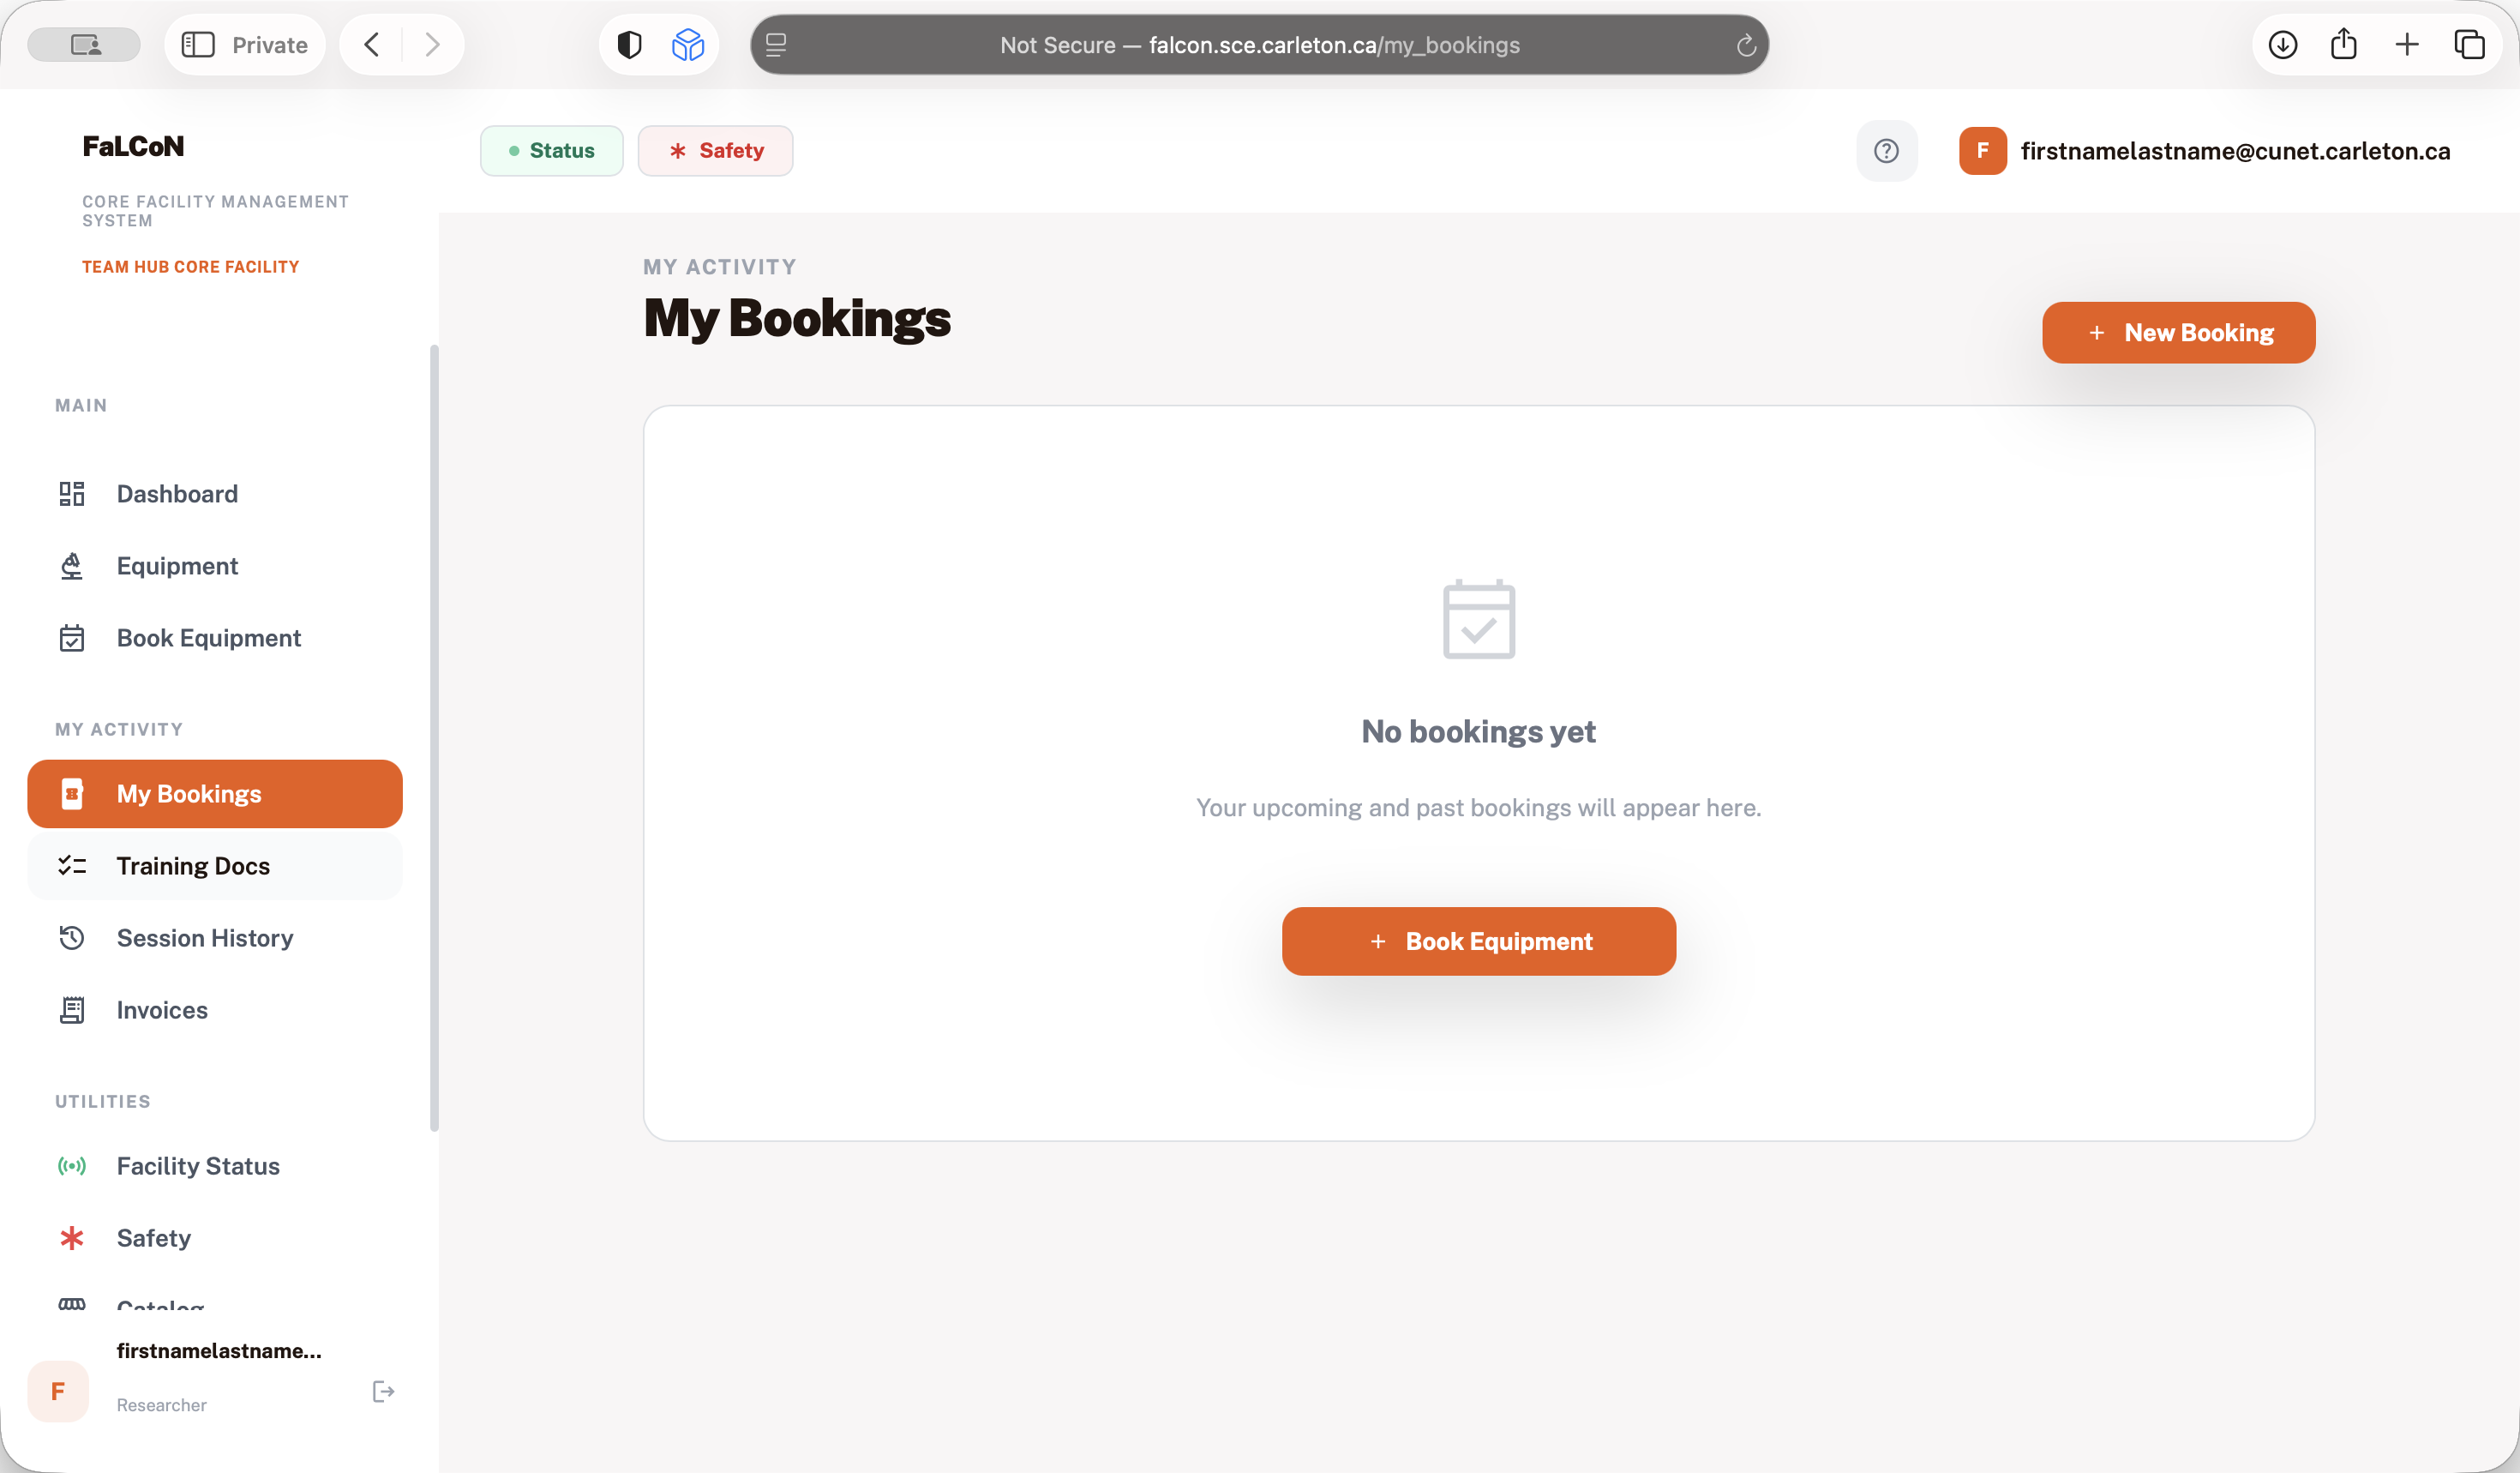
After I complete training, I will have access to the instruments. If I am already trained, you will get access right away. Here in my bookings, you can see which instruments you have booked.

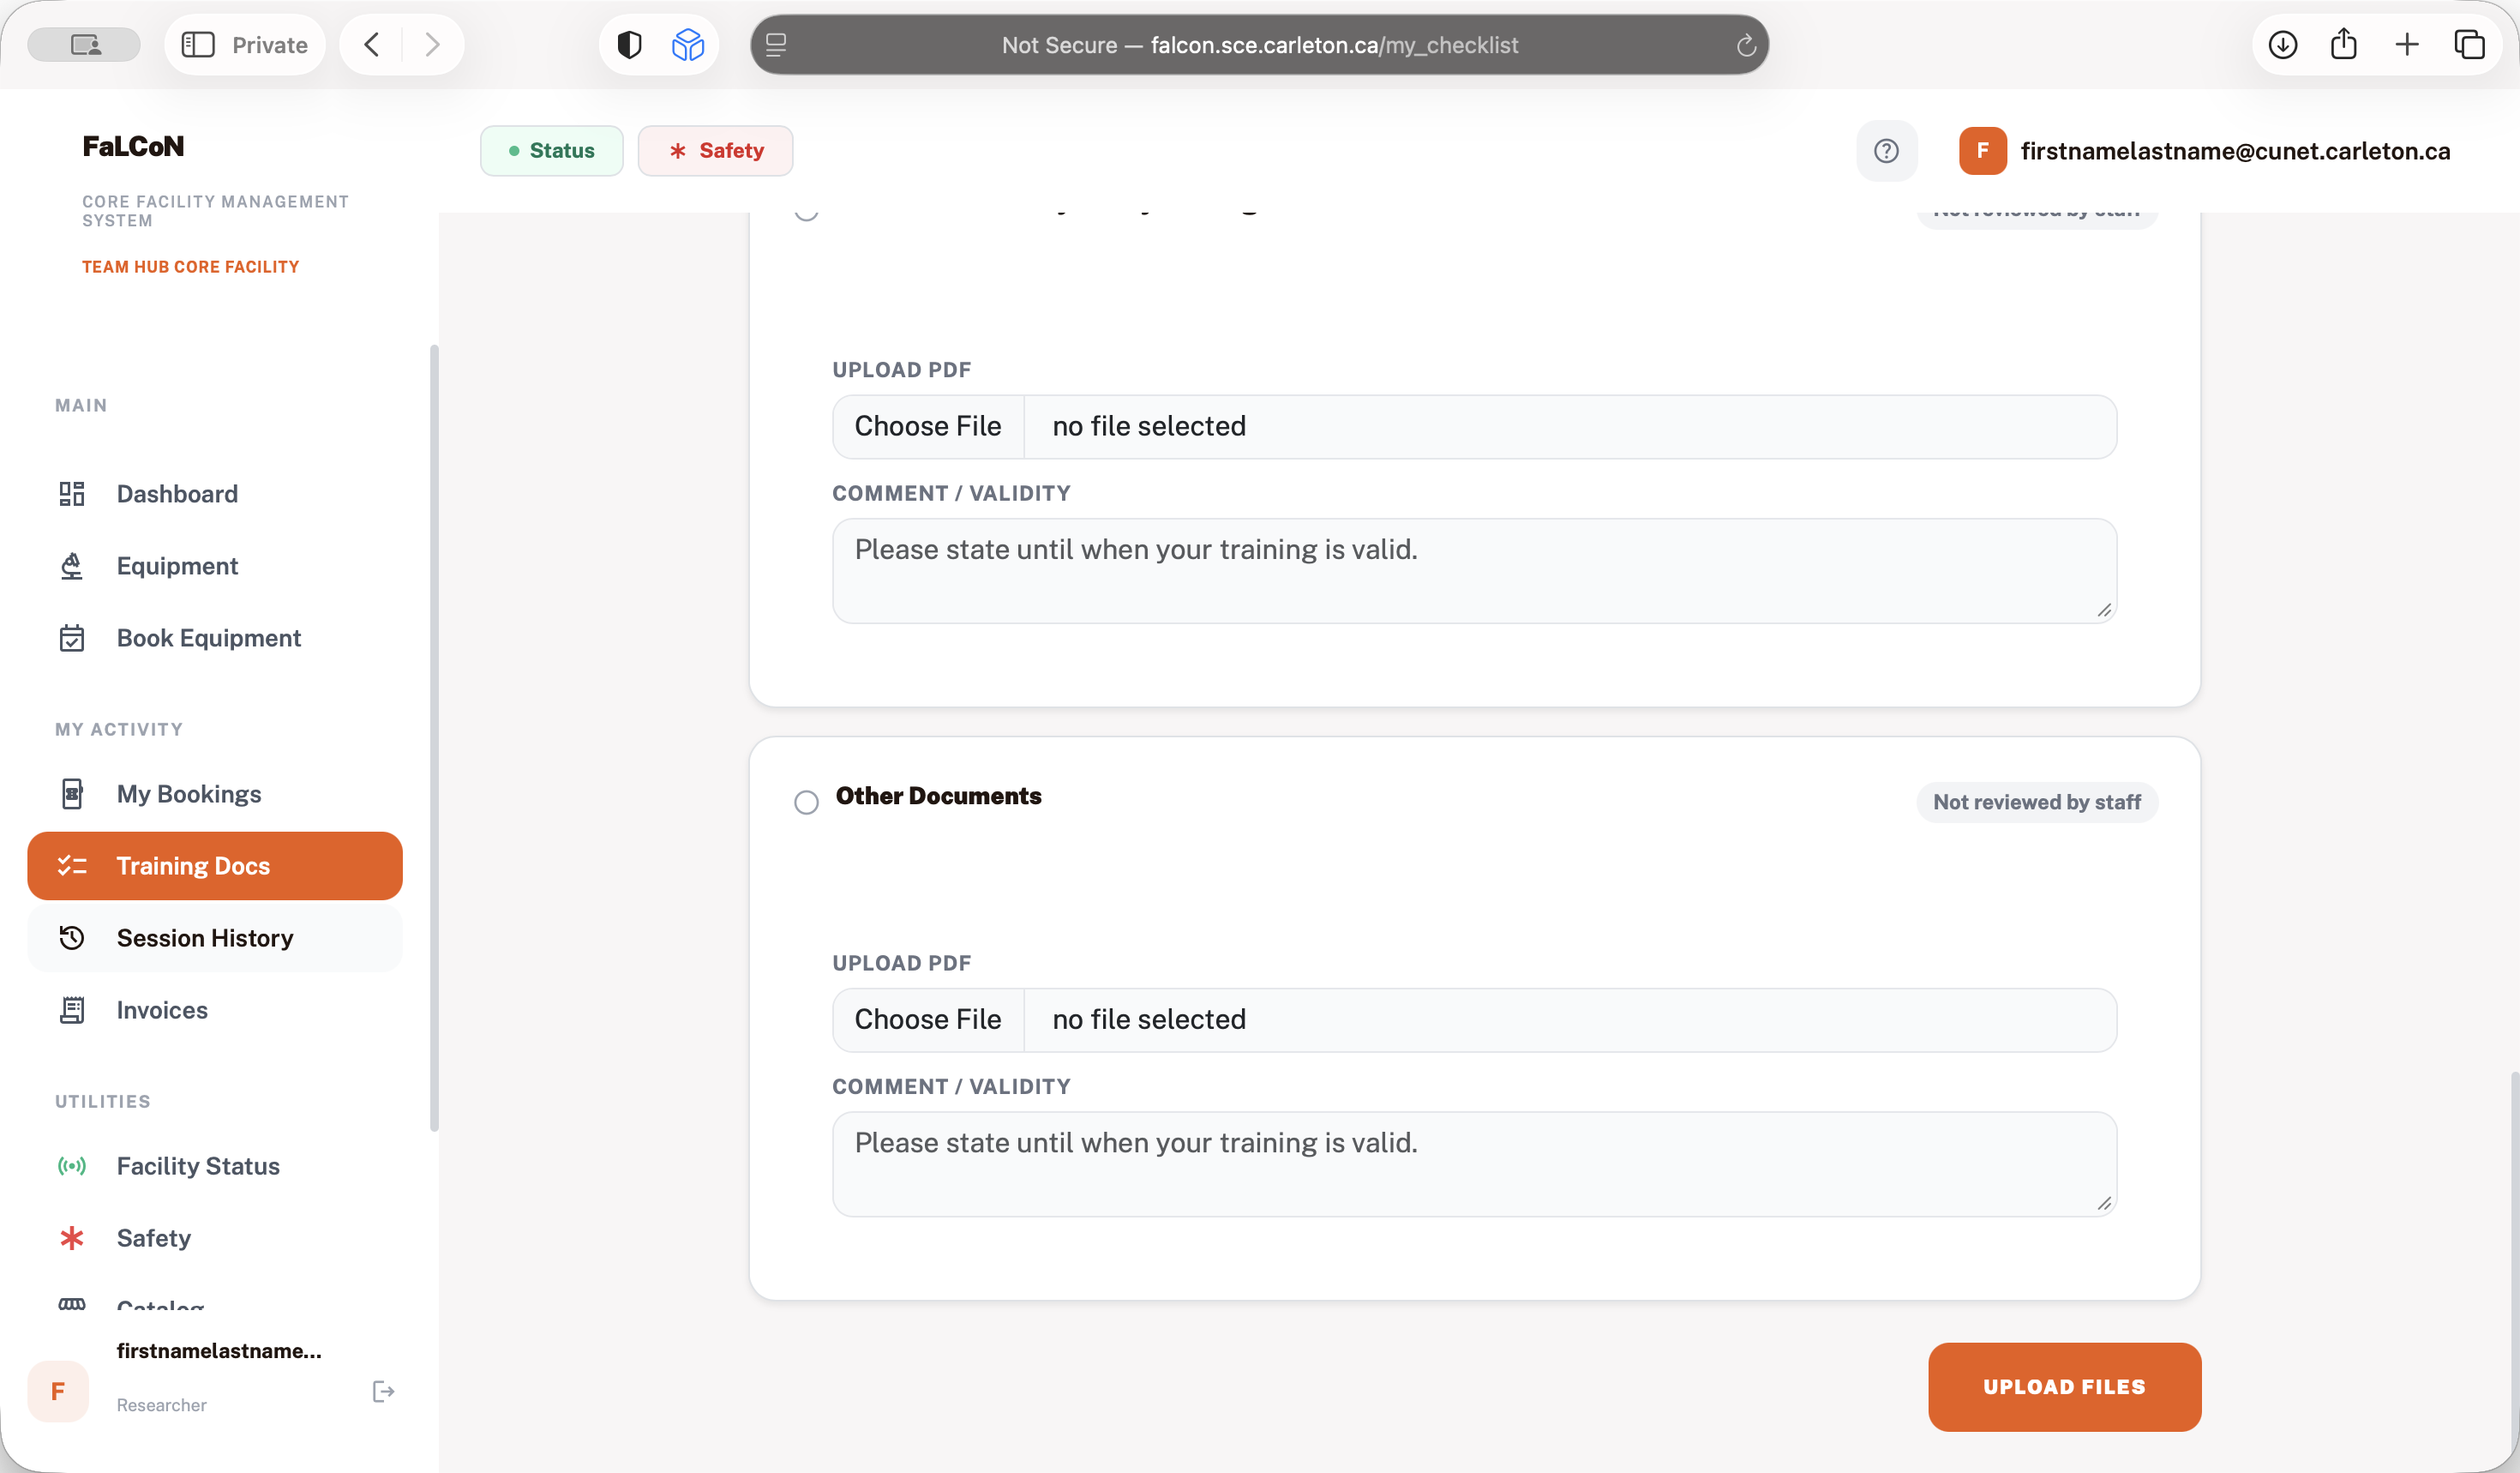
Training documents are important, so you need to complete and upload a PDF for access.
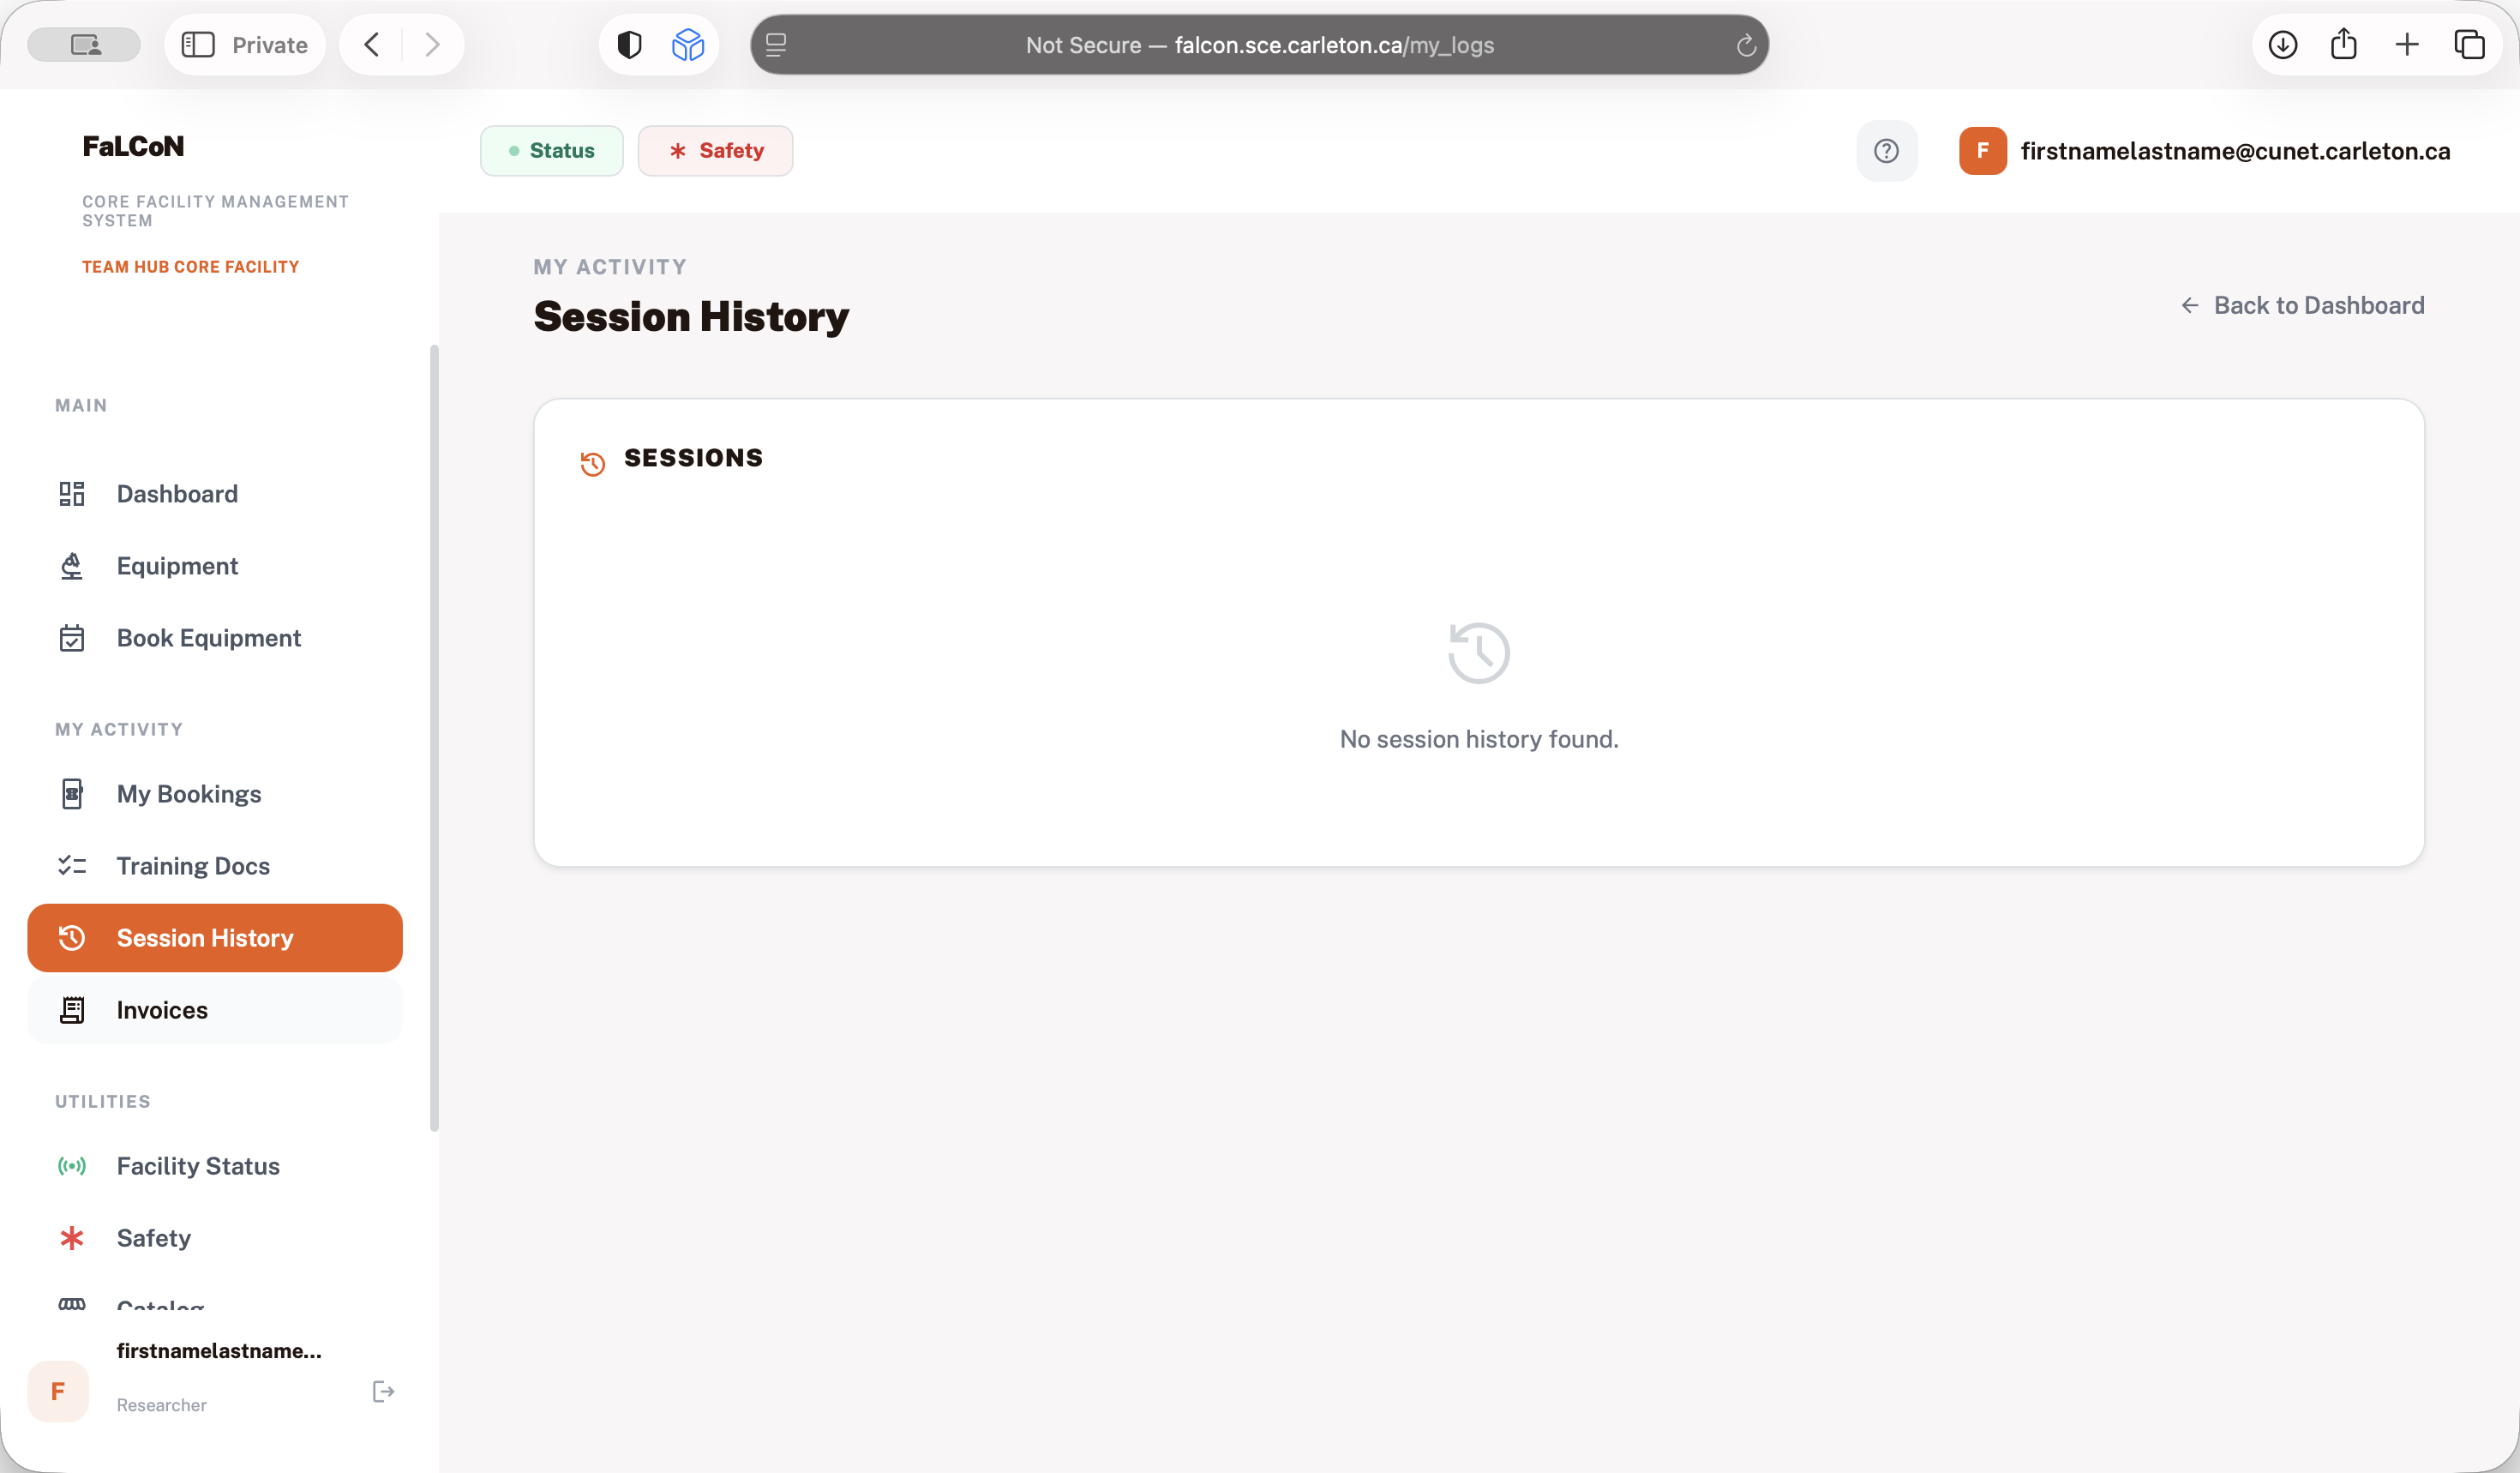
For laser safety, biosafety, lab safety, and other documents, you may need to upload them. Add it here, upload it, and we will check it and give you access. Session history shows where you used the instruments.
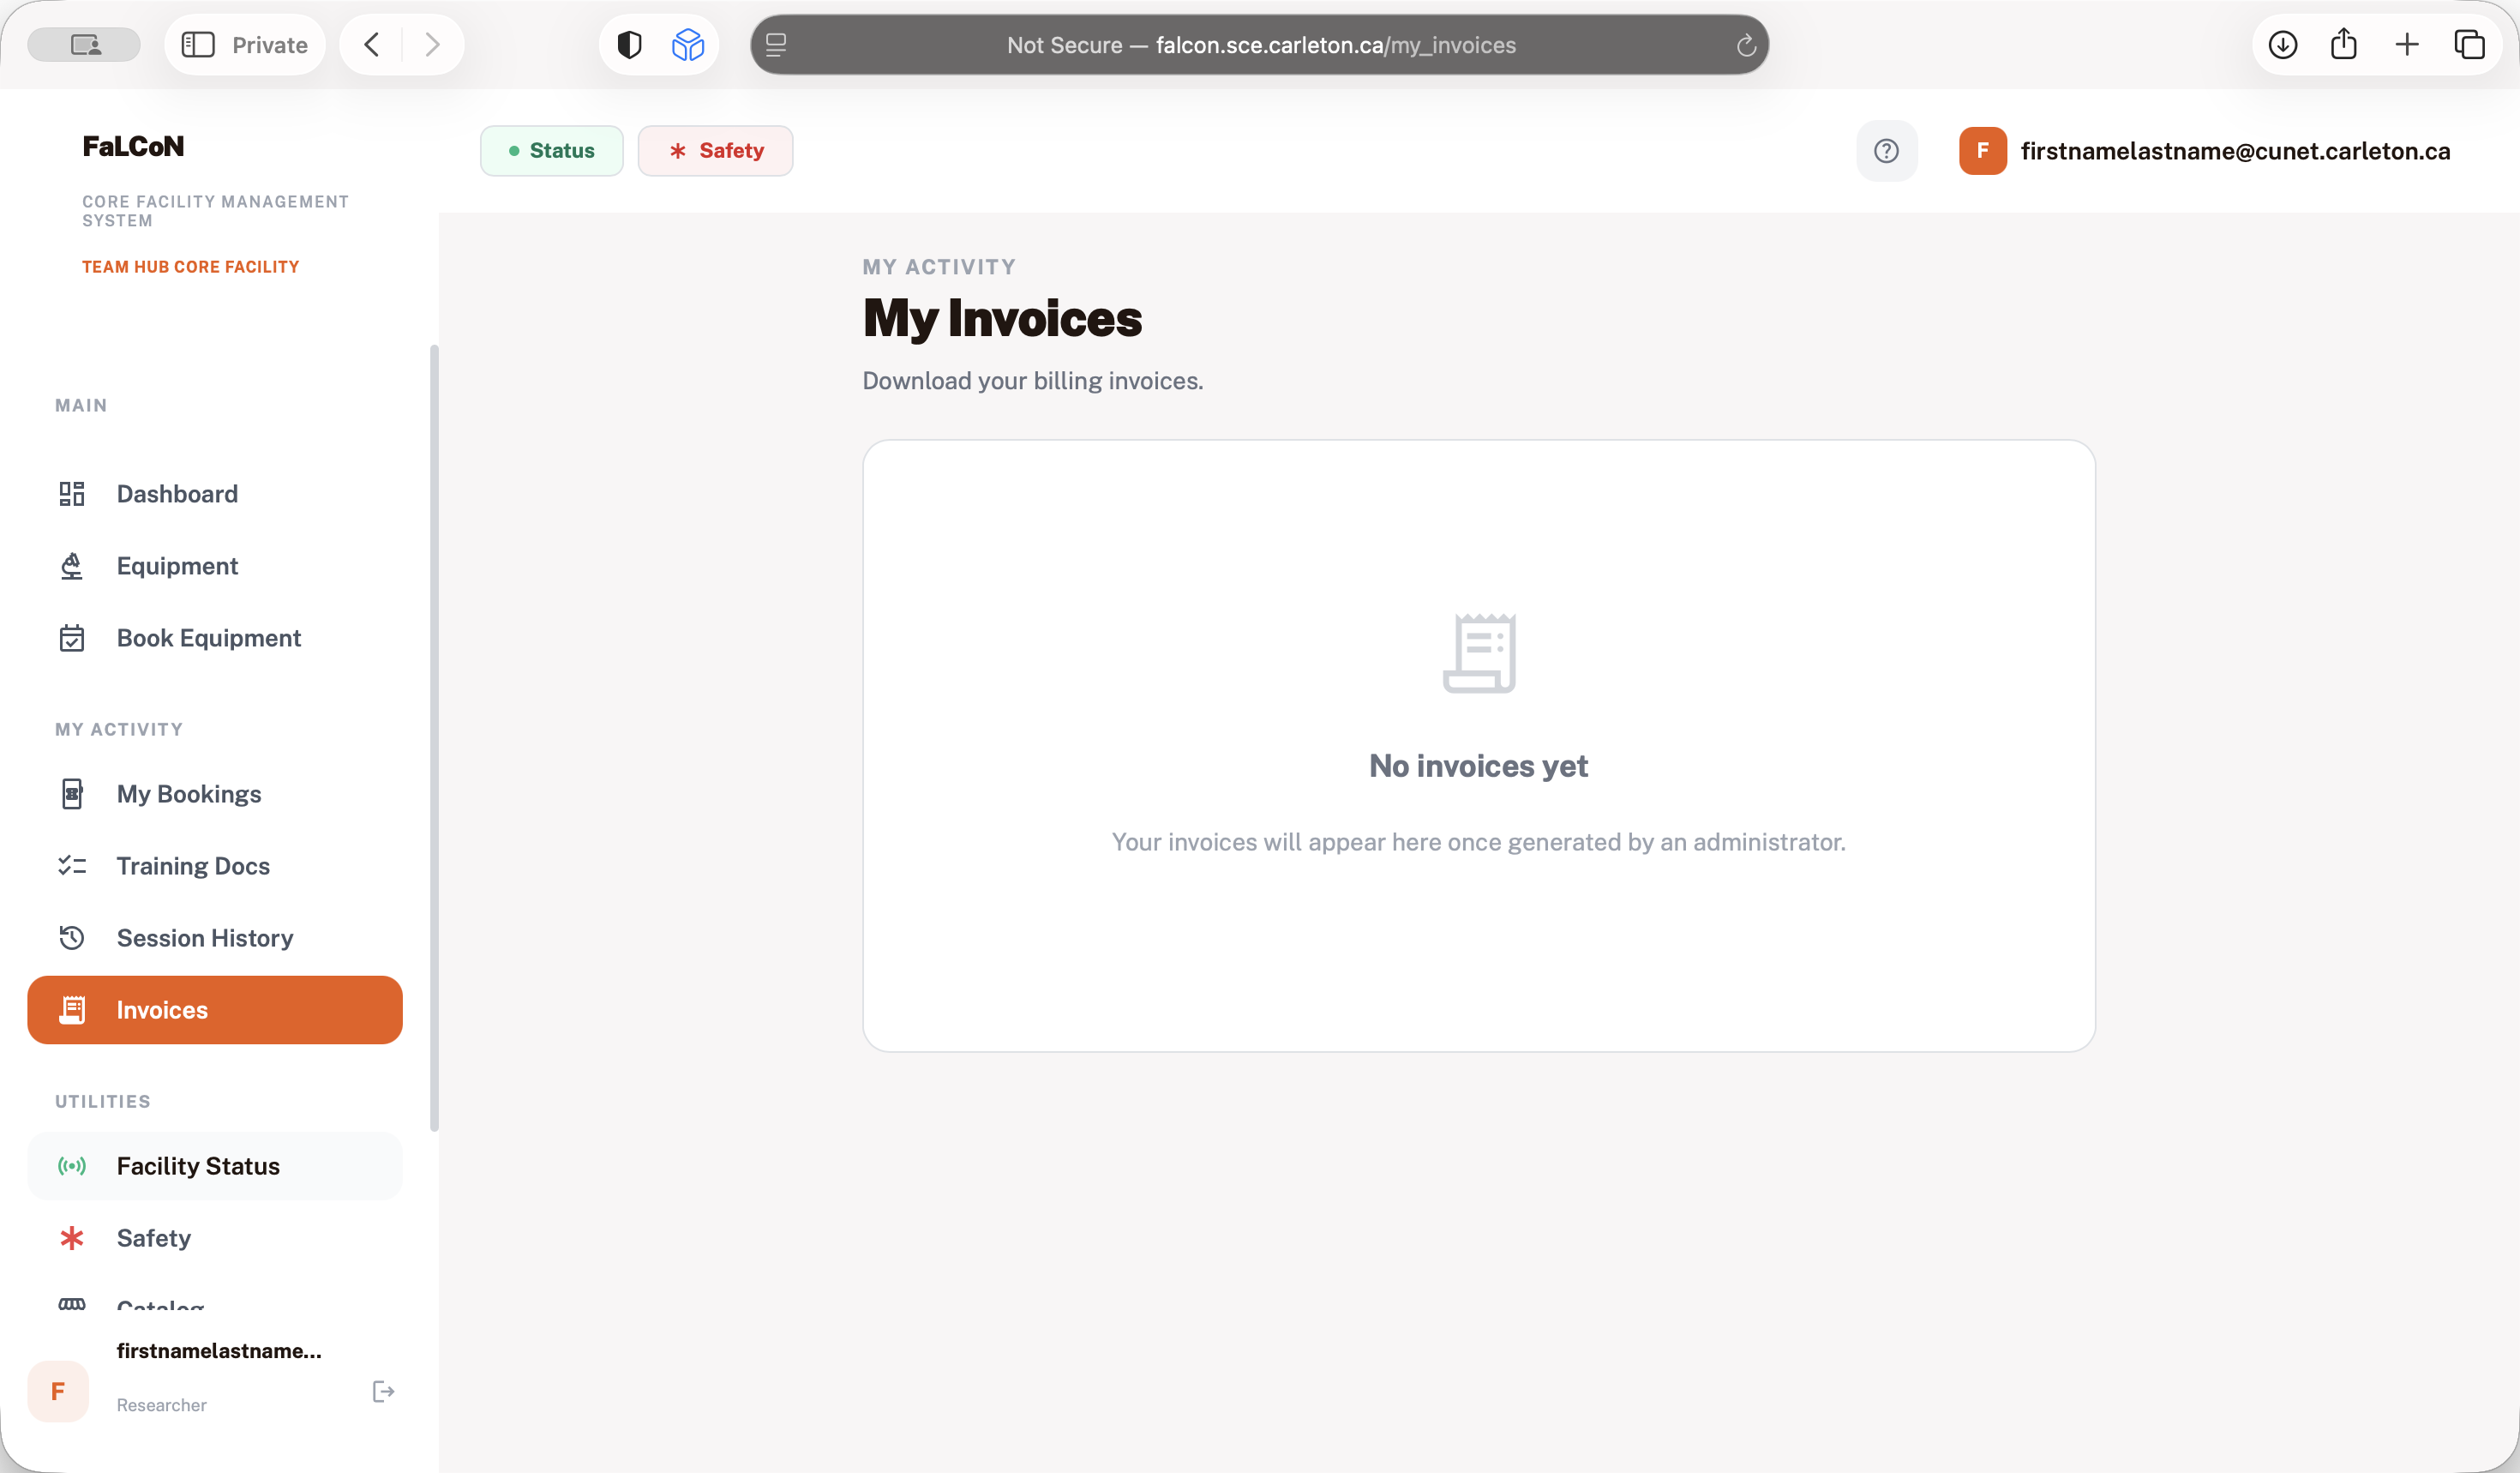
Invoices are only considered paid instruments.
All health science instruments will remain free for all users on the third floor. It is simply a record of what you used. Here, under status, you can see the various instruments in each room.
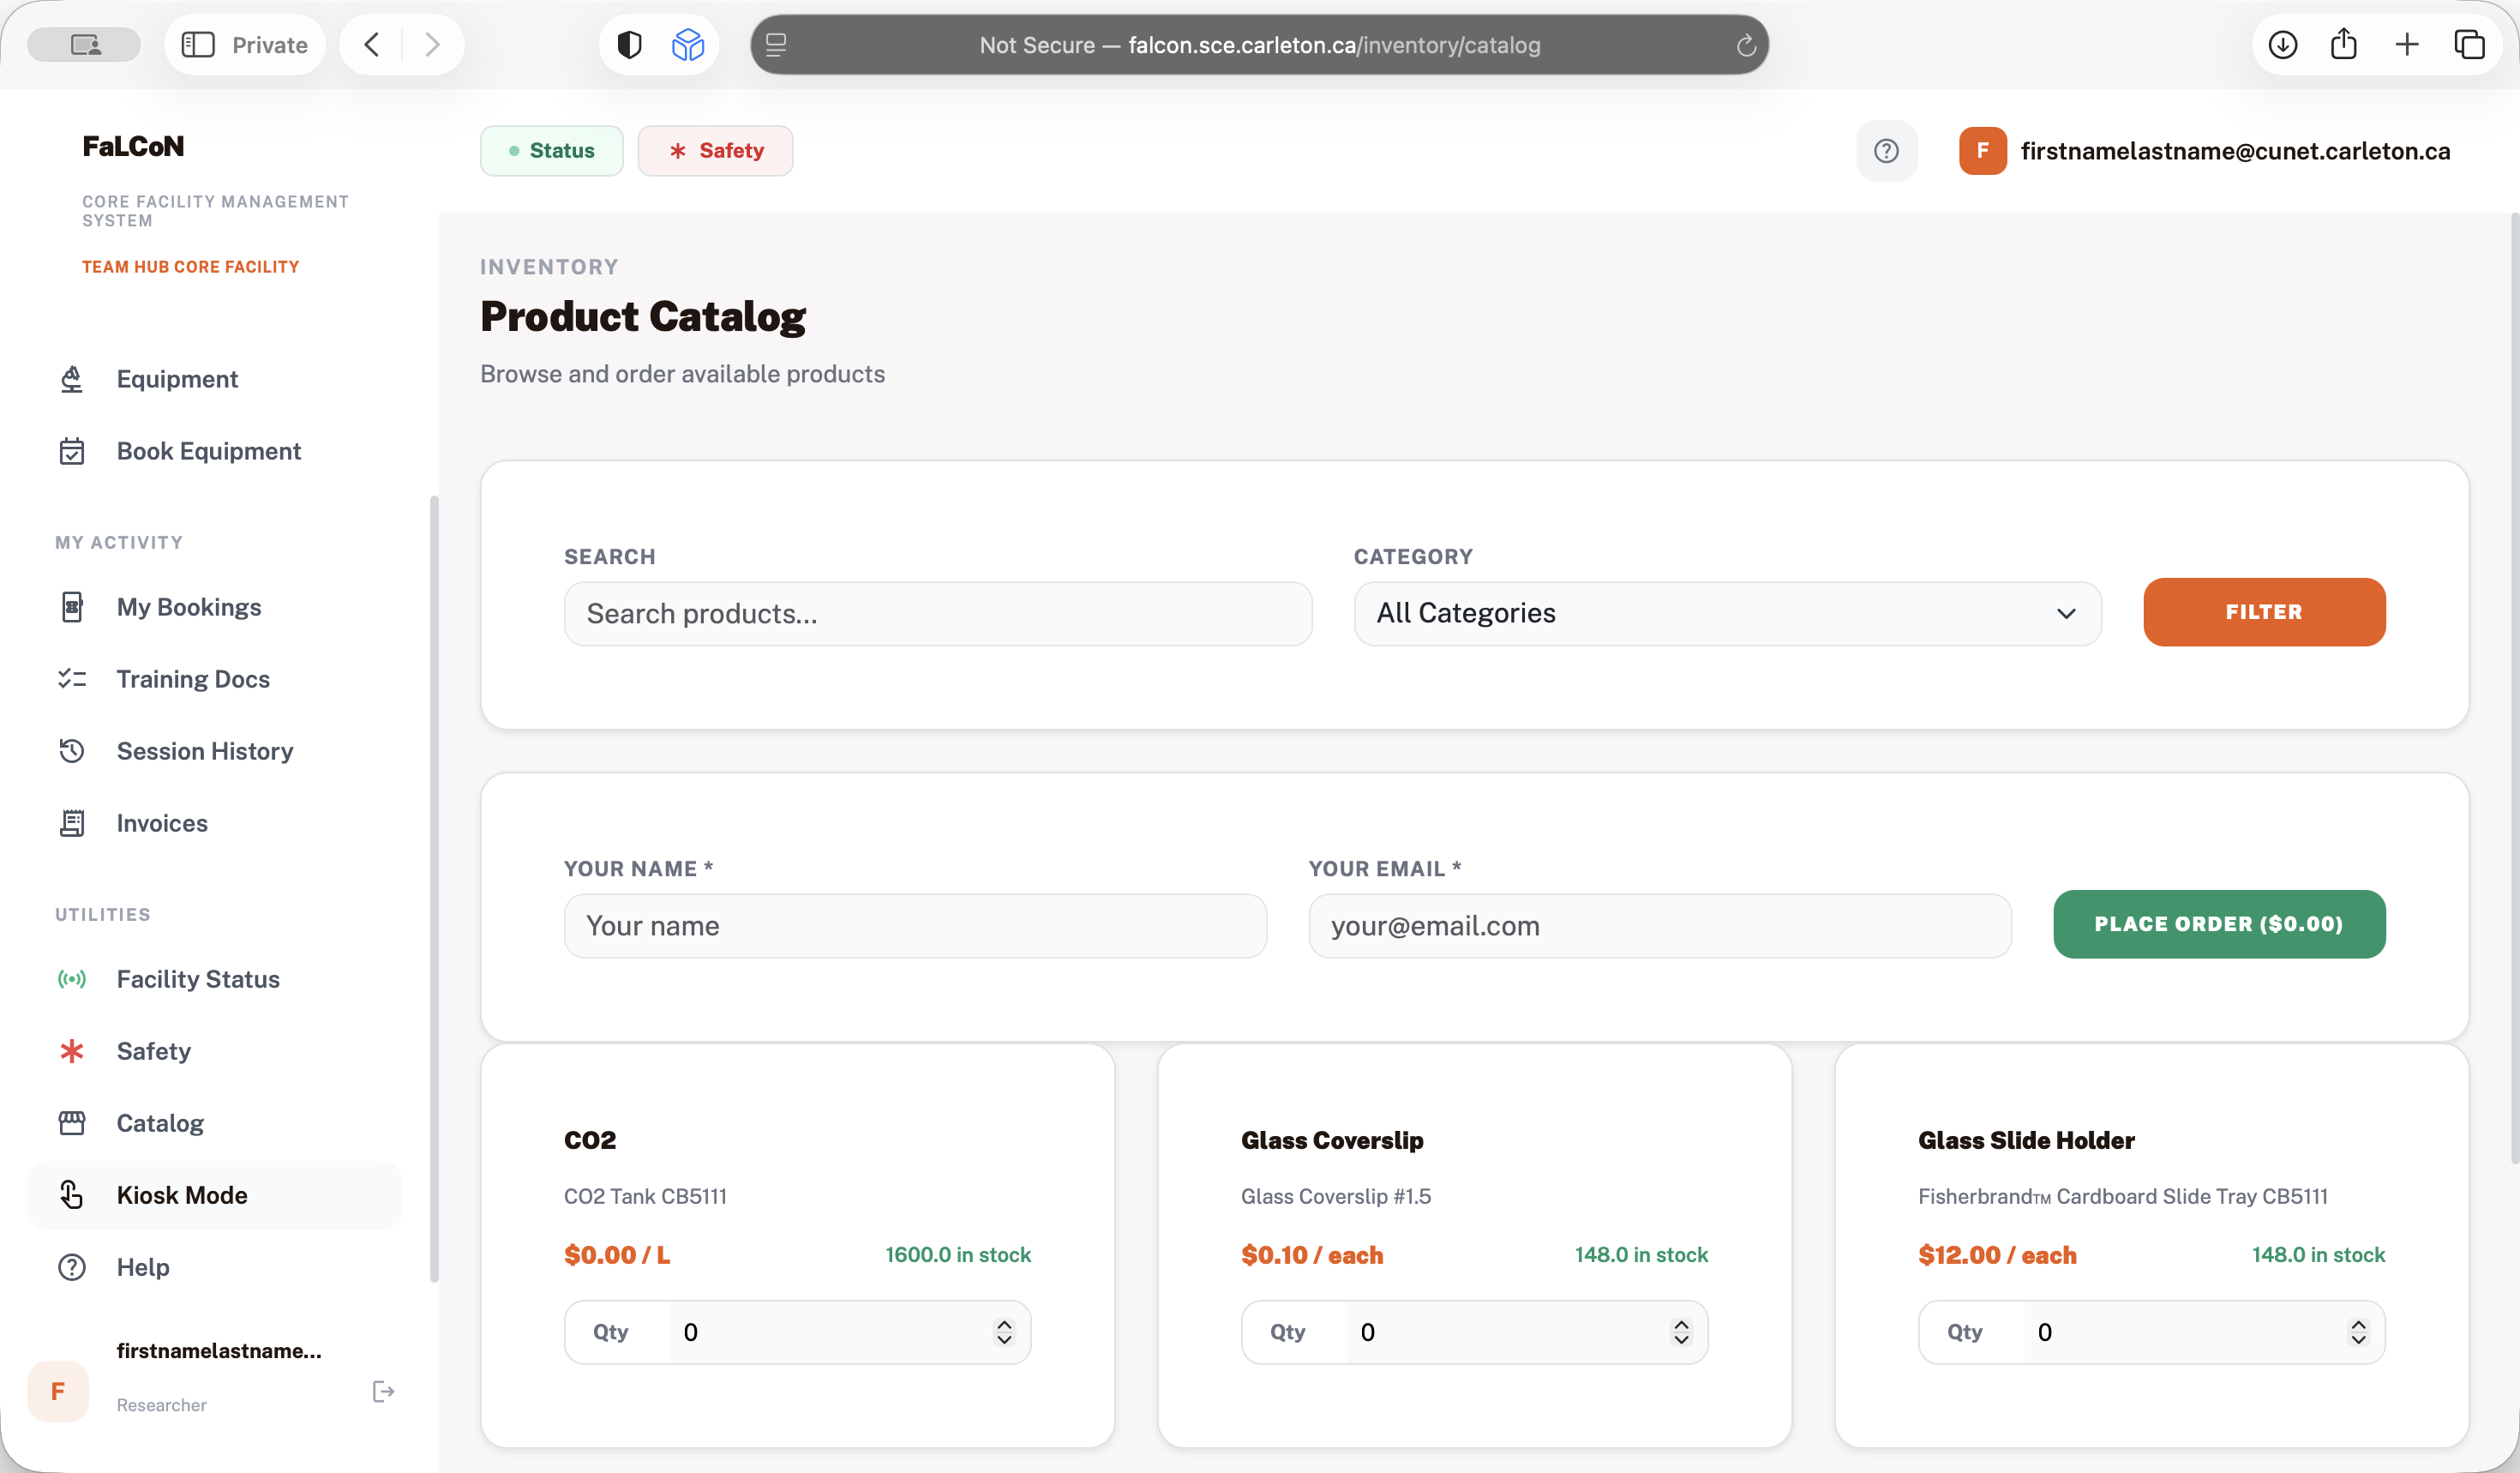
For example, in each room, if someone is using it, you can always walk in and use an instrument. We highly recommend booking in advance. This makes it easier for everyone to use the different instruments. Catalog is mainly for the confocal room, where we have some consumables. It is not for the health sciences.

Kiosk mode is used when you are ready to start your session after booking it on the instrument.
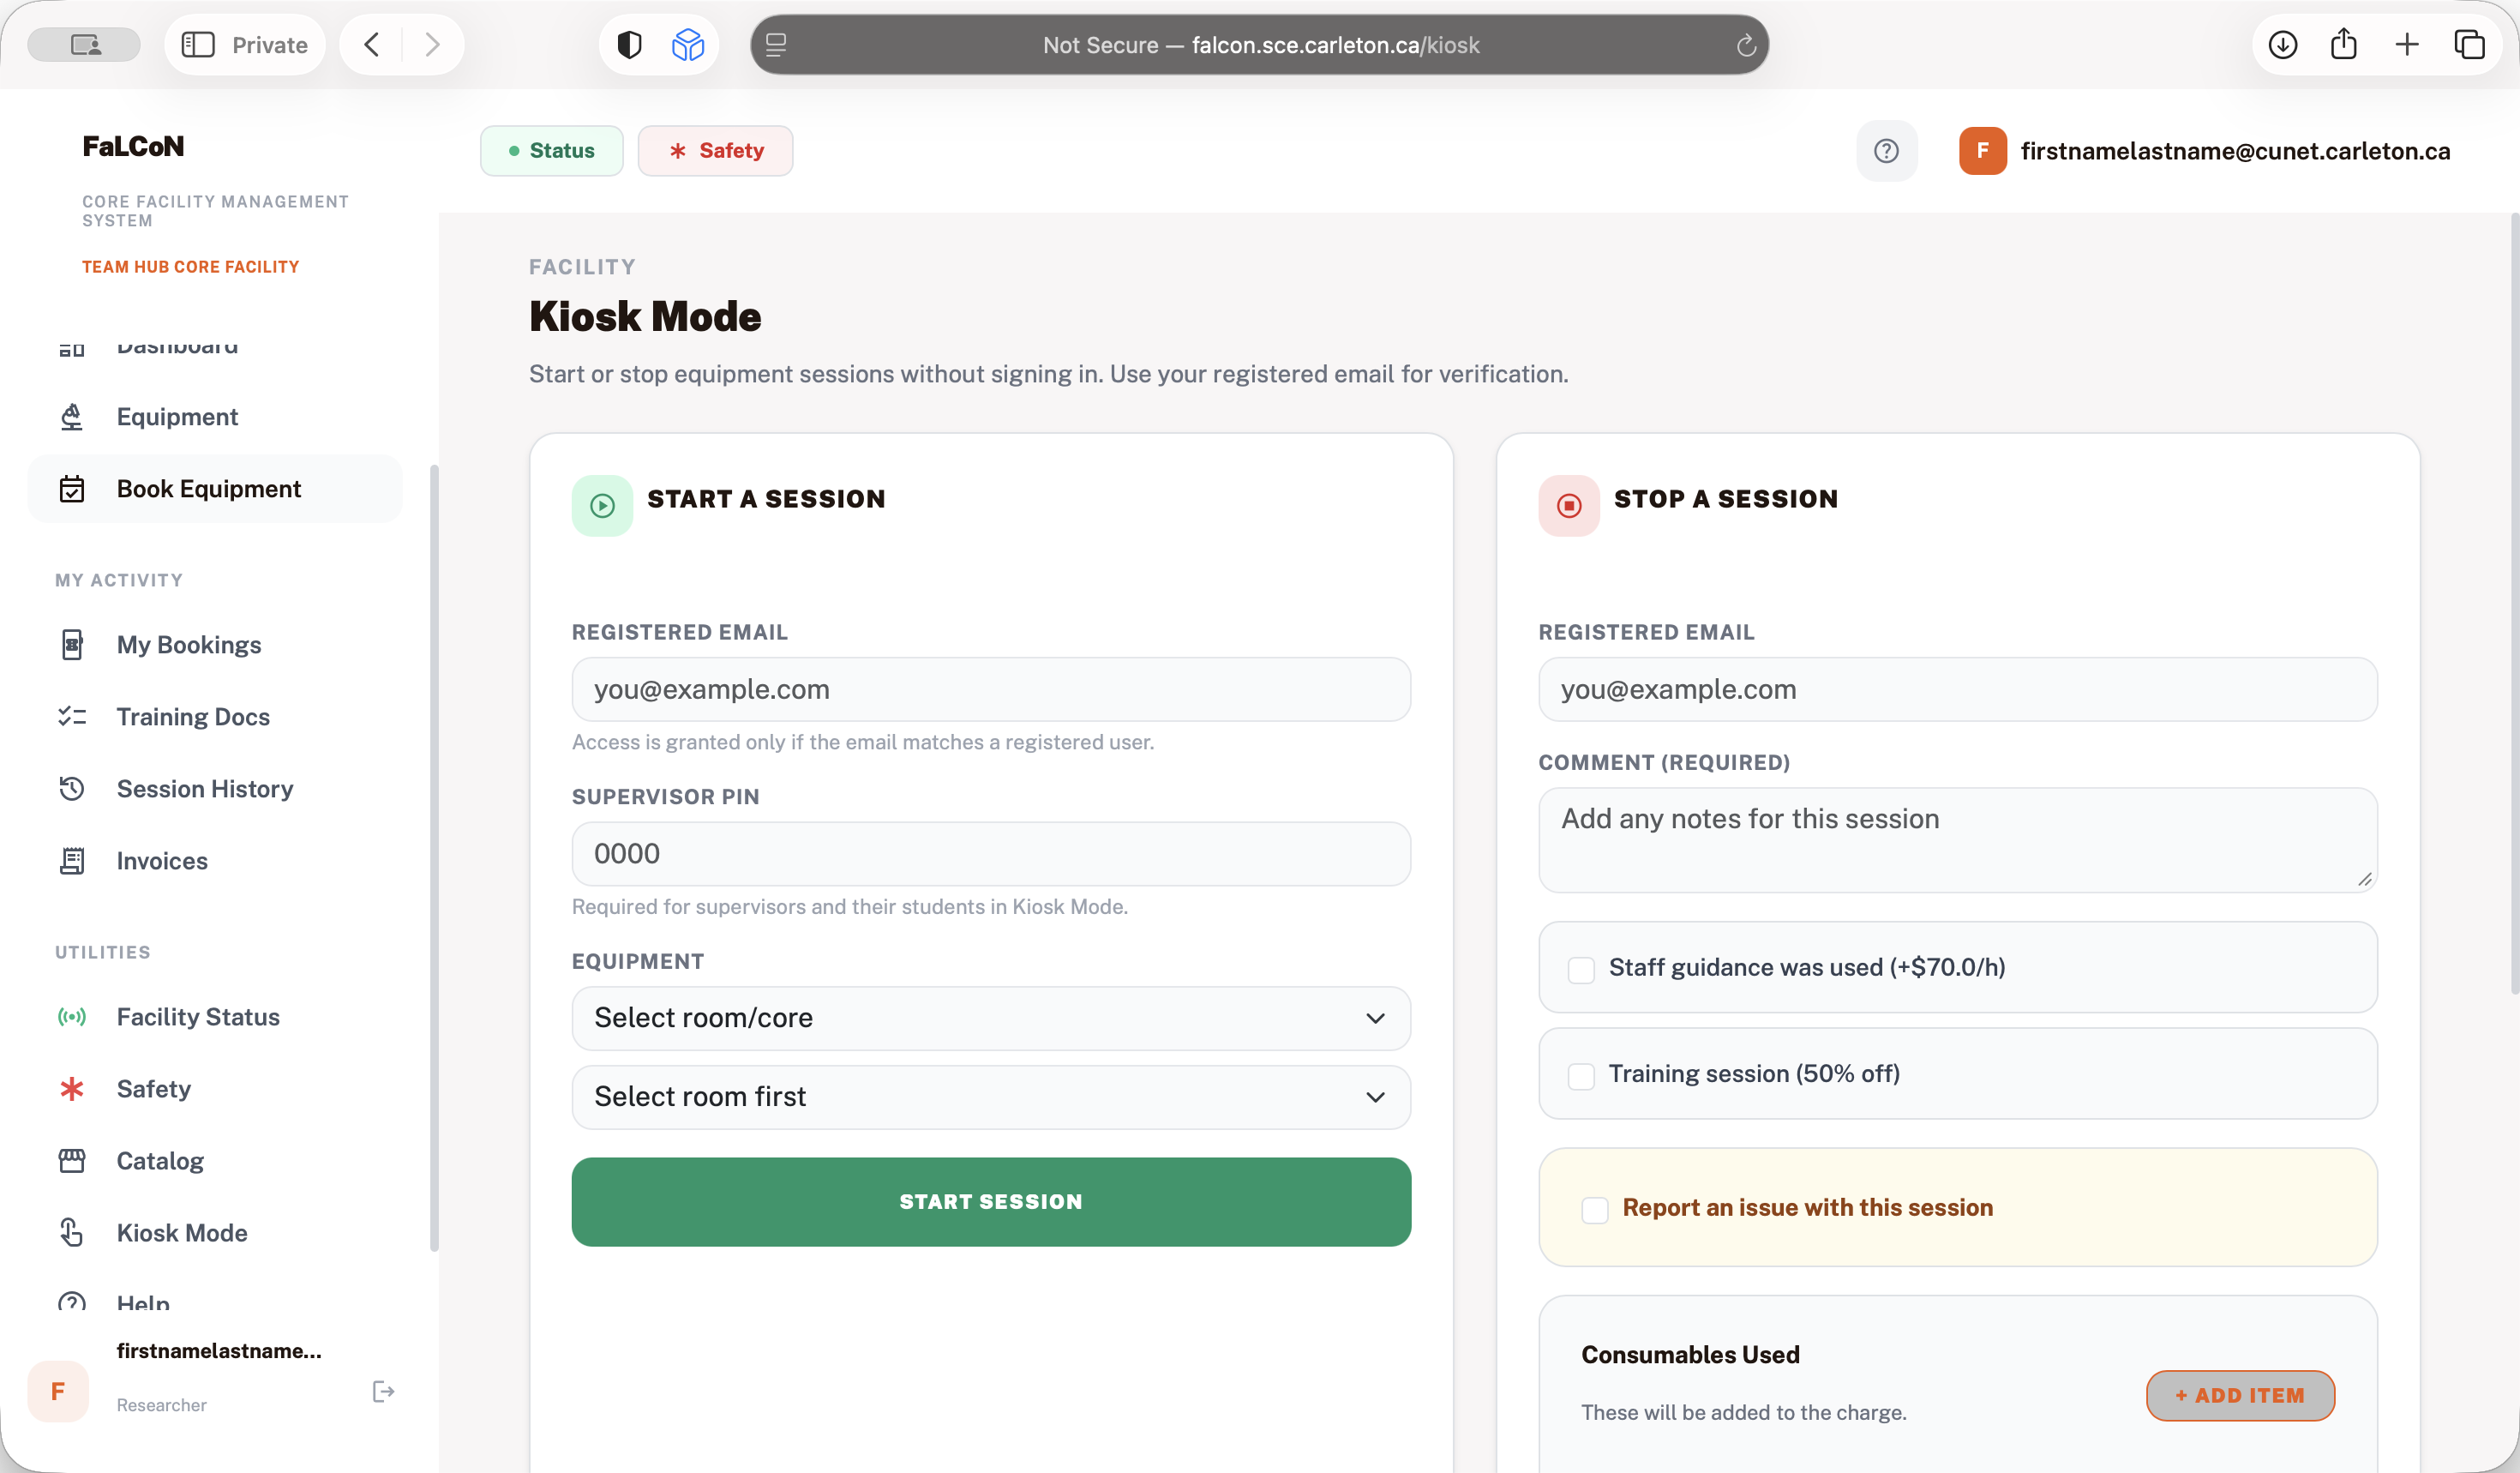
In the instrument room or on your phone, go to falcon.sce.carleton.ca and start your session. If you don't want to log in to start your session in the dashboard, you can use kiosk mode.

In kiosk mode, enter your email and supervisor PIN.
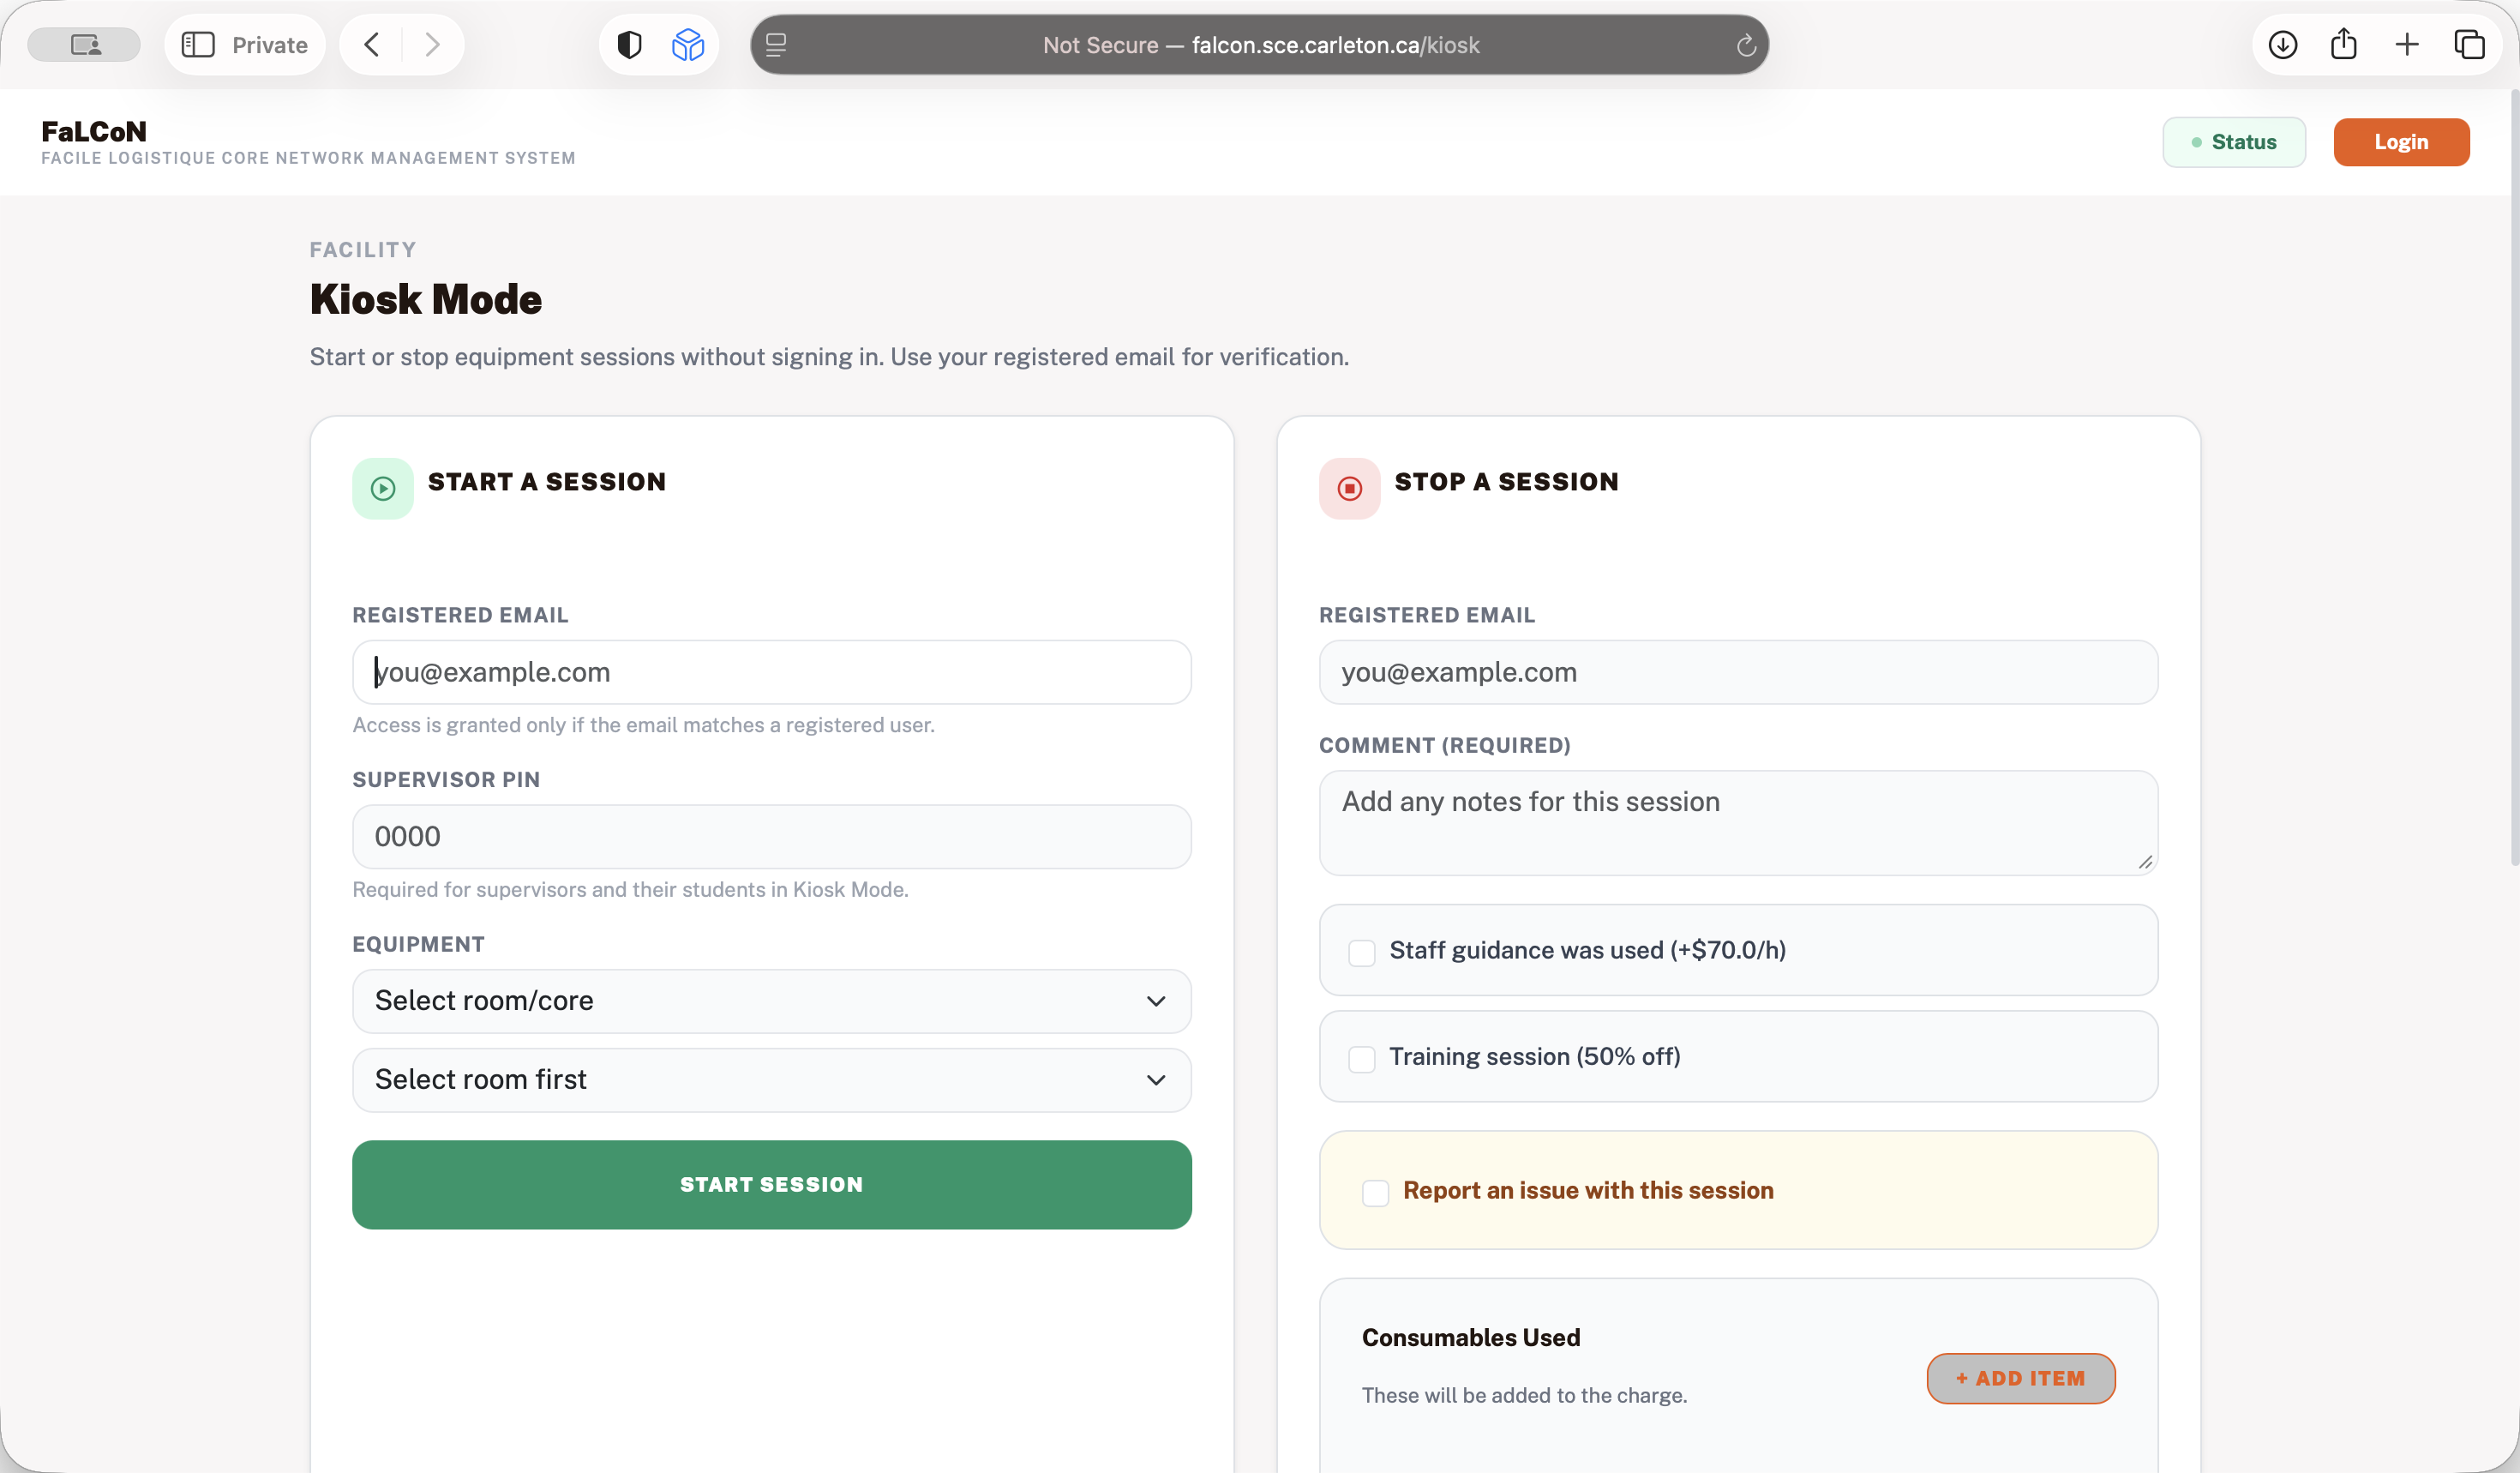
Each supervisor has a four-digit PIN assigned to all students. You don't need to remember your password; just remember the PIN. Choose the room and equipment you want to use, then start the session.


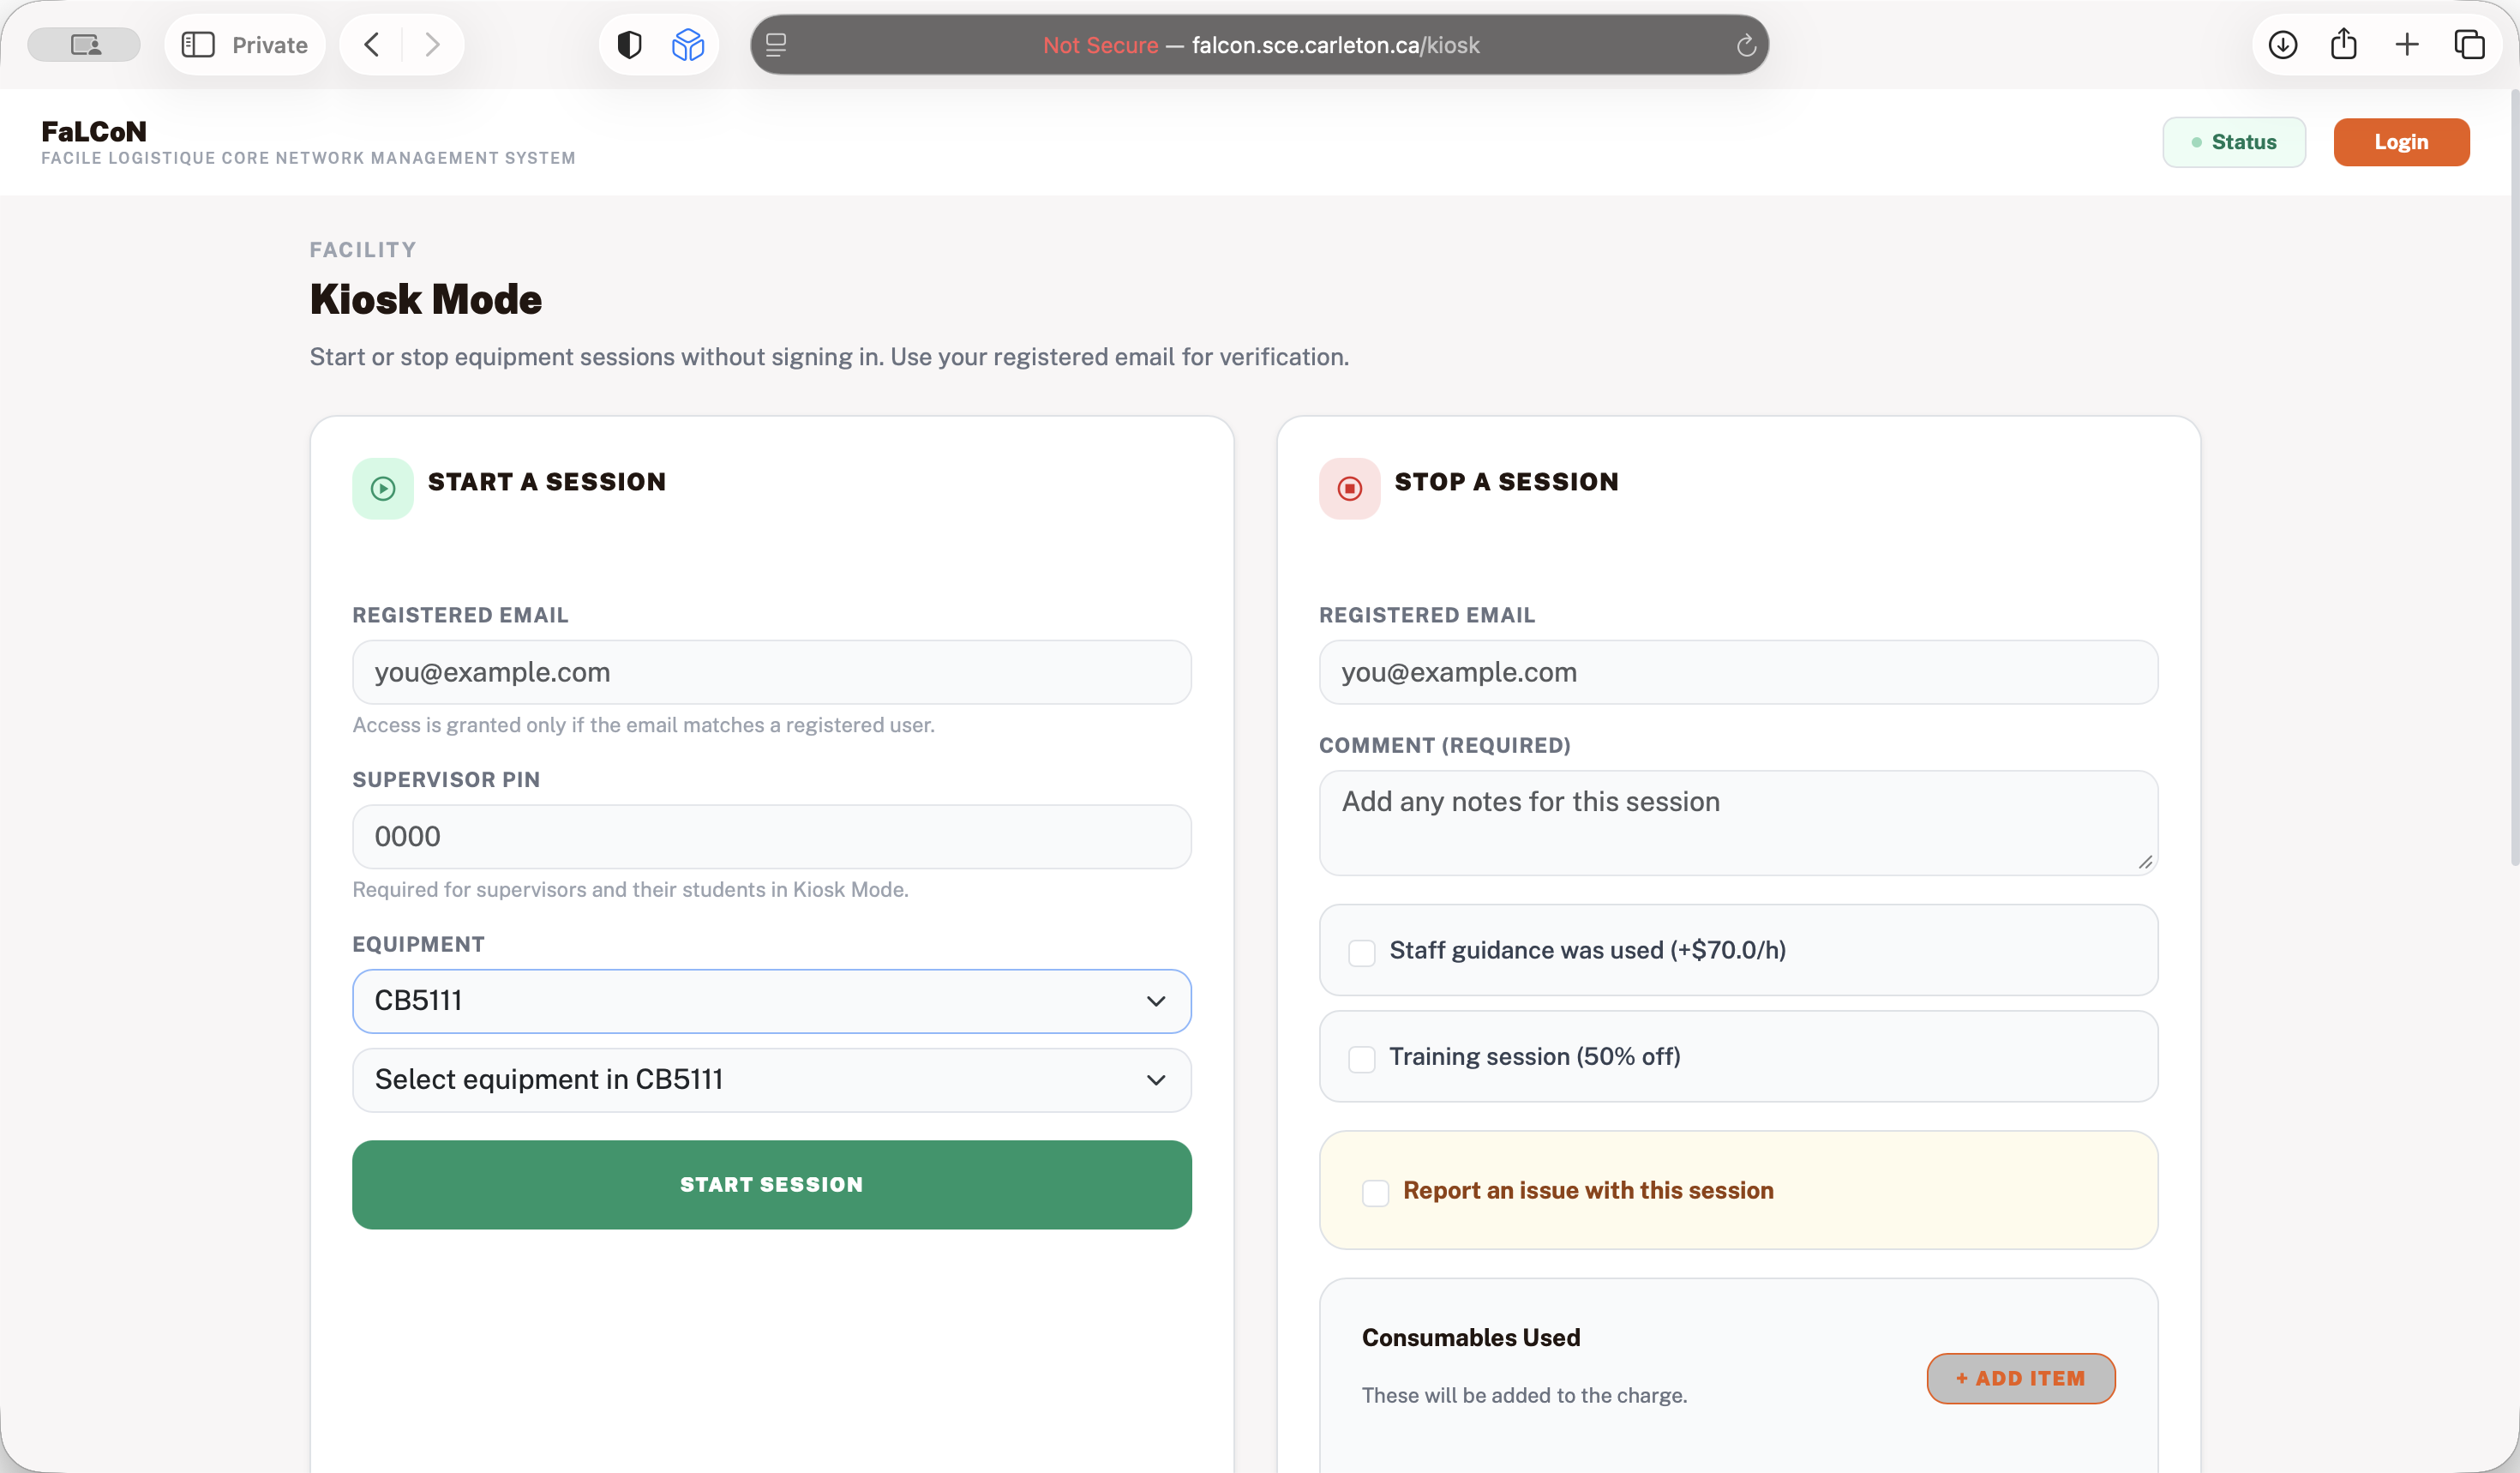

This will turn on the instrument. If you do not start the session, you will not be able to use the instrument. This is made like this to adjust for... We have people from outside using the instruments, so we want to ensure that everyone using them is properly trained. That's the walkthrough for using the system for students.