
How to Remove Coughs or Throat Clearing from Audio While Maintaining Ambient Sound
When Swamiji created the Divine Knowledge Series, he requested that I remove his coughs from the recordings. Over time, we’ve developed various methods for achieving this. Back then, Gyaan, my editing mentor, introduced me to a technique that became an essential part of my editing process. I’m sharing that technique with you here.
This guide will walk you through the steps to remove a cough or throat clearing from a video in Adobe Premiere Pro, ensuring the background ambient sound remains smooth and uninterrupted. You'll learn how to unlink video and audio tracks, isolate and remove unwanted sounds, and seamlessly replace them with ambient audio from elsewhere in the recording. Along the way, you'll also discover helpful shortcut keys to make the process more efficient.
Let's get started
First, make sure that the video and audio are unlinked. Highlight them, right-click, scroll down, and press "unlink." Next, listen to the entire recording to catch all the parts you want to remove.
Let's start playing.
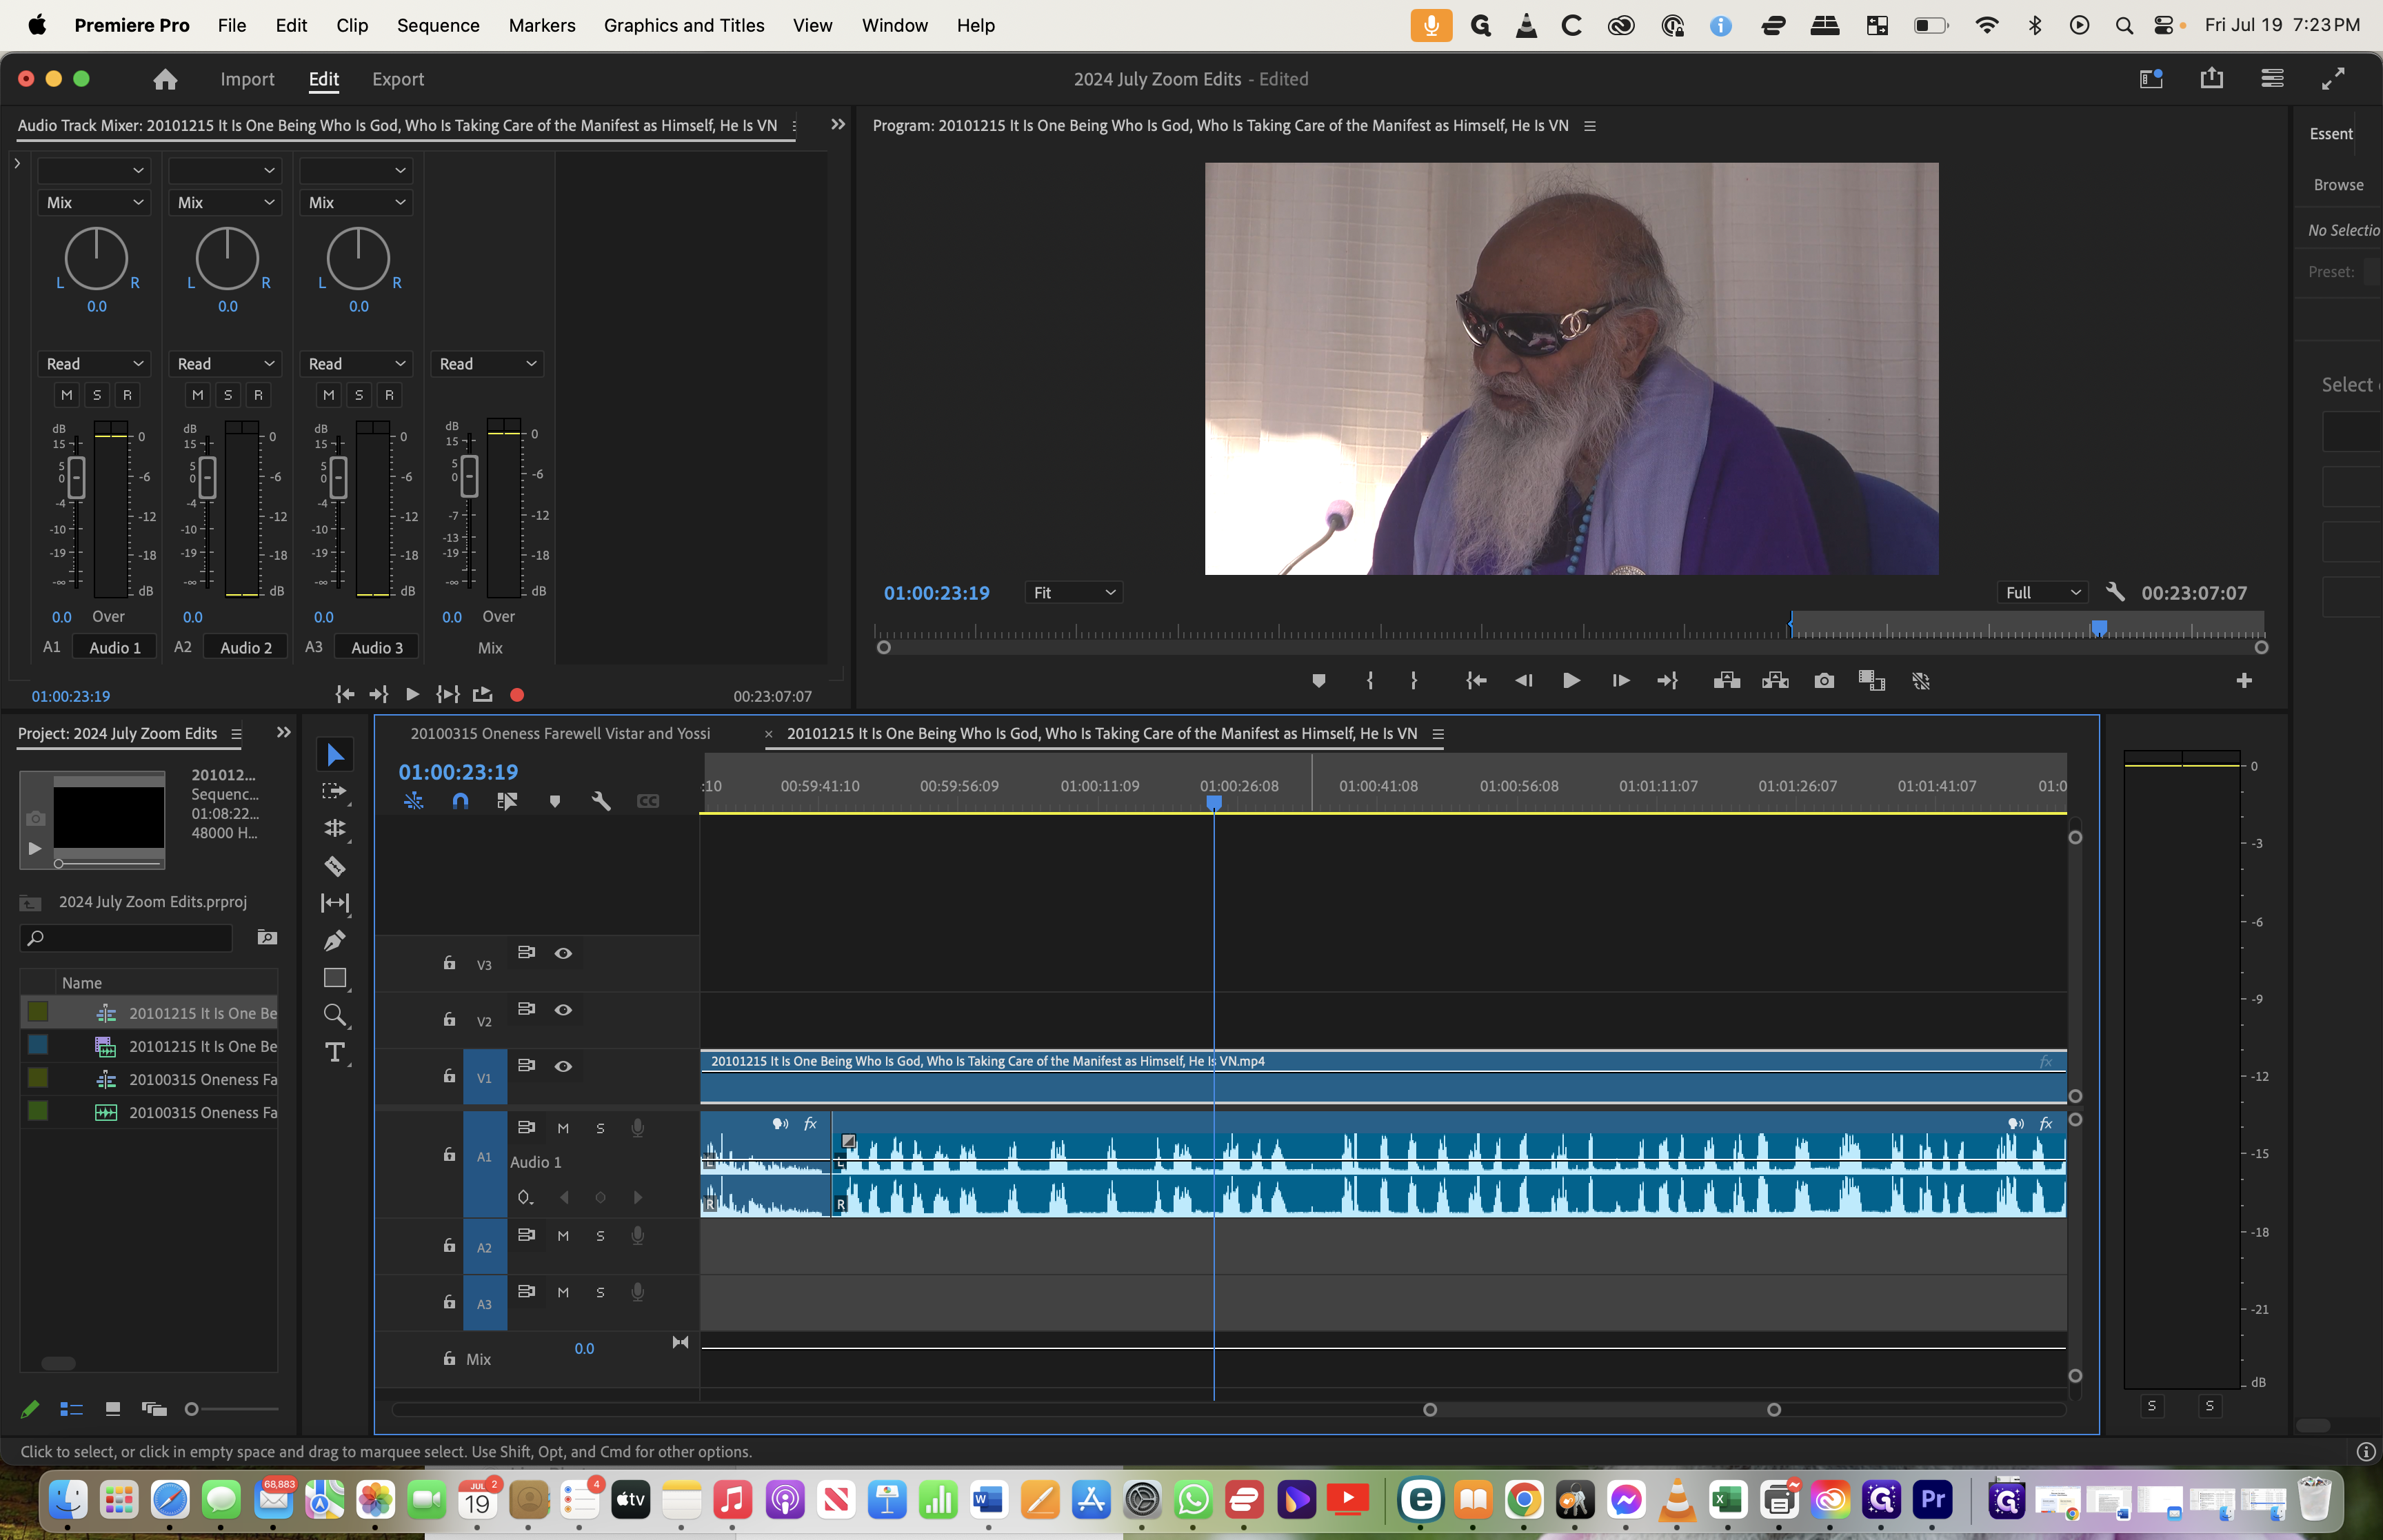
Start Playback: Press the spacebar to play.
Stop Playback: Press the spacebar to stop playback as soon as you hear the sound you want to remove.
Expand the Timeline: Press the plus (
+) key to zoom in on the sequenceRewind Slightly: Press
Jto move backward in the timeline until you reach a point just before the unwanted sound.Stop Playback: Press
Kto stop at this point.Move Forward Precisely: Press
Lto move forward slowly, stopping just before the sound (e.g., a throat clearing).


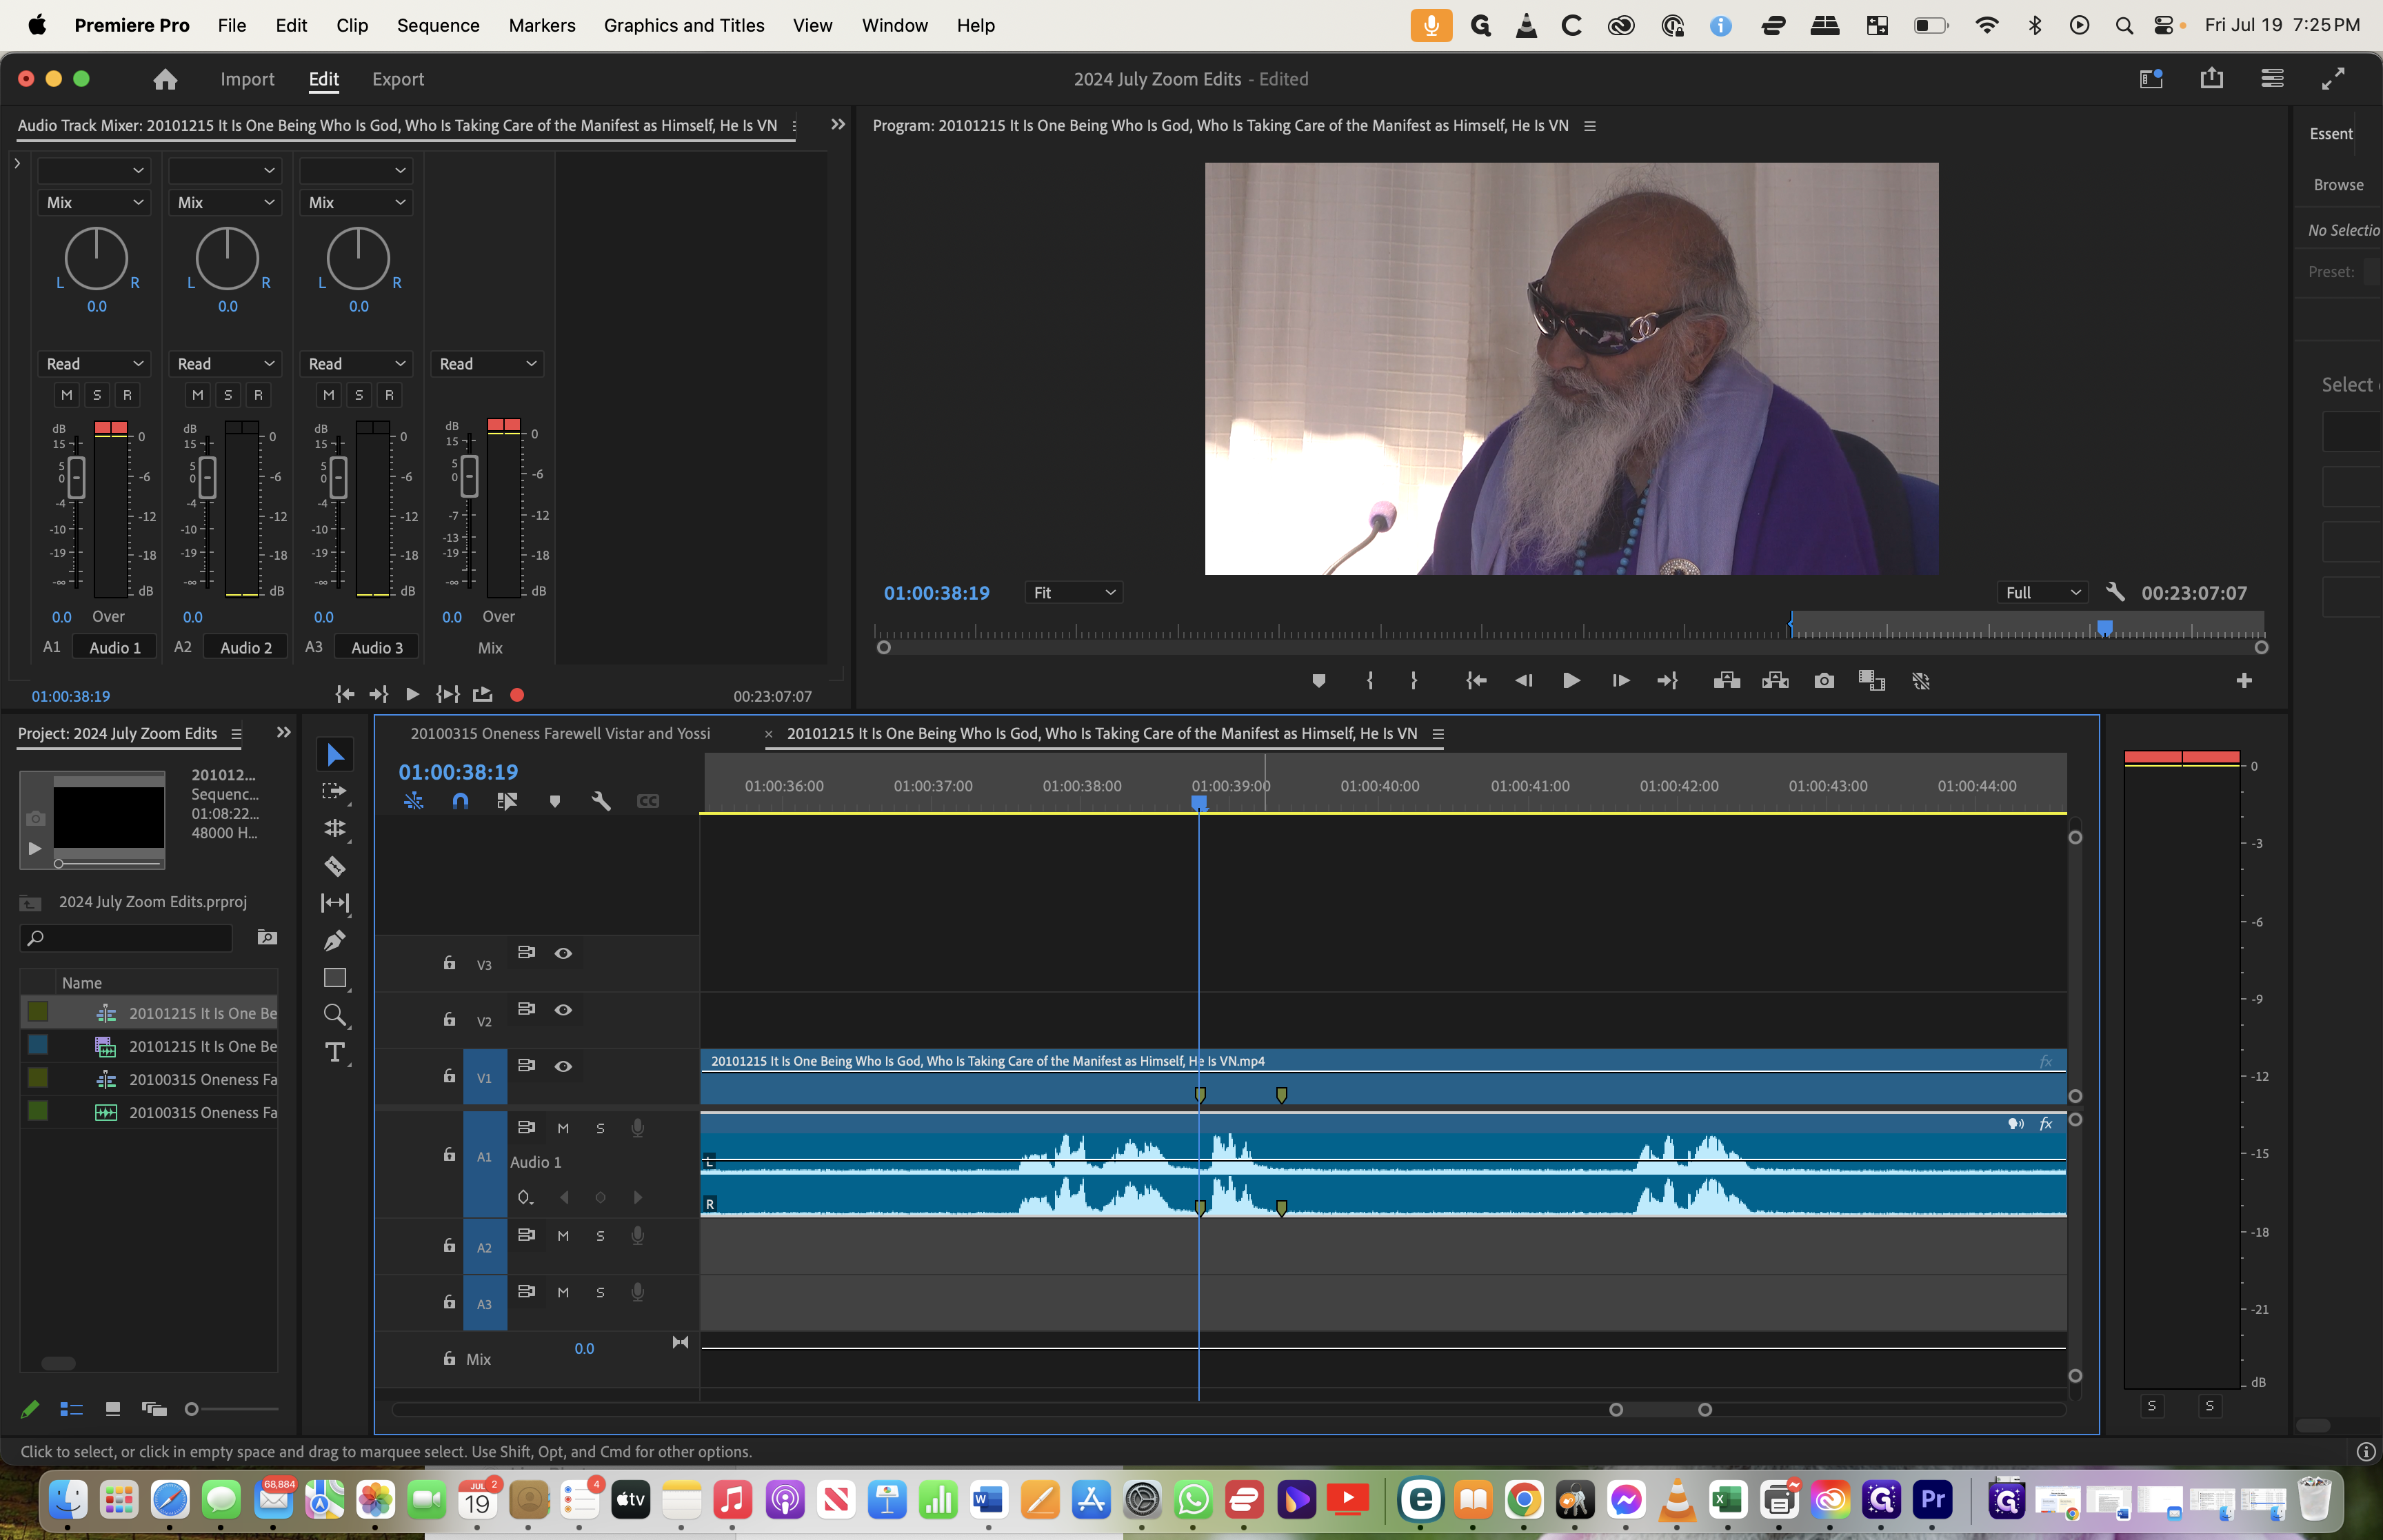
Now, place a marker here by selecting "m". Then, play to the end of the cough and place another marker.
Instead of making cuts now, listen to the entire sequence and place markers where there are coughs. That streamlines the process. After placing all the markers, go back and find where we want to cut them.

Return to the start of the sequence. Pressing Enter or Return gets you there quickly. Select the audio track to ensure it's highlighted.

Press Shift + M to move the playhead forward to the next marker. (Press Shift + Command + M on a Mac or Shift + Control + M on a PC to move the playhead back to the previous marker.)
Press Command + K on a Mac or Control + K on a PC to split the track at the playhead position.

Press Shift + M to get to the next marker.

Press Command + K to split that part.
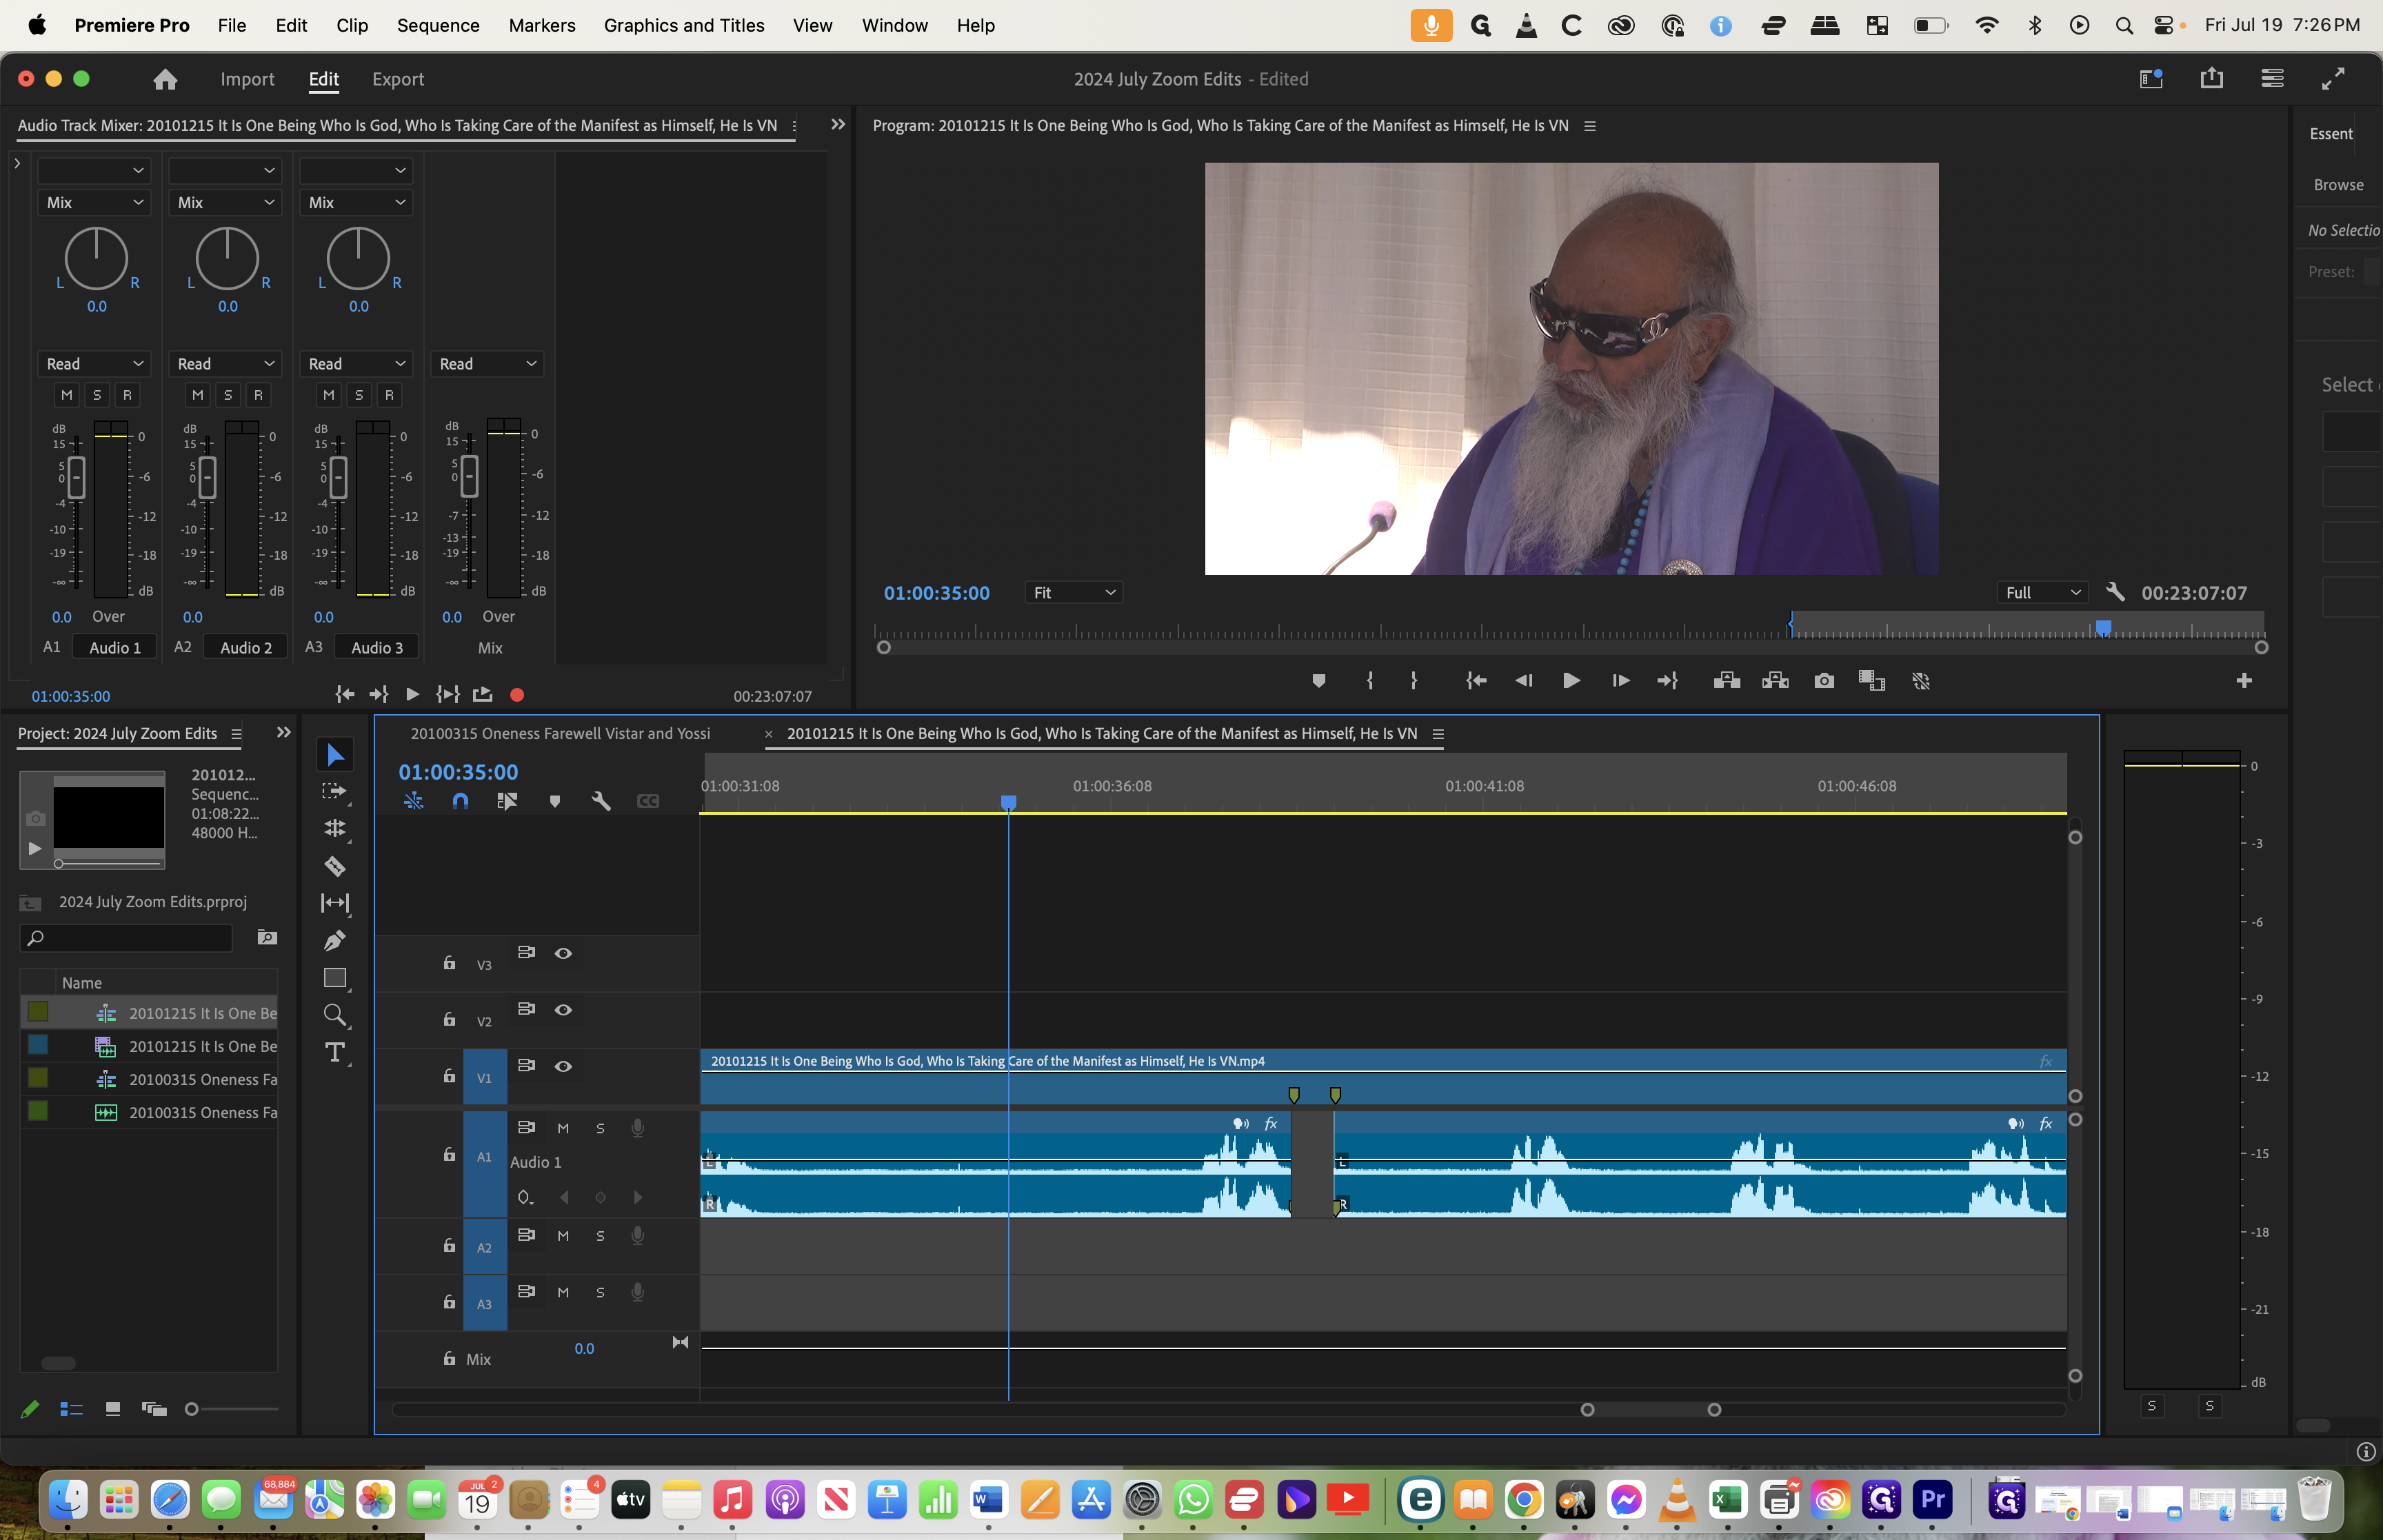
Now highlight this section, which is what you want to remove. Press delete.
Now it's gone. But listening to it in the cave, you'll hear a noticeable gap.

Press the spacebar or L to play the sequence. Listen closely. There is just empty space with no ambient sound. To make it flow more smoothly, find ambient sound to fill it.
Navigate to a section of the audio clip that contains background sound but no dialogue or other noises.

Do the same thing we did before: Press Command + K to split that part.
Then, move forward a bit by pressing the spacebar or L.

You're still only working on the audio track, not video. Use Command + K.
Highlight the section, then press Command + C (or Control + C on a PC) to copy it.
Now, go to the clip you want to fill. You've already copied the content for that space. Press the down arrow or move to the space where you want to fill.

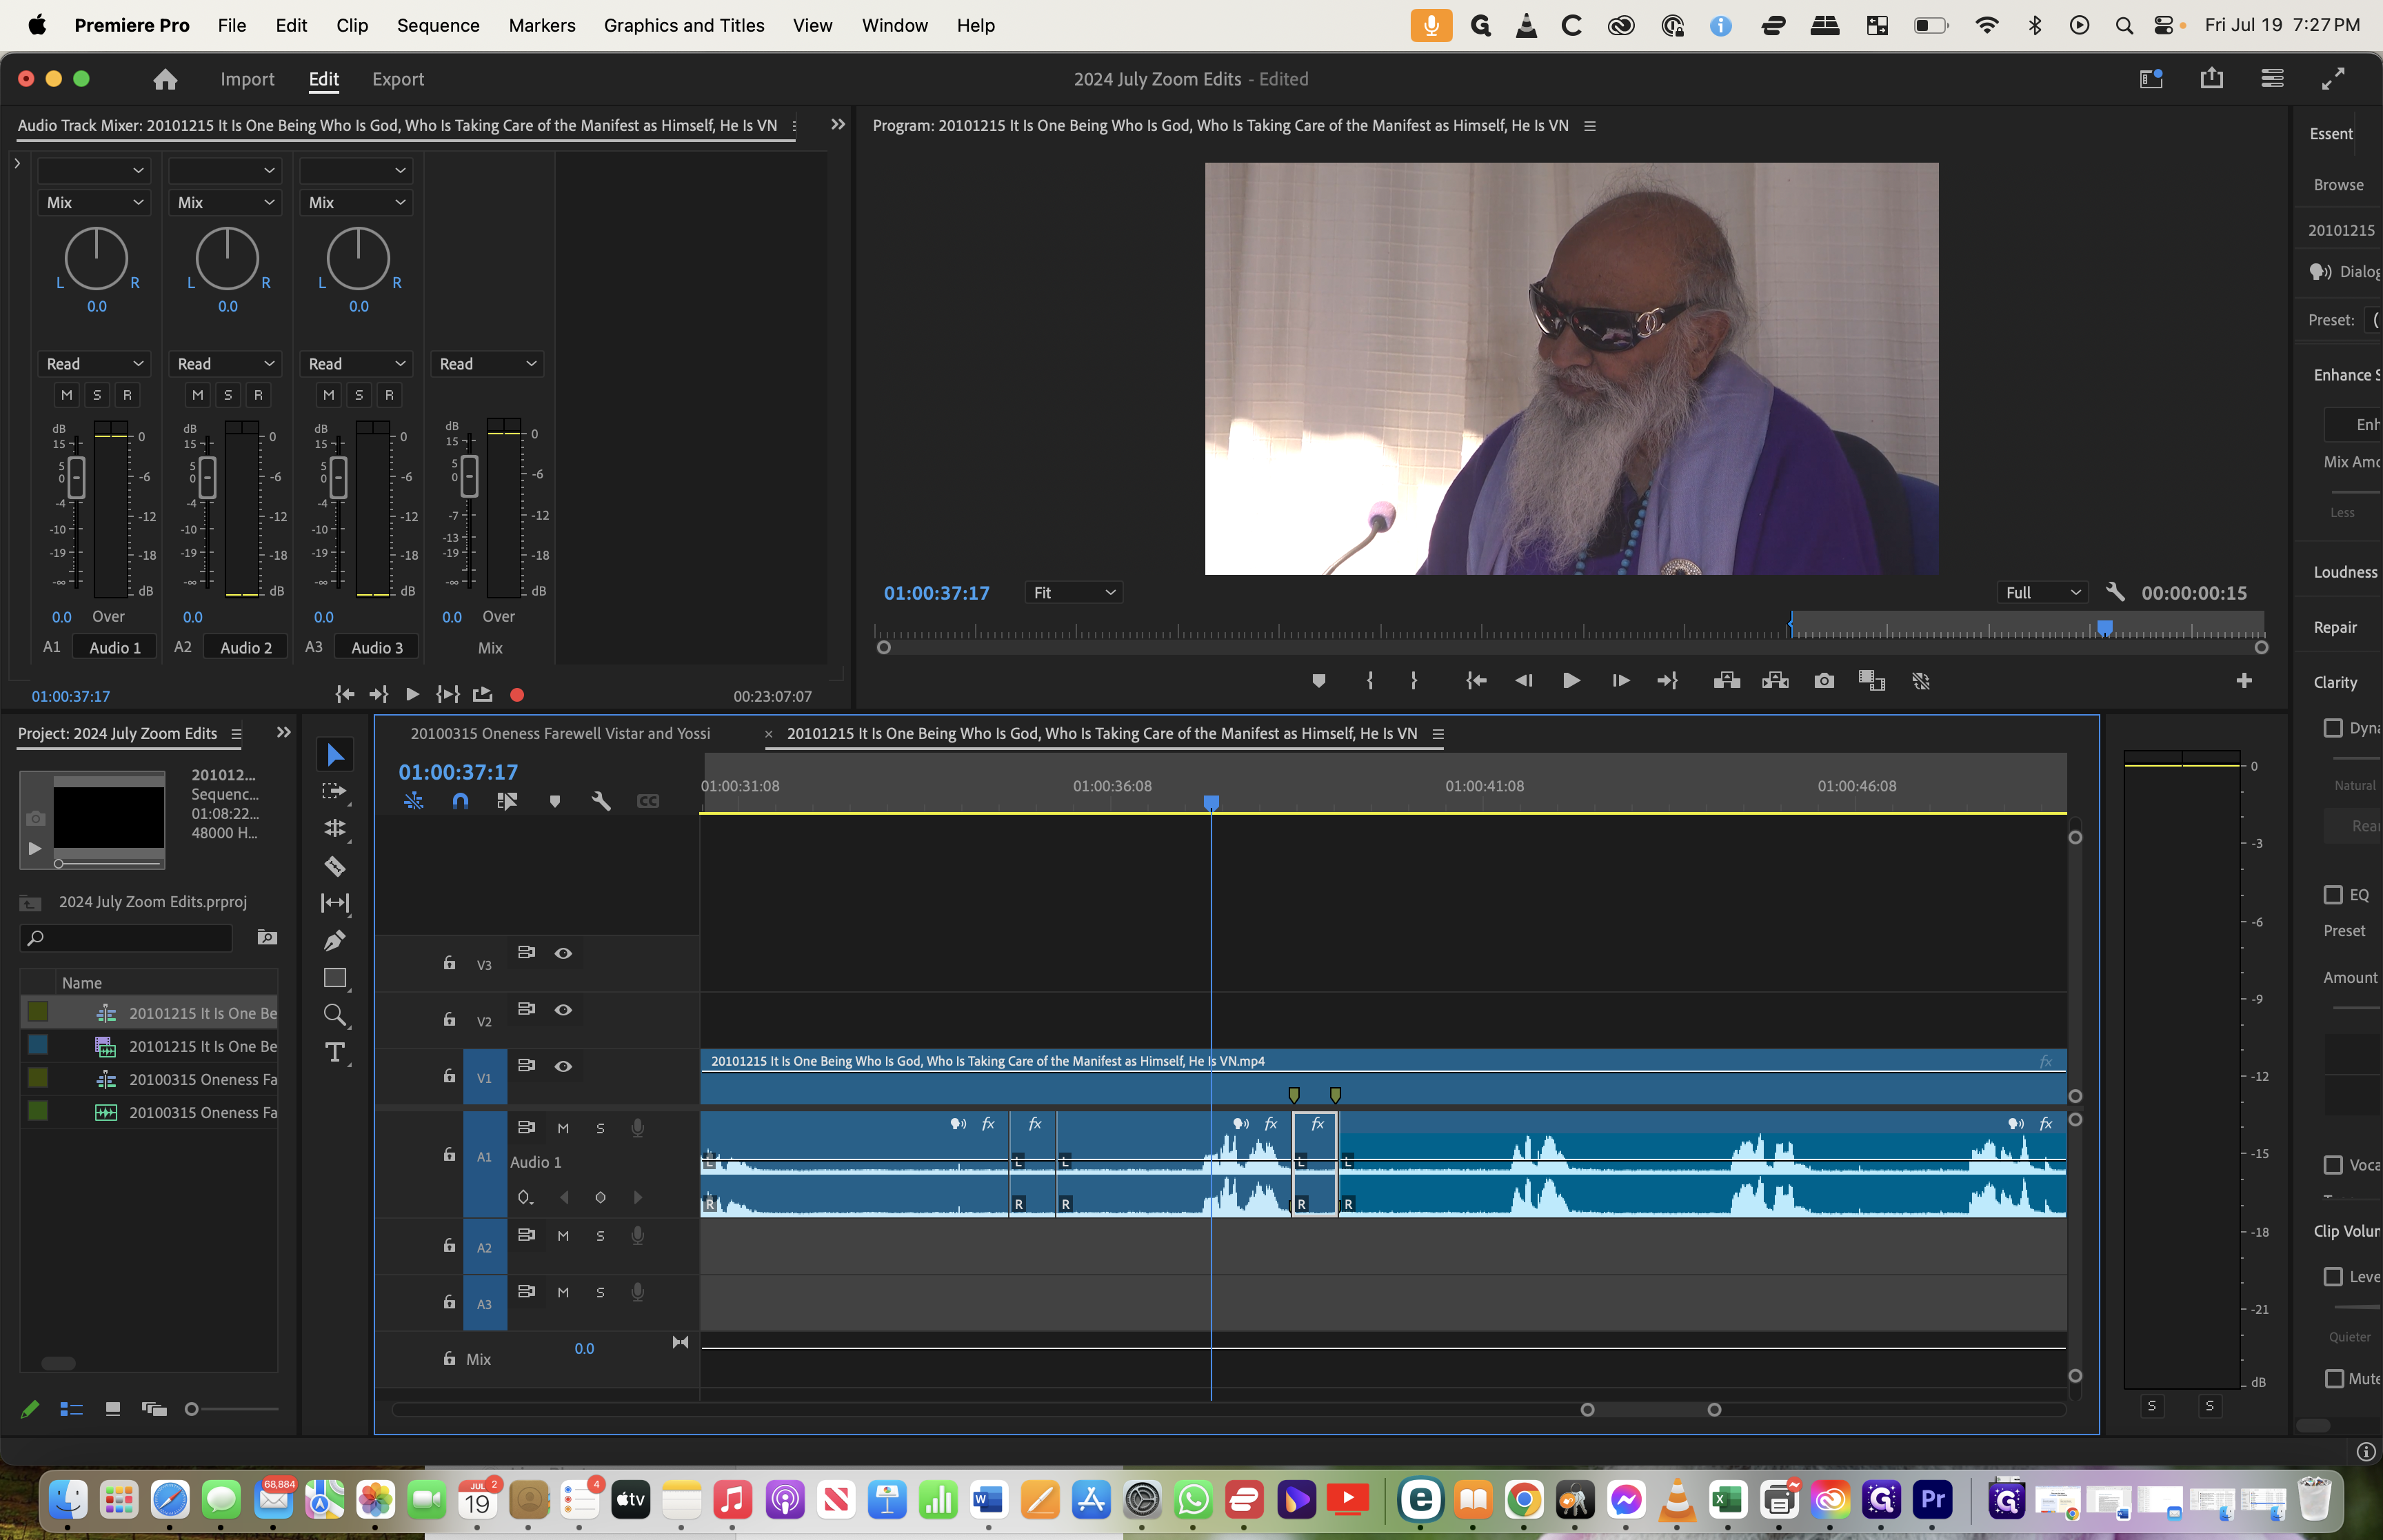
Click the center of the clip to position the playhead. Then, press Command + V (or Control + V on a PC) to paste.
Now it's filled with the copied ambient sound. Make sure to go only to where the marker is, so you don't overlap and miss something afterward.

And that's it. That's all you do. Go to every marker in your sequence to find all the places you want to delete. Delete that area and replace it with some nearby ambient sound. Listen again intently to make sure it sounds all right. The sound should be at a consistent level.
It's hard to tell, but when you hear it over speakers in the cave, you will notice there's no gap. It's filled with ambient sound.
After repeating these steps several times, the learning curve eases, and the process becomes increasingly straightforward.