How to Remove the Motor from a Festo Linear Gantry: Step-by-Step Guide
Learn how to safely remove the motor from a Festo linear gantry with this easy step-by-step guide. Includes tips for handling screws and ensuring a smooth removal process.
By Emmanuel
In this guide, we'll learn how to remove the motor from a Festo linear gantry. This process involves loosening specific screws and carefully sliding the motor out of the gantry. Following these steps helps prevent losing parts and ensures the motor can be reinstalled if needed.
Let's get started
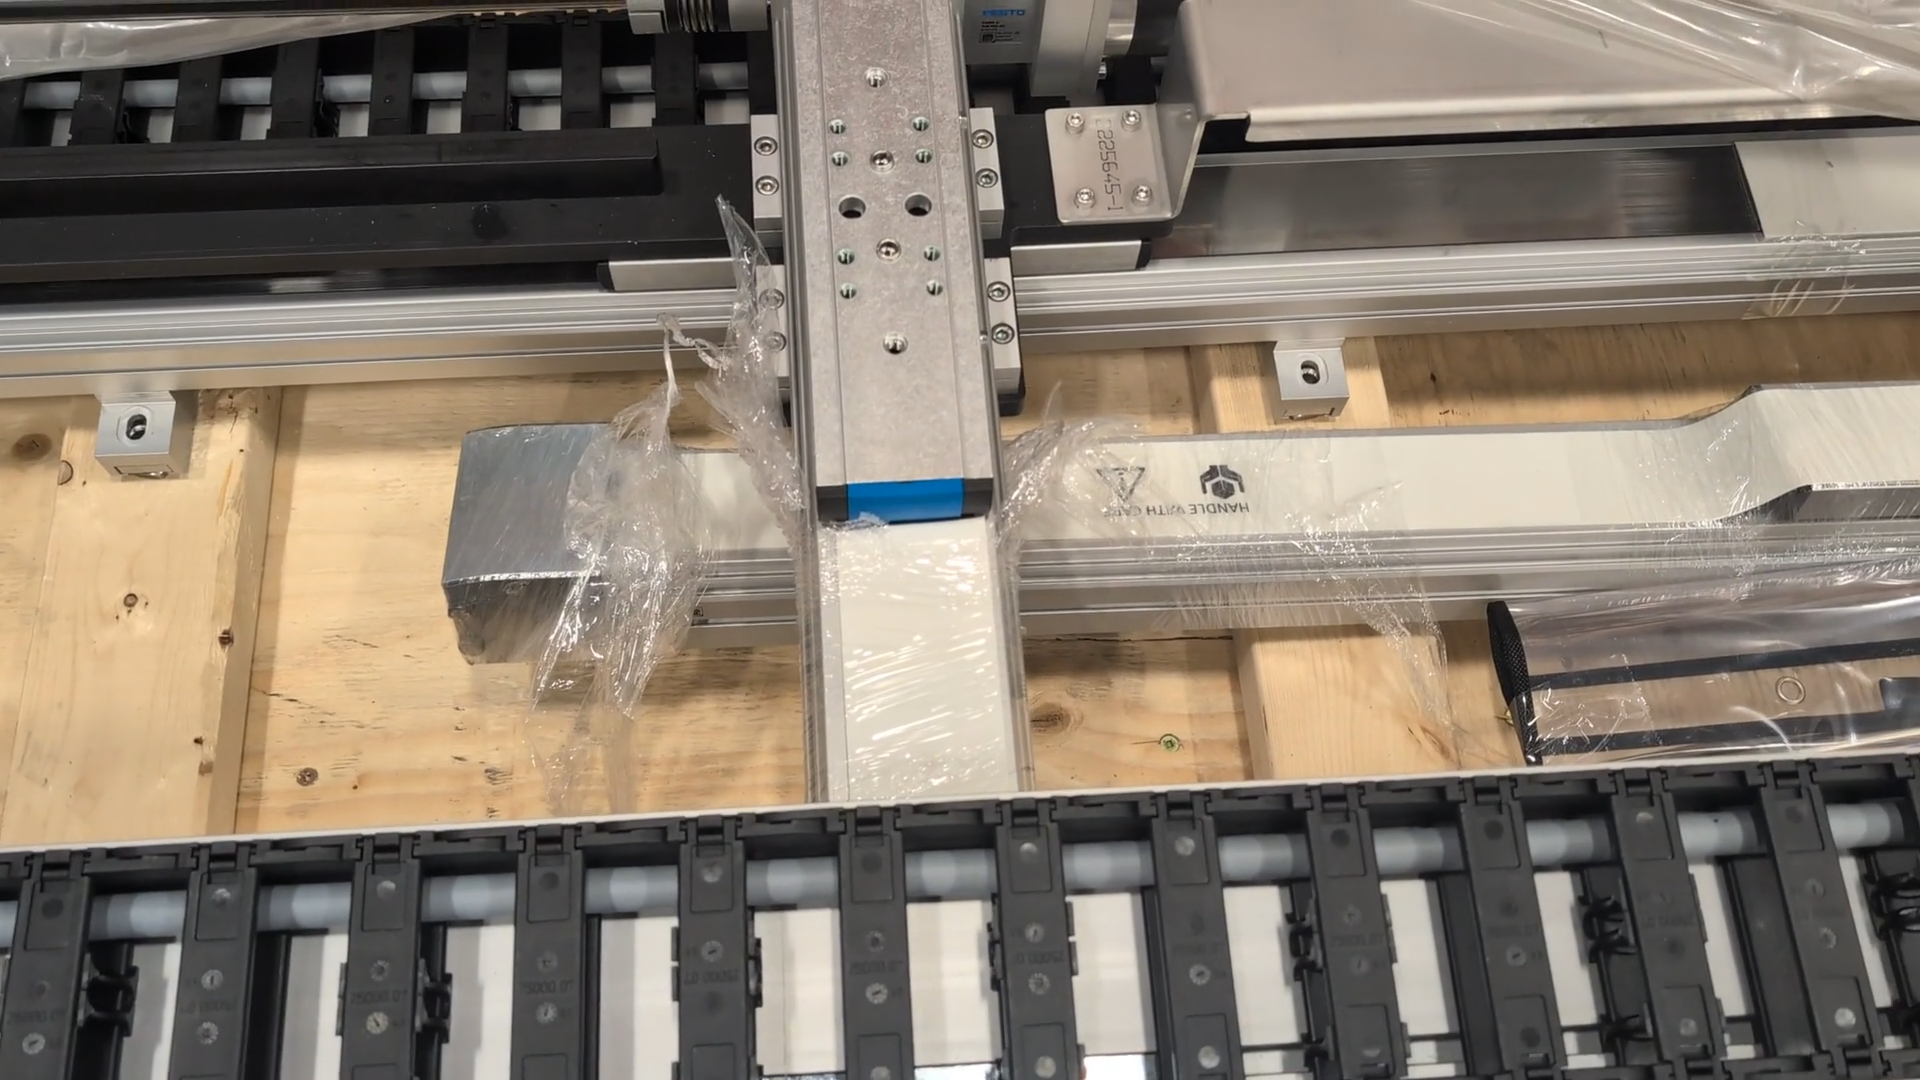
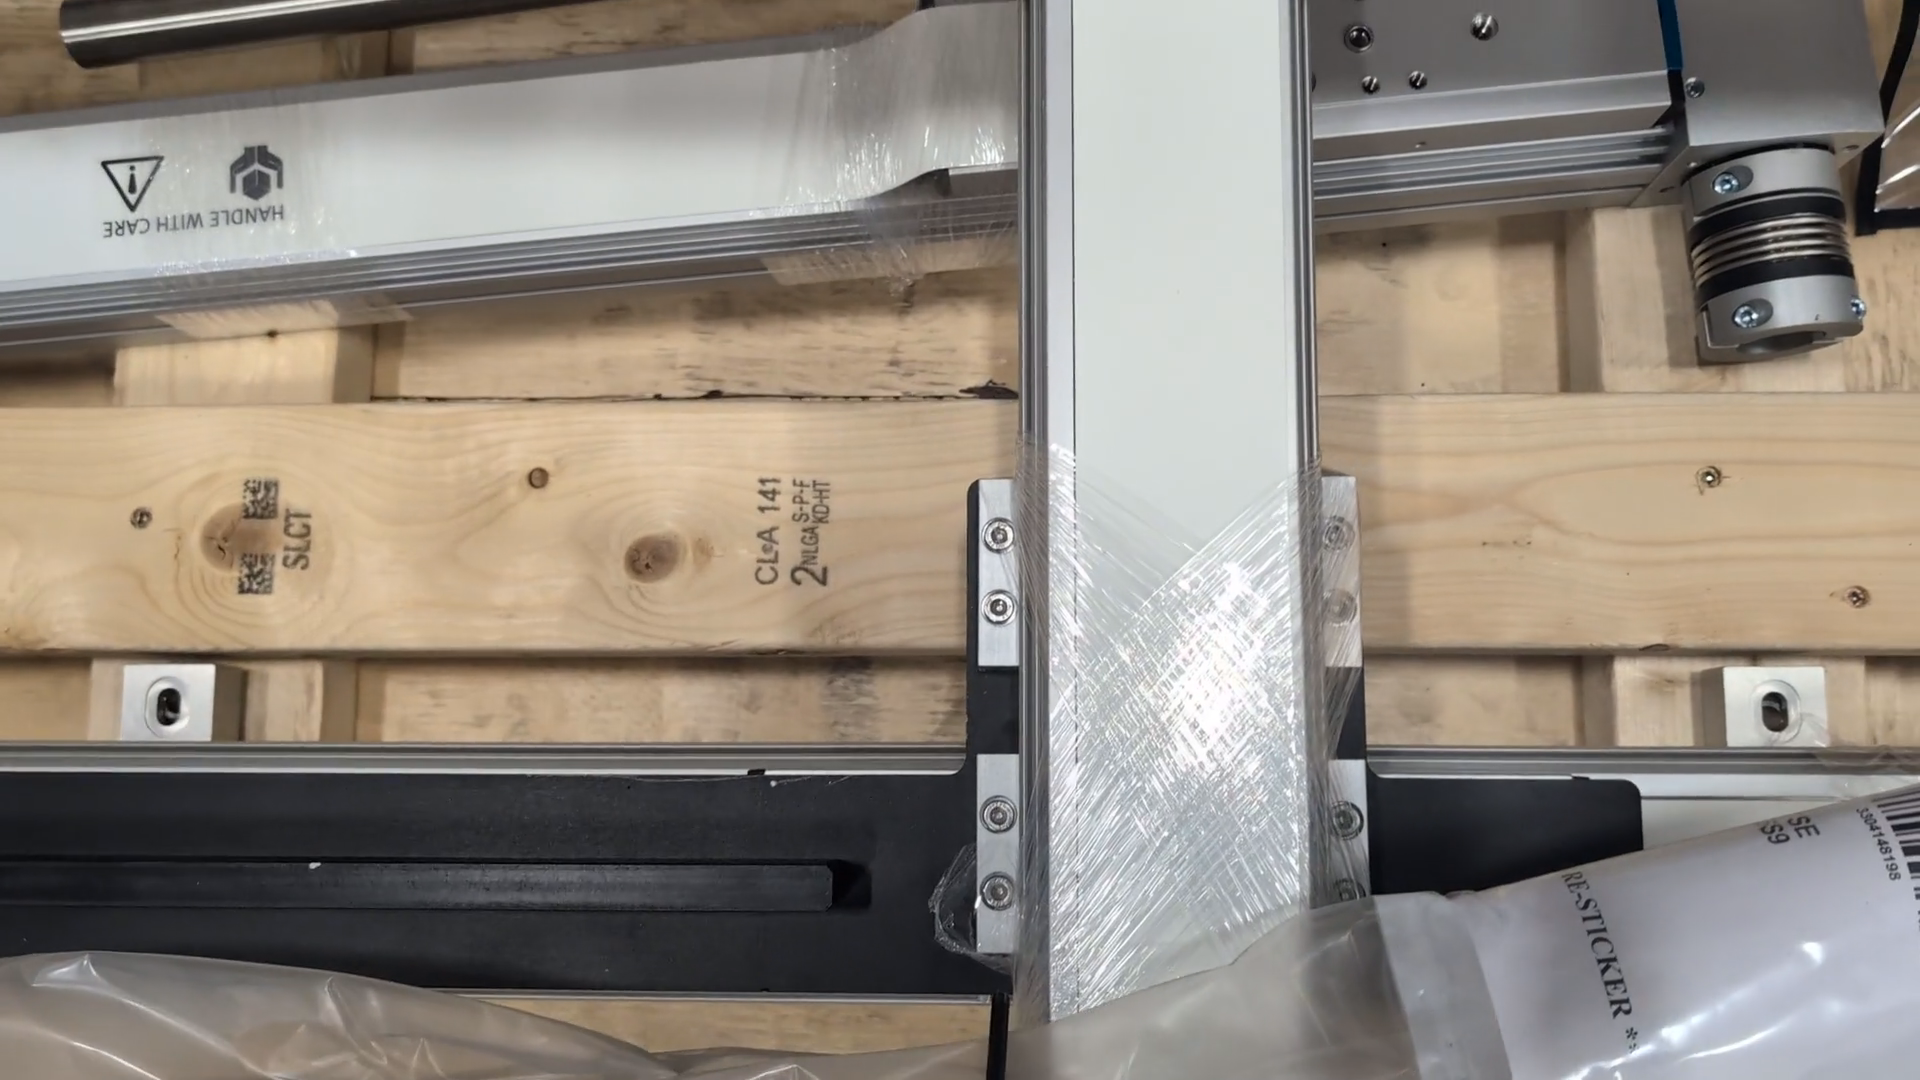
Here, I will show you how to remove the motor from the Festo linear gantry. First, remove the screws I am pointing to.
1
Remove the screws on the first side of the gantry.
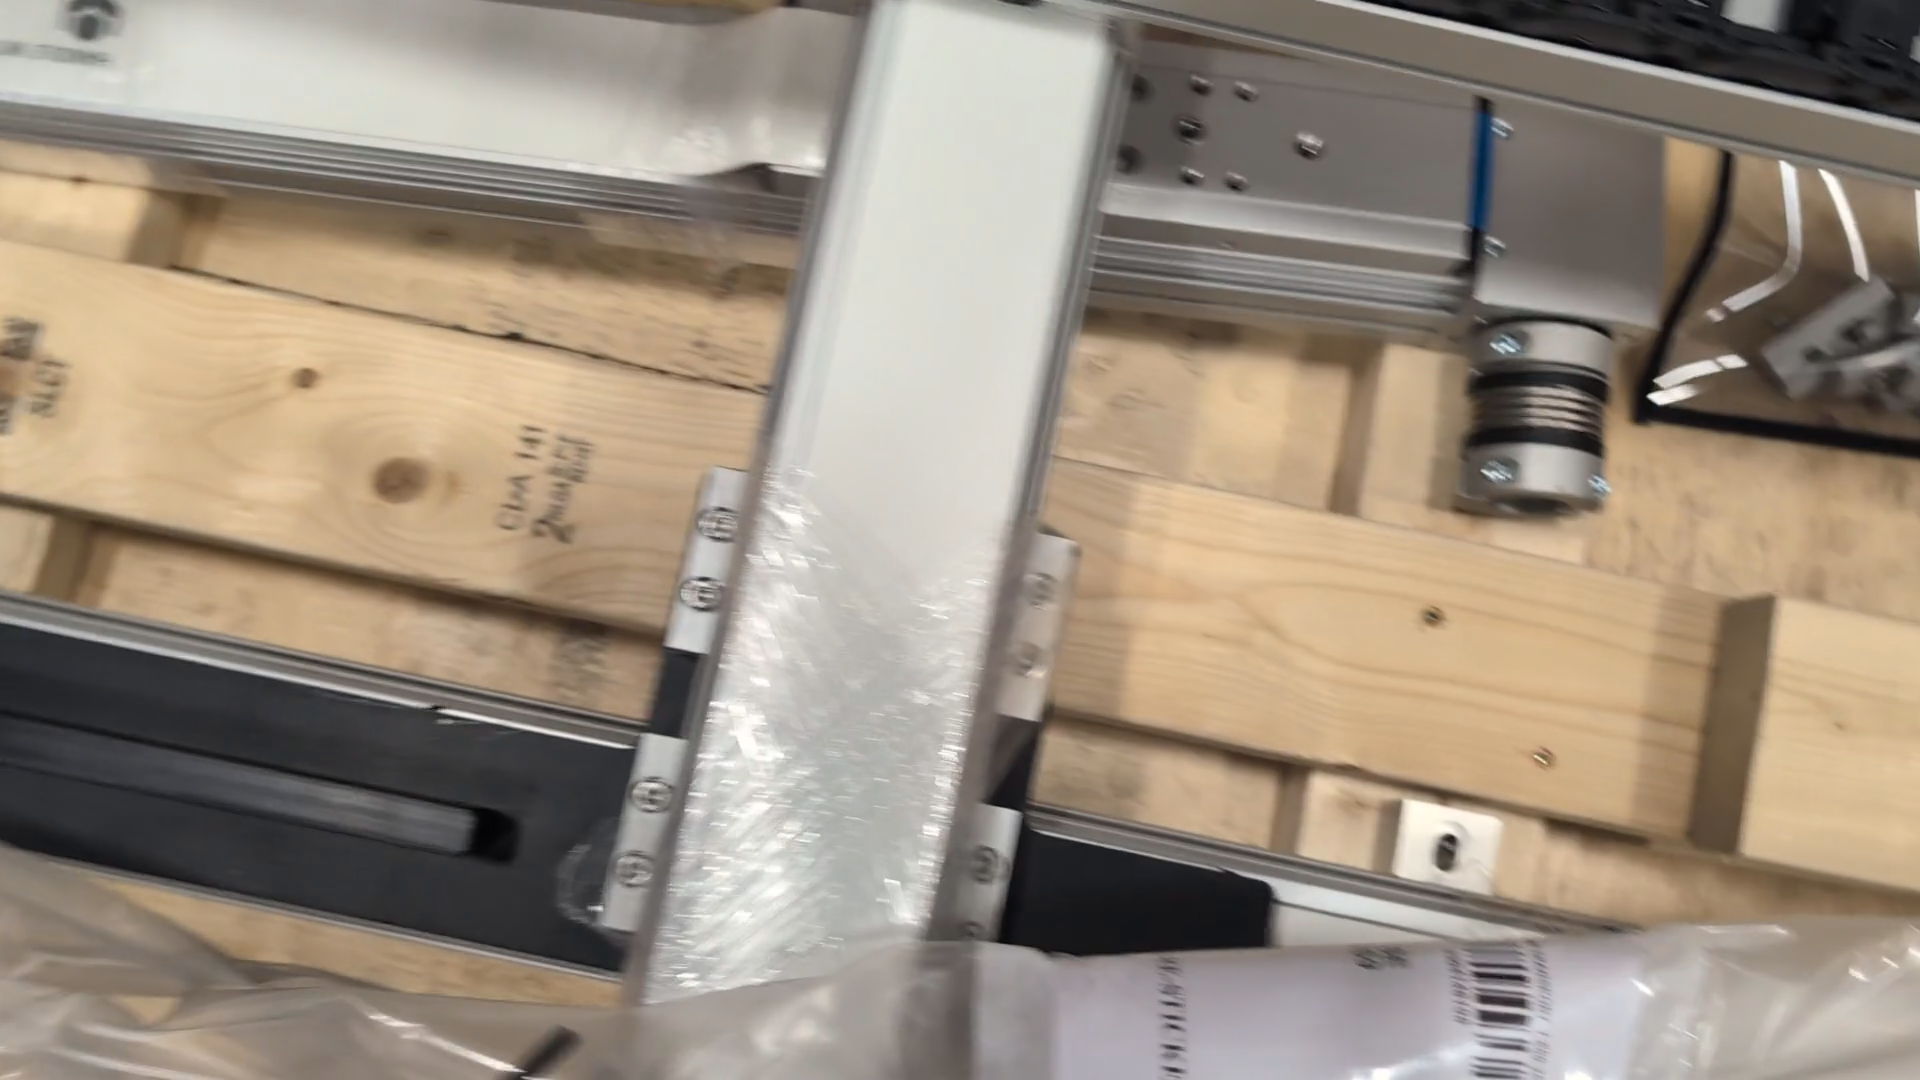
On the other side, this.
2
Remove the screws on the other side of the gantry.
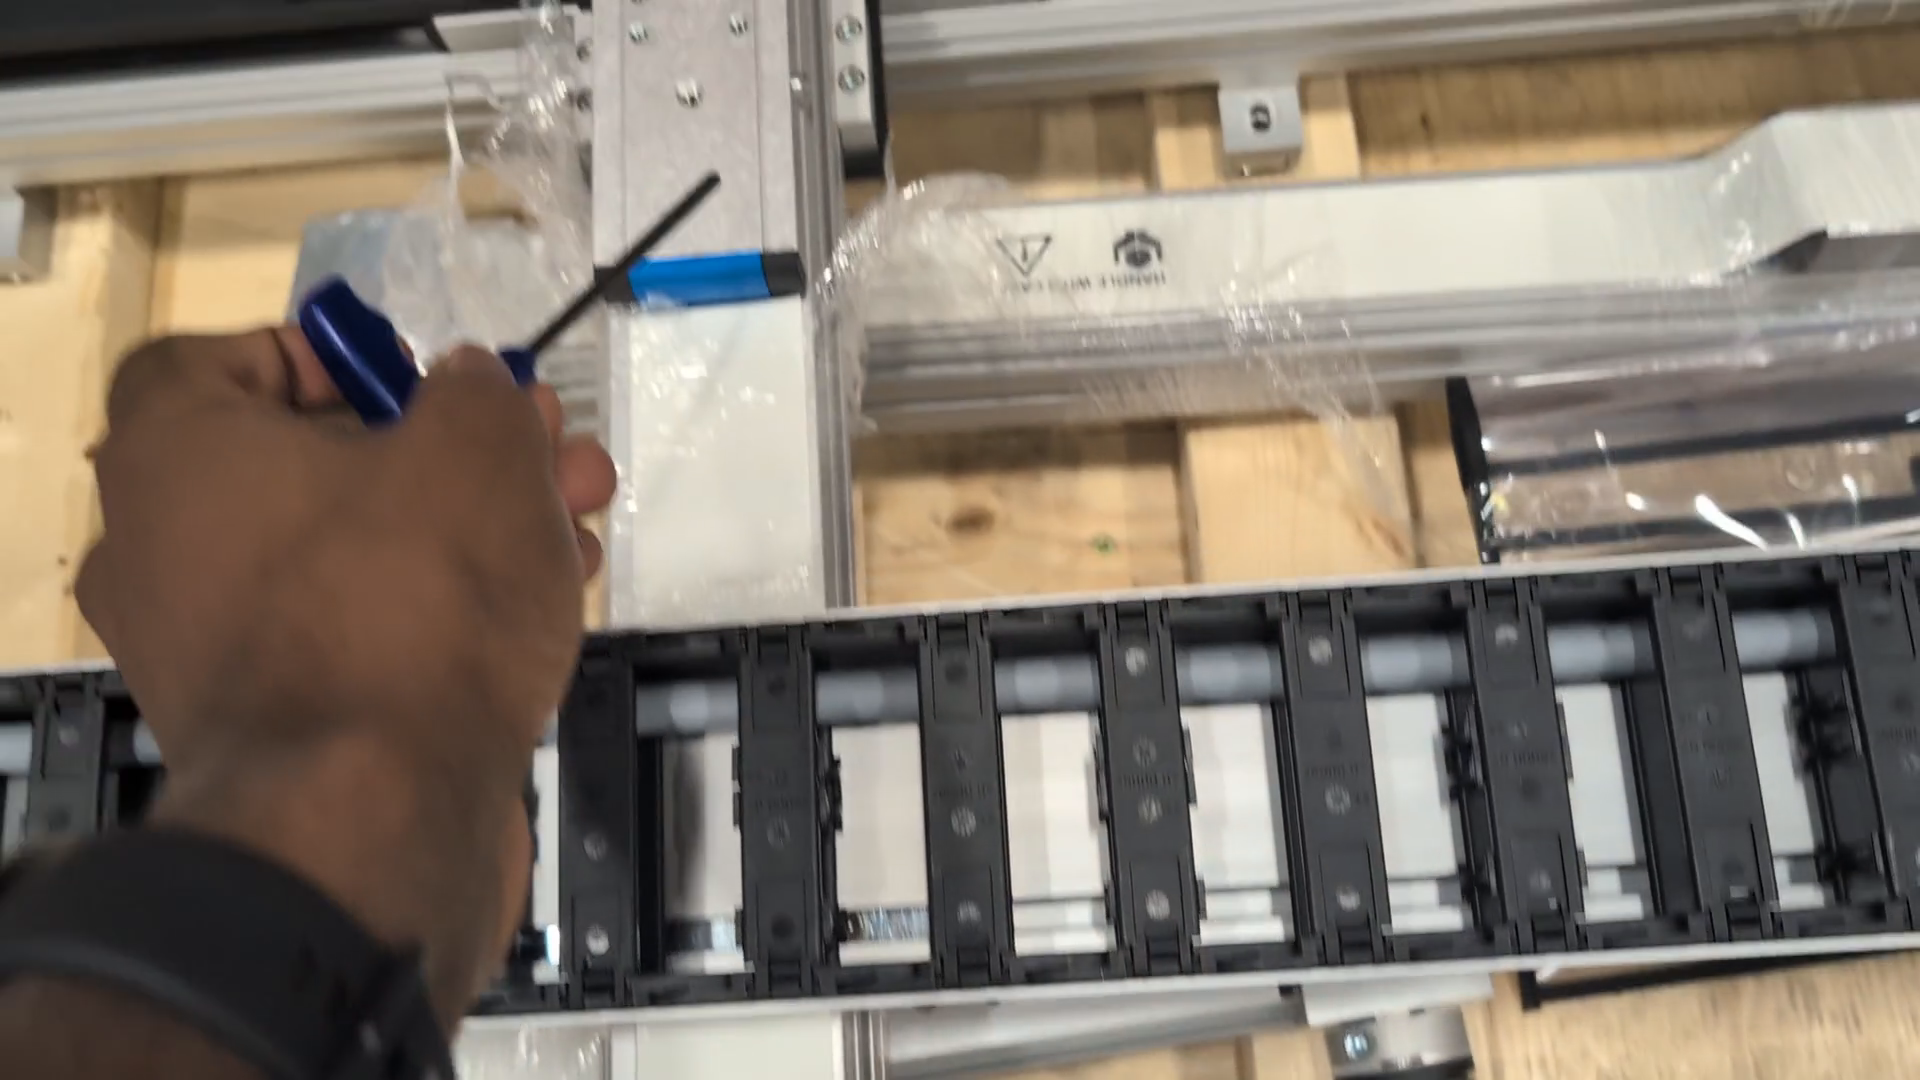
Then use the appropriate X screw.
3
Use a hex screw tool to remove the screws.
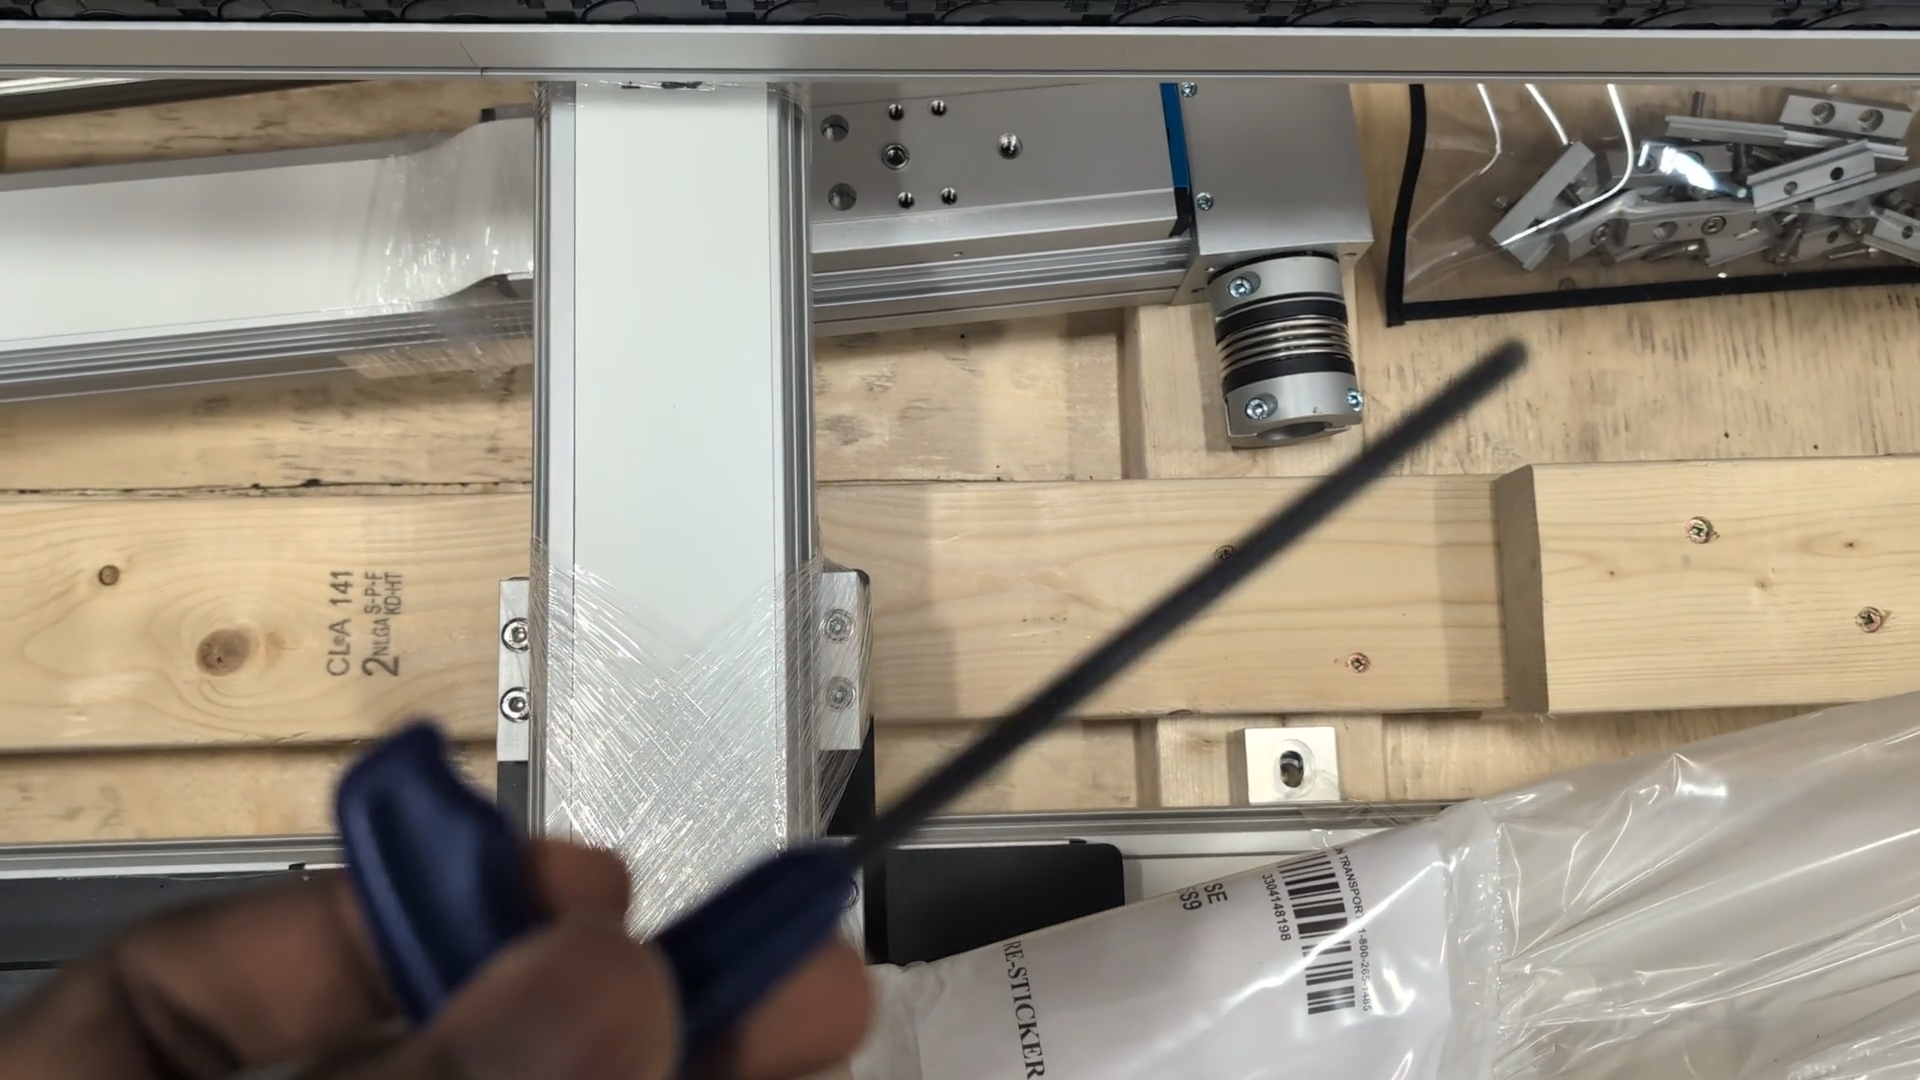
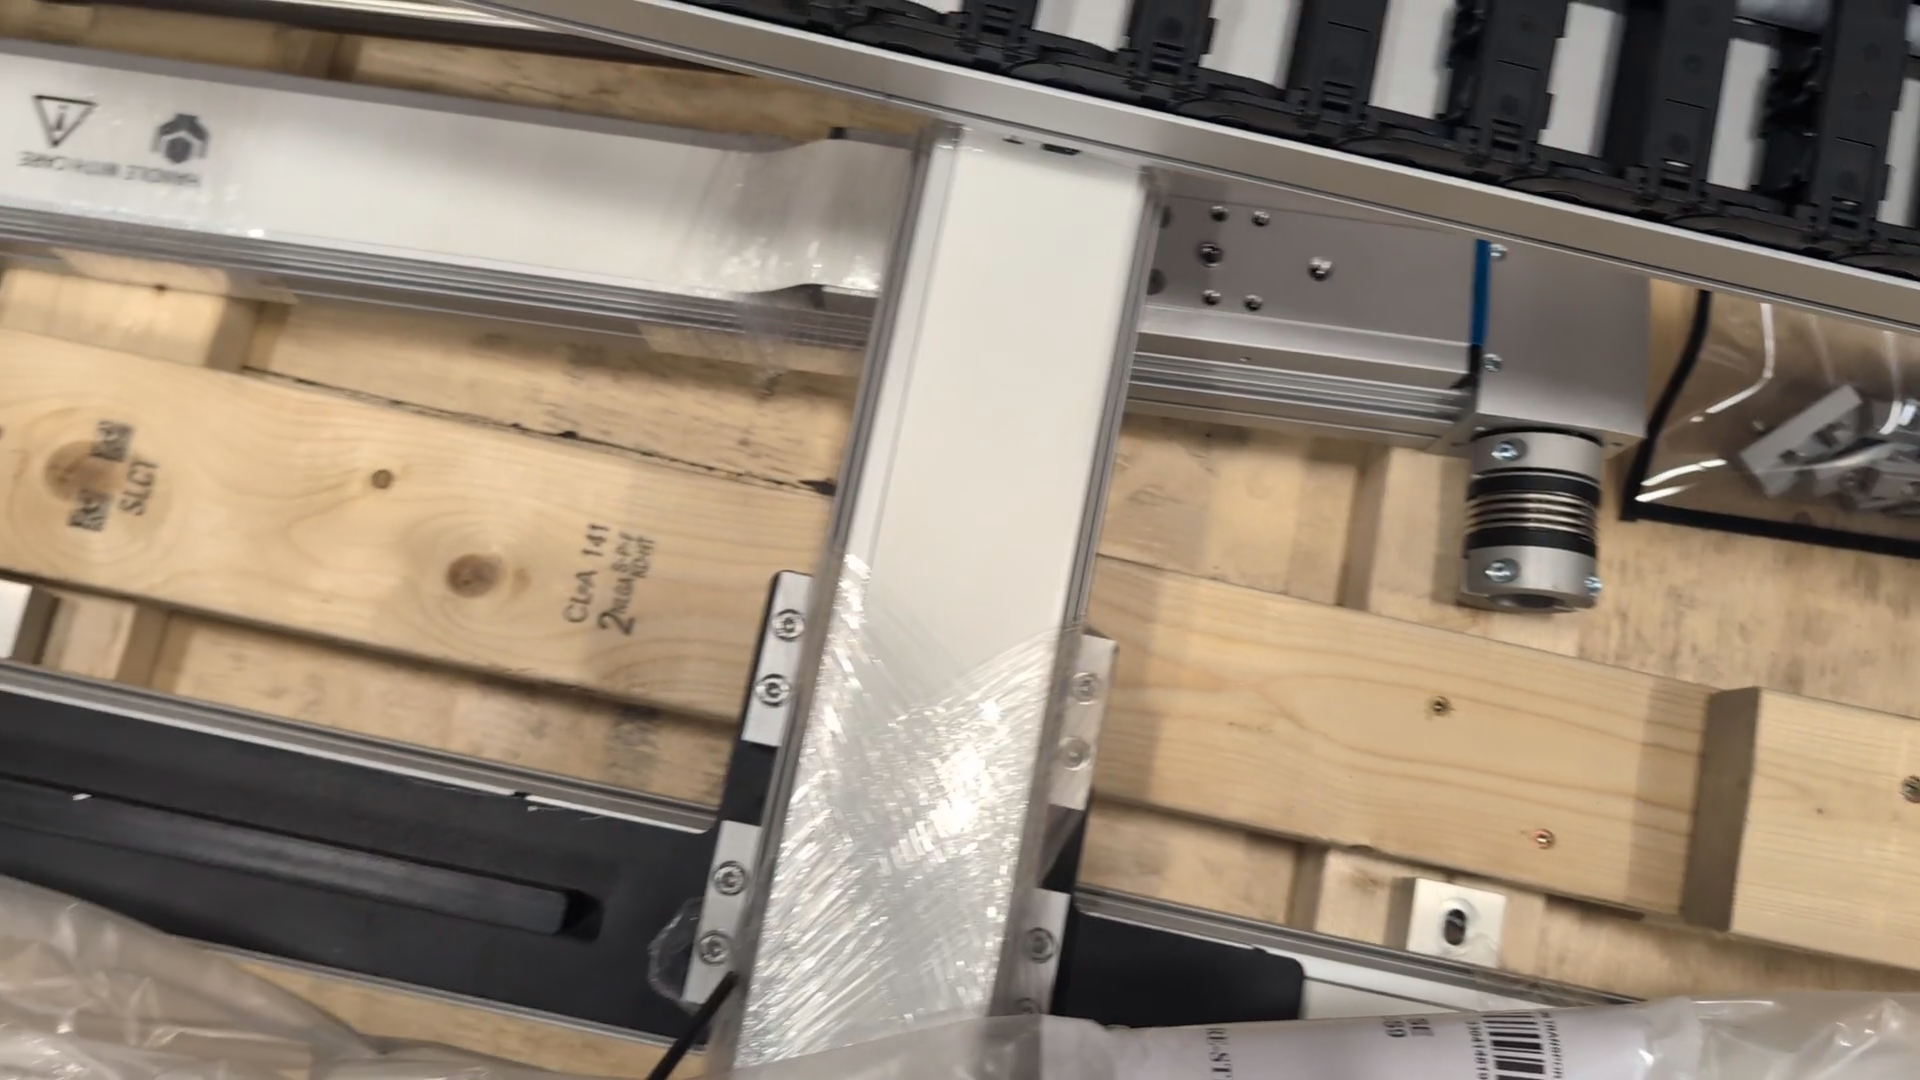
4
Use a hex key to loosen the screws on the gantry mounting bracket.
Go in there, then loosen them.
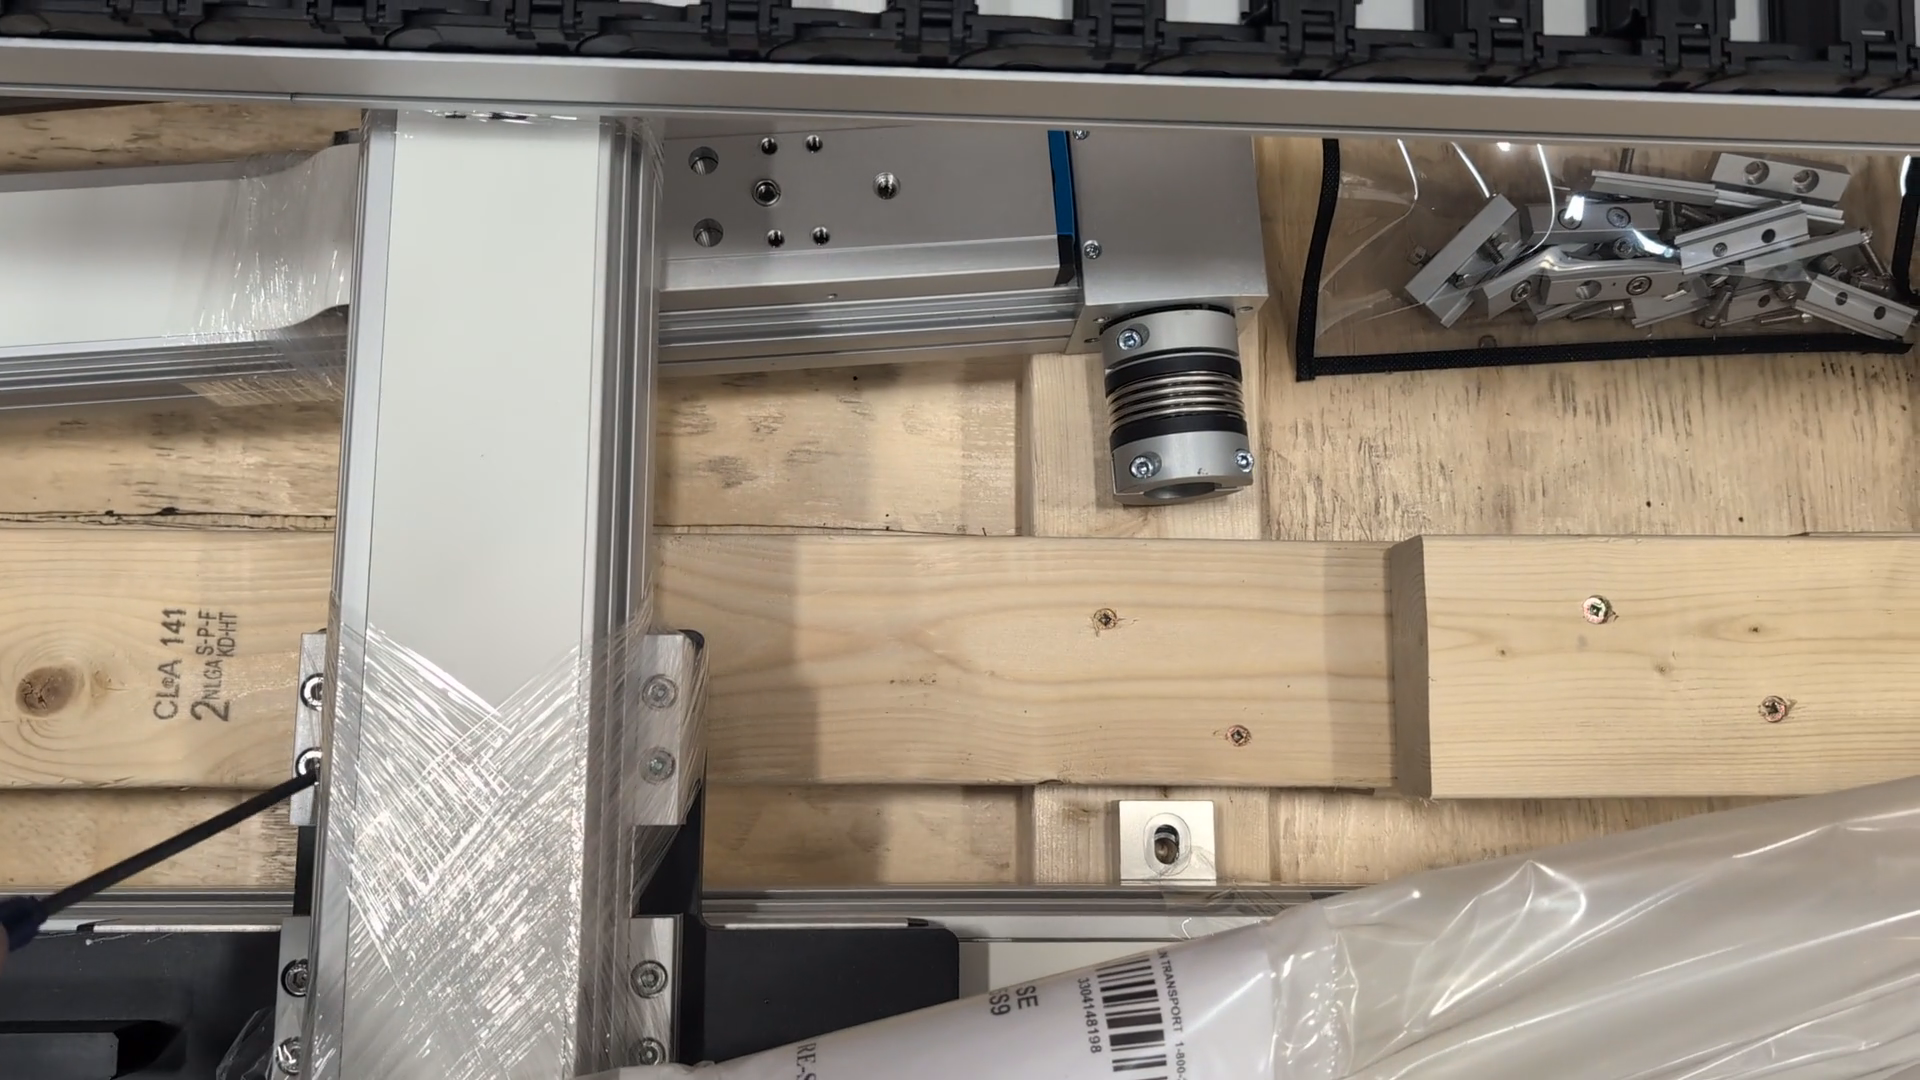
Make sure to keep these screws inside the housings so you don't lose them in case you need them later.
5
Keep the screws inside the housing after loosening them to prevent loss.
6
Loosen the screws on the upper mounting bracket of the gantry.
It's usually better to have two people, but one person is fine. Gently slide the motor out from the gantry.
7
Gently slide the gantry motor assembly out from its housing.
That's all.