
How to Reorganize Modifier Groups for Pizza Sizes in Your Web Application
Learn how to efficiently reorganize modifier groups for different pizza sizes in your web application or CRM. Follow these steps to ensure your new sizes are correctly positioned.
In this guide, we'll learn how to reorganize modifier options for pizza sizes the Google Sheet. Managing modifier groups efficiently ensures that new sizes like 20 and 22 inches are correctly positioned within the list, rather than being added at the end. This process involves inserting new rows, cutting, and pasting data to maintain order. Proper organization helps in generating new variations and synchronizing the menu effectively.
Let's get started
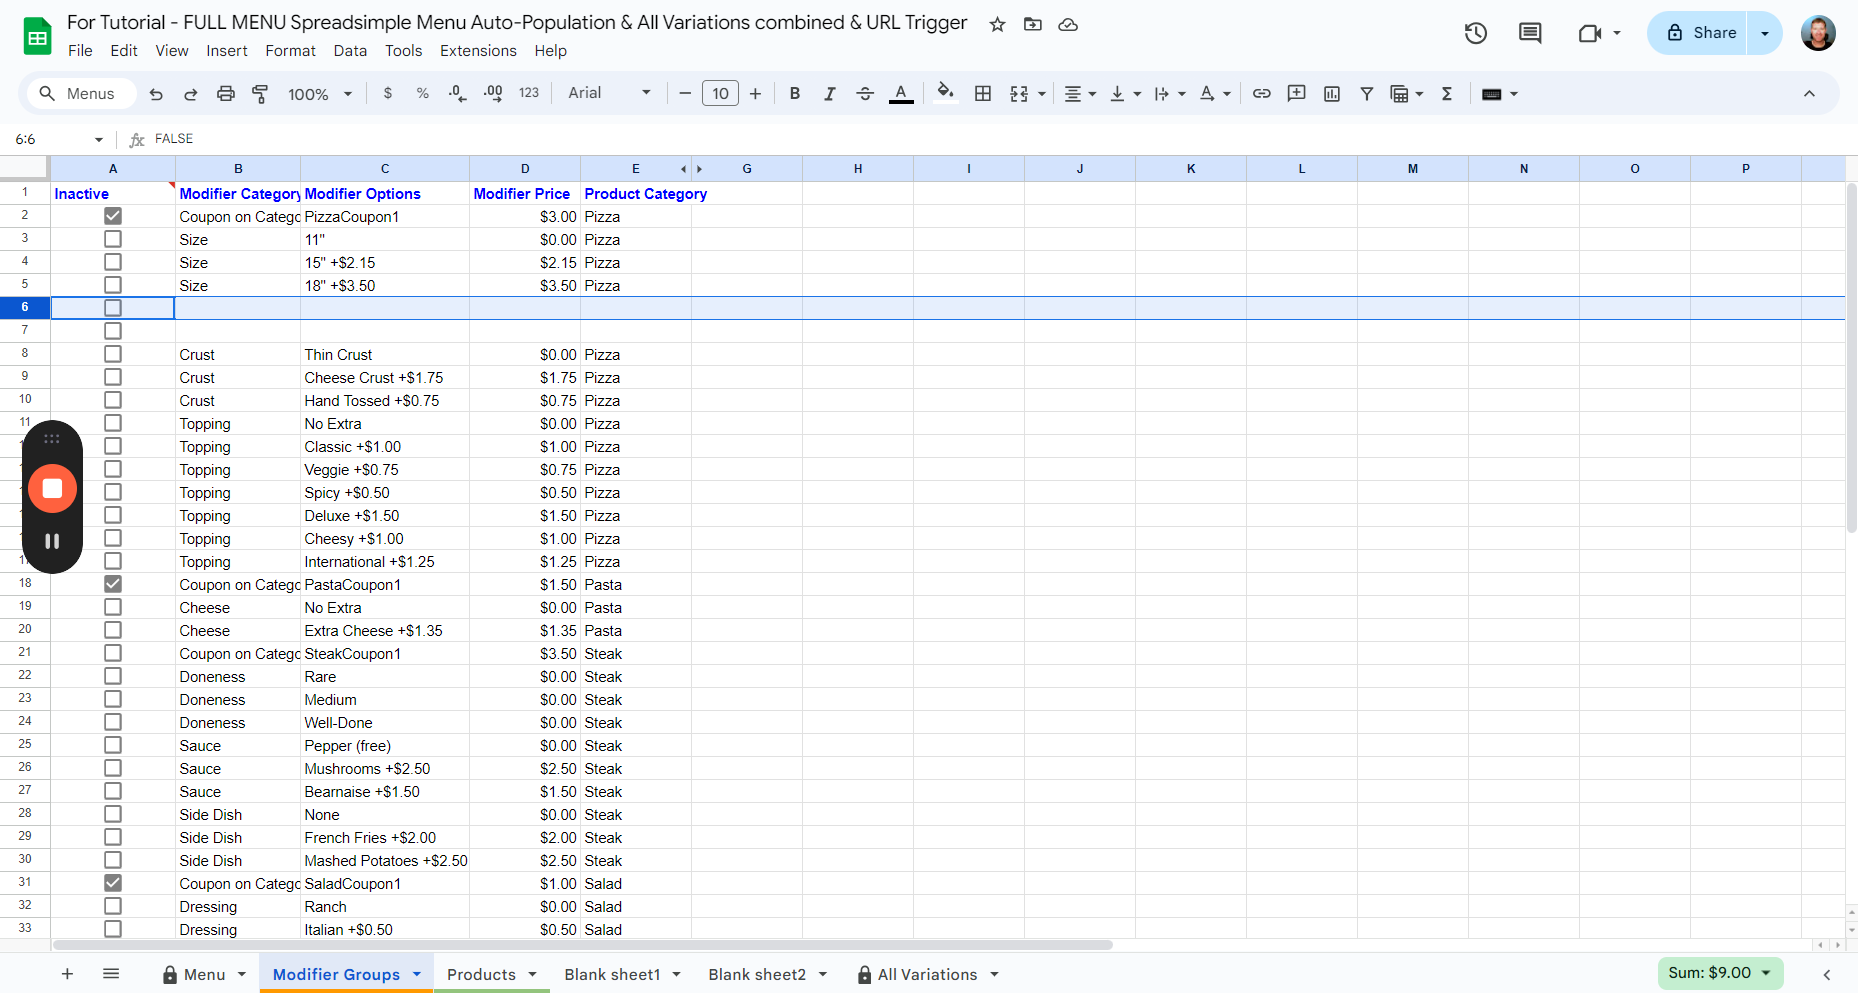
We are in the "Modifier Groups" sheet. For Product Category, Pizza, I have three different sizes and modifier options available.
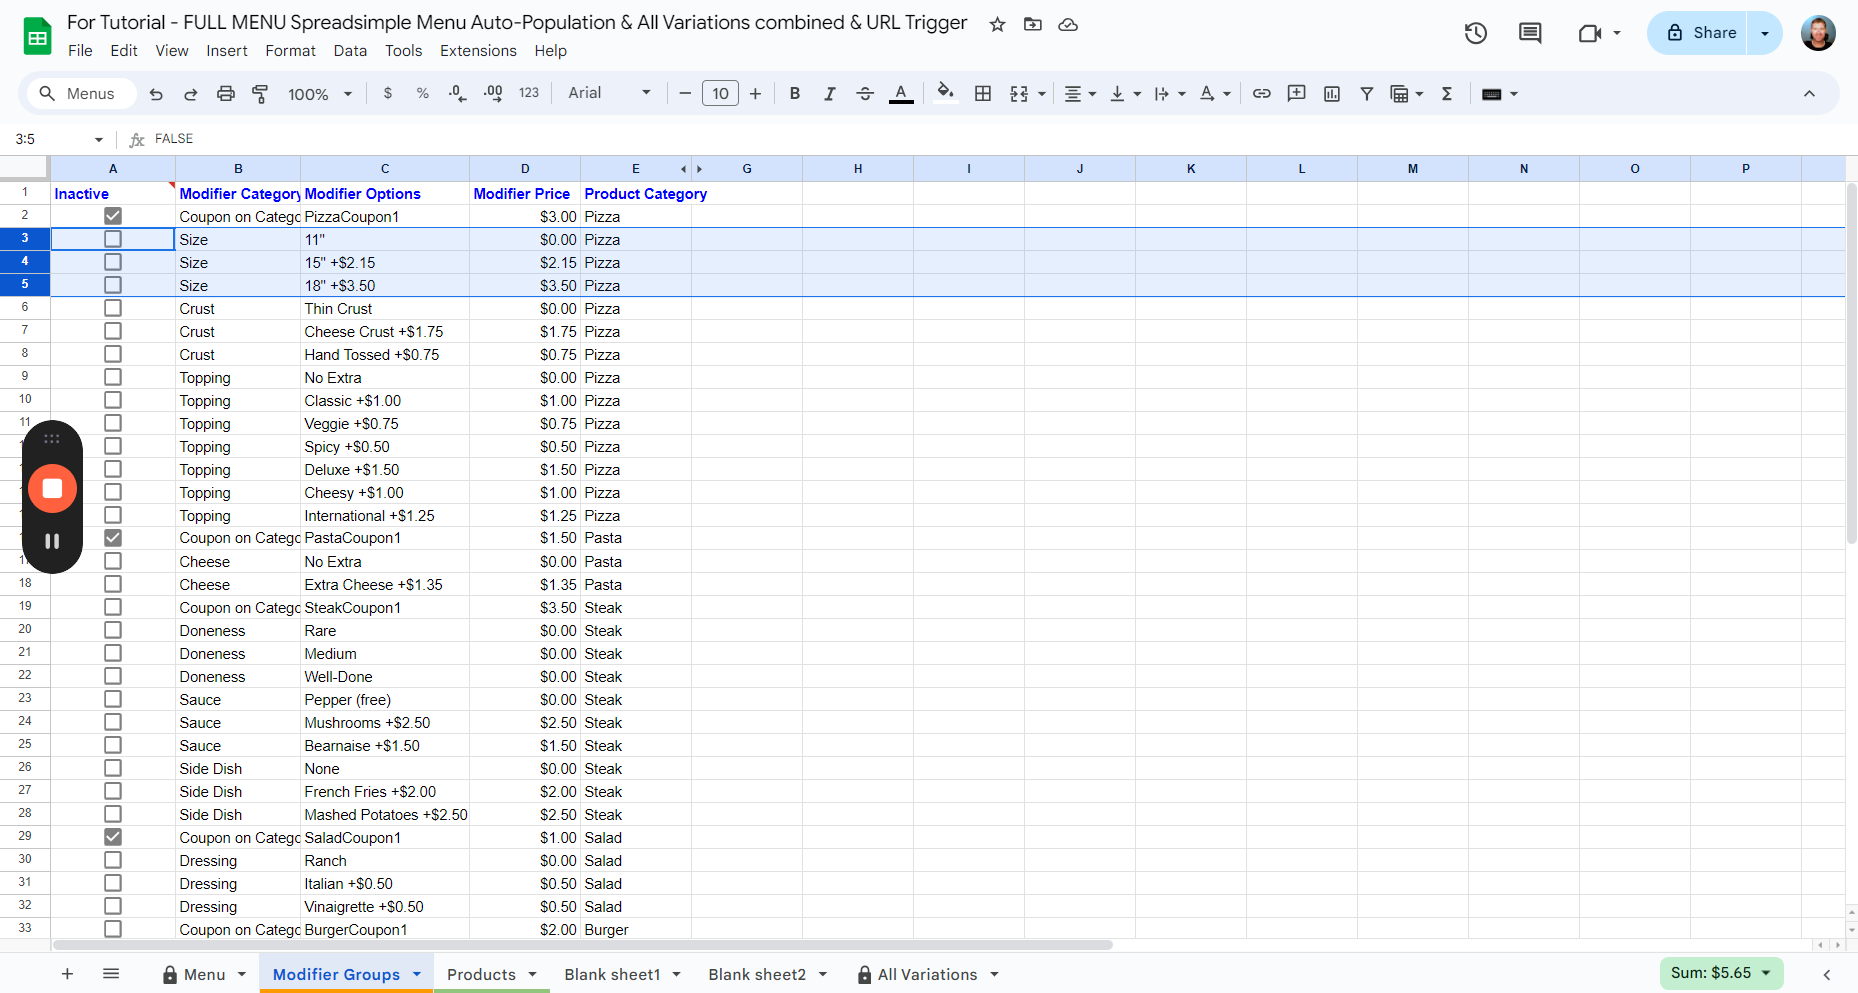
If you add new Modifier Options like 20 and 22 inches via the web application or CRM, they will appear at the end of the list, as the last two products or modifier categories.

If you want to reorganize the list and place items where they belong, go to the desired location. We need to insert two records, so I'm going below the last size for pizza and selecting two rows.
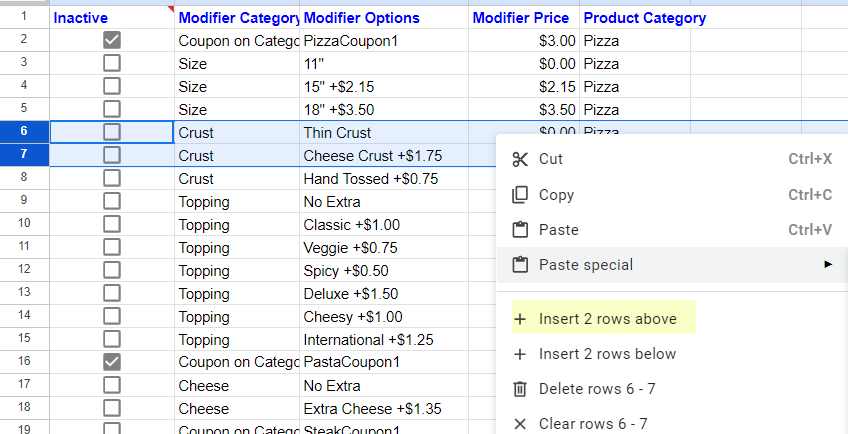
I right-click and select "Insert two rows above" to add my two new records below the sizes.
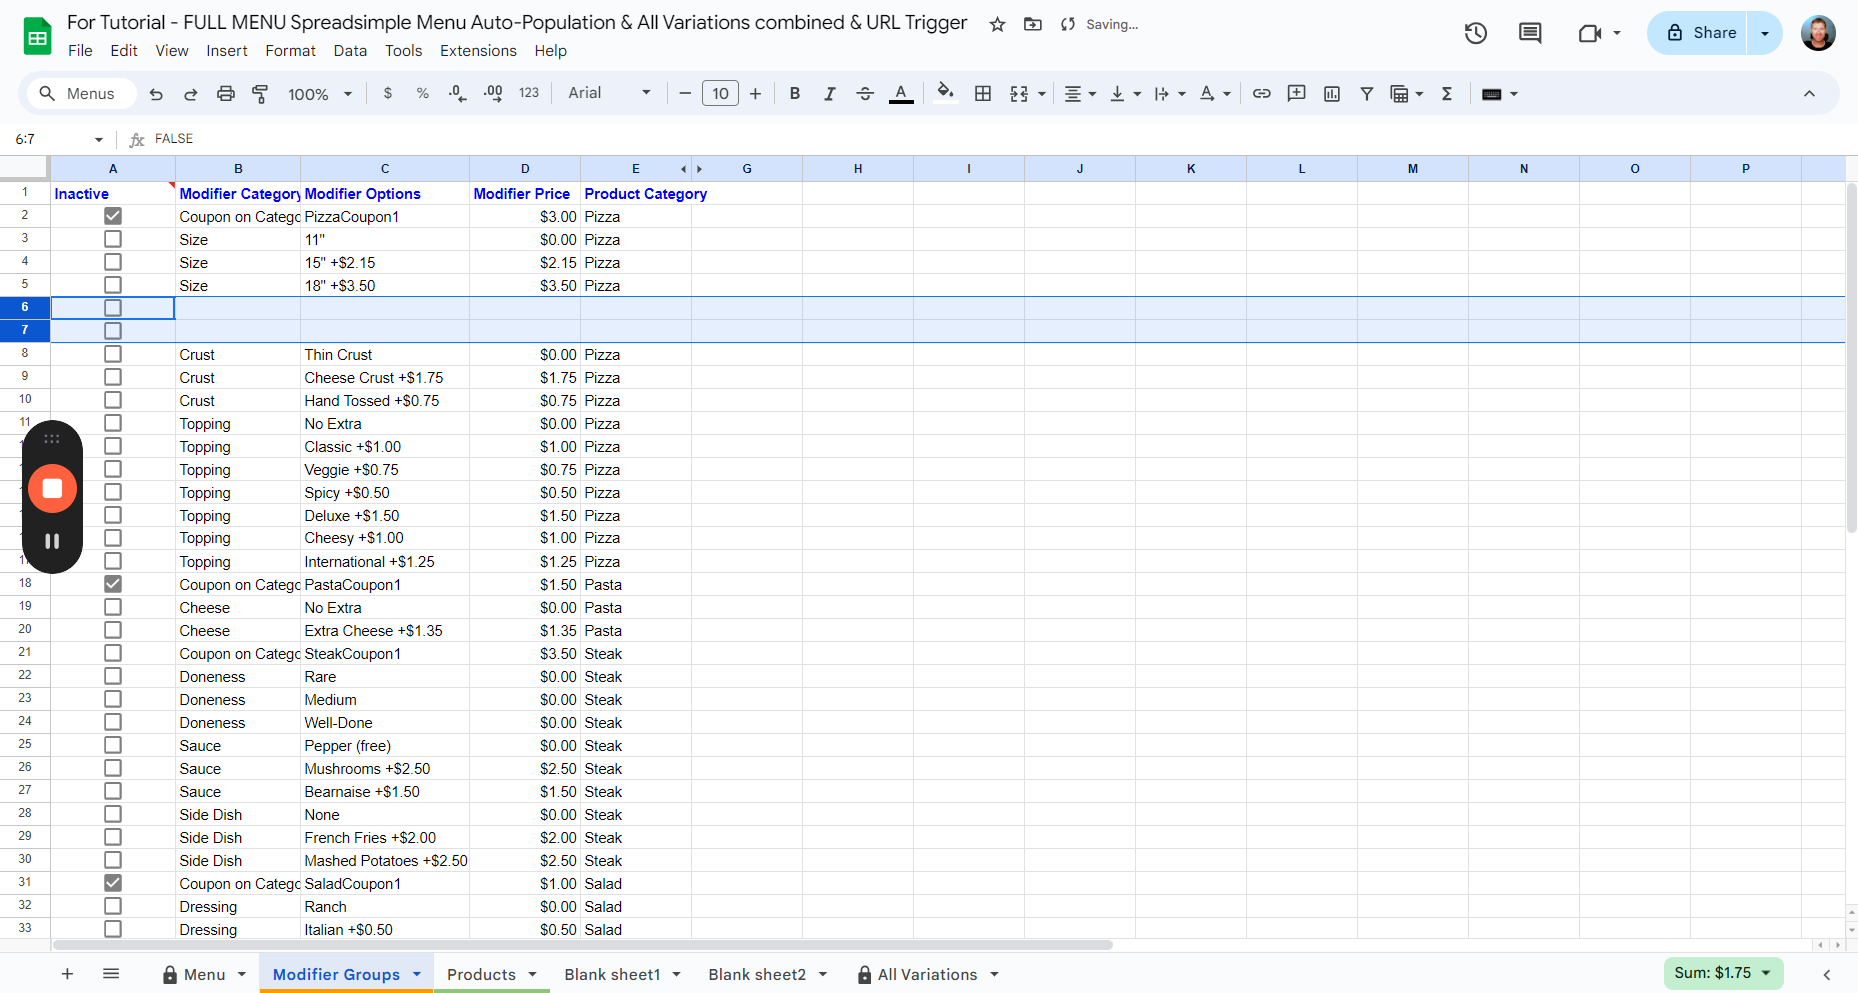
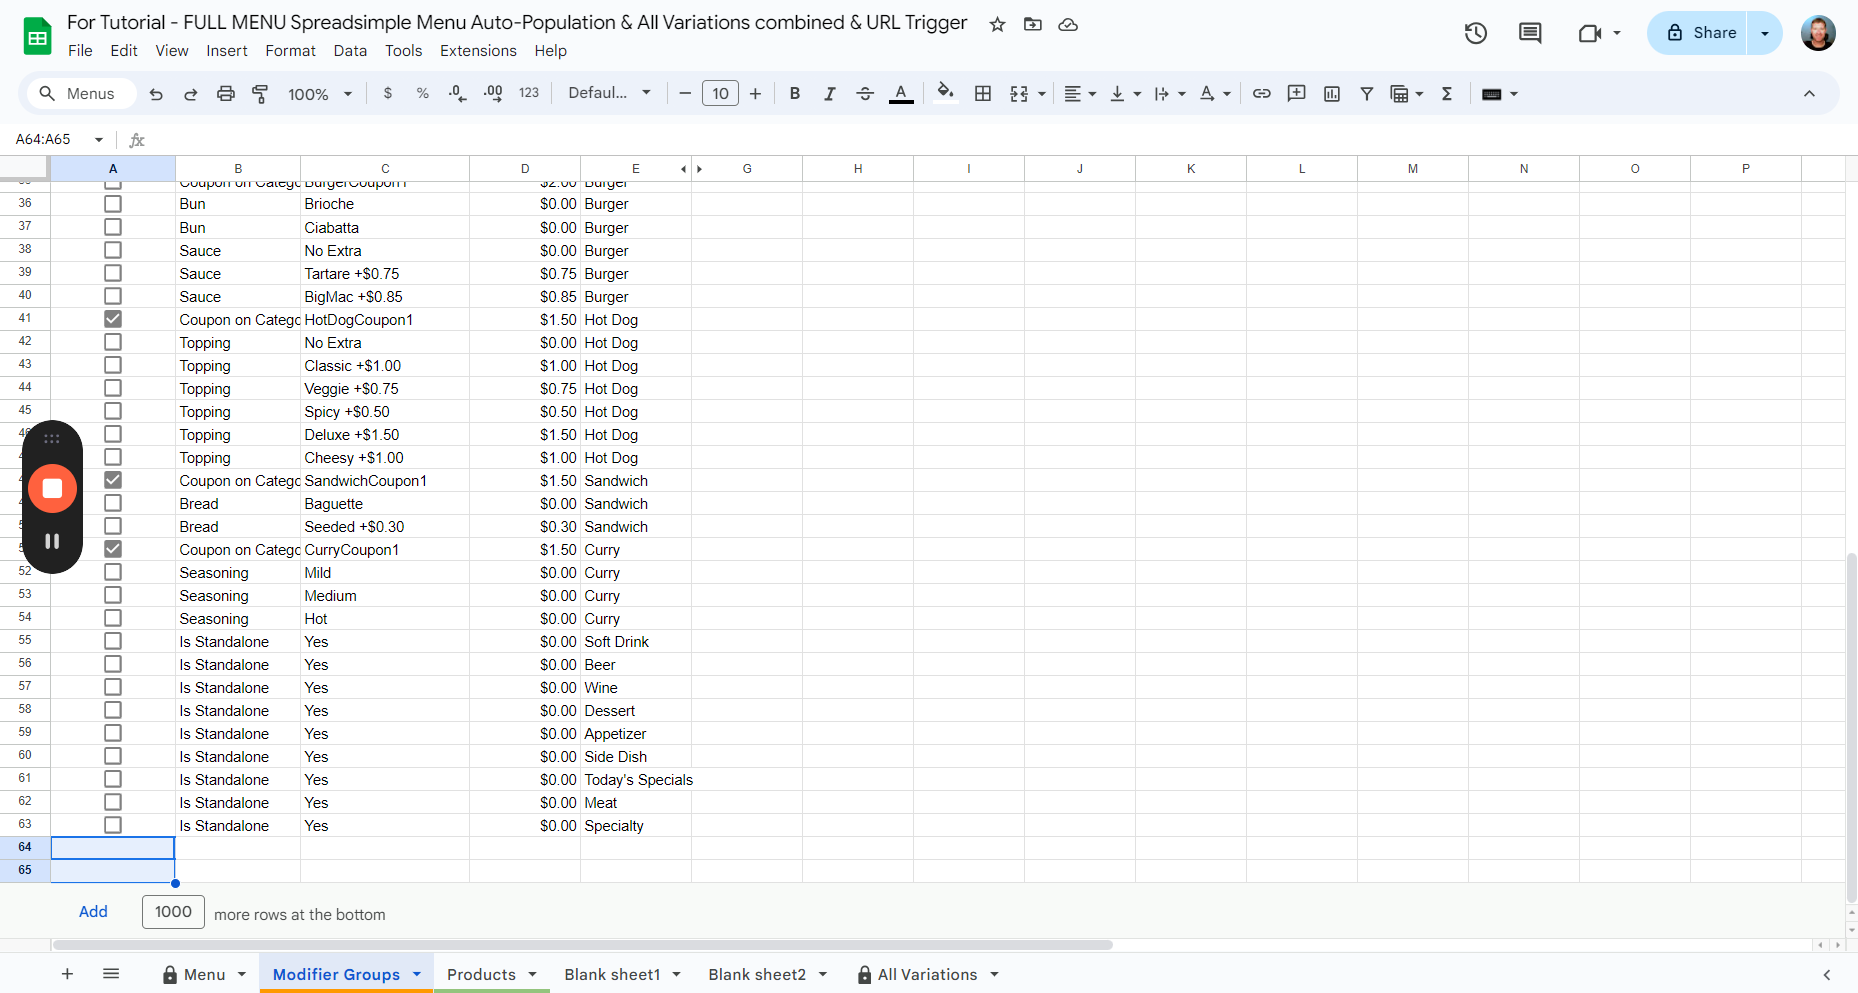
Then, I go back to the last two lines that indicate Size and select the entire rows.
(Note: Make sure to copy the same number of rows to move as the number of available empty rows.
For example, if you add 2 empty rows and copy and paste 3 rows, one row will be overwritten (in this example, "Thin Crust" would disappear.)
So, be cautious when you do that.
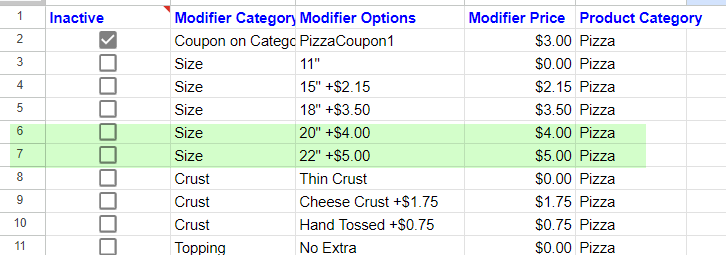
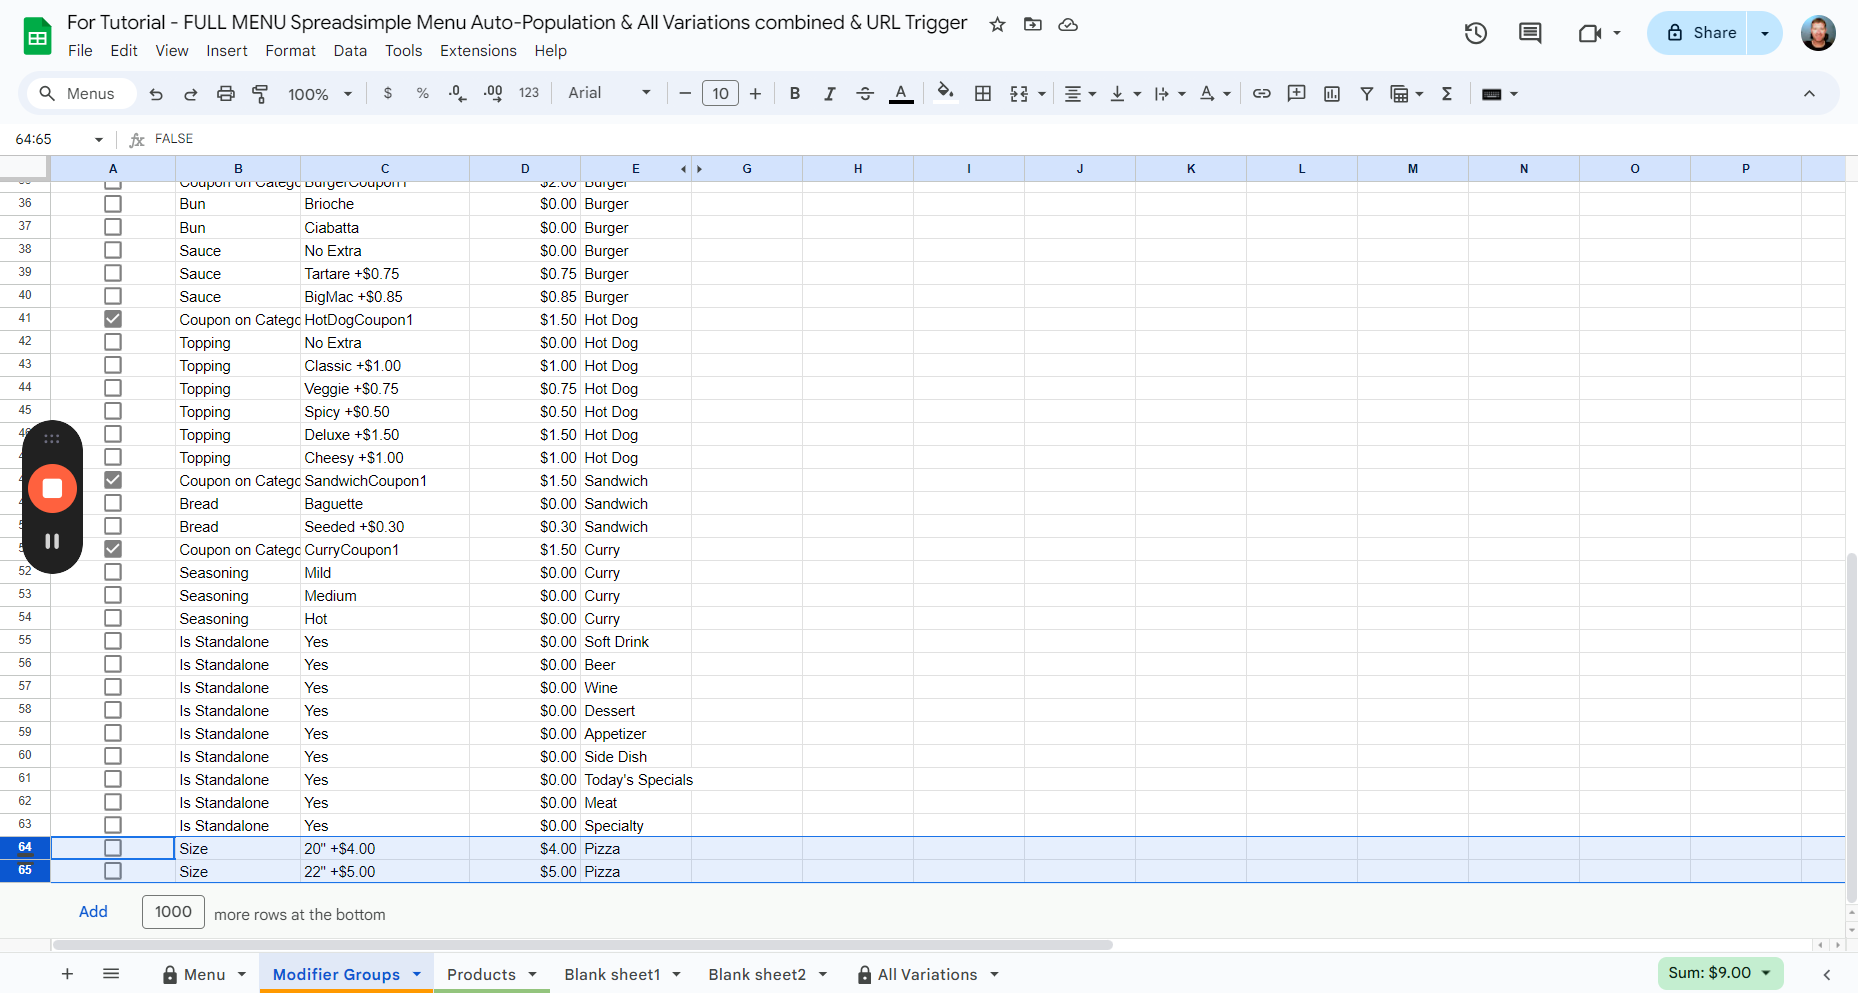
Now we can see that the new records are positioned correctly and are no longer at the end of the list. They are all gone.
You can do the same for the sheet "Products" and select rows you want to reorder.
It works the same way. Thank you.