How to Replace a Screenshot in a Glitter AI Guide
Step-by-step guide on how to replace a screenshot in a Glitter Guide. Learn how to edit, replace screenshots, and undo deletions.
In this guide, we'll learn how to replace a screenshot in a Glitter AI Guide.
When handling a guide, accessing the edit option is crucial for making changes. If you find a screenshot that needs updating, a simple process allows you to replace it efficiently. Additionally, the undo button serves as a safety net in case of accidental actions. Currently, the replacement process involves dragging a new screenshot, clicking upload, and selecting a file from your computer. Looking ahead, the ability to add screenshots using the Glitter extension or desktop app will be available. Let's get started.
Let's get started
This is an example of how to replace a screenshot in a Glitter Guide.
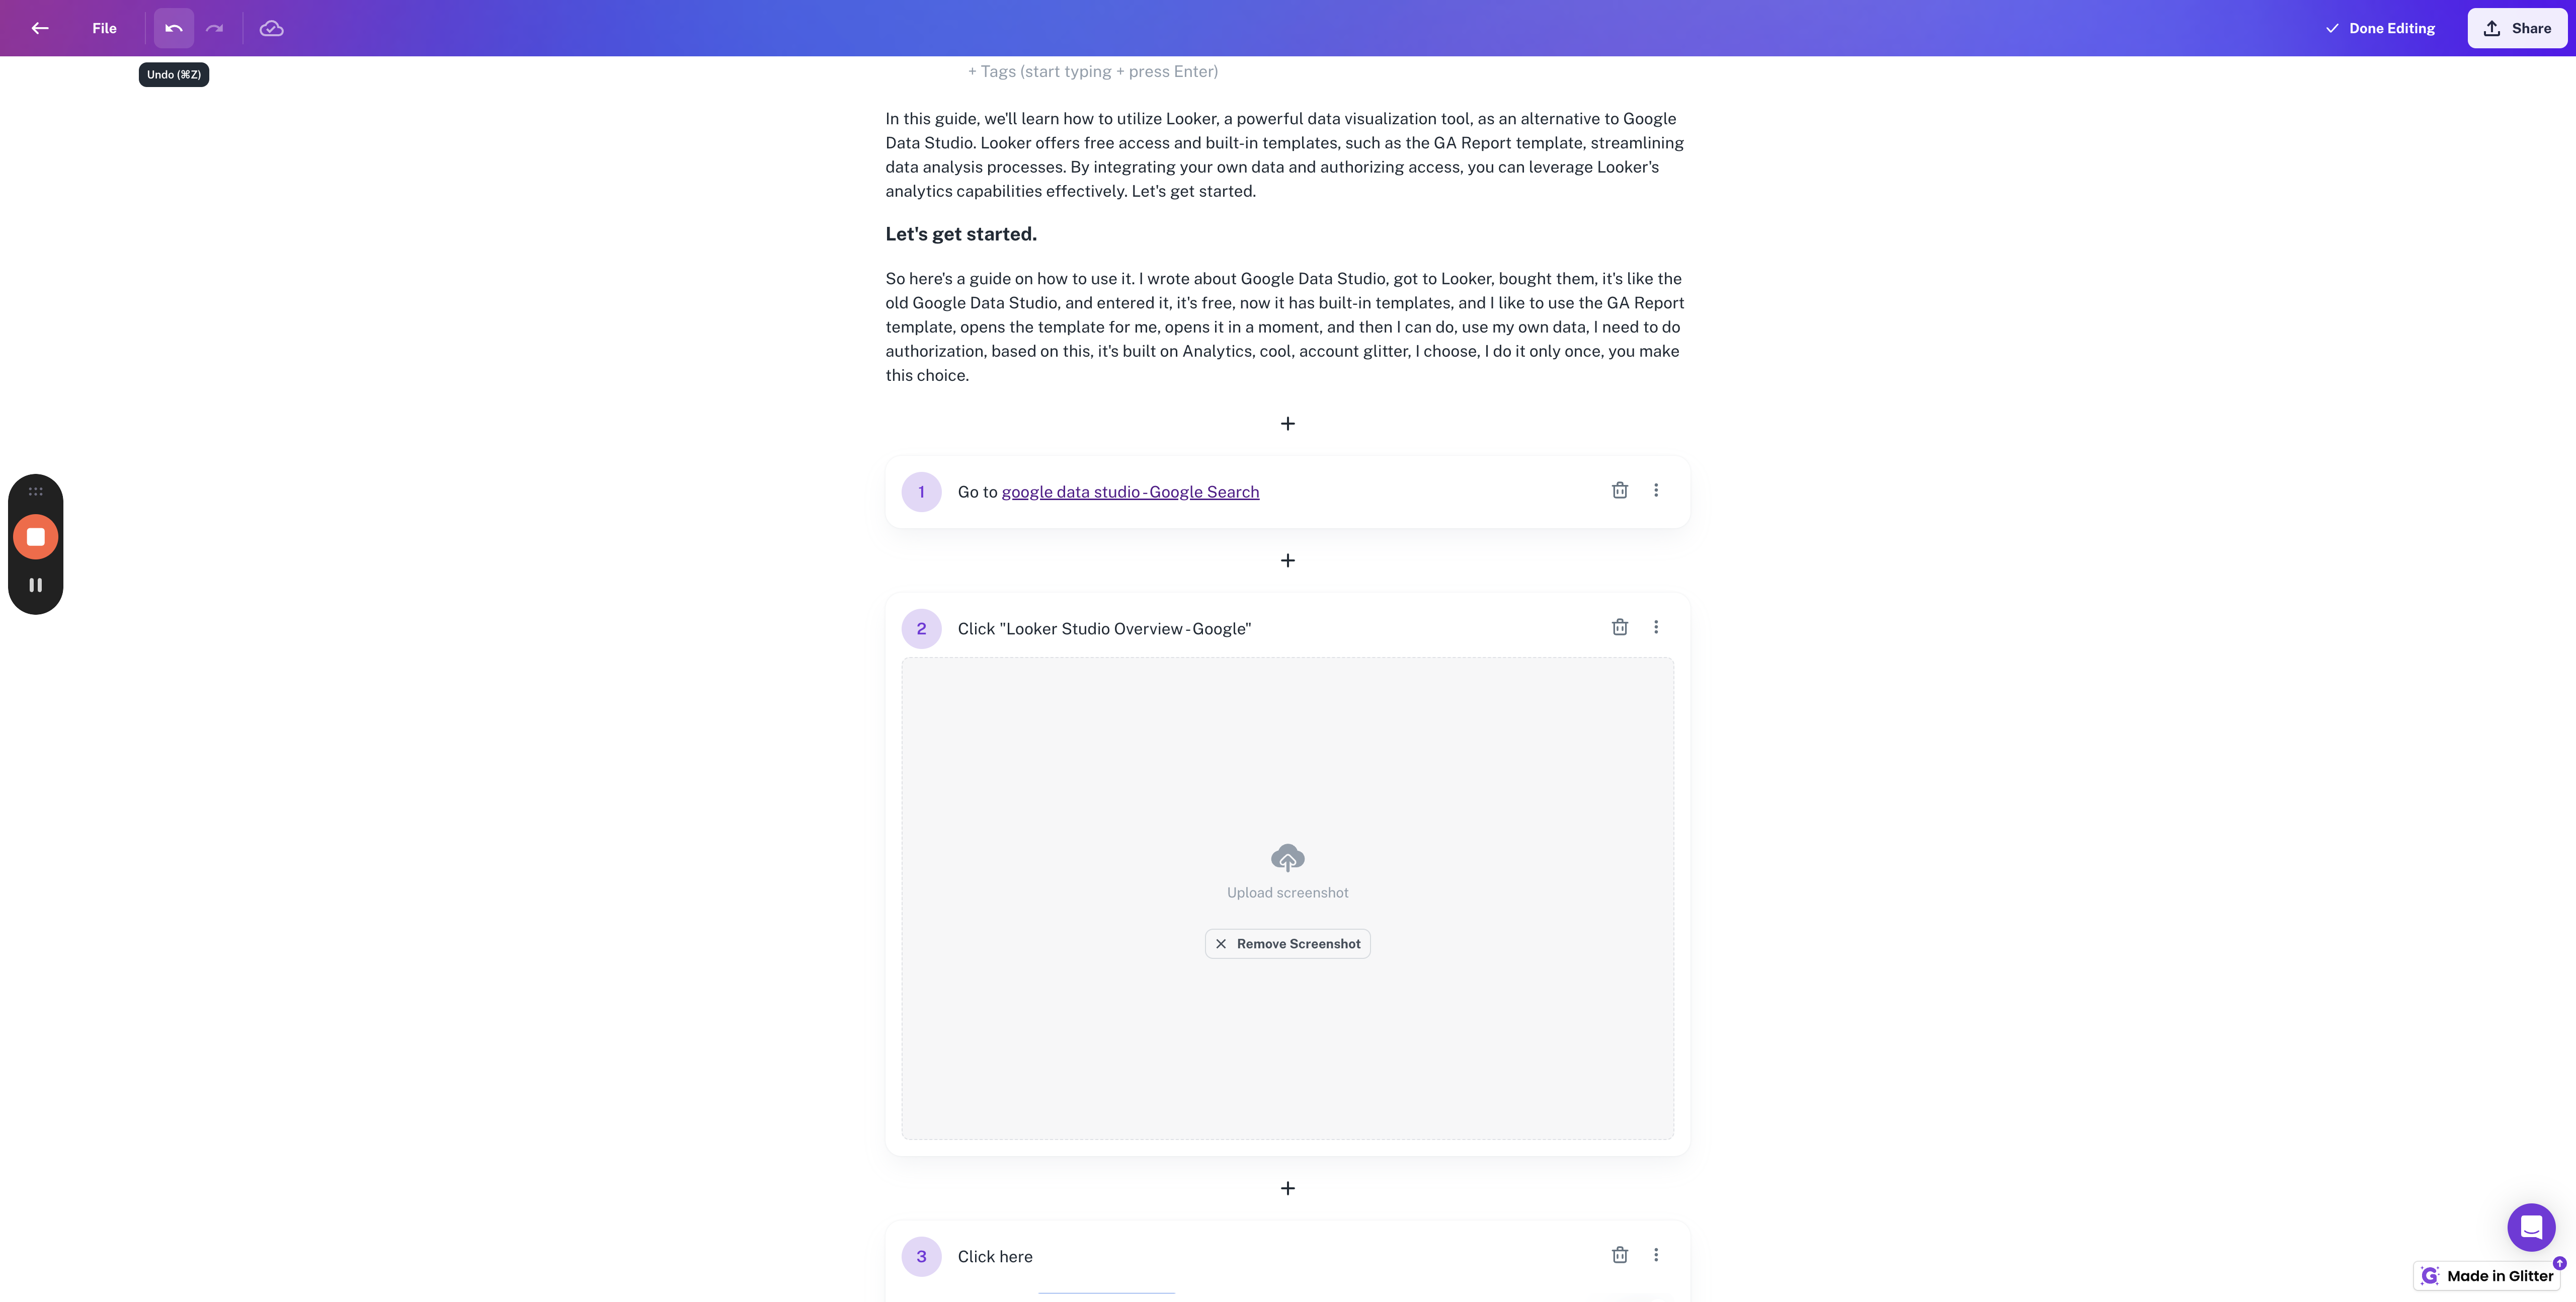
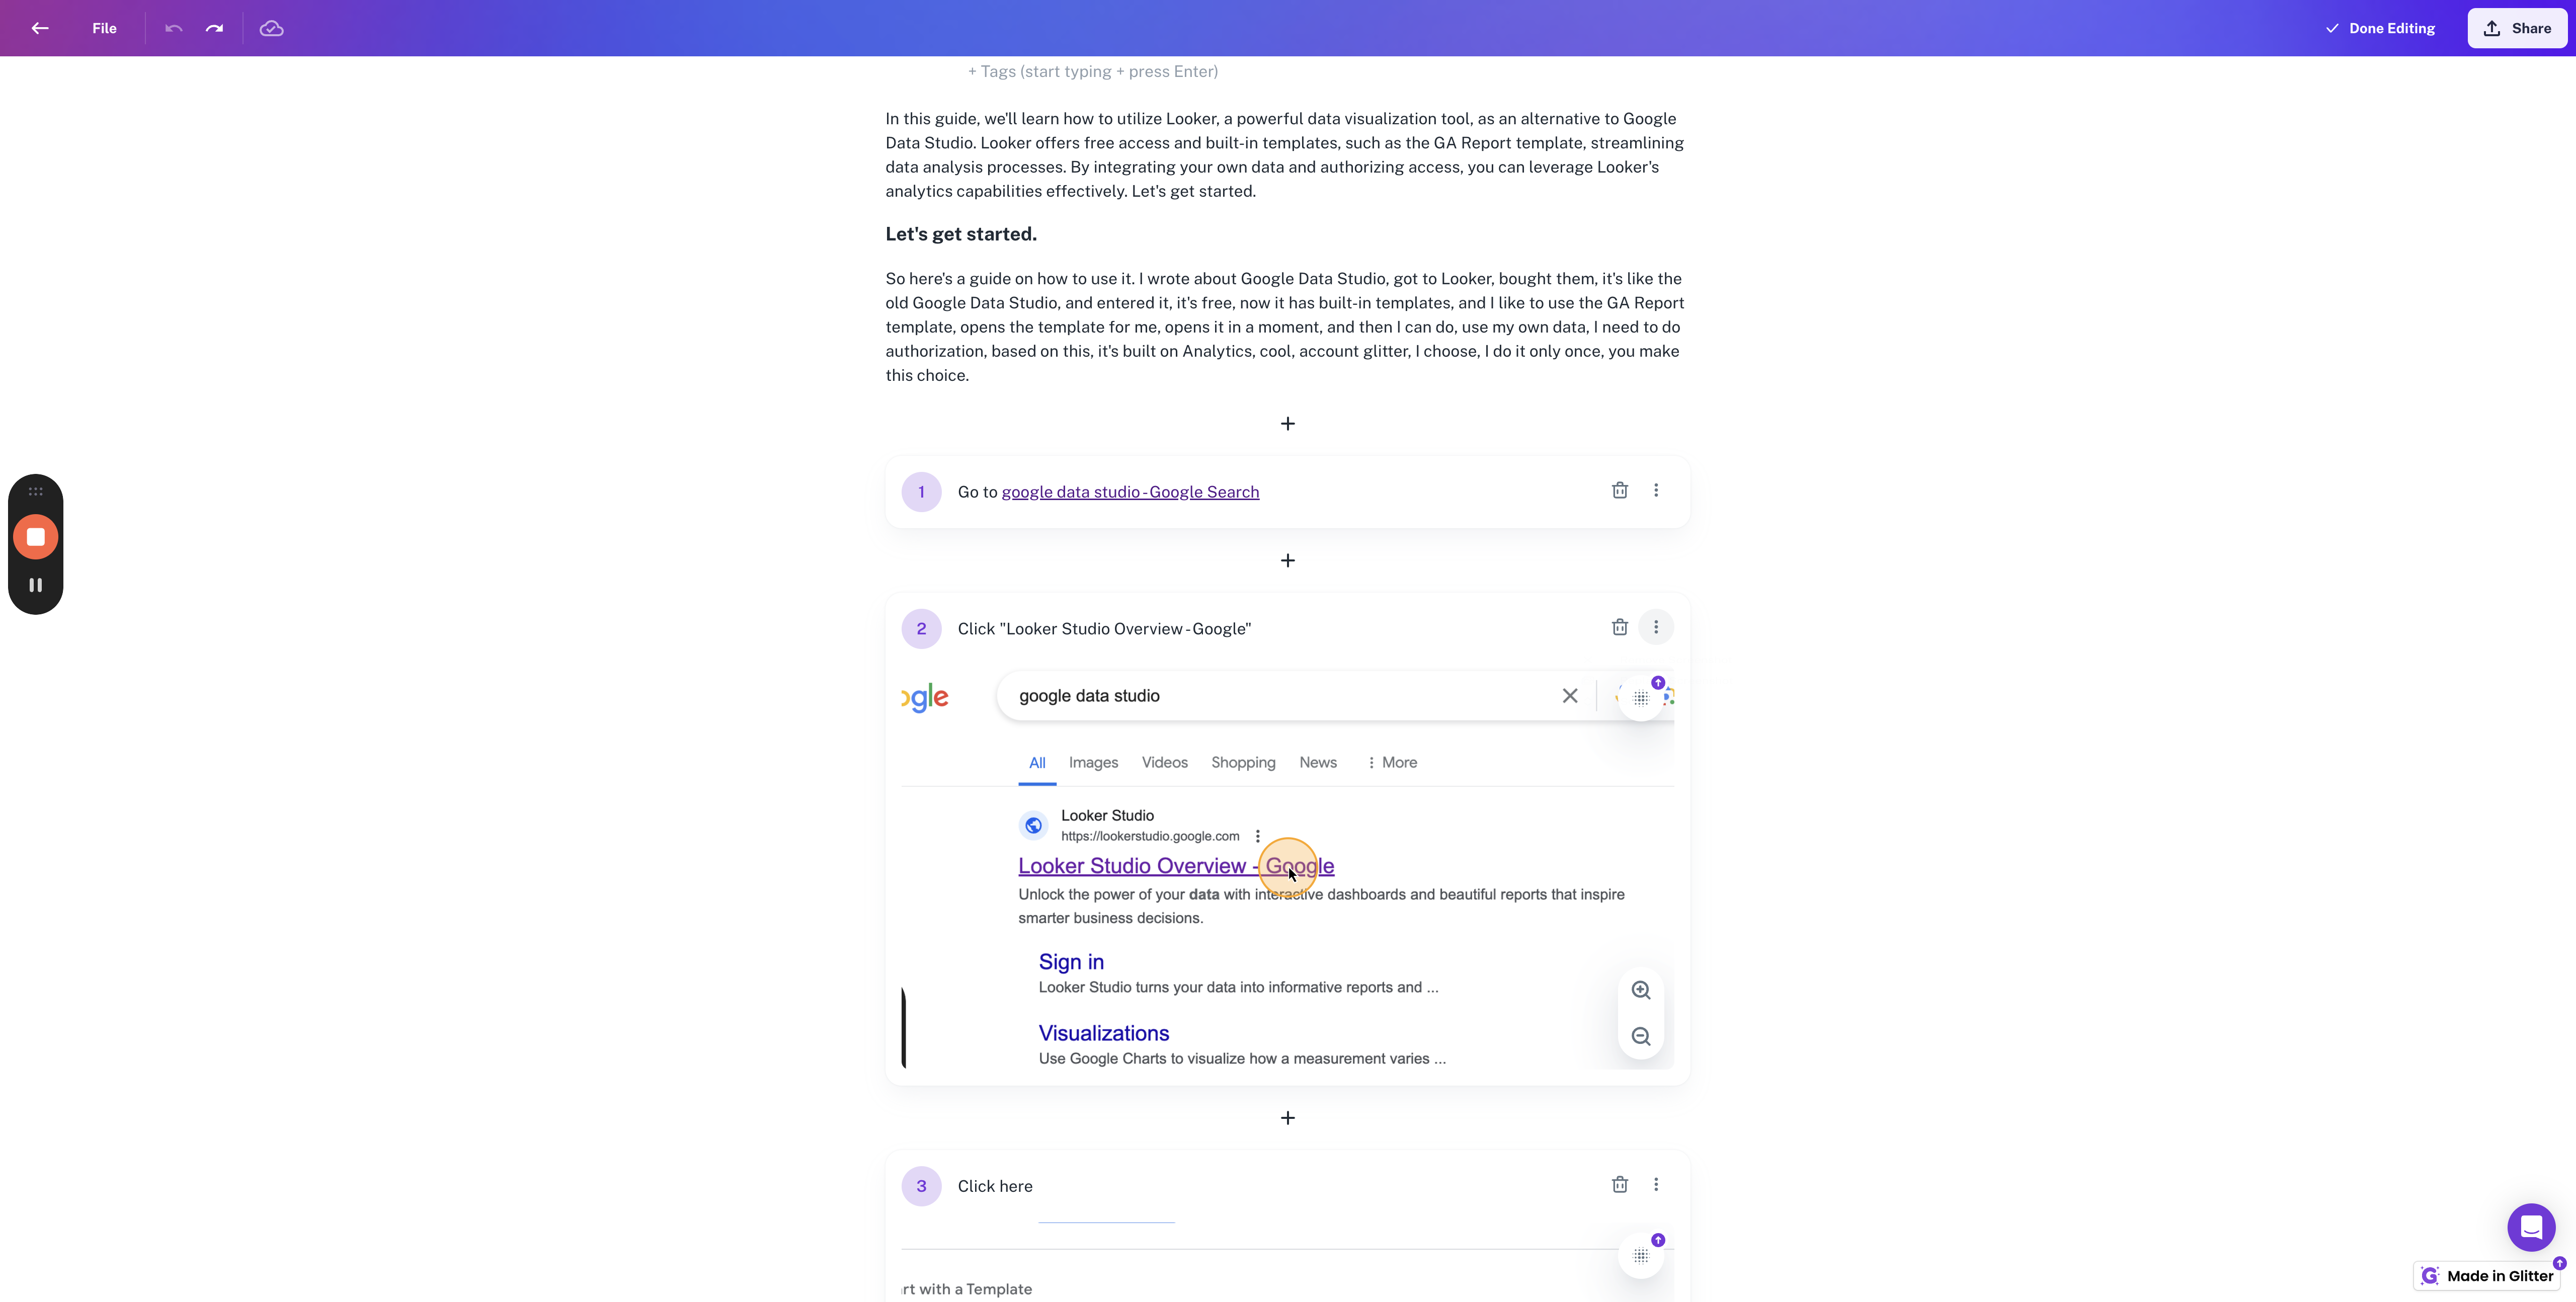
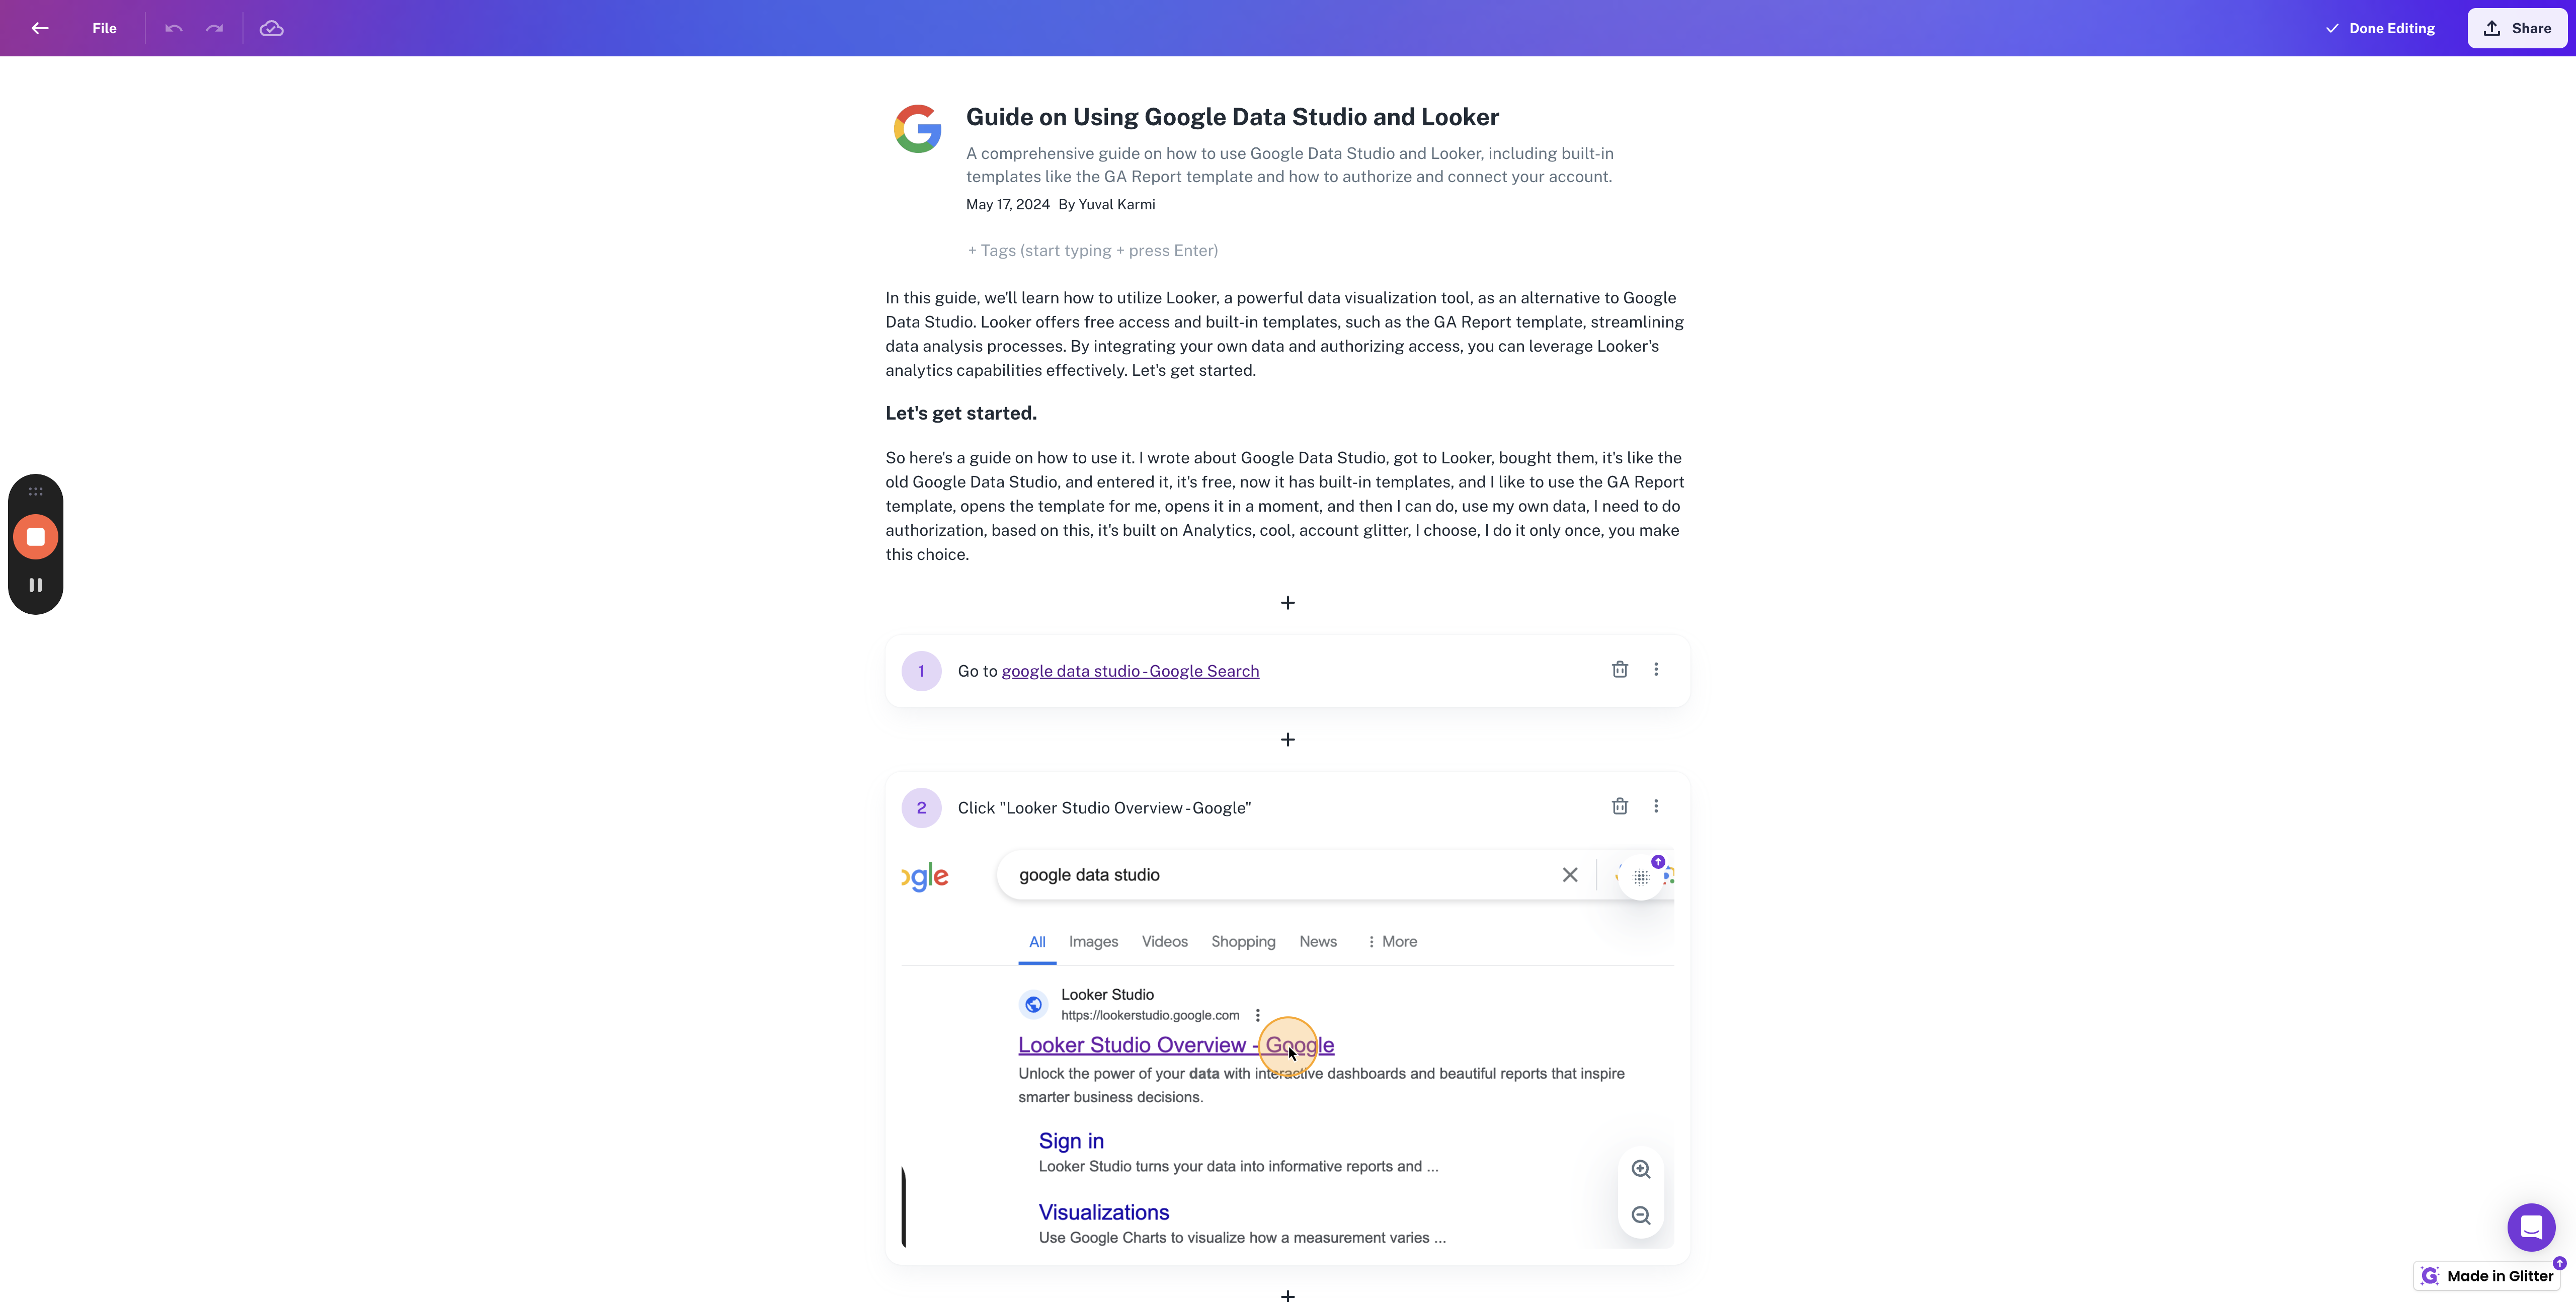
First, go to the guide you want to edit, then click on "Edit."
Next to the screenshot you want to replace, click the three dots and select "replace screenshots."

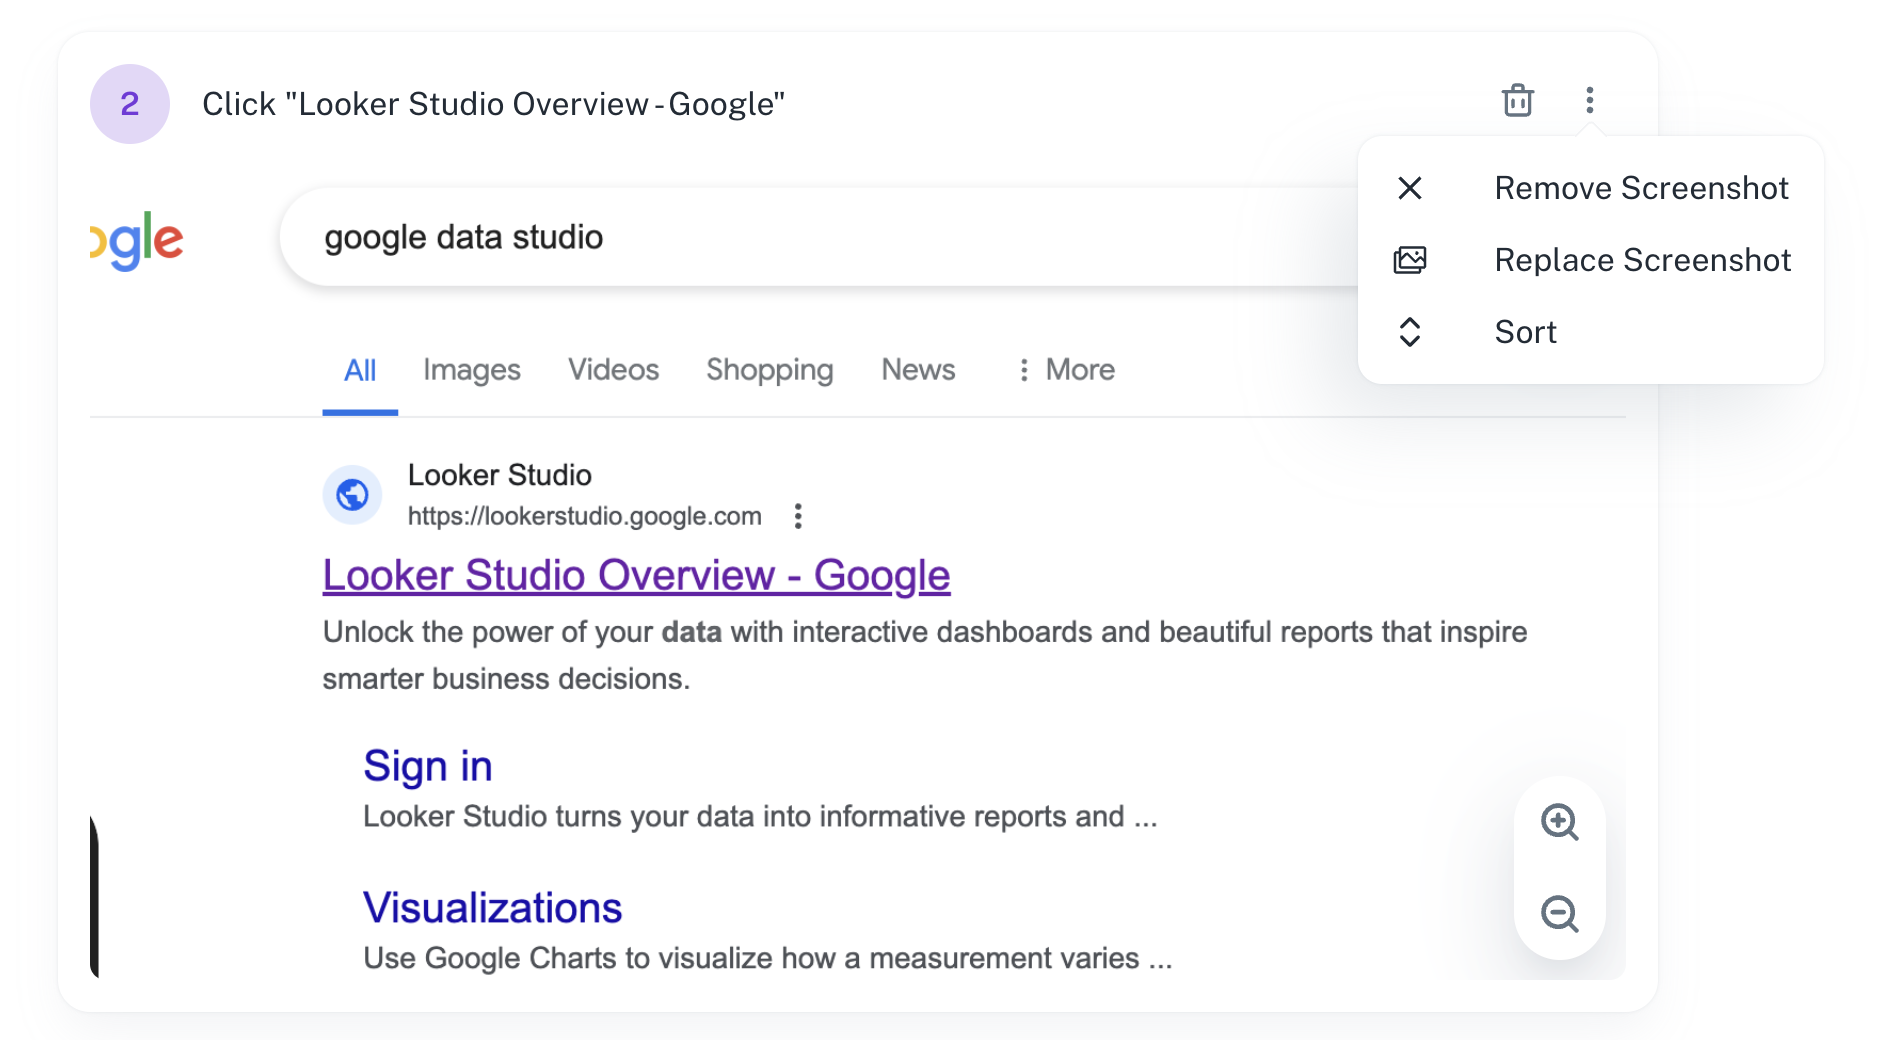
If you accidentally delete the screenshot, you can simply hit the undo button to bring it back.