Icon

How to Repurpose Artist Instagram Content for Label Social Media: Step-by-Step Guide

Learn how to efficiently repurpose an artist's Instagram collaboration post for your label's social media channels. Follow our step-by-step guide to editing copy, selecting thumbnails, tagging, and scheduling posts for maximum engagement.

By Justin Pietro

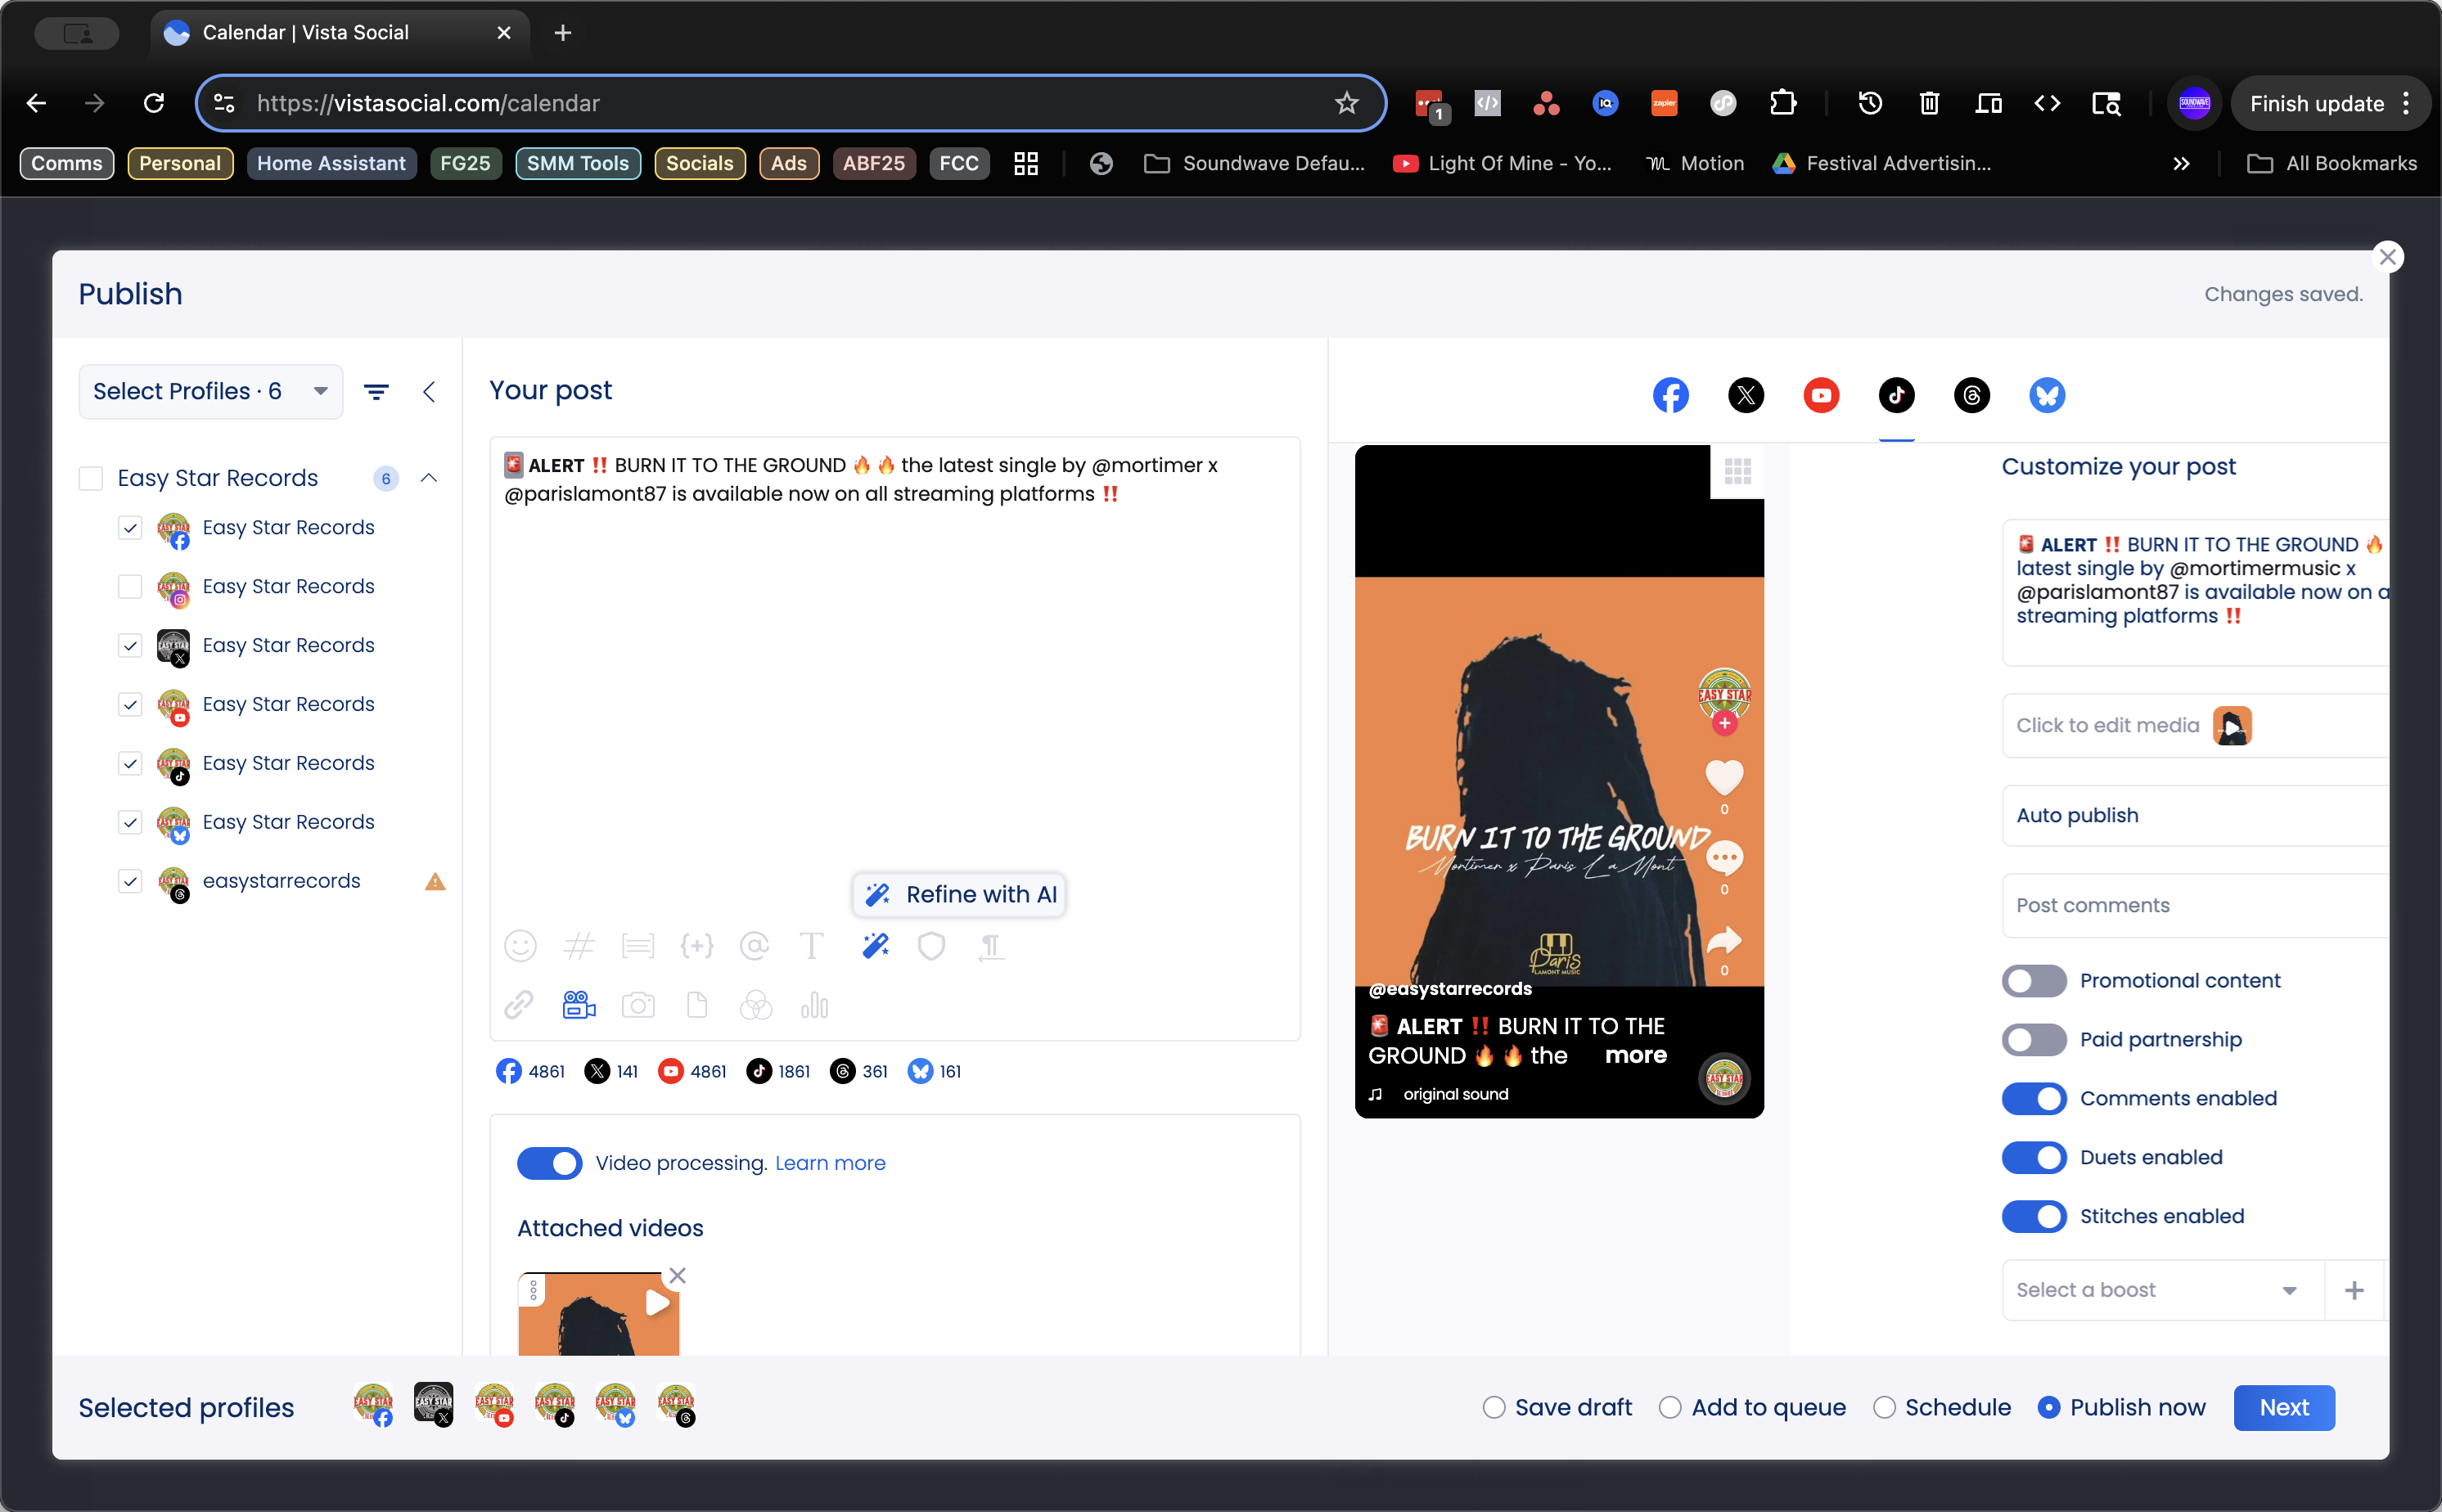
In this guide, we'll learn how to take an existing Instagram post created by an artist and adapt it for use on a label's social media channels. We will update the copy so it fits the label's voice, select a thumbnail, add labels for reporting, and prepare the post for approval before publishing. This process helps maintain consistent branding while sharing artist content across platforms.

Let's get started

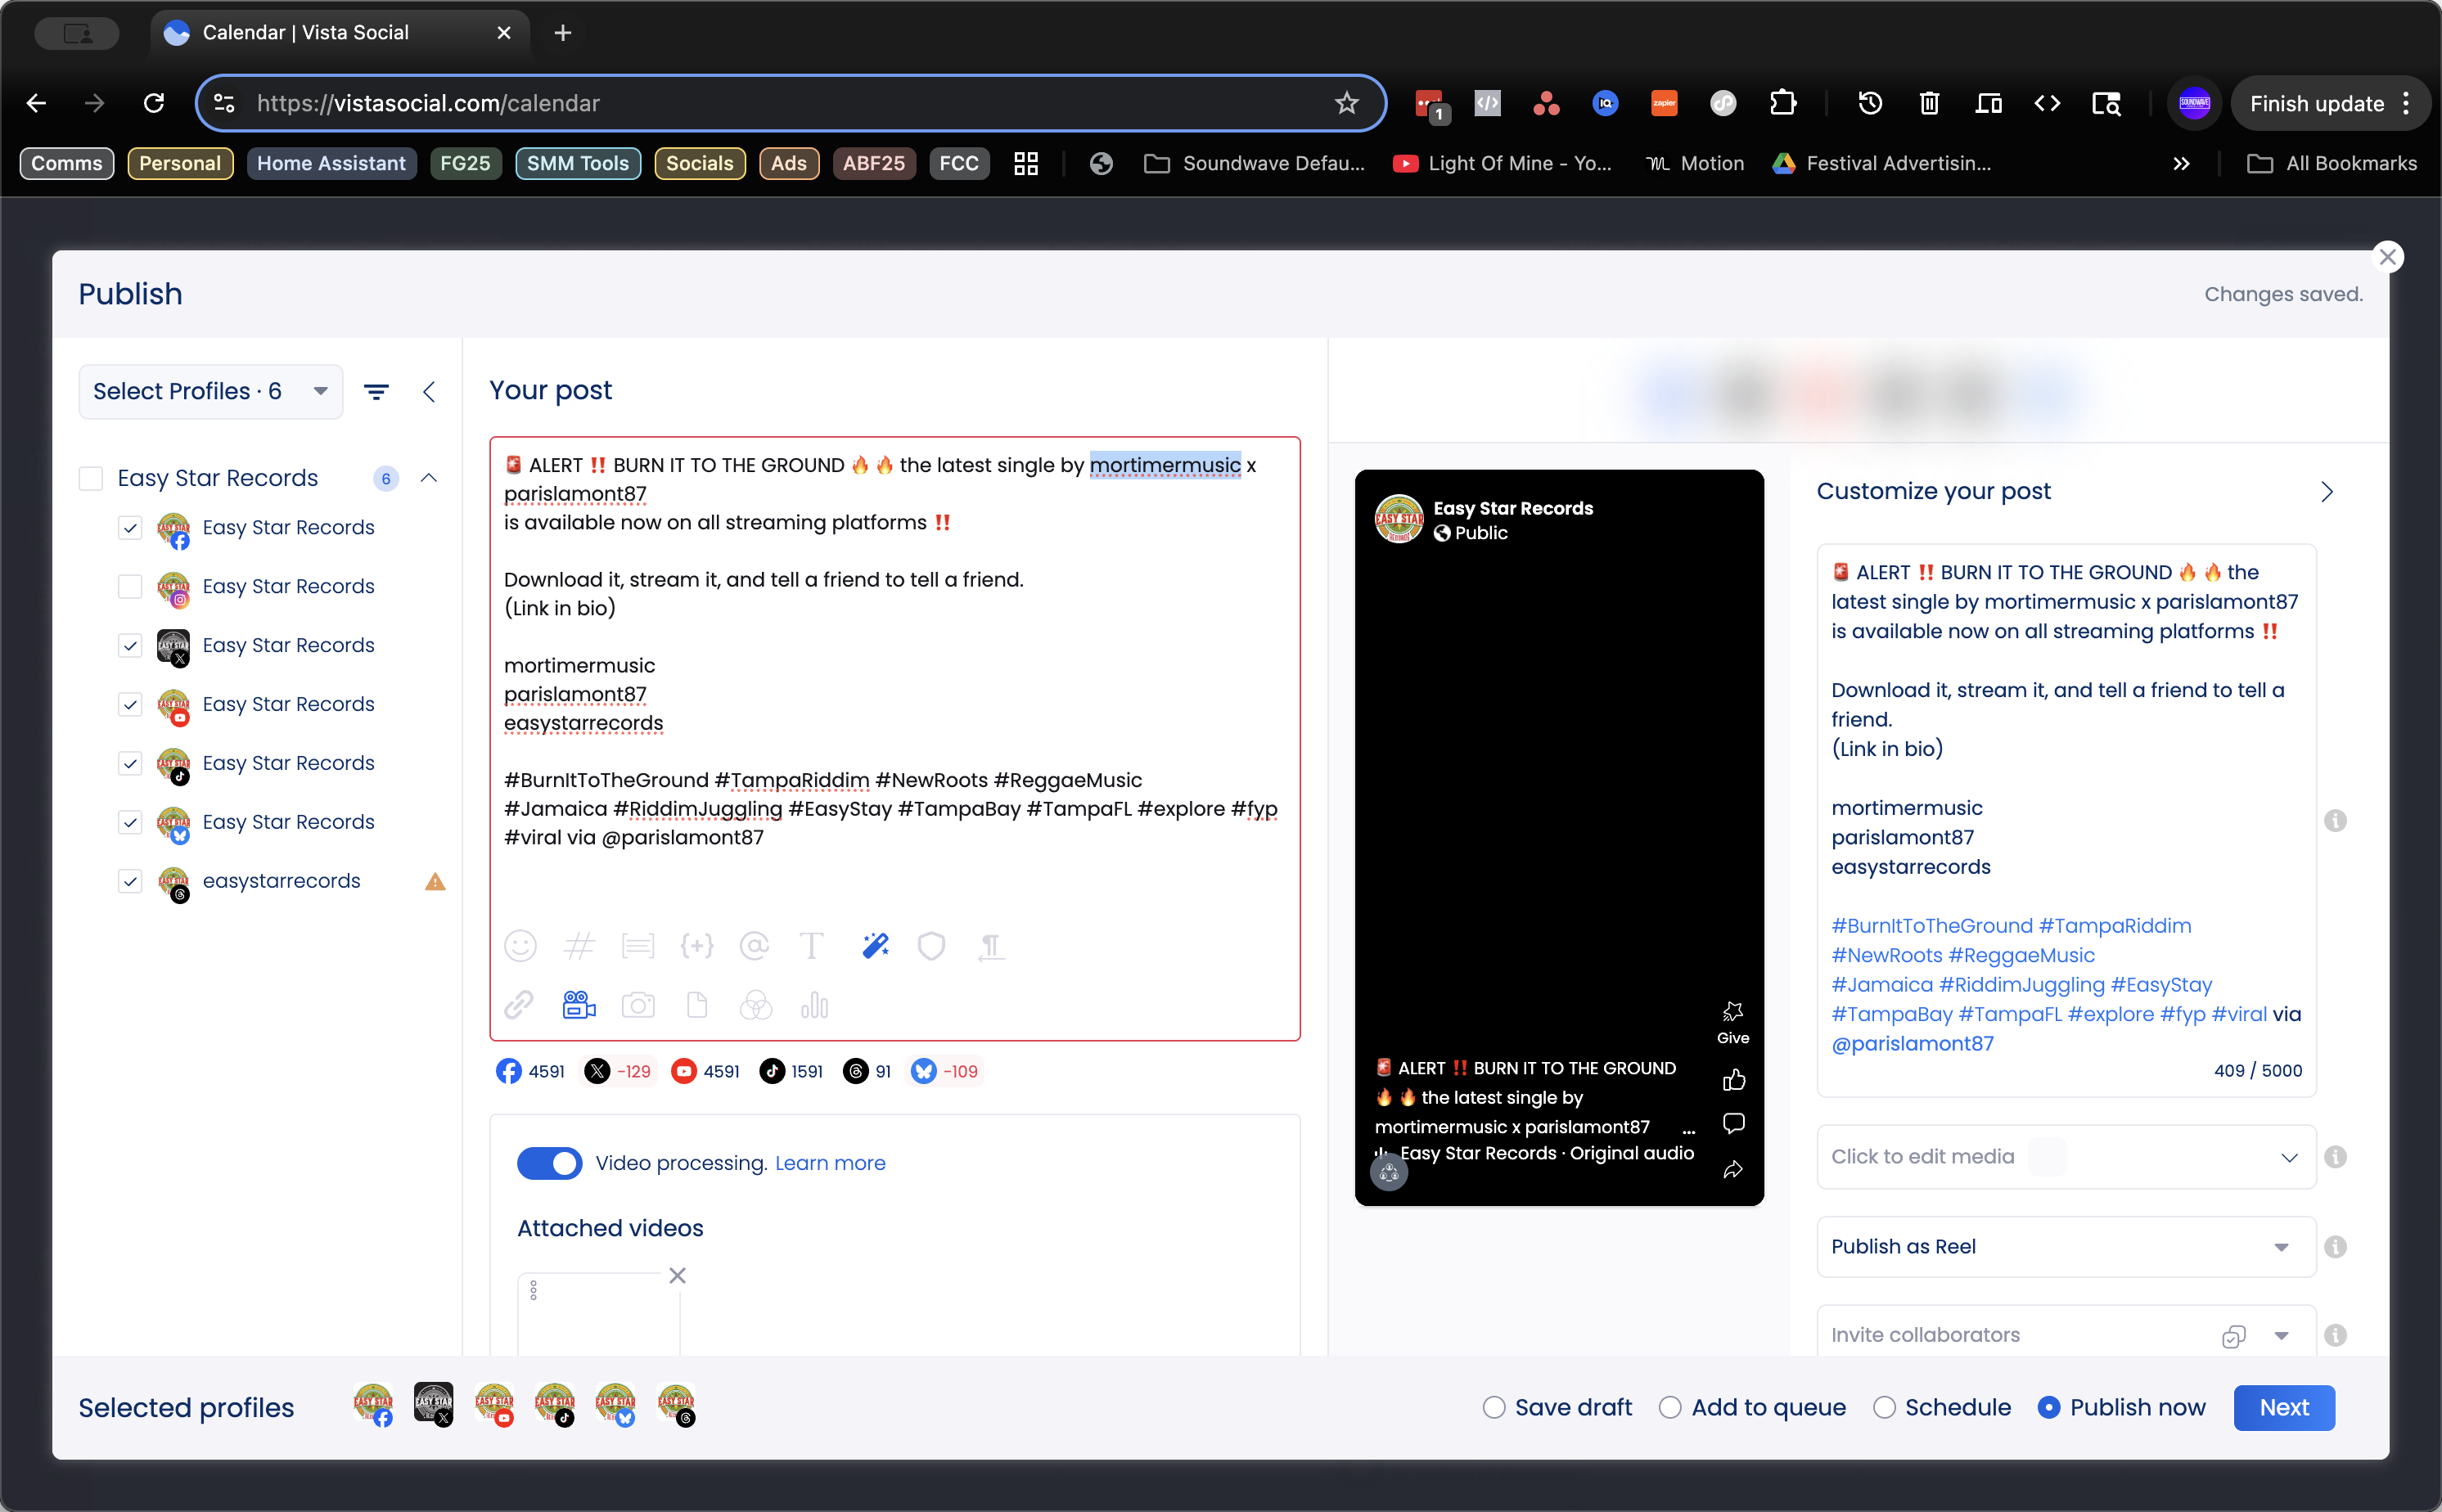
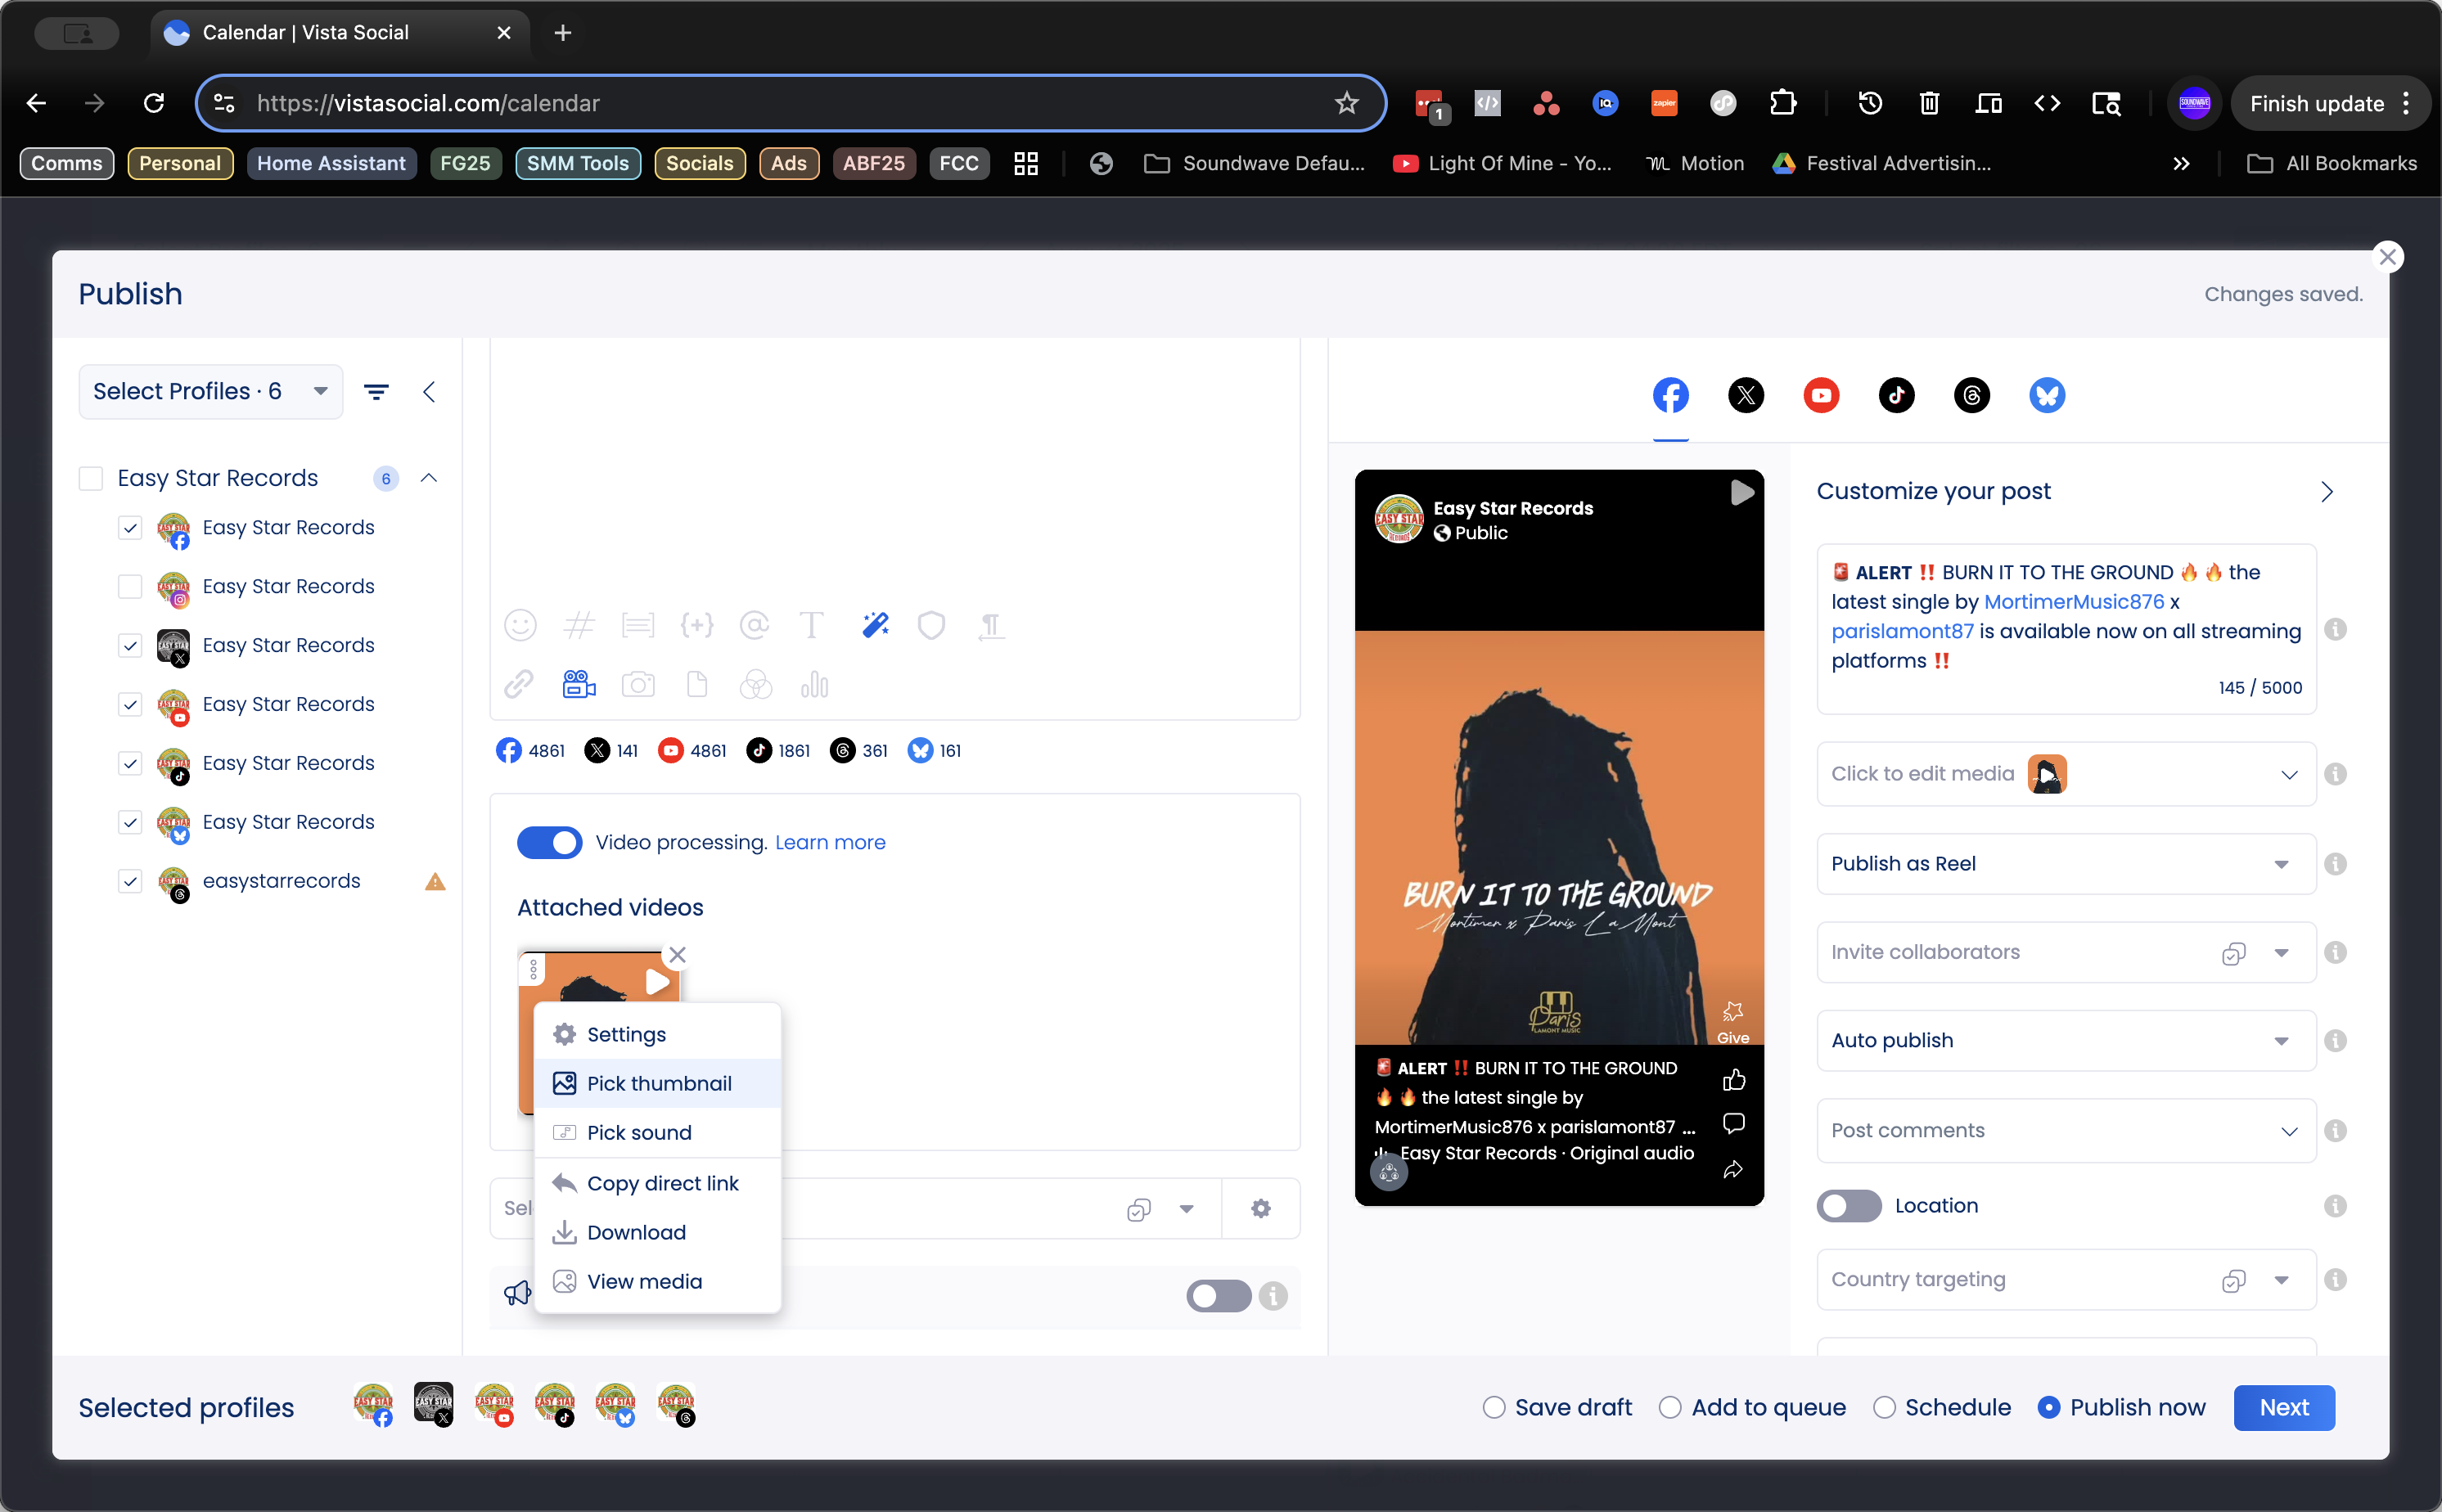
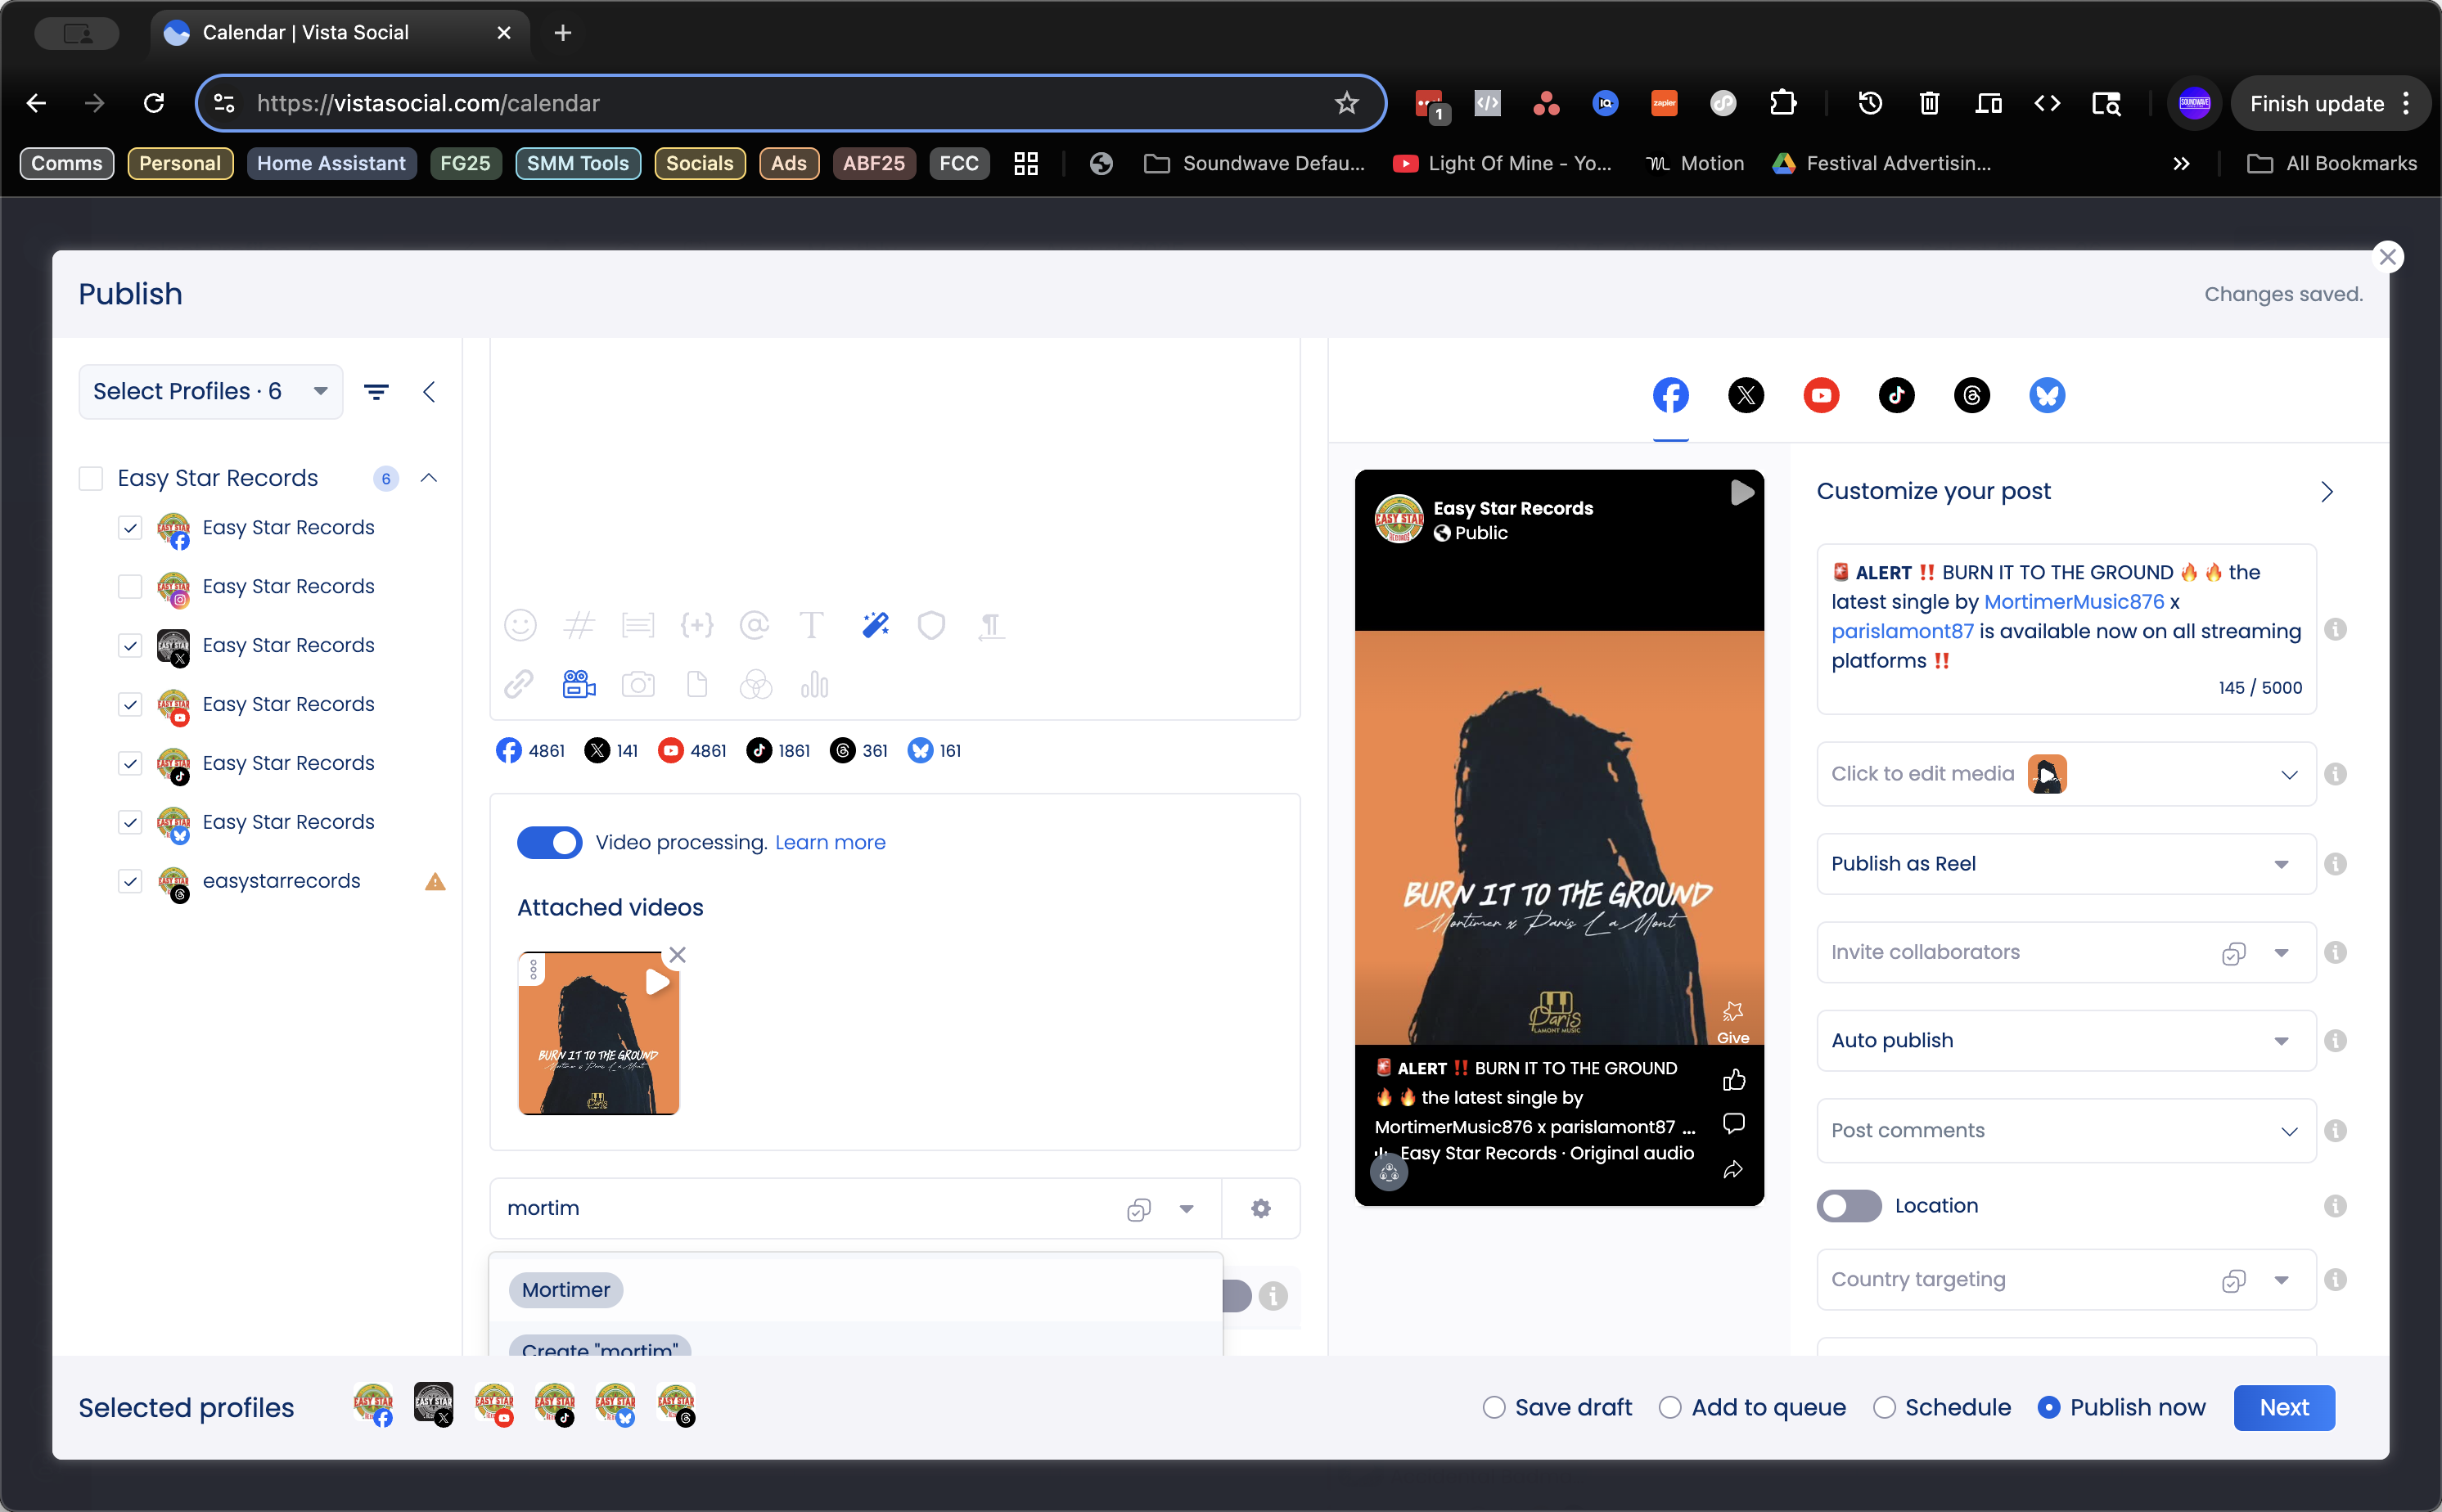
Alright. We will use a post already created by an artist for release day, where they did an Instagram collaboration. We don't need to post on Instagram from the label, but we want to use the content. Edit the copy so it fits the label's voice, then share it on the other social platforms.

1
Click here
Step #1: Click here
2
Click here
Step #2: Click here

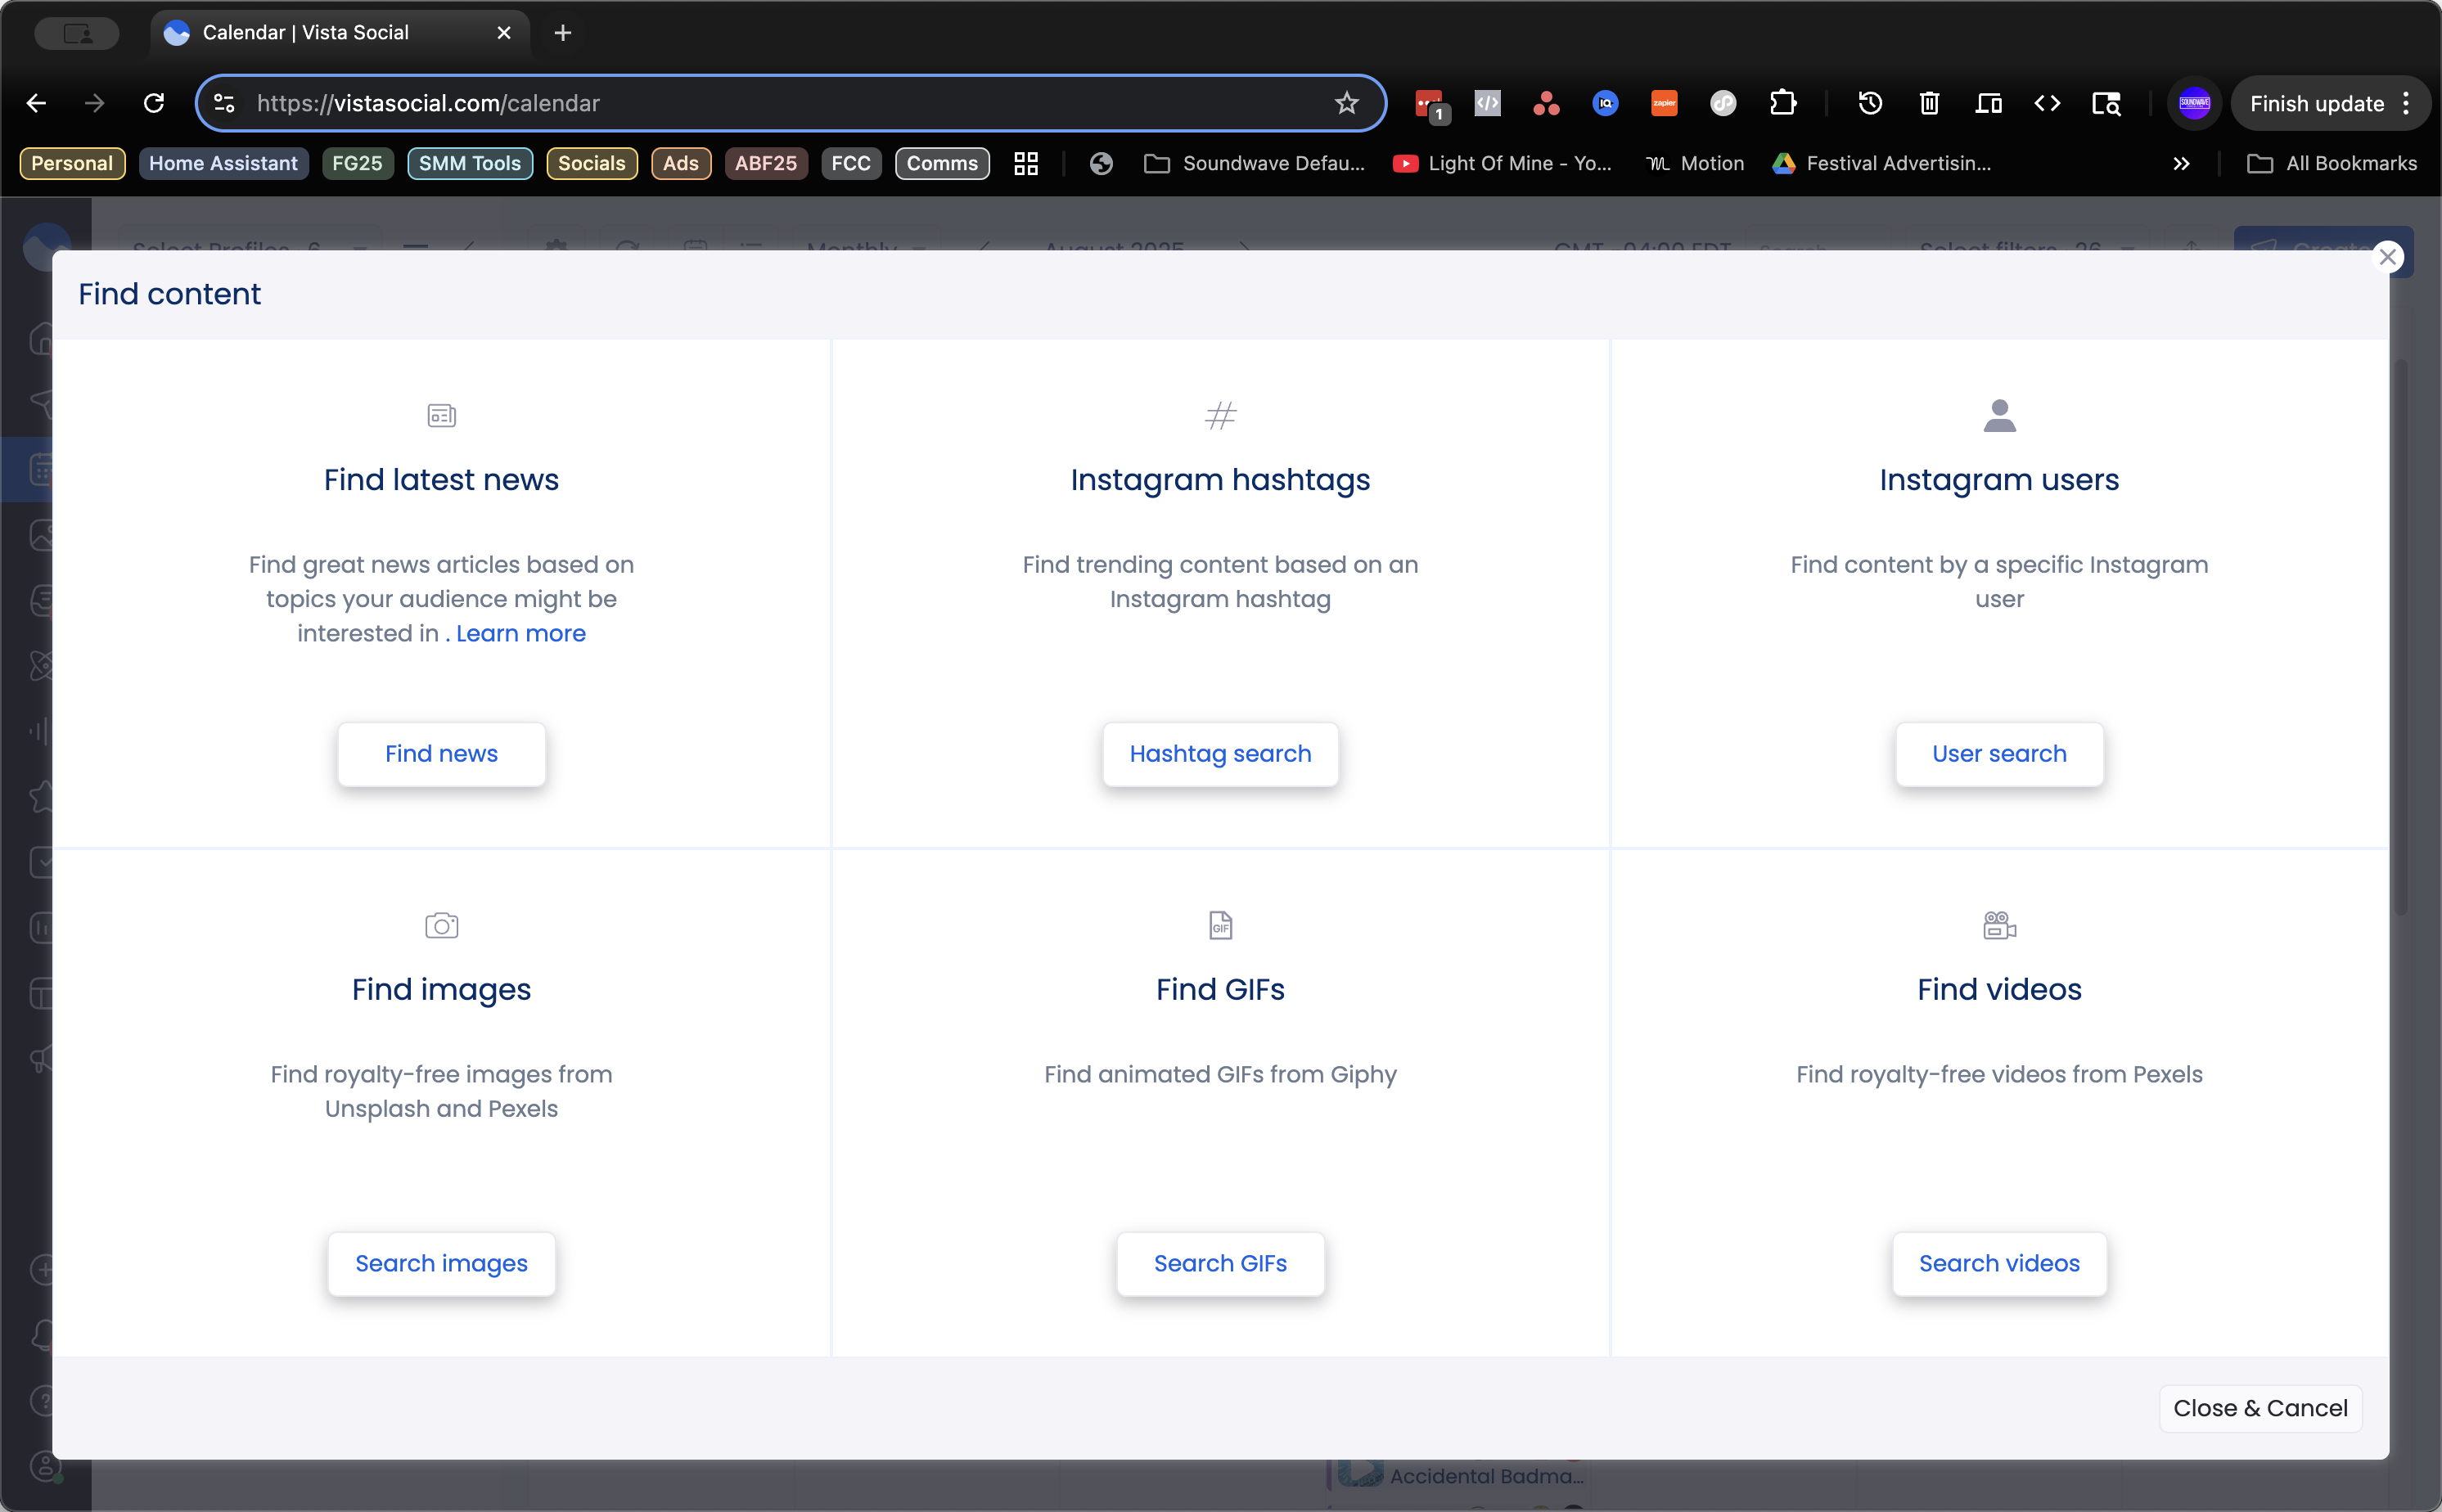
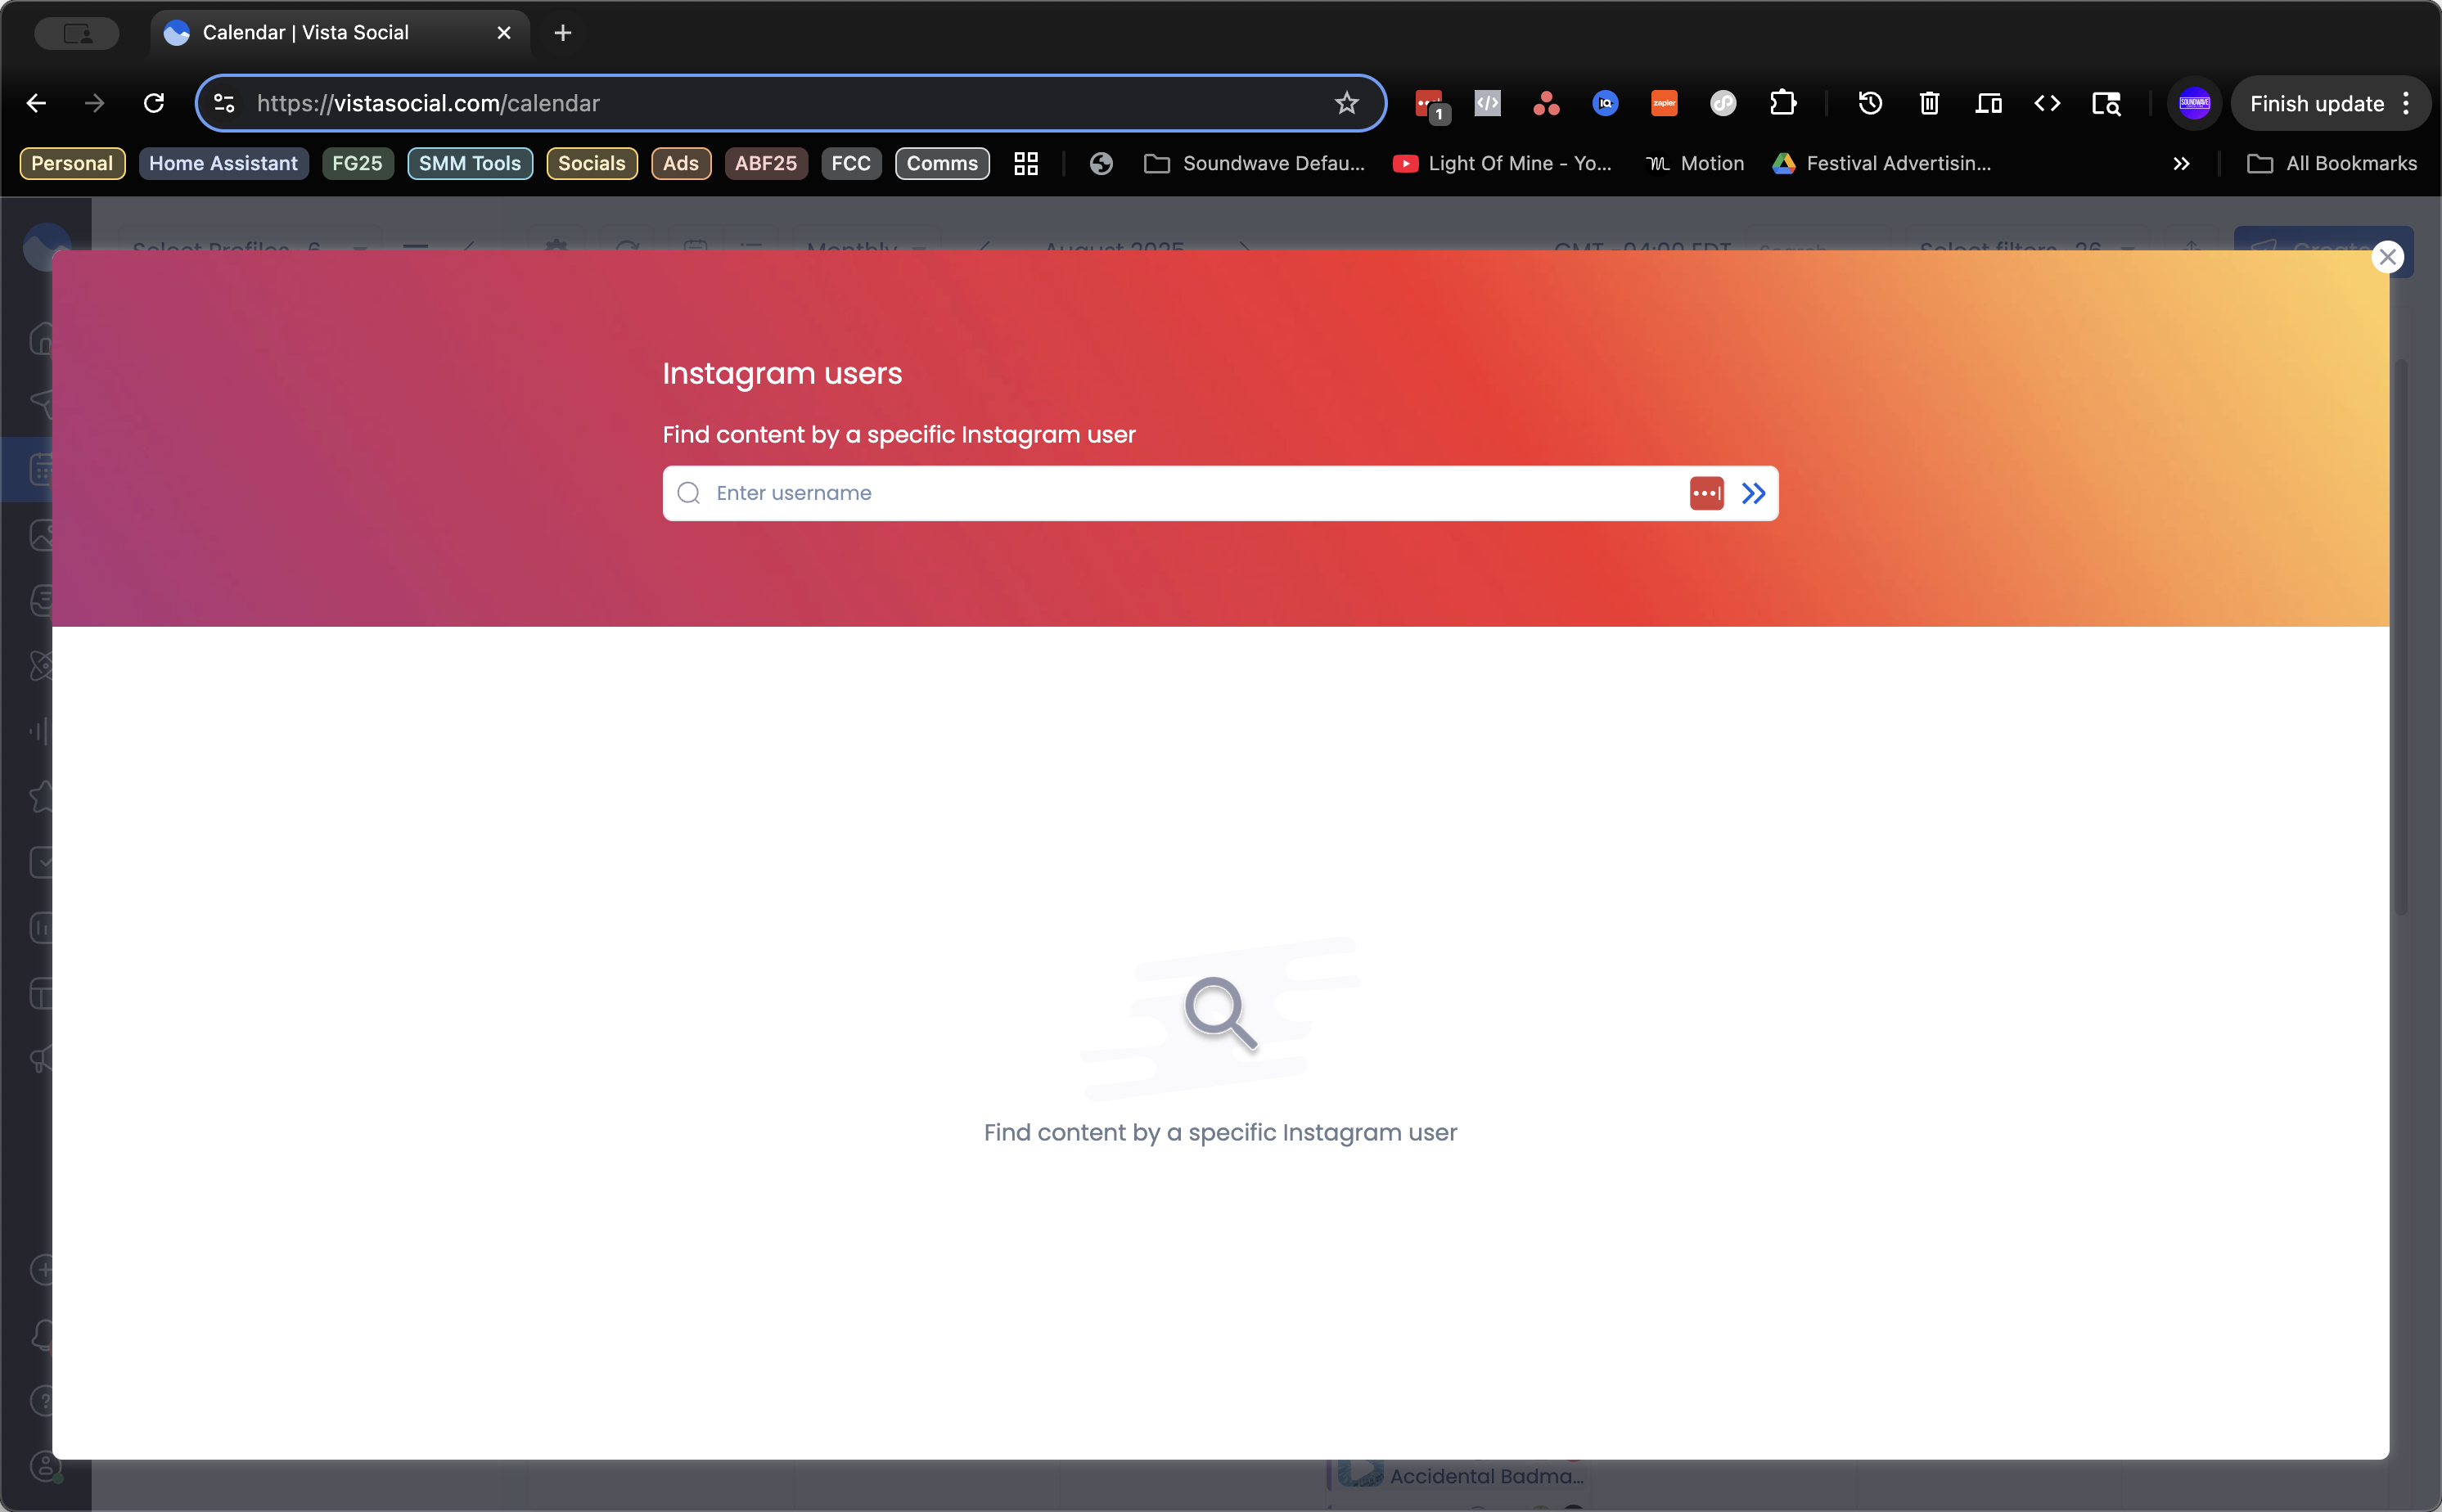
Click "Create," then select "Find Content" and choose "Instagram Users."

3
Click on "Create"
Step #3: Click on "Create"
4
Click on "Find content"
Step #4: Click on "Find content"
5
Click on "User search"
Step #5: Click on "User search"
6
Click here
Step #6: Click here

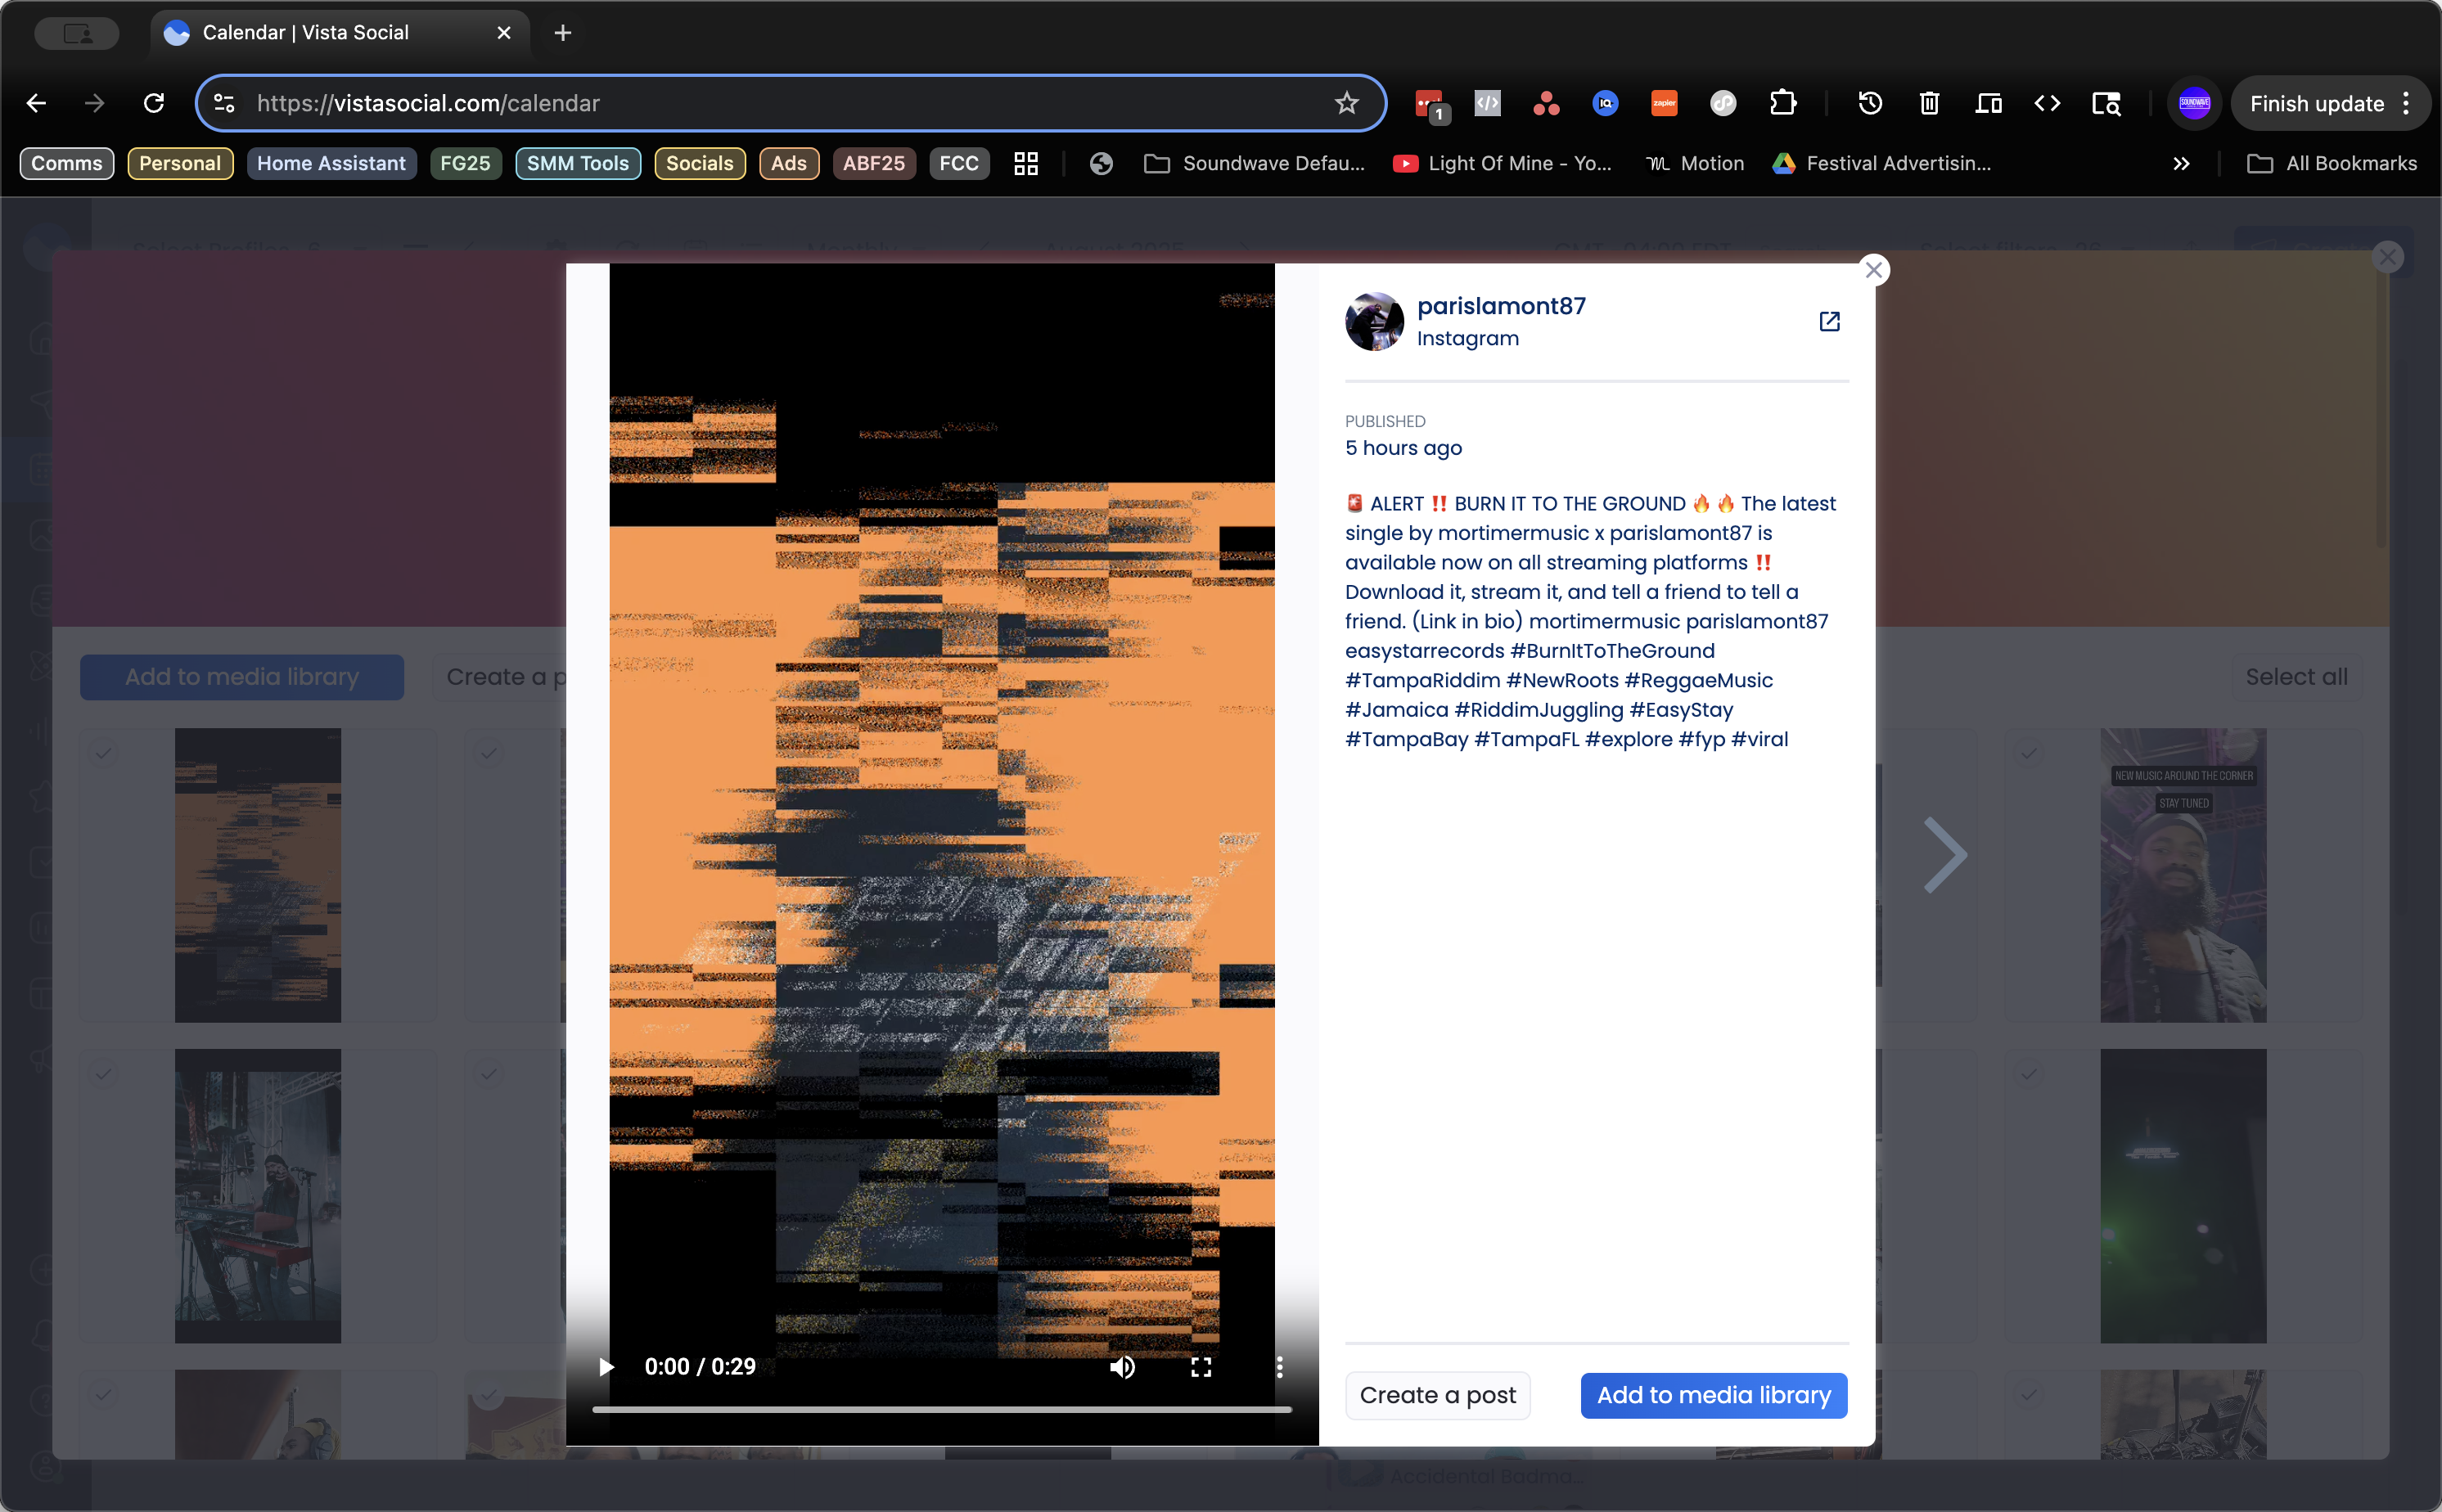
Let's see for this one. Mortimer. We will open his Instagram. Let's see. Uh, this is actually not the right one.

7
Click here
Step #7: Click here
8
Click here
Step #8: Click here
9
Click on "mortimermusic"
Step #9: Click on "mortimermusic"

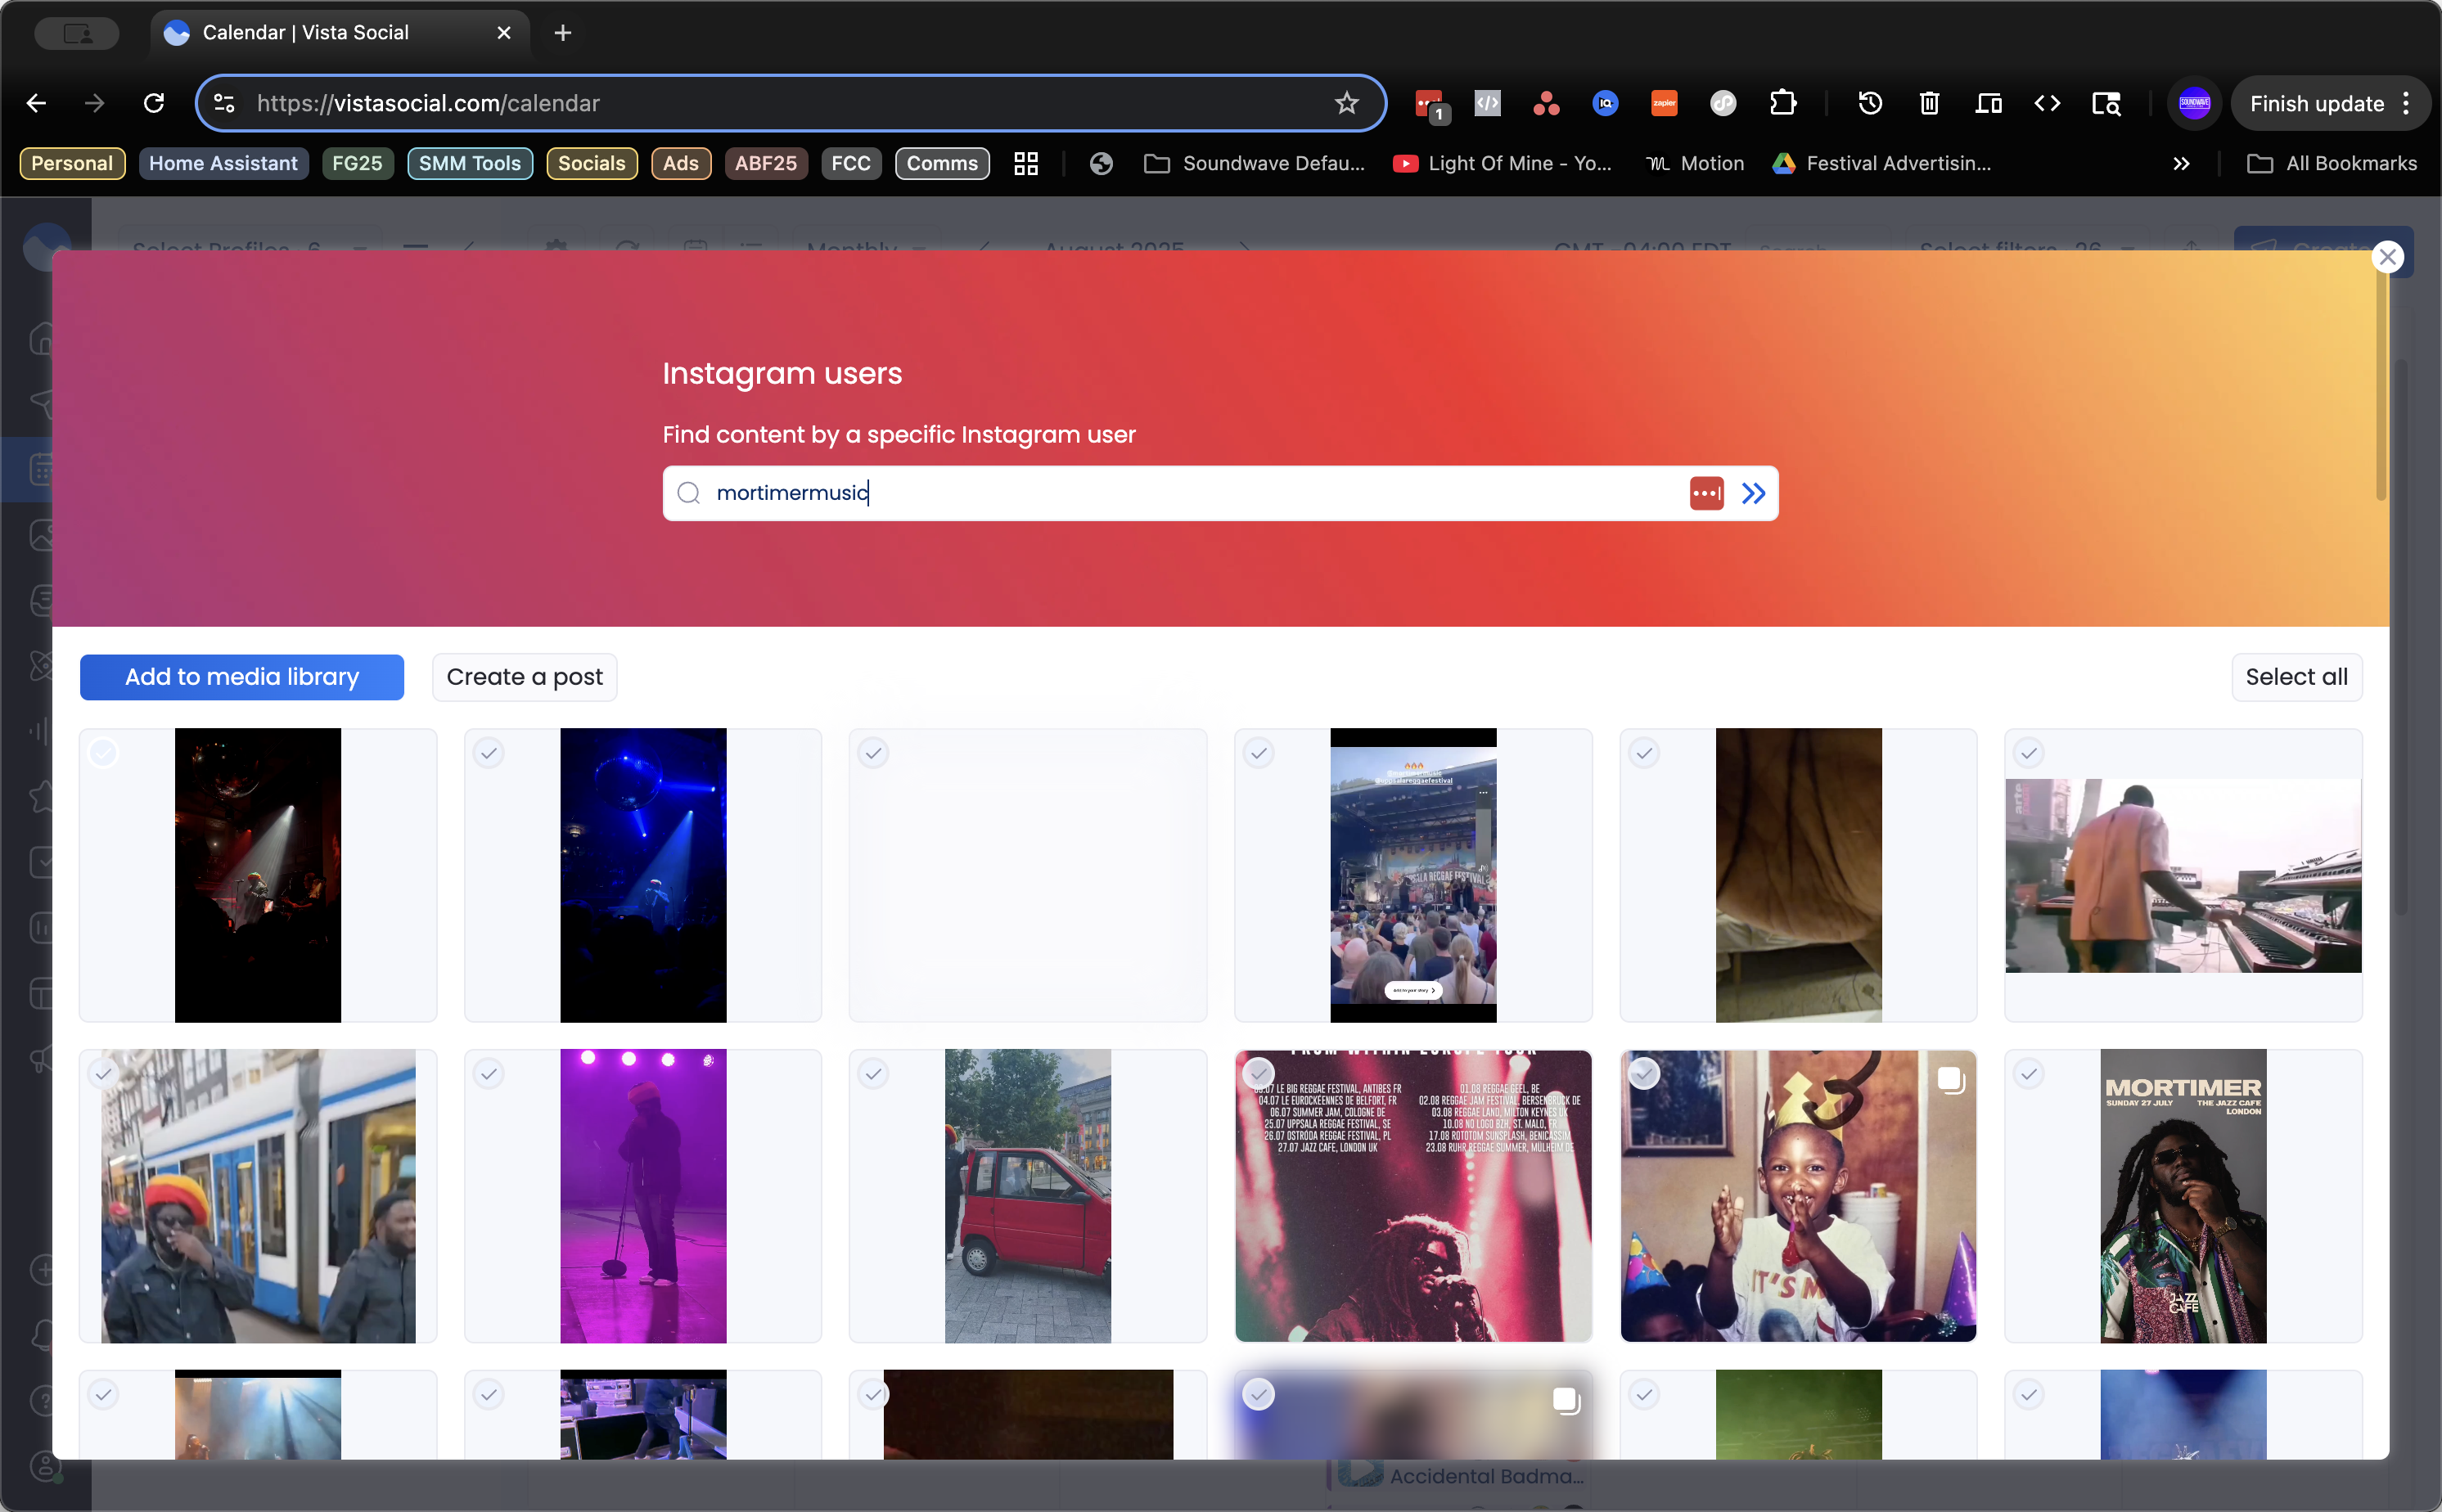
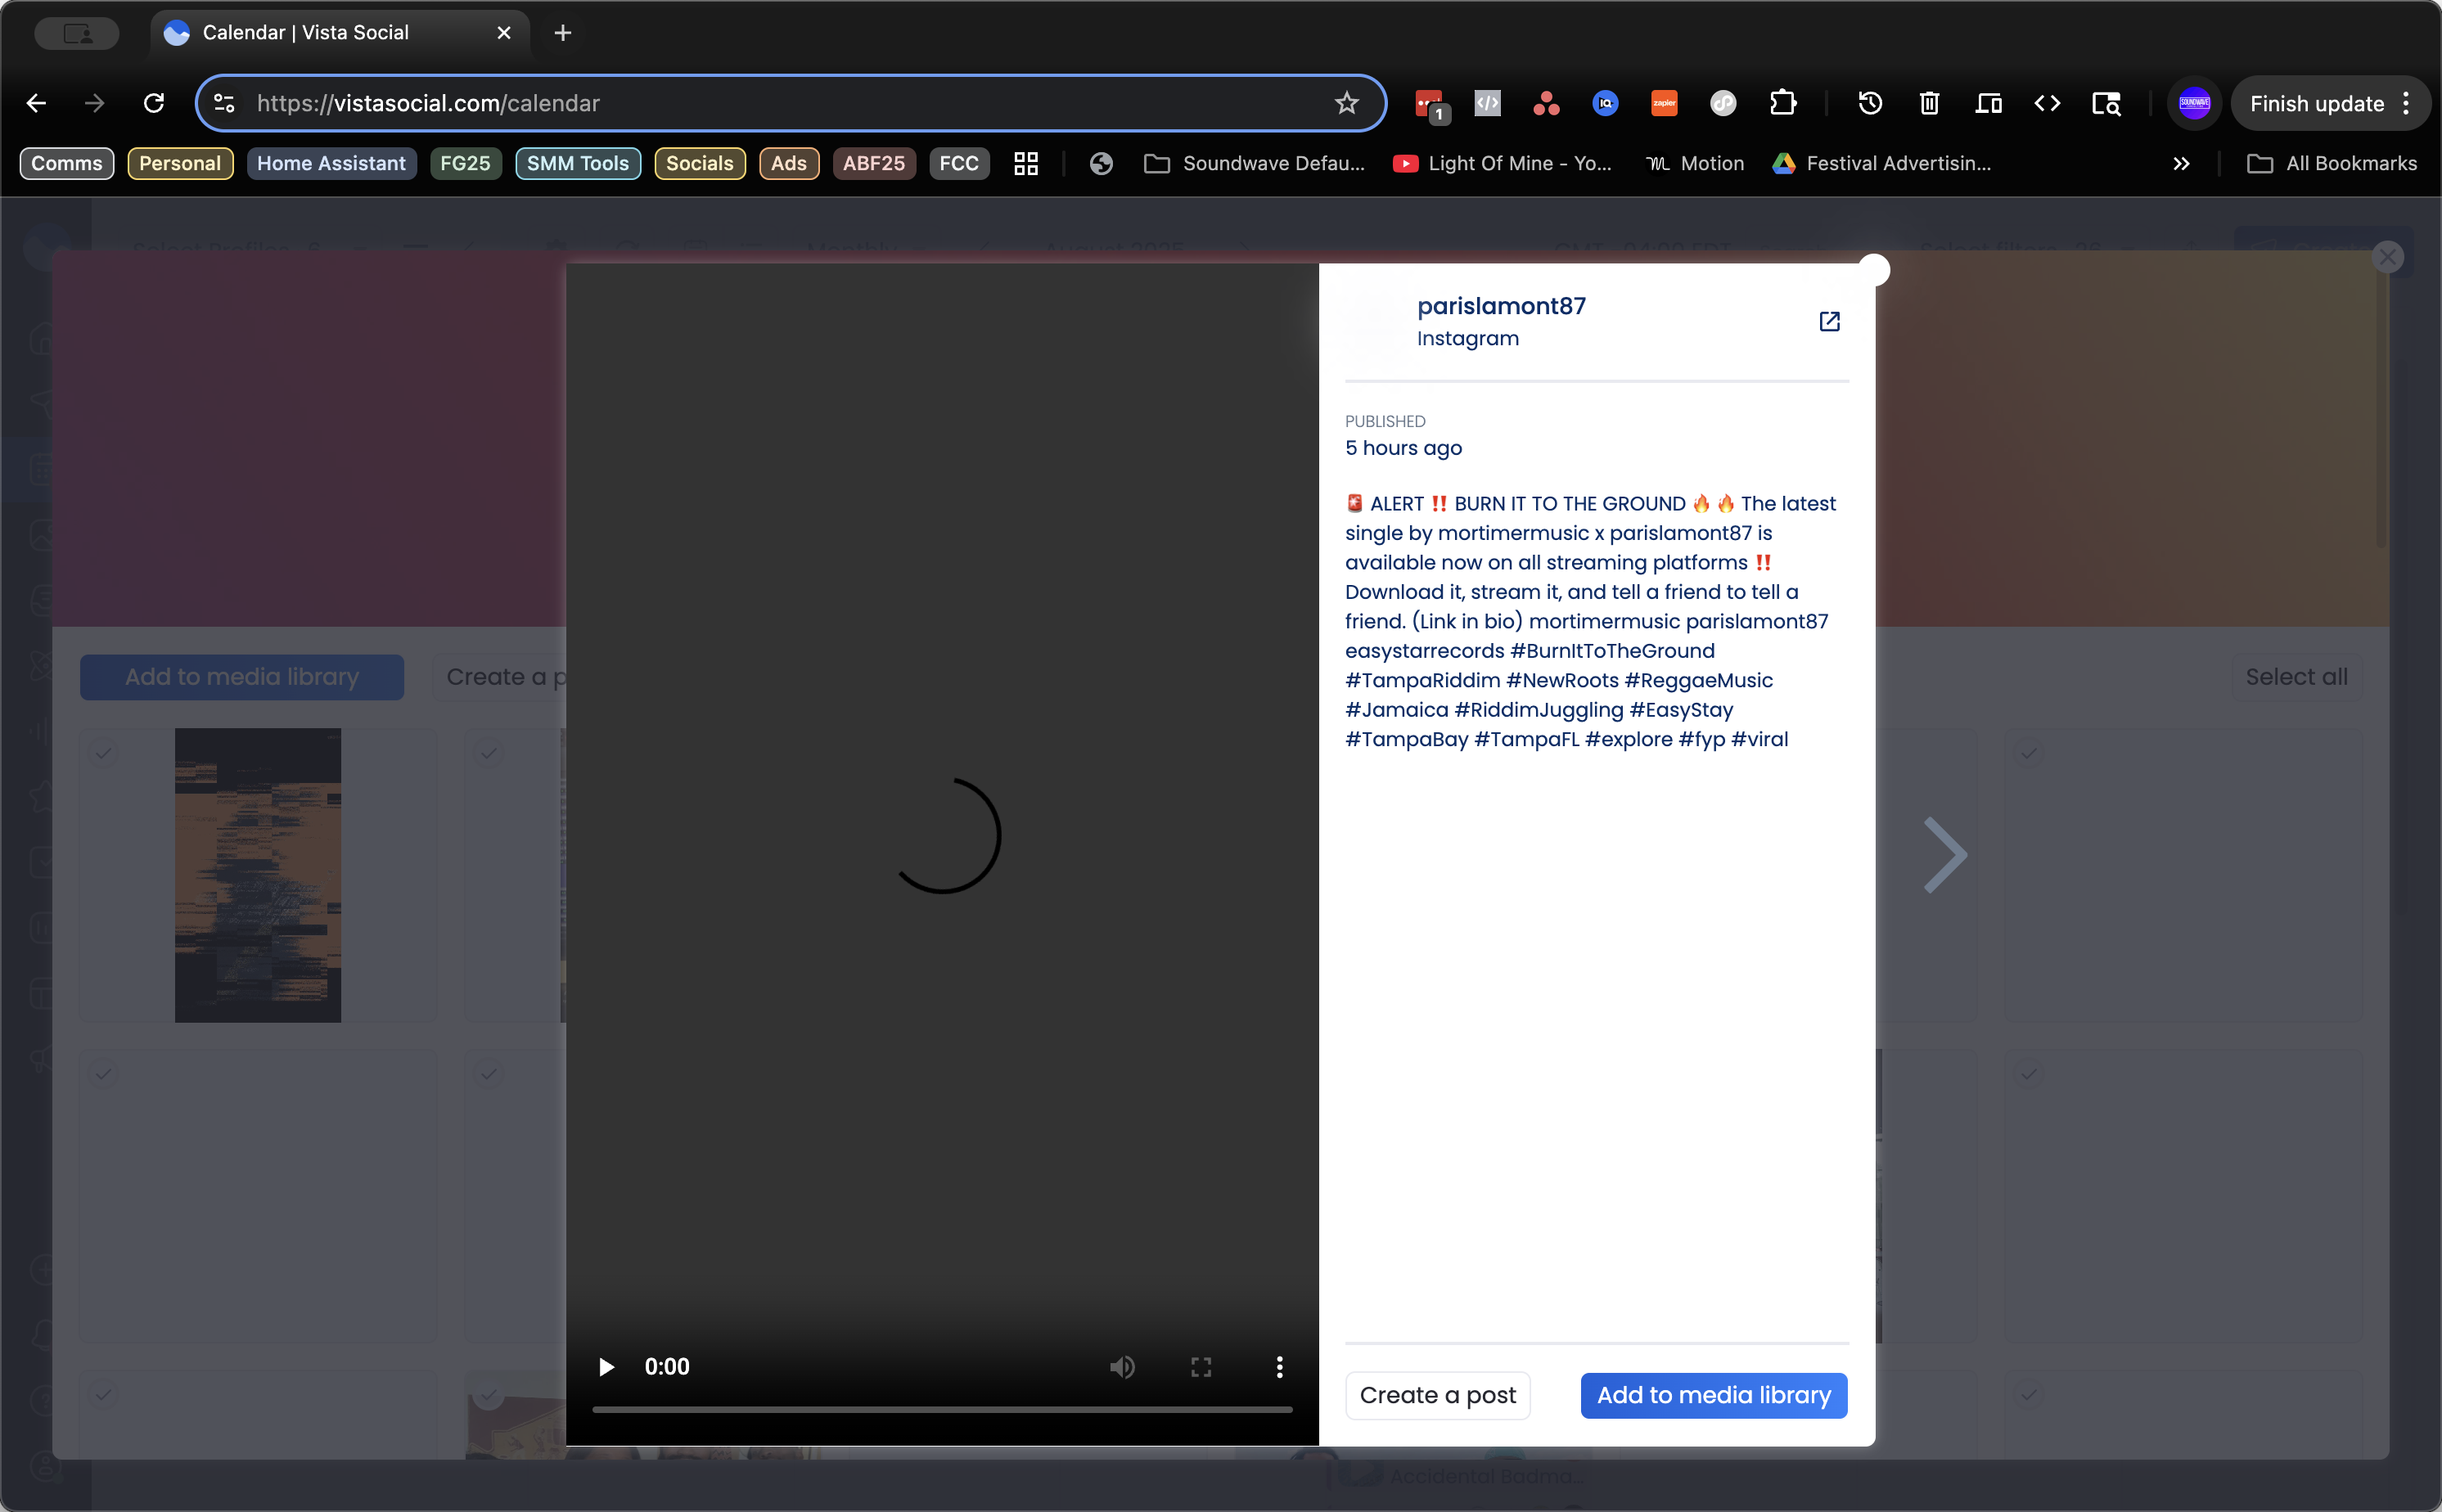
Let's see. Another artist must have created the original post. We will get his Instagram handle. All right, now we'll look up his.

10
Click here
Step #10: Click here

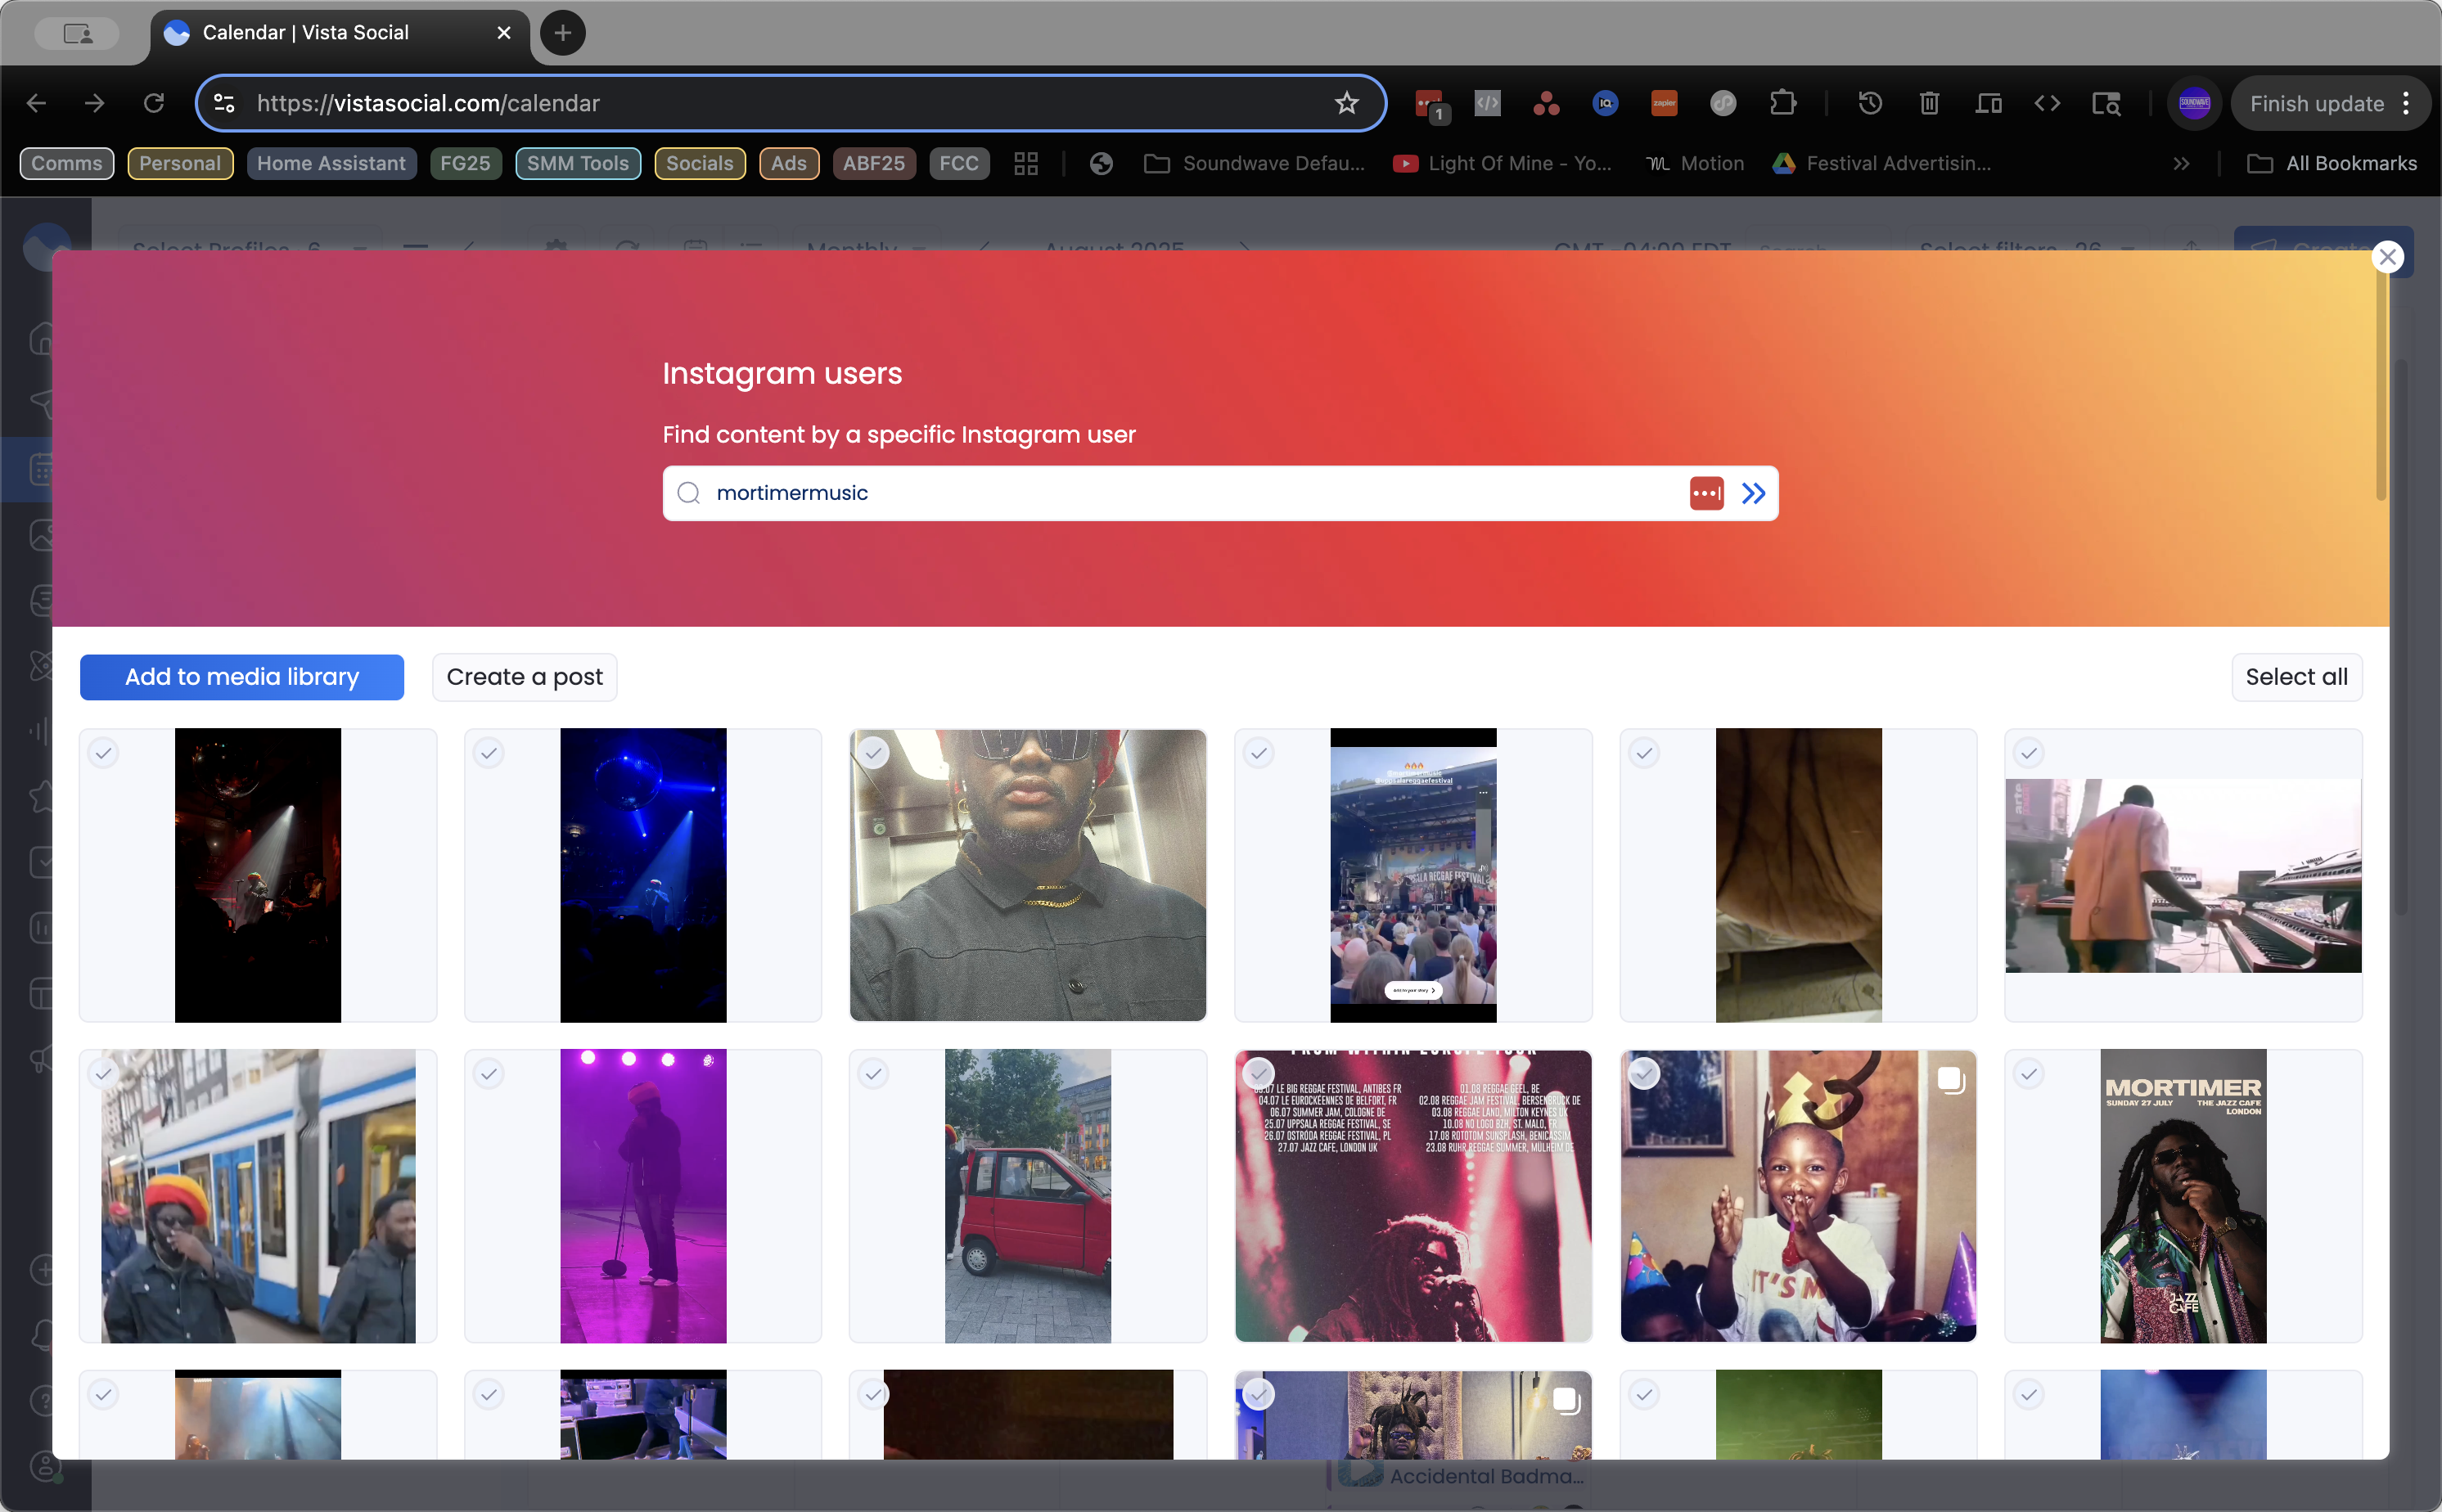
We can check the most recent post right away instead of waiting for it to appear.

11
Click here
Step #11: Click here

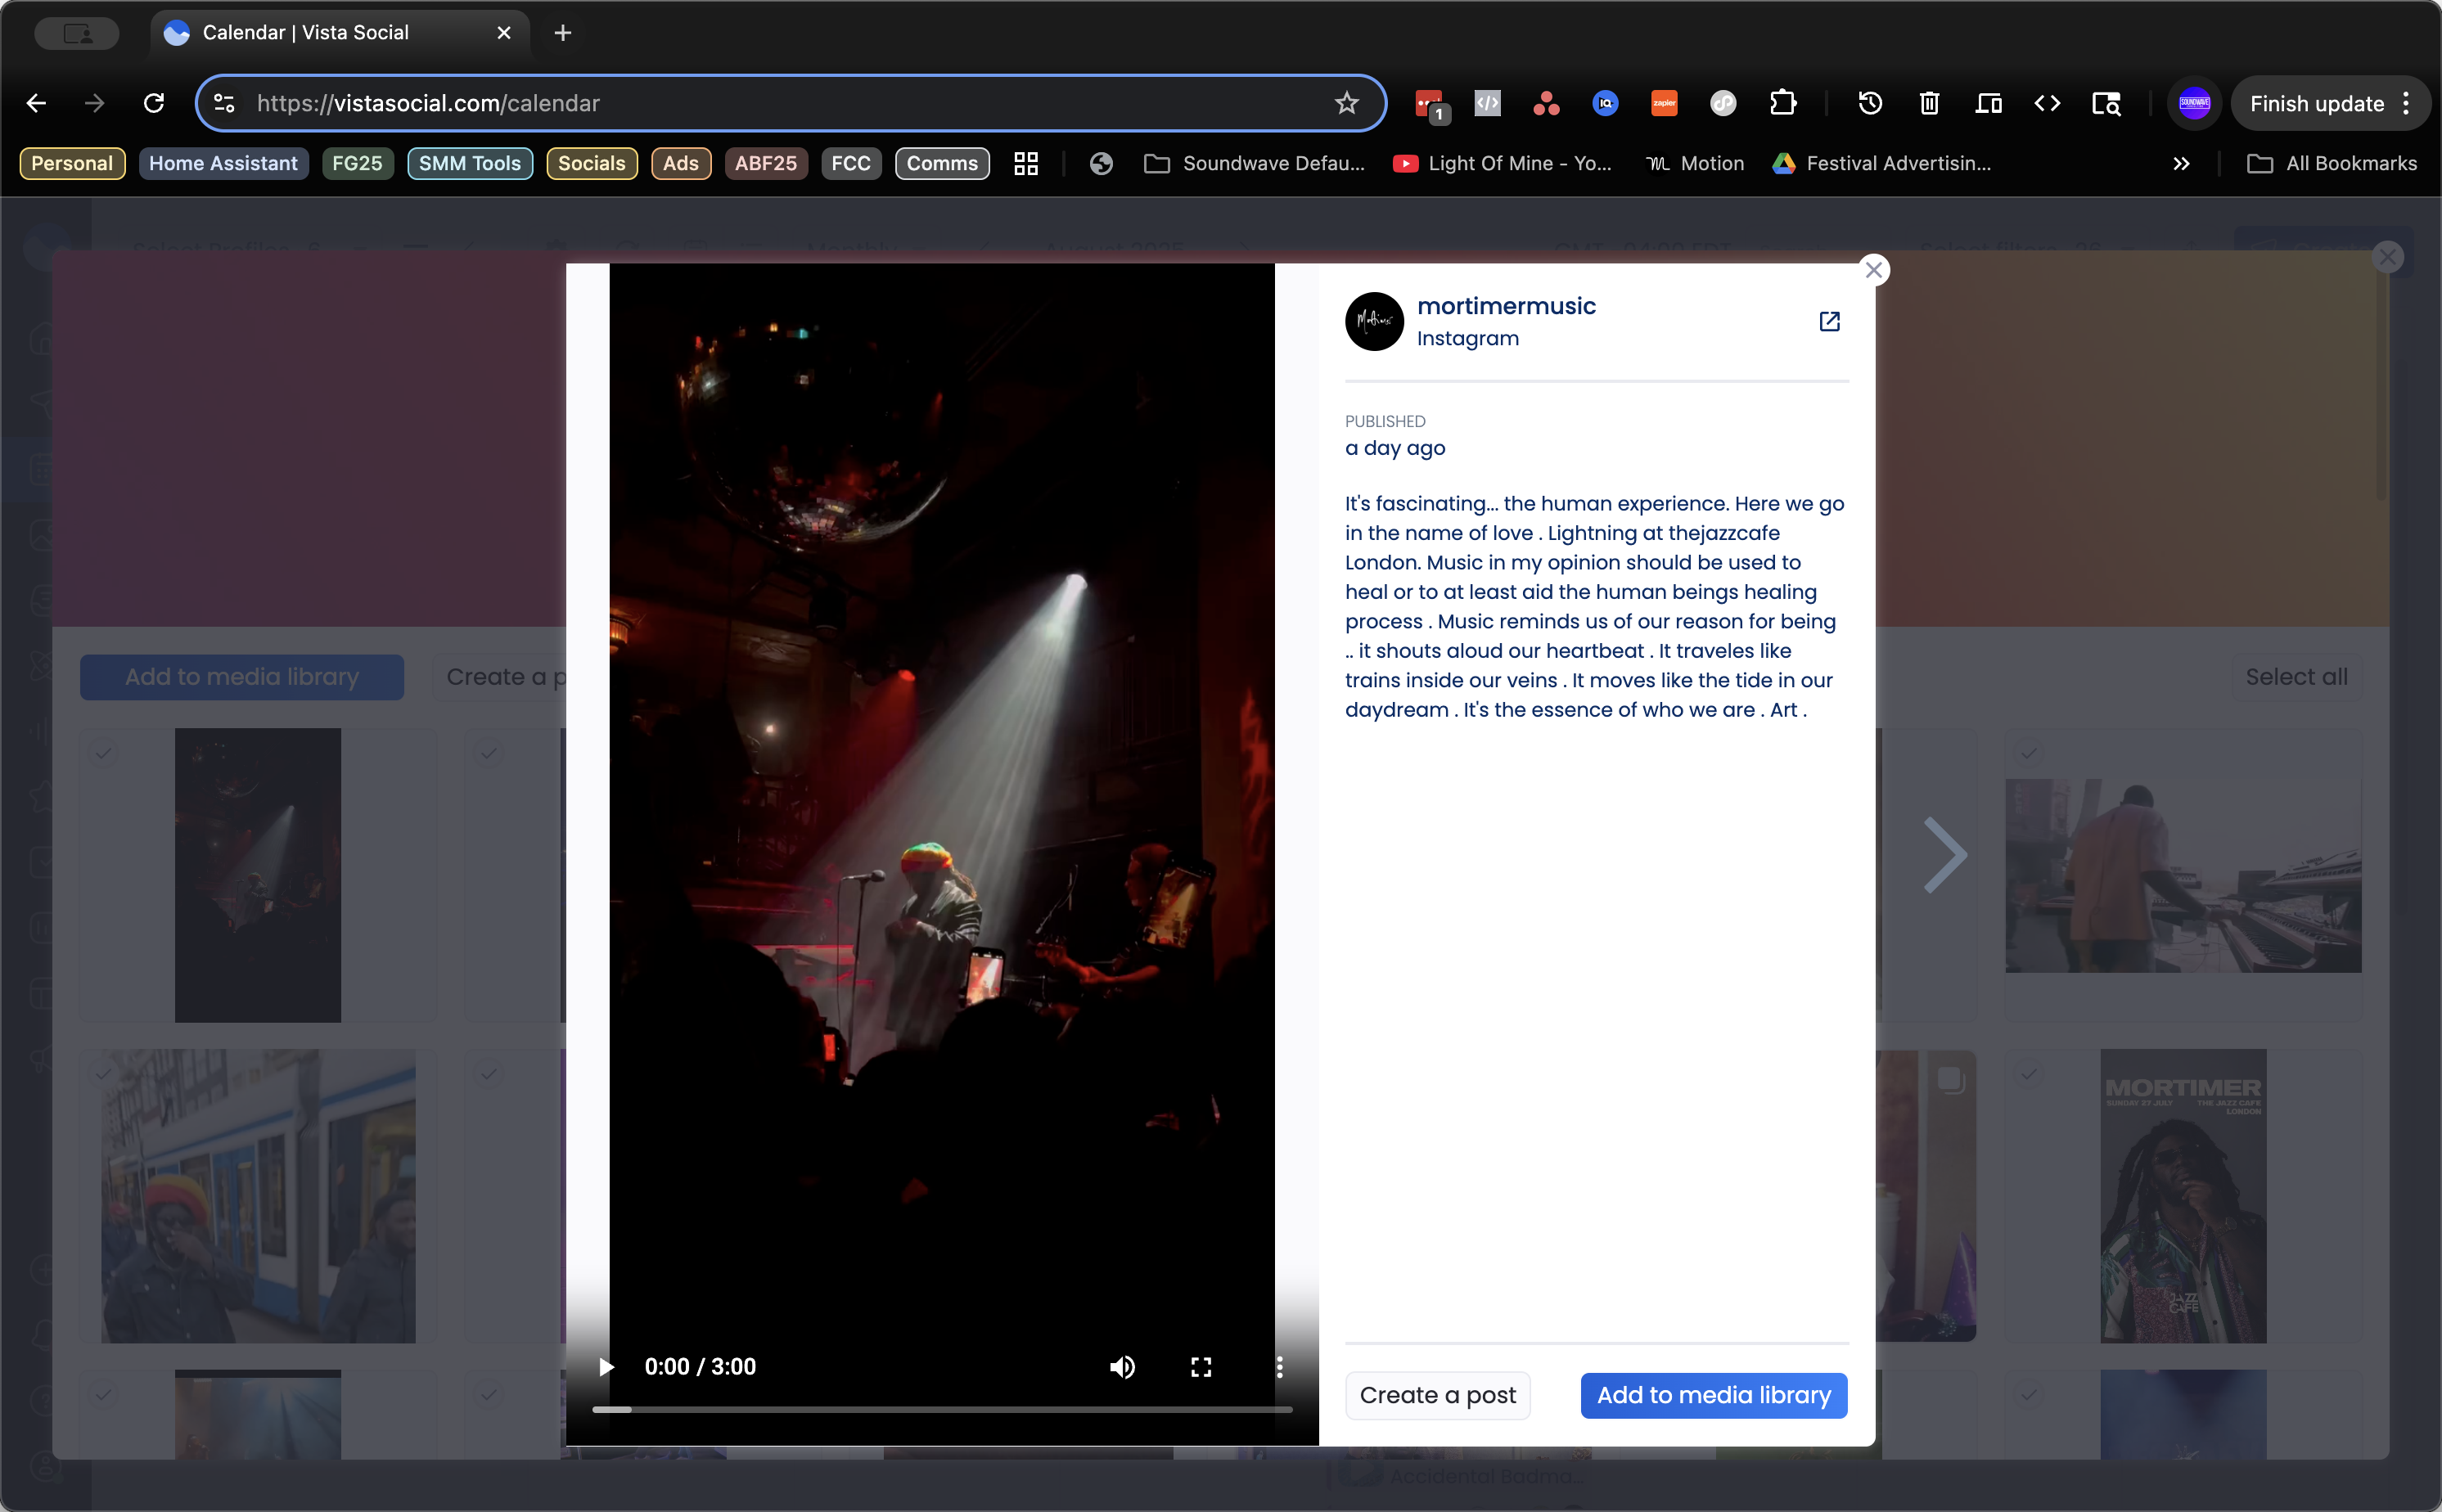
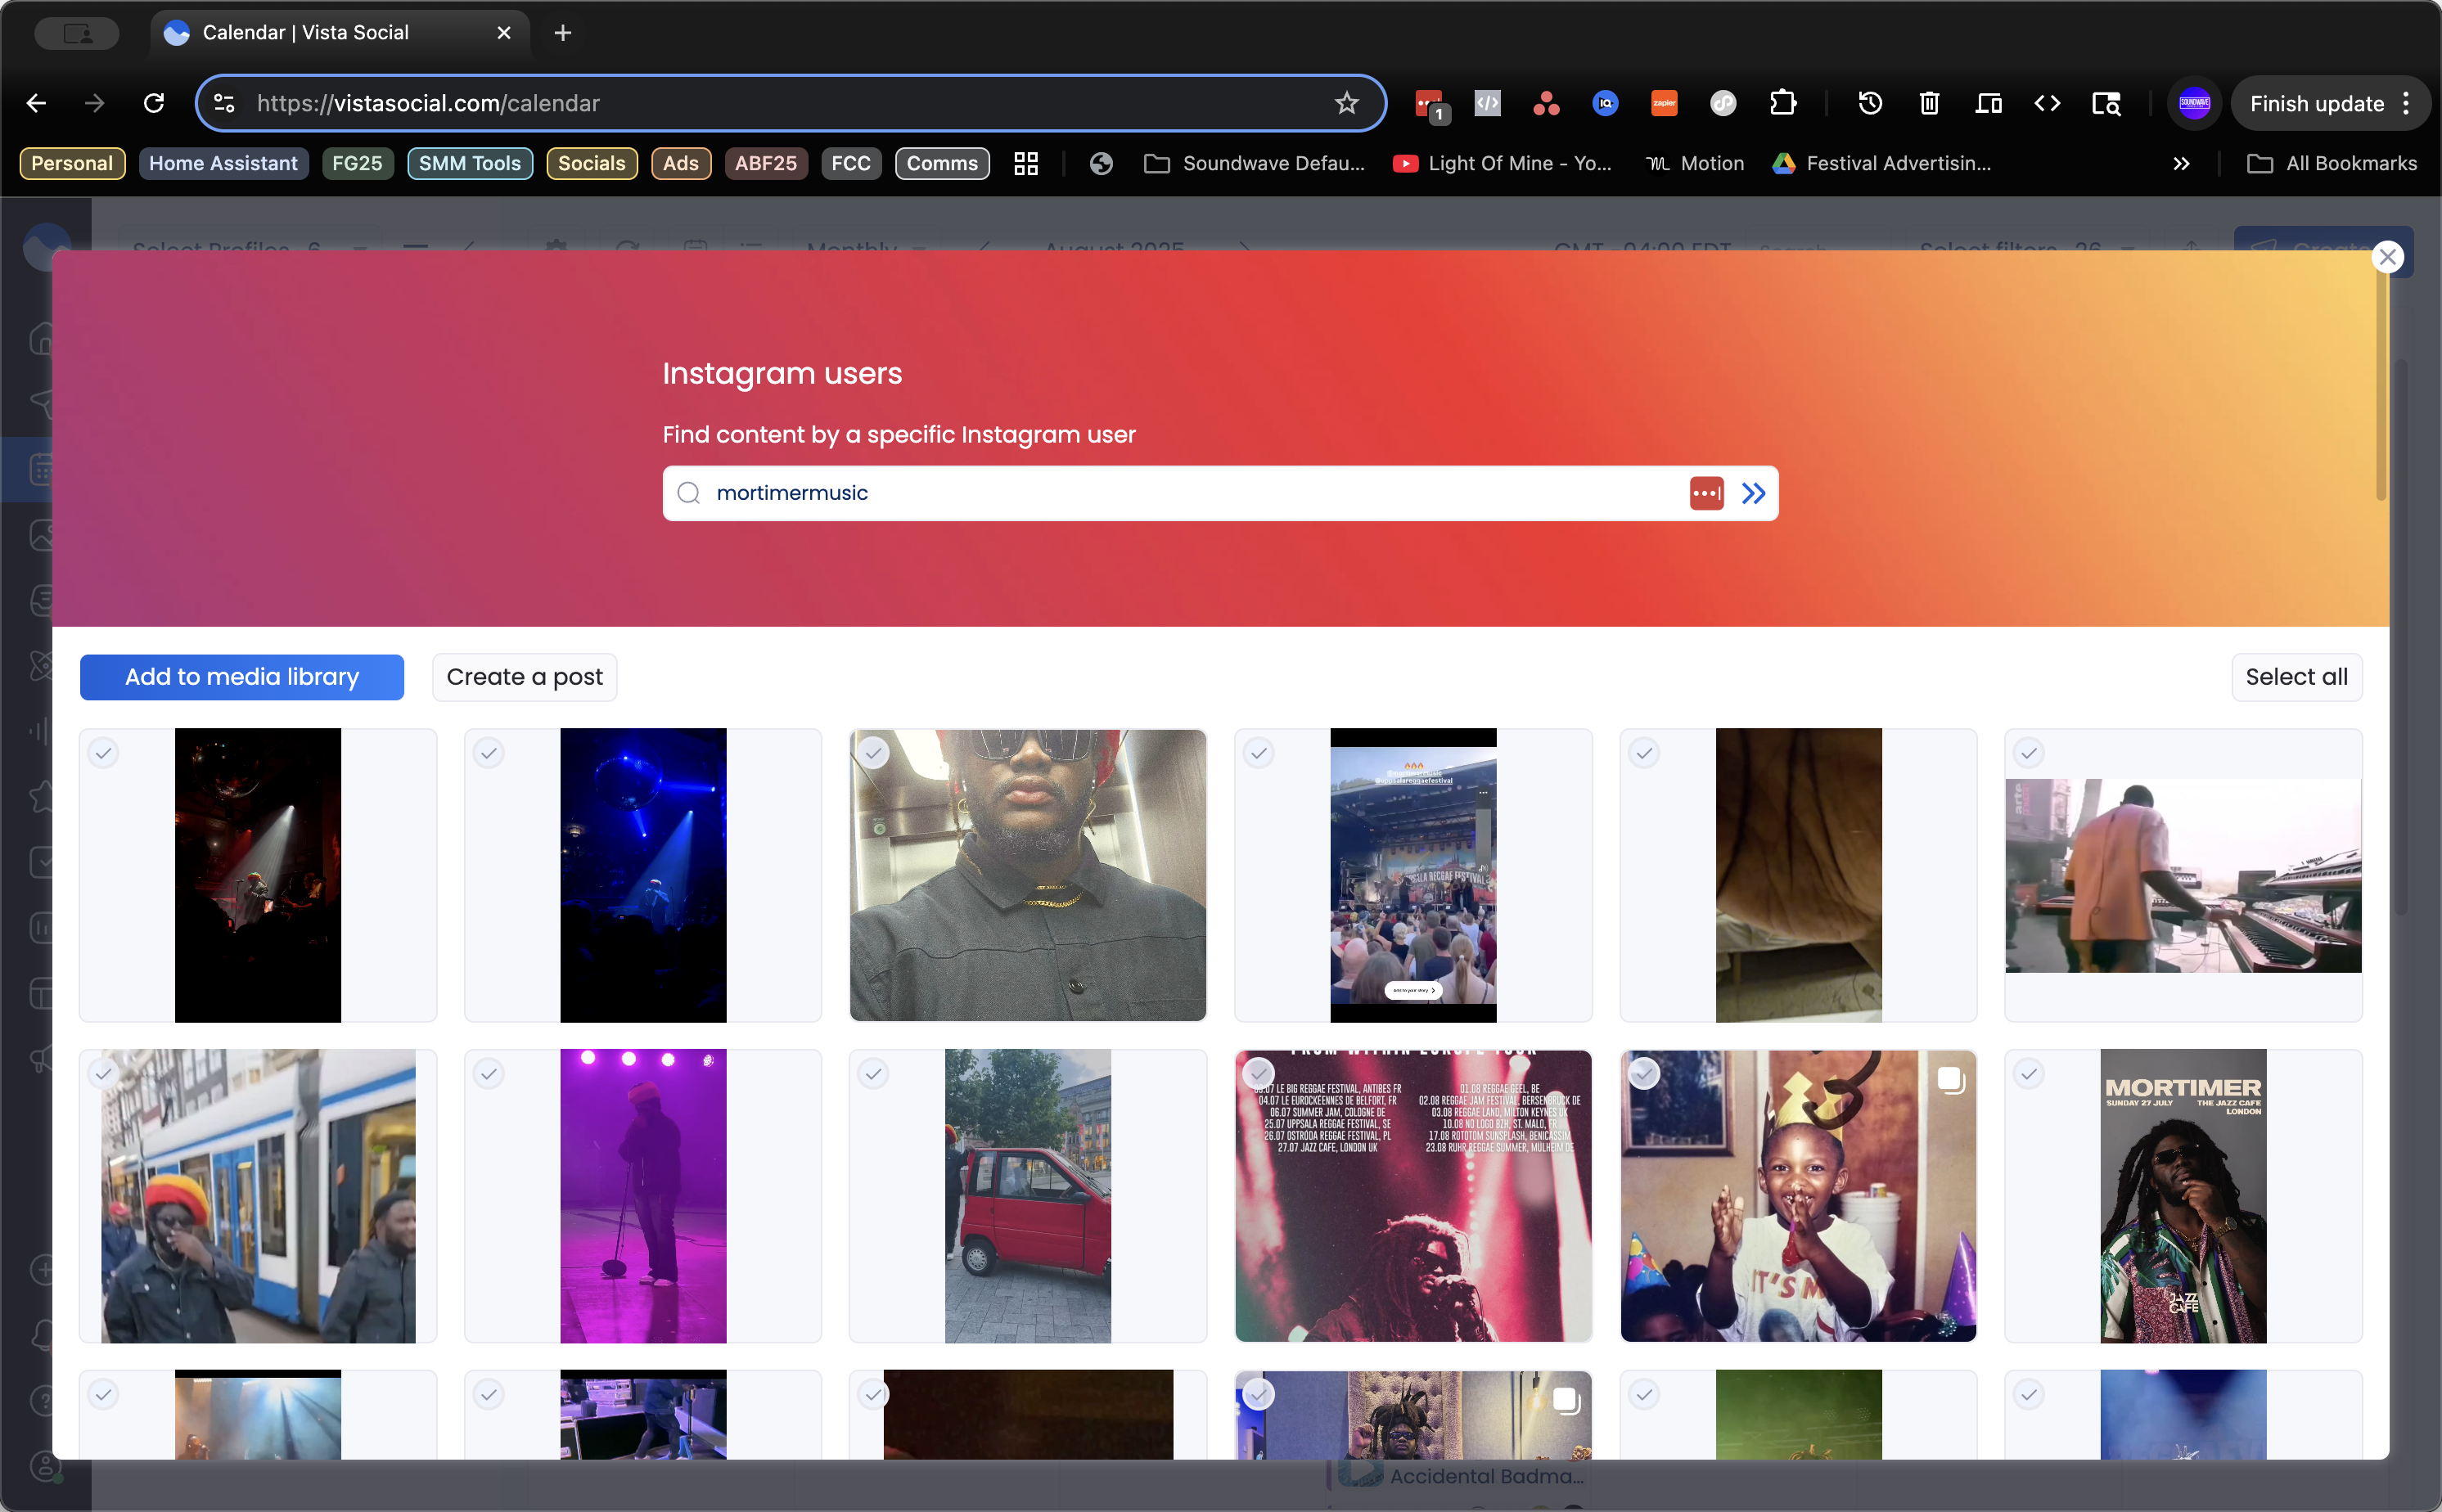
All right, this is it. Perfect. We can add the video to our library and download it if we want, or we can go straight to creating a post with it. We'll create a post now.

12
Click on "Create a post"
Step #12: Click on "Create a post"
13
Click on "and tell a friend to tell a friend"
Step #13: Click on "and tell a friend to tell a friend"

All right, so now...

14
Click on "BURN IT TO THE GROUND"
Step #14: Click on "BURN IT TO THE GROUND"

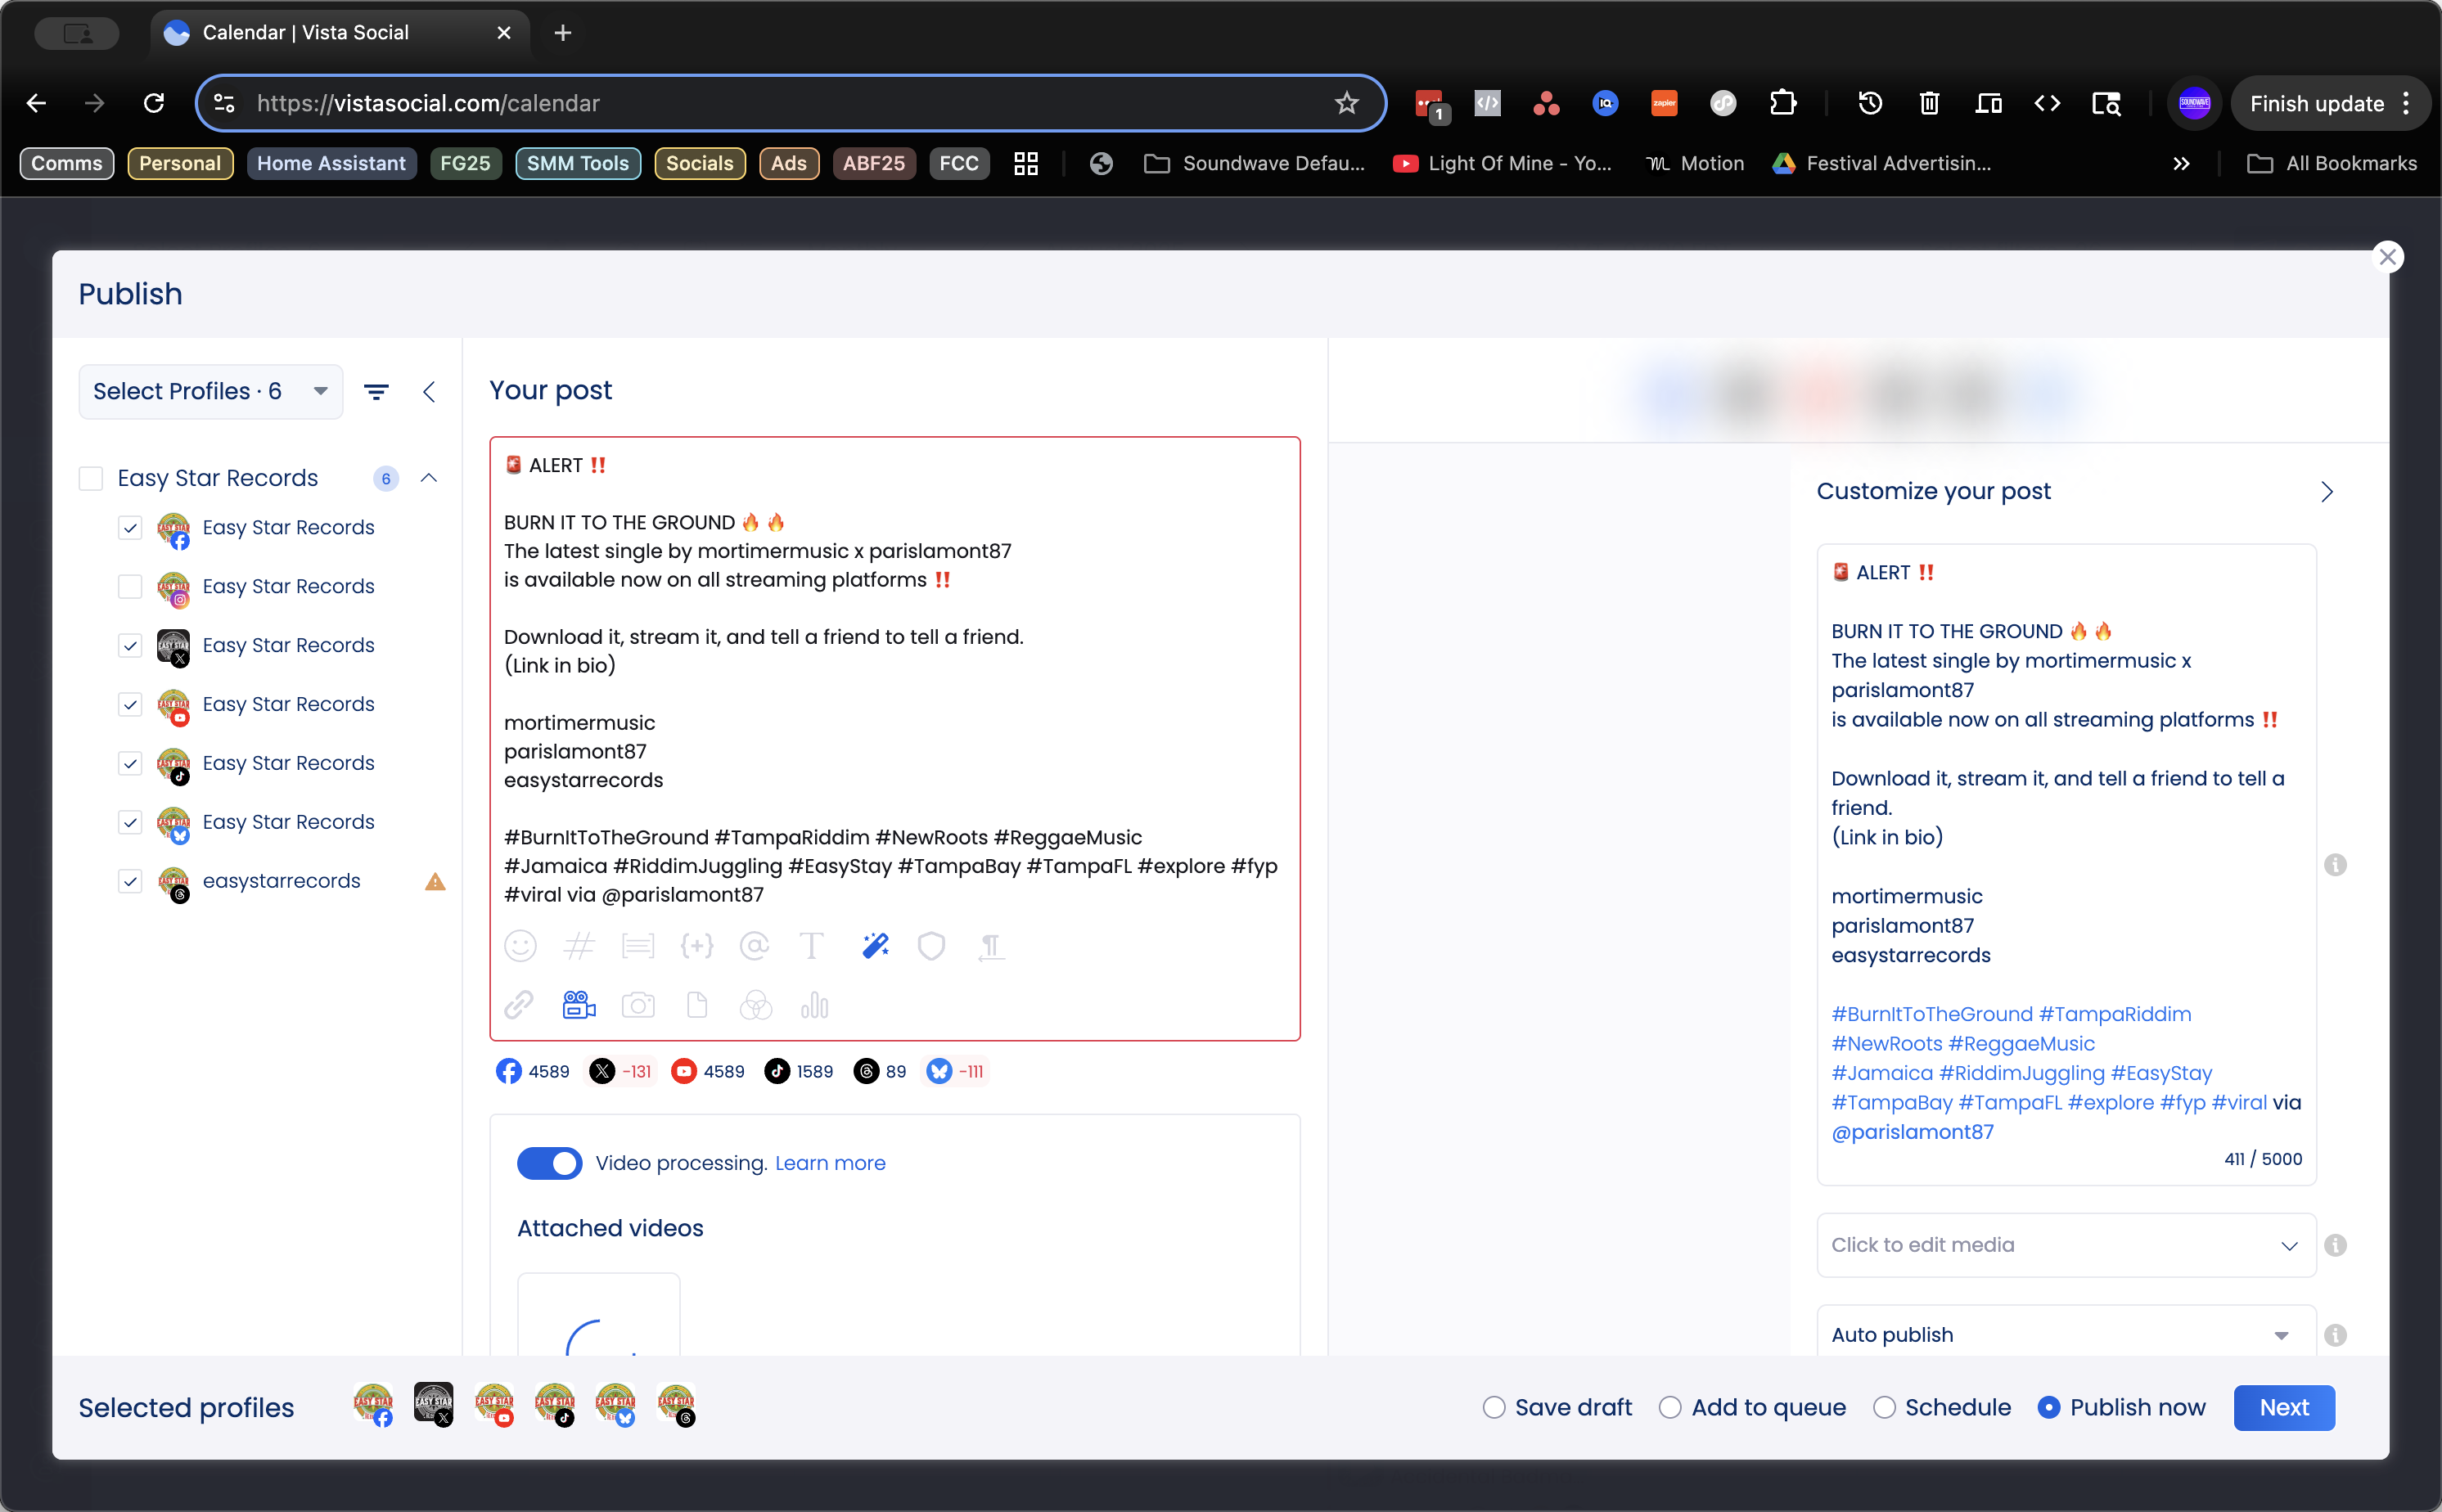
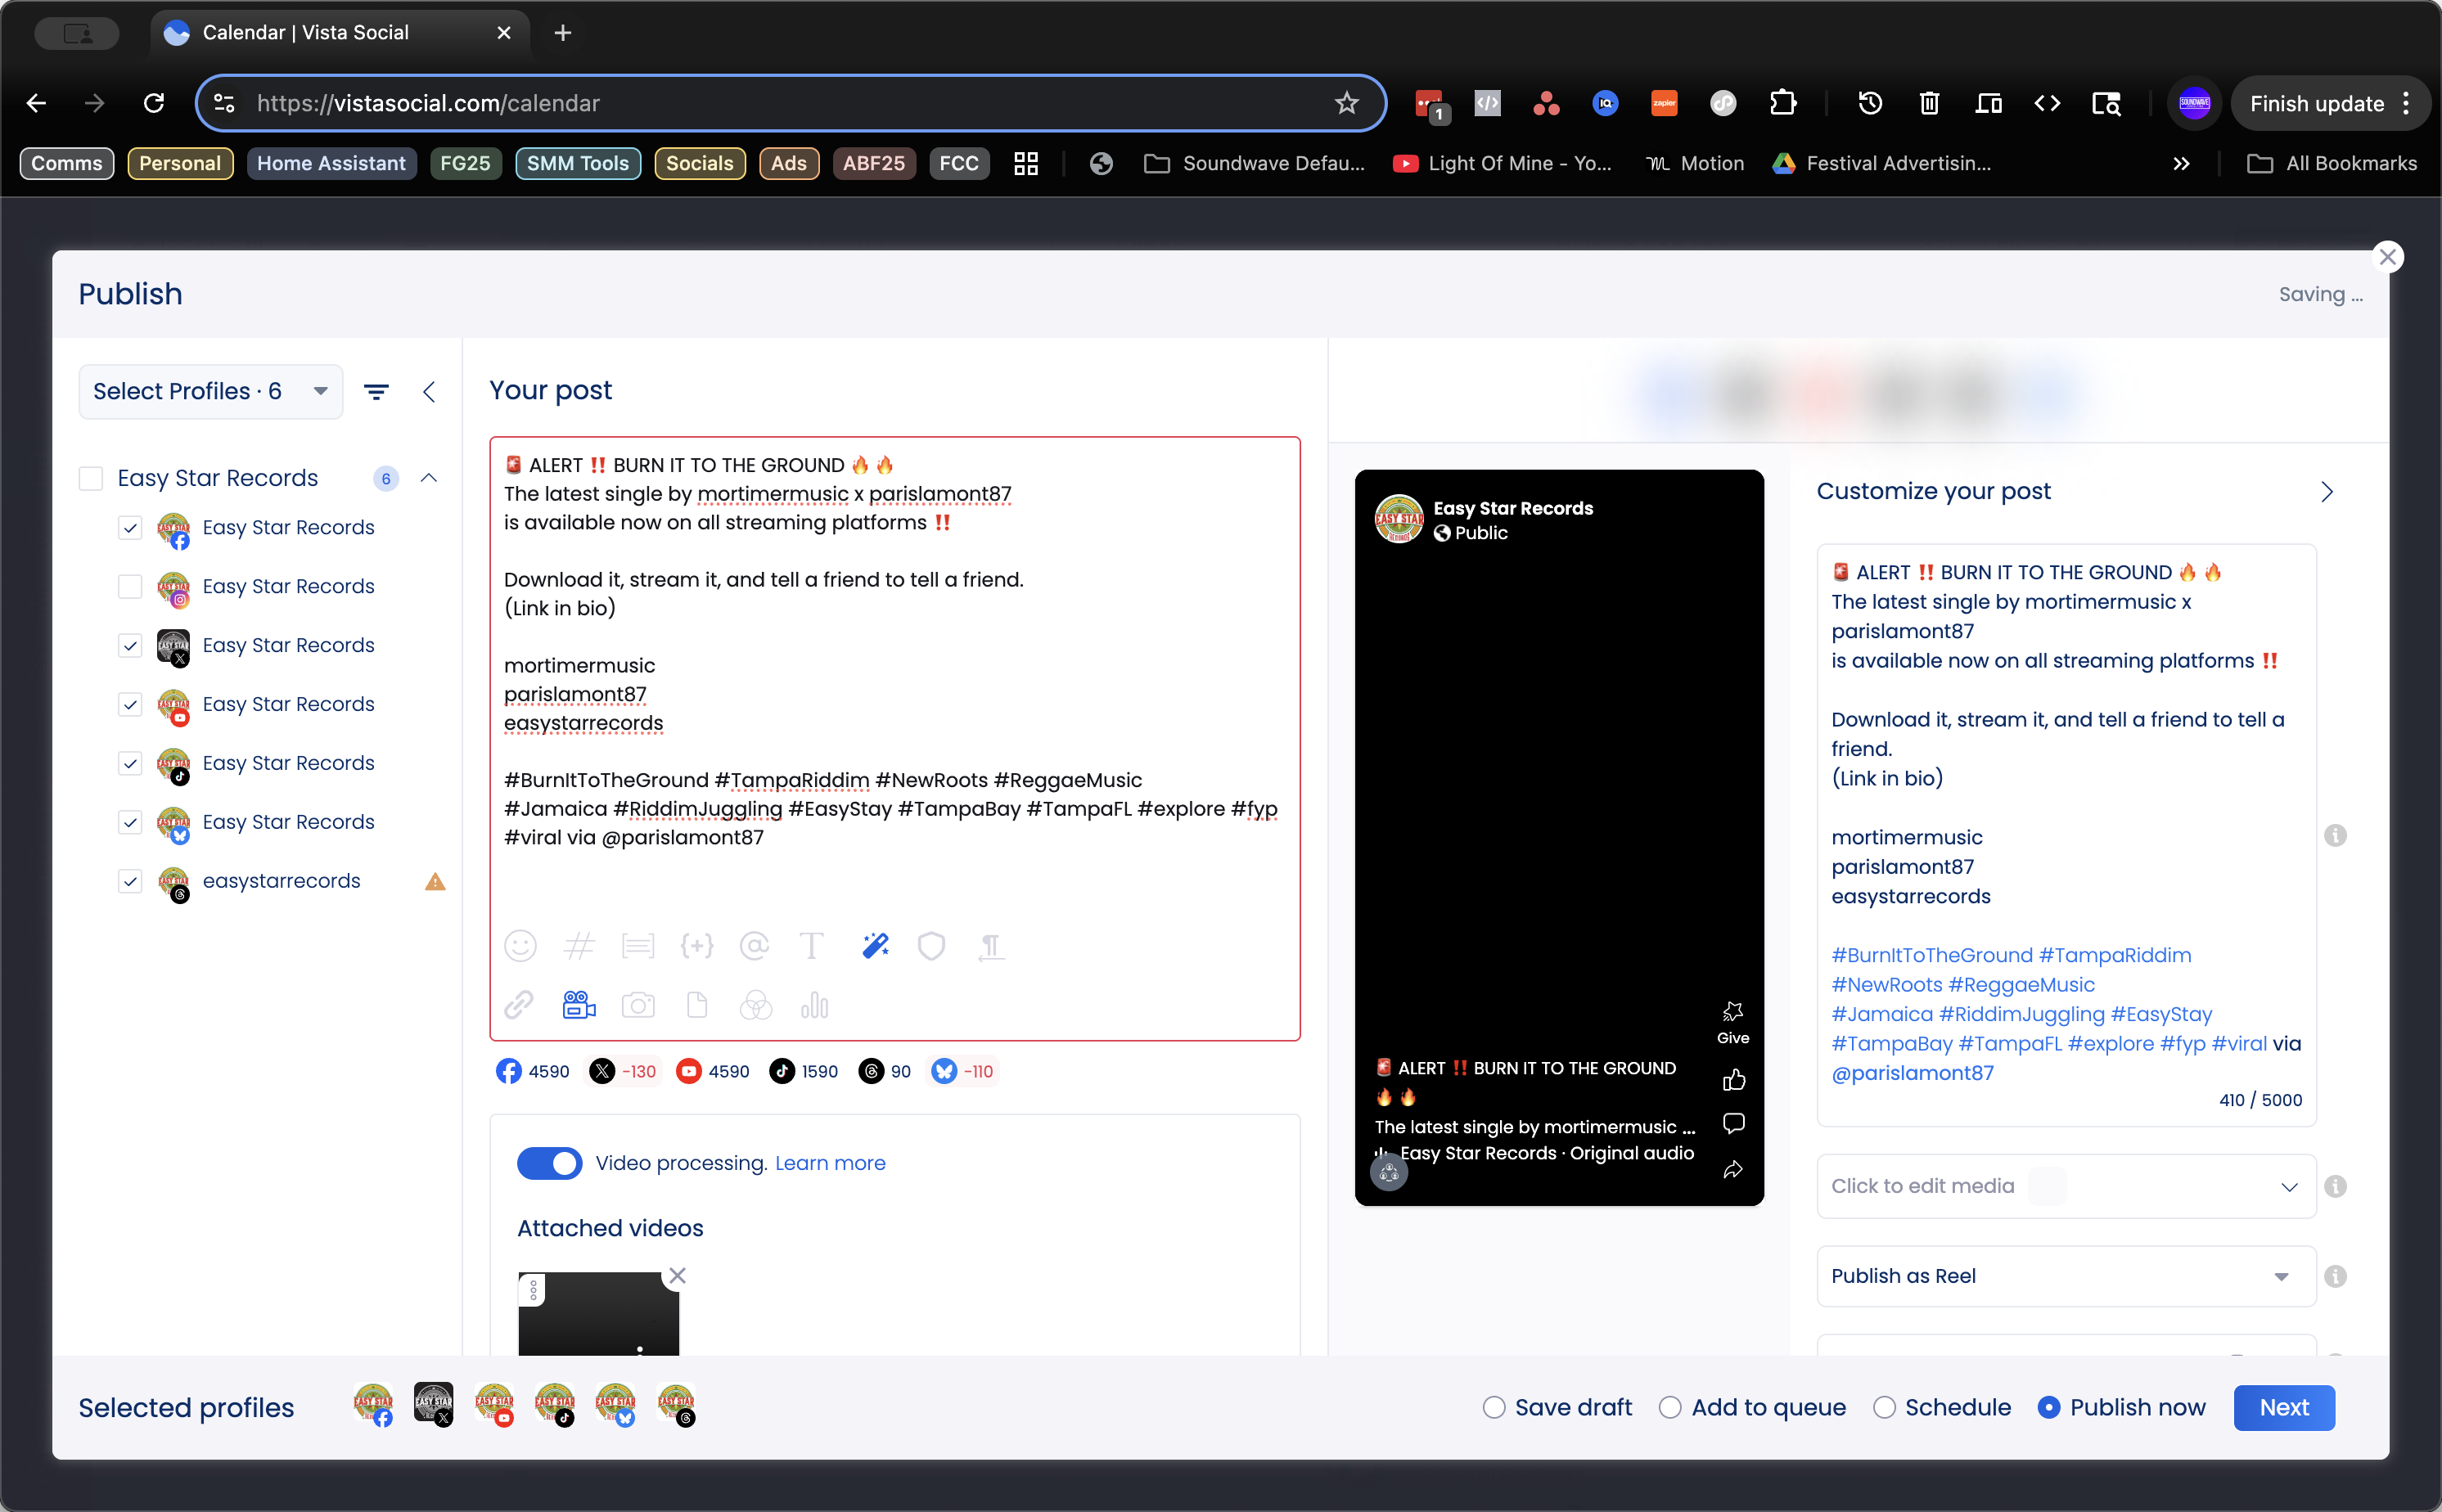
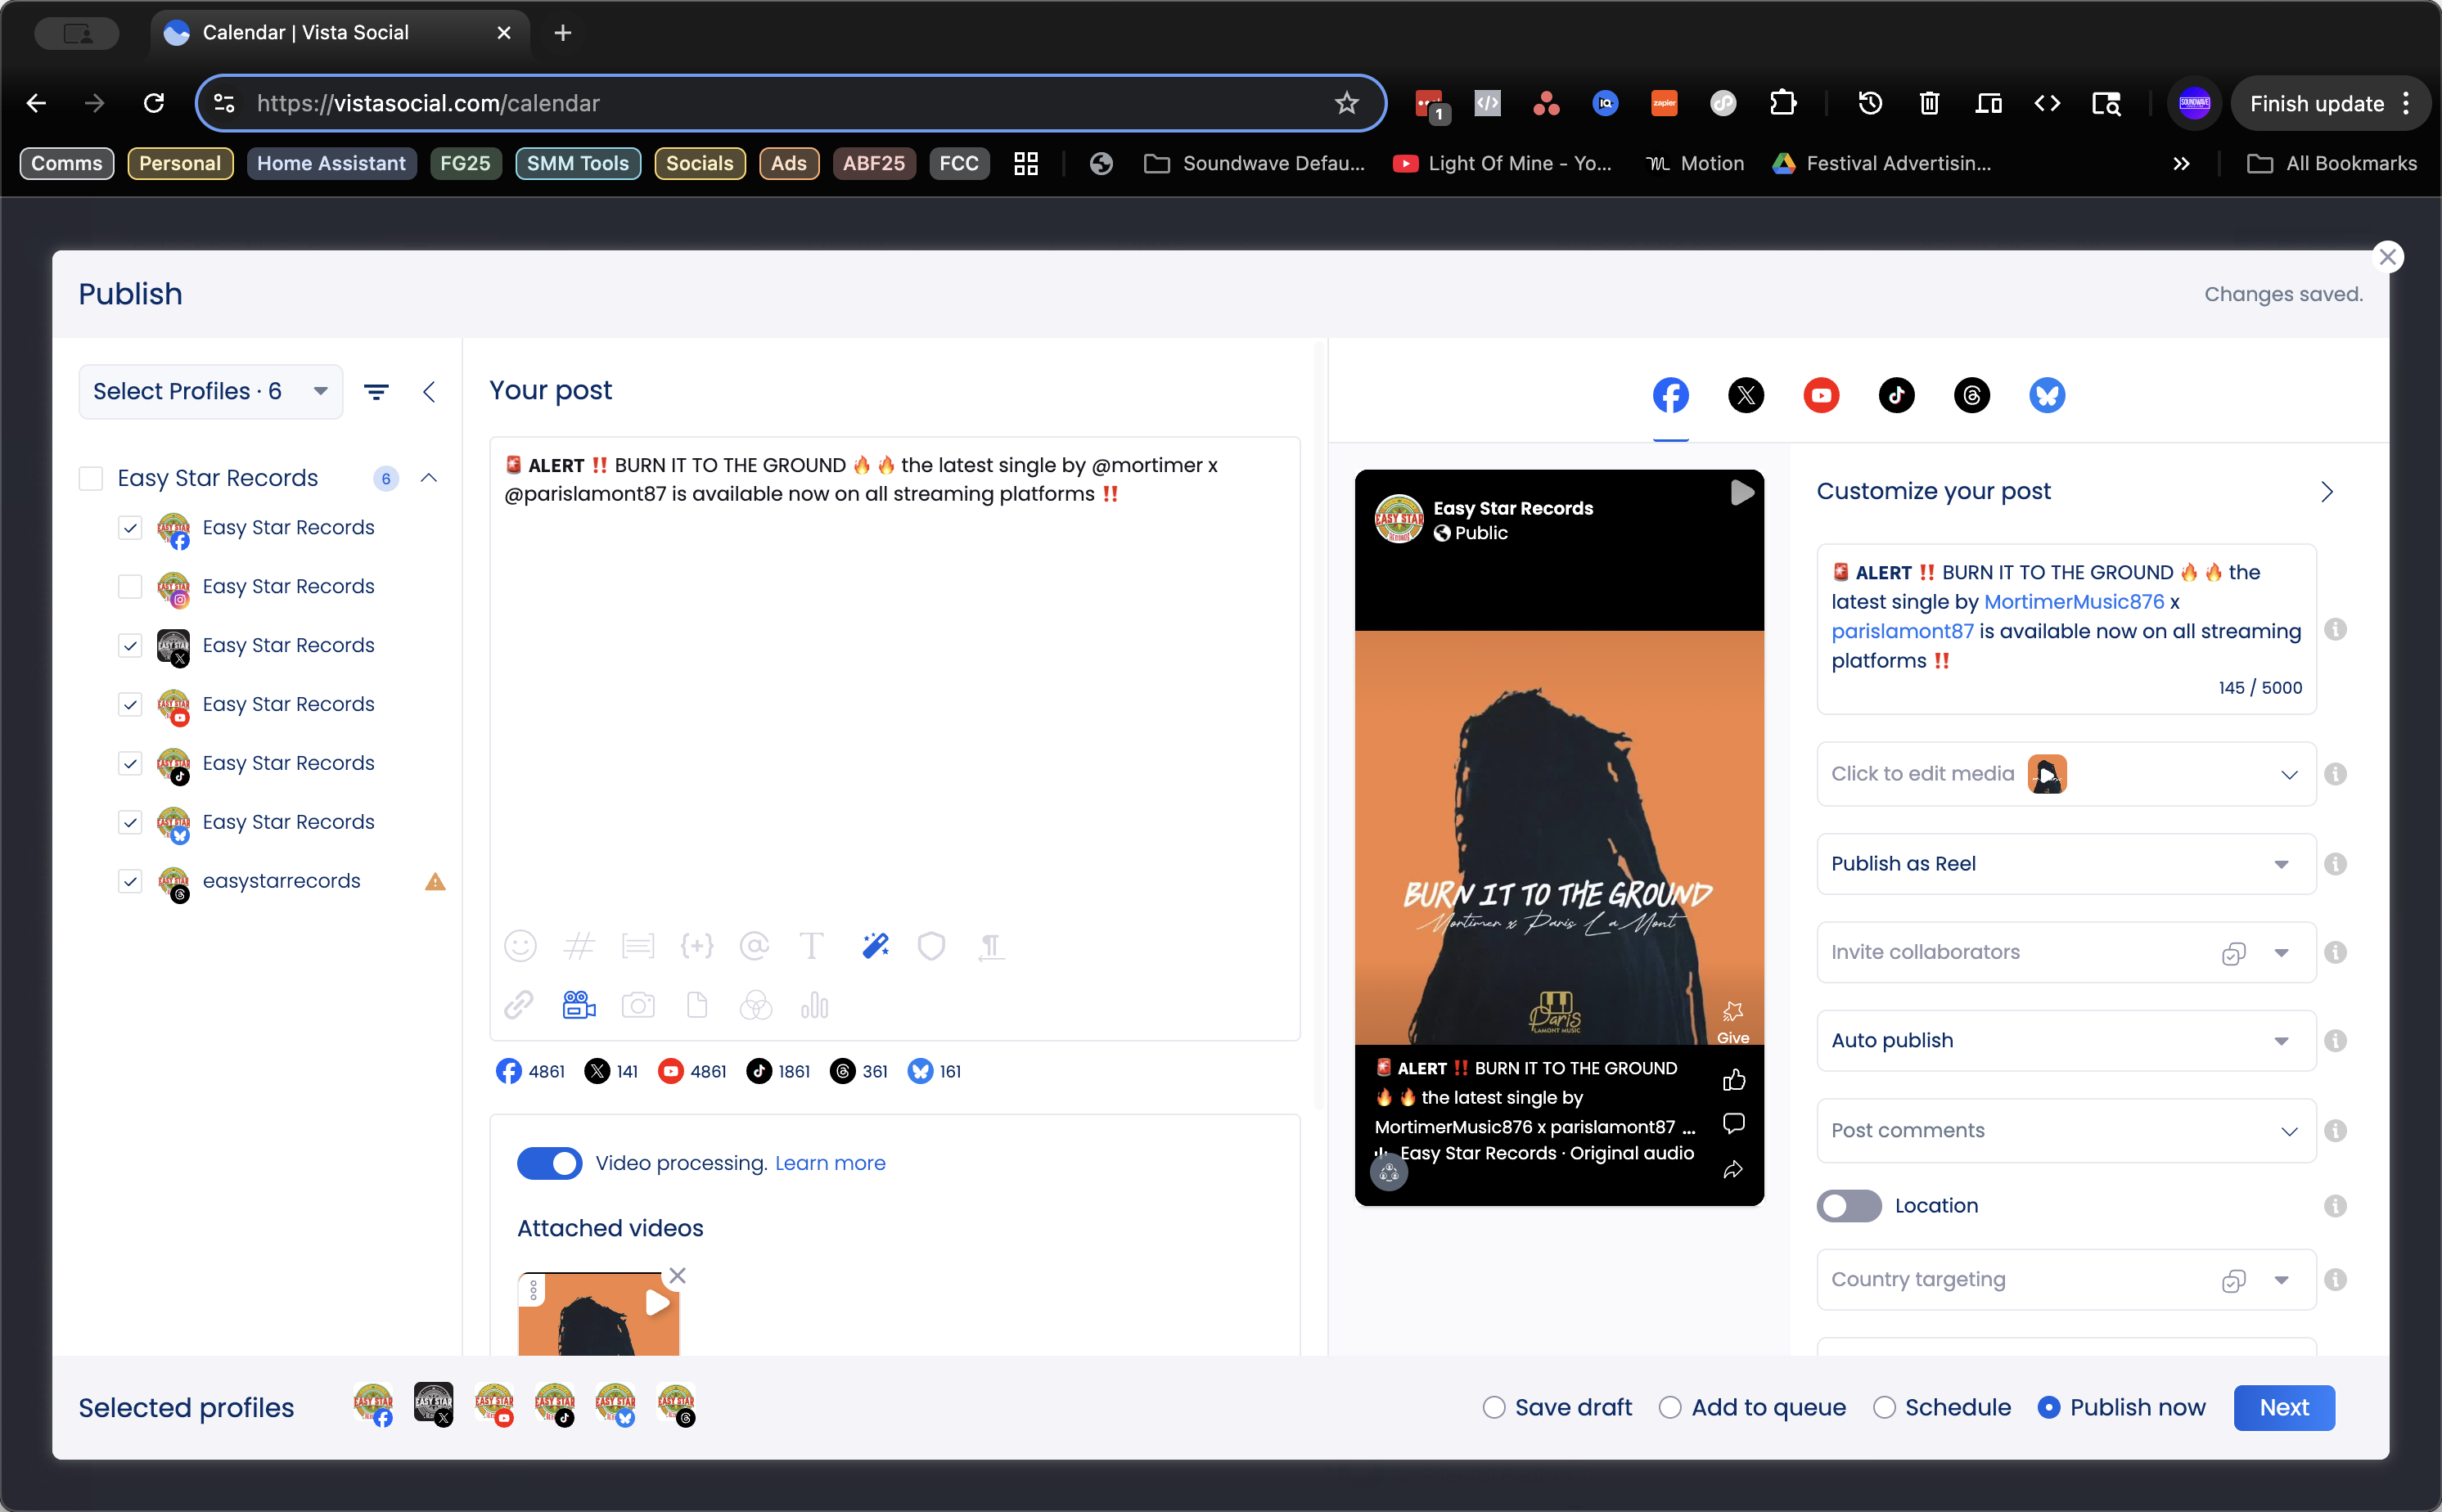
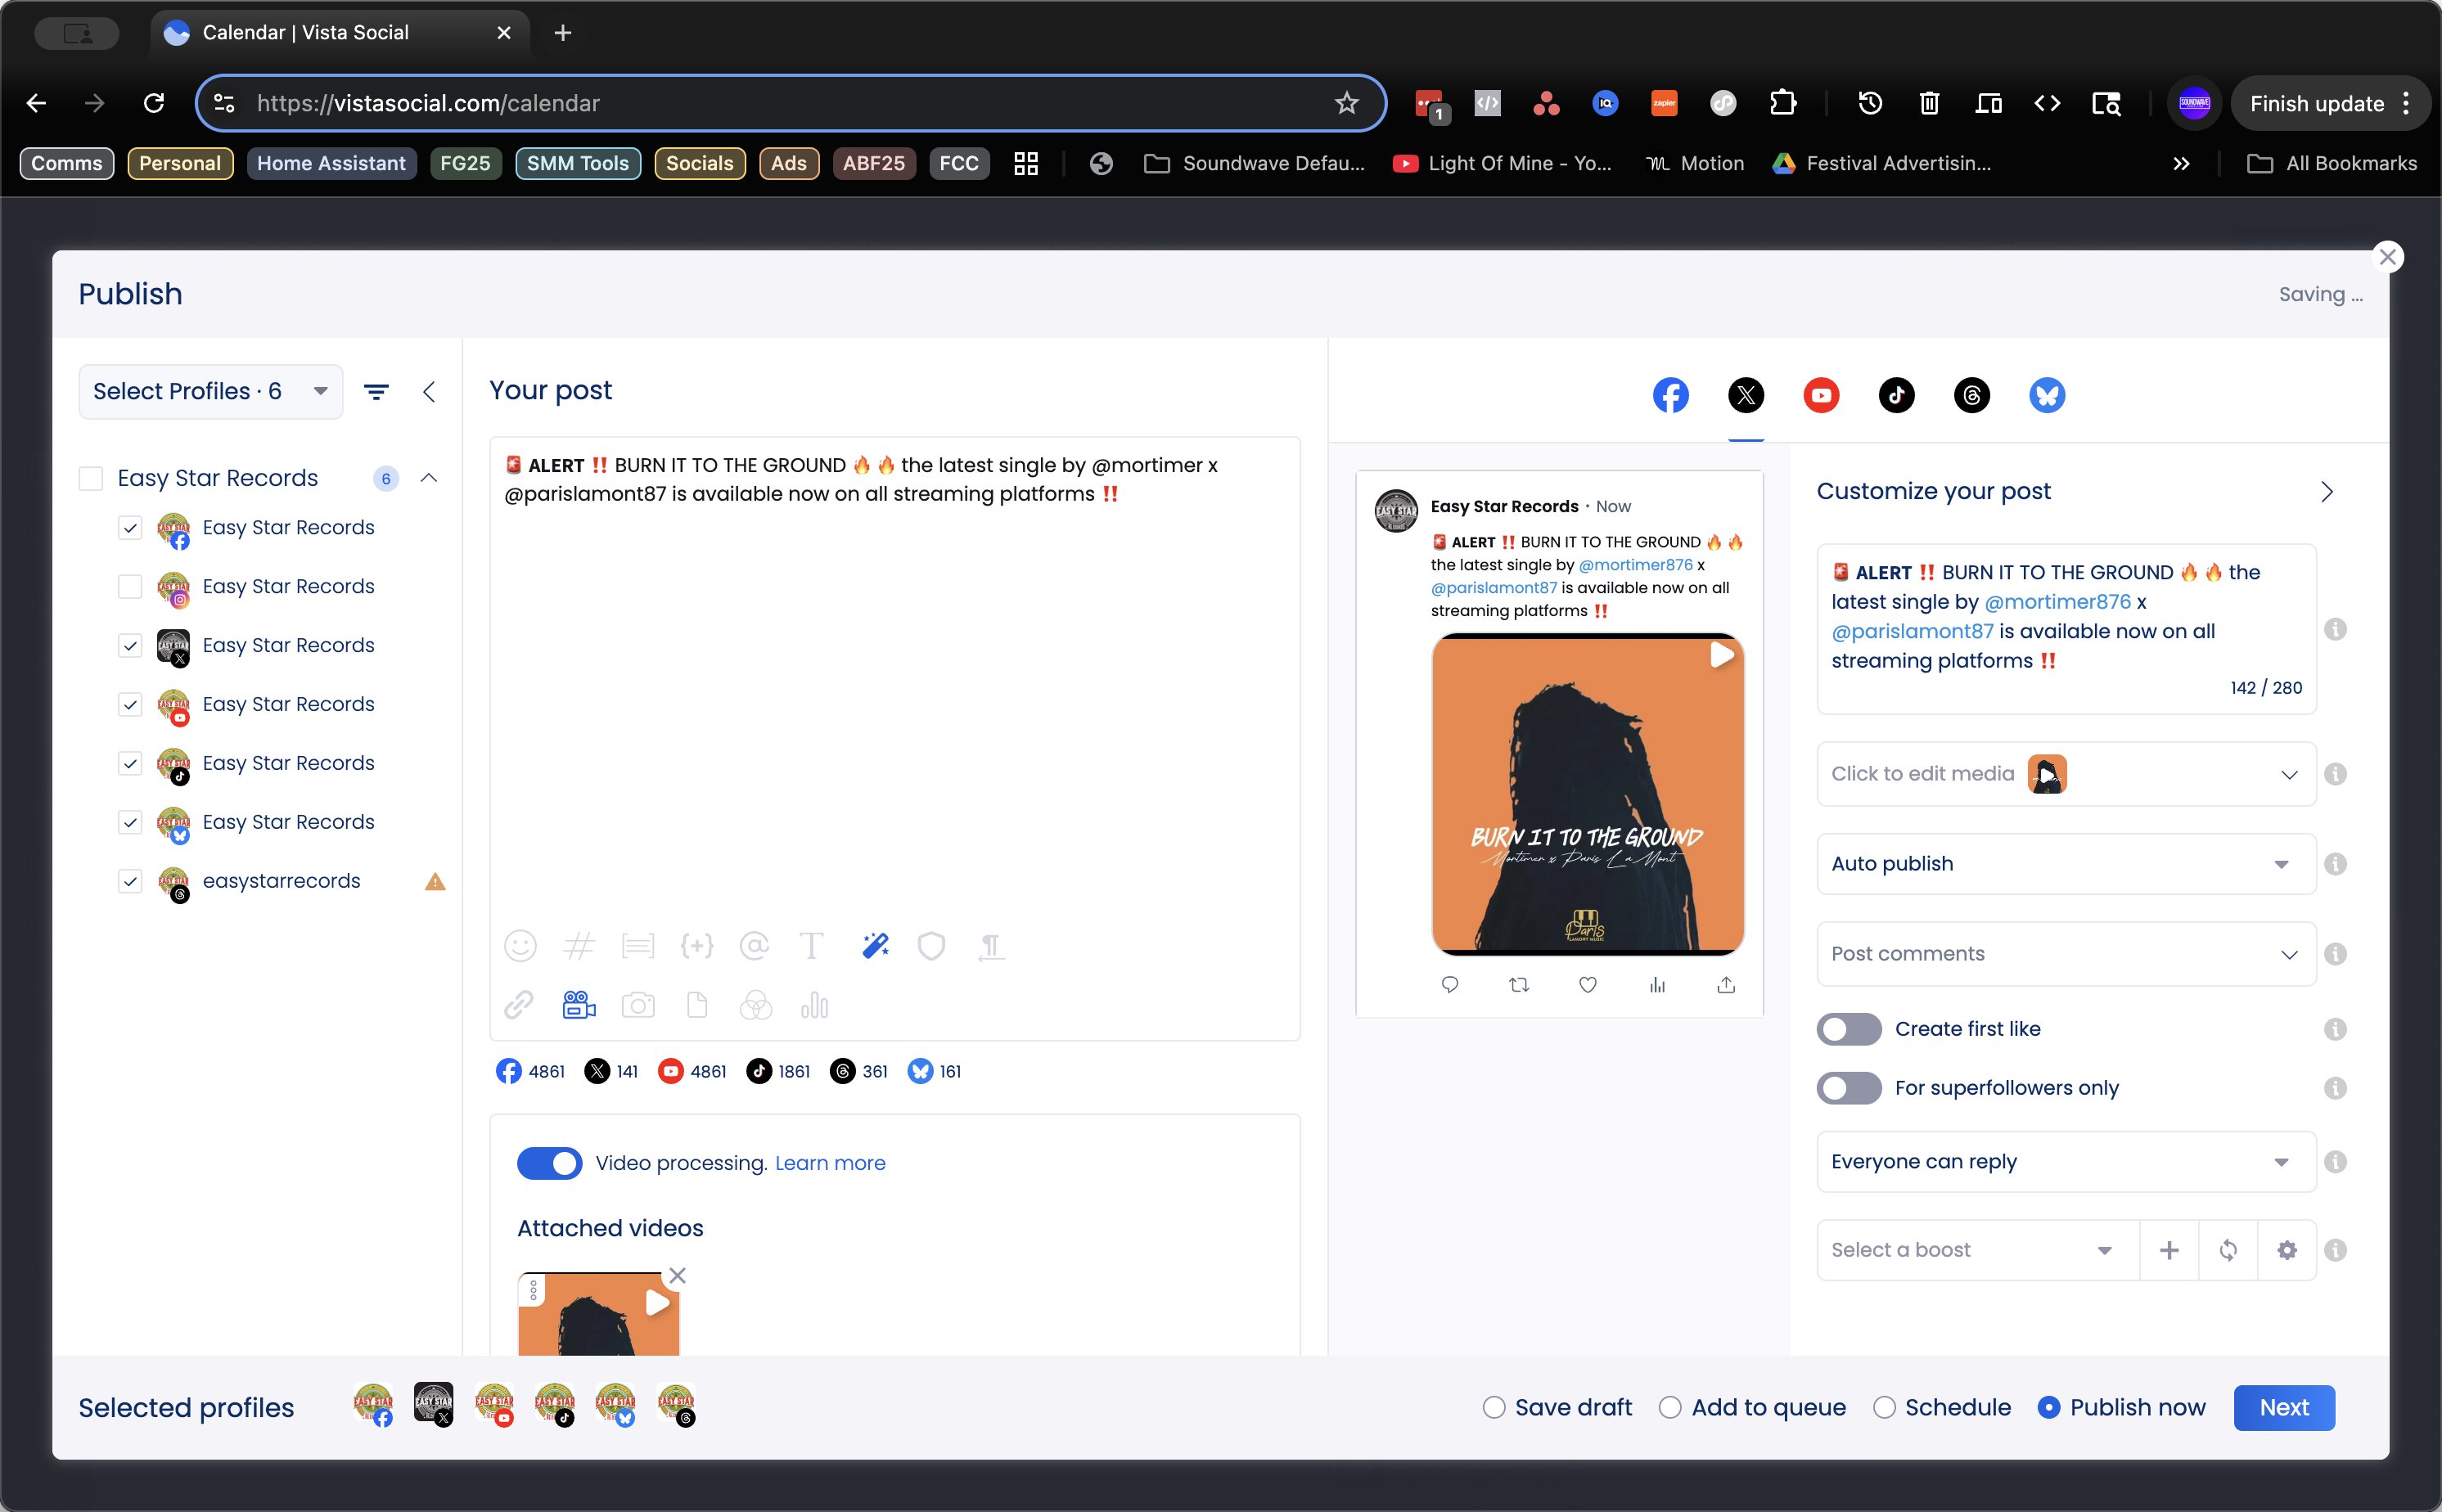
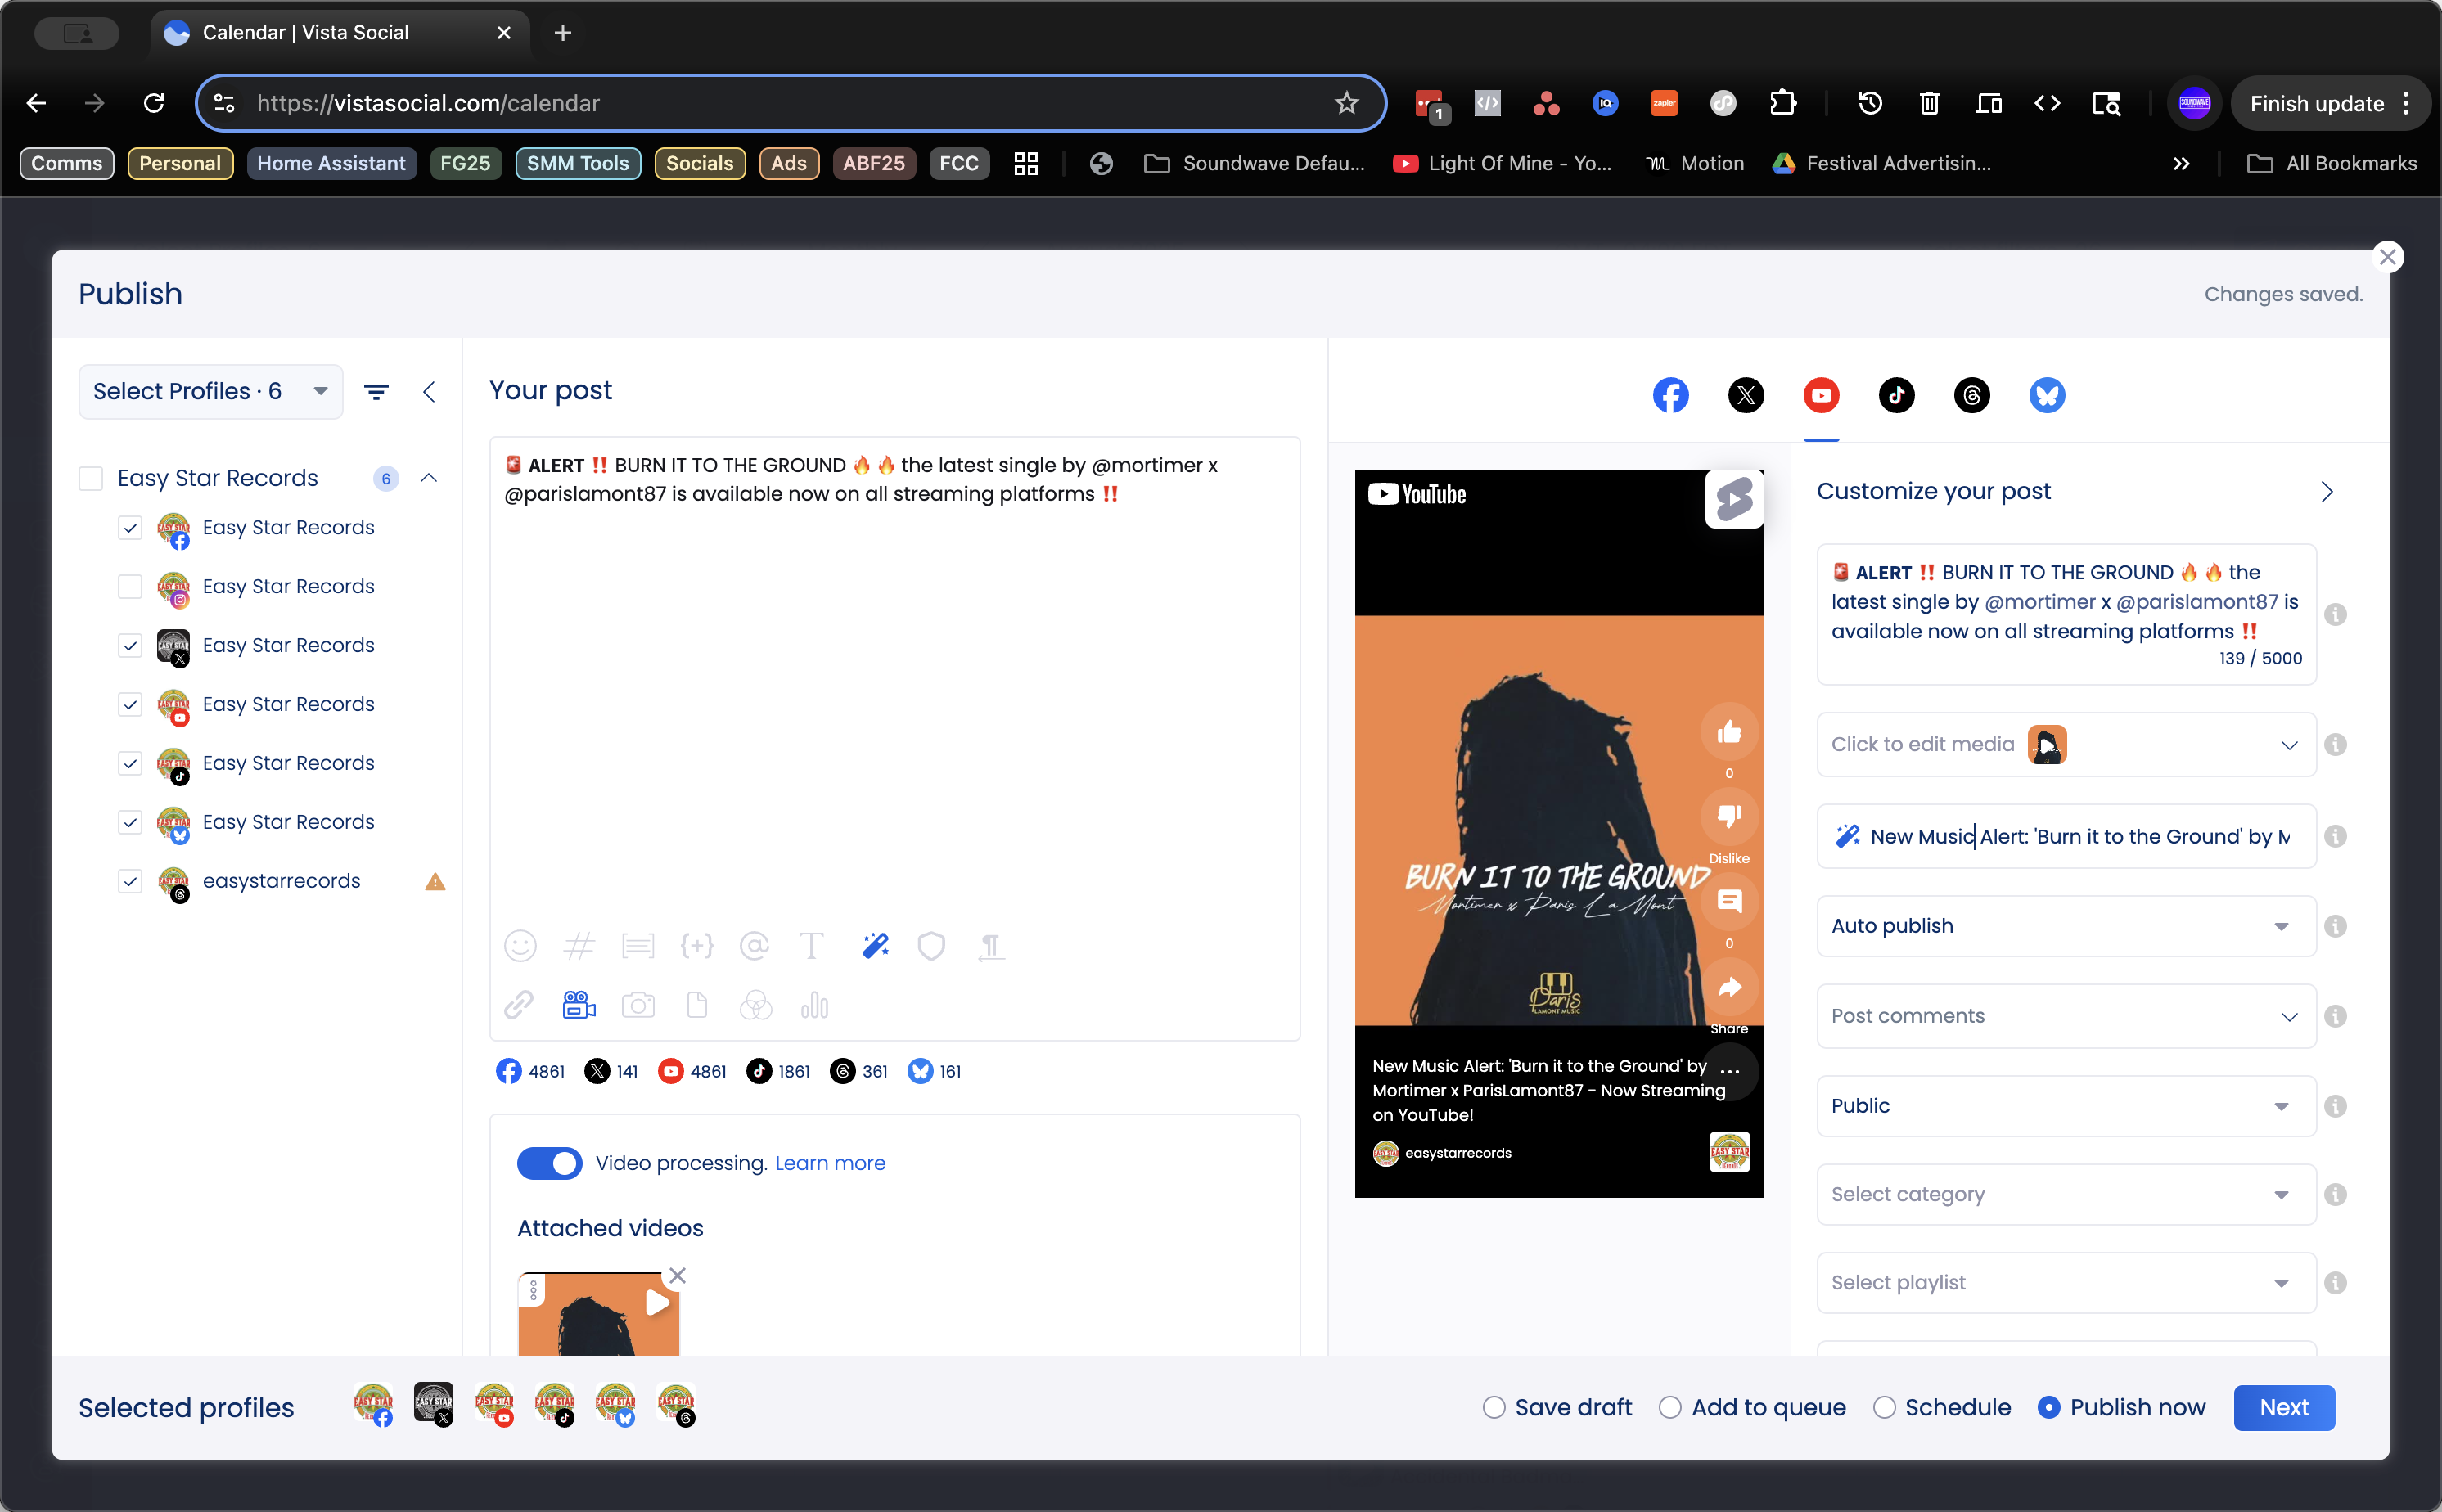
We will update the text slightly to better reflect Ez Star's voice.

15
Click on "The latest single by mortimermusic x parisi"
Step #15: Click on "The latest single by mortimermusic x parisi"
16
Double-click on "the latest single by mortimermusic x"
Step #16: Double-click on "the latest single by mortimermusic x"
17
Click here
Step #17: Click here

Alright.

18
Click on "mortimer"
Step #18: Click on "mortimer"
19
Double-click on "parislamont87"
Step #19: Double-click on "parislamont87"
20
Click here
Step #20: Click here
21
Click on "parislamont87"
Step #21: Click on "parislamont87"
22
Click on "is"
Step #22: Click on "is"
23
Drag "and tell a friend to tell a friend"
Step #23: Drag "and tell a friend to tell a friend"
24
Drag "Download it , stream it , and tell a friend to tel ( Link in bio )"
Step #24: Drag "Download it , stream it , and tell a friend to tel ( Link in bio )"

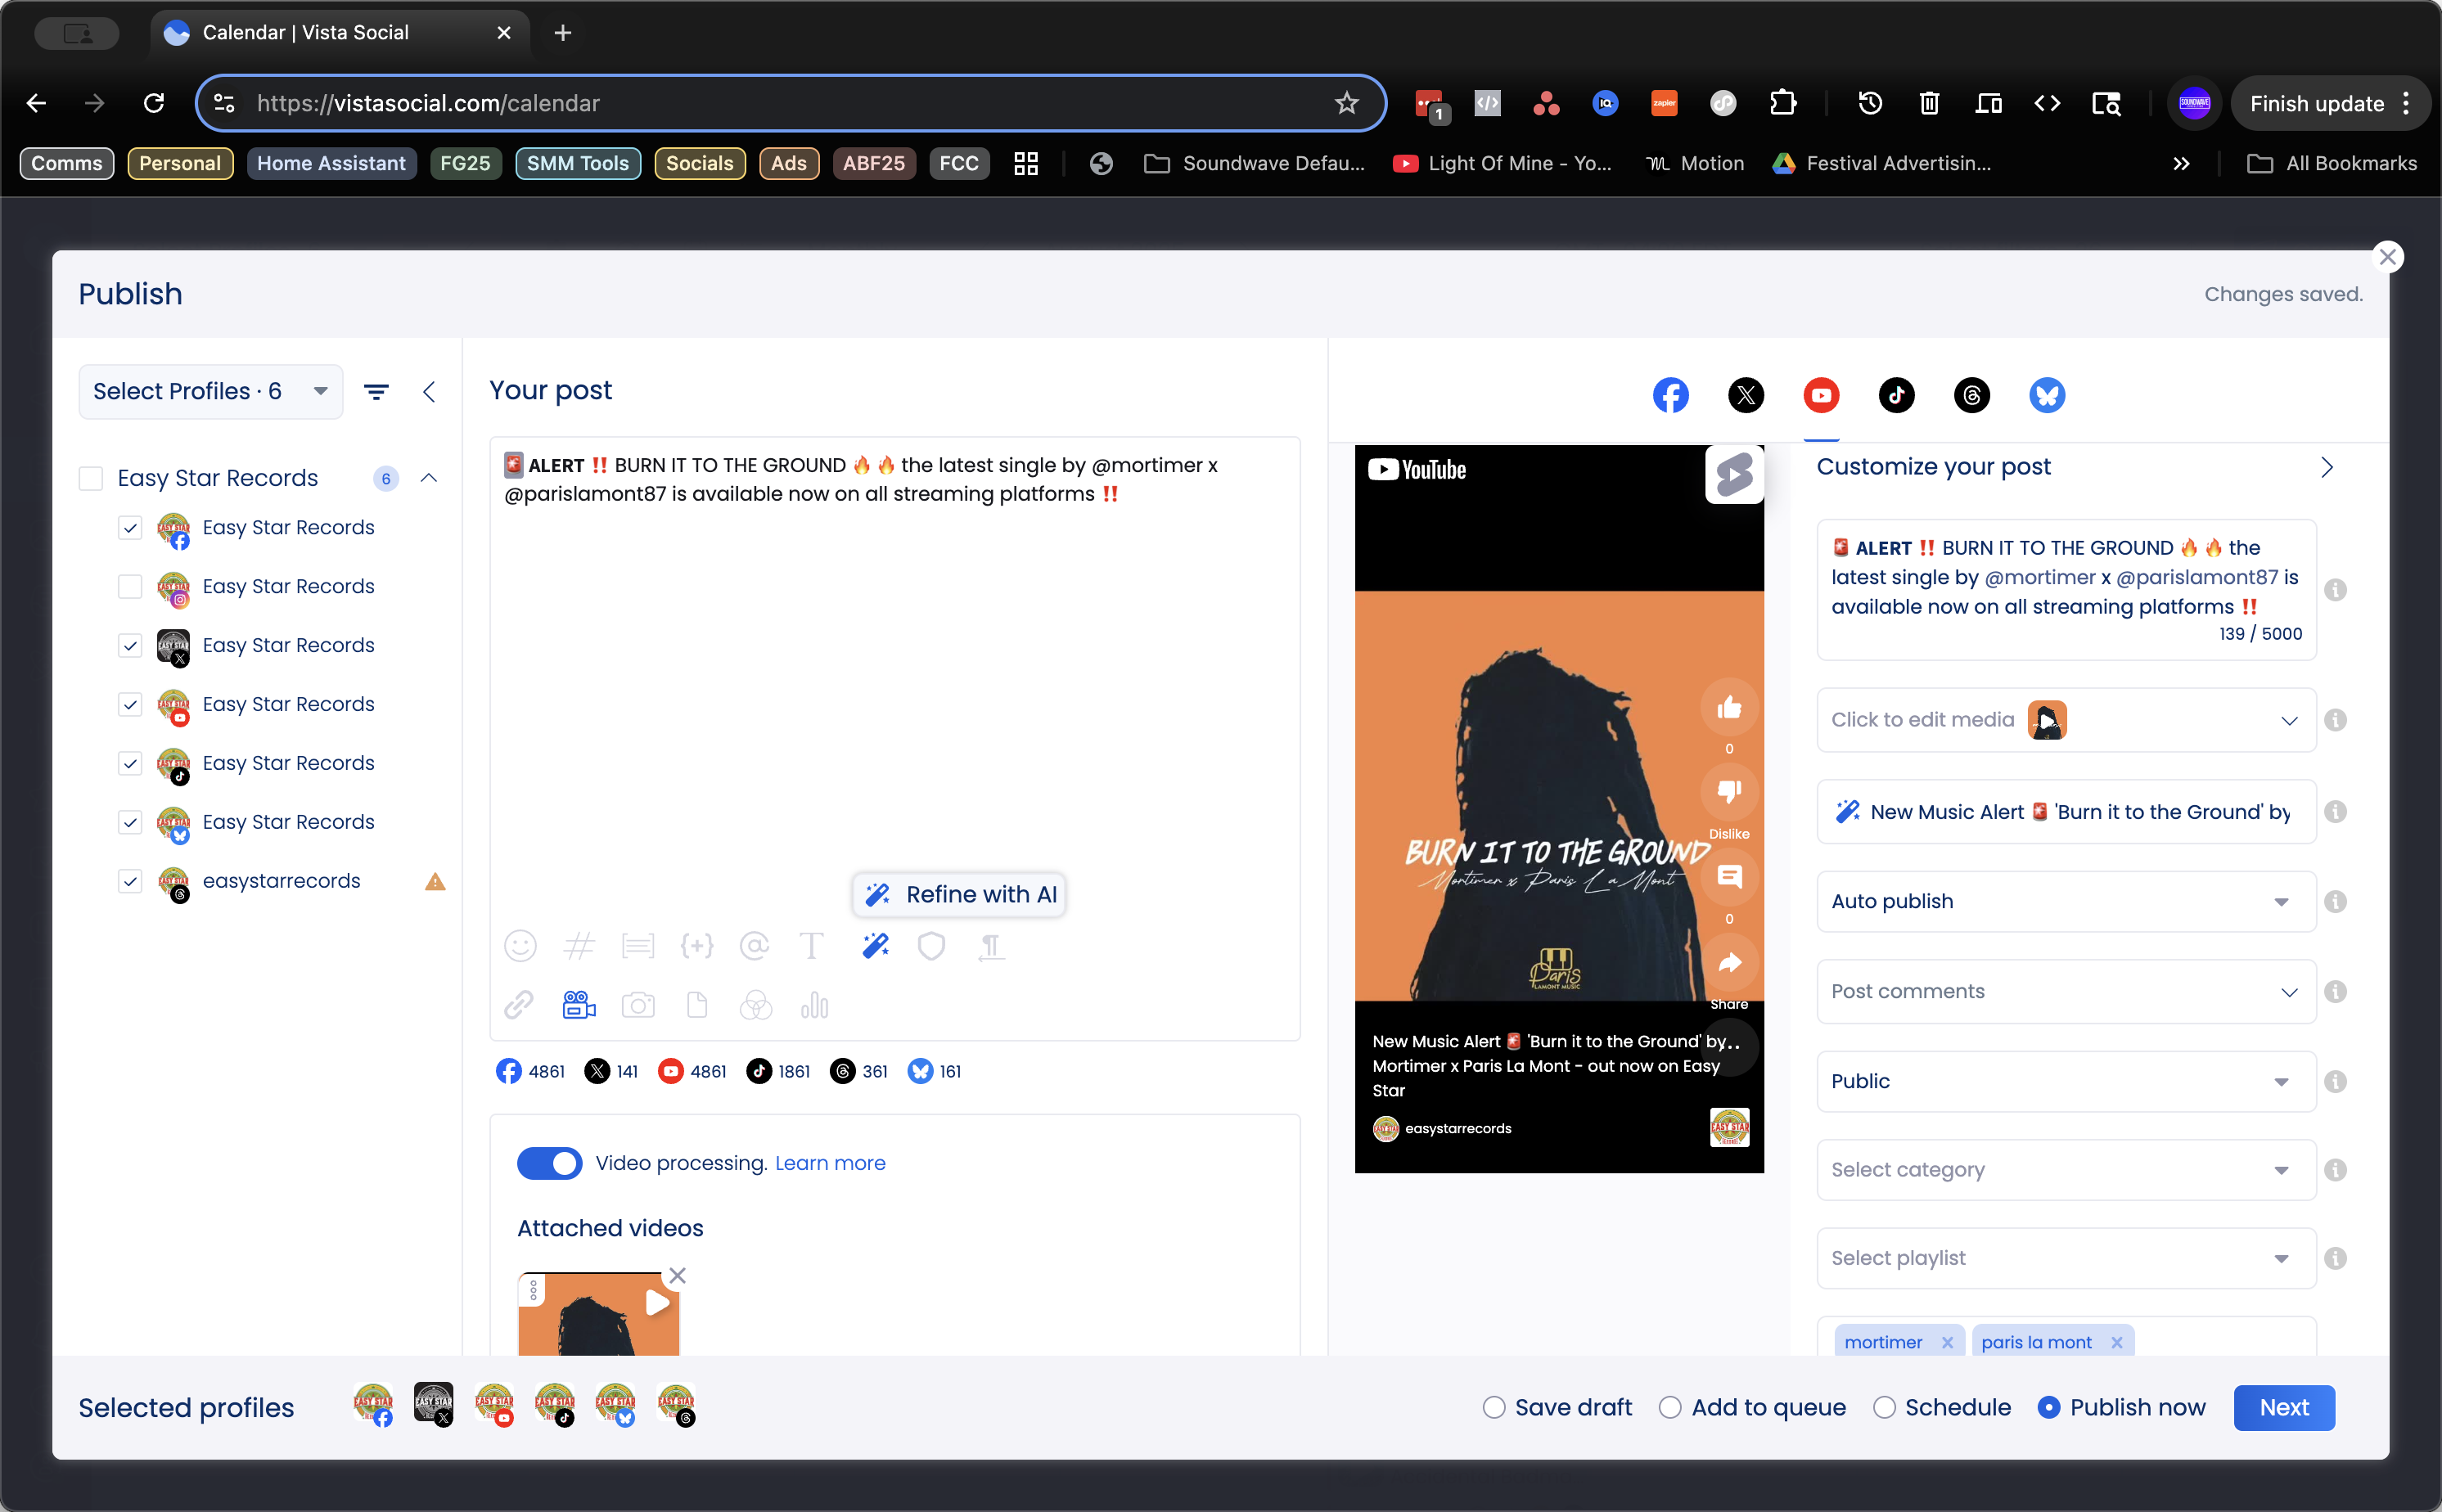
I'm going to spice up this text a bit.

25
Double-click on "ALERT !! BURN IT TO THE GROUND →"
Step #25: Double-click on "ALERT !! BURN IT TO THE GROUND →"
26
Click on "TO"
Step #26: Click on "TO"
27
Click on "bold sans"
Step #27: Click on "bold sans"

Alright.

28
Click here
Step #28: Click here

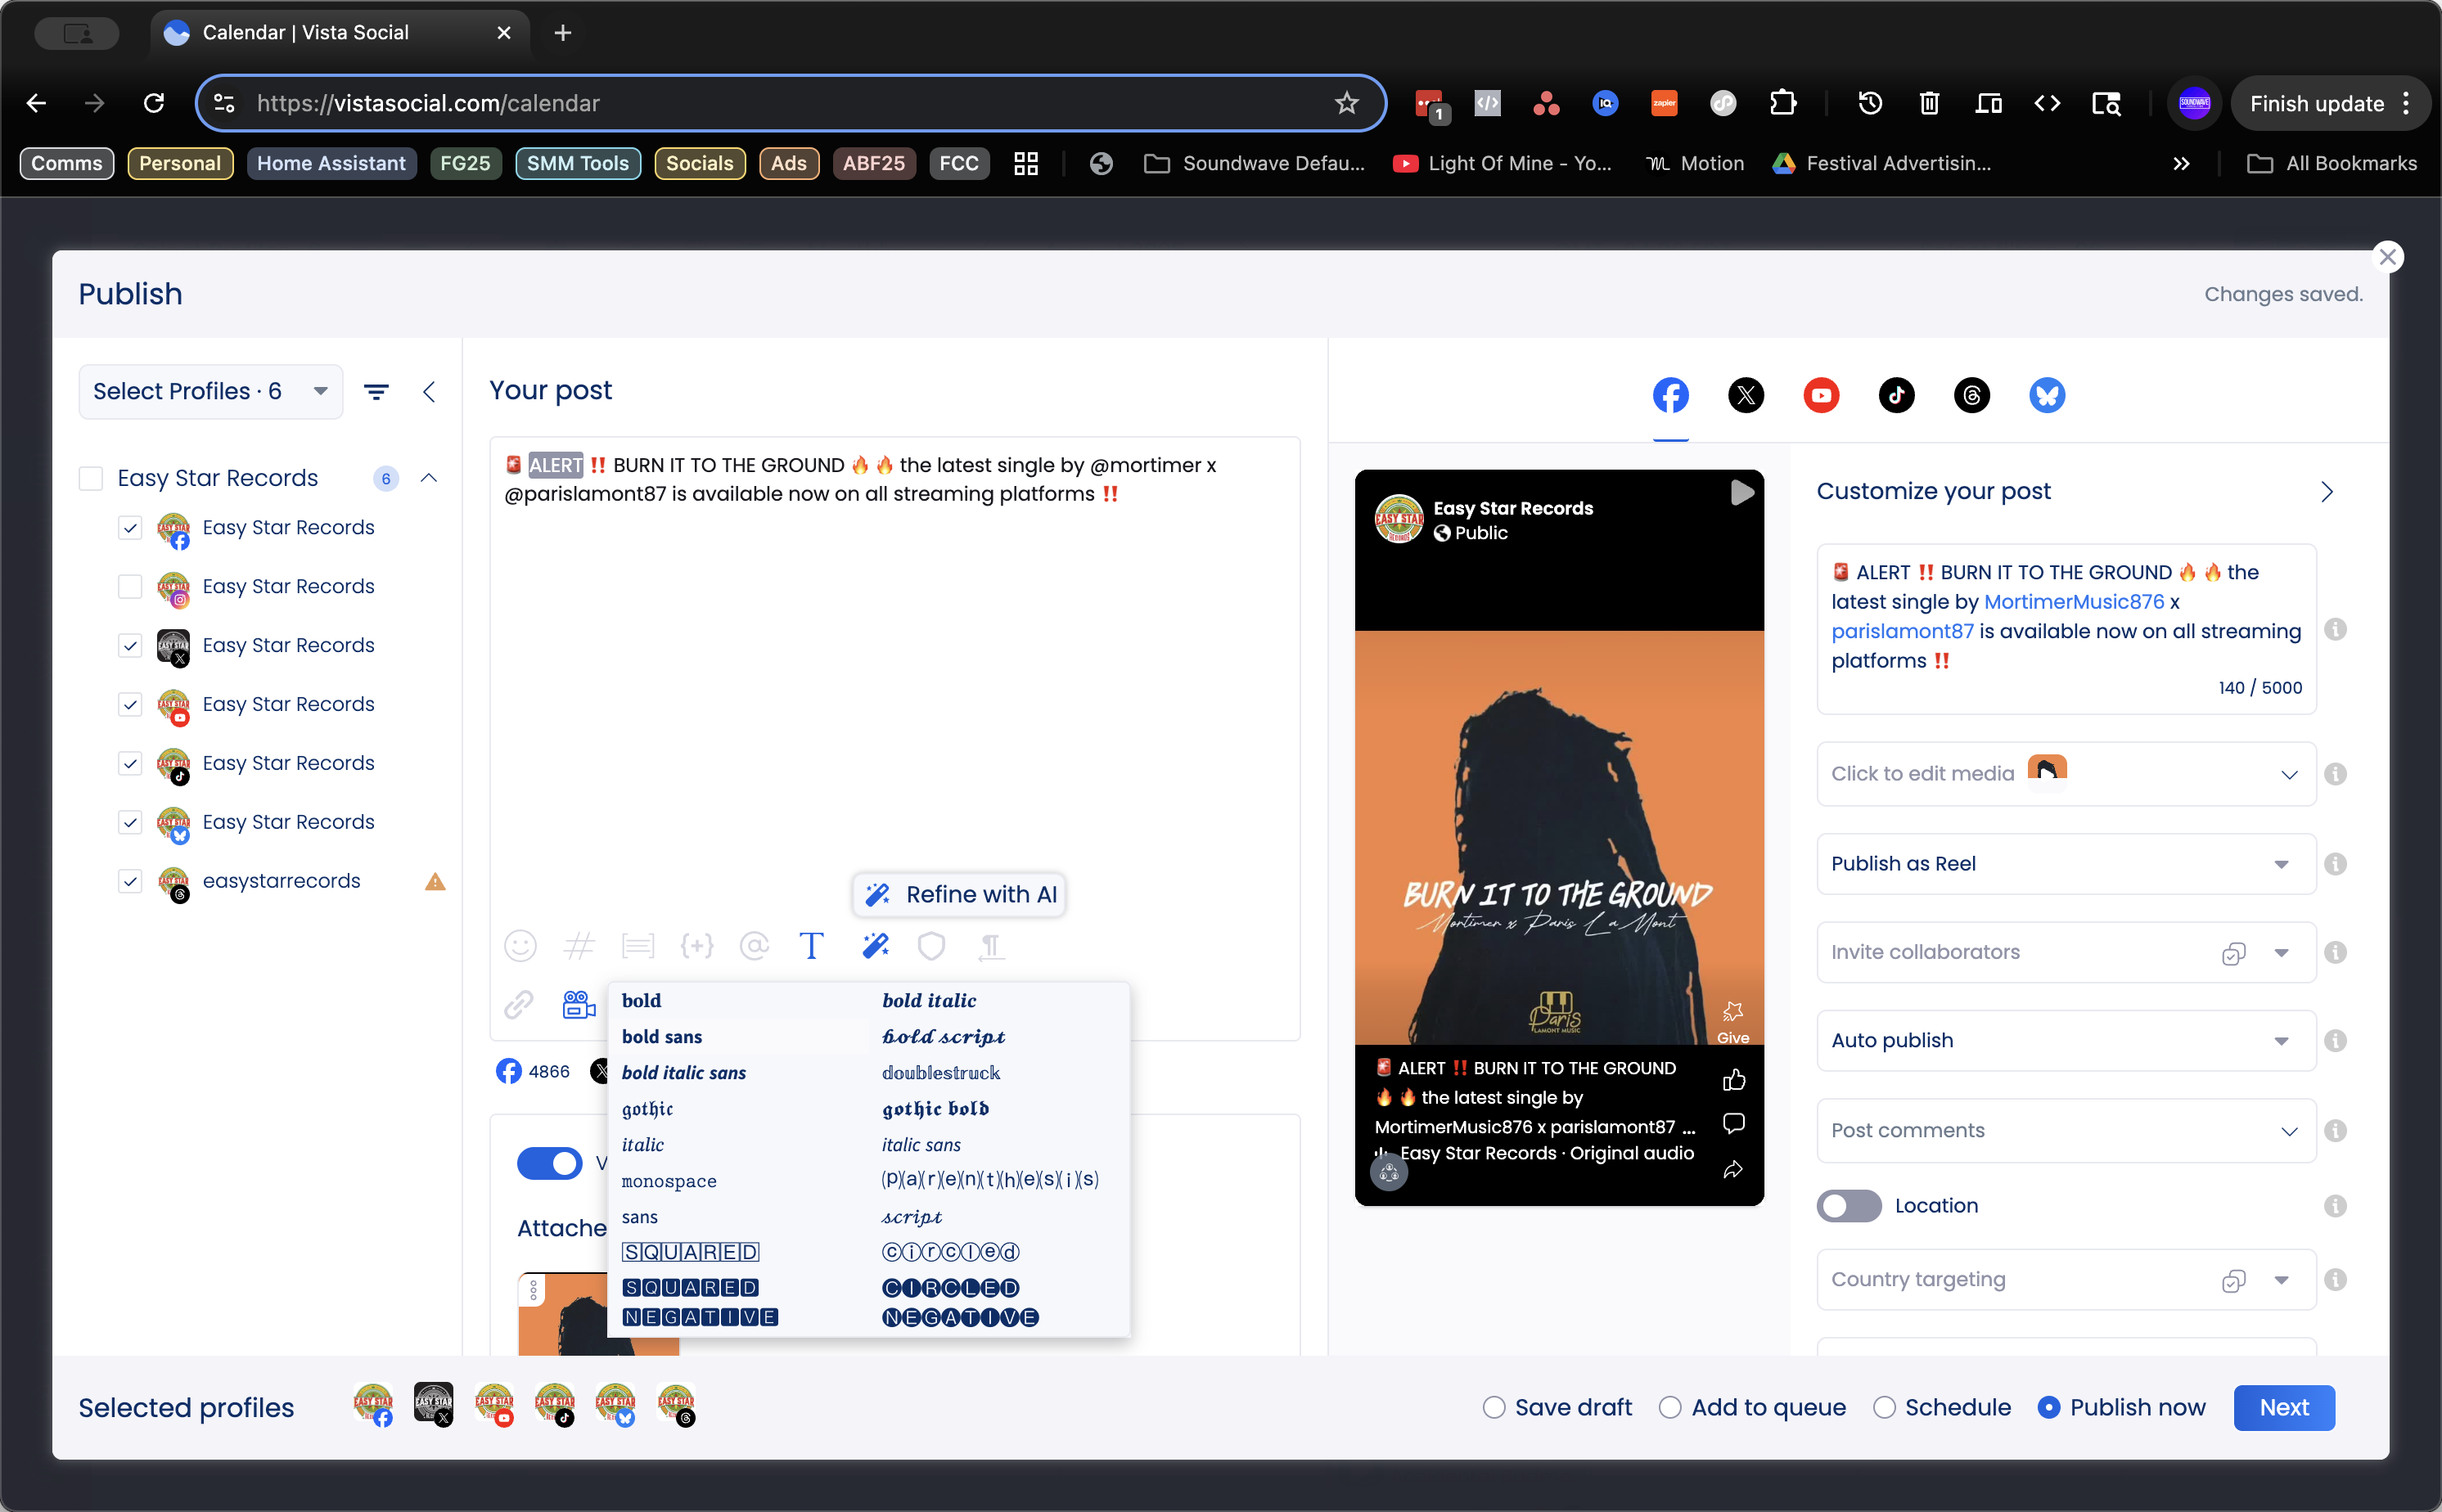
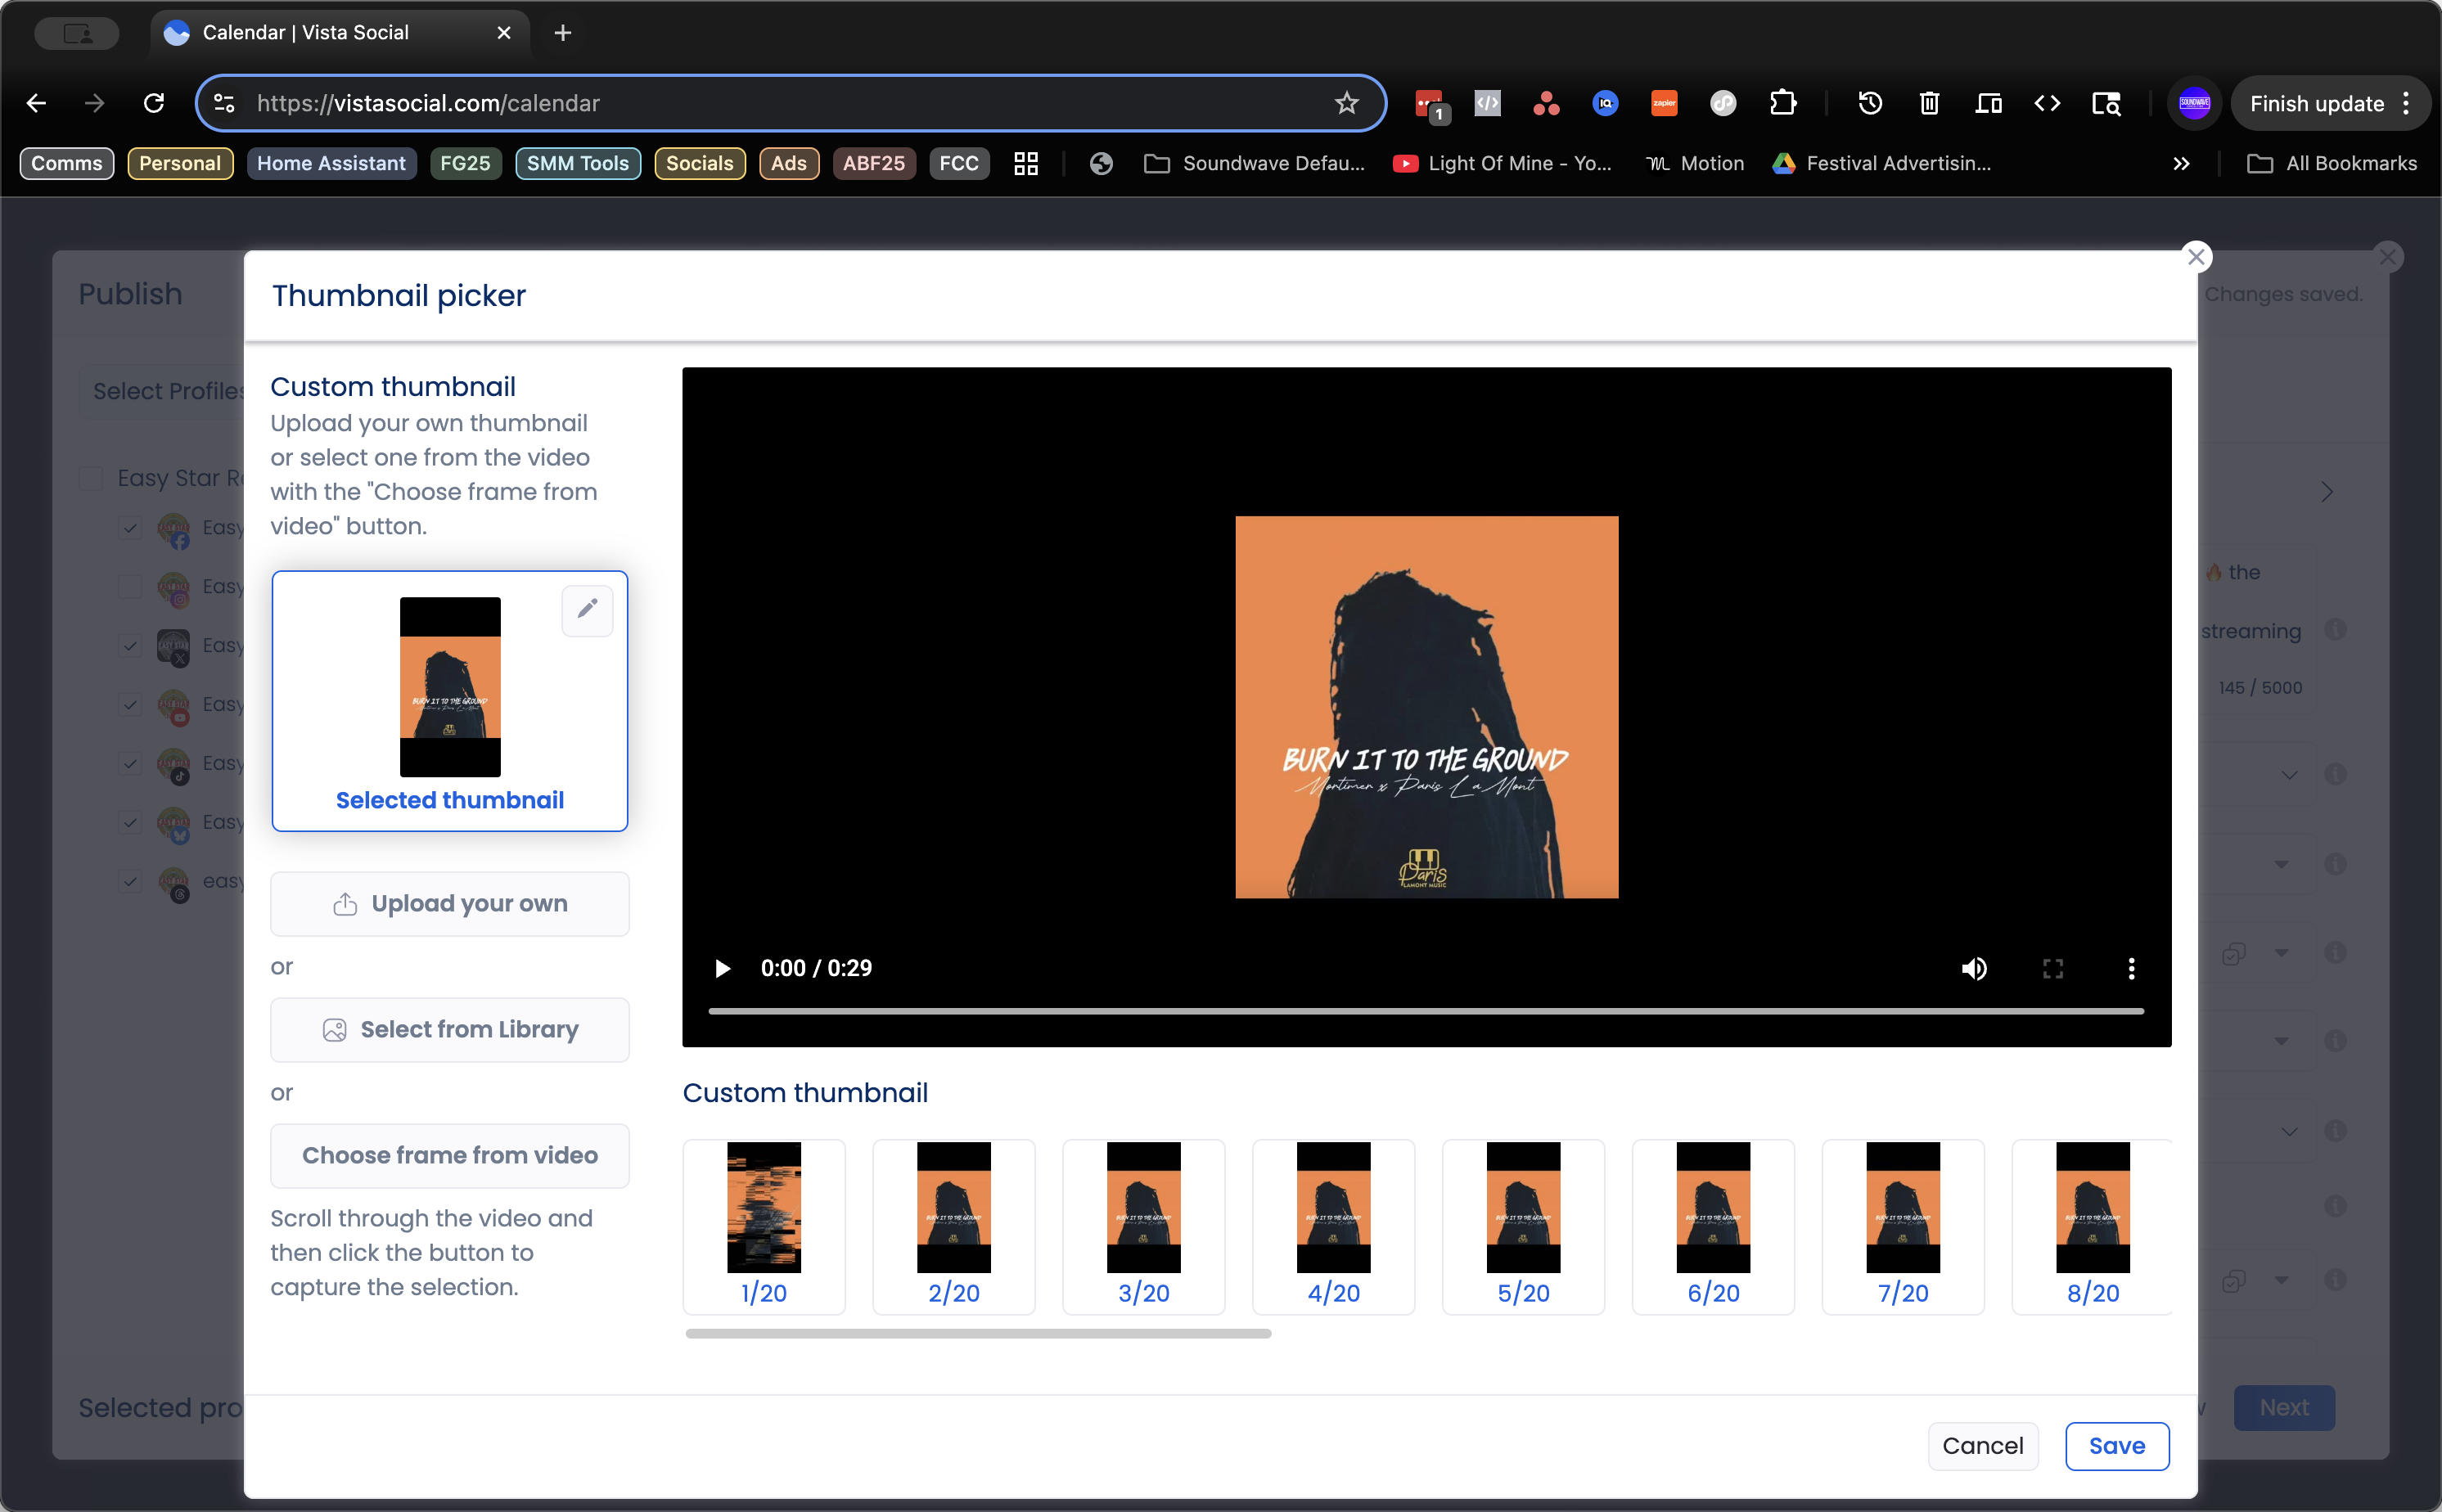
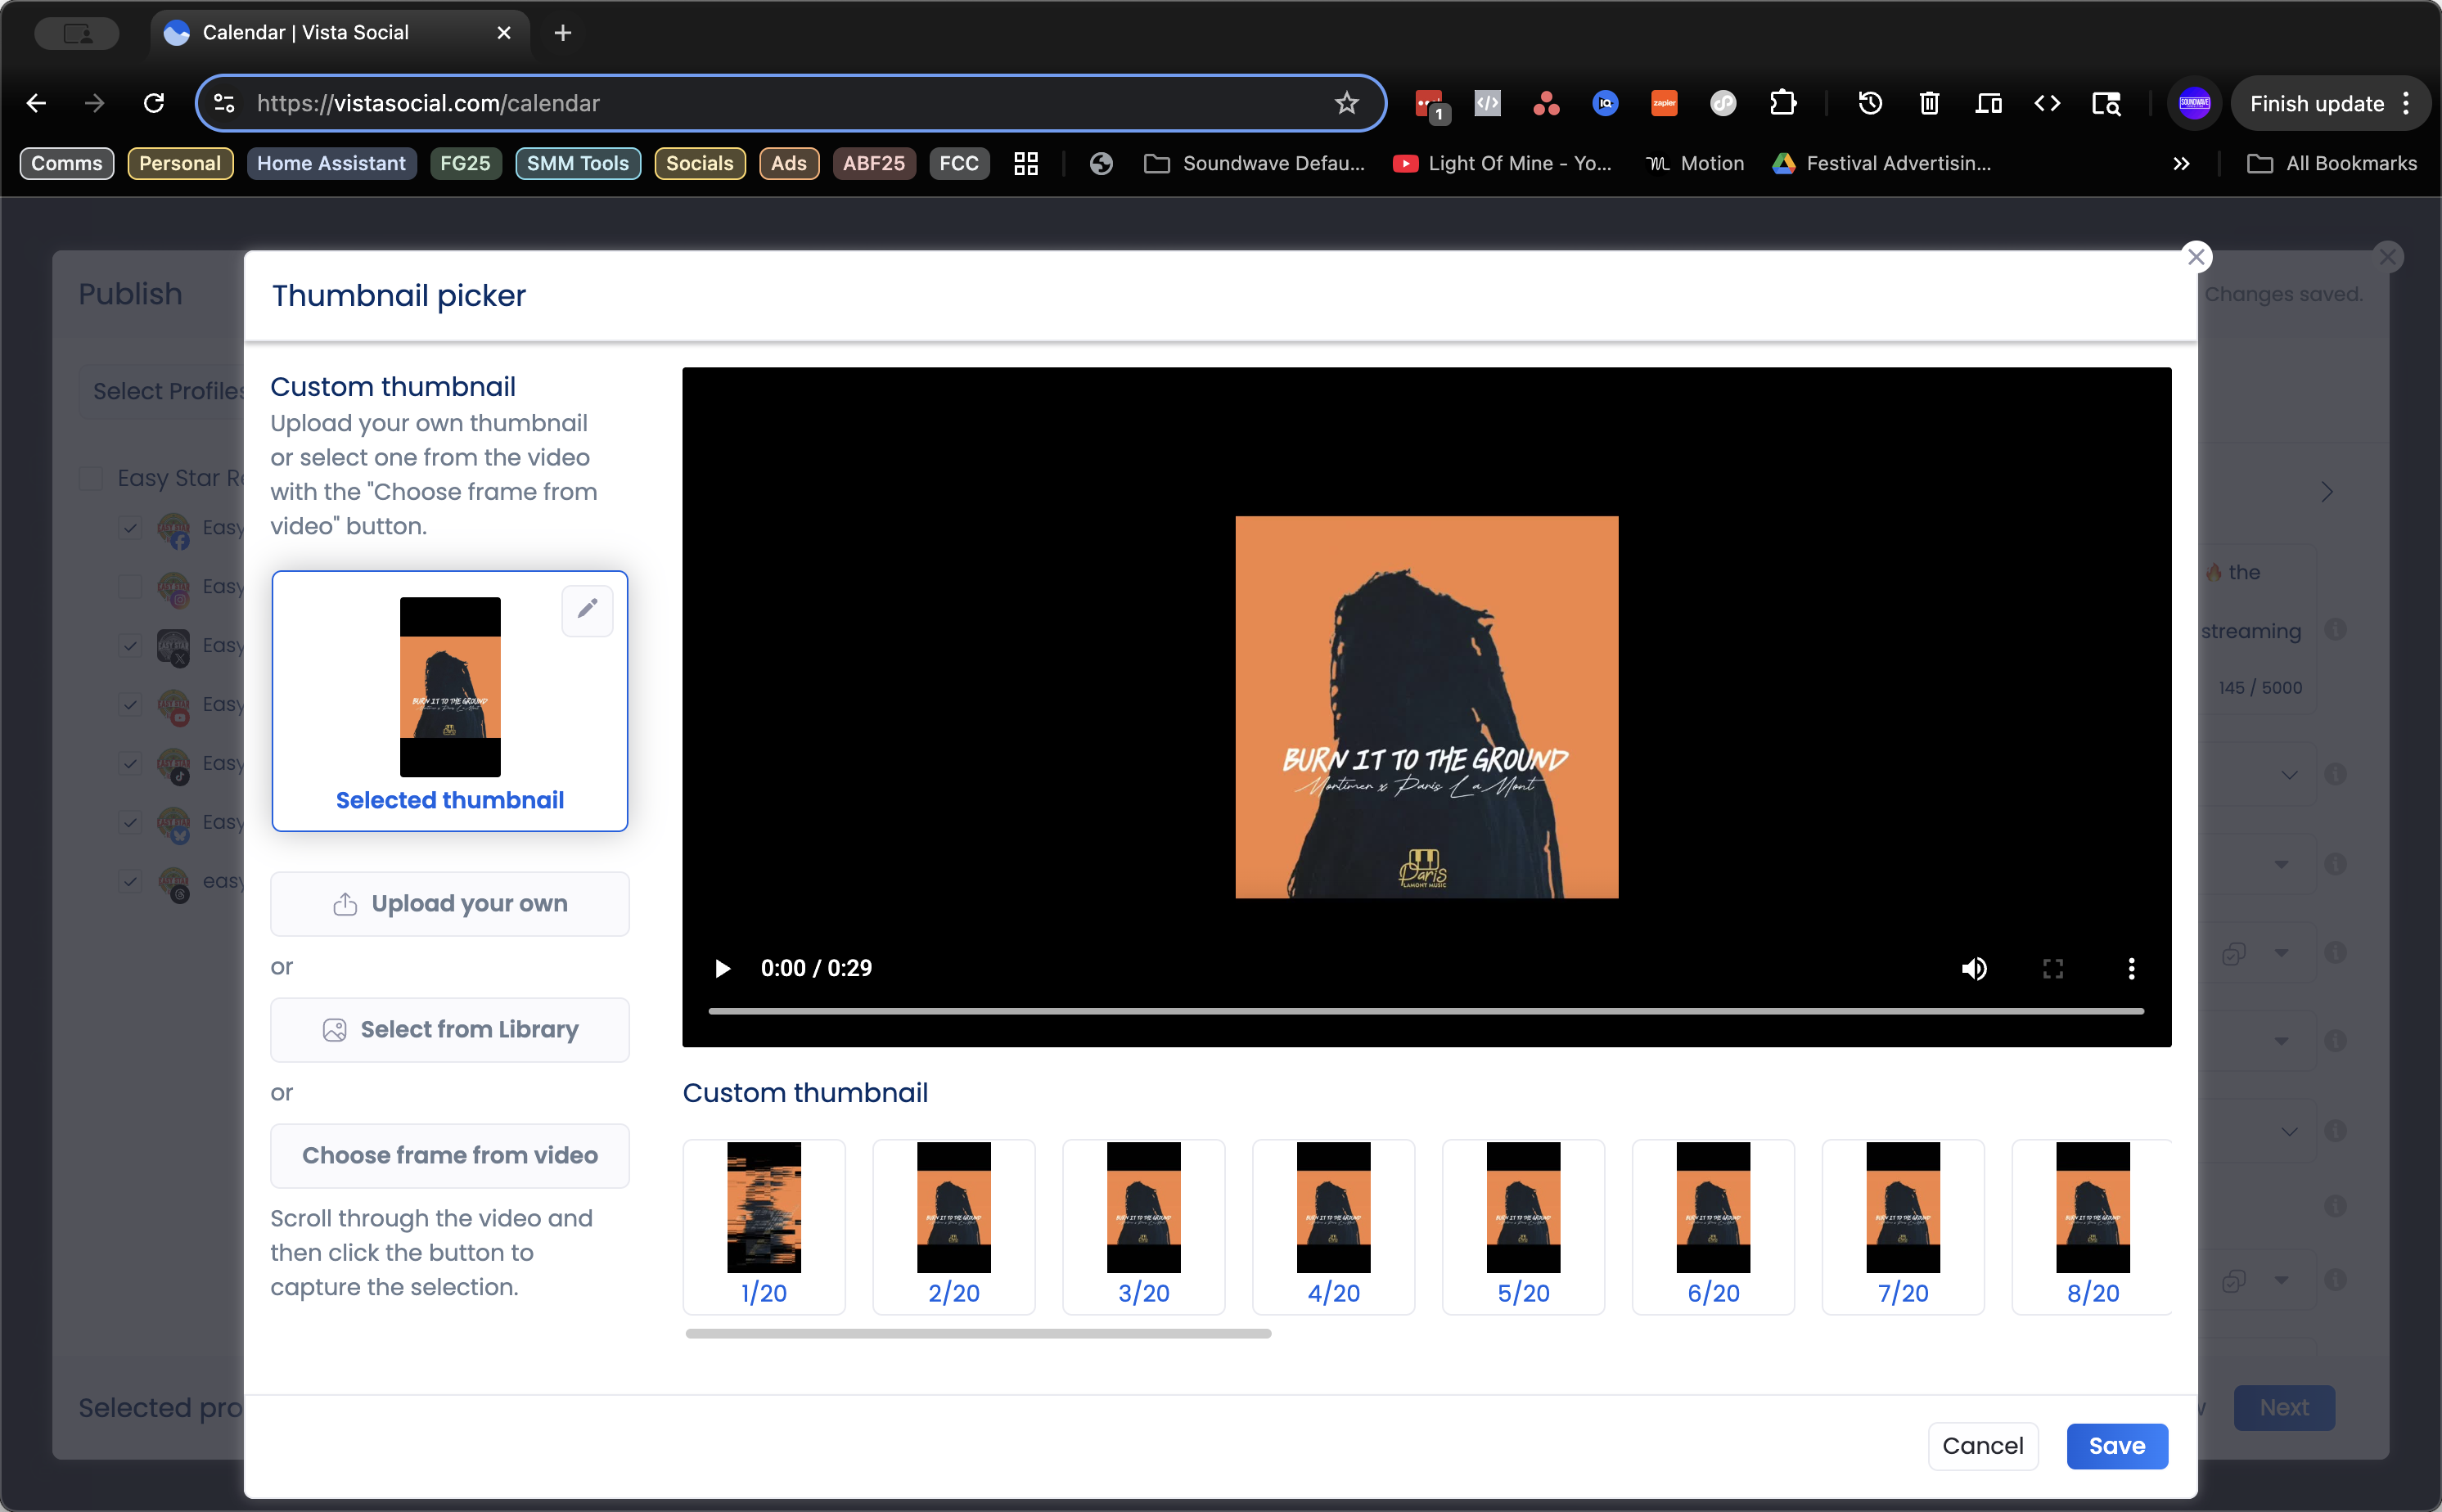
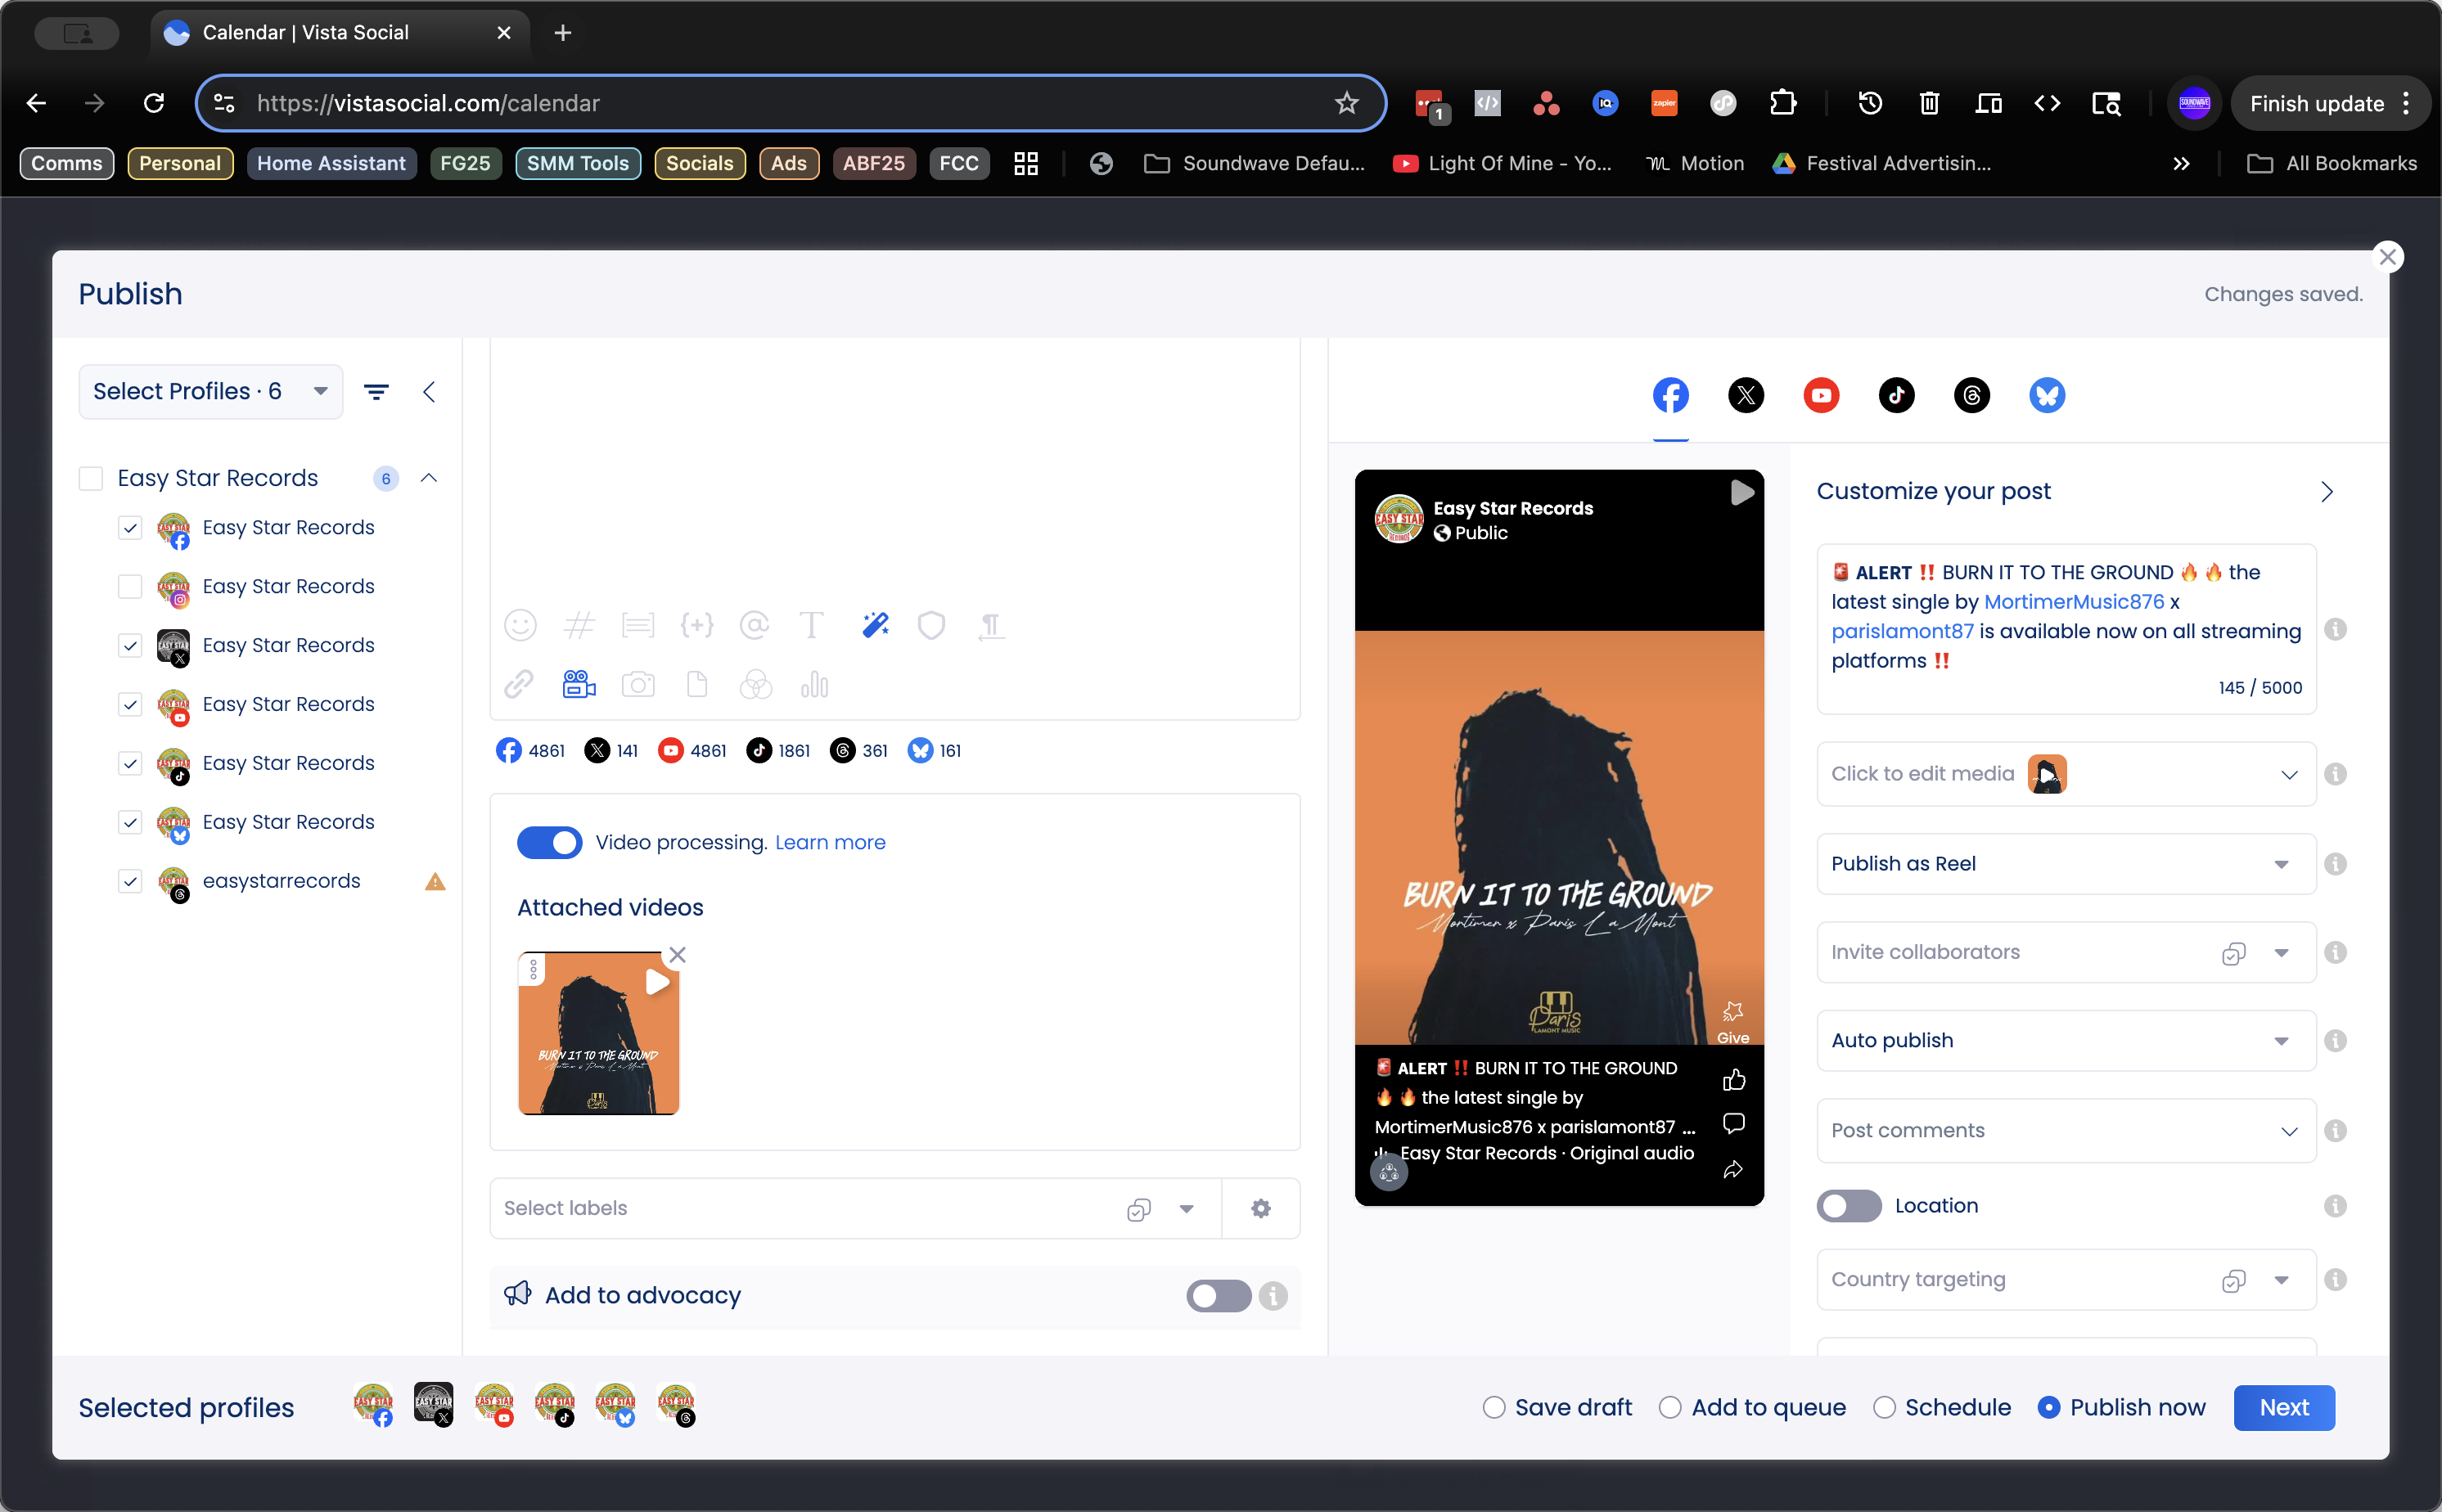
I'll choose a thumbnail.

29
Click here
Step #29: Click here
30
Click on "☑Pick thumbnail"
Step #30: Click on "☑Pick thumbnail"

It seems that nothing changes in this video.

31
Click on "Save"
Step #31: Click on "Save"

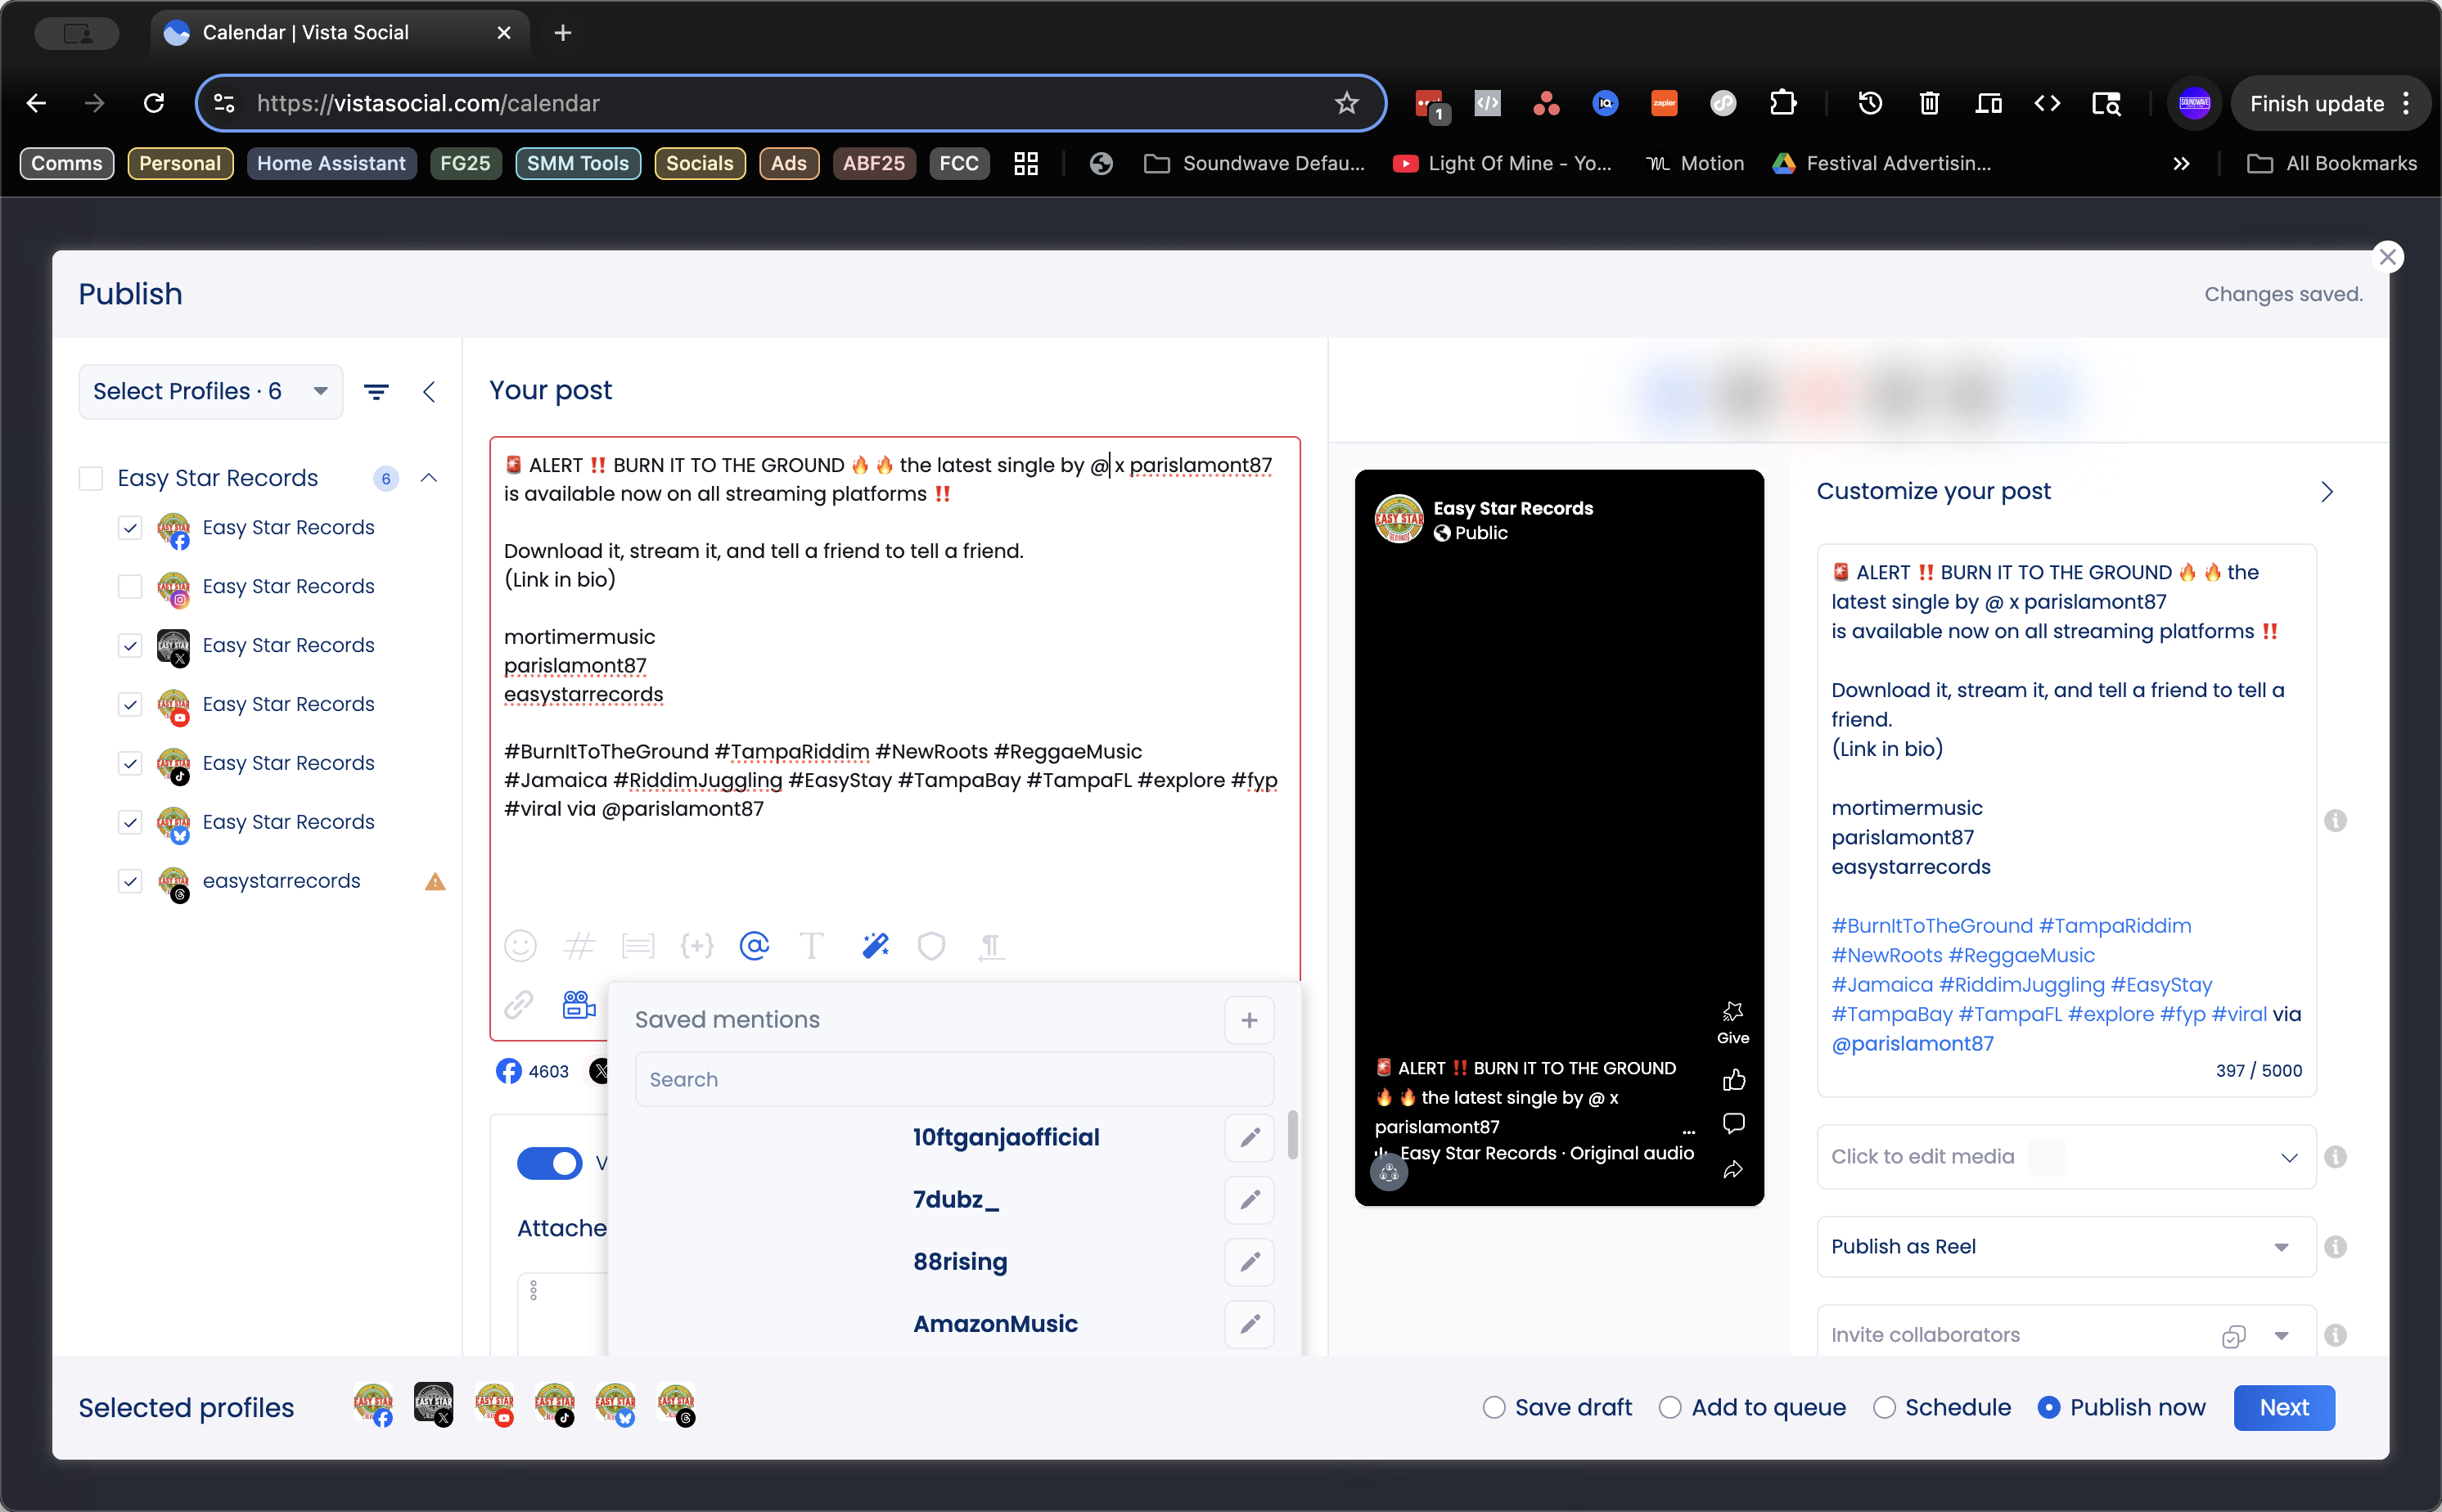
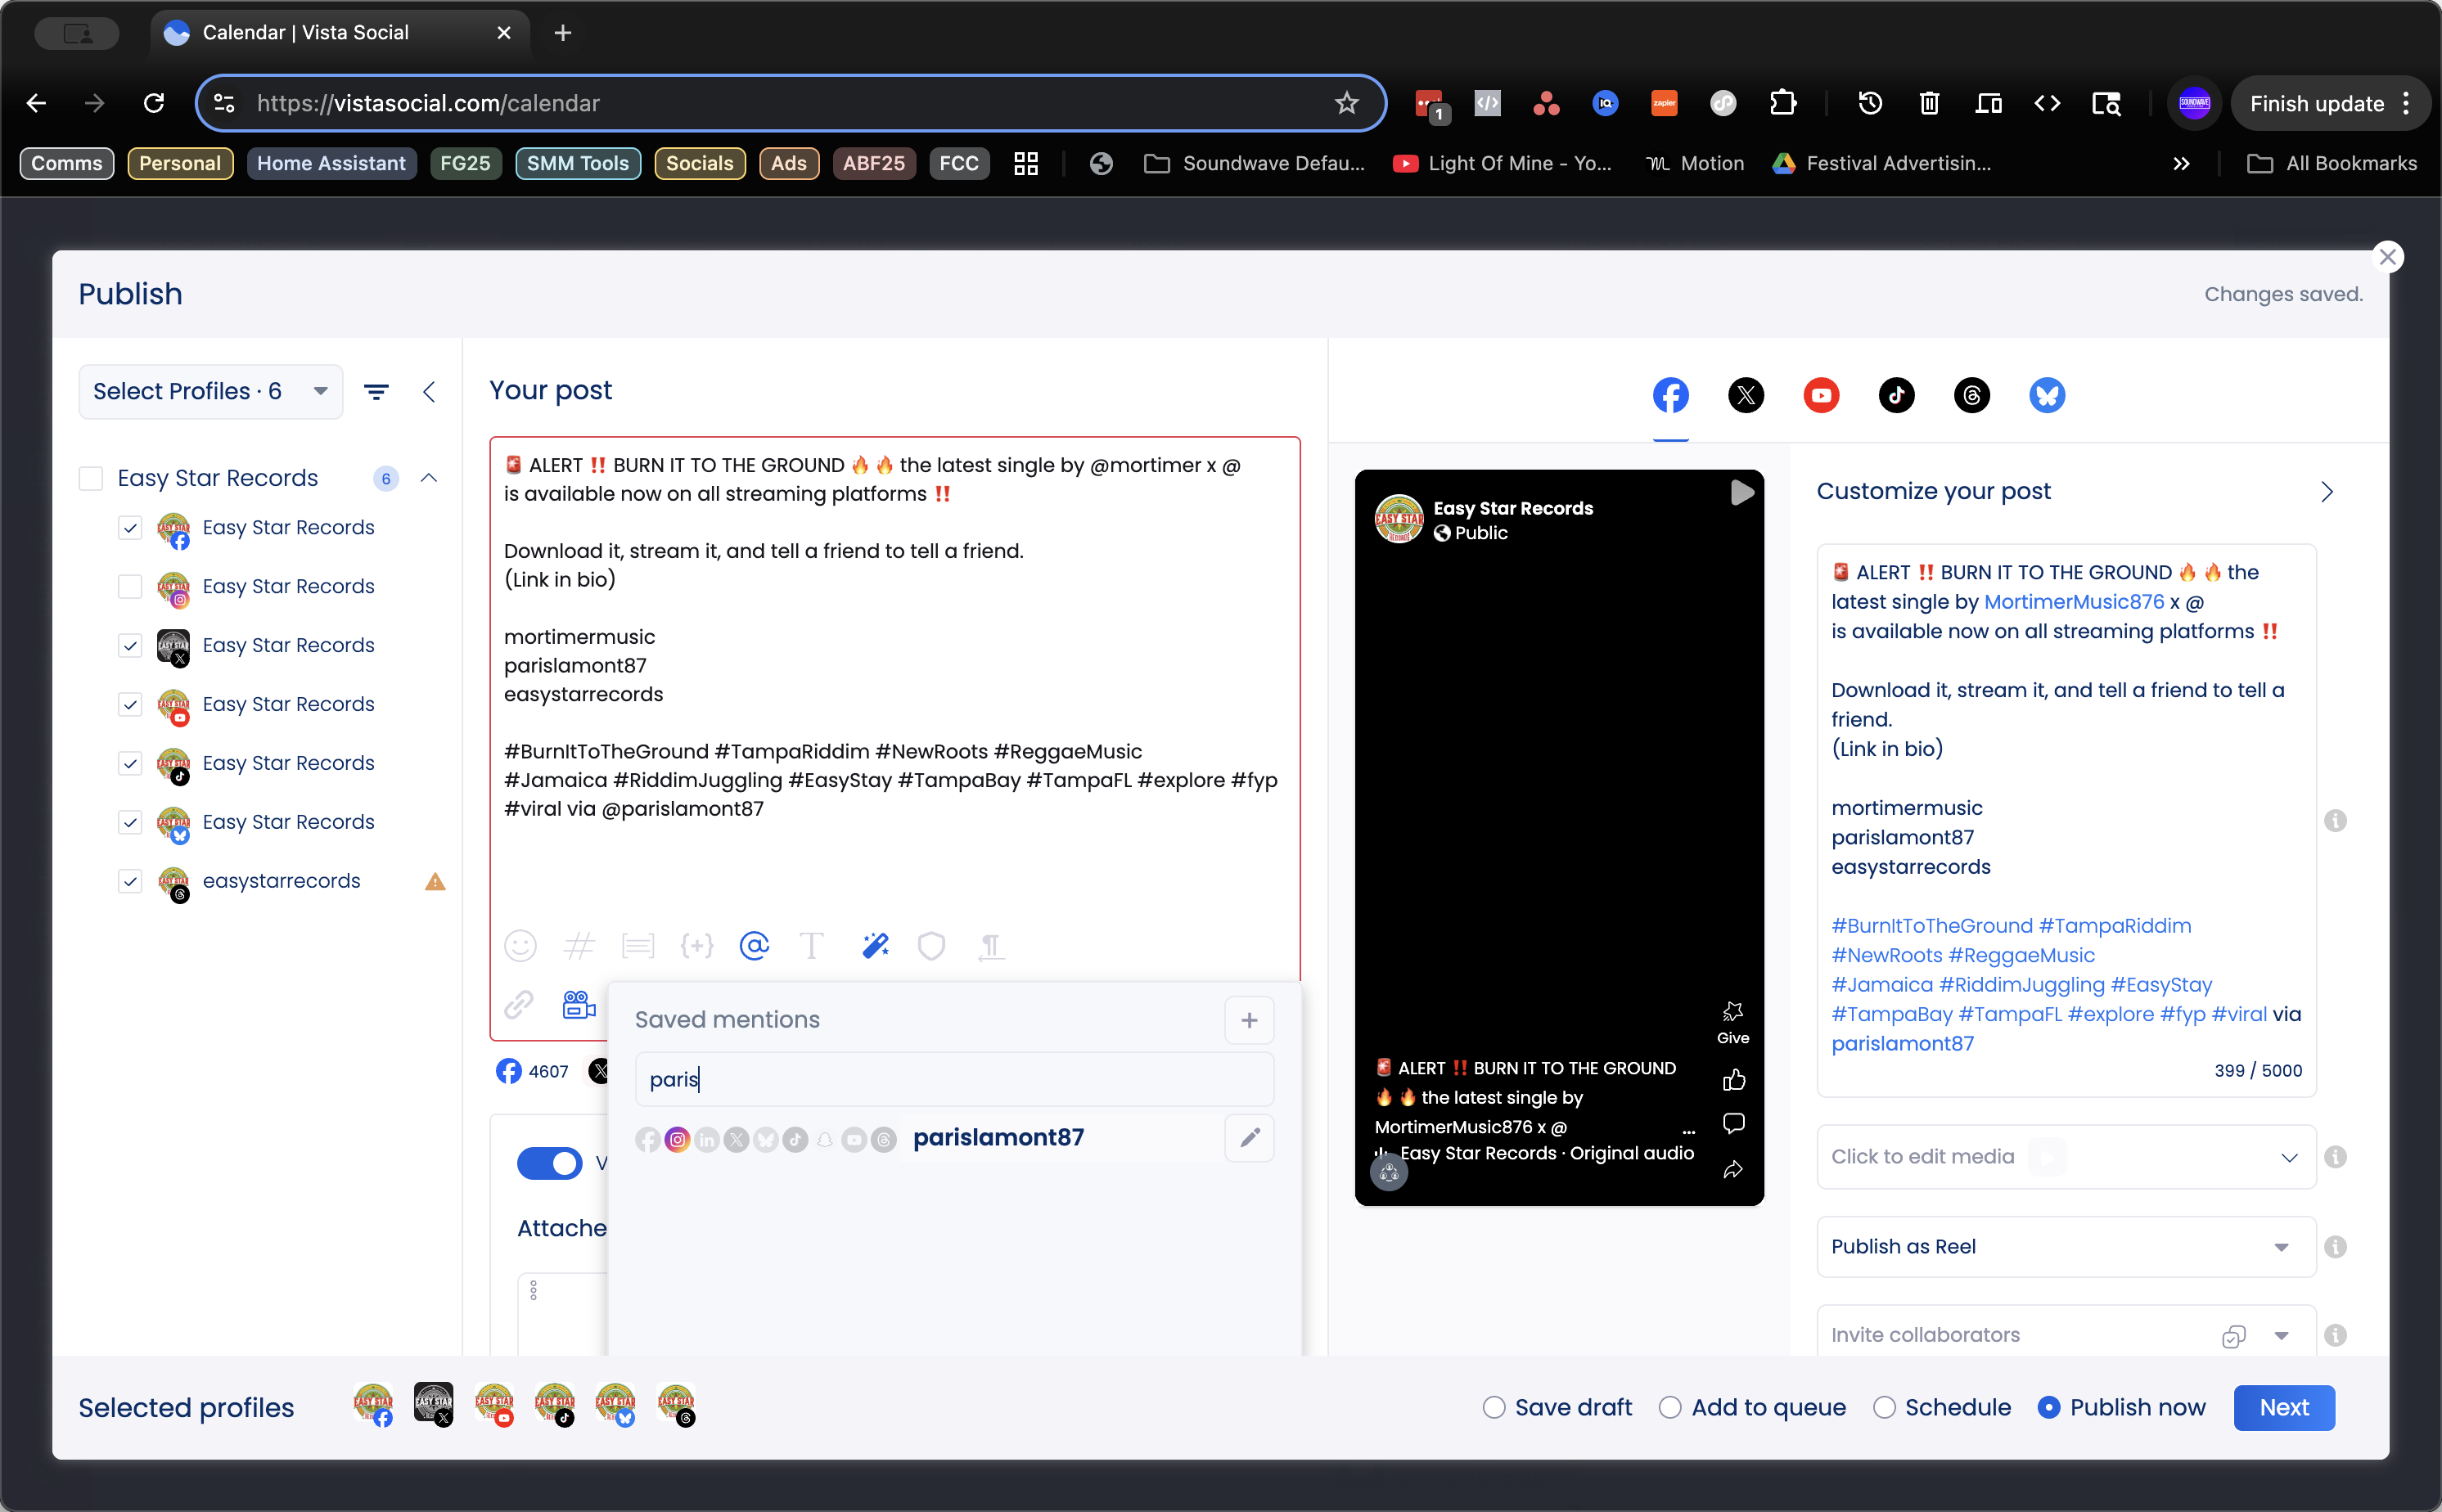
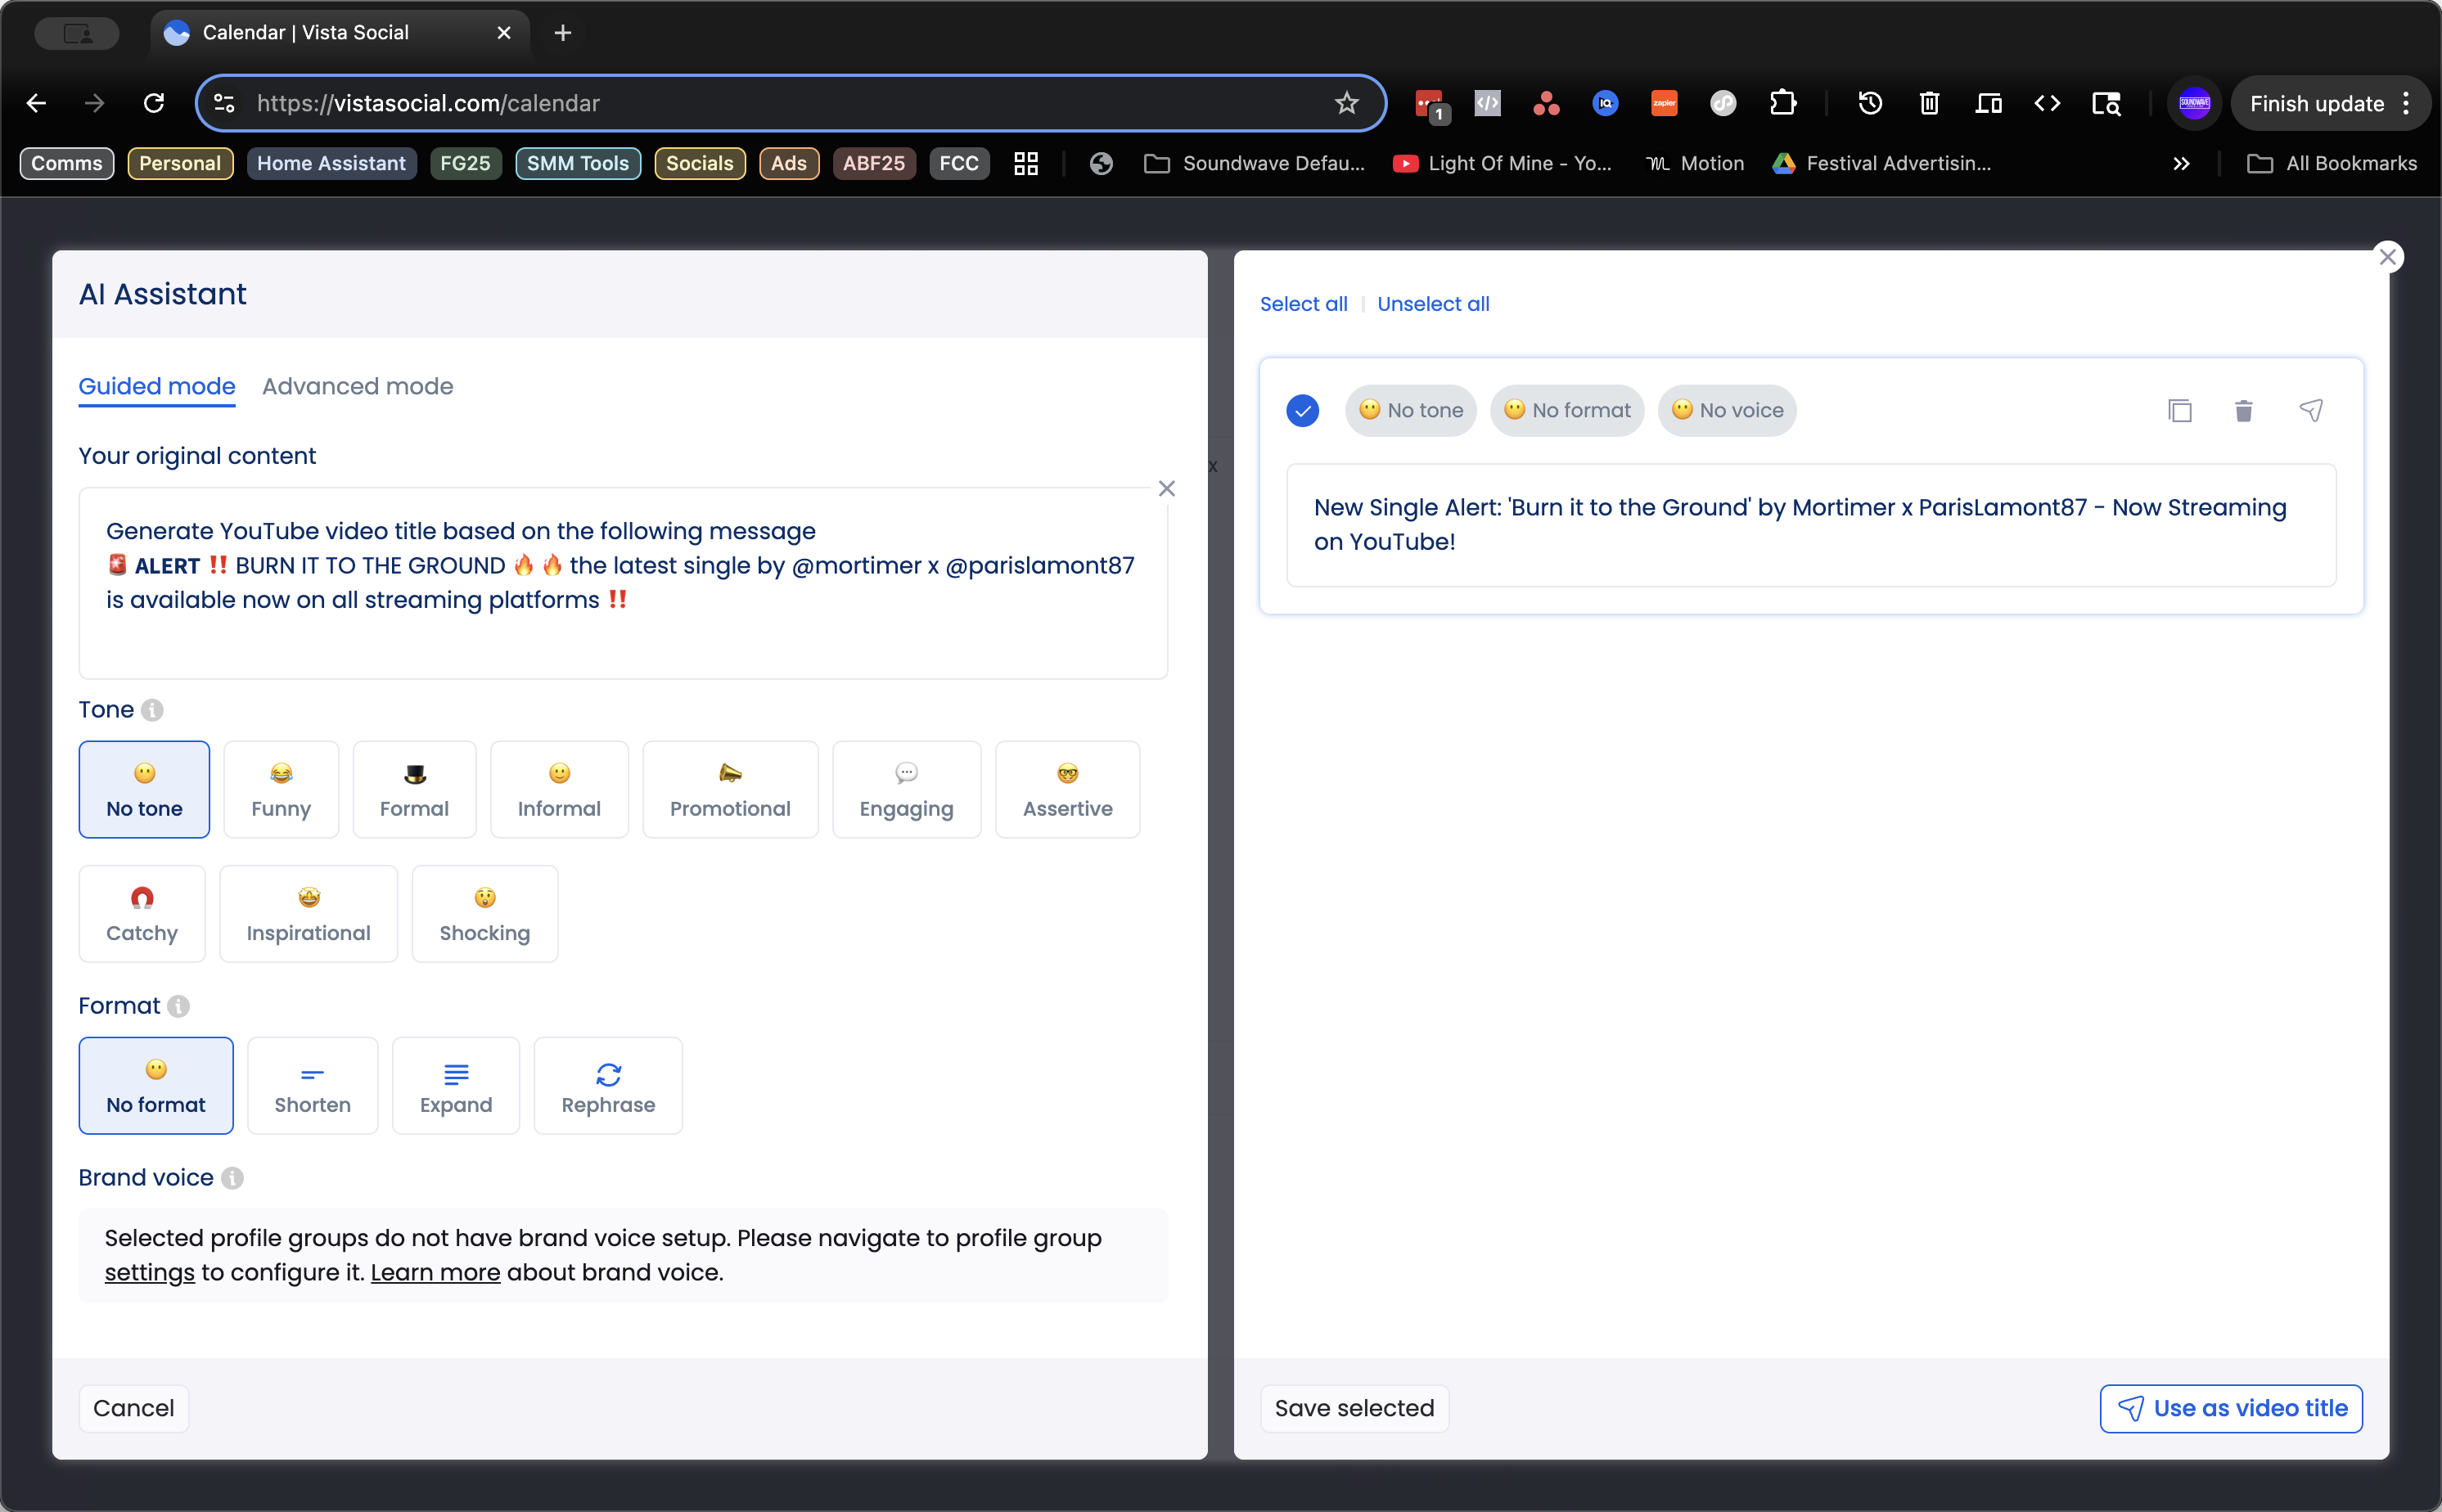
Now add labels for reporting purposes later.

32
Double-click on "Cancel"
Step #32: Double-click on "Cancel"
33
Click on "Select labels"
Step #33: Click on "Select labels"
34
Click here
Step #34: Click here

Cool.

35
Click here
Step #35: Click here
36
Click here
Step #36: Click here
37
Click here
Step #37: Click here
38
Click here
Step #38: Click here

And our YouTube title.

39
Click here
Step #39: Click here
40
Click on "Video title *"
Step #40: Click on "Video title *"
41
Click on "Video title *"
Step #41: Click on "Video title *"

I enjoy using this new AI tool. Yes, it works as a good starting point.

42
Click here
Step #42: Click here
43
Double-click on "New Single Alert"
Step #43: Double-click on "New Single Alert"

Let's get one of these over there. Oh, geez.

44
Click on "ALERT !! BURN IT TO THE GROUND"
Step #44: Click on "ALERT !! BURN IT TO THE GROUND"
45
Click on "'"
Step #45: Click on "'"

All right, let's do that.

46
Click on "risLamont87 - Now Streaming on YouTube !"
Step #46: Click on "risLamont87 - Now Streaming on YouTube !"
47
Click on "Lamont87 - Now Streaming on YouTube"
Step #47: Click on "Lamont87 - Now Streaming on YouTube"
48
Click on "La ❘mont87 - Now Streaming on YouTube"
Step #48: Click on "La ❘mont87 - Now Streaming on YouTube"
49
Click on "ris La Mont87 - Now Streaming on YouTube"
Step #49: Click on "ris La Mont87 - Now Streaming on YouTube"

Burn it to the ground.

50
Click on "to the Ground"
Step #50: Click on "to the Ground"
51
Click on "'"
Step #51: Click on "'"

Great. I will tag some videos.

52
Click on "Tag your video"
Step #52: Click on "Tag your video"

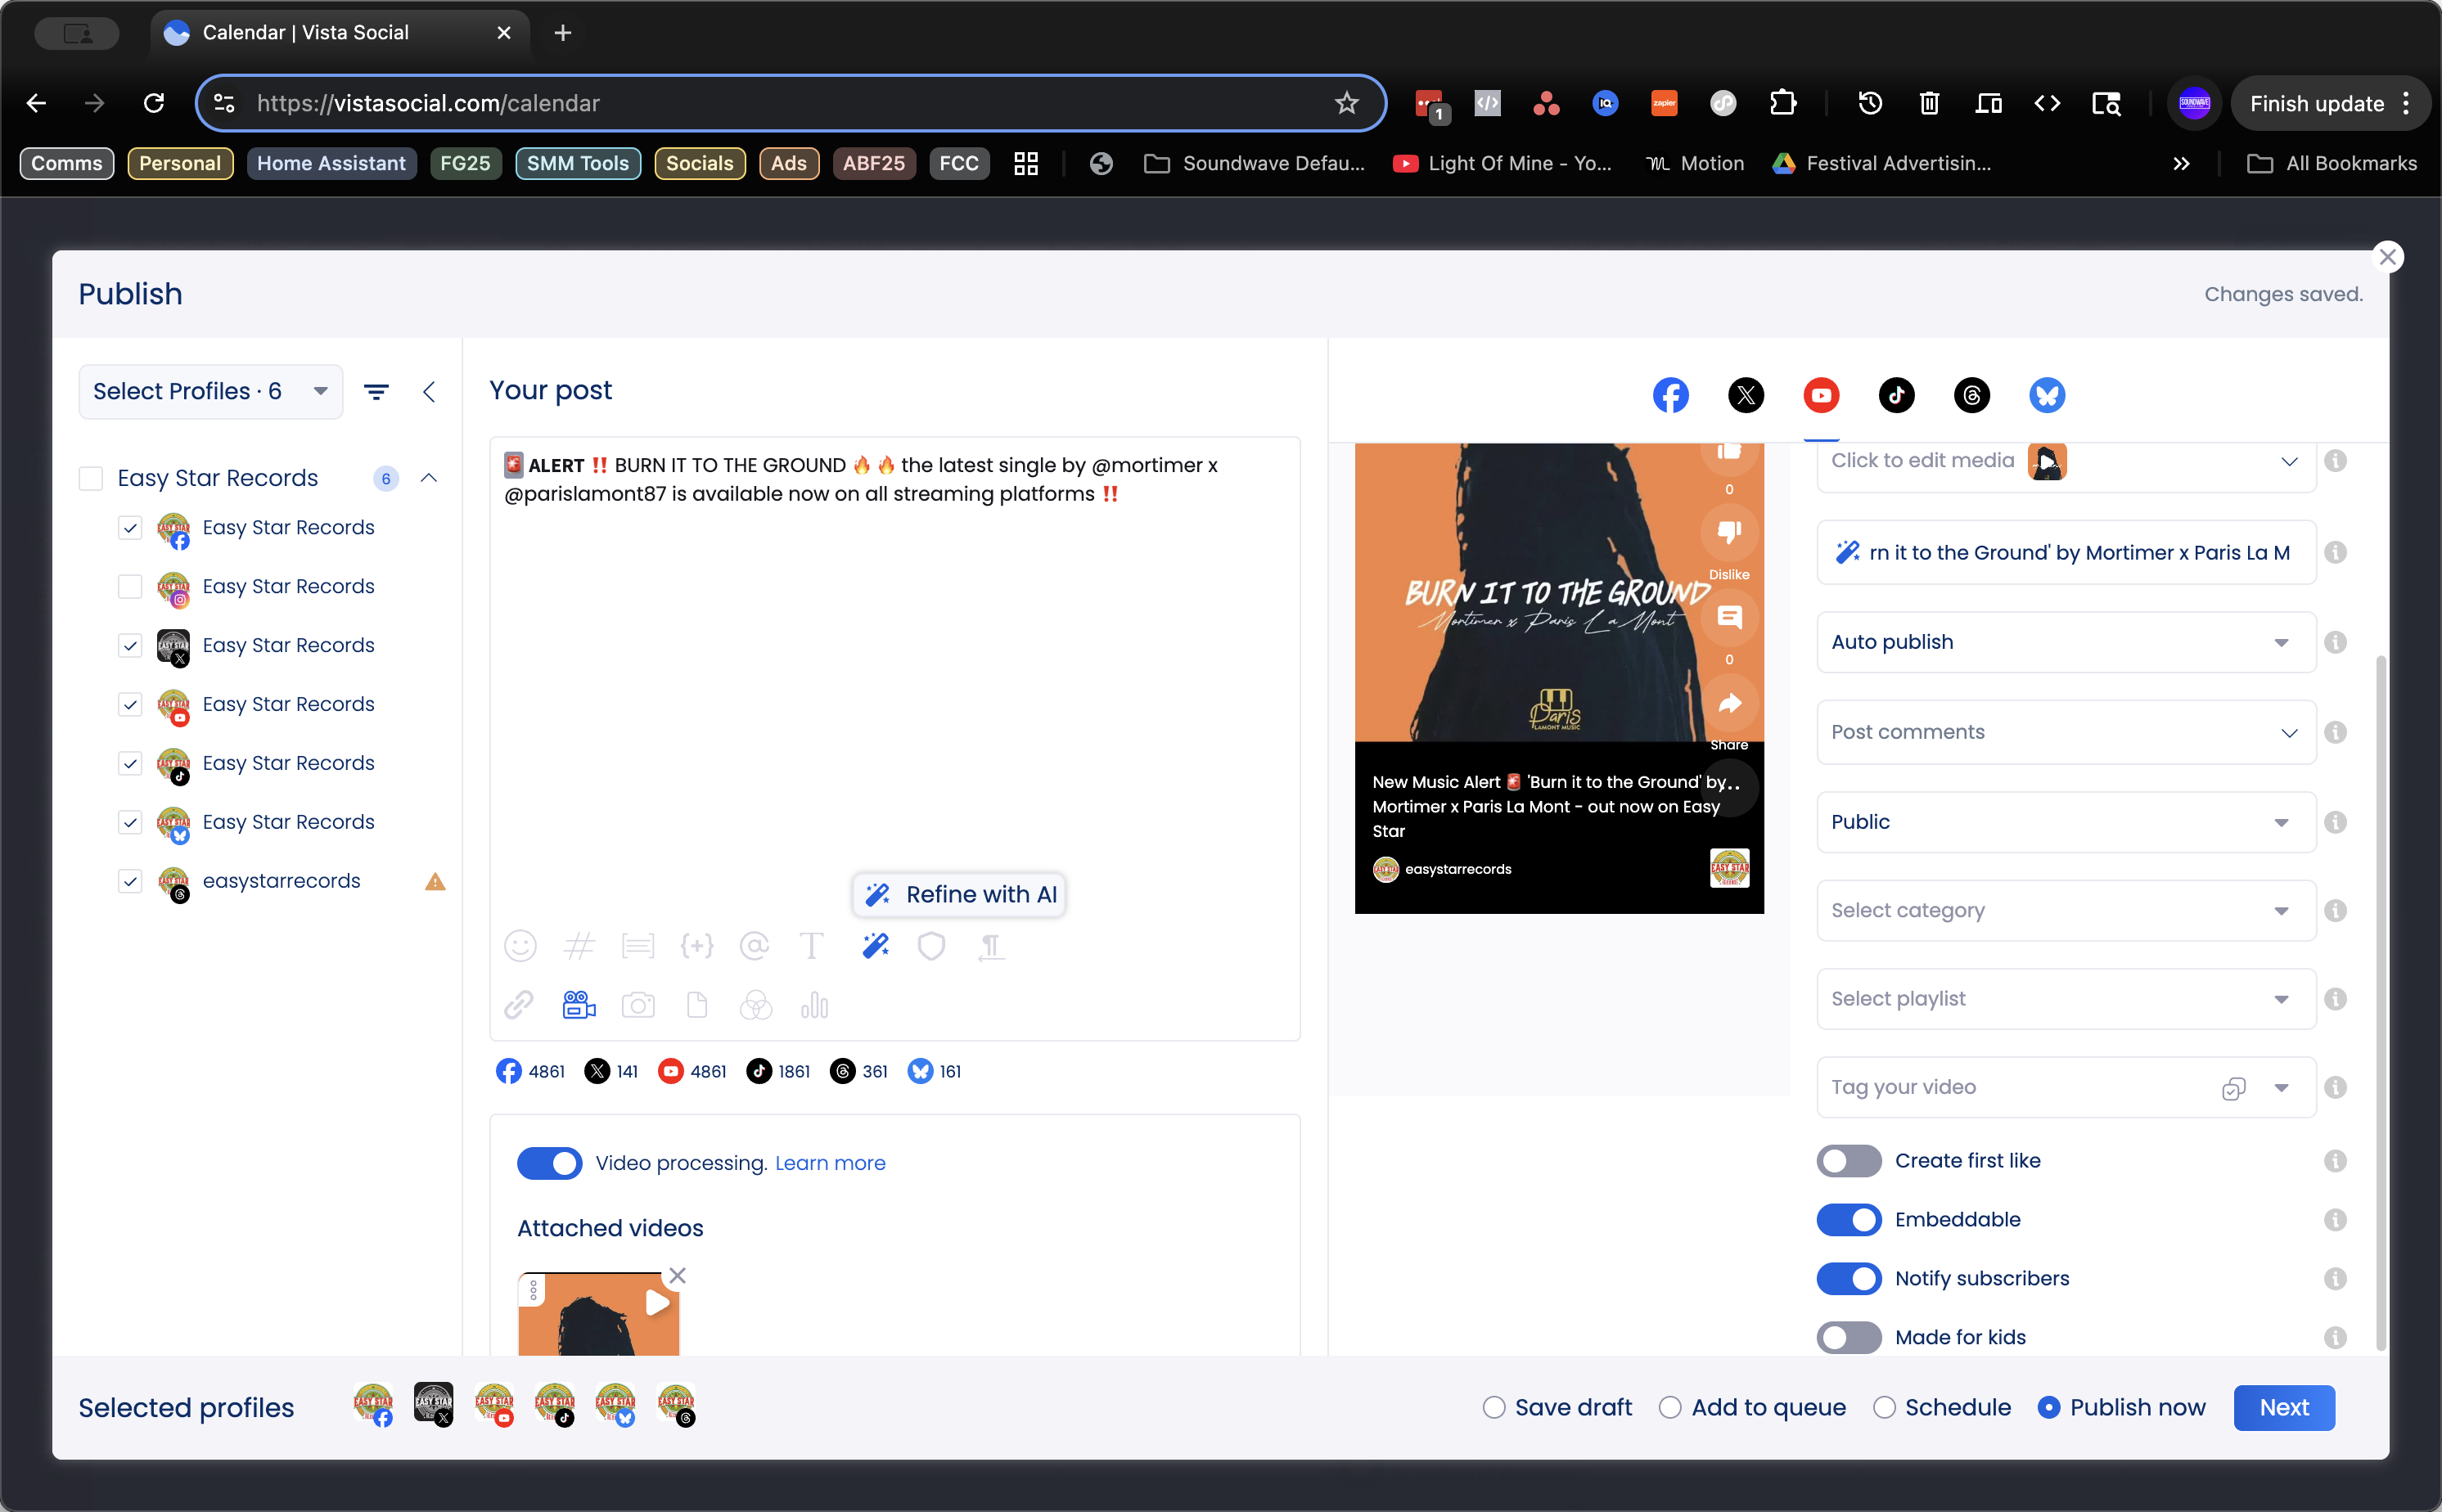
Mortimer, that's the one. Ez Star, along with a few variations of it. We will play new music, specifically new reggae music. New reggae. Jamaican reggae.

Reggae music, reggae 2025, reggae—perfect. That's good. Good.

53
Click here
Step #53: Click here
54
Double-click here
Step #54: Double-click here
55
Click here
Step #55: Click here

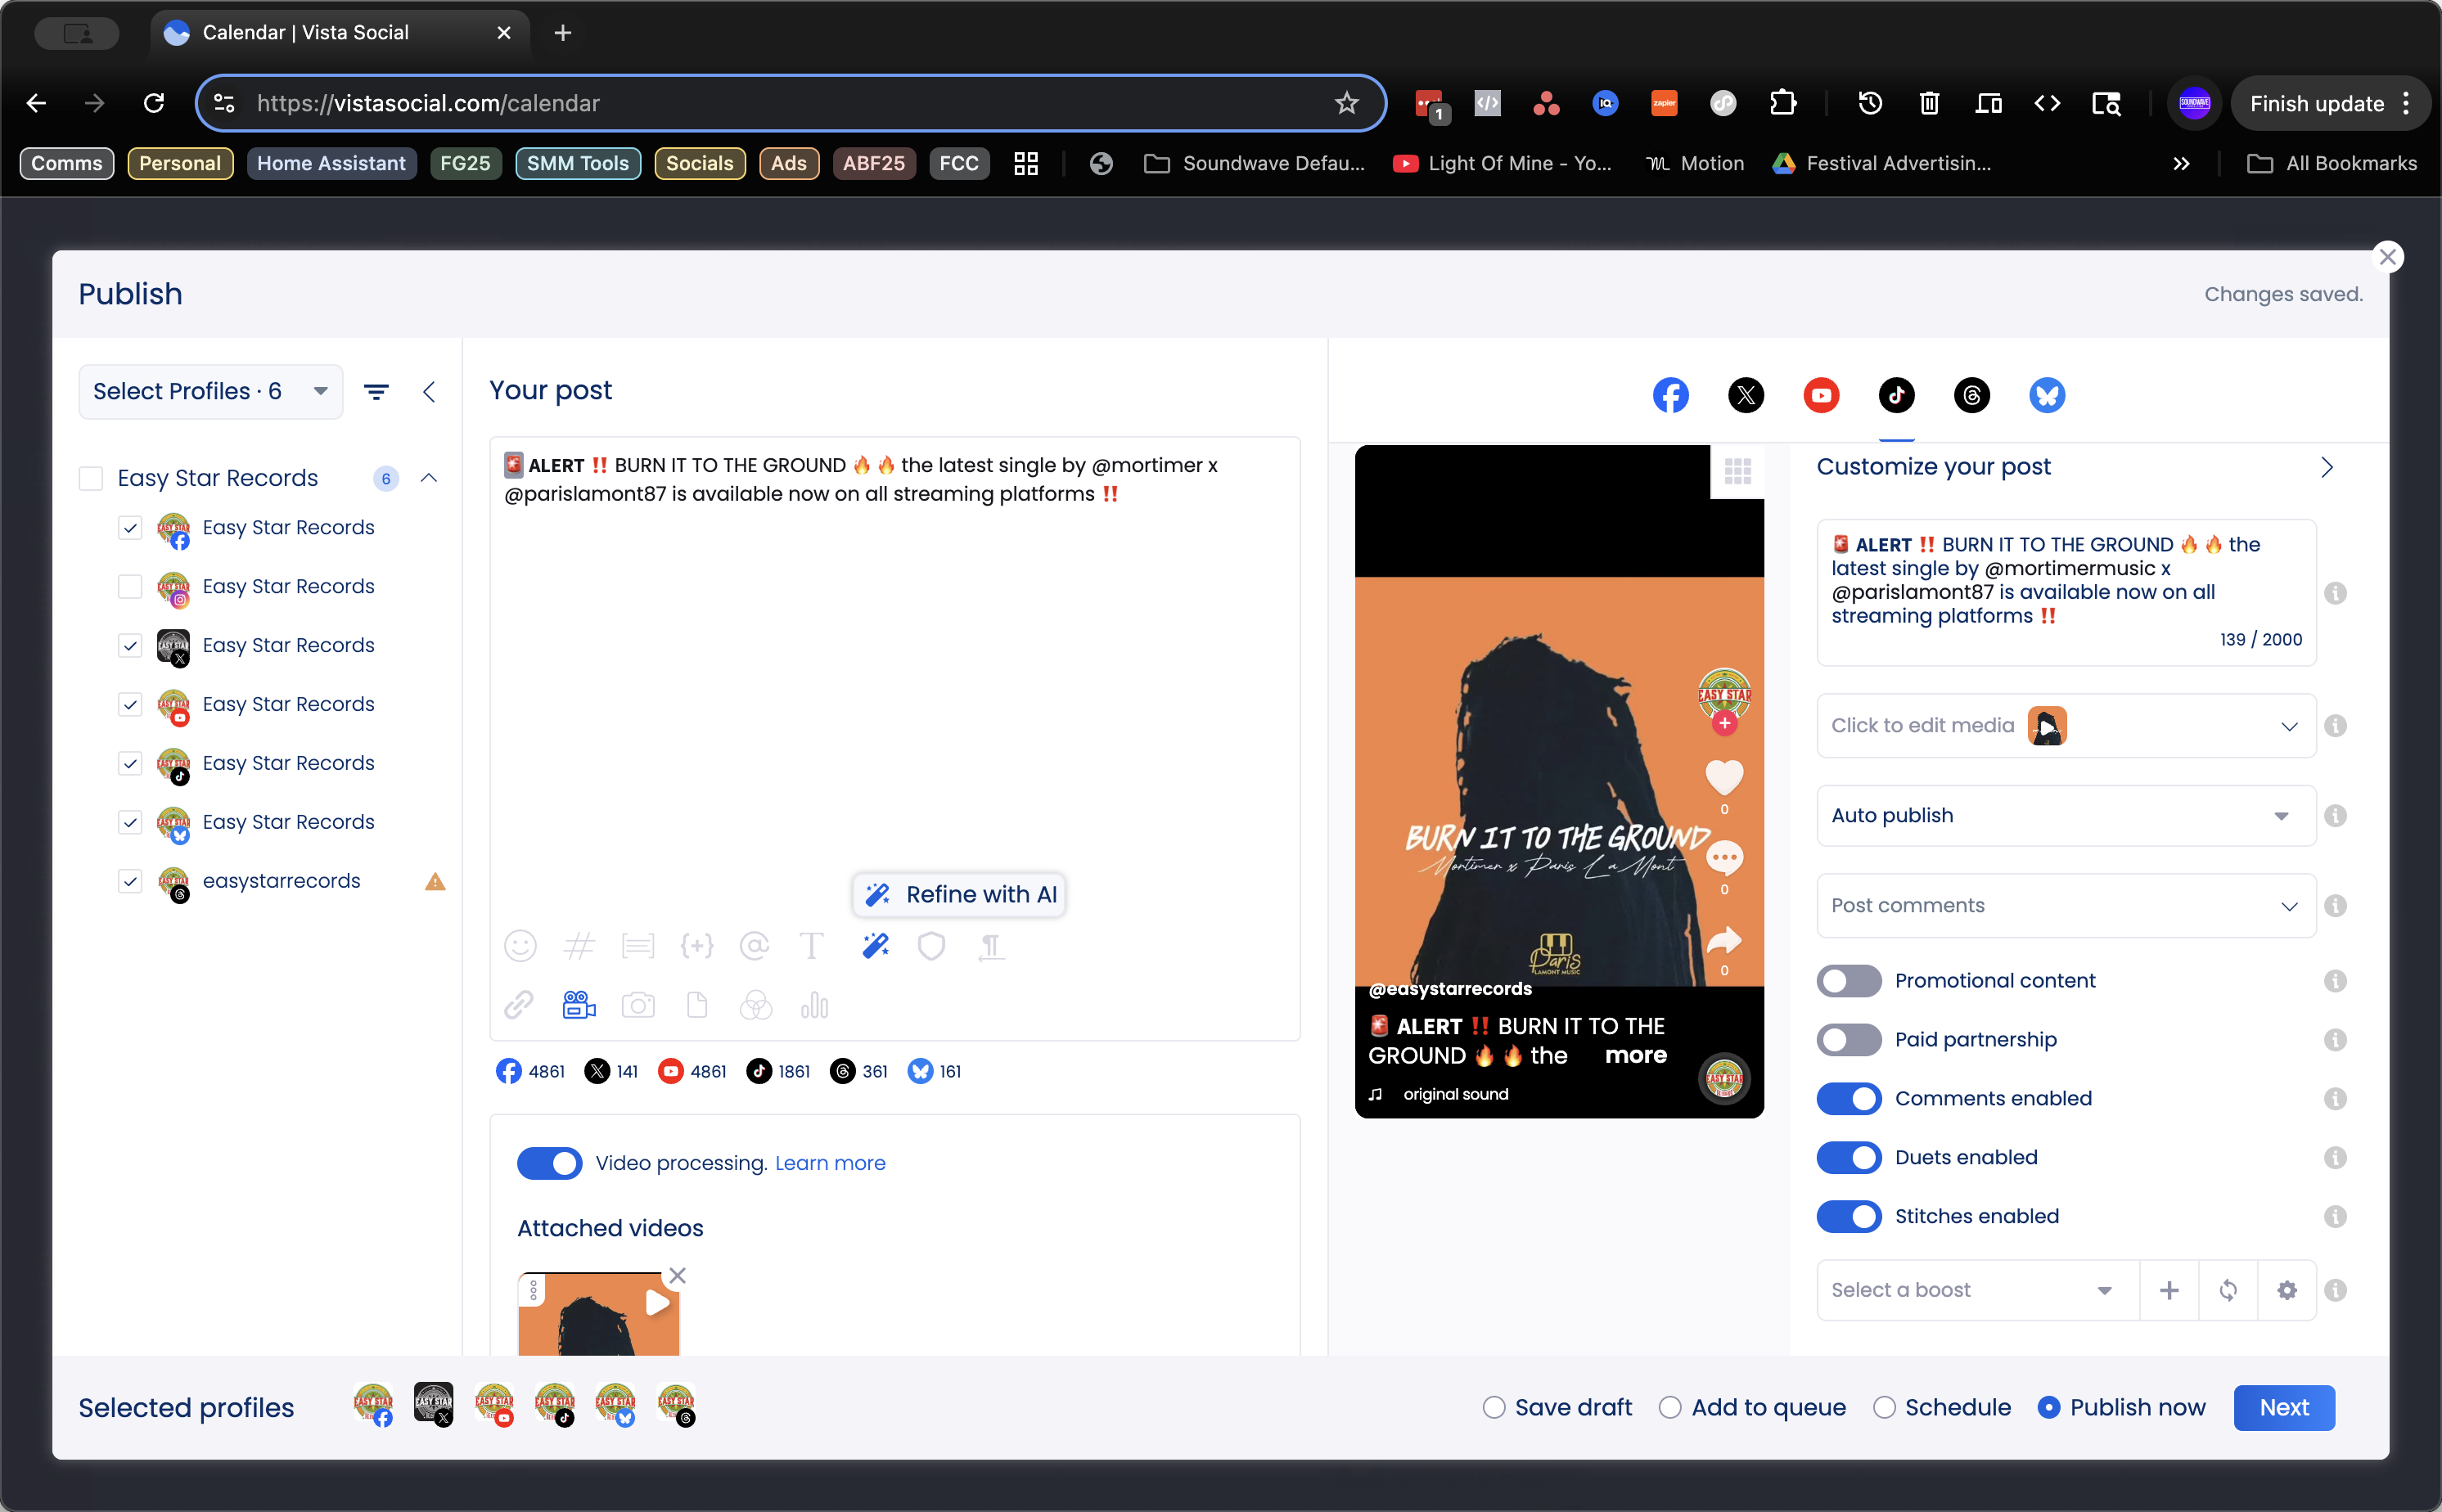
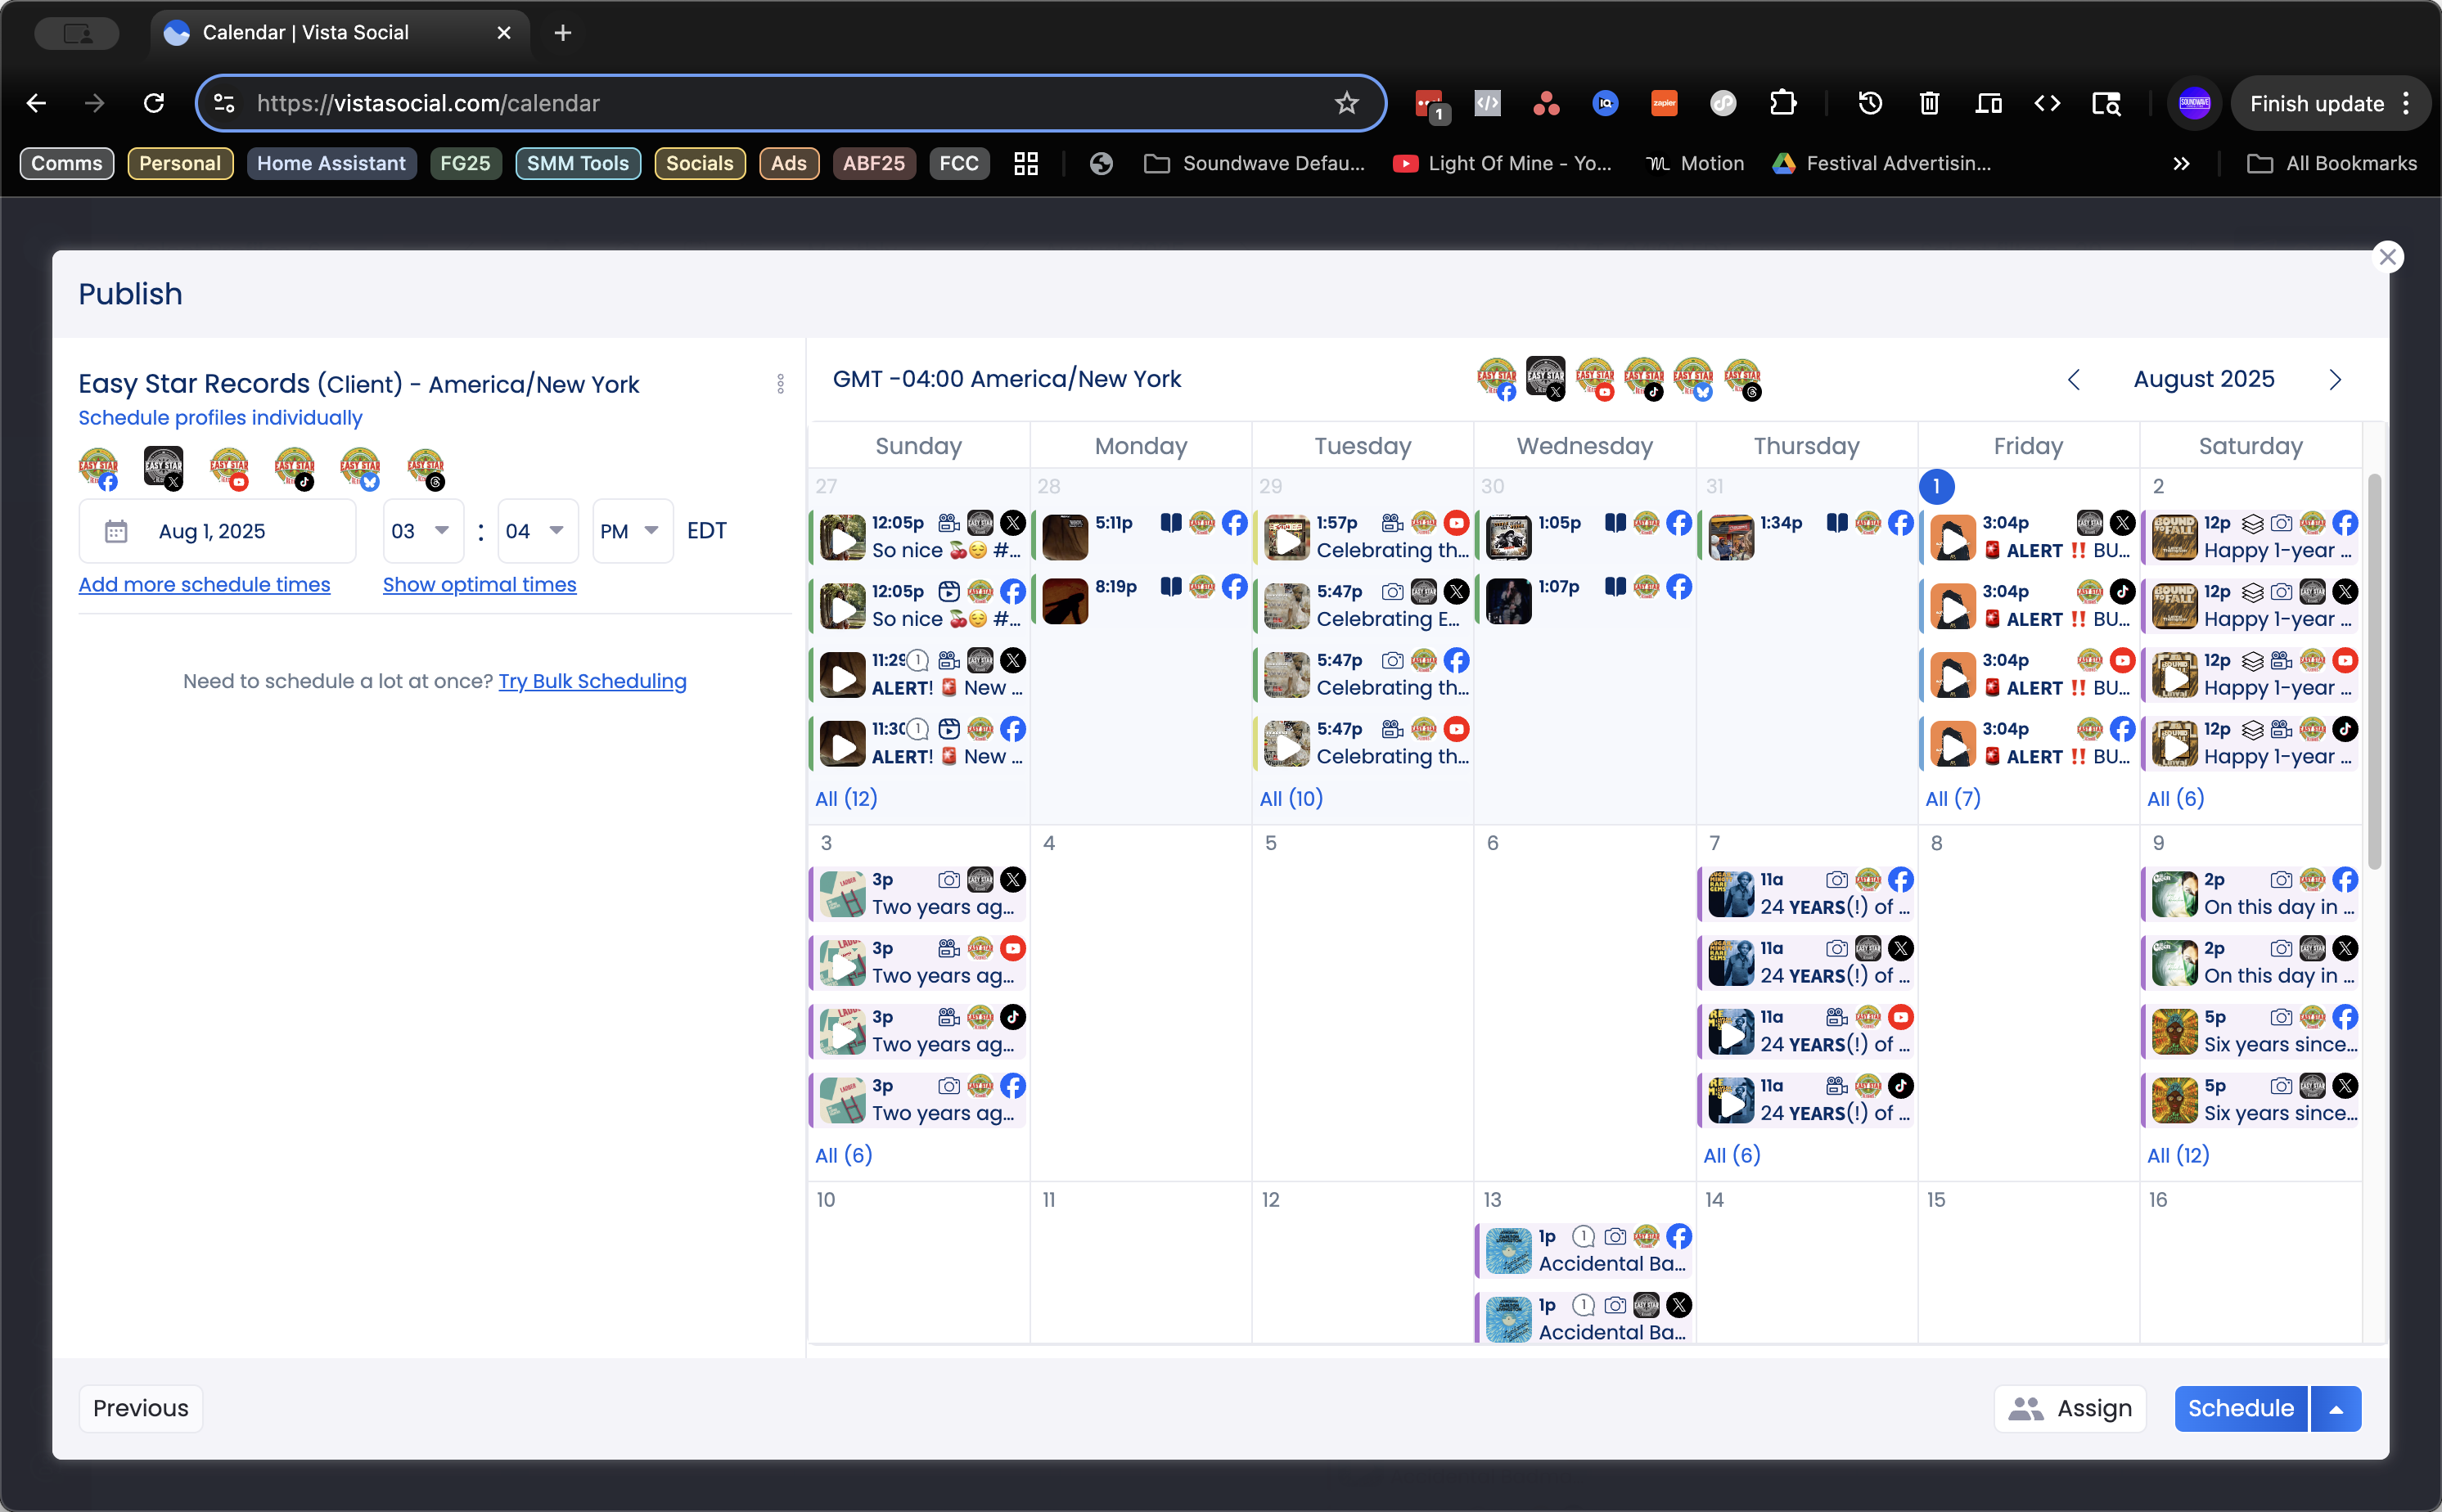
Everything is good. Schedule.

56
Click on "Schedule"
Step #56: Click on "Schedule"

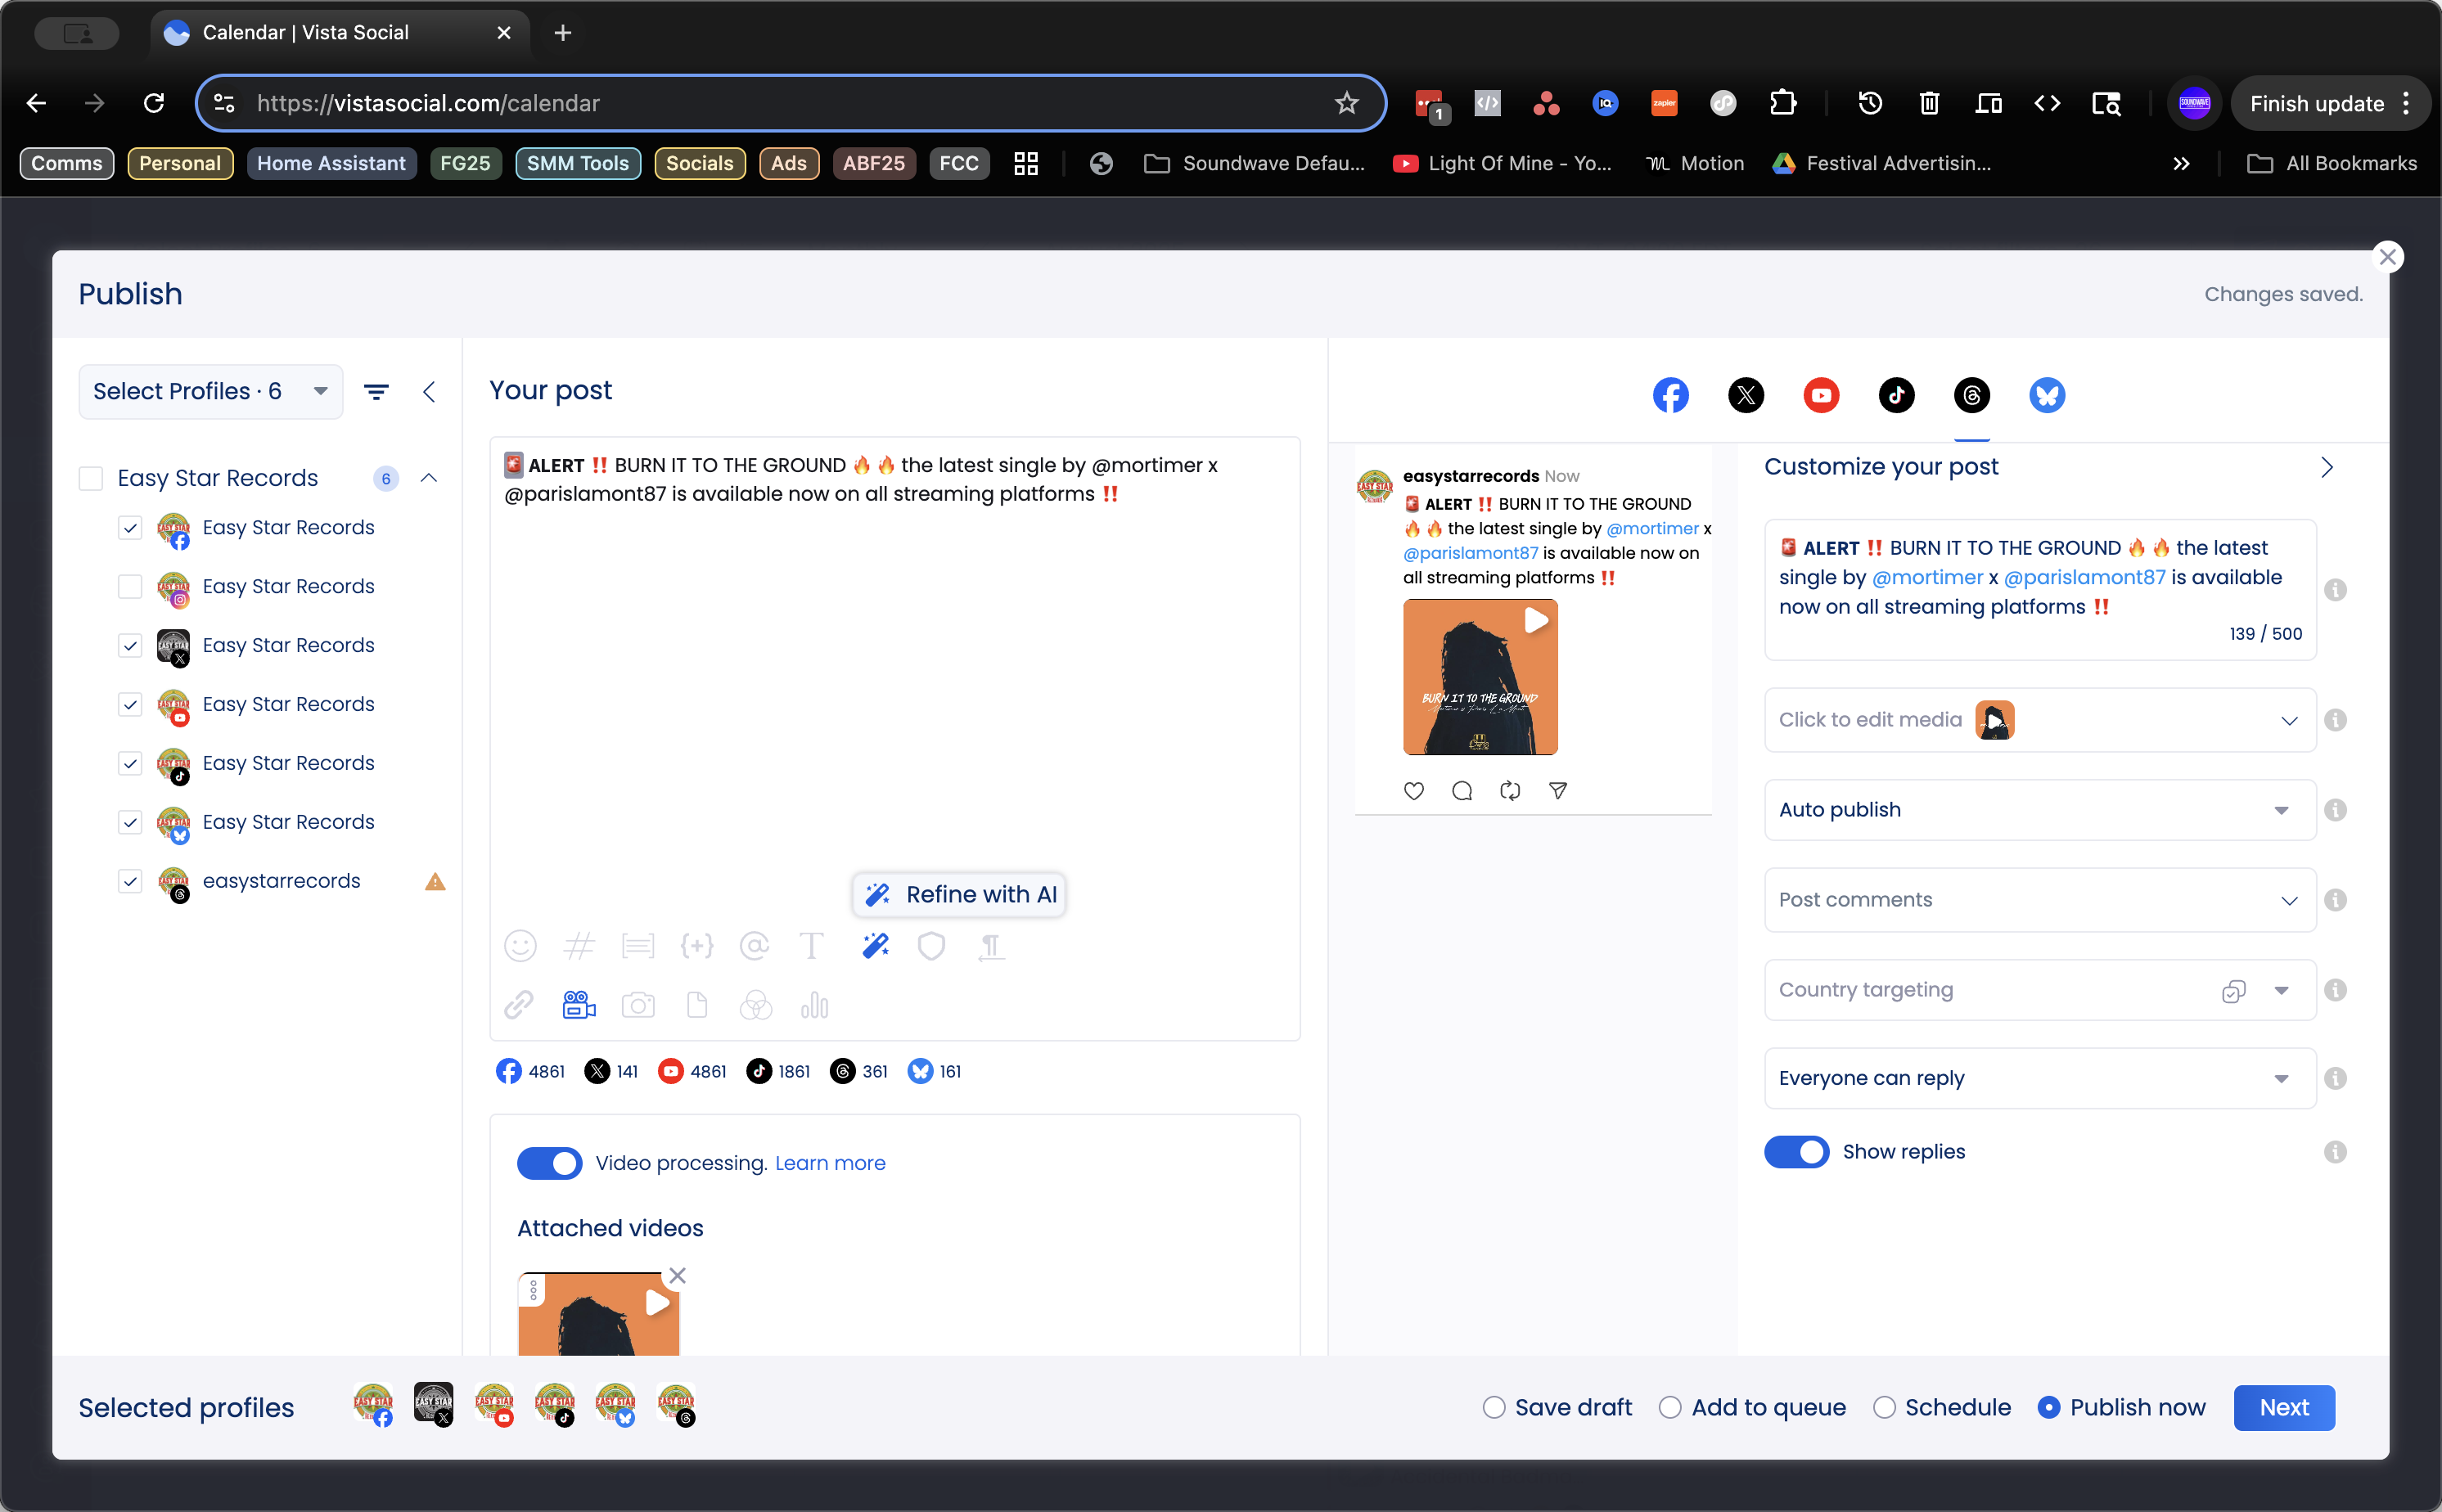
I'm selecting "Schedule" because we don't want to post immediately.

57
Click on "Next"
Step #57: Click on "Next"

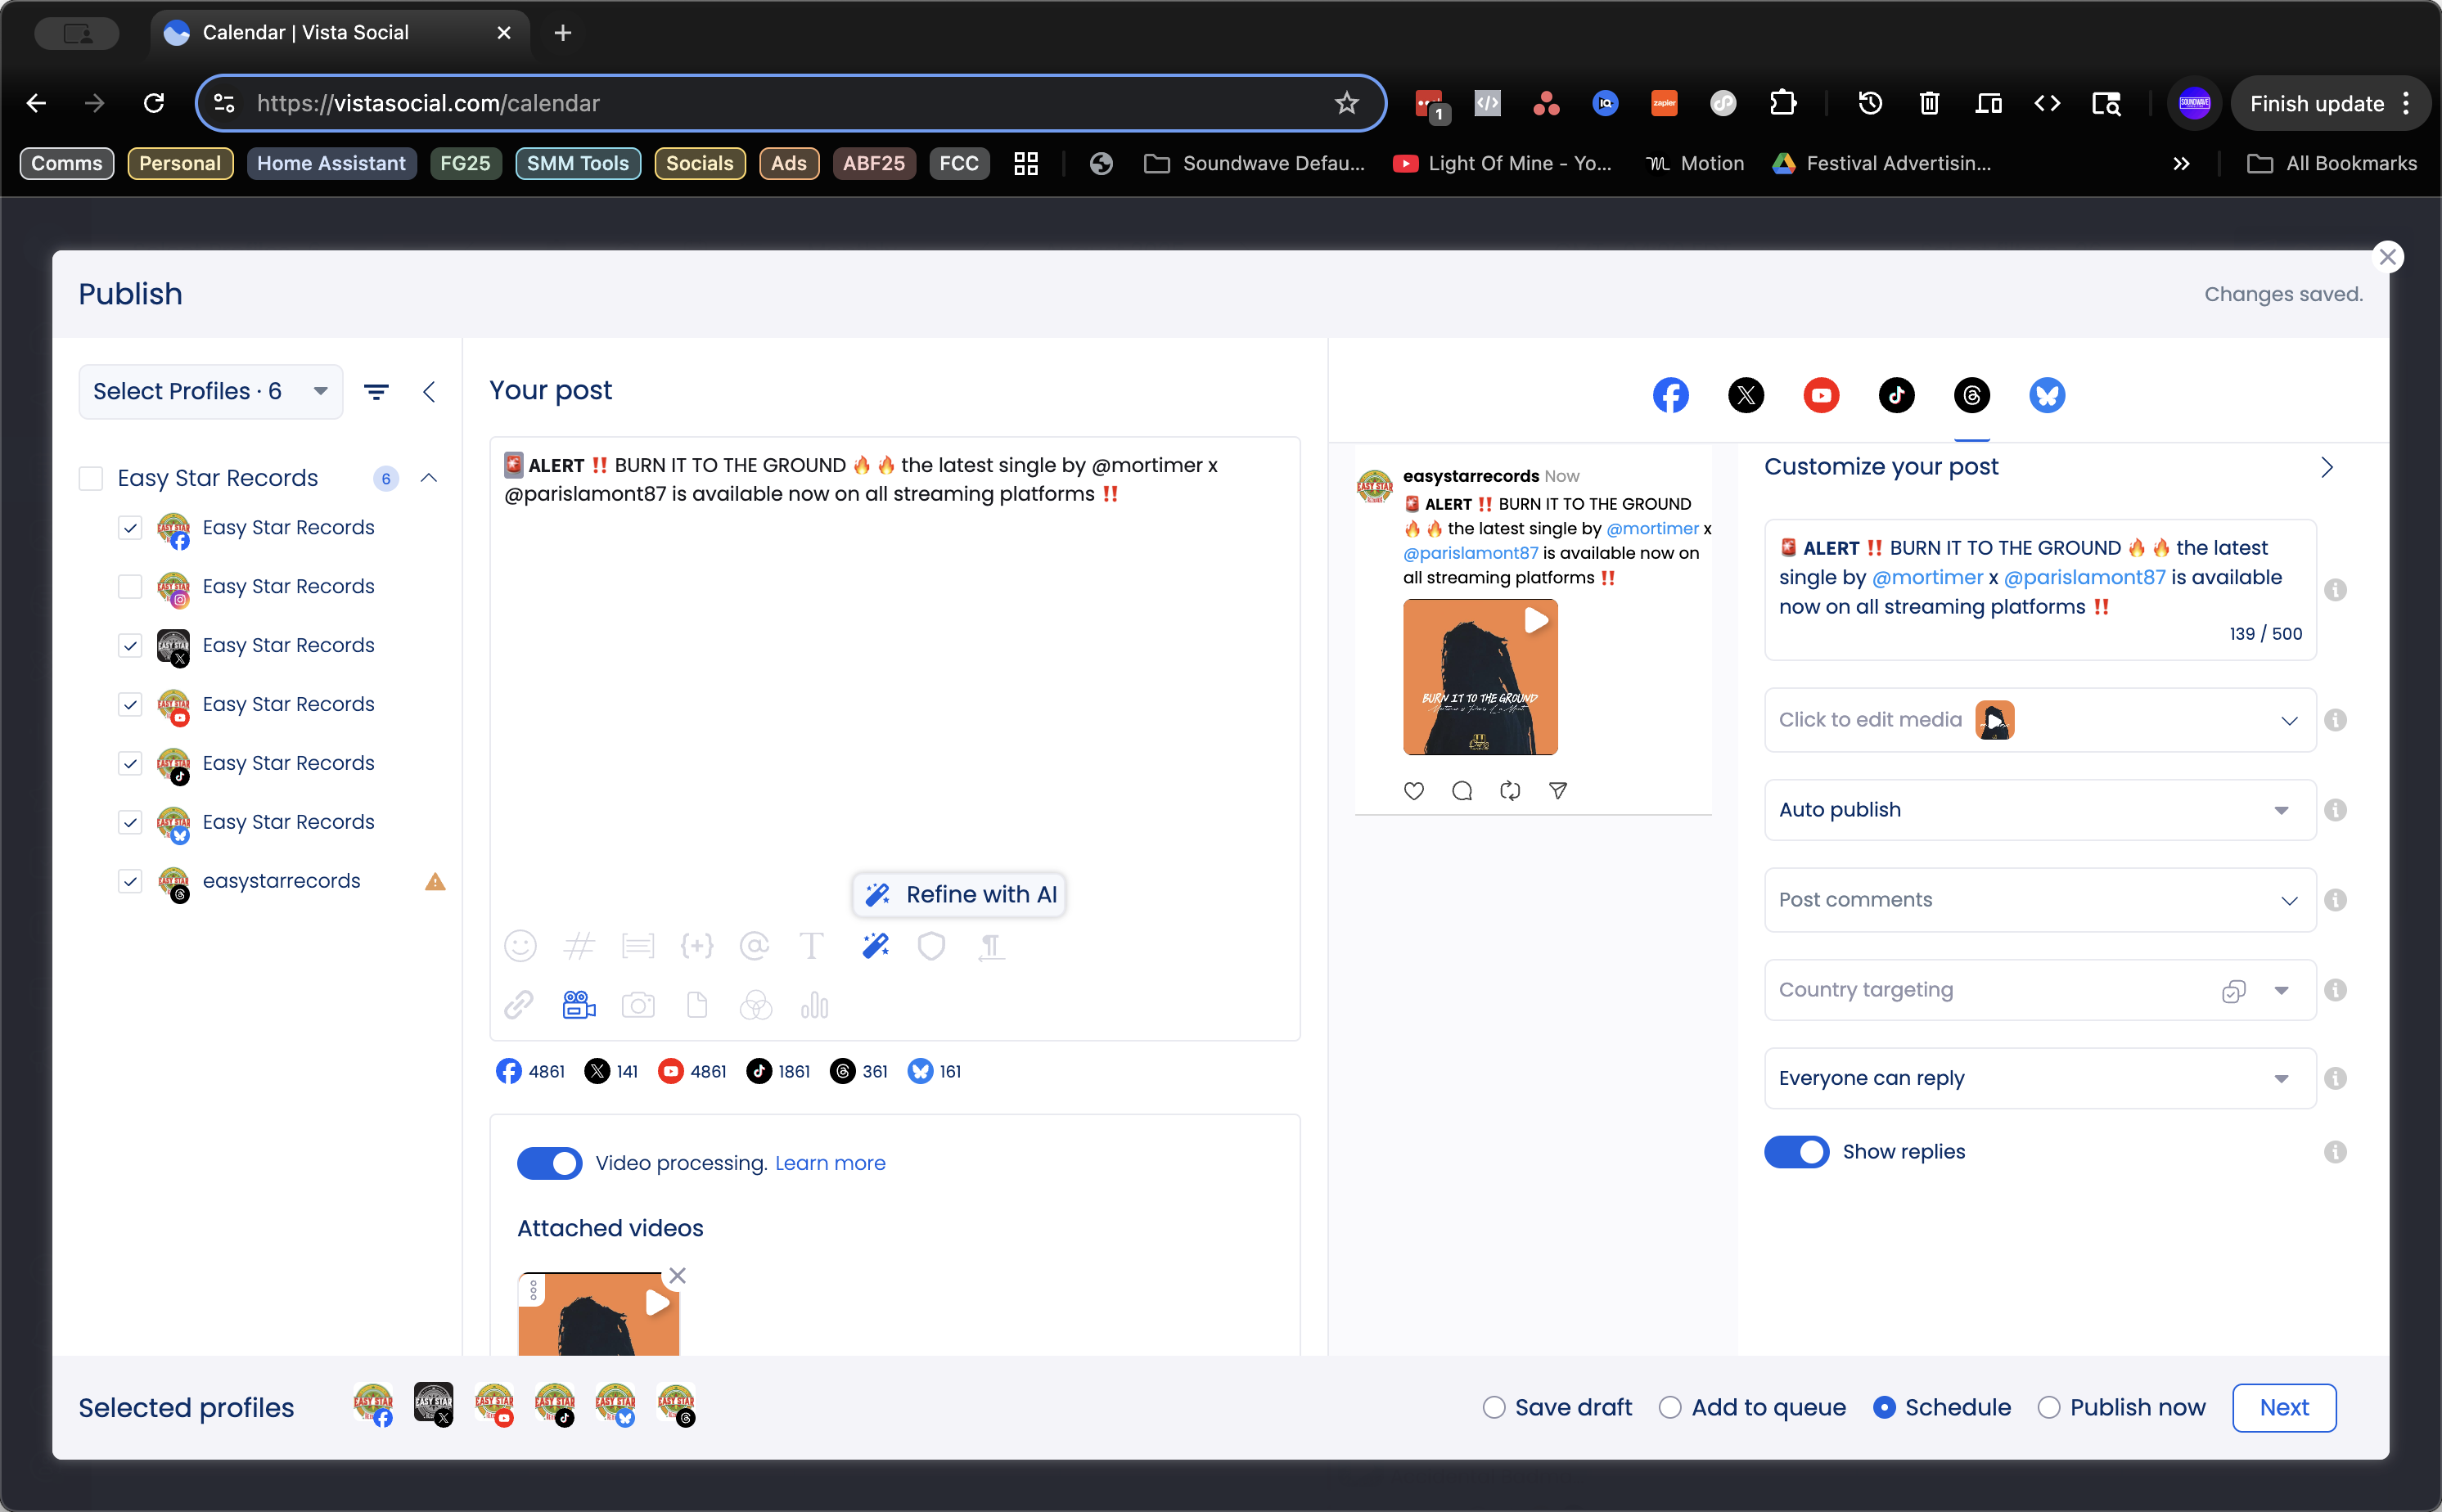
We want Eric and Lem to be able to approve. We just set the time. The main thing is to select "assign," not "schedule."

58
Click on "Assign"
Step #58: Click on "Assign"

Normally, Ez Star records one step. Then, we click assign.

59
Click on "Assign"
Step #59: Click on "Assign"

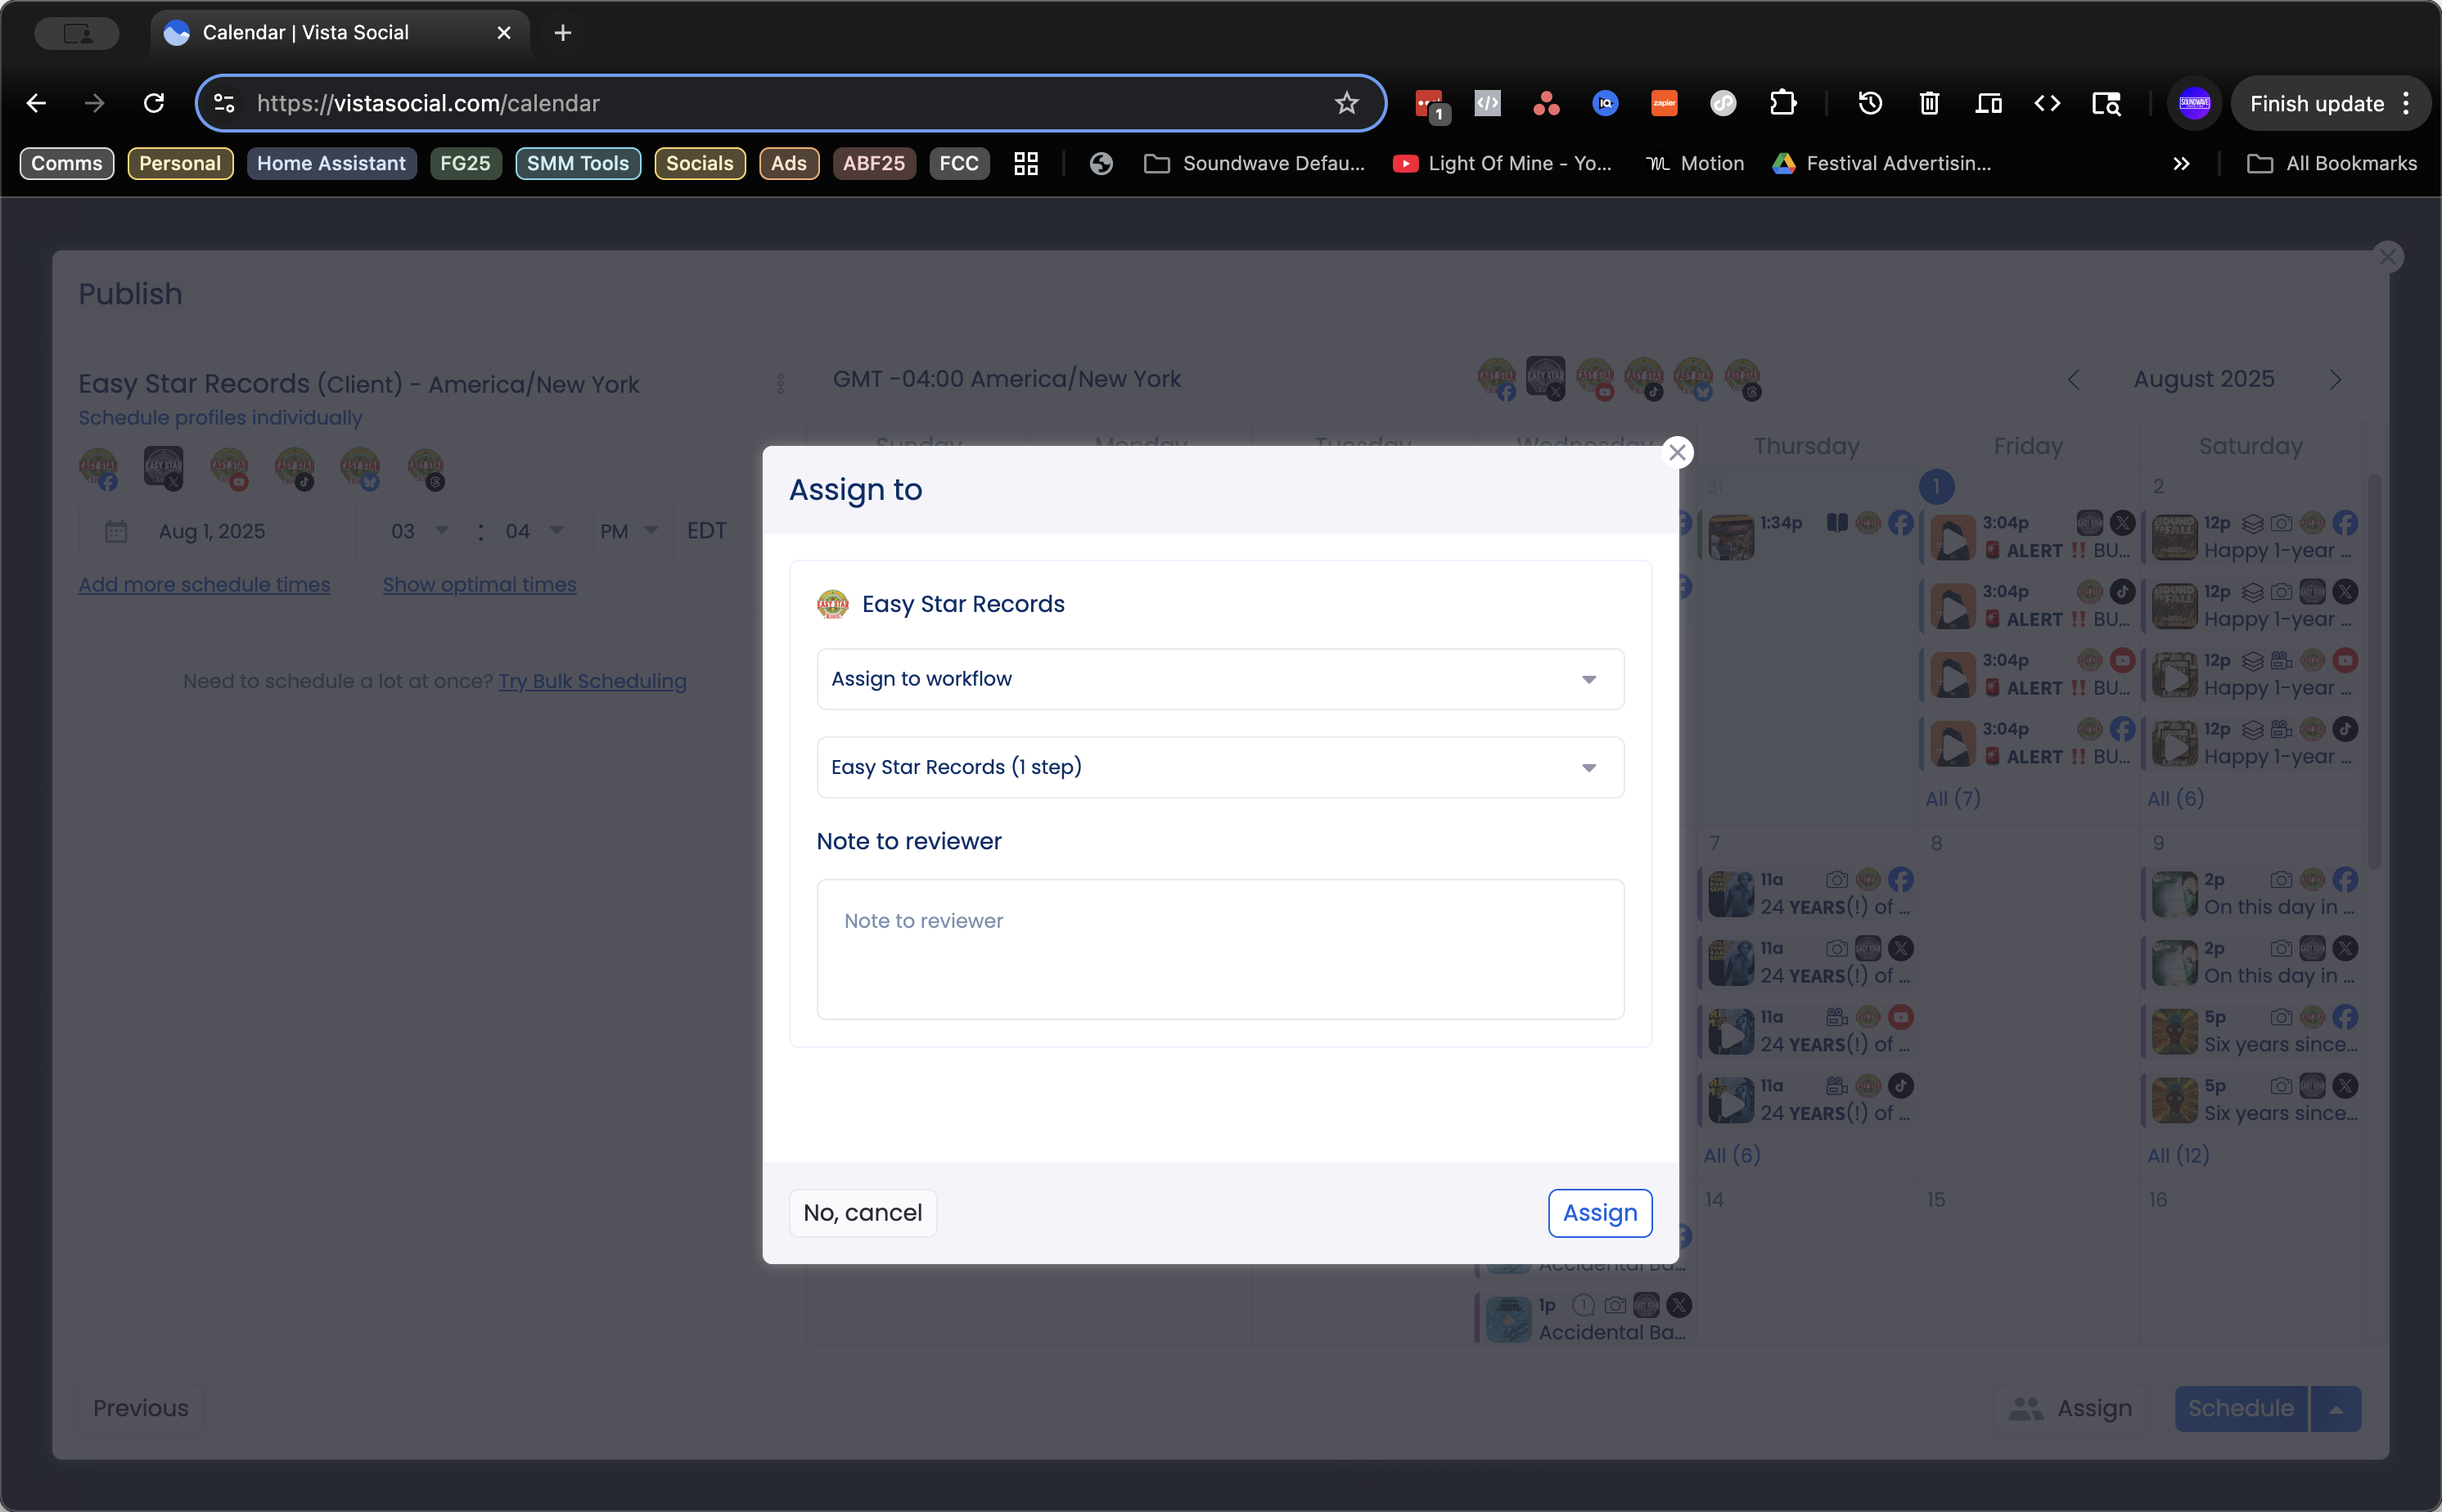
Then we click send for approval.

60
Click on "Send for approval"
Step #60: Click on "Send for approval"

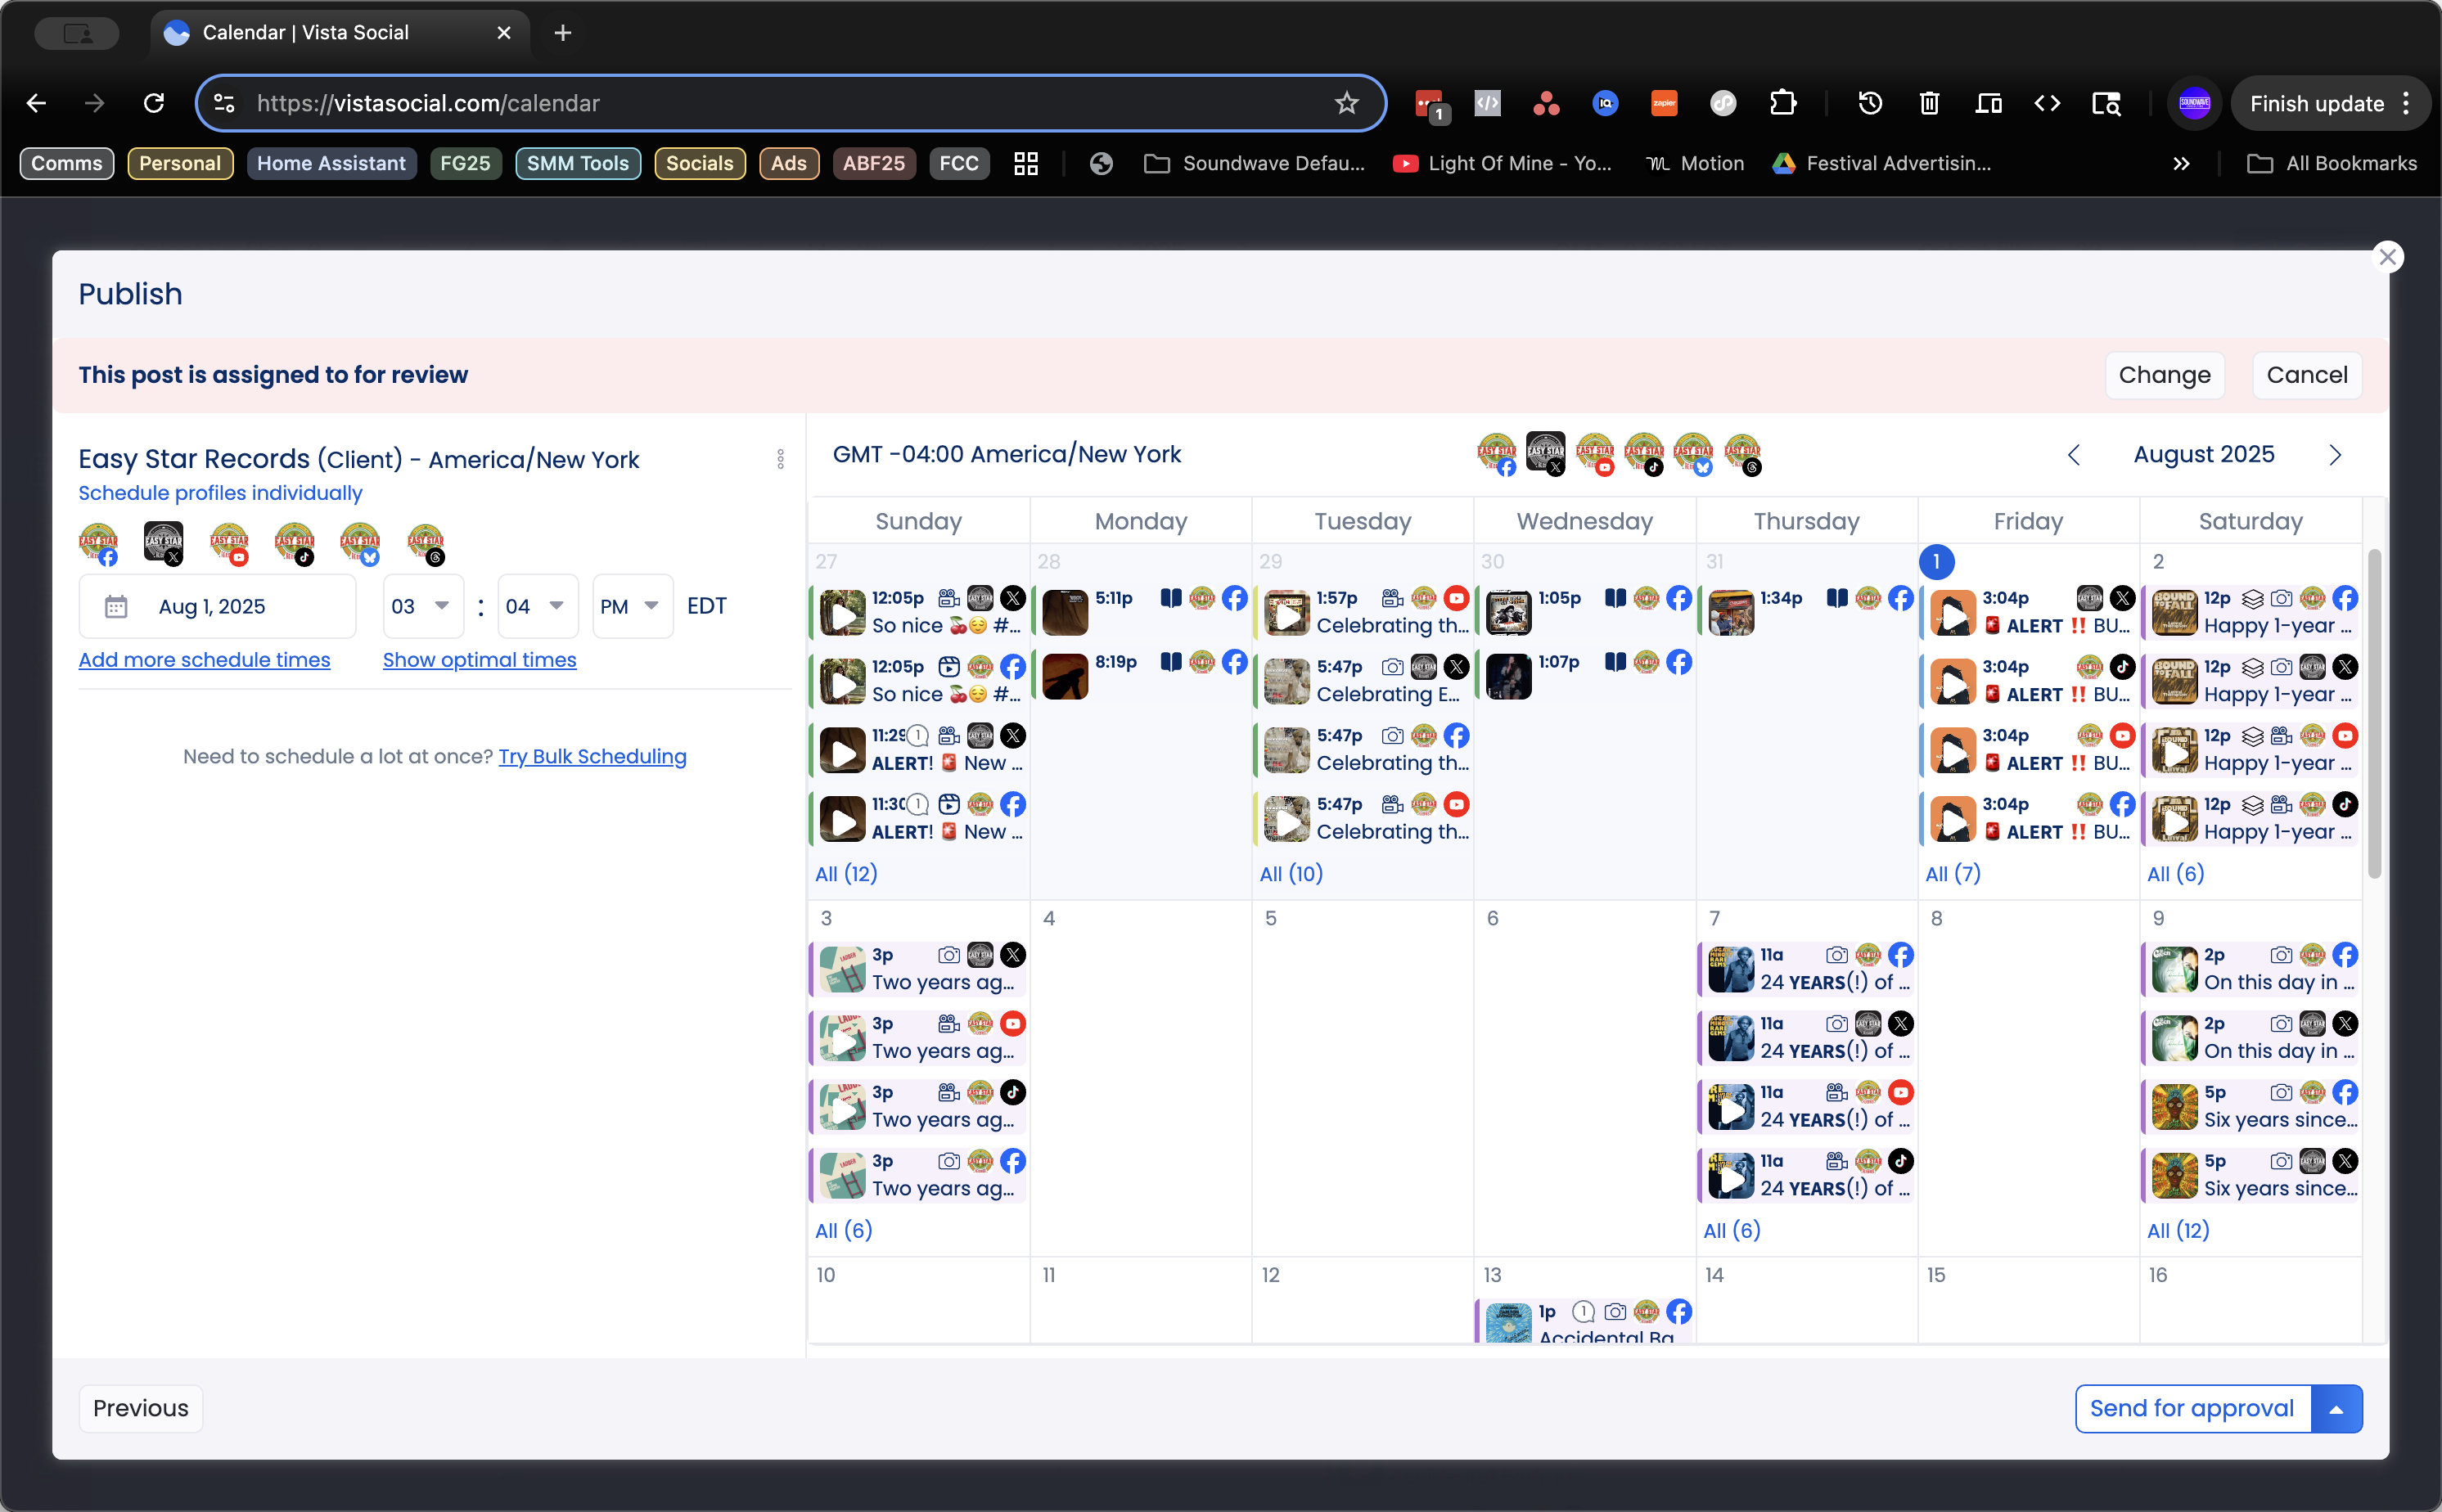
That is how you replicate a post.

61
Click here
Step #61: Click here