How to Request and Approve a Meeting in Slync
Learn how to copy your Slync profile link, submit a meeting request, approve times in your dashboard, and confirm the event on your calendar.
By Josh Weiser
Testing your booking flow ensures your clients have a seamless experience. This guide will walk you through copying your profile link, submitting a test meeting request, and approving the request in your Slync dashboard.
Part 1: Submit a Meeting Request
1
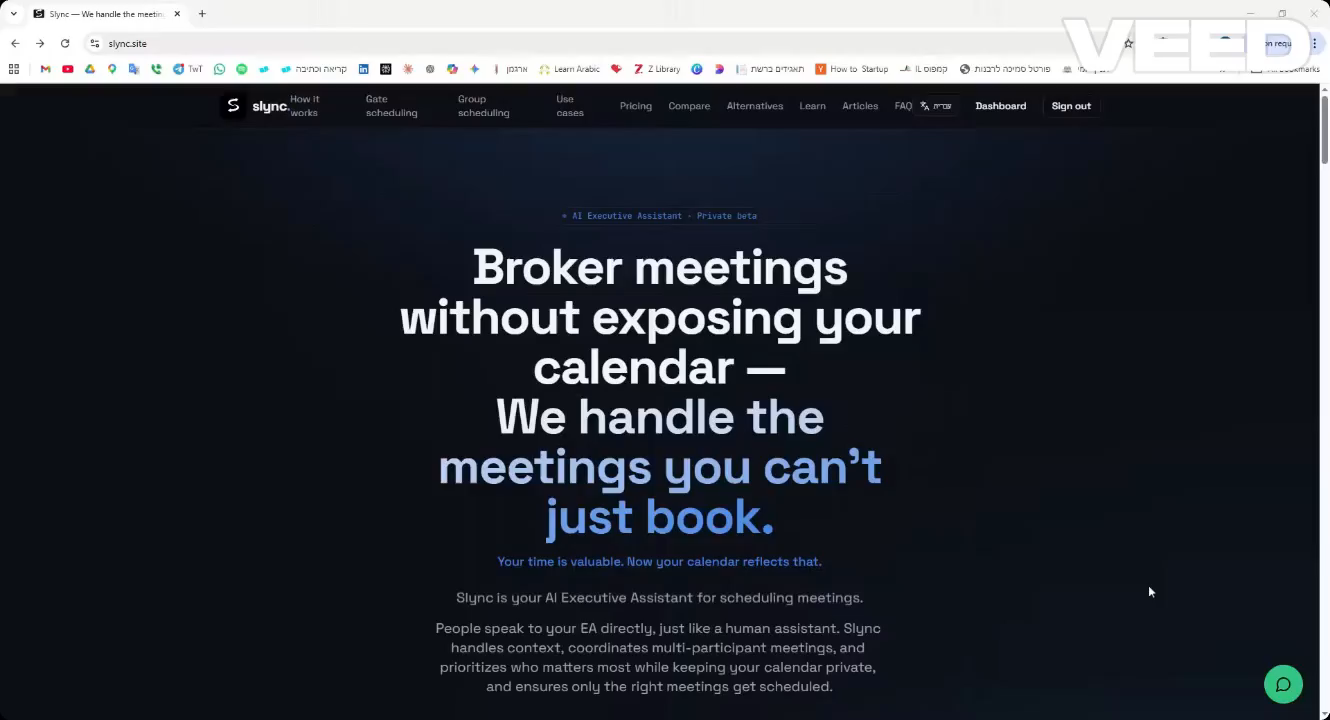
From the Slync homepage, click Dashboard.
2
Close the QR code modal and click Copy profile link in the top header.

3
Send / Upload your link or QR for anyone to request a meeting
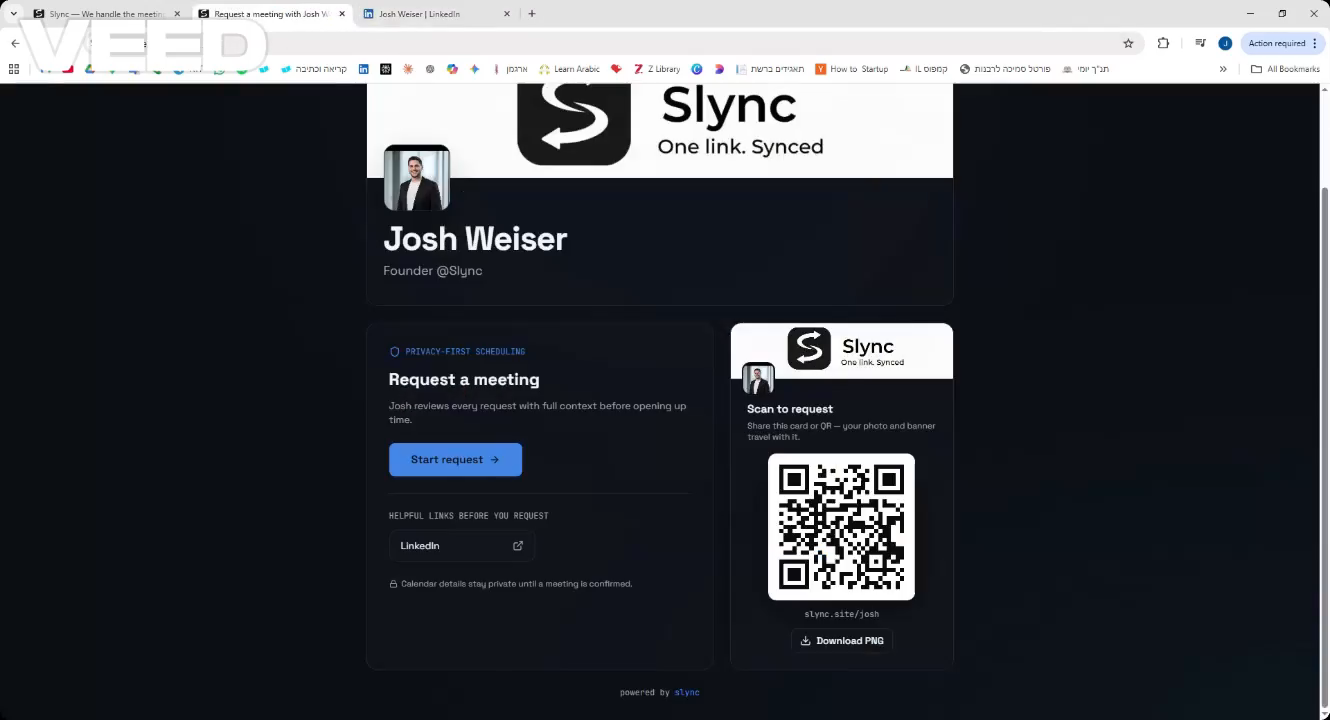
4
This is how your scheduling page looks like - click Start request.
5
The requester adds in the required information.
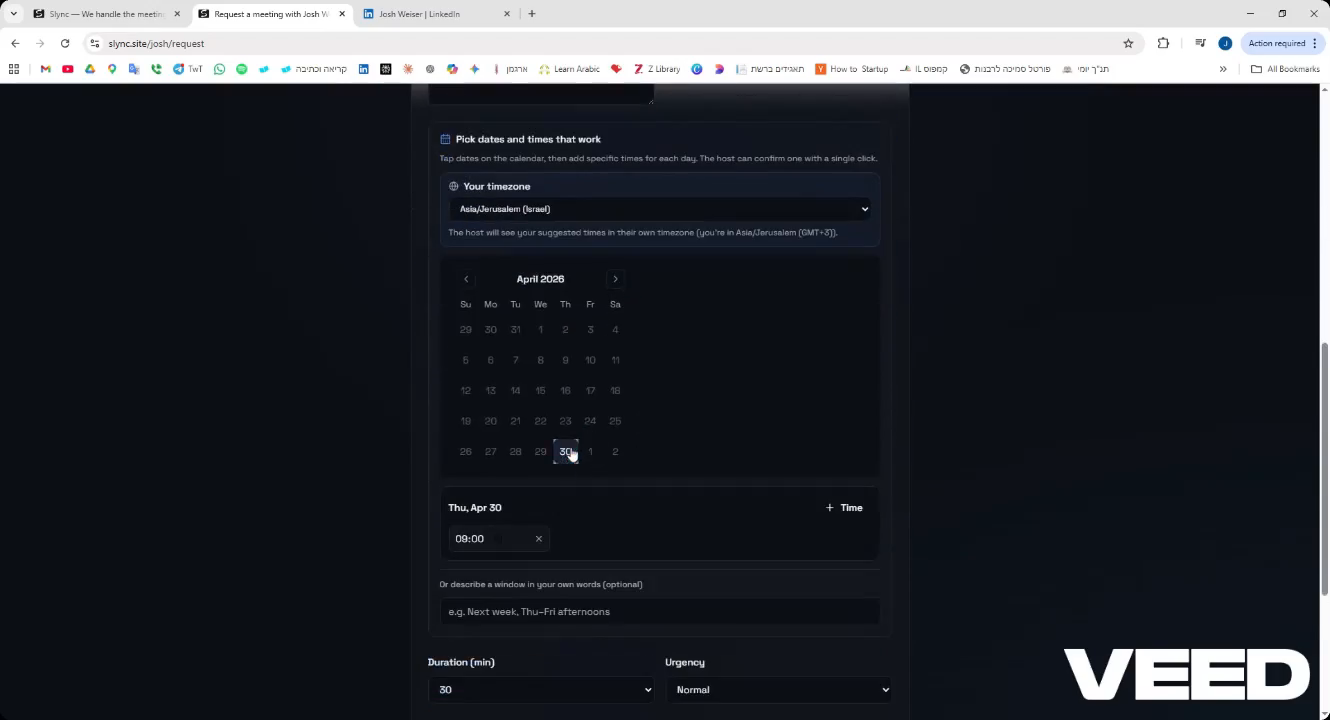
6
Proposes dates and times from the calendar view.
7
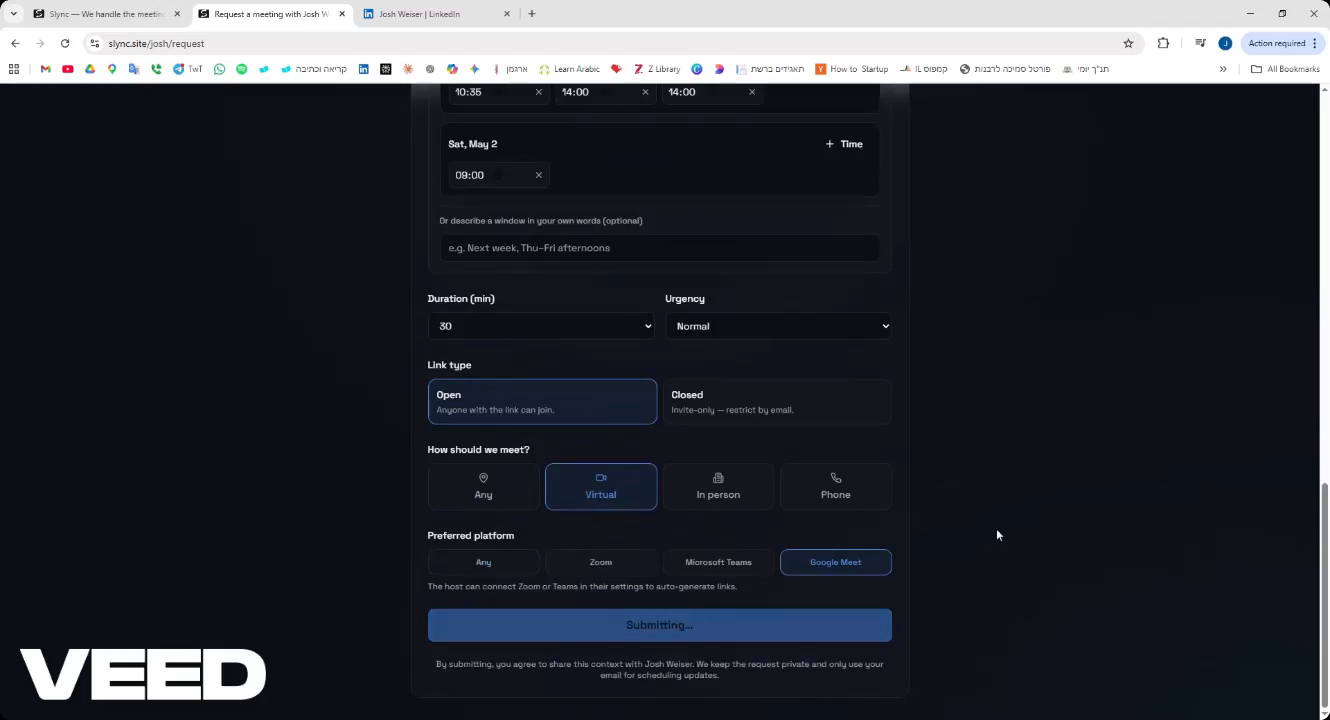
Adds more details like - where should we meet
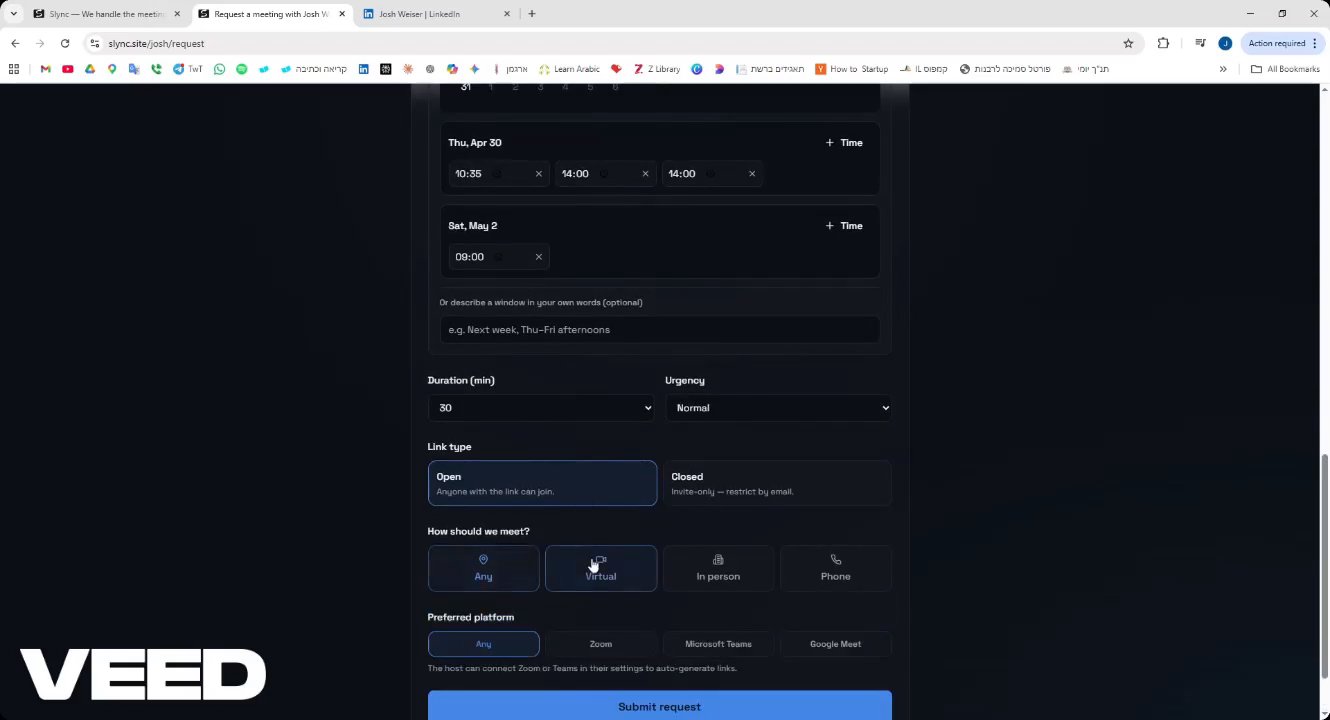
8
Click Submit request.
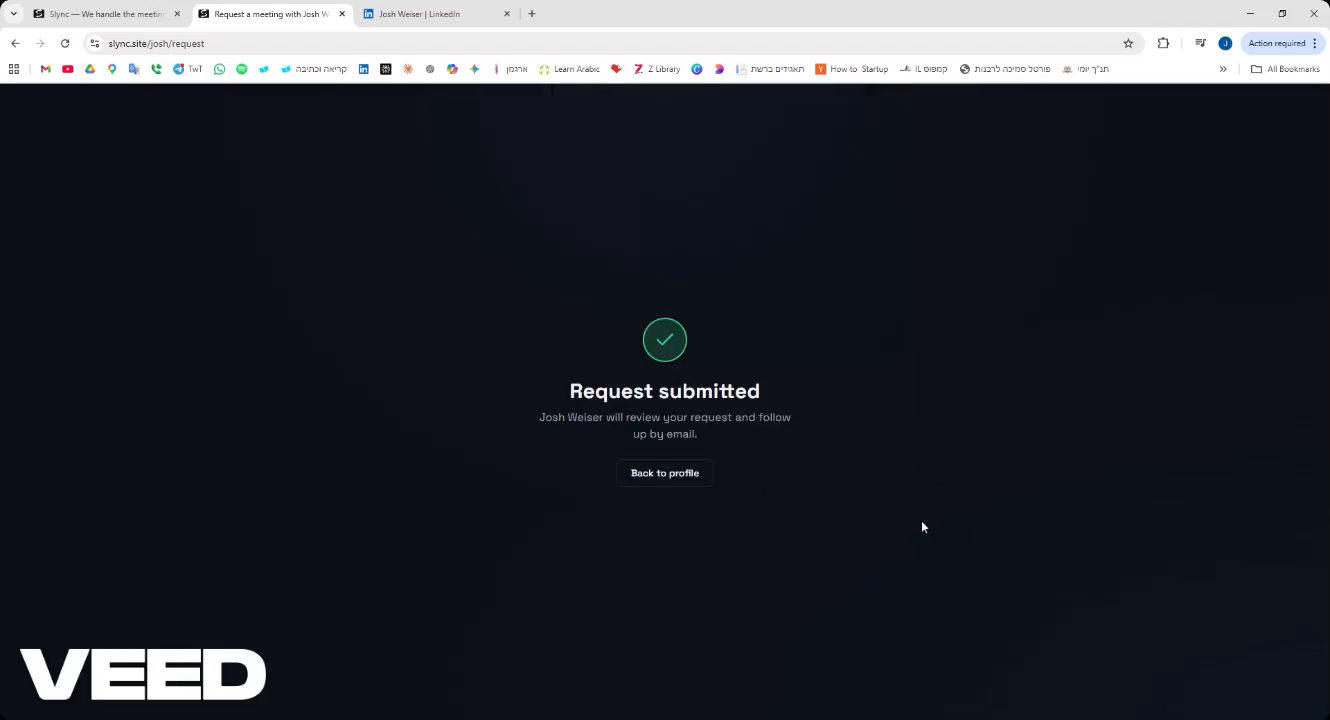
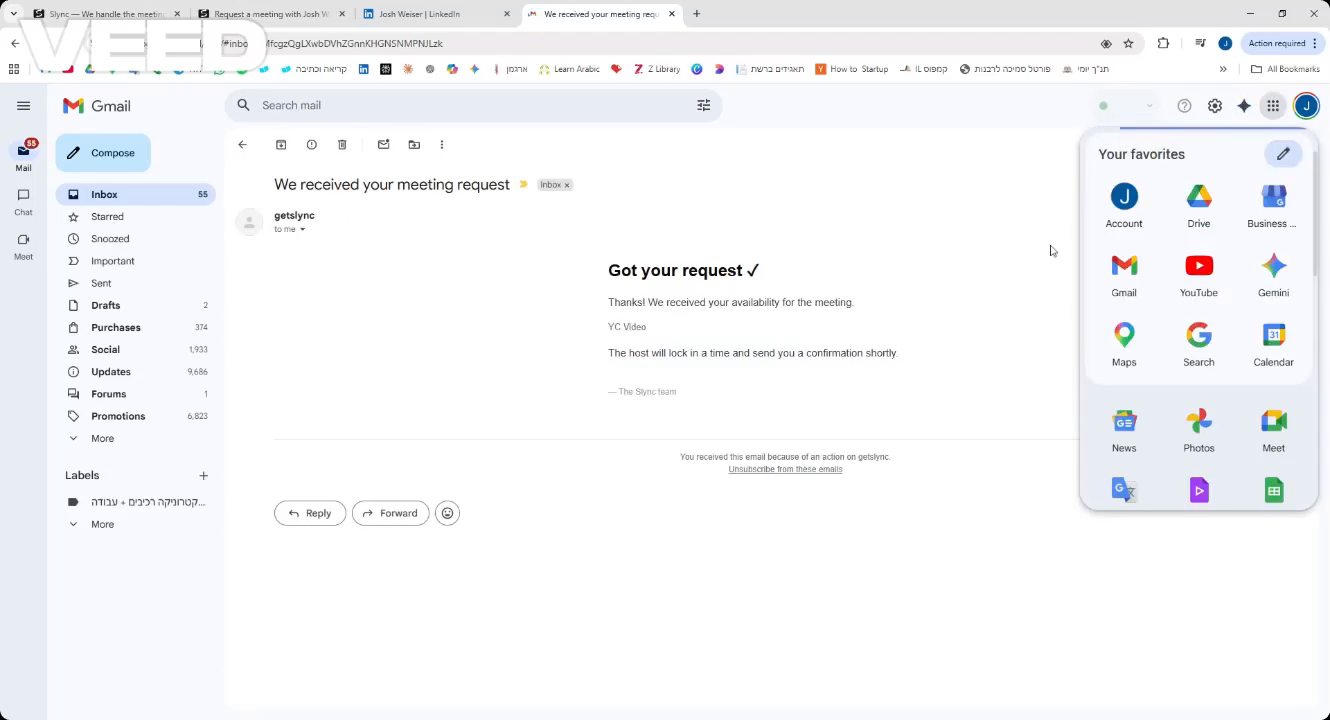
9
Thats it - you now recieves a meeting request with context
Part 2: Review the Request
Once a request is submitted, you can review and approve it directly from your dashboard inbox.
10
Return to your Slync dashboard and click the new pending request in your inbox.
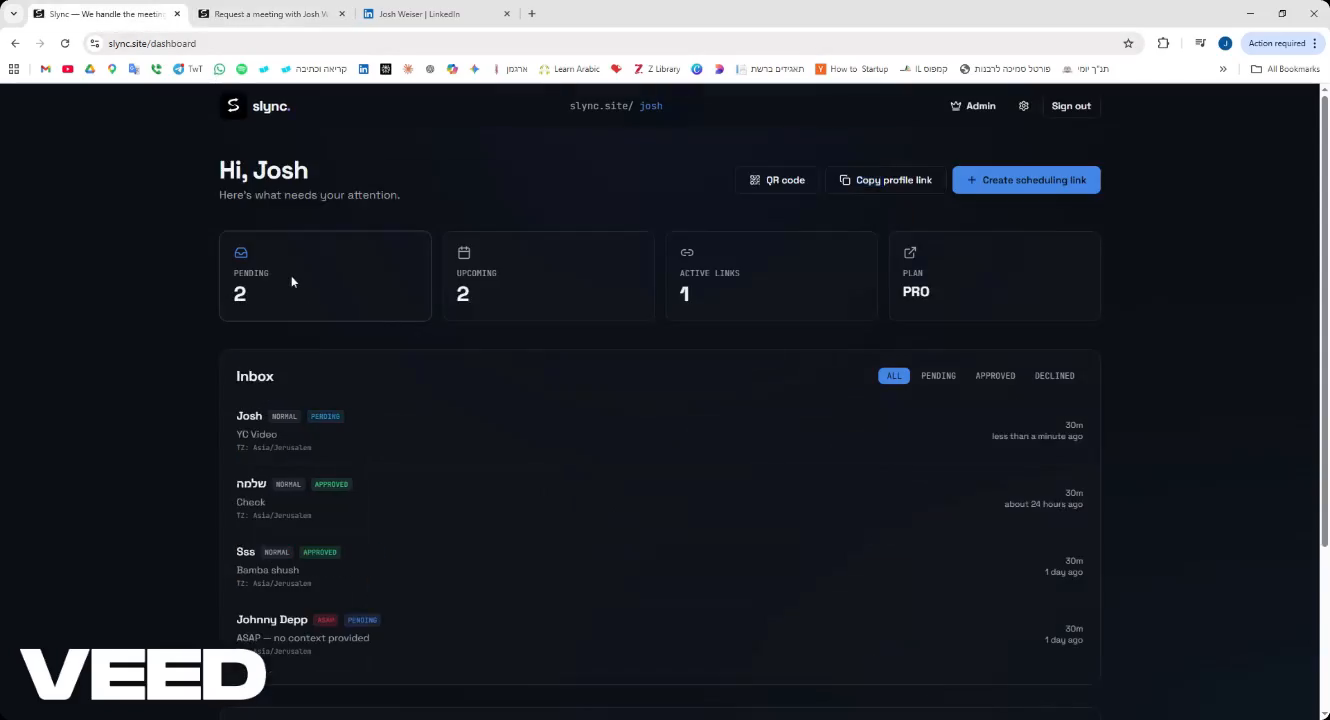
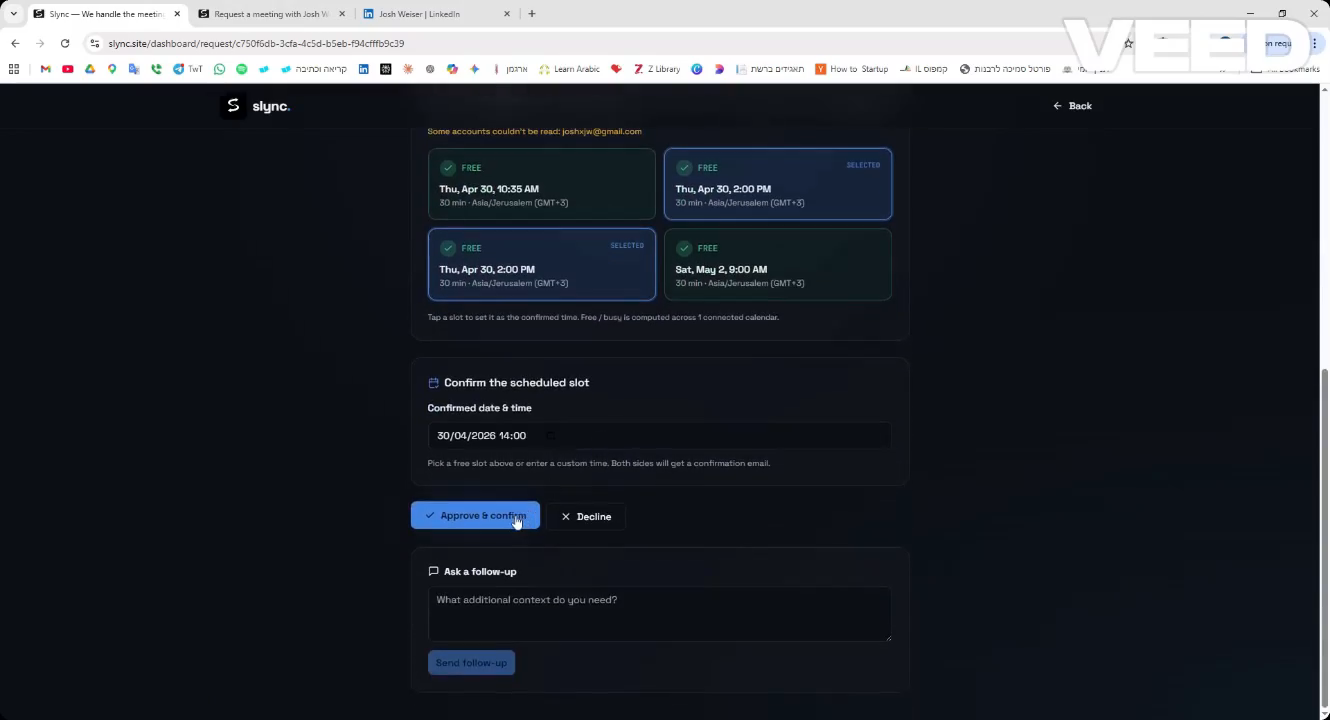
11
Select a time slot from the proposed times. Click Approve & confirm to finalize the meeting. (If you want to)
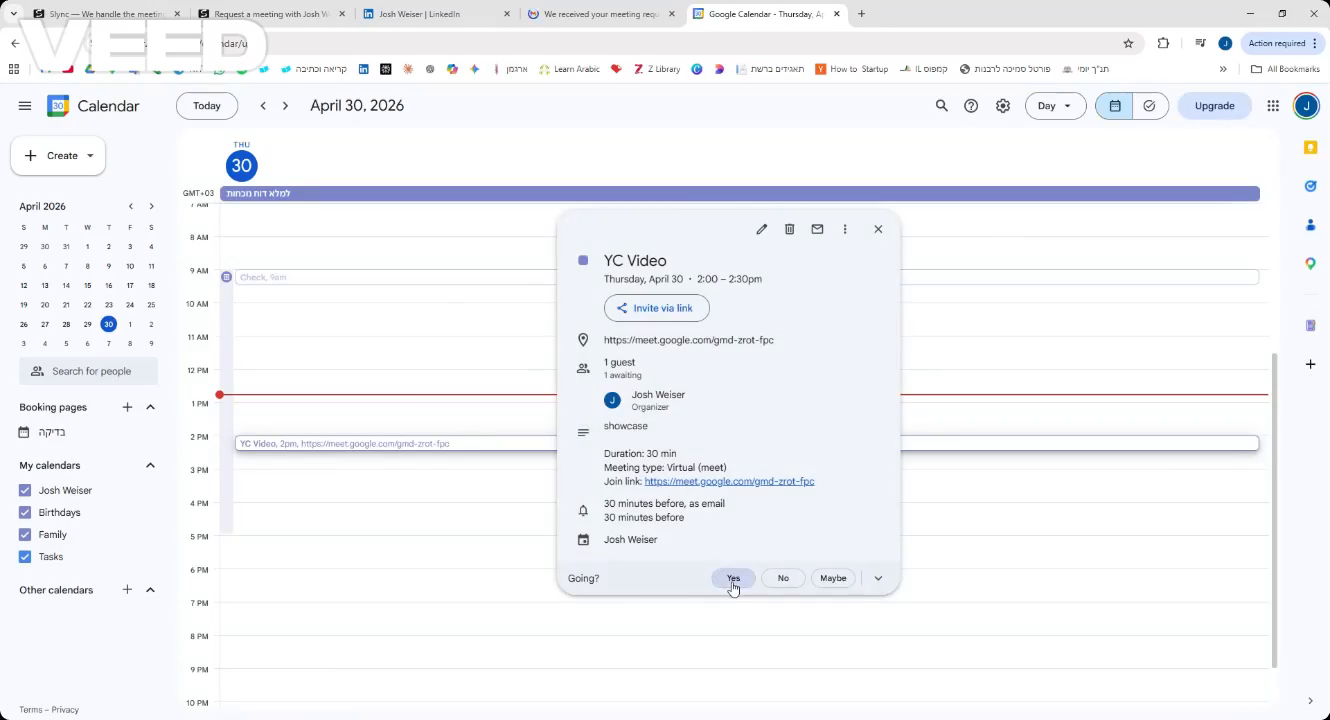
Part 3: Calendar Meeting sent to email & calander
12
Open Google Calendar (or your preferred calendar app).
13
Click Yes in the RSVP section to confirm your attendance.