How to Request Files from External Clients Using the Client Upload Portal
Learn how to efficiently request and manage file uploads from external clients using the Client Upload Portal. This step-by-step guide ensures secure and organized file sharing.
In this guide, we'll learn how to request and manage file uploads from external clients using a client upload portal. This process involves creating a dedicated folder for each client, generating a file request link, and sharing it securely. We'll also explore the client's perspective on uploading files and discuss important considerations for maintaining the security and integrity of the shared link. This guide aims to streamline the file request process, ensuring efficient and secure document exchange with external parties.
Let's get started
https://jemhealthau.sharepoint.com/sites/ClientUploadPortal
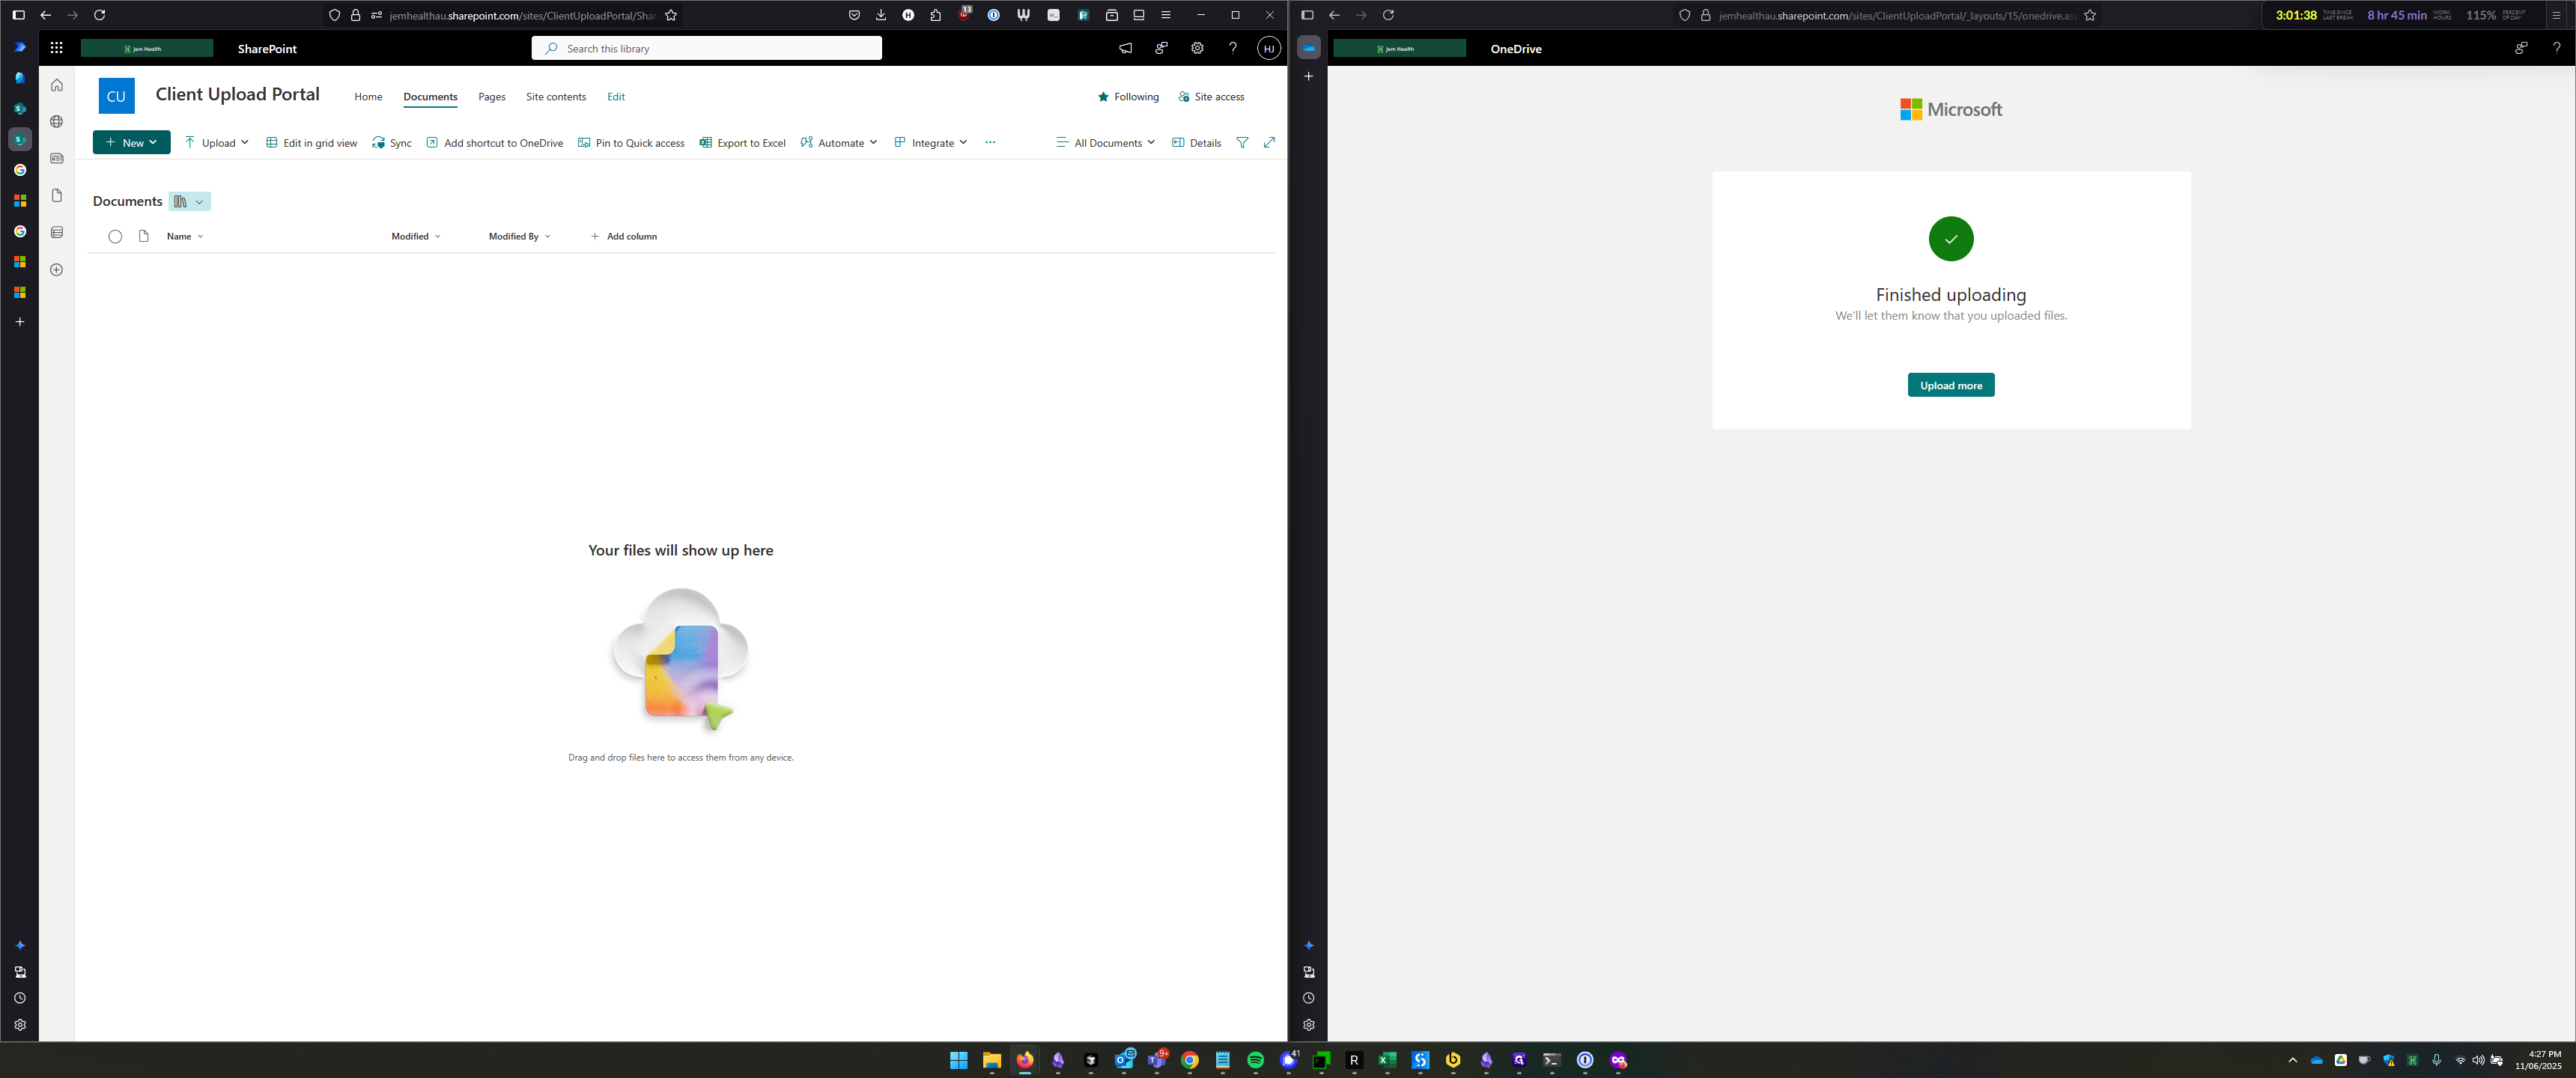
Here is the client upload portal. I'm going to give a quick demonstration on how to request files from an external client for upload into this portal. To start, click "New" and create a folder.
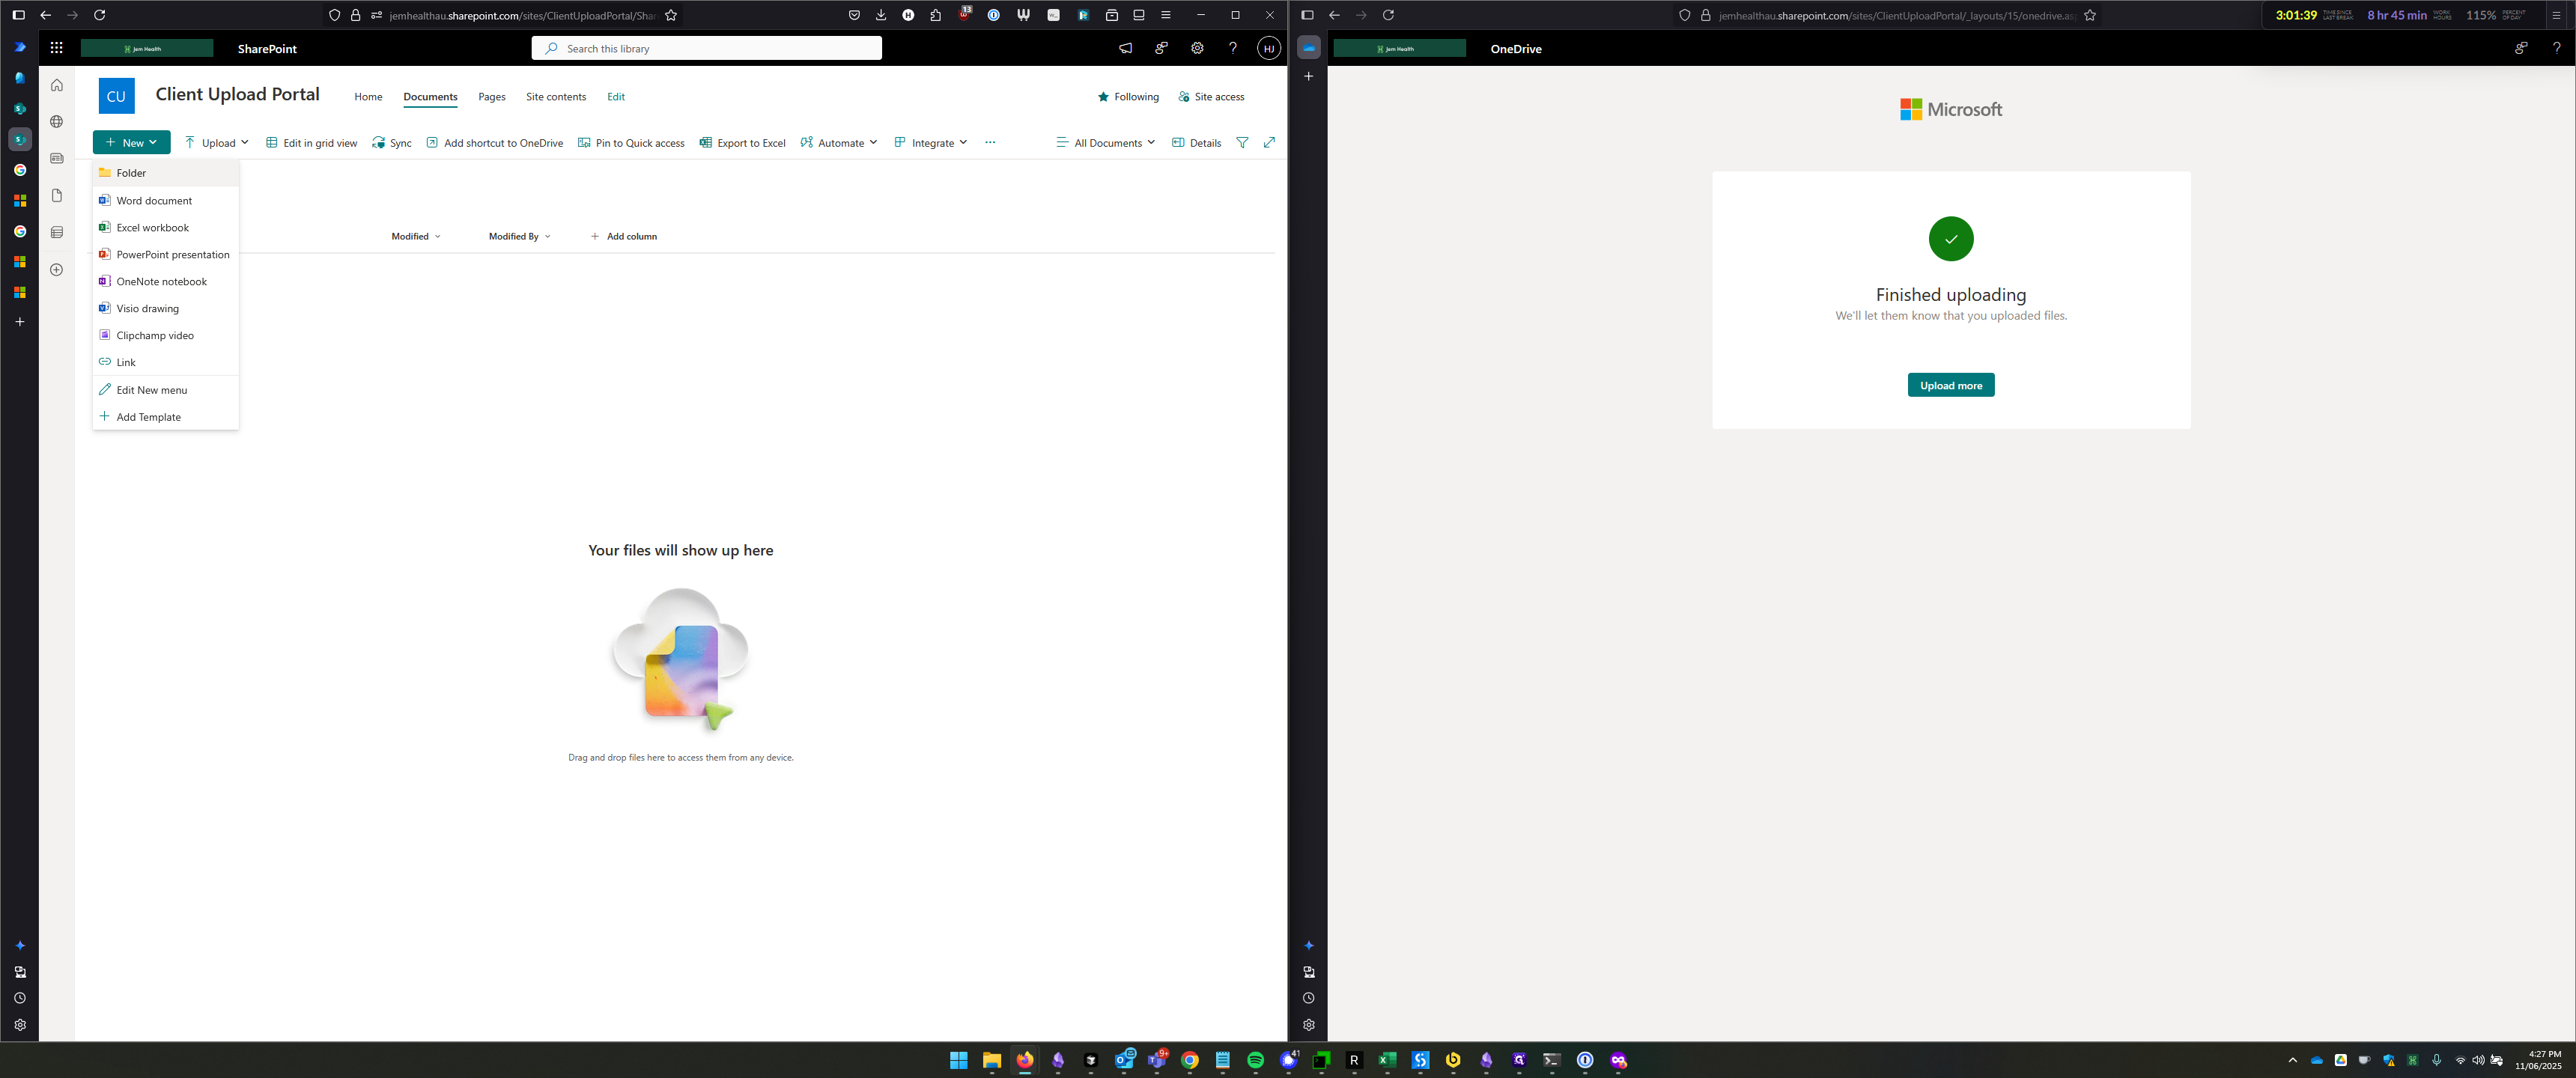
Now, we'll name this folder after the client, so it will be called External Client 1. This is a demonstration folder. You can choose a color for the folder here.
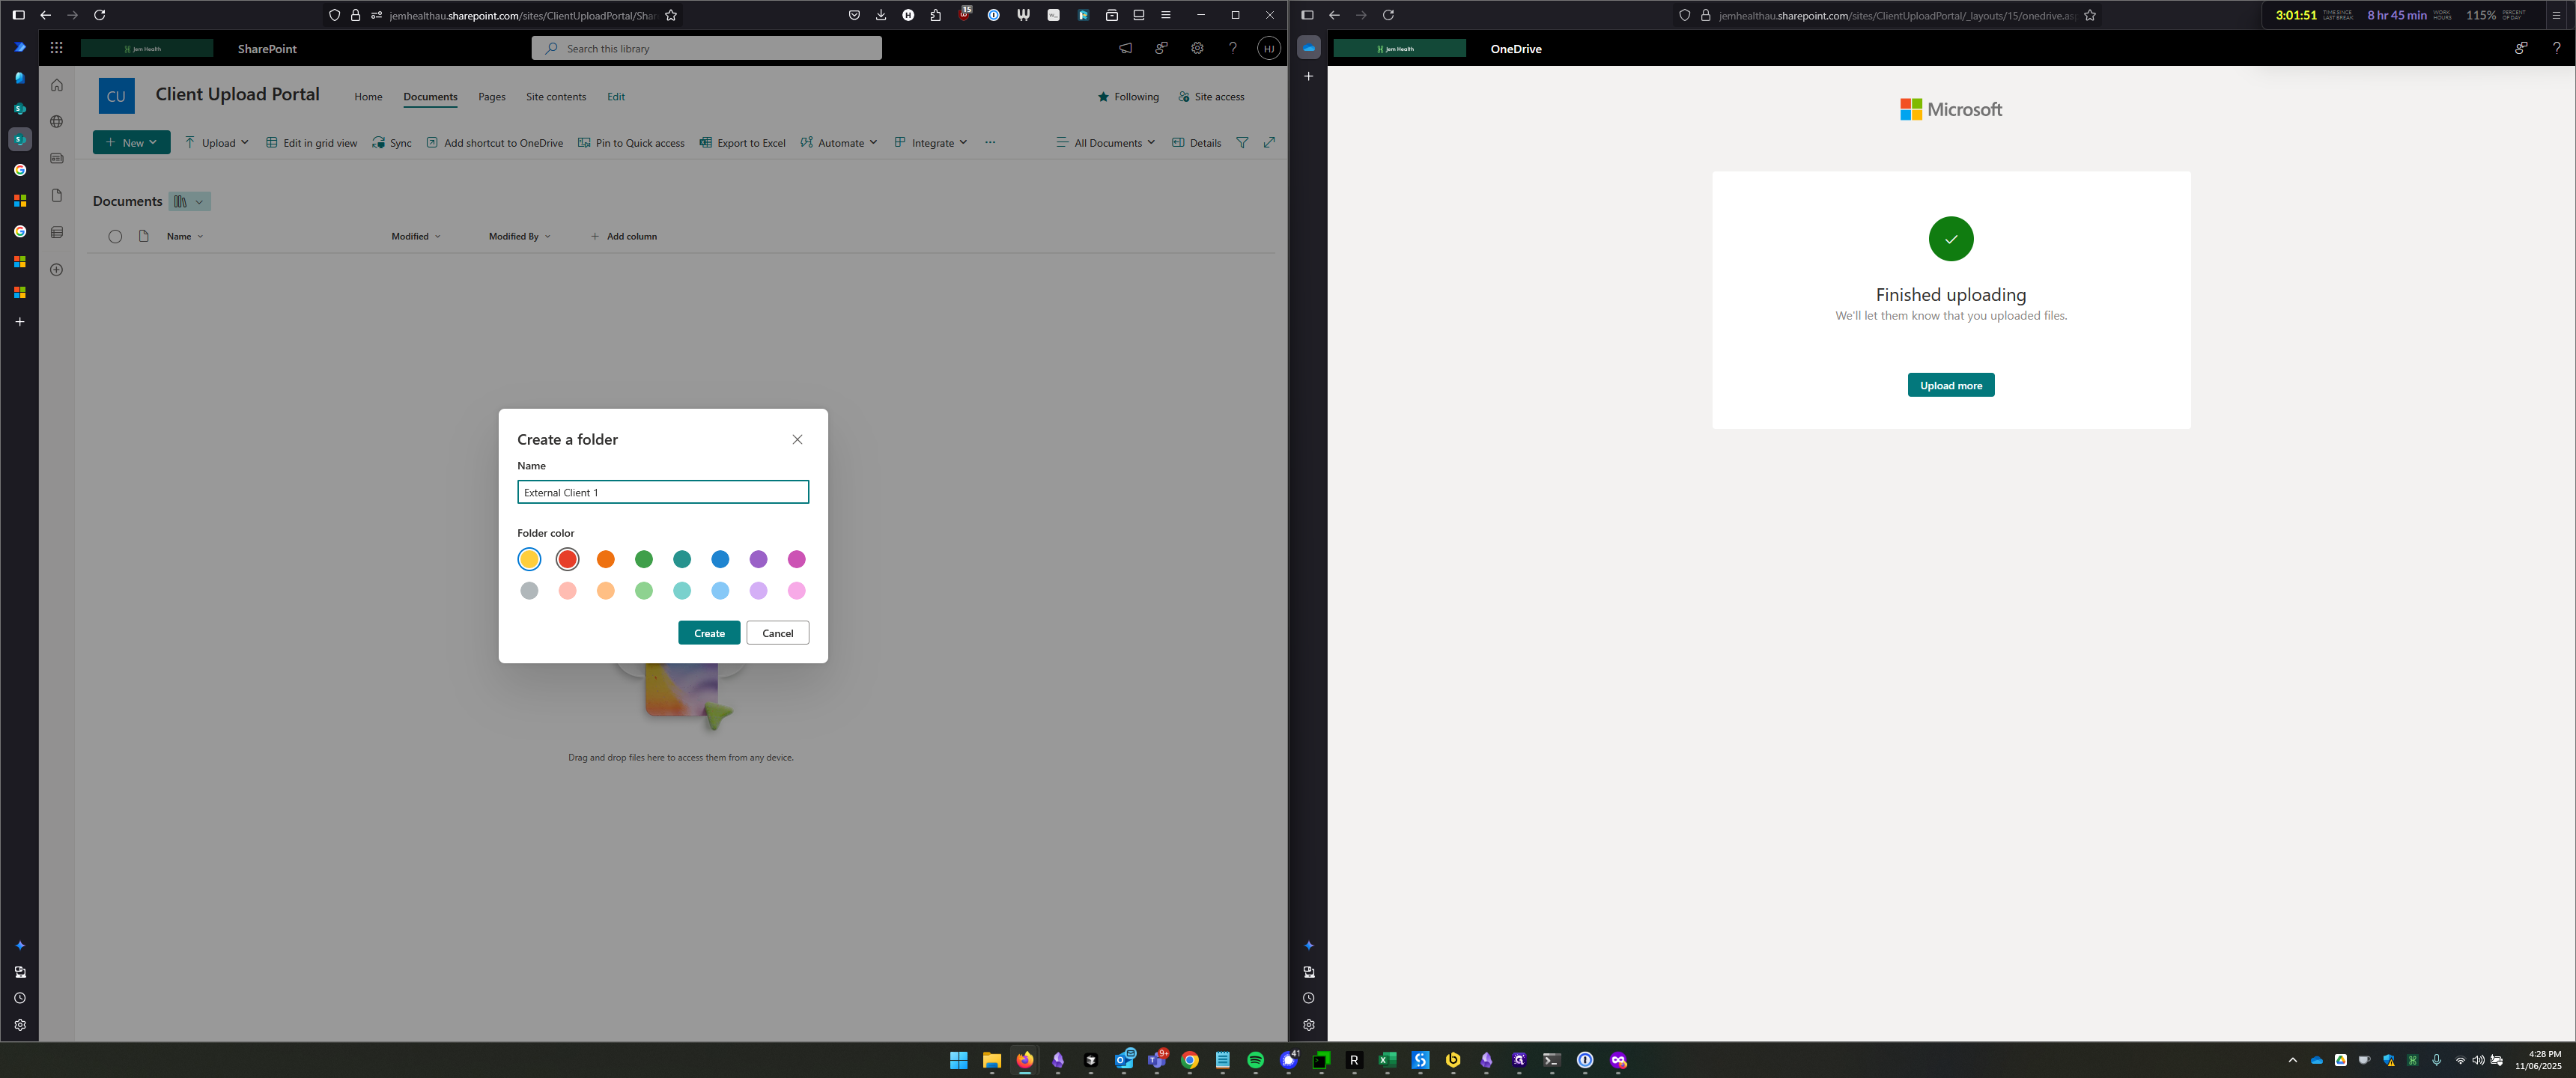
This isn't important; we're just going to create the folder.
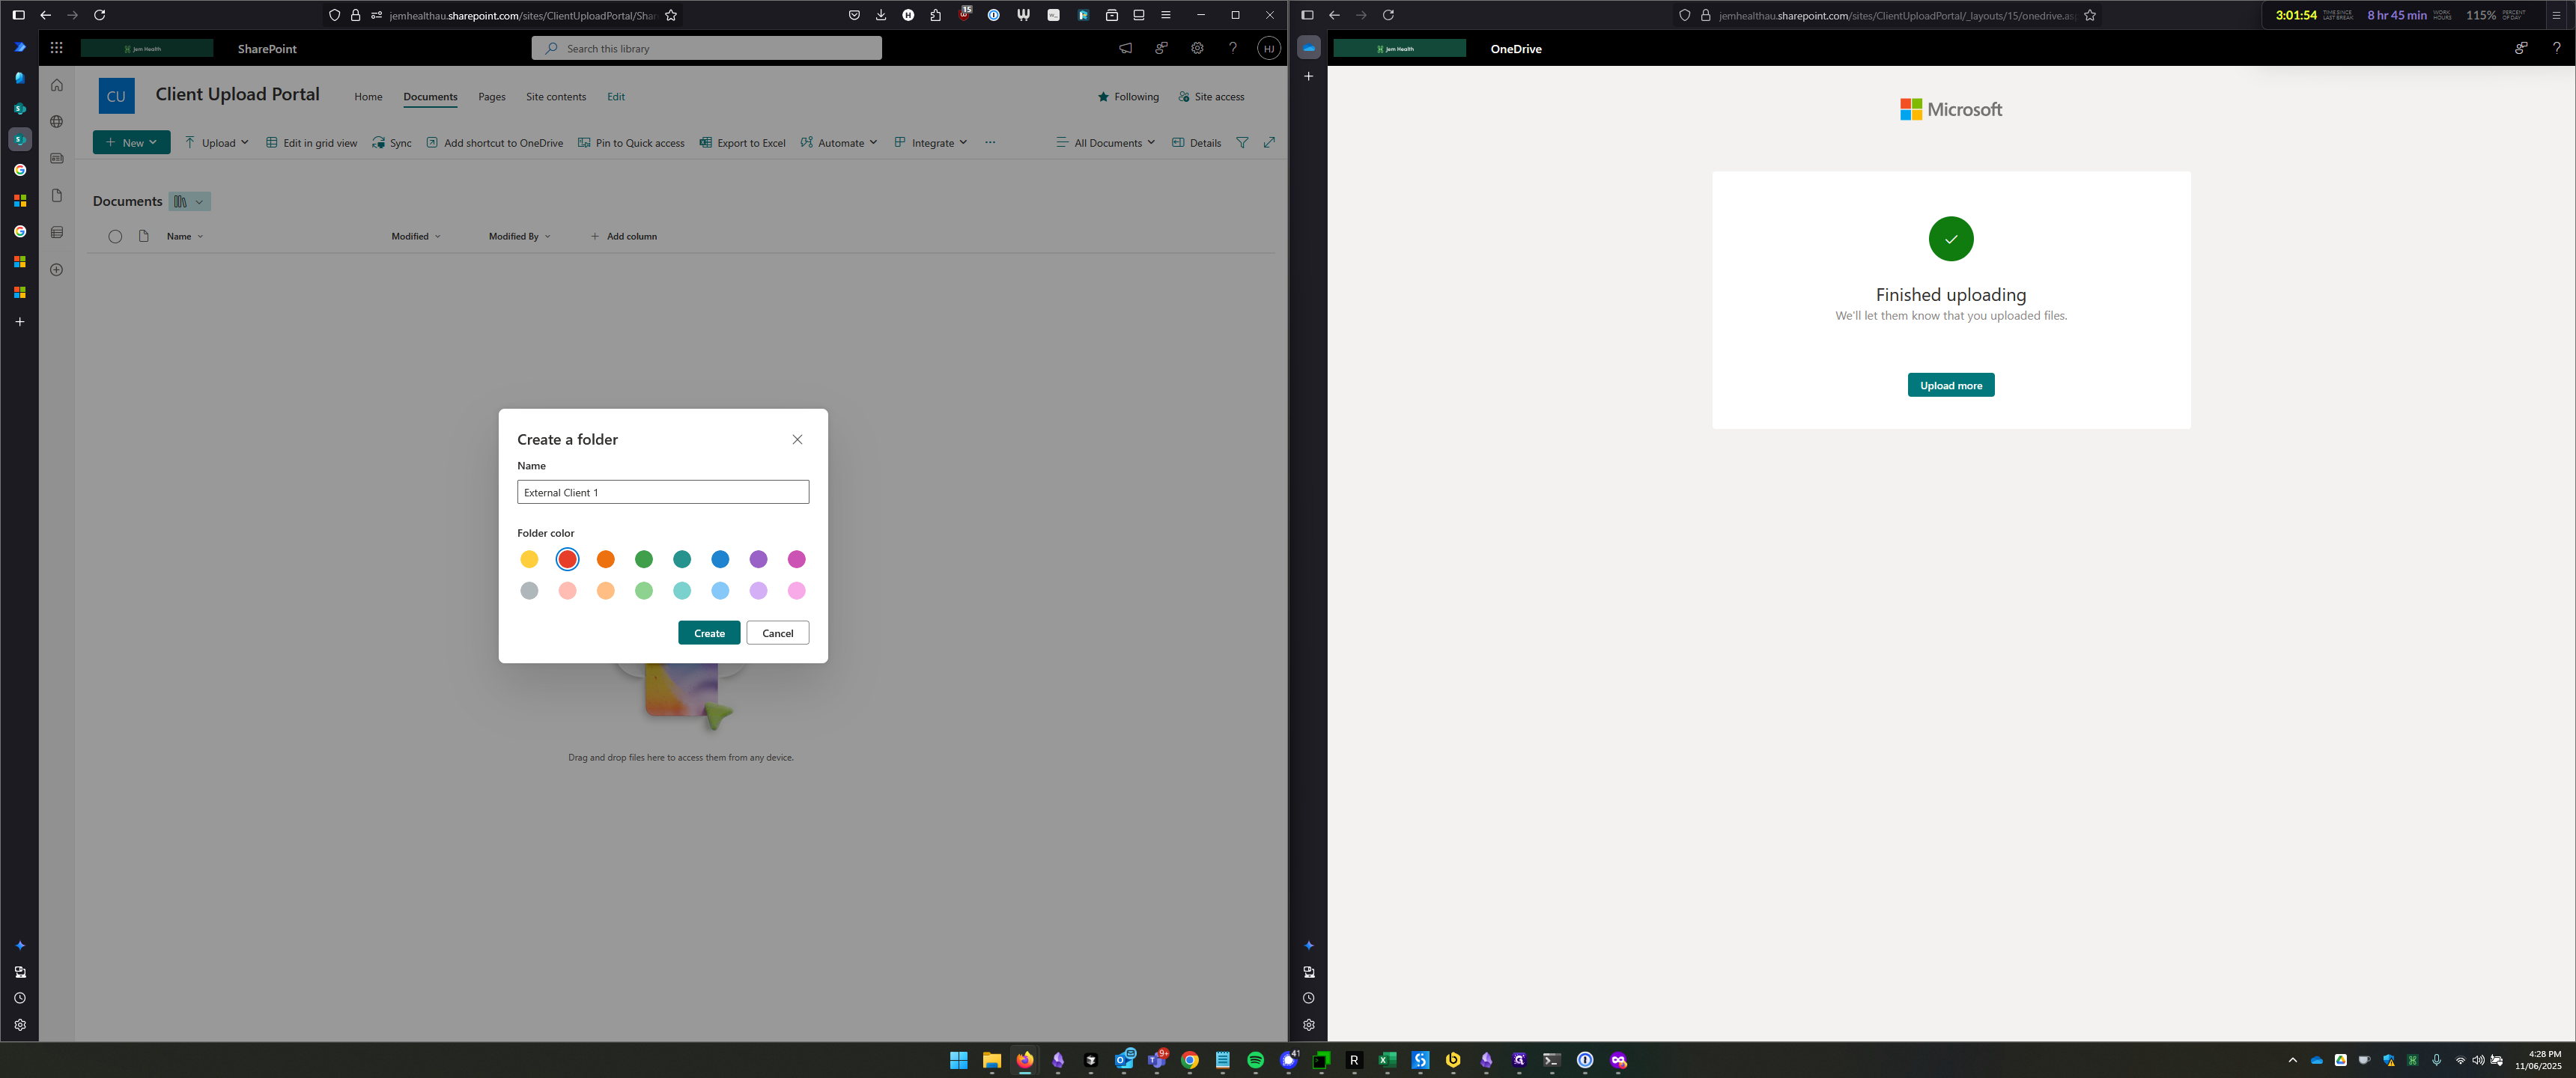
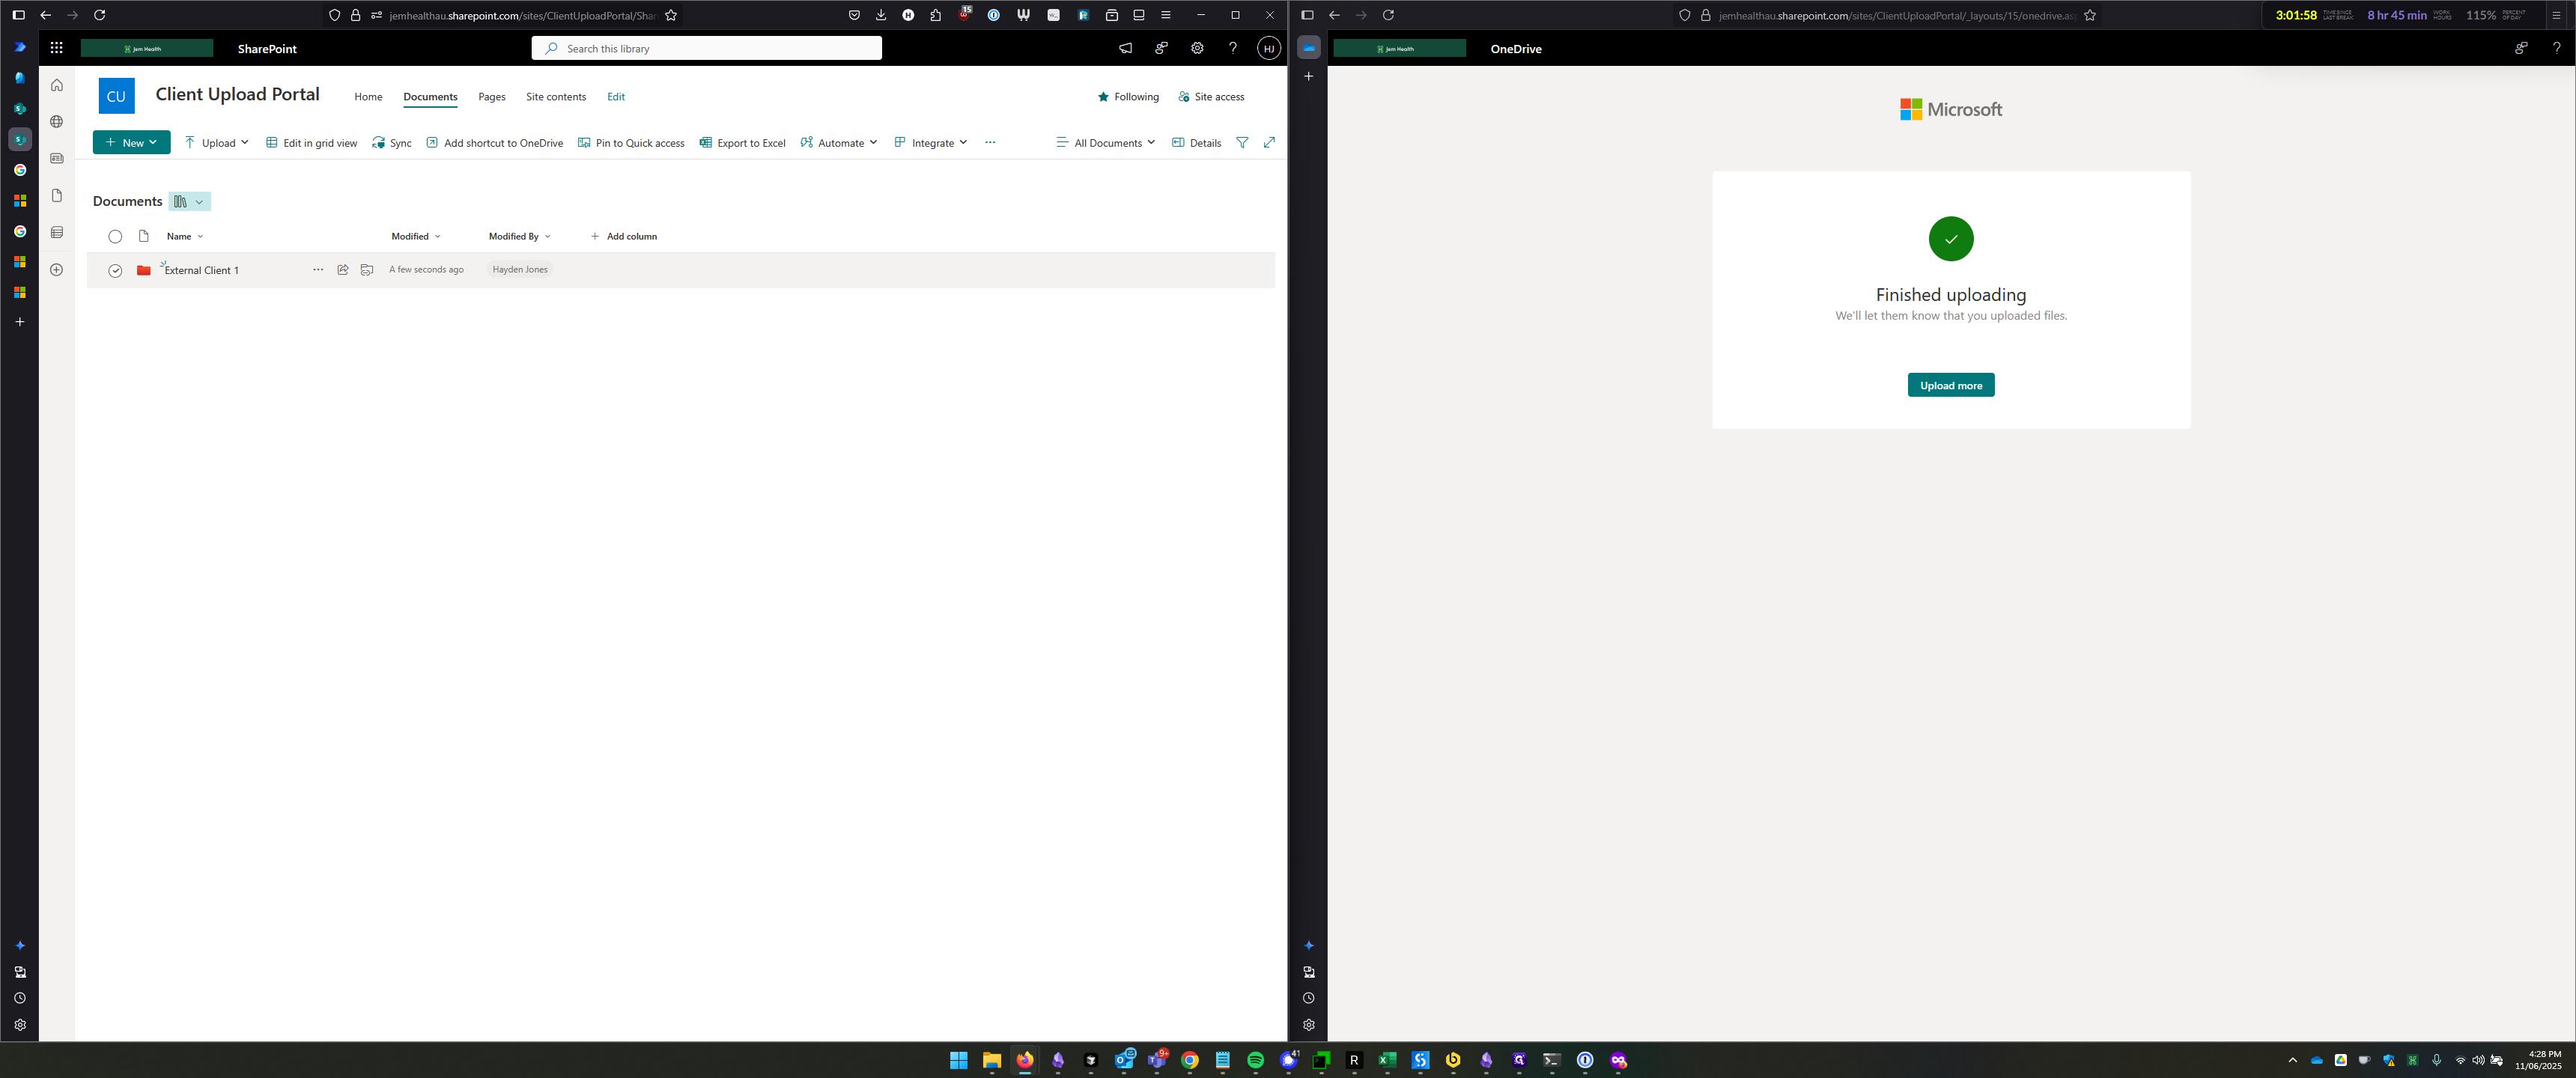
Now that the folder has been created and is visible, I'll click to select it, and then click Request Files.
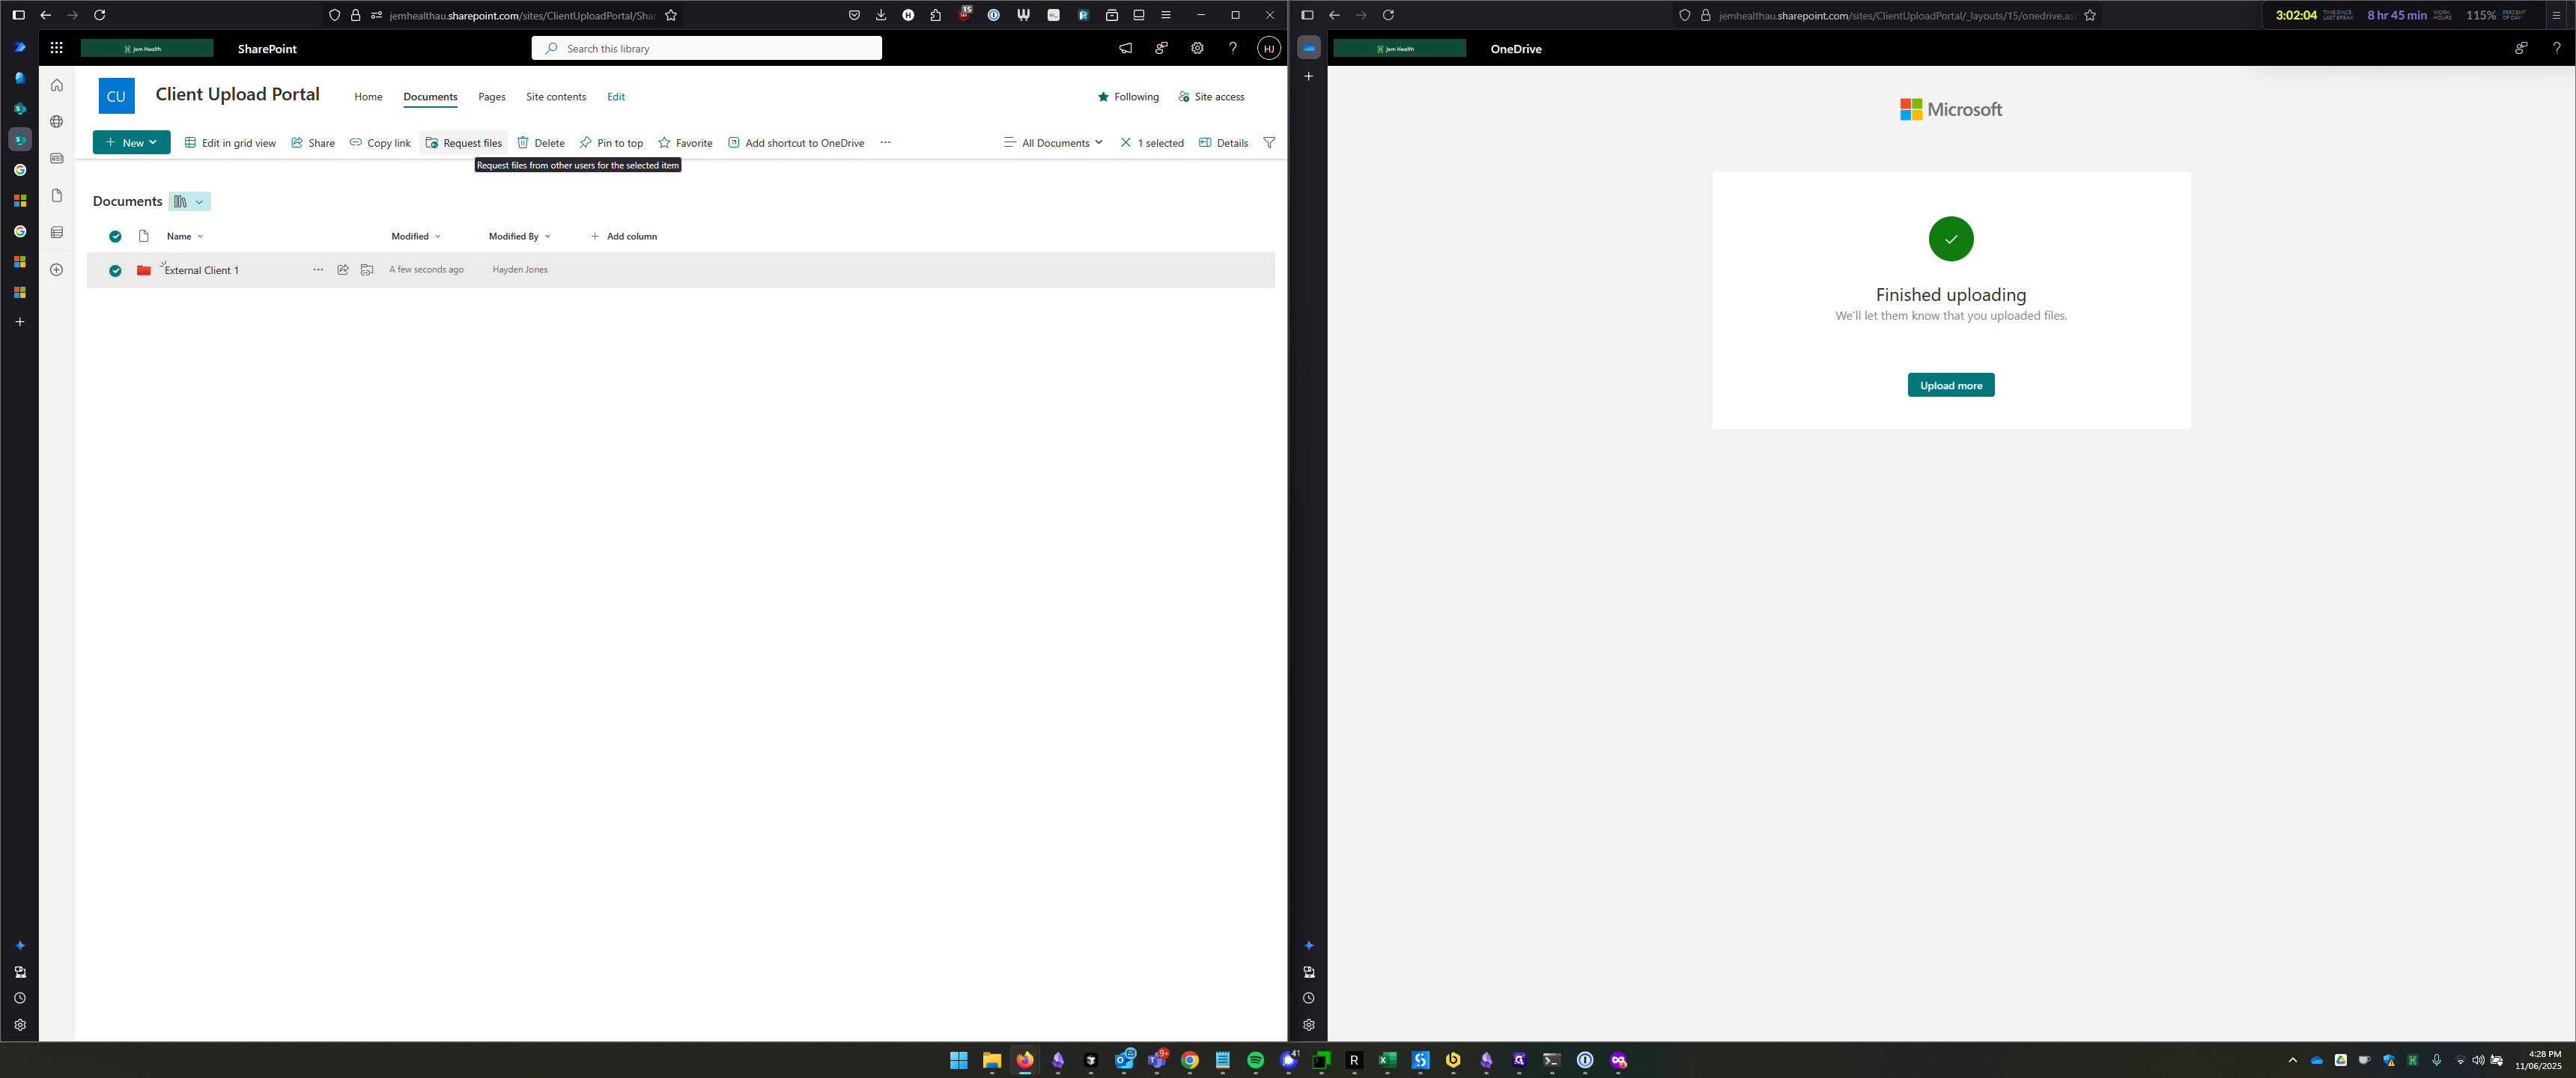
It will then ask me for a description of what we are requesting the client to upload.
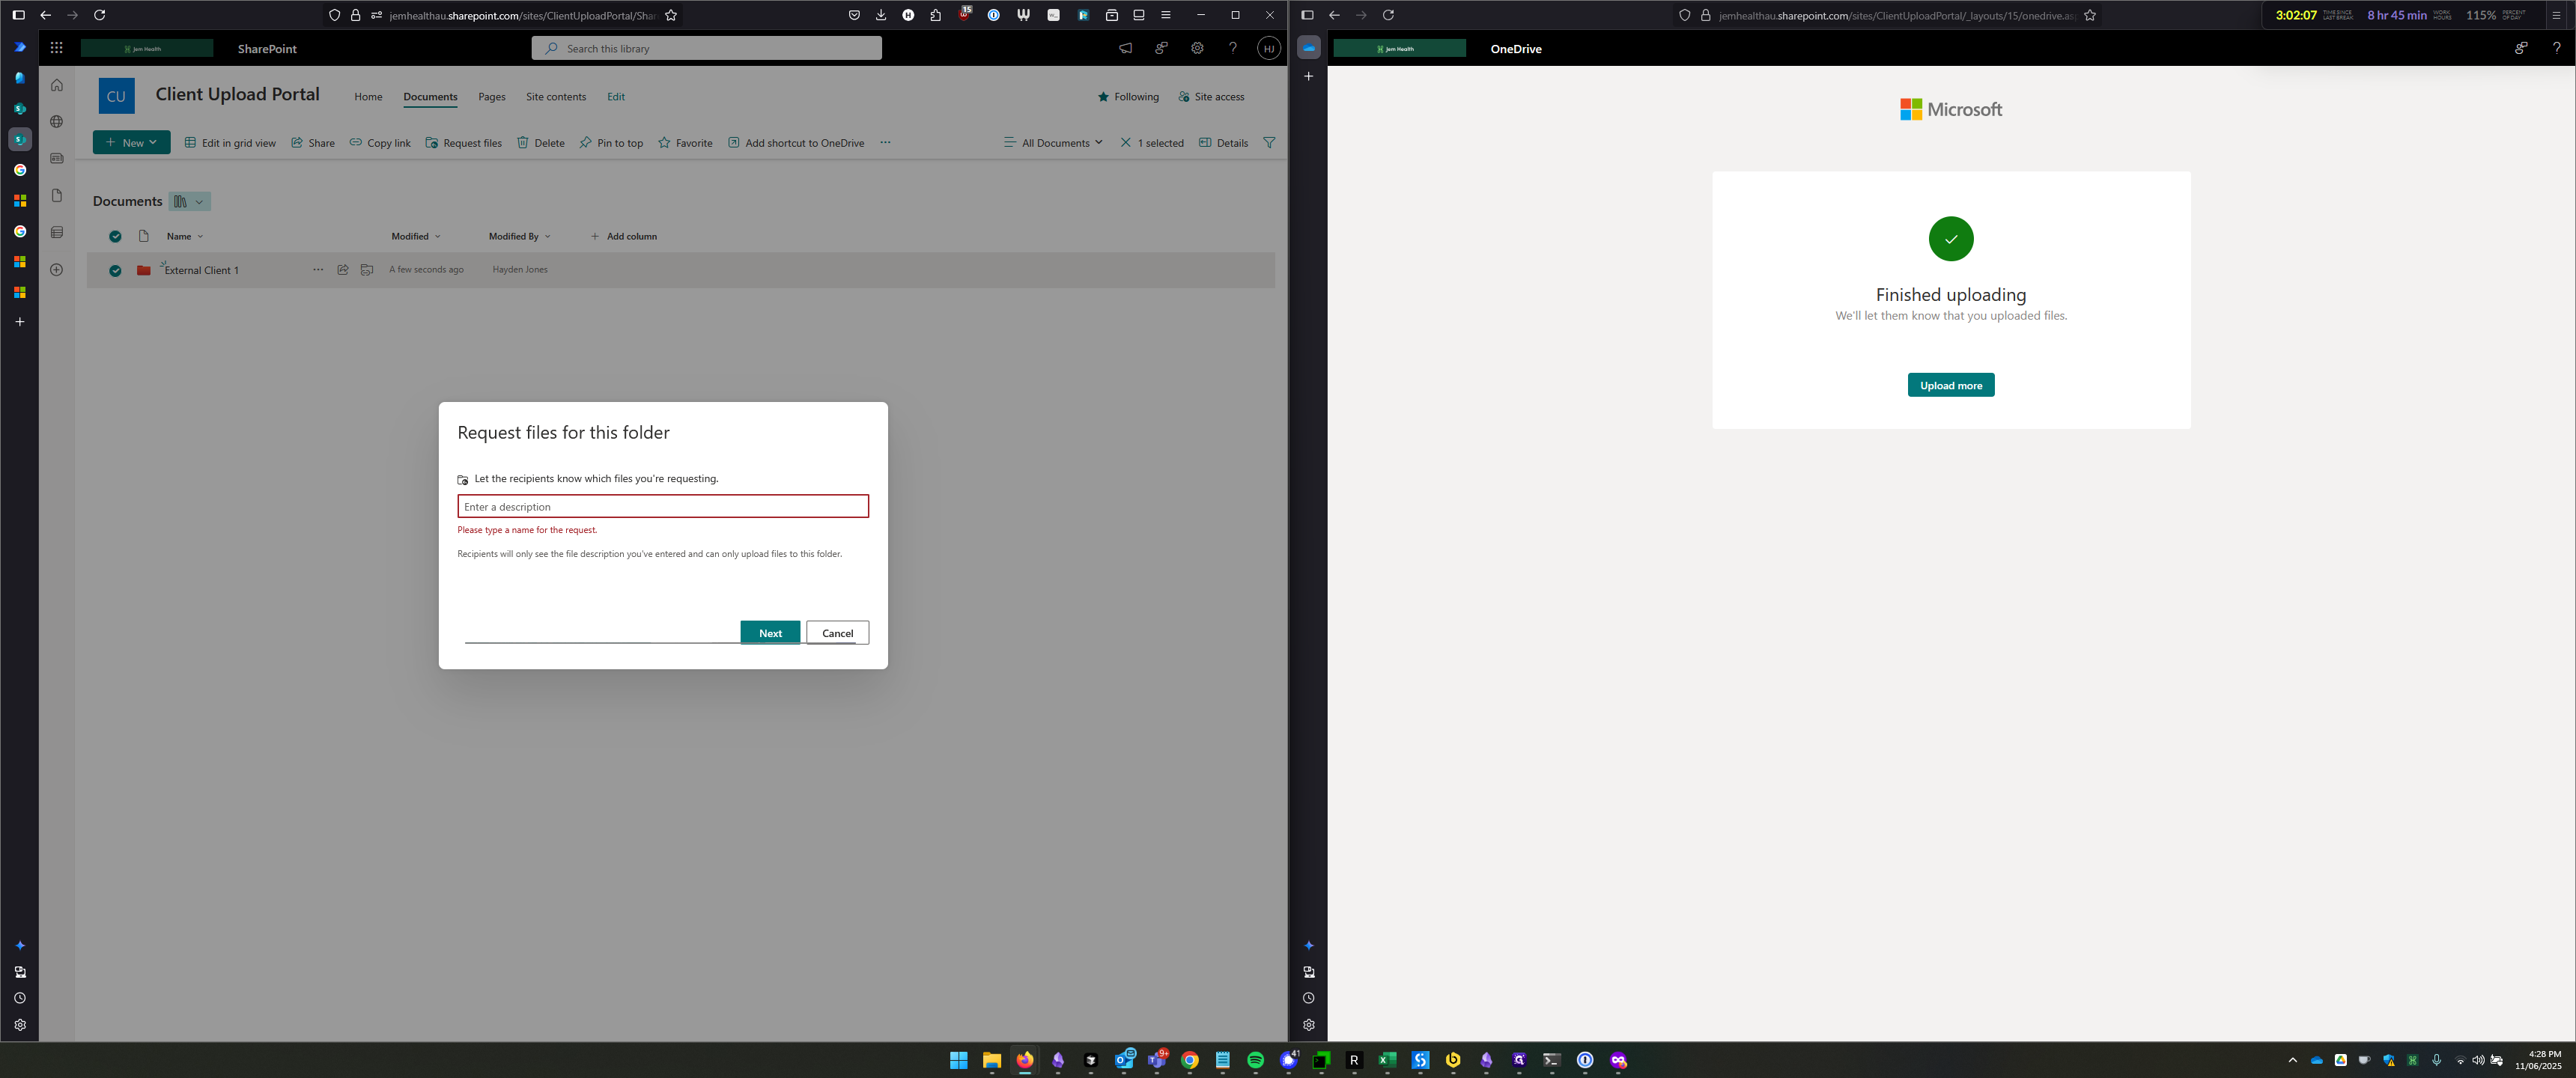
Please upload the files related to the clients you are sending us. Then, click Next.
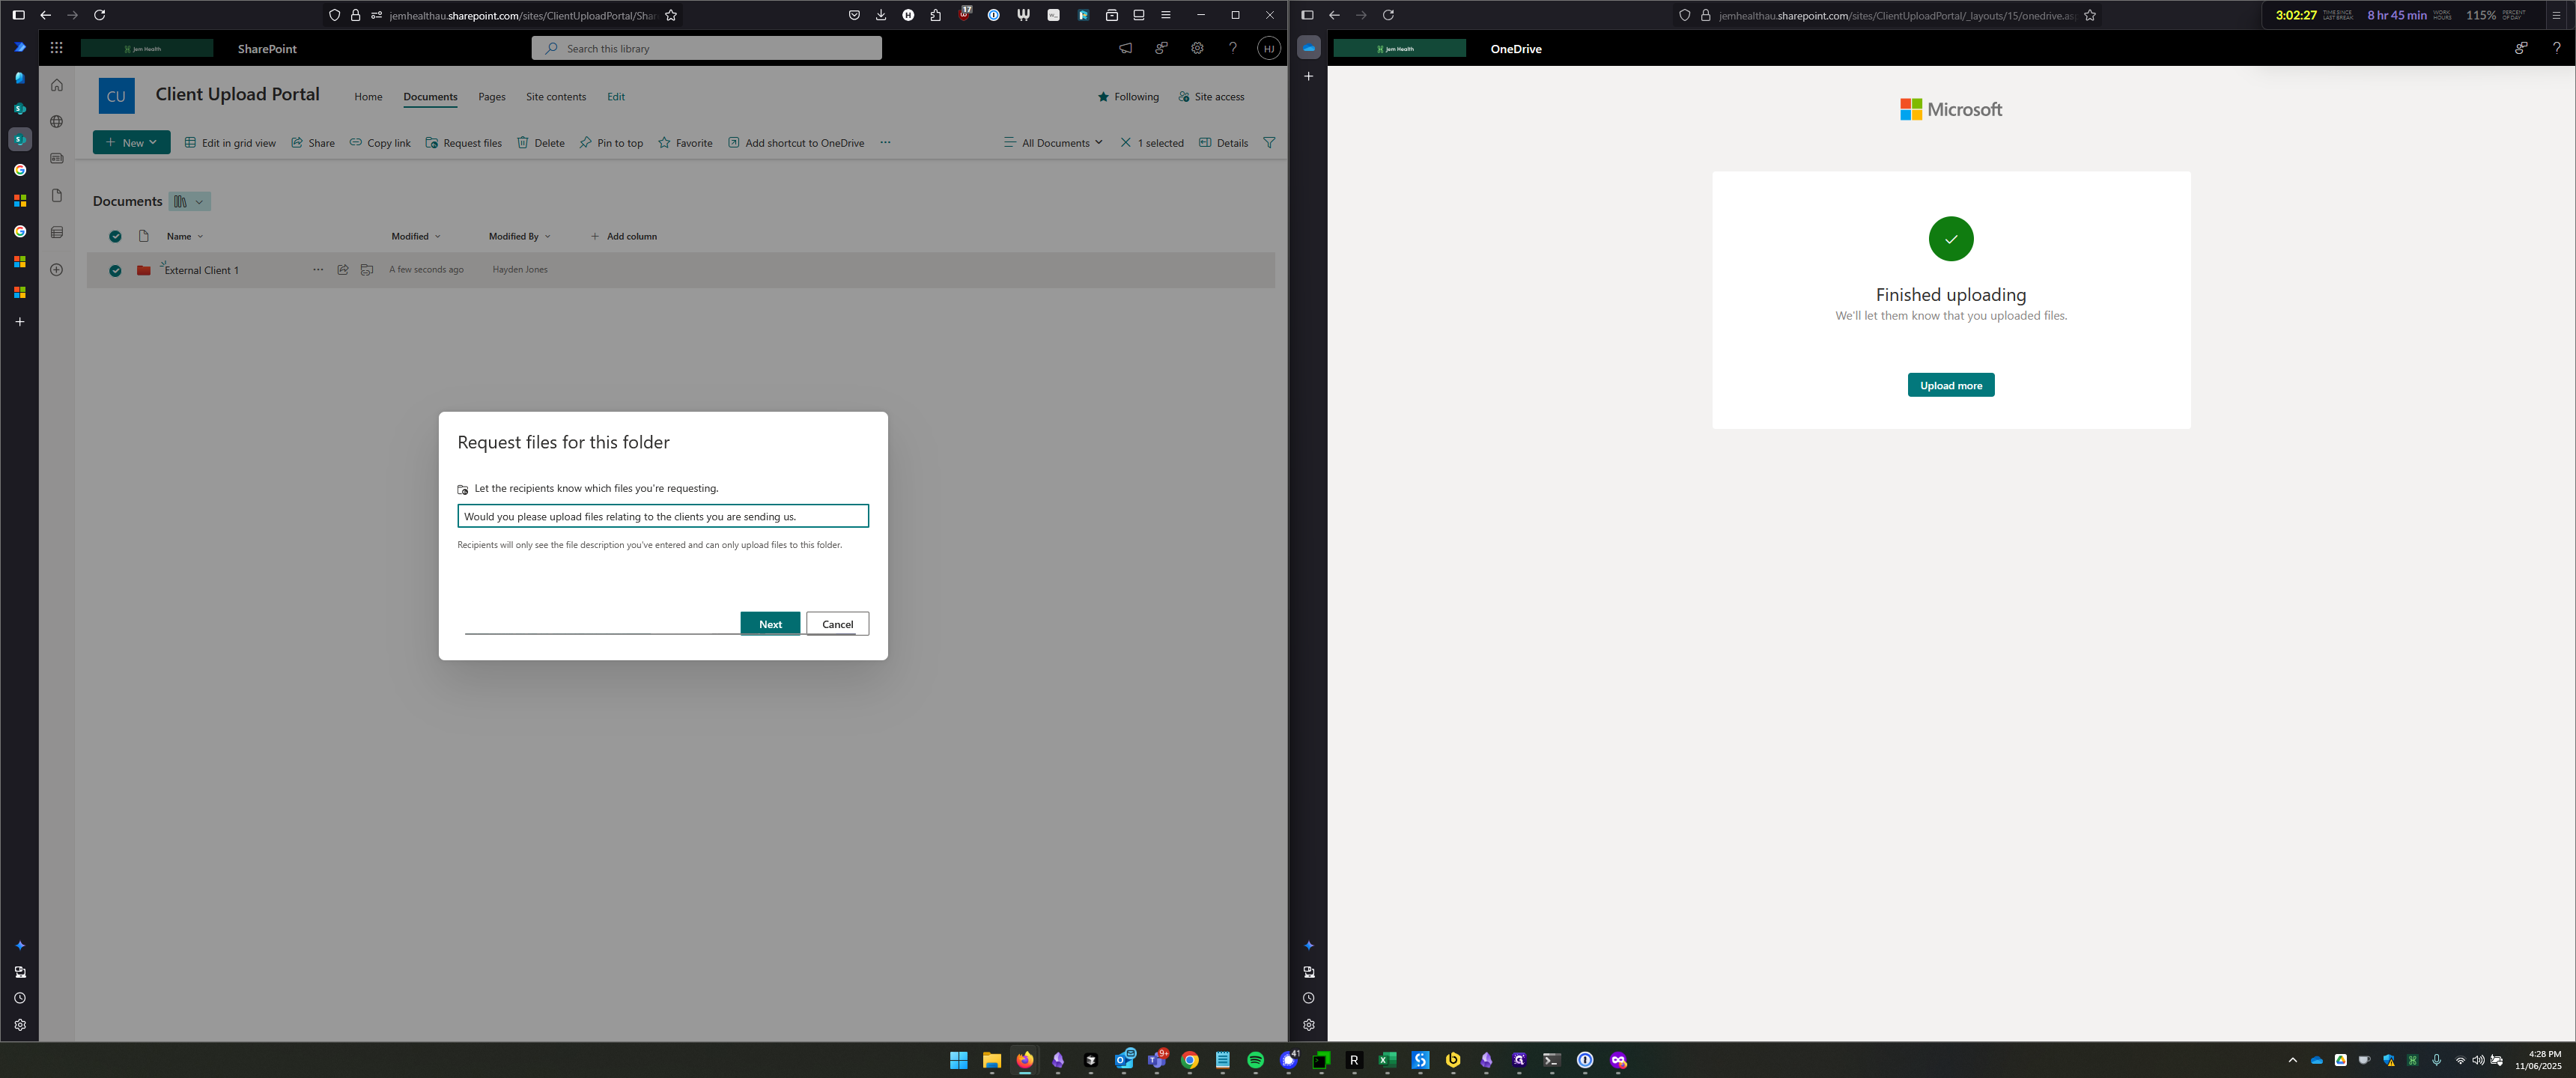
Once we've completed that, we have everything we need. Click "Copy Link" to get a link you can send to the client. They can use it to upload files into this folder.
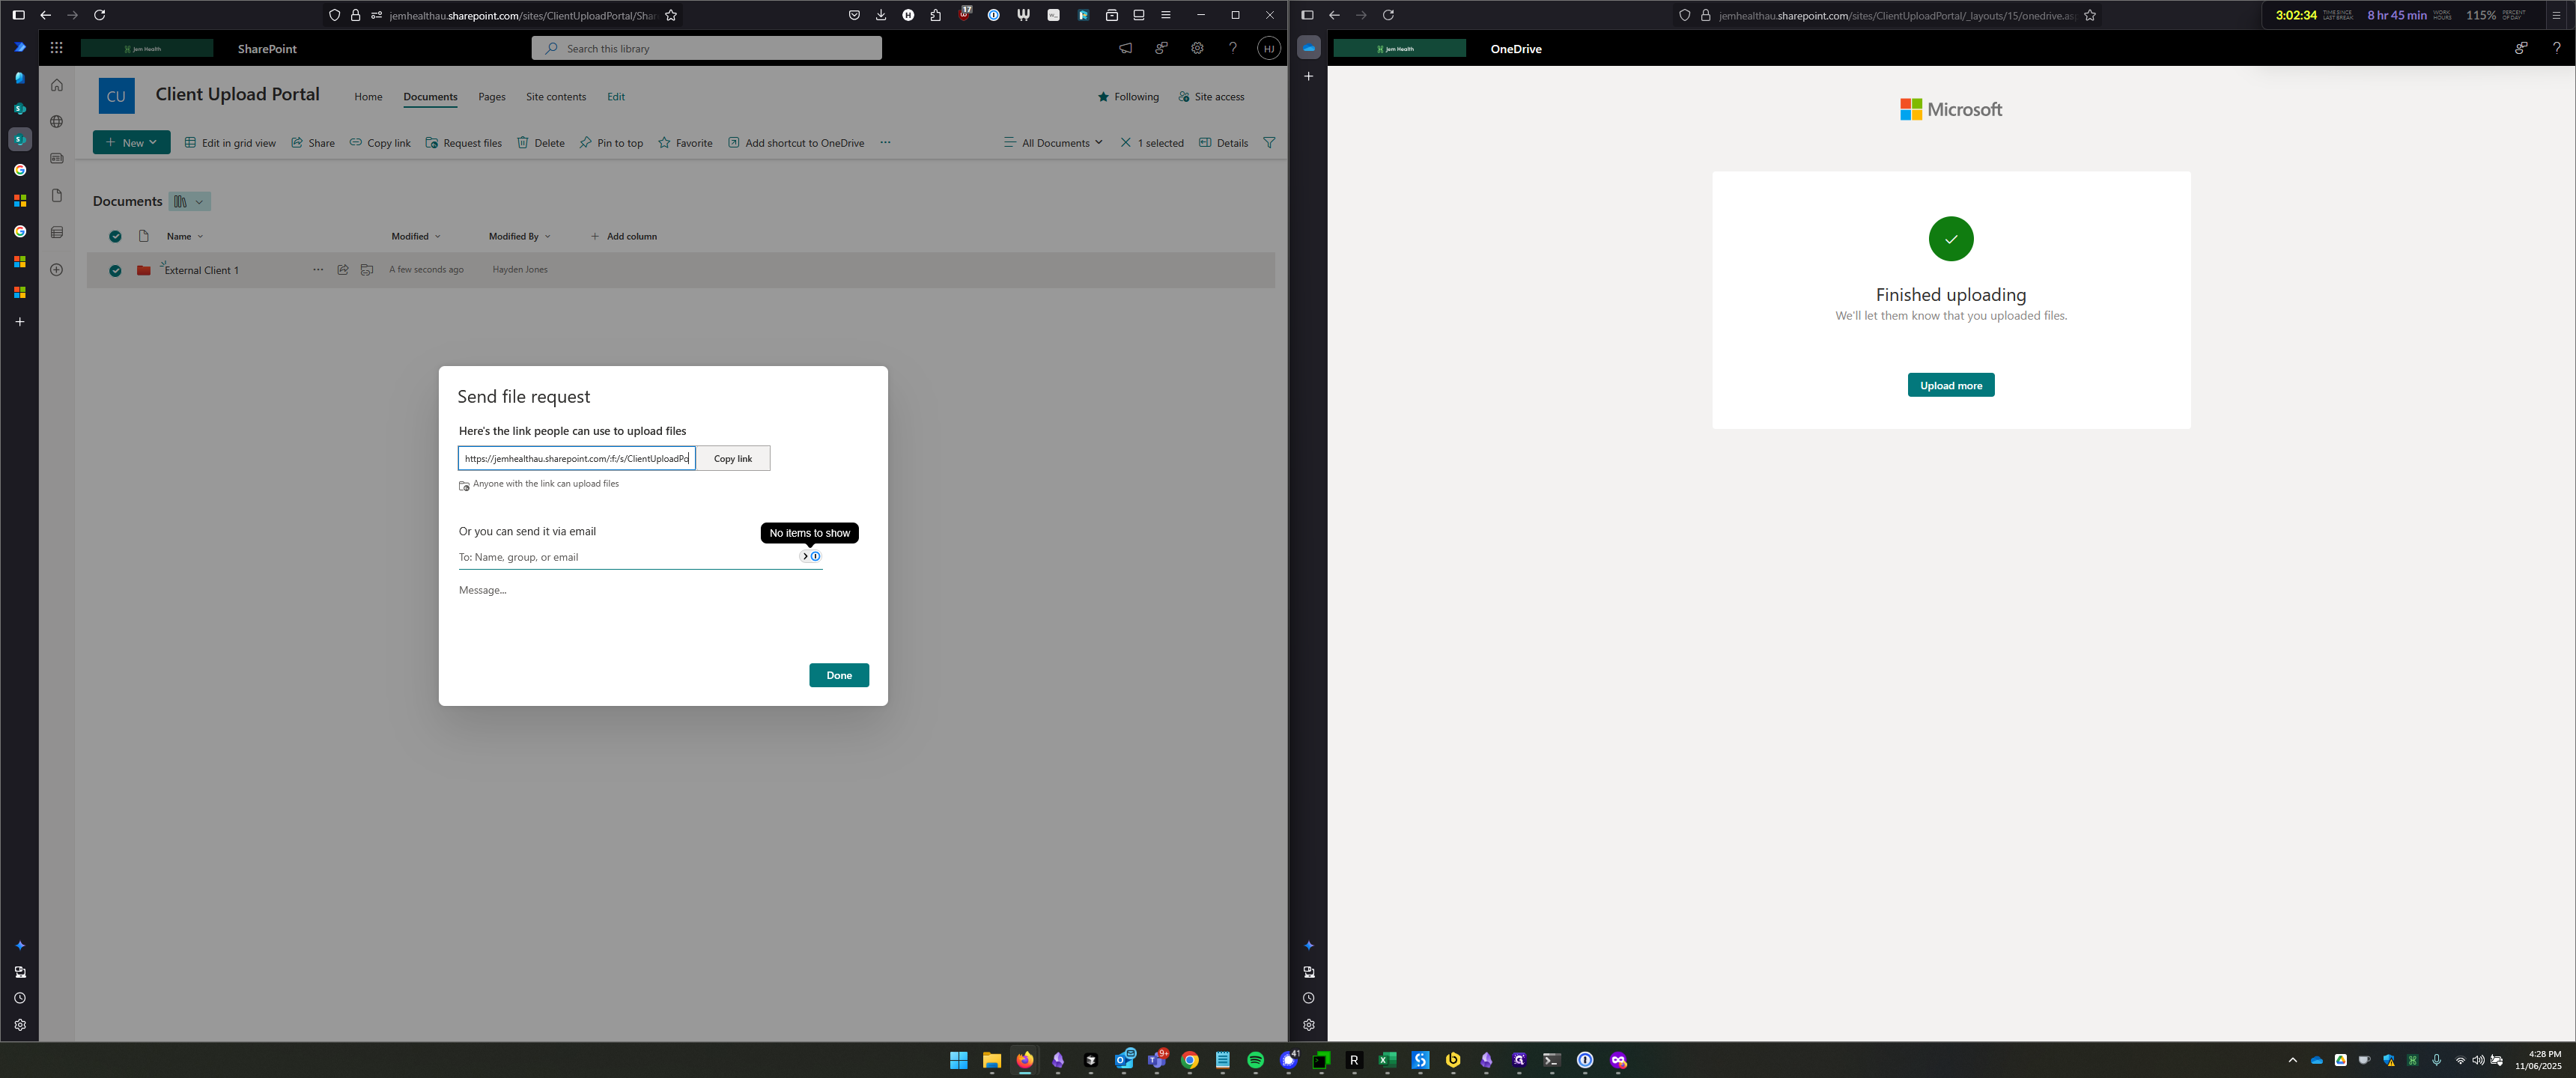
You can optionally send it via email using this option and add a message.
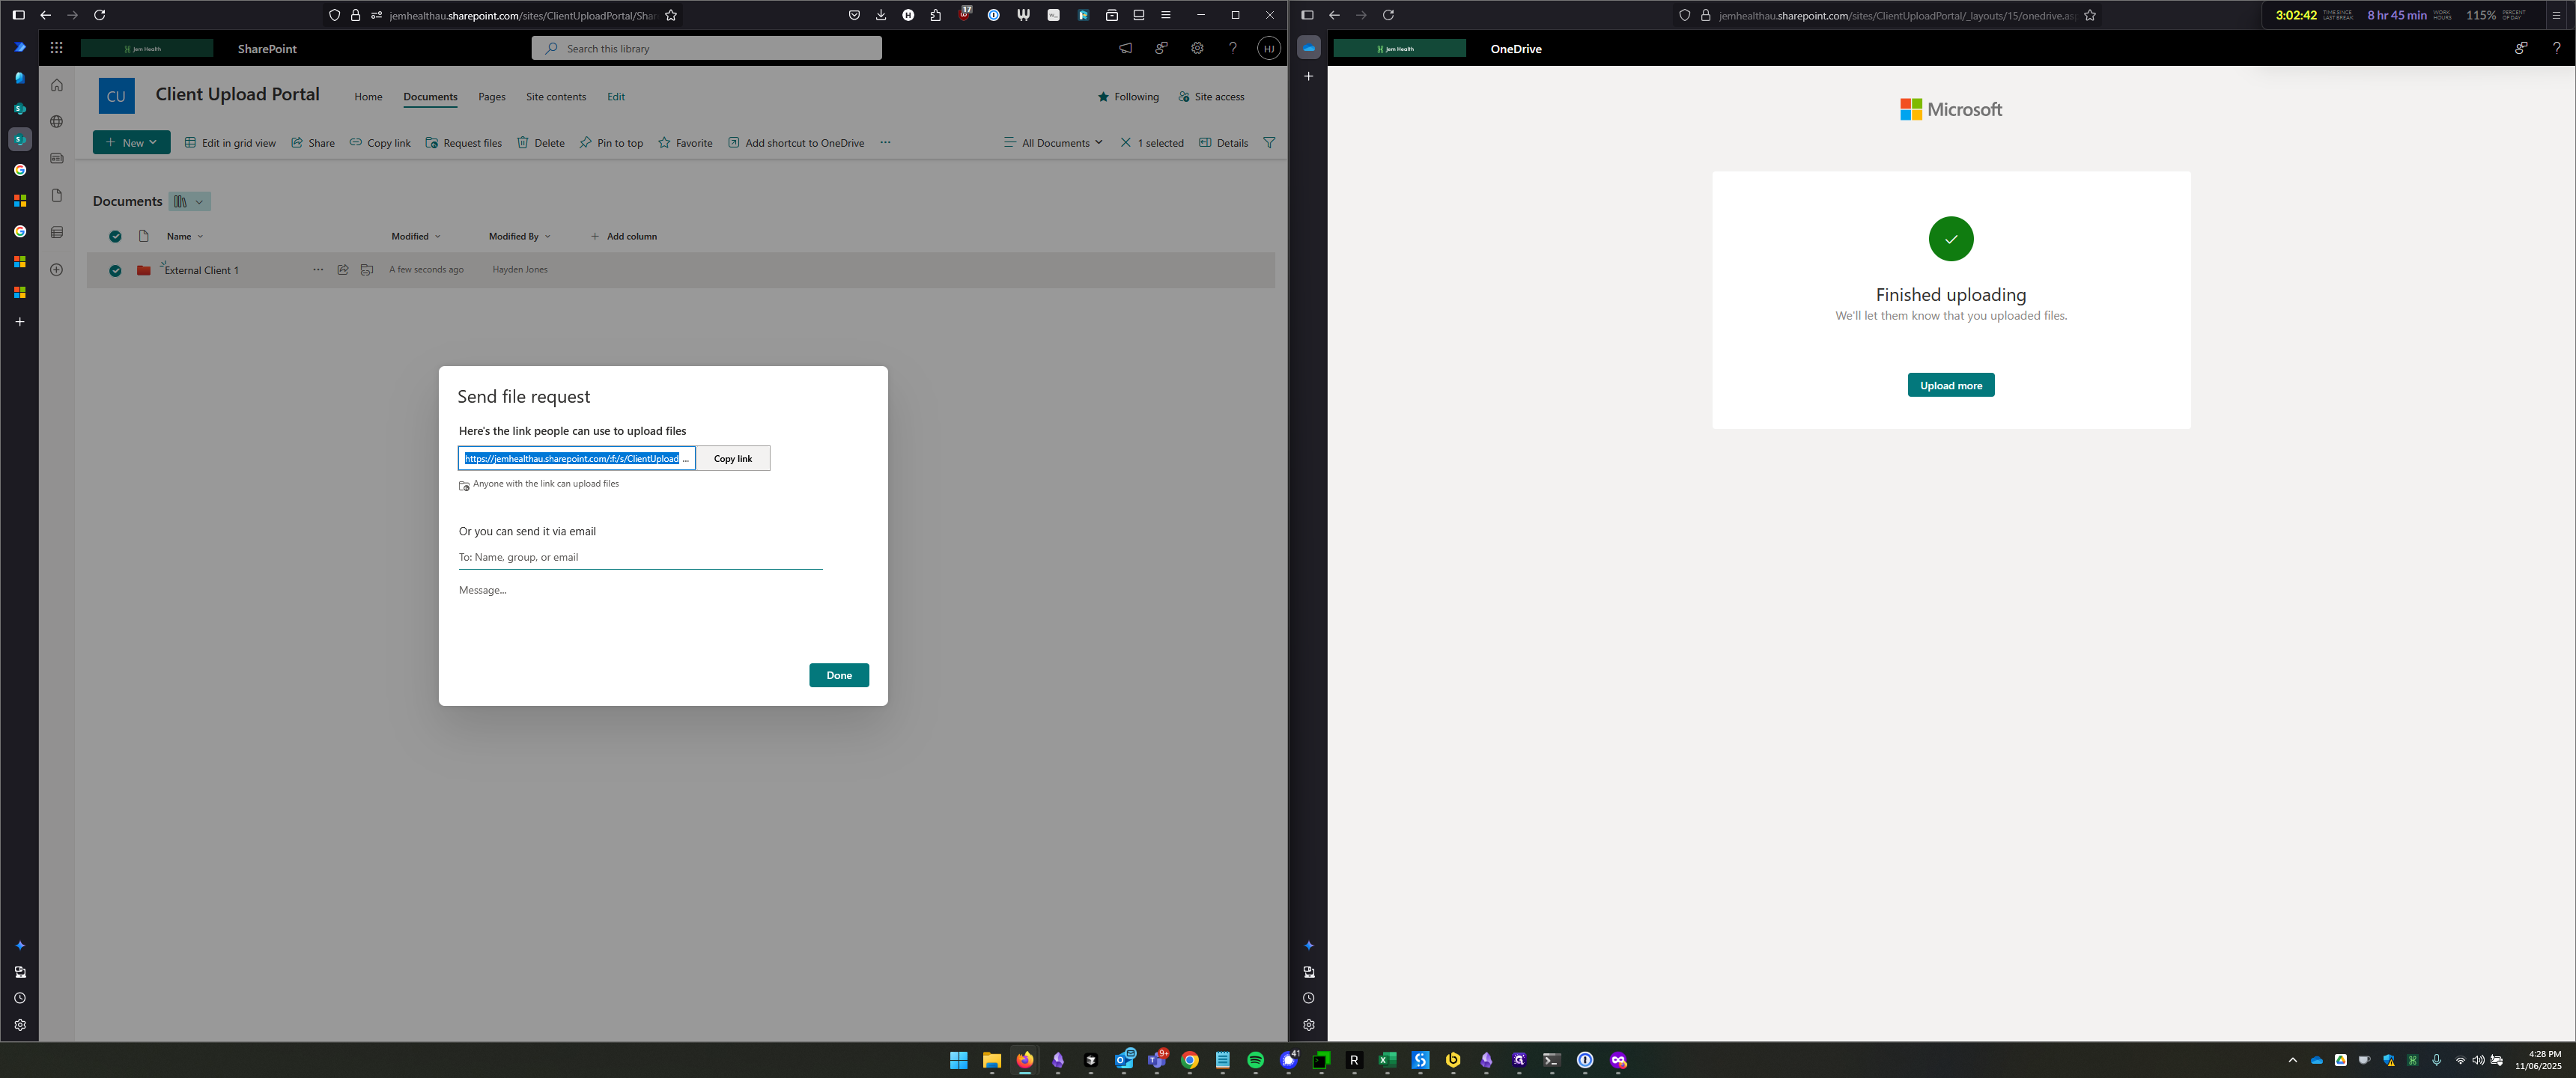
After clicking Done, the process is complete. The folder will close, and the file request was created.
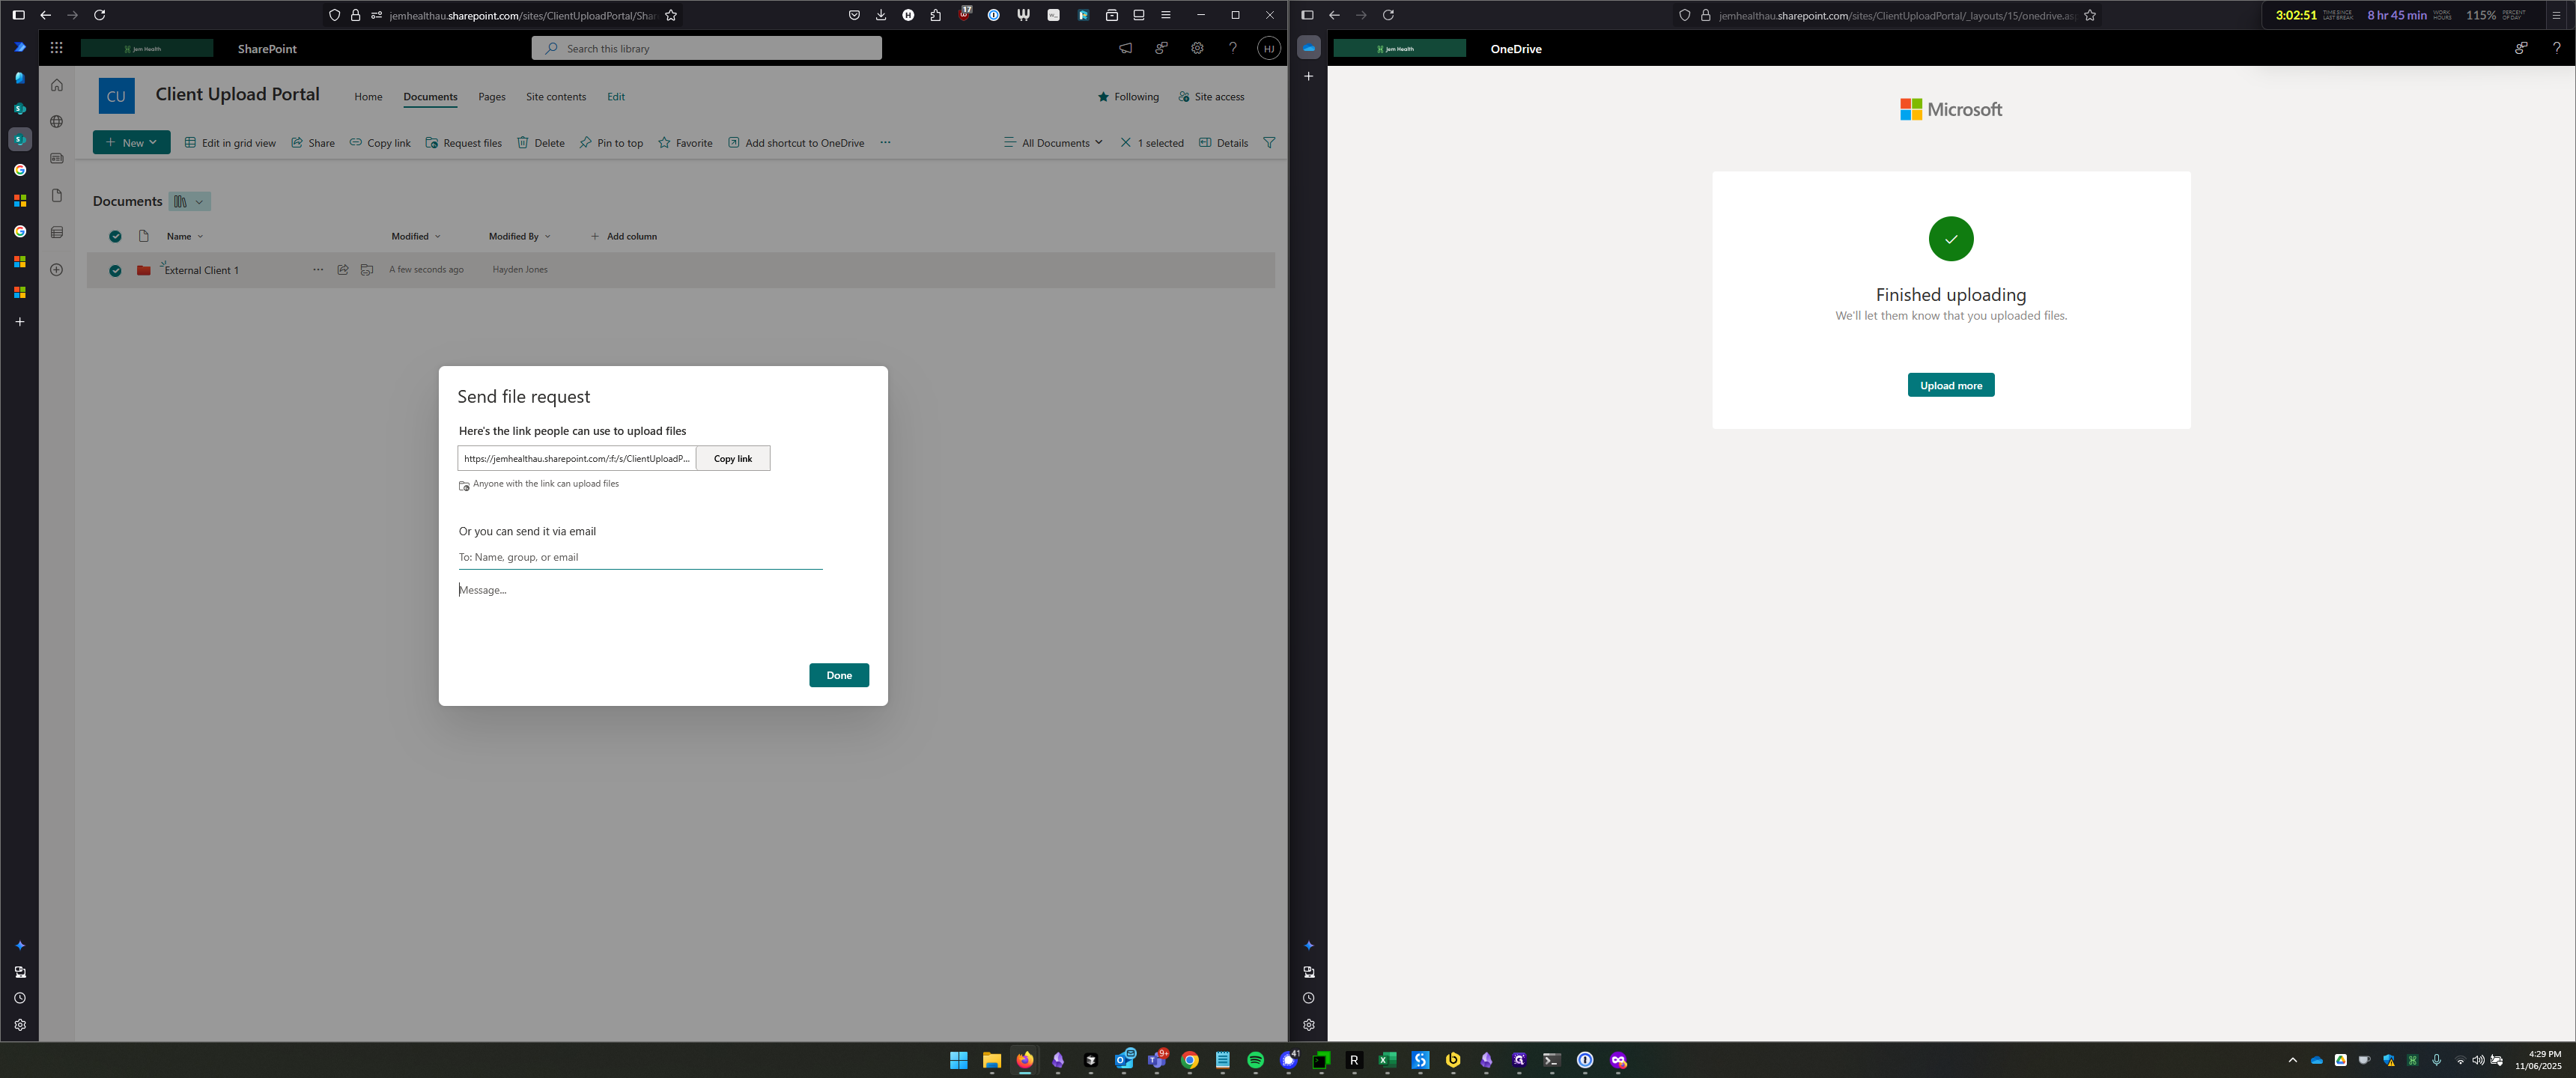
Client Experience
Now, I will demonstrate what the client experience looks like.
In a private window, paste the link you copied earlier and click "Go."
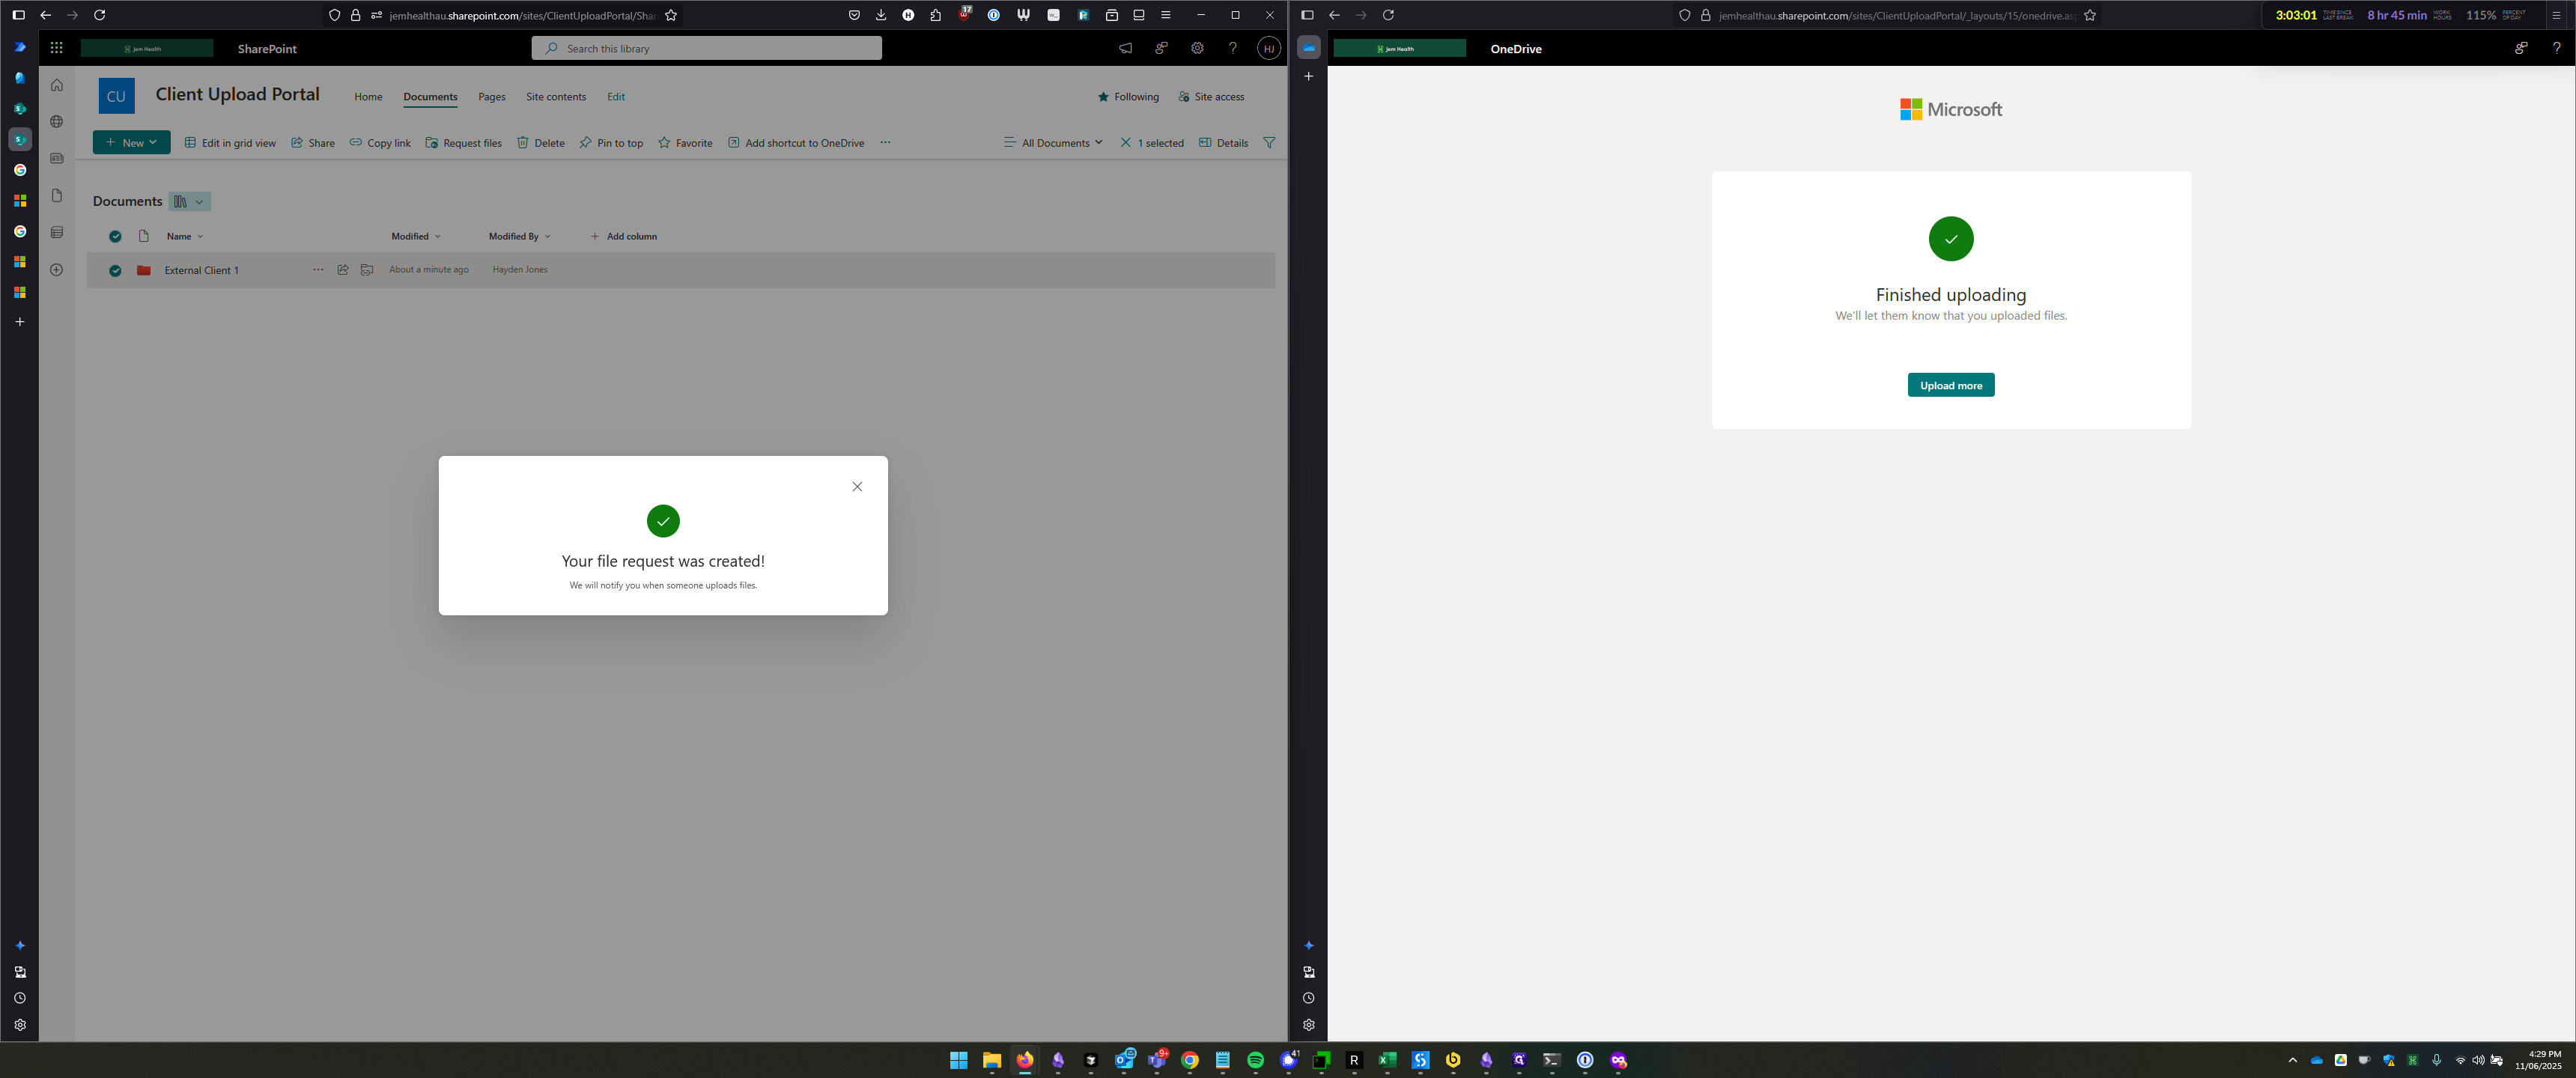
Here we can see the experience the client would receive. A member of the Client Upload Portal is requesting files. Please upload the files related to the client.
Now, as the client, I'll click "Select Files."
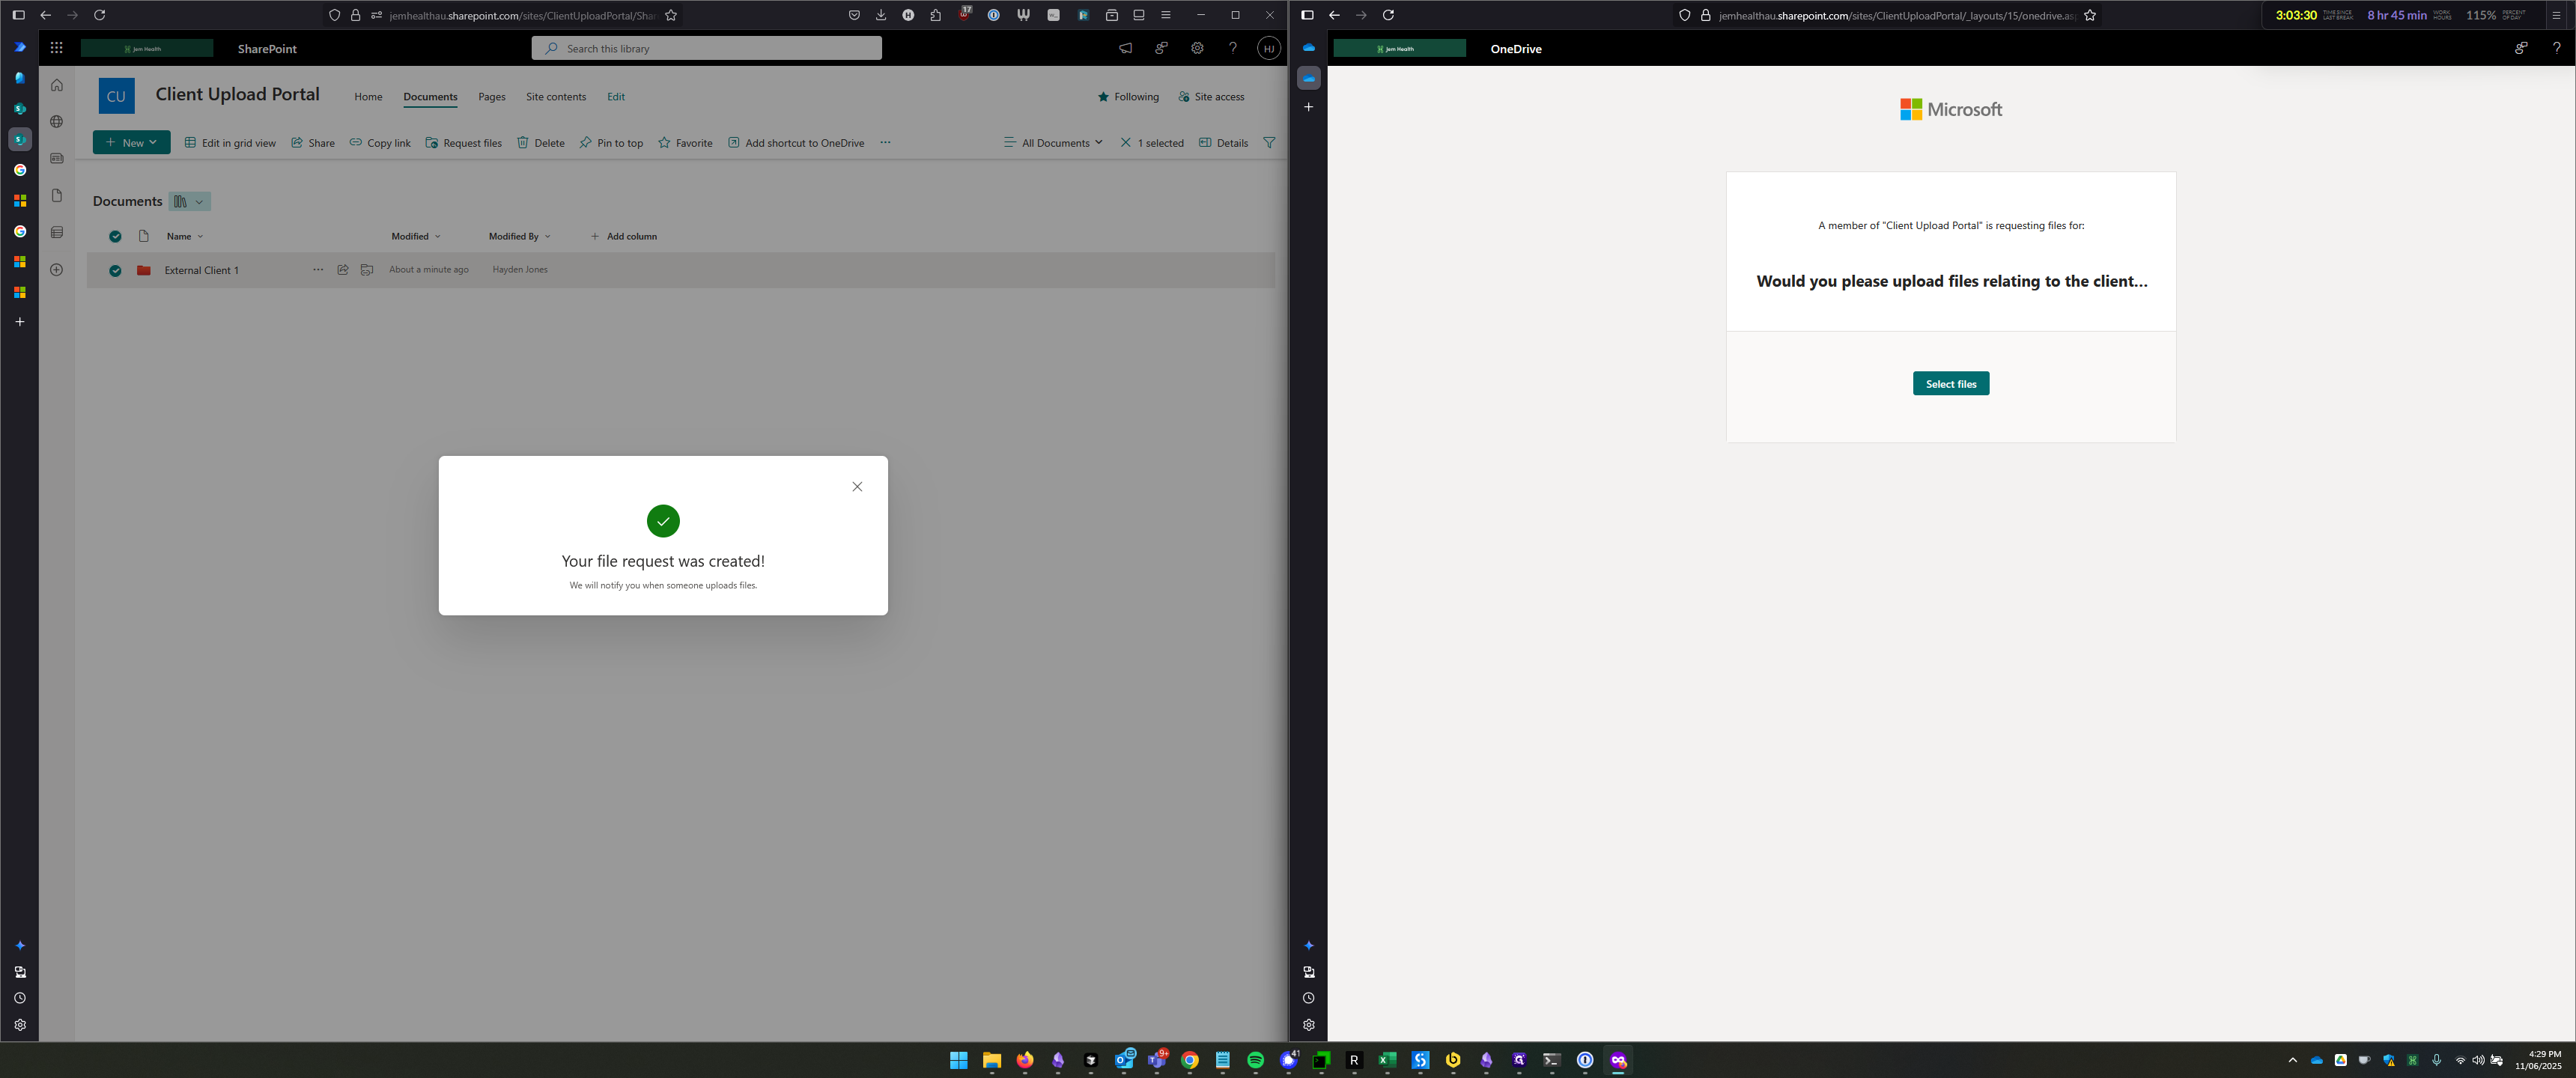
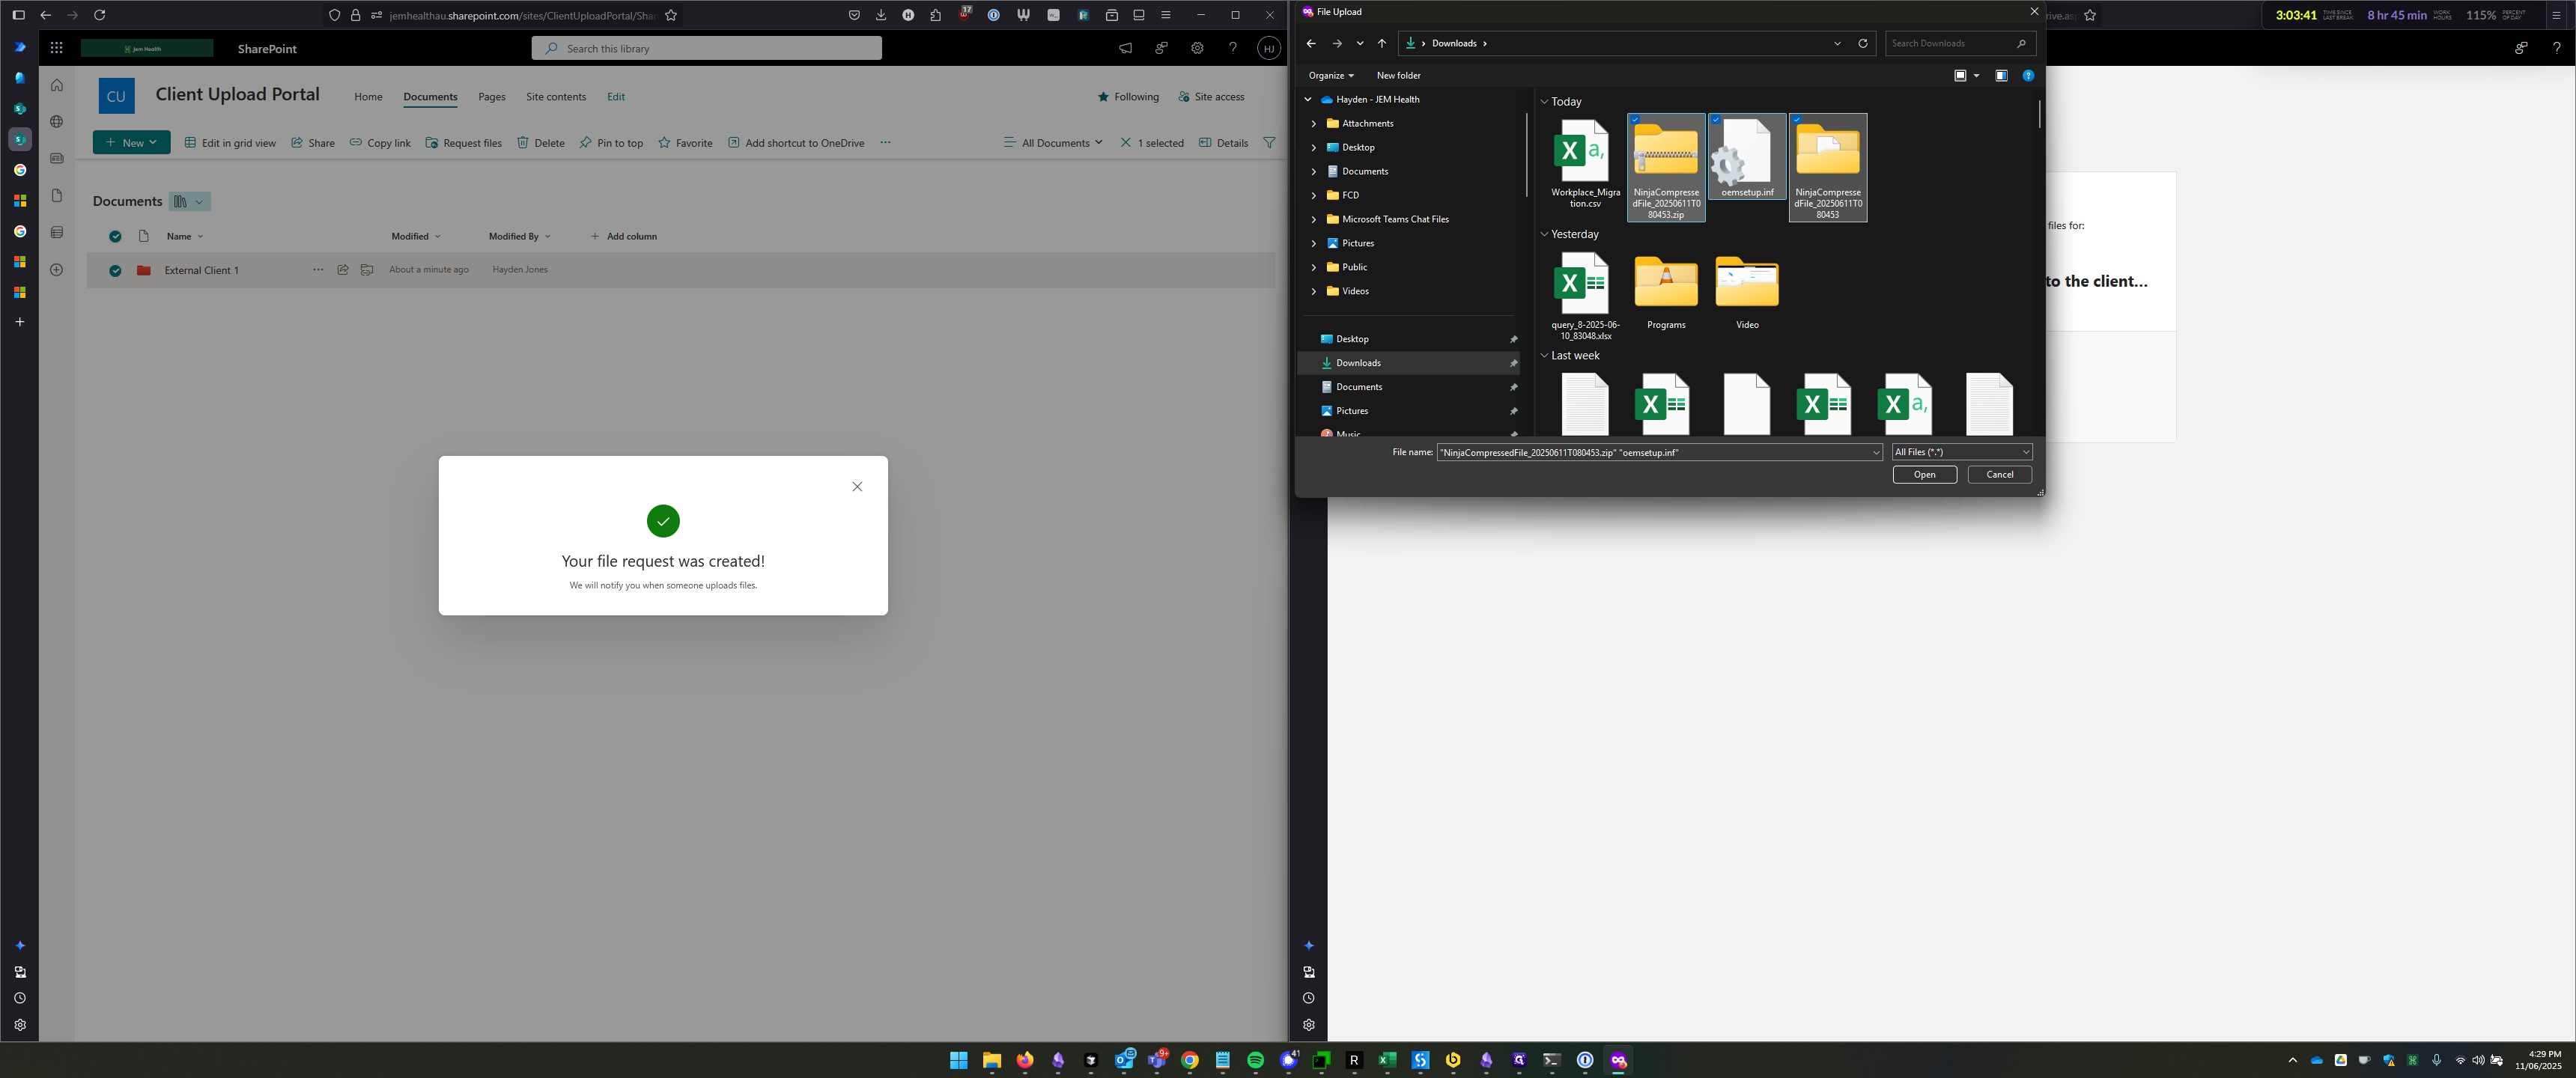
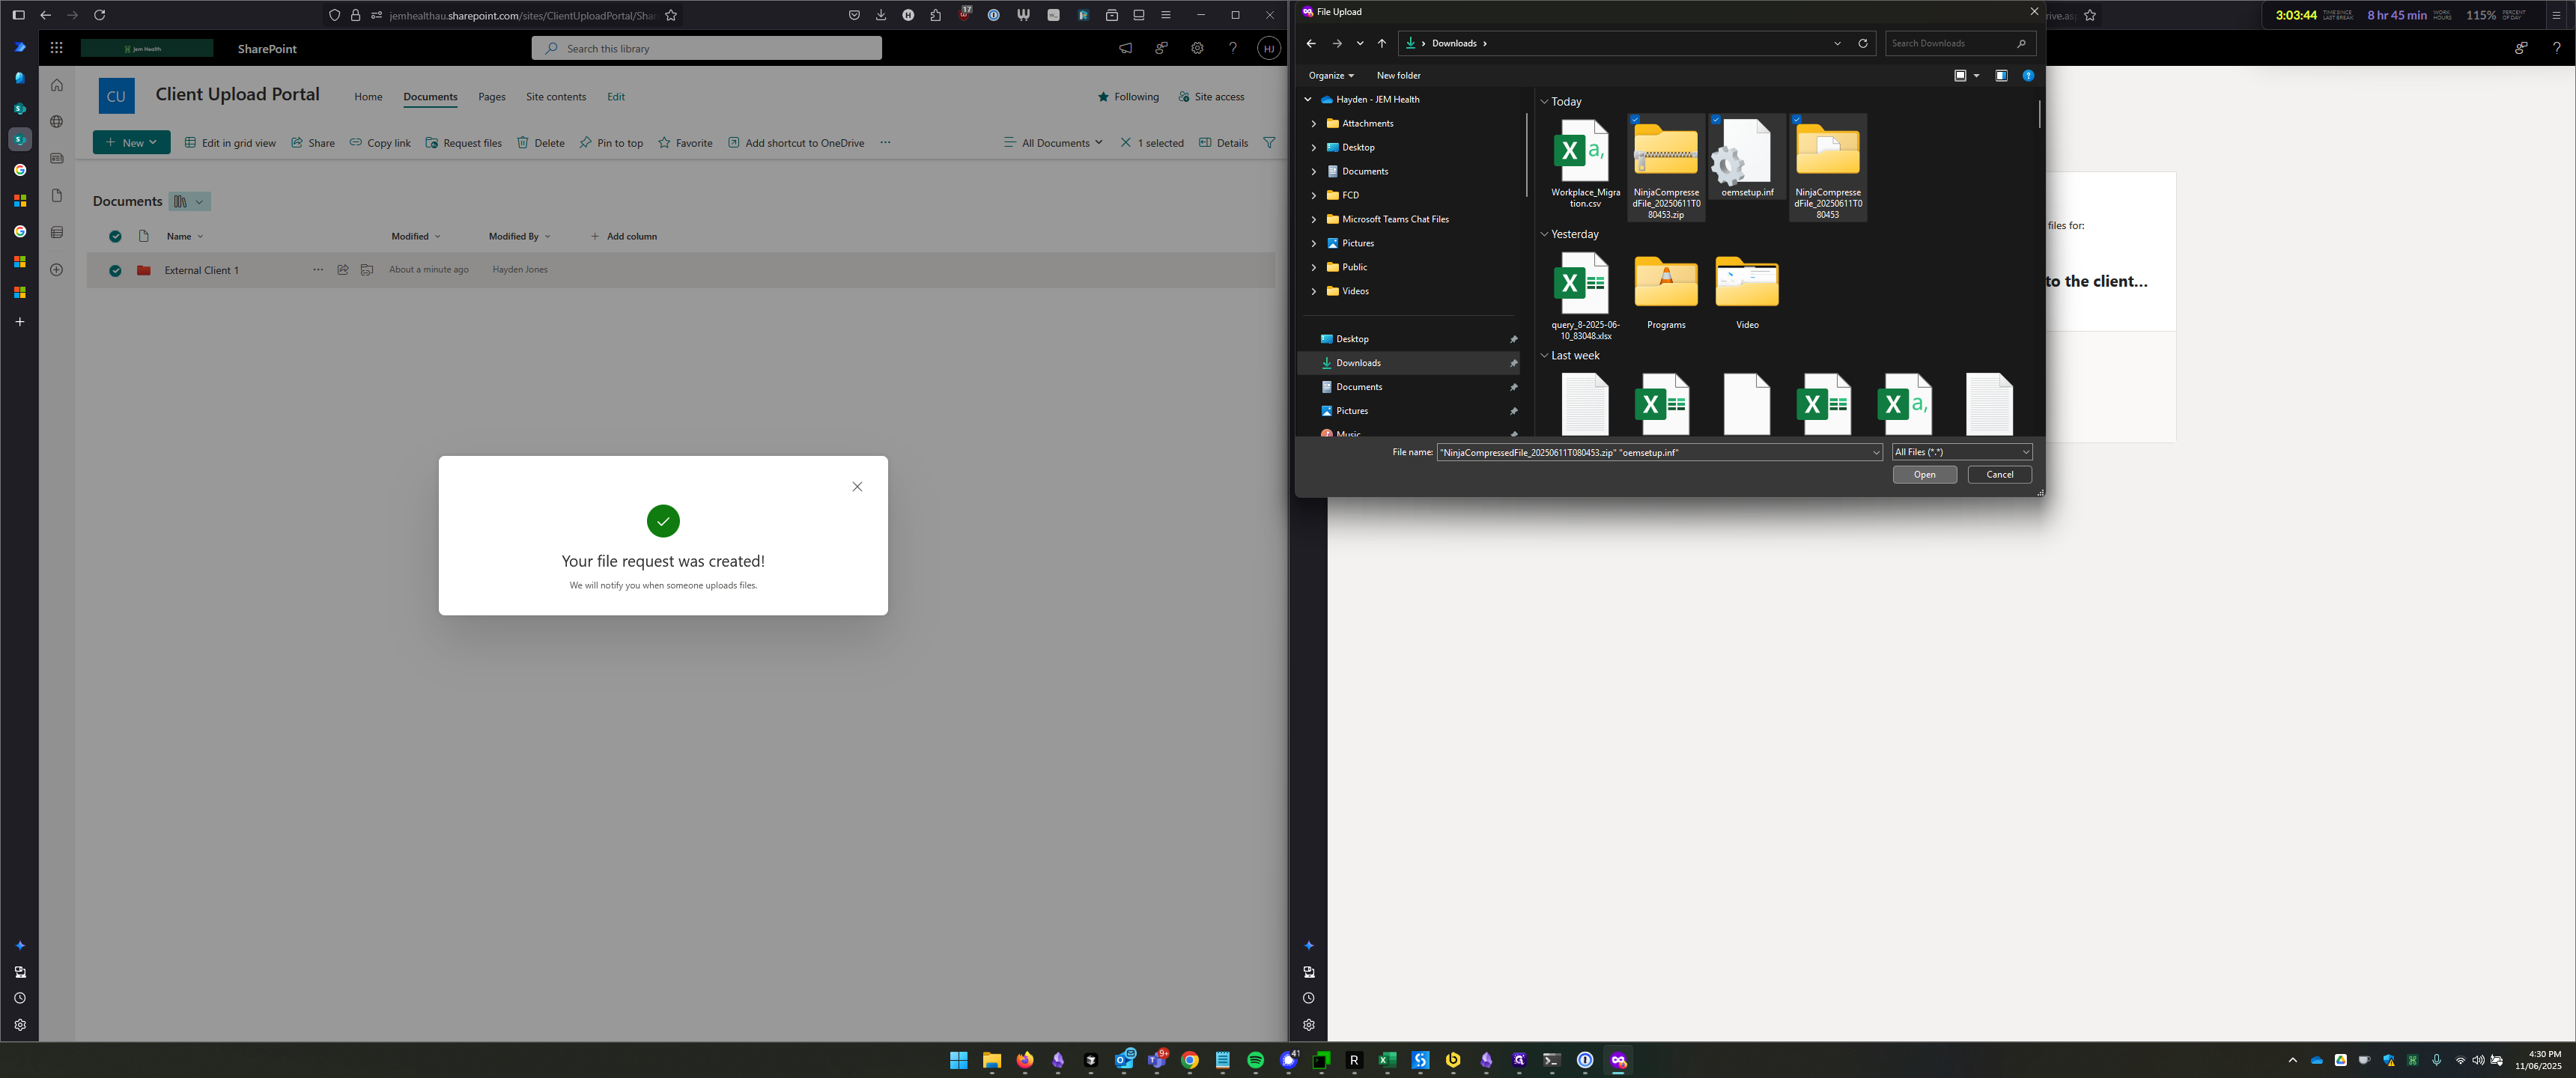
This opens a file upload utility where you can select files to upload.
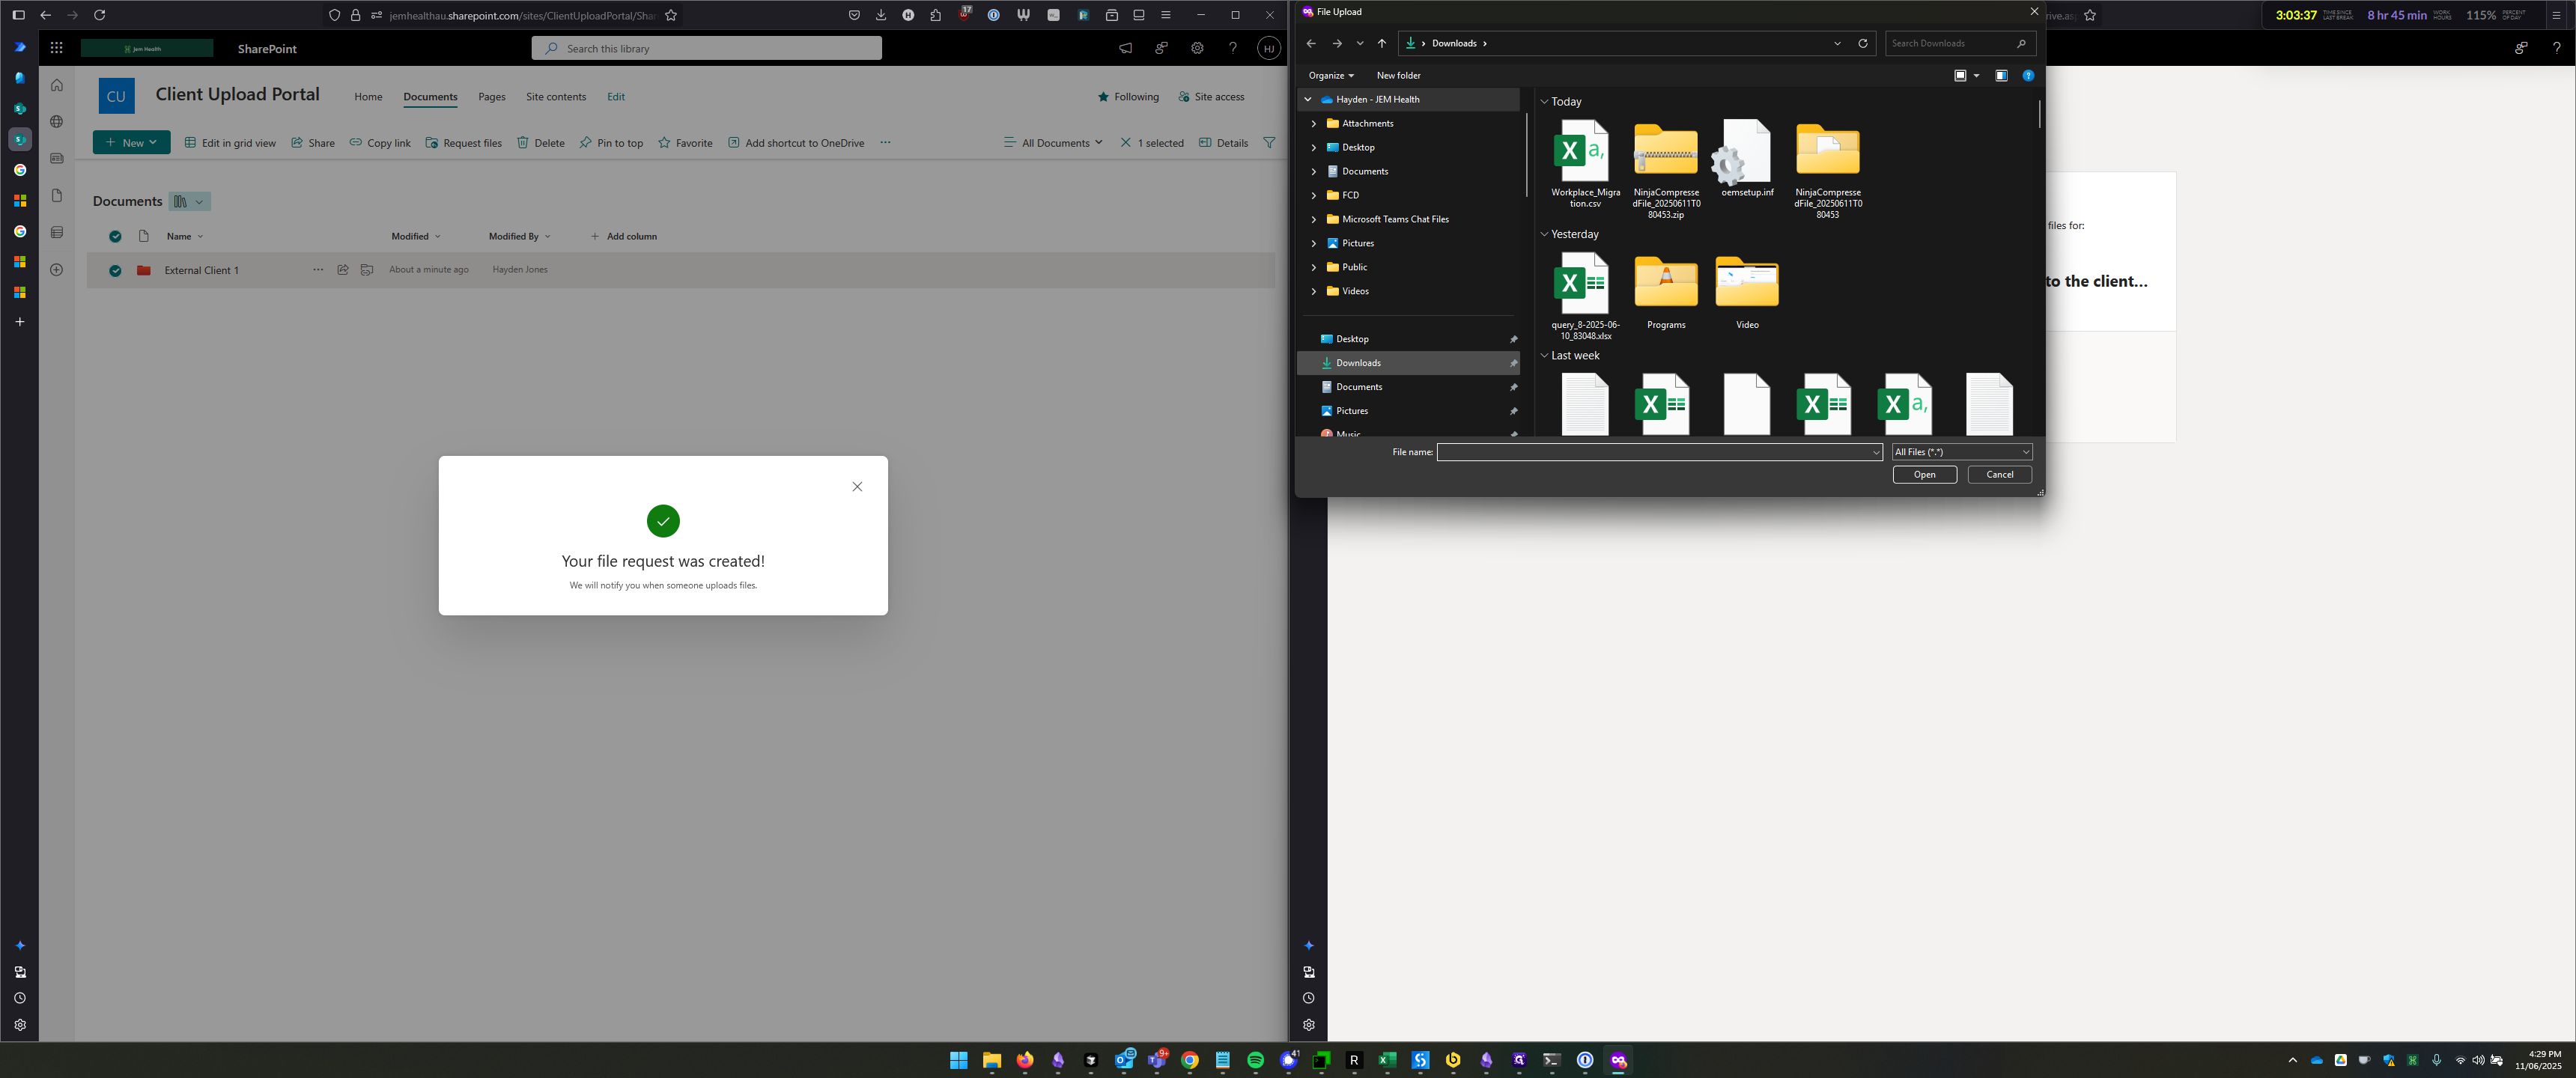
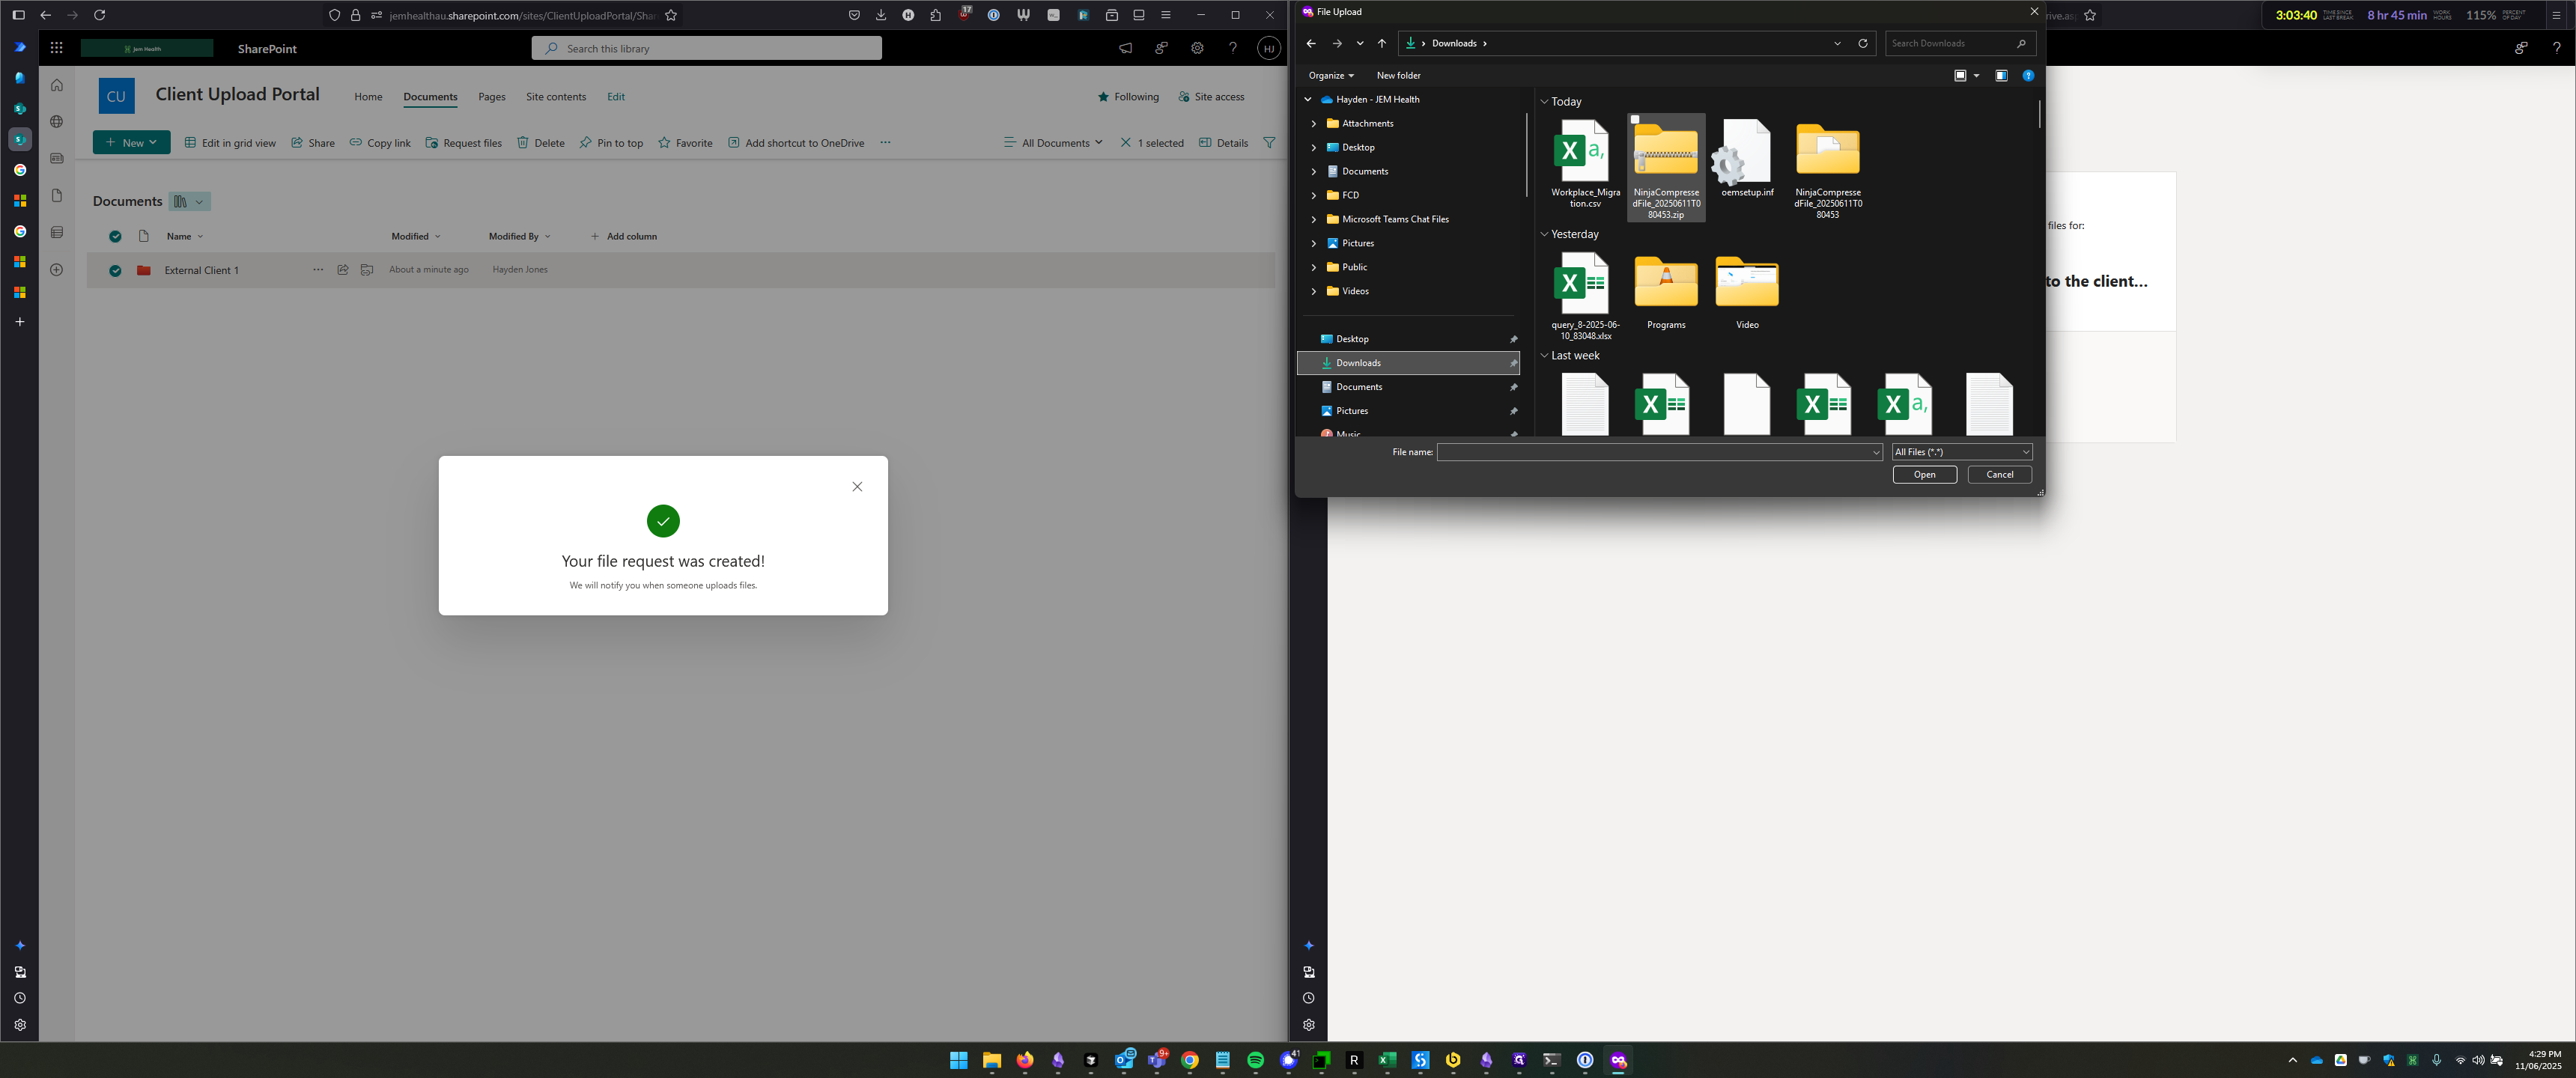
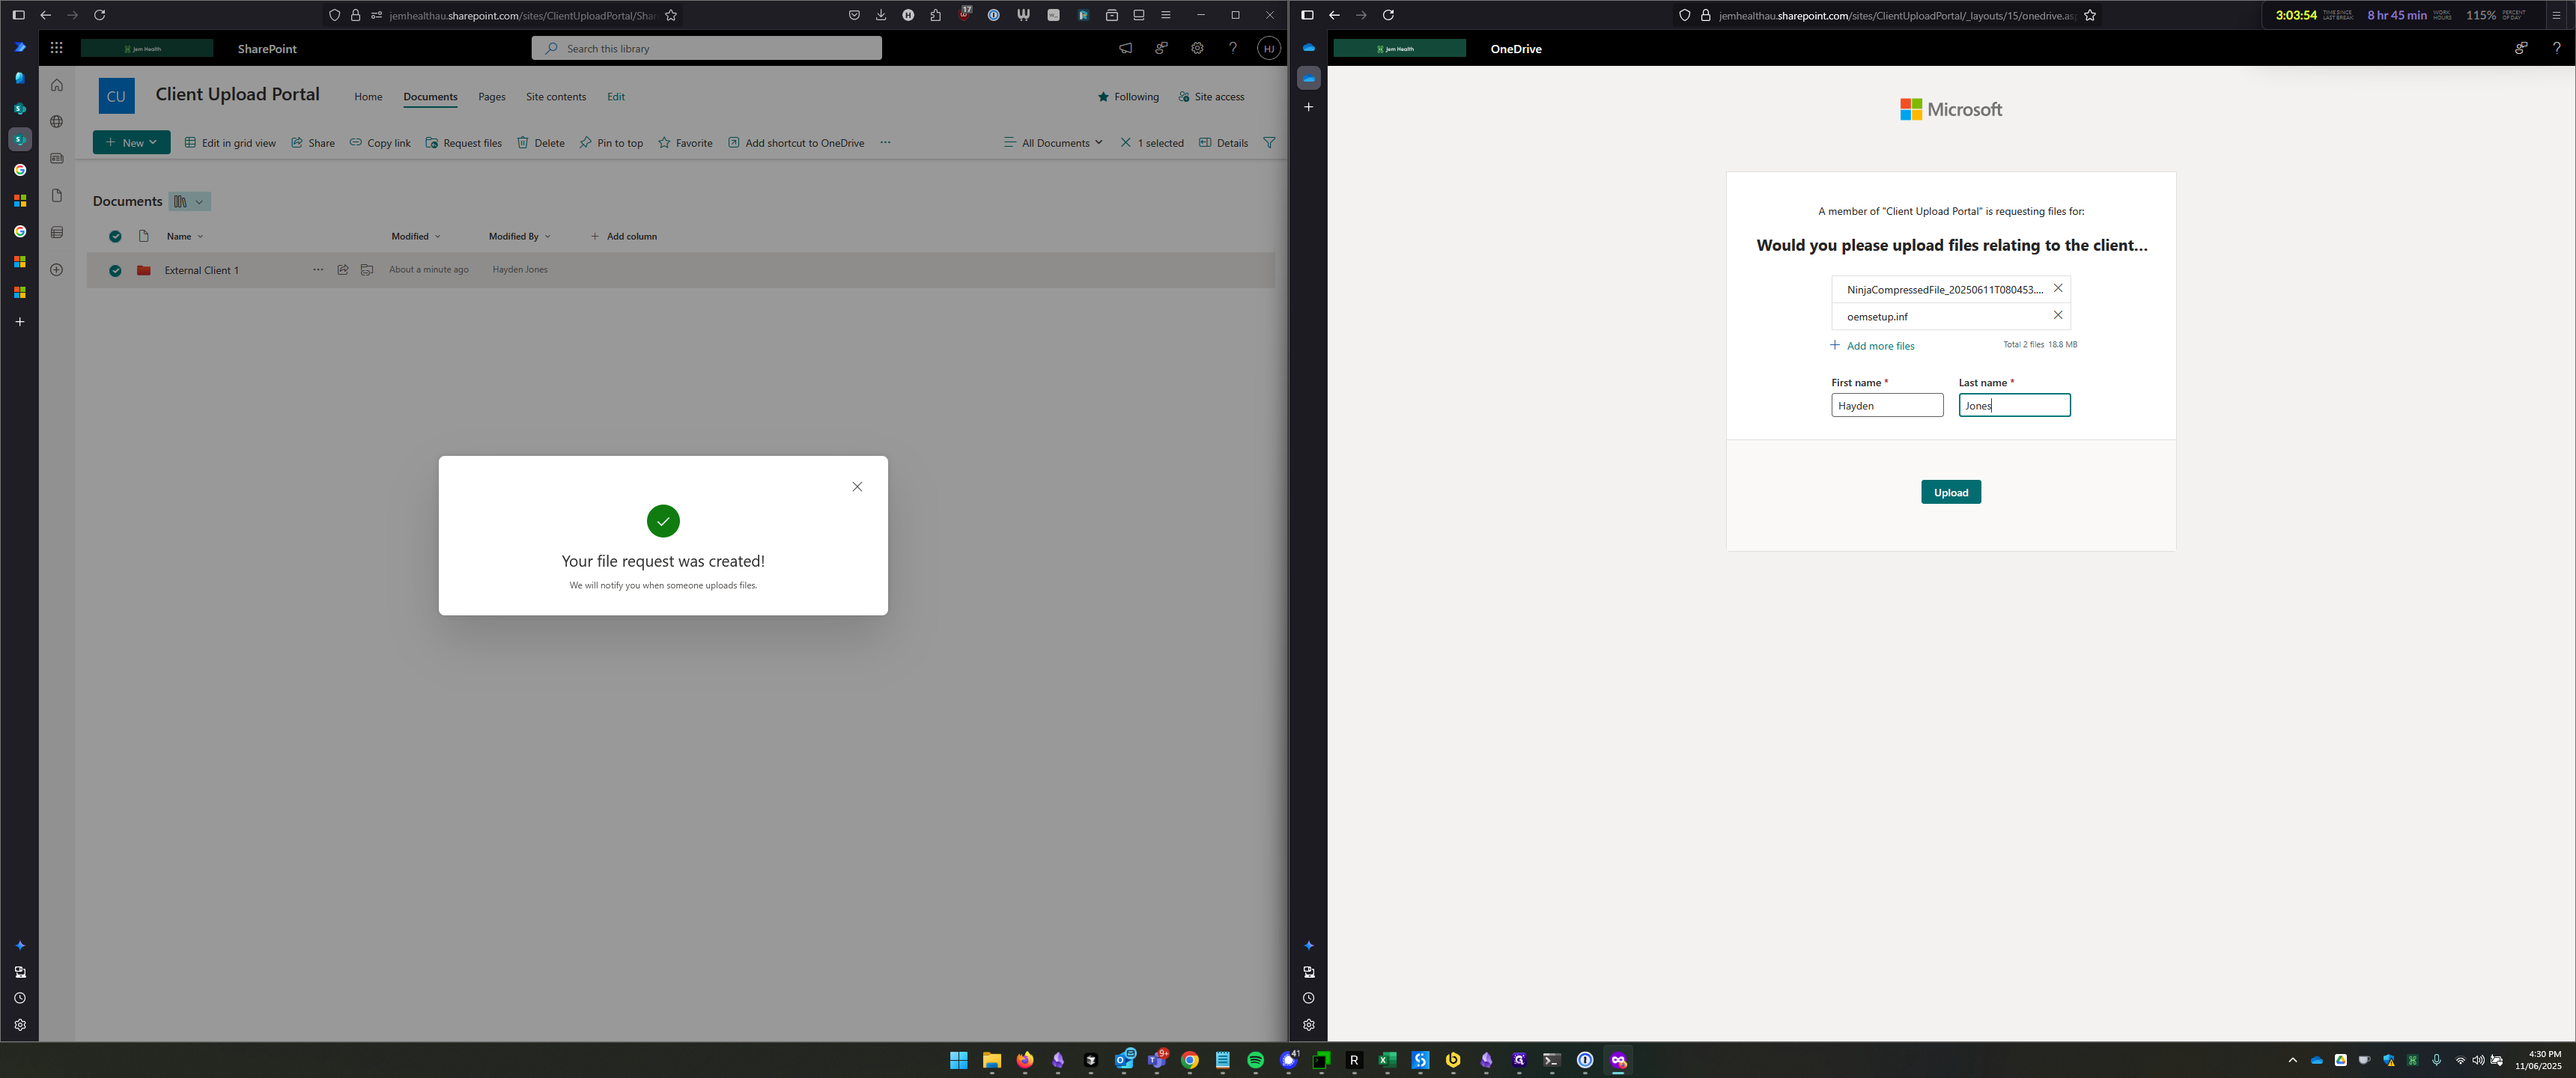
I can select these three files from my downloads directory, press Open, and they will be added to the upload. Then, it will prompt me for my name.
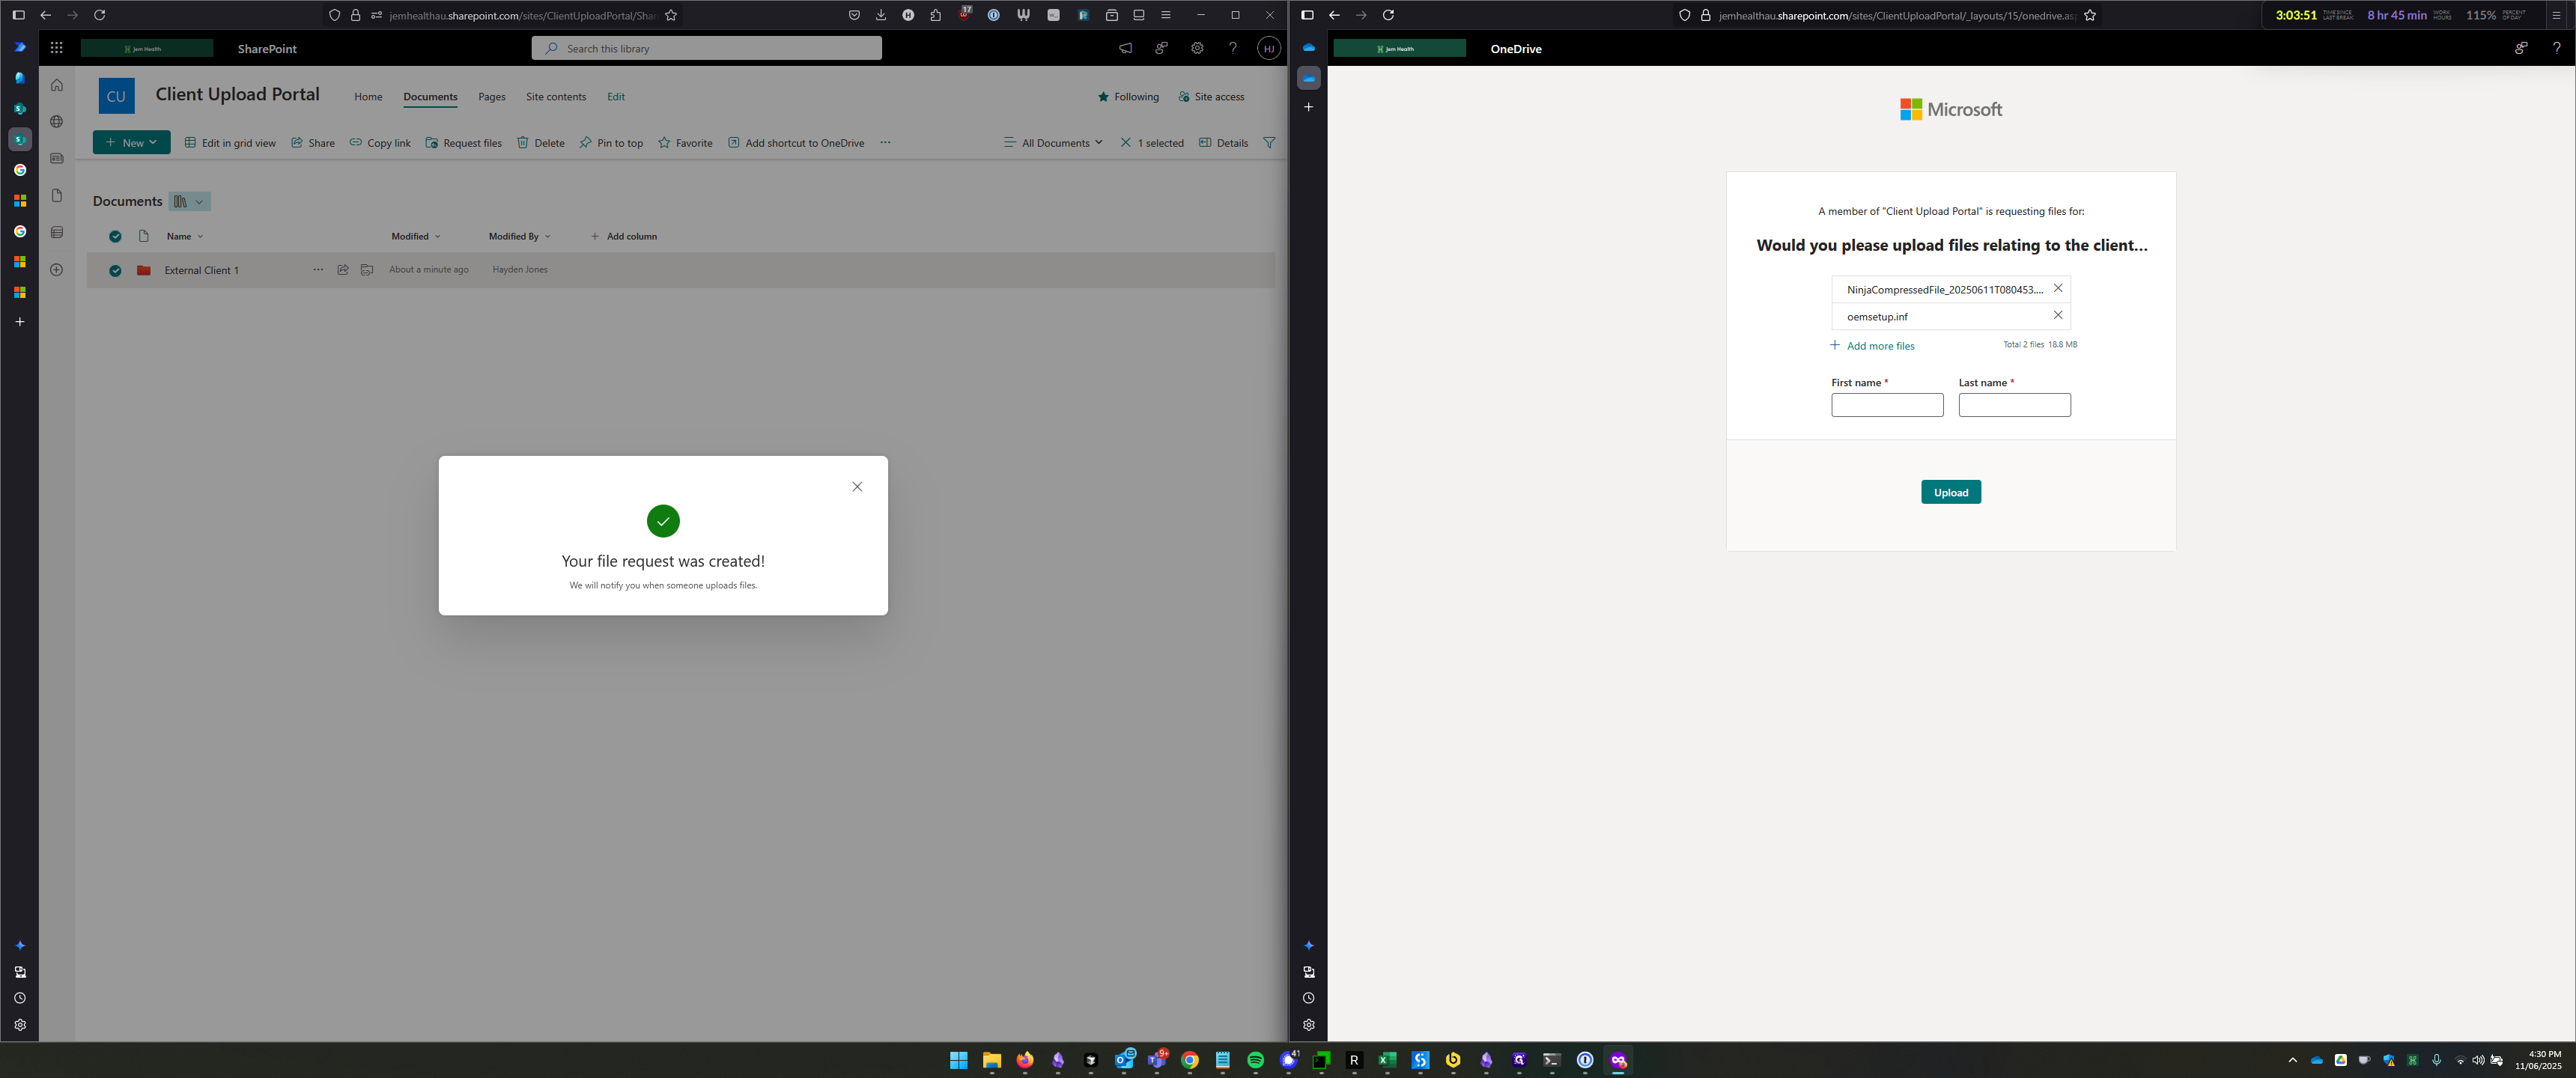
I'm going to enter my name here and click Upload.
It's uploading the files now. "Upload 100%," and that's it.
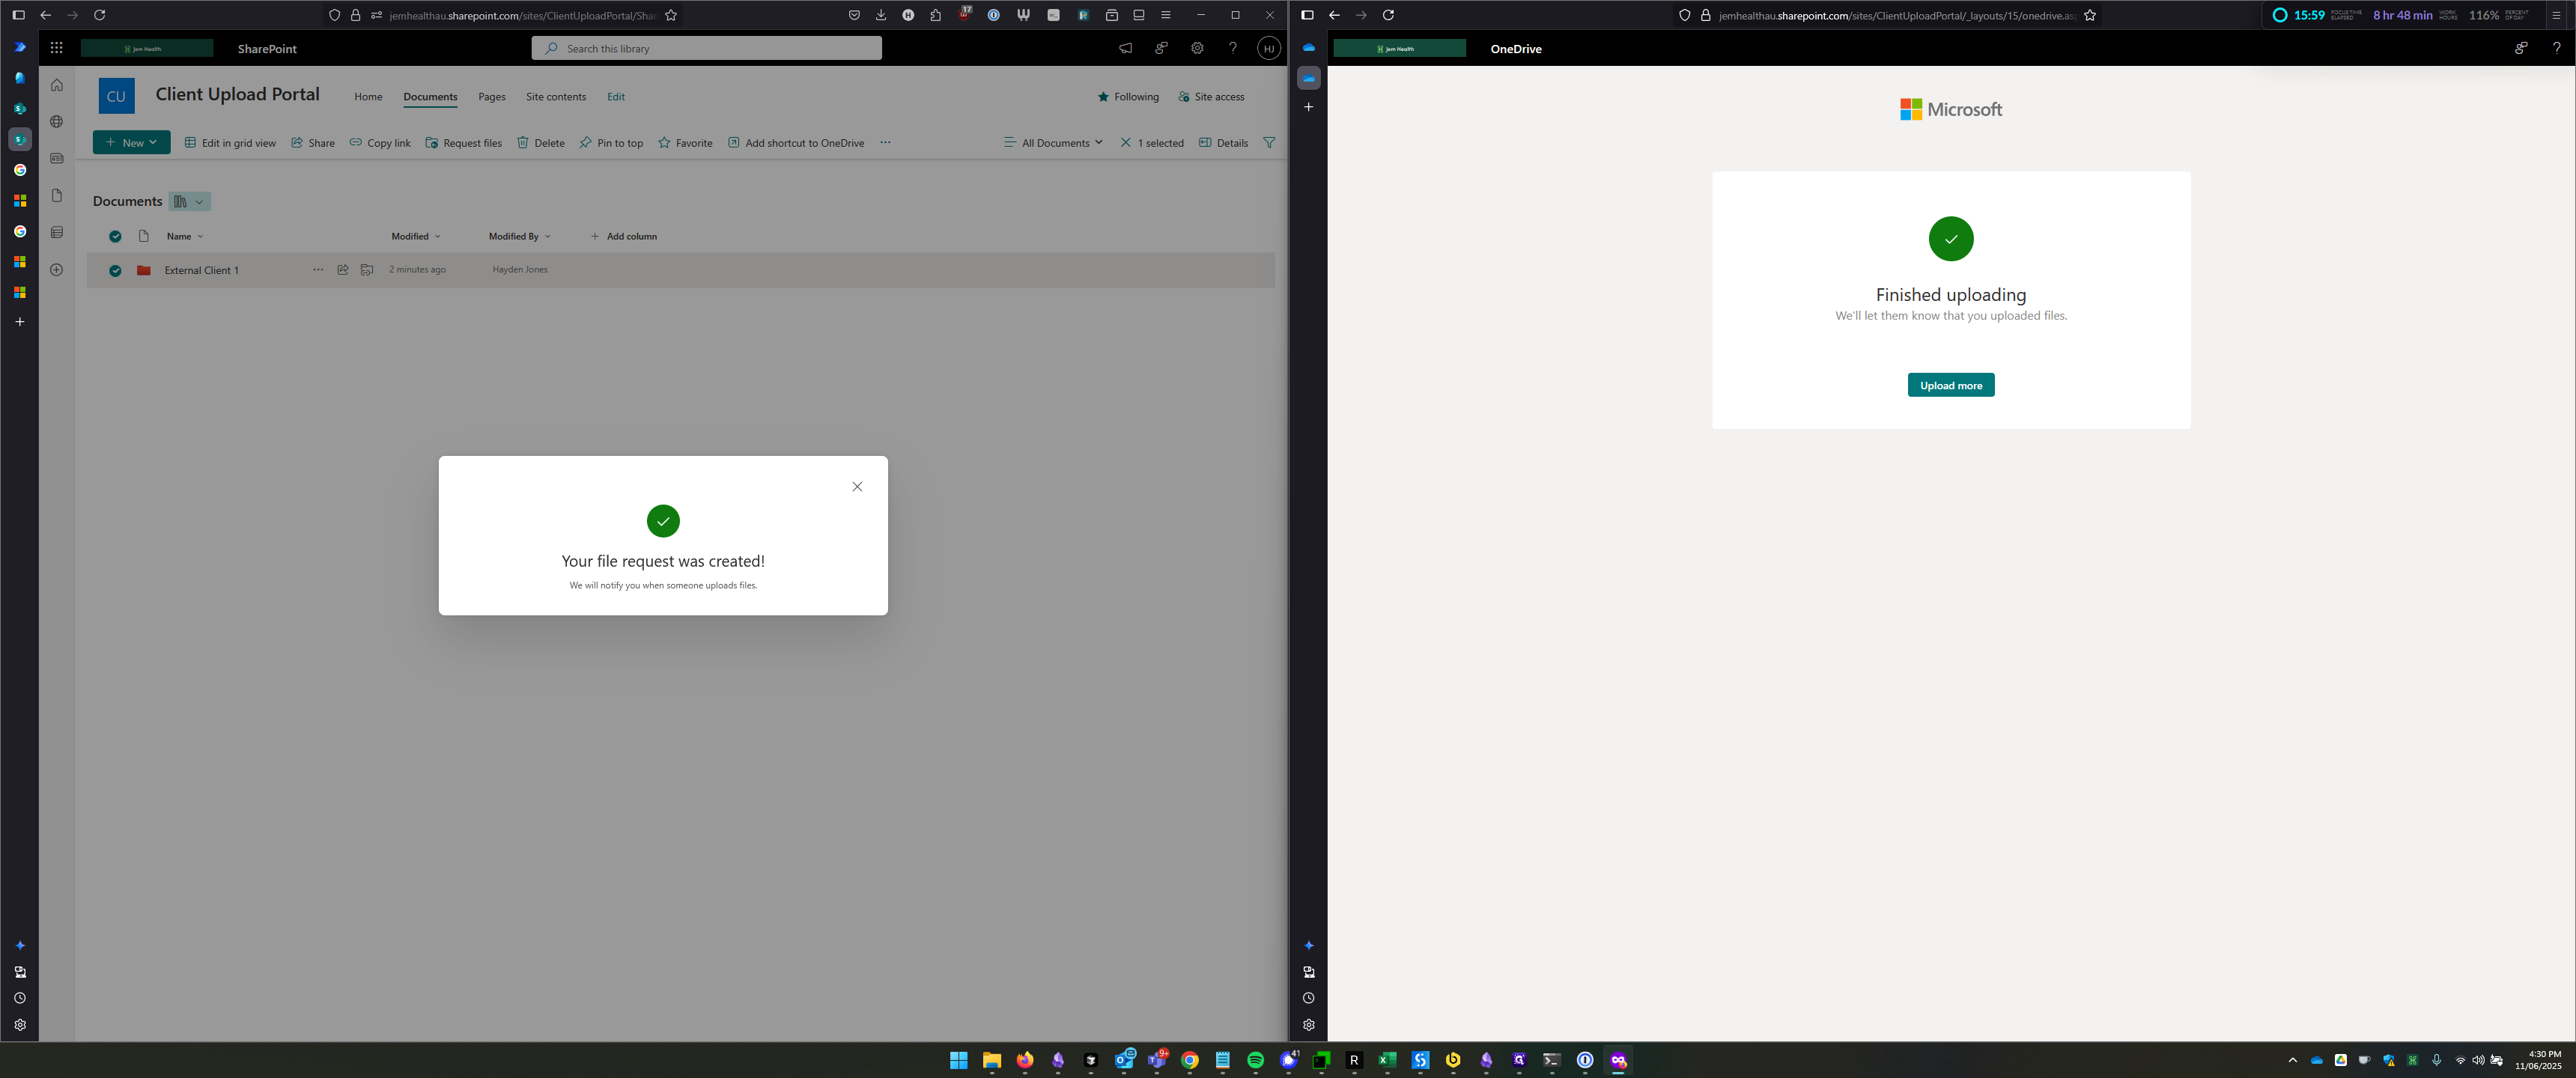
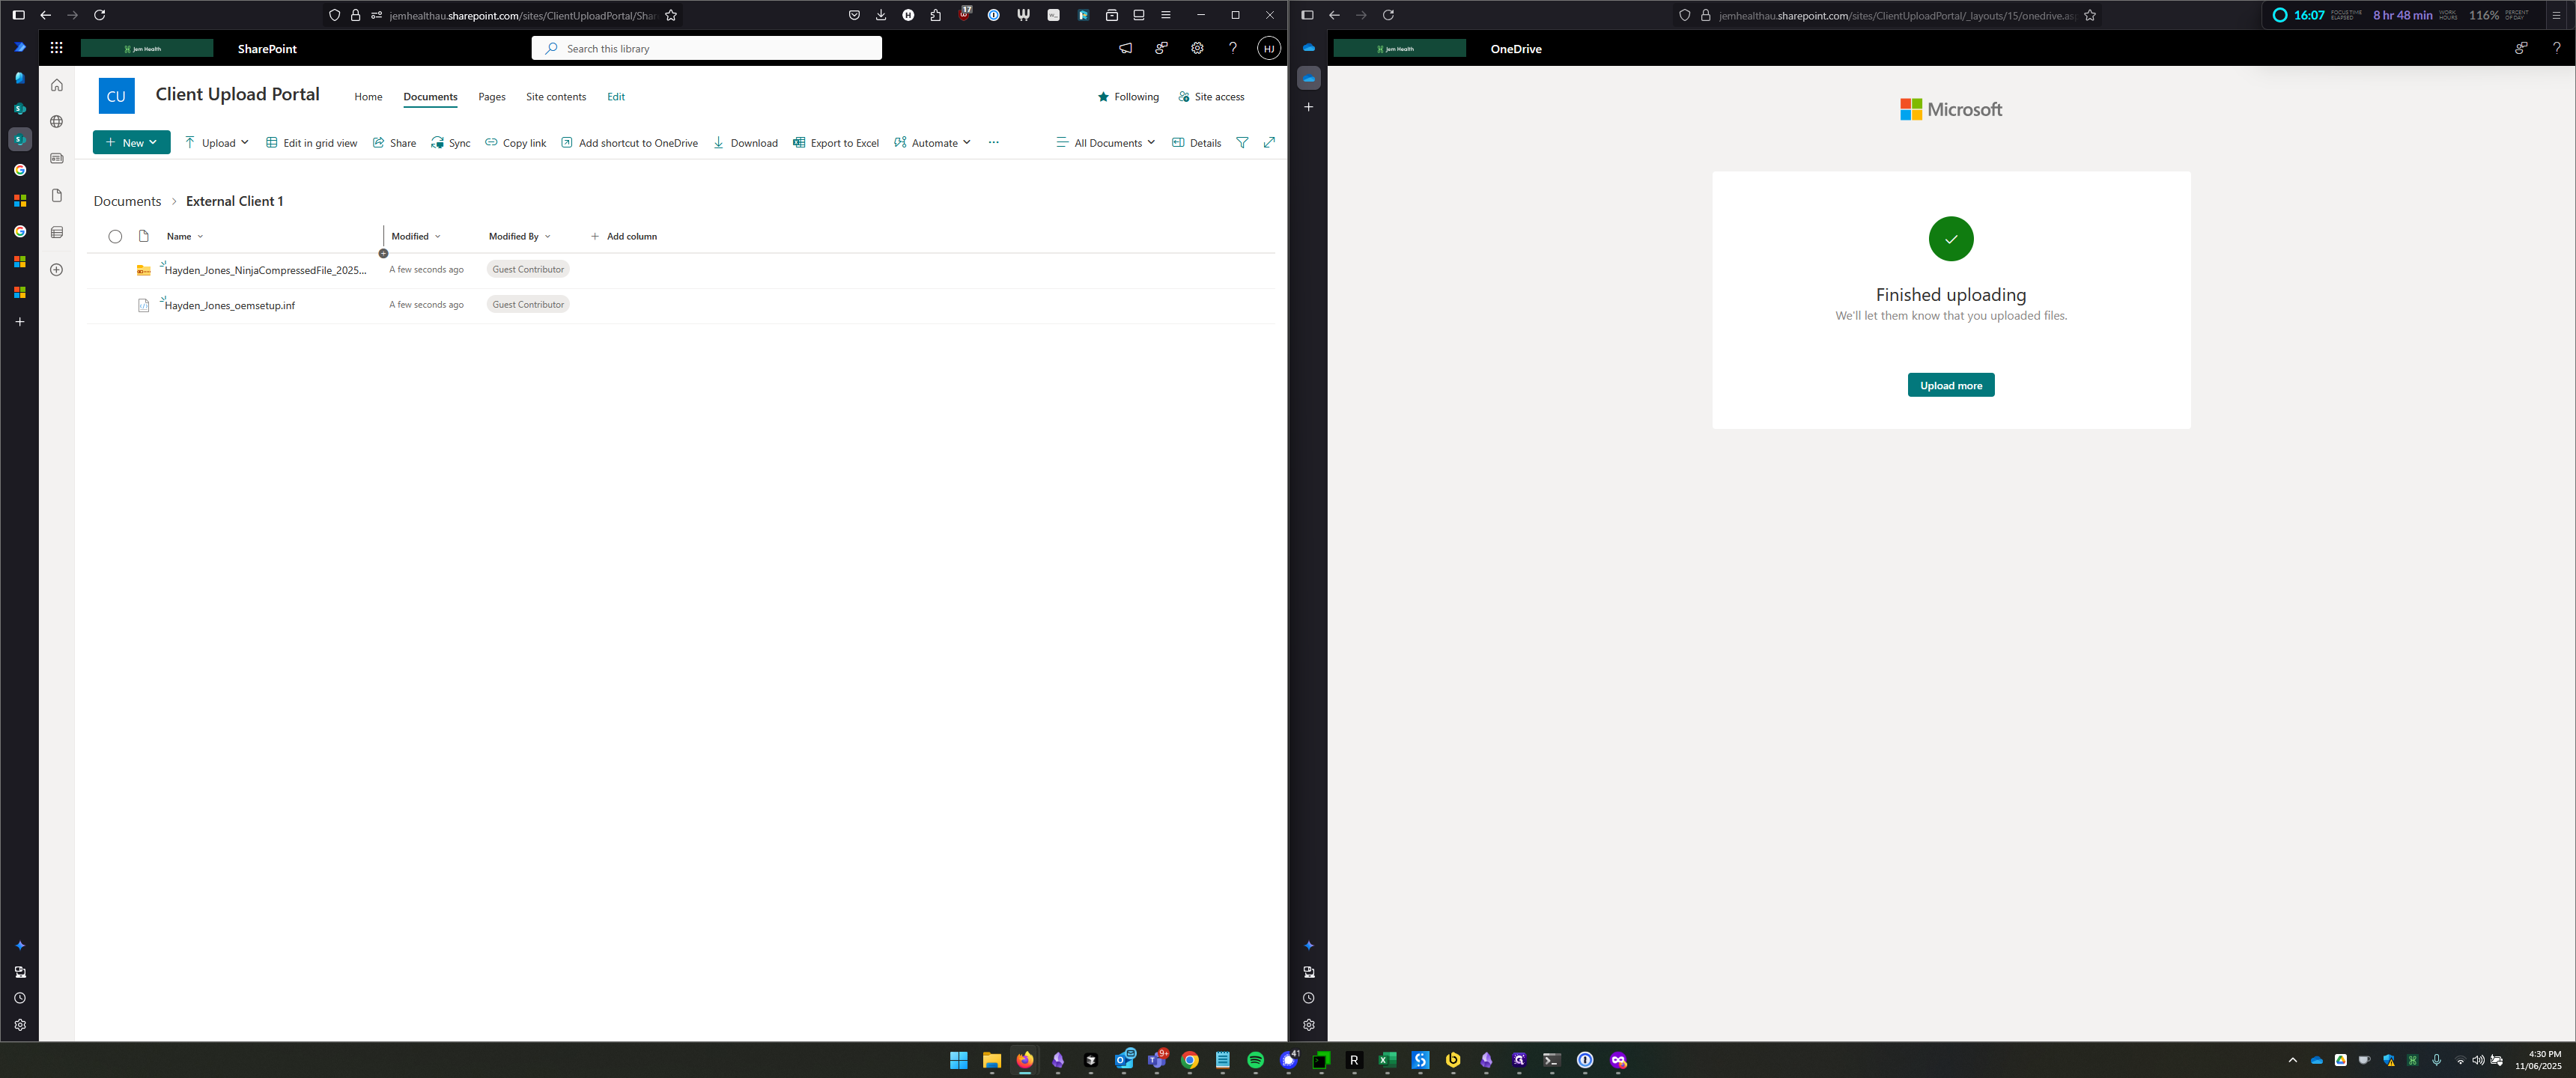
If we return to our side, we can close this and access the folder External Client 1.
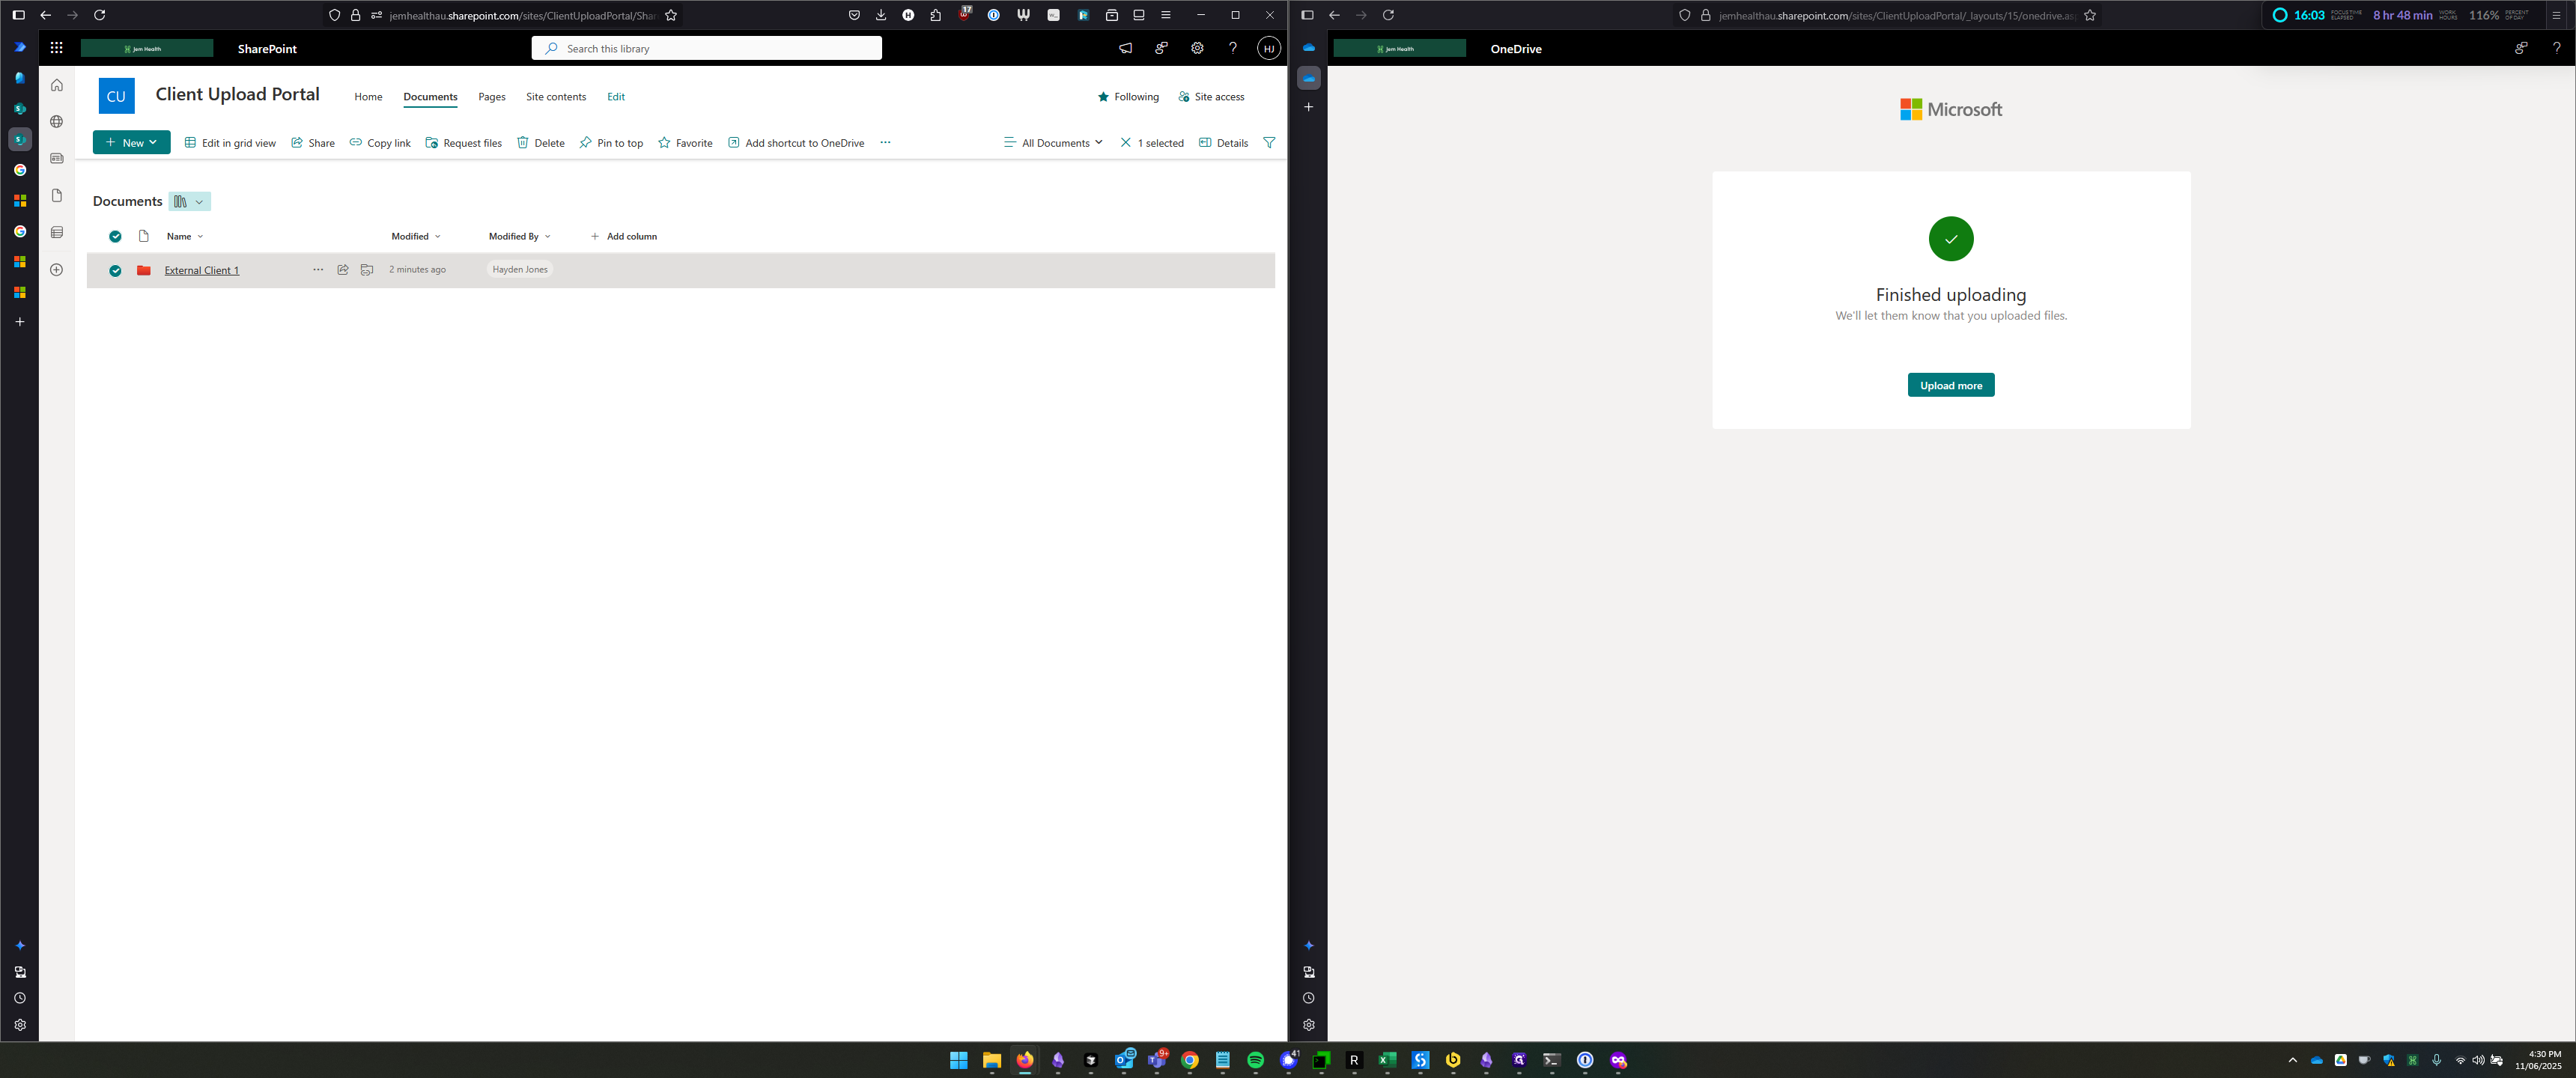
Here, we can see that the two files have been uploaded. They have been prepended with the name of the person who uploaded them.
