
How to Reset the Default View of a Photosphere to Show the Deck
Learn step-by-step how to reset the default view of a photosphere so it displays the deck, including adjusting HLookAt and VLookAt values, updating the photosphere template, and saving your changes for a user-friendly experience.
In this guide, we'll learn how to reset the default view of a photosphere so that it shows a specific area, such as a deck, when the page loads. This process involves adjusting the view within the photosphere, finding the correct template, and updating the default view settings using the HLookAt and VerticalLookAt values. The goal is to make the initial view more user-friendly for anyone accessing the photosphere.
Let's get started
Hello, everyone. This is a short instructional video on how to reset the default view of a photosphere so it shows the deck. Here, I've opened DeFalco 82nd as an example project where we have this problem.
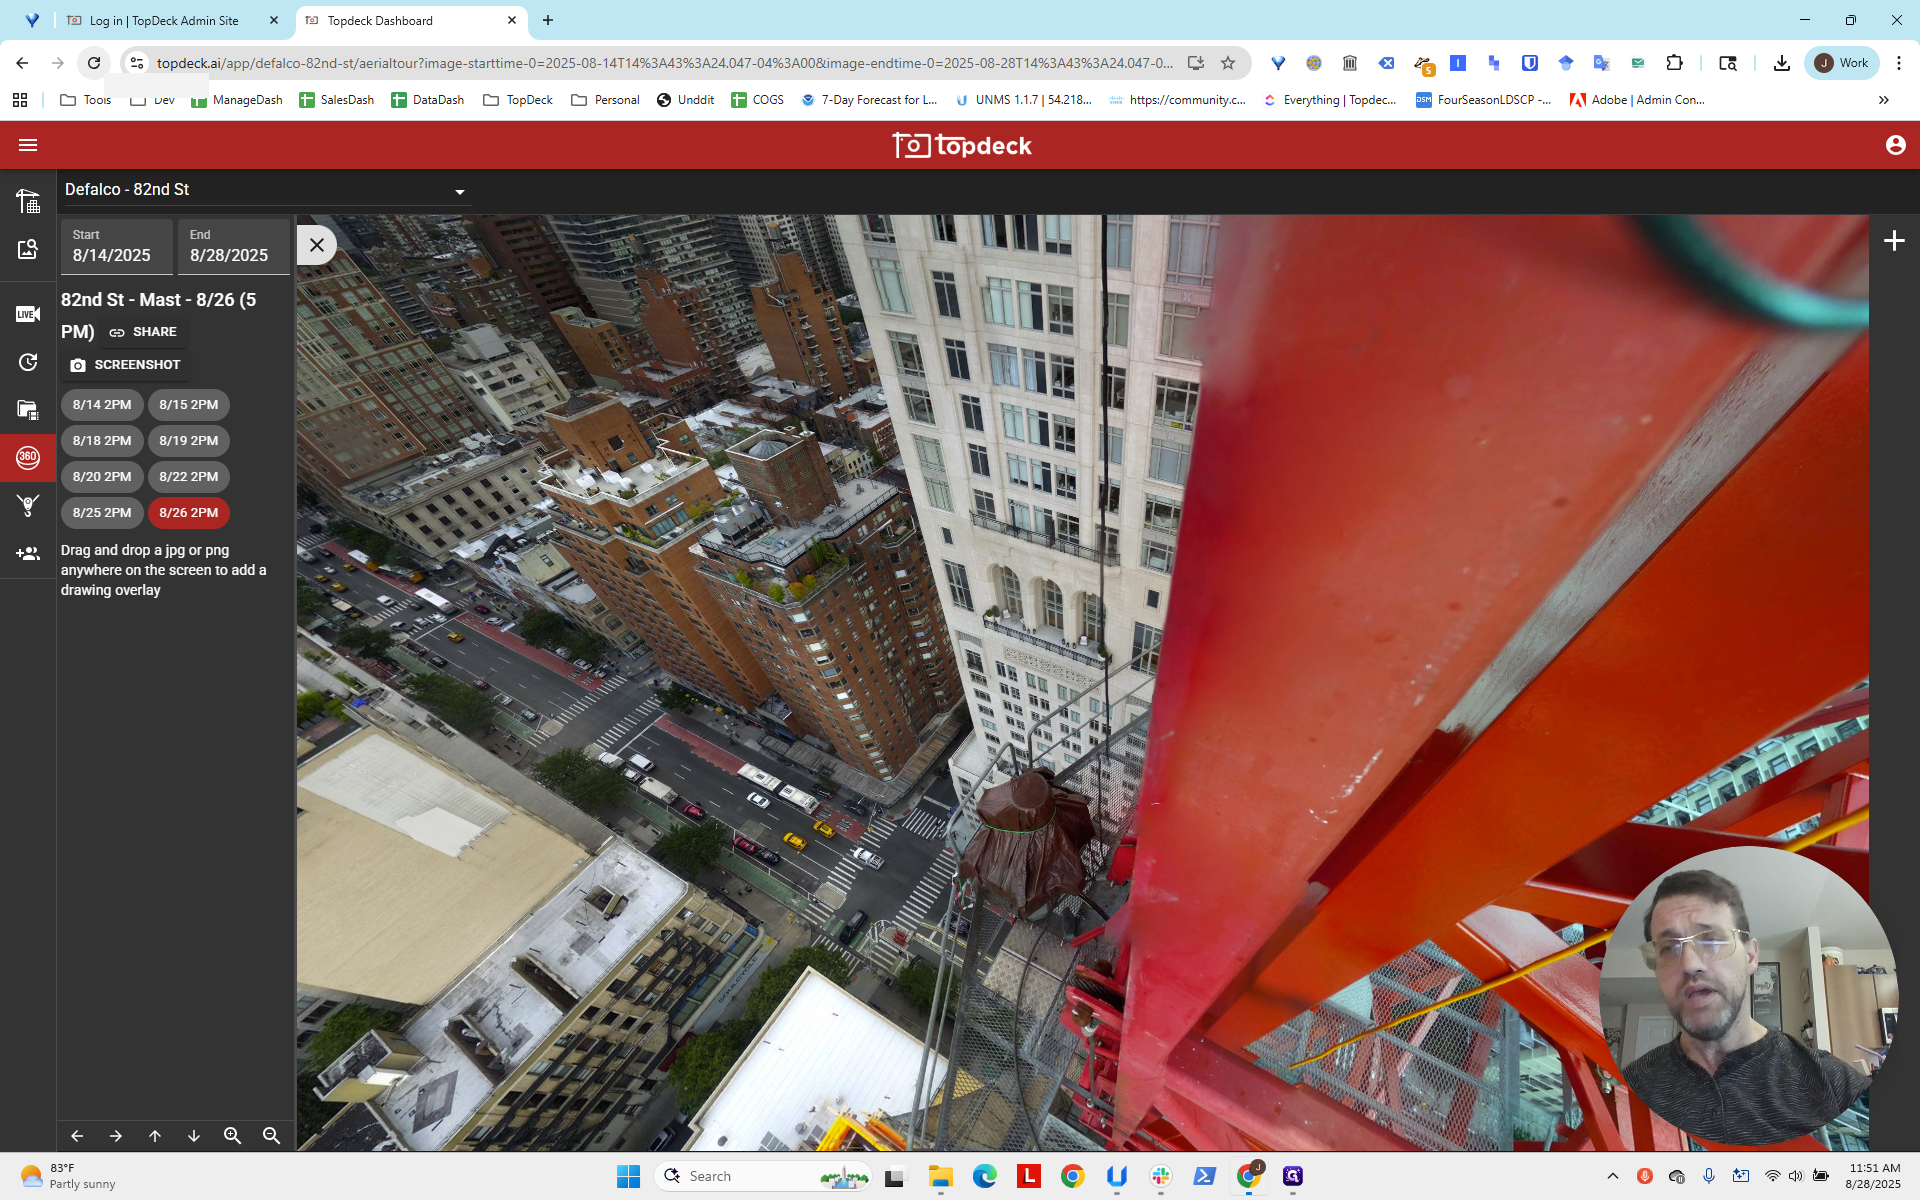
If you reload the page, you'll notice the photosphere doesn't initially point at the deck. This isn't user-friendly, so we need to fix it.
First, click inside the photosphere to select it. Then, adjust the view (keyboard or click-and-drag) to your desired default position.
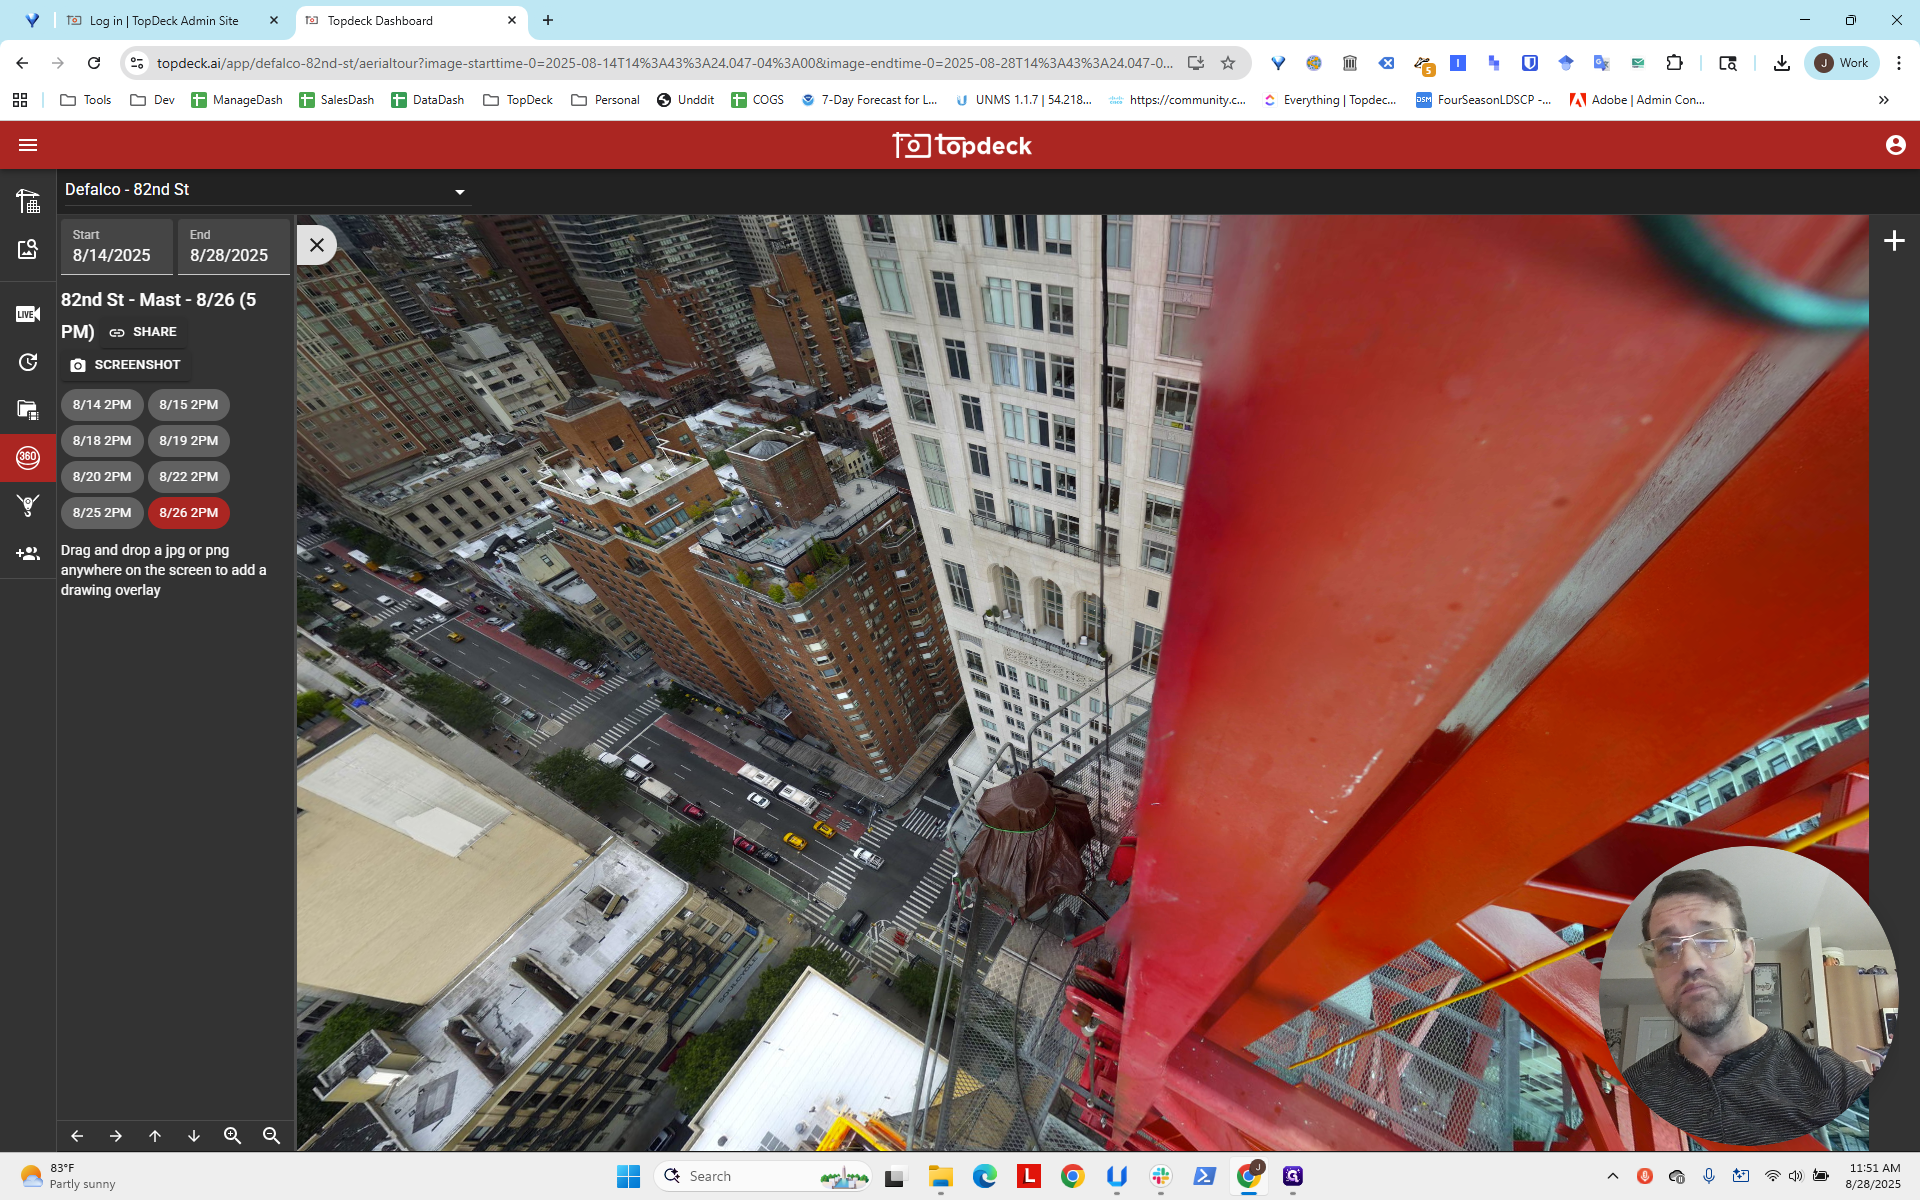
Keep in mind that the deck may shift over time. Avoid facing it directly, as you may need to make further adjustments in a short time if it's too now-centered.

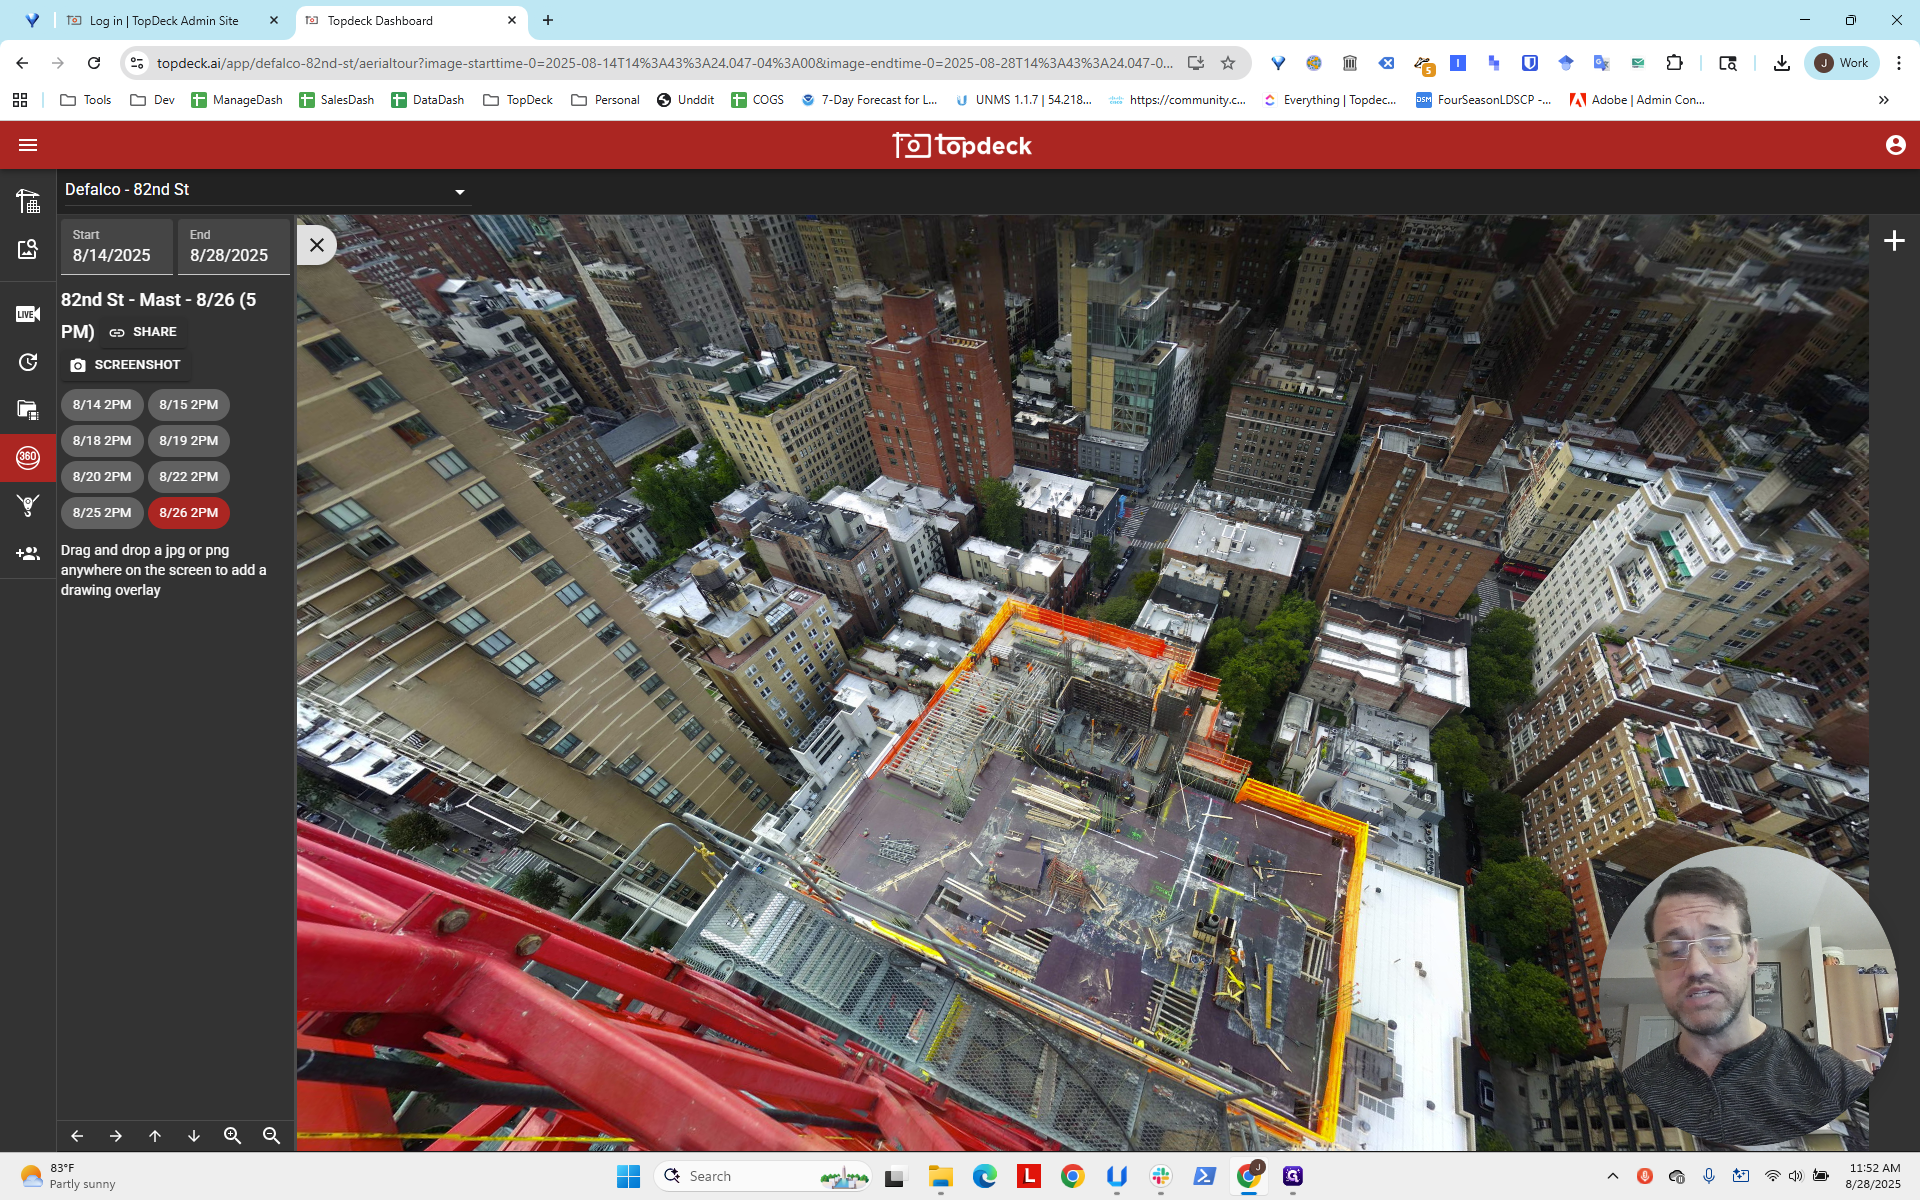
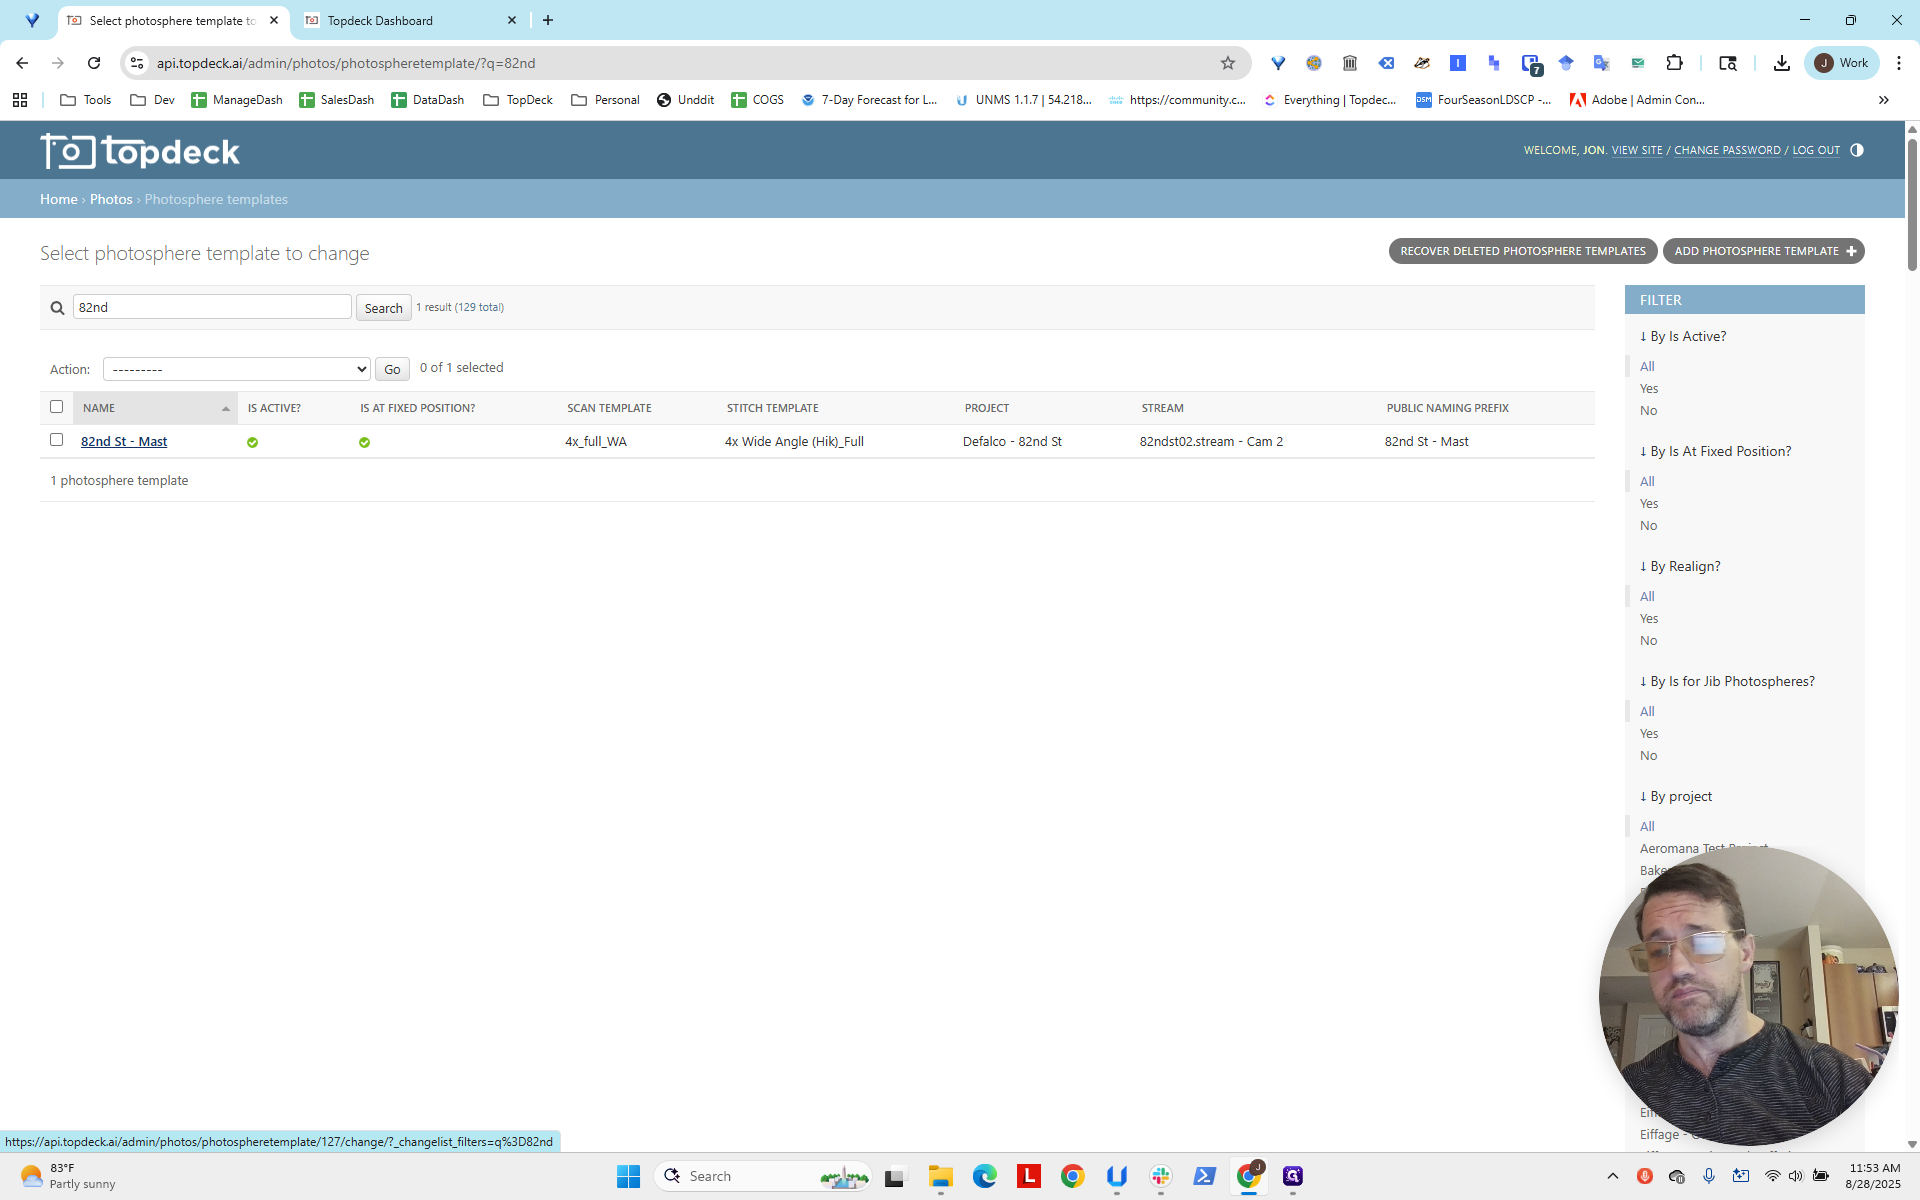
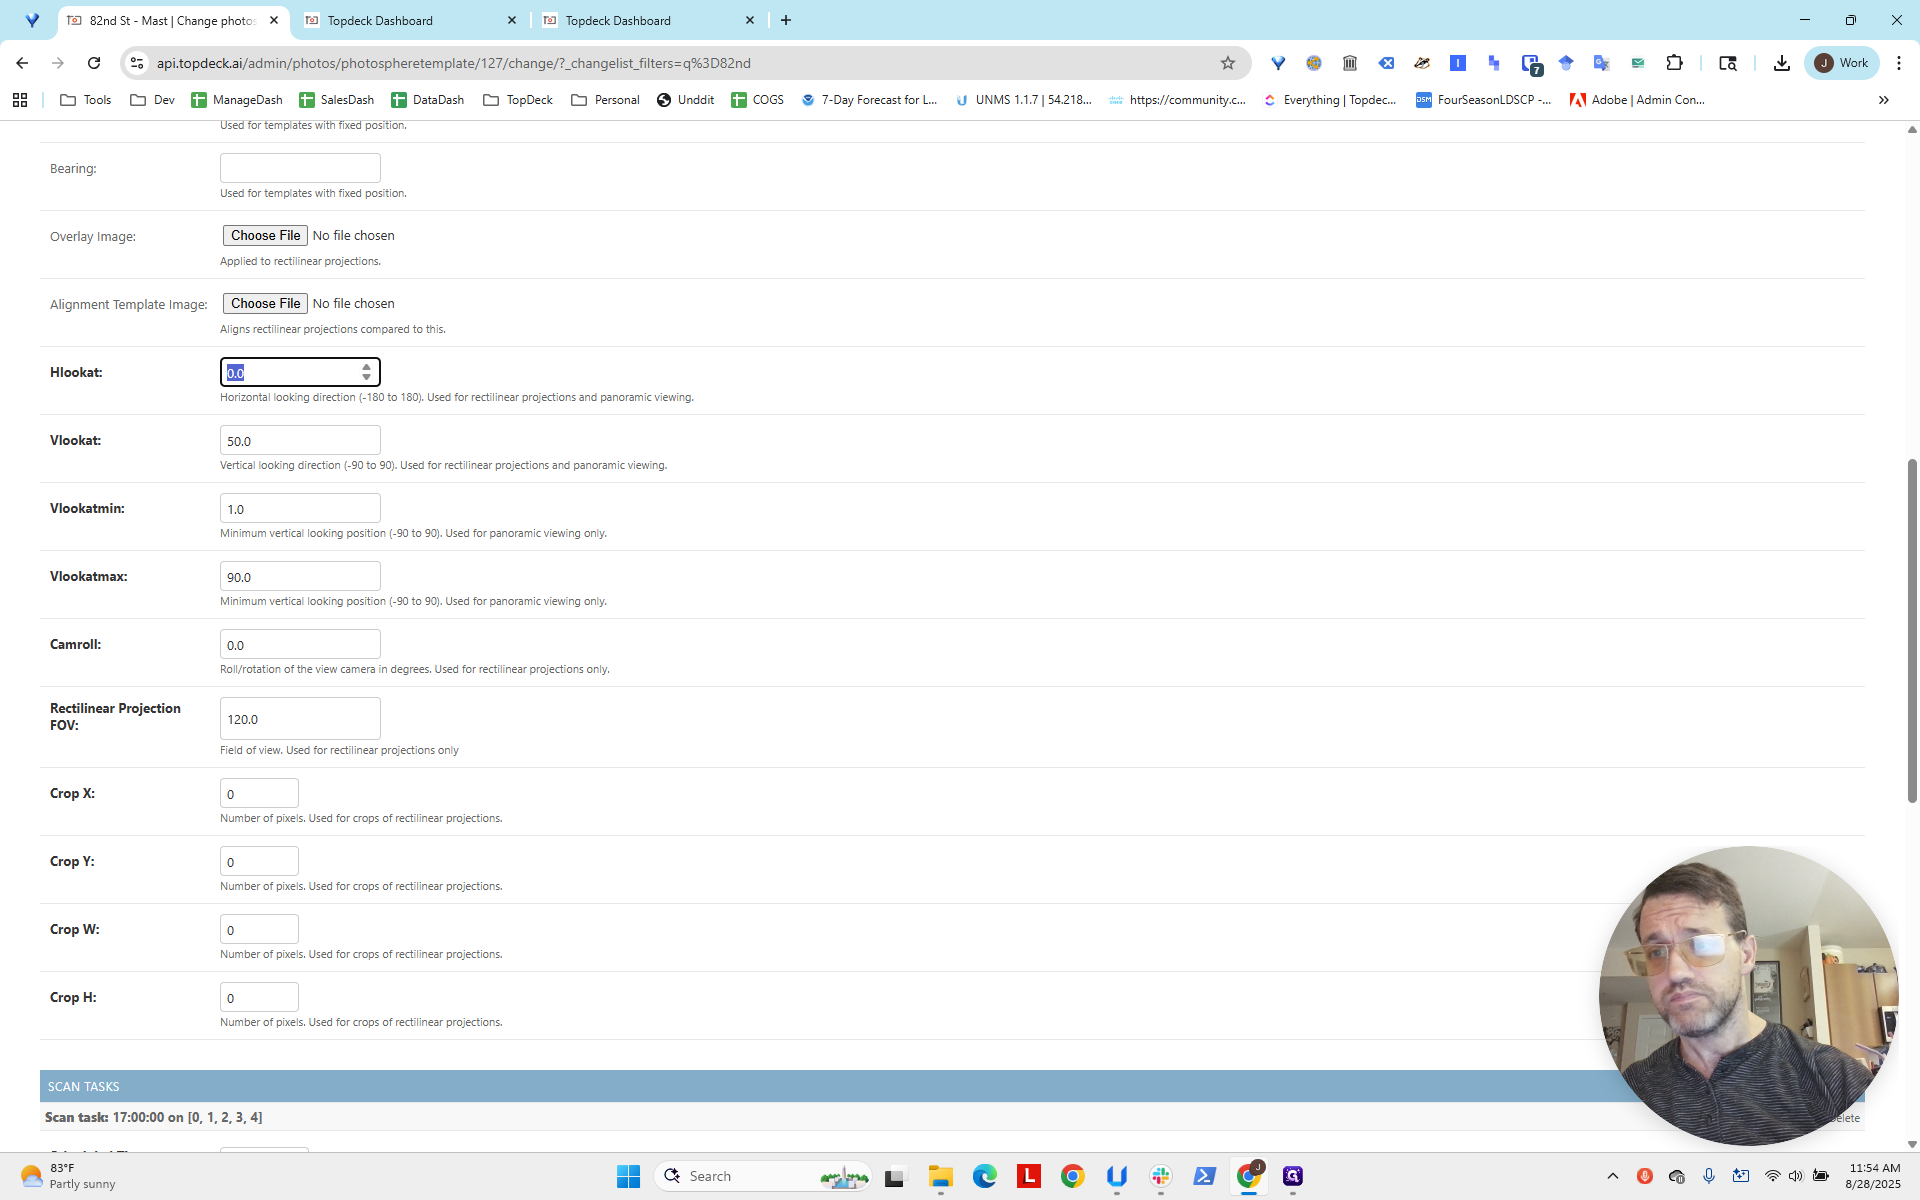
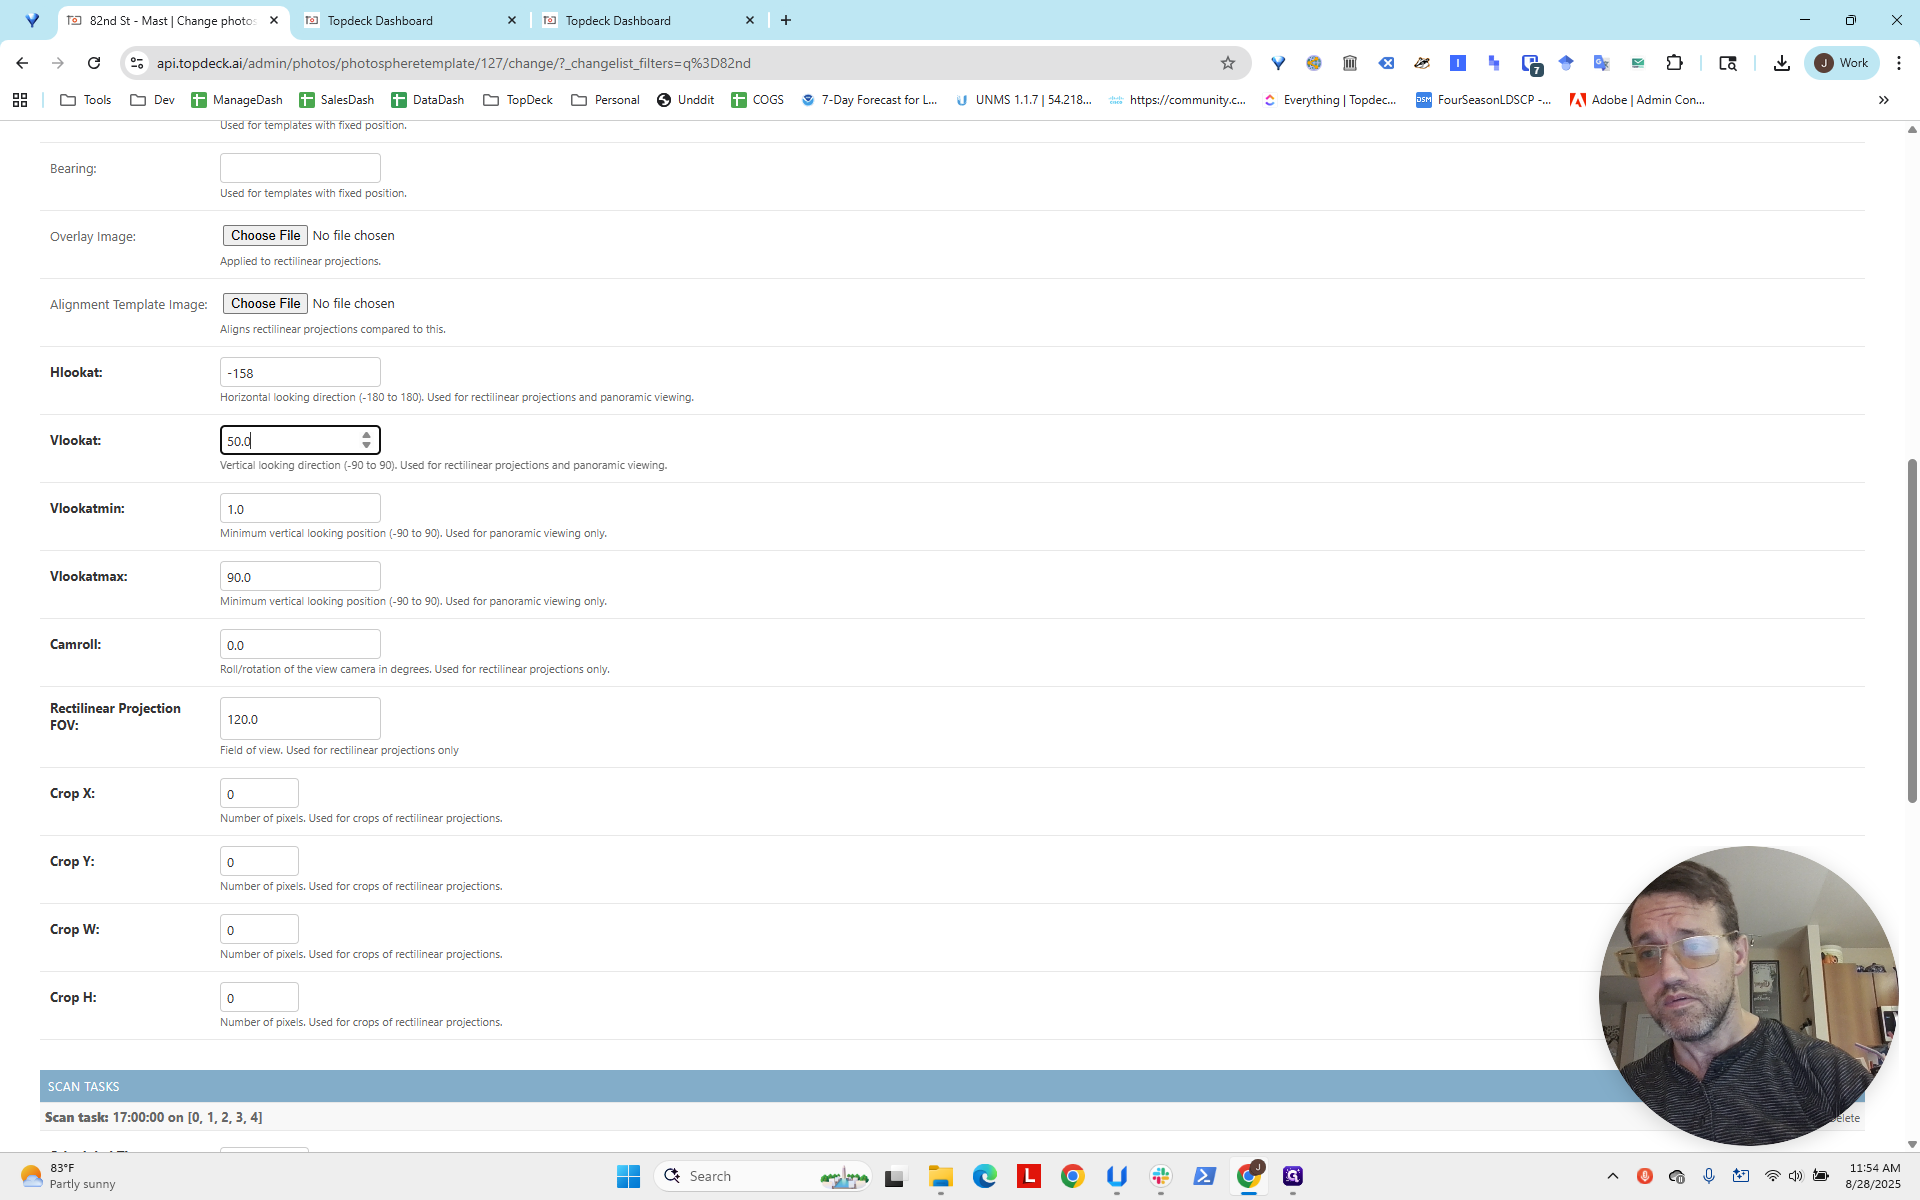
Add some vertical space here and block out part of the crane. Once you have the desired view, look for the photosphere "template" to update. This template profile contains the default view setting. It will apply to ALL photospheres, including back photospheres. You are editing at the template level, not the individual photosphere level. First, look at the name of the photosphere template, which is "82nd Street Mast." Next, go to the admin site and log in.
I use Bitwarden, so I have it saved.
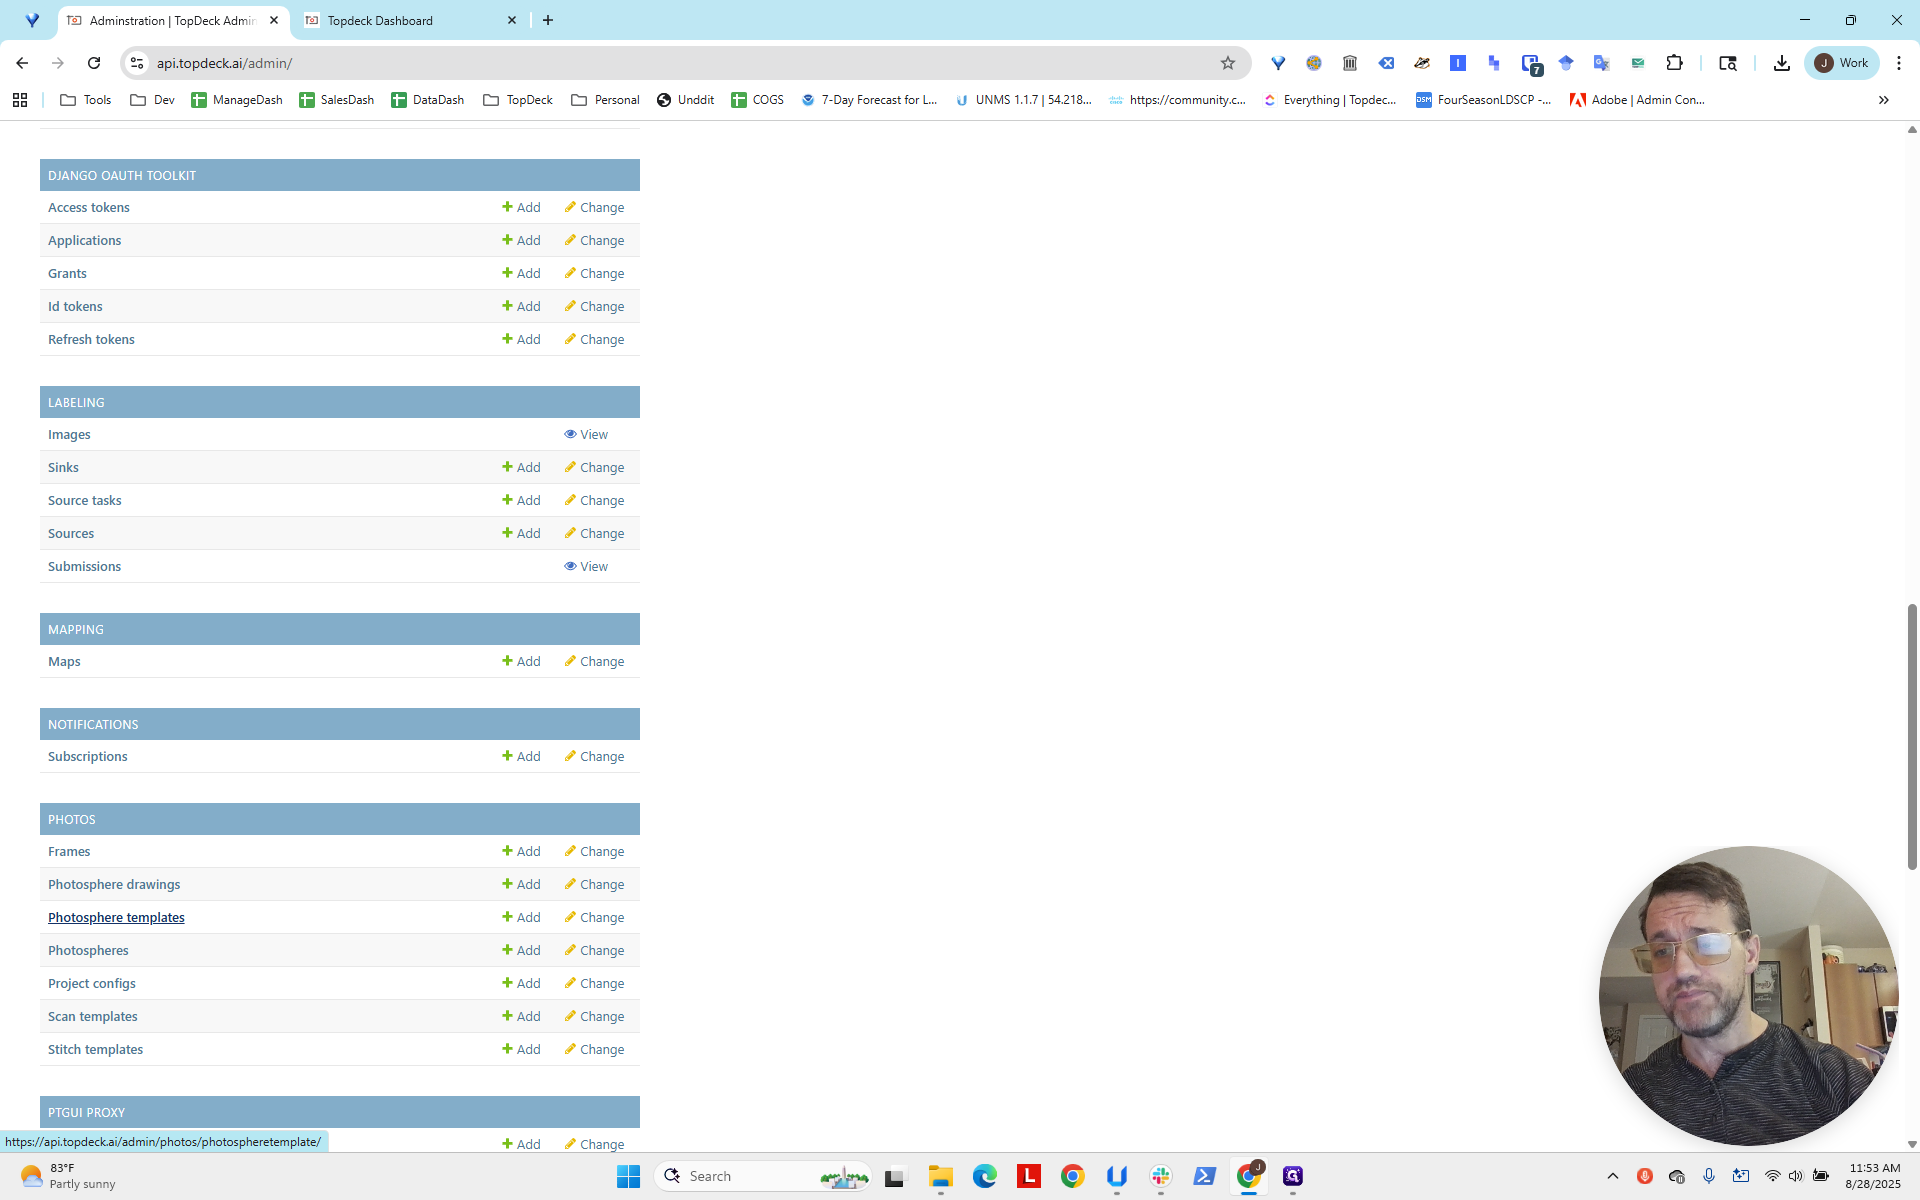
Press Enter. Go to Photos and select Photosphere Templates. Remember, the template name is 82nd Street Mast. Enter a shorthand to search, and you'll see the template appear.
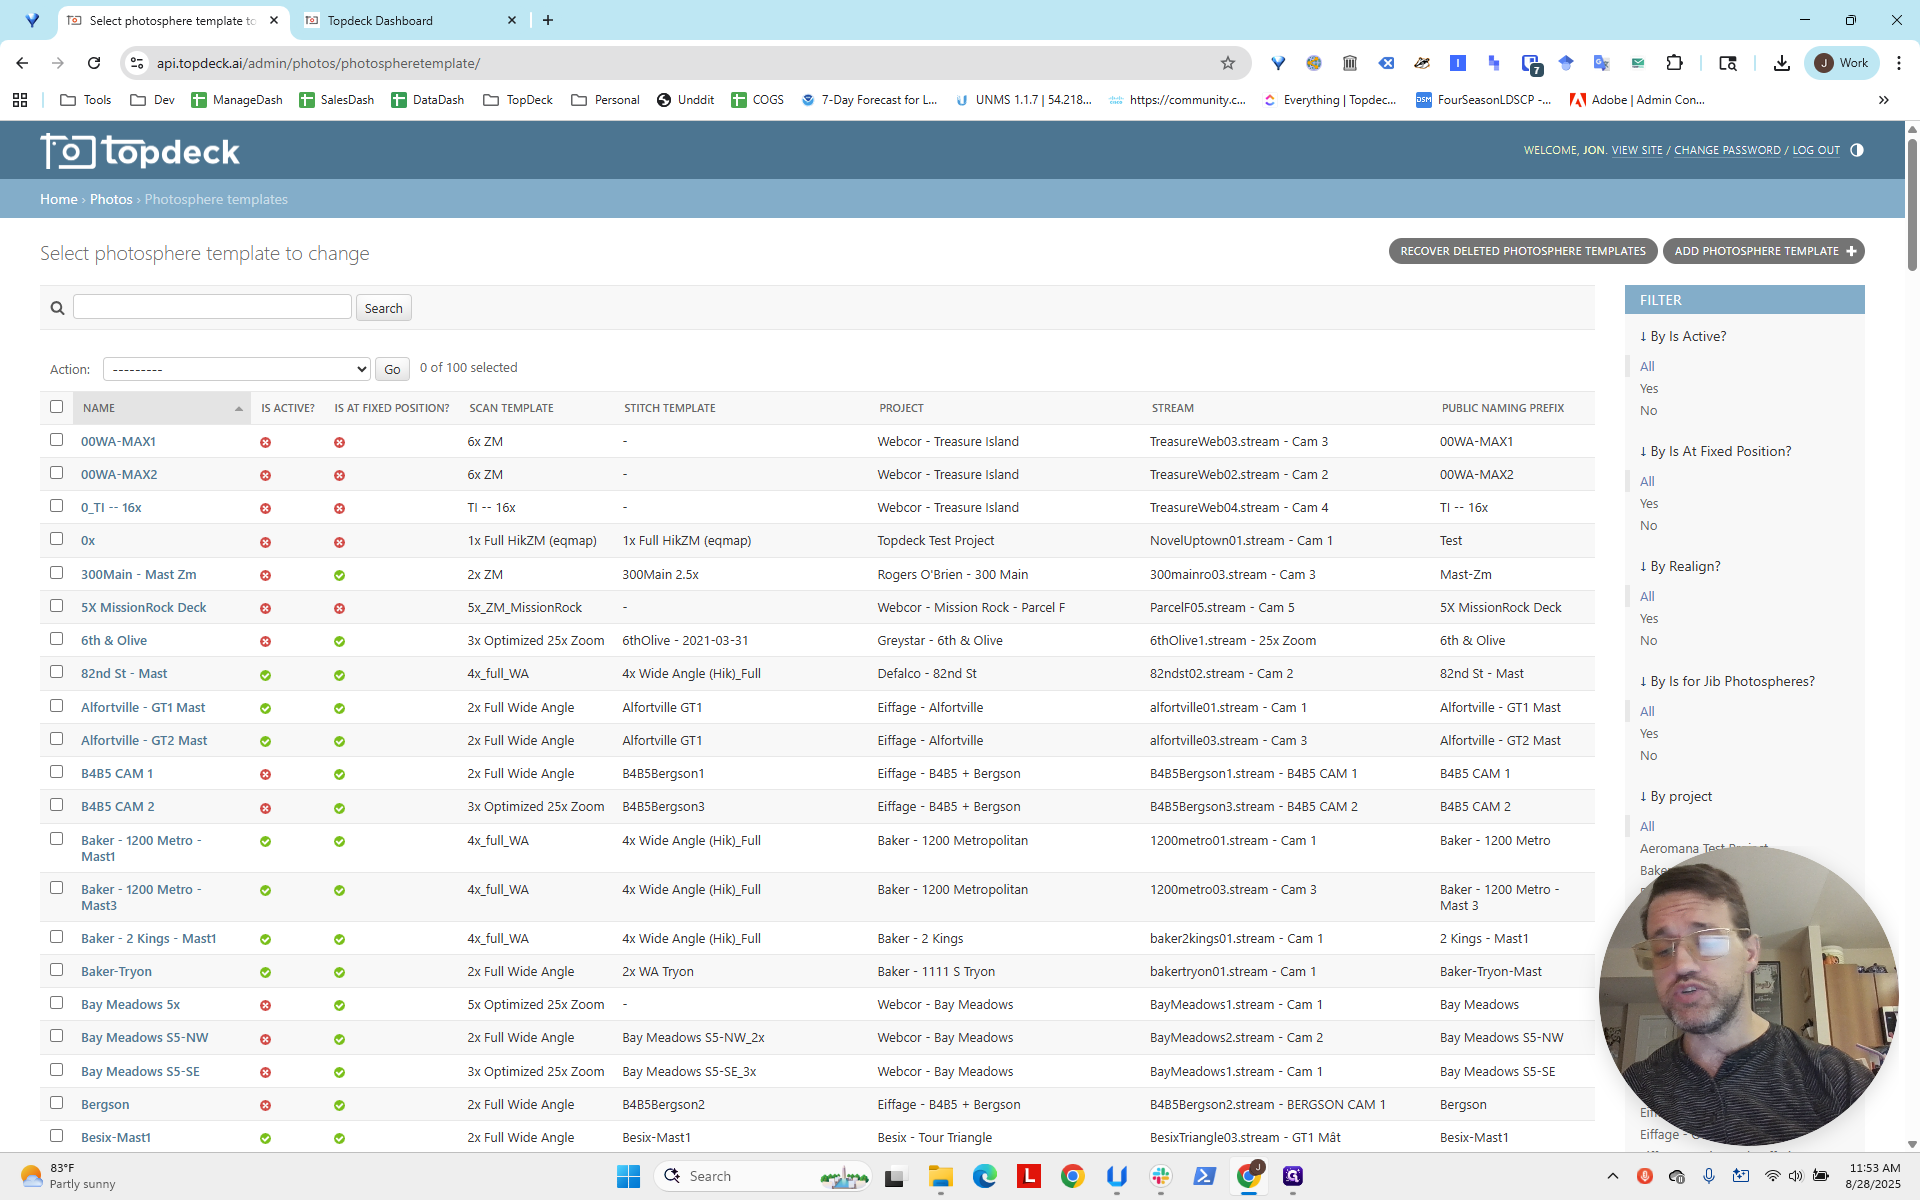
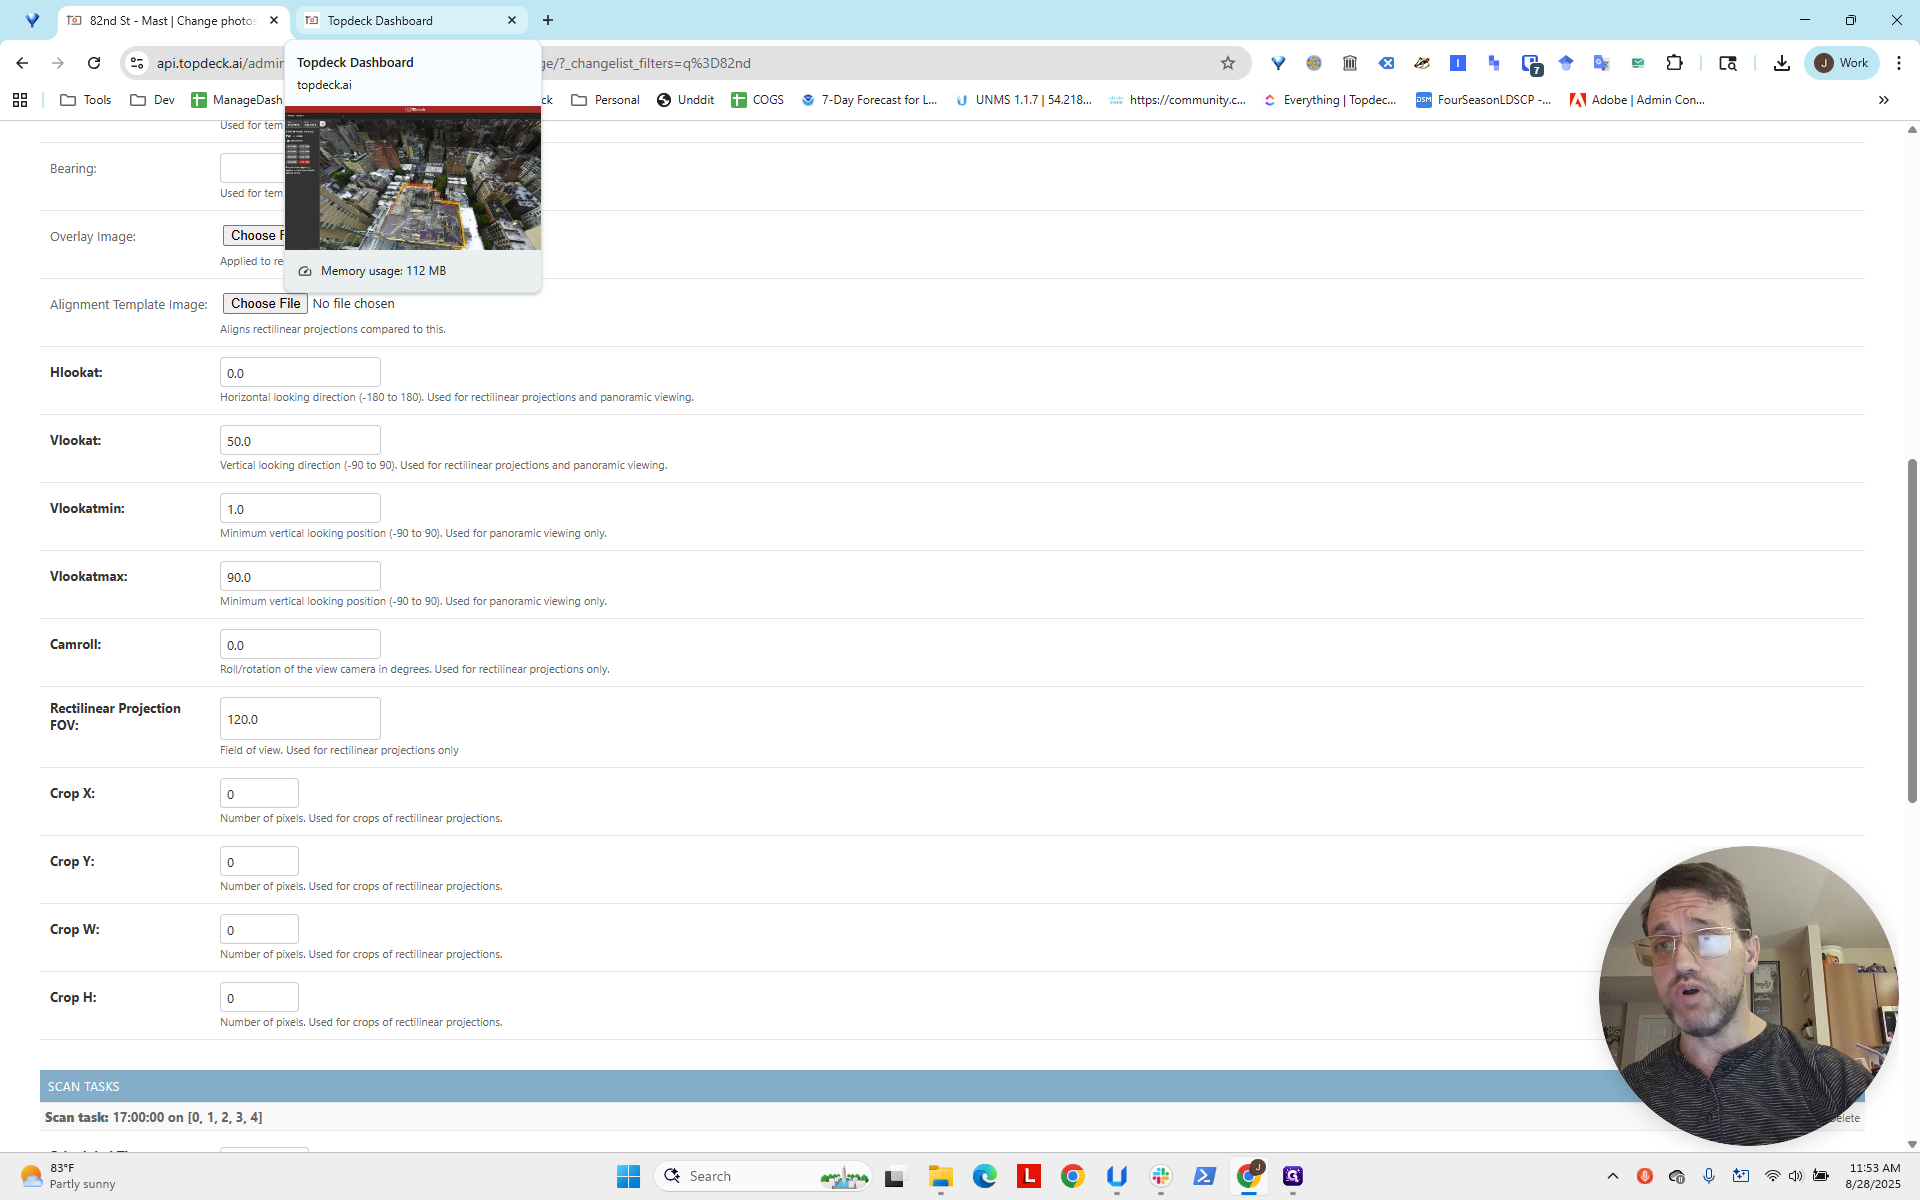
If you open the template, you’ll see a range of angles to set in the photosphere as you scroll down. The two you need are "HLookAt" and "VLookAt". We now go back to our photosphere...
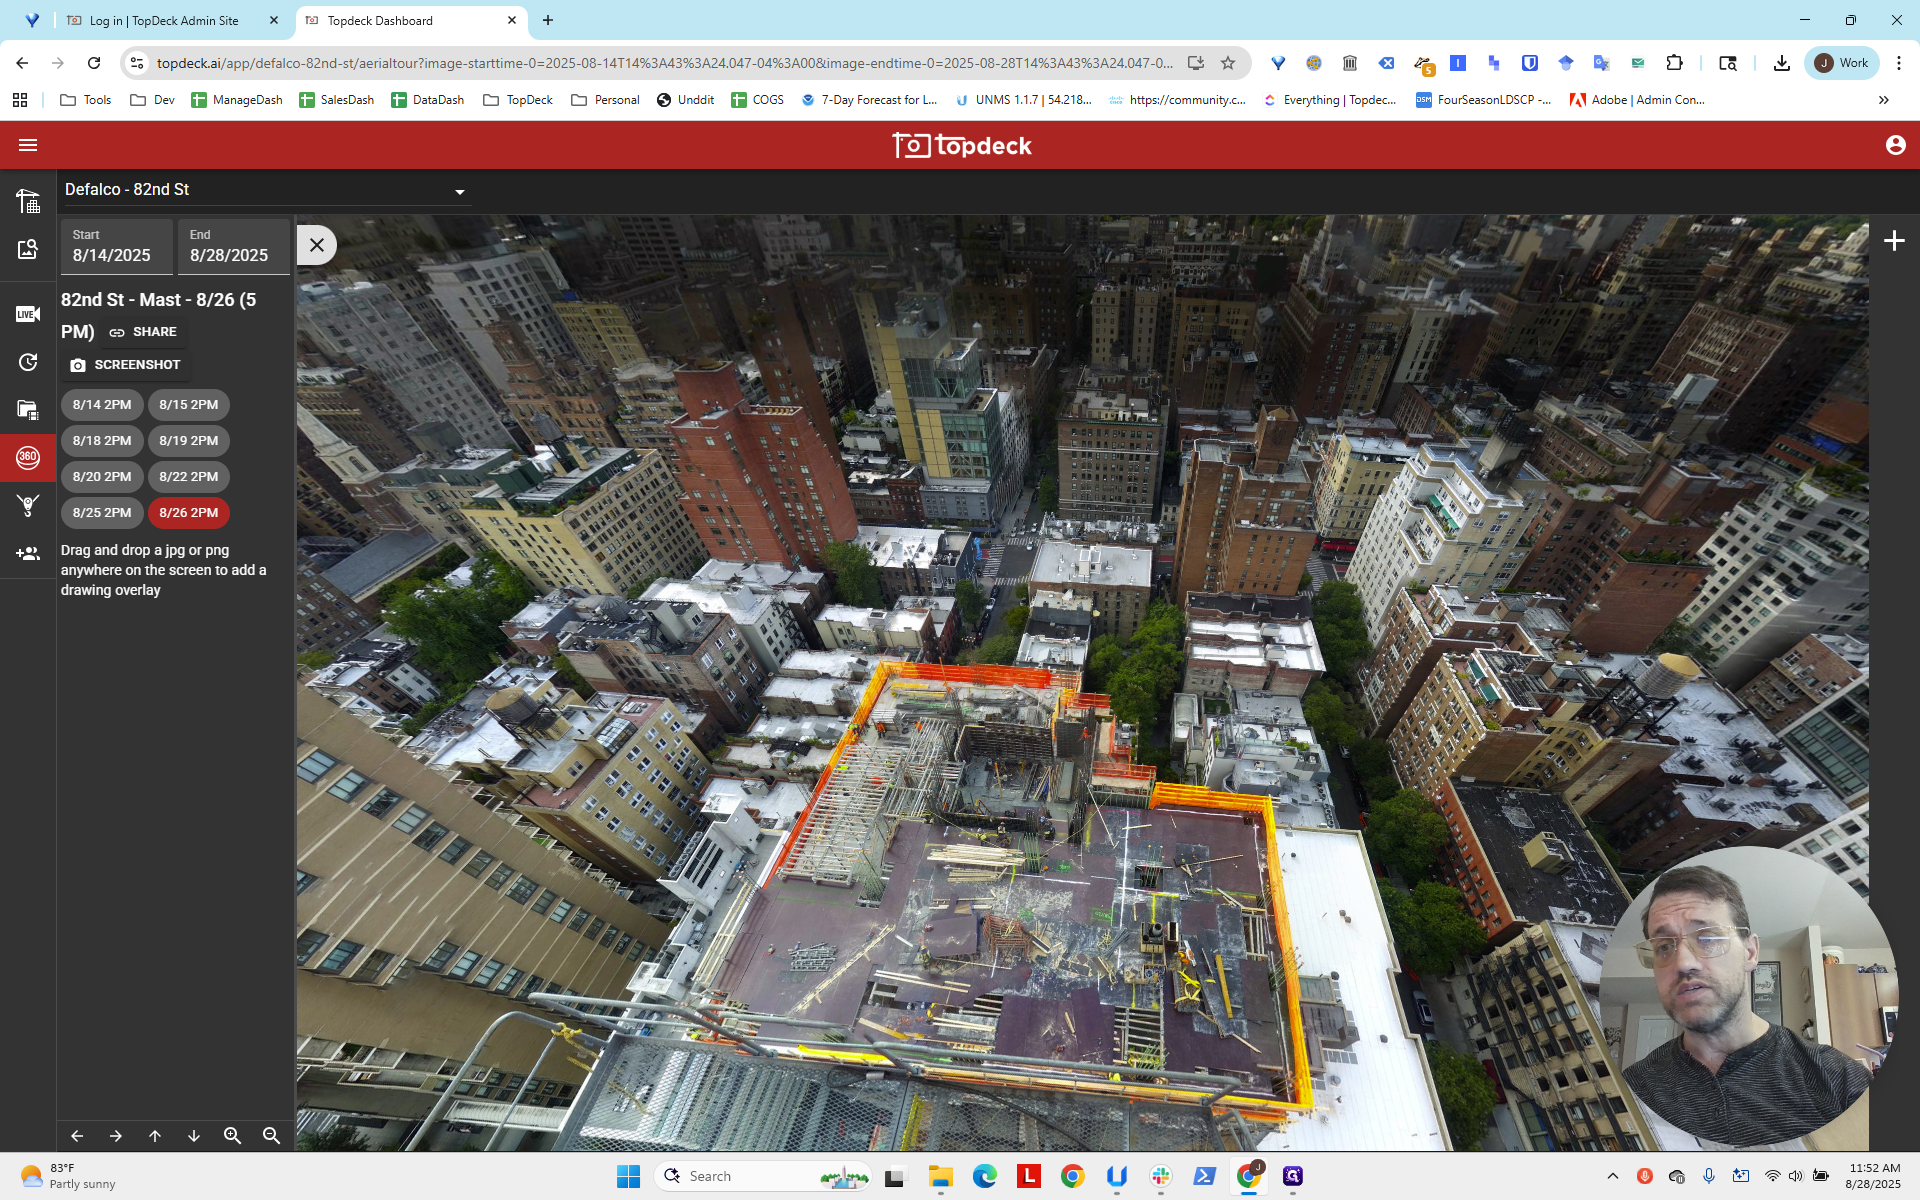
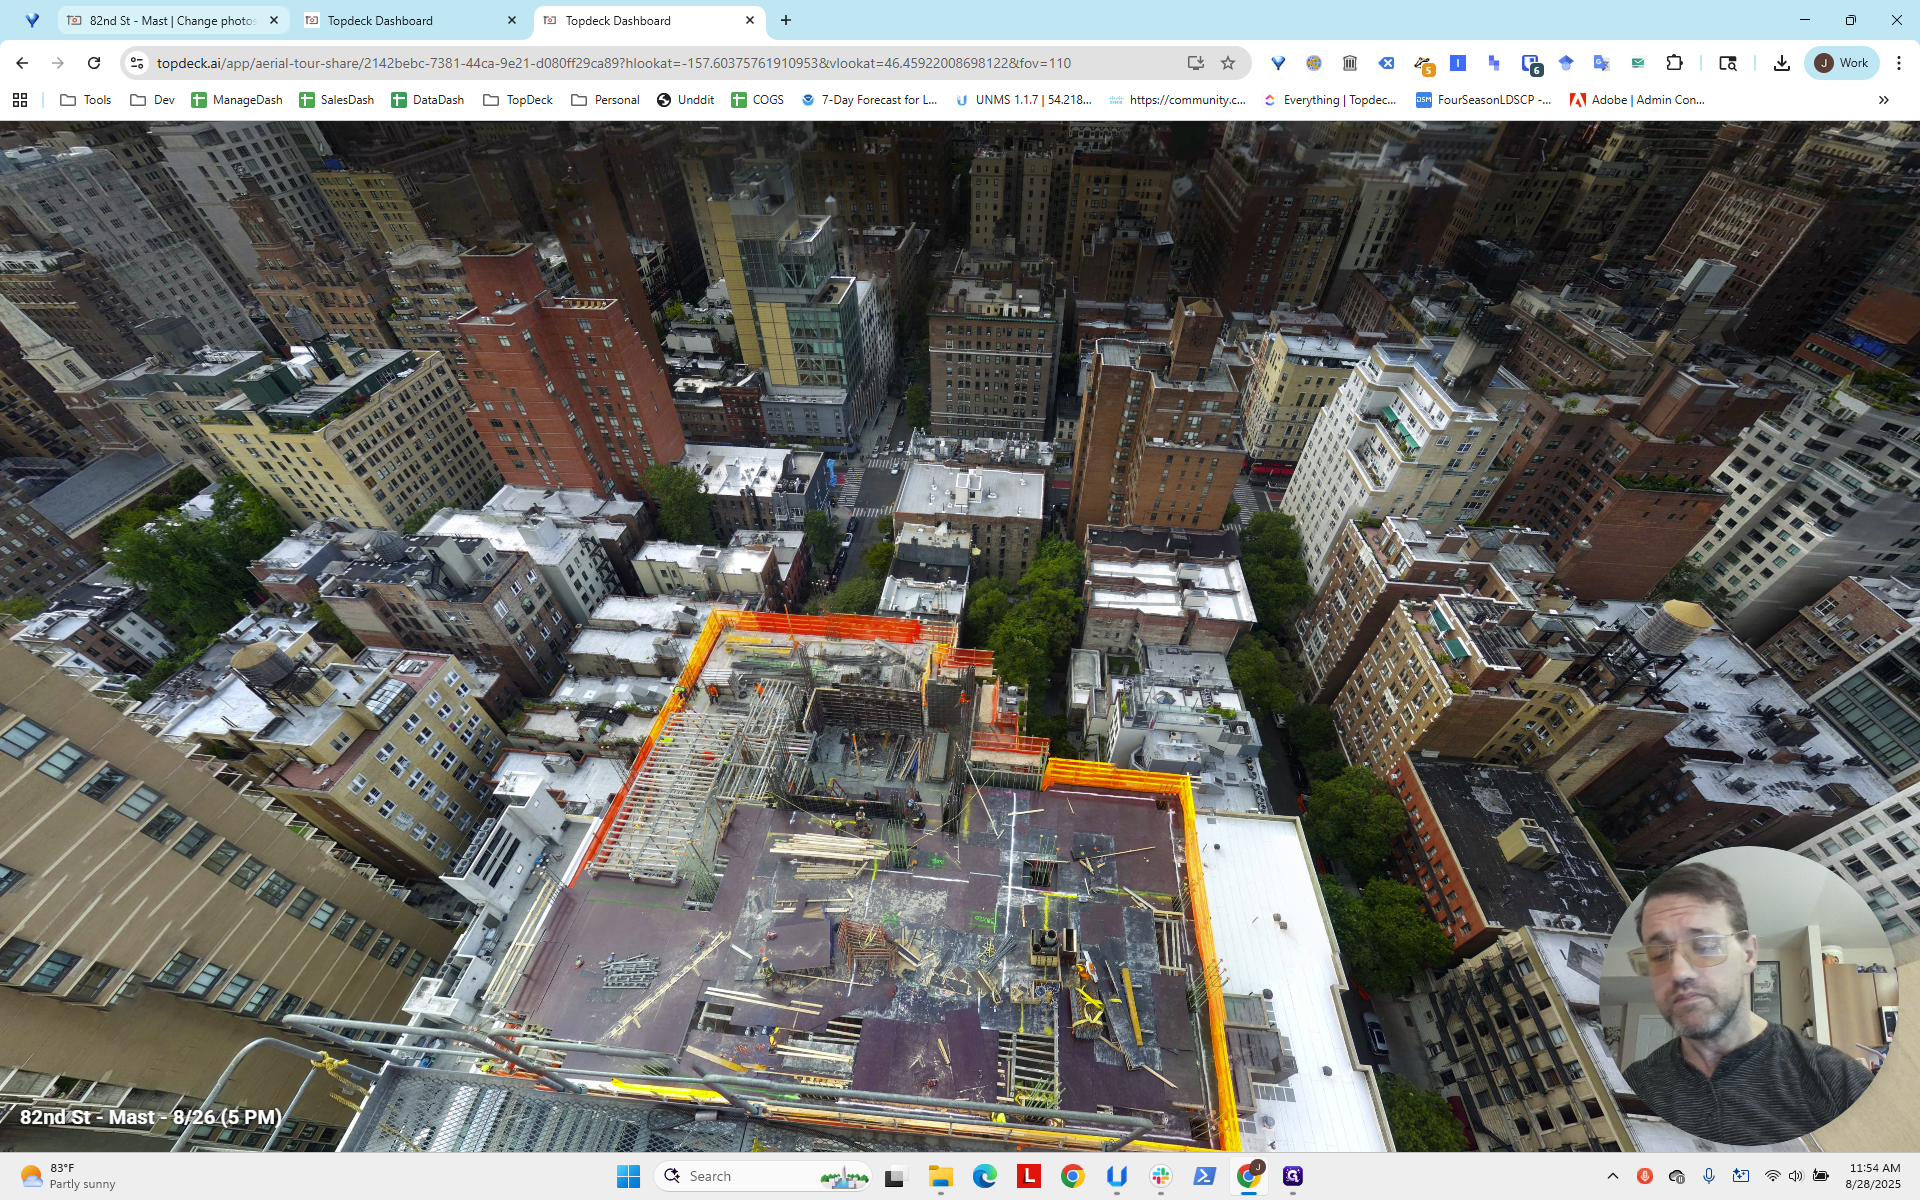
This is the view we want. Click on Share to copy the URL link, and open a new tab. Paste the share link, hit Enter, and you'll see a view displaying the HLookAt and VLookAt values in the address bar.


This is negative—note the minus sign here: -157.6, which we can round to -158. The value 46.45 rounds to 46.5, and then to 47. We will use -158 and 47. Set these values: -158, 47. Scroll down, click save, return to the dashboard, and reload. Now it is updated.


That's how you set the default photosphere view.