
How to Resize and Center Images for Website Components: A Step-by-Step Guide
Learn the best practices for resizing, cropping, and centering images for website components. Follow this easy guide to ensure your images fit perfectly and look professional on your site.
In this guide, we'll learn how to prepare and resize an image so it fits well within a website component. We will cover how to insert an image, adjust its size and alignment, crop it to the correct proportions, and upload it to your site. This process helps ensure your images display clearly and look consistent across your website.
Let's get started
The best way to handle images so we can resize them for the component to be visible on the website is to follow this shortcut. I would insert an image. I would click Insert Picture, then Picture from File.
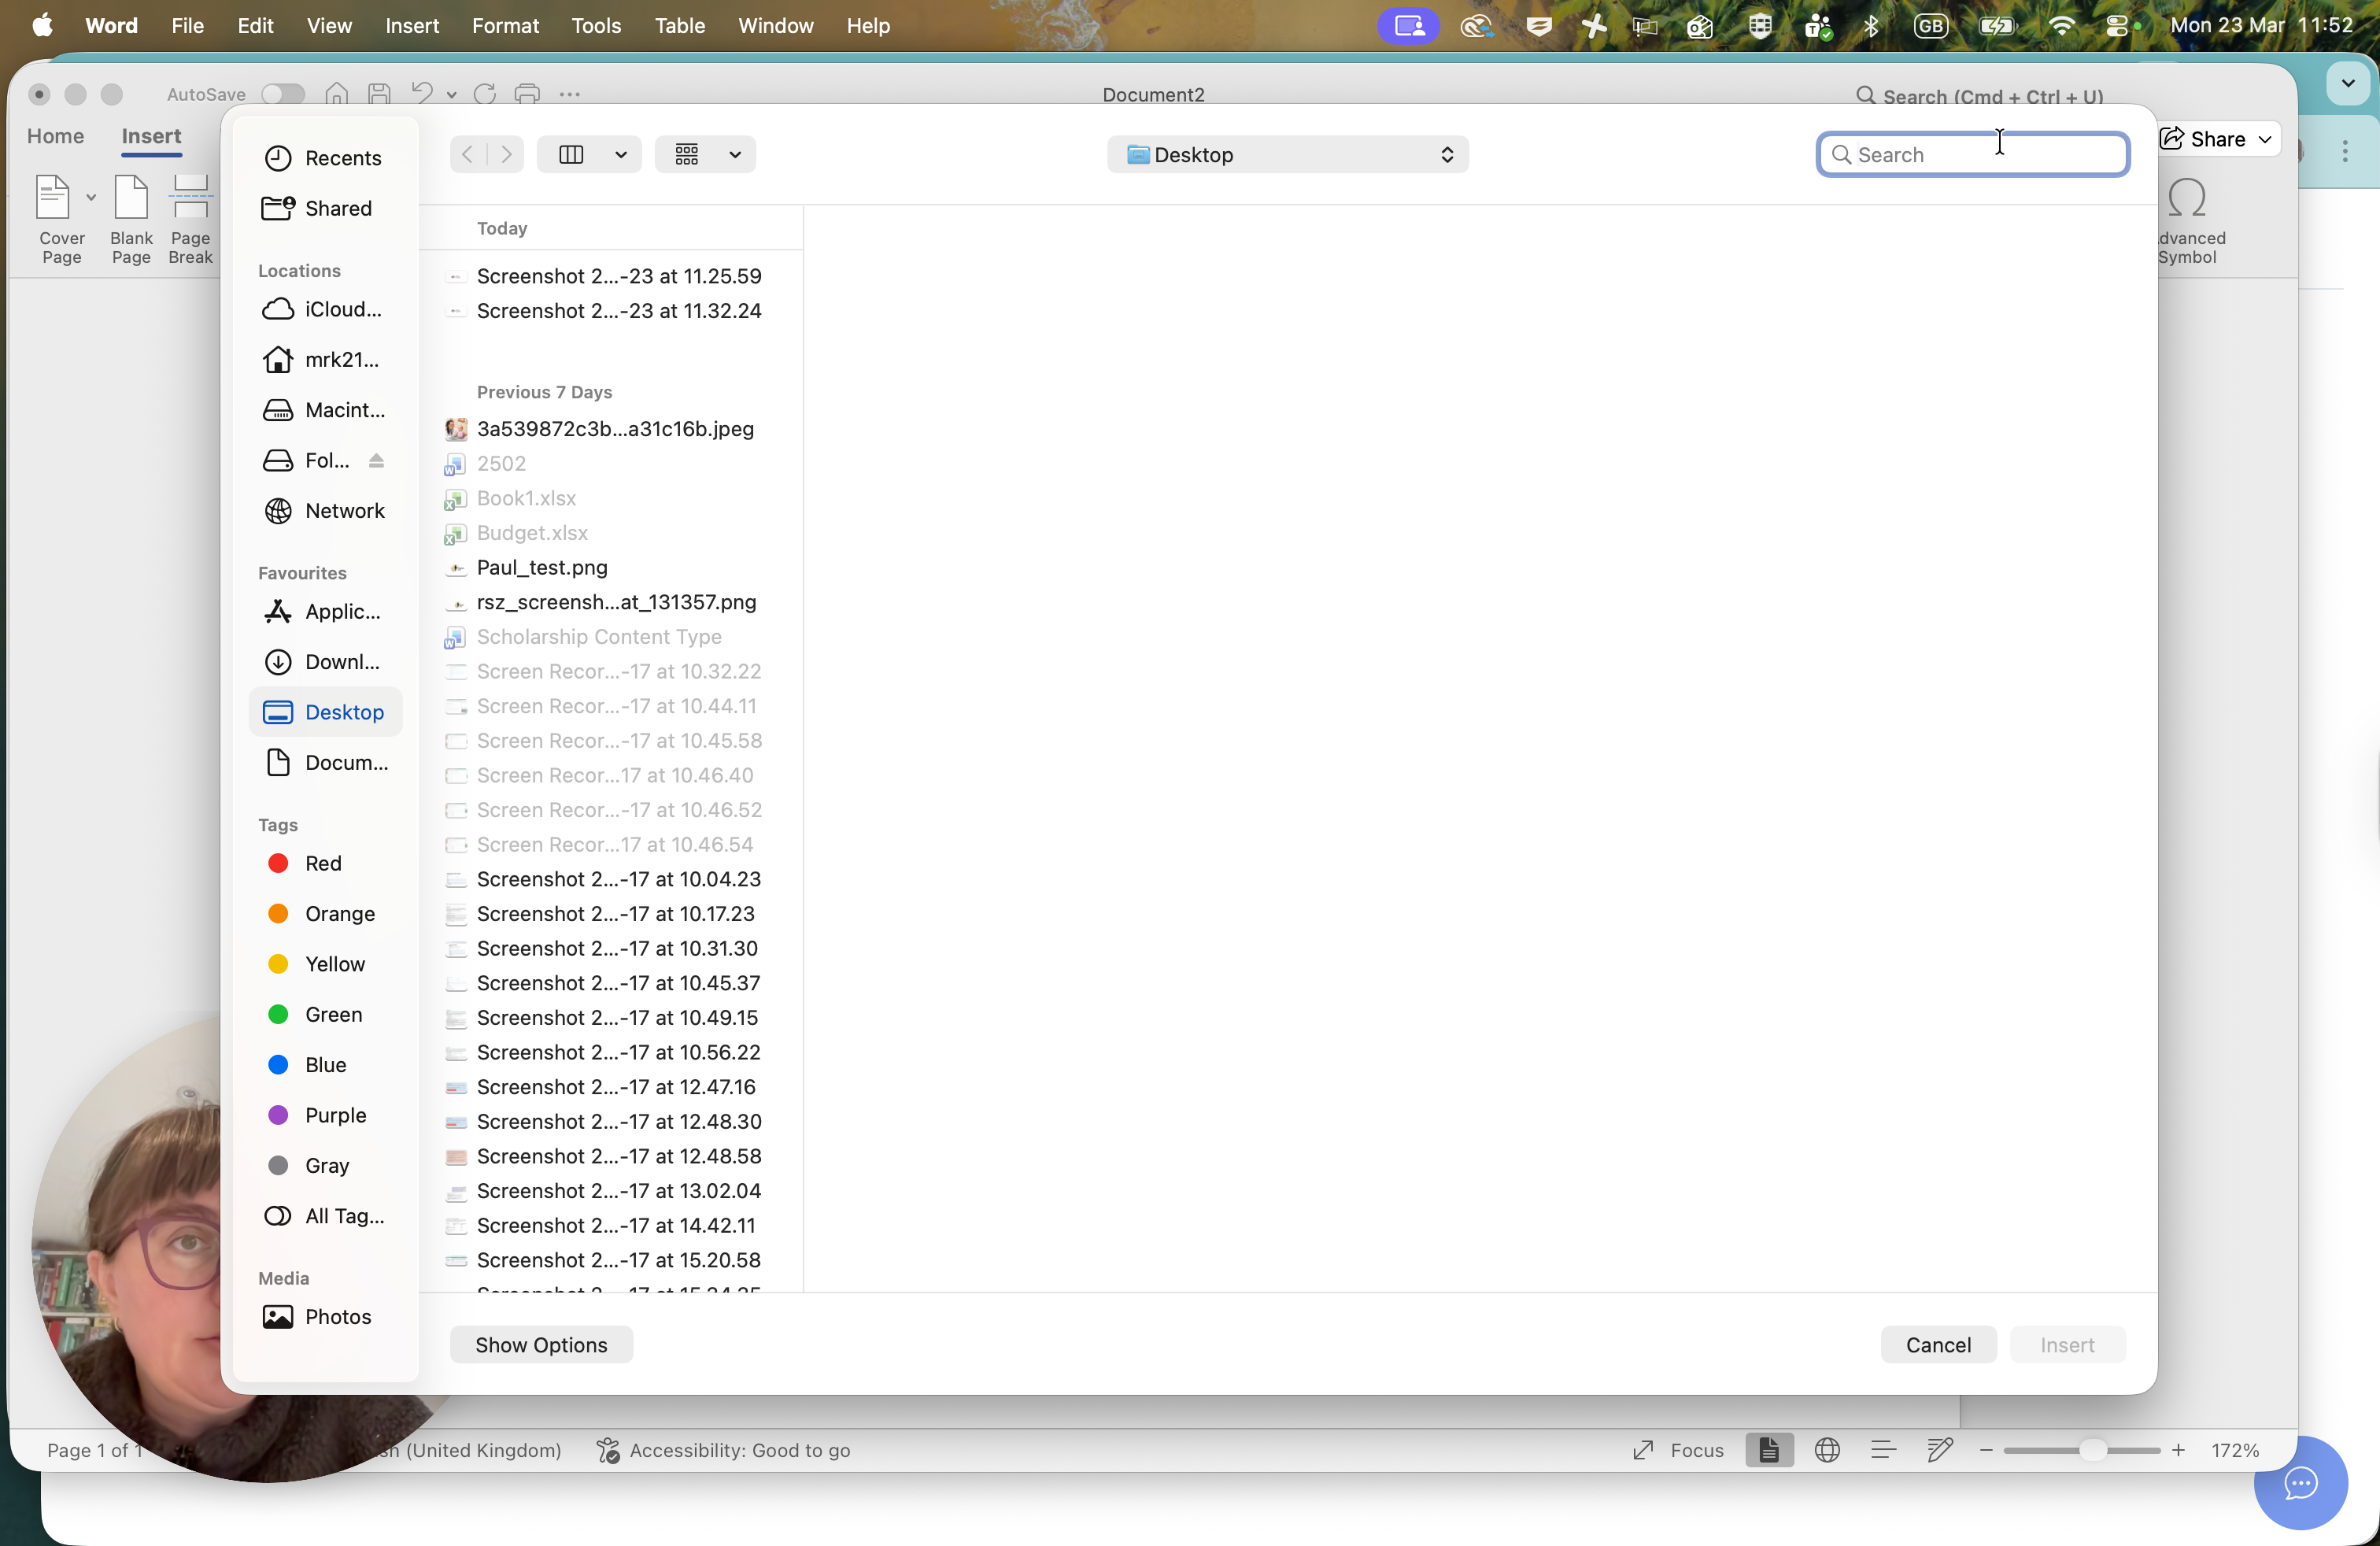
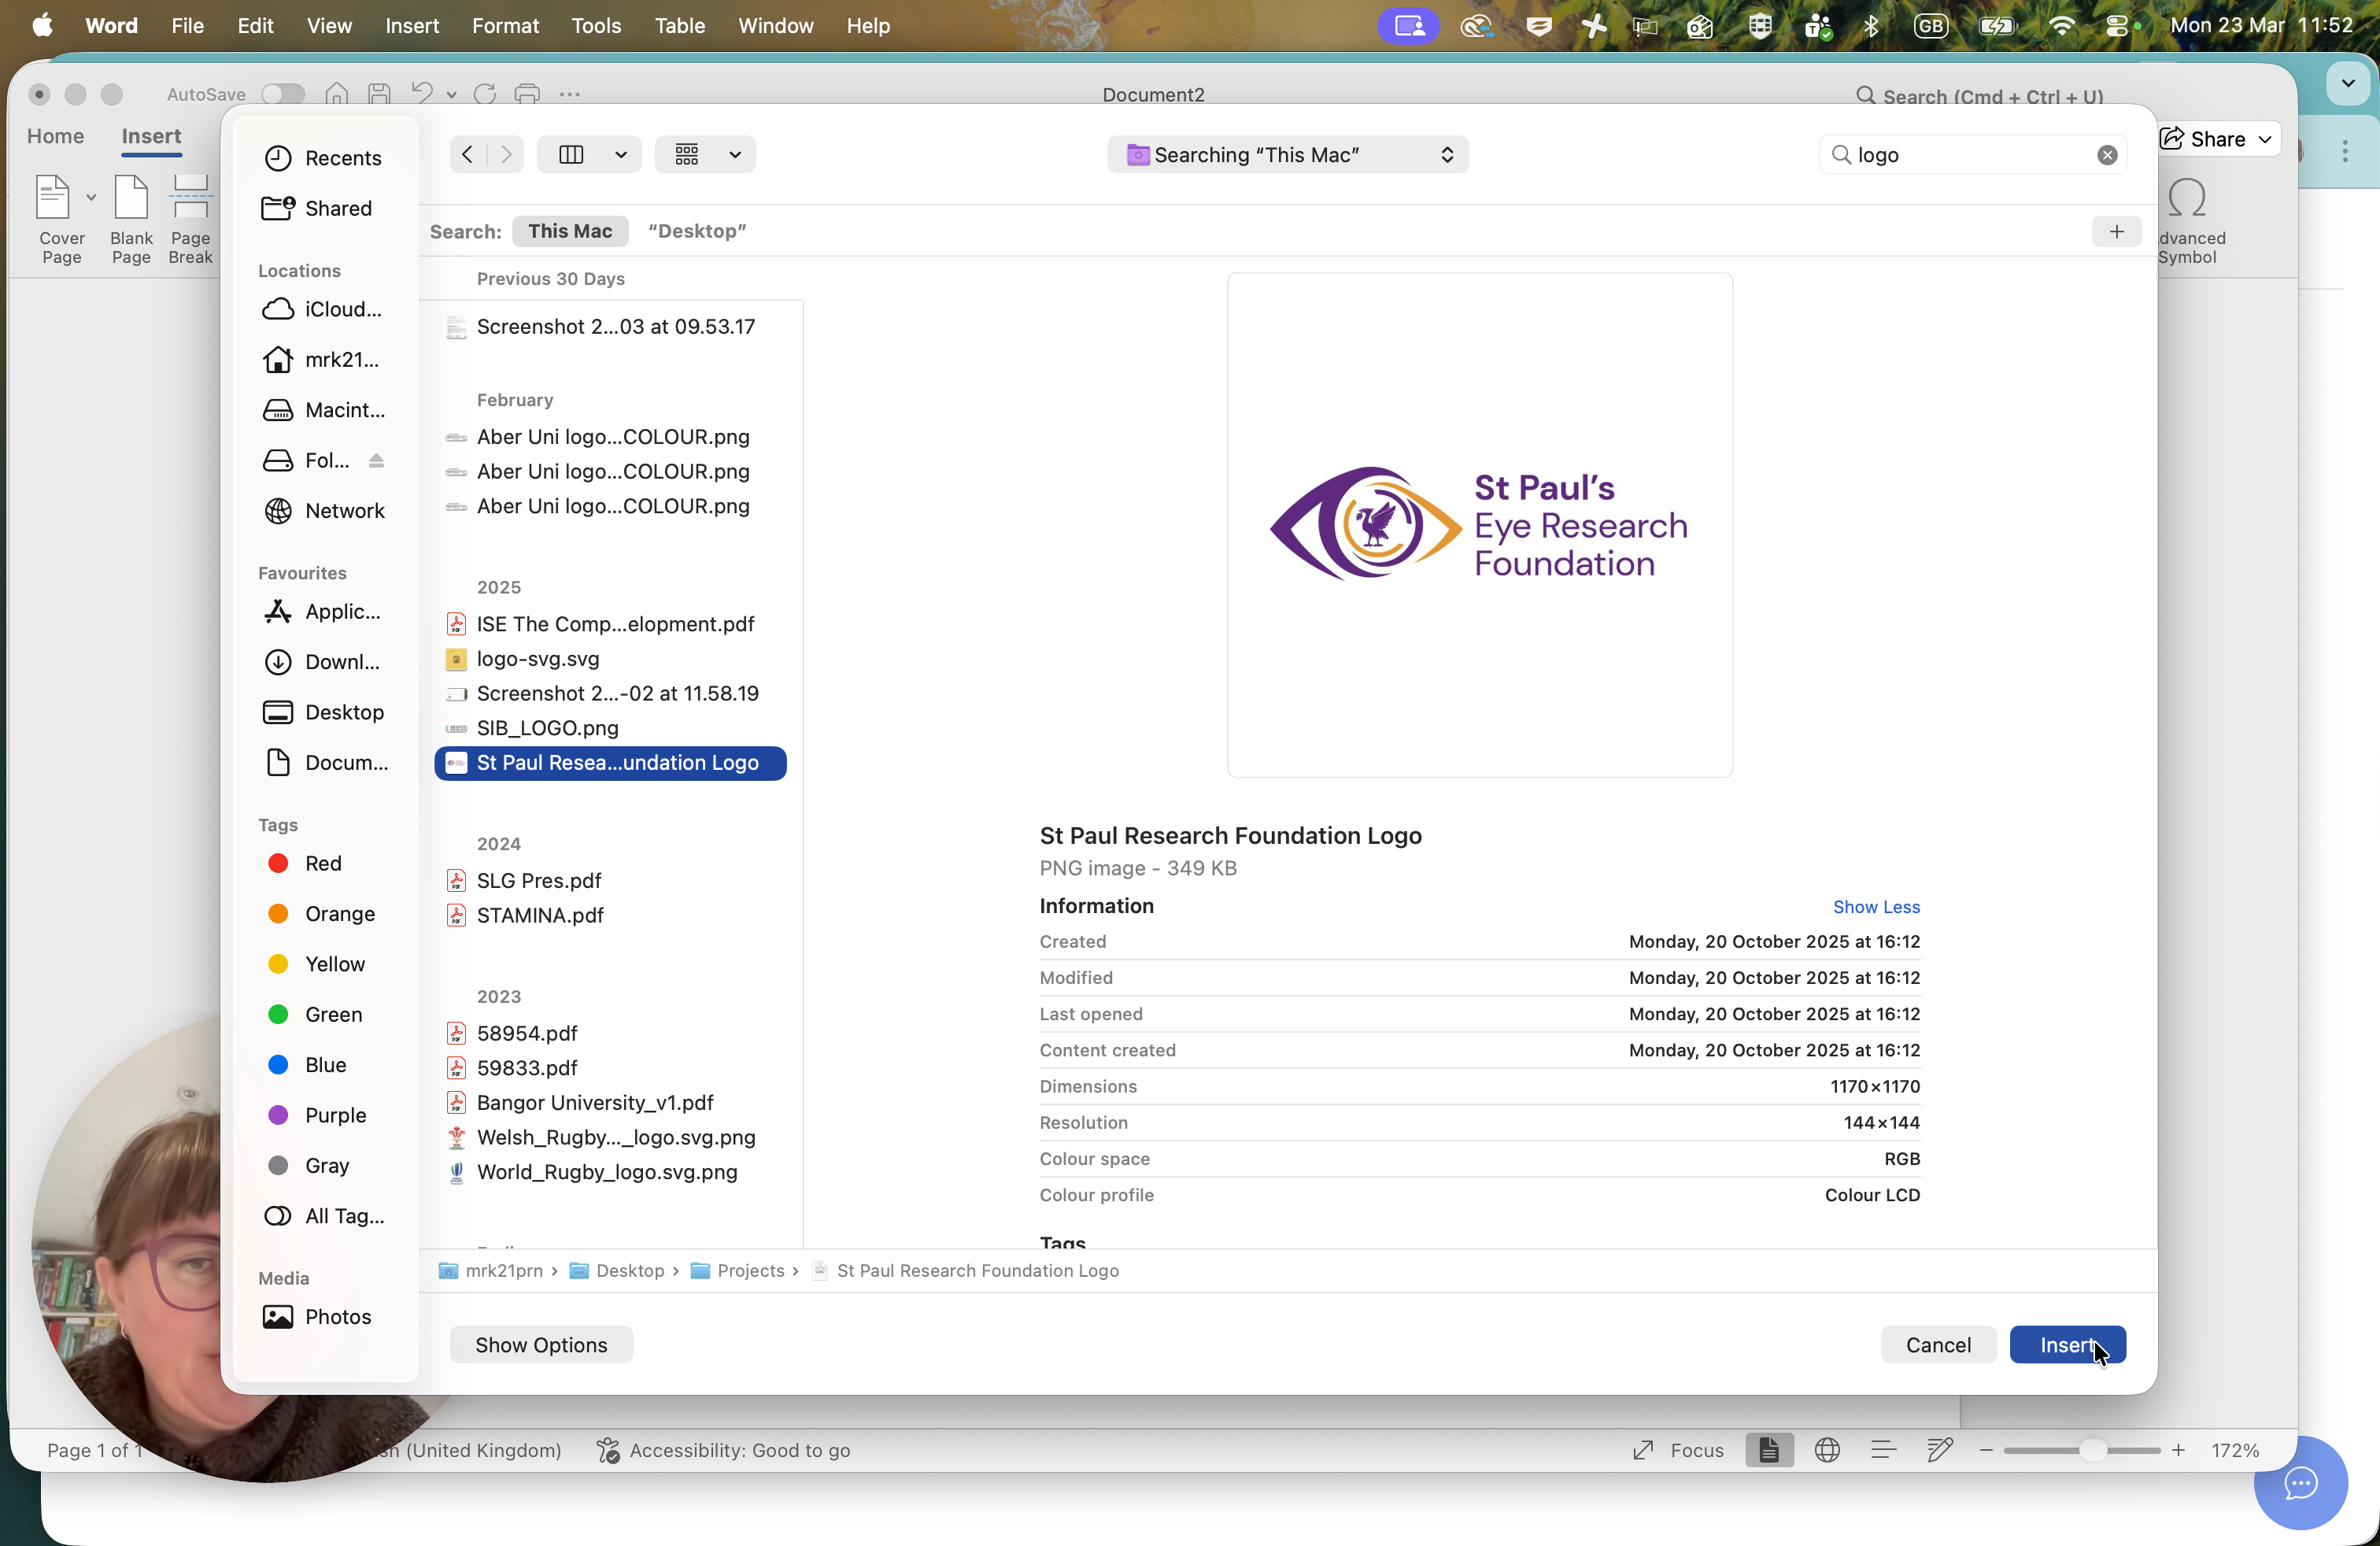
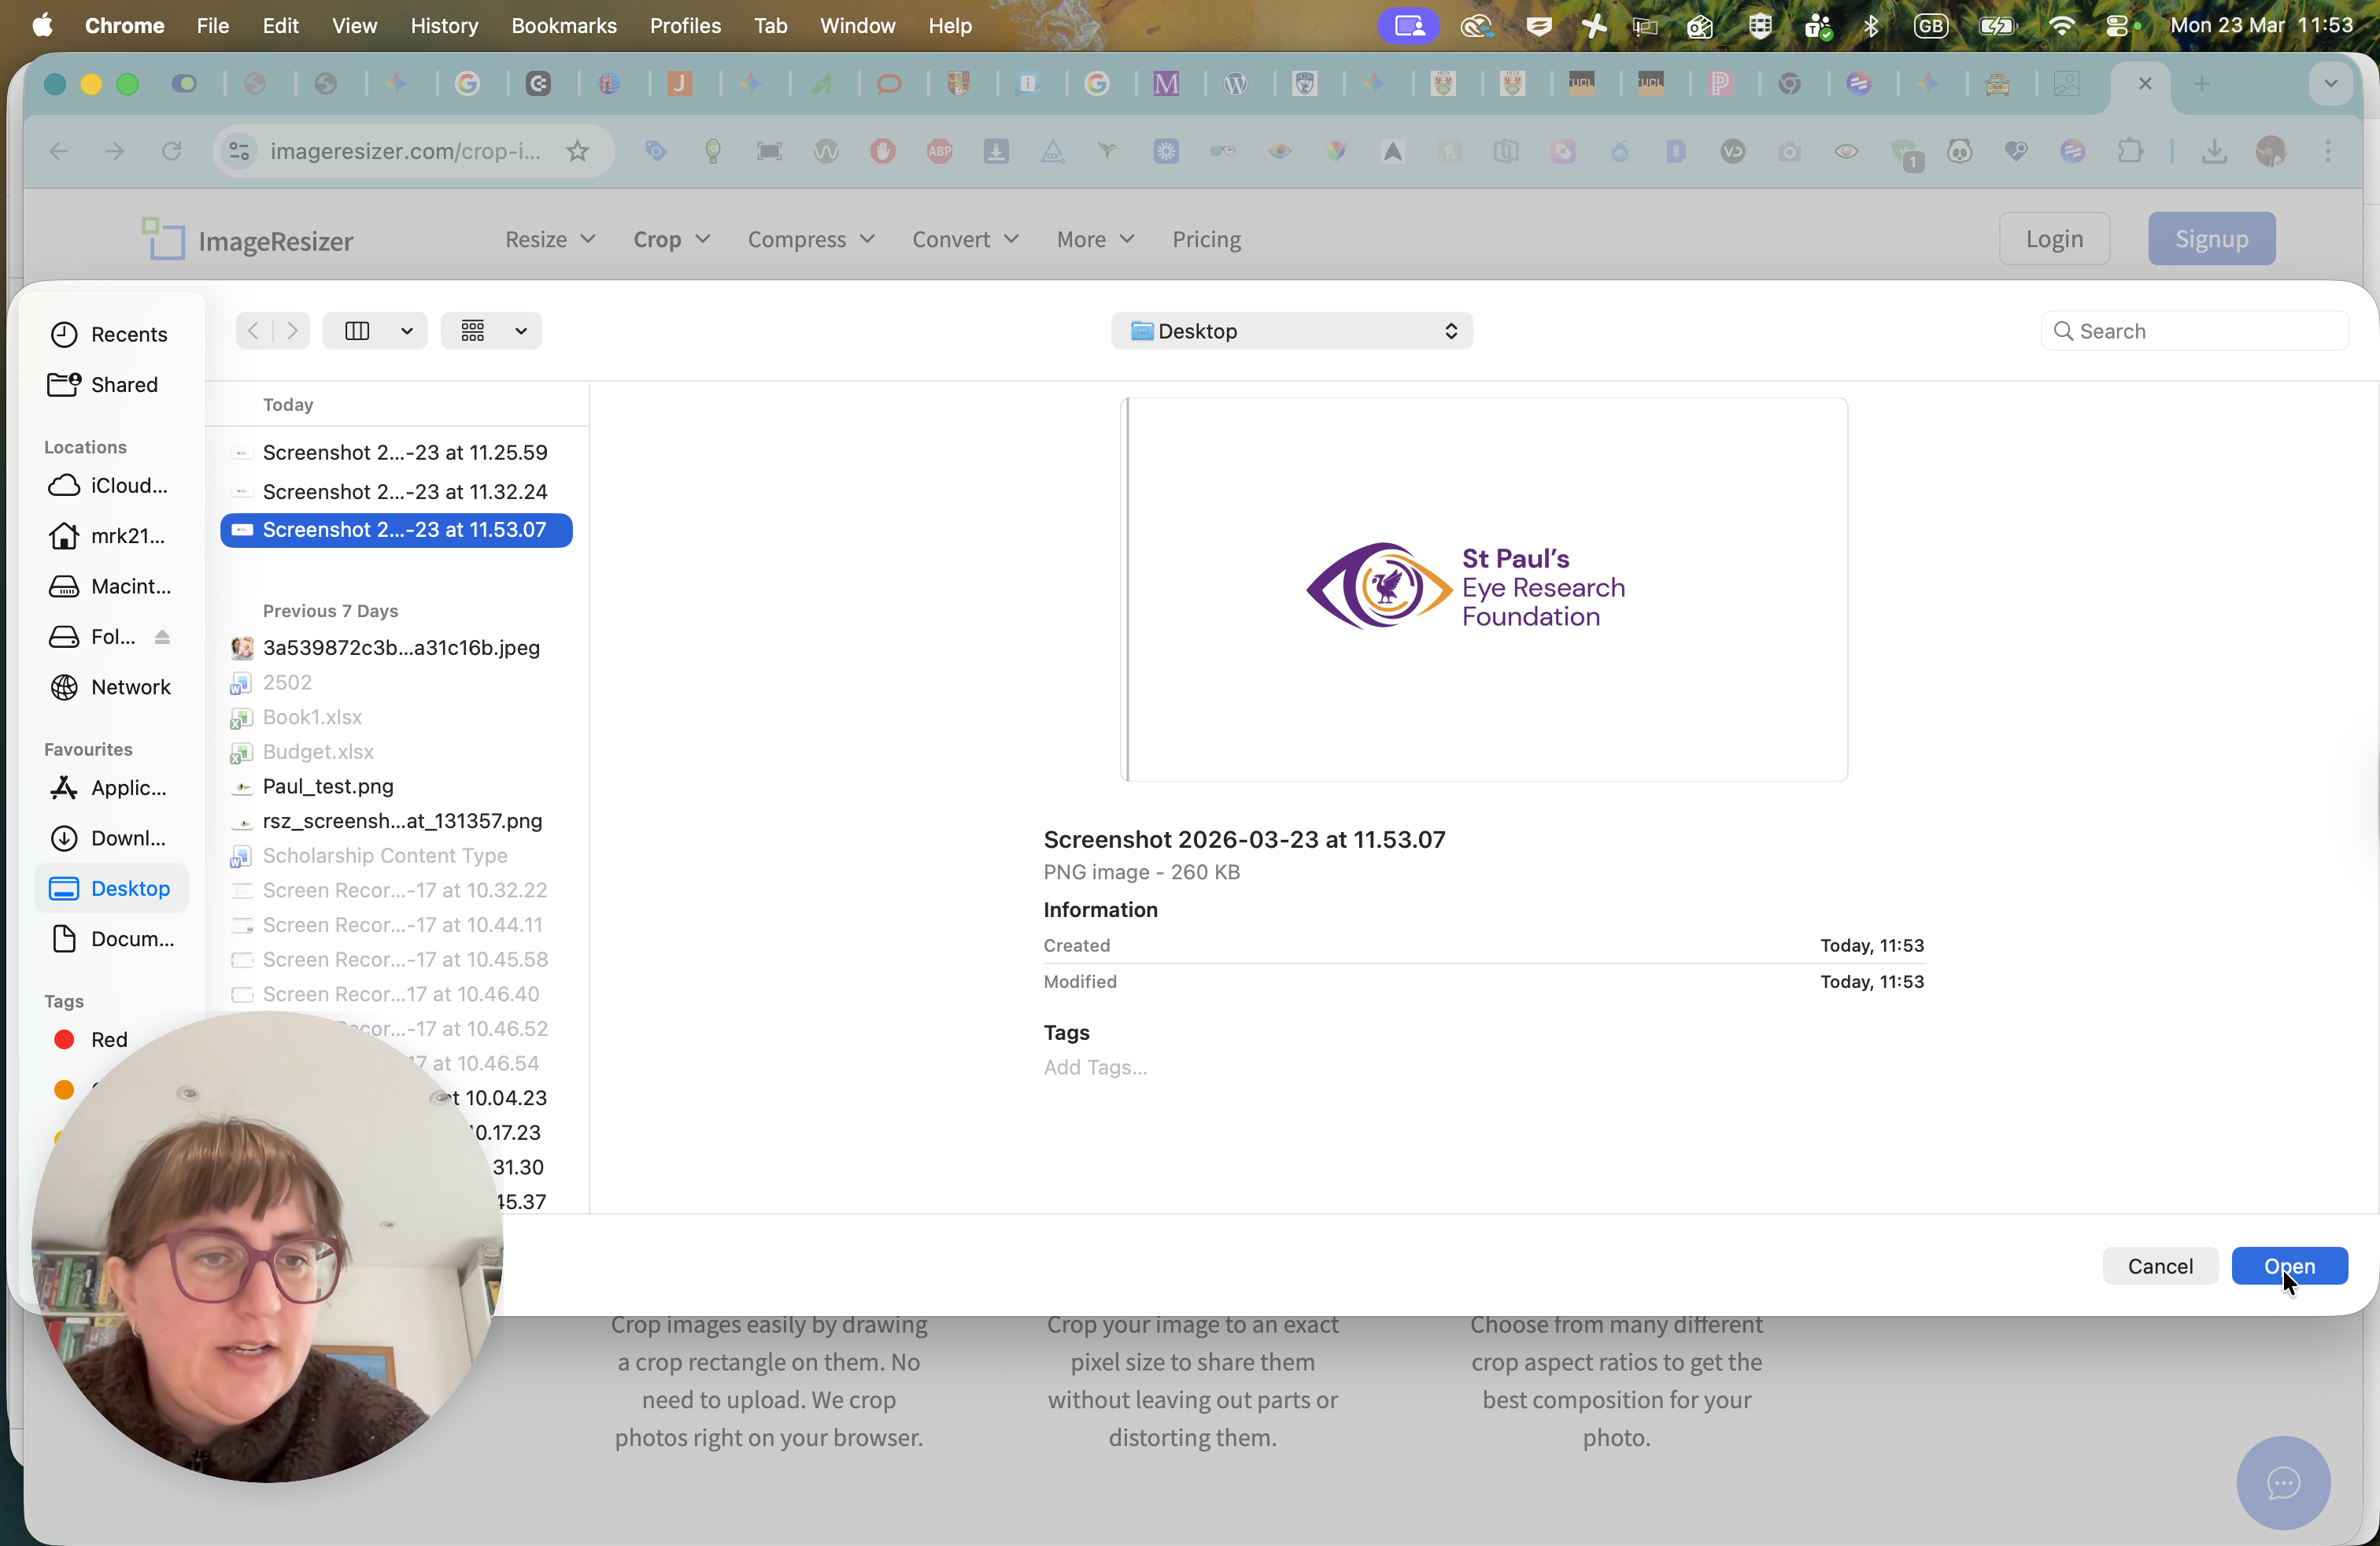
Let's see what logos I have on my desktop.
St. Paul's Research Unit, Research, St. Let's use Paul's iResearch Foundation logo.
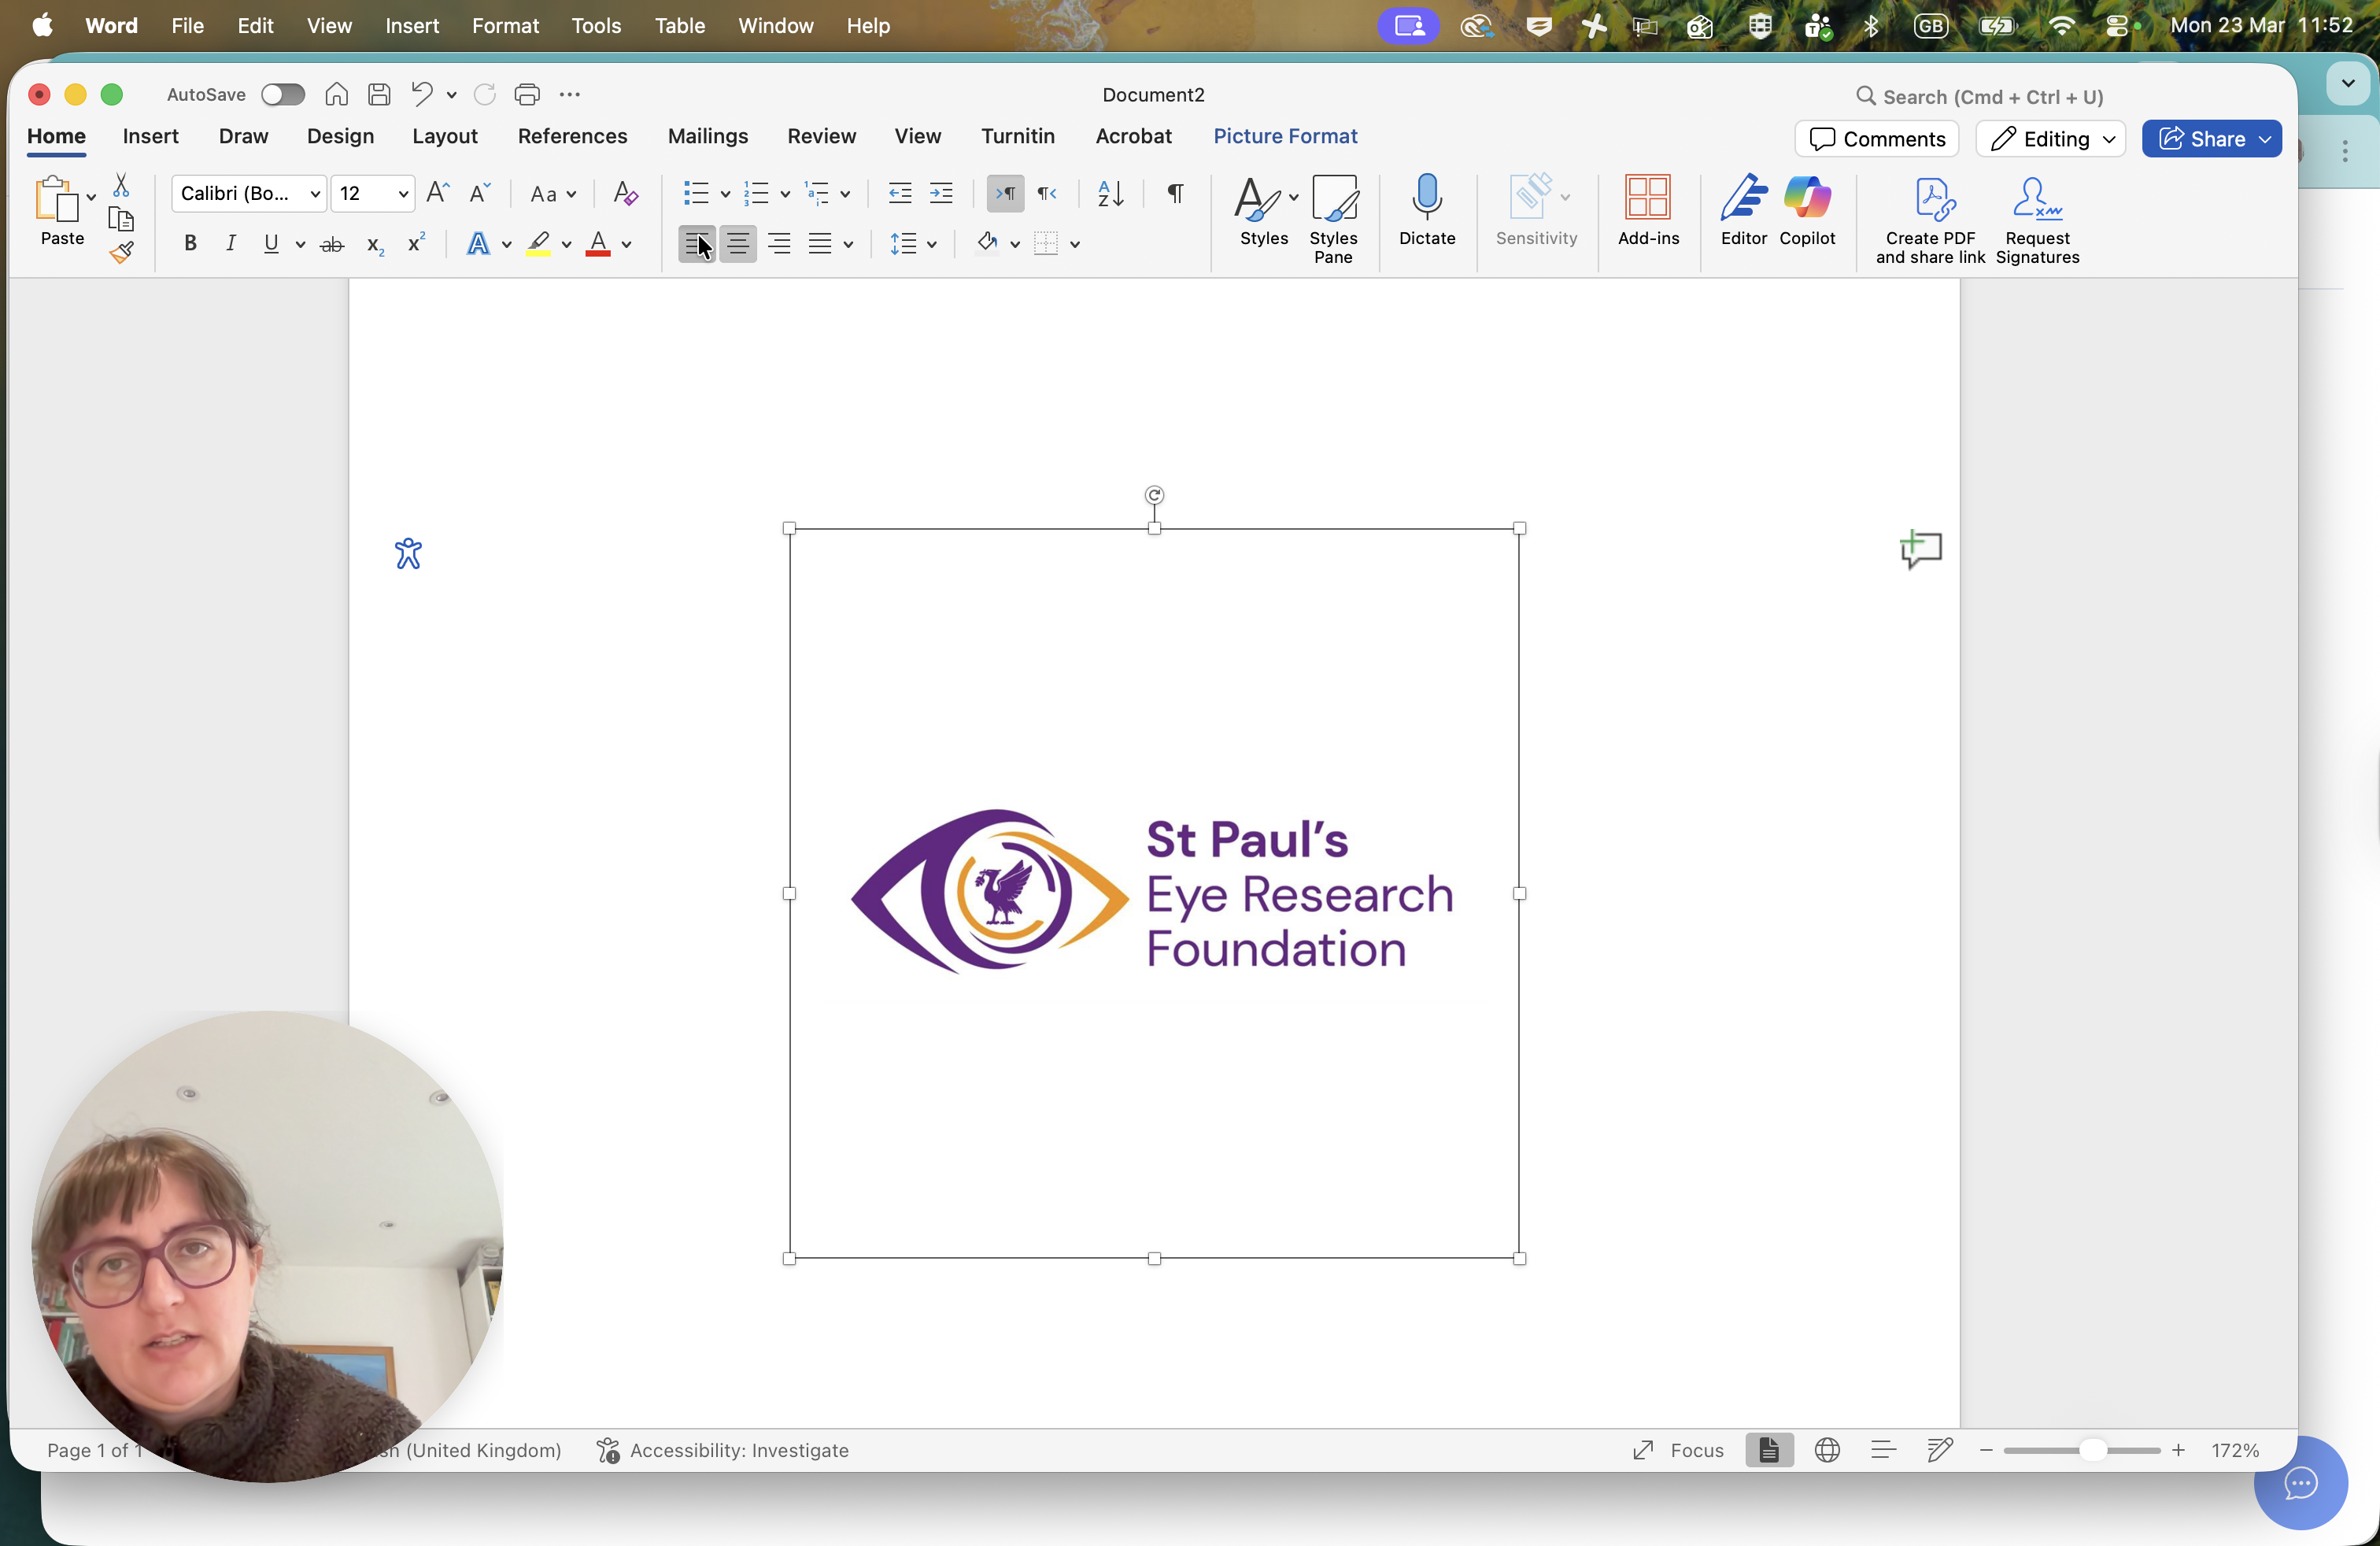
We can see that one is slightly too big, as it needs to fit into a specific part.
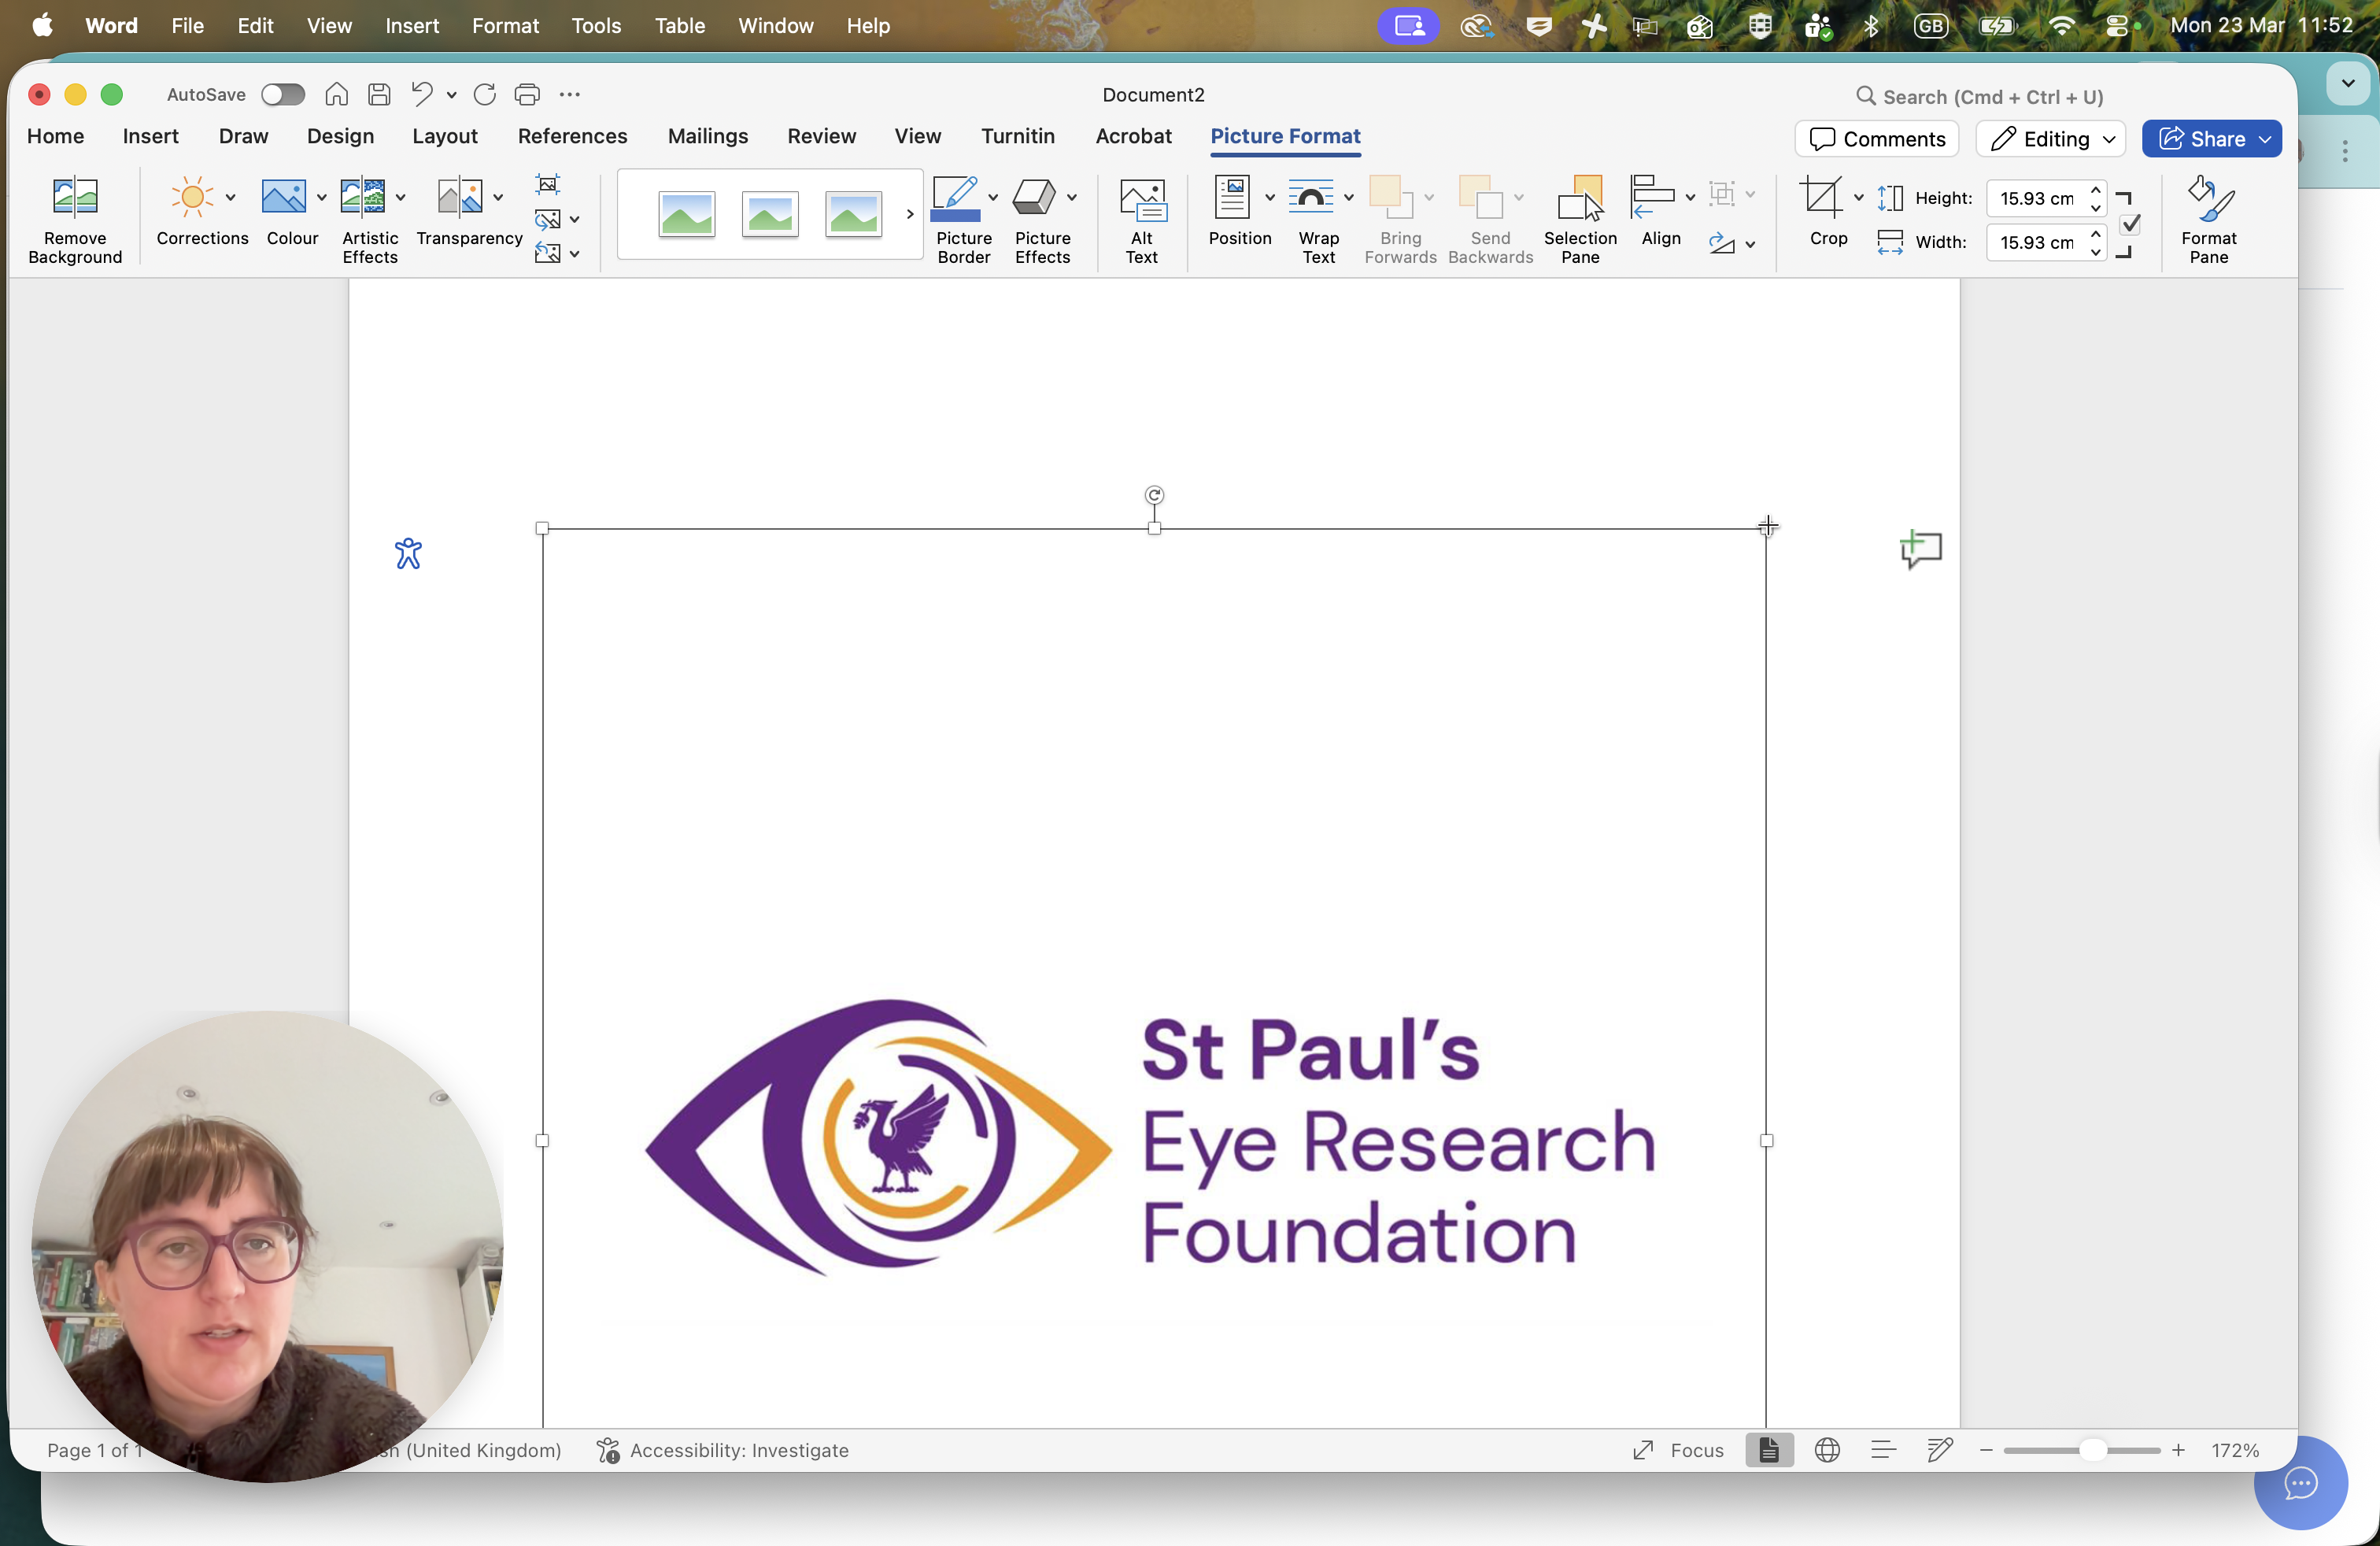
In a rectangle, resize it by dragging one of the corners toward the center.
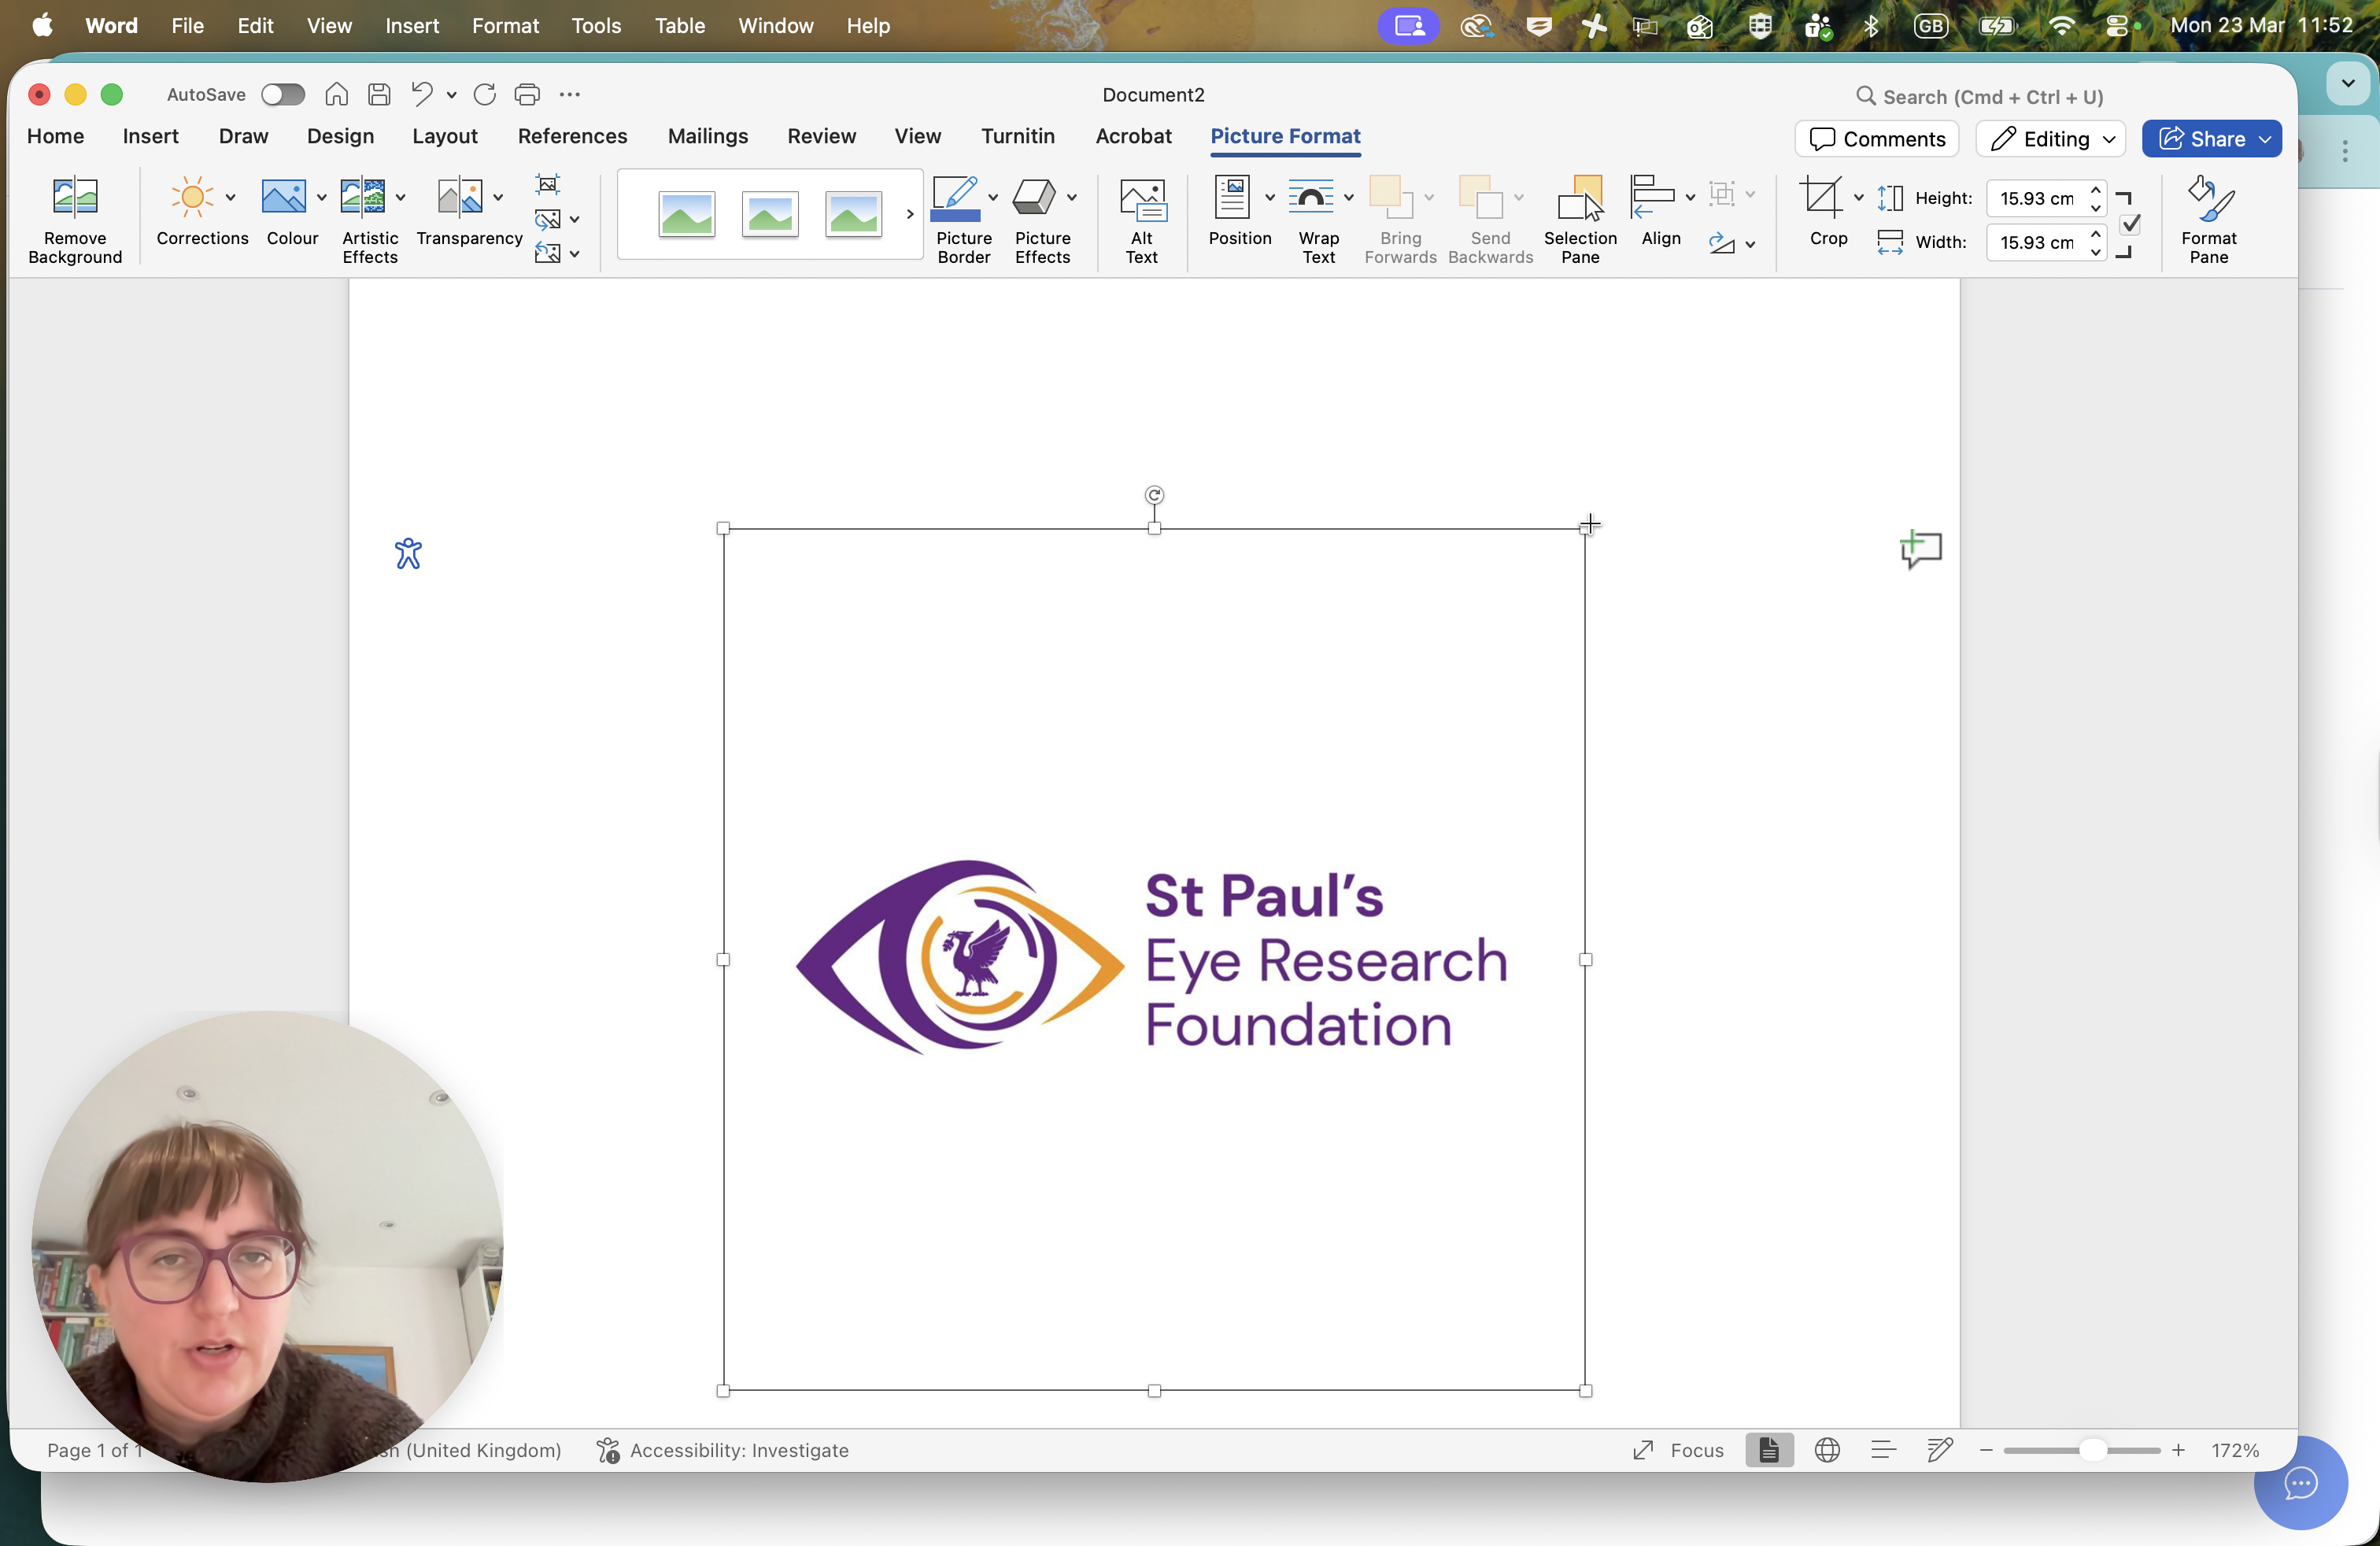
That will resize the image.
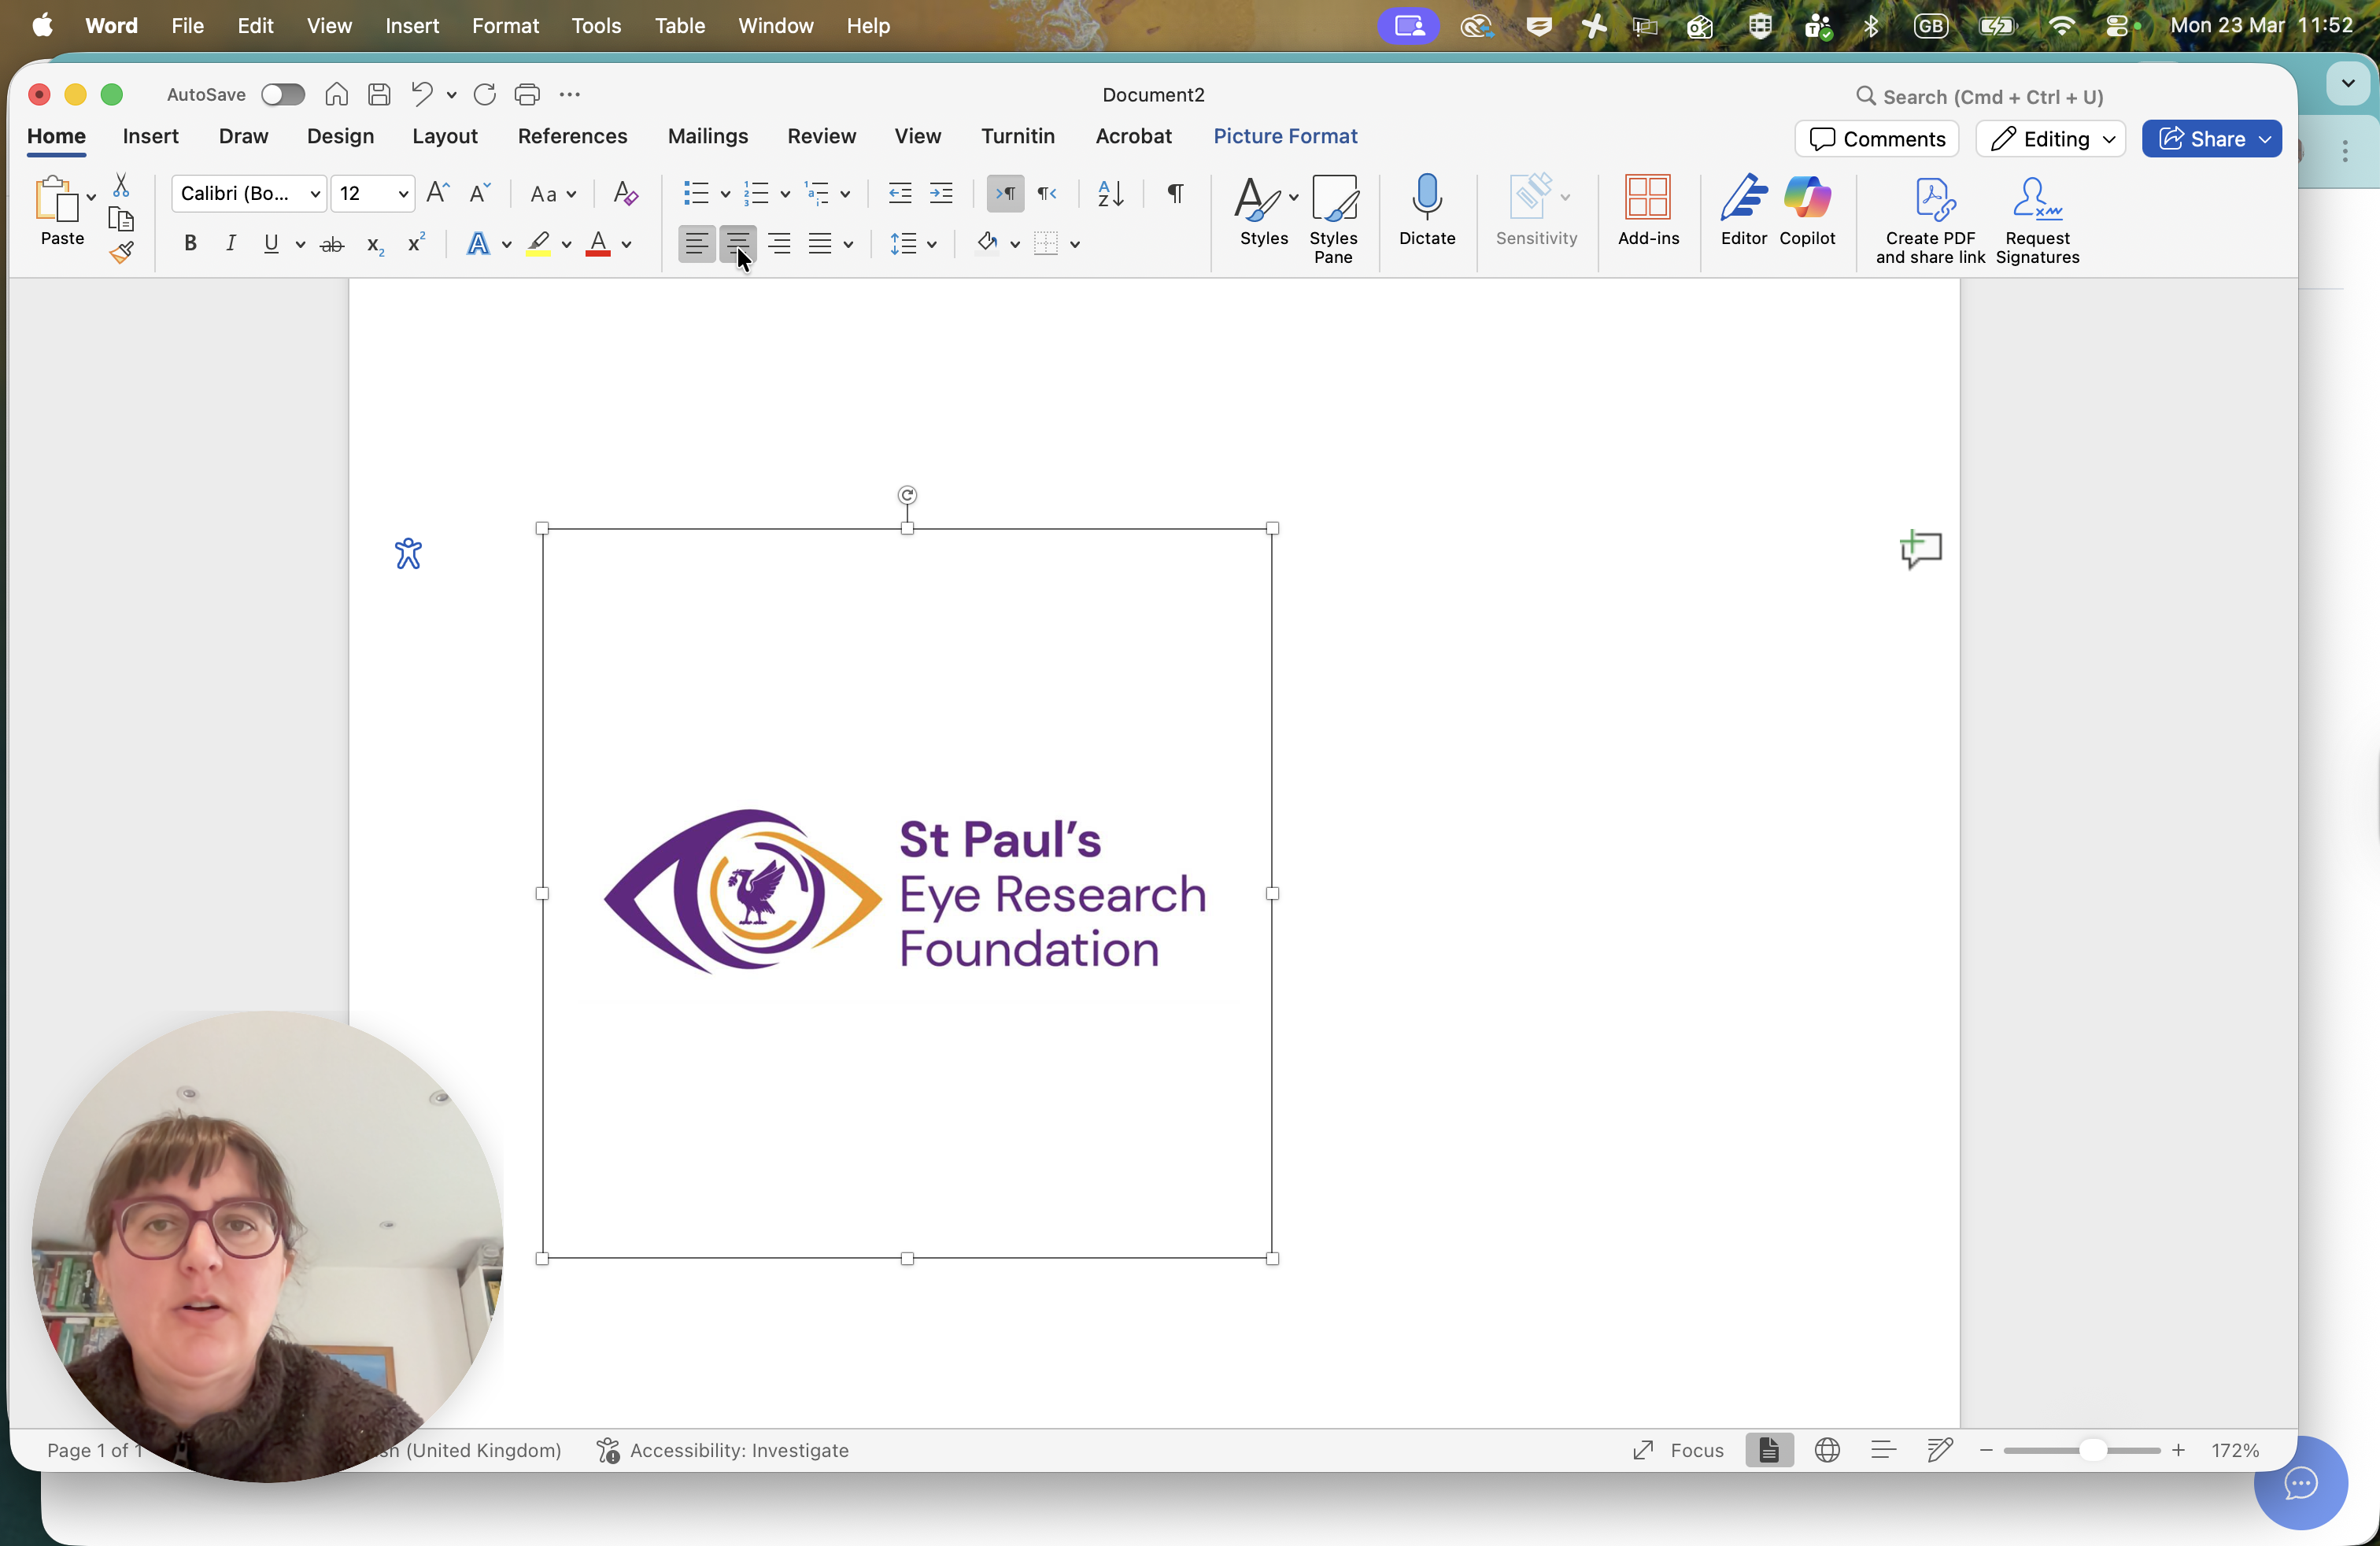
I think it looks good. Always click on the image and make sure it's centered. If the image is positioned to the right or left, adjust it so it is aligned to the center.


I will take a screenshot of that now.
There we go.
Think about rectangles.
The reason is that when working with these components, the proportions need to be three to two.
We have this image.
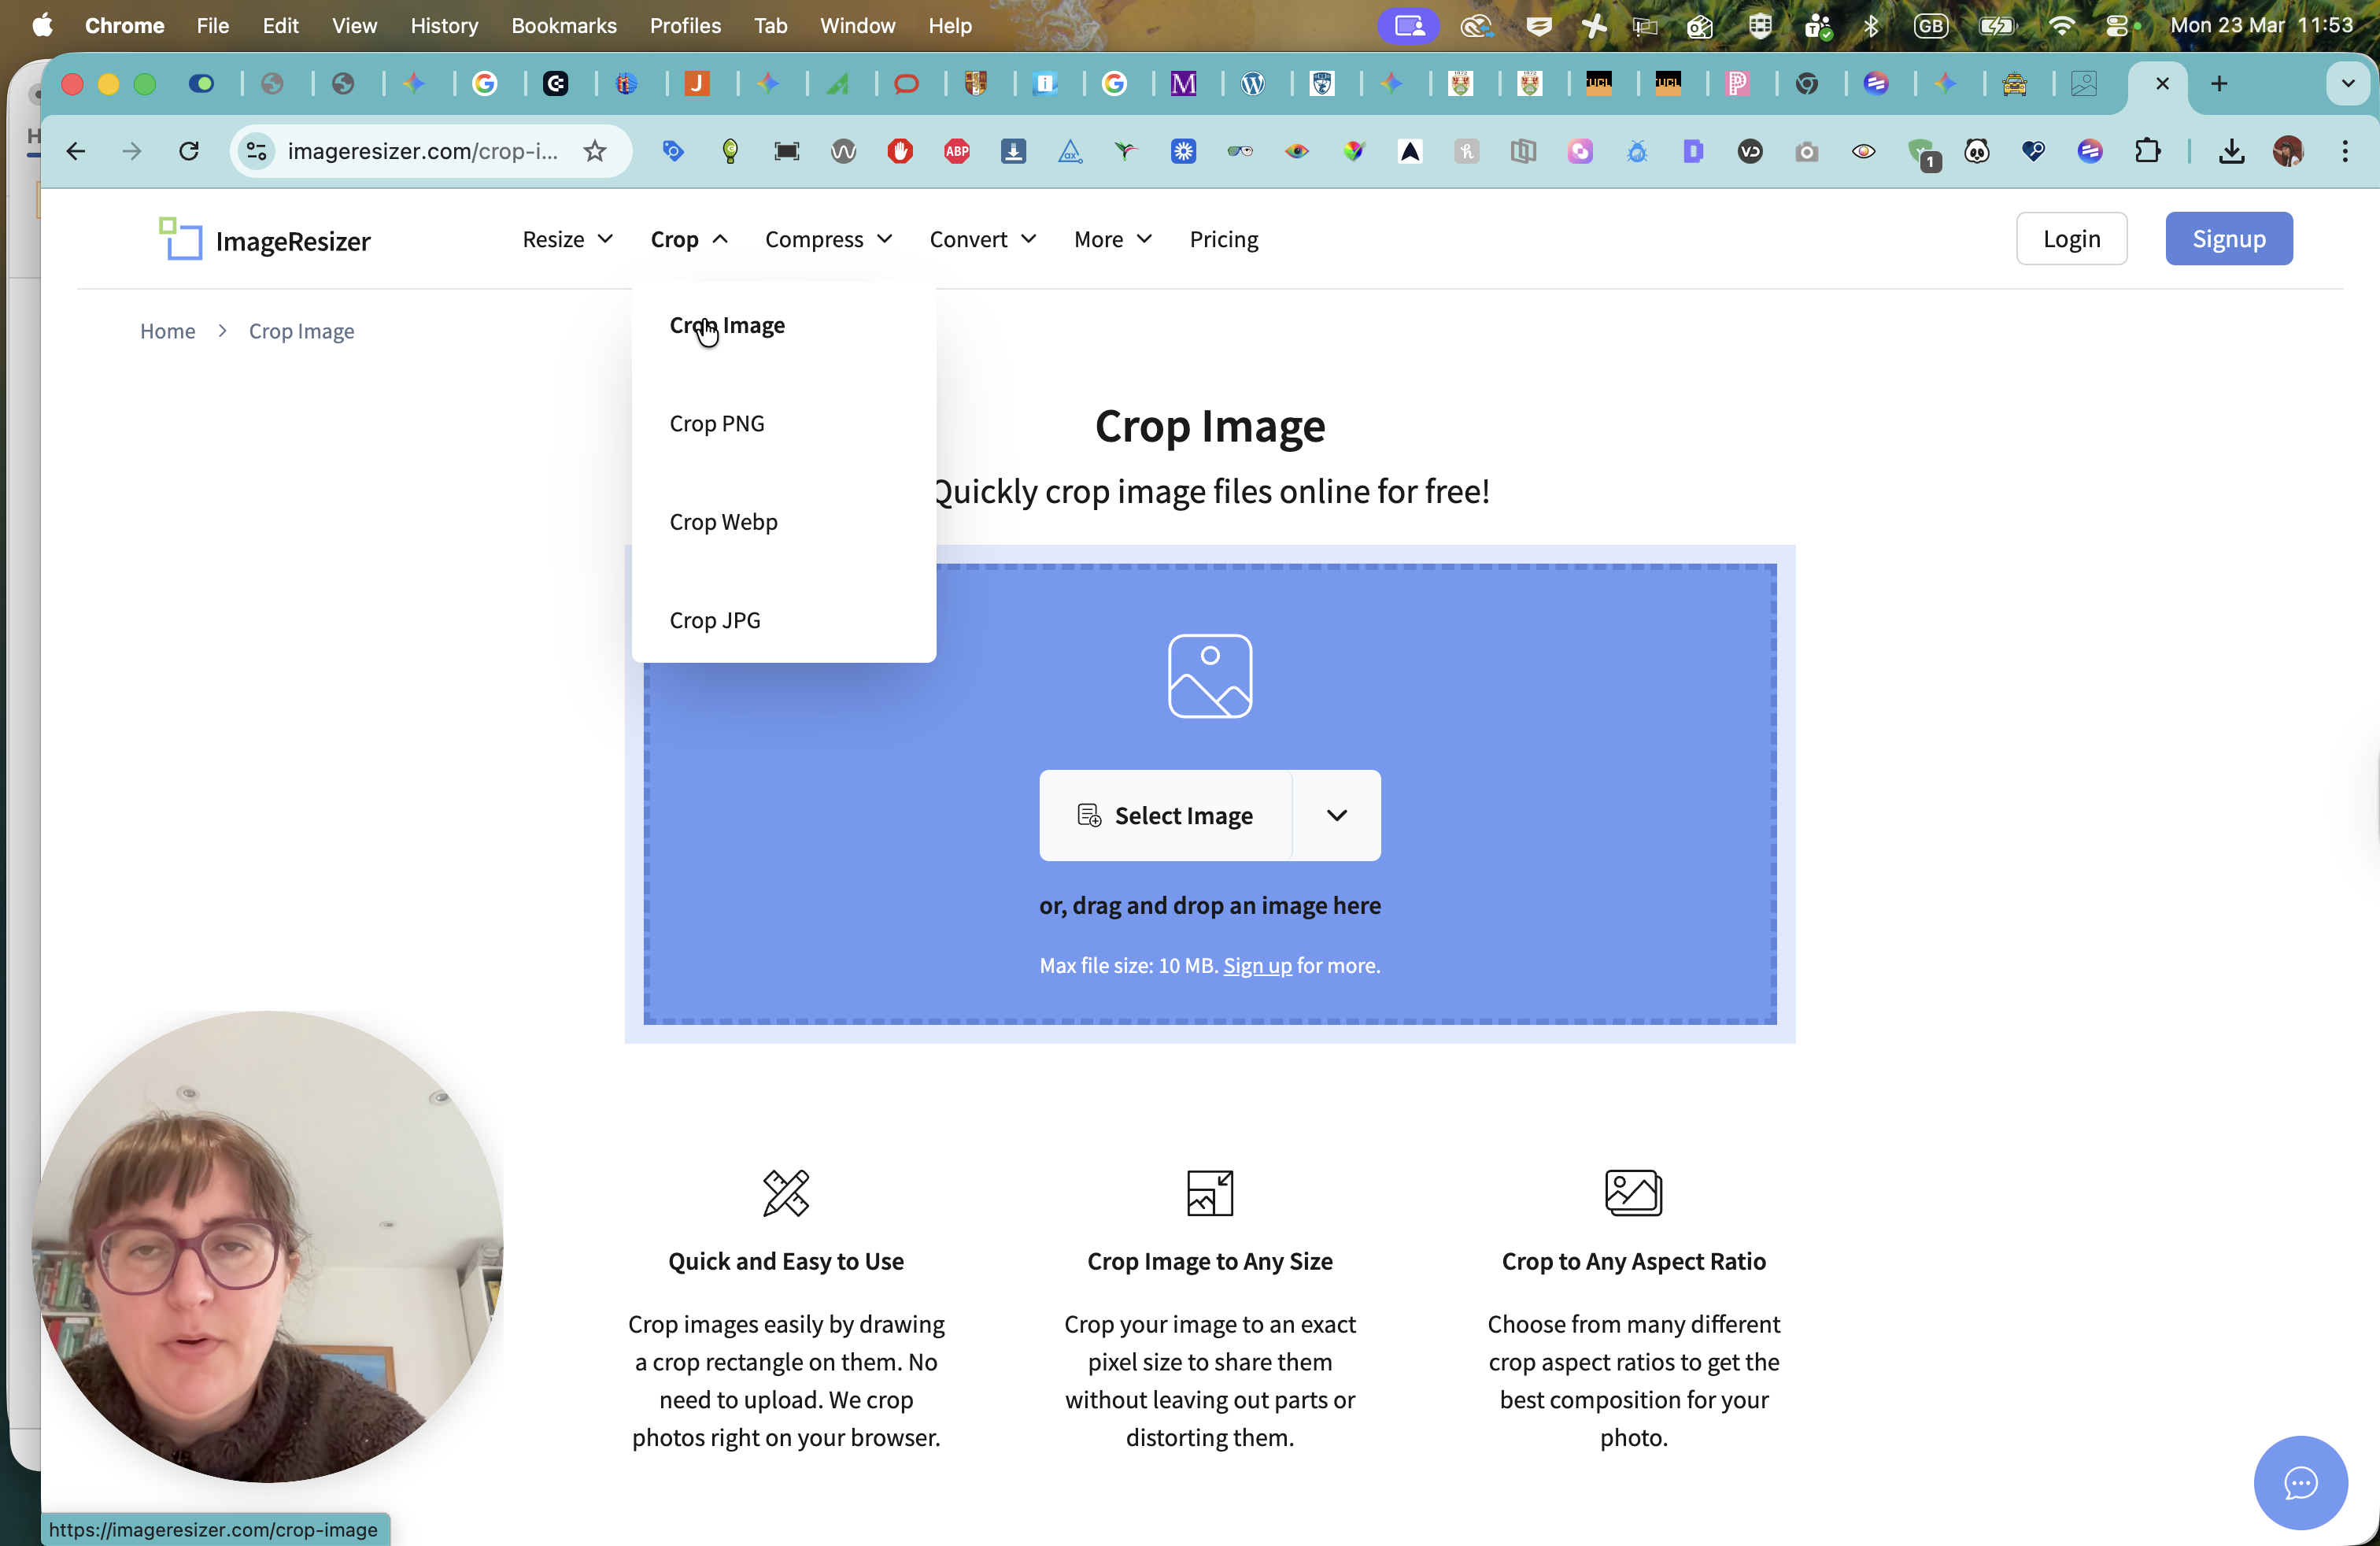
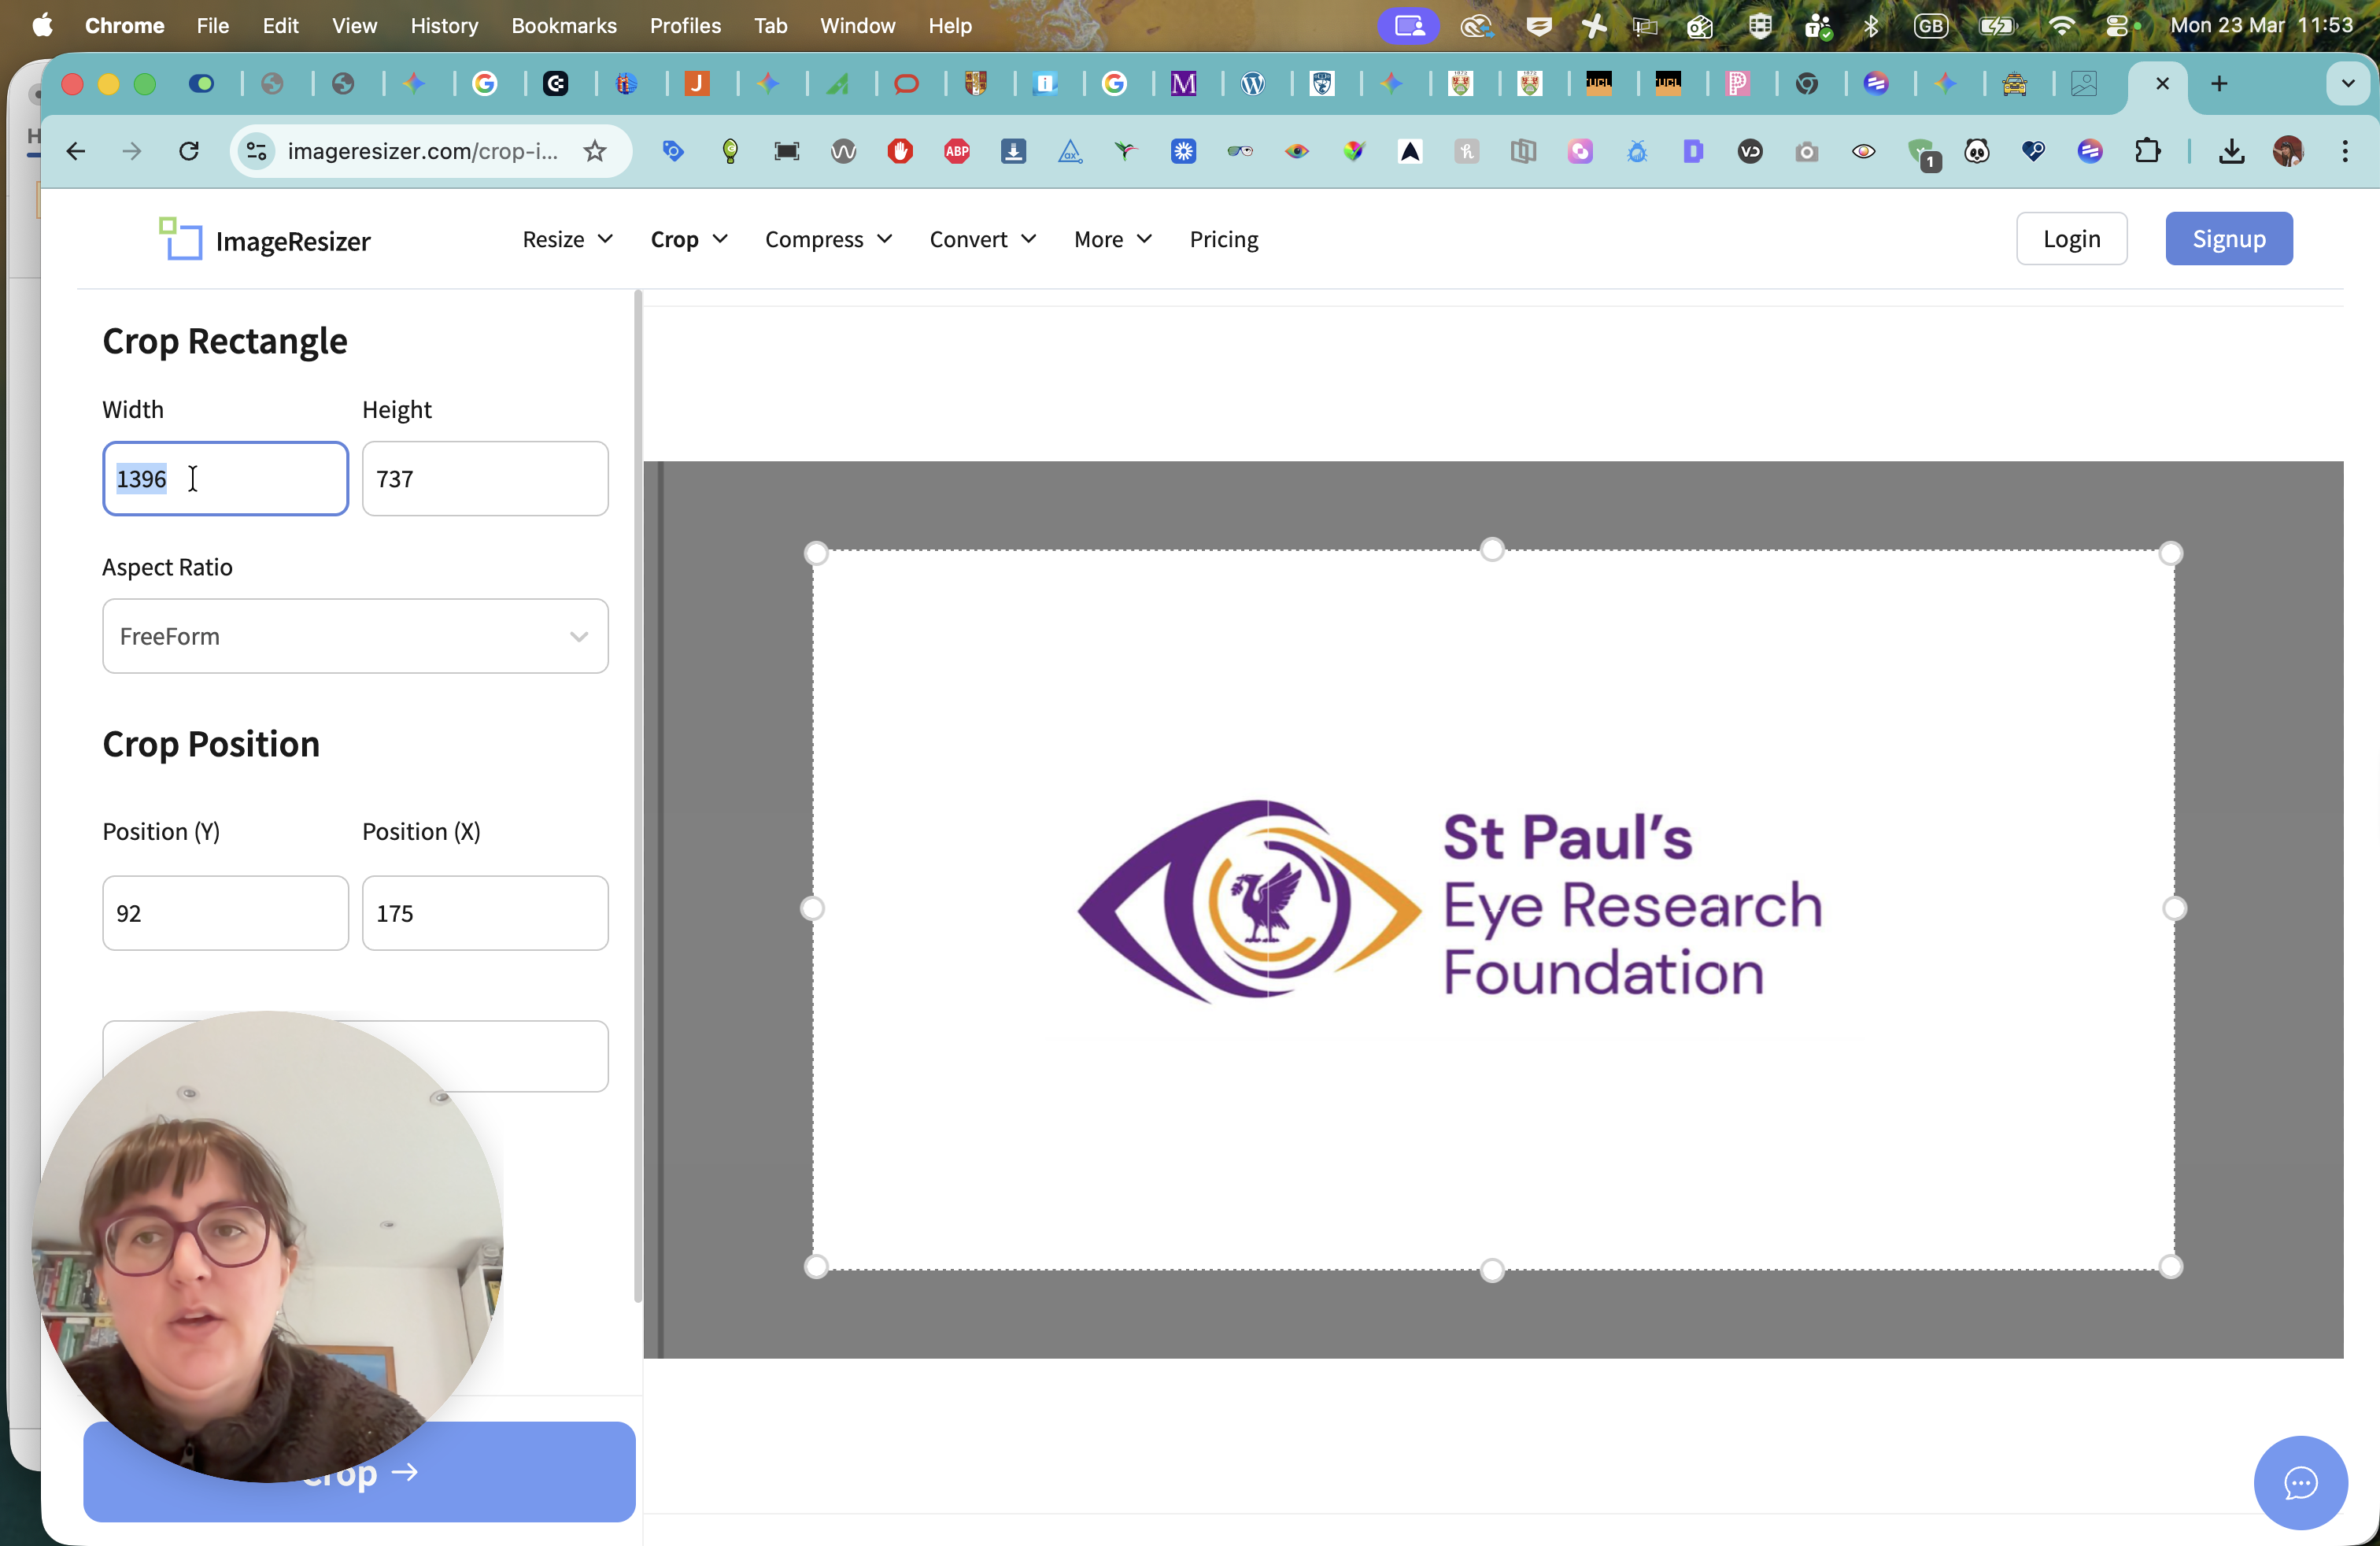
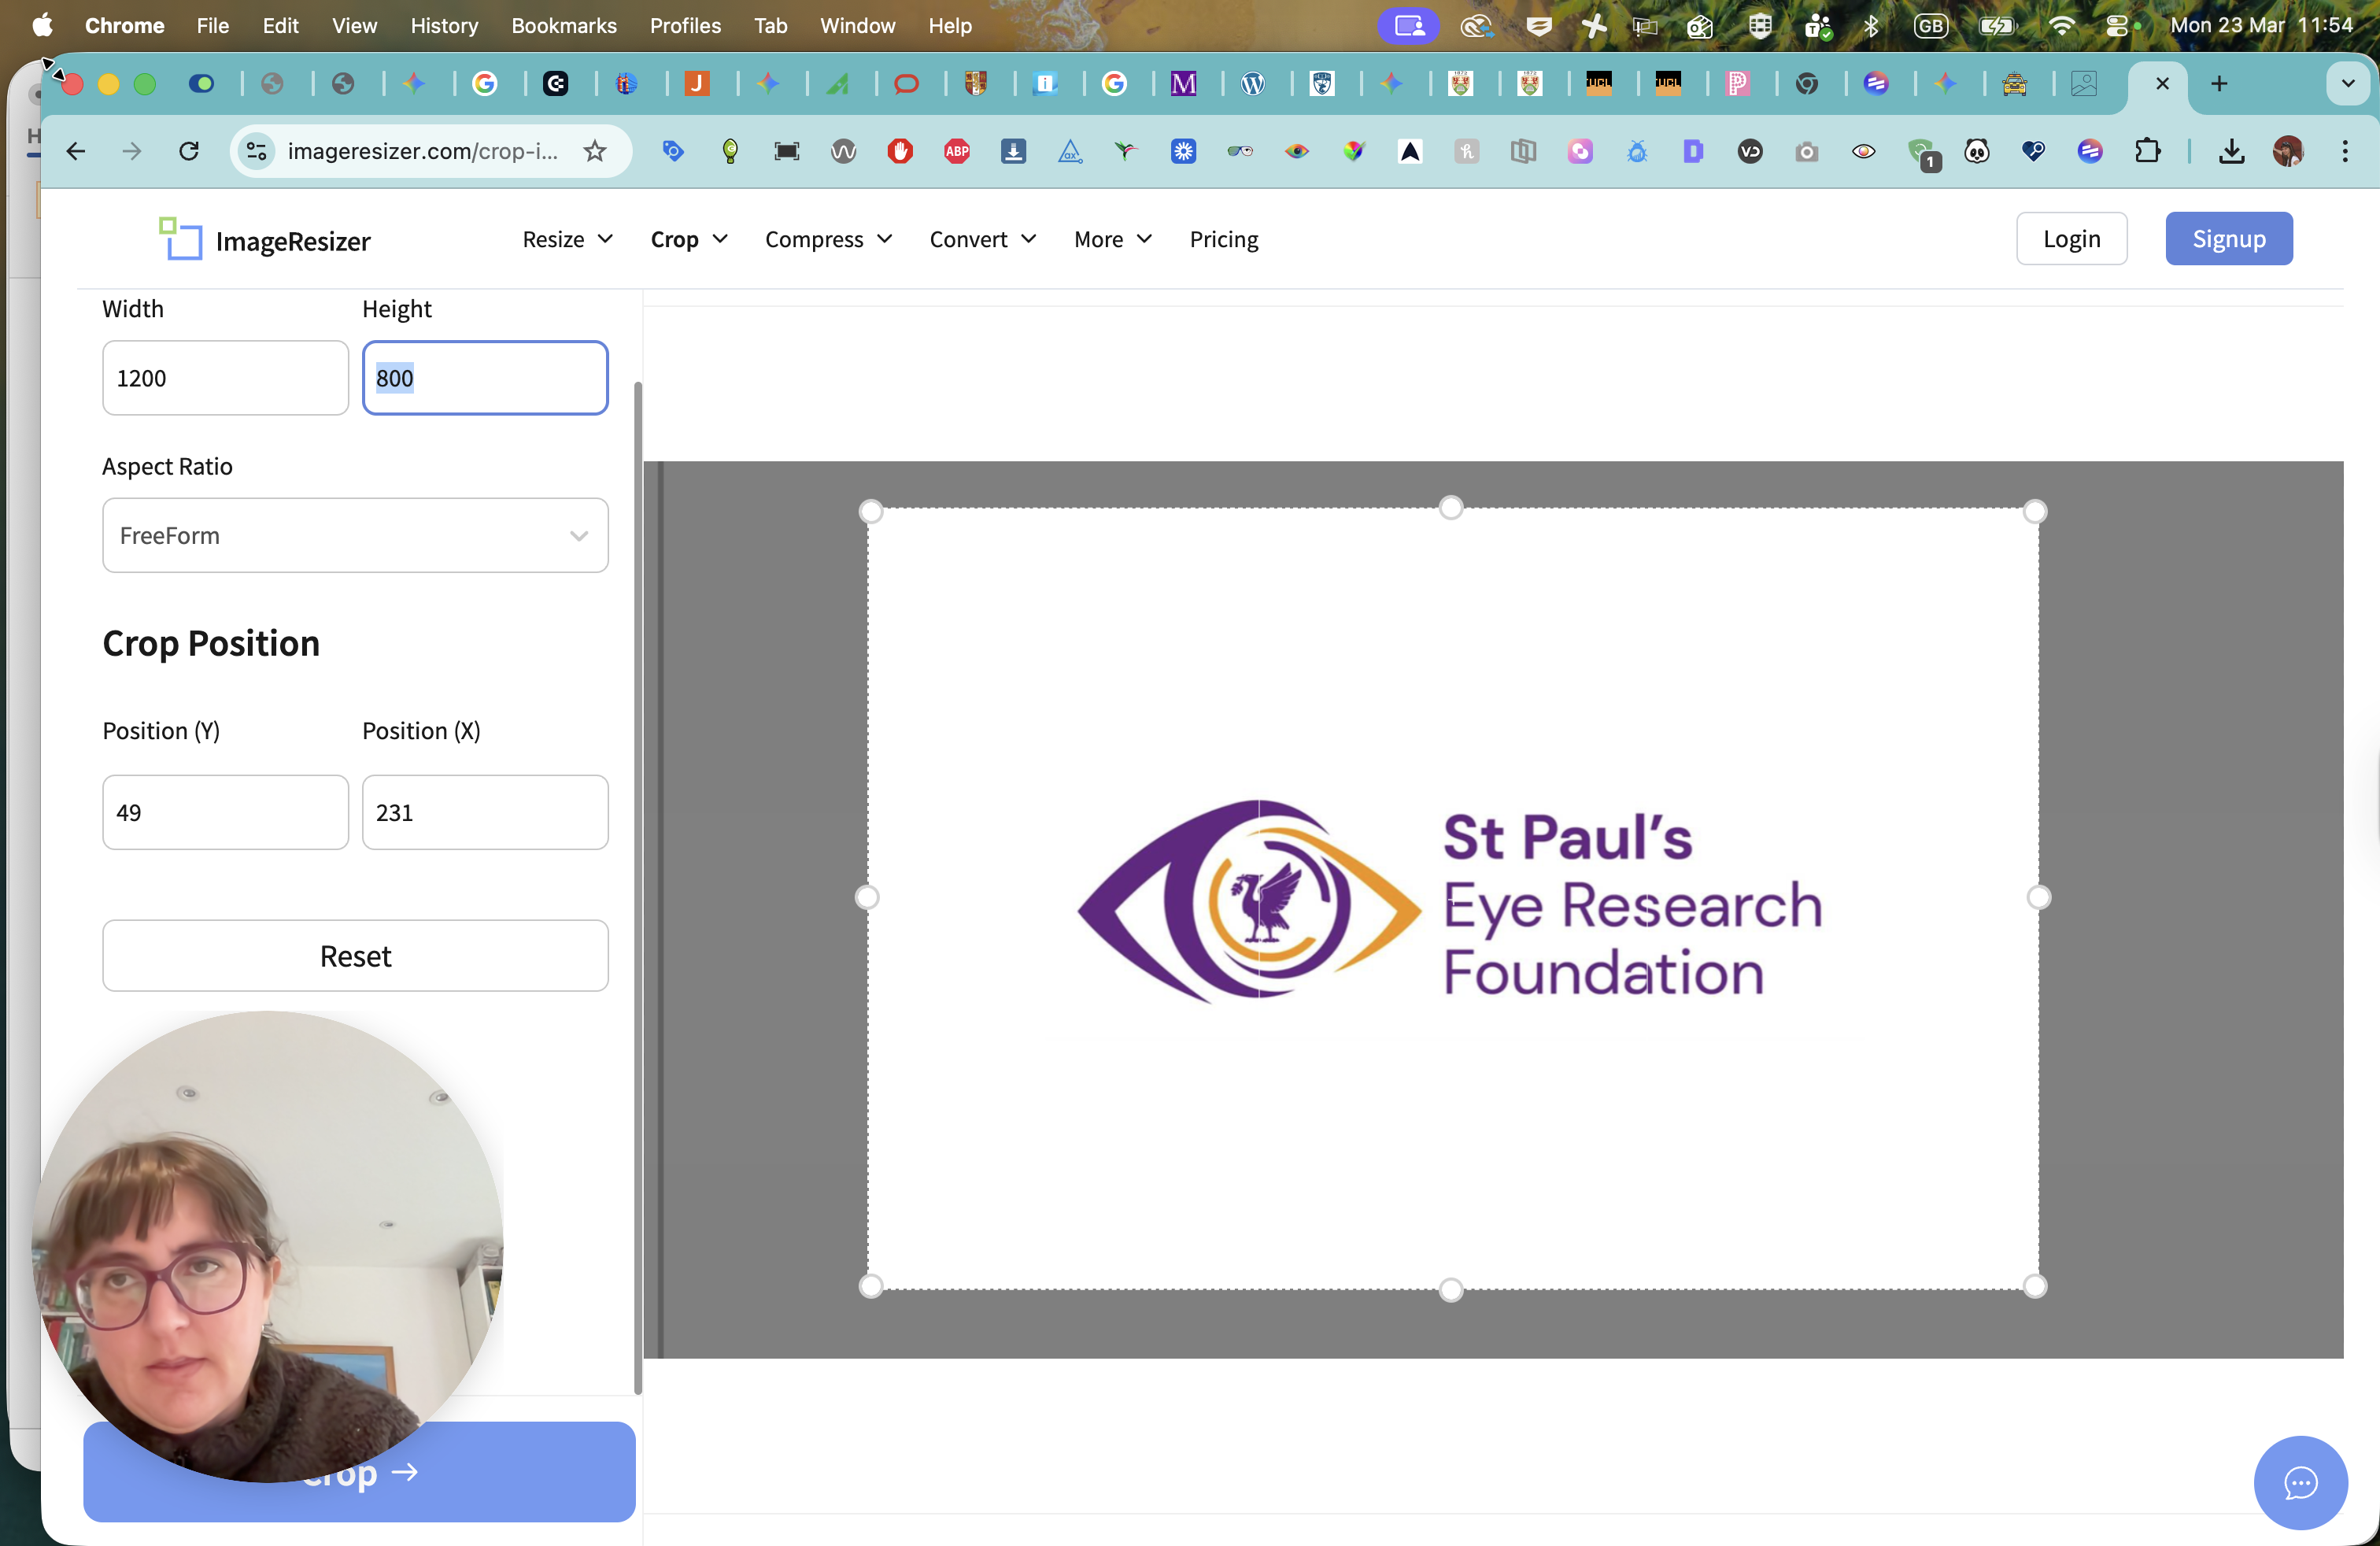
Now, the next step is to add it to the image resizer at imageresizer.com to crop the image.
We can crop the image by selecting it. We'll use the image we've created. Here, it shows us the proportions, giving us 1,300.
That's not helpful because it needs to be three to two. For us, the closest one in that proportion is 1,200 by 800.

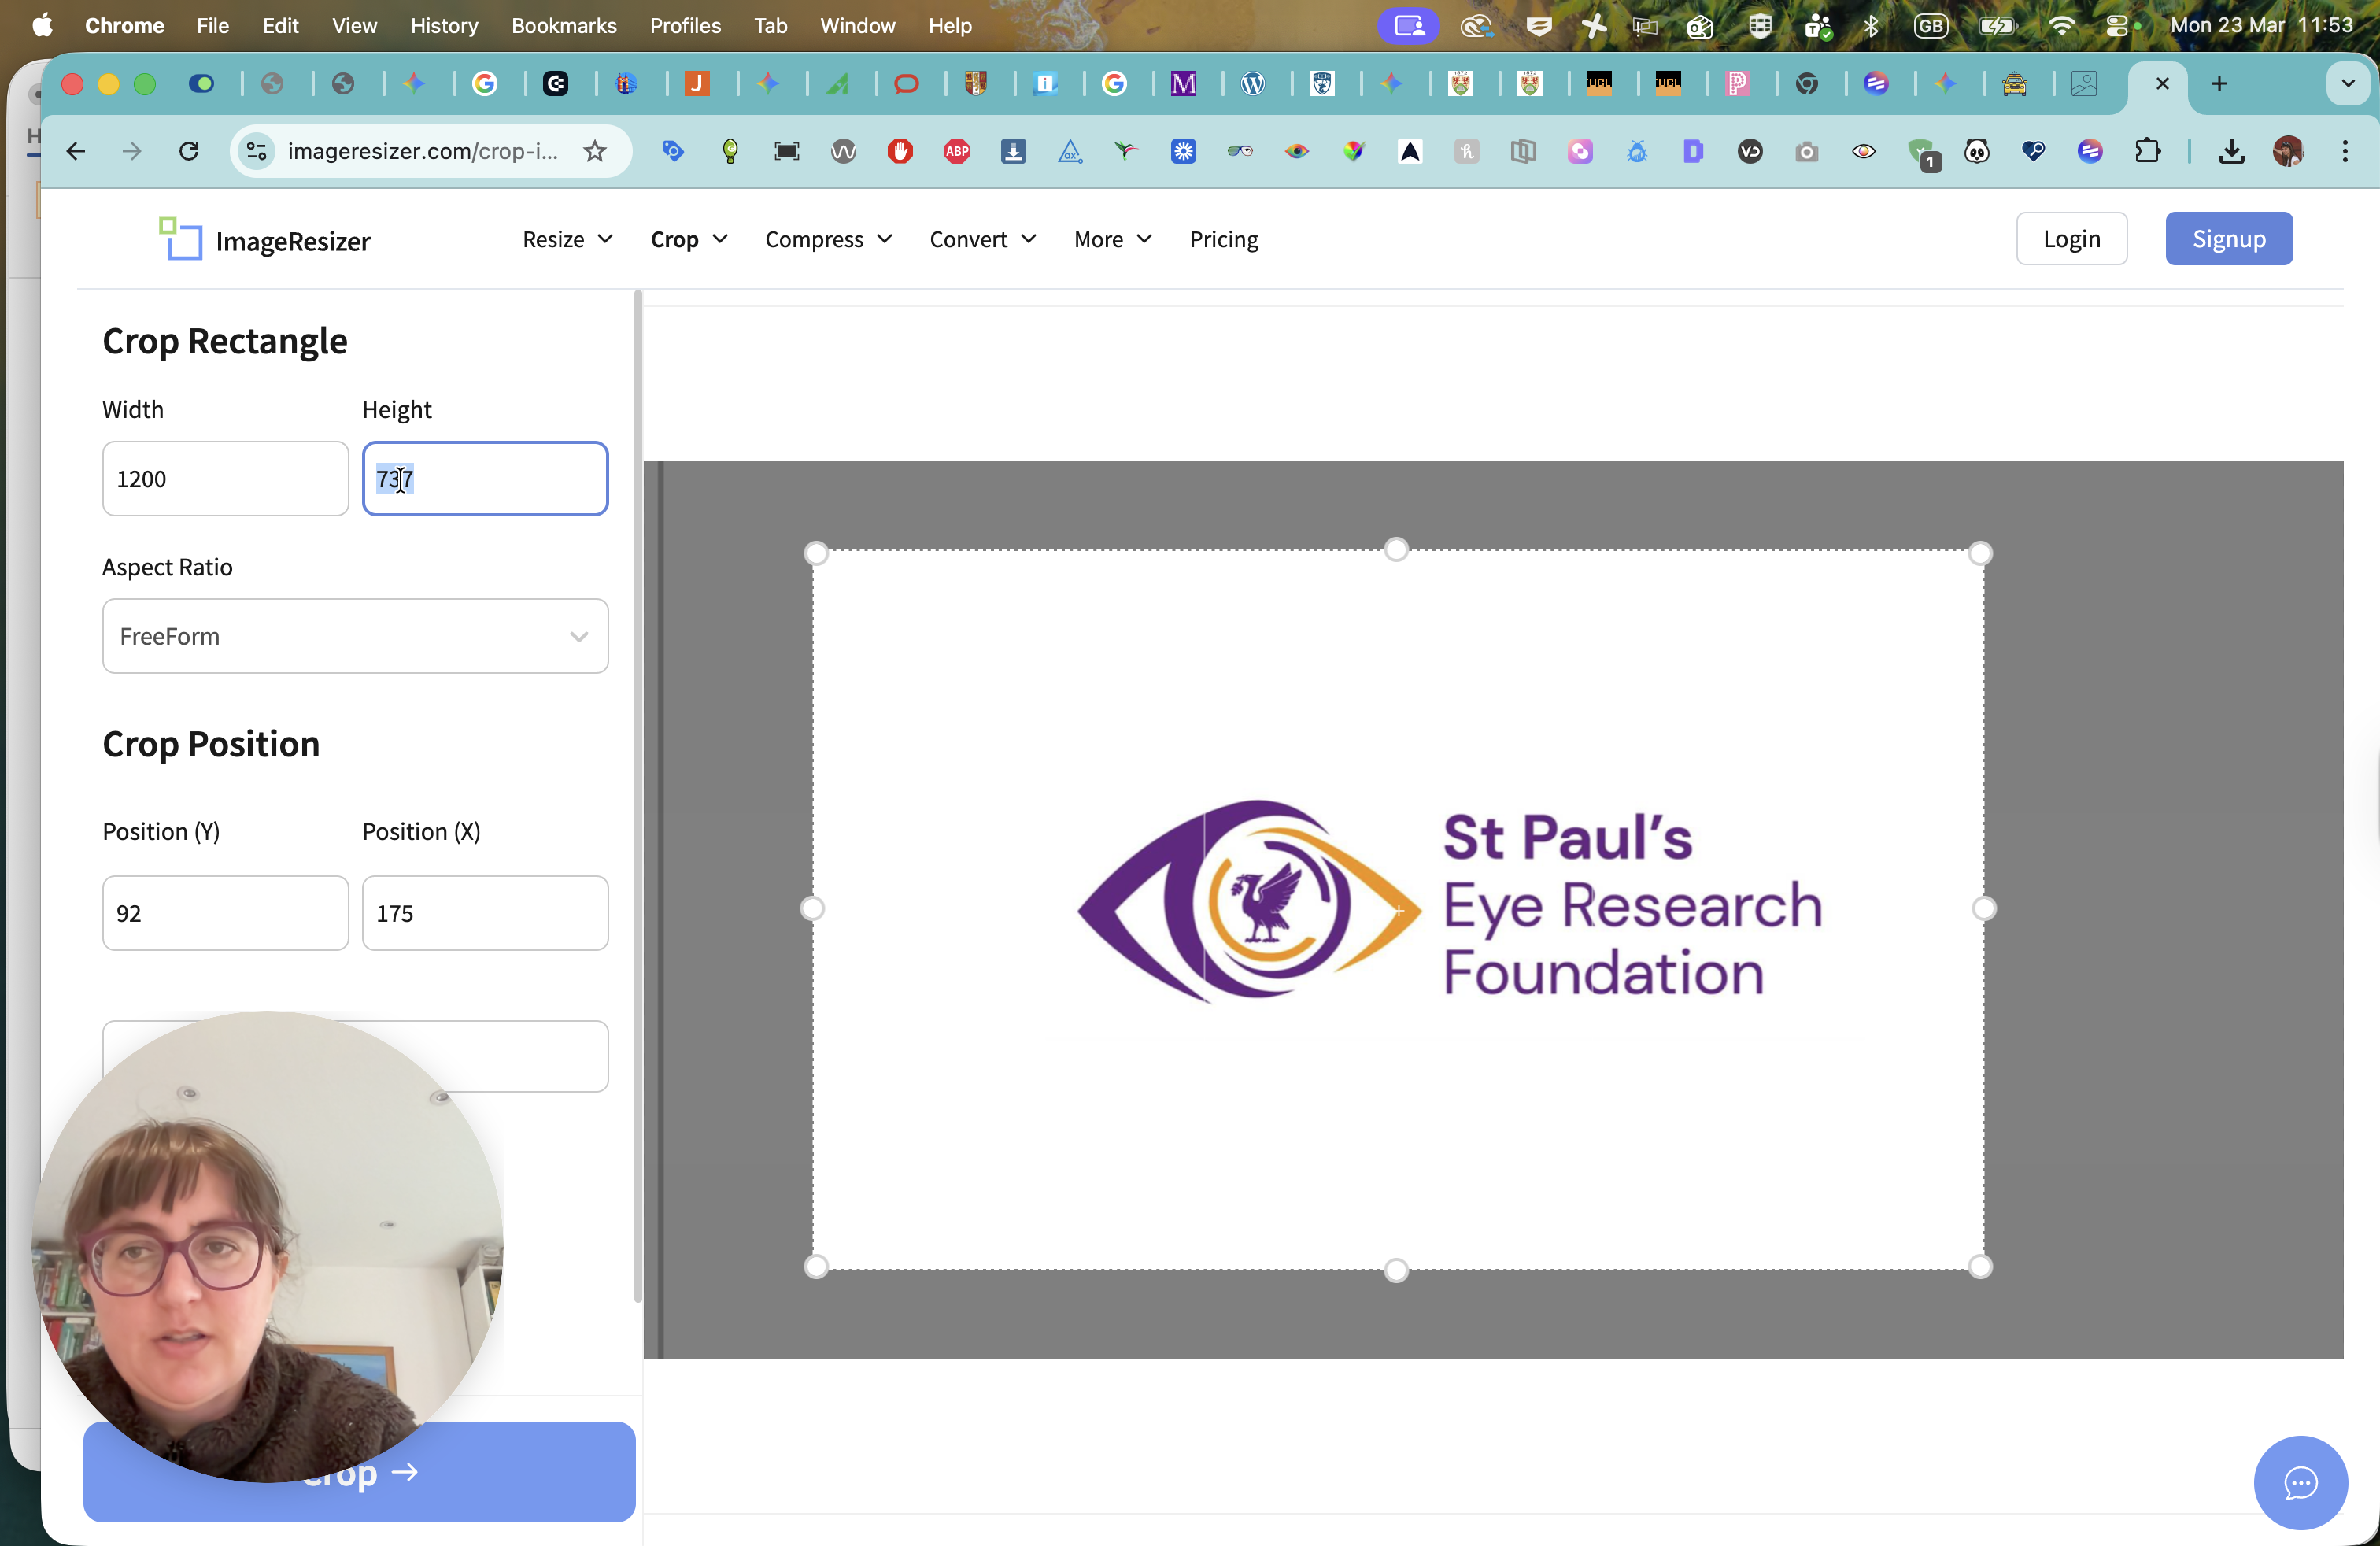

We can see how that will be.
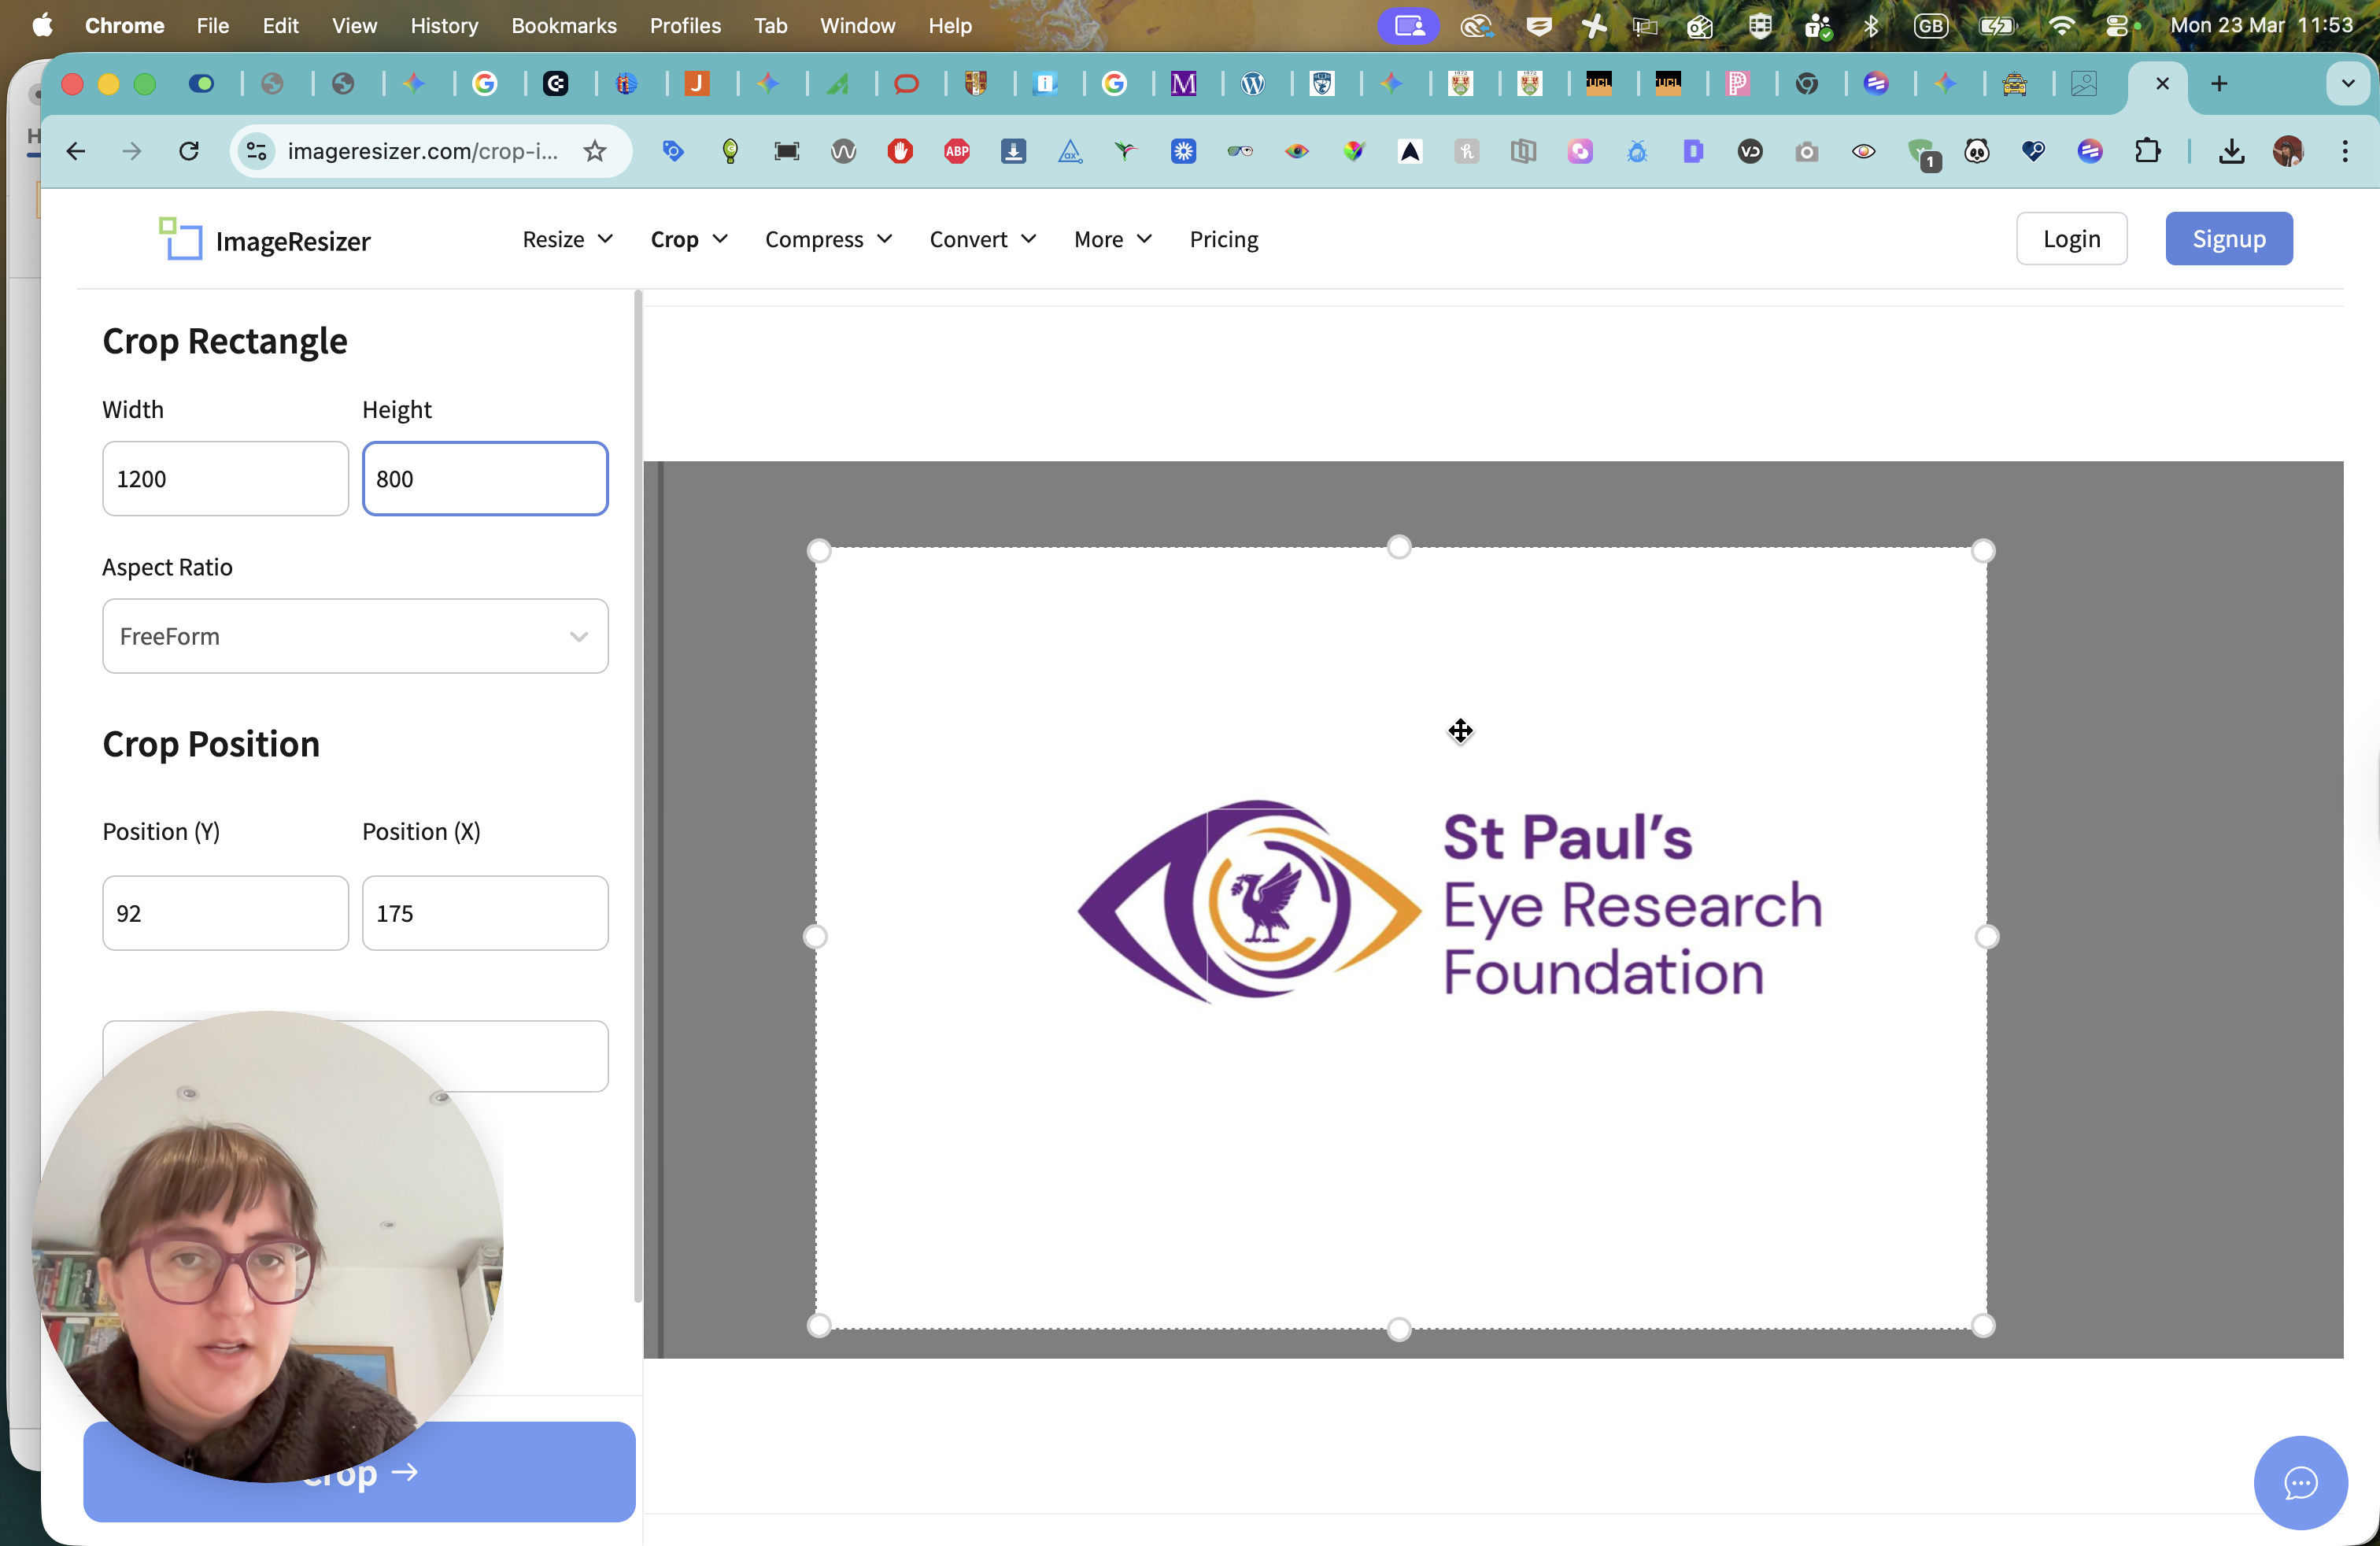
I think that will be pretty good. Now, click on Crop.

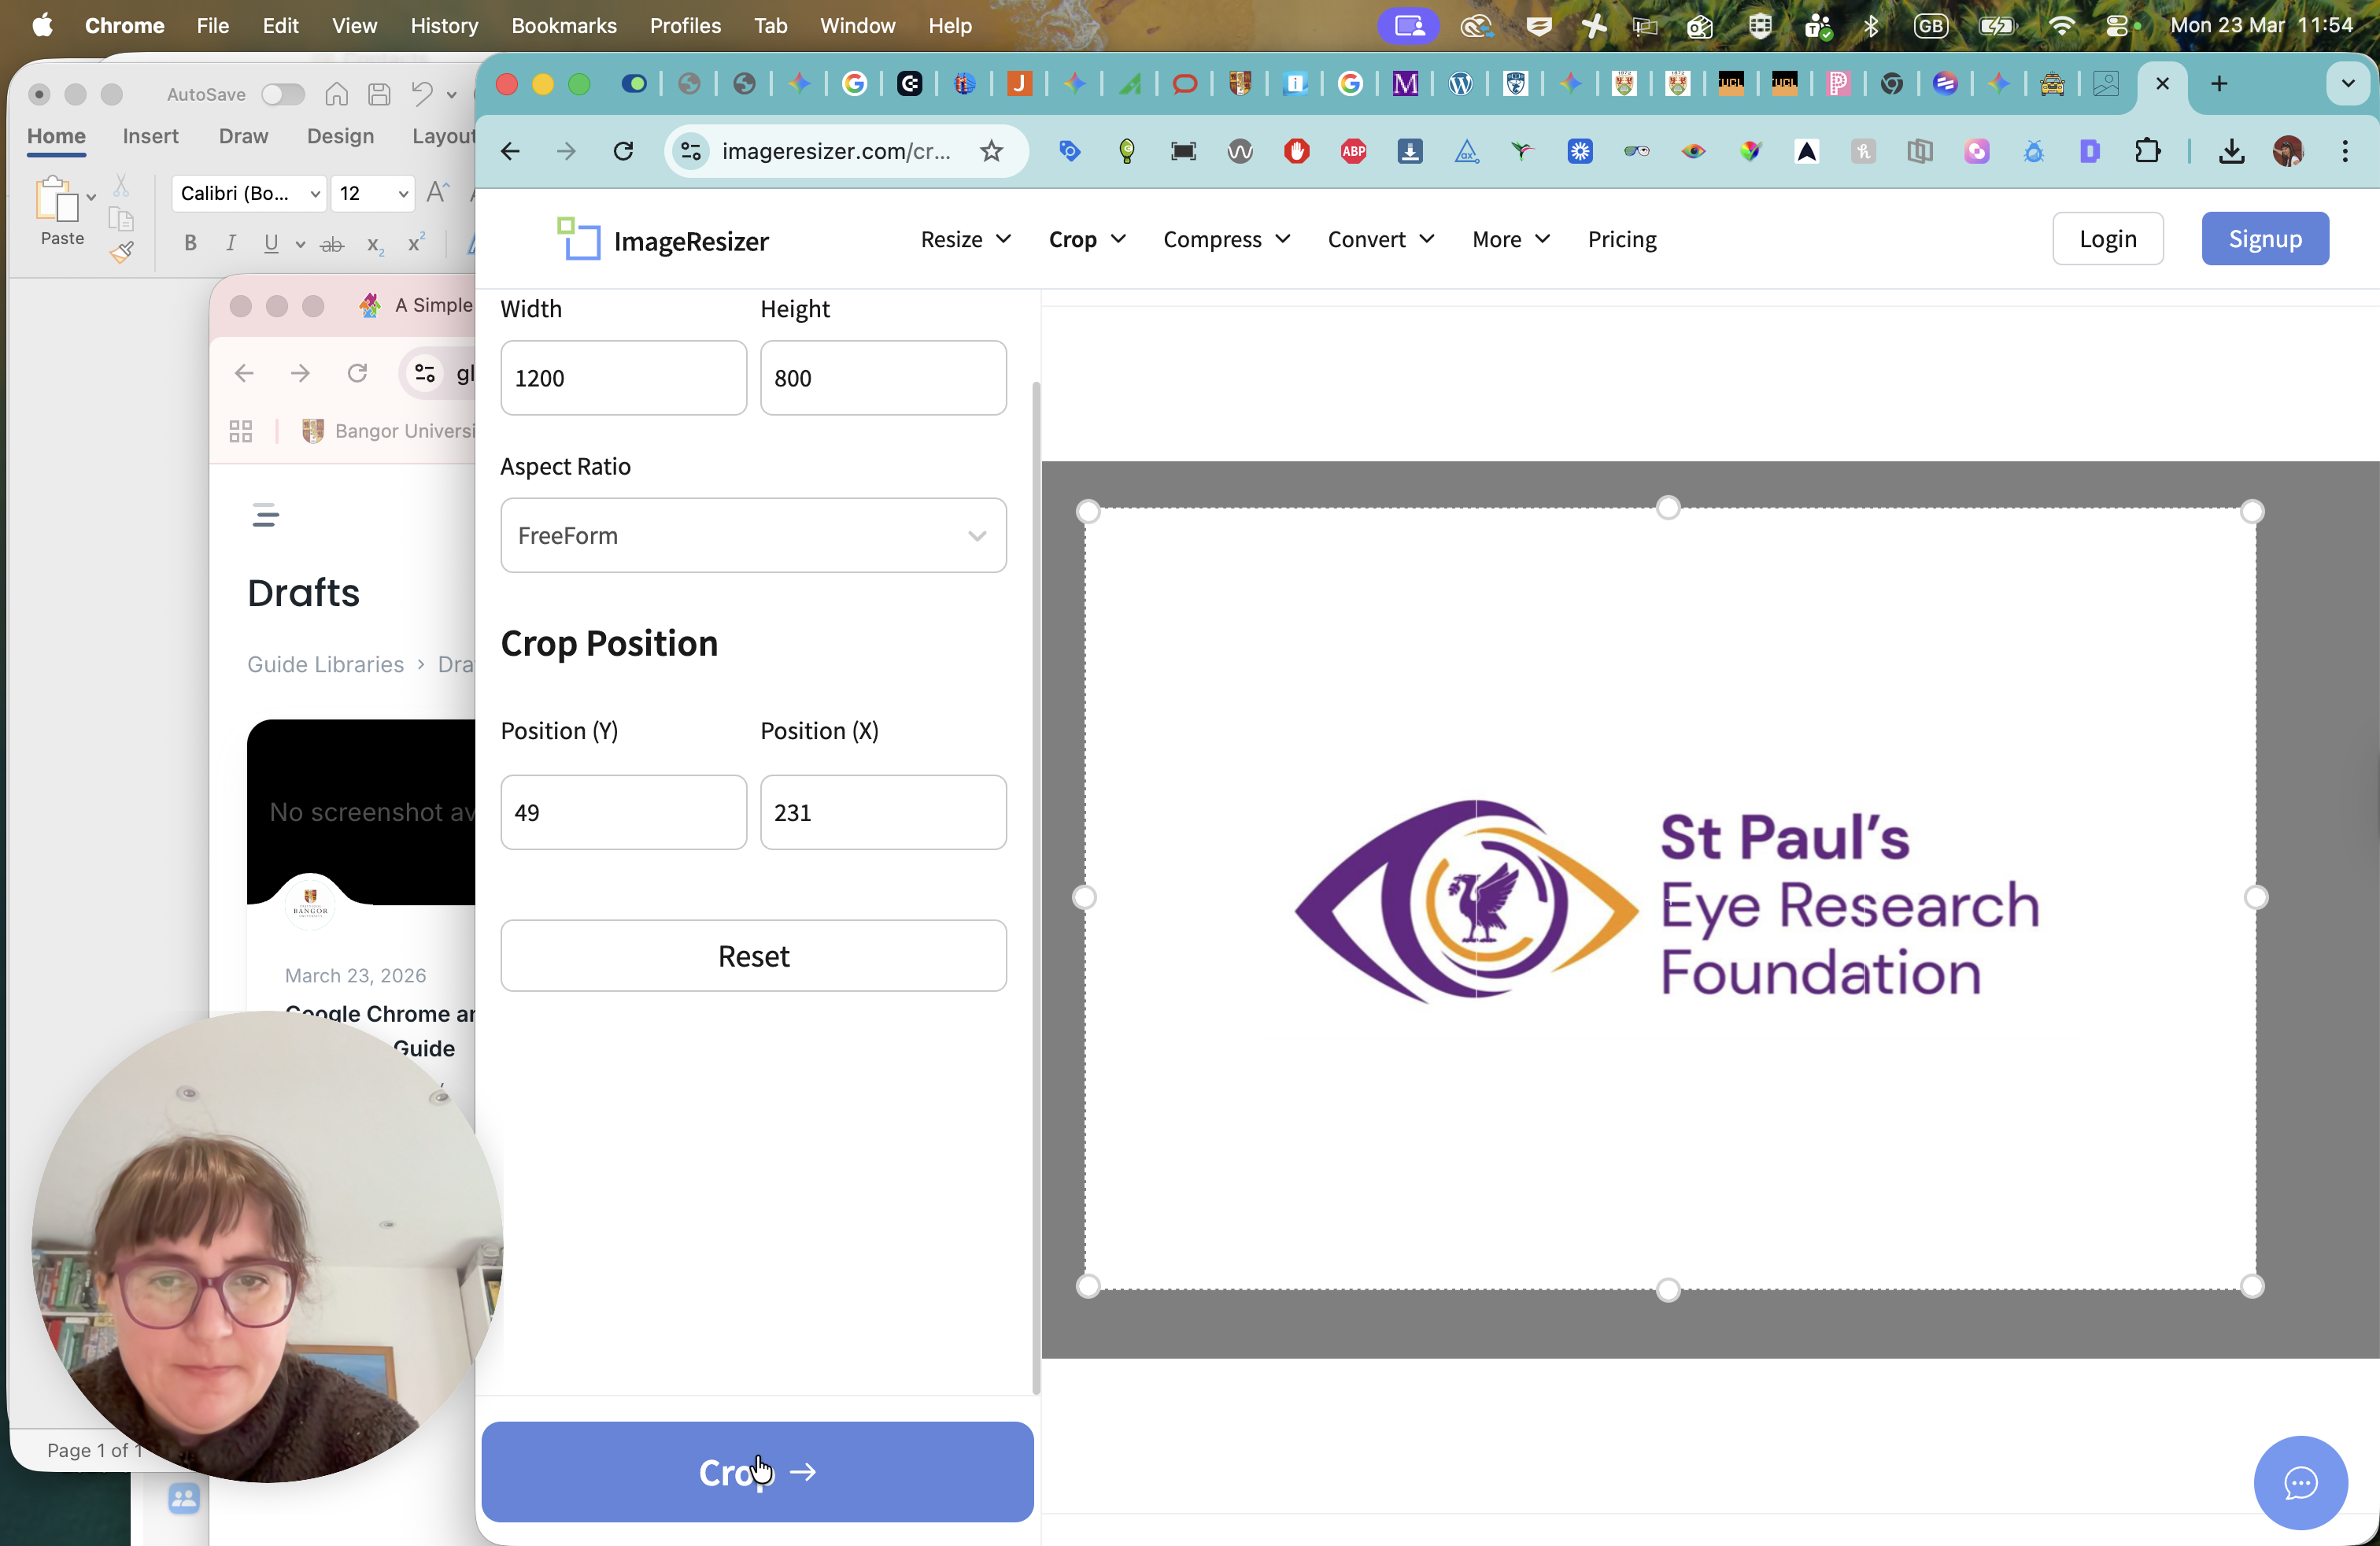
Ugh, not what I needed.
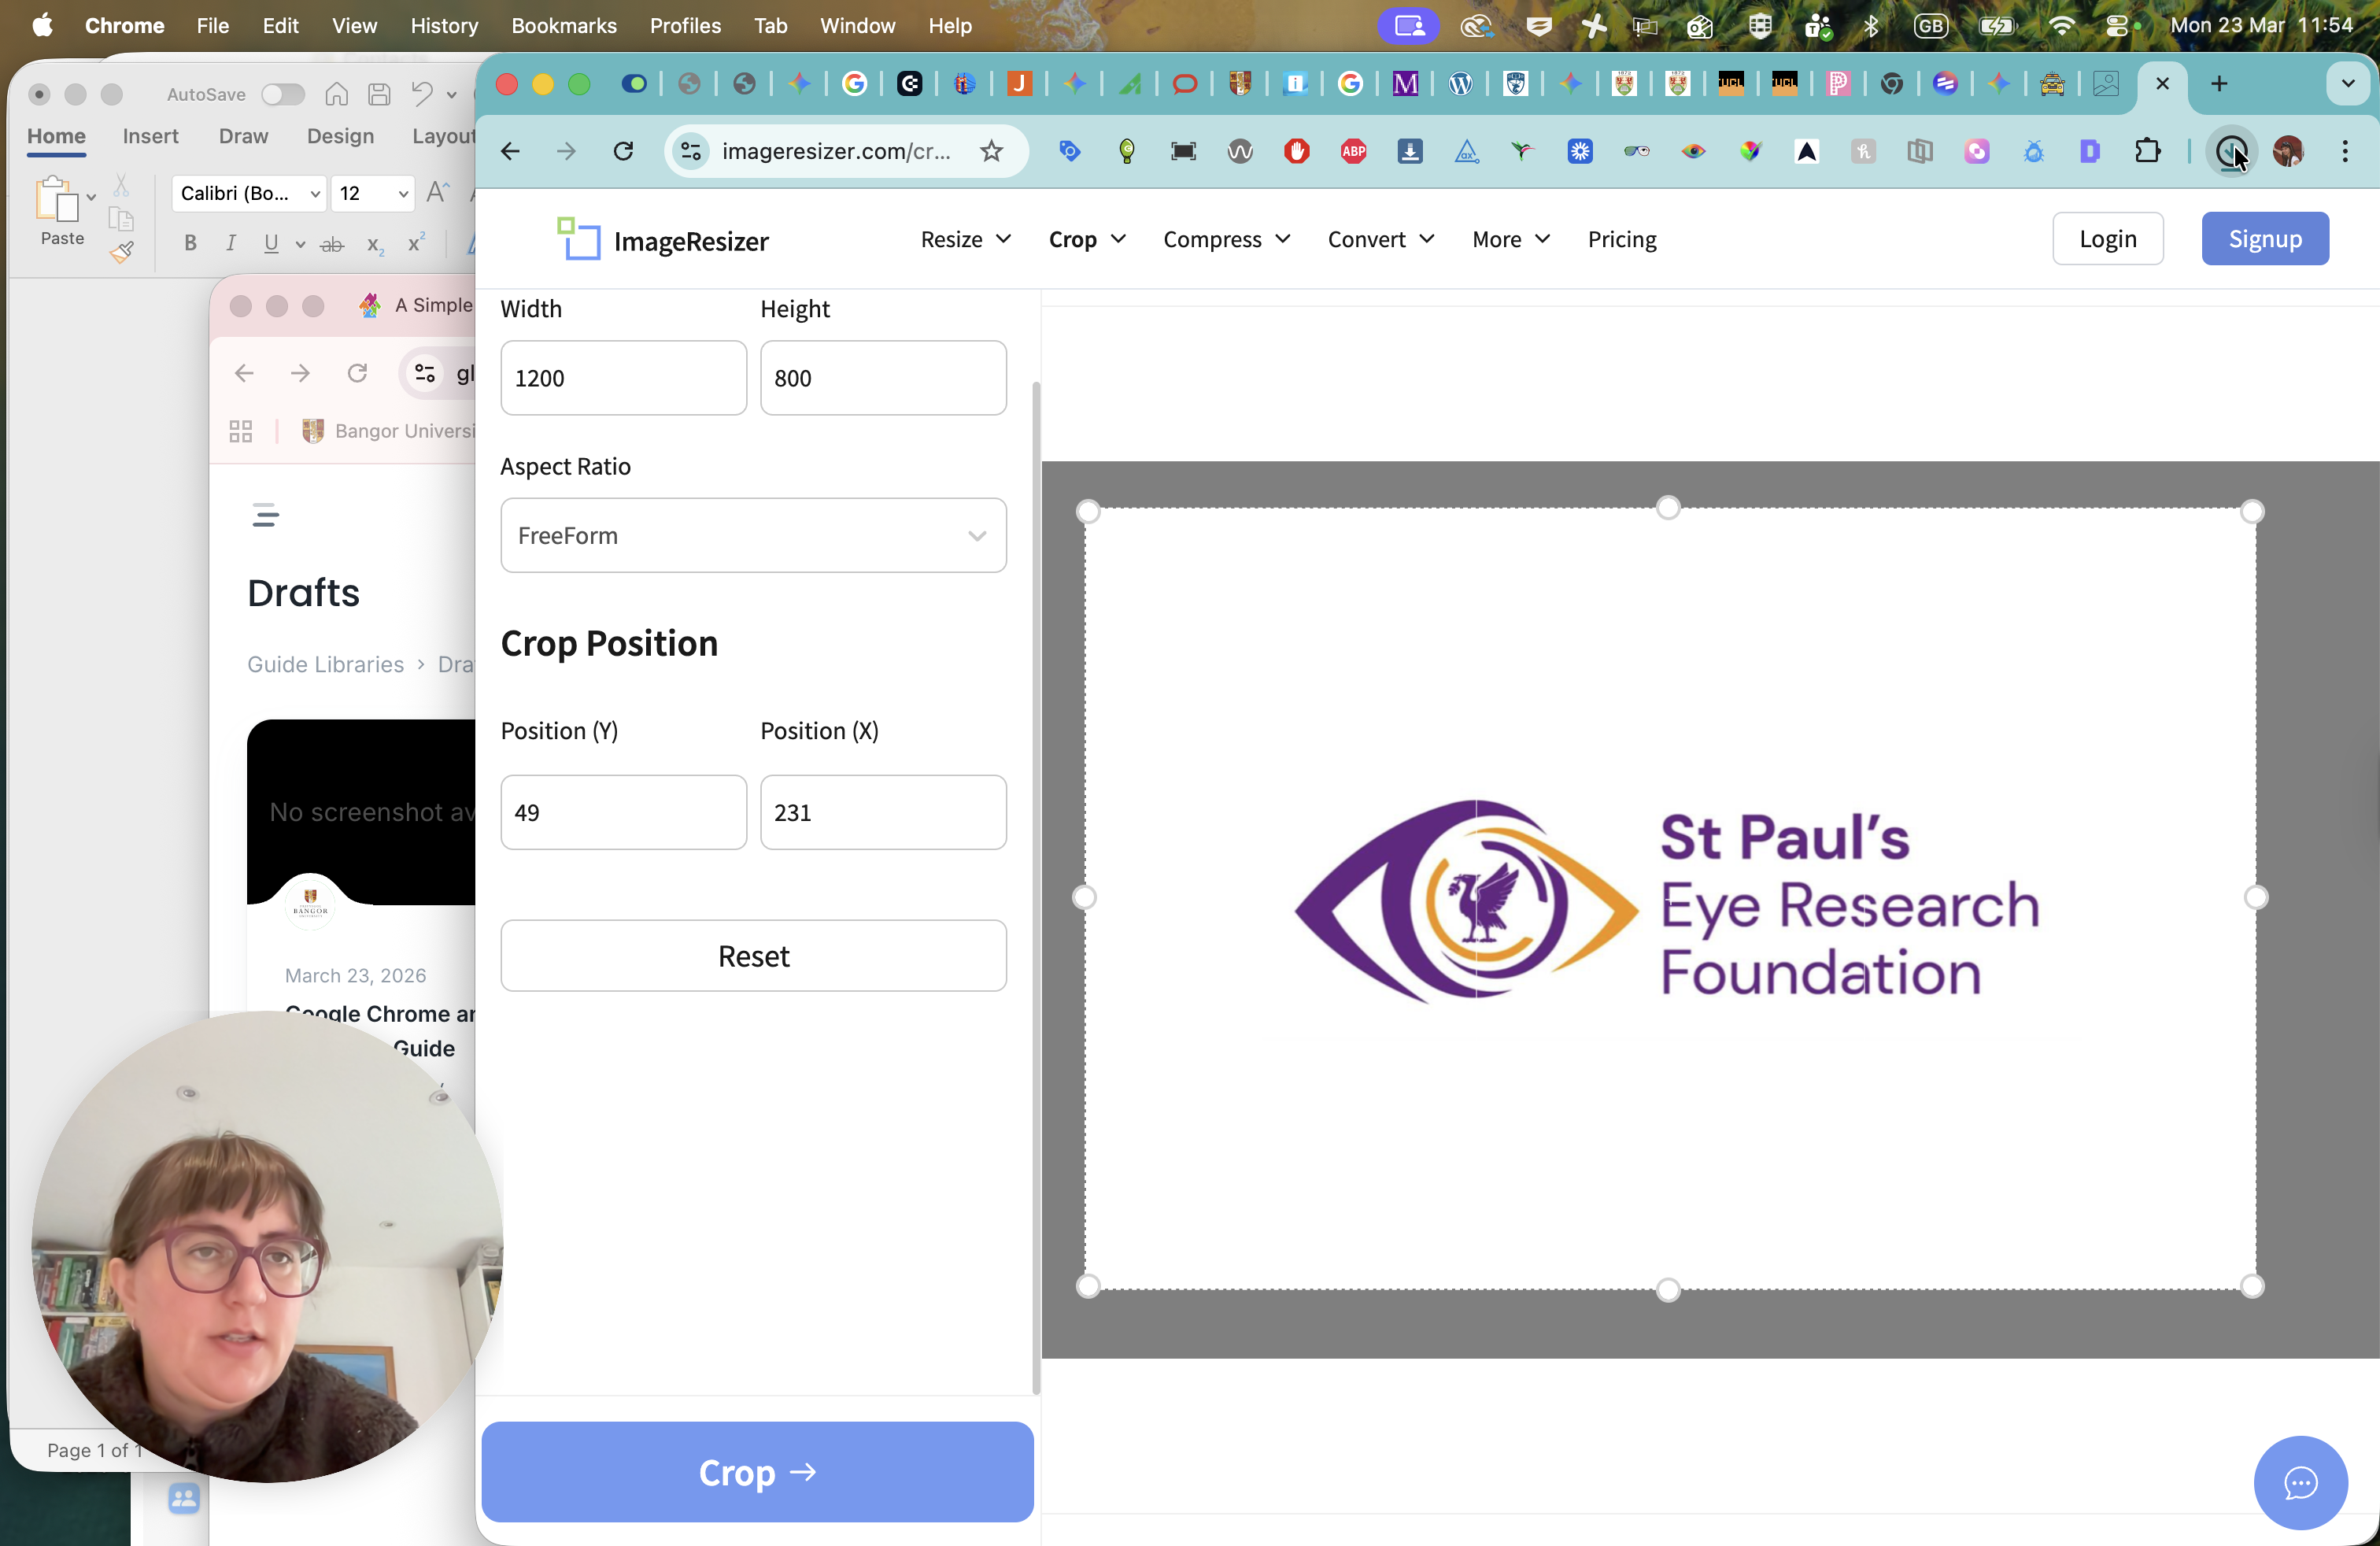
Click Crop. I think the position of my face is not helping.
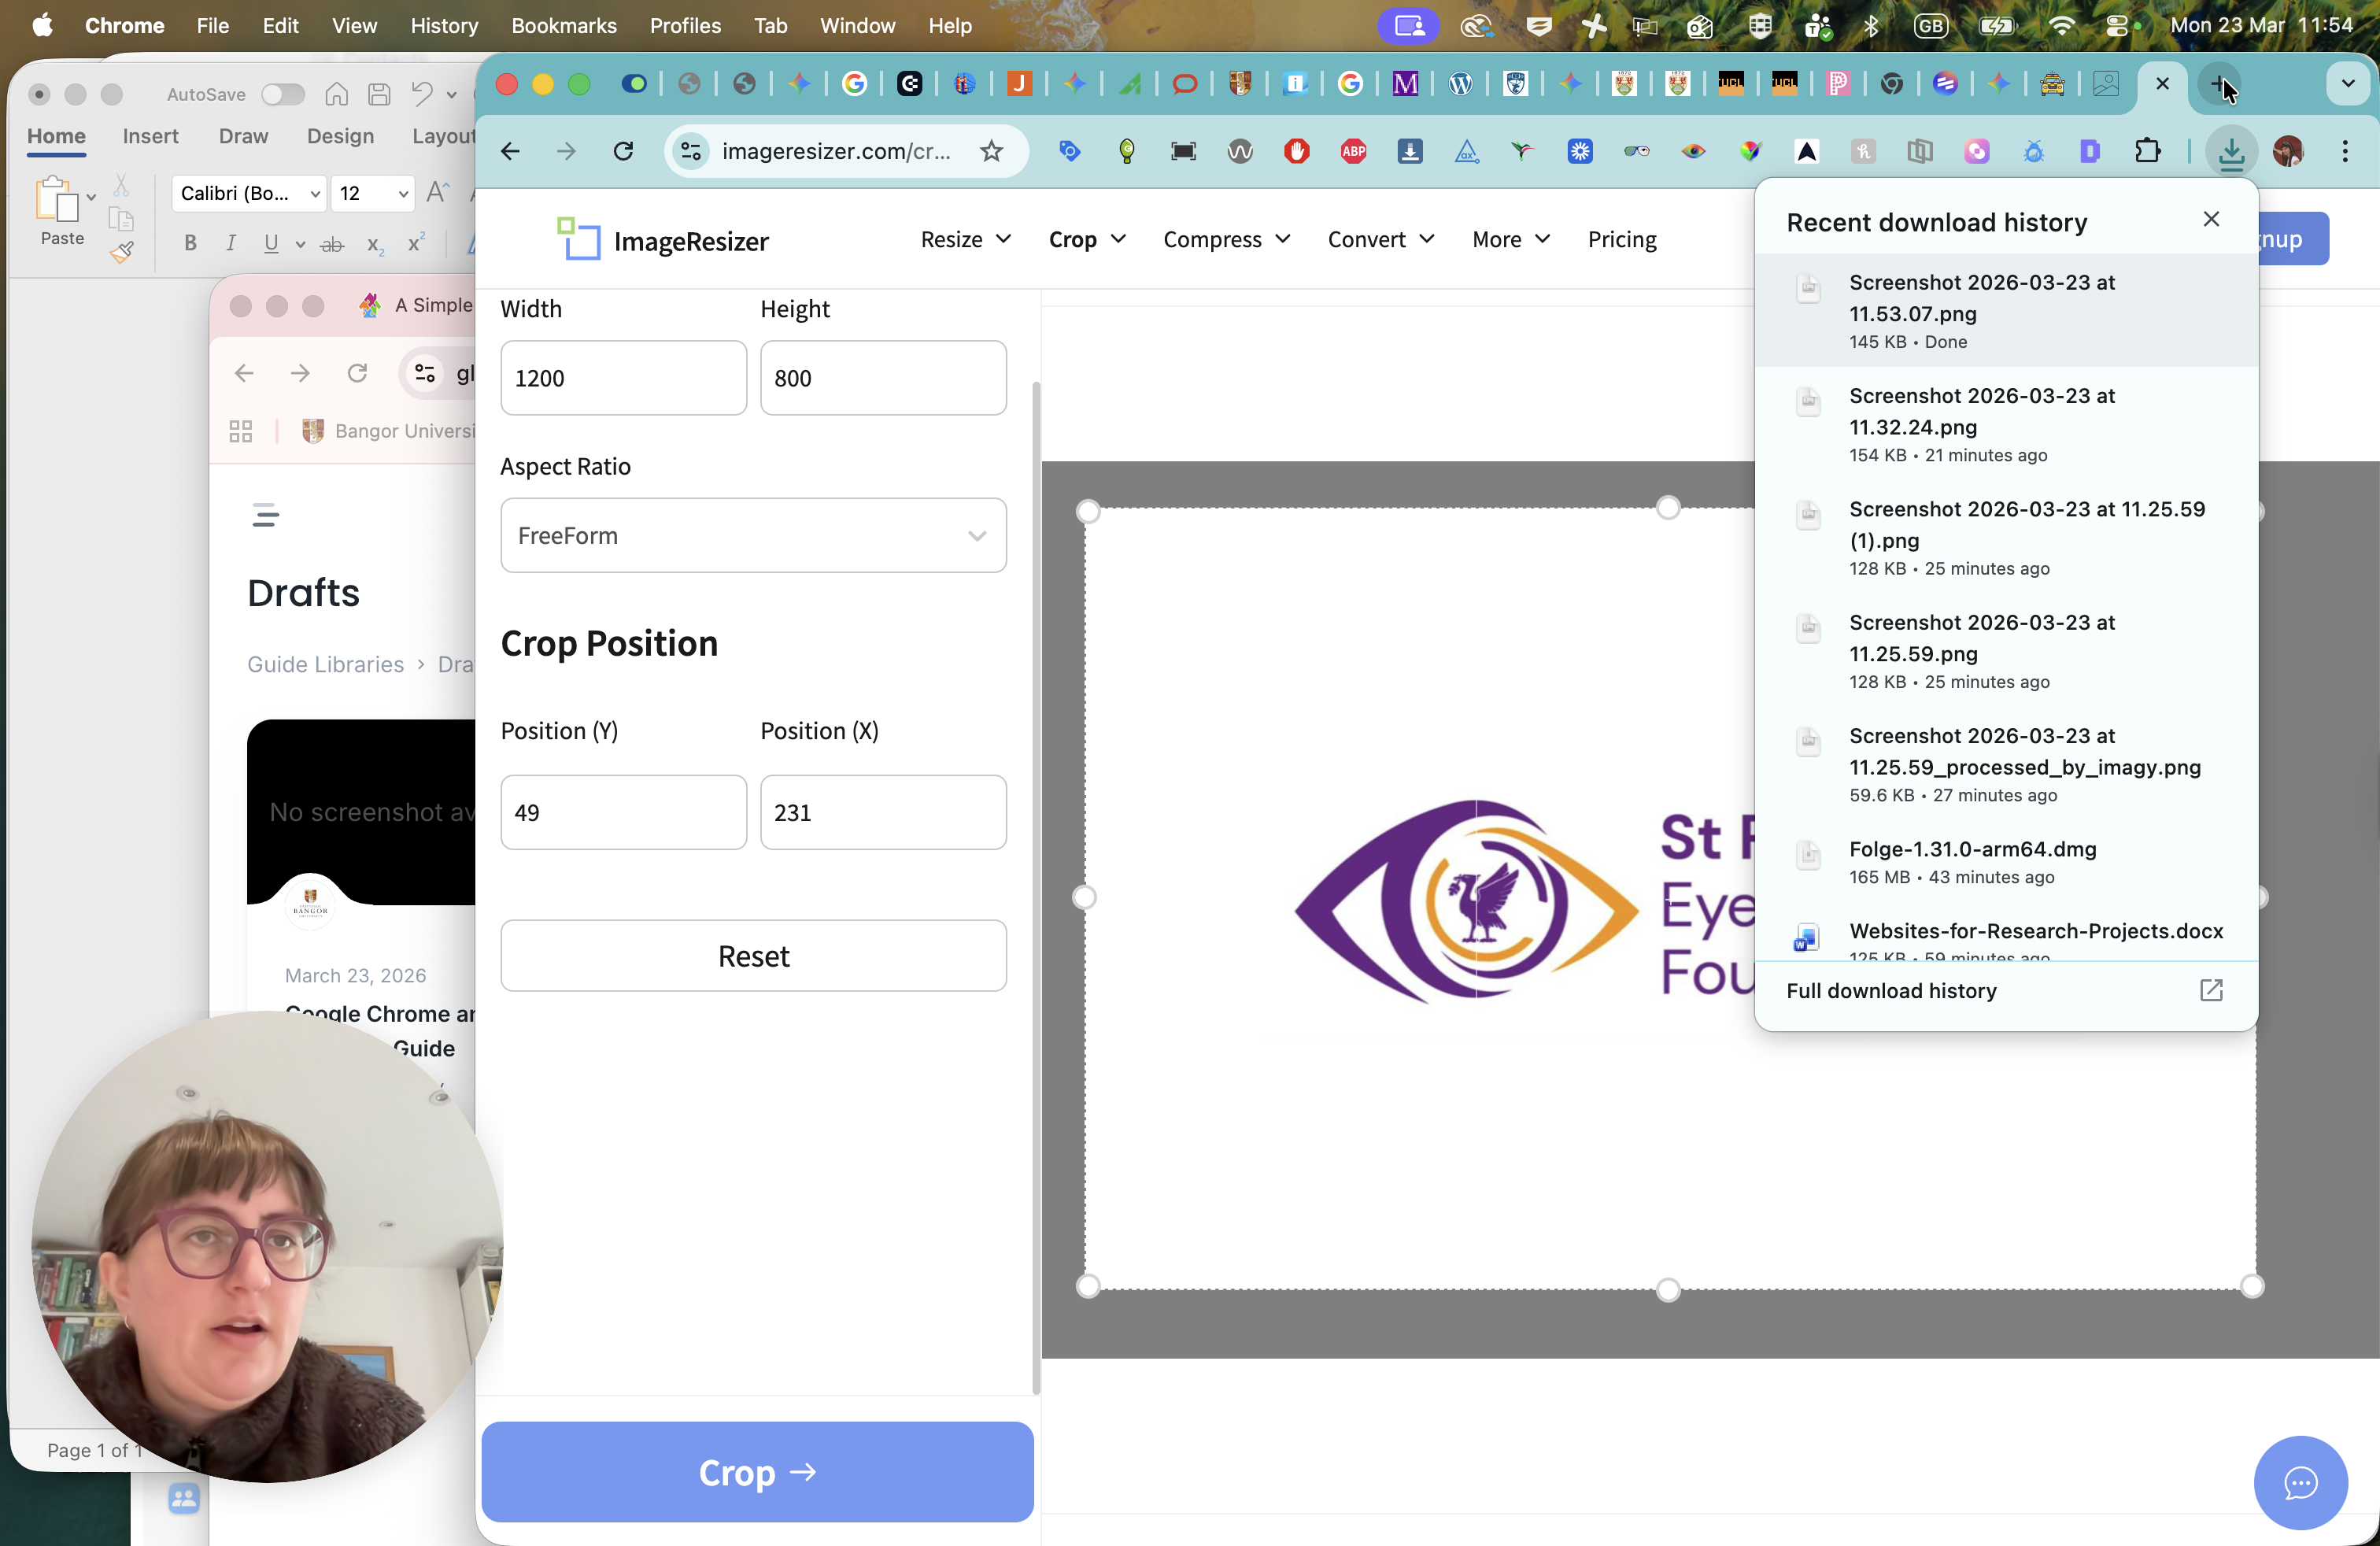
Click on Crop. In the scene processing section, you will see that this file is saved in your download history with the recommended proportions. Now, go to the button.
I'm going to use one of my trail pages.
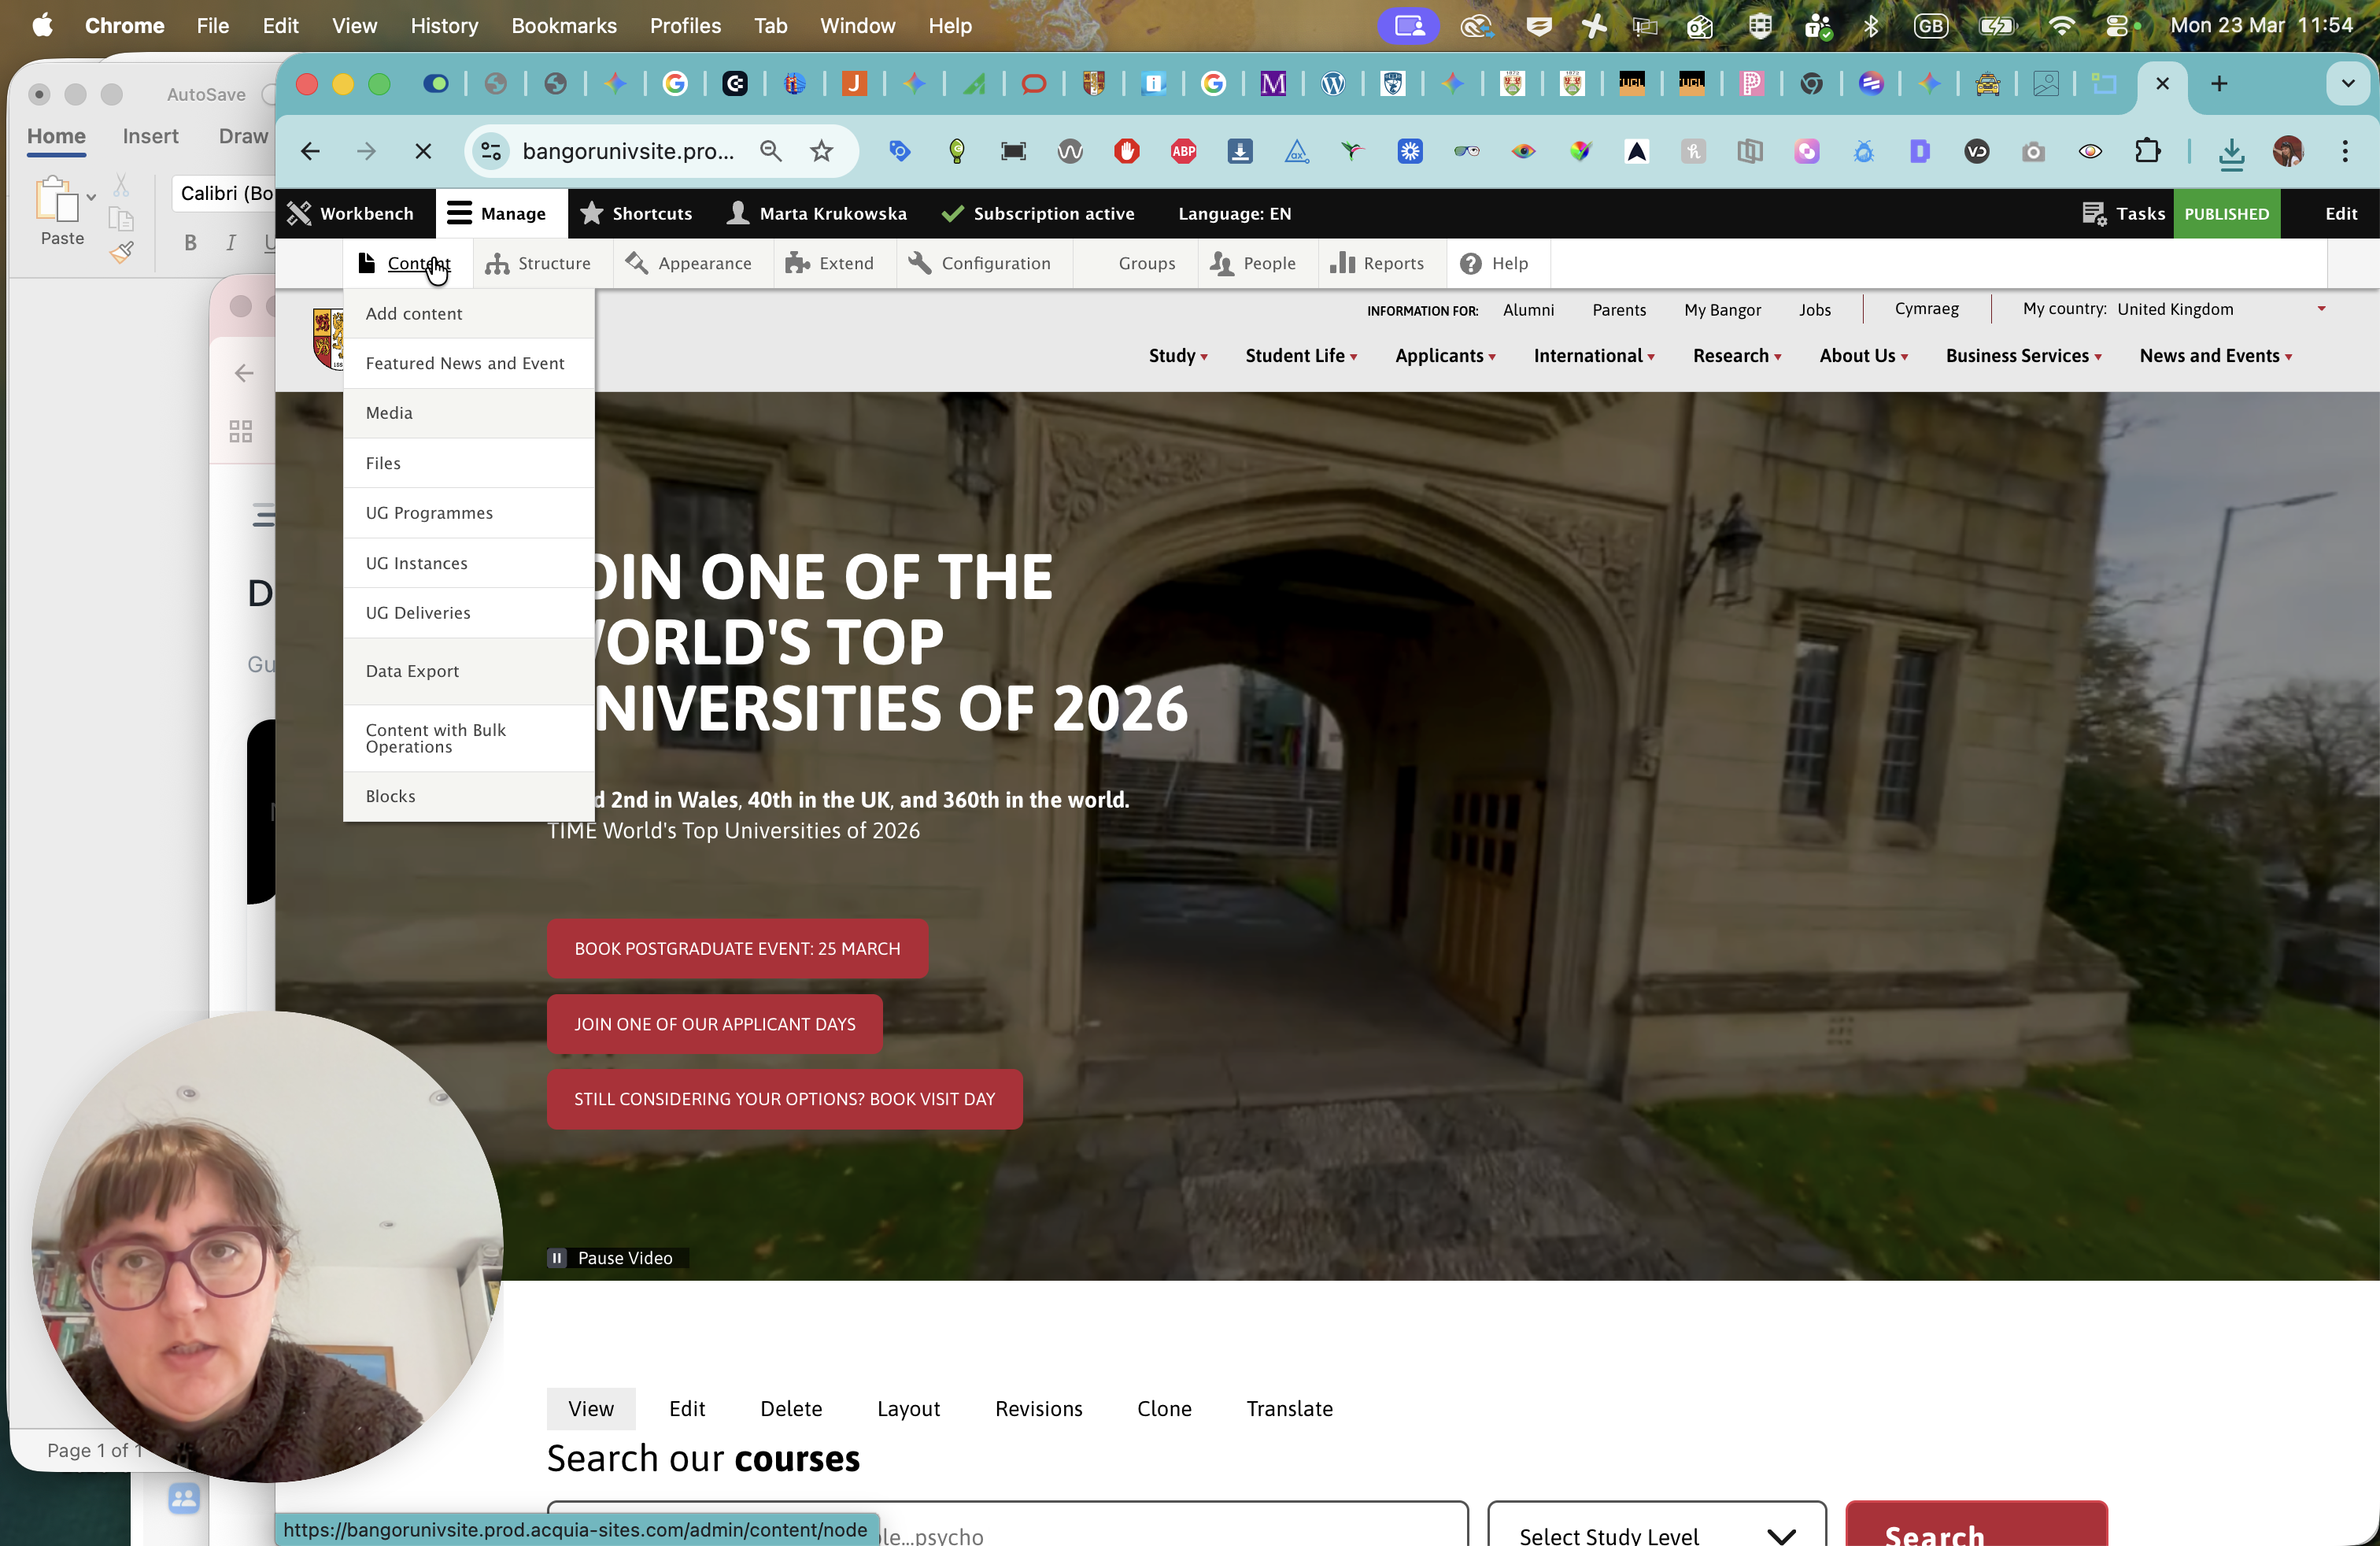
Now let's go to layout.
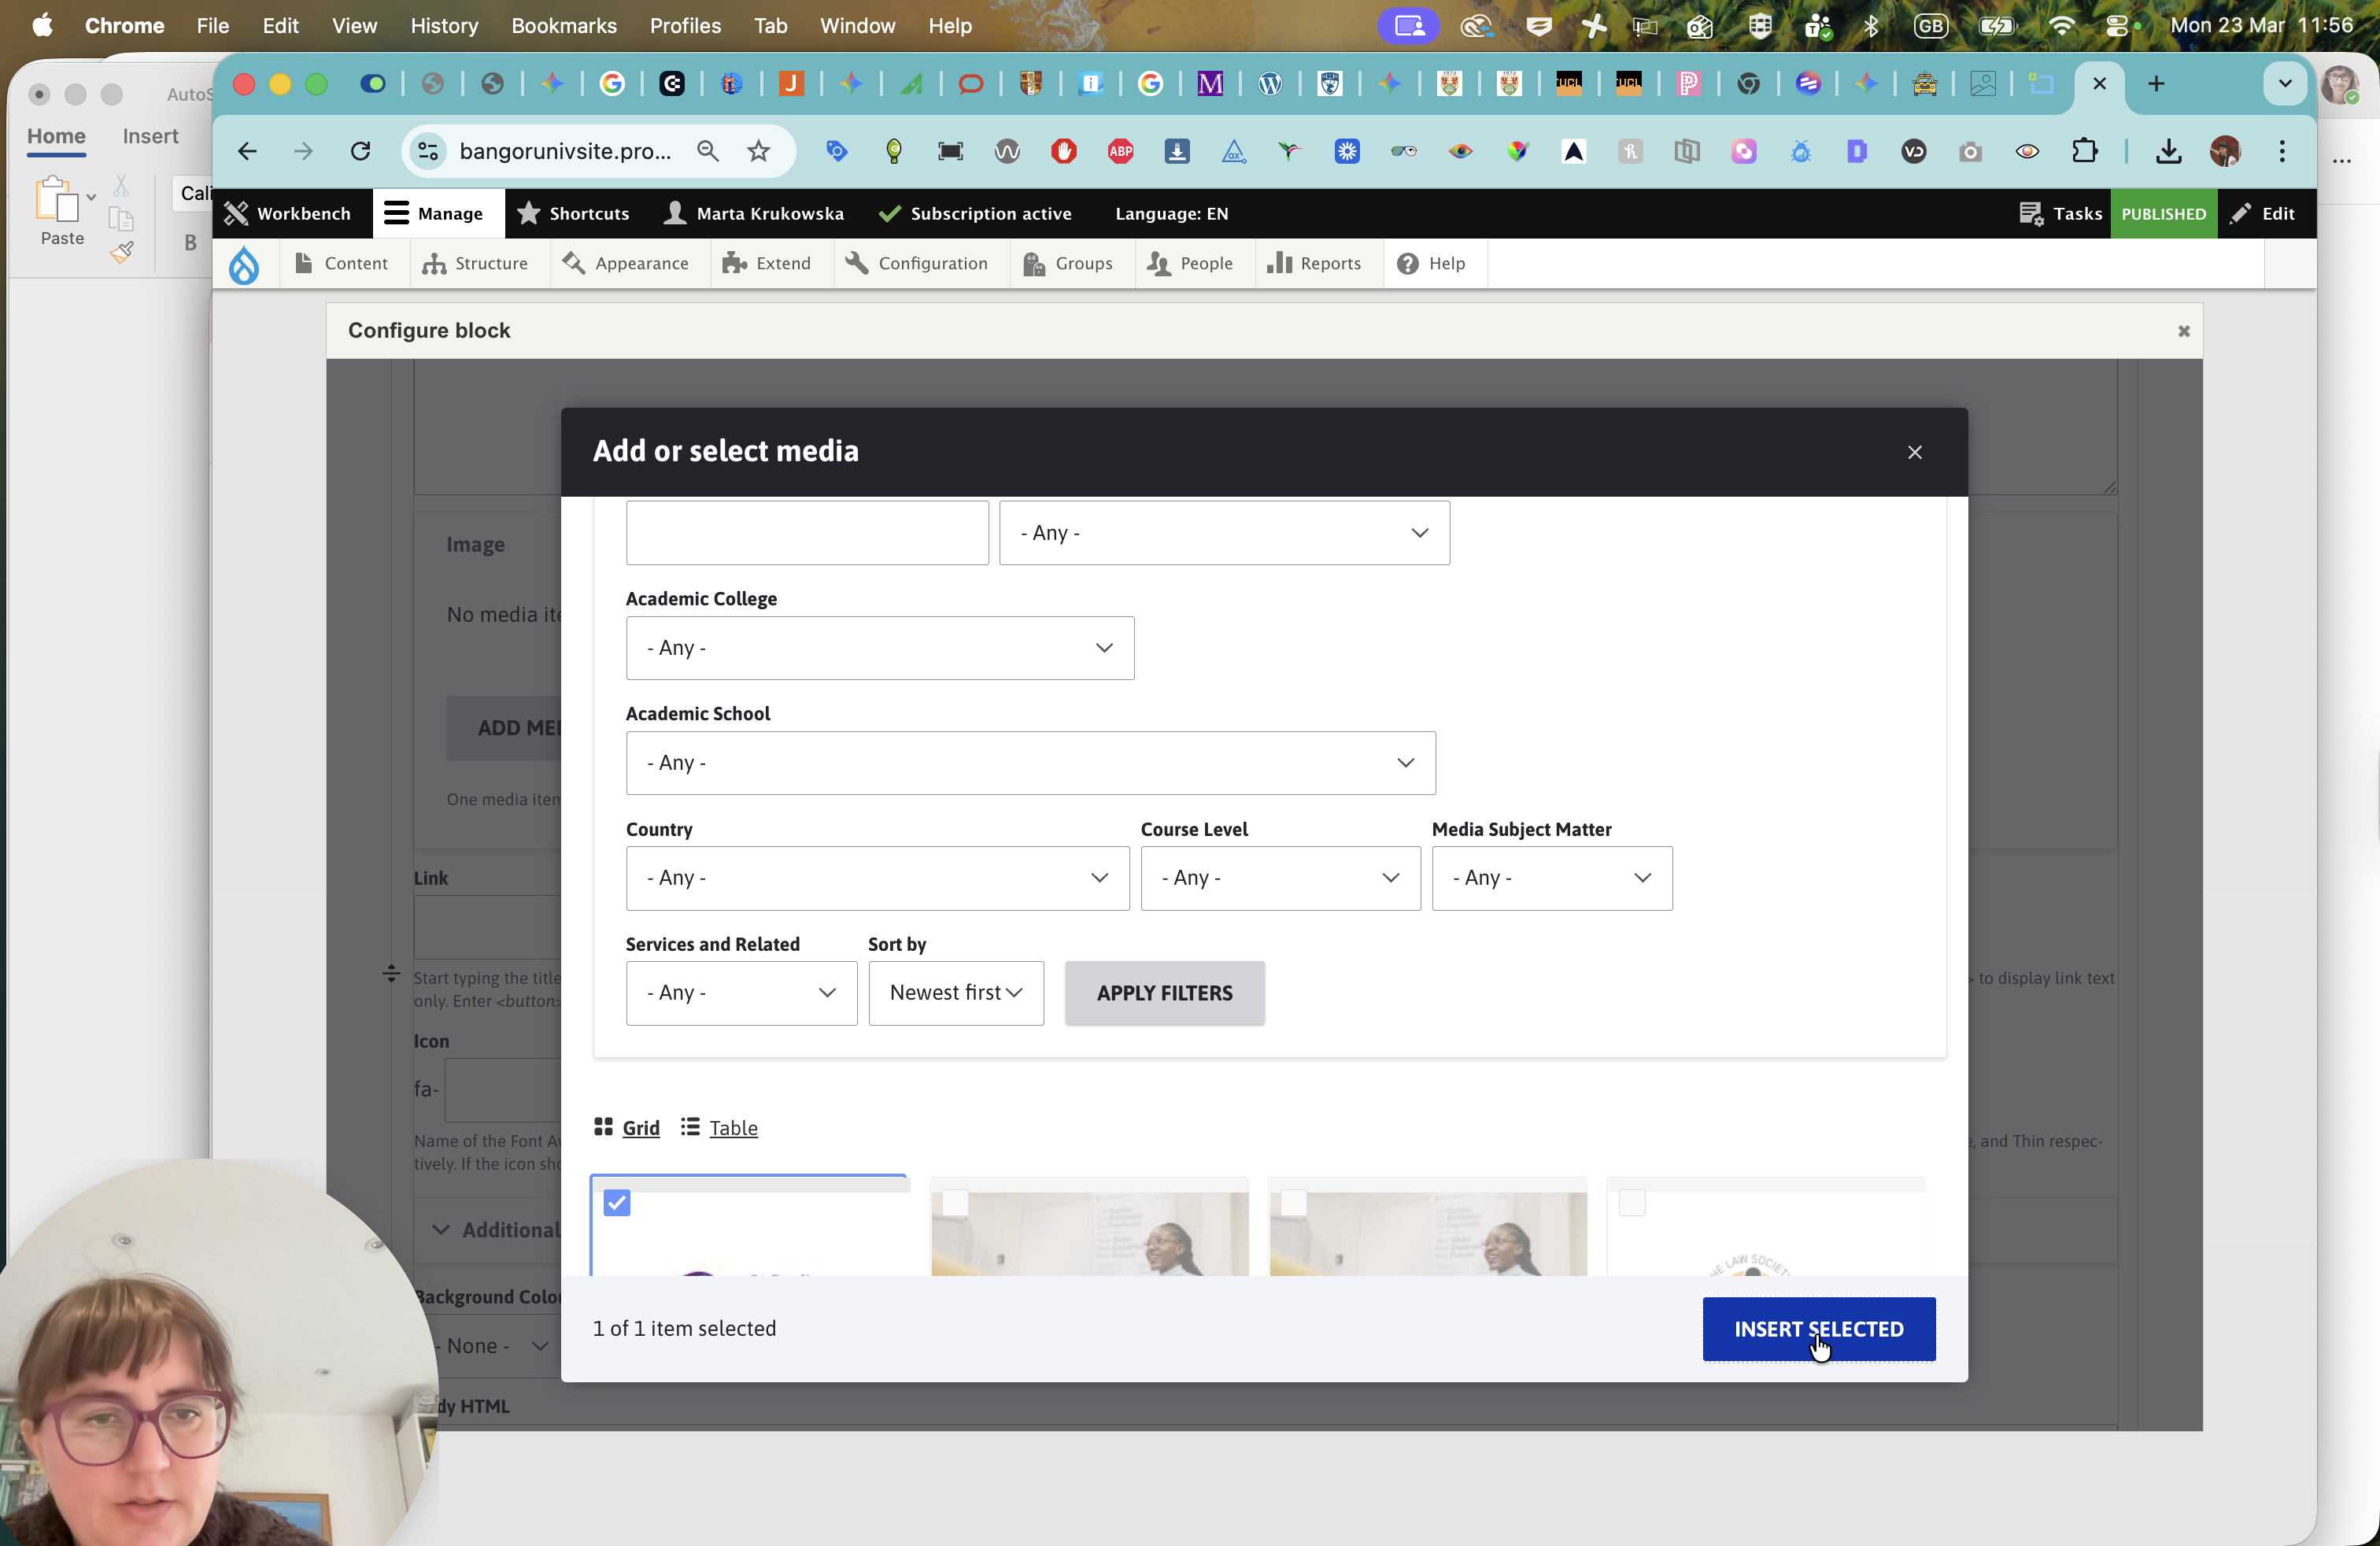
This is our card grid component. Let's add a new card grid.
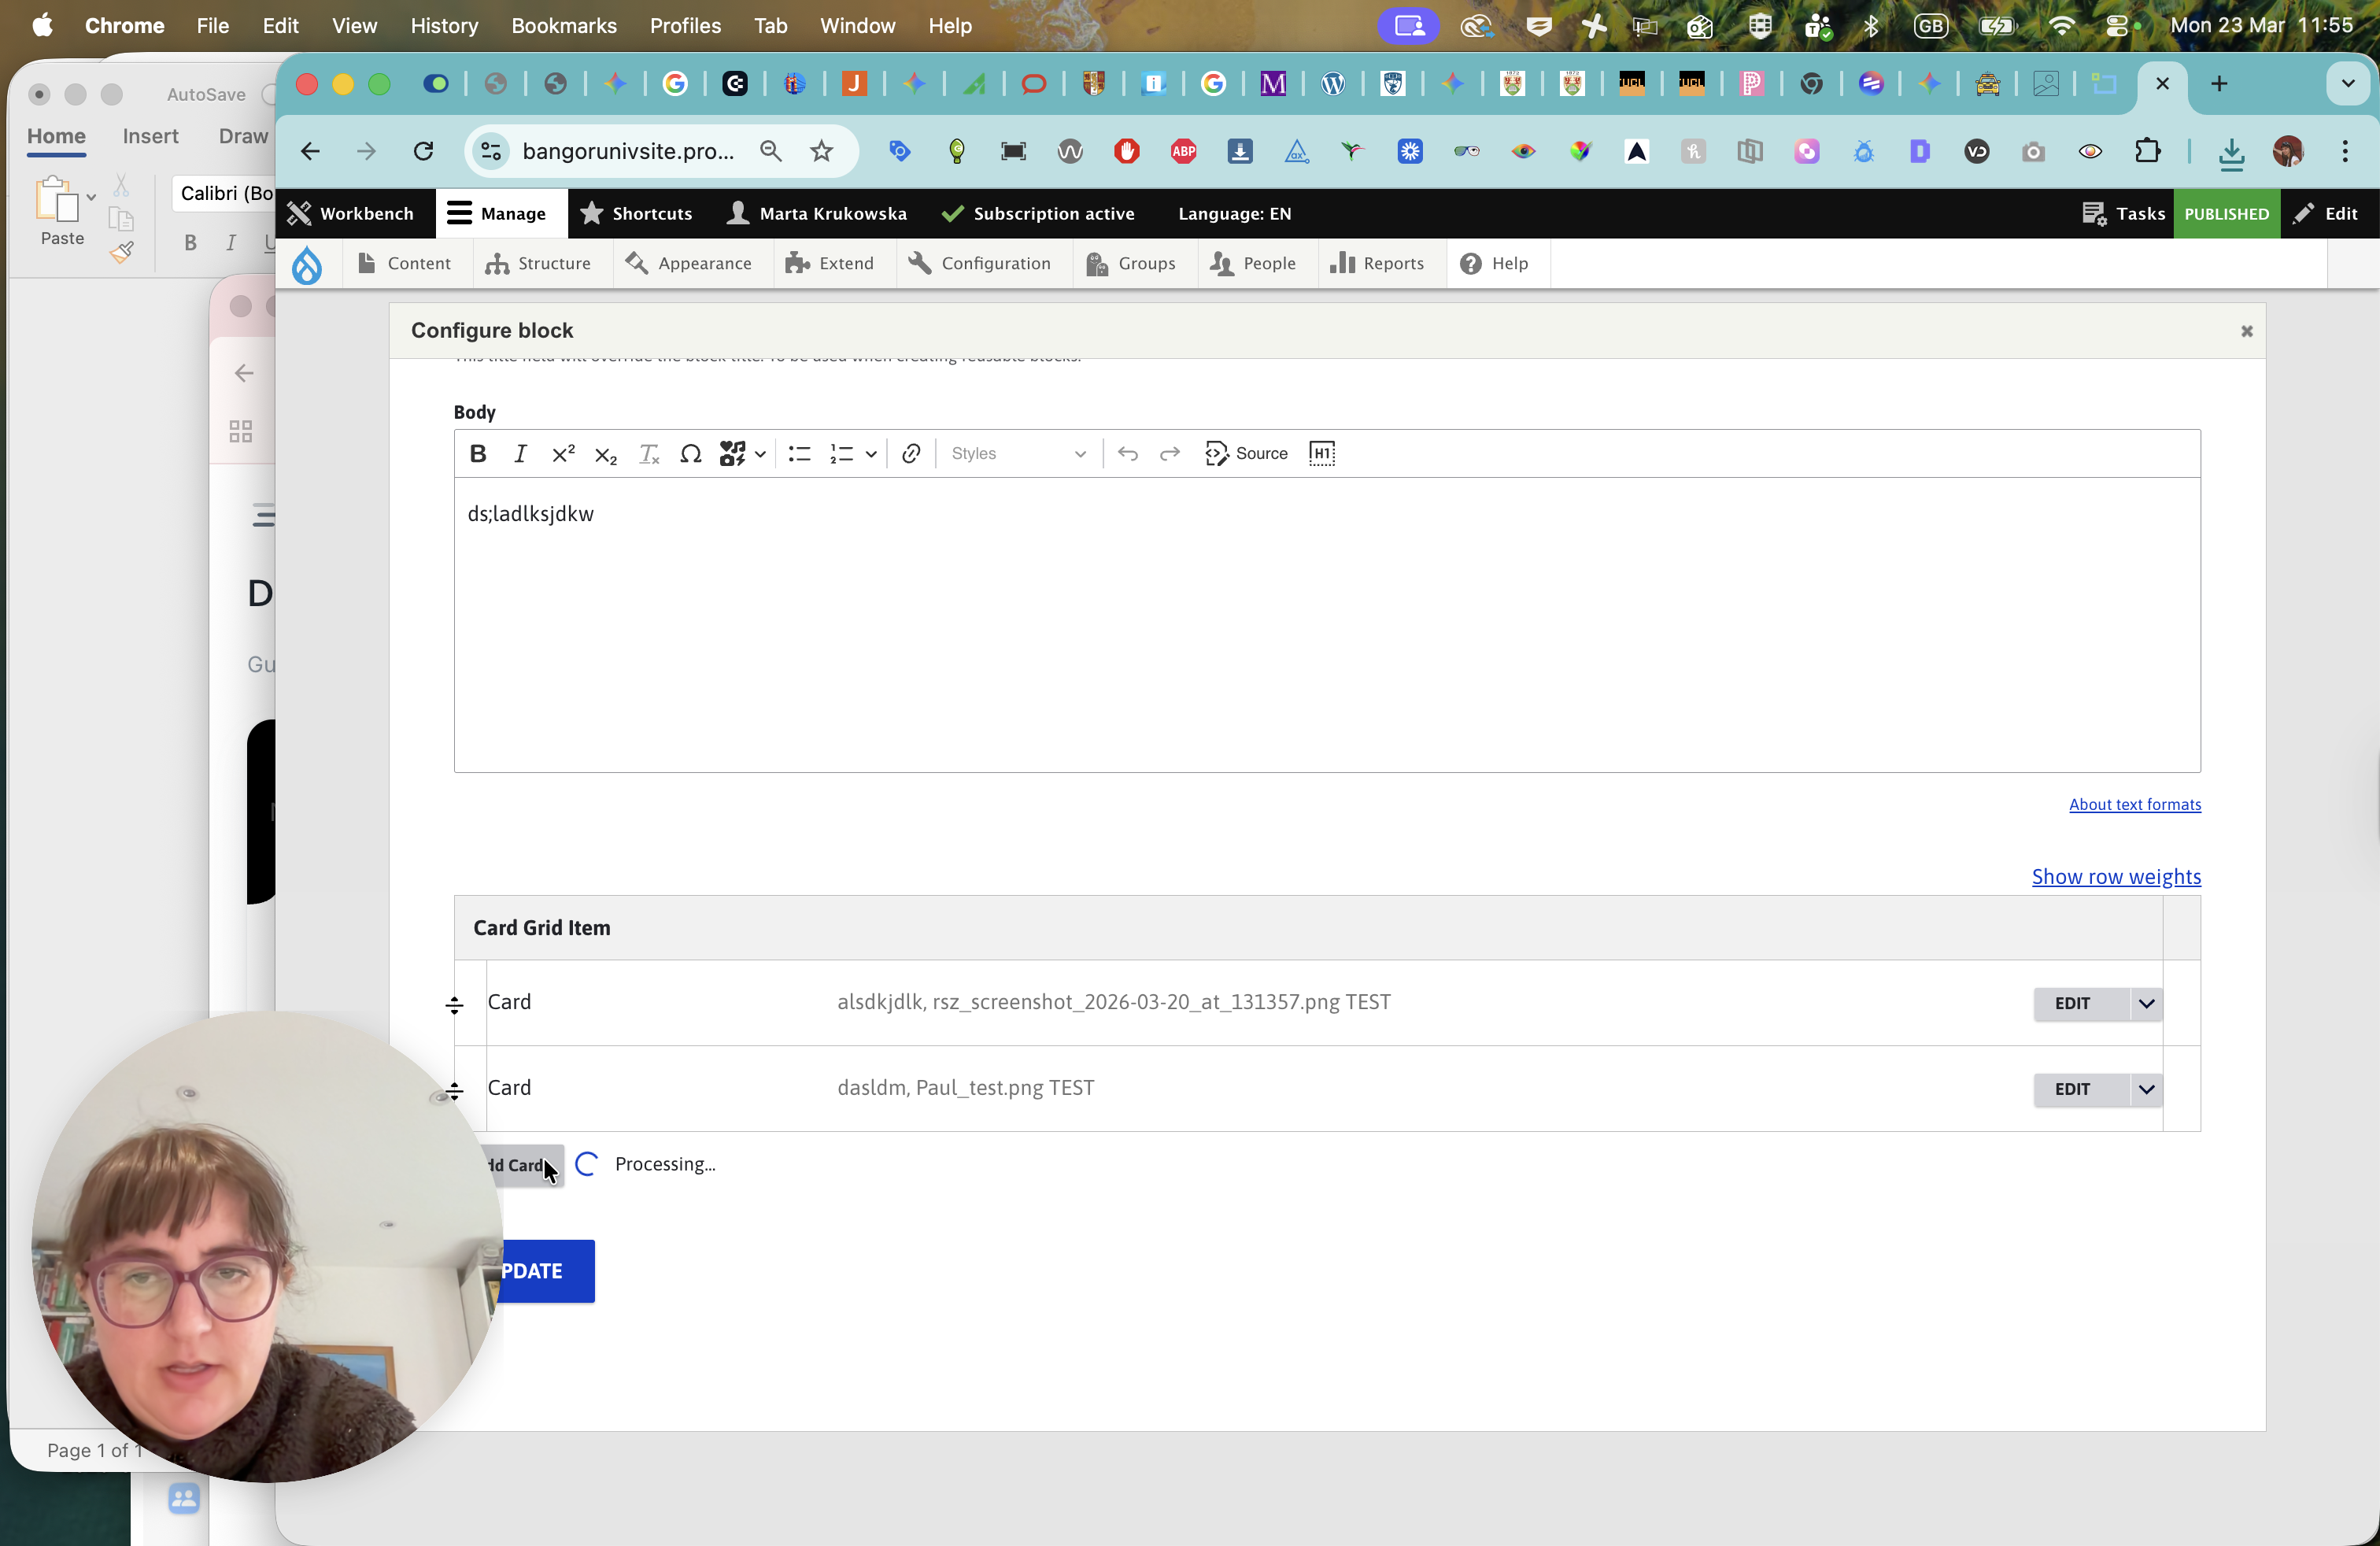
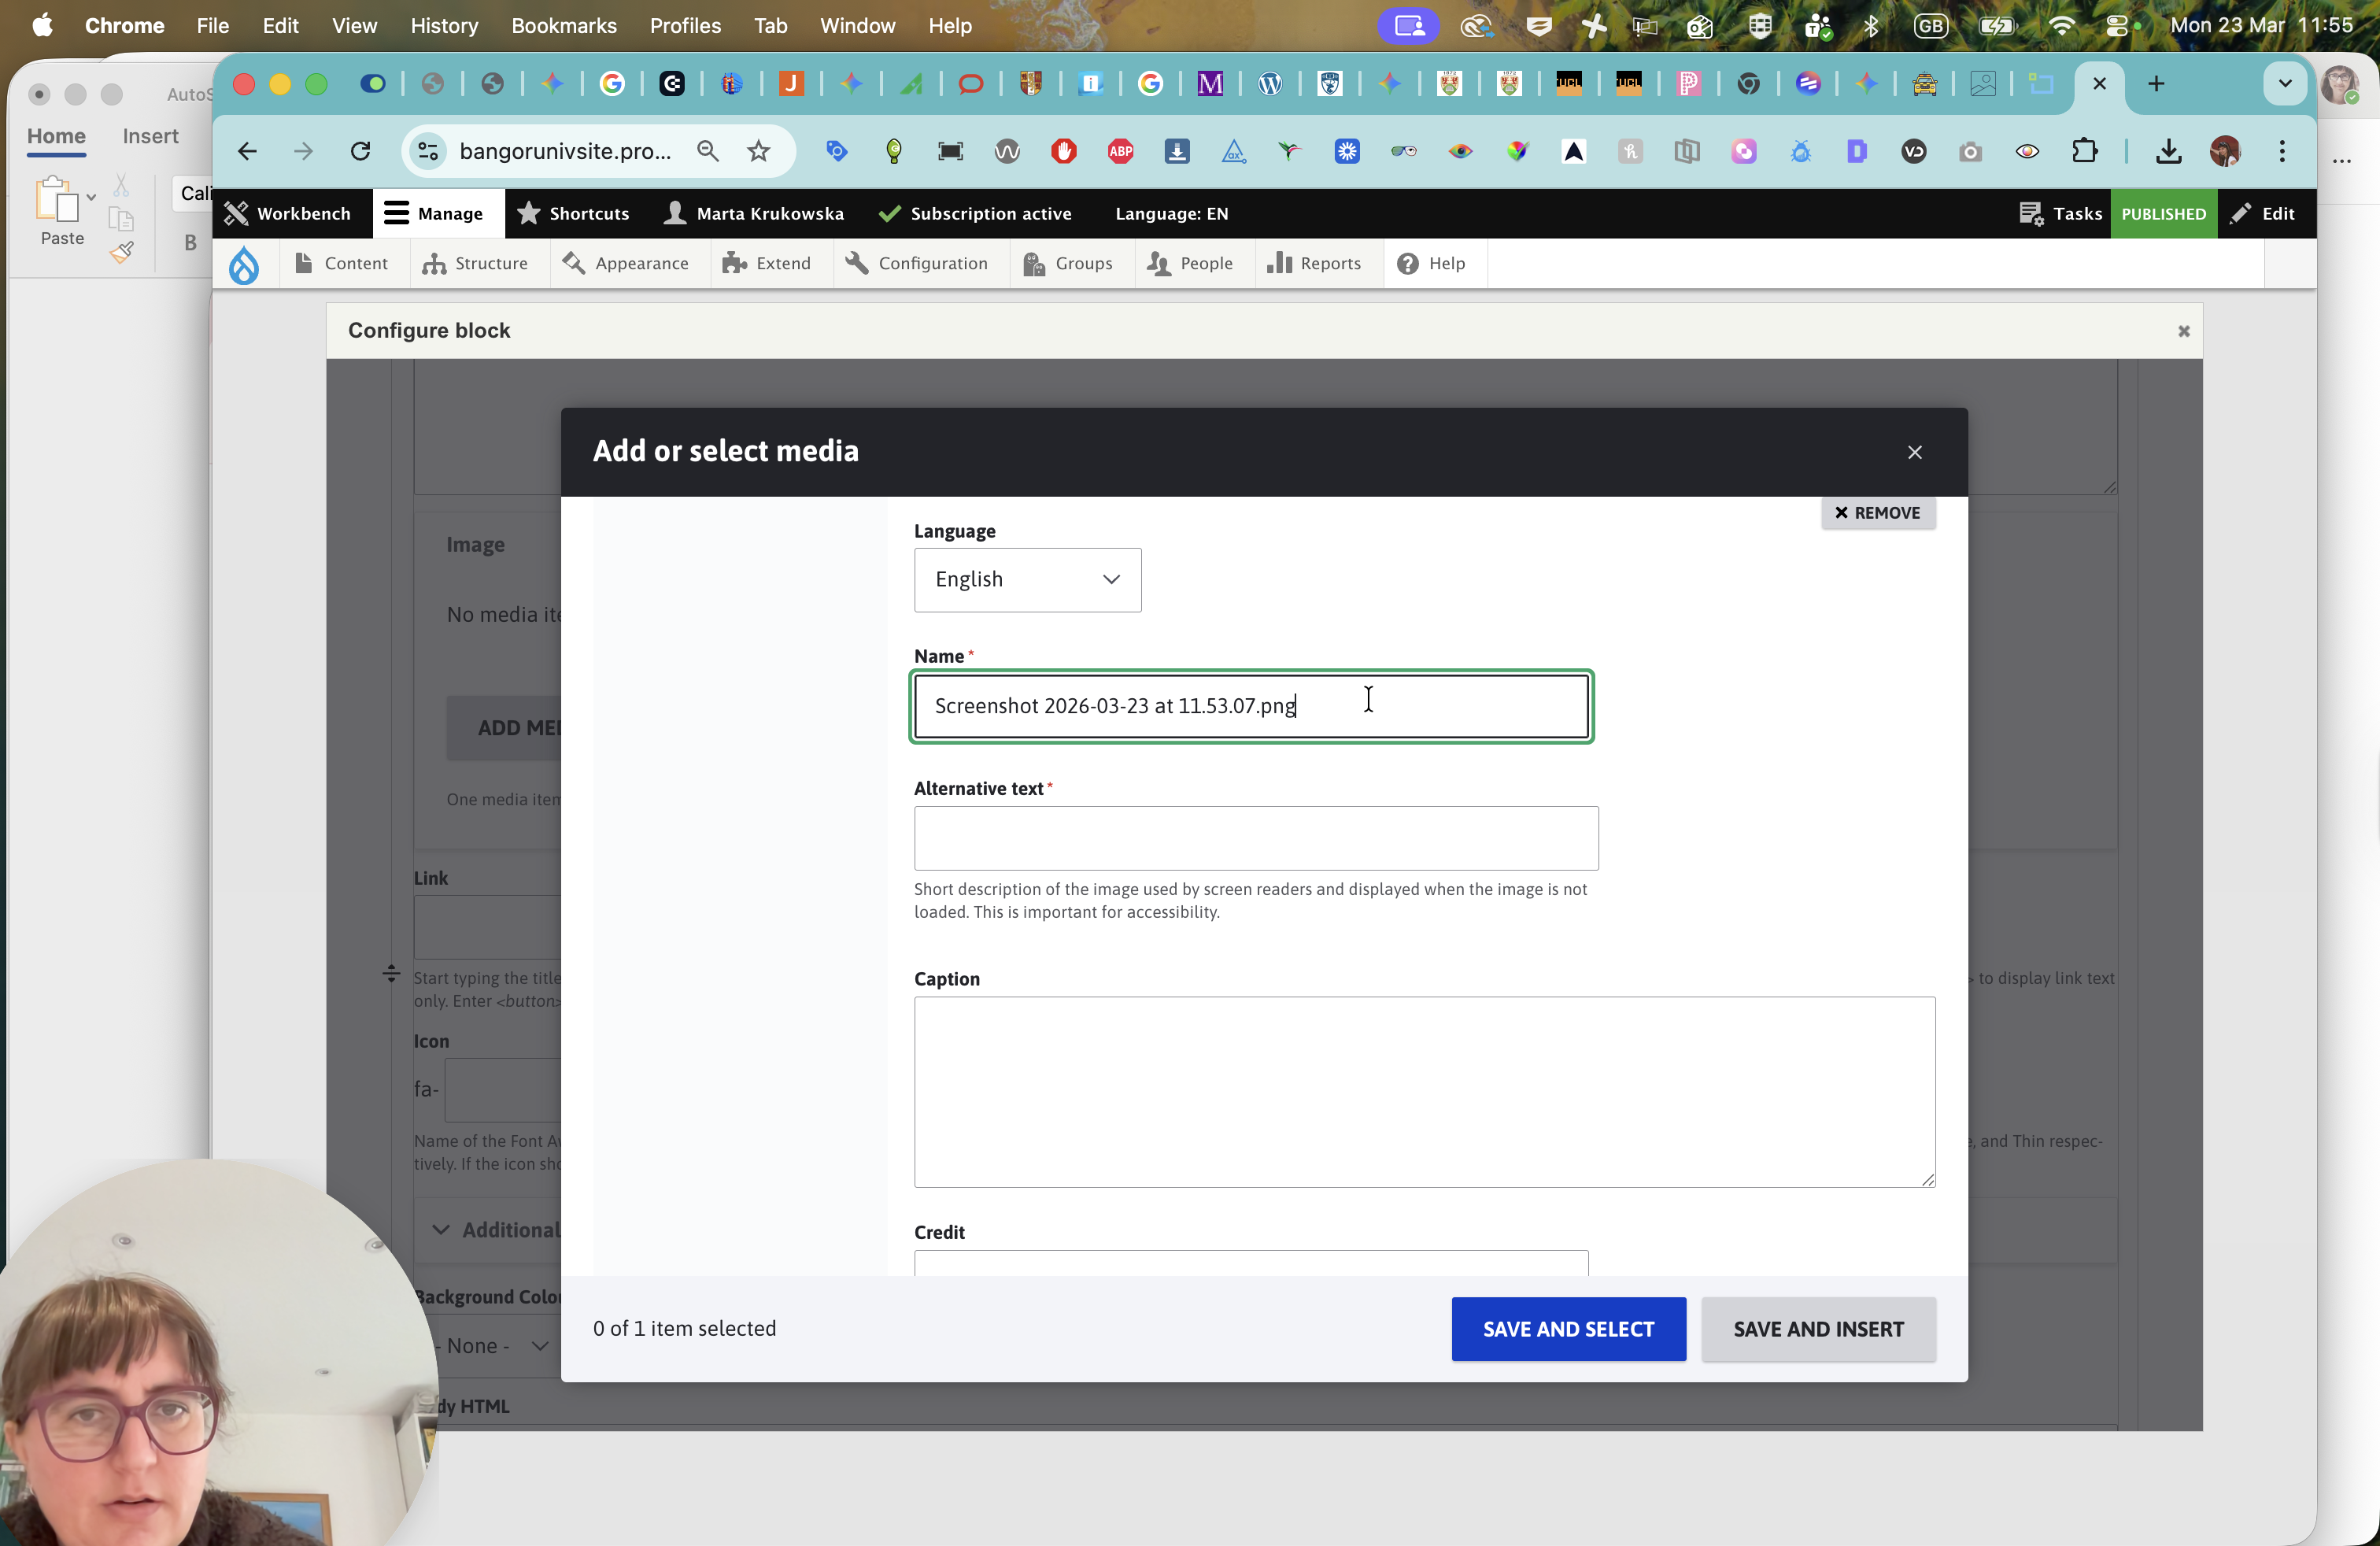
Going to add media.
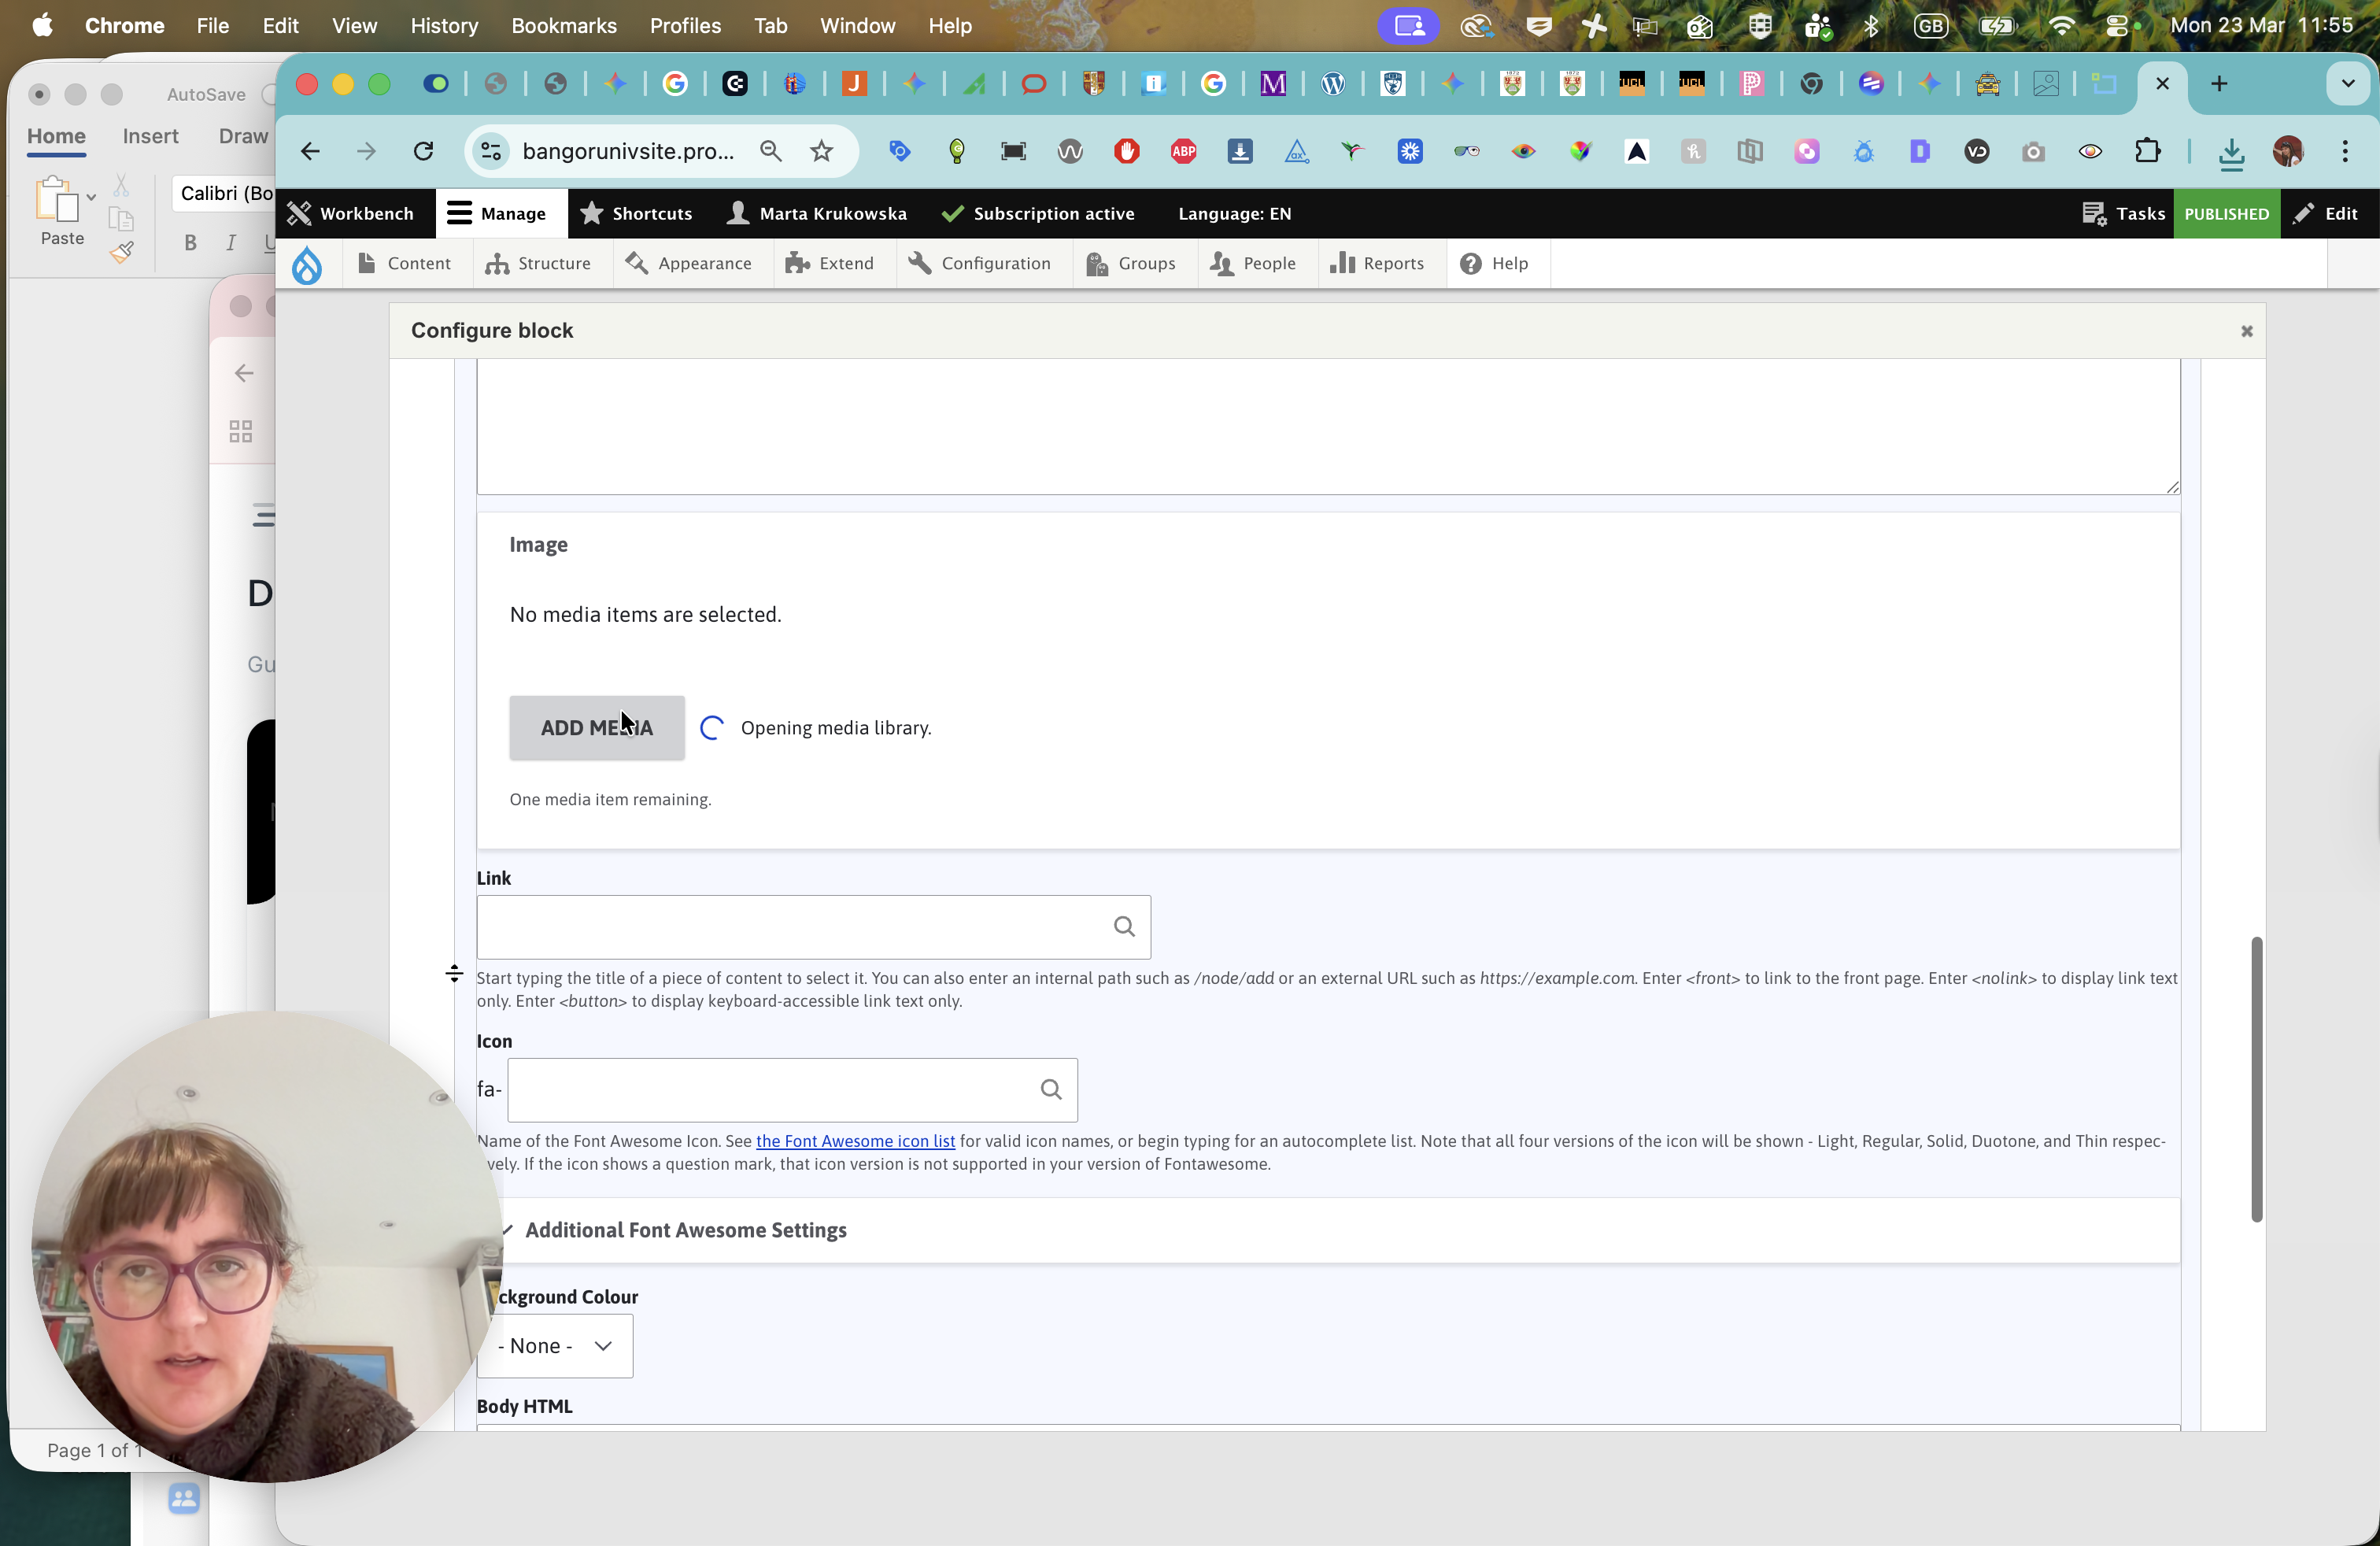
Going to choose a file.
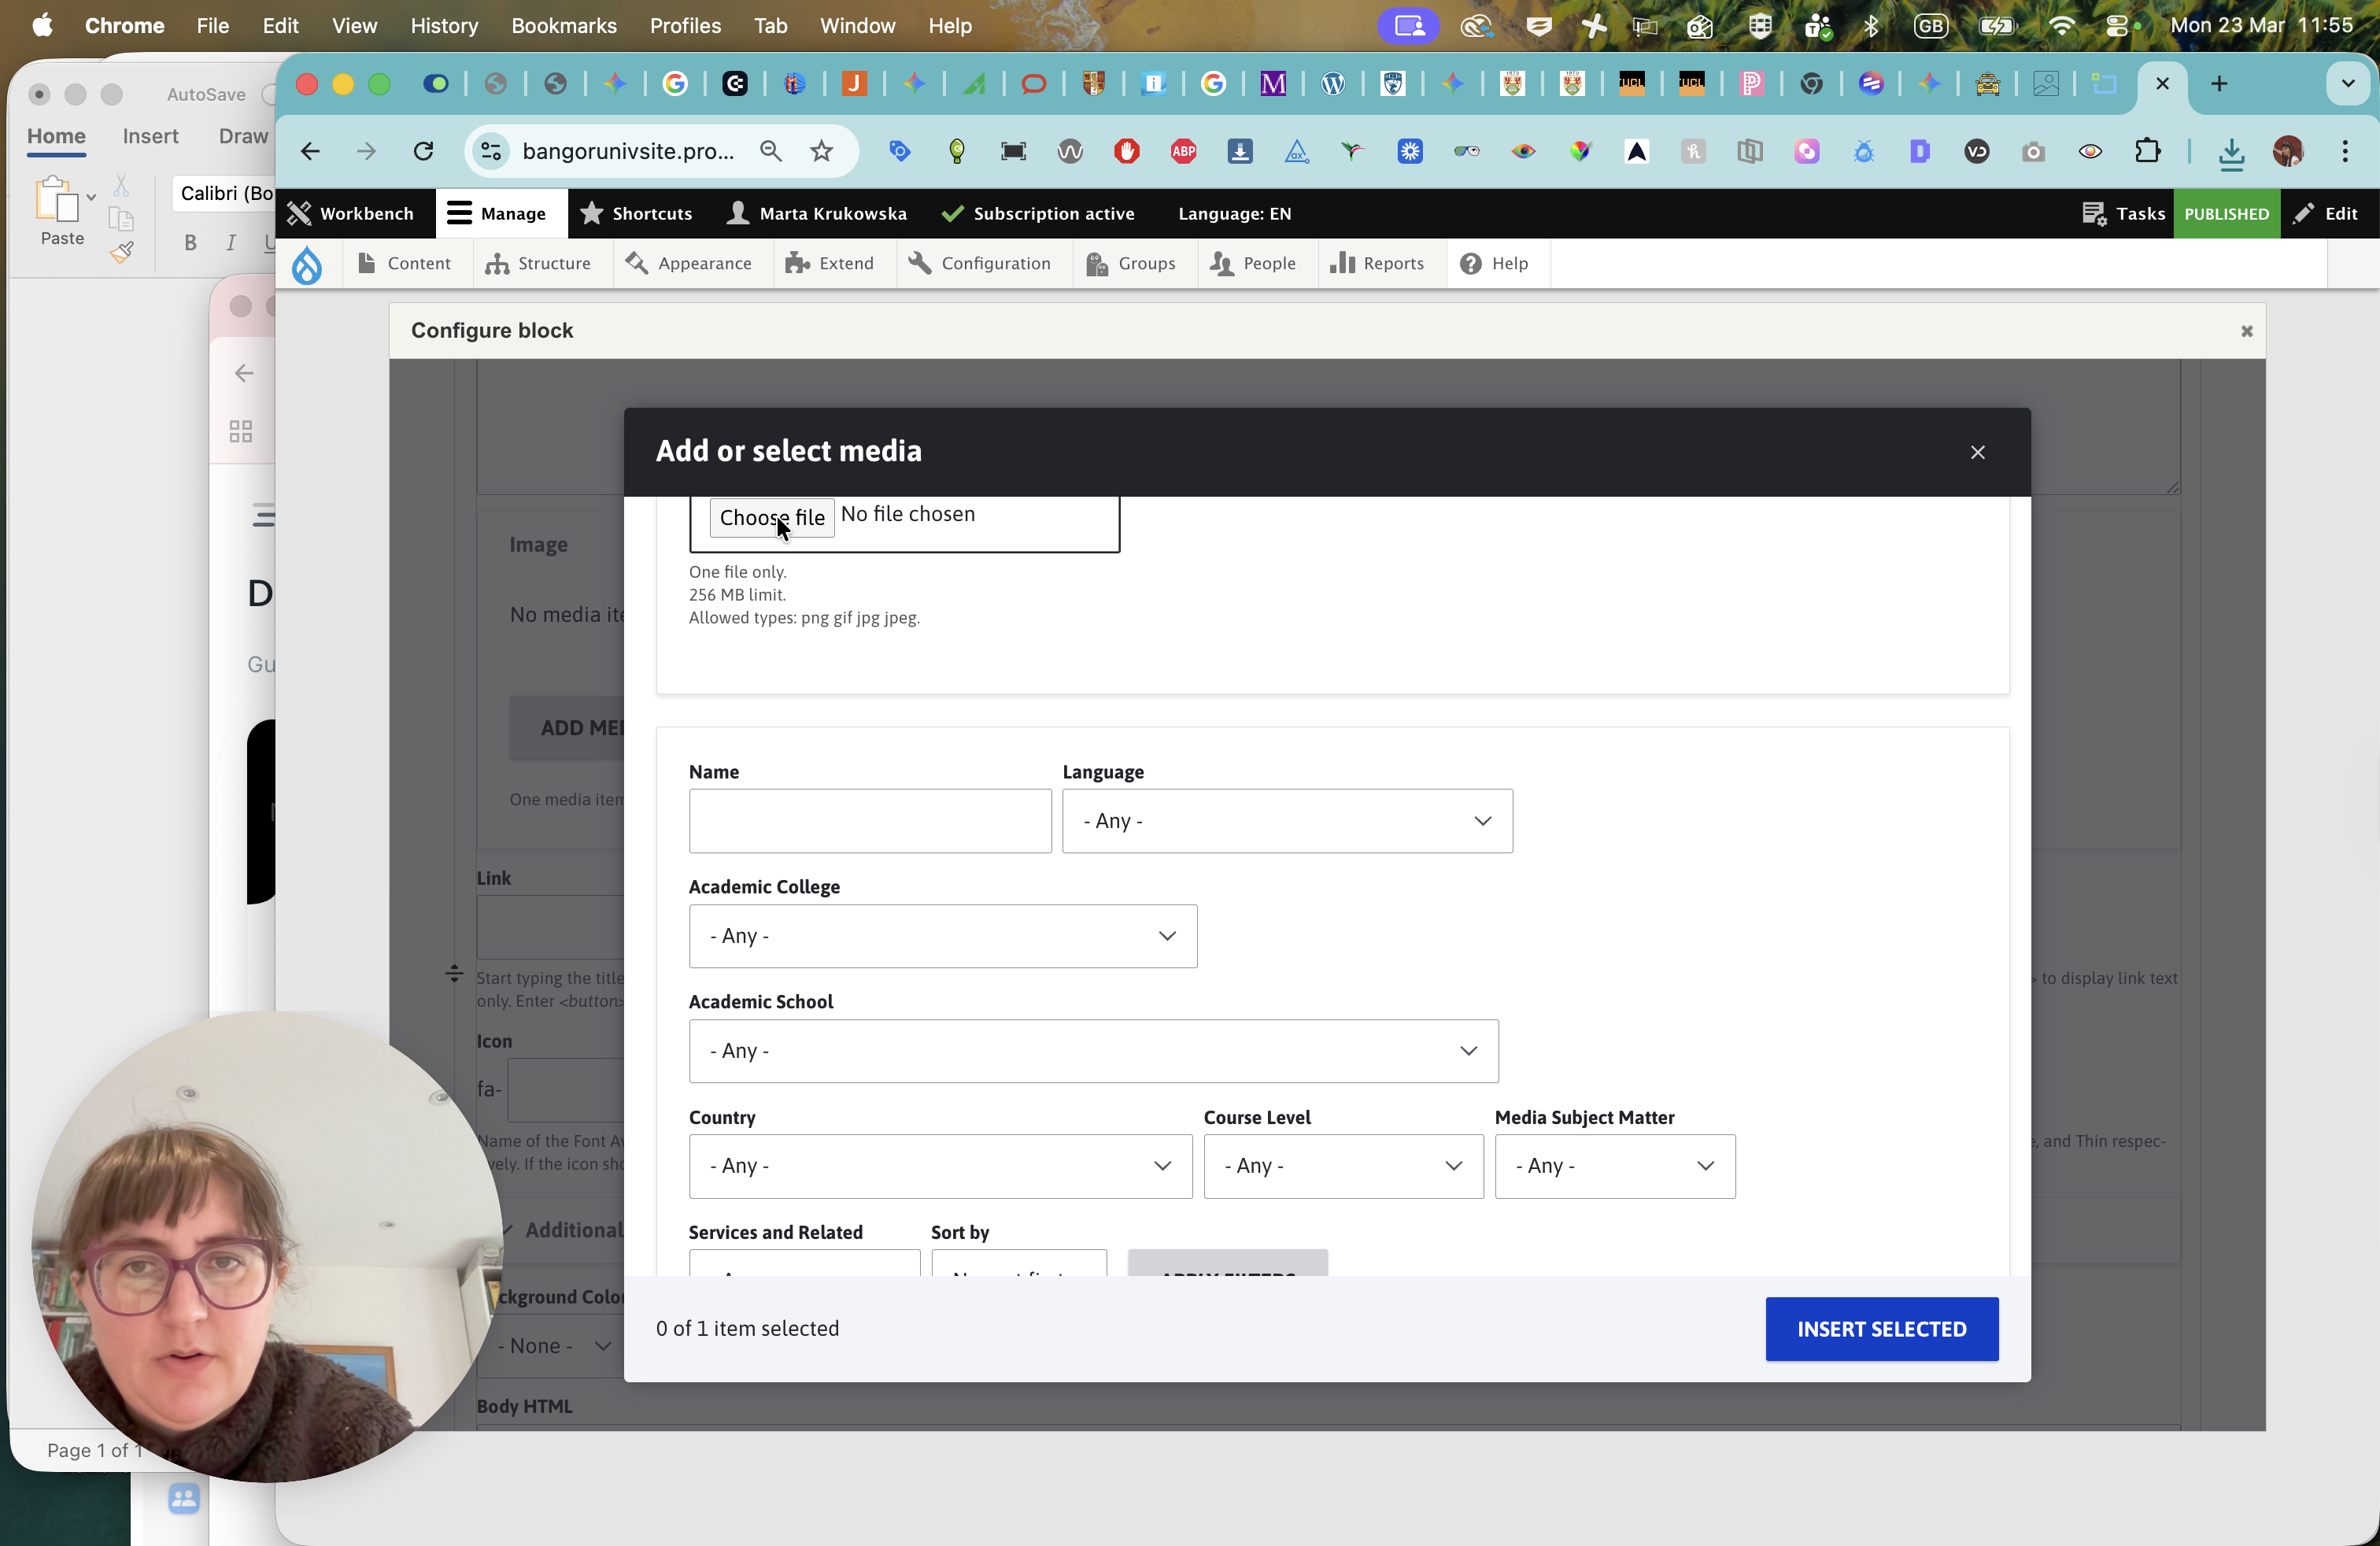
Now, we need to just ...
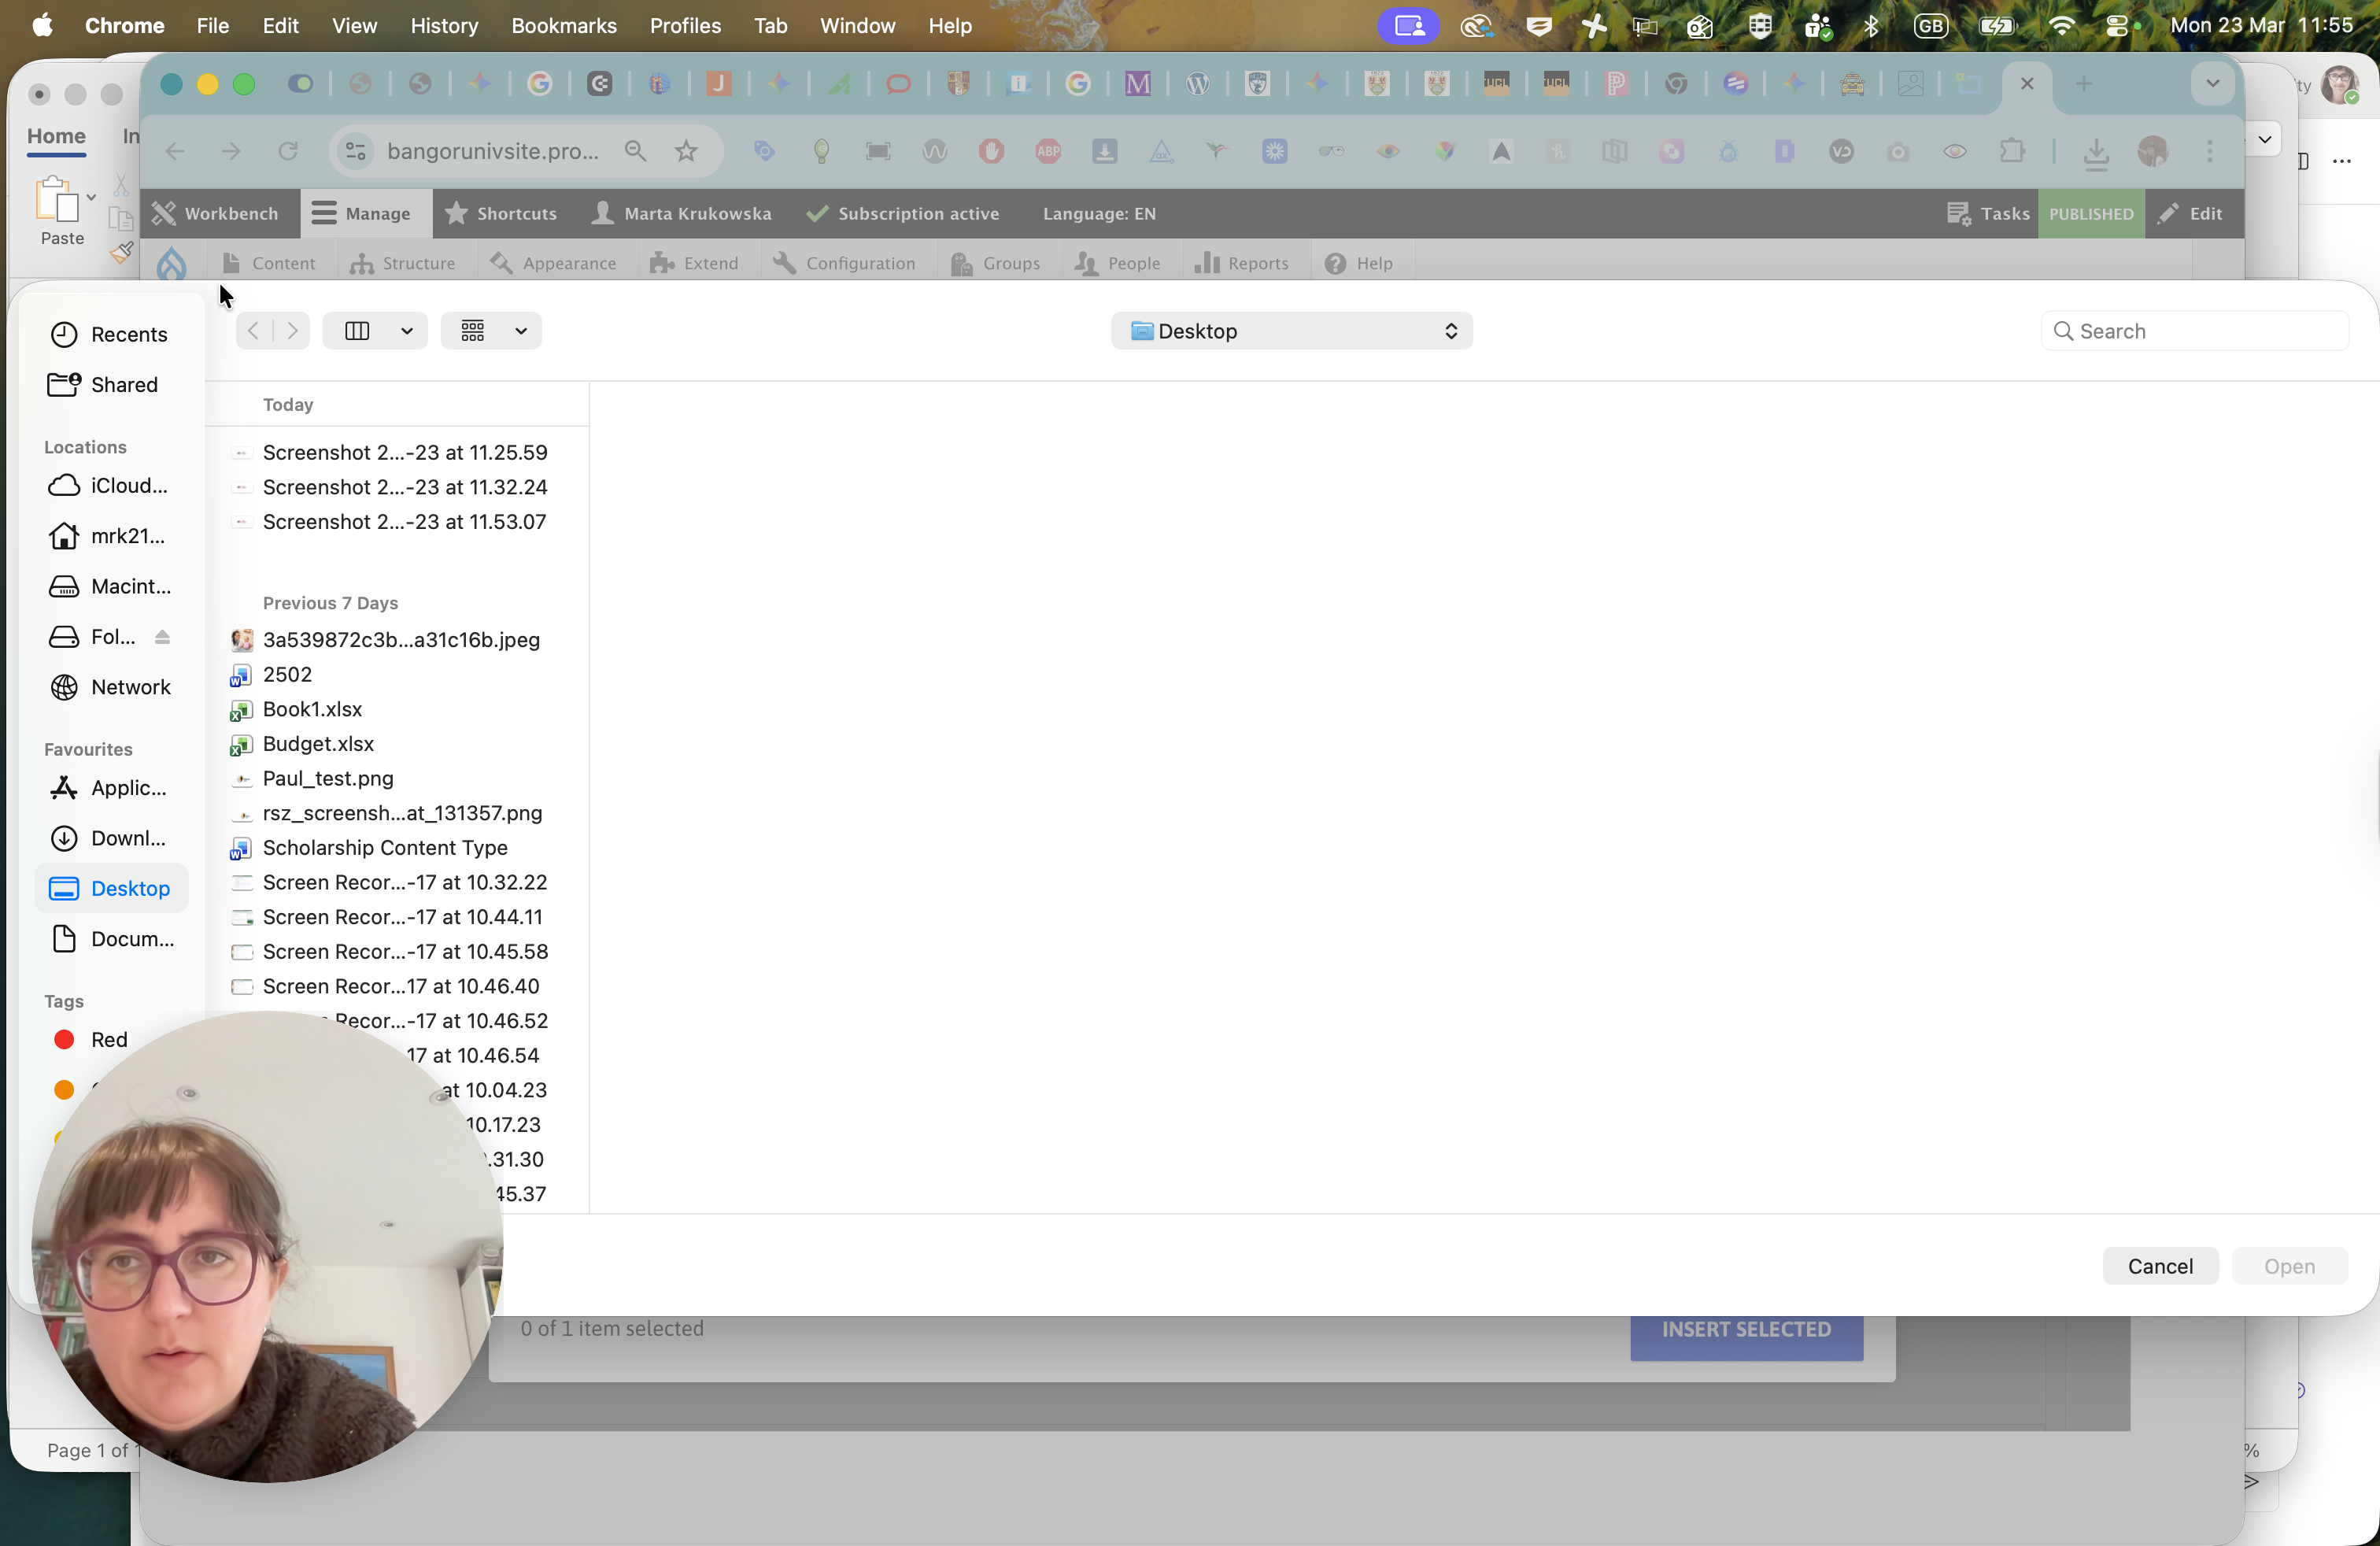
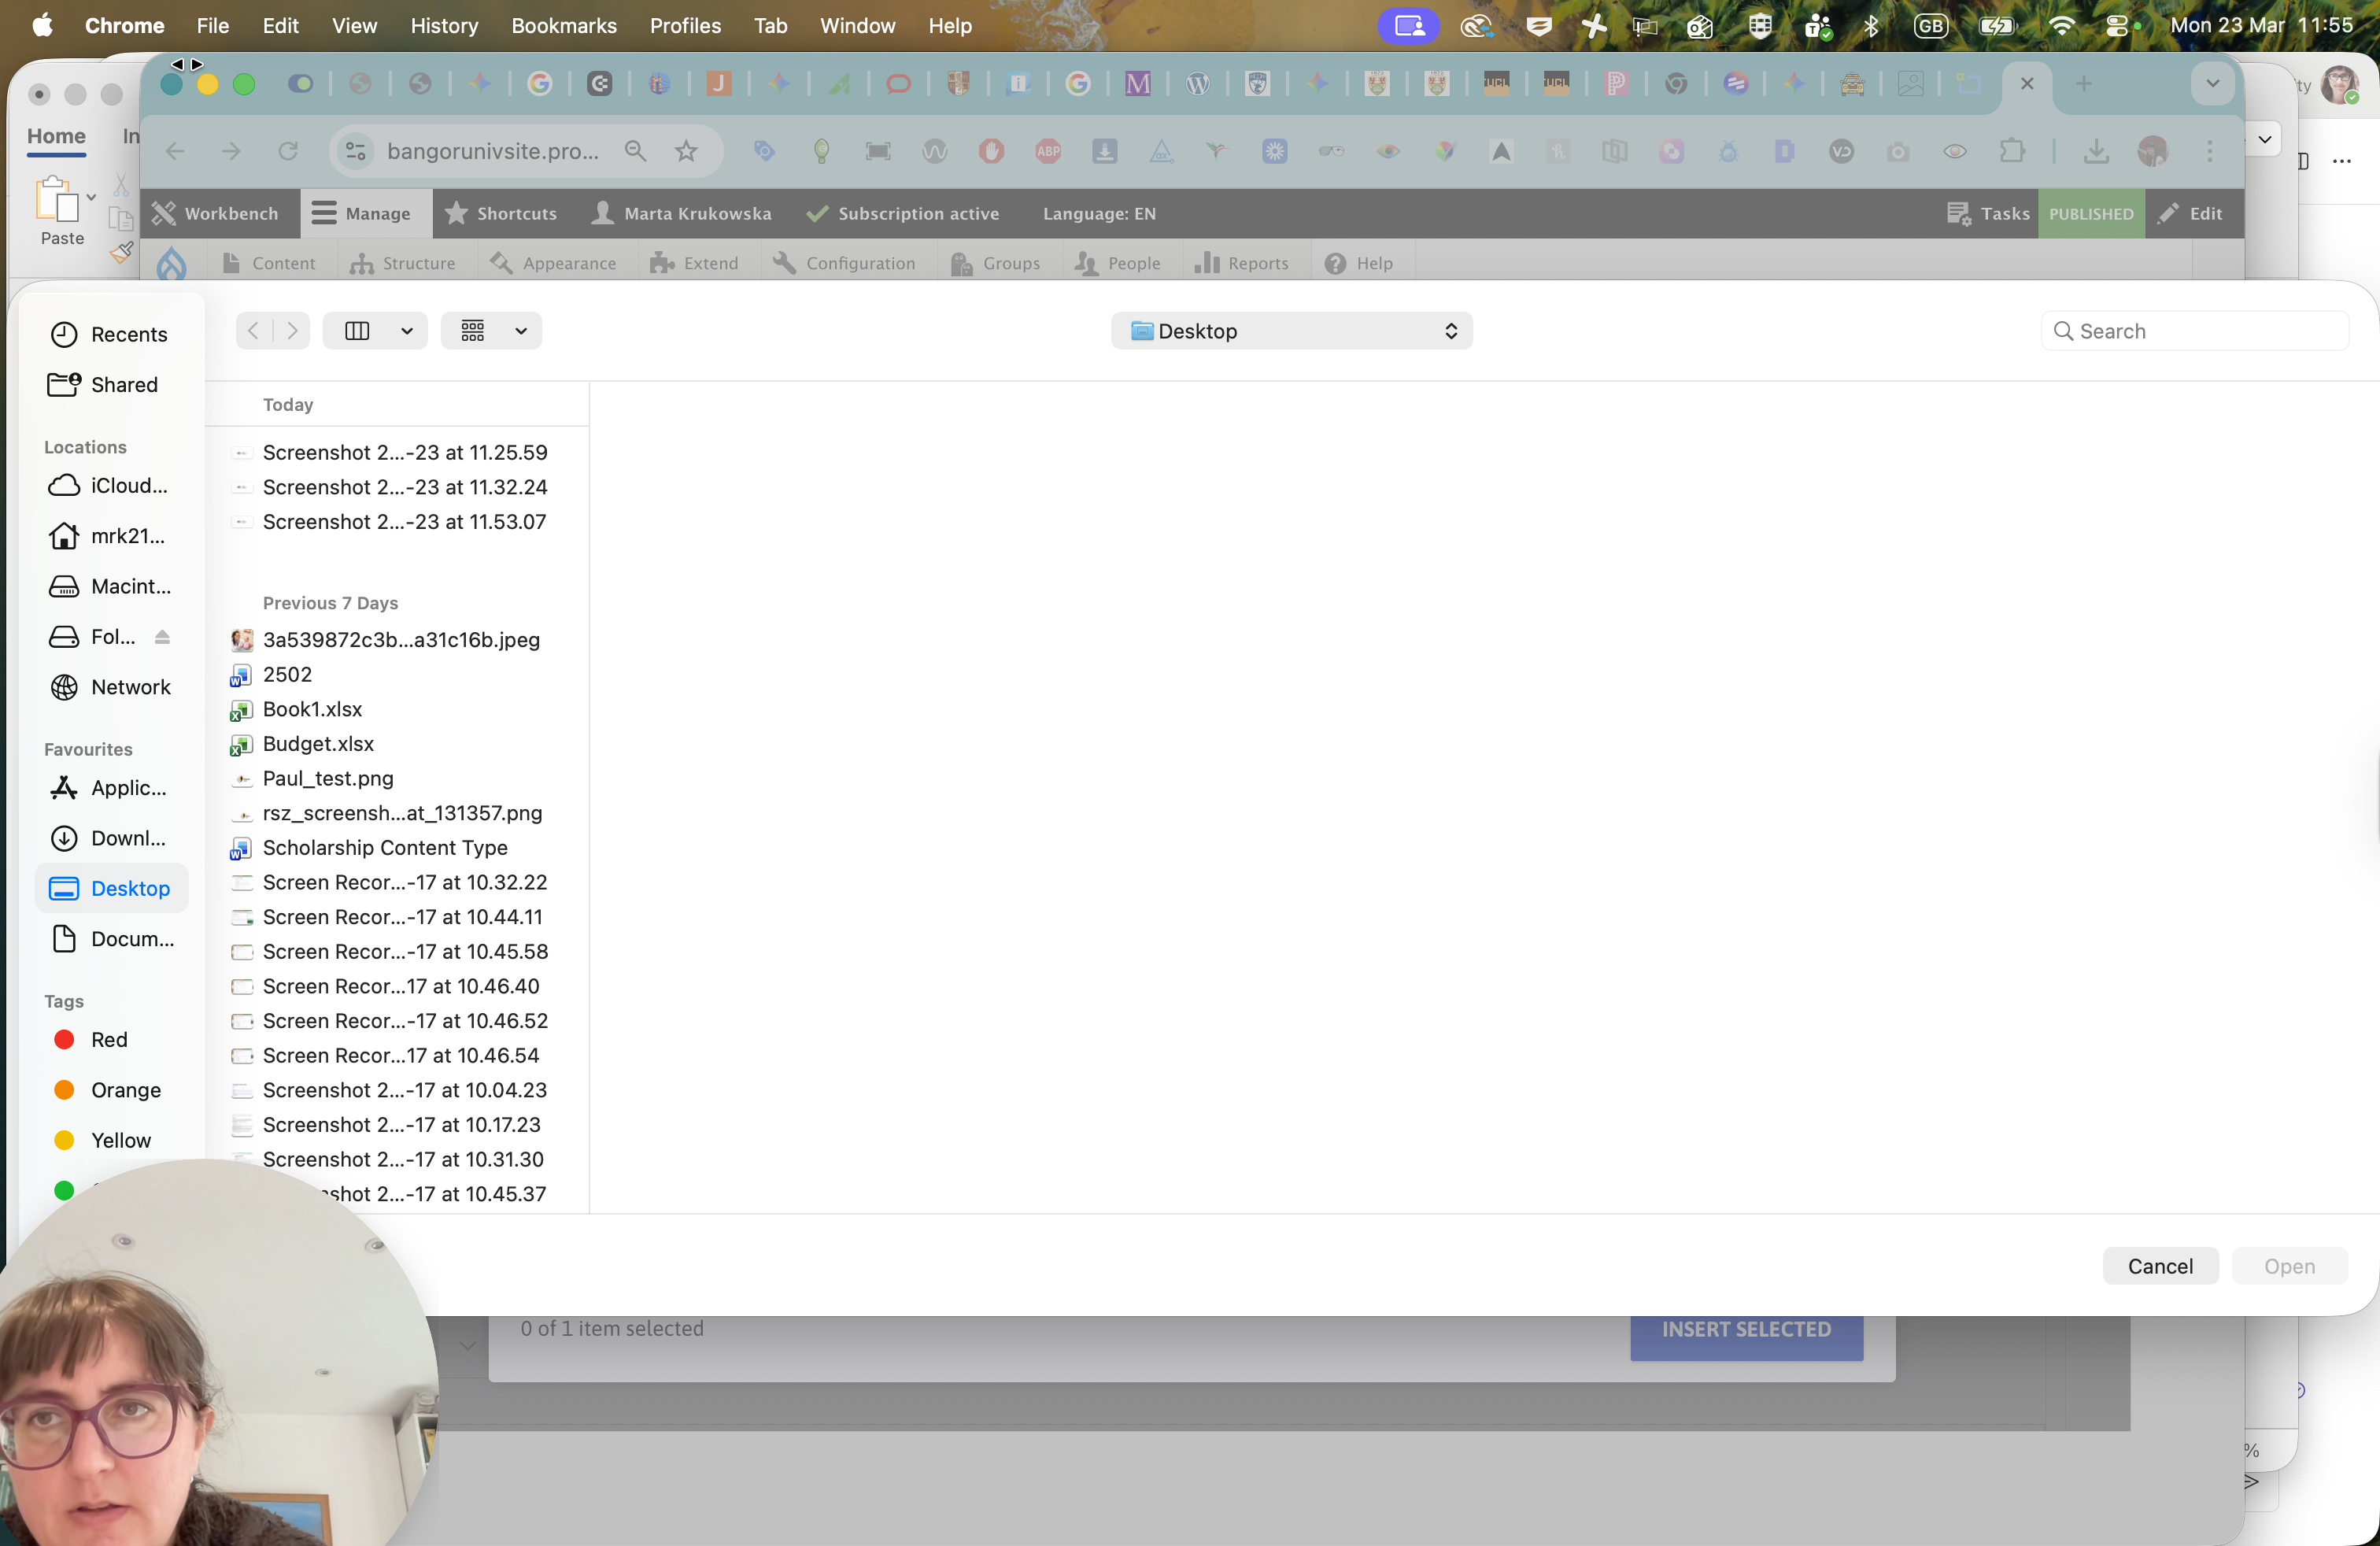
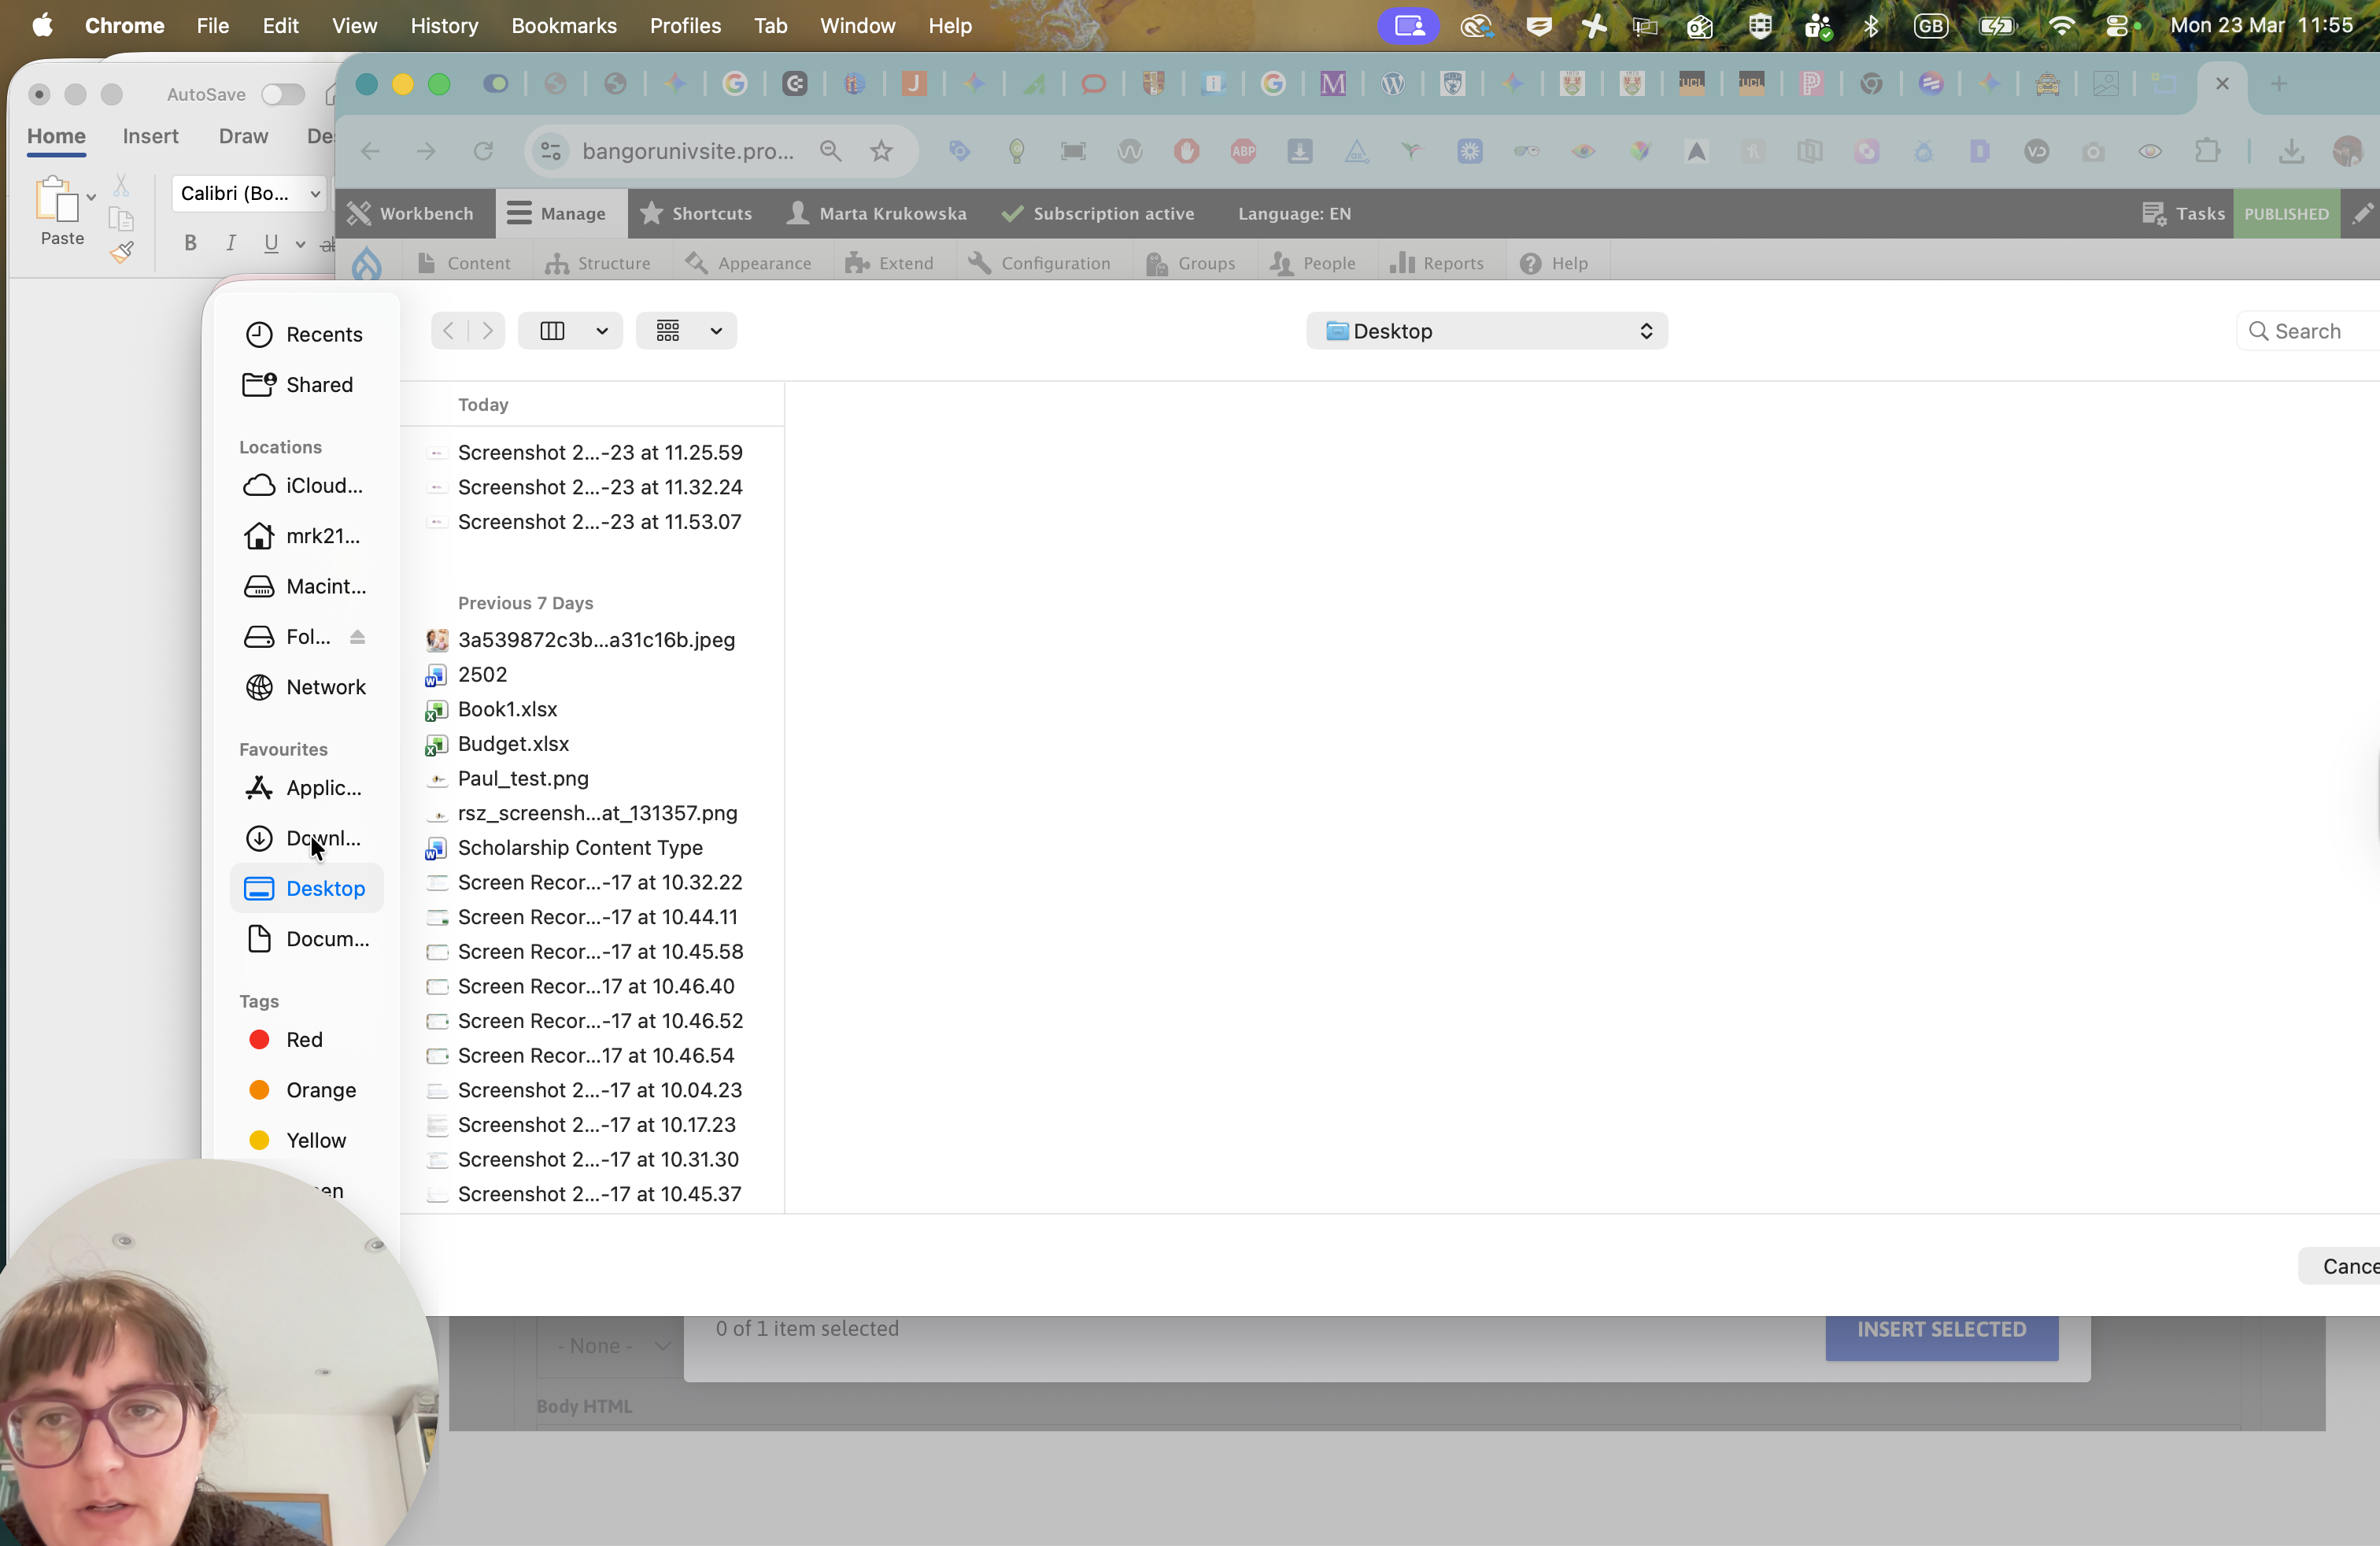
This is the problem with the location of my face. To move it slightly, go to Downloads.
Hmm. 11:53.
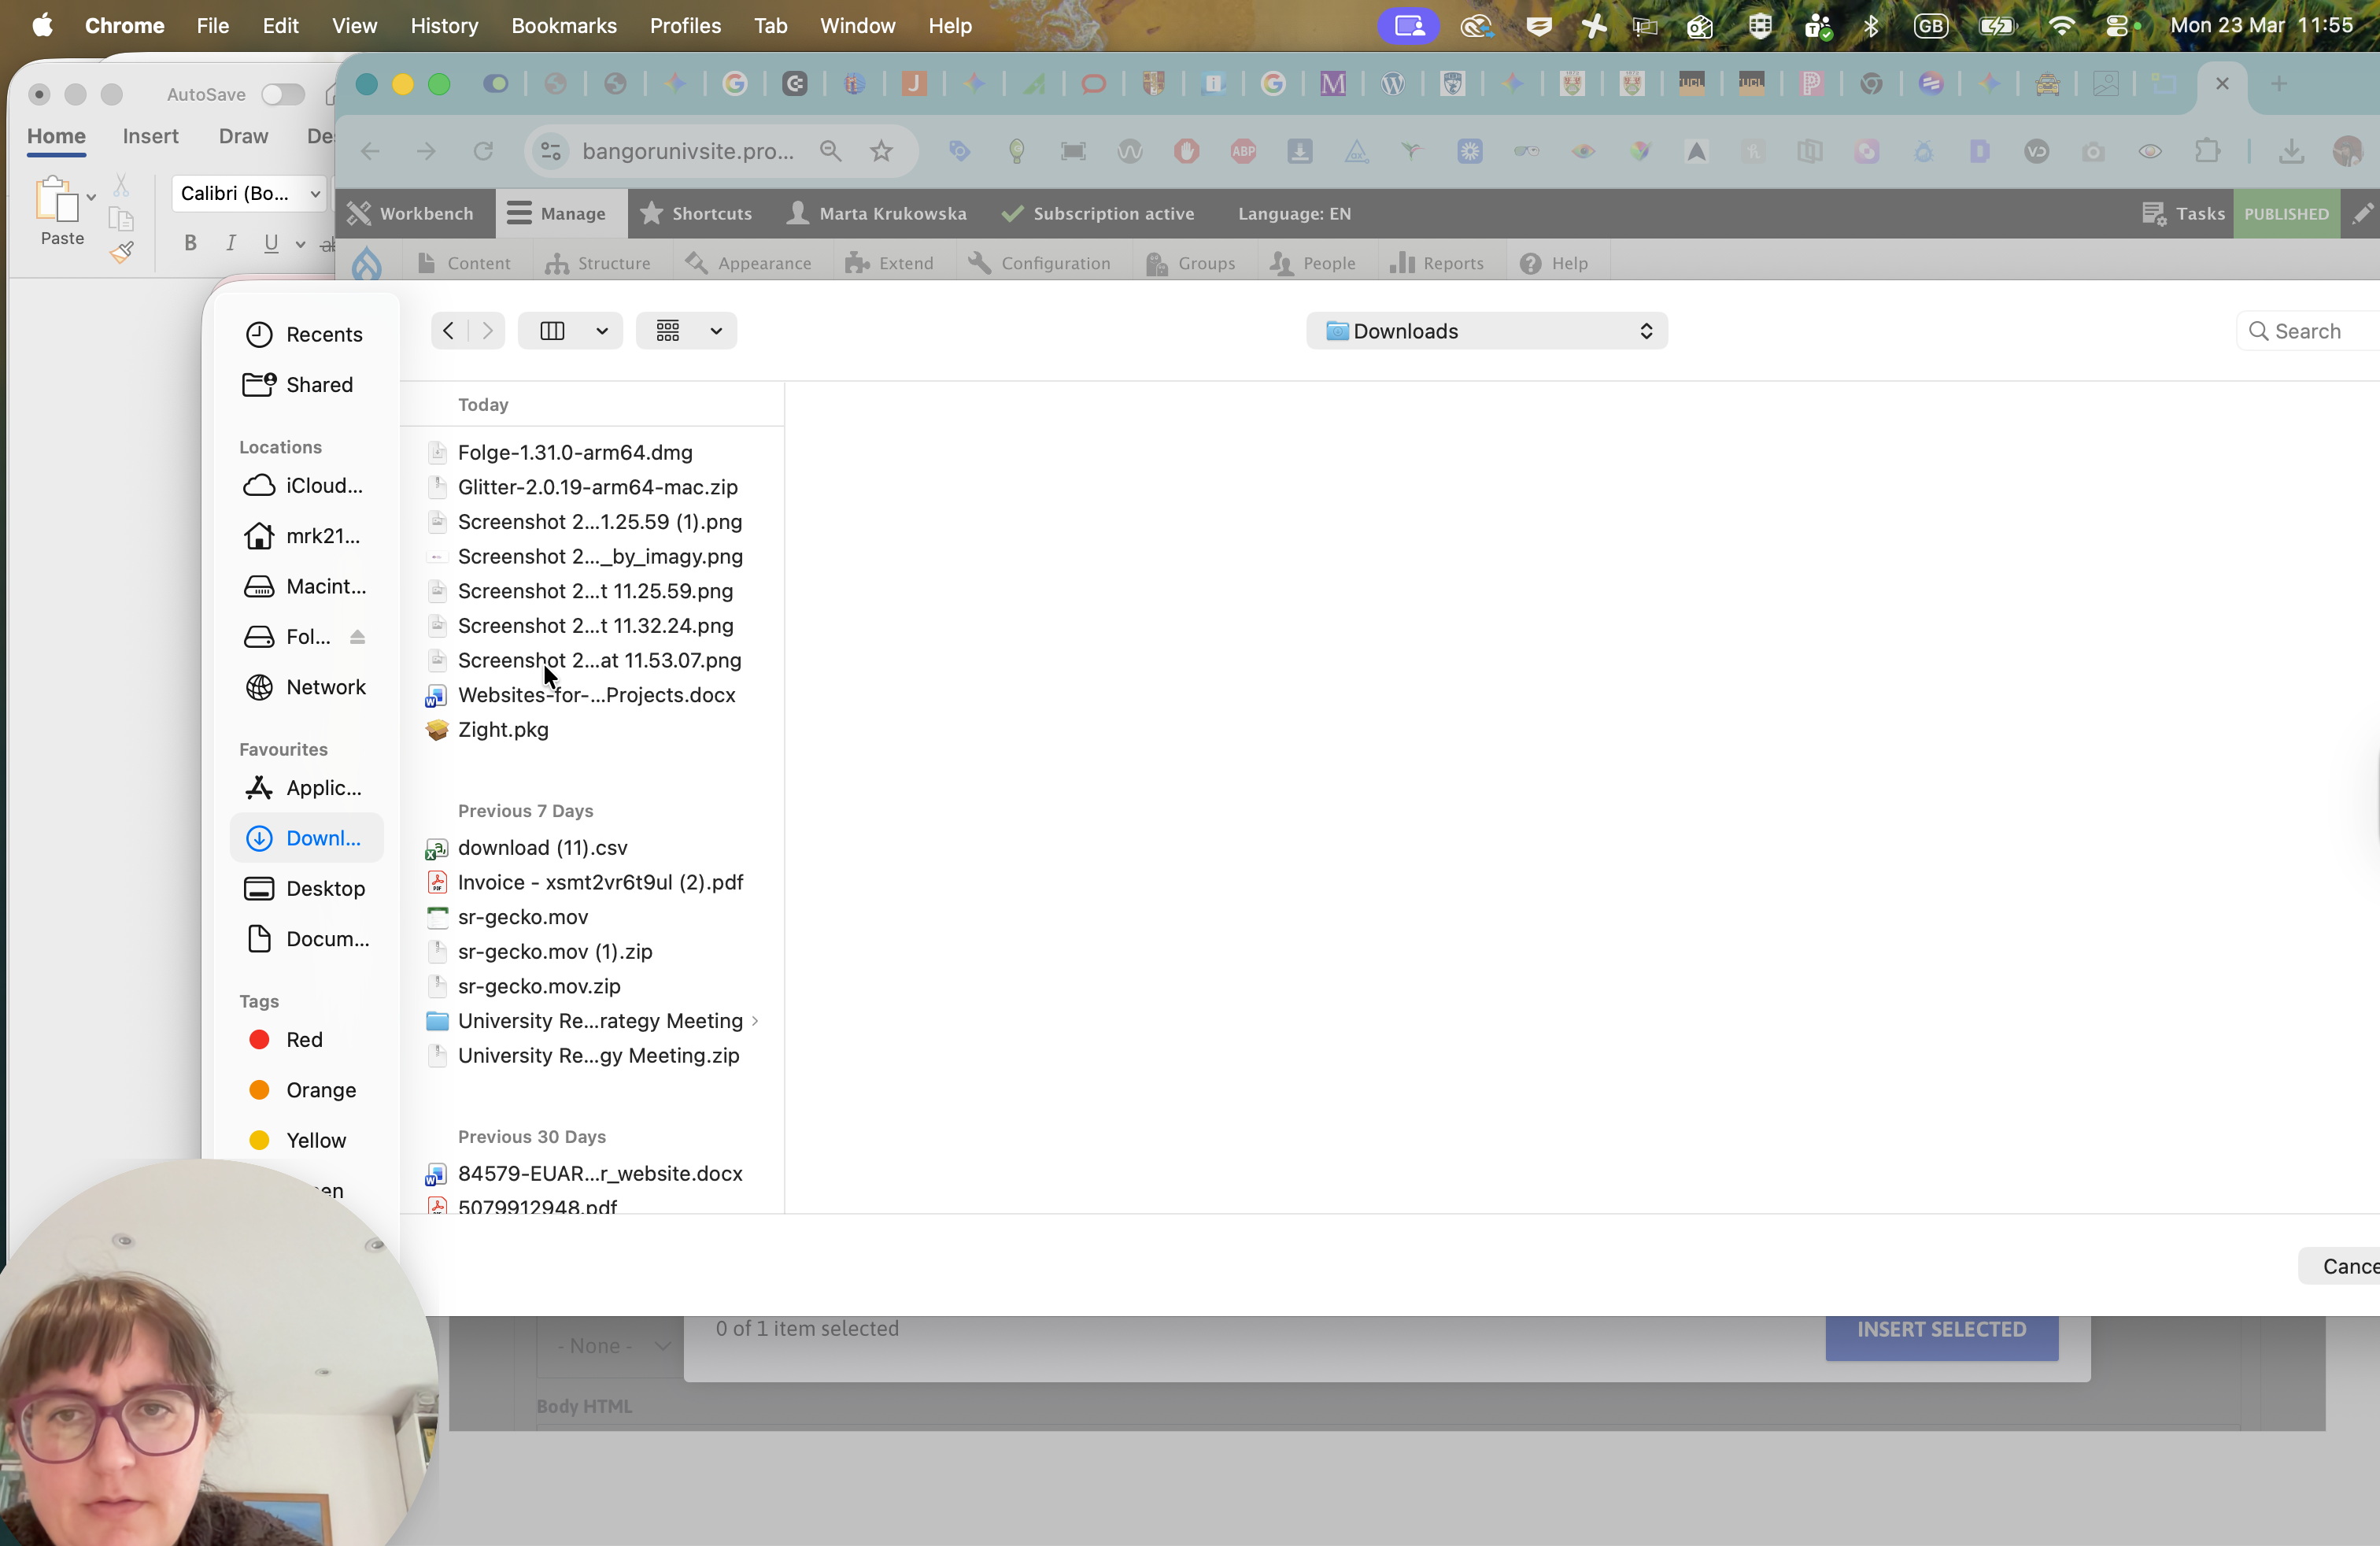
It should be loading, but it's very slow.
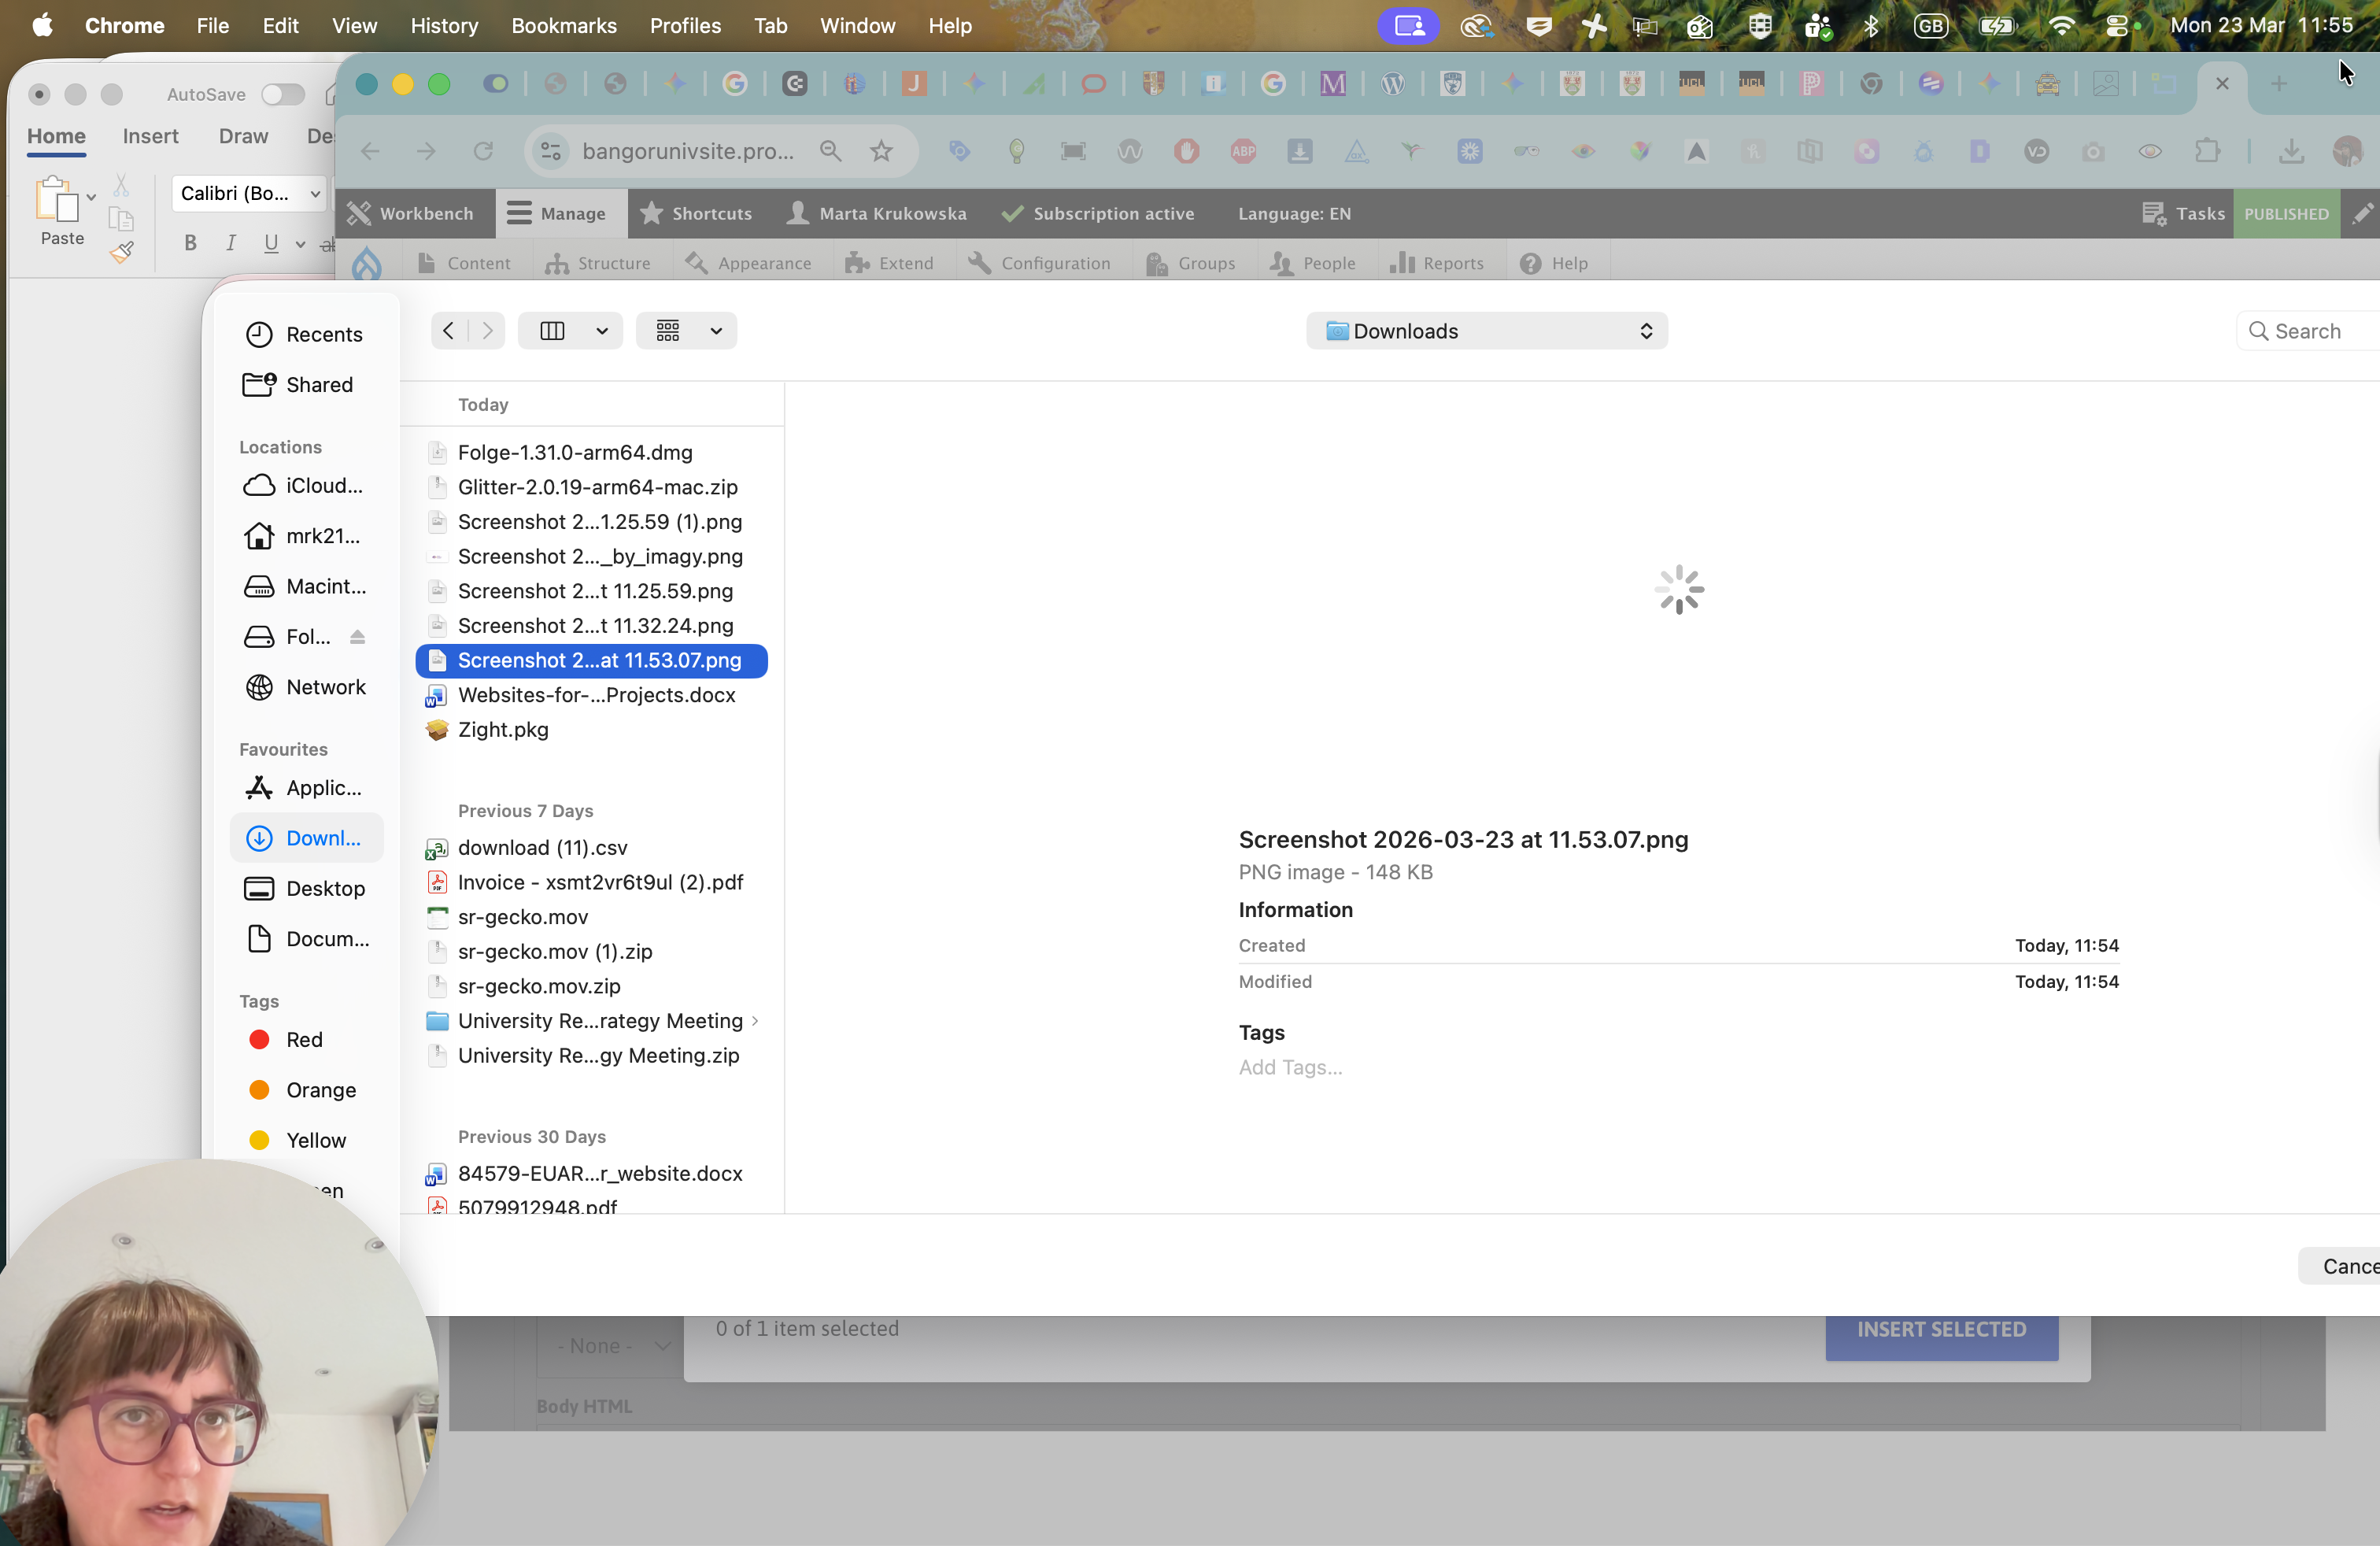
I'm going to trust the process this time. Let's open it.
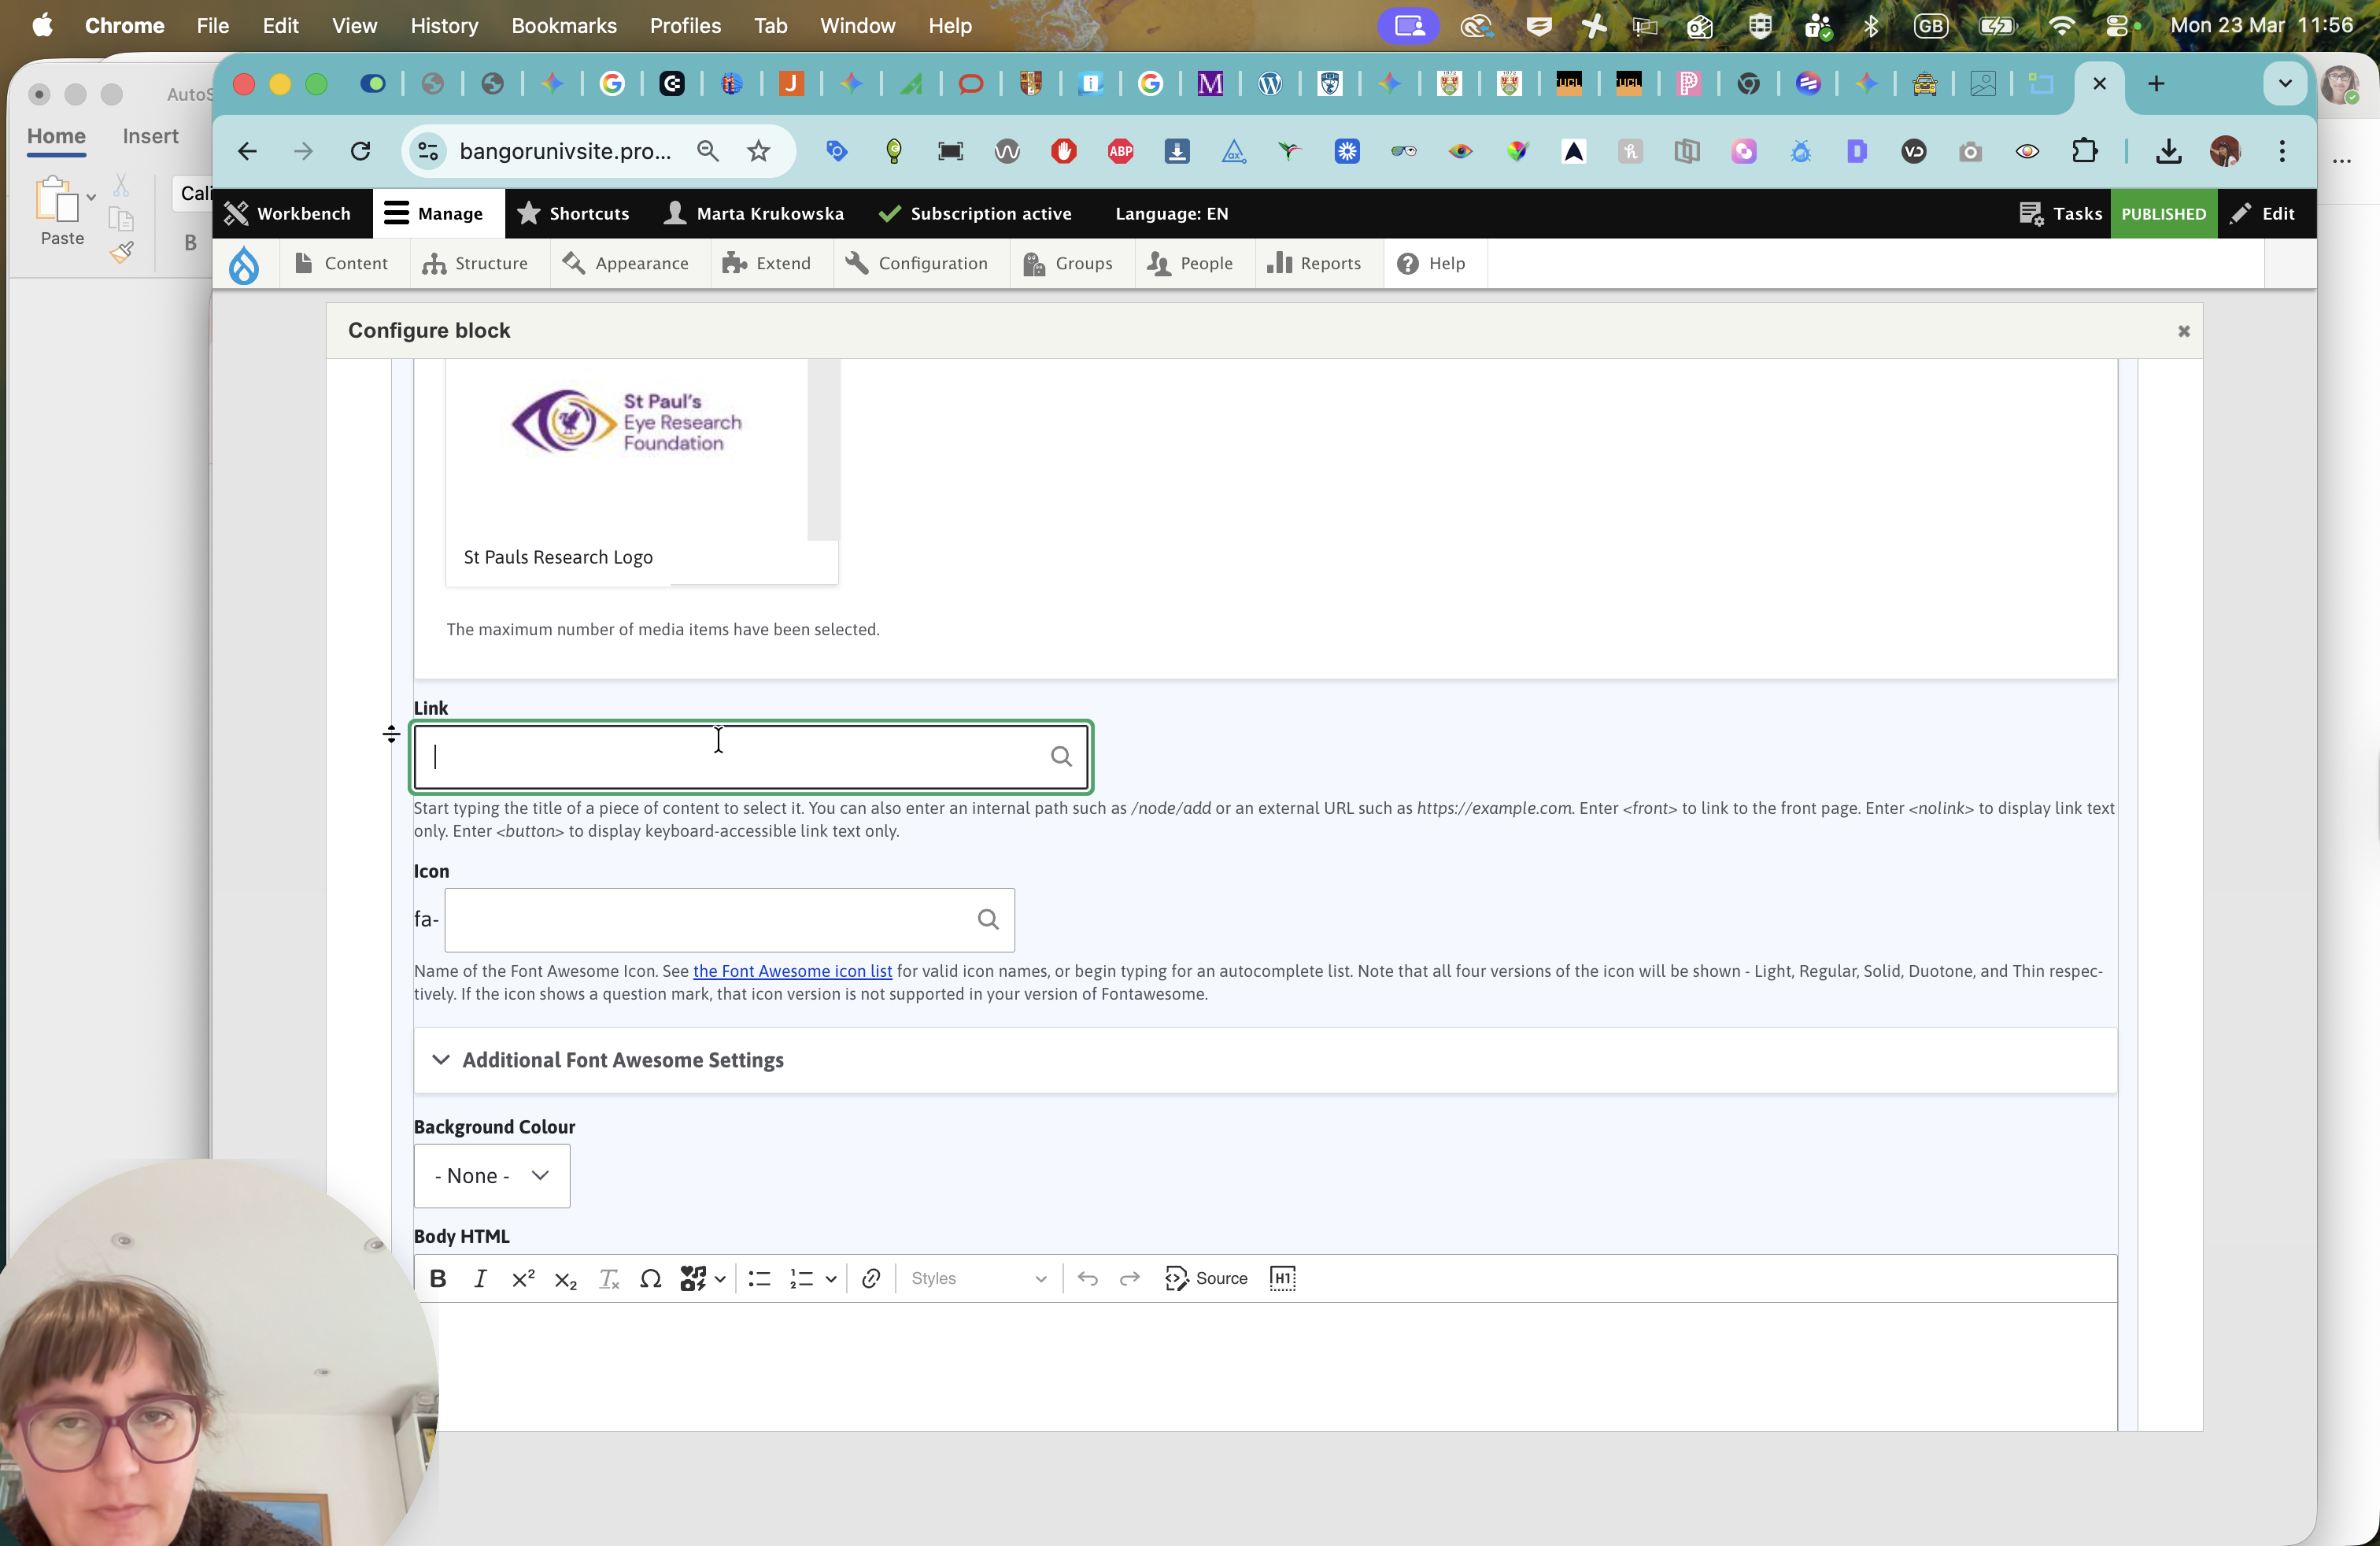
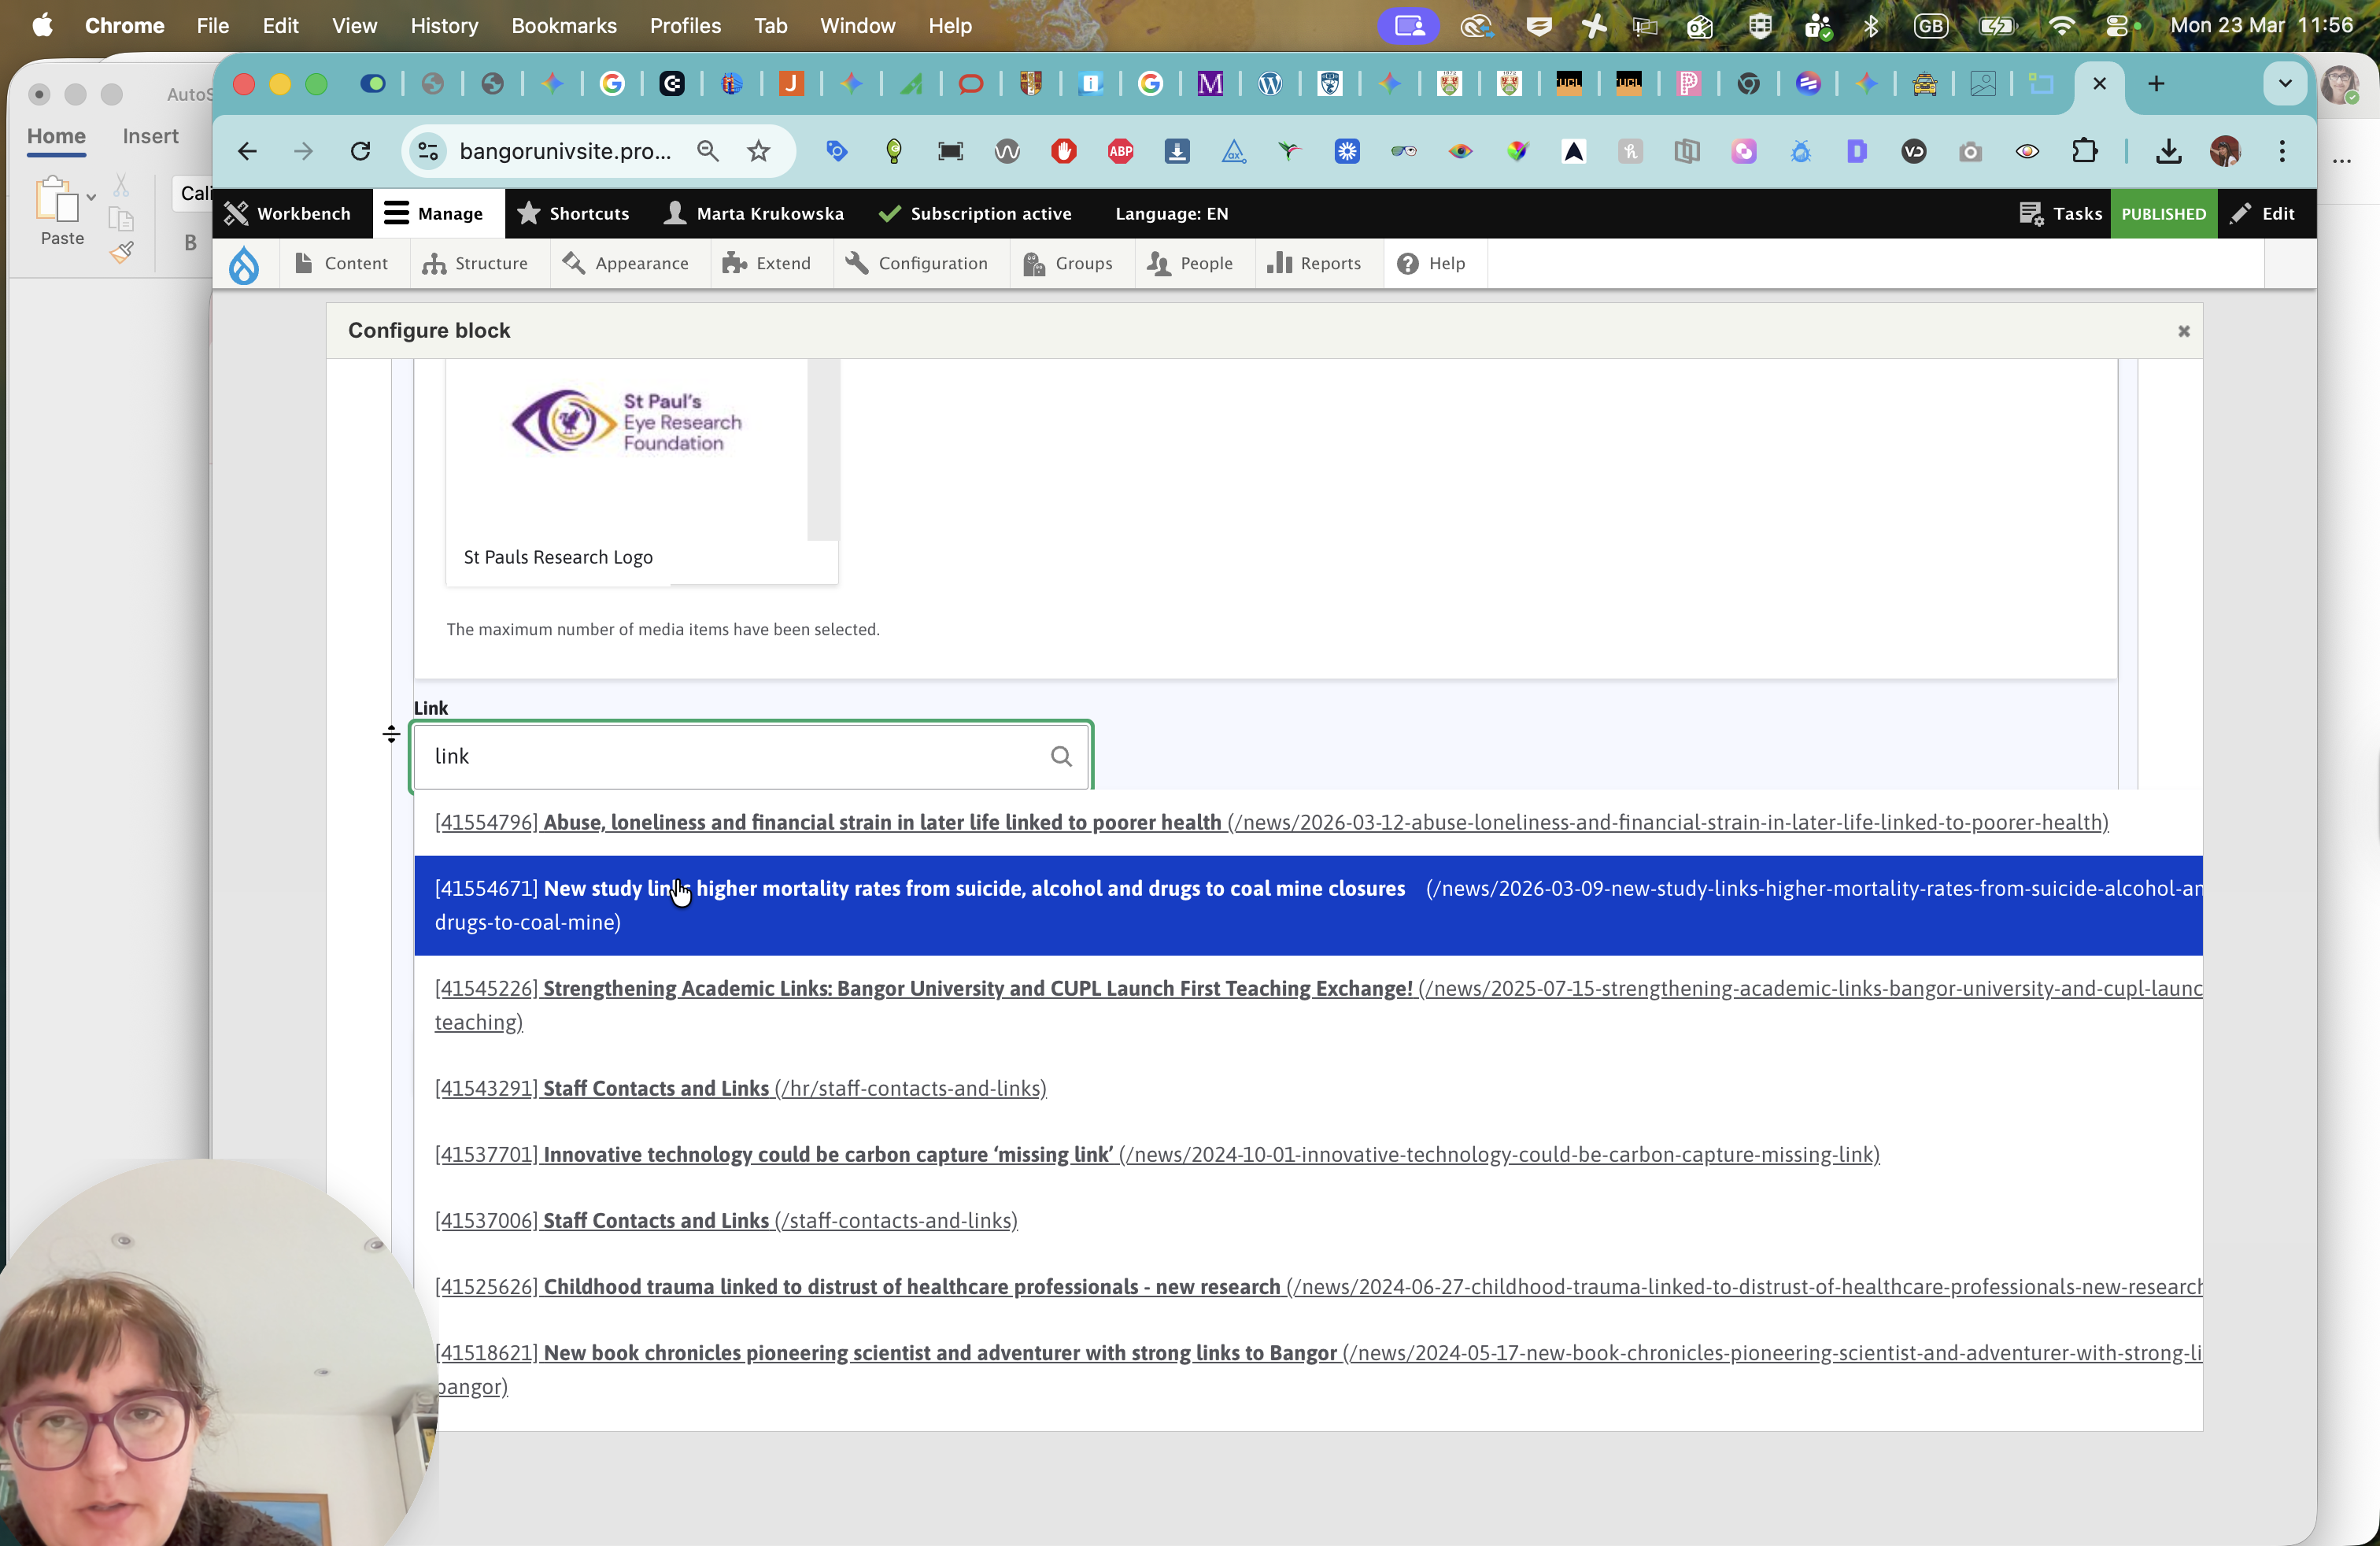
So, we're going to go to St.
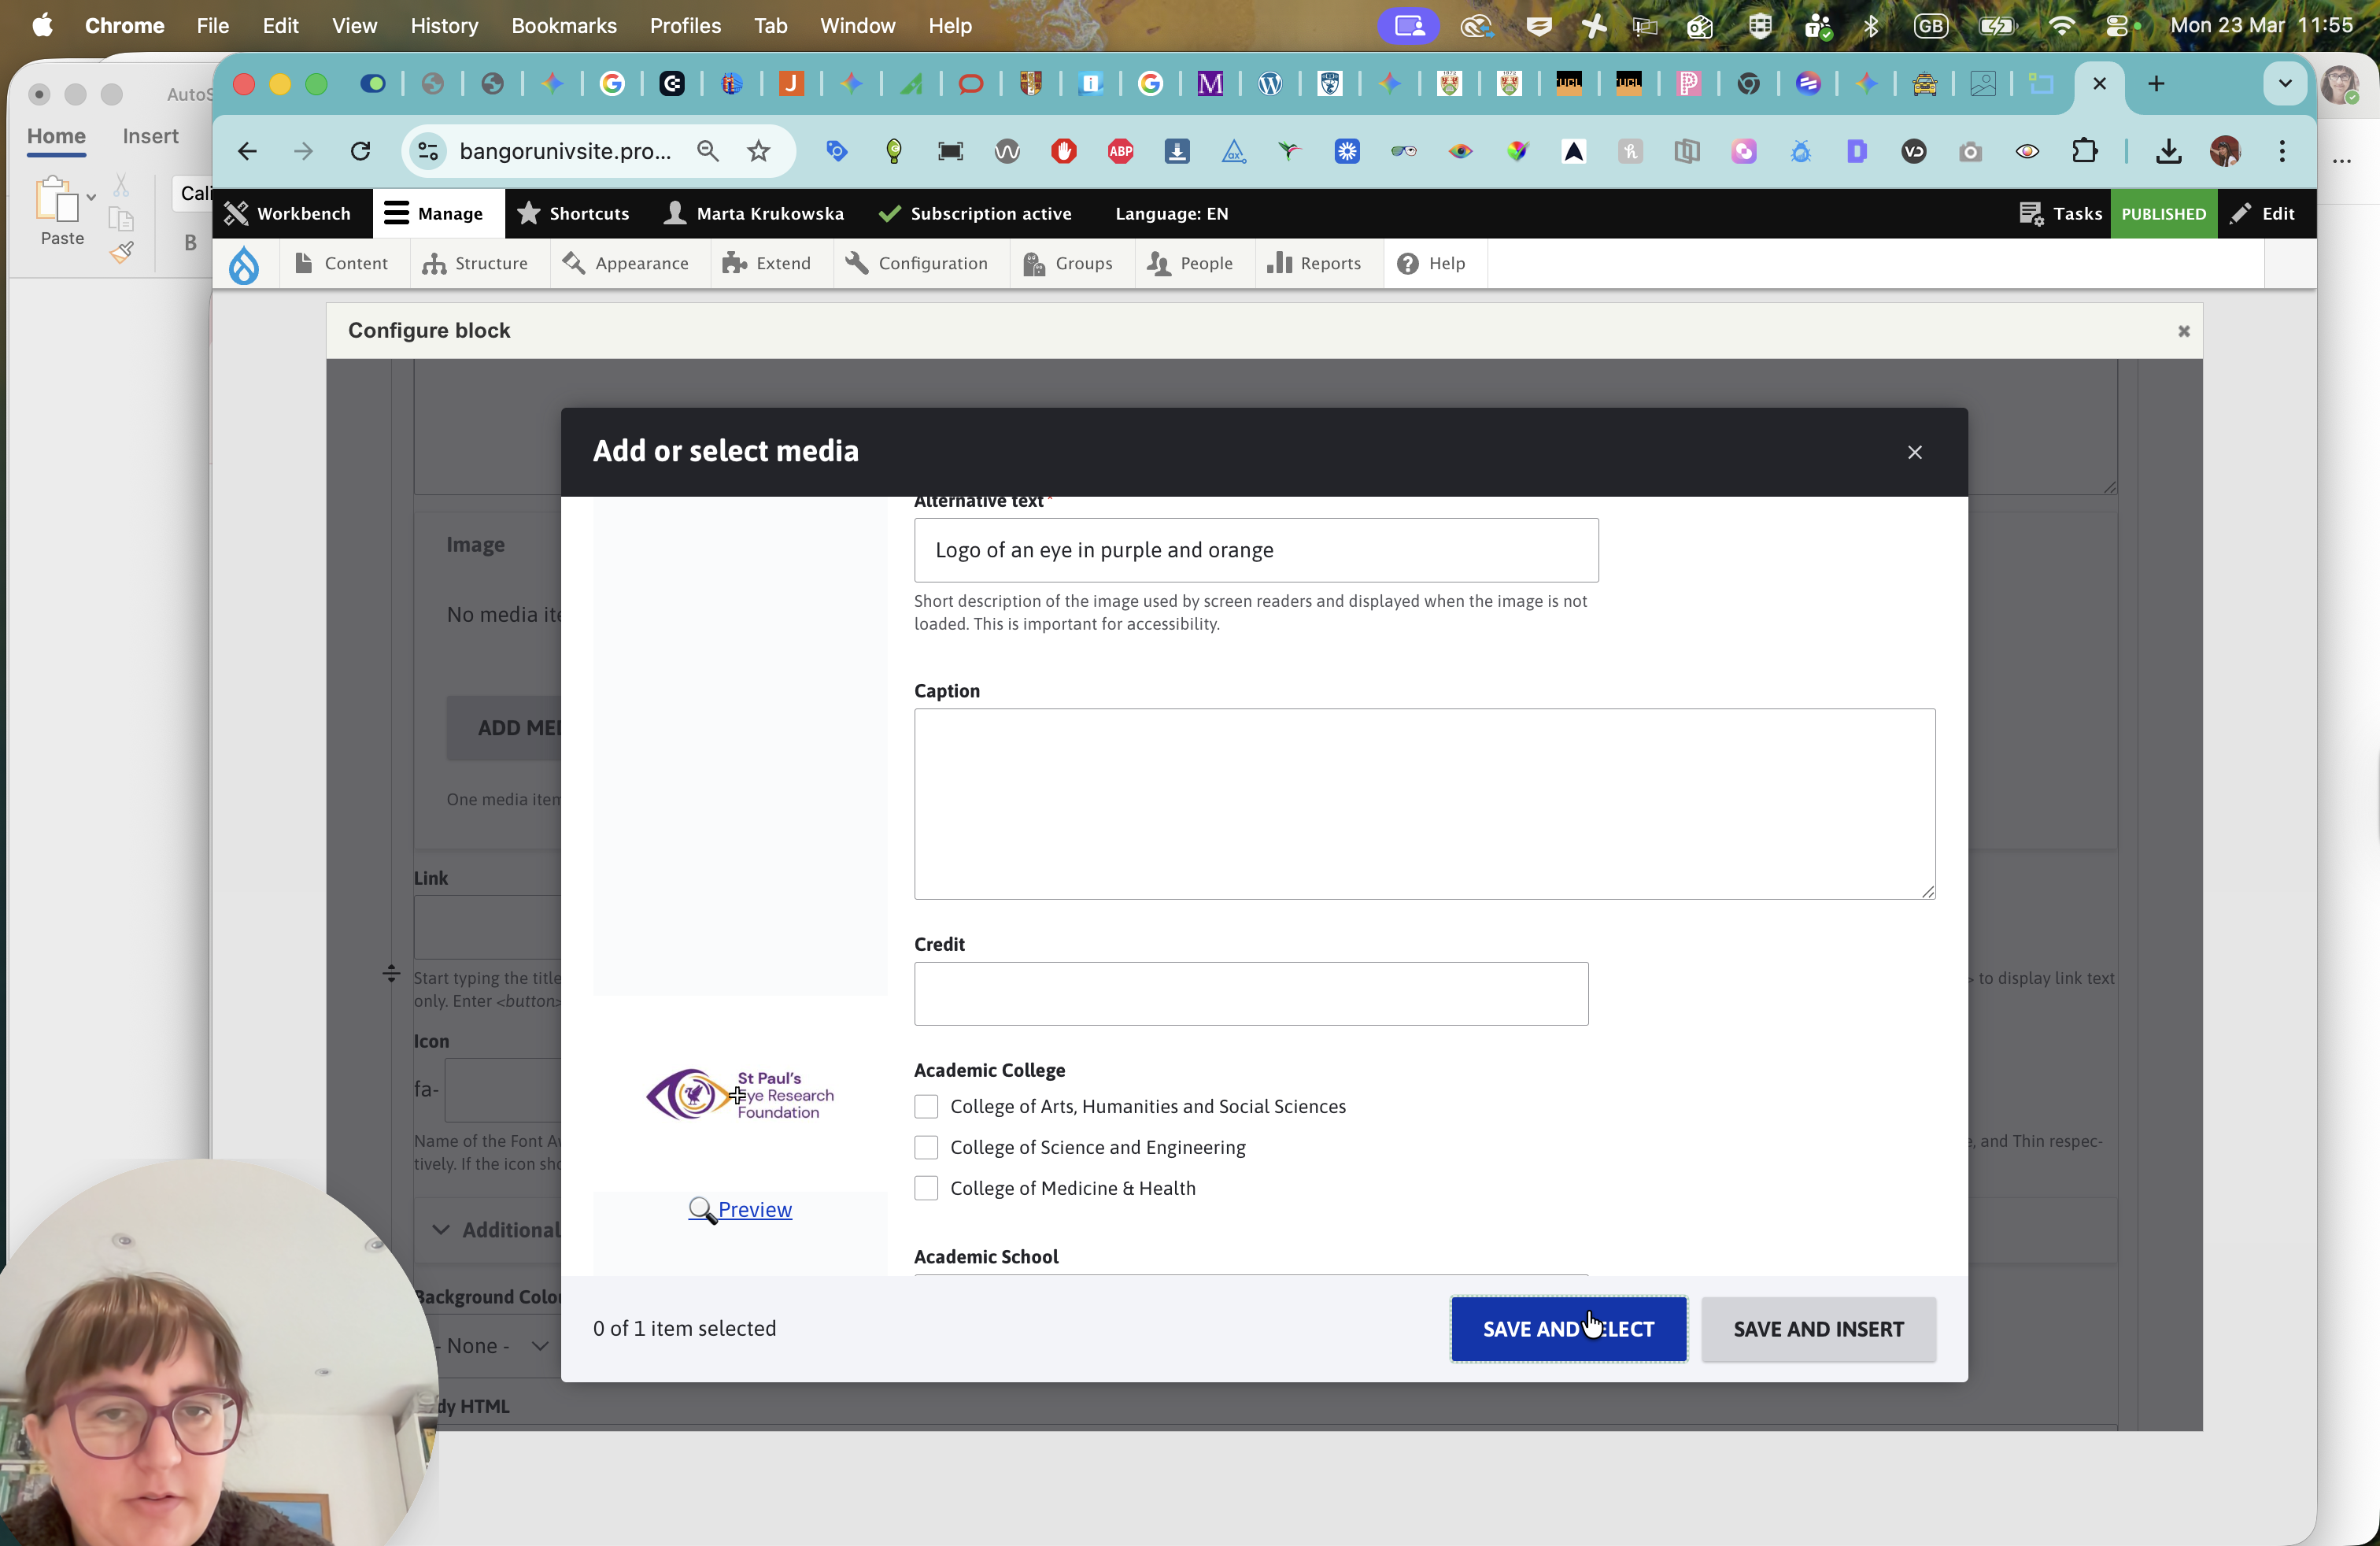
Paul's Research logo. Logo of M, I, in purple and orange.
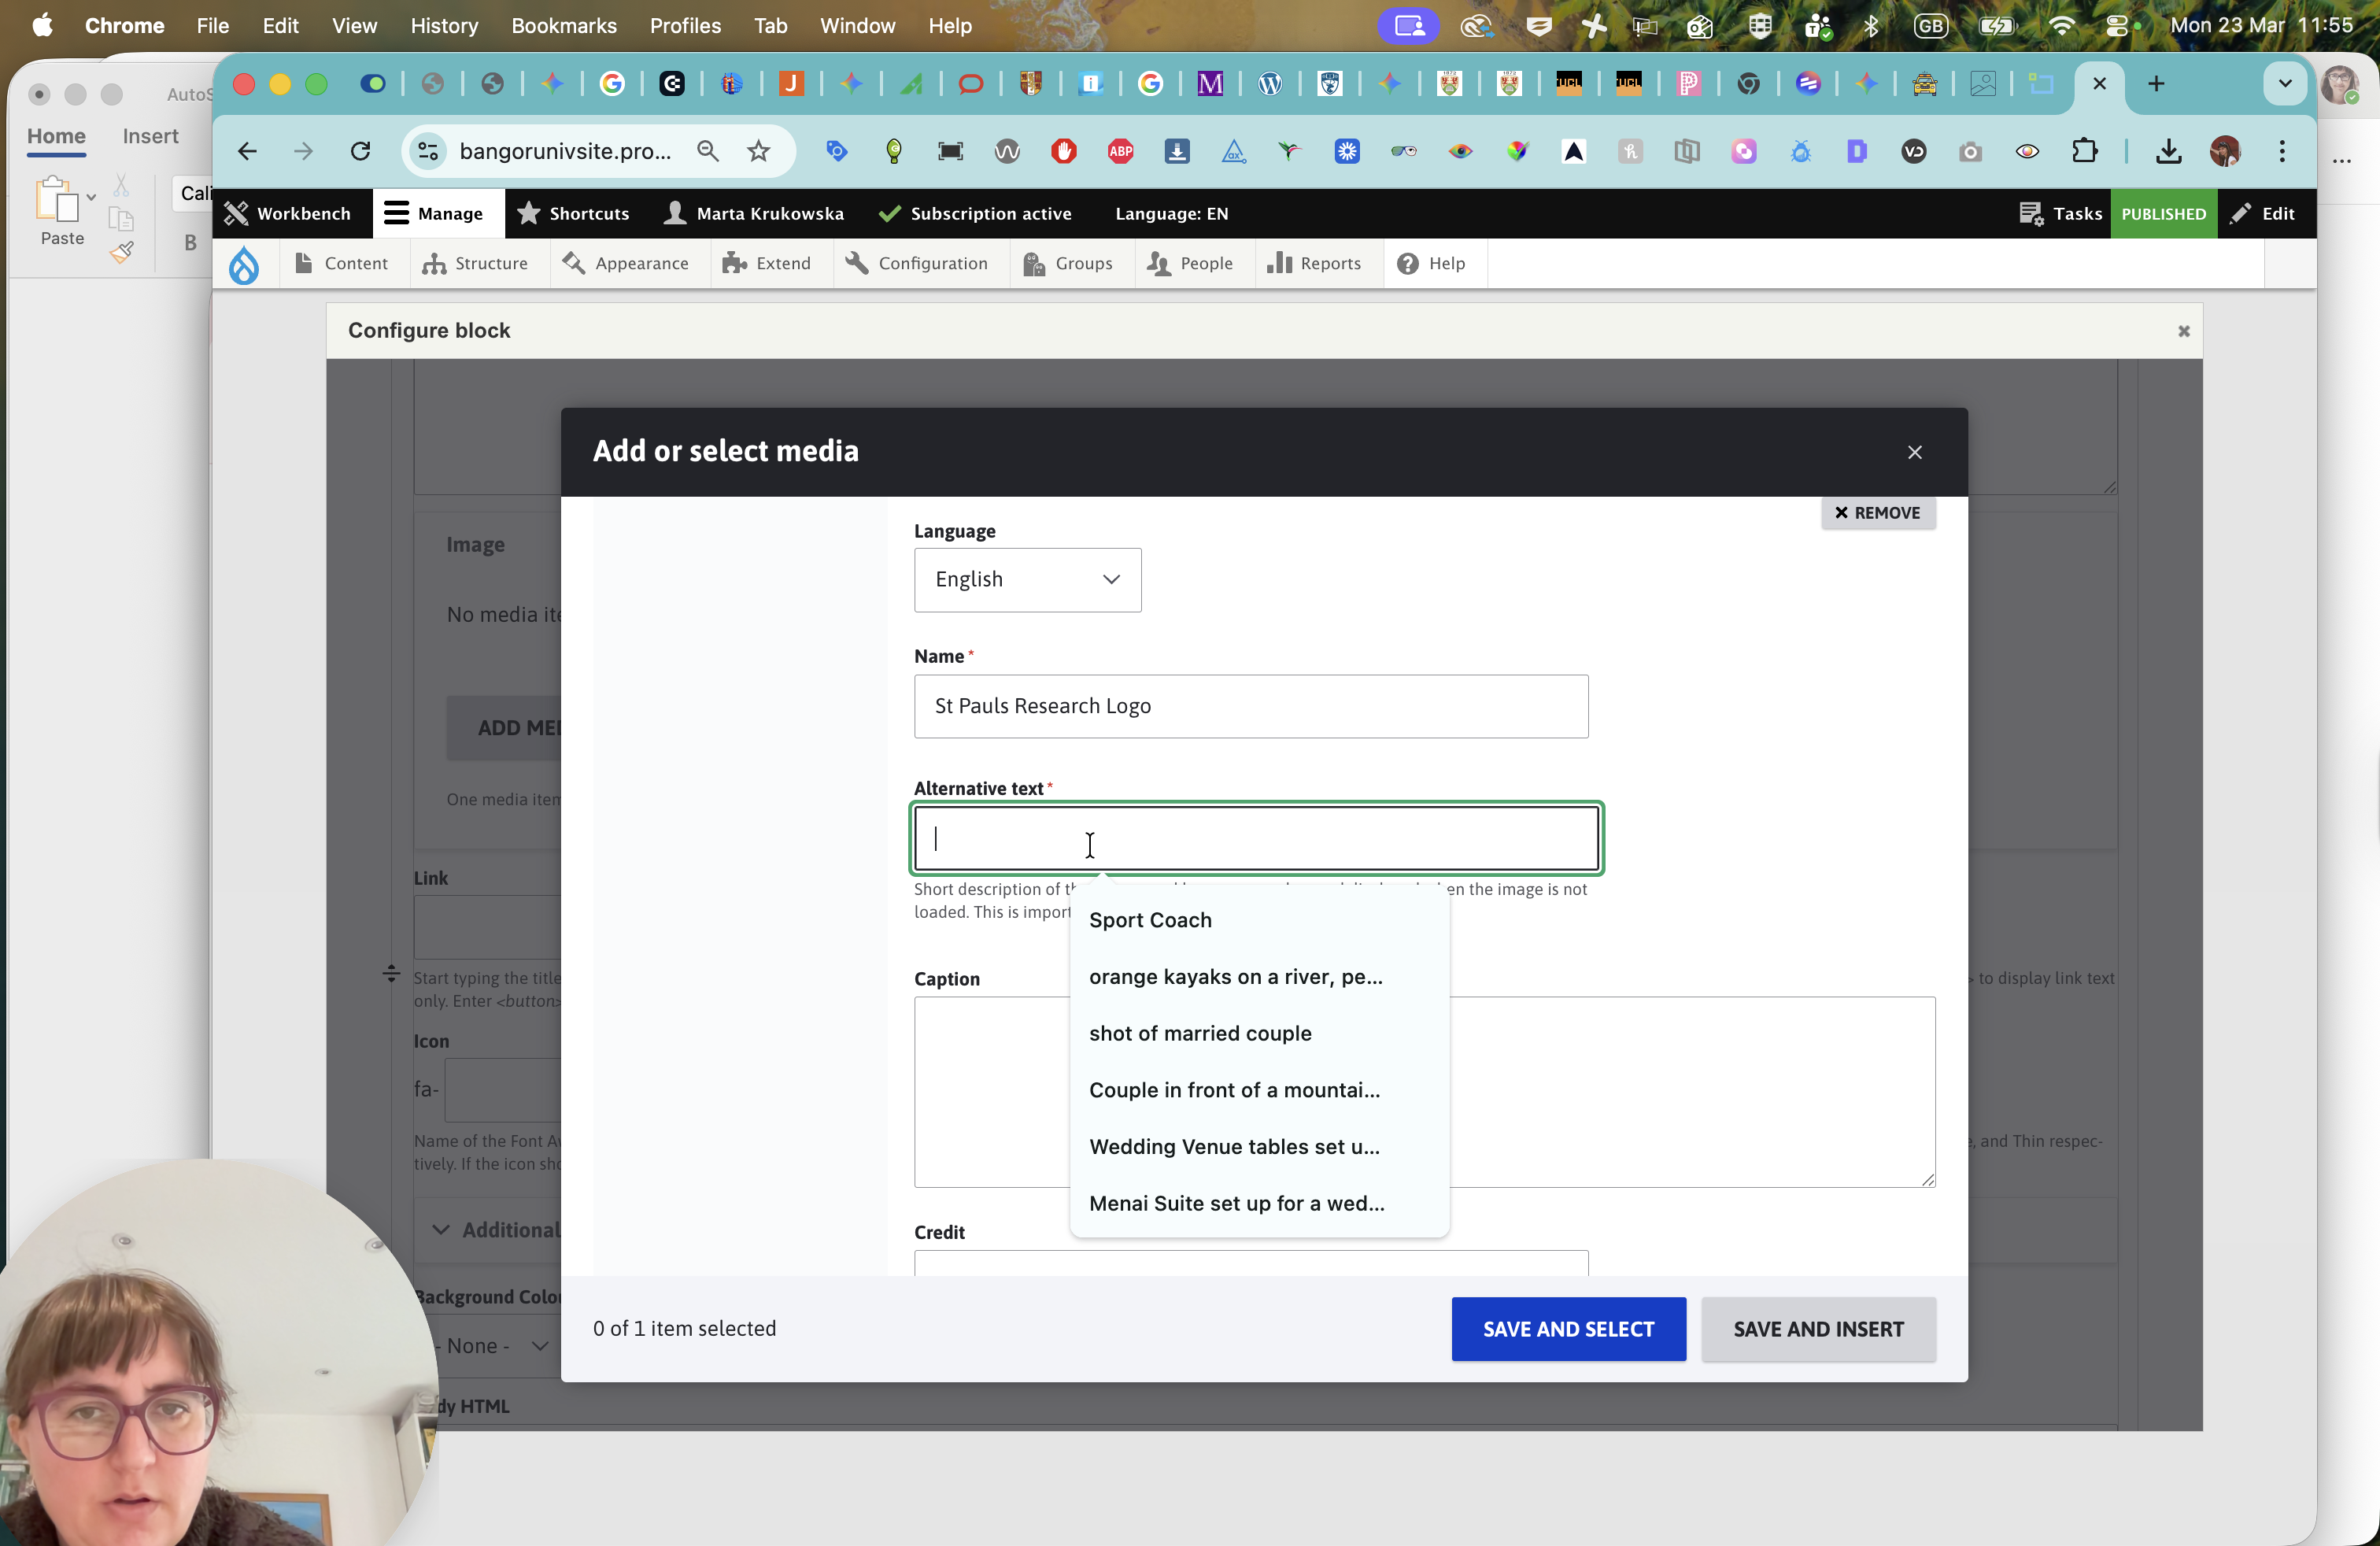
Going to save and select.
""
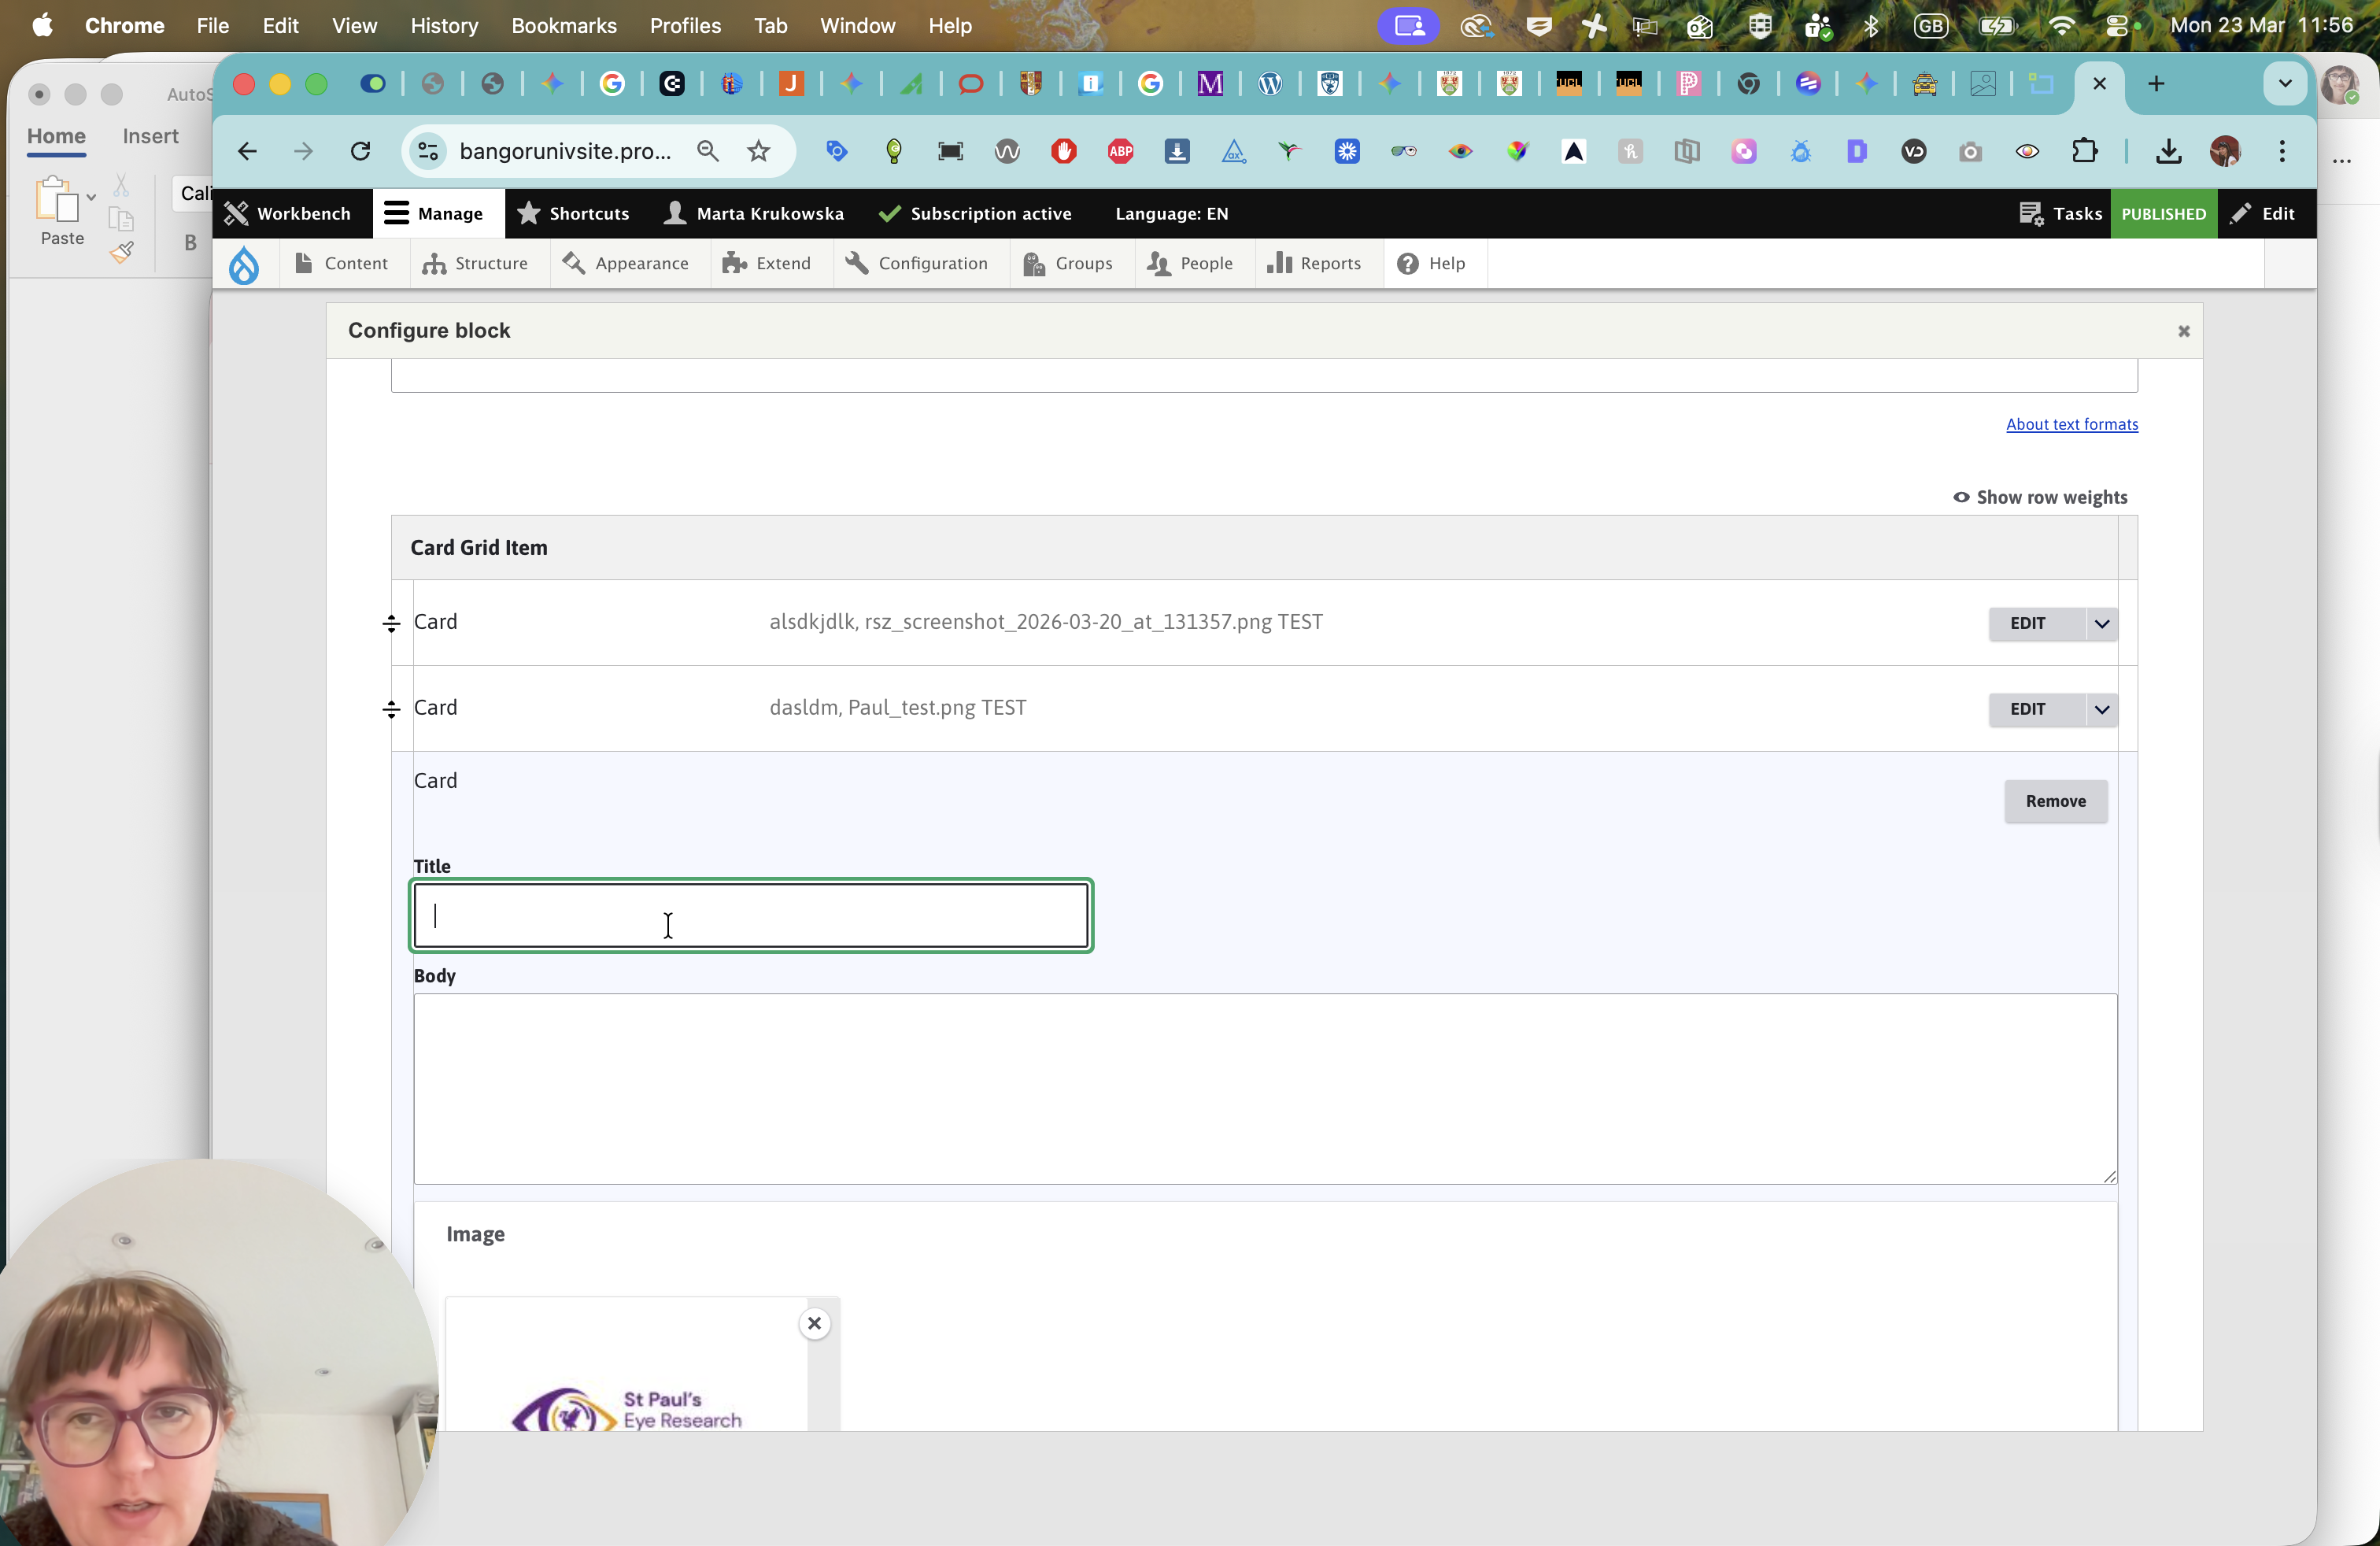
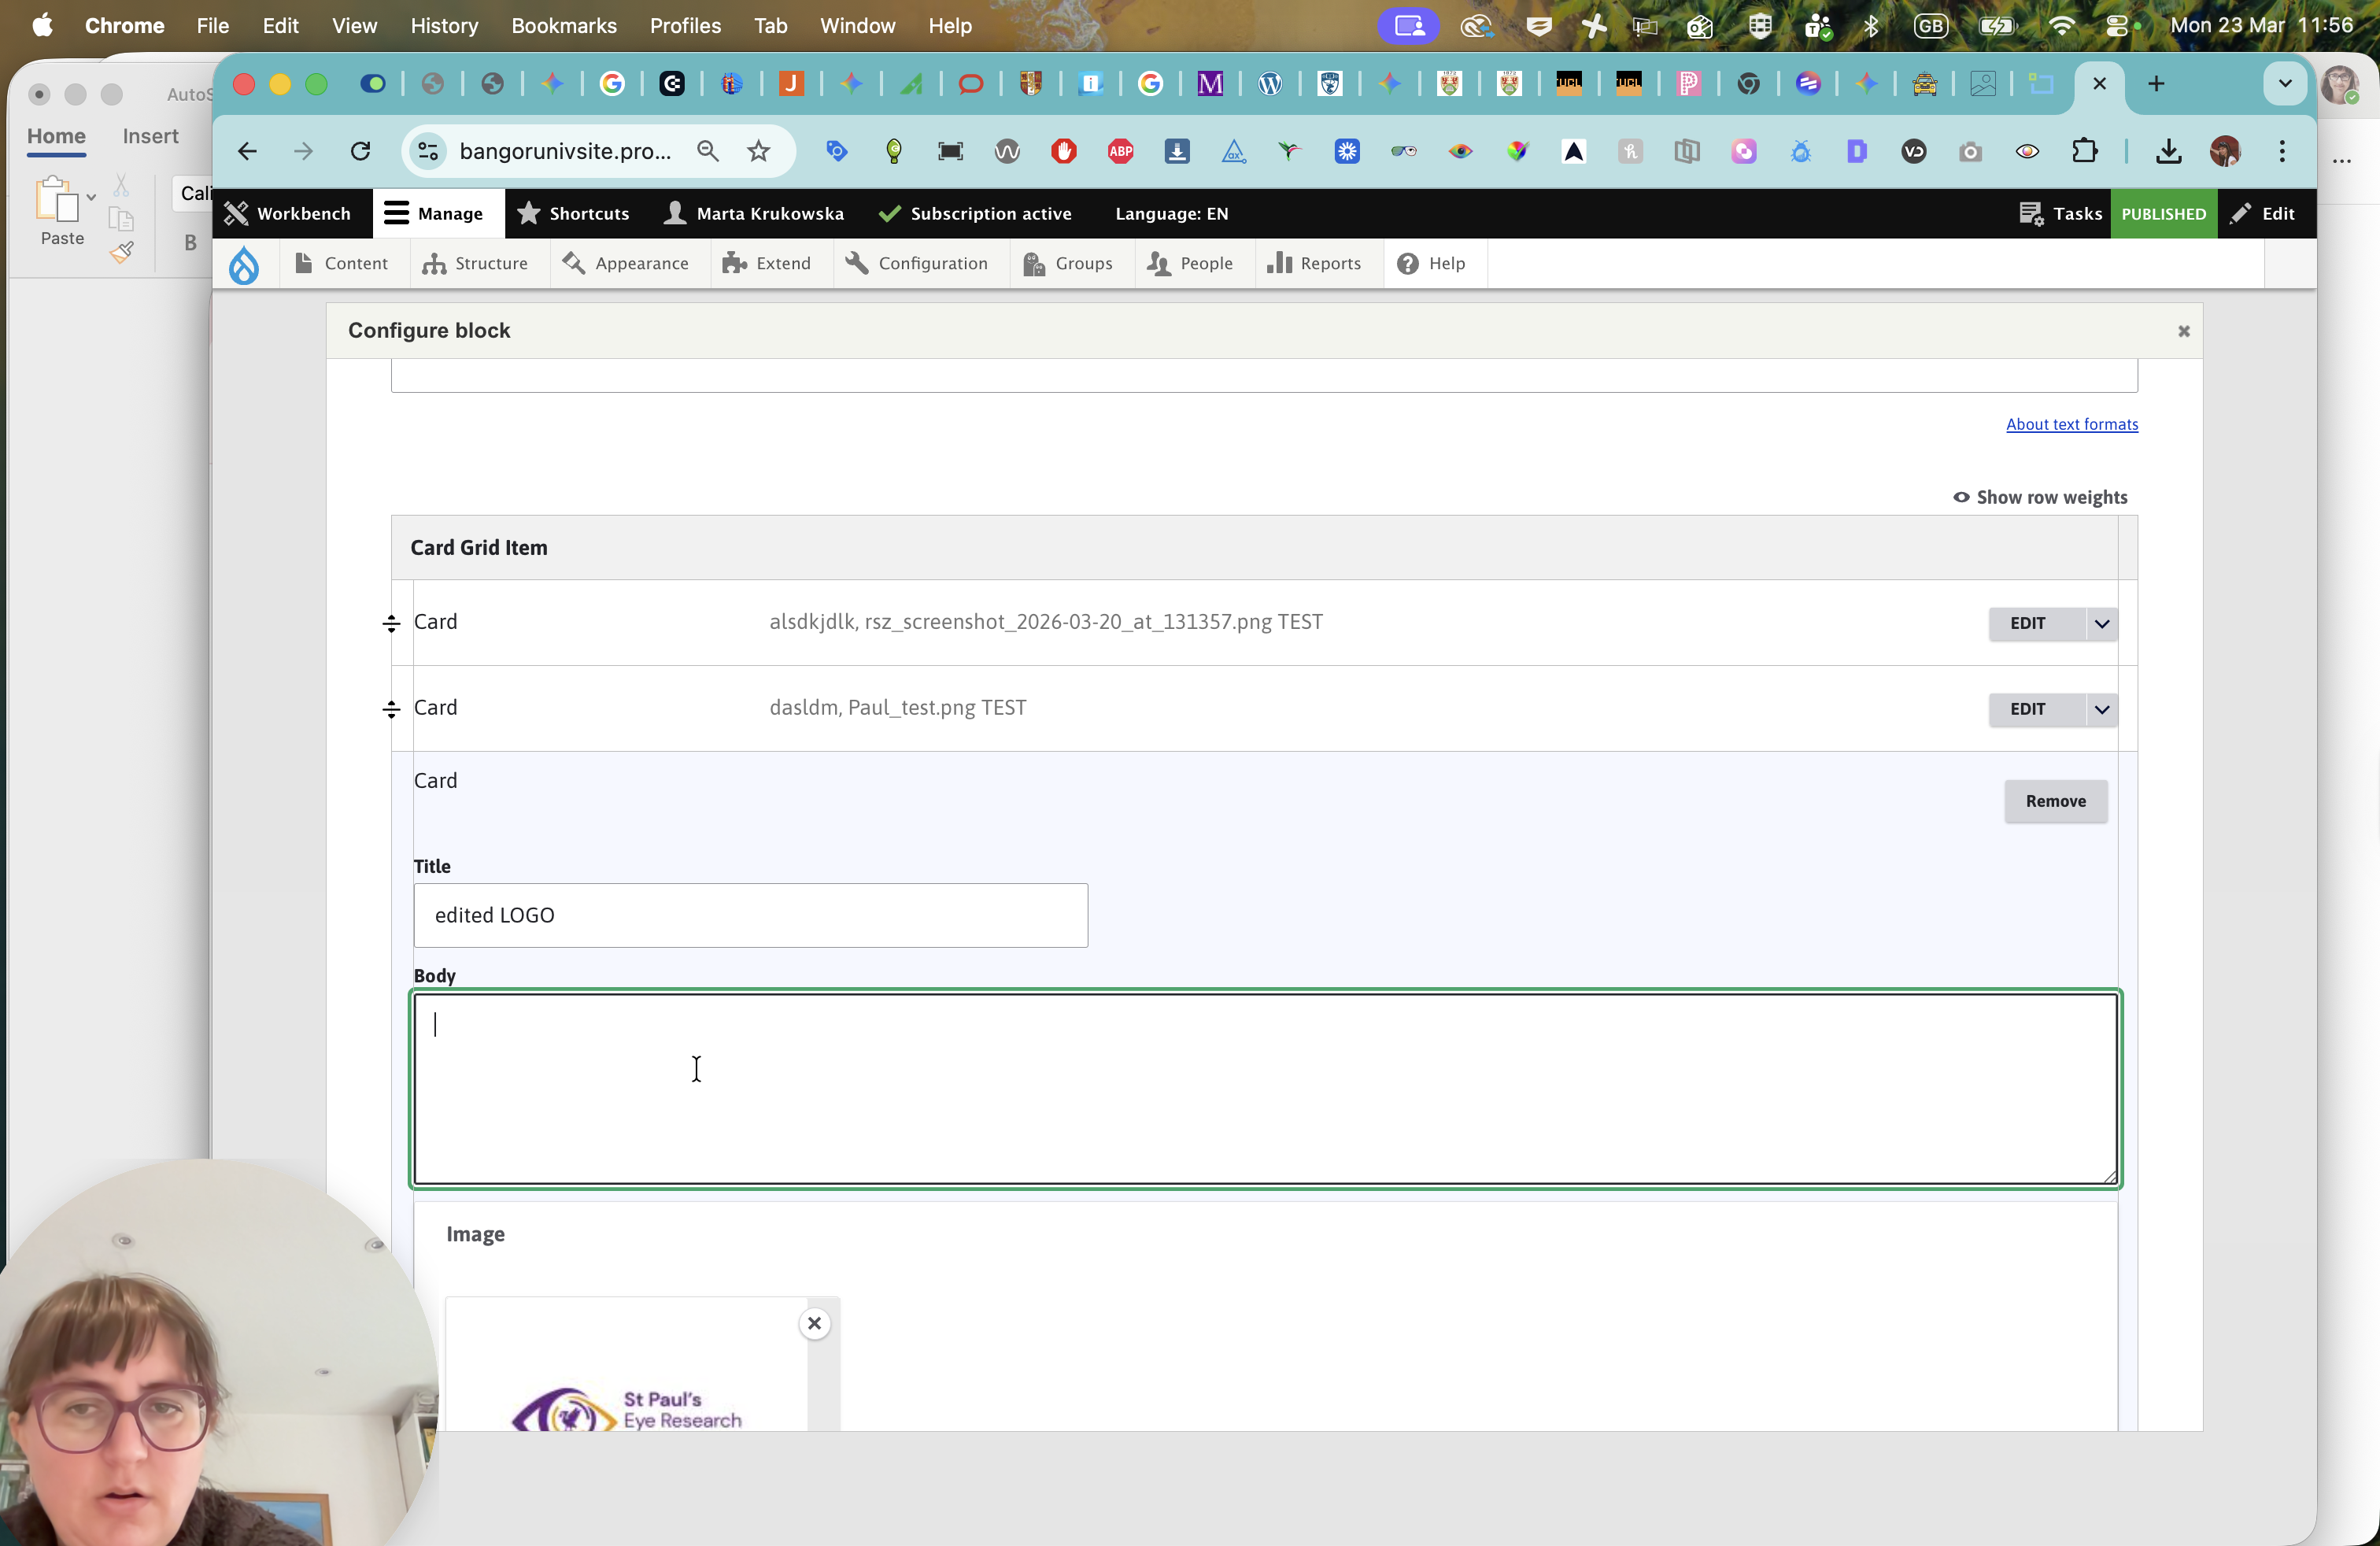
You can add your new title. This will be the edited logo, following the guide.
You can add a link to something on a website.
Let's update it.

Now we can see that the image is perfectly centered. It looks good, and everything works with it. This is a nice way to edit images.